king derelict
-
Posts
3,295 -
Joined
-
Last visited
Content Type
Profiles
Forums
Gallery
Events
Everything posted by king derelict
-
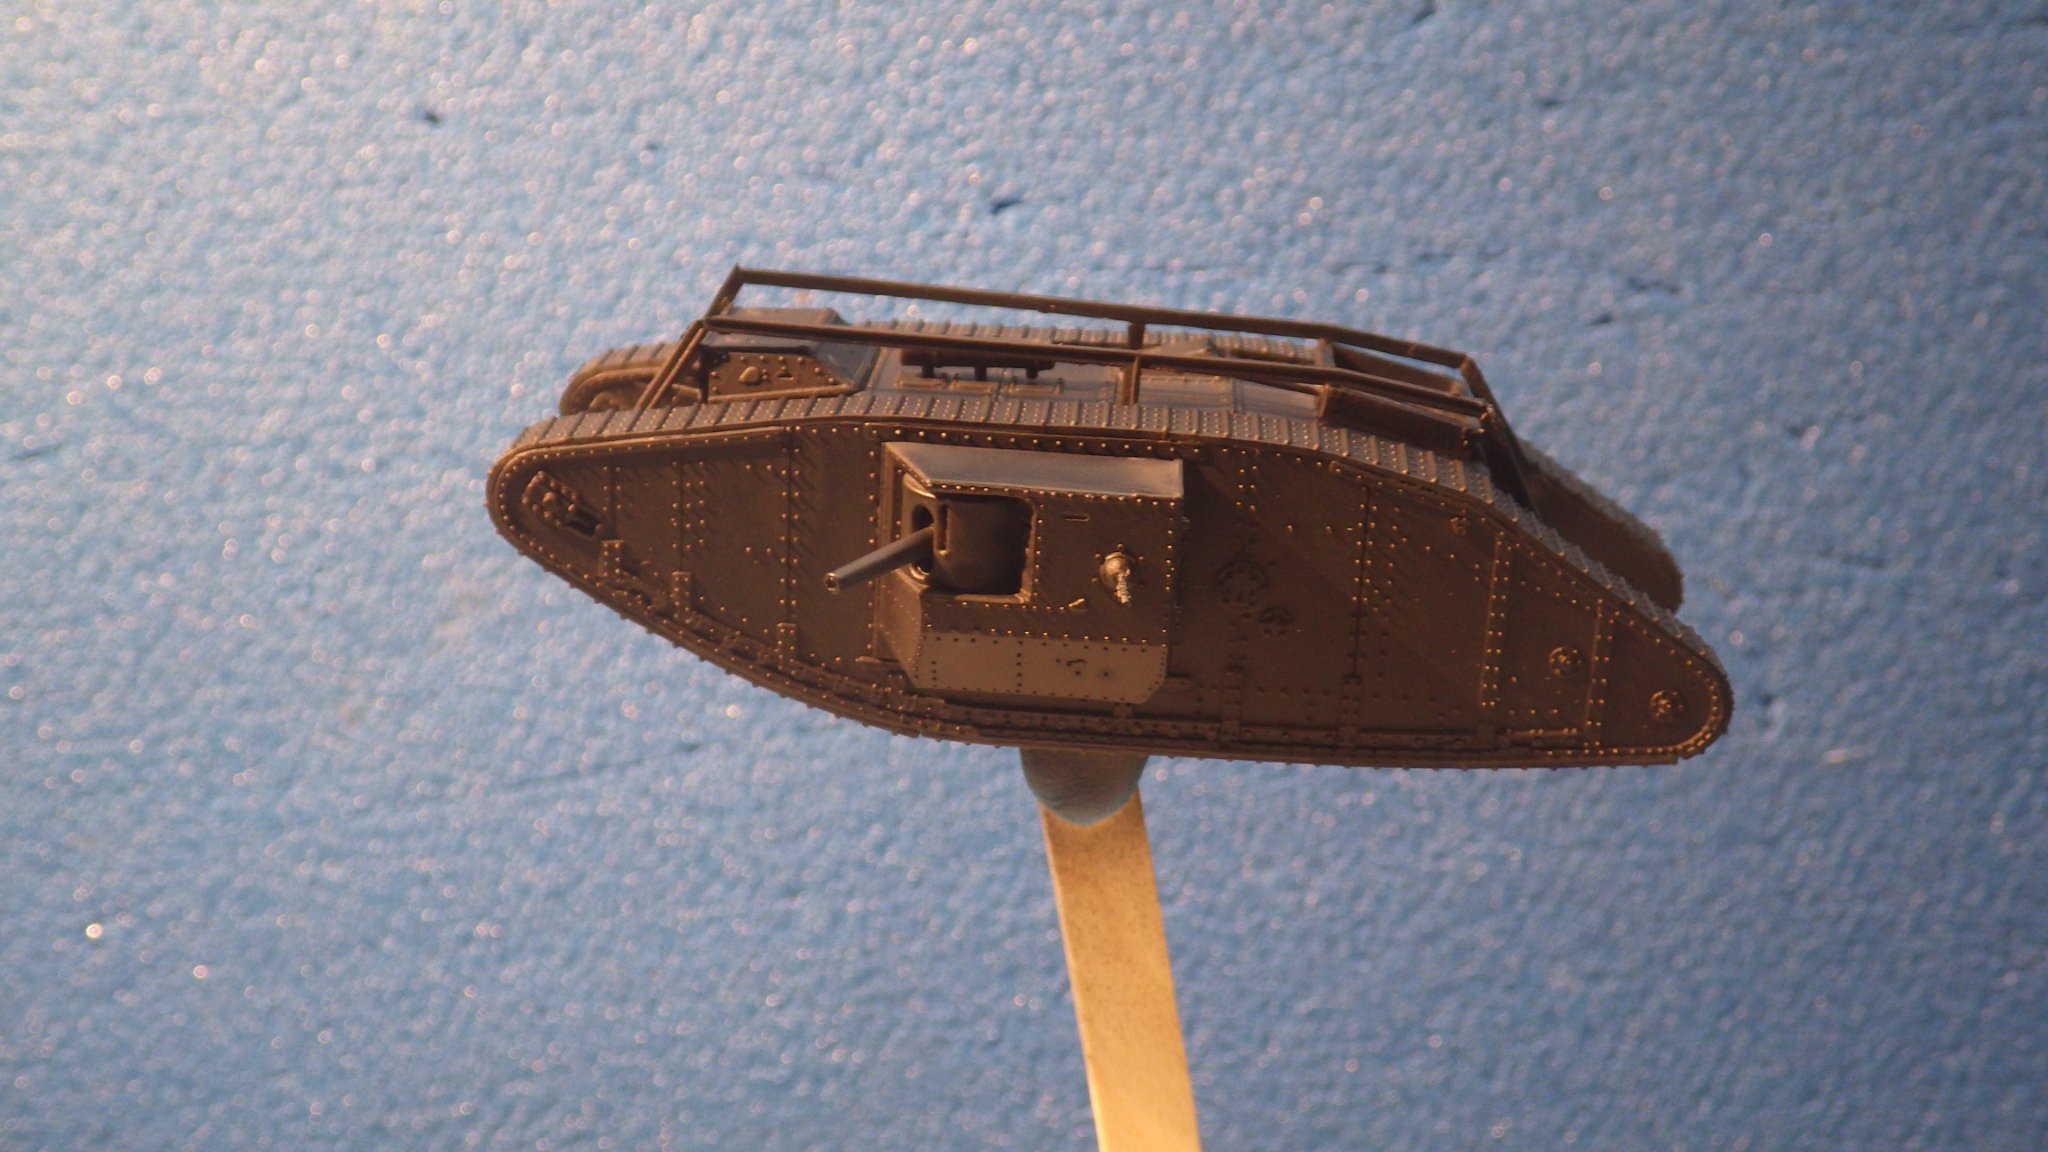
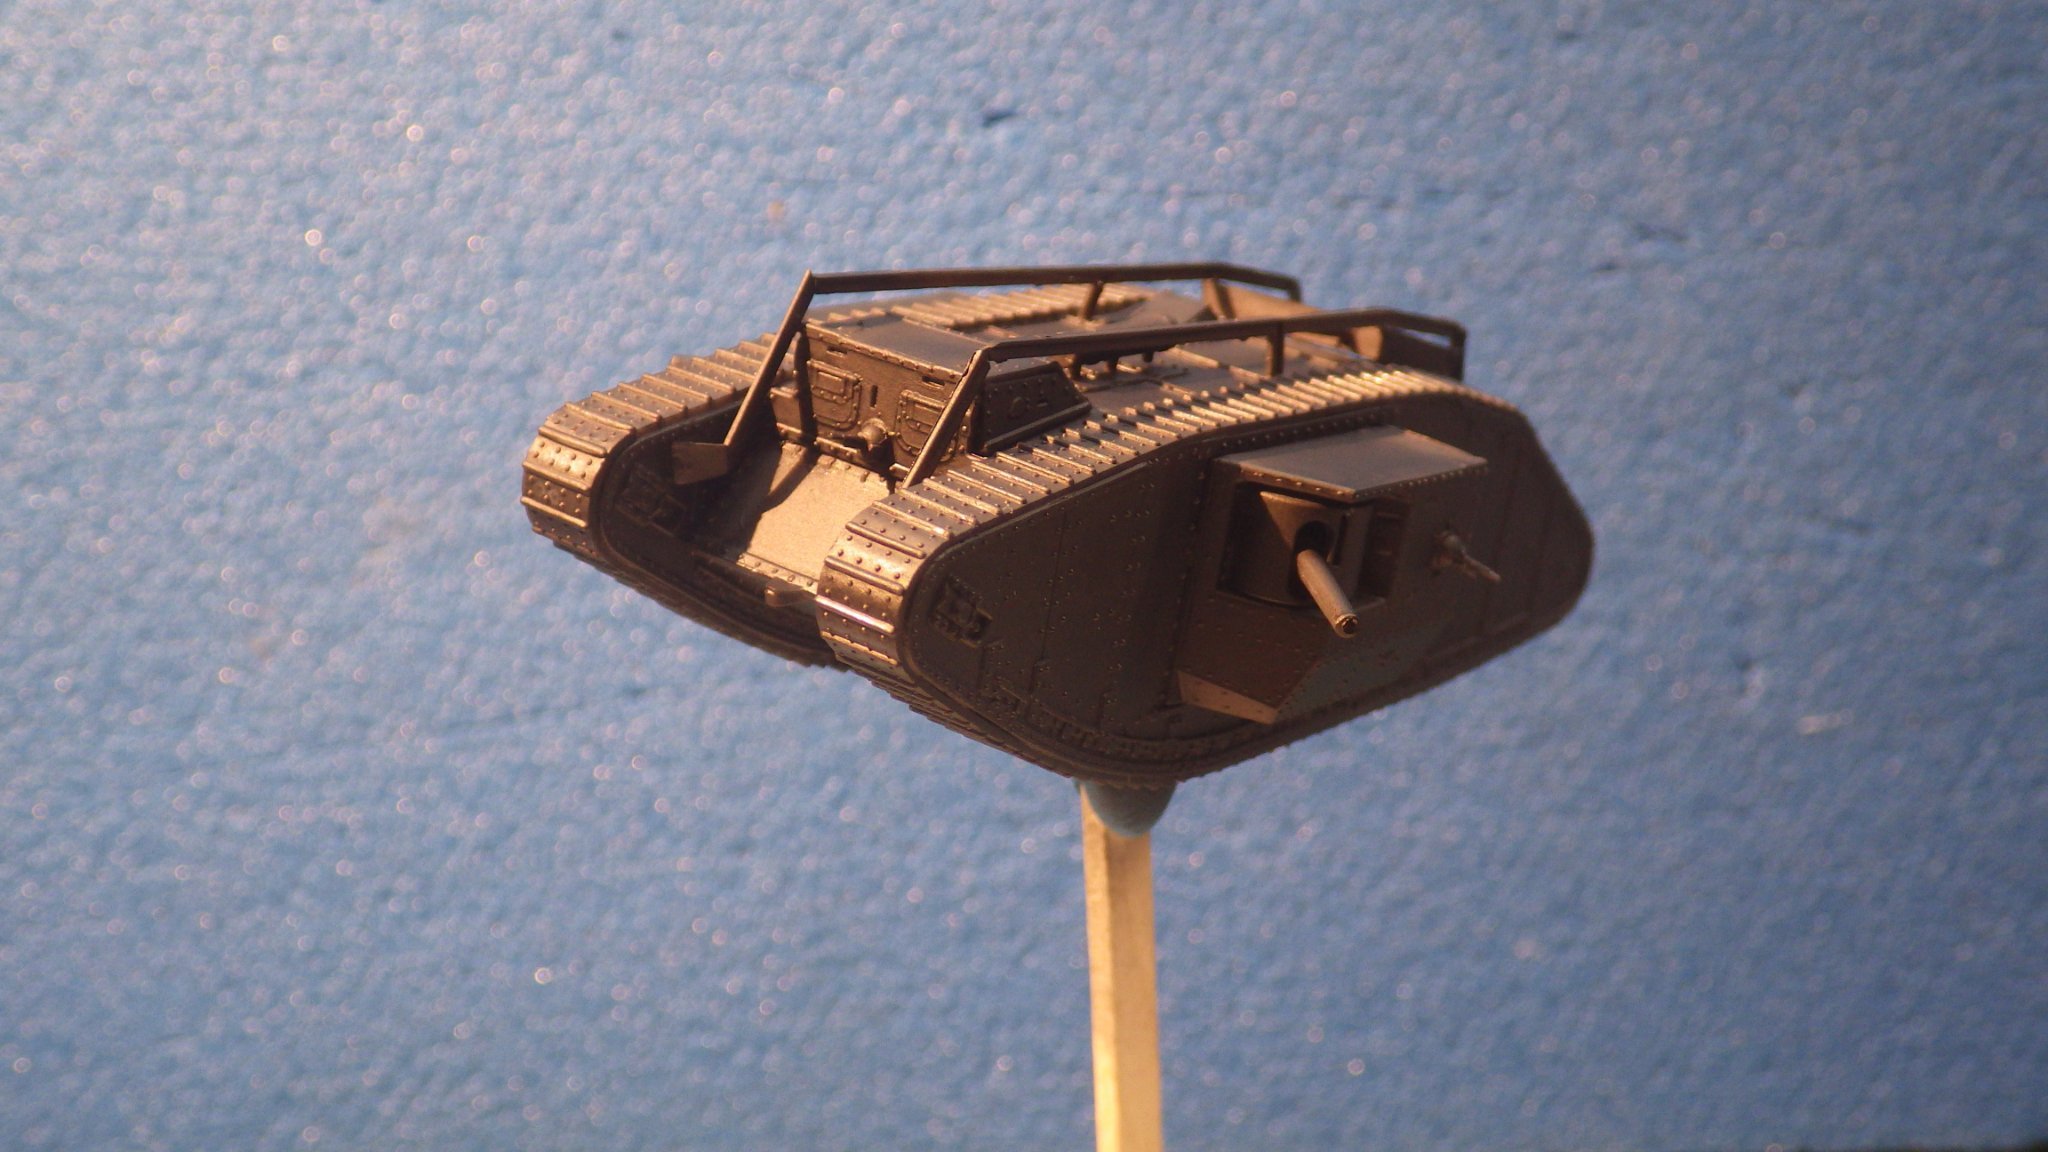
I wasn't very happy with teh overall appearance of teh olive drab; it seemed to be pretty bland so I mixed some buff into dilute olive drab and misted it onto the model It still wasn't what I wanted but there is a bit more depth so I repeated the process with more Buff in teh mix The photos all look very similar but in real life I think ether is more shadowing on the model. I'll work on the tracks next with a mix of mud, rust and bare metal. Alan
.jpg.207100d81ff0e522aa57d38812dfc12b.jpg)
.jpg.bb20722440fa9169e2df553aa08aa824.jpg)
-
Thank you Egilman. This might be the model to experiment with muddying up. Alan
-
Thank you for the encoraging words OC. Sometimes I feel I am out of my depth with this one. Alan
- 460 replies
-
- 2
-

-
- Finished
- Flower-class
- (and 1 more)
-
I tried the BSI gold label CA and it definitely has lower odour. Its also very thin so just cutting the seal off the nozzle I got a liberal quantity all over my hands and the cutting board. So far no bad reactions so it either do cause less respiratory issues or I'm not as sensitive as I thought. I'm going to have to learn to use the stuff though I was struggling to pick it up and place it on the model; I usually use the thick style CA and dressmakers pins Alan
- 460 replies
-
- 4
-
-
- Finished
- Flower-class
- (and 1 more)
-
Hi Craig The printing is still a bit hit and miss. I finished up the reel of white filament printing some bollards and cleats which came out very nicely. Switched to a brand new reel of filament and without making any adjustments tried to repeat a print of the bollards - and they came out completely rubbish - the filament was separating from adjacent layers and there were gaps in the print. I moved onto some other parts and they are printing but again with gaps and a poor surface finish. Sometimes it feels like there are too many variables to control. Alan
- 460 replies
-
- 4
-

-
- Finished
- Flower-class
- (and 1 more)
-
I started joining some of the deck sections using tabs made of scrap deck pieces. Out of curiosity I used a couple of drops of Tamiya plastic cement on one of the tabs and got a fast and strong bond with the deck piece to be attached. I was quite excited thinking I had found a simple and clean way to build up the superstructure and deck fittings. I find epoxy to be a bit imprecise and messy to work with as well as the nuisance of needing to keep mixing small quantities of the adhesive. I try not to use CA glues as I think I get a reaction to the fumes so this looked like a good option but when I tried to use plastic cement to edge join the walls of the chartroom it would not bond at all so I'm back to five minute epoxy. Printing continues with some of the smaller parts. In spite of occasional frustrations with the vagaries of the printer I am still fascinated by the parts it produces. Today I was working on the ships boats and ventilation cowls. The right hand boat is still in its supports and so is the white ventilator. These are easily detached and discarded. I think I am suffering from filament degradation. I am using a couple of reels that have been open for a while and the print quality is not good with poor adhesion between layers and very poor finish. I have cooked the white reel in a drying box for six hours and that seems to be printing very nicely again so hopefully the other reel will also respond to treatment. Looks like something to watch. The reels are about four months old and stored in sealed plastic bags. Alan
.jpg.3394cd488b29accb1ecd0530234ce30b.jpg)
- 460 replies
-
- 9
-
-
- Finished
- Flower-class
- (and 1 more)
-
This has not been abandoned but progress remains very slow. I seem to spend a lot of time trying to work out how to approach the various elements of the build. I guess this is a lot nearer a scratch build than anything I have attempted so far. Reference material is sketchy and the kits generalizations are sometime a bit contradictory. The current task is shimming the decks to get a smooth run along the ship and at the right height; flush on the foredeck and level with the scuppers on the aft decks. I started building up some of the structures to get an idea of how things go together and also to stiffen the deck pieces at some points. Some of the kit parts fit beautifully; others seem to be less well done. When the deck sections for the foredeck are laid down there is a considerable overhand at the aft end. None of the plans that I have show this; they all show the foredeck finishing at the break to the main deck. So some trimming will be needed to bring it into line. Another anomaly is seen where the engine room roof is too long and runs over the aft end of the foredeck. Again it can be trimmed. However more studying of the various corvette plans suggest that, at least for Campanula and her batch of Flowers the funnel is too far forward. So, relative positions of the funnel and cabin, bridge all need to remain as the model is designed but I think I can introduce a space forward of the bridge which will push the funnel back to nearer its real position. That has the effect of extending the foredeck further back over the engine room and if the forward roof section is removed that will all fit together about where I want it. The overhanging part of the foredeck can then be reshaped to reflect the shape of deck seen on some of the modified Flowers. I think I will use plastic sheet of the appropriate thickness rather than try to print out something and shape it to fit. The scrapped deck sections that suffered from warping are proving to be very useful cut up into joining sections between deck pieces The batch of Flowers of which Campanula is a part had the short wooden side decks that start at the rear of the engine room. To accommodate the extra thickness of the wood I printed a second set of side decks and the aft part of the aft deck and then cut off the side pieces where the wooden deck will be installed. Once the decks are levelled correctly then the focus will be more on assembly of parts which should be rather fun now that most of the major decision making about layout etc. is complete. Thanks for looking in. I hope everyone has a great weekend Alan
.jpg.cea445b53ba4a56e63d72ac2d13bc304.jpg)
.thumb.jpg.7abaaeeb7c106a375f3e788c961f263c.jpg)
.jpg.301e80be66c310cd50df8f74532d7435.jpg)
.jpg.4deac44e24ddf3ef96ad91d25fb921dd.jpg)
.jpg.cedf9e05627ce99a405bd6c50dbc3c53.jpg)
- 460 replies
-
- 9
-
-
- Finished
- Flower-class
- (and 1 more)
-
Thank you very much Yves. You set a very high standard to follow. I don't there is any danger of me fiunishing this any time soon. I seem to spend hours just moving bits around and reading up on teh real ships. Alan
- 460 replies
-
- 4
-
-
- Finished
- Flower-class
- (and 1 more)
-
OC, that looks great. Its worth having teh airbrush just for that finish. Alan
-
Thats a spectacular model Mike. The details are beautifully executed. Very impressive Alan
-
D9R by Kevin - Meng - 1/35 - PLASTIC - started 2015
king derelict replied to Kevin's topic in Non-ship/categorised builds
I even think that different colours make a difference. I think white is much harder to AB than dark greys. Maybe its something to do with teh amount of pigment in the paint = or its all my imagination. Alan -
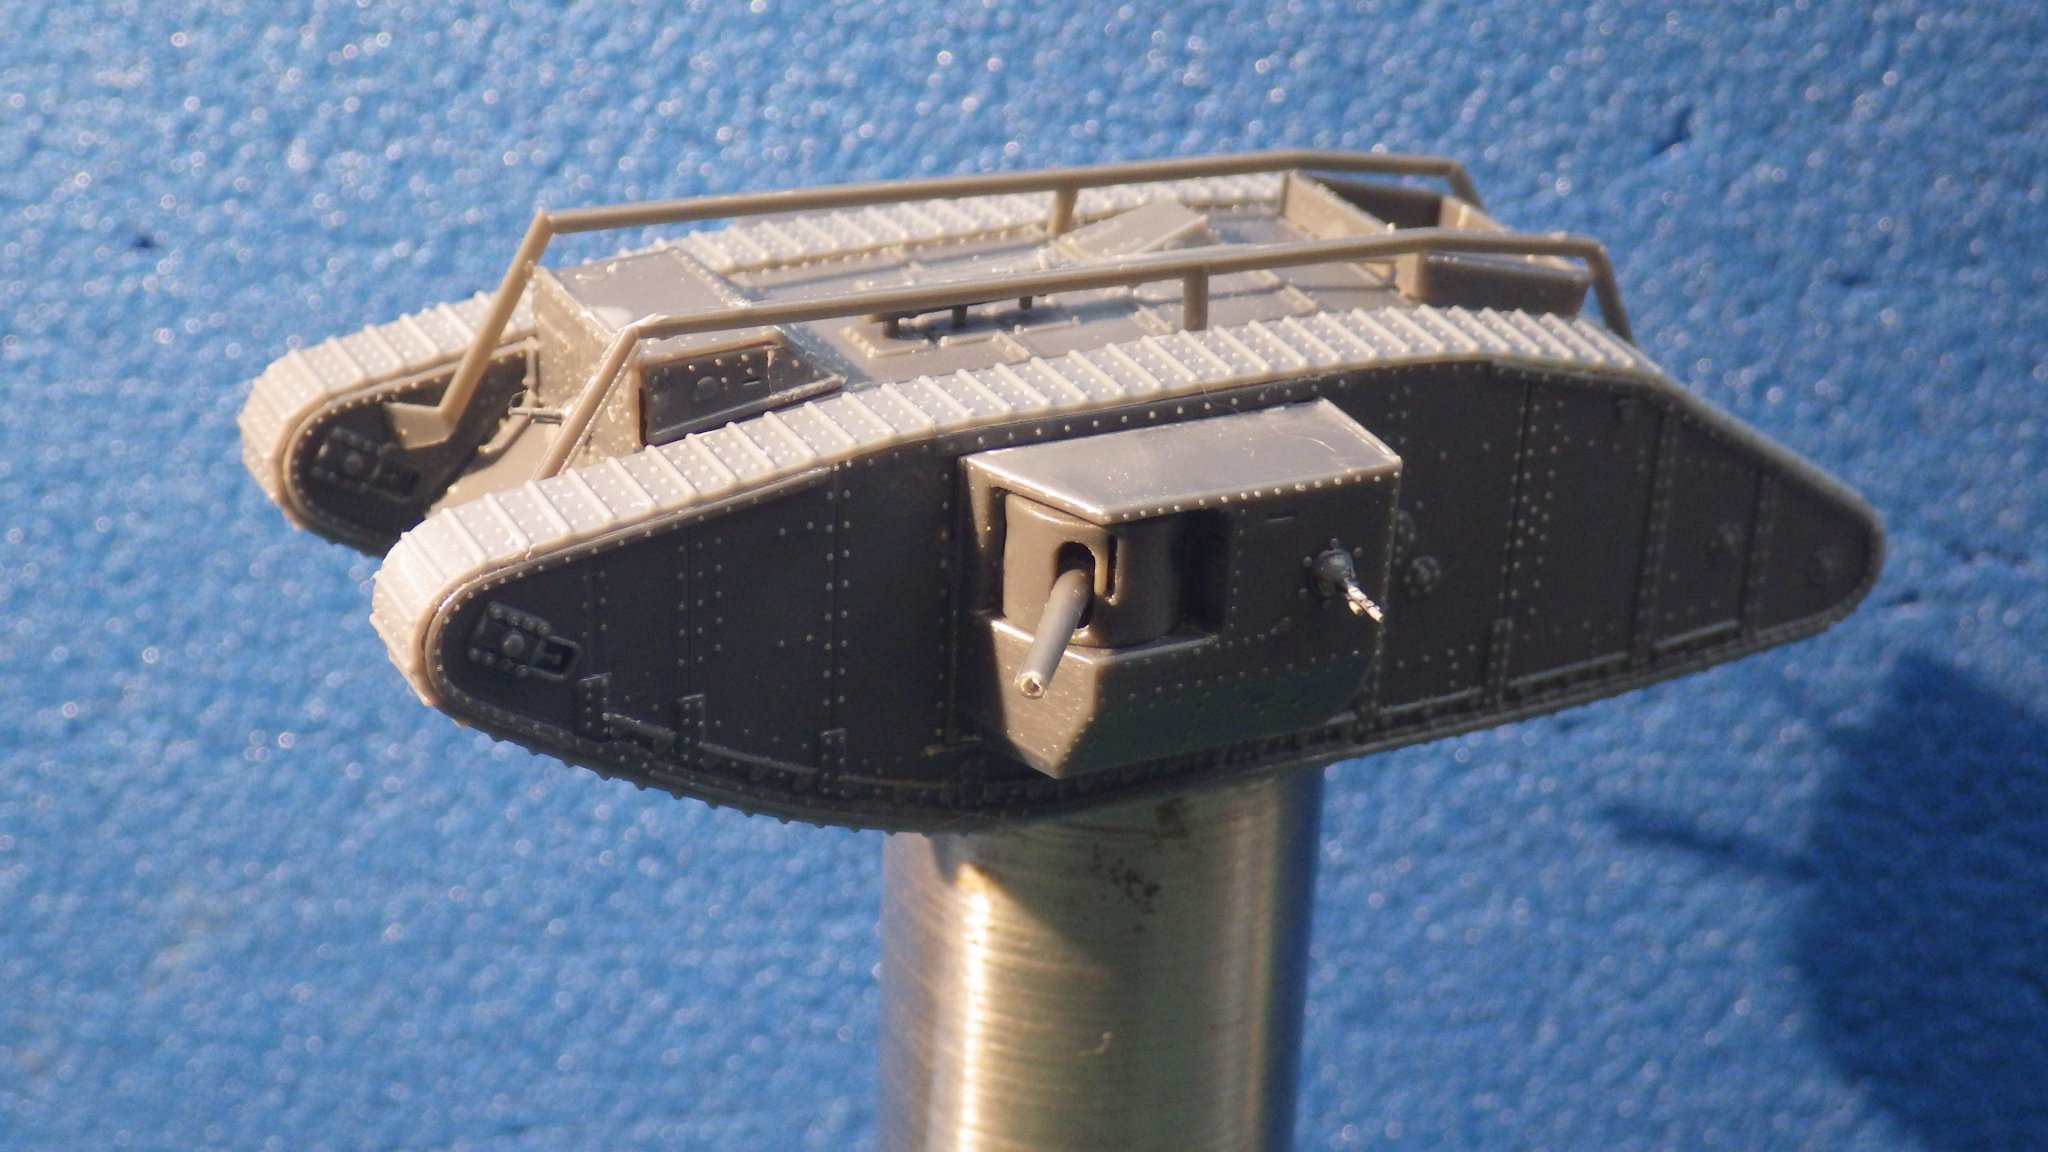
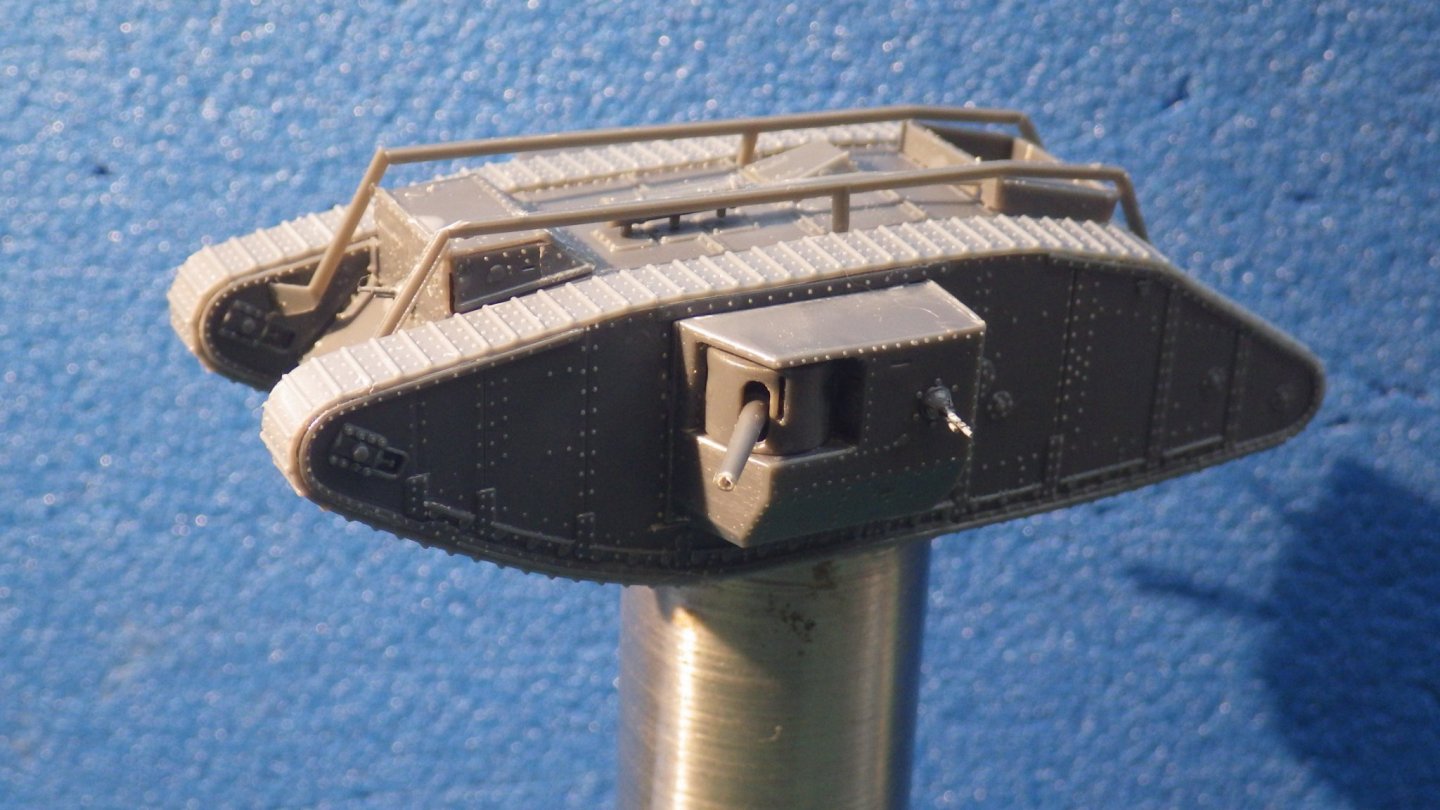
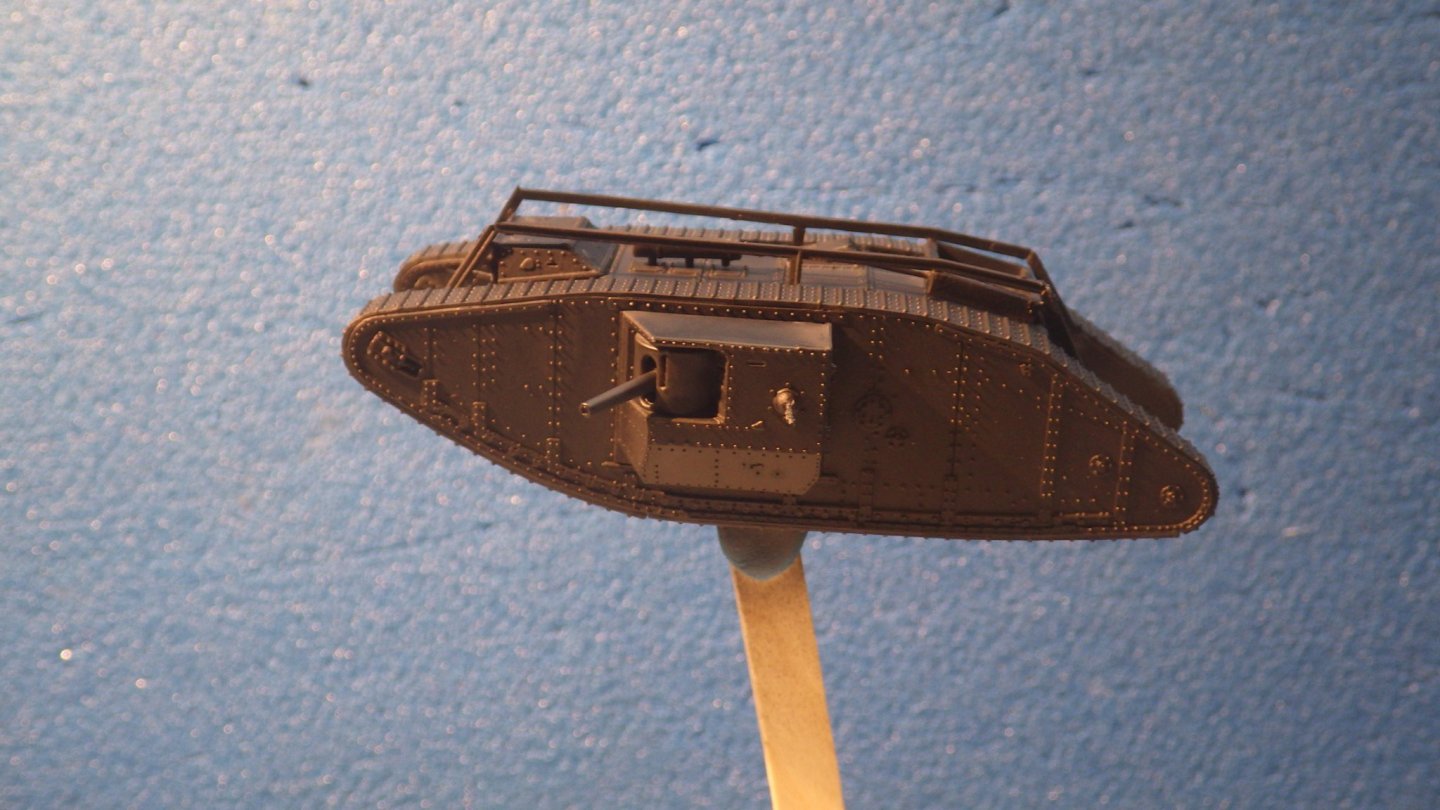
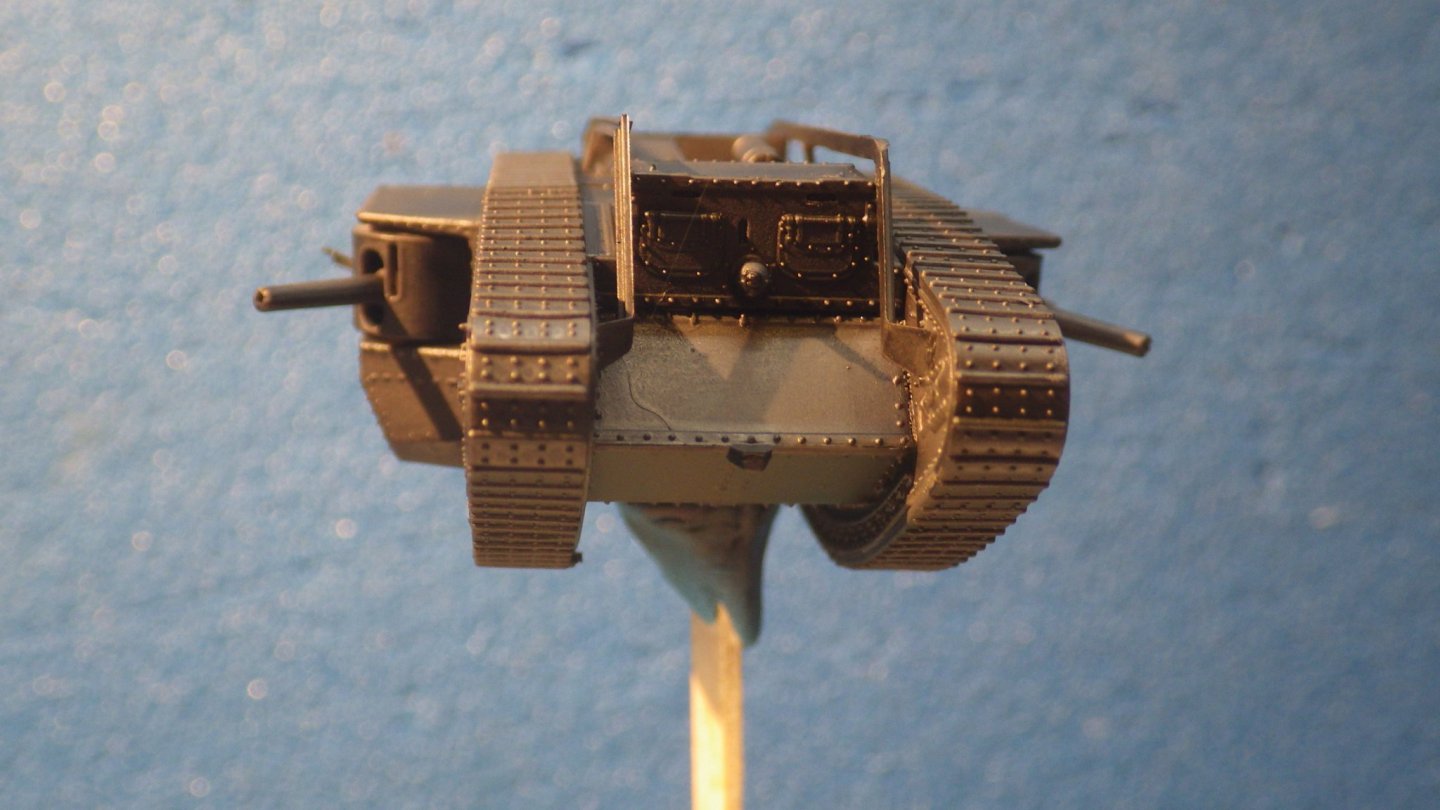
There seems to be quite a lot of debate on the colour schemes for the British tanks in WW1. Opinions range from grey, to olive drab and khaki. I decided to go with olive drab so the base coat was air brushed on. The tracks will them be worked up with rust, silver and dirt then washes and shading to the hull. With paint on the ditch rails look OK and I think the homemade Lewis guns will pass muster. Thanks for looking in Alan
.jpg.68a2ba7e273c6ad0e77c8cba92151b31.jpg)
.jpg.ce2b3cfea64375758c2b69aa3cdec587.jpg)
.jpg.6c900016d1fd2ead9434b0cef661177d.jpg)
- 57 replies
-
- 12
-
-

-
Hi Mark I was at NAS Patuxent River, MD from 2011 to 2018 and knew some people at Aberdeen but as Egilman reported the collection has moved and you can't visit it any more. A huge shame Alan
-
Hi John That would have been great to be able to be that close to the tank museum and also to be able to actually climb around on the tanks. Bovington is definitely one of my must do museums. I'm not sure it will happen this time though. There is something about actually being able to get inside something and experience the environment instead of looking at the thing over a rope. At the Air Force museum, Dayton, Ohio they have a B29 fuselage you can walk through - great. Alan
-
1/48 Italeri Hawk T.1A (On Hold)
king derelict replied to Old Collingwood's topic in Non-ship/categorised builds
That finish looks really good OC Alan -
Thanks for the info OC. I am planning to be over in December. I'll be Oop North unfortunately but plan to hit RAF Cosford and try to seeing down to either the FAA museum (easiest to reach) or Bovington (the one I really want to see). I also hope to spend a few hours digging up spent Spitfire rounds from a WW2 air gunnery range in Wales. Alan
-
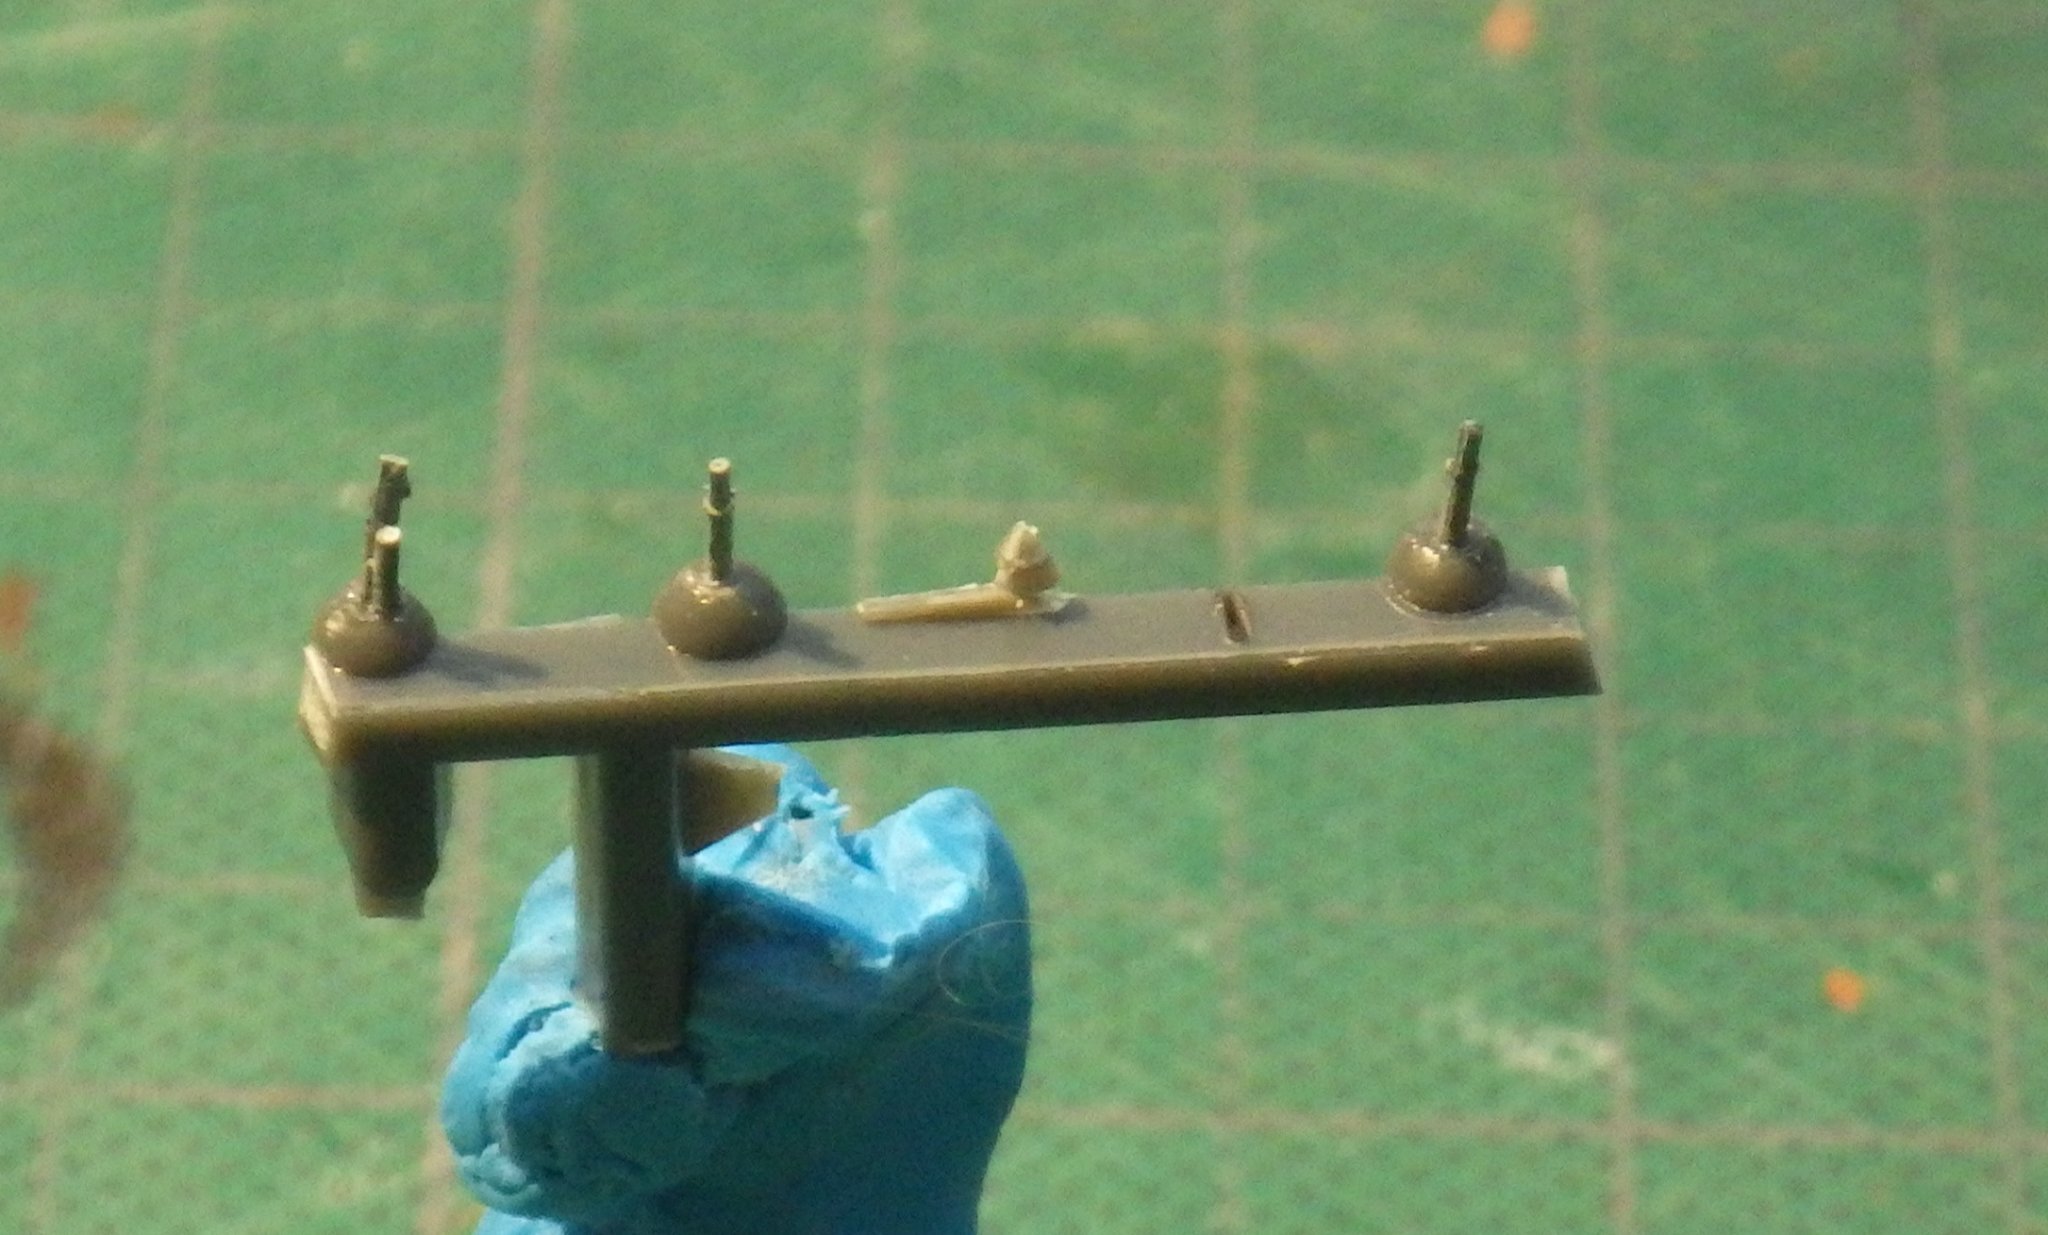
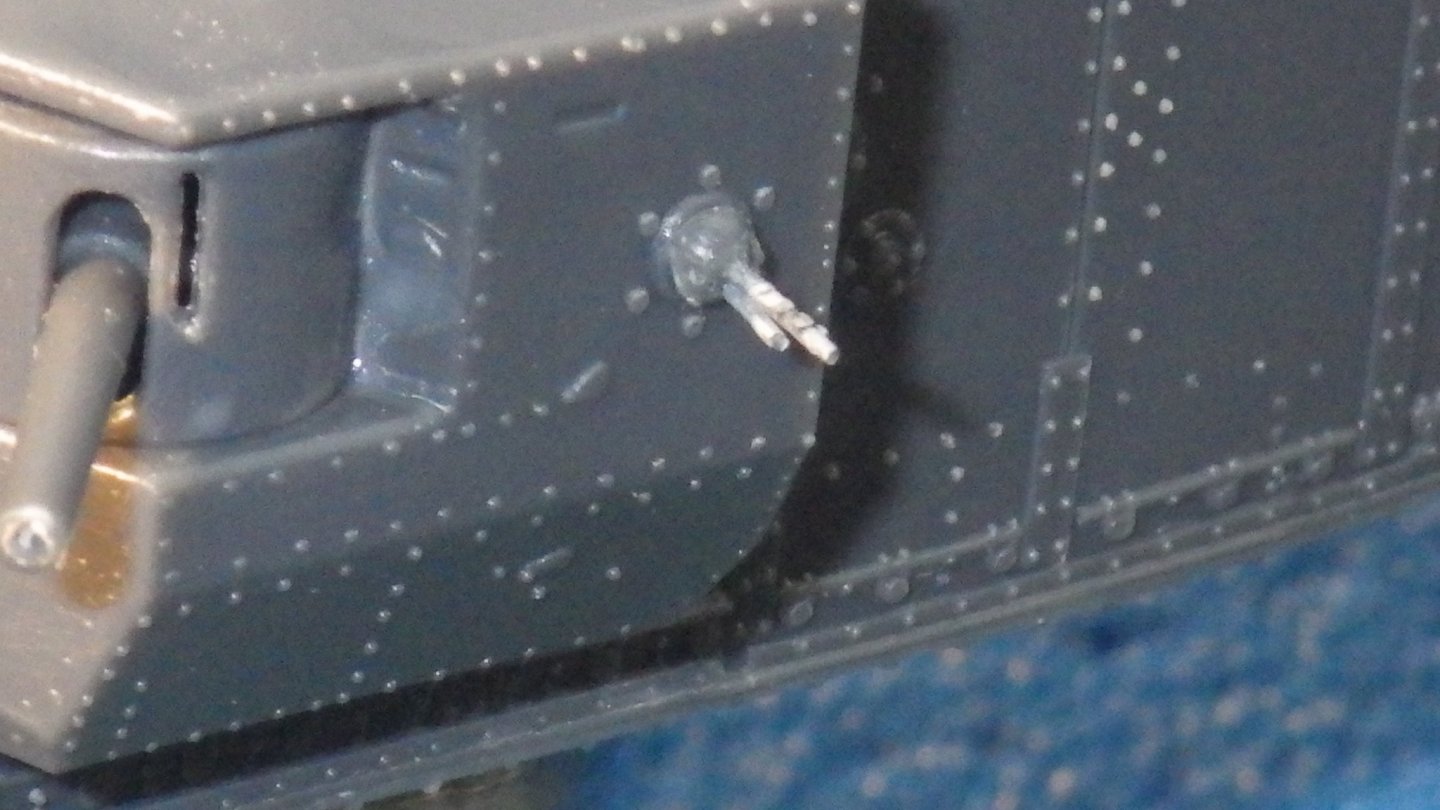
The last few pices of the kit were a bit of a challenge. The ditching beam rails. The kit provides three elements for each side and very loose instructions for the assembly and location of the rails. I spent a lot of time playing with the parts and looking online for photos of the real thing. Eventually I trimmed about 1/4 inch off the front section and got something like the shape and locations of the attachment points. The last fabrication task was to address the terrible Lewis guns. I found a very nice set of booms and yardarms from a Flyhawk ship model that had been replaced with brass. The size looked good so I cut the kit "barrels" off the mounts, drilled them and installed the cut sections of rod. They look a bit scruffy here but I think they will work under a coat of paint. The mounts were cut off teh sprue and then glued to sponsons and drivers position. Thats it! No more parts - a total of 31 bits glued together. The primer has been airbrushed on and will be left for 24 hours and then an olive drab paint scheme and weathering. I'm toying with adding a ditching beam to the rails if I can make it look good. I have some dodgy 1/700 anchor chains that might work to secure it. Thank you for looking in. Alan
.jpg.bbf1a447c228f29c0ba929c7395ed58d.jpg)
.jpg.7e917e46d0ff17e1bf9a5f15be8a3011.jpg)


-
Hi Lou This seems to be jumping together quickly. I thought of buying some after market Lewis guns but the cheap part of me baulked at buying them and chucking 3/4 of the gun and just using the last 1/4 of the barrel. I think I can use some plastic rod and it will look OK Thanks Alan
-
Thank you Ken Its interesting; I found a few photos of built kits on line and although they had been modified with a Czech PE kit (might have to investigate that sometime) they left the Lewis guns as per the kit - which I think is the most unappealing part of the model. Definitely going to do something about them. Alan
-
Hi OC Got to have a Strong British representation. I have a Whippet and a Tadpole also to strengthen the line. Was that at Bovington. While I was researching on the web I found some photos of a Mark IV in a museum with a sign next to it saying :Closed" which intrigued me. It must have been great to have seen the inside. Bovington is on my "must visit" list Alan
-
Thank you very much Gary These Emhar kits are nice little side projects and come out well. I'm also improving my knowledge of WW1 fighting vehicles too. Alan
-
Thank you for the kind comment OC. I am a bit heavy handed when I dry brush so I thought the air brush might work. The down side is trying to keep the spray where you want it. I didn't want a line so I couldn't mask easily Alan
-
1/48 Italeri Hawk T.1A (On Hold)
king derelict replied to Old Collingwood's topic in Non-ship/categorised builds
Hi OC. I think my Vallejo primer with their thinner, maybe 10 to 20% and it sprays nicely Alan
.jpg.b0fb41ab3d00d9fd84ba392099a96393.jpg)