texxn5
-
Posts
2,473 -
Joined
-
Last visited
Content Type
Profiles
Forums
Gallery
Events
Everything posted by texxn5
-
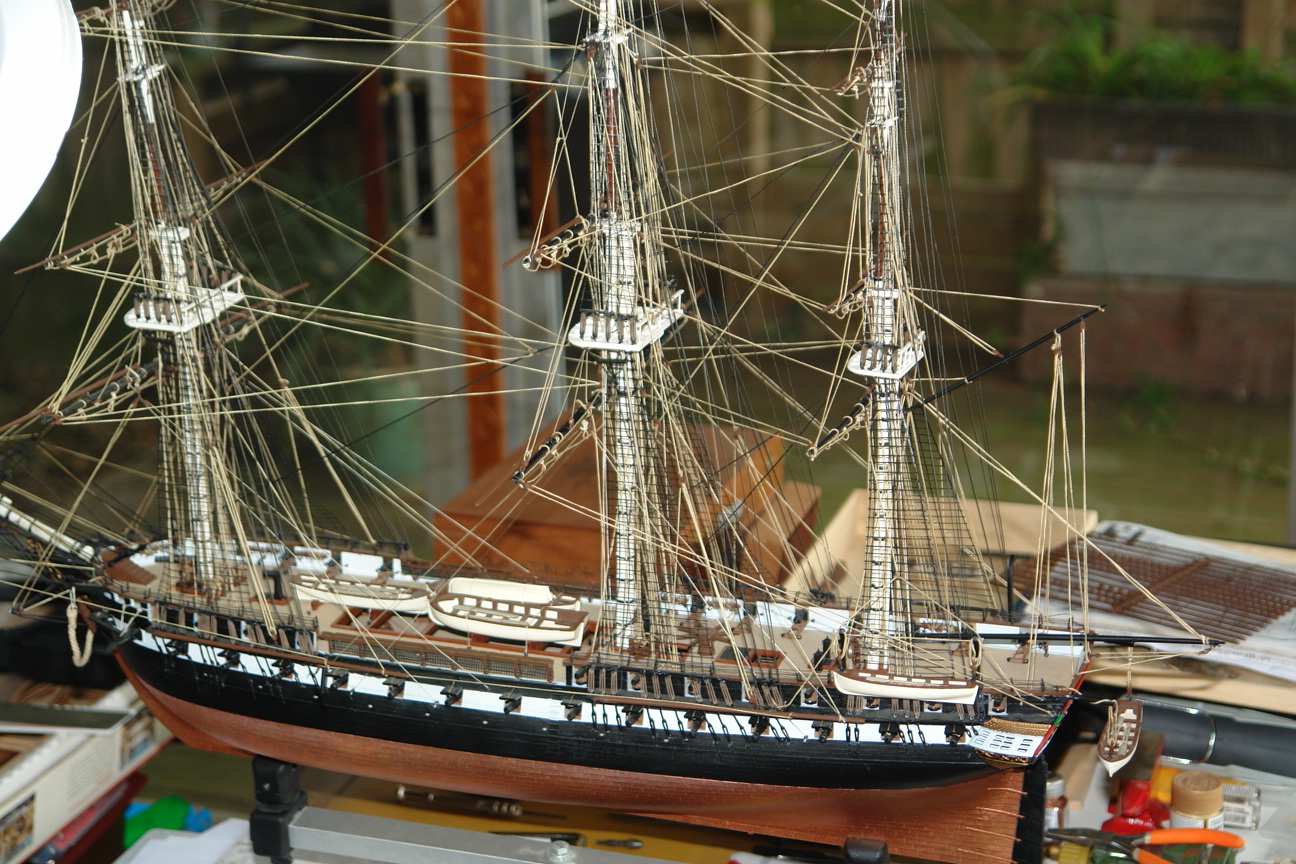
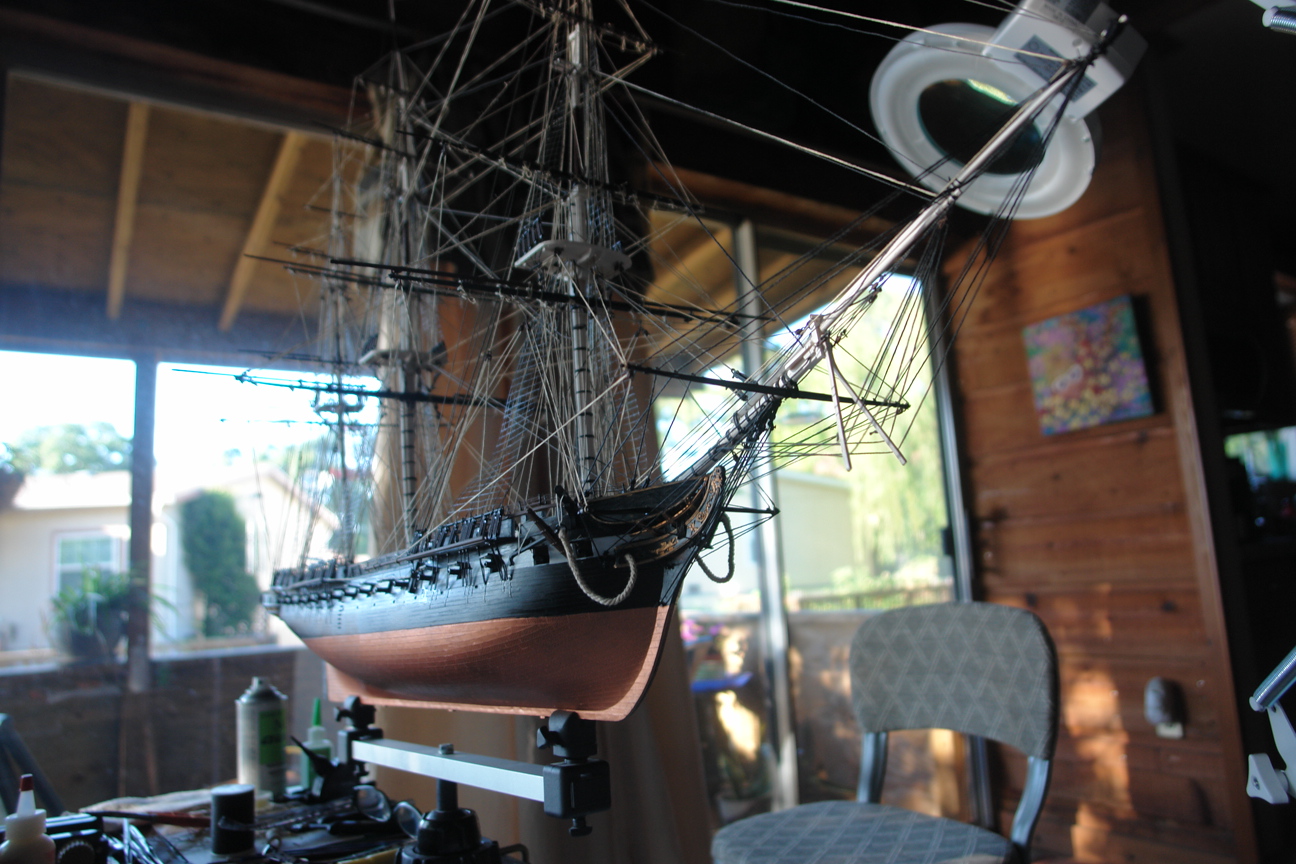
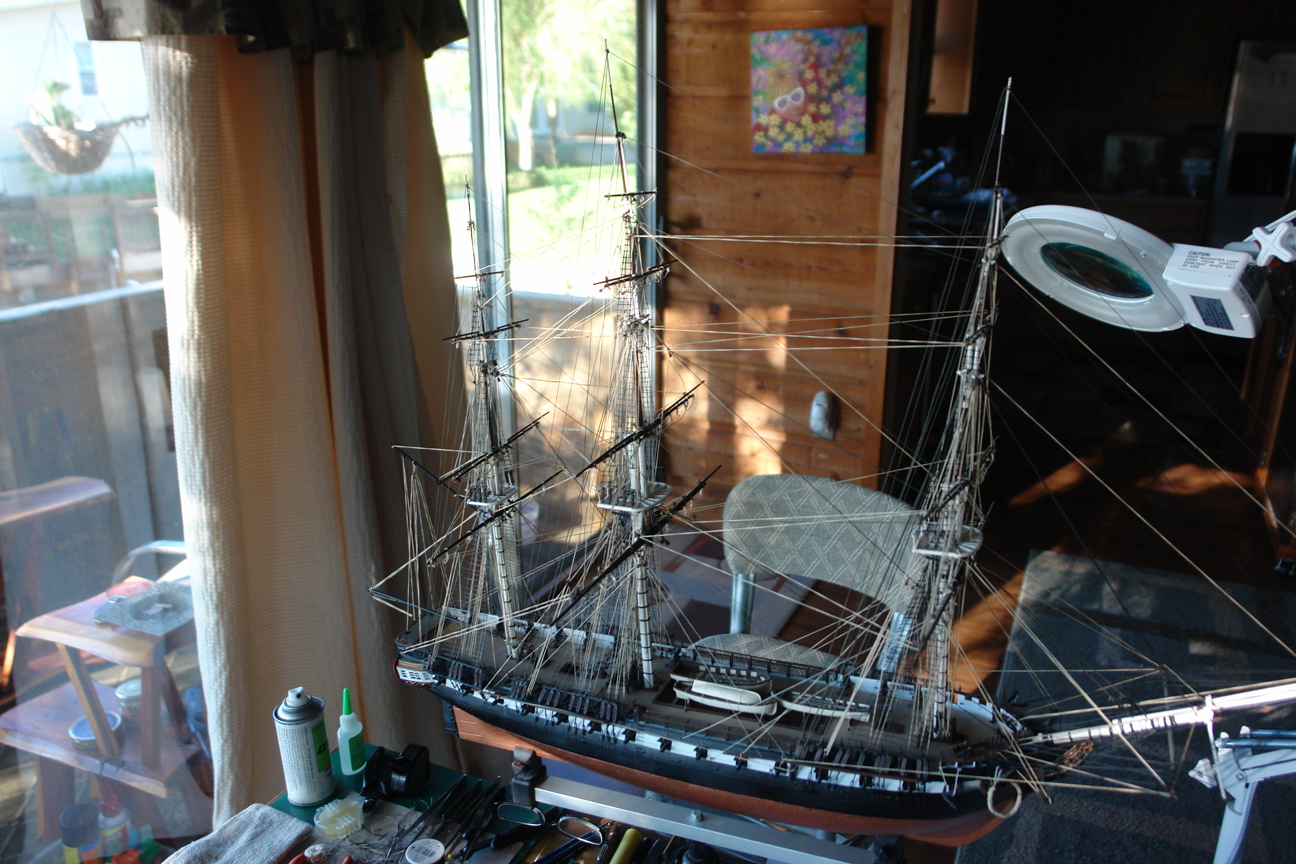
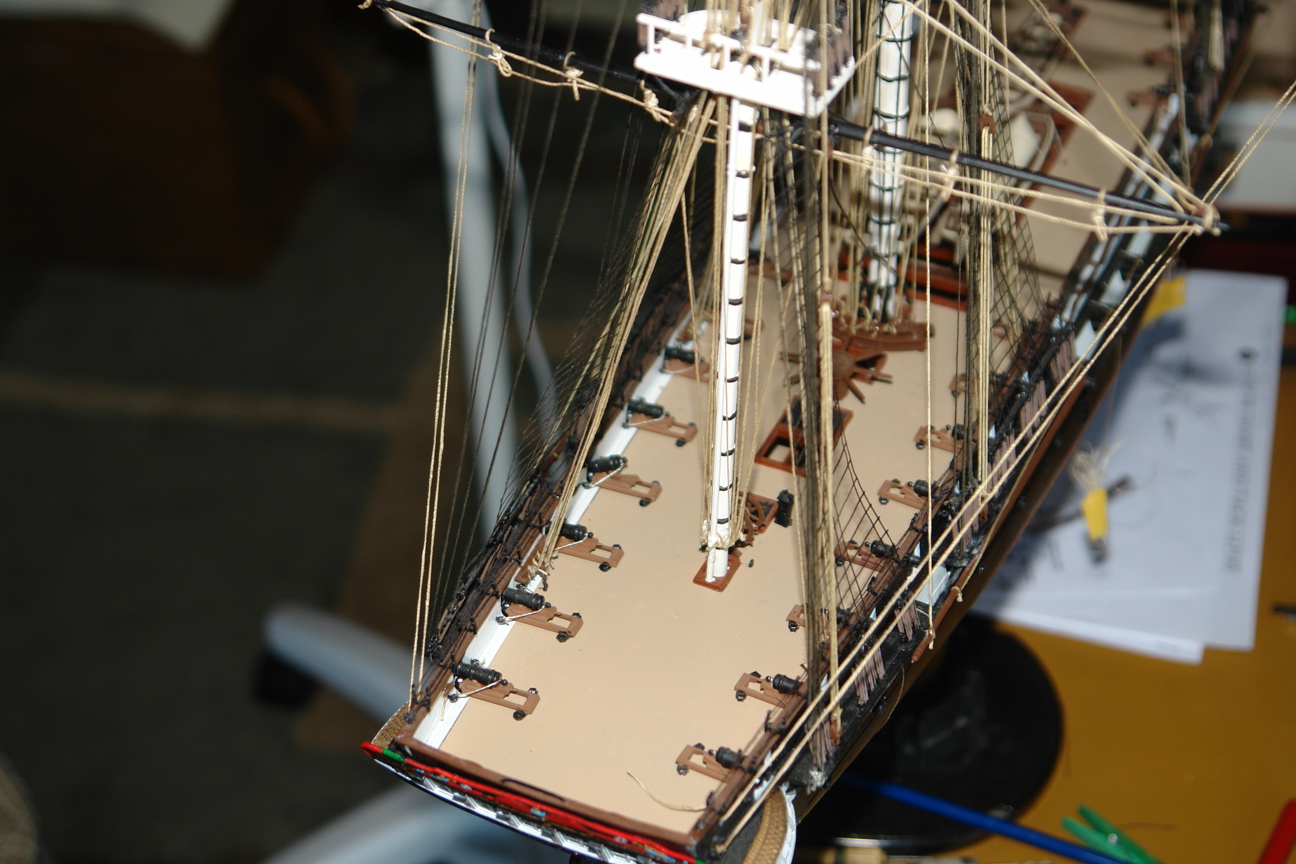
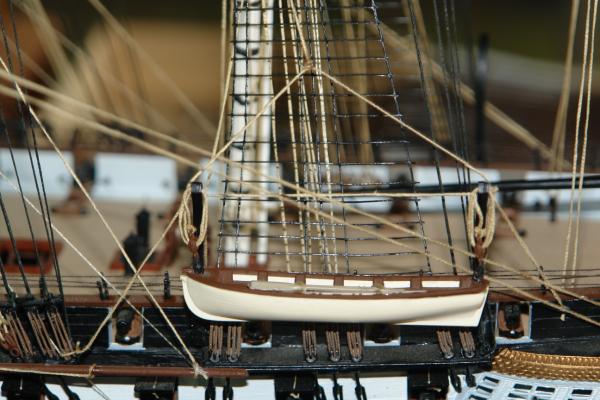
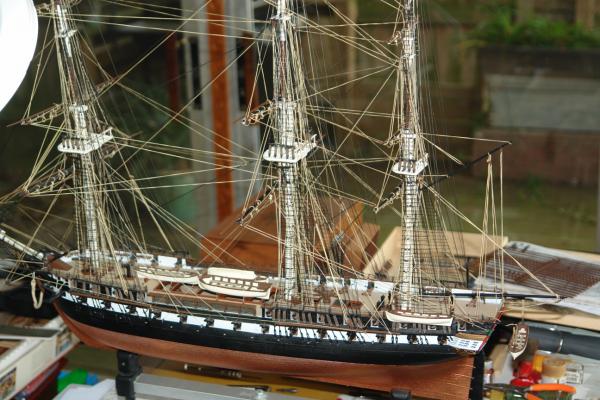
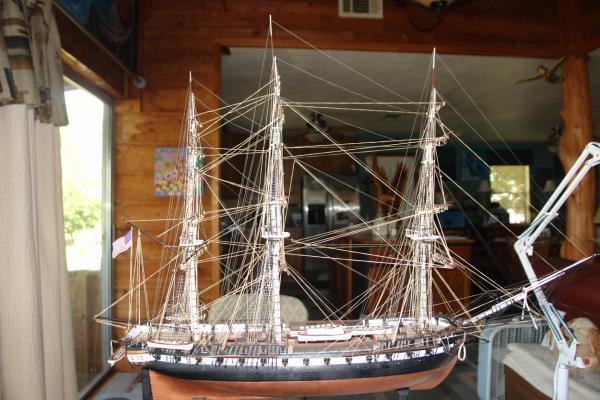
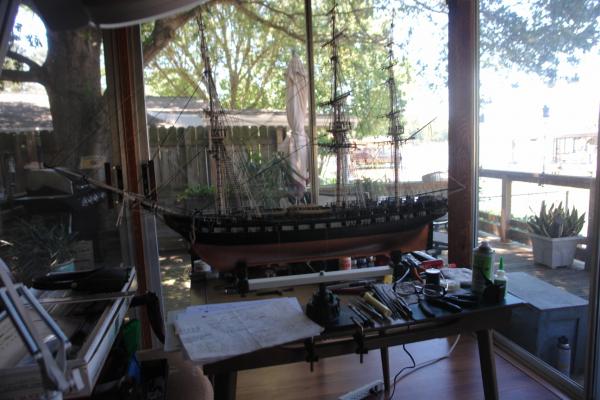
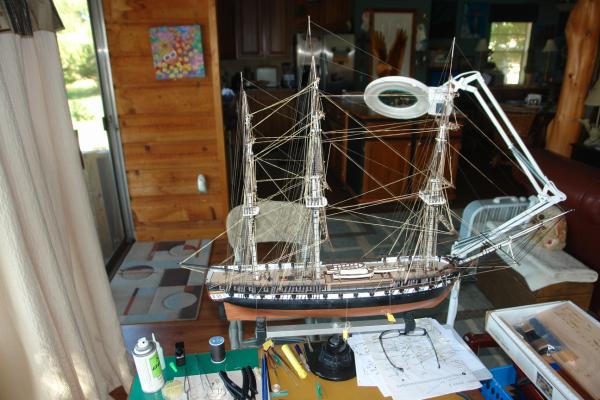
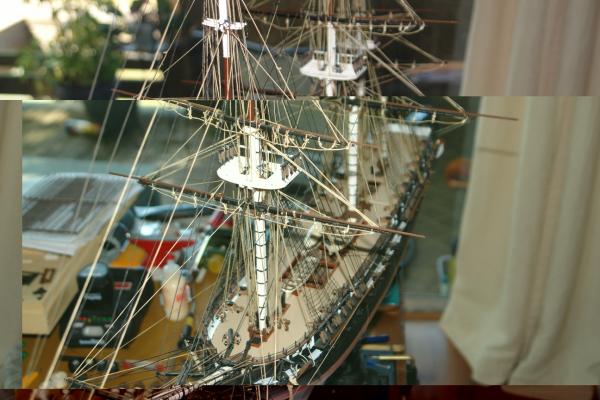
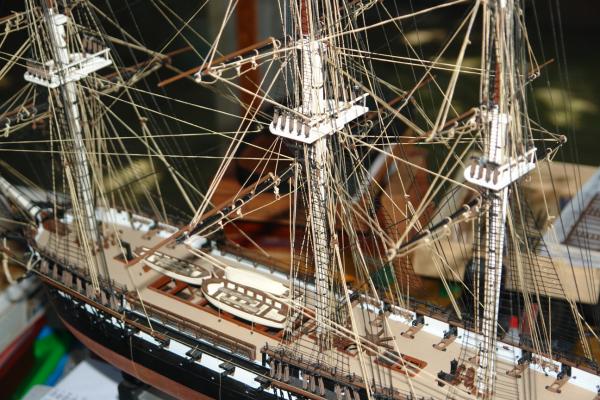
Well, after 44 years I guess I'm going to be like Andy.....She is finished with the exception of a few touch ups, and a couple of backstays that need tightening up, and building the wood base for her.... today I hung the boats and here we are. This has been quite an experience, and I appreciate all the help and encouragement from this Forum. Without it I probably would not have finished, at least not in a timely manner....this kept me going and here it is. Thanks to everyone for all their input and encouragement. Here's some pictures, and I'll post a group in the Gallery in the next few days, as I finish the base. Thanks.......

- 153 replies
-
- 2
-

-
- constitution
- revell
- (and 2 more)
-
Thanks Russ, hope these are clear enough. I'll probably get the davits glued tonight, and finish tomorrow. Hopefully.....
-
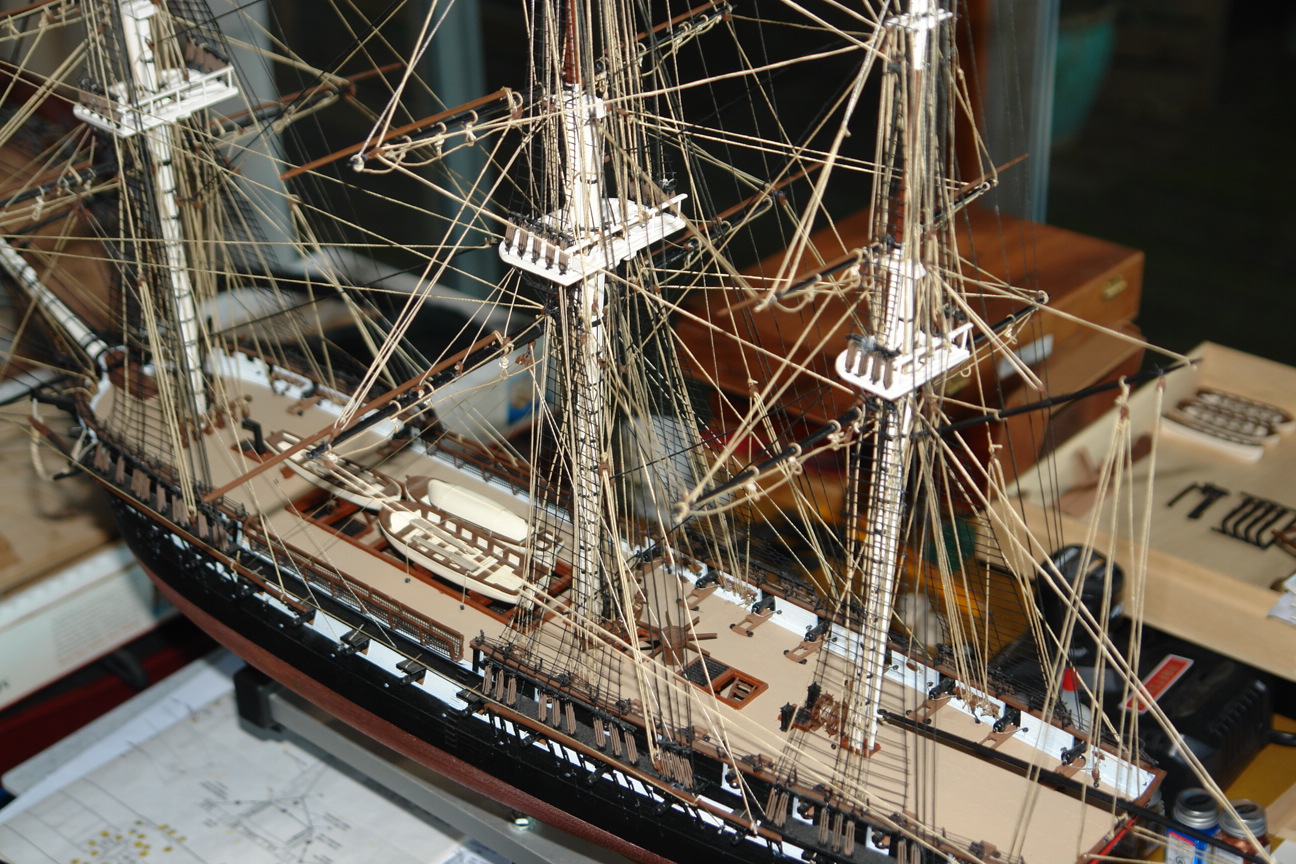
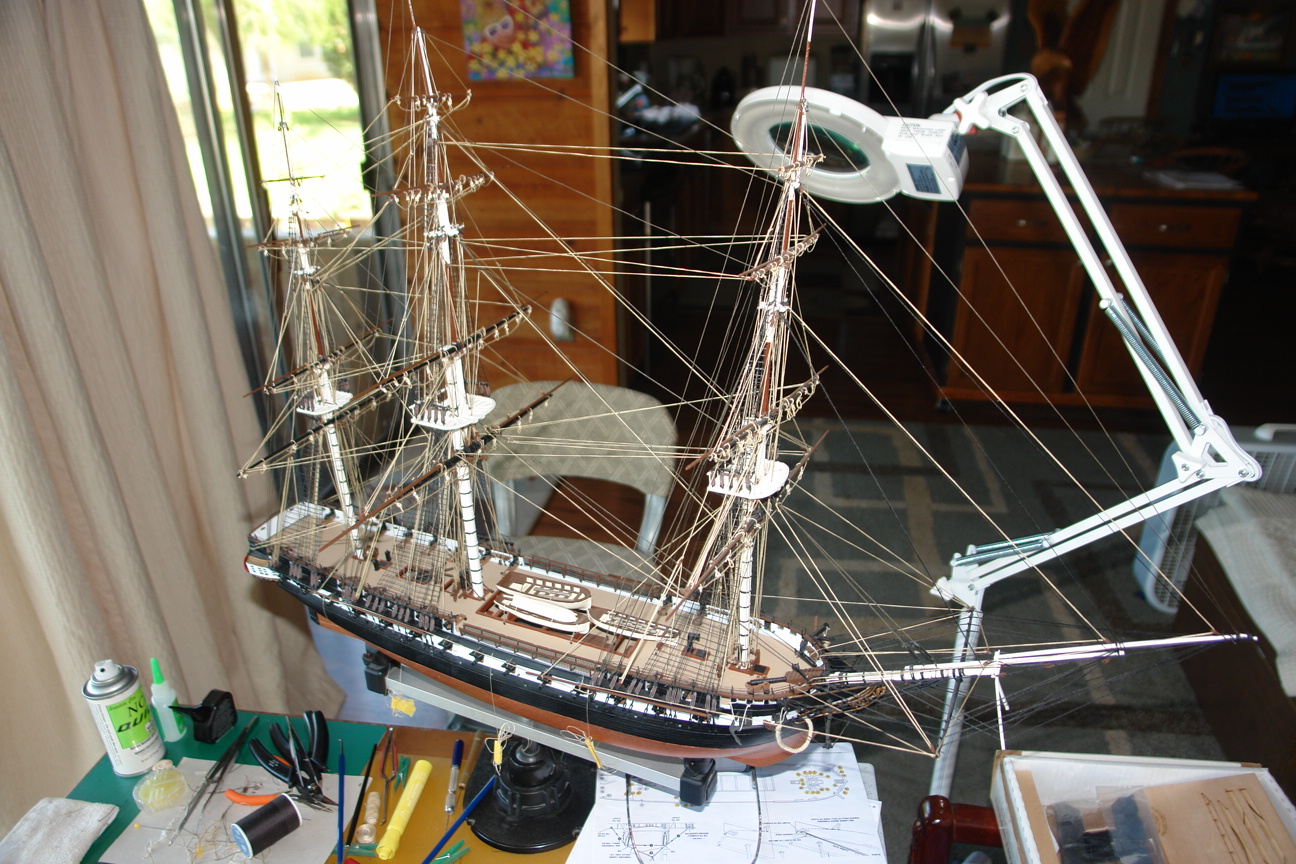
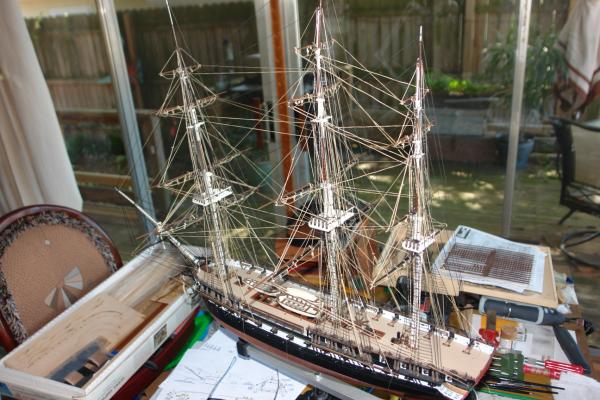
At this point everything is now completed up to the Step 8 which will be the boats. The end is now in sight. Possibly tomorrow.


-
This is a continuation of pictures from above.....messed up hit wrong button so here is a couple of more.


-
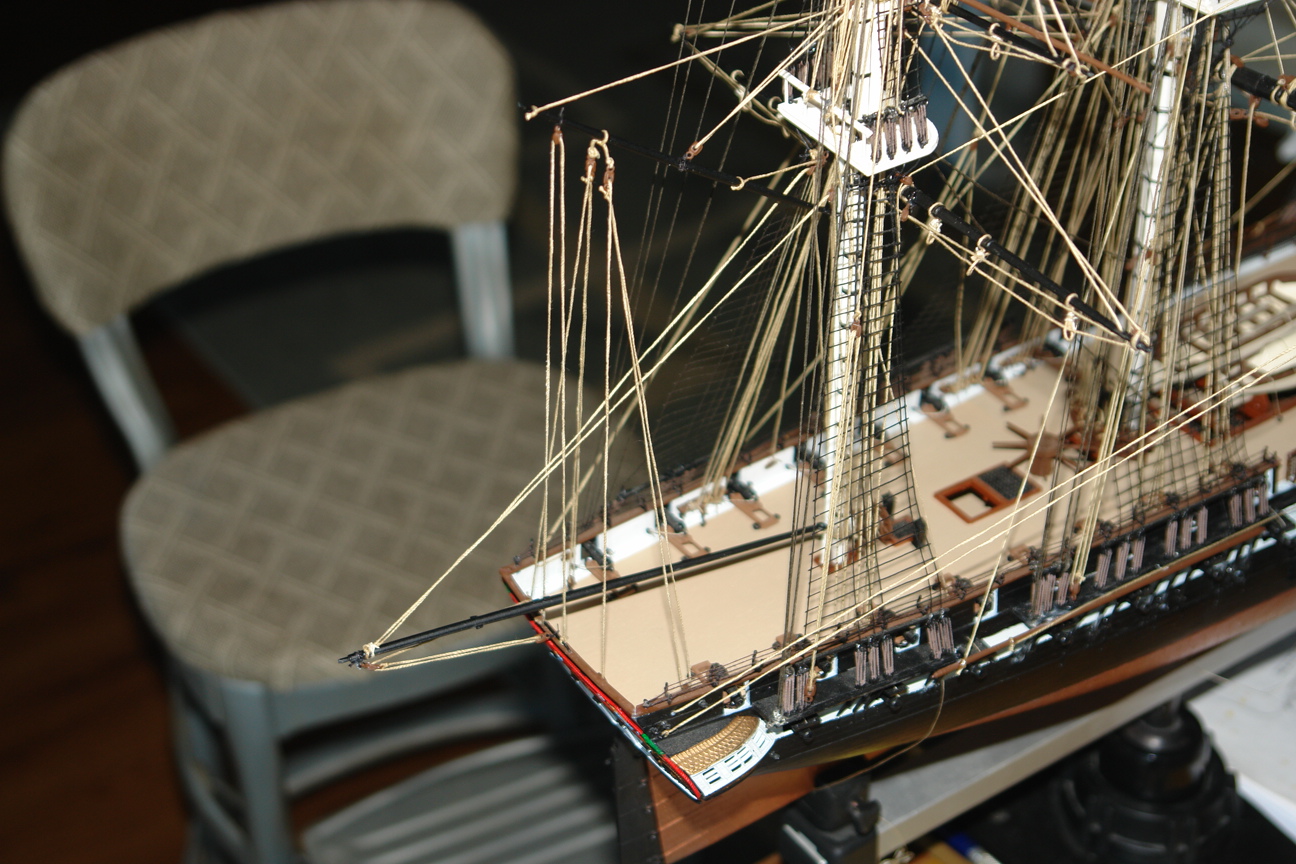
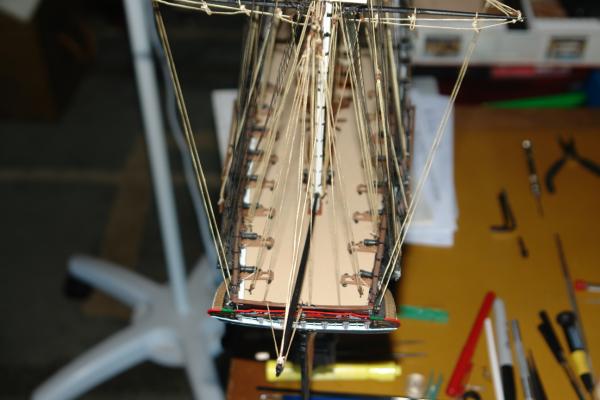
Next is Step 4 of the Running Rigging, Lower Sheet and Tack Lines. These are mostly the first lines run in the Hull Construction....these are the pesky lines we have to put up with from the very beginning of construction. The lines that are taped together and hung under the hull for years...lol....

-
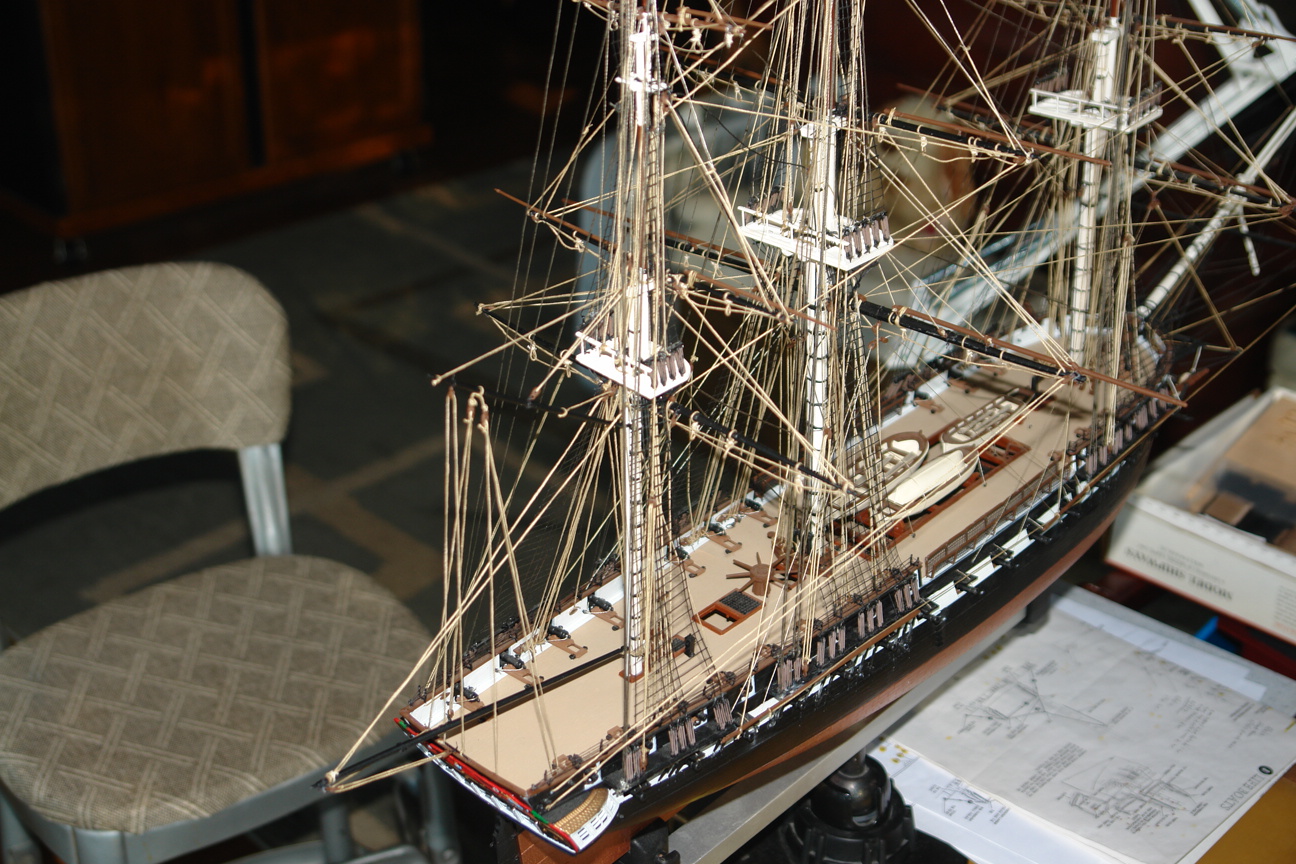
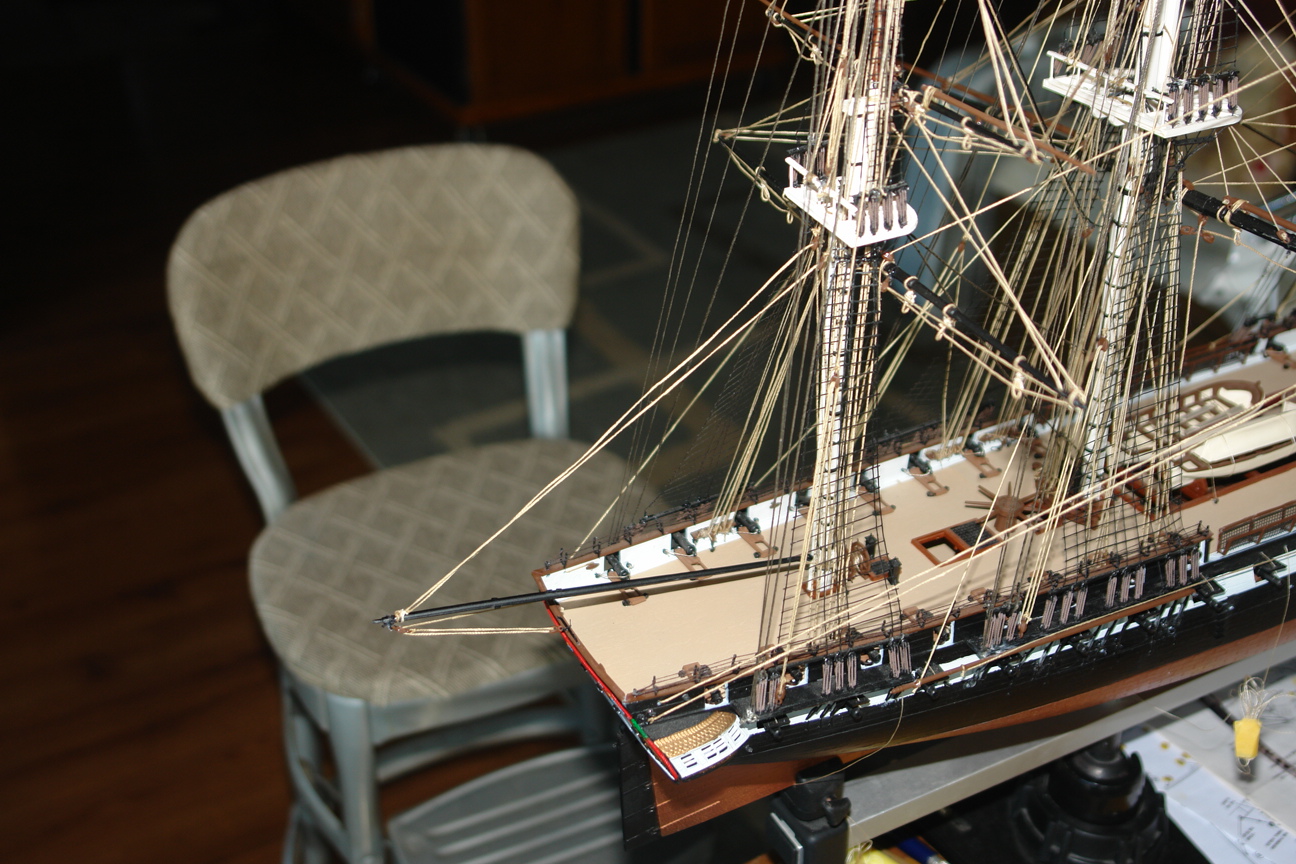
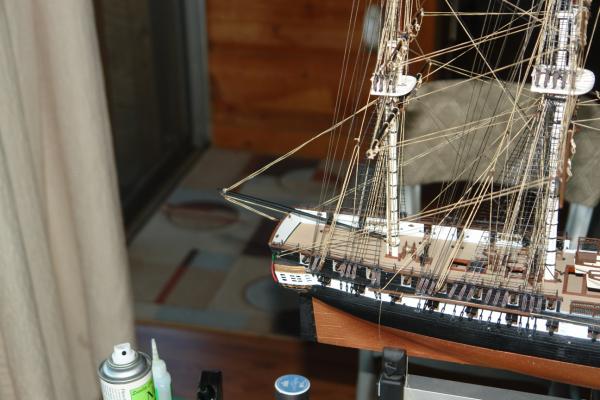
Spanker Gaff is now attached


-
Hi Andy, thanks for the input. Your build has helped me to eliminate unnecessary frustration. By following your lead, I'm a much happier camper than I would have been otherwise. The weights help to rig these "aerial yards".....the end is in sight....Your build looks wonderful, keep us posted on the future build. I'm going to have to mount mine on a Walnut Base, not enough room for a case unfortunately, so I'm going to have a dust problem. I'm actually doing good to even have a space to display her. My base won't be ordinary, but not sure exactly how I'm going to do it yet. Guess I need to start getting serious about it.
-
Thanks Russ, glad you noticed this. That's what I get for being lazy and not getting up to look at the instructions. I appreciate the conrrection.
-
Hopefully, I am now correct after editing the wrong names here....lol....thanks Russ....
-
That's what happens when you get older, you can't remember from second to second.......oops
-
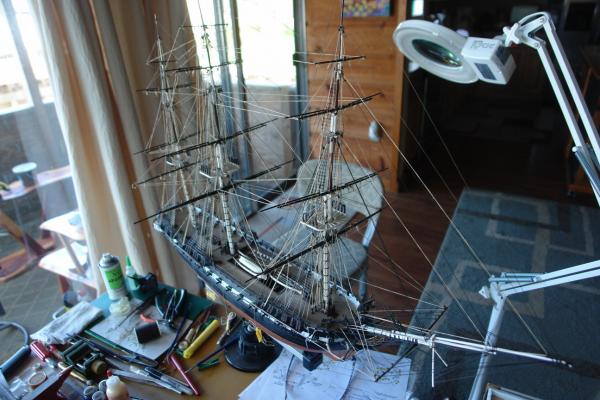
The Spanker Boom is now mounted. I decided to Rig the upper and the lower lines to it to keep it as taut as possible. That can be a challenge the way it mounts, so I also tied a weight on the end to help get the lines run. It worked pretty good. Next comes the Spanker Gaff, and Flag Halyard, then the boats.


- 153 replies
-
- 1
-
-
- constitution
- revell
- (and 2 more)
-
Thanks Russ, it is amazing how they start to shape up with certain rigging. It's been fun to watch her come together after all the time put into it. One thing I've done since the beginning is write the date and how much each step, line or specific construction took to rig it and assemble it. This will allow me to go back and summarize how many hours have gone into the actual work. At least I think I want to know...lol.
-
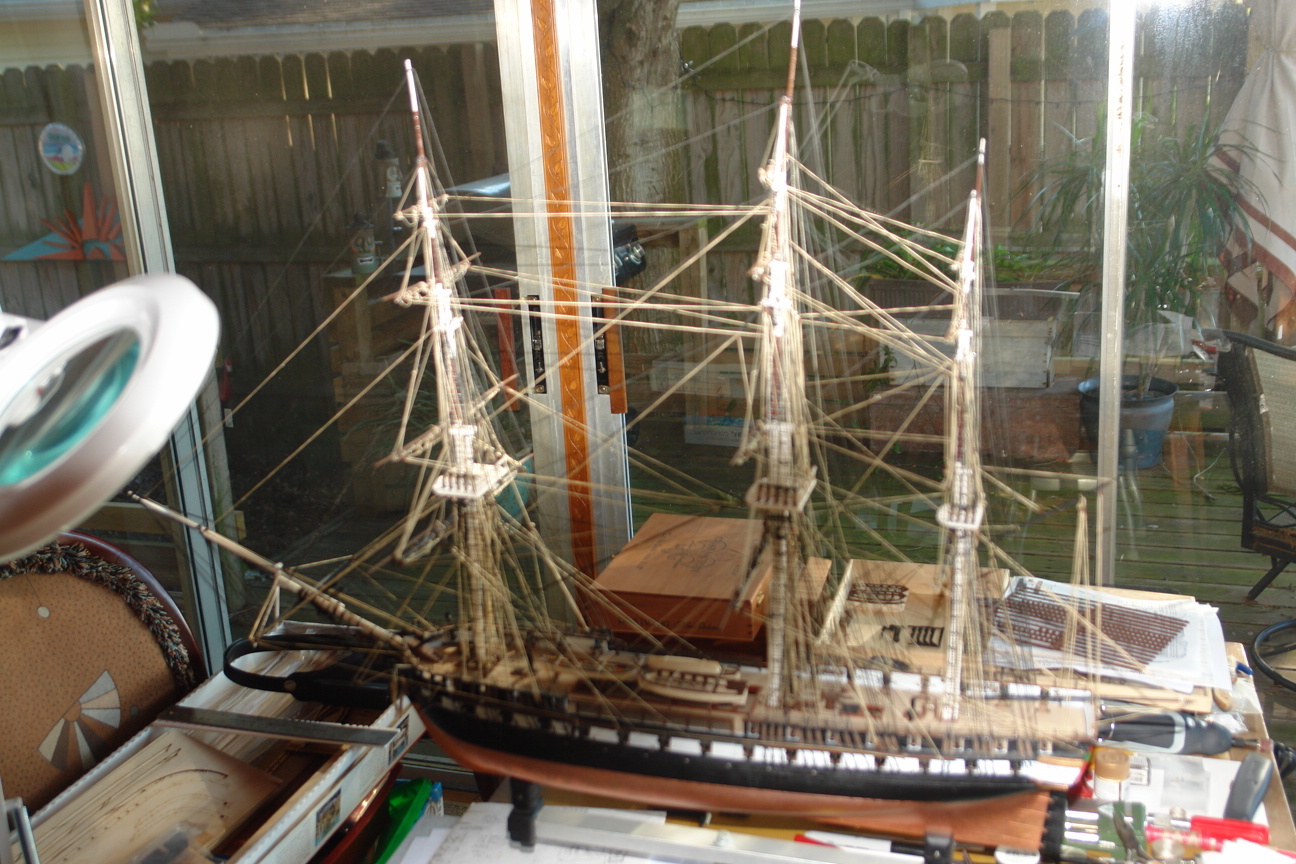
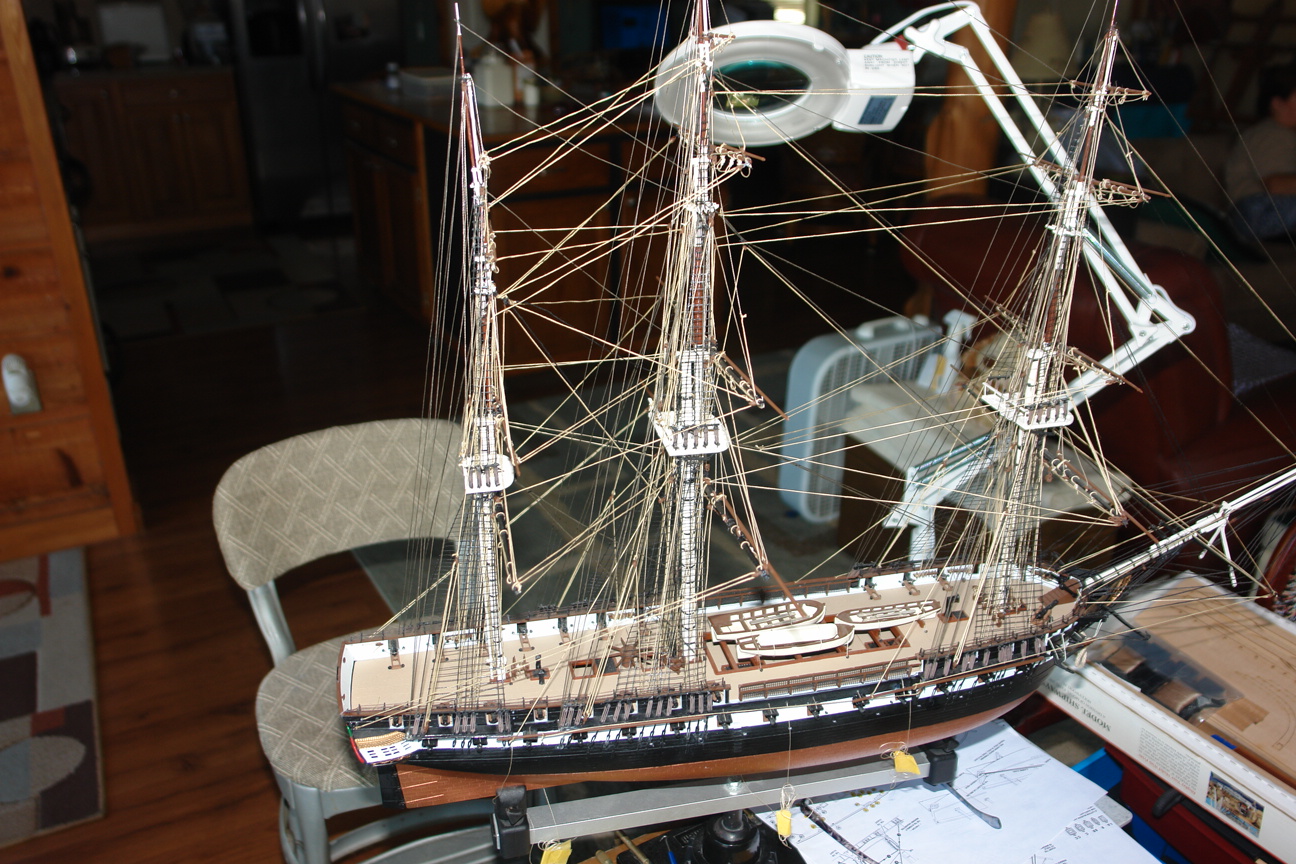
A few more shots of the Braces for reference

-
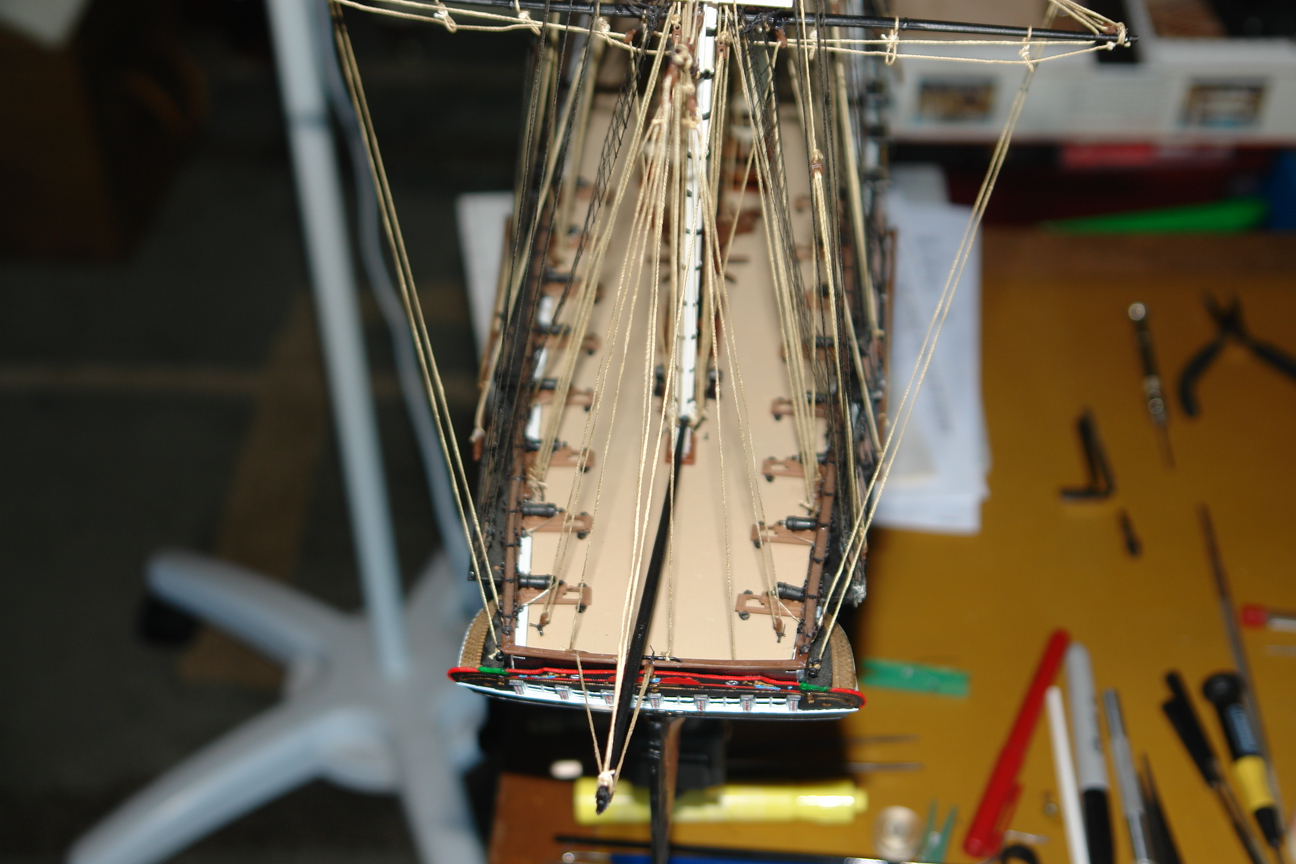
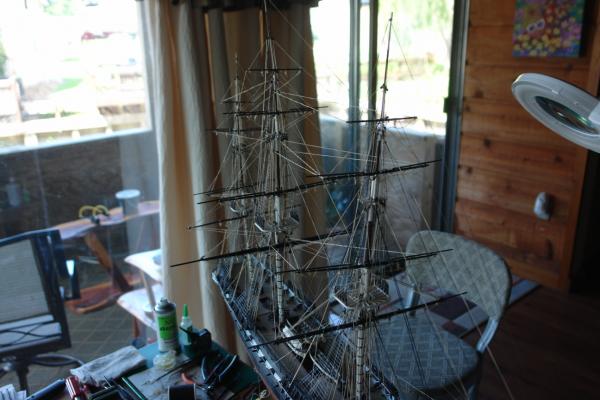
Well, the Braces are done, I also went back and rigged the lines for the Fore and Aft Running Rigging that I had decided to wait on for congestion problems. That worked out well and I didn't have too much trouble getting inside the rigging to tie off lines to Belay Pins....Here's some pictures.

-
Outstanding Andy.....Big Salute!!! Congratulations on a job well done. Keep up the finishing pictures.... I am finished with the Braces today. I am moving on to the Spanker Gaff and Boom, then the boats. I'm almost there too. Very well done Dude! John
-
Thanks Dave, completion is approaching. Realistically probably a couple of weeks out. I don't get to work on her continuously.
-
Thanks Dave, I'll post some pictures this afternoon whether I finish the Braces or not.
-
Hopefully today I will finish the Braces part of the Running Rigging. Leaving some of the lines off from other steps as discussed previously has helped with the congestion of all the lines. It has allowed me to get inside without causing damage to tie off the lines. I still hit things but I haven't broken anything yet. Once finished with most of the Braces, I'll finish up the few stragglers from the other steps. Then I'll move to rigging the Spanker Gaff & Boom, and finally the boats. The end is beginning to be in sight......Land Ho! Pictures will follow.
-
Testors makes some paint "pens", that work very well for fine details. They make a Gold Leaf that is excellent and also a white. All looks good. Keep it up. I hope to maybe finish the Braces in step 7 of the Running Rigging perhaps today. The end is actually getting in sight for the first time....
-
Hi Andy, thanks for the comments. I am trying to take pictures to answer questions that I had concerning the pathways of the lines and blocks so that it might help someone attempting to master this thing...lol....I agree with you on the Spanker Gaff.....a little more angle would look good. I'll remember that when I get to that point....I'm waiting to run that when it won't be in the way. i'm running braces now, and I agree with mounting the blocks first, it is a little more efficient.
-
Thanks Russ, things are moving along....
-
здравствуйте garwood, спасибо thank you and hello in English. I am glad you like the build. Cpacebo
-
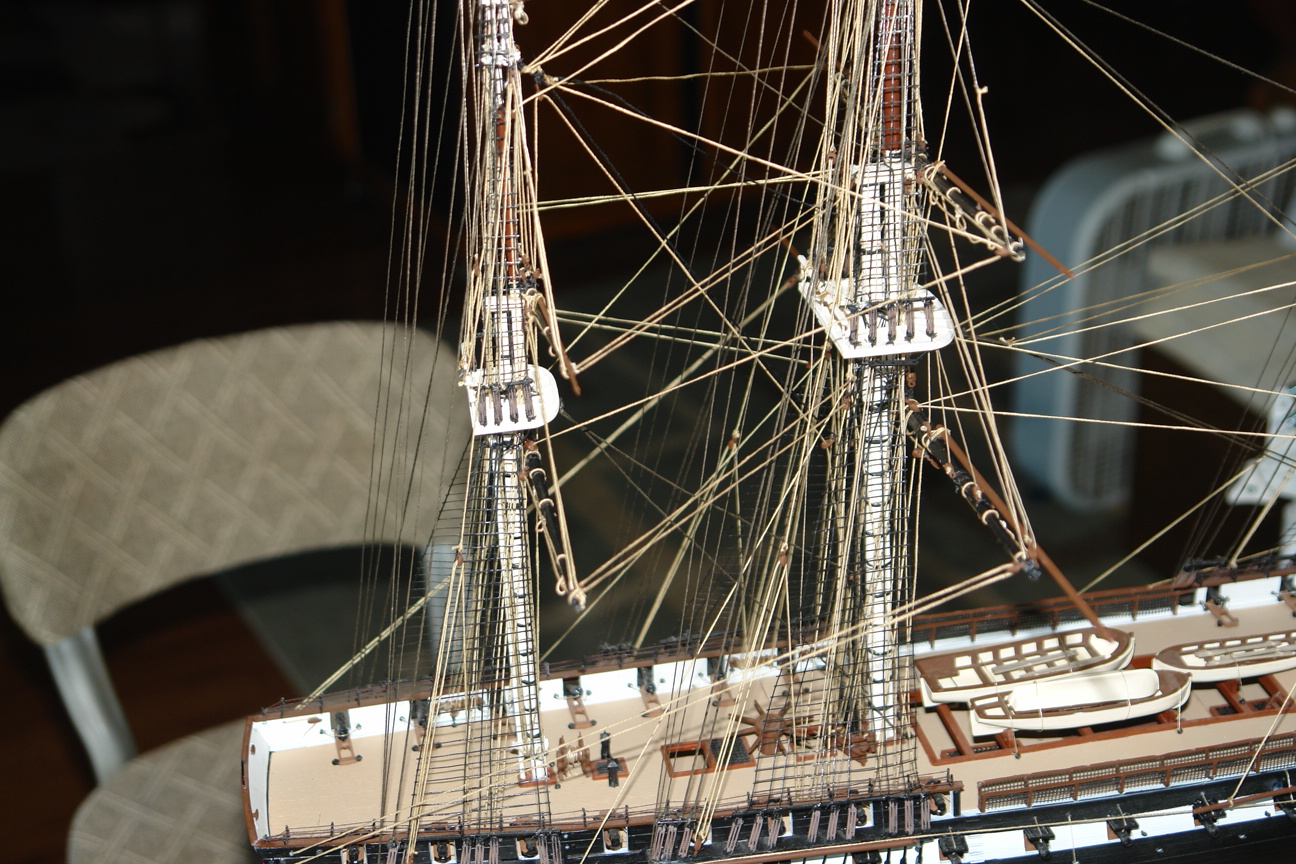
The picture on the wood table top that shows the 2 "A" blocks with lines in the blocks is the picture of the pre build. This really made it a lot easier to rig these lines as it is tight and congested under the Fighting Platforms. By doing this all I had to do was tie them off on the proper pins and the booms. Hope this helps anyone doing this. Just a suggestion, but worked well for me.