HOLIDAY DONATION DRIVE - SUPPORT MSW - DO YOUR PART TO KEEP THIS GREAT FORUM GOING! (89 donations so far out of 49,000 members - C'mon guys!)
×

Kenneth Powell
-
Posts
276 -
Joined
-
Last visited
Content Type
Profiles
Forums
Gallery
Events
Everything posted by Kenneth Powell
-
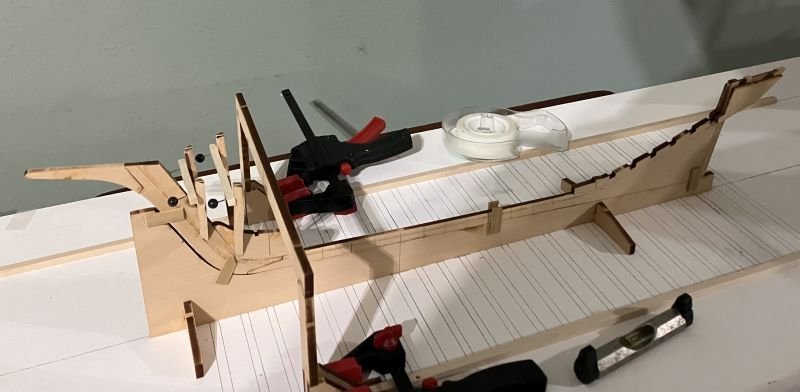
 I added frame # 13. Frome here to the end the bevels will be facing aft. - Kenneth
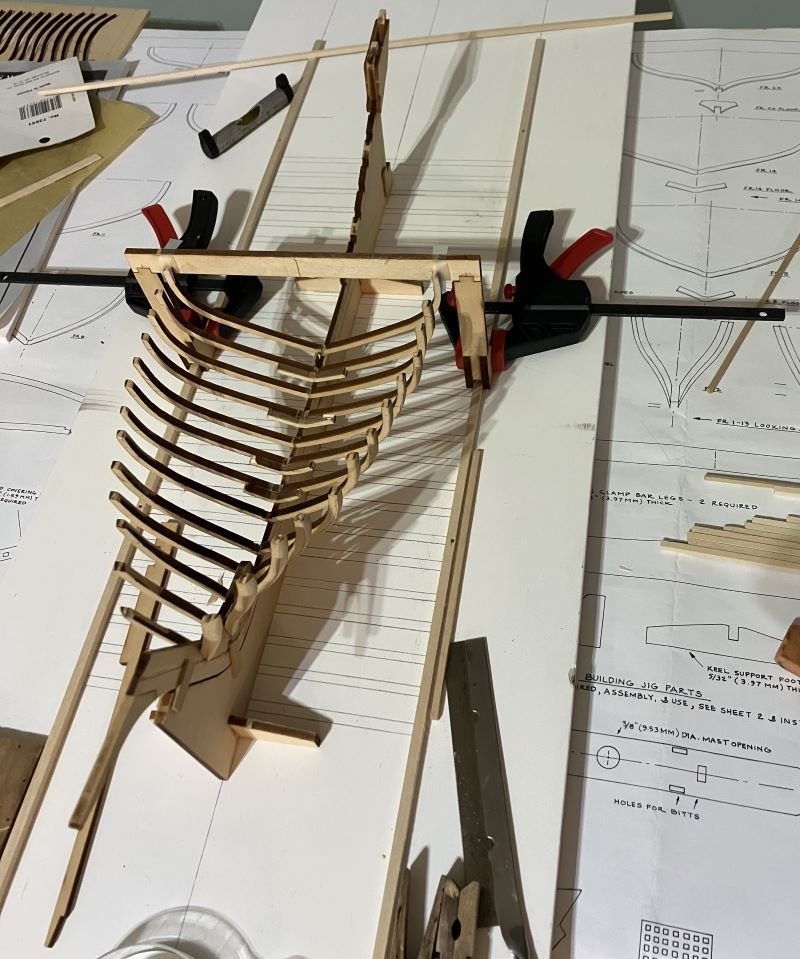
-
Thanks, Adam and all the likes. To add a few building comments: The instructions call to carve the bevels in the frames but I find that 80grit sandpaper with a good sanding block works better. Also, I'm dry fitting the keelson as I go to make sure the frames are cut accurately and to help place them properly on the keel. Don't want any surprises later on. Photos to follow - Kenneth
-
I faired and added the first frames. I'll go along and build, then add a few at a time. Taking my time and checking things every which way I can. I'll check in as I go. Comments welcome - Kenneth
-
Looks awesome!
-
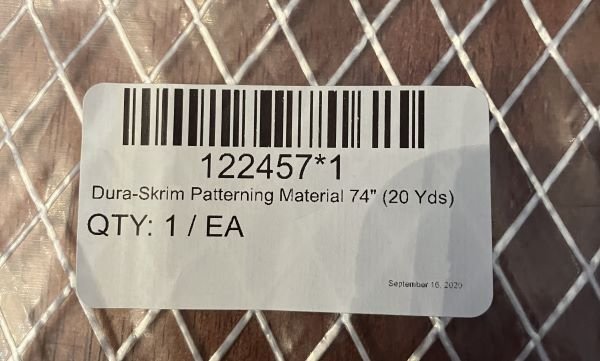
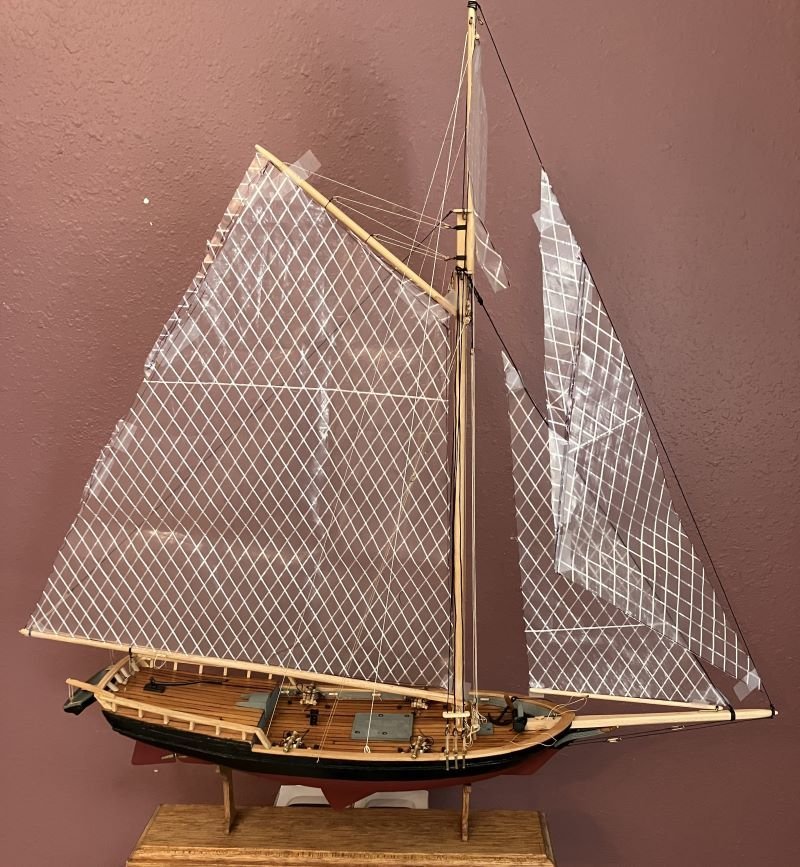
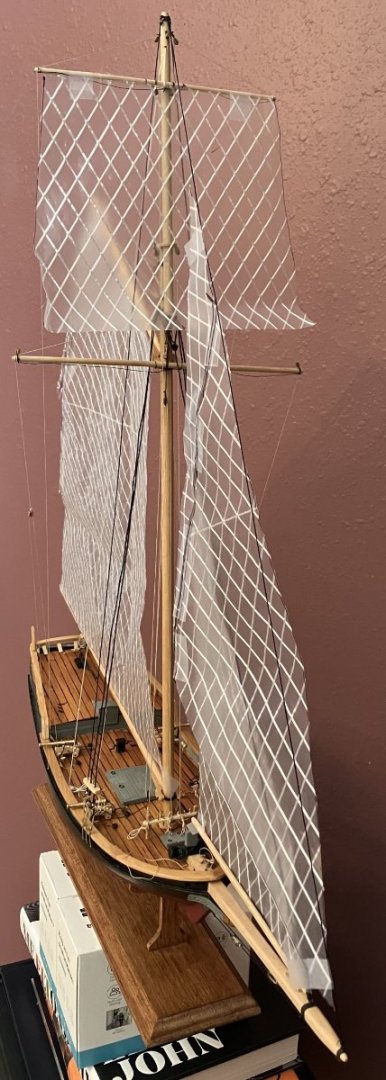
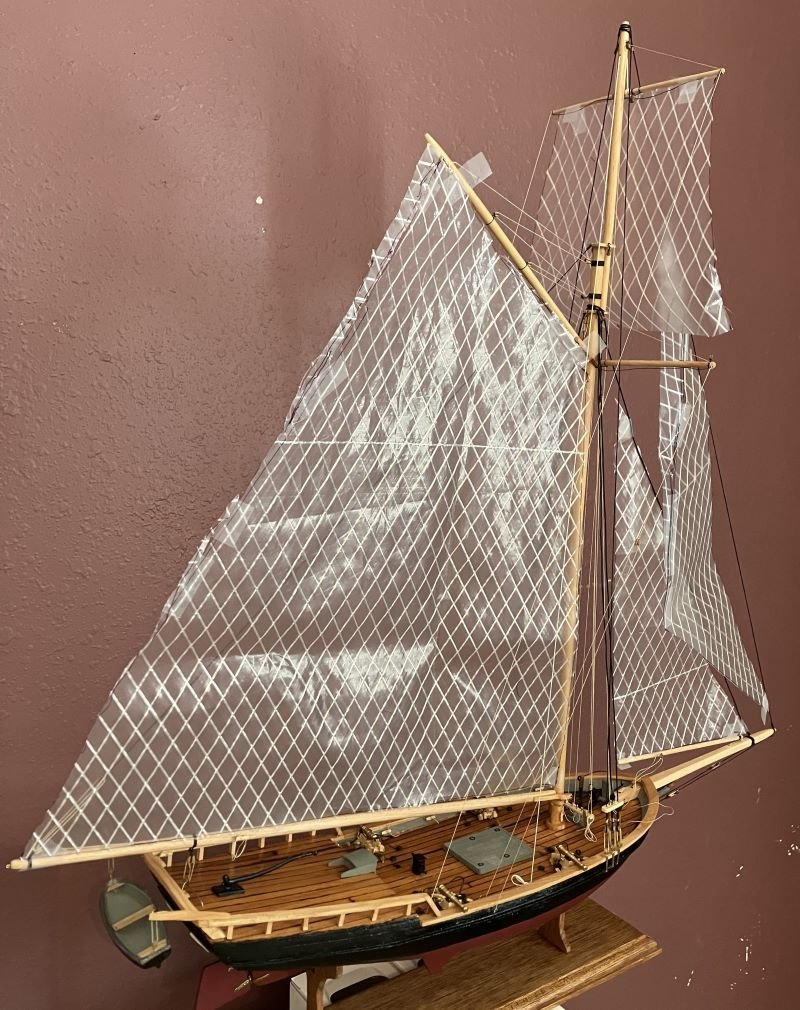
Sail patterns held in place by tape: You can see where I trimmed and added material to make everything fit. The material was given to me by a friend. It was left over from his own sail making. Comments welcome - Kenneth

-
Thanks everyone for the visits and likes. Yves - I don't have any photos or plans. On page two of the instruction manual under history, it says that she was rescued by F. Slade Dale who purchased her for a yacht. Several, several wooden work boats have been built here in Biloxi with many of those have converted to pleasure craft and that's kind of the guide I'll use. I'll frame the new cabin one deck beam forward of the original cabin to the king plank and keep the width and height of the original. This will take the space of the fish well. Comments welcome - Kenneth
-
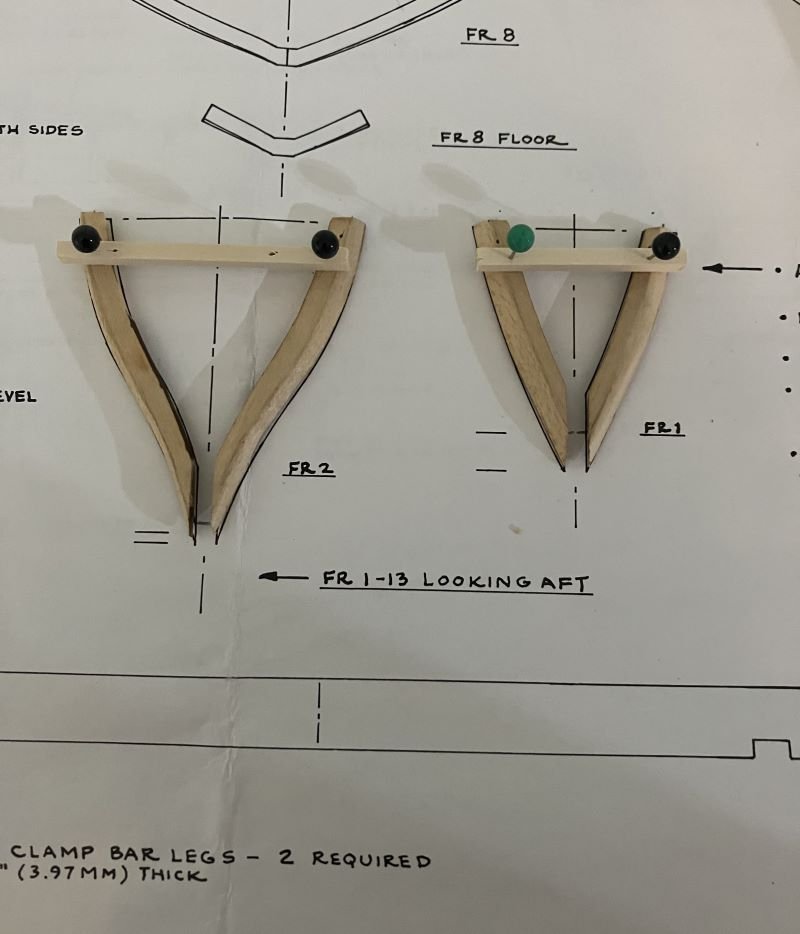
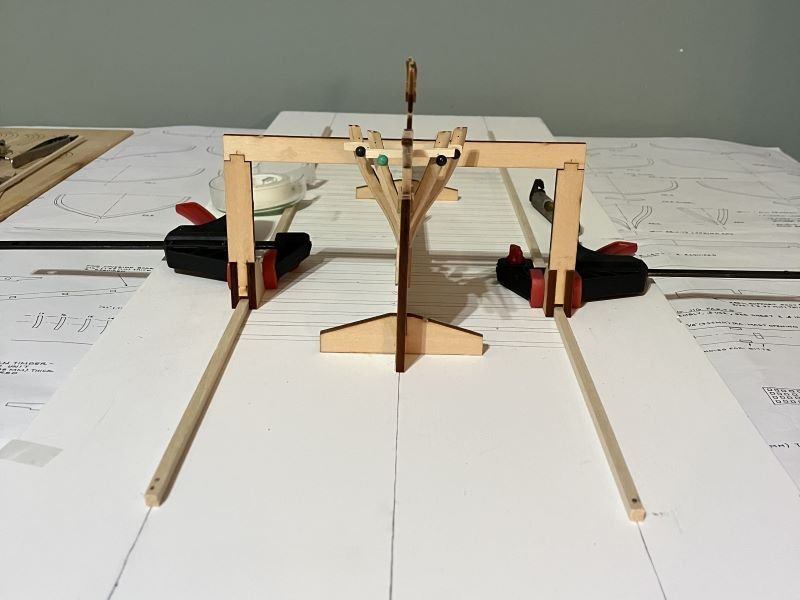
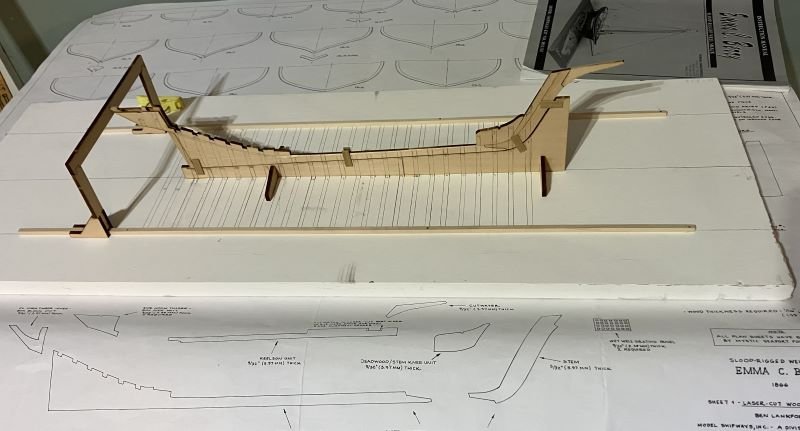
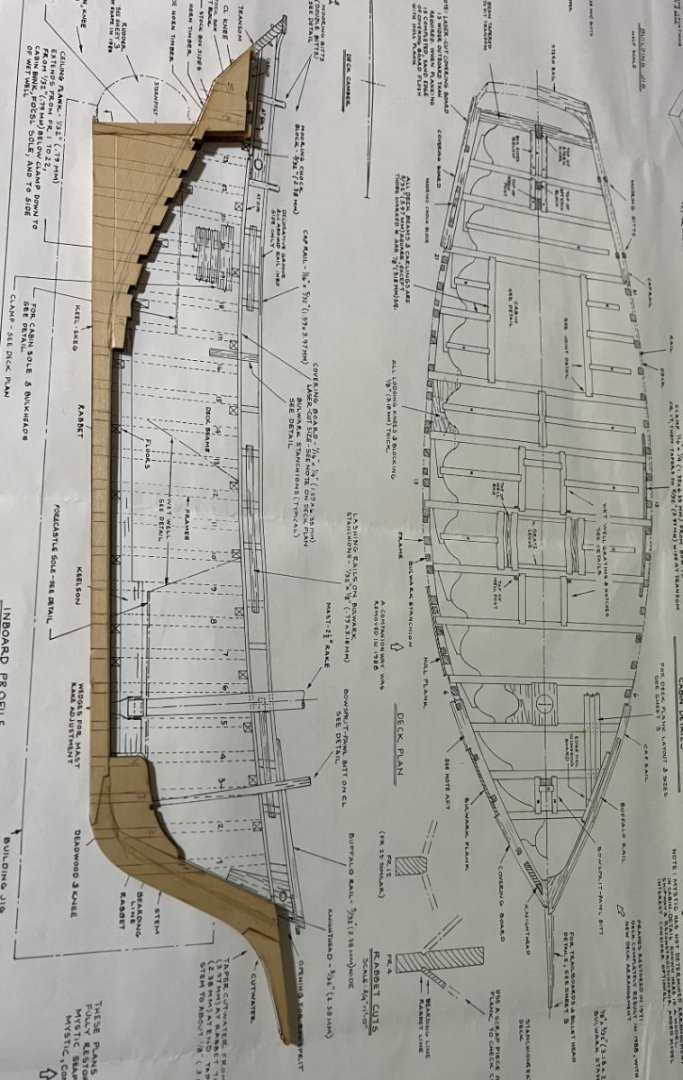
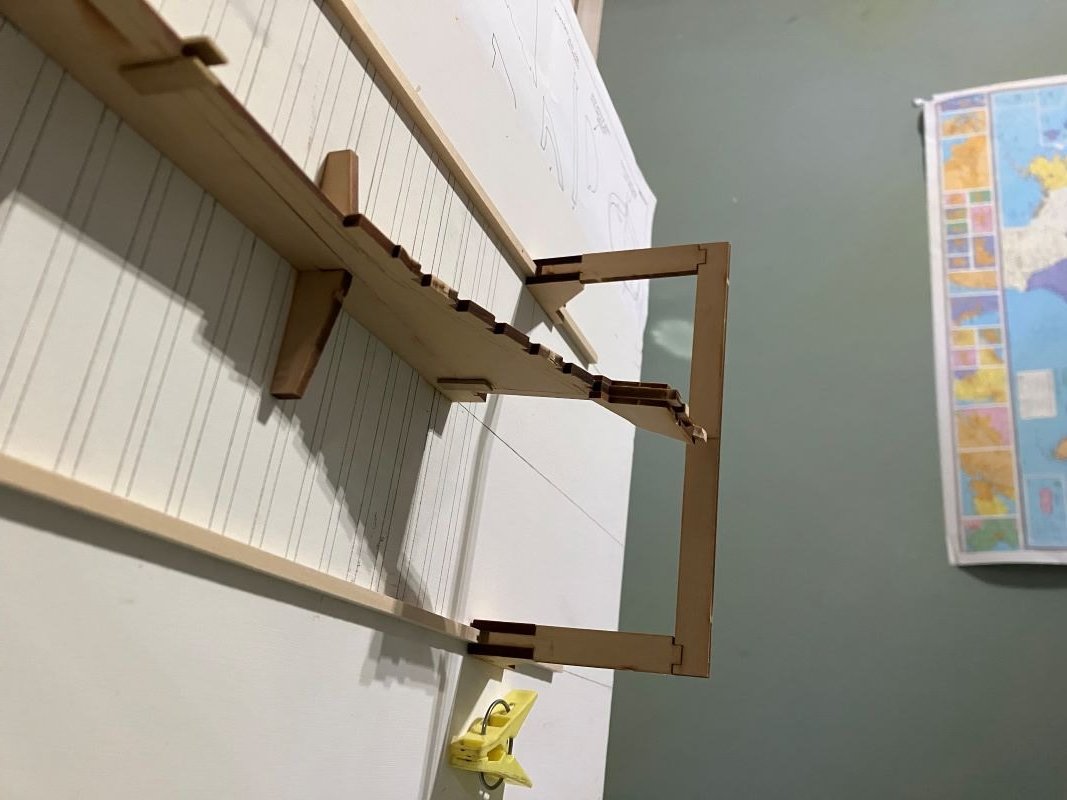
I received this kit as a Christmas gift from my brother in 2007. That is not a typo; 2007. I wanted to finish the Rattlesnake, then I started my Coastal Pirate and all kinds of life stuff has gone by. I'm finally to the point where I'm comfortable doing this build. Thank goodness it's been patient. The instruction book mentions that a few years of her long life was spent as a yacht - that's what I'm going for. The fish well will be converted to cabin space for this build. This is my first plank-on-frame model and I really like the building jig included in the kit. I built a local skiff years ago with no jig or anything and it's shaped something like a banana. Basic start of the keel assembly: The pencil marks will be erased/sanded. The building jig: As per the instructions, the frame locations were lifted from the plans and transferred through the keel to the jig and board. It took a little while to put everything together, but time well spent up front will result in a more precise build with fewer problems. The board is a piece of straight, square, pre-primed and sealed 1 X 12. I drew the center line and marked the location for the keel support and each frame along the line. Before I glued the keel support, I used a T square and marked each frame. I built the frame clamp bar fixture and marked the lines for the strip runners on the board. I made sure it moved smoothly but stayed firm along the whole route, then nailed it down. All of this is outlined in the instruction manual - which has to be read and reread over and over. Now that everything is set in place, it all lines up just right; it's level, plumb and square. Next, I will cut the bevels in the frames. Comments Welcome, especially from other Berrys - Kenneth
-
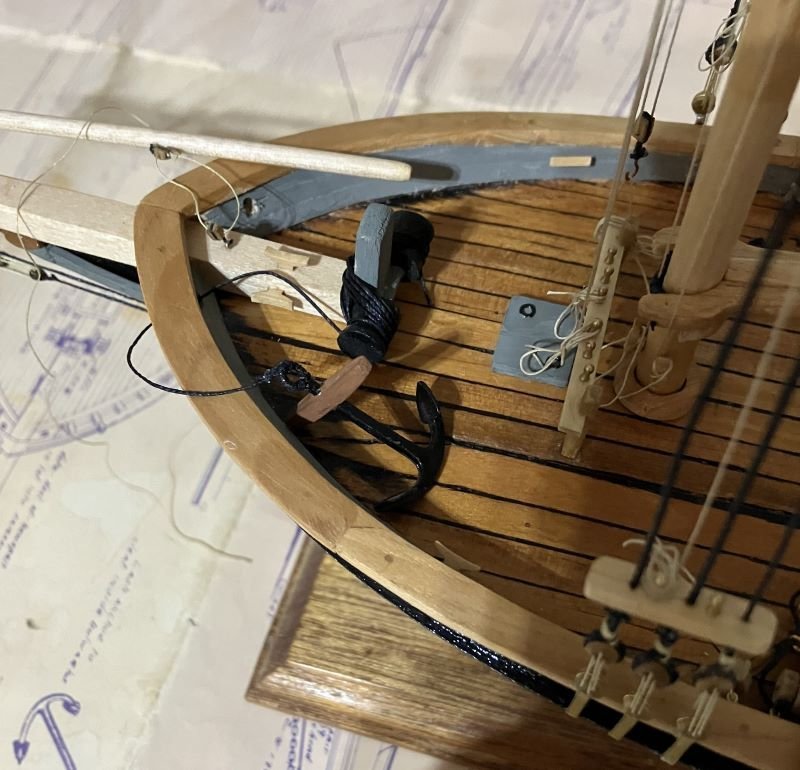
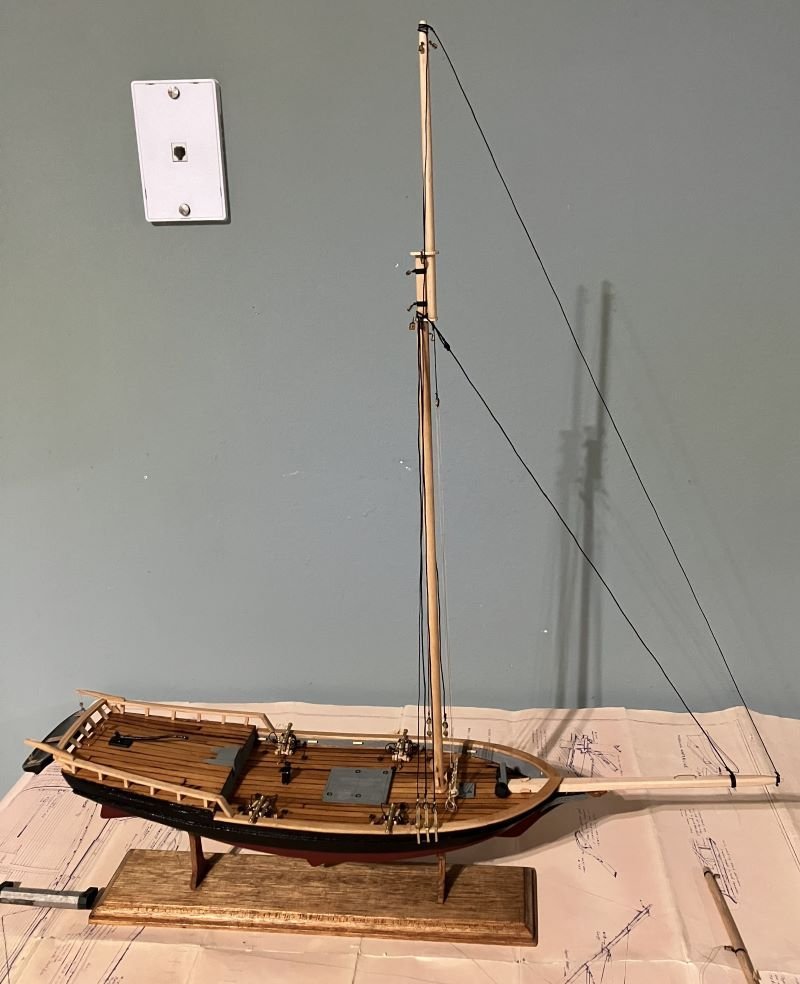
Hello Everyone - I did a few chances to slip away and do some work on the model. Straightforward rigging: And I also finished and added the anchor. Sails are next. This will involve the admiral and her sewing machine. Let me go practice my sweet talk. Comments welcome - Kenneth


-
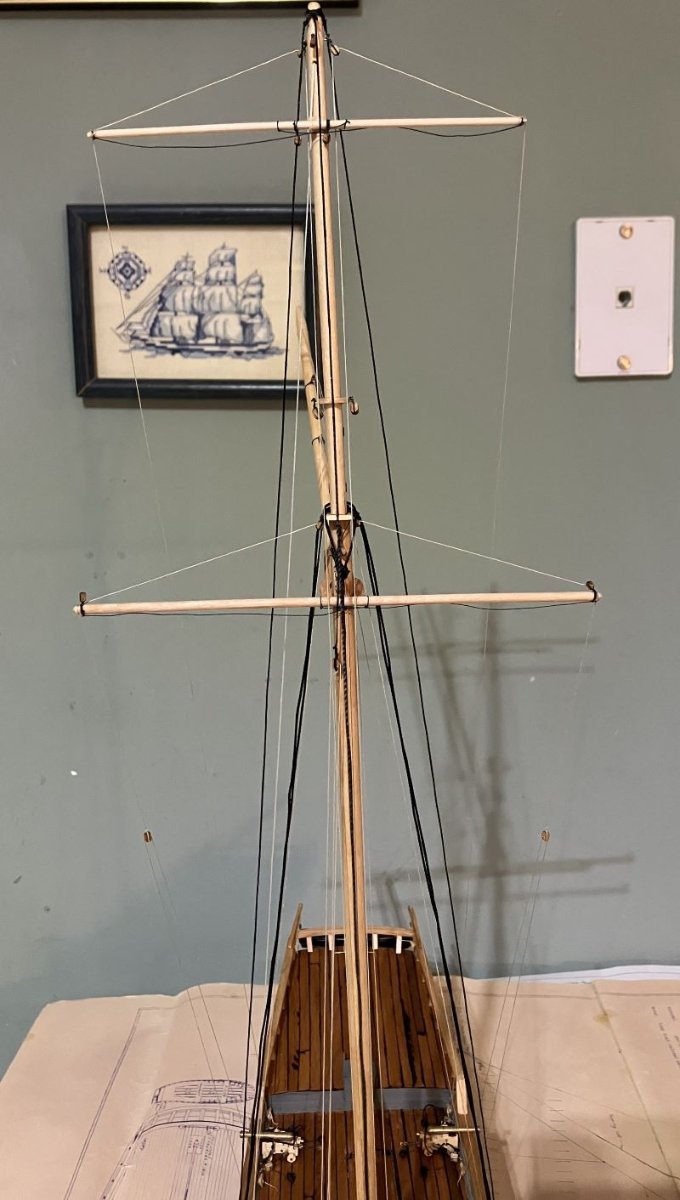
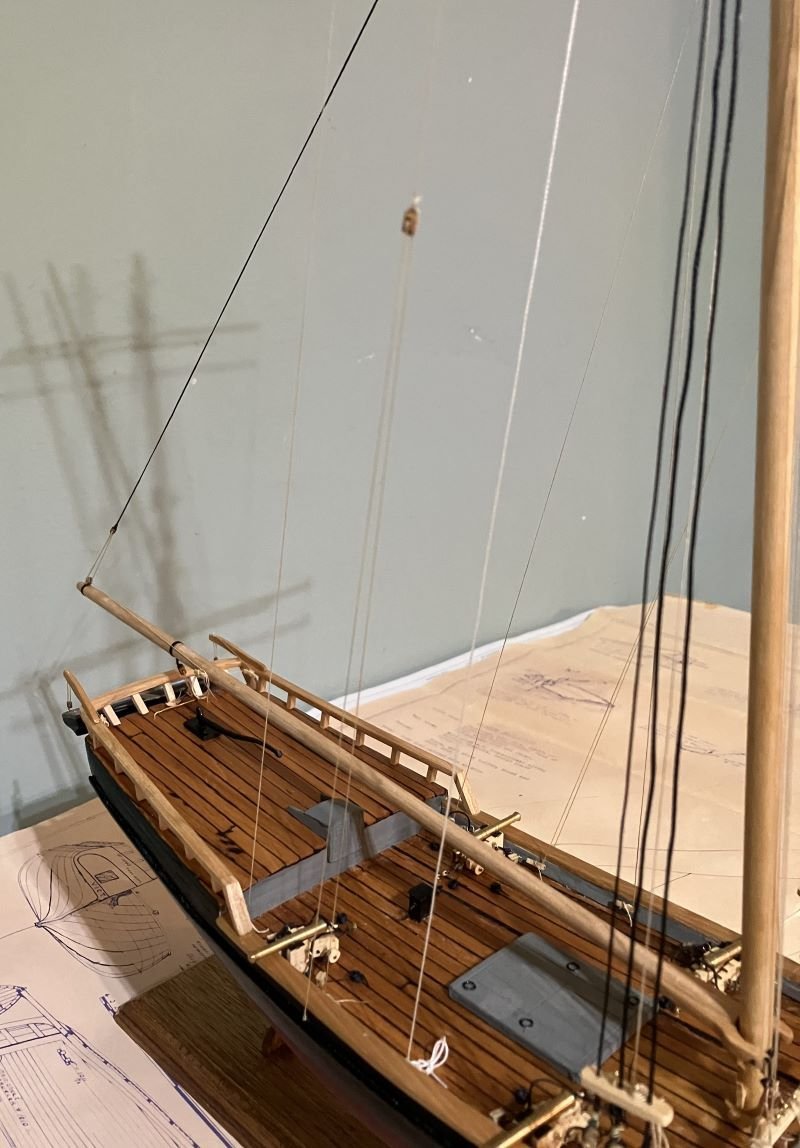
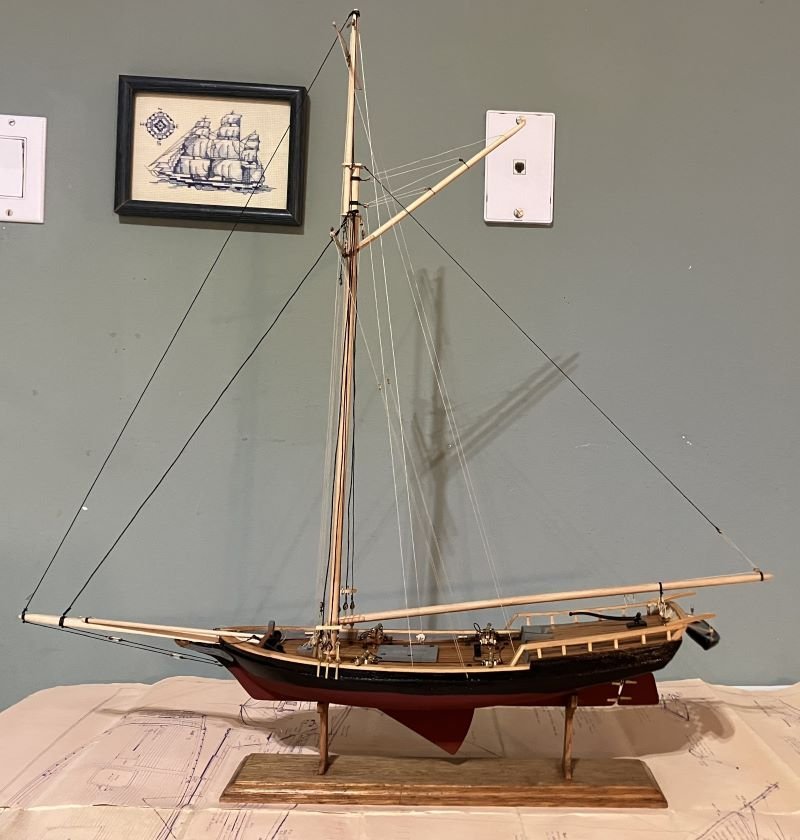
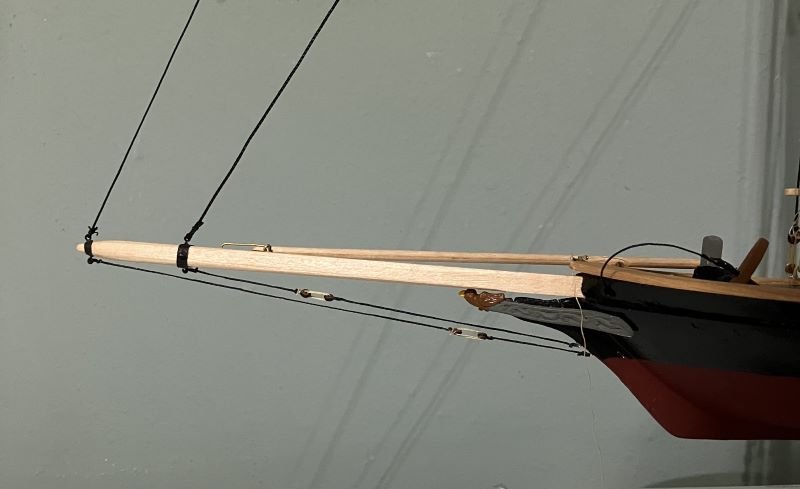
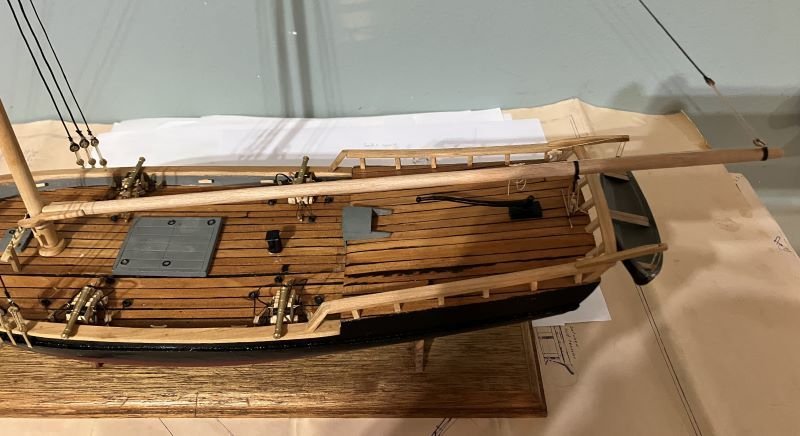
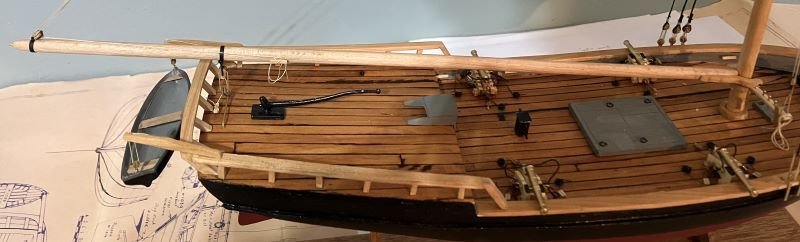
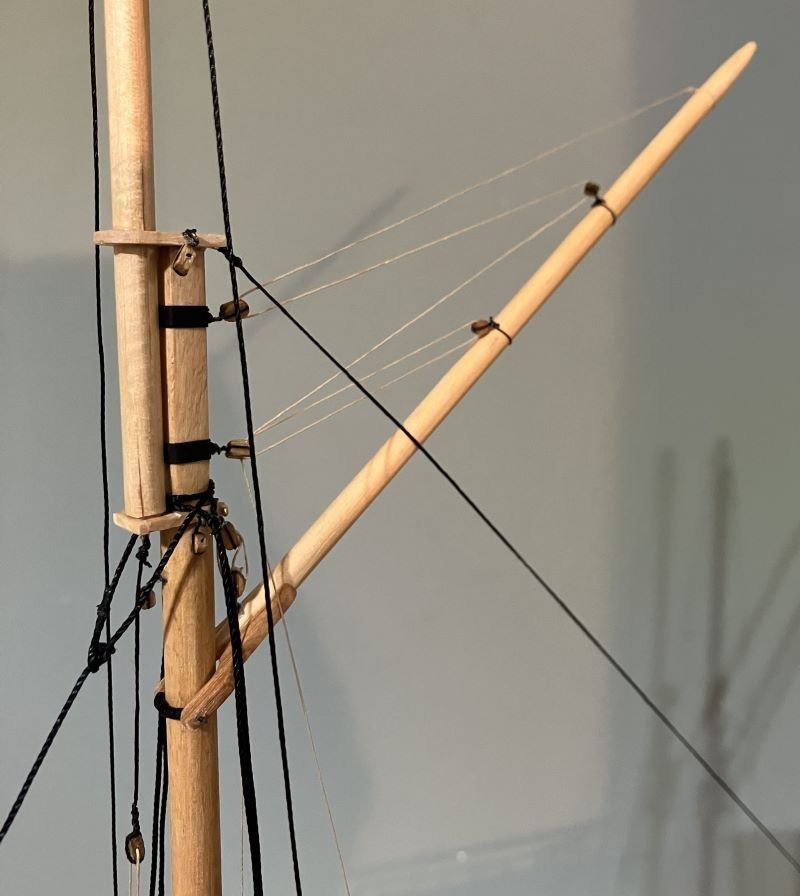
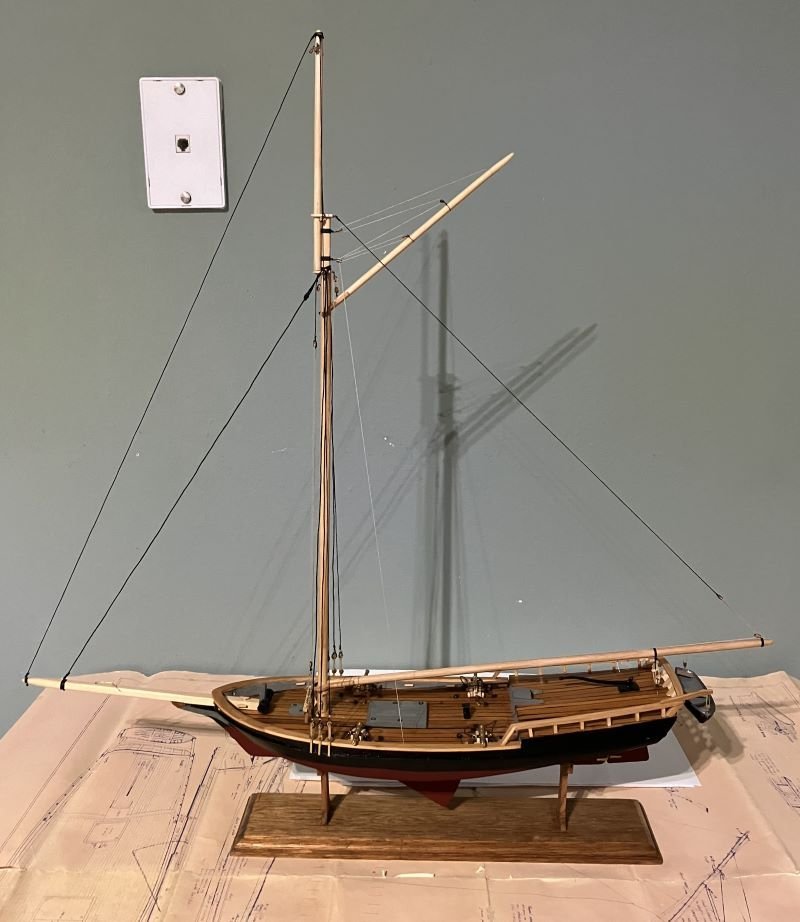
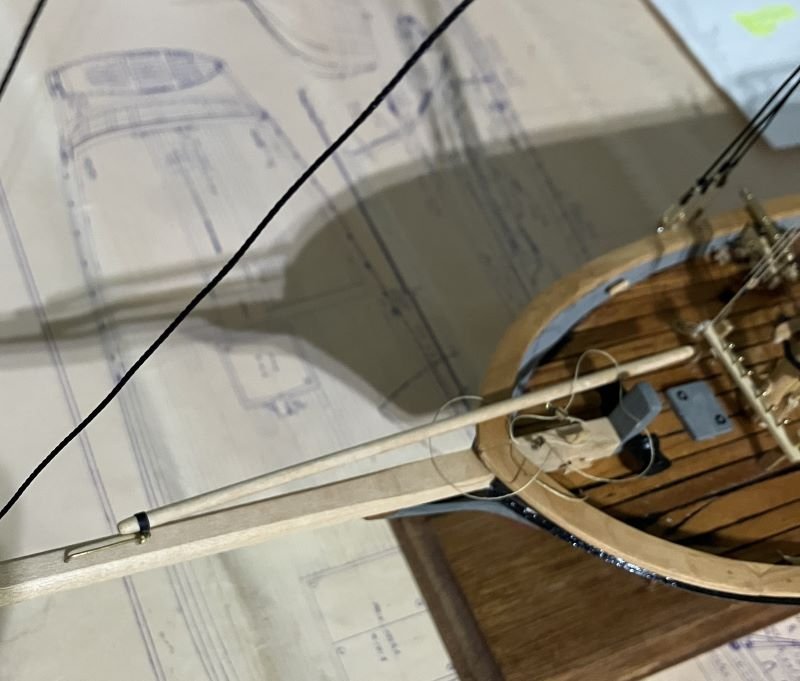
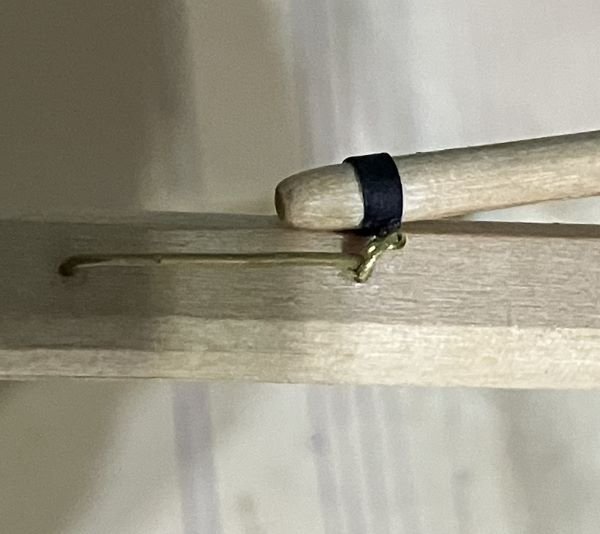
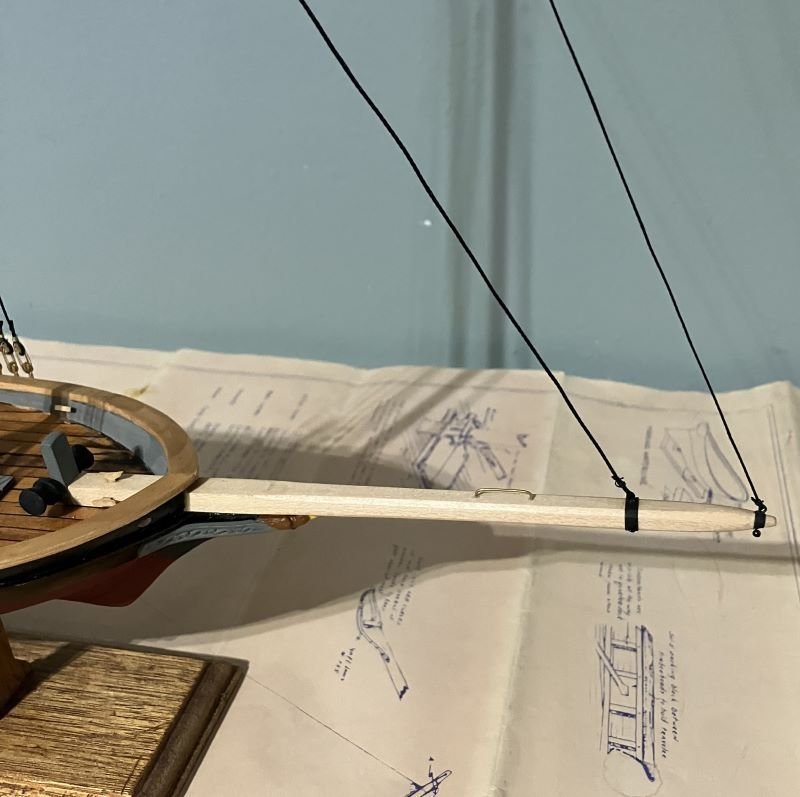
Hello - I installed the boom with the topping lift. The gaff and staysail boom built and installed Loosely installed waiting for sails The spars are next, but I don't know how much I'll be able to do this close to Christmas with all the holiday honey-dos the admiral has for me. We'll see. If I don't post; Happy Holidays and Peace to all and in your own way. - Kenneth
-
Great job. Love the color. - Kenneth
-
This weekend was wet, nasty and rainy. So, I stayed inside and installed standing rigging: I also secured the cargo hook. I'm going to do some touch-up today if I can. Comments welcome = Kenneth

-
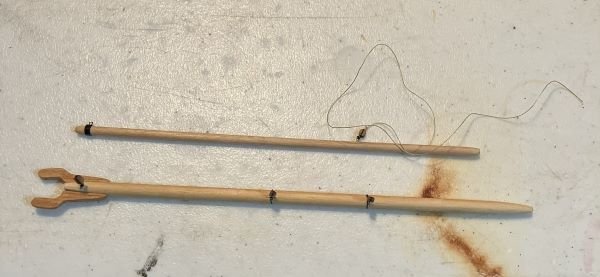
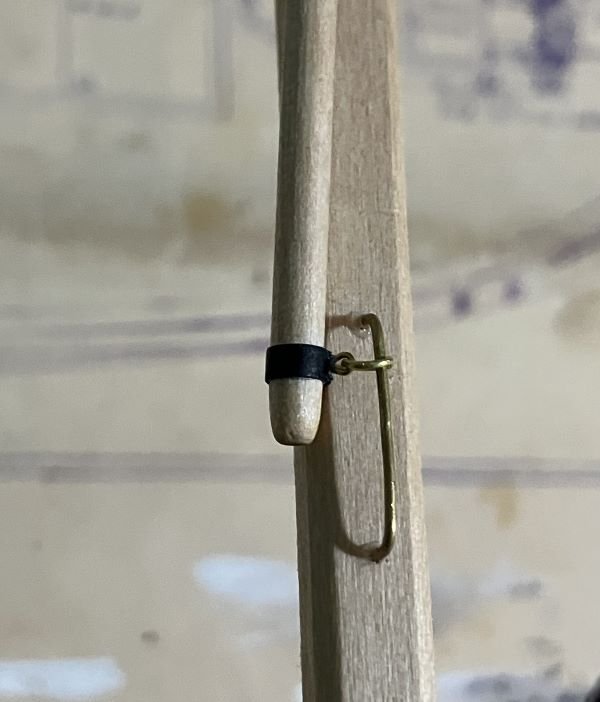
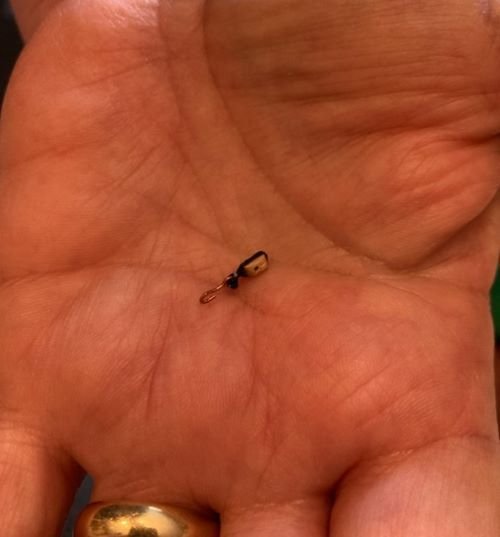
Actually, I've hit a small snag with the chainplates and deadeyes, so I built the cargo hook and boom: My first attempt and I have a very small hand I will build the chainplates and deadeyes next - planned. Comments welcome - Kenneth
-
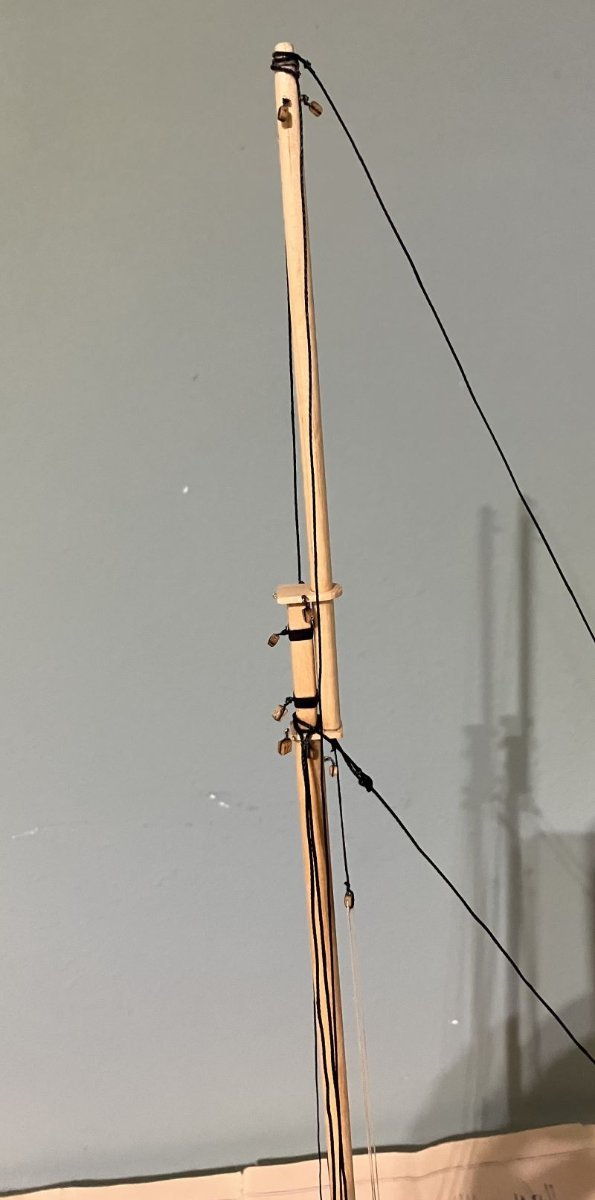
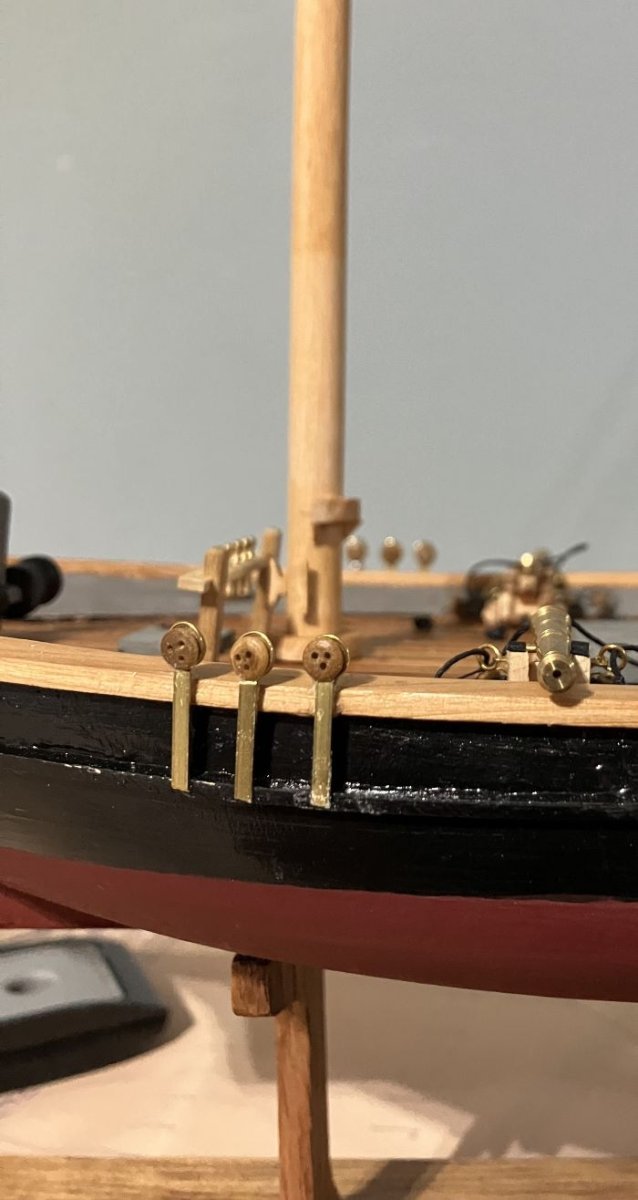
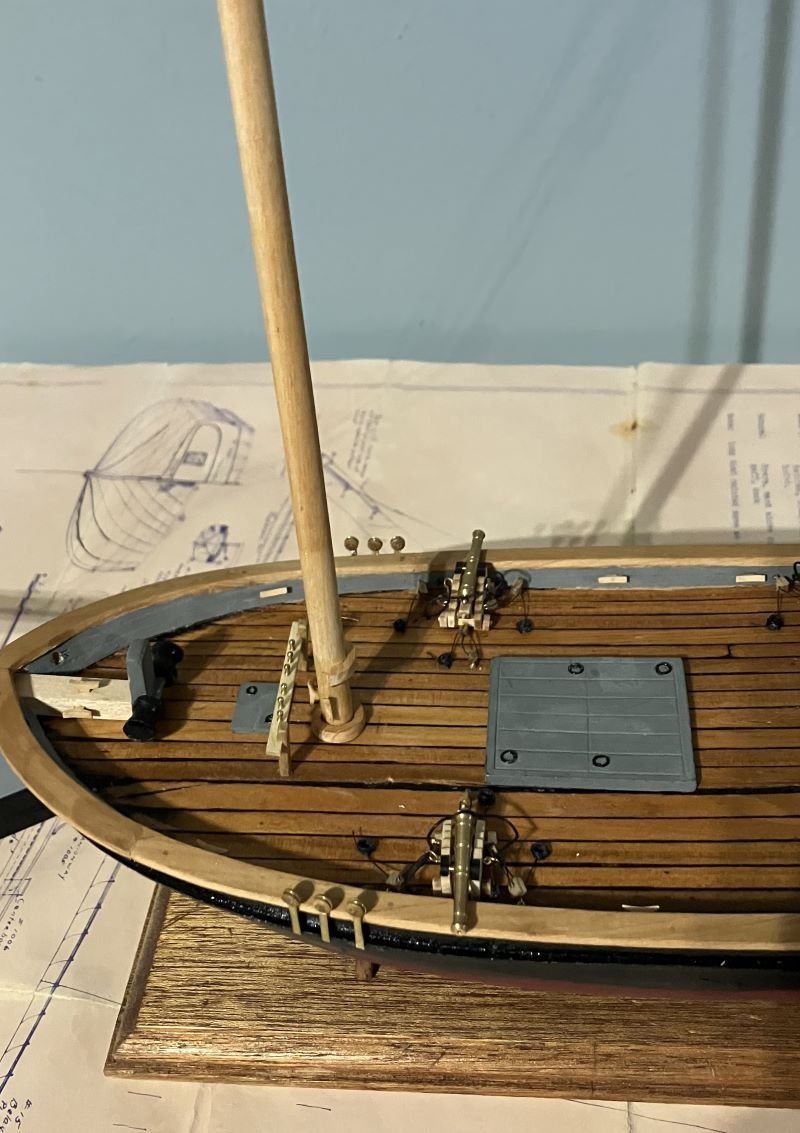
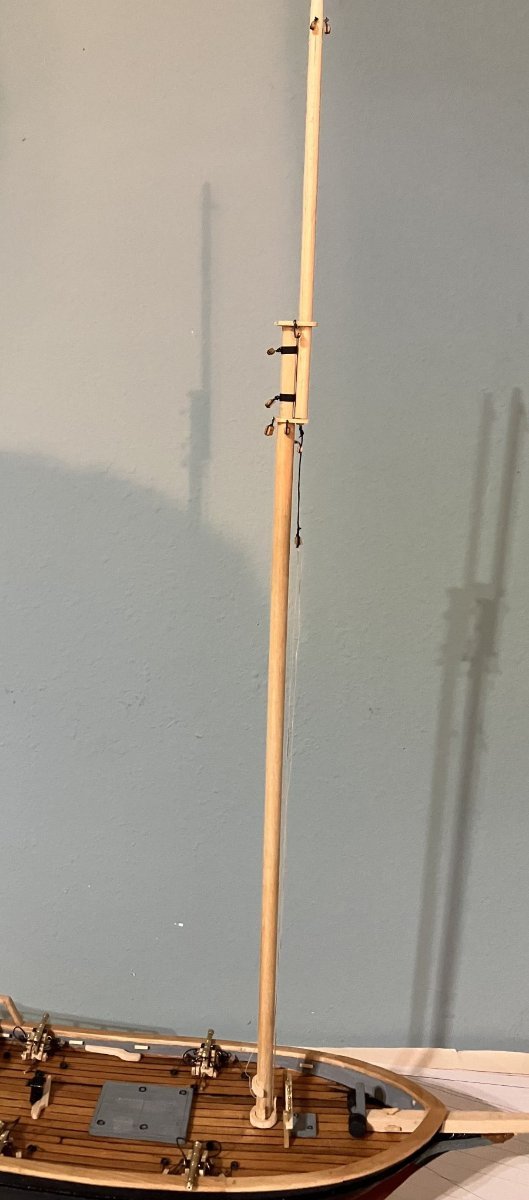
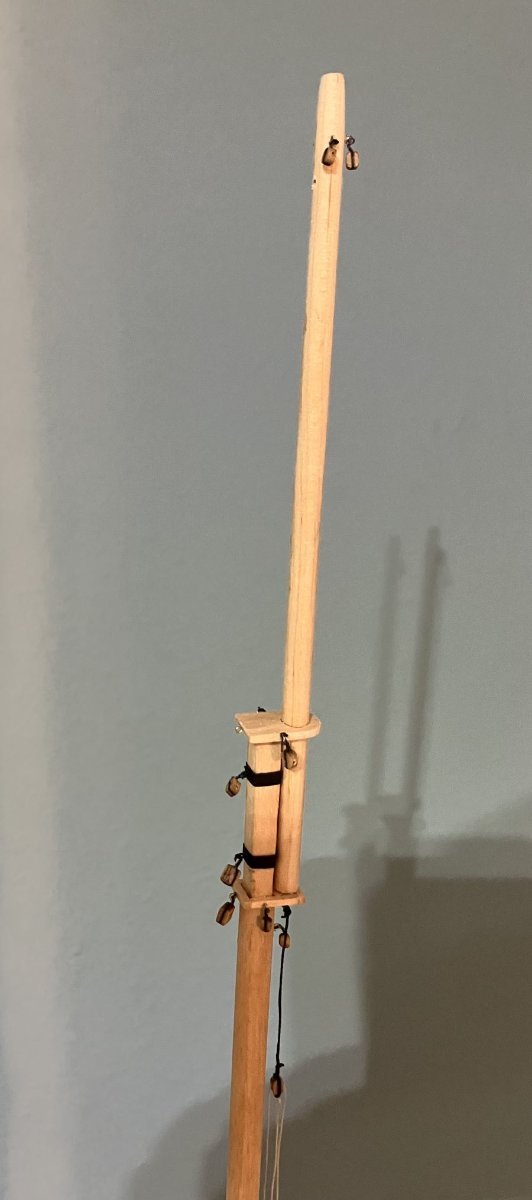
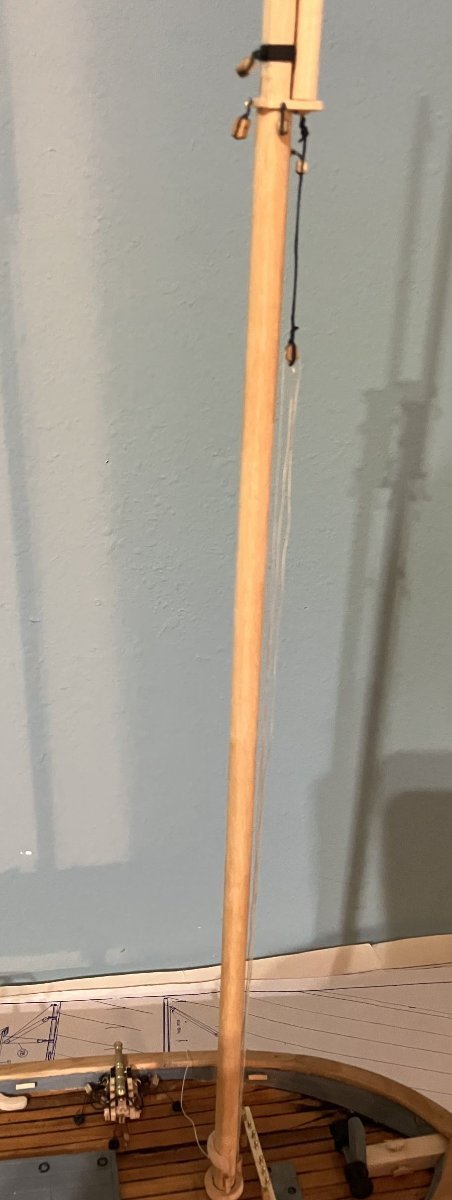
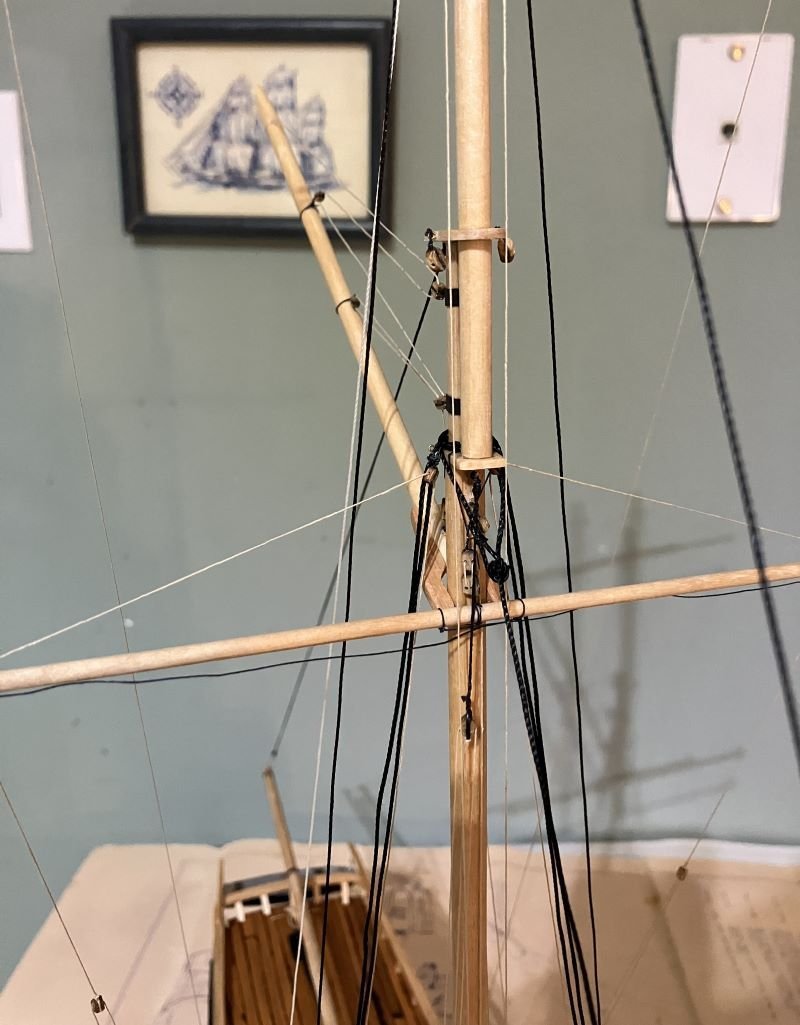
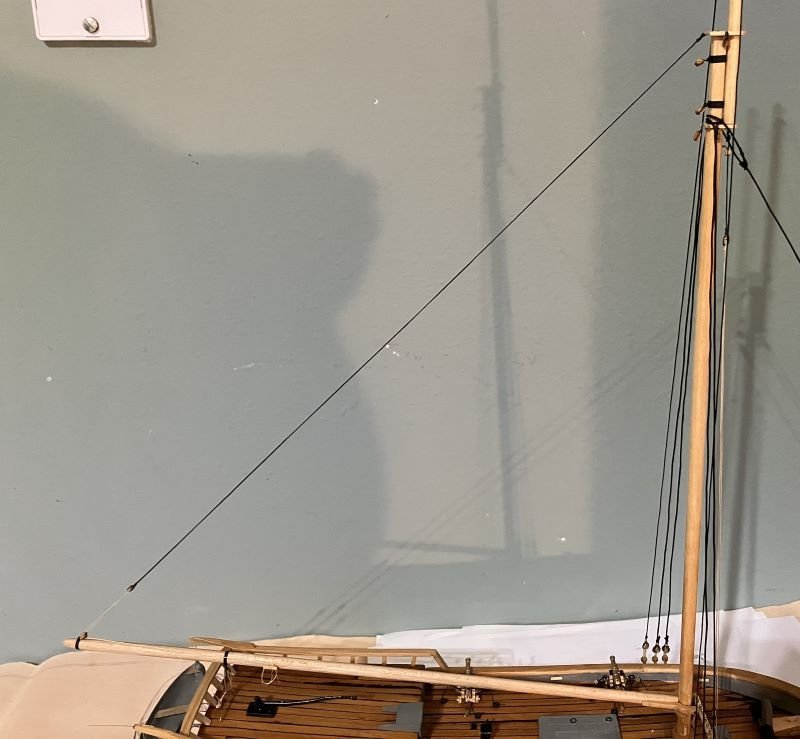
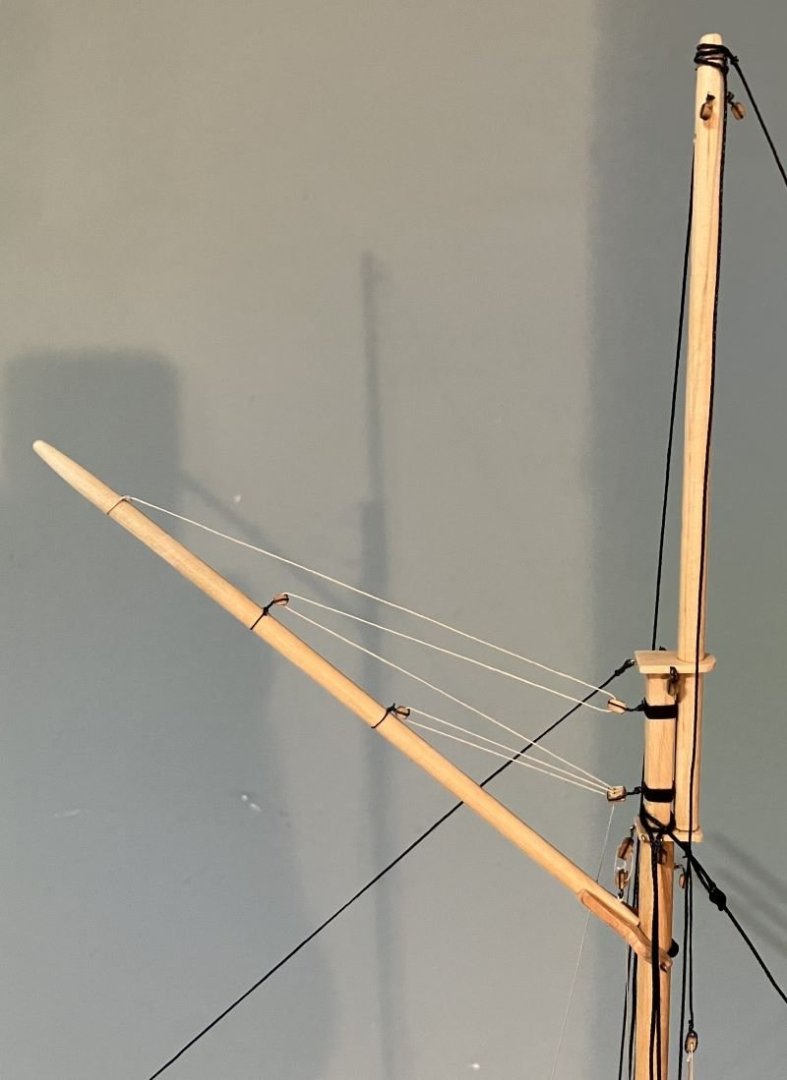
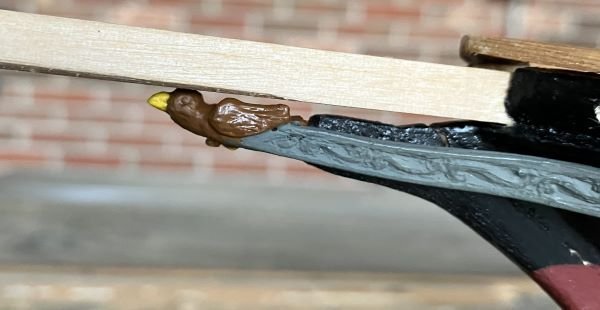
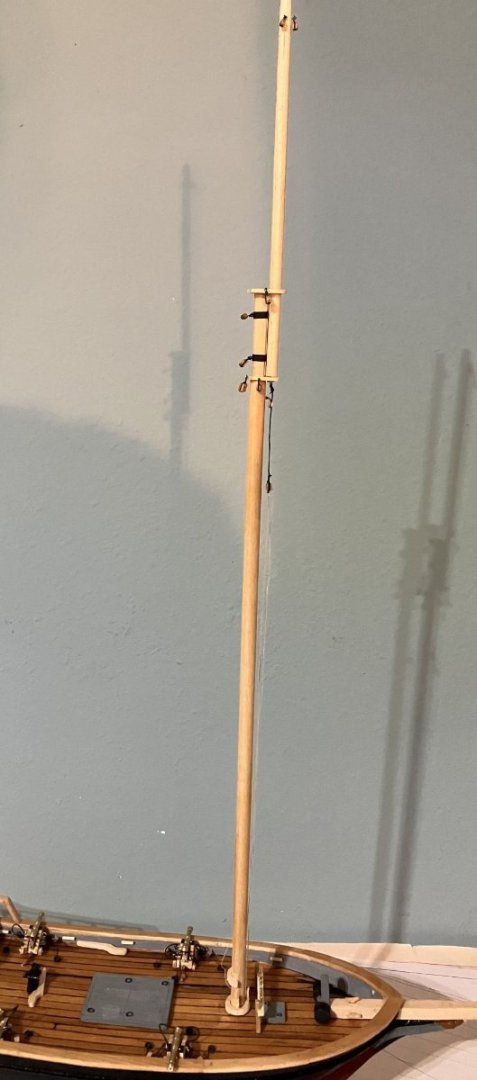
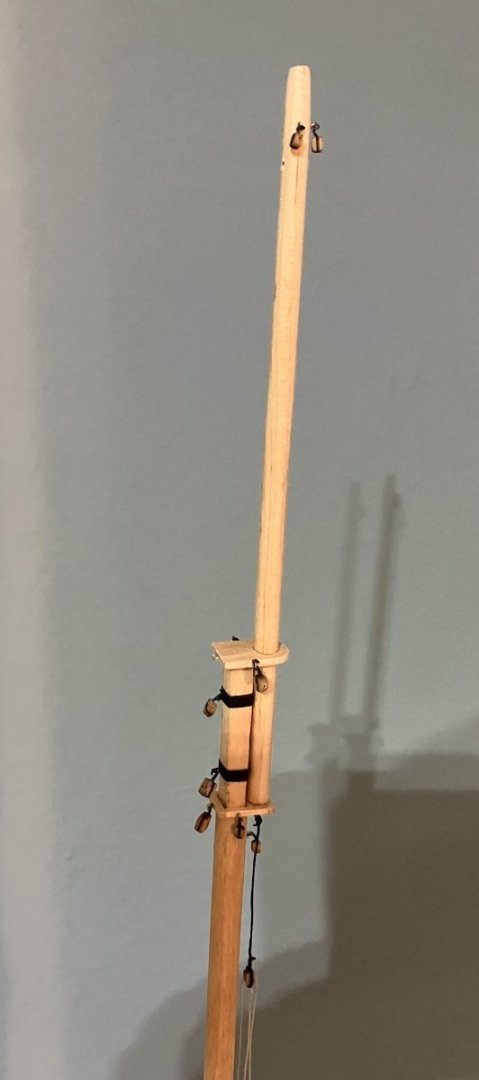
Hello Everyone - I painted my little bird Craft paint sealed with Testors dull cote. I also built the mast It's just set in place for the photos for now. The line attached is the cargo gear. It's easier to add now with the mast out of the boat. The chainplates and deadeyes are next. Comments welcome - Kenneth

-
She looks great! Excellent colors and a good, crisp paint job. - Kenneth
-
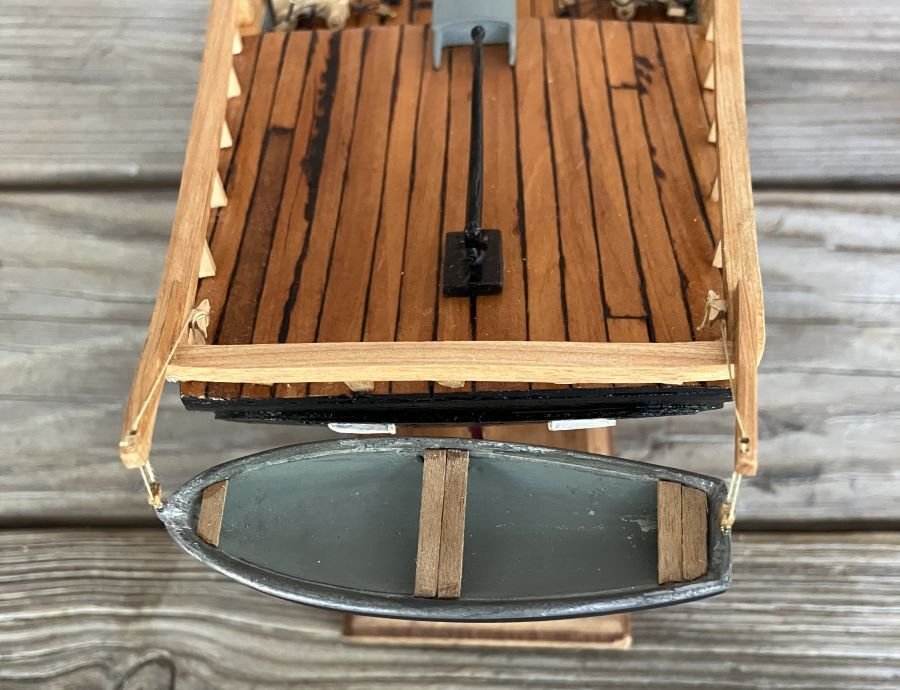
Thanks, JacquesCousteau - The ship's boat is actually a metal cast boat that came with the original kit. I added some walnut strips for seats. It's amazing it survived all this time. - Kenneth
-
If it's Modelshipways, you can email them and explain the part is missing. They should send you a replacement. They didn't include enough material for gratings and they send some extra to me. Hope this helps - Kenneth
-
Thanks, Ed for the inquiry. I used Mimwax Fruitwood stain on coamings and grates and Testers 1166 Flat Brown on bits and ladders. After the stain was applied I wiped off excess with a clean rag. The can is long gone so I can't get the number. Thanks again - Kenneth
- 152 replies
-
- 1
-

-
- rattlesnake
- Model Shipways
- (and 1 more)
-
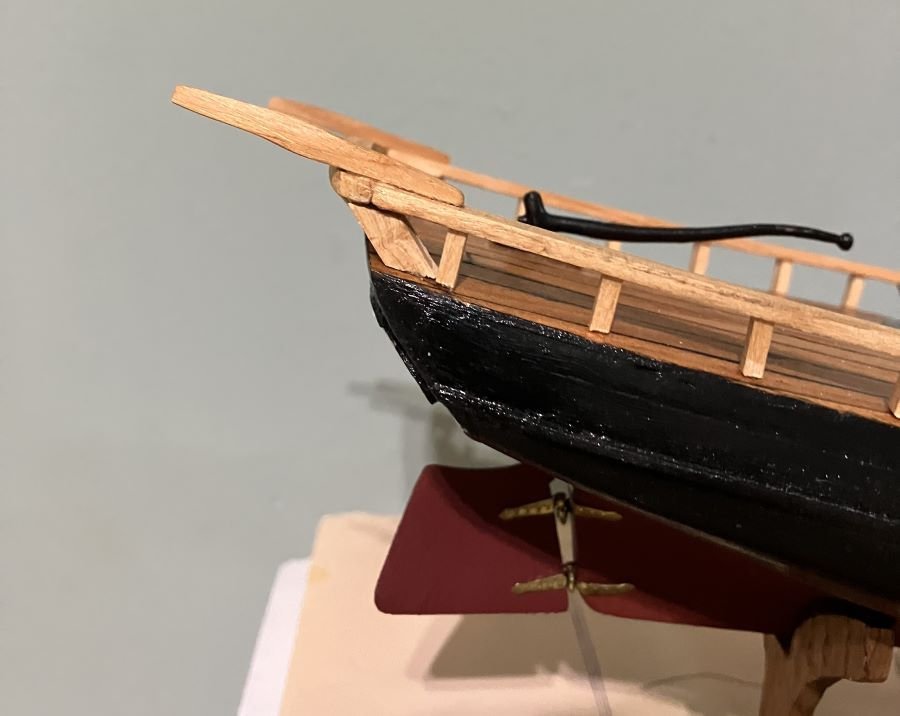
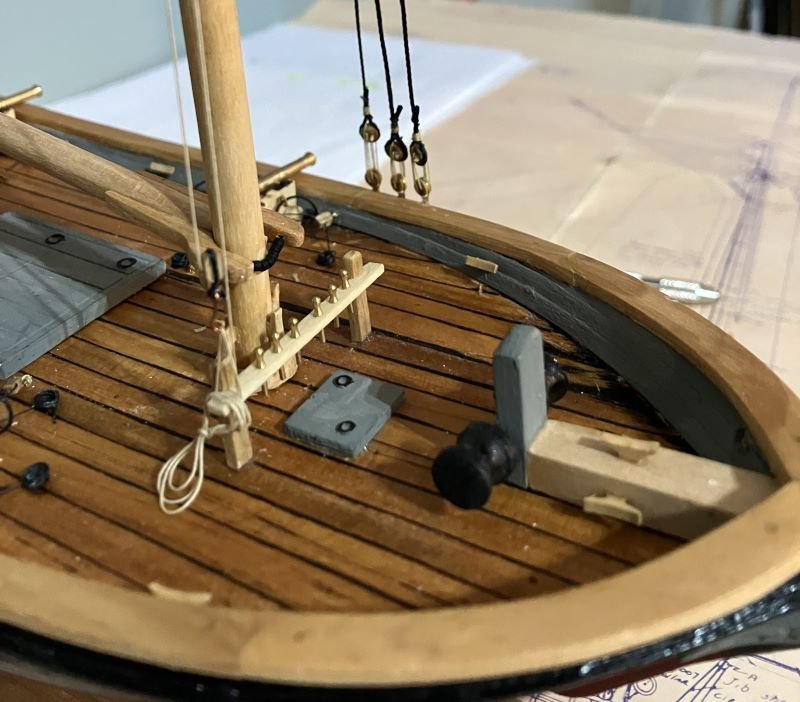
Hello Everyone - I changed the coils again. These guys wouldn't take the time for tight coils, and it's better than my first attempt. I put clear tape on a very small dowel and wrapped them and touched a tiny amount of clear Elmers glue to hold everything together. They slid off just fine. The best part is that I did this while sitting next to the Admiral while she cross stitched. The ship's boat was also added. Once again, next to the Admiral. I drilled a tiny hole in the bow and stern and inserted a deadeye. The hook on the block is a trimmed deadeye. Next up is to paint and detail the figure head and trail boards. Comments welcome - Kenneth

-
Hello, Sgmartz - Most of the tools used for plastic models can be used for wooden models - hobby knife, magnifier, clamps of various sizes, paint and brushes, adequate lighting, and others. A Dremel and a set of sanding tools will help with shaping wooden parts. Sandpaper in a range of grits is a must. A pin vice with small drill bits will be needed for drilling holes. Sometimes kit manufacturers will have a sale on tools. Sign on to Model Shipways and other email lists to get a better idea of what's available. Cruise this site to get more ideas. Hope this helps - Kenneth
-
They look great - worth the effort. - Kenneth
-
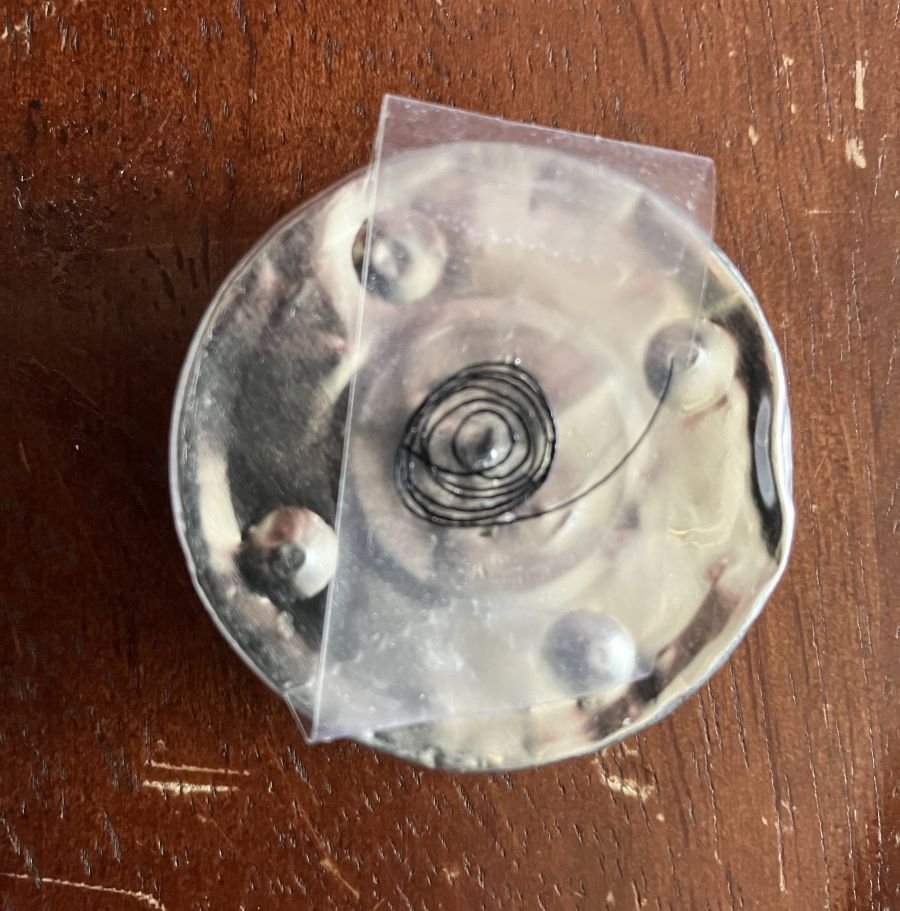
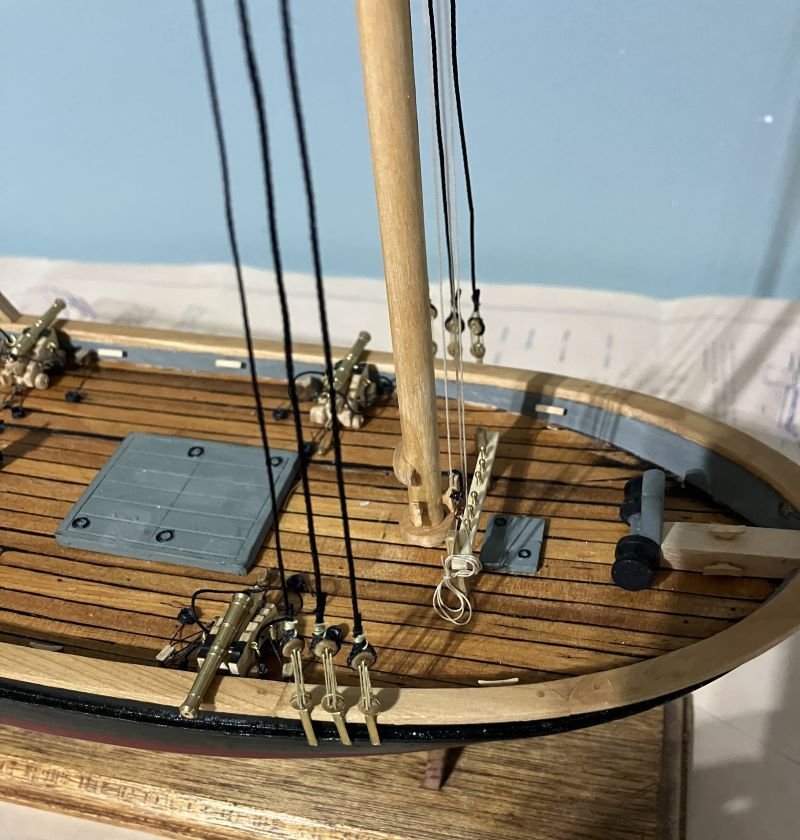
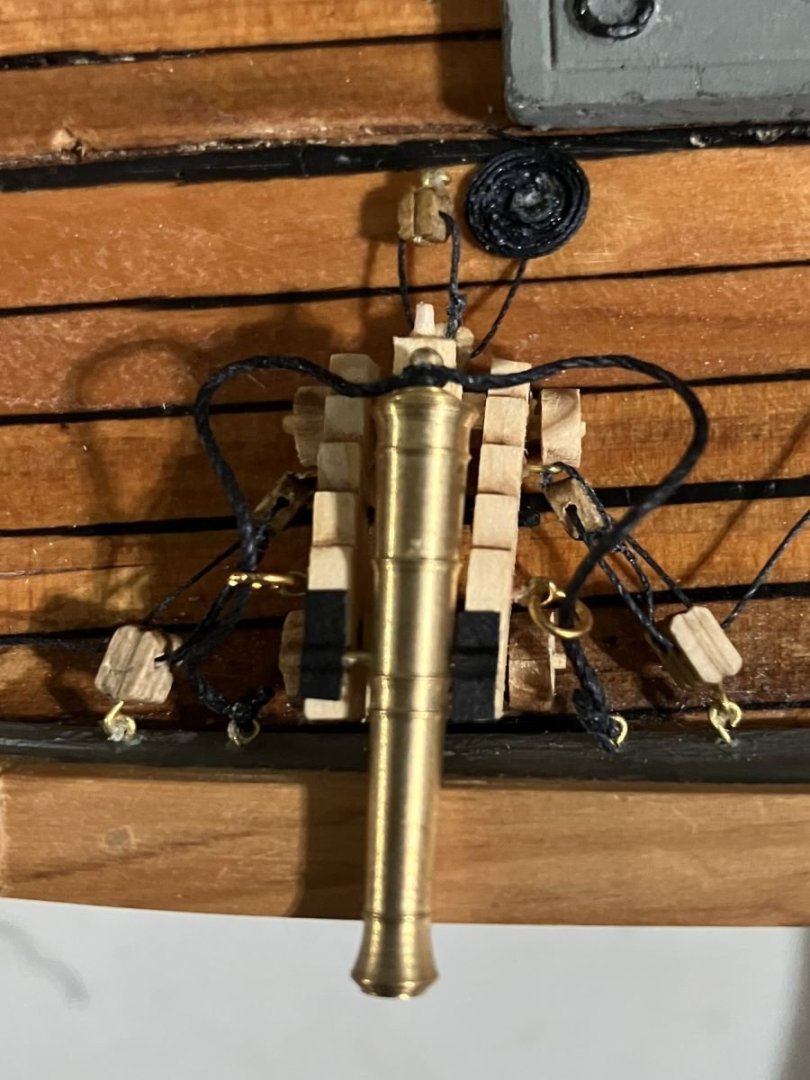
My wife took one look at those rope coils and said 'Nope'. She suggested I cut enough line to make the coil and run a small length through the hole in the tealight holder from the top and push the nail from the bottom to hold it in place. Then slowly spin it around the nail while keeping it tight. While spinning add very tiny amounts (I used the tip of a straight pin) of Mod Podge to hold the coil together. Let it dry a few minutes and pop if off and trim. It's used to seal crossword puzzles and stuff. This is something I can work on while we sit together and she does her cross stitch. Things like this is why we celebrated our 35th wedding anniversary last week. BTW, stress isn't always bad. It can get us prepared for what we need or want to do. Keeps us on our toes. Comments Welcome - Kenneth
-
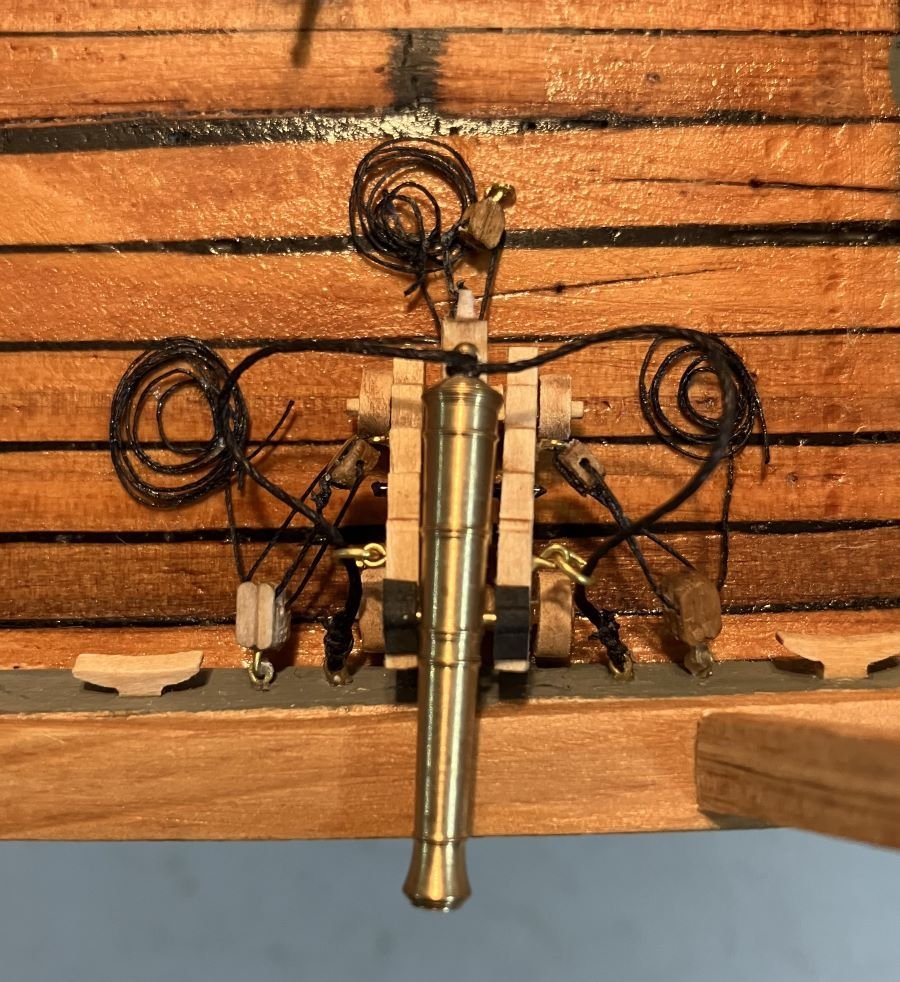
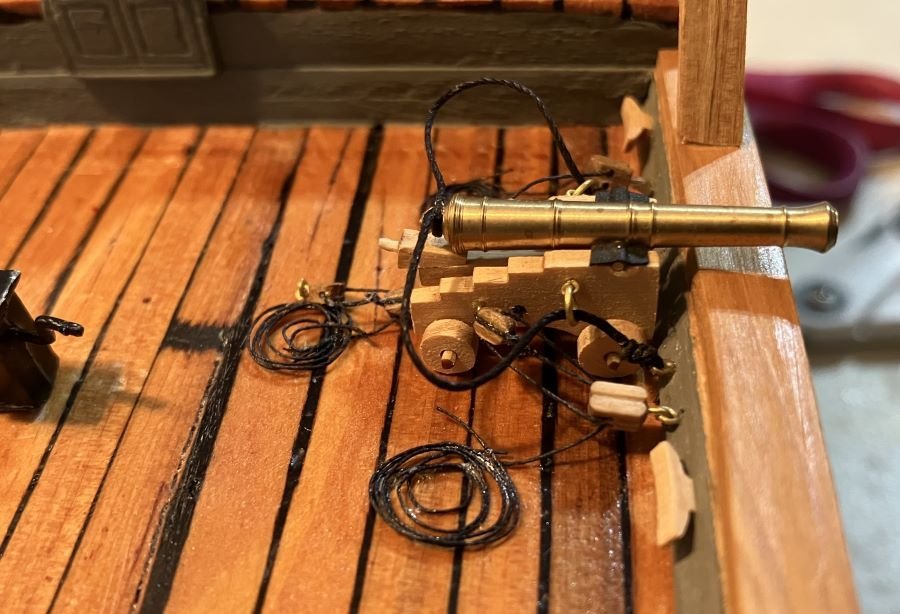
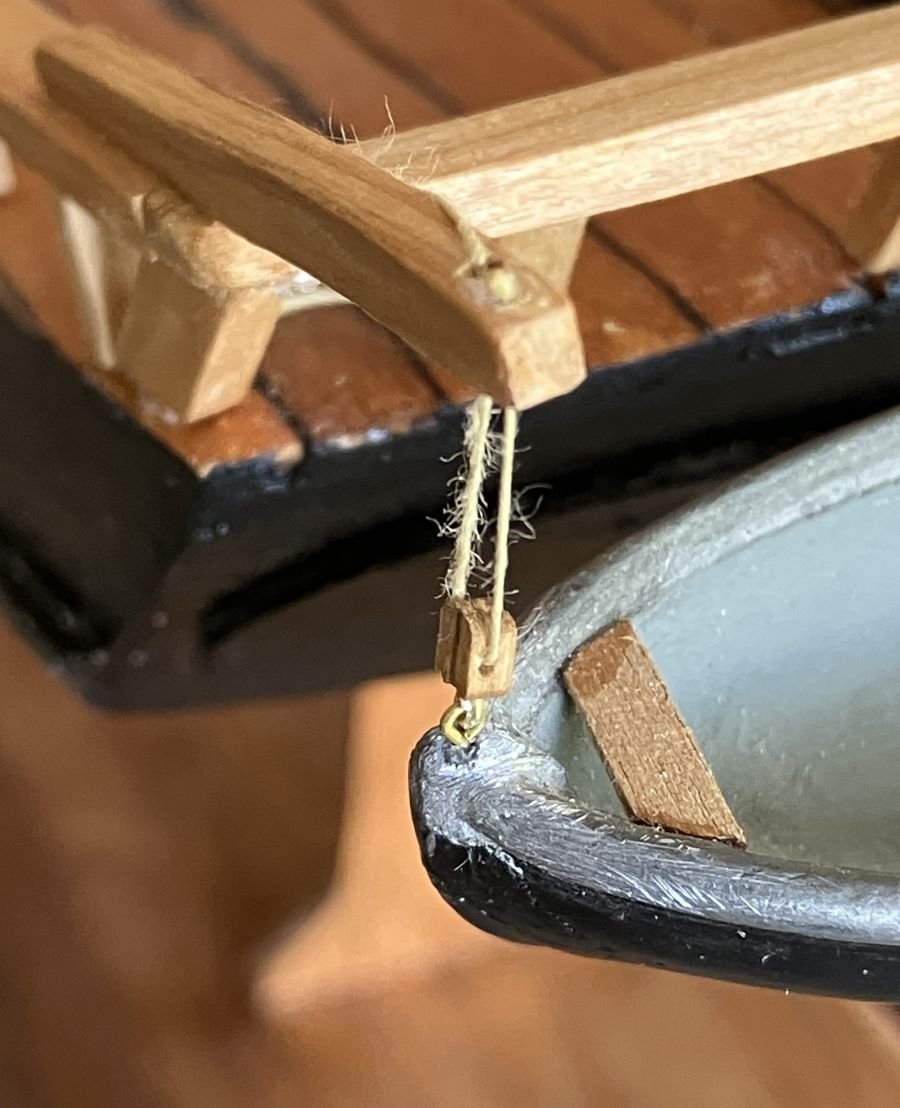
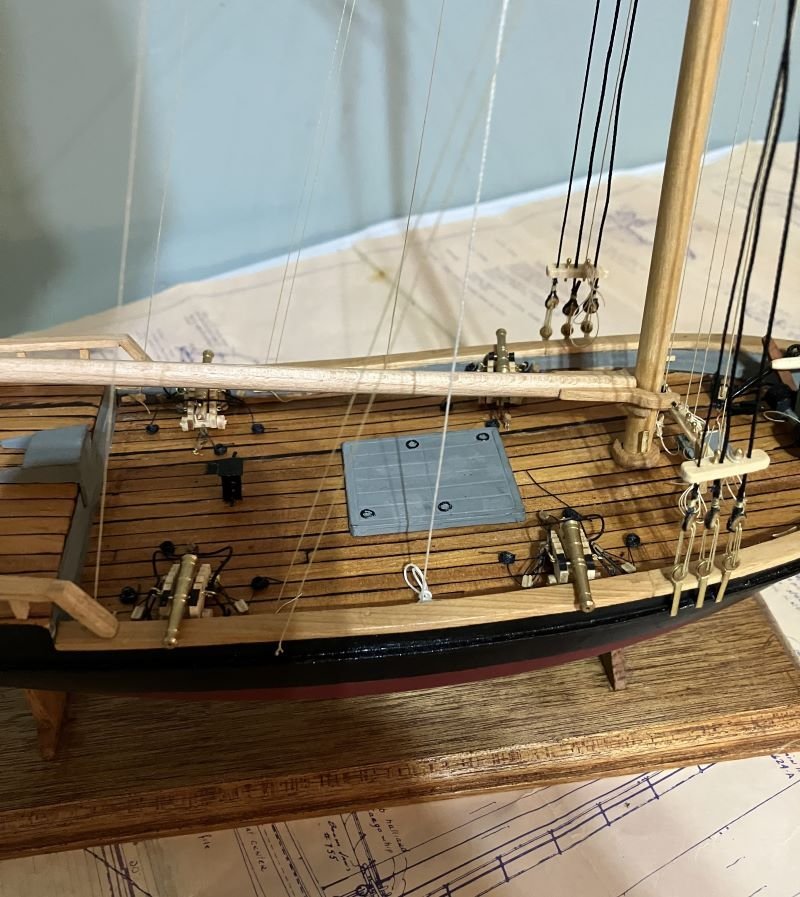
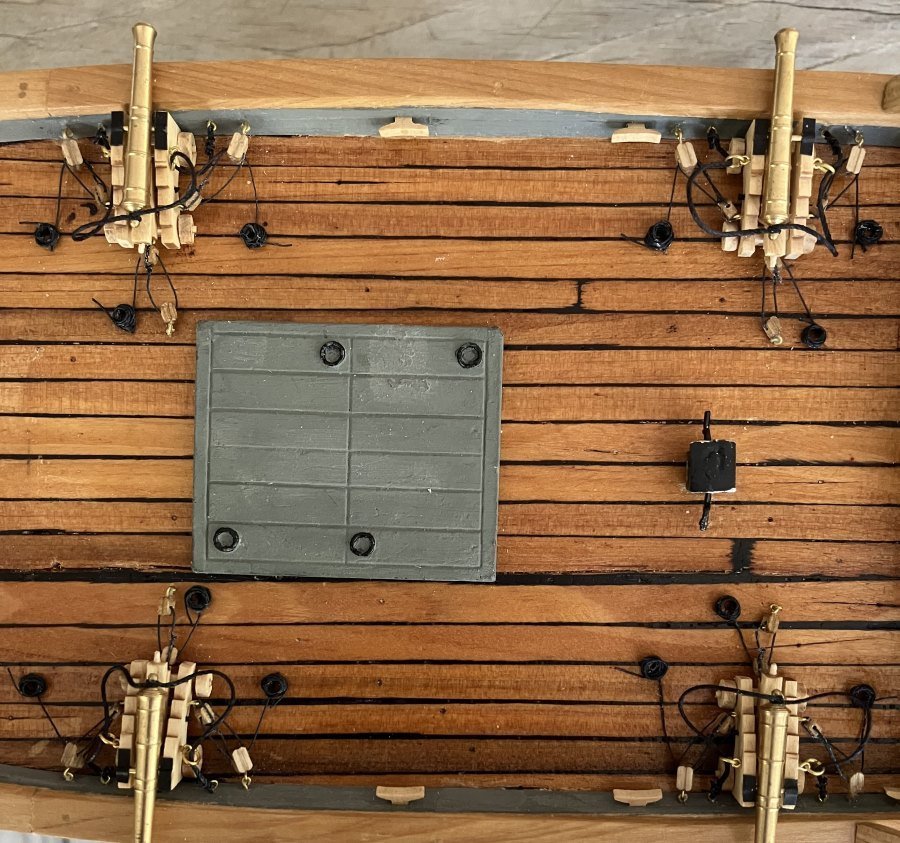
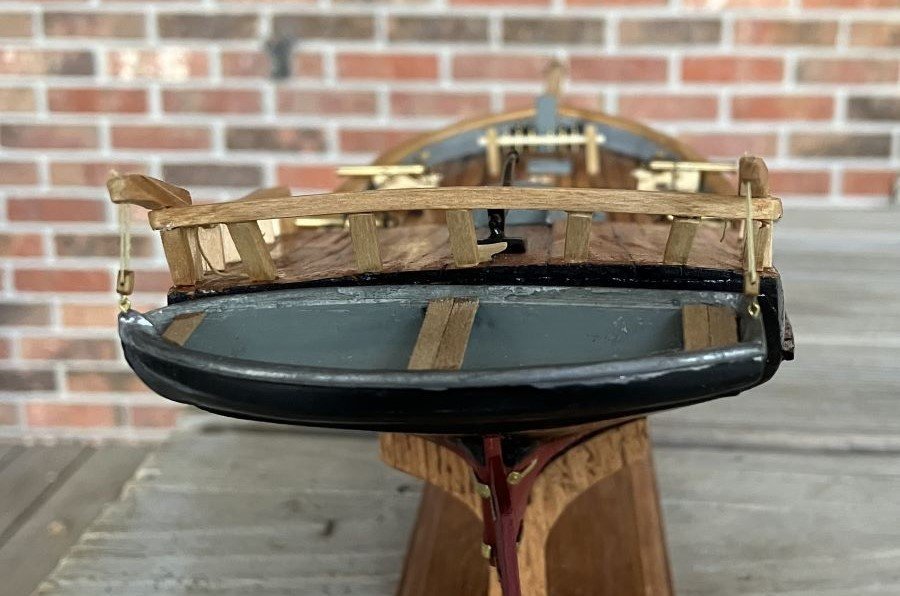
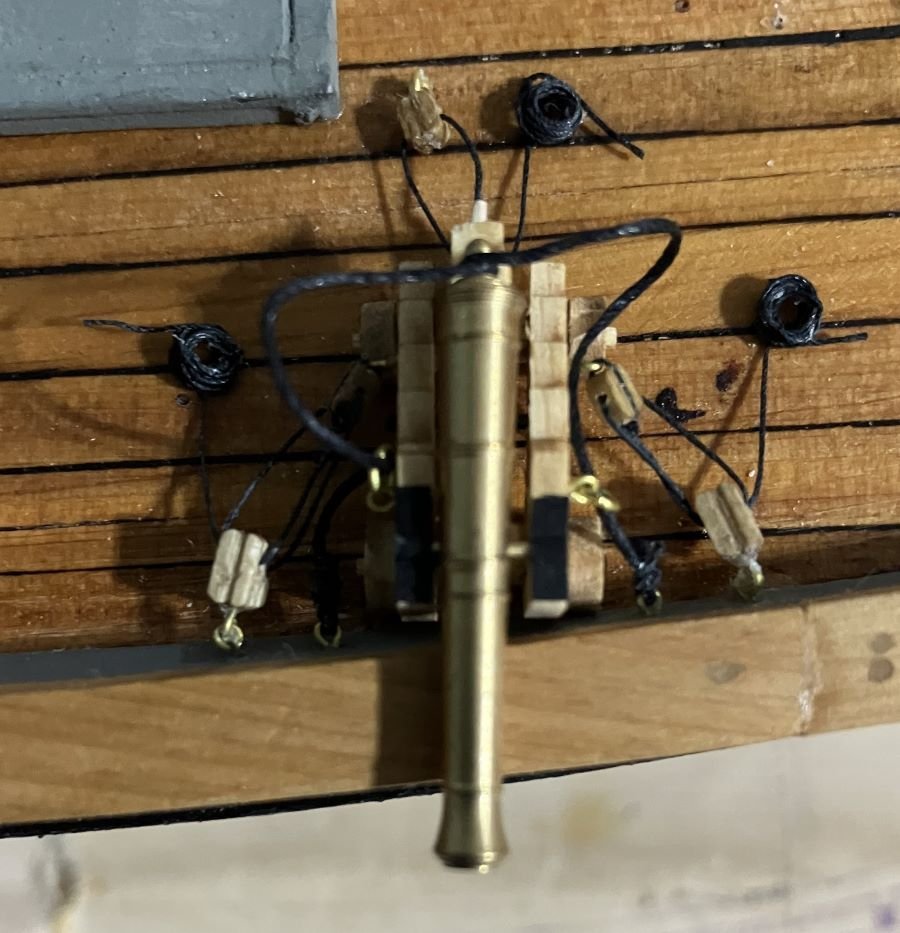
The extra supports were added under the davits and I like it: I looked into rope coiling and started an attempt: I poked a small nail through the center of a tealight holder and placed a piece of tape to hold the line in place. This small line didn't exactly act accordingly but it did stick in place. I wasn't looking for a perfect coil, something that would keep the deck clear for possible action. A touch of clear Elmer's glue was added to hold it together. After a few minutes I lifted the coil off the tape and installed it. I've had some self-induced stress over rigging and mounting the cannons and it's cost me some time. The stress comes from the Rattlesnake and its small size. These are larger with more space to work. One down, three to go. With all due respect to recent events, these cannons don't thunder, there's nothin' to plunder except in our imagination along with a frozen concoction. Please give comments - Kenneth