HOLIDAY DONATION DRIVE - SUPPORT MSW - DO YOUR PART TO KEEP THIS GREAT FORUM GOING! (89 donations so far out of 49,000 members - C'mon guys!)
×

Kenneth Powell
-
Posts
276 -
Joined
-
Last visited
Content Type
Profiles
Forums
Gallery
Events
Everything posted by Kenneth Powell
-
 Thank You everyone for the responses and likes. Also, thanks for all the help and hints and advice and photos and scans and comments over the years. - Kenneth
- 152 replies
-
- 2
-

-
- rattlesnake
- Model Shipways
- (and 1 more)
-
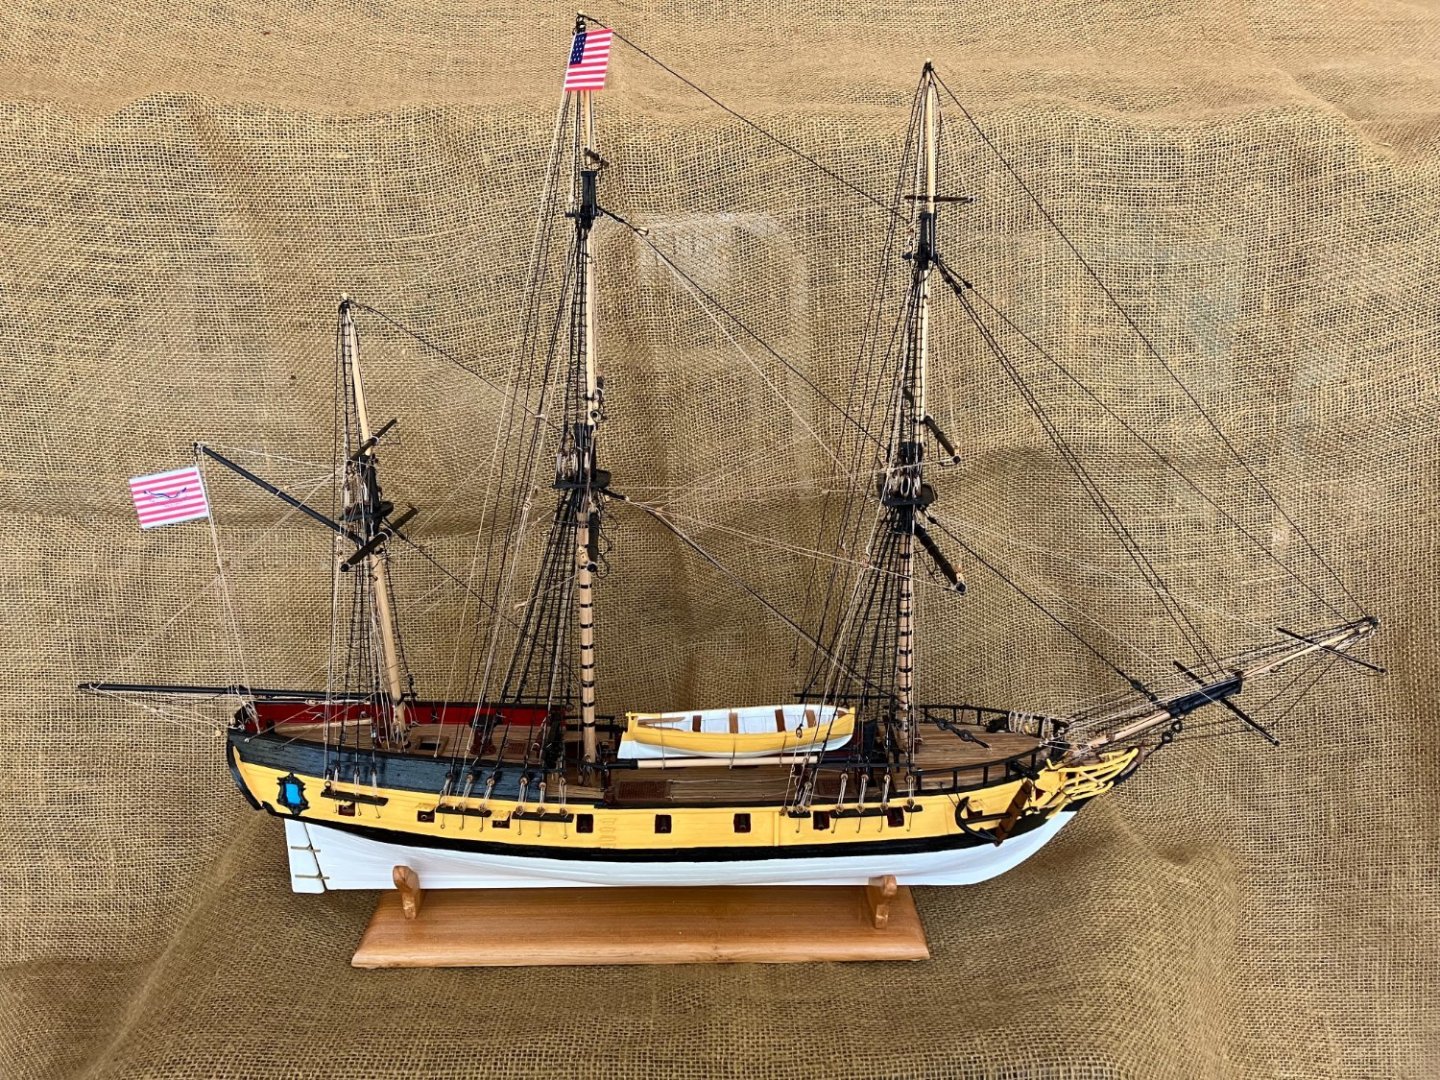
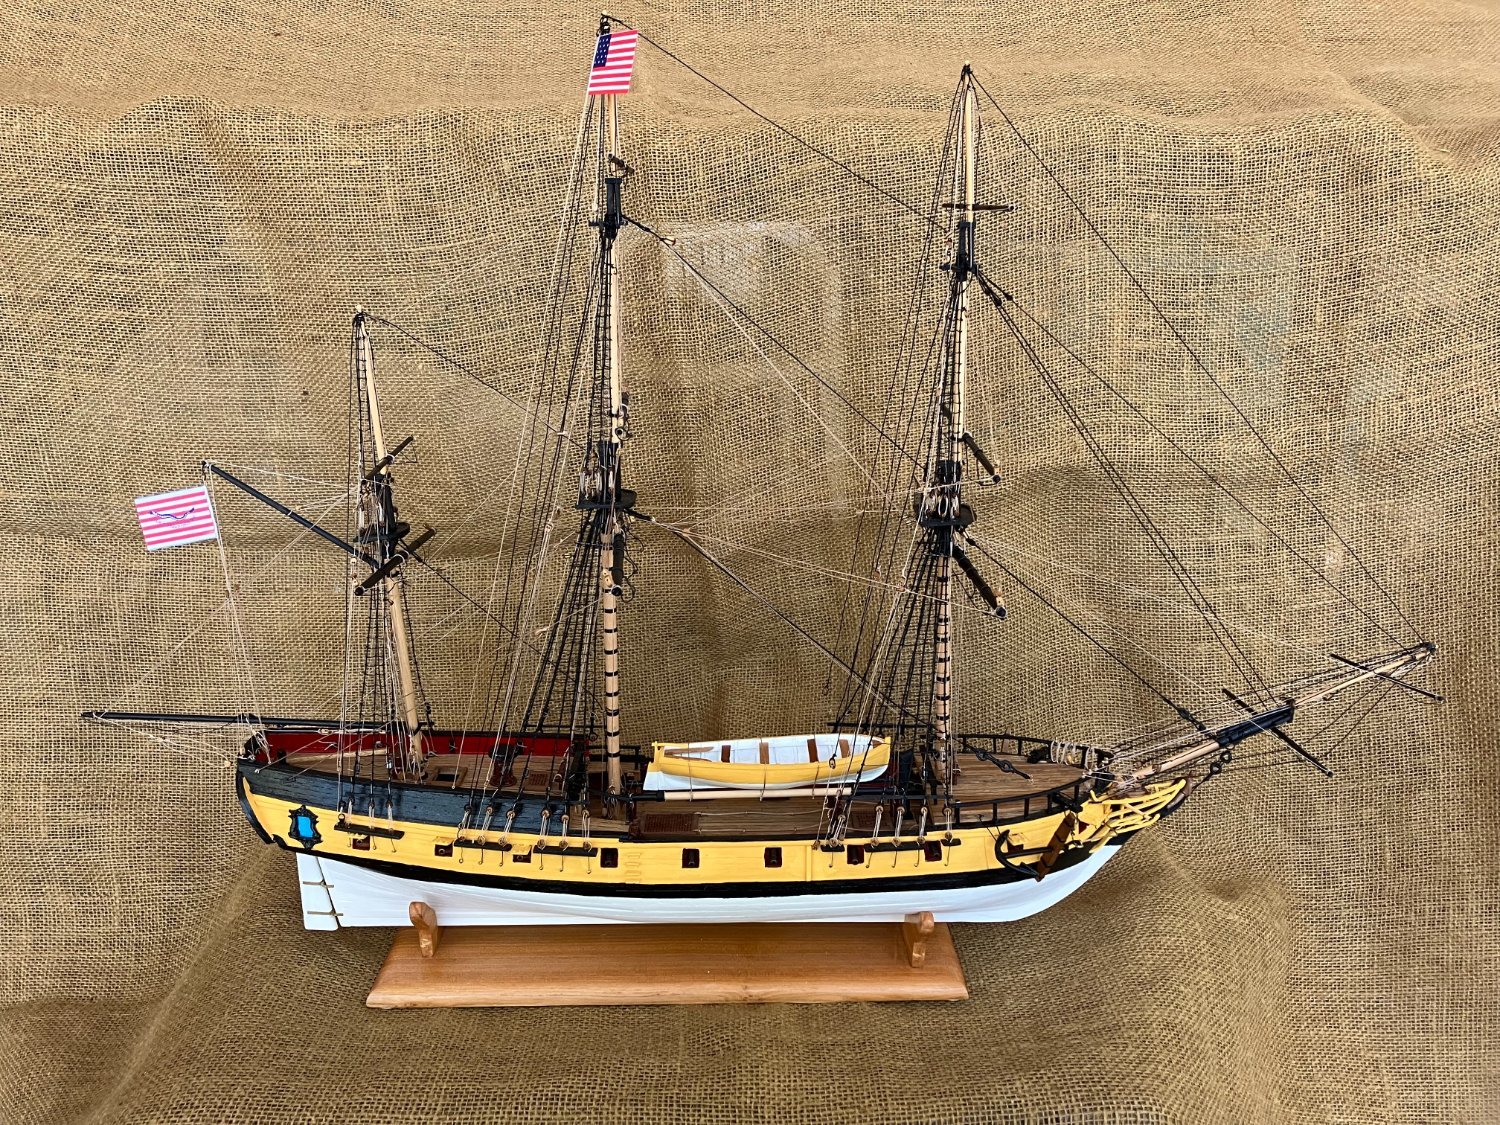
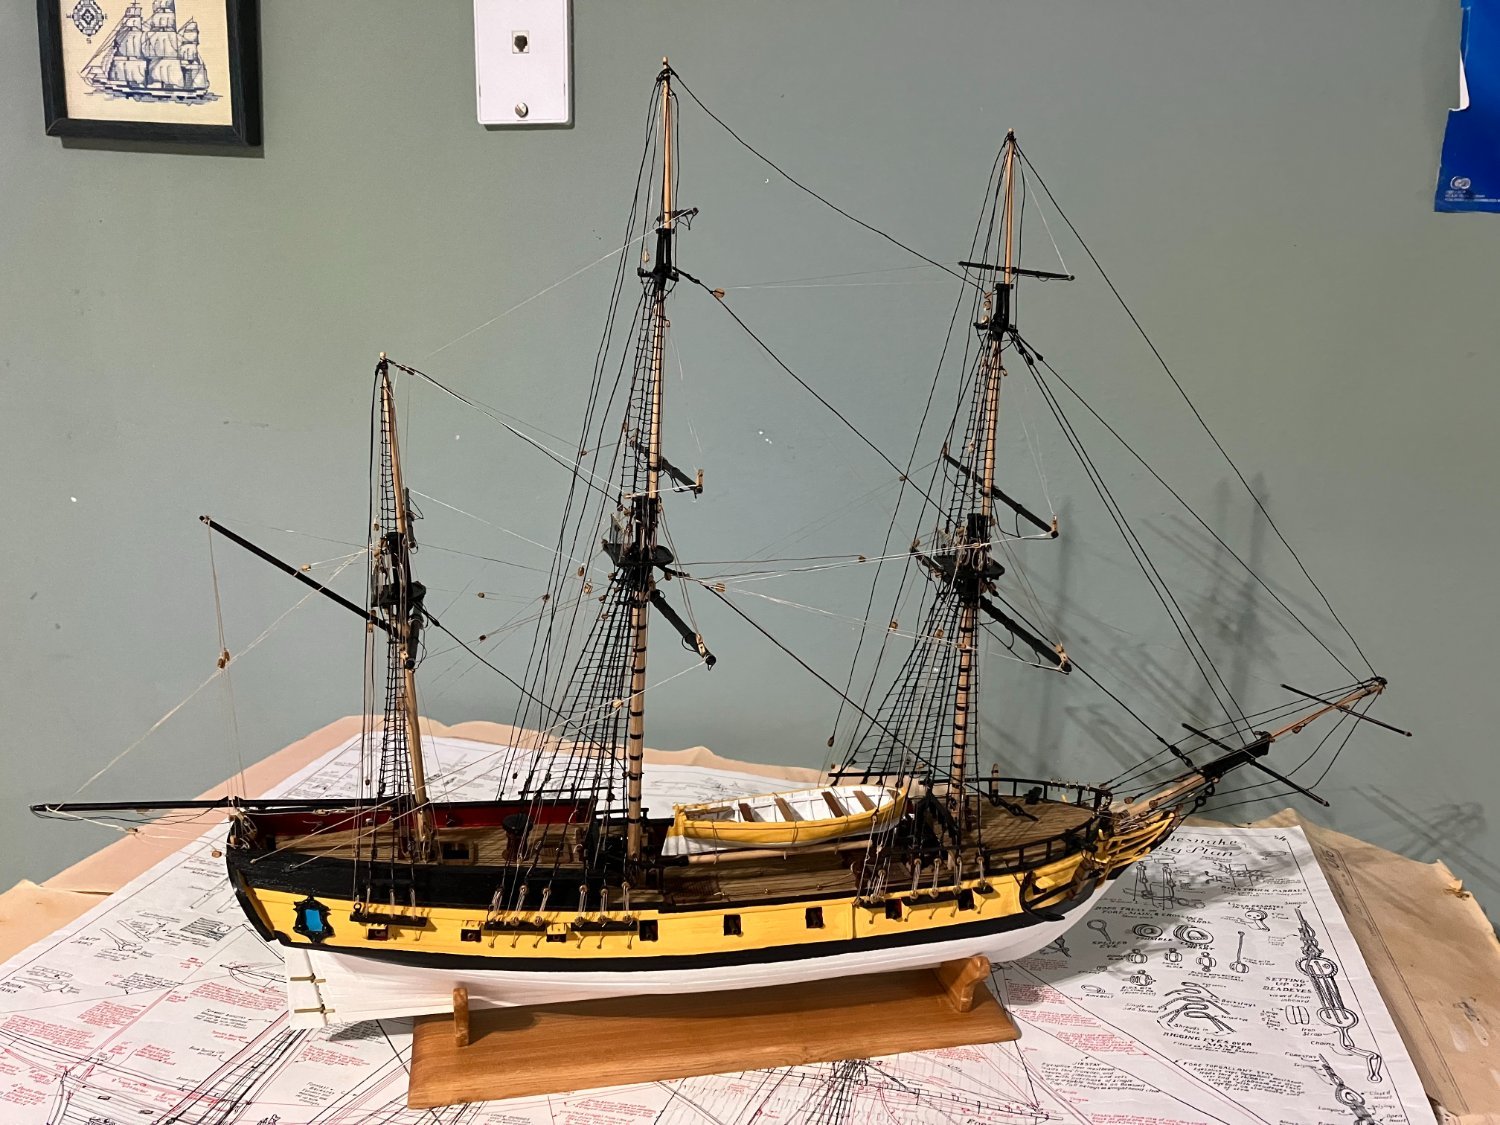
That's right, gang. She's done. The rope coils and the jig I used: Other photos: I bought this kit on January 23, 2009 and got started that night. It wasn't long until I realized that I needed help so I did an internet search for Model Ship Rattlesnake and found this group. It's been quite a ride ever since. The log bounced back after the great crash of 2013 because I hadn't posted much and I had all my photos. Hobbies are great and they wait for us to catch up. And, as always, the wood is patient. For my next trick I'm going to bash a Hudson River sloop into a costal pirate. Should be fun. Comments welcome - Kenneth


- 152 replies
-
- 17
-

-
-

-
- rattlesnake
- Model Shipways
- (and 1 more)
-
Meant Flags, Steps not Flags Steps.
-
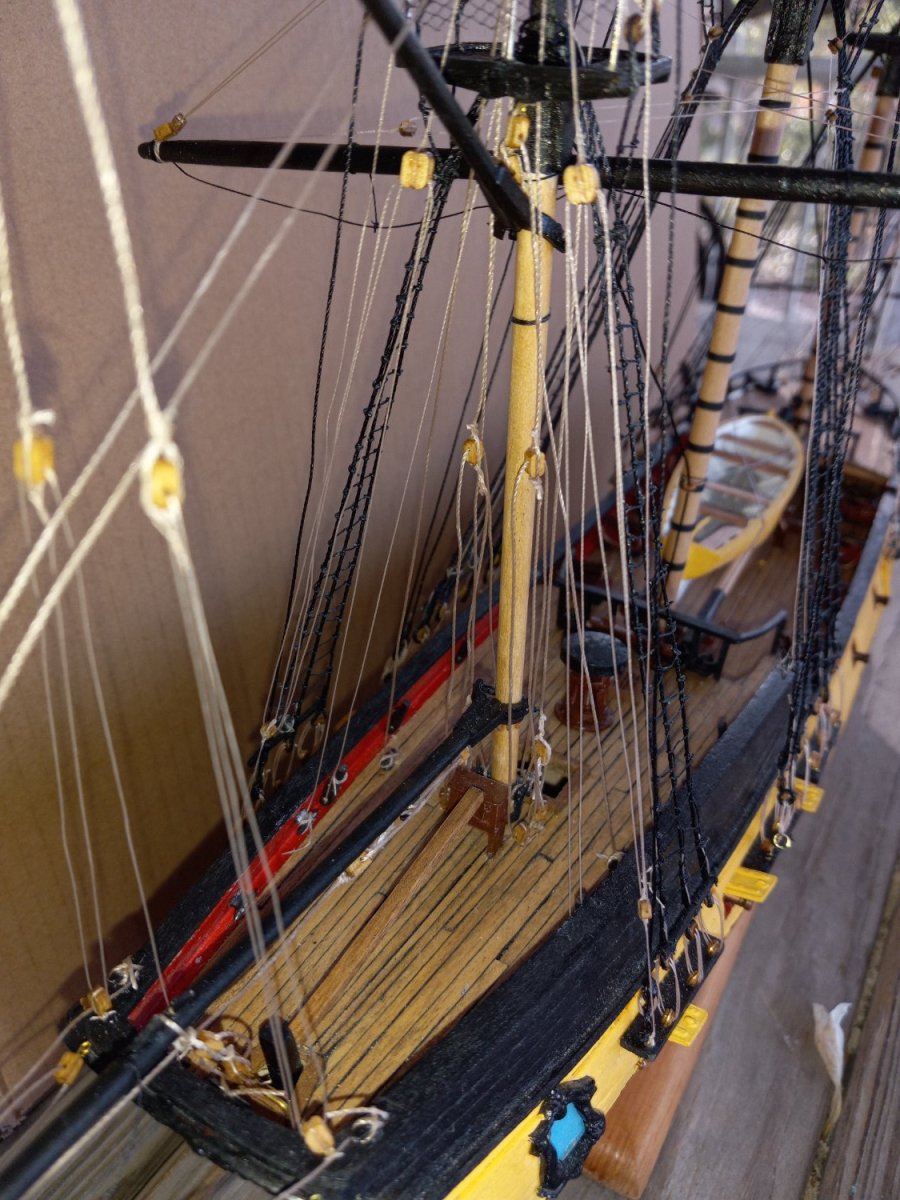
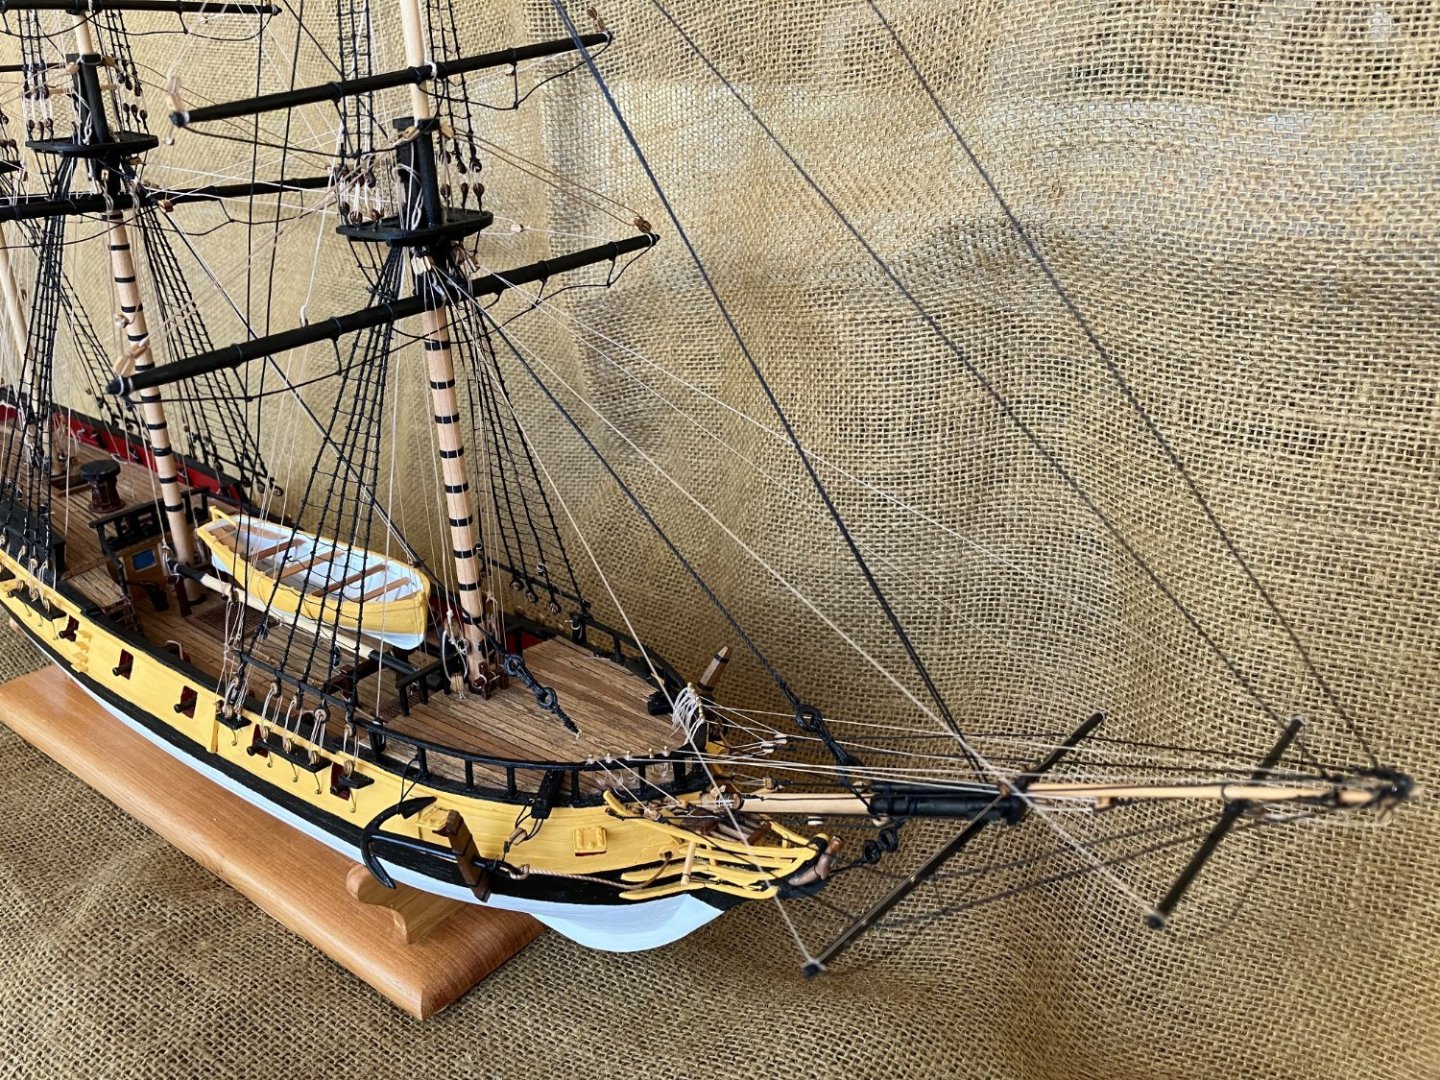
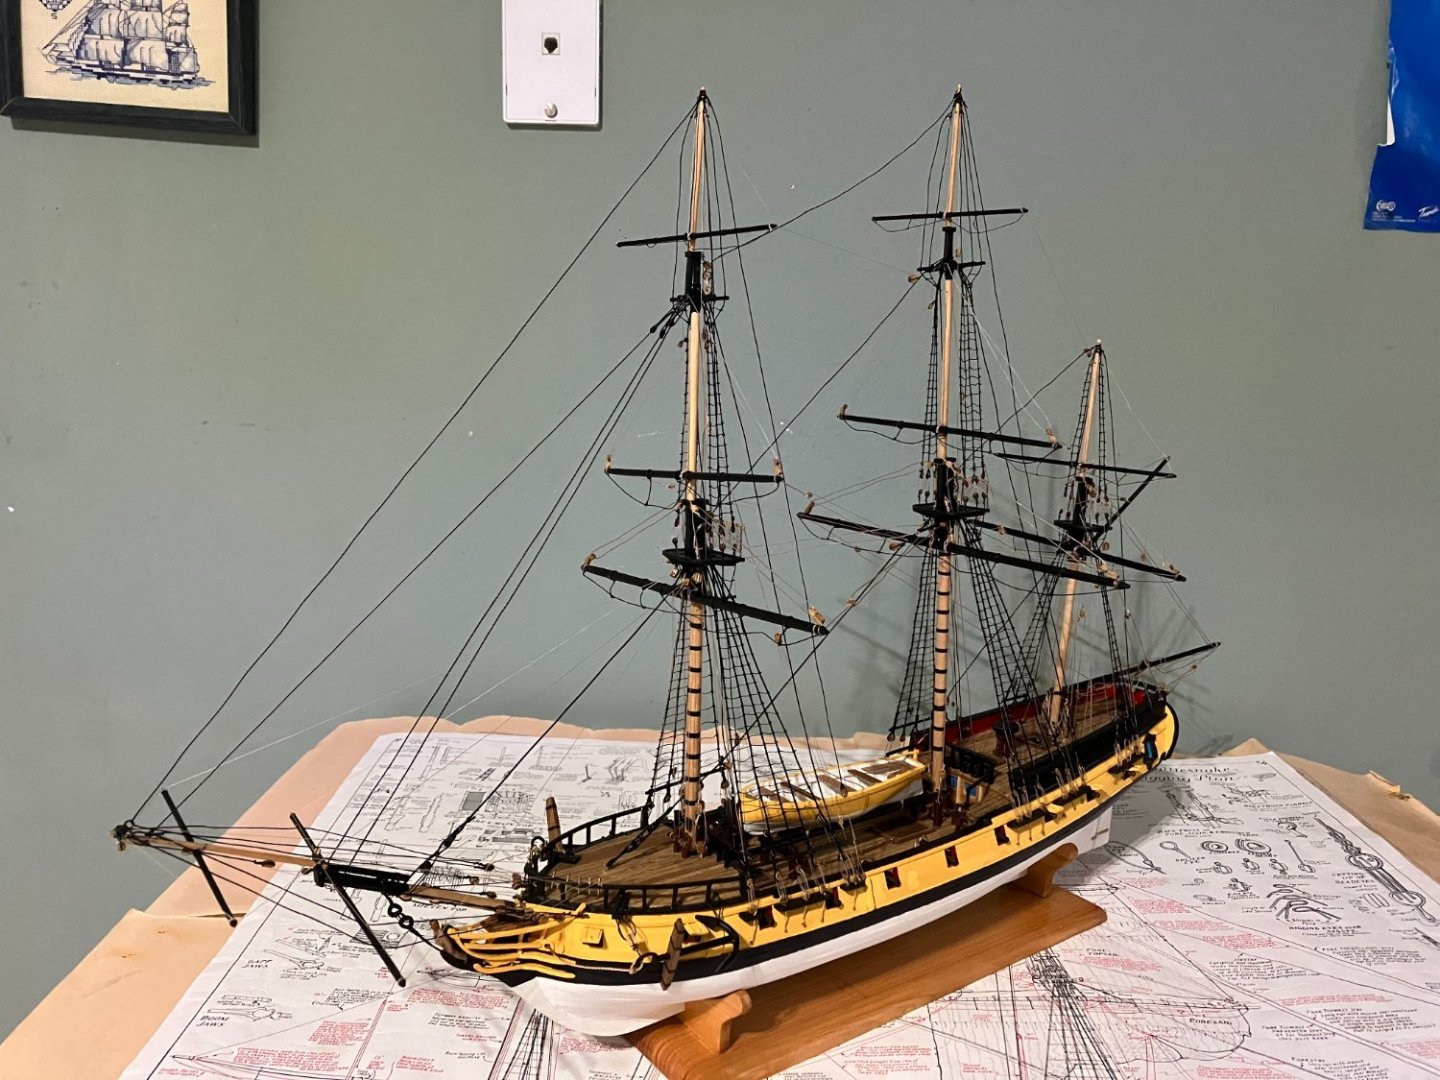
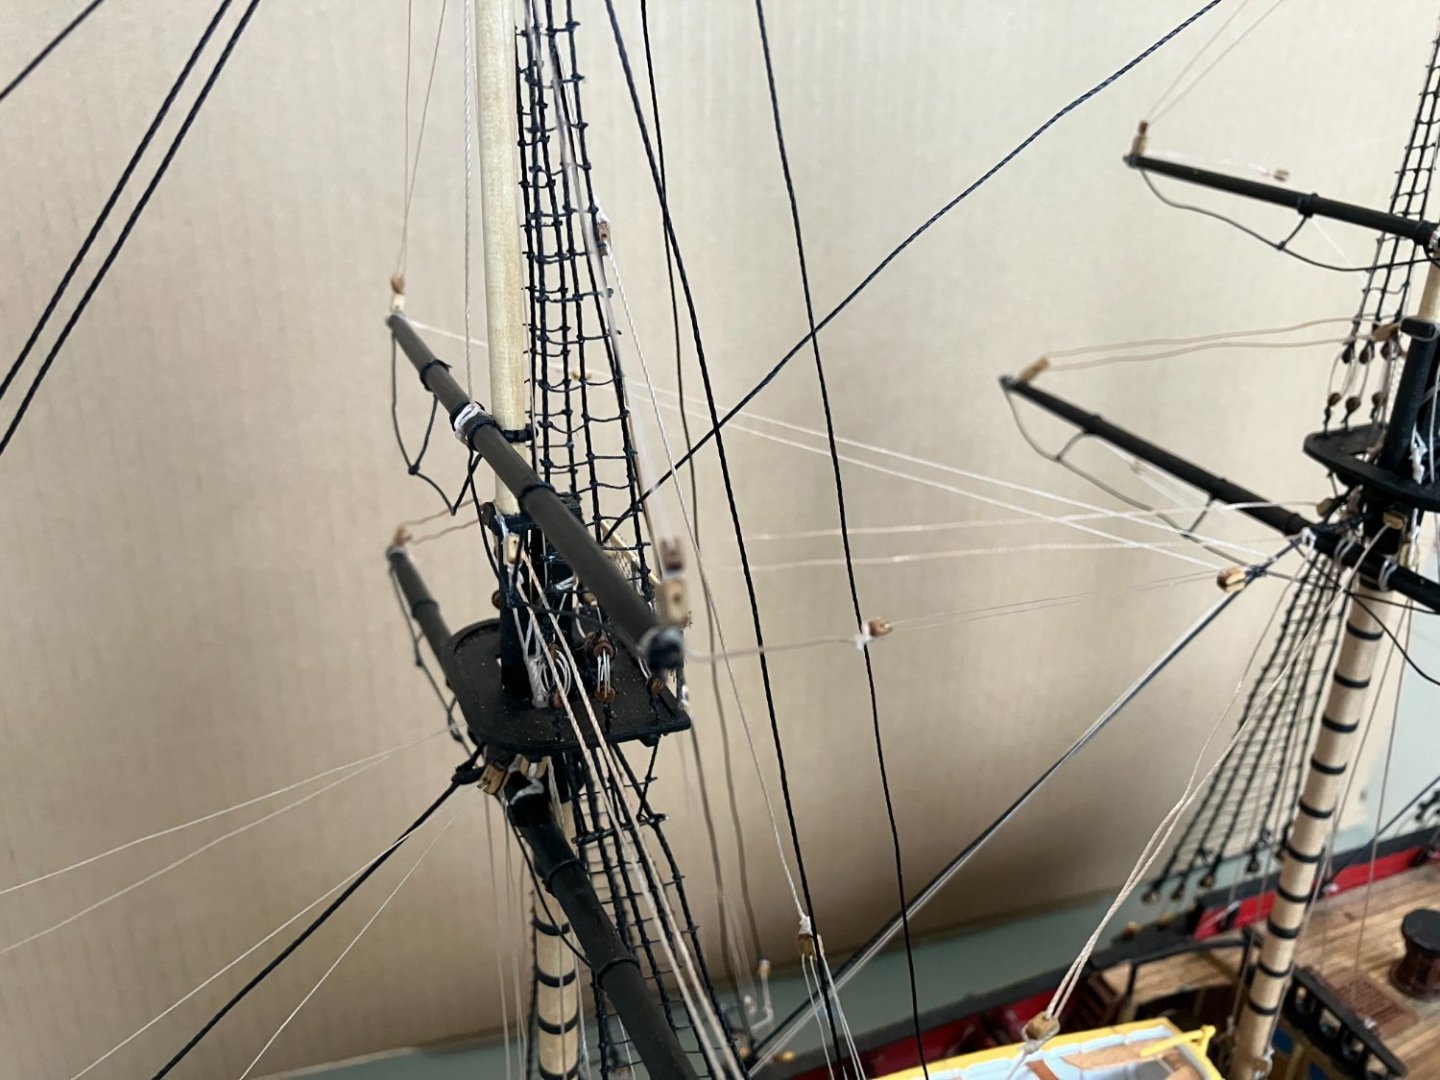
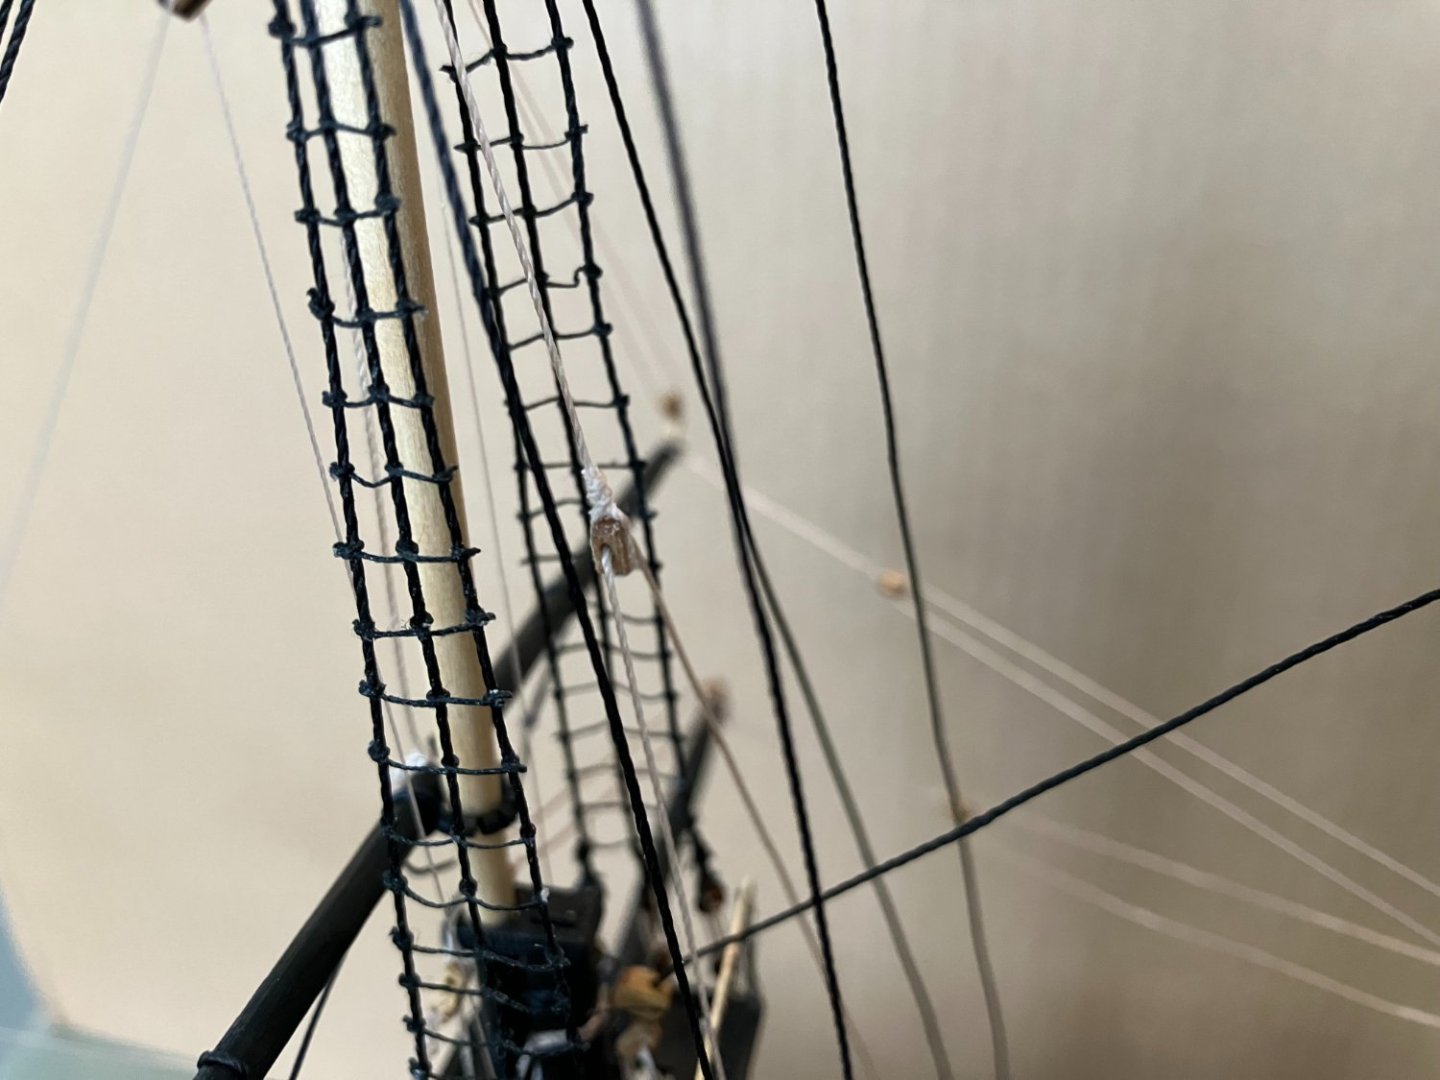
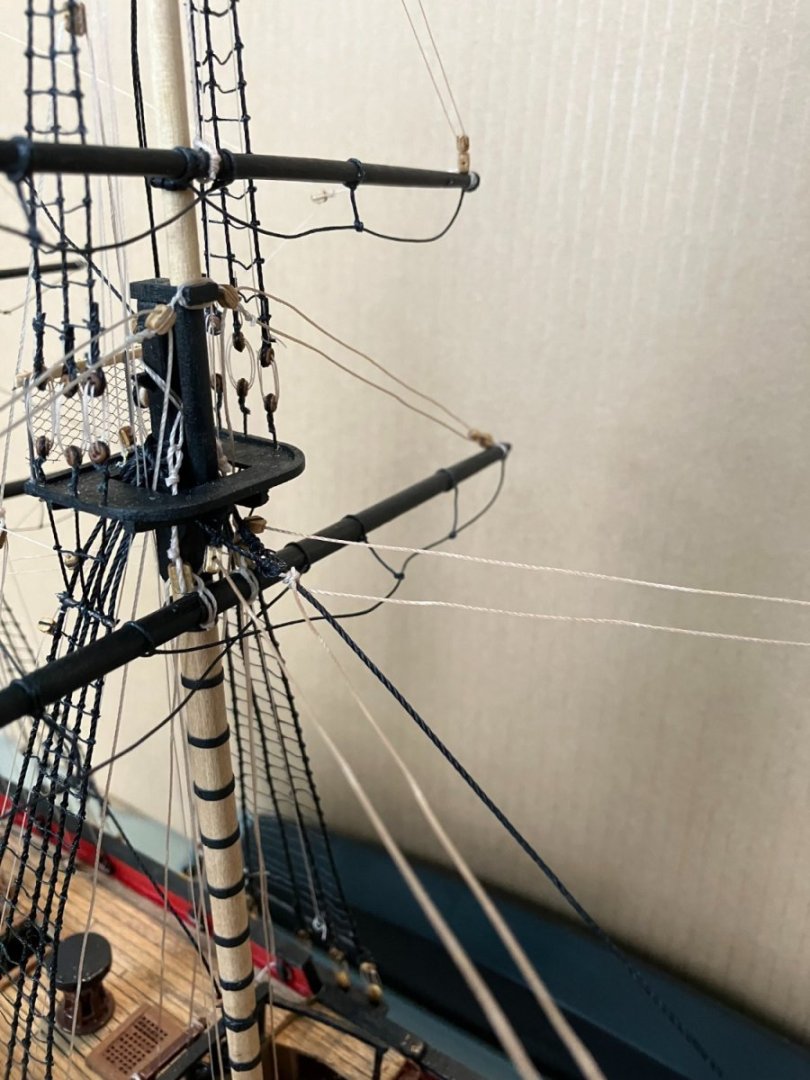
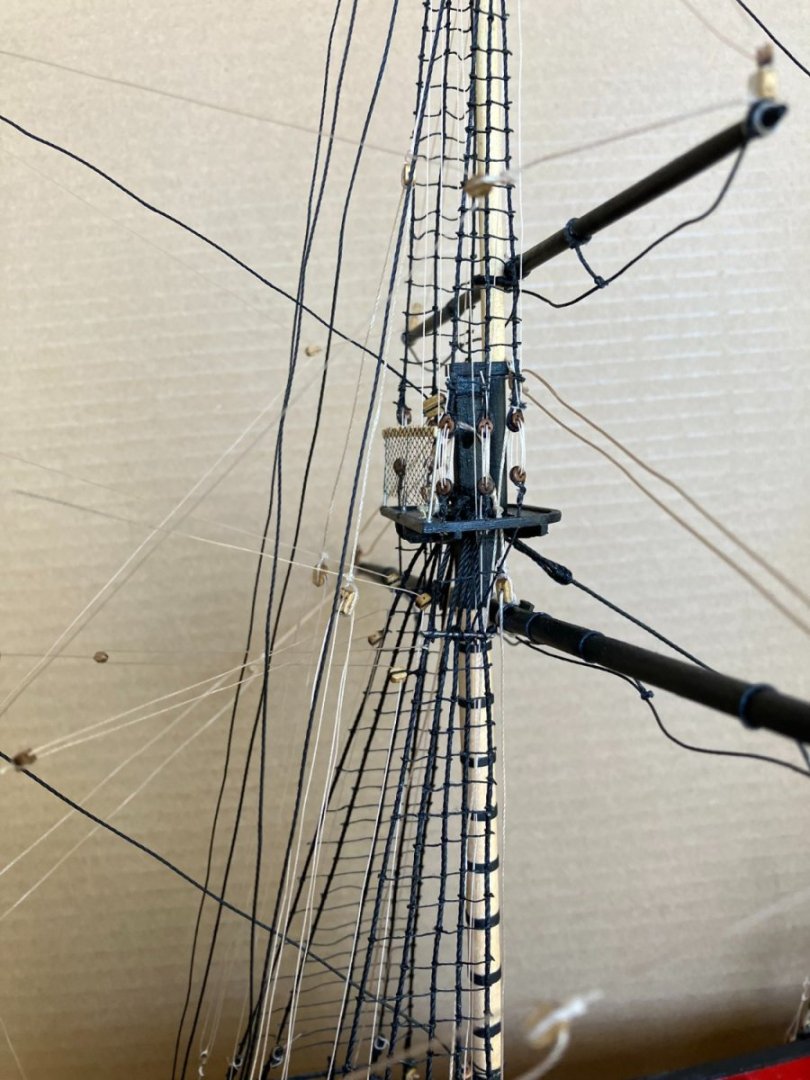
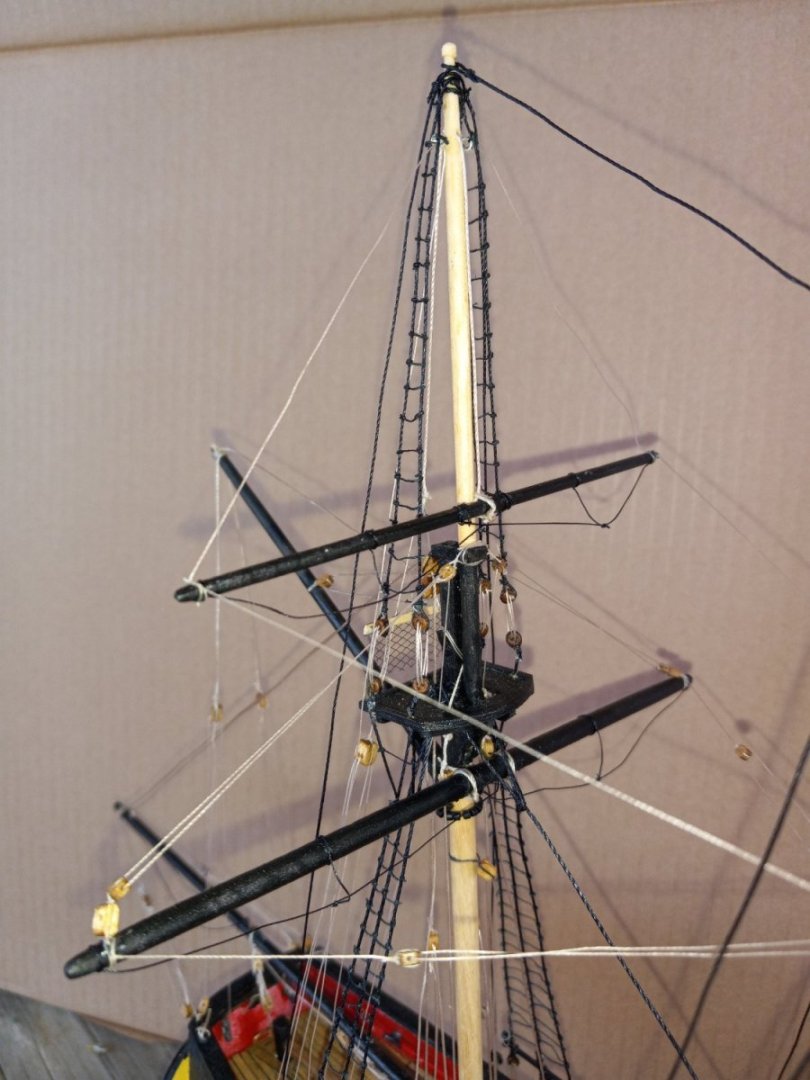
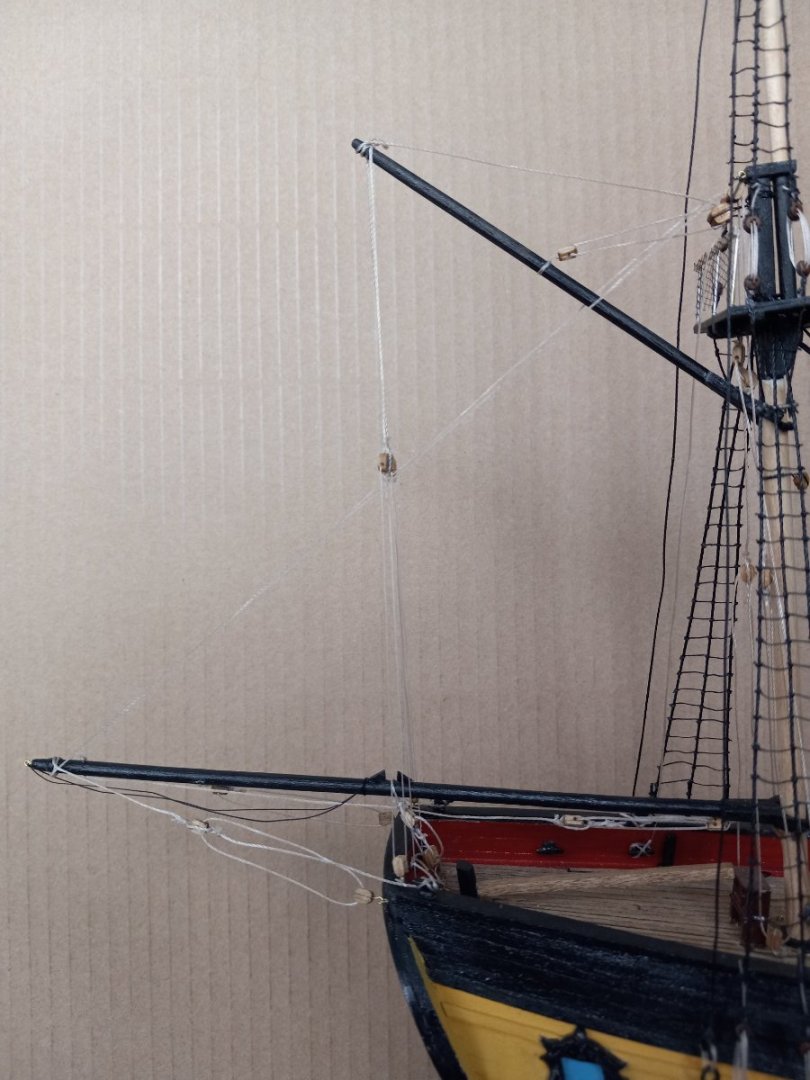
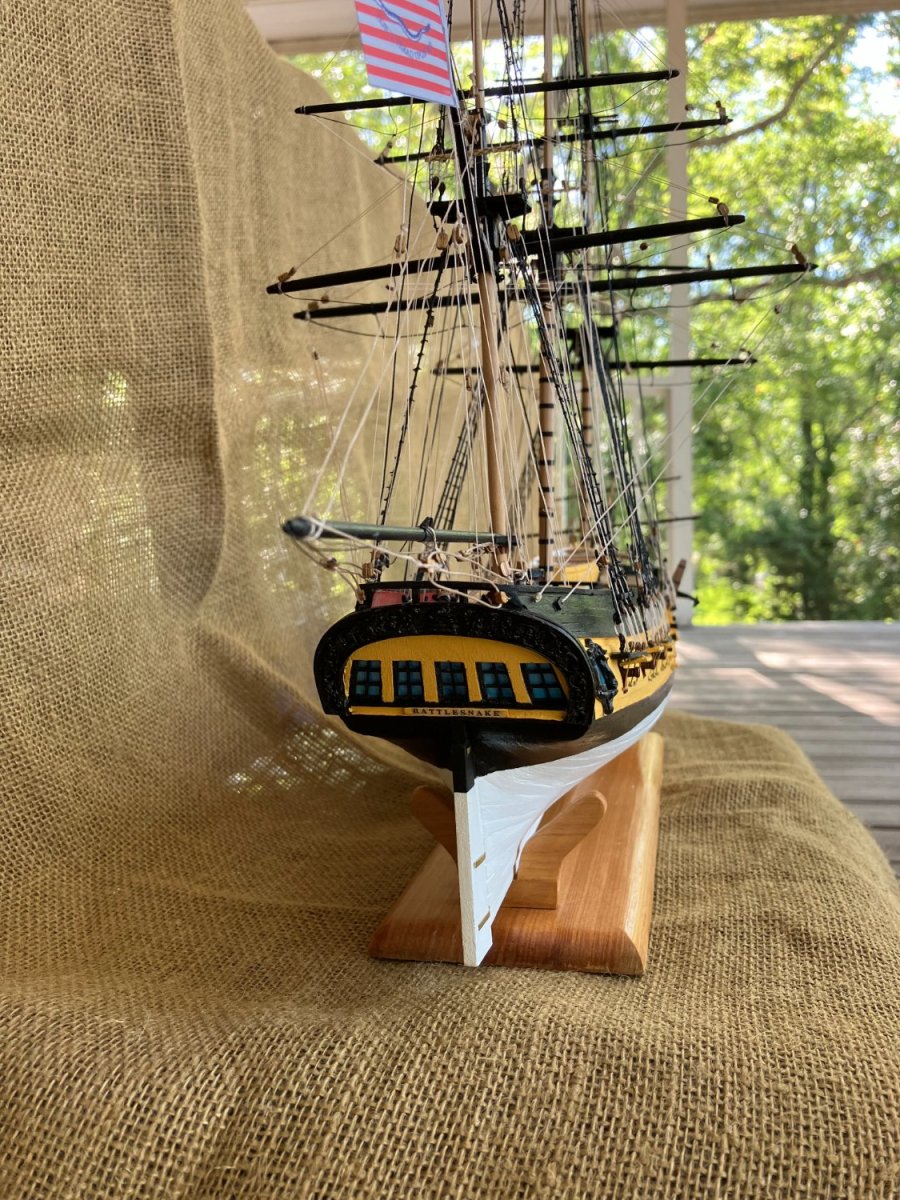
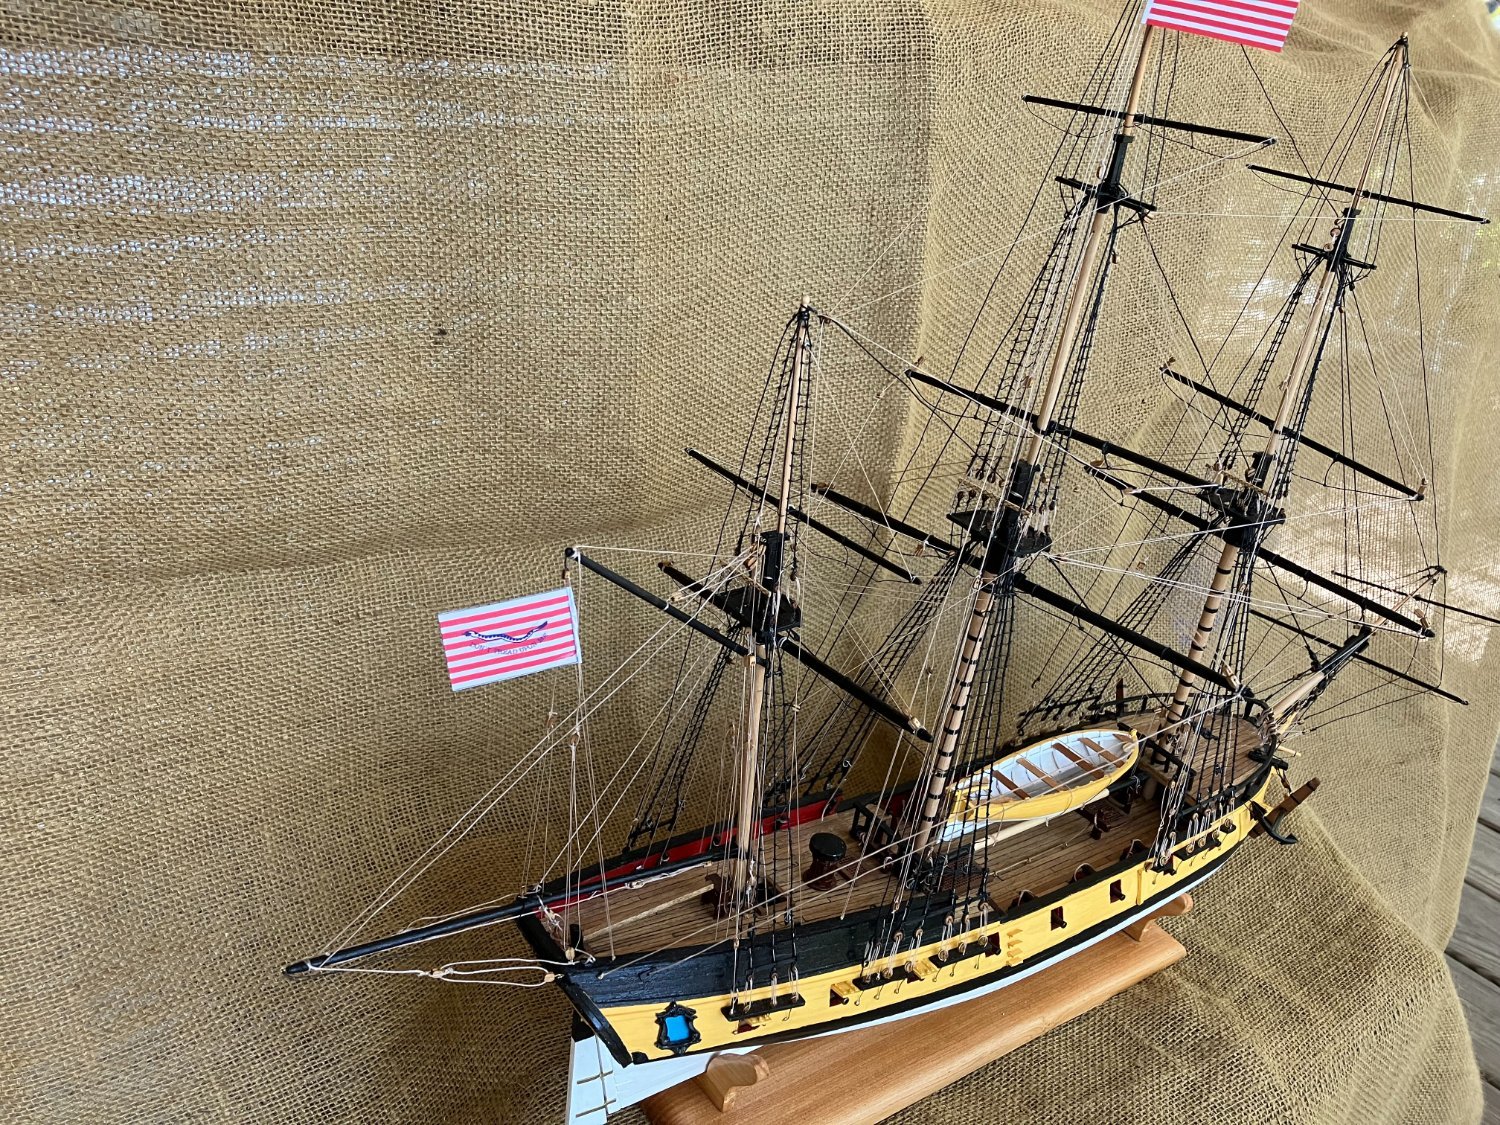
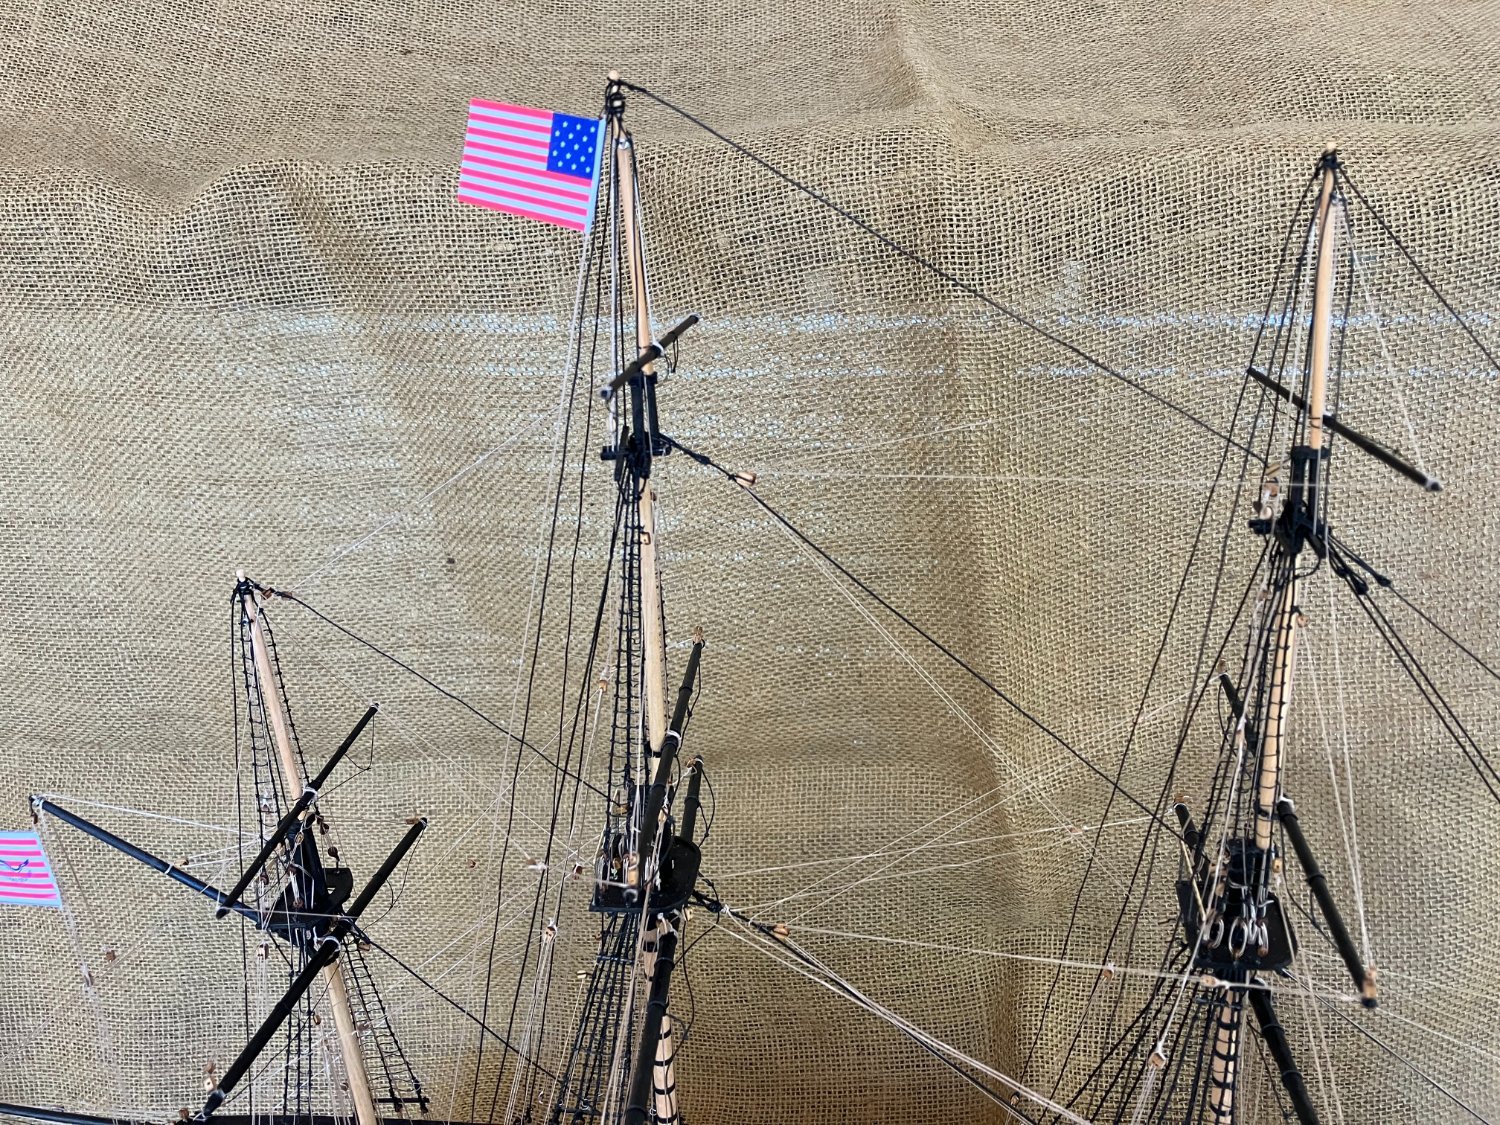
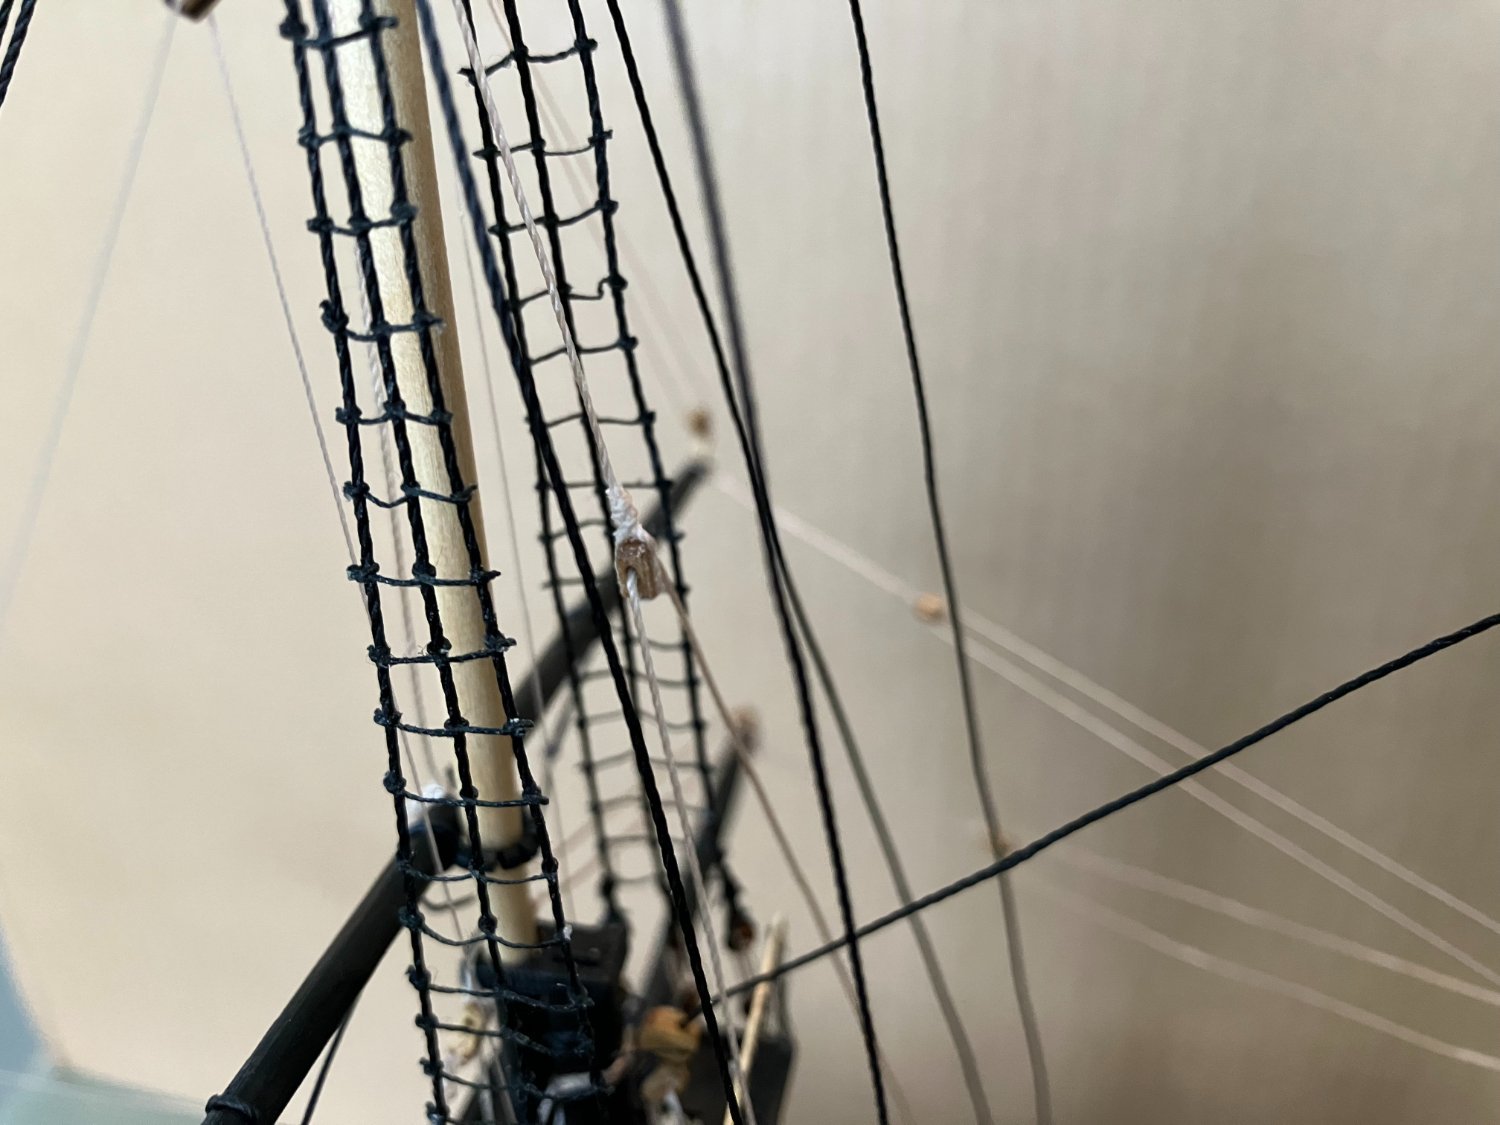
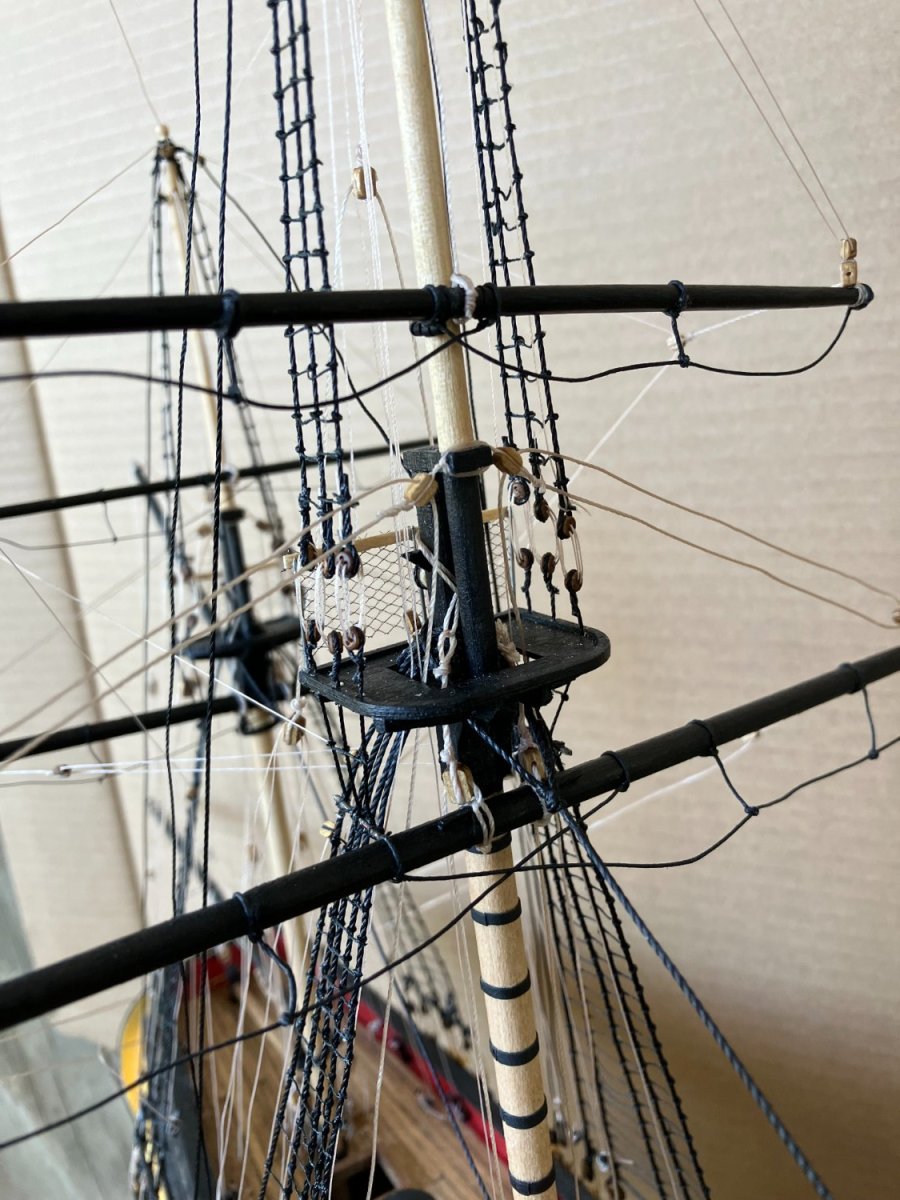
Milestone!! All the rigging is complete. The fore topgallant yard: Overview shots: My gosh - It actually looks like a ship model. I have a short punch-list to do and it will be finished. Ship's Name Rope Coils Flags Steps Bumpkins. Comments welcome - Kenneth


- 152 replies
-
- 8
-
-
-
- rattlesnake
- Model Shipways
- (and 1 more)
-
True Gregory. Because it's scratch built it's an opportunity to be creative and still be historically accurate. - Kenneth
-
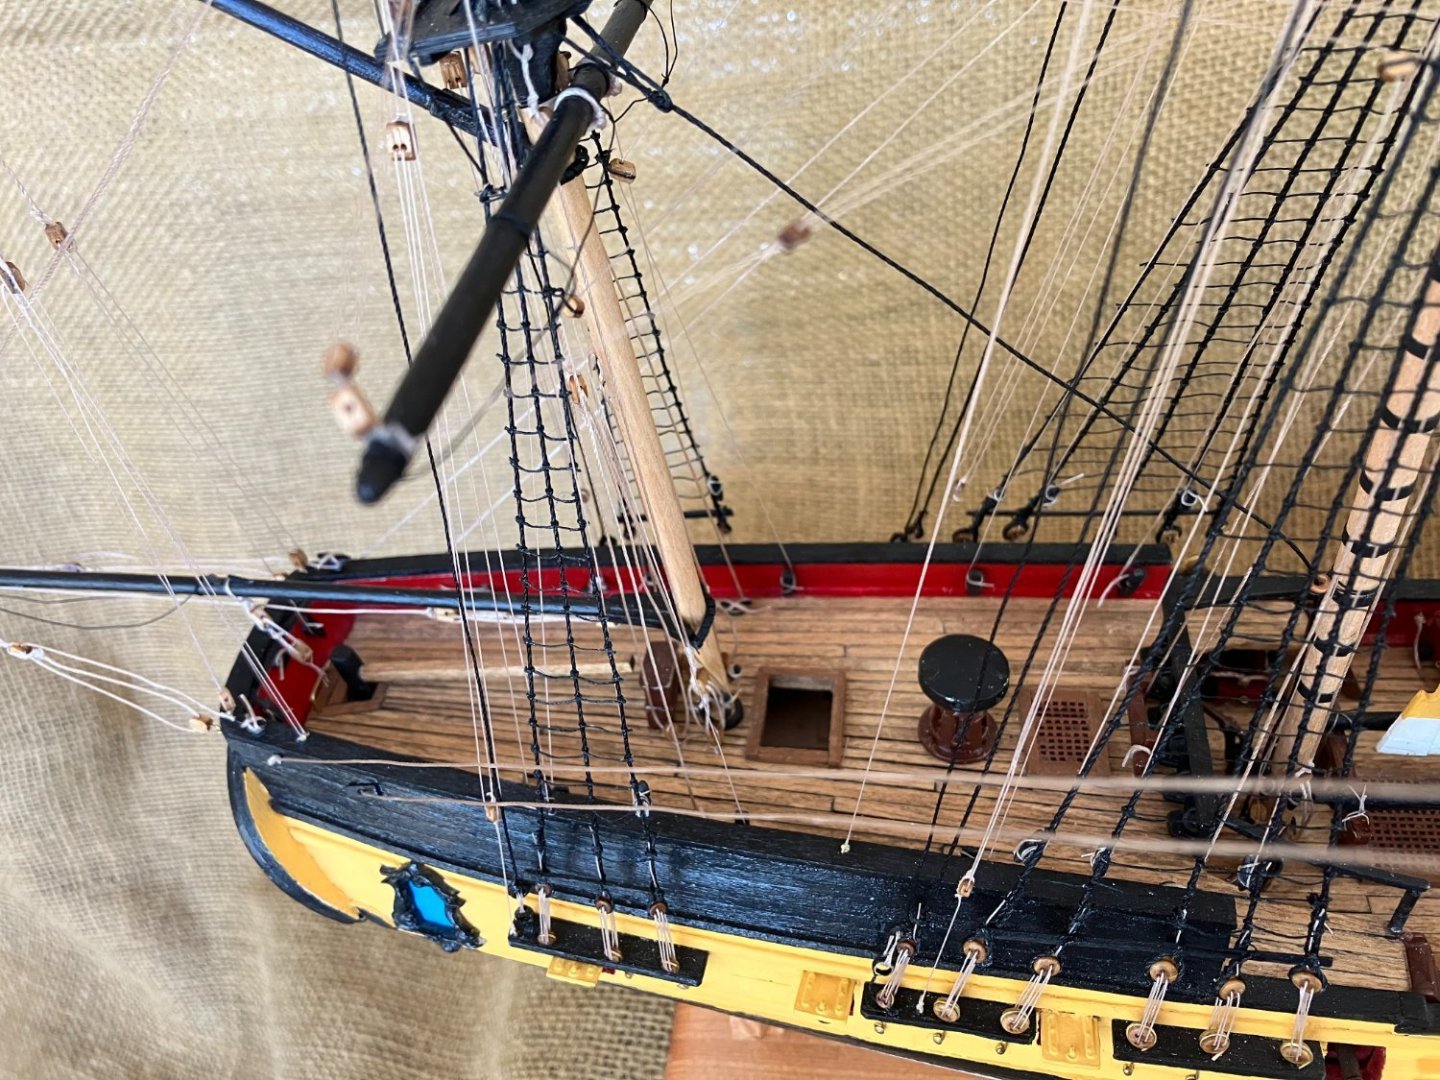
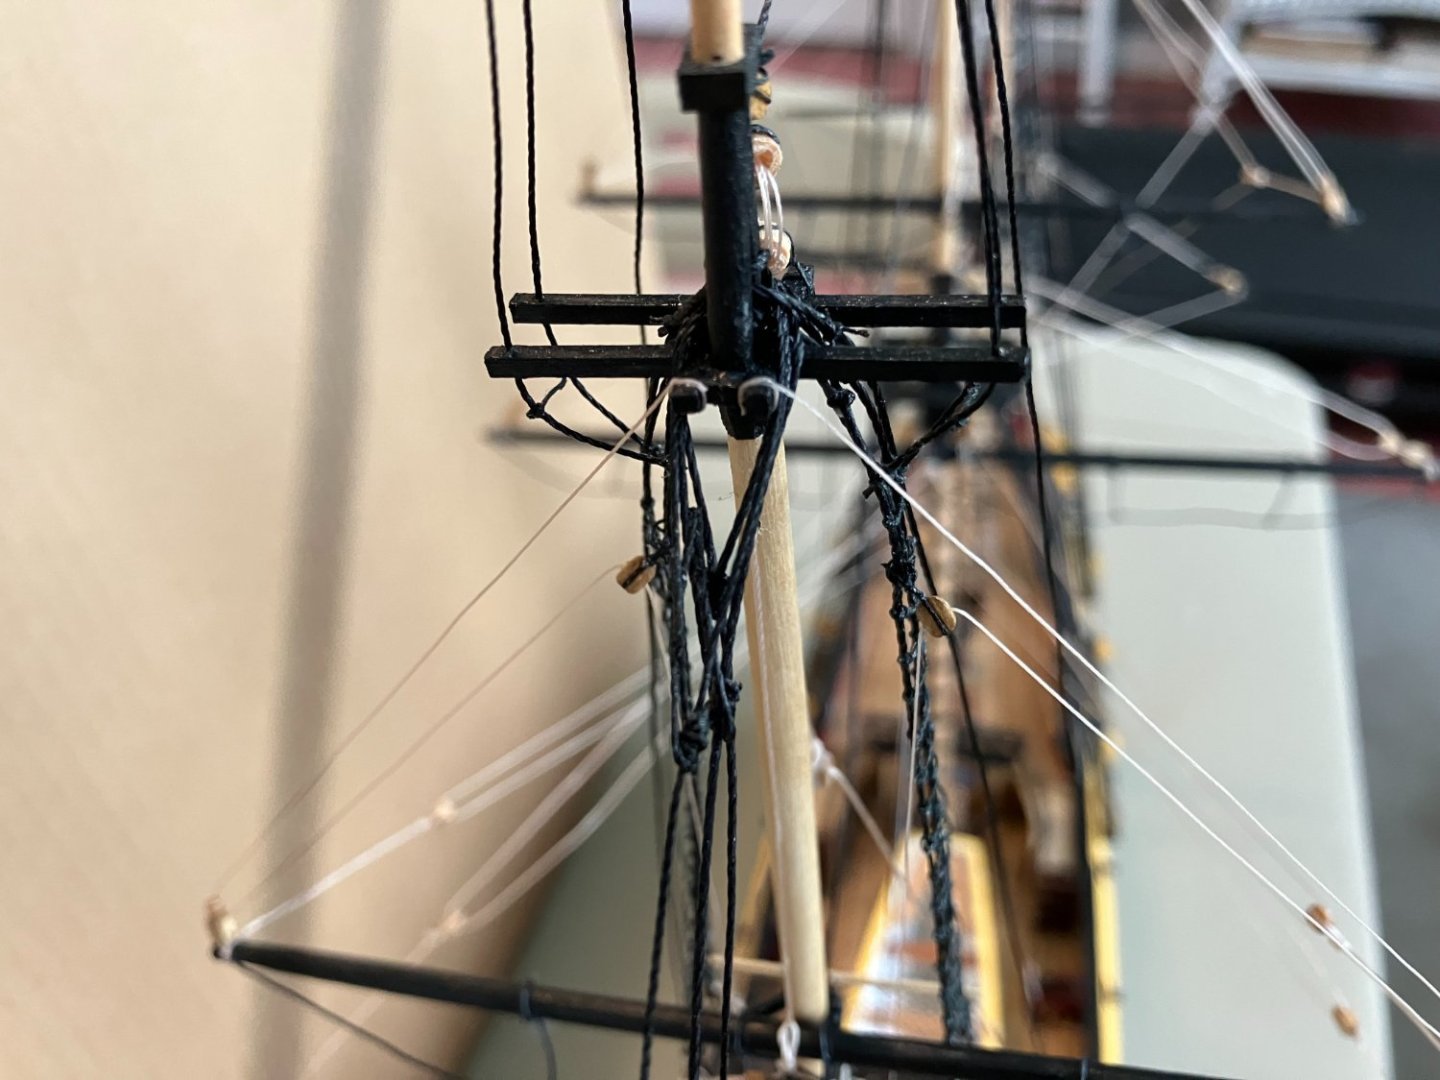
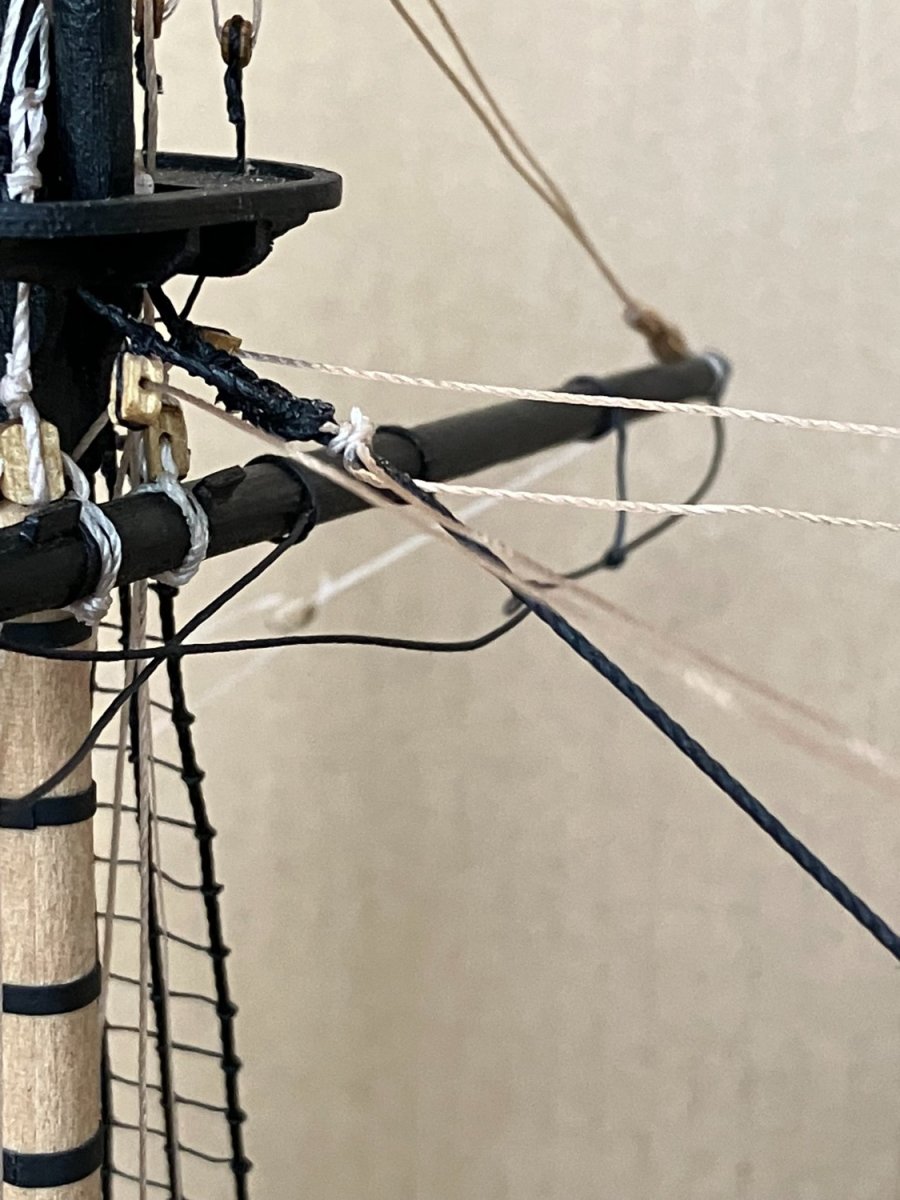
Yup, Gregory, all their money is gone. I finished the Fore Topsail yard: I tied the above block upside down at first. The rigging was already through the right side and I was in a dilemma. Removing everything from the yard and other attachments was not an option. So I carefully cut the bloc off the stay as close to the stay as possible and flipped it over, then retied in it the correct direction. If you look close enough you can see the remnants of the original attachment. DID NOT want to cut the stay. On the photo below you can see the tiny bumps on the gallows bits representing cleats. I can't believe I got the rigging line around it. On to the final yard, the fore topgallant yard. Comments welcome - Kenneth


- 152 replies
-
- 3
-
-
- rattlesnake
- Model Shipways
- (and 1 more)
-
John - Your model really looks great. Love the color. - Kenneth
-
Thanks, Woodshipguy for looking in and commenting. Today is wet and dreary, can't work outside so I'll finish the fore topsail yard - I hope. - Kenneth
- 152 replies
-
- 1
-
-
- rattlesnake
- Model Shipways
- (and 1 more)
-
Ed - The same thing happened to me. I used a finishing nail just long enough to reach and hold the piece in place. I predrilled a very small hole and ground off the head and used liberal amounts of glue. After driving and counter sinking the nail, I clamped and rubber banded everything together and checked alignment. It was a very nervous time. Those deck beams on the bulkheads are also fragile. I think I popped 3 of them. - Kenneth
-
Thanks, Rollingreen for looking in and commenting. Your build is really looking good. It really is something how the same materials and instructions can yield different results from different people. This works for model ship kits and everything in life - each with our own perspective. Thanks - Kenneth
- 152 replies
-
- 2
-
-
- rattlesnake
- Model Shipways
- (and 1 more)
-
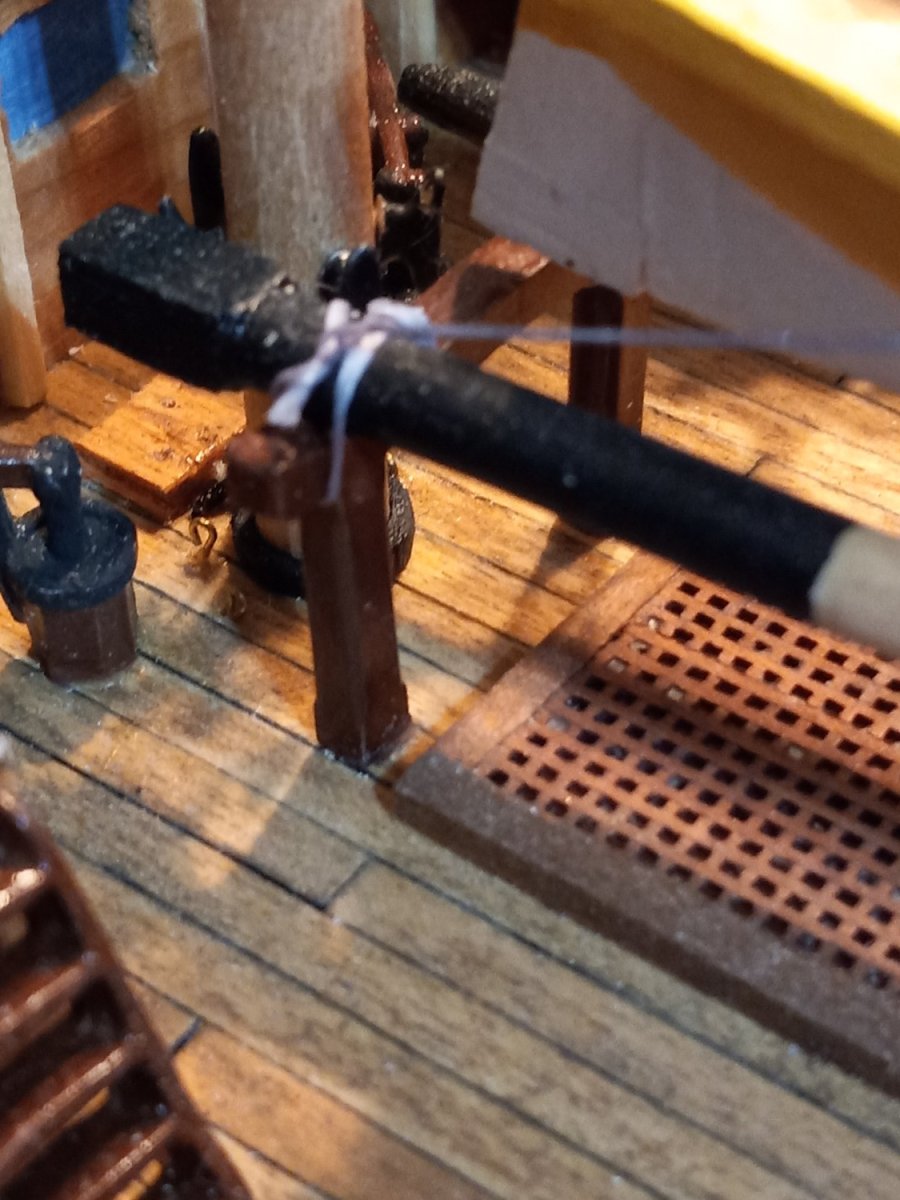
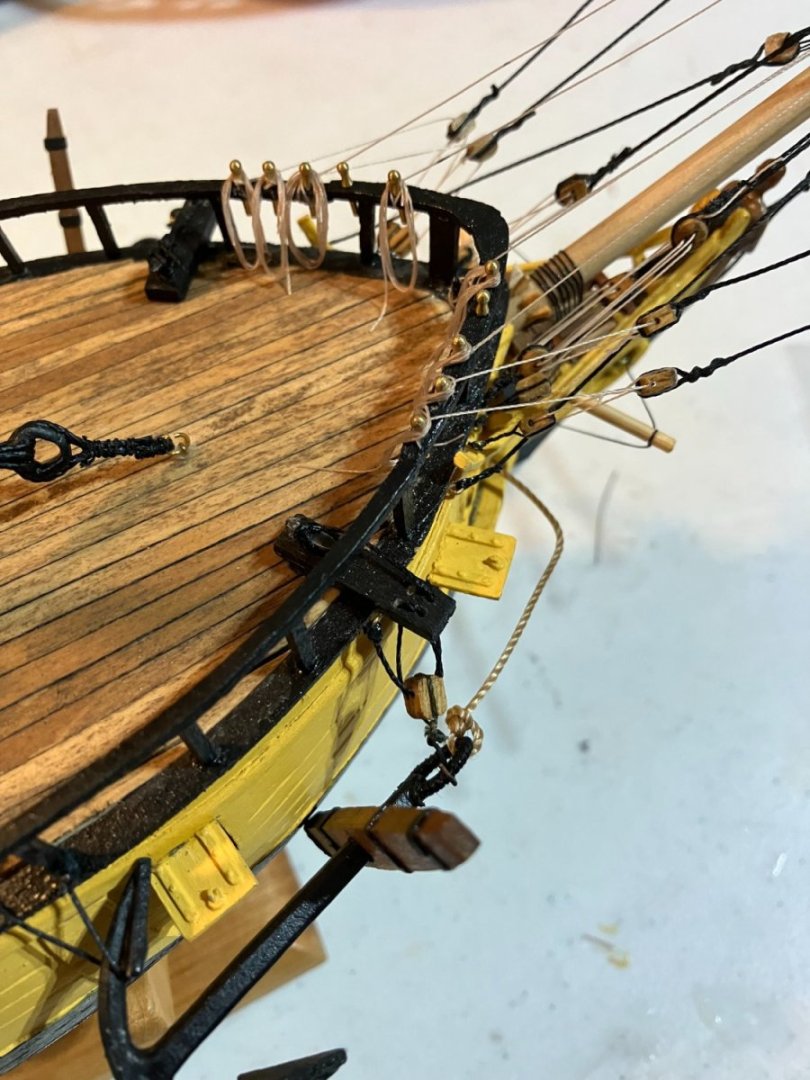
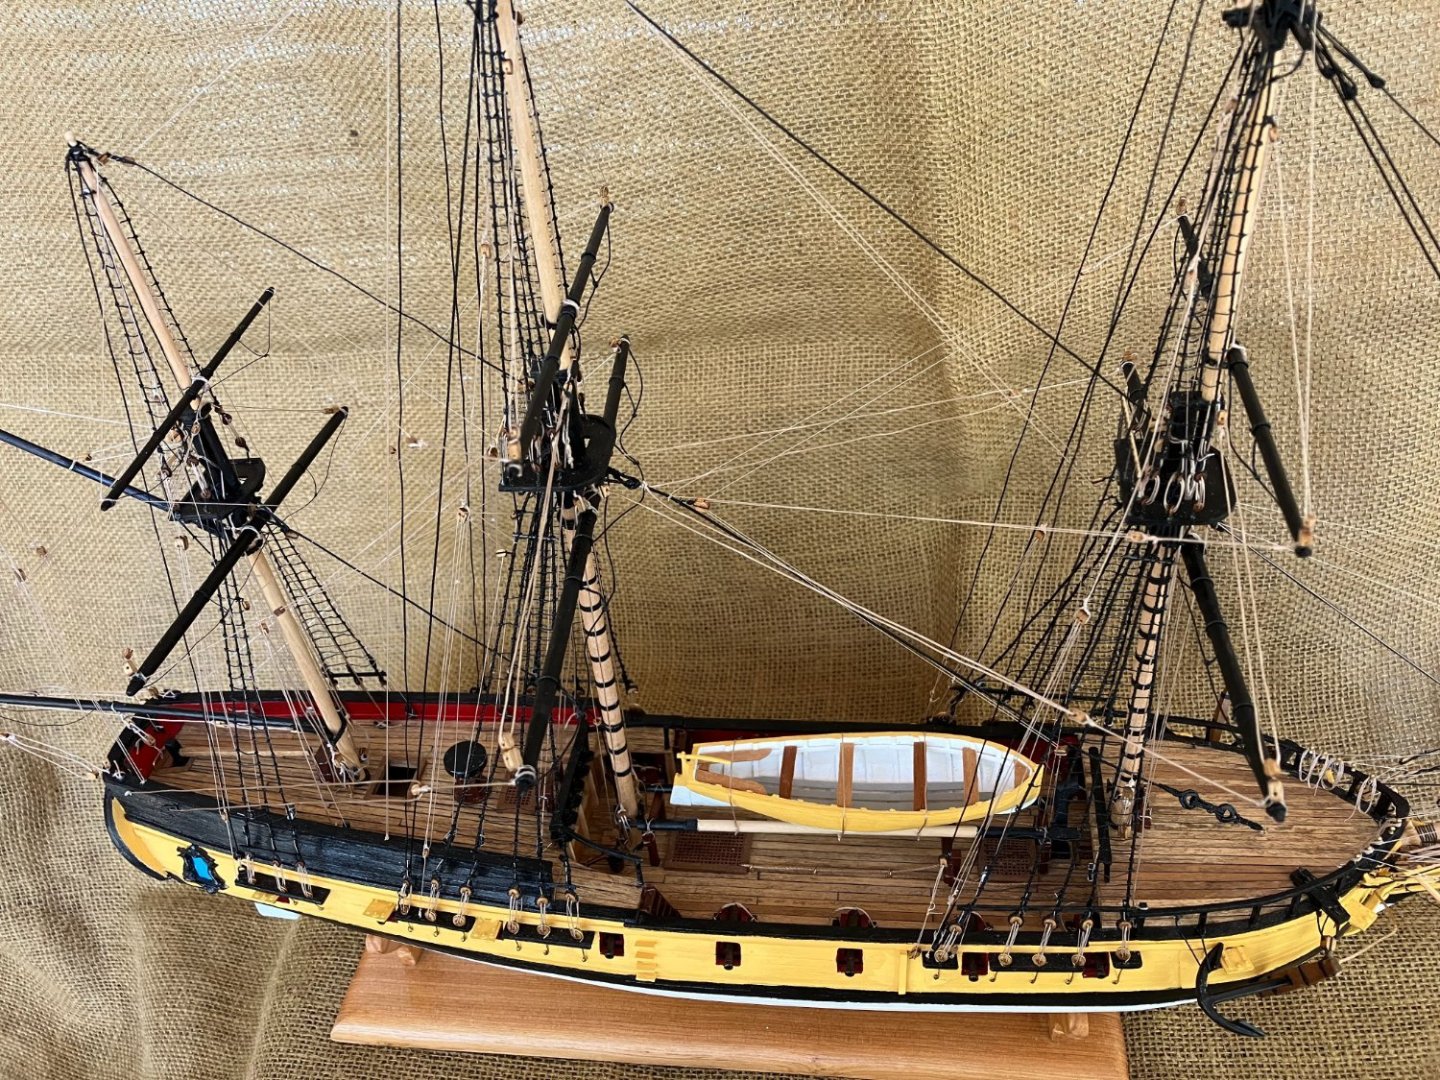
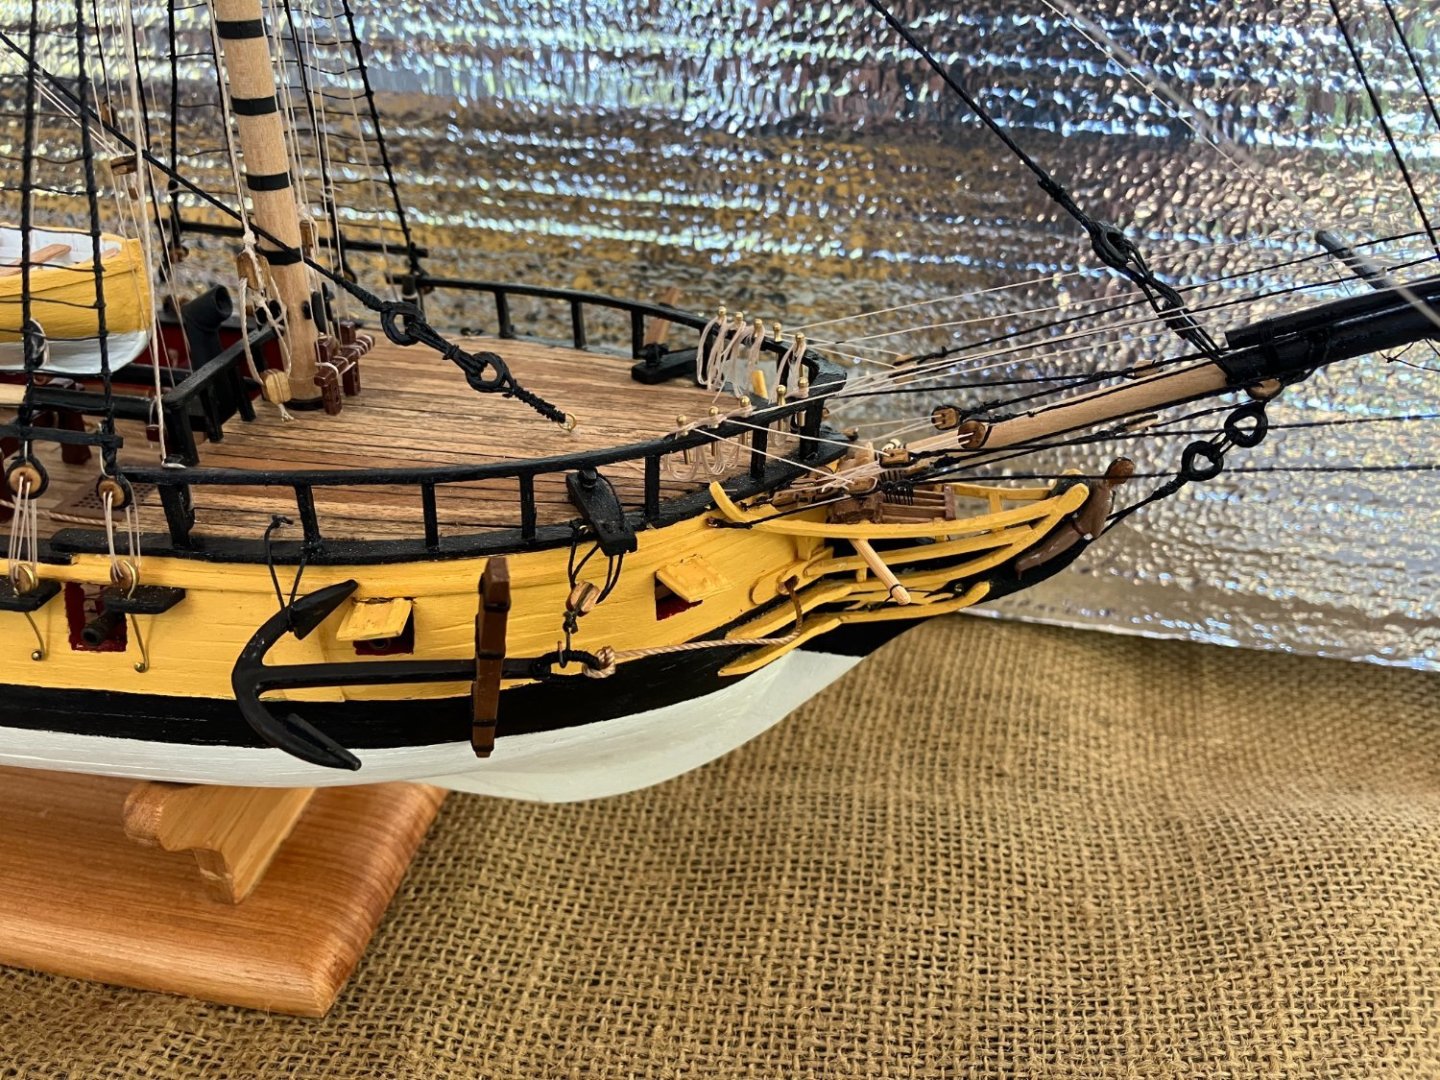
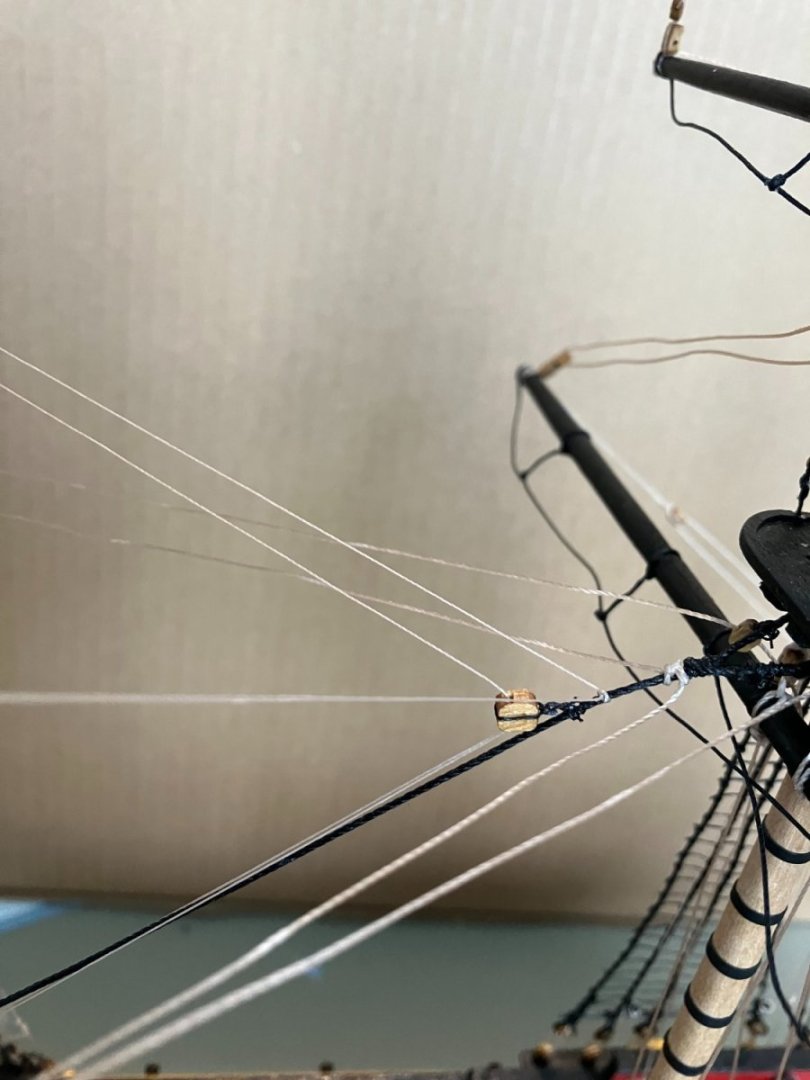
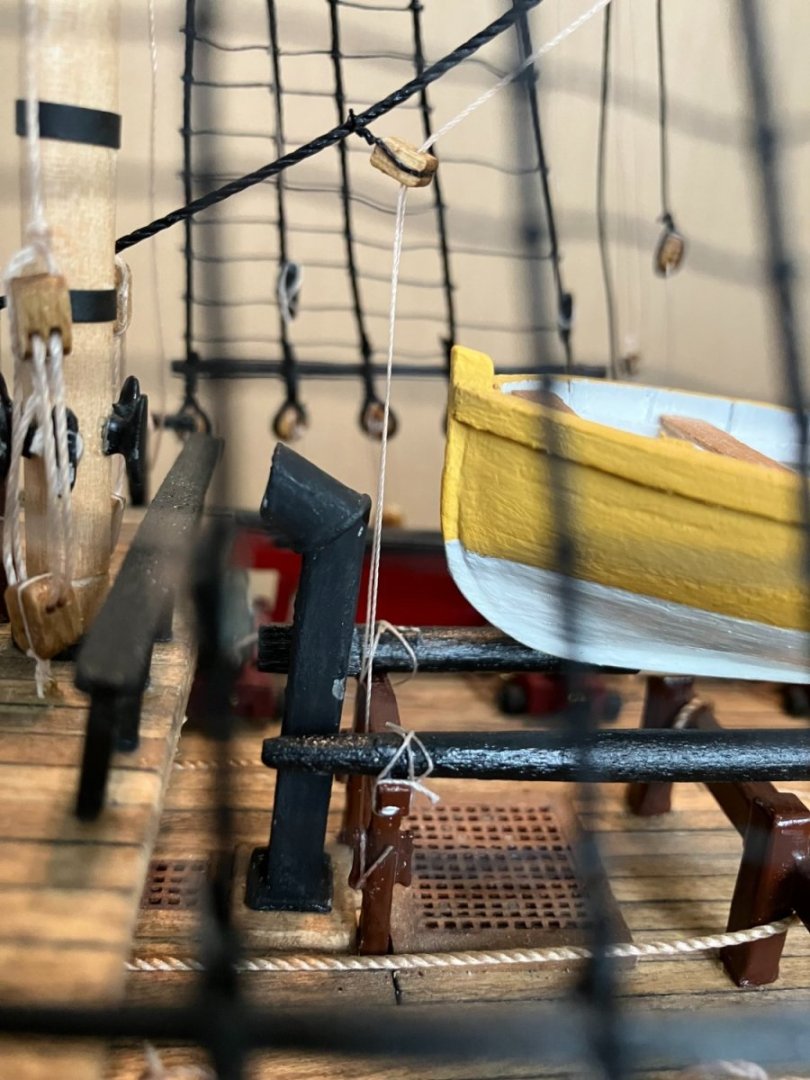
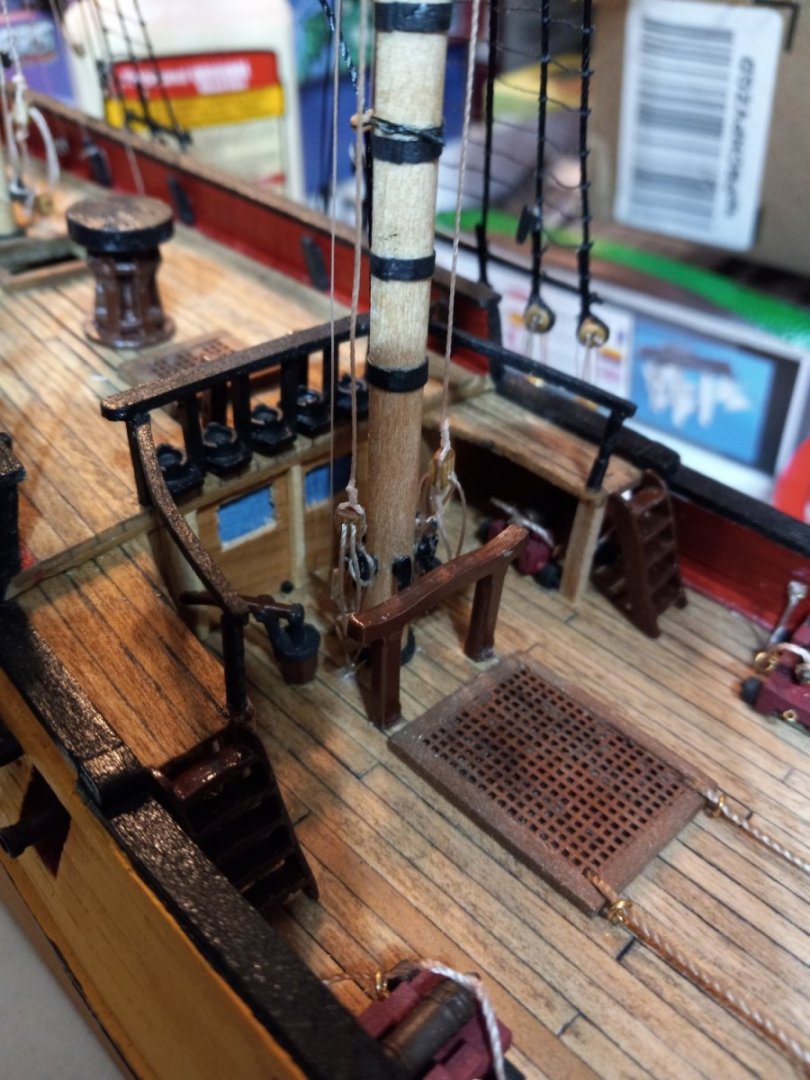
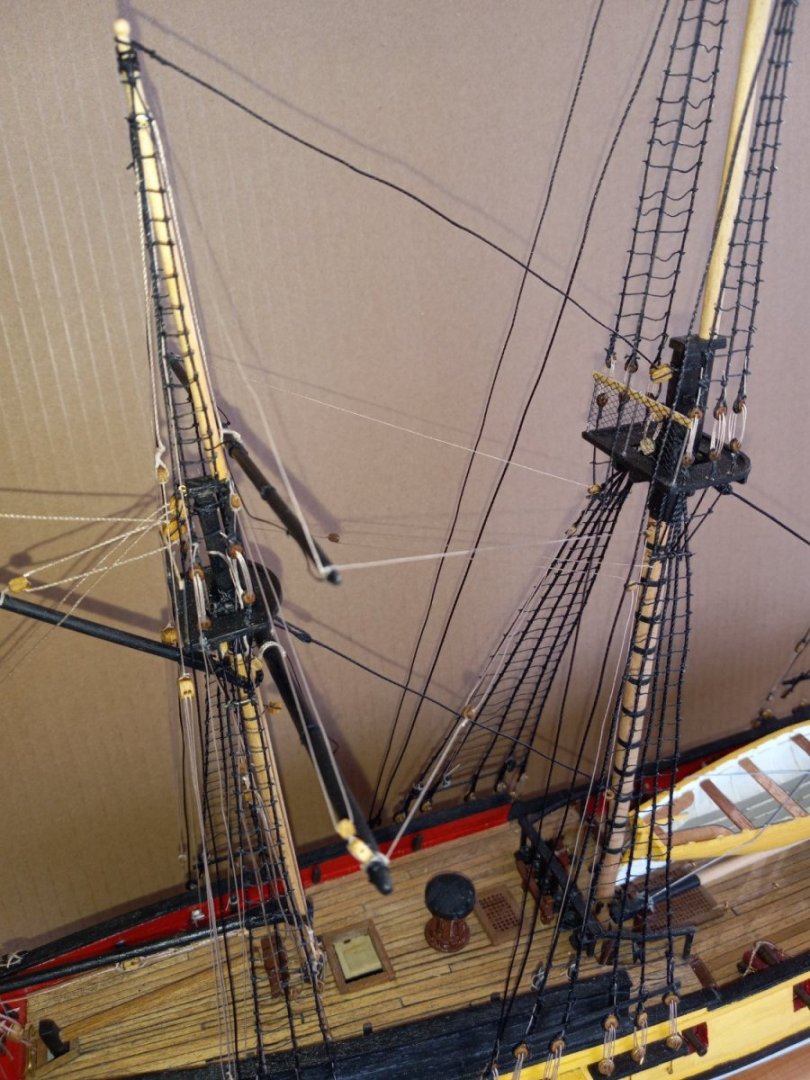
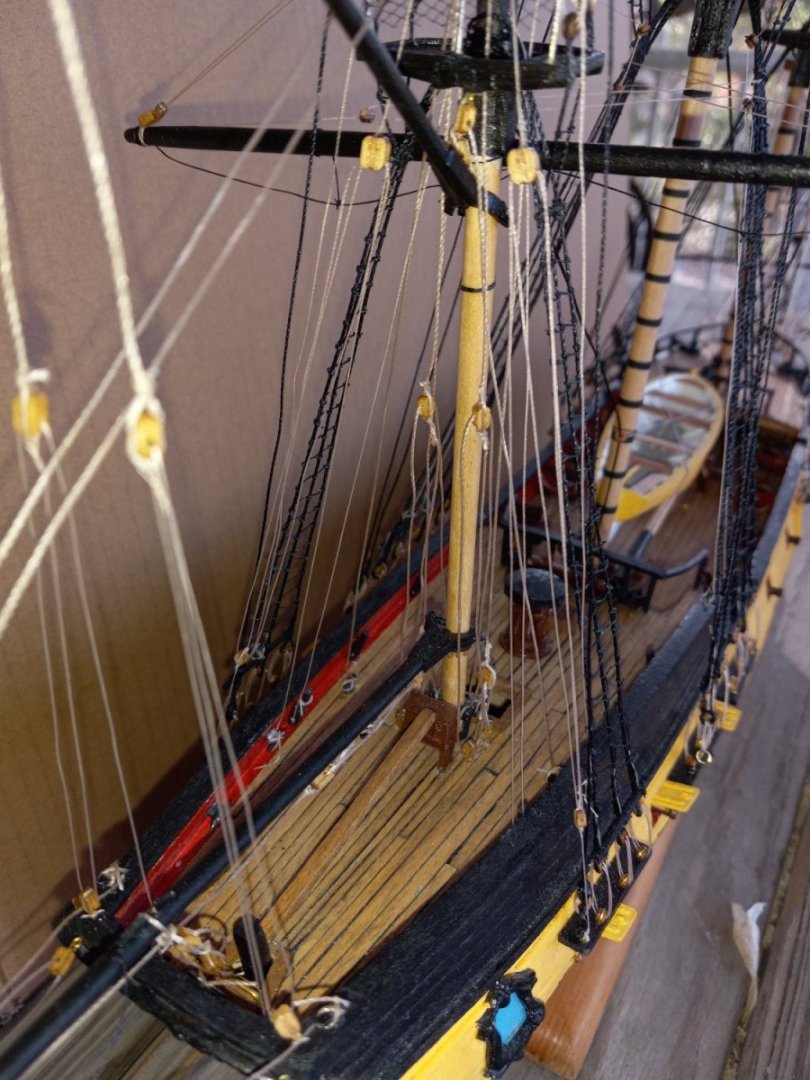
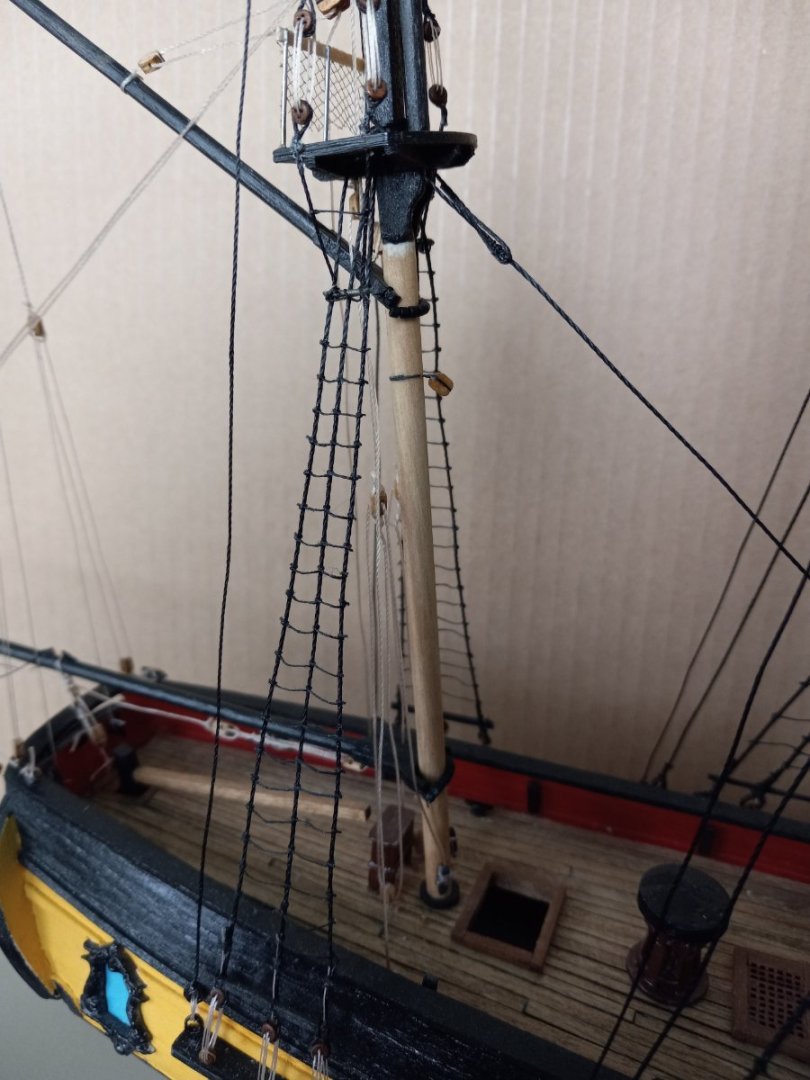
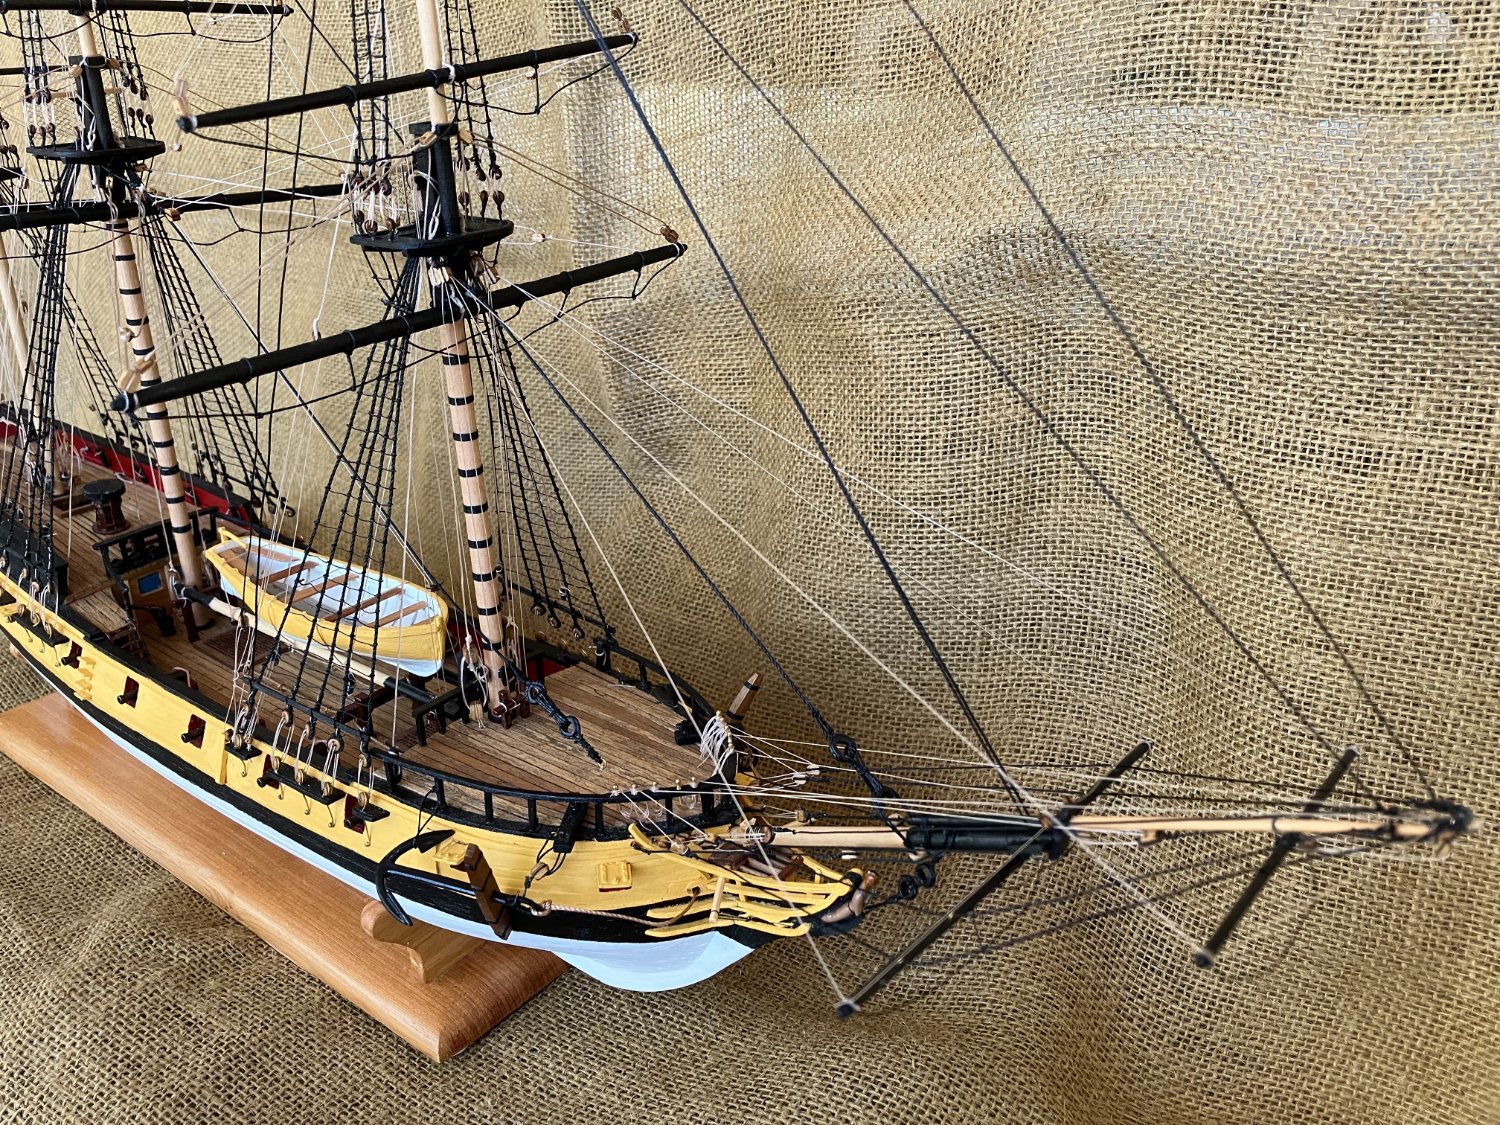
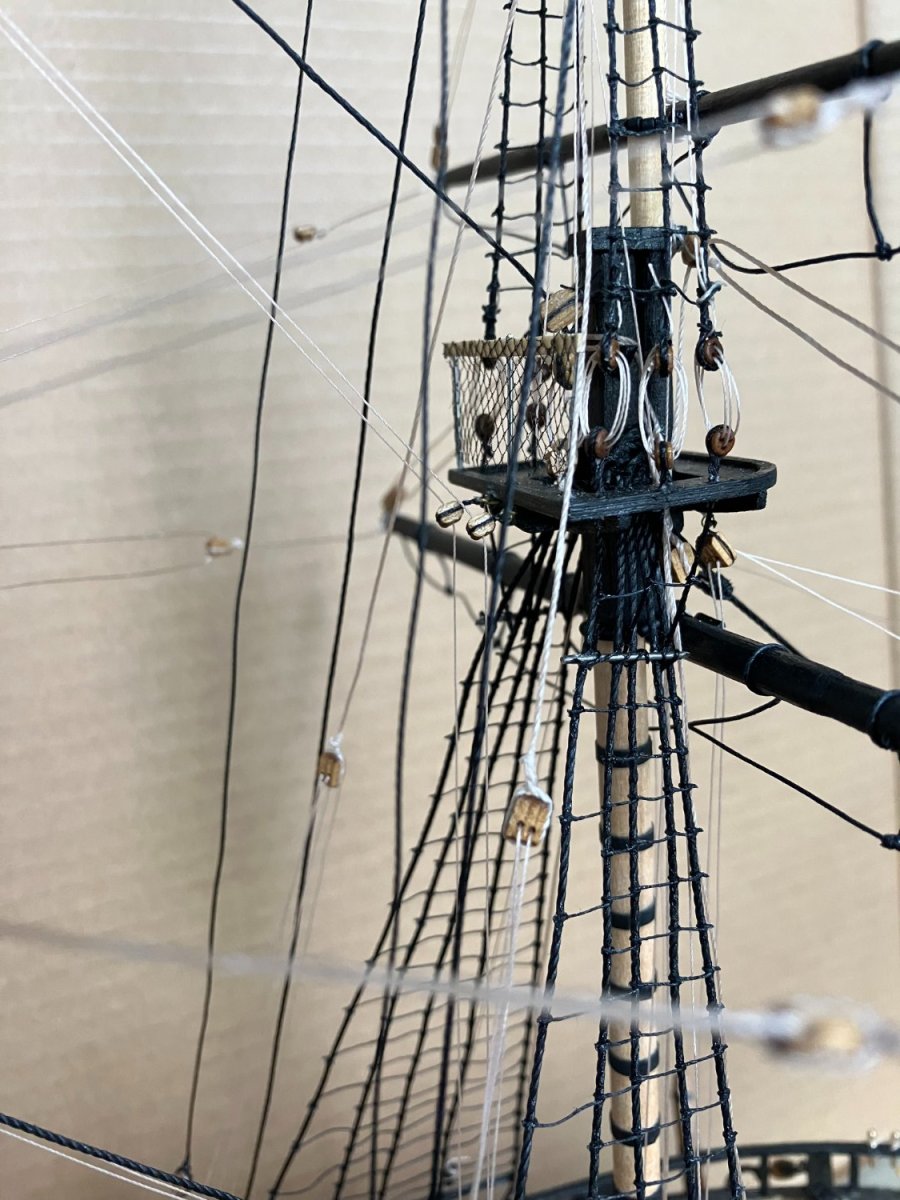
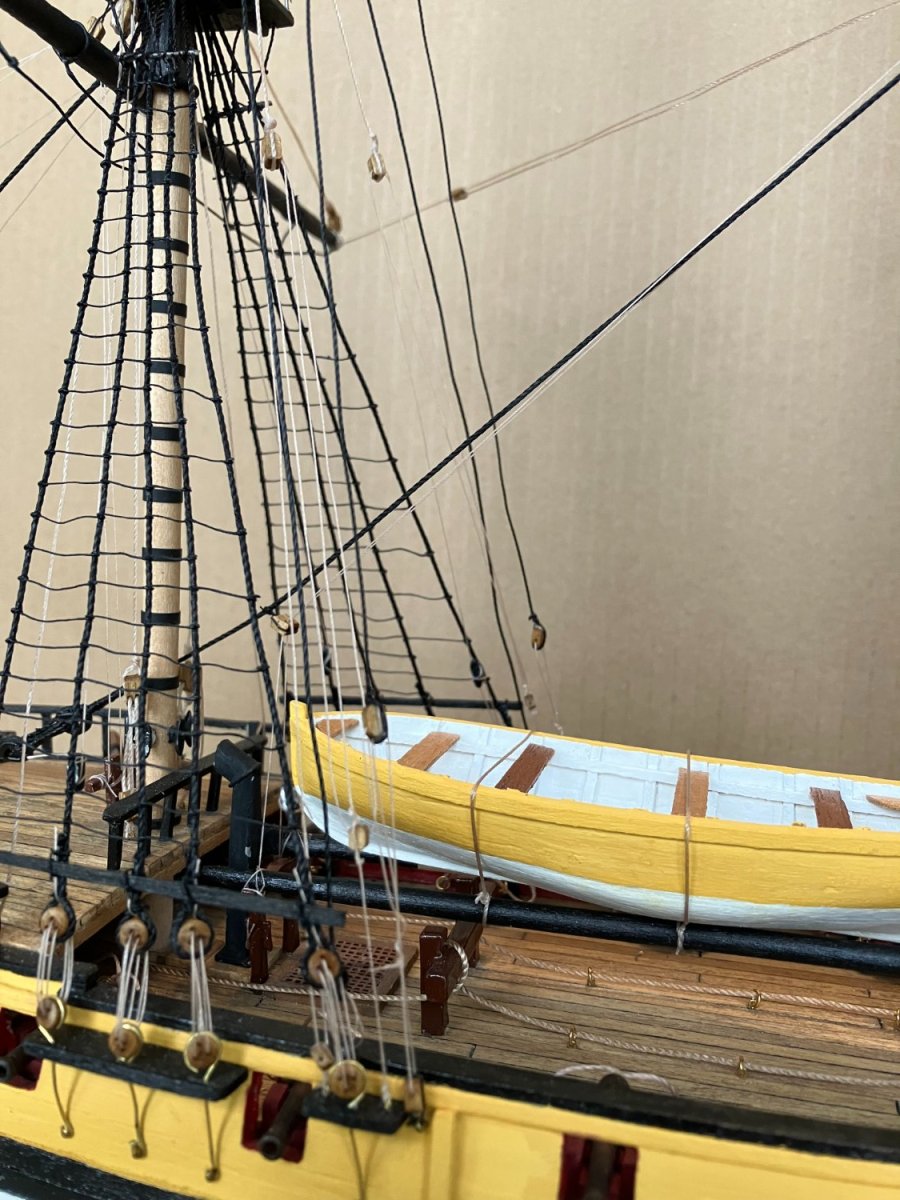
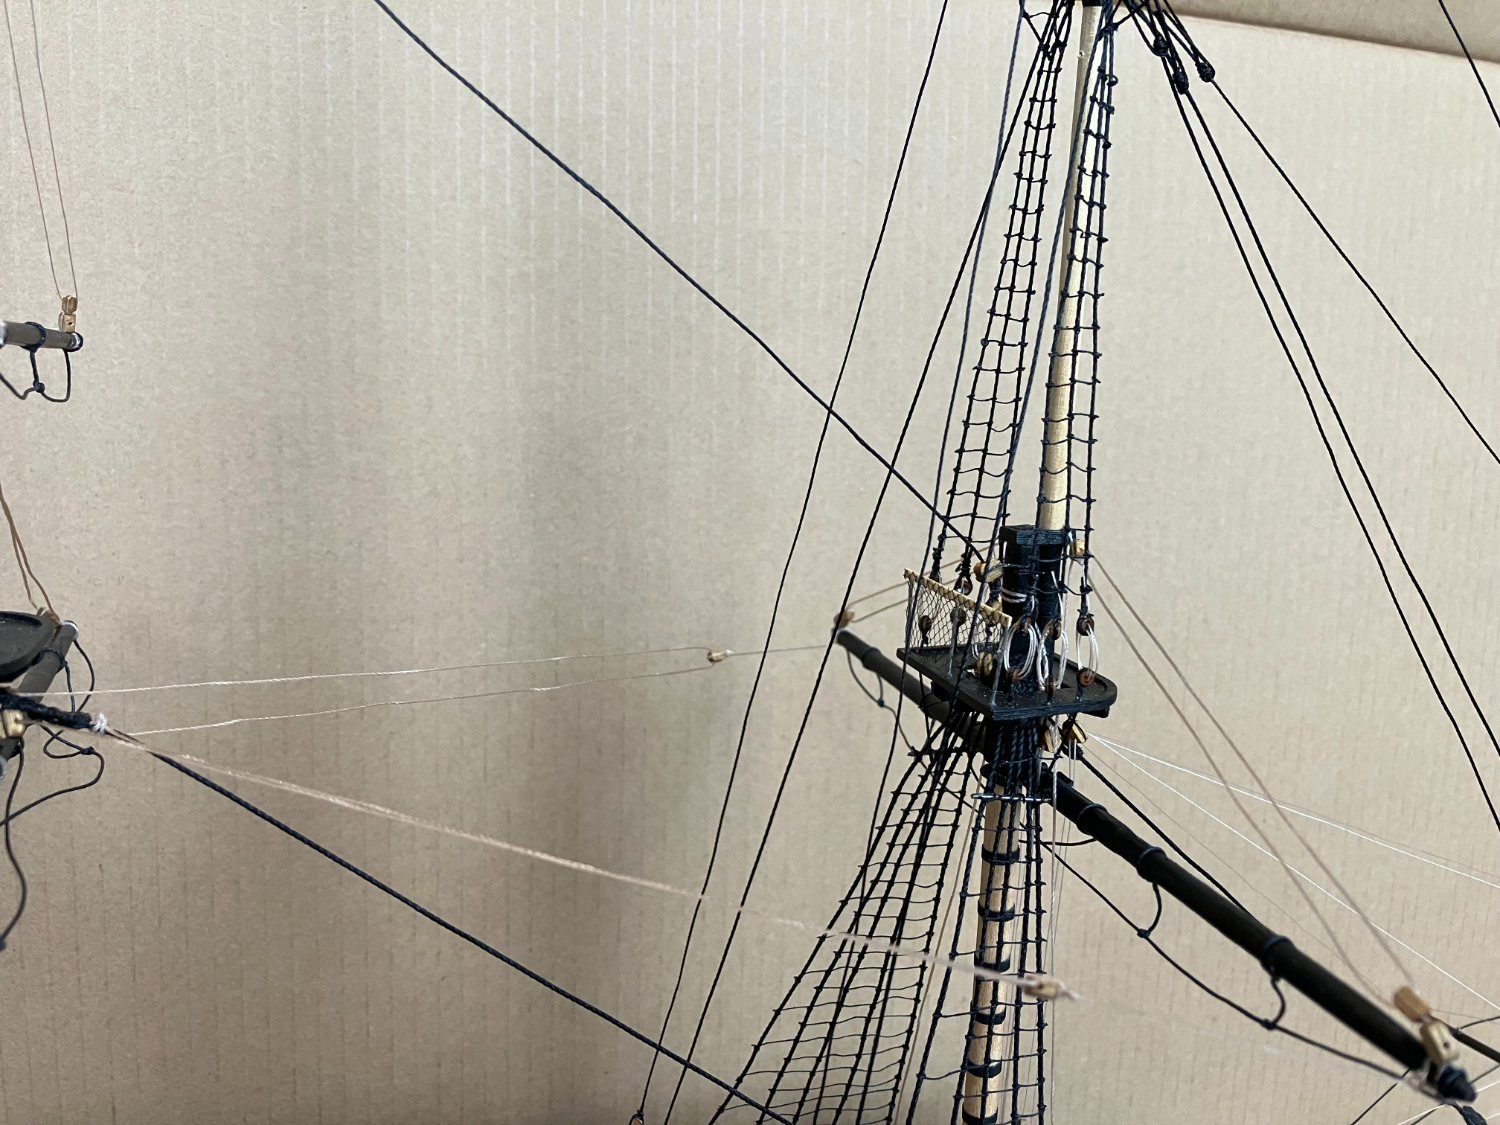
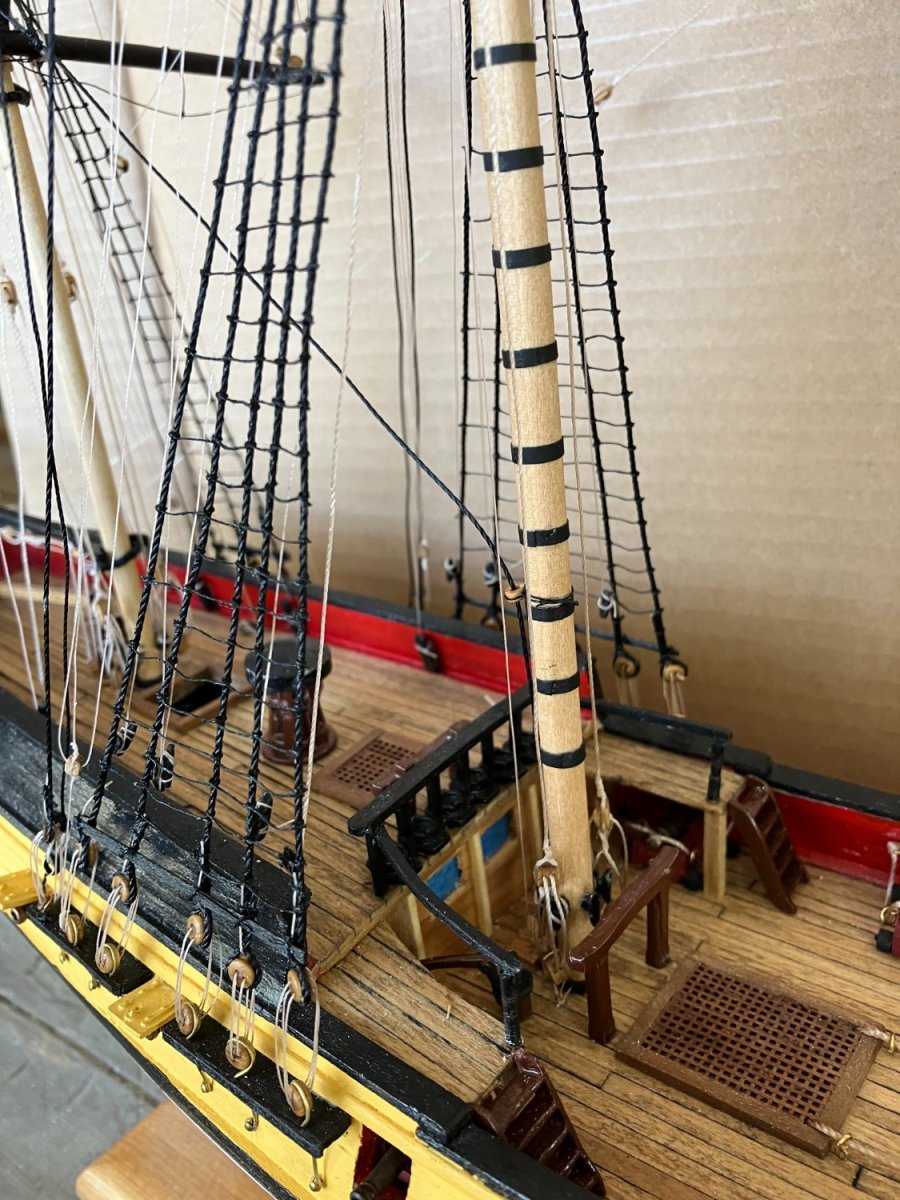
Thanks Ed - Yes, it seems to be wrapping up. Two more spars and a short punch list to go. No stain on the masts, just testors dullcote lacquer on the sanded wood. Here's a shot of the rigging at deck level, it shows the newly added kevel: I also put the boat back in its home. Comments welcome - Kenneth

- 152 replies
-
- 6
-
-
- rattlesnake
- Model Shipways
- (and 1 more)
-
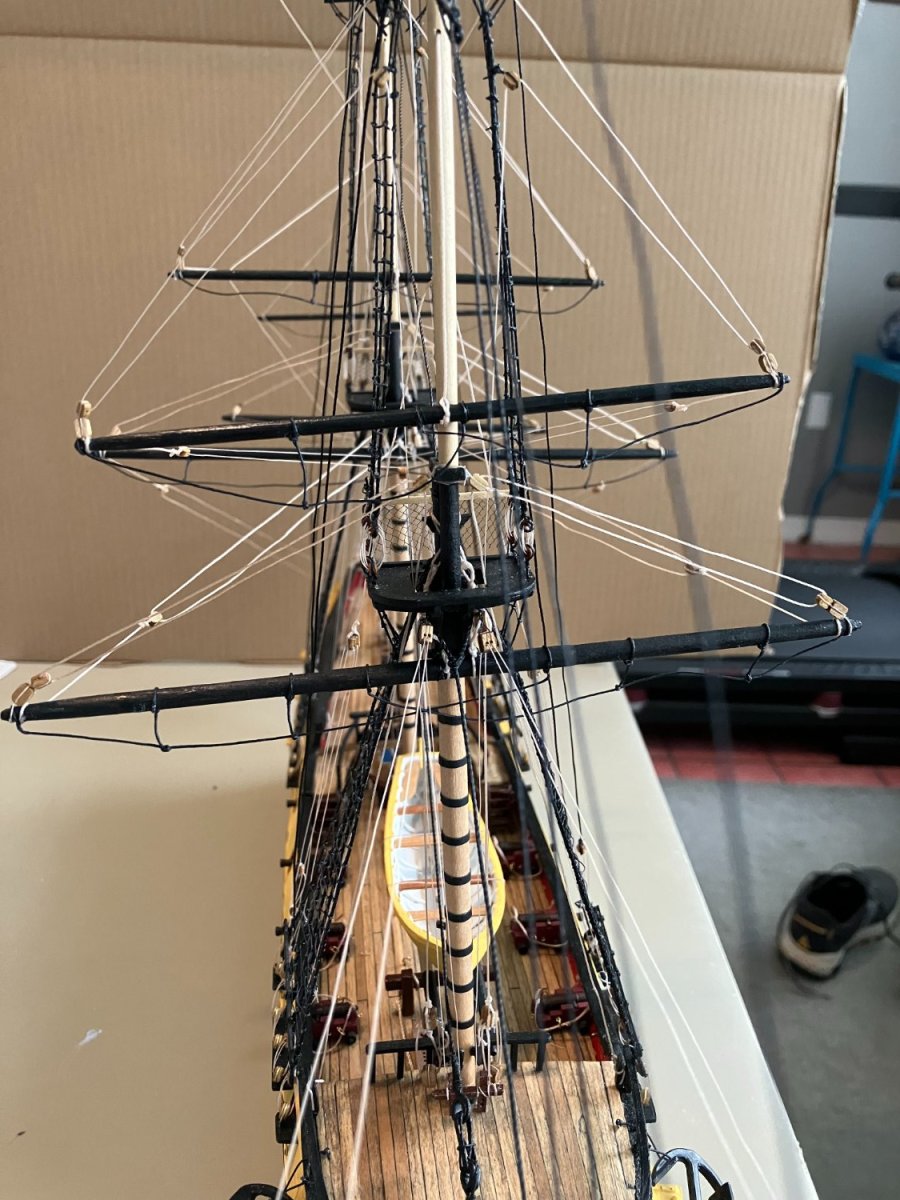
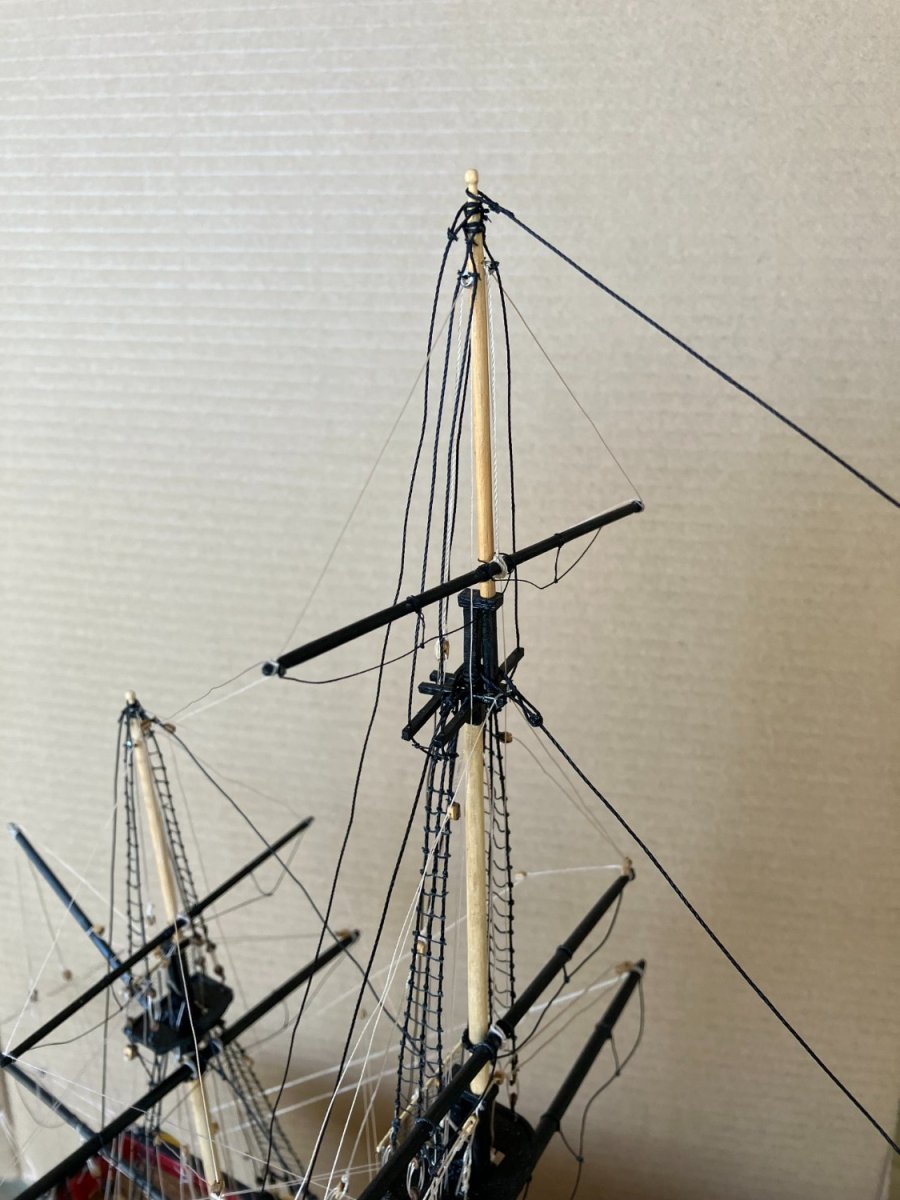
Hello Everyone - I've decided to change things up a bit and build one spar at a time, install, then photograph. So, here is the foresail yard: There's rigging tied to the rigging! On to the fore topsail yard. Comments welcome - Kenneth


- 152 replies
-
- 4
-
-
-
- rattlesnake
- Model Shipways
- (and 1 more)
-
It does seem like when I install a set of lines another set goes slack. I guess we all have to hit synchronicity. - Kenneth
- 152 replies
-
- 1
-
-
- rattlesnake
- Model Shipways
- (and 1 more)
-
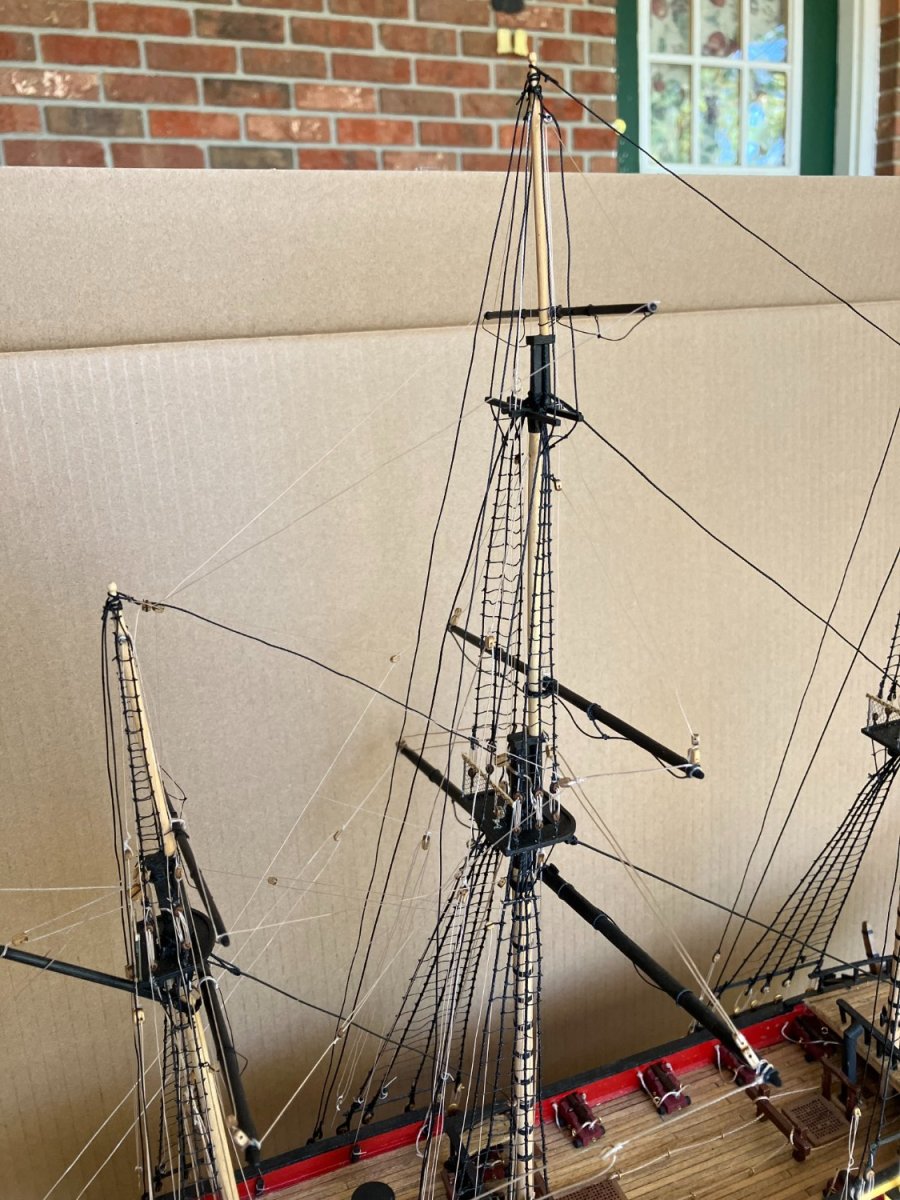
Main mast spars are done. On to the foremast spars. Comments welcome - Kenneth


- 152 replies
-
- 5
-
-
- rattlesnake
- Model Shipways
- (and 1 more)
-
I certainly echo all of the 'Congratulations' and 'Excellent Build' - Kenneth
- 53 replies
-
- 2
-
-
- rattlesnake
- model shipways
- (and 1 more)
-
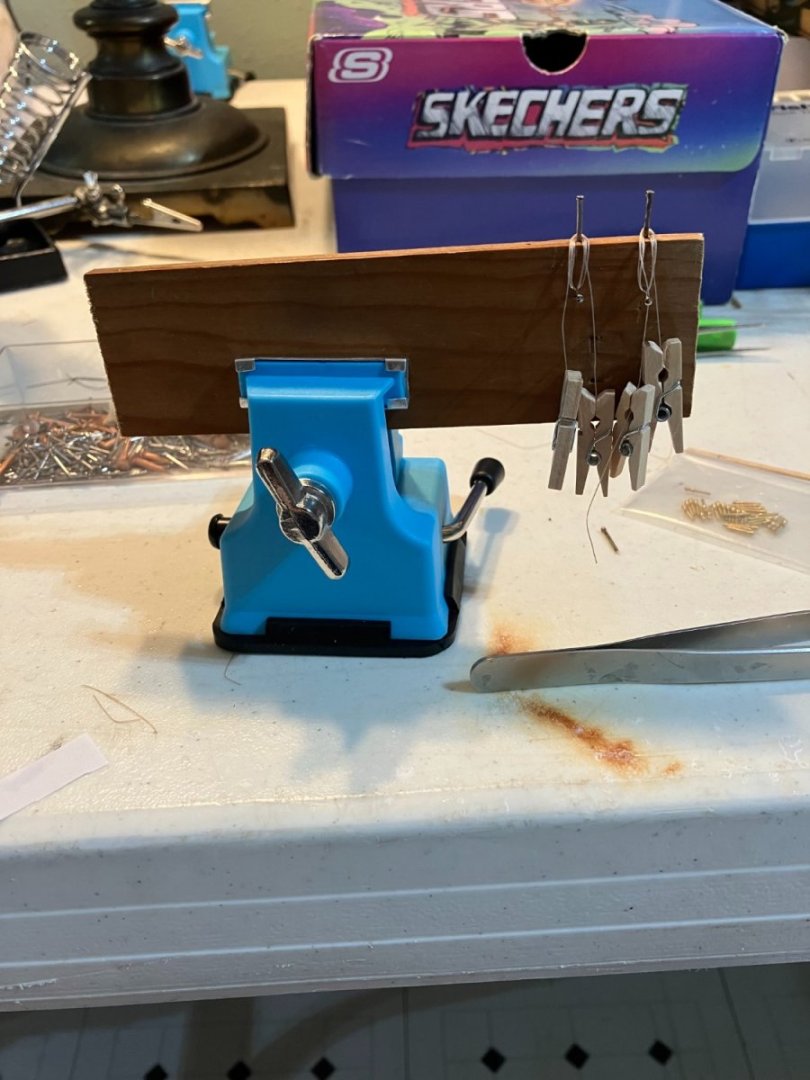
Main mast spars ready - I think This little vice really helps. The Admiral got them for me years ago in a two-pack This is a very small space to attach blocks So I had to remove the boat to get in there. Work is proceeding. I'll take more photos and post as I go along. The light at the end of the tunnel is getting bigger. Er, Maybe I shouldn't go to the light. Comments welcome - Kenneth
.thumb.jpg.5f301c31fb5d792a0df14ea9ac4fa943.jpg)


- 152 replies
-
- 8
-
-
- rattlesnake
- Model Shipways
- (and 1 more)
-
Thanks, Jim - I thought so. MS and other kit manufacturers consider most builders to be somewhat knowledgeable, so they don't explain every little thing. In their defense, this is not an entry level kit. Thanks, JS - Thank you for all the work to help. The download is very helpful, and I'll use it today. Help like this is why I really like this site. Comments welcome - Kenneth
-
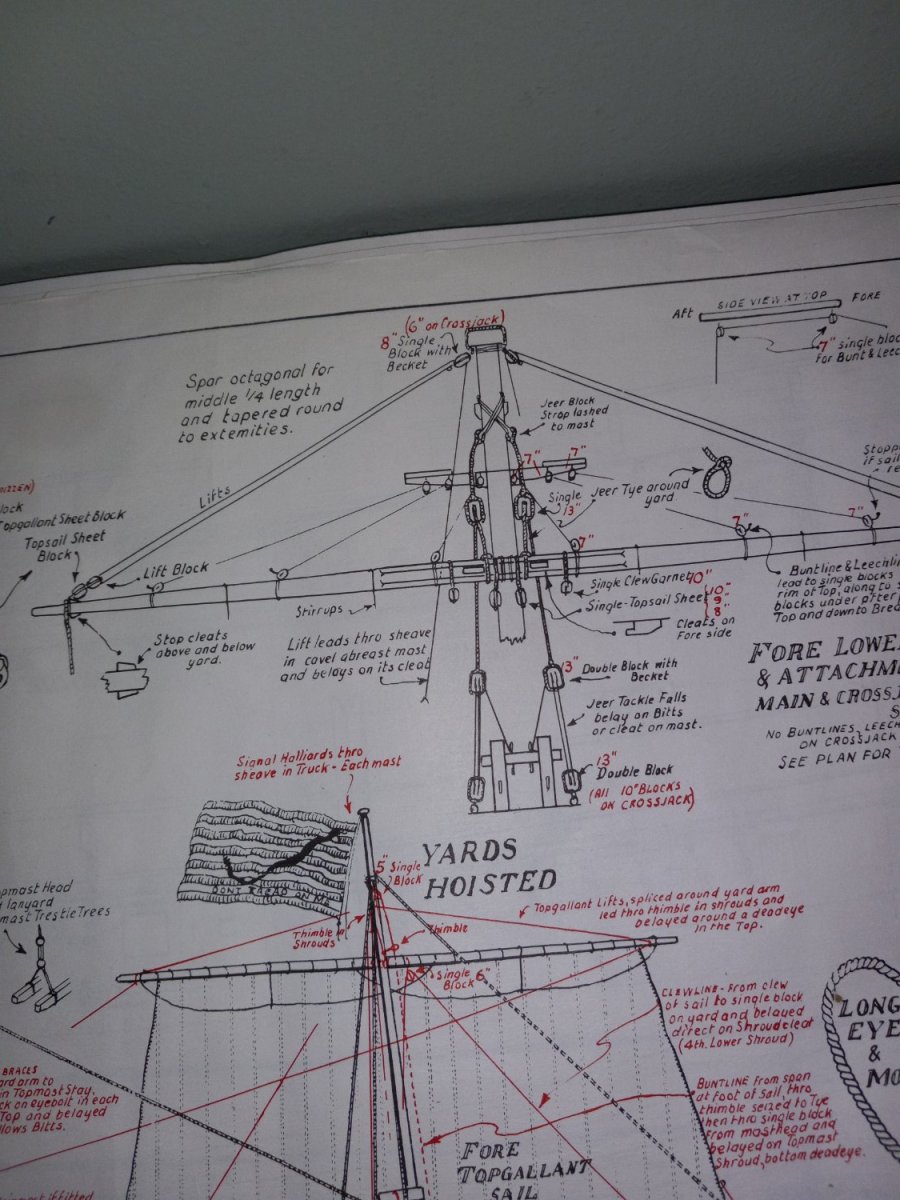
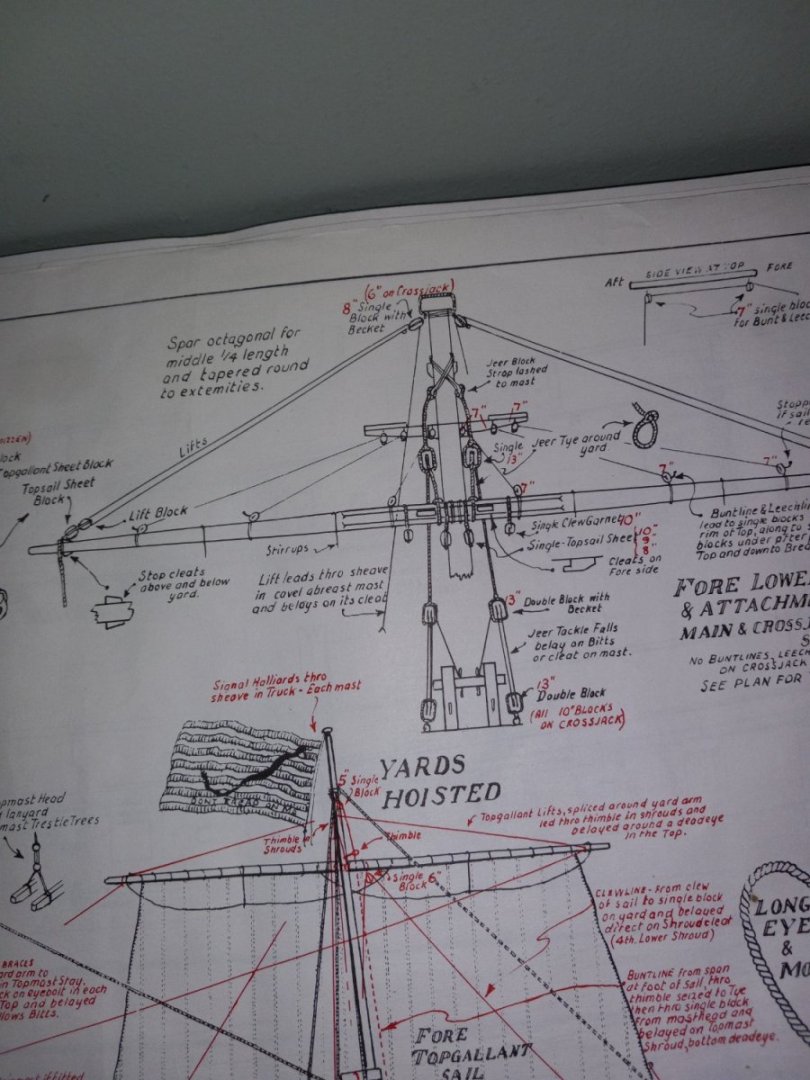
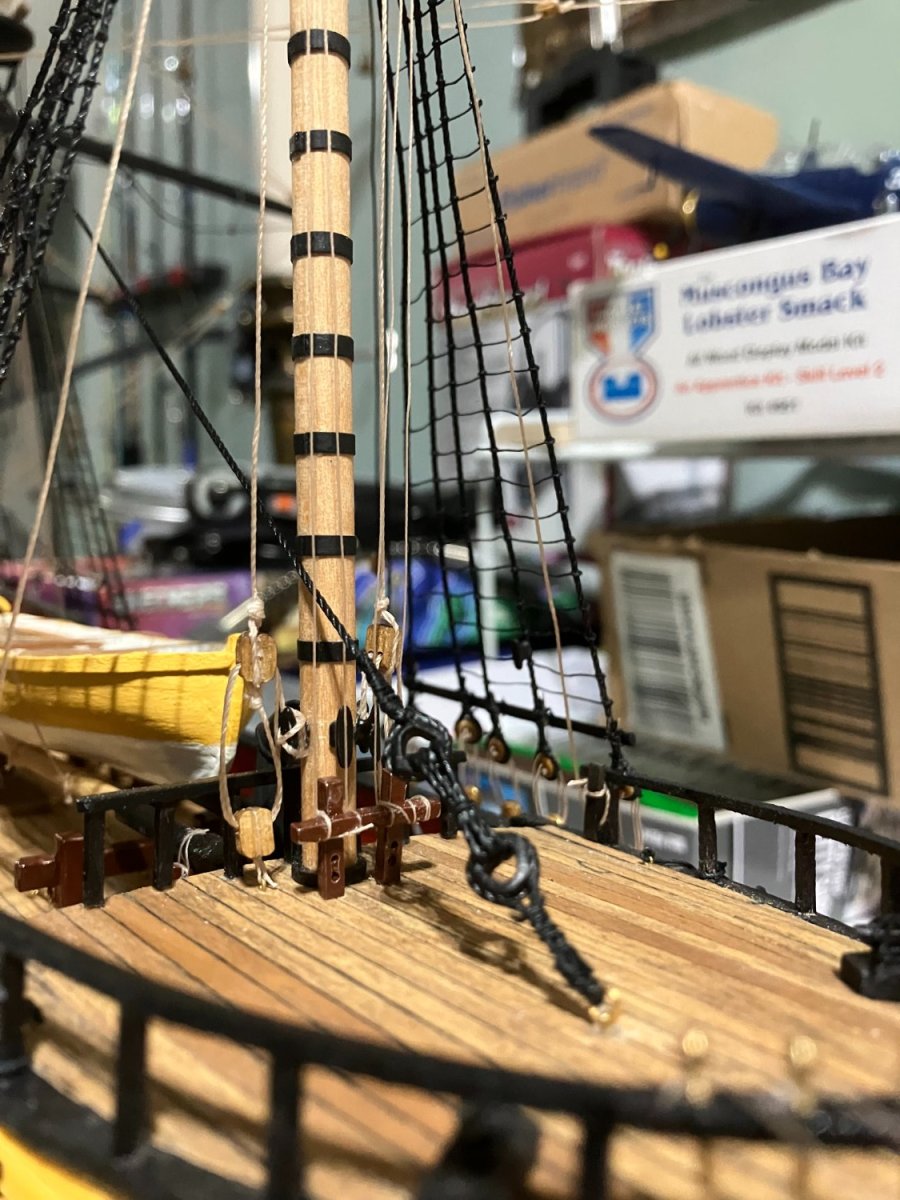
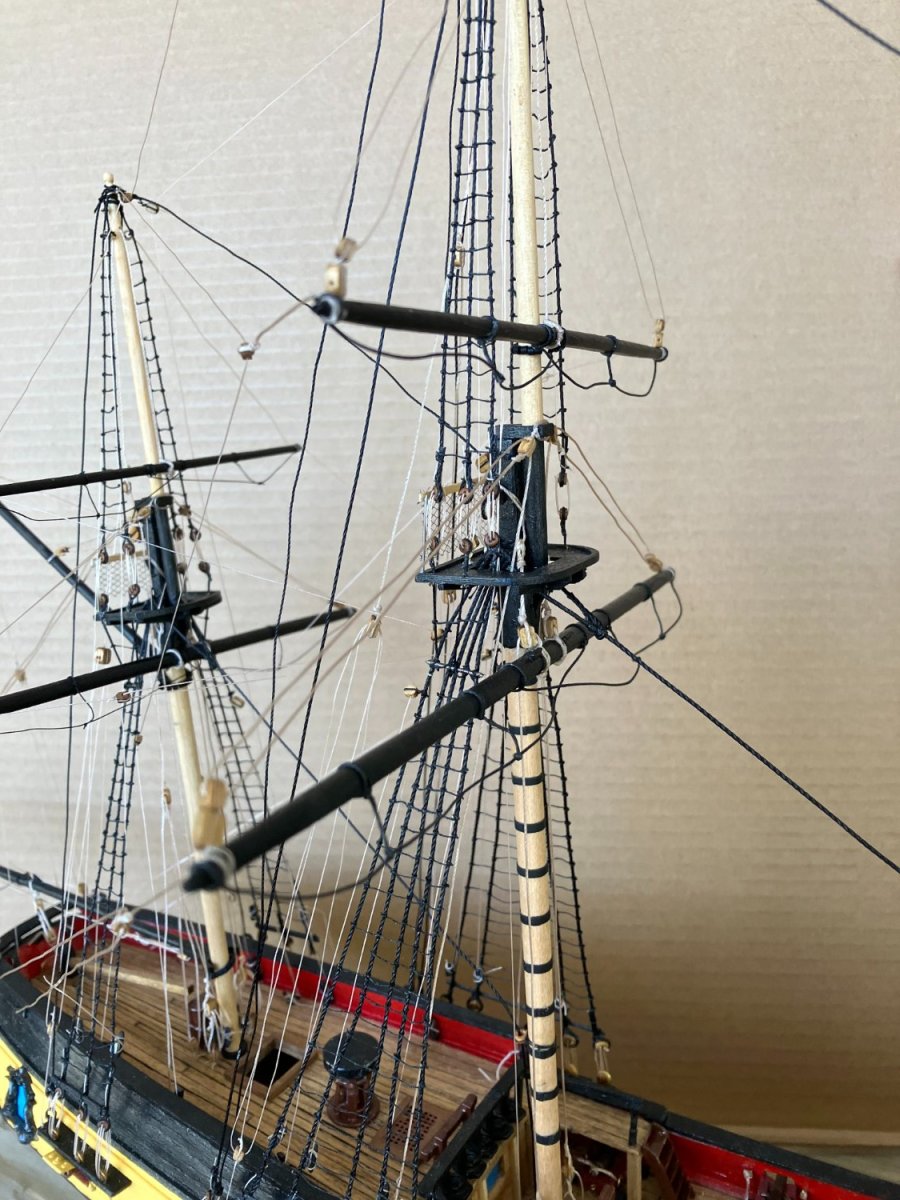
I finally got the 2 mizzen spars on the model, and I hope I did it right: I have all the other spars shaped and painted and ready to rig, but the plans have no place for the main lower yard lifts to attach. The only reference is this drawing at the top of the plans: It says 'Lifts lead thro sheave in covel (cavel?) abreast mast and belays on its cleat'. What? I cannot find a meaning for covel or cavel. The plans show the mizzen and fore, but not the main unless I'm missing something. If he means kevel, then it's not on the plans. But adding one would be easy enough. Help and comments welcome - Kenneth
- 152 replies
-
- 2
-
-
- rattlesnake
- Model Shipways
- (and 1 more)
-
Thanks, Rollingreen - I've been trying to get these latest two spars installed, but every time I look at the plans it all seems to get more and more jumbled. I find that if I read, then re-read, then study a little more, look up other builder's photos I almost know what to do. Like I mentioned earlier, all rigging is on one page, so a little clarity is sacrificed. I feel like once I get the mizzen mast spars completed, the other two will fall right in. Comments welcome - Kenneth
- 152 replies
-
- 1
-
-
- rattlesnake
- Model Shipways
- (and 1 more)
-
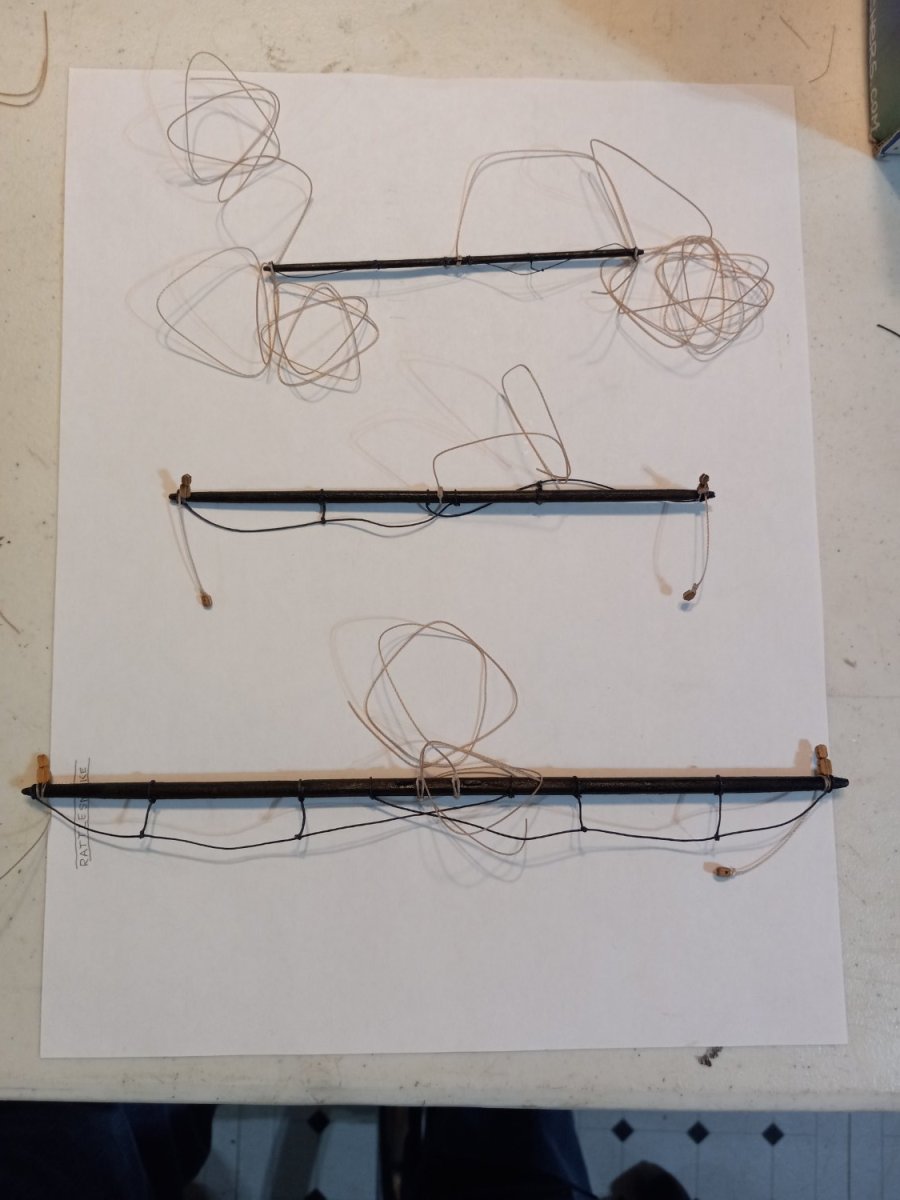
Thanks Everyone for the likes and comments. Mizzen mast spars painted and rigged and ready to install: - Kenneth

- 152 replies
-
- 4
-
-
- rattlesnake
- Model Shipways
- (and 1 more)
-
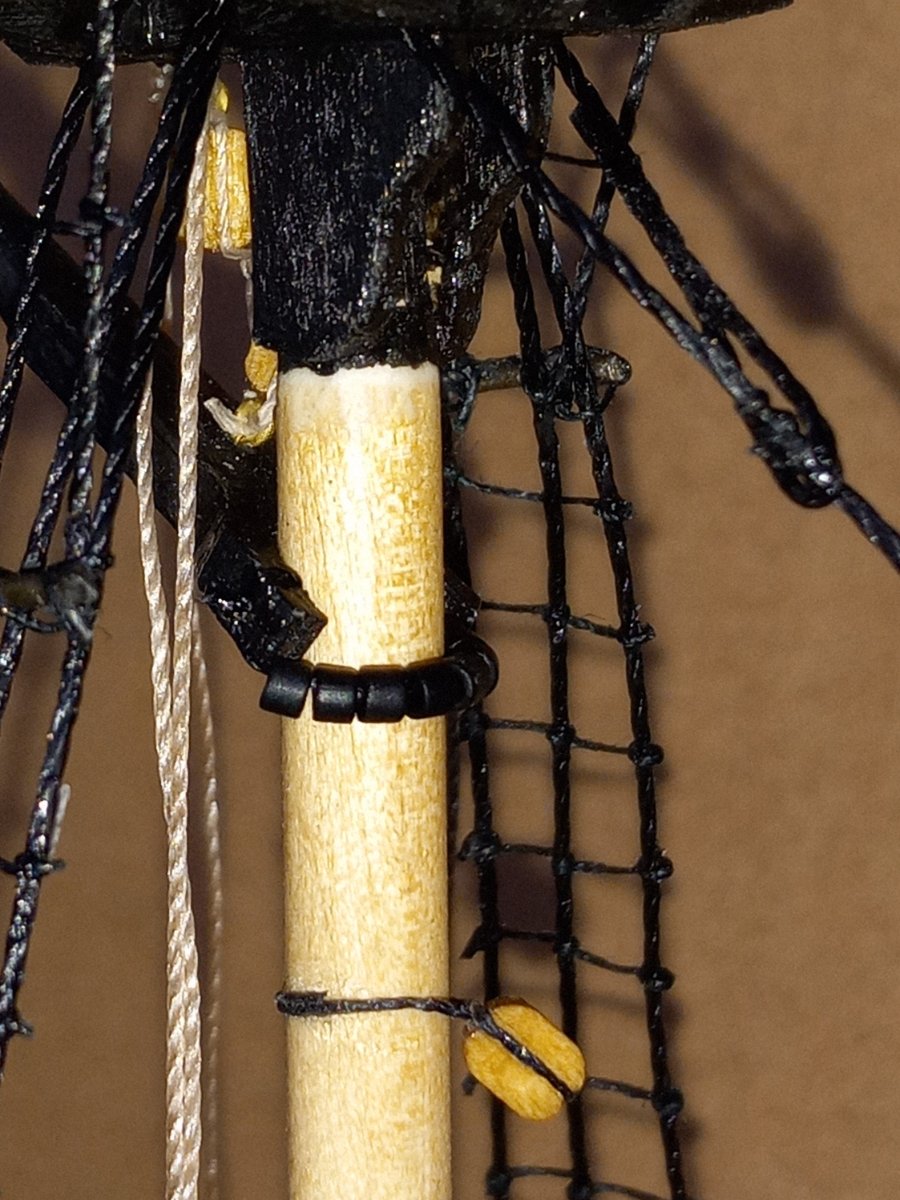
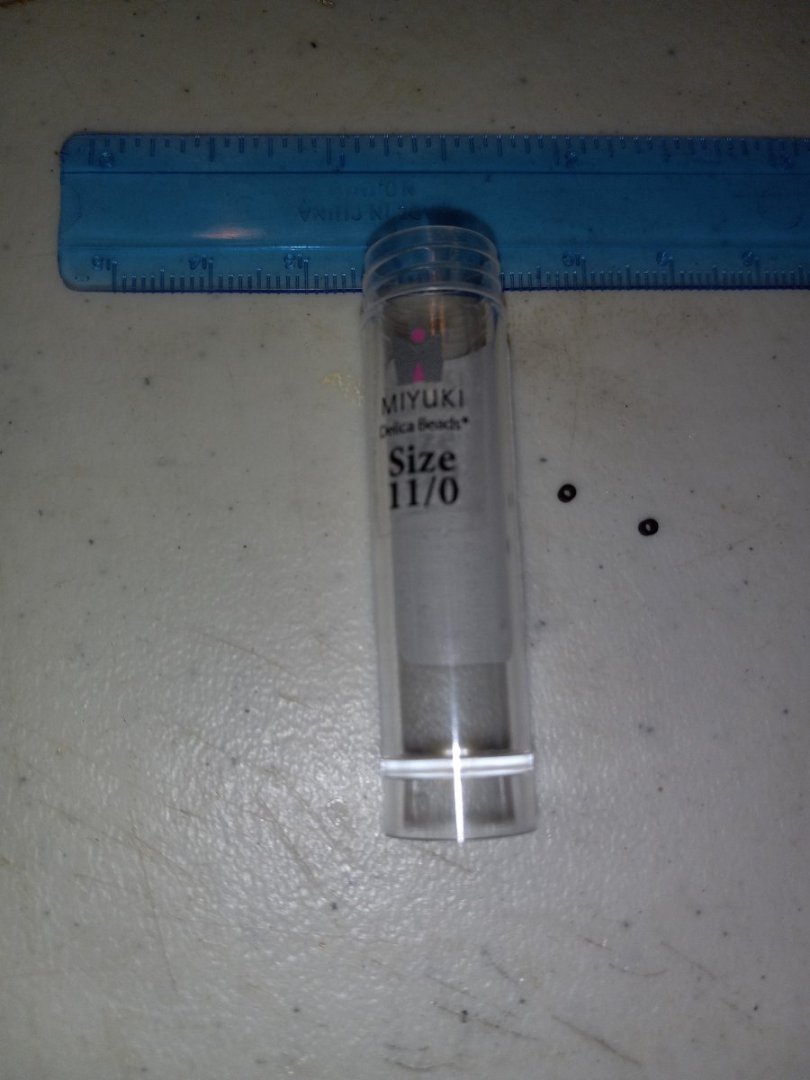
Work accomplished since last post: Gaff and boom finished and rigged I bought these very small beads for parrels. I emptied the container into a small bowl to take the photo with the label visible. Mistake. I spent half the afternoon chasing the things across the table and floor trying to return them. They have no weight. Gaff and boom installed: The beads worked great, worth the trouble. Spars are next, one mast at a time Comments welcome - Kenneth


- 152 replies
-
- 6
-
-
- rattlesnake
- Model Shipways
- (and 1 more)
-
Planking always looks better after a little sanding. The micro thickness differences and gaps are the model's 'beauty marks' and makes it look like a real planked ship once it's painted. I used very little filler and liked the results. - Kenneth
-
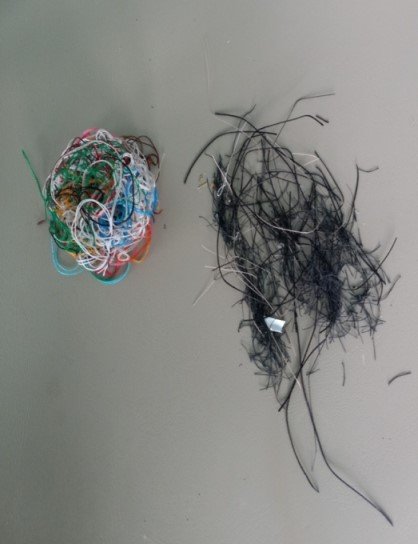
Just a quick photo. The Admiral loves to cross-stich and makes several Christmas ornaments for gifts each year, so I thought I'd show her cross-stich cut-offs and my rigging cut-offs together. Hobbies for everyone. Happy New Year to Everyone - Kenneth
- 152 replies
-
- 3
-
-
- rattlesnake
- Model Shipways
- (and 1 more)
-
Looks great, really good paint job. - Kenneth
-
Thanks, all for the likes. Dave - The Model Shipways kit I have came with 4 pages on 2 sheets of plans (front and back). This is the only page for rigging. They put the standing rigging in black and the running rigging in red. This combination makes the one page really jumbled. Thank goodness others have built and logged this model before me and I can see how it's supposed to be. Comments welcome - Kenneth And again, everyone have a great holiday season.
- 152 replies
-
- 1
-
-
- rattlesnake
- Model Shipways
- (and 1 more)


.jpg.3c4458a56c61cb7af26cda672c5718f1.jpg)