
ClipperFan
-
Posts
2,171 -
Joined
-
Last visited
Content Type
Profiles
Forums
Gallery
Events
Everything posted by ClipperFan
-
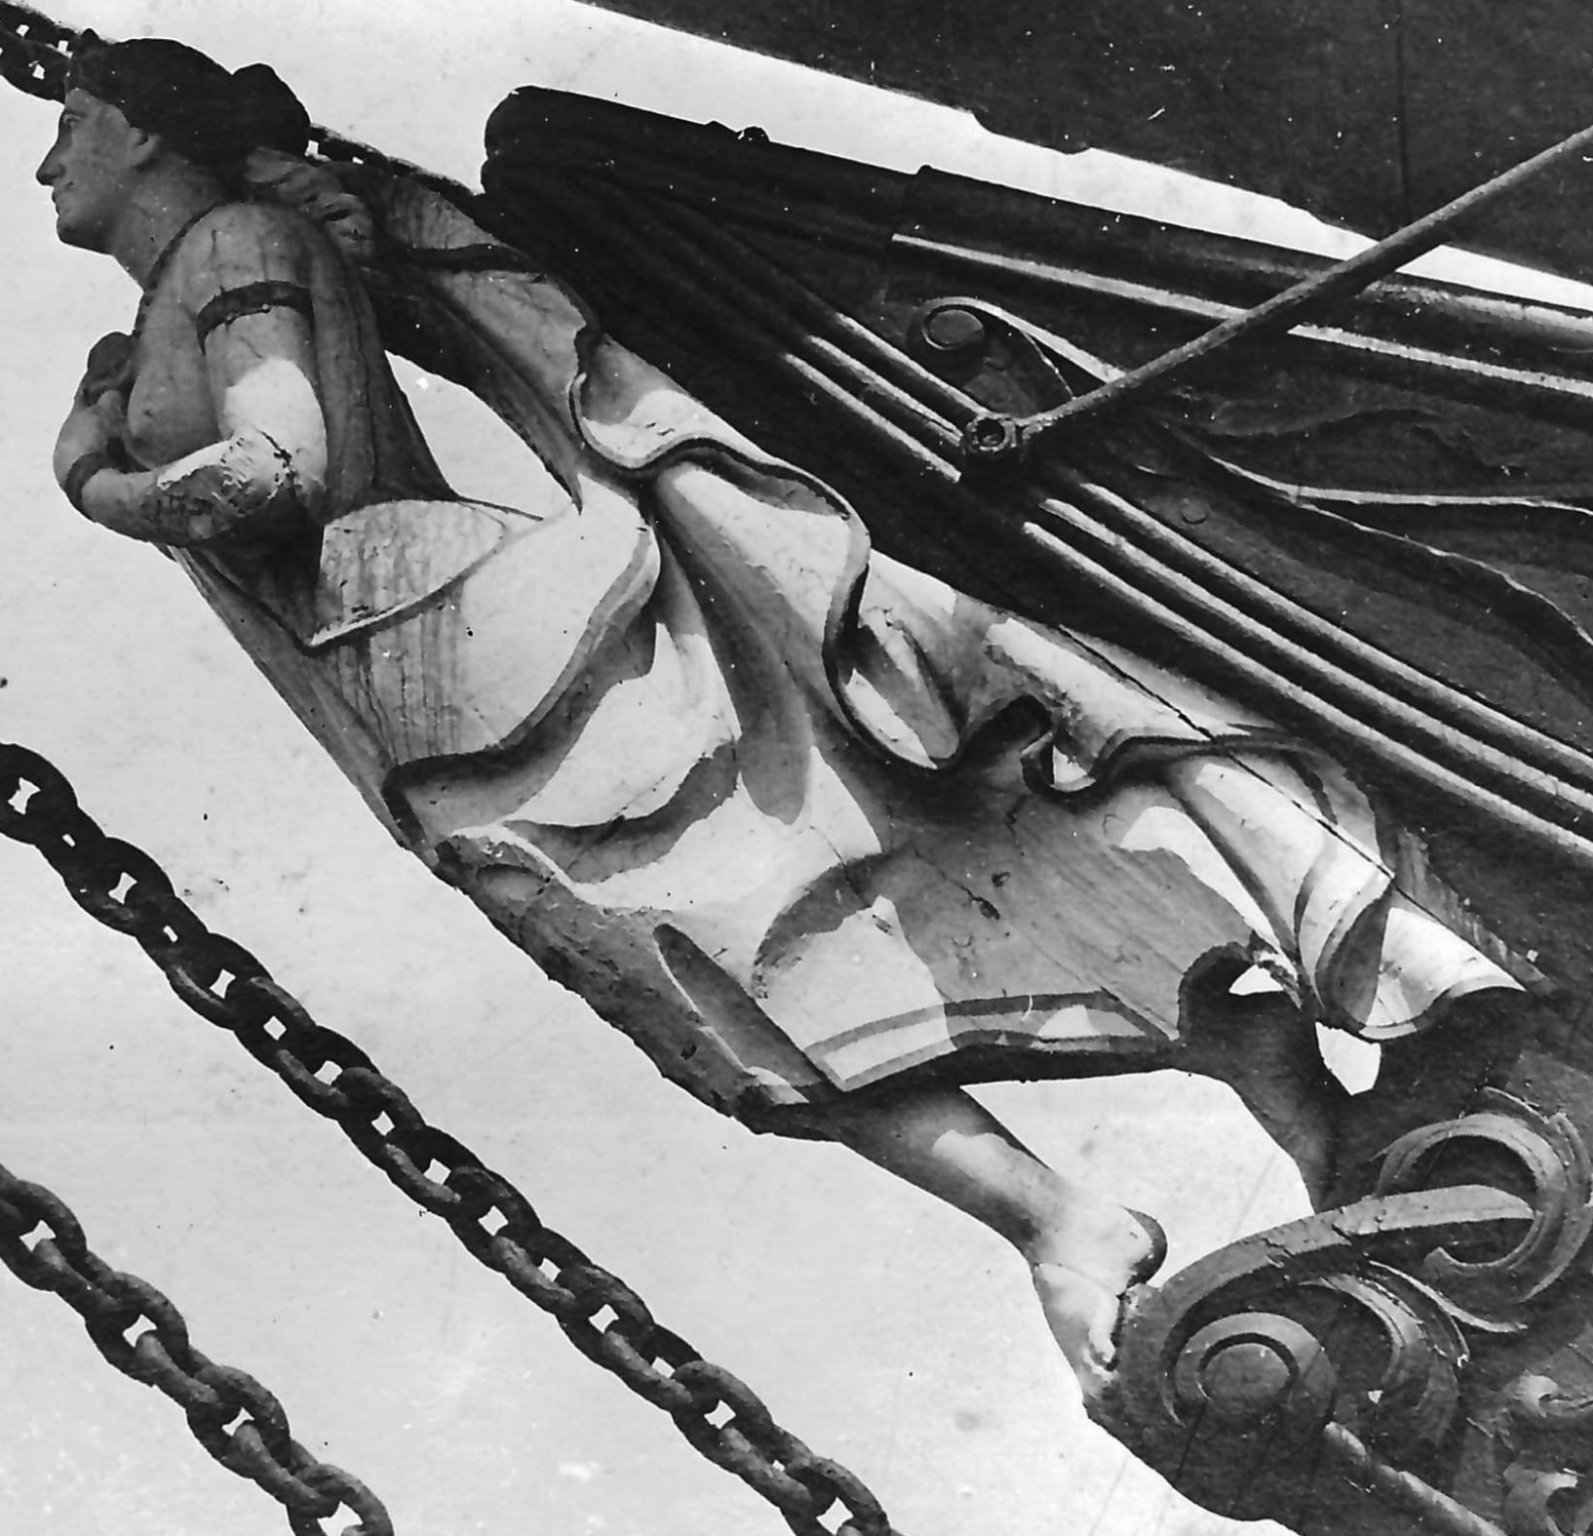
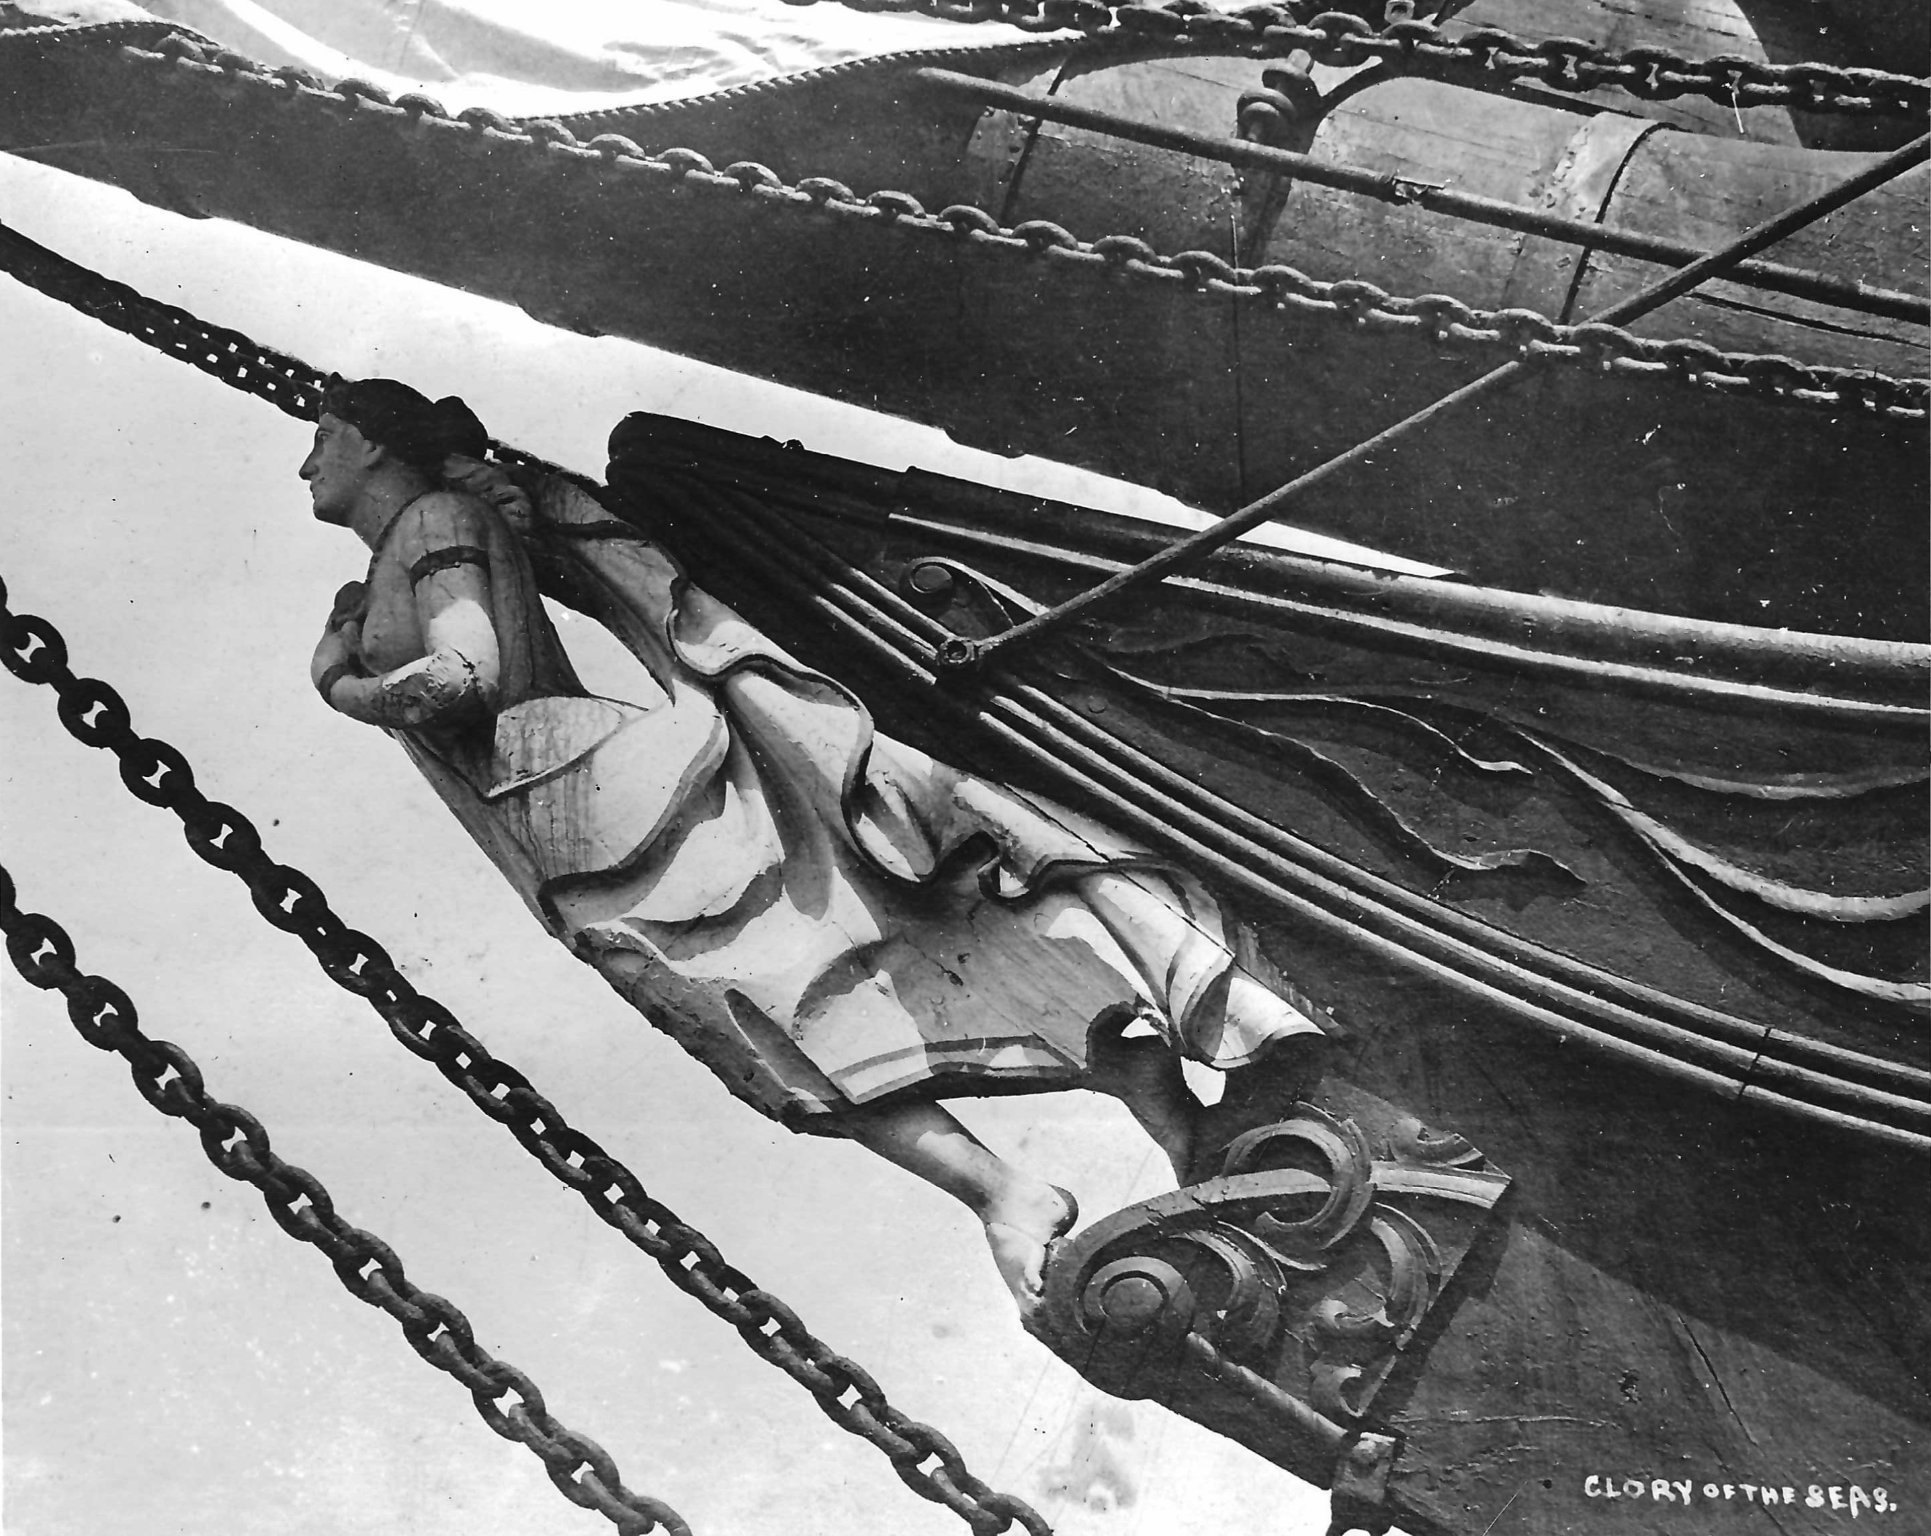
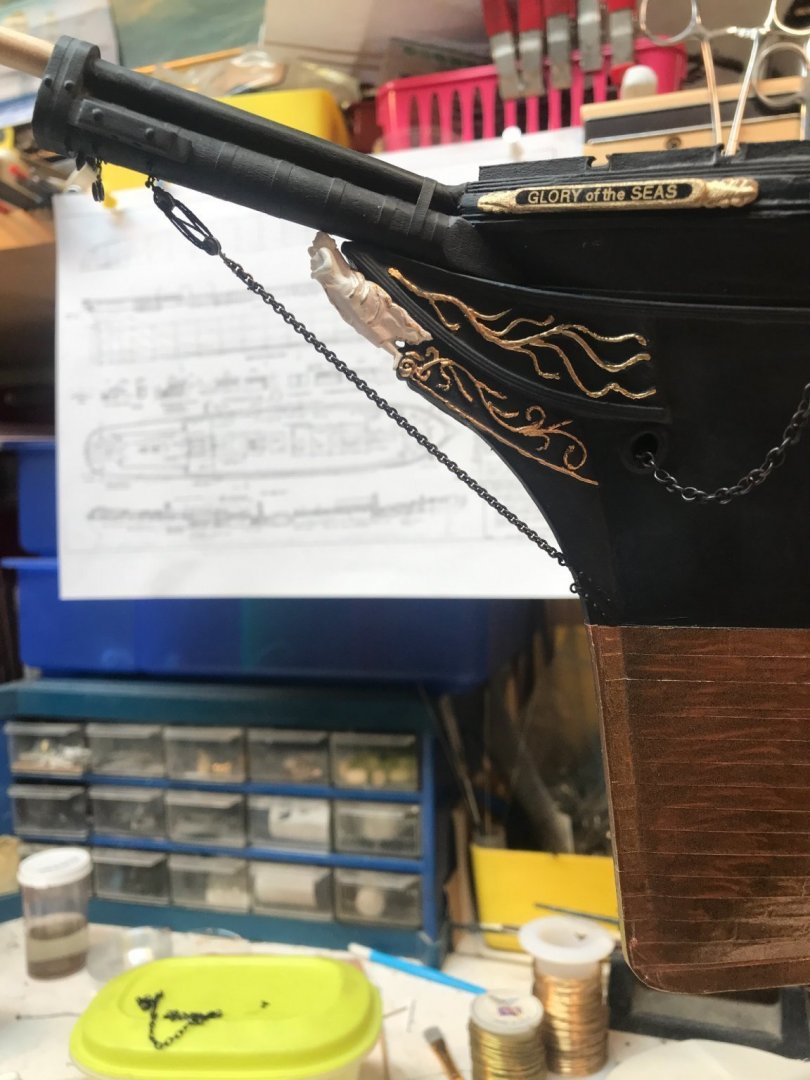
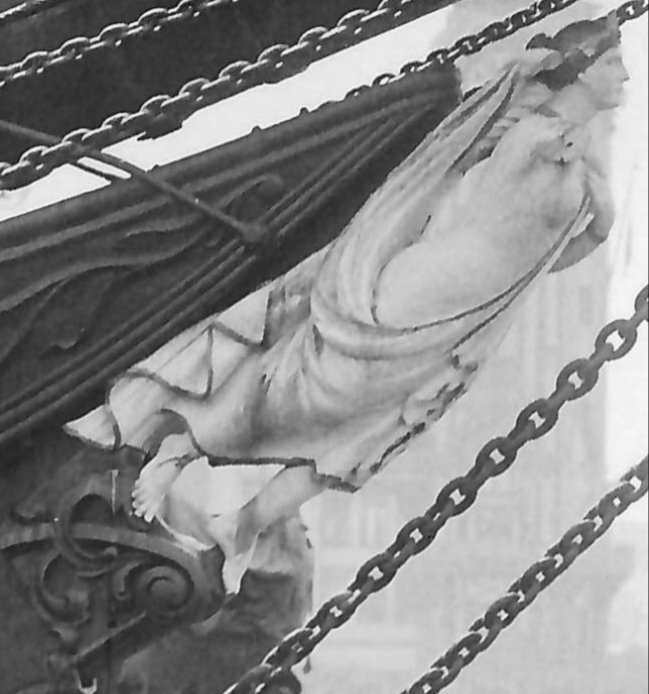
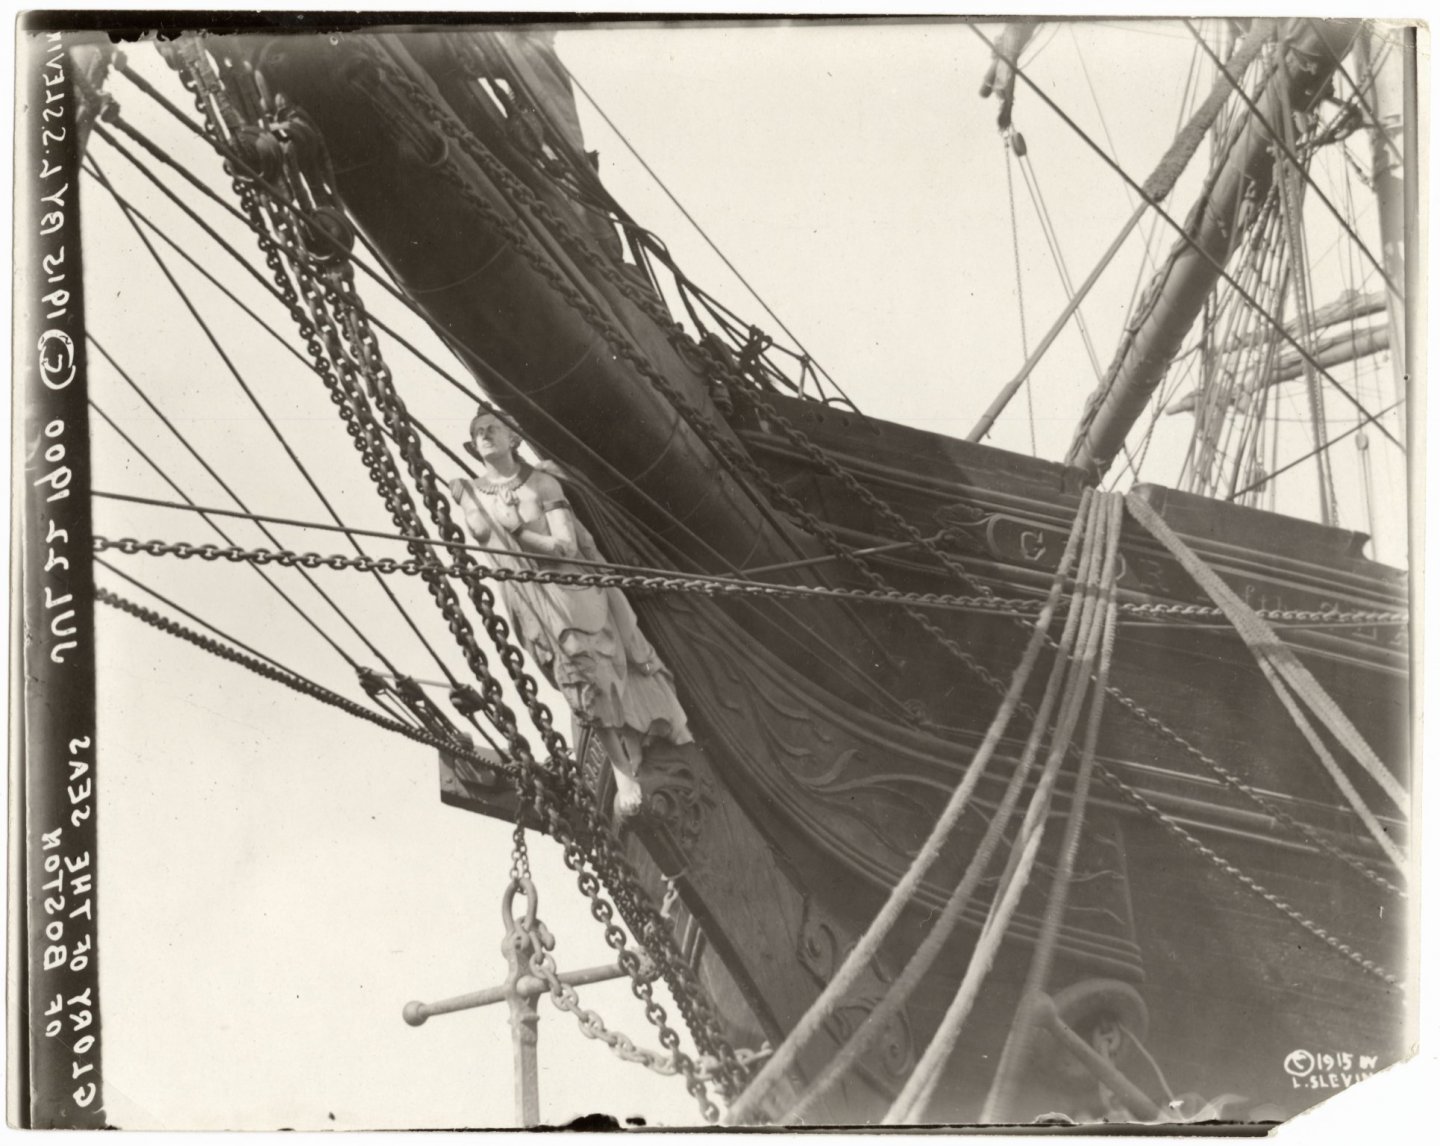
 Vladimir, just remember that the tip of Glory's Naval Hoods ends right at Bowsprit Band #3 (#4 if you count the sole band which encircles both Jibboom above & Bowsprit below). Her Grecian Goddess 'Athene' aligns precisely midway between bands #3 & #4 which go around the lower Bowsprit only.
 -
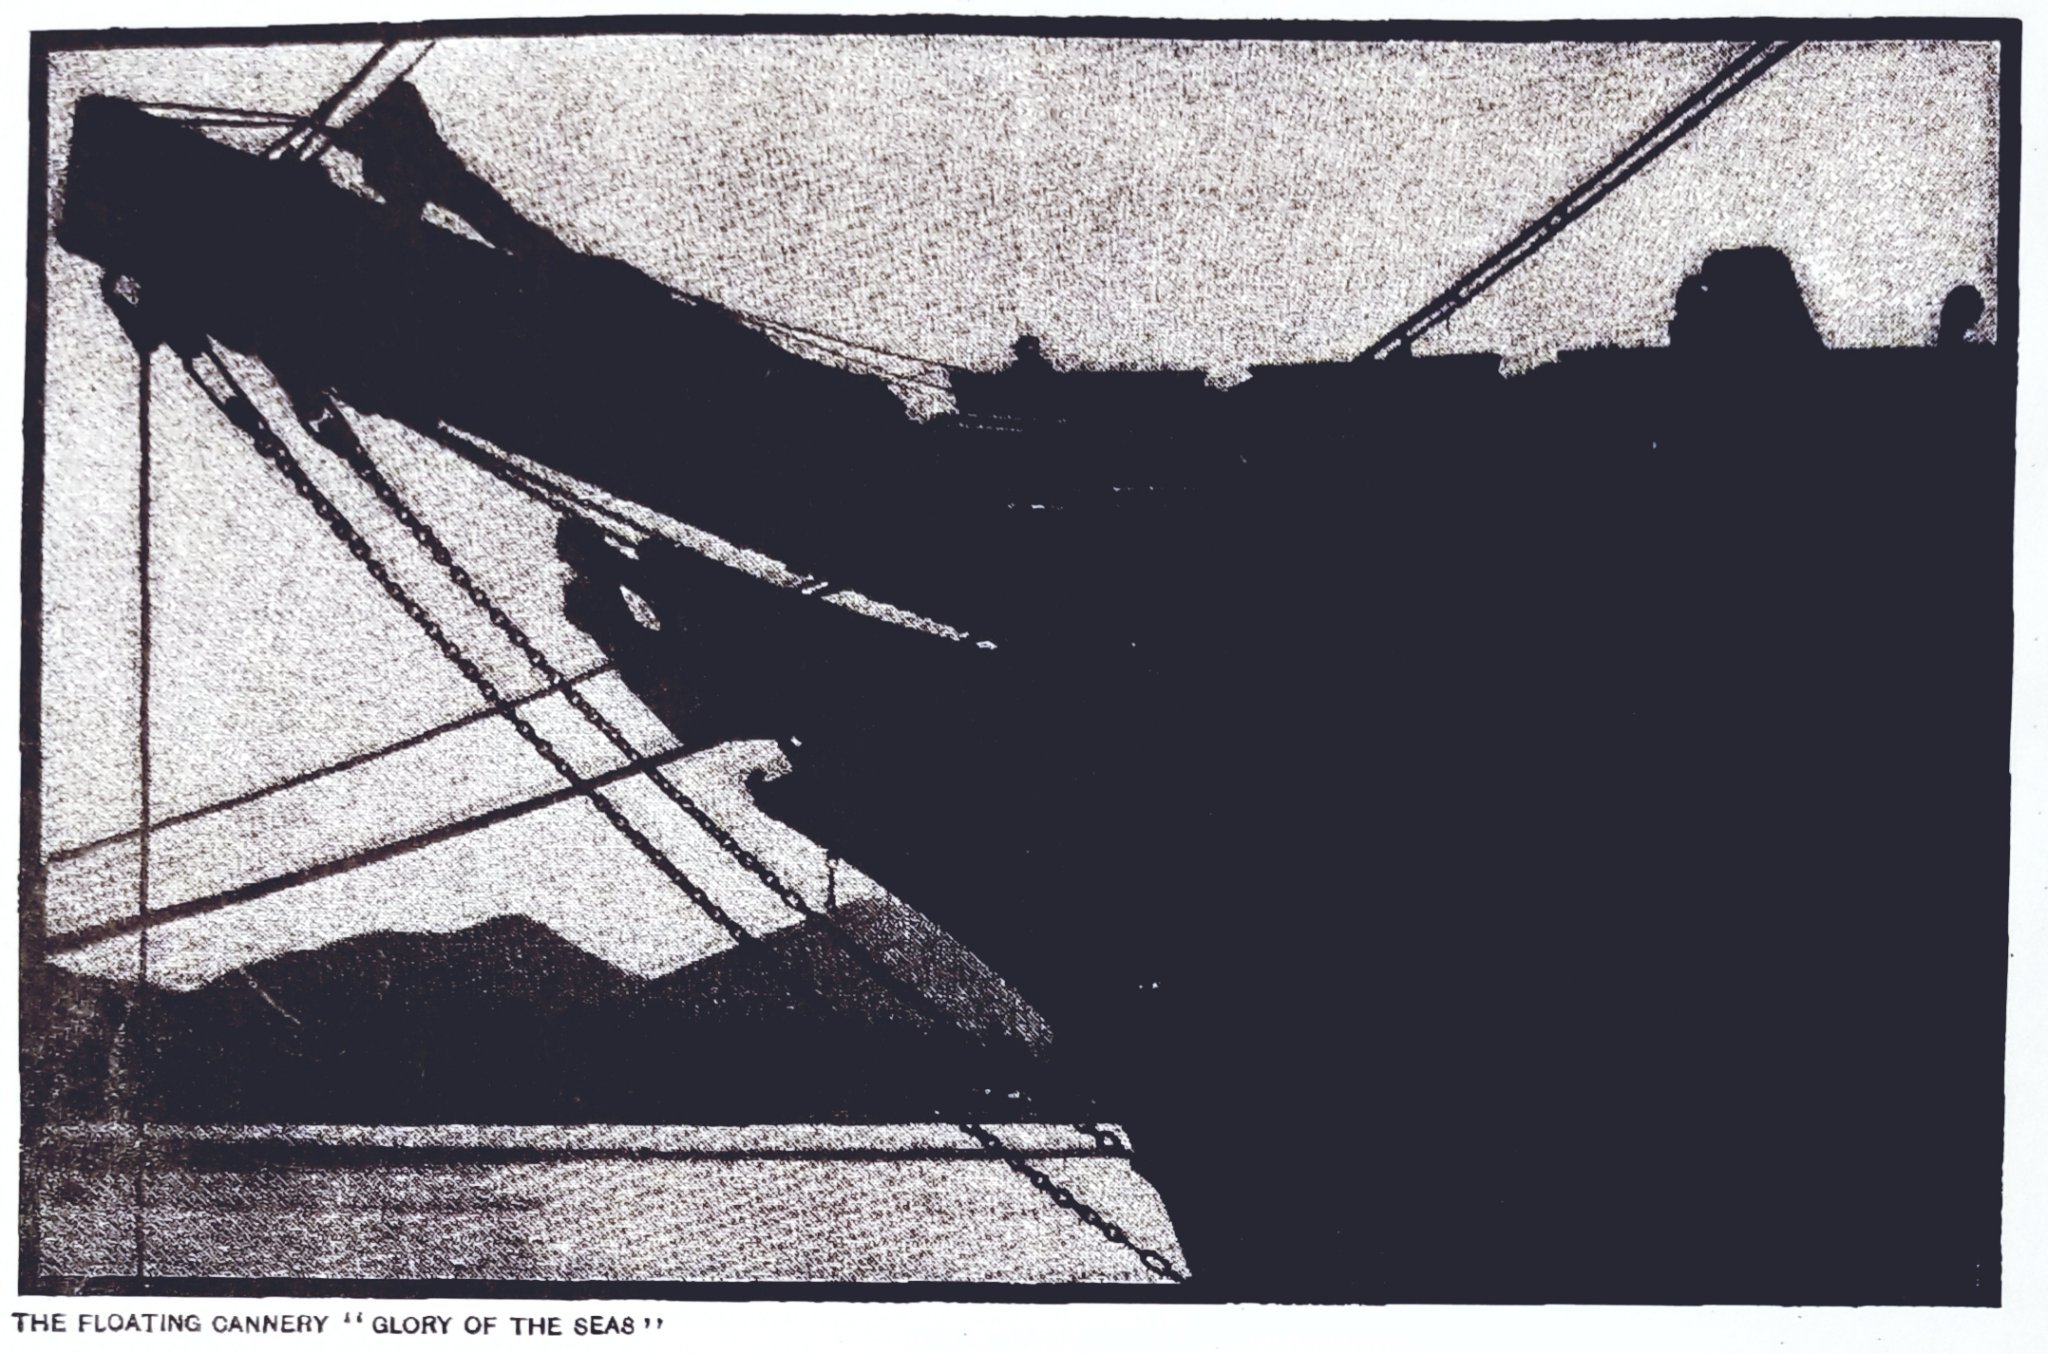
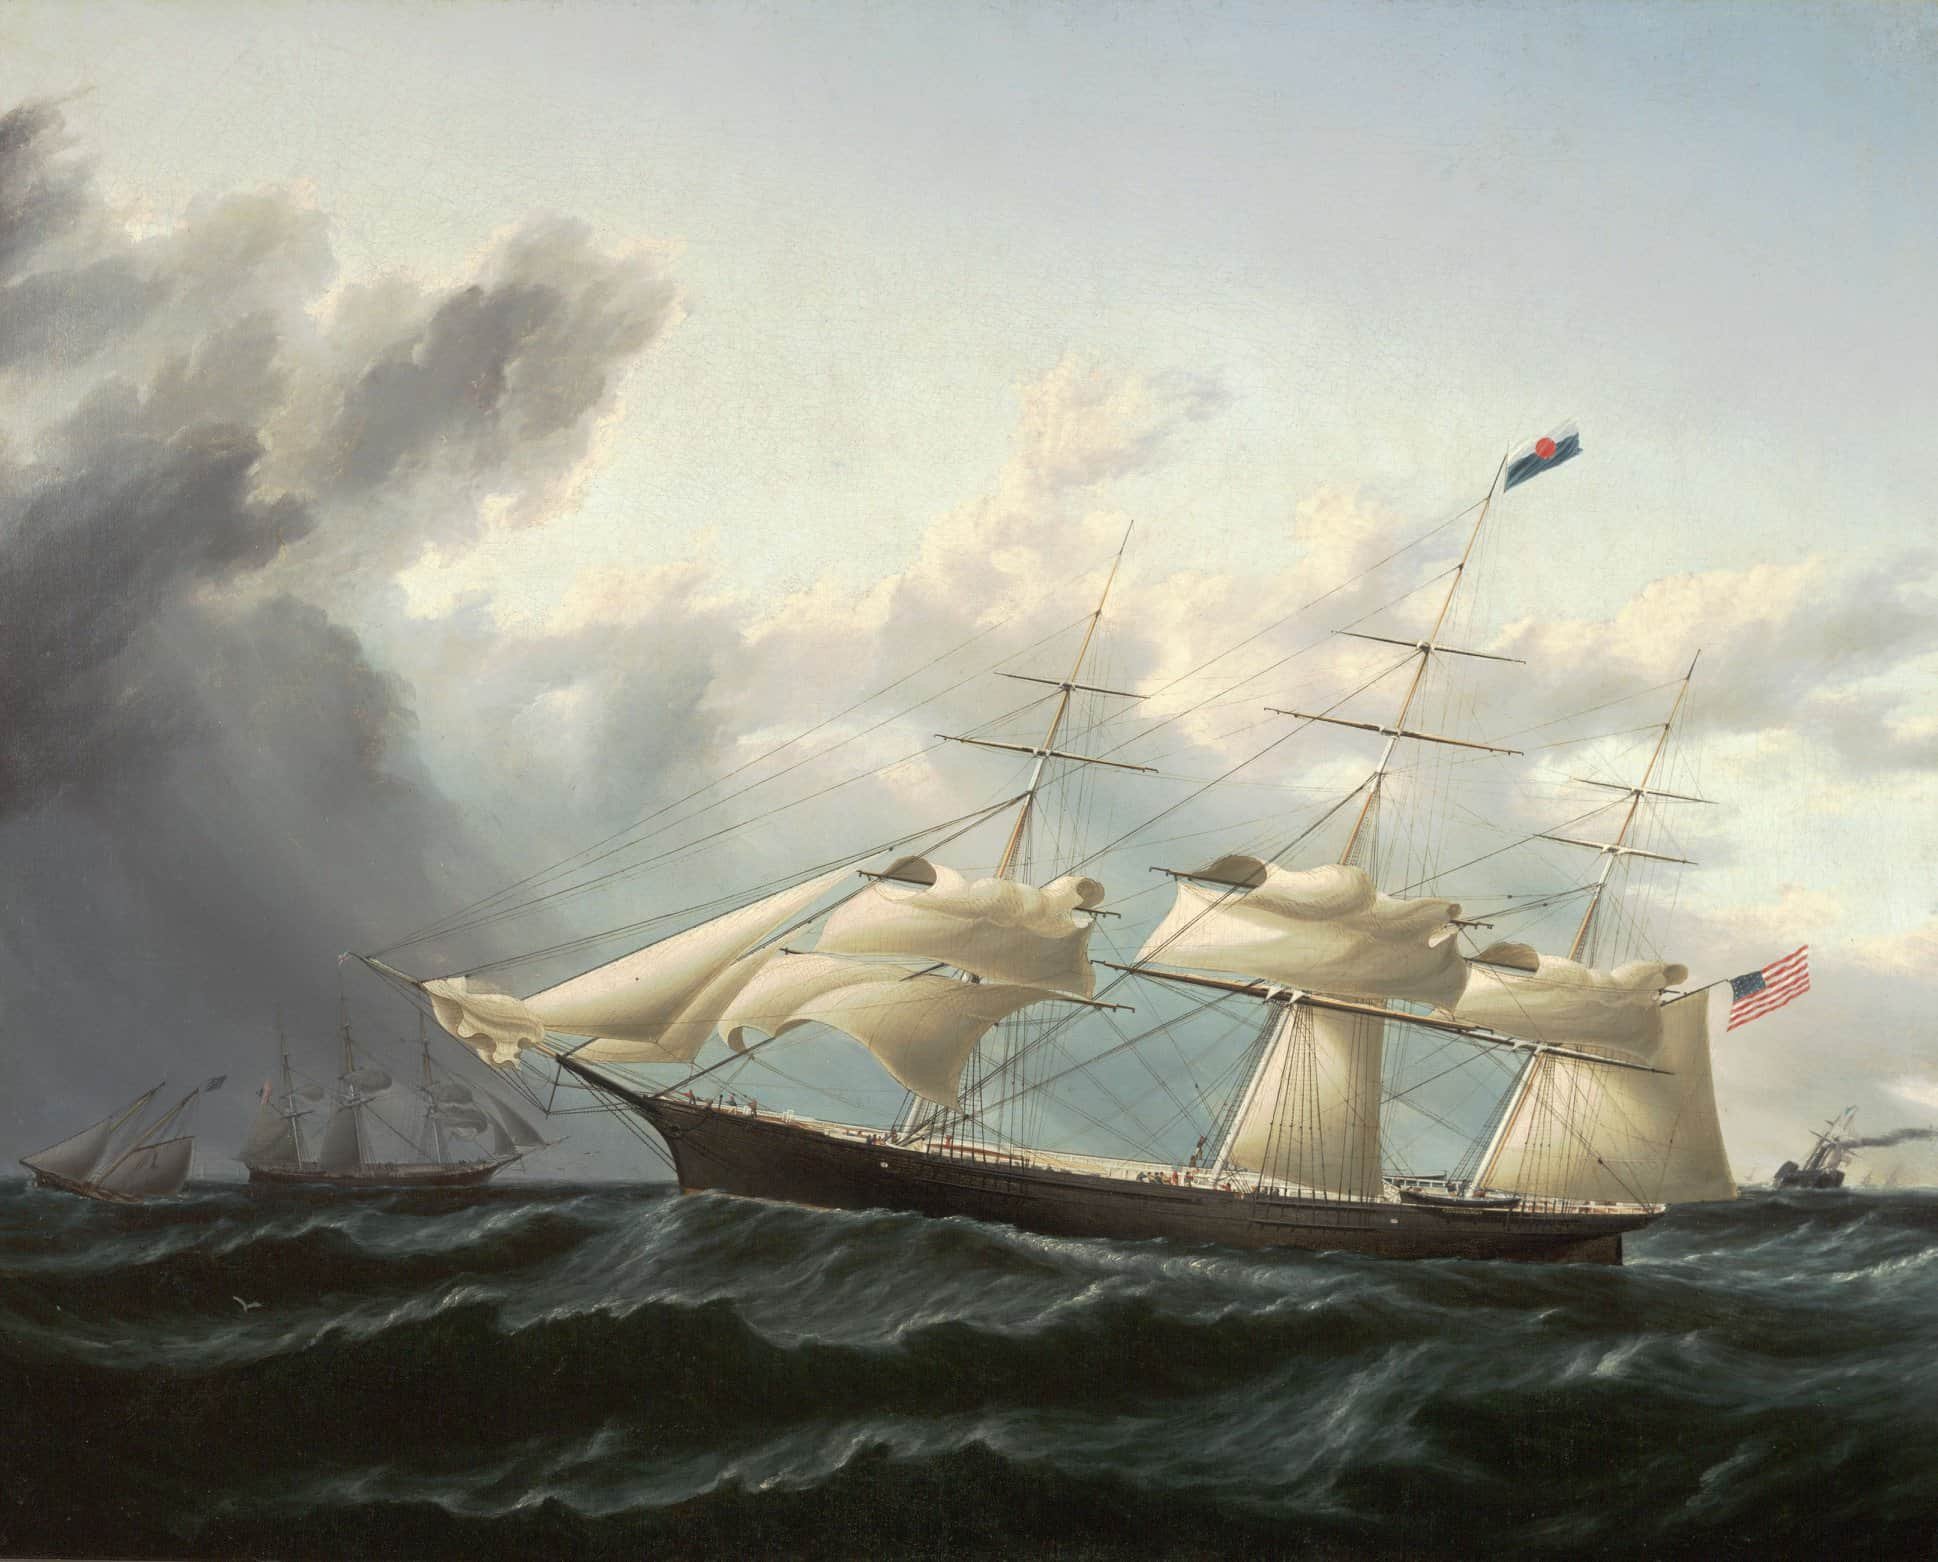
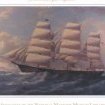
Rob, as soon as I saw your latest profile, it reminded me of an actual profile of Glory herself taken from almost exactly the same angle. I thought you would find this comparison..... fascinating.

- 3,560 replies
-
- 2
-

-
- clipper
- hull model
- (and 2 more)
-
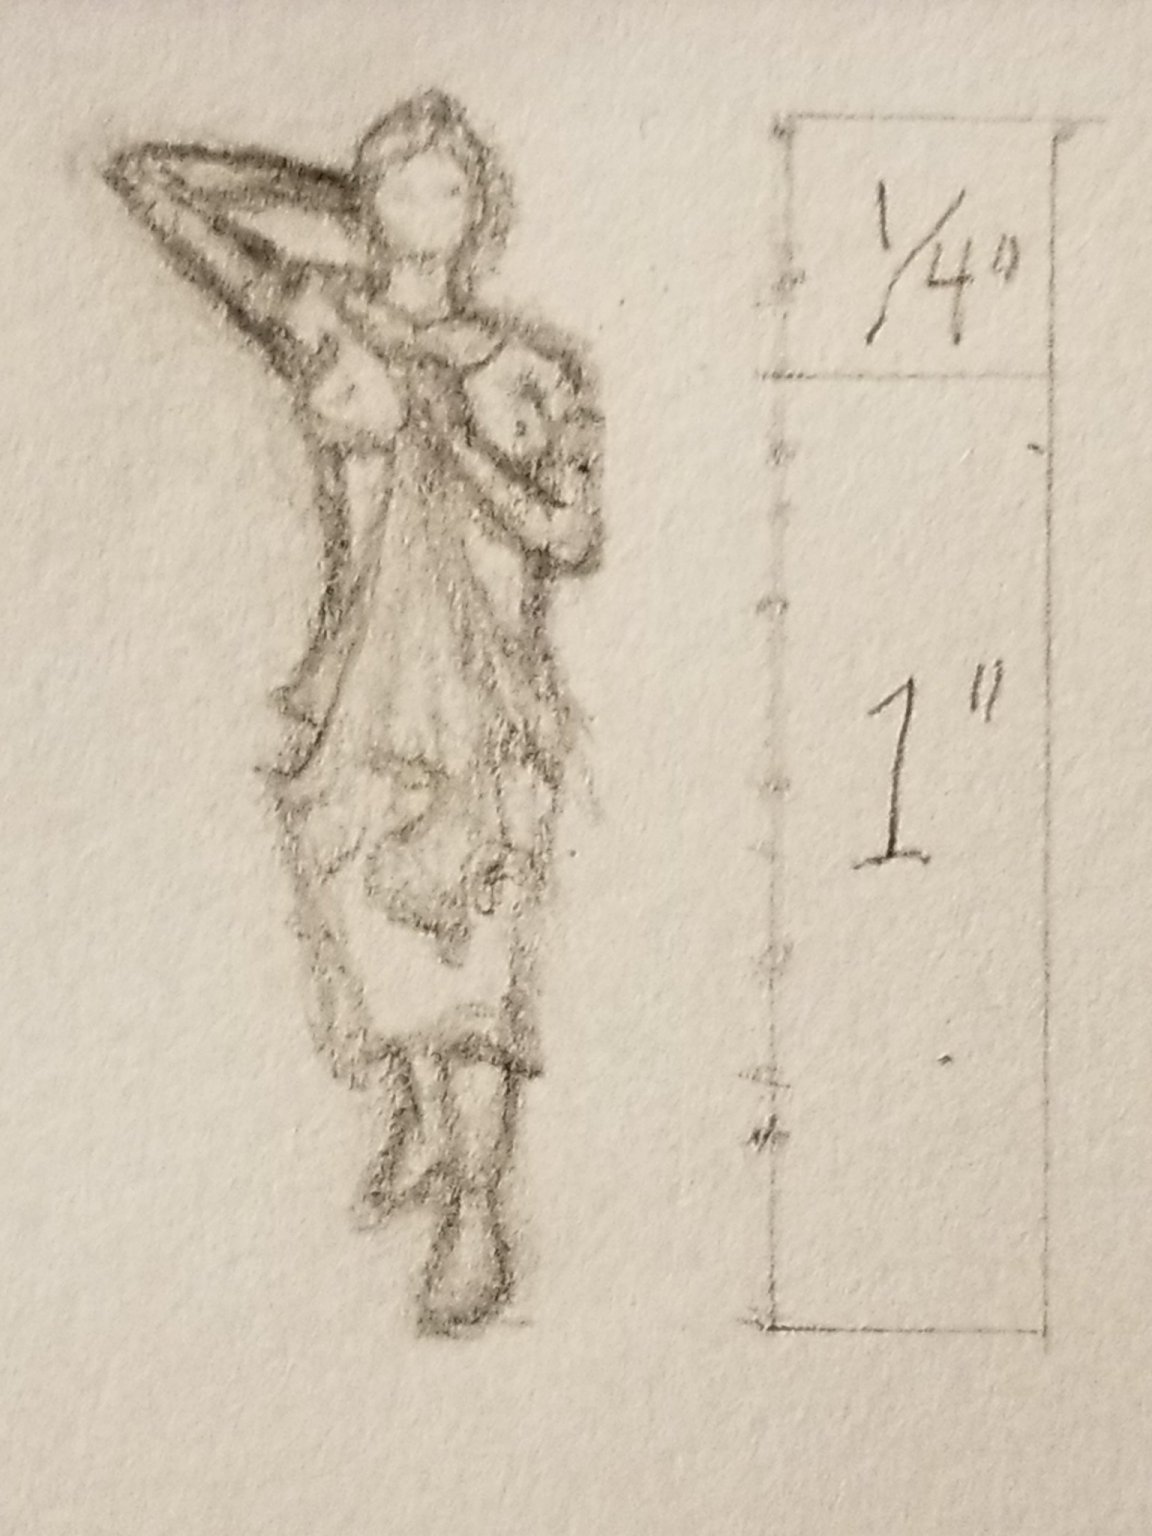
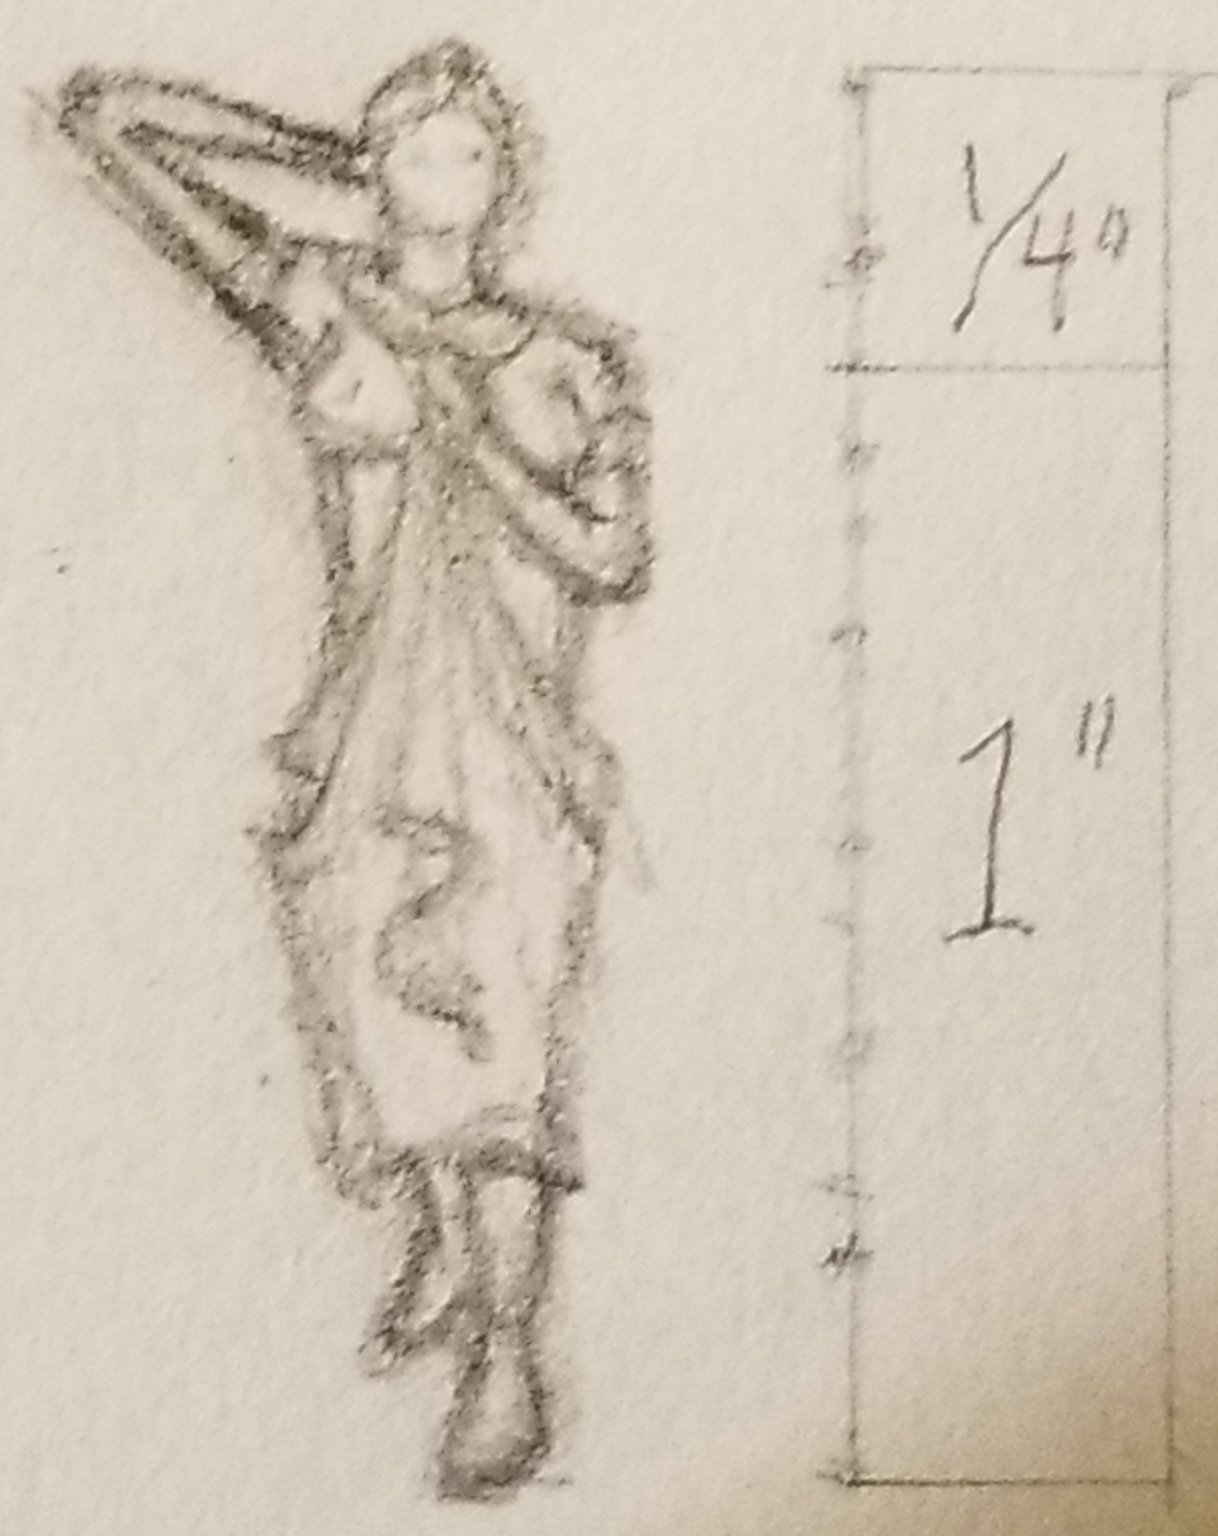
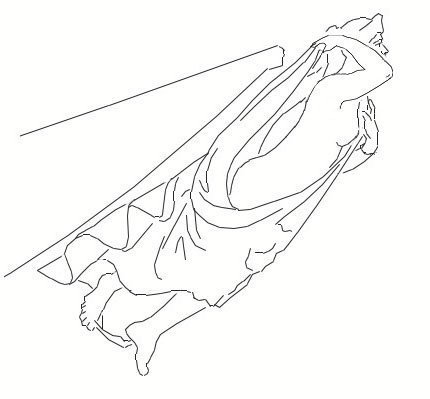
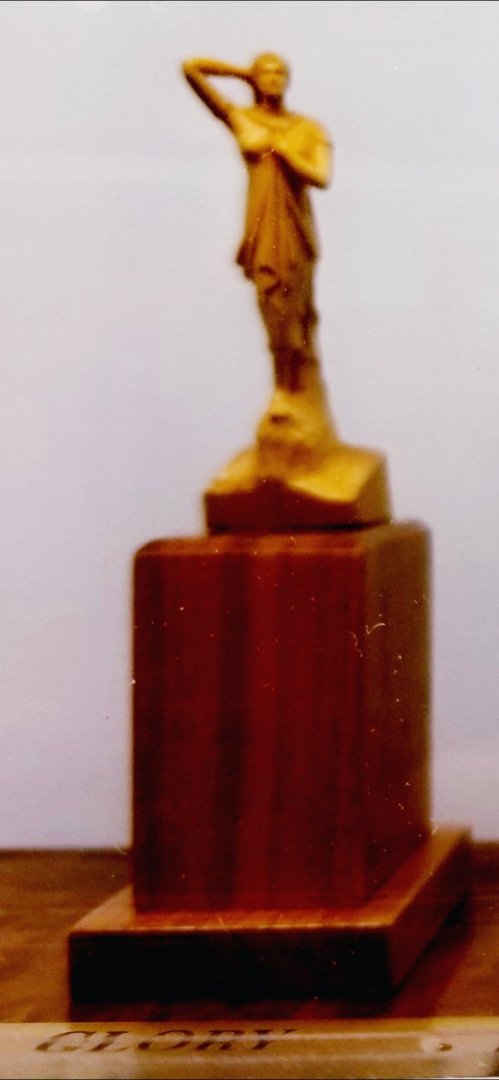
Druxey, you still have one of the nicest line drawings I've seen of Glory's lovely figurehead, which I just reposted for Vlad. Size difference would be to your favor as the $8k statue is 8" tall whereas Vlad only needs one that's 1 1/4" tall.
-
Rob, Right arm's been redone and resubmitted for front and left side views. Pass muster now?
-
Vladimir, thanks for the kind compliment. That's what over a dozen years of obsessing on a single lovely figurehead can do for you! 🙂
-
Vladimir, if you want to create a 3-D figurehead, we now have enough photo angles to accomplish it fairly accurately. The biggest challenge is her missing right arm. Even the restored one isn't the original.


-
Vladimir & Rob, per Rob's astute observation, here's the revised images of Glory's figurehead with revised right arm. Let me know what you think.
-
Rob, I see what you mean, especially for the front view. I think the left side looks ok but how do those others look to you?
-
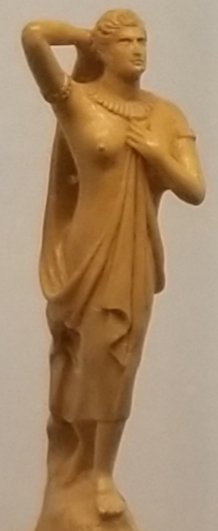
Lloyd McCaffery's 'Glory' carving $8,000.00 (I asked out of curiosity) J Russell Jinishian Martime Art Gallery 152 Water Street, Stonington, CT I imagine shipping and insurance would add to that investment. Maybe someday Michael Mjelde may be interested in adding her to his collection. Unless of course, you beat him to it..... 😉
-
Vladimir, watching your and Rob's progress on these incredible "GLORY of the SEAS" Clipper Ships, I know I have nothing to worry about. I'm just doing my best to assist both of you brilliant craftsmen with maintaining accuracy to Glory wherever it's helpful. Meanwhile to observe the creation of not one but two spectacular models of McKay's last, longest lived Clipper is a thrill of a lifetime.
-
Rob, yep, that's what they all say.....
-
Vladimir, as usual, absolutely beautiful work. Her form, like Rob's is developing distinctly to represent "GLORY of the SEAS." An observation which might frustrate you after you put in so much hard work to create it. The upper T'gallant, Fancy or Monkeyrail is solid, enclosed, ie like a box. So all that lovely bulkhead work for the upper works isn't accurate in comparison to the actual vessel herself. That's what Rob pointed out to me when I had to revise my sketch. Honestly, if it's too much of a bother, nobody but us nit-pickers will ever notice it.
-
Rob, nice choice to display variants like this. I take it the alligator clamp is to stiffen the lines so they remain that way later?
-
Rob, it is so exciting to see Donald McKay's final beautiful Clipper Ship being realized so artfully in miniature.
-
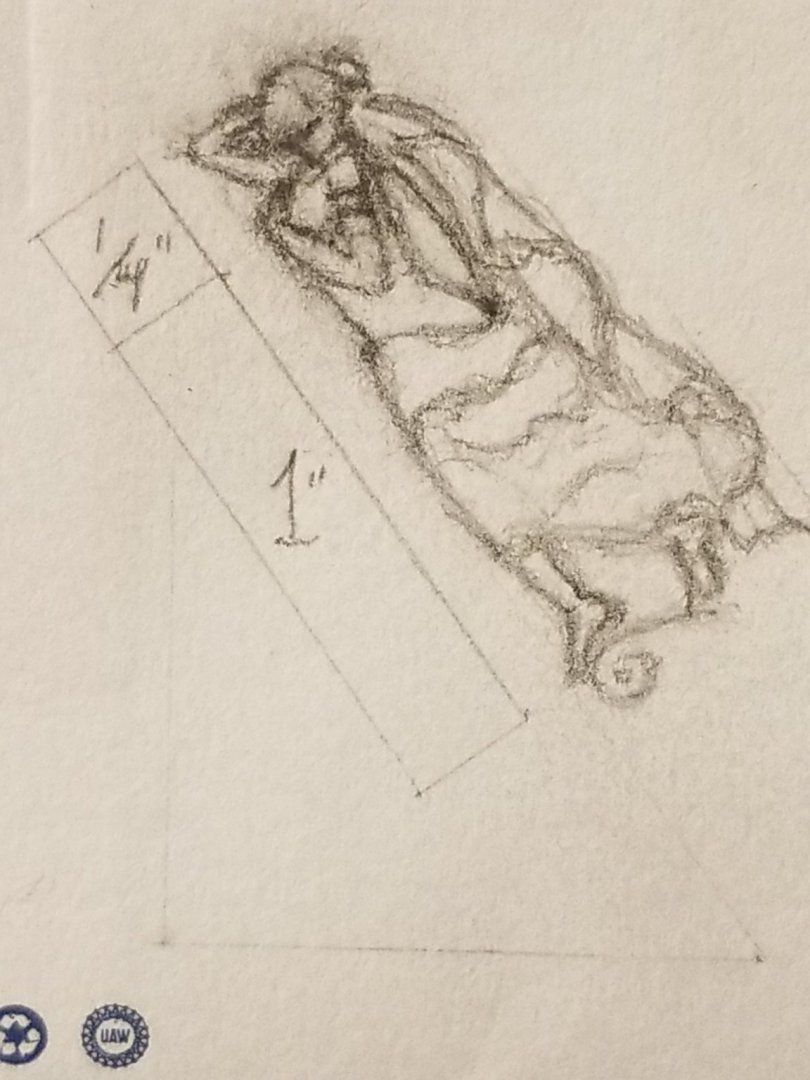
Vladimir, here she is from the Port side. Now you should have enough to do a decent Figurehead.

-
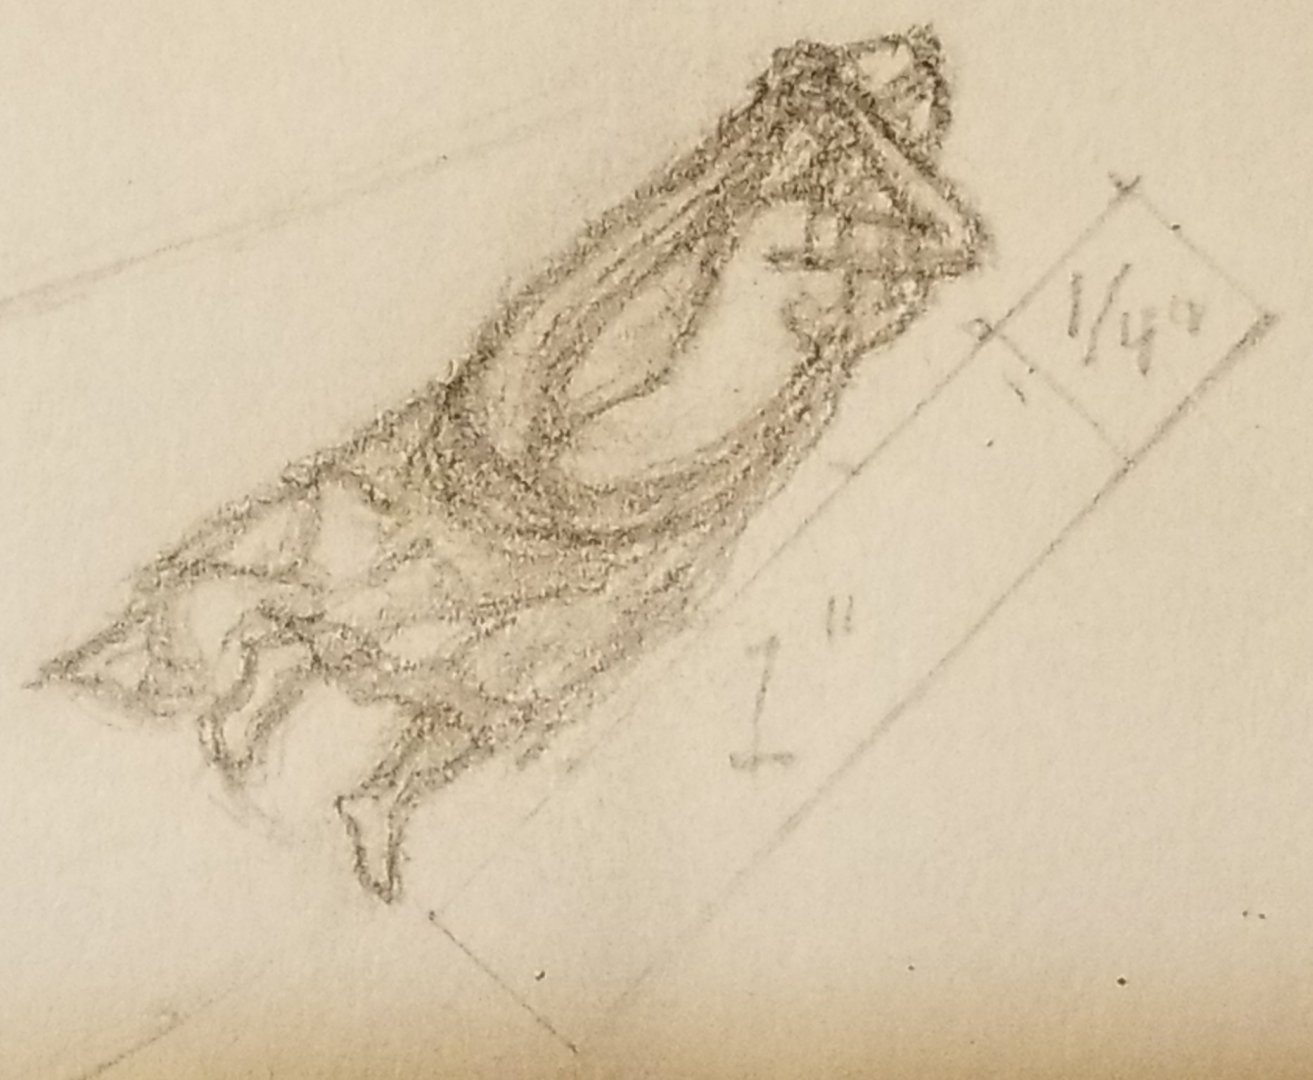
Vladimir, utilizing Lloyd McCaffery's excellent carving, I've been able to get a close approximation to Glory's Grecian Goddess 'Athene' from straight ahead. It's actually surprising how much detail can be fit into this relatively small area.
-
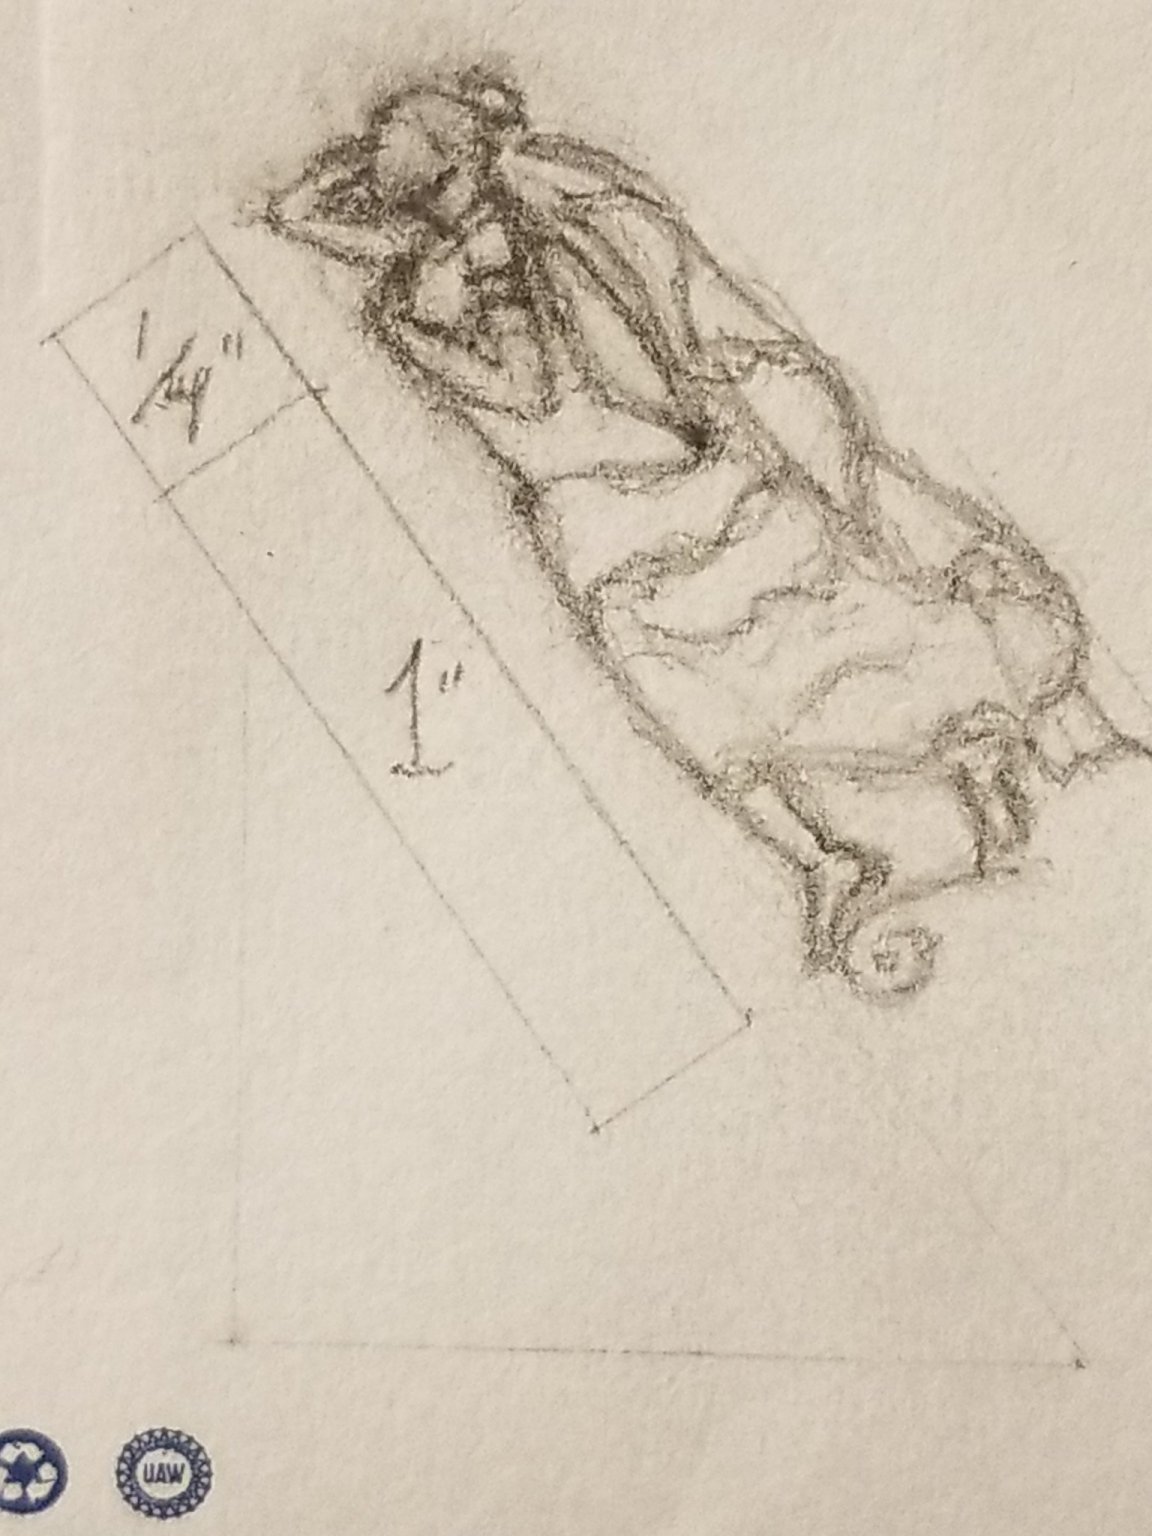
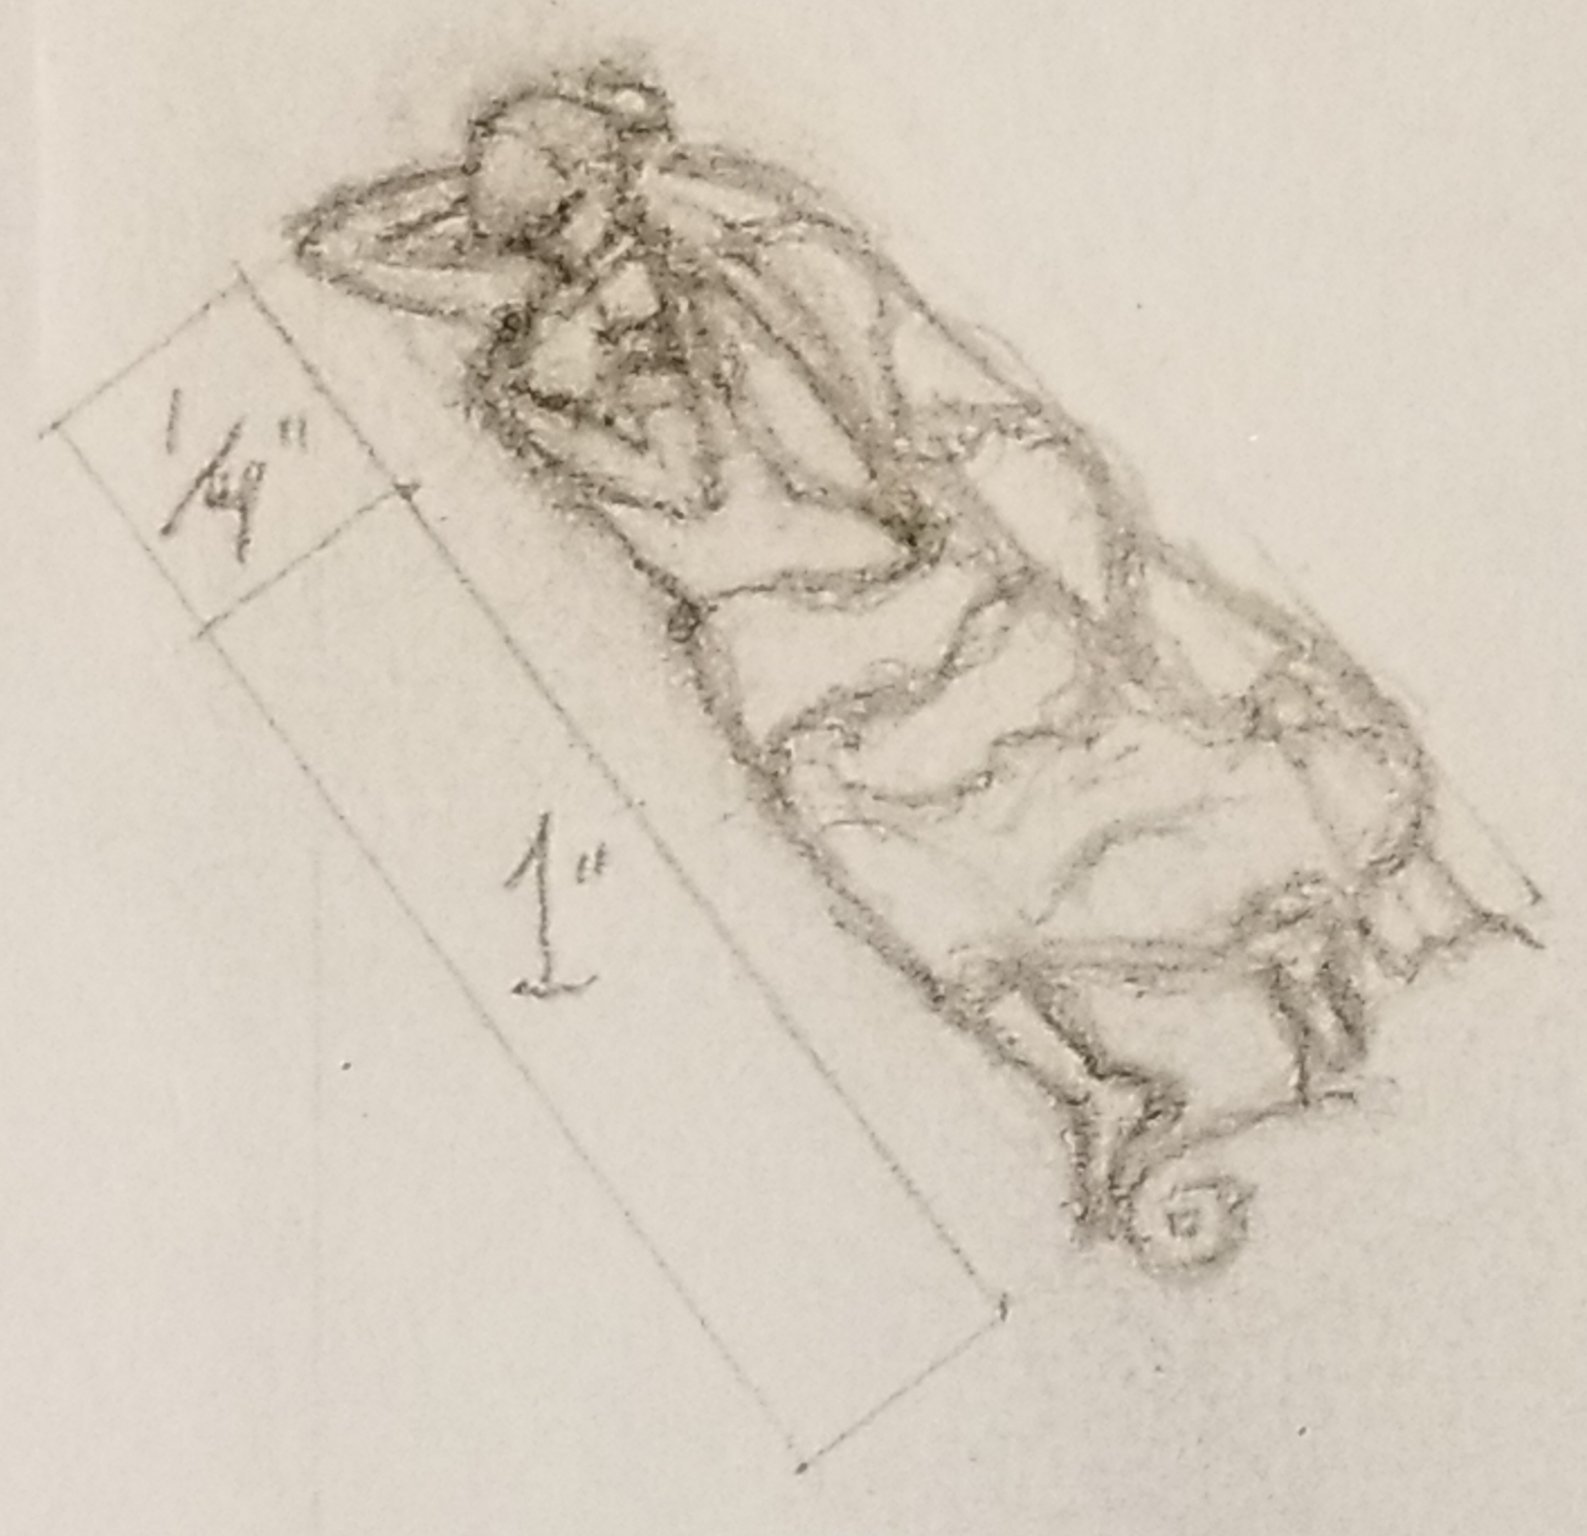
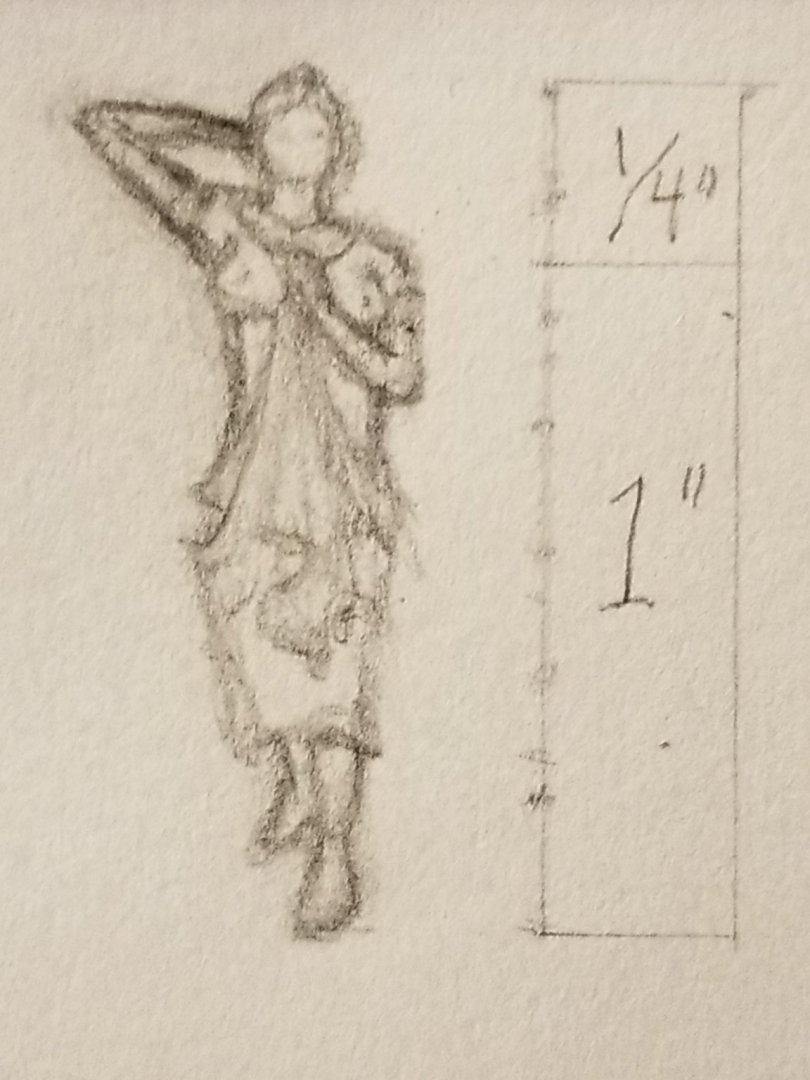
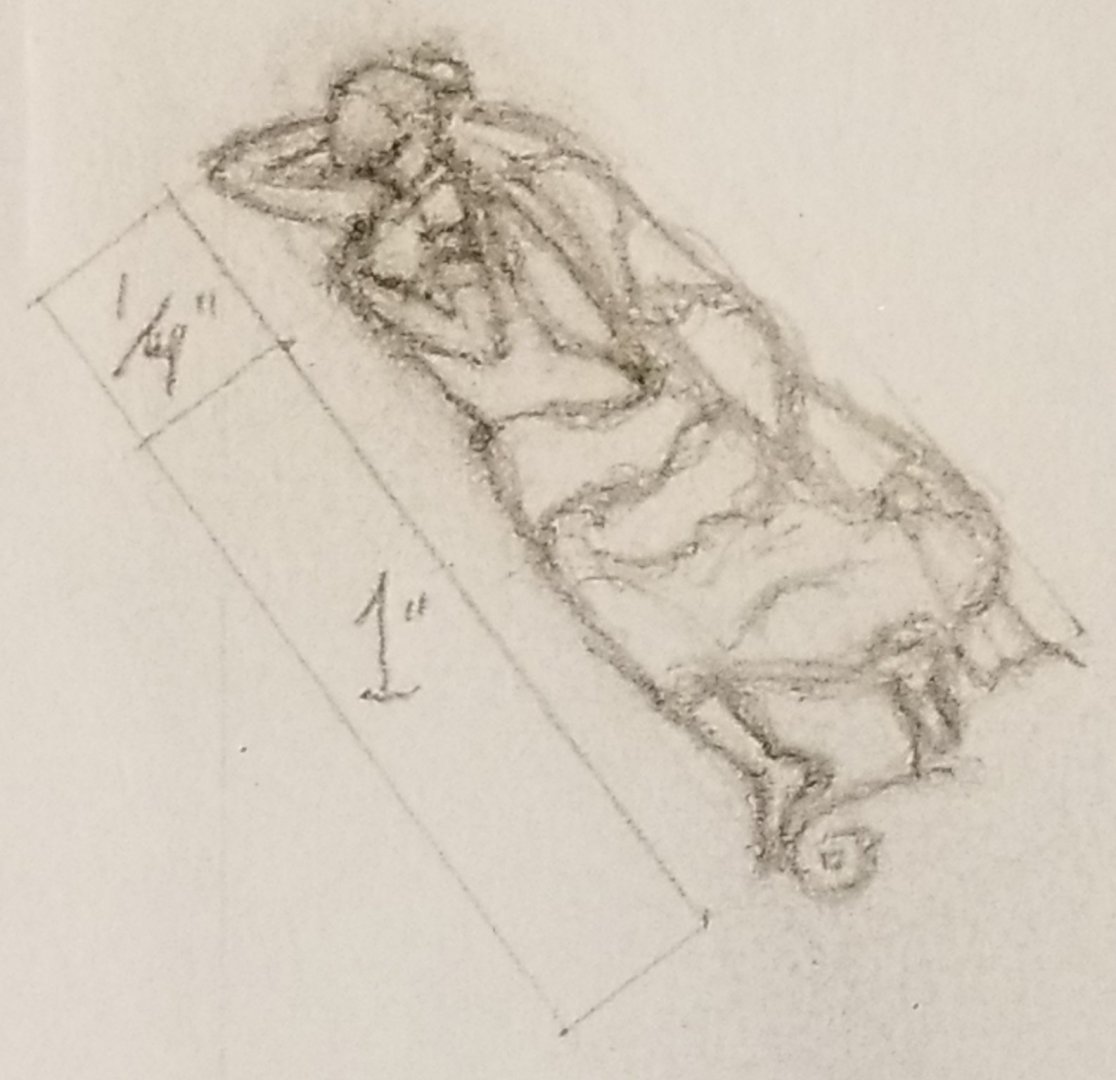
Vladimir, I hope this helps your pursuit of Glory's lovely Grecian Goddess 'Athene' figurehead. This is a 1 1/4" sketch of the Starboard view of her.
-
Vlad, not to 'pile on' but Rob is right. All iron bands and sprit cap are at 90 degrees to the bowsprit and jibboom.
-
Vladimir, if it helps, I can do sketches of Glory's Figurehead at the 1 1/4" scale you need. Another modeler, first name Doris works with material called 'plasticine' which she sculpts into incredibly lifelike figures that she uses to populate her vessels made of card. One of her latest creations is "Royal Caroline."
-
Tony Hunt that's a great catch. My bias that they wouldn't put the poor old Clipper out to sea without her precious yellow metal protection was wrong. In fact, this cruel cost cutting measure of not reapplying this crucial protection is what led to a god awful barnacle encrustation, just a few years later. Such unforgivable neglect is what ultimately led to her demise as potential restorers determined she had too much dry rot that she would never make the perilous trip back around Cape Horn to Boston, so she was lost to eternity in a funeral pyre.
- 3,560 replies
-
- 1
-
-
- clipper
- hull model
- (and 2 more)
-
Rob, you put yourself down too much. Of all the many observations that have been directed your way, I haven't seen one derogatory comment about your rapid pace. Your results speak for themselves and they continue to be downright impressive.
-
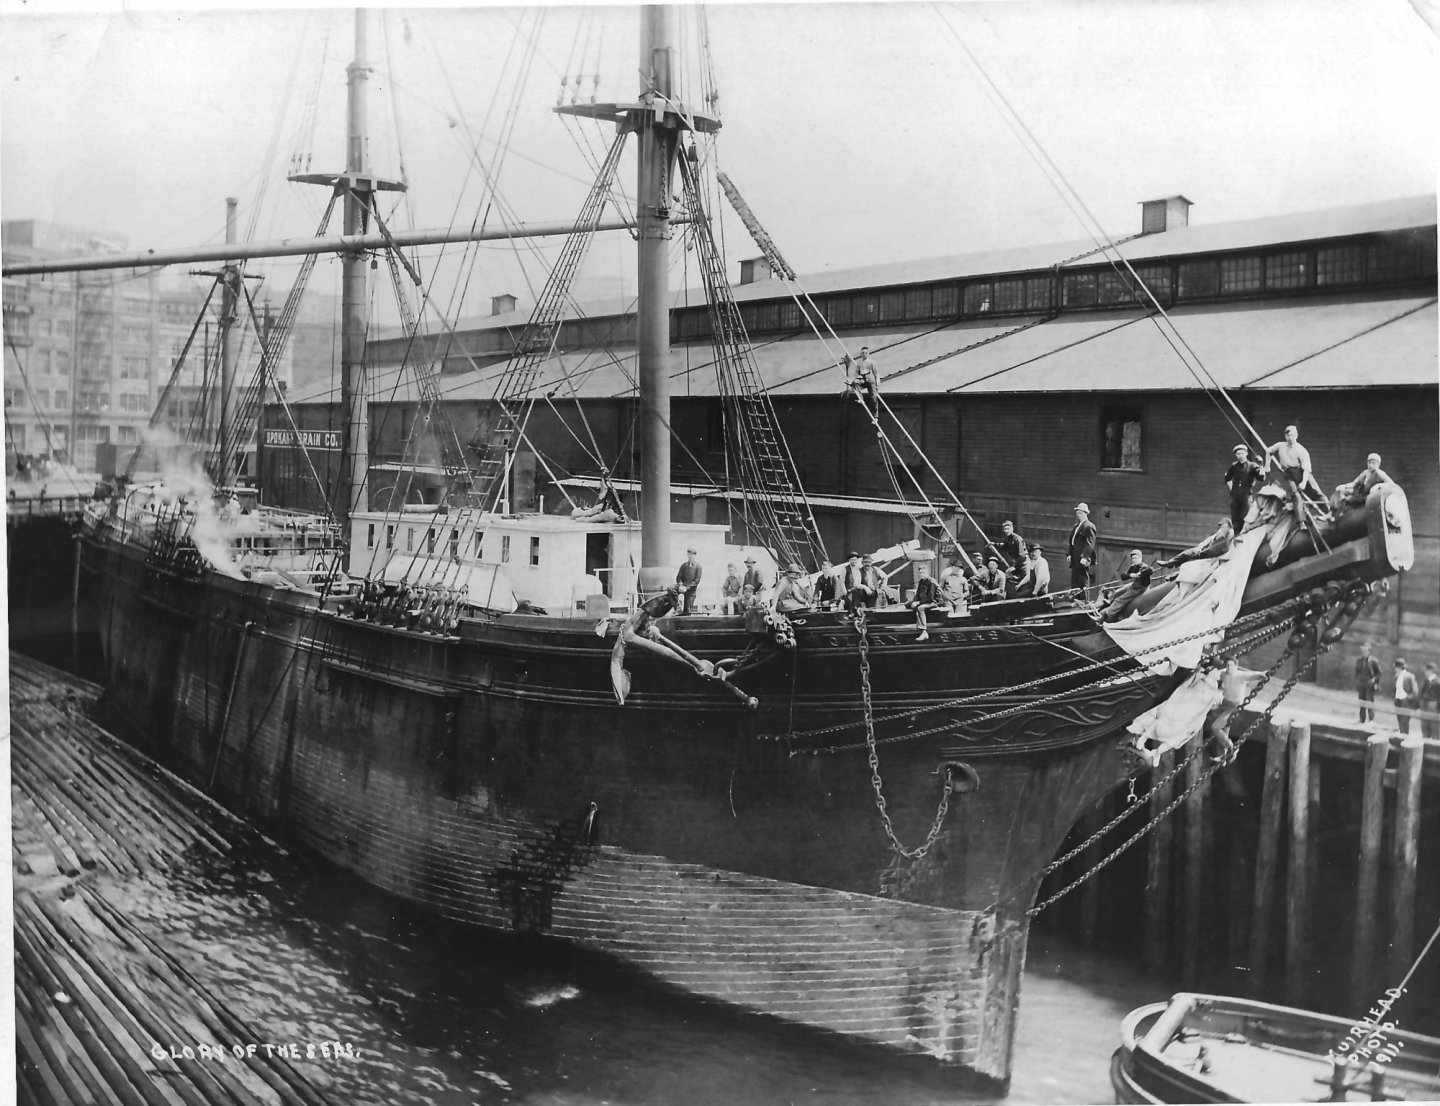
Rob, that's just gorgeous . This particular angle reminds me so much of the one which I credit giving us the breakthrough in finally recognizing Glory's genuine Clipper shape. This 1911 Seattle dockside view, which actually wasn't fully available even in Michael's first book, finally shows Glory's true razor sharp Clipper Bow. To me, this aha! moment is what allowed Vladimir to give us the incredibly accurate bulkhead kits. And Rob you're showcasing in your incredibly faithful replica, "GLORY of the SEAS" as she truly appeared. This is such exciting stuff!!!
- 3,560 replies
-
- 4
-
-
- clipper
- hull model
- (and 2 more)
-
Michael, you're welcome and on behalf of Rob's group, I'm sure he welcomes your contributions.
-
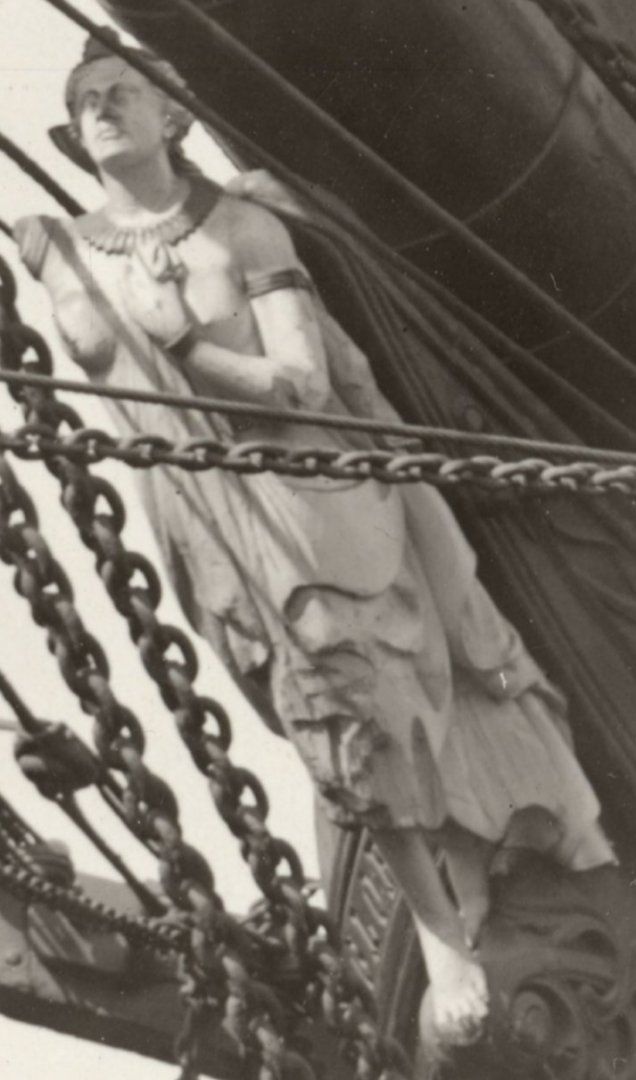
Michael, in case you haven't had the chance to see Glory's Figurehead on the real vessel, here's 3 beautiful images of her. The first 2 are ones that Michael Mjelde graciously shared with our group, from his over 60 years of researching her.


- 3,560 replies
-
- 2
-
-
- clipper
- hull model
- (and 2 more)
-
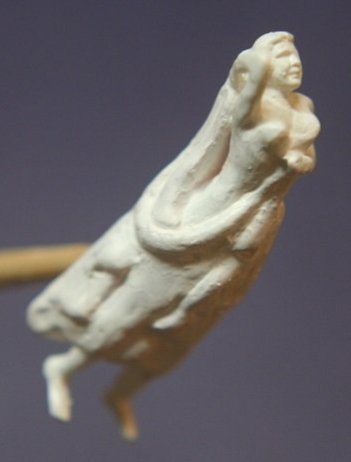
Michael, to save you digging time in searching for Rob's earlier posts, here are the 3 images of his unpainted Grecian Goddess 'Athene' with another close up of Lloyd McCaffery's work, which to be fair, while also small is substantially larger than Rob's (possibly 8").


- 3,560 replies
-
- 2
-

-
-
- clipper
- hull model
- (and 2 more)