HOLIDAY DONATION DRIVE - SUPPORT MSW - DO YOUR PART TO KEEP THIS GREAT FORUM GOING! (78 donations so far out of 49,000 members - C'mon guys!)
×


Vane
-
Posts
618 -
Joined
-
Last visited
Content Type
Profiles
Forums
Gallery
Events
Everything posted by Vane
-
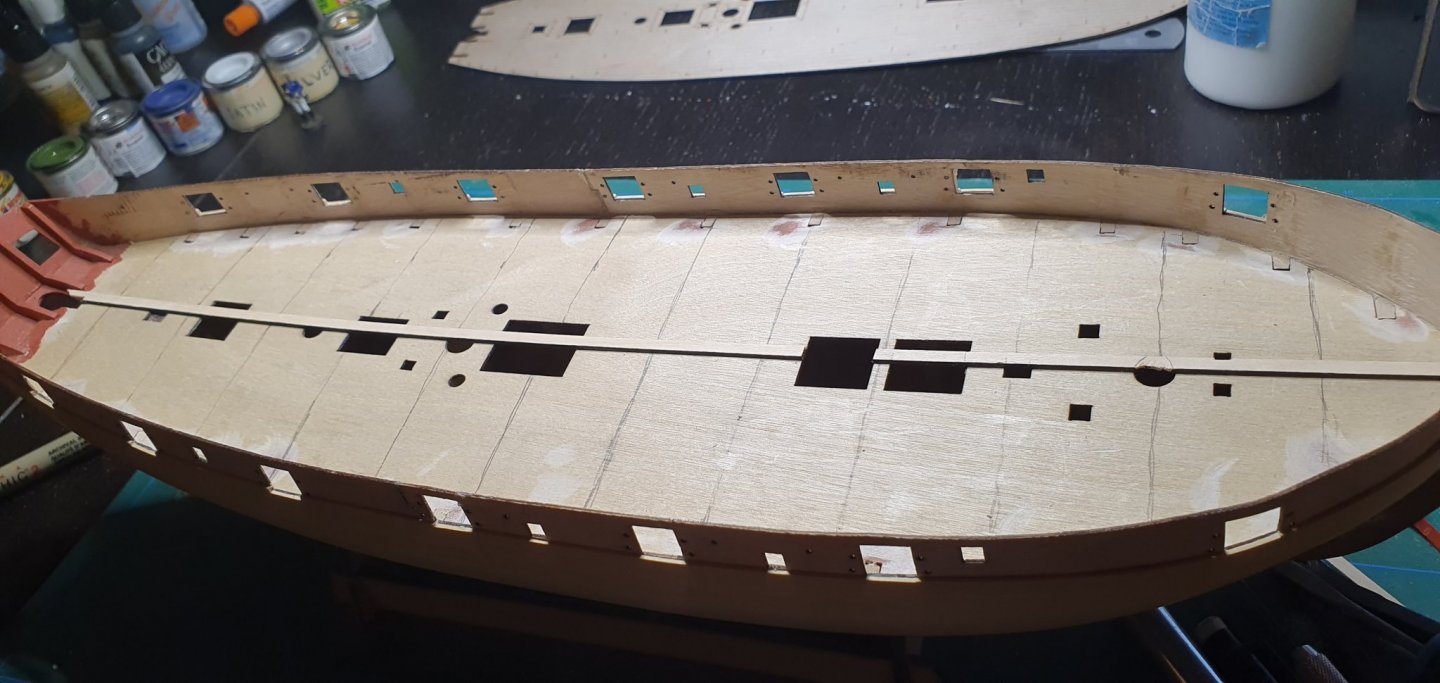
 I had it in one piece and it Went fine besides from that I broke the tiny stern pieces :-O Some glue and they were fixed. The lesson learnt here is that you dont need to dry fit the Vanguard pieces… they will fit too good!
 -
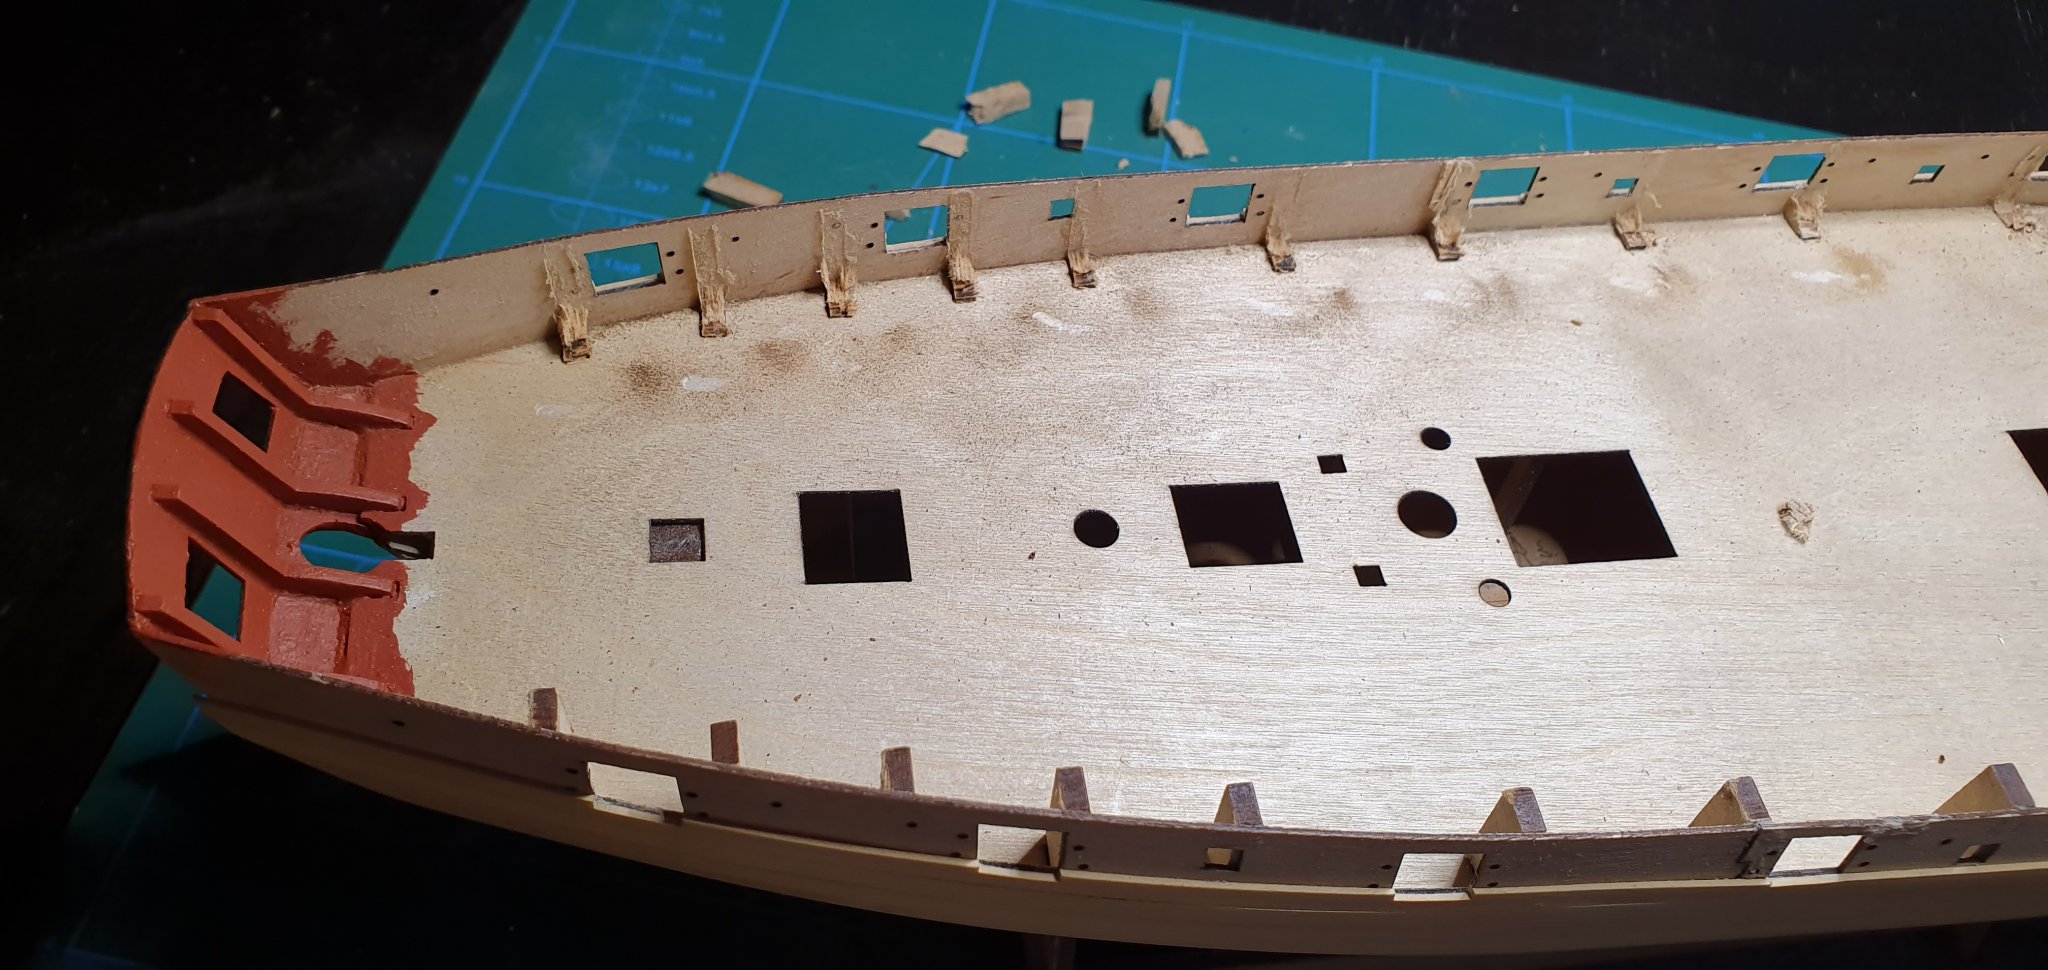
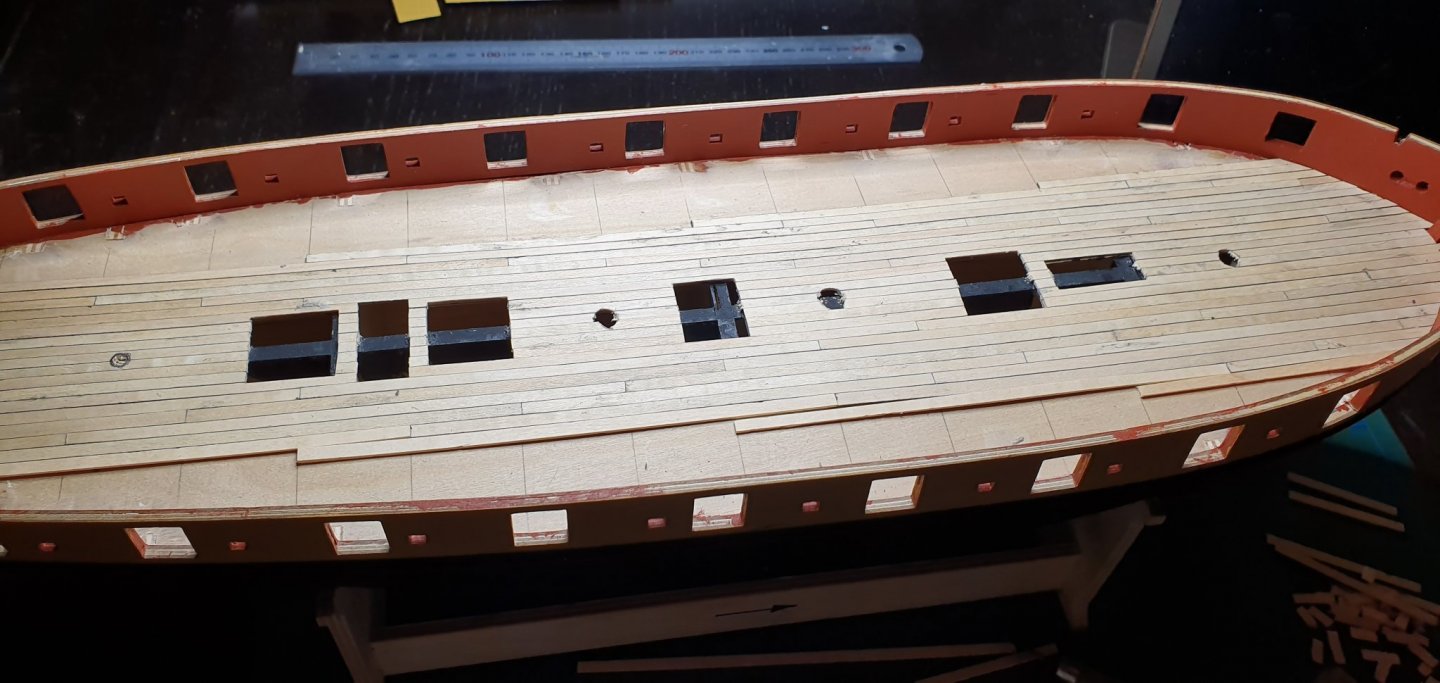
So far basically all parts has fitted perfectly in my kit without any adjustments. But i had to be sure before gluing the deck in place so i dryfitted it. However, once i popped it into place it was really difficult to remove it again. Smart move with the template.
-
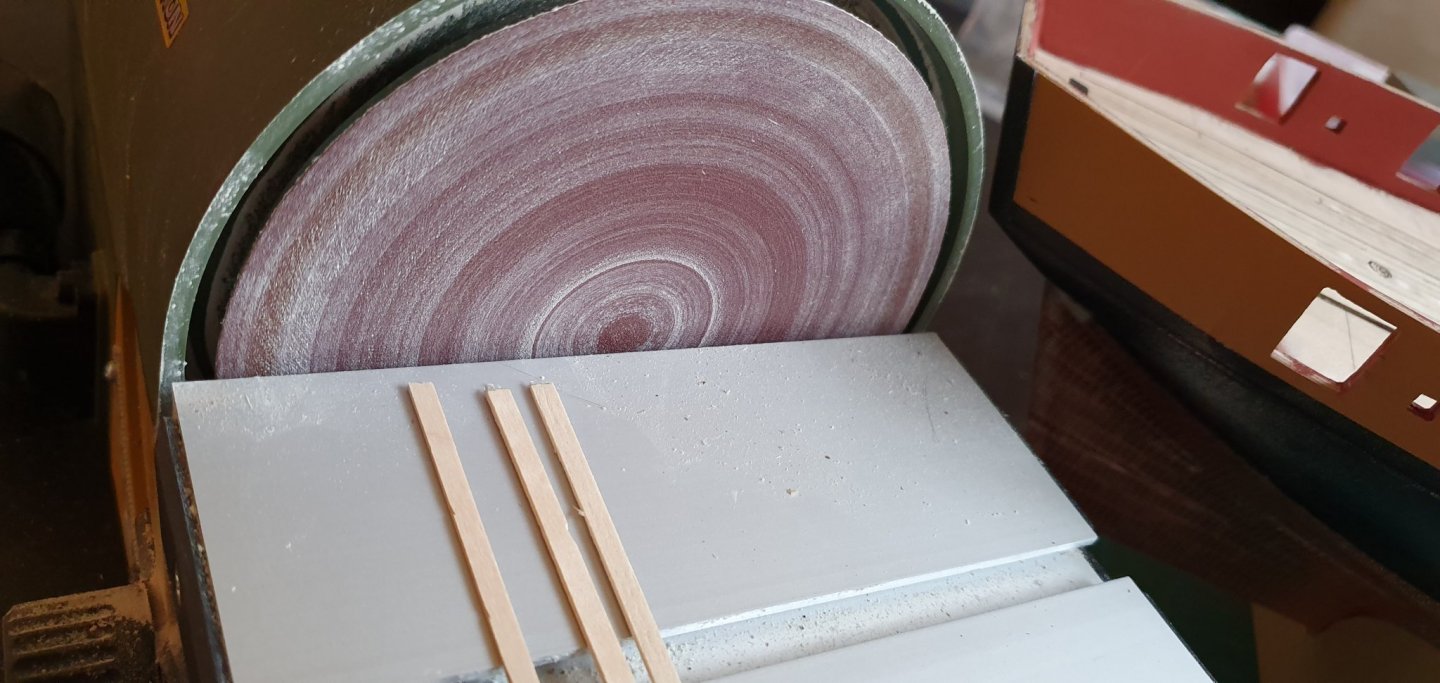
Only one problem and thats is that my maple is not the best. I have to sand all sides of each plank individually due to the rough edges. Its ok for a small deck like Speedy's but it will be very time consuming for my Diana.
-
So I have finally decided to go with my own maple....
-
50h? That sounds impossible. Building ships with nice finish usually takes hundreds of hours. There are many solutions in Chris design that speeds up the process but things like the 2nd planking cant be rushed without ruin the quality.
-
Why darker planks in the middle?
-
Good luck and welcome to the club
-
Thanks for a good points all of you have raised. I dont think any of you are right or wrong, just different ways of looking at the problem. The interesting thing with the whole kit is all of the new design solutions using latest technology and with an idea of speeding up the build process. Some of those may not look as good as an advanced and highly skilled scratch built solution, but its saves time and some people my not have the needed skills. Even though some details are important, I dont think they are as important on wooden ships as on plastic models where u spend lots of time on weathering effects. The rigging is what stands out.
-
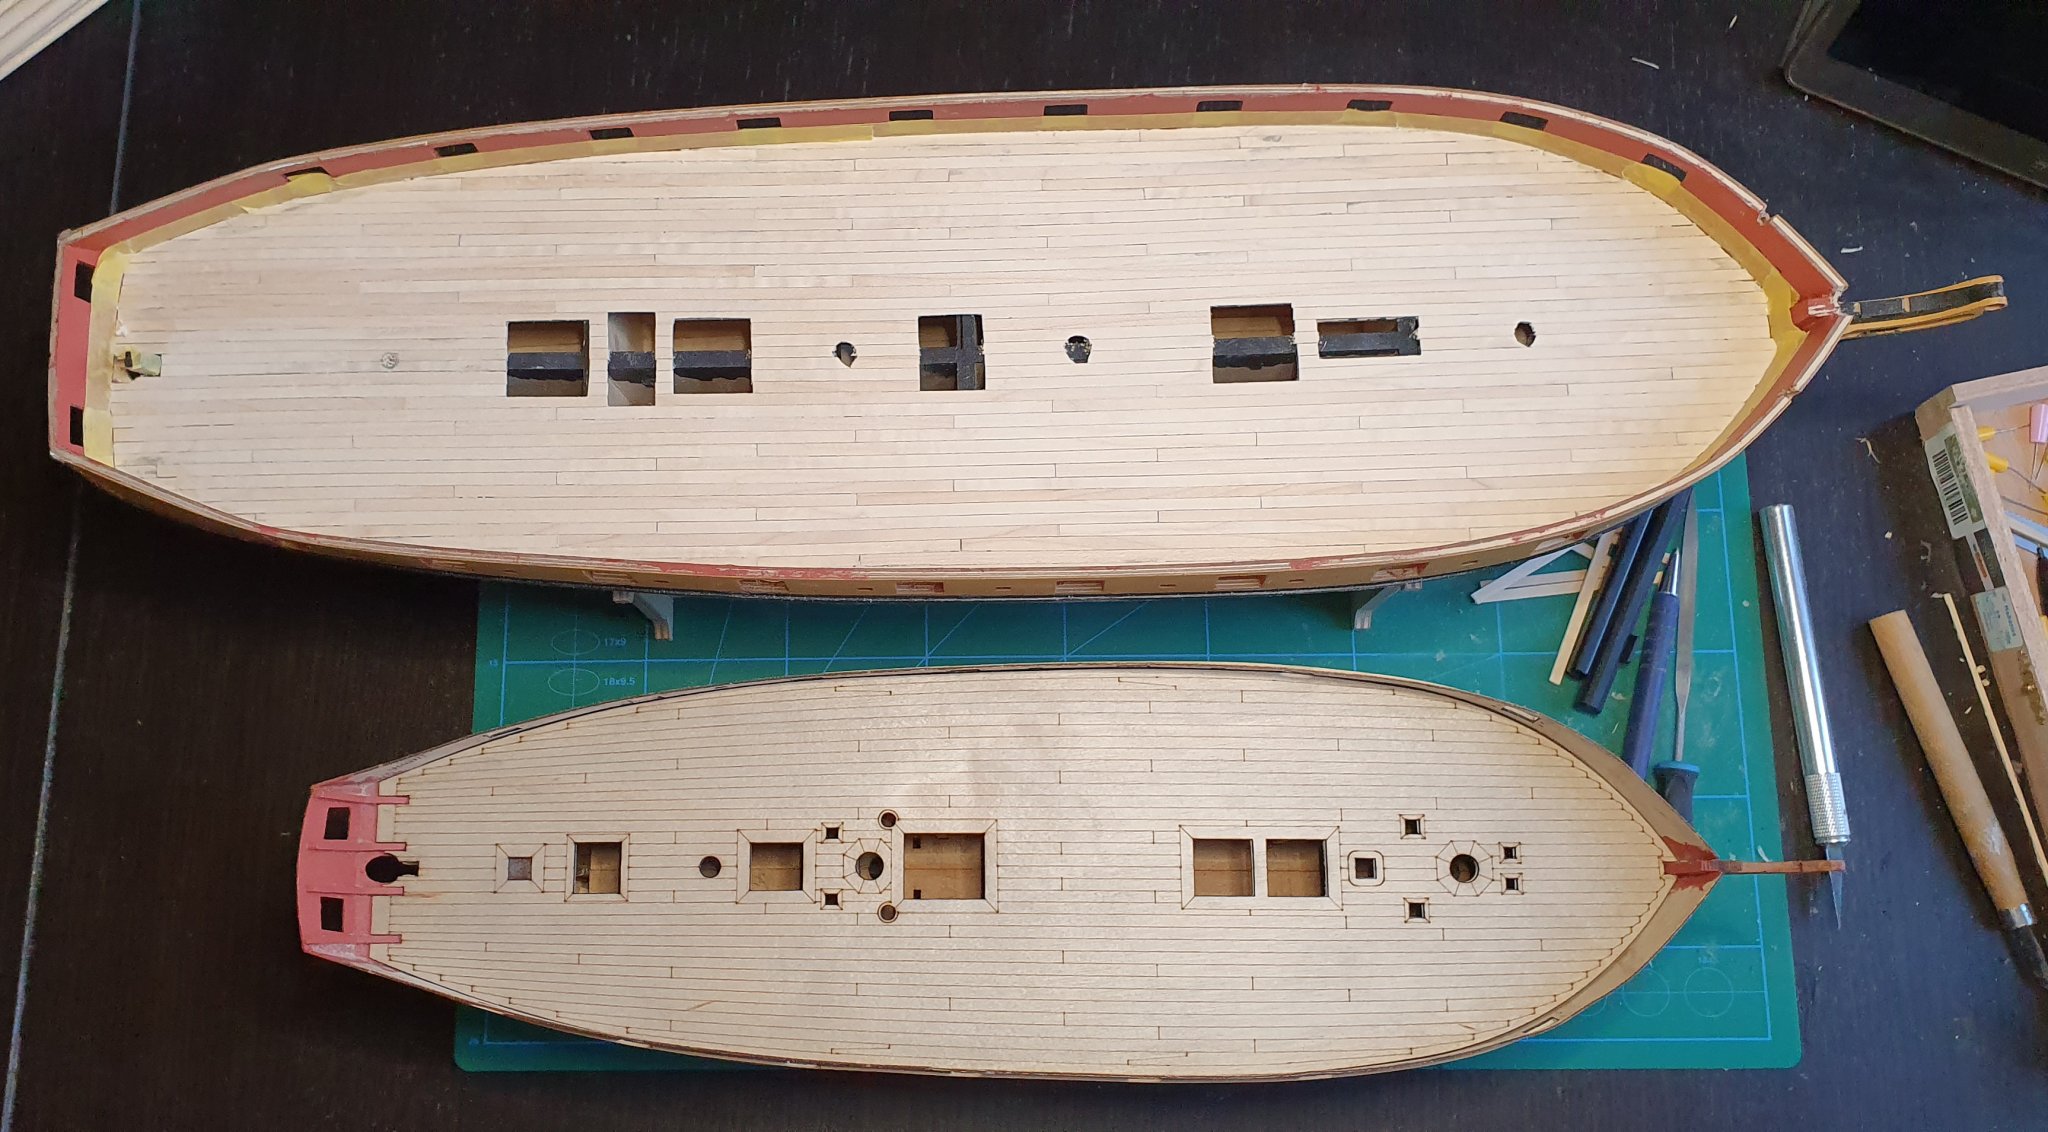
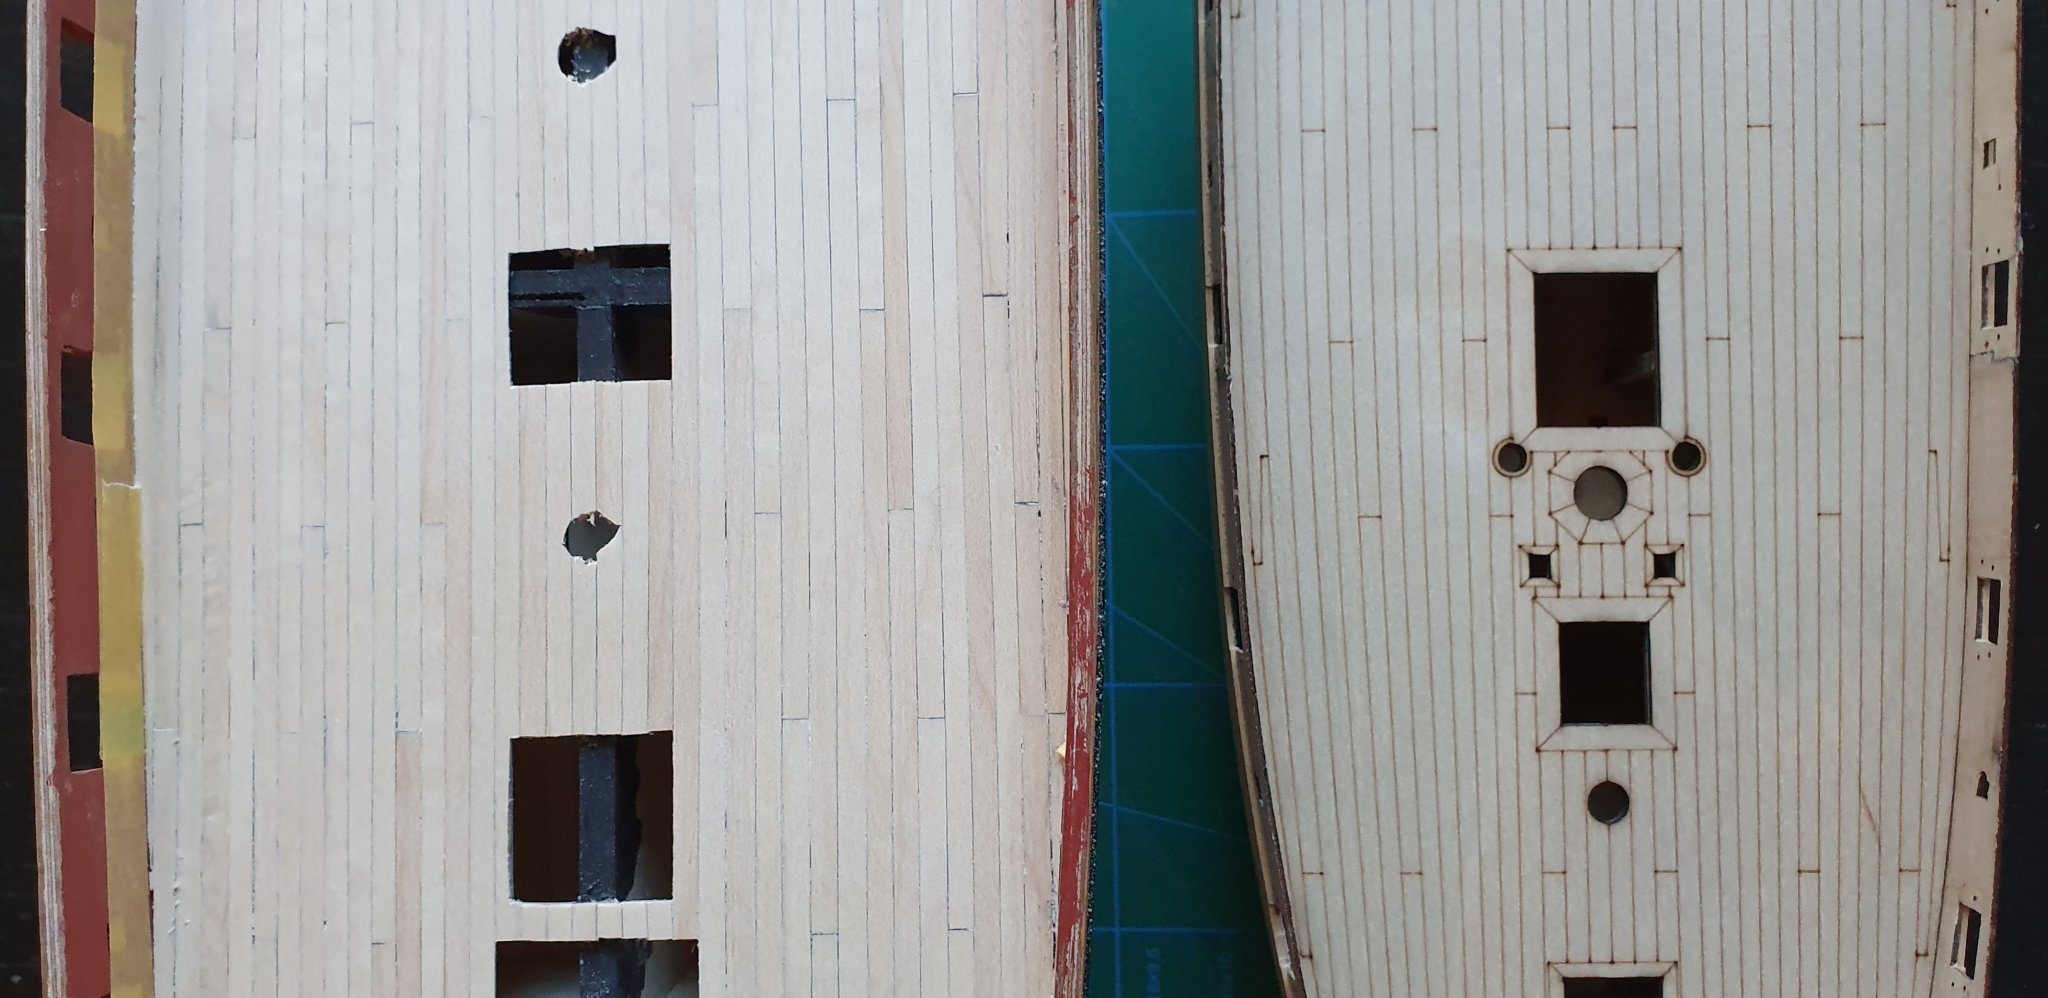
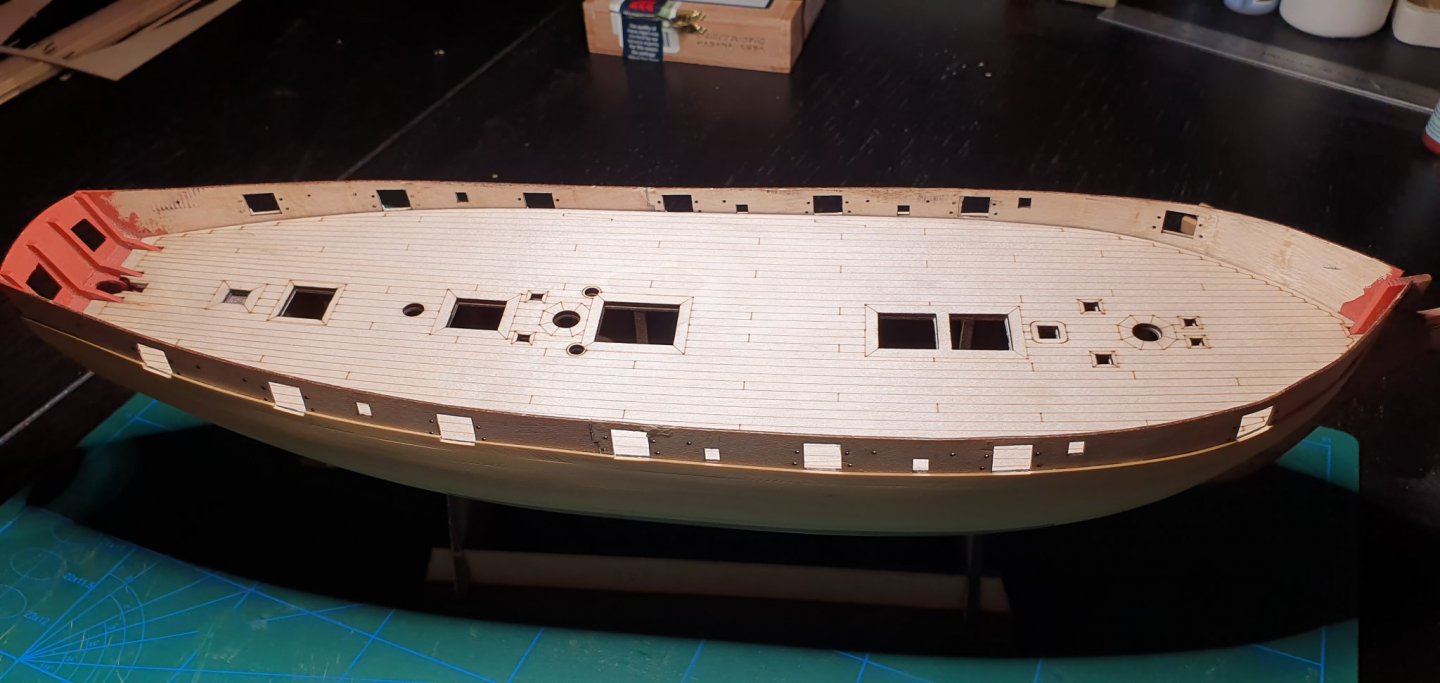
Finally, I have completed my Snake maple deck and can compare before i move on with my Speedy deck. My Snake took about 2 weeks to do and i would say that the pre engraved would save tons of time. So which look do you prefer?


-
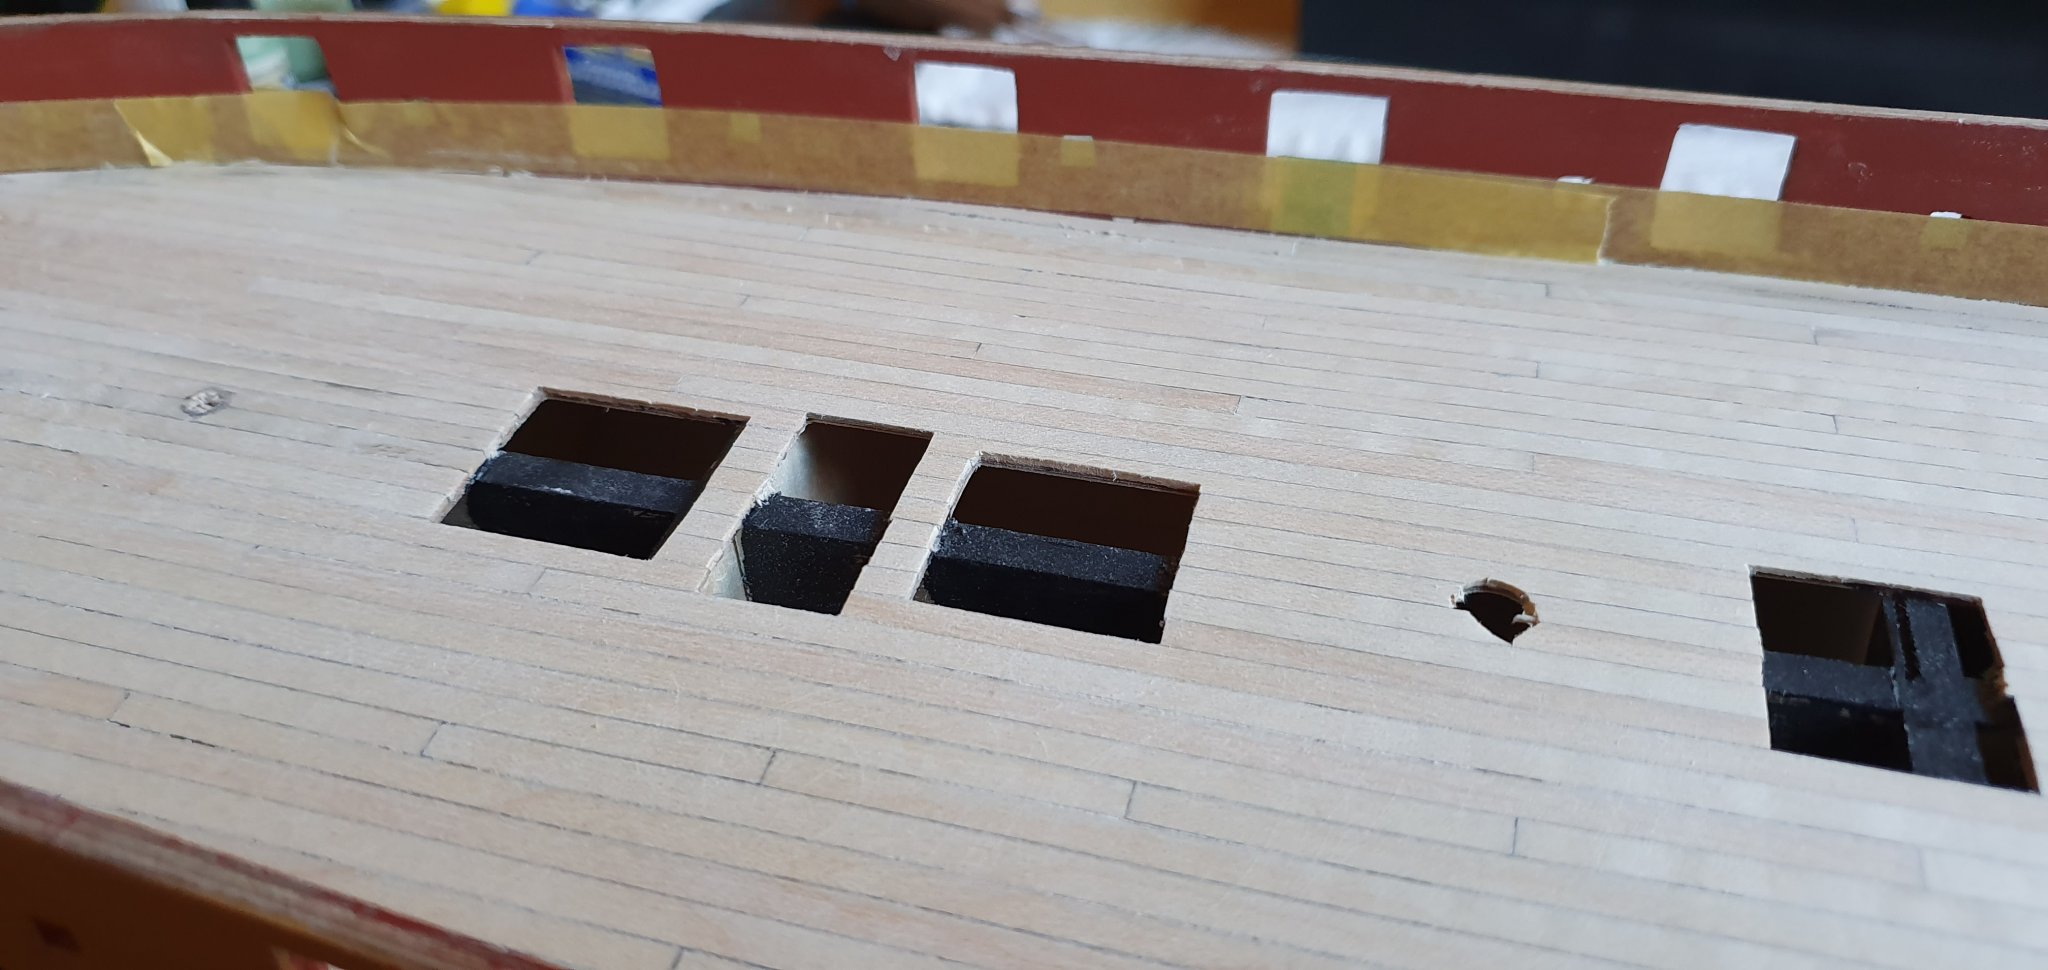
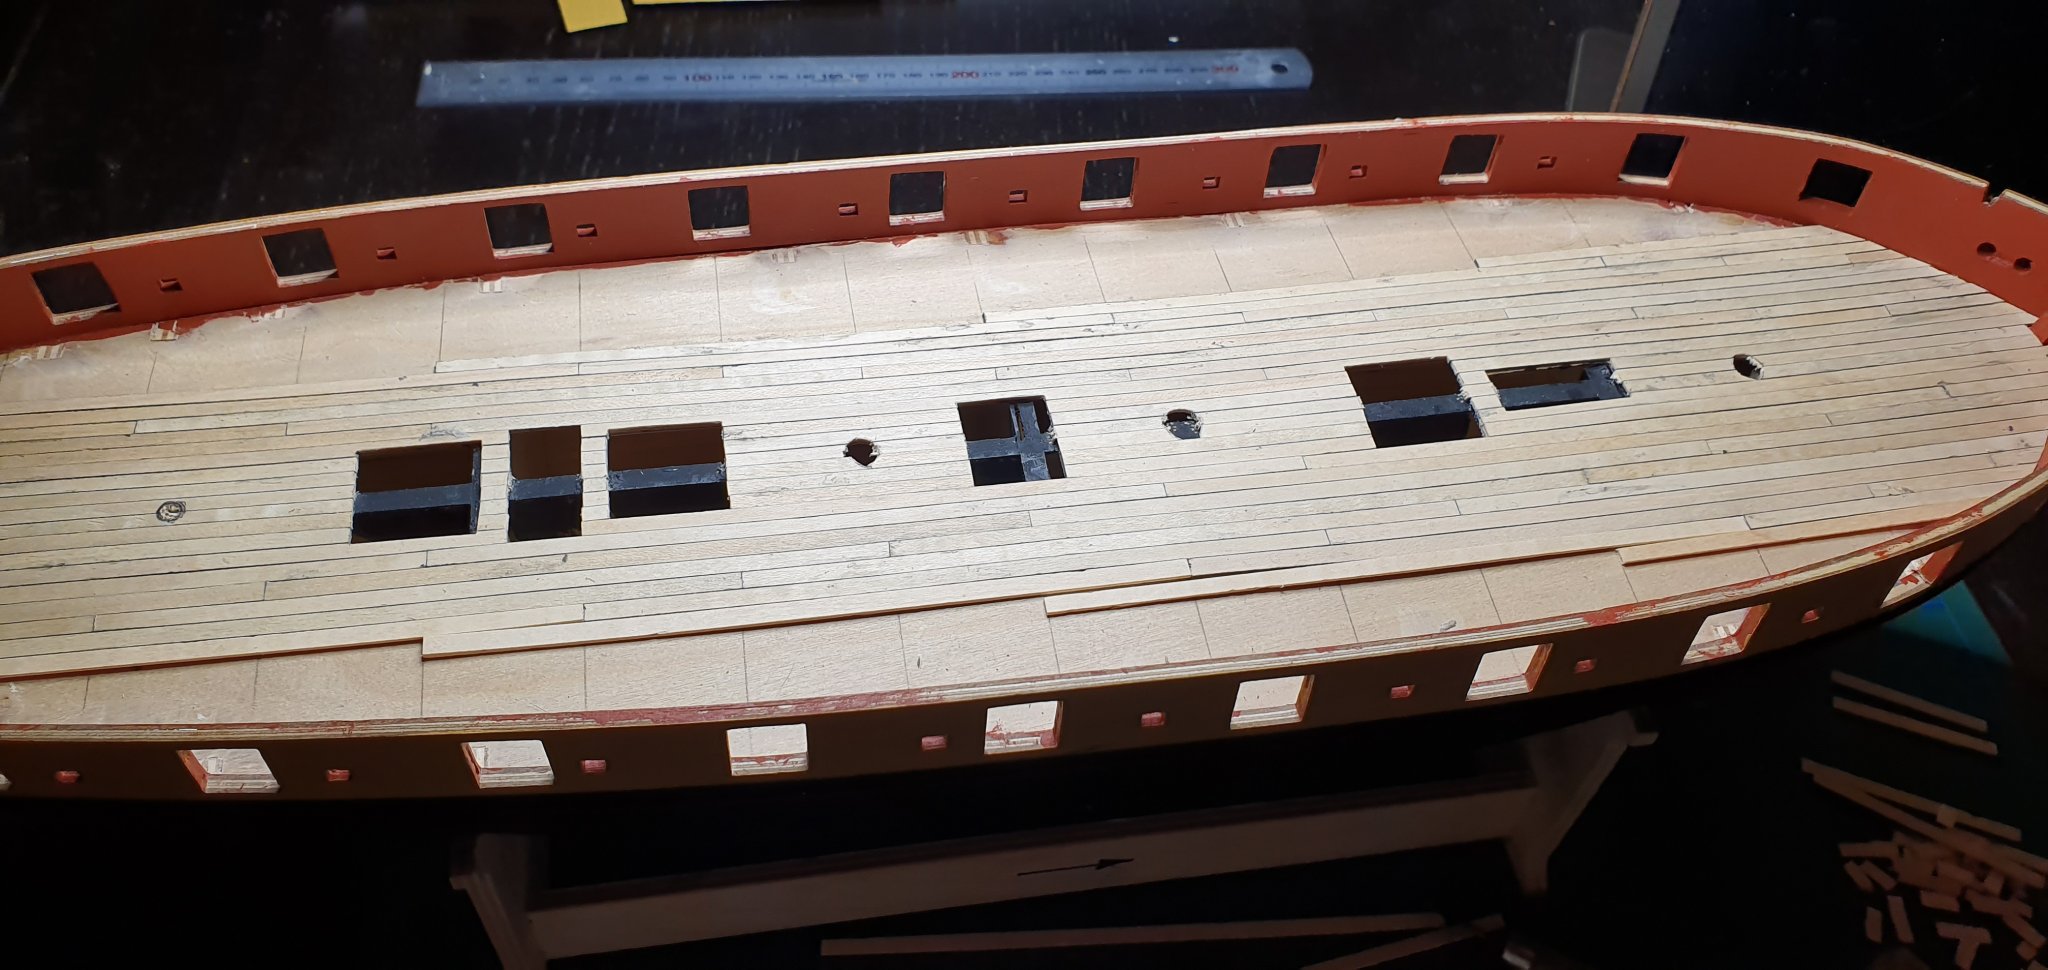
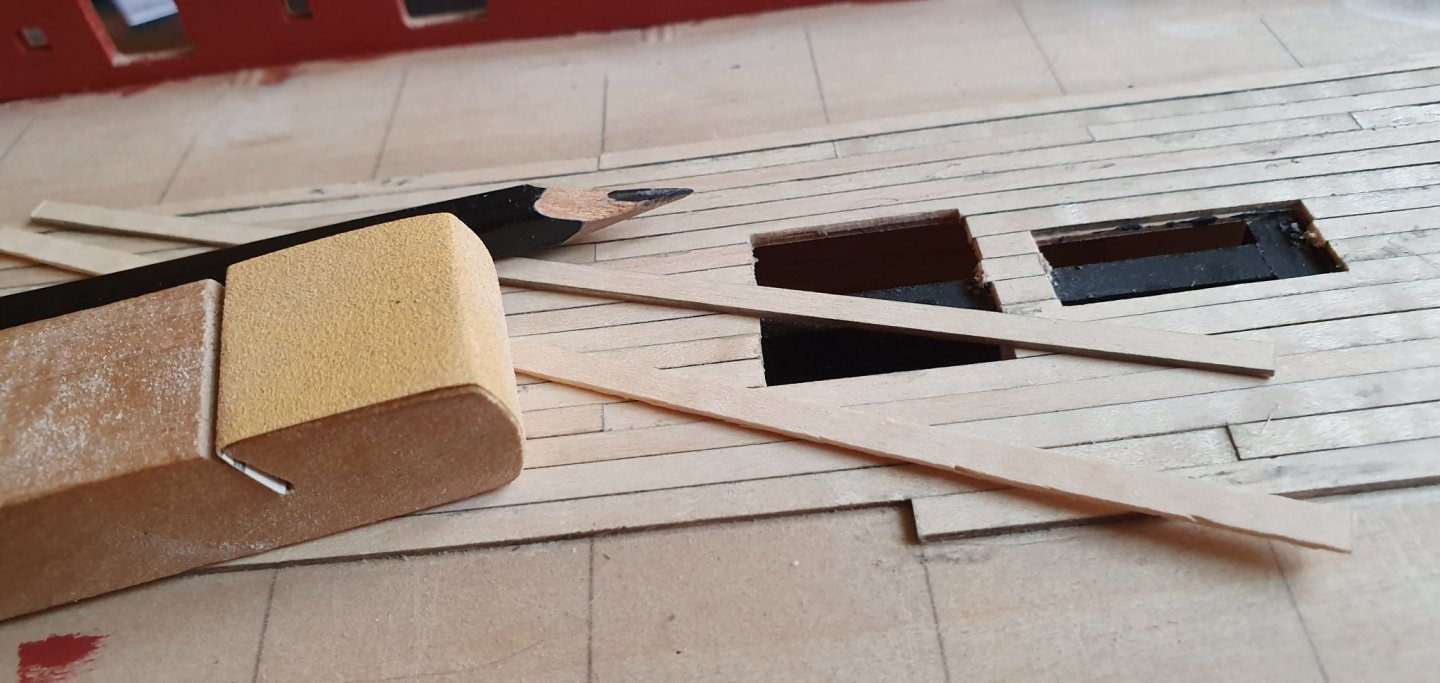
This was quite alot of work... Unfortunately my maple is really rough and each plank require alot of side sanding. My Proxxon has been invaluable to fix the tips of the planks. Each plank is 15cm long and i am doing a 3cm pattern. I am using a pencil for the caulking since i thought that a Black pen made it to harsh. Hopefully i Will finish this i a few days. The laser engraved pattern feels very tempting for my Speedy now...
-
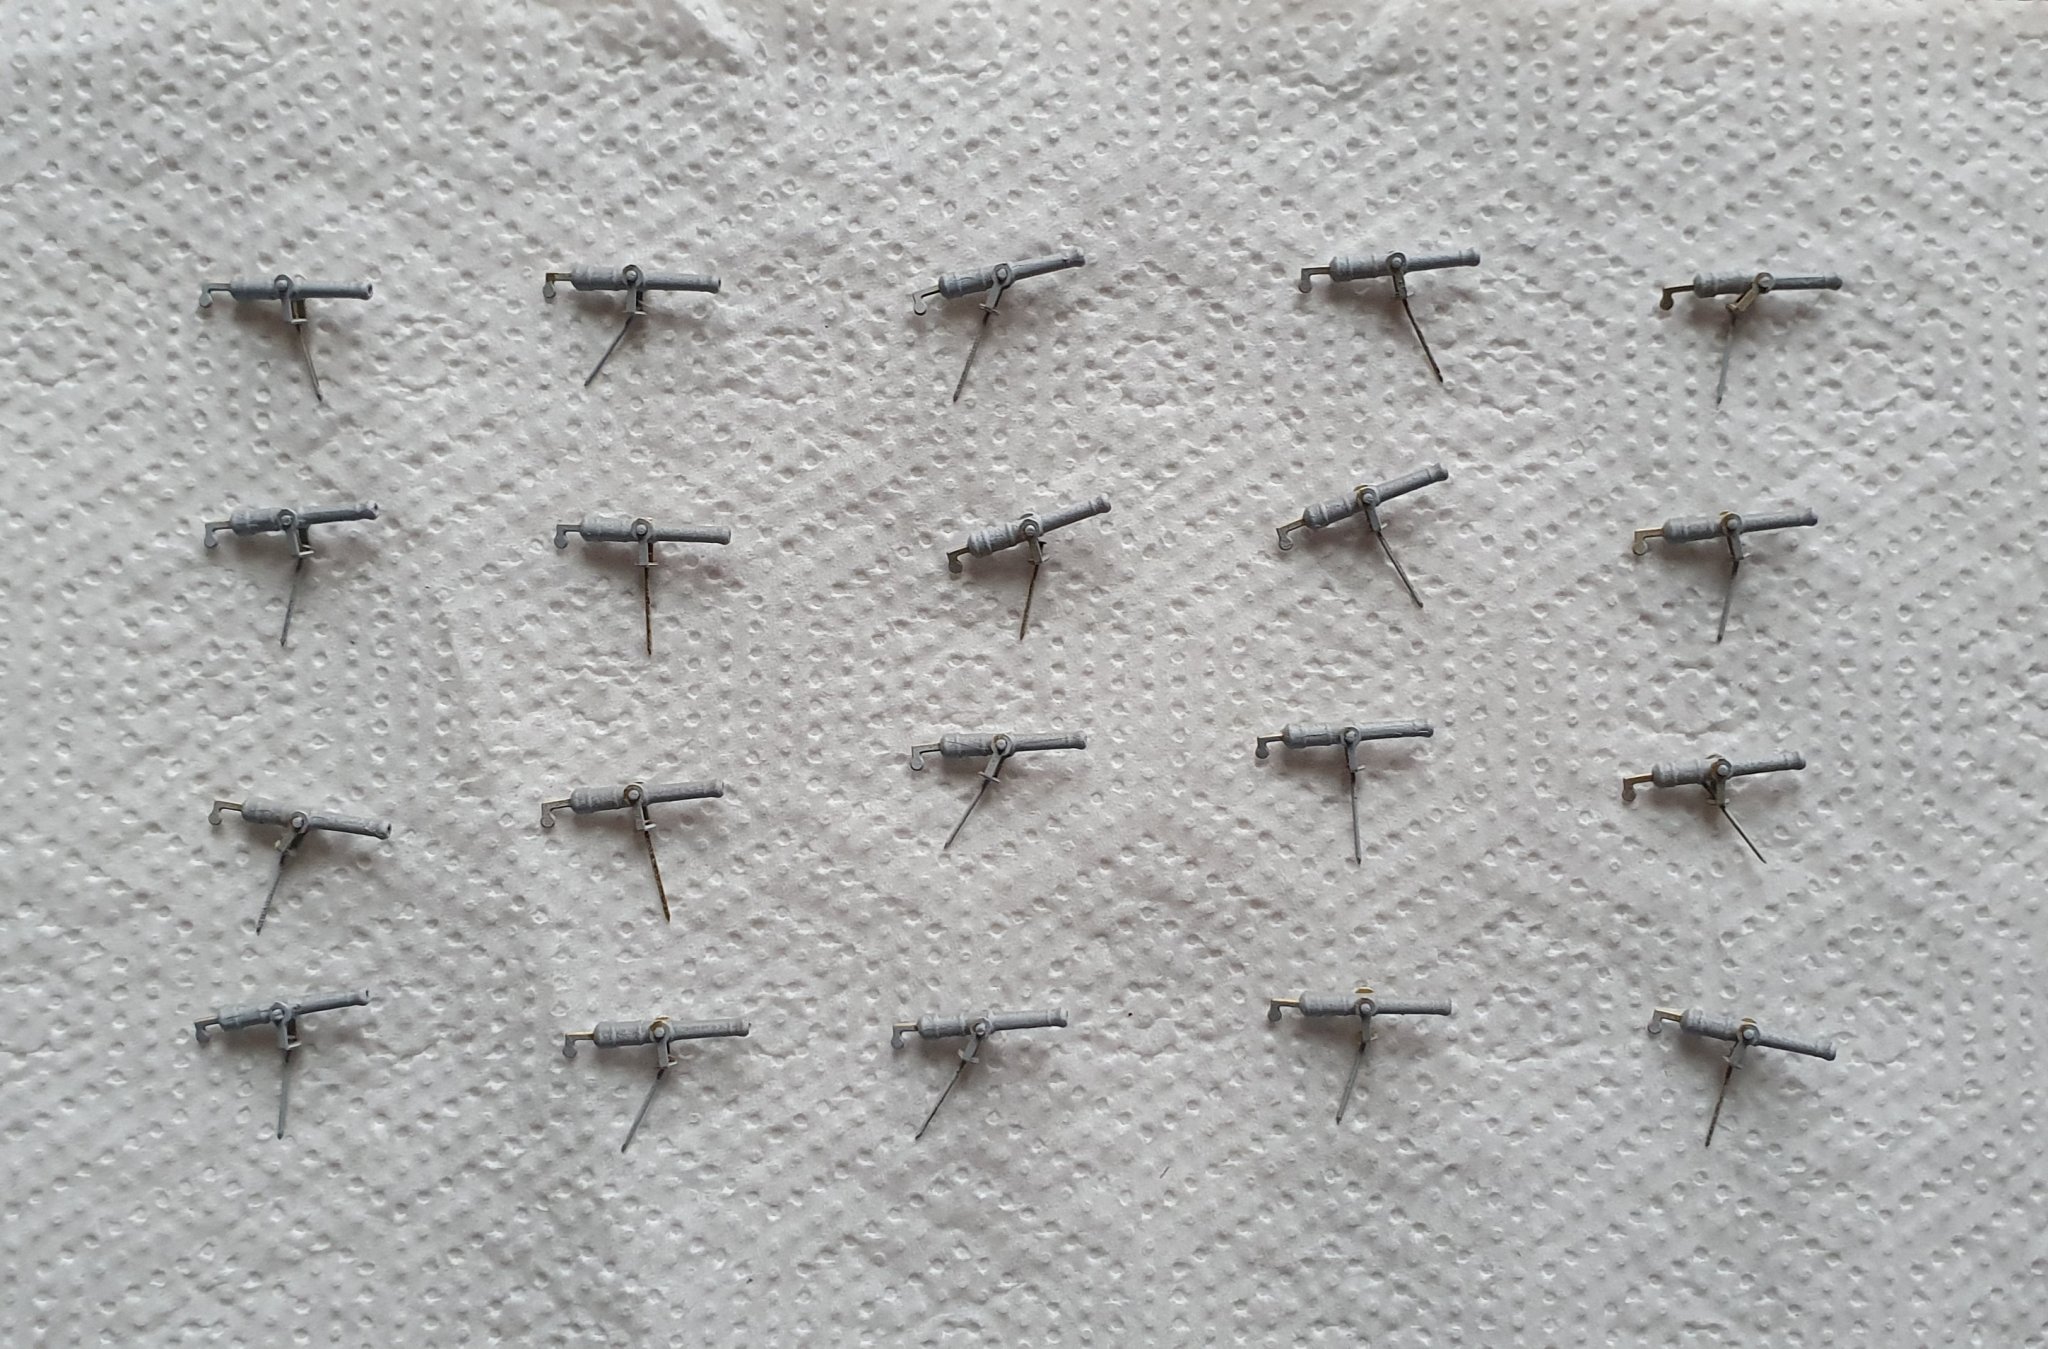
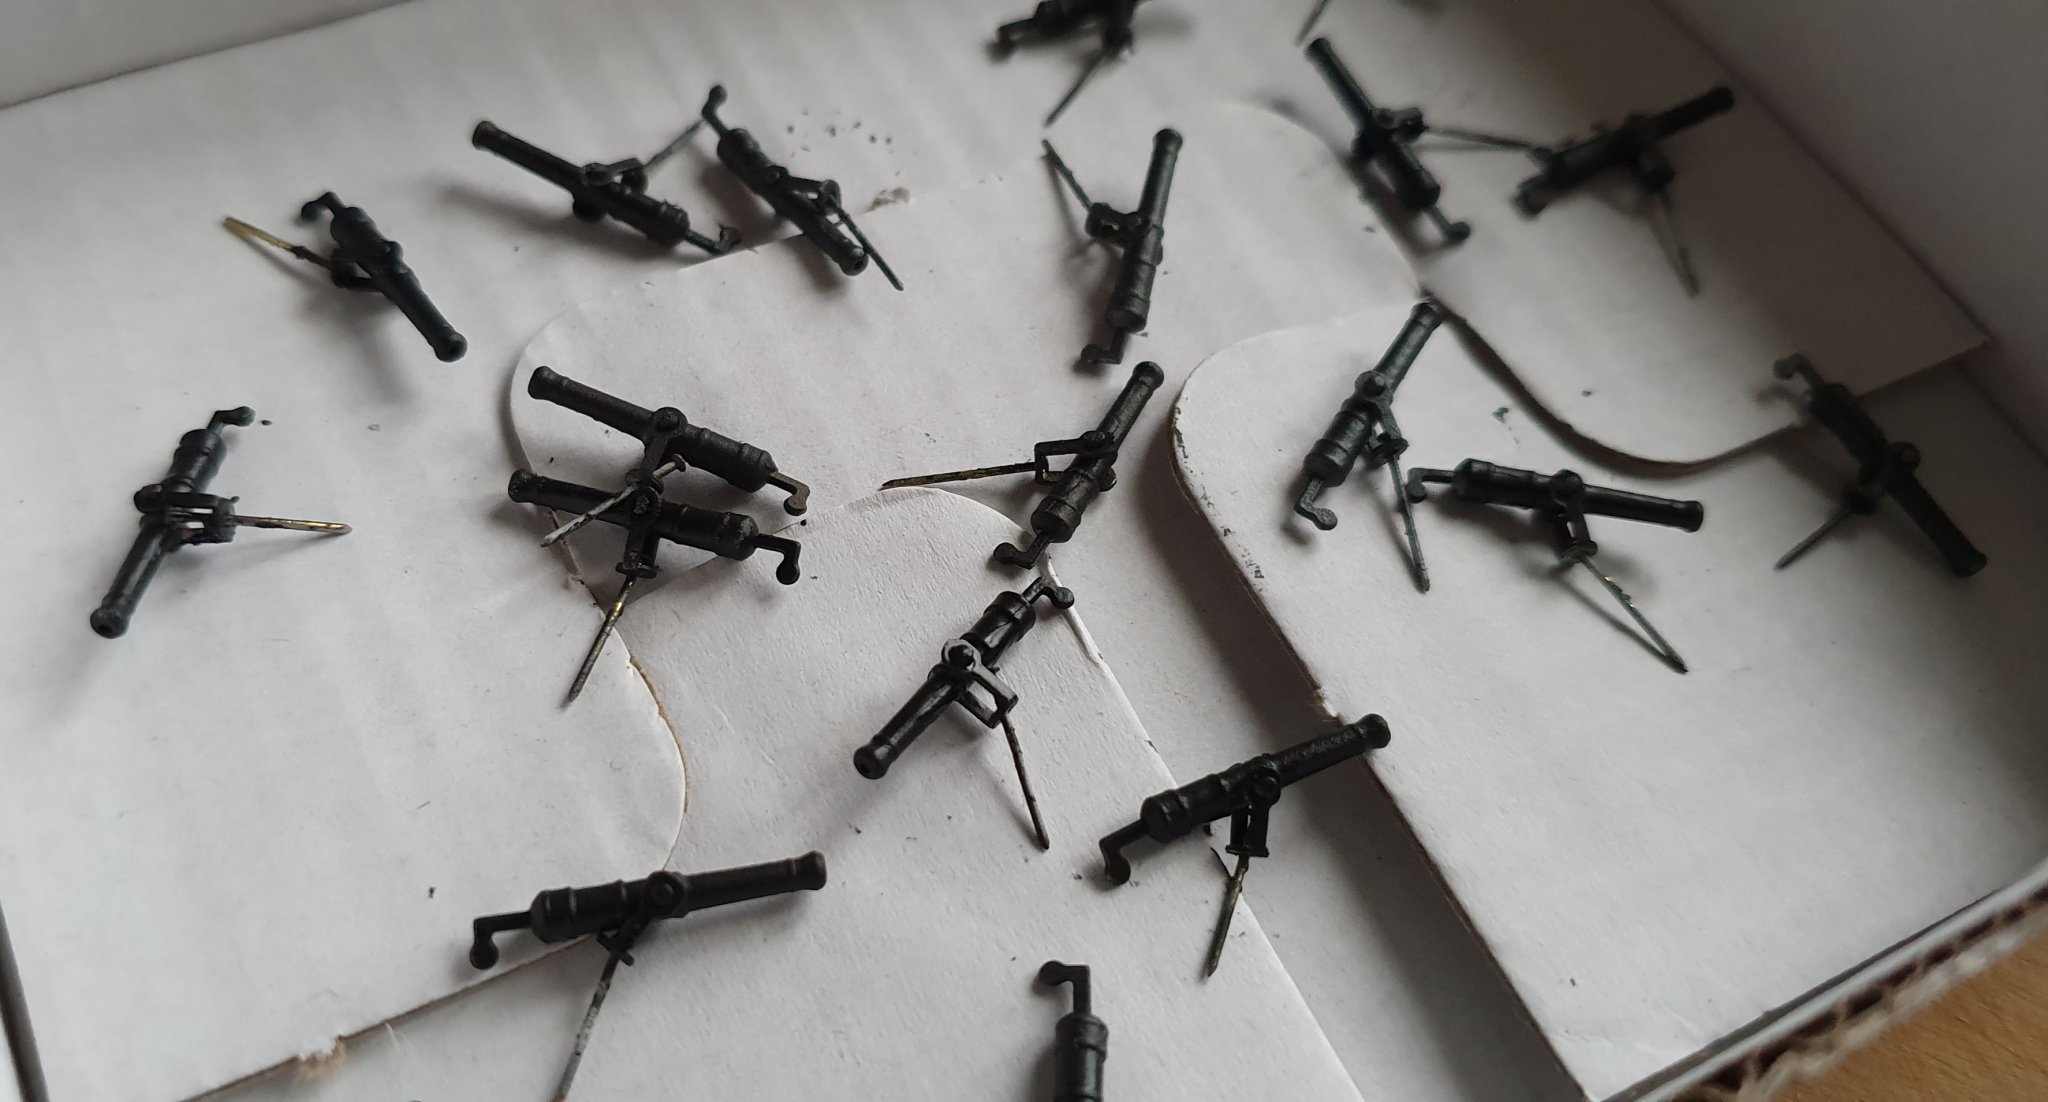
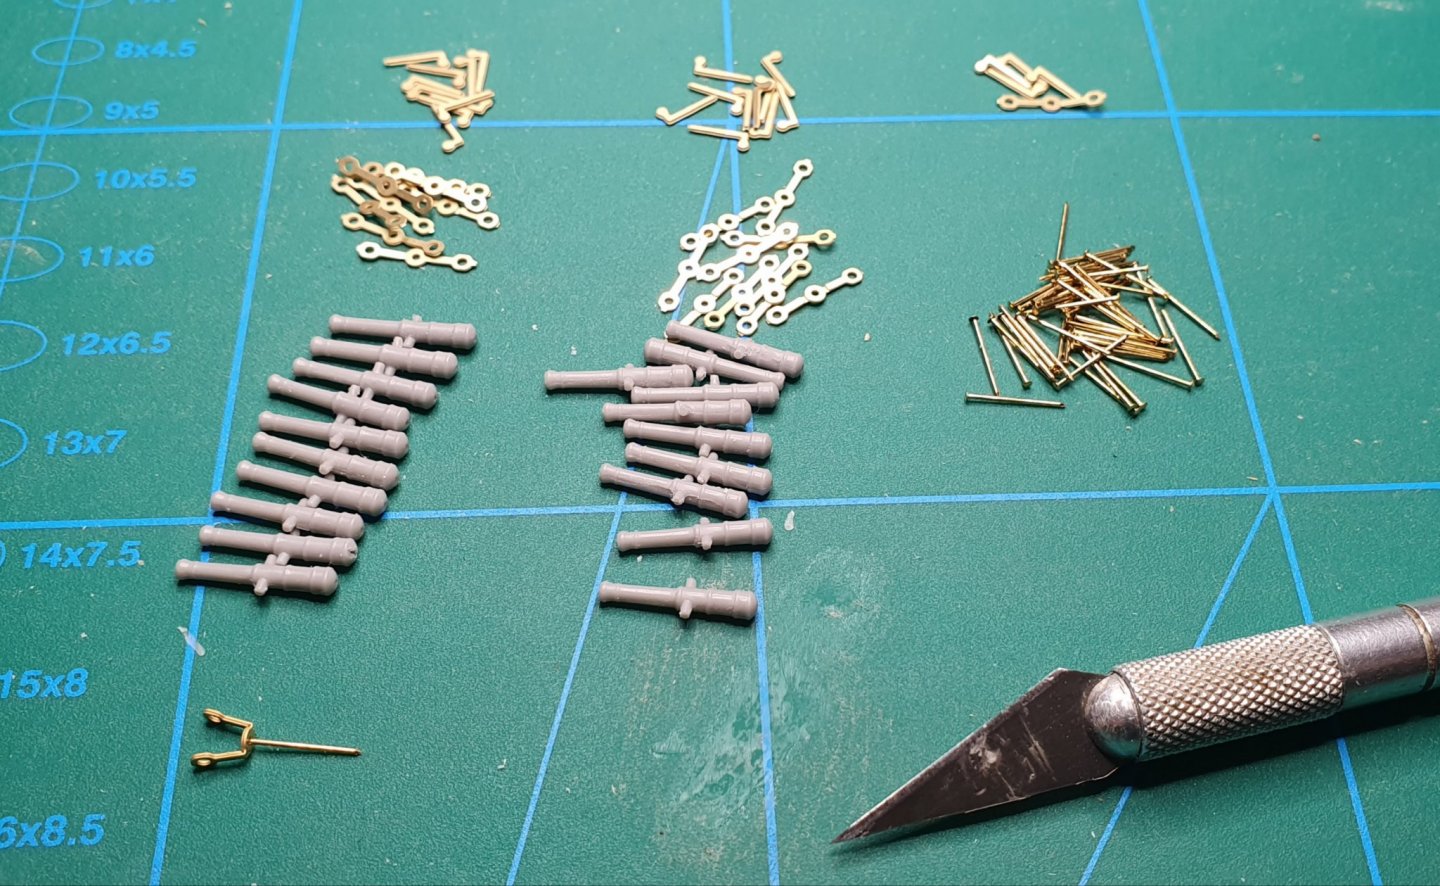
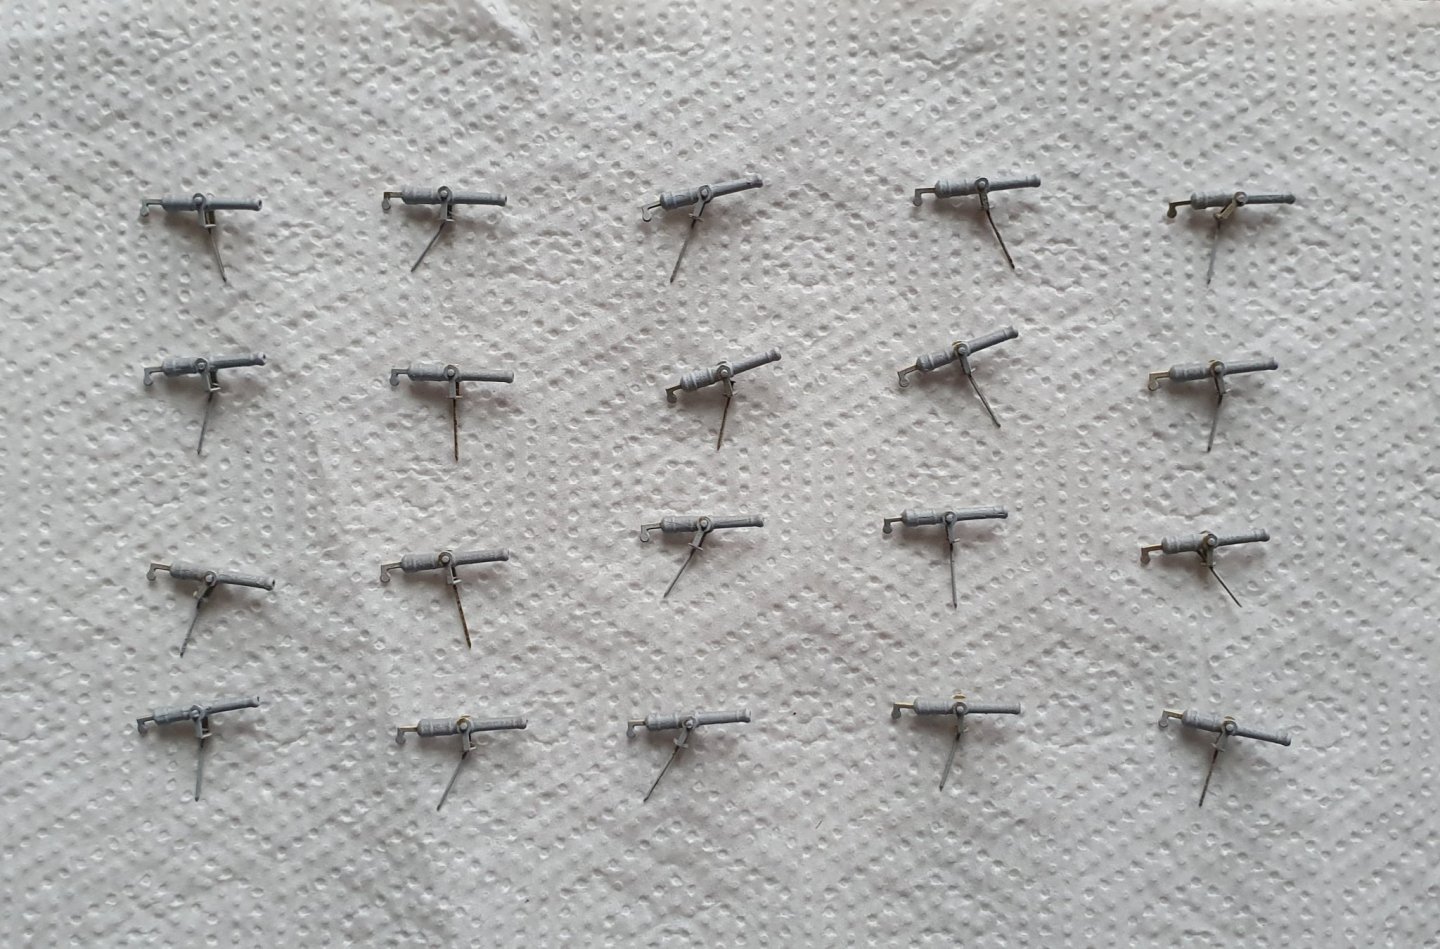
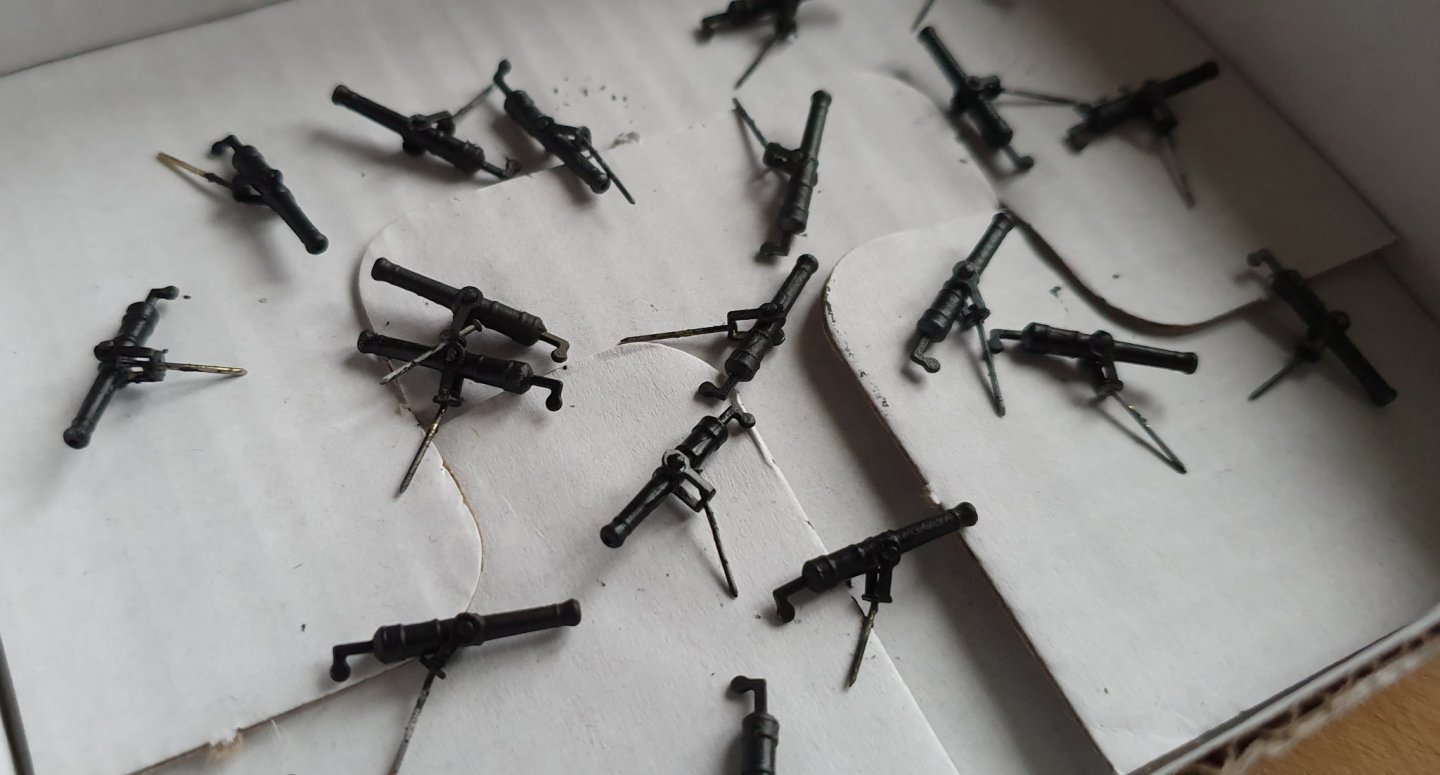
While trying to decide about the deck i did a mini project: swivelguns. Here i also got to try out my new airbrush which was quite fun but also abit of a challange to use. Once again, the design with resin guns with photo etched parts made this not that difficult. Everything is very small but came together nicely. It was even easy to drill out the guns with a 0.8mm drill.


-
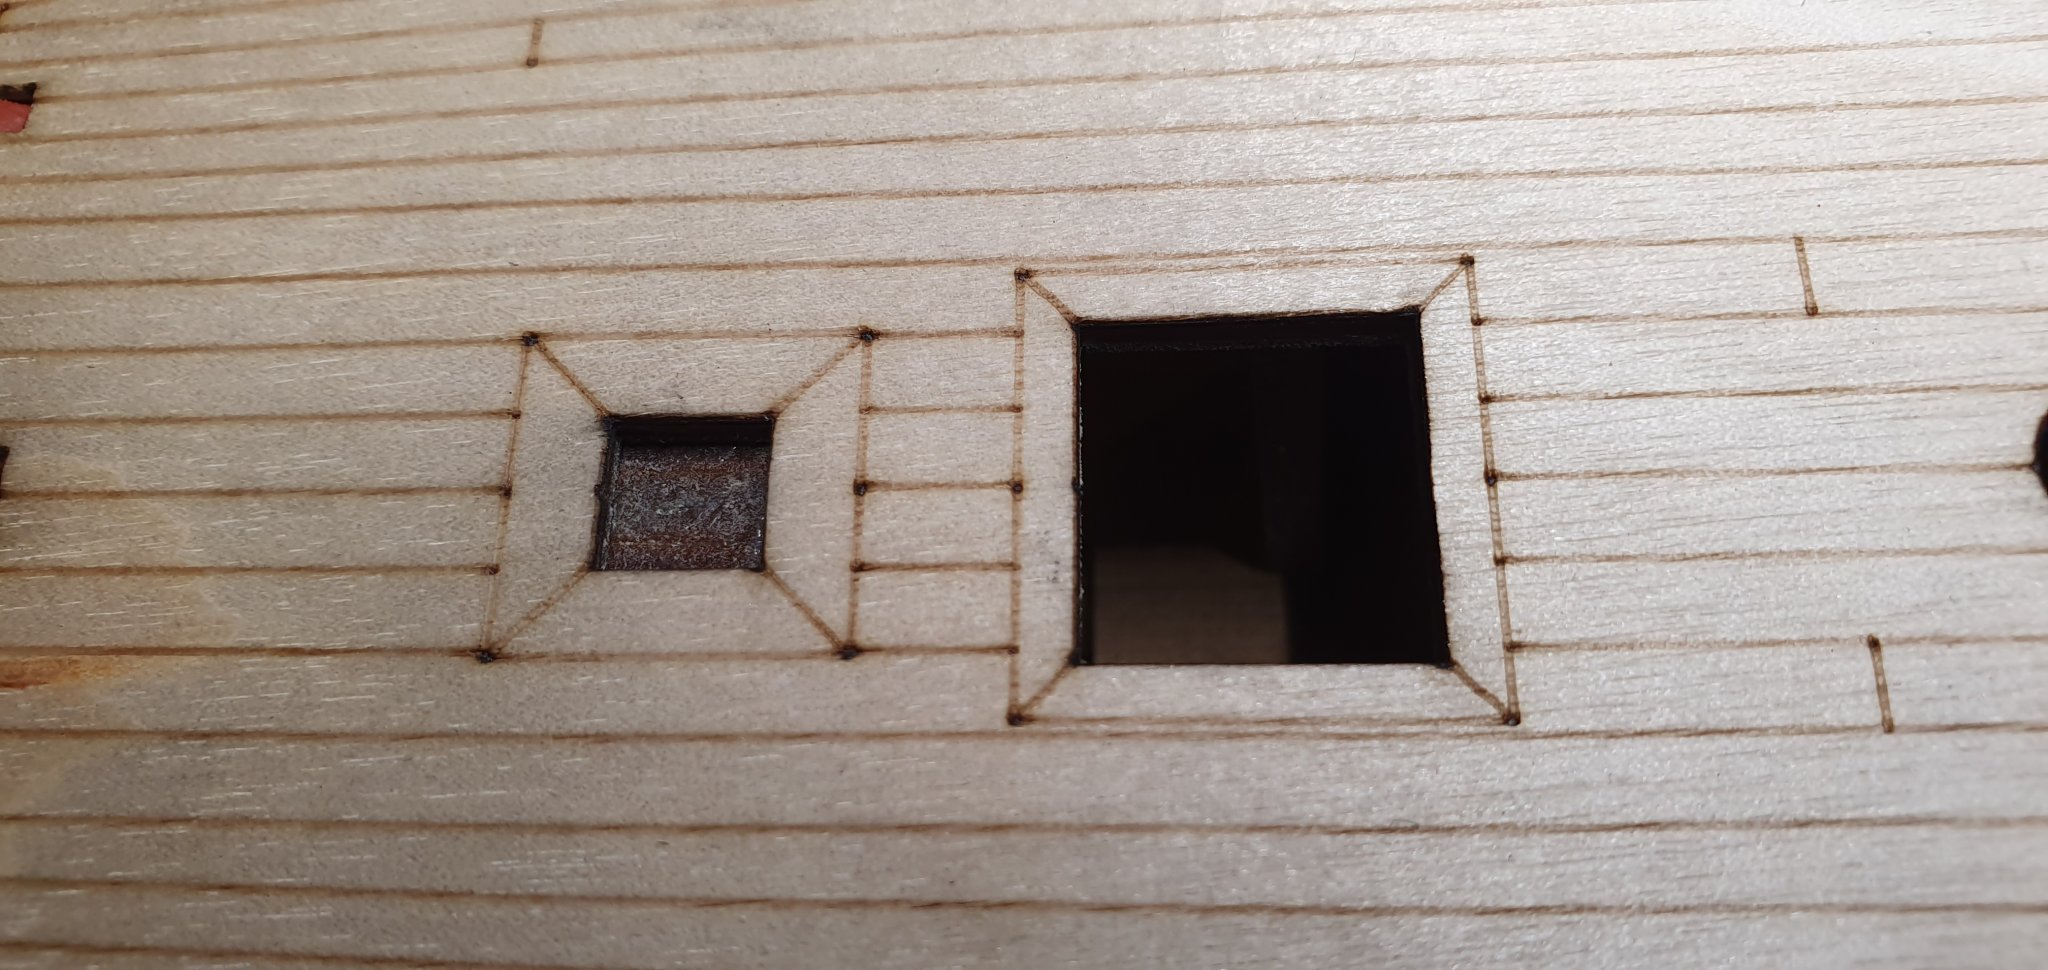
Excellent woodwork, but will those hatches even be visible, considering its the lowest deck?
-
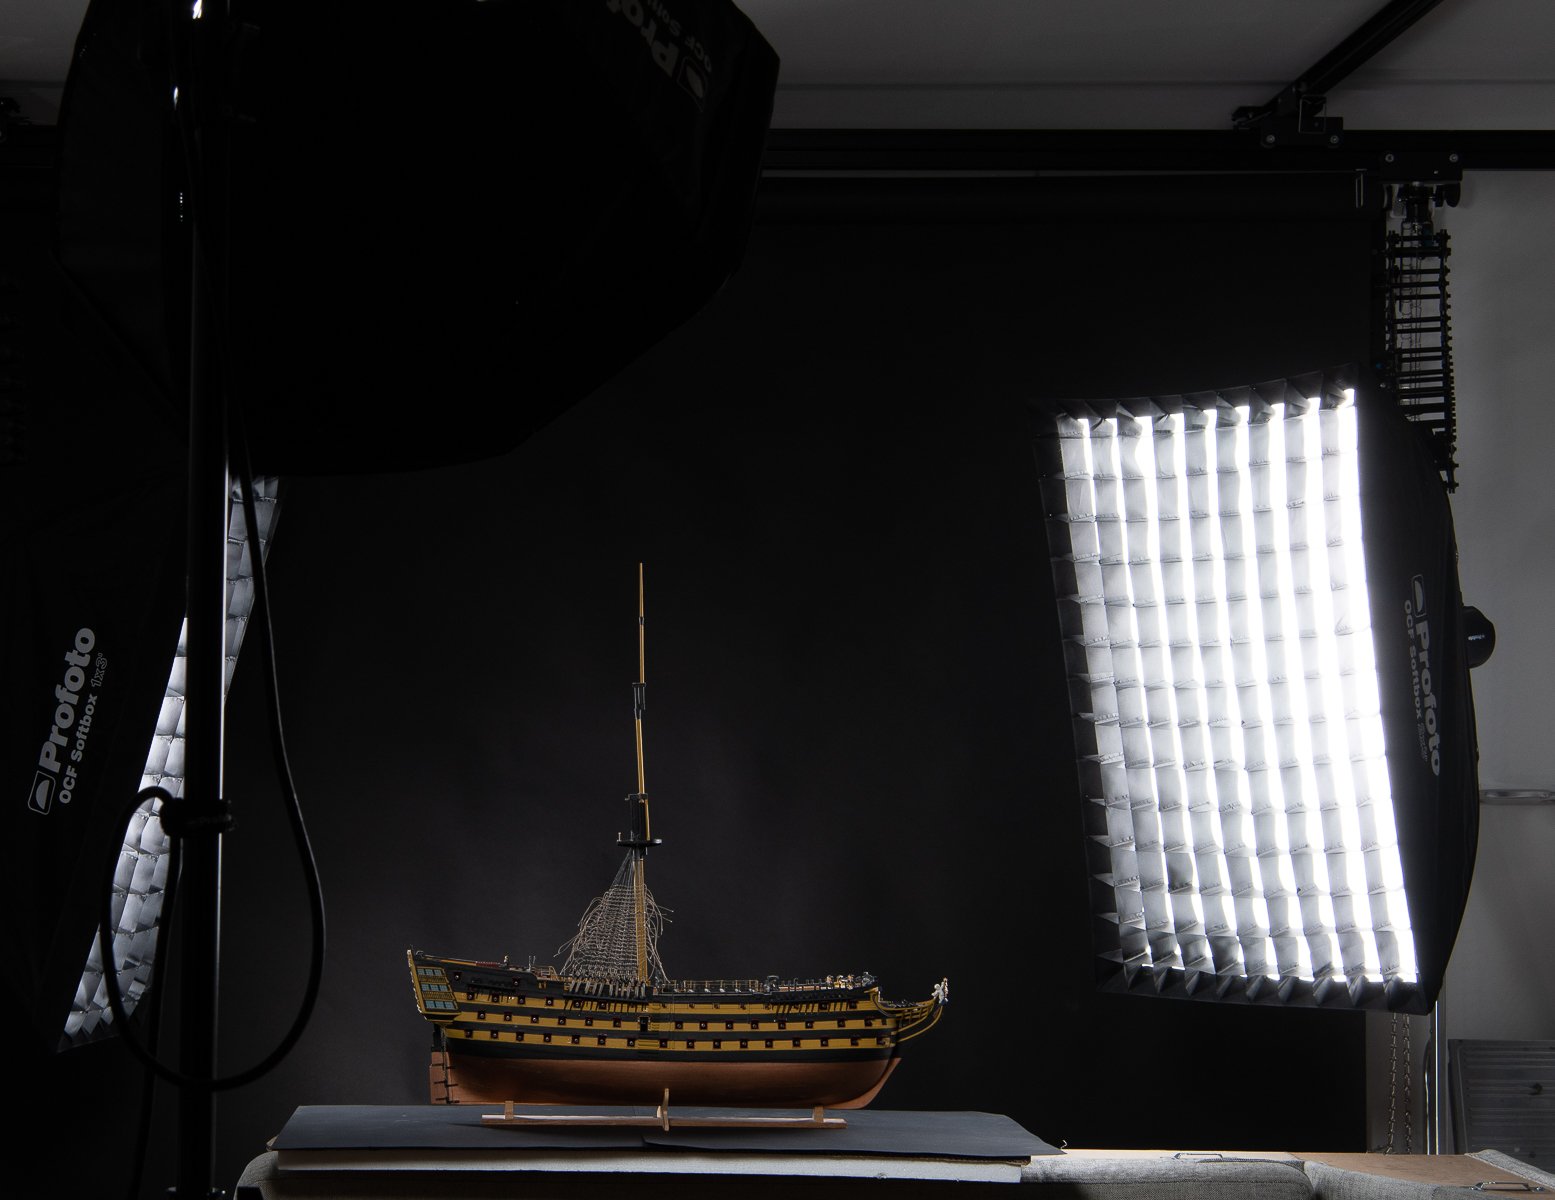
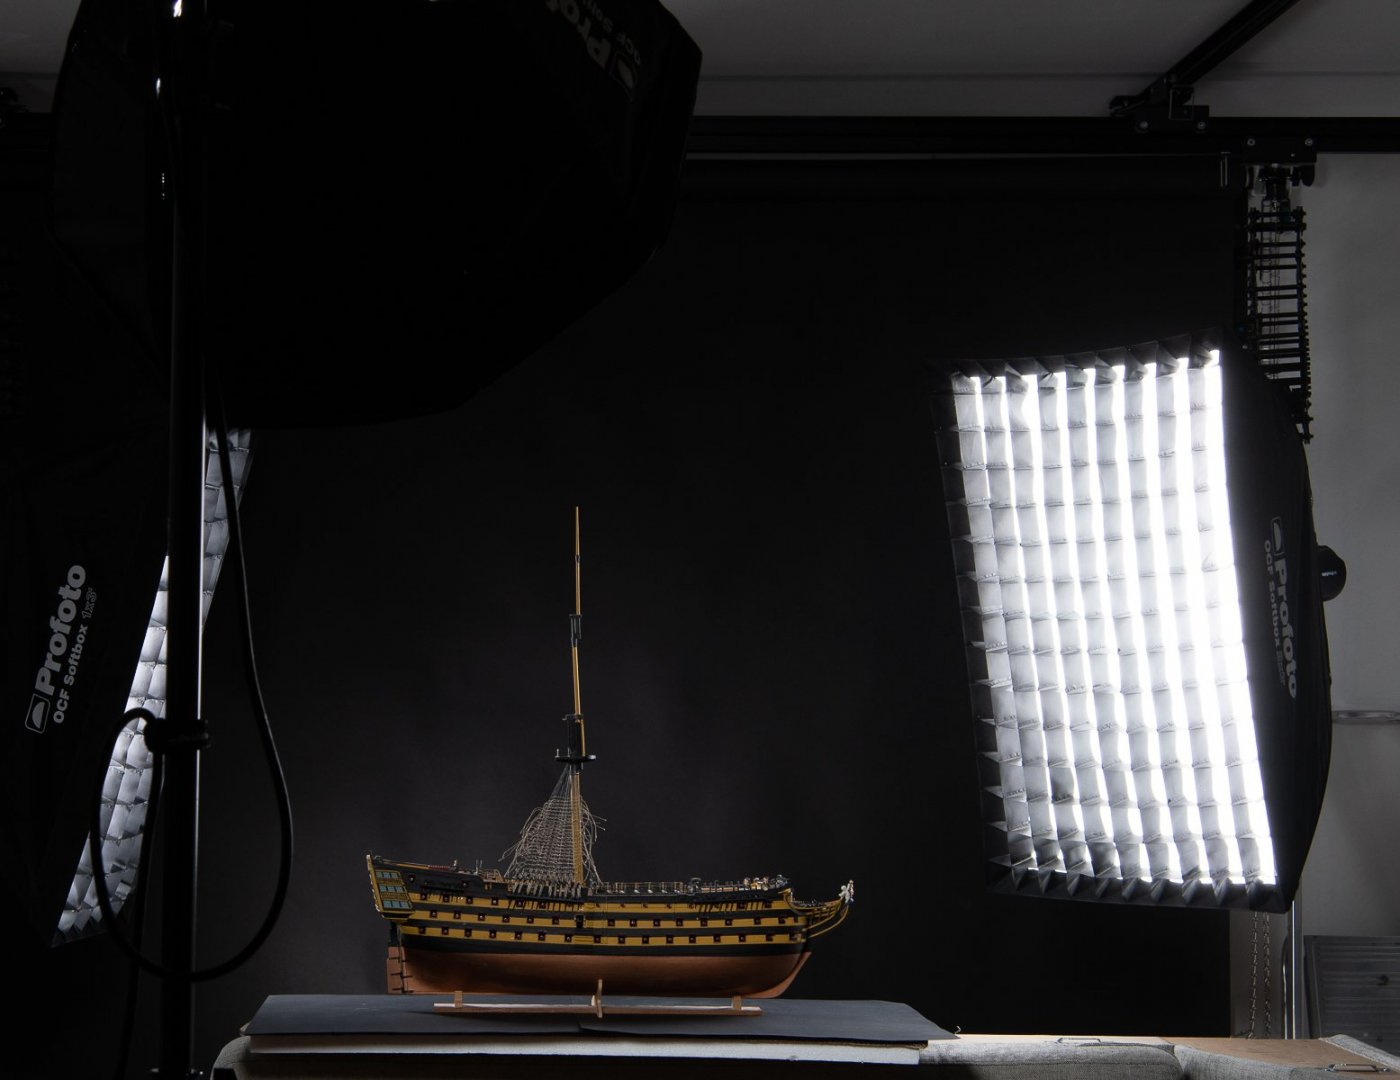
When I want better photos it looks like this… but most of my production photos is just with my mobile.
-
Thats just a shot with my mobile. The lamp was on and full daylight from the window so I am not surprised that the whitebalance is off. I will do studioshots with my profoto flashes and Nikon D500 once the deck and 2nd planking are complete.
-
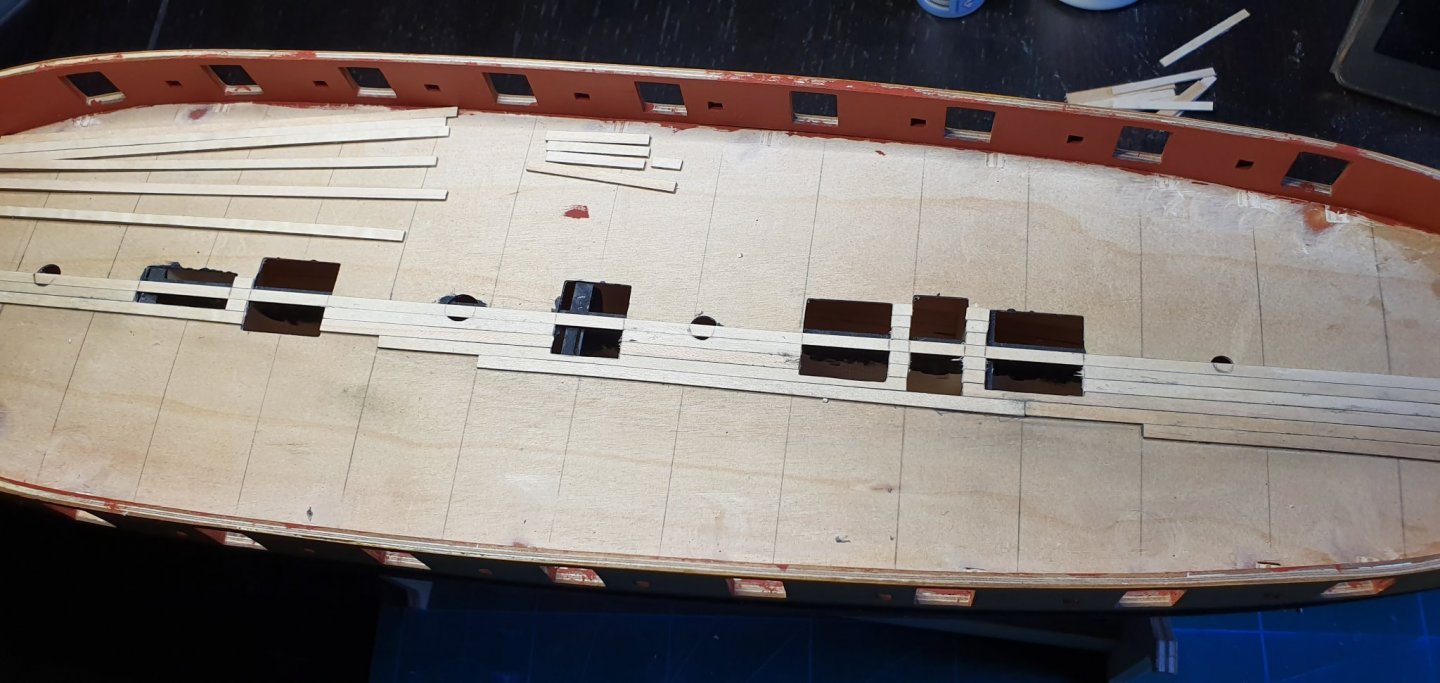
I am trying to decide whether or not to plank my Speedy myself or use the prefabricated laser engraved sheet. So i decided to spend the weekend deckplanking my Snake to have something to compare to. I am also using maple here since i want a "whiter" tone than the supplied Tanganyika.
-
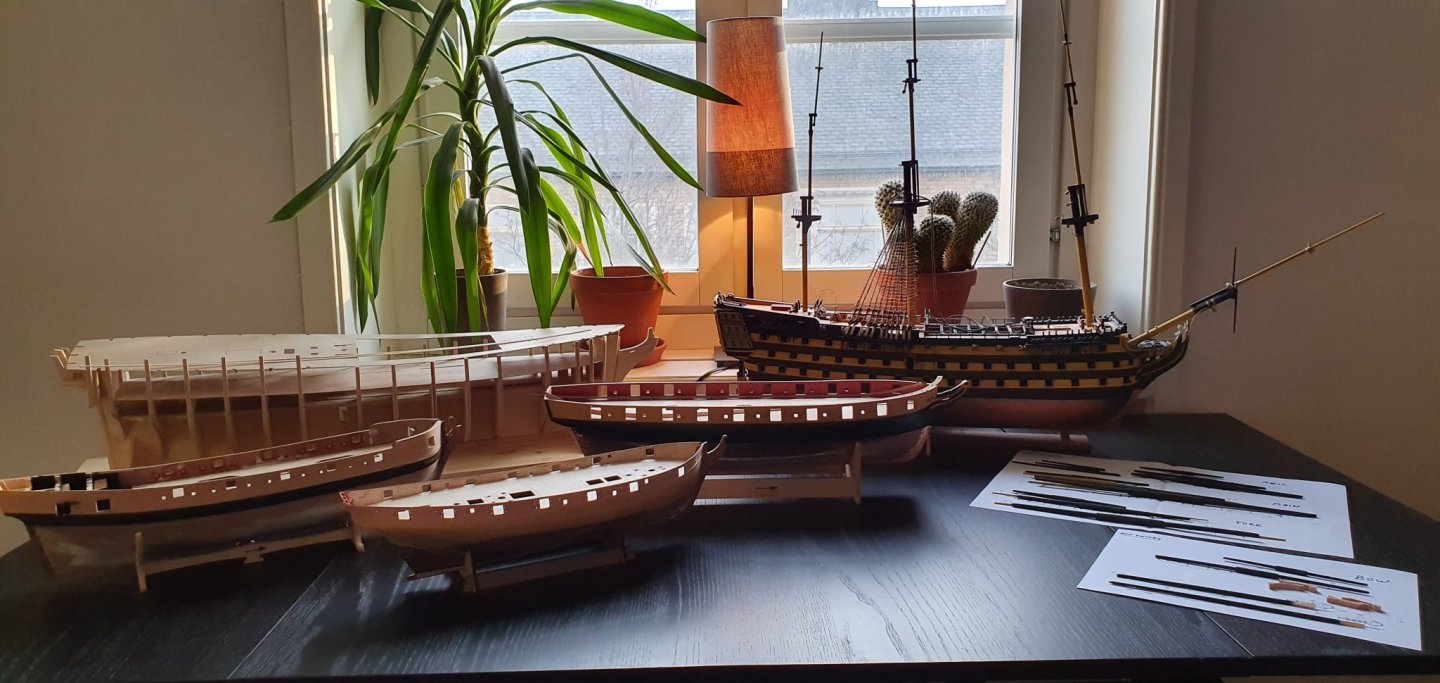
My whole armada getting ready for war... Here you can see that Speedy is not the largest boat... but it is one of the more beautiful!
-
I definitely think the new Speedy deck look better than the original. I still havent decided whether I should use mine or not... will do some deckplaning on my other models Before I make my final decision. Today I put together the Swivel guns which was a much easier job than expected. Great design there as well!
-
The number lime planks where fine in my kit.
-
Very nice! I think sanding is one of those things that people do very differently and its probably because we build for various reasons and aim for completely differnt result. There are many logs here which basicaly dont sand at all. Pieces are just glued together. Others, especially scratch builders in larger scale, can sand a single piece for several hours ensuring that there wont even be a Micrometer gap anywhere.
- 725 replies
-
- 1
-

-
- vanguard models
- speedy
- (and 1 more)
-
On the one hand, I think a properly laid plank deck in maple would look best. But on the other hand, the laserdeck would same me tons of work and it also includes some details difficult to make. And it would be really interesting to try it out and see if this works. This kit has so many New solutions so perhaps its just right för this build.
-
Thanks but its not mine. I saw it somewhere on this forum before. Its really great to pick up tips and tricks here!
-
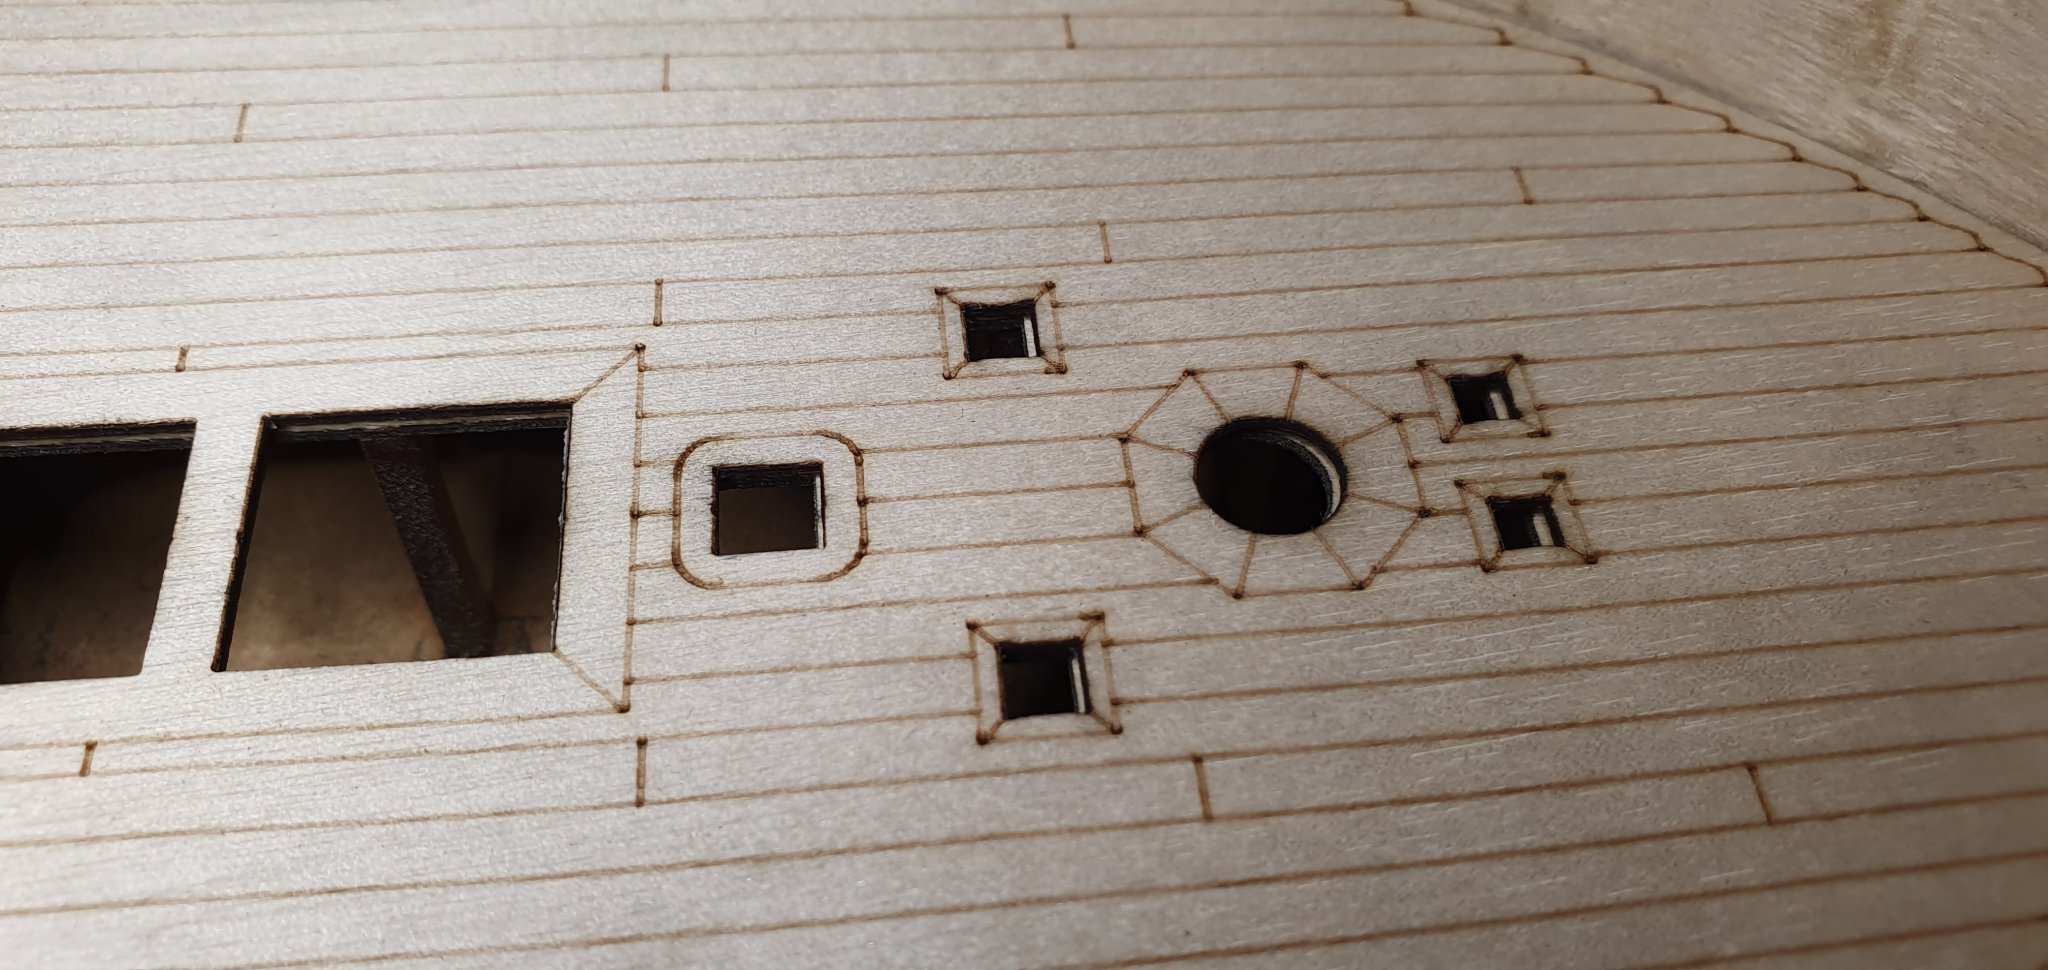
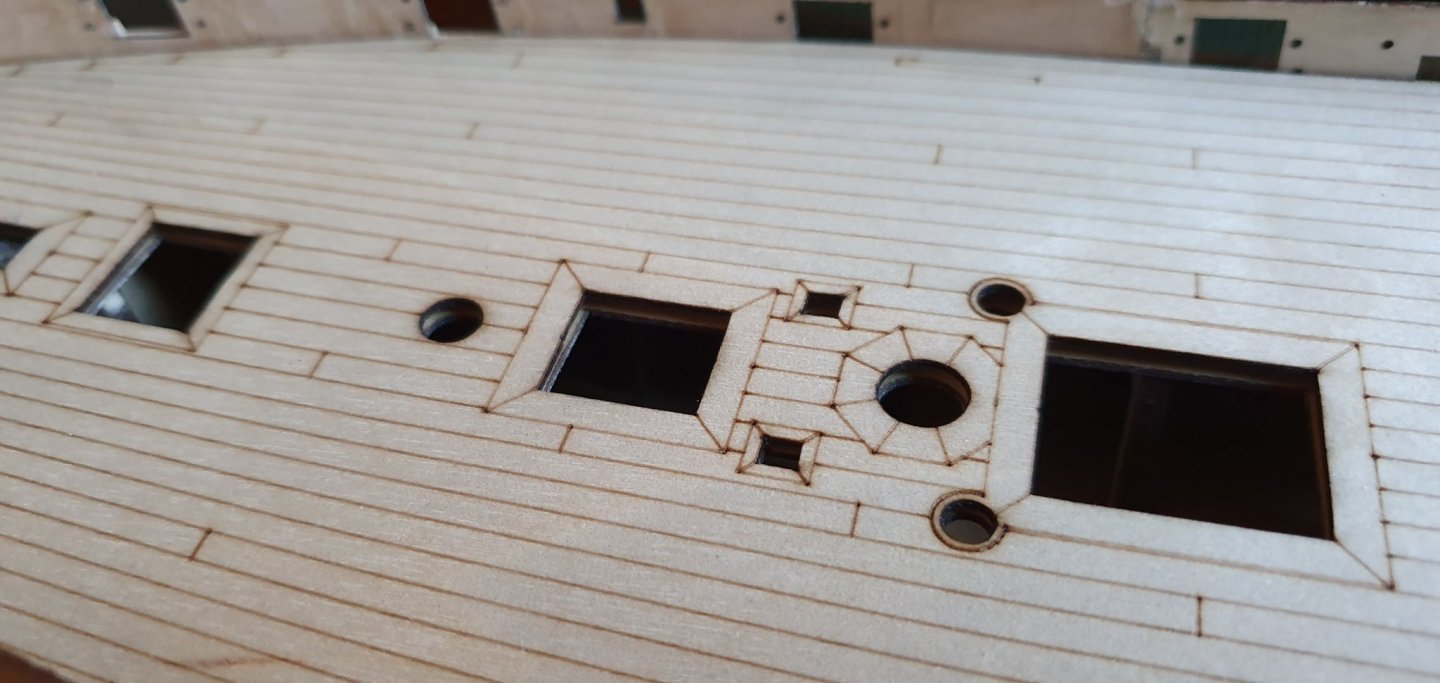
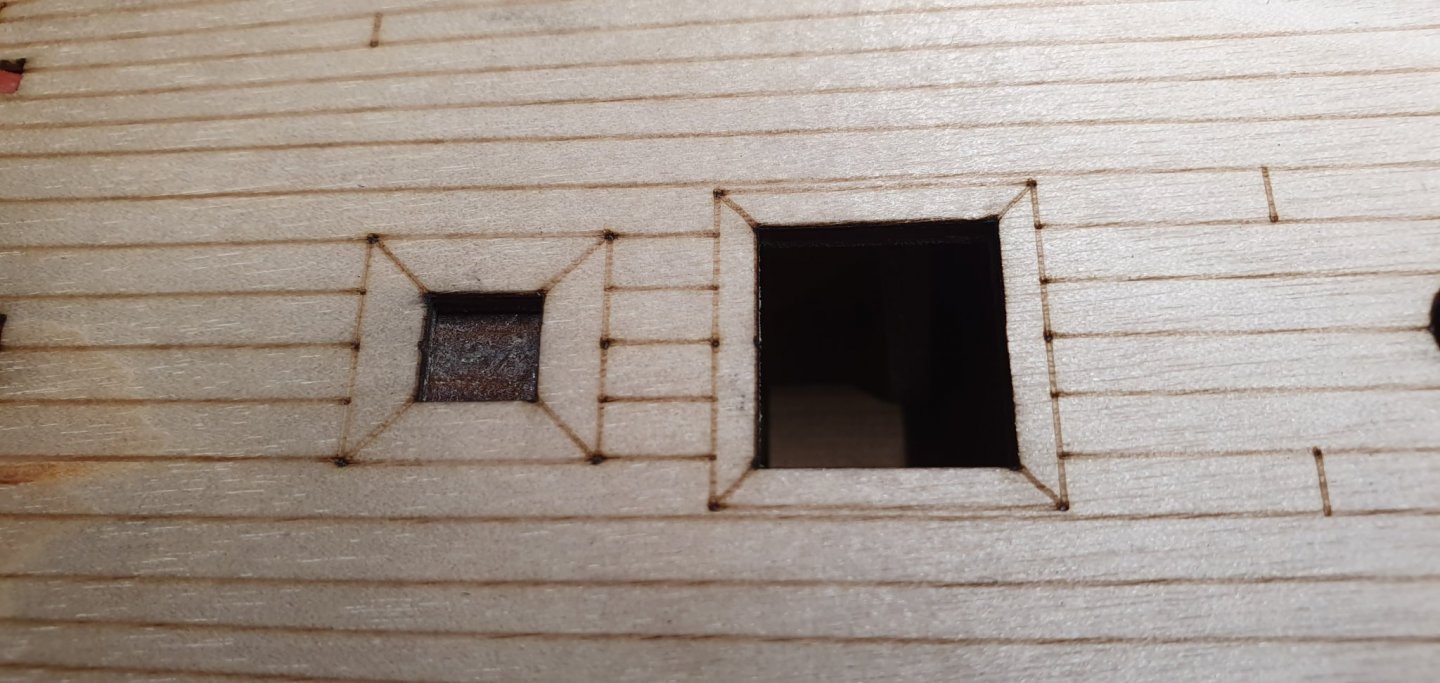
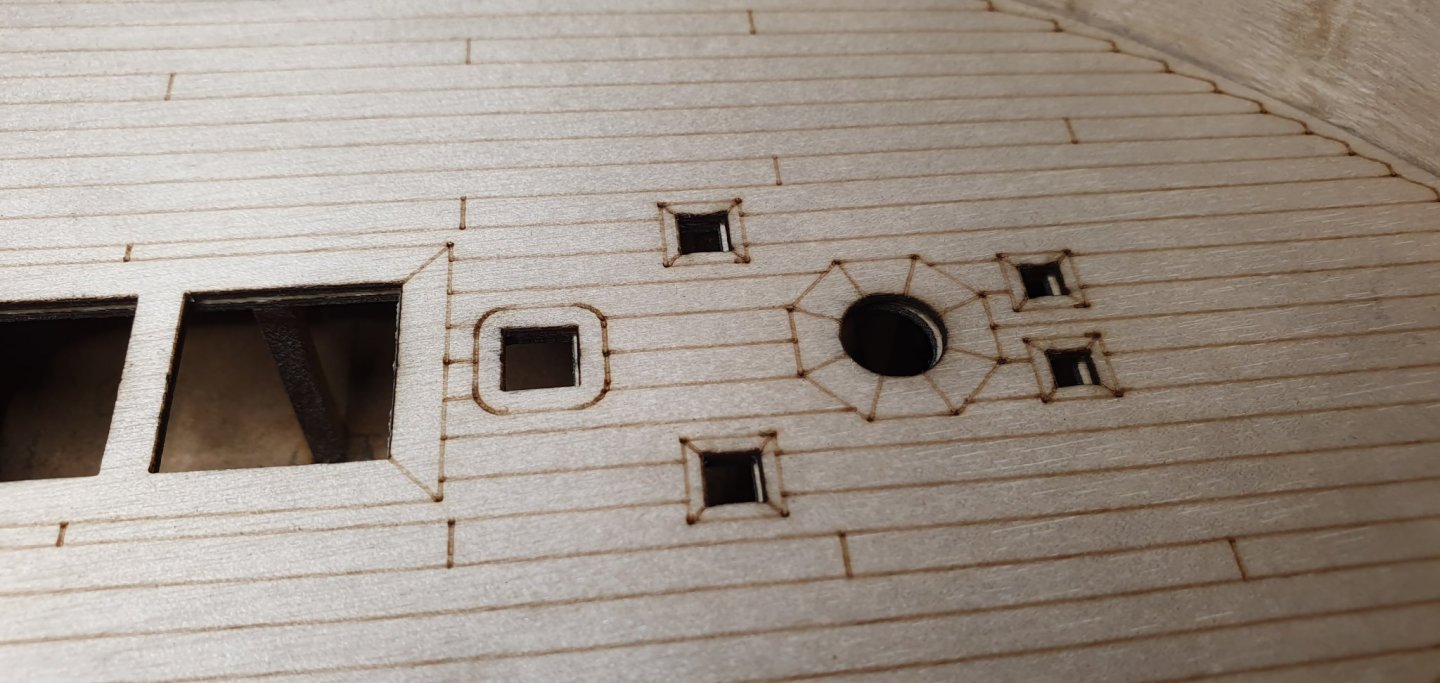
Time to decide if i should plank the deck myself or use the lazer engraved... what do you think? It amazing how much precision its in laser manufacturing. Its an amazing fit just a few holes at the end that is off my a few micrometers.
-
With my Proxxon drill it just to a few minutes to clean the deck.

-
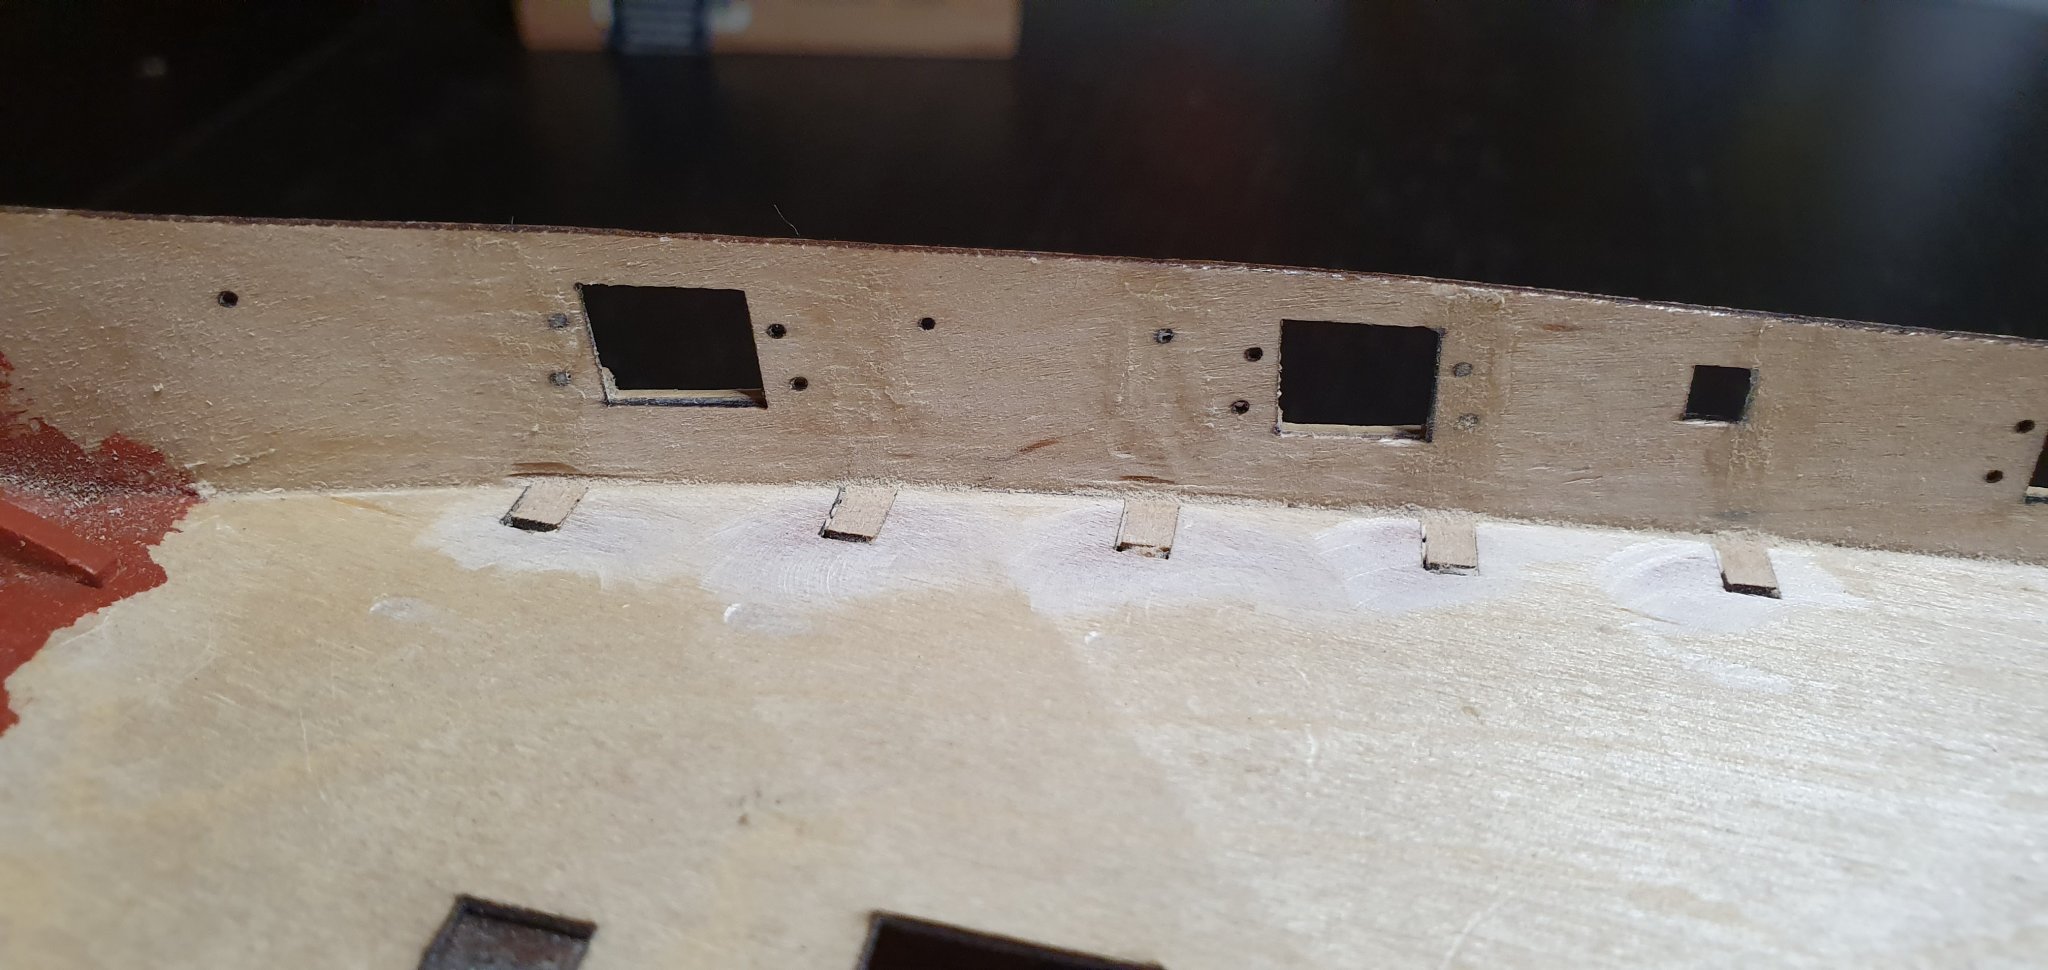
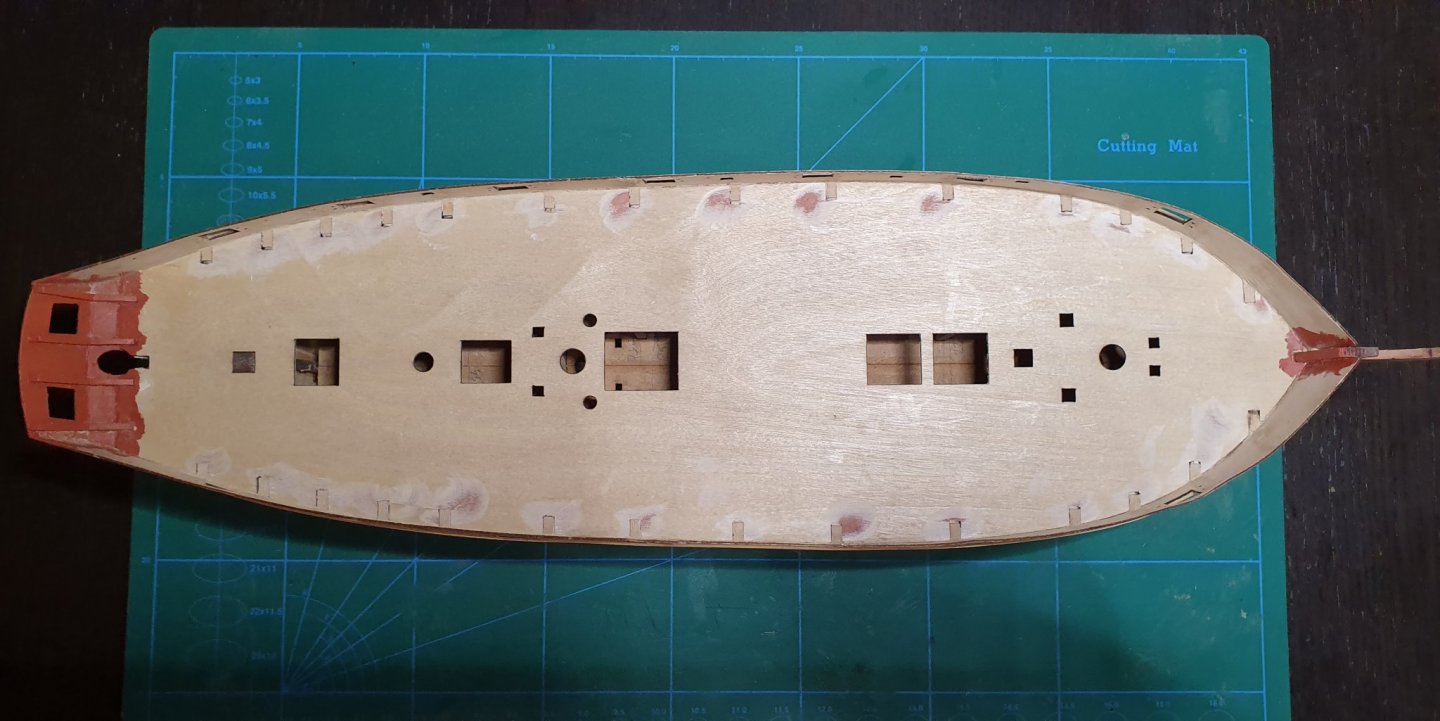
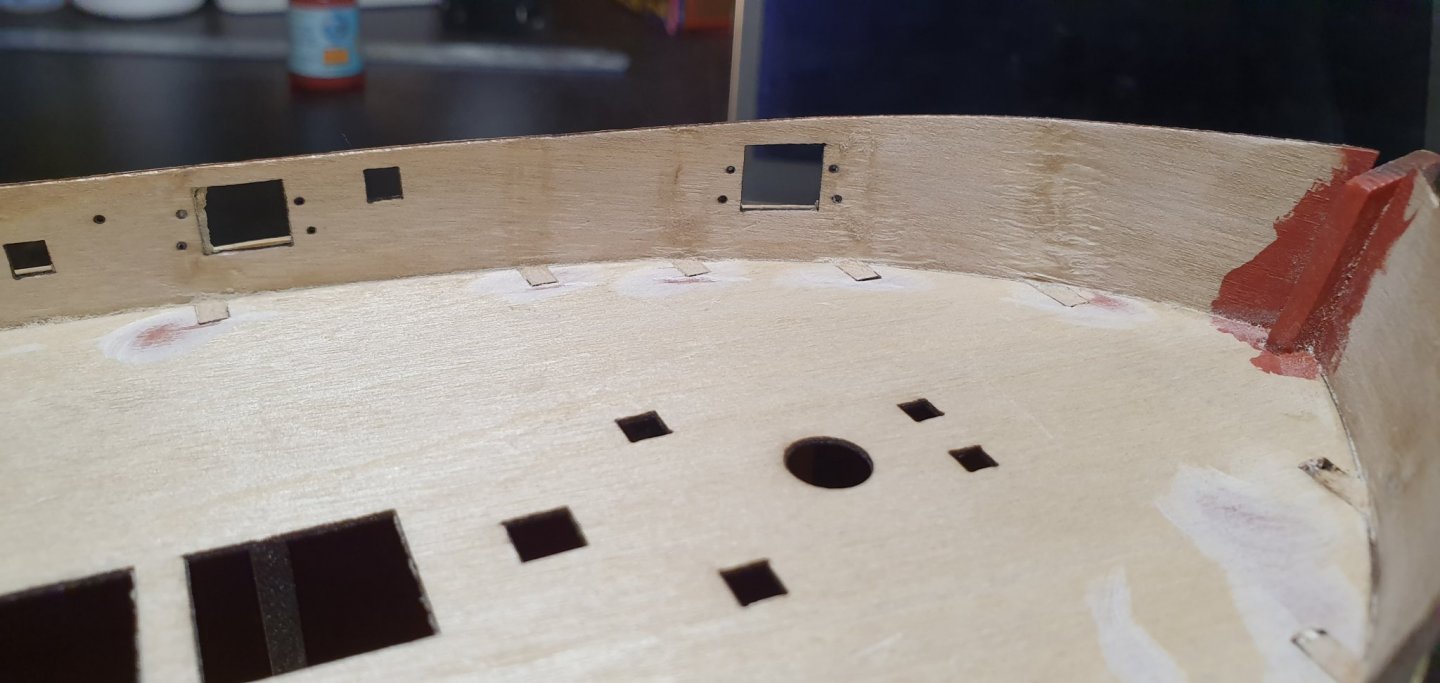
This step always worries me but the MDF pieces snapped off easily

-
Agree, the tight frames made this step easy. It looks much better than my first planking!
- 725 replies
-
- 1
-
-
- vanguard models
- speedy
- (and 1 more)