Vane
-
Posts
618 -
Joined
-
Last visited
Content Type
Profiles
Forums
Gallery
Events
Everything posted by Vane
-
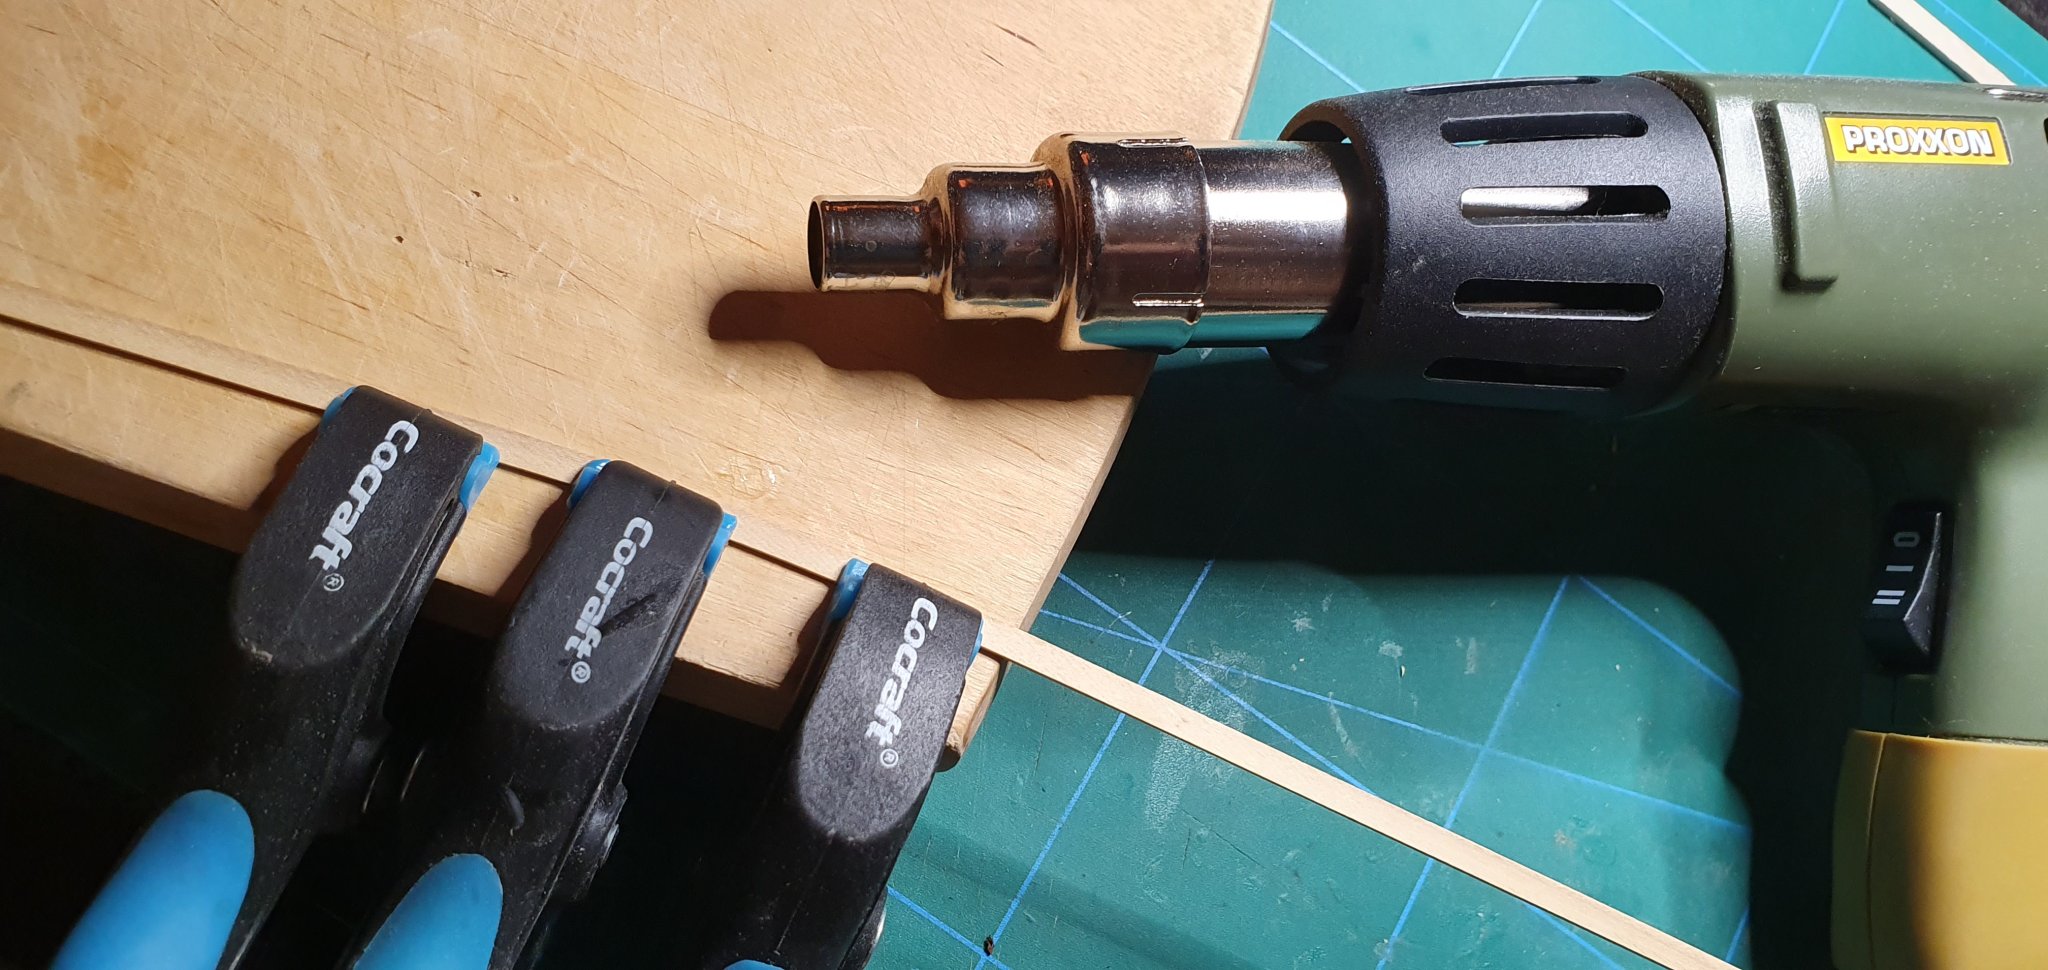
 Interesting, I have to try that too. there are many ways to do this. But i Think the gamechanger for me was when i bought my heatgun from Proxxon and started prebending the planks sideways. Everything fits so much better.
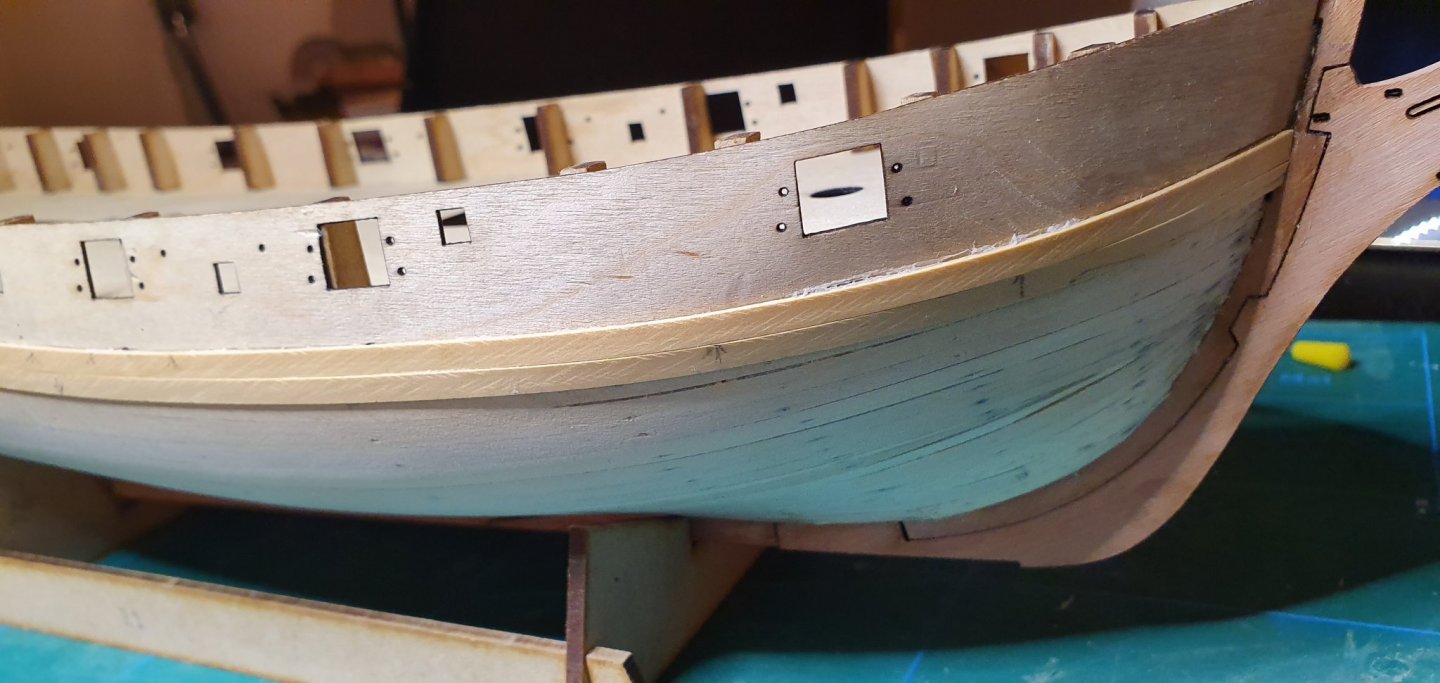
-
To fix the plank i put CA on the first 10cm and press it down for just a few seconds until it sticks. Thereafter I use a toothpick or some pointy scrapwood with CA on top of it adding more on the plank and press it down. Repeat a few times and finally the whole plank is fixed.


-
When i did this the first time I used boiling water, PVA and pins. That is ok if you will paint the hull completely and can use woodfiller afterwards. Nowadays, especially on models when the wood will be visable, I have upgraded my technique and go with the "Chuck method". Instead of bending and pinning down the plank, I spend much more time on preparations. This involves two things: i prebend the plank in the "wrong direction" using hot air and clamps. I also spend some time on sanding to make sure it will lie flat against the previous plank. The final result is an S-shaped plank.


-
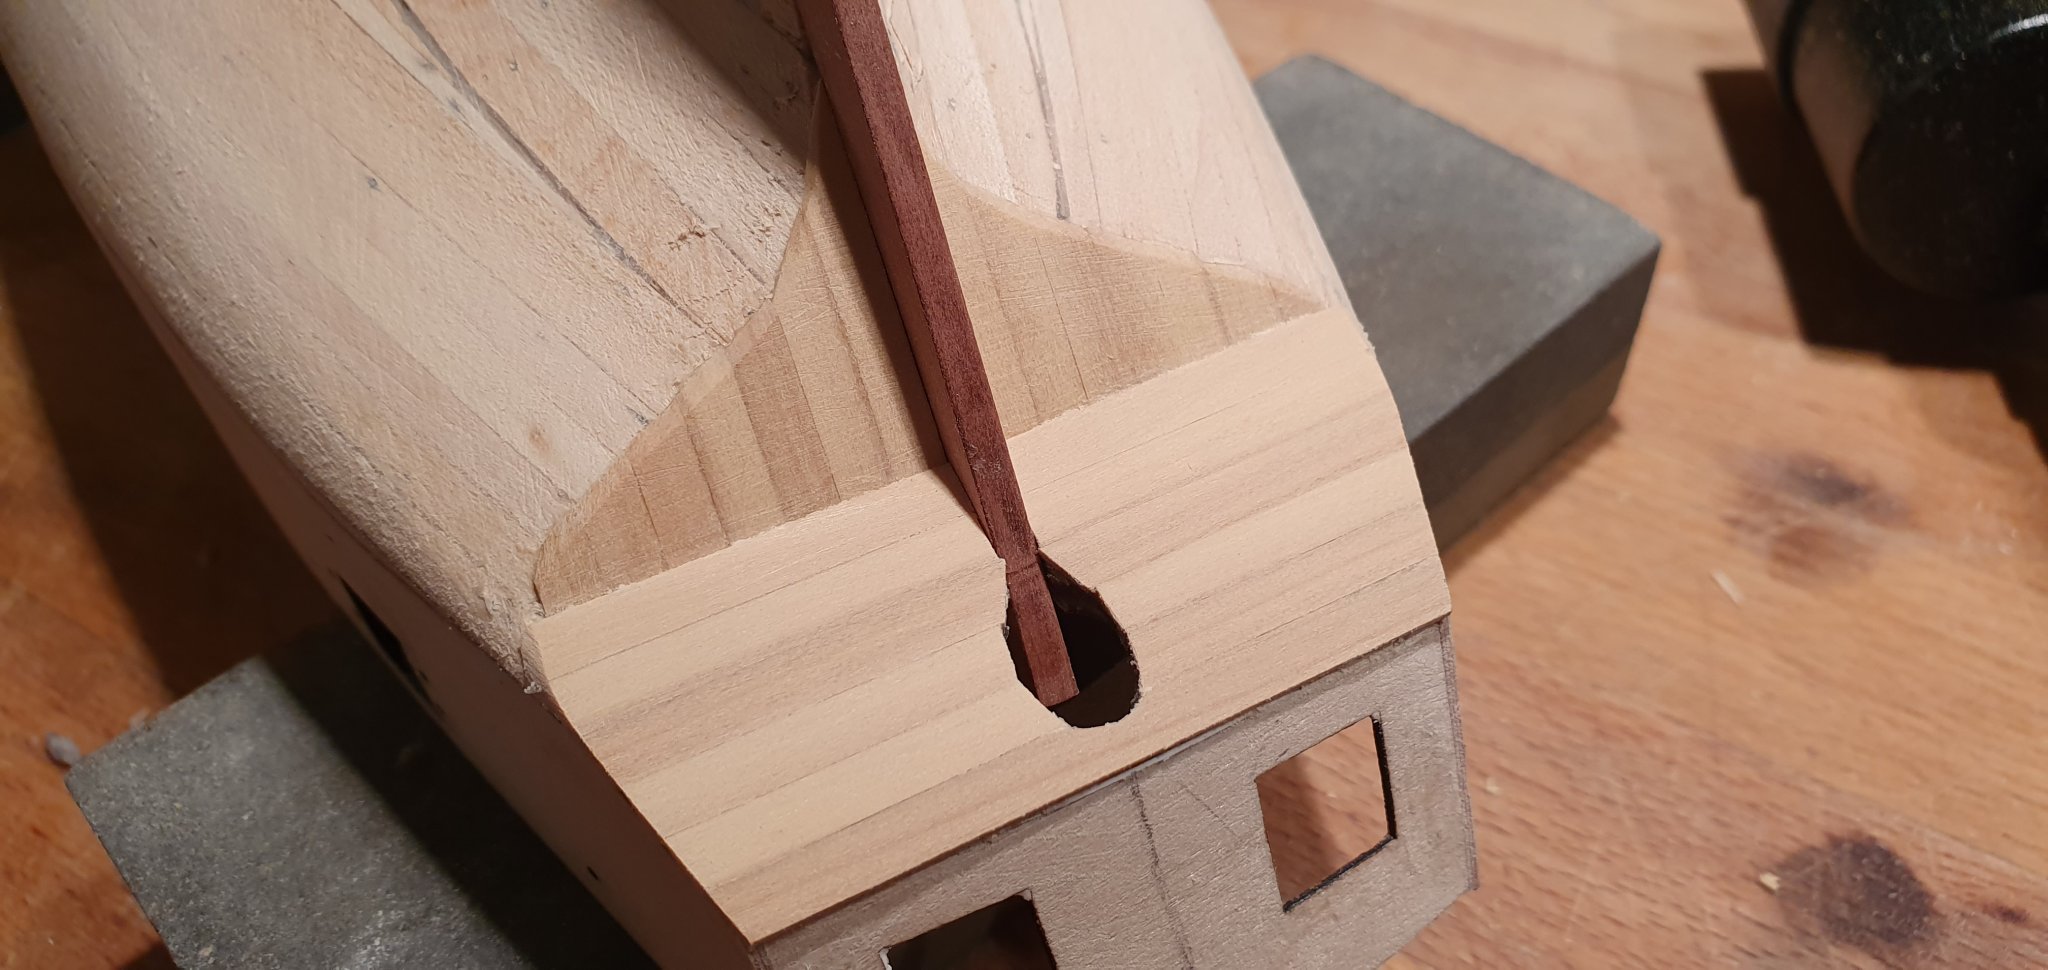
The first plank of the second planking is always really important to get right. Here i also like the design with lasercut markings so you dont need to measure anything.
-
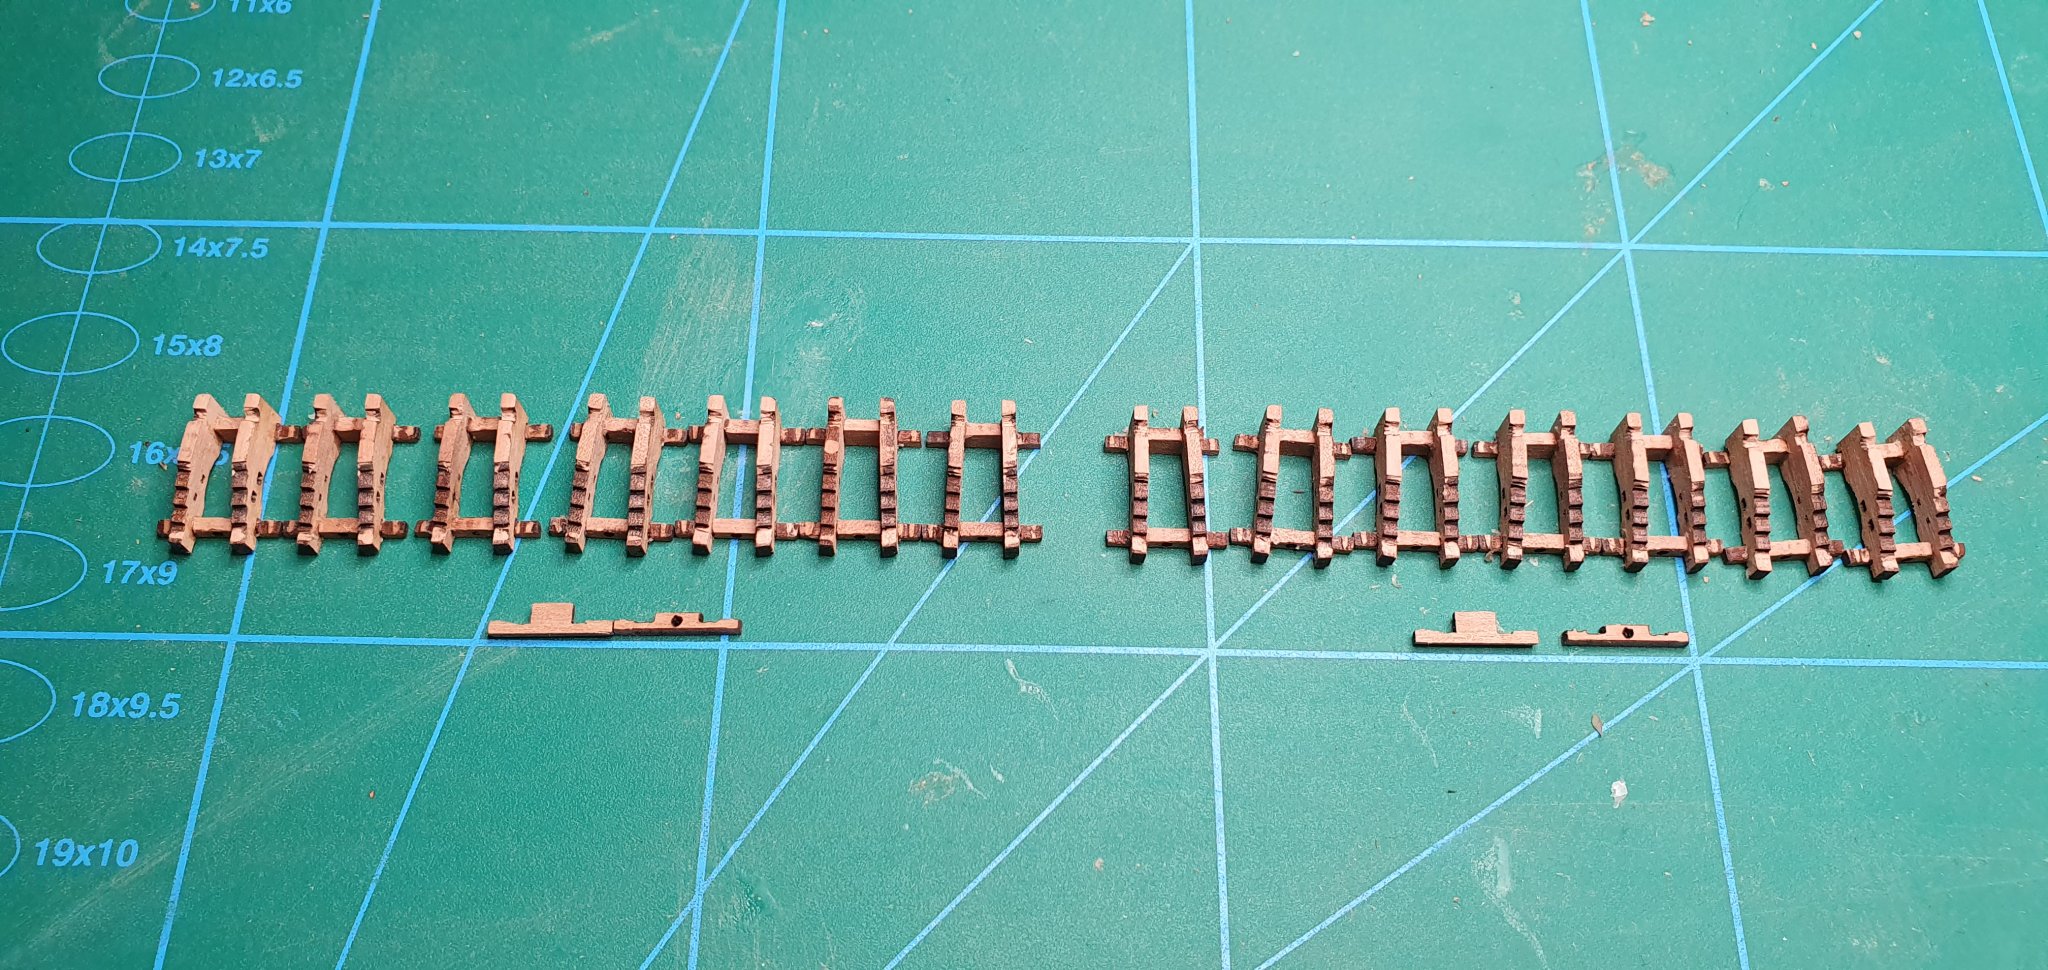
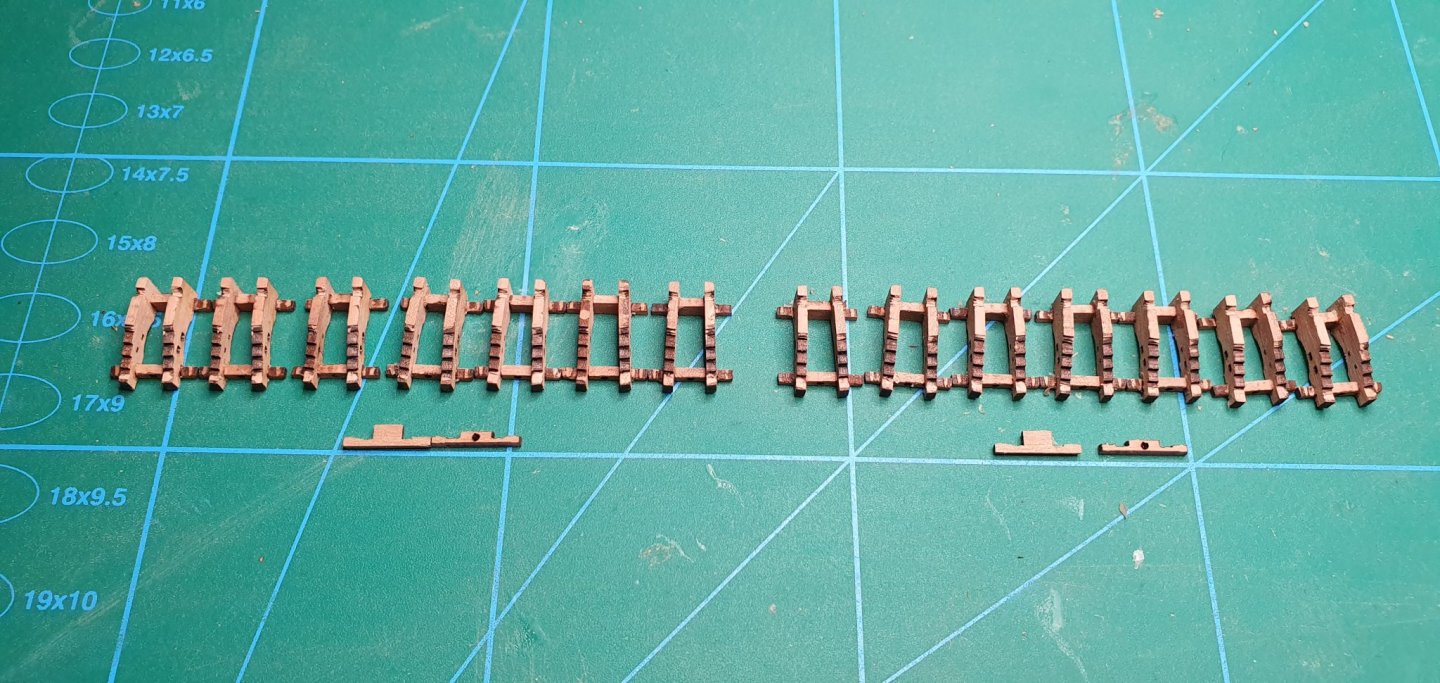
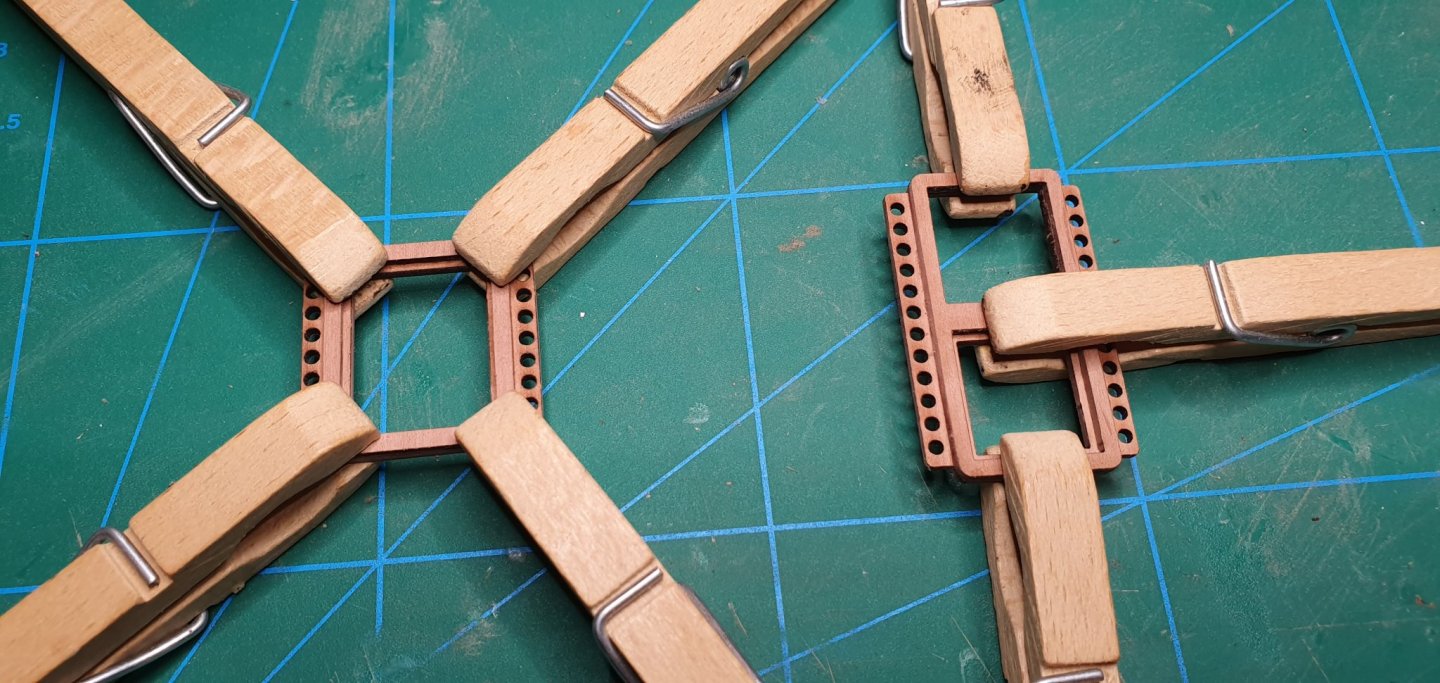
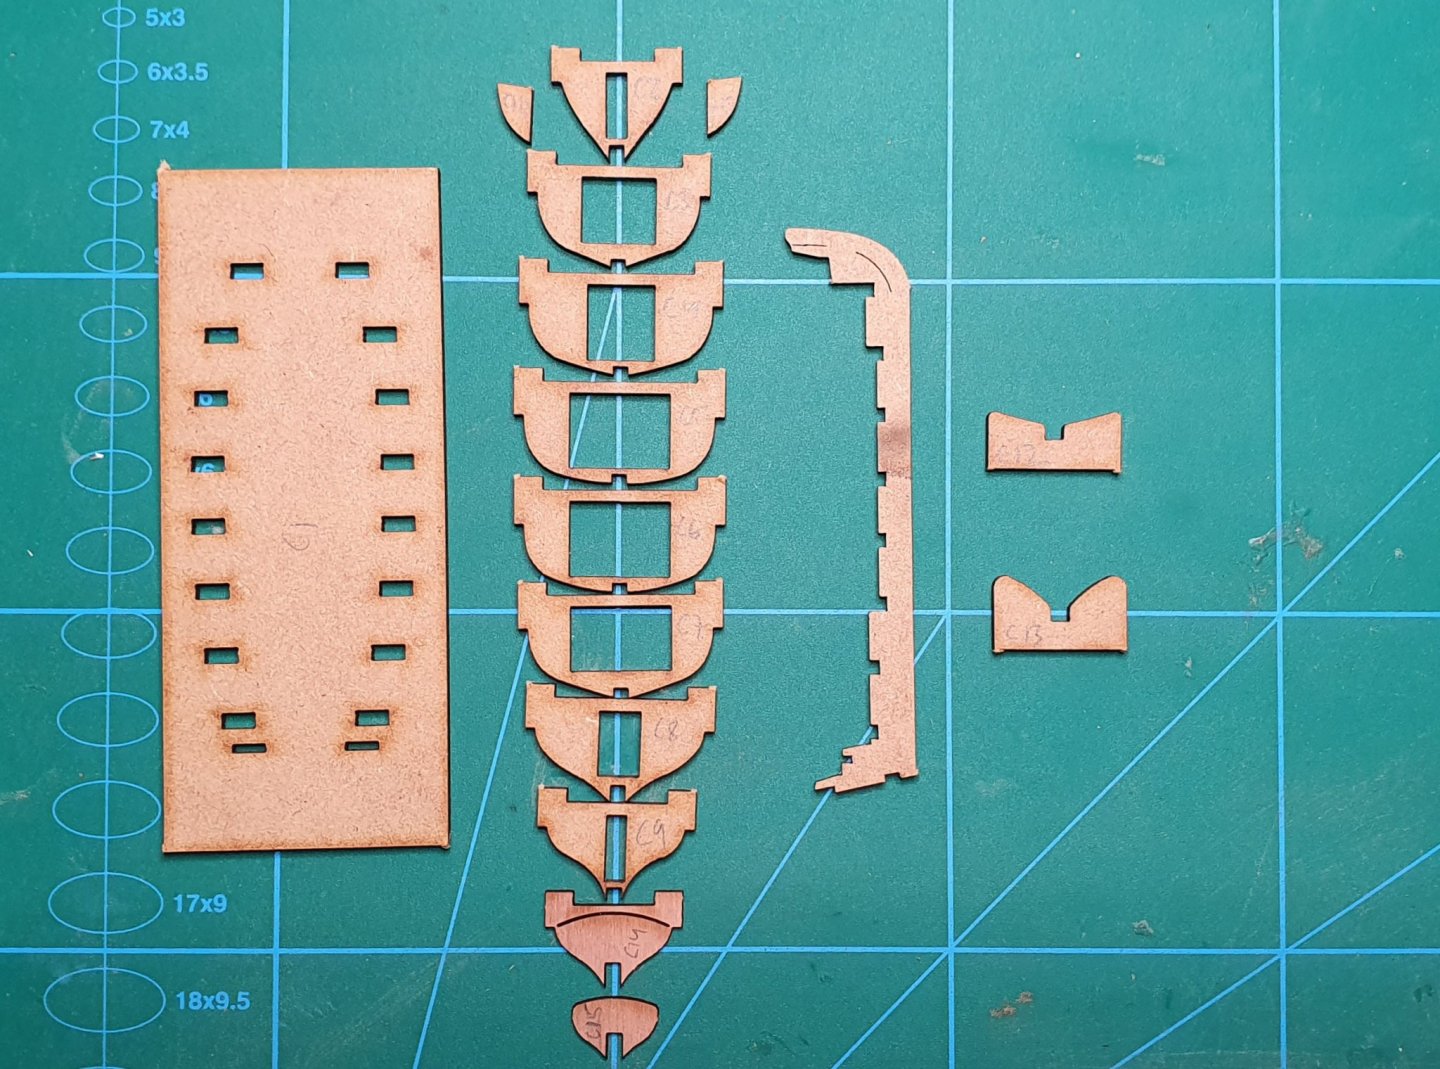
This part of the work is a bit repetitive but done with the first step. These are very small.
-
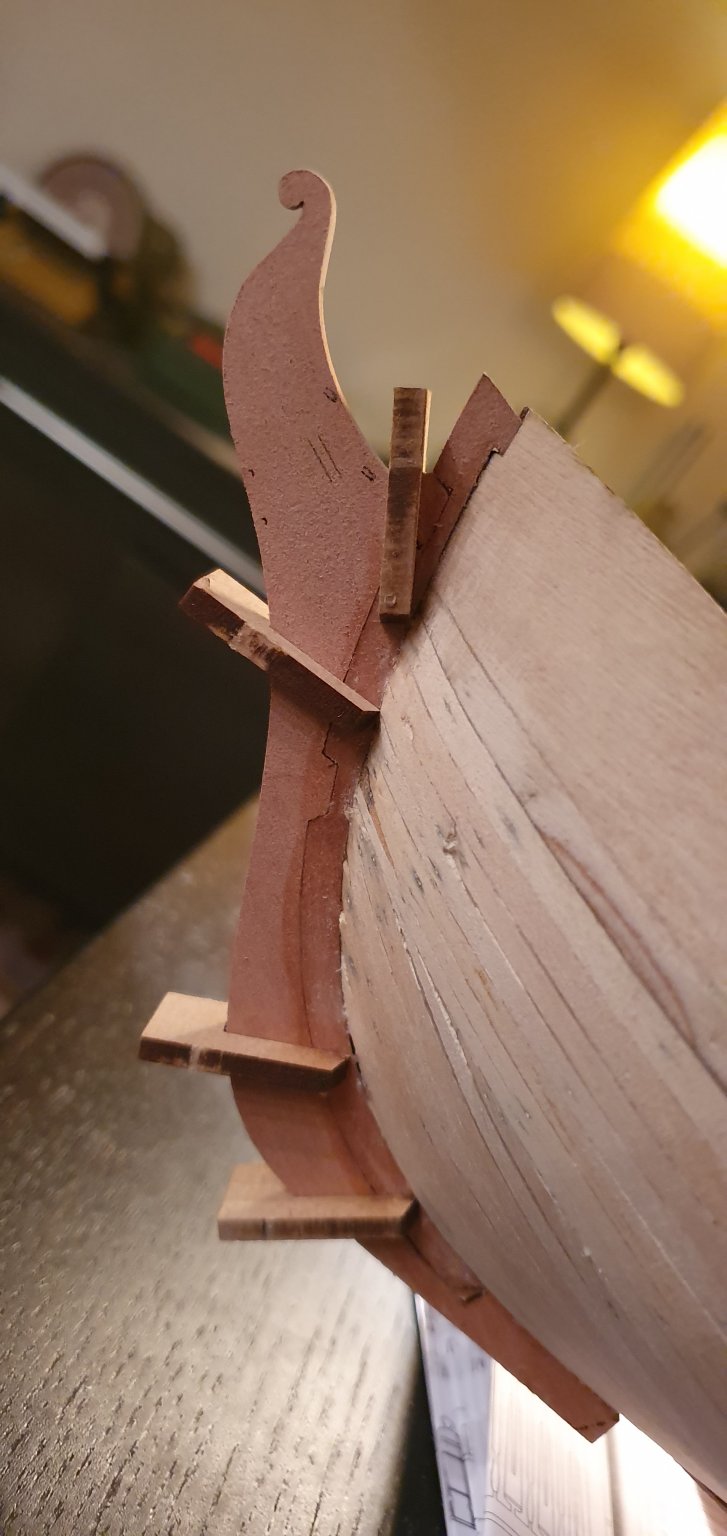
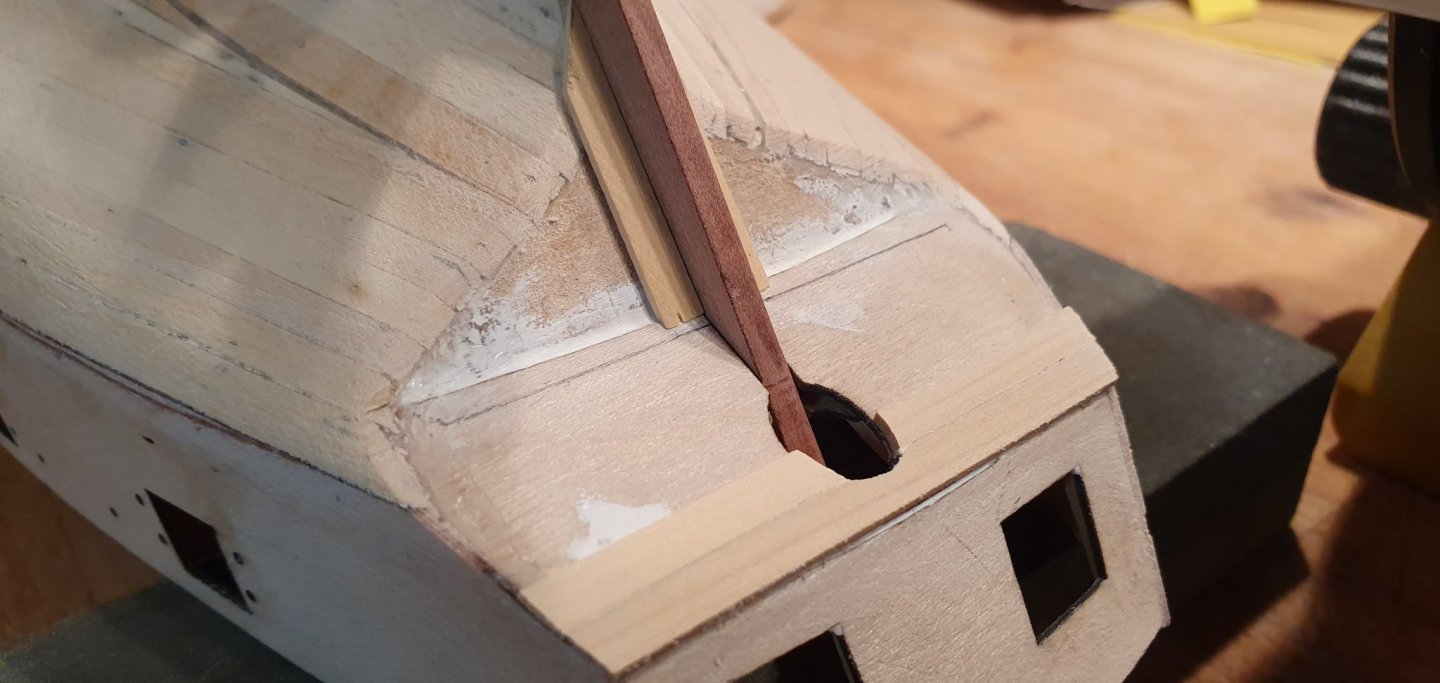
This is optional according to the manual. But I decided to attach the keel elements before starting the 2nd planking simply because its kind of a slippery hull when everything is sanded smooth. With the keel my fingers gets something to grab when holding the ship. We will see if it was a good decision i guess...

-
Maybe a stupid question, but it can many times be frustration building a woodenship since you kind of work endlessly and many builds takes years to finish. So when do you think you have actually done half of a kit and should start seeing the light on the other side of the tunnel?
-
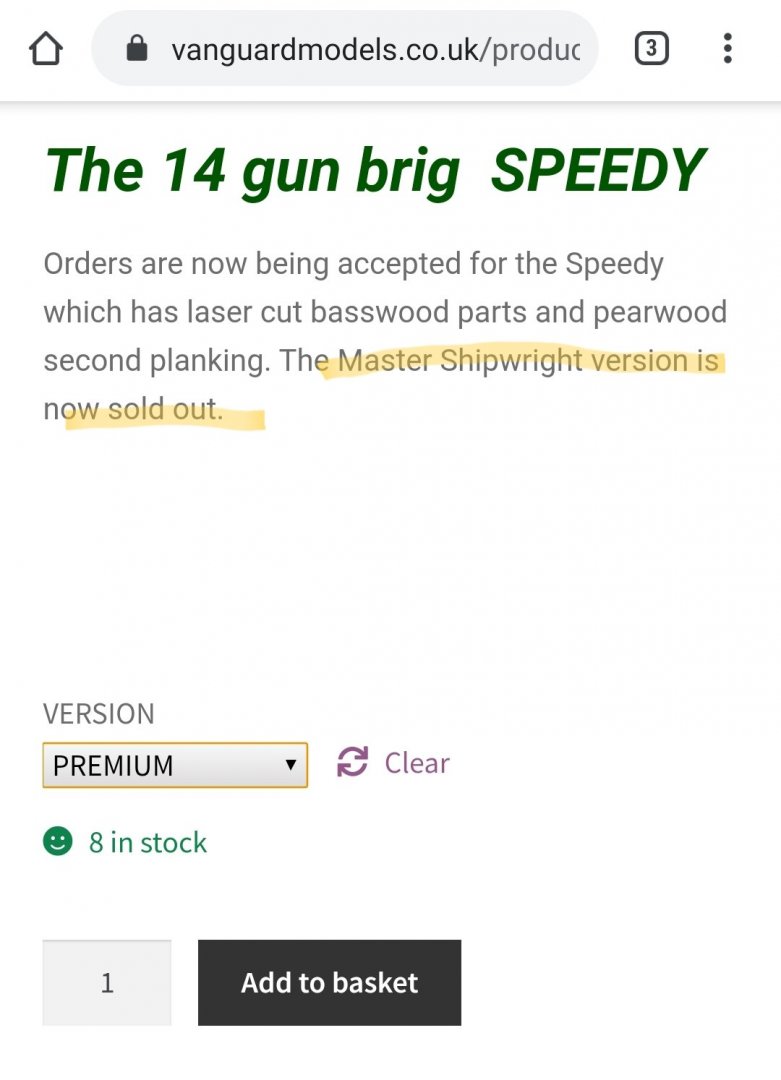
Wow, that was really fast... I am lucky i got mine... #02
-
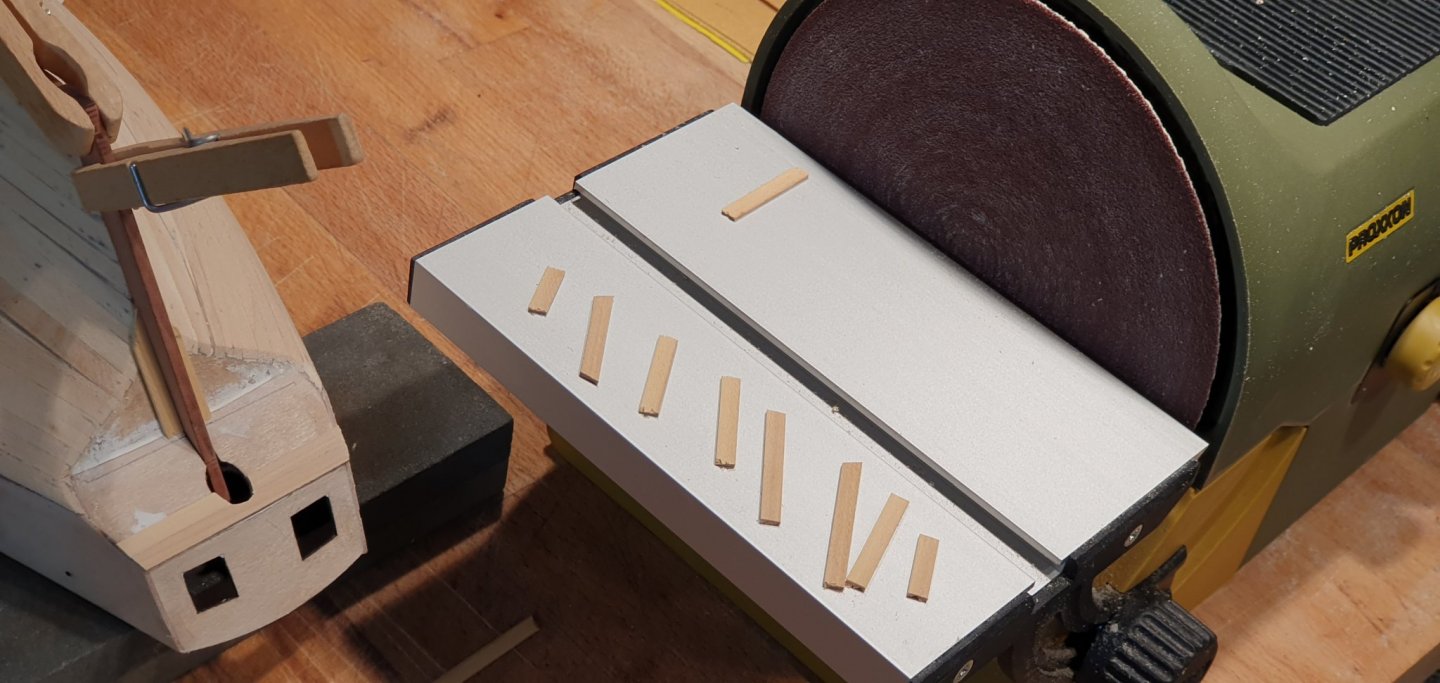
Boxwood... i am in love! Its a very hard material and the result is way different than my Tanganyika. My new Proxxon sander really came in handy here. Its a hard mtrl so much more difficult to cut.

-
Thanks. Well its a design that dont require that much fitting. Its also a small ship. Planking Victory in the same design would take alot more time just due to size. And i am also abit devoted at the time. I Will be travelling over Xmas and NYE so the build will take a 3 week break soon...
-
The problem with fabrics is that it wrinkles and much more difficult to get right than for example paper or just a painted wall. But there are some fabrics that can work if it hangs correctly and dont take too much attension. Looking forward to see more photos of ur excellent ship!
-
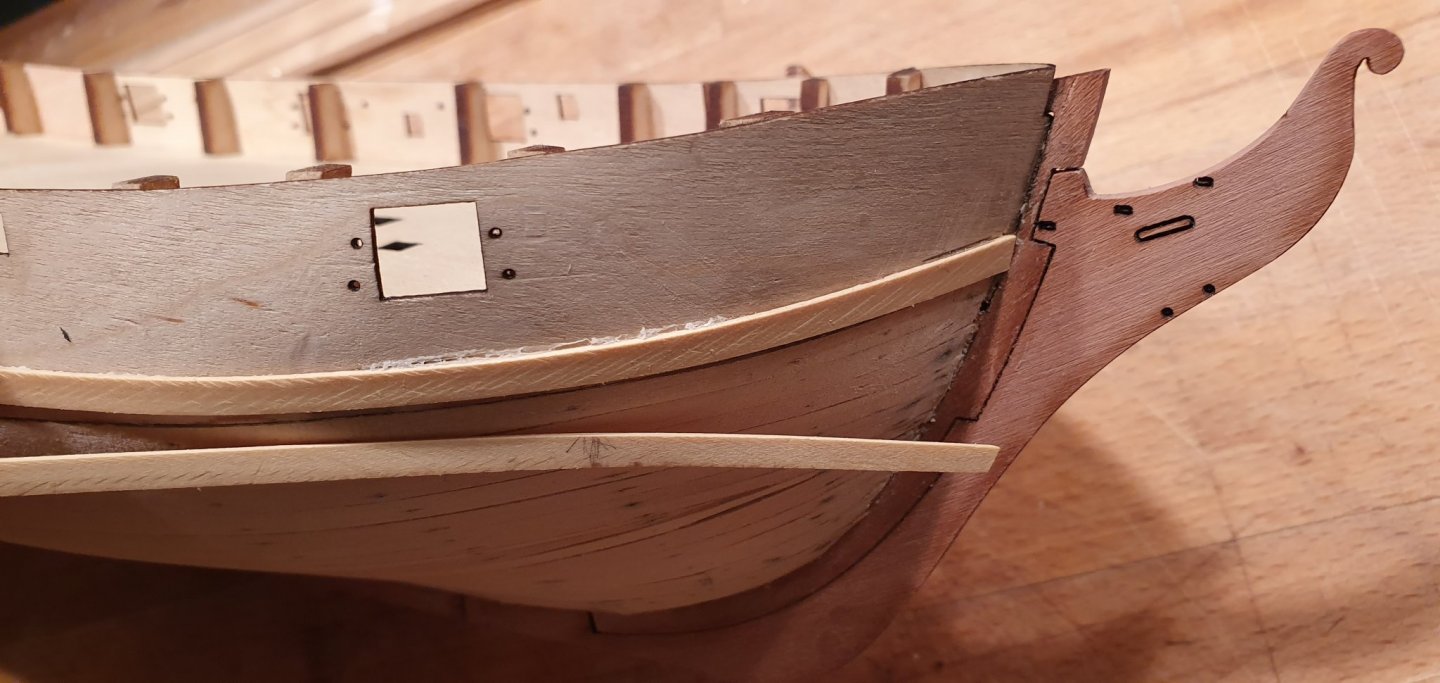
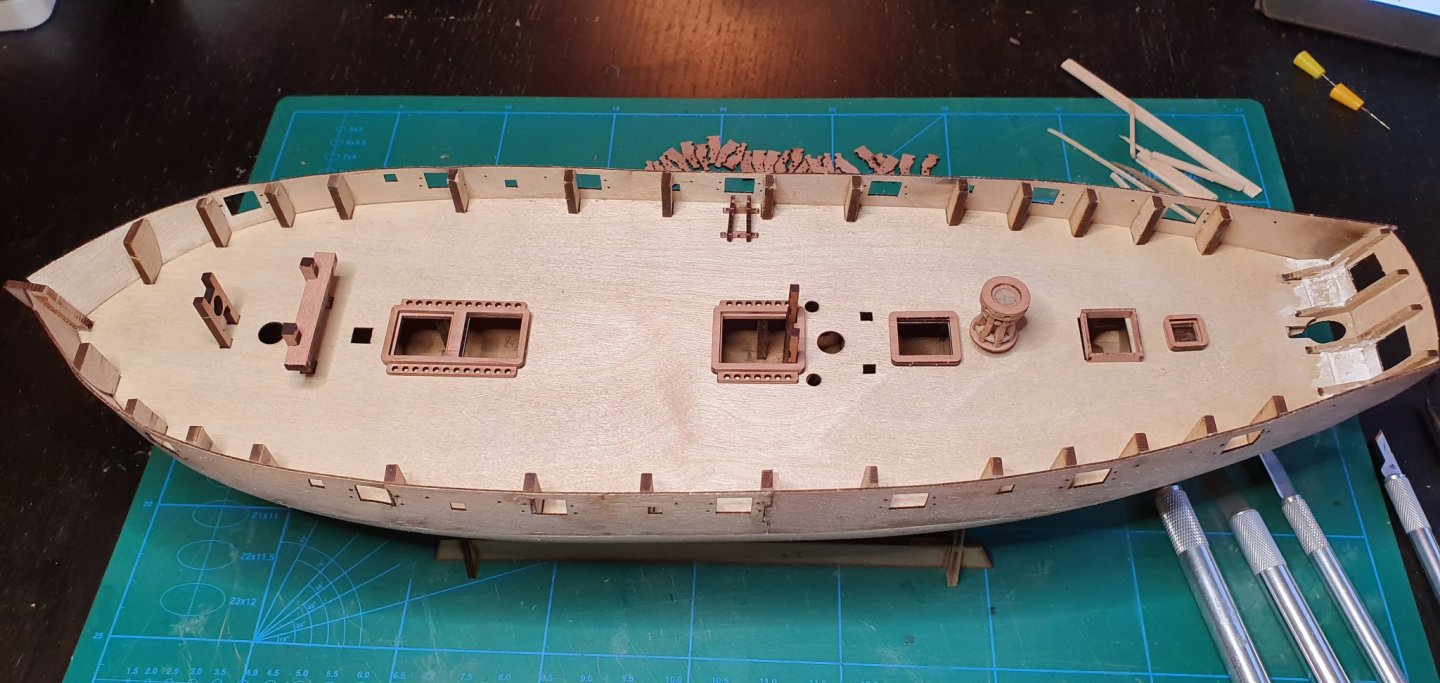
Dry-fitting some of the details...
-
Thanks, its an inspiring kit to work on and its also abit exciting to be one of the first to build it. 🙂
-
I simply love seeing photos with numerous ships in the same scale. Your "Diana" looks amazing. Cant wait to start building mine but have too many ships in the shipyard at the moment. My other hobby besides shipbuilding is actually photography. Two simple recommendations to make them better. Place the boats daytime near a large Window so you get more light. The Main problem in Most photos in this forum is just too little light. And also fabrics dont really make a good background. Better to use a simple wall instead with a neutral colour.
-
Sounds great! I have been looking Into Syren to "pimp my kits" but not ordering anything get. Its always easier to order things from Europé to Sweden.
-
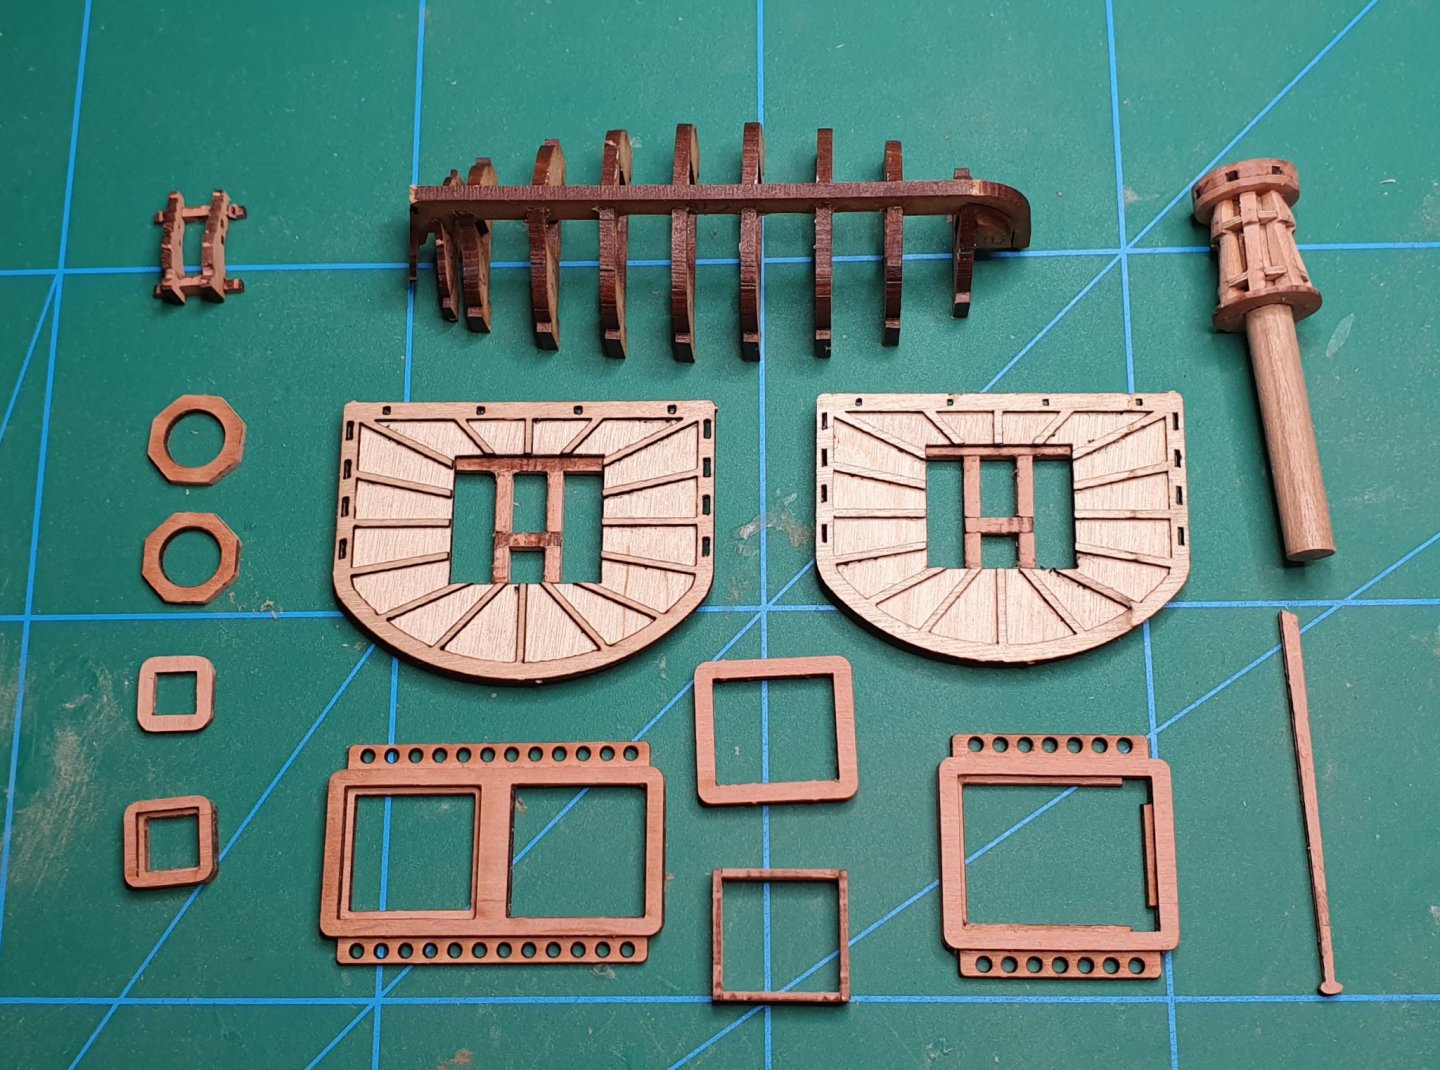
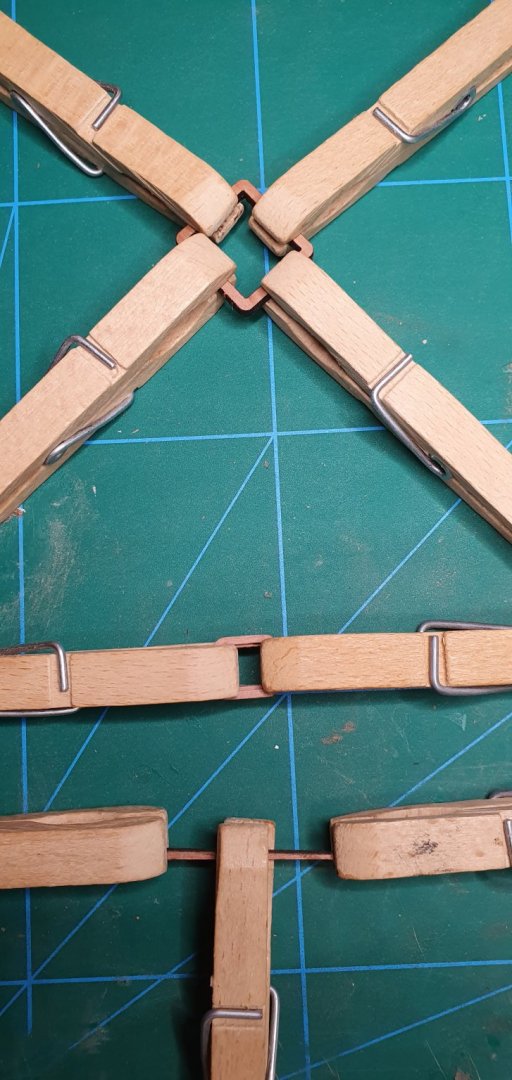
Made a few side projects before continueing with the planking. Everything is precut making it very easy to work.

-
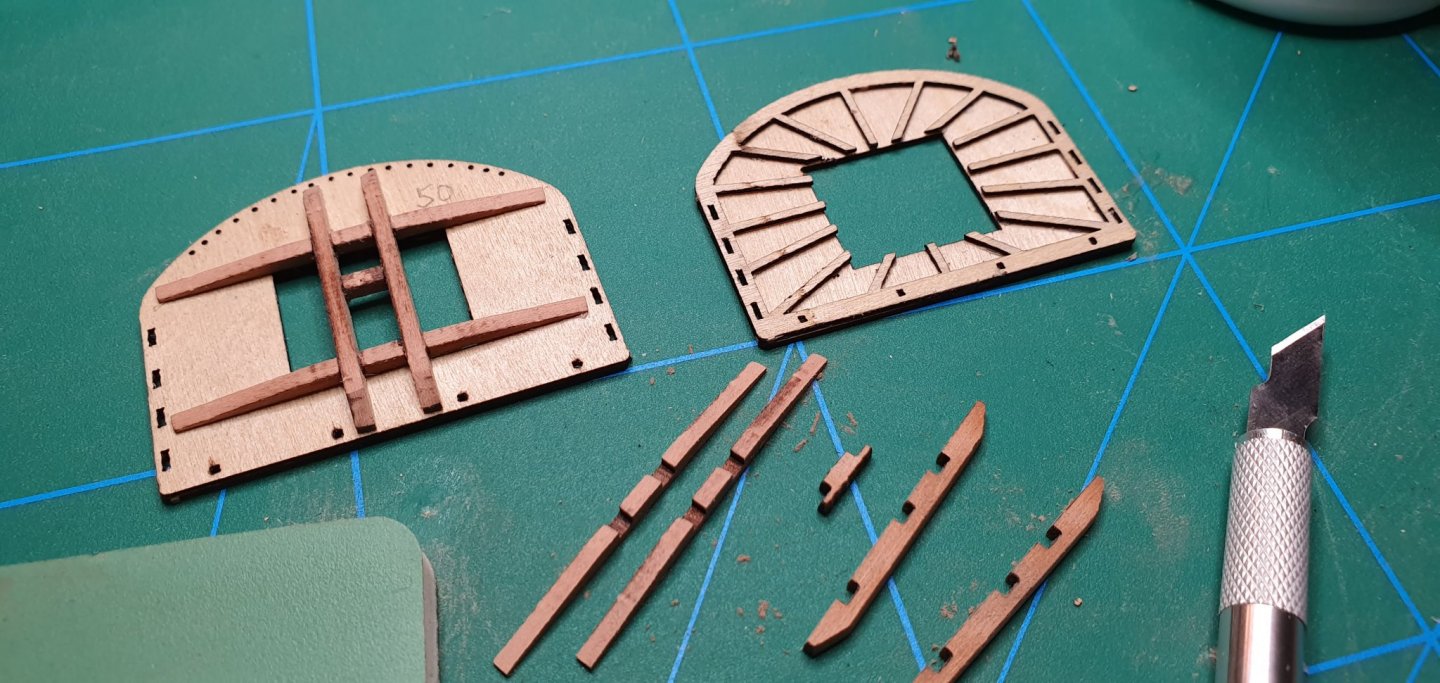
Well, they turned out ok and the proportions looks great. Just need to be very careful here. The MDF design is very different from all other kits I come across. It would be interesting to try it out for a much larger ship. The skeleton of your 1/64 Victory looks really impressive. I guess you will have that design for your upcoming Bristol as well?
-
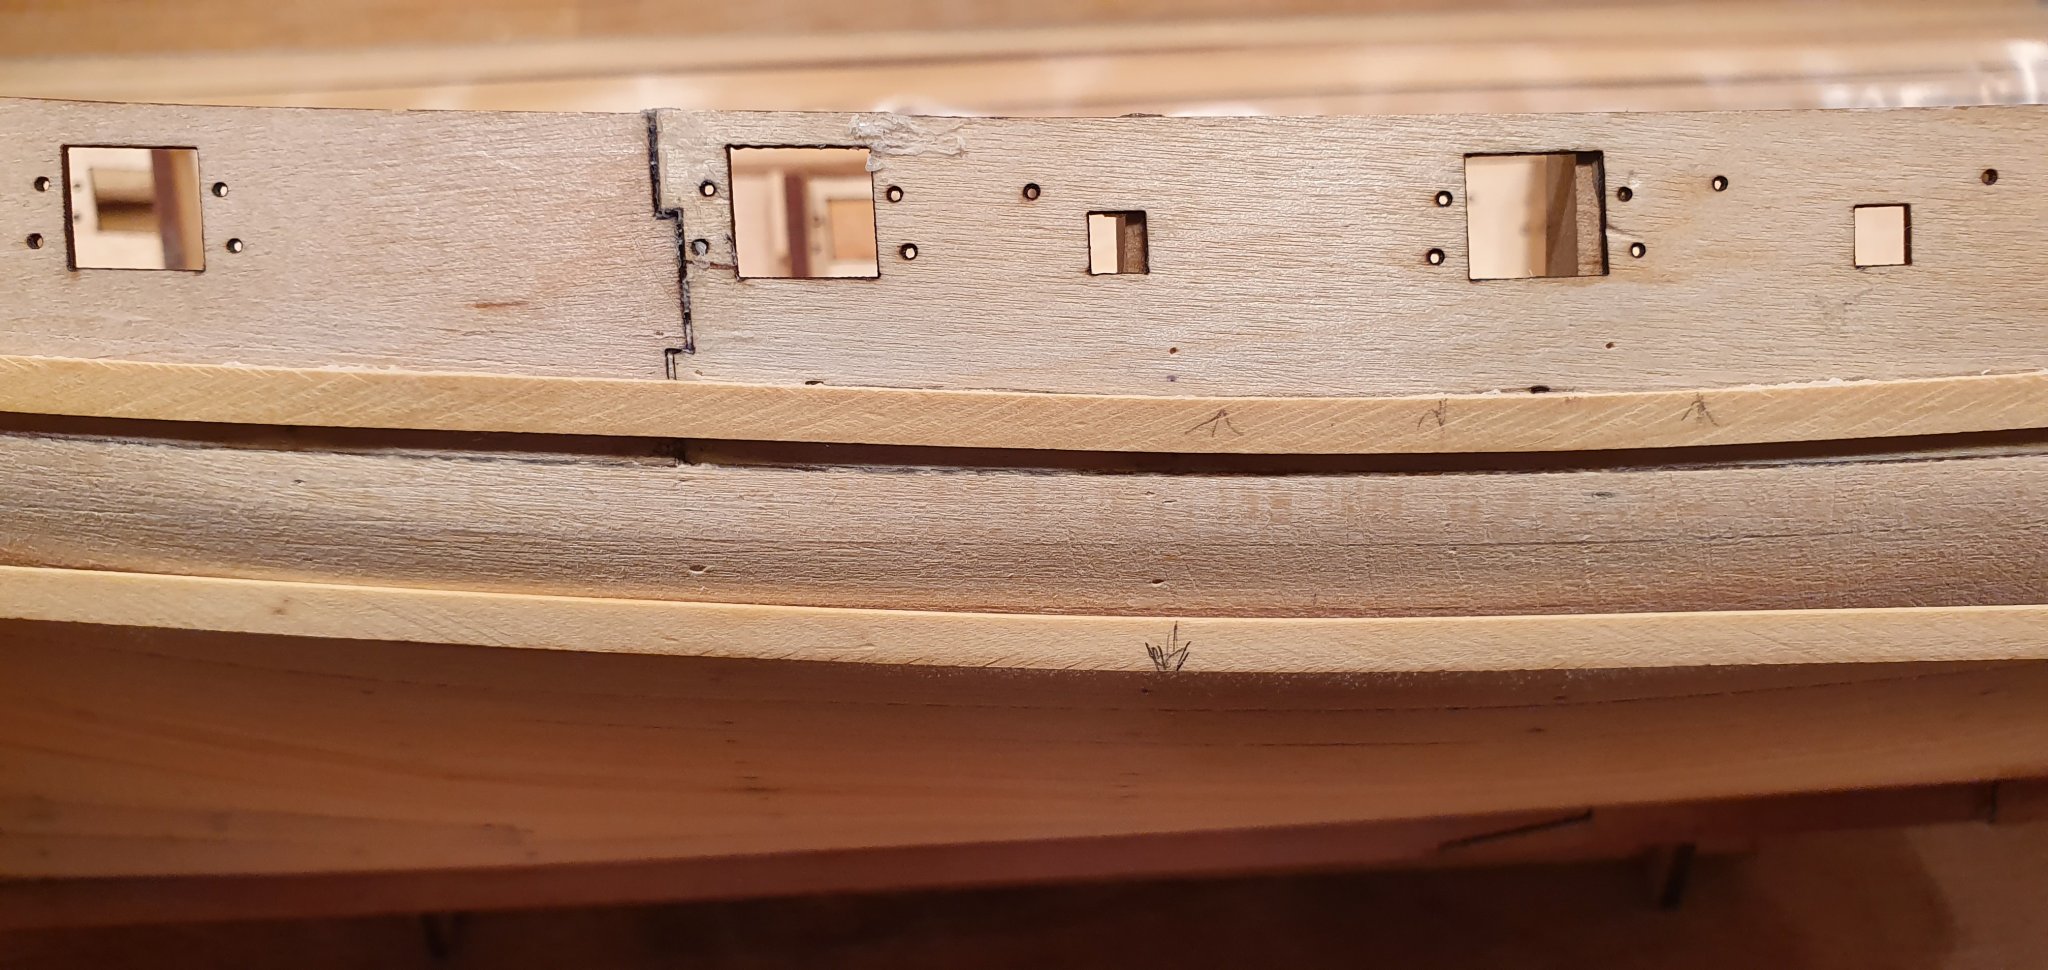
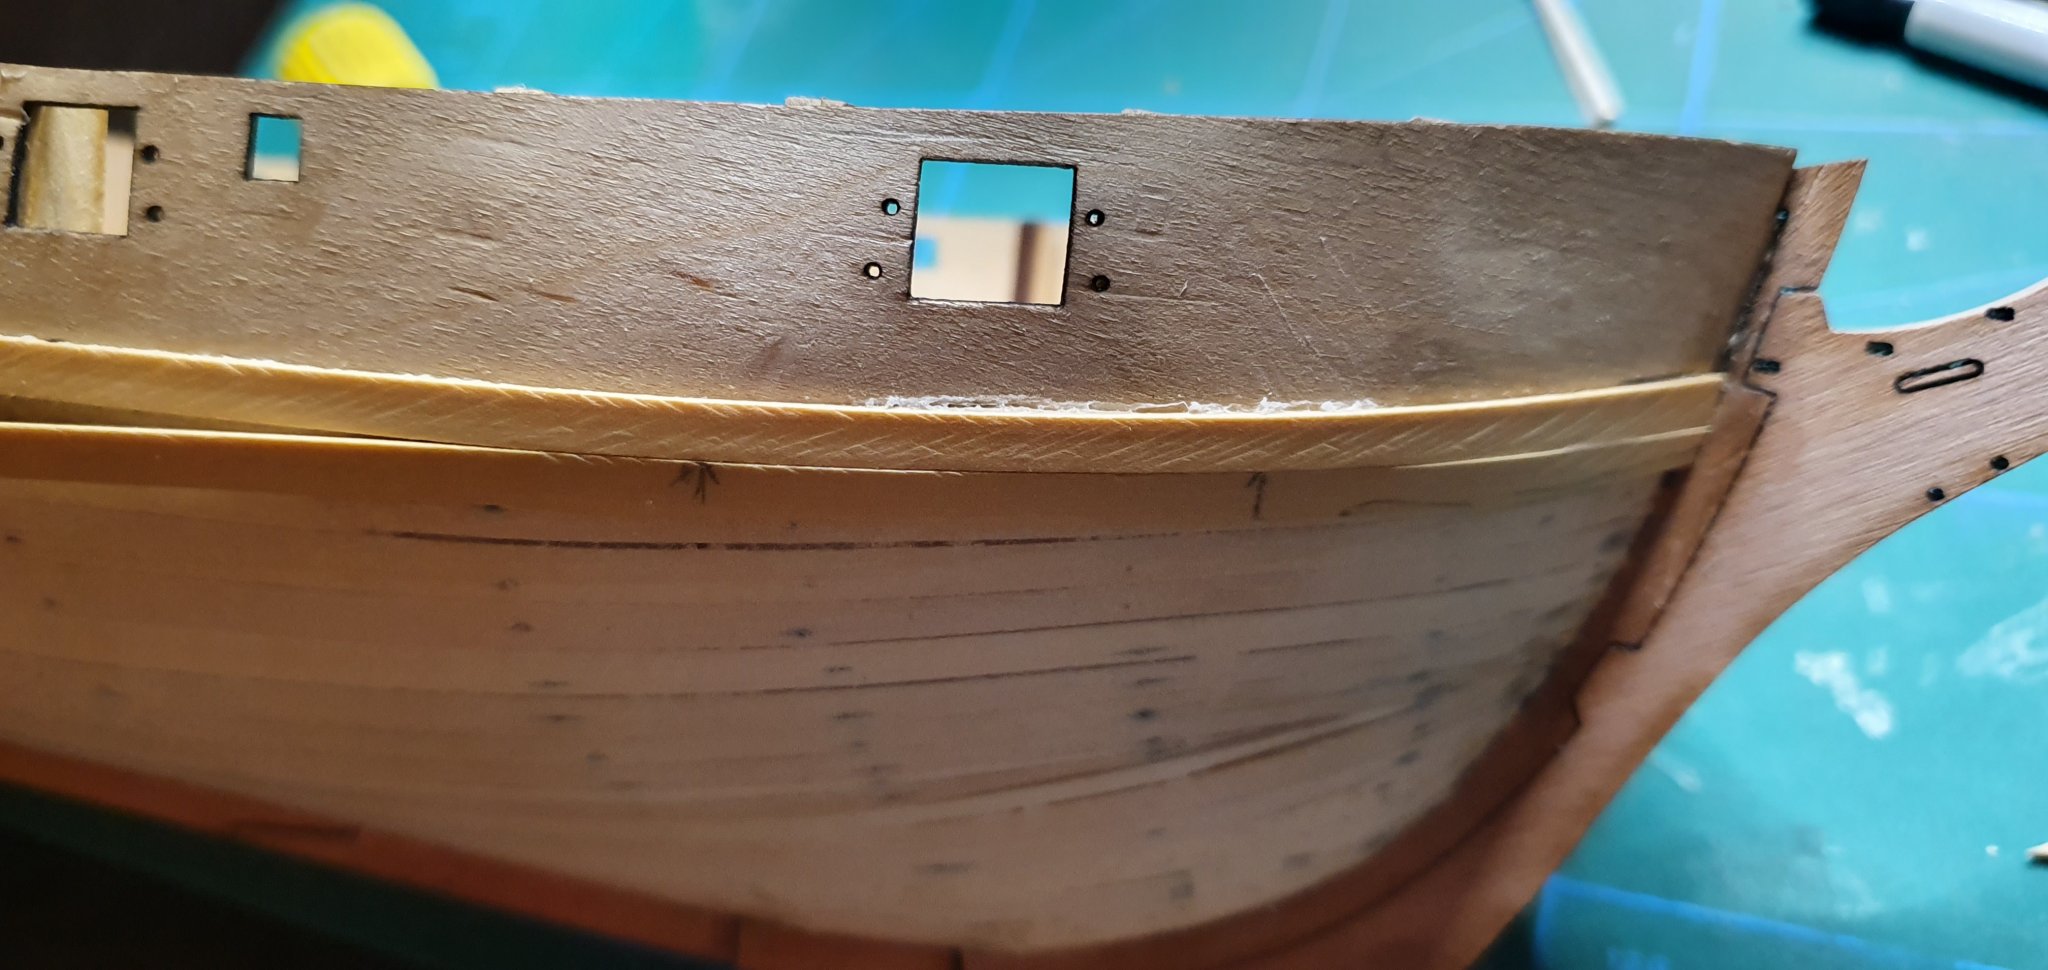
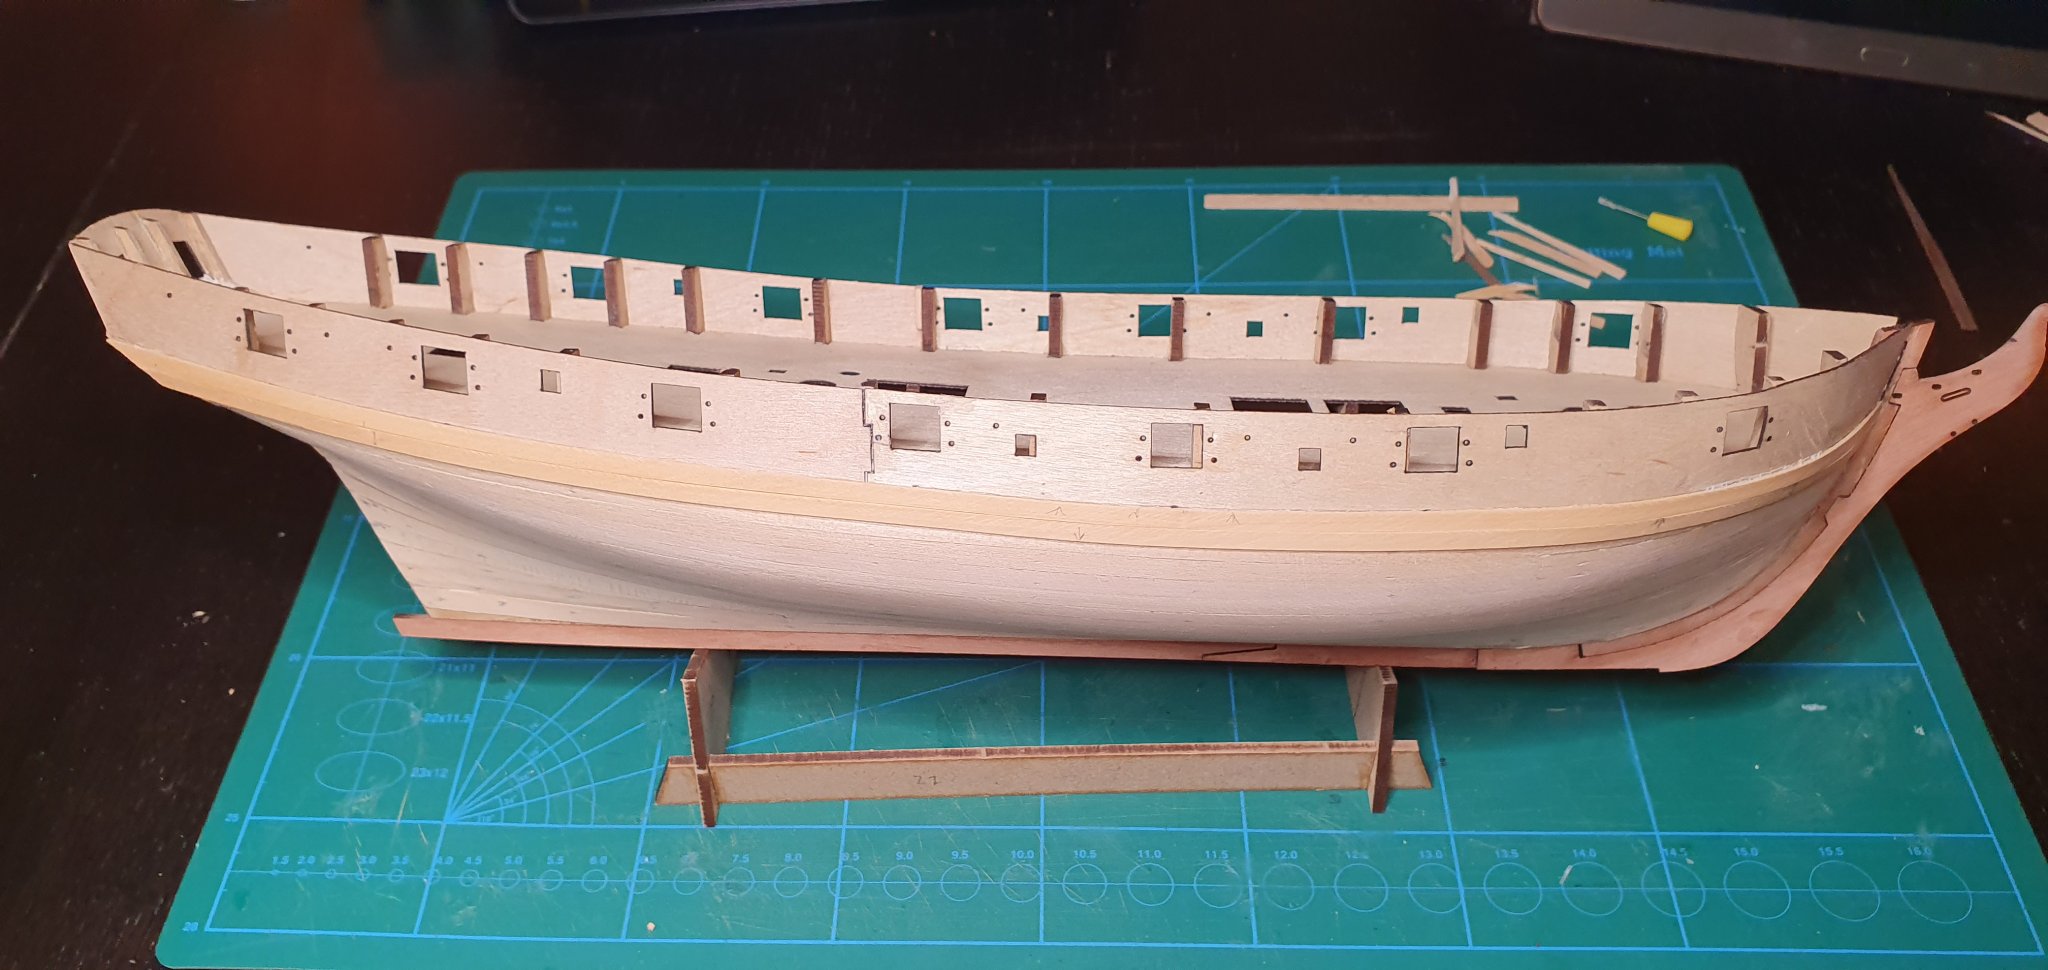
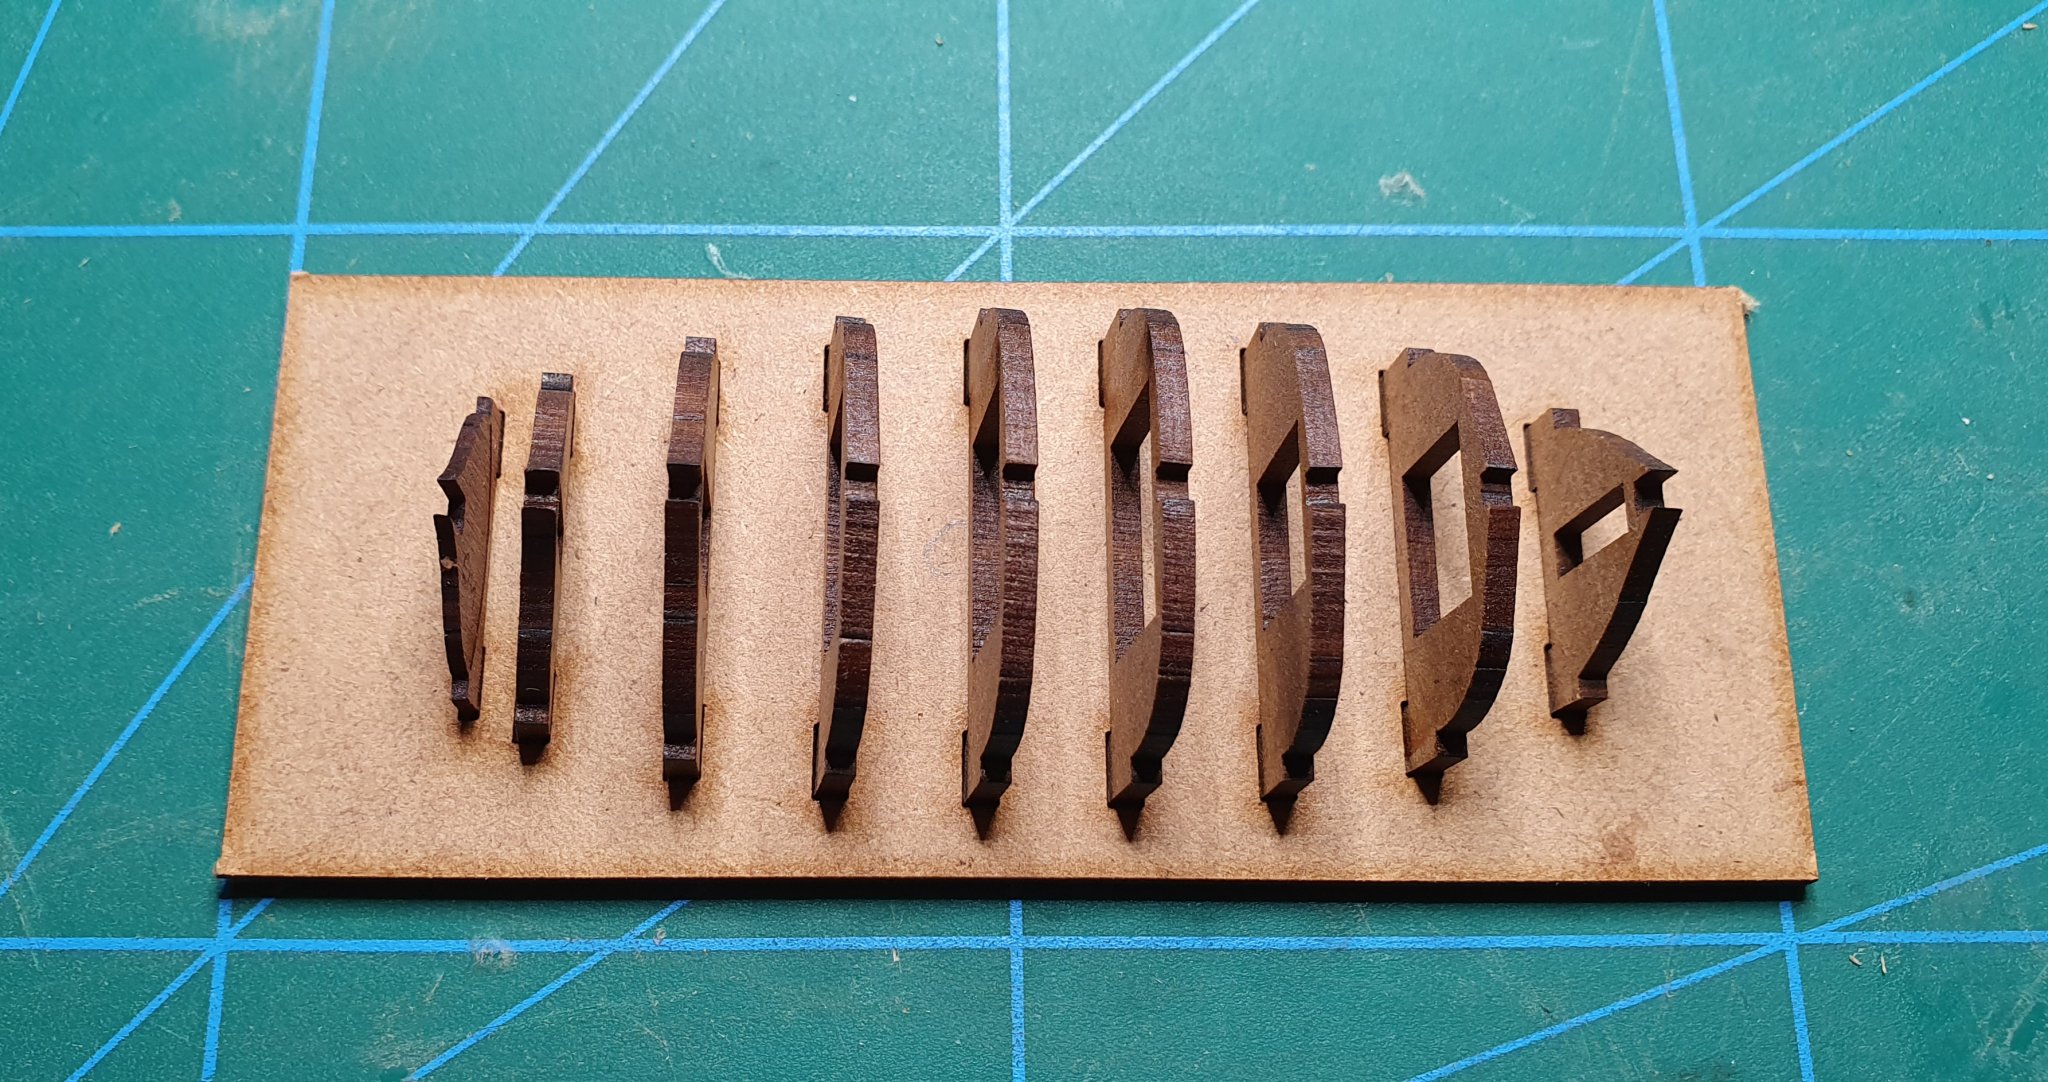
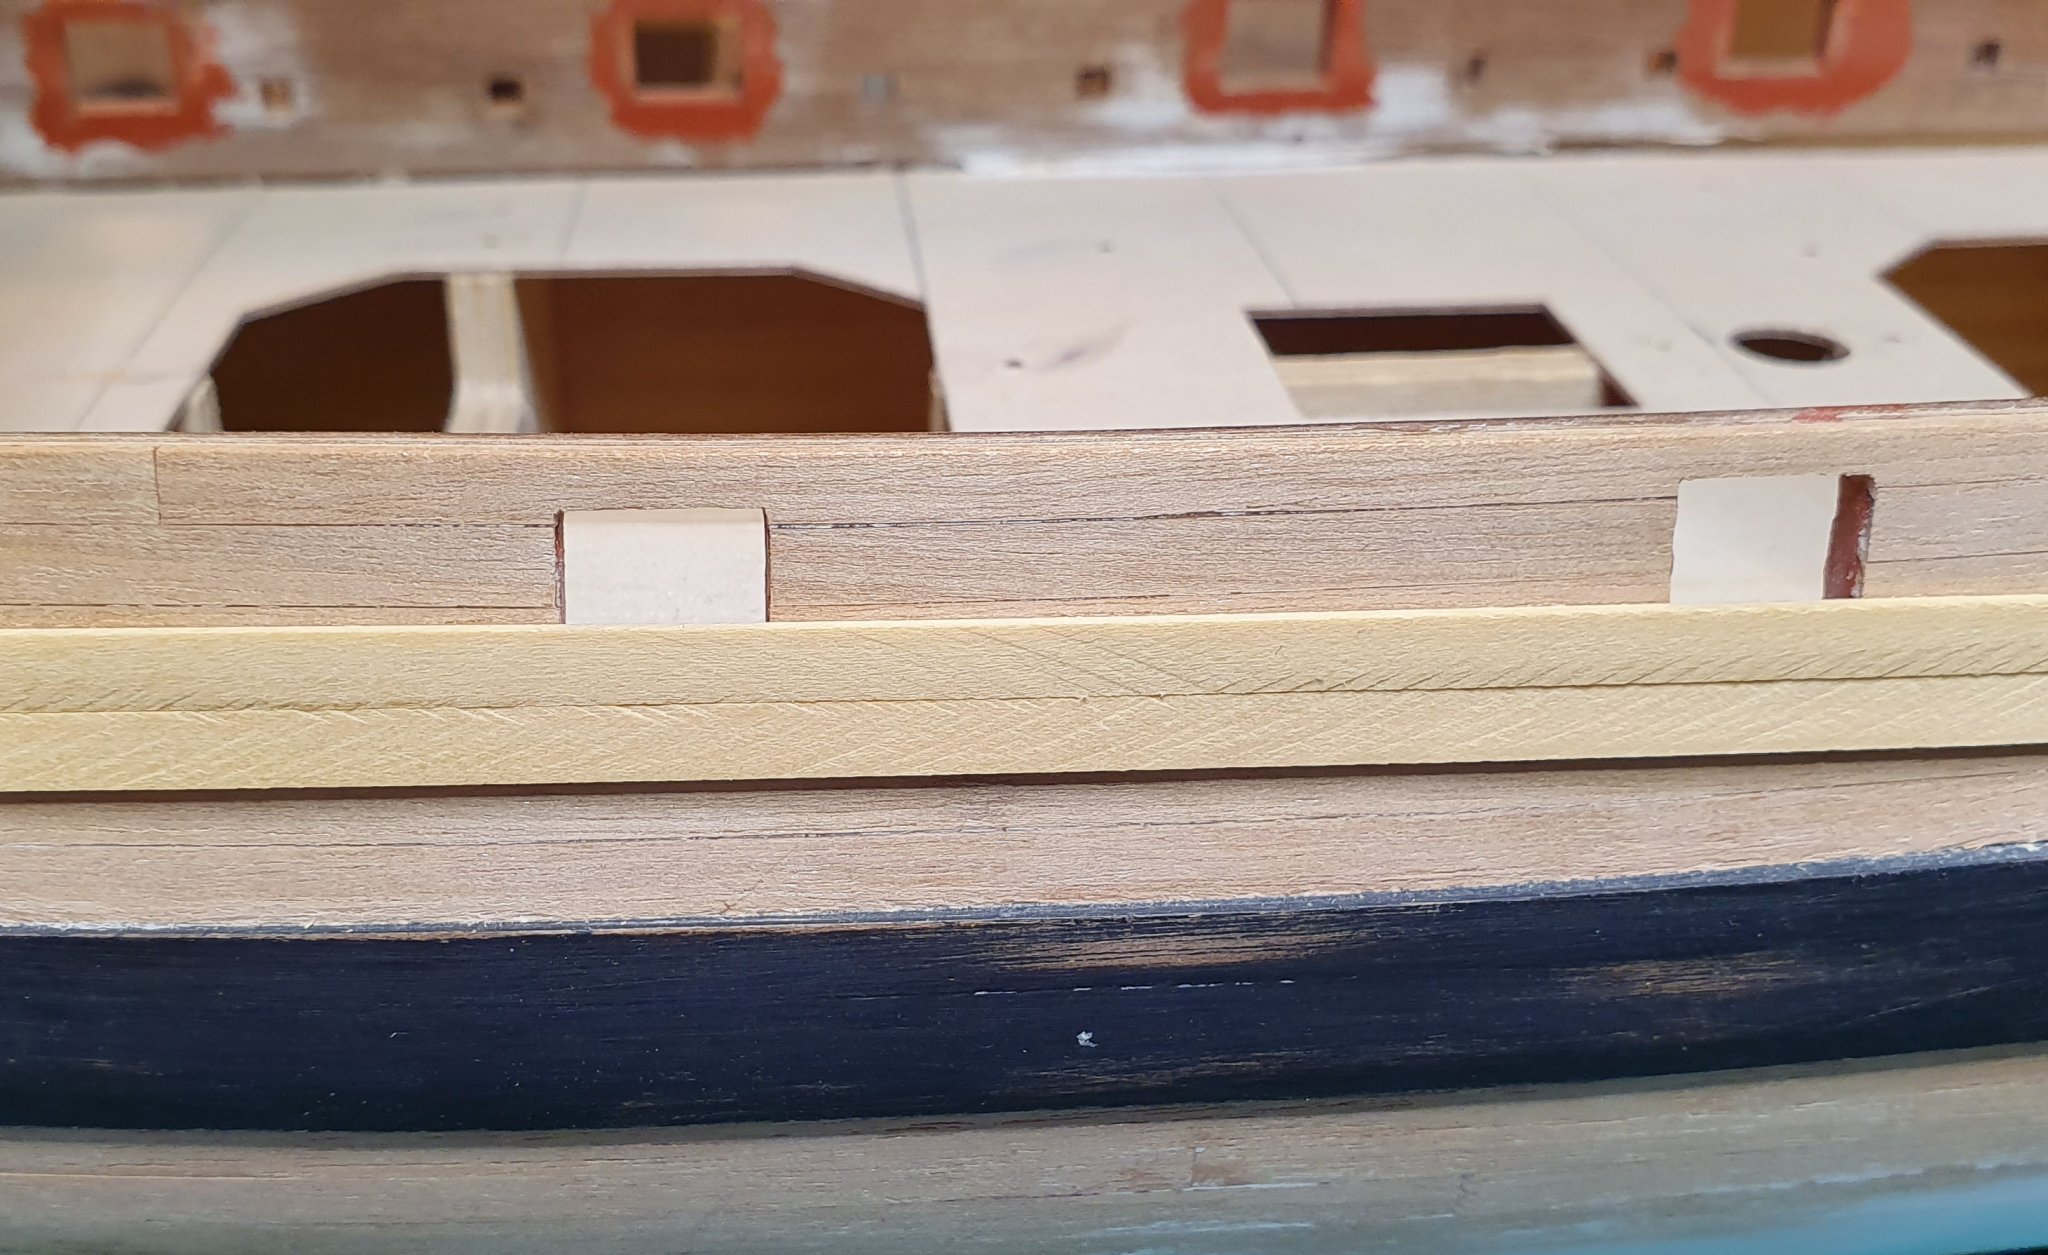
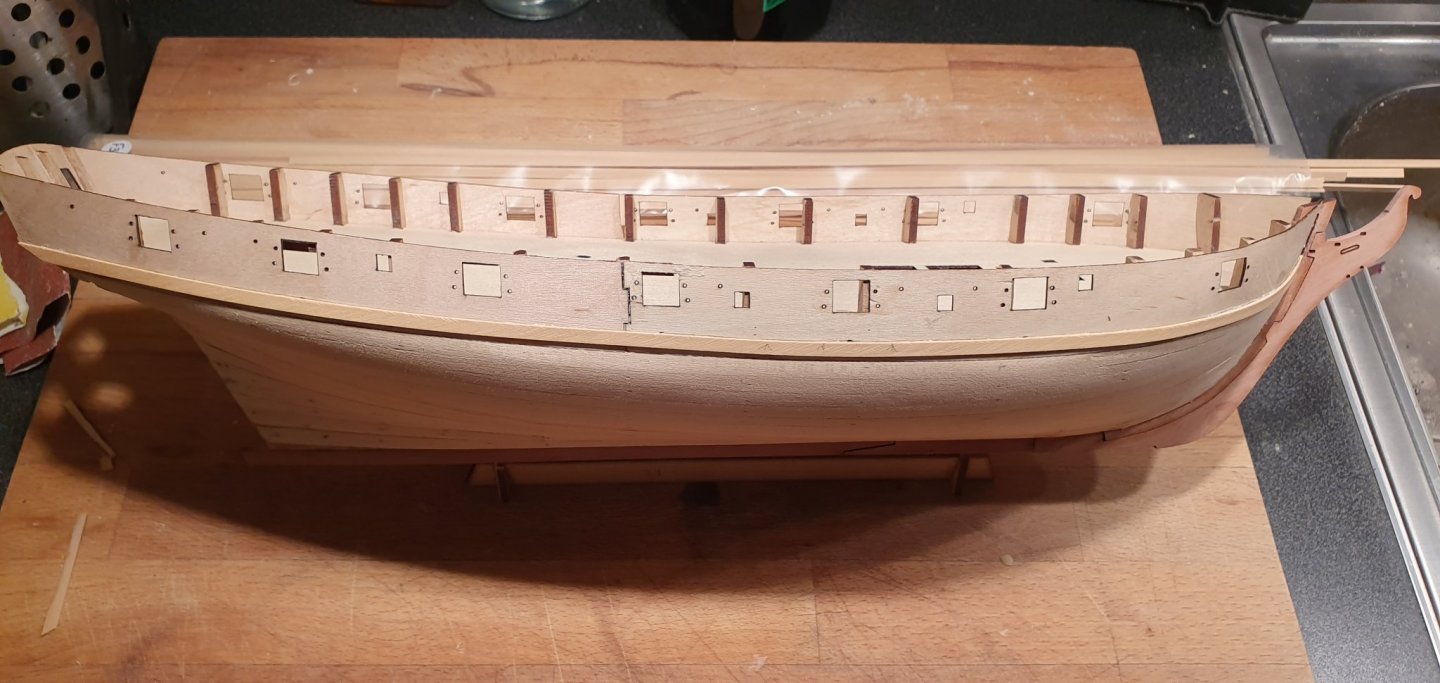
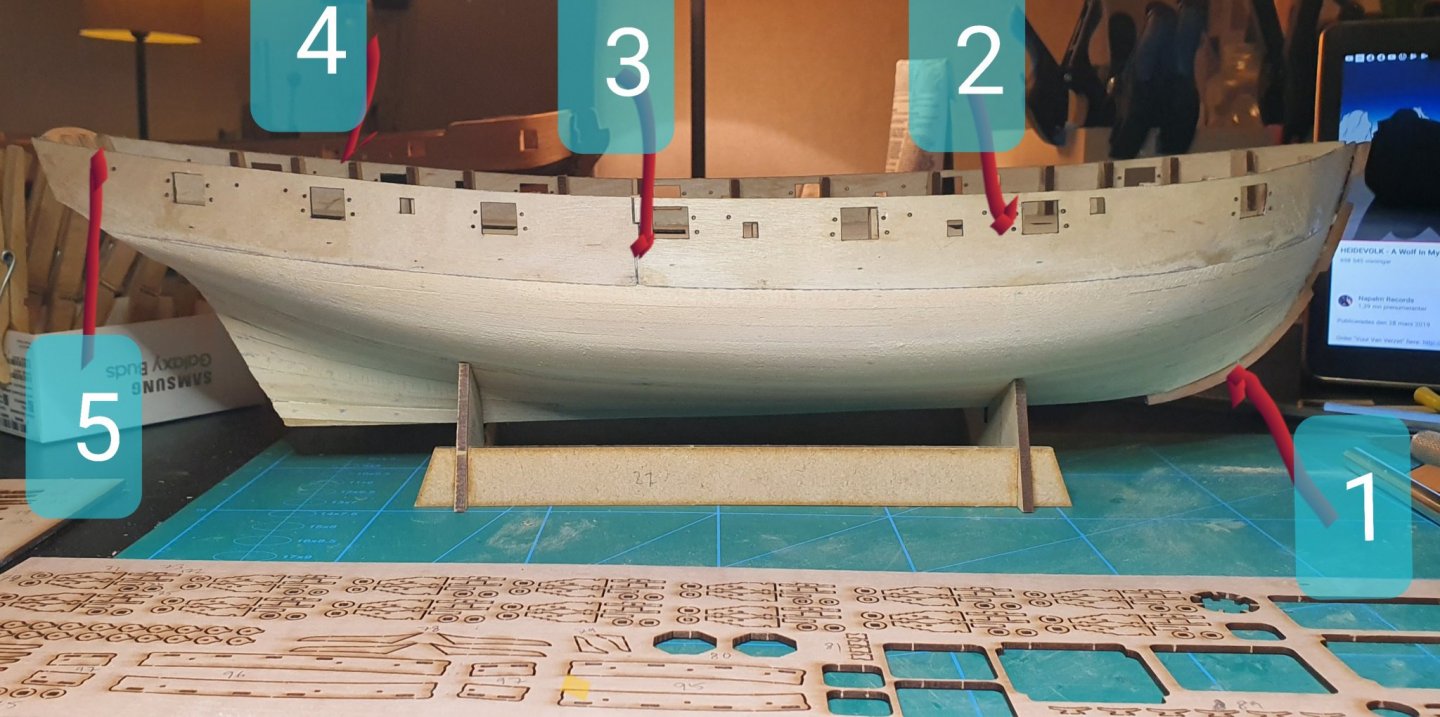
First planking done and I have just had the kit abit more than a week. What I like about Speedy is that Chris have made many new design solutions that really make it easier and faster to build. A few observations so far: 1) Pre-made rabbit to support the first planking. 2) Laser cut holes from "the wrong side" so you dont need to measure 3) The precut walls comes in 2 pieces 4) MDF skeleton with many very close bulkheads 5) Only identified weakness so far are these 4 very fragile pieces that easily break during assembly. The would perhaps be made in a different mtrl than MDF? Now its time to start with the 2nd planking in boxwood. Here he has also clear markings on where the first board should be placed so nothing to measure... 🙂
-
I guess there will soon be many happy customers waiting at the door! I have decided to put my other builds on a slight hold just to see how this Speedy will look like with a built hull and some details. I cant wait to hear what is coming next from Vanguards 🙂
-
I am very grateful for this log since its a great inspiration for my own Granado build which are quite behind. I have finished my hull and managed to clean up all gunports. Next is to start with the big guns. I have done mine in Tanganyika so it will be interesting to see the difference in style later.
-
Yes its a very different style. We will see how the Boxwood turnes out on my Speedy. But boxwood is much different to work with. The Tanganyika is abit soft and splinters. I am definitely happy i didnt stay with the supplied walnut.
- 101 replies
-
- 1
-

-
- caldercraft
- granado
- (and 1 more)
-
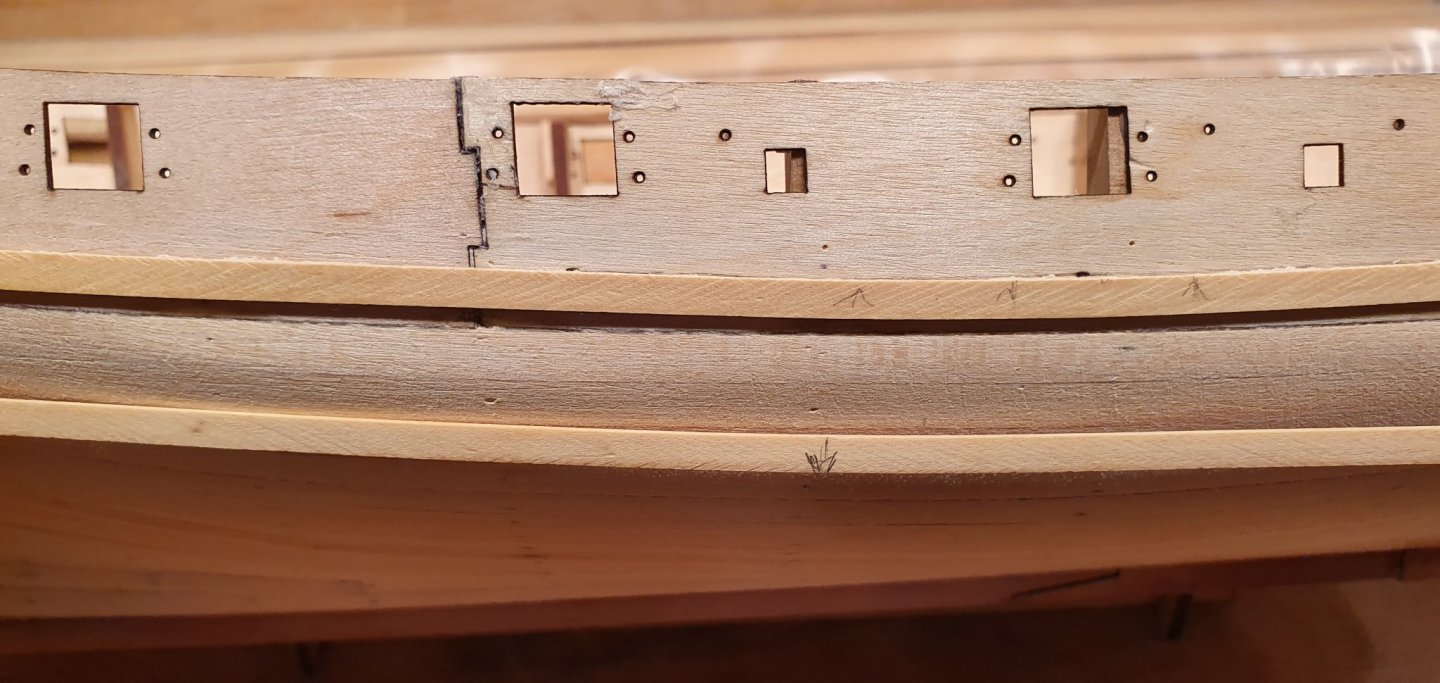
I finally got my hands on some Boxwood. I have already done the 2nd planking in Tanganyika but here you can see the difference in colour and grain.

- 101 replies
-
- 5
-
-
- caldercraft
- granado
- (and 1 more)
-
I hear that the Master shipwright version is limited to 20 kits and as I understand they will be gone soon, so better hurry!! ;-) More photos coming up when the 1st planking is finished!
-
I am very much looking forward to planking in boxwood for this kit. Never tried that before.
-
It takes some practice, but once u get the hang of it u will plank much quicker. And the planks will look much nicer without any holes from pins.