Vane
-
Posts
618 -
Joined
-
Last visited
Content Type
Profiles
Forums
Gallery
Events
Everything posted by Vane
-
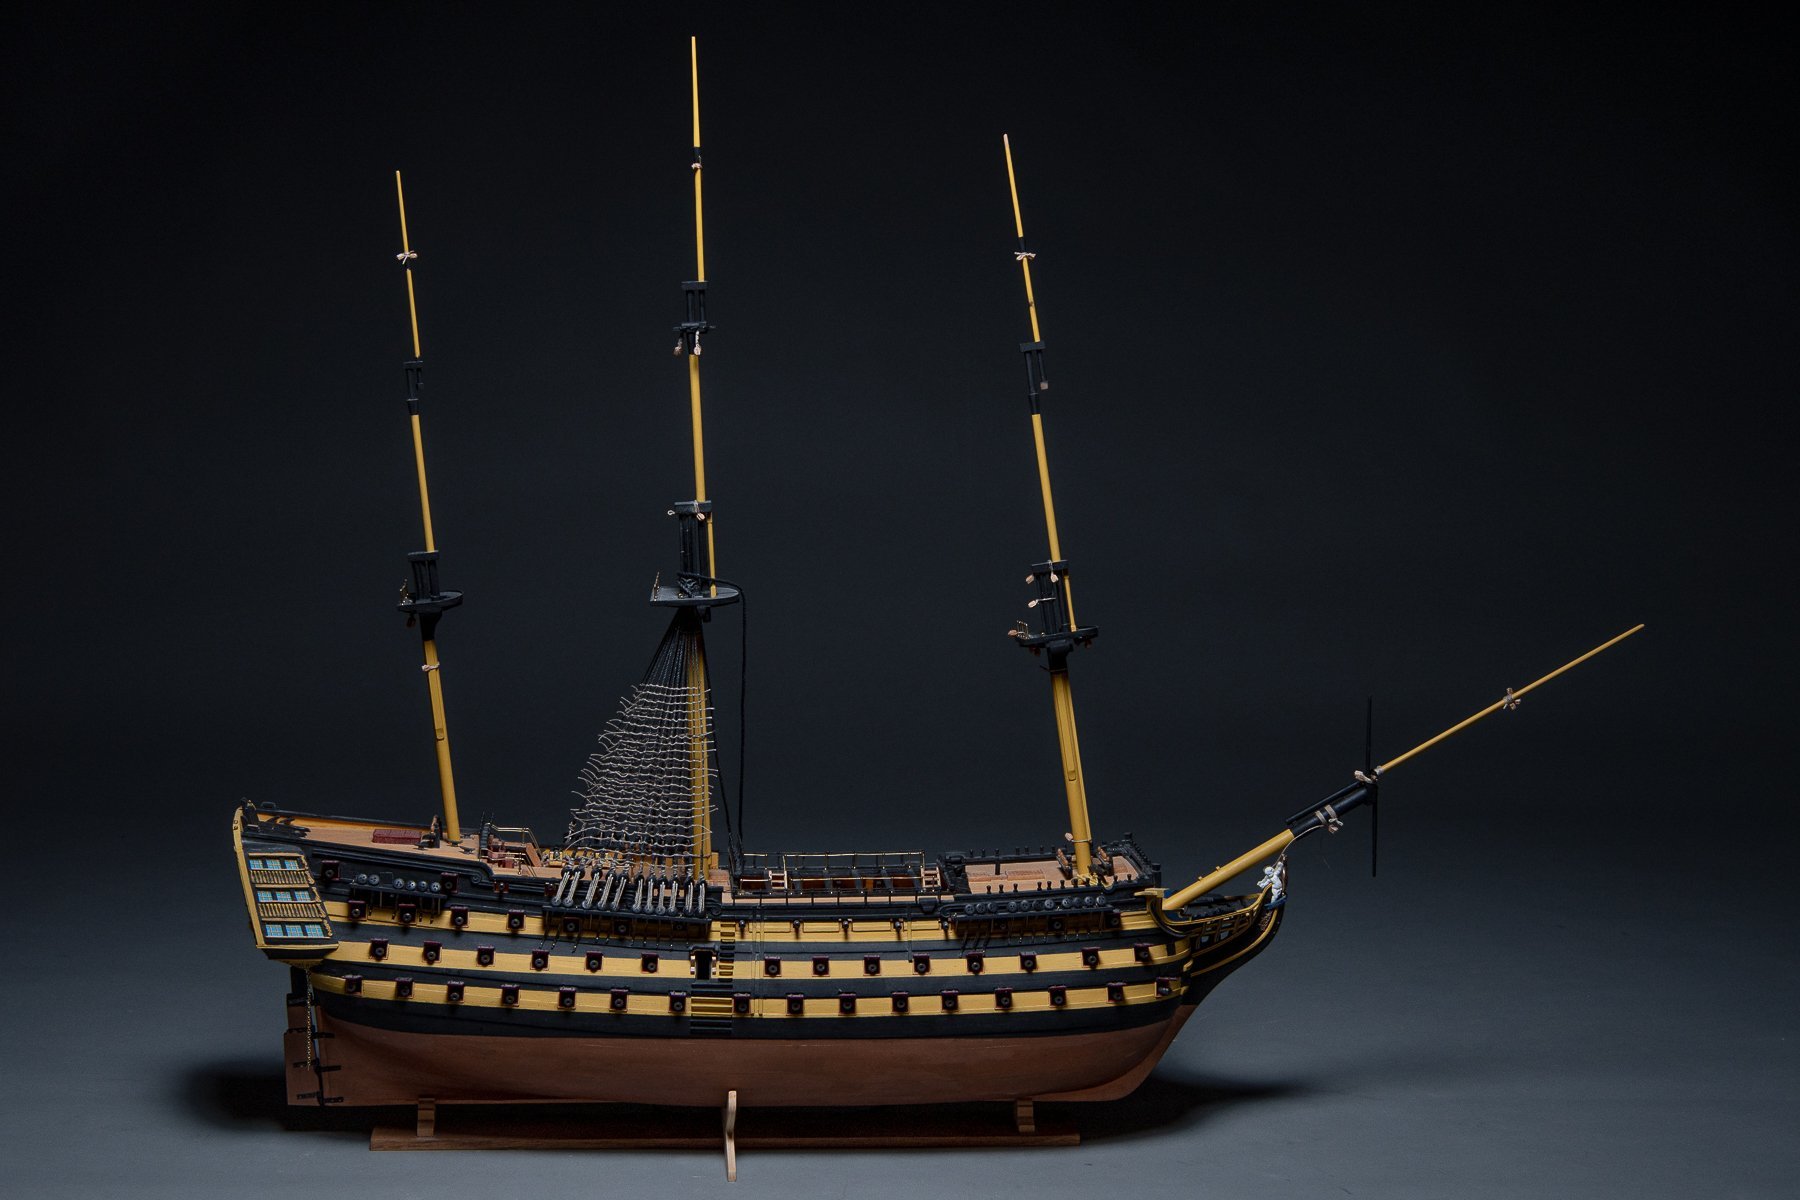
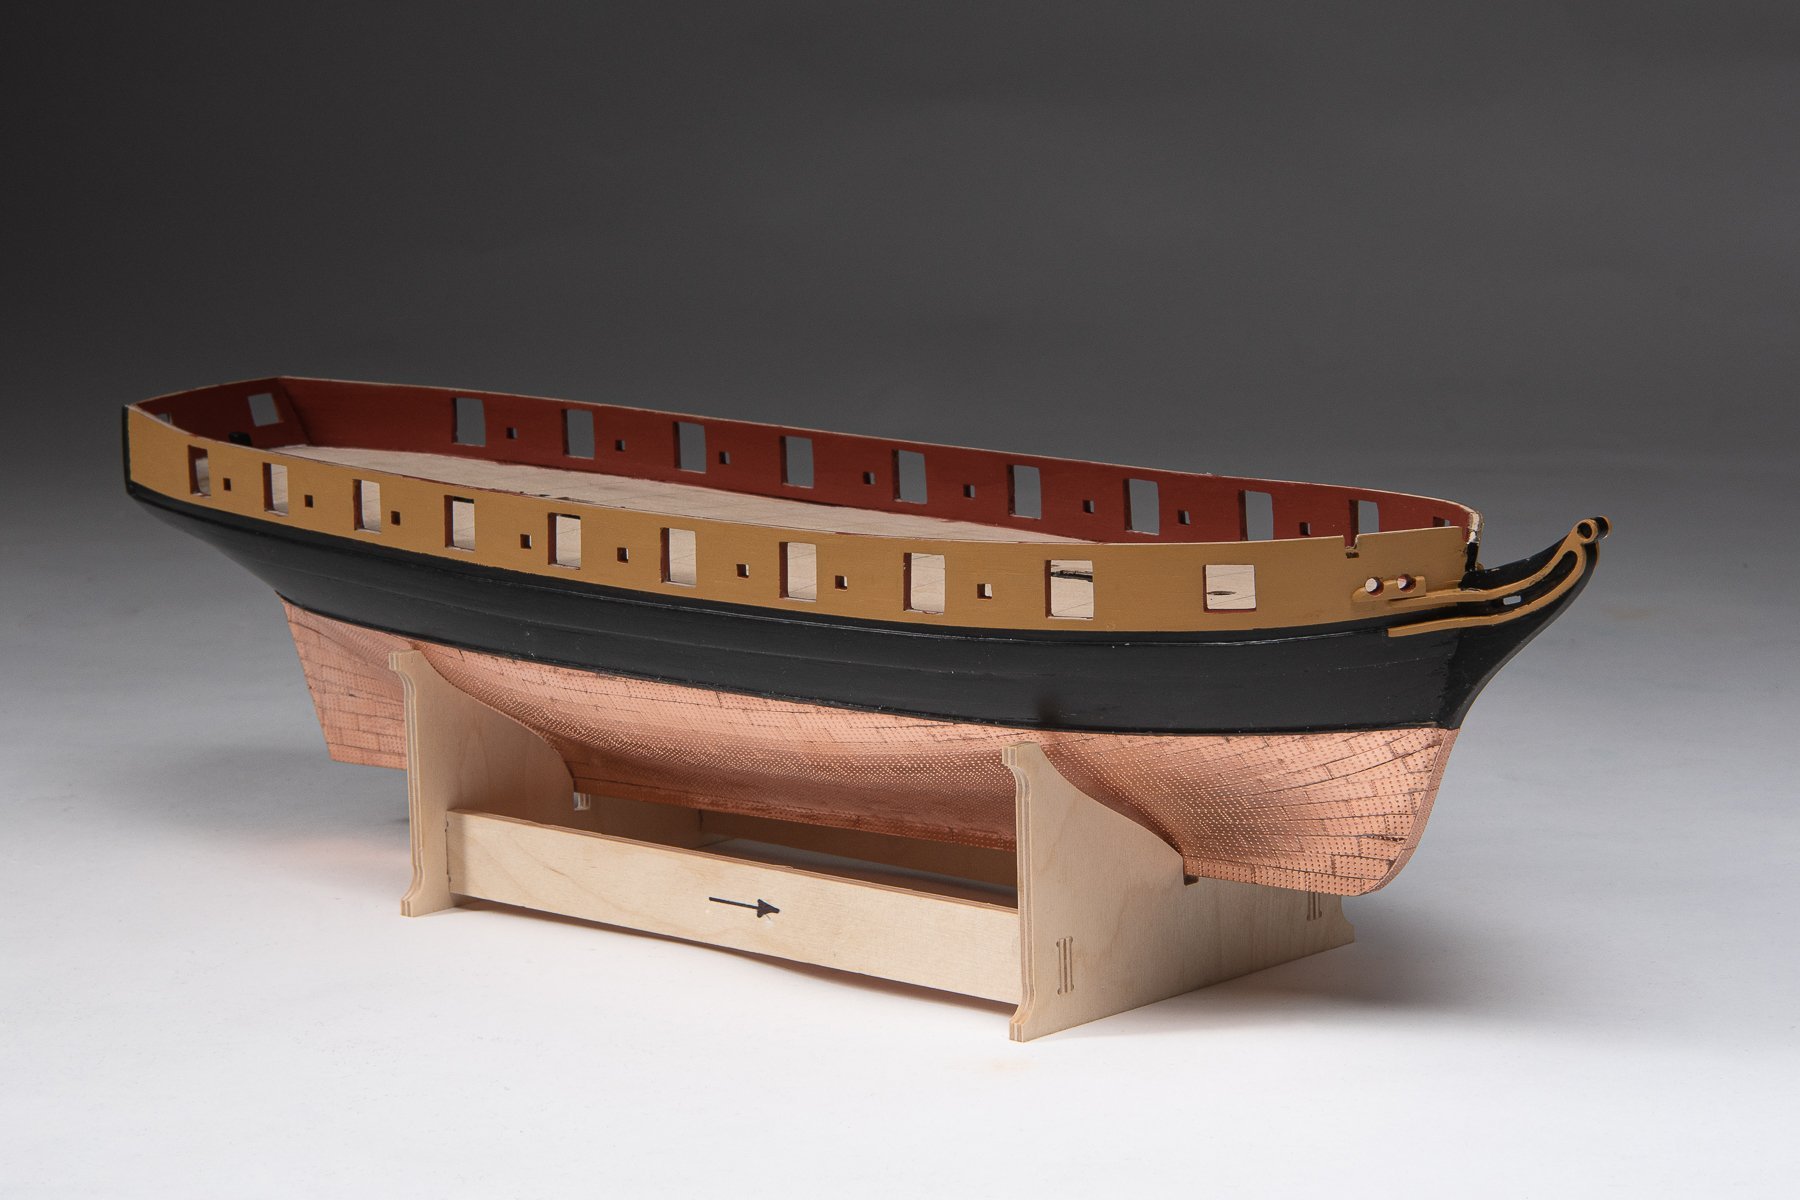
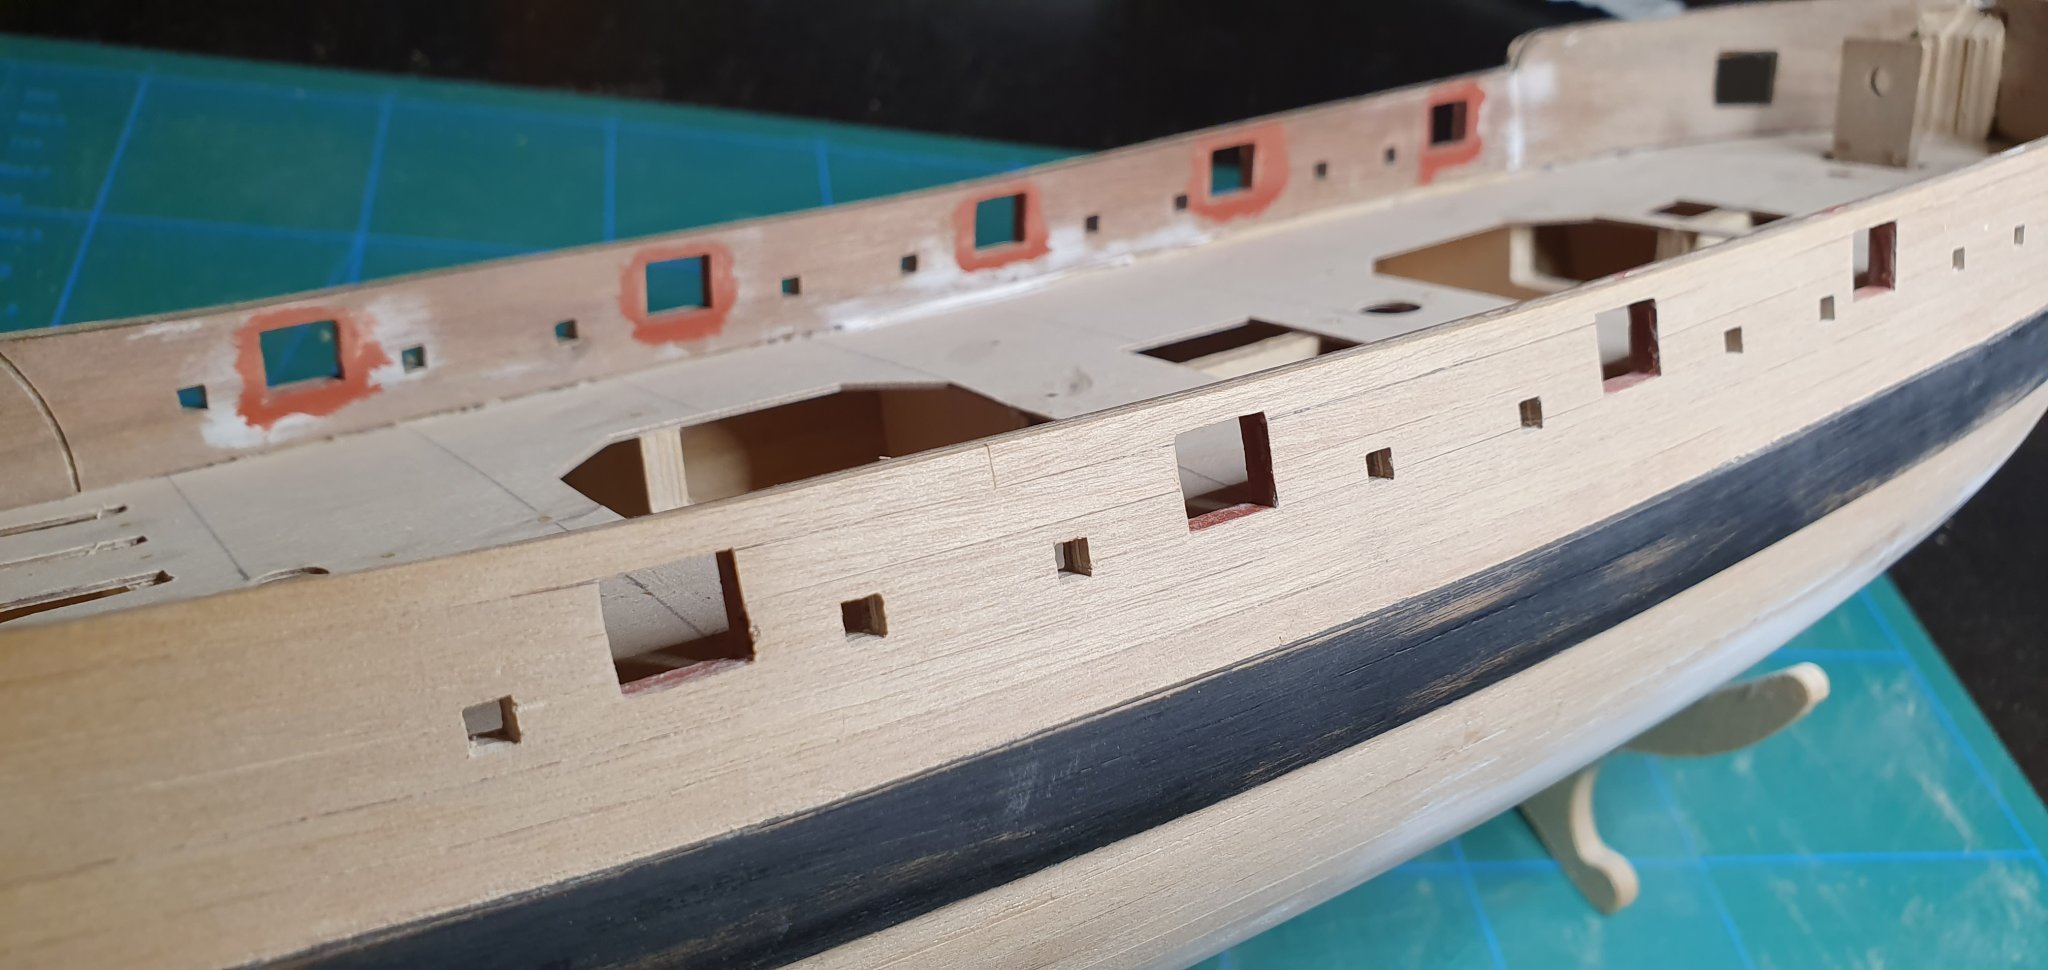
 I thought i should do a New years post to sum up 2019. First of all I want to thank everyone that has followed my endevours and also everyone with inspiring buildlogs contrcontributing to this forum. Second, after many years i am really happy that I picked up this hobby again. I started destined to complete my first build from the 90s. It turned out quite differently and now i have 5 parallell builds. Probably madness but i enjoy the building process and as long as things are progressing i am quite happy. So what have i done? HMS Victory 1:98 Corel Little disappointing, I finished all the masts, bowsprit and done alot on the yards. Some rigging. I really need to put more efforts in this ship next year. HMS Snake 1:64 Caldercraft Perhaps Most work have gone into this ship. The hull is basically finished with planking, coppering, gunports, paint. Just started with the deck. HMBV Granado 1:64 Caldercraft Progressing rapidely. Decided to plank in Tanganyika. Gunports finished. Working on the mortarhouses and Will soon paint the bottom White. HMS Diana 1:64 Caldercraft I just bought it to have it. Abit of a Dreambuild. Couldnt keep my hands off of it though. Put the skeleton together and some planking on the lower decks. Not a priority. I can wait for this one. HMS Speedy 1:64 Vanguard models I had no plan to buy a 5th kit. But watching this kit develop in Chris thread and when he offered me a kit before its release it was a no-brainer. I also really want to support this New Company getting started and see it as an investment for many New interesting kits coming out on the market in the future. Once i recieved it got priority 1 and so far i am halfway into the 2nd planking. "Unfortunatly" i am now in Thailand for a long holiday... and i am almost waiting to get back to the snow to continue! I have also invested in some proxxon tools to help me out. Will likely soon buy a lathe. Thats it, happy New years everyone!


-
A question to Chris, how authentic is the various of paint and colours you have used on the Speedy? Should we blindly follow ur way or is there any things that can be done differently without messing the ship up?
-
I am using the Proxxon heatgun which has various of funnels that u can put on to make the airbeam tighter. It just cost me 30-40 euro so a no brainer investment instead of using my girlfriends hairdryer. The great thing with this kit is that the manual includes so many photos that you hardly need to look at any buildlogs to understand how to do everything. I always look at others buildlogs to get inspiration but also to understand the manual better. For my Snake and Diana other peoples buildlogs are extremily valuable because its not easy to get everything right. But Speedy stands on its own. However, it will be really Nice to see how everyone else is decide on the details since there are Always many ways to cut a cake.
-
Ur Granado looks great!
-
Thanks, let me know when u have put up some photos. It will be really interesting to see!
-
Excellent build. Looking forward to see the shots of Granado as i am building her myself
-
Congrats, I am sure you will be really happy with this kit. It will also be great to see more buildlogs of the Speedy. I just have a limited experience with various kits but its a different level on all counts compare to what i have seen so far. My Diana is a great build but its way outdated in plans and in design. The "newer" Granado from Caldercraft is much better but its still not even near Vanguards.
-
One interesting thing would be to see some "comparison photos" of how the difference in different wood will look like. It doesnt need to be the full ships but just something which will explain the difference in style using Tanganyika, pear, box and walnut.
-
I think your photography is excellent of the ships and also the "explaining" photos. I also dont mind the blue background at all. I am only talking about consistency where the colours are slightly different in different shots. You can either fix this "in photoshop" or perhaps better (and which will save u some time considering how many photos you take) is to make sure you are using the same settings and setup for every photo. My guess is that you have had the "whitebalance" setting in auto, and the camera has interested it differently where some photos are "too cold". Just switch the whitebalance to manual and 5500K usually match most flash. In "Product photography" consistency is key, compared to other forms of photography where you might want to be more exprimental. Just find a style that suites you and your website and stick with it.
-
The only "complaint", and now i am really picky (and most because i am a photographer myself) , is that the whitebalance of some colour photos seam to be slightly off, making them kind of blueish. There are hundreds of photos so this is just estitical.
-
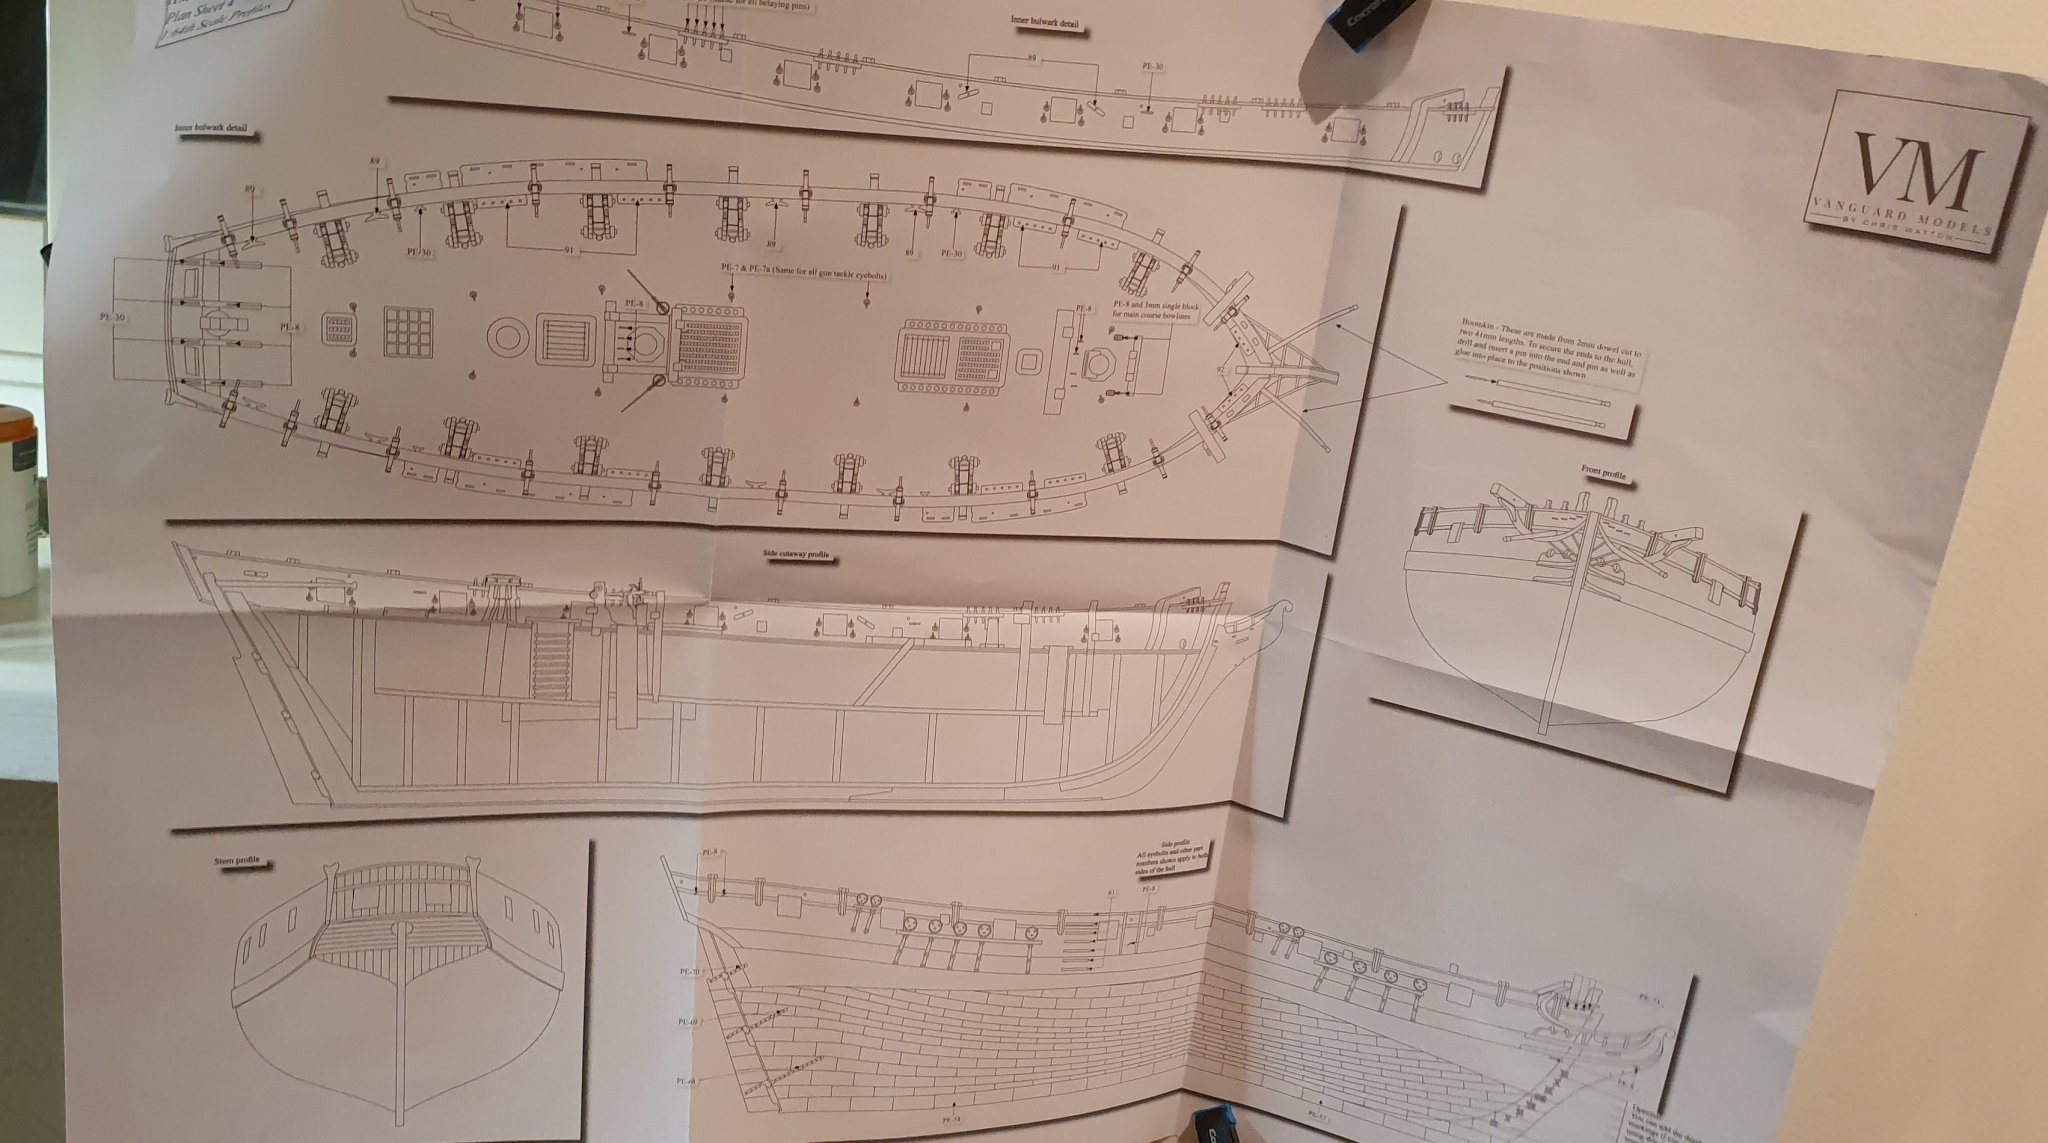
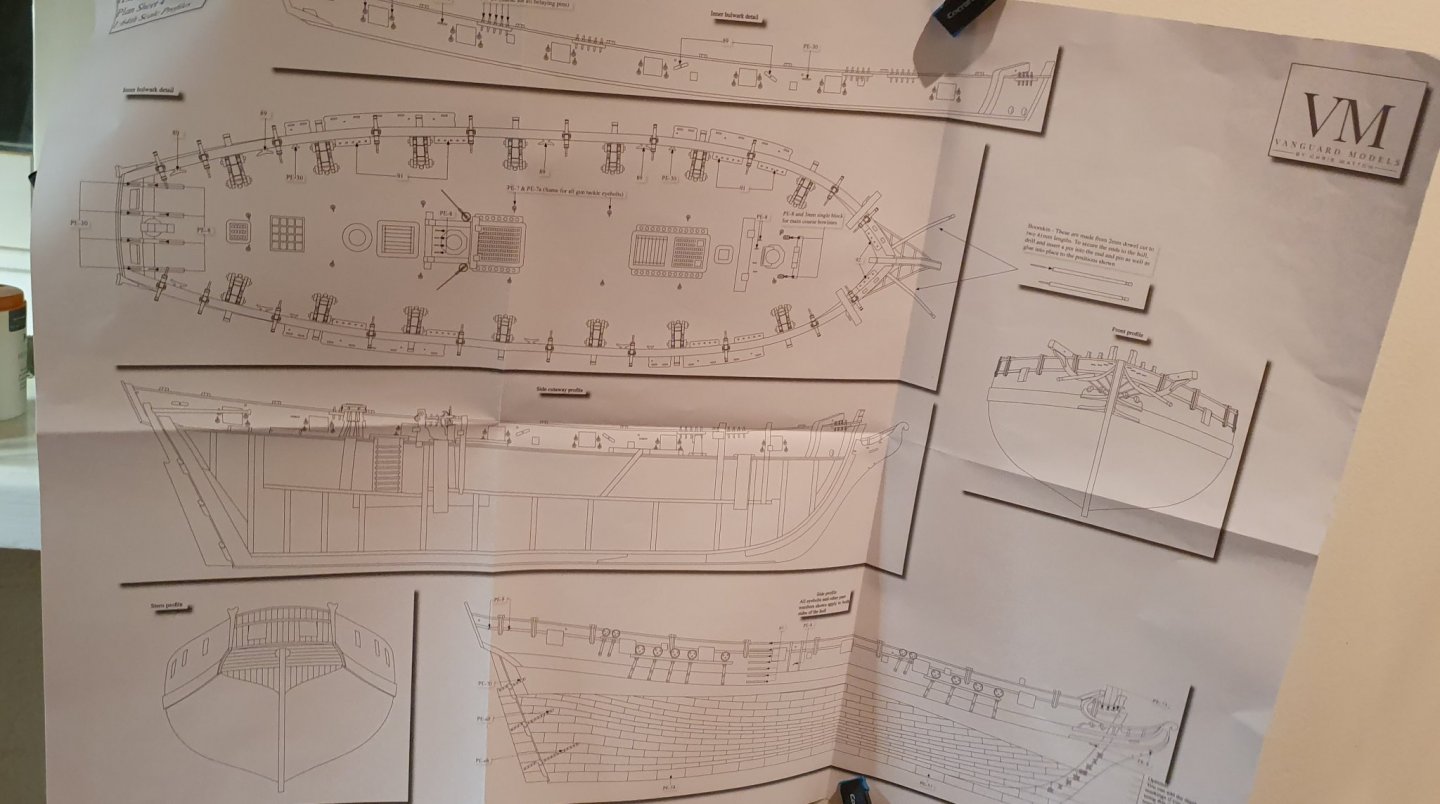
Plans are of high quality and a Good thing is that much of the bigger illustrations is in 1:2 scale making each plan small. I really hate those enormous sheets that are folded 10times.
-
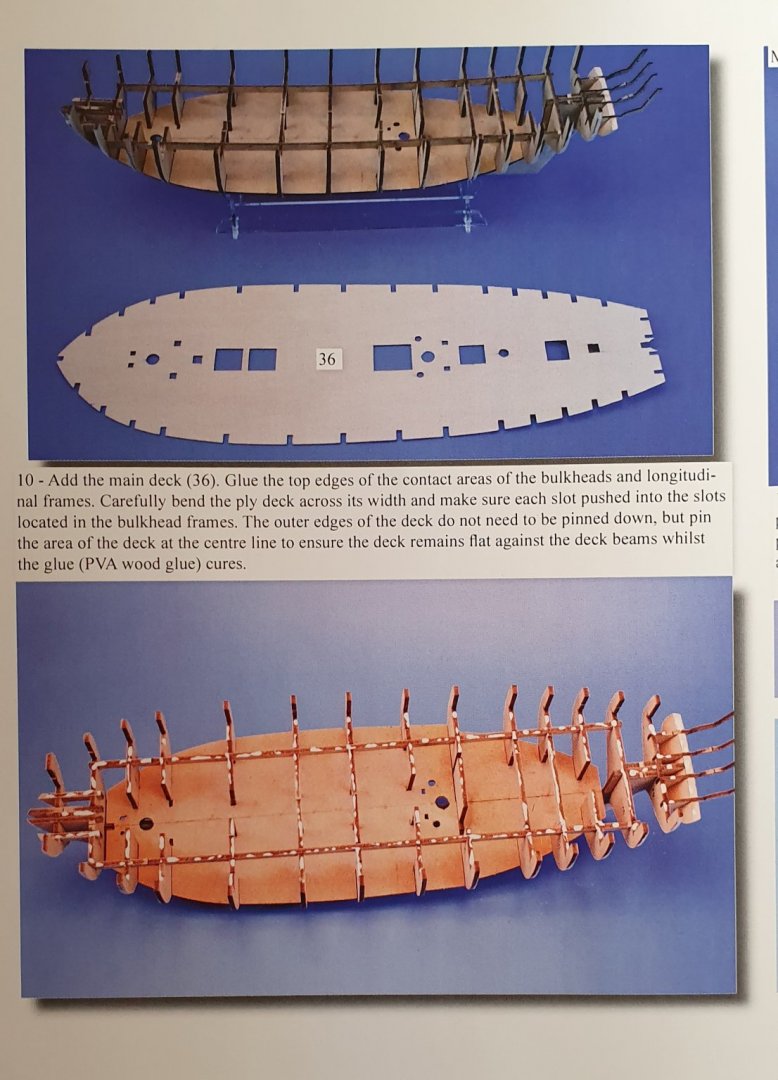
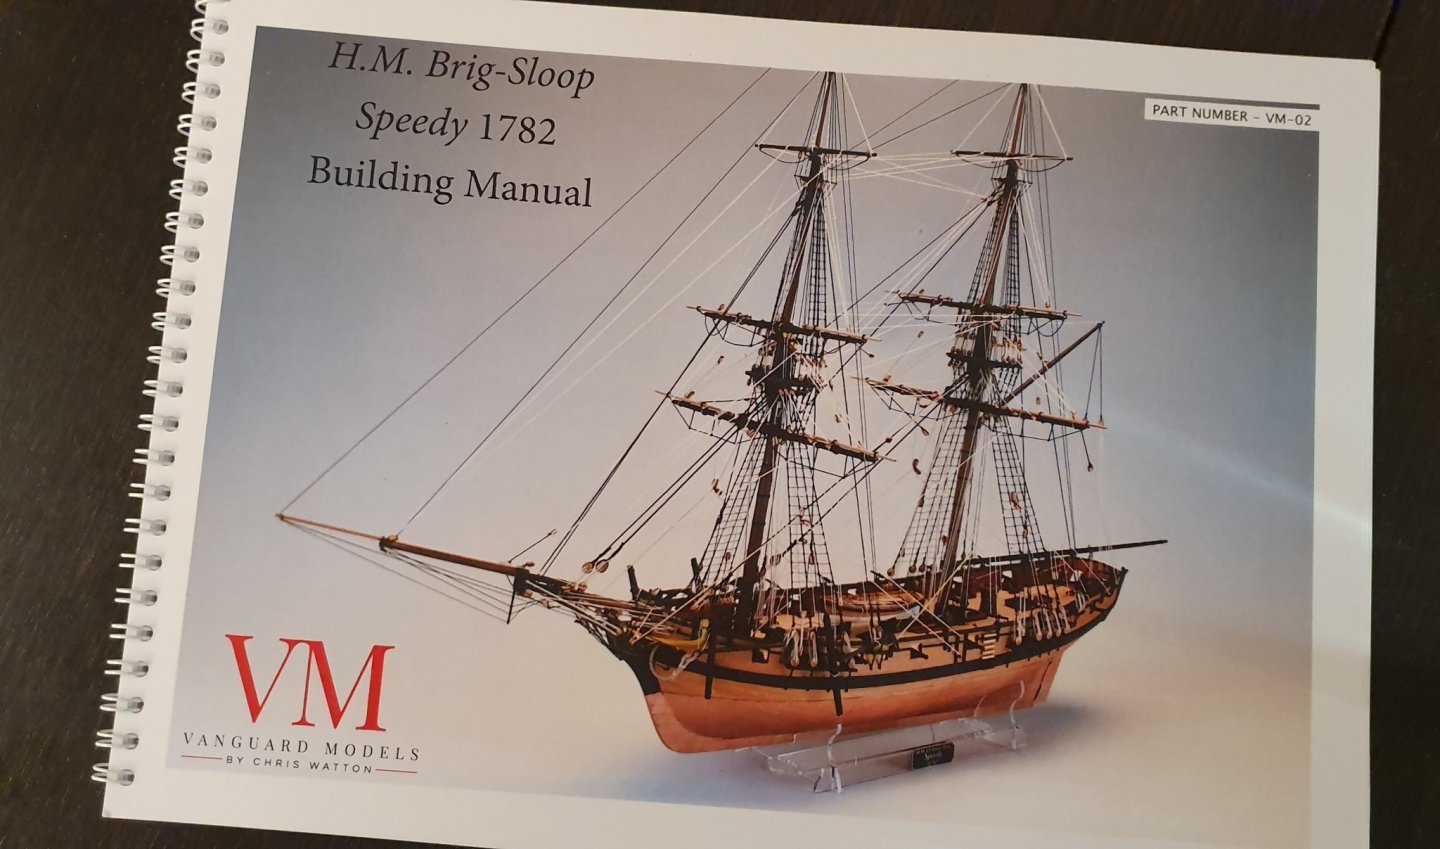
Thought i would say a few things about the manual and plans while being far away from my kit. Compared to my previous experience with Corel and Caldercraft, Chris has again done something much better. 60pages of instructions with a huge number of colour photos. So far i have not even had to look at the plans. The photos says it all and its very little text you have to read. I am not sure what its called in English, but the pages are put together with wire making its really easy to fold up the page u need to look at.
-
Just do like me... put the rest on hold and fire away 😉
-
Those lazers are increadable! Putting modelling to a New level. How much do they actually costs?
-
Kidz.. its not Xmas yet 🙂
-
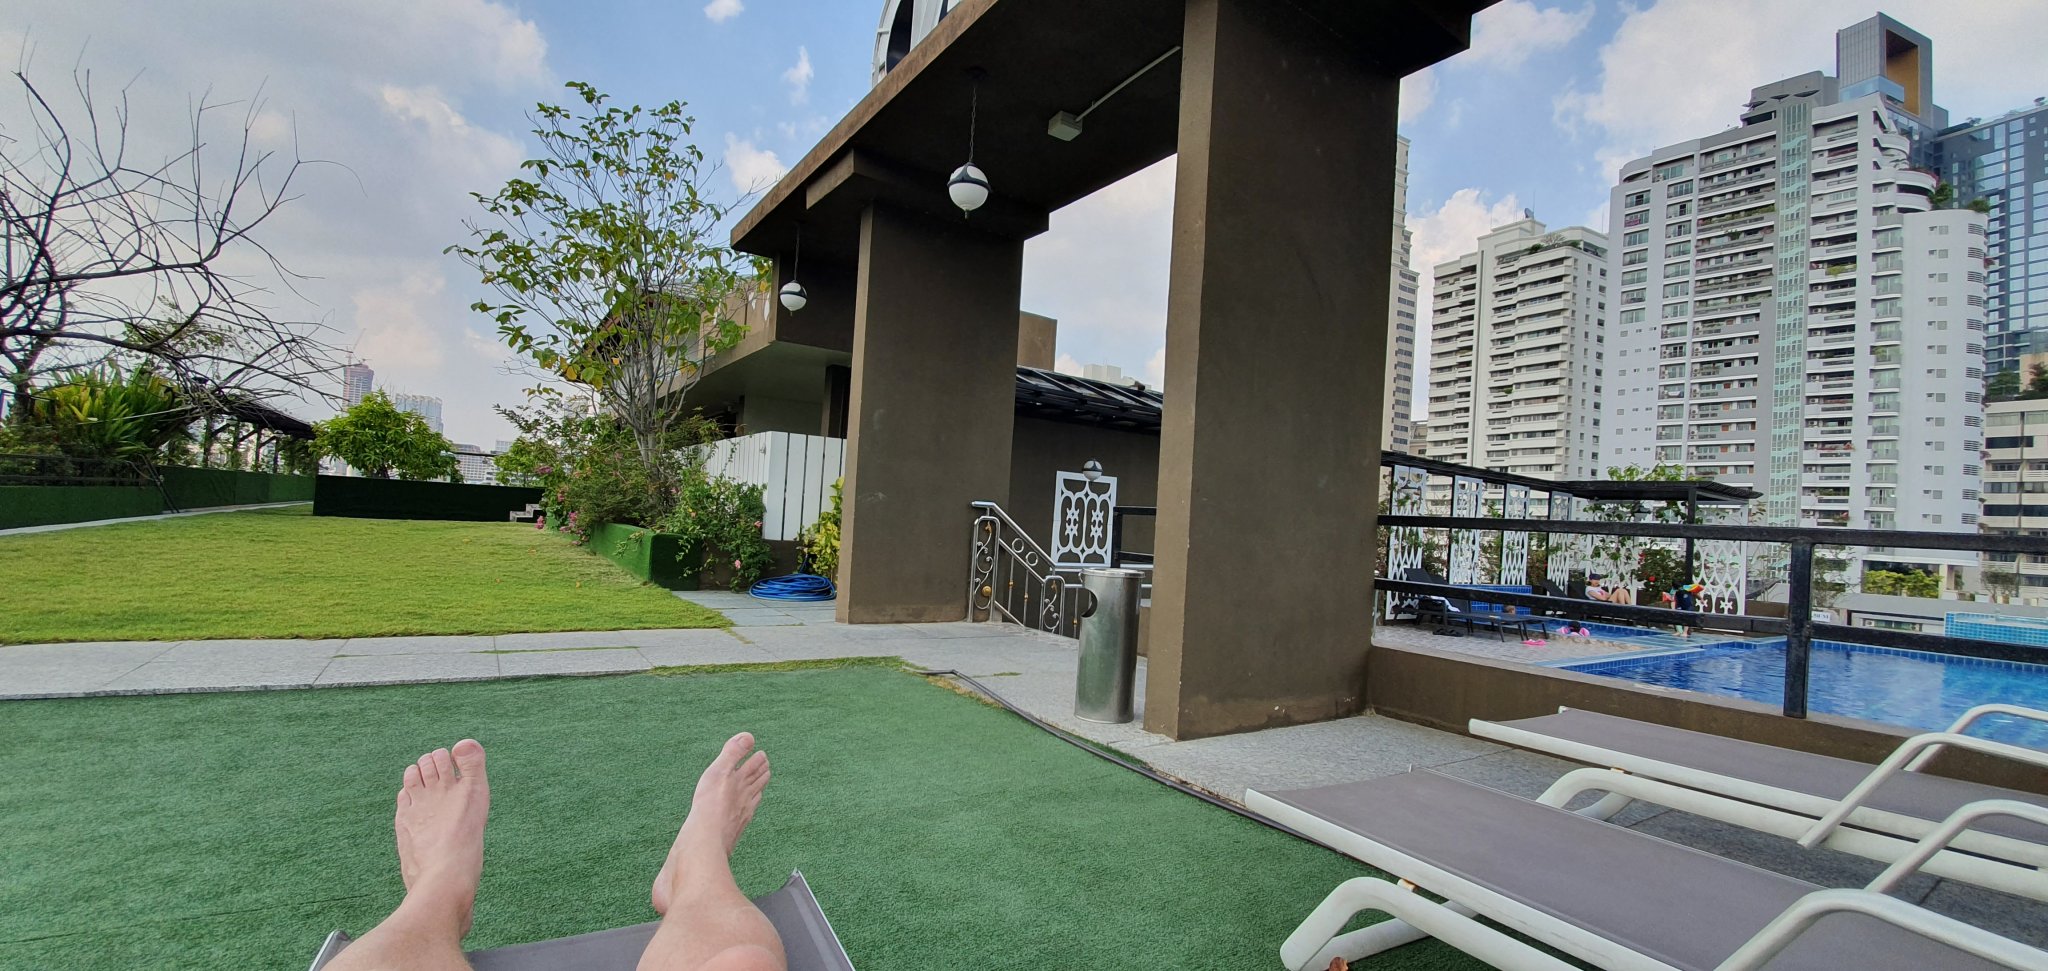
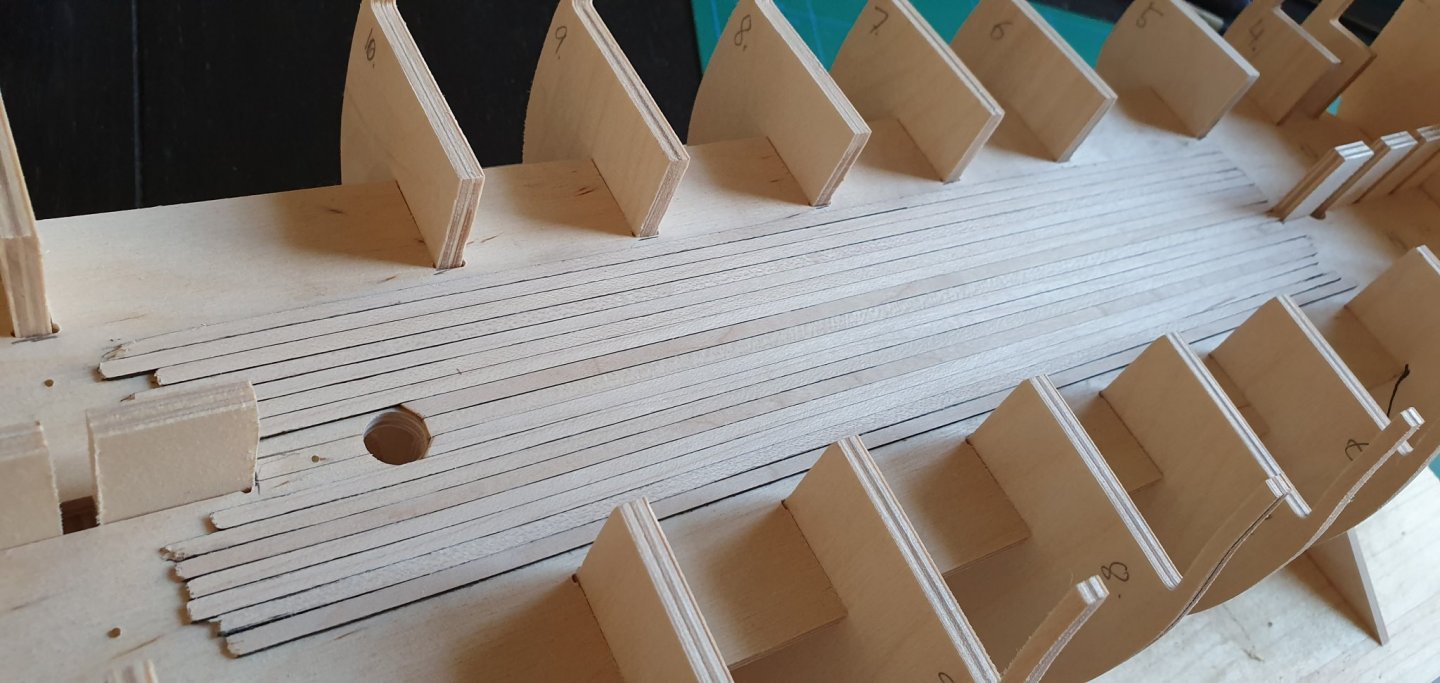
Unfortunately, this will be my last build update for a few weeks. I am on the far side of the world to get some sun. I even thought of bringing some parts with me so i could keep Working on her but decided not to. Anyway, 2nd planking is progressing and the boxwood is excellent to work with. I might do a few tweets on the kit itself but the shipyard is closed for the holidays.

-
Thanks, I will try this technique some day and see which one I prefer.
-
It doesnt matter what type of Wood. You are just heating up the ricin inside the Wood and when it cools down its like gluing the internal fibers to a new position.
-
Increadible build! I which to do Agamemnon some day as well! Just a technical issue I dont understand why. But I have seen several people "ink" the ratlines rather than using black thread. Why?
-
The heat makes the wood flexible and once it cools down it fixes itself in the new position.
-
Thanks. I dont use water at all. I just fix a strip of Wood with 3 clamps to an old cutting board. Then I open the left clamp and bend the strip as far as possible in the "wrong" direction without it breaking and clamp it down again. Then I do the same to the right side. Sometimes I adjust the position and even bend it further by adding an additional clamp. Once I got the shape I want, I take my airgun and heat up the bended parts for 20 seconds and then let it rest and cool down for a few minutes. Remove the clamps and viola.. u are done!
-
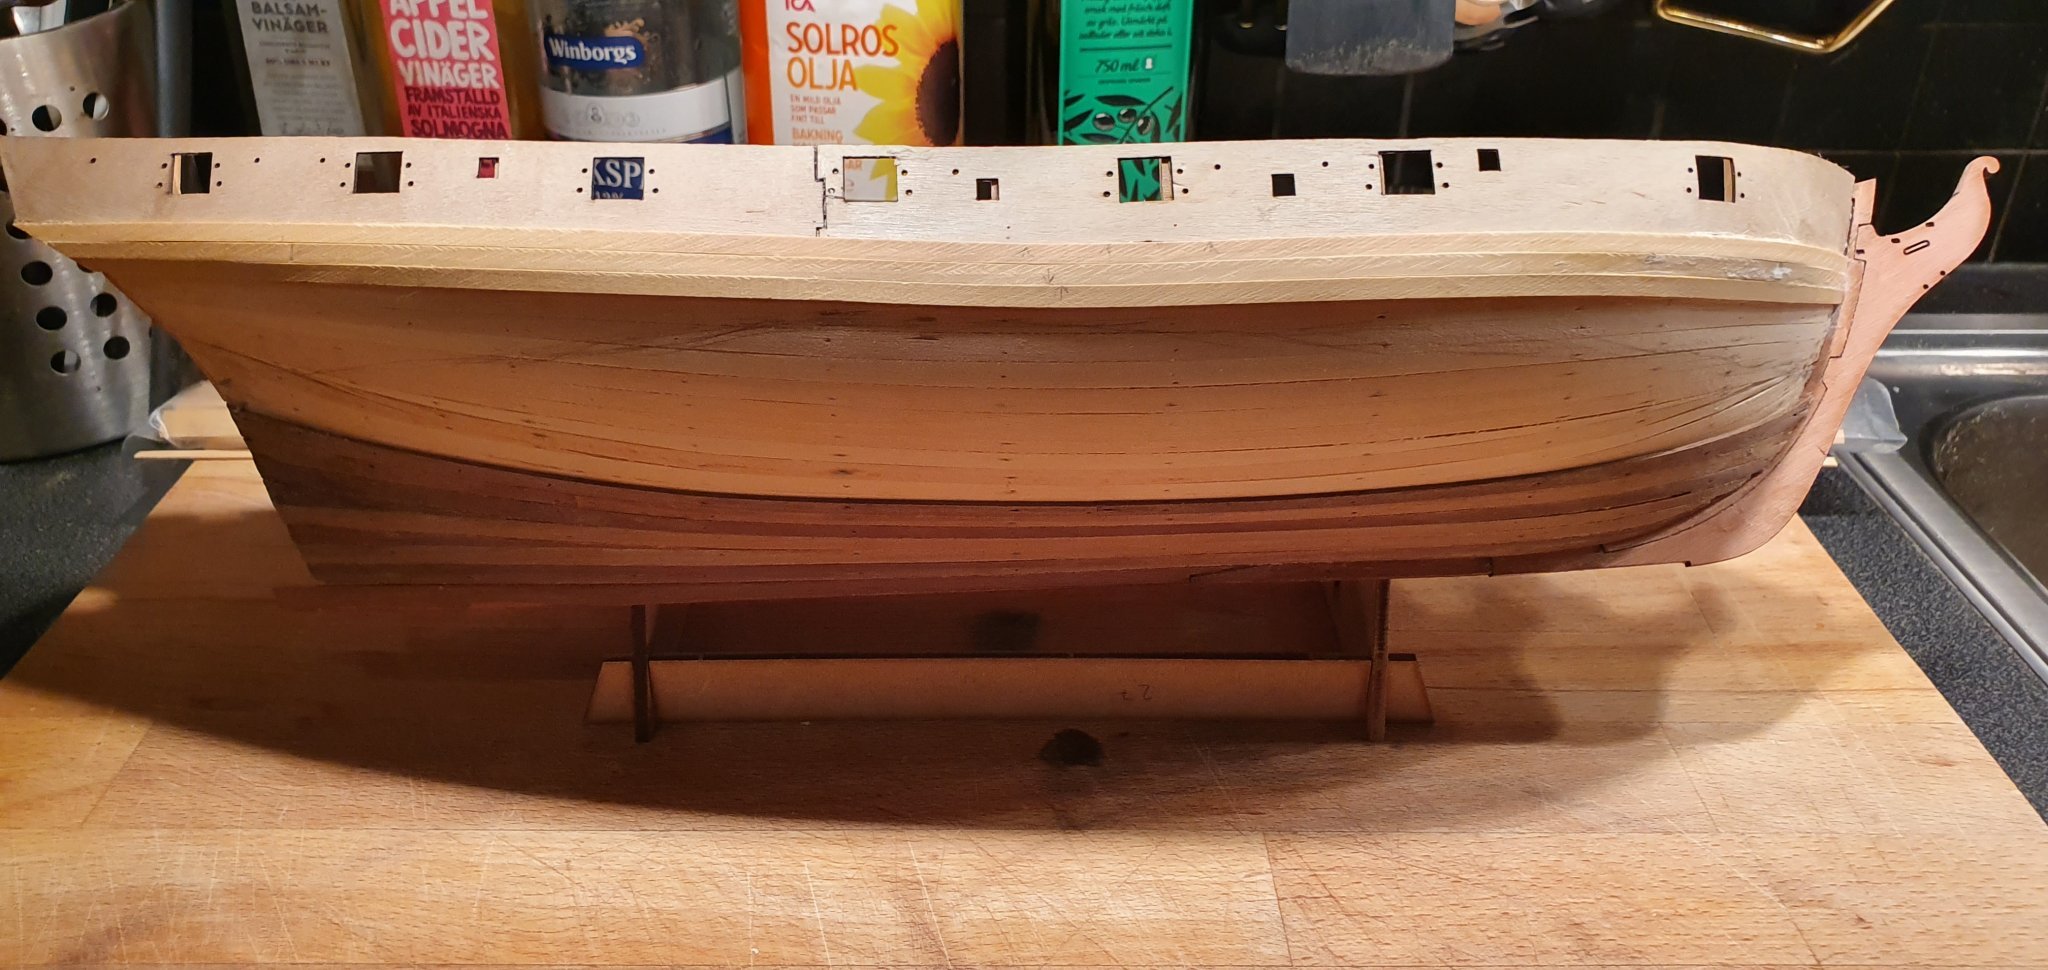
Thanks alot. Boxwood looks really flat and precise once its sanded. Some people just use Walnut and hardly sand at all. I have started to pay more attension to everything nowadays. It will be really intresting to compare my Tanganyika Granado hull with this Boxwood hull once things start to be finilized.
-
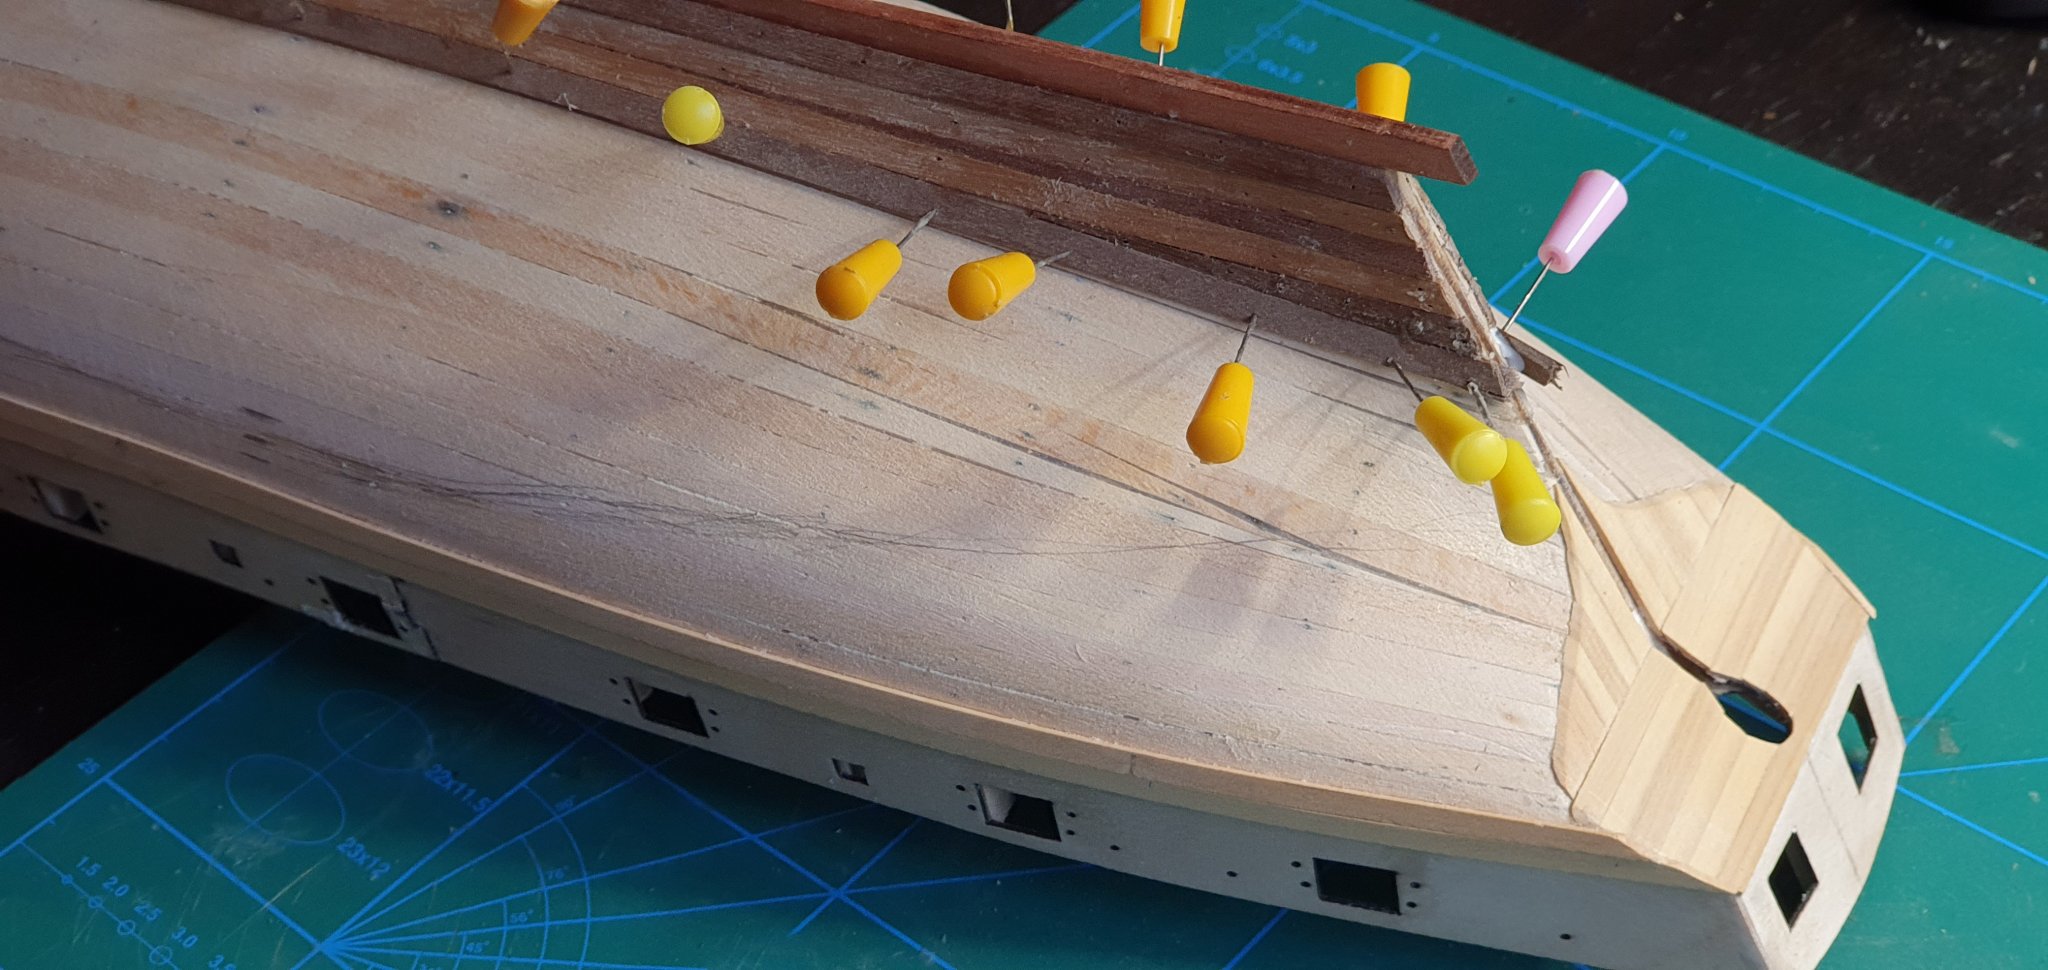
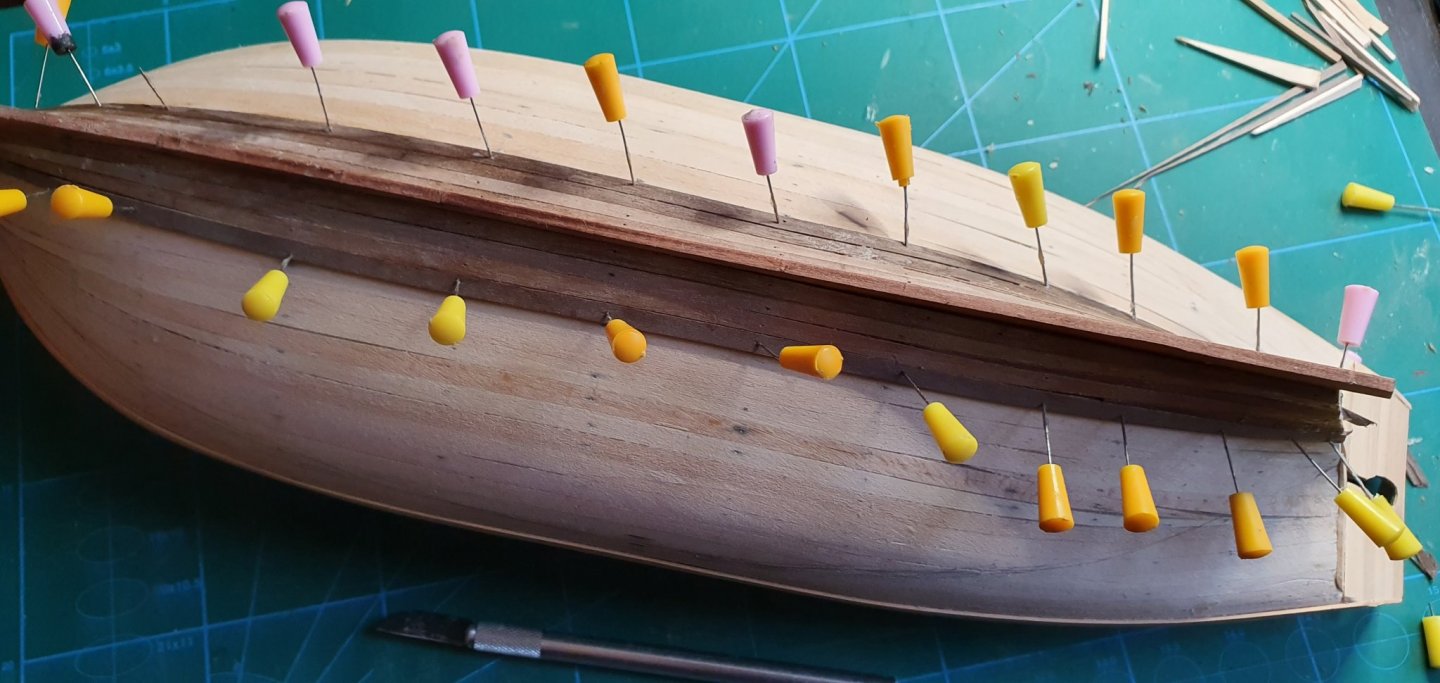
Yes I know, this looks ridicurlos! However, by using leftover walnut strips on the areas that will be coppered i will save at least 25 strips of boxwood. I am also not that carefull on the details here. Pins, Water and PVA!

-
Thanks 4 the support. Since this is the first buildlog on Vanguards Speedy, I try to explain more and also review the kit as i work on it.