


SandyBay
-
Posts
37 -
Joined
-
Last visited
Content Type
Profiles
Forums
Gallery
Events
Posts posted by SandyBay
-
-
I’ve given the iPad a severe talking to and it’s coughed up the pictures.


- Nikiforos, Tigersteve and Tom E
-
 3
3
-
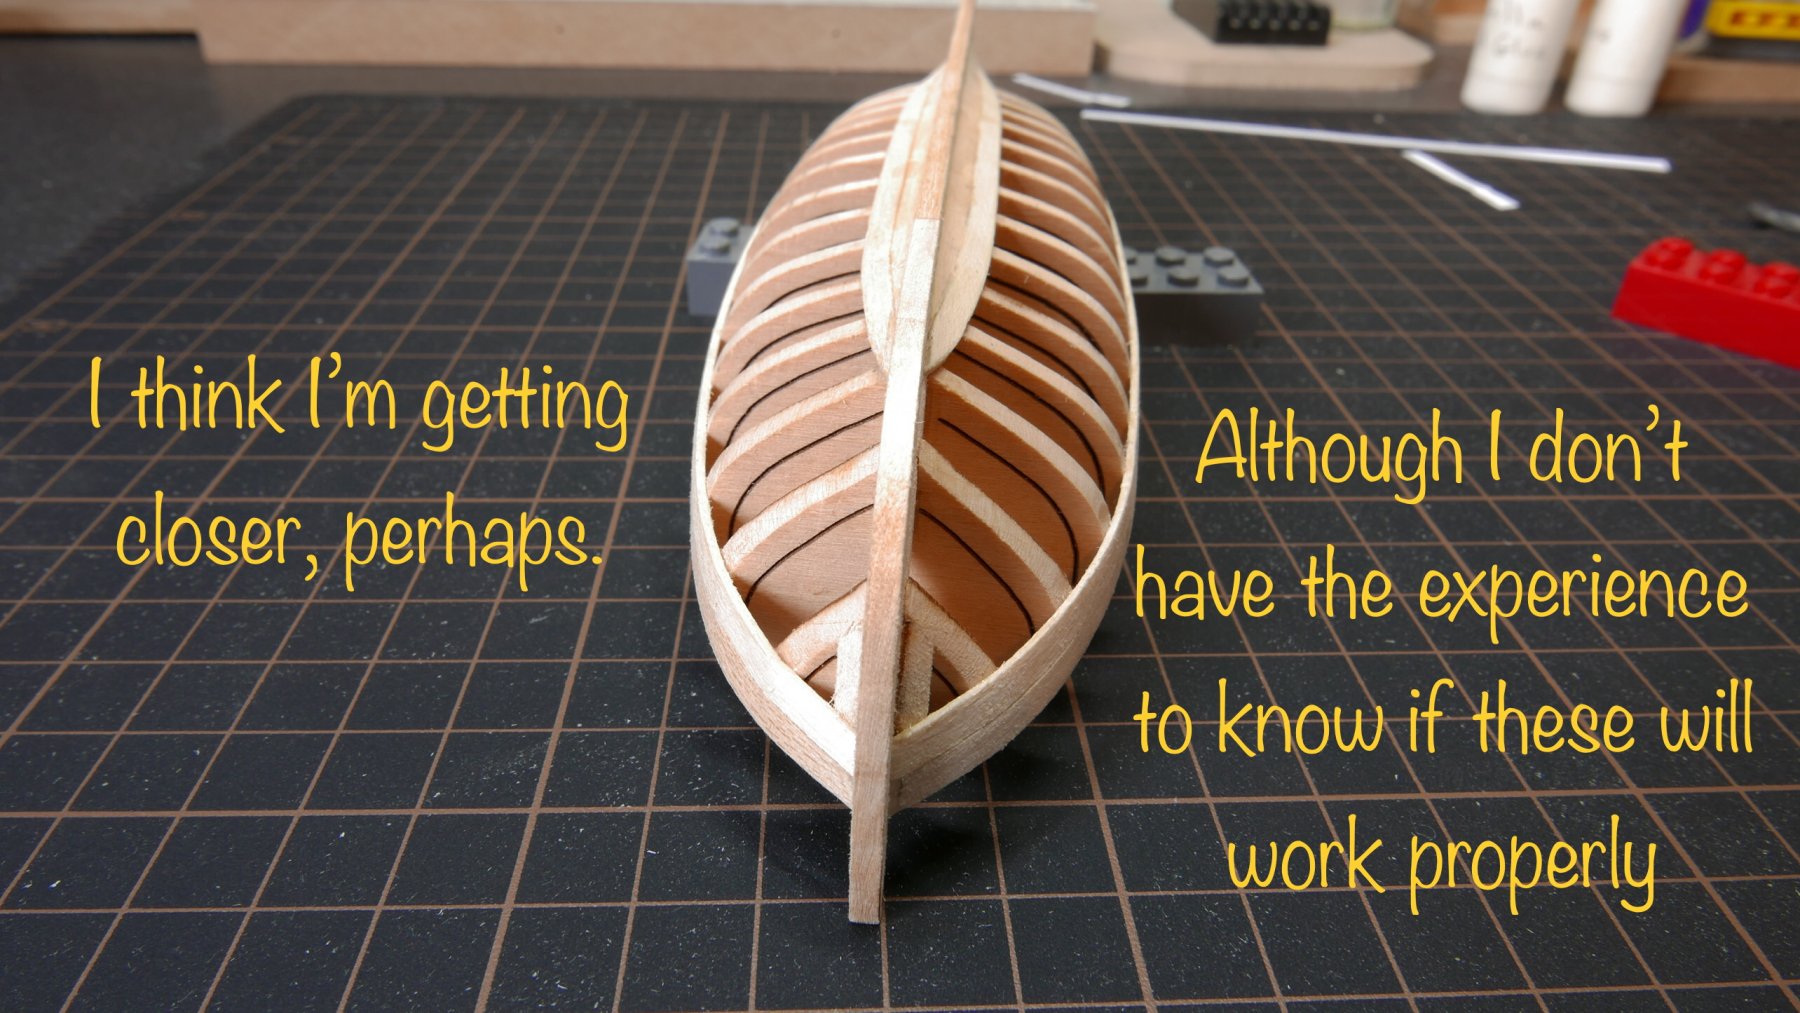
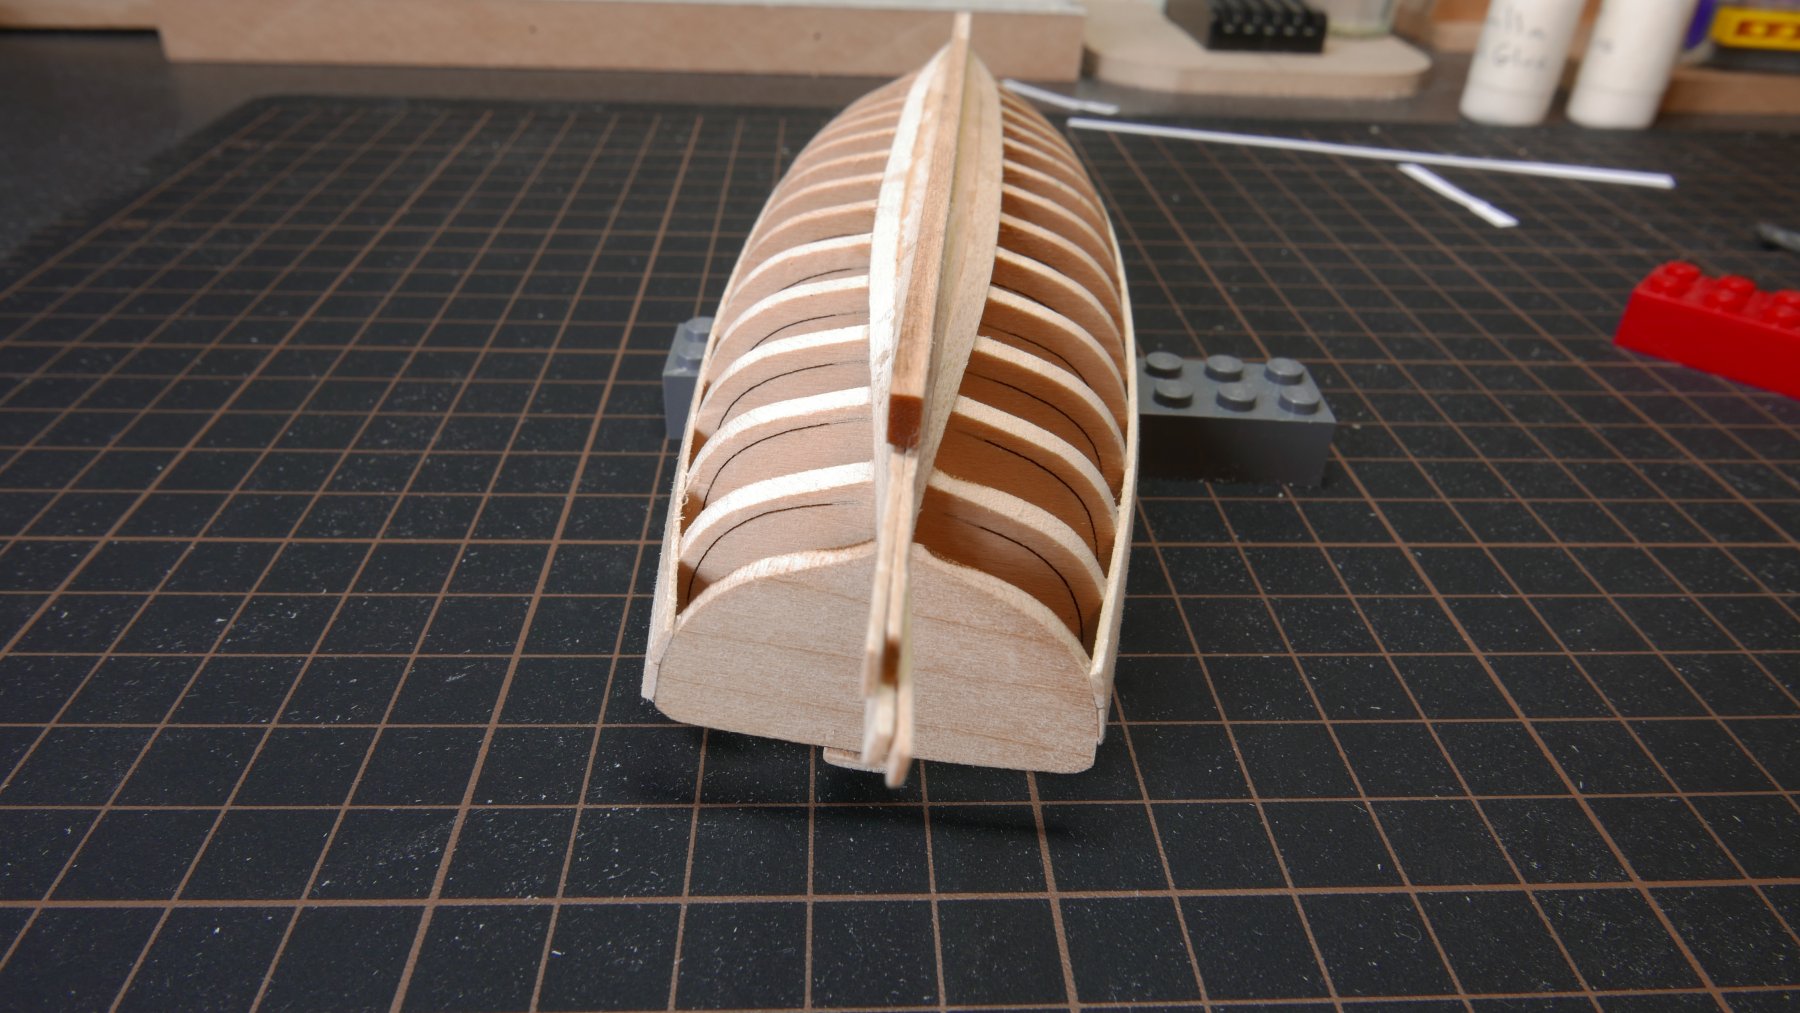
Well I’ve taken on board all the helpful comments I’ve received here and immersed myself in learning about bent wood.
Following on from what gsdpic suggested and using Vossiwulf’s stylish method I’ve checked and rechecked my plank positions.
Well the top two planks were different heights so I carefully removed one set and reglued them correctly. Then useing a planking fan I tick marked every second bulkhead.
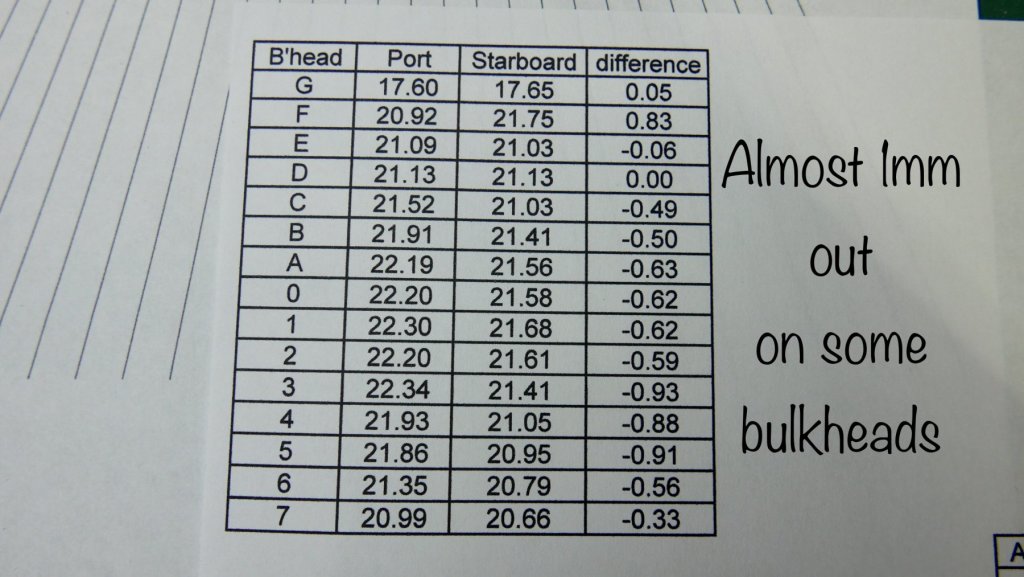
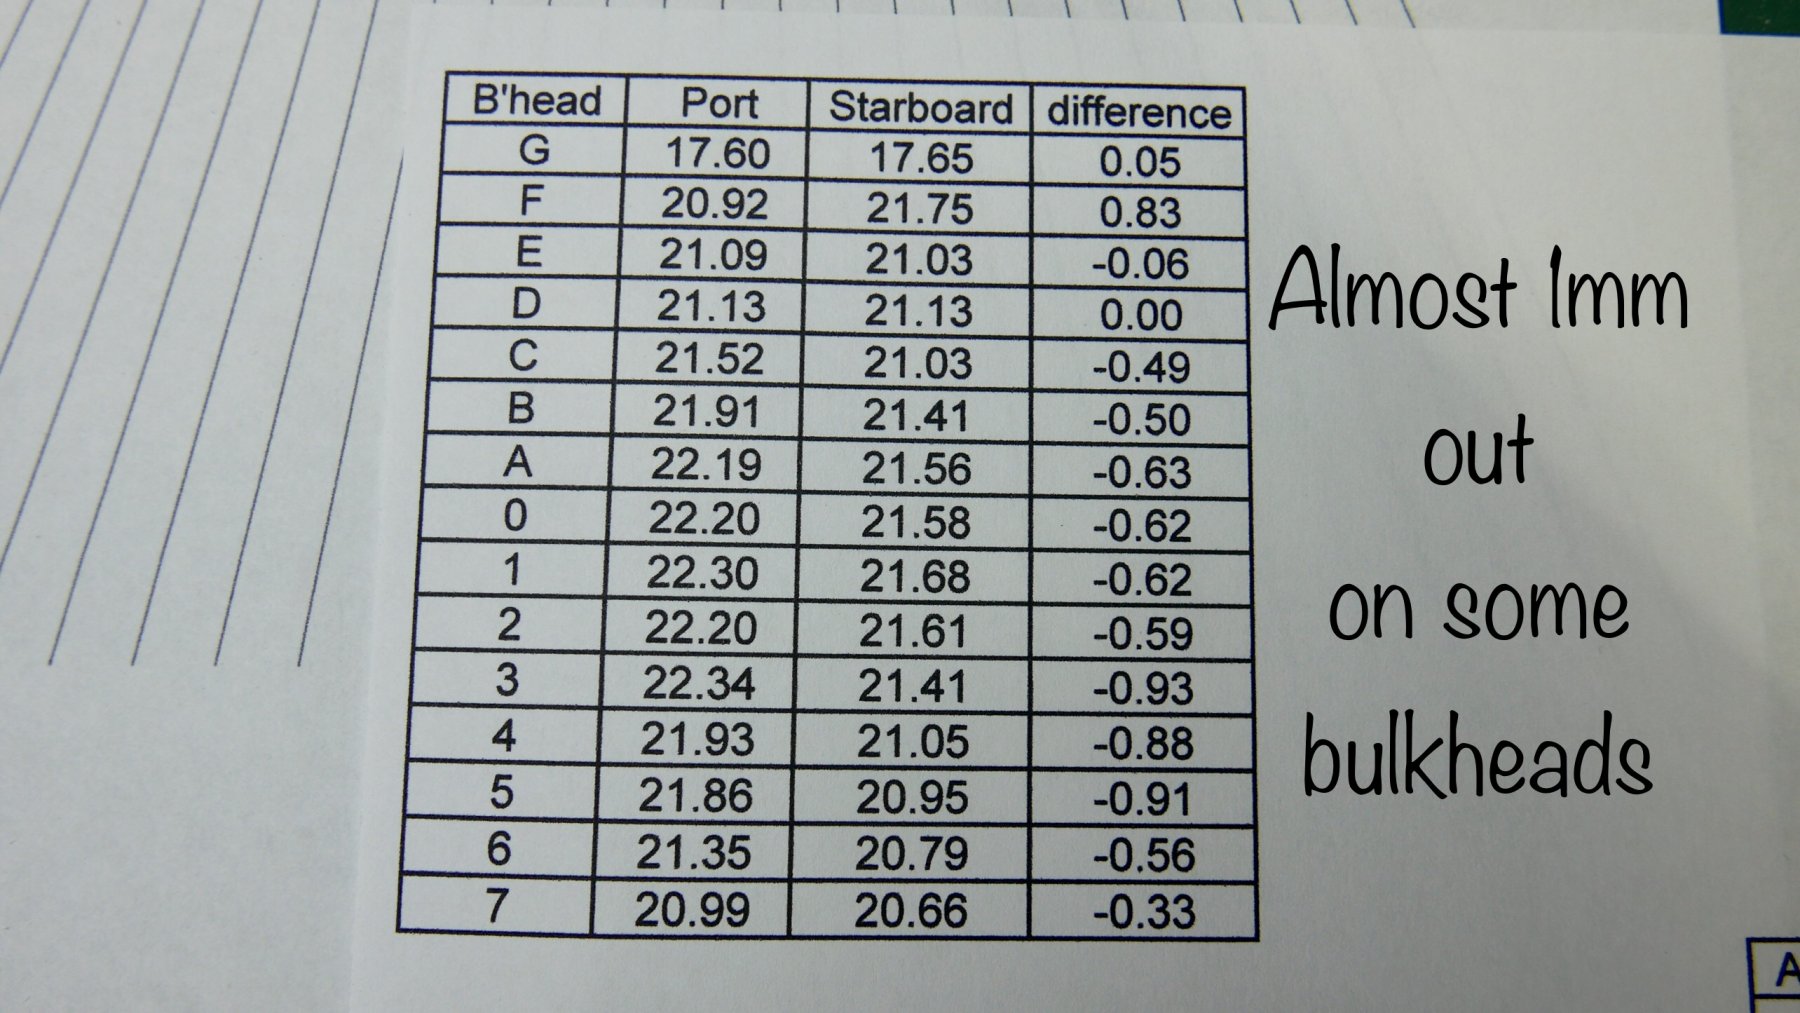
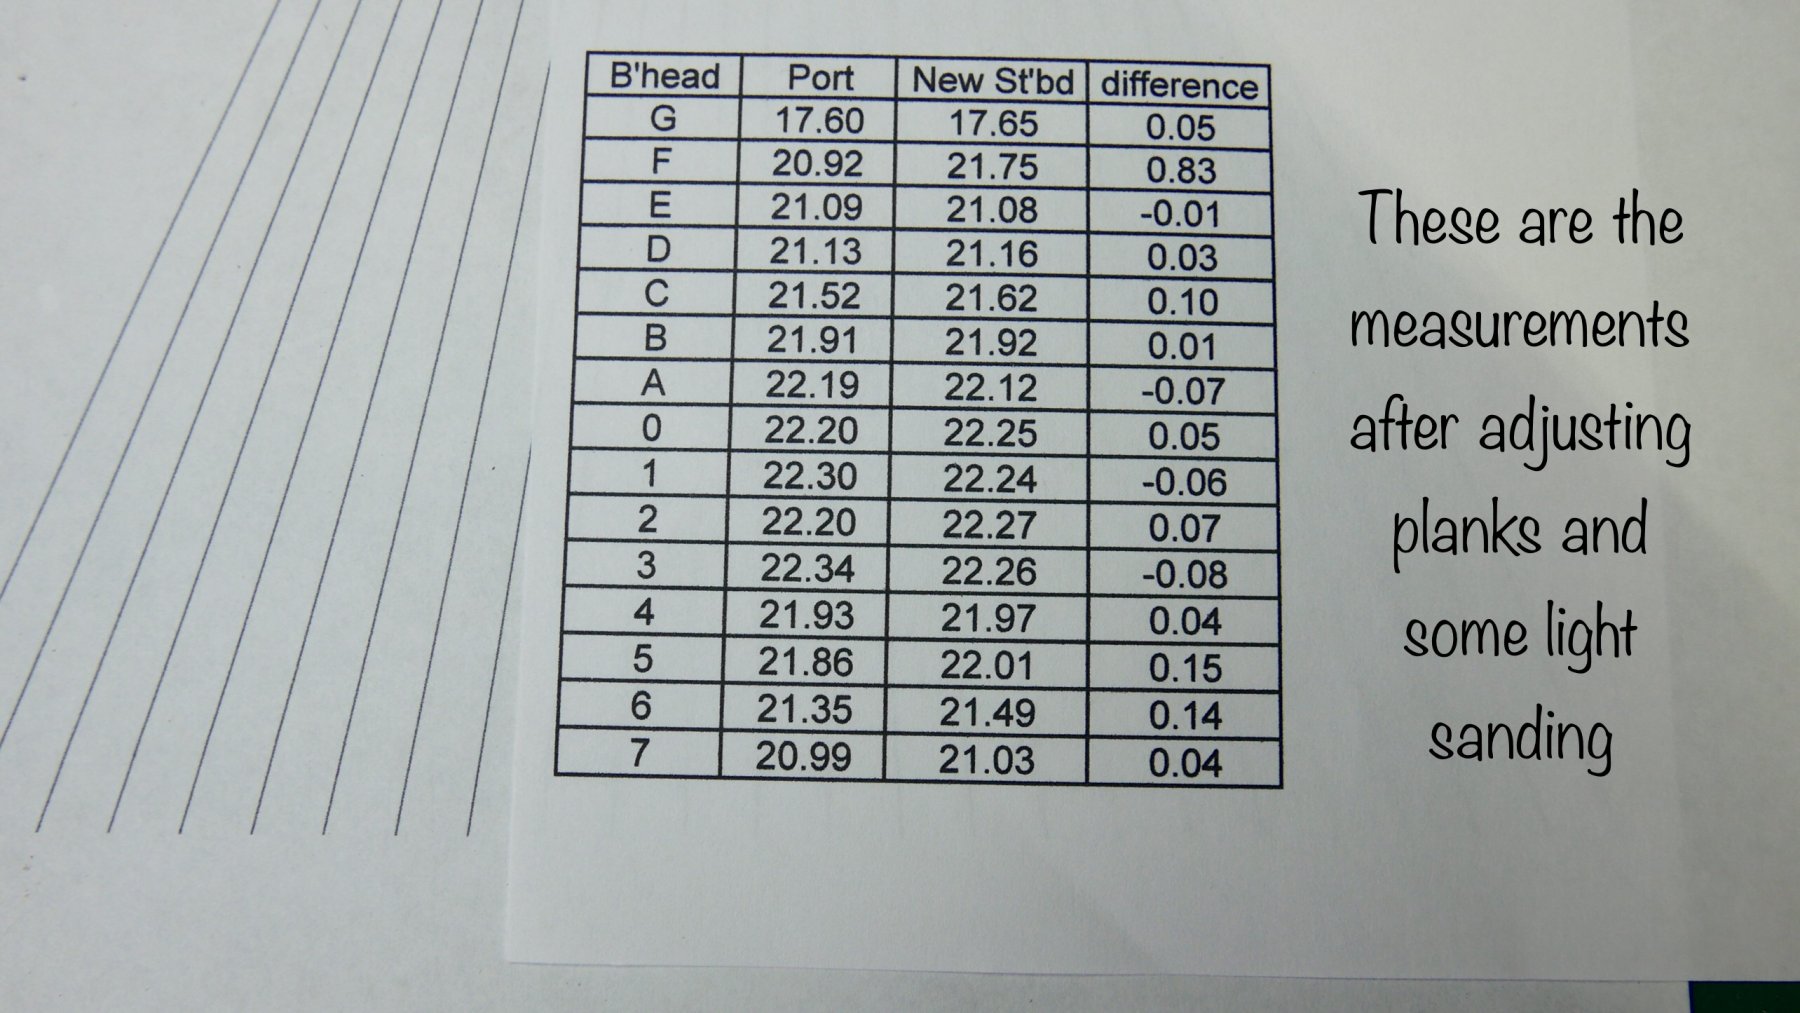
It still didn’t pan out so I measured and recorded the gaps on every bulkhead and found that I was considerably out on several positions. I was confident now about the top four planks which meant the inaccuracies had to be in the two keel planks each side.
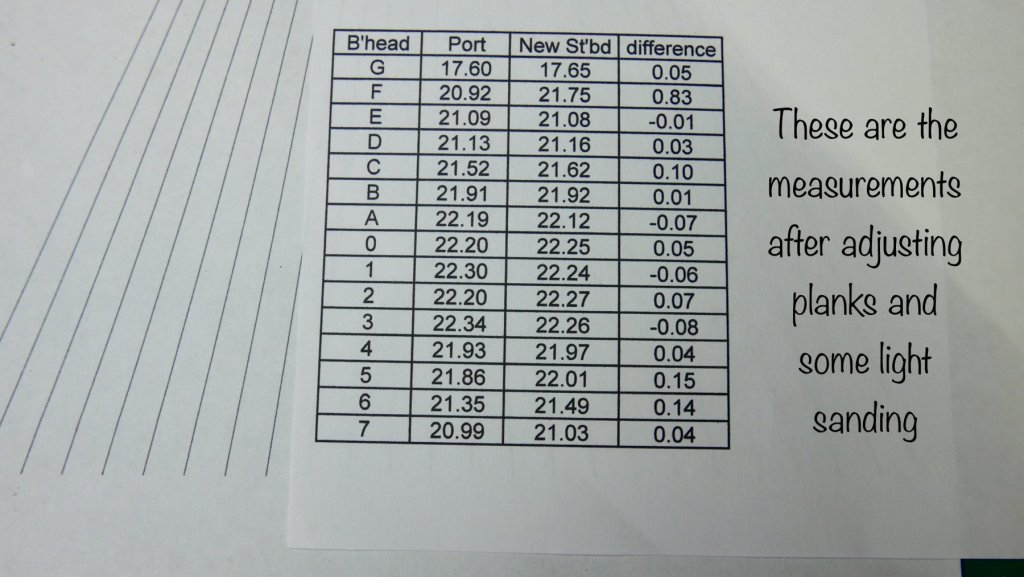
They’d already been fitted and changed twice before and I was dubious about getting them off again and cleaning up the glue without breaking some of the frames free from the keel. I took the decision to simply sand those planks to even up the spaces between port and starboard. I don’t want to run the risk of losing heart and stopping because I’m not getting something as nice as I see on your build logs so I’m cracking on again and it seems to be going ok (ish).
I’ll tell you what guys, building boats isn’t like doing a jigsaw is it.
Some pictures to follow but my iPad is denying any knowledge of them at the moment so I’ll have a stern word with it.
-
That is an absolutely awesome model. Your skill and attention to detail just shine out.
-
On 3/4/2019 at 12:54 AM, Chuck said:
No, plans are NOT available. You must buy a kit. They are just out of stock and should be restocked soon. Waiting on some 1/32" cedar sheets to make another ten kits. As soon as I get them I will finish them up.
I will announce here that they are available.
Ah, perhaps I should have read to the end of the thread BEFORE I emailed you asking if you intend to continue offering the kit. 🙂
-
Oh, nothing since August last year, that’s a bit of a disappointment as I was looking forward to reading about the planking.
-
-
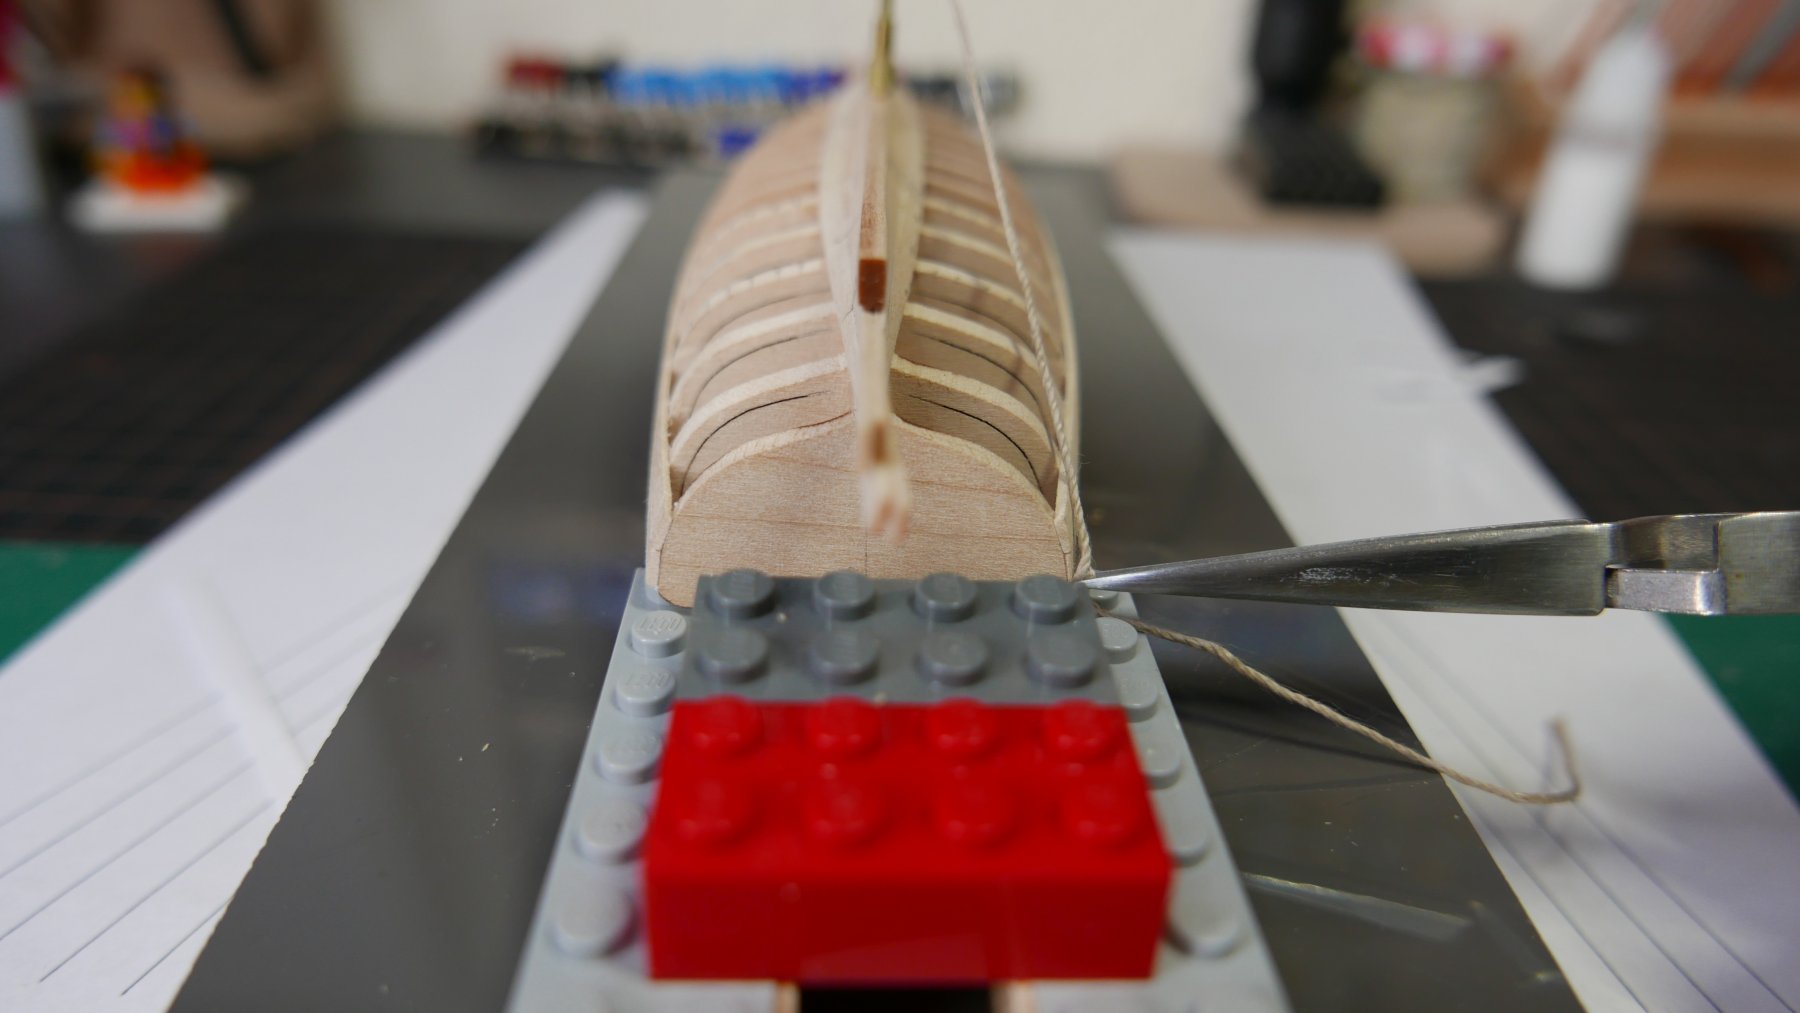
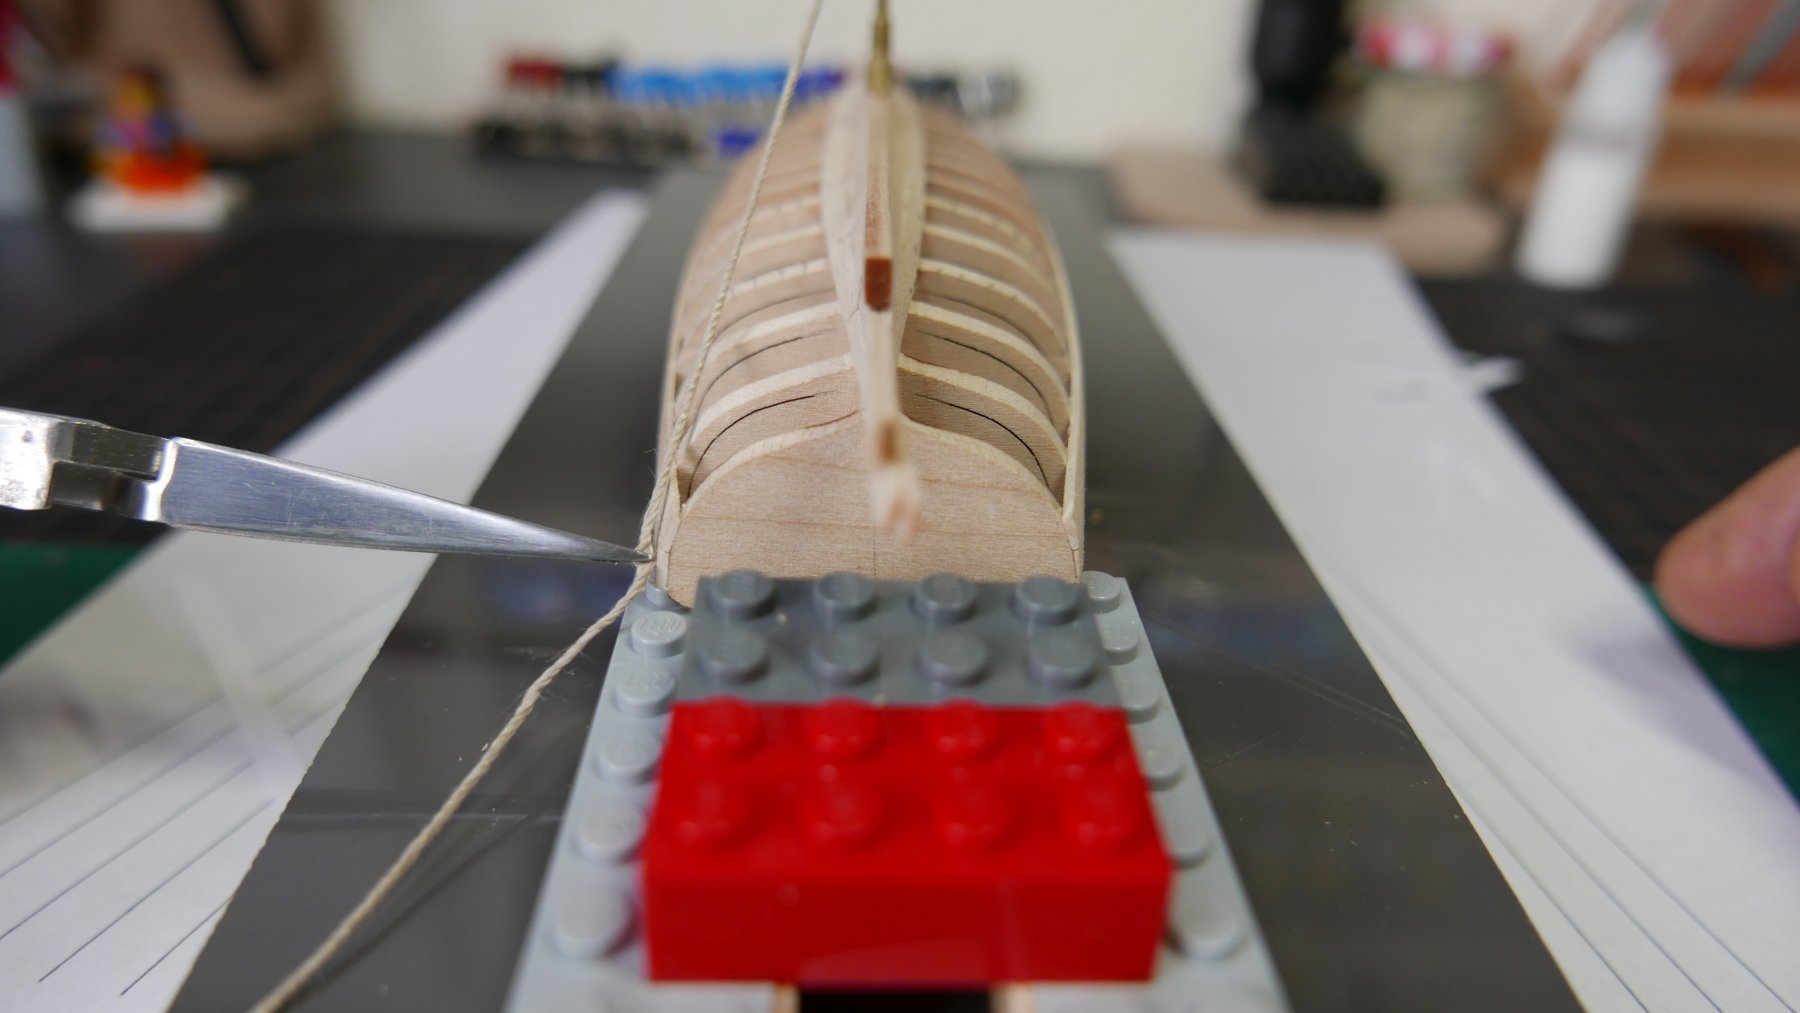
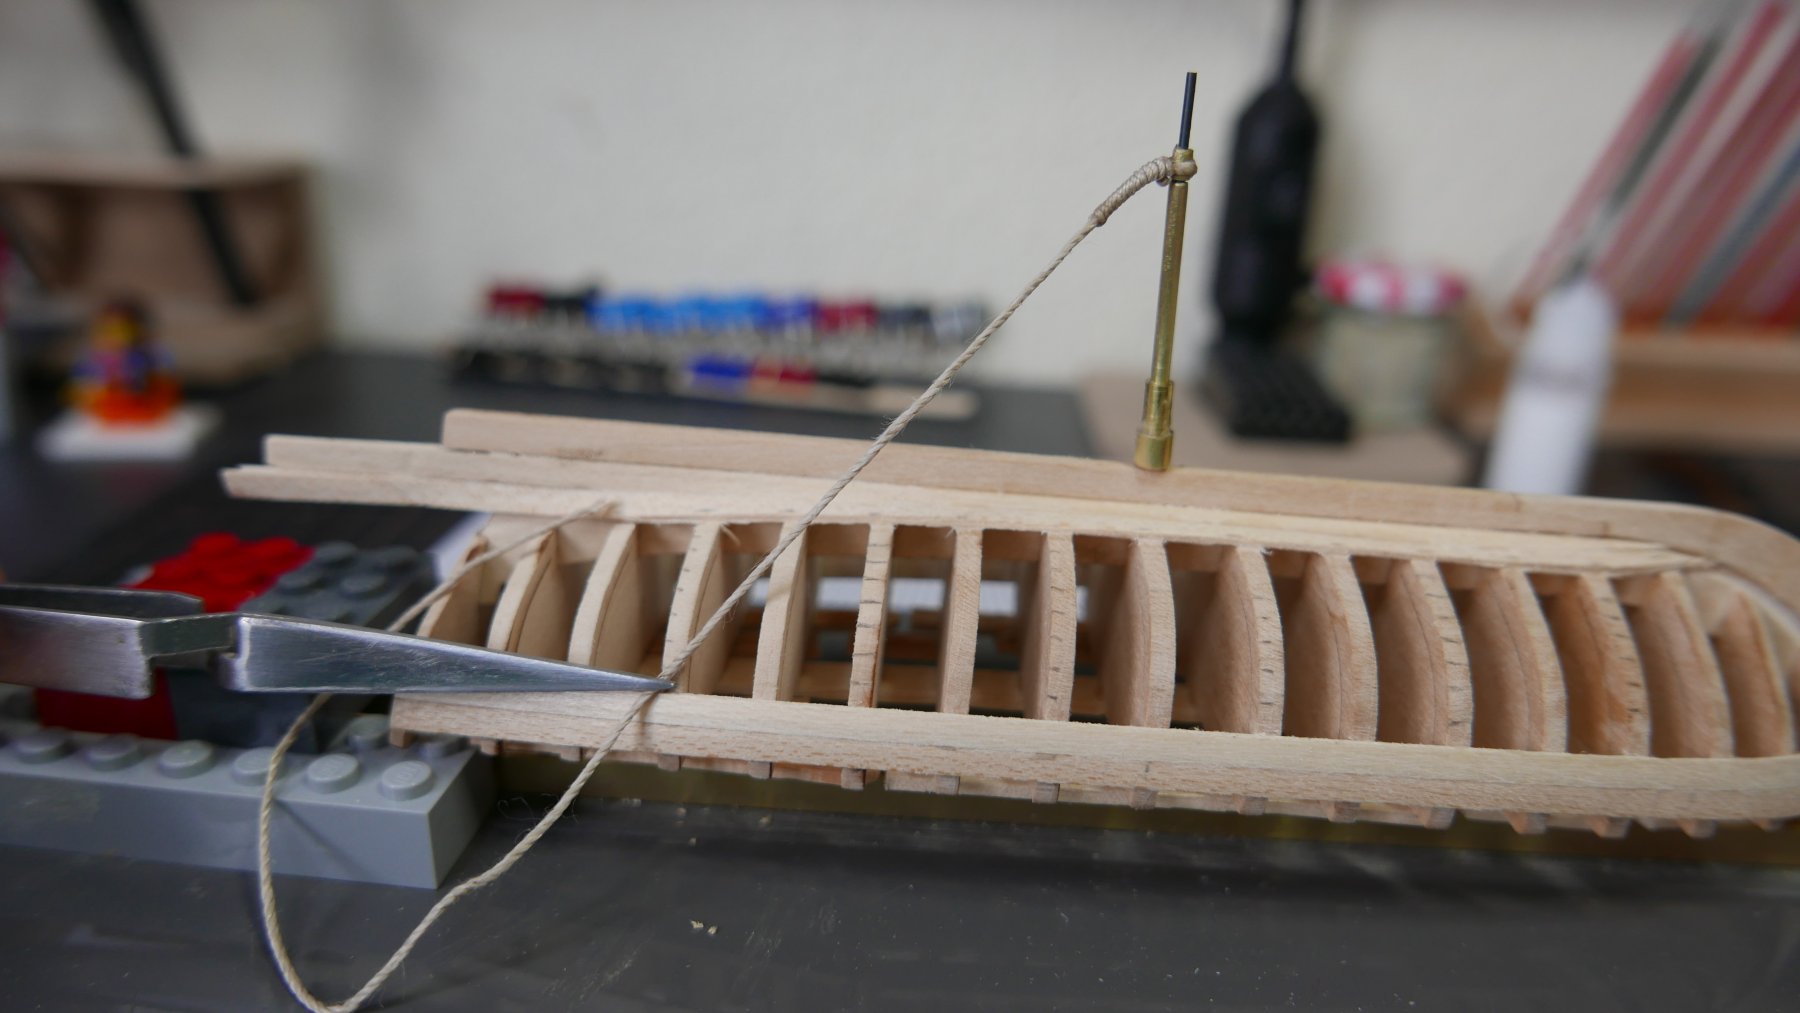
5 hours ago, vossiewulf said:
Here is a pic of me using the post and thread to check symmetry. Your boat is small enough to use any thread, it won't stretch enough to cause a problem. On bigger scales one should use fly-tying thread as it has considerably less stretch.
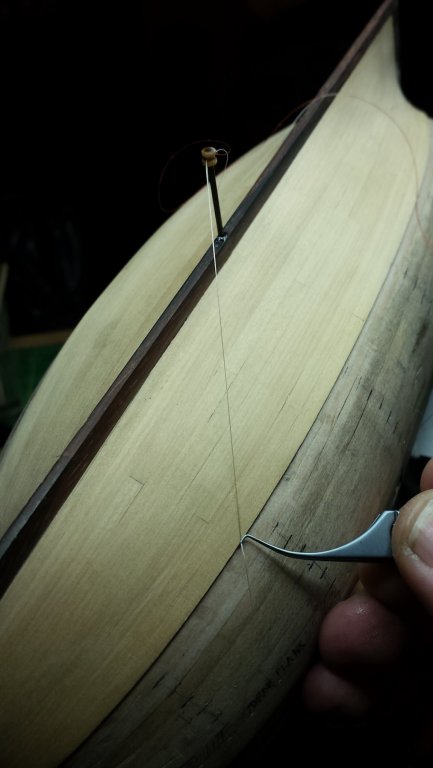
Ahhh! That’s a brilliant idea Vossiwulf, thanks for the picture and I’ll definitely have a go with that method.
-
5 hours ago, gsdpic said:
Are you sure about the location of the upper planks? From the second and third picture above it appears to me that they are higher on the starboard side, especially toward the stern. There appears to be less of the frames and edge of transom showing above the top plank on the starboard side.
Great progress, and well done to notice the possible issue and take a step back to figure out a plan. We've all been there and those of us who rush ahead anyway (like me sometimes) regret it in the end.
Thanks Gary, Todays job is to carefully measure the positions of all the planks and then formulate a plan of action. I will probably take the pragmatic view that no one (apart from you lot on here) will ever see and inspect it from underneath so visually the top six or seven planks each side are more important.
I always knew this would be a learning experience and I’ve certainly learned that you can’t just stick a model boat together like you can a plastic kit.
-
24 minutes ago, vossiewulf said:
And now you've run into another aspect of planking that must be watched very carefully, that is like many others totally obvious in retrospect, but not at all obvious before: the need to have the planking of both sides be exactly symmetric.
I solved this problem by drilling a hole in the bottom center of the keel, exactly square. I mounted a piece of carbon fiber rod in that hole, sticking up a couple inches. I then attached two threads to that rod, one glued at the forward center and one in the rear center. With those threads, I could easily check any point on each side against the other, and it made it easy to maintain the required symmetricity.
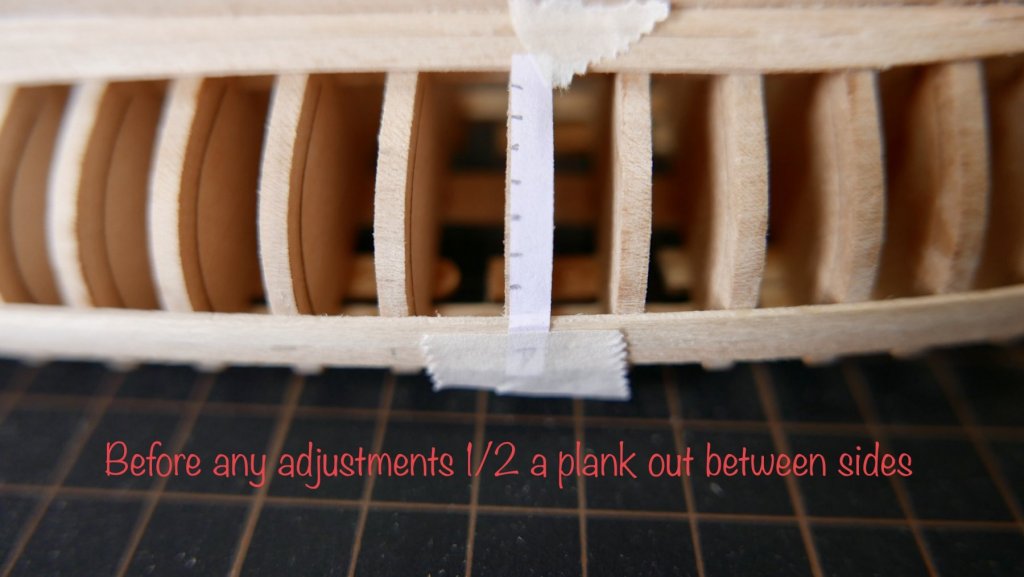
As to how to fix it, if it's half a plank width out you really can't fix it without removing at least one plank on each side and then splitting the difference between the two replacement planks.
I was, in retrospect, quite casual about the symmetry on each side as I built it and obviously my chickens are now coming home to roost.
I have always been impressed by the wooden ship models I’ve seen but now I have a whole new level of respect for the painstaking attention to detail and skill which is necessary to produce a quality ship model. It is so much more demanding than any plastic aeroplane kit.
Would you happen to have a photo of your carbon fibre datum machine in action as I’m having trouble visualising how it would work?
- paulsutcliffe and Nikiforos
-
2
-
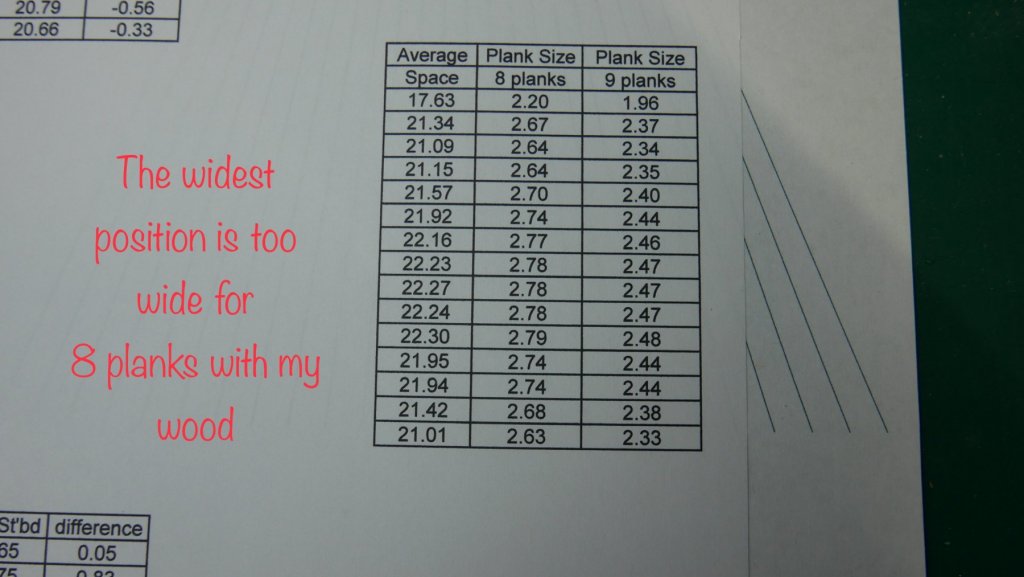
I could do with some advice if you’d all be so kind. I’ve been working through using tick marks on the bulkheads and as I found on the first bulkhead, the available space is approx half a plank less on the port side. I’ve checked the height of the planks on the gunwhale and they seem the same heights so my inaccuracies must be in the garboard planks.
my question is this, is it better to reduce all the planks on the small side or try and sand the garboard area so the space to plank is the same as the starboard side?


-
-
-
-
-
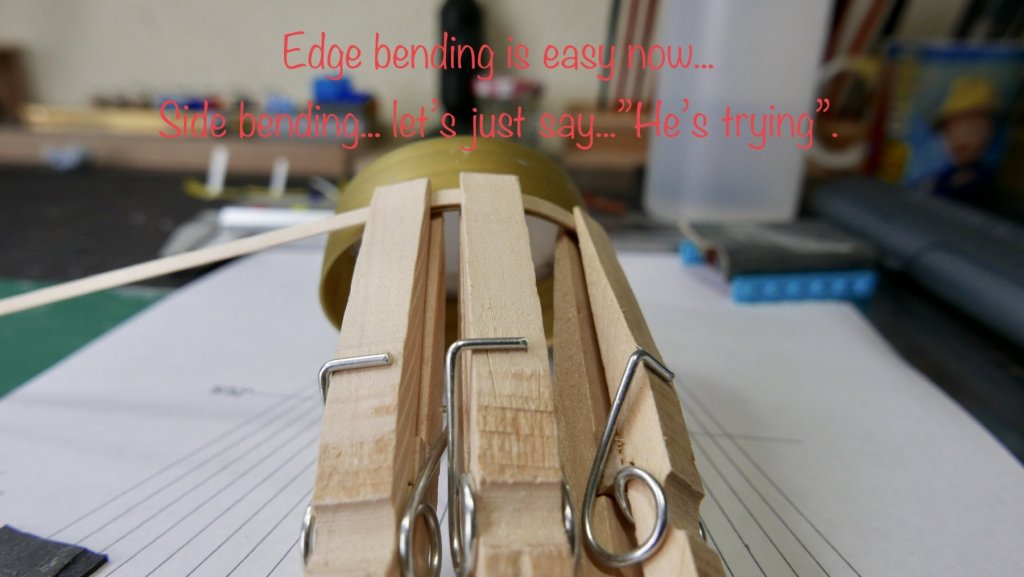
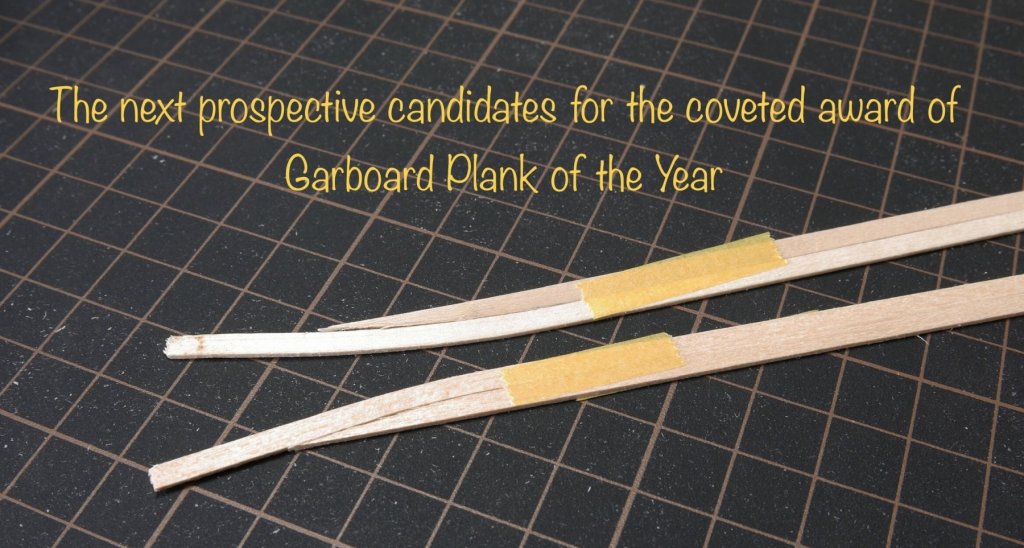
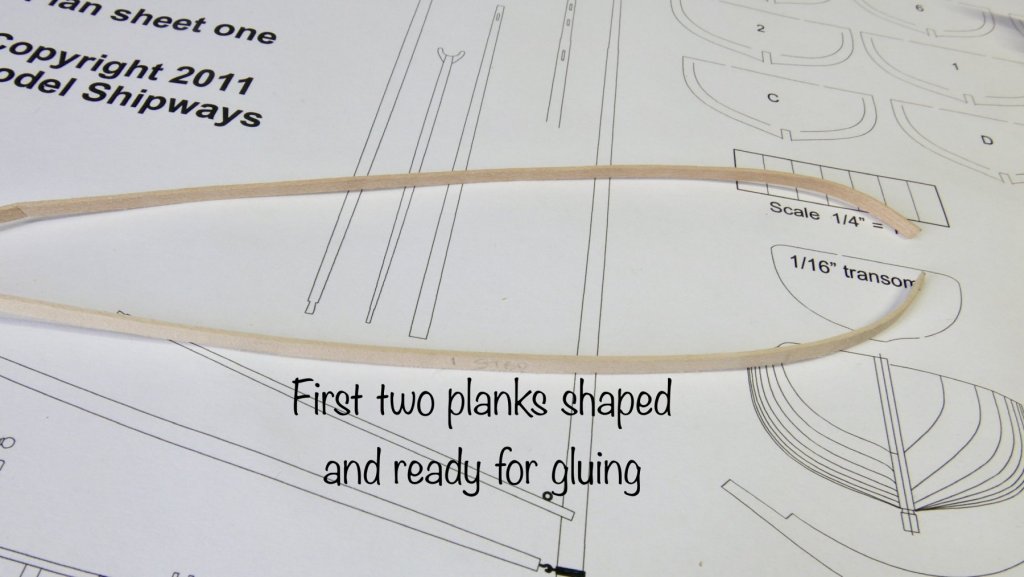
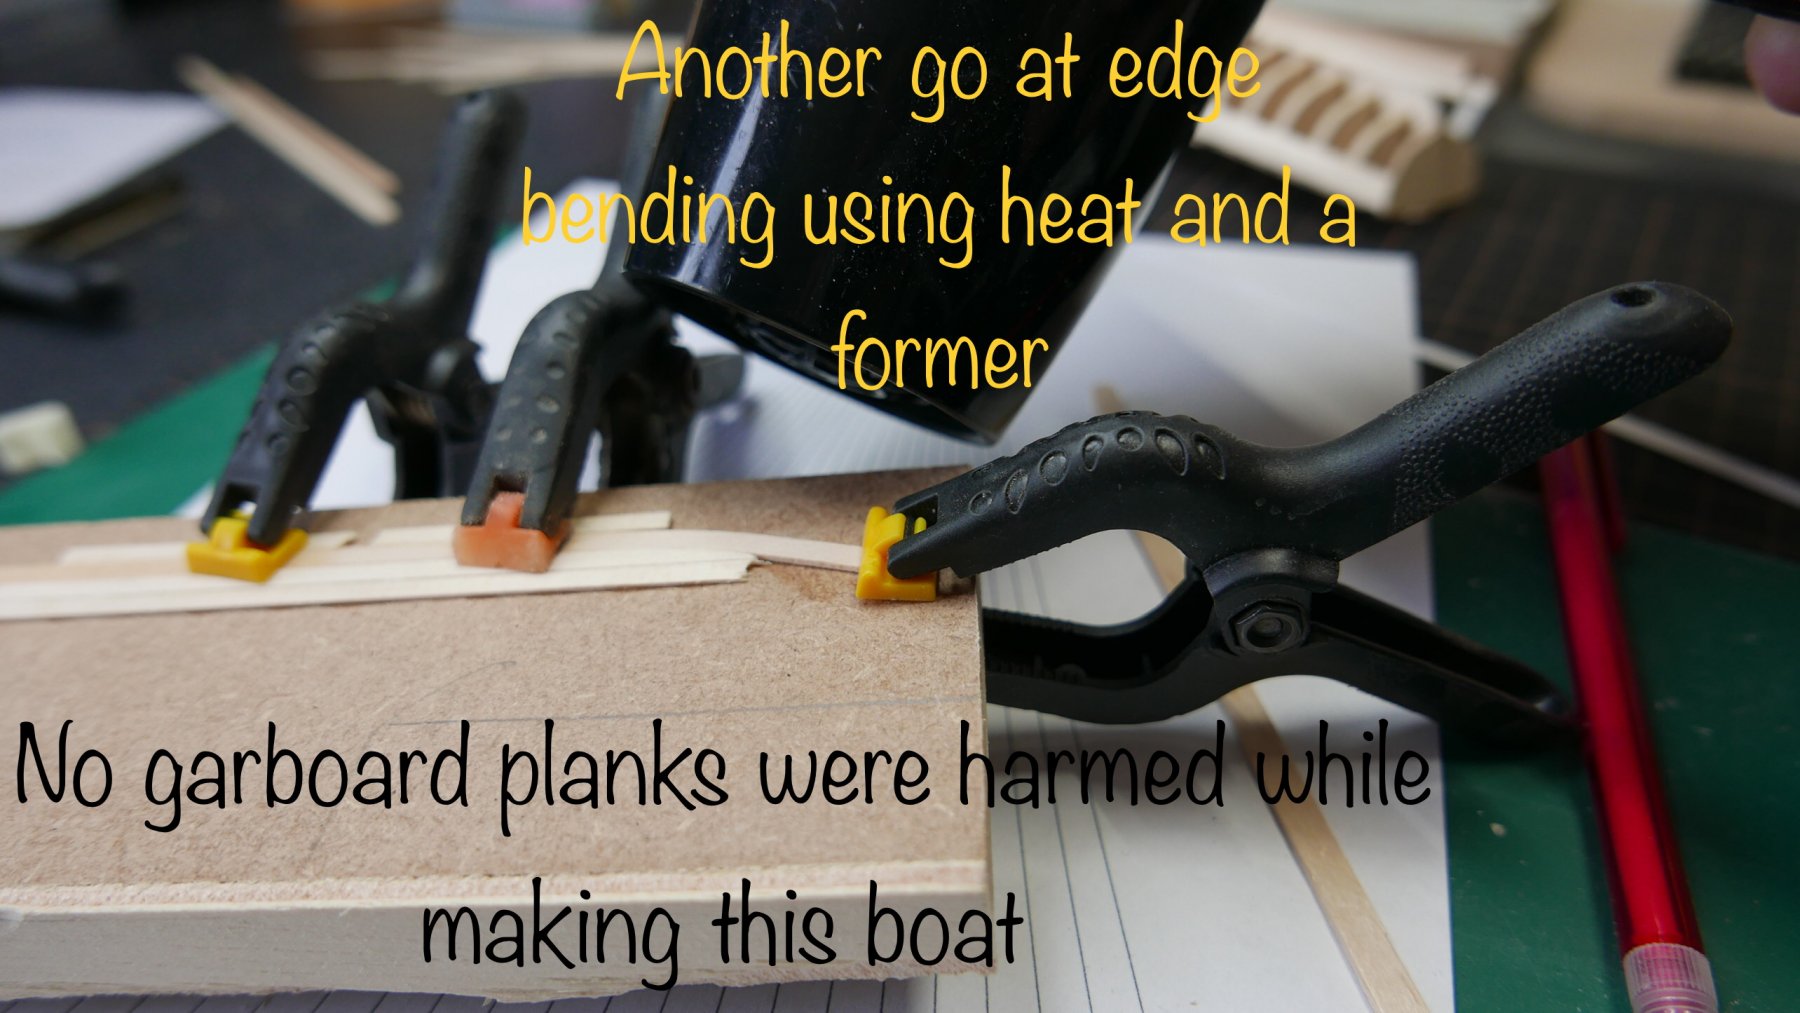
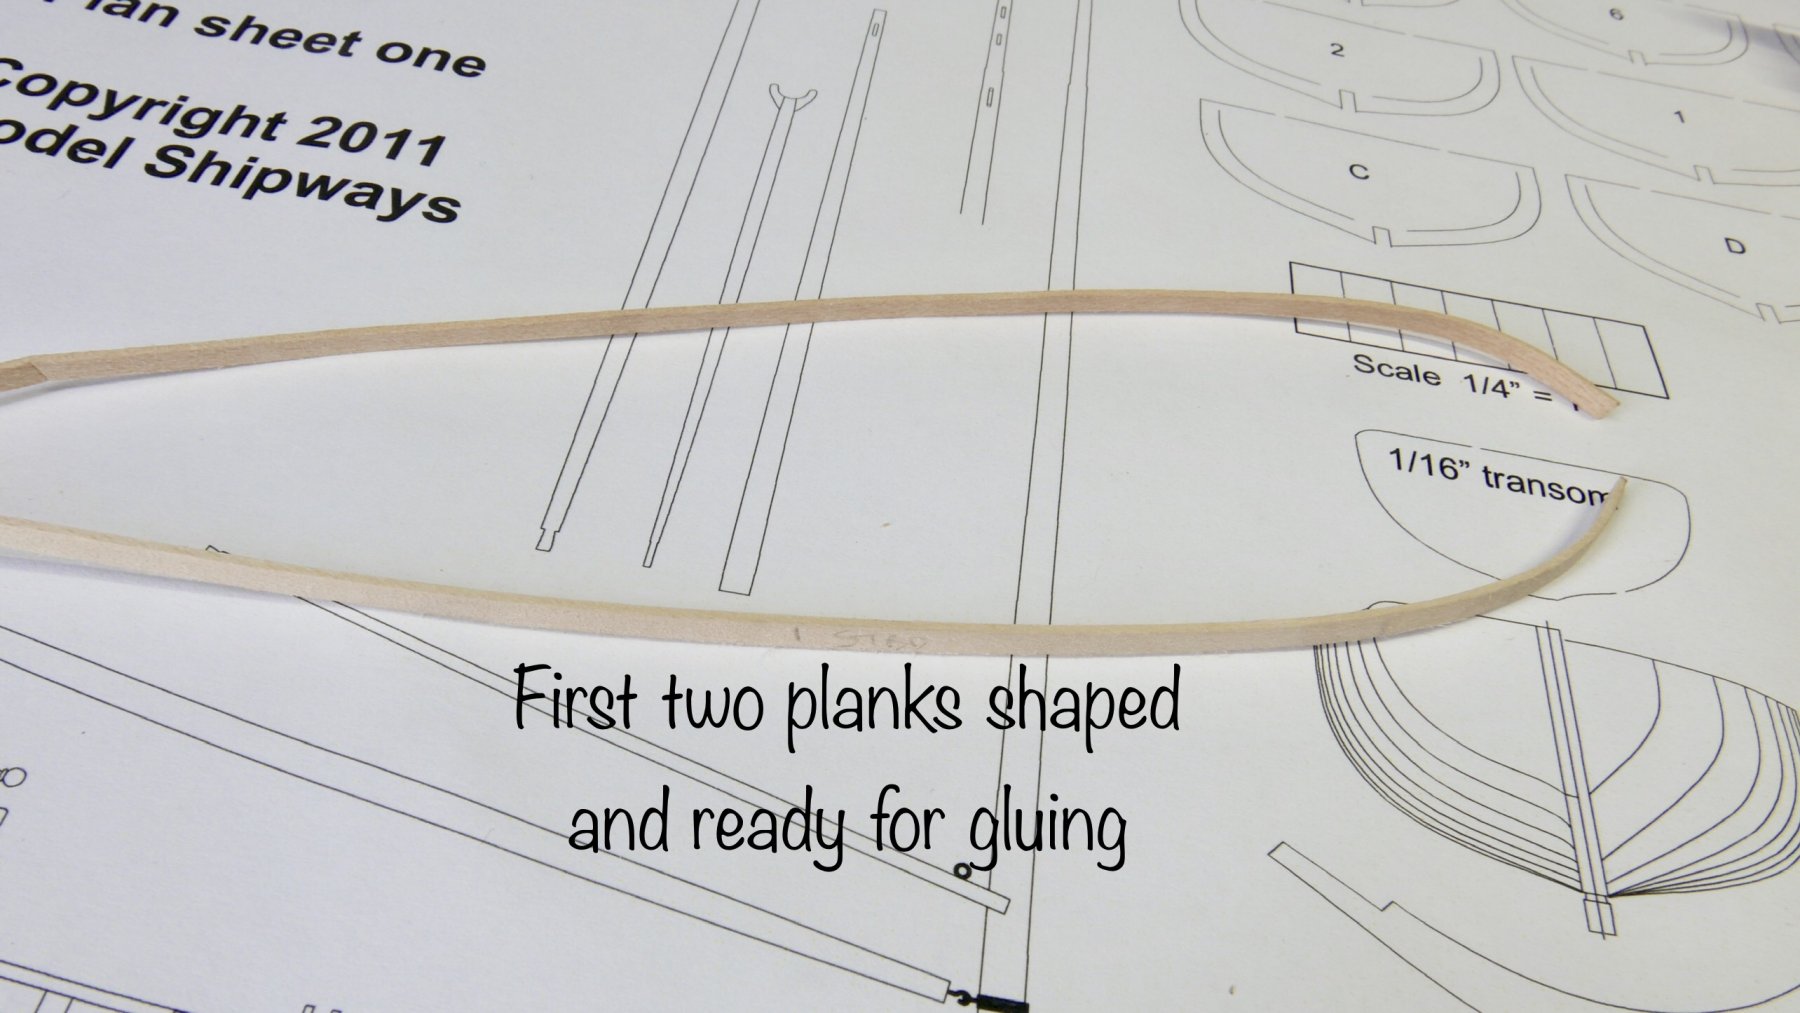
Goodness me this boat building lark isn’t easy is it? I’ve been working on making the garboard plank and the plank next to it. I’ve been trying to emulate the planks which BobF showed in his longboat thread back in 2013.
-
-
13 minutes ago, Tigersteve said:
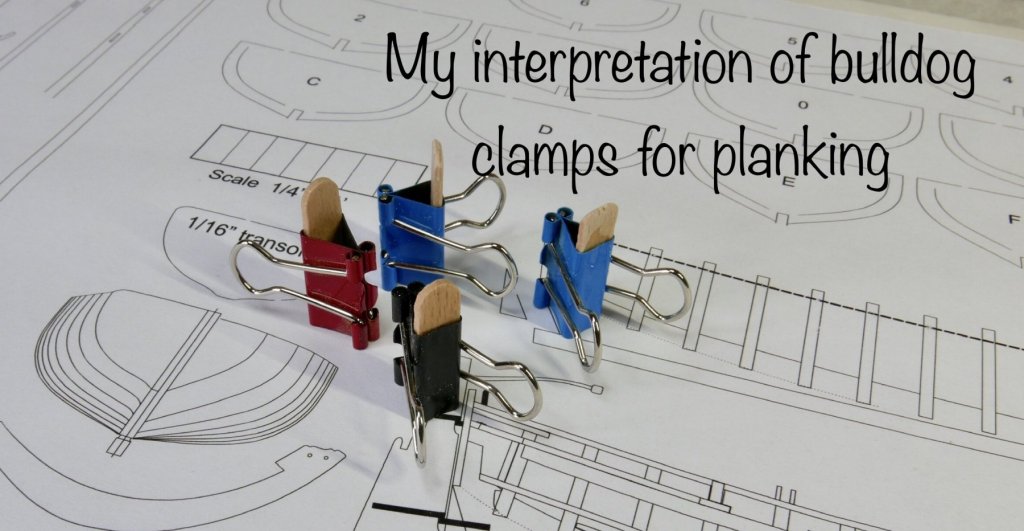
Looks good. Be careful of your clamping on the bow. The basswood will dent easily. Also, your garboard has too much of an abrupt curve. Just sand/file a bit more for the gentle curve. Before you glue, shape the next strake to see of you have the curve correct. Again, BobF and Erik have done this perfectly.
Steve
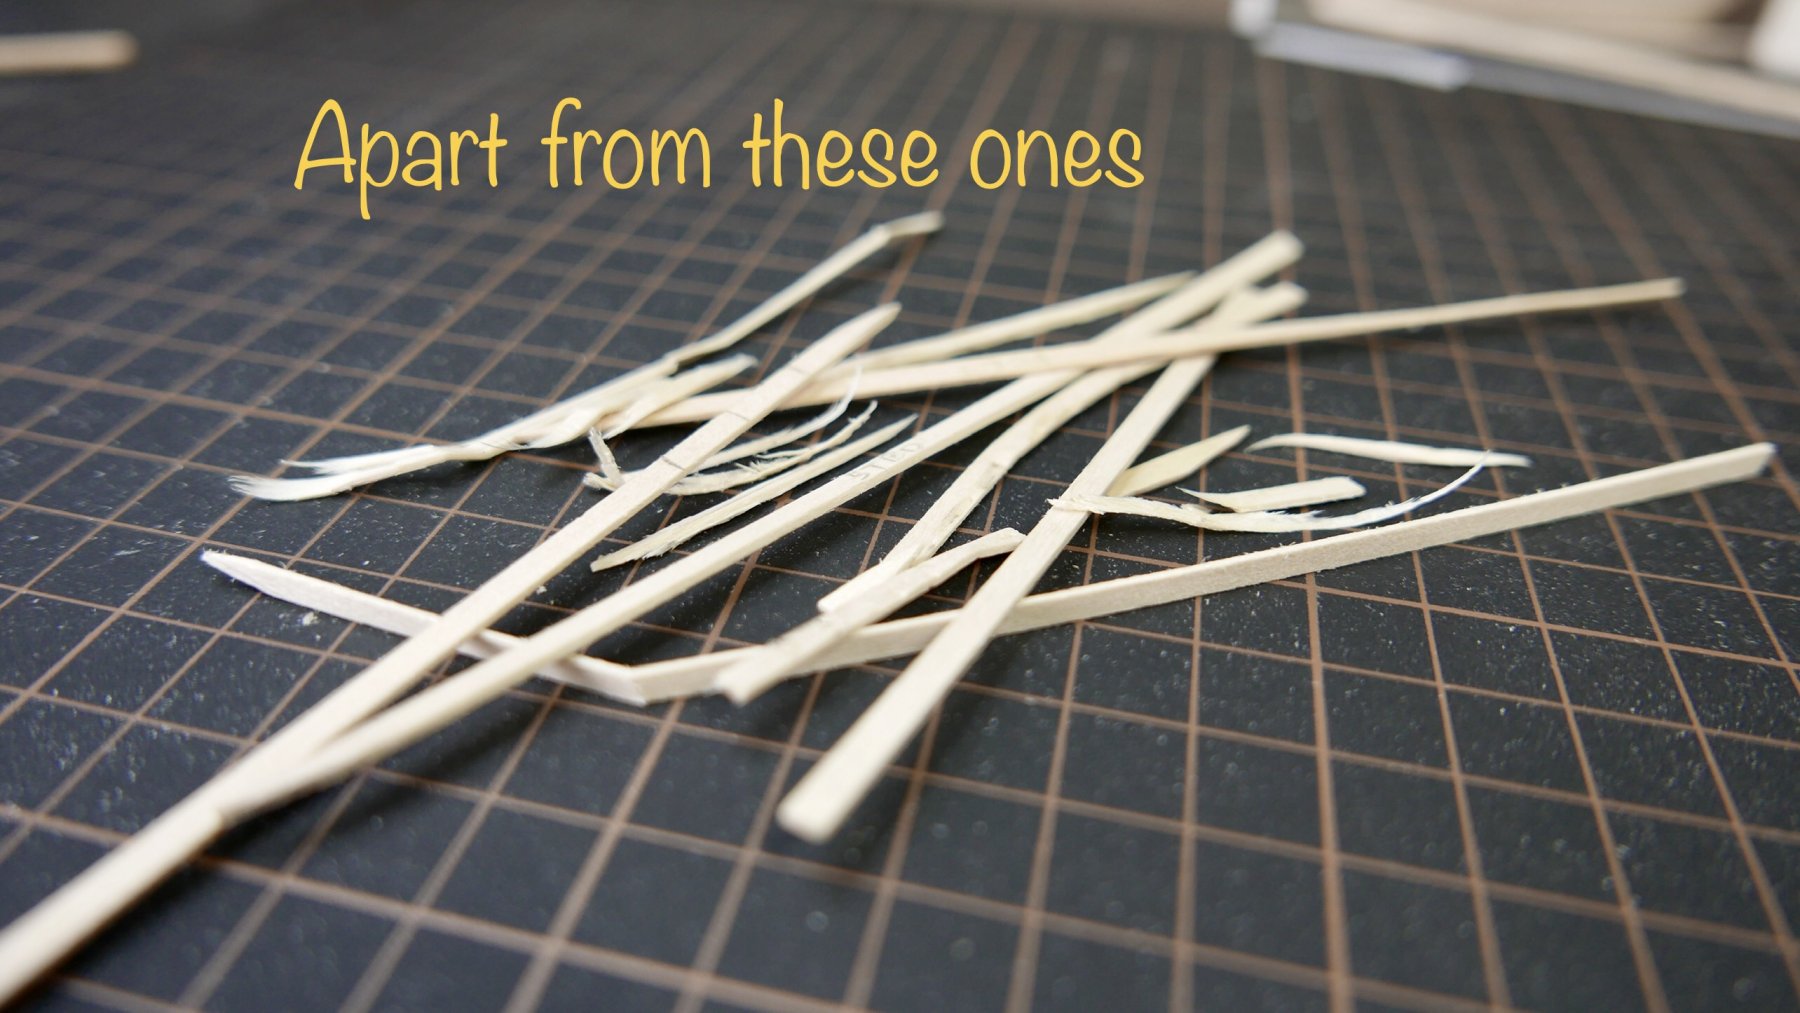
Thanks for the advice about clamping, I’ve already dented some pieces. It’s a fine line between enough clamp pressure and too much isn’t it. I’ve made two more garboard planks and (hopefully) the curve on those is is better, I’ll find out tomorrow. If not I’ve still got plenty of wood left and with the help of you guys on here I’m sure I’ll get there eventually.
-
-
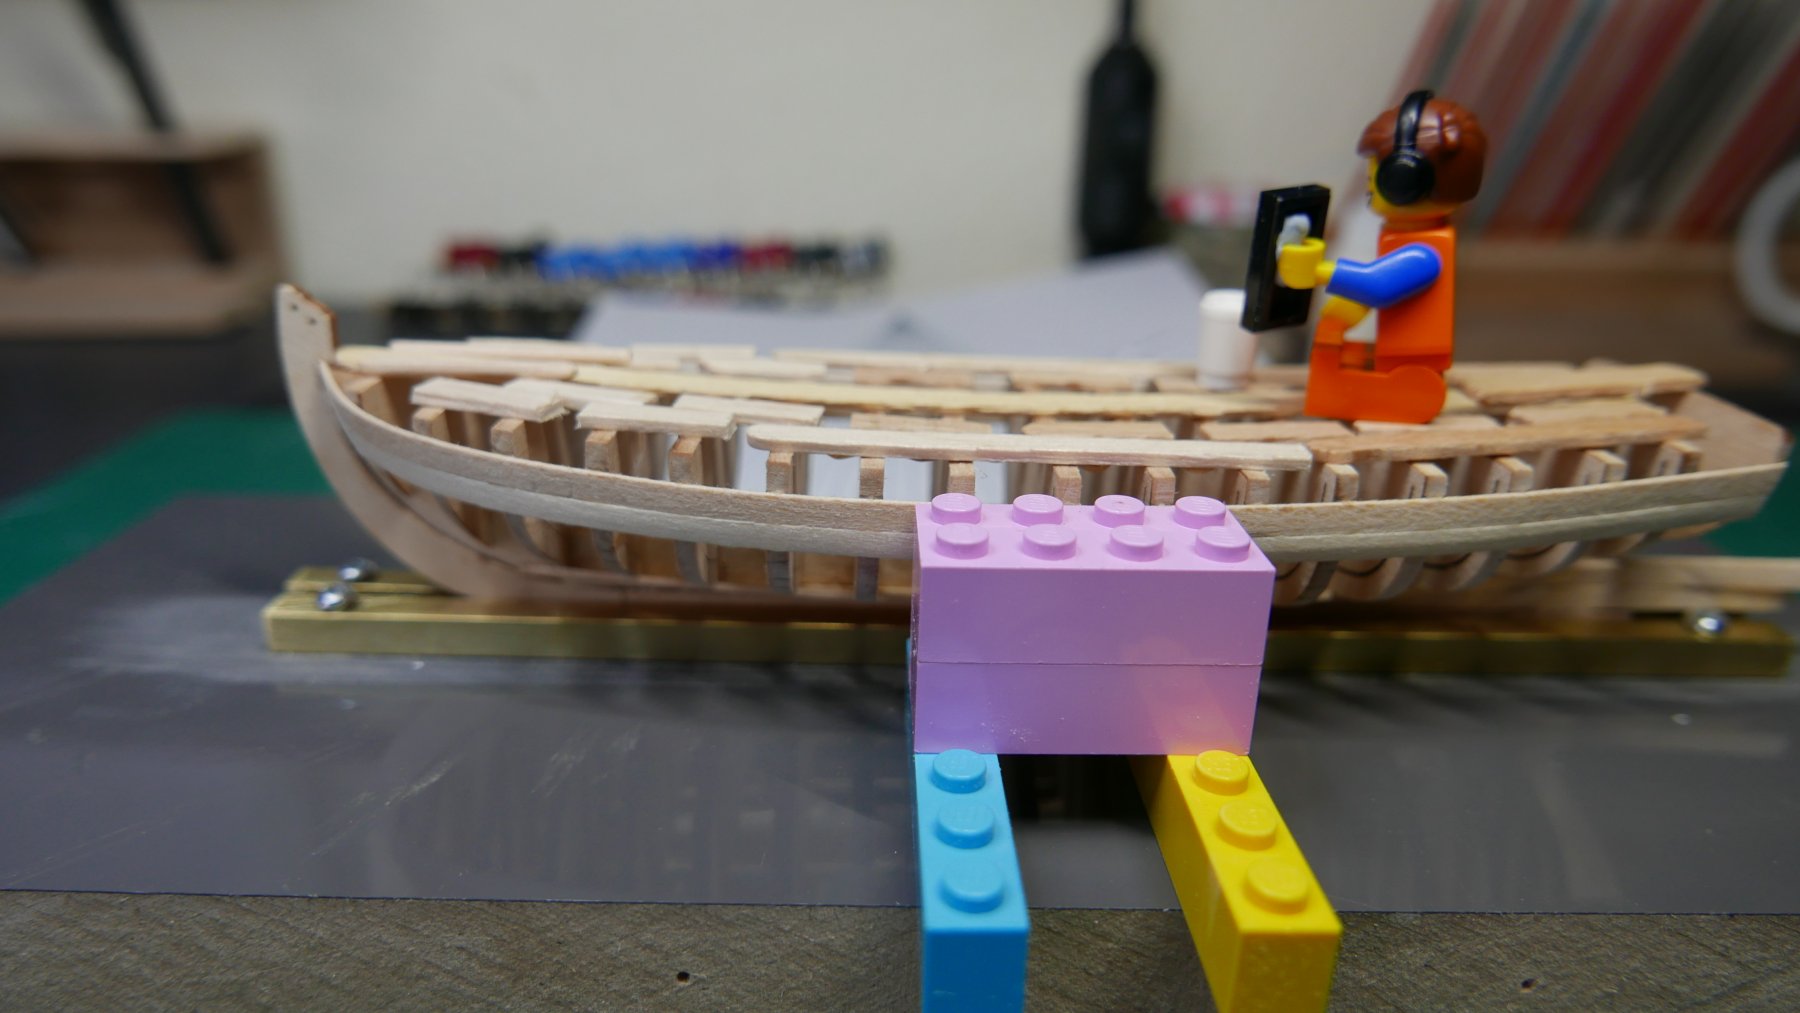
2 minutes ago, Nikiforos said:
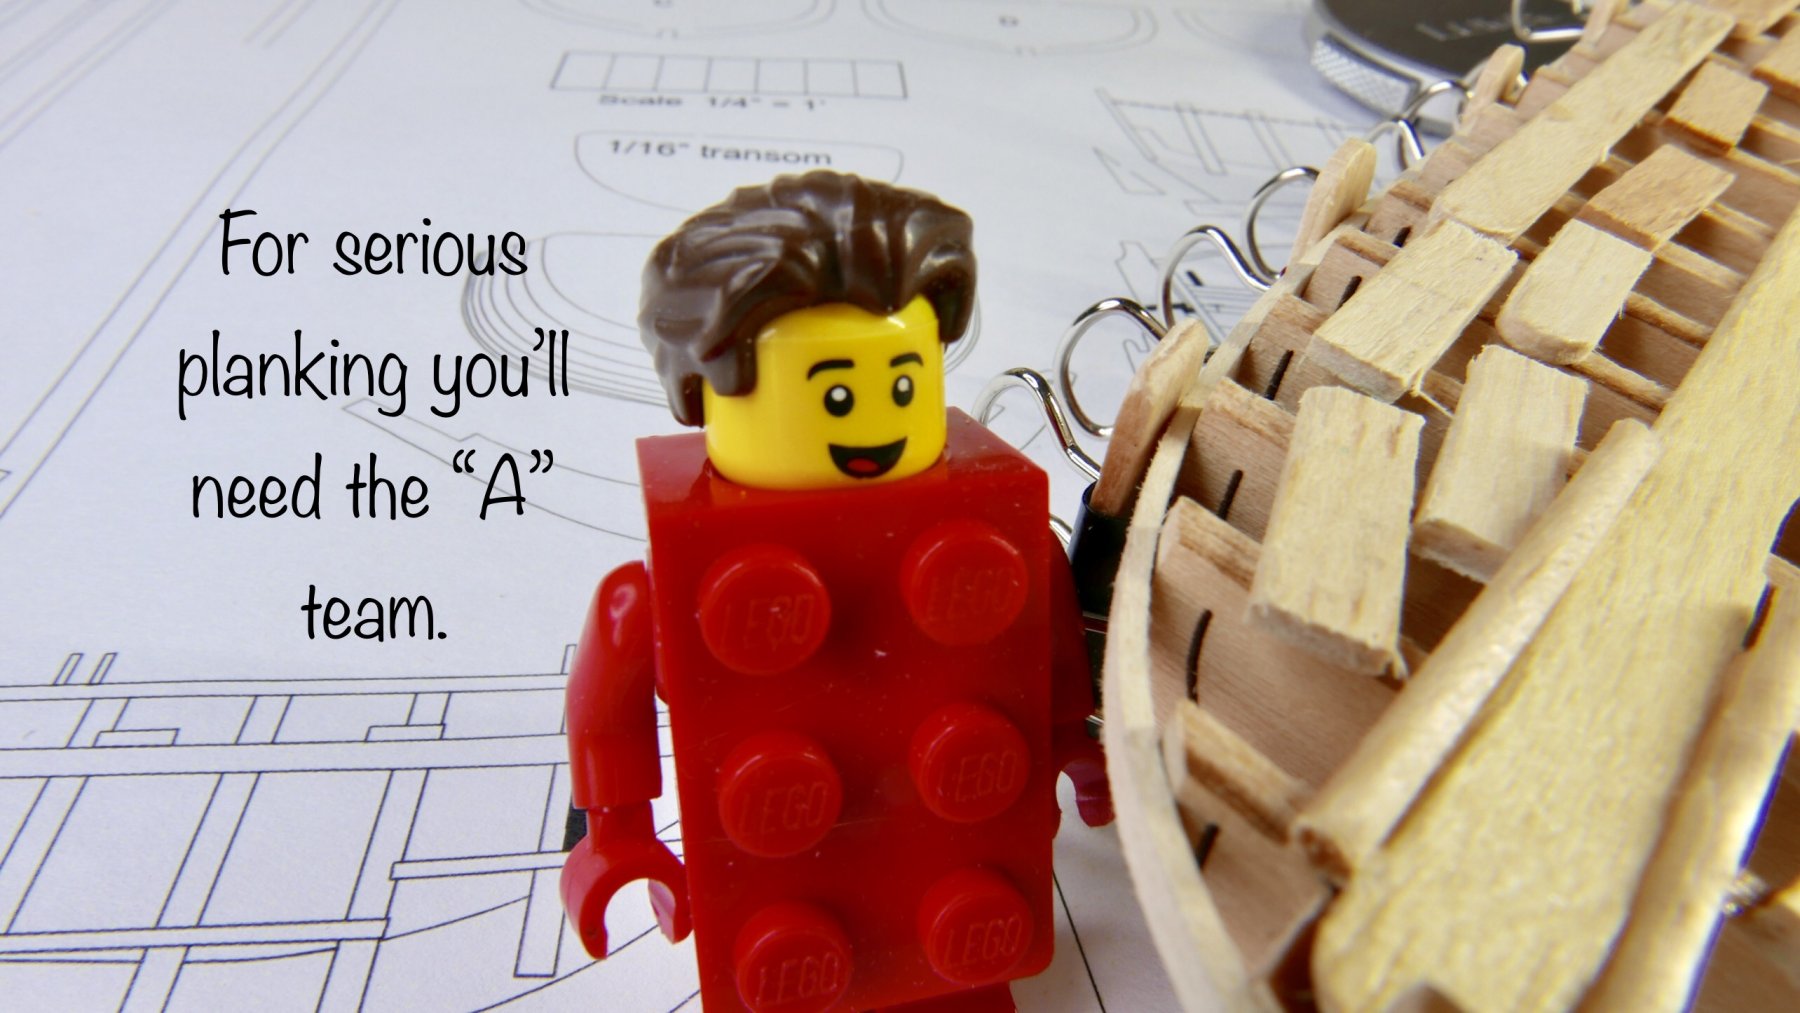
With your Lego foreman, you can't go wrong. Hilarious. And you have a plan to work from; I bought two AL kits to start and neither have scale plans.
Looking forward to see how you -both- get on in the weeks ahead : )
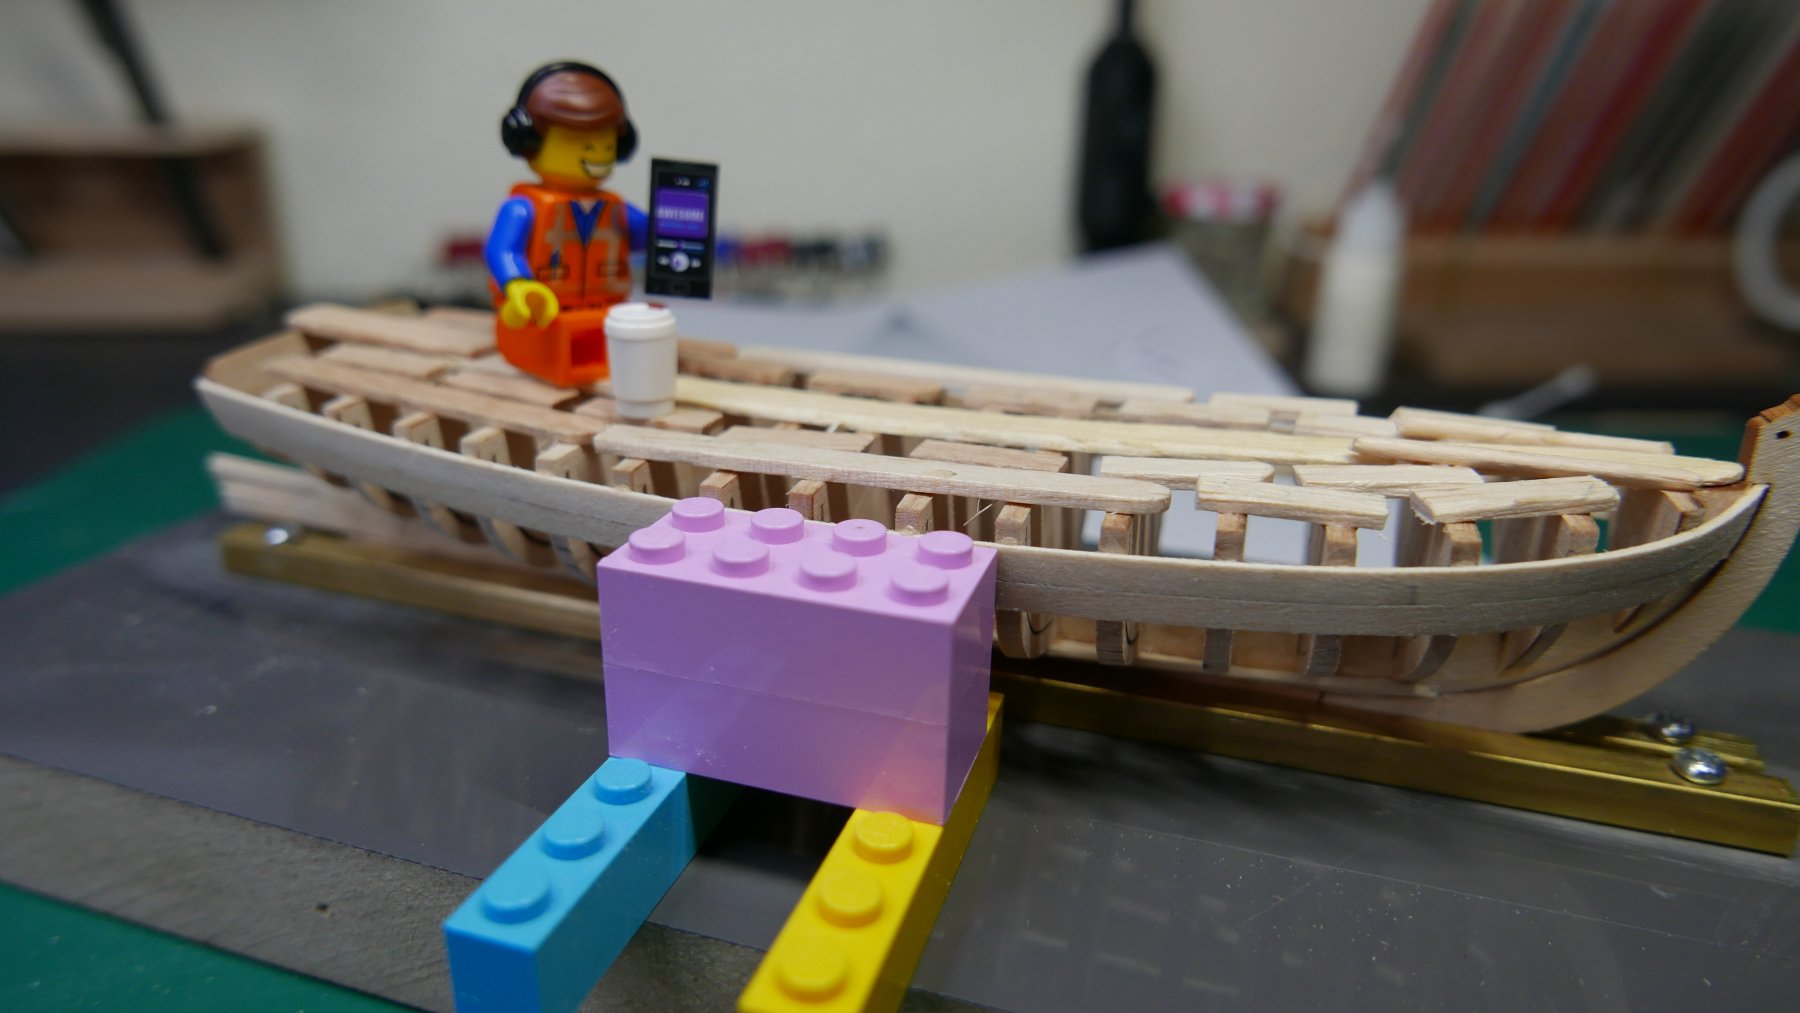
After the keel gap incident I’ve had to let that Lego foreman go. This guys a LOT more expensive but he told me he’s more experienced.

-
-
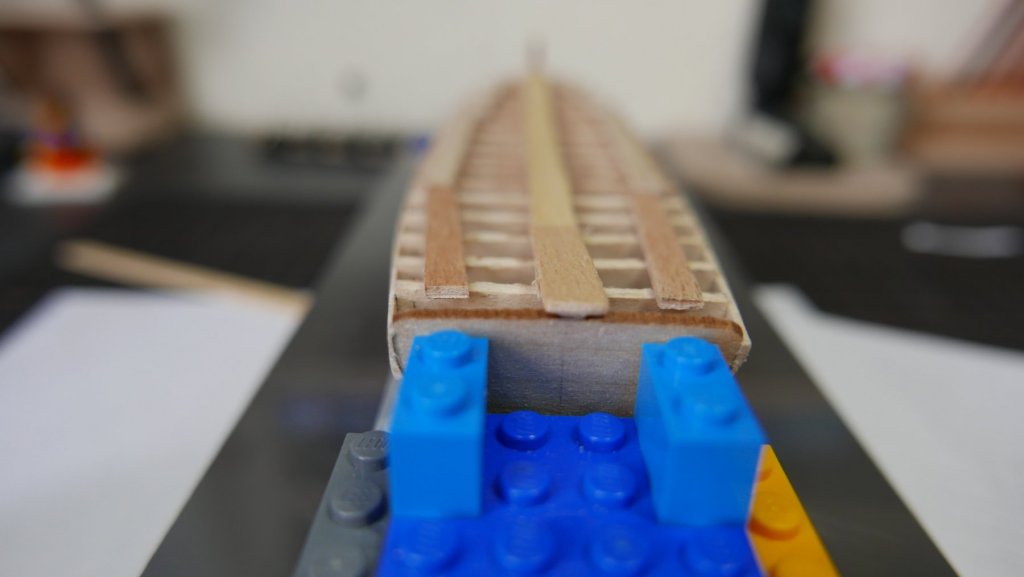
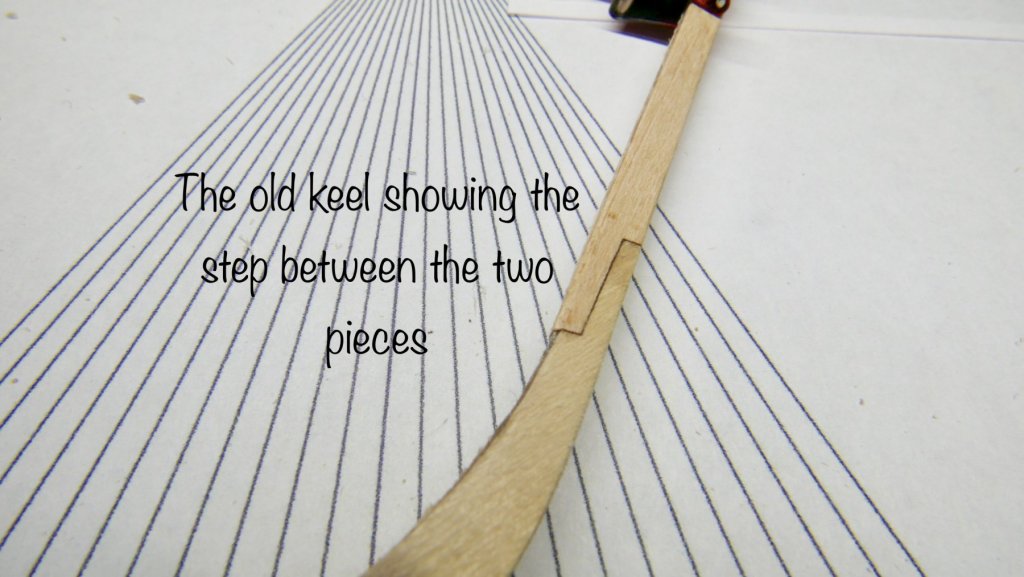
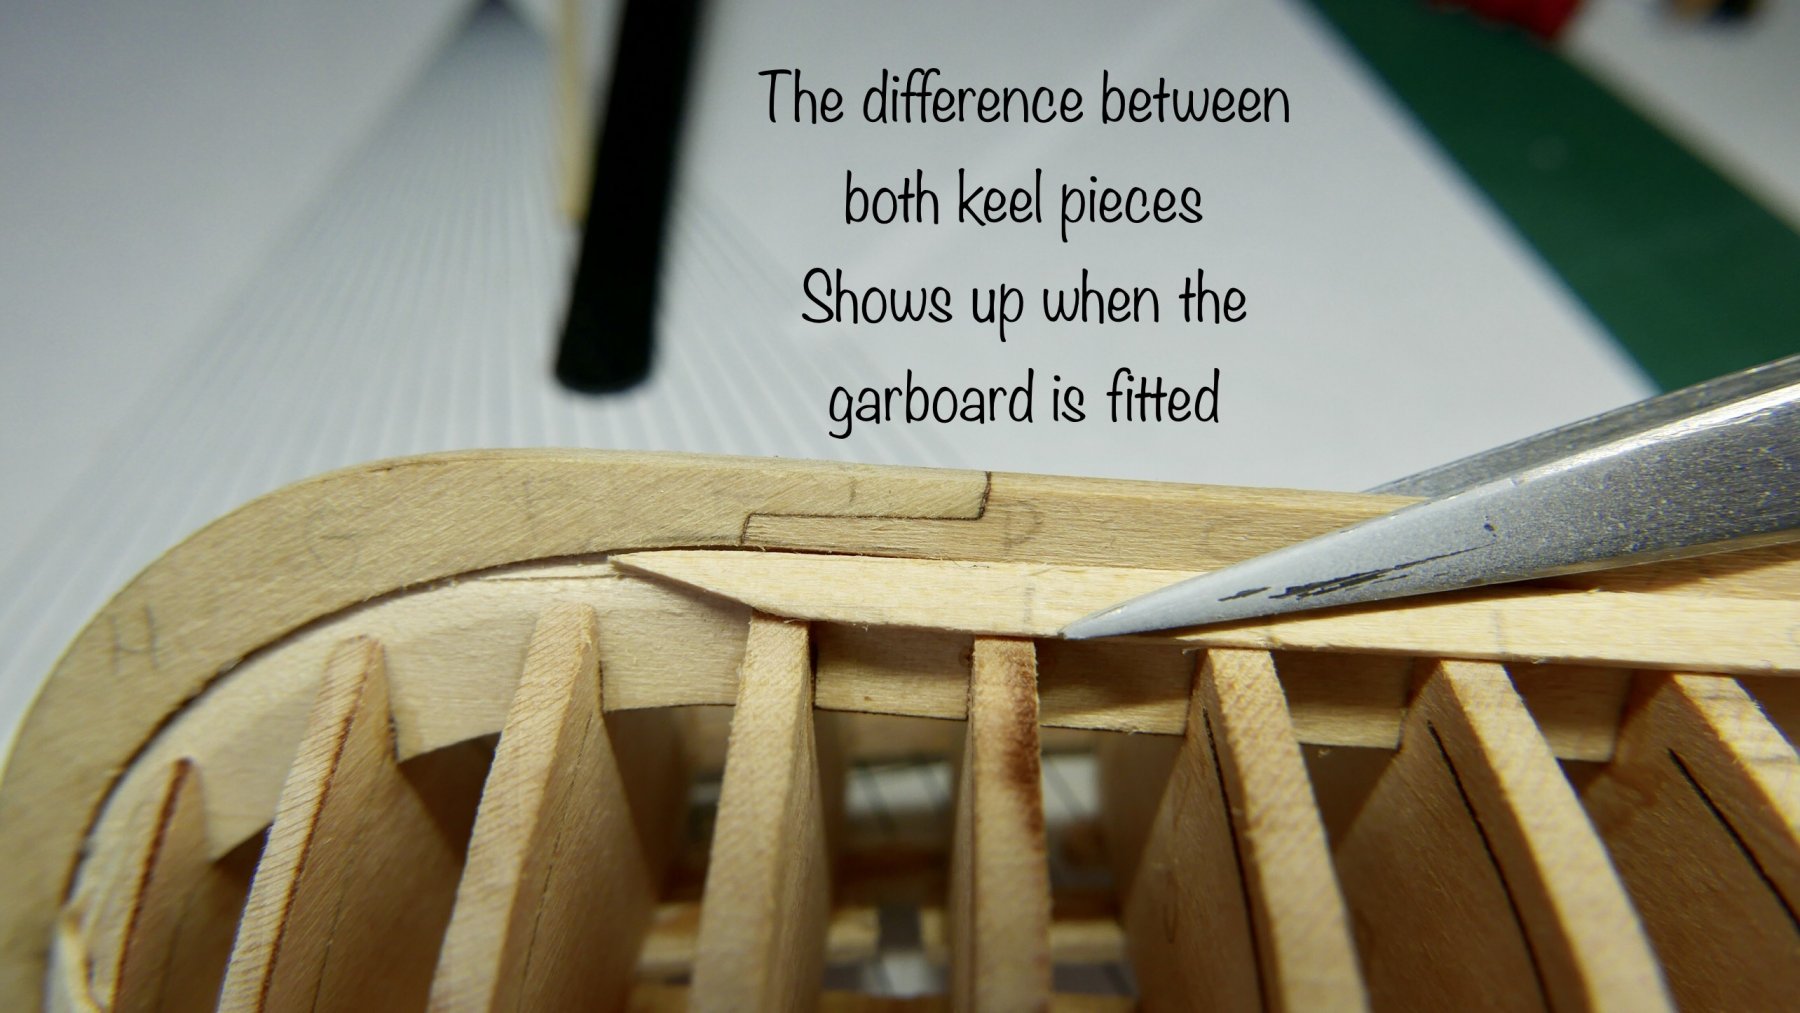
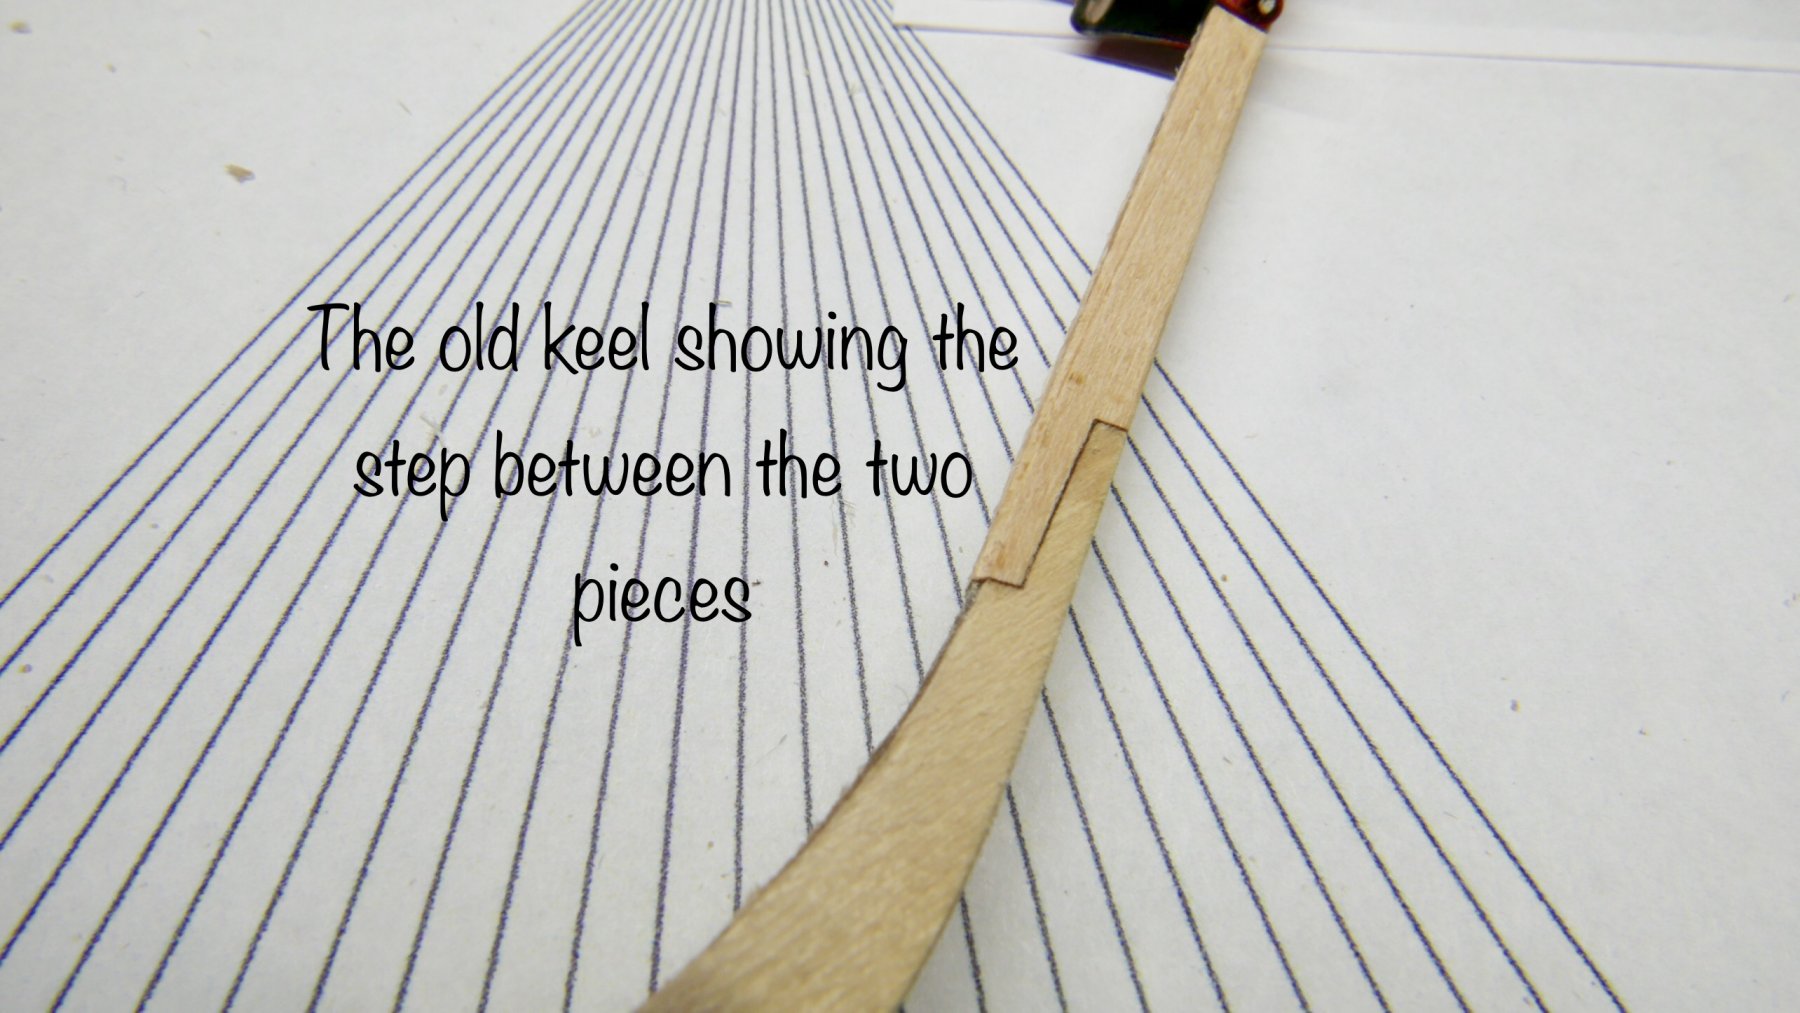
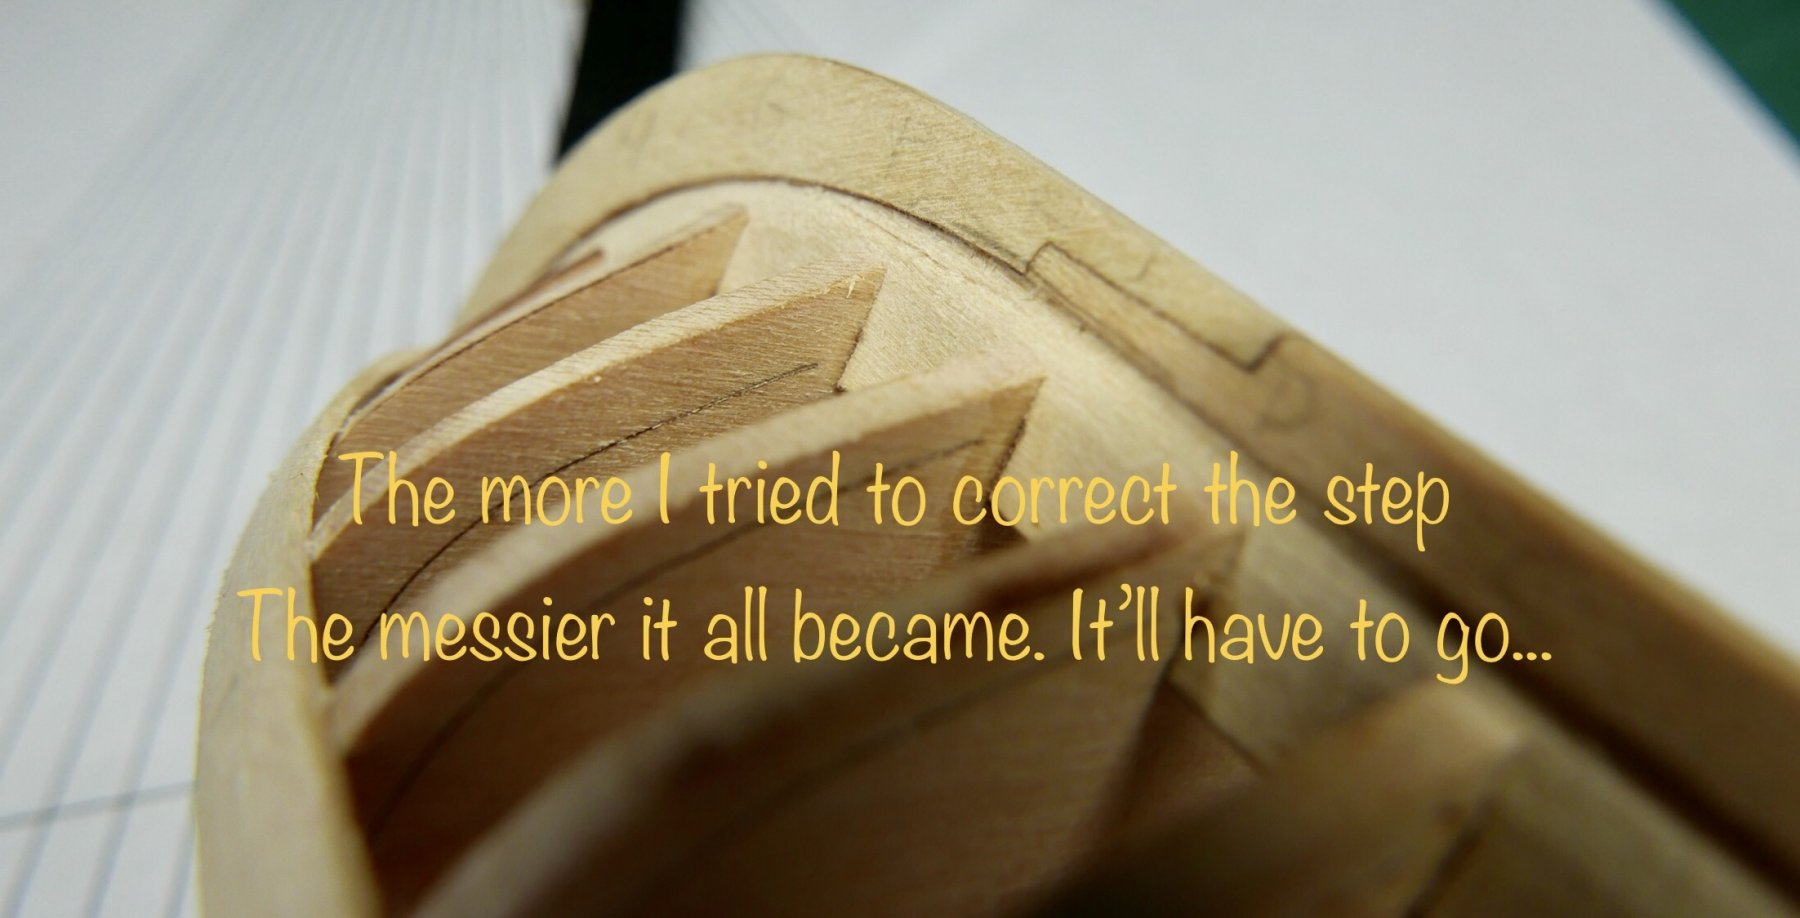
Now we come to the not so pretty bit. When I glued the keel pieces together I hadn’t realised that the tiny difference between the front and rear keel pieces would cause such a problem but as I was fitting the garboards I couldn’t get rid of the unsightly gap.
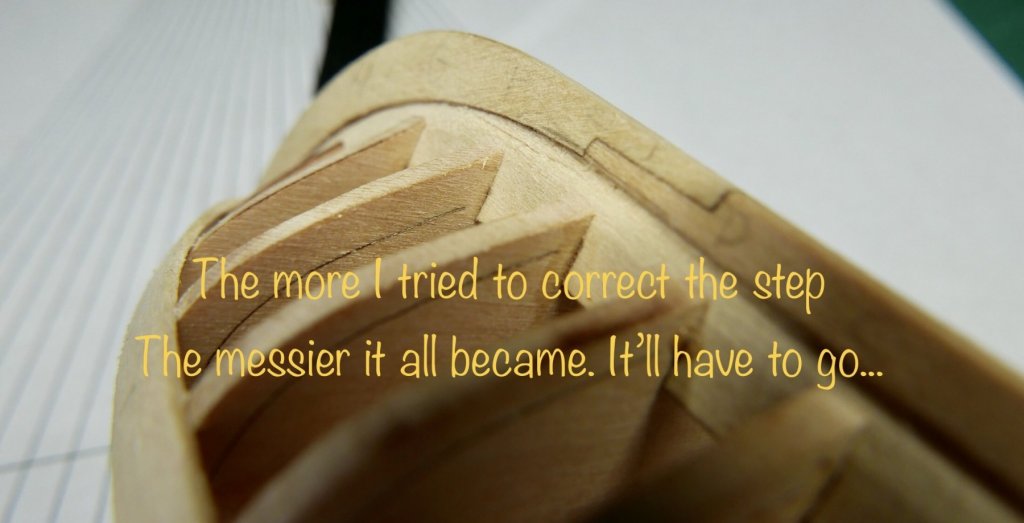
I tried to sand the rebate level in situ and also briefly considered accepting the gap but decided that as I’m learning how to plank a hull I should put more effort in and try and do it properly.
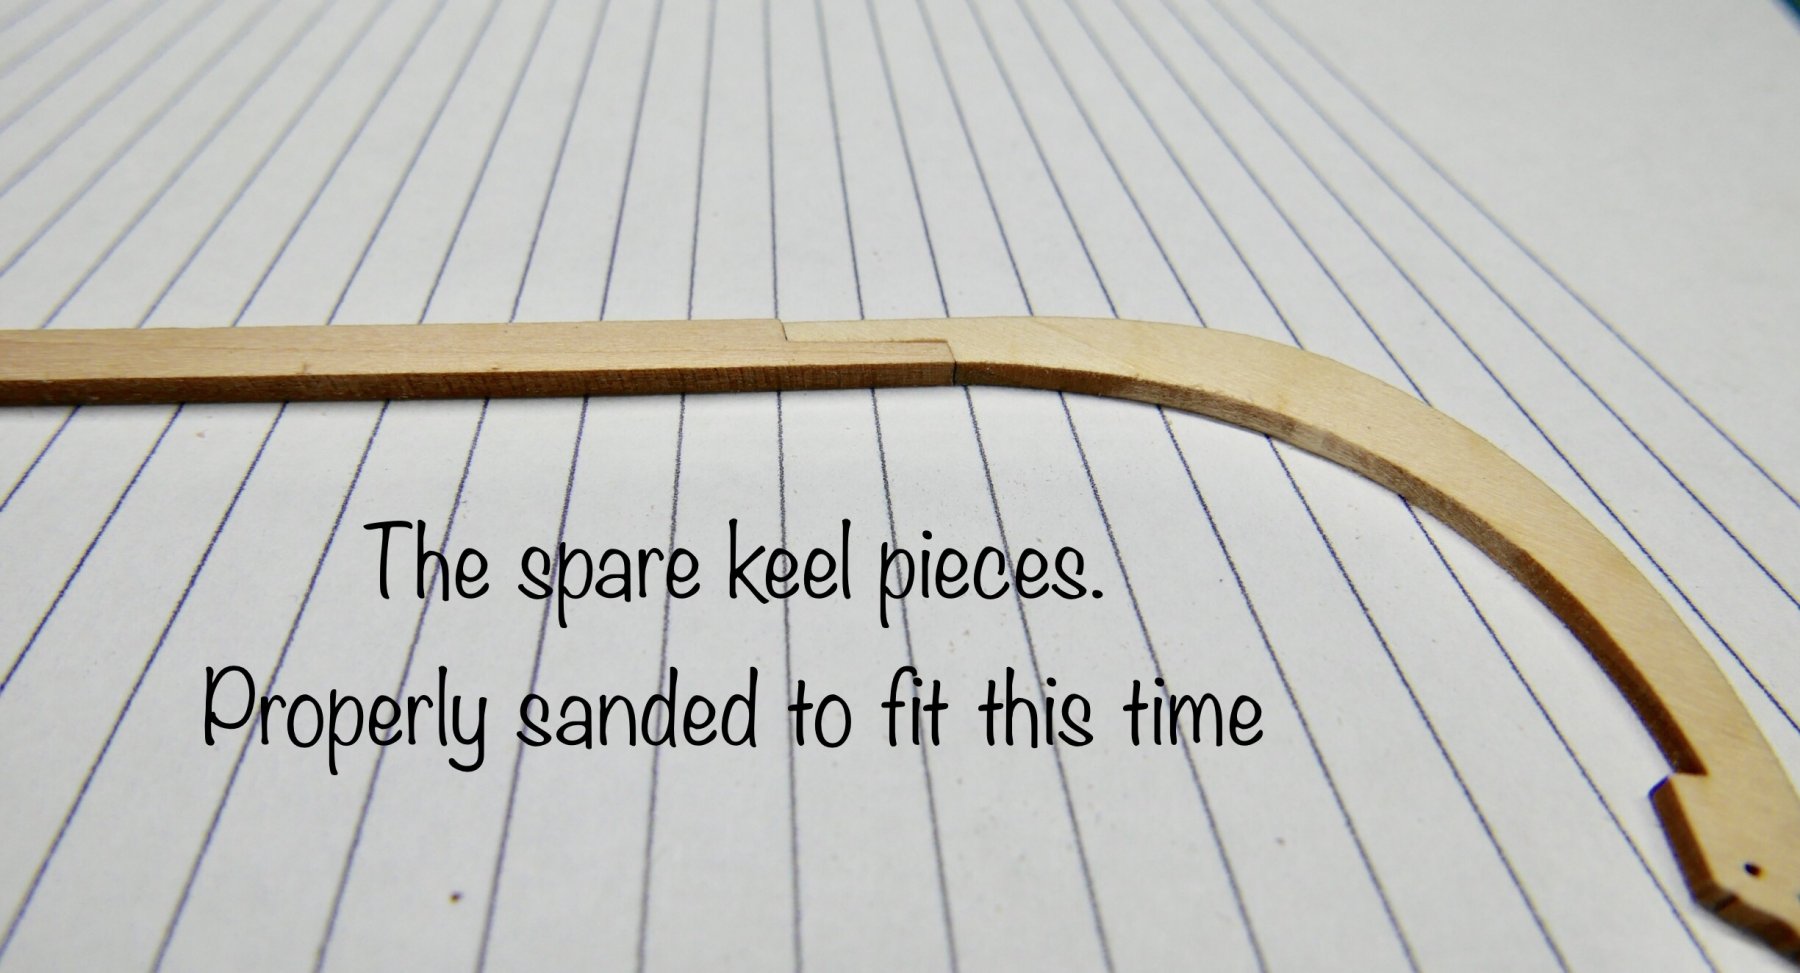
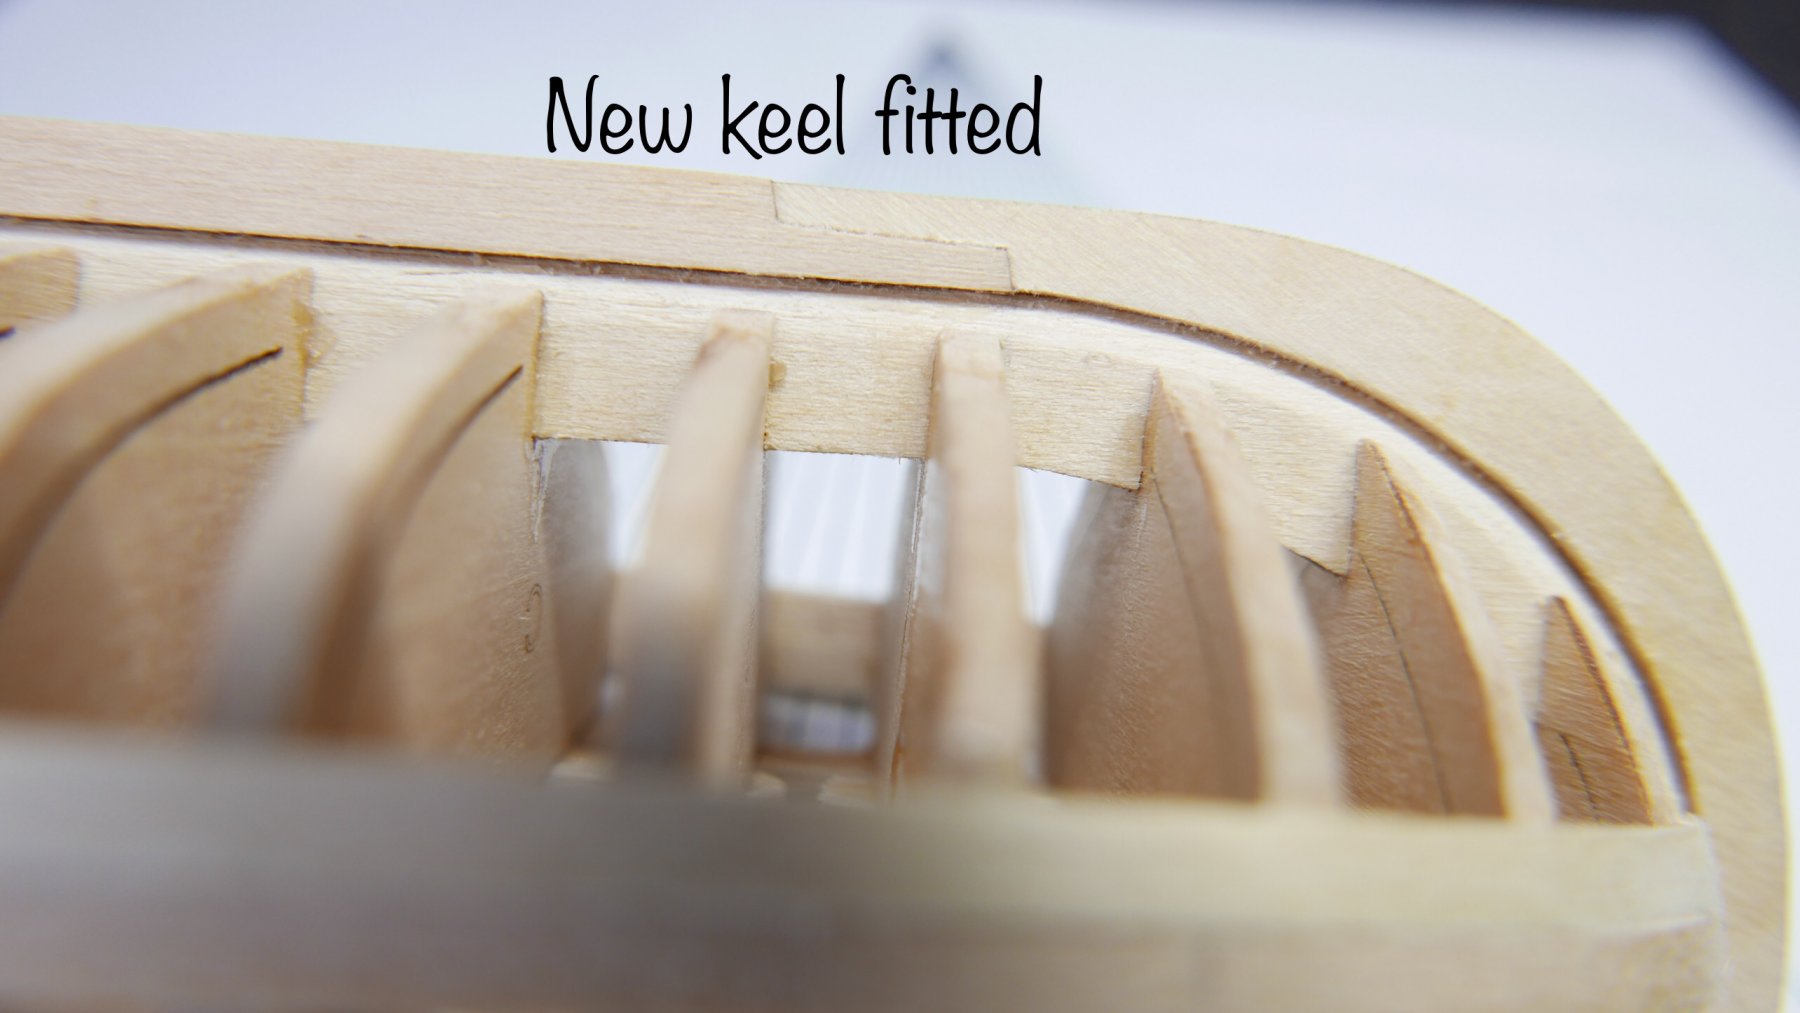
luckily for me Chuck put extra keel pieces in the kit so I nervously removed the old one and replaced it with one which I’d sanded properly.


- Nikiforos and Tigersteve
-
2
-
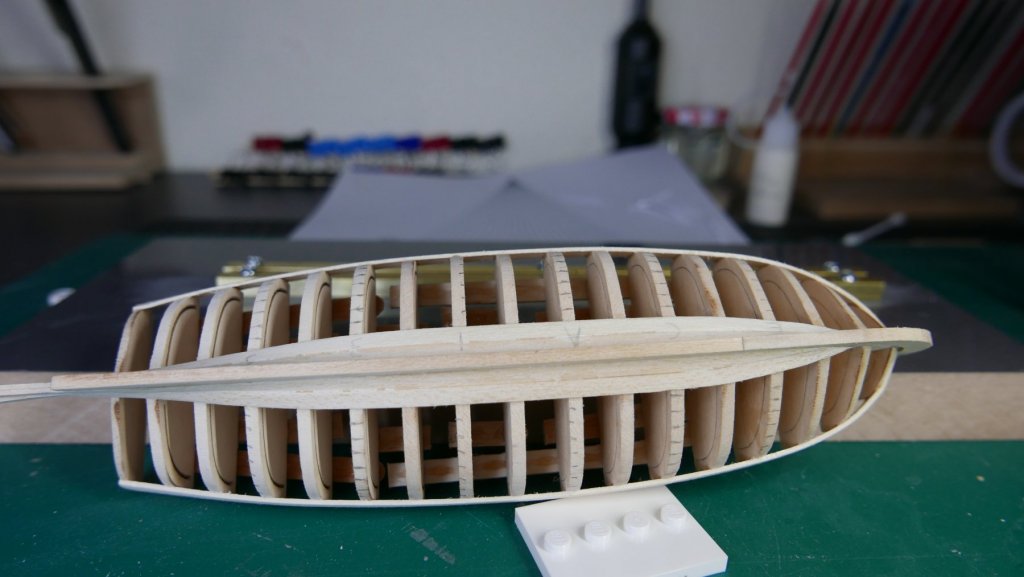
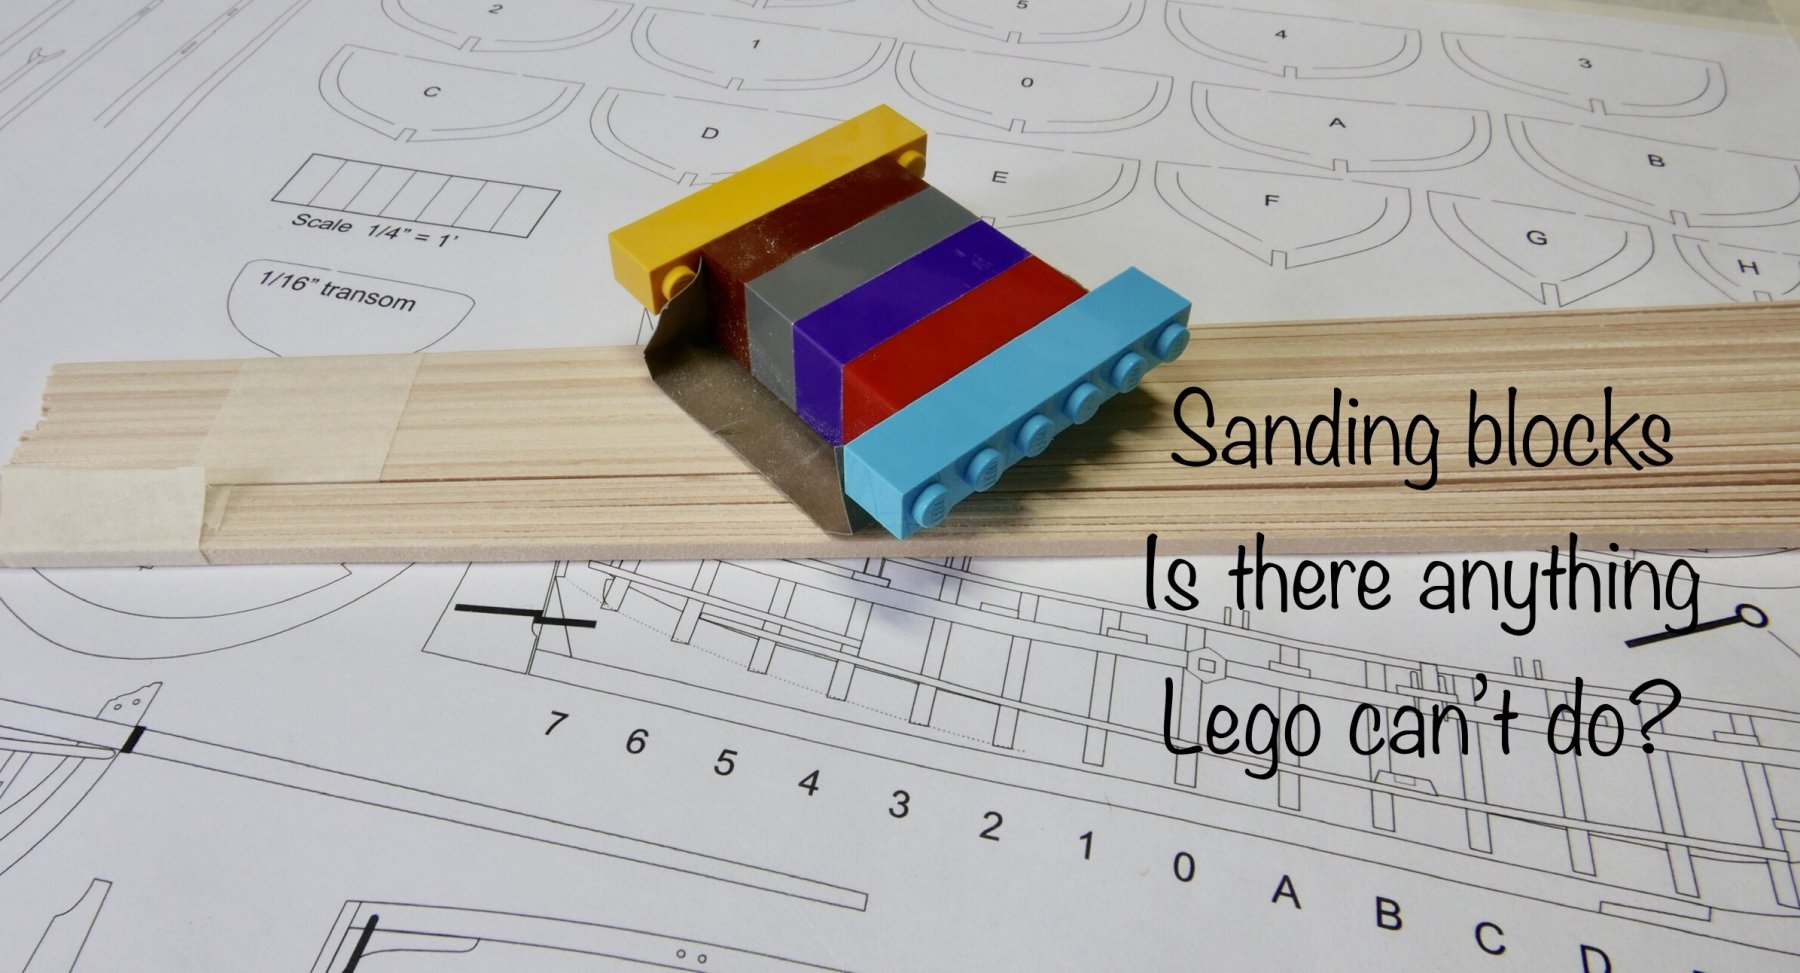
I’ve been studying ErikW’s build log as well as some others and started work on the planking. One of the best tips I’ve picked up so far is how to sand the planks before starting to get a nice fair edge. Dan Vadas’ suggested taping several planks together and sanding the lot in one go.
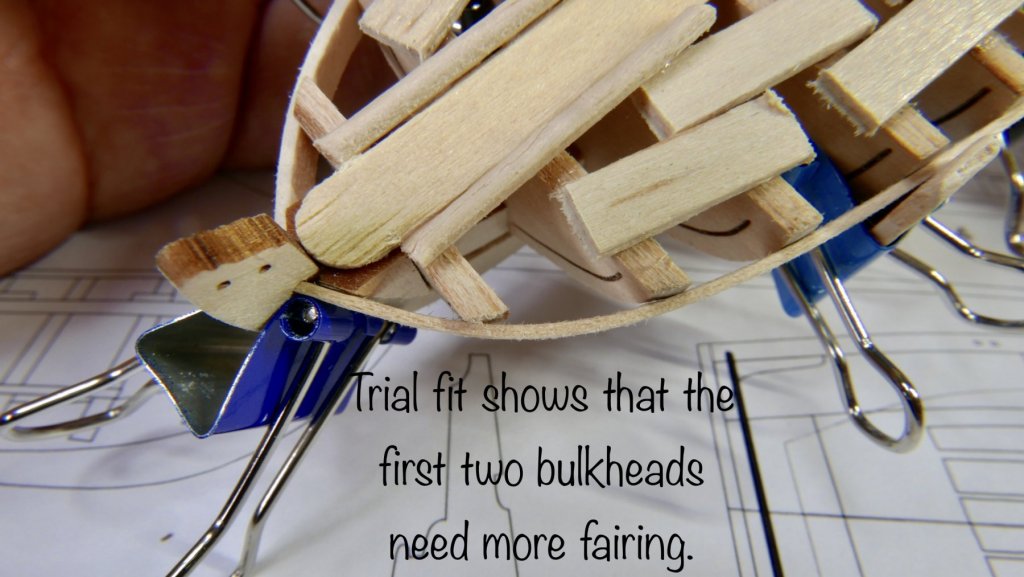
Once I’d done that I checked the fairing and decided that I needed to improve the run on the first two bulkheads.
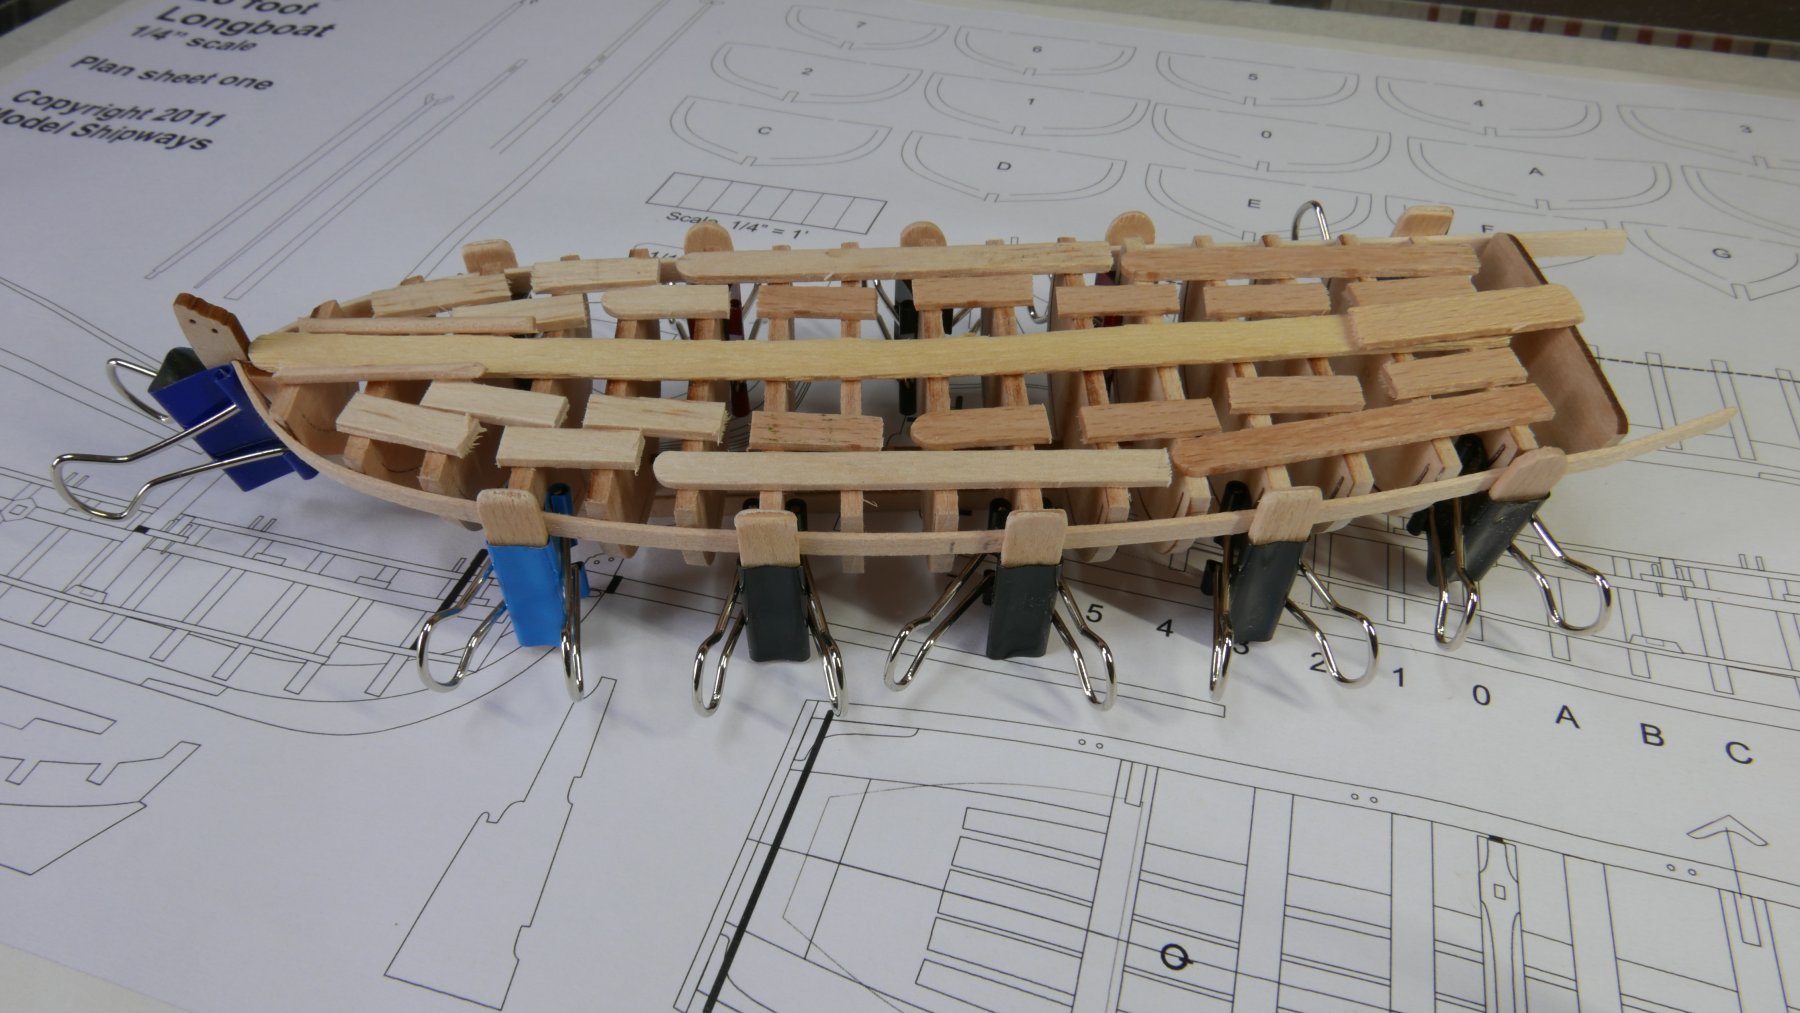
All four top planks went on well and it’s starting to look like a boat now.
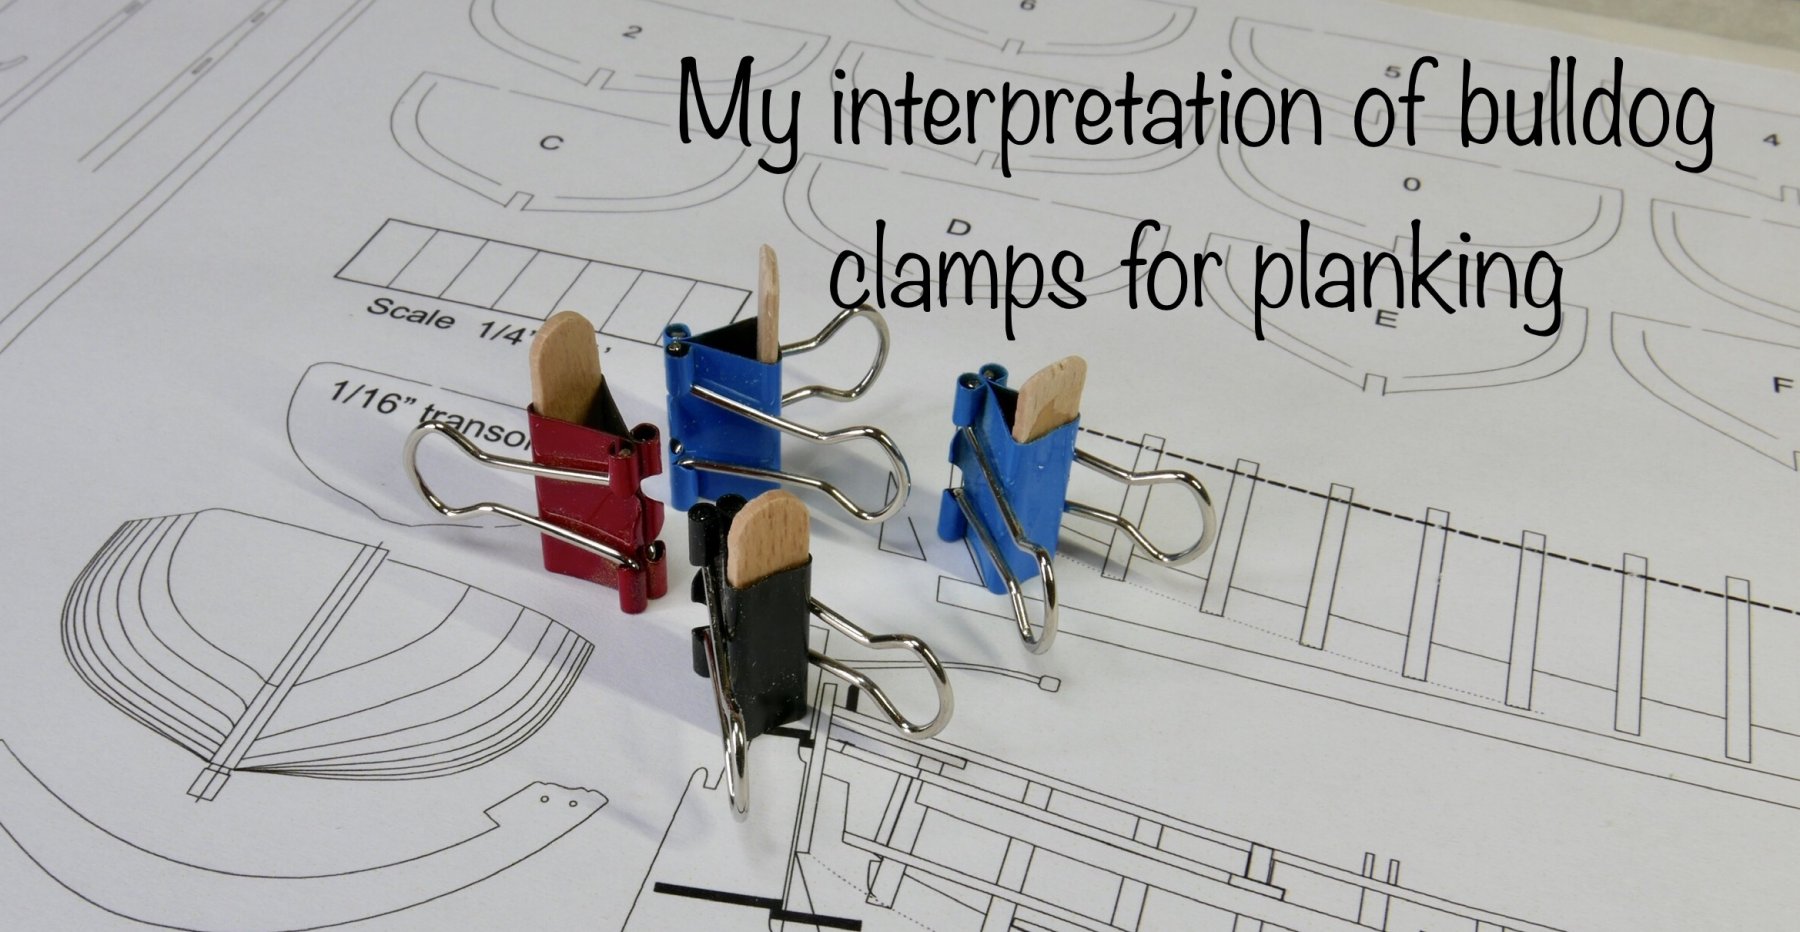
Try as I might I couldn’t get the wire from one clip to fit into another one so I just glued some spare bits of wood in instead.


- Sea Hoss, Tigersteve and Nikiforos
-
3
-
Today is the day I tackle my first ever garboards on my longboat. From what I can see yours looks exactly the shape all the ones I’ve studied on other longboat builds so, as the resident “non-expert”, I’d say you’ve nailed it.
-
9 hours ago, Dr PS said:
You are most welcome to watch me putter alongside my build. By the way, there is a kit on sale on eBay UK if you are interested.
Thanks for the heads up about the kits on eBay UK. I’ve seen those before but when you consider the exchange rate and postage from the US it makes them very expensive.


Chaperon 1884 by mbp521 - FINISHED - Model Shipways - Scale 1:48 - First Build Log
in - Kit build logs for subjects built from 1851 - 1900
Posted
Very nice, they certainly look the part.