-
Posts
122 -
Joined
-
Last visited
Content Type
Profiles
Forums
Gallery
Events
Posts posted by Capt. Kelso
-
-
Good start. There are several good tutorials available which will be helpful, especially on beveling the bow. Here's a link you may find helpful.
-
-
PqLear. You raise an interesting question regarding the traditional finish style of wooden ship models. I have rarely seen a weathered wooden ship model, in a museum, competition, or otherwise. Personally, I never felt there was a standard, weathered vs non-weathered. Didn't think much about.
In my opinion it was simply a matter of the builder's preference, scale, "imagination" and skill level.
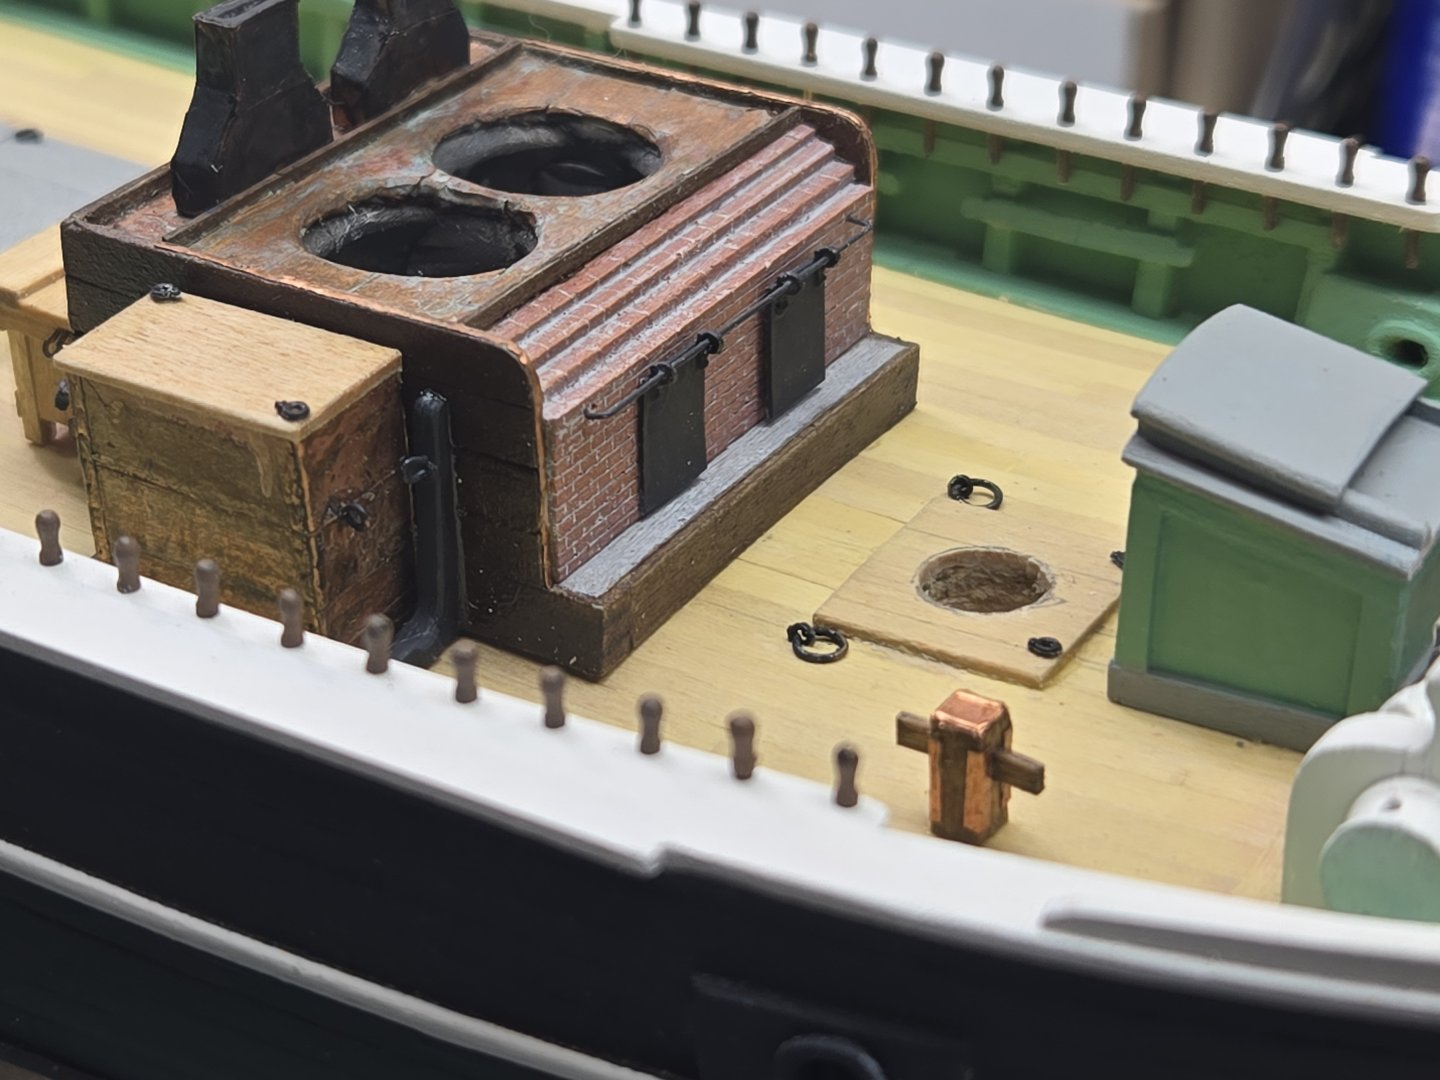
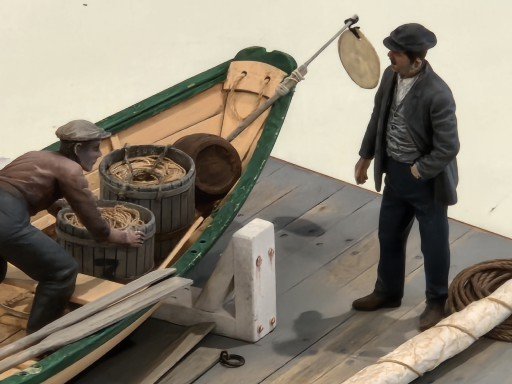
Depending upon the type of vessel, I like the application of weathering. It adds a dimension of reality; it offers a nice change and challenge to a normal build. Also, I don't feel weathering hides detail but oftentimes can enhance it with washes and highlights. But the weathering needs to be done proportionately. I have seen models with the copper hull weathered but nothing above the water line!
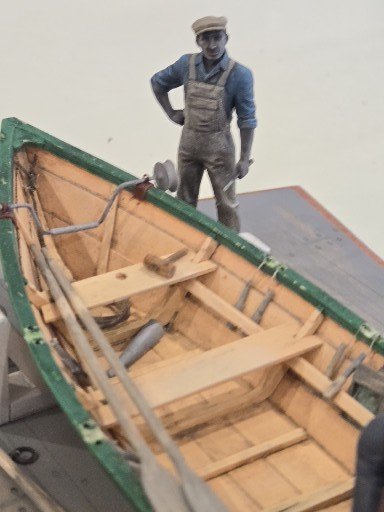
My photos are intended simply to offer a perspective on differing degrees of weathering I apply. A subtle application to the tryworks enhances a basically dull structure whereas the 1/24 scale Dory is given more depth.
As the saying goes, "one size doesn't fit all", "different strokes for different folks".
-
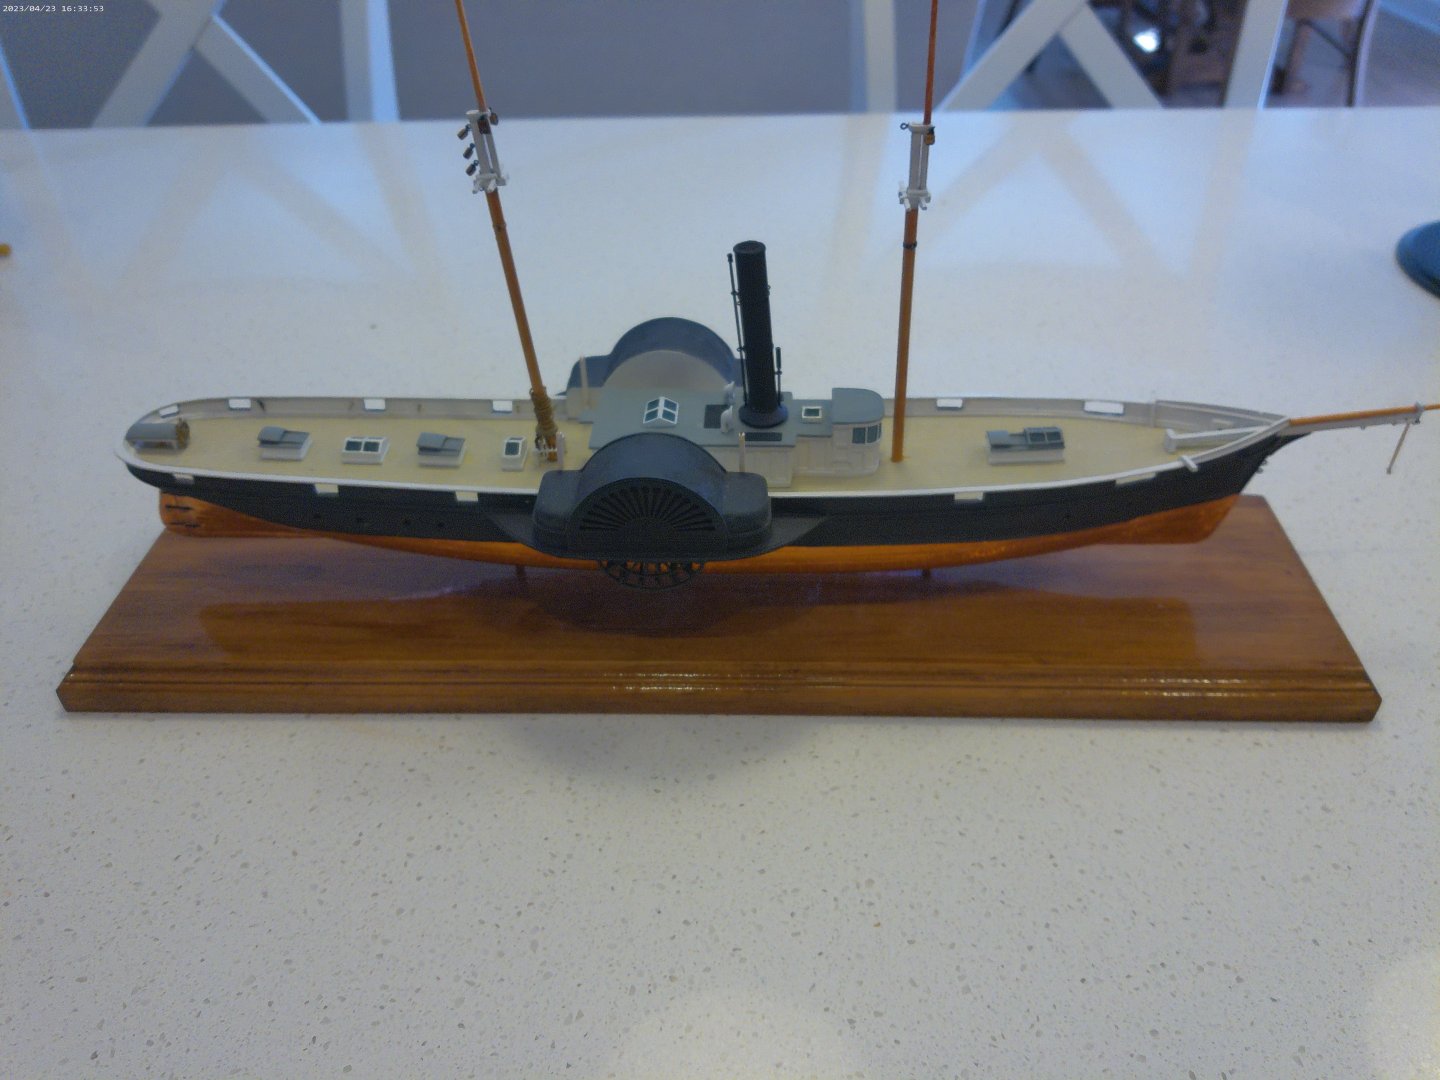
Agree with rwiederrich easier to install off the model. I learned the hard way, more difficult with the mast installed, especially on a smaller scale like my Harriet Lane.
-
Looks like the old Bluejacket Kit I built several years ago. I have built a couple of boats and used "The Dory Model Book" by Harold Payson for reference. There are different versions of the Dory, Clam, Banks, etc.., which did not have a standard color scheme. So, if you are building a working Dory or recreational version your choice of paint color is open. Consider the color scheme of the Midwest Sea Bright Dory Lifeboat (I built that as well), sometimes a combination of bright colors with white makes the model stand out.
-
No matter which method you use (trial and error) I find doing ratlines is a "mind set". It's a slow tedious time-consuming process!
-
Excellent work on the weathering.
-
Nice job, exceptional finish work.
- AJohnson, Ryland Craze and robert952
-
 3
3
-
-
-
Similar to you I decided to take a break from another build. In my case I relocated which meant setting up a new work area and all the hassles involved in moving. When I got settled, I found I lost momentum with my Kate Cory build and decided to work on something "simpler" to get back in the game. I decided on an older Model Shipways Harriet Lane solid hull, 1/144 scale kit. I'm often wondering what I was thinking. Can't comment on the 1/96 scale kit but with regards to the cannon fit, it is very important to make sure the bulwarks are the correct height from the deck to accommodate the cannons before adding the decking and rail. Sounds basic but I decided to put a couple of cannons in place to ensure they fit correctly before gluing the decking. Mine did not fit properly and I had to decide to remove more of the wood hull/deck or build up the bulwark. I decided to lower the deck.
-
-
-
FYI, you may find it helpful to remove the laser burn before assembling, especially on parts that will be painted. It's more difficult to paint over the laser burn and get color consistency.
- robert952 and Ryland Craze
-
 2
2
-
Arda, yes, the Model Shipways instructions are easier to follow. Also, have many useful tips. One key distinction between the kits is the construction of oars. If you go with the model shipways build, consider an alternative to their oars. The Bluejacket kit uses the more traditional model builder styles versus simply shaping the laser piece. Here's a photo as an example.
- thibaultron, Arda, Ryland Craze and 3 others
-
 6
6
-
I built the Bluejacket and Model Shipways kits, both fine kits but different scales. Depending on your skill level, the Model Shipways kit is an easier build. Vast difference in Instruction detail.
- thibaultron, mtaylor and SiriusVoyager
-
 3
3
-
-
-
These kits are new, opened once, available for local pickup within a reasonable distance from Rehoboth Beach, Delaware. Price is negotiable, will sell individually.
Kits were owned by an avid ship modeler who passed away recently. Proceeds will be donated to the Rehoboth Beach Senior Center.
- thibaultron, MBerg, ccoyle and 1 other
-
 4
4
-
-
The process I follow is to glue then paint. I use an airbrush, paint the hull and then mask off the items to be painted a different color. Tamiya has a good product line of masking tape which I use.
-
I've used an older version of the Harbor Freight scroll saw to scratch build RC airplane frames, similar build concept to model ship building. After some practice I found it to be an excellent tool.
- robert952, Ryland Craze, Canute and 1 other
-
 4
4
-
I've removed paint from plastic kits by just soaking in Windex. I use a small plastic storage bin with a lid, paint usually will peel off. Used an old toothbrush on the stubborn paint.
- mtaylor, Snug Harbor Johnny and Canute
-
 2
2
-
 1
1
-



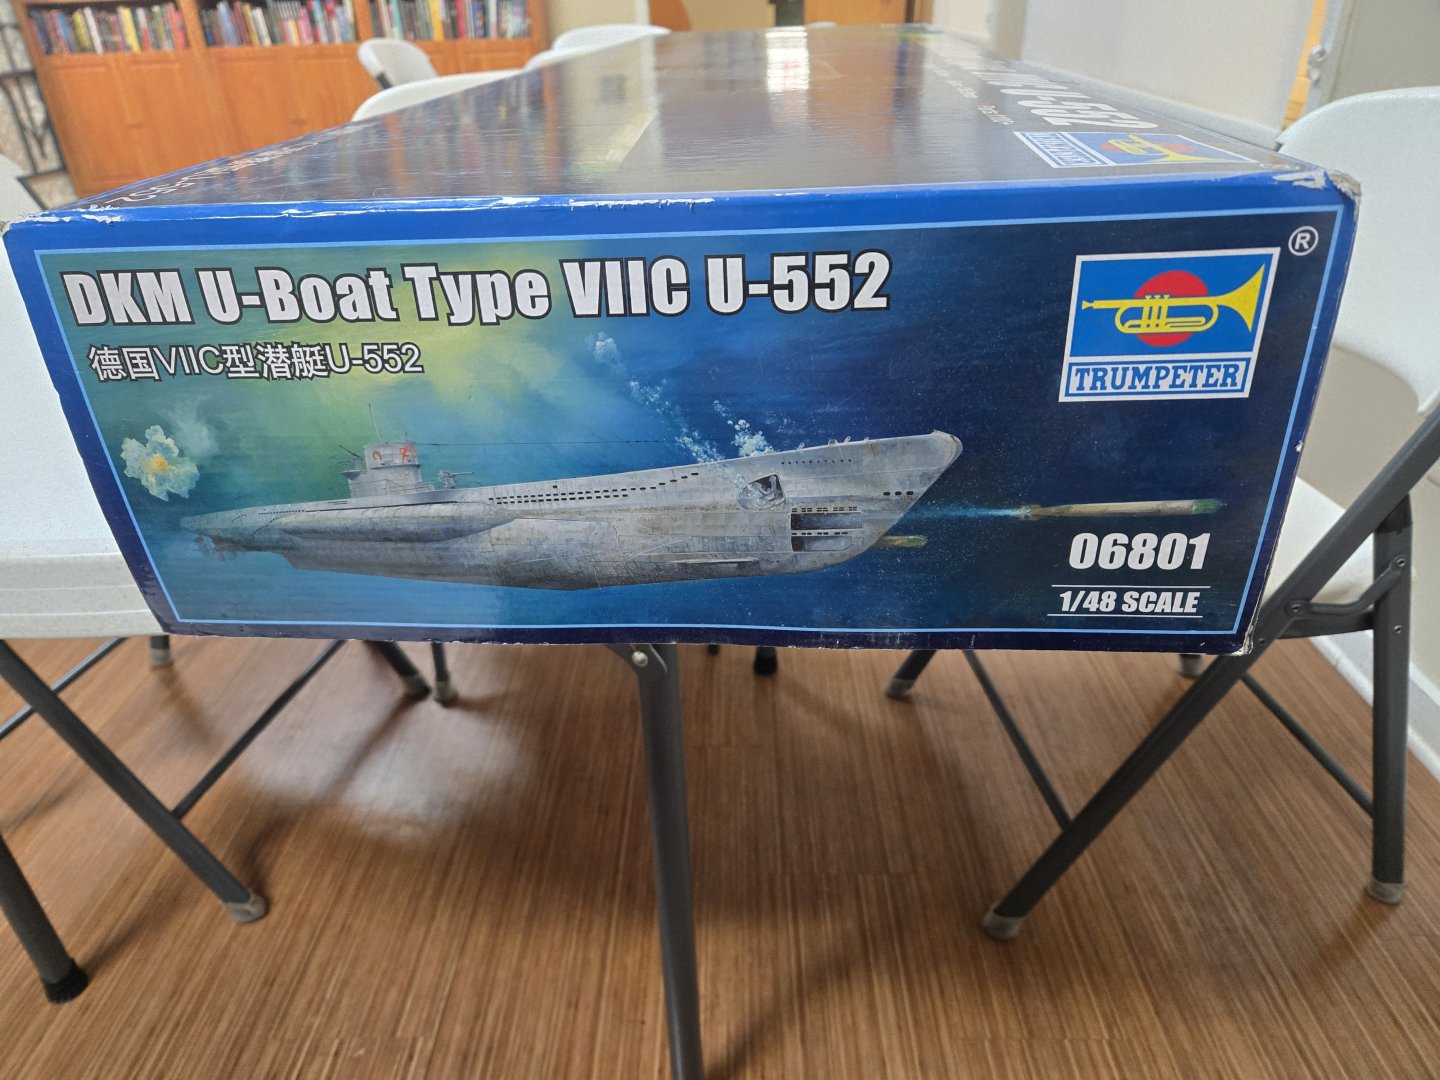
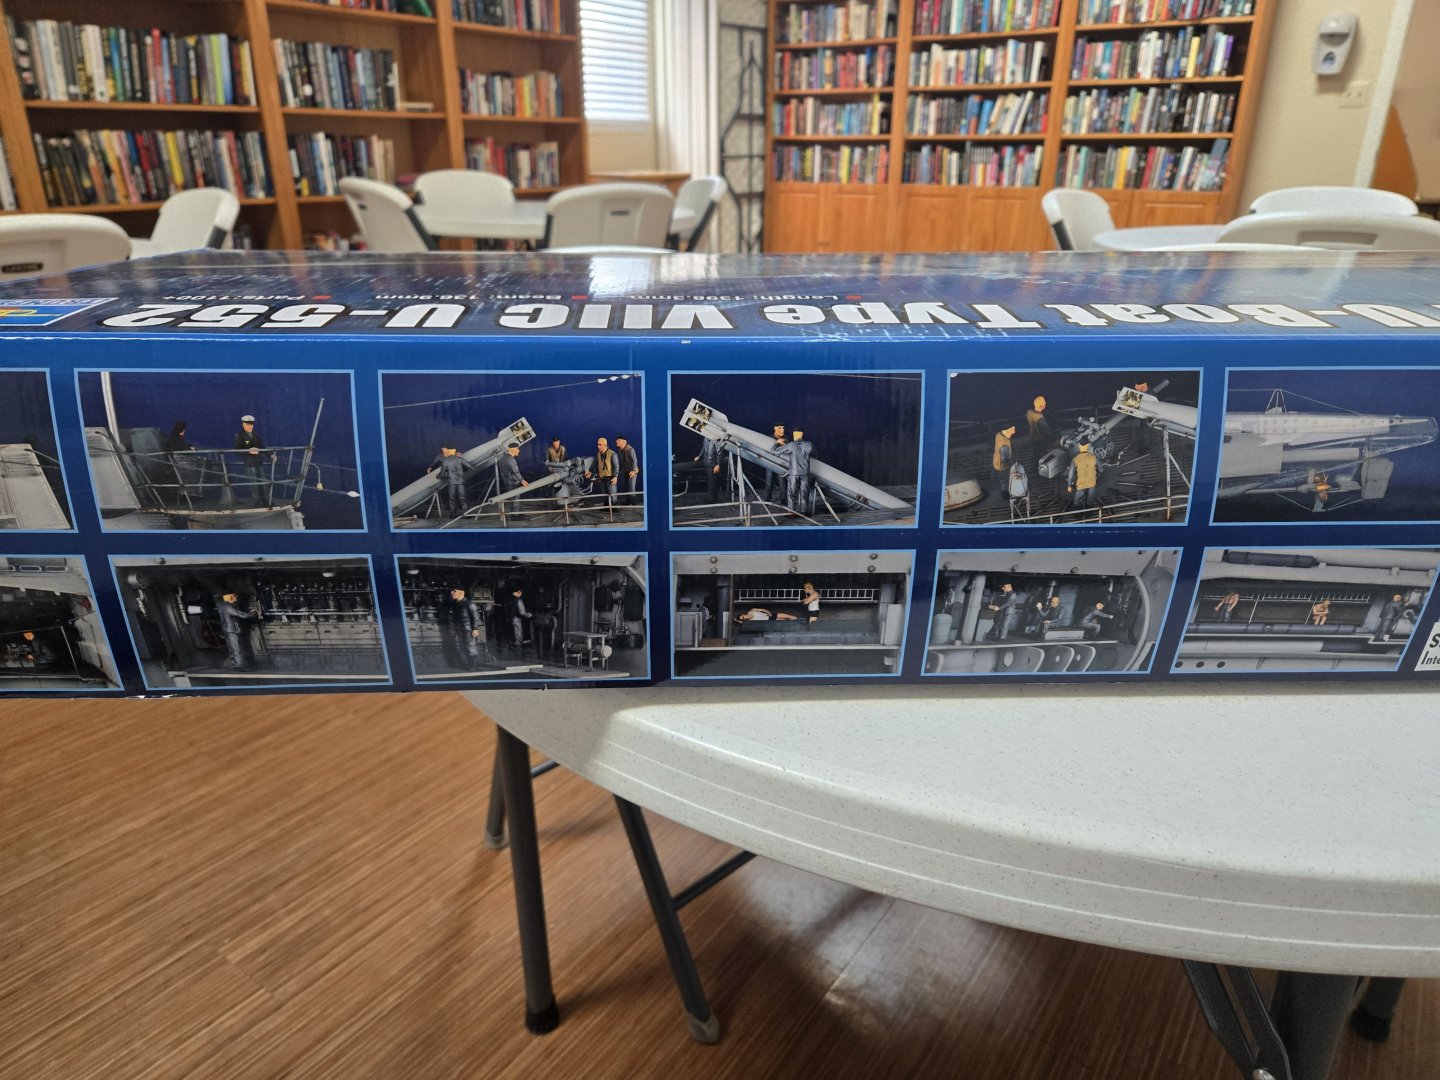
Lowell Grand Banks Dory by Venti - FINISHED - Model Shipways - 1:24
in - Kit build logs for subjects built from 1851 - 1900
Posted
For a first build, very impressive! Just a suggestion, as you progress, consider removing the laser burn and sand flat surfaces flush.
Good luck.