


src
-
Posts
2,300 -
Joined
-
Last visited
Content Type
Profiles
Forums
Gallery
Events
Posts posted by src
-
-
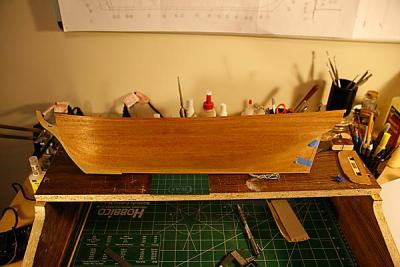
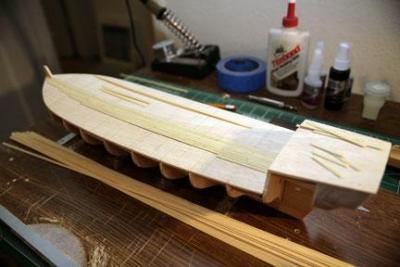
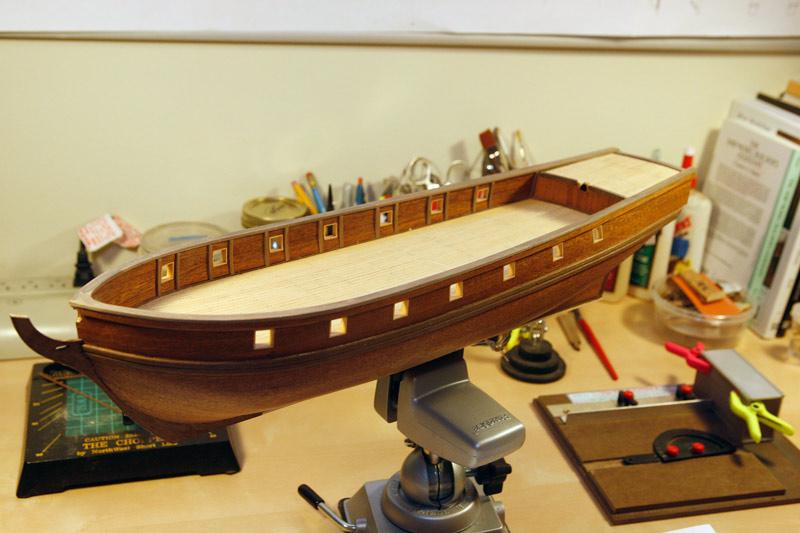
A quick update to where I am at the moment.
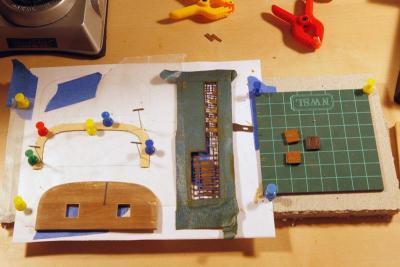
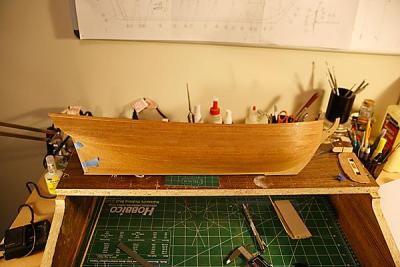
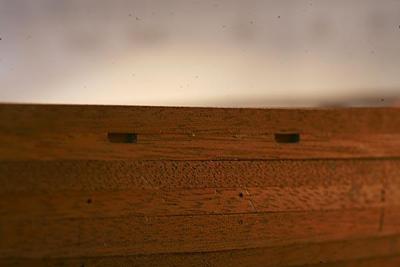
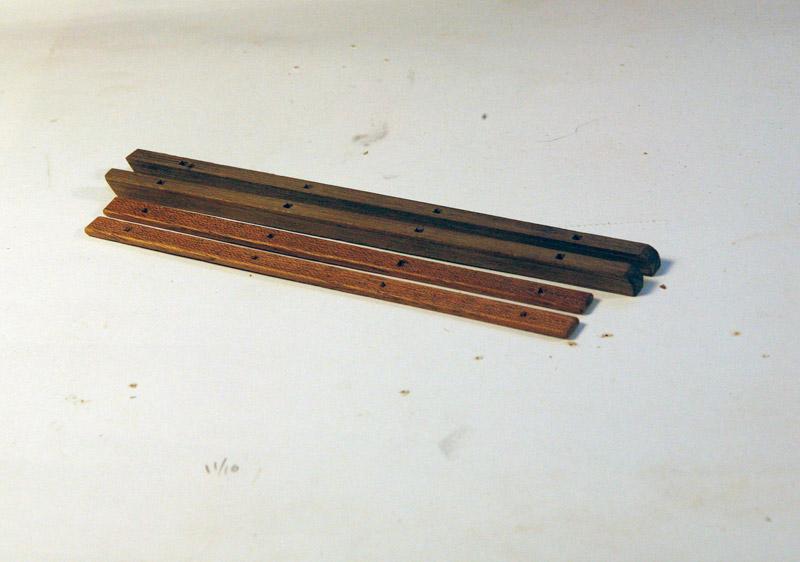
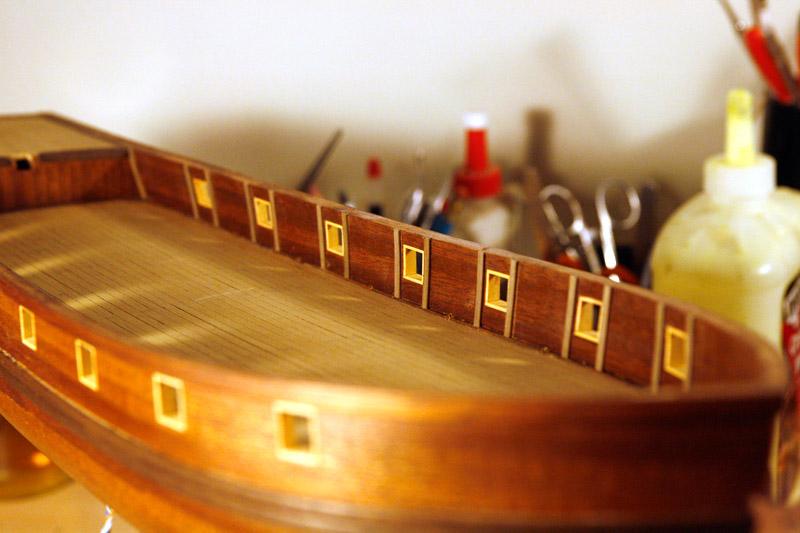
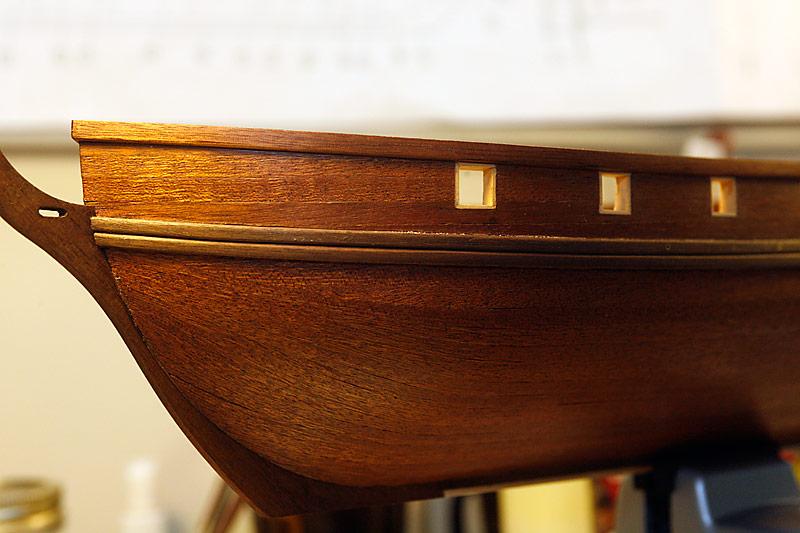
I have stripped the stern ring off like i mentioned in an earlier post. Cut out for the gun ports, started new ports based on information provided by Russ(?) I dont recall whose input it was at the moment, if it was not Russ, i apologize. Late last year while I was waiting for replacement lumber I started playing with photo etching. The plate and one of the rough port hinges is there also. The rough hinge is laying on the transom. Its long to give me room to experiment with bending and fitting. I only need four plus there are more on my first attempt so I should be able to get 4 good ones plus the other half of the knuckle to mount it to the transom. Also in the picture is the window frames that I plan on using to replace the Gallery windows and the door
That is about it for now. Hope to get some work done over the next few days. Work and guests are going to affect that but I hope to get a couple of hours in this week.
Sam
-
Rich,
Good to see you back. She is coming along nicely. At this rate I will be following in your footsteps!! I know what you mean about the gun ports, if I had to do it over I think I would try to frame them in as I planked.
Sam
-
Russ,
Good to see you back. That is some tiny carving! I think my eyes would have fallen out. Nice!
Thanks for reposting this. I would never ask for the circumstances that required it, but I am kind of enjoying all the "Reader Digest Condensed" versions of f the couple of build logs I have had a chance to look at.
Sam
-
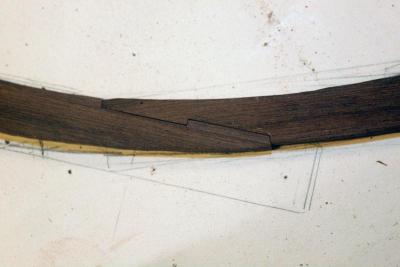
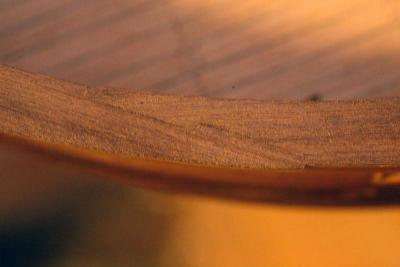
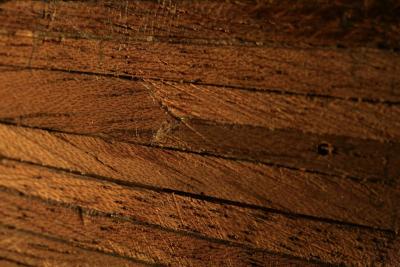
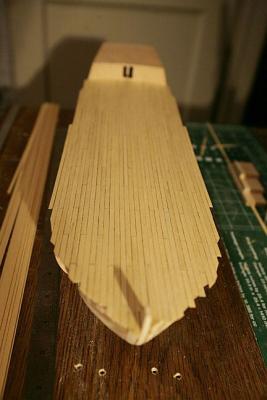
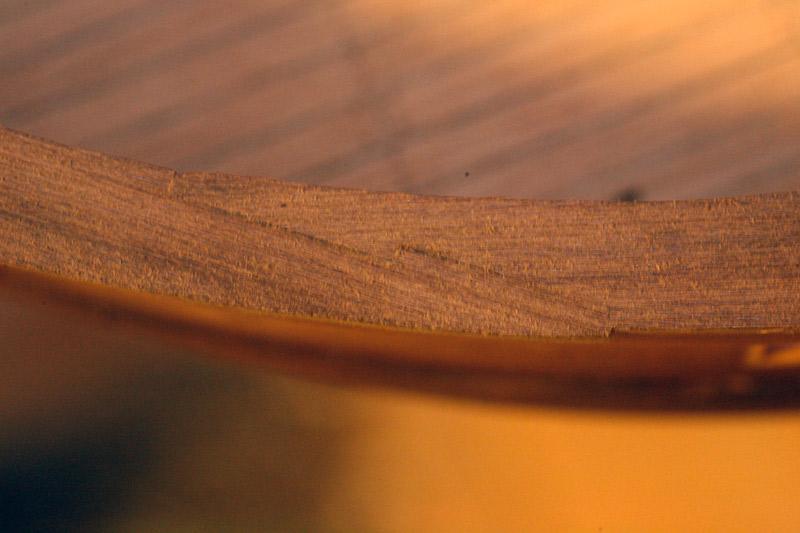
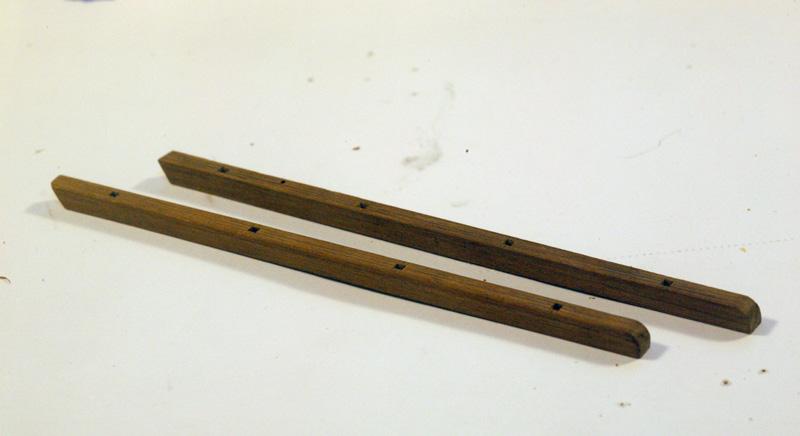
Sometime before I did the gunports I noticed a slight situation. The instructions called for the cap rail to be made from three pieces of 2x2mm manzonia laid edge to edge to create a 2x6mm rail. Unfortunately the material they supplied was so mismatched that i really felt that I would not be happy with the result. I ordered some manzonia to make a more traditional scarfed joint cap rail. (I also had to order some boxwood to line the gun ports with since I had kind of screwed up my hull thickness and curve.)
Cap rails were formed and installed
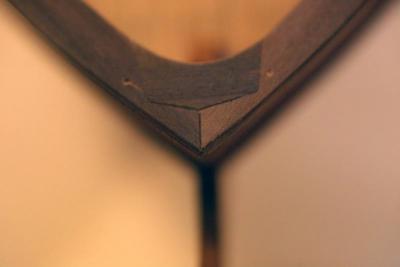

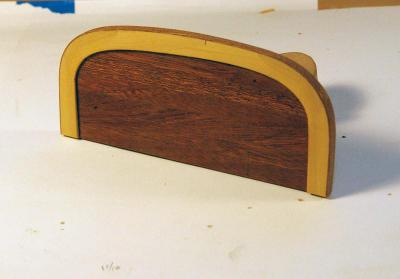
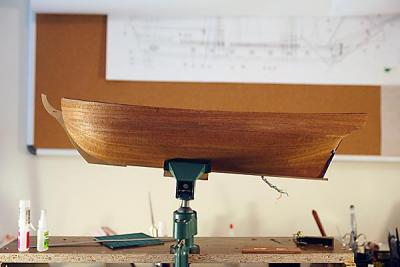
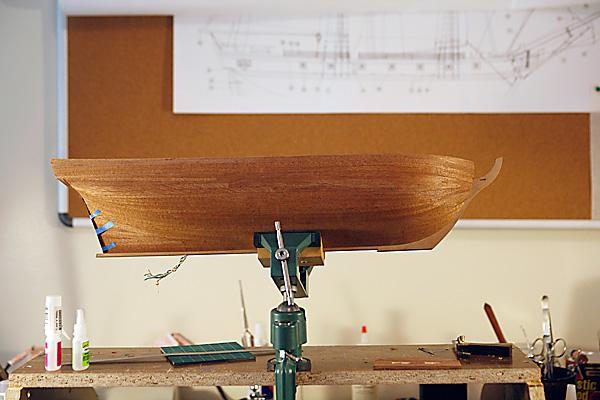
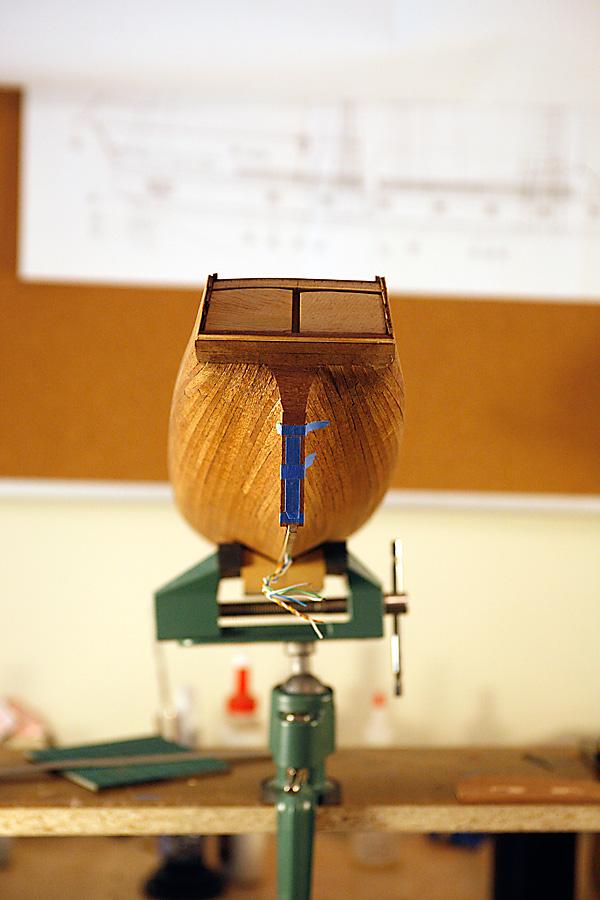
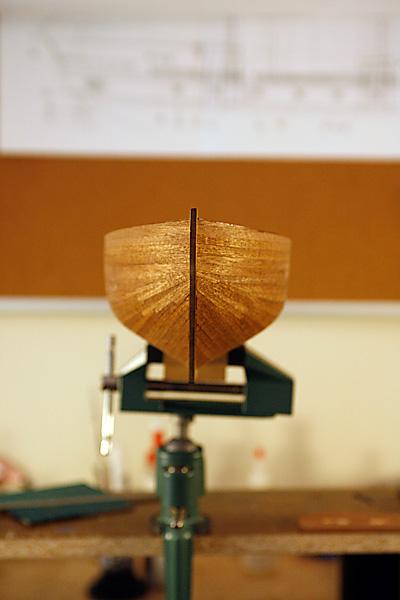
I built the transom but was not happy with the way the band of mahogany looked laid over the boxwood stern ring. As of right now I have stripped that and am in the process of rebuilding the stern ring. Pictures to follow
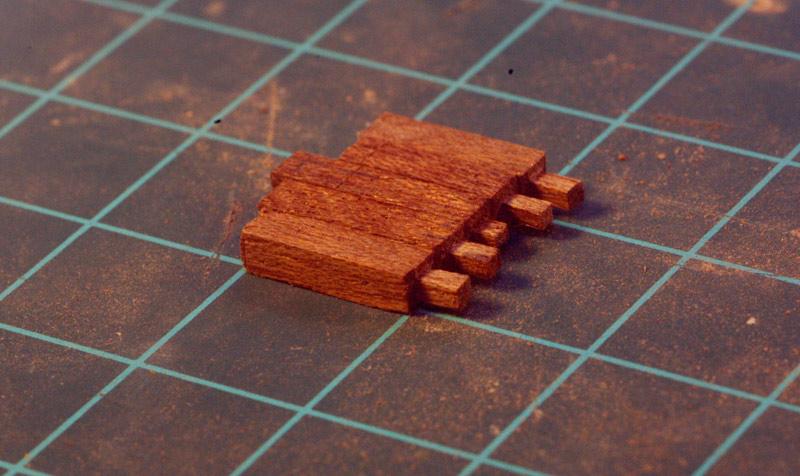
I have also stated in on the poop rails. I was having problems making the little tiny tennons required for the stanchions out of mahogany by hand, just couldnt keep them consistent. I think with a finer grain wood I could do it. since I am somewhat stuck with mahogany I bought a router base for my dremmel tool, we will see how that works out.

That is about where I am at the moment. There has been very little progress in the last few weeks cause of work. That should end in the next week or two and I can get back to work.
Comments, suggestions and constructive criticism alway welcome.
Sam
-
At about this time based on my picture dates I meet my Future Admiral (FA). As sometimes happens a new relationship takes over your life, I finally finished planking the hull in August of 2012.


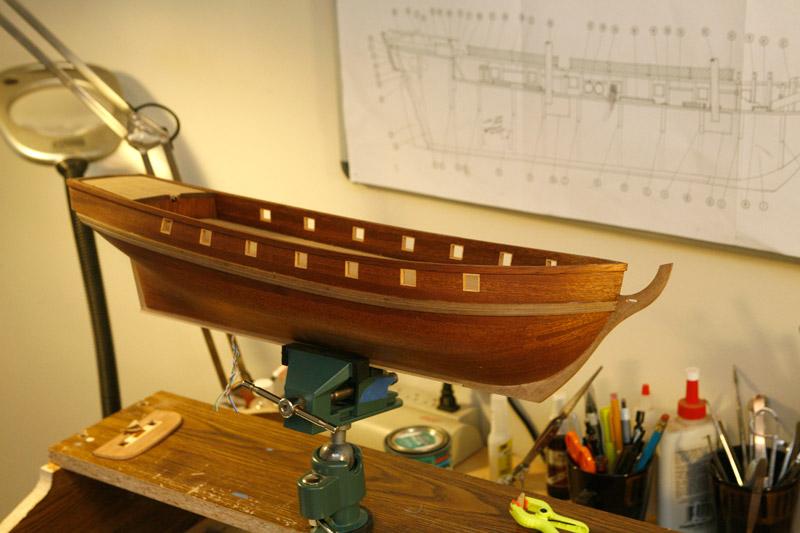
Wales were next
Then gunports


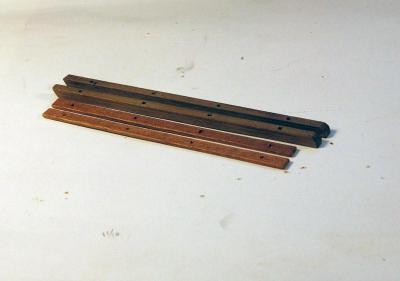
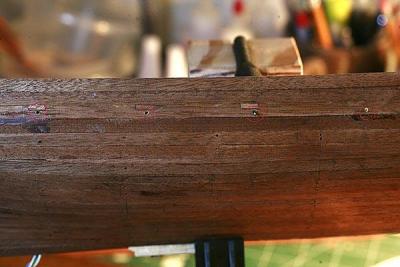
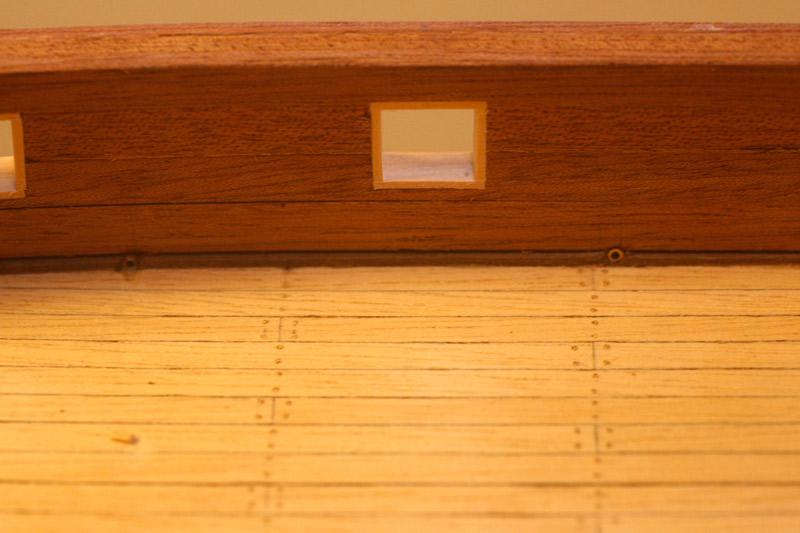
Final installation of the scuppers

Finally some stain


-
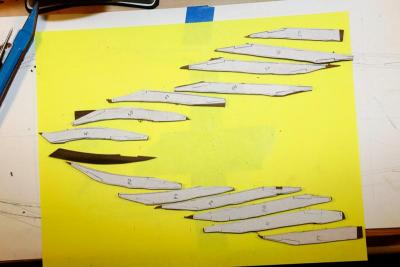
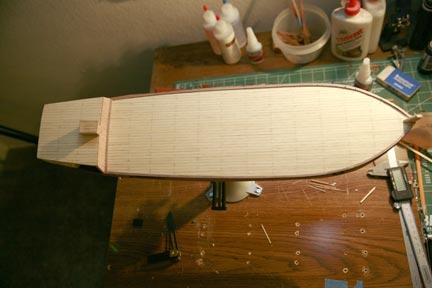
After the lights came the lay out for the planking
Then the dreaded first planking. My plan was to try to do my first plank as the finish plank knowing I could alway do a second plank if I screwed it up. I quickly found that a second plank would be necessary.

Waterways were next


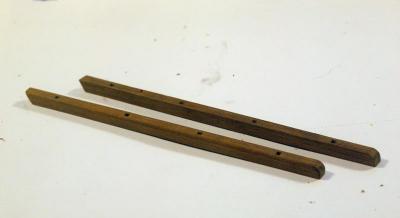
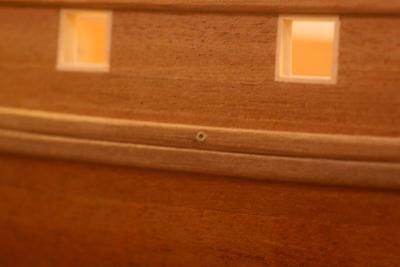
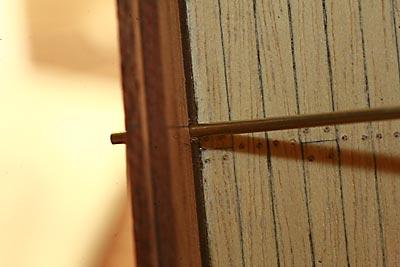
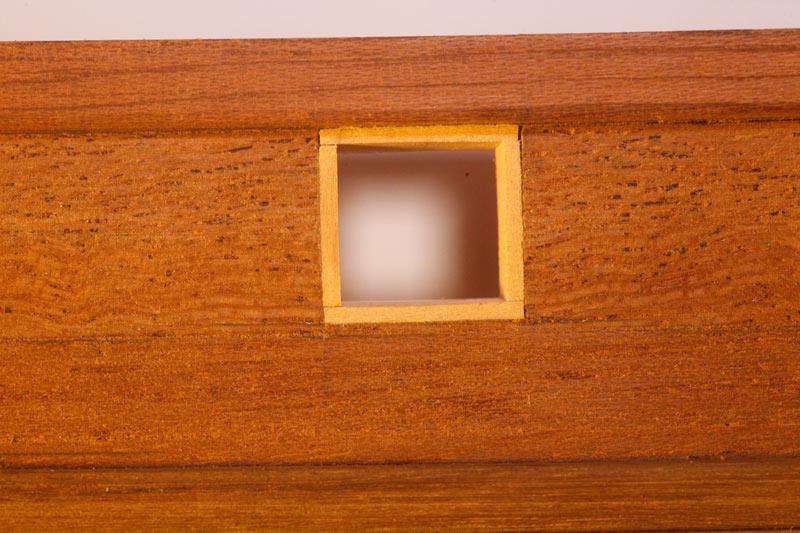
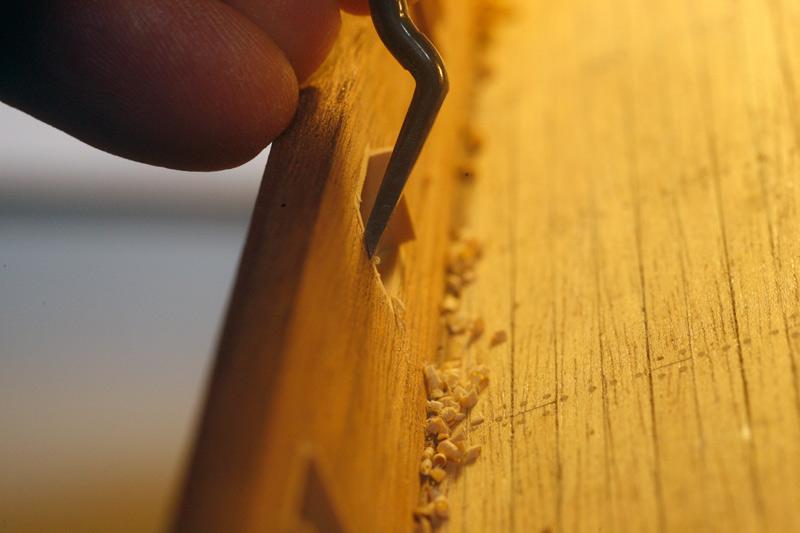
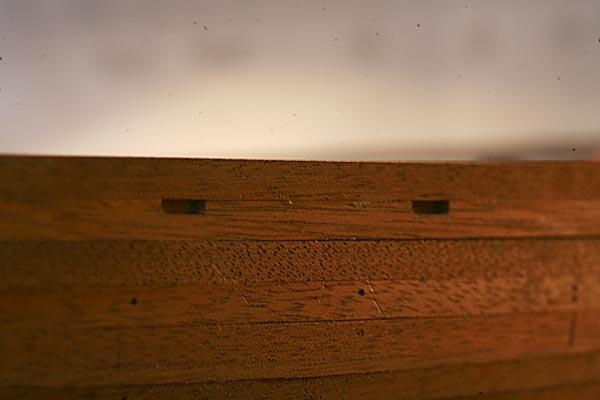
Then per the instructions were the scuppers.

At this point Russ pointed out that the scuppers were wrong for this type of ship and recommended a more correct style. A back and forth exchange ensued as well as some brainstorming on my end to figure out how to do what was needed

-
I originally started this build when I was unemployed. It looked like a great way to keep my sanity while looking for a job a=in a really tough marketplace. I bought the Enterprise without much thought as to what it would take to build in the way of tools and time. It was May 6 2009 when I laid the false keel. Right after that I was rehired at my old company where we build theme park attractions. There have been many starts and stops due to work, but I have managed to keep a steady if not slow progress.
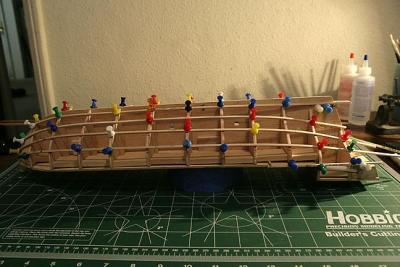
I started with the usual fitting up of bulkheads
Then the deck planking
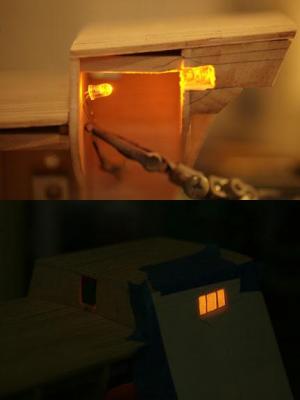
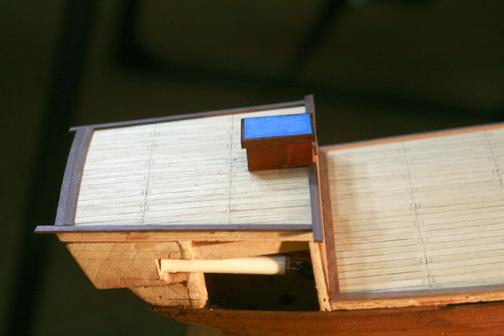
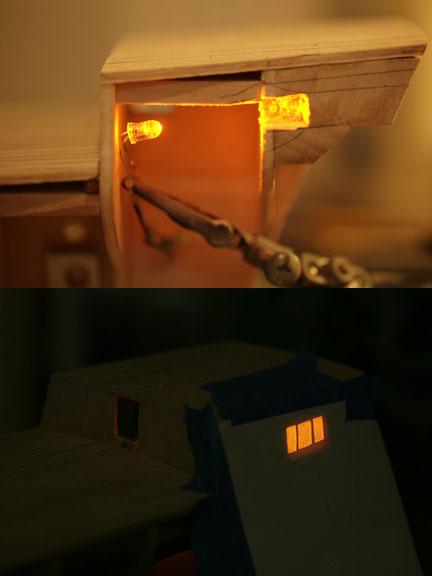
Then I got the idea to light the captains cabin
More to follow
- Aussie048, Vivian Galad, Burroak and 3 others
-
 6
6
-
-
Rich, Carl,
Yeper! Cant get rid of me THAT easy!!! I am like a bad penny, delete me and I just come right back.
Ahhh work..... That nasty four letter word. Today was 14 hours, tomorrow the same most likely, then the fun starts!.
Hopefully Monday I can go through some of the pictures I have from my build log and can do a real brief post to bring everything up to date. For now just a "here is where I am at picture"
-
Edit 03/25/2020
I have been very humbled to hear of several new builders of this kit mention this build log as a reference. thank you, I hope it helps you out. That being said, at some point I threw the instructions away and began using Lees Masting and Rigging as well as Antscheral Fully Framed as inspiration and guidance. There are most likely many details that are incorrect for the ship. I used the building experience more to learn techniques to build a model I was satisfied with visually rather than an historically correct museum build.
So, carry on and enjoy!!
Well..... where to start?? Unfortunate about the hard drive crash. I guess Murphy lives around every corner. And to think I was going to save my build log before the change...... It could be worse, MSW could be gone forever or my actual build could be gone forever.
I am working ridiculous hours at work, sometime in the next week I will get a couple of pictures up and start posting again.
One thing I see that I love already.... SPELL CHECK!!!!
 Woo Hooo!
Ok back with a real post soon.
Sam


 Right now its off to bed
Enterprise by src - Constructo - 1:51 - or Lessons in Adapt Improvise and Overcome
in - Kit build logs for subjects built from 1751 - 1800
Posted
Sarah, Thank you!! Outside of the mahogany for the planking and the somewhat obscure instructions its not a bad kit although since this is my first wooden ship model I may not be in the best position to judge kit quality. In my opinion a heavy open grain wood like mahogany is not really suited to this kind of work. It can be great for building furniture but is too splintery/grainy for this kind of work. If I had to do it again I would get some new planking material. Just my thoughts.
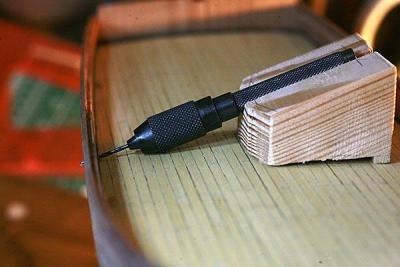
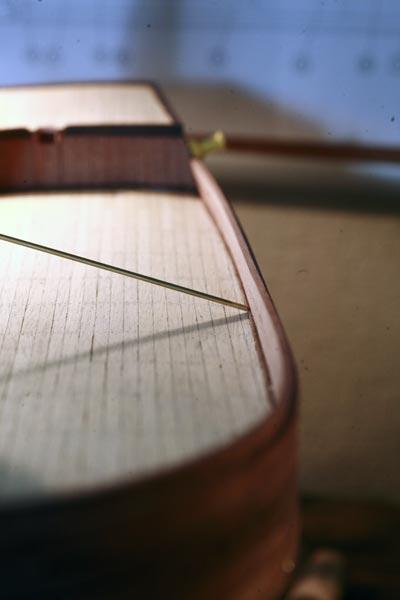
Carl, thanks! The drill jig was a head scratcher for me, the scuppers had to enter and exit in just the right spot. Its not really noticeable in the pictures but even with the jig I missed on a couple. Still I am pleased with how they came out.
Sam