HOLIDAY DONATION DRIVE - SUPPORT MSW - DO YOUR PART TO KEEP THIS GREAT FORUM GOING! (Only 24 donations so far out of 49,000 members - C'mon guys!)
×


Dsmith20639
-
Posts
254 -
Joined
-
Last visited
Content Type
Profiles
Forums
Gallery
Events
Everything posted by Dsmith20639
-
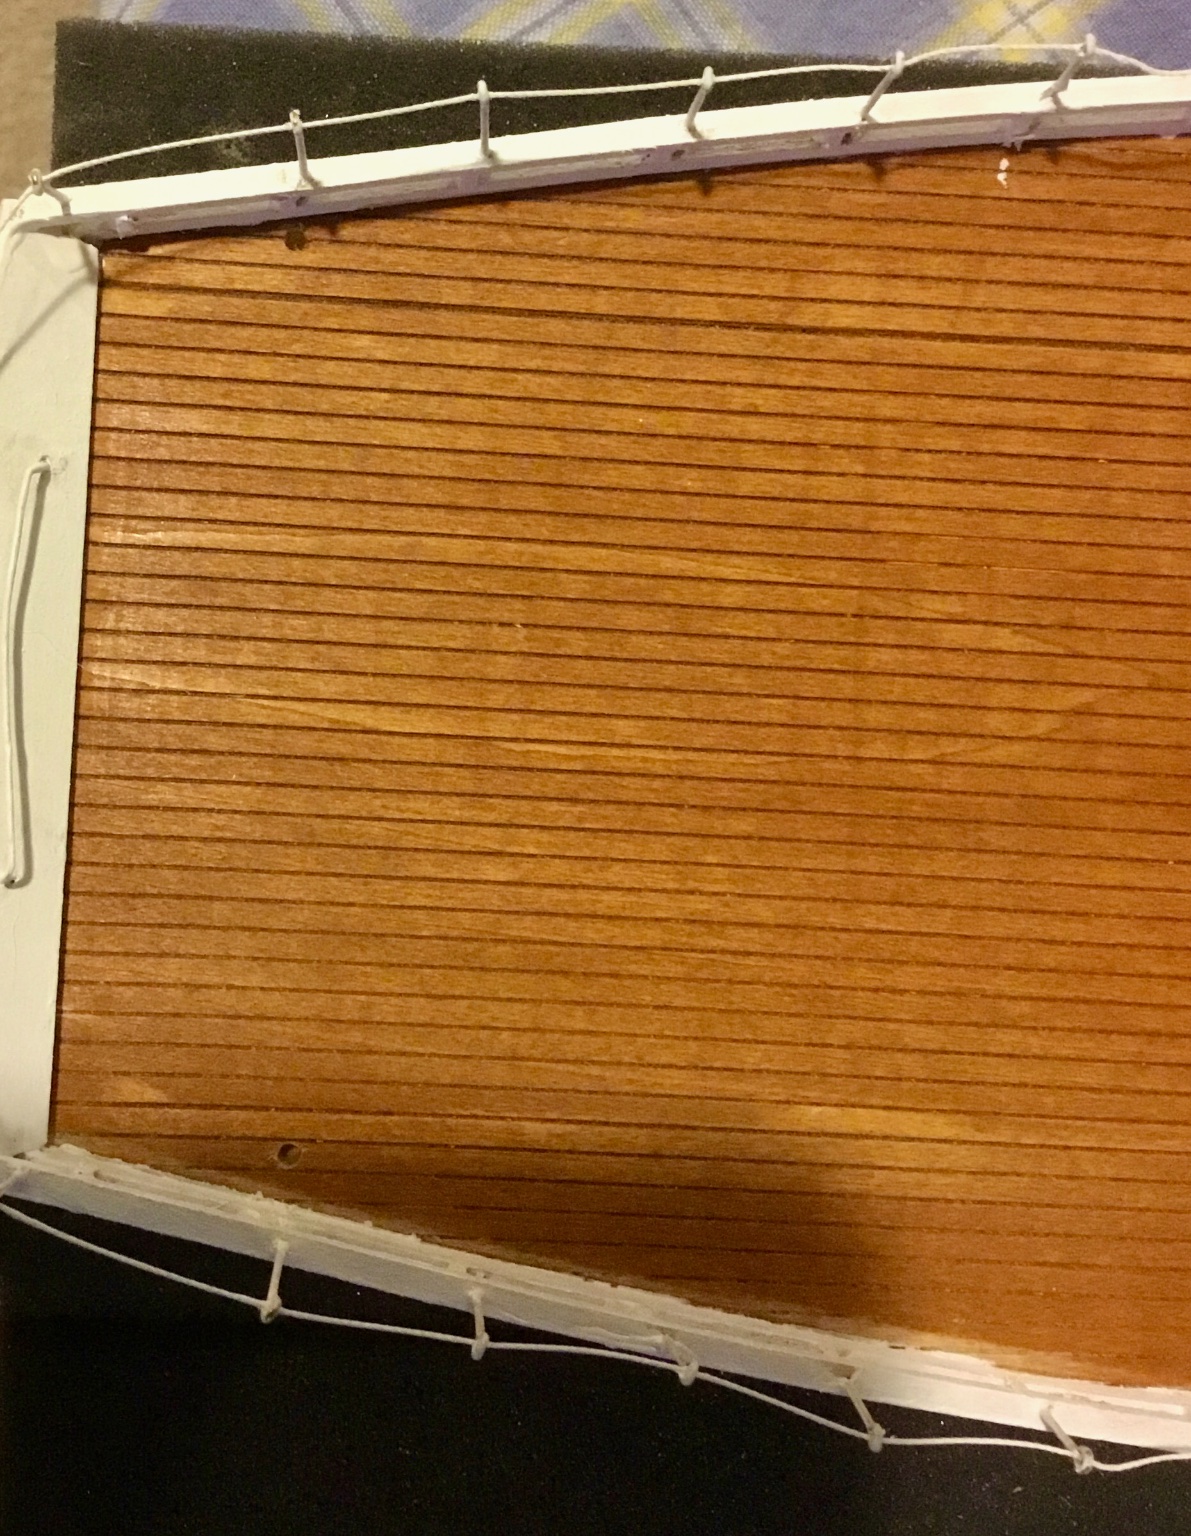
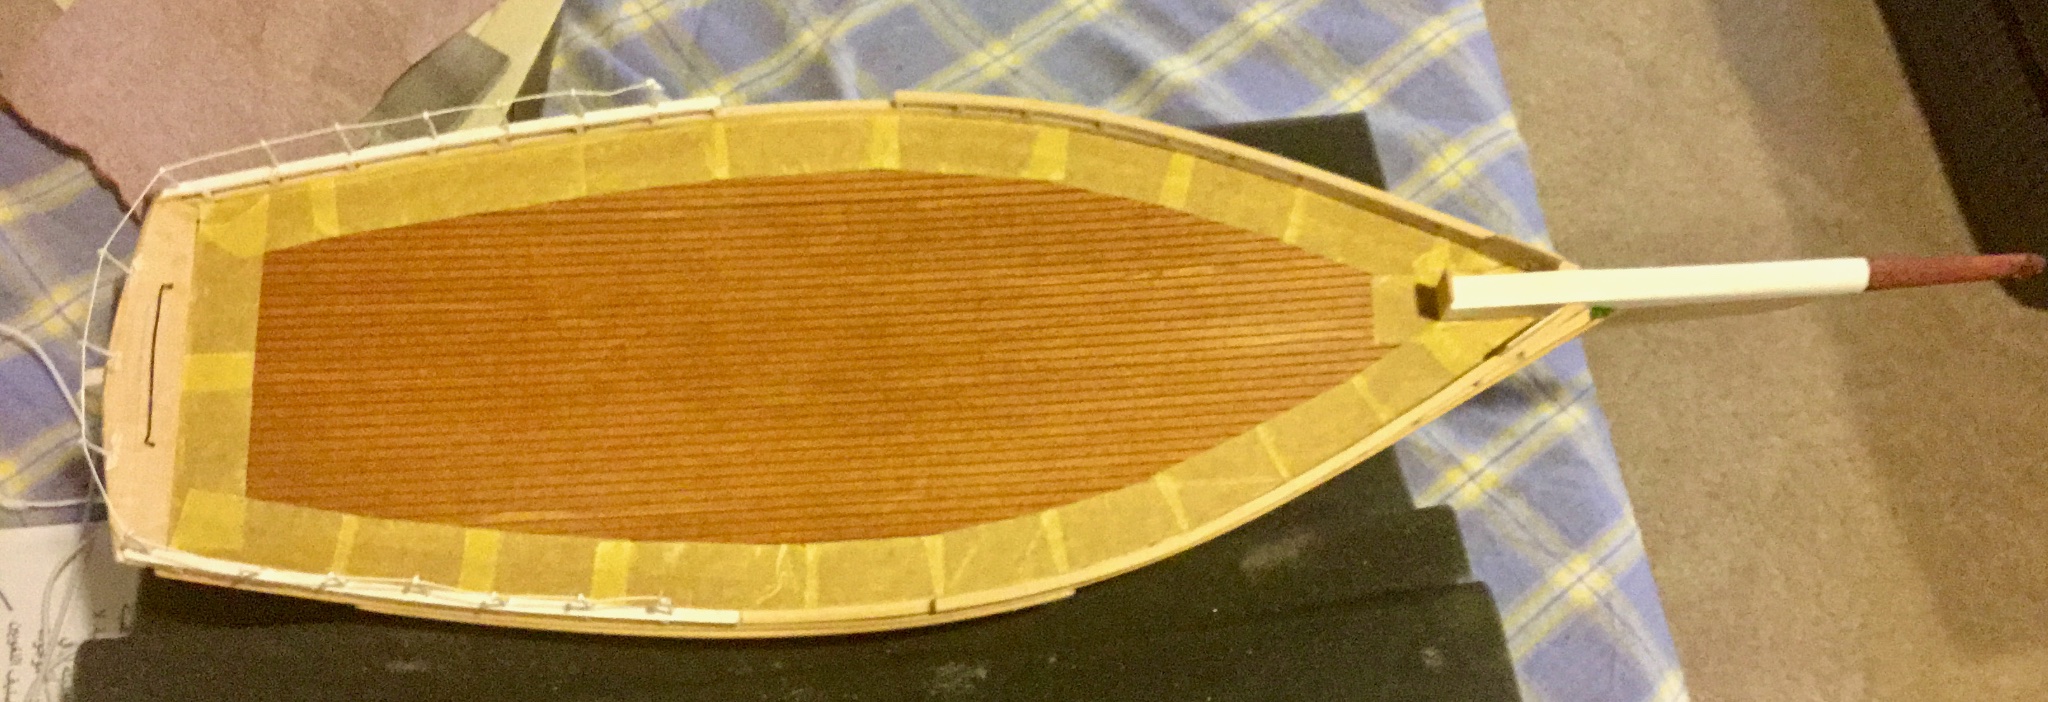
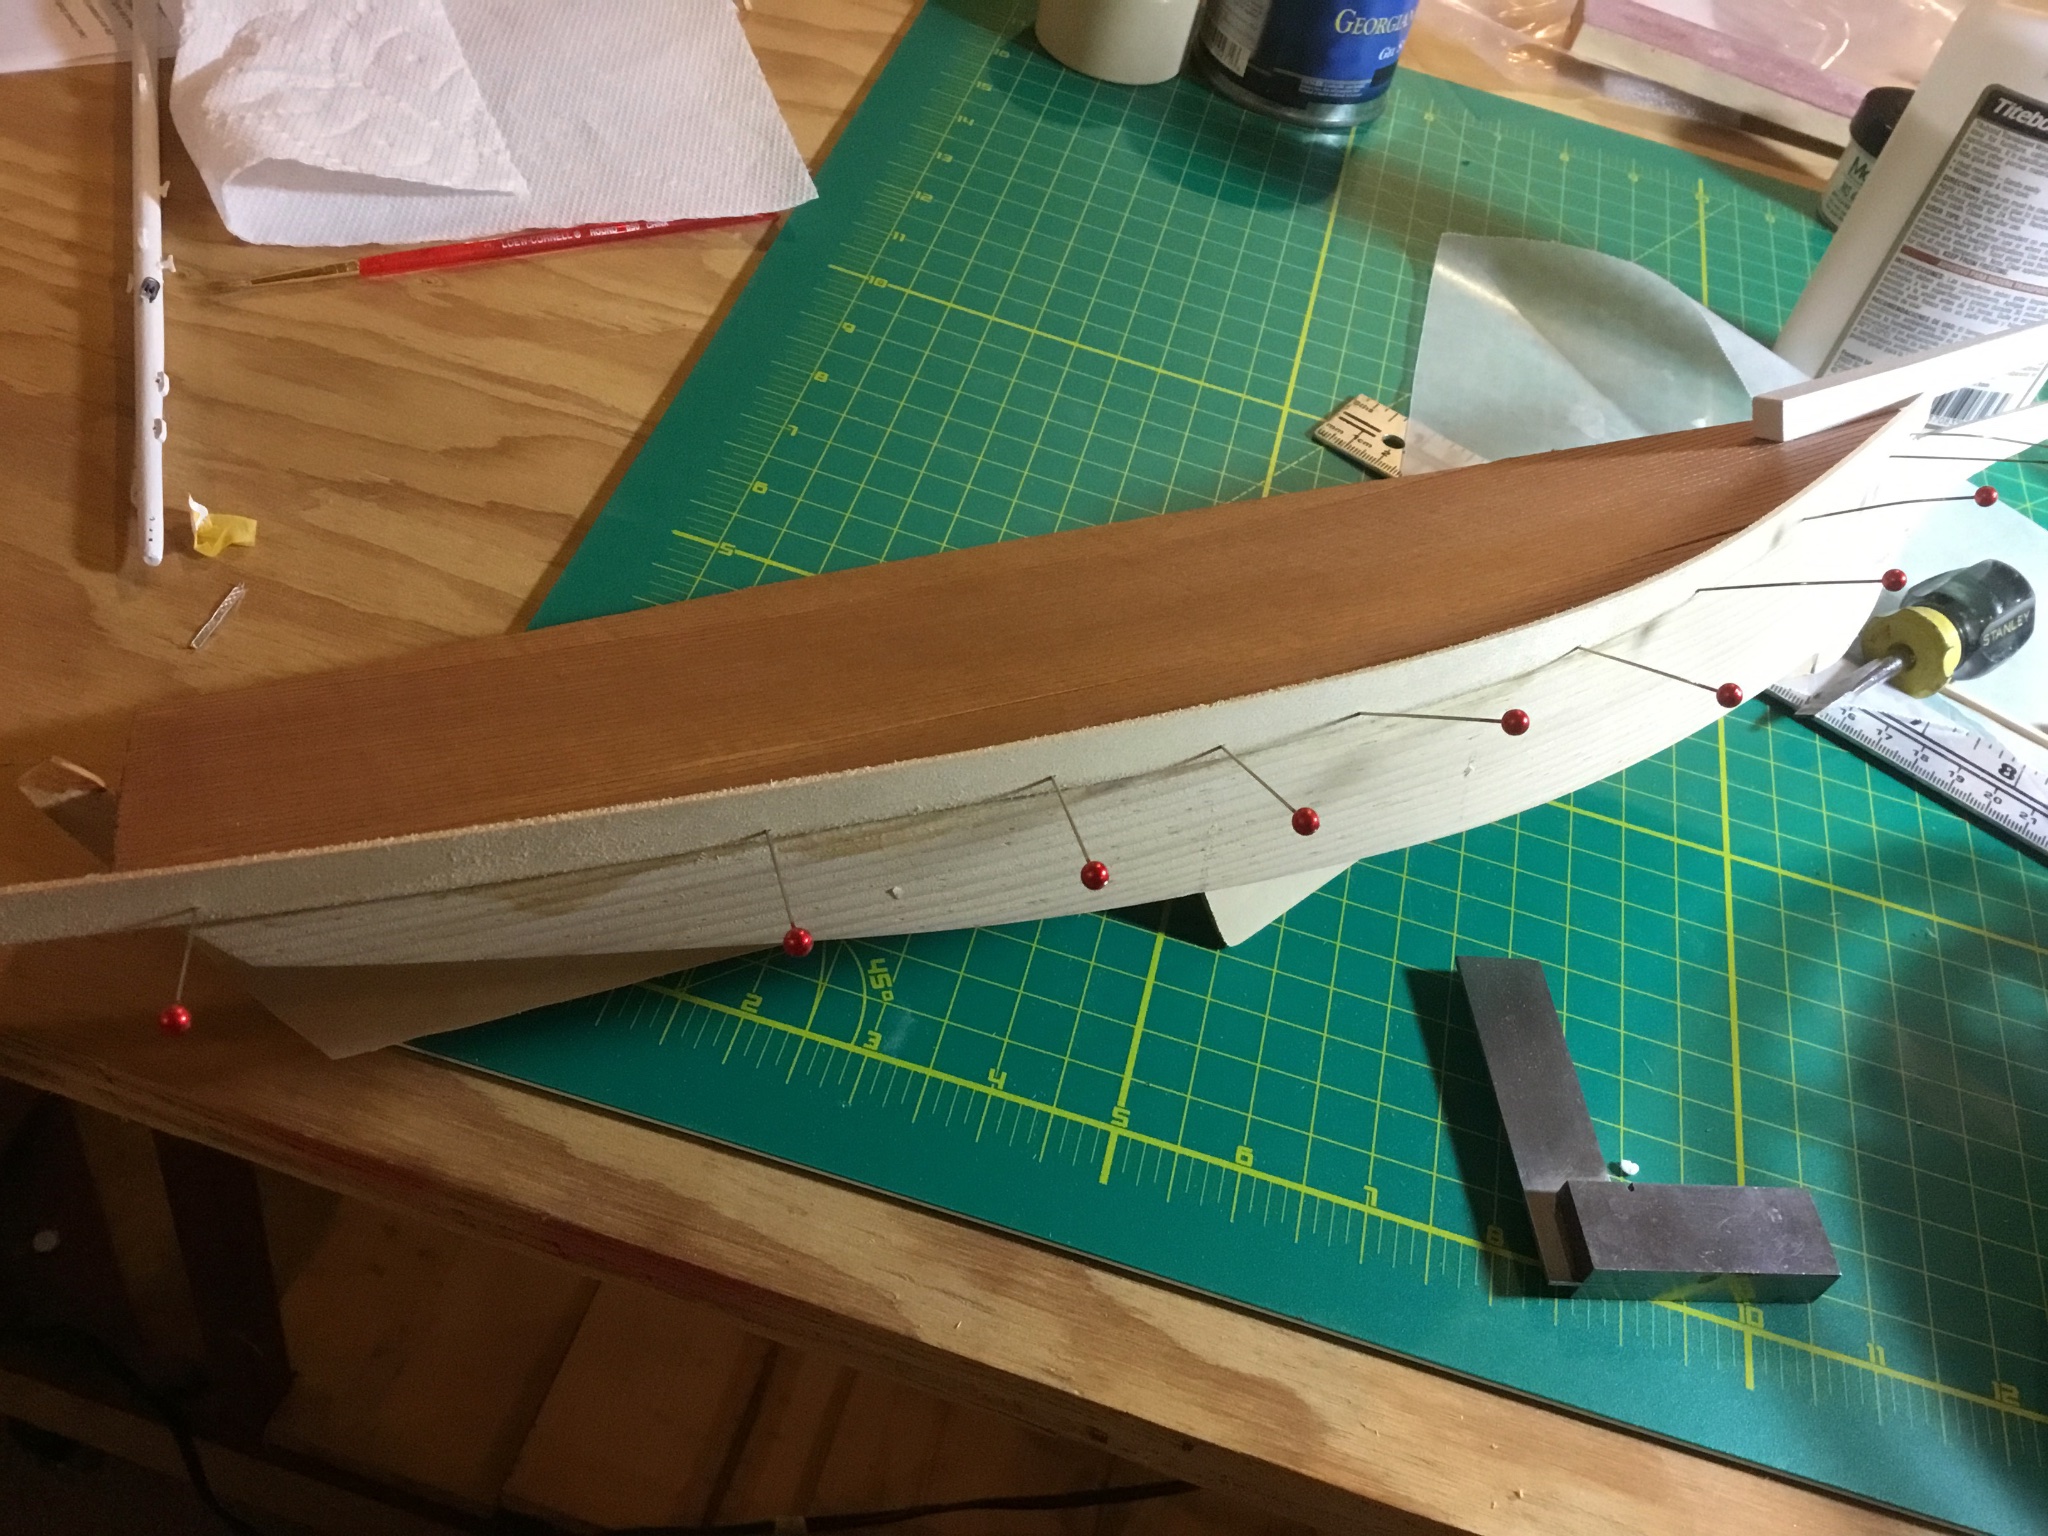
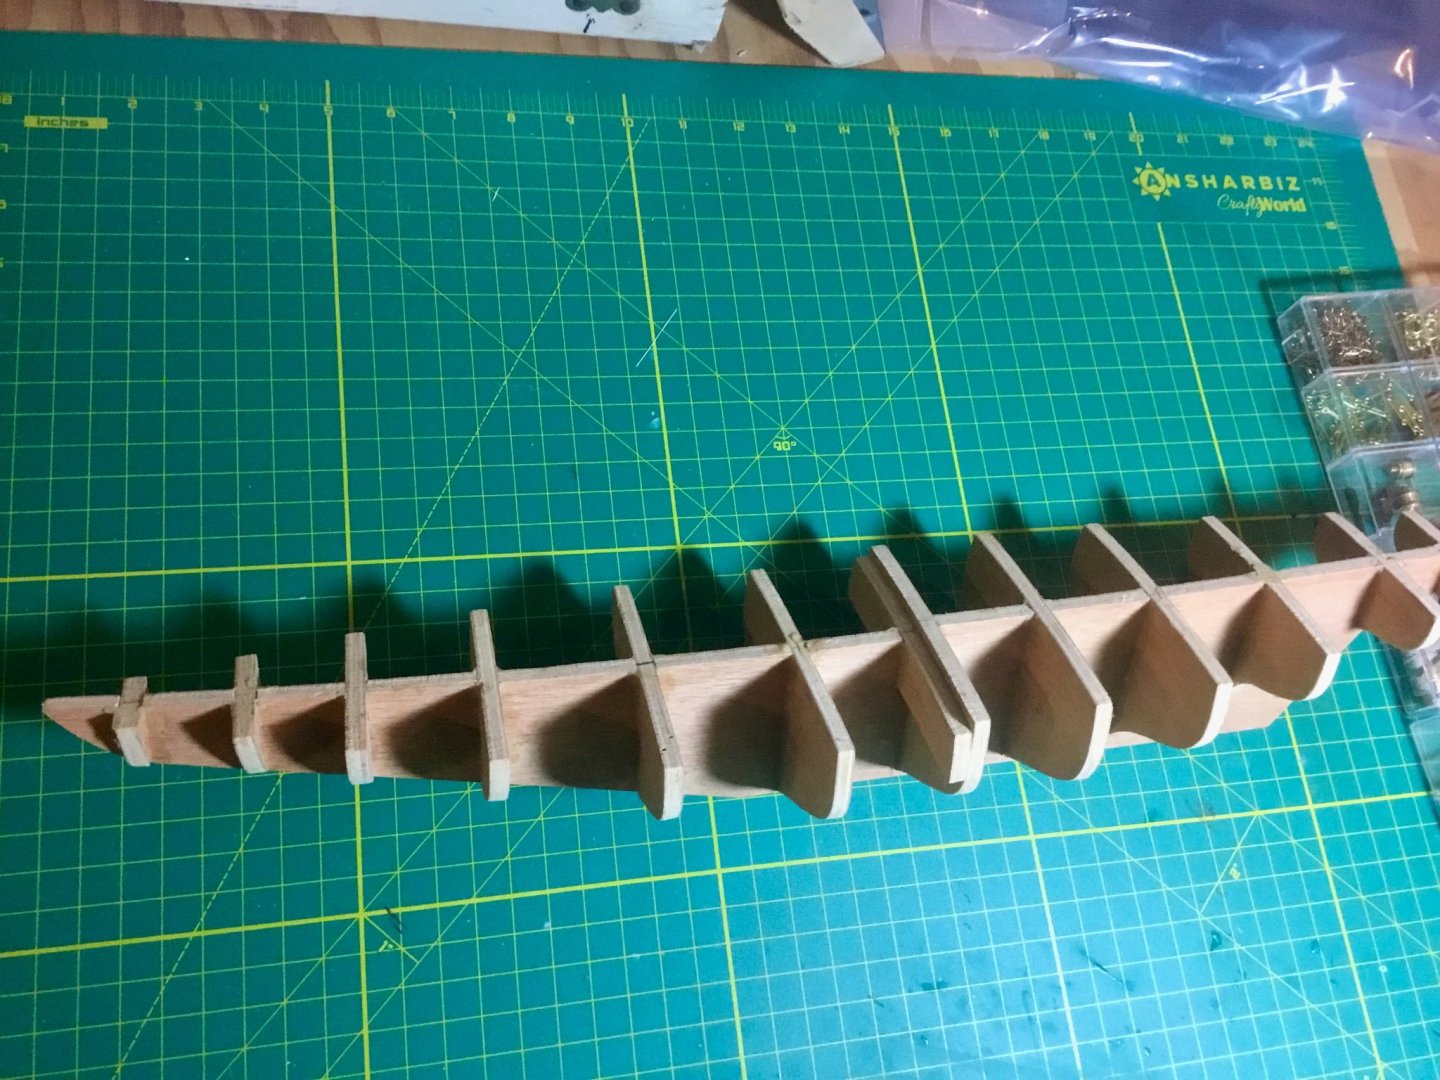
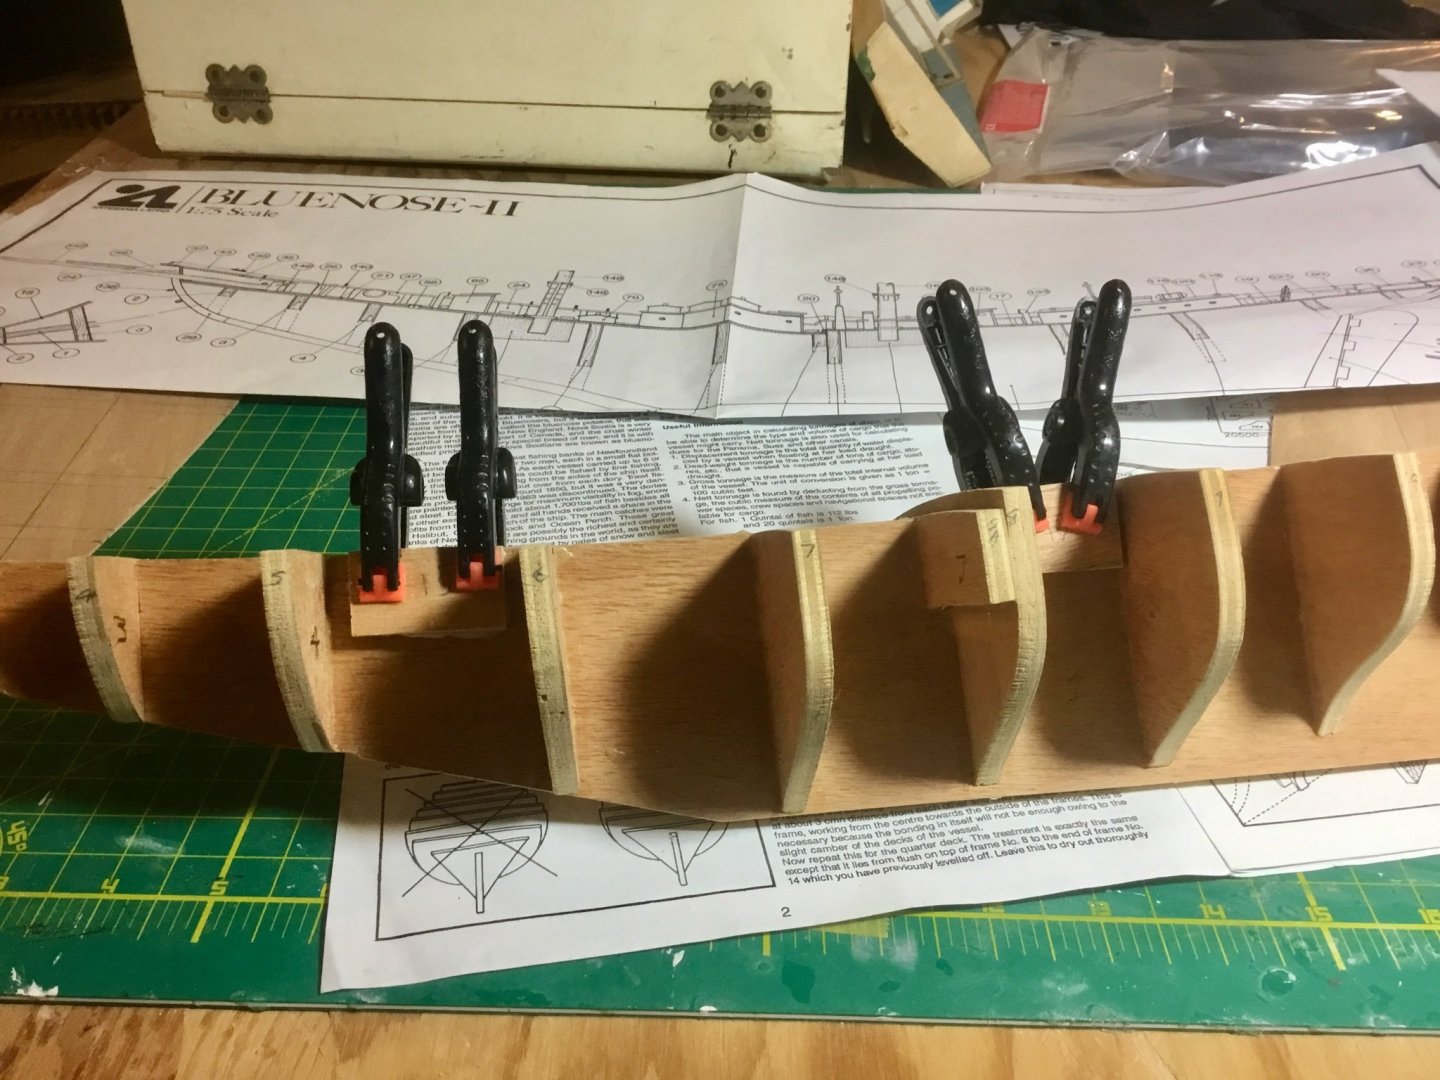
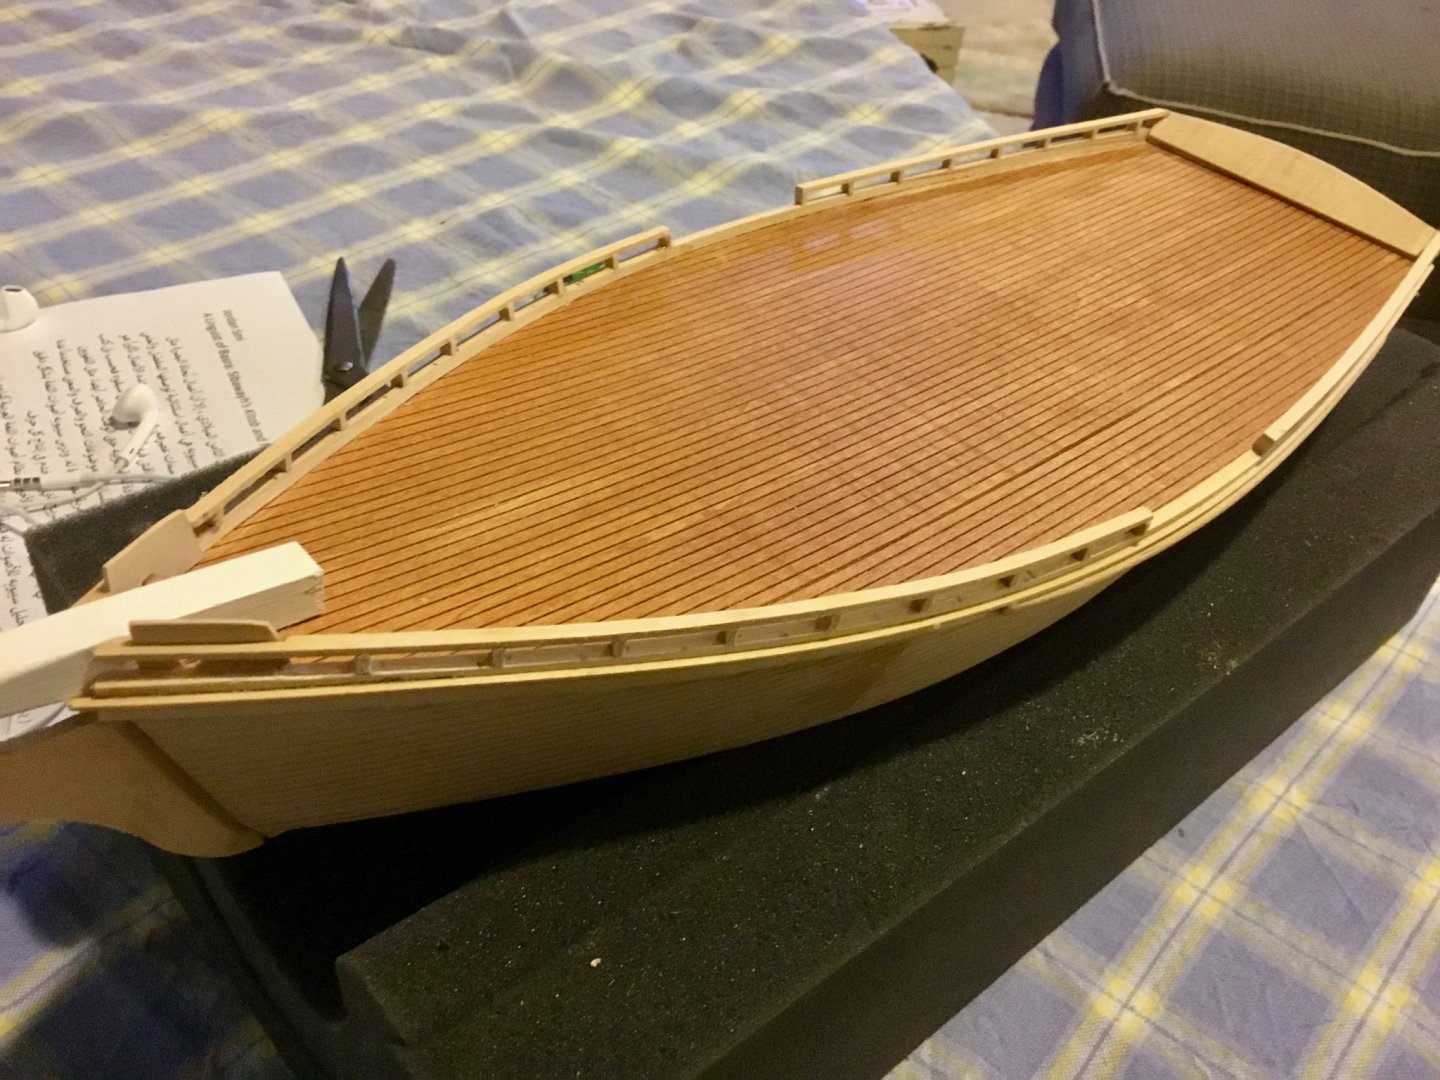
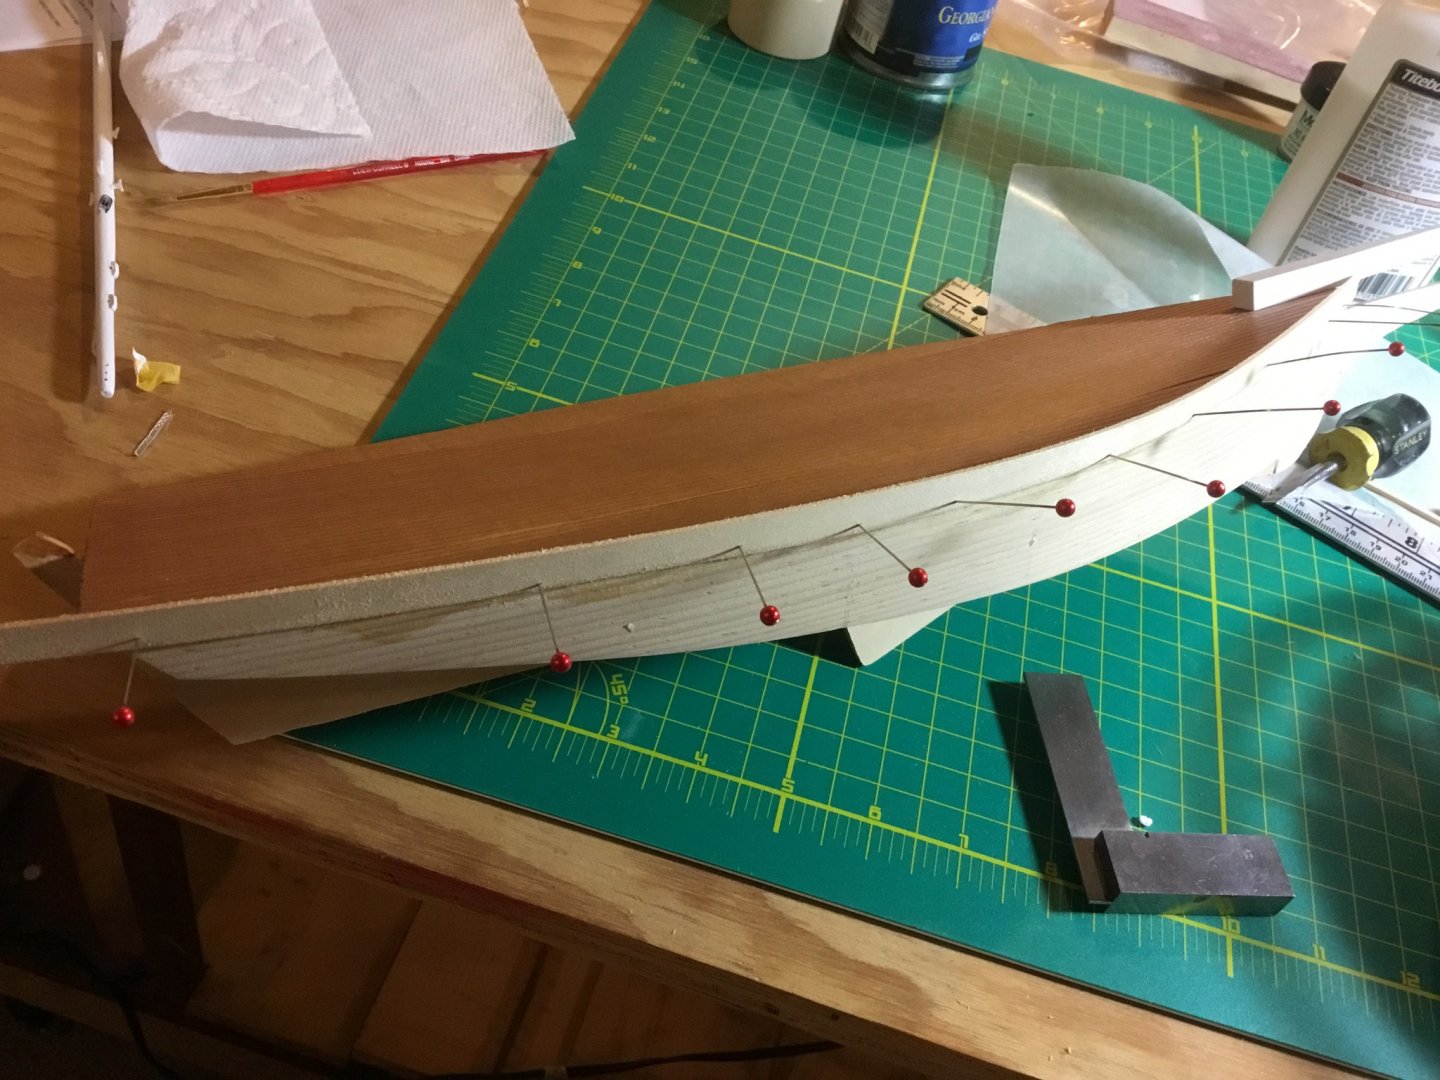
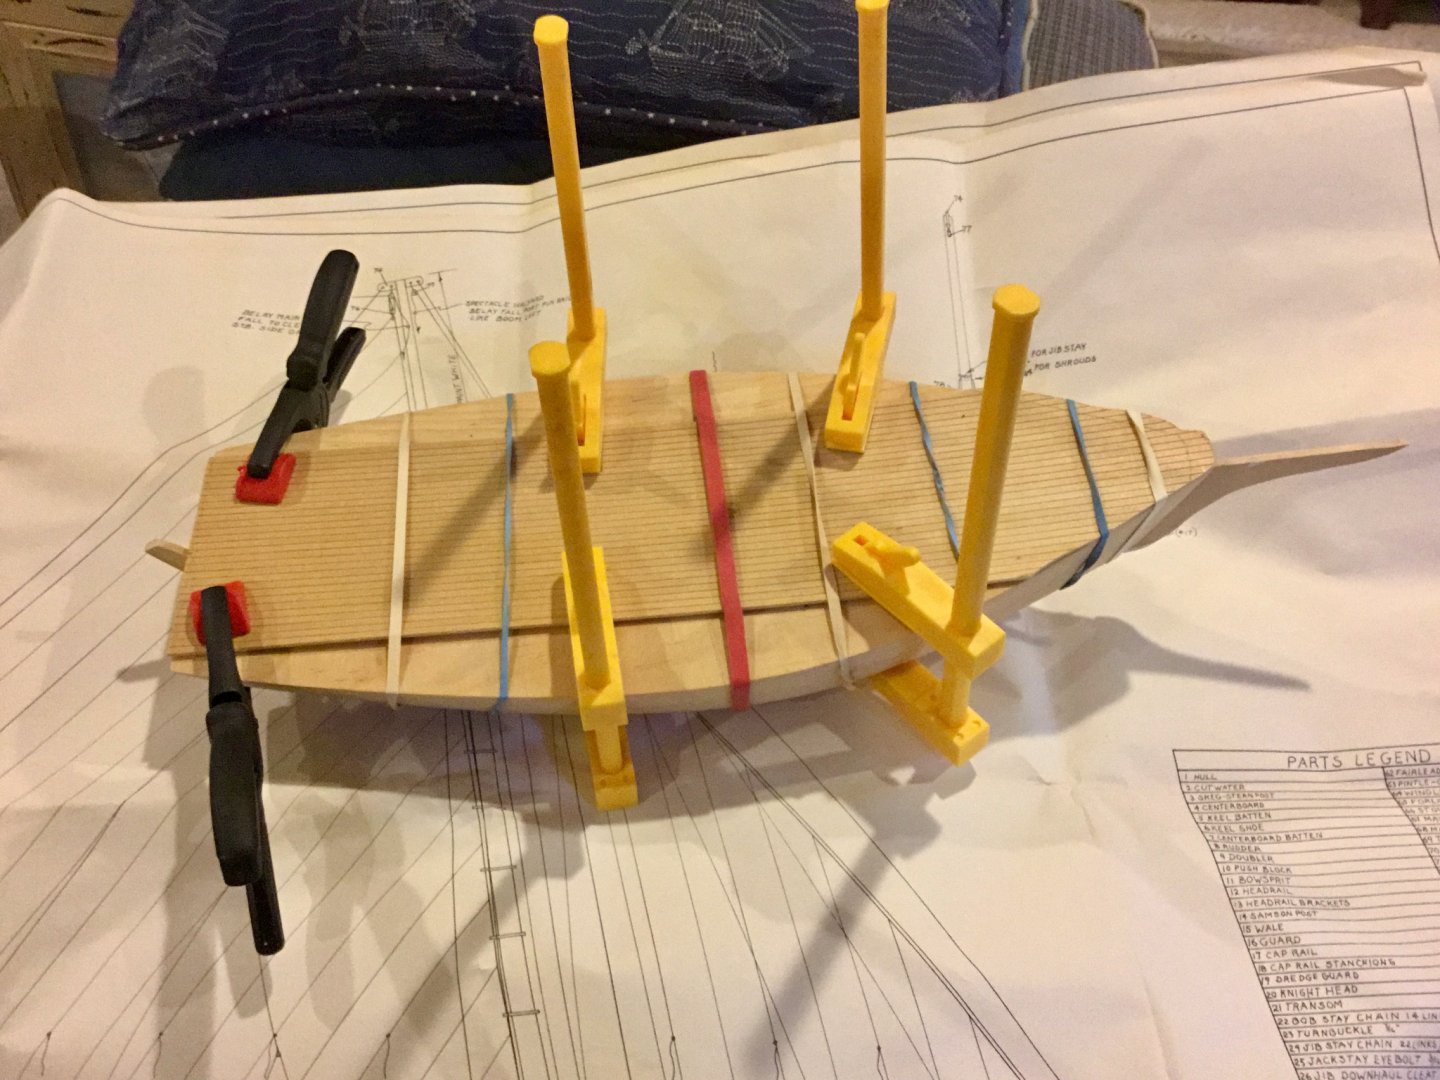
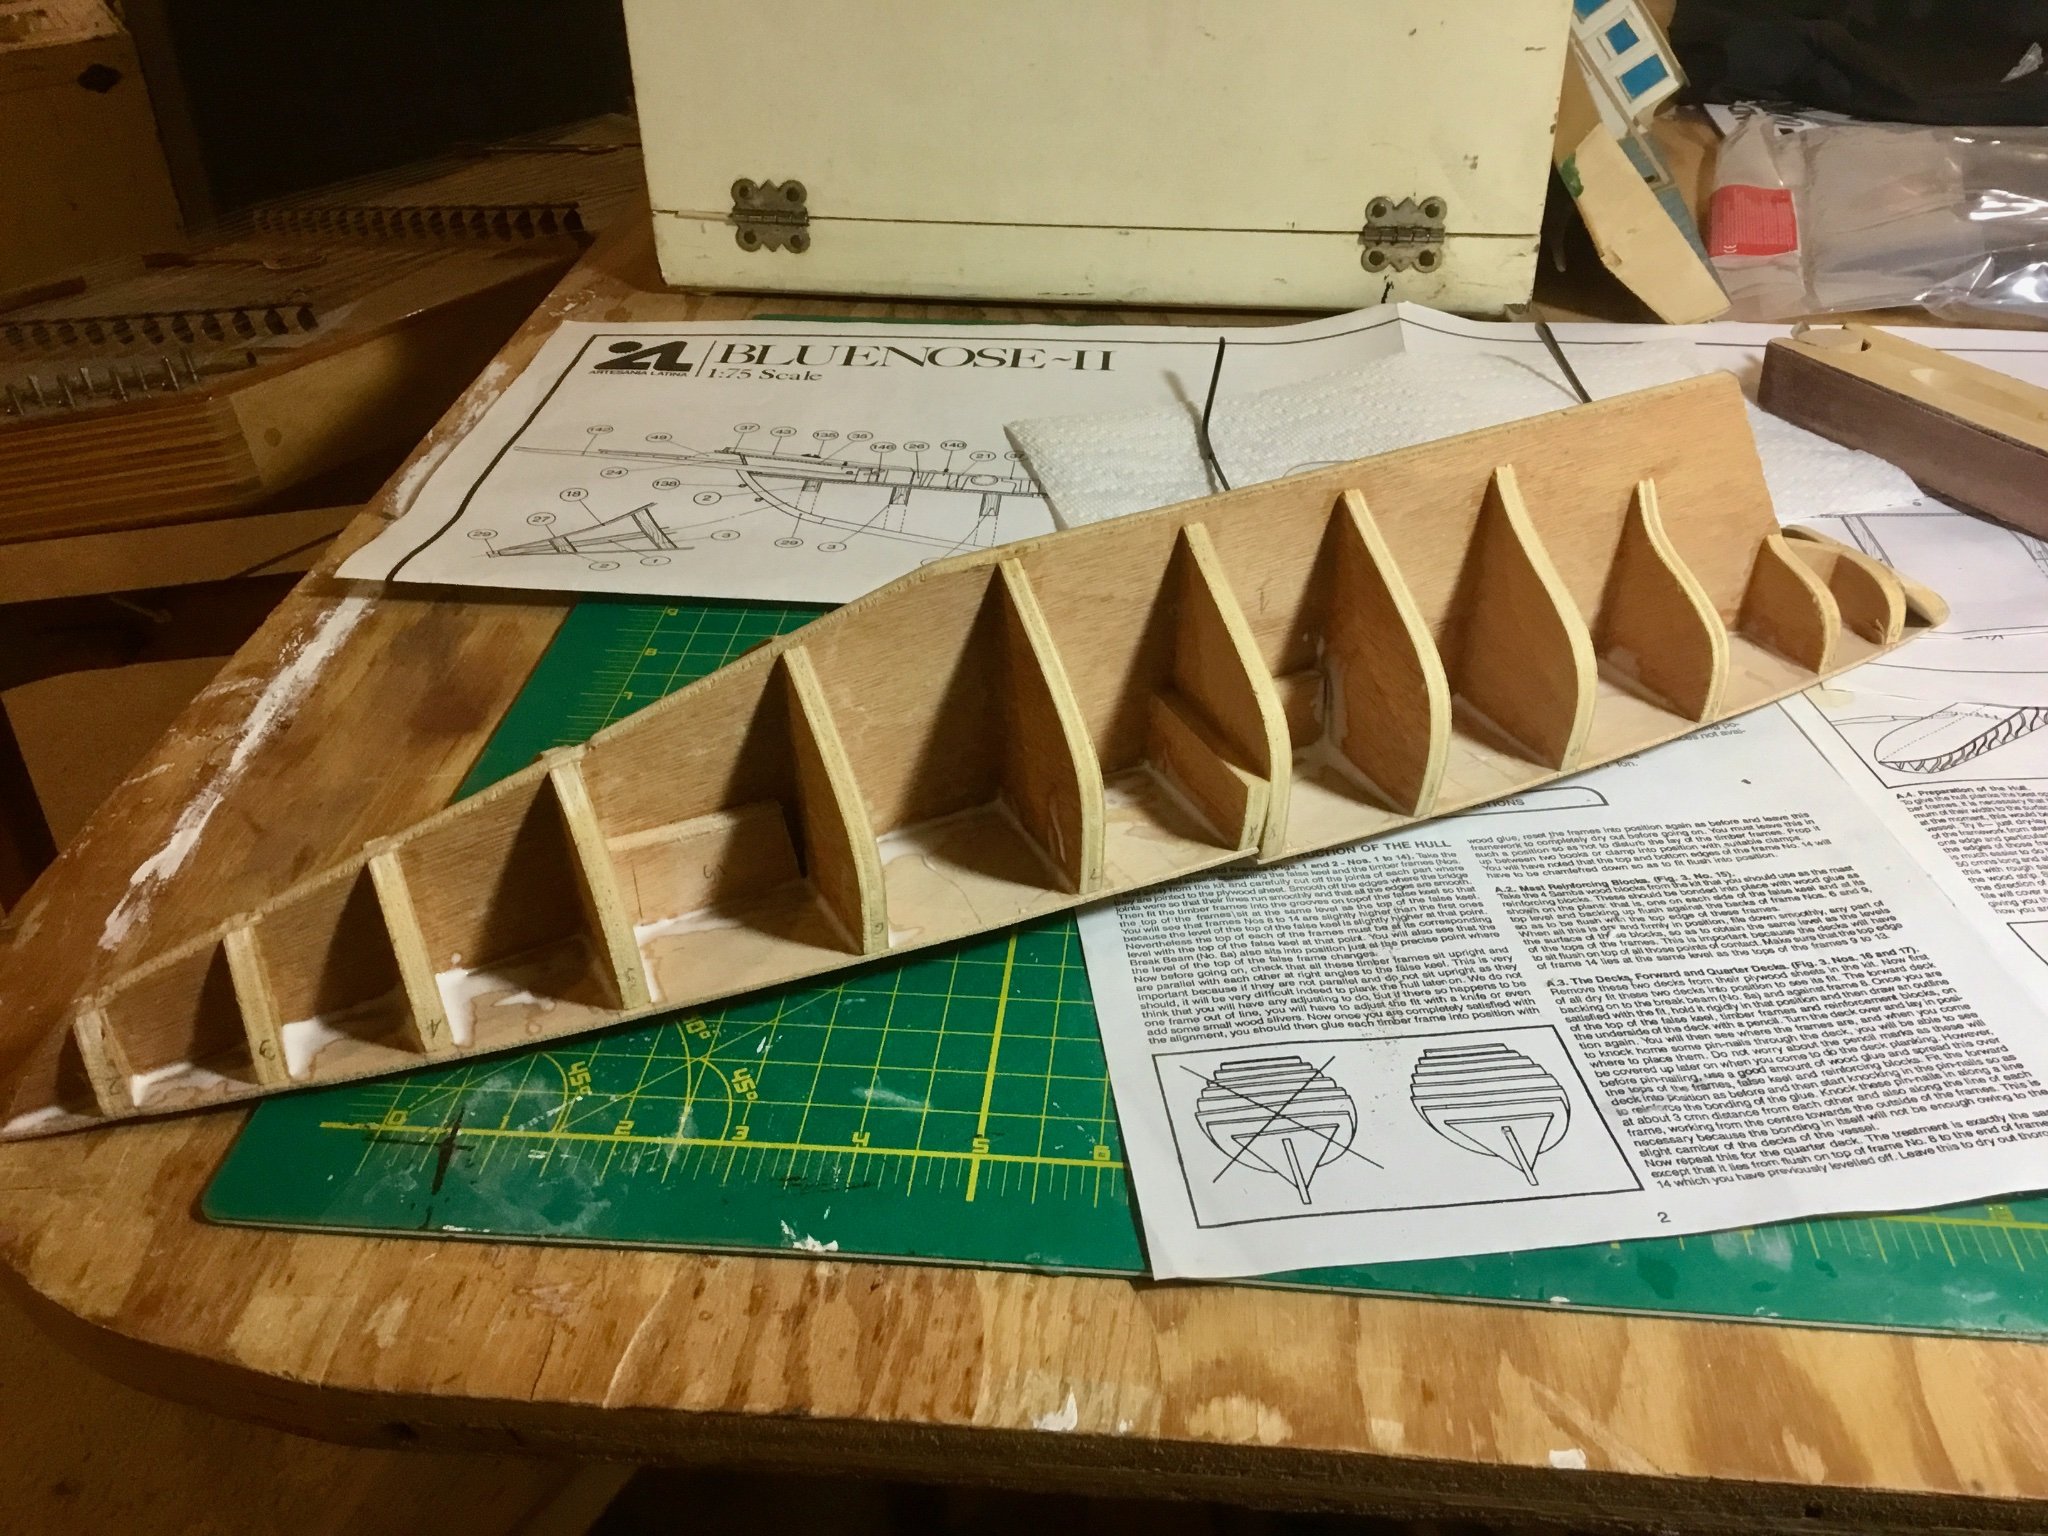
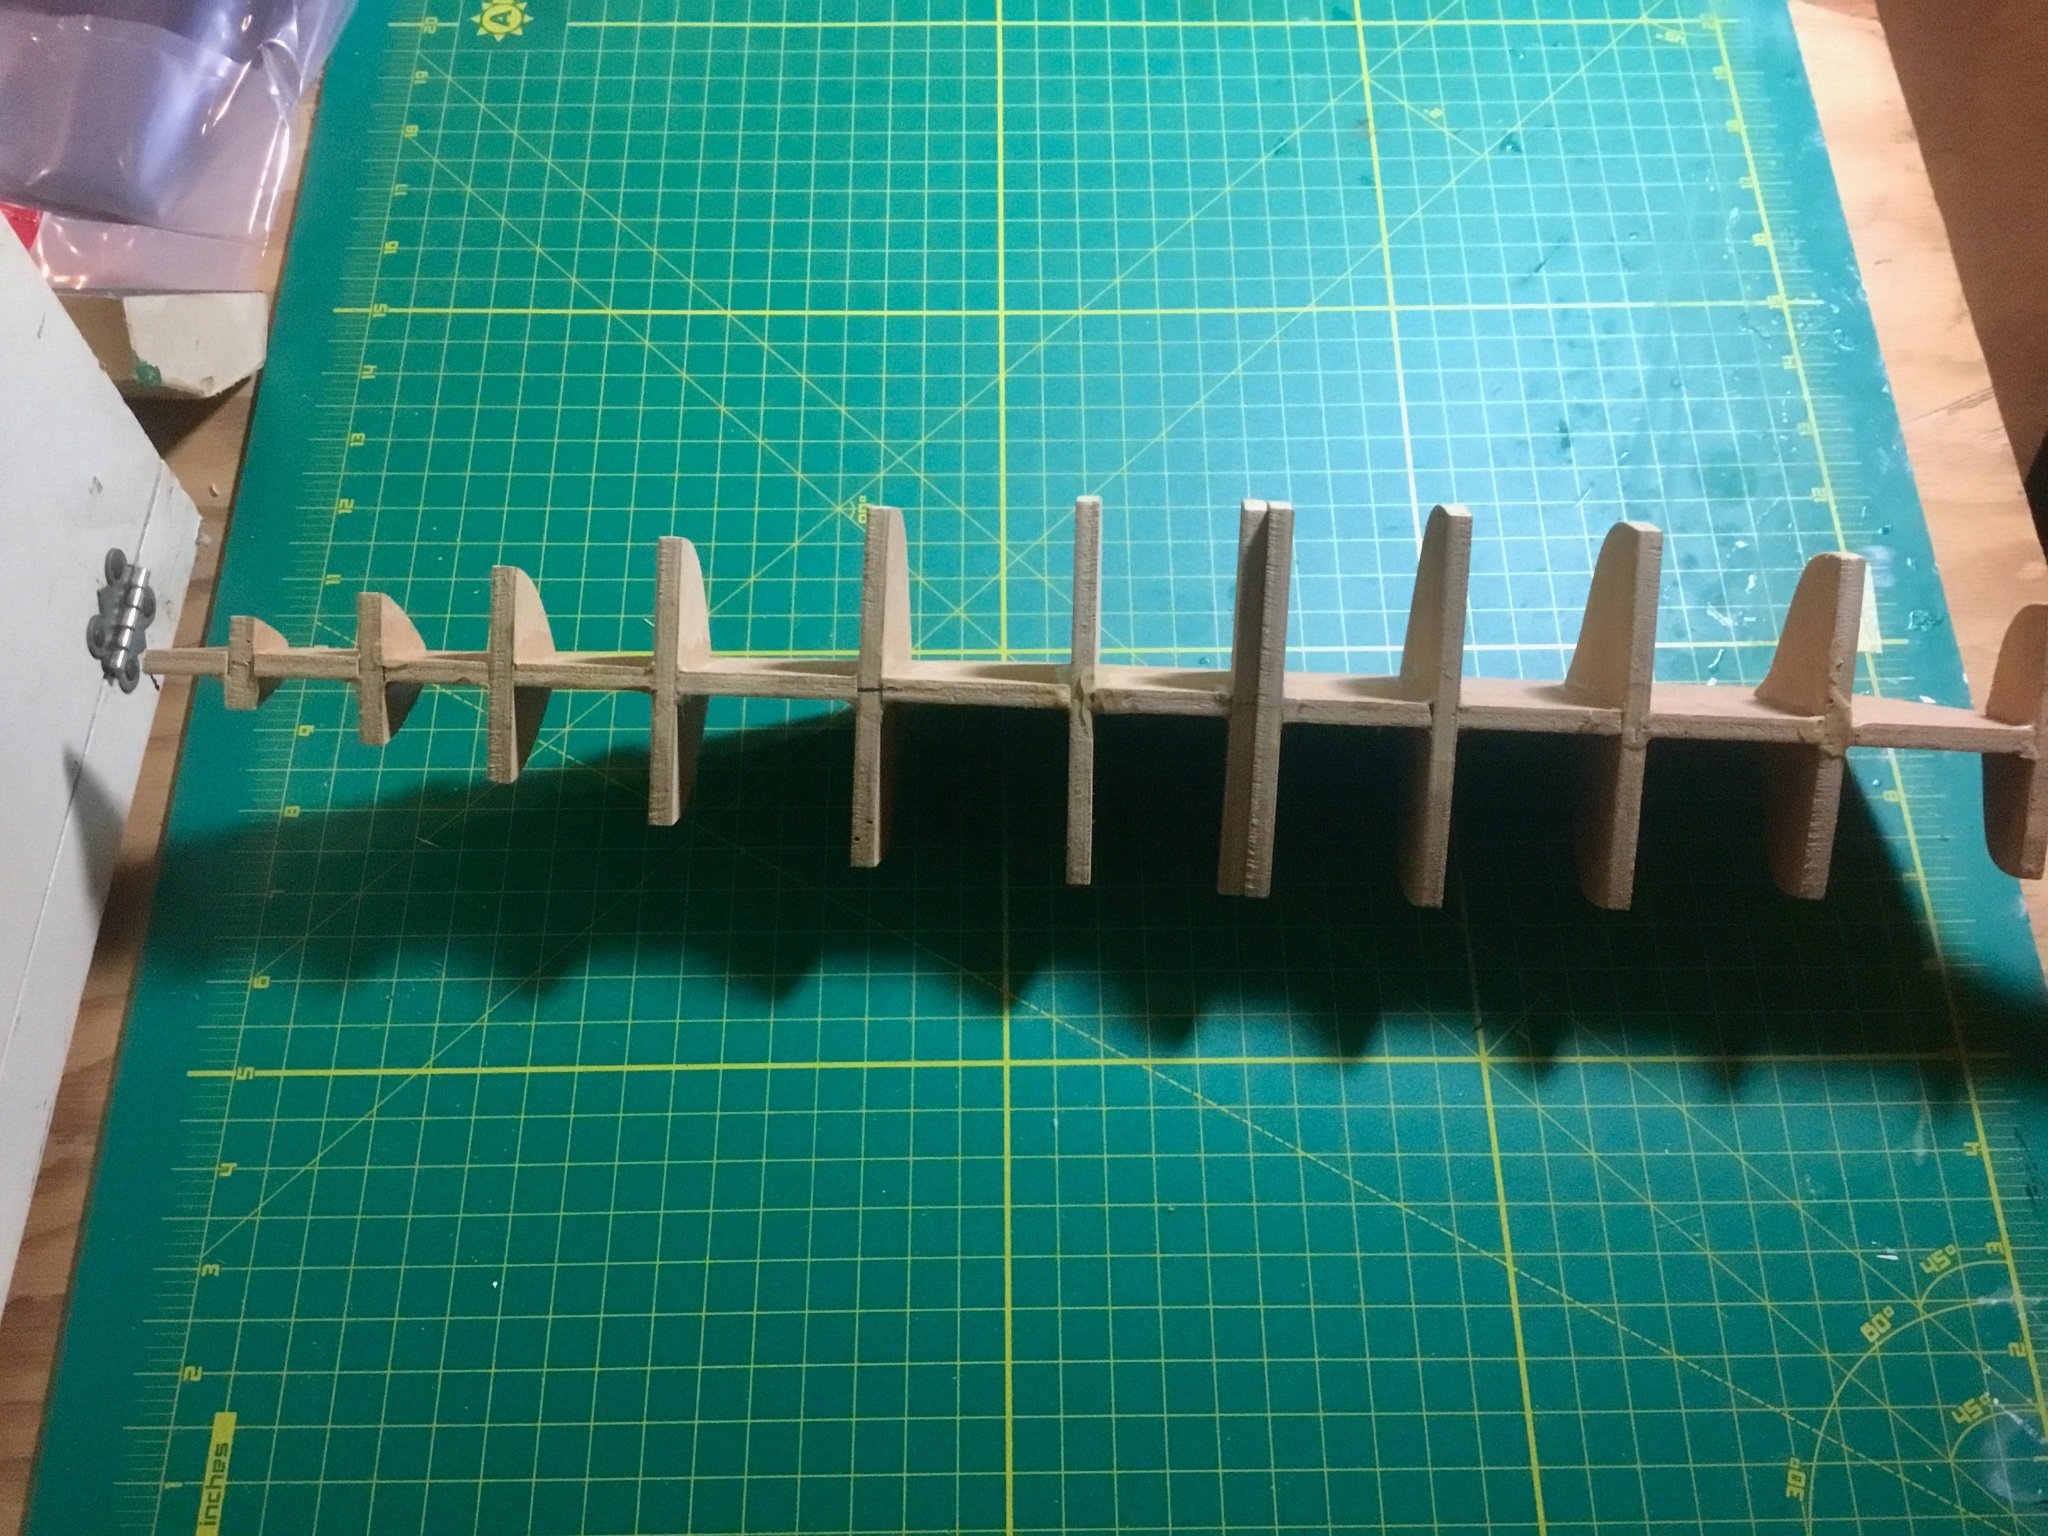
Bulkheads faired (hopefully correct) and planking battens nailed on according to J. Earl's suggestions in part 2 of his build articles. Needed to add shims to parts of bulkheads 3, 8 and 11.
- 34 replies
-
- 1
-

-
- Artesania Latina
- Finished
- (and 1 more)
-
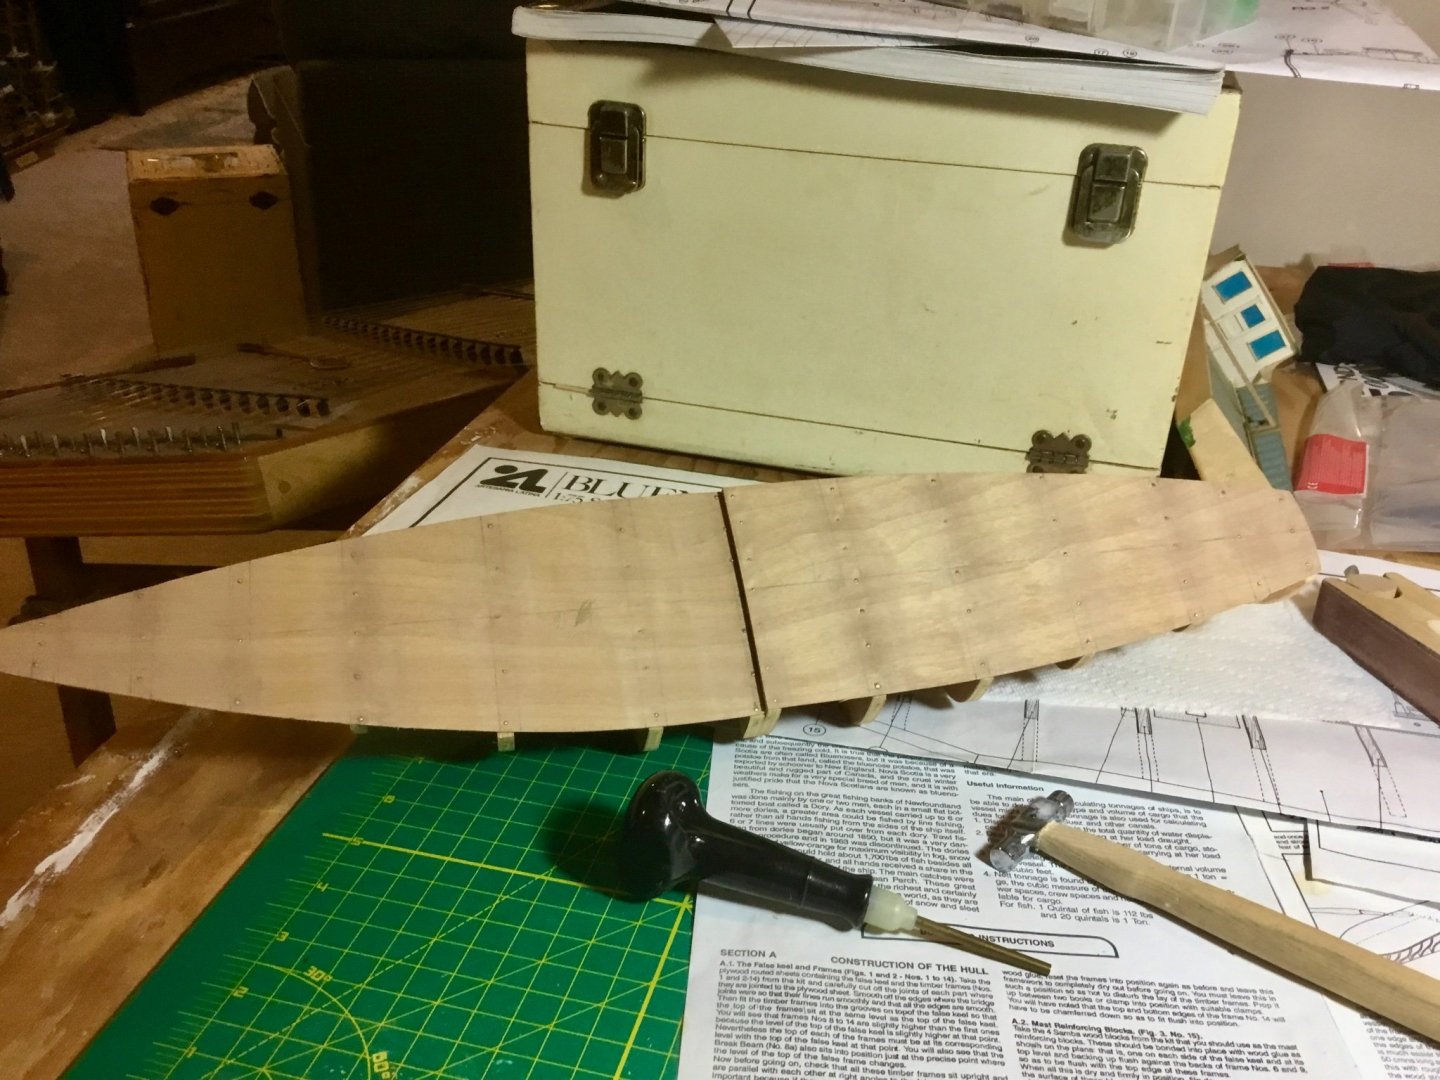
This is the beginning of my build log for the Bluenose II. A previous build of the original Bluenose was my first successful wooden boat completion. I started this Bluenose II a long time ago (its an older version of the kit), but stopped shortly after installing the bulkheads on the keel. I have other models in my queue and I will pick one to build alongside this one, but I thought it would be appropriate to finish what I had started. I have scanned all the build logs for the Bluenose II on this site and am a little wary of the small percentage of completed builds but I'll give it a go. This kit, although smaller than the Bluenose kit I built seems to be a lot more detailed. I may even attempt to mount sails on this one. I downloaded a copy of the build instructions for the newer versions of the kit to supplement the build (color pictures and pre-made sails no less). I will be using the build logs by Penfold, Heronguy, Bulwark, and Bertu as guides as well as John Earl's on line guide, Eisnor's scratch build practicum, and Mastini's book as a guide. Unfortunately I had already missed a few steps when I put the keel and bulkheads together, so I'll be picking up at a later stage having missed such items a checking the symmetry of the bulkheads, etc. I added the mast supports, nailed and glued on the false decks and have started fairing the hull. I didn't notice any warping of the keel that was apparent in some of the later versions of the kit as noted by other peoples build logs. Wish me luck.


-
Thank you for the nice complement. My success with this model rests mainly on the excellent step by step instructions that were included in the kit.
-
Thank you
-
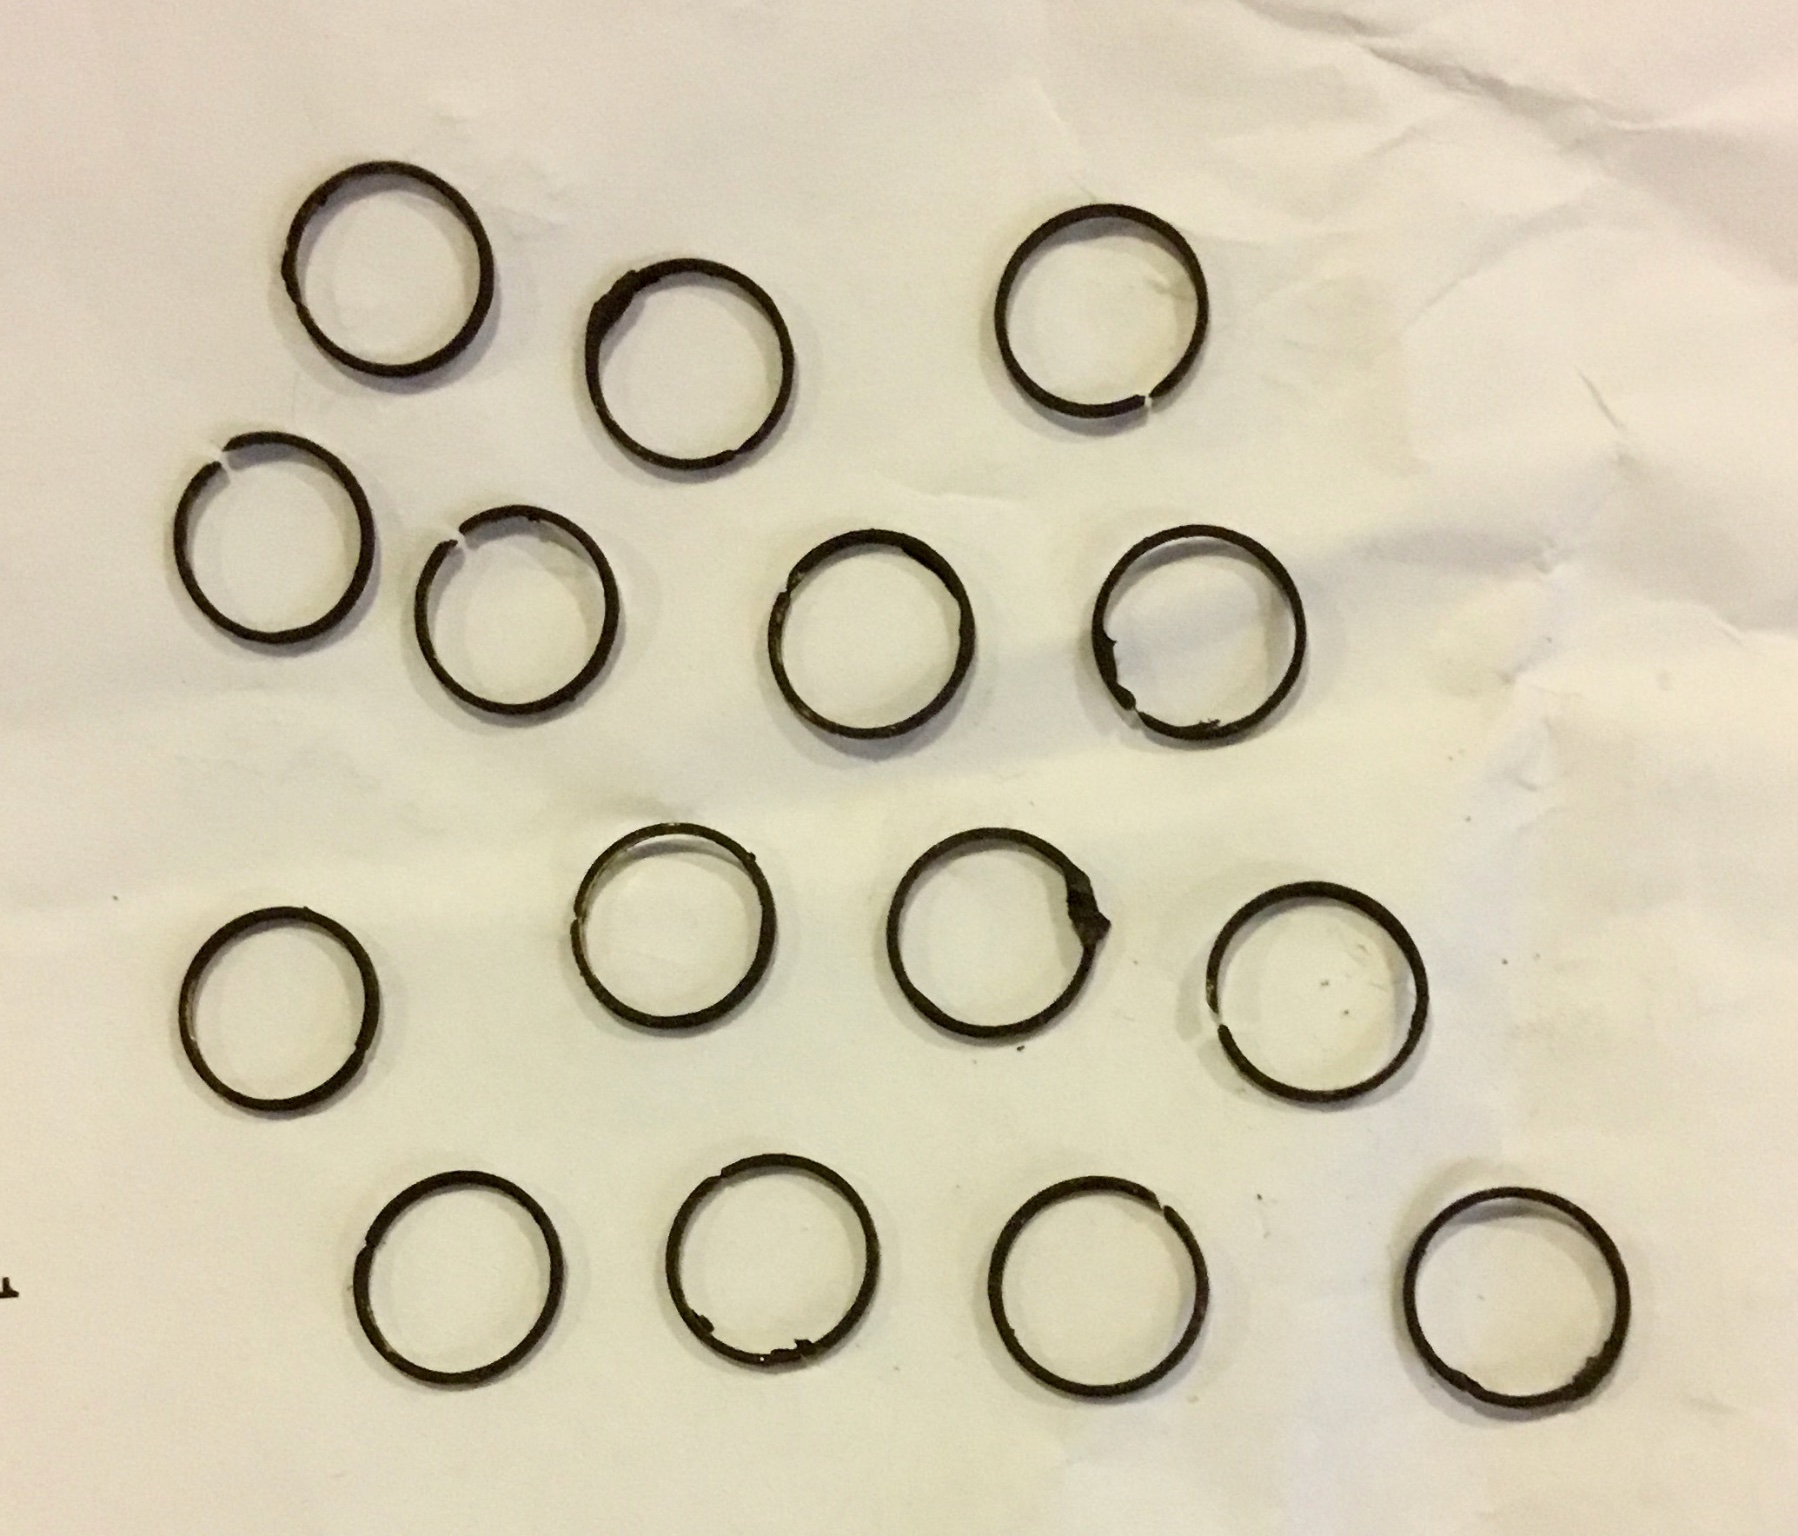
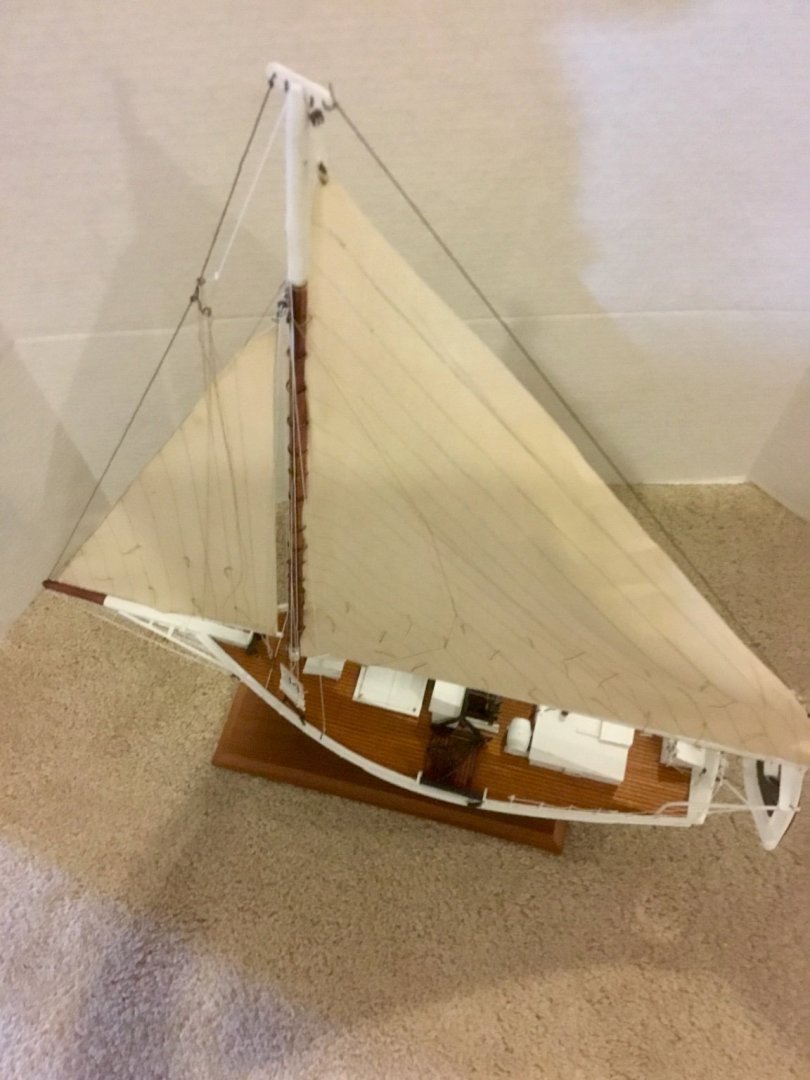
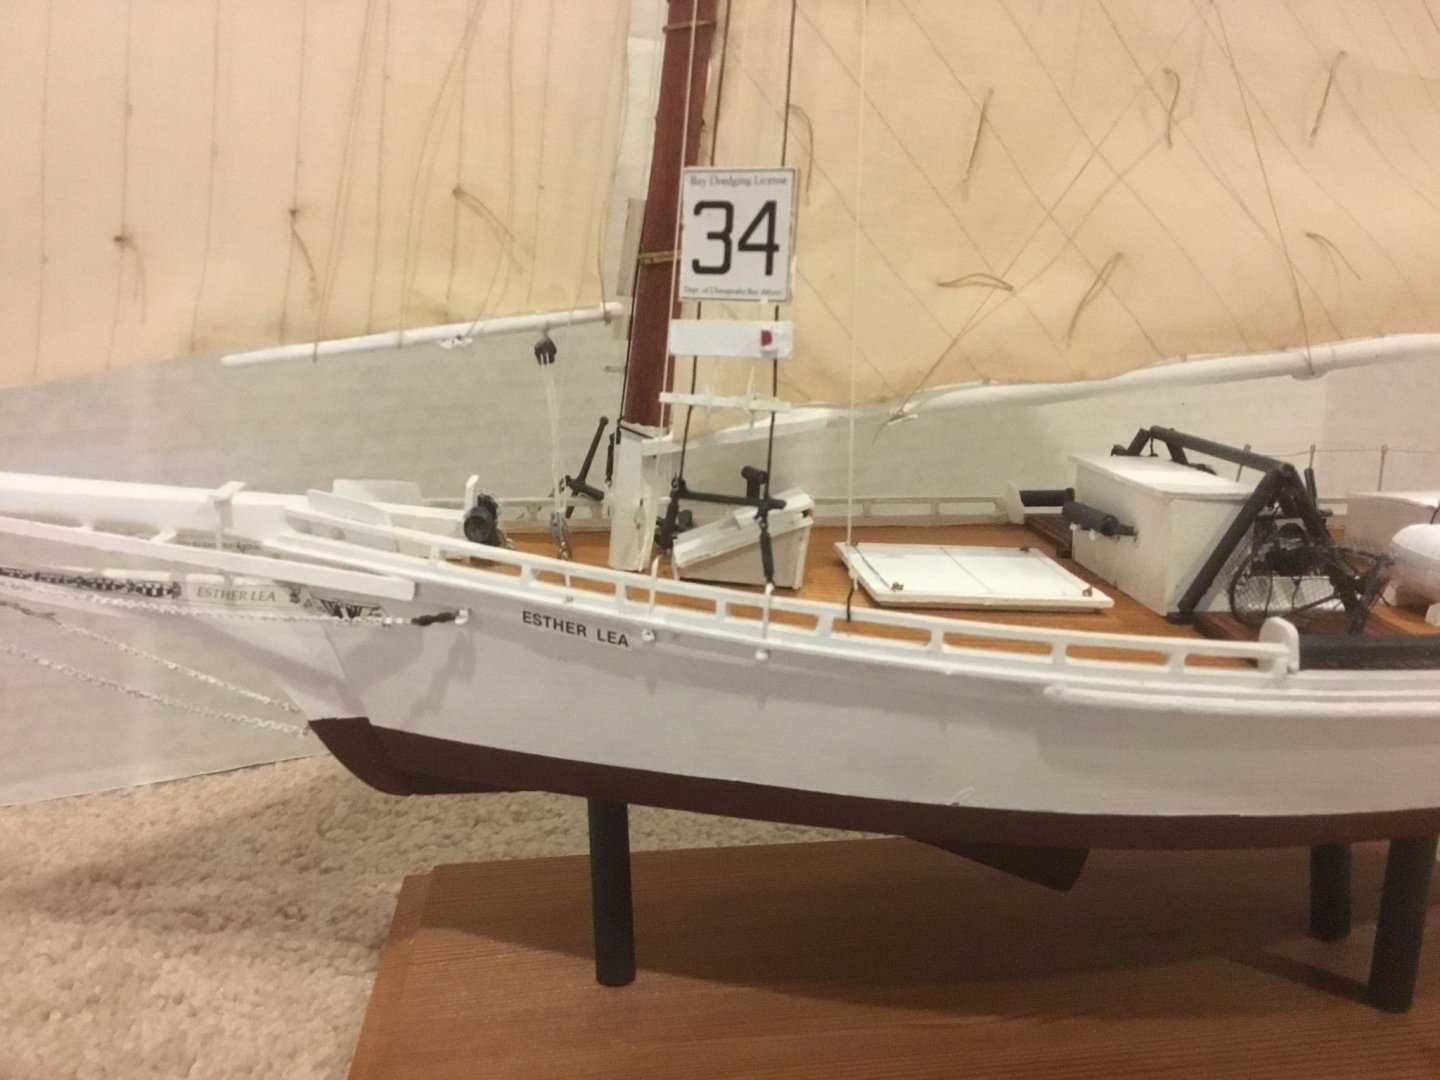
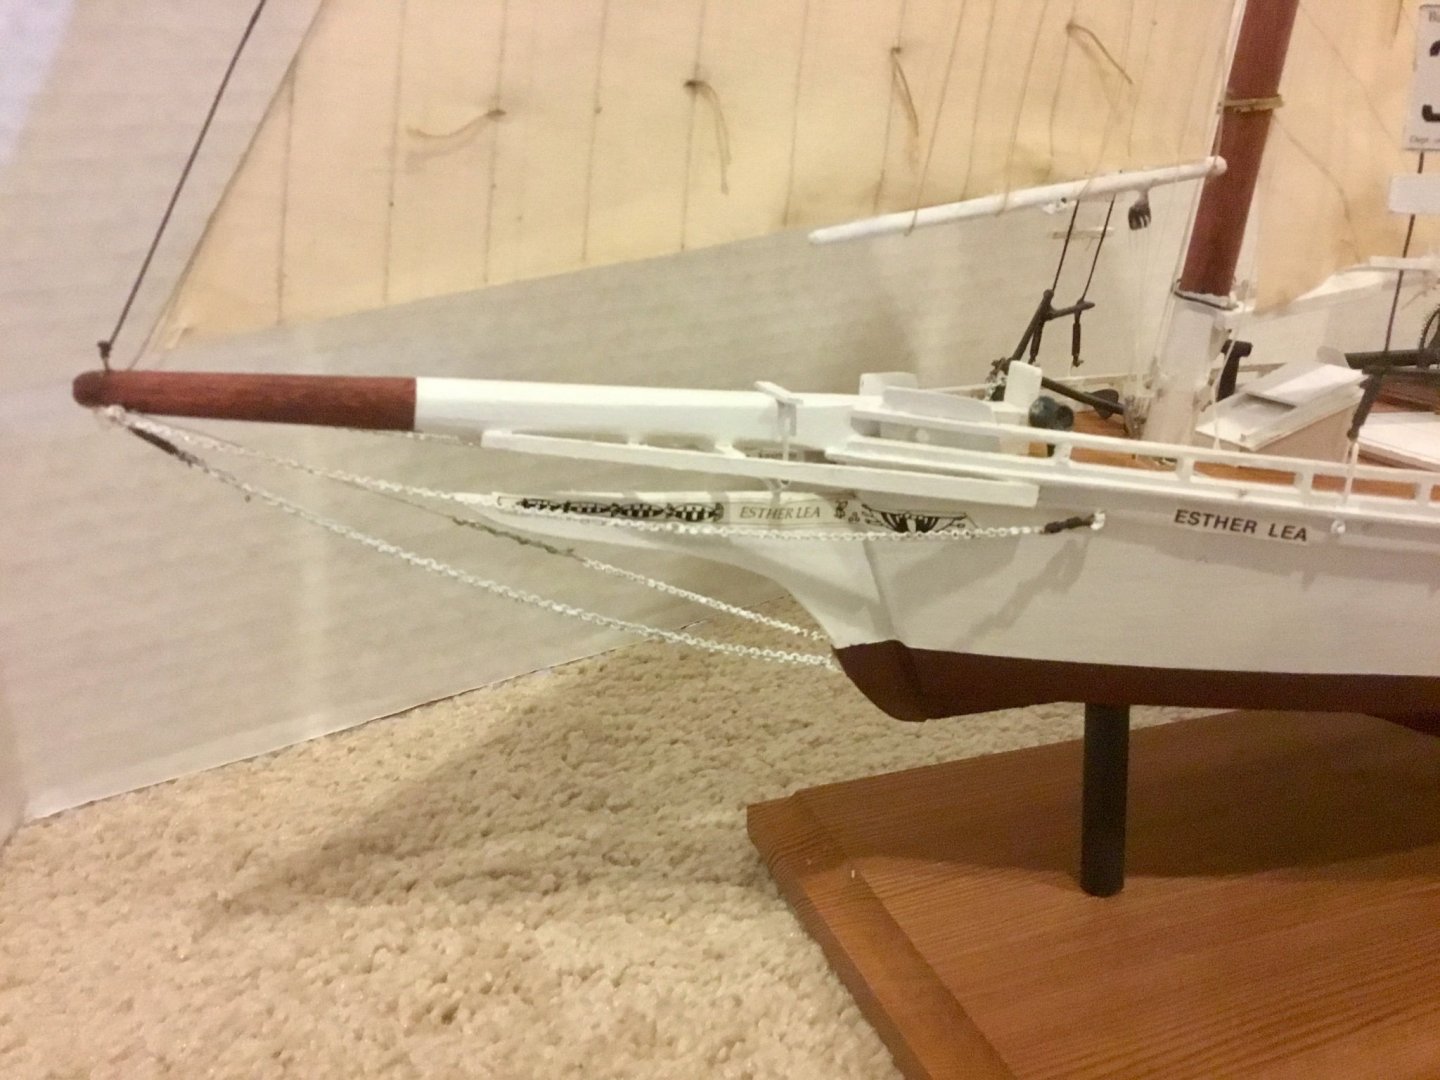
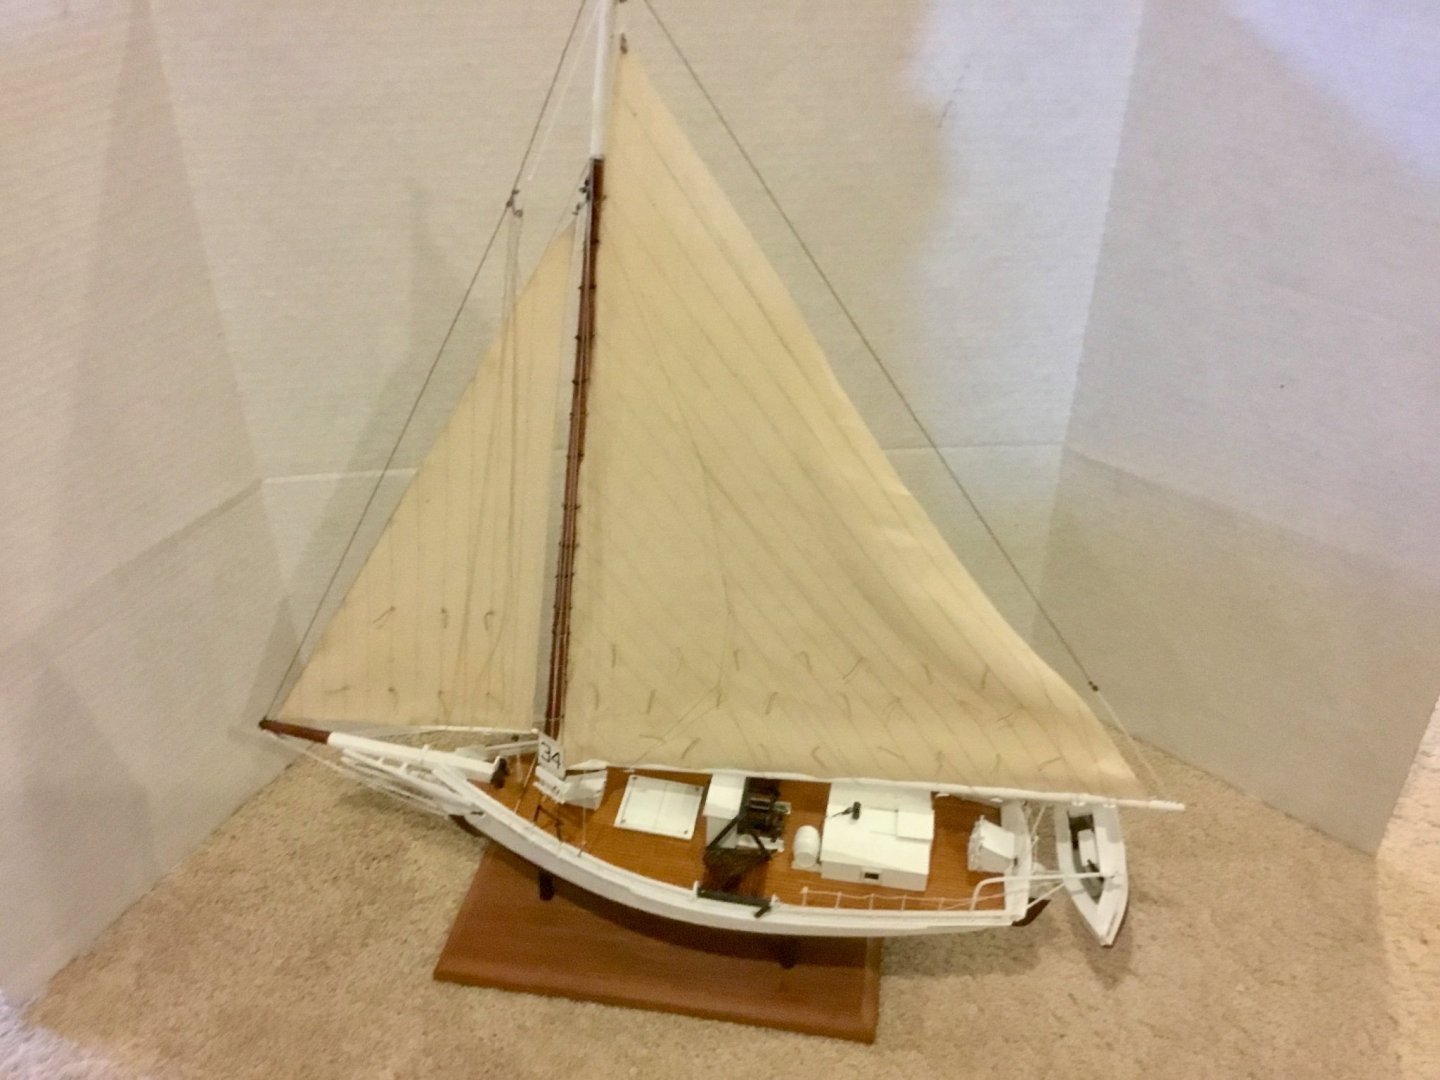
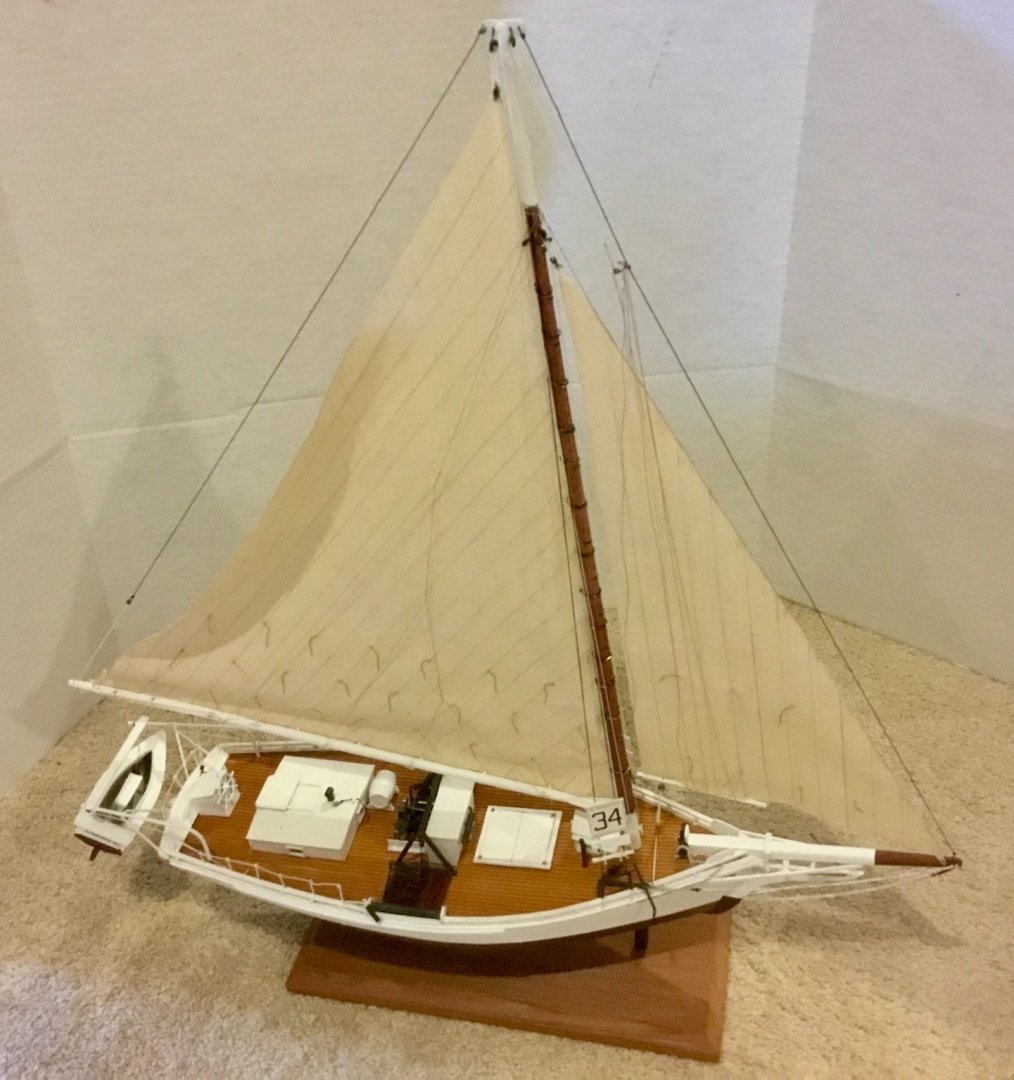
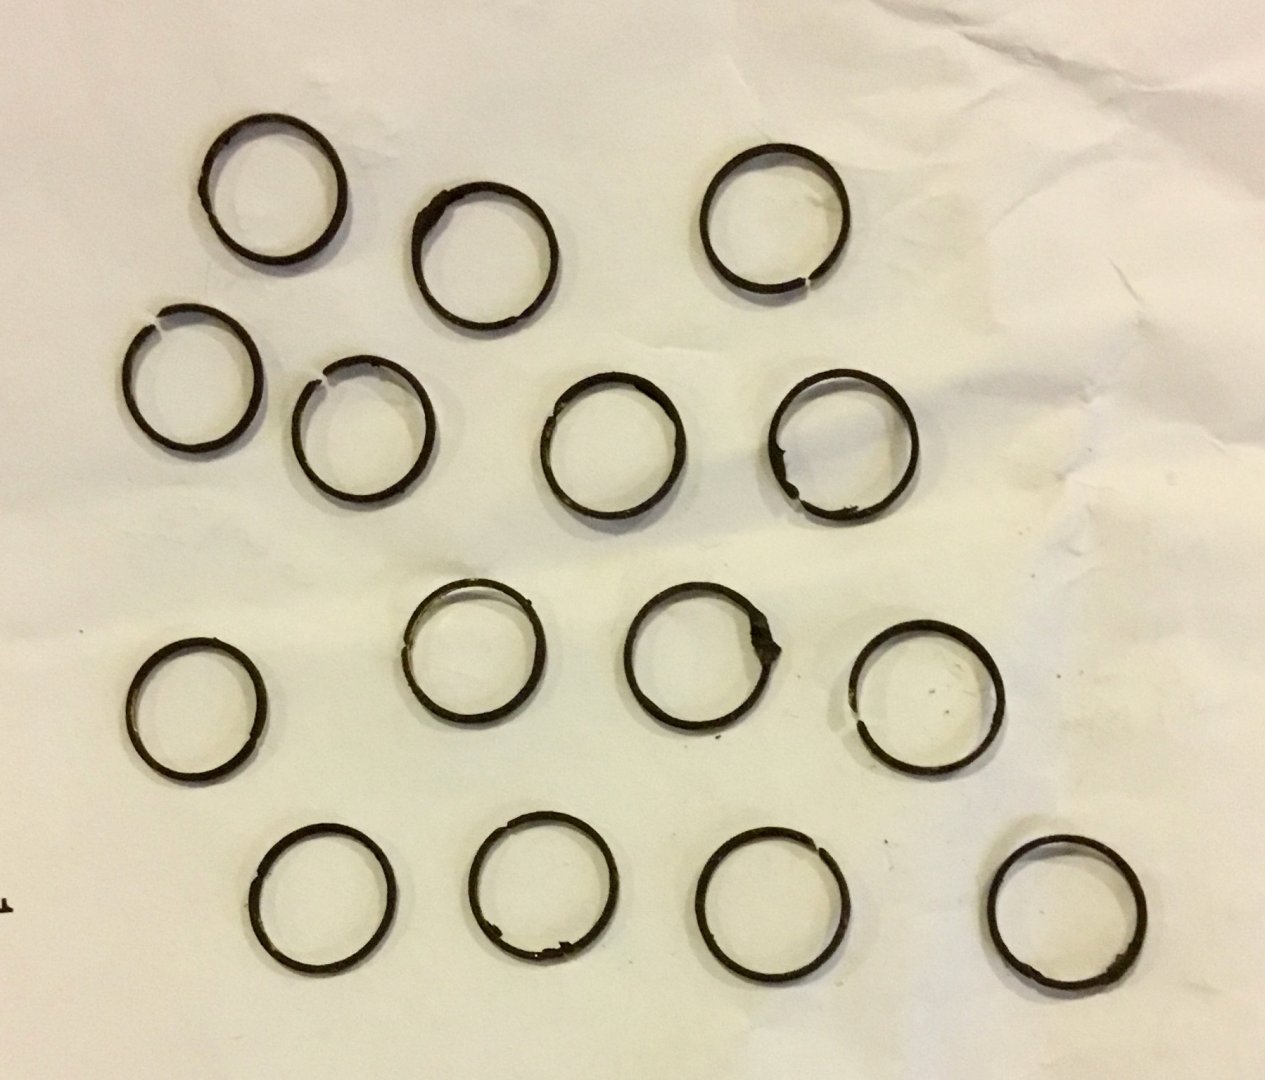
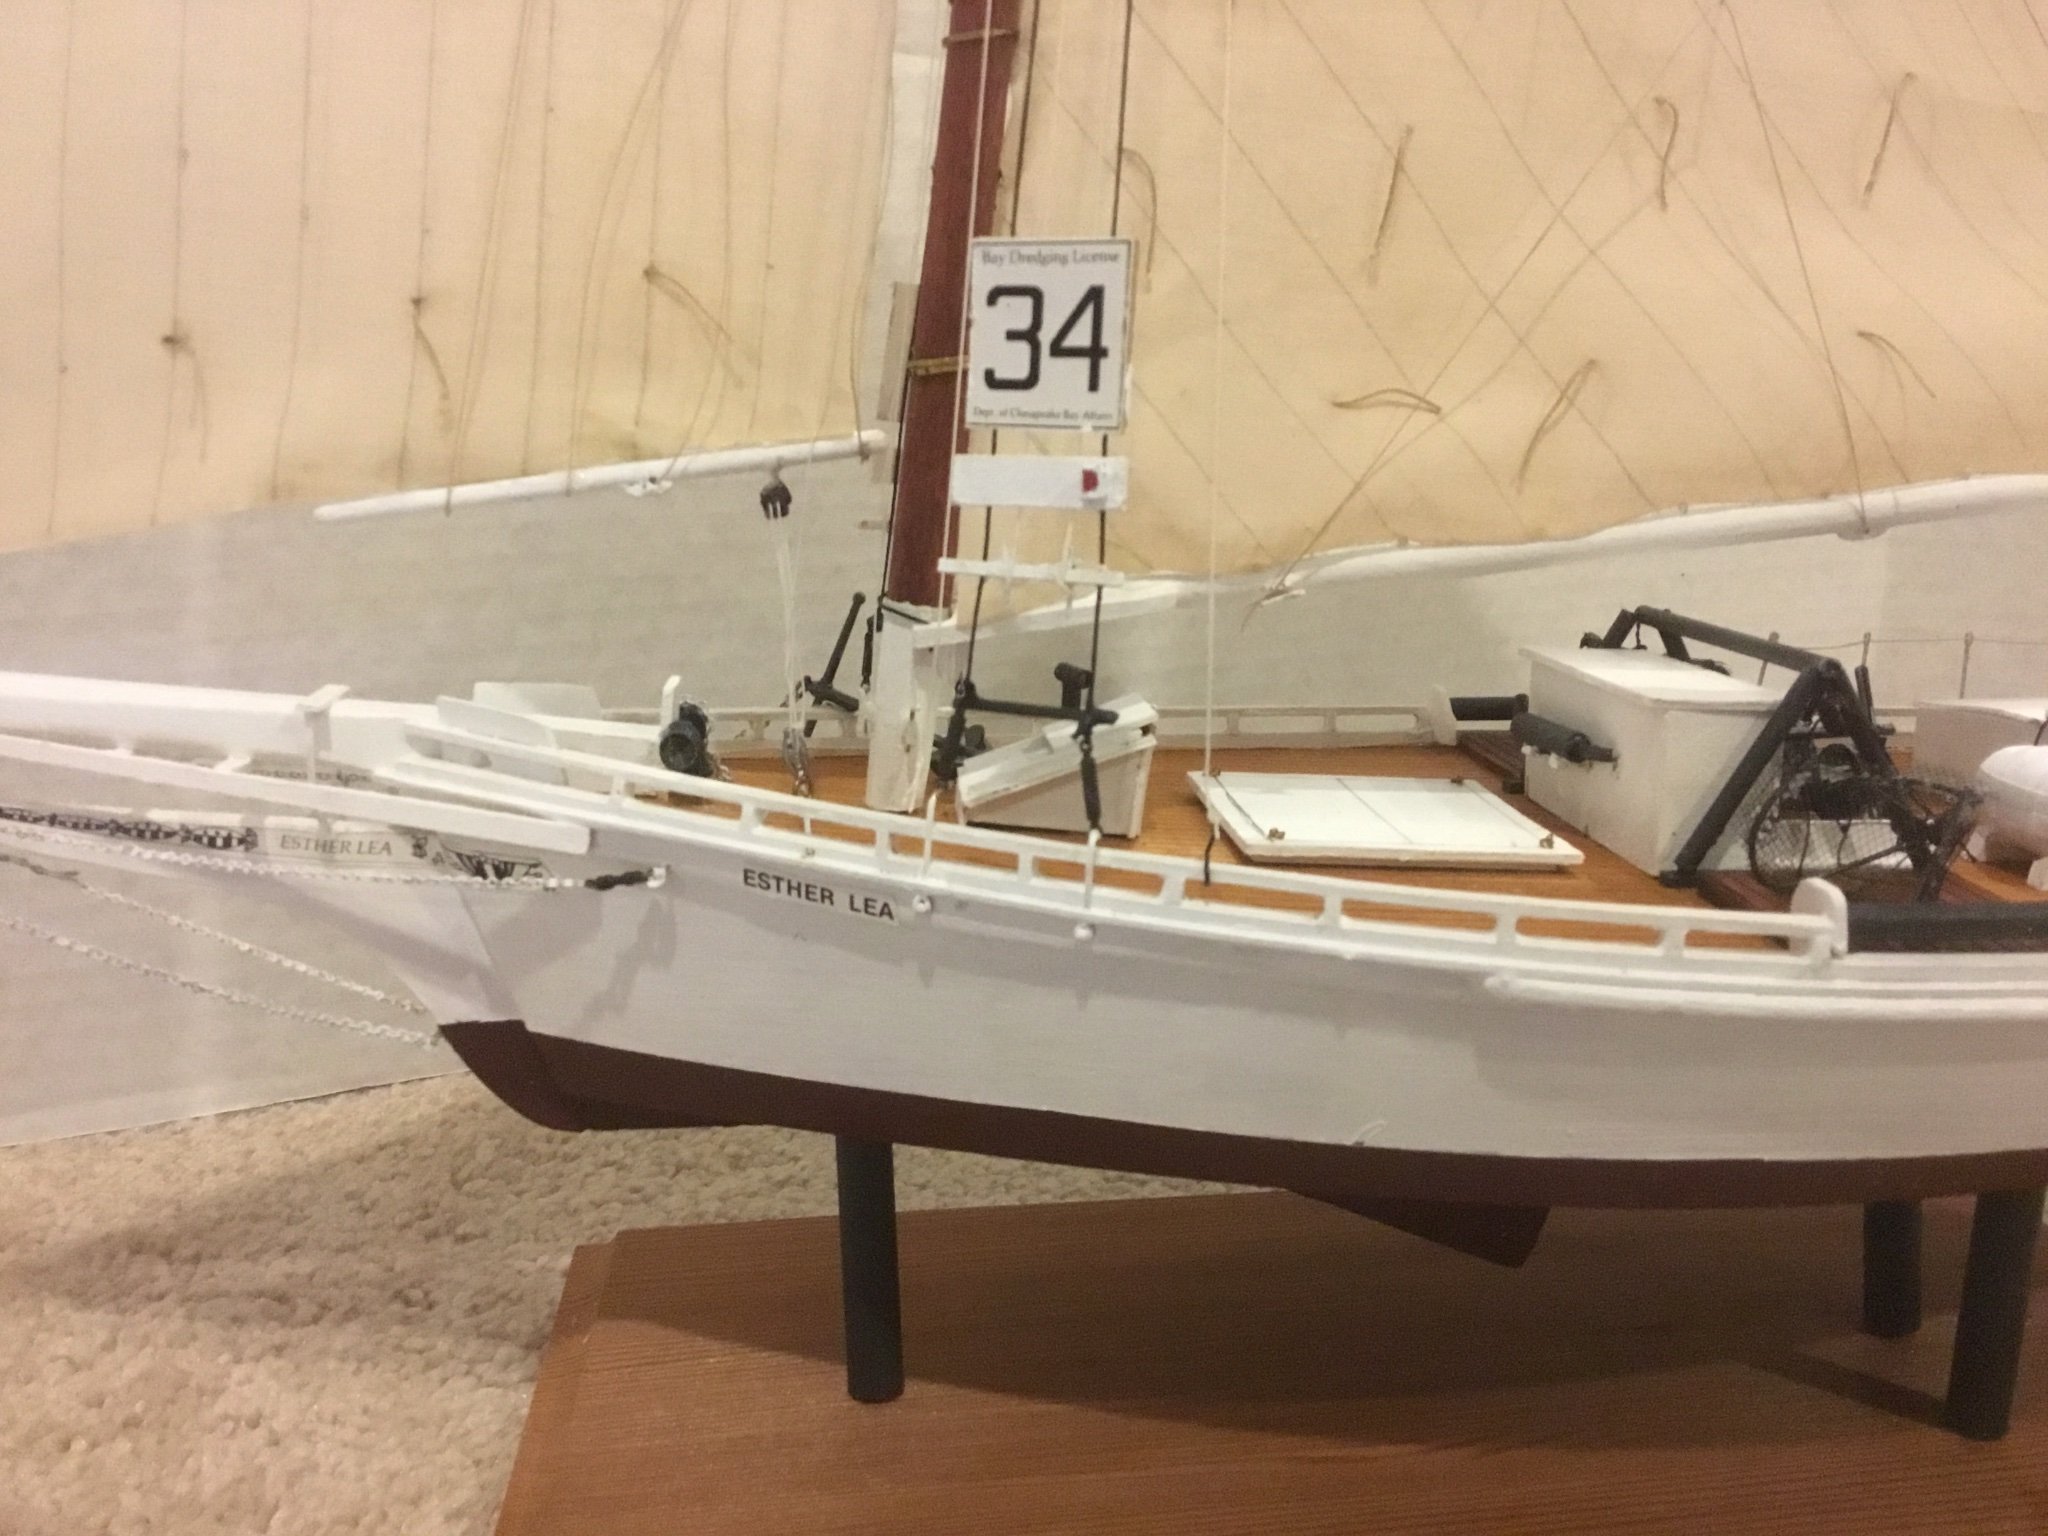
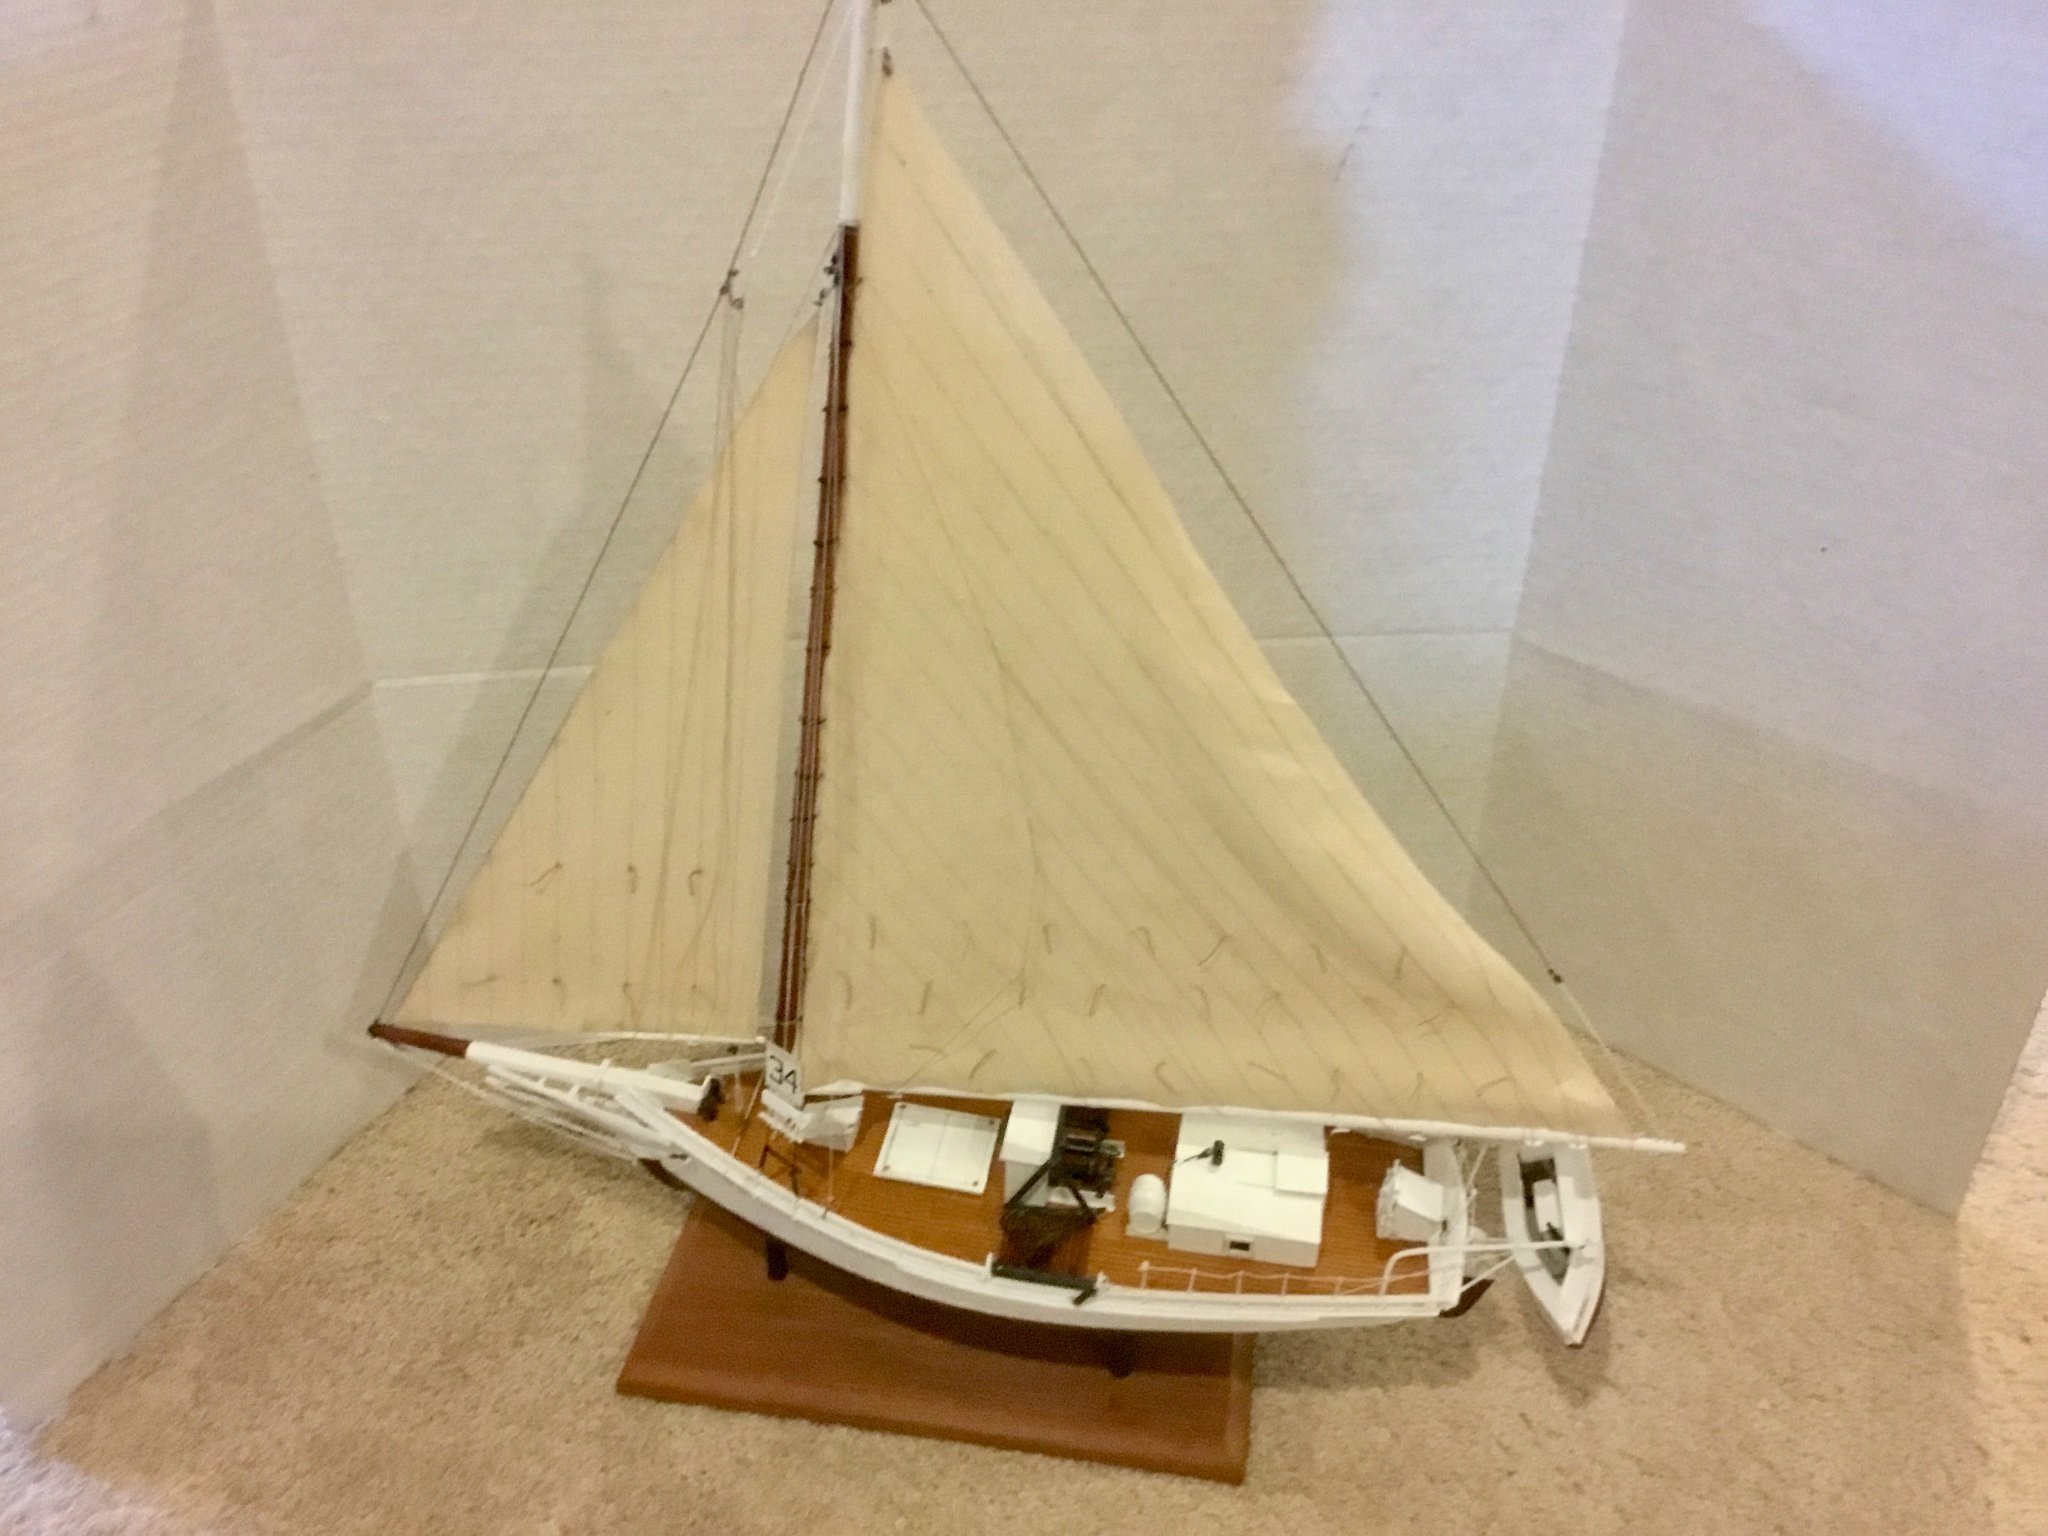
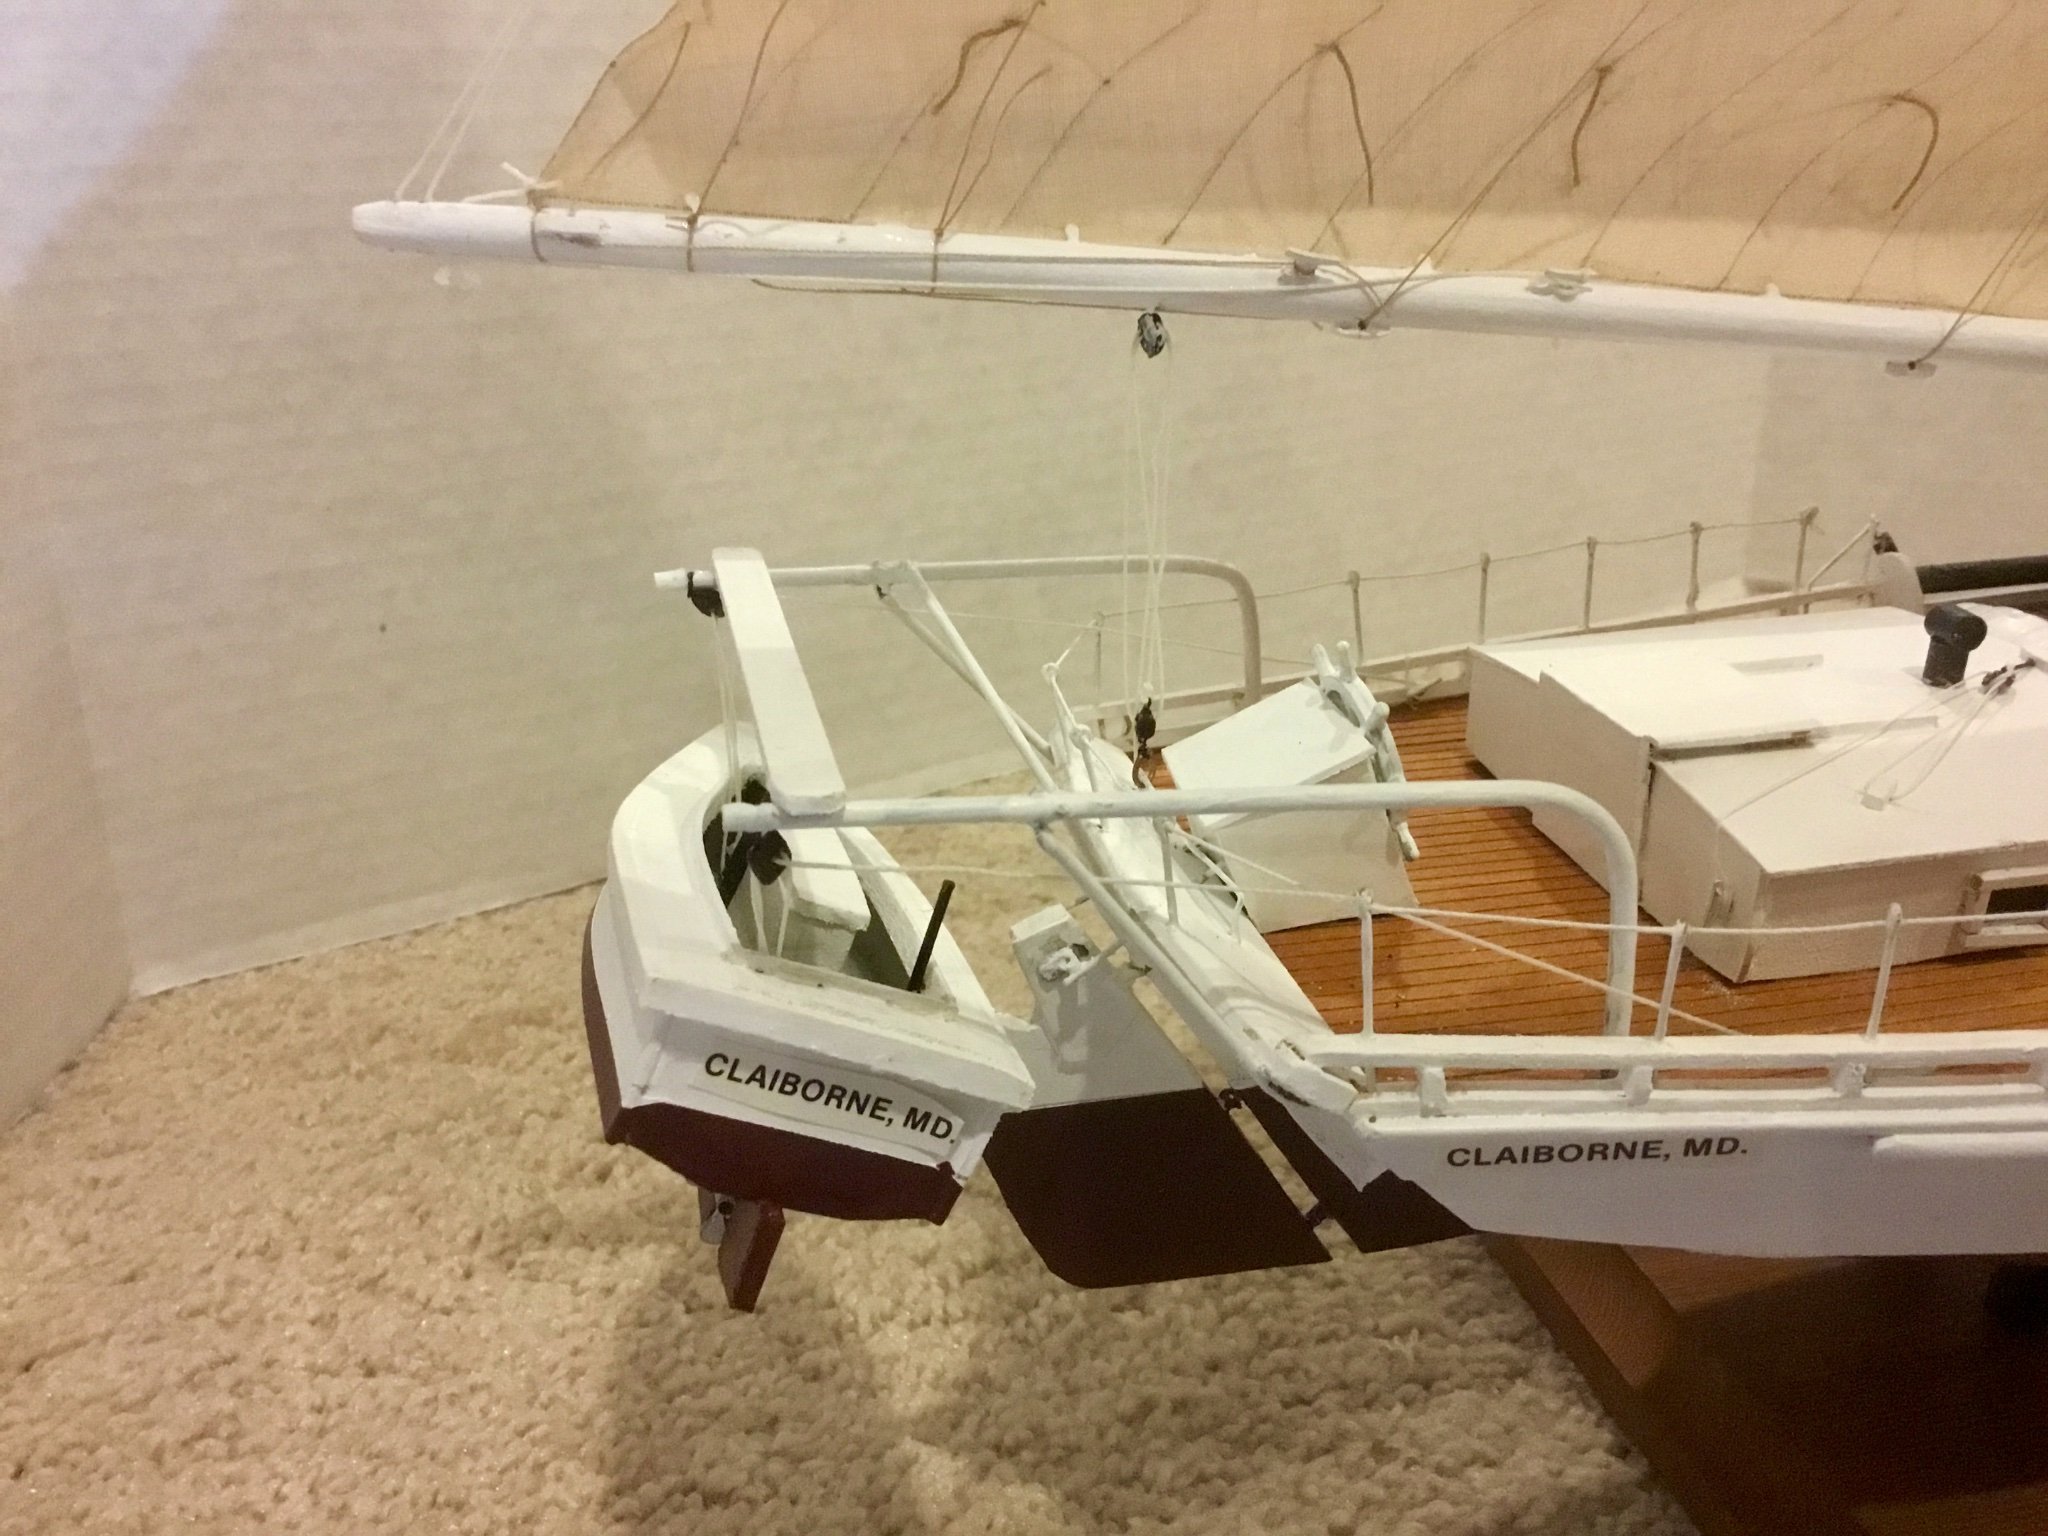
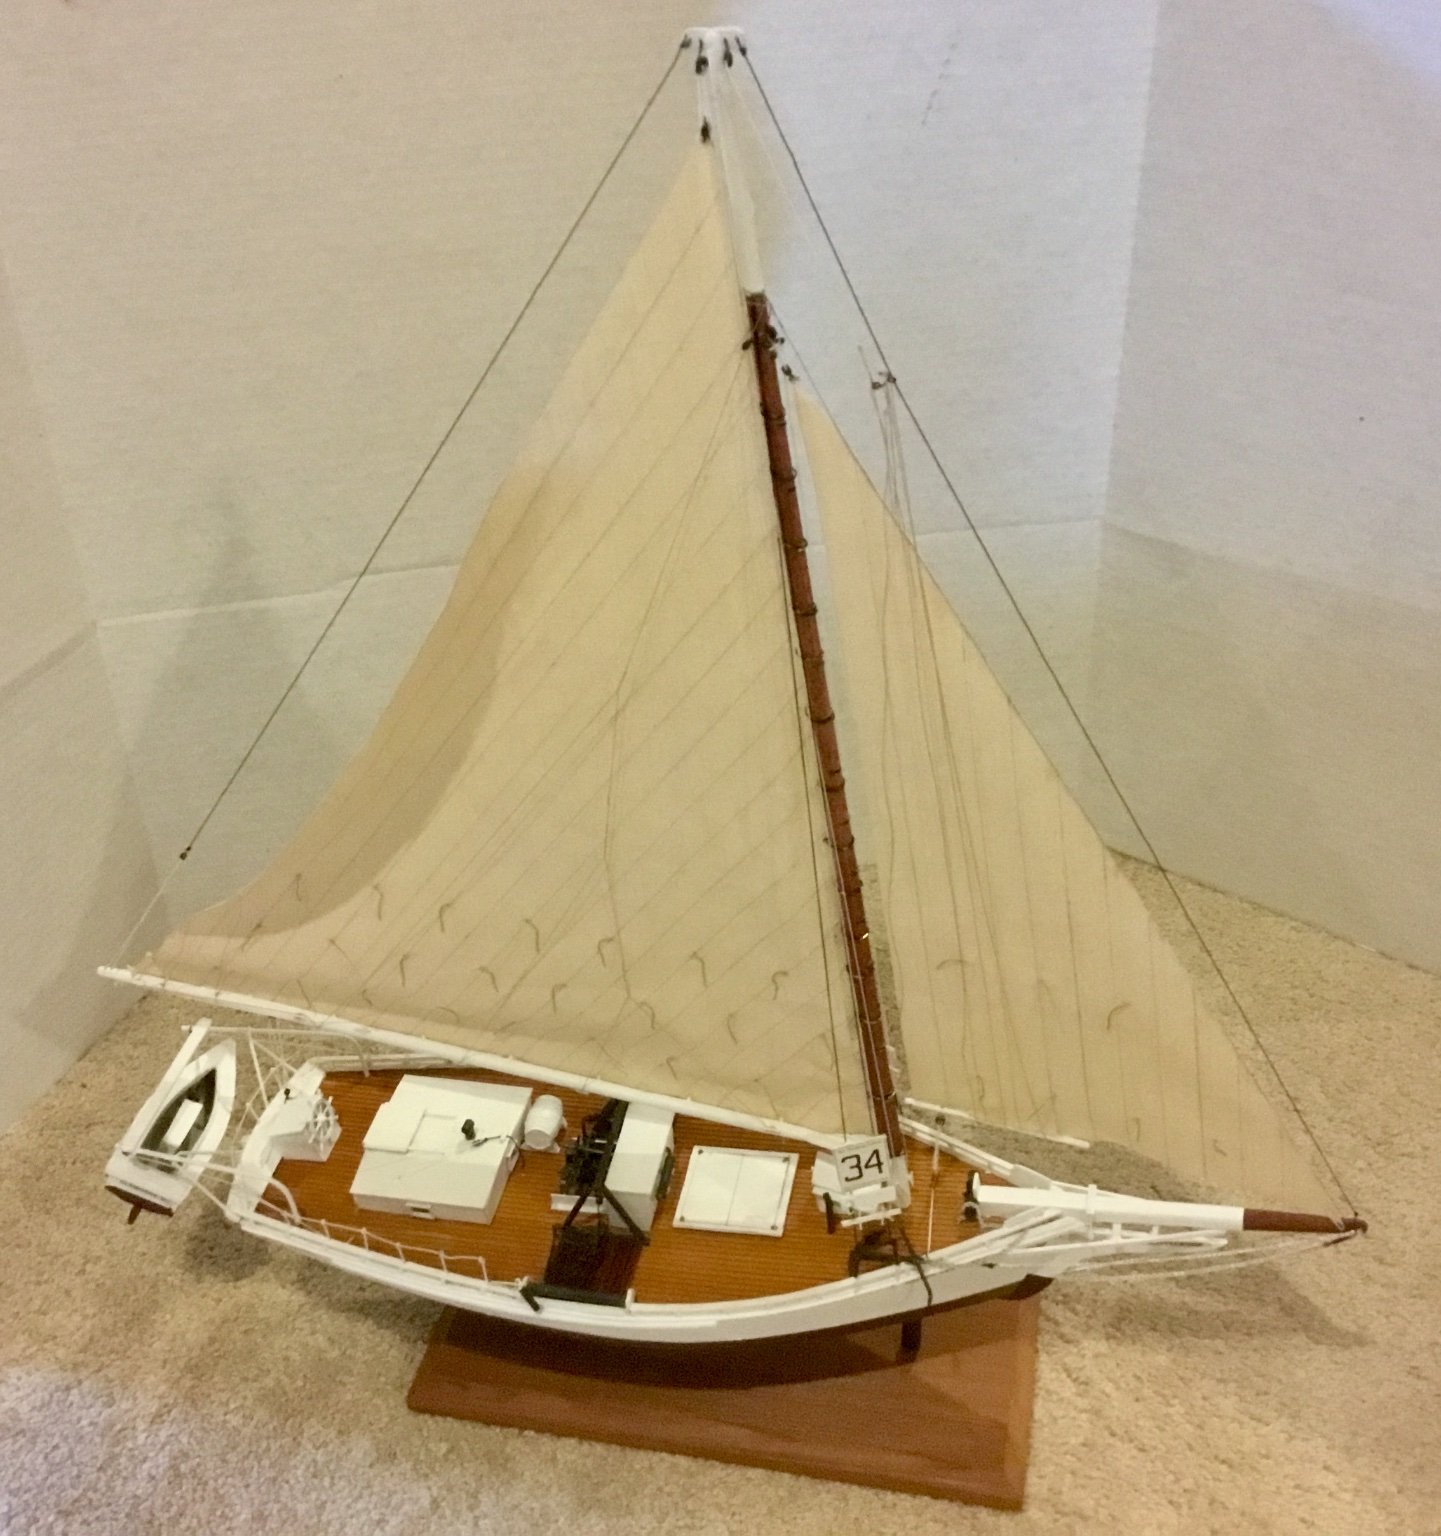
Finished the skipjack. Mounted on board. Instructions suggested mounting using to dowels pinned to board and keel, but this proved to be unstable so I added a third dowel to make the result more stable. Added number boards, running lights, name plates, anchor and chain, cargo hatch rings, etc.


- 22 replies
-
- 6
-
-

-
- Horizon
- Chesapeake Bay Skipjack
- (and 1 more)
-
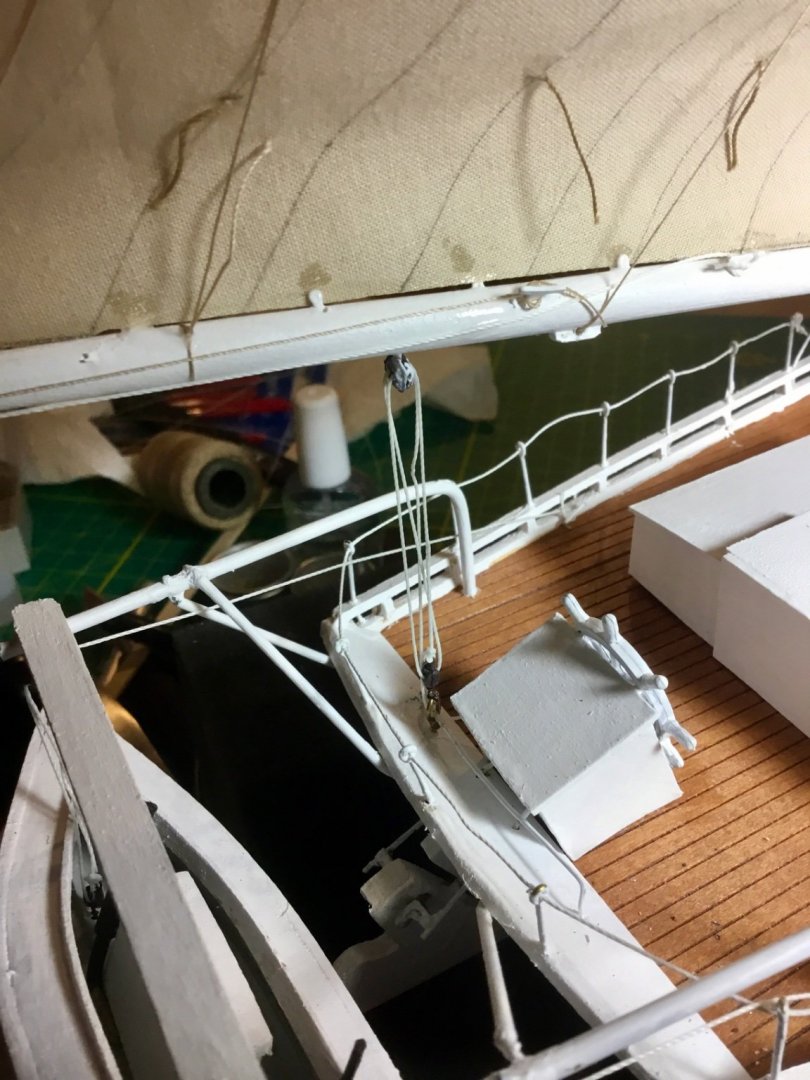
Rigged the spectacle halyard and installed the lazy jacks on the jib sail. Installed head rails and supports. Installed bowsprit shroud. Installed main sail lazy jacks. Installed clew reef lines. Rigged the main sheet. Installed the centerboard pendant and tackle. Rigged the shrouds and sheer poles. Installed the pin rails , fastened the spectacle halyard to the pin rail and rigged the cargo hook and belayed both to the port pin rail. Rigged the jib sheet to the deck horse then up to a block on the mast and finally down to the cleat on the front of the mast.


- 22 replies
-
- 1
-
-
- Horizon
- Chesapeake Bay Skipjack
- (and 1 more)
-
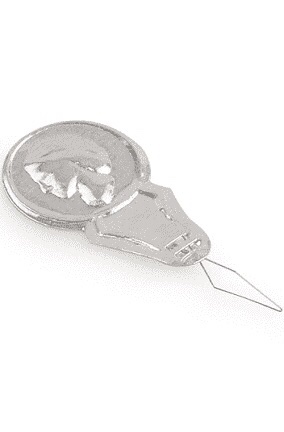
Does anyone use a tool, such as a bead knotting tool or a fly tying tool to tie knots when rigging a ship? If so, do you have any recommendations?
-
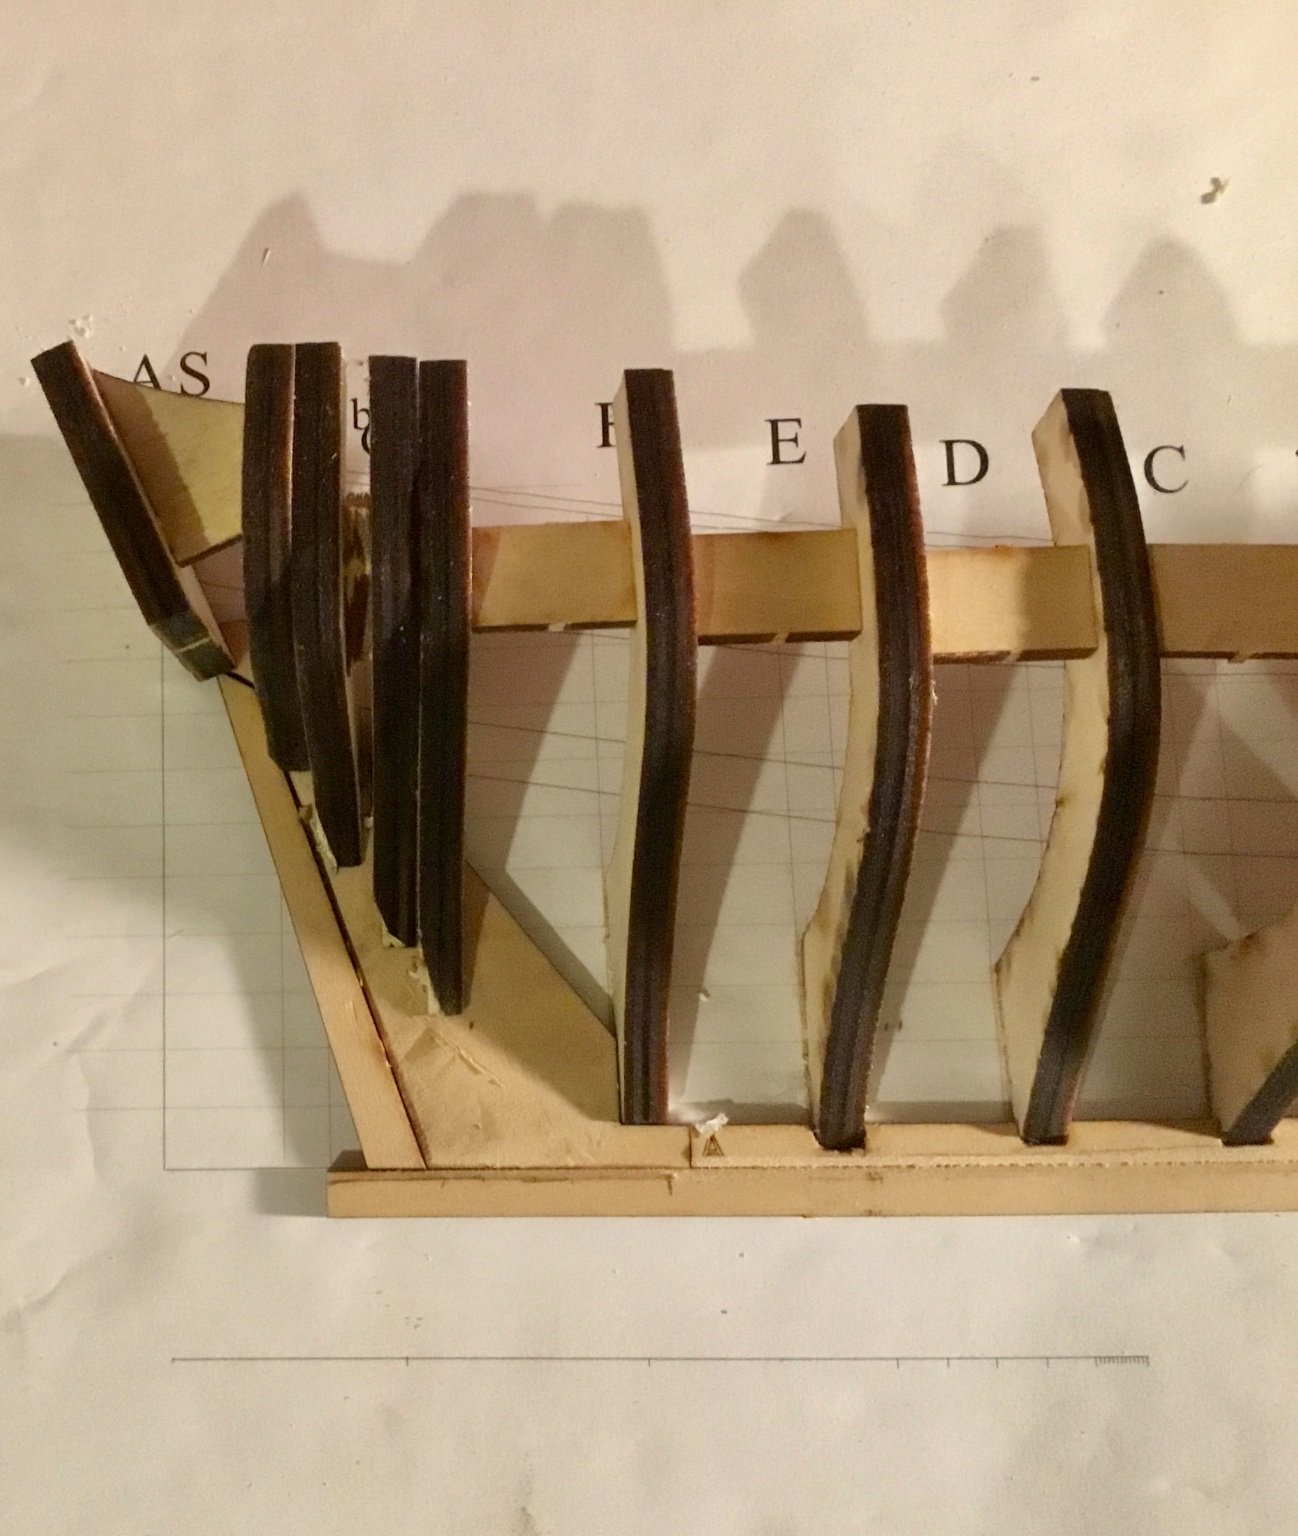
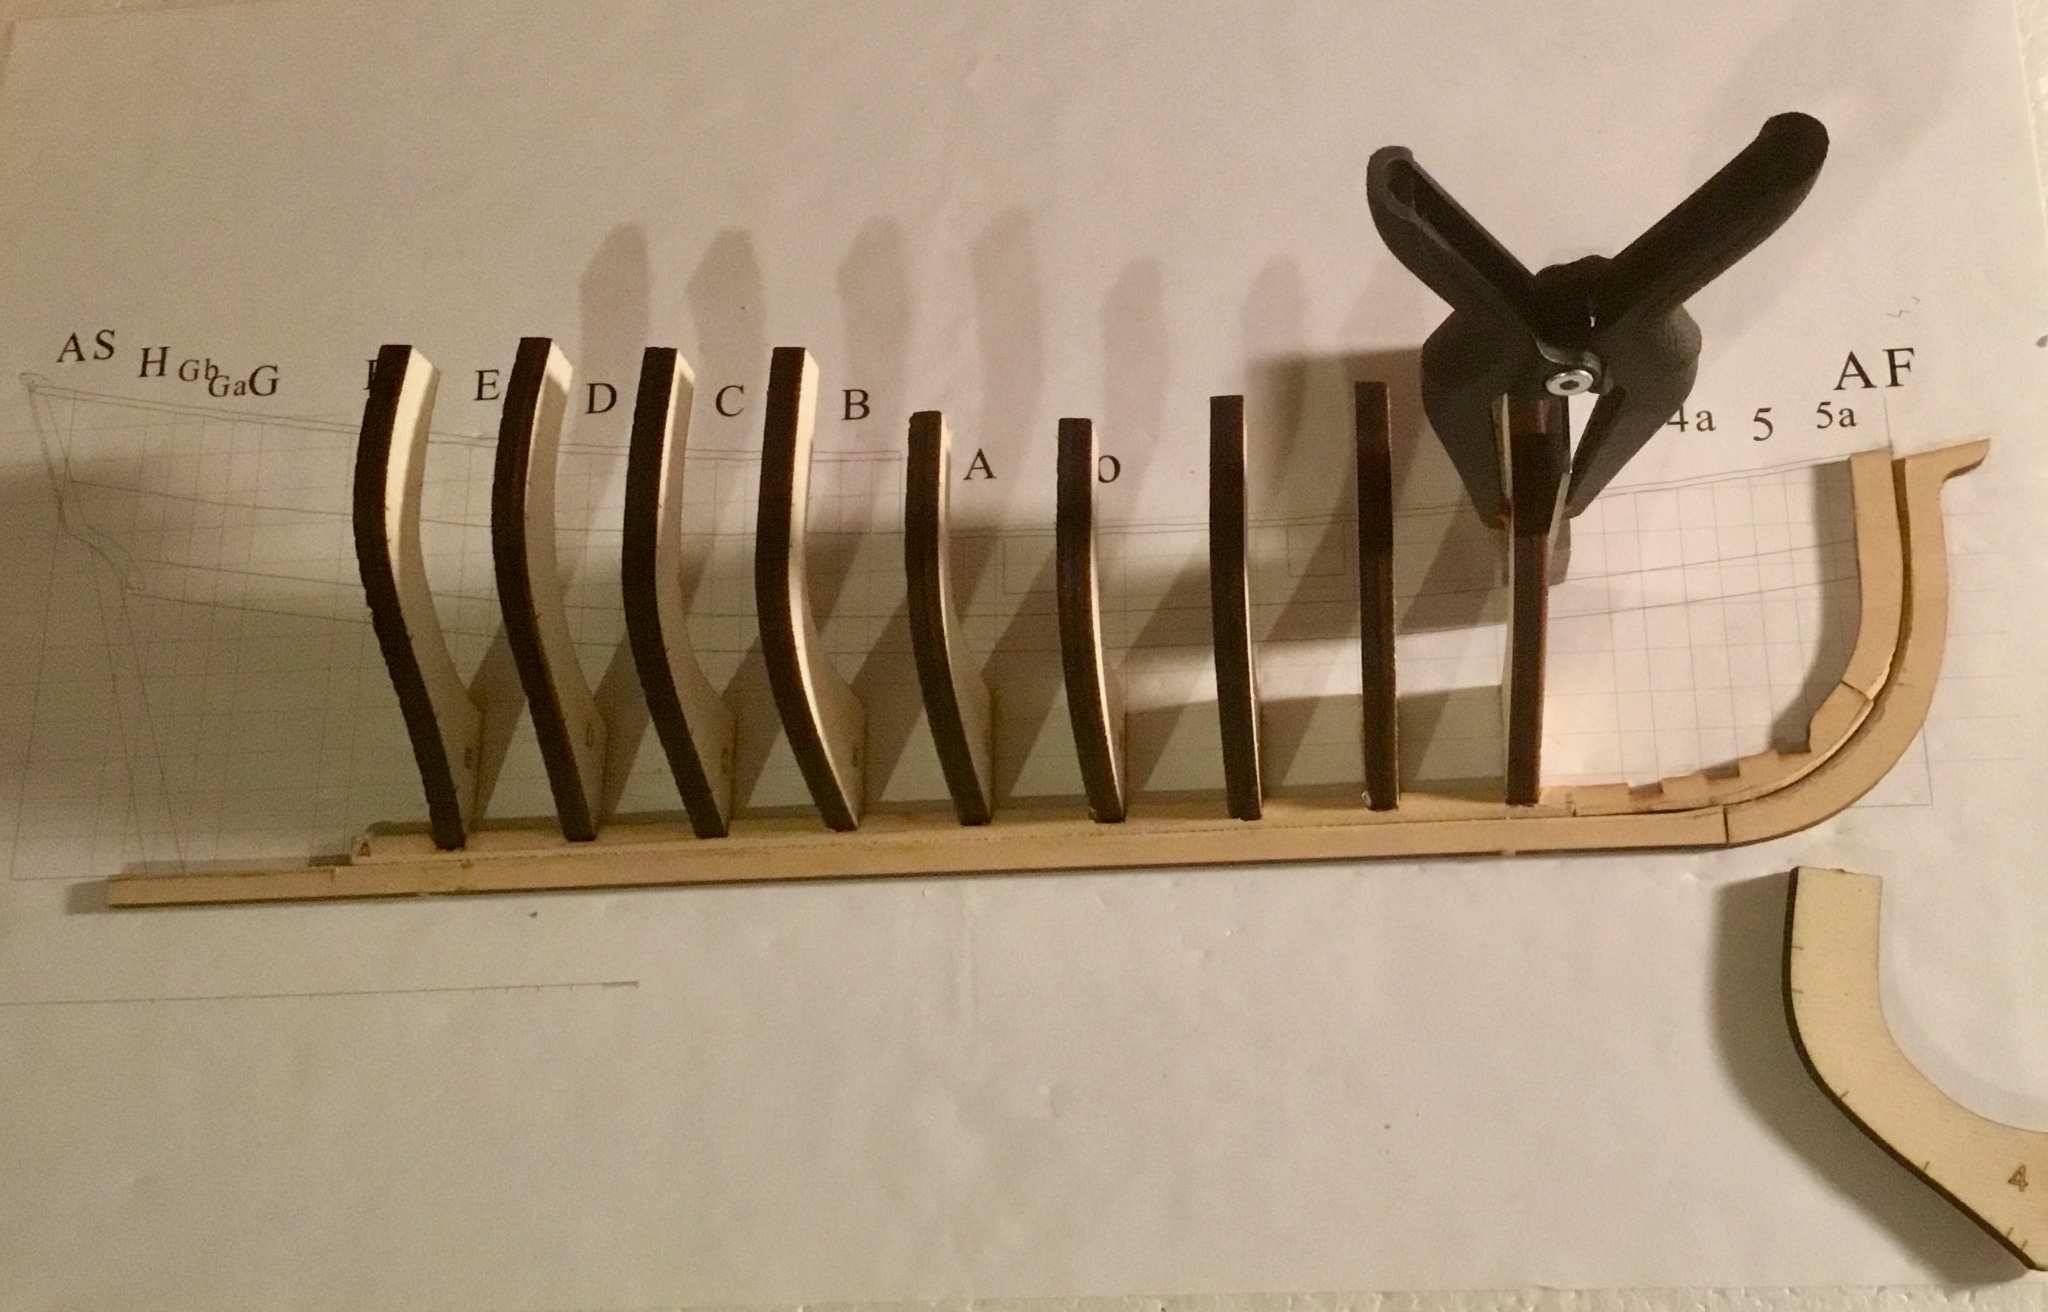
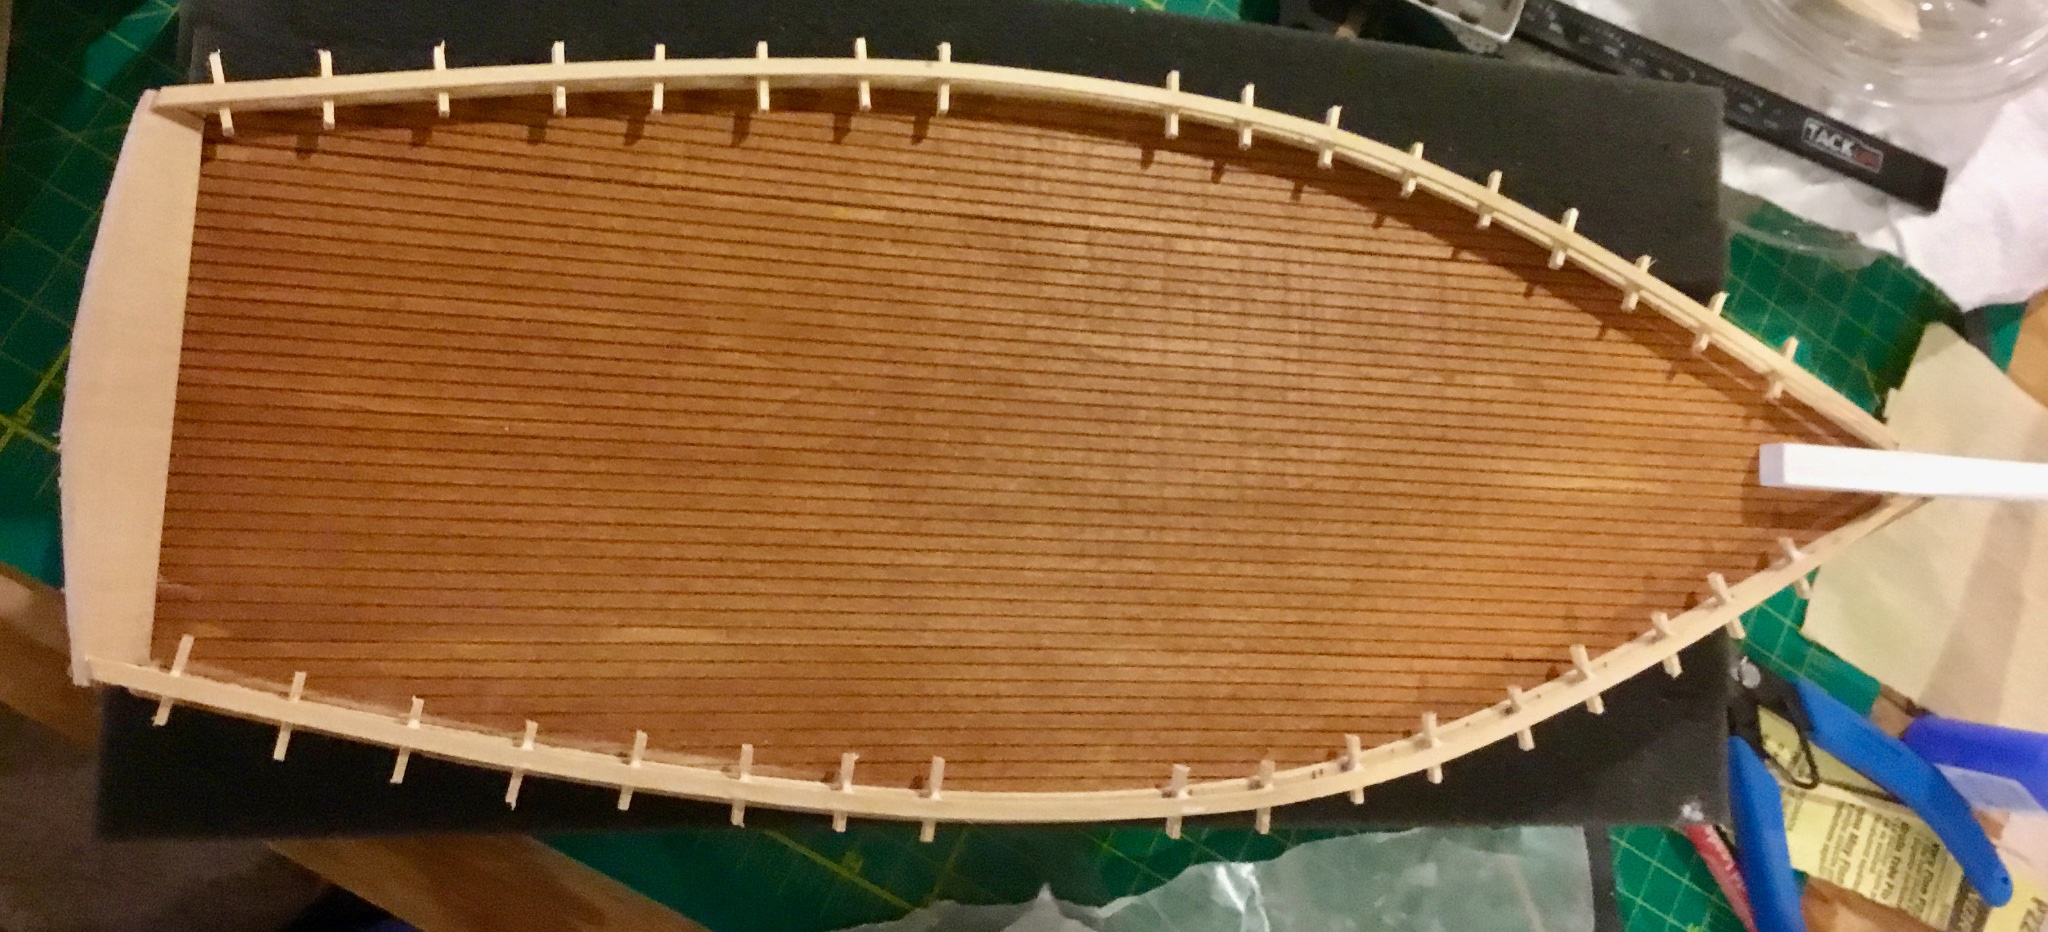
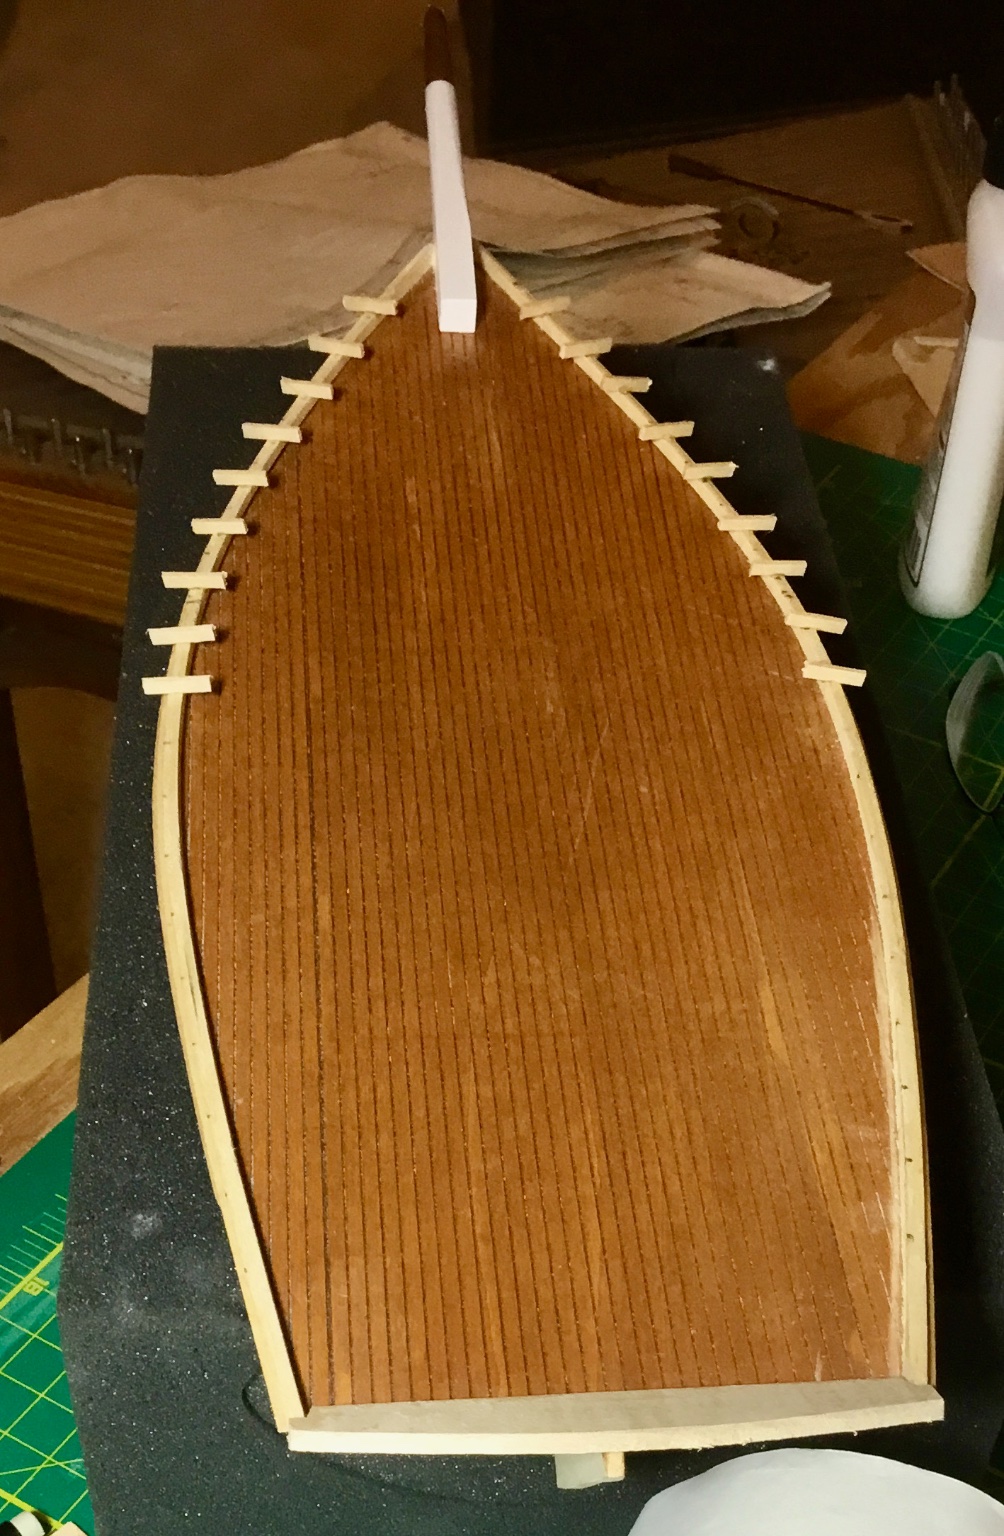
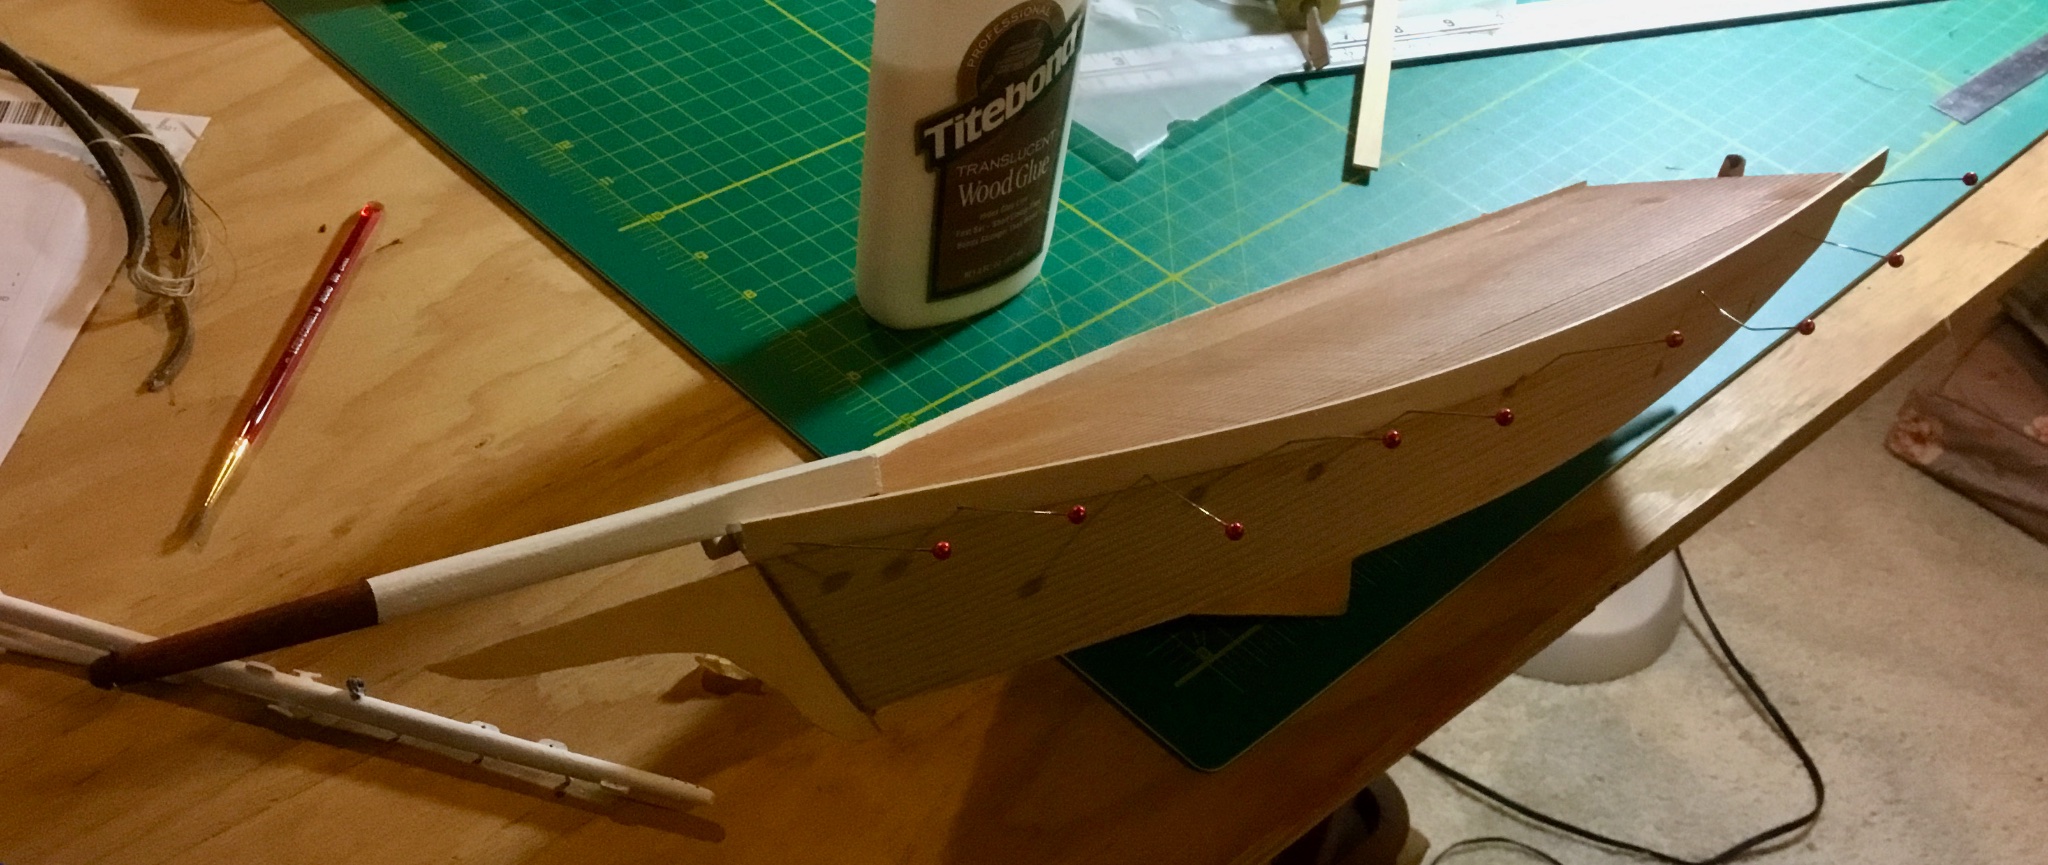
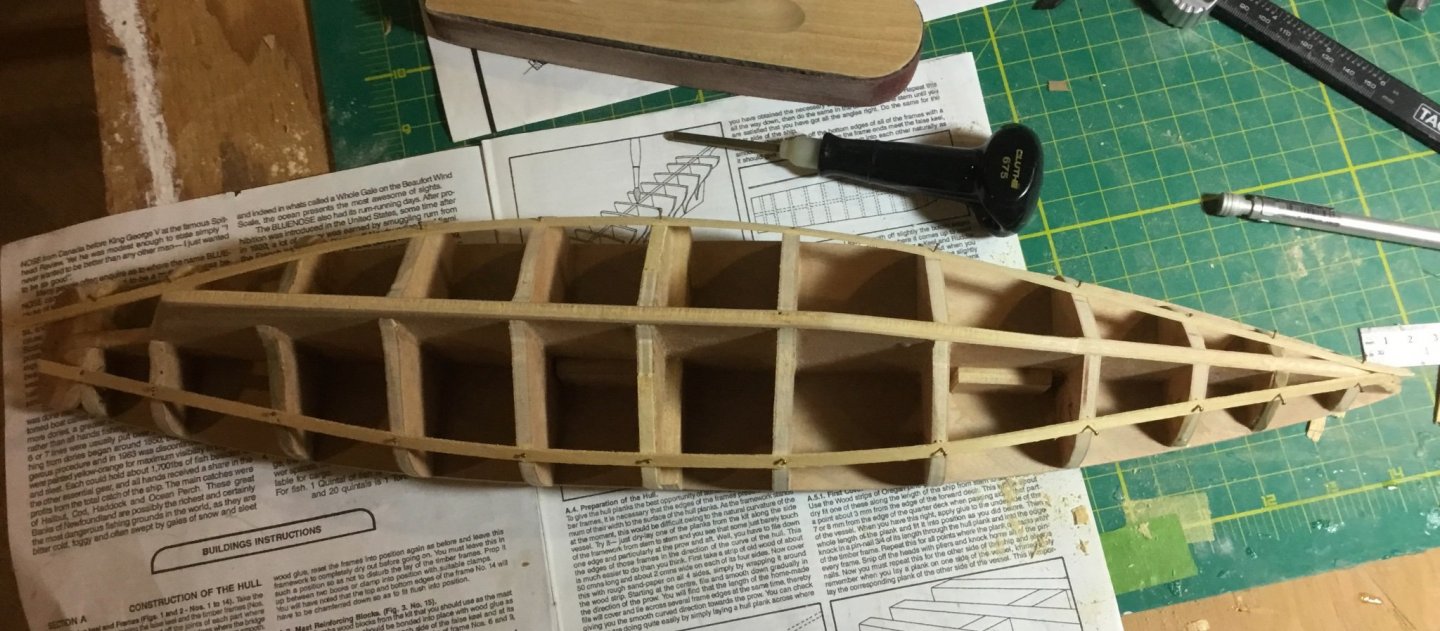
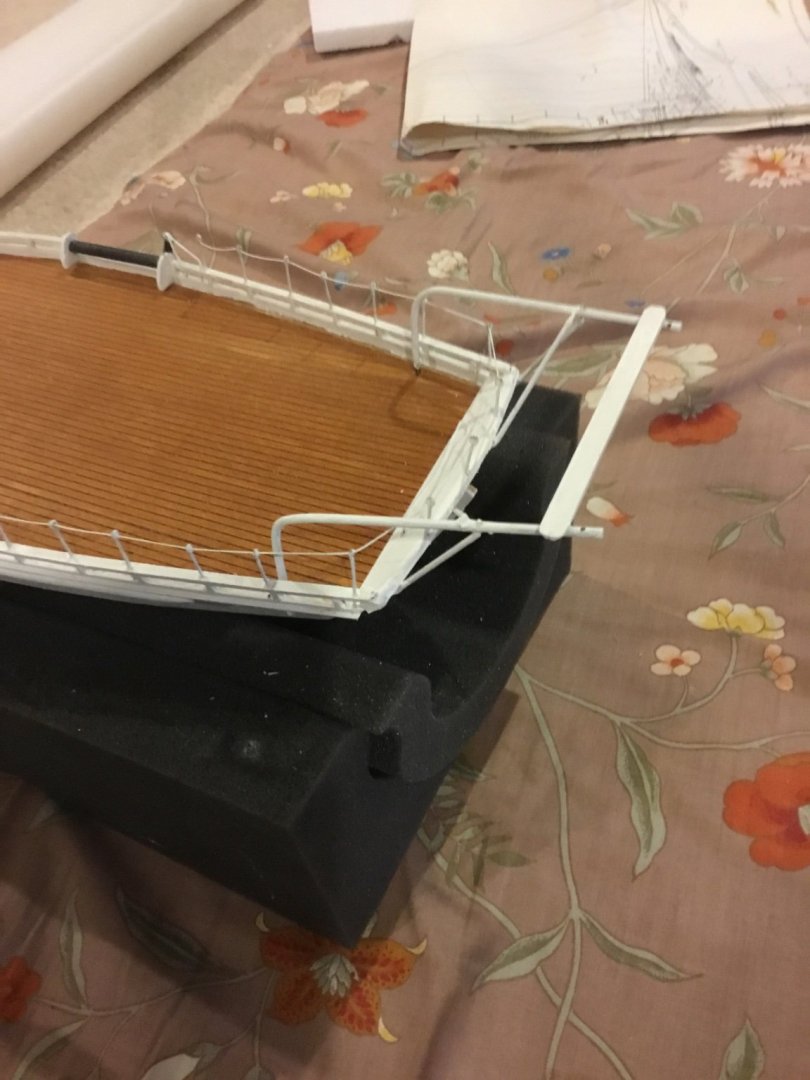
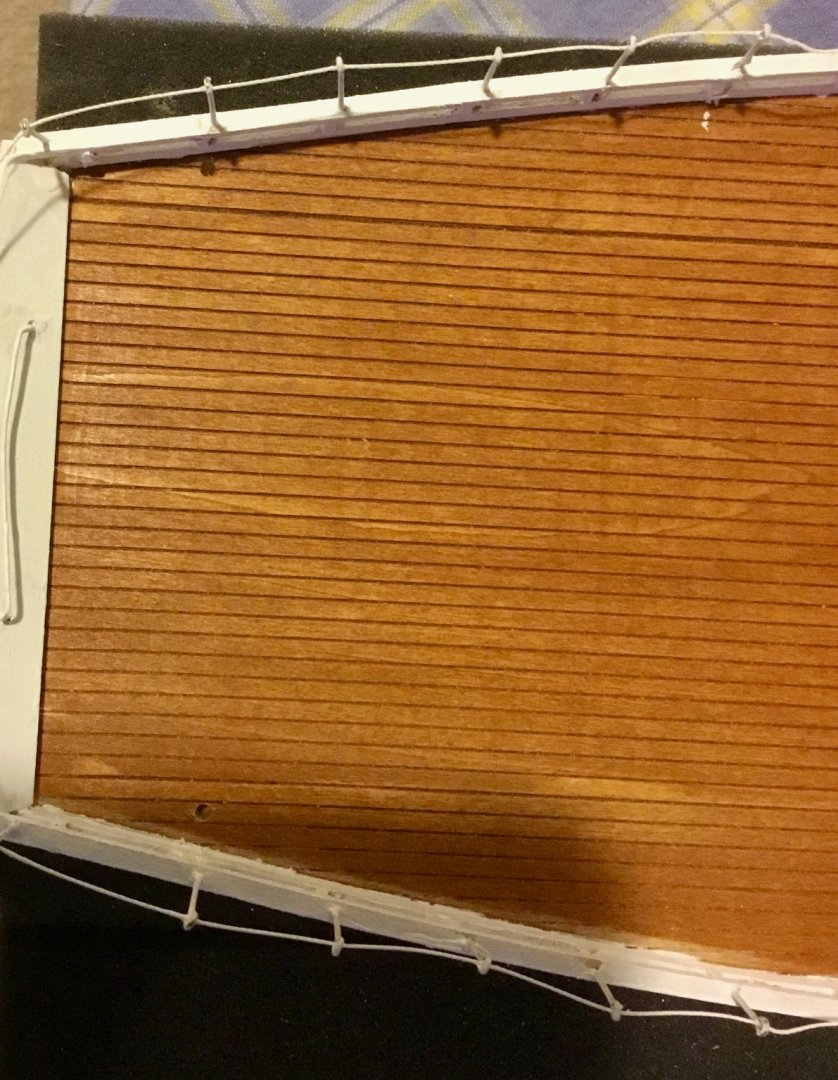
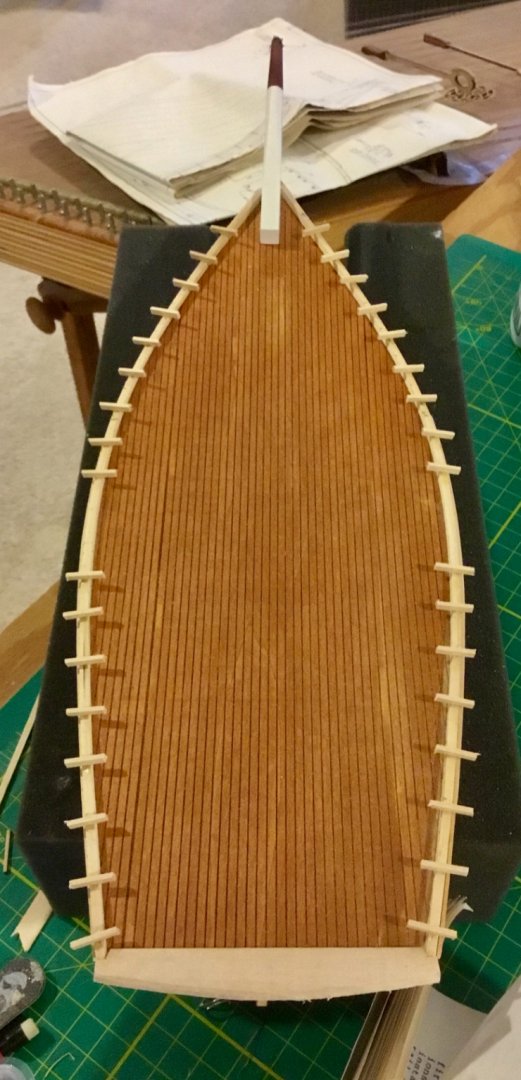
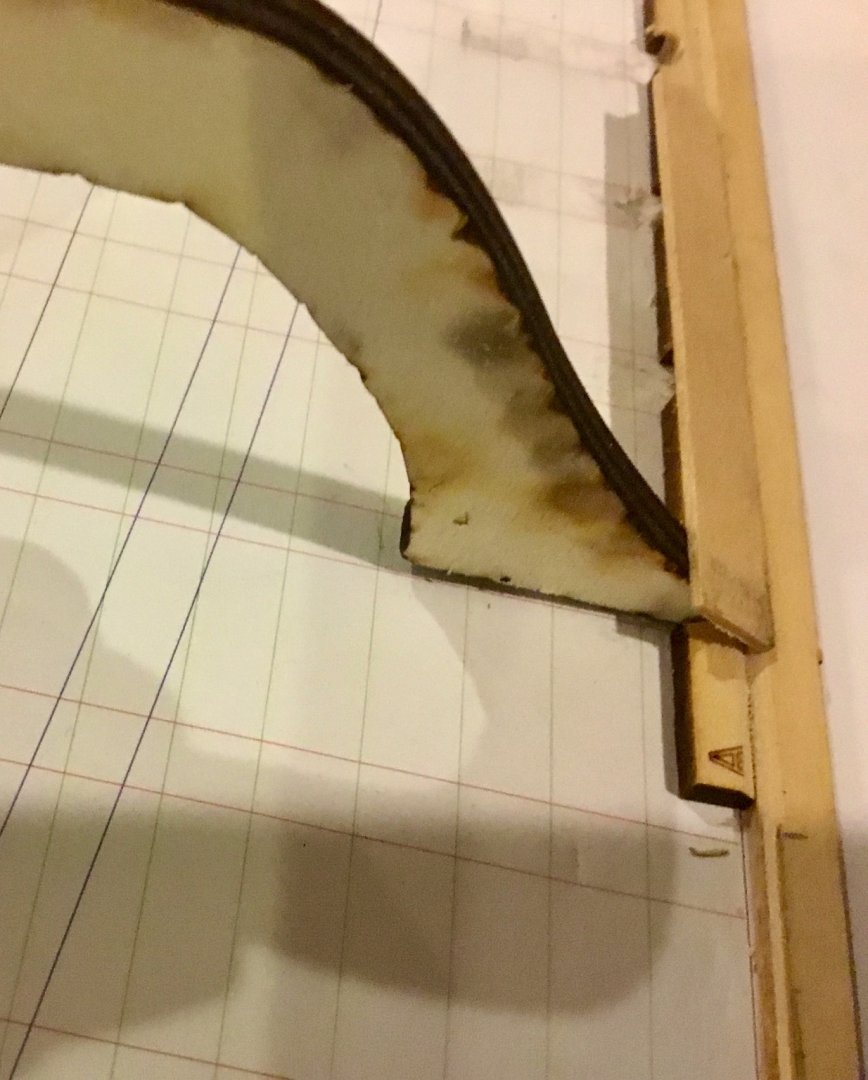
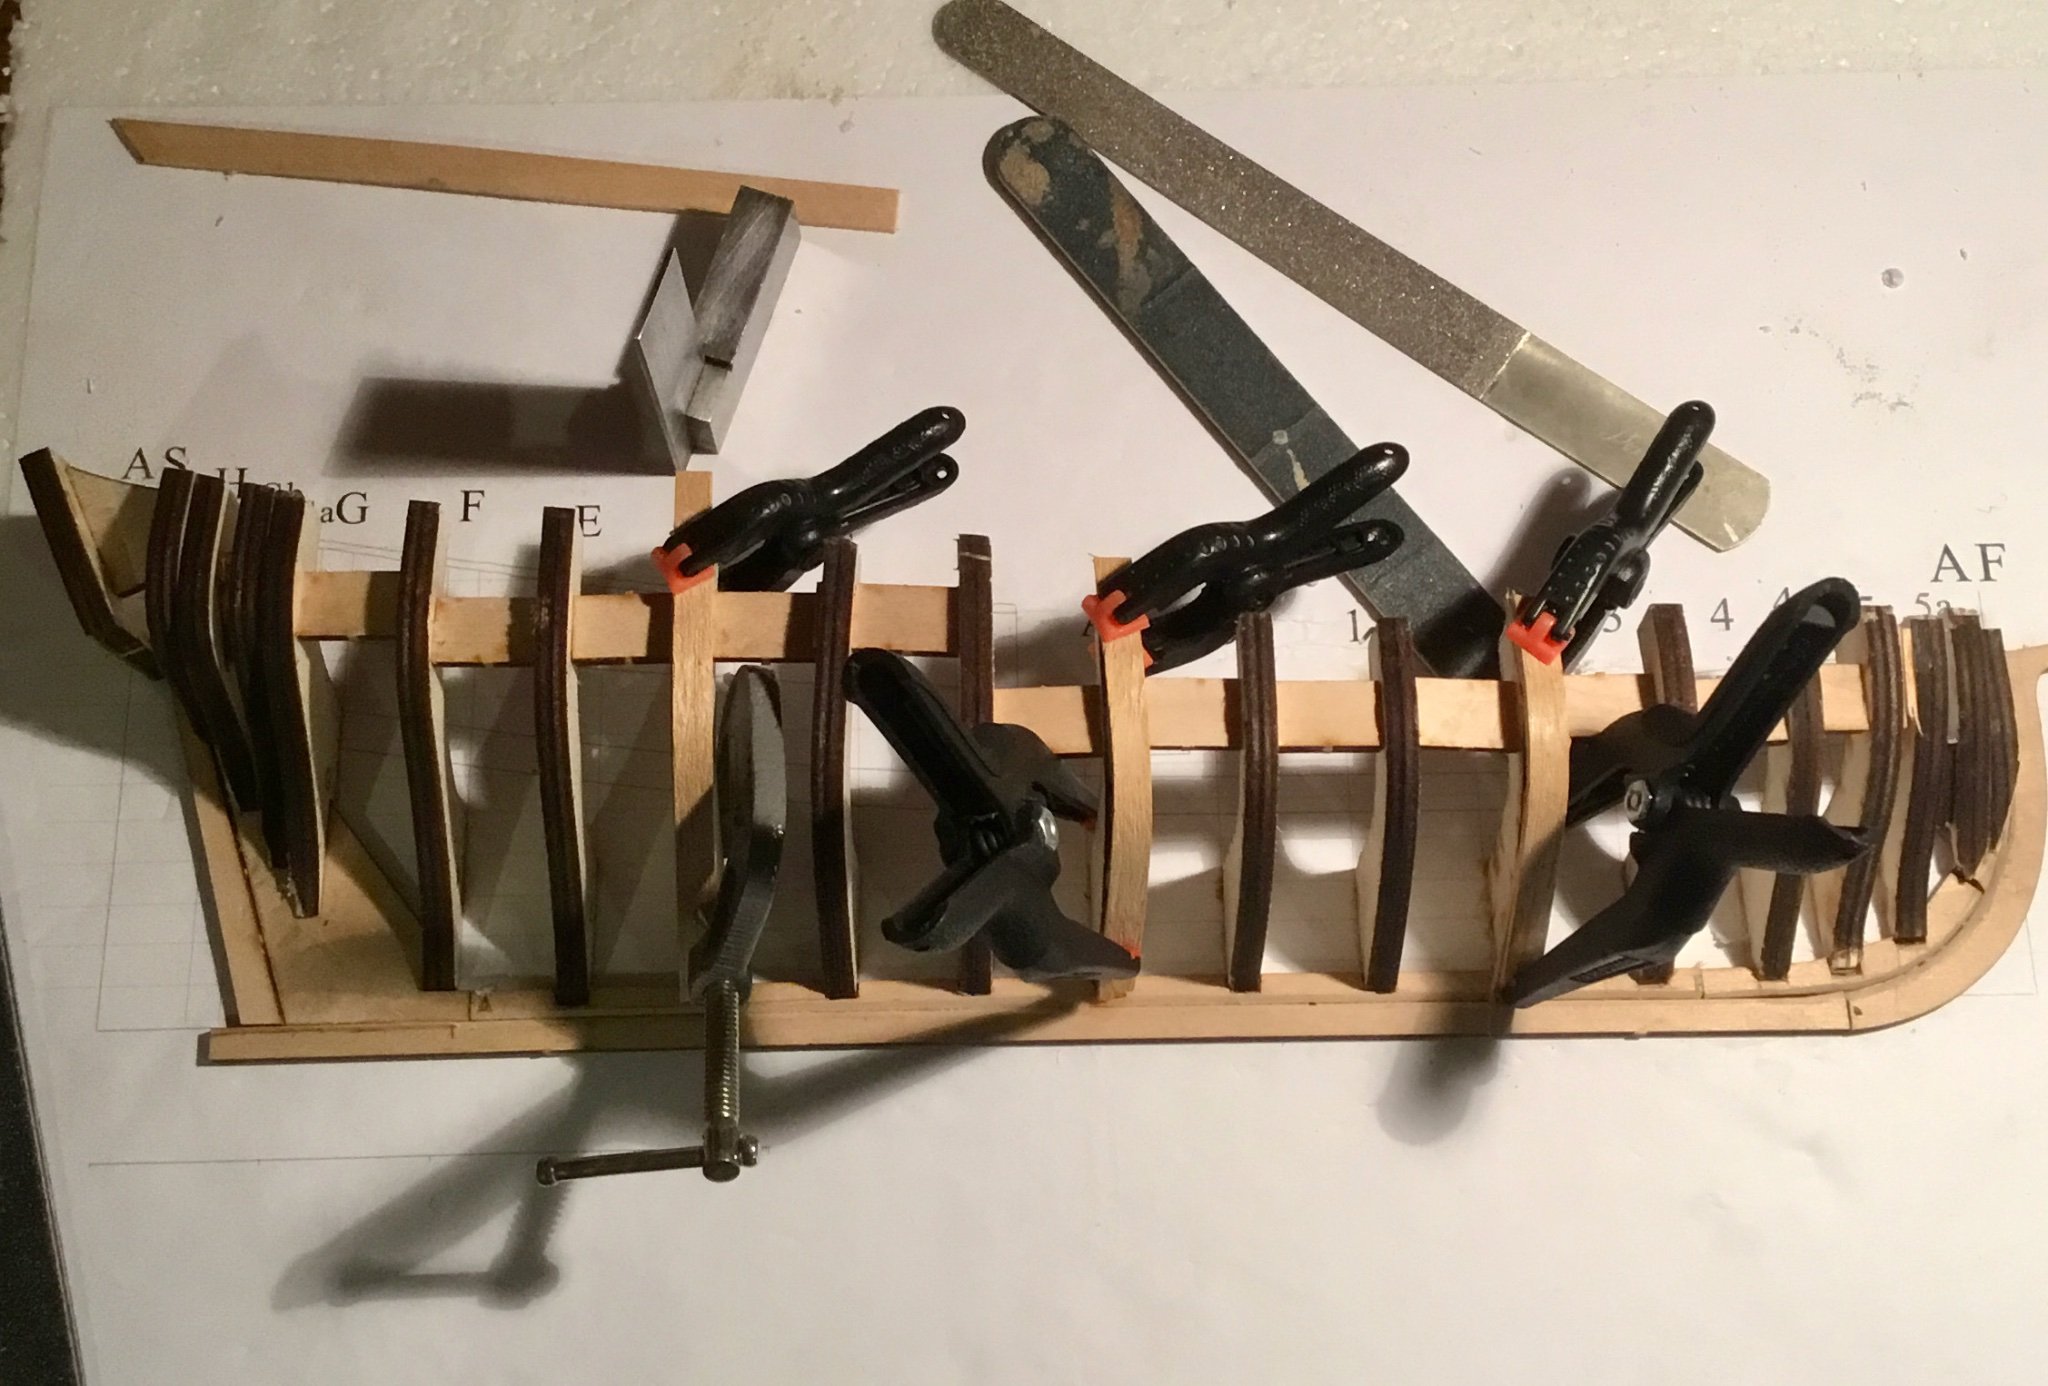
Tried to cut the tops of the frame for the top-line when tragedy struck. Because of lack of stiffness in the foam board I'm using combined with the fact that I compromised the integrity of the foam board when deepening the slots in stemson some frames broke off and had to be redone. In addition some of the frames did not stay level requiring shims to be added to even out the frames prior to fairing. I'll do my best to try a correct the prob less so I gt a fair hull before starting the planking. I think this kit could be improved (thou it may make it cost more) if the stepson was replaced with a half center keel and half bulkheads like in the Model Shipways Glad Tidings kit. This would eliminate the need to deepen the slots in the stepson and provide a more stable support for the framing than the current kit. Just my opinion, for what it's worth. I'm just a beginner at this but I think that's what this kit is geared toward. Is it an introduction to planking or as it seems to me to be an introduction to framing and planking?
-
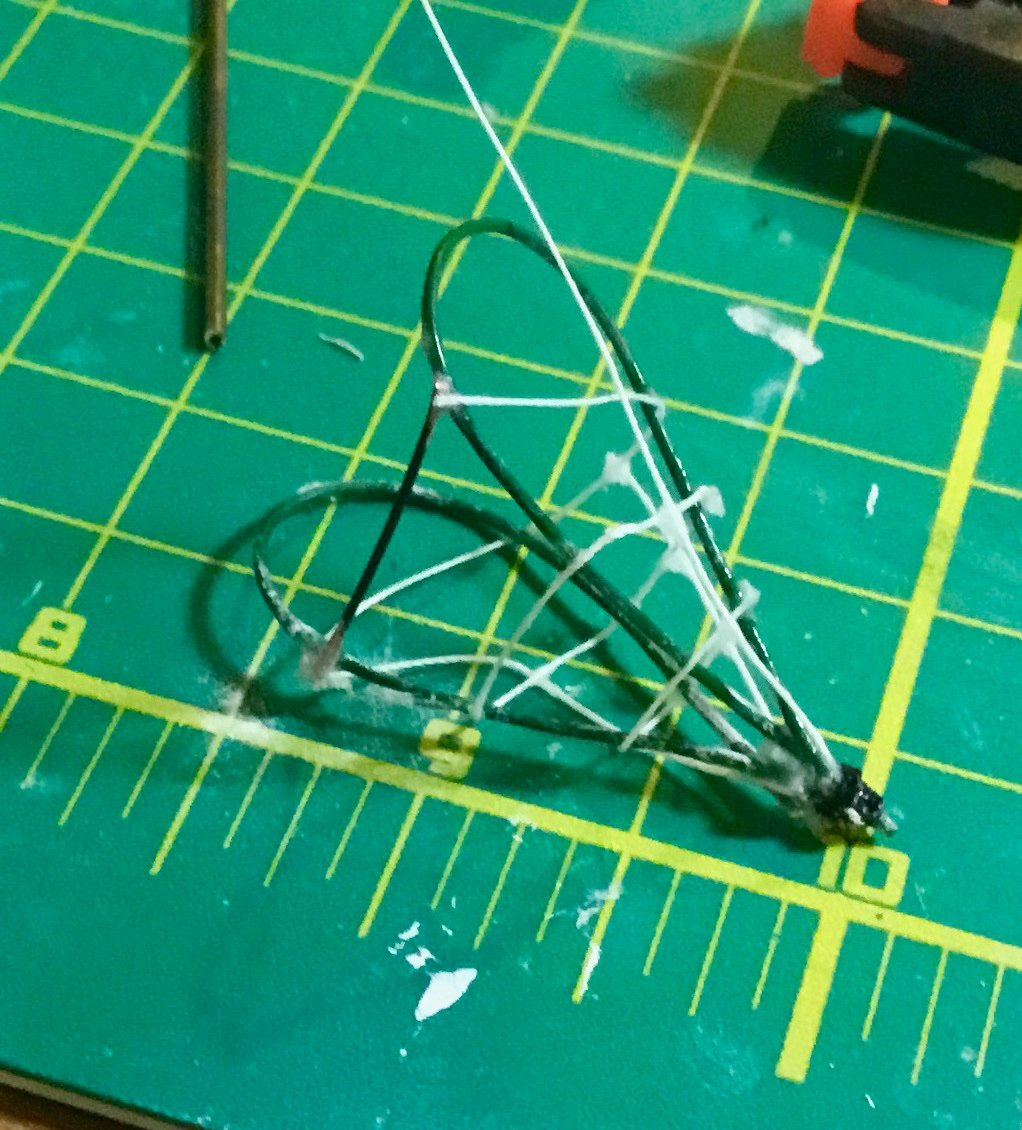
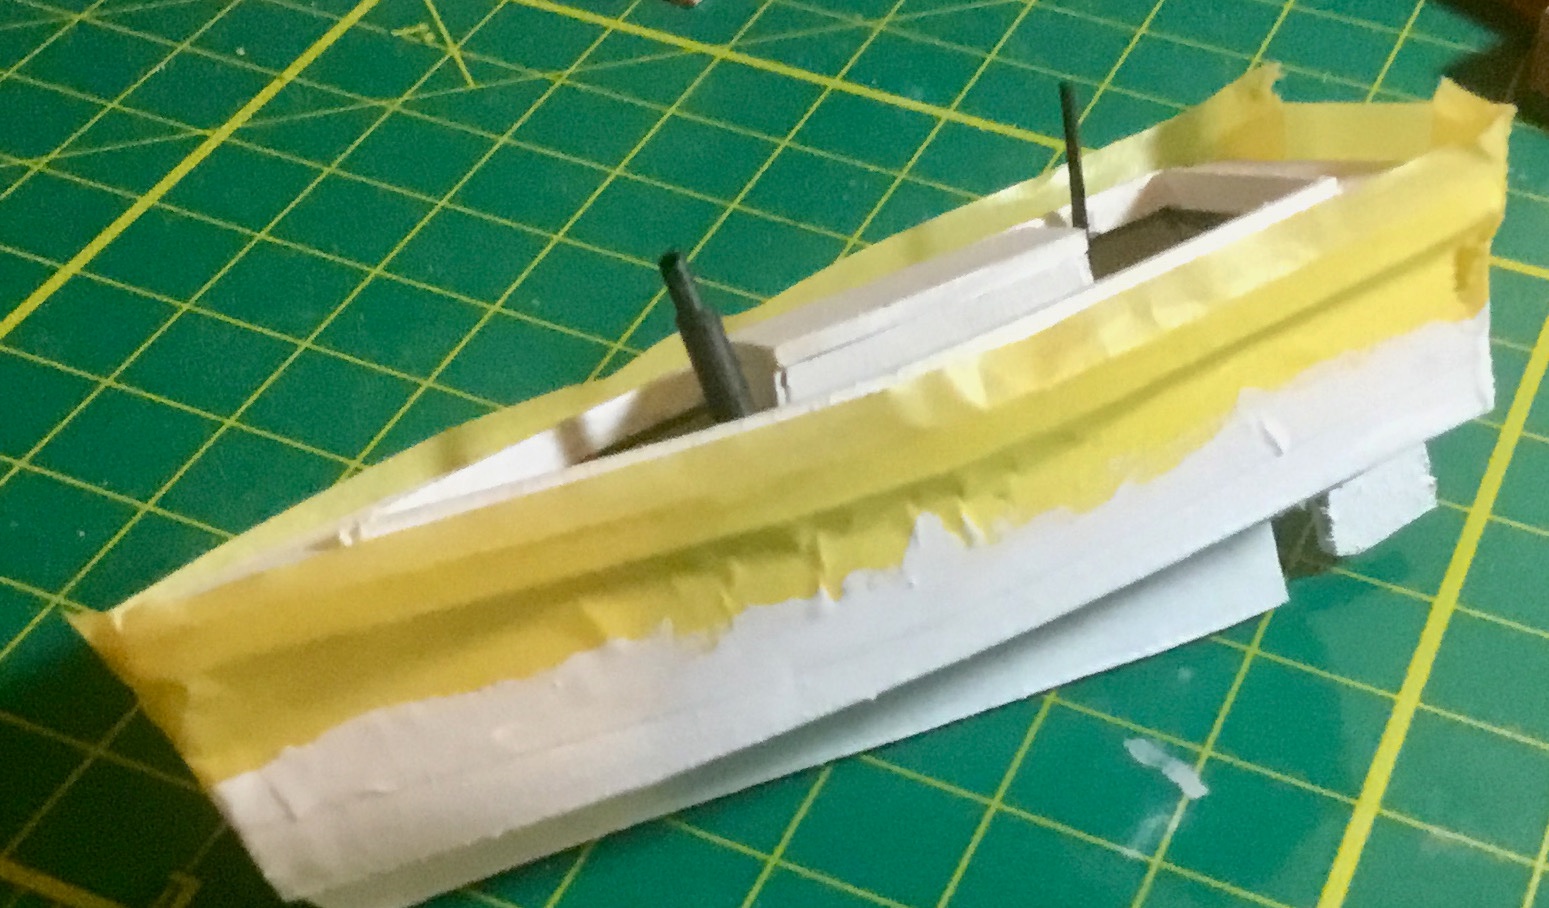
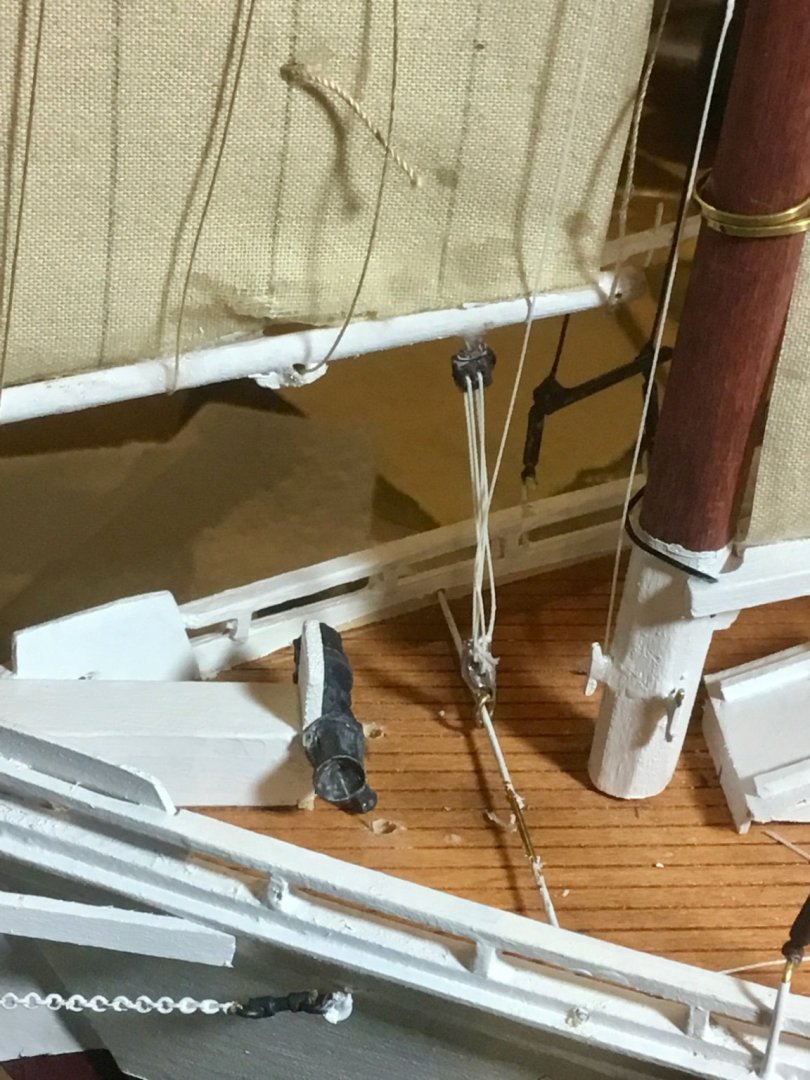
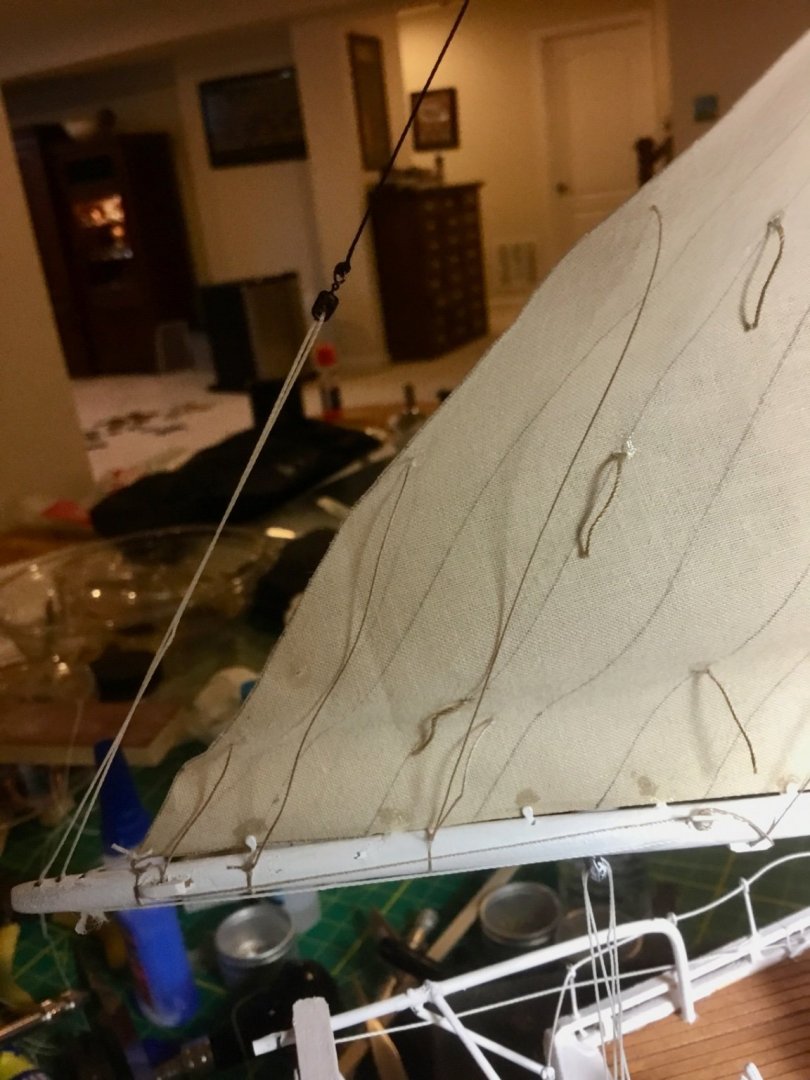
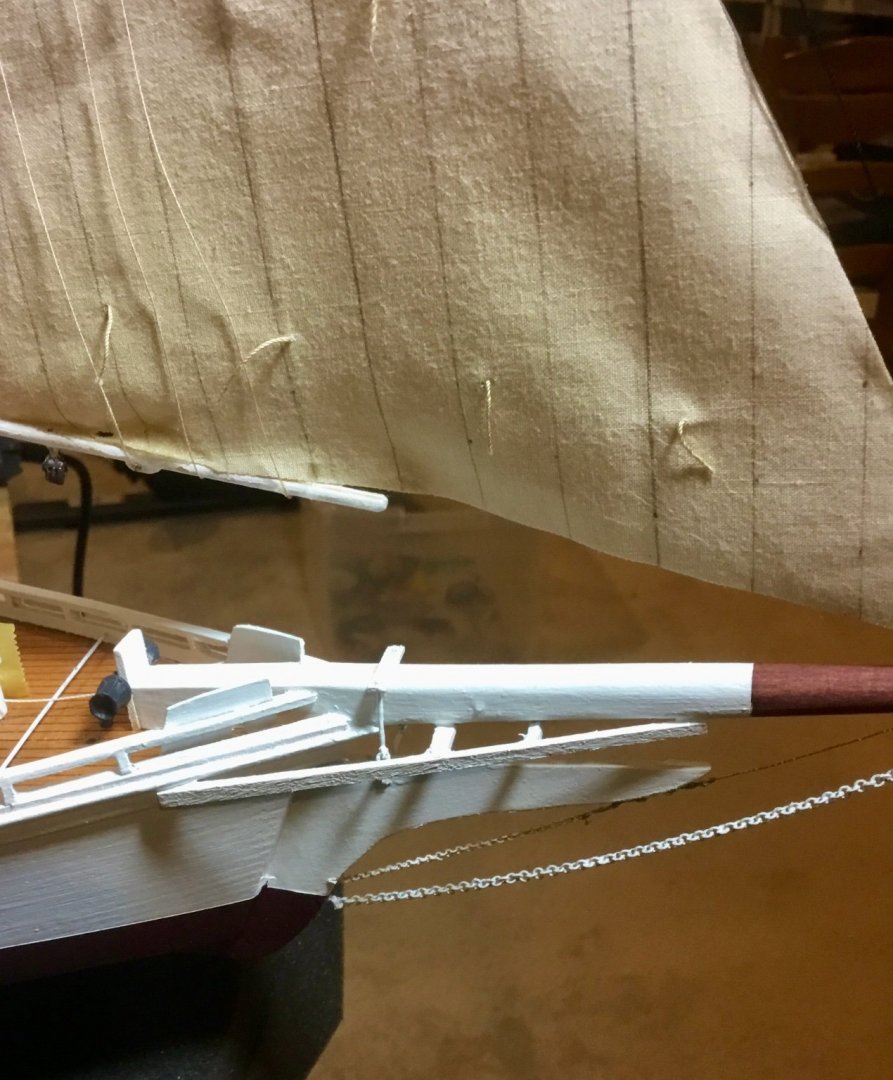
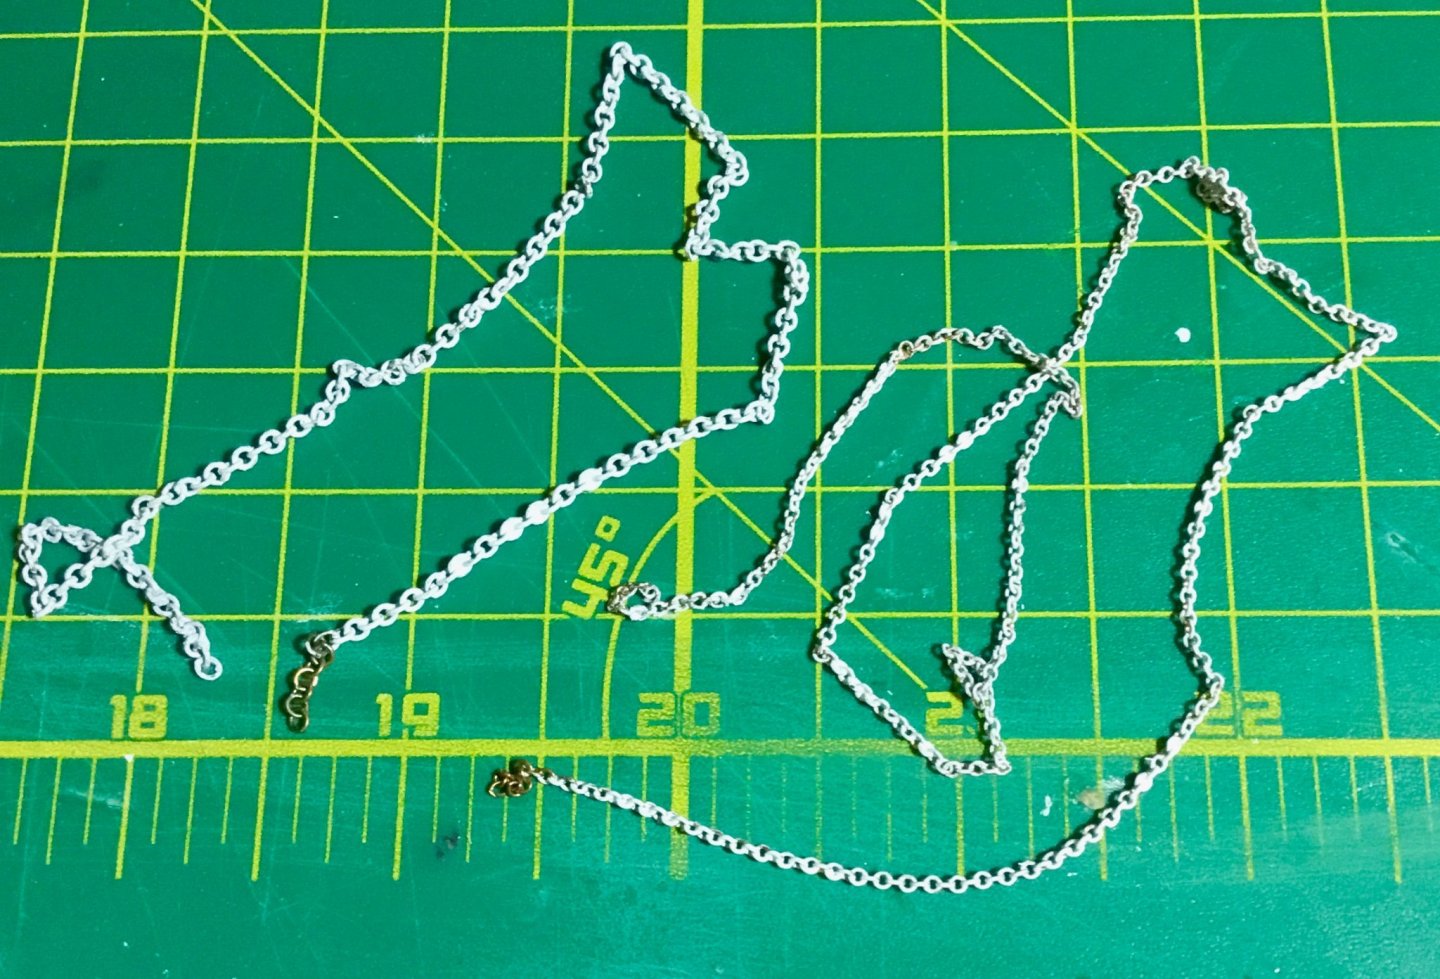
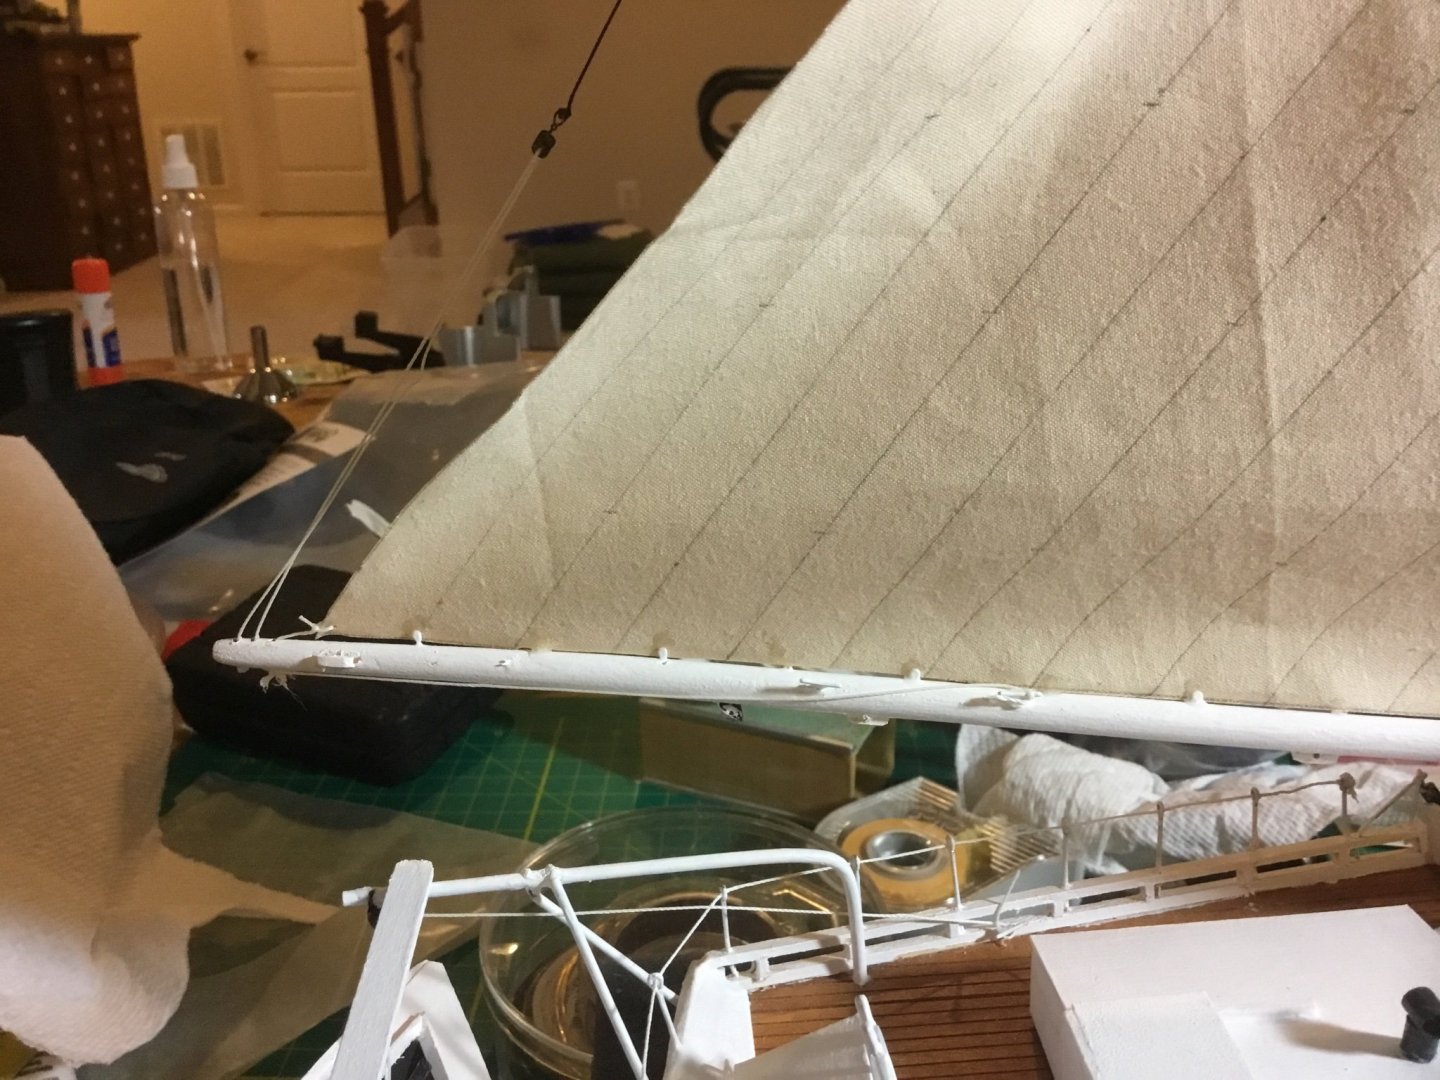
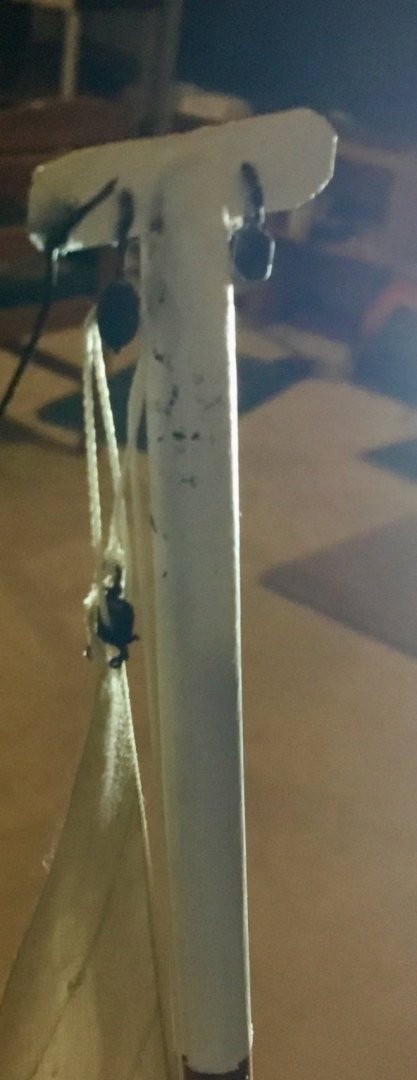
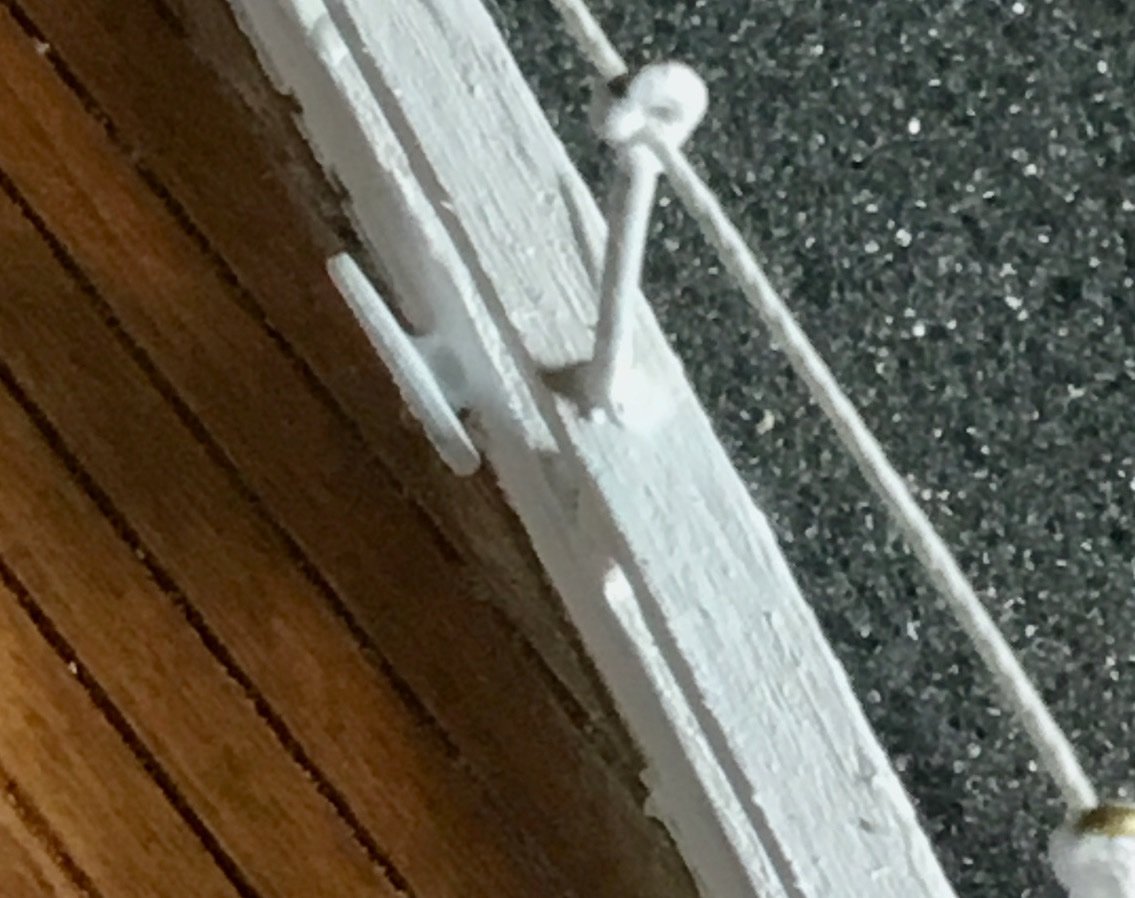
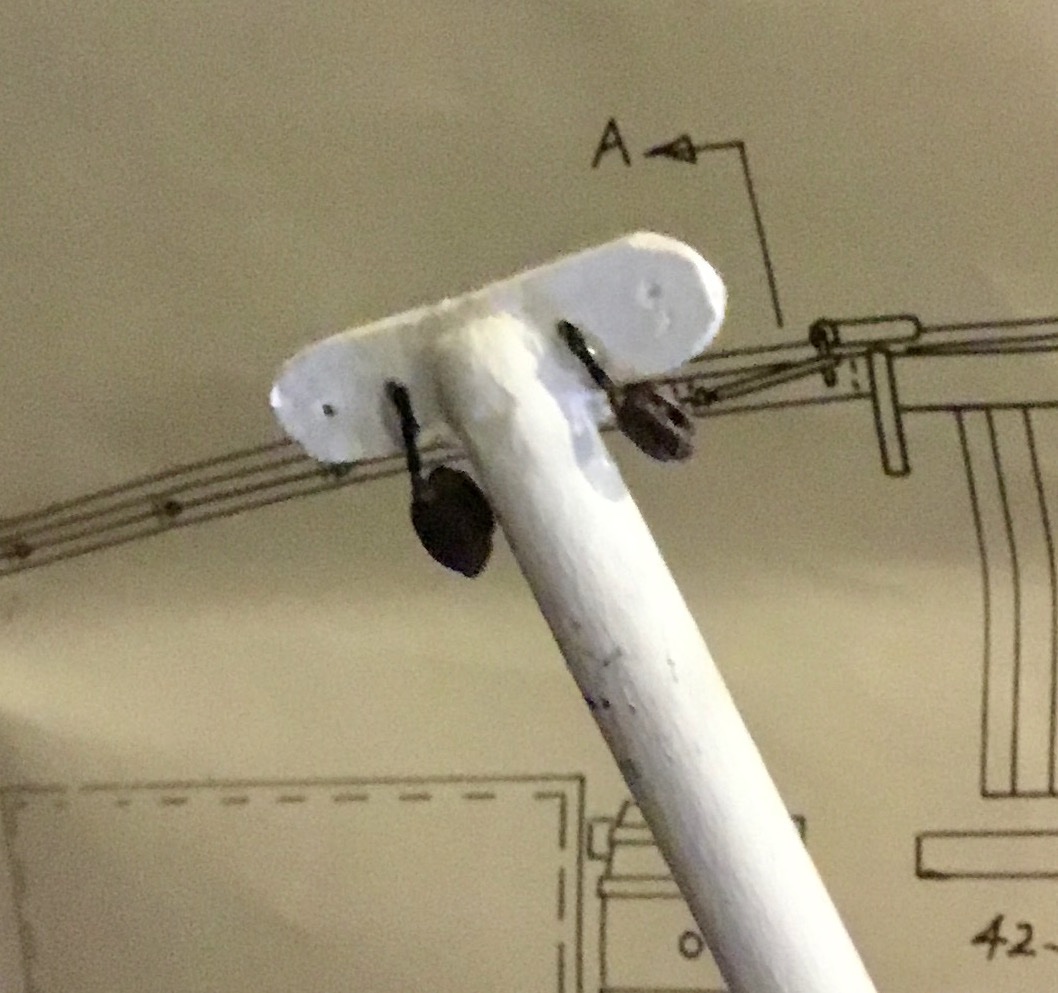
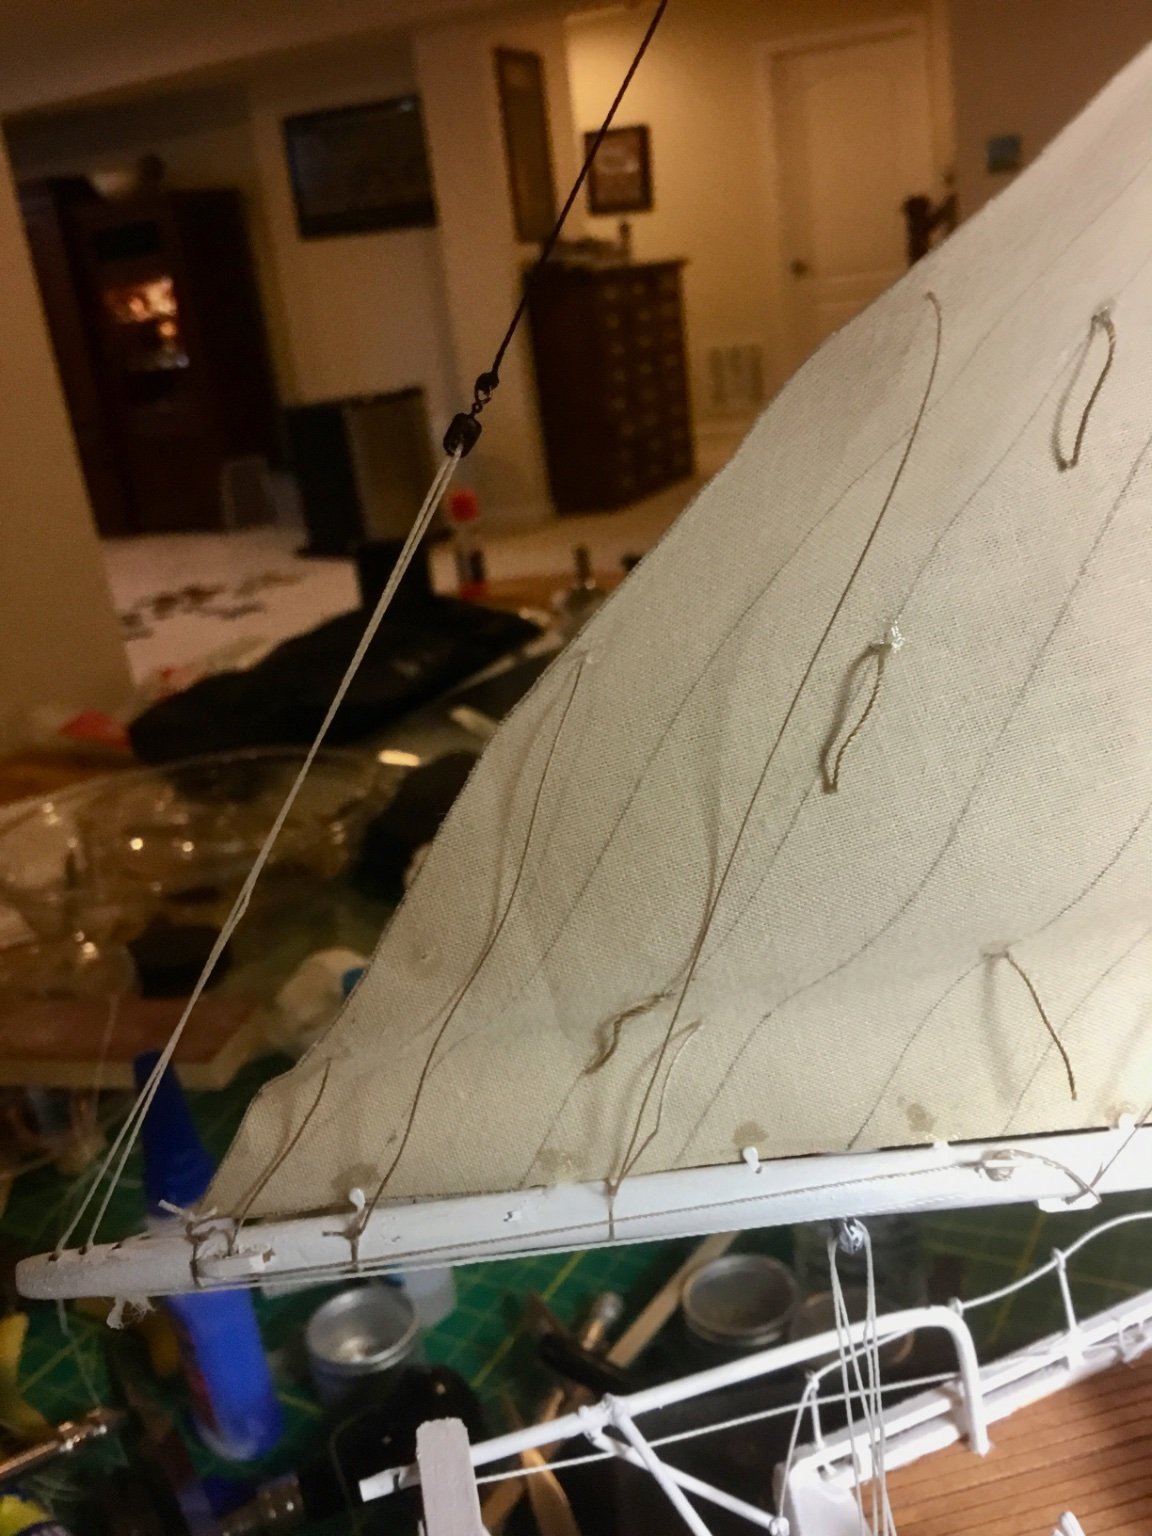
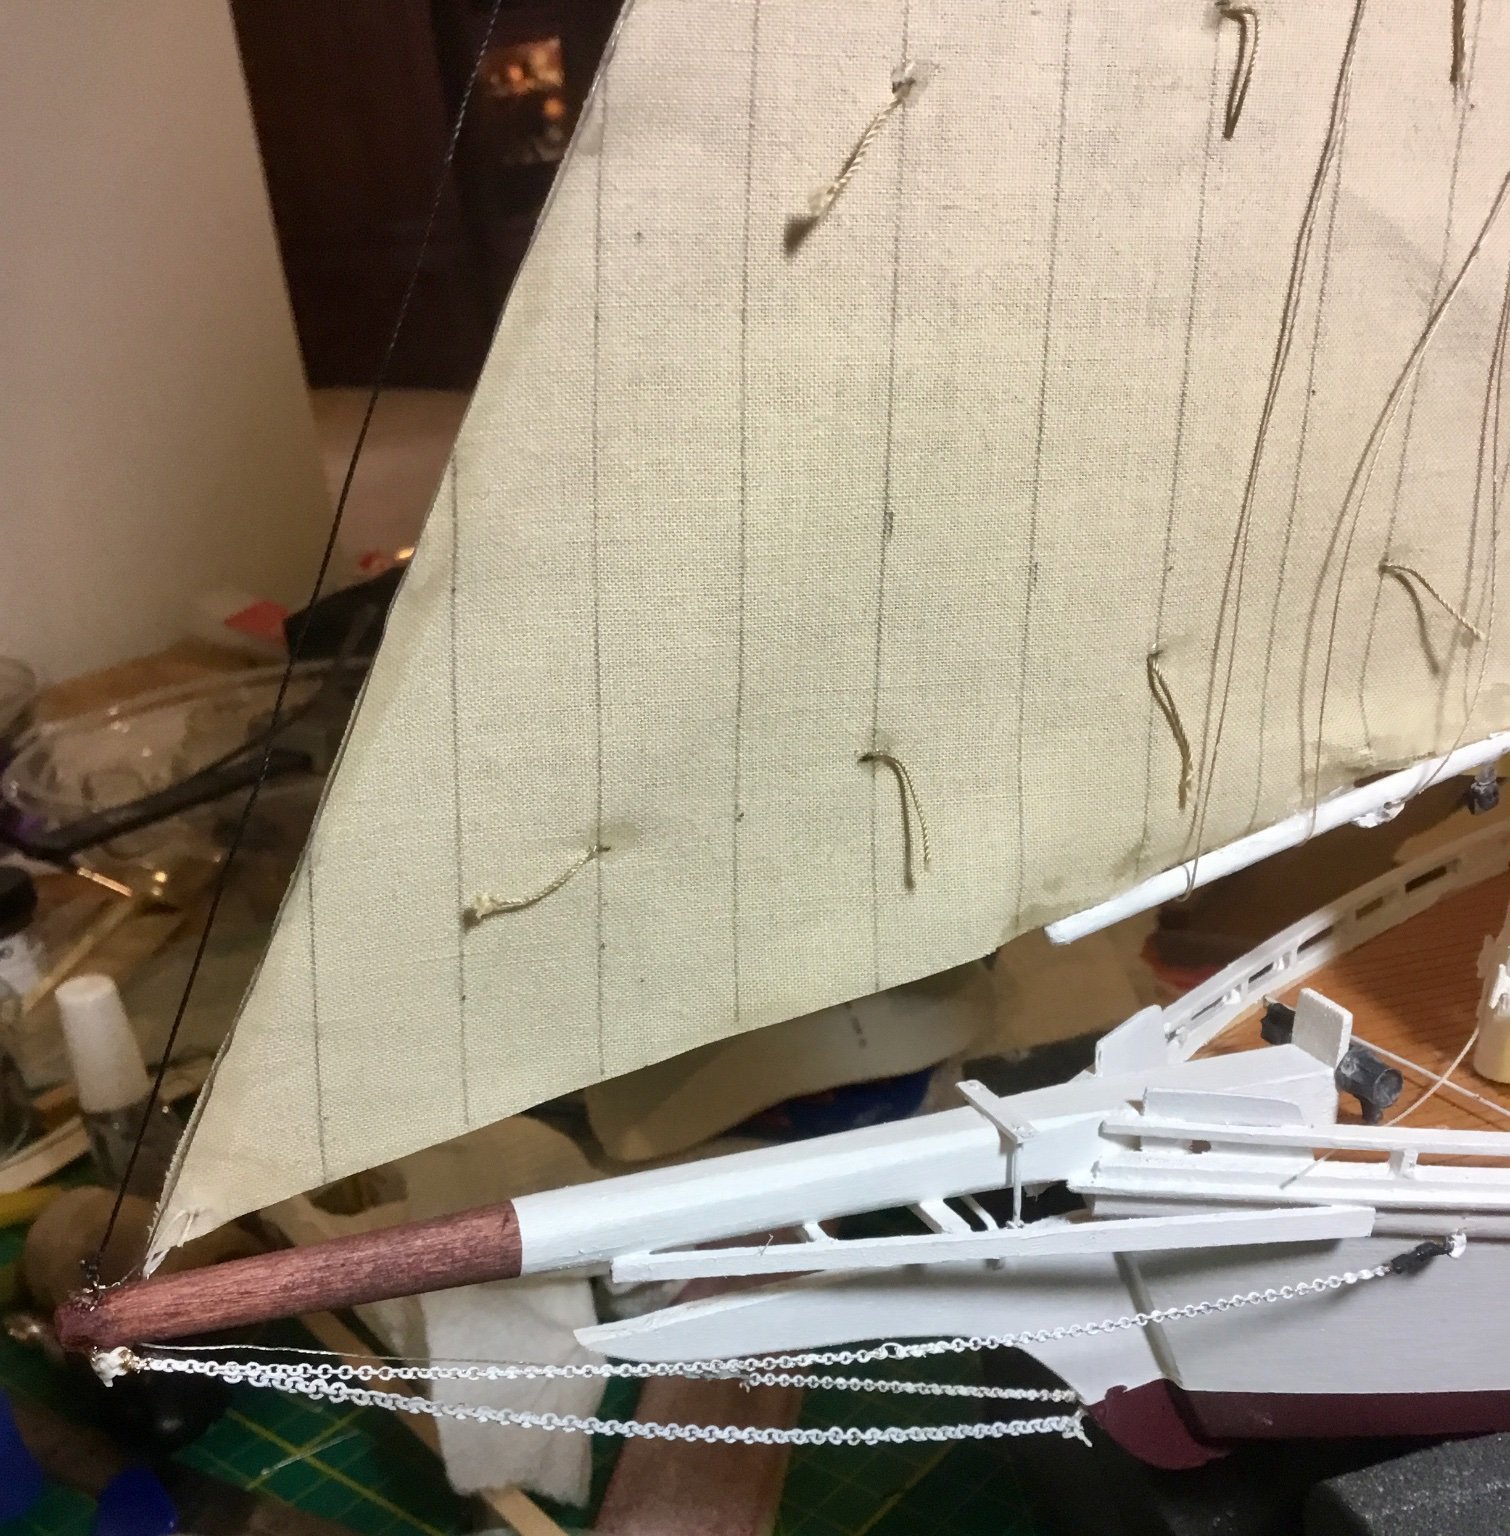
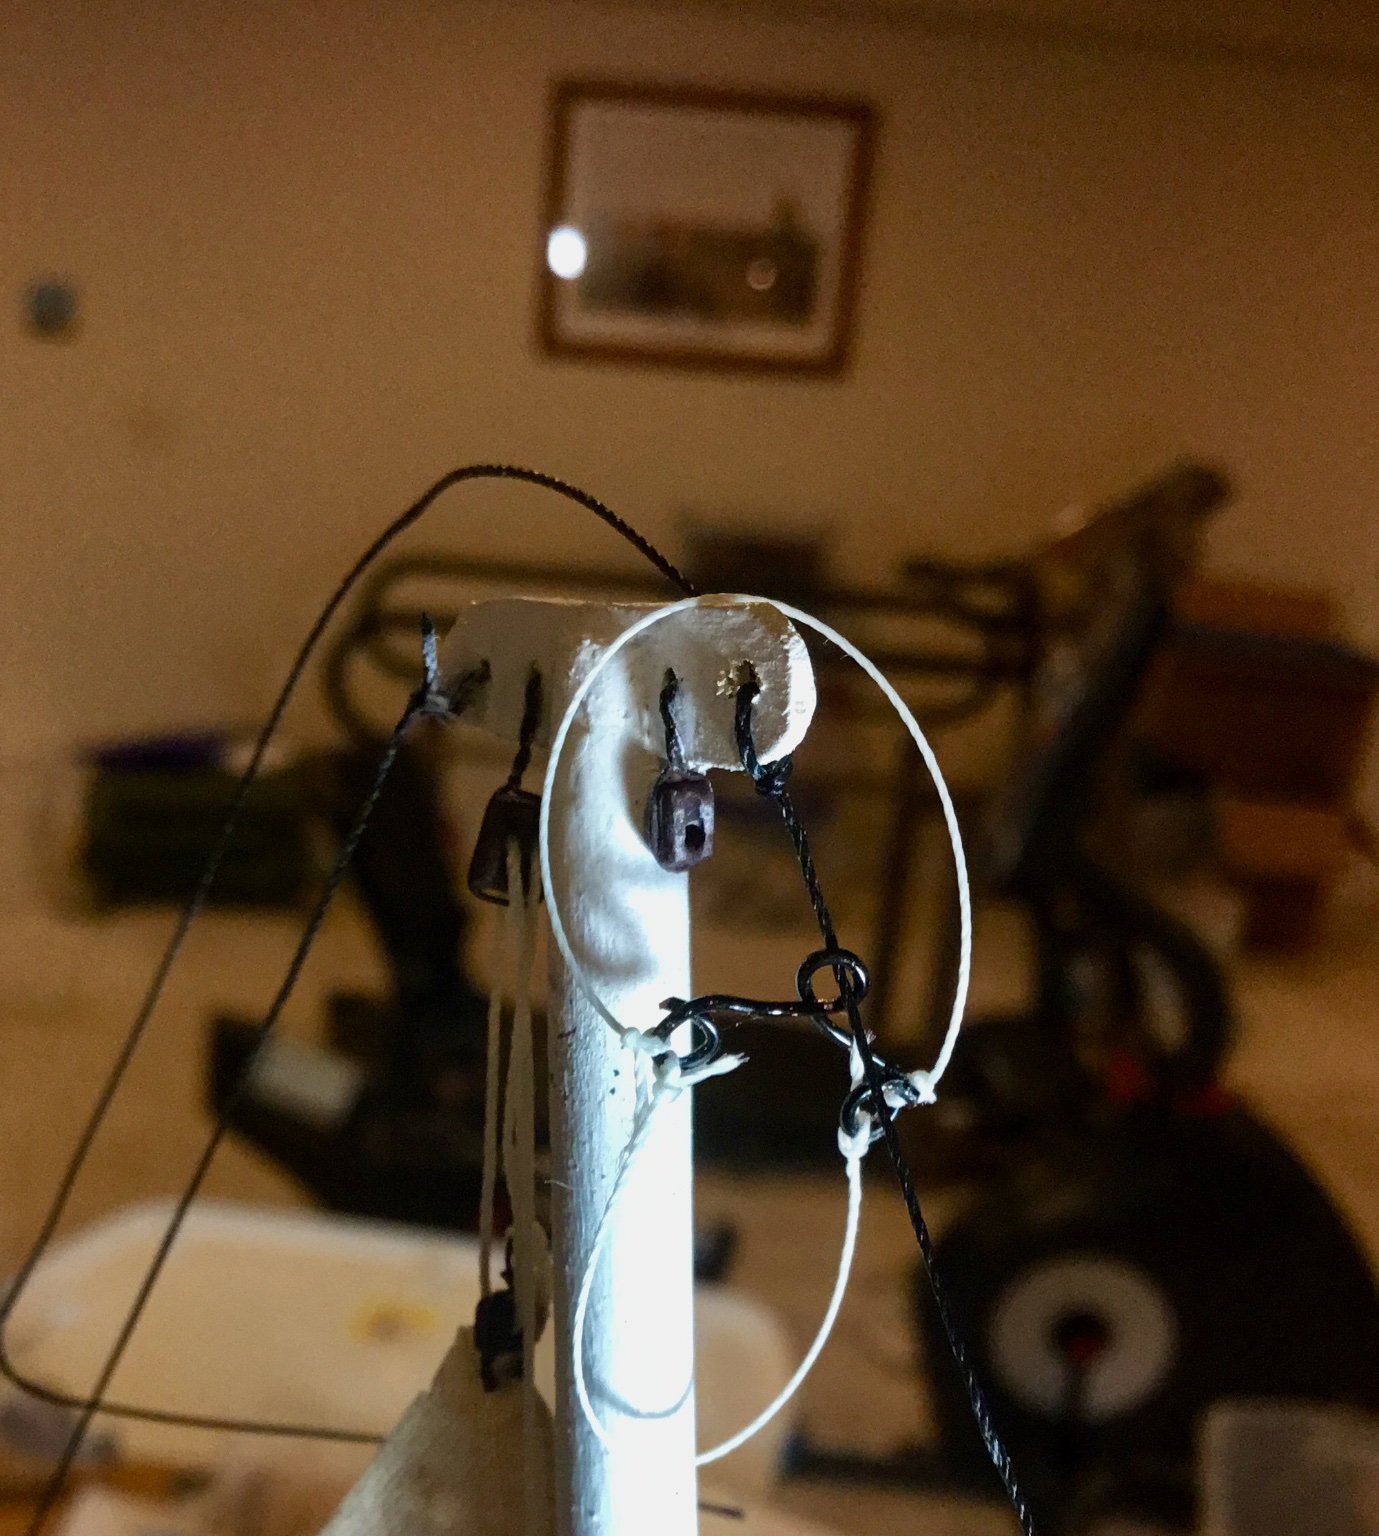
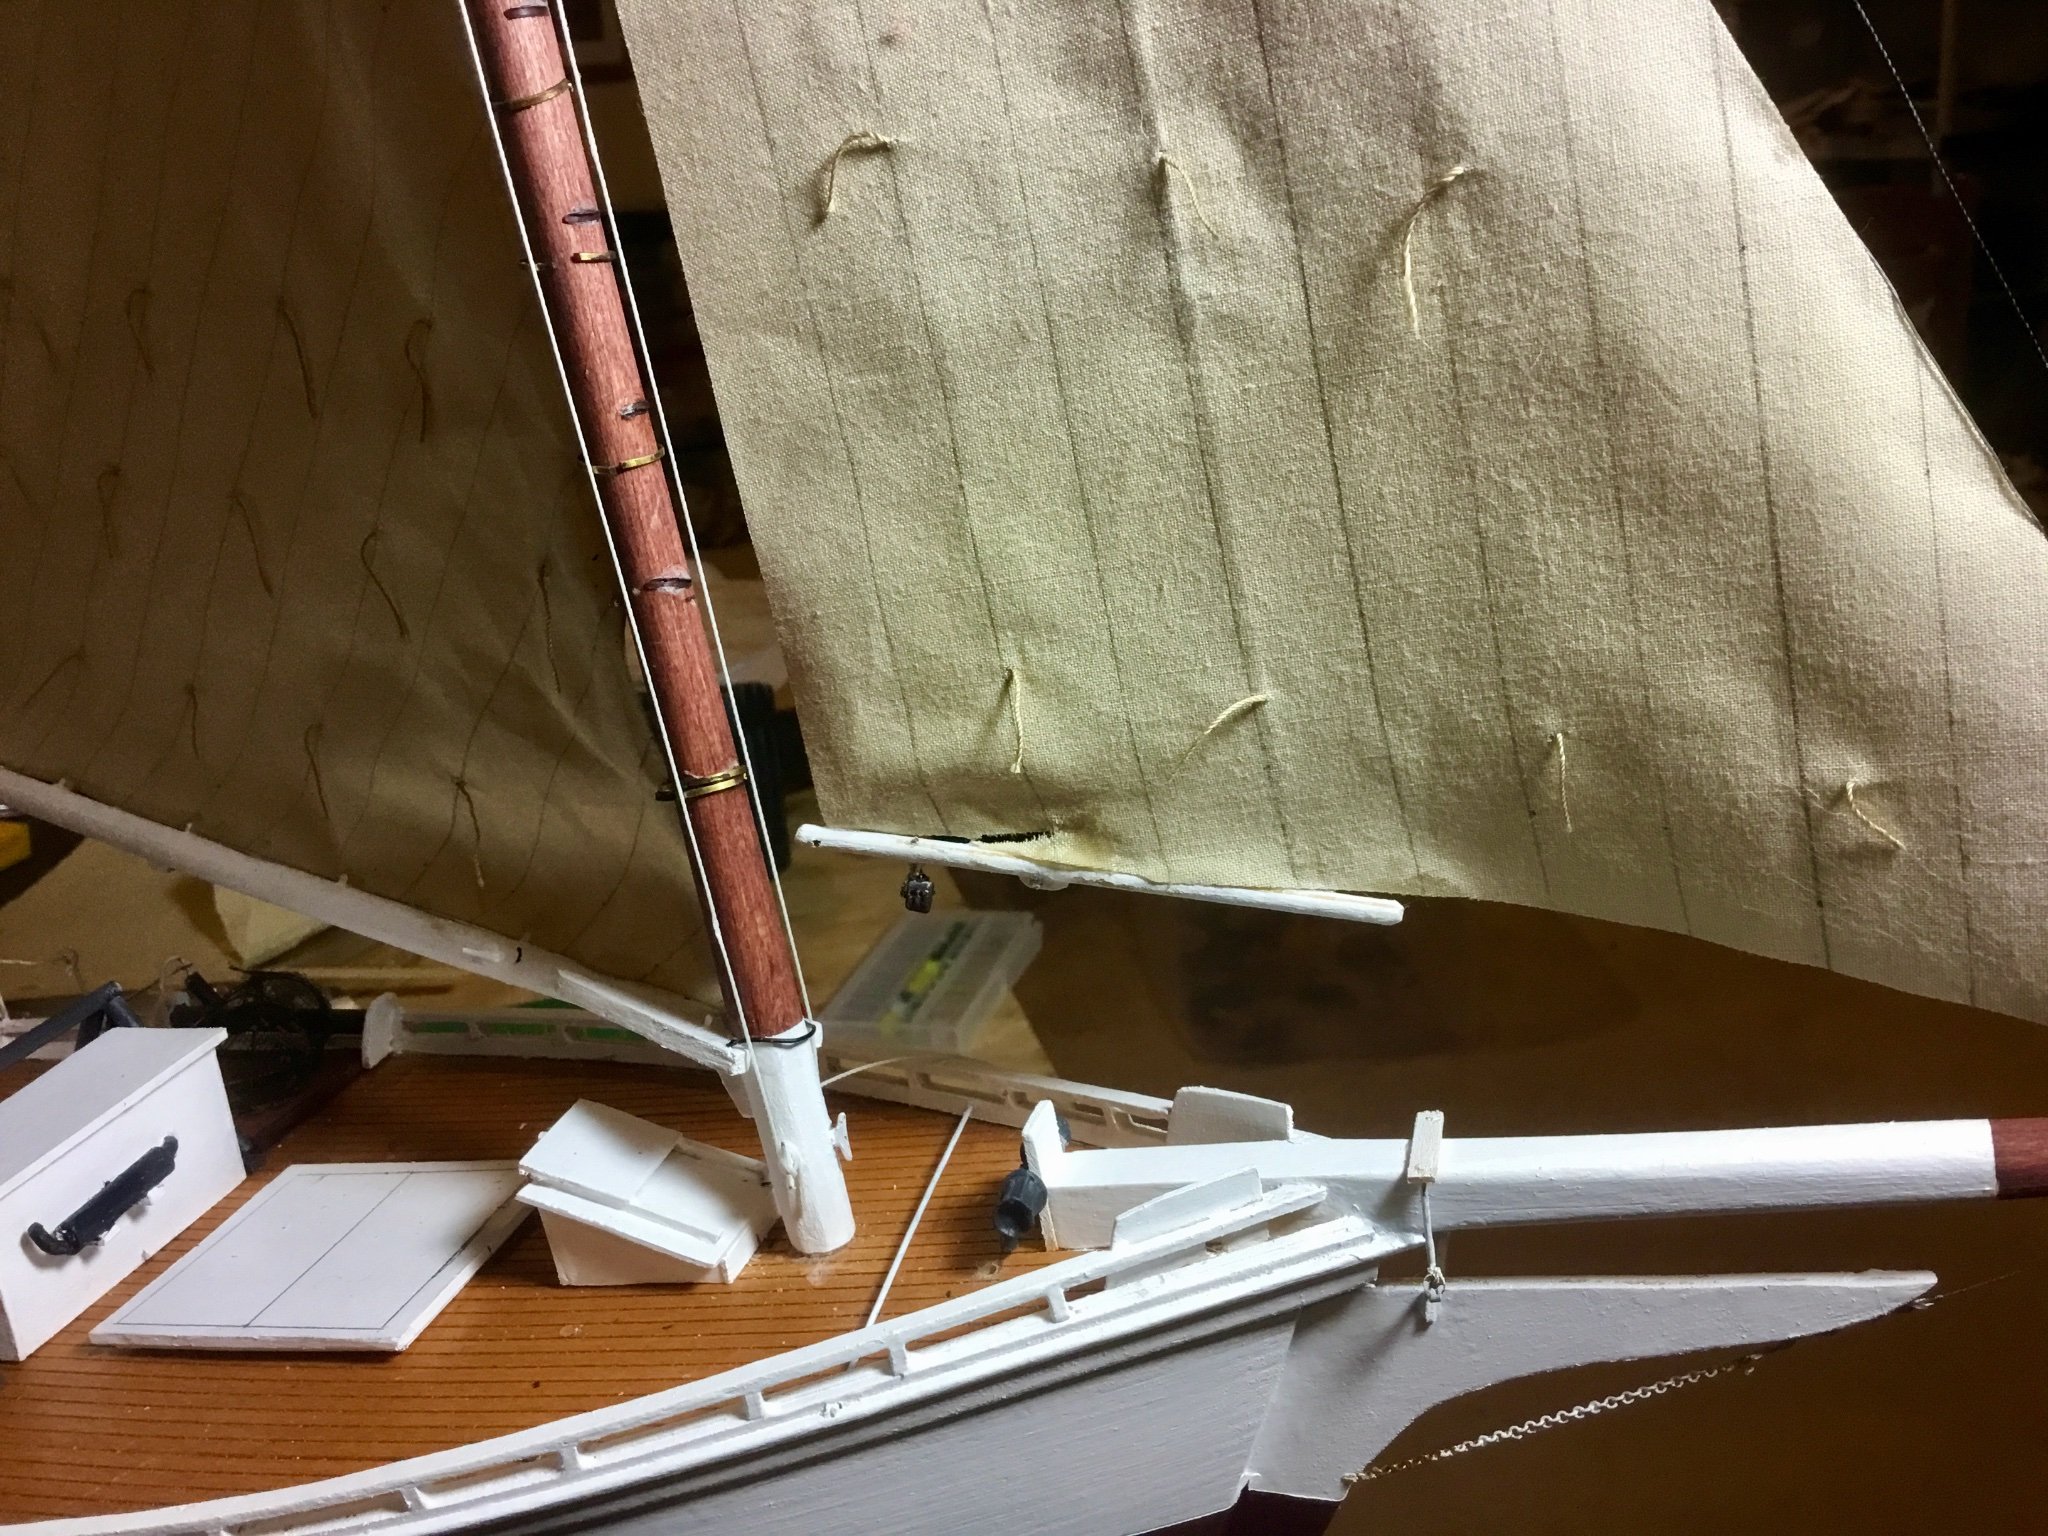
Installed reefing lines. Had a problem with the line provided in the kit. Once installed the reefing lines stuck out instead of lying flat due to the stiffness of the line. Removed the reefing lines and reinstalled using thread that hung more naturally. Also installed the jib stay and rigged the jib sail. Painted the chain white. Installed the jib halyard and the jib club. I installed the jib club incorrectly and had to remove it and reinstall. Ended up tearing the foot of the jib slightly and will need to try and correct that. Made up the spectacles and installed along with the head stay. Photo shows spectacles with bridles hanging from the mast head, otherwise it just slides down the head stay until I attach it to the spectacle halyard in a future step.


-
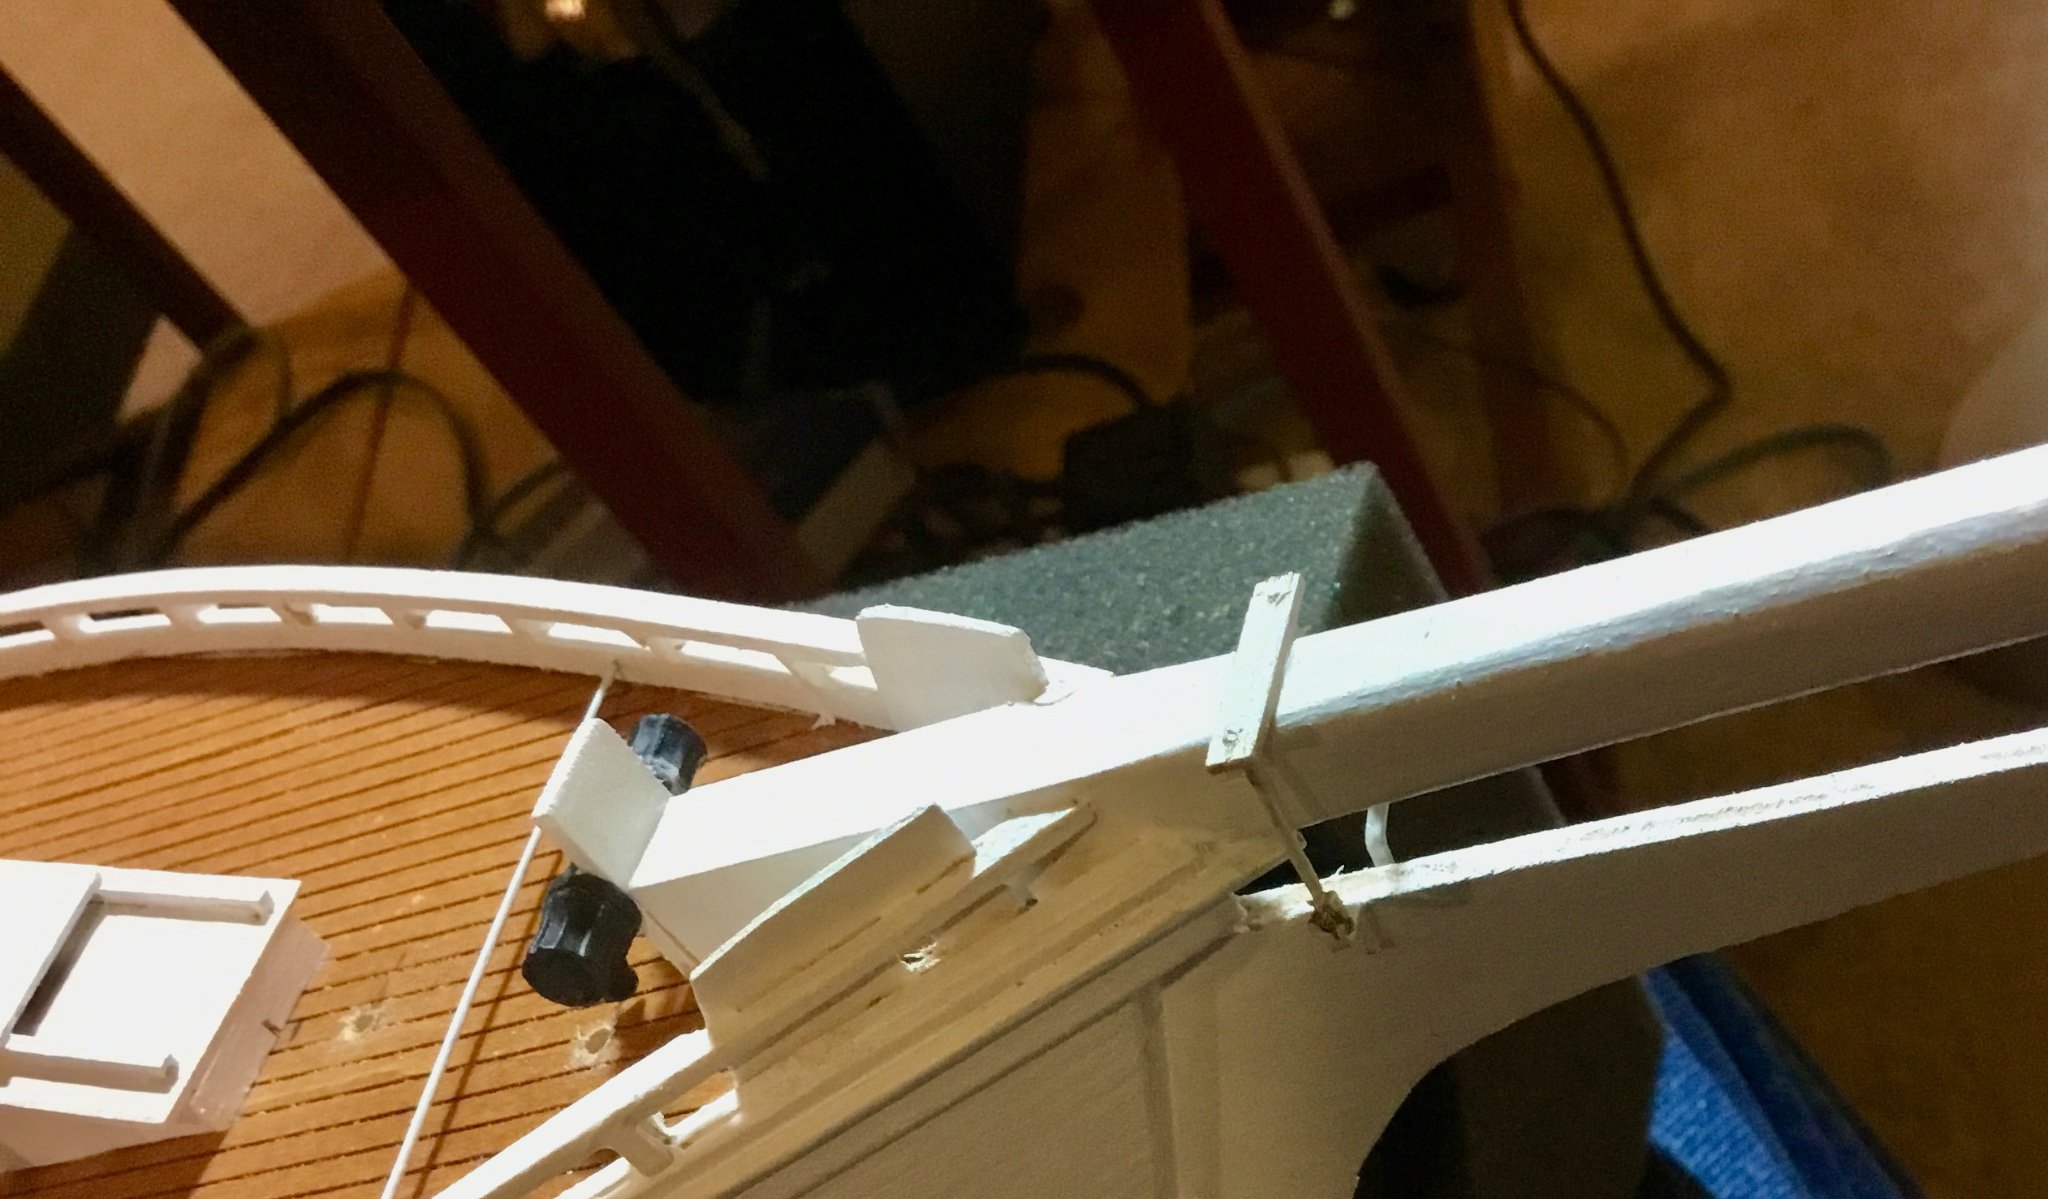
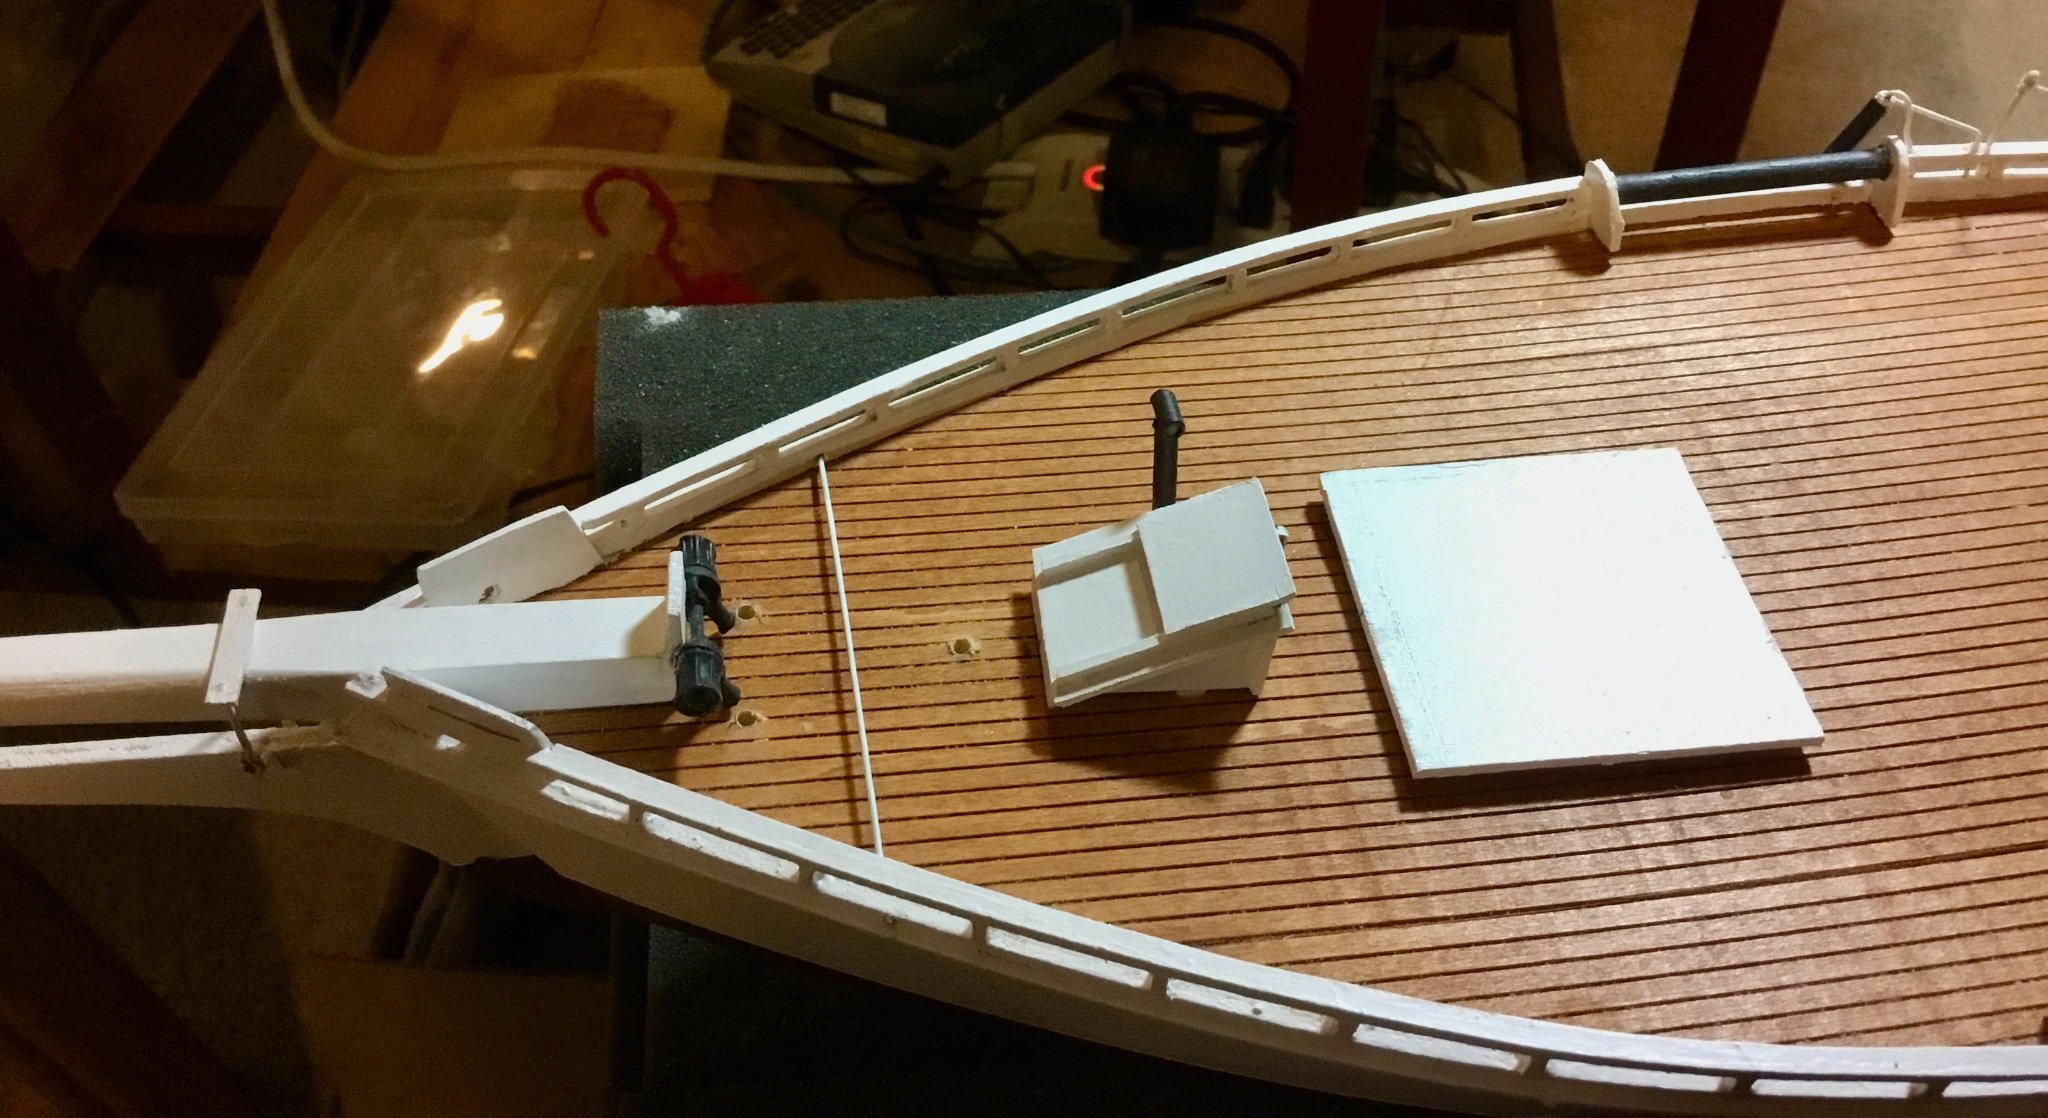
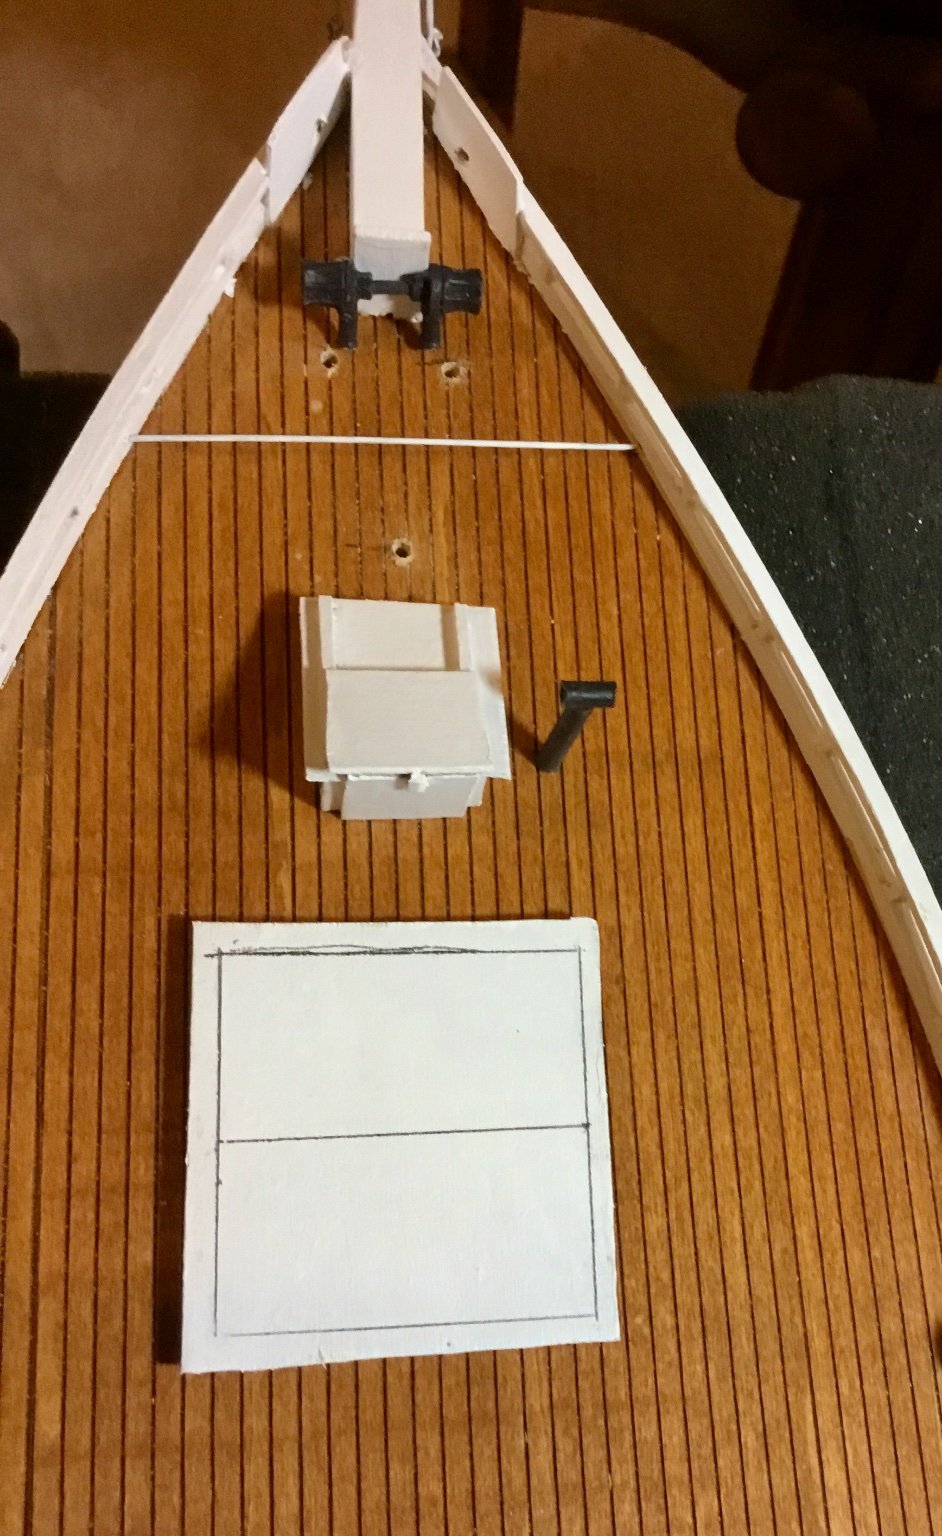
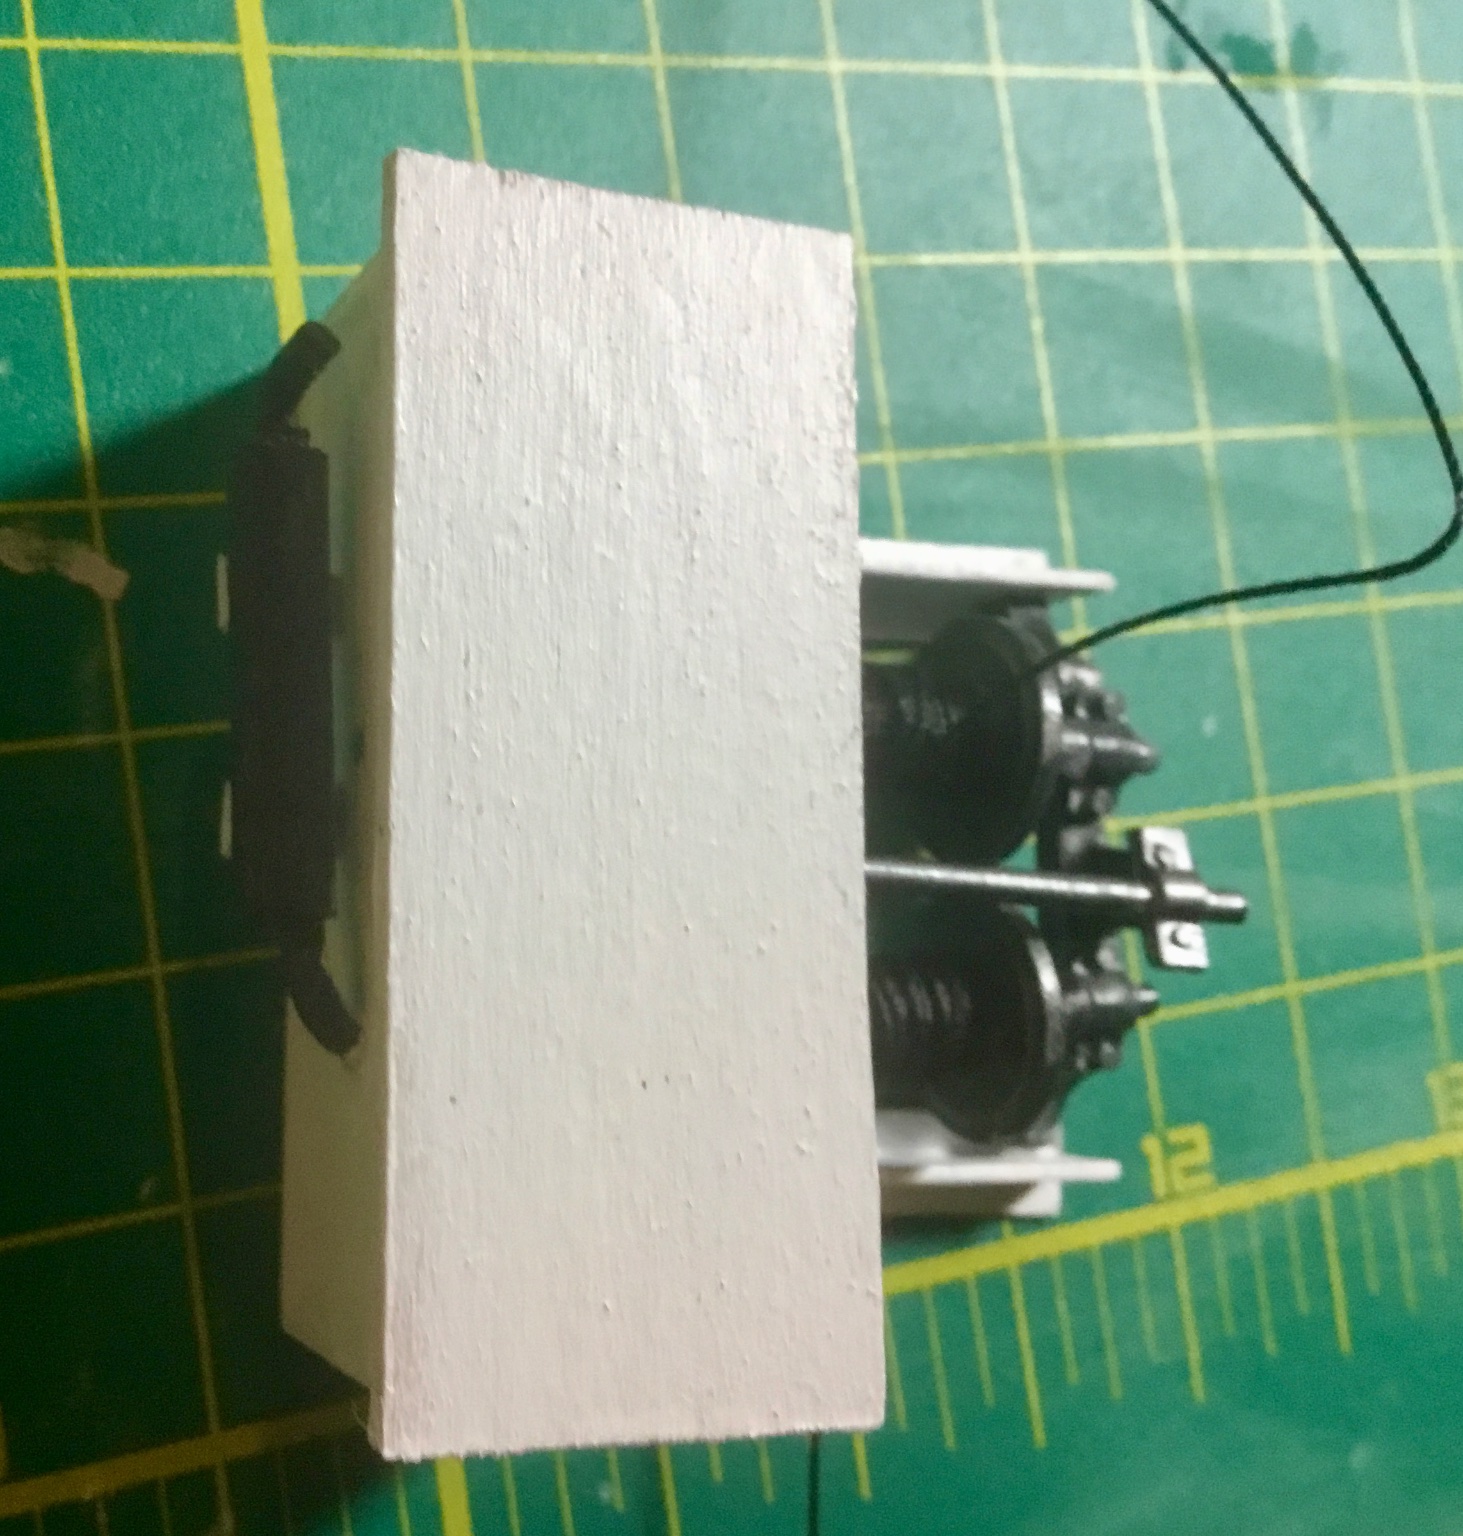
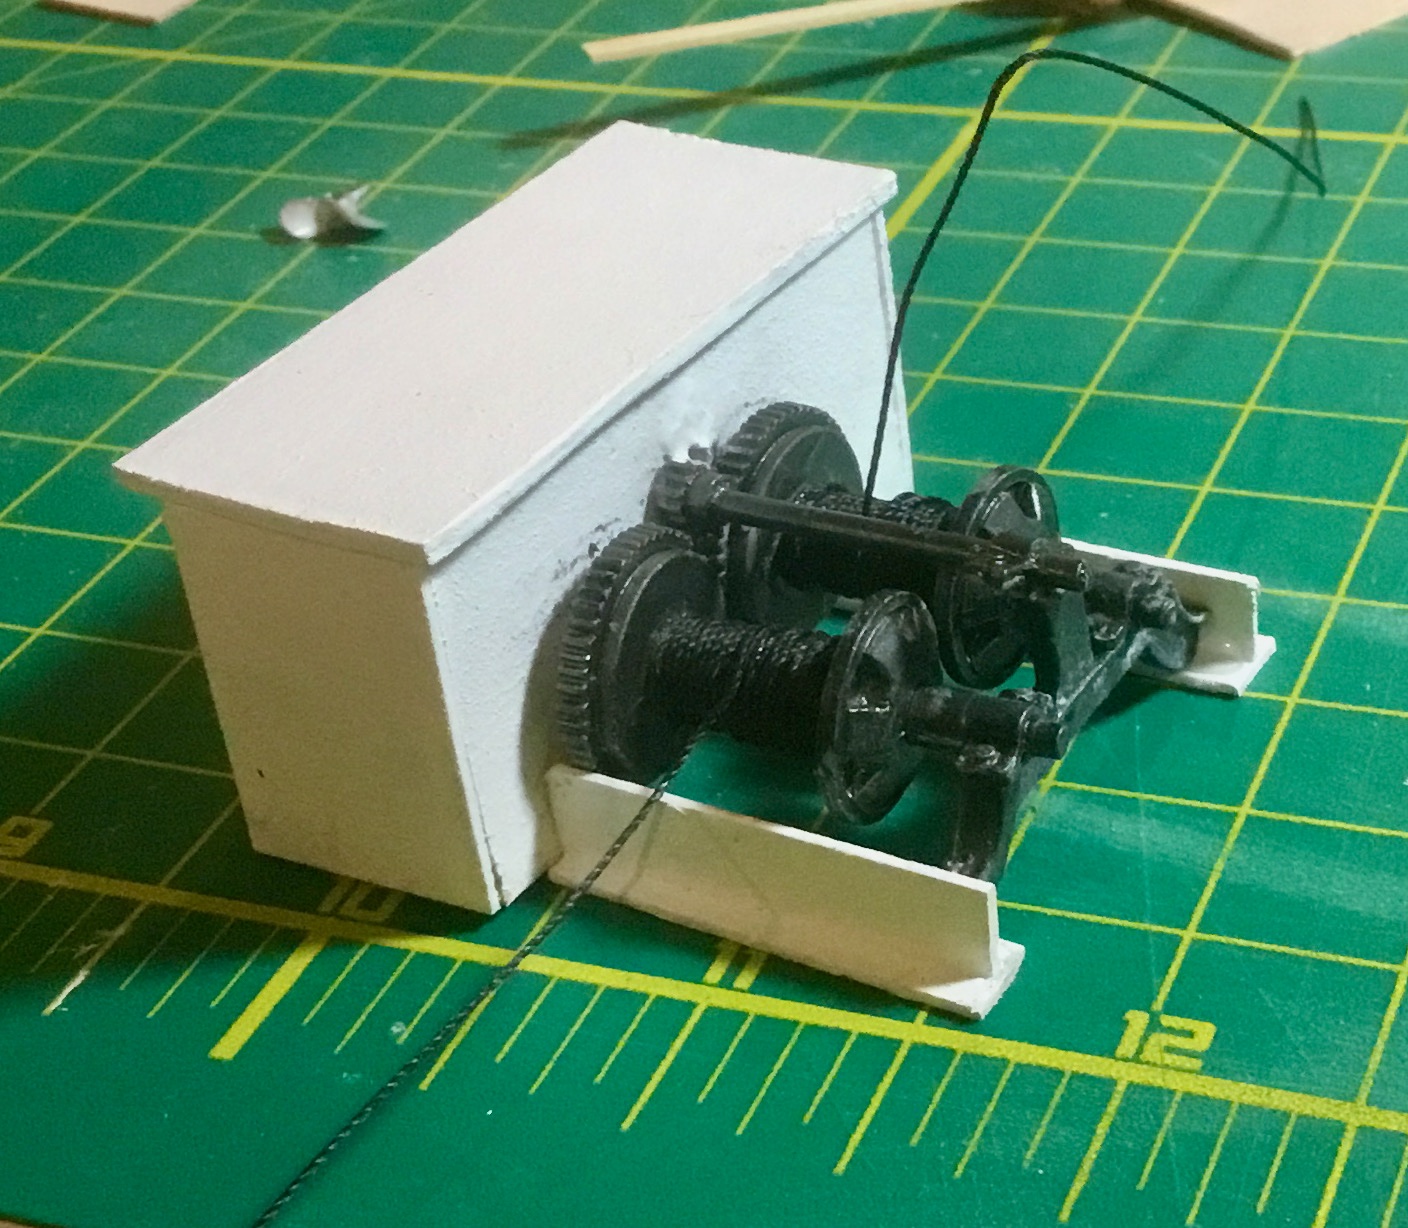
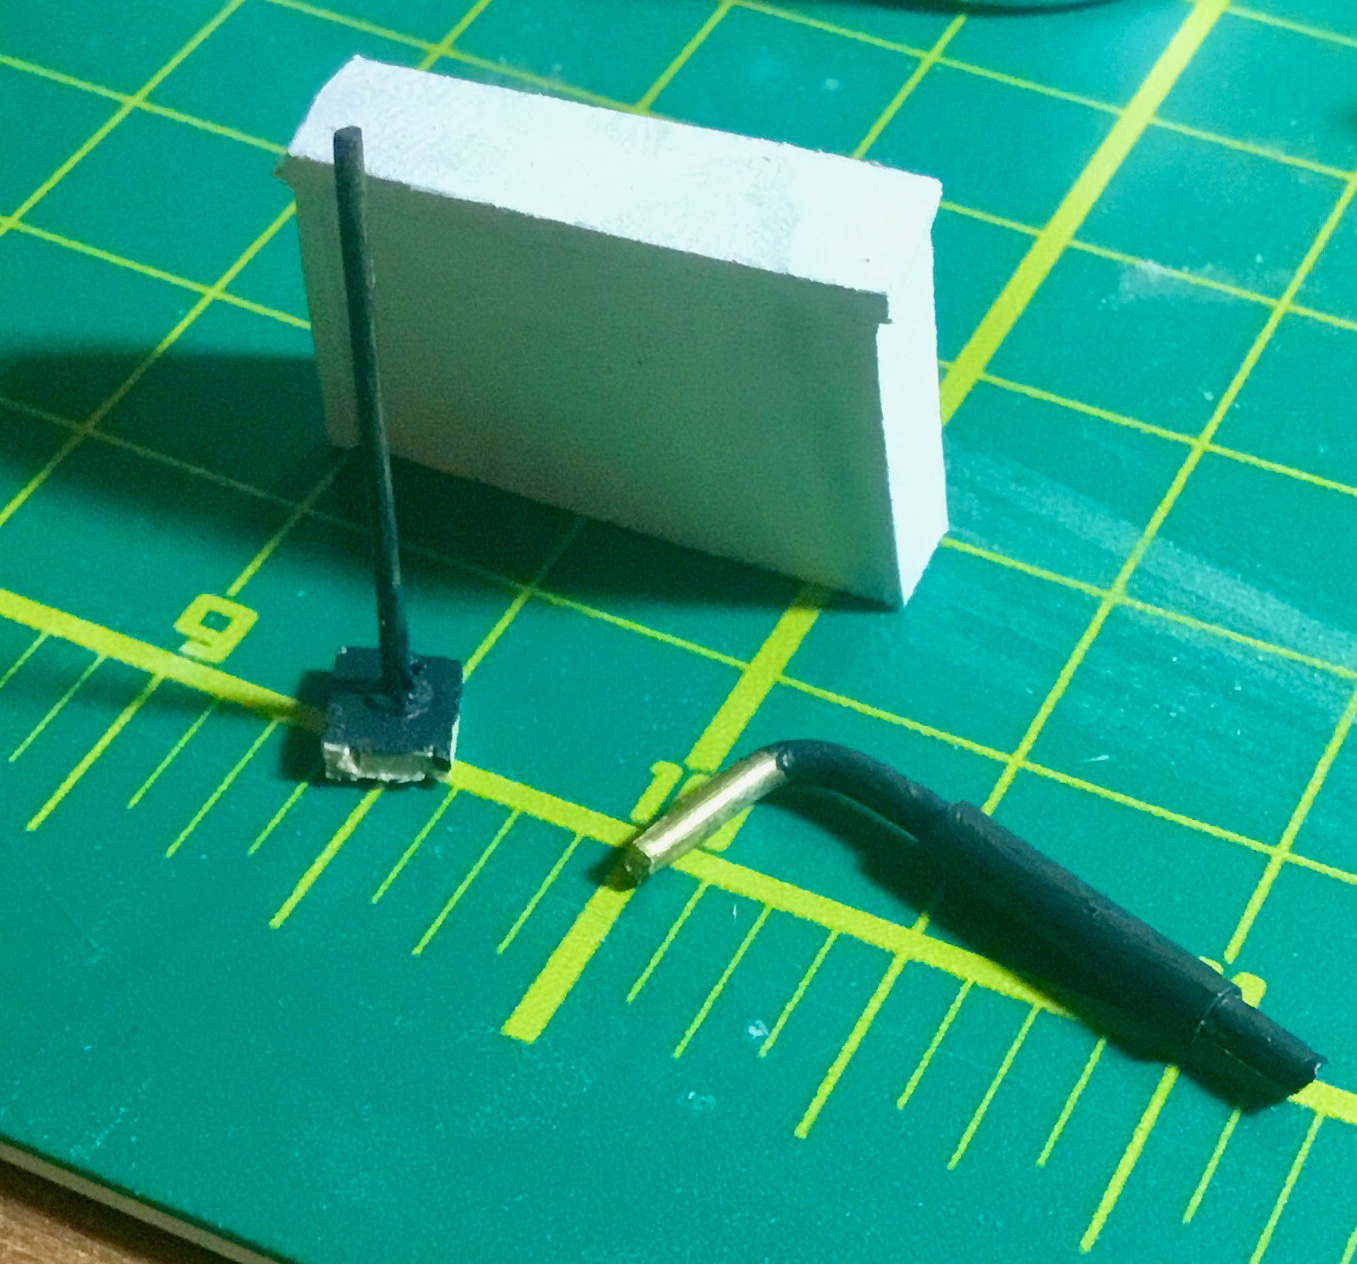
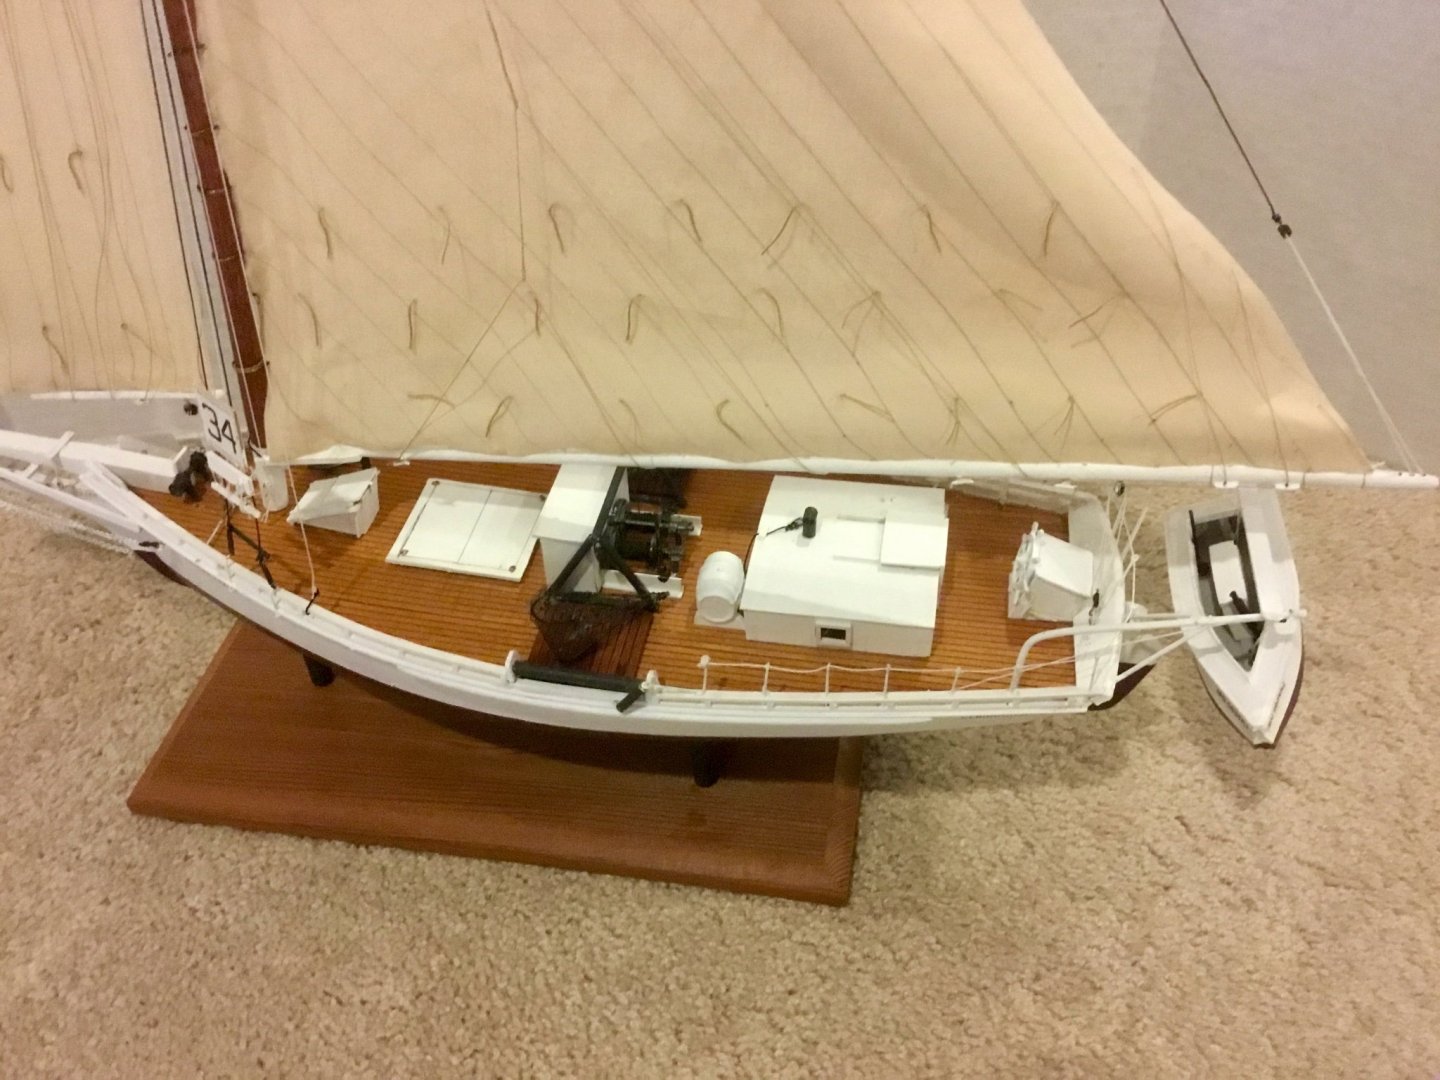
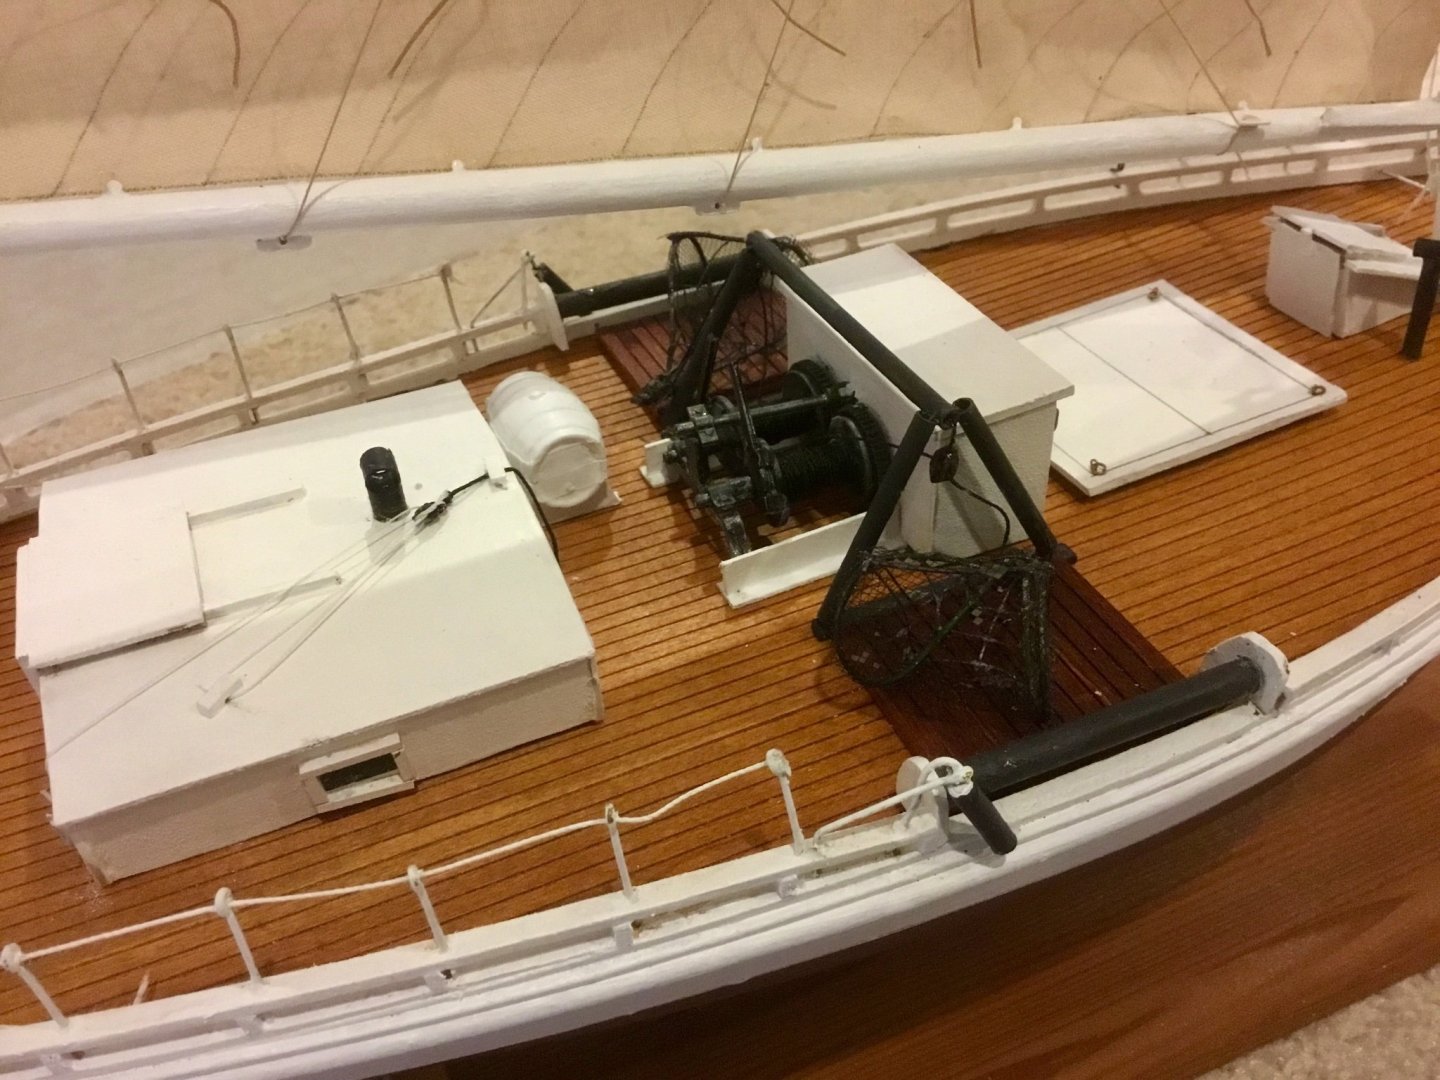
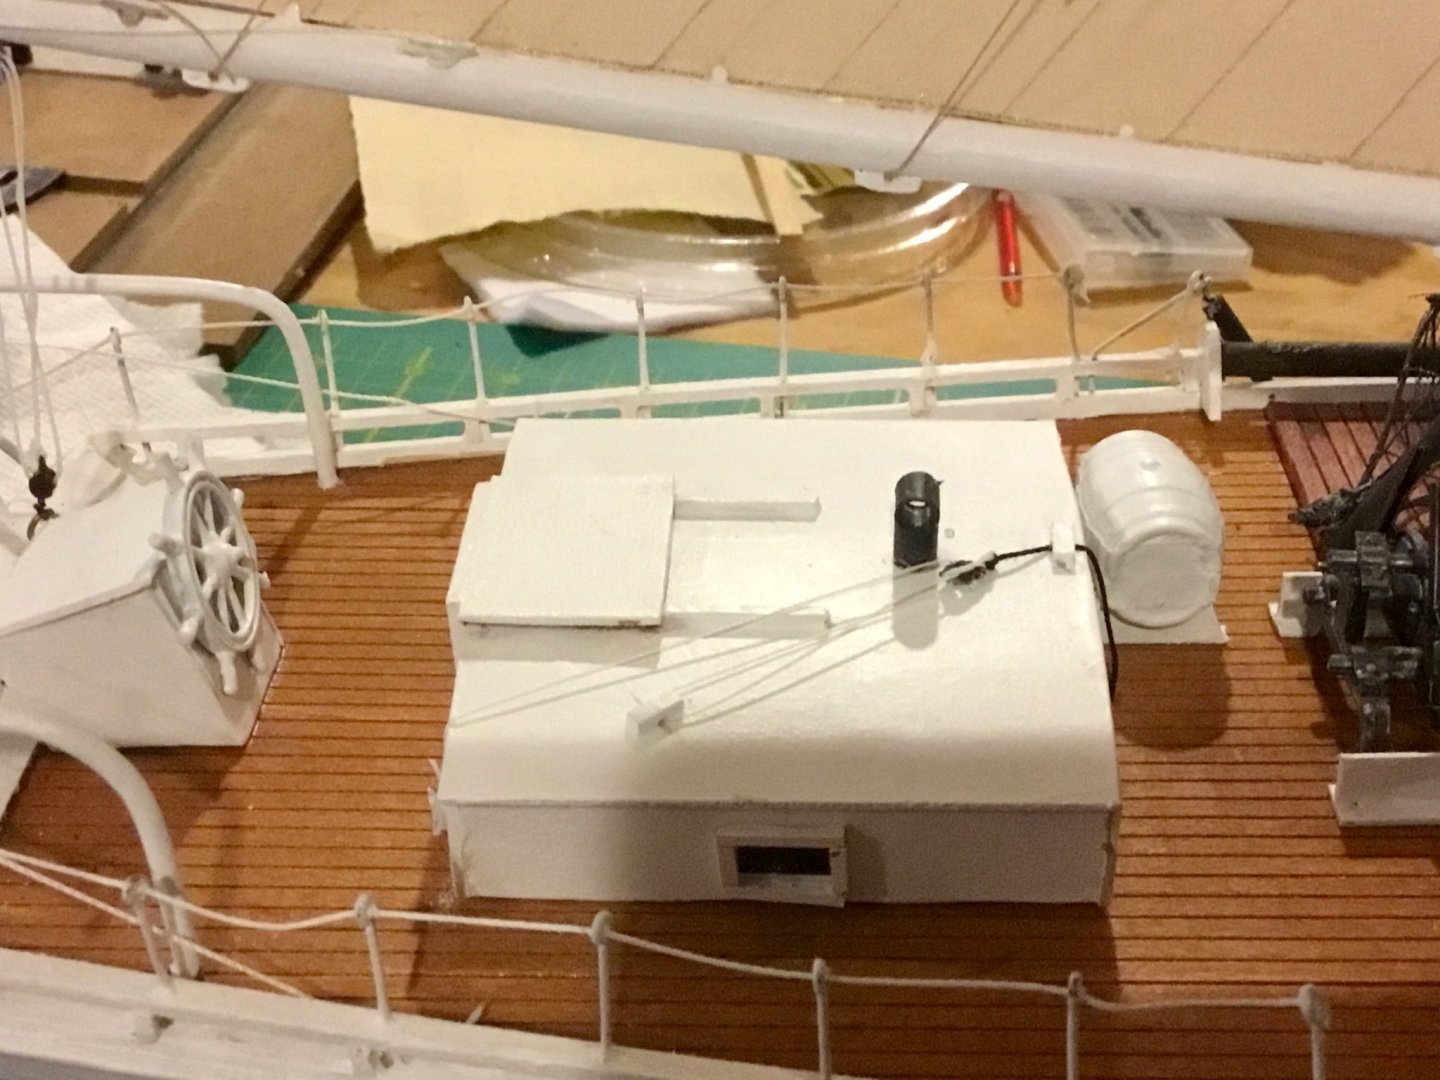
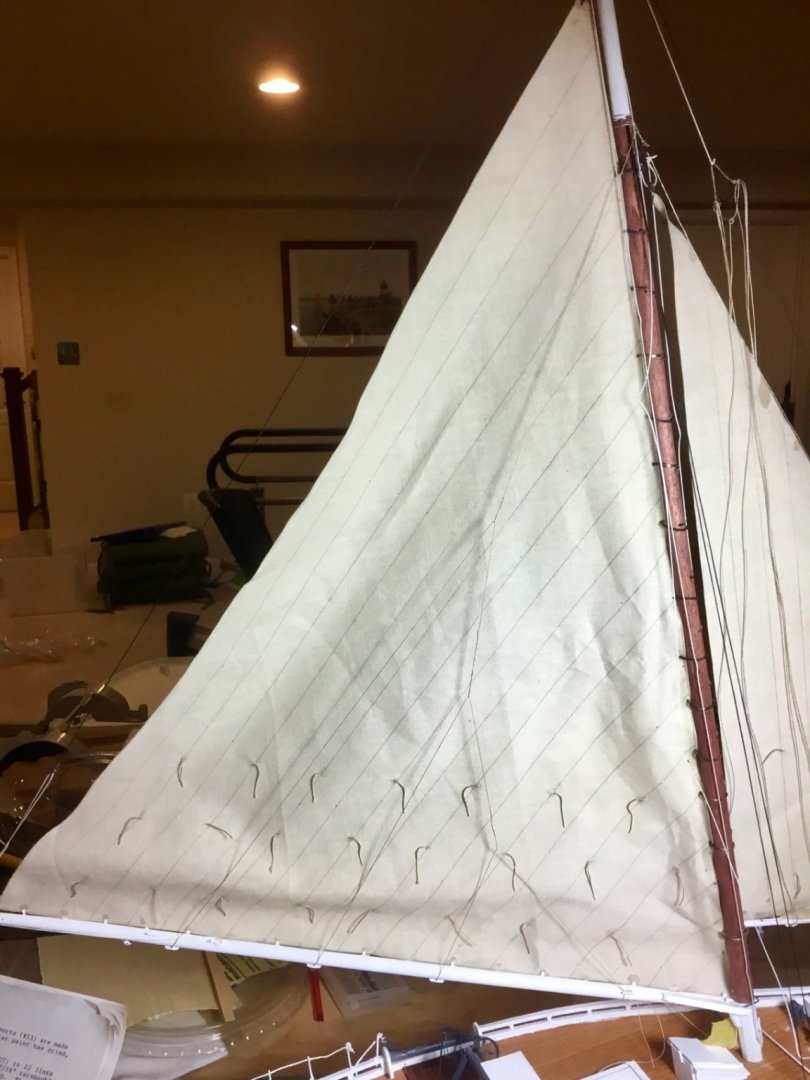
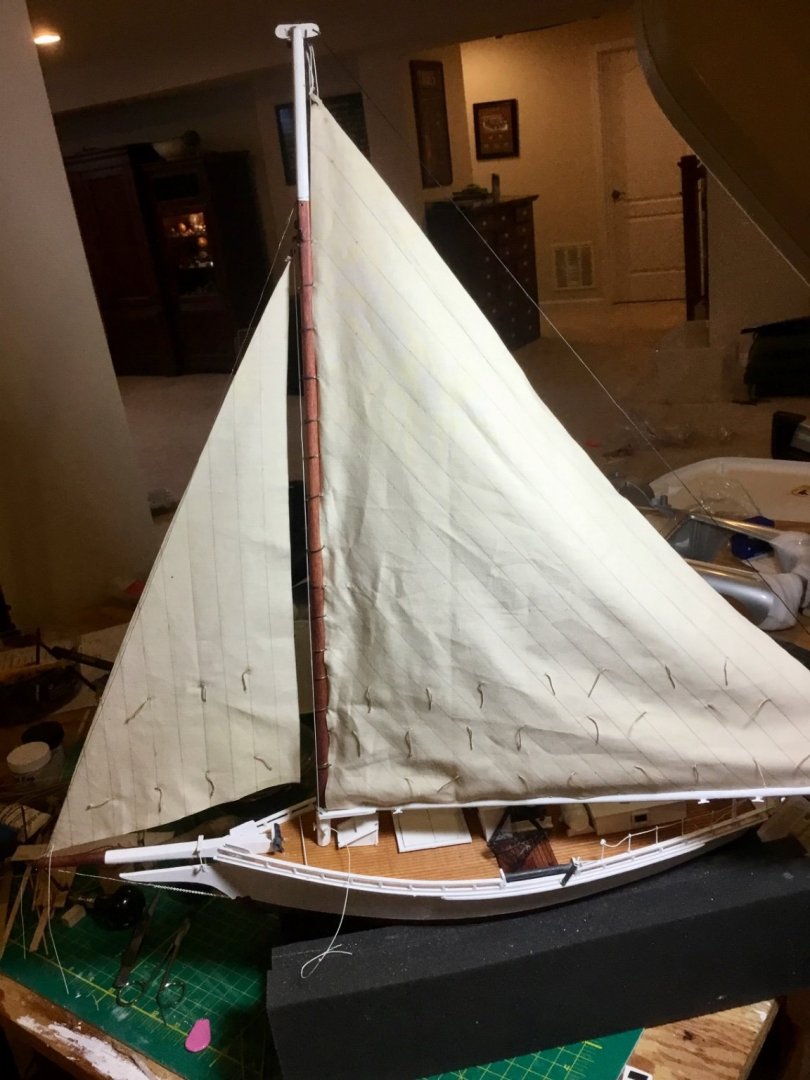
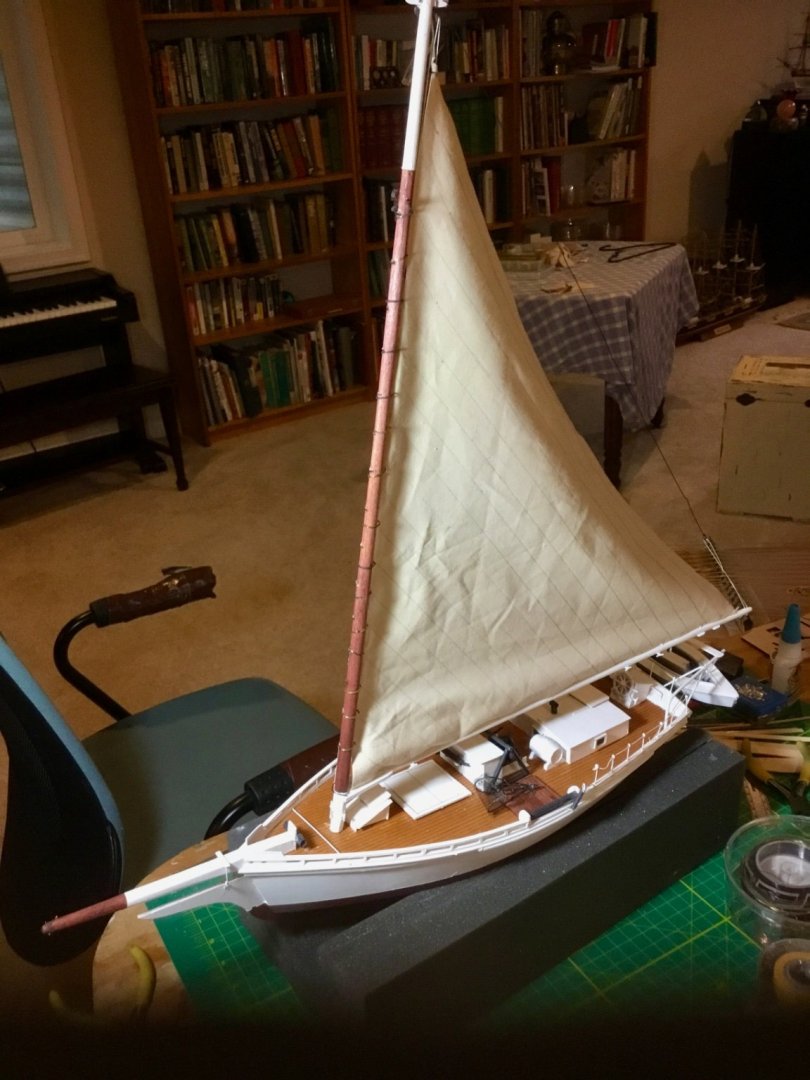
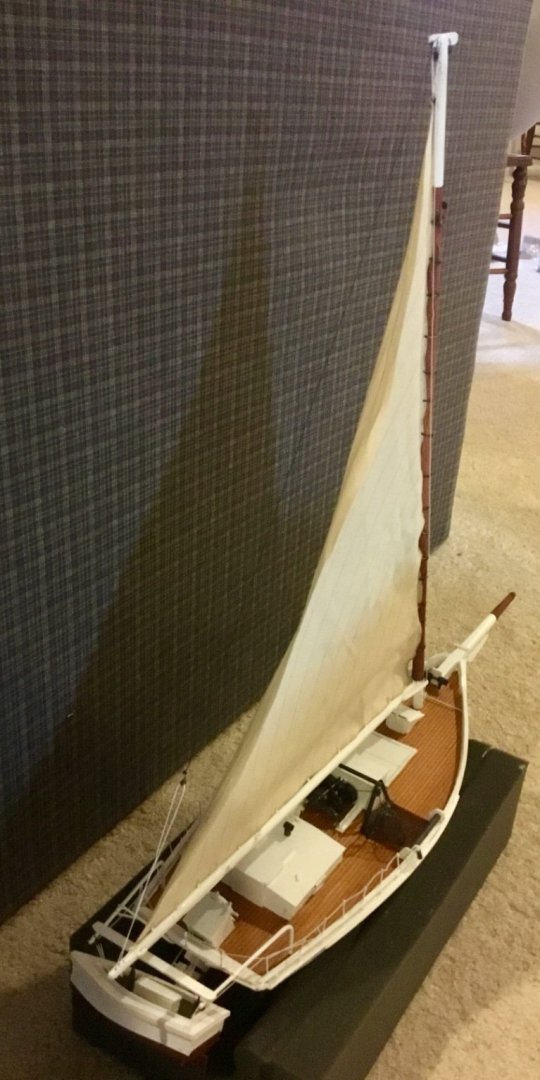
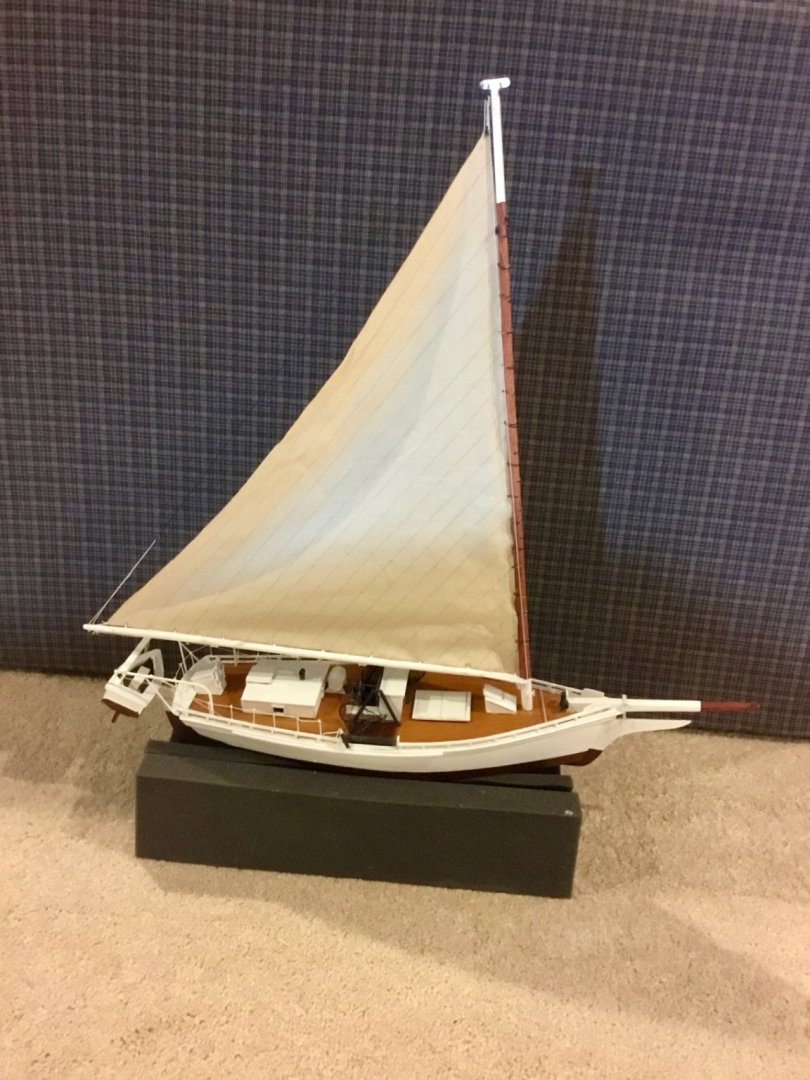
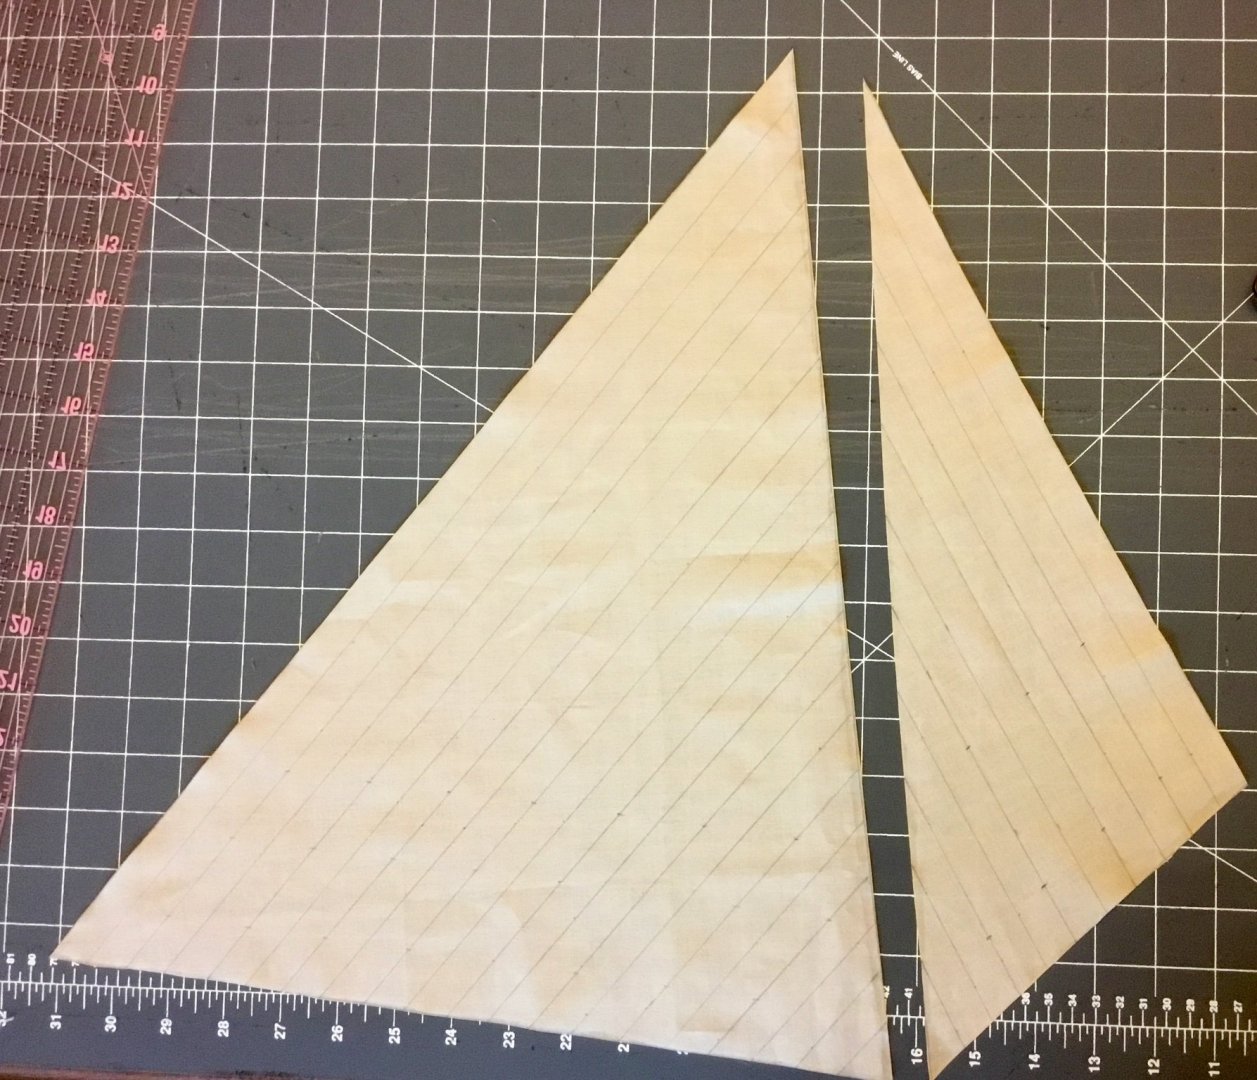
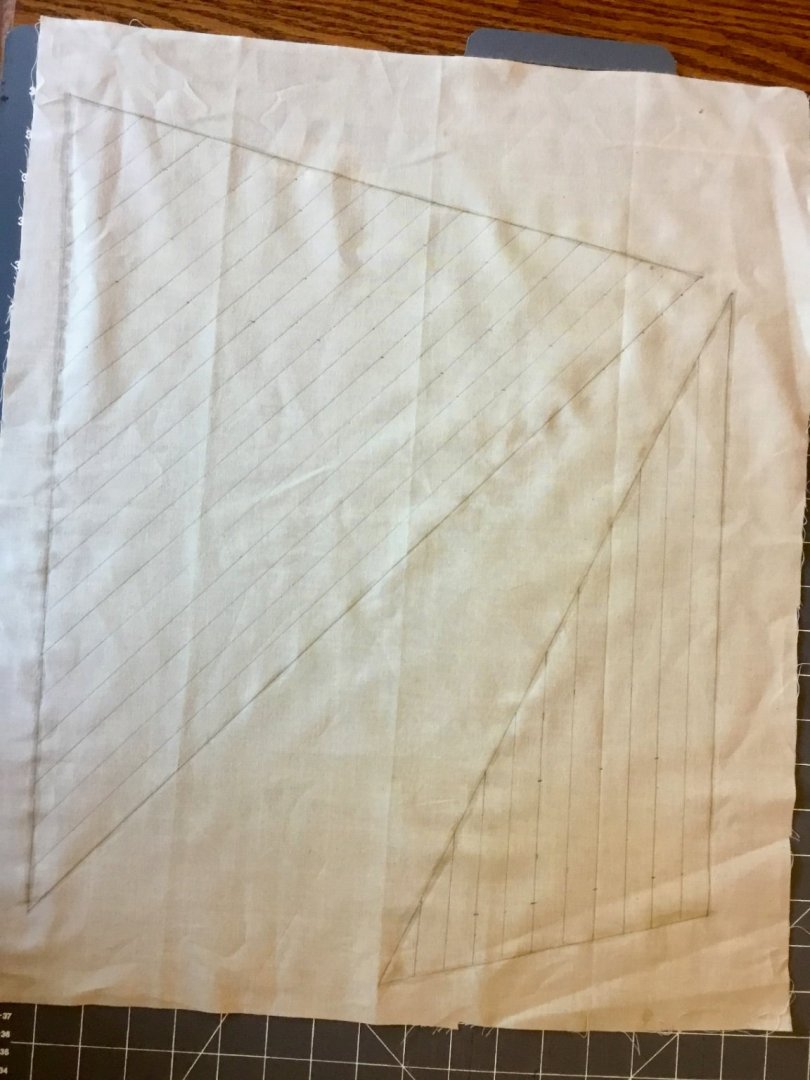
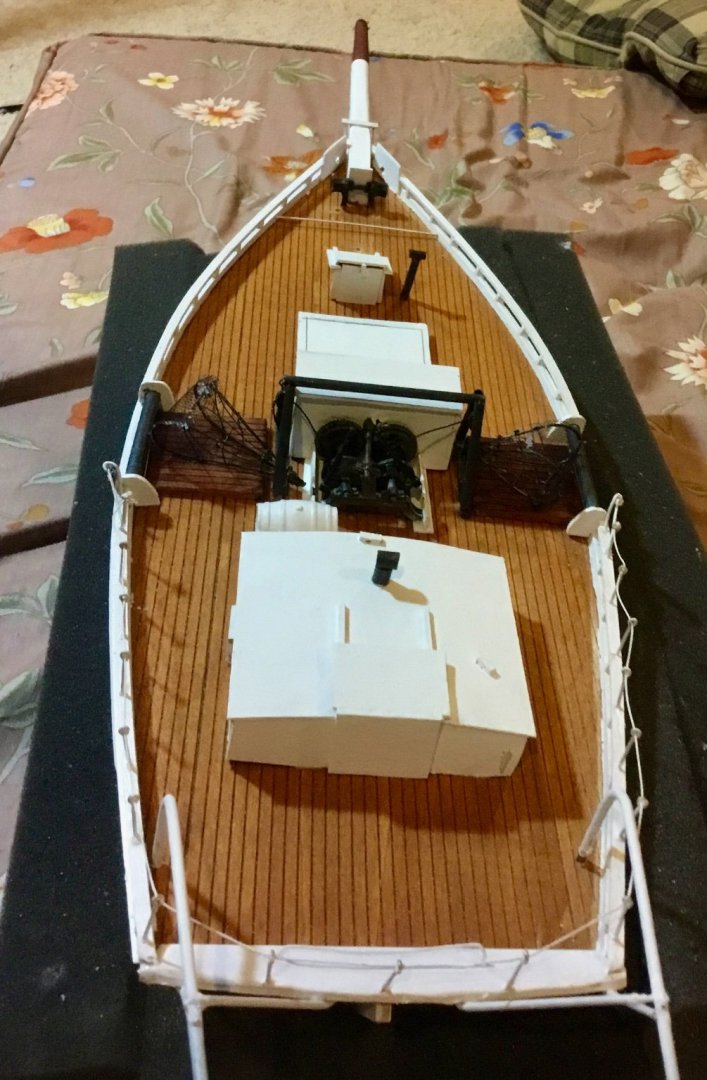
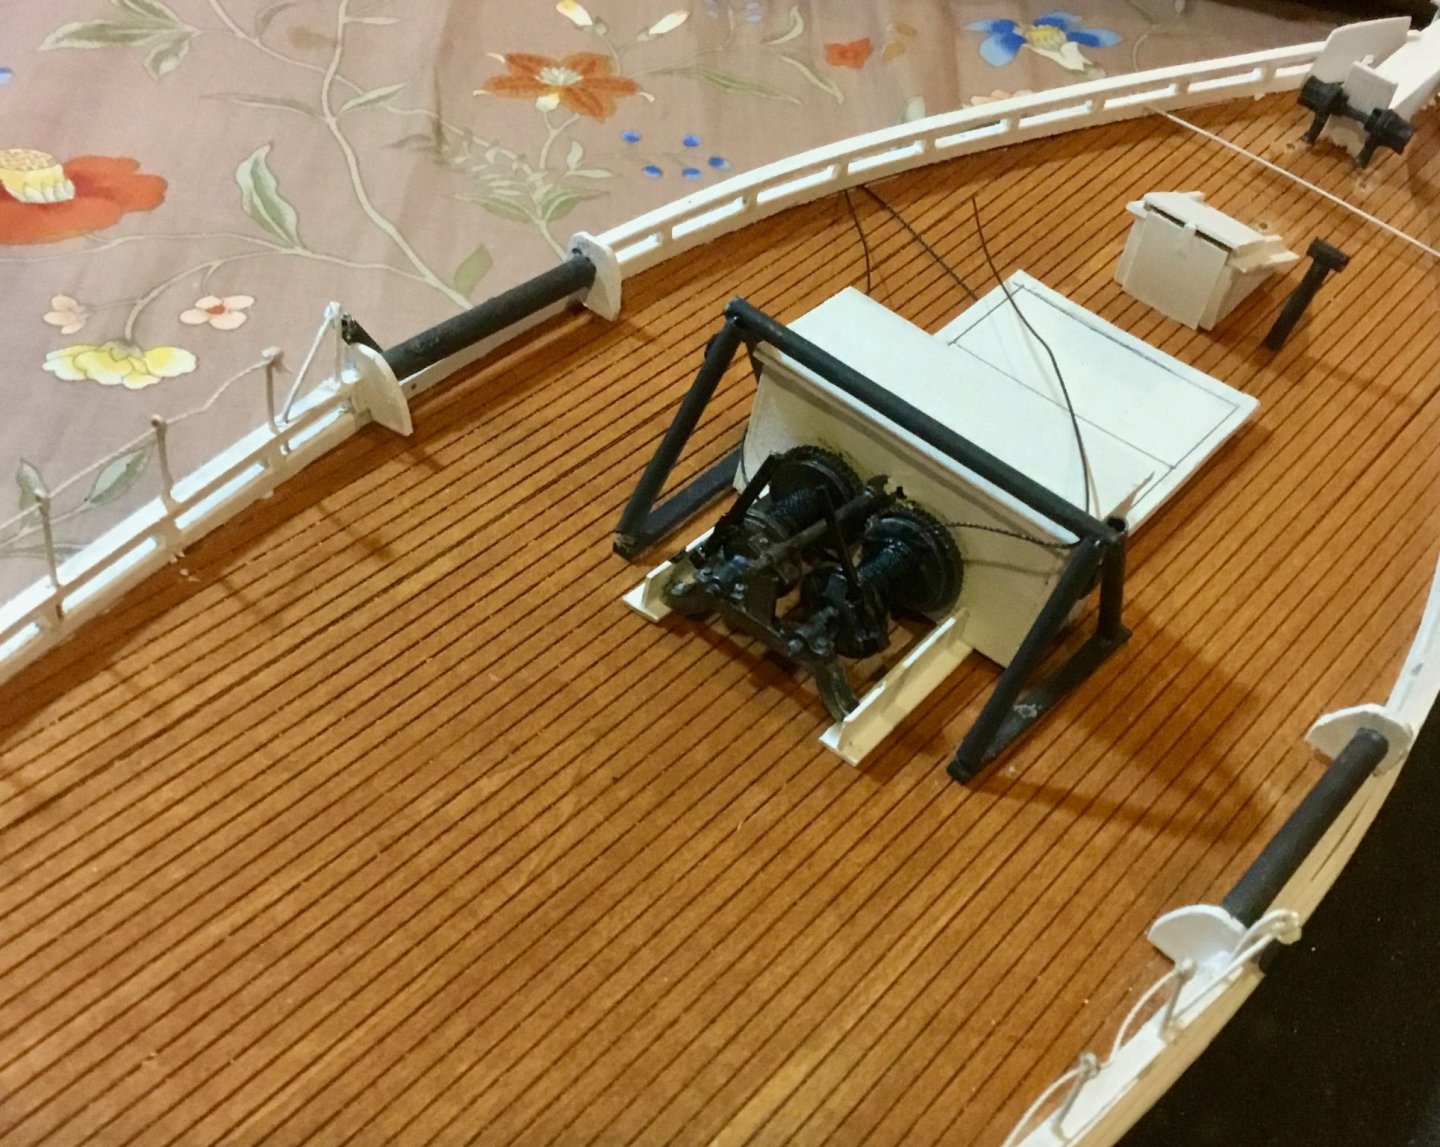
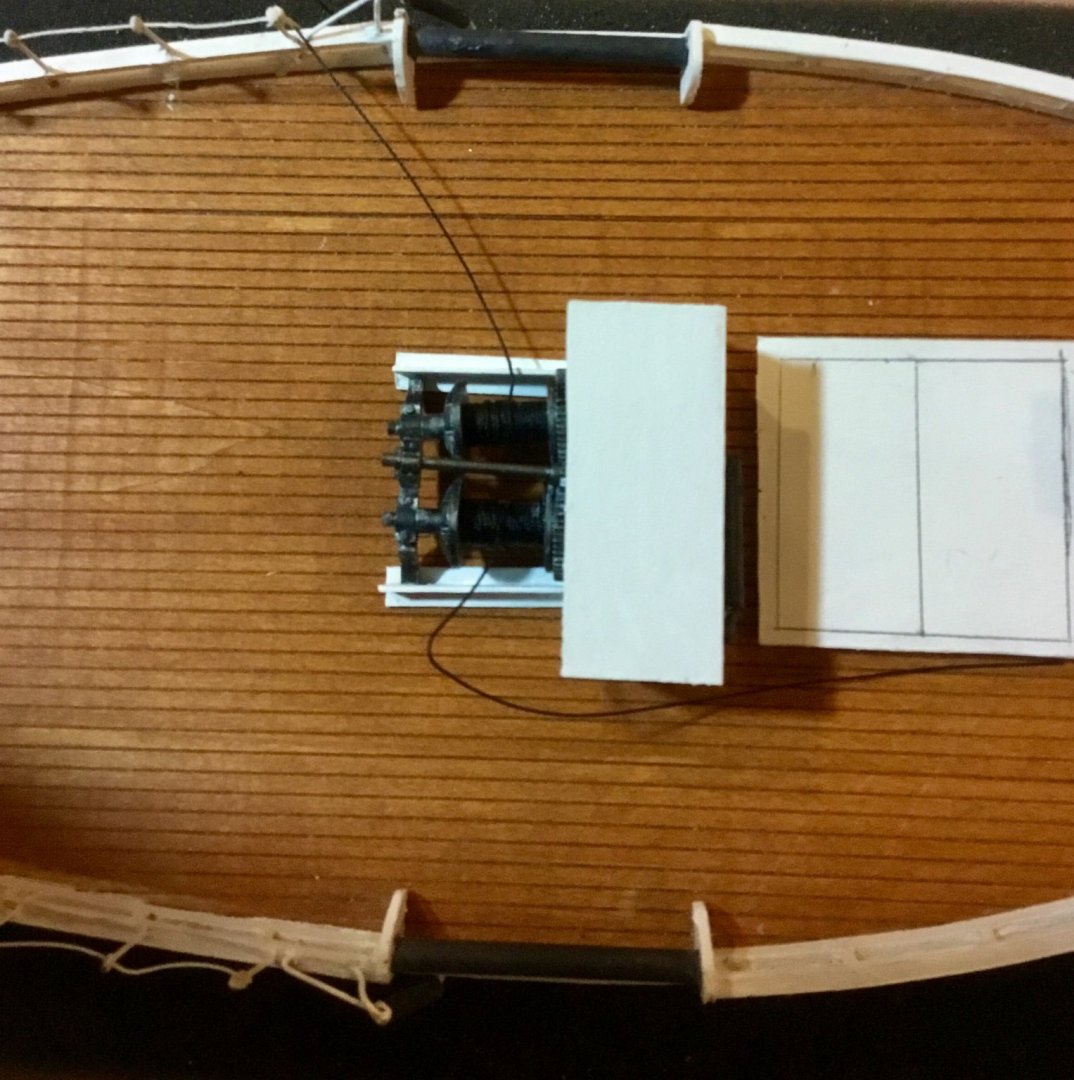
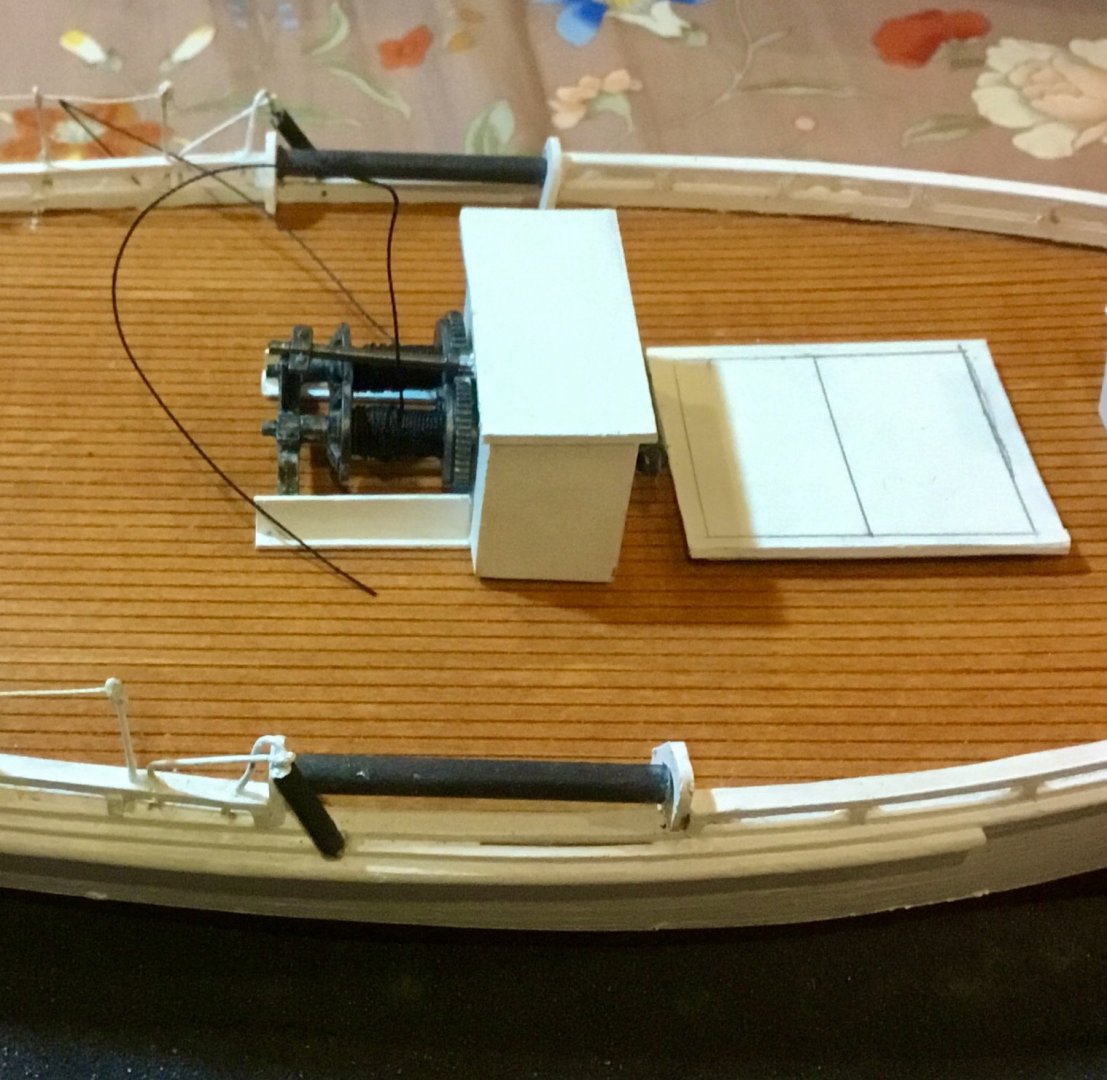
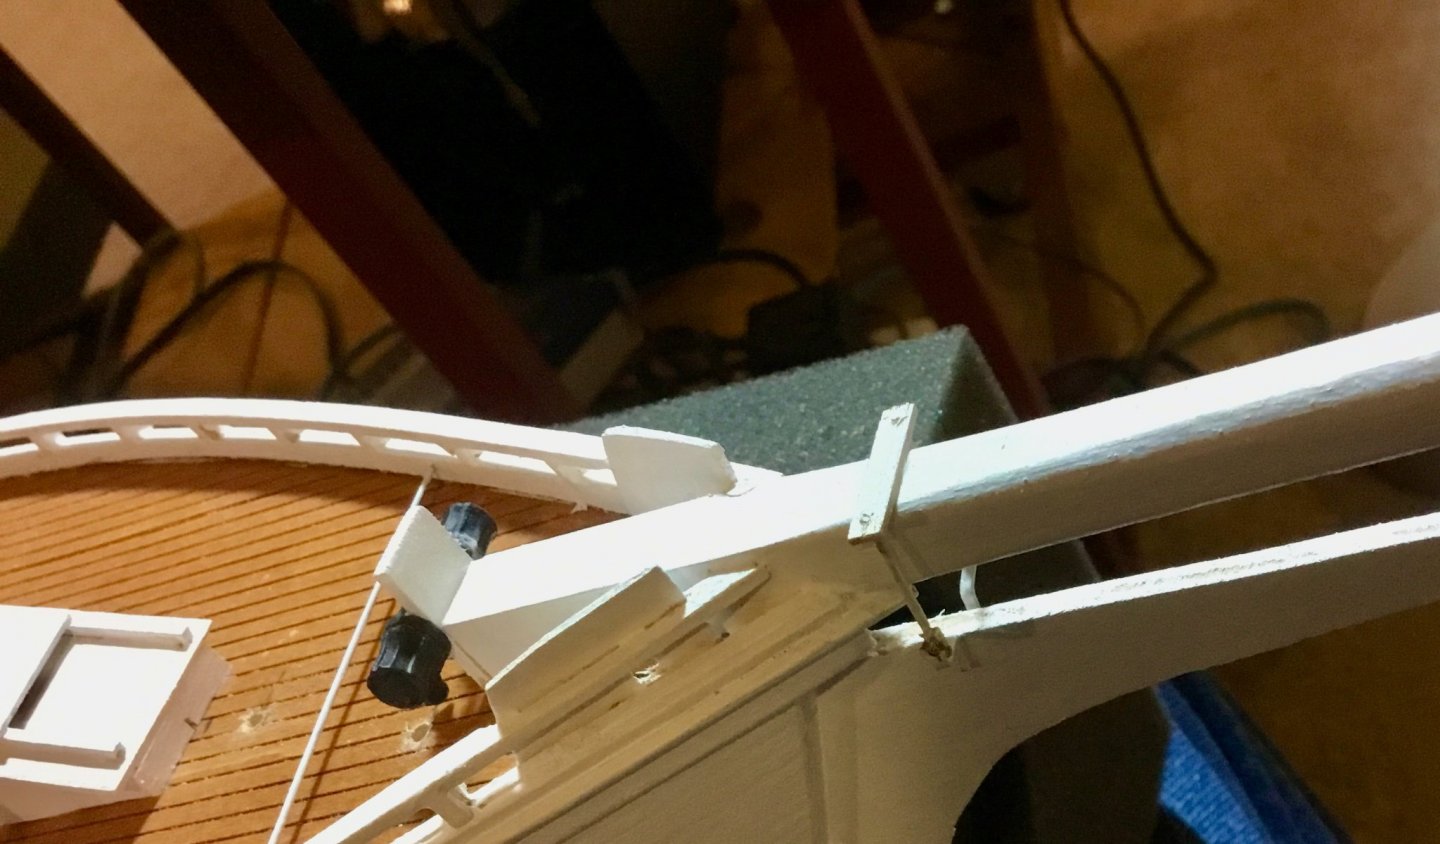
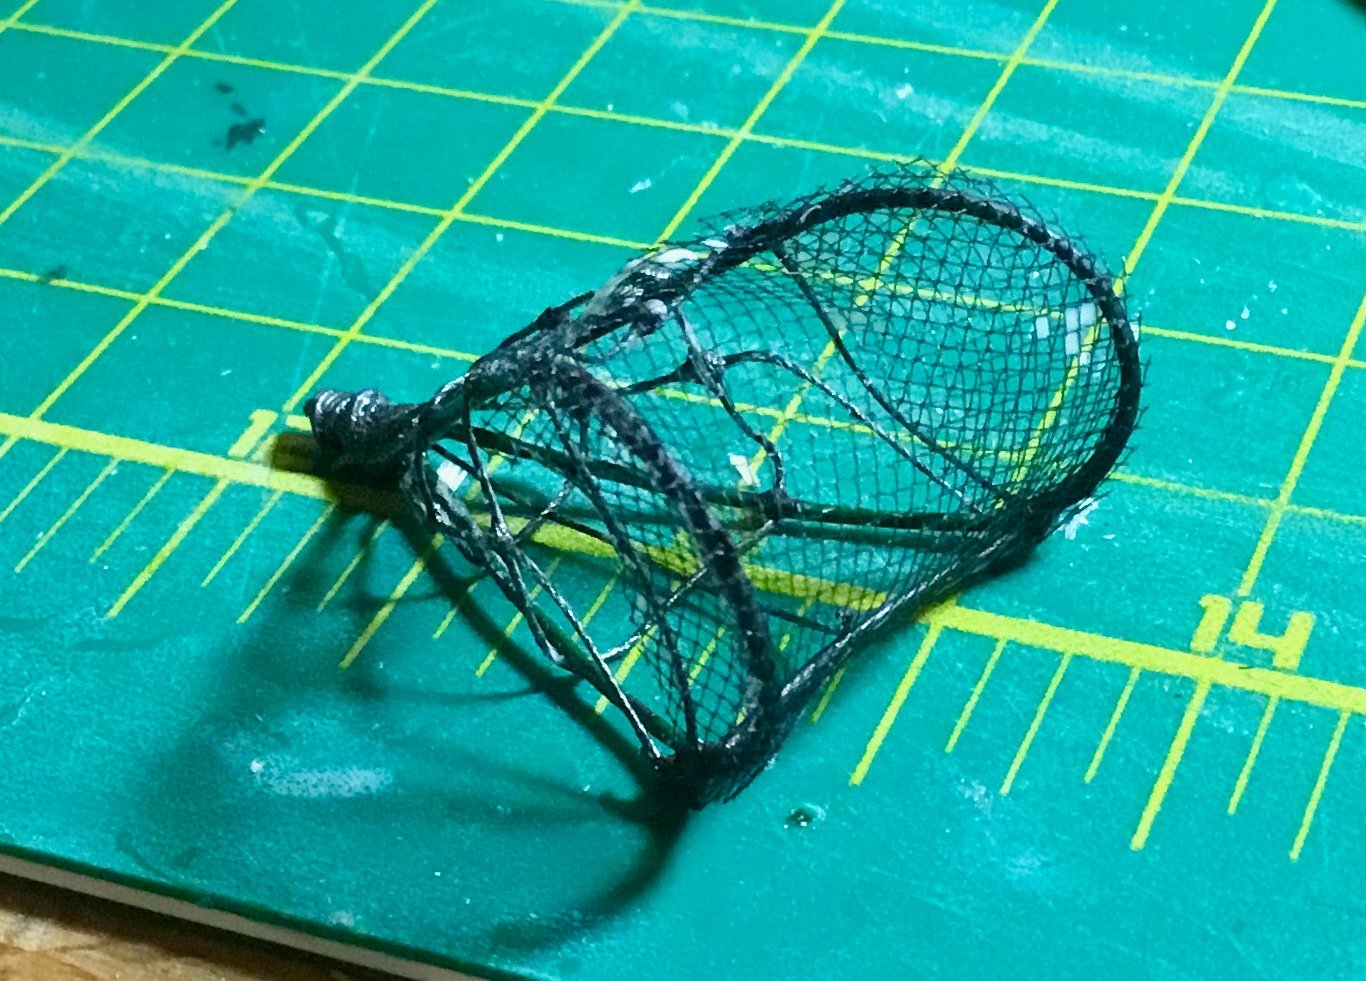
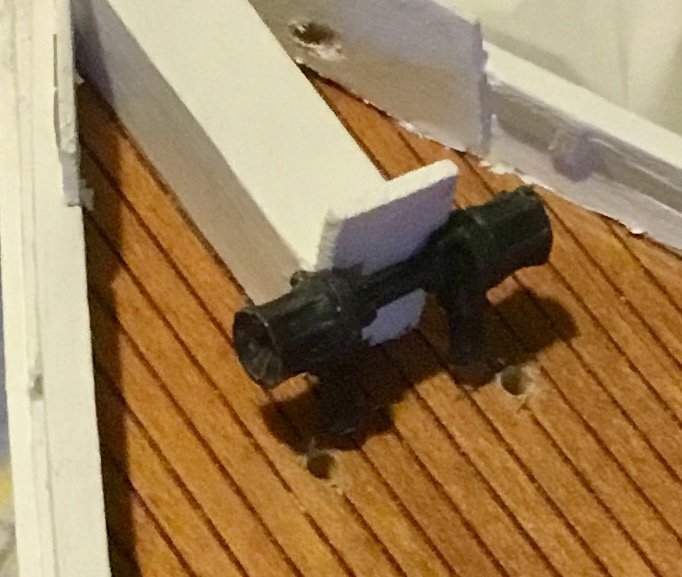
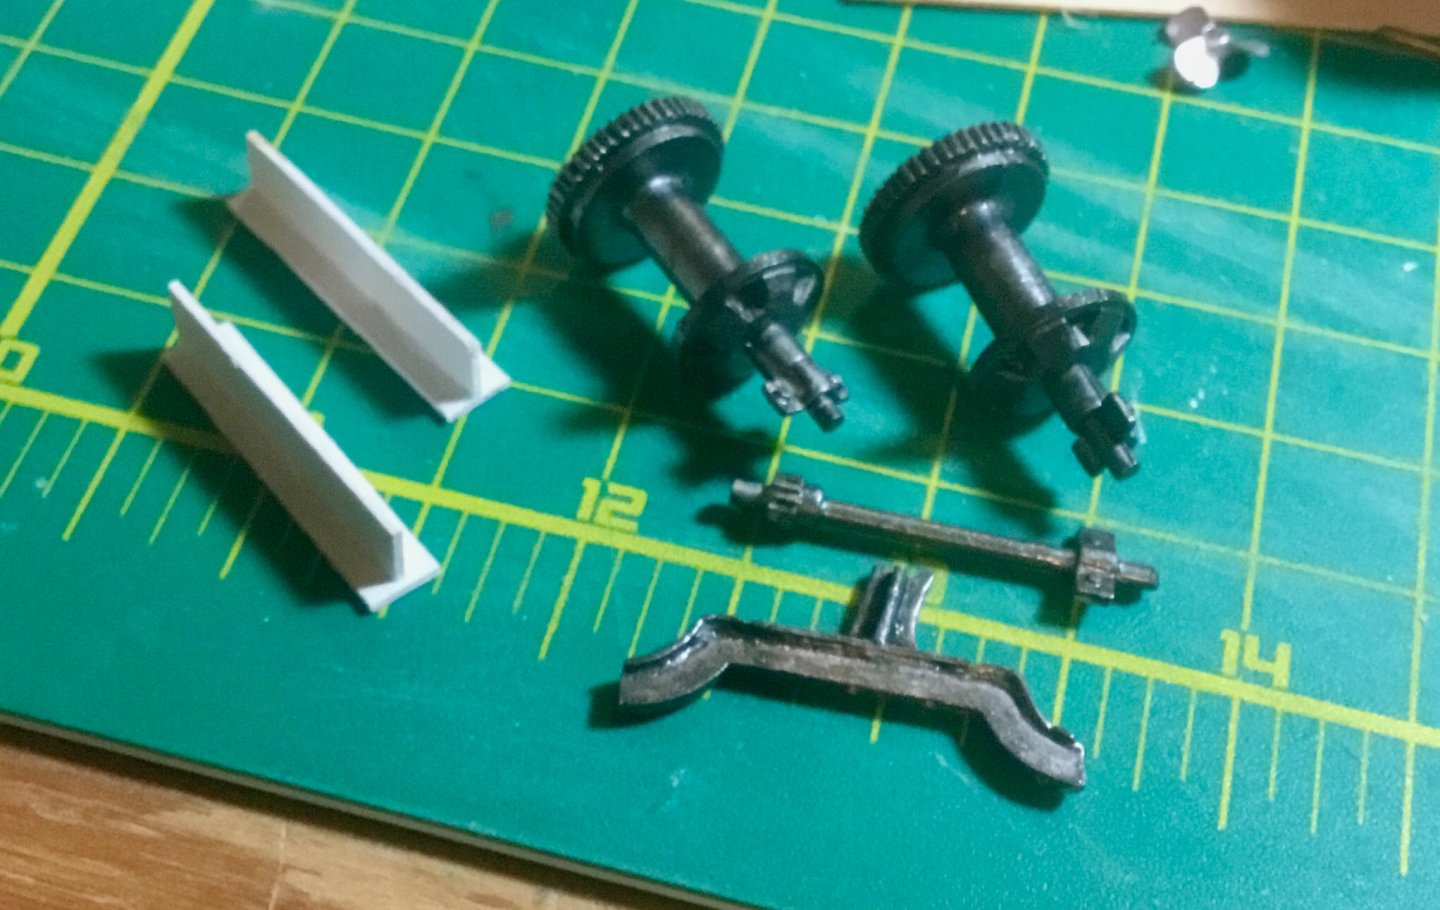
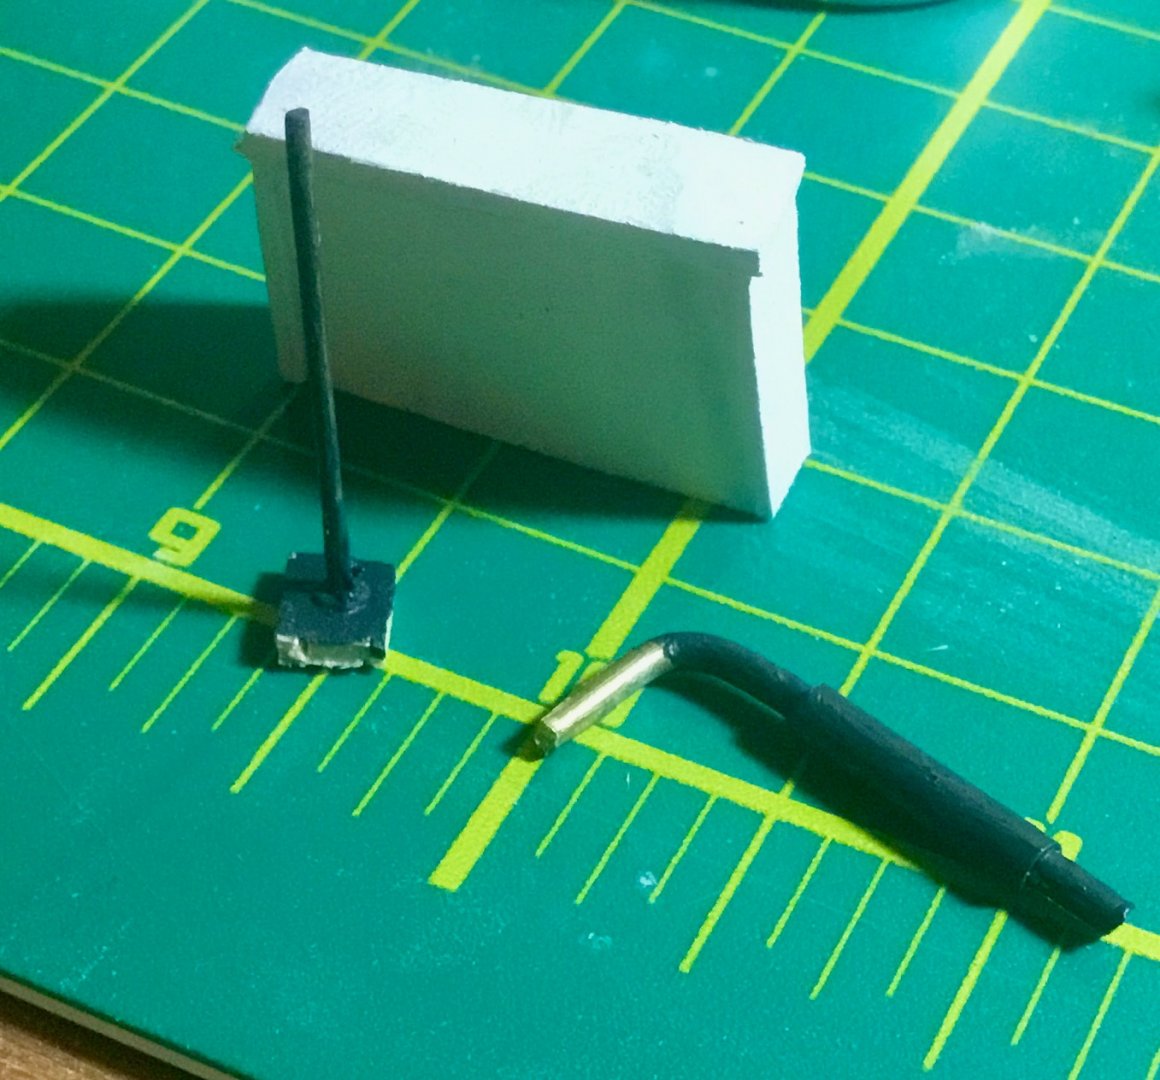
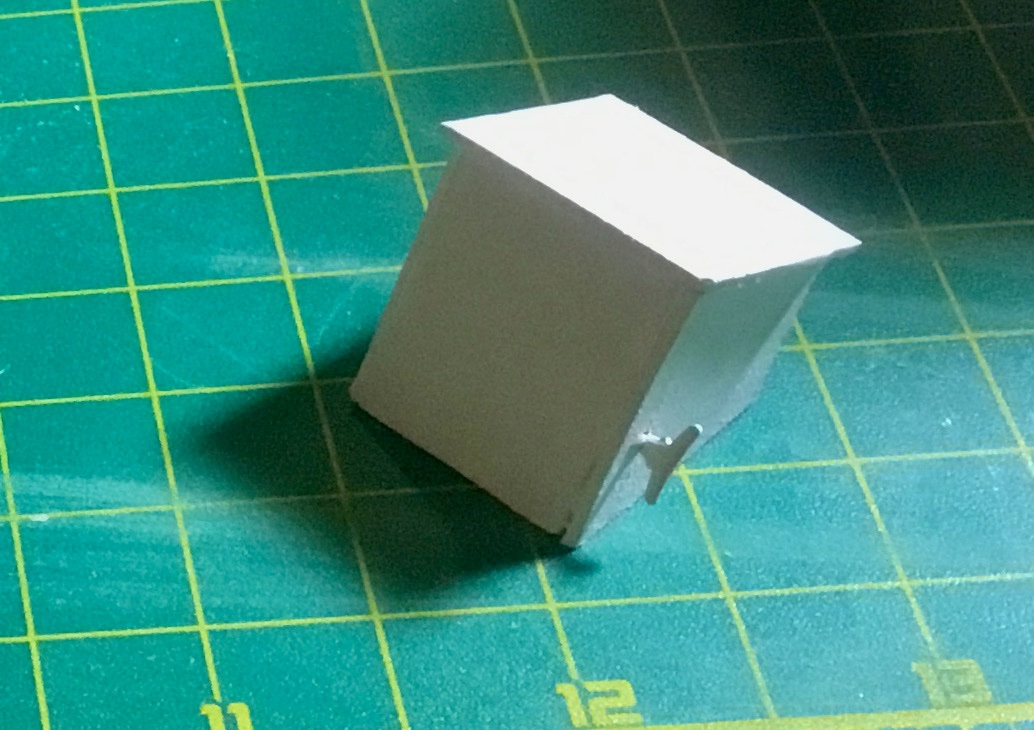
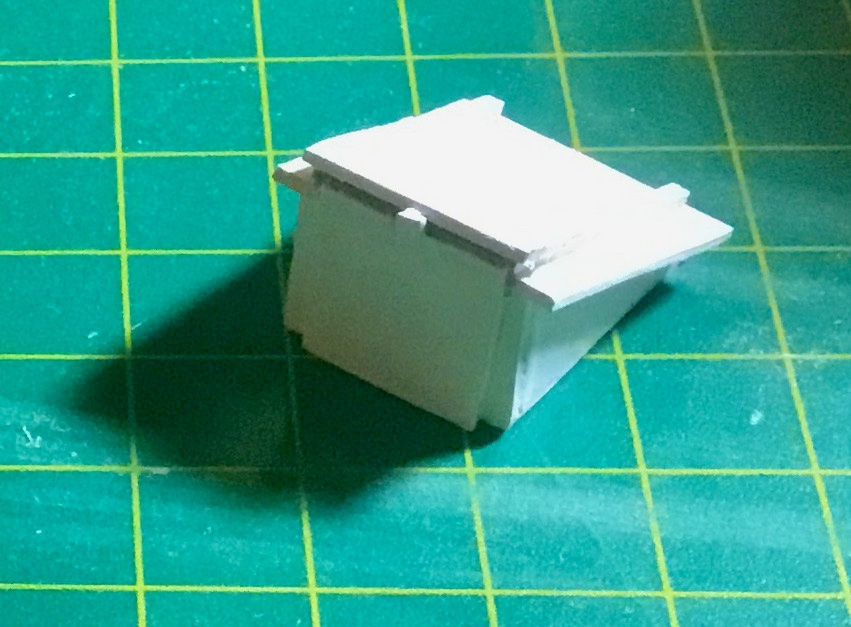
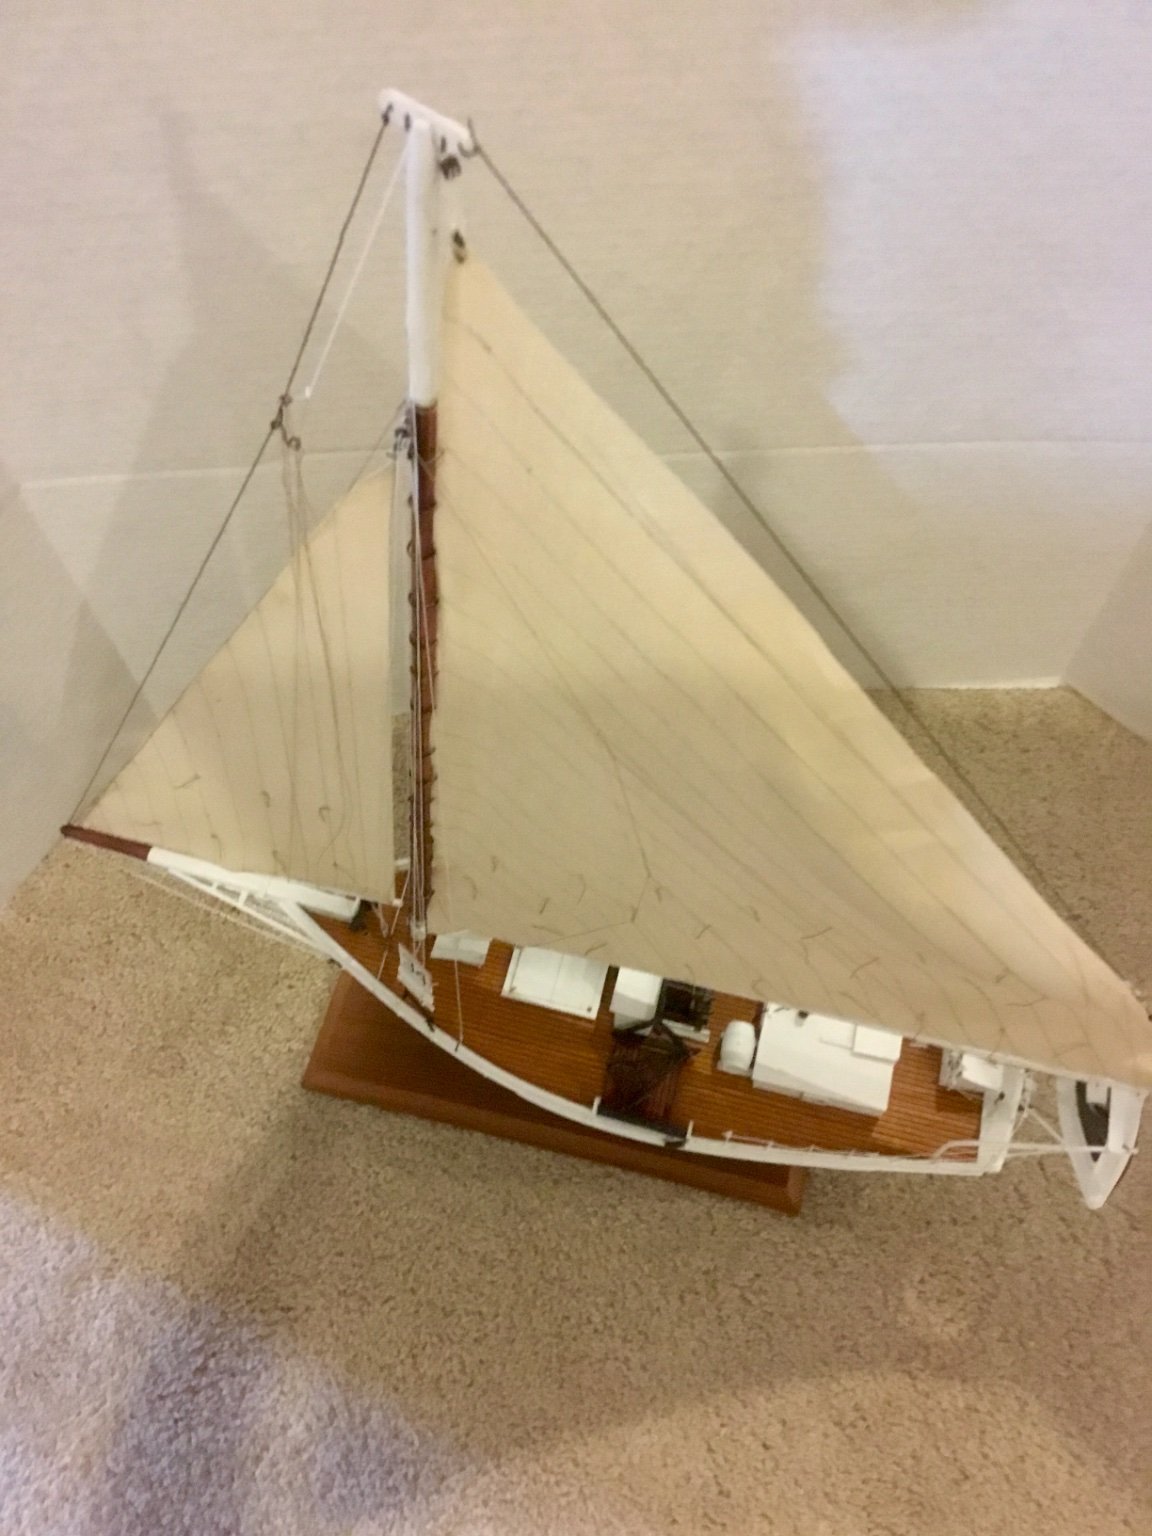
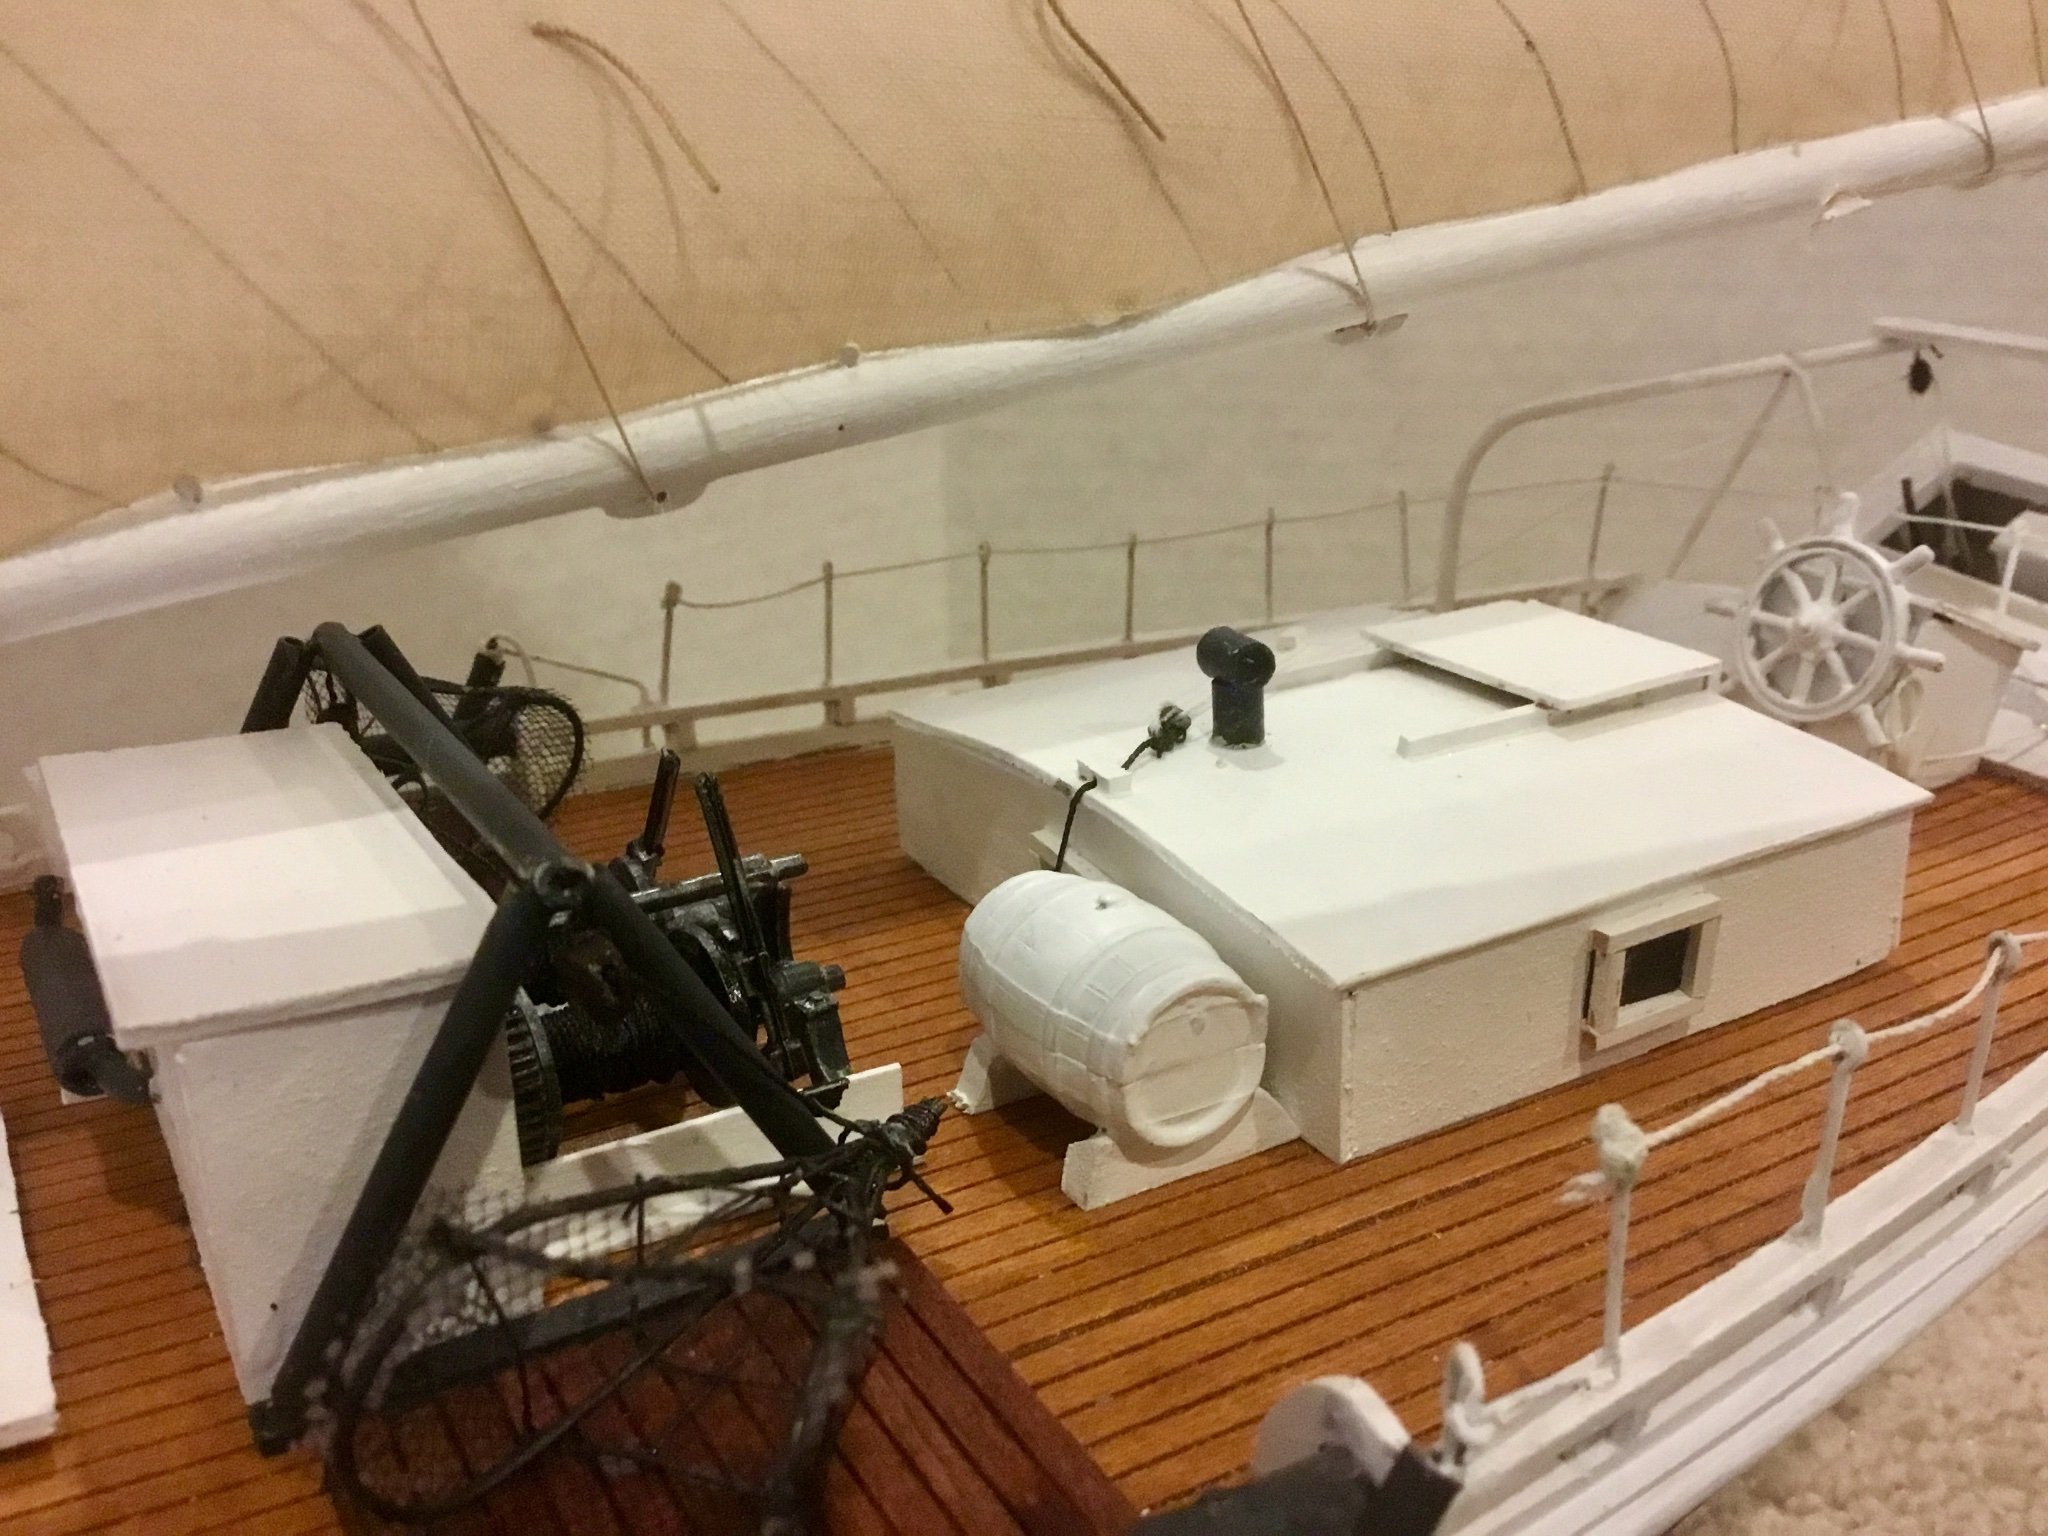
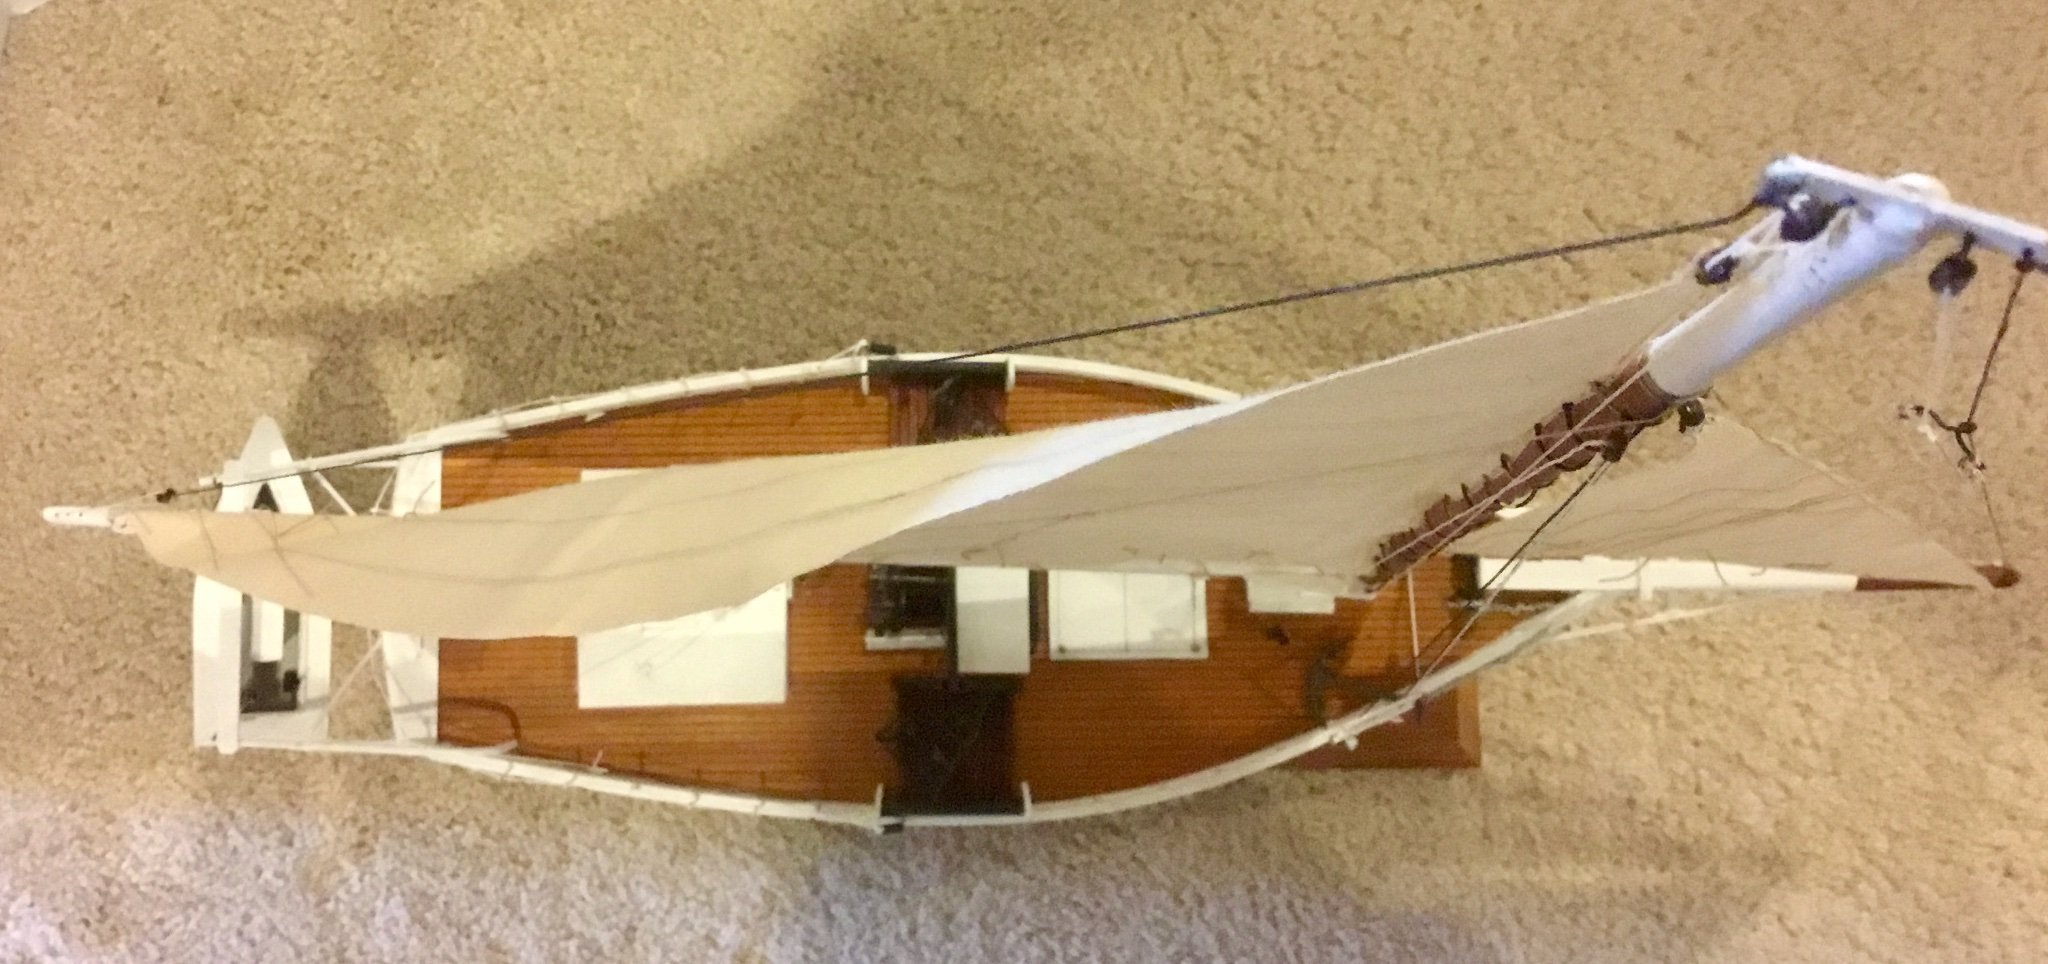
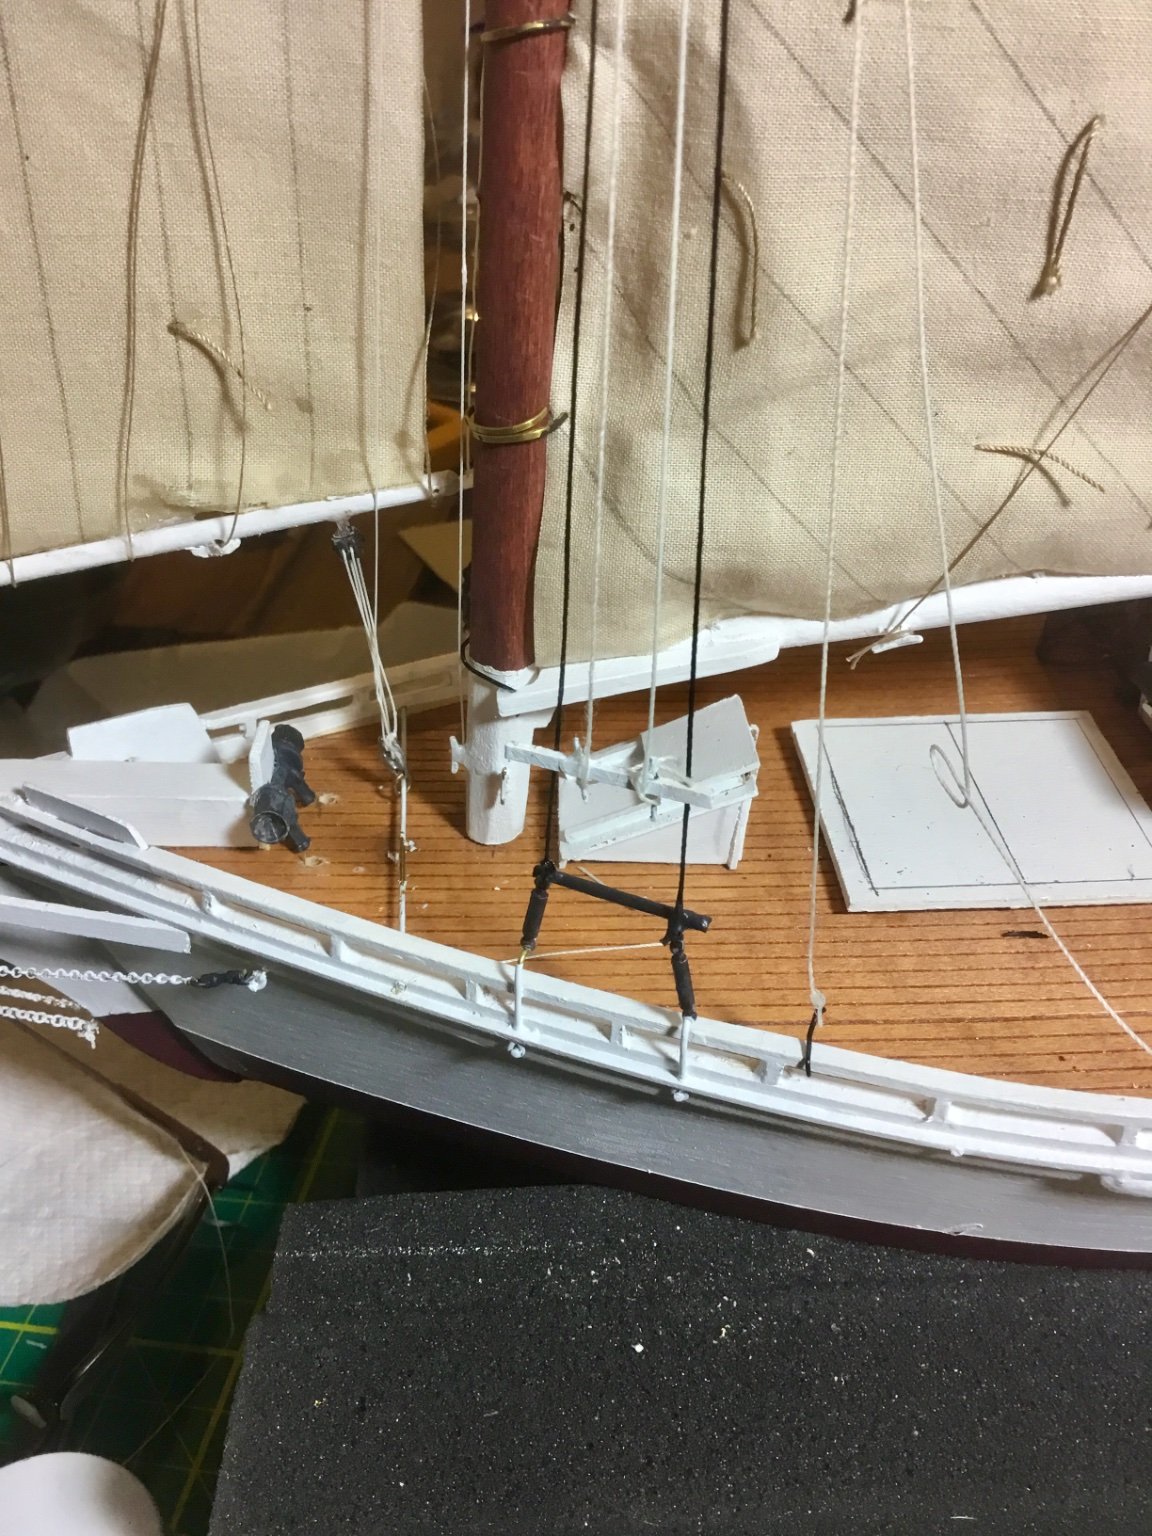
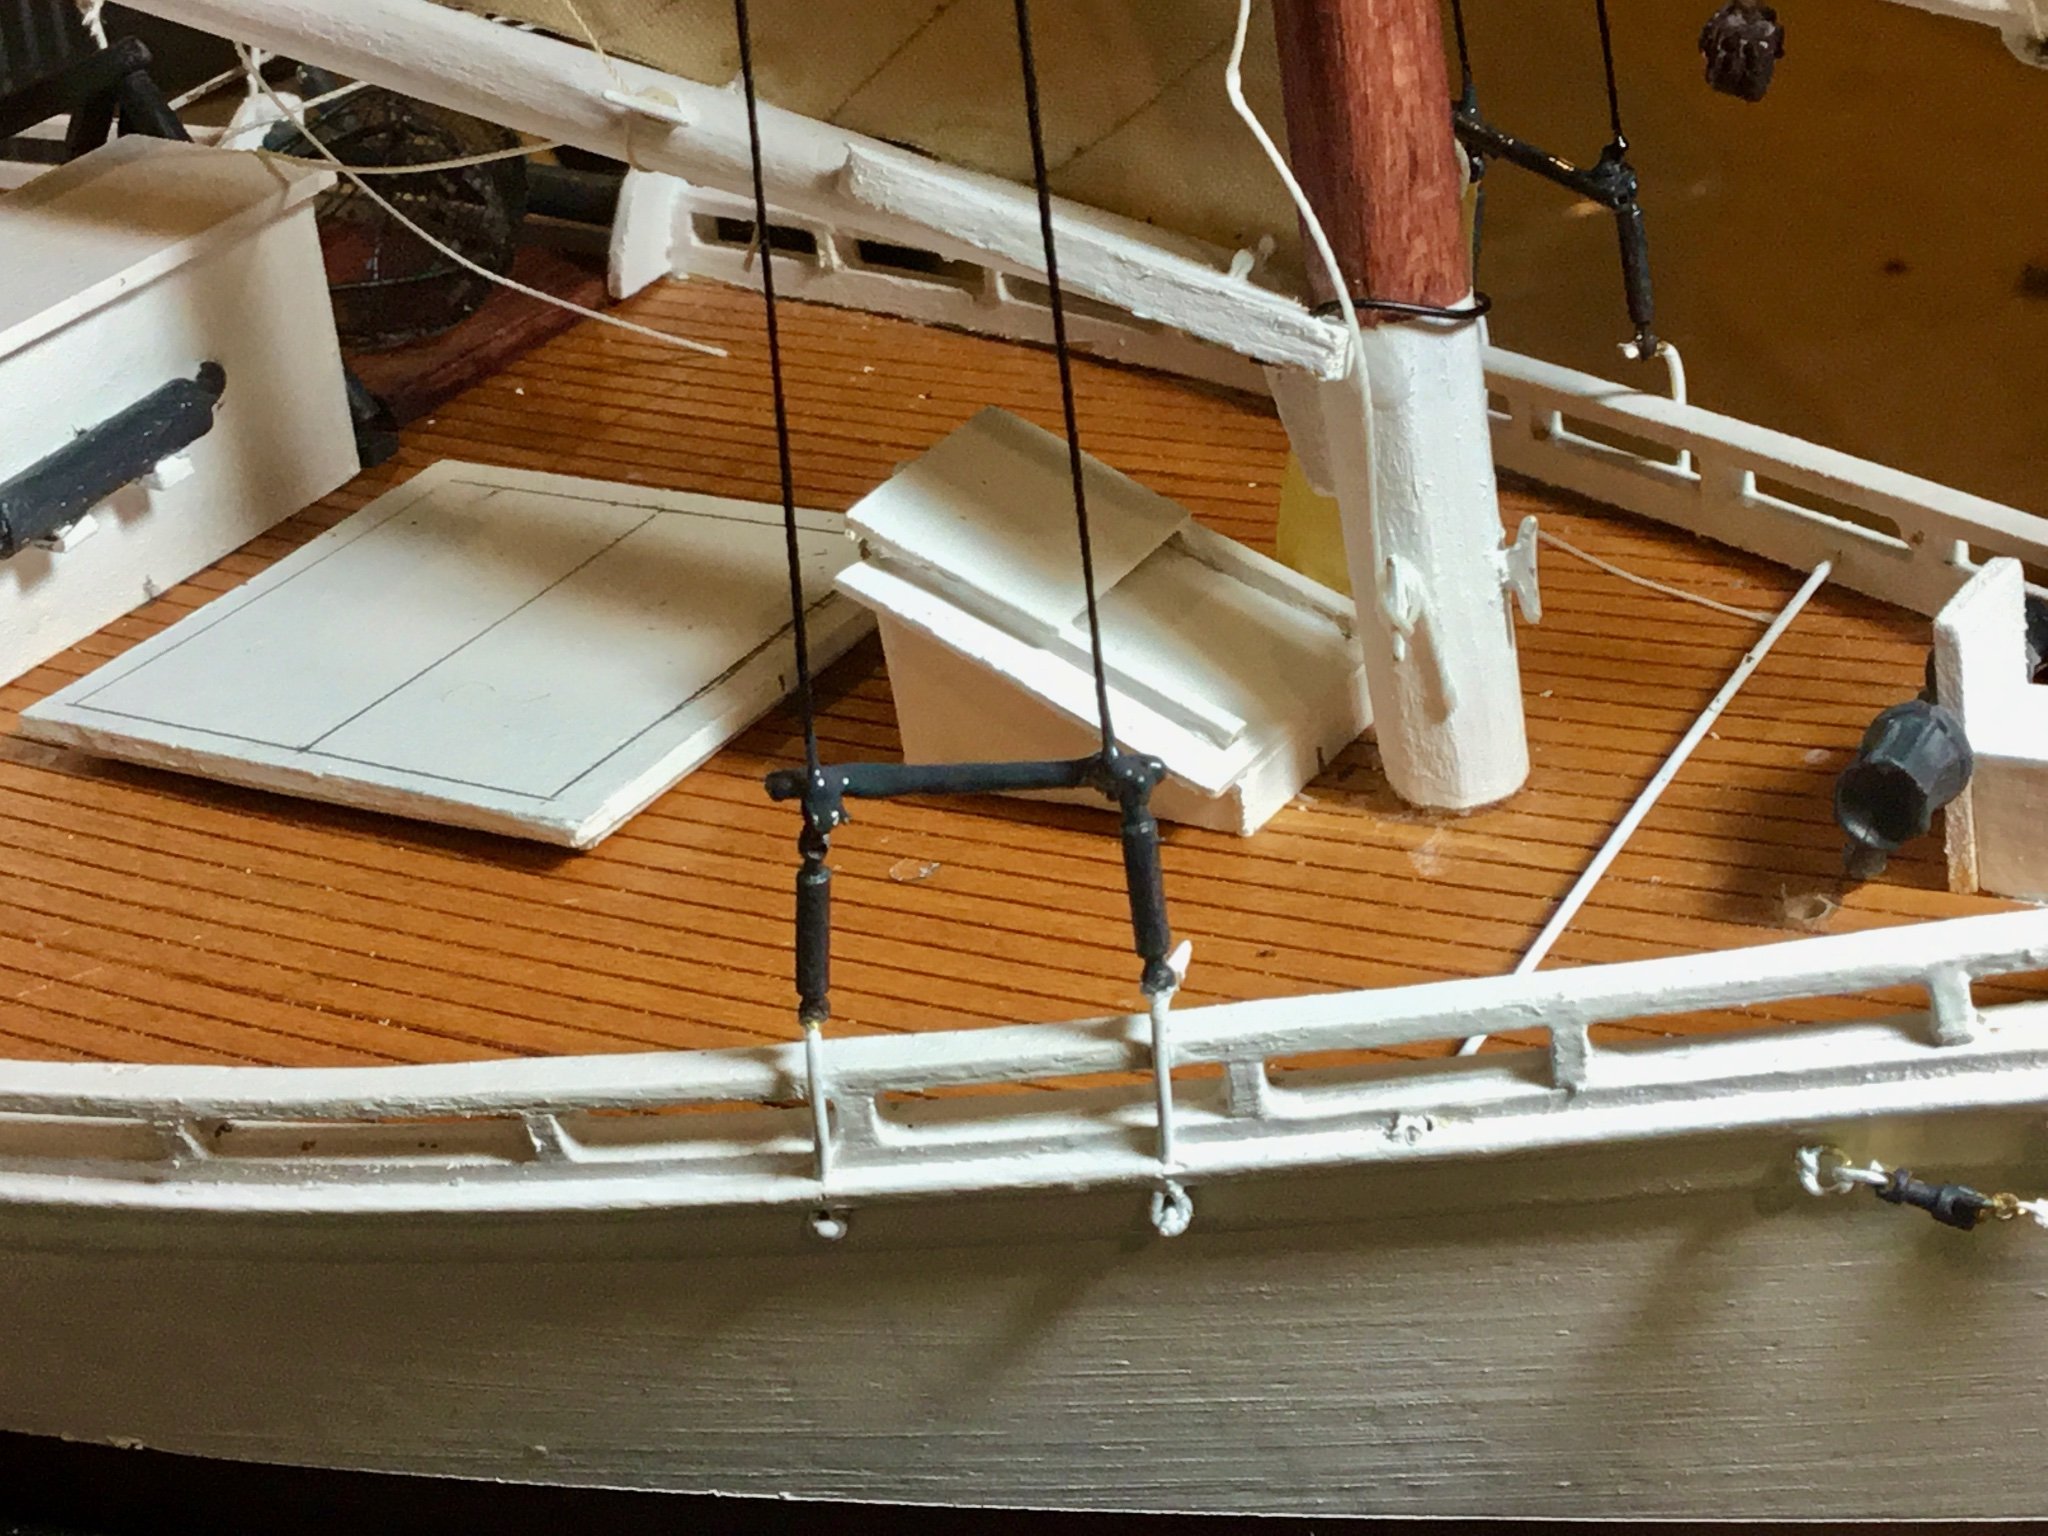
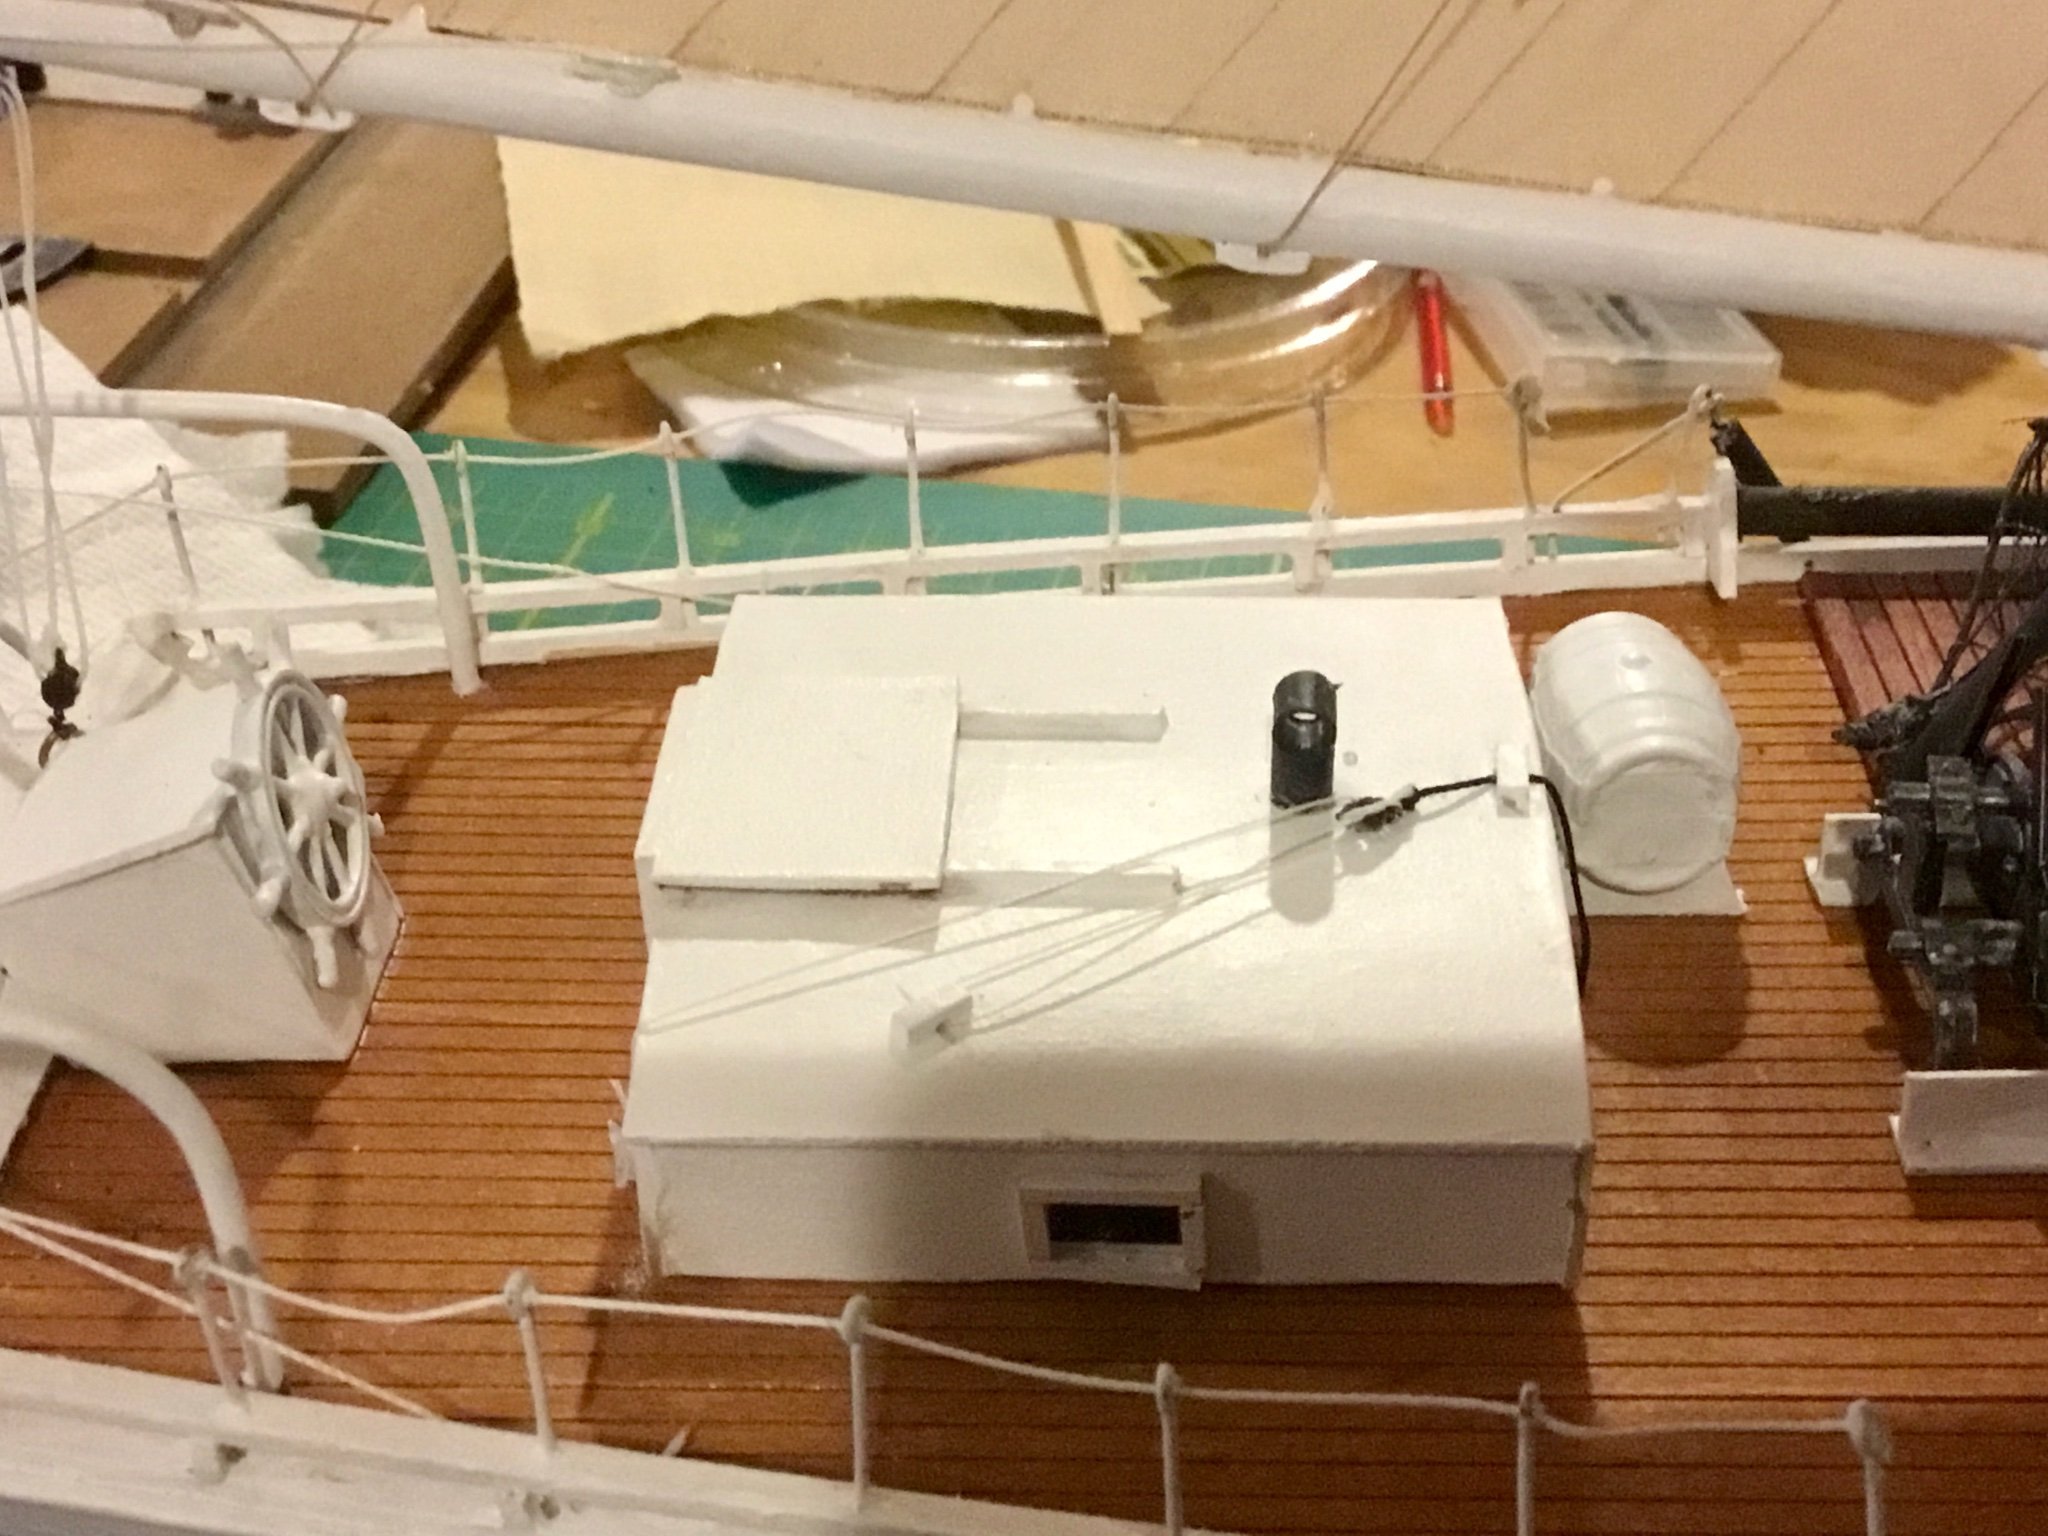
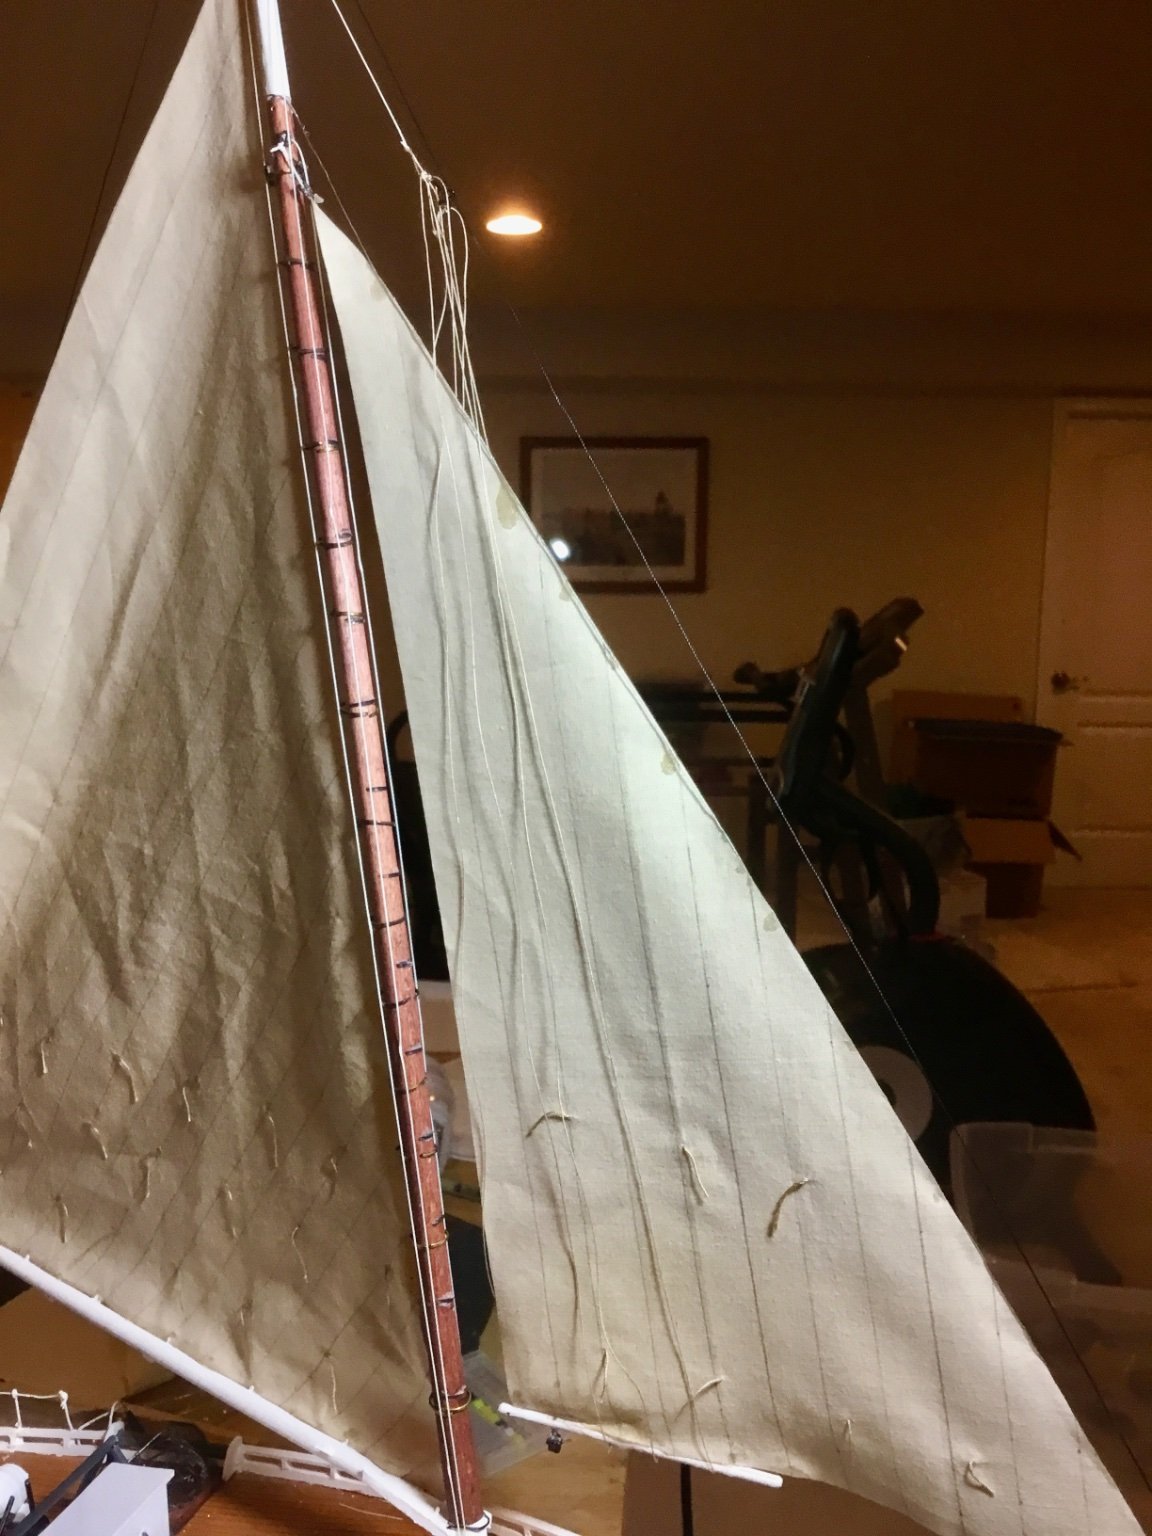
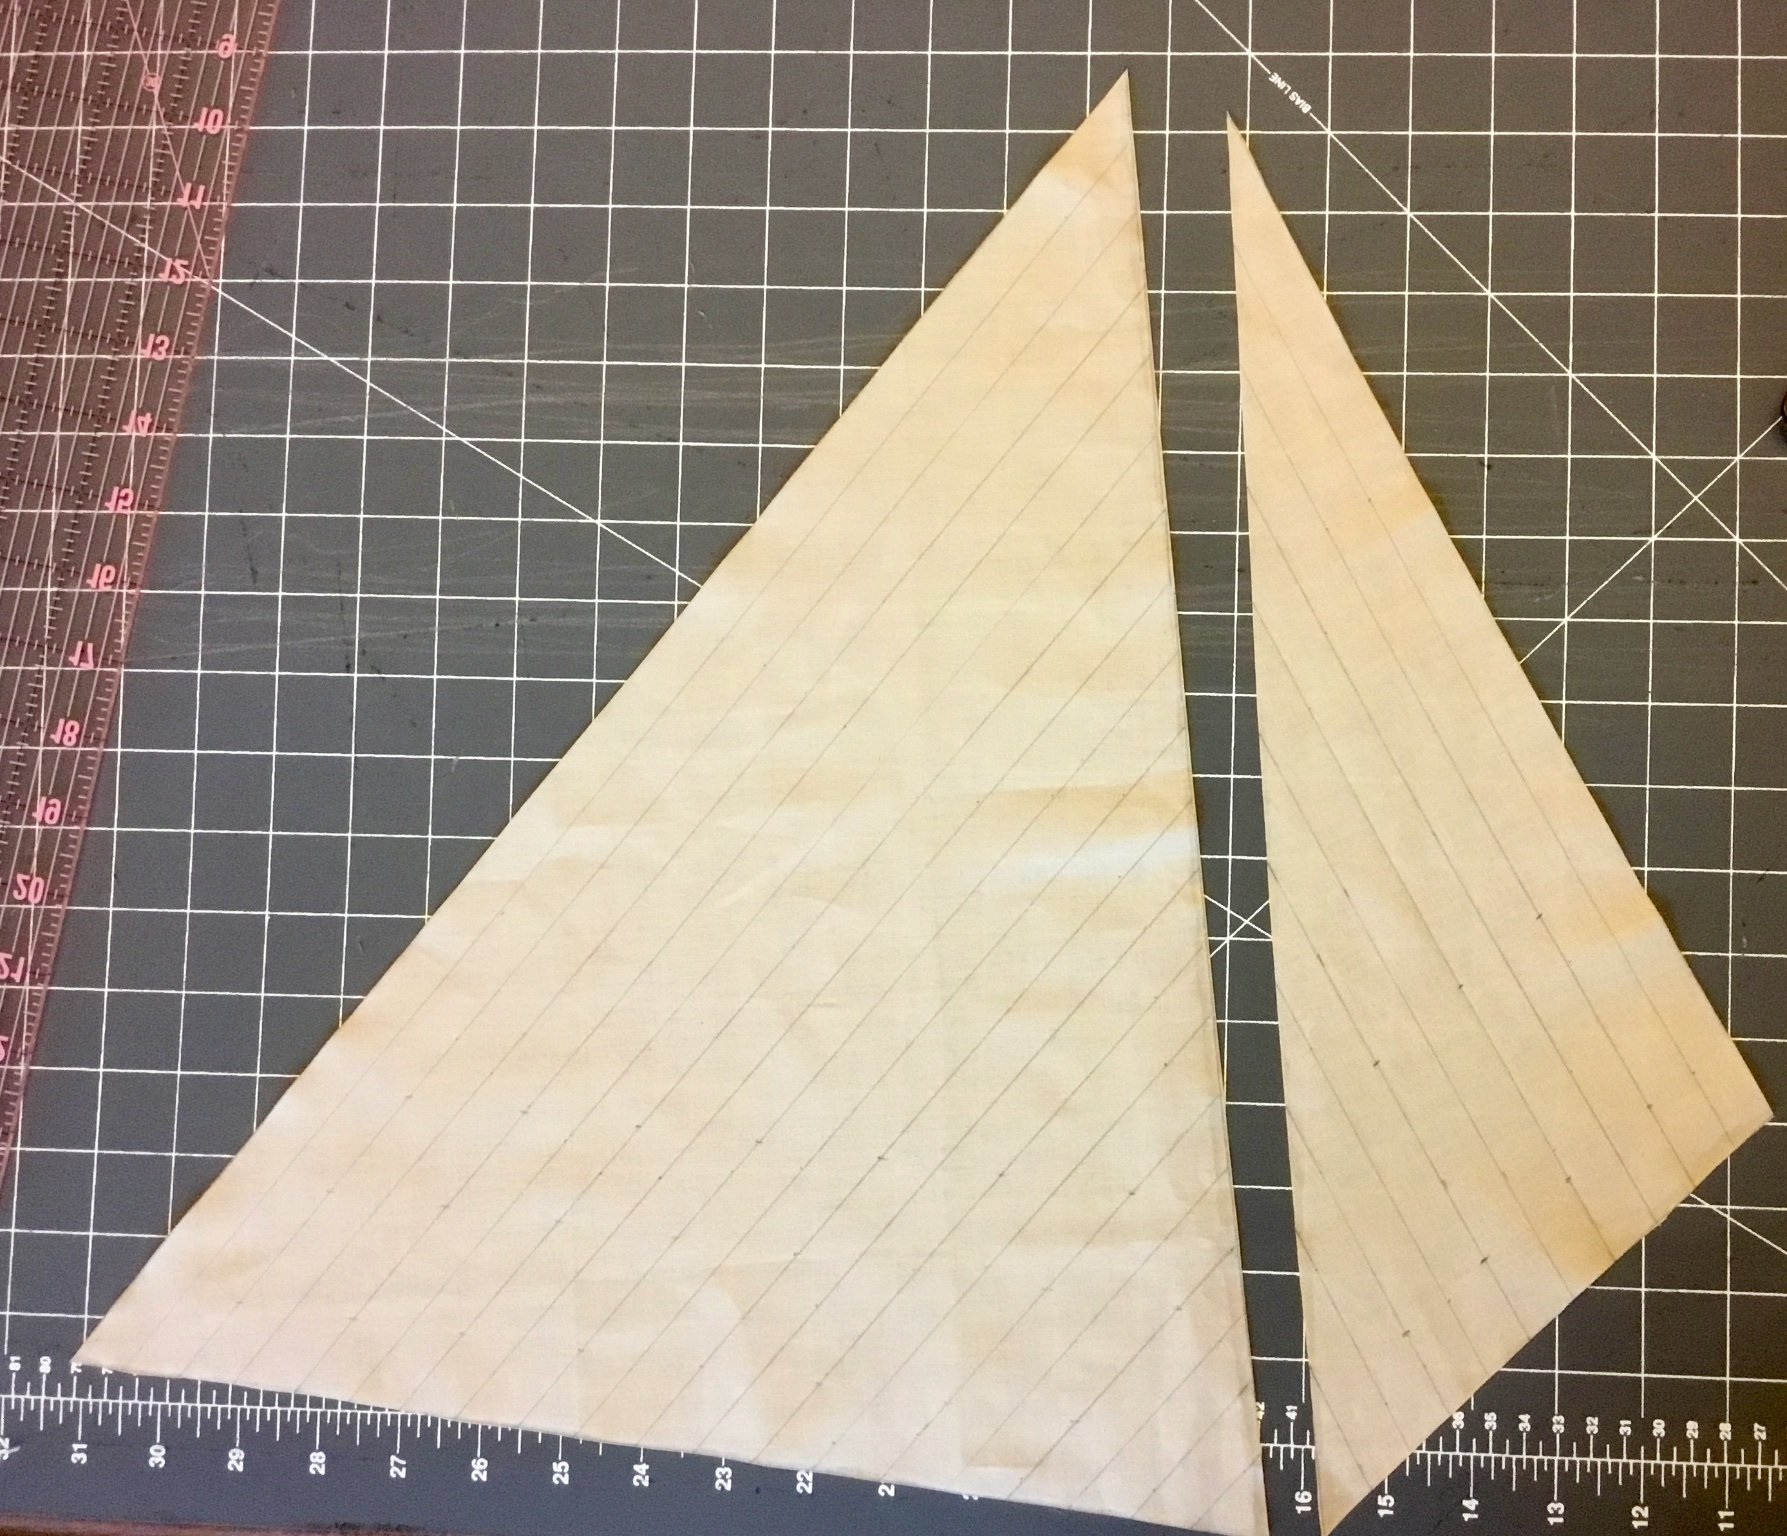
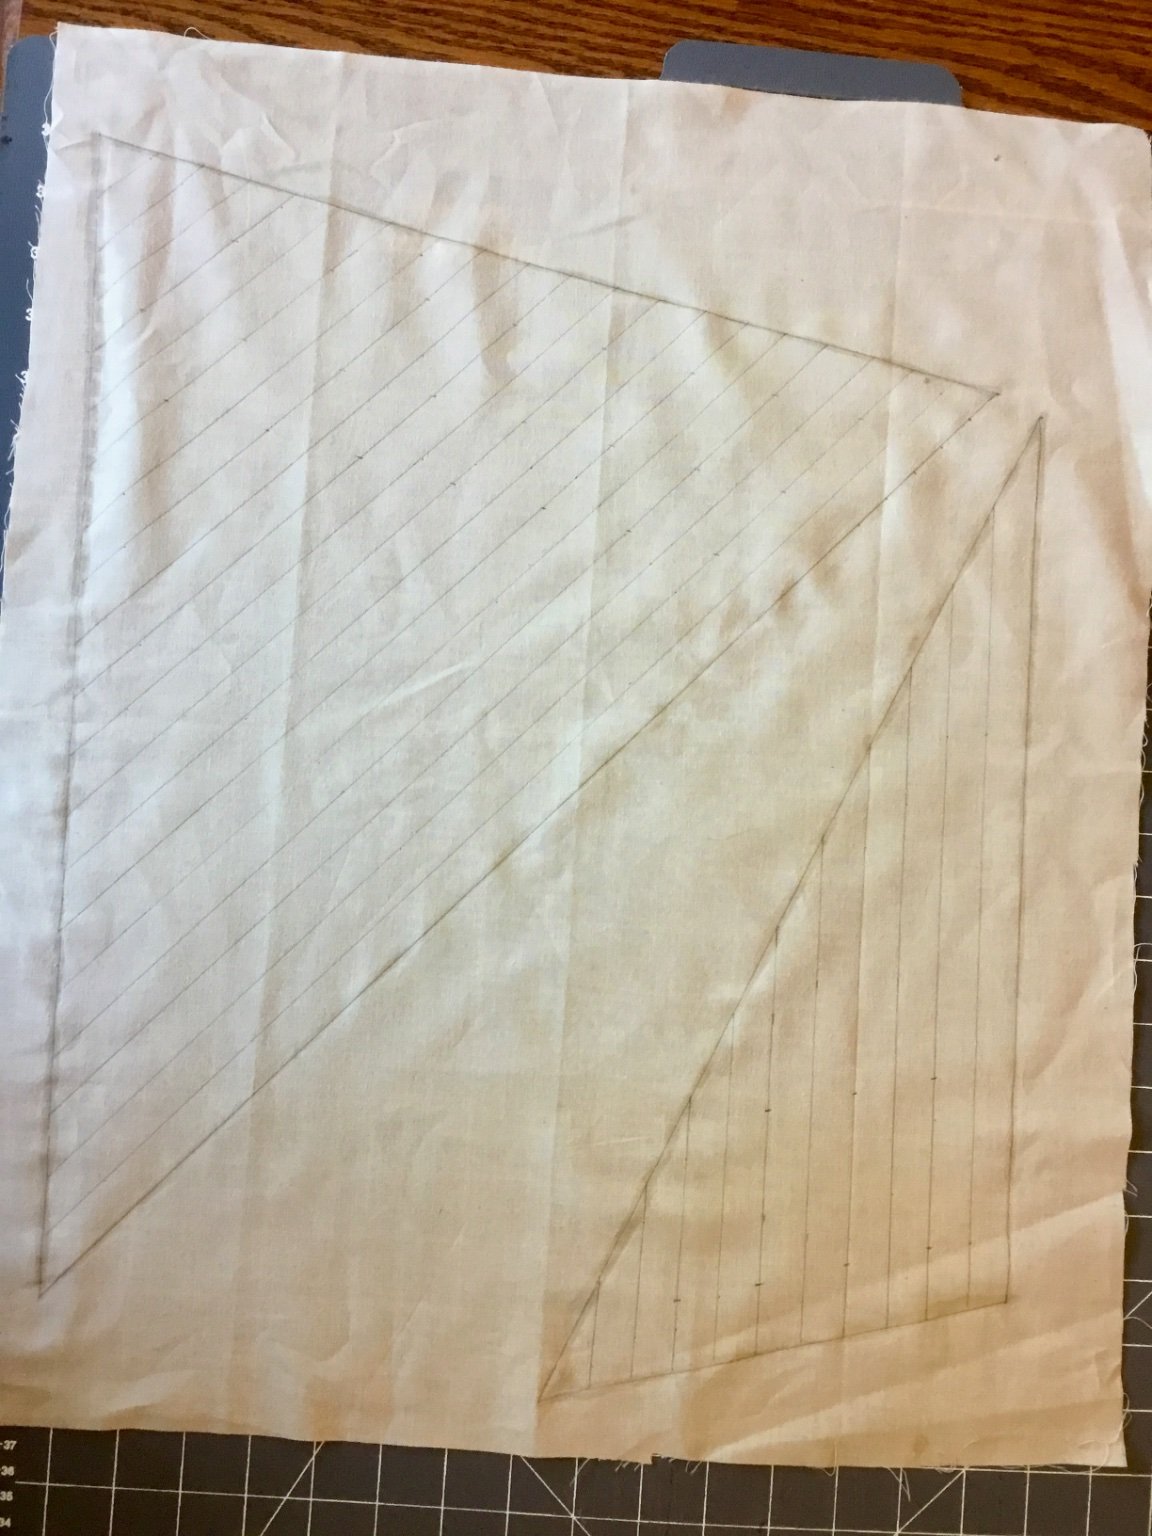
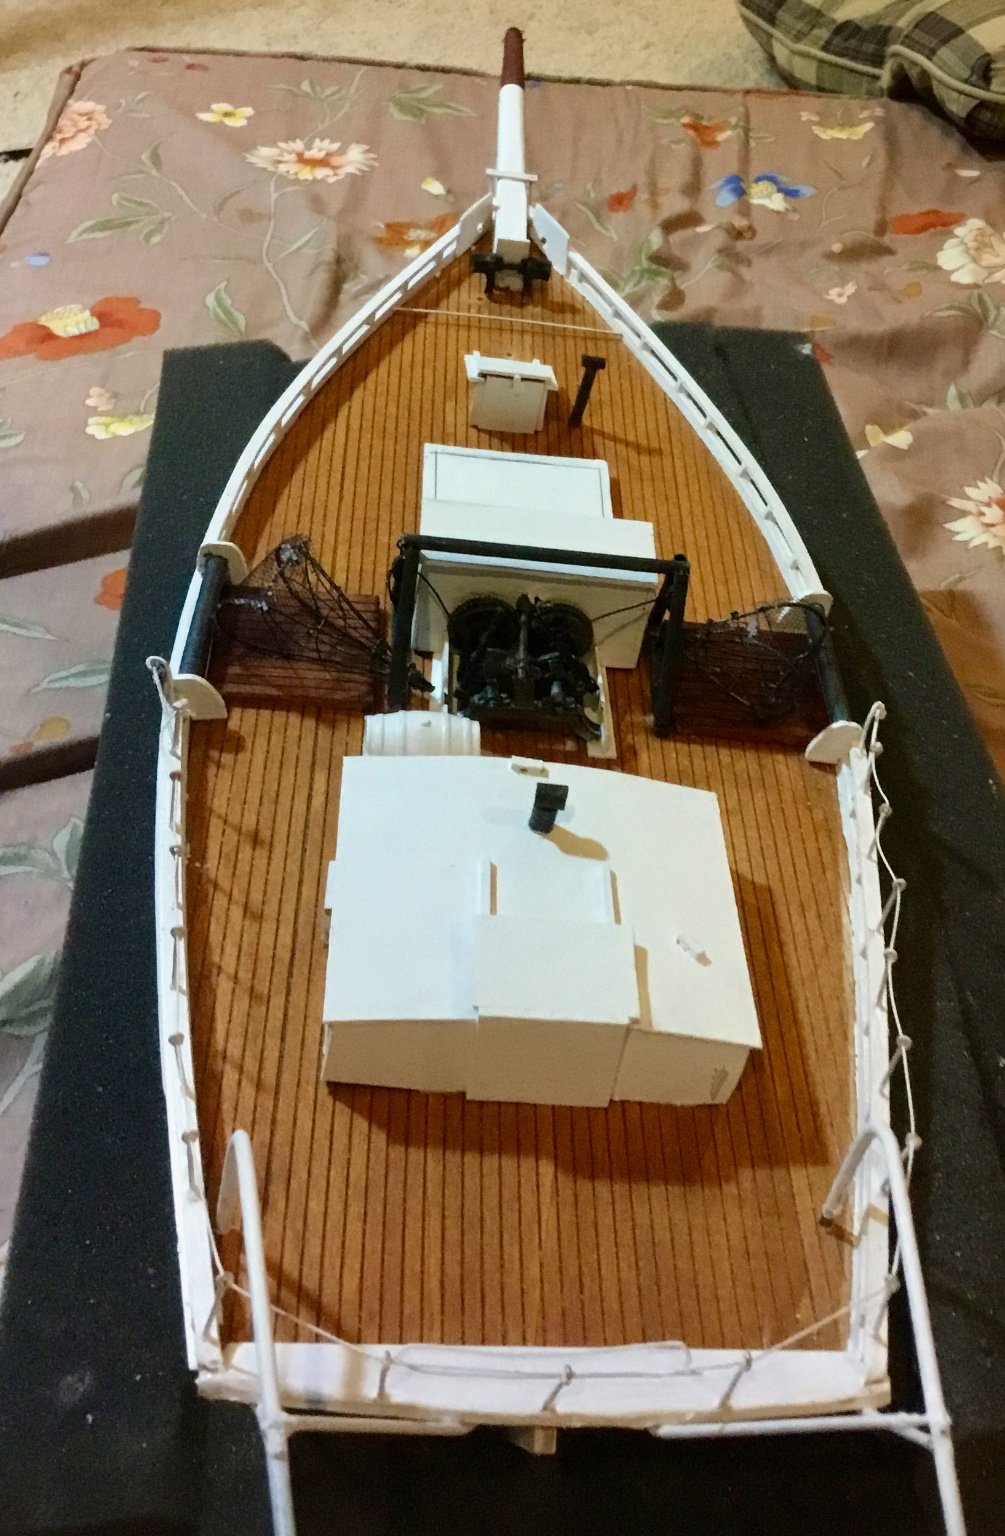
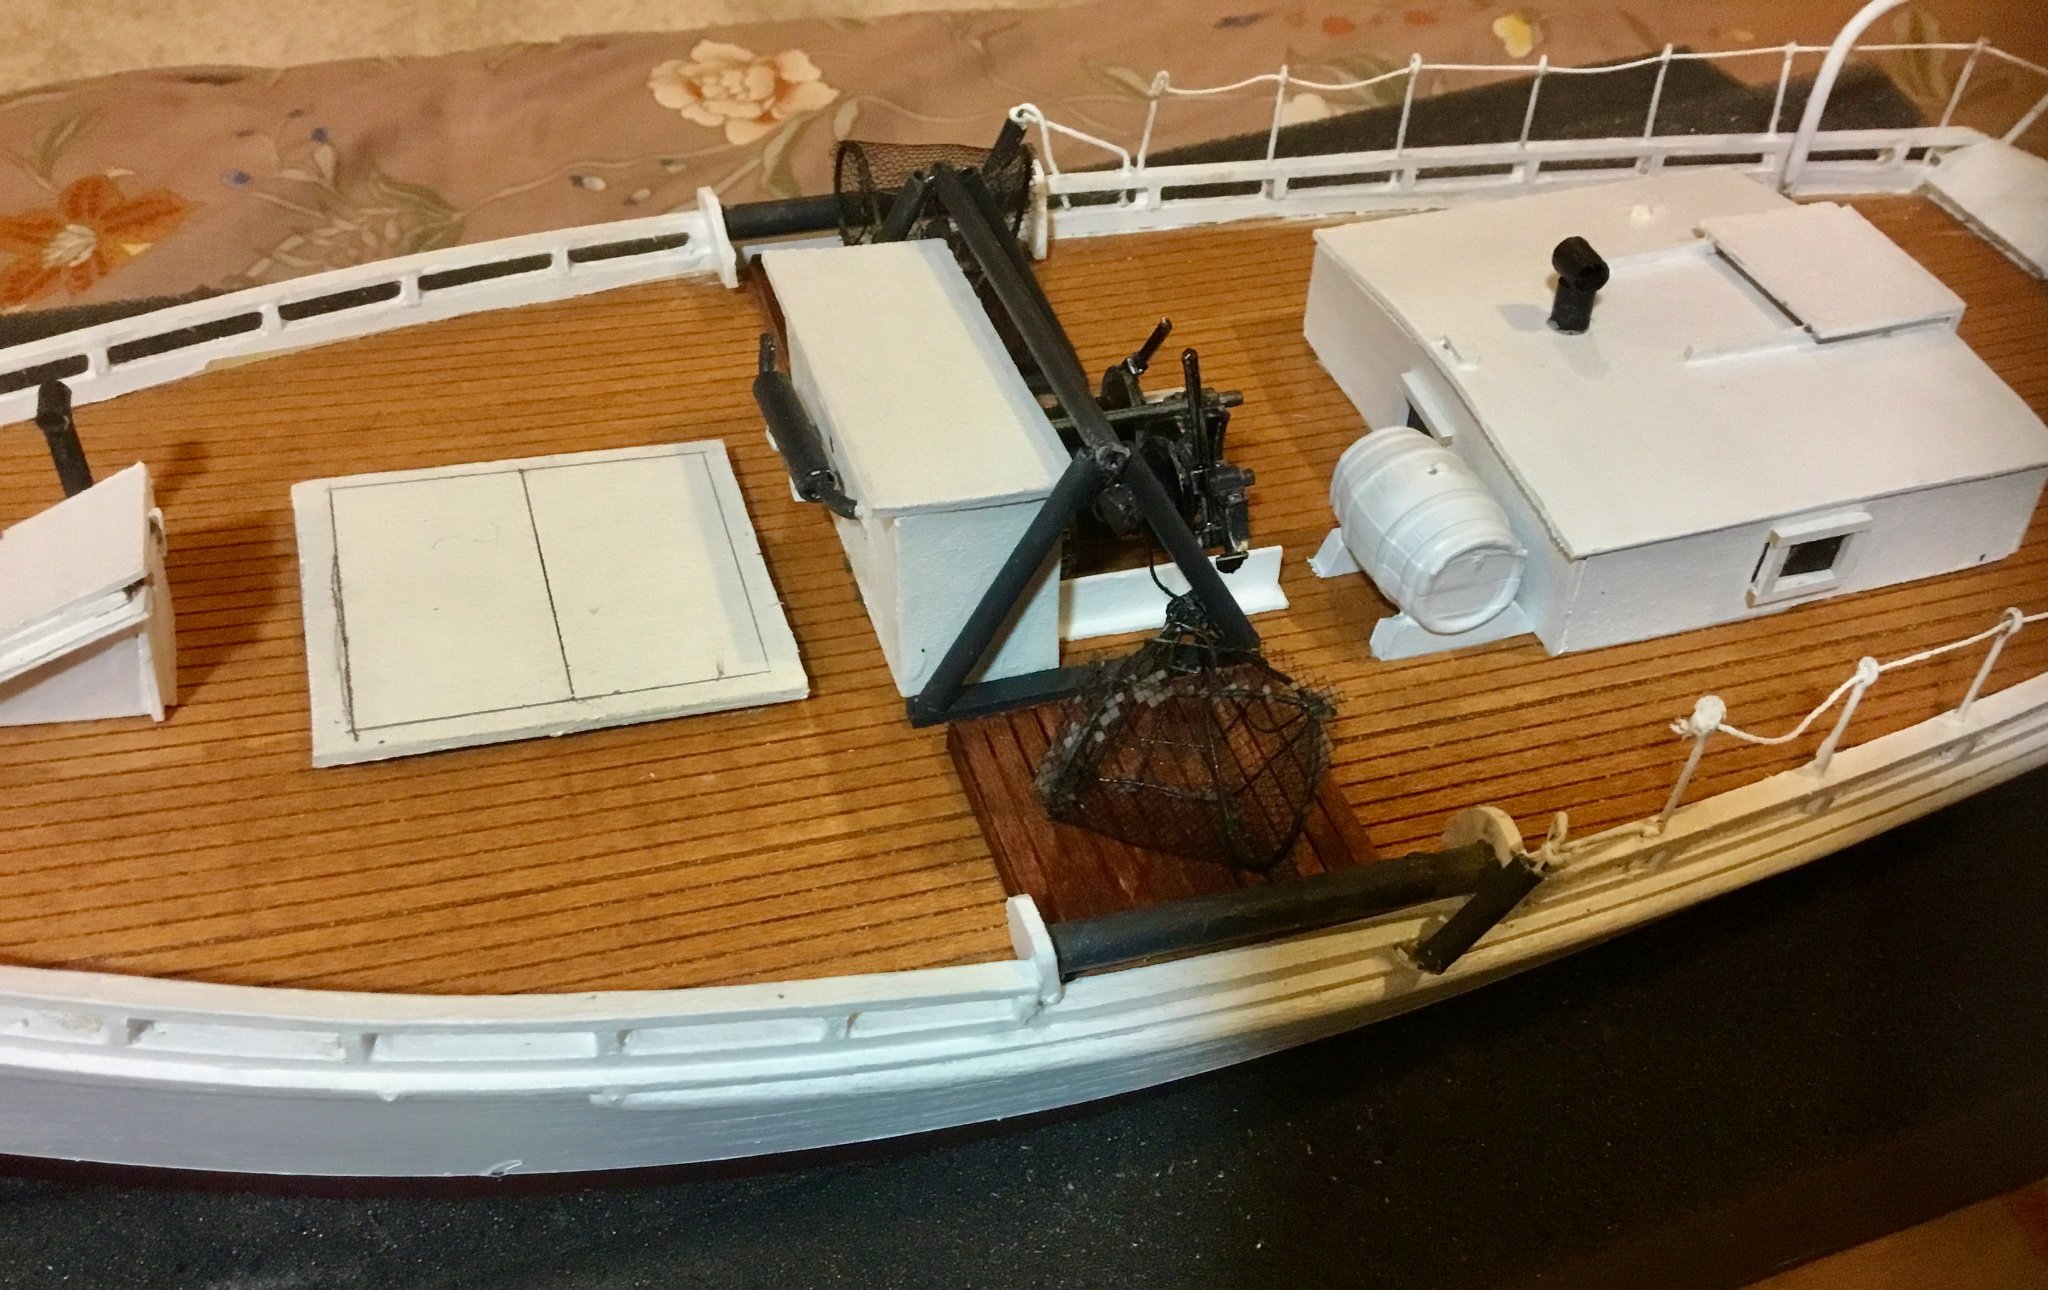
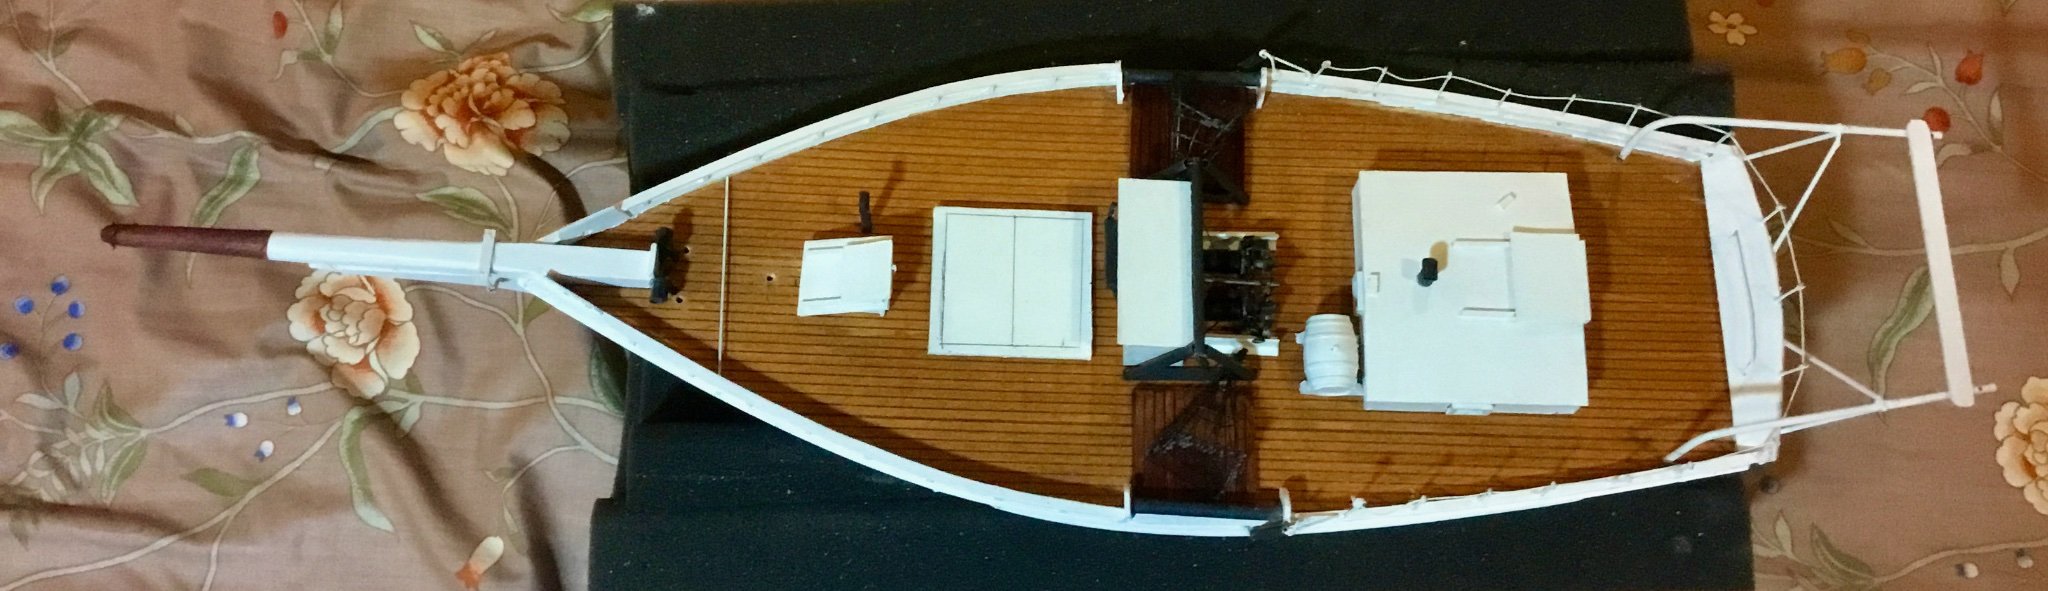
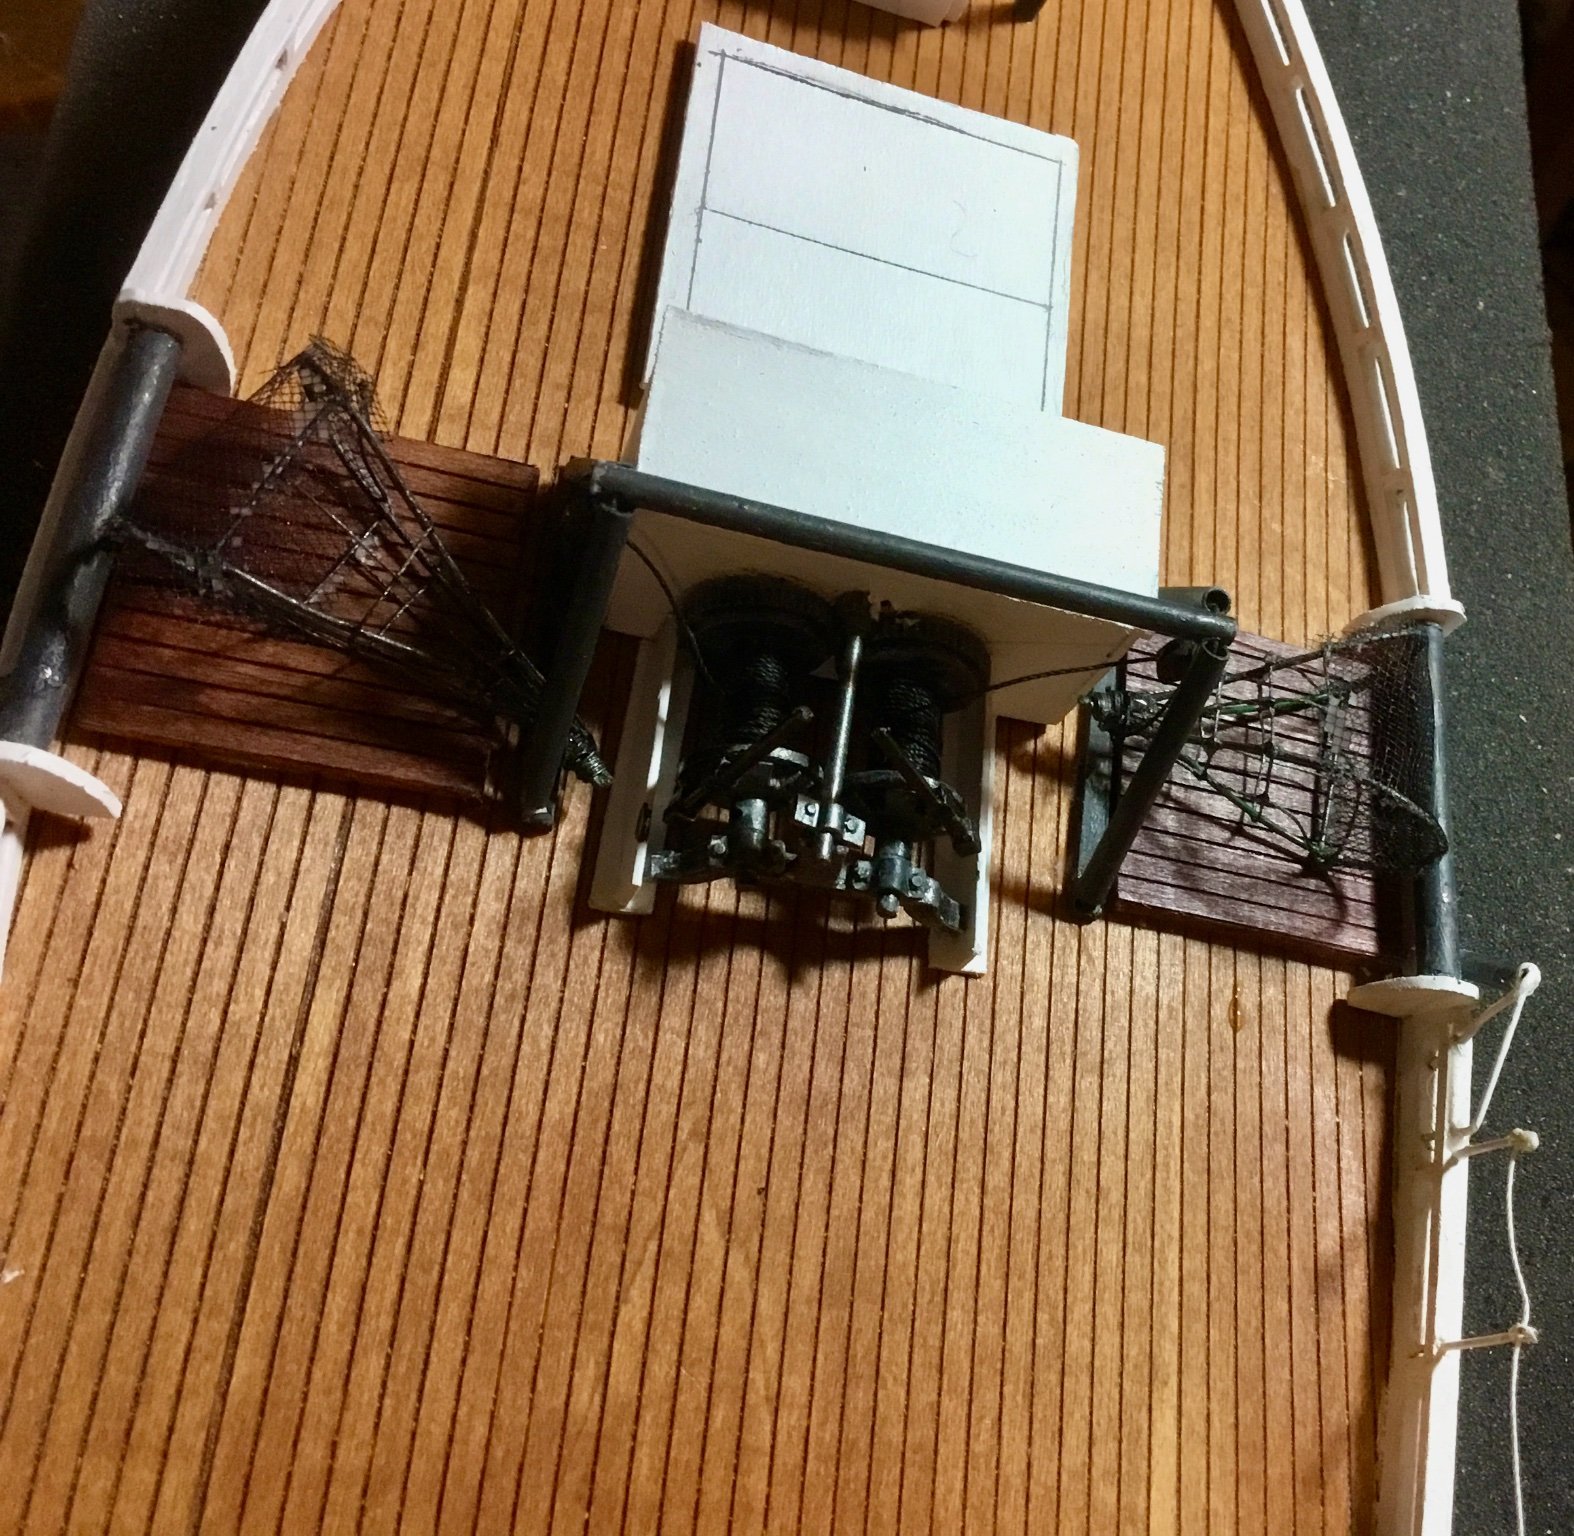
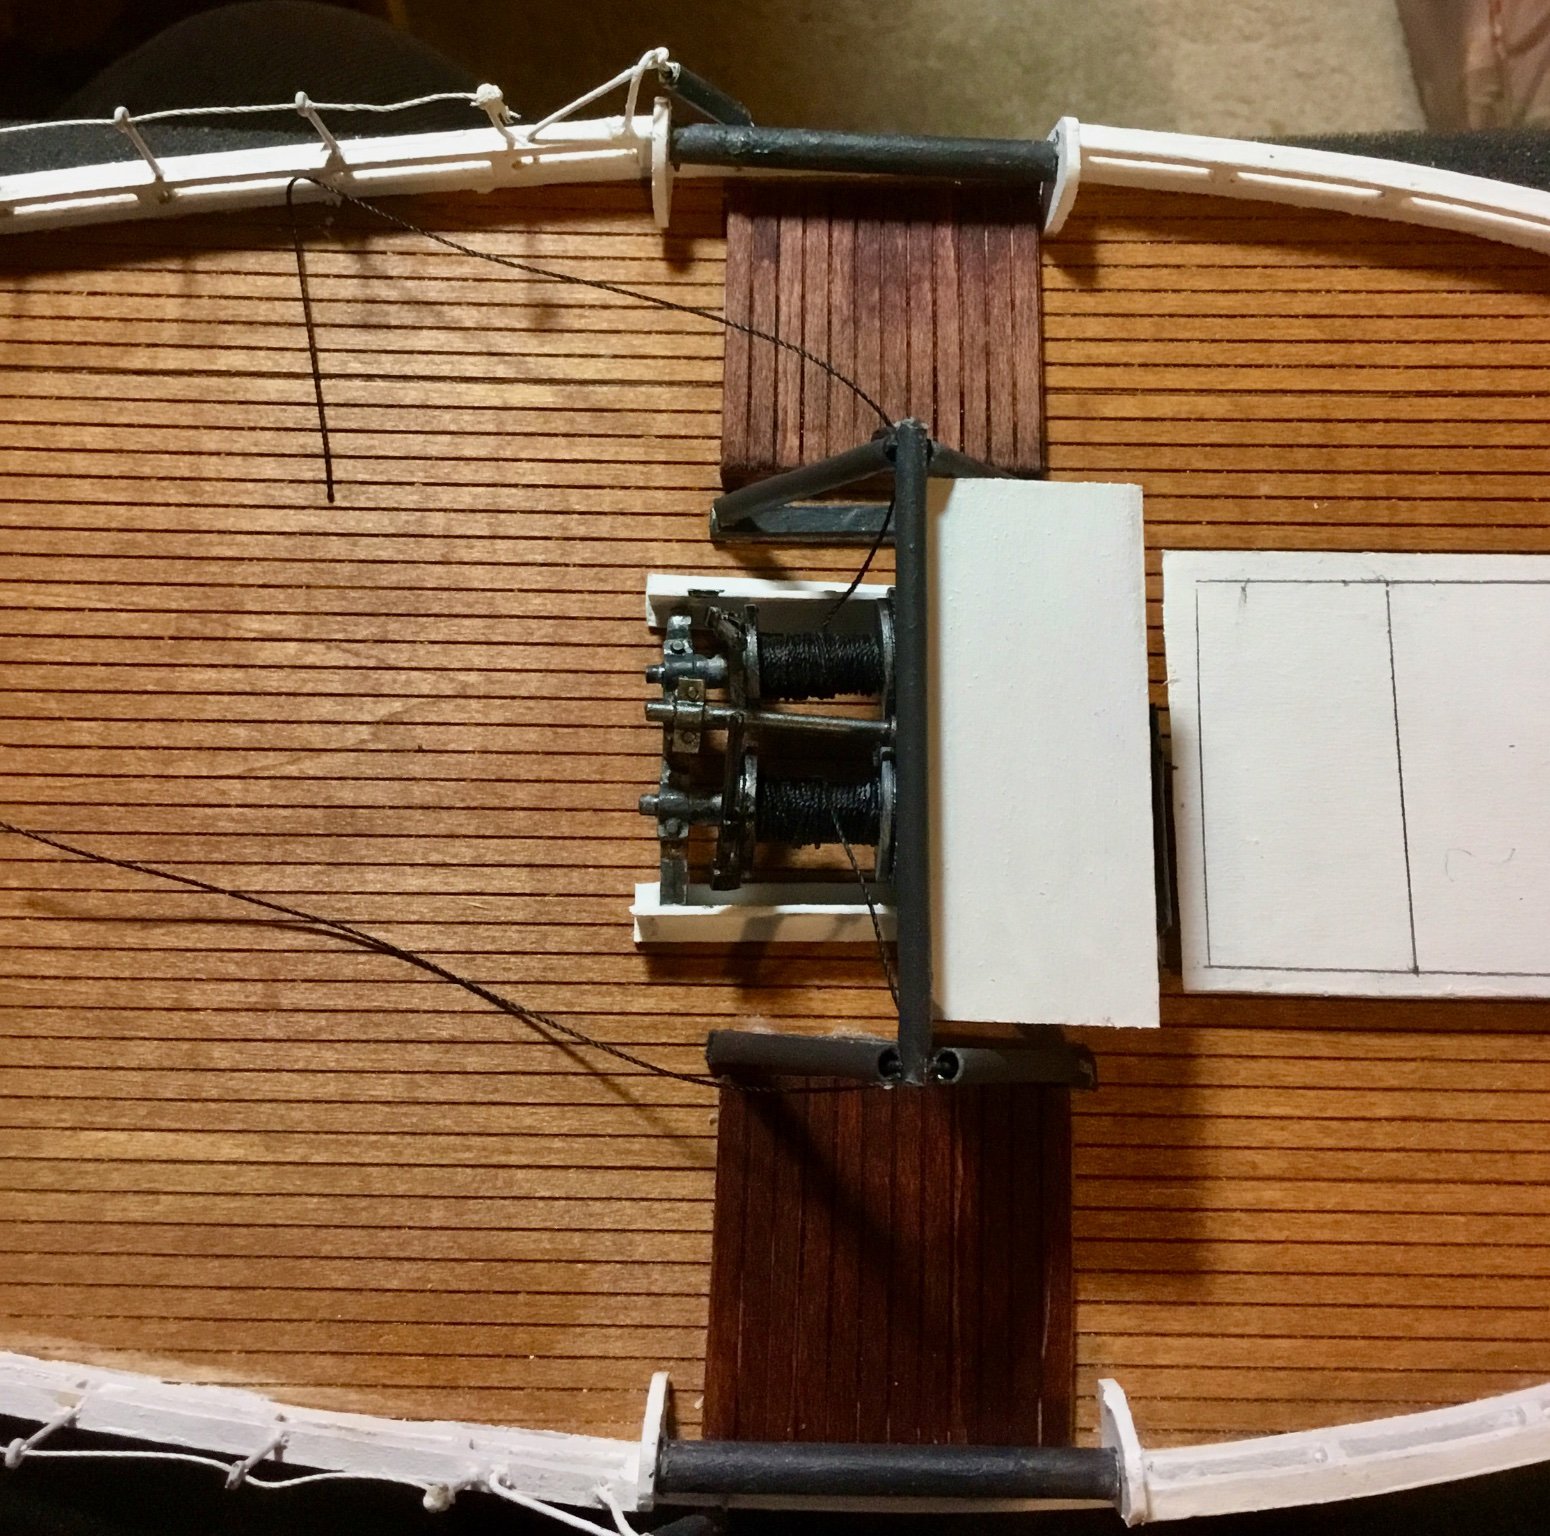
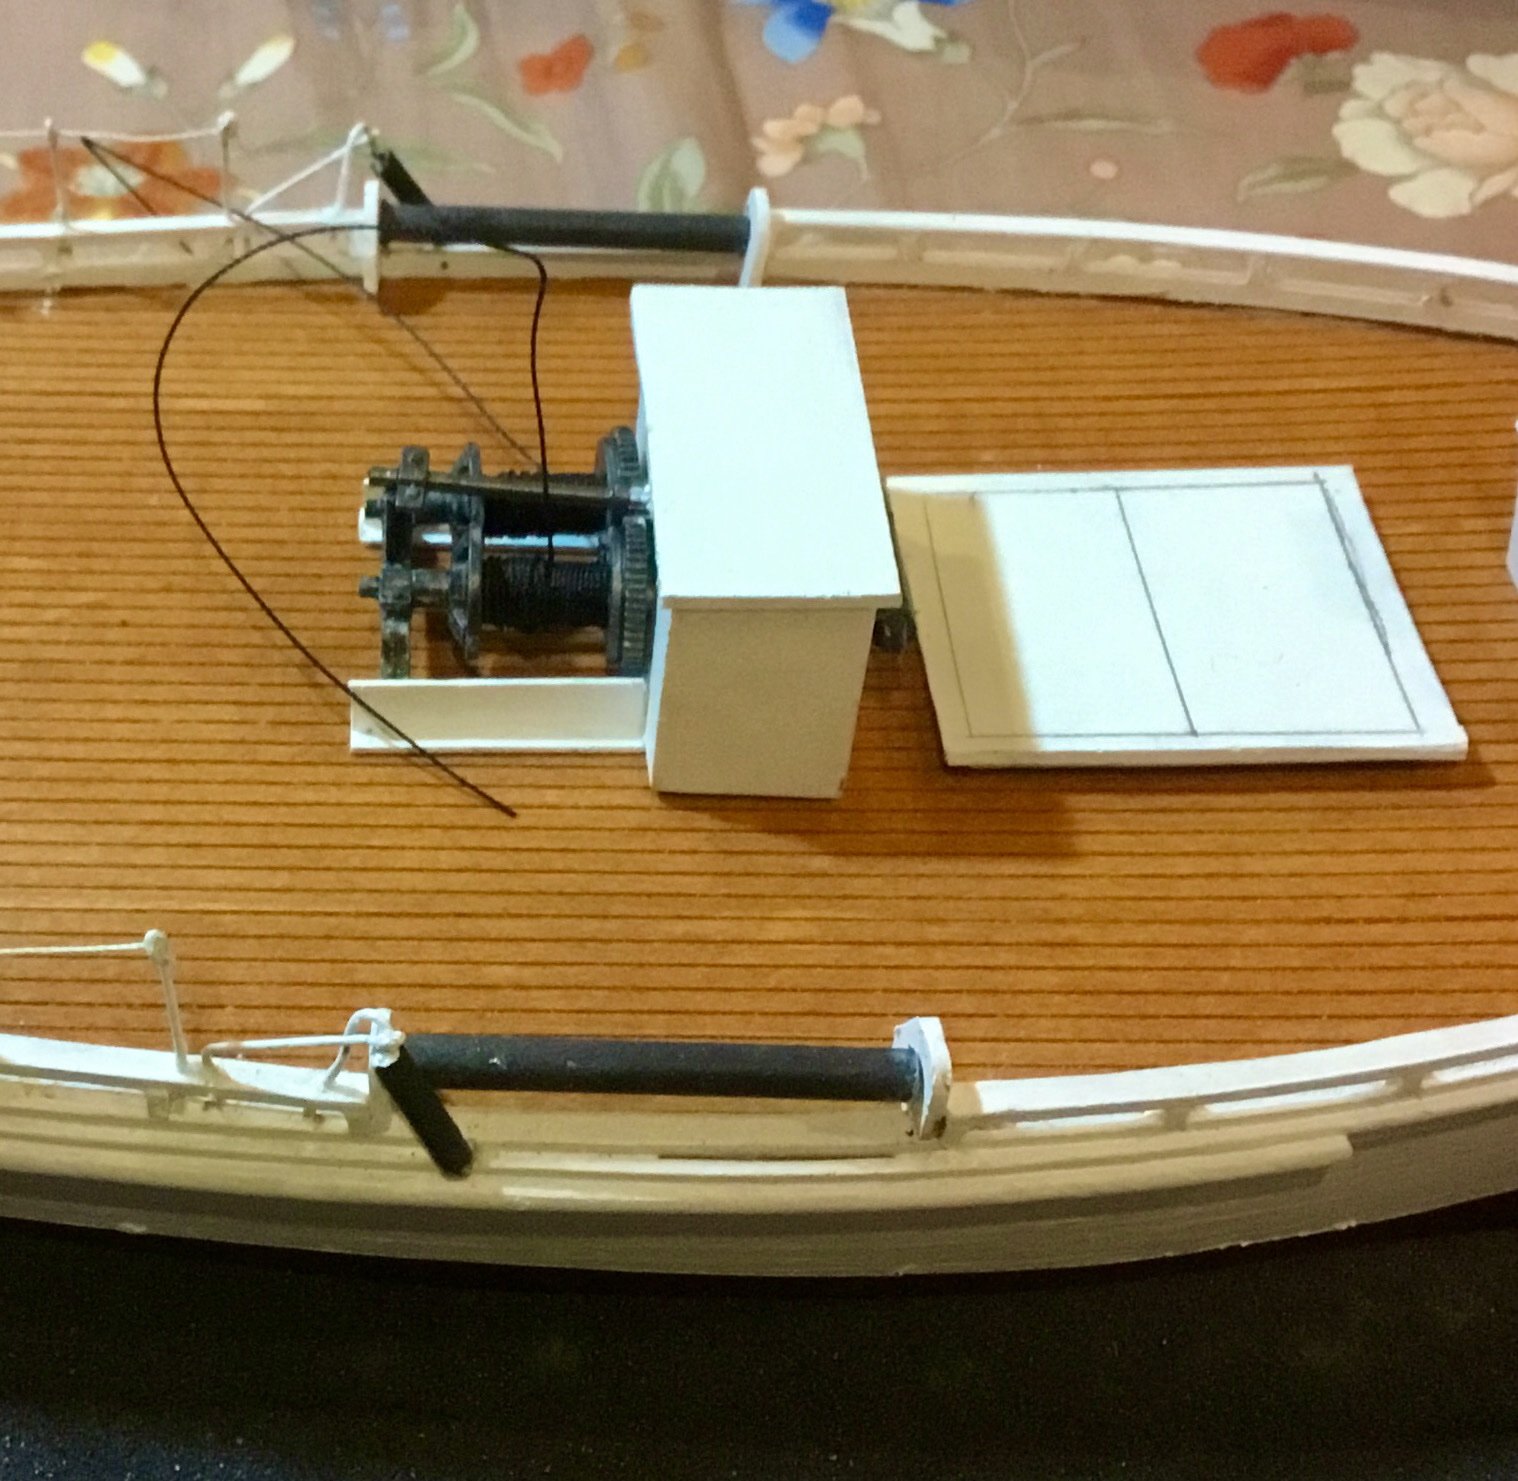
Installed the dredge winch and the assembled engine box. Installed A-frame and ran cable thru blocks and attached to oyster dredges and place on fabricated deck sheathing. Added the deck house, water cask and wheel box. Added rudder horns and connecting rods. Added push boat block. Added push boat to stern davits with block and tackle. Drew sail pattern on fabric and cutout sails. Mounted mast with sail, halyard and topping lift on deck


.thumb.jpeg.5fb8b1770c08ad7cb5d6f9a2c4989b4b.jpeg)
.thumb.jpeg.c5dcd1b77b6ef539e065de2e65198845.jpeg)
-
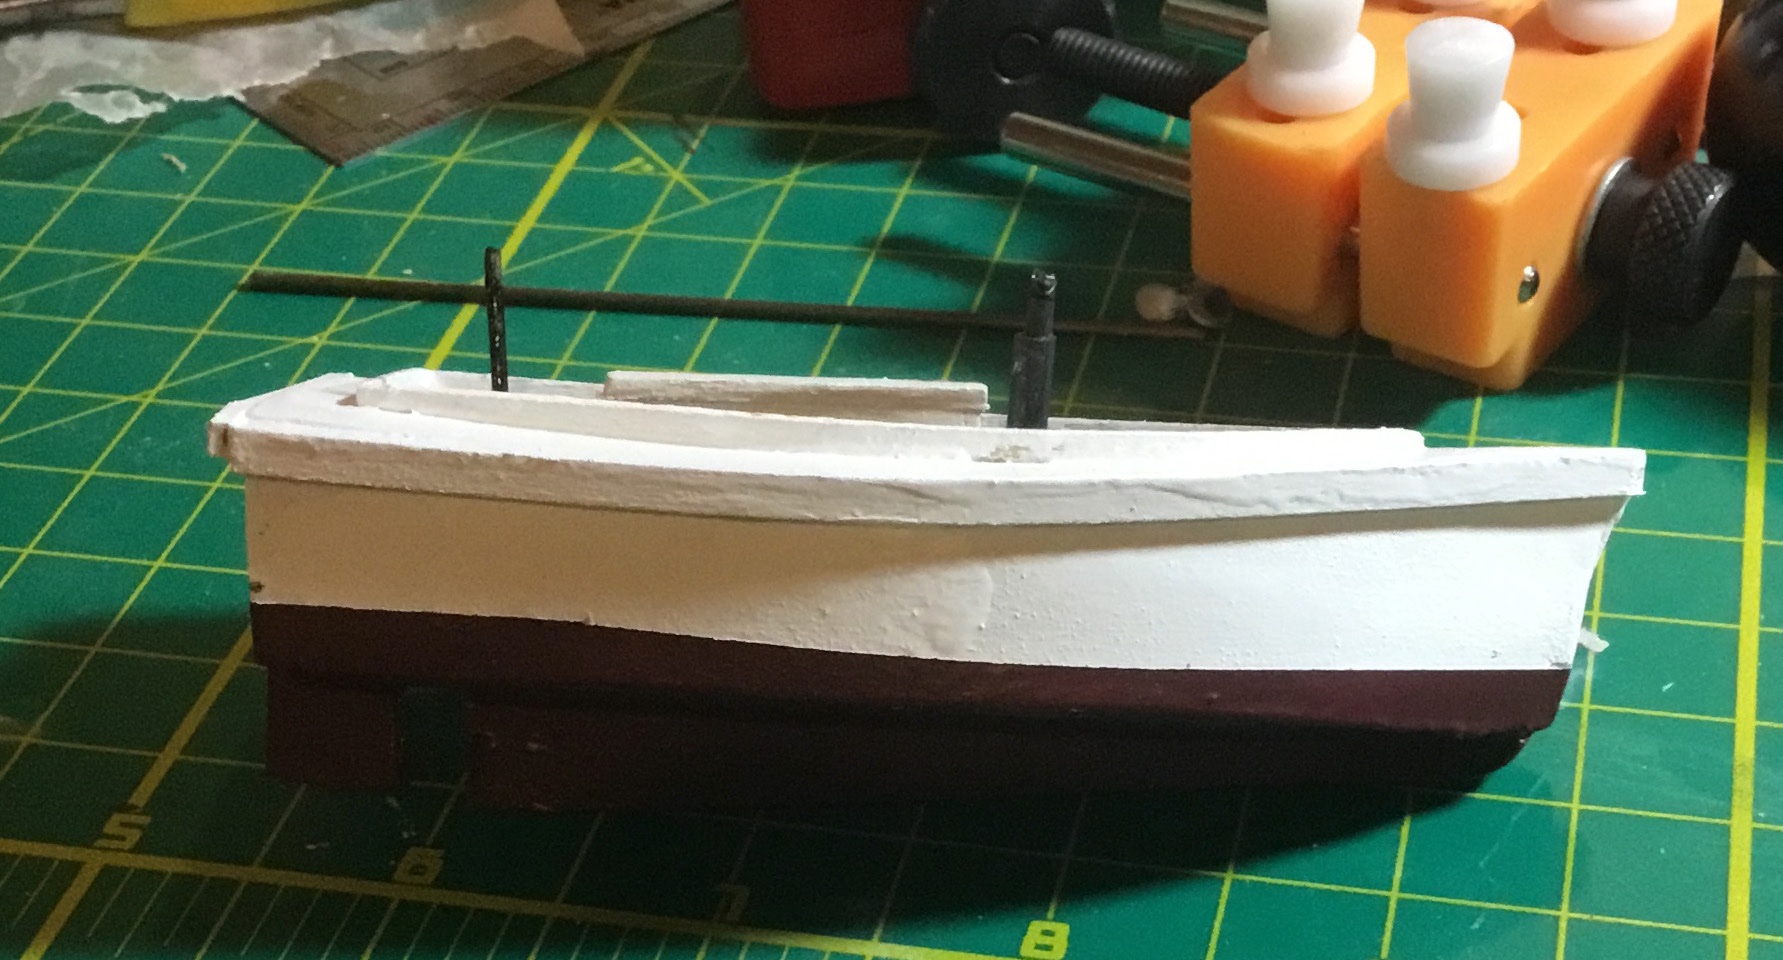
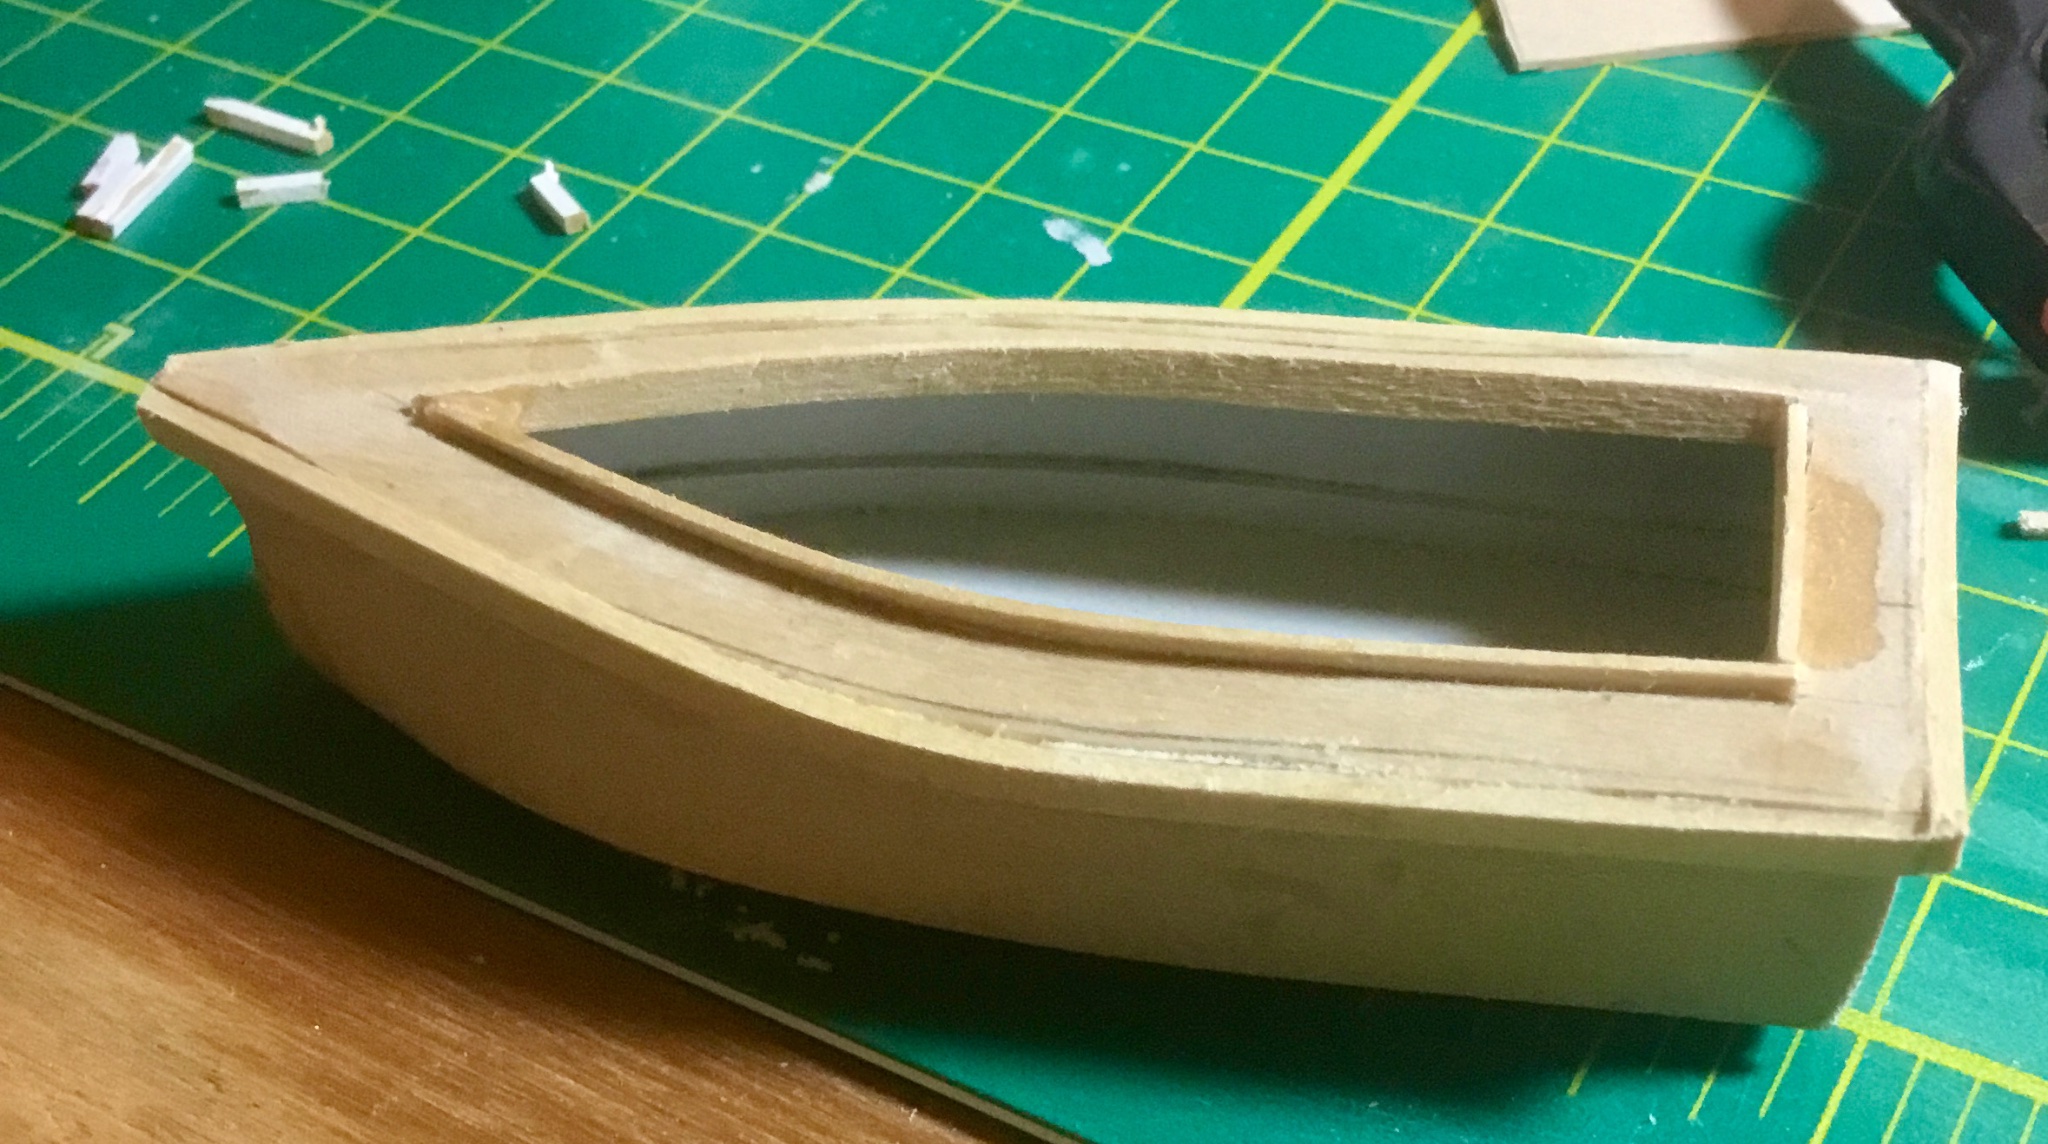
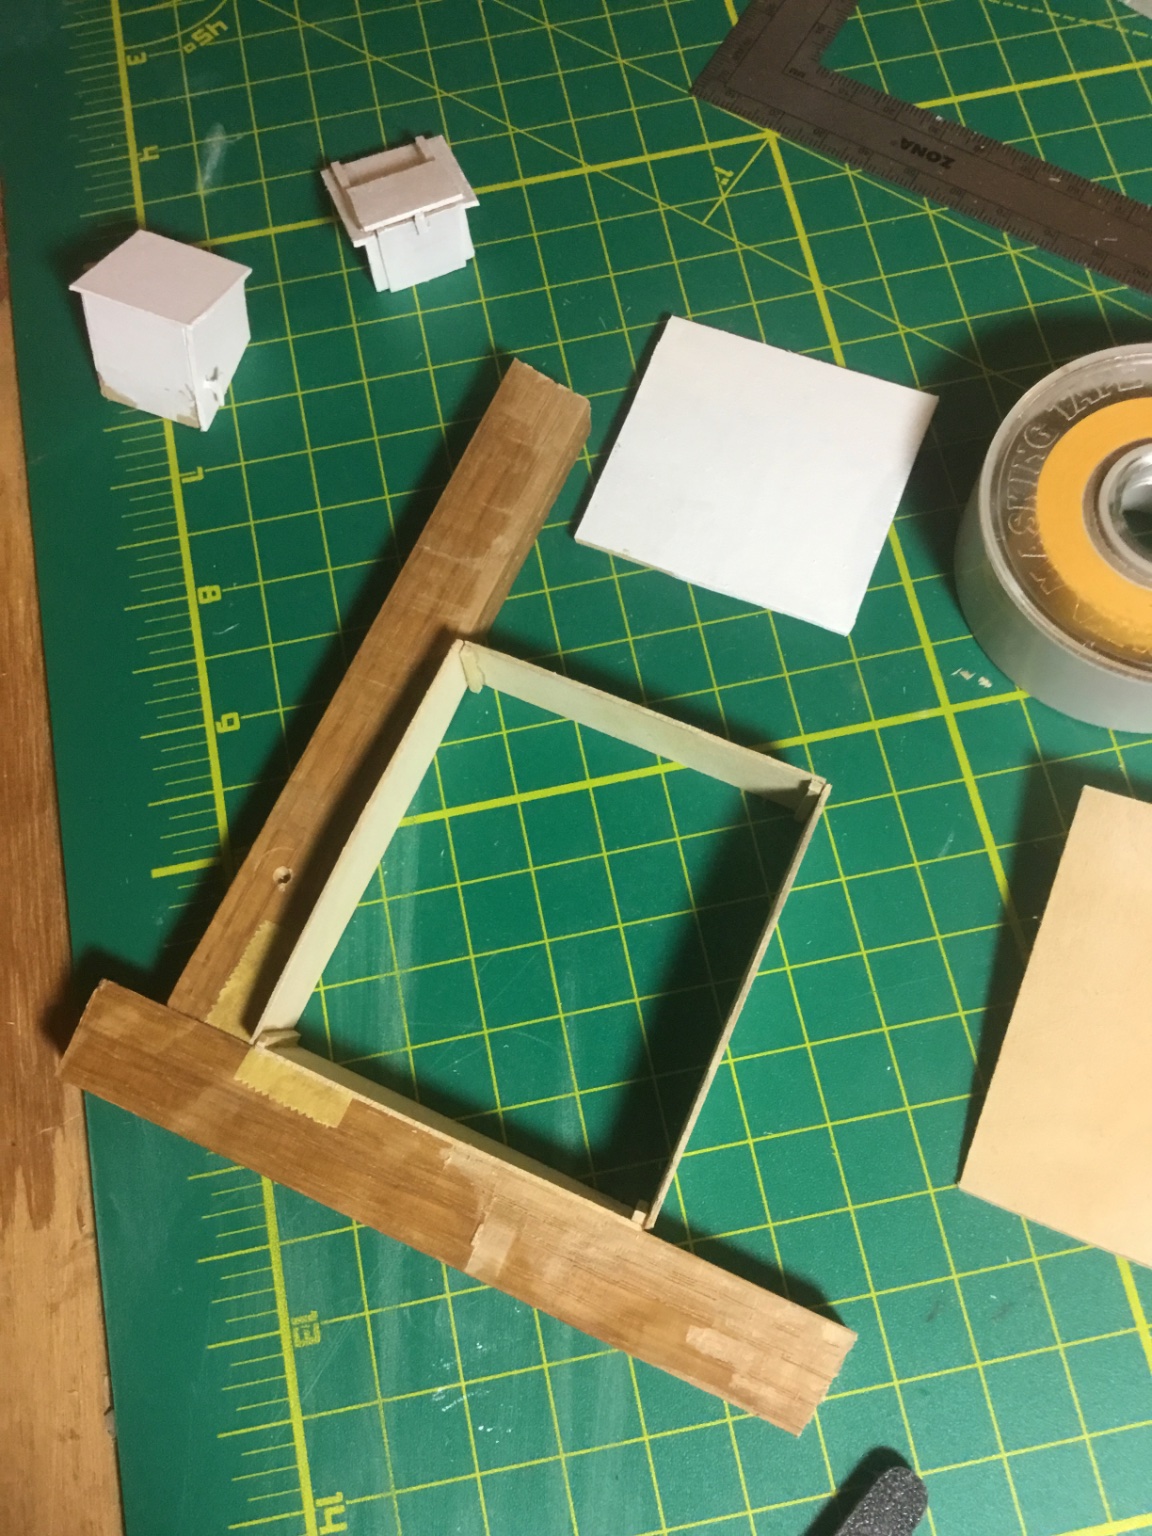
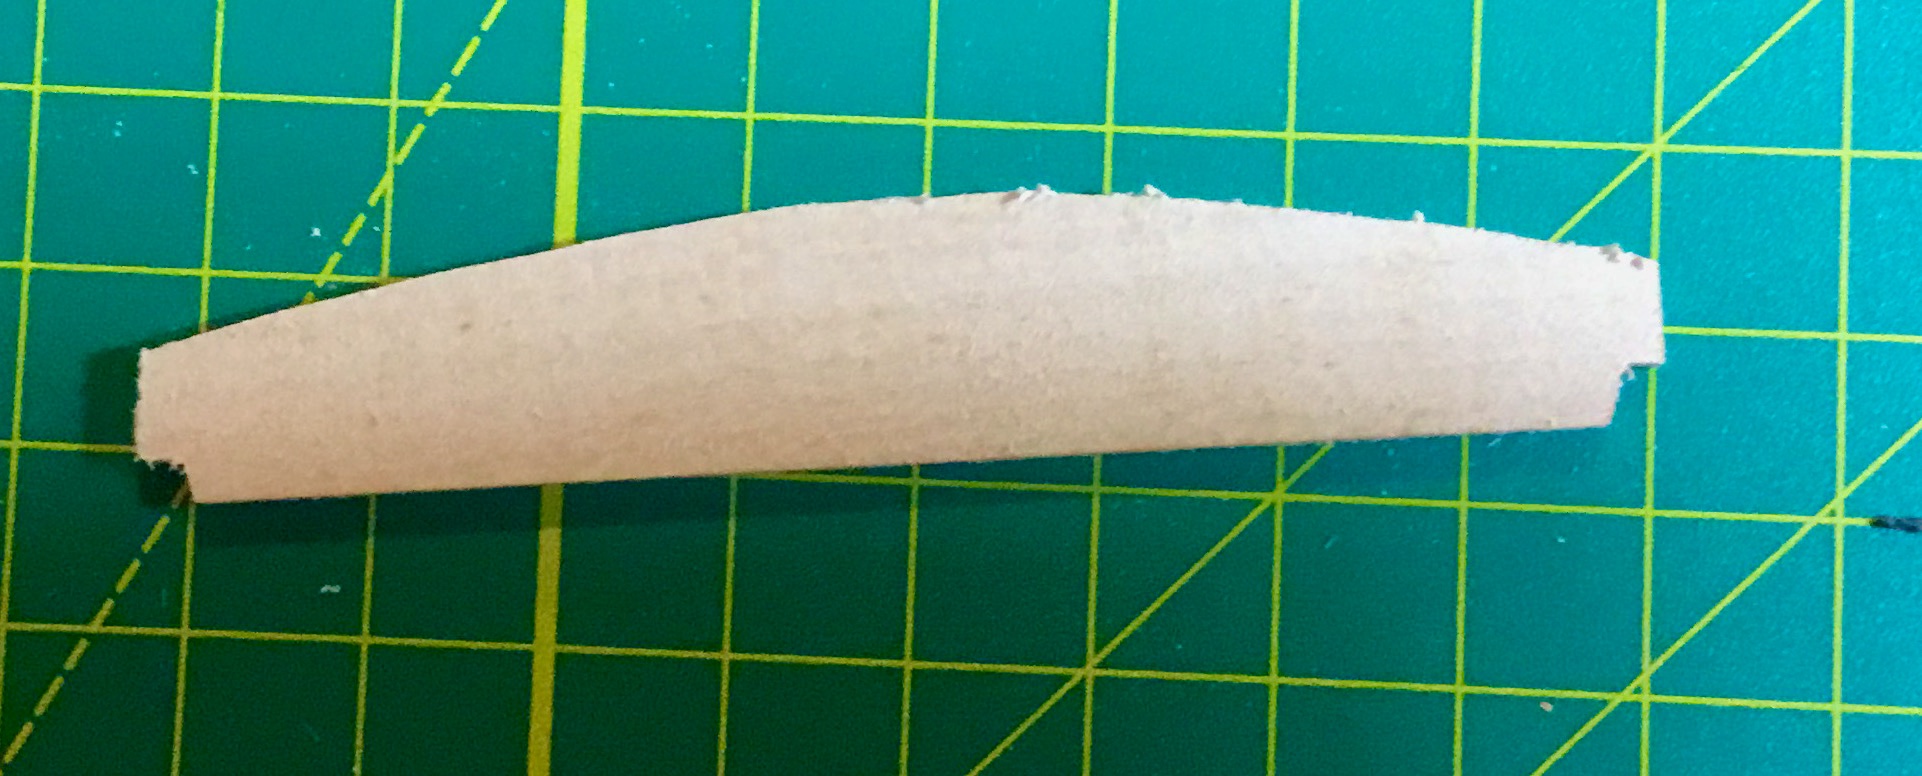
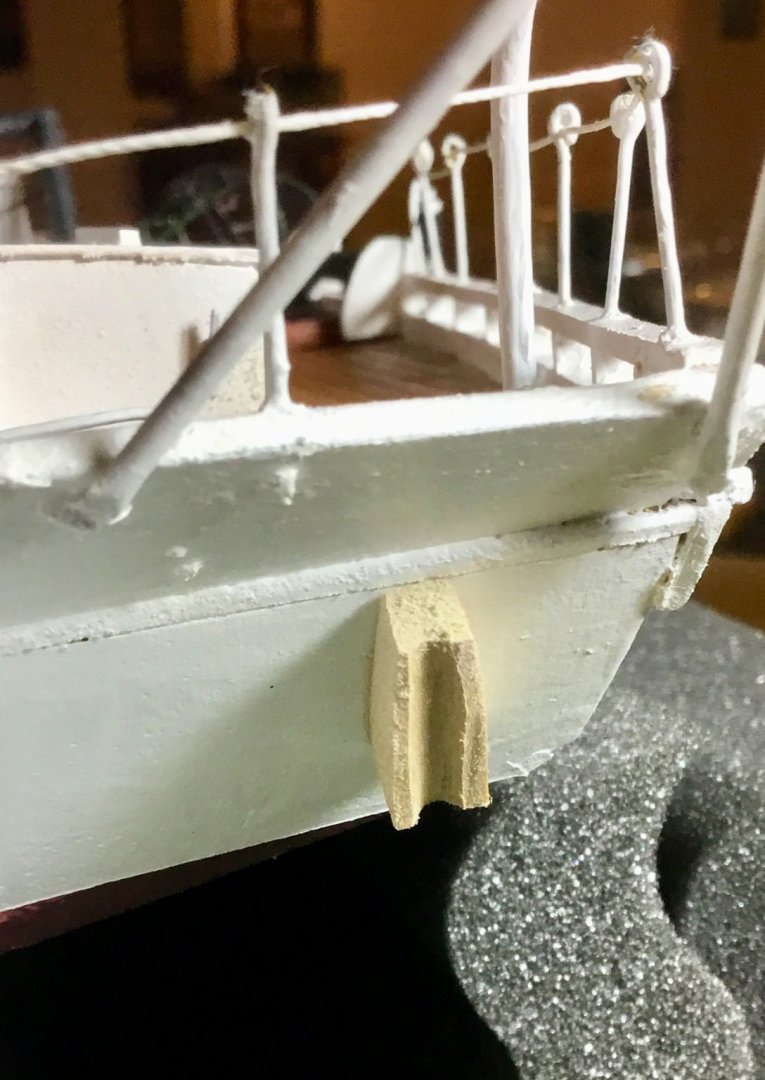
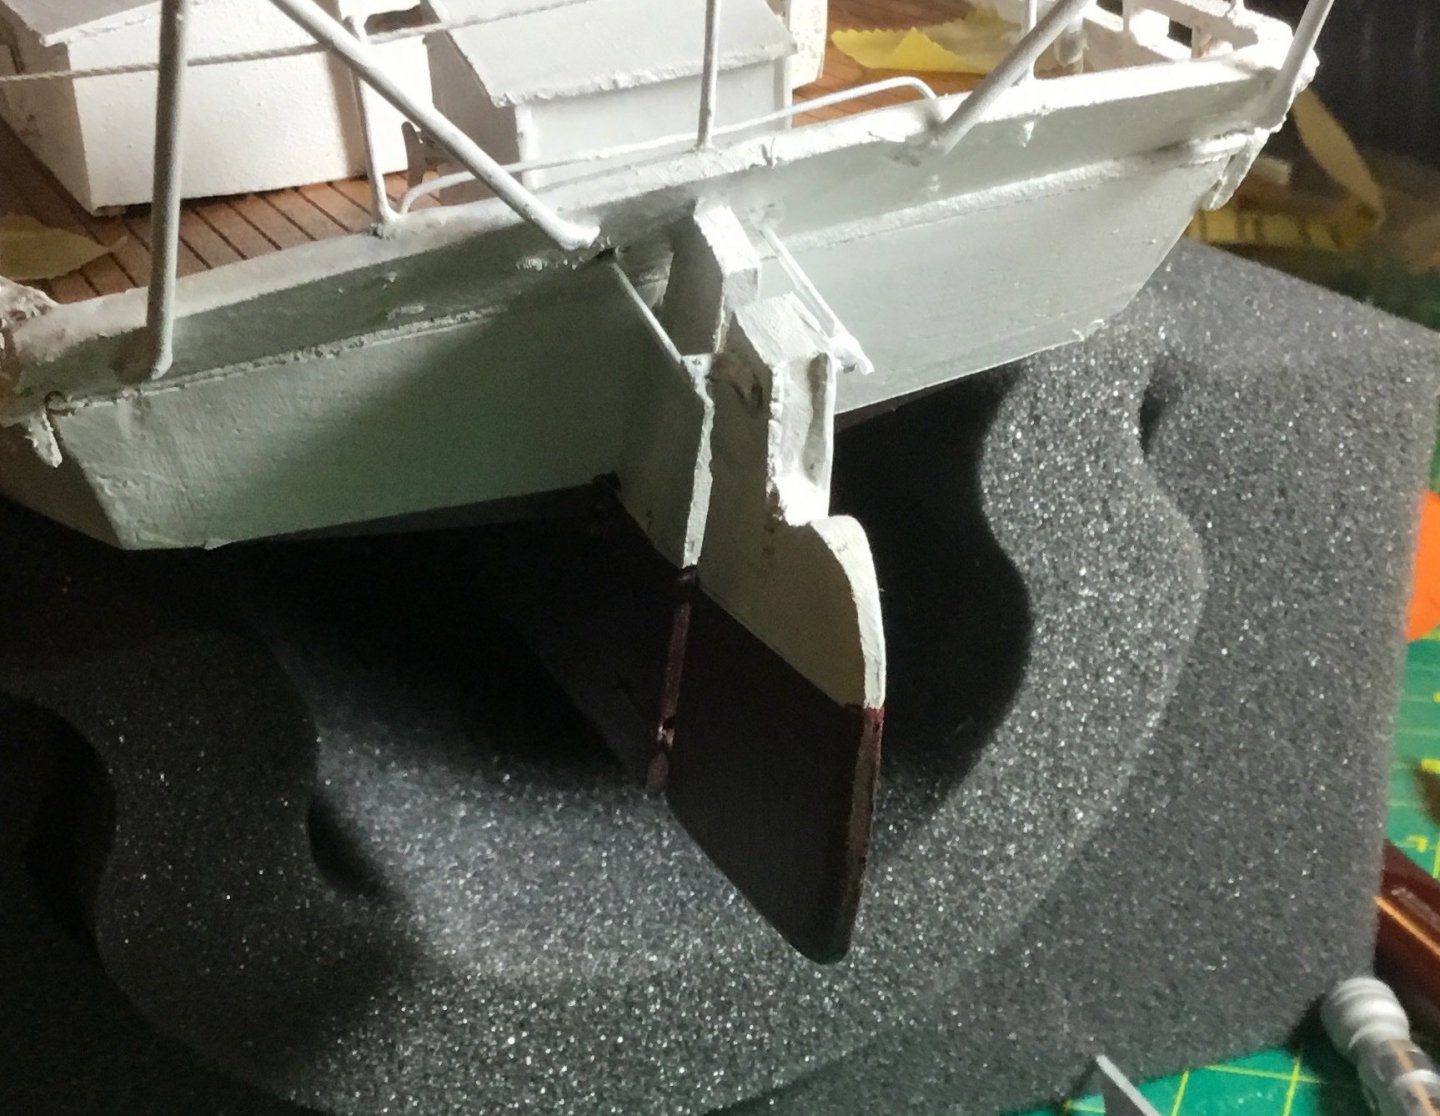
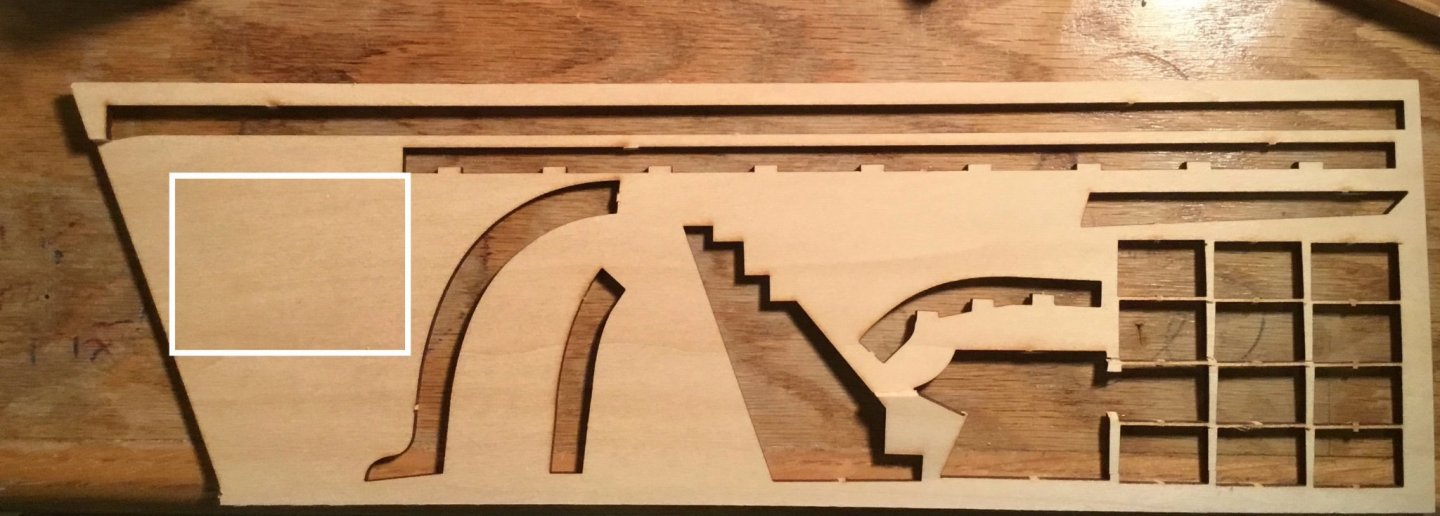
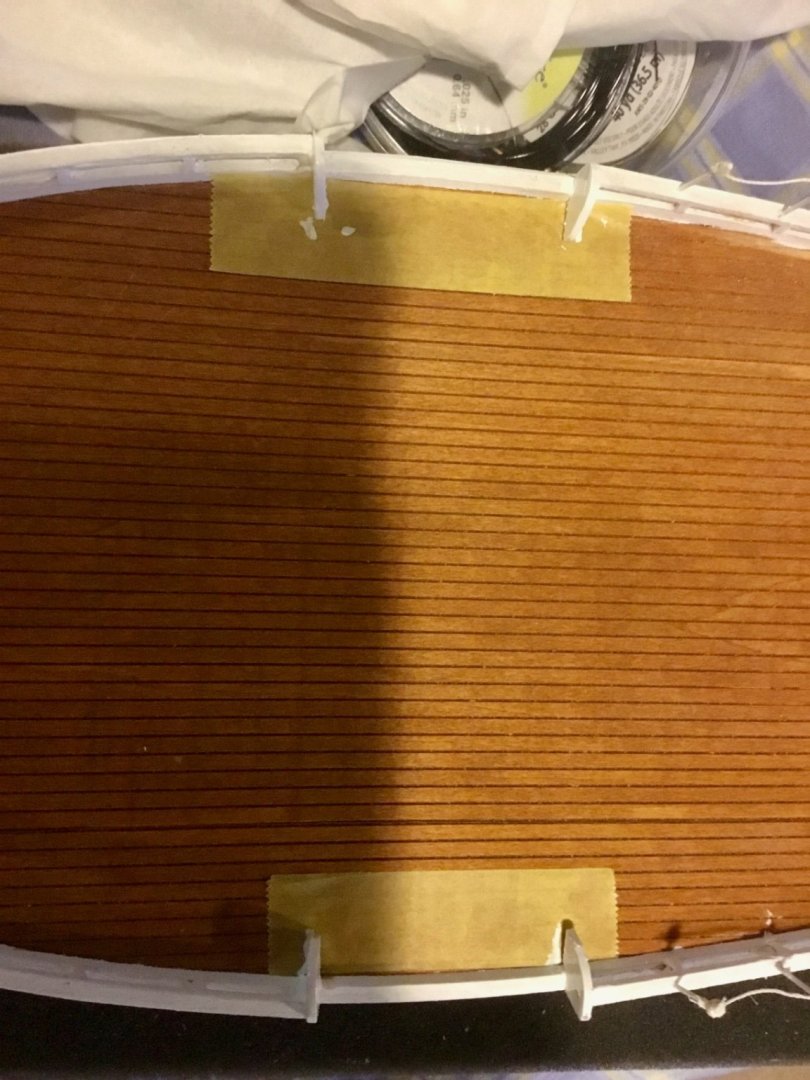
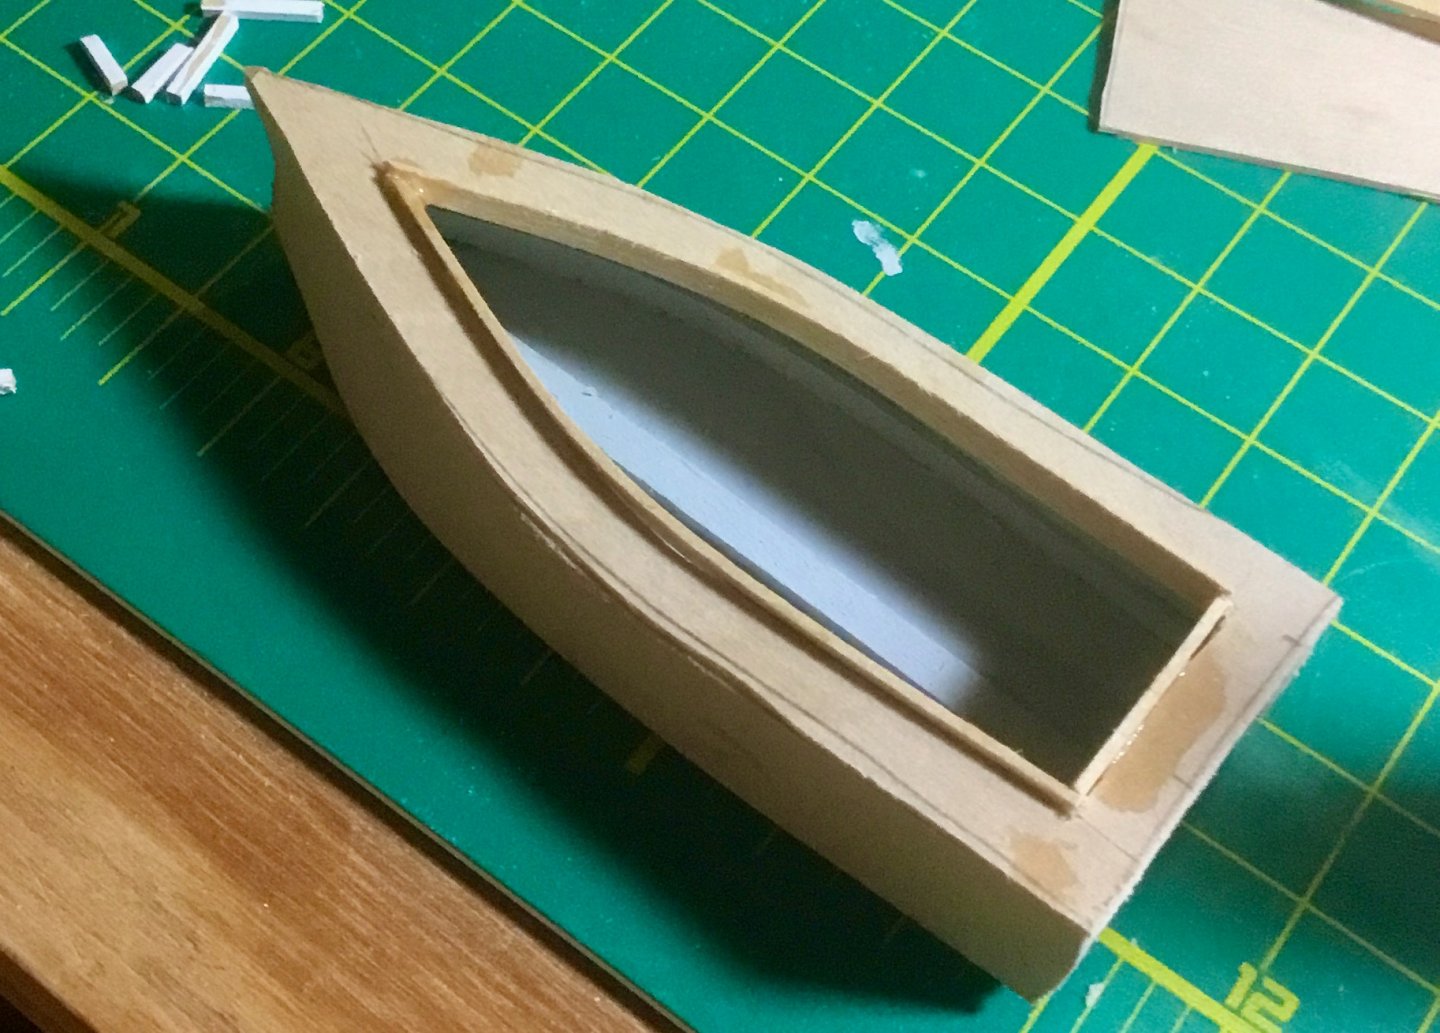
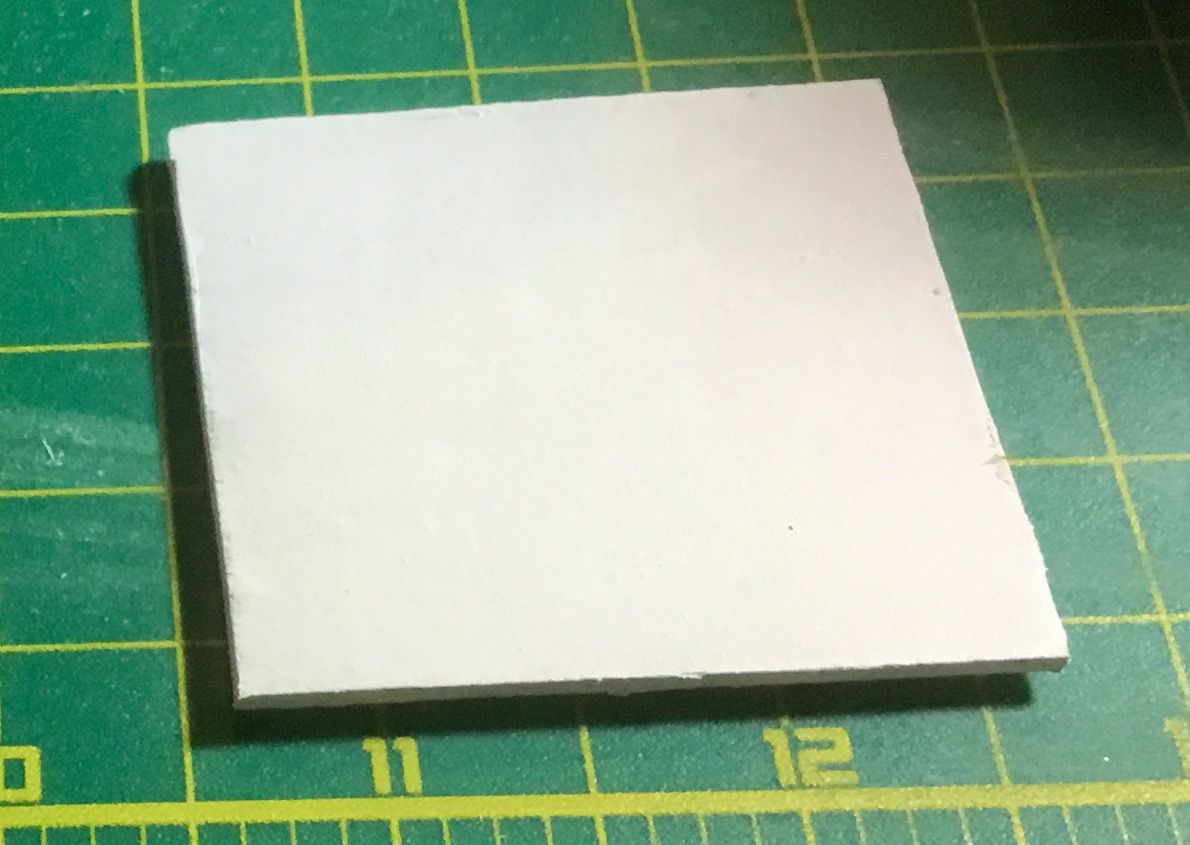
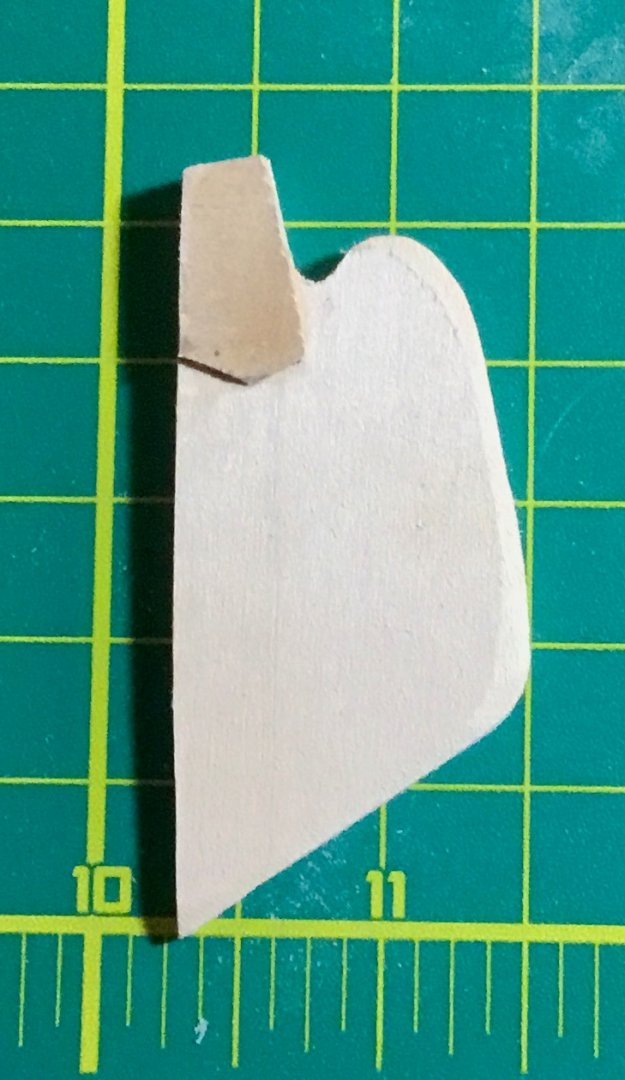
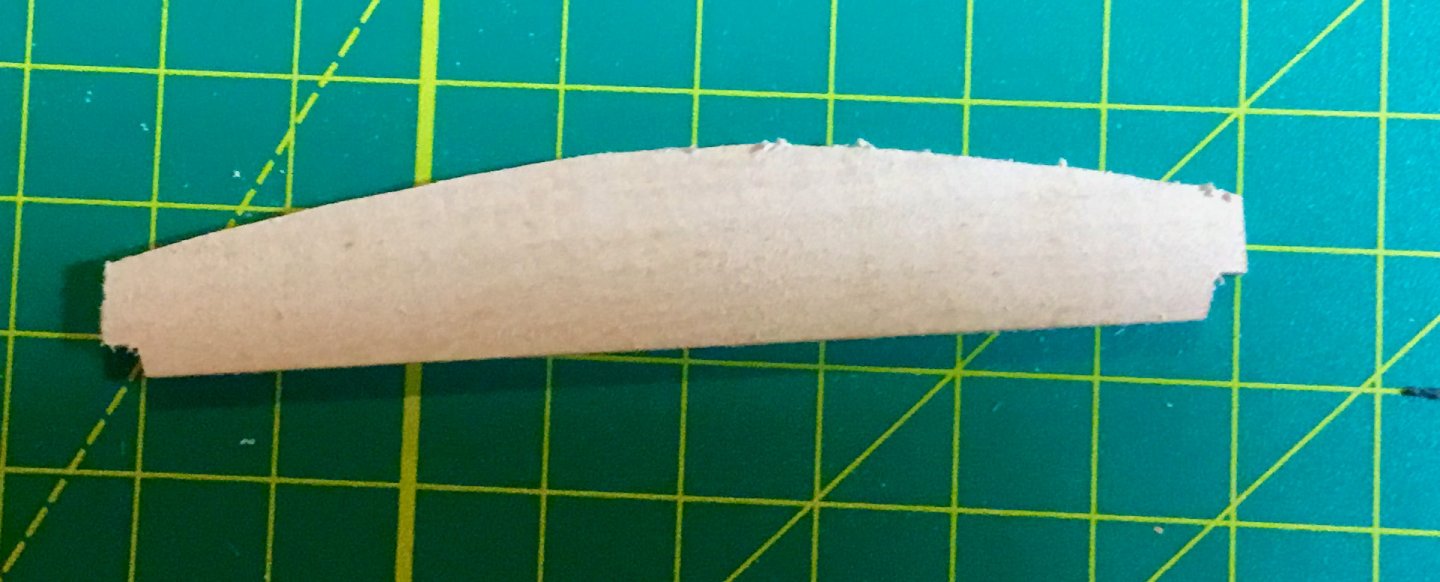
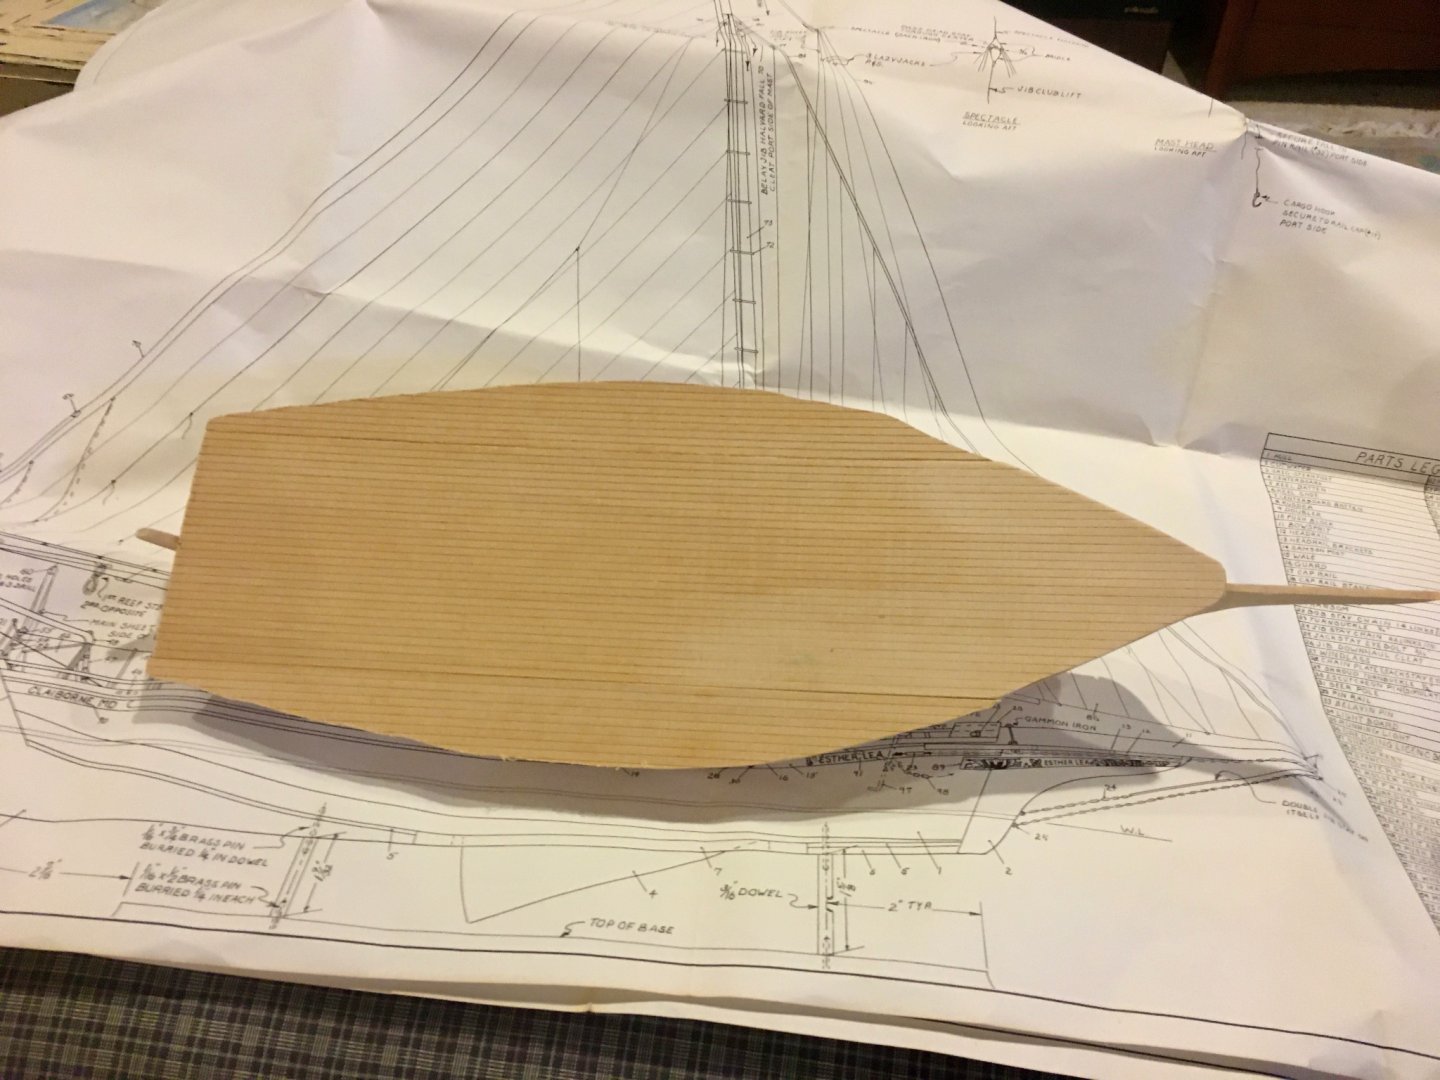
Added transom piece and filler. Busy with Skipjack so didn't have time to do much this week. Filler piece for transom is made from scrap. There was plenty of space on the laser cut boards for use (see white box in photo) don't know why a part for this filler couldn't have been included.

-
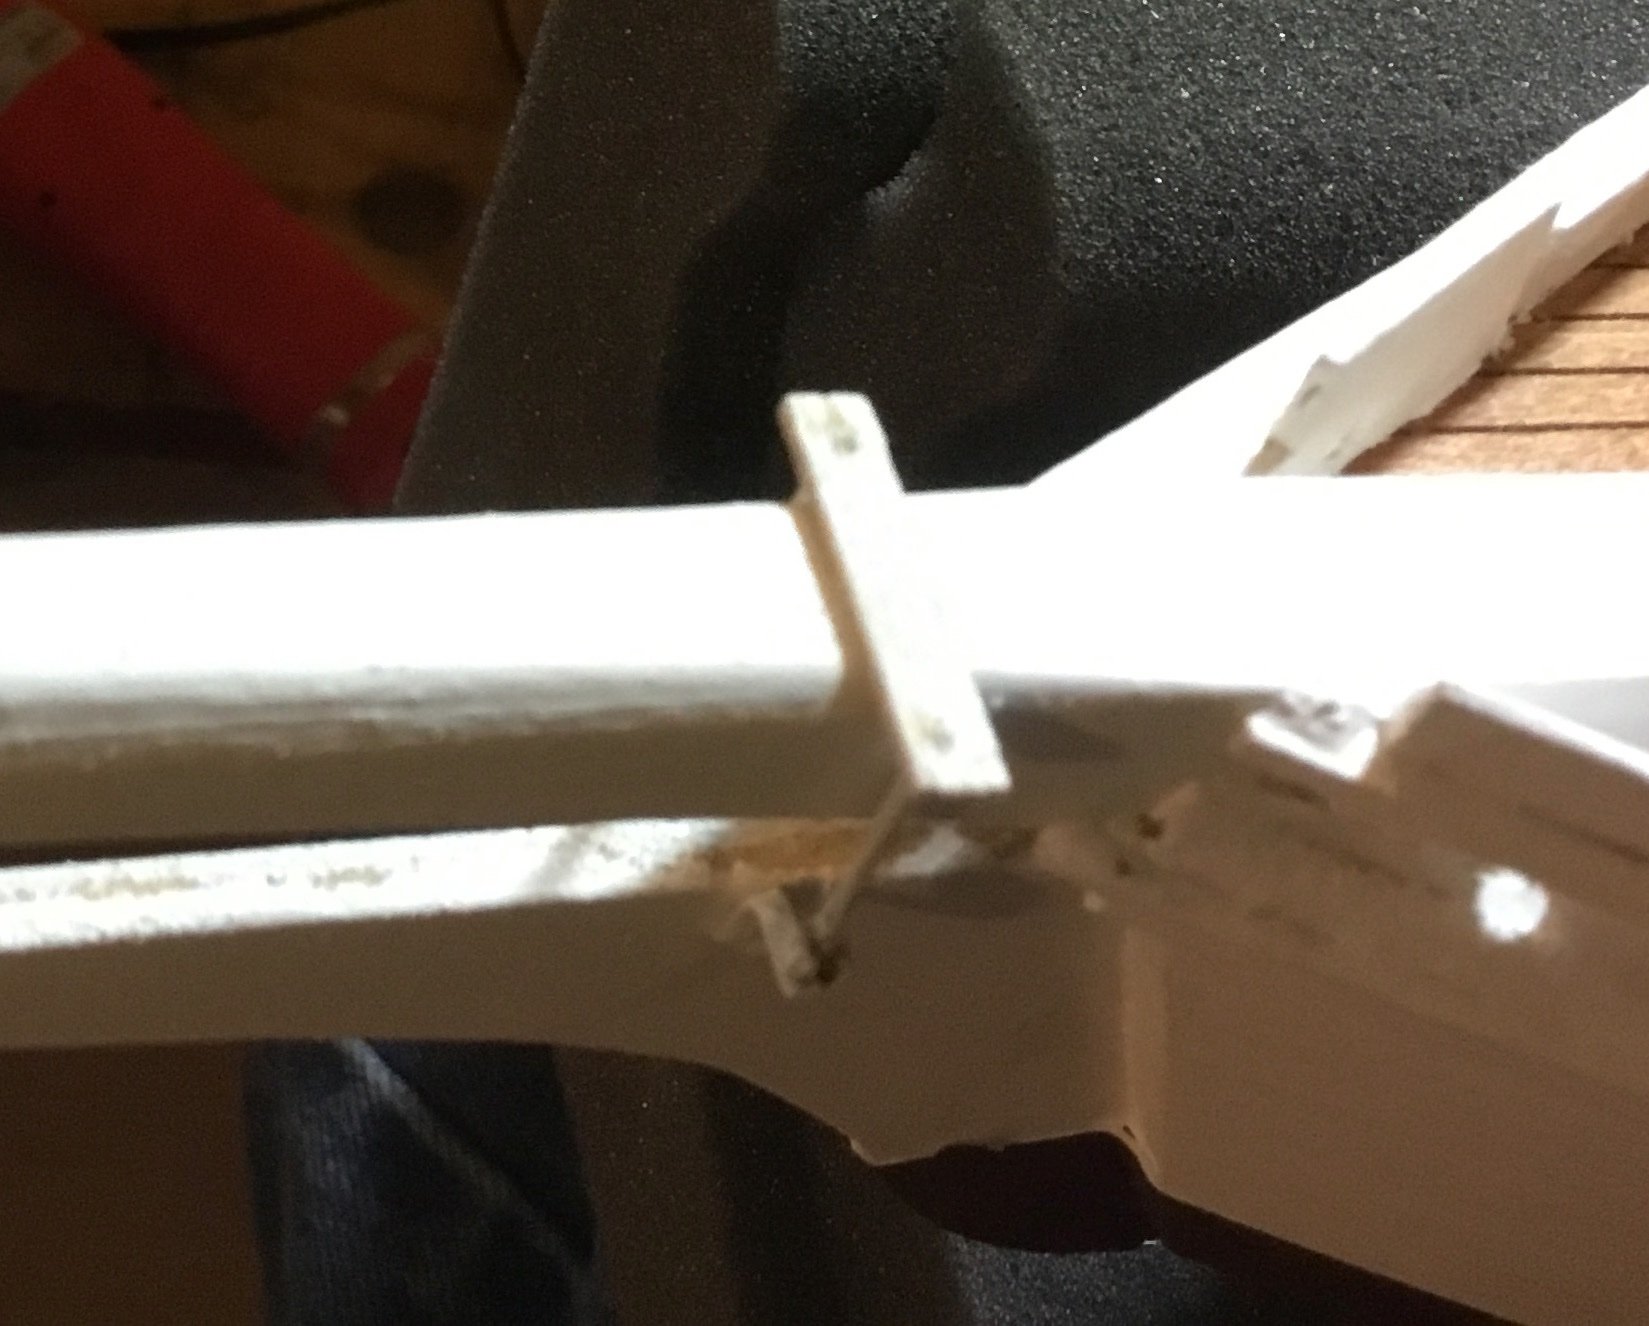
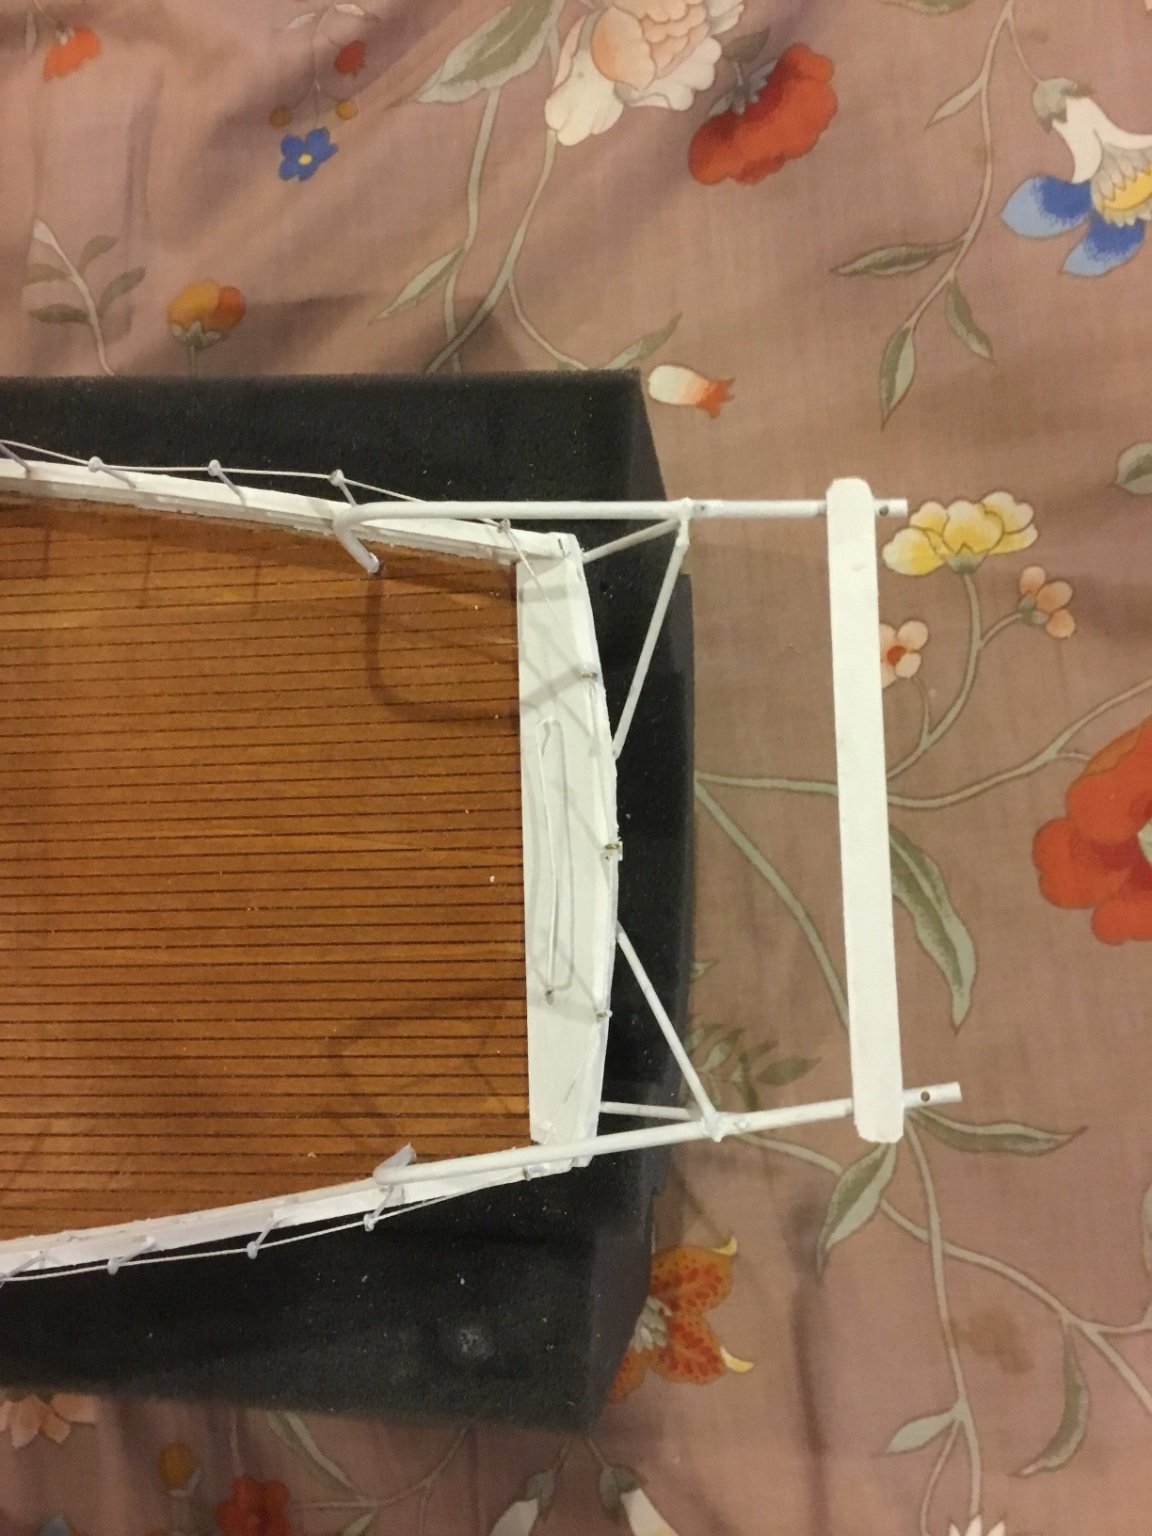
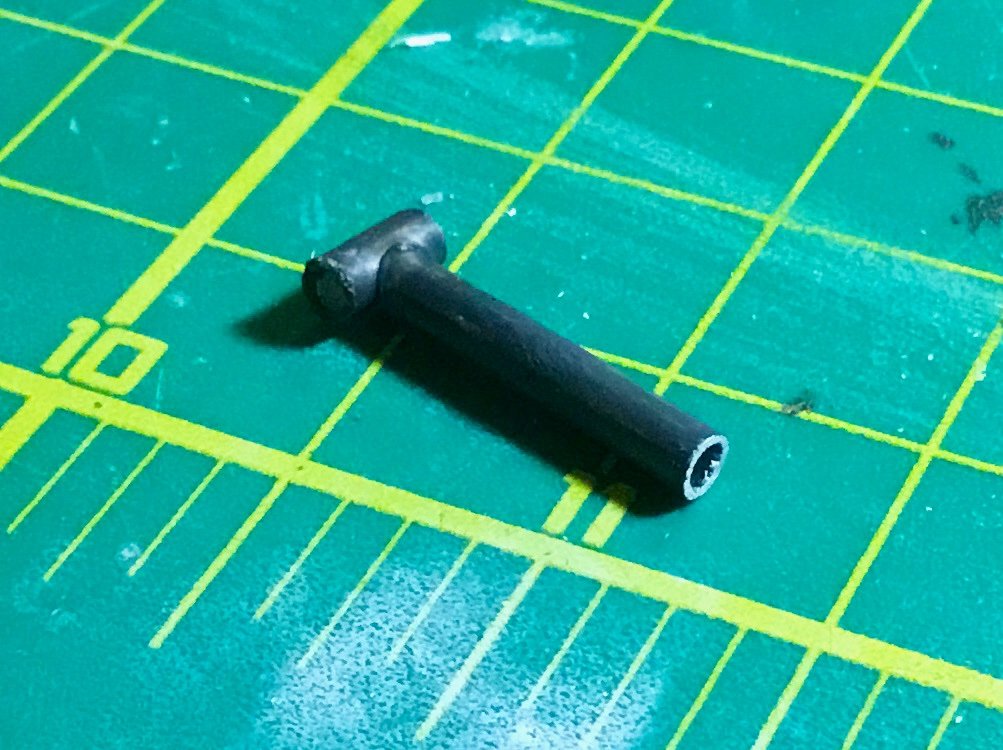
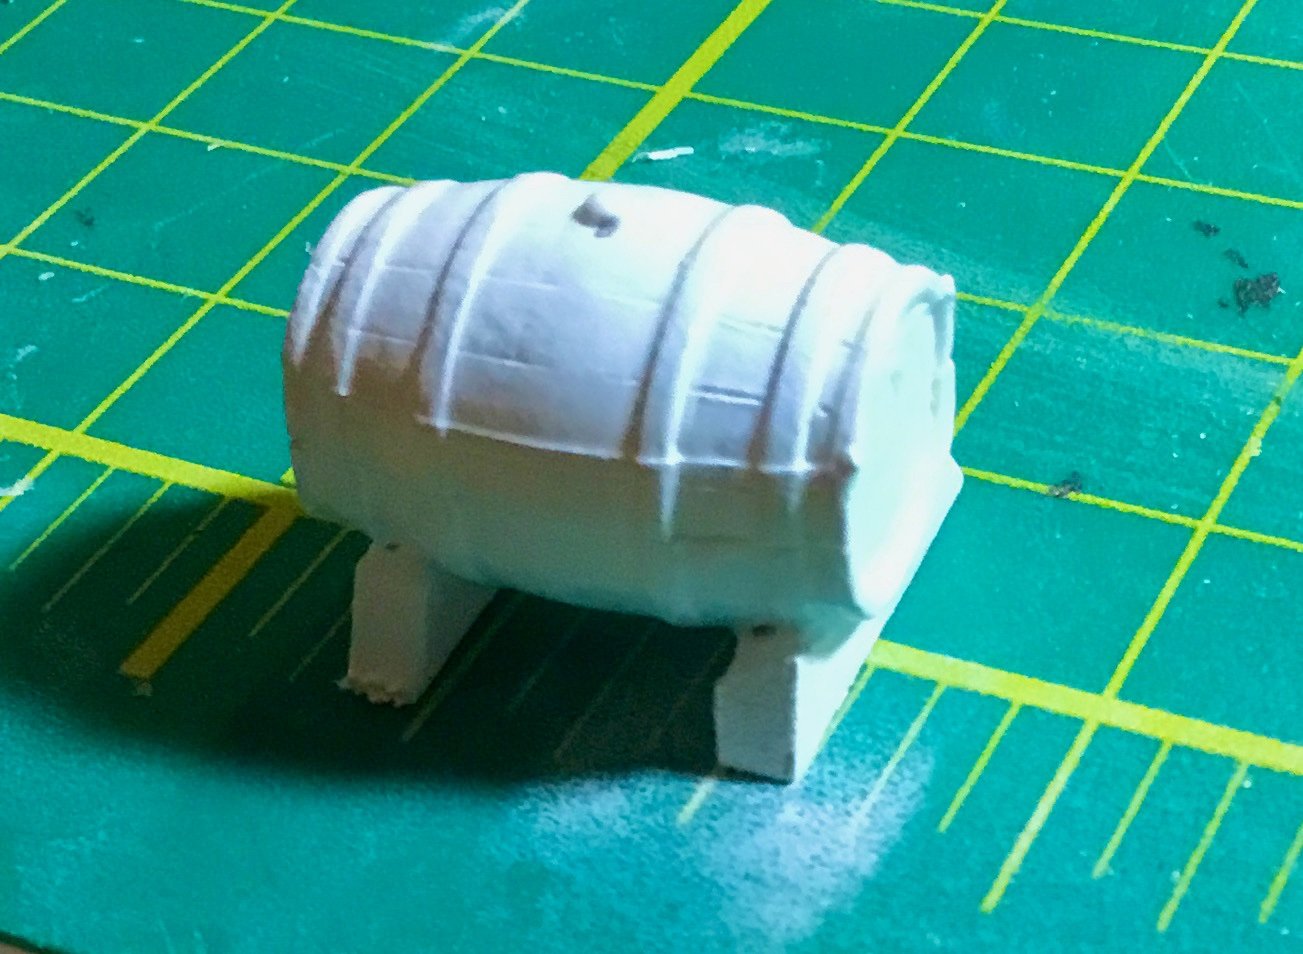
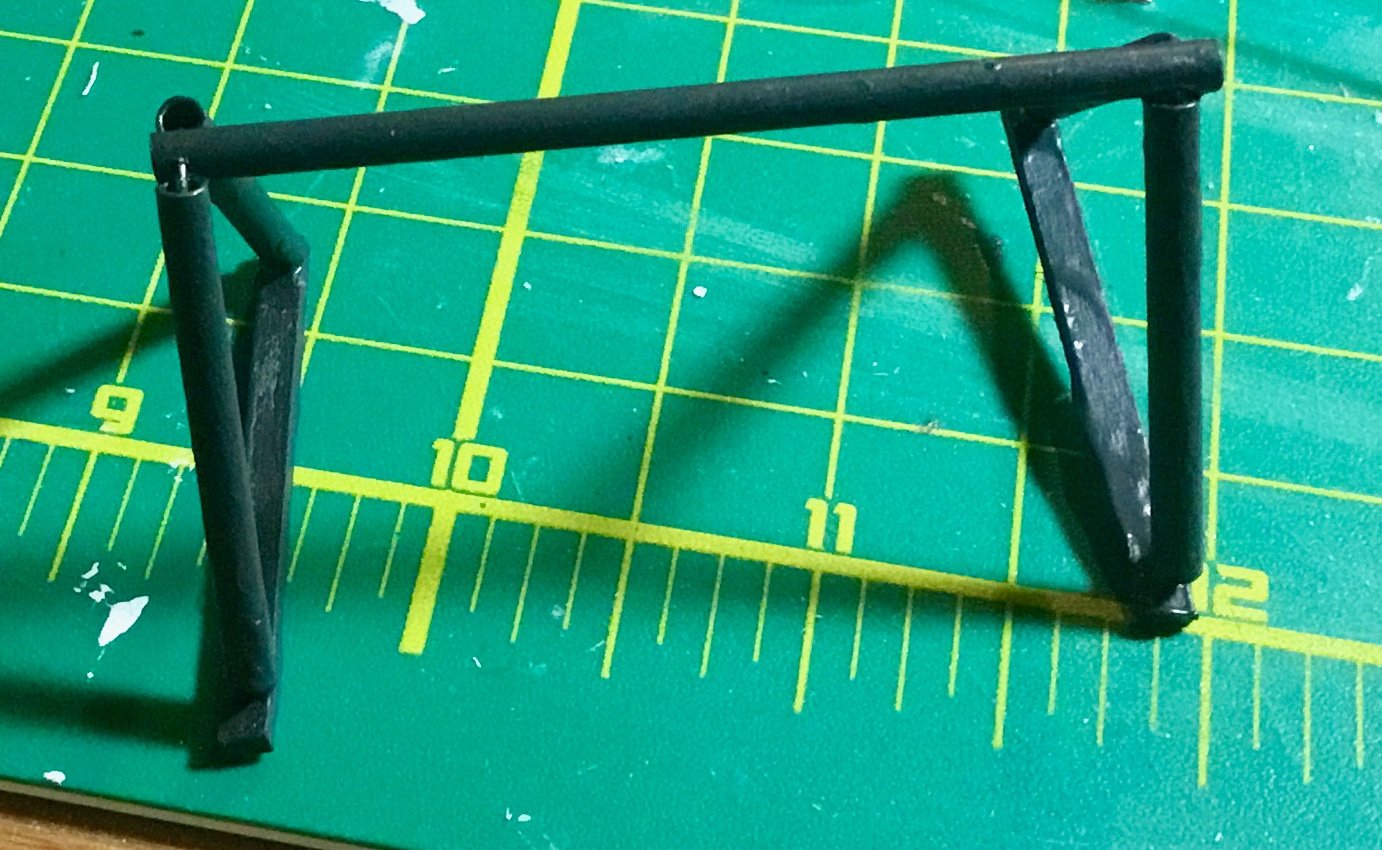
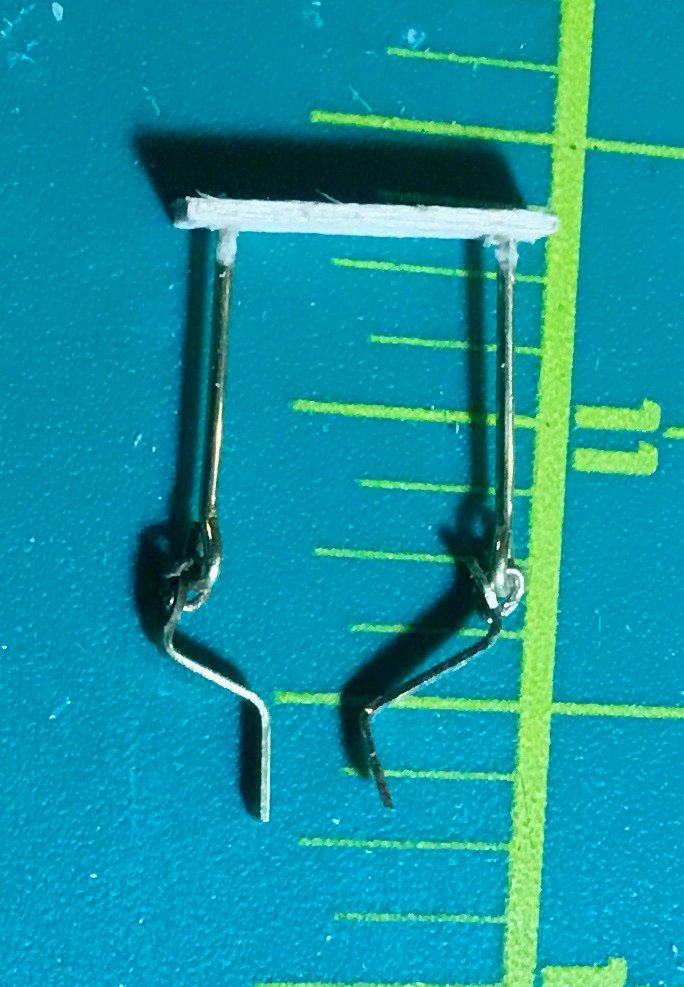
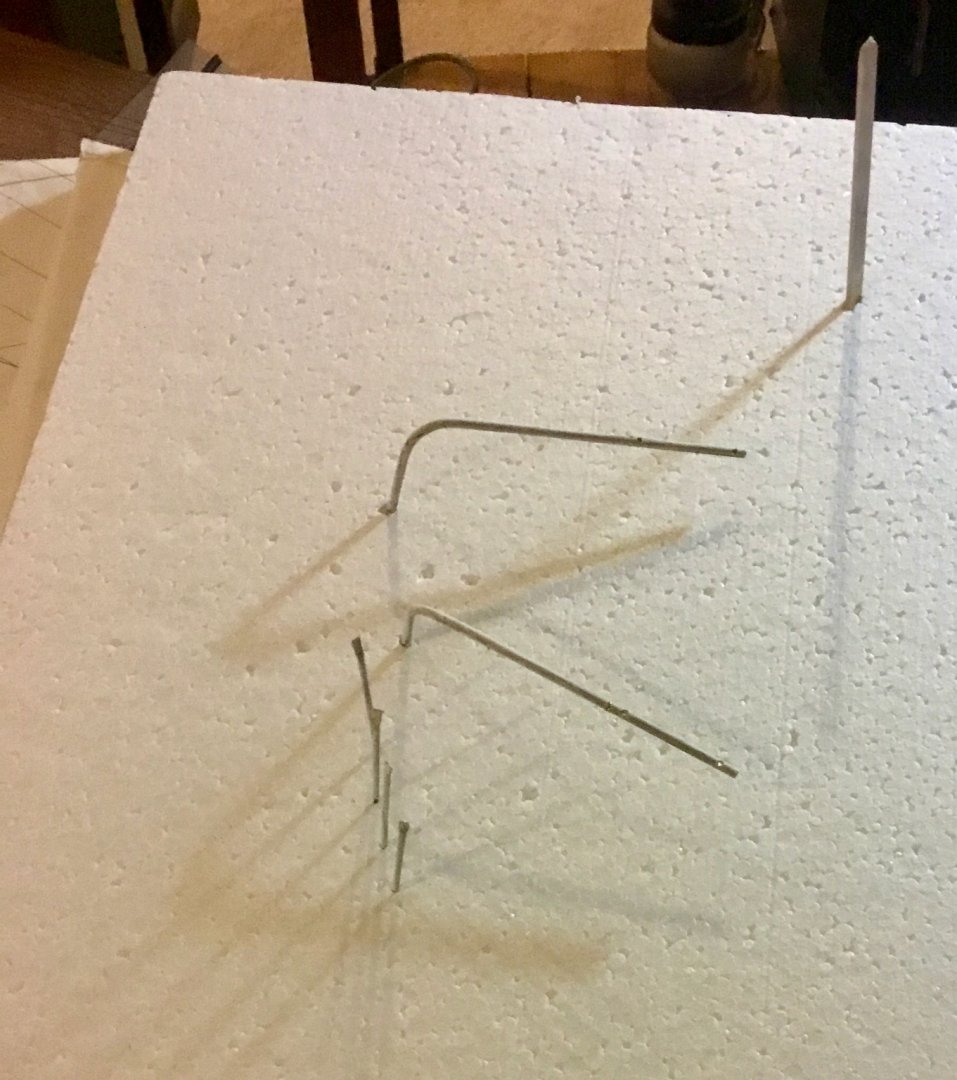
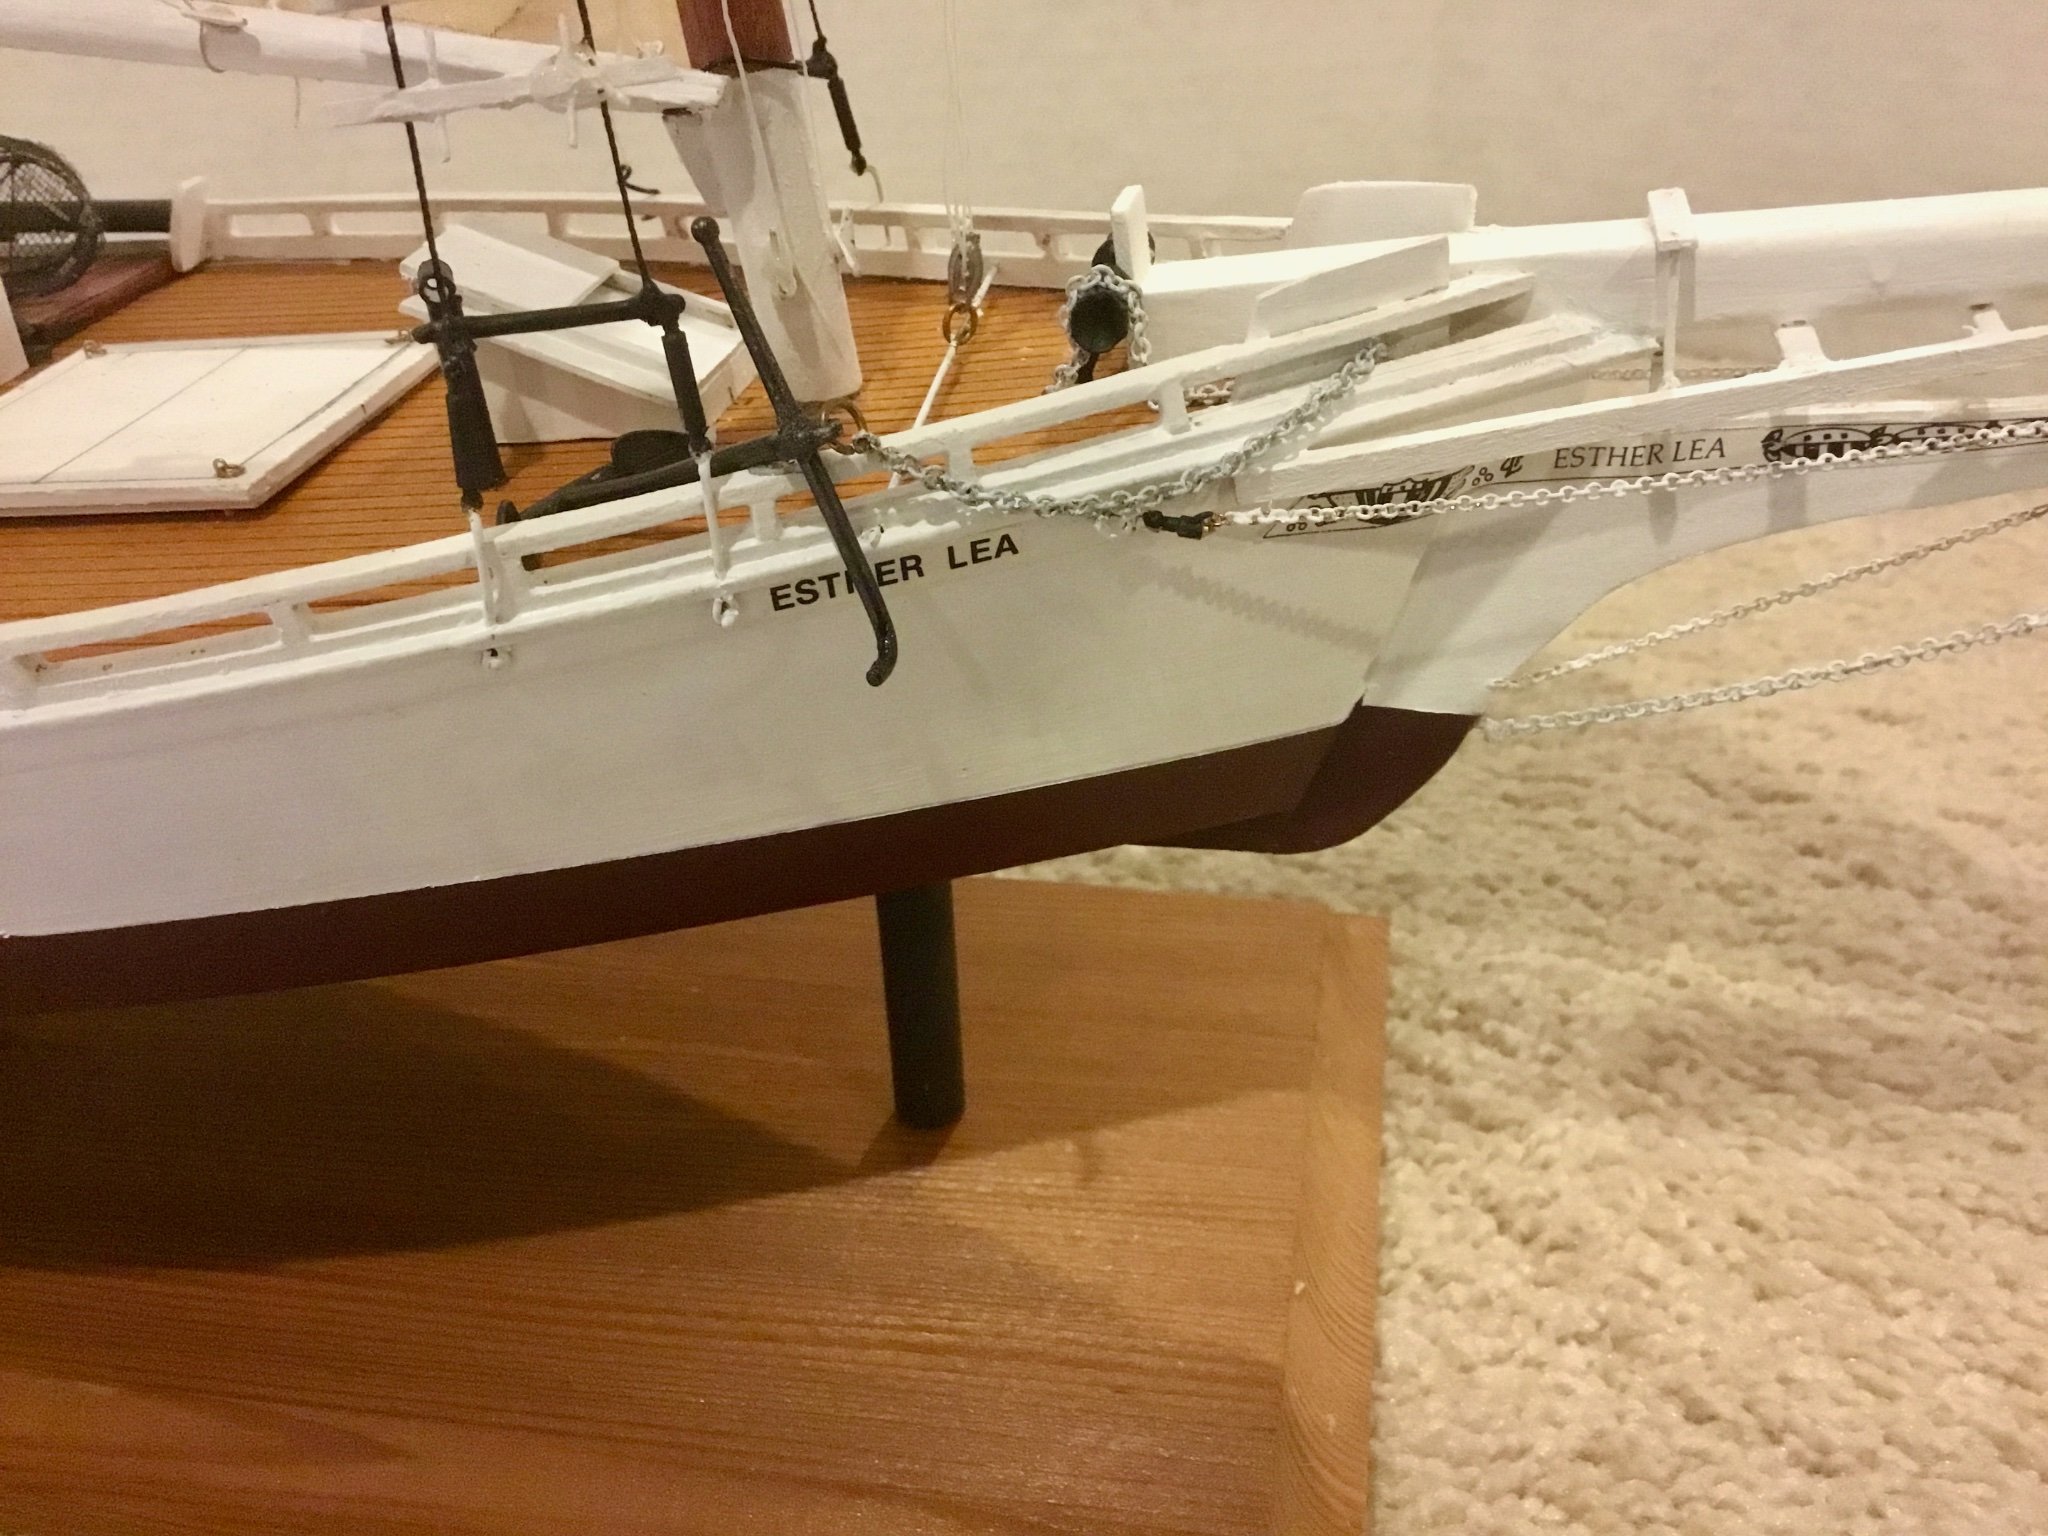
Fabricated and installed davit to hold push boat. Created "A" frame and painted black. Created and installed horizontal and vertical rollers. Created oyster dredges. Created and installed gammon iron to bowsprit. Created cradle for water cask and painted white. Created stove stack and painted black. Painted windlass black and installed behind Samson post with holes to accept anchor chains. Installed jib sheet deck horse. Drilled hole to accept mast pin. Glued on forepeak hatch, stove stack and cargo hatch.


- 22 replies
-
- 1
-
-
- Horizon
- Chesapeake Bay Skipjack
- (and 1 more)
-
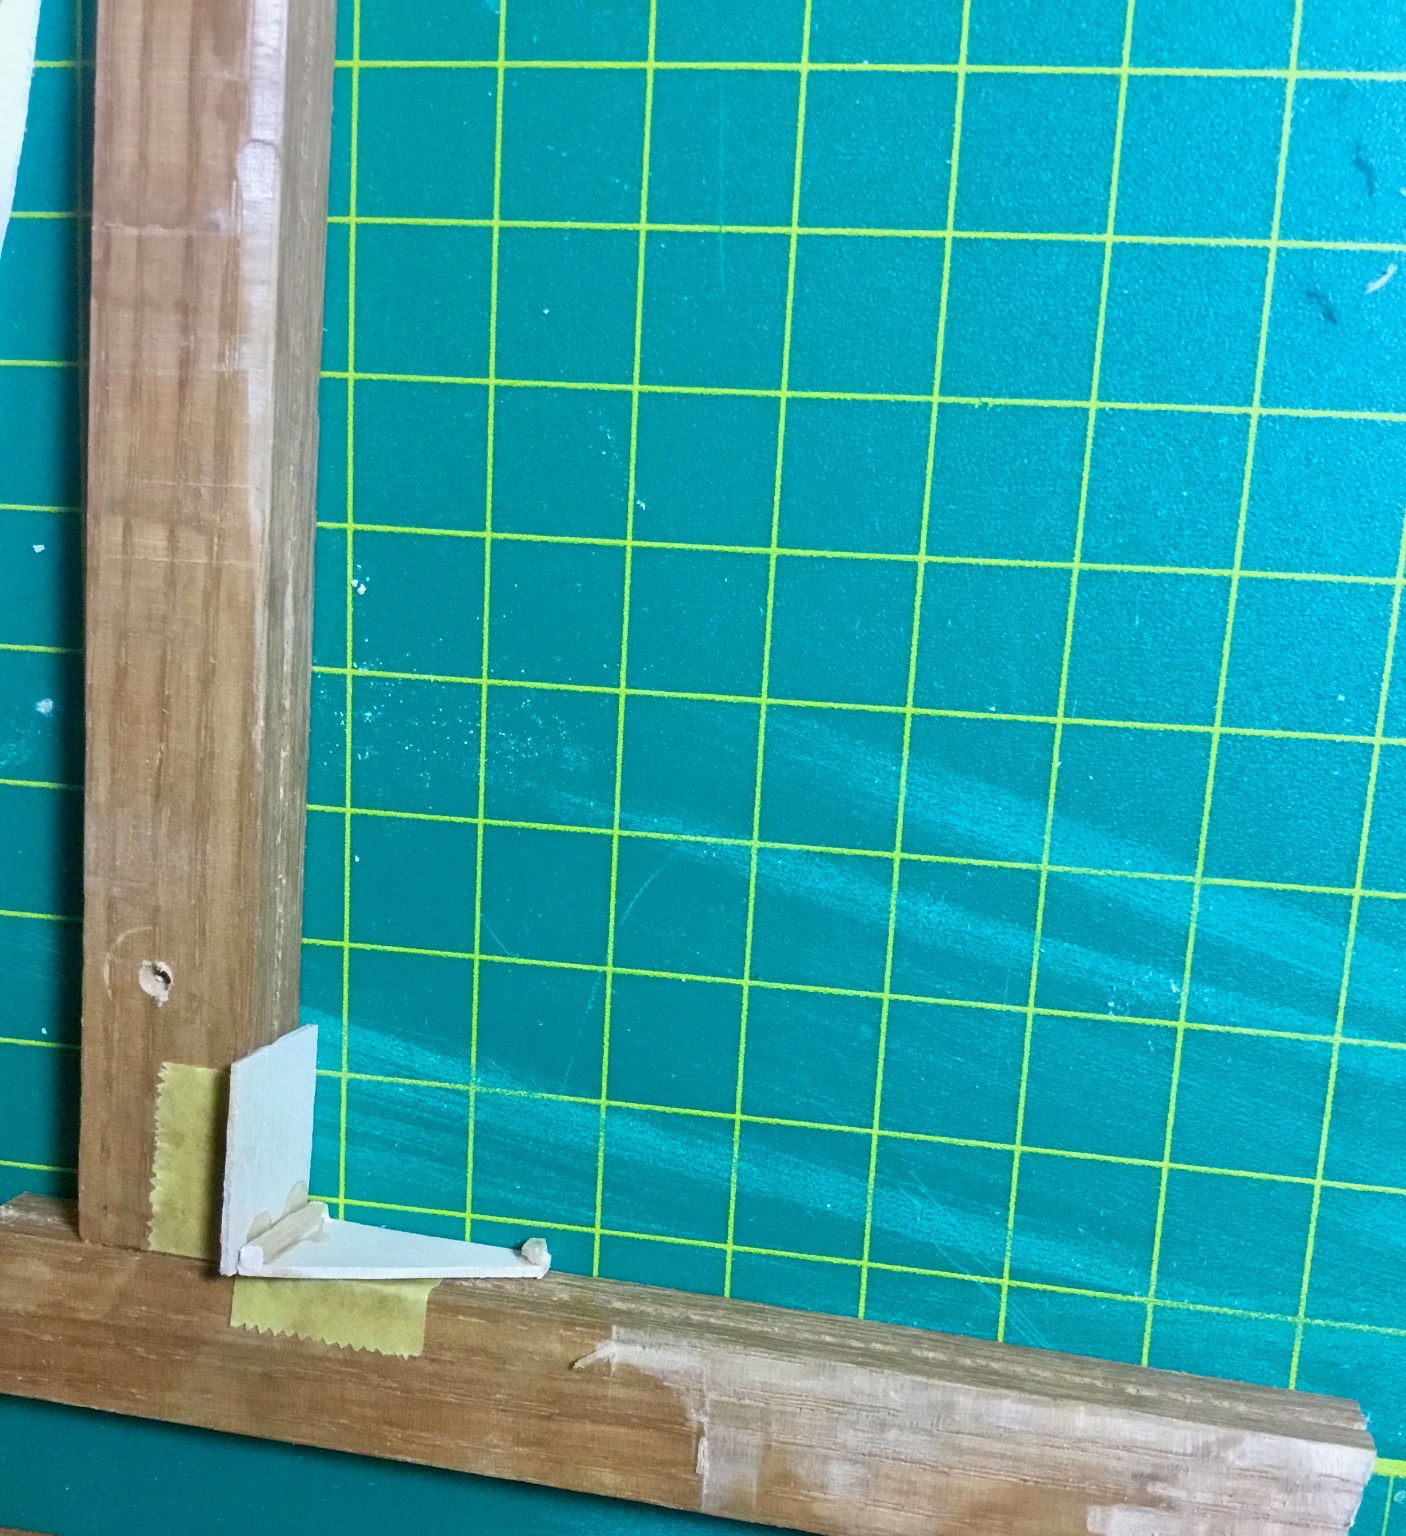
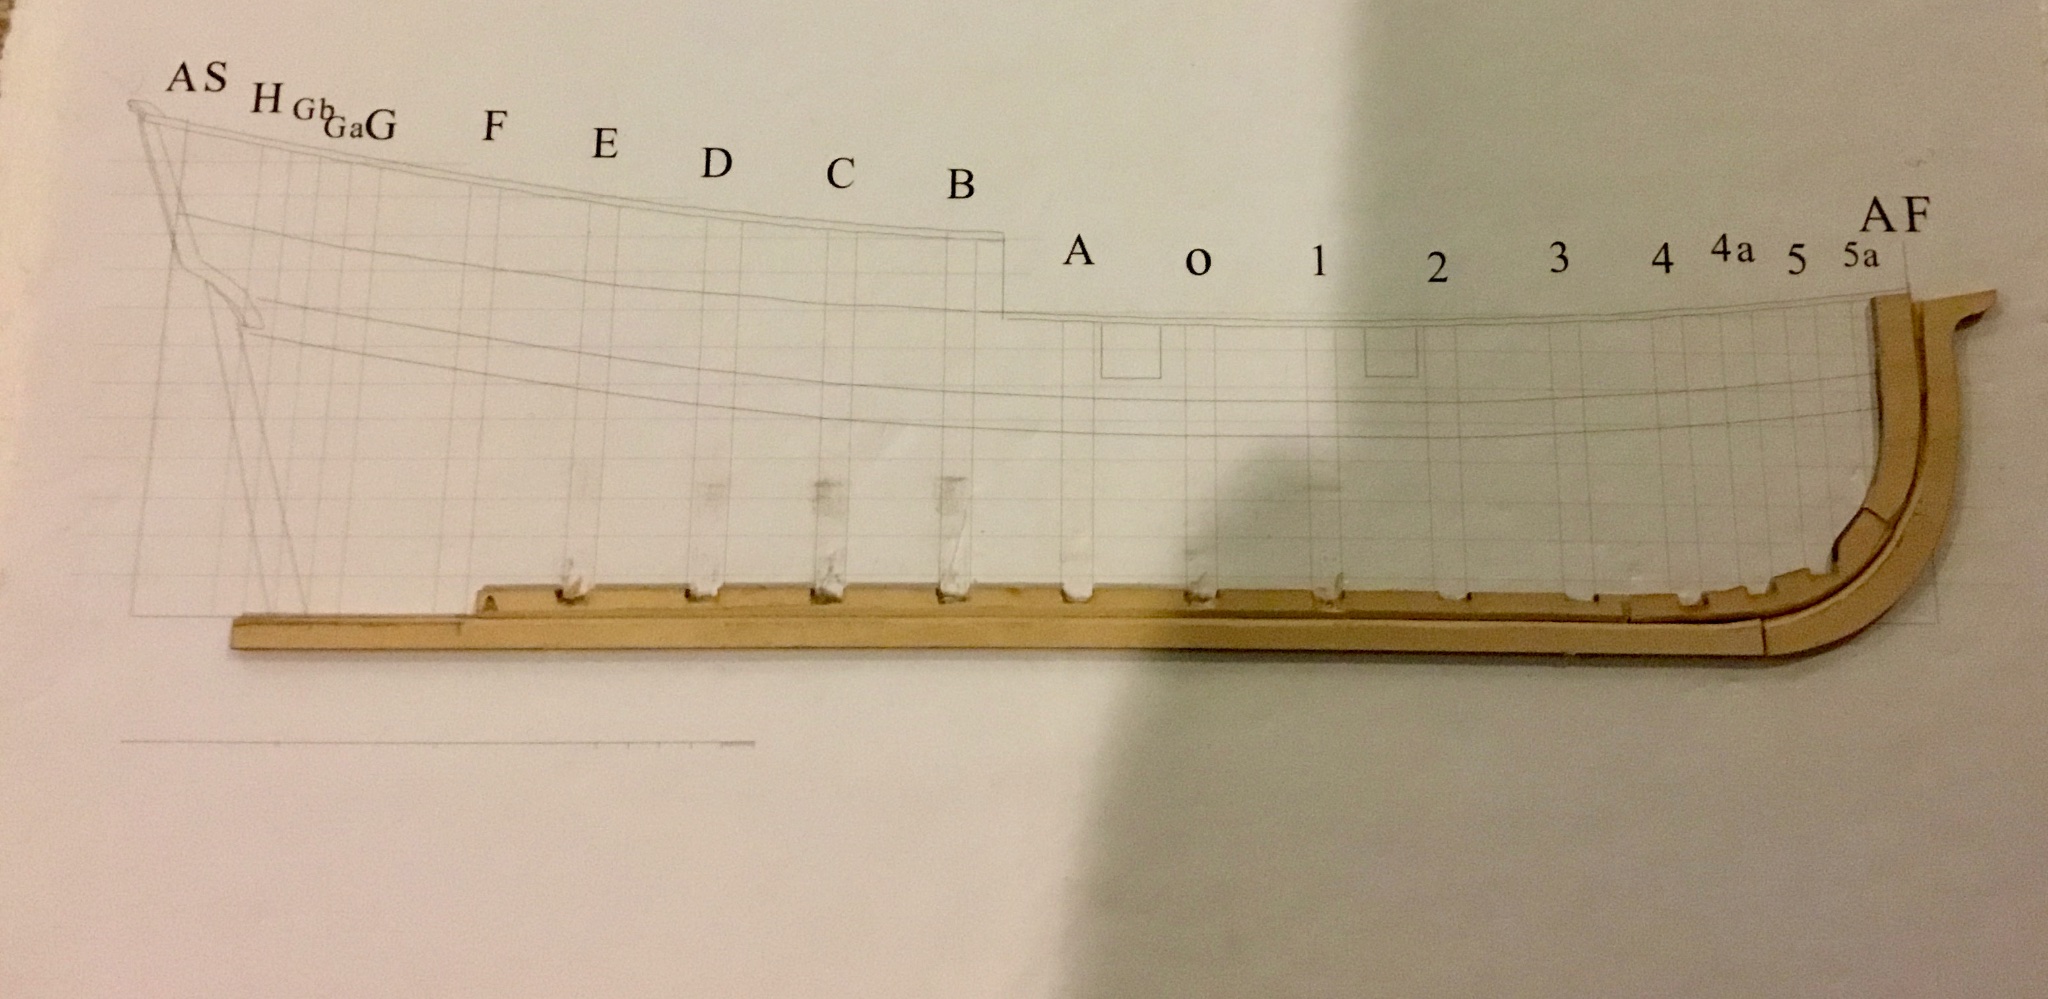
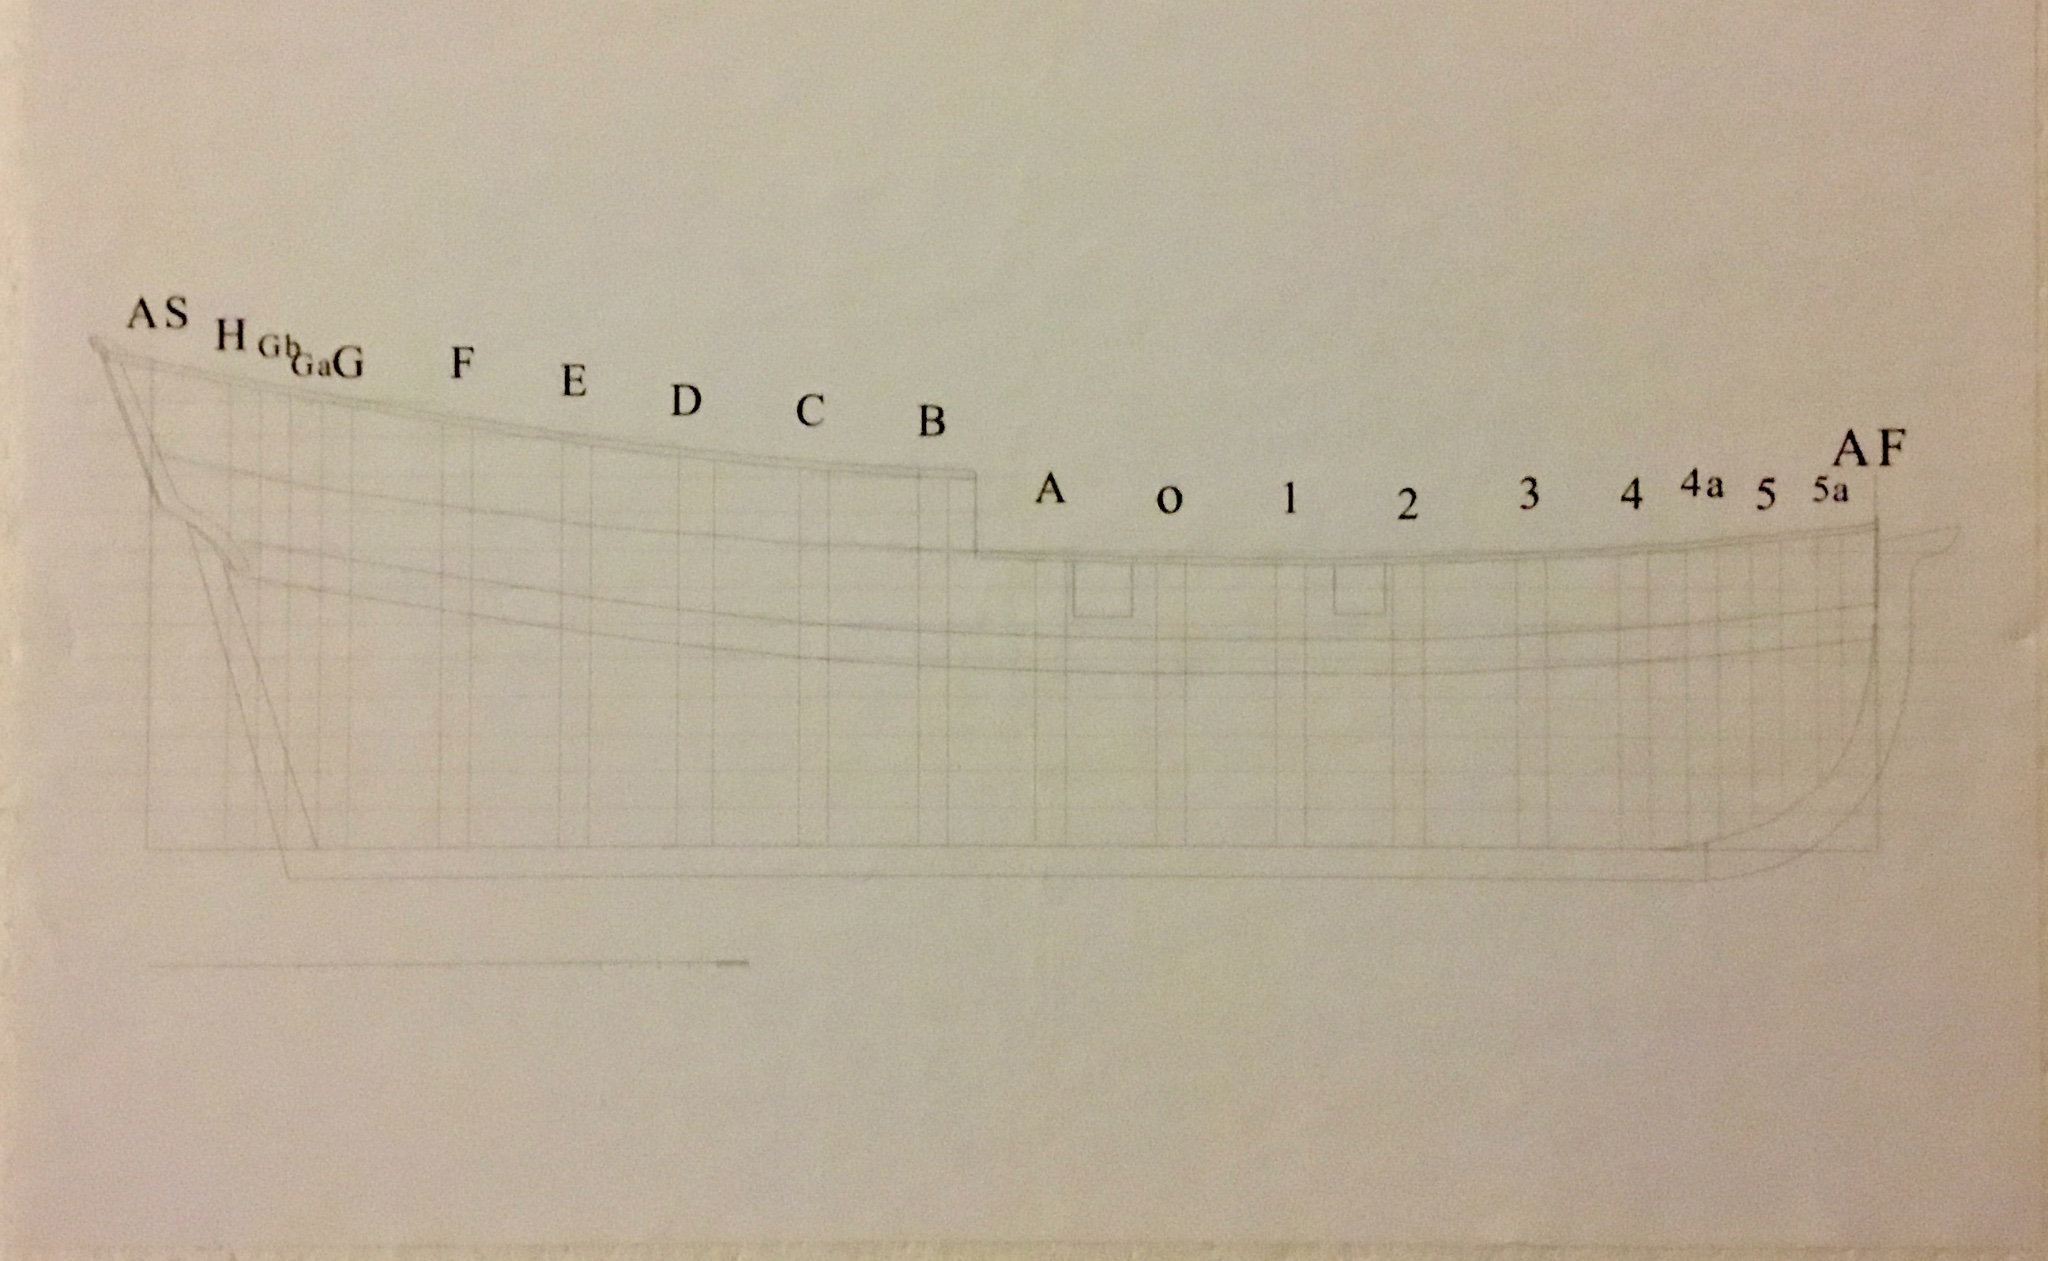
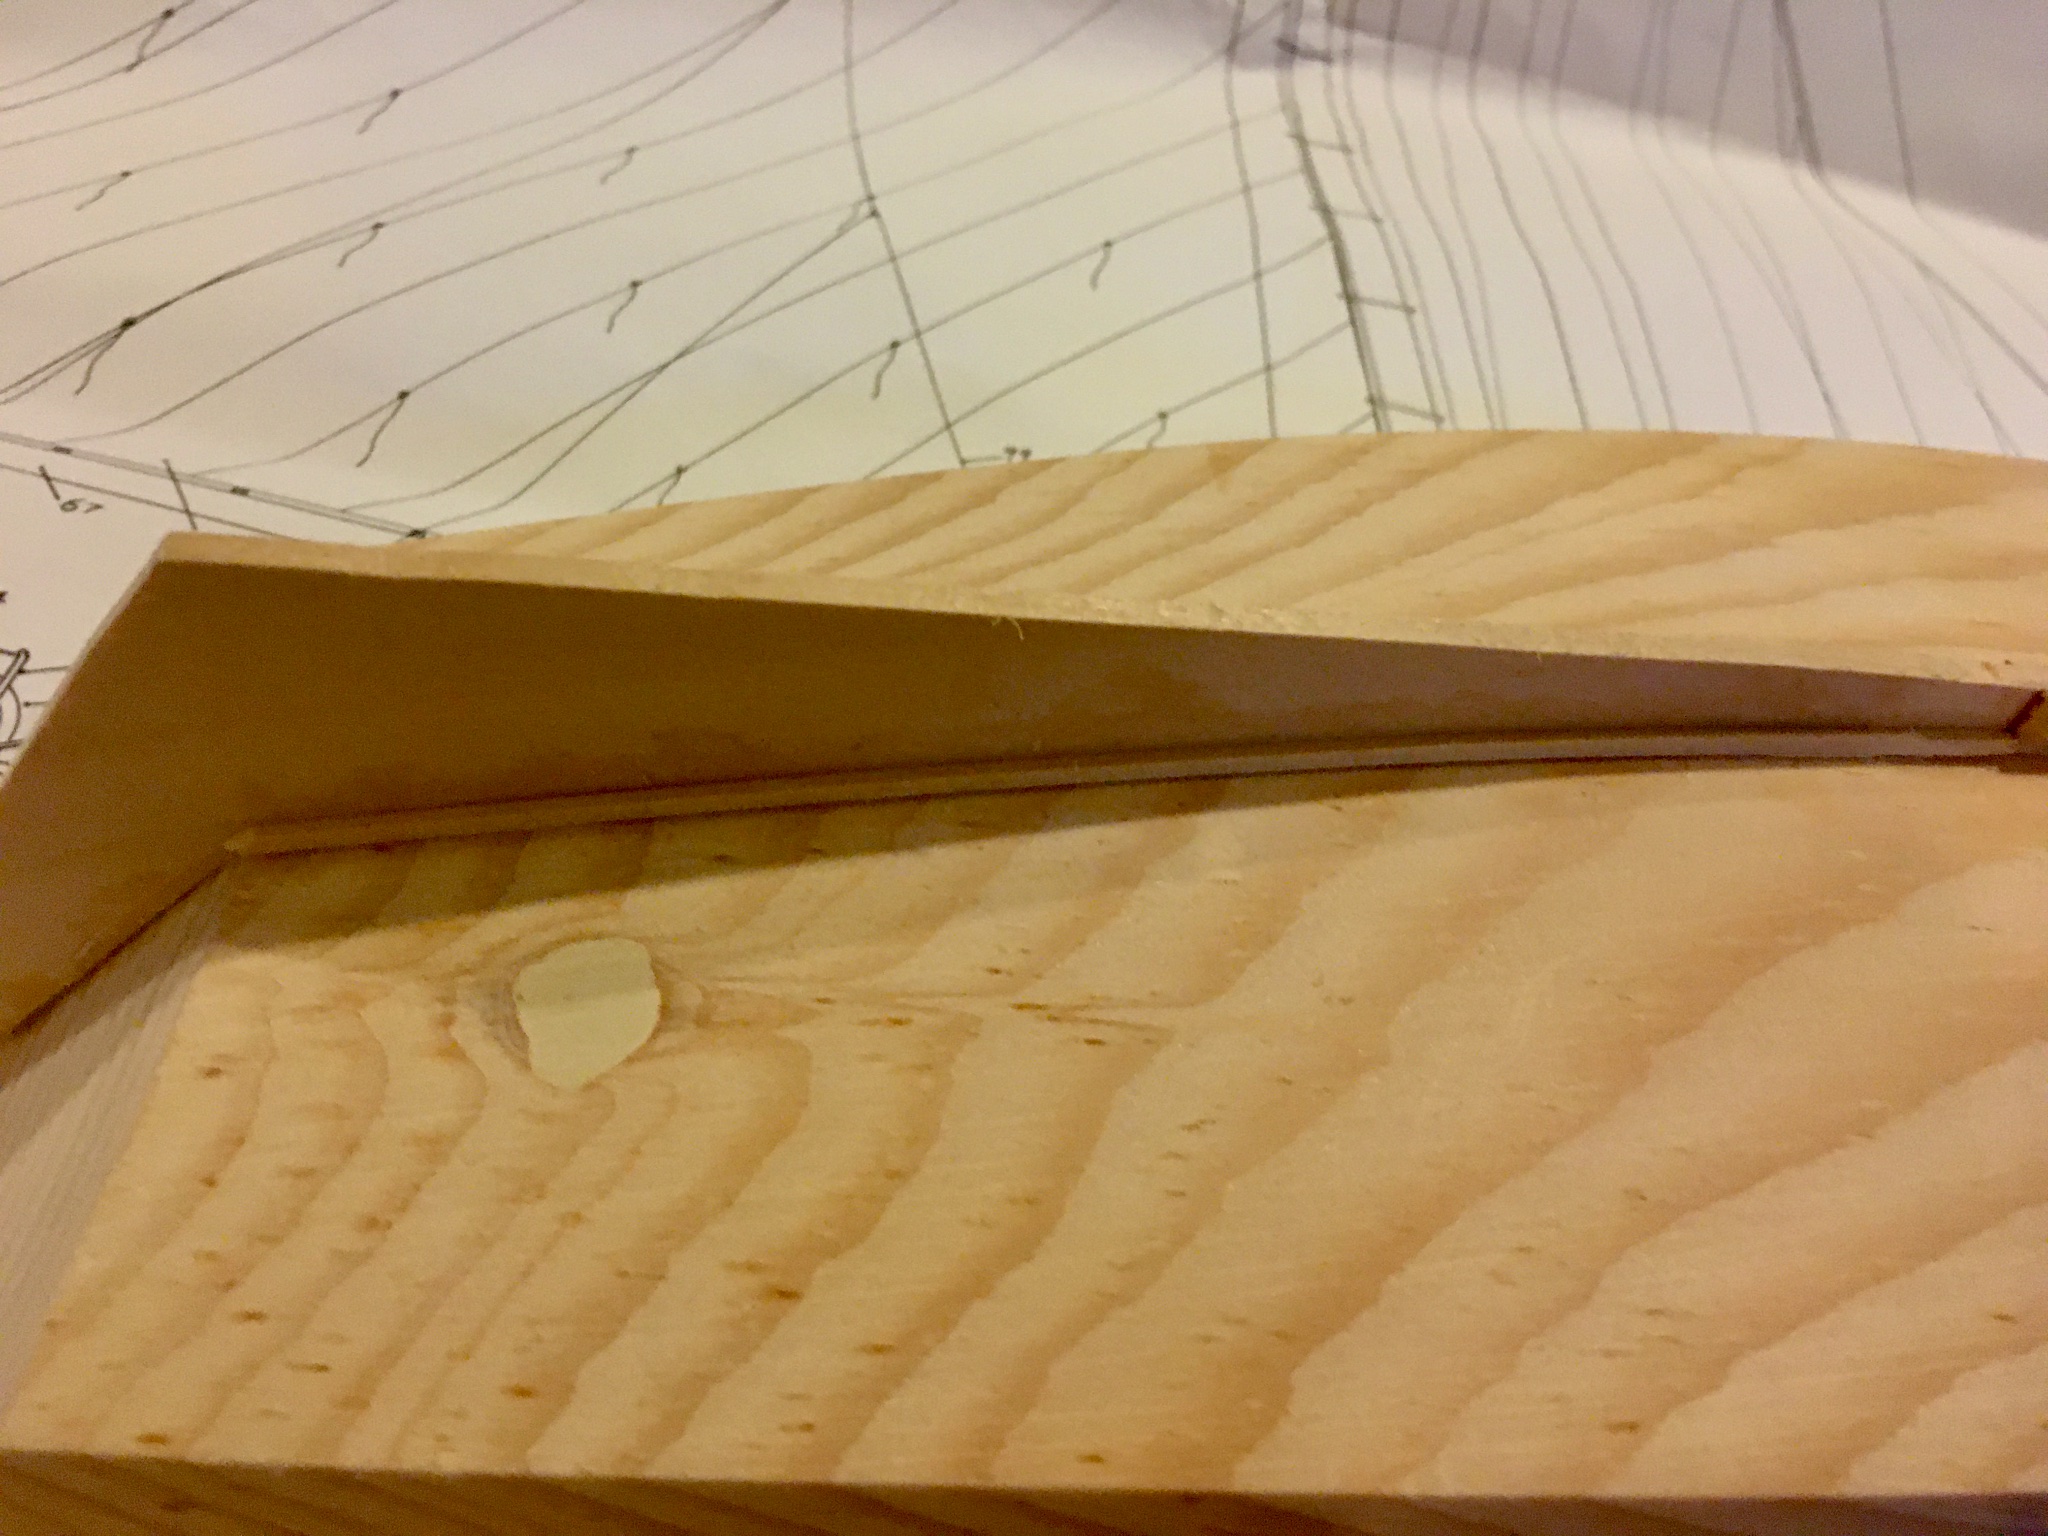
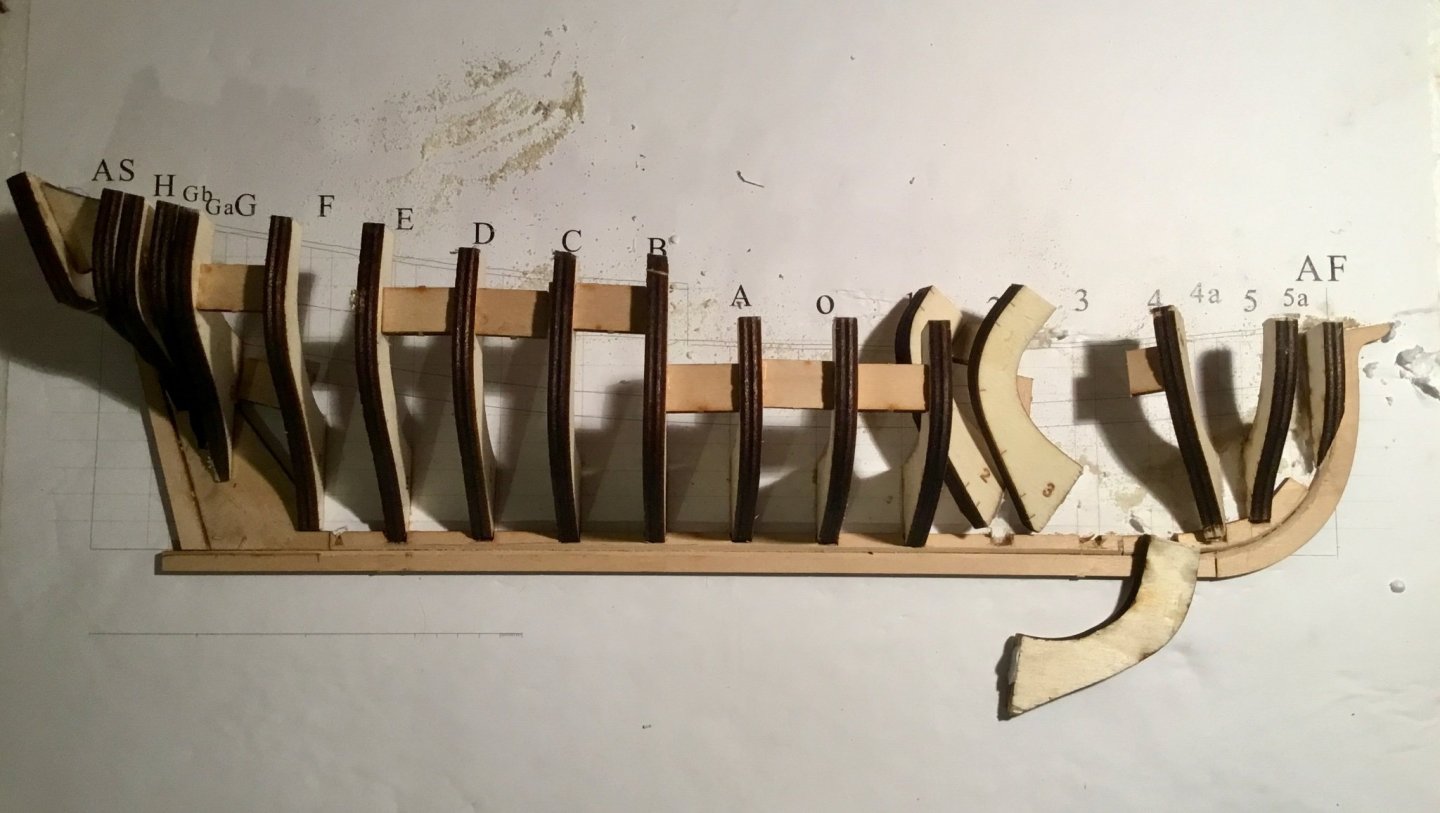
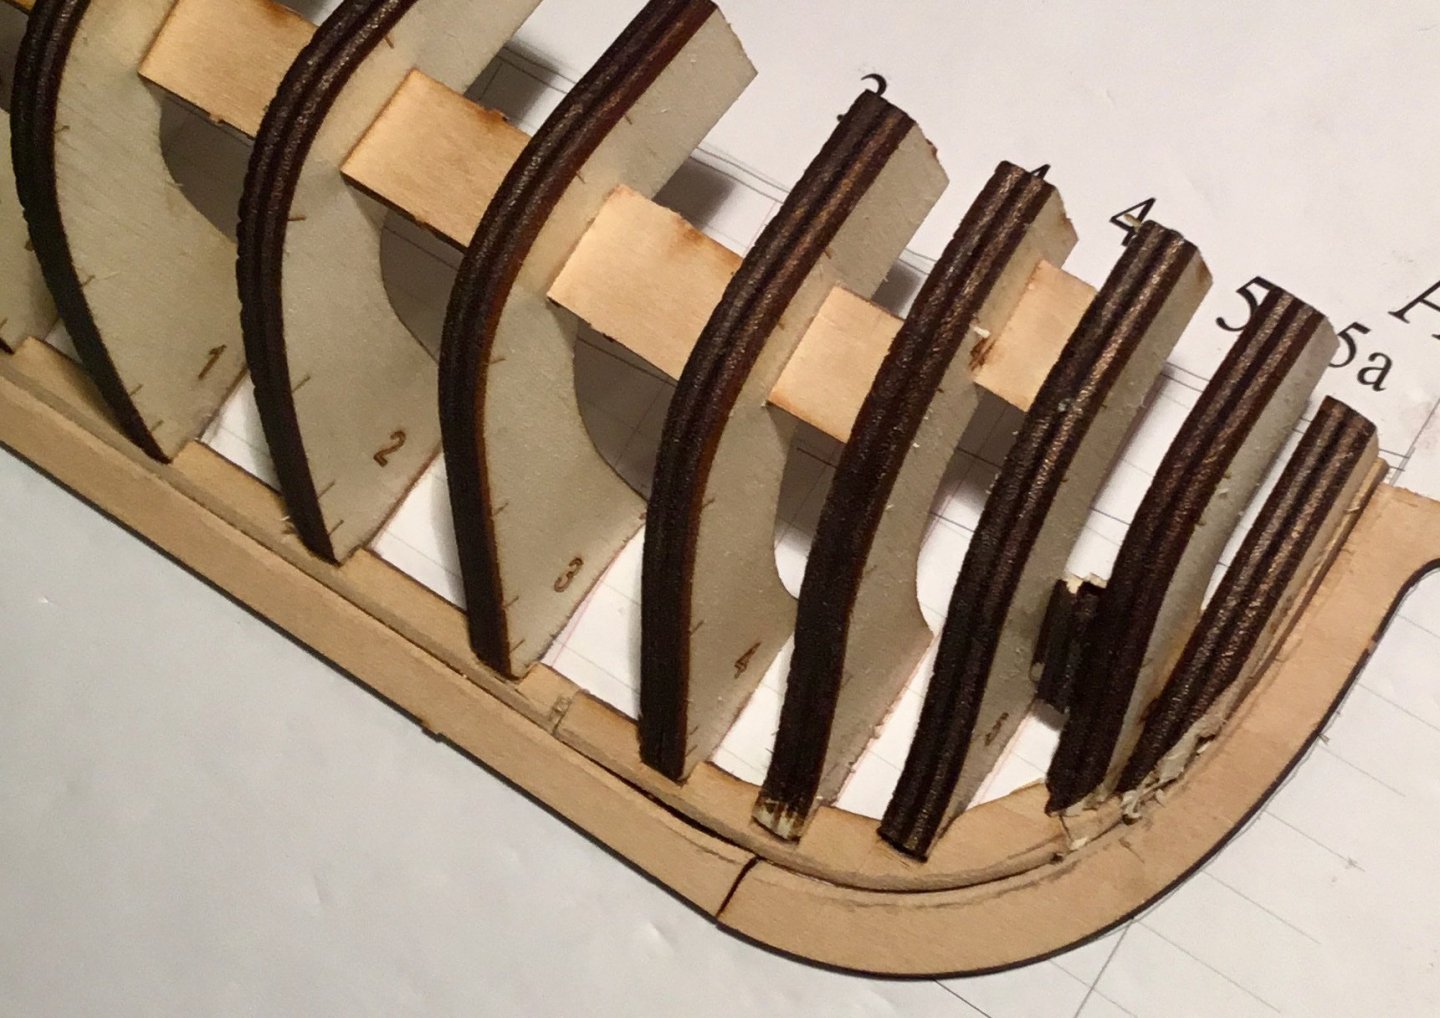
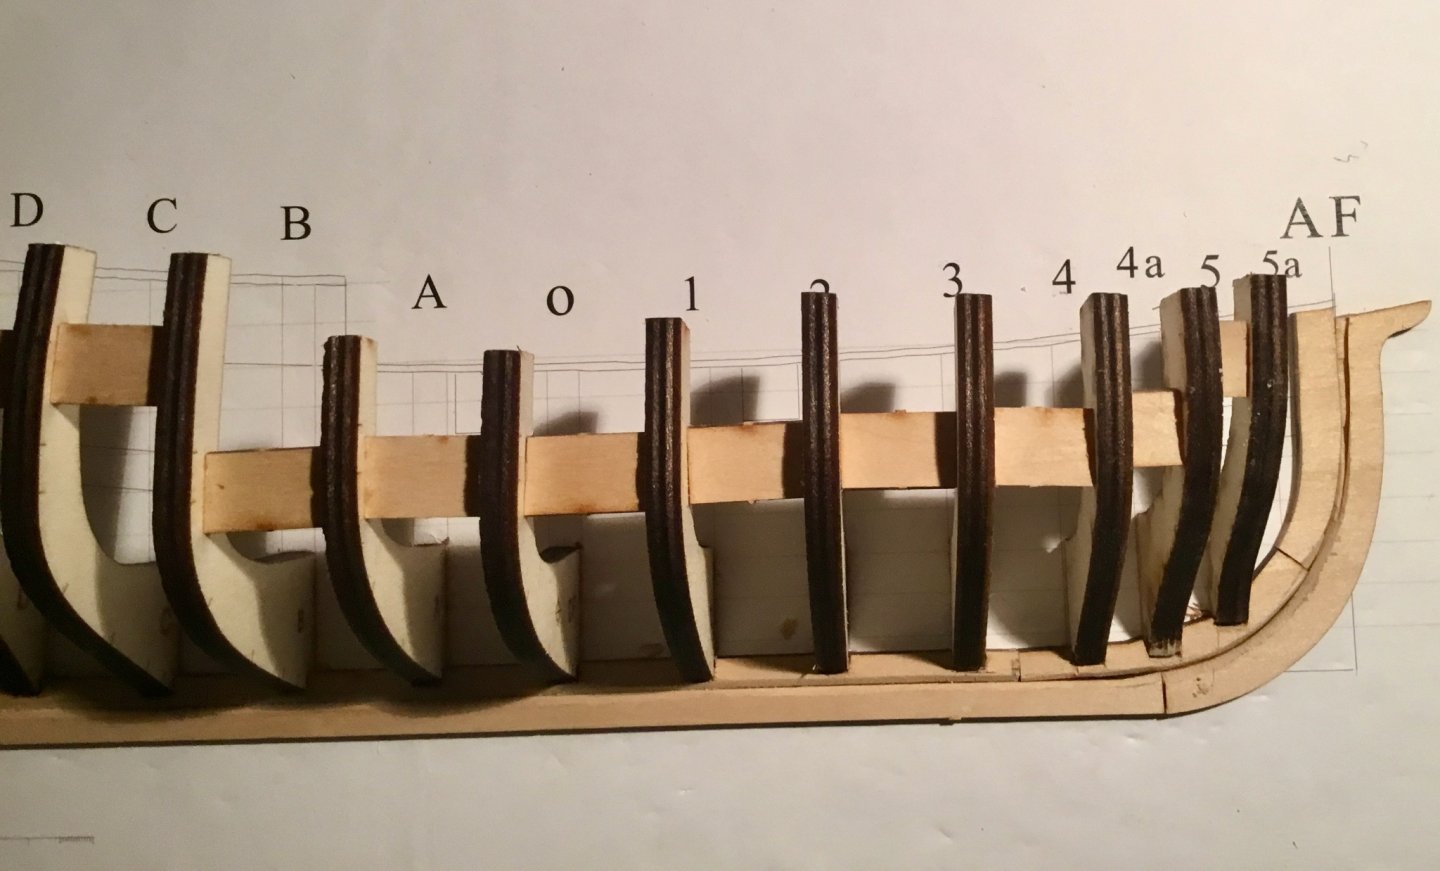
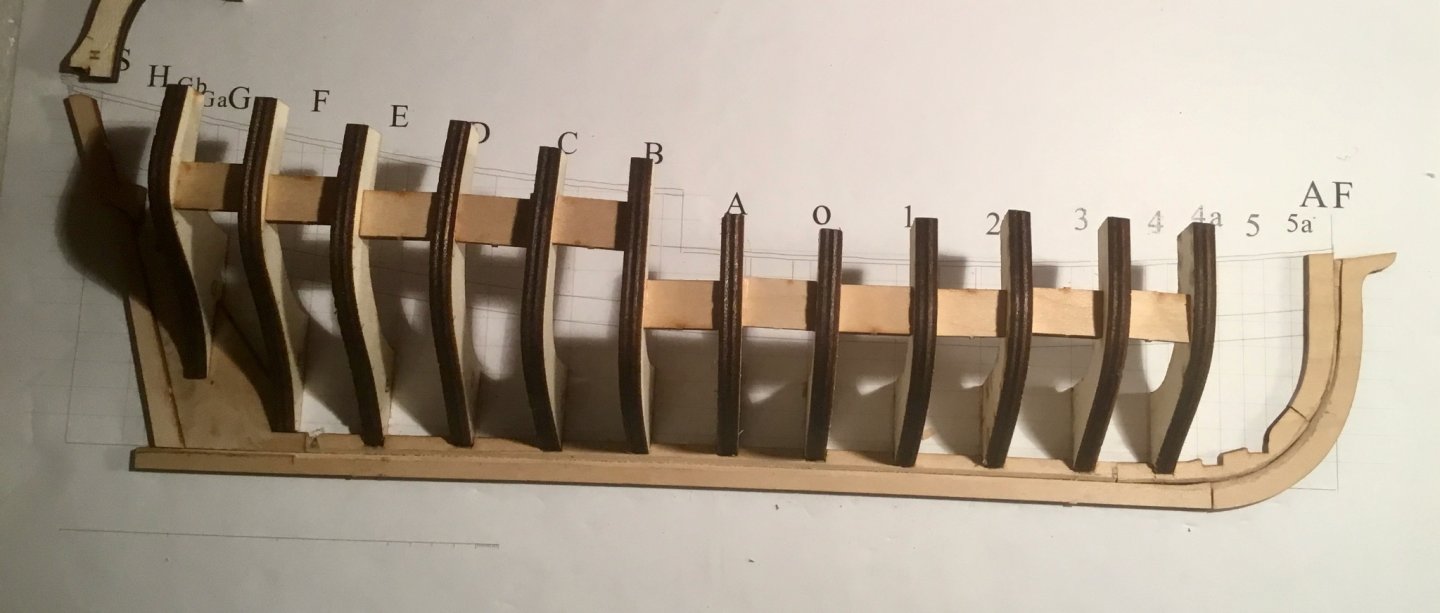
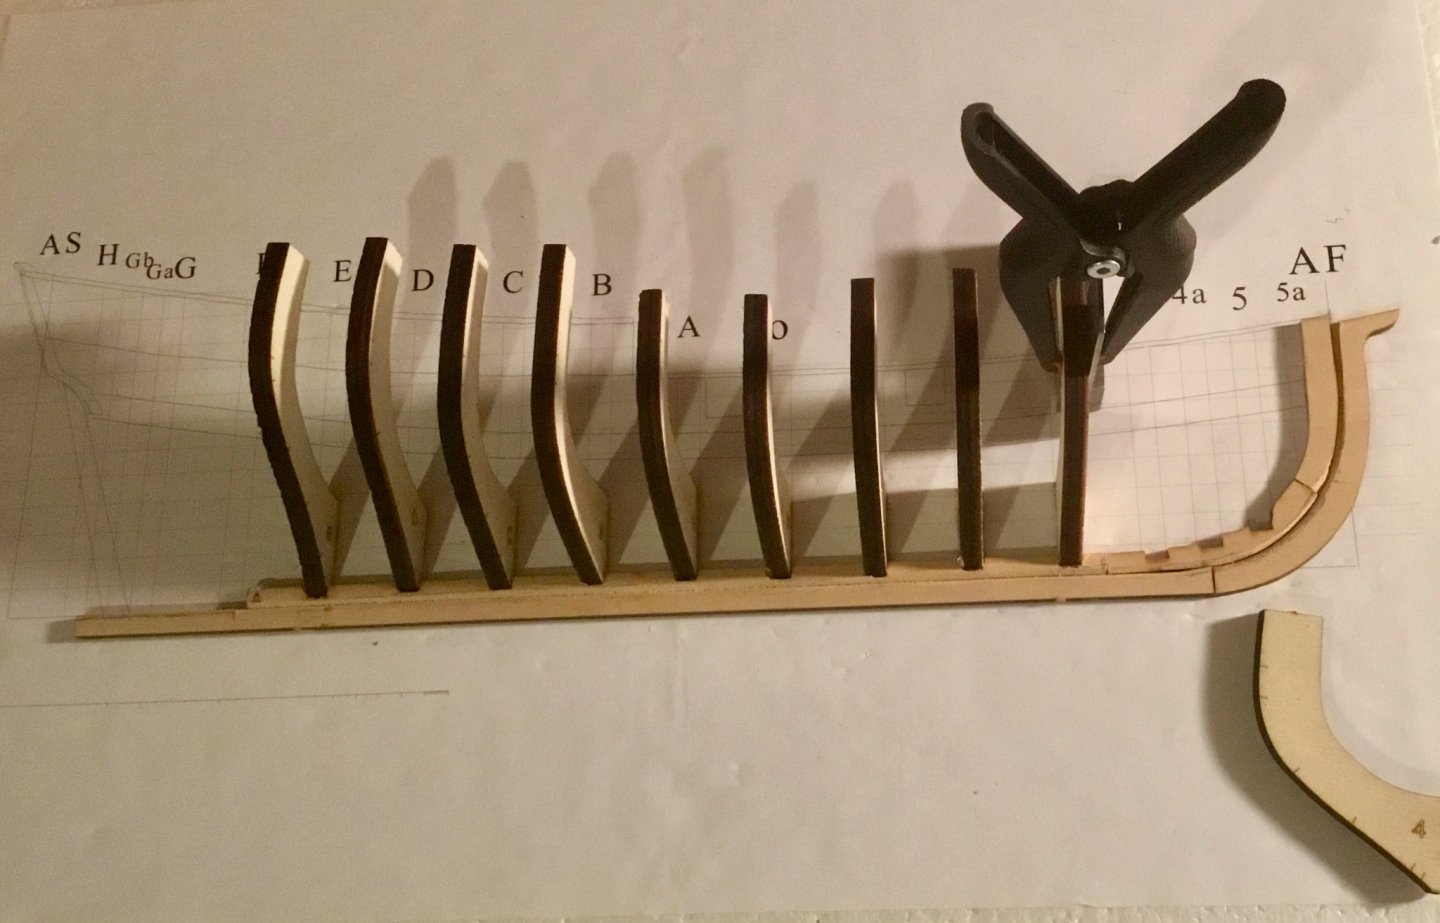
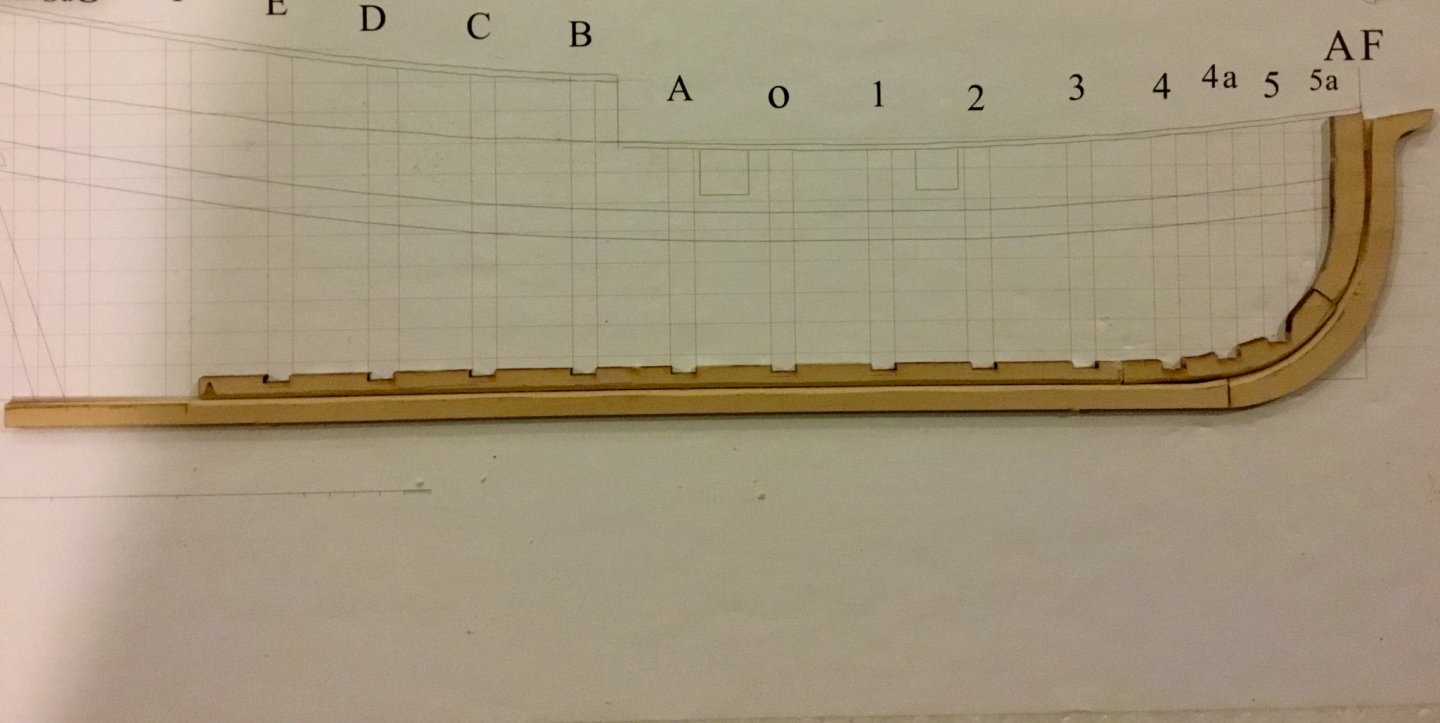
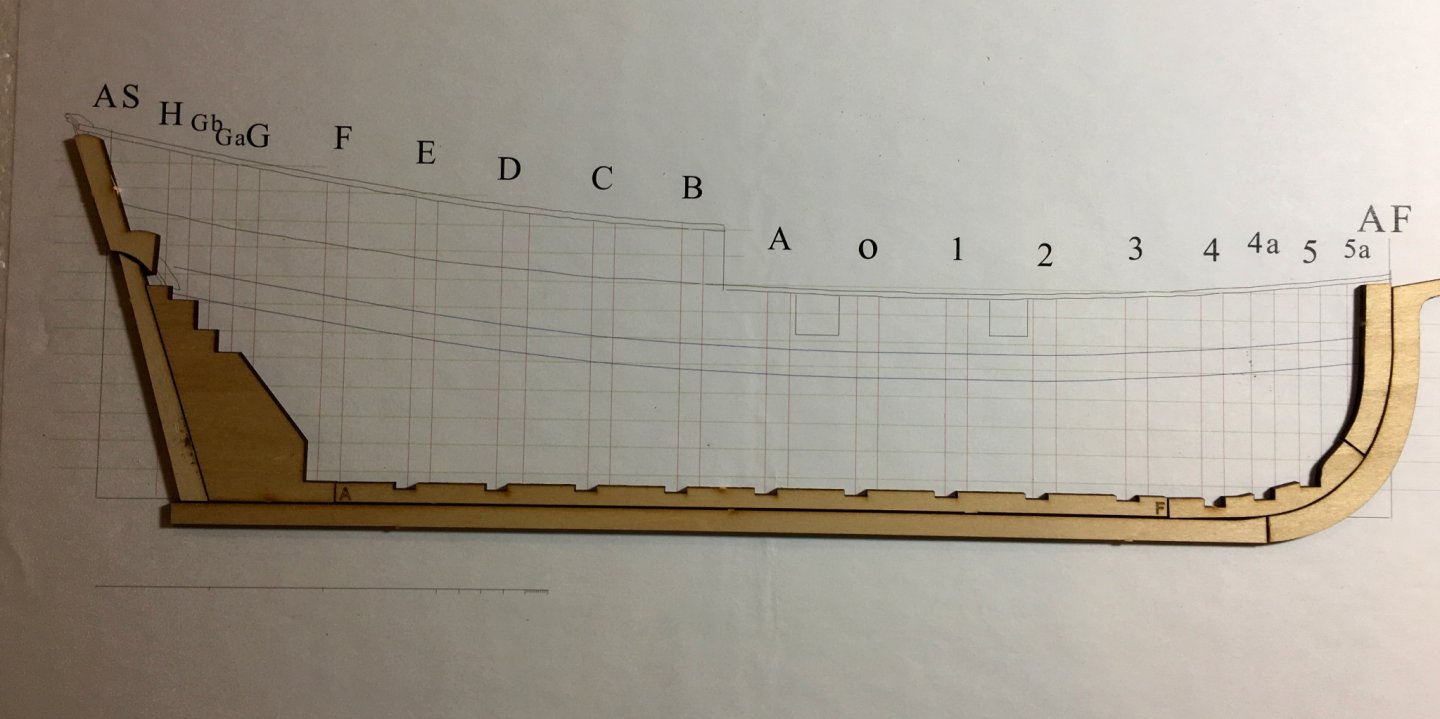
Added frame 5b but didn't need to add a scrap basswood piece as 5b ended up flush to the rabbet. Added frames Ga and Gb with a filler between Ga and Gb. Added frame H. Sill need to refine where frame G, Ga, Gb, H, and 5b meet the bearding line and the rabbet.
-
Instead of sculpy I wonder if someone makes small washers that could be used for the sheaves?
-
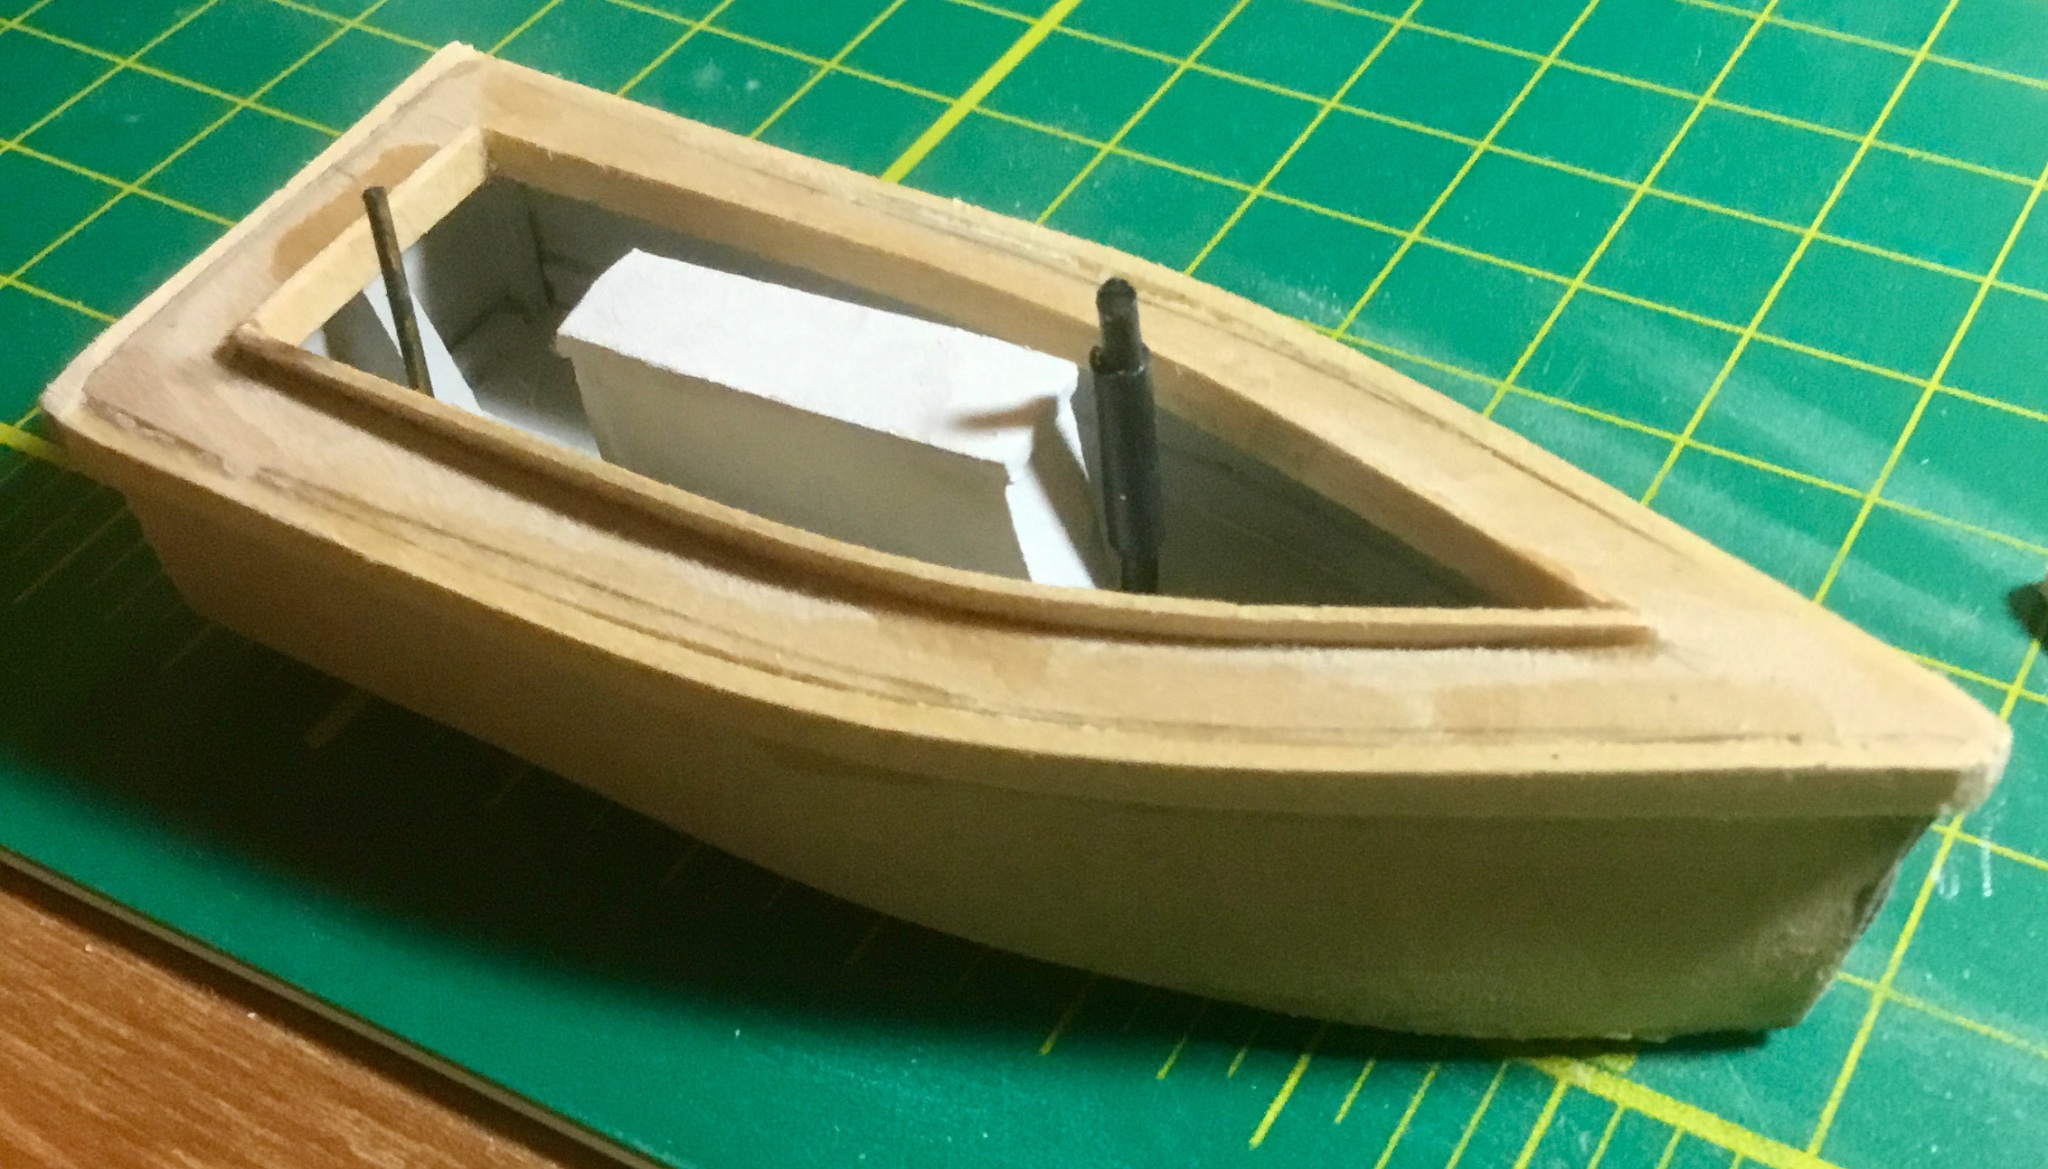
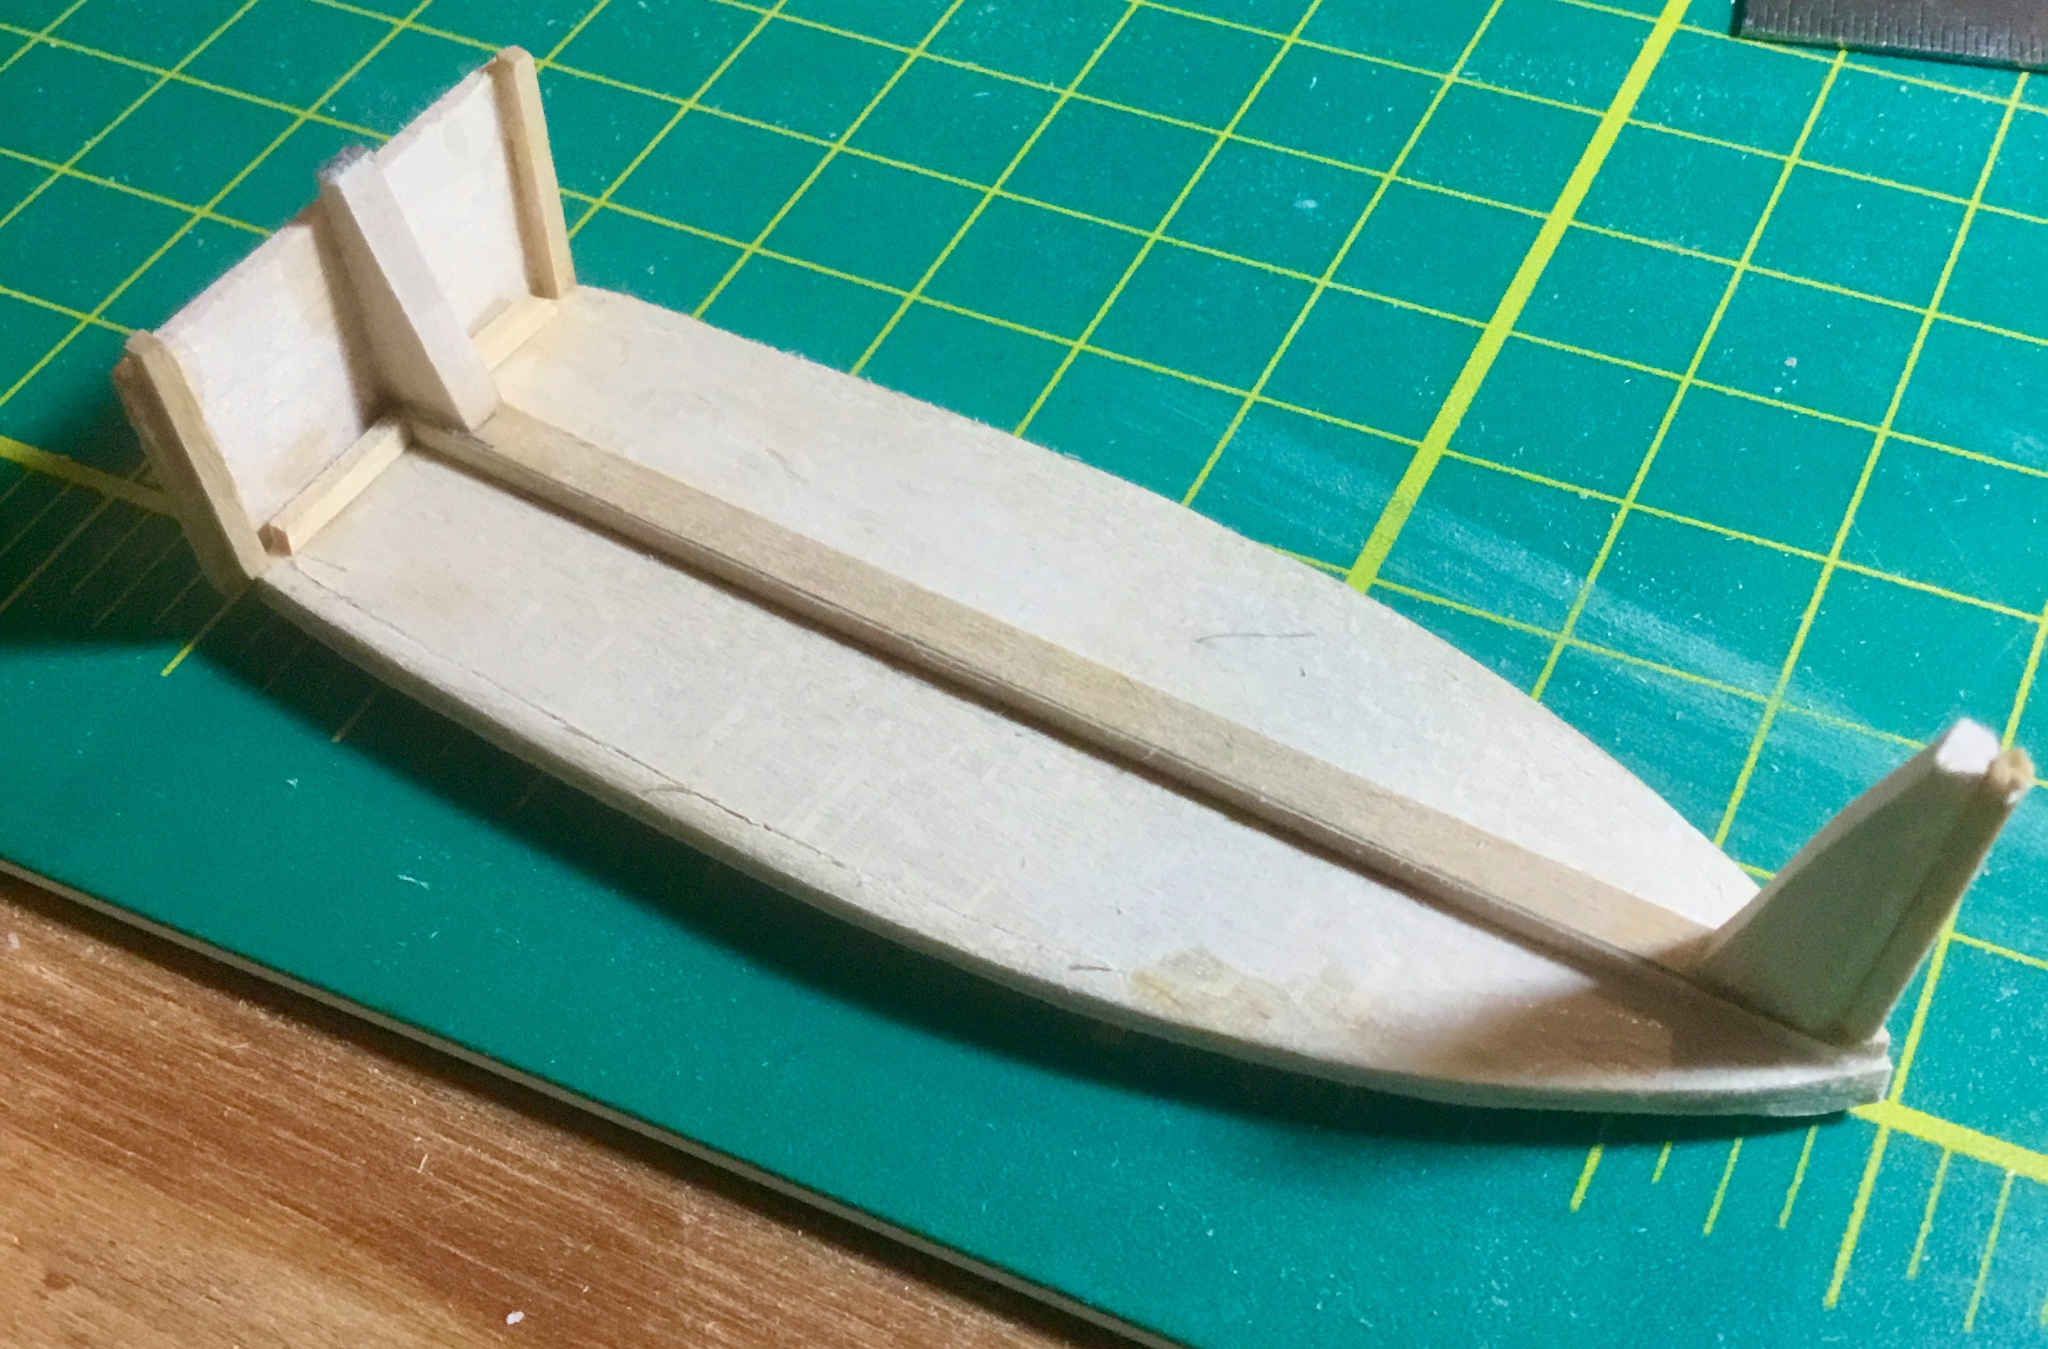
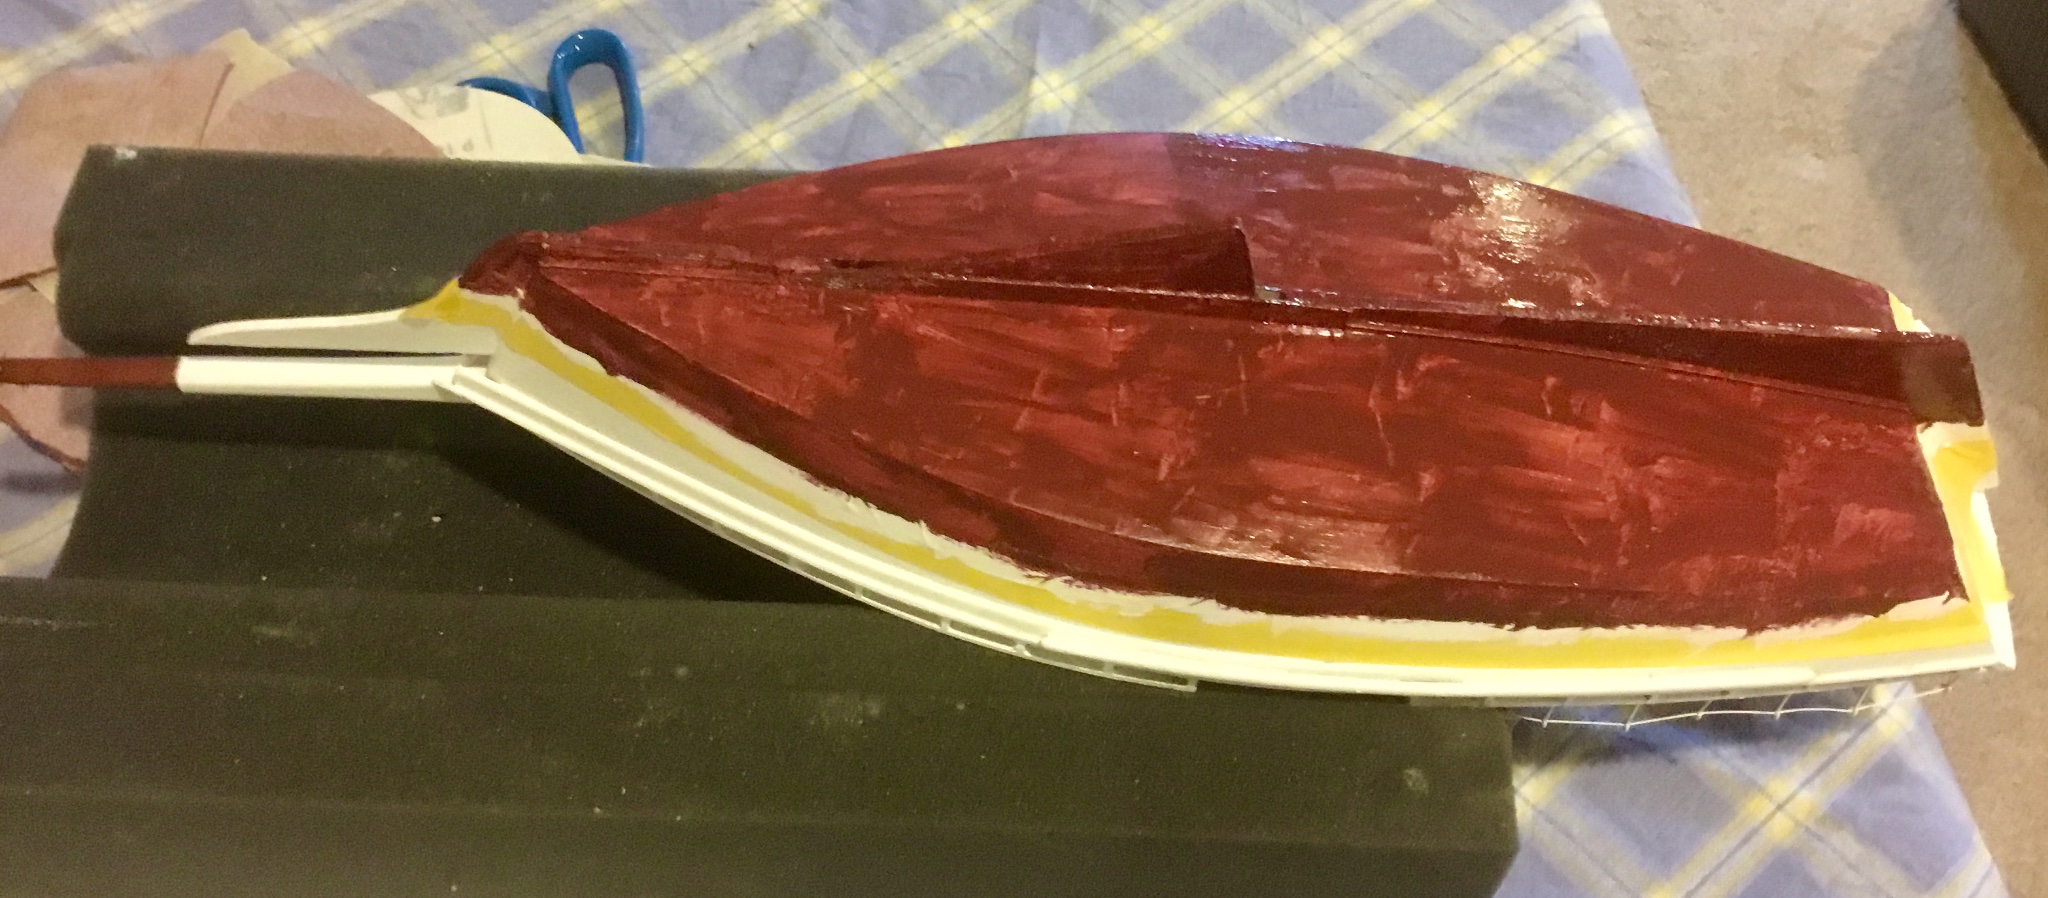
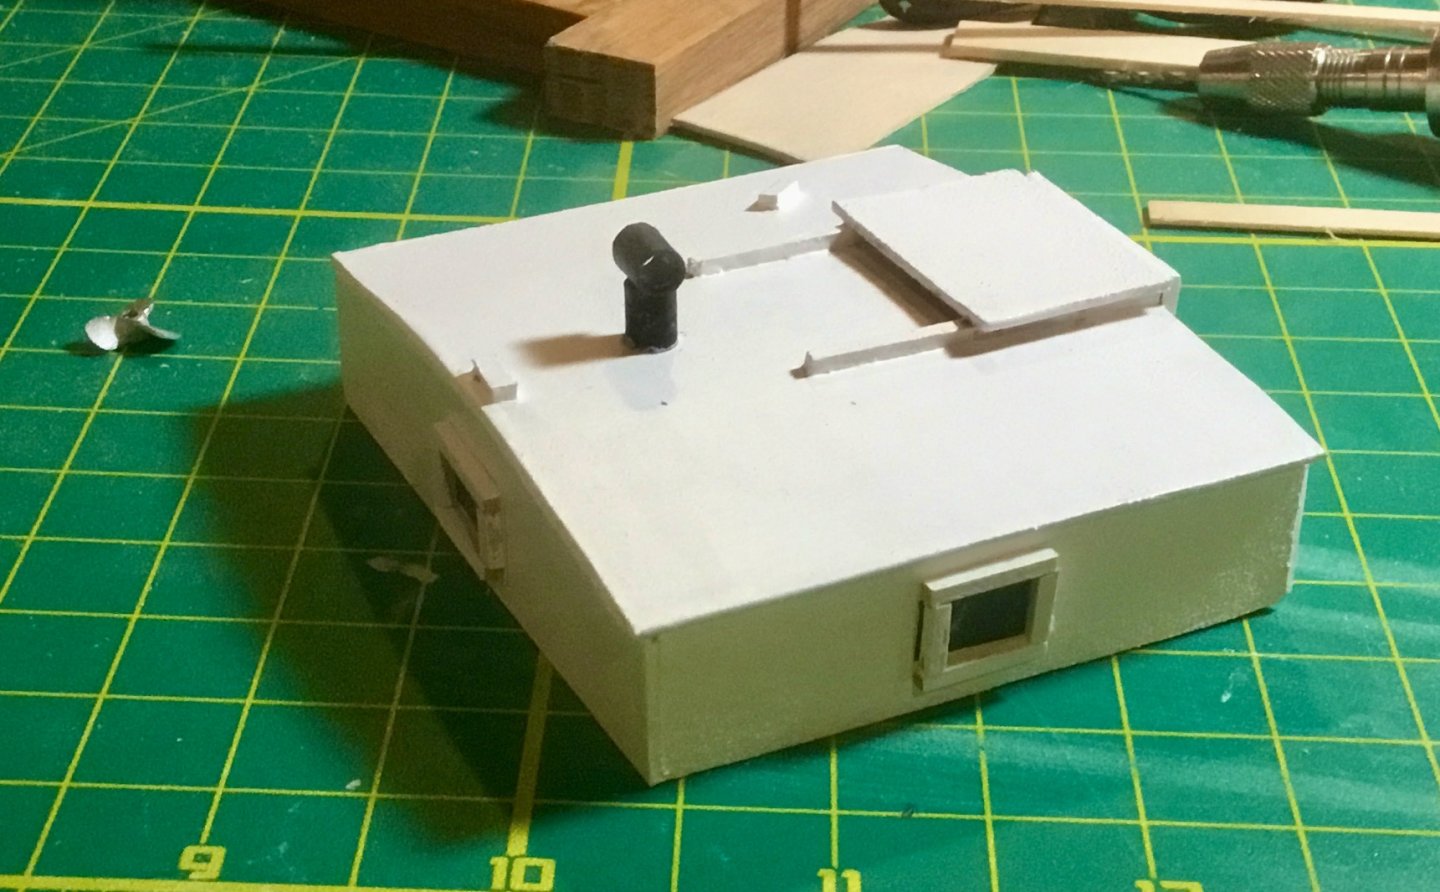
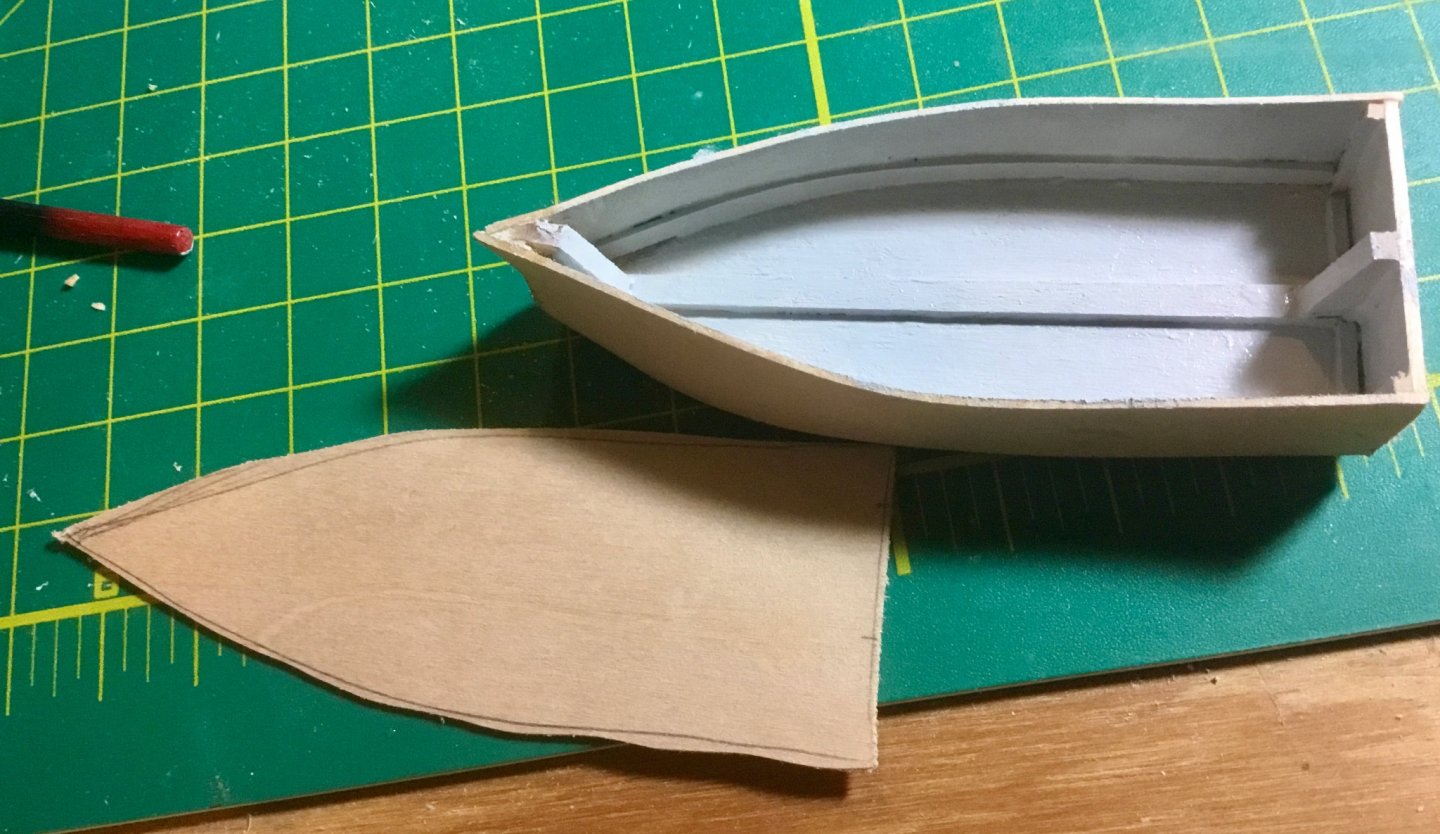
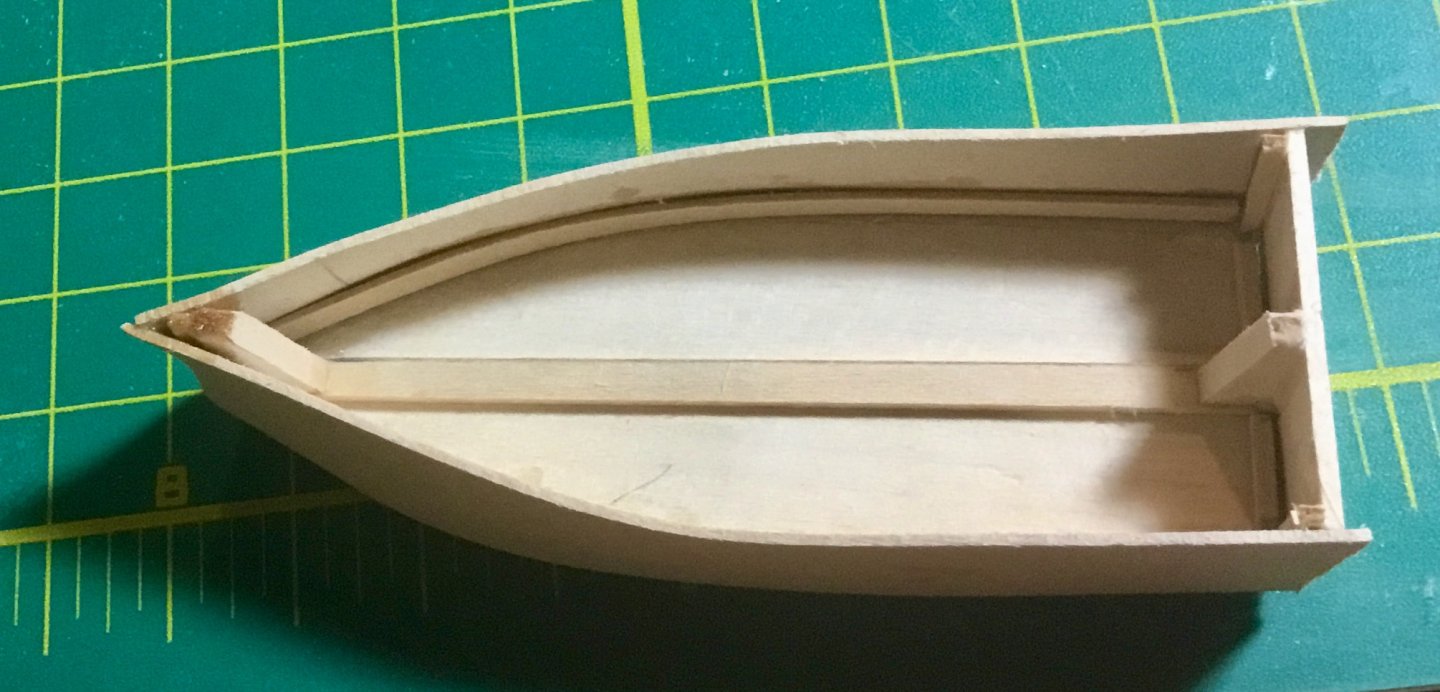
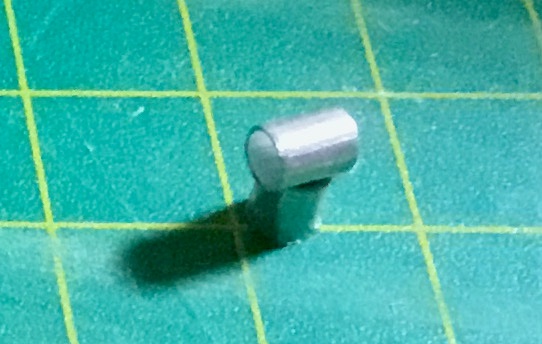
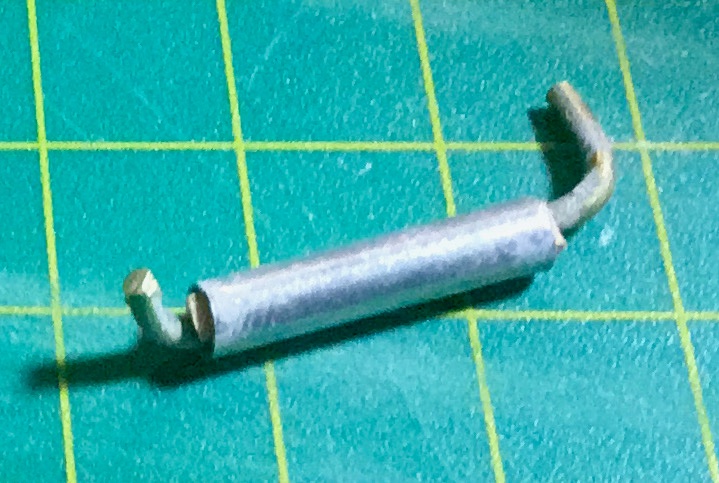
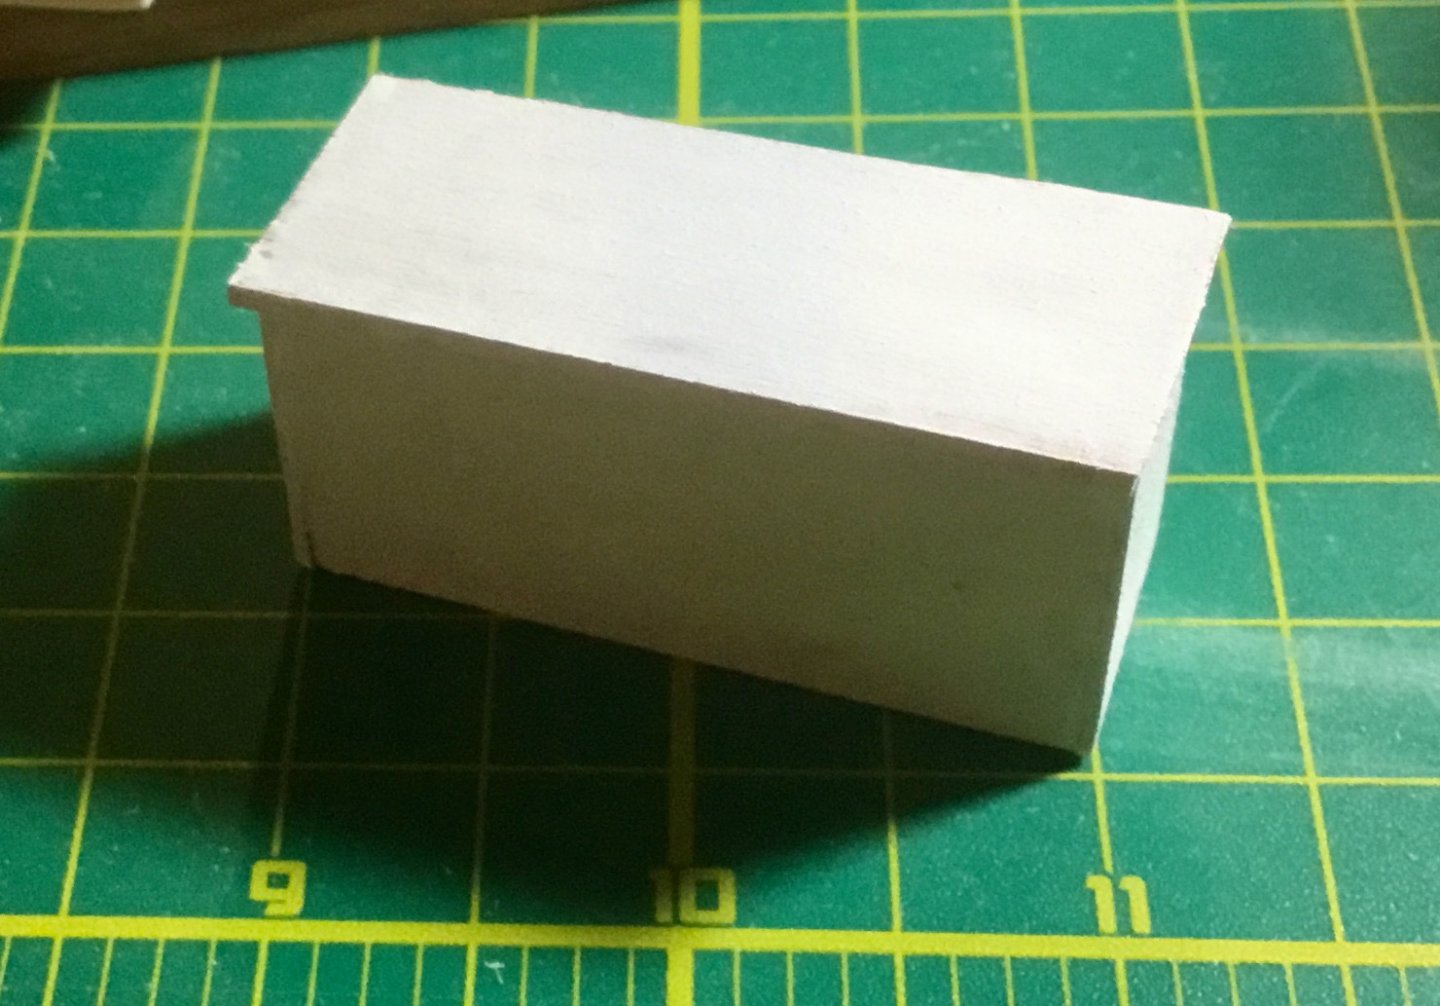
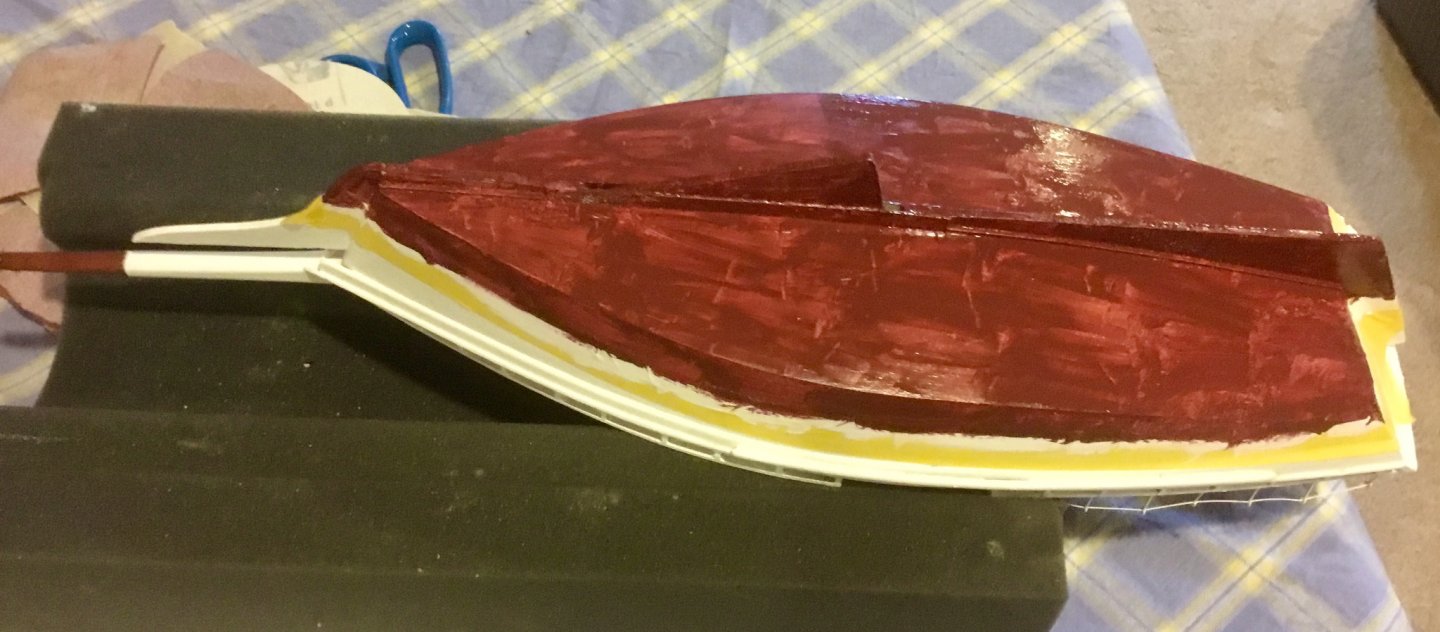
Continuing construction of the push boat. Added stem and stern knees and transom. Applied side planks and chine log. Painted inside grey and cut out deck on scroll saw. Glued on deck cutting out opening and installed side coaming. Fabricated engine cover, exhaust pipe and and tiller stick. Installed the same. Painted white and masked for bottom paint, then painted bottom hull red. Began construction of winch assembly and added to engine box. Added windows to deck house. Began construction of davit components. Drilled hole in deck for davit installation. This is an older kit with NO laser cut parts so most of the construction is an experience in scratch building. Luckily the instructions given in the kit are very detailed.


-
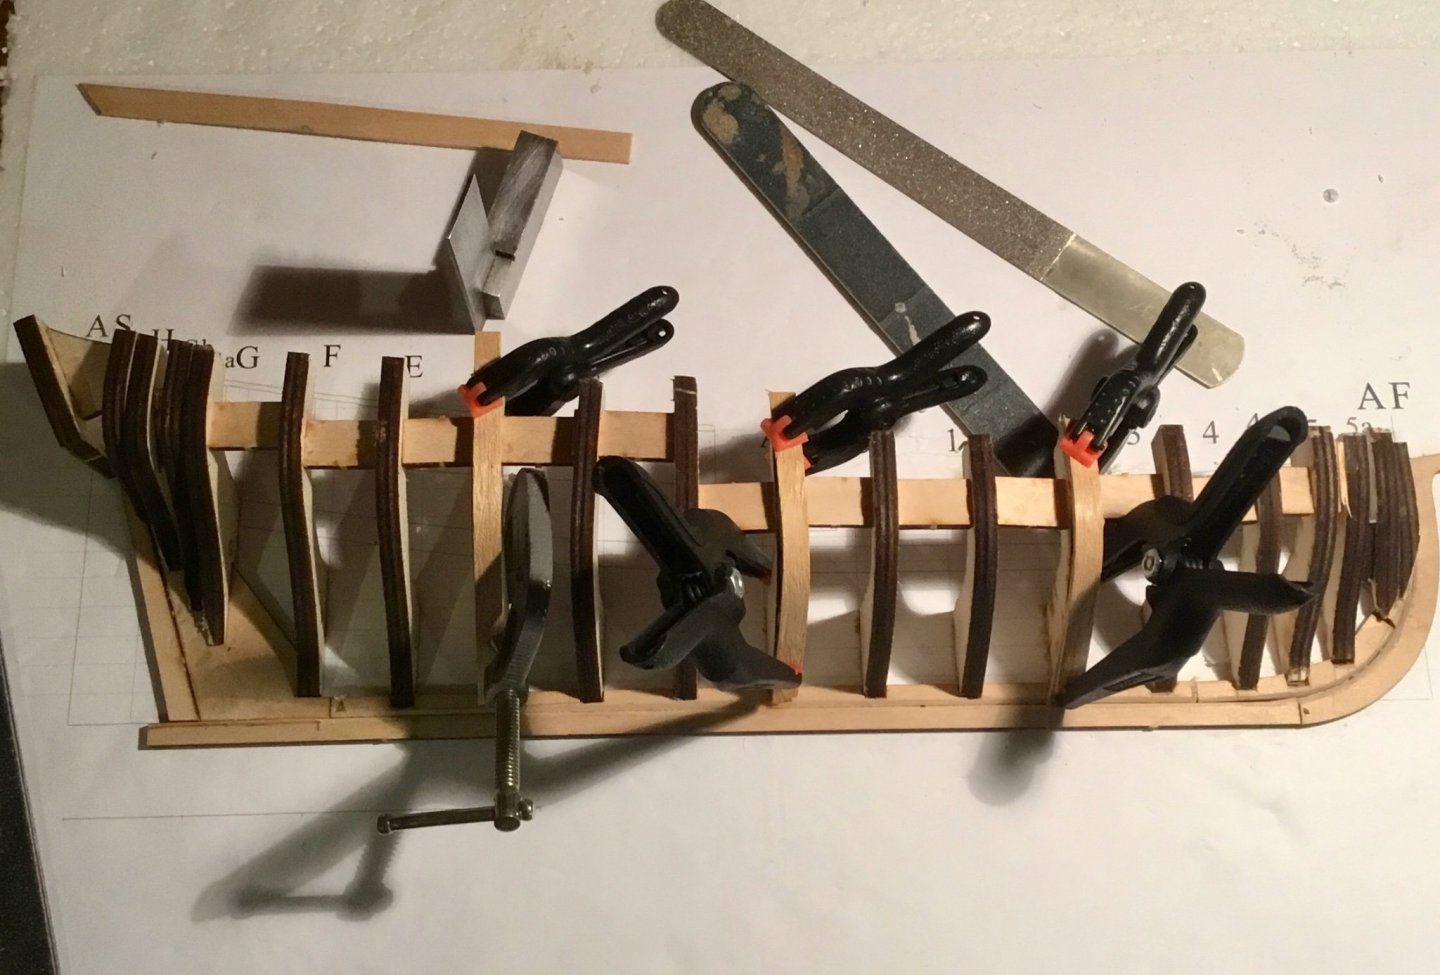
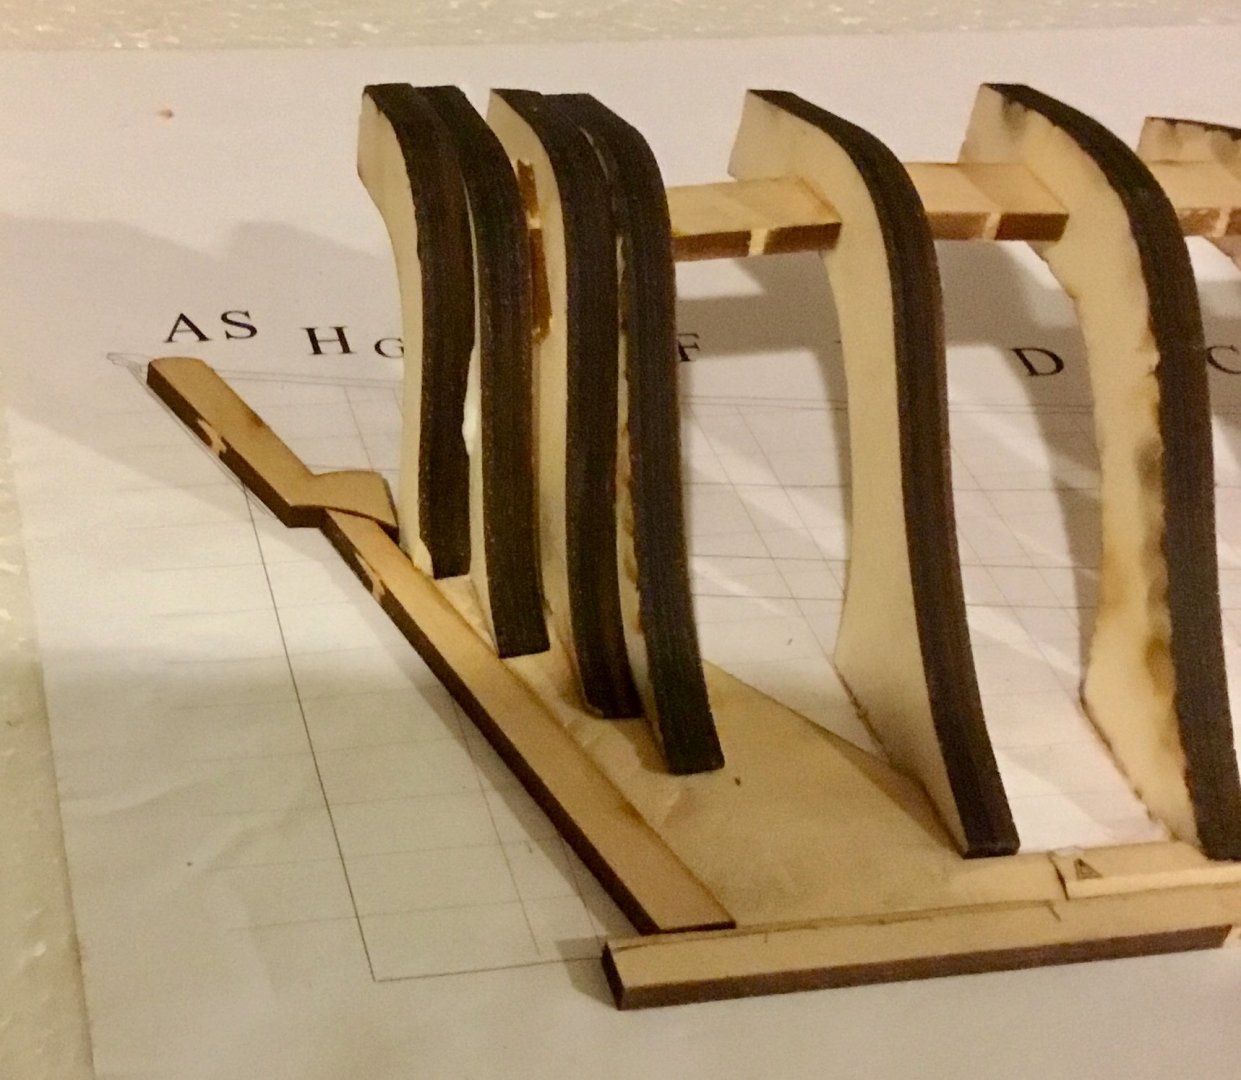
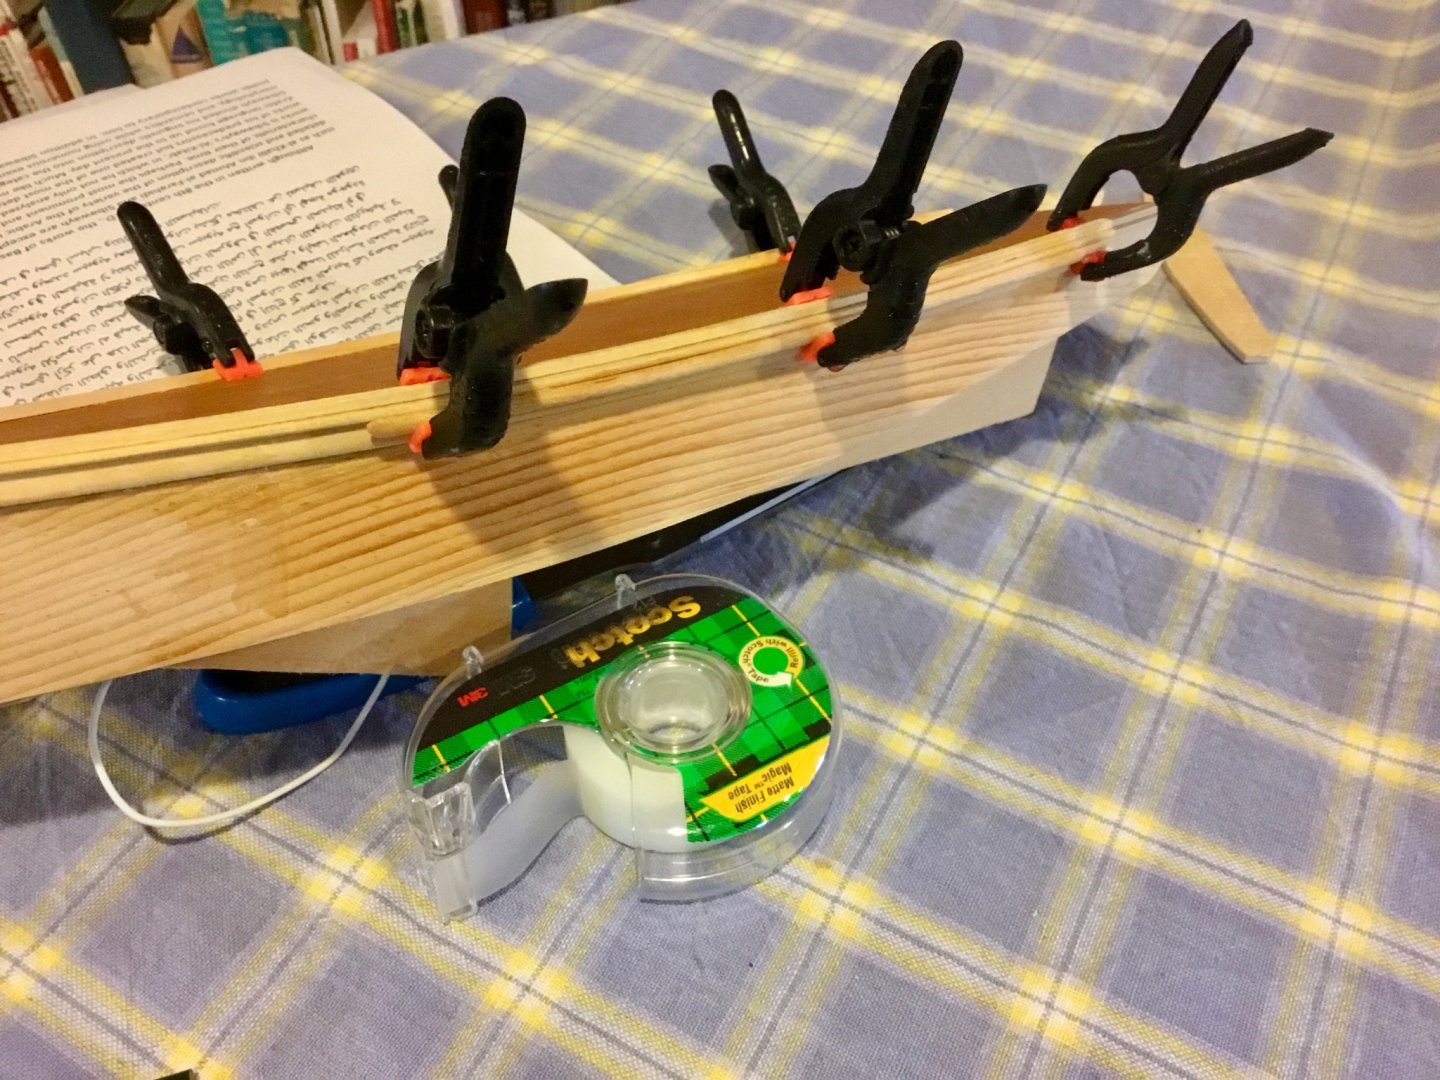
Continuing adding frames and support blocks. One frame needed a 1/32 shim to be added to the support block. Also added deadwood and trimmed rabbet to bearding line,
-
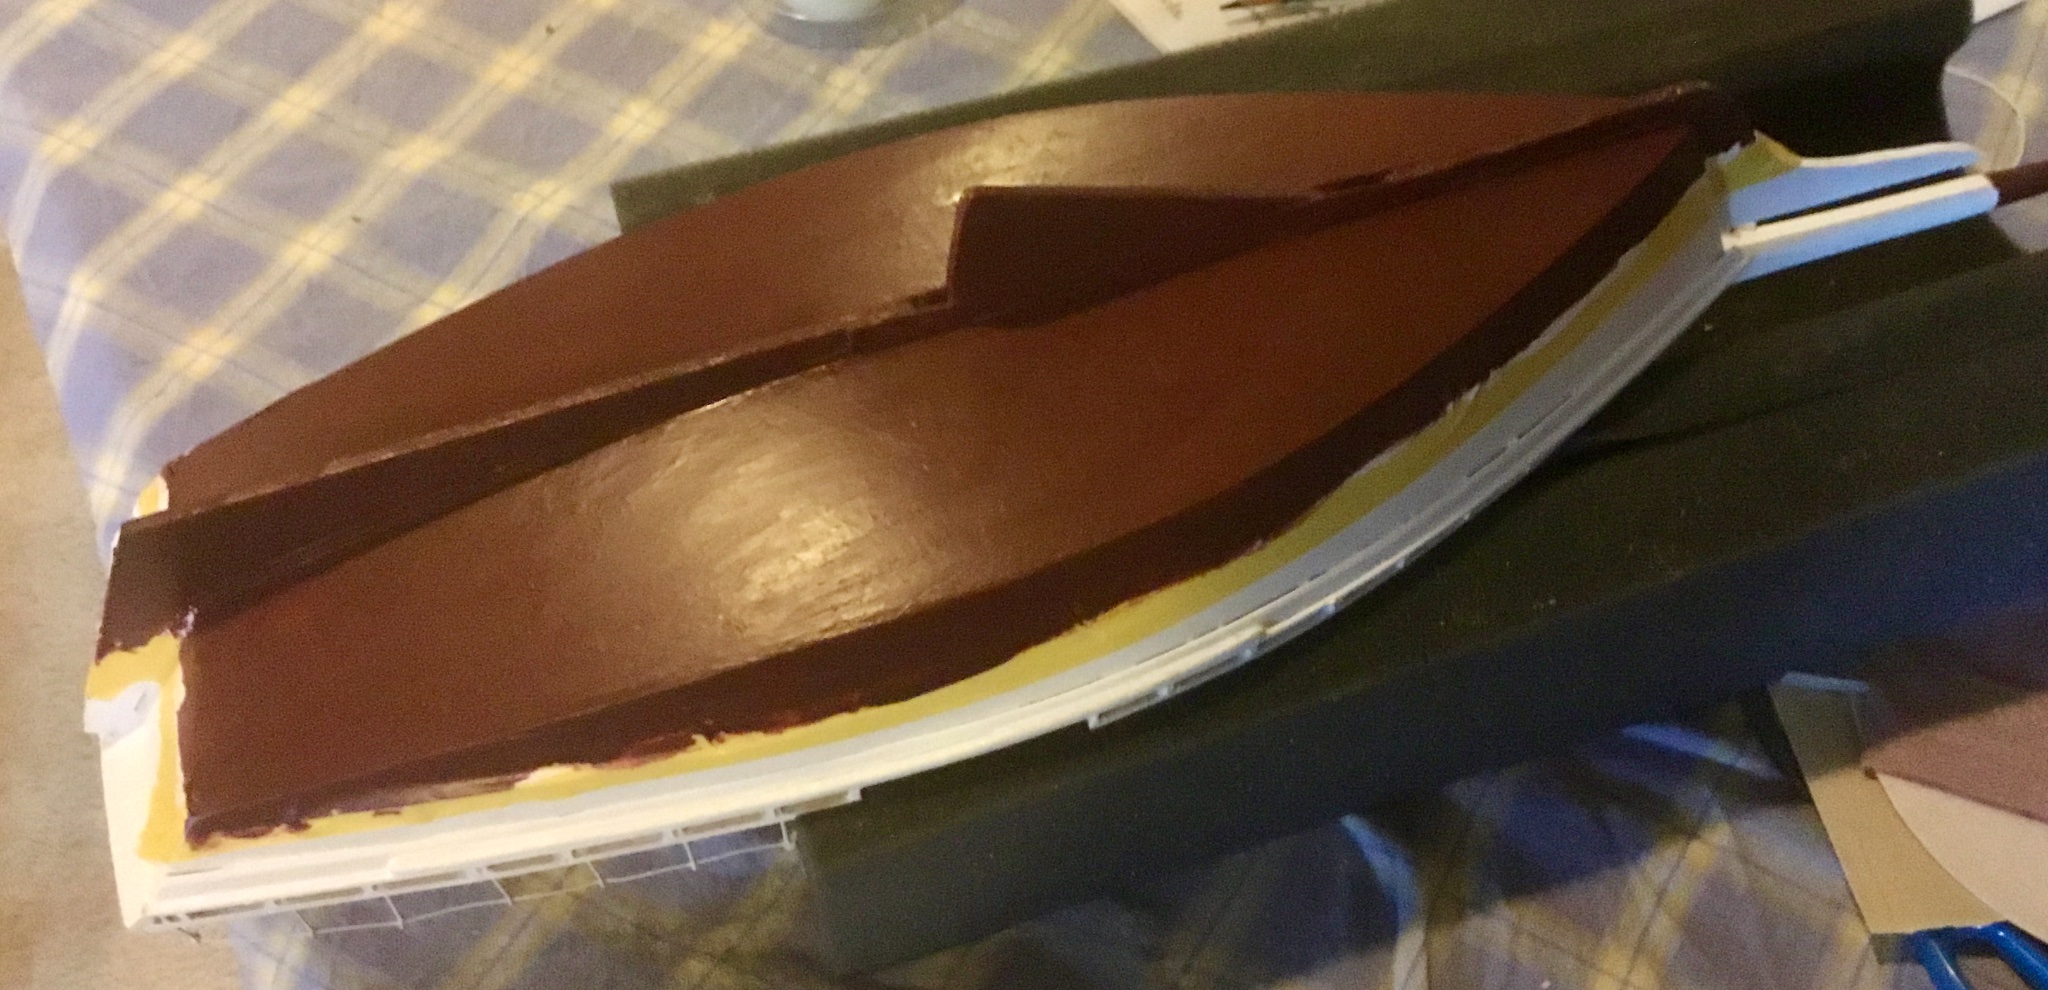
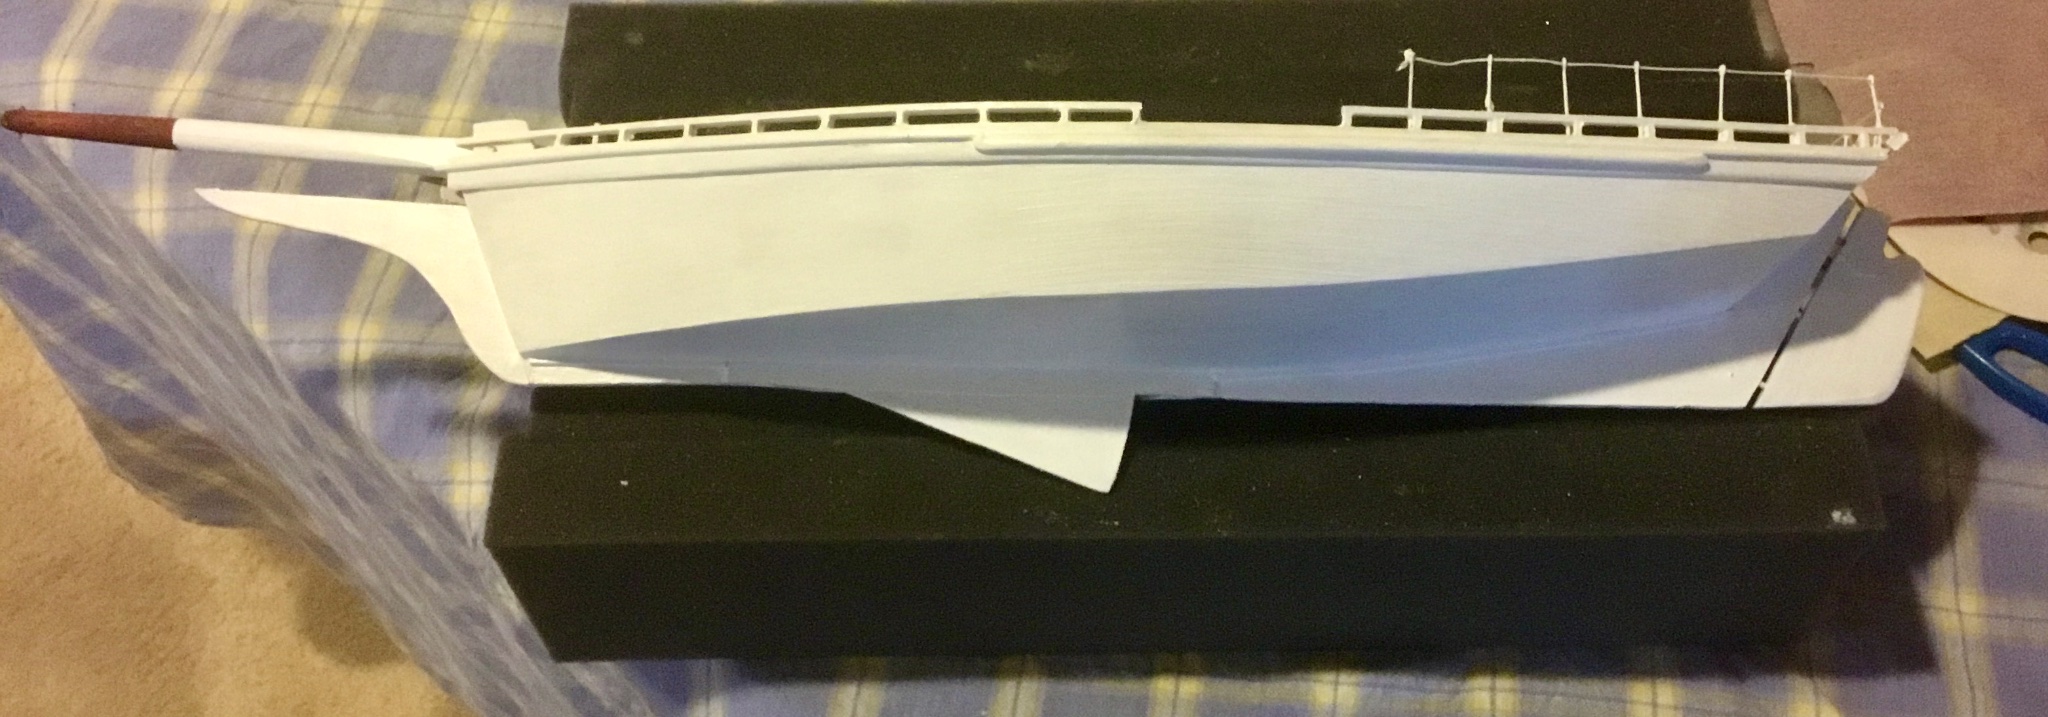
Added rudder Masked deck prior to painting hull. Painteed hull with primer and then a coat of white. Masked off water line and gave bottom two coats of hull red. Built and painted forepeak hatch wheel box cargo hatch deck house stove pipe engine box engine exhaust bottom of push boat and keelson.


- 22 replies
-
- 1
-
-
- Horizon
- Chesapeake Bay Skipjack
- (and 1 more)
-
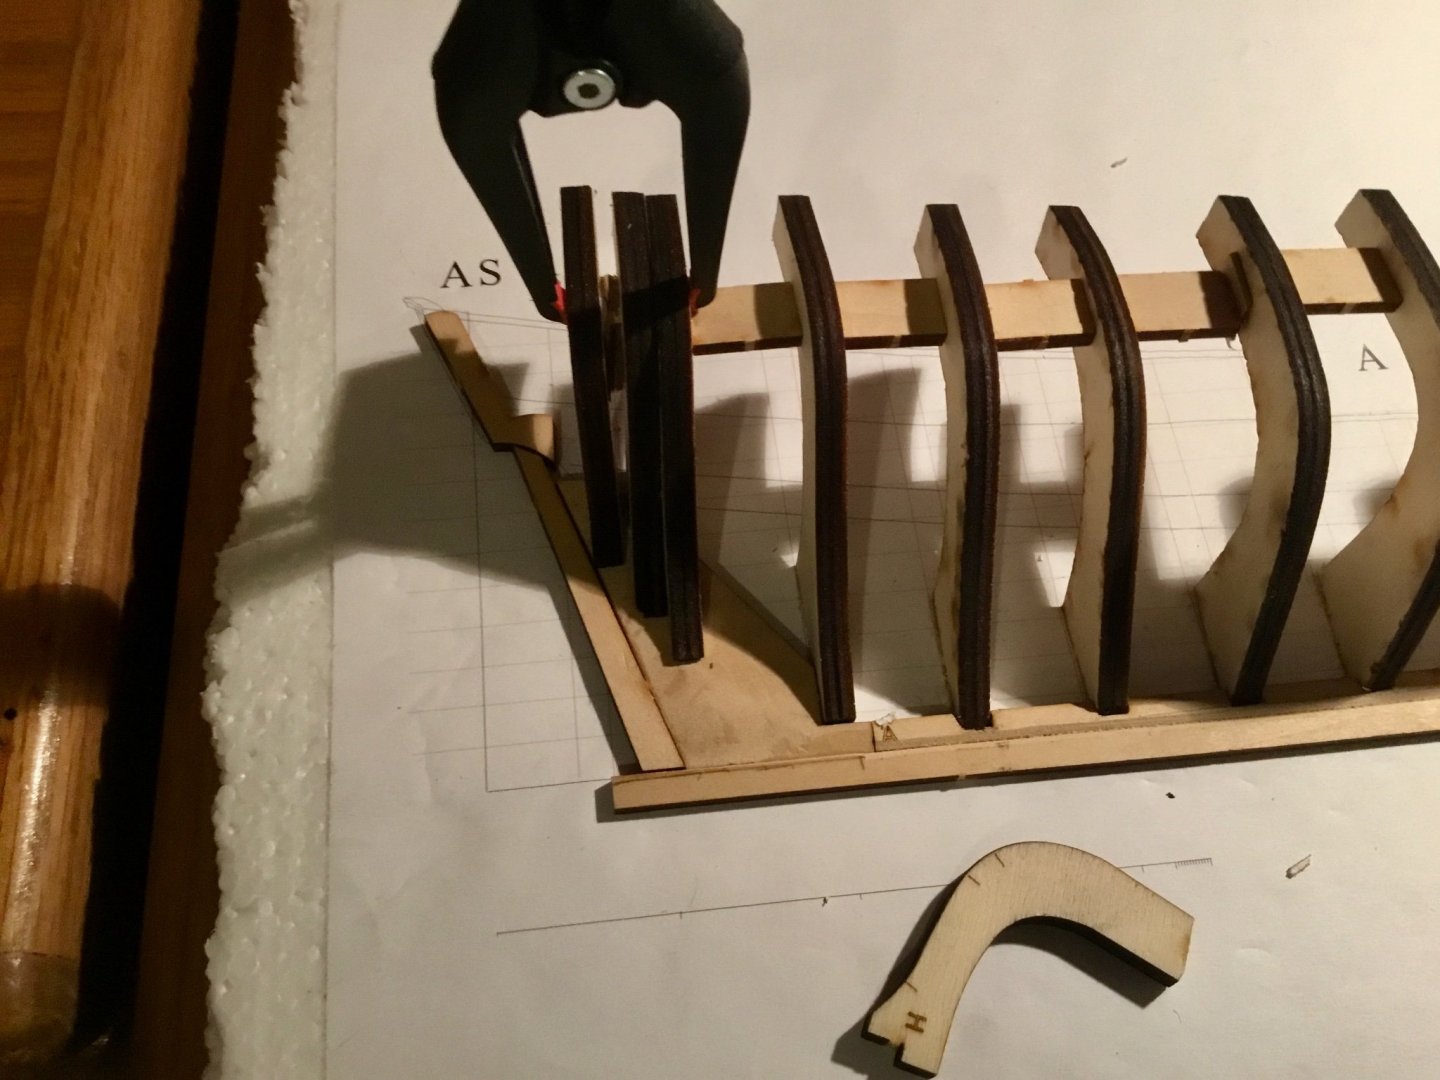
added frames E thru 4 and began installing spacers . Needed a shim between frames D and C.

-
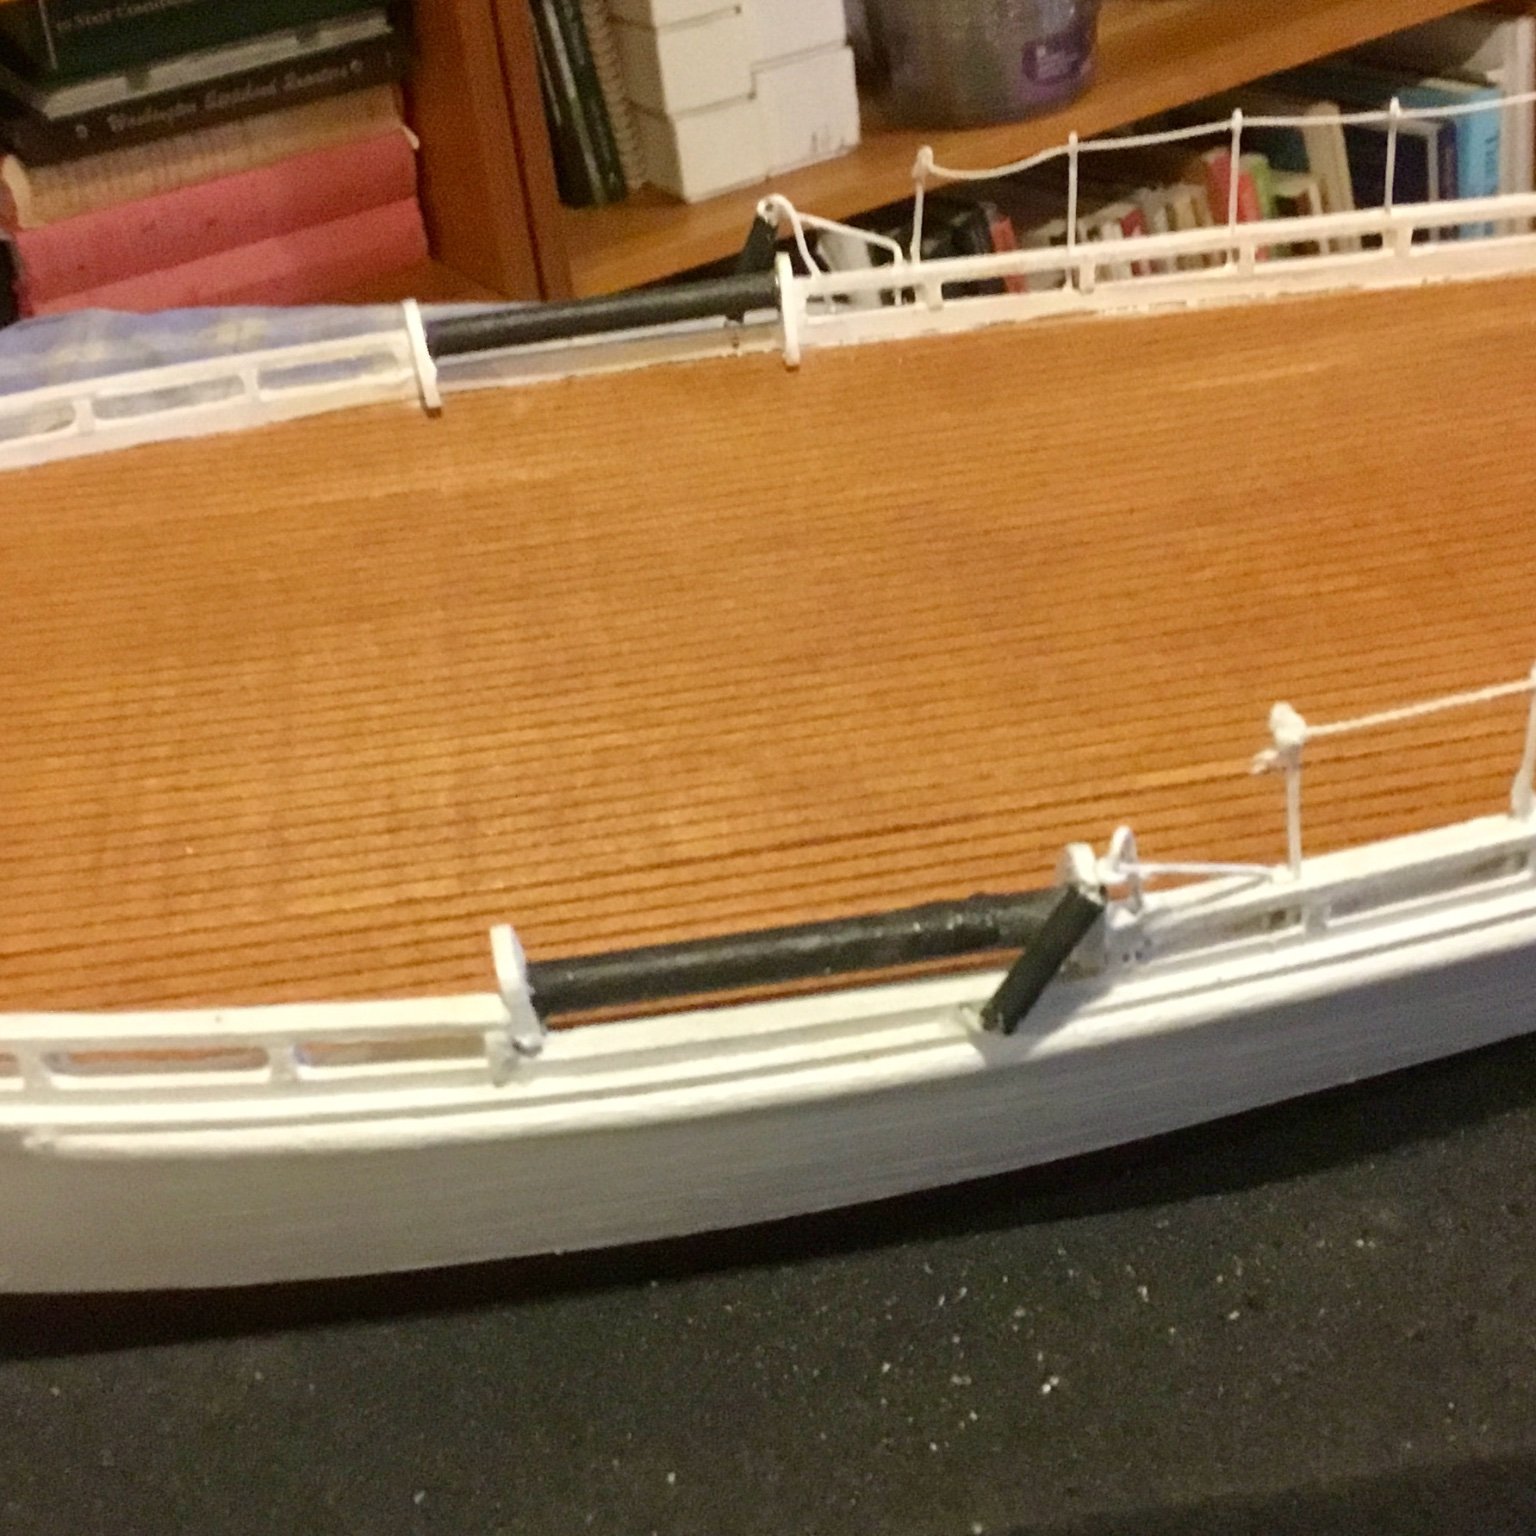
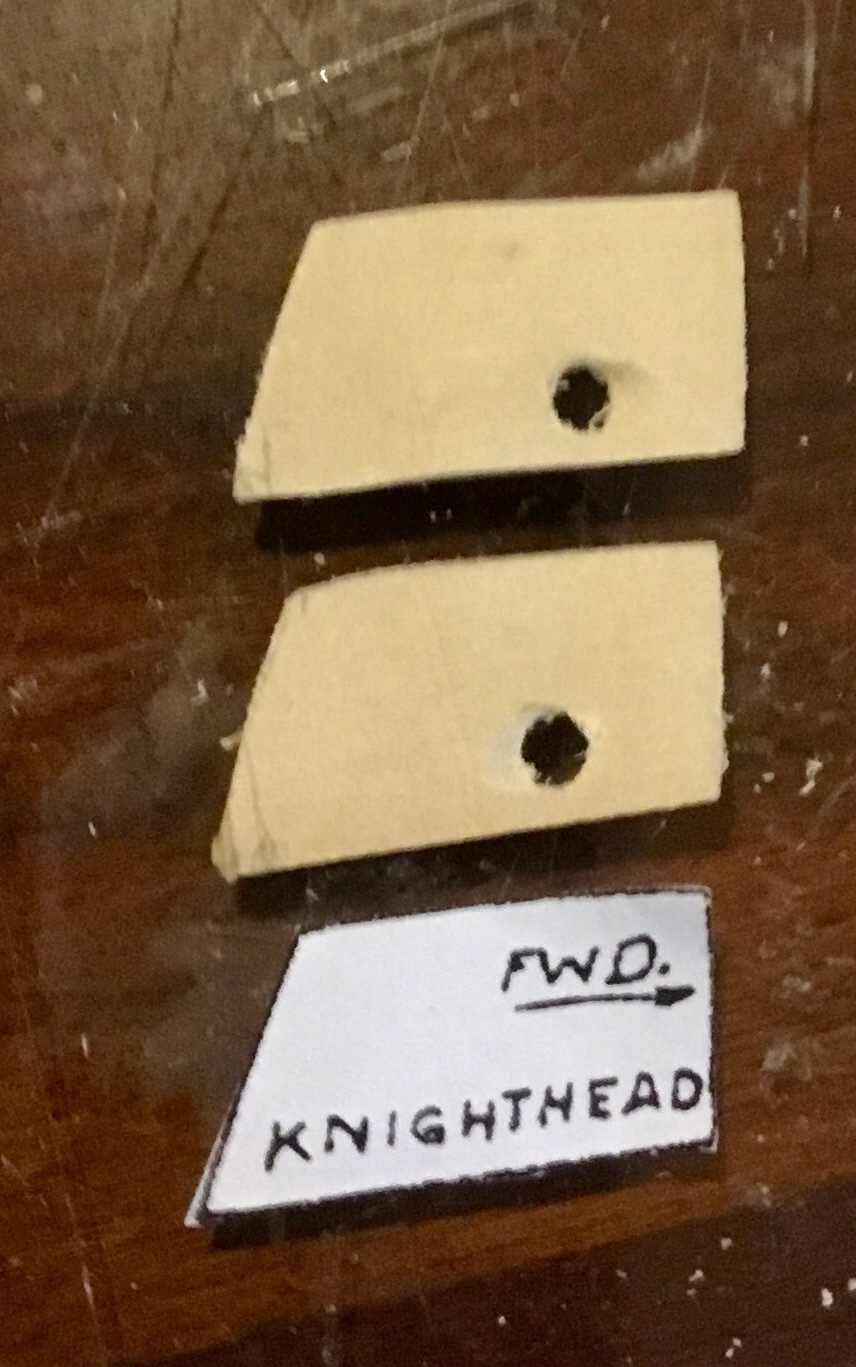
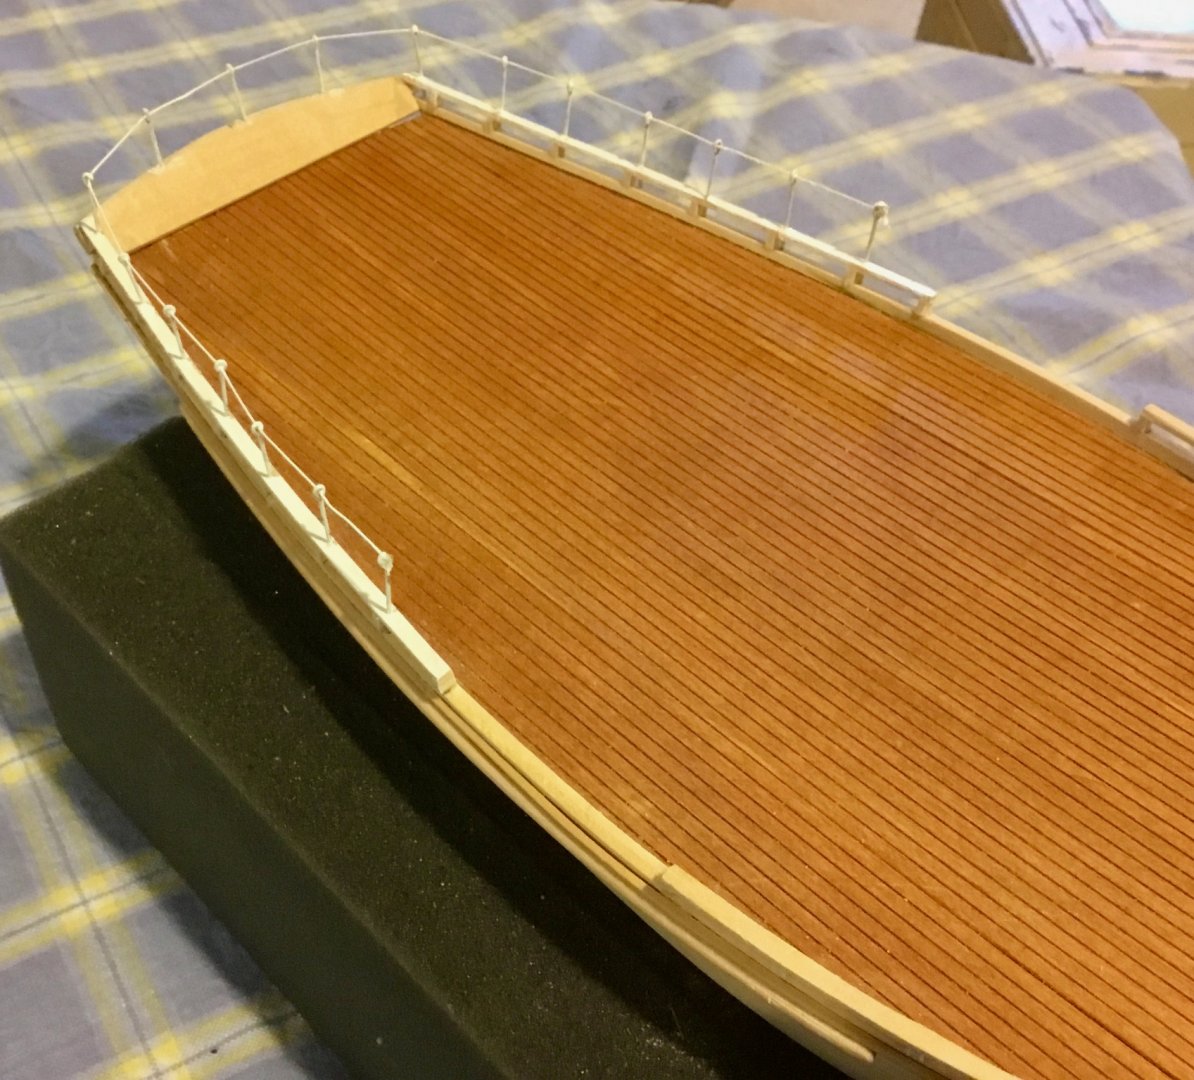
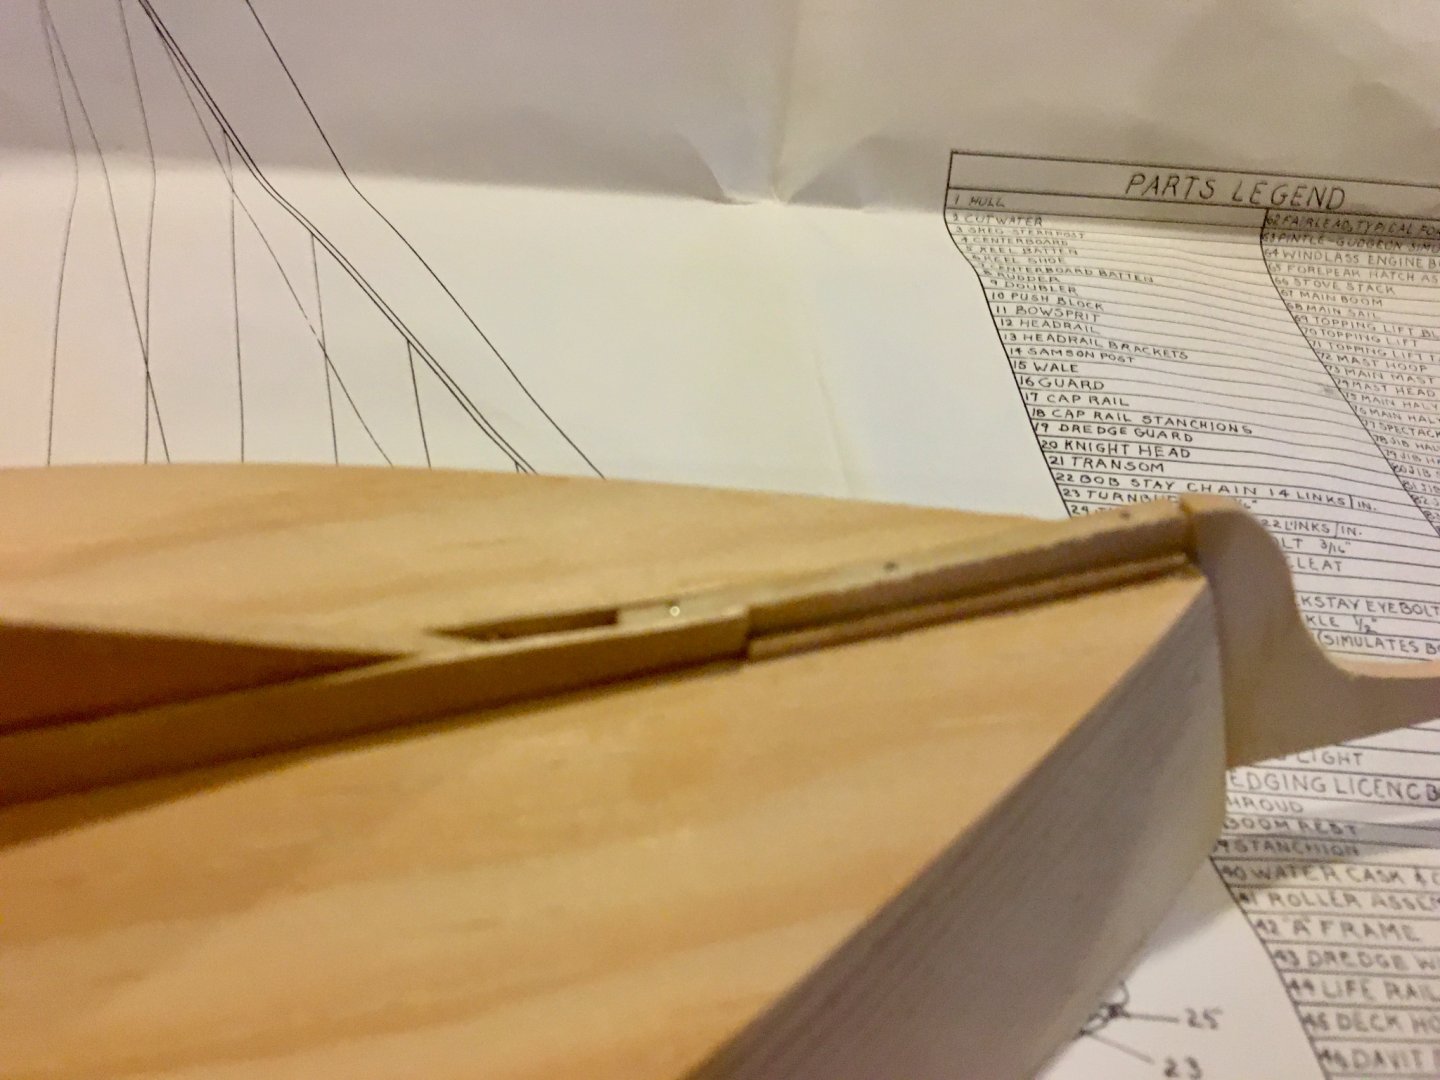
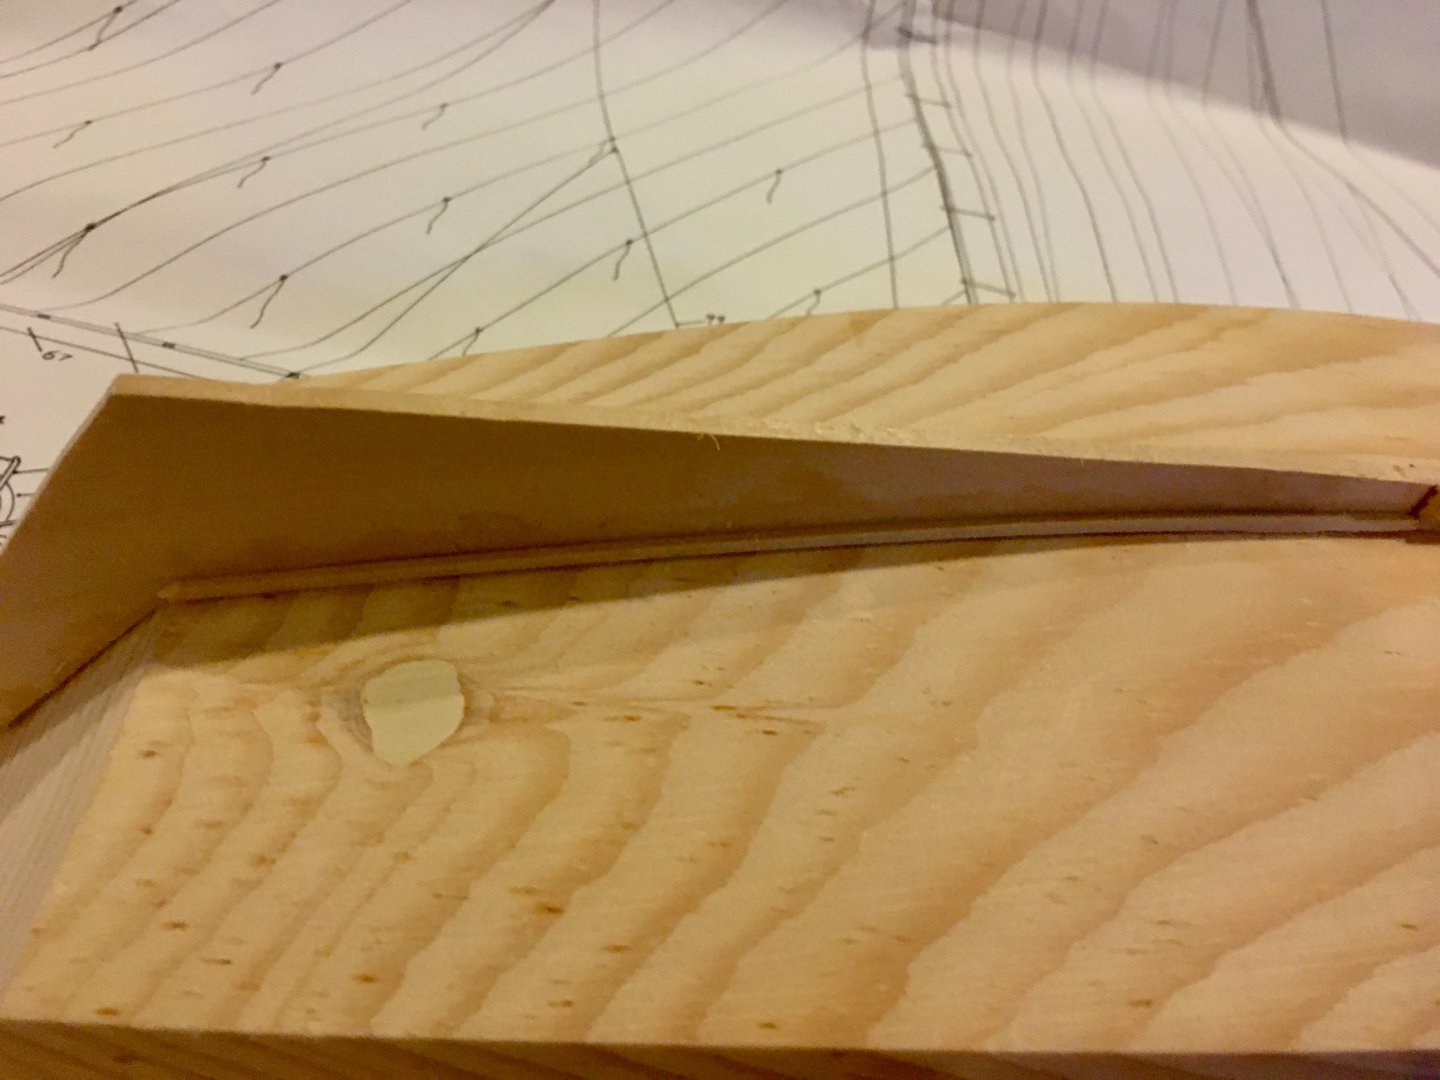
Installed plank sheer on inside edge of wale. Added blocks at masthead and near top of mast. Added guard and dredge guard to wales. Added transom and stanchion blocks. Added cap rails. Removed excess wood from stanchions and sanded even to cap rail. Installed knight heads. Created rudder with doublers and applied a coat of primer. Added life rail (pipe rail) and applied a coat of primer.


-
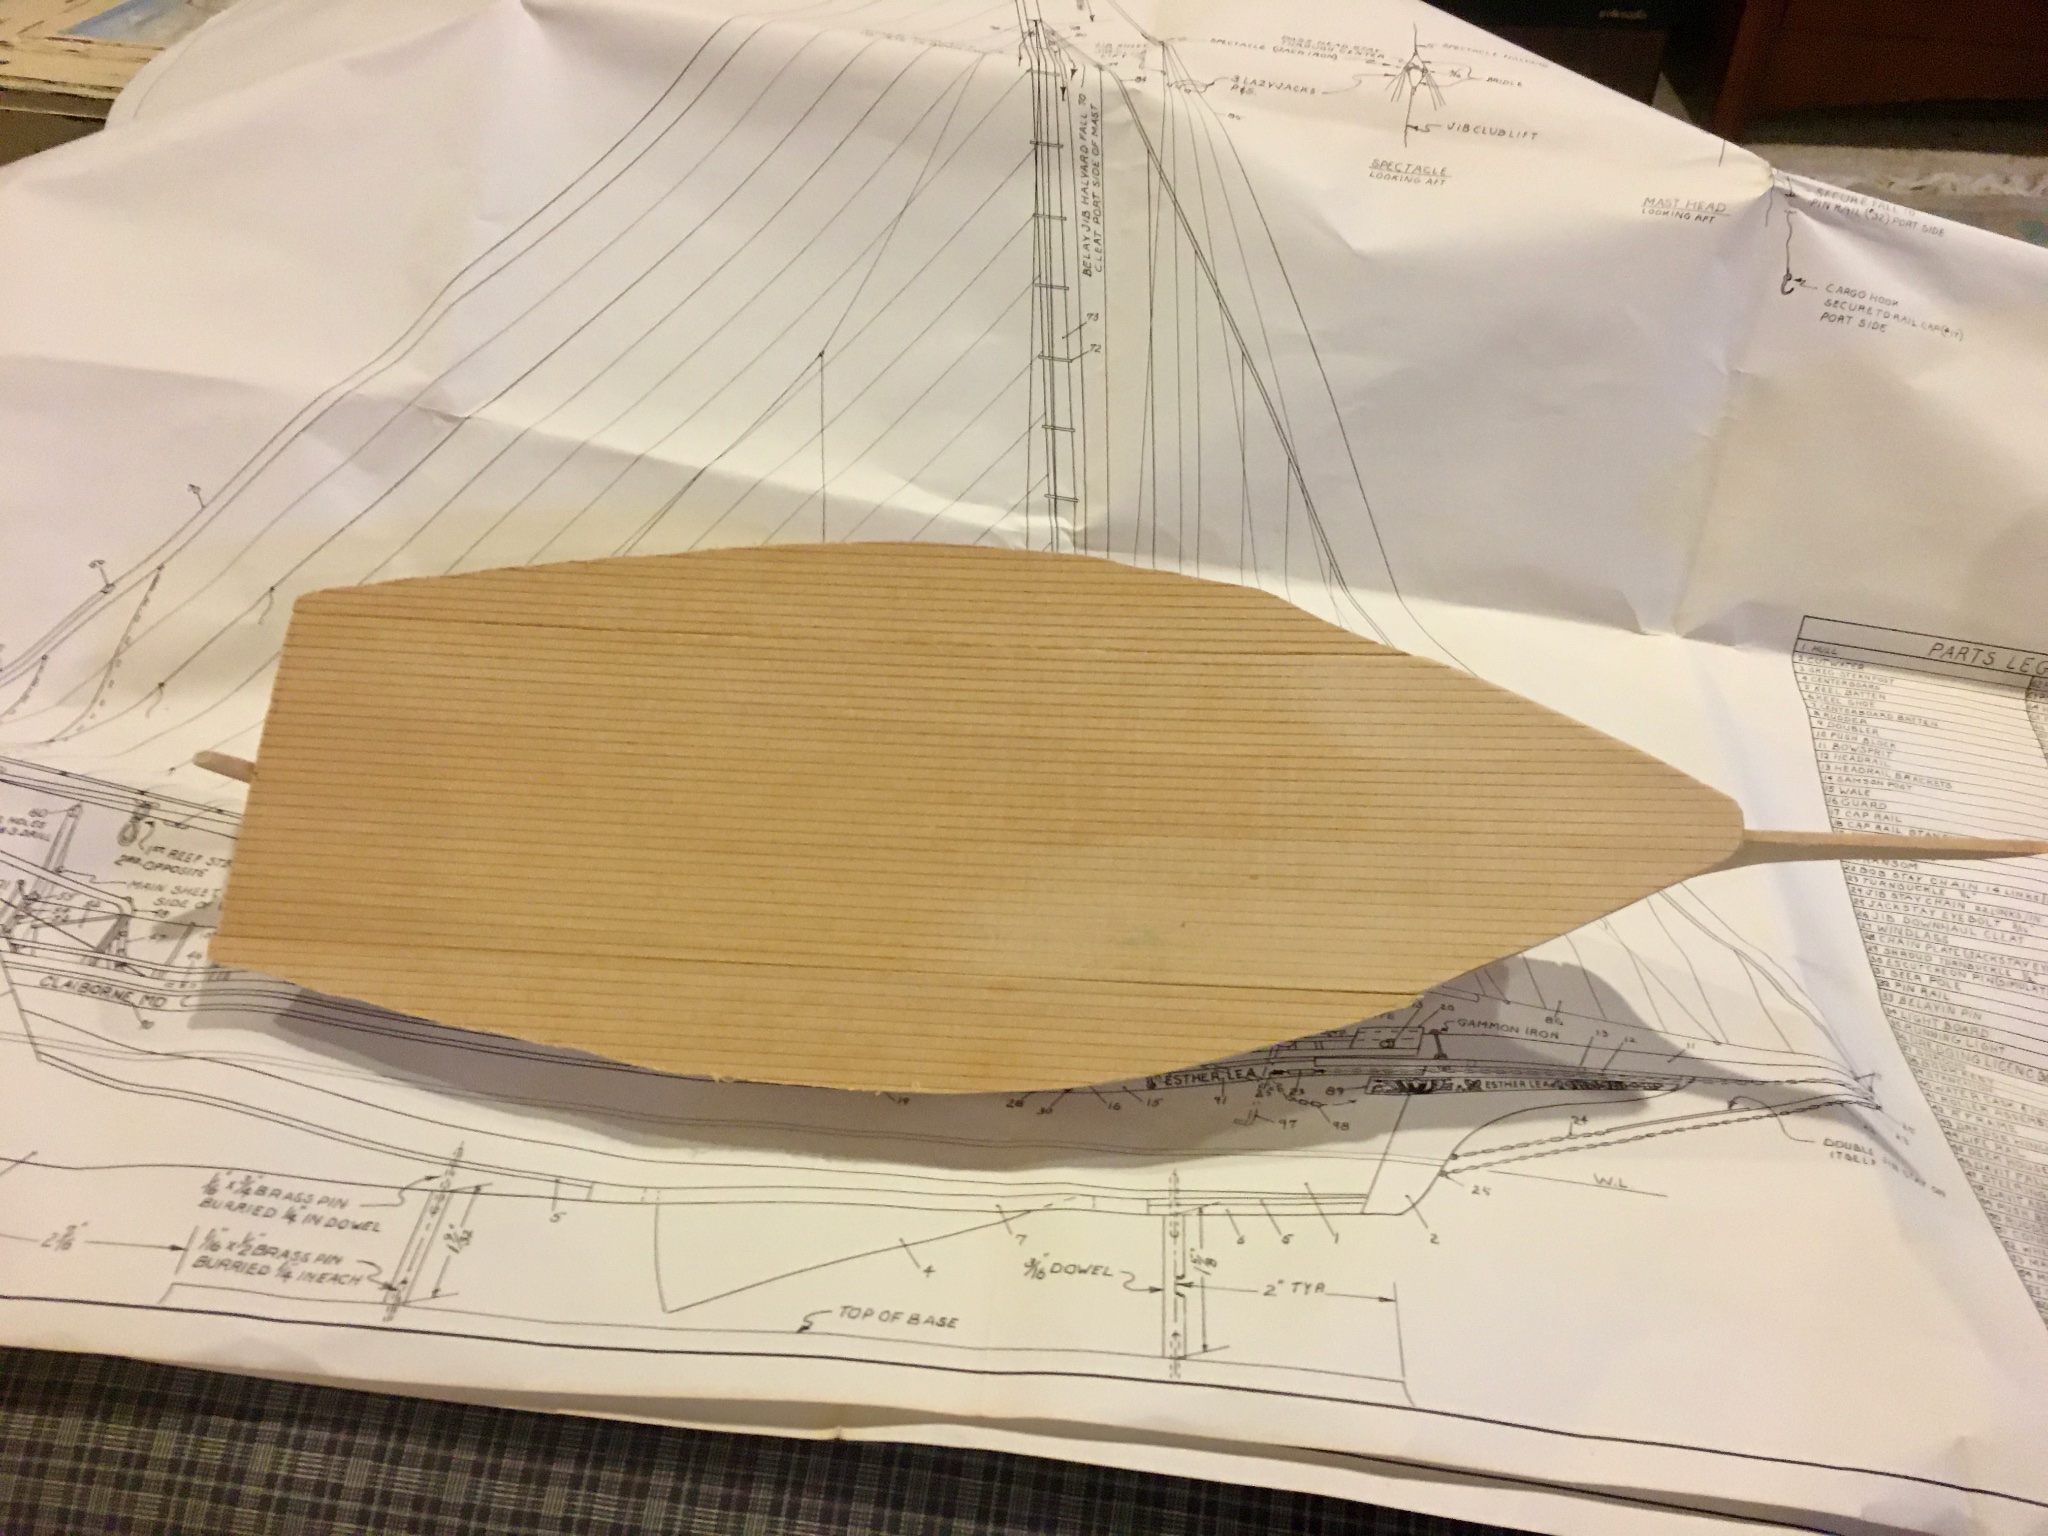
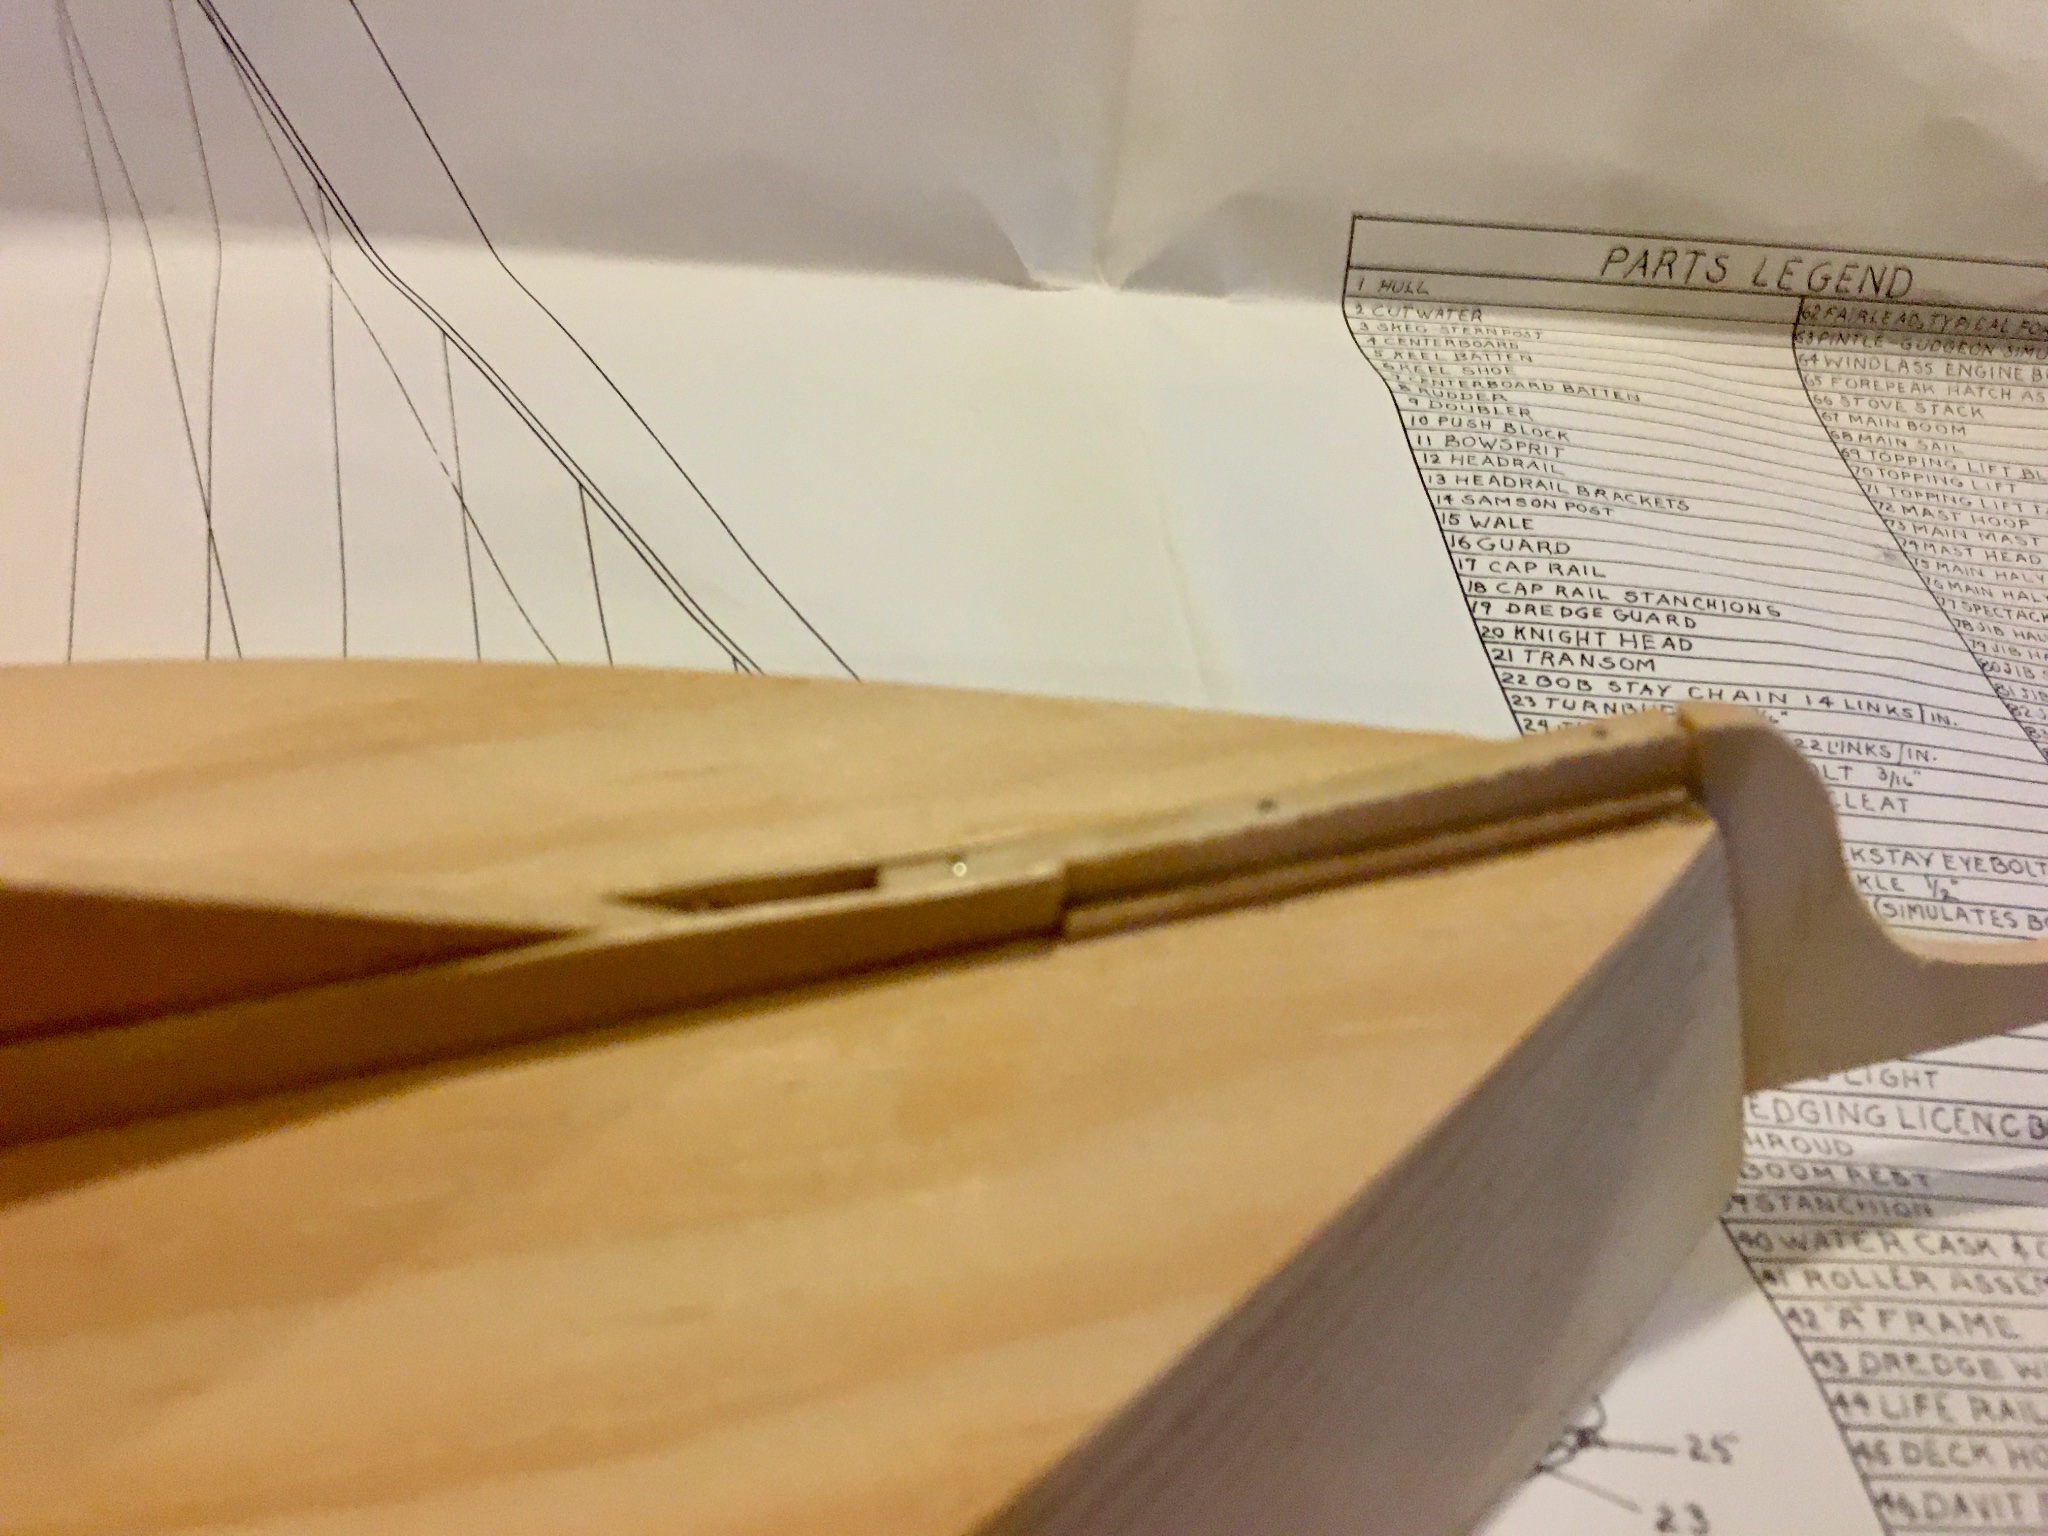
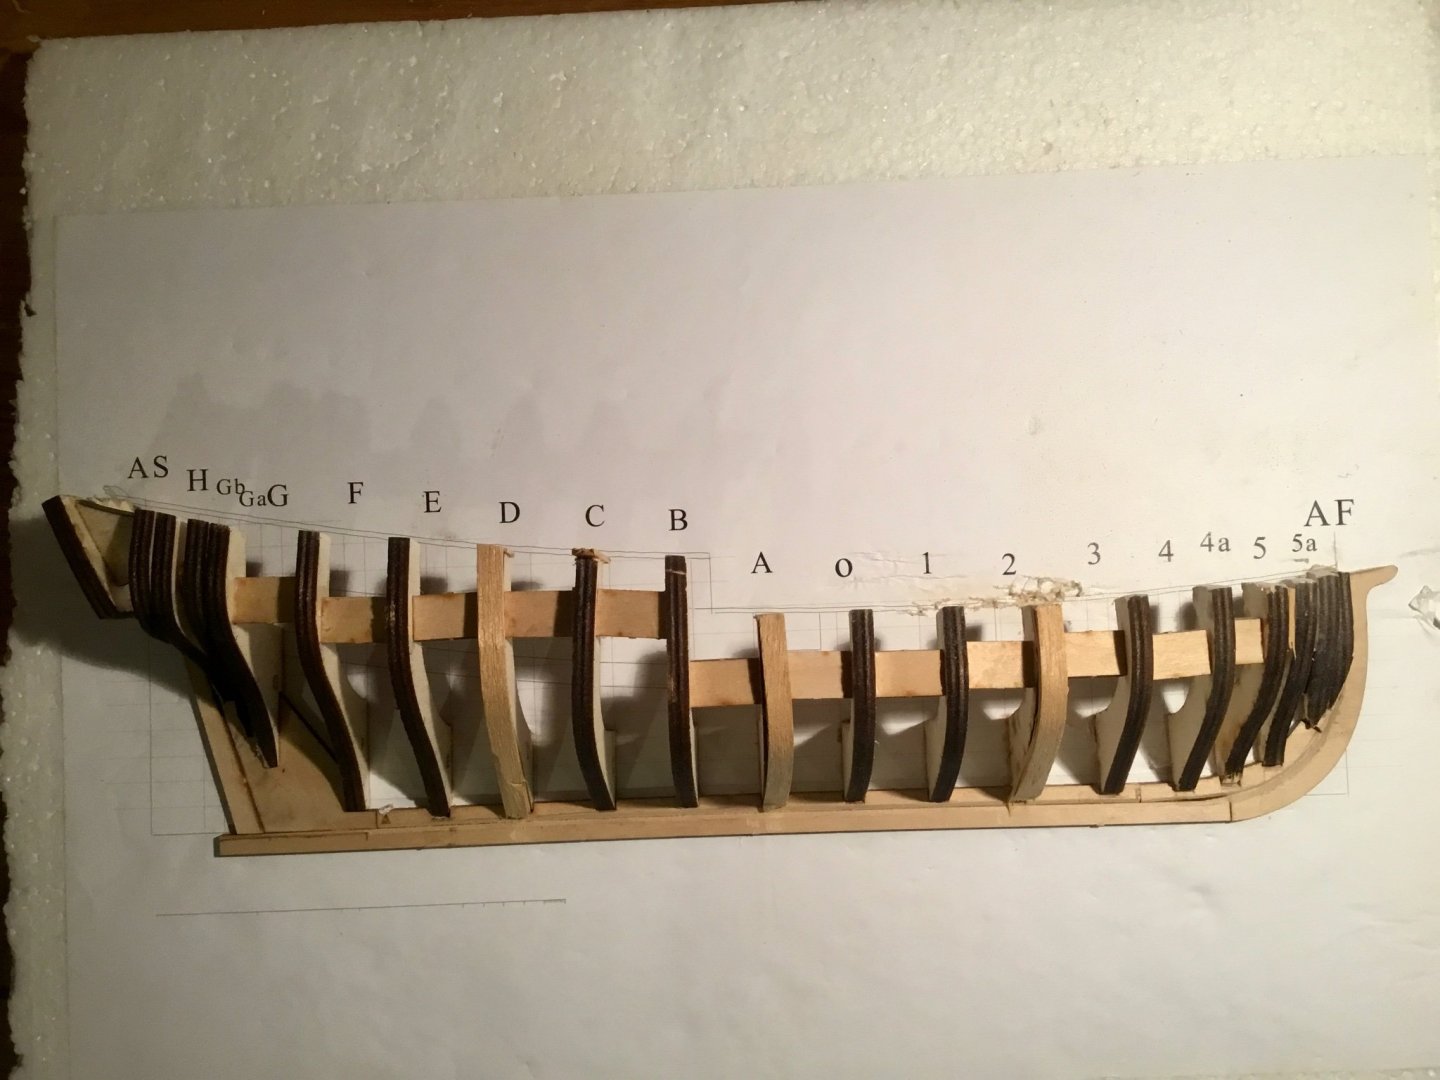
Created the rabbet and glued the keel, keelson, stem and stemson onto the building board. Started deepening the slots 1/16". I had a problem deepening the slots because the part to be removed was glued to the backing board. It would have been a lot easier work if I had not applied glue to the areas just beneath the slots. The glue made removal of the wood more difficult. Checked the transition from the rabbet onto each frame as I went along.

-
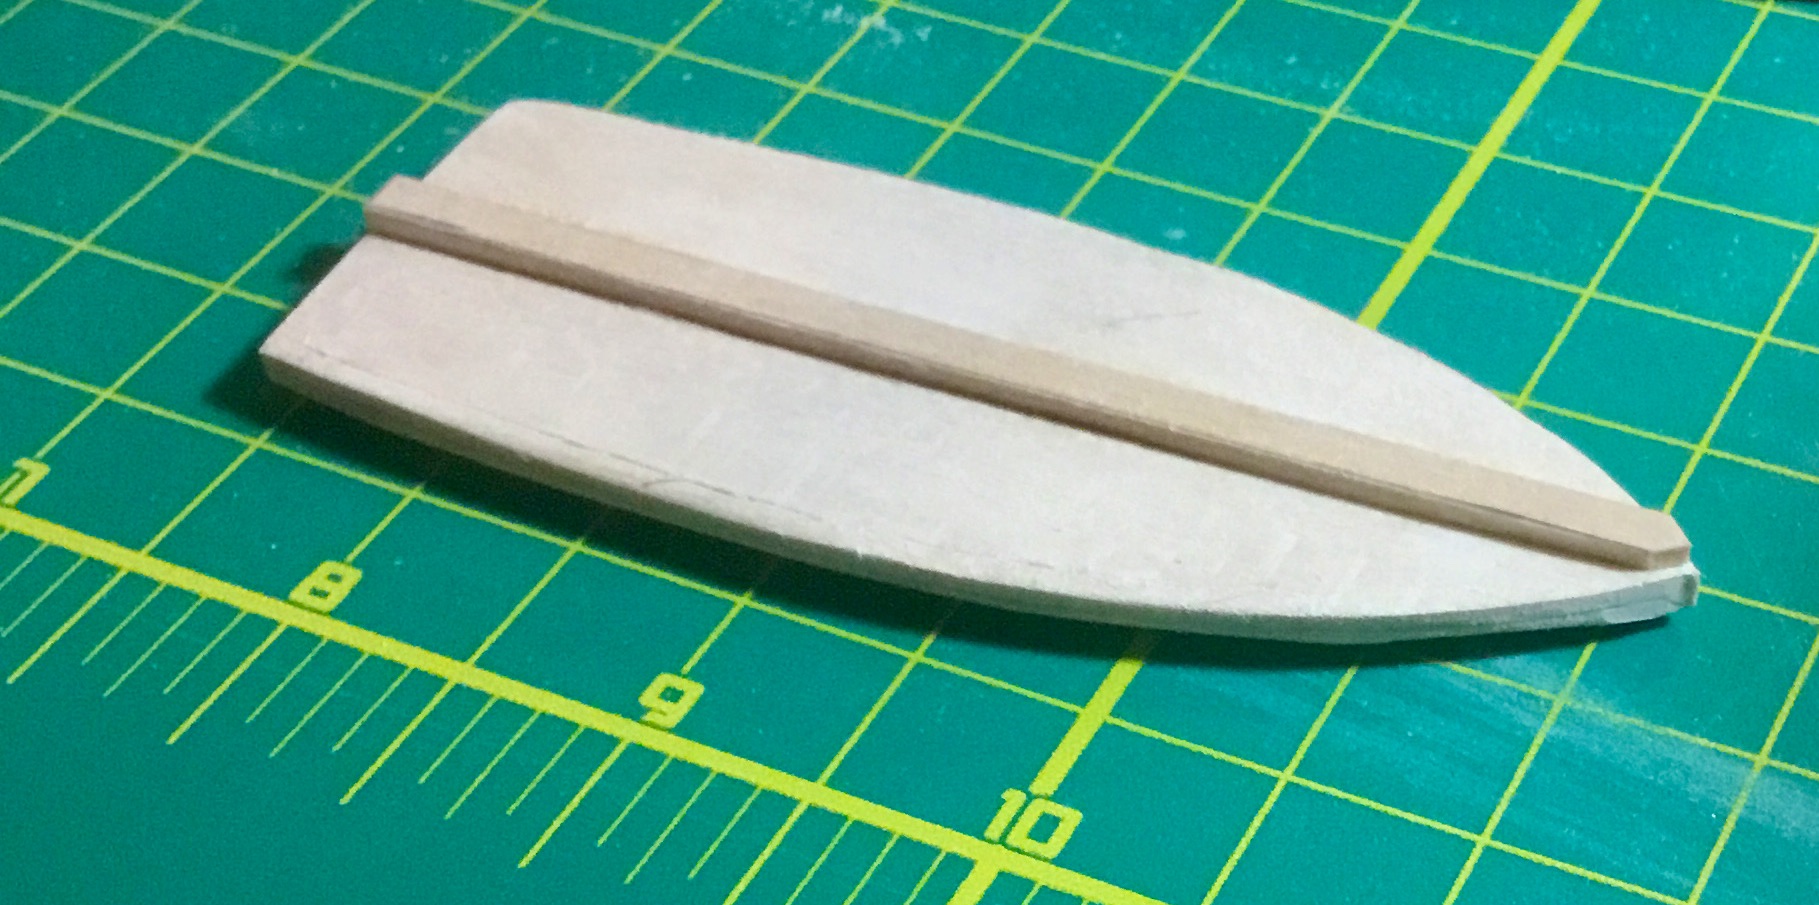
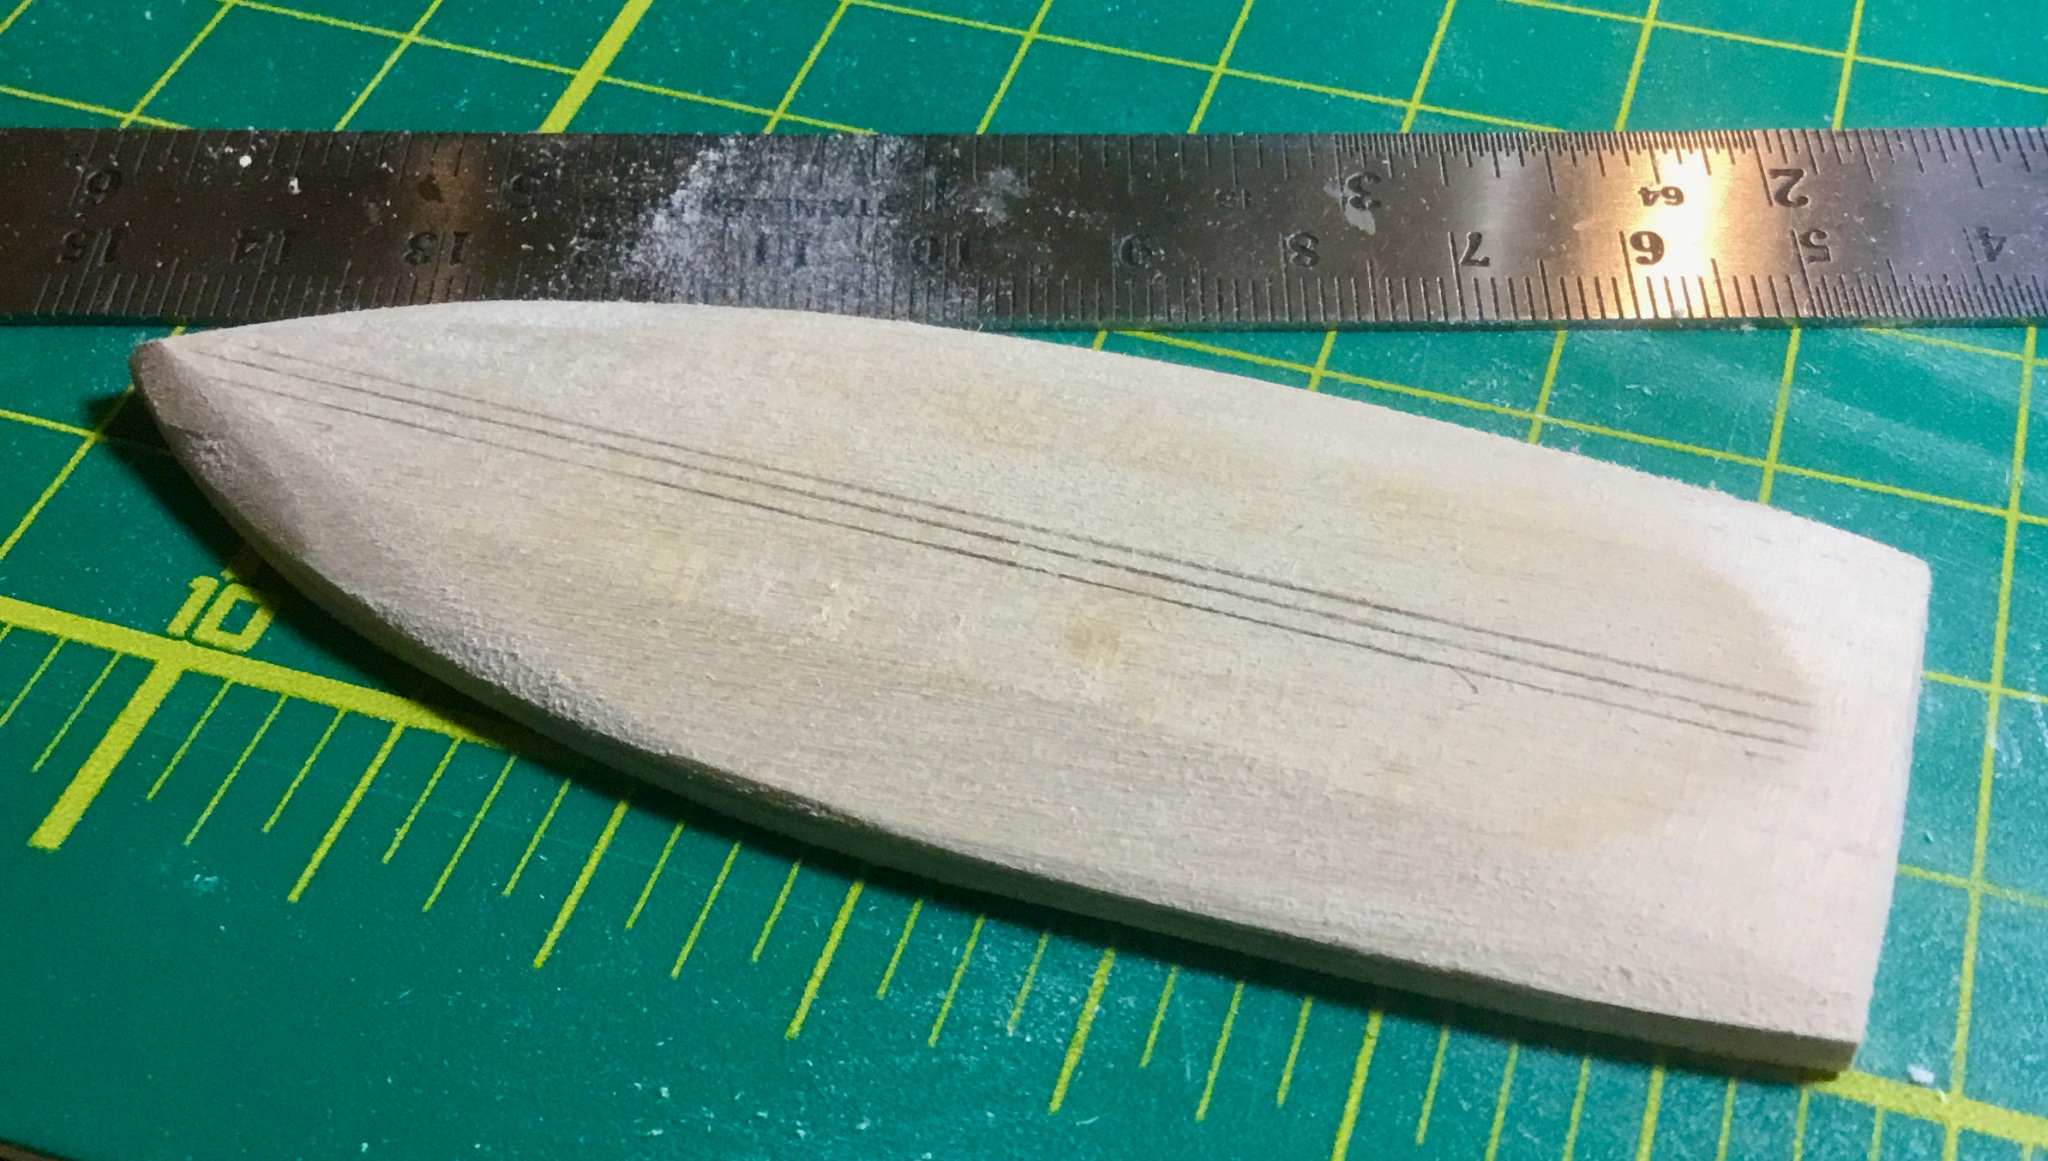
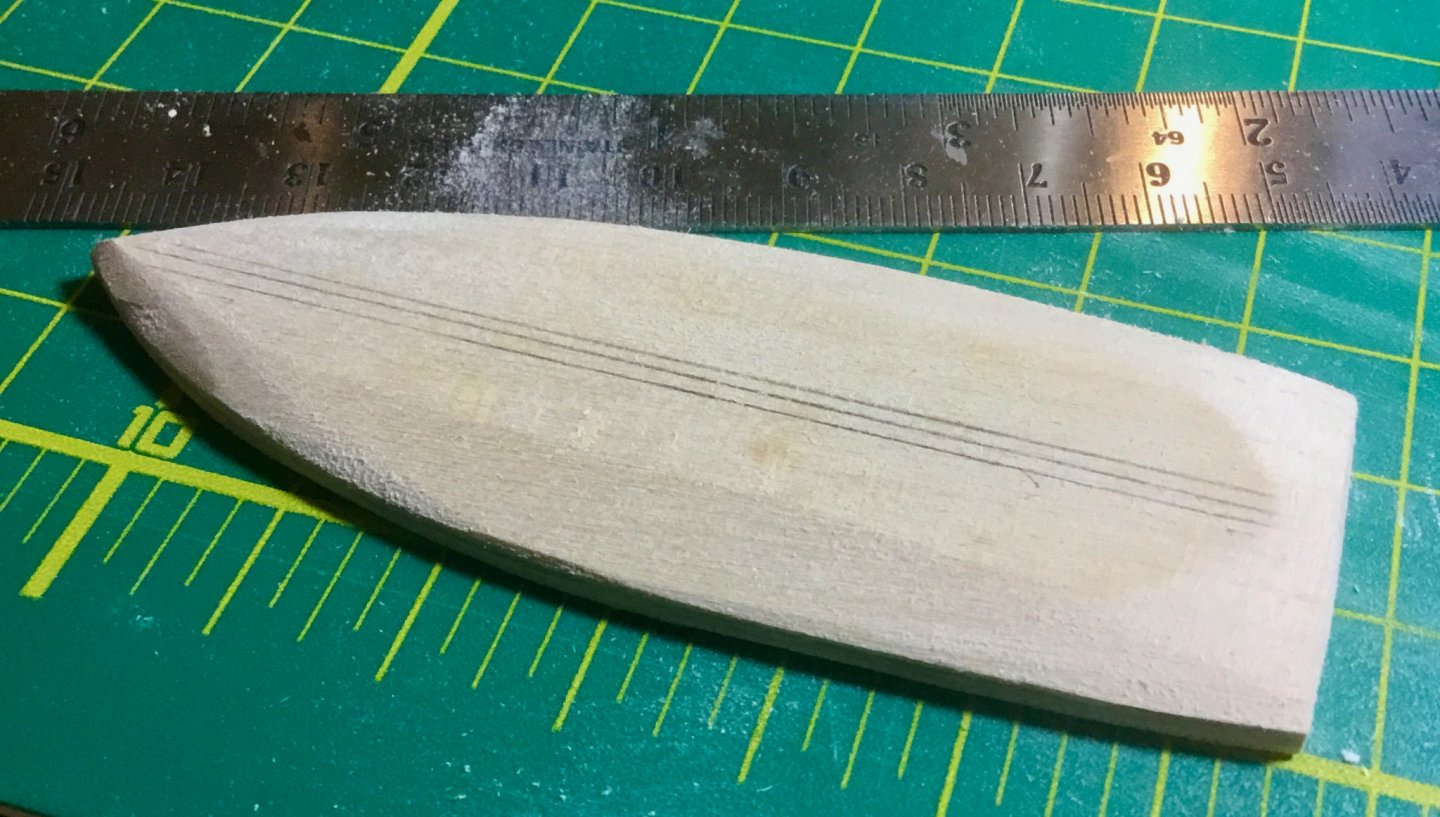
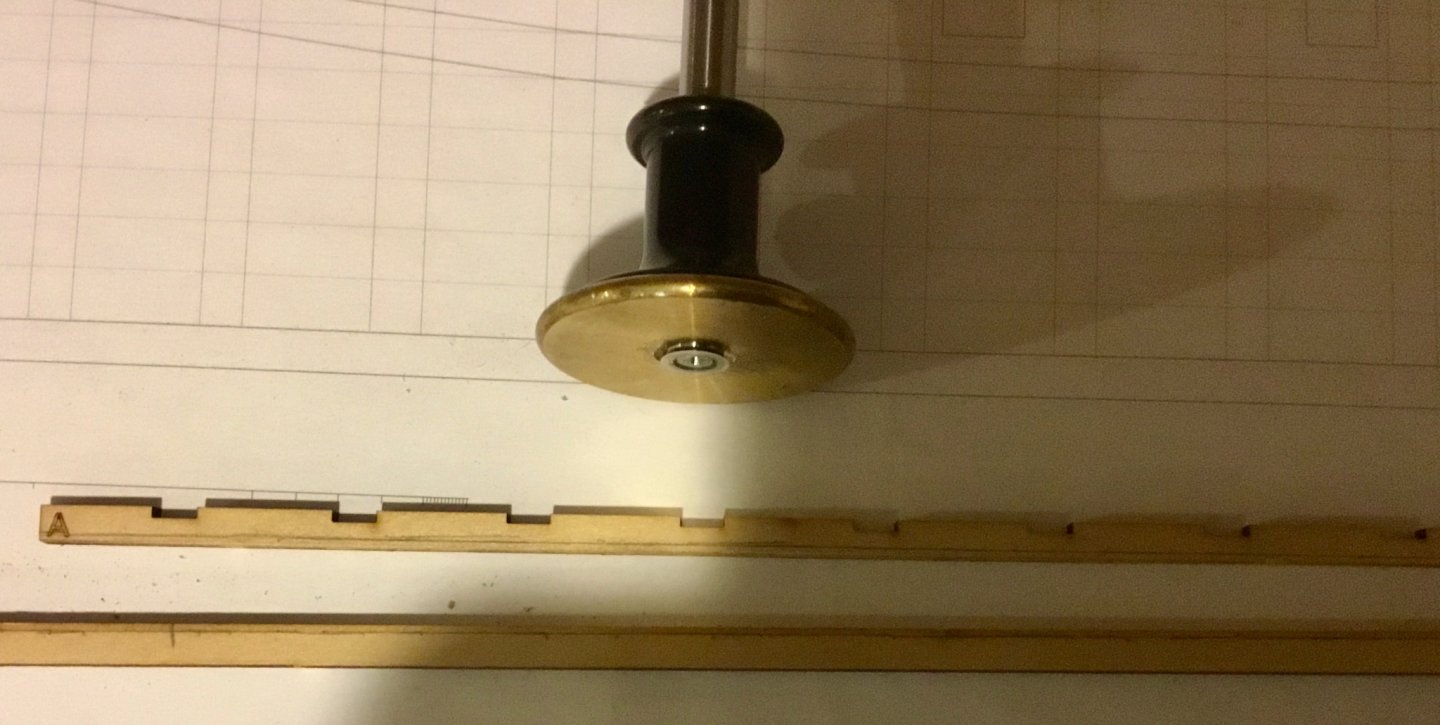
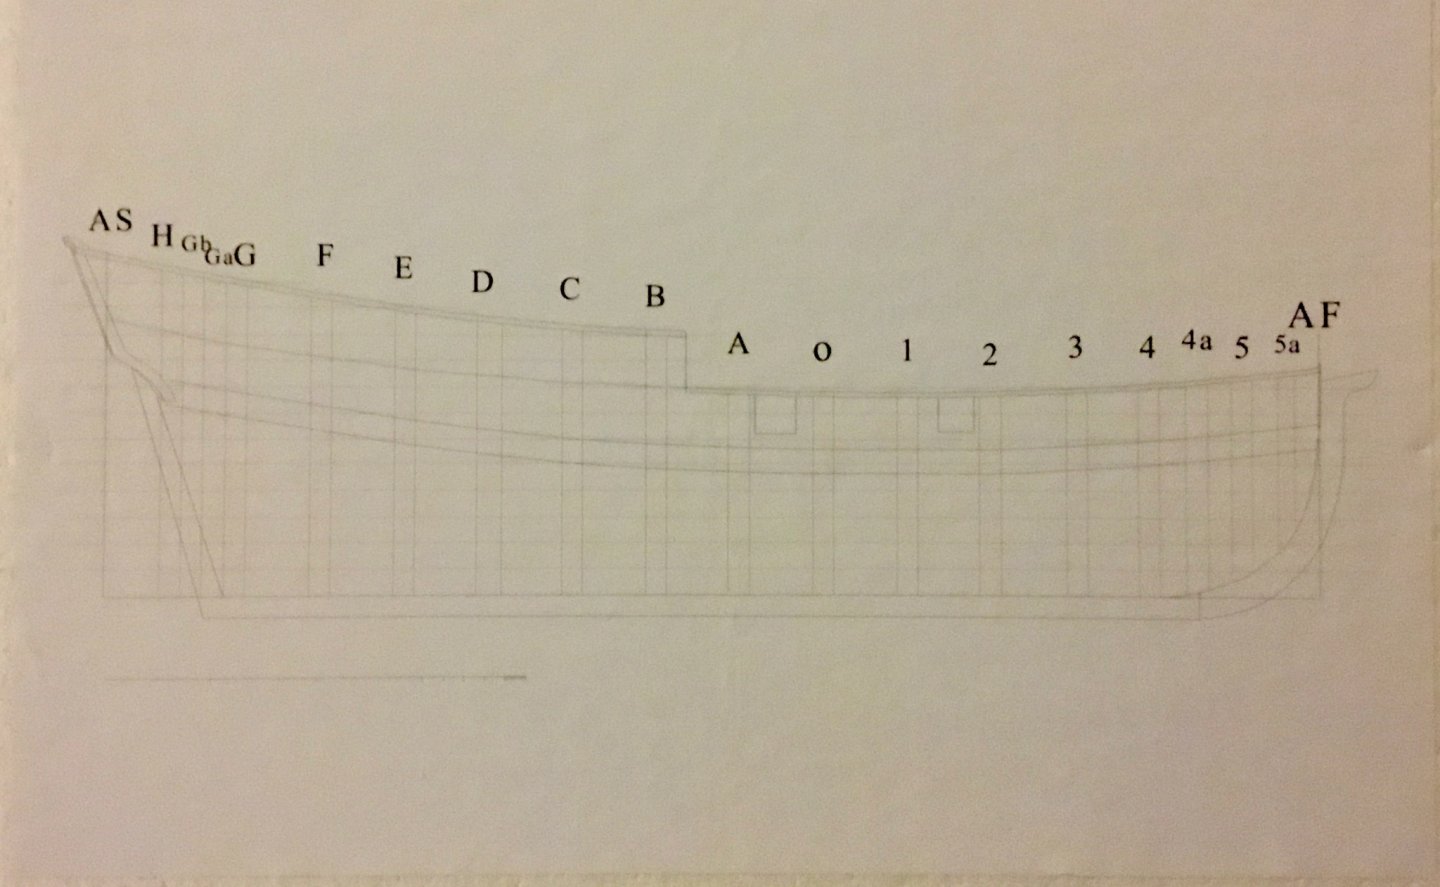
I will be building the half hull planking kit to improve my planking before I start my next model that requires planking. I am currently building a solid hull skipjack in another build log so this log will go slowly as I have free time between building the skipjack. Mounted the plans on a foam board and removed and laid out the keel parts.
-
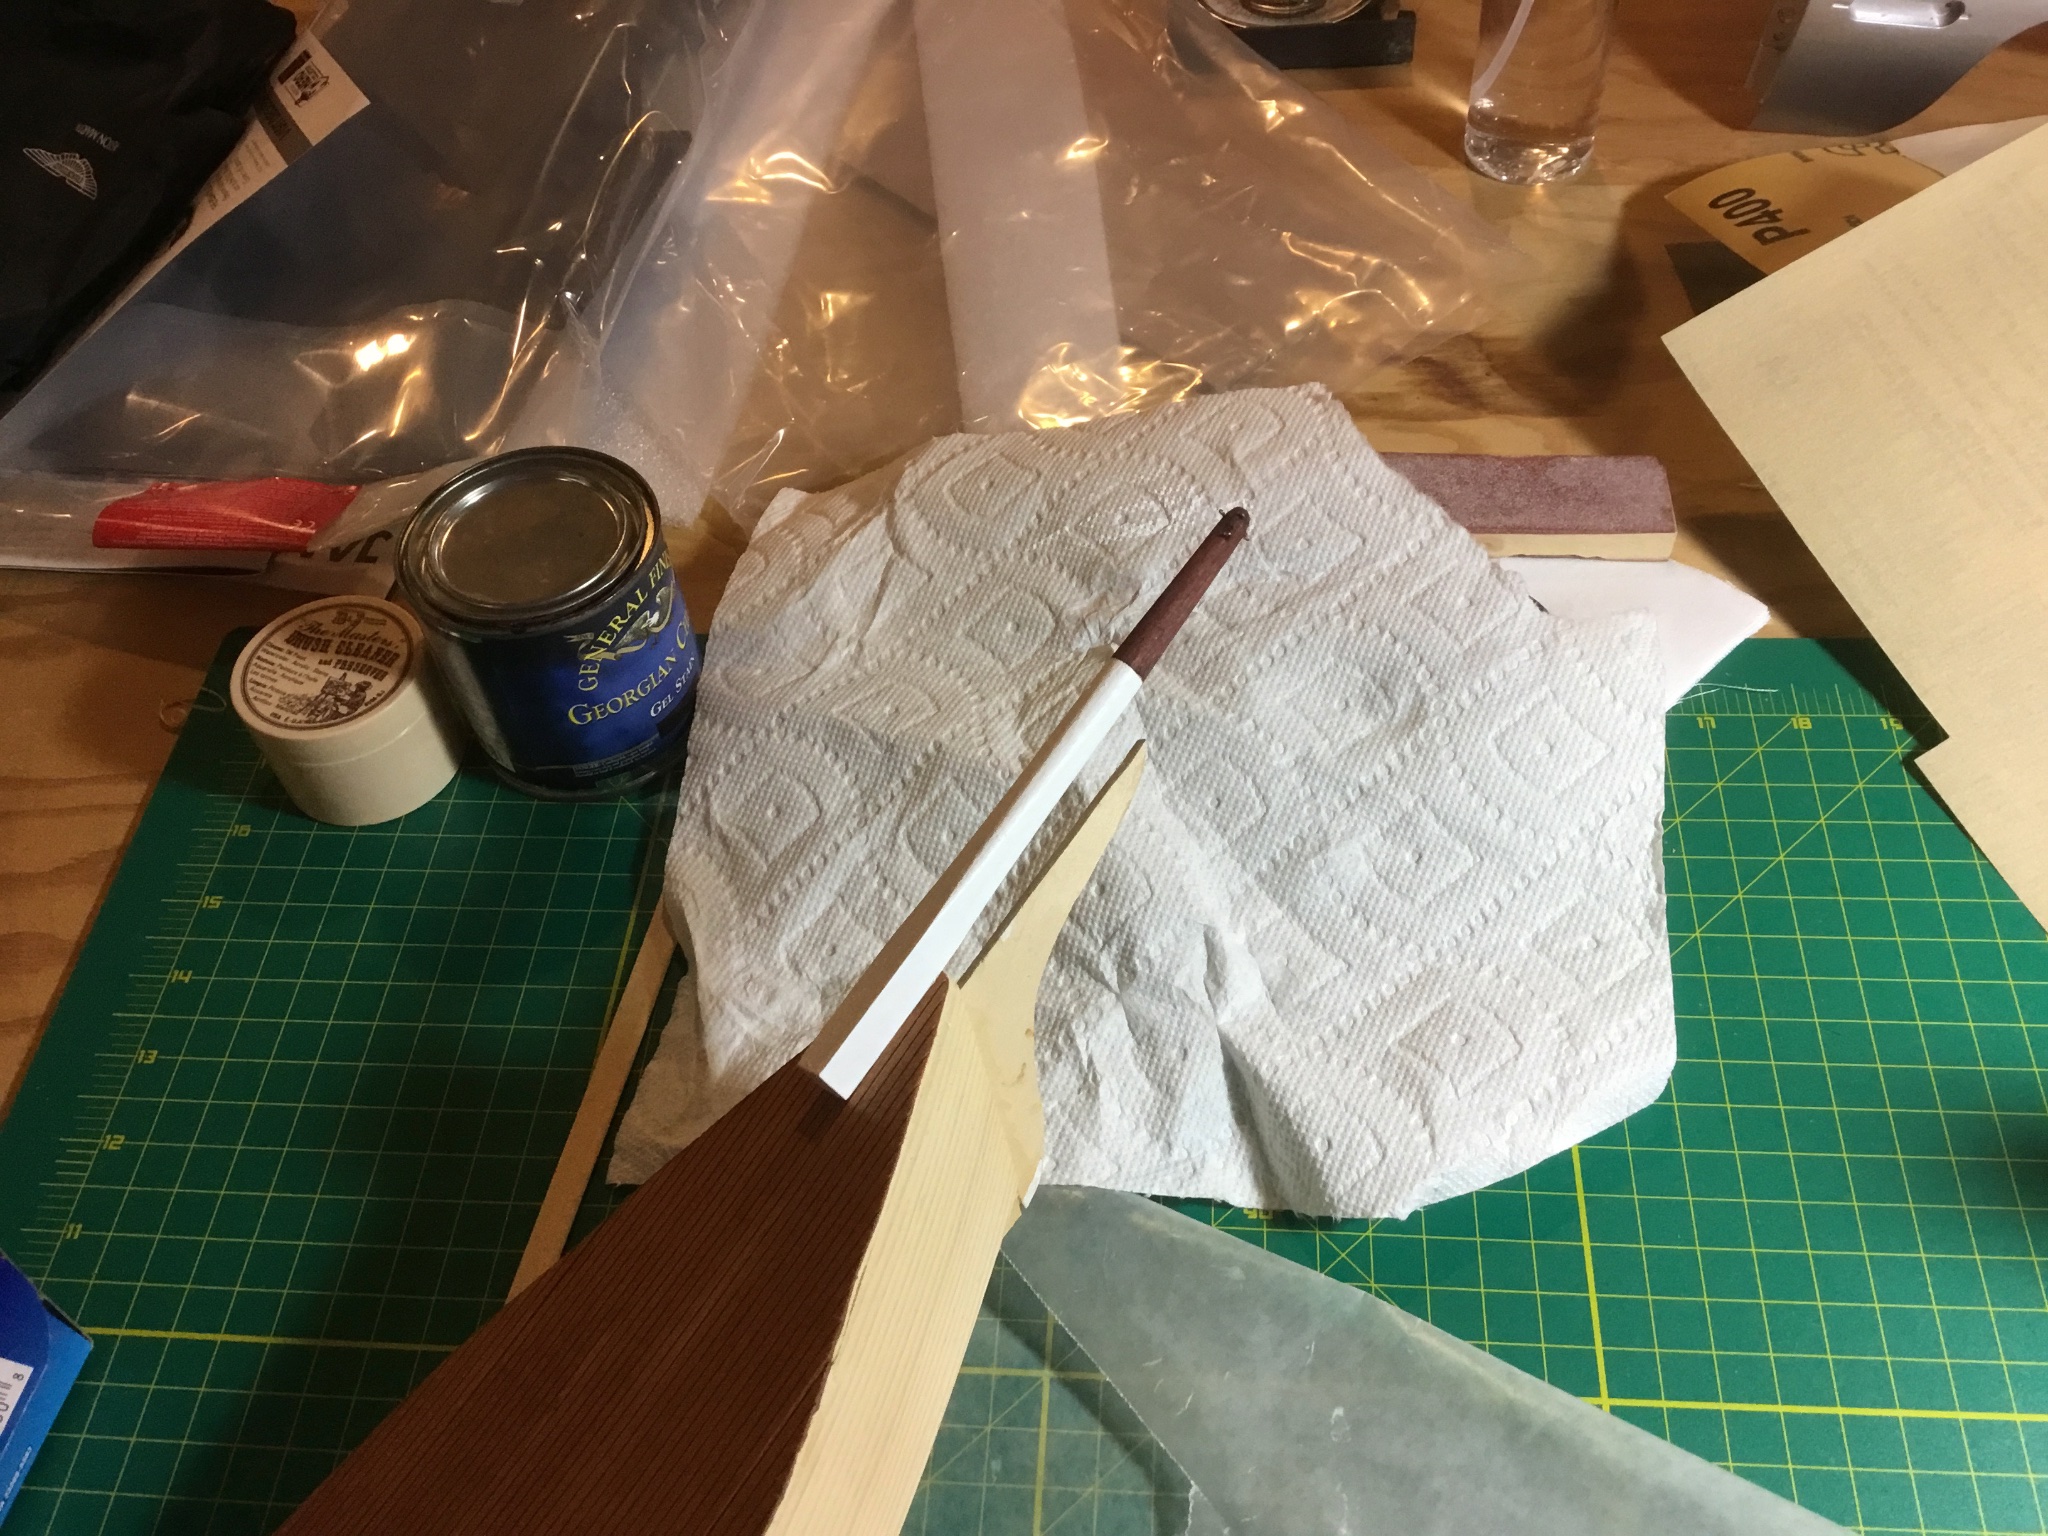
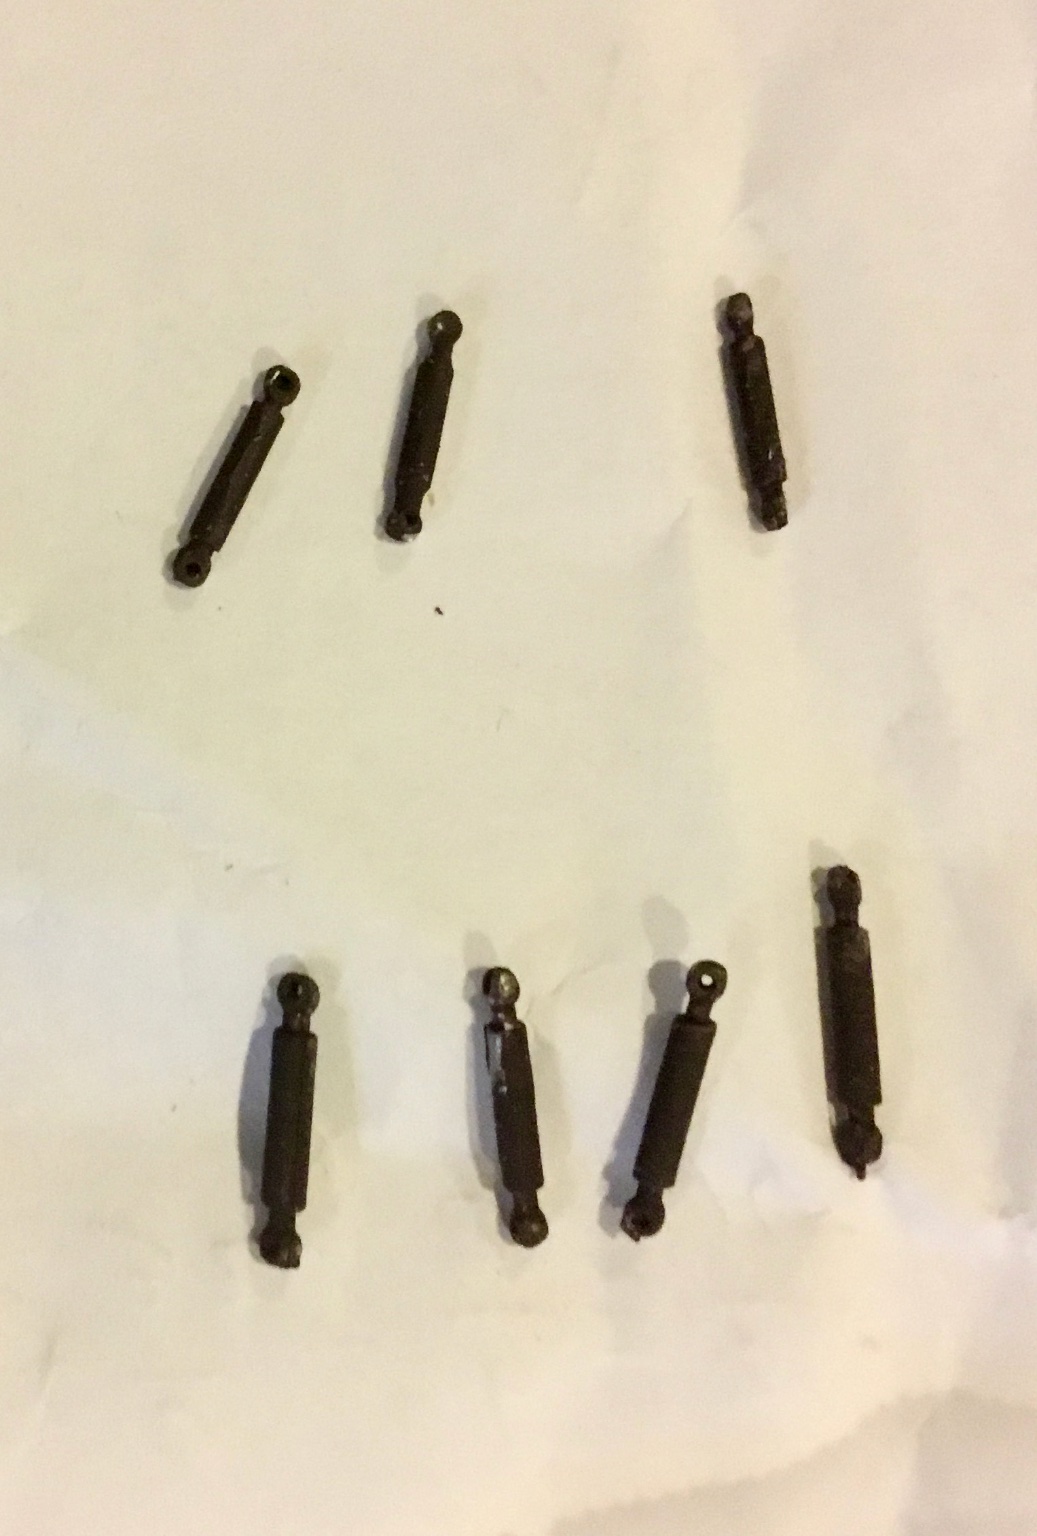
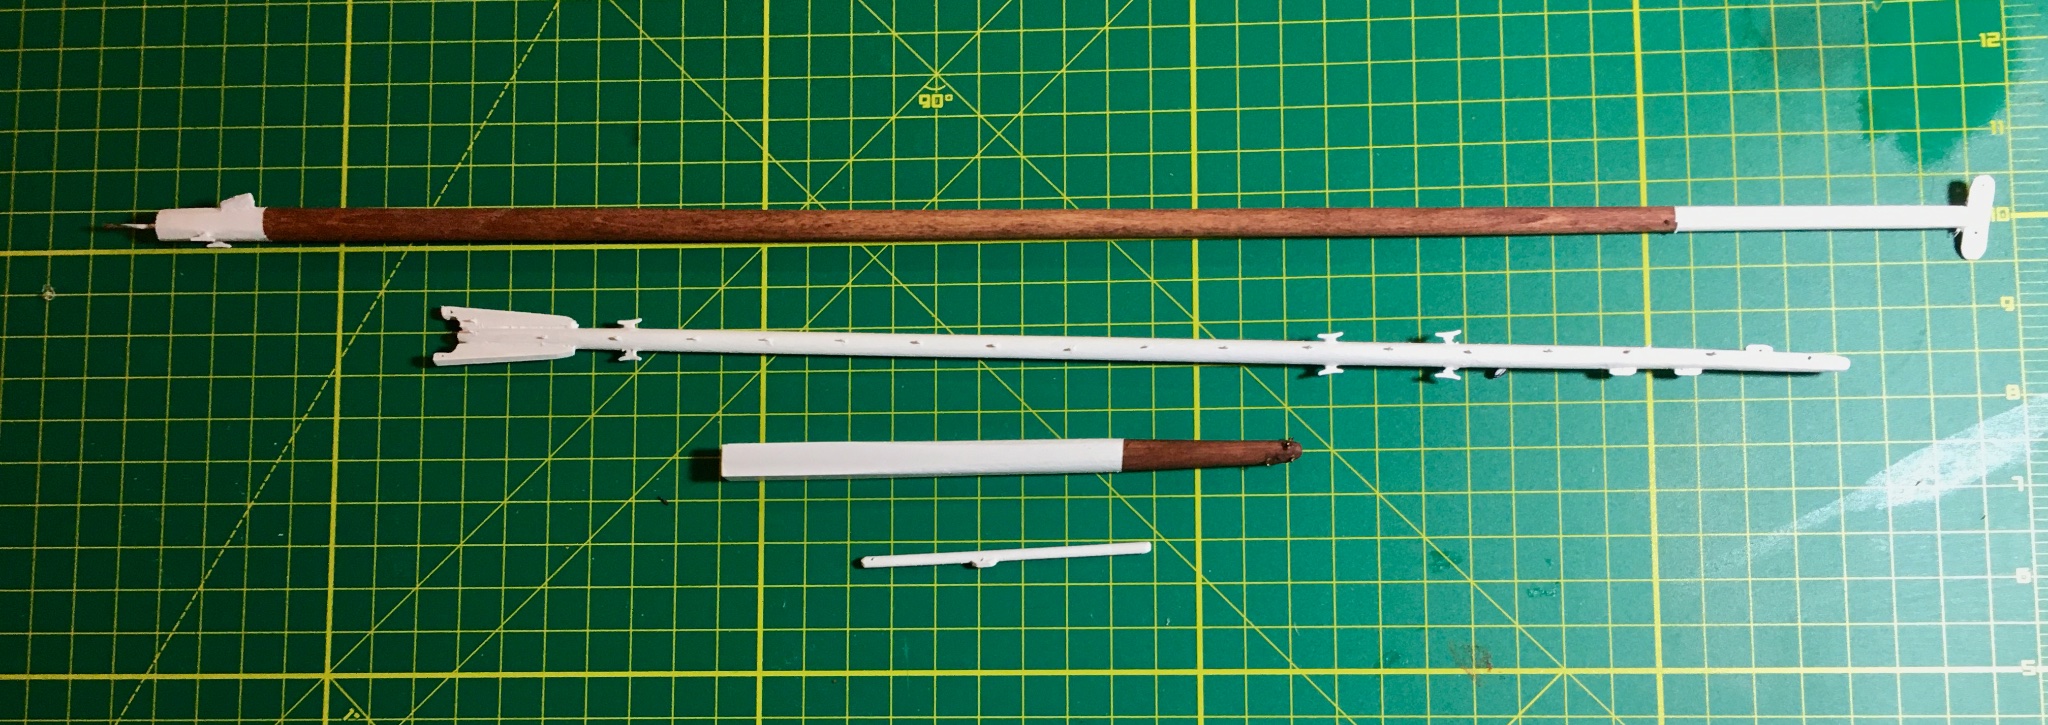
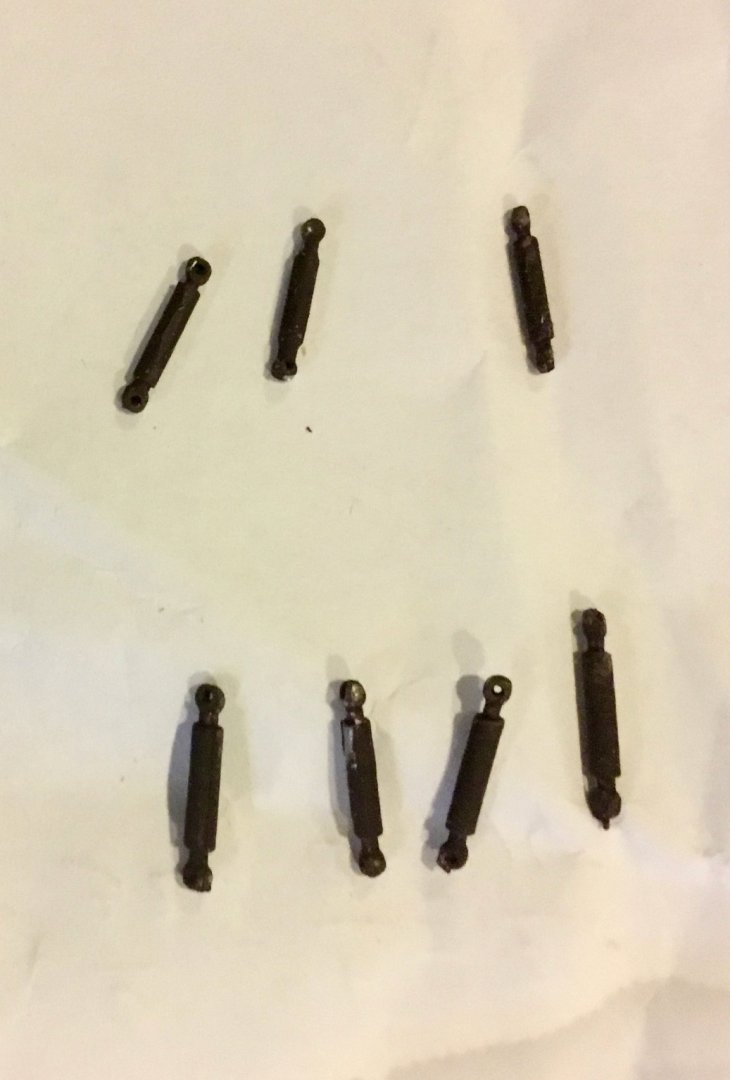
Painted mast hoops and turnbuckles. Glued mast hoops to leading edge of mast. Made and installed mast head fitting, added cleats to bottom of mast. Made boom with boom jaws, made and installed fairleads on boom, added cleats to boom and jackstay eyebolts to hold foot of sail, painted boom. Made and painted jib club. Made, stained, and painted bowsprit and installed eyebolts at end of bowsprit for attaching shrouds, headstay, and bobstay. Installed bowsprit. Made and installed wale. Created knightheads Created transom plate.


-
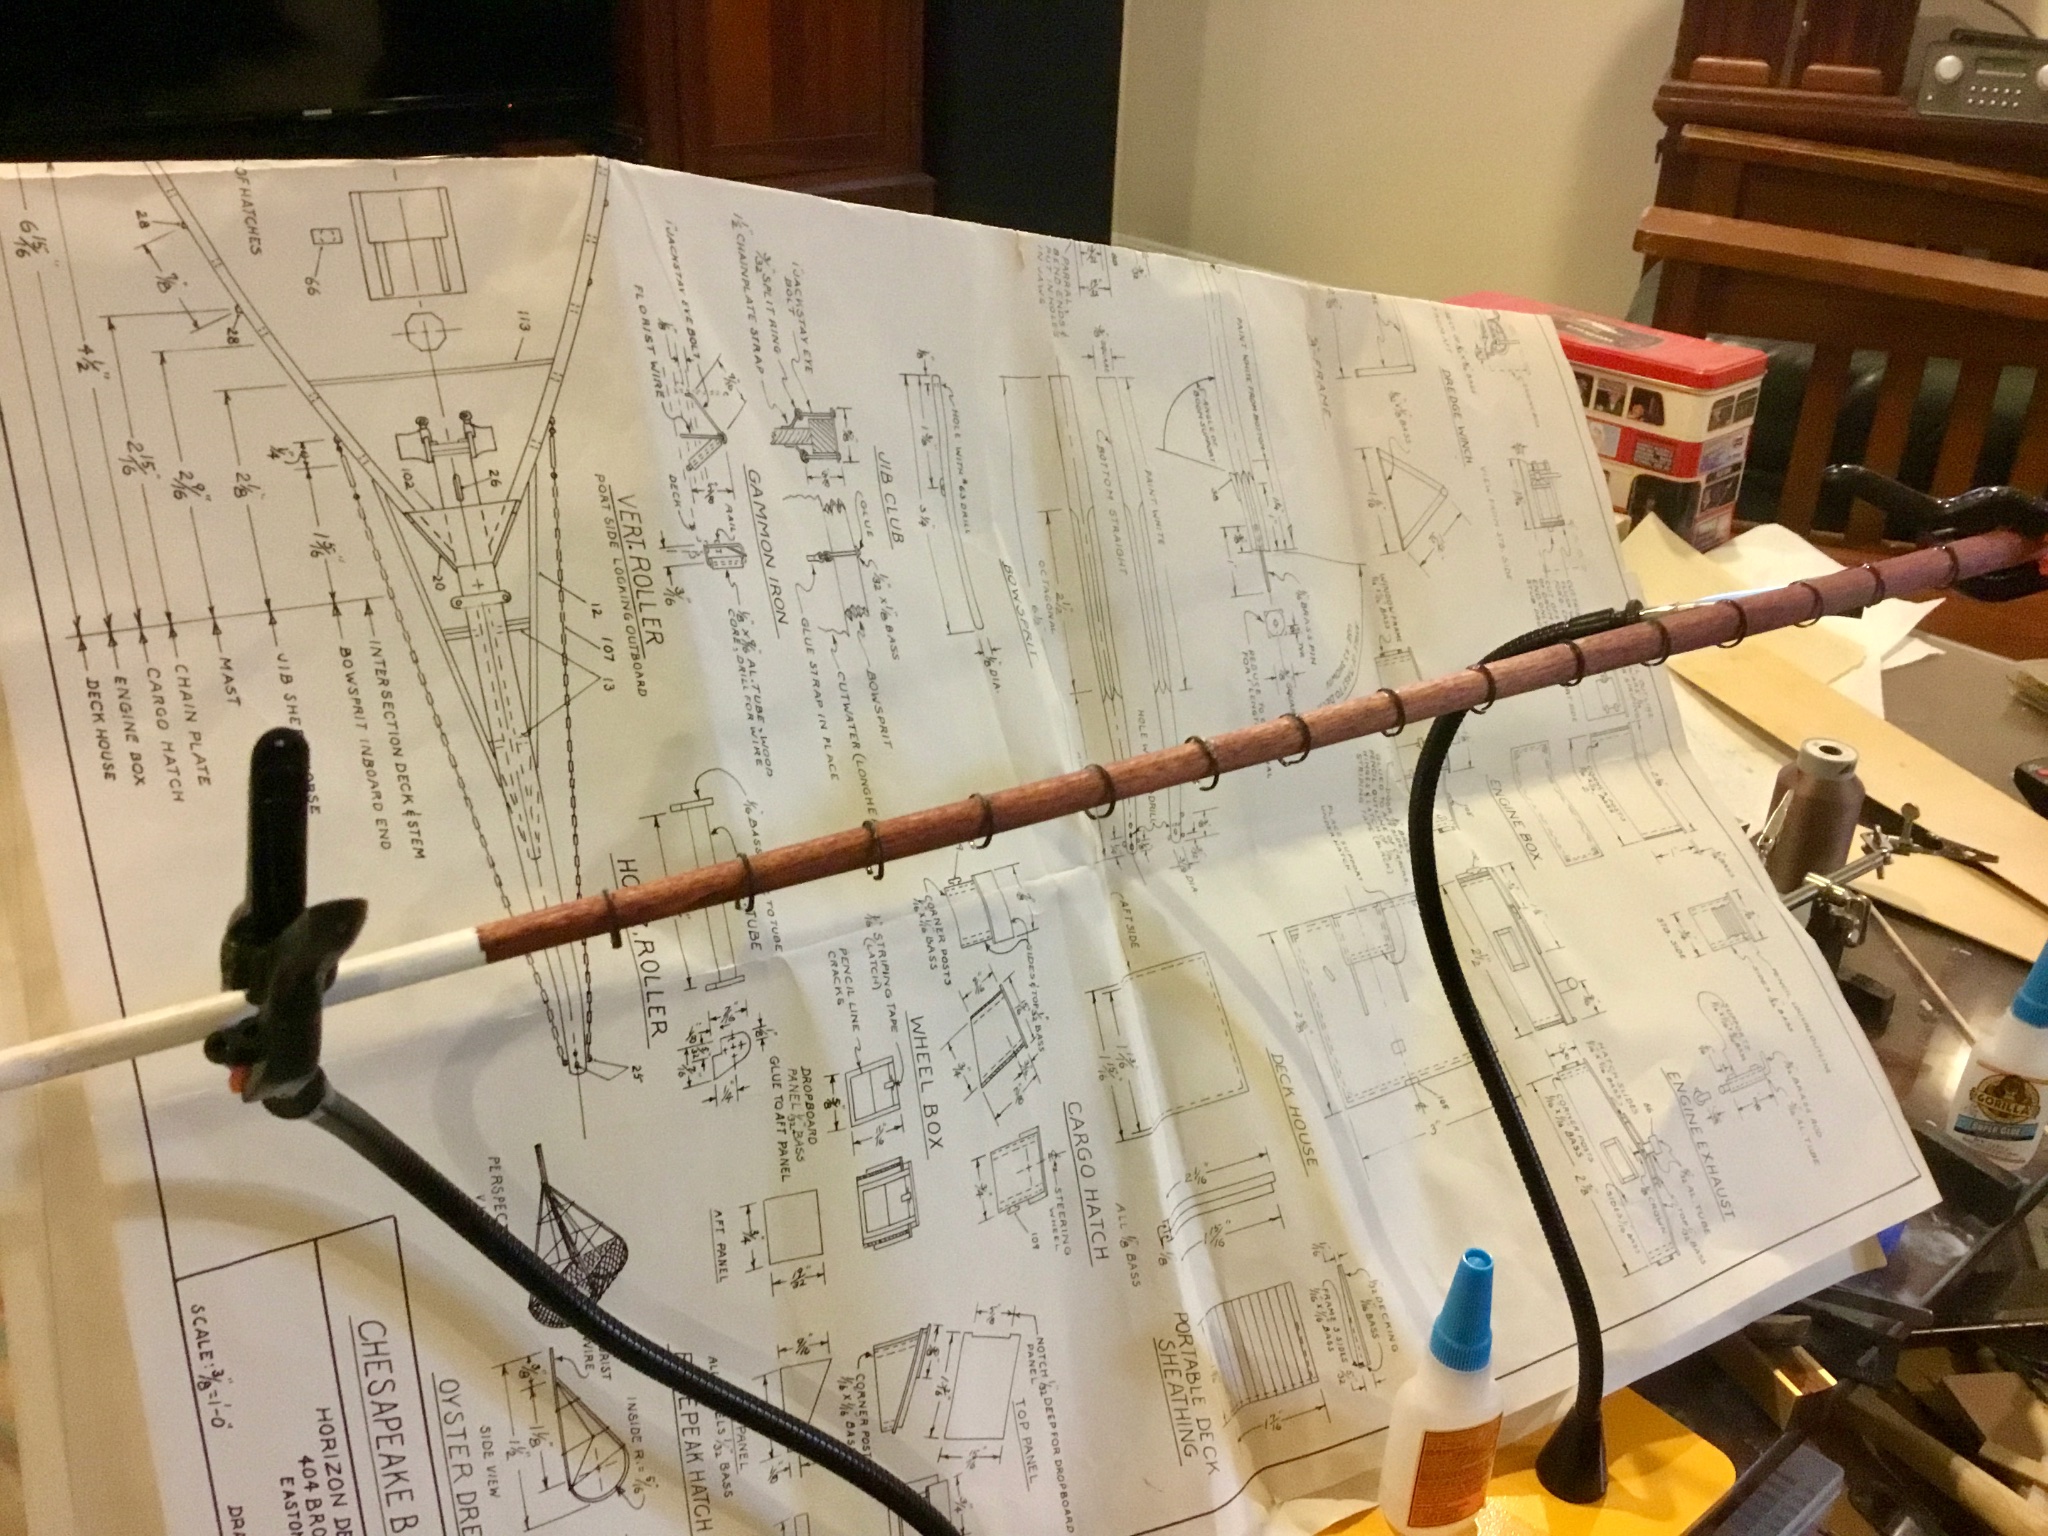
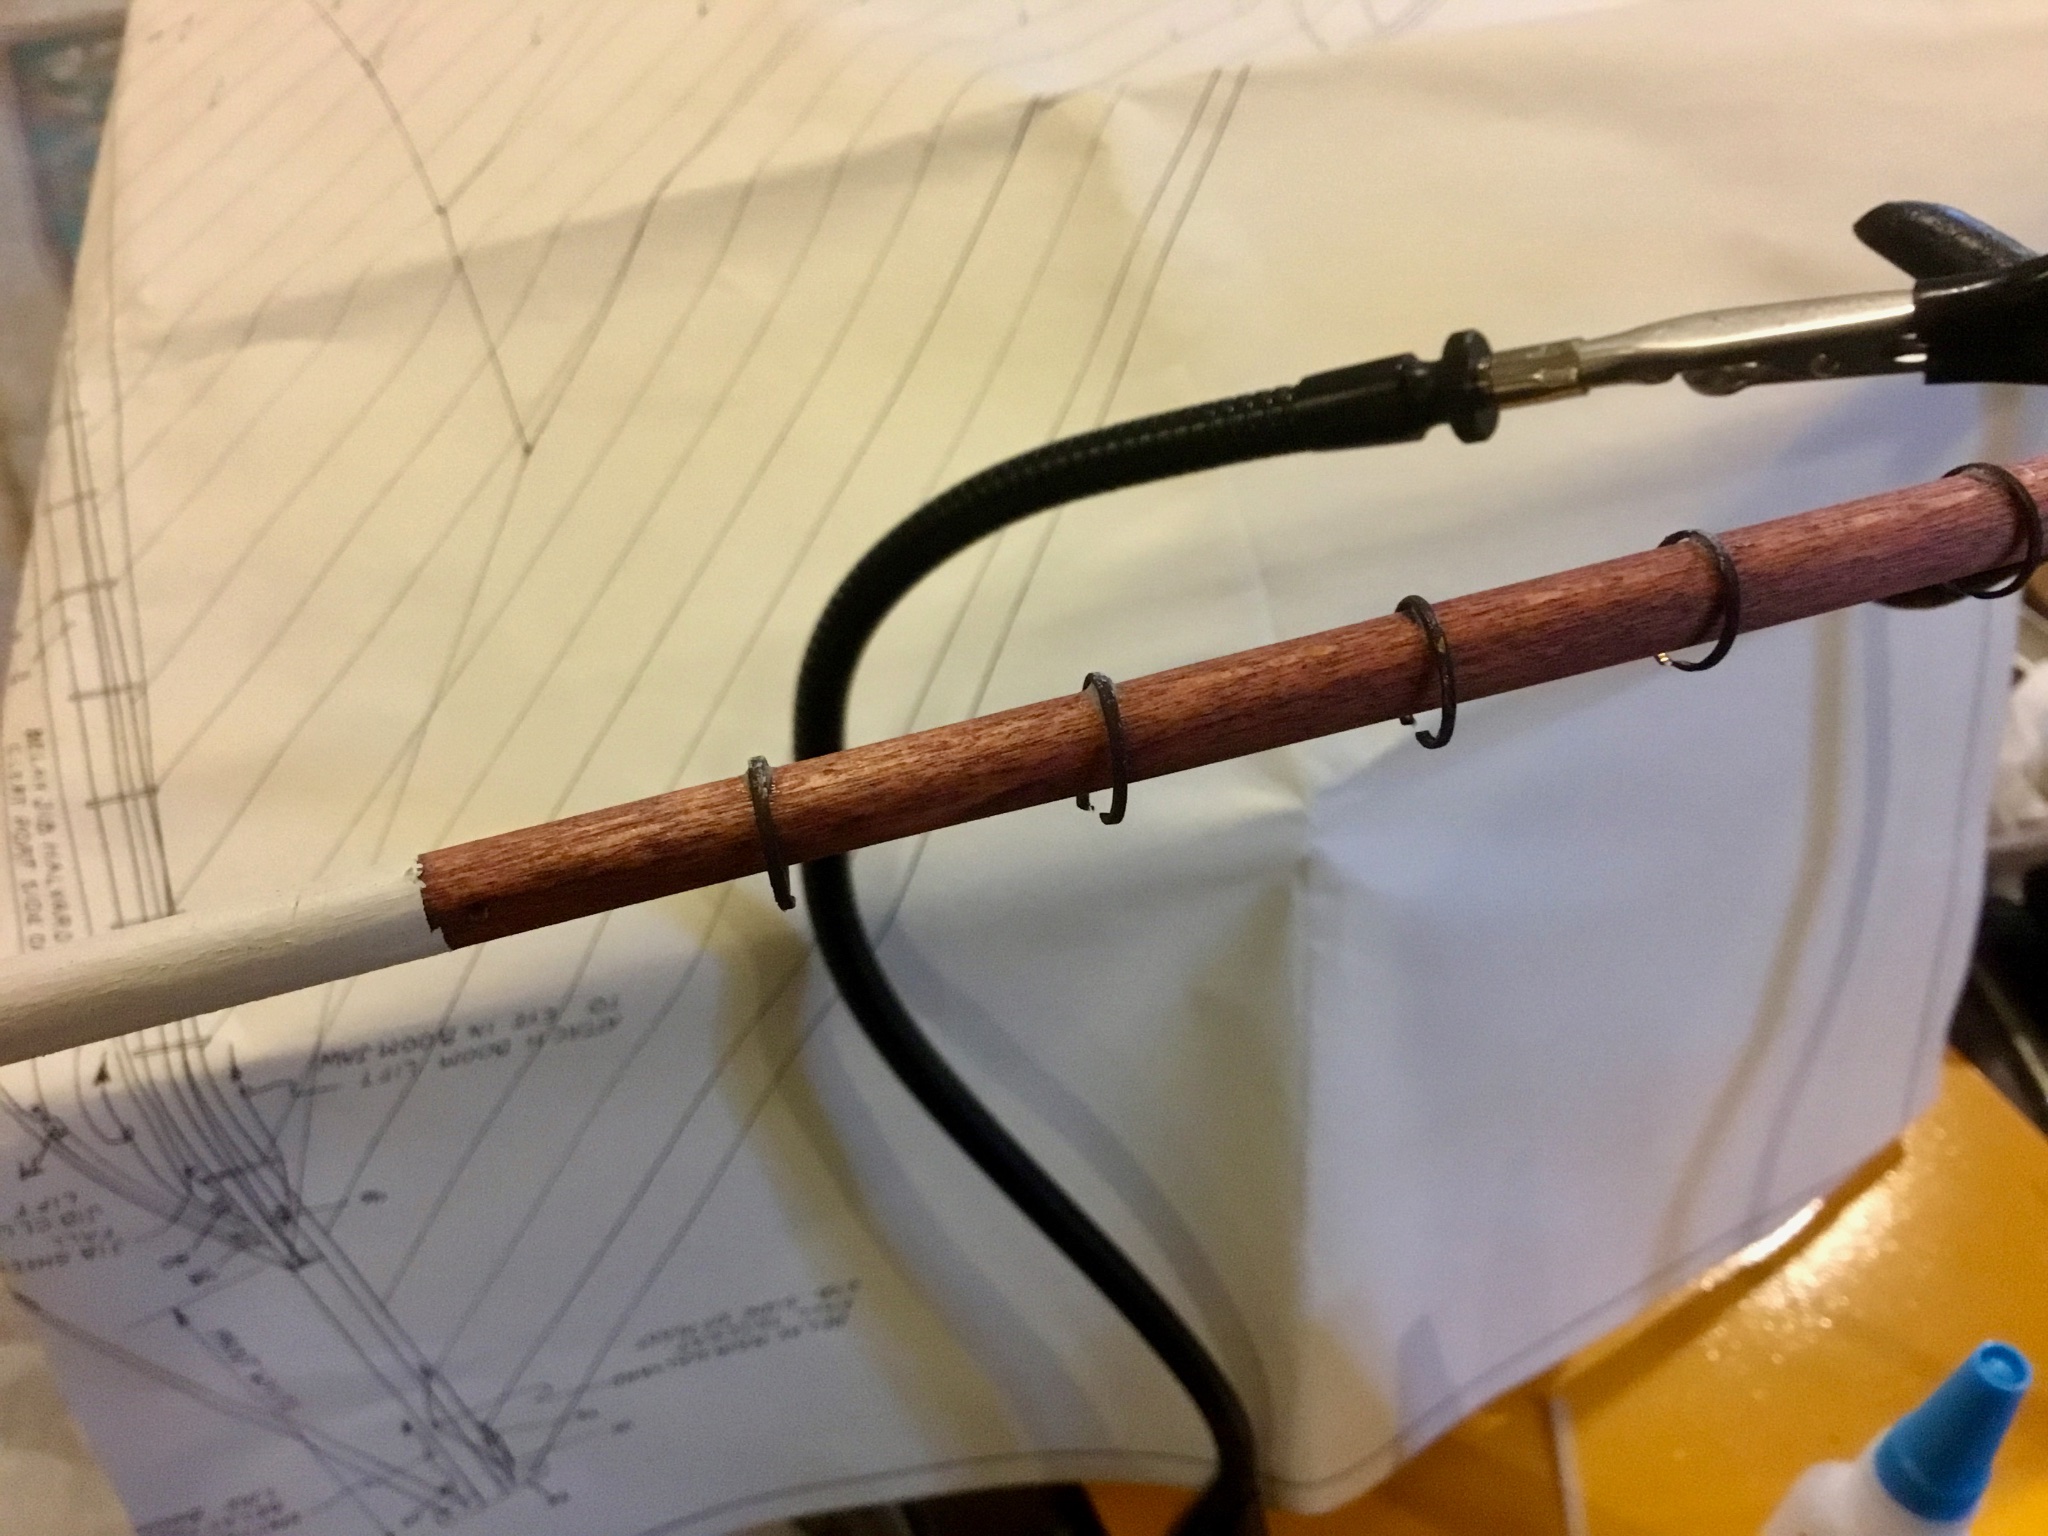
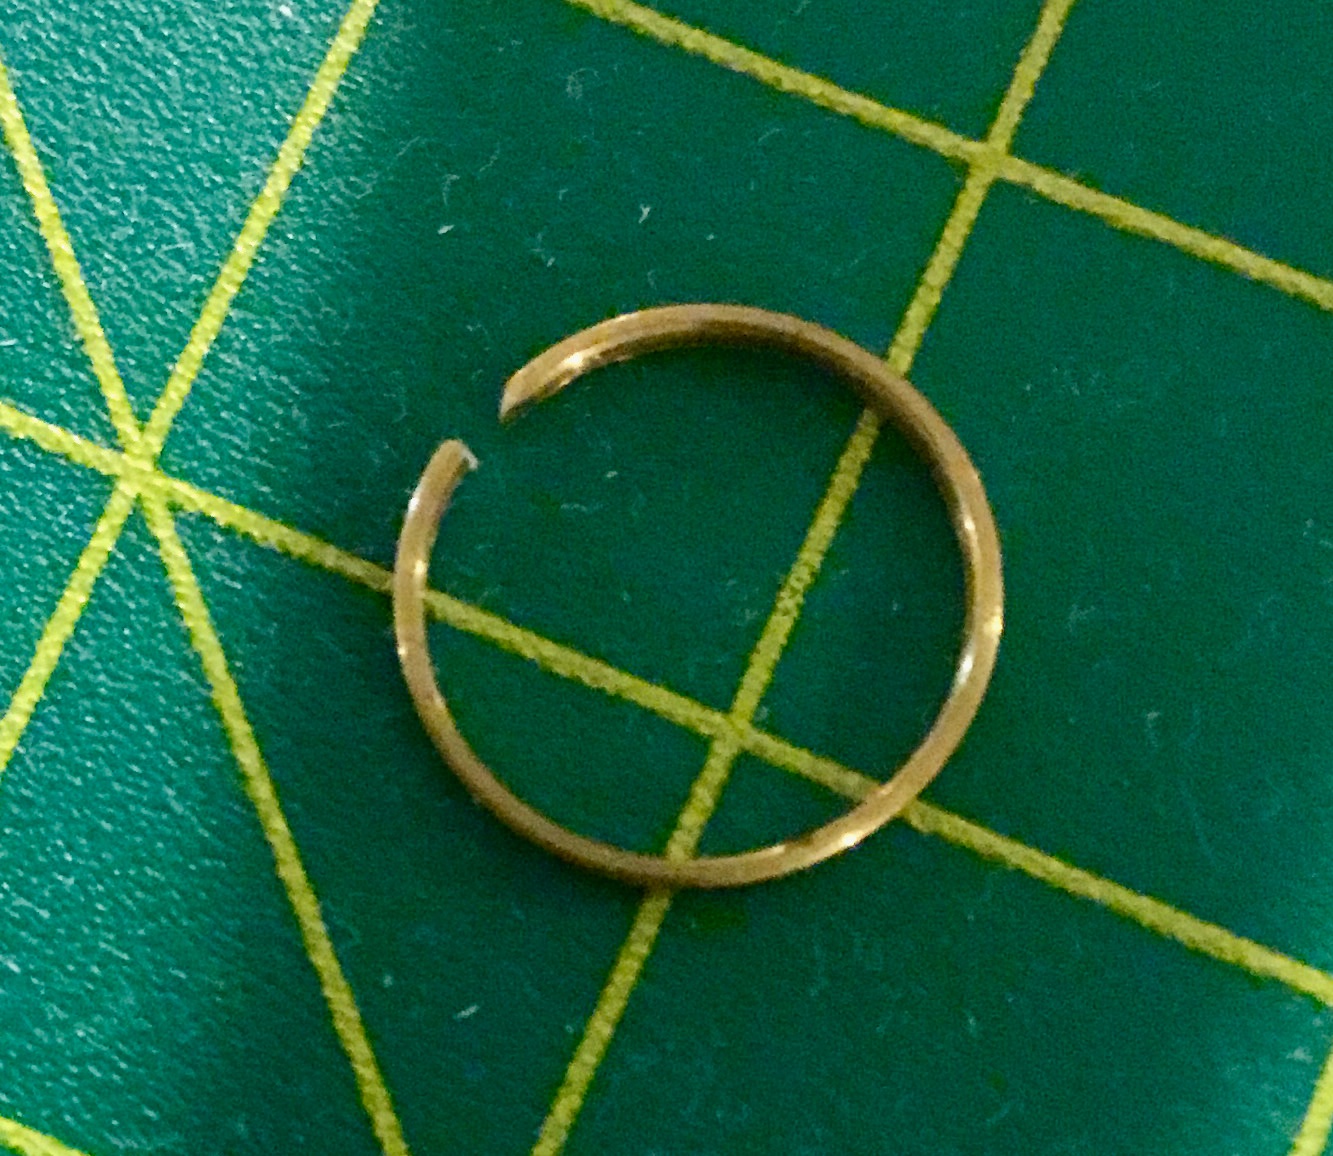
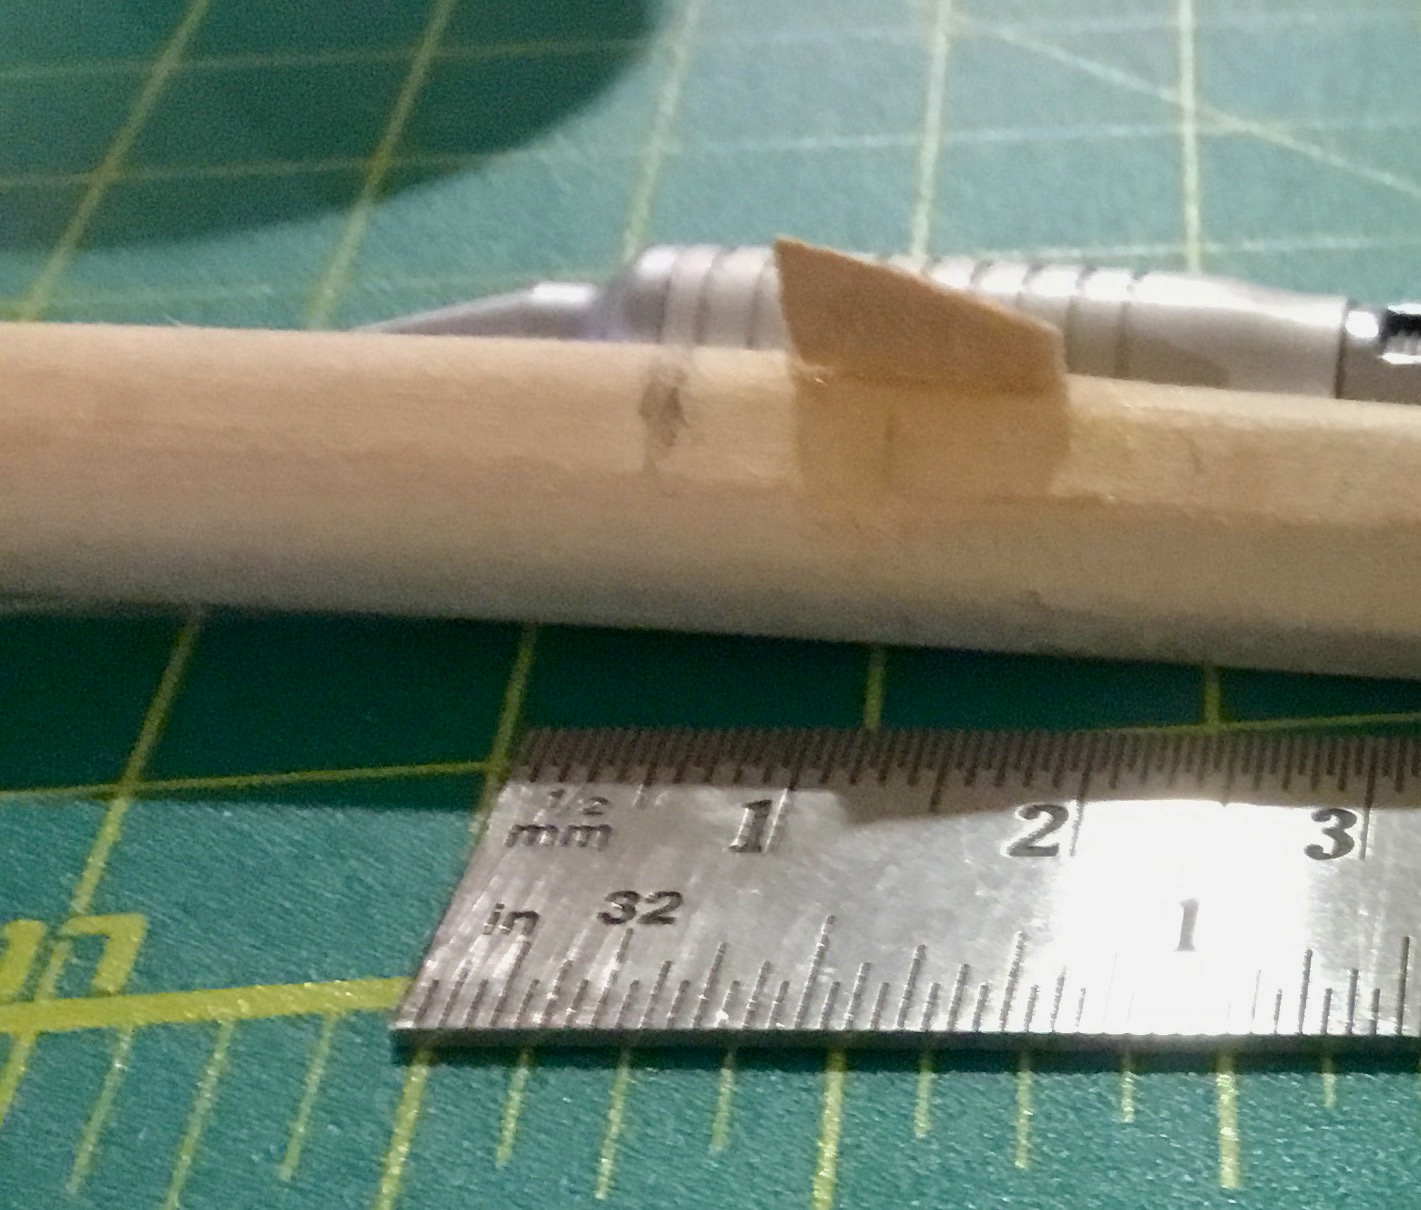
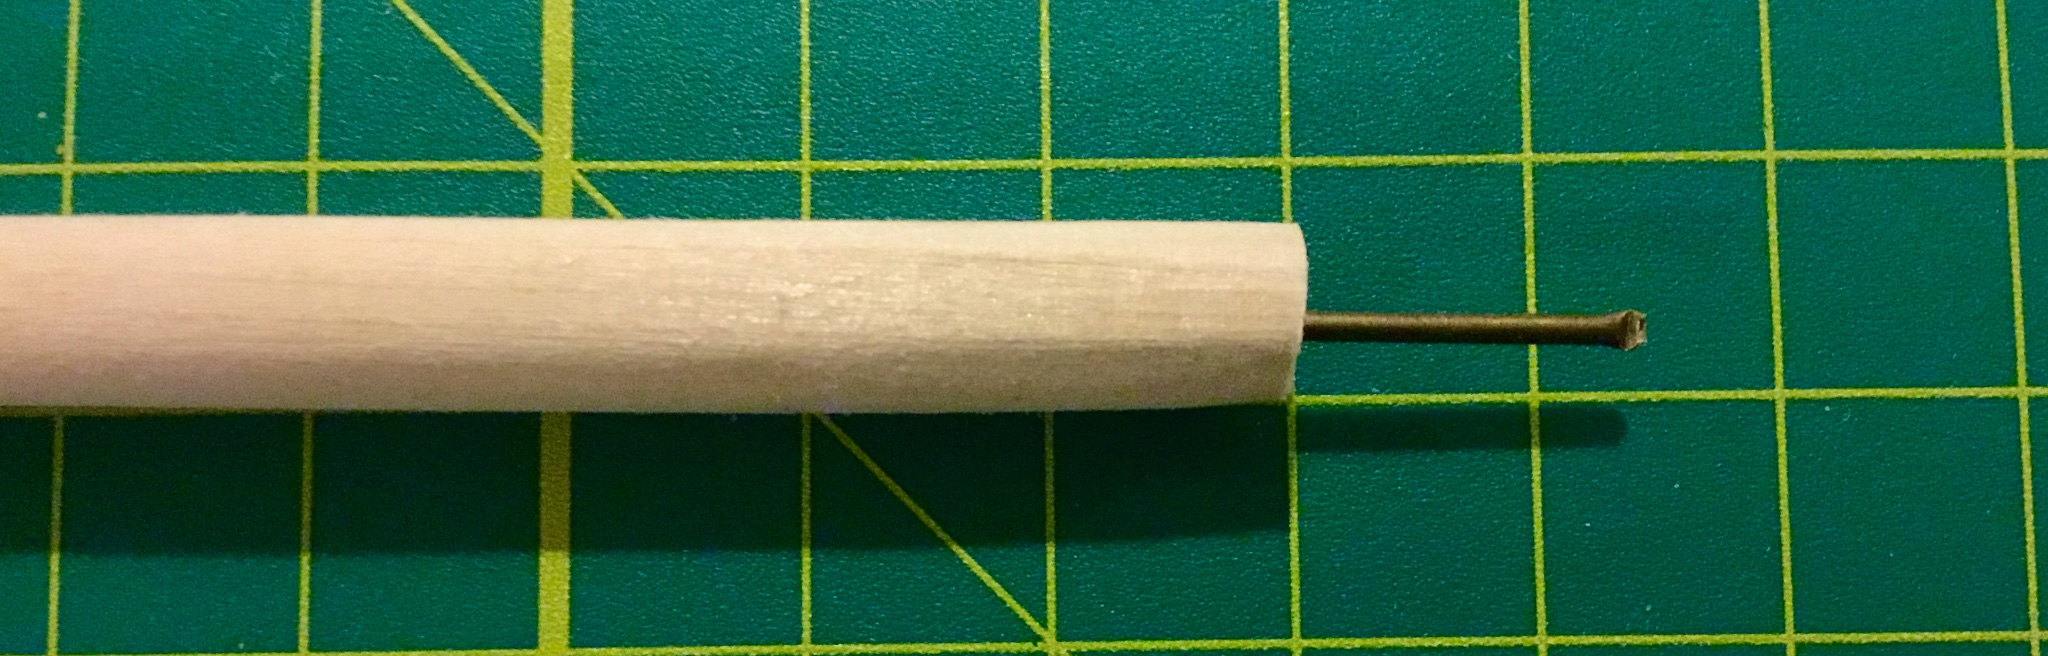
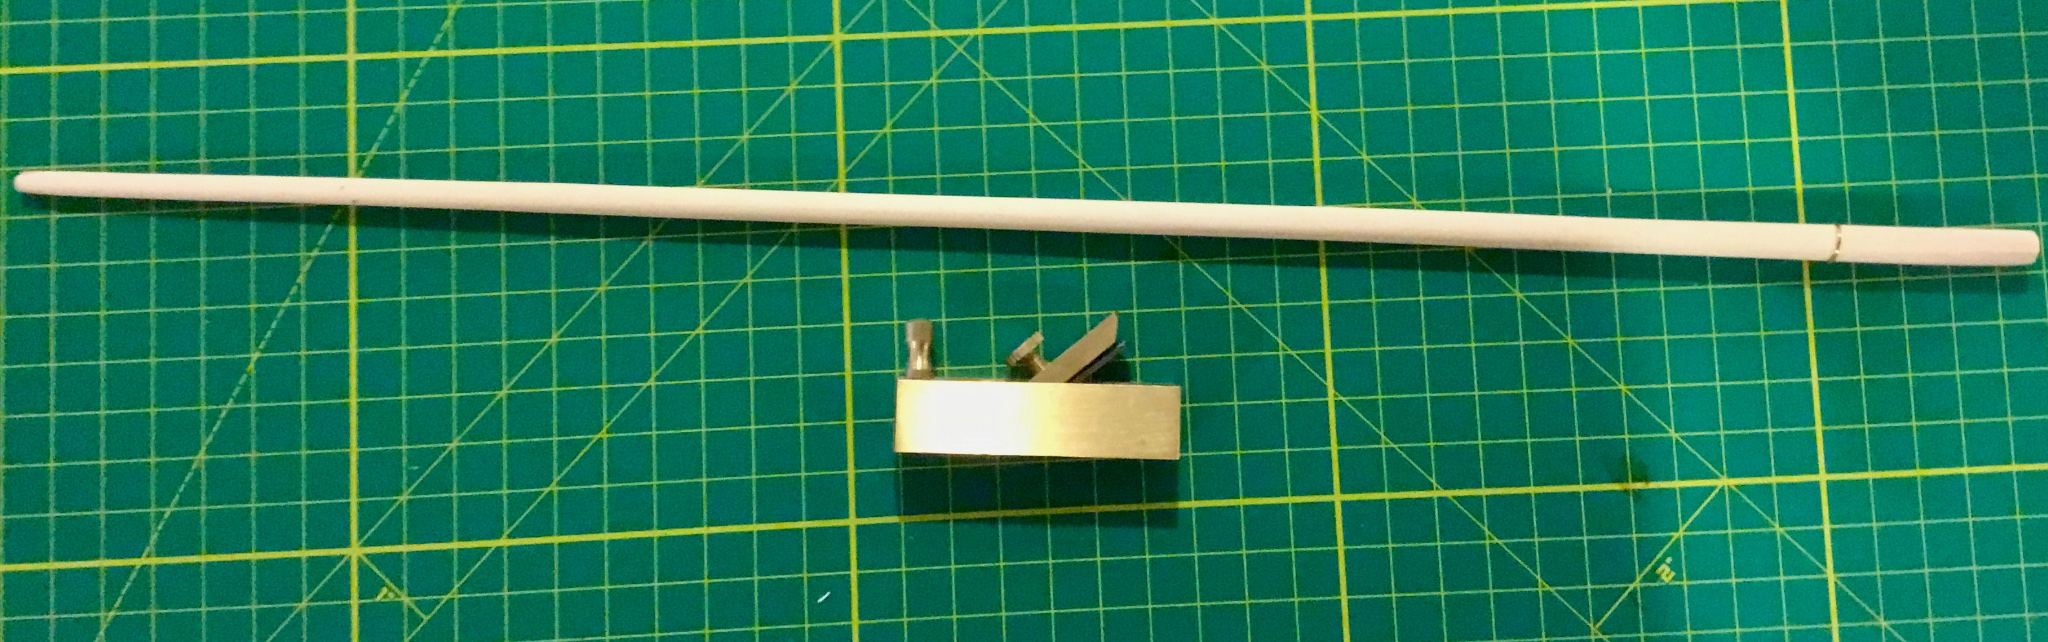
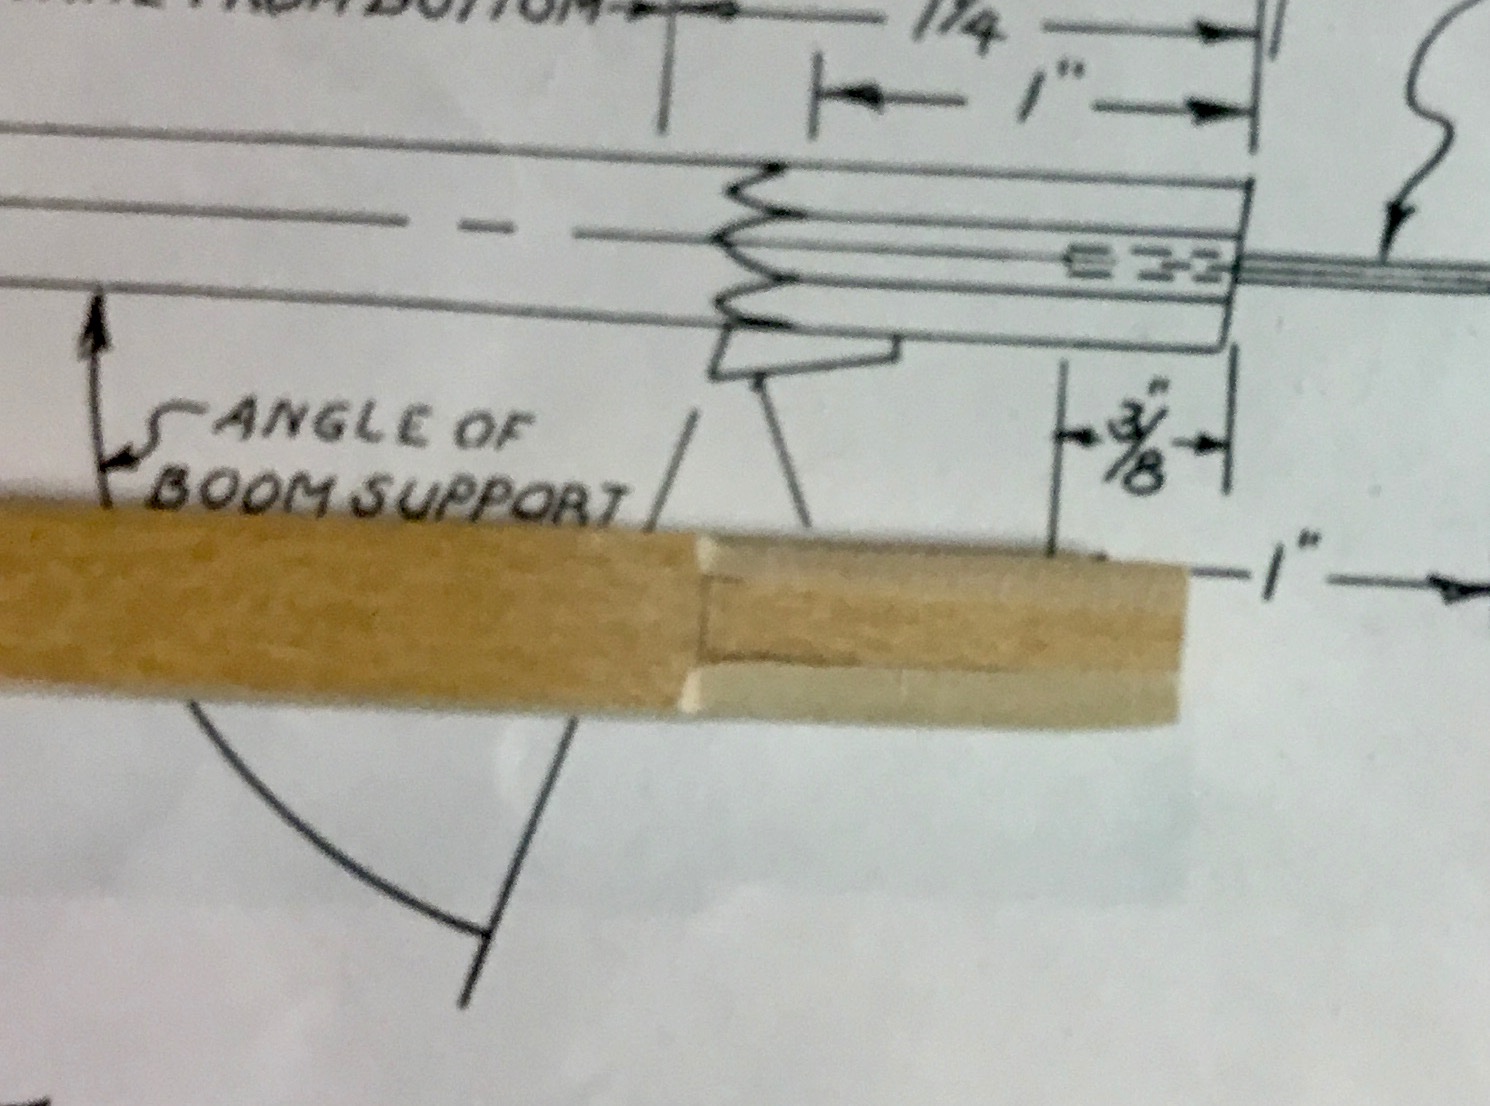
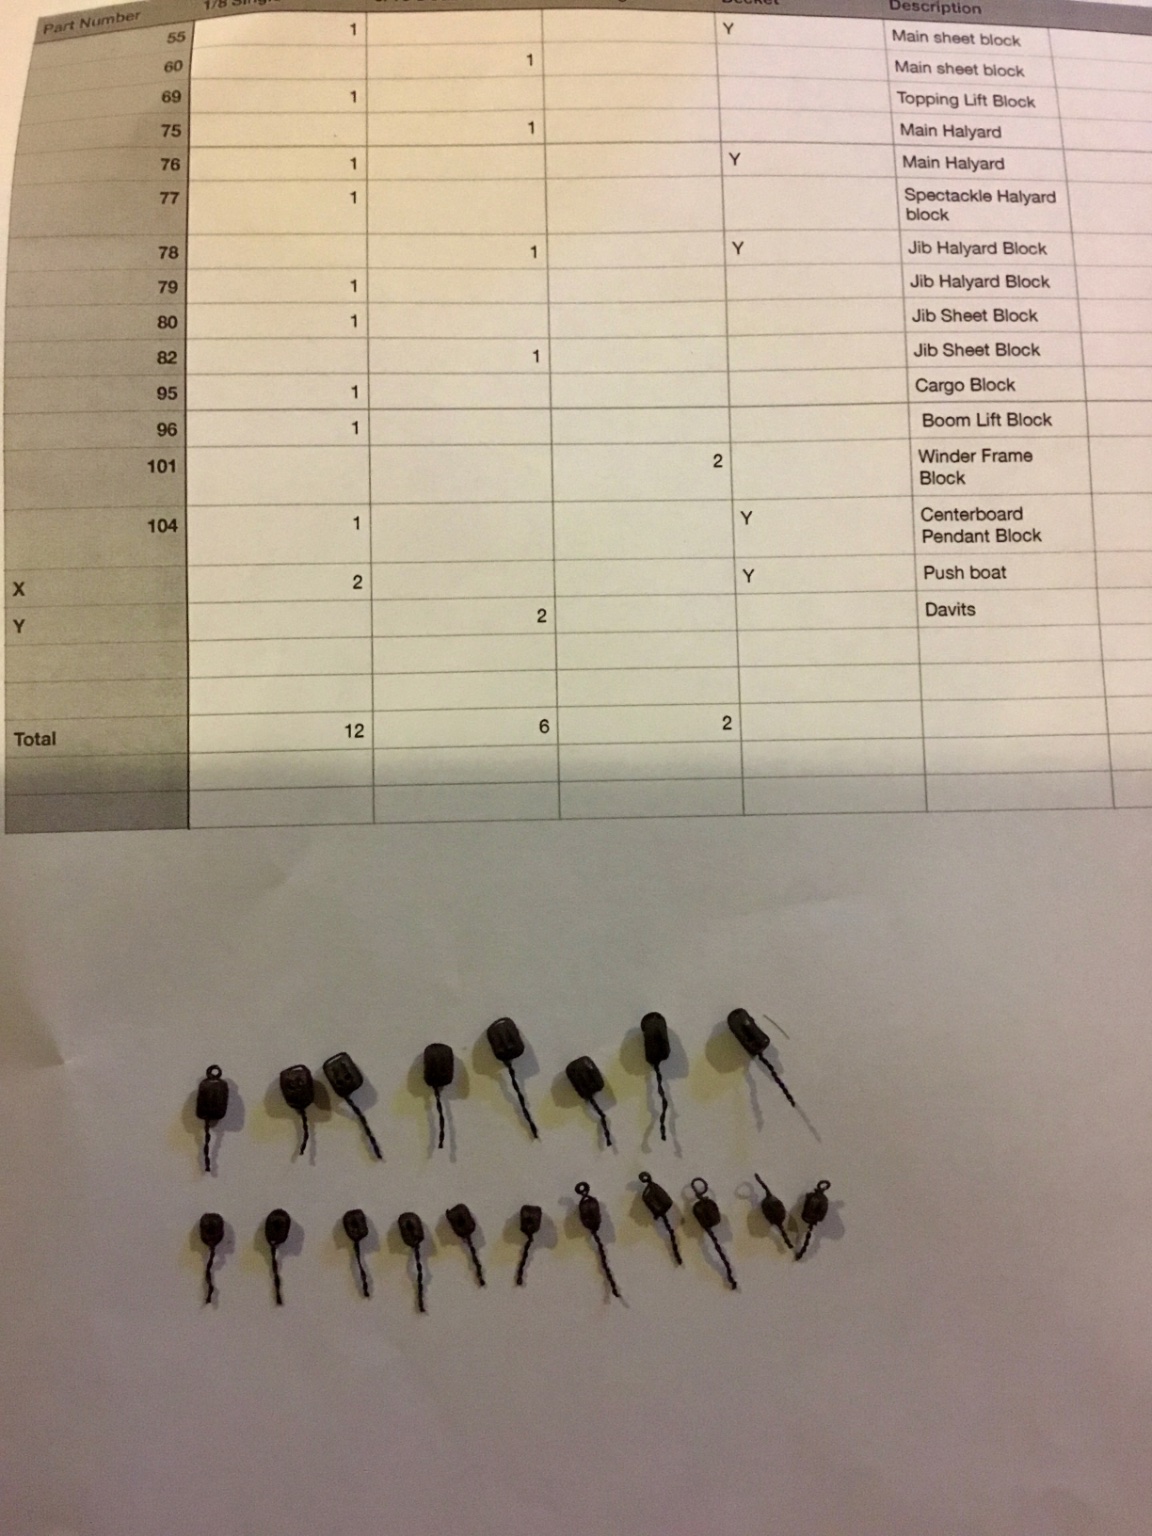
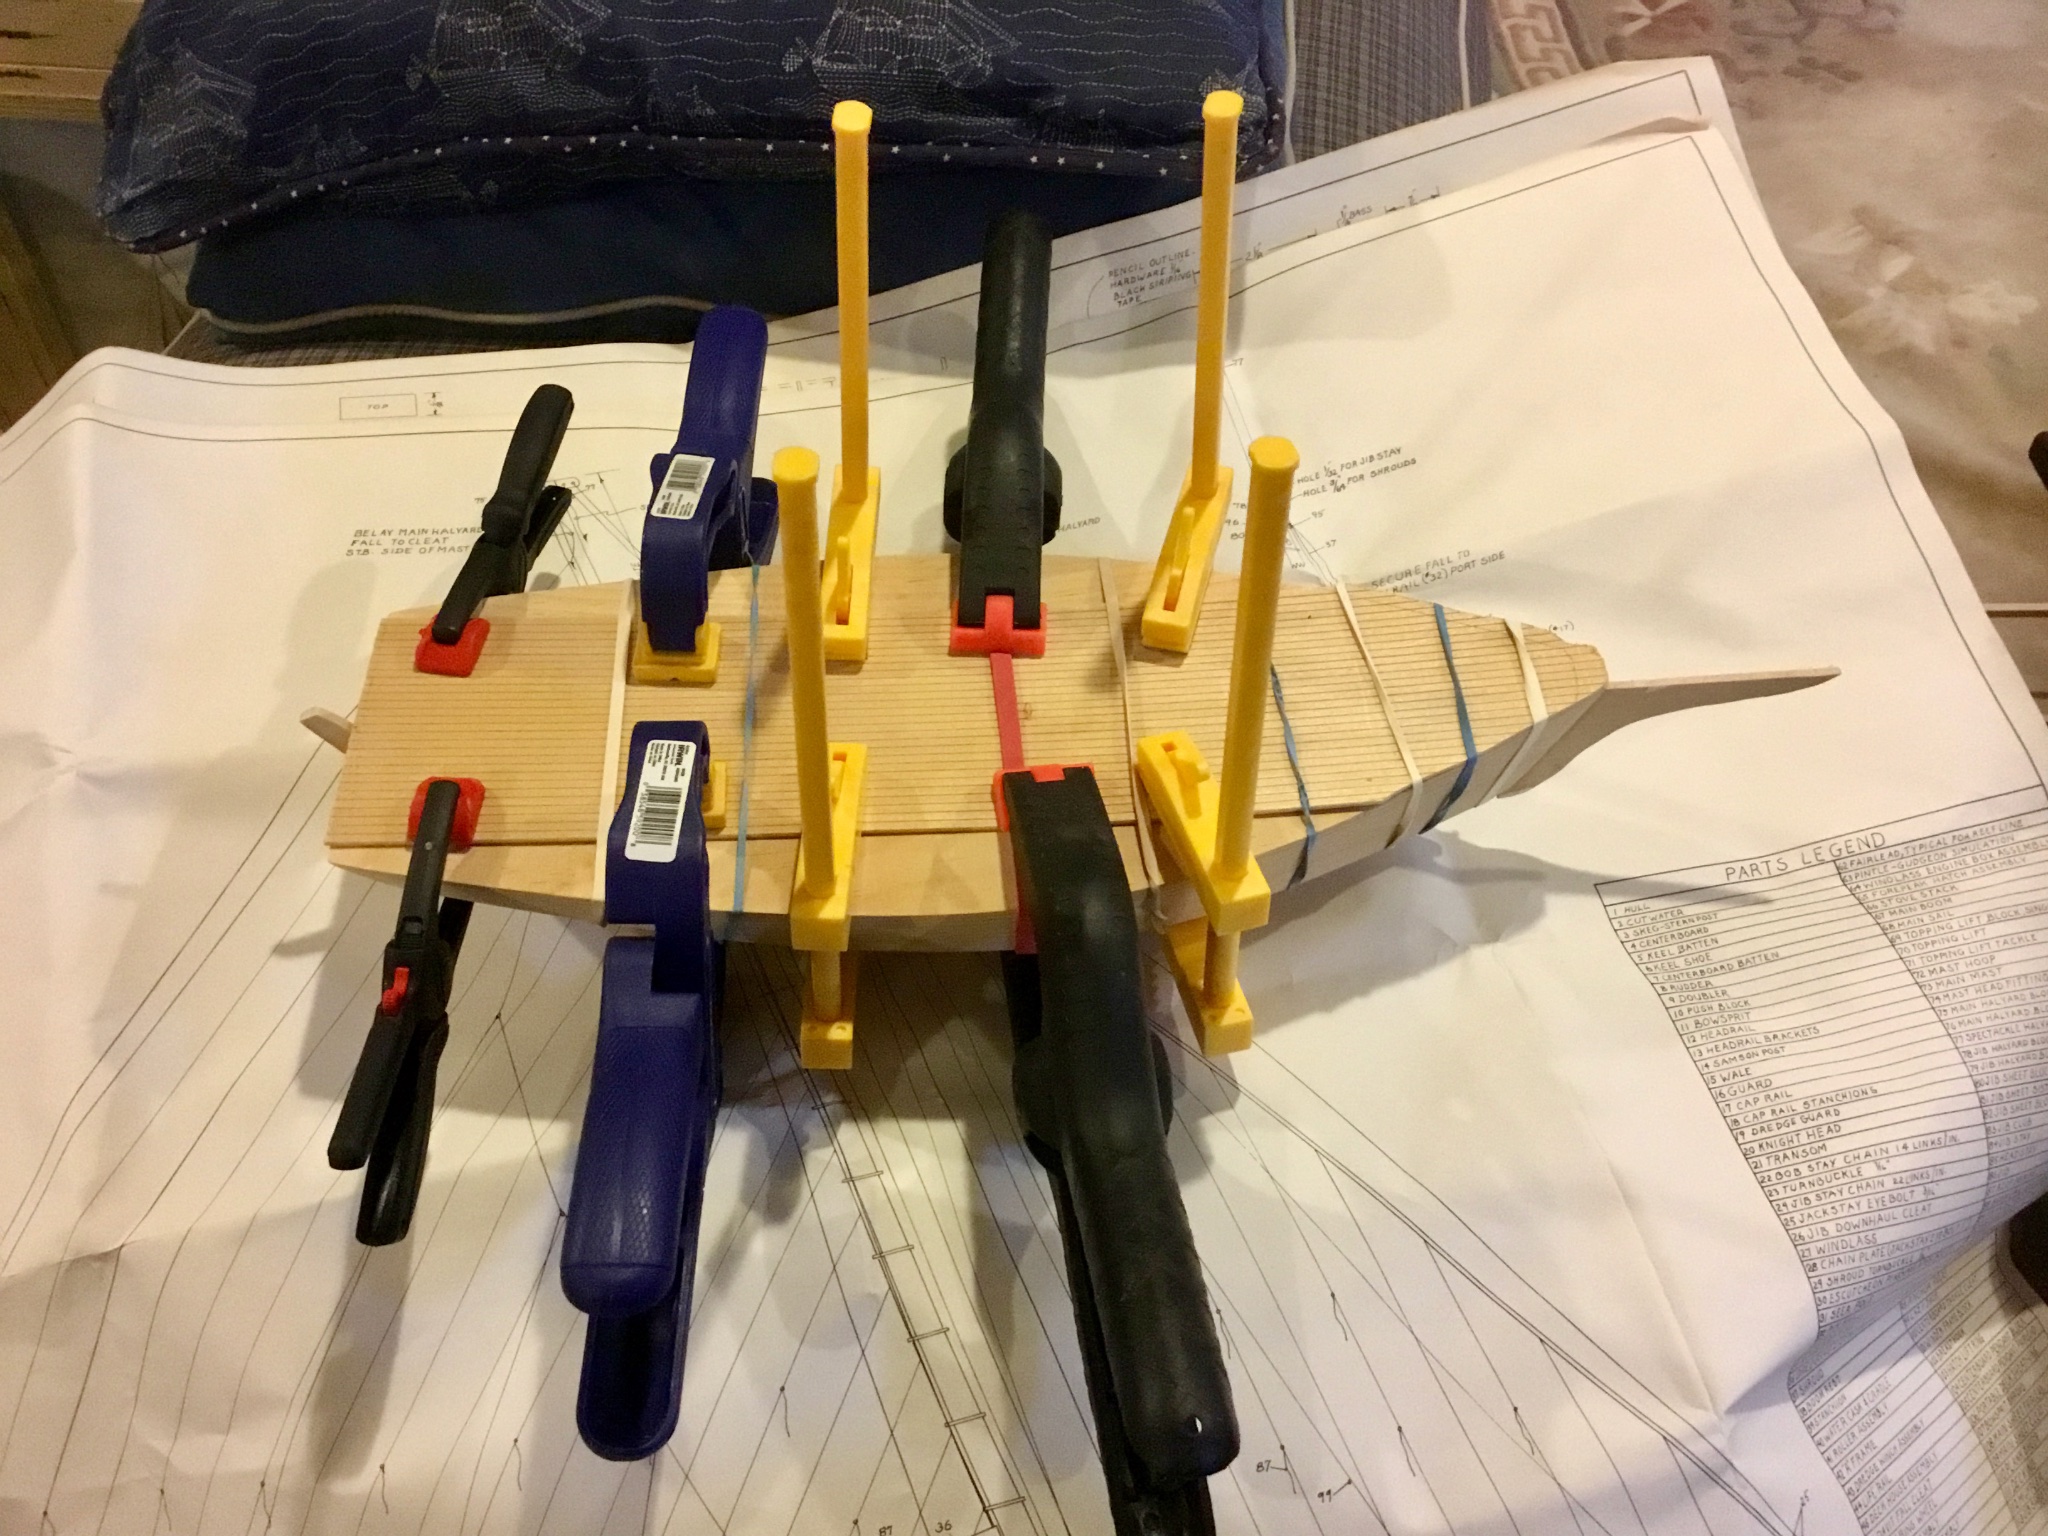
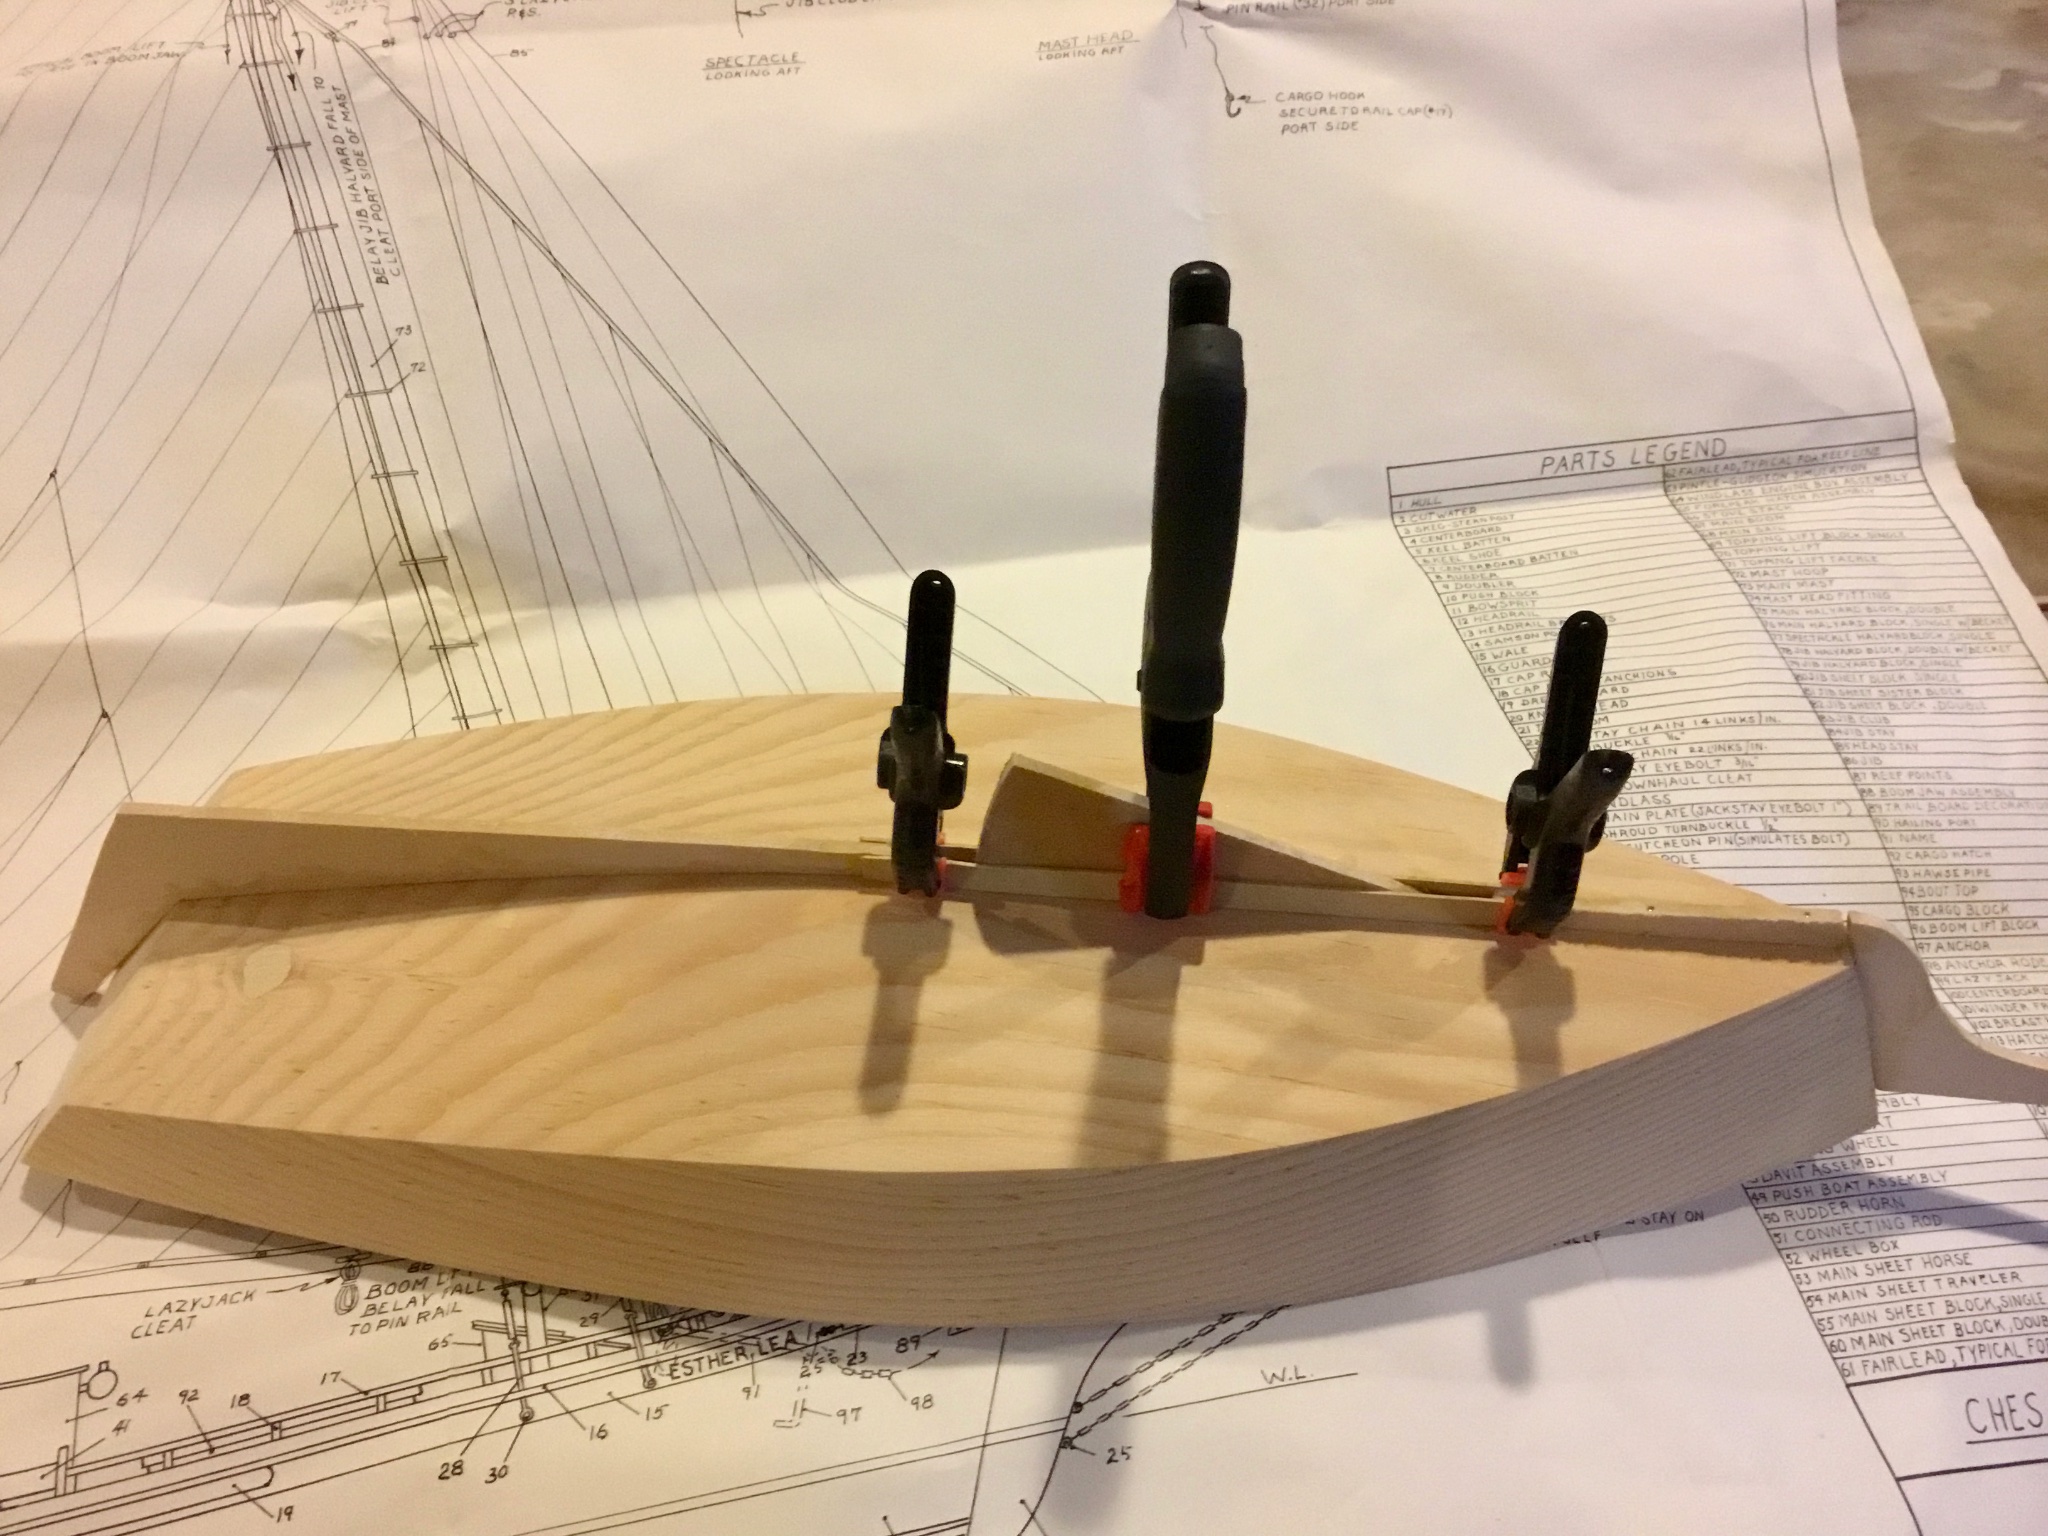
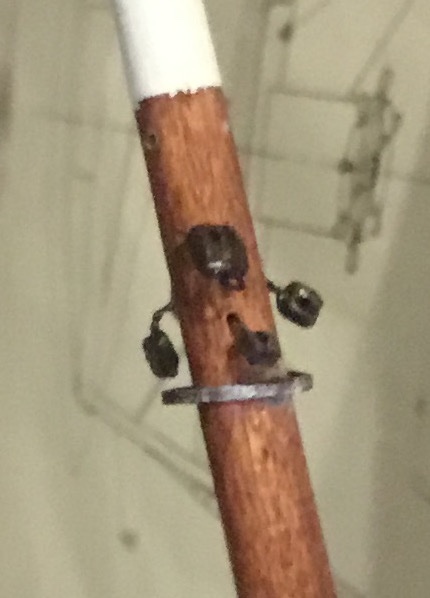
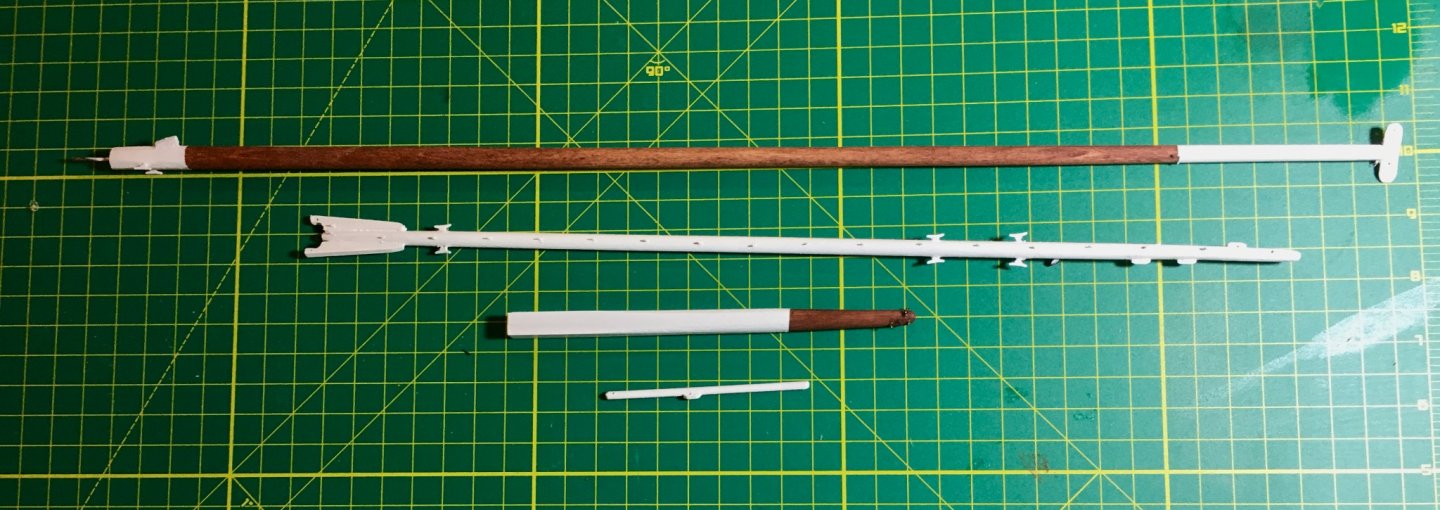
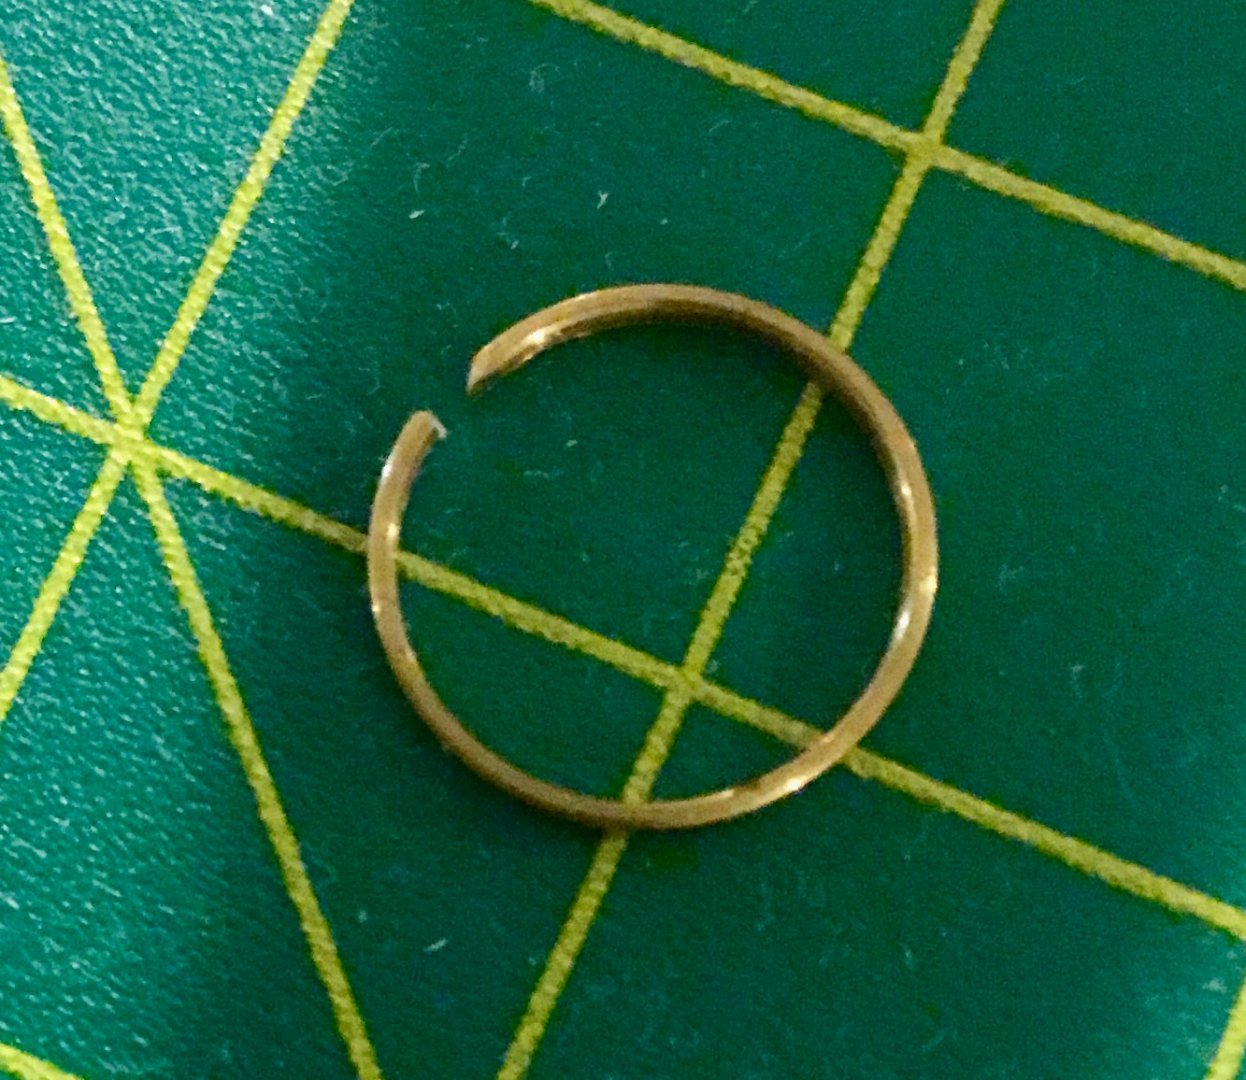
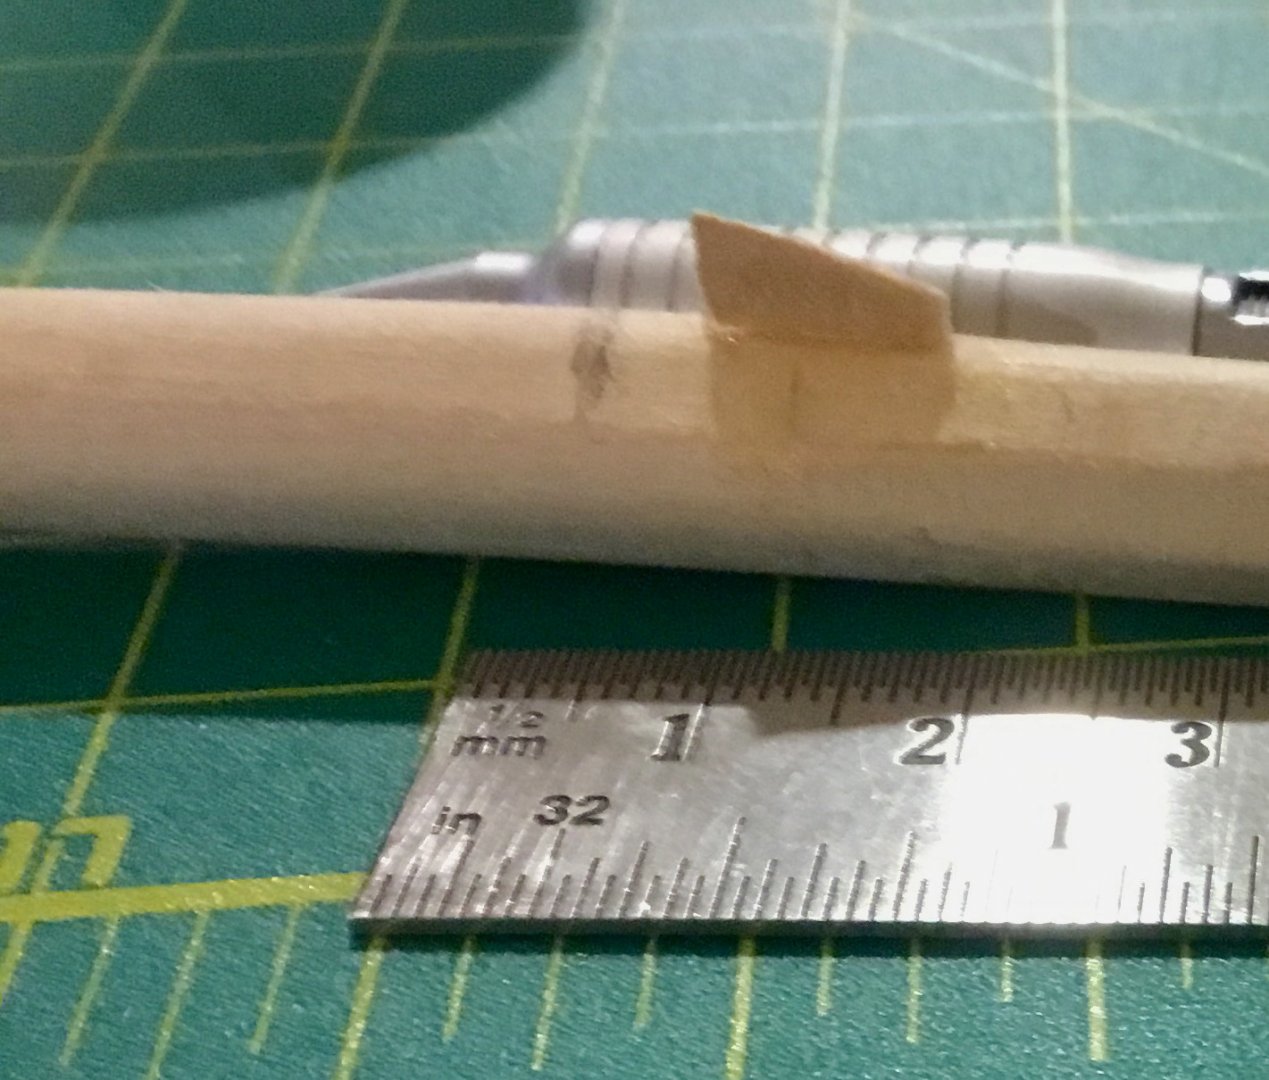
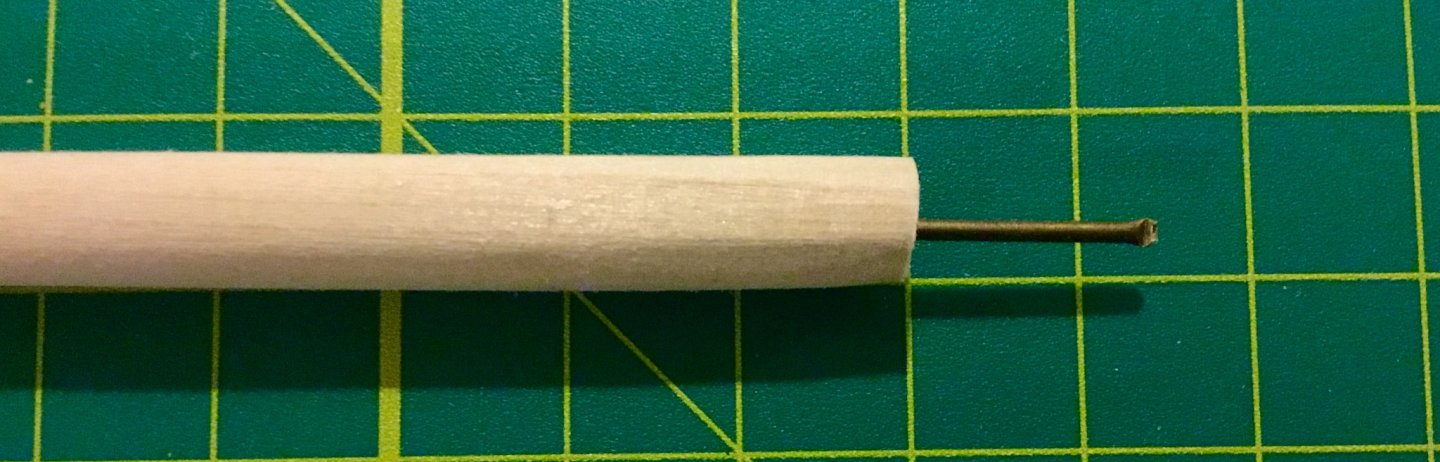
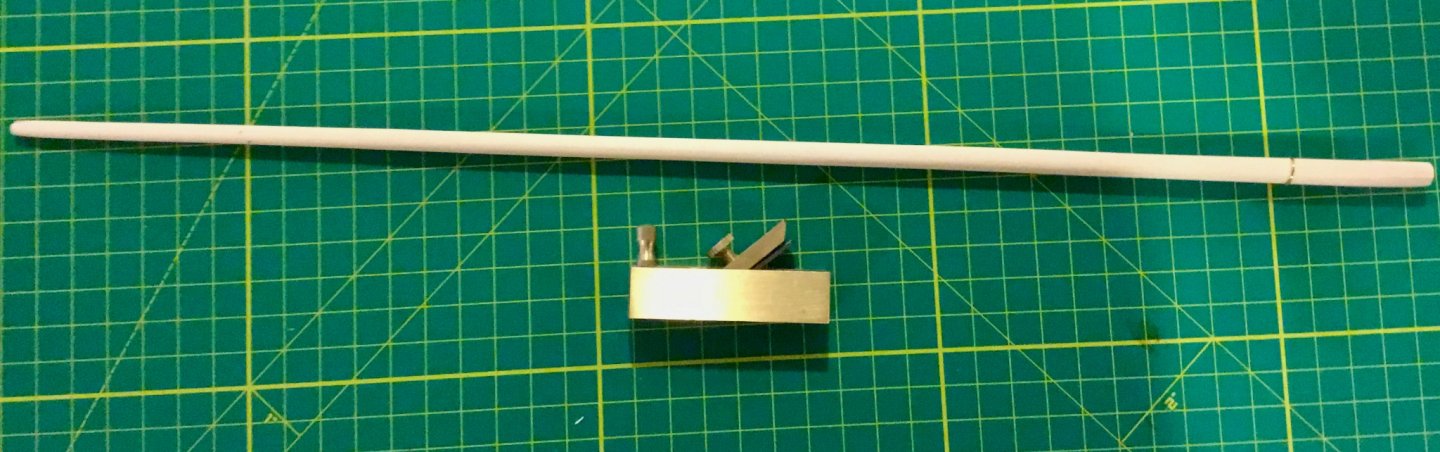
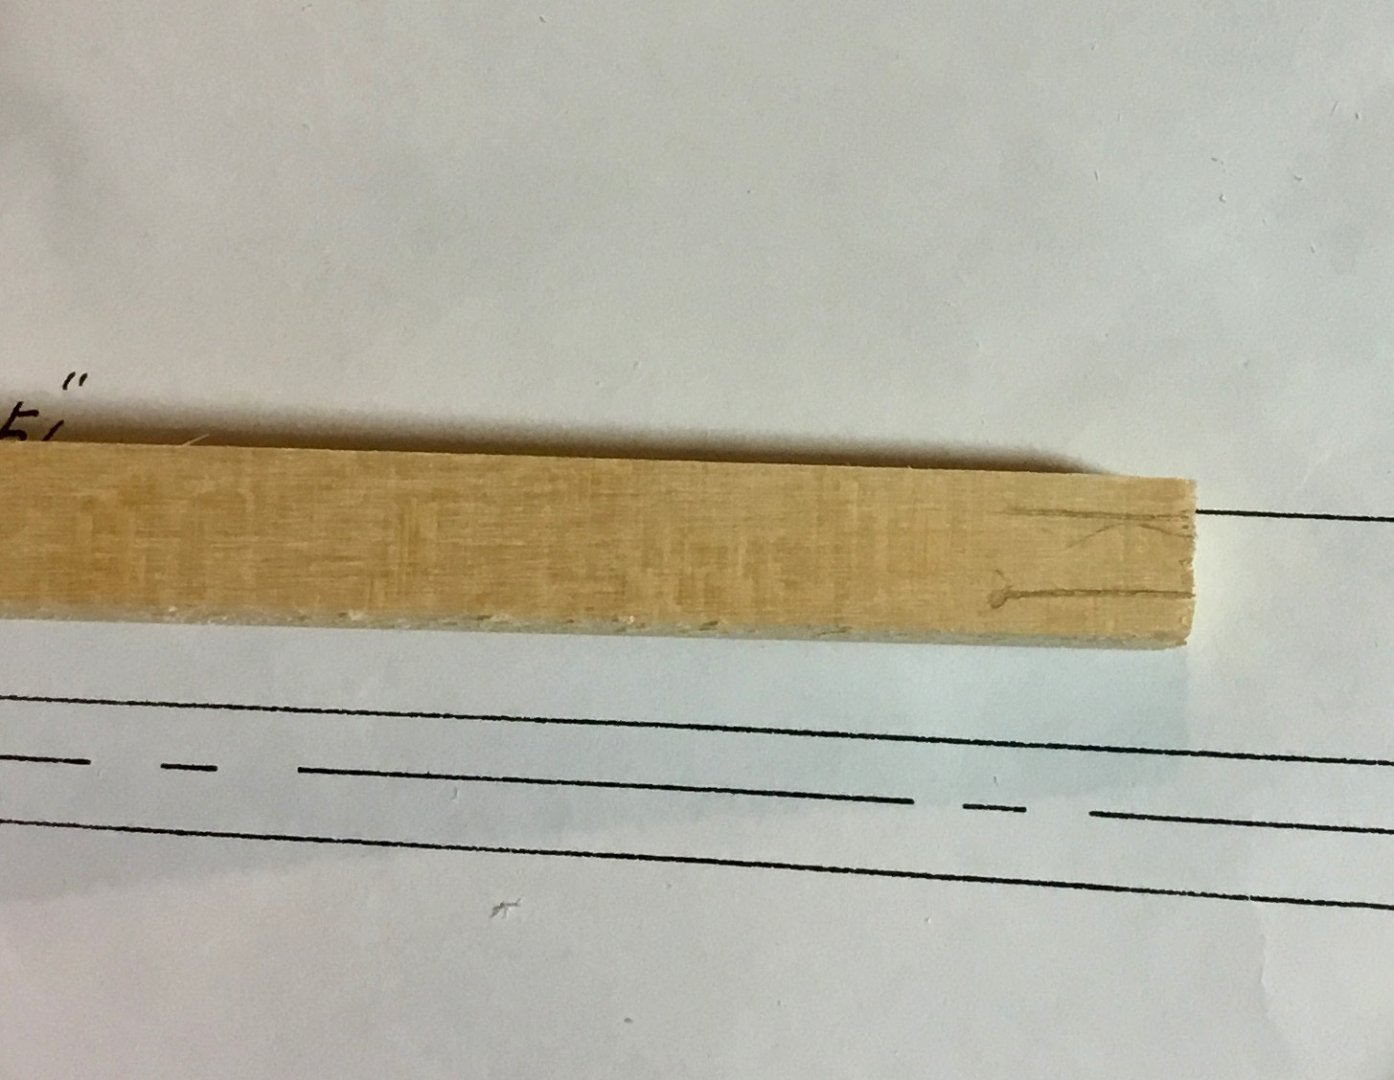
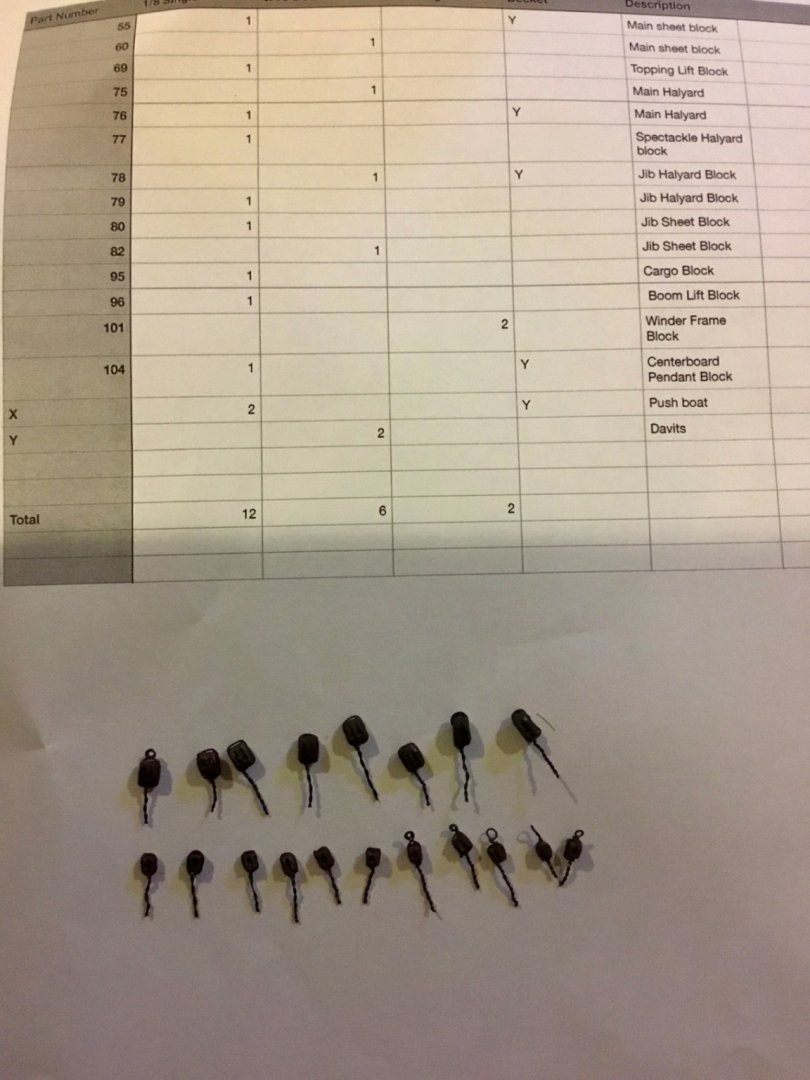
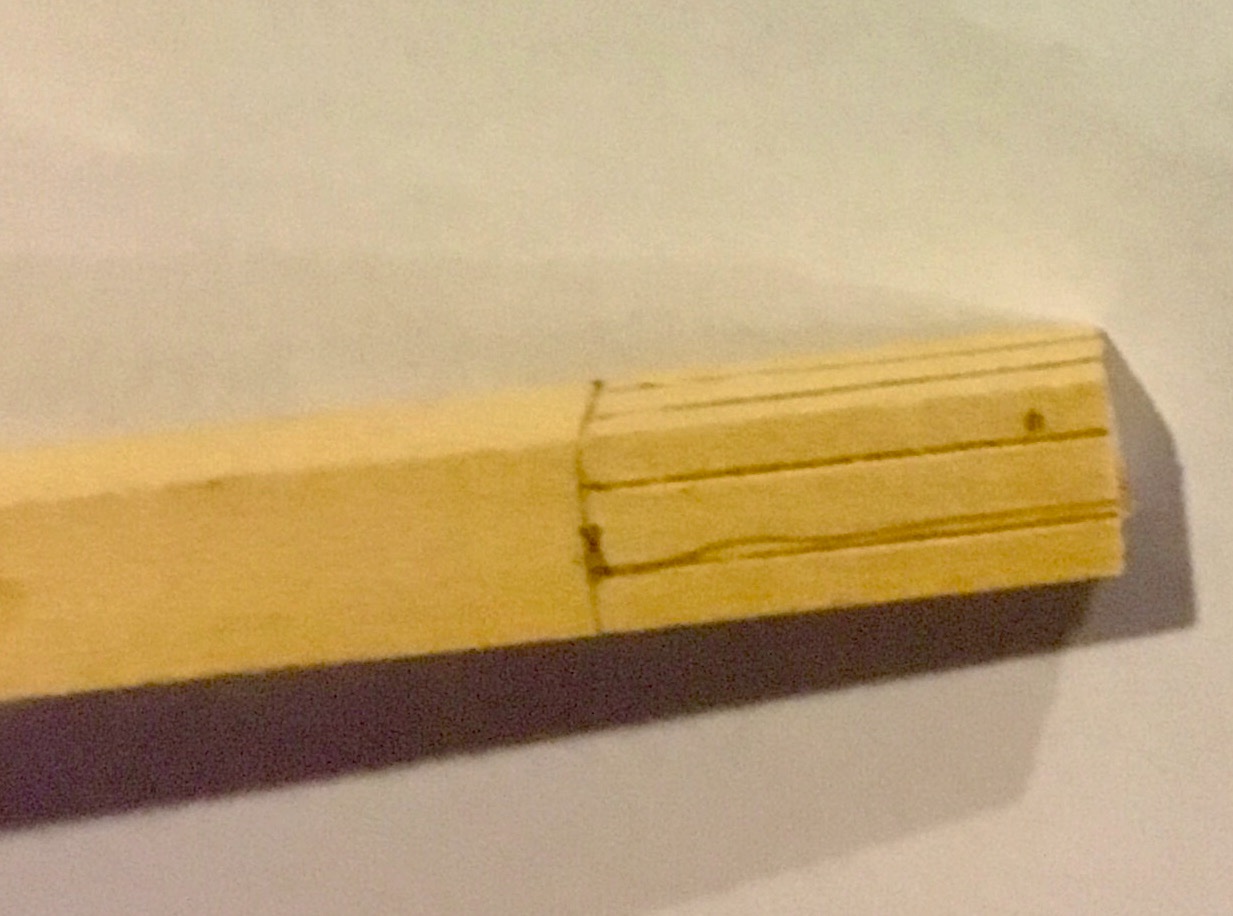
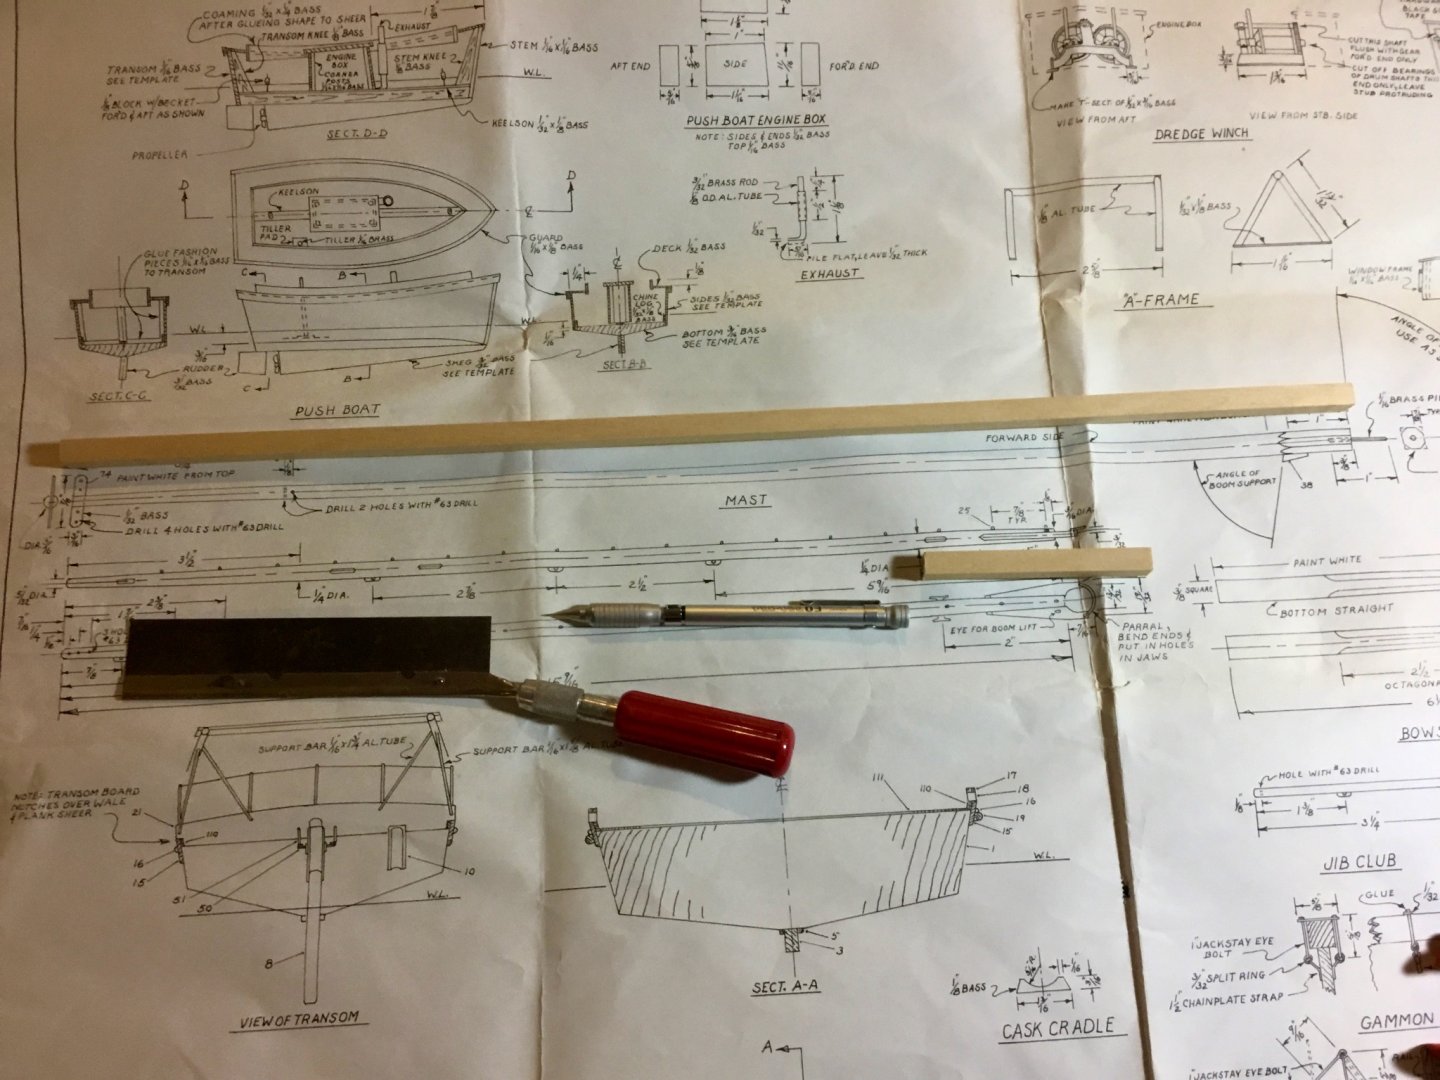
Added centerboard battens Keel battens Added decking and stained Strapped all blocks with 28 gauge wire, some with beckets, painted them black. Did not cut all leads to length at this time. Will do that when attaching the blocks. Kit part list says there were supposed to be 12 1/8" single blocks. I only counted 11 and I only found 11 places for them on the plans, so I may be OK. These are cast metal blocks and I have wooden 1/8 blocks I can use if I fall short. Using 3/8 square basswood, cut lower part of mast for first inch into an octagon. Rounded and tapered mast 10 to 3/16 diameter at top of mast using small hand plane and sandpaper. Drilled holes near top of mast as indicated on plans and sawed a slot in the top of the mast for mast head fitting. Sanded bottom of mast to angle shown on plans. Drilled hole in bottom of mast and inserted 1" brass pin for mounting. Made and installed the boom support. Using wire cutters cut each of the brass metal mast hoops and opened them wide enough to accept sail cloth. Next up paint and stain mast, paint turnbuckles and mast hoops, install mast hoops on mast, etc. Waiting on paint which supposed to be here tomorrow.


- 22 replies
-
- 1
-
-
- Horizon
- Chesapeake Bay Skipjack
- (and 1 more)
-
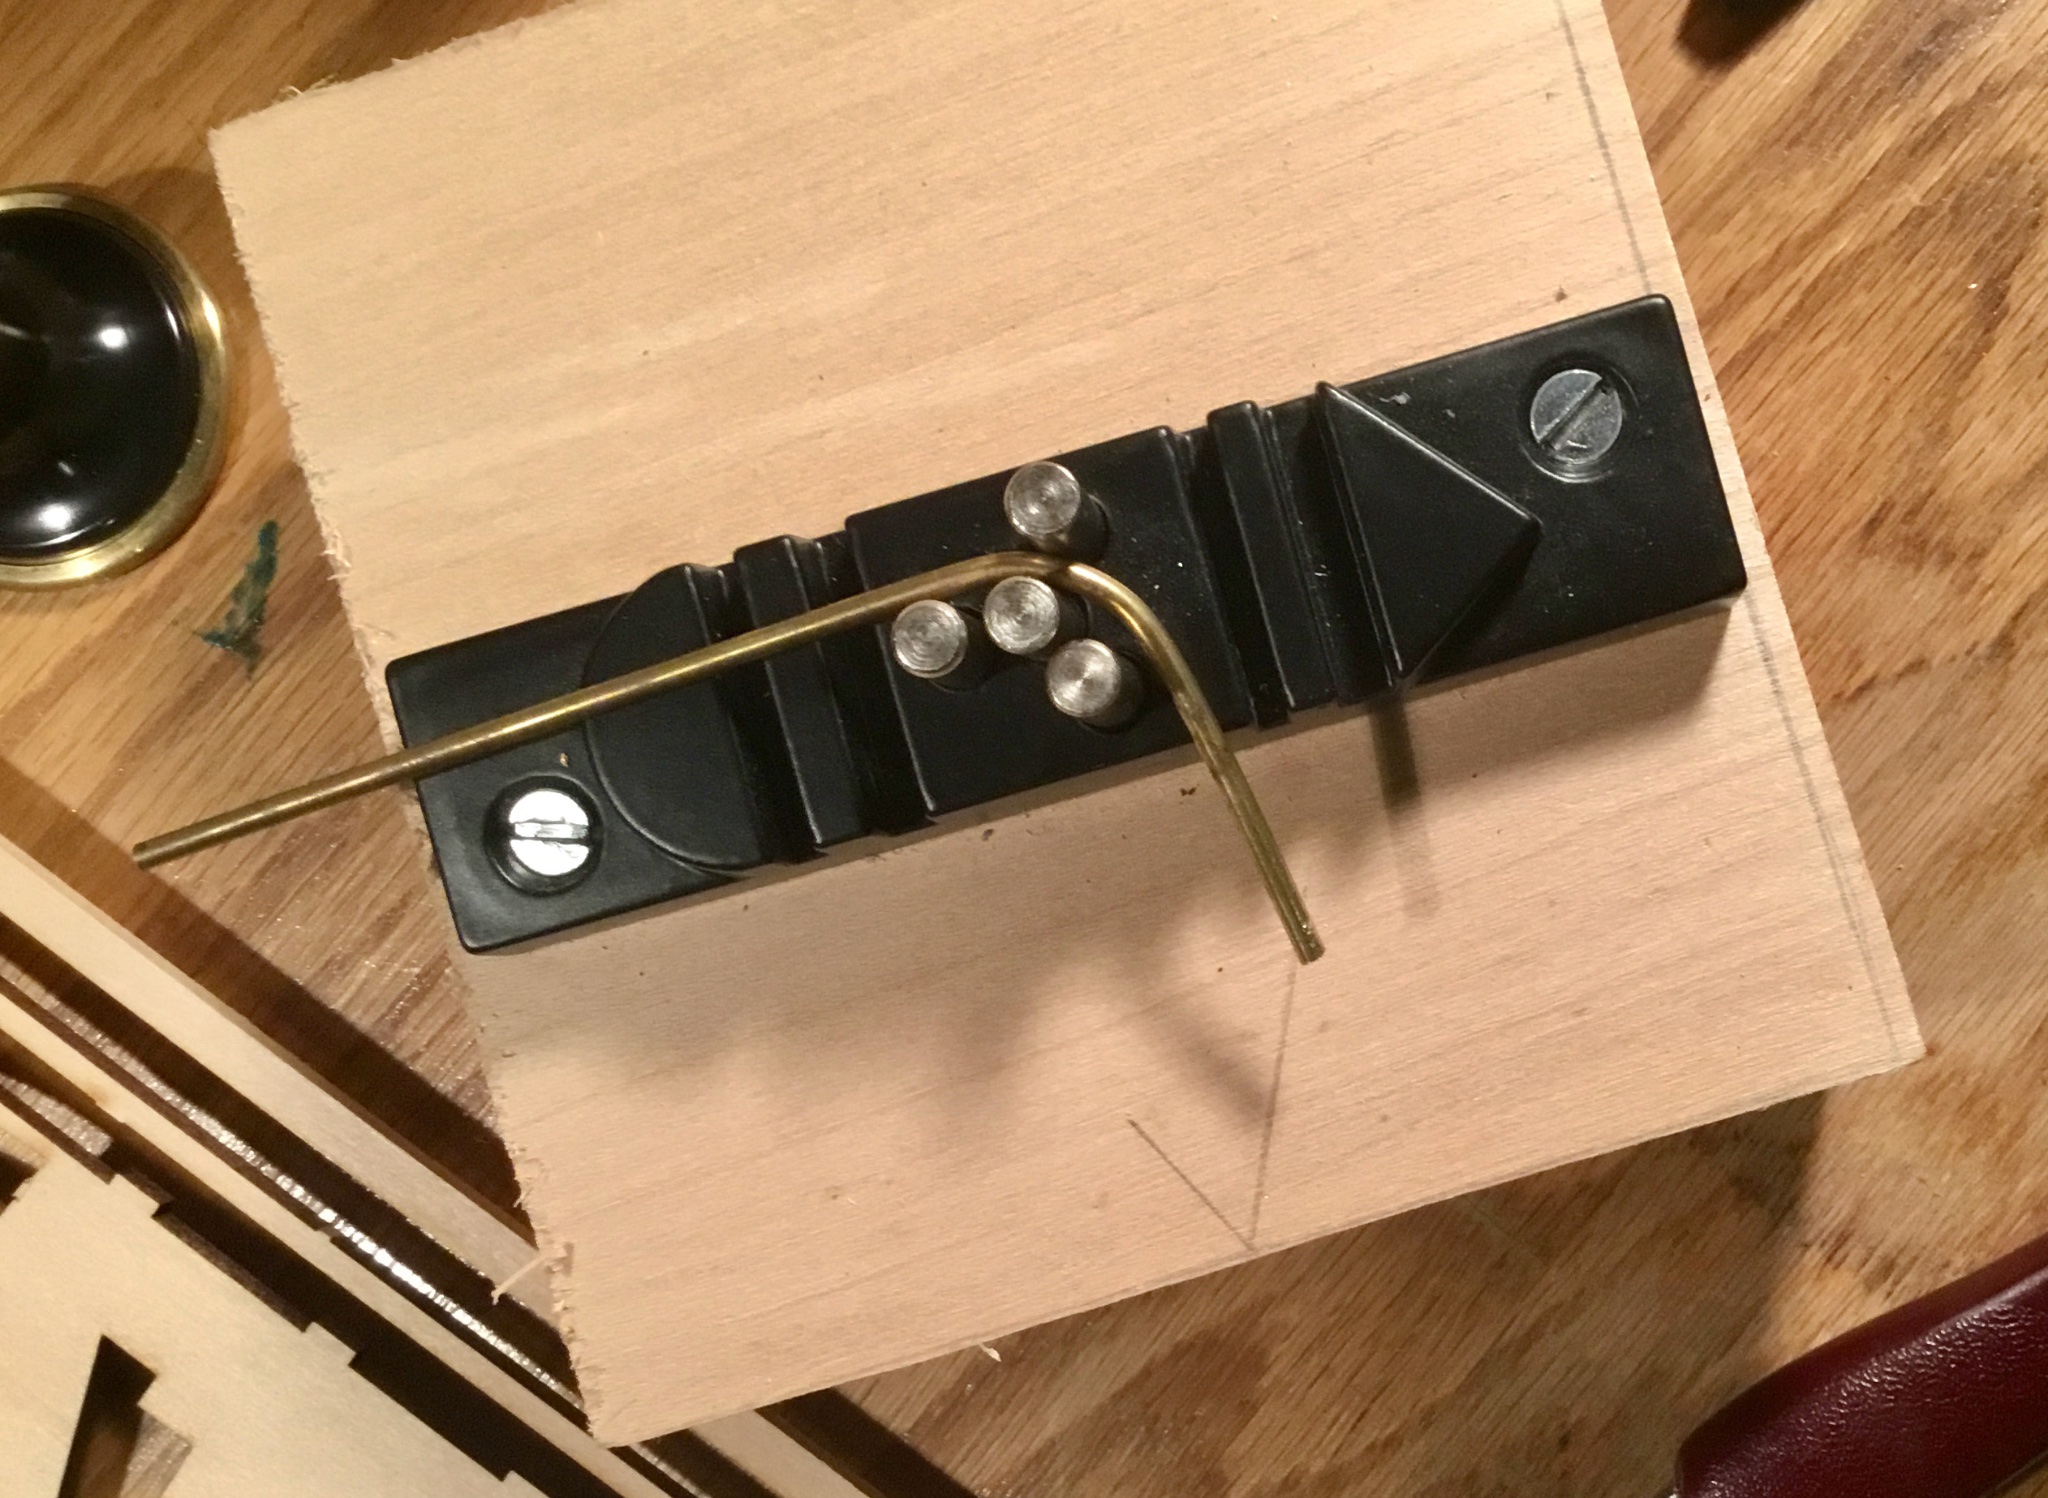
Micro Mark Bending Machine 81356
Dsmith20639 replied to Railcardownunder's topic in Modeling tools and Workshop Equipment
I use the ones shown below from MicroMark here in the USA.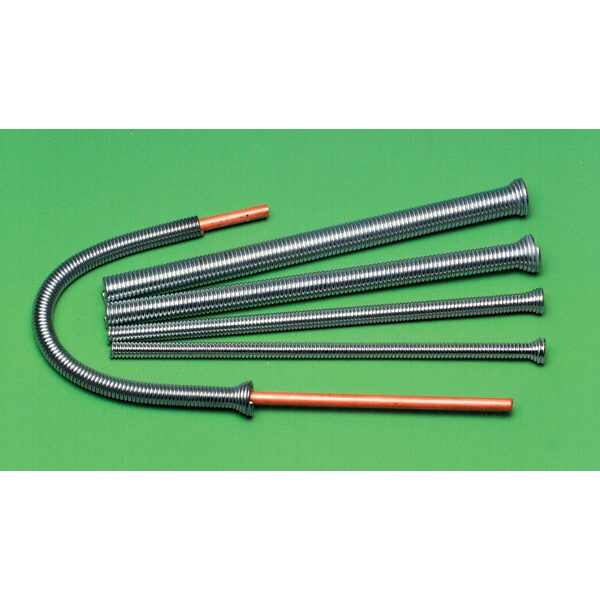
-
Try putting super glue (ca) on the end of the thread and wipe off the excess between your thumb and index finger. That stiffens the end of the thread so it is easier to insert thru the hole. Or use a needle threader.


.jpeg.0a647d08aa987d2a31268d7f2833c06a.jpeg)
.jpeg.570209c7ea9a2436c380d46125609a86.jpeg)