HOLIDAY DONATION DRIVE - SUPPORT MSW - DO YOUR PART TO KEEP THIS GREAT FORUM GOING! (Only 24 donations so far out of 49,000 members - C'mon guys!)
×


Dsmith20639
-
Posts
254 -
Joined
-
Last visited
Content Type
Profiles
Forums
Gallery
Events
Everything posted by Dsmith20639
-
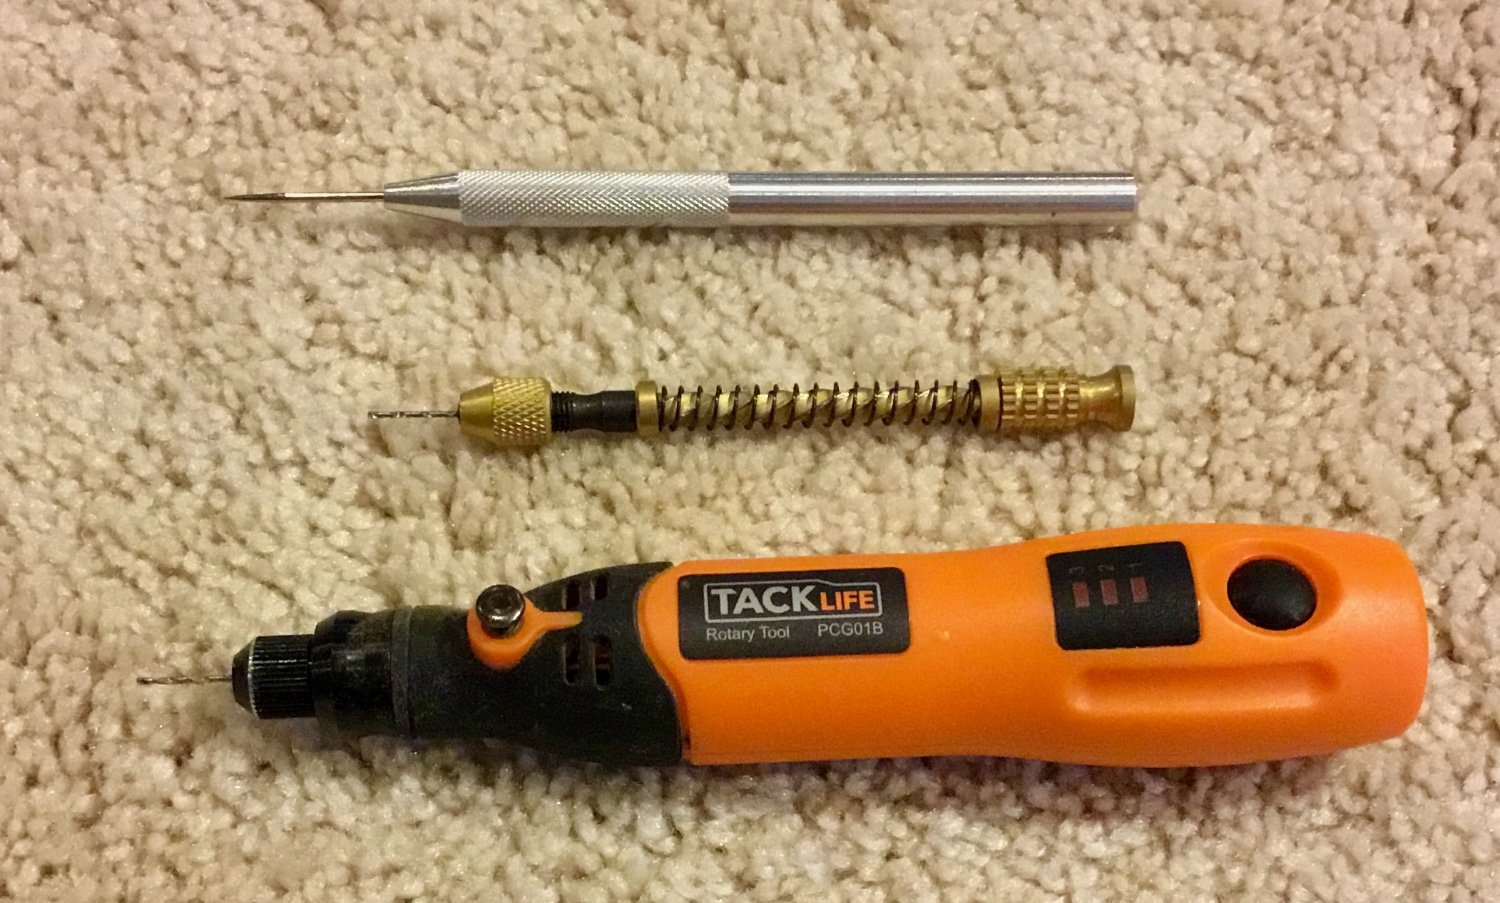
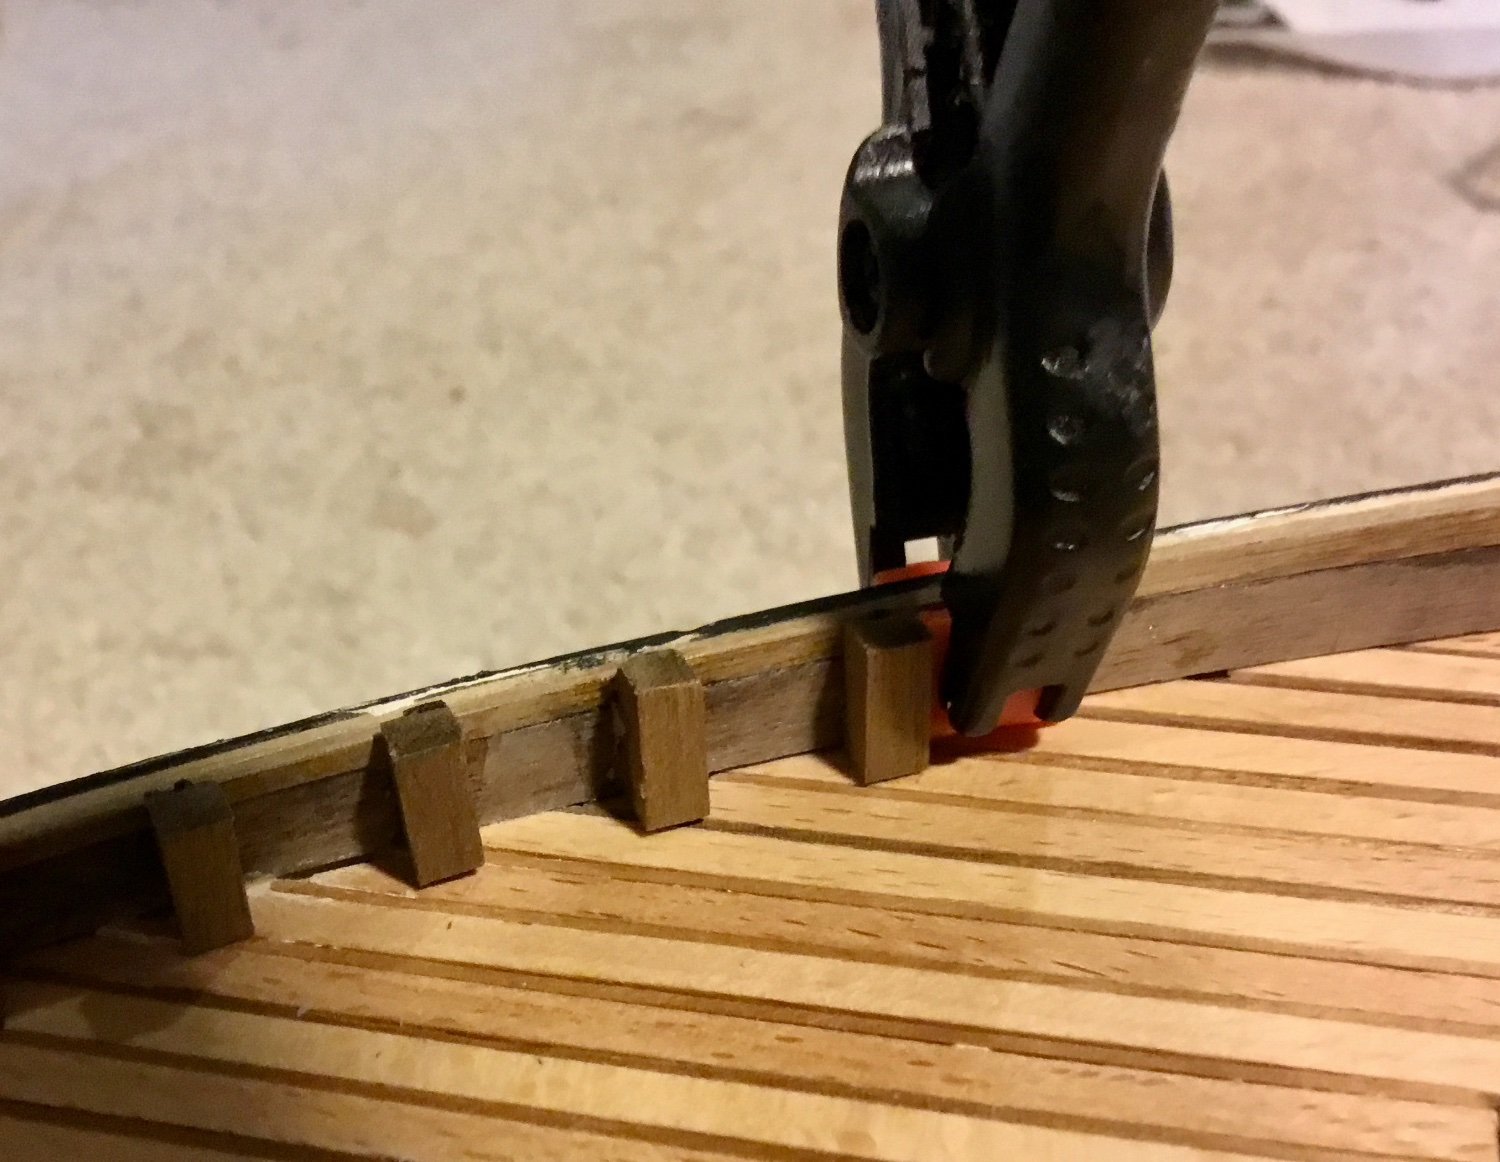
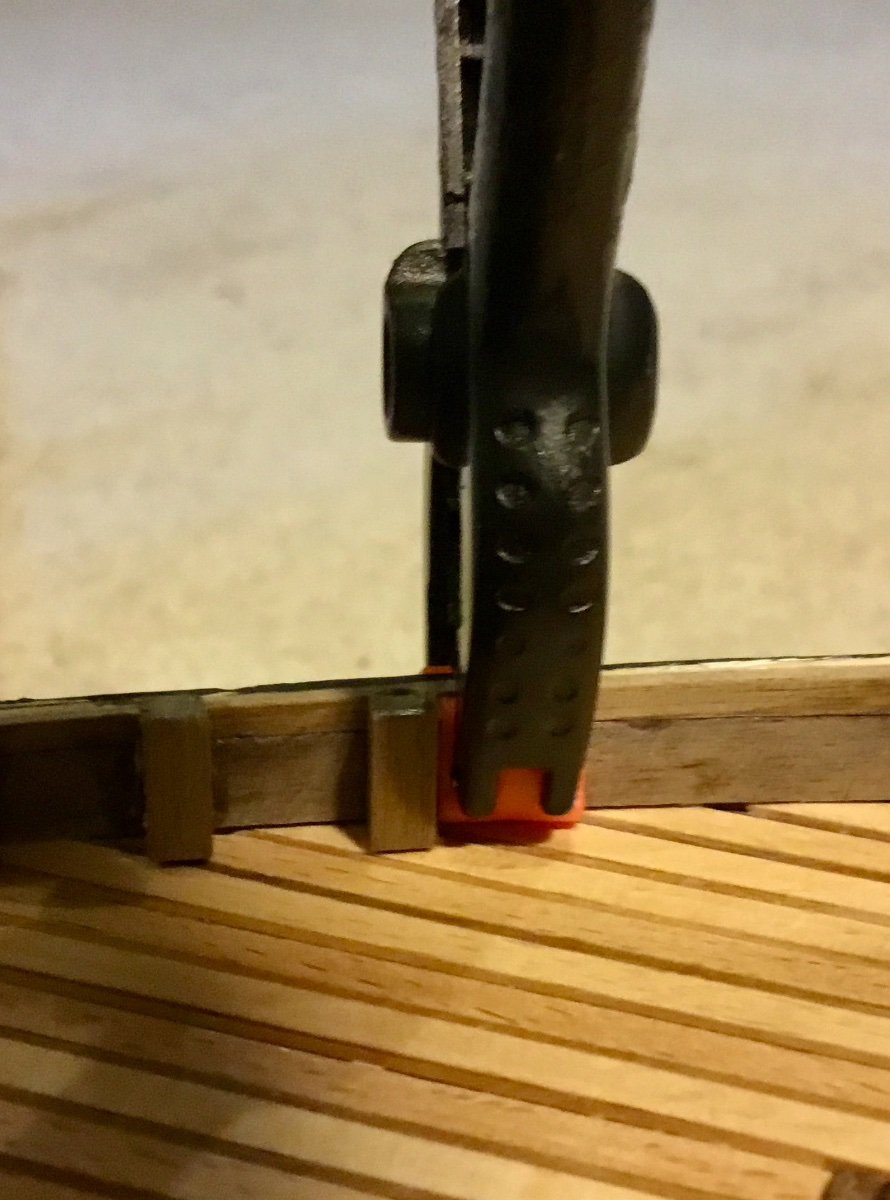
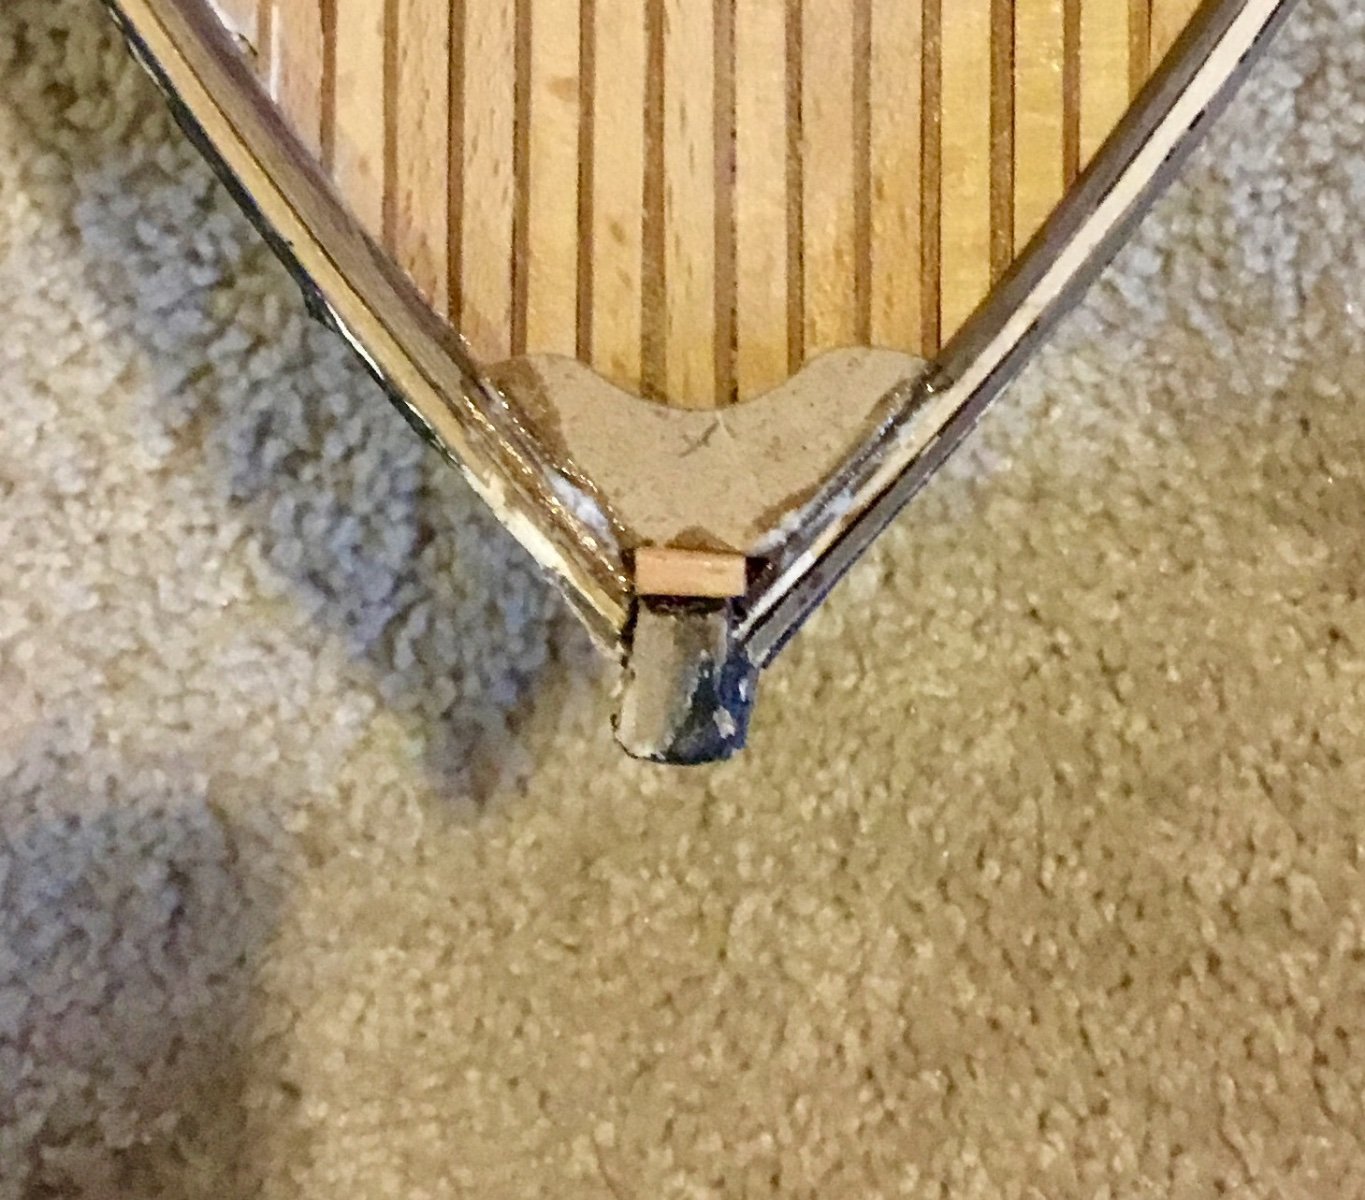
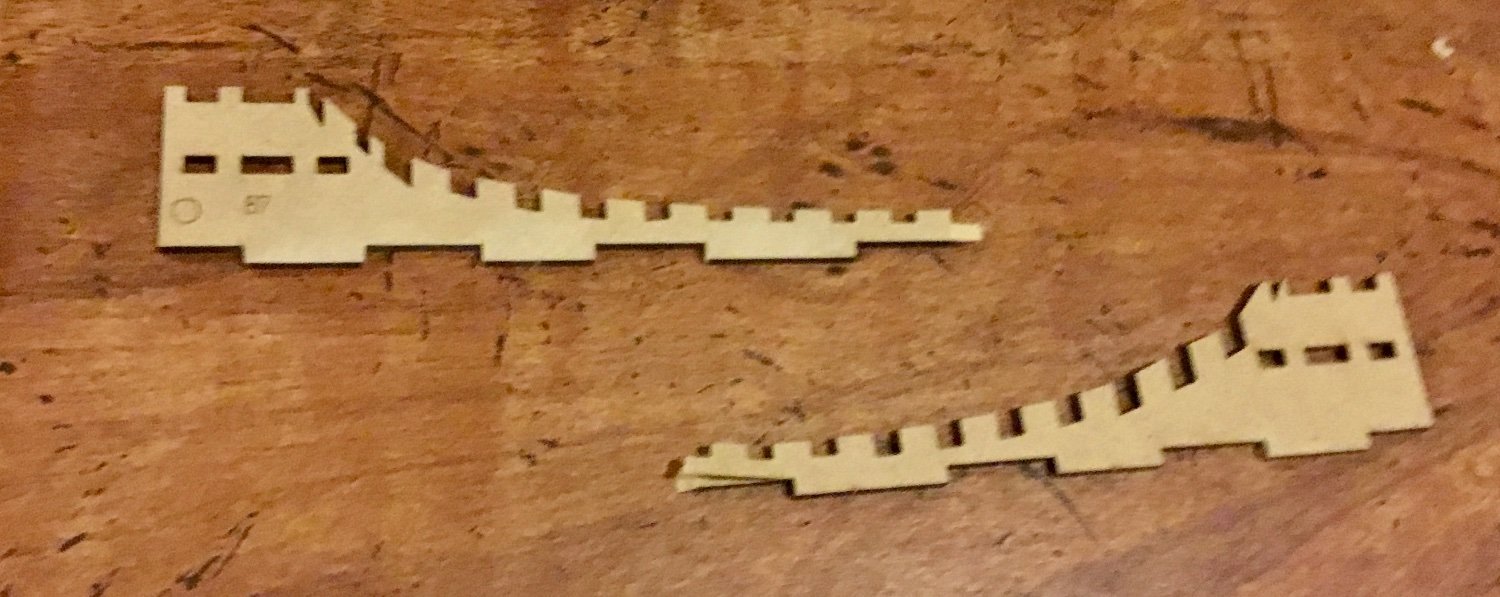
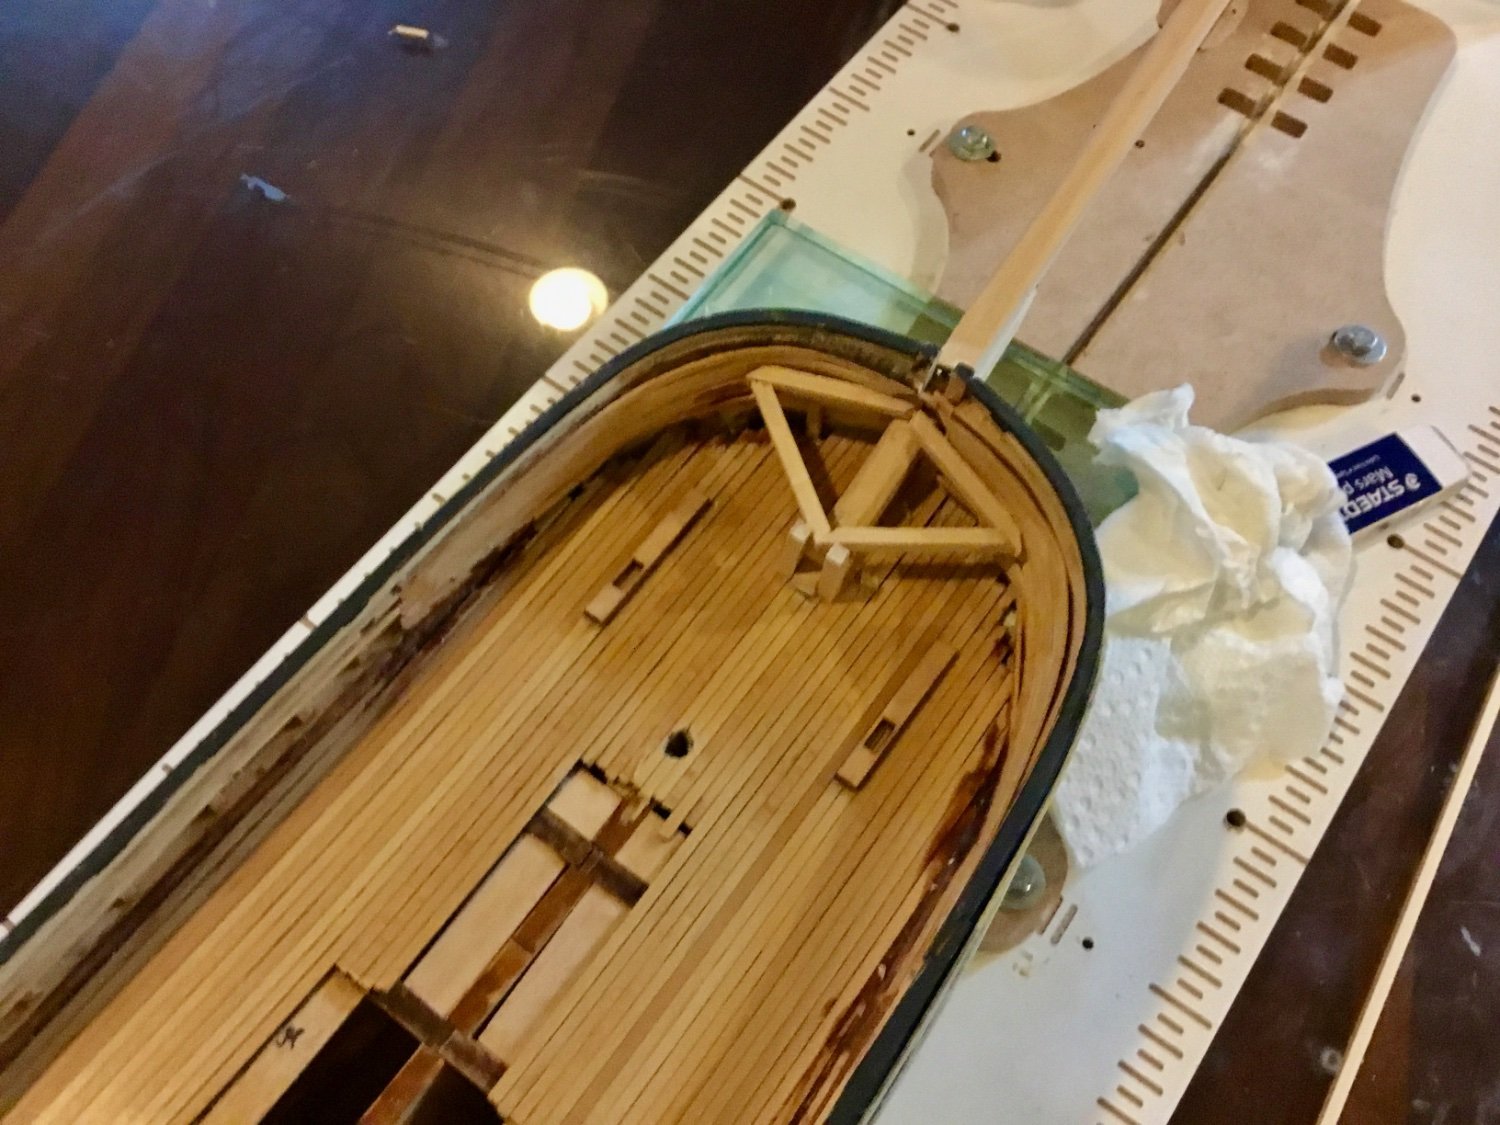
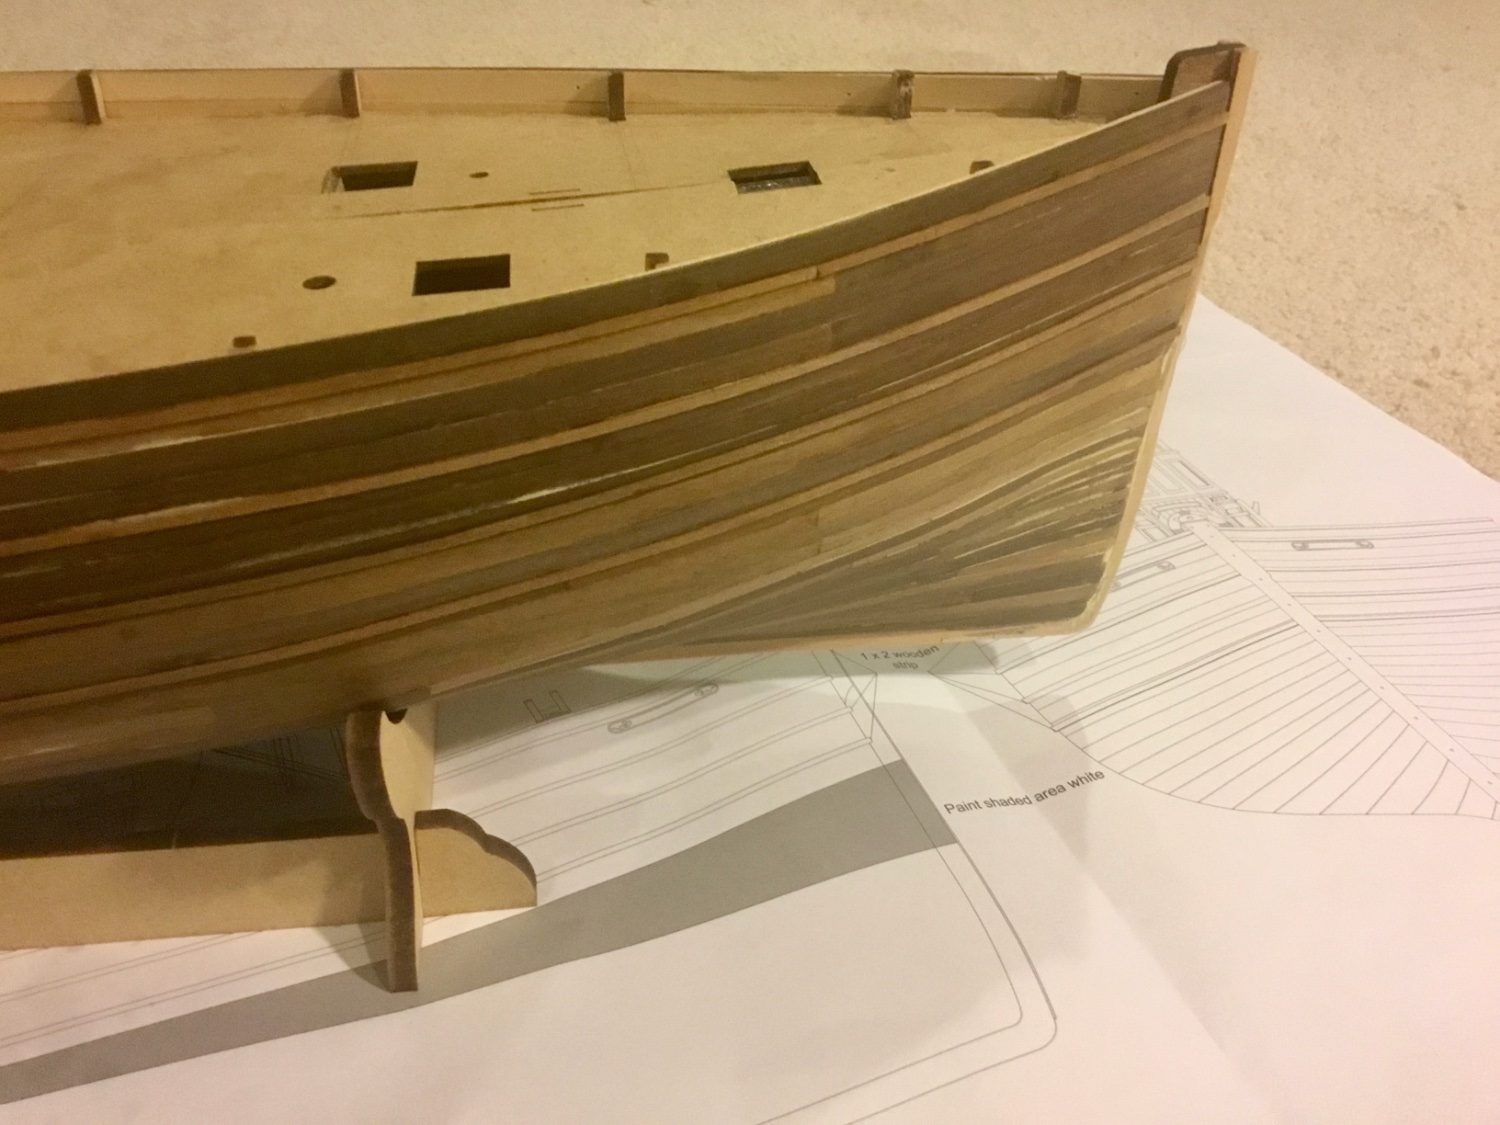
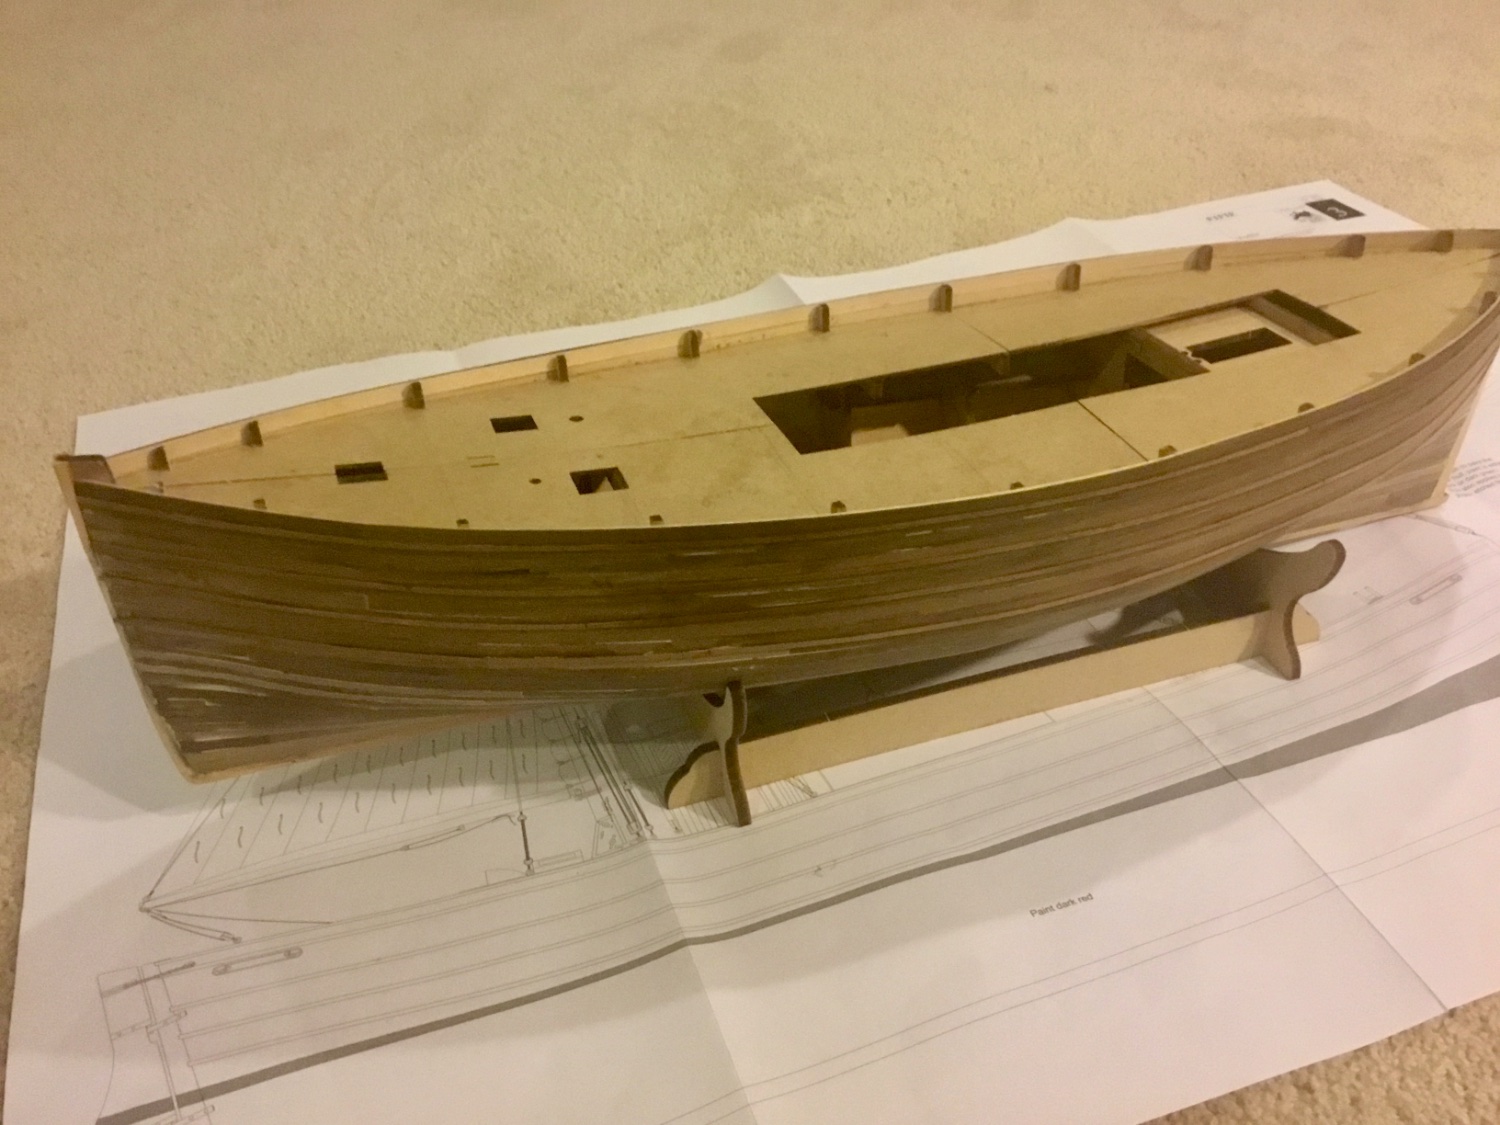
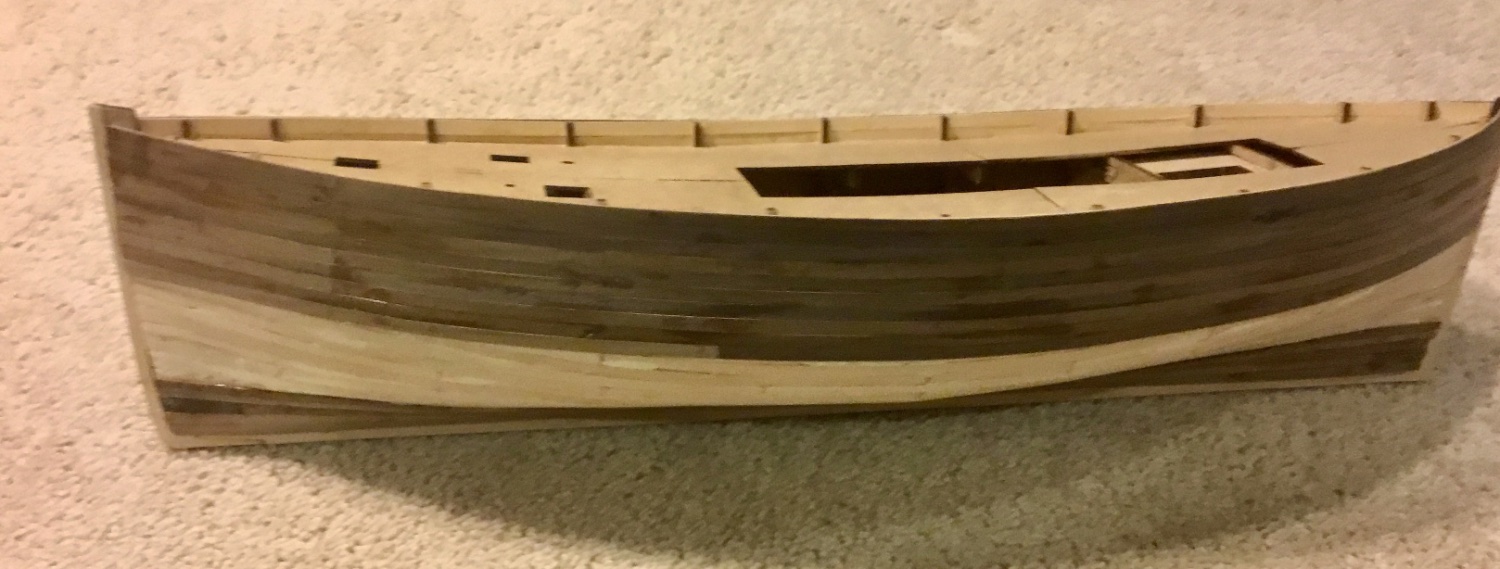
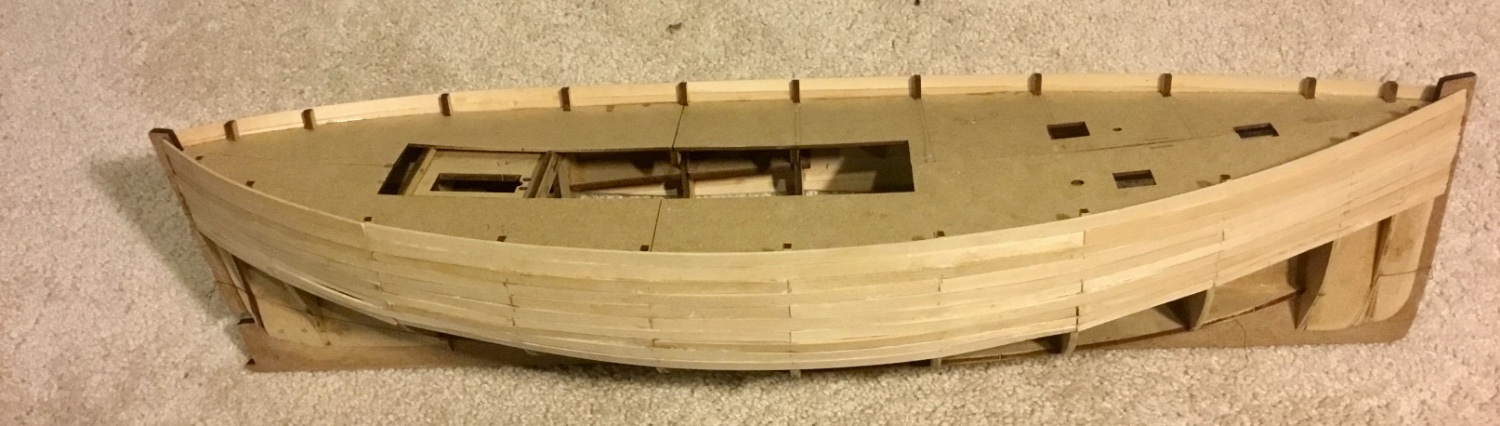
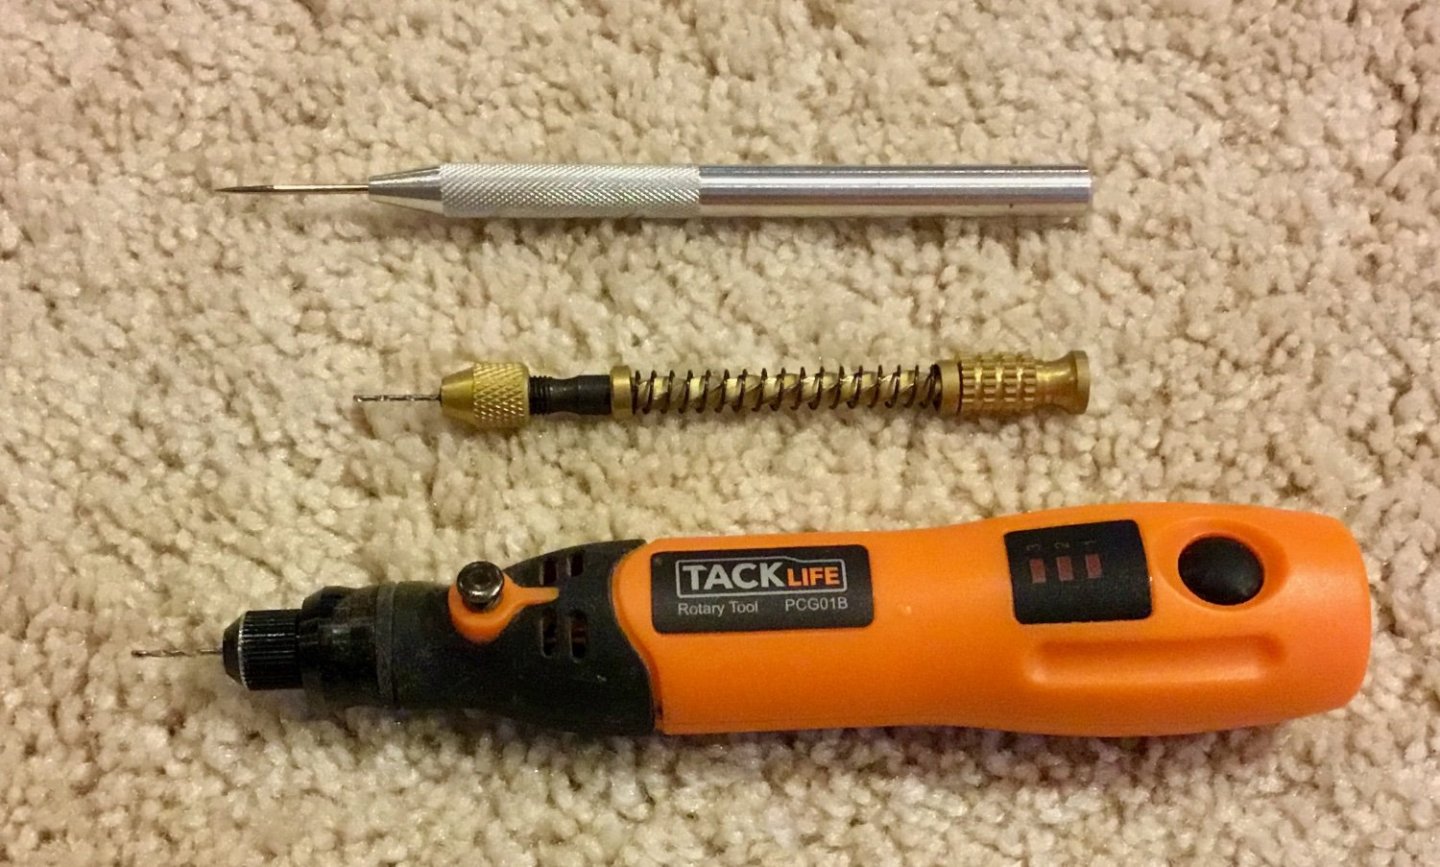
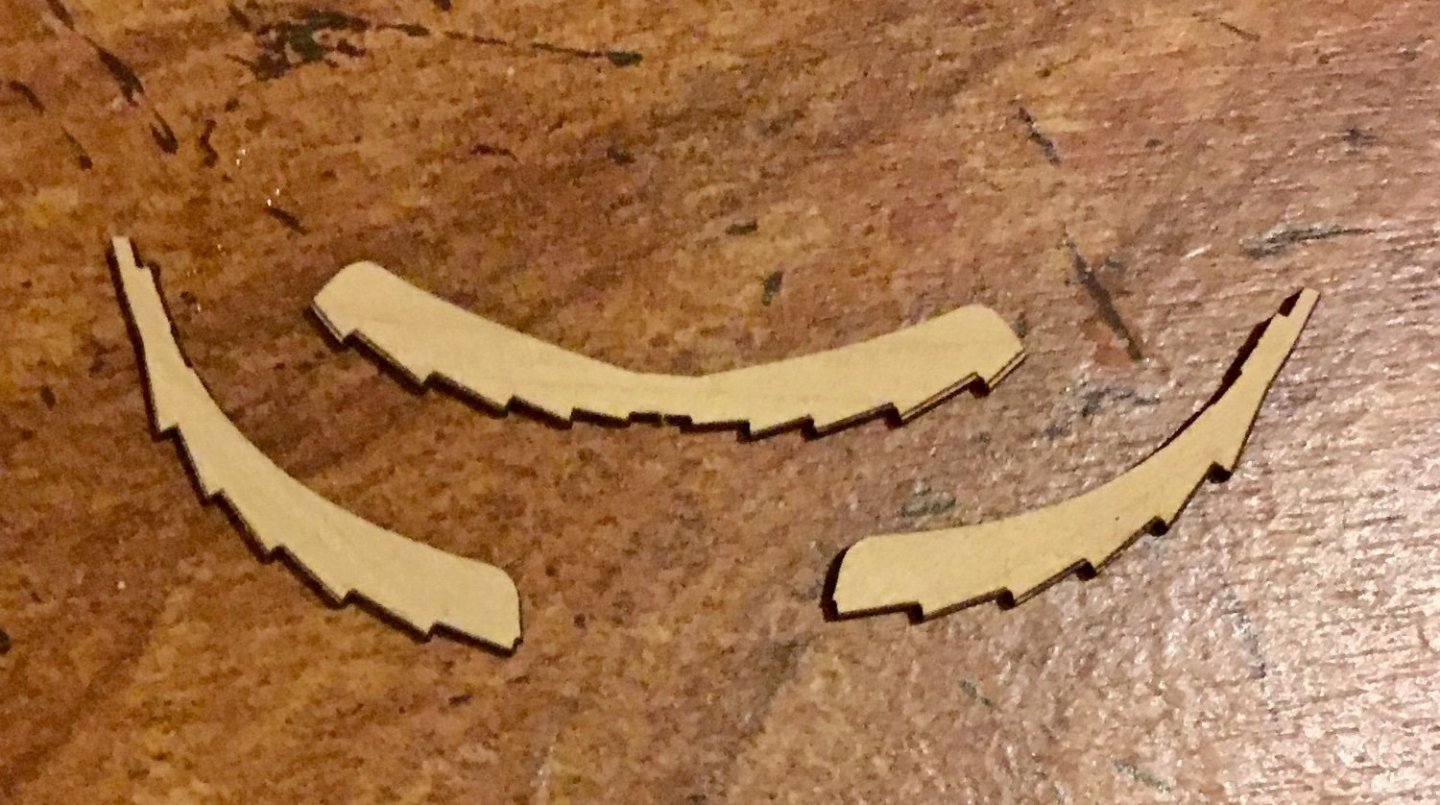
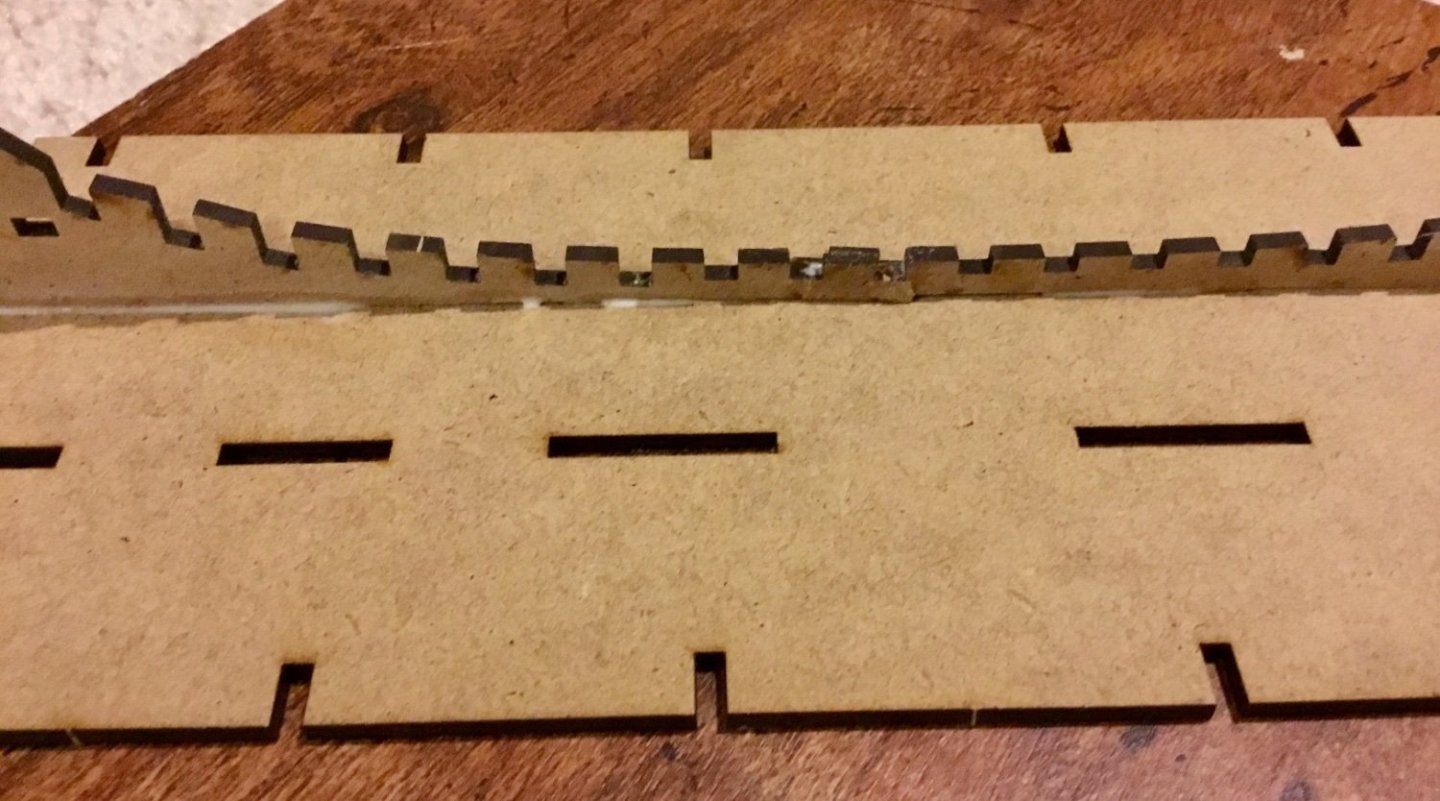
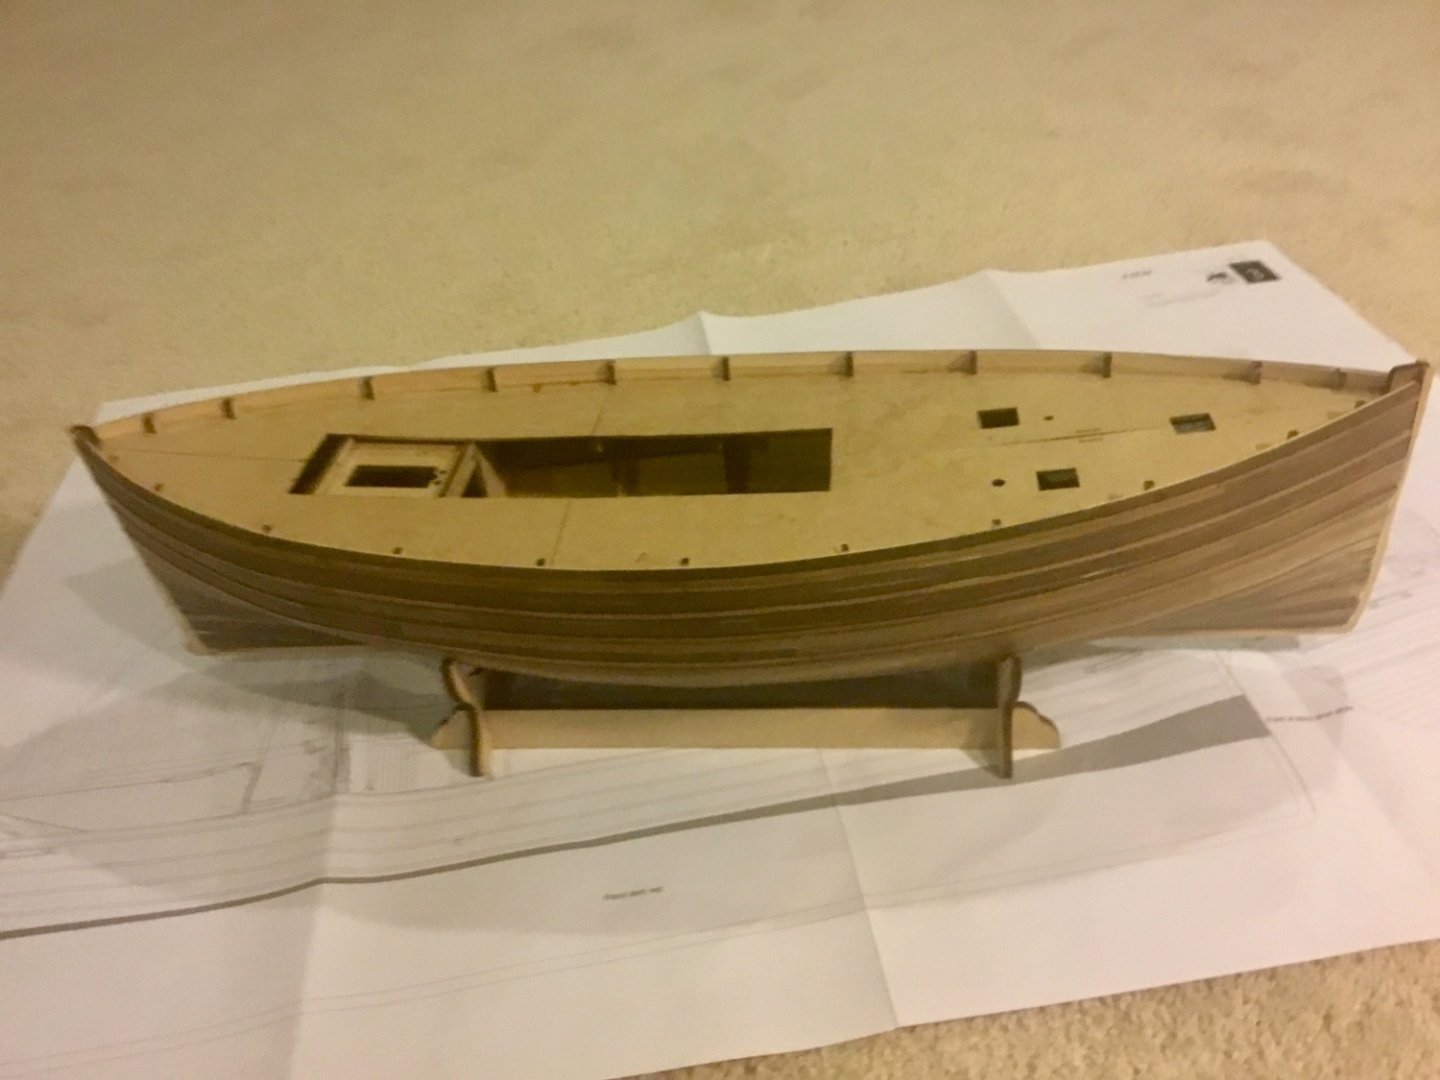
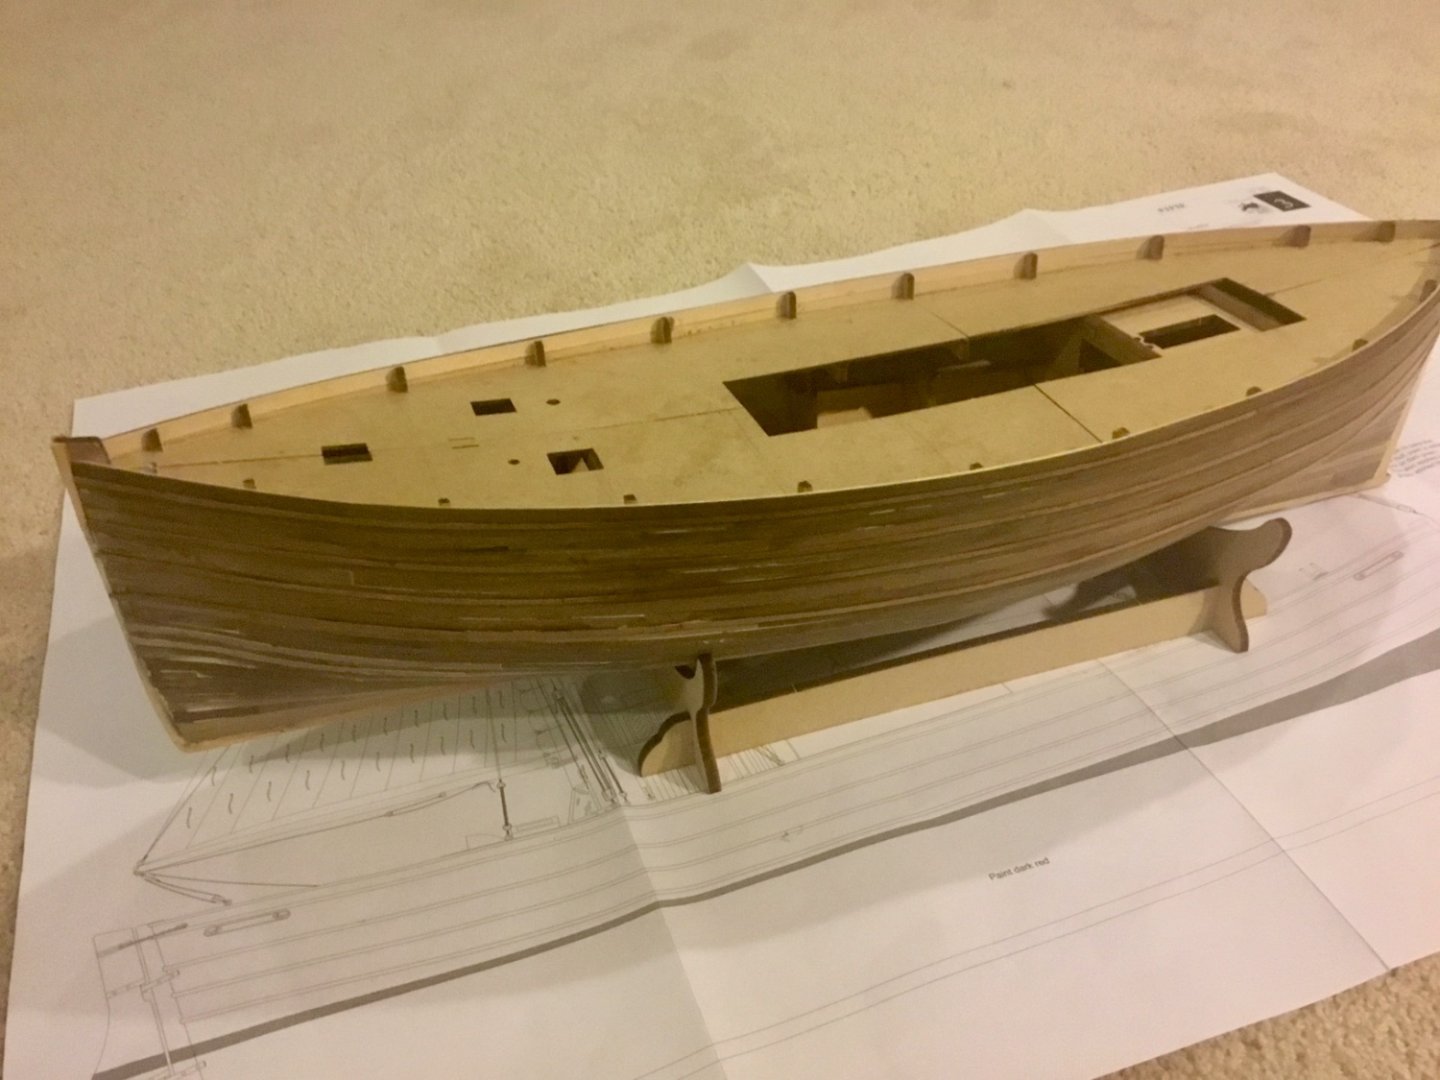
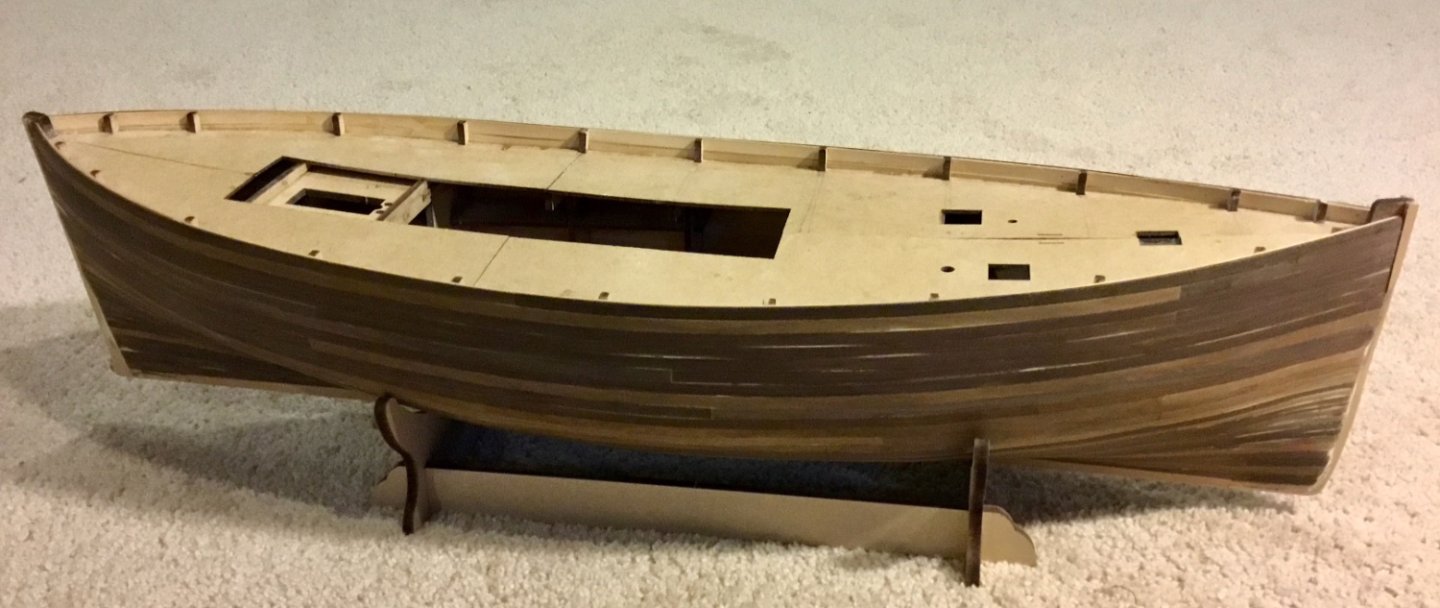
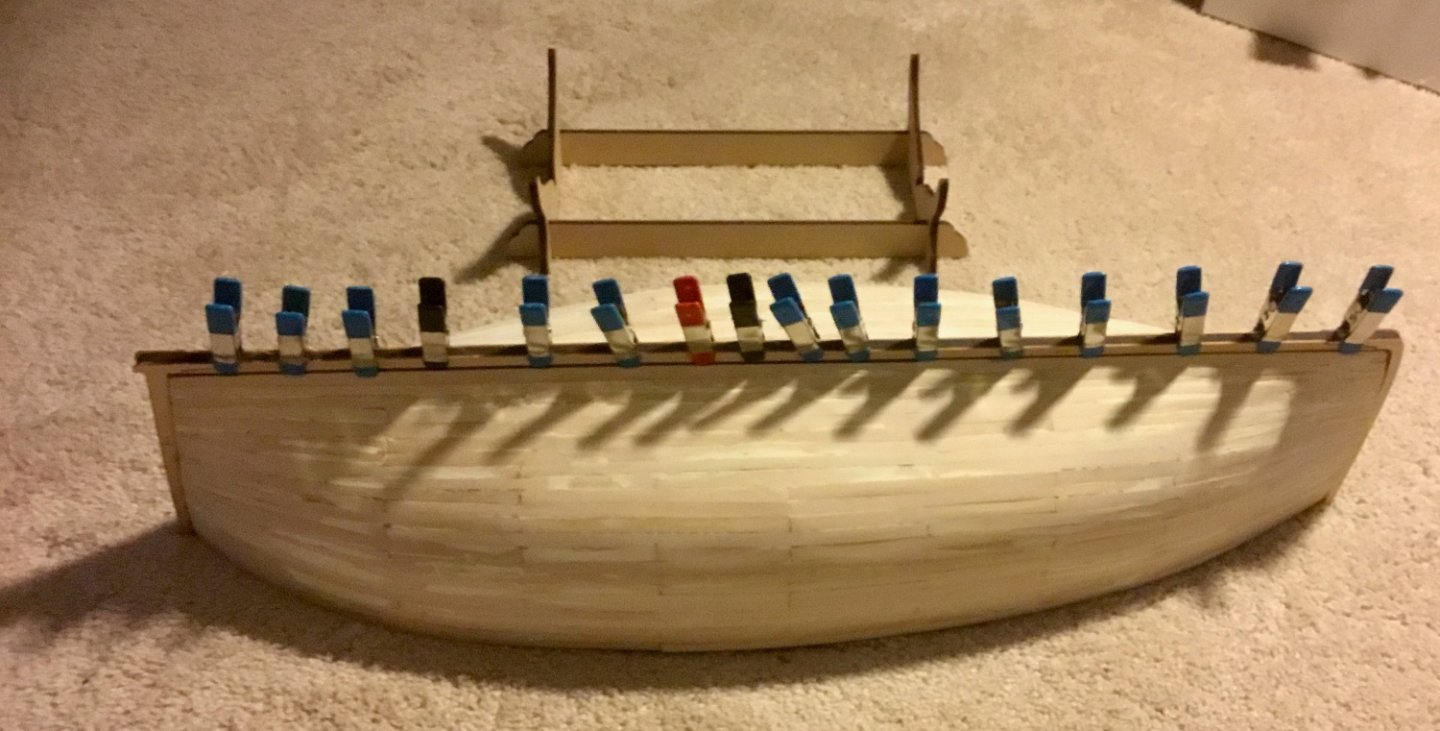
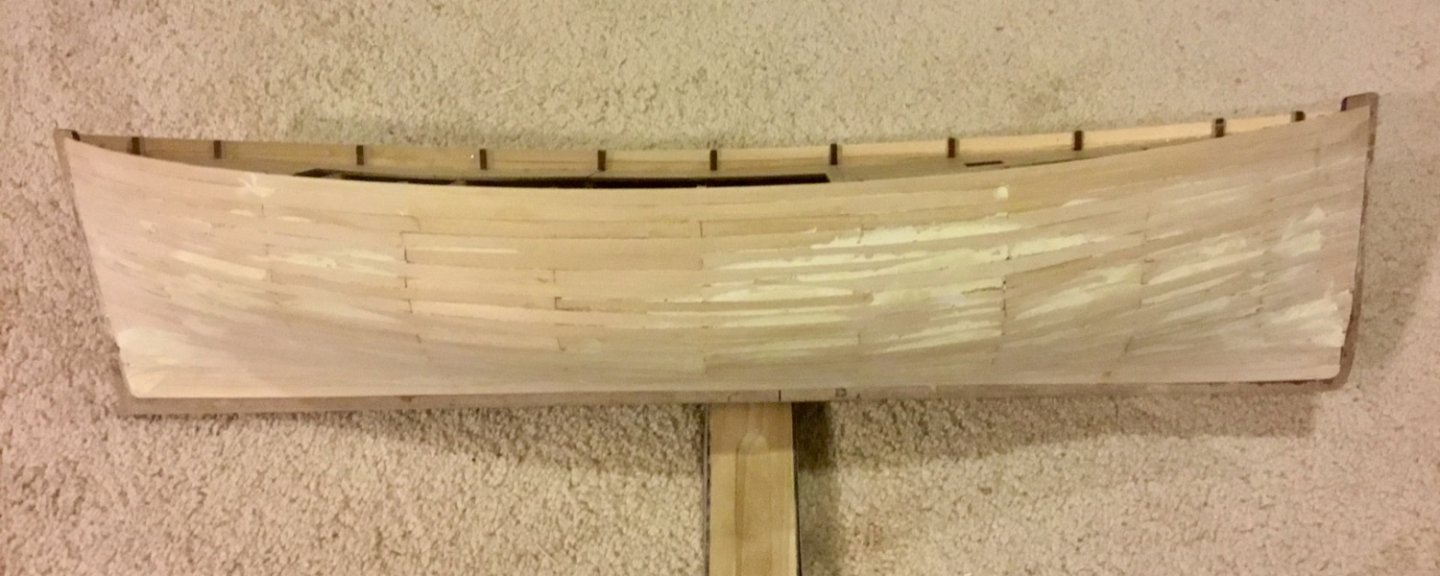
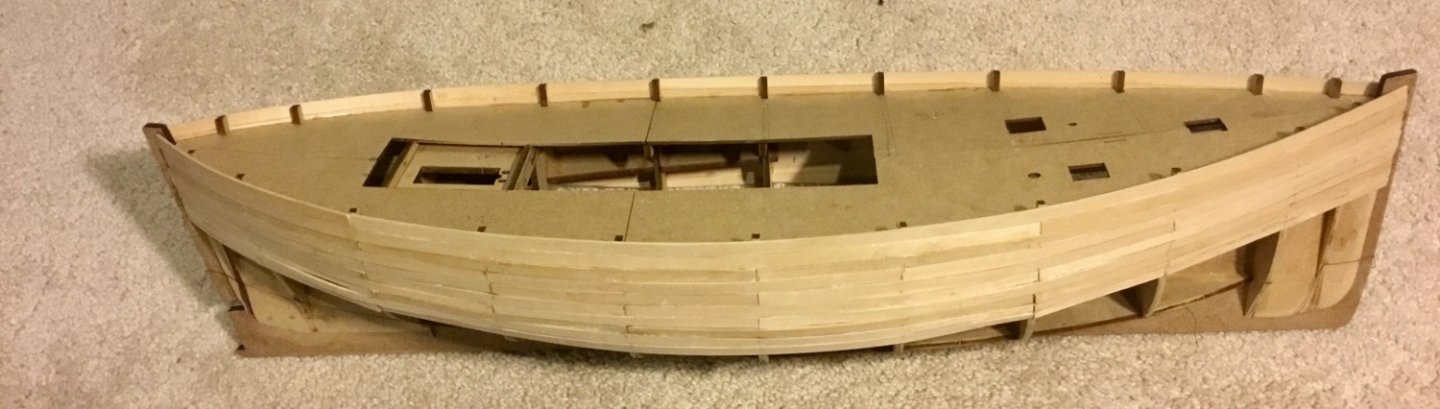
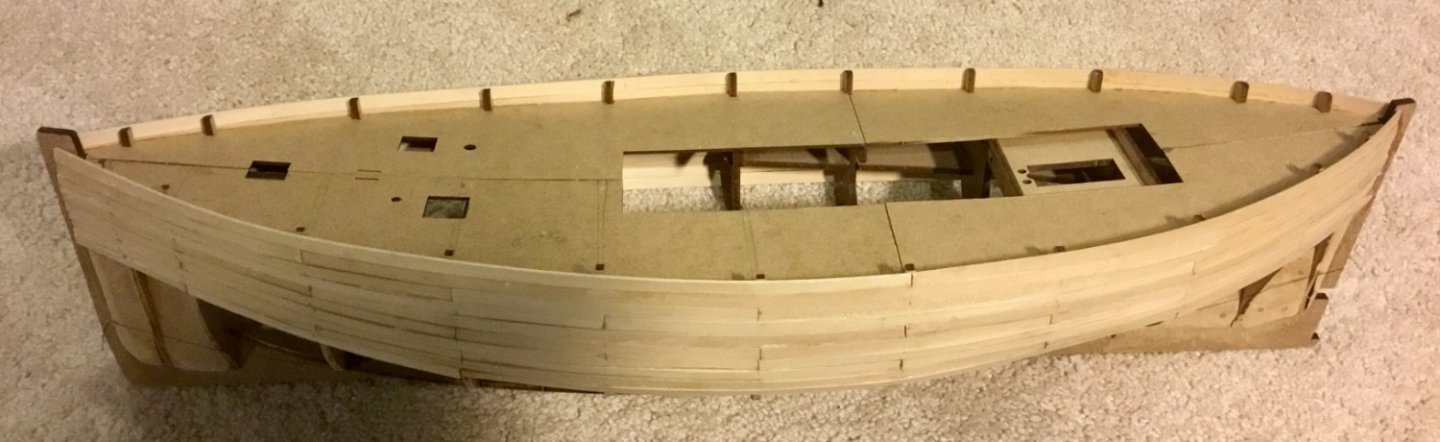
I added the bow and stern brackets. Unfortunately, they were not even close to my bow and stern shape and required significant modifications to fit. They look like wood in the construction manual photos but are MDF (which I hate). I will probably paint them white along with the gunwales so it's not a big deal, but how could I be so far off? I then added the timber heads and sanded them level with the bulwarks. The spacing ended up being exactly the width of my small clamps which helped. I remembered that from someone else's build log. I started fitting the inner rails in place. First I tacked them in place using CA glue for every 4th or 5th timber head then nailed them to each timber head with the supplied iron nails. This involved marking each nail position with a small awl, starting the nail hole with an Archimedes drill, completing the hole with my mini cordless rotary tool, and finally driving in the iron nail with a small hammer. About 90 of them to do!


-
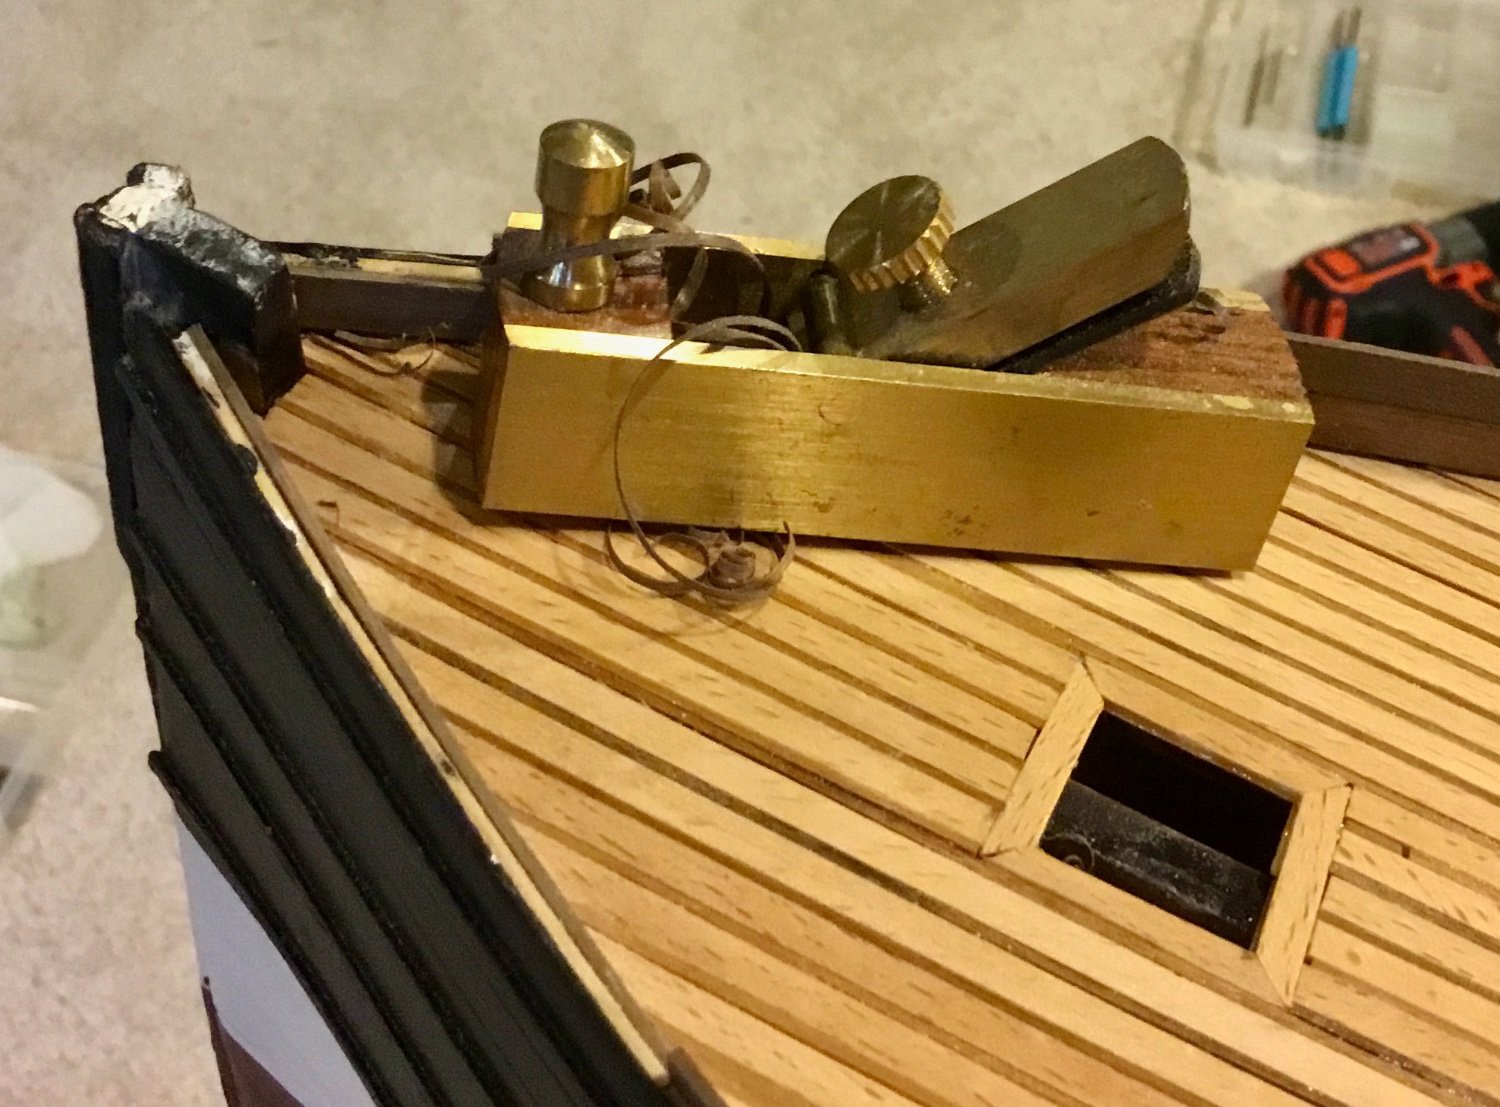
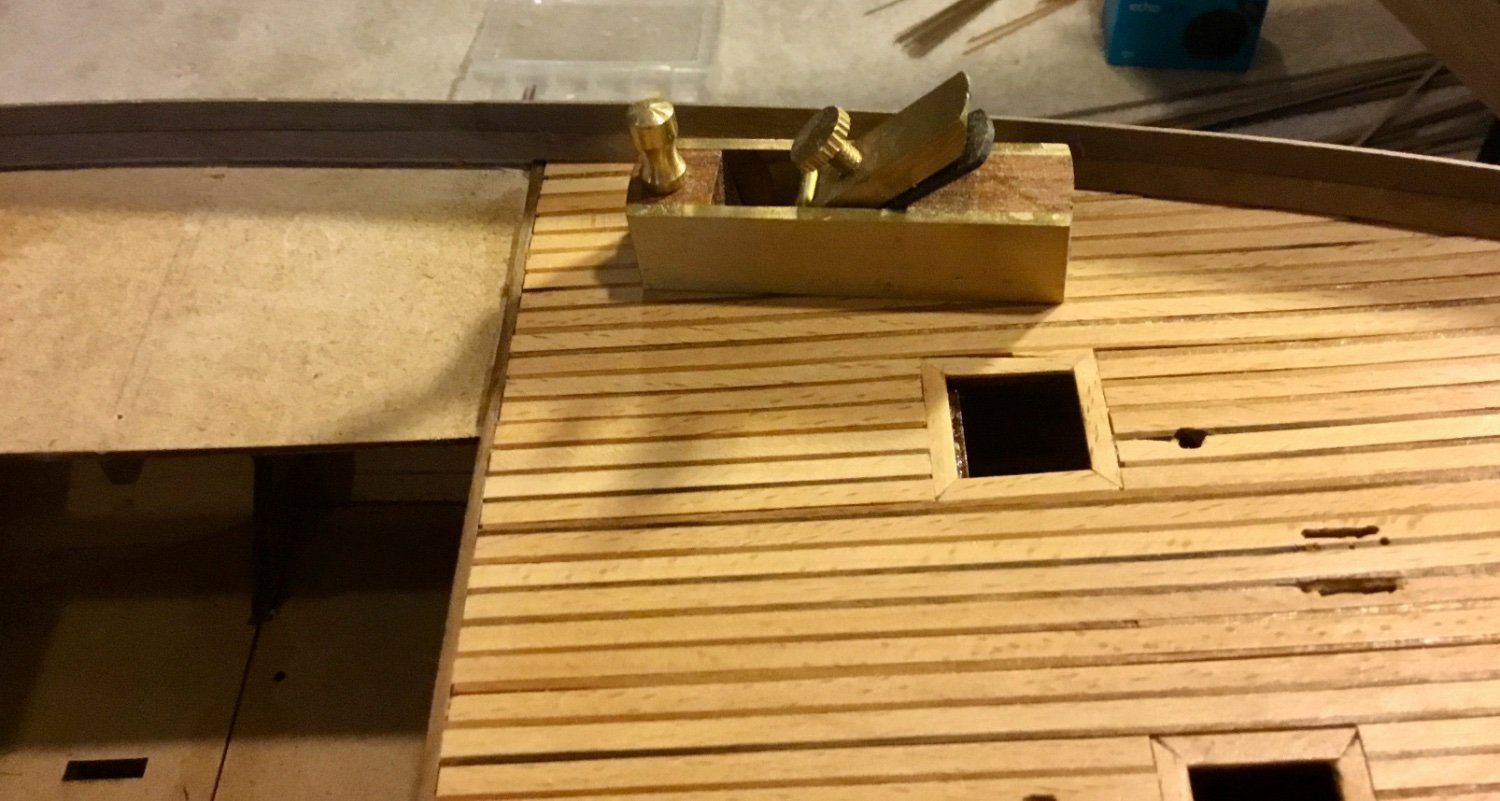
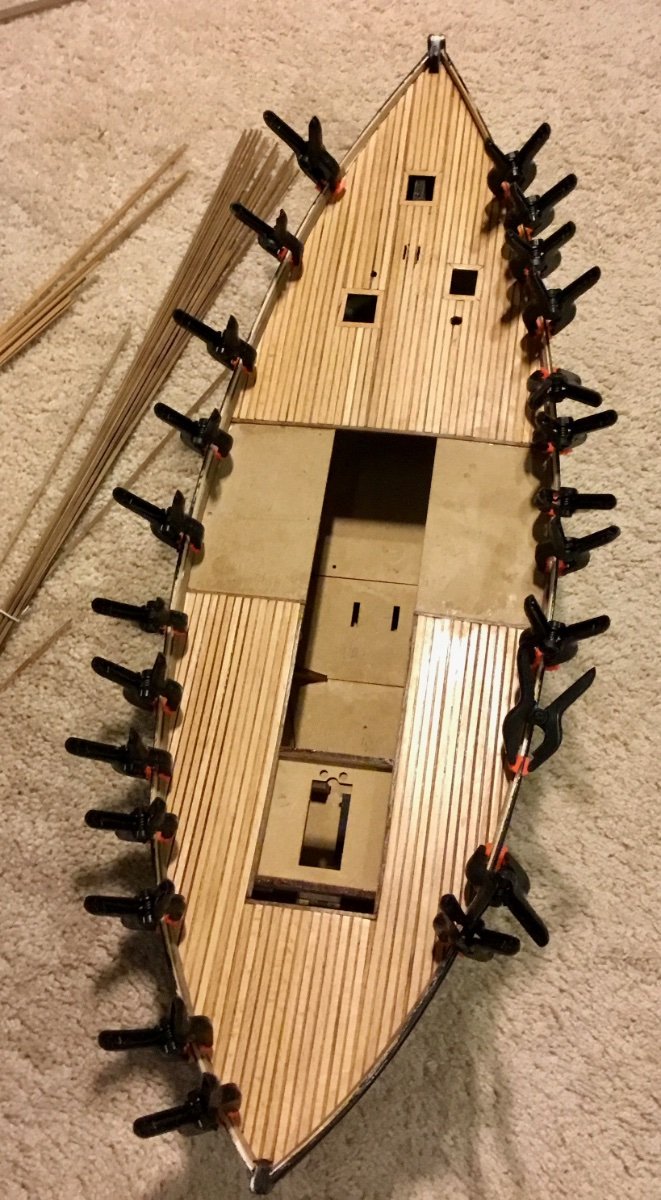
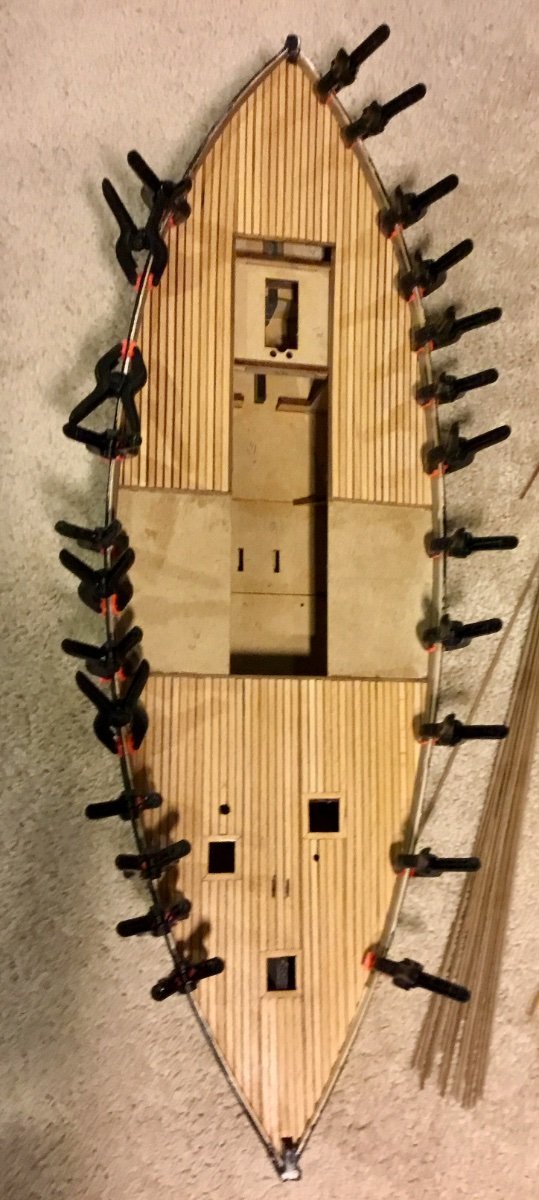
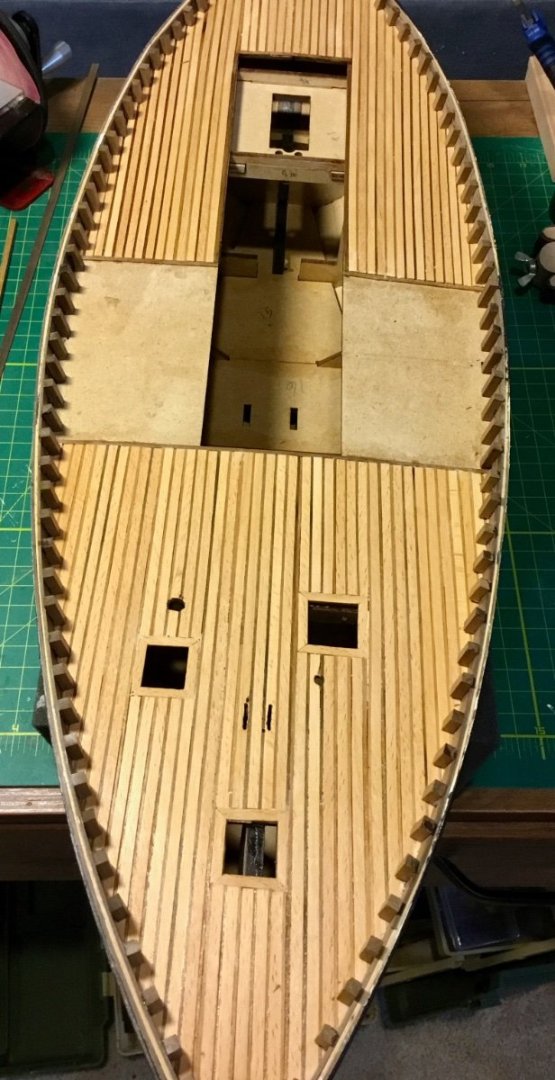
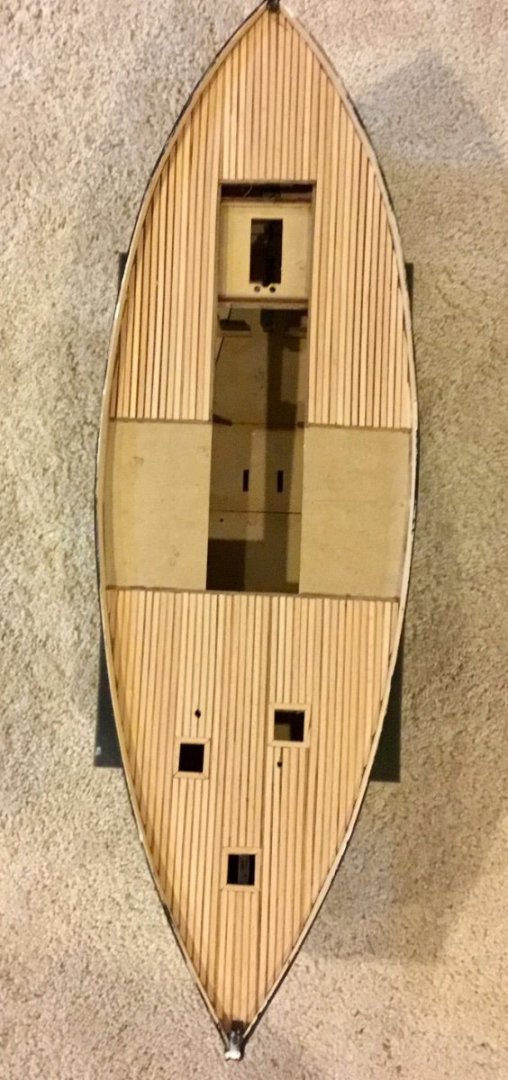
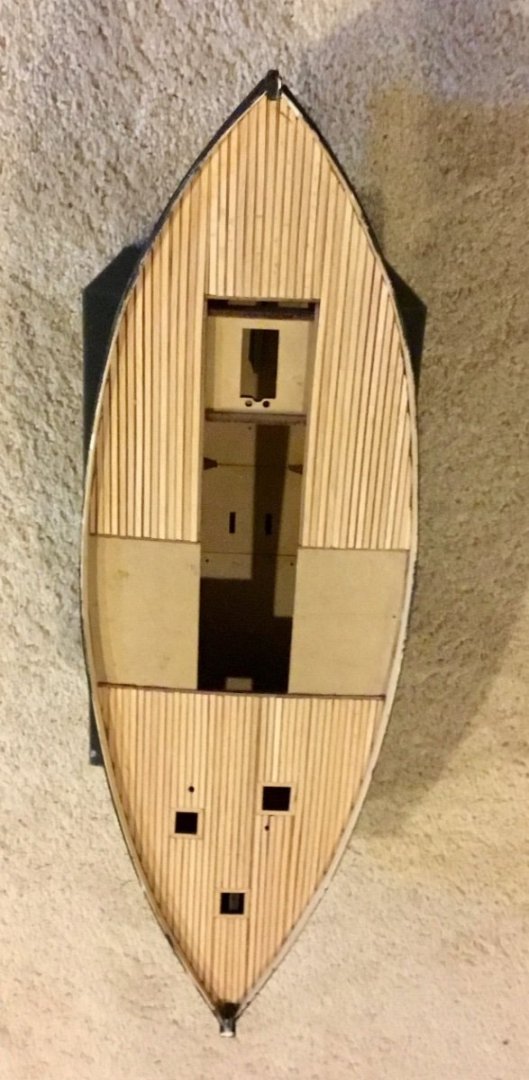
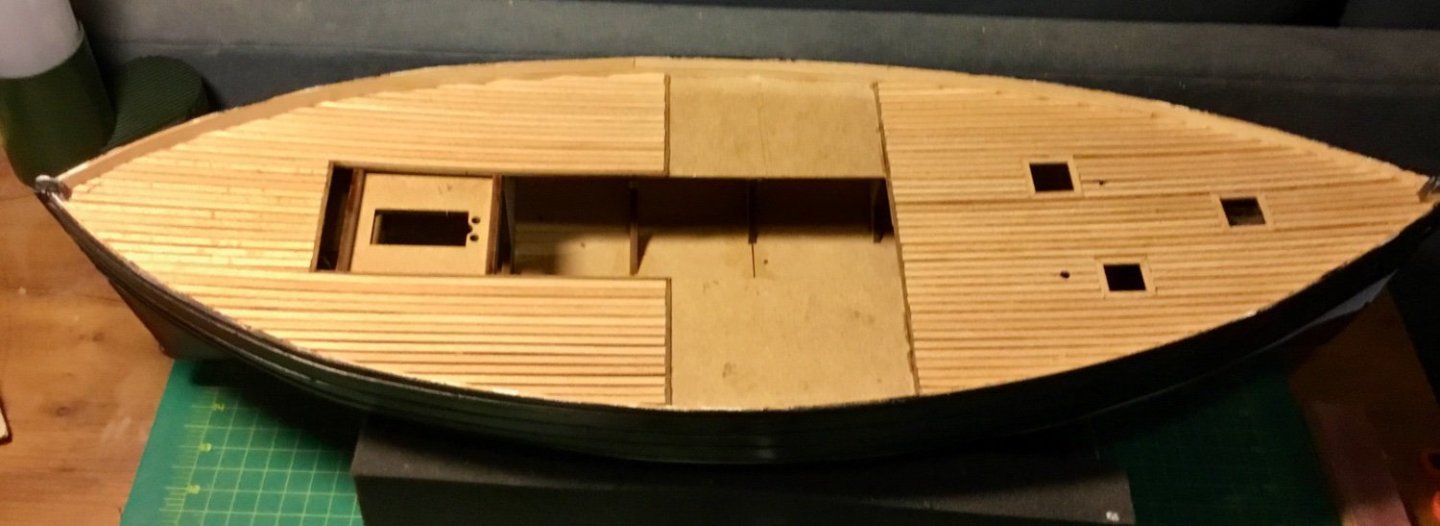
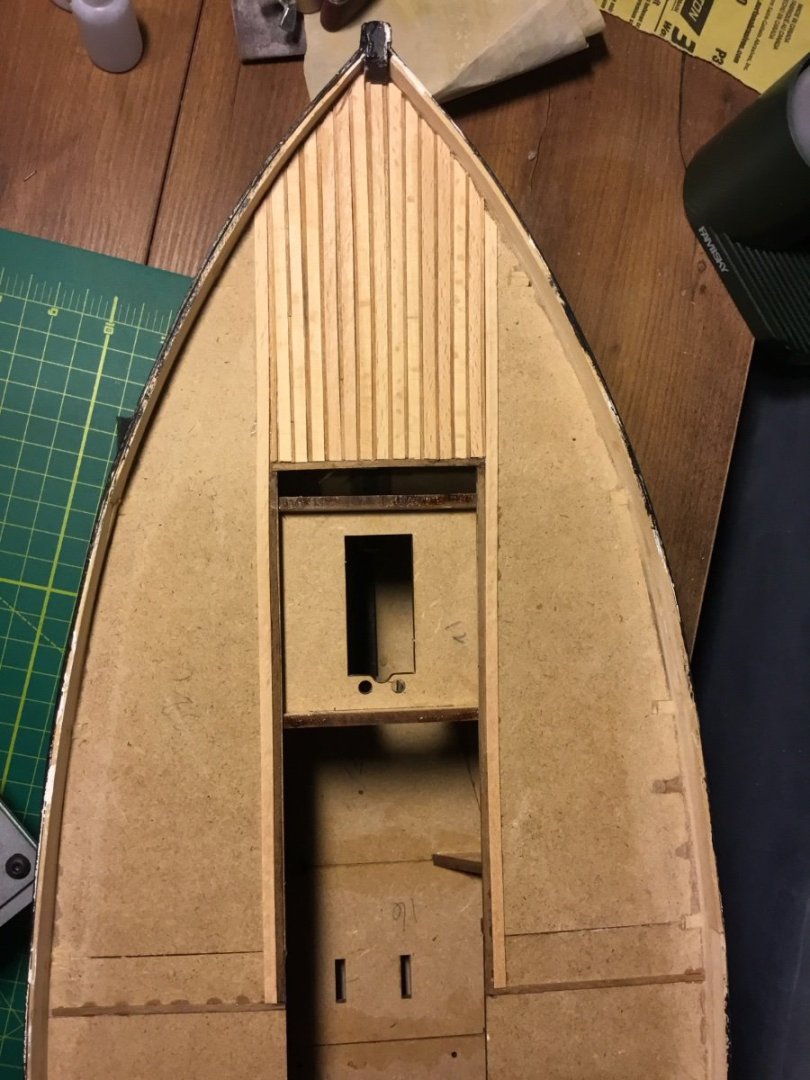
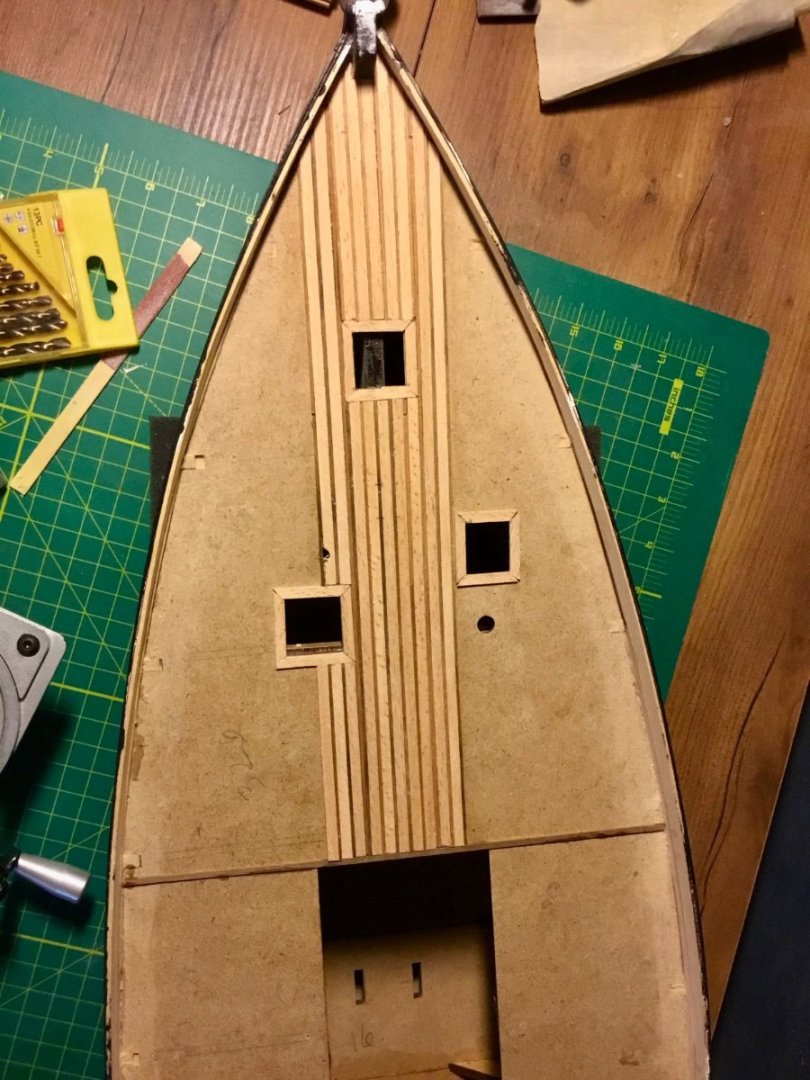
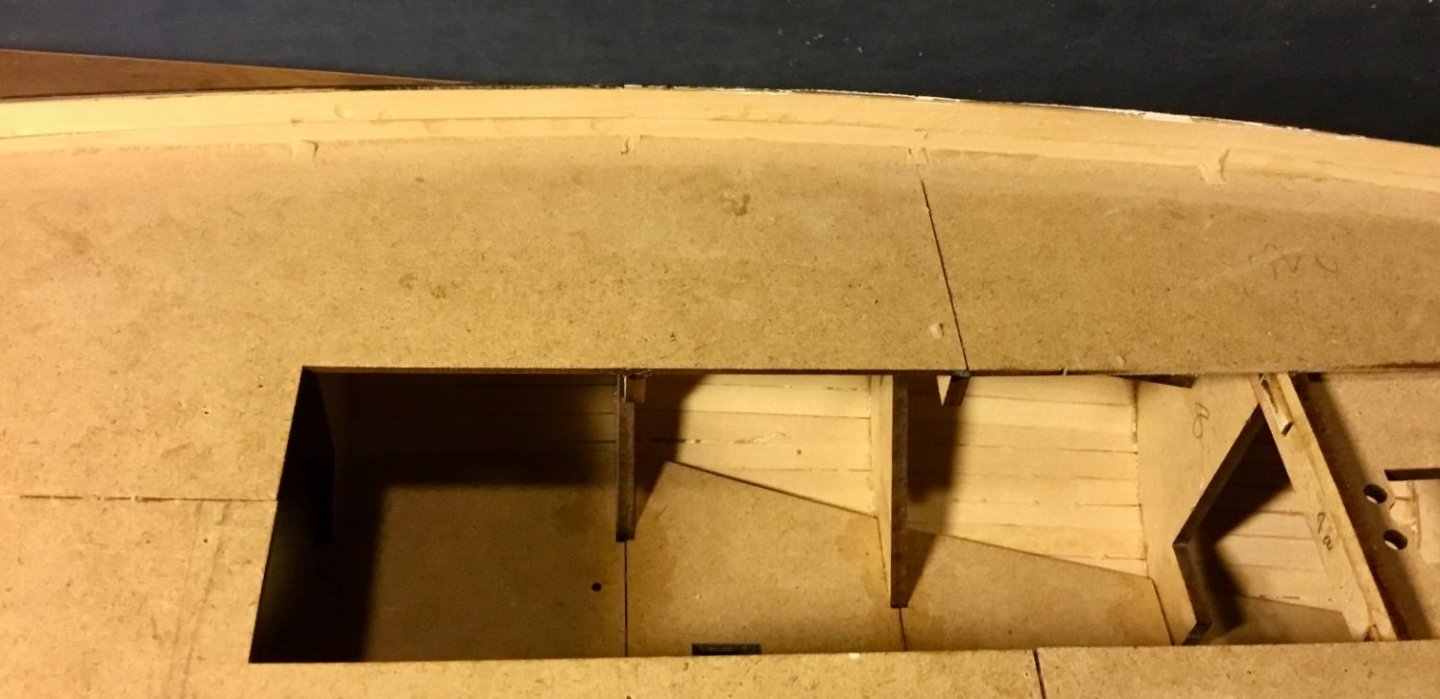
Per the manual, I have laid the deck planking using the 1x1mm walnut strips for the caulking. As other users commented in their build logs Amati did not provide enough 1x1 strips. Luckily I had some strips in my stash from prior builds to complete this step. I ended up with only about 2 inches of material left over at the end. Next up is to sand, fill, and apply a coat of poly. The results are not perfect but no one other than myself will notice once the deck furniture, etc. is added.

-
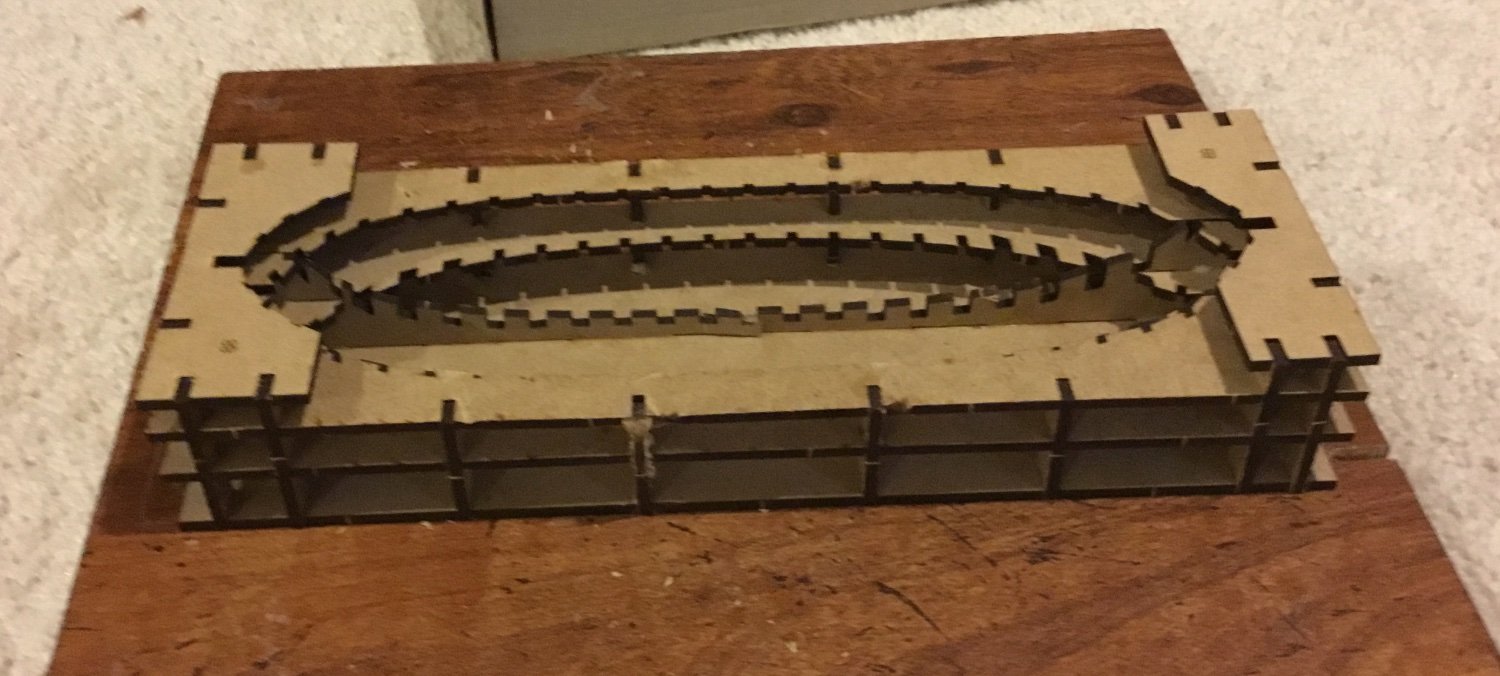
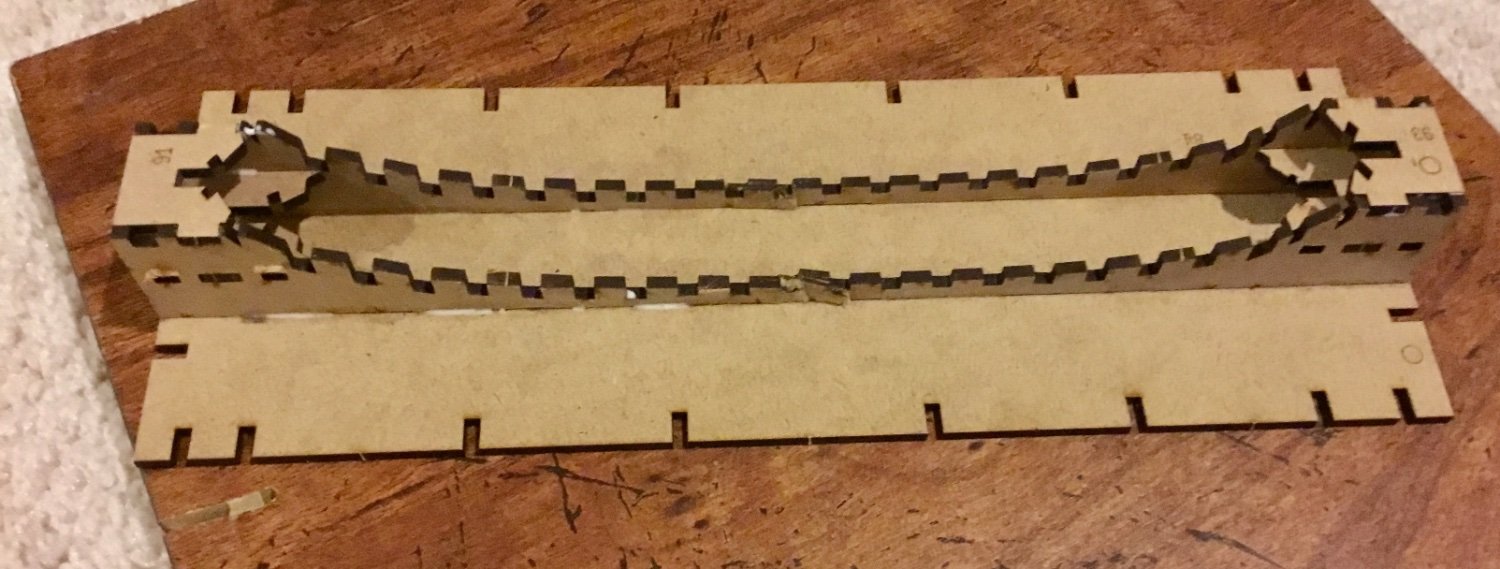
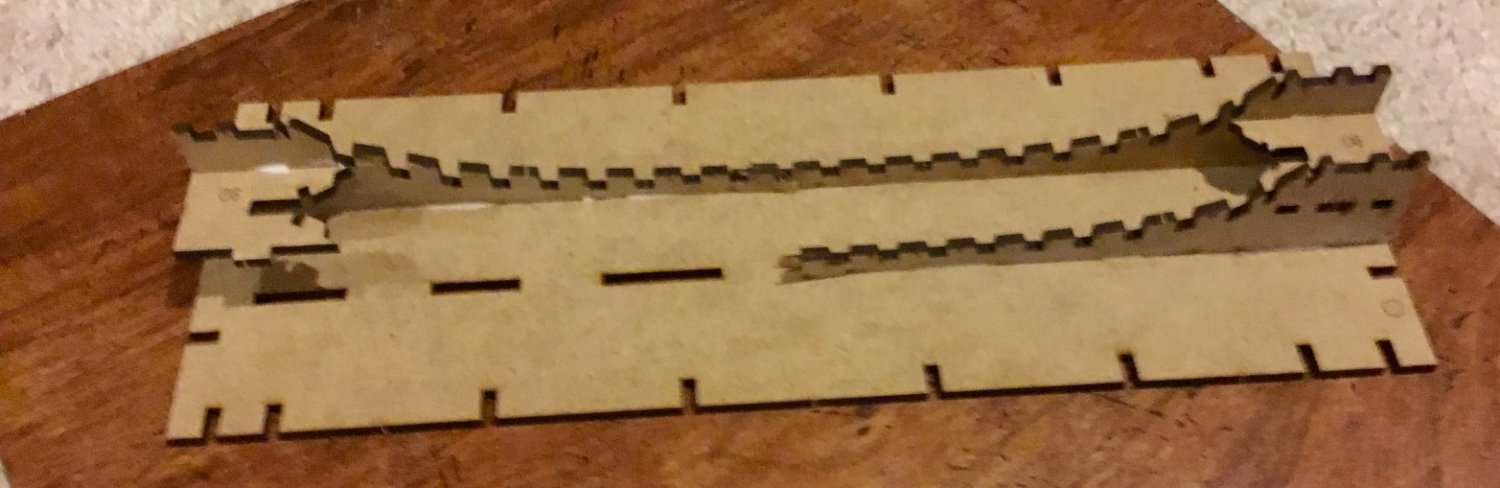
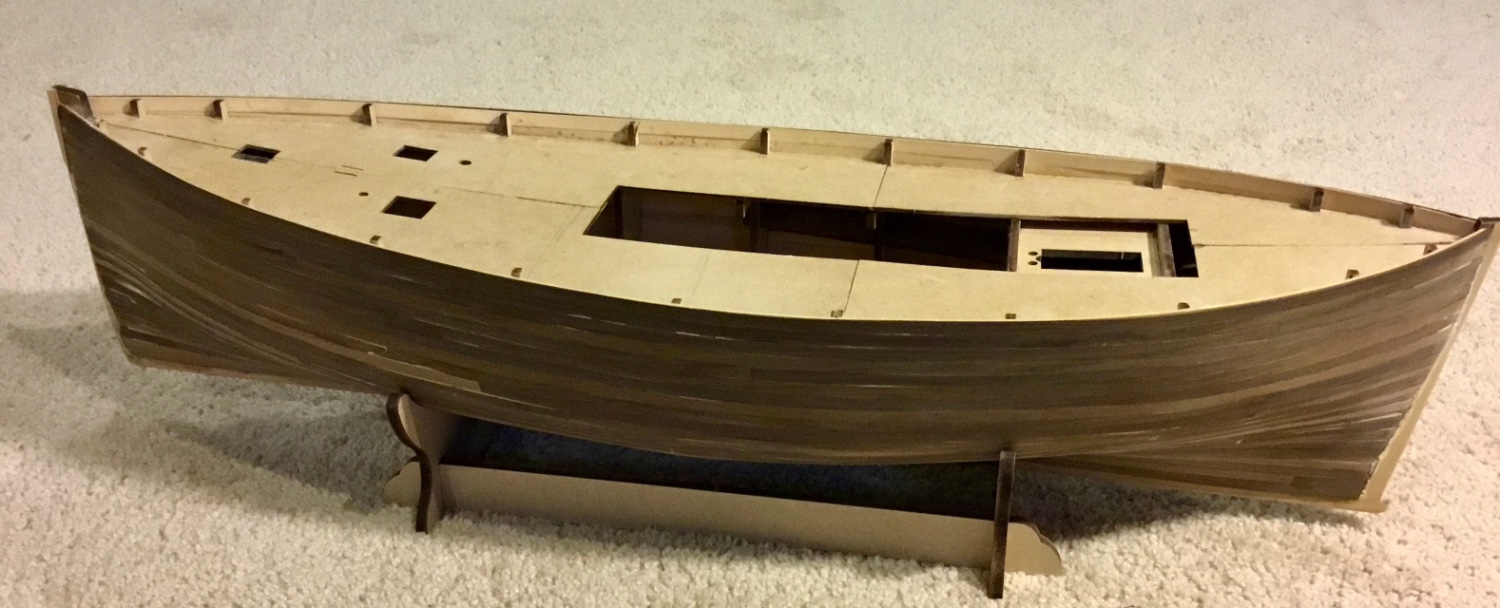
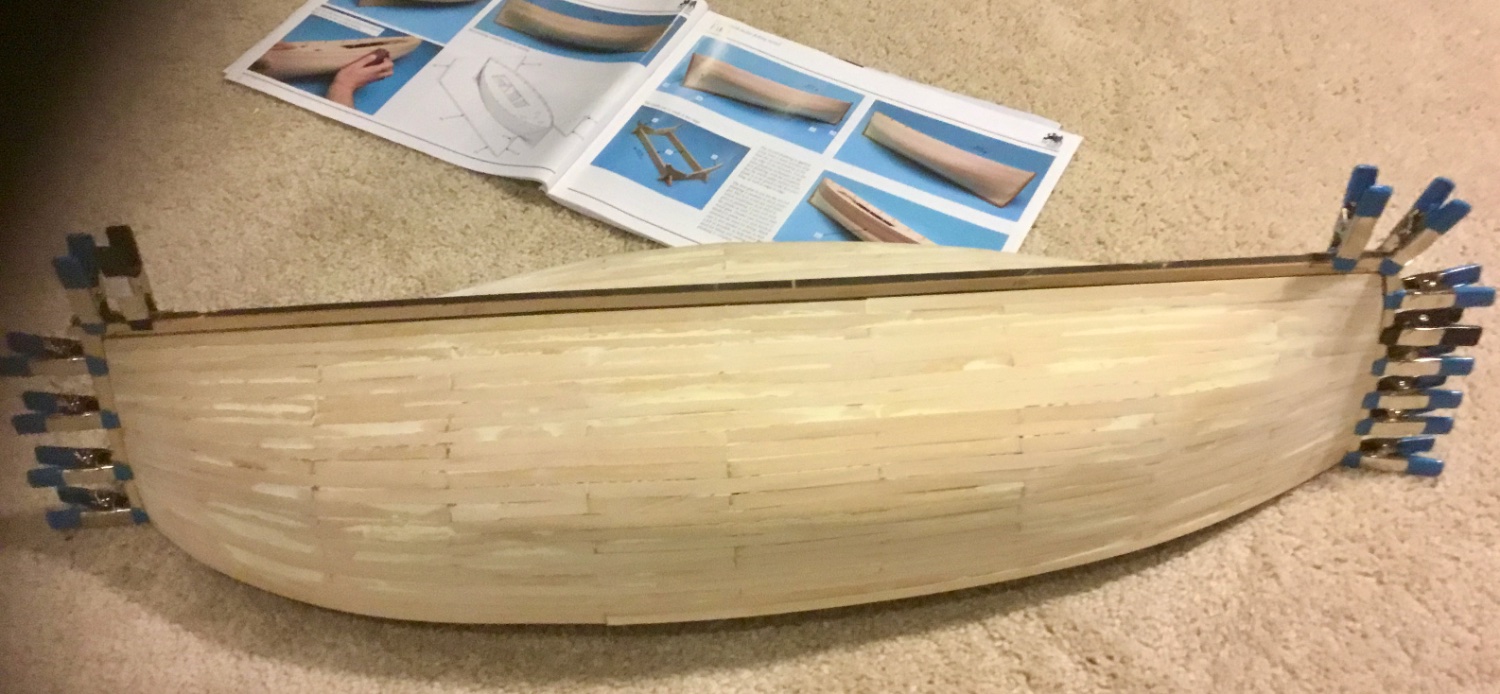
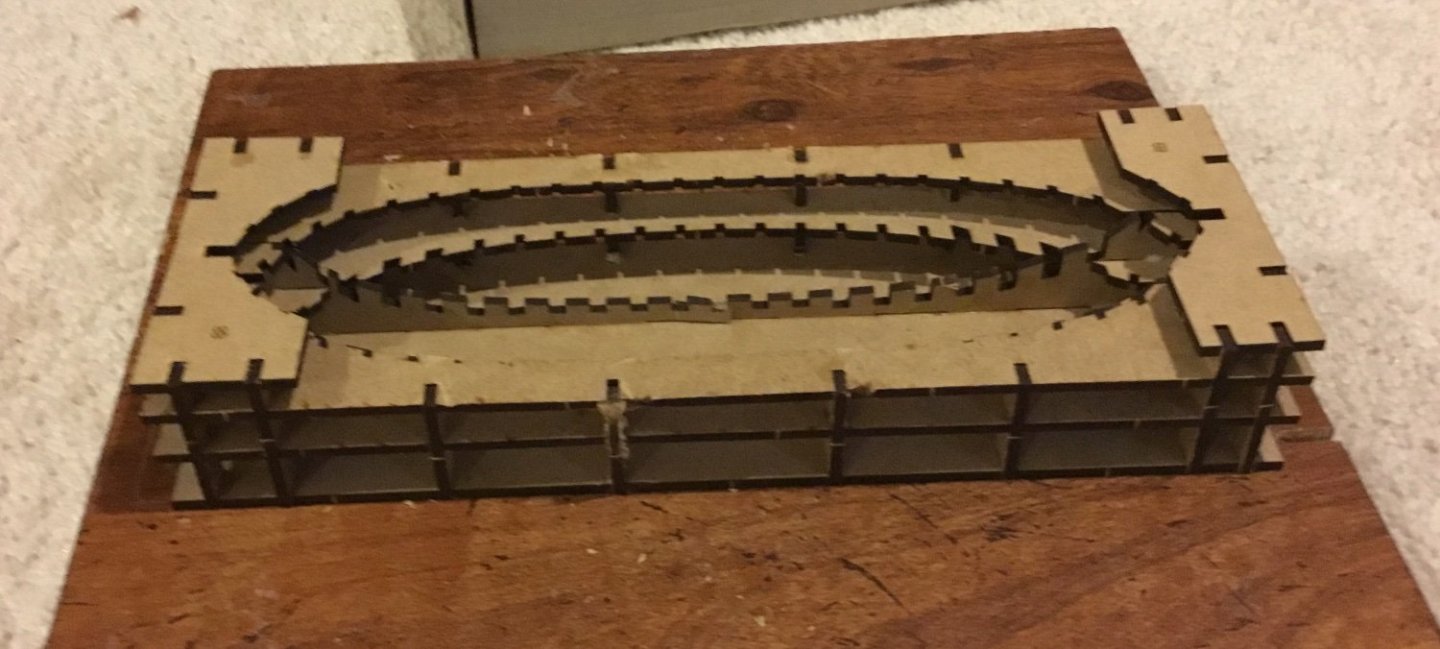
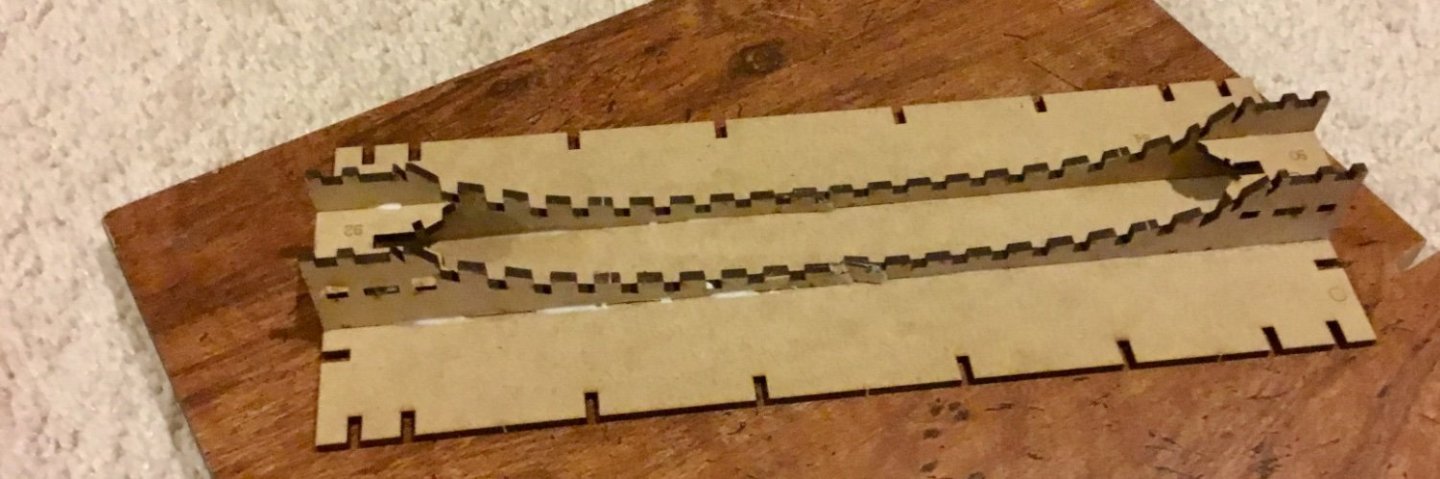
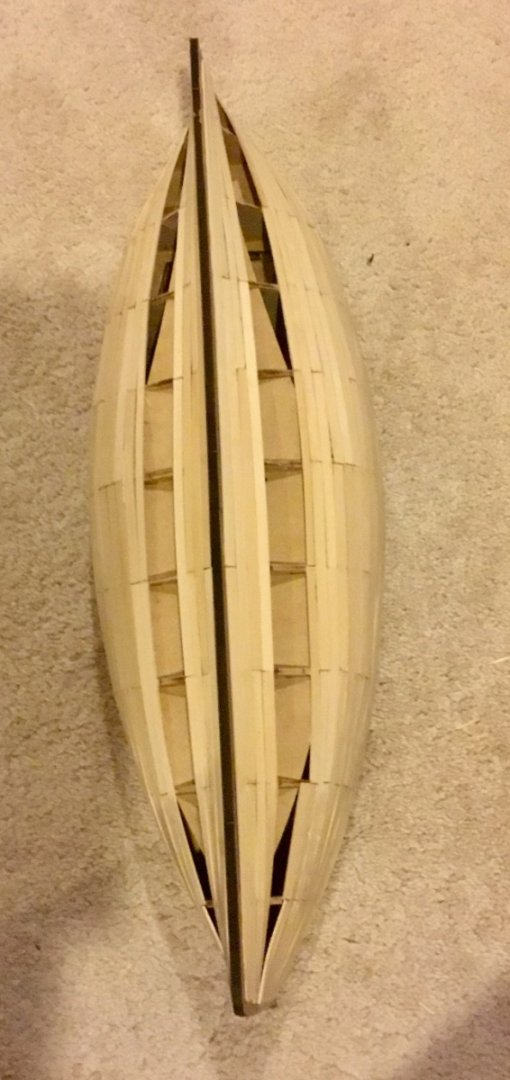
Decided not to wait until I was finished with other projects to begin working on this kit. I have looked at several construction videos on youtube which make the construction look straightforward and easy, but not it appears if you are heavy-handed and fat-fingered like myself. I thought I would be careful by dry-fitting the components of the first jig before gluing it together. I immediately had a problem as the tabs did not fit easily into their corresponding slots without a little pre-sanding. After a while, I gave up on the idea of dry fitting first and began the disassembly of the jig. It did not come apart easily due to the tight fit of some parts and I was too rough and clumsy and ended up breaking two of the long MDF parts at their weakest (thinnest) points. I HATE MDF as I had similar issues with the MDF parts in my Fifie frame build, let alone the toxic dust when sanding the stuff. Unfortunately, it seems that the newer kit manufacturers are using more of it. For dimensional stability and cost, I assume. However, it seems to be subject to breakage in situations where real wood would just naturally flex, and pin holding ability in what would be the equivalent of end grain in real wood. I then managed to glue together the first jig with some minor damage caused by my being too heavy-handed with my hammer when trying to force a few stubborn tight-fitting parts instead of recognizing when I was getting into trouble and backing off when I should have. Anyway, I managed to complete the first jig, glued up the keel components after removing the laser char, and began construction of the individual frames. The frame pieces have laser markings to guide you in sanding for the hull fairing (which is a nice feature) however it takes some thought when assembling each frame to know how to orient the parts correctly when gluing up each frame in its jig. Hope I'm doing it right. An additional laser mark on the part or instructional note on which end goes down first in the jig would make the process less error-prone. They say a picture is worth a thousand words and the construction diagrams save needing to have instructions in multiple languages, but I believe there are situations where a combination of both is needed. I have similar issues with the instruction manual for my Amati Fifie kit where there are lots of step-by-step photos but not enough verbiage to complement the photos, leaving some steps unclear and ambiguous. Anyway, enough of my rantings, here are some photos of my progress thus far.


-
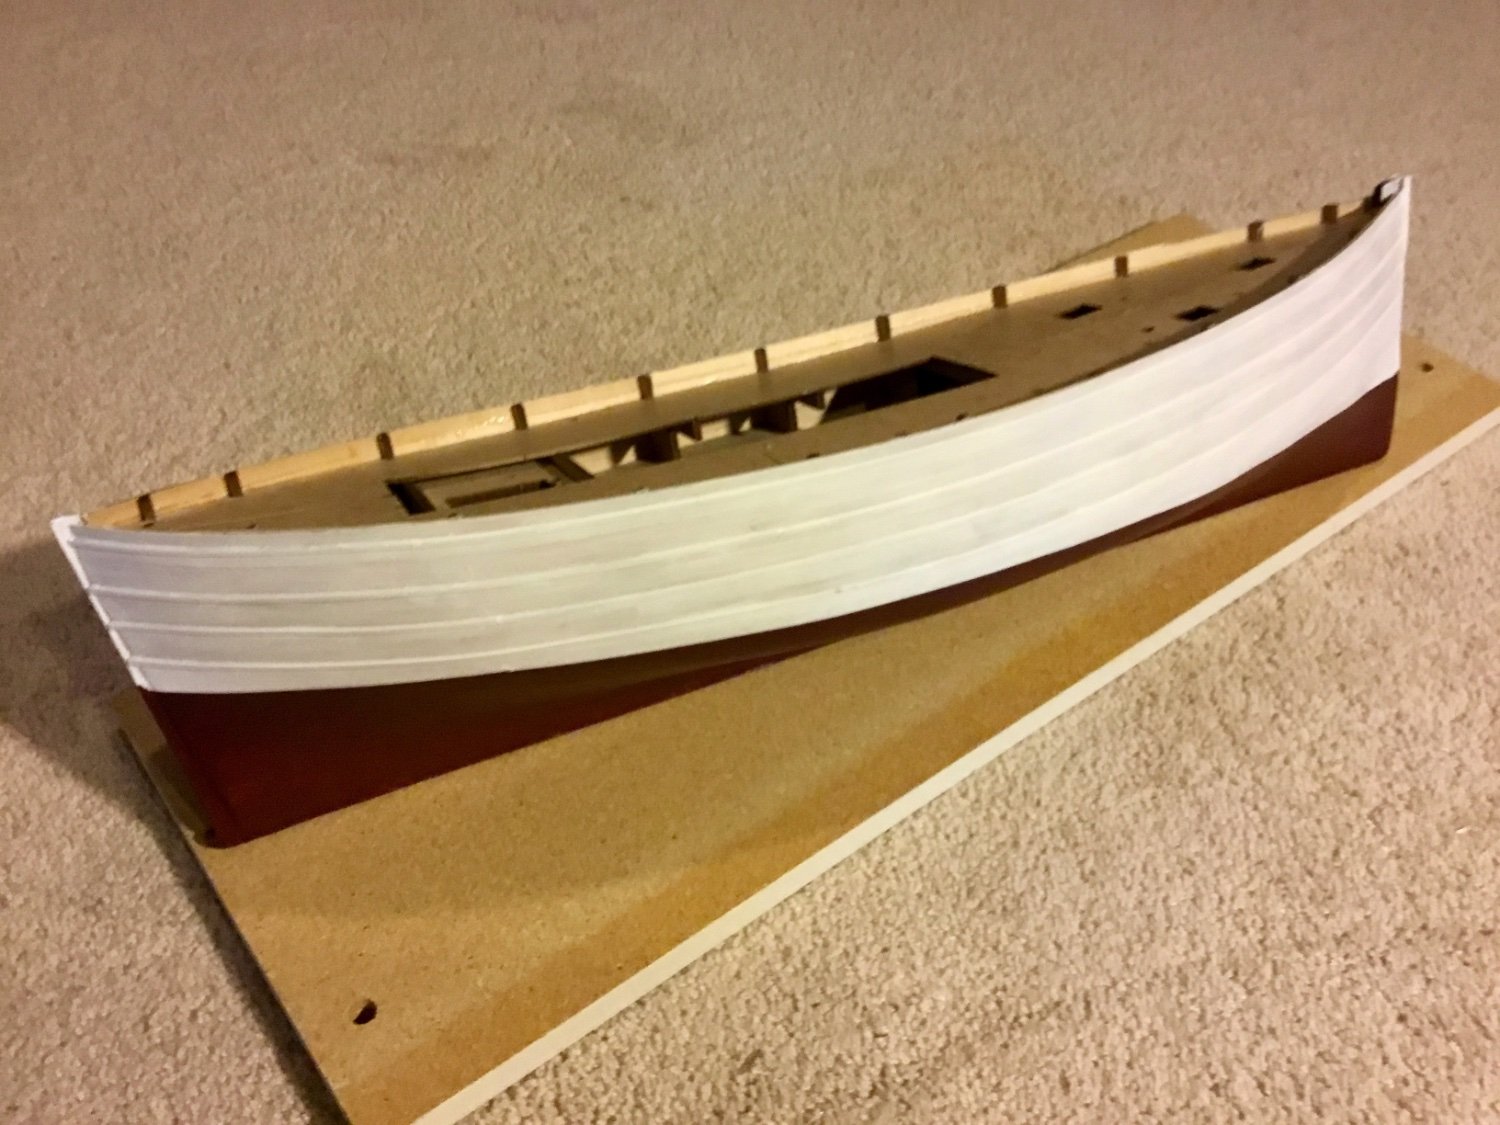
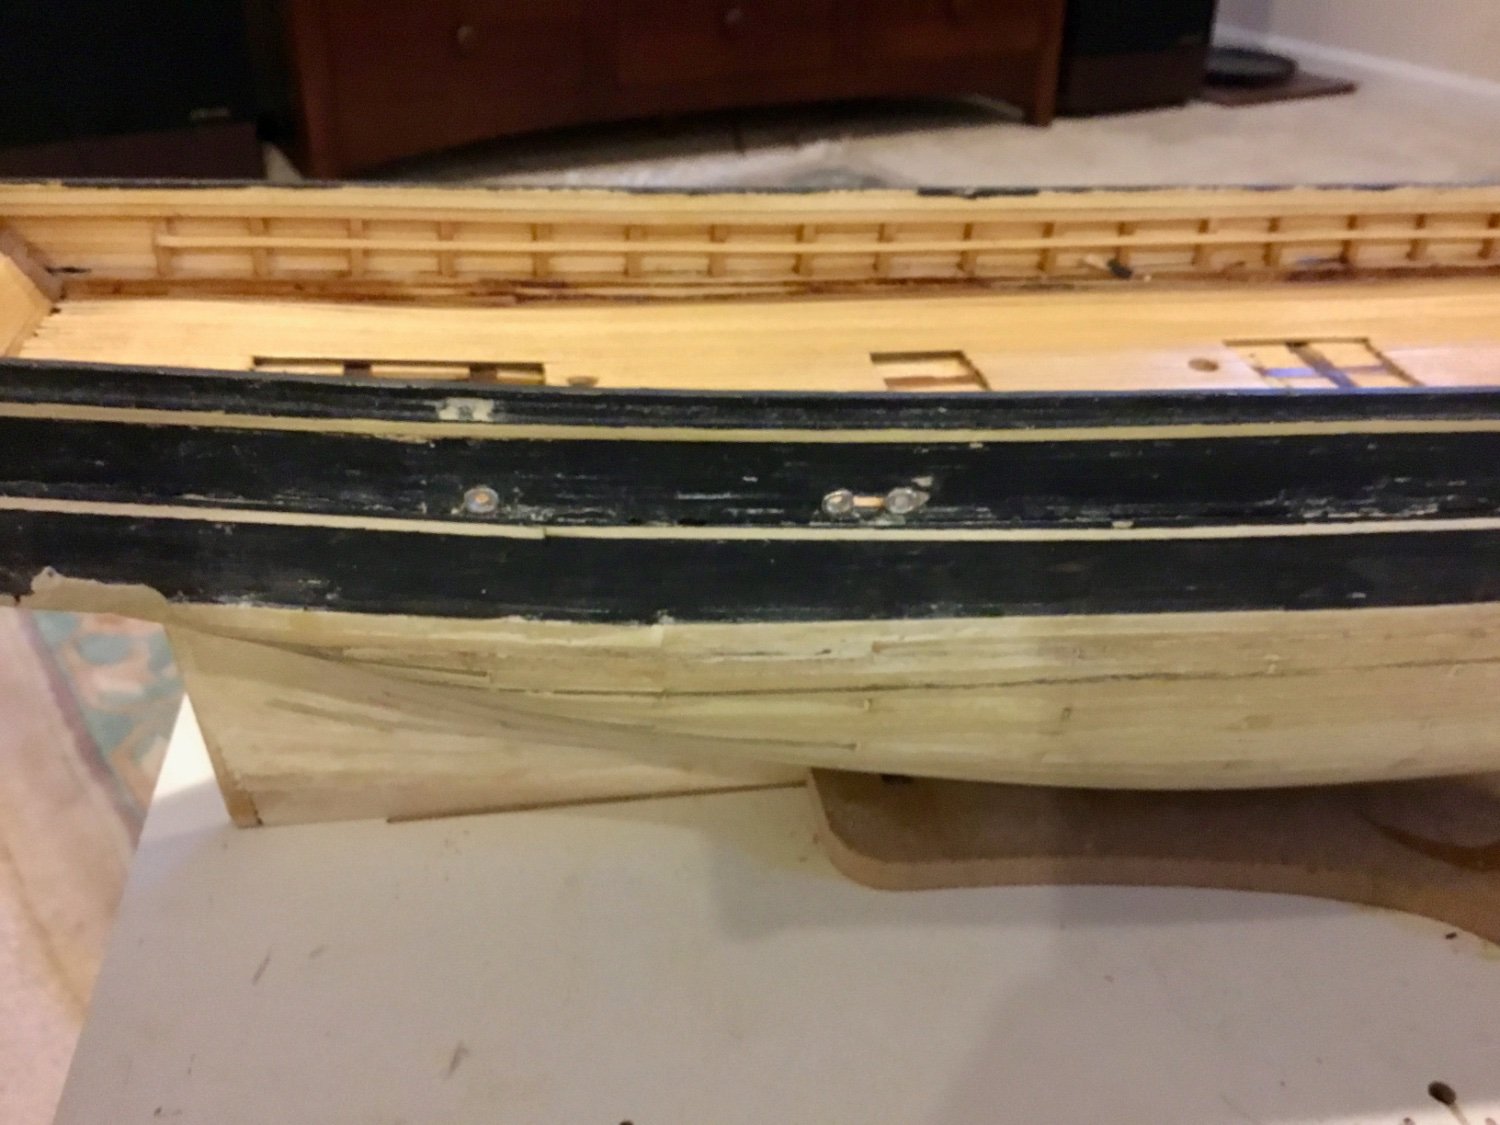
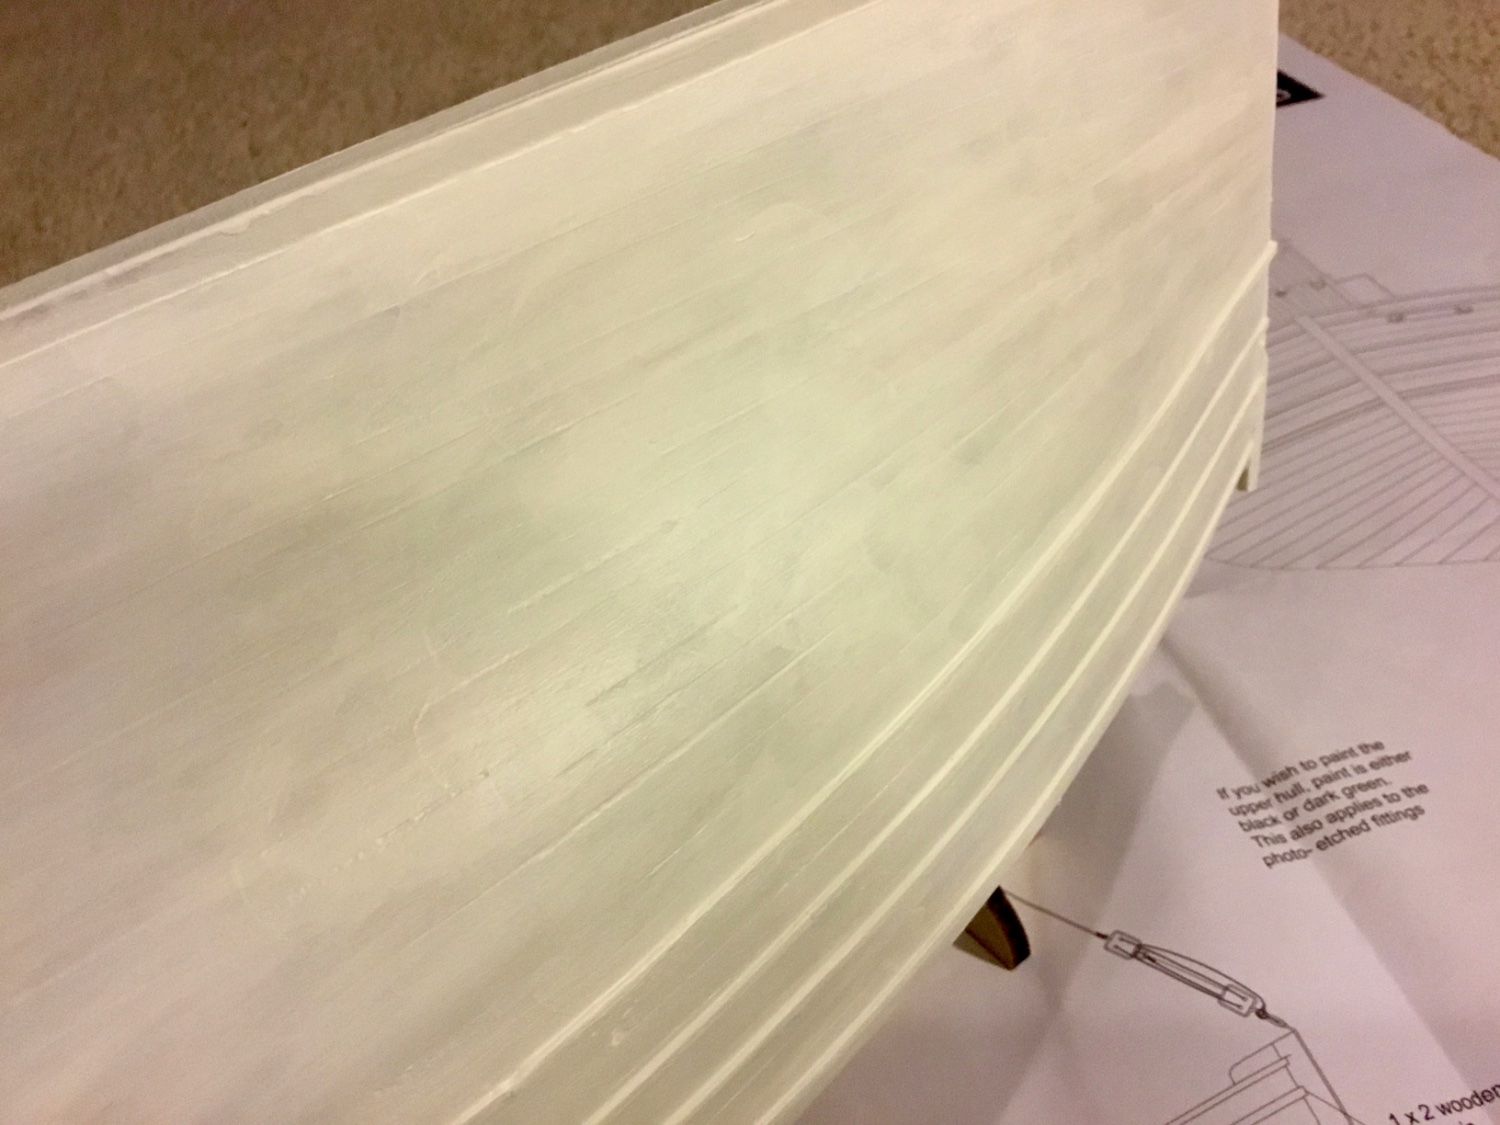
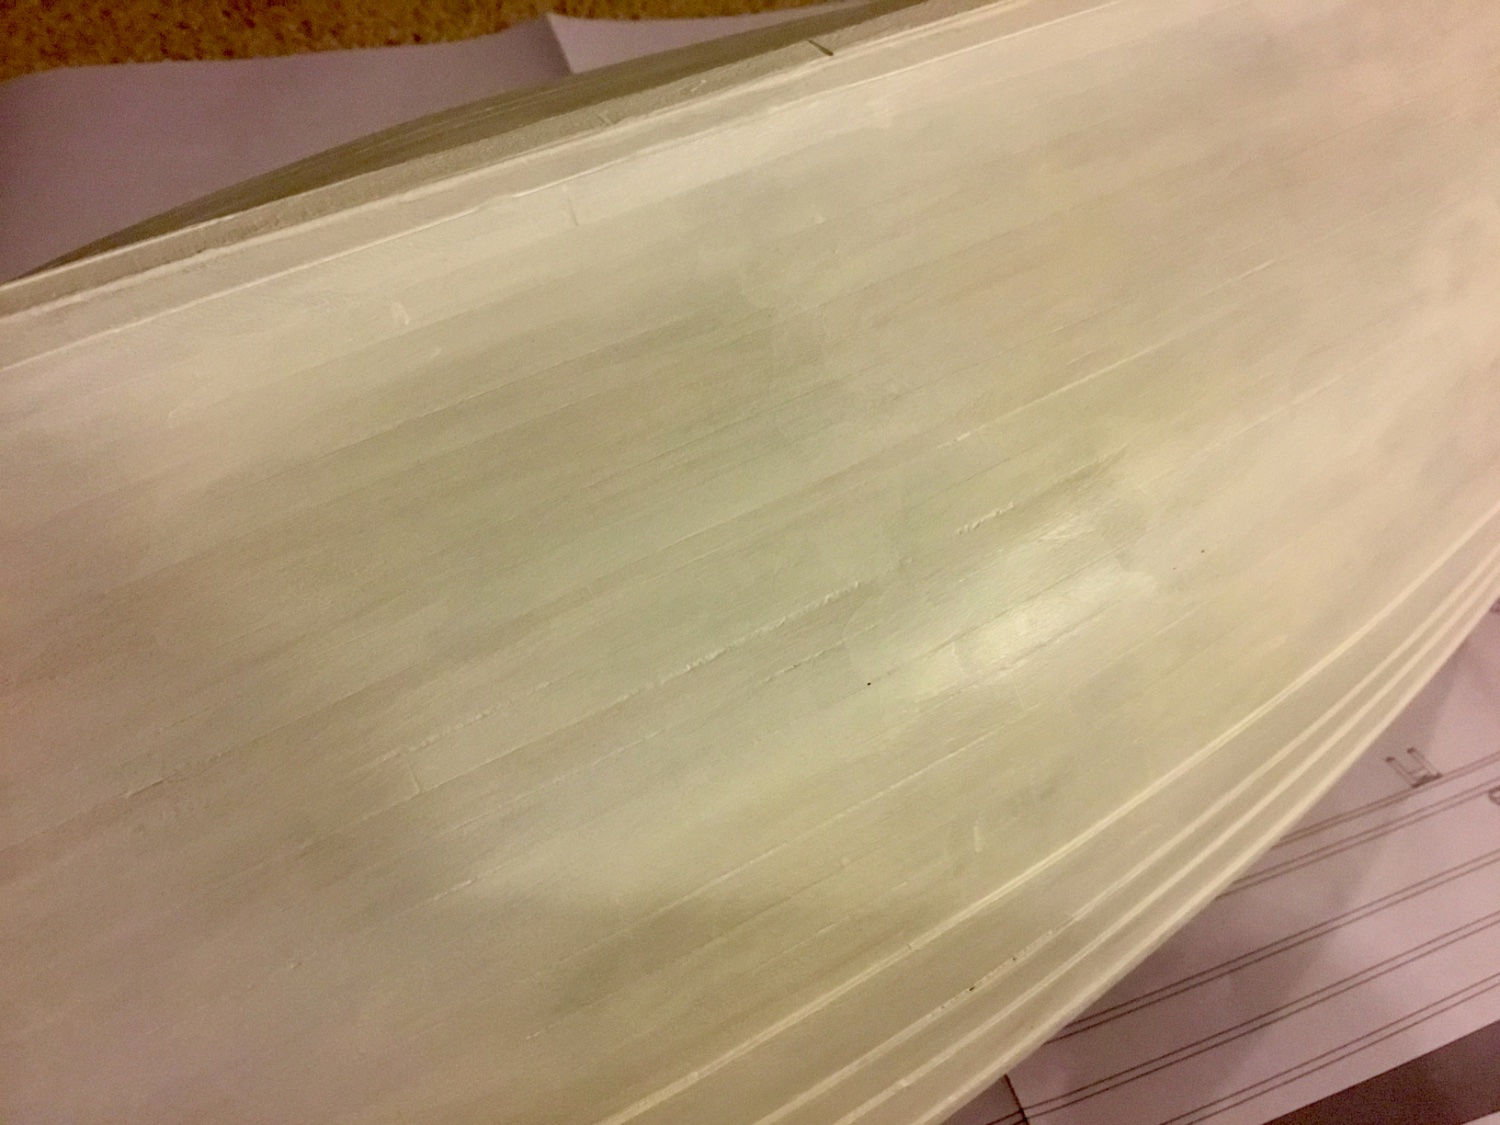
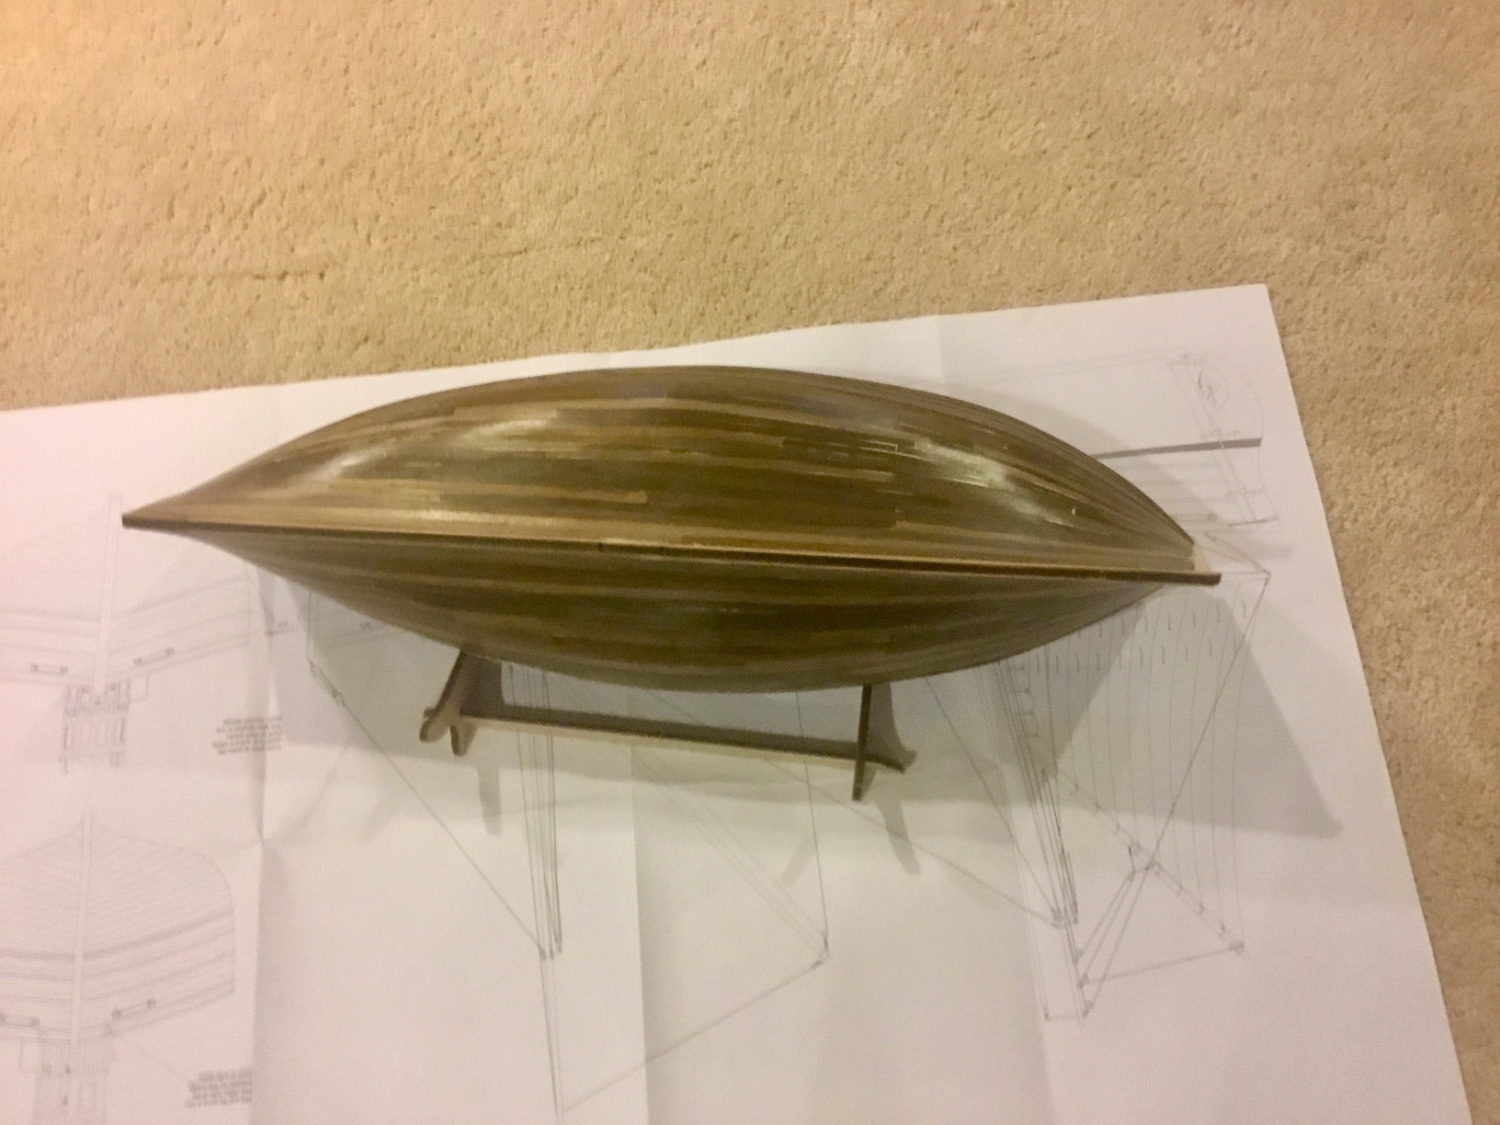
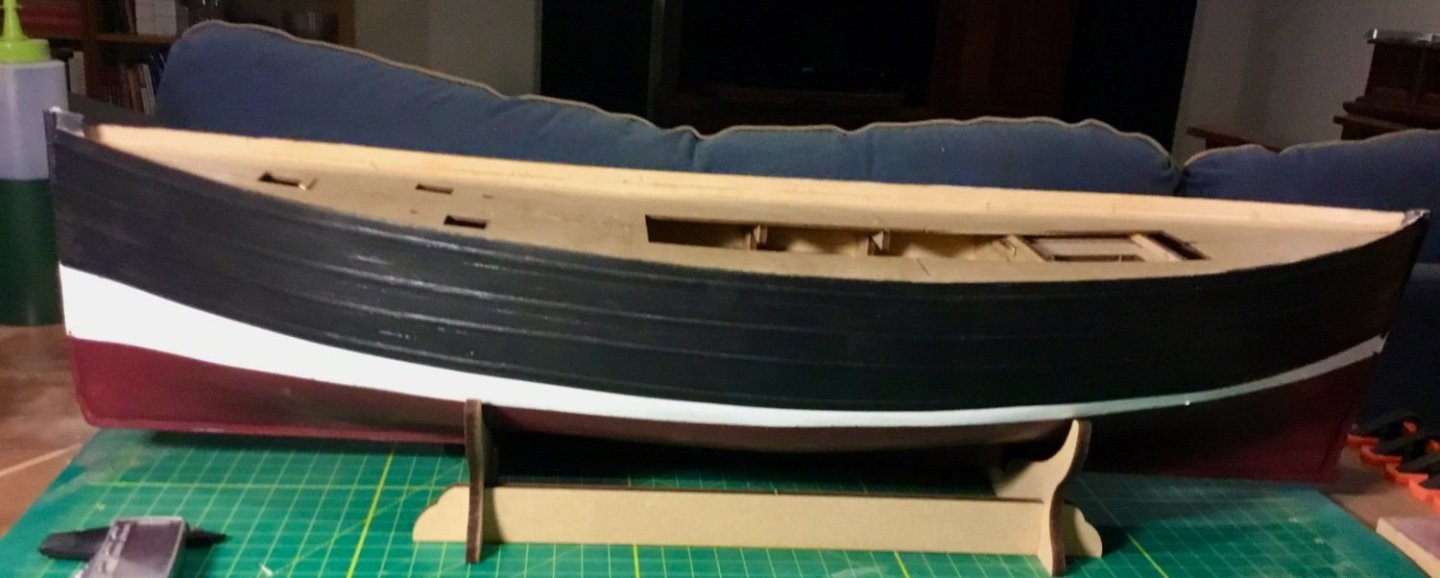
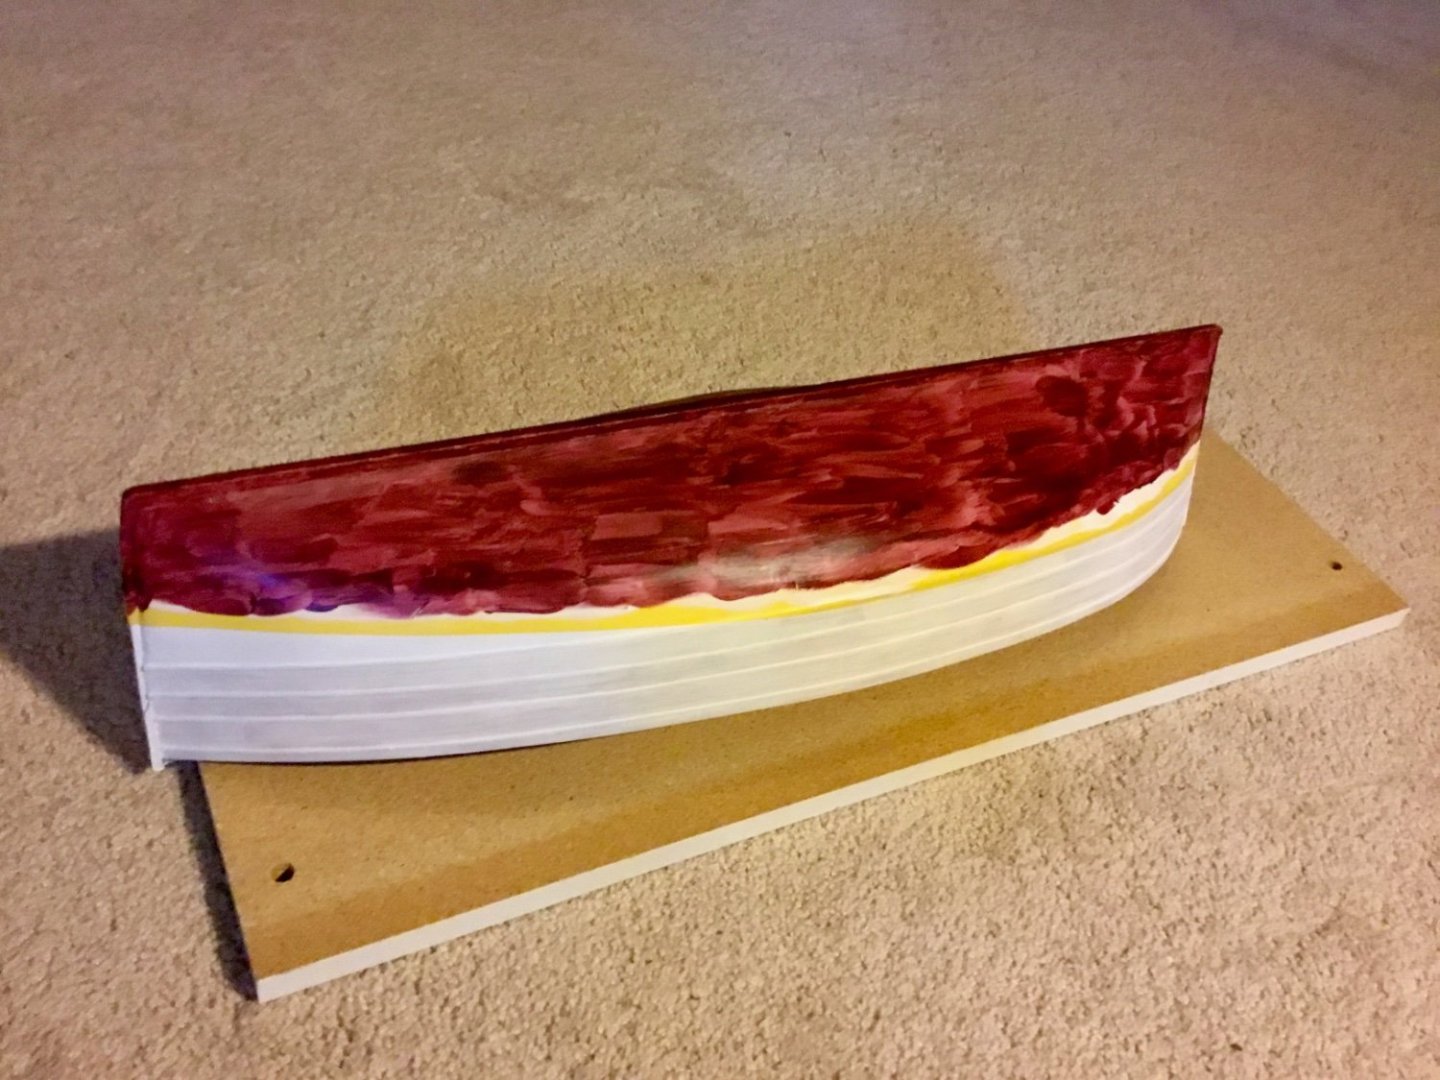
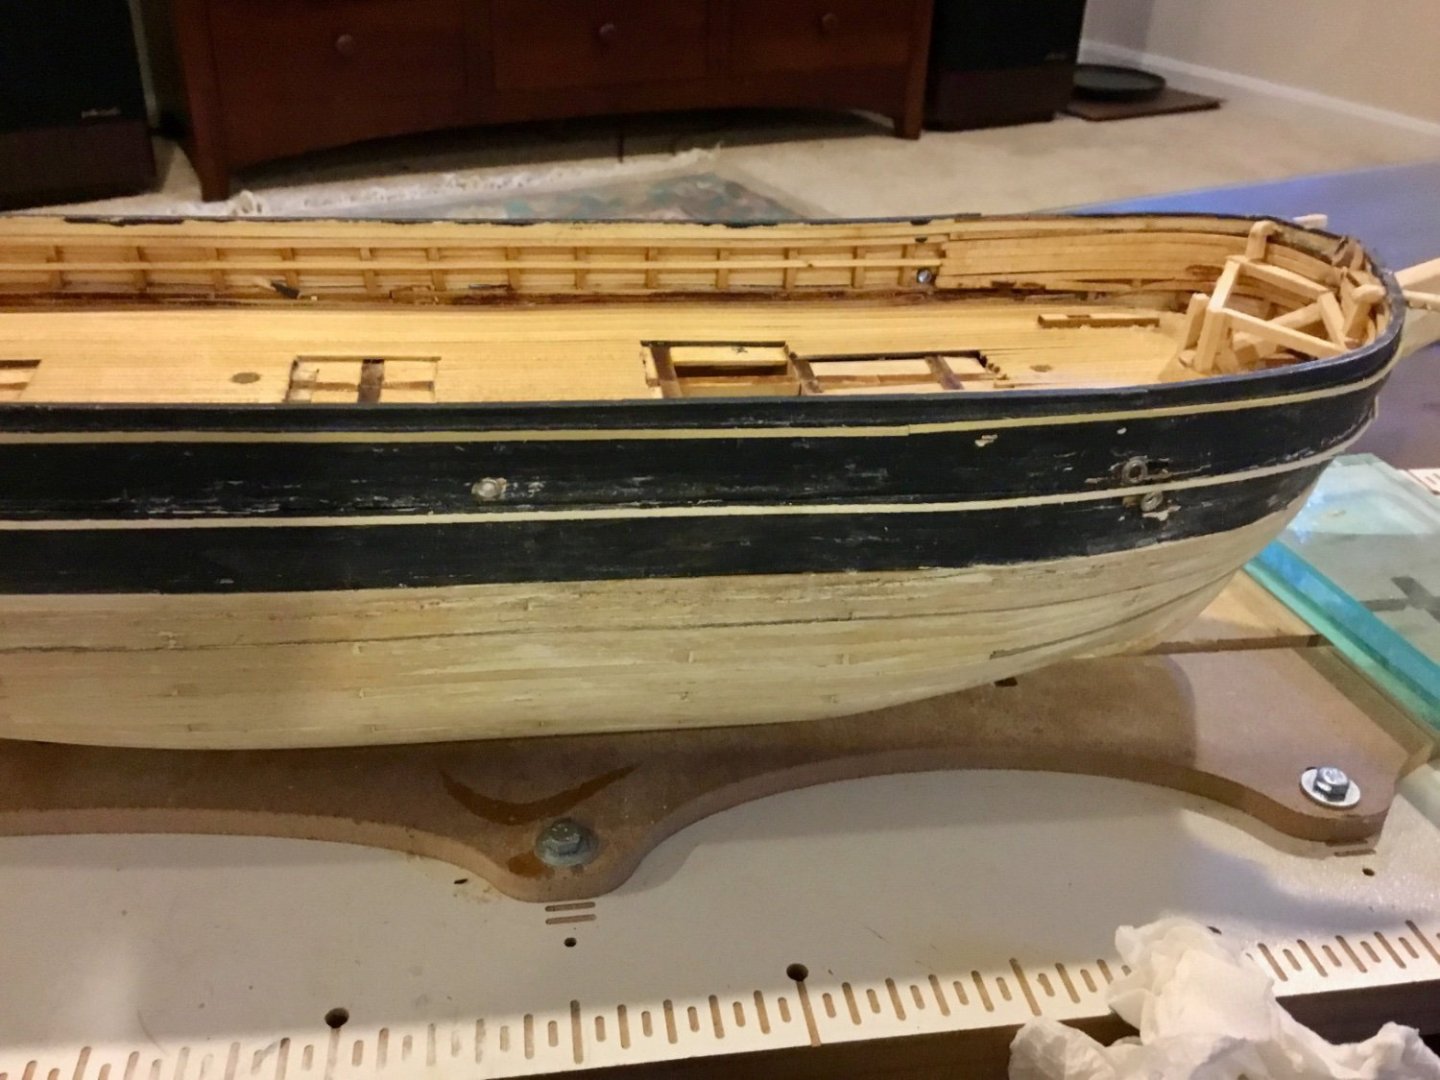
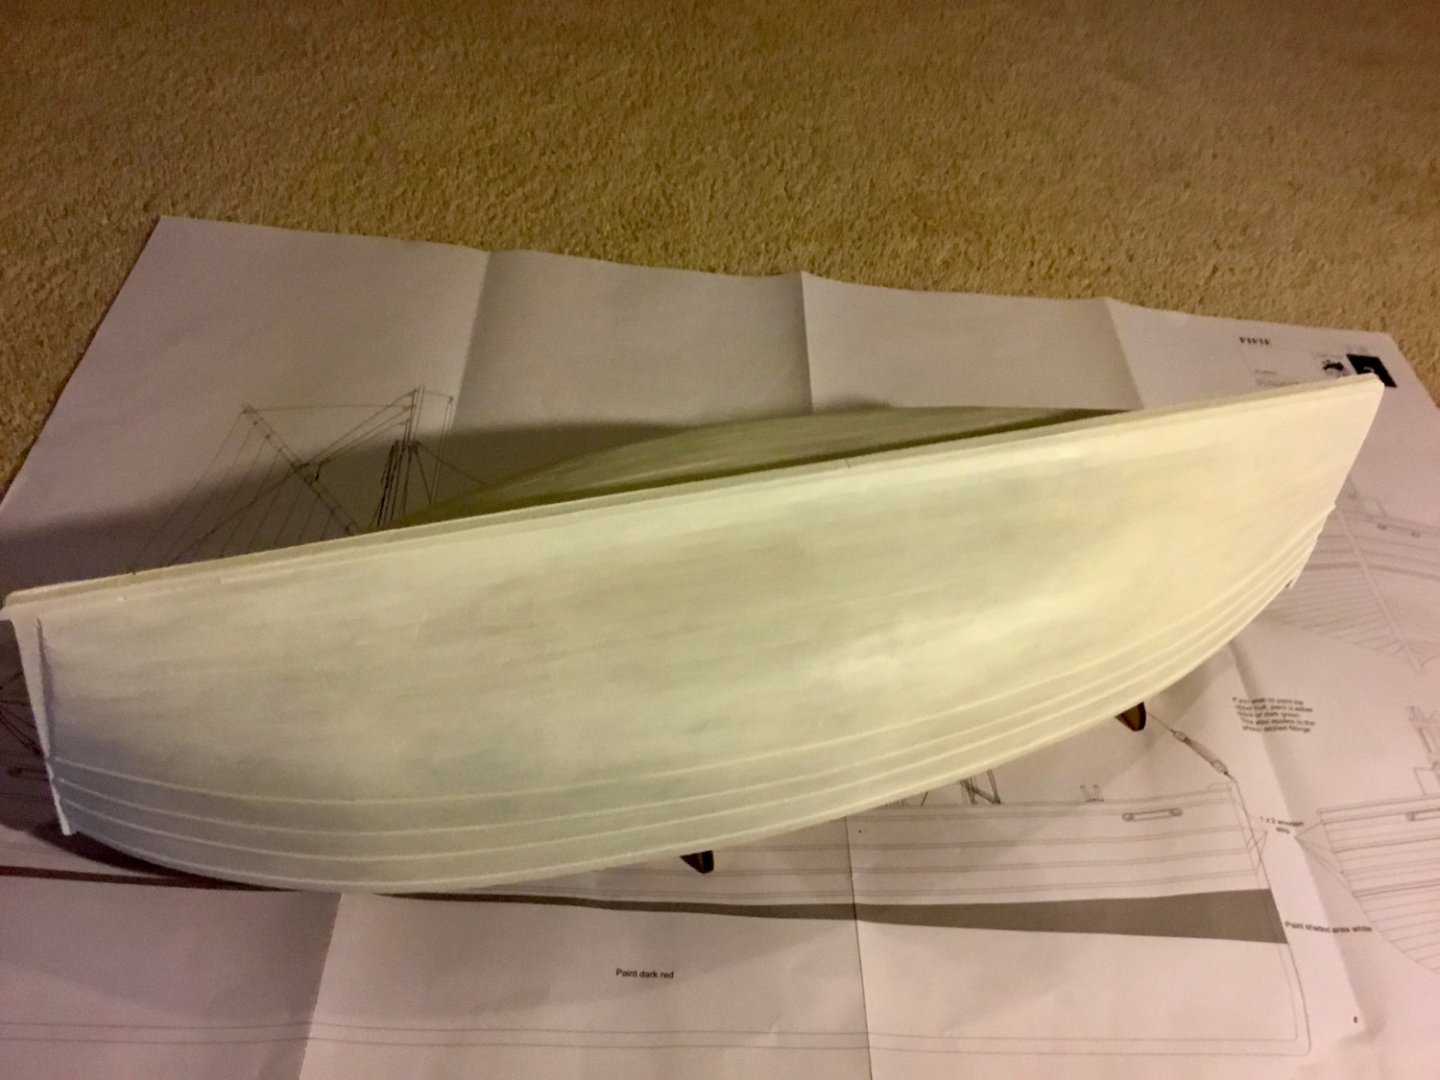
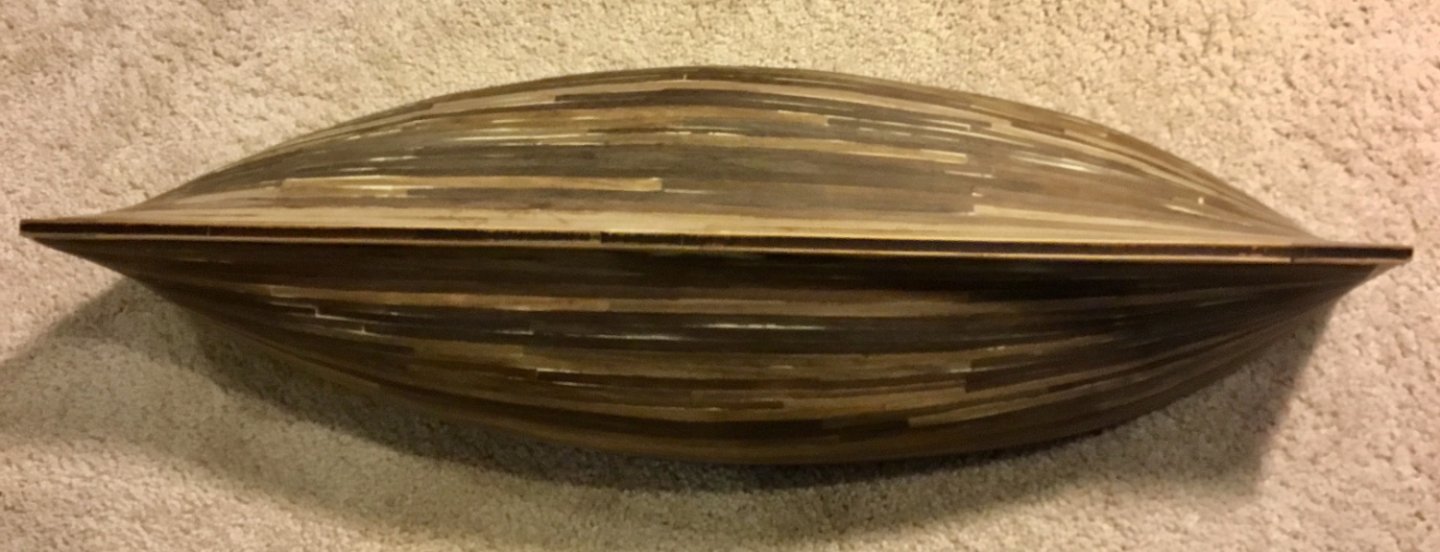
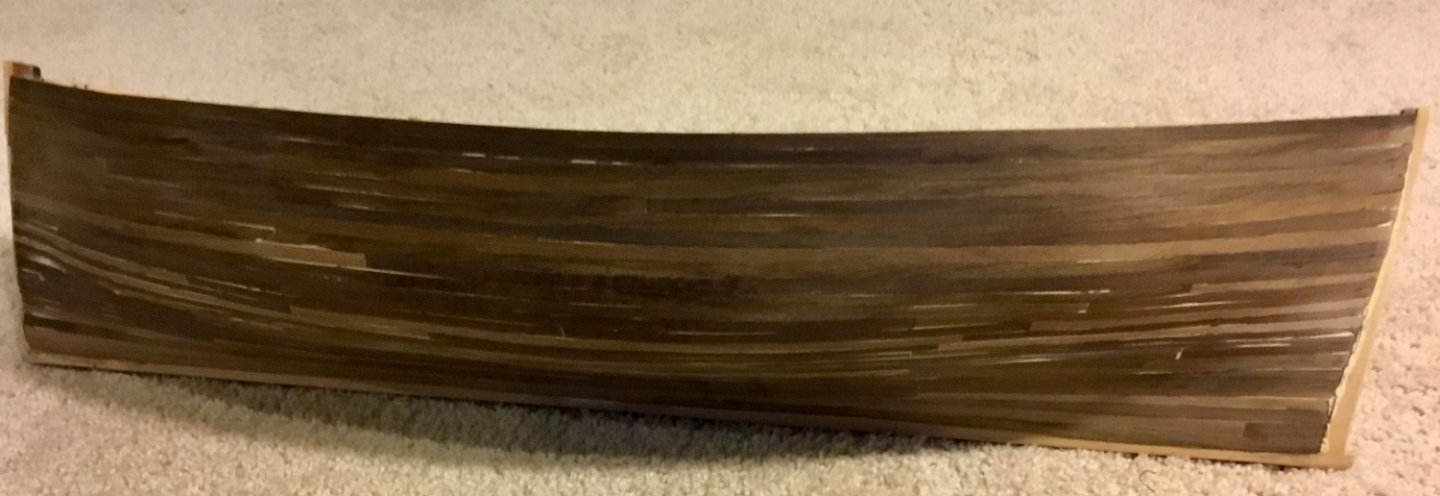
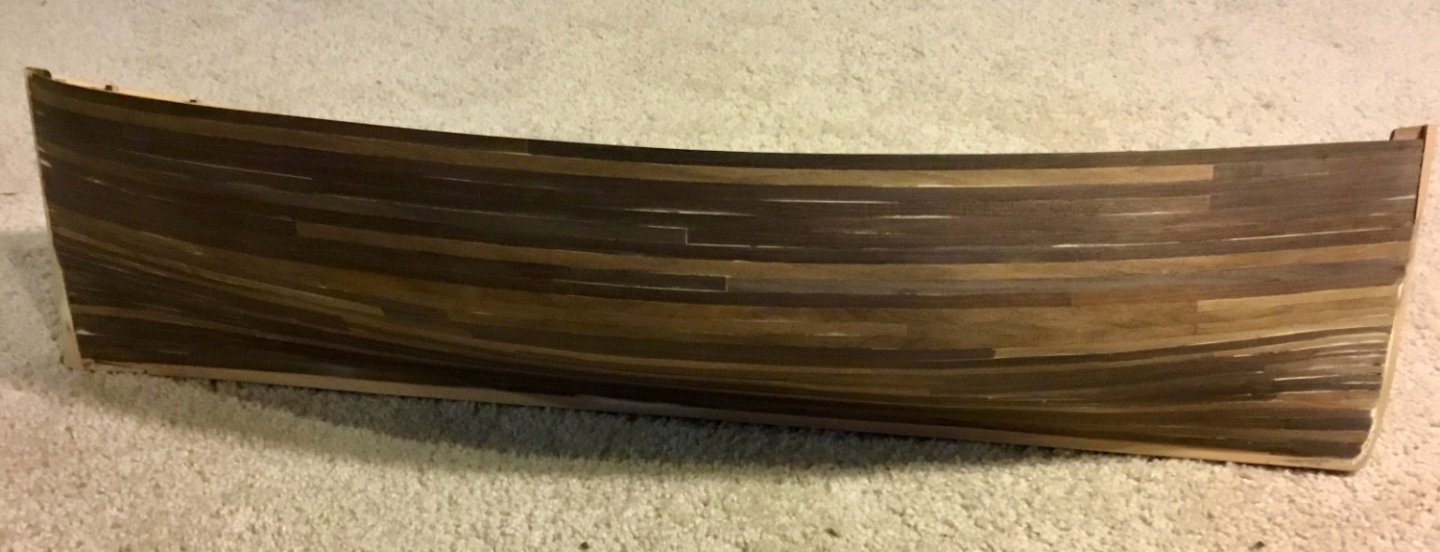
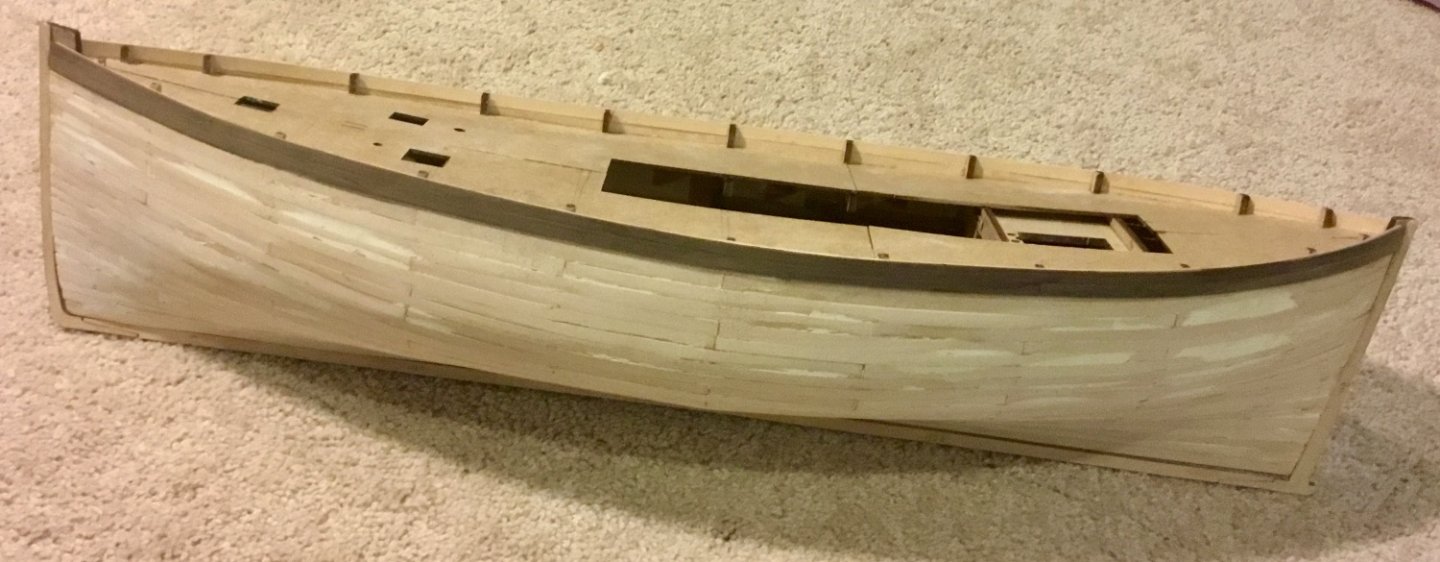
I painted the hull. I started by painting the entire hull with white primer and painted the middle area just above where the water line would be white. I then marked off the water line using my Amati water line marking gauge while elevating the bow an appropriate amount. I taped off the bottom portion of the hull at the water line I just marked, applied a coat of white at the edge of the tape to minimize the chances of the next color seeping under the tape, and then painted the bottom of the hull red. Finally, after applying several coats, waiting a day between each coat, I taped off the top area of the white strip and painted the top portion of the hull black. I then removed the bulwark extensions and sanded them level with the false deck. Now I can start planking the deck.


-
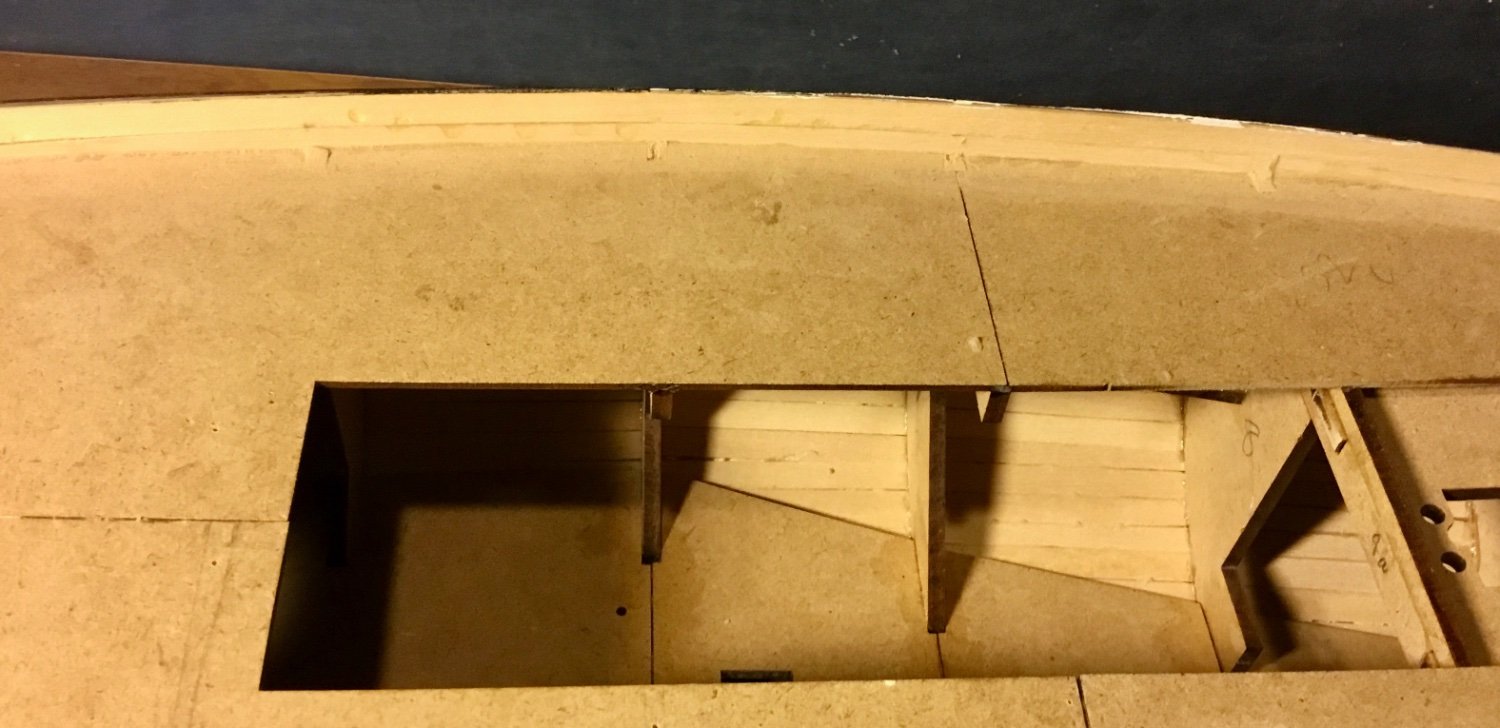
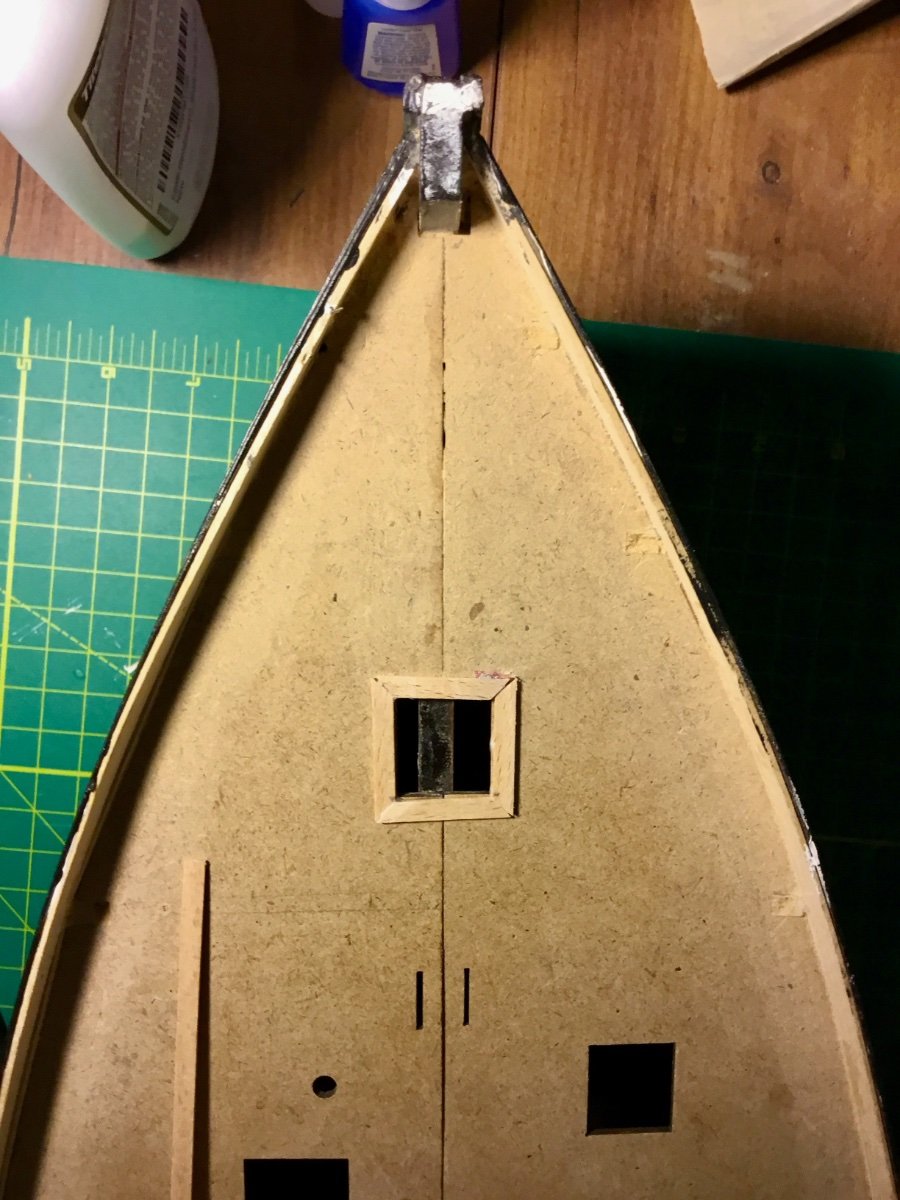
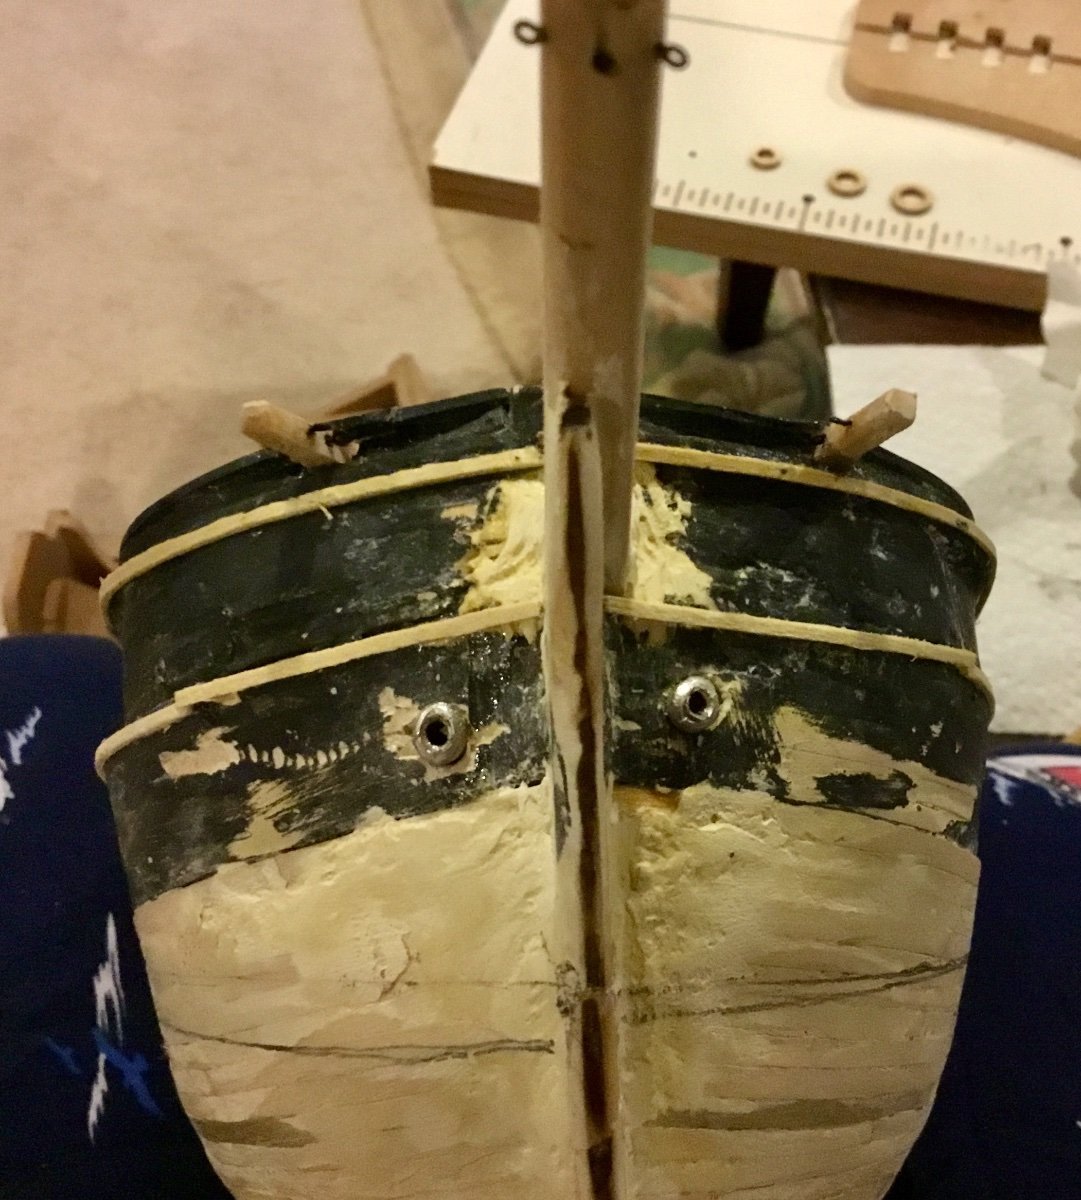
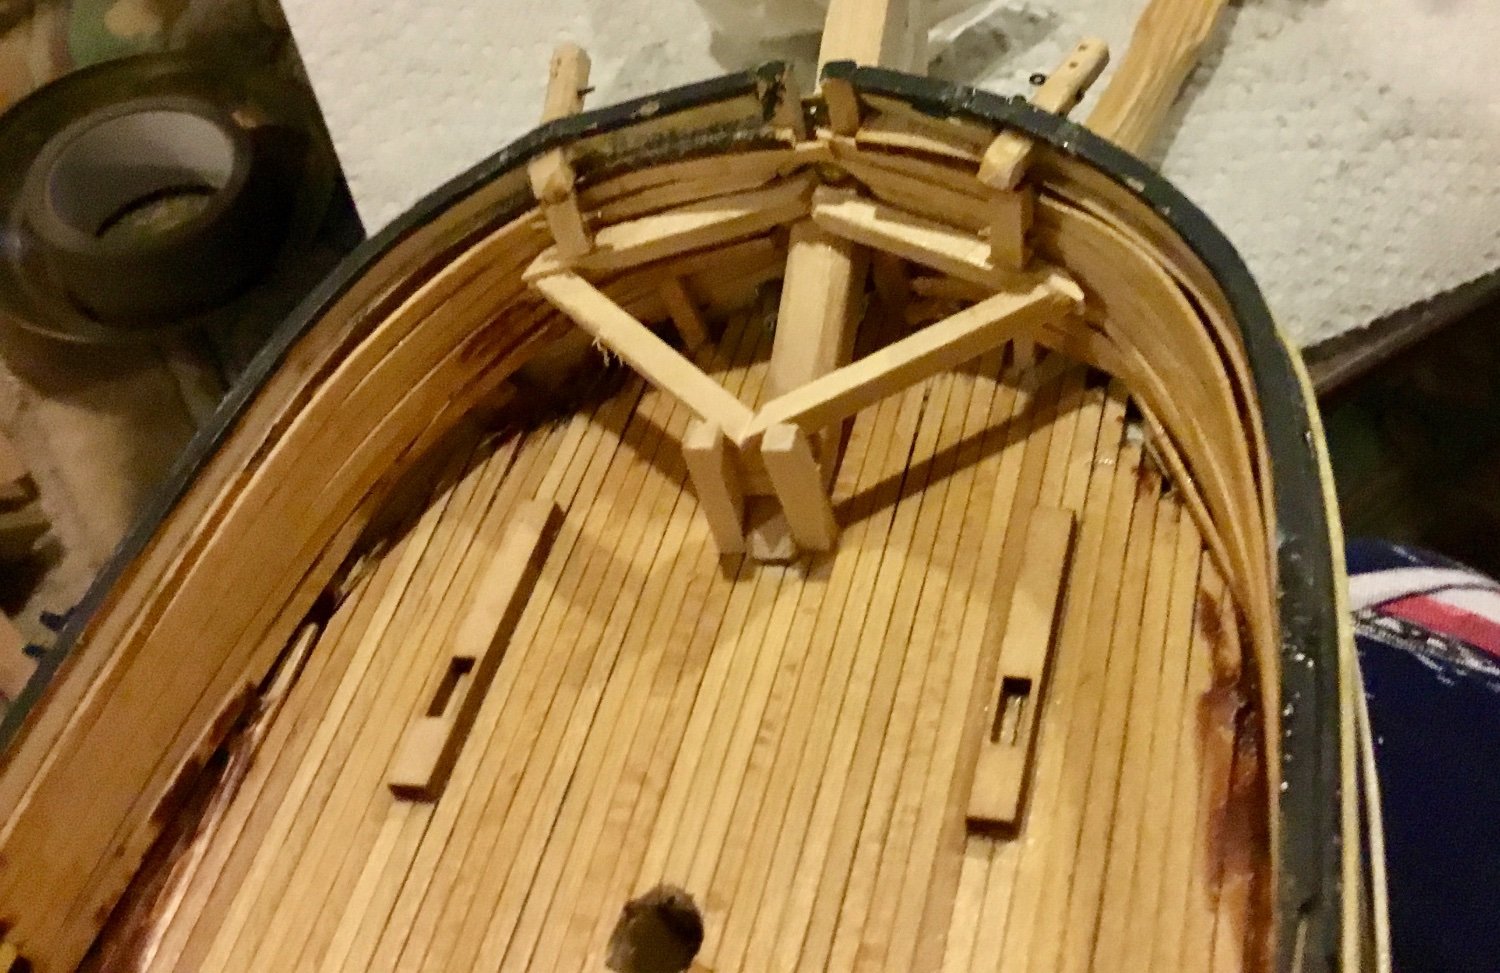
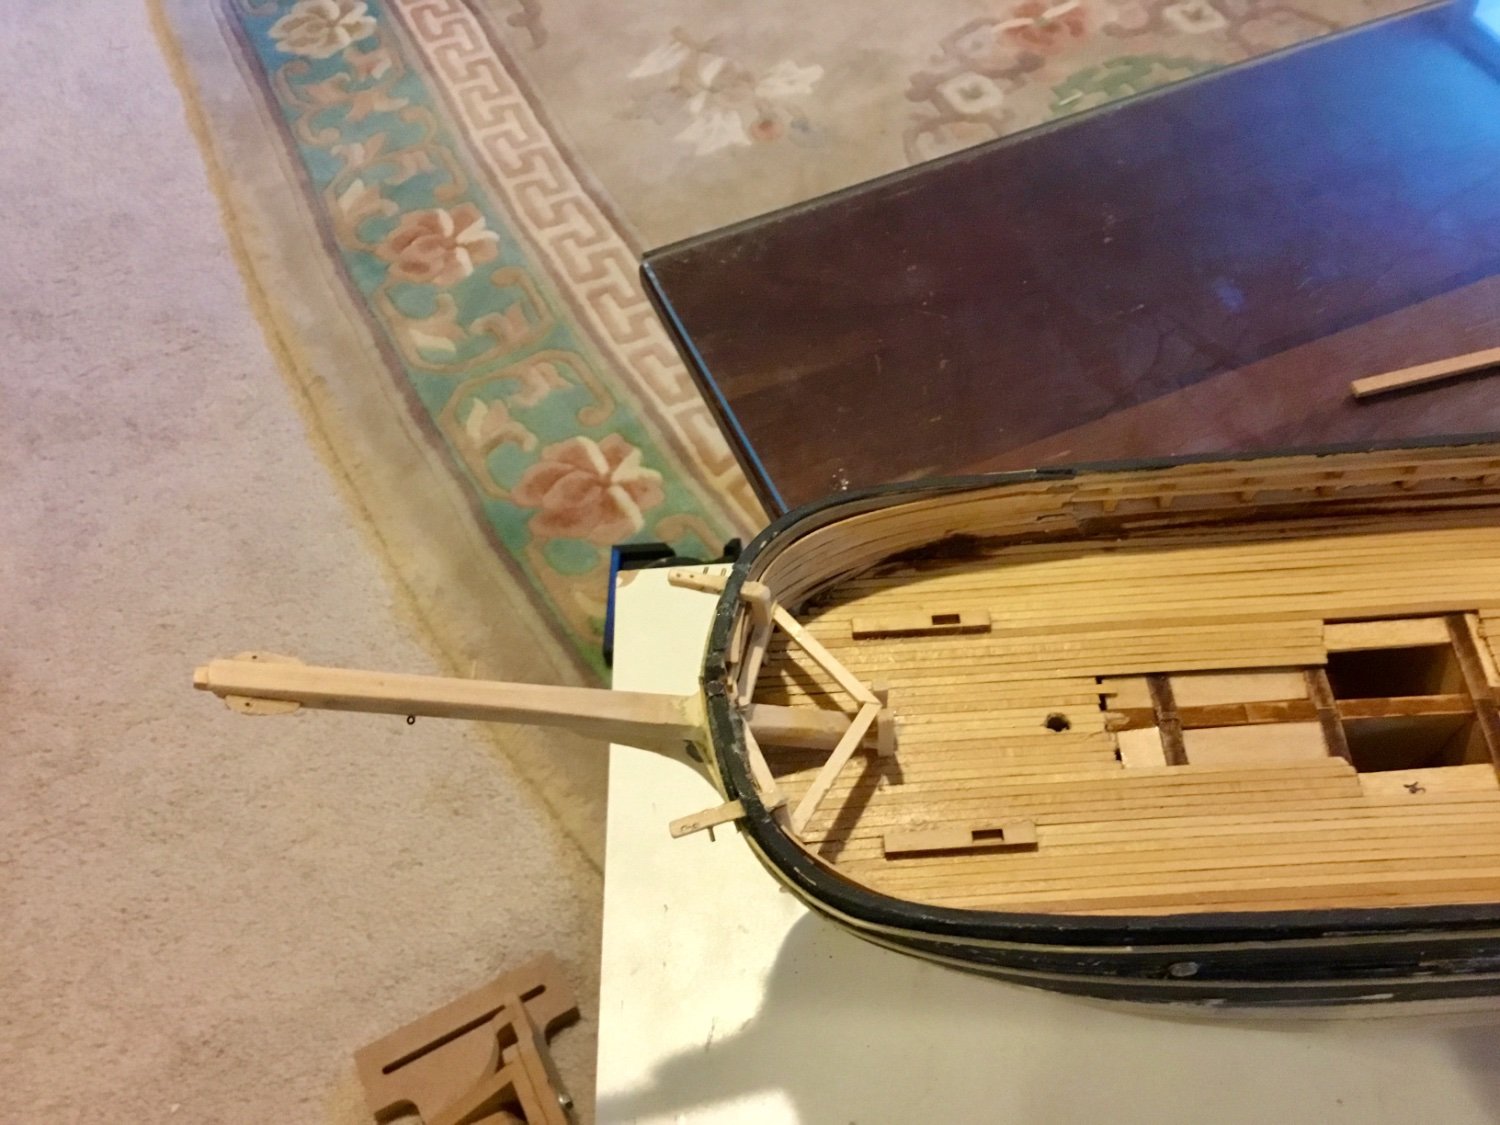
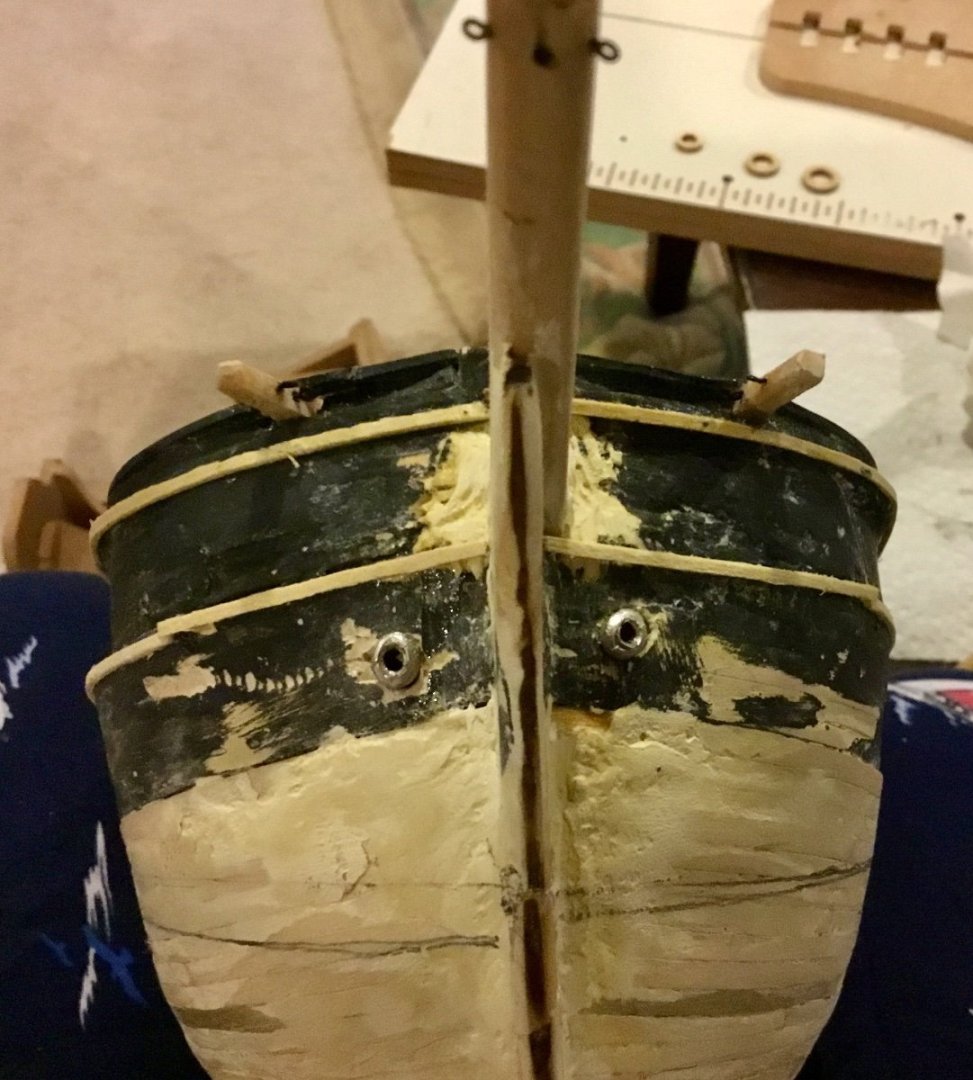
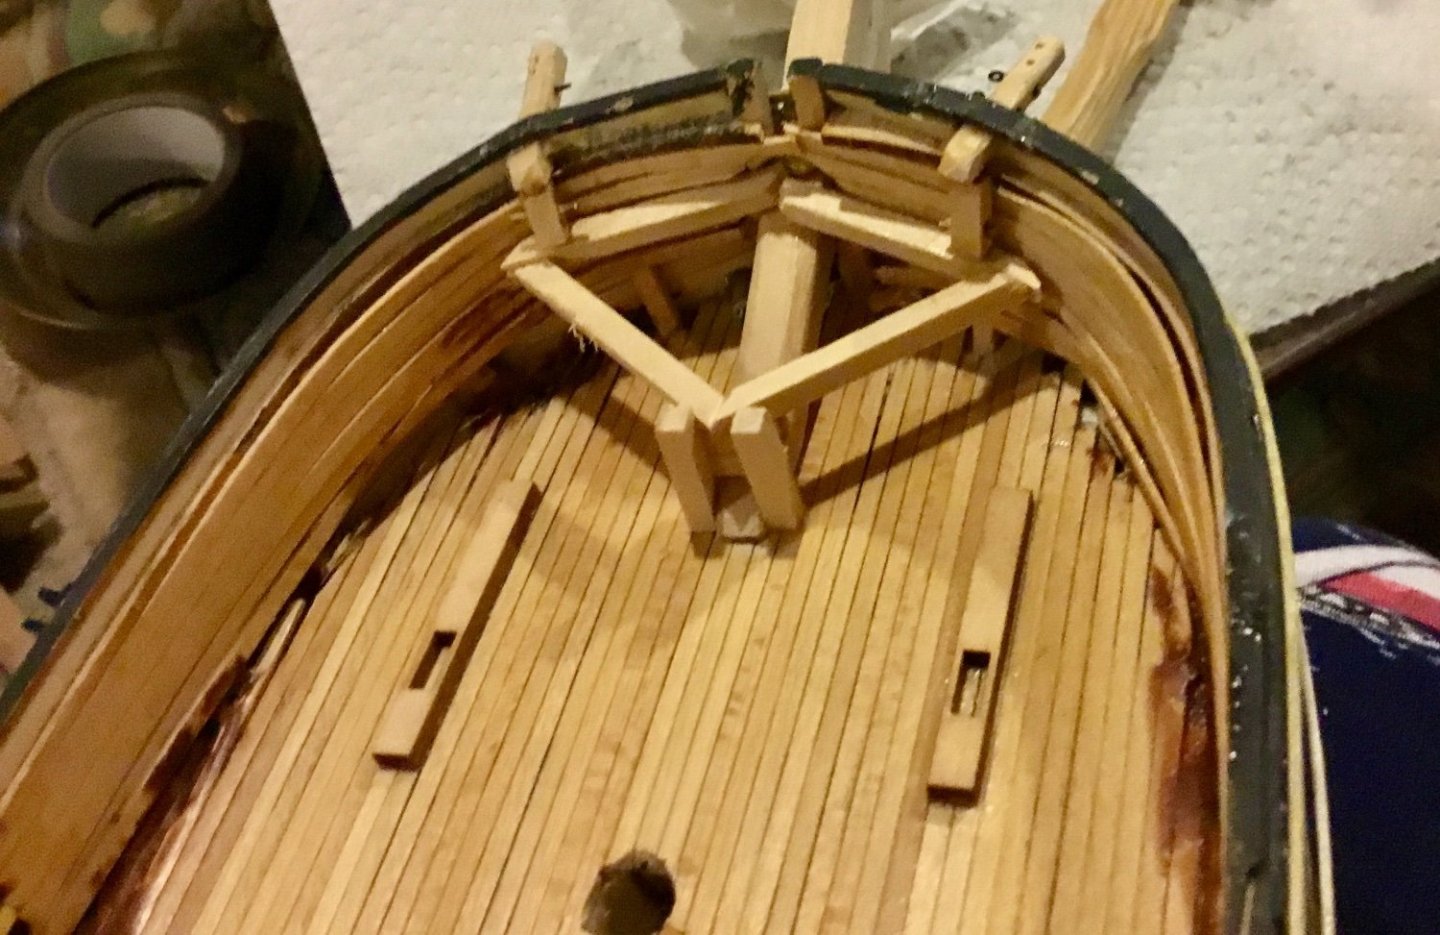
I added bowsprit bitts, anchor deck framework, catheads, fittings, hawse pipes, moorings chocks, etc.


-
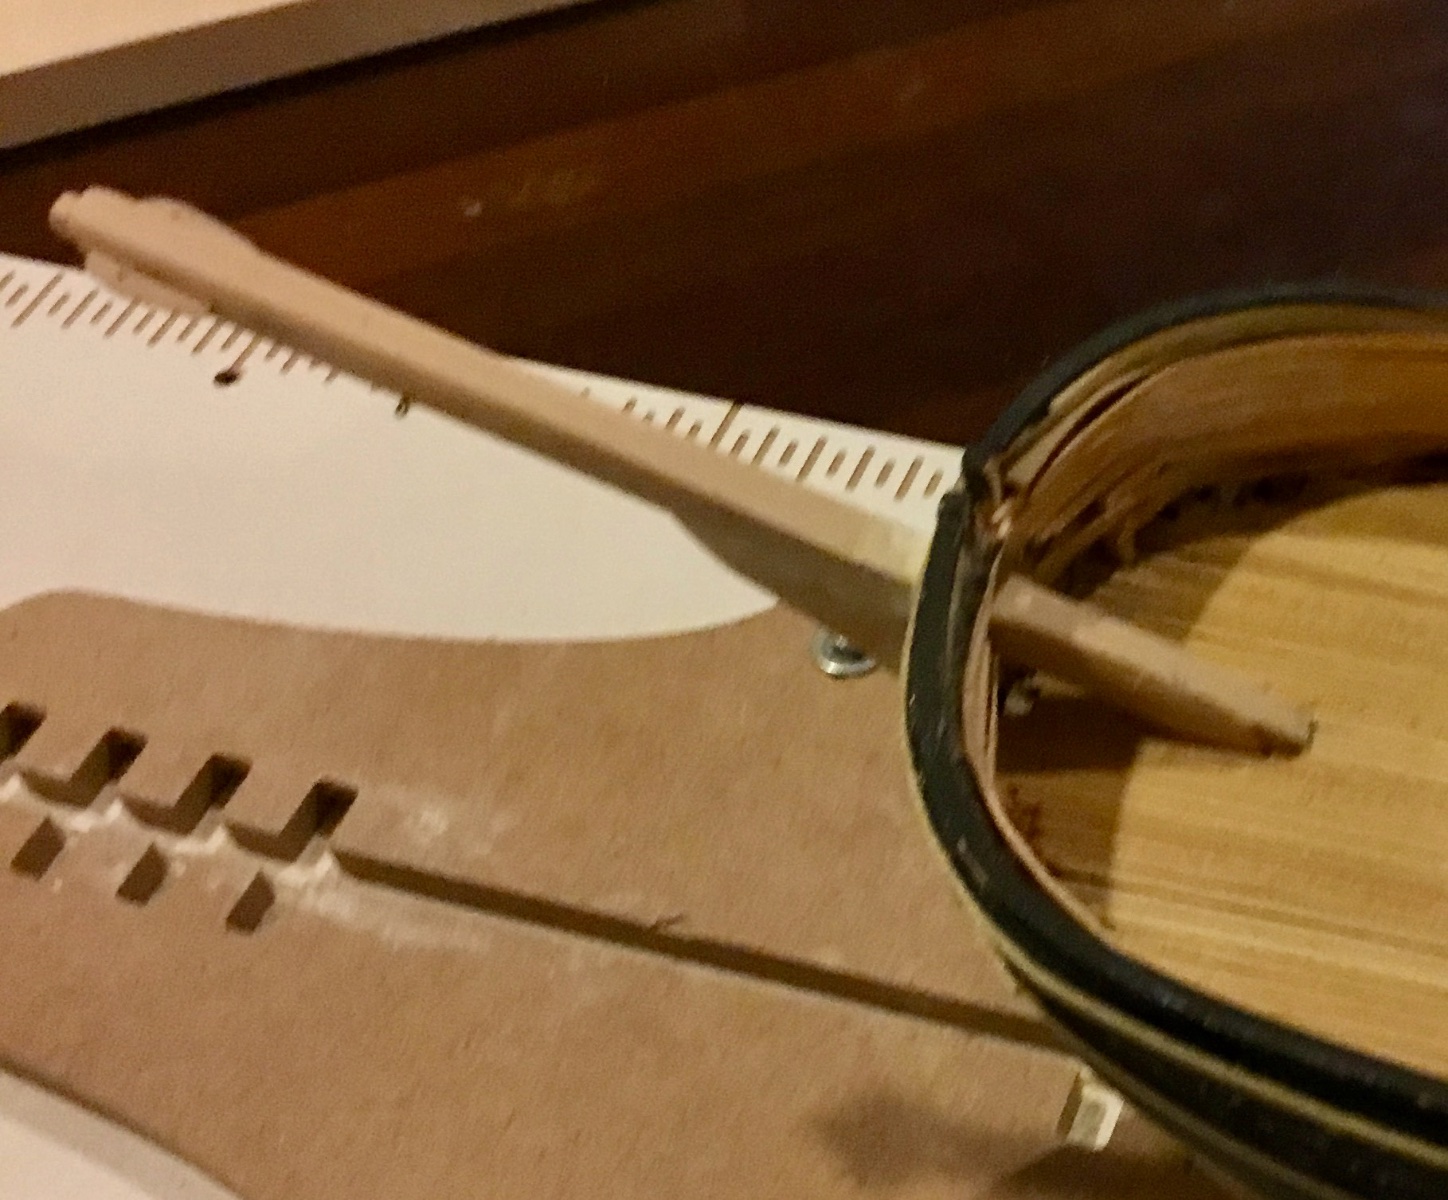
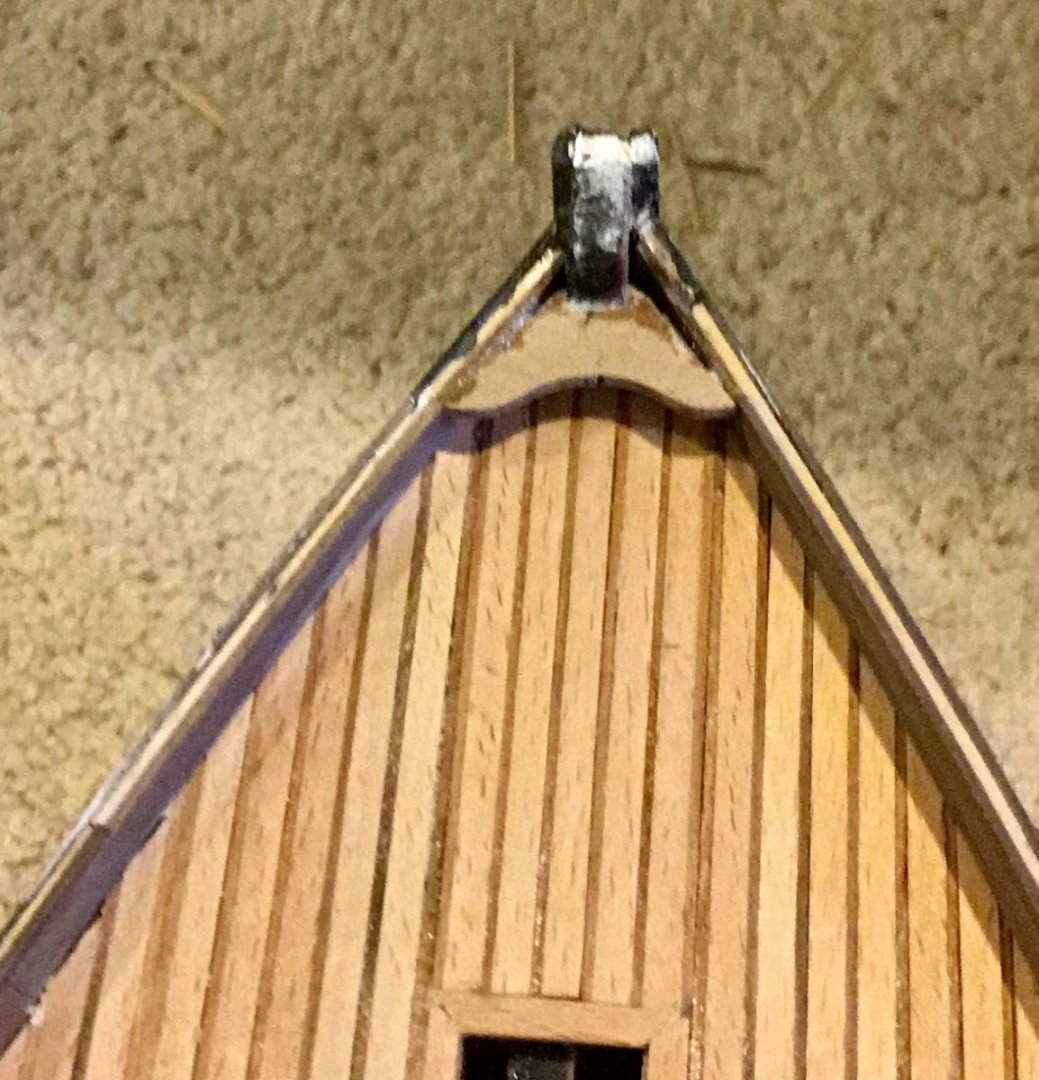
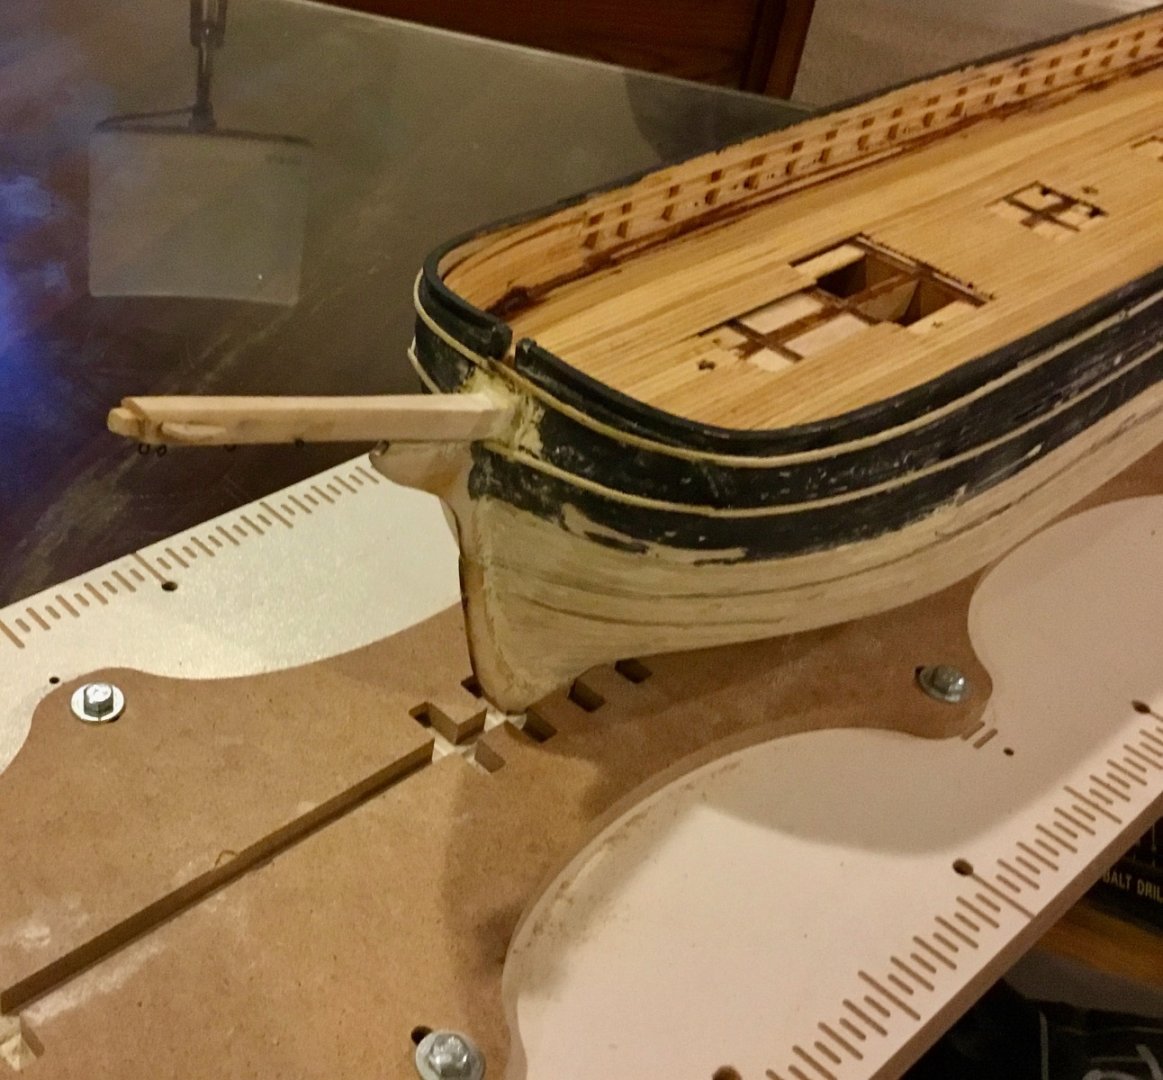
Been a while, finally got back to this ship and mounted the bowsprit.


-
Hull was painted with primer prior to marking out the water line and applying final black, white, and red colors.


-
Ken, I made my first layer as smooth as possible to the point where I could barely feel any ripples when running my fingers across the planks and used a filler to fill any voids. The second layer went on smoothly but there were still some tiny voids (cracks between planks) on the second layer that needed filler due to my skills in lining up the planks. I have begun painting (primer) my hull and the paint makes any errors in smoothness even more visible. I am not concerned as these were not modern fiberglass boats with extremely smooth hulls but working boats with wooden hulls (in my case you can distinguish each plank run if you look closely enough), so I am not expecting perfection. That said I believe some of the ripples I could feel on the first layer were transferred to the second layer. I would suggest you try to get the first layer as smooth as possible. Within reason. I will post a photo of my Fifie on my build log tomorrow. I wish I had kept track of how many hours I spent sanding and at what grits of sandpaper so I could answer your question, but I know it was several hours spread over several days or weeks. You get tired, think you've finished, and then rub your fingers over the hull and realize you could still do more. Don
-
Added 4 rubbing strakes to each side of the hull and applied wood sealer prior to painting.


-
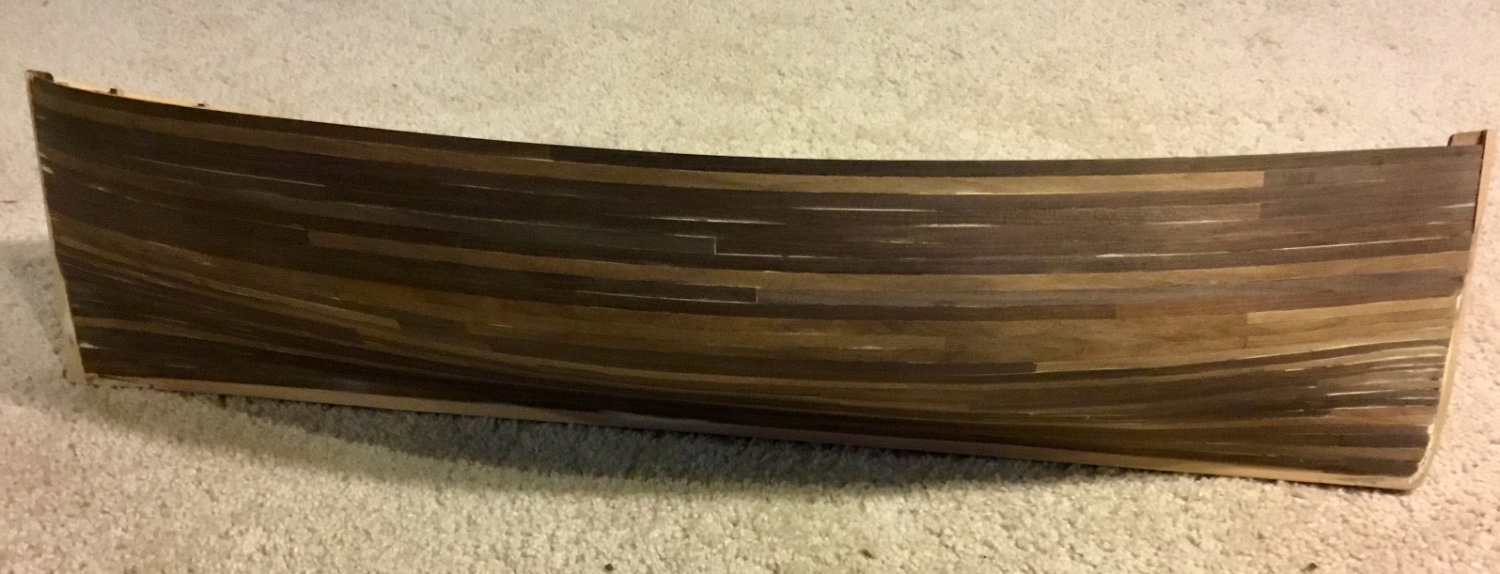
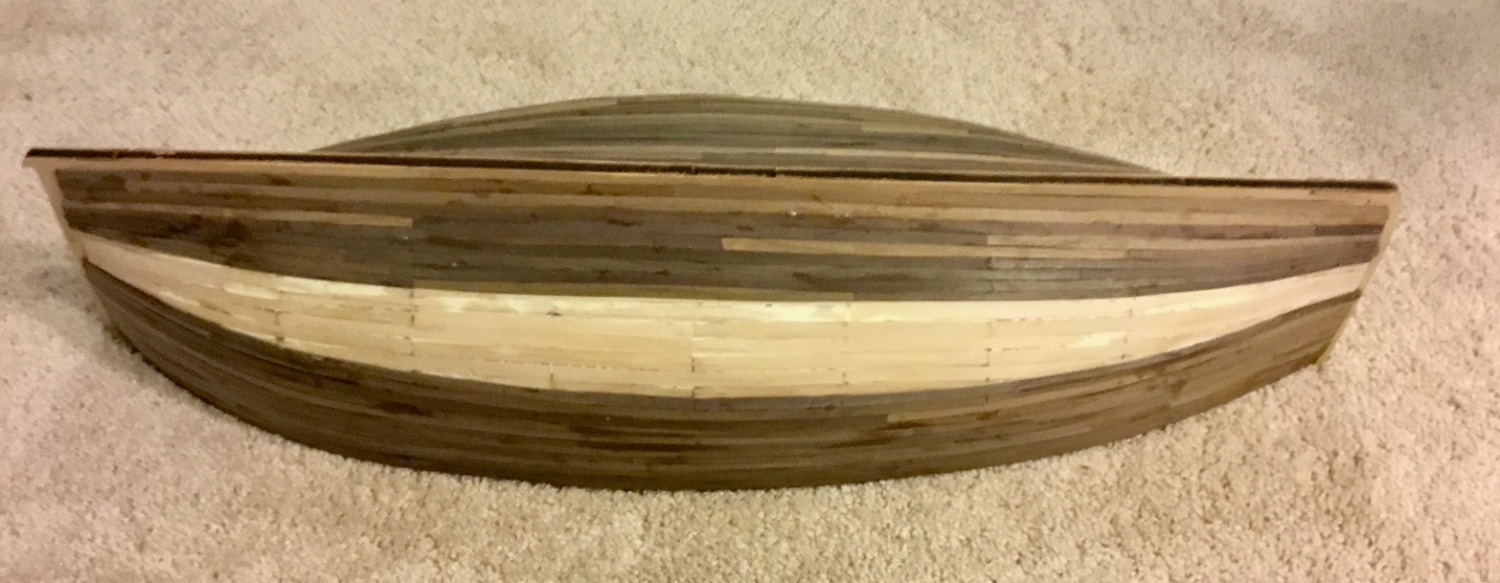
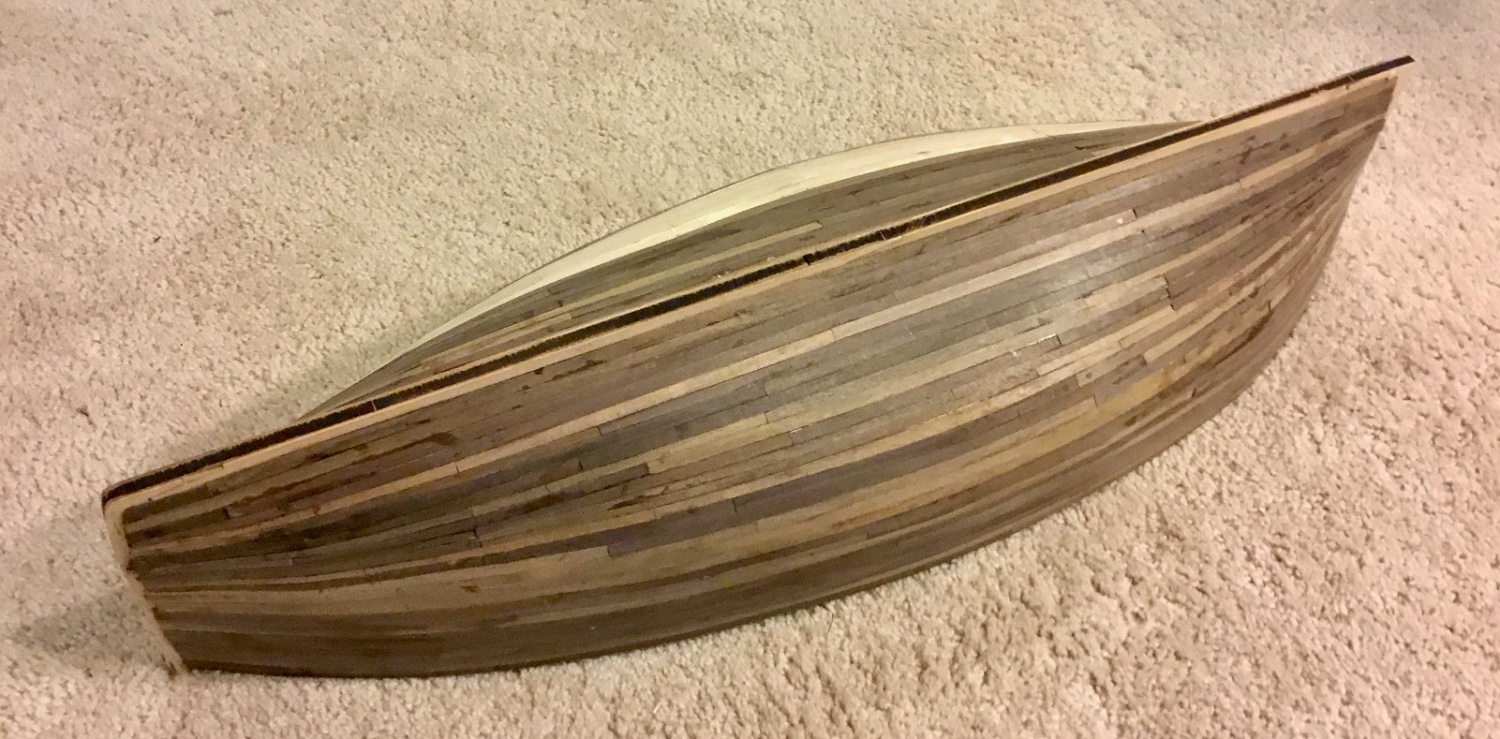
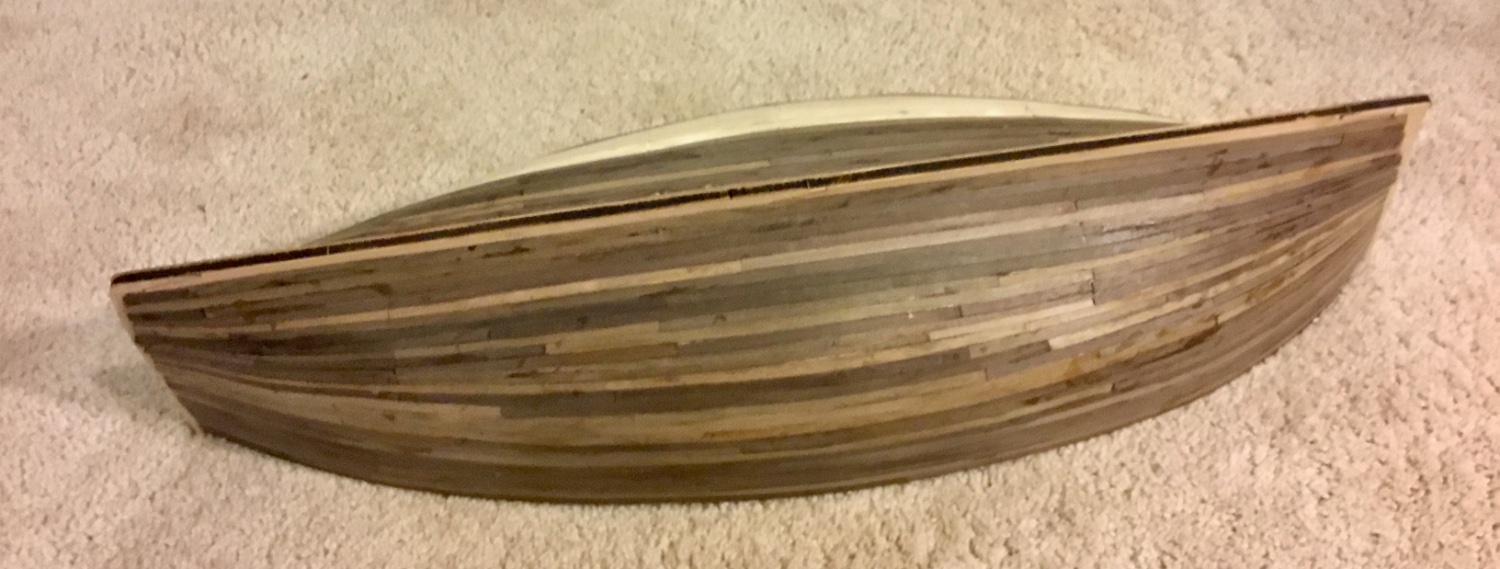
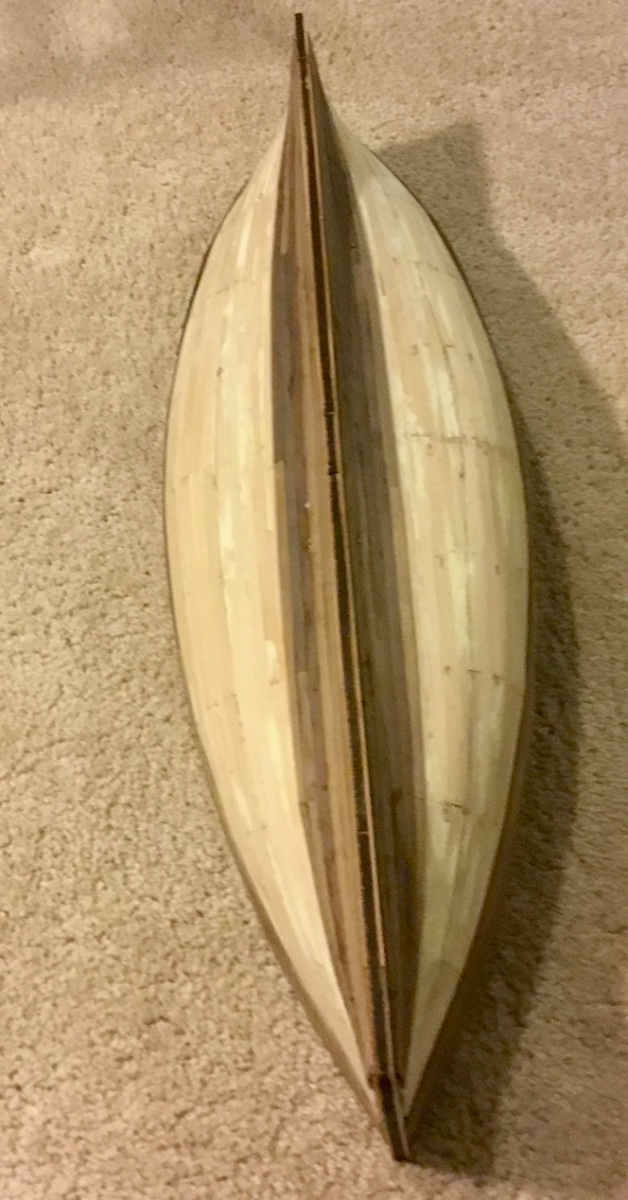
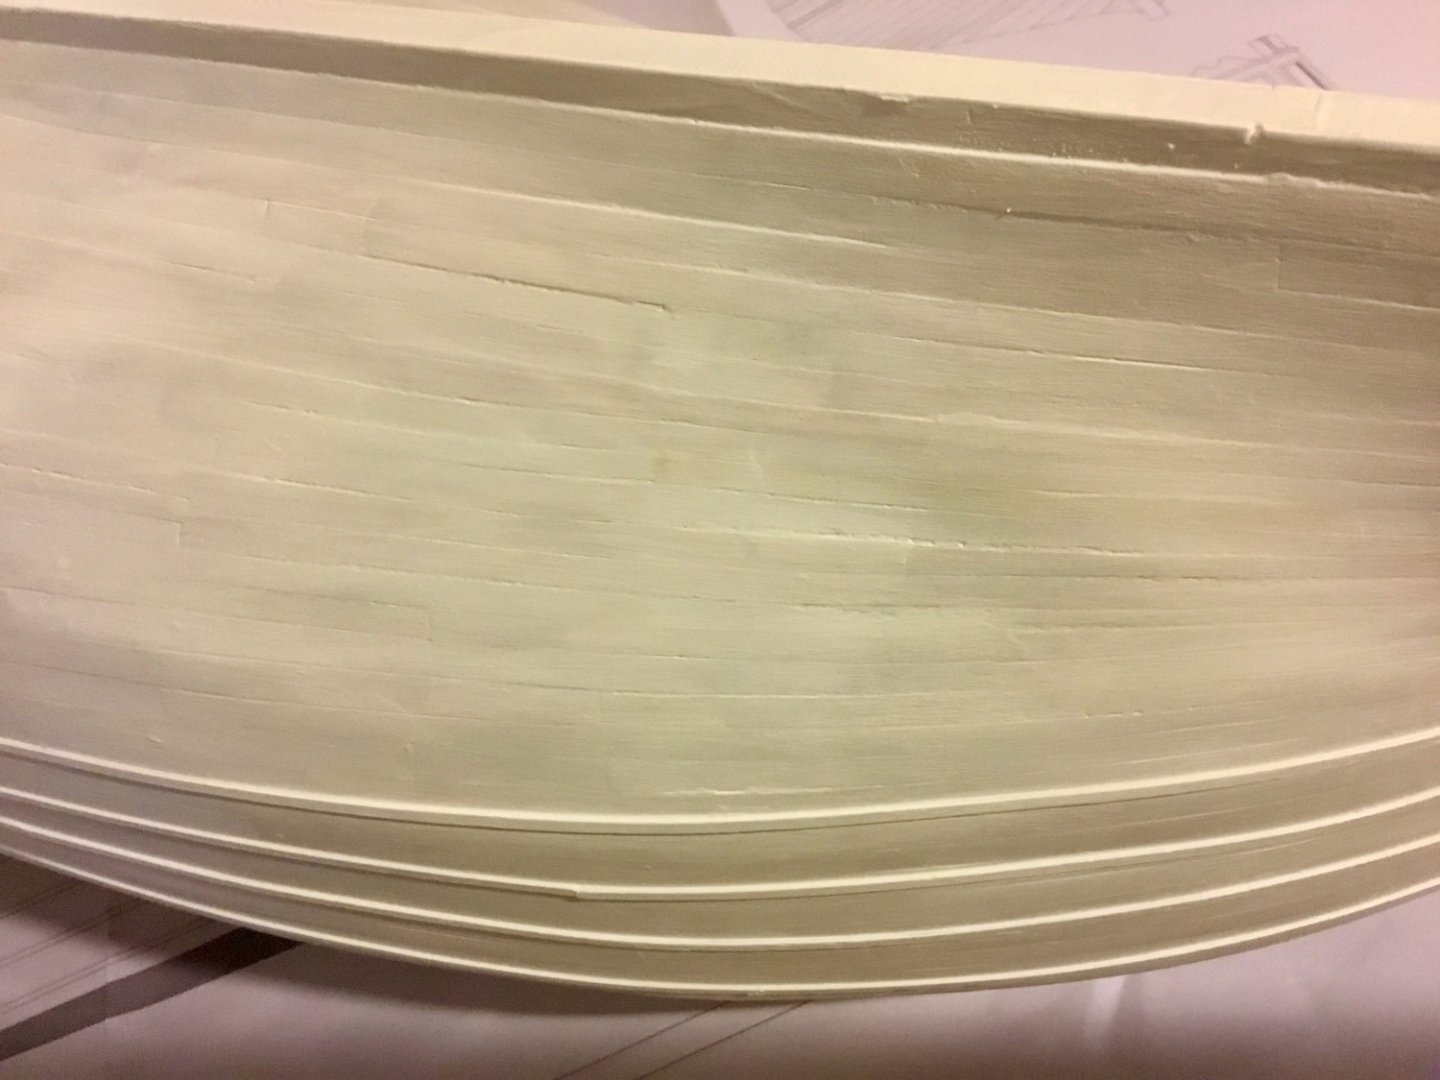
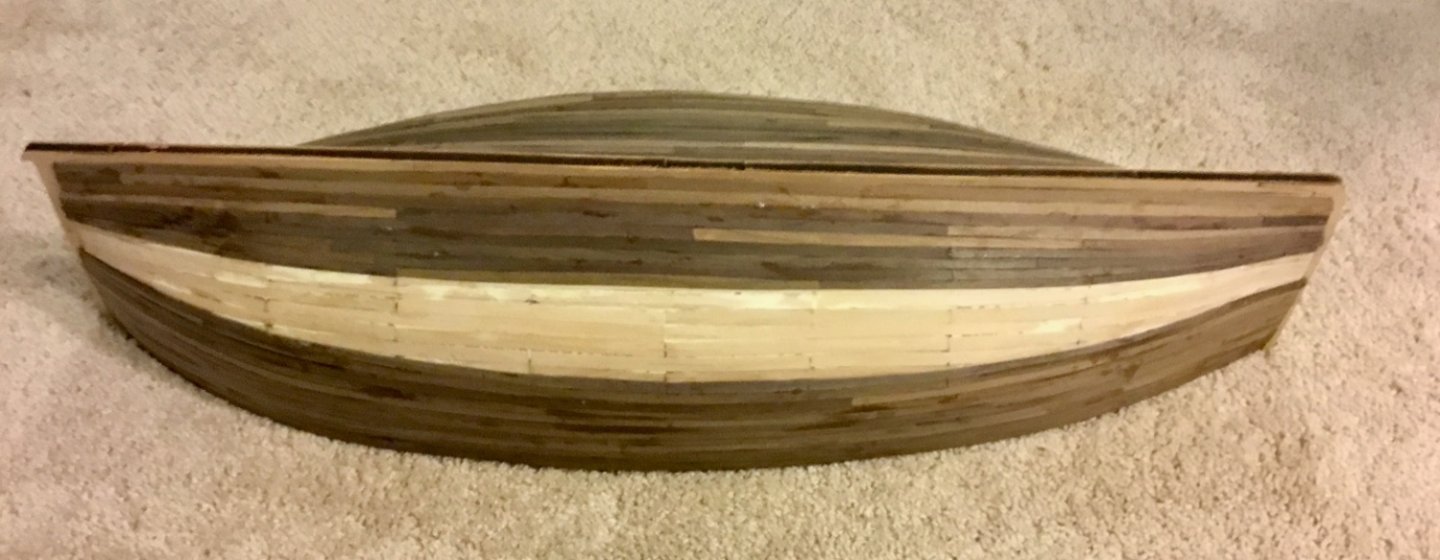
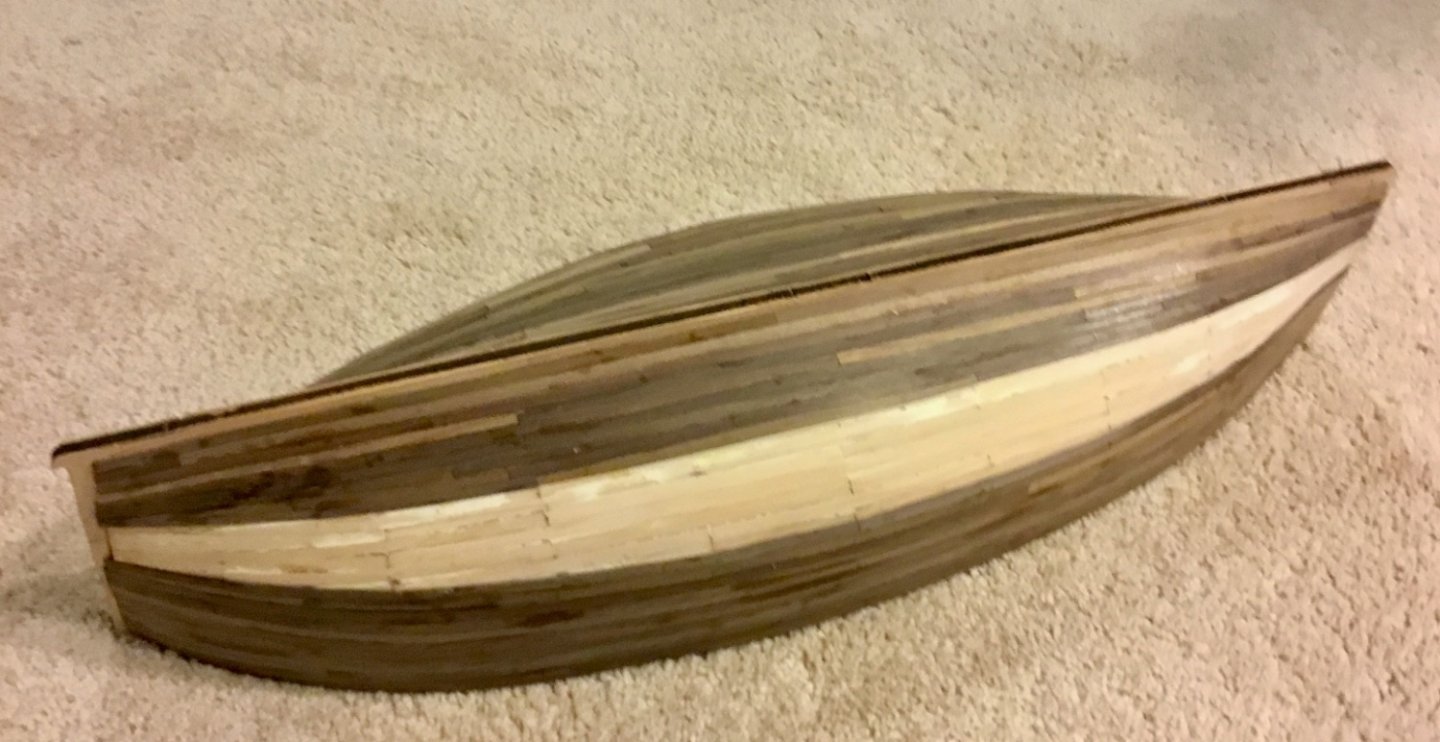
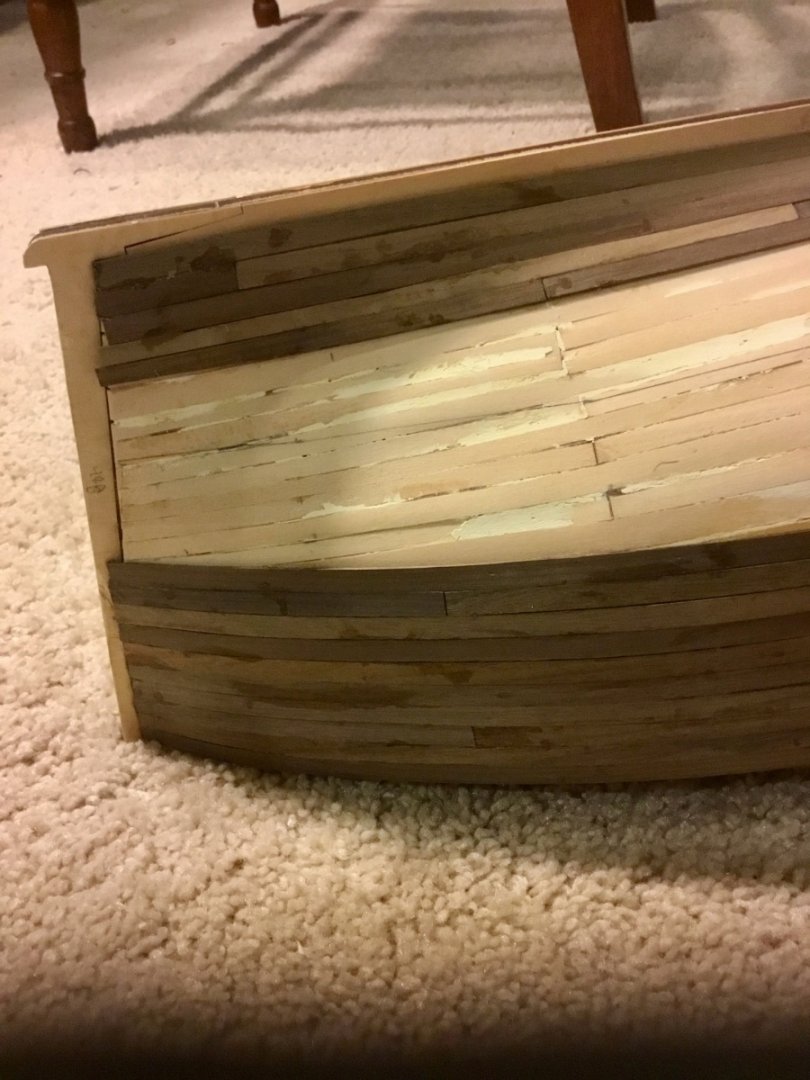
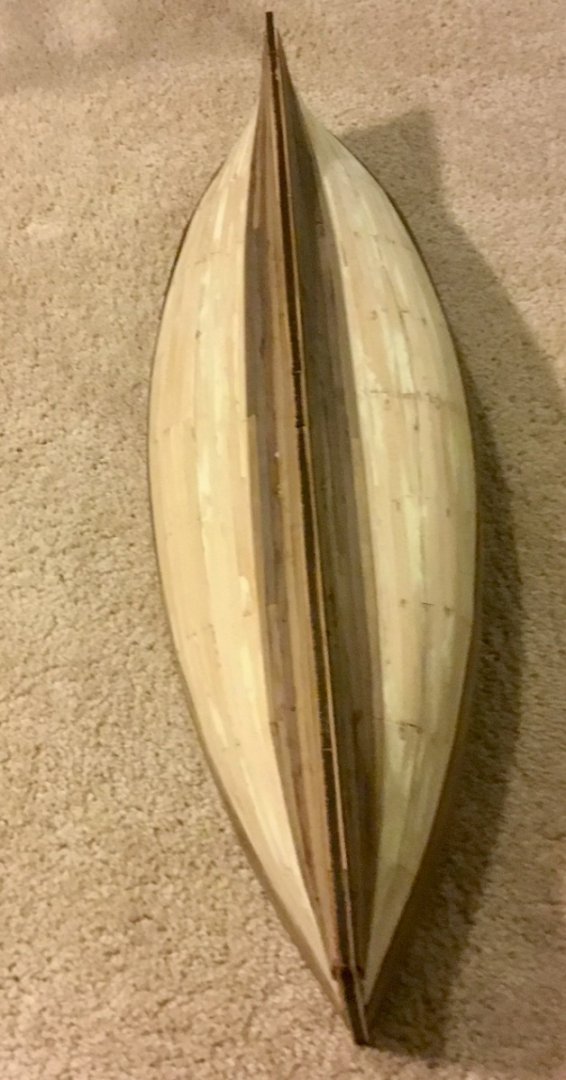
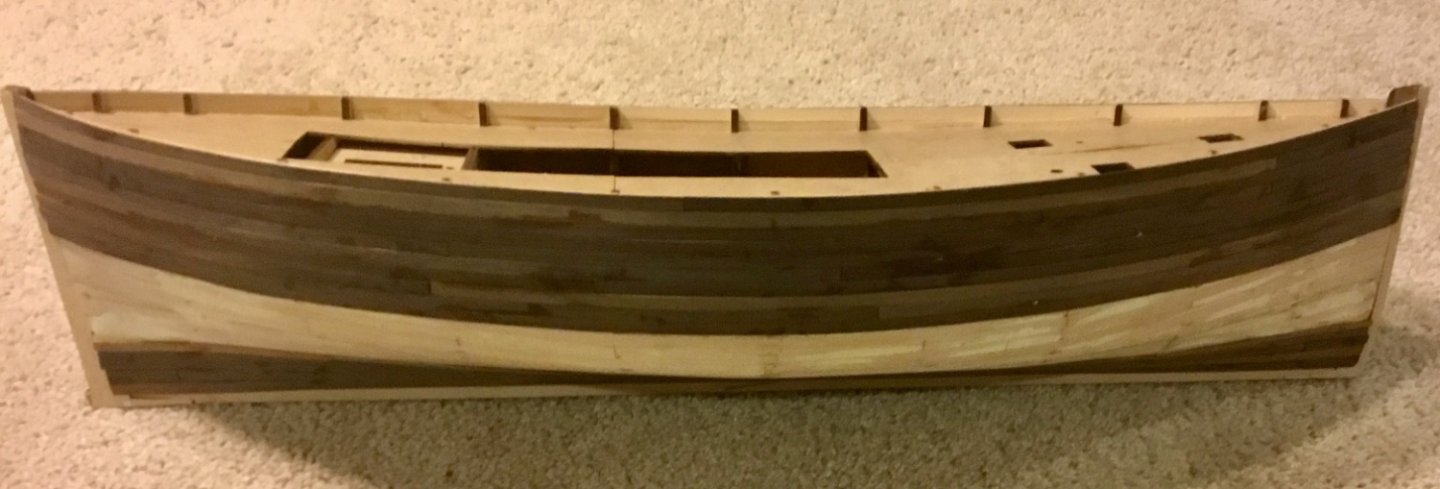
I have completed the planking of the hull. Try as I might there were still a few places where the planks did not abut the previous planks perfectly leaving a hairline crack that needed to be filled. I filled the gaps and low places using Durham’s Rock Hard Water Putty. I did not color the filler but left it white as I intend to paint the entire hull. The unpainted top portion of the hull looks interesting on the display packaging and instruction manual; and shows off the walnut wood supplied, but I don't think the real boats would have looked like that but would in practice have been painted. I doubt that they would even have had the white stripe. If you leave the top portion of the hull unpainted choose your planks carefully as the walnut coloring varies and sudden color changes may not look pleasing. Ken, when tapering the planks I used proportional dividers every few inches to determine the tapered width of the plank at that point. If I did it again I might try using a tapering fan or calculating the taper using Excel as I ended up with the space for the last two planks in each band being slightly too big to exactly fit two planks causing the use of three planks instead and I ended up with inconsistent plank widths. I think what happened was I made errors in transferring the measurements to the actual planks. I need to improve my accuracy, Only off by a fraction of a millimeter but that created a gap. If I had erred the other way and the final space was too small to perfectly fit two standard supplied planks I could have made one or each thinner and it would have turned out looking better. There's always next time.

-
Lost about two weeks of progress due to an upper respiratory infection (Covid 19 test was negative). Anyway back at it now with only about 10 plank runs left to finish off installation of second planking.


-
so what is it?
-
I'm currently building the Amati Fifie (static not RC) and am in the process of applying the second layer of planking using CA with no problems. If anything I would wish for a slightly slower set up time. Using medium thickness CA by Loctite. o9c
-
Nice idea adding the rabbets. The manual lacked that sort of detail and I wondered about the transition myself, but let it go and just followed the manual. Did you size the rabbits to fit both layers of planking or only the first layer. Nice job so far. Don
-
Continued application of second layer of planking. I was able to apply planking strakes at full width for 10 strakes starting at the bulwarks and working down and 3 from the keel working up. I then divided the remaining space into two bands and beginning with the lower band began the installation of tapered strakes. The remaining space at mid ship turned out to be almost exactly 96mm which divided by the 6mm planking material provided gave me a total of 16 strakes (two bands of 8). Reviewing some other builds here and on YouTube; I noted that some builders installed full width planks wherever possible that ended up terminating into the edges of previously installed planks or required the creation of long finely pointed filler planks at the stem and stern. This ended up looking OK (but didn't seem realistic) and I thought I would have a more difficult time fitting the thin sharply pointed filler planks. My tapered planking strakes will all terminate at the stem and stern. Probably doesn't matter, once the lower part of the hull gets painted the planking runs will be less visible. \

-
K&E Mark.I Proportional divider
Dsmith20639 replied to modeller_masa's topic in Modeling tools and Workshop Equipment
I use mine quite frequently when planking a hull. I still use tic strips to adjust for the curvature of the bulkheads, but I find marking off the strake positions on the bulkhead edges with pencil or pen less accurate (and prone to error) than using the proportional dividers. Plus if I gradually reduce the proportions by one (5, 4,. 3, 2 e.g.) when applying each strake it helps to compensate for accumulated error that may have crept in while installing the previous strakes in the current planking belt. -
Completed the fitting of the keel pieces and began application of second layer of planking. Also assembled the included stand.

-
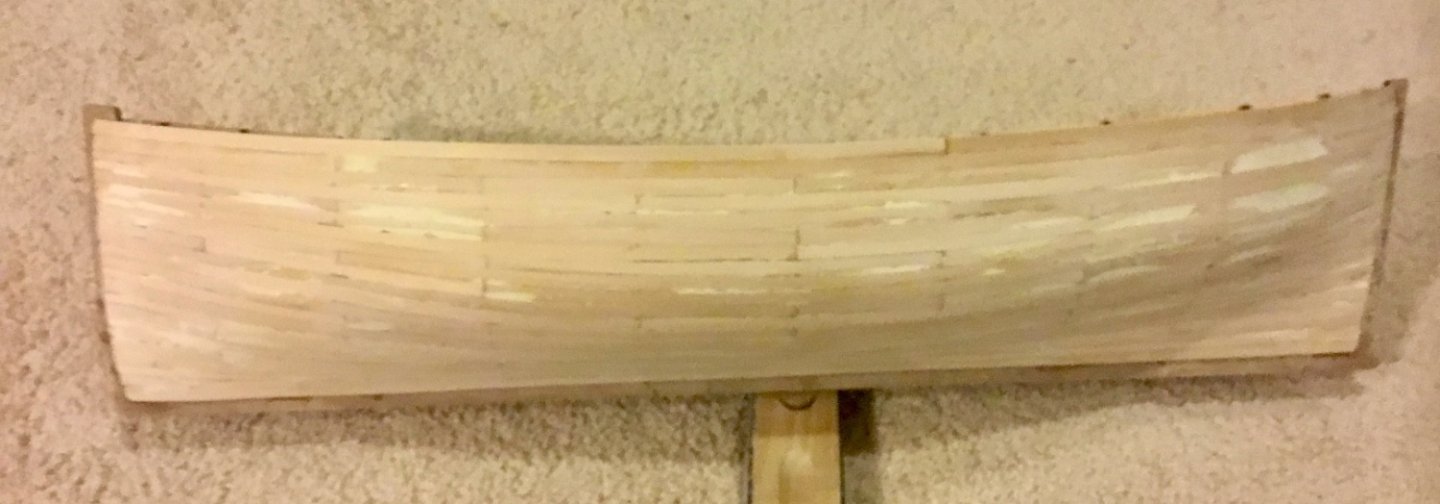
Completed first layer of planking. Next up is to fit the keel pieces and then its on to the second layer of planking the hull.
-
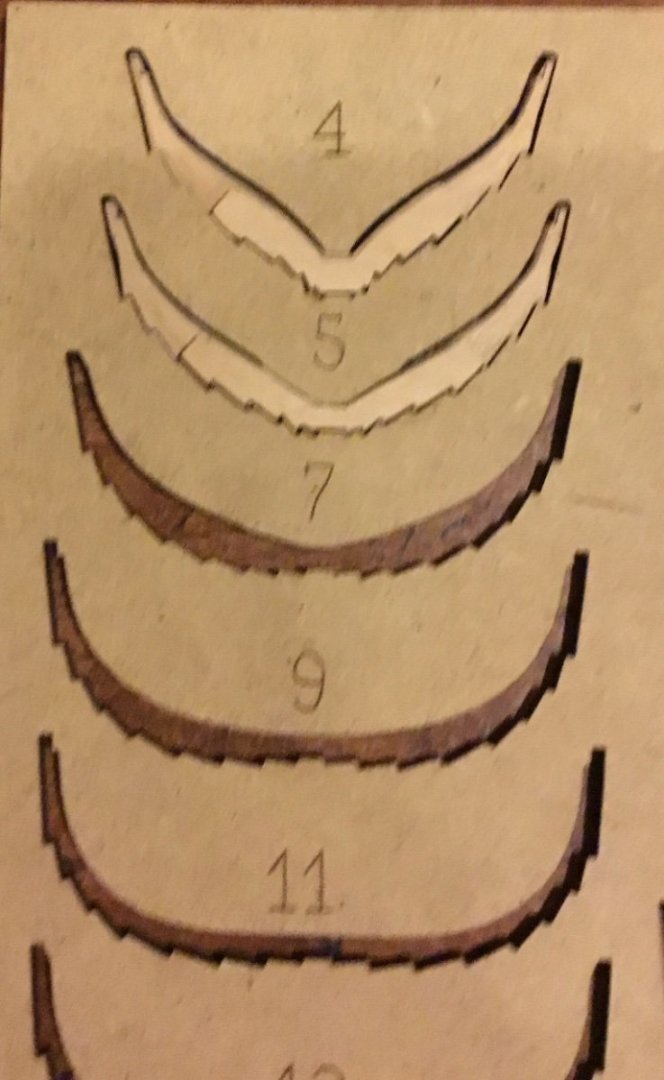
don't know which one is more authentic, but I prefer the one on the left, its simple and clean. the one on the right looks to clumsy and busy.
-
I thought that trying to fit full length planks would be too difficult, so I used shorter planks. I fitted each strake starting with the bow and stern planks first with the lengths staggered to minimize adjacent planks terminating at the same bulkhead and then filled in the centers of the strakes with one or more additional planks depending on how well I could get them to fit. The boards are difficult to bend (especially edge bend) because of their thickness. I ended up with 4 boards left over at the end. This might have been more time consuming (and really not necessary as the results will not be visible under the second planking) but I treated it as a single planking to get more practice for future cases were there would only be a single layer of planking and I would need to use tapering, edge bending, spiling, etc. I didn't use nails as I thought the bulkhead material was to prone to splitting but edge glued each plank to the previous strake with PVA and used CA at each bulkhead holding the plank in place manually until the CA had set.
-
Making progress, only a few days more of applying the first layer of planking and then I can start sanding and filling in preparation for the second layer.


-
Things have been going slow lately. Missed a lot of days due to problems related to my Parkinson's medication. On the days that I am able to work on the Fifie, I have been able to place one strake on each side of the ship. At that pace I have 15 working days left to complete the first planking. I have thus far finished the top most belt of planking. The planking strips are wide and thick and are difficult to bend to fit in some places but I'm doing my best. At least this is the first planking so I can use some filler if I need to when I'm finished so I end up with a smooth surface on which to apply the second "visible" layer of planking.
-
Amazing! Work like yours makes me think we need a third major category for semi-scratch built build logs.
- 72 replies
-
- 3
-

-
- Glad Tidings
- Model Shipways
- (and 1 more)