HOLIDAY DONATION DRIVE - SUPPORT MSW - DO YOUR PART TO KEEP THIS GREAT FORUM GOING! (Only 27 donations so far out of 49,000 members - C'mon guys!)
×


Dsmith20639
-
Posts
254 -
Joined
-
Last visited
Content Type
Profiles
Forums
Gallery
Events
Everything posted by Dsmith20639
-
Completed items 1 thru 19 on my rigging steps.


- 24 replies
-
- 1
-

-
- Fair American
- Model Shipways
- (and 1 more)
-
I'm in a similar situation , I consider my ship finished but haven't figured out how to edit the title to add the word FINISHED. Any clue on the steps to do that?
-
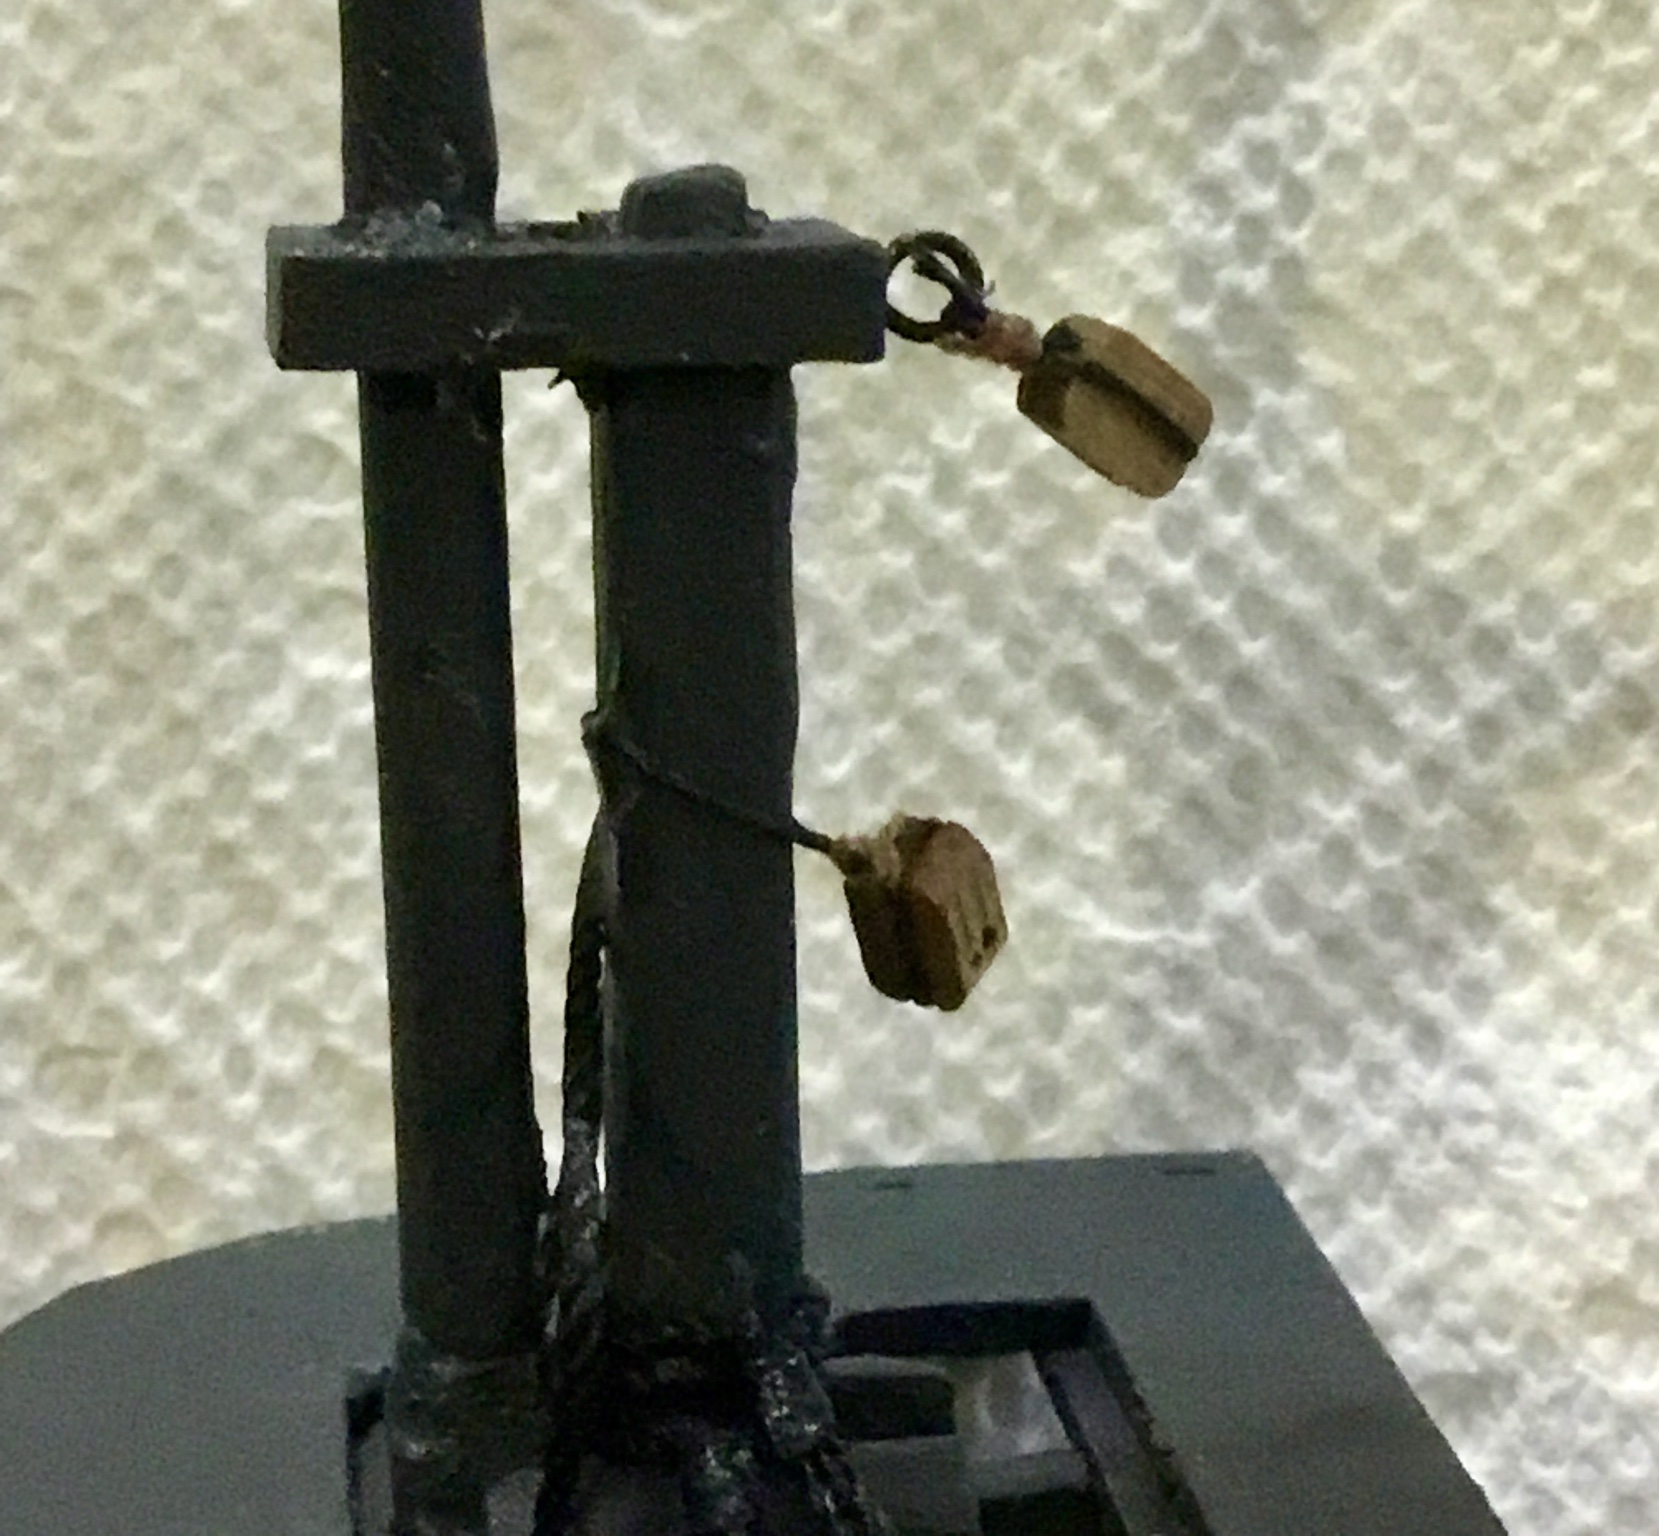
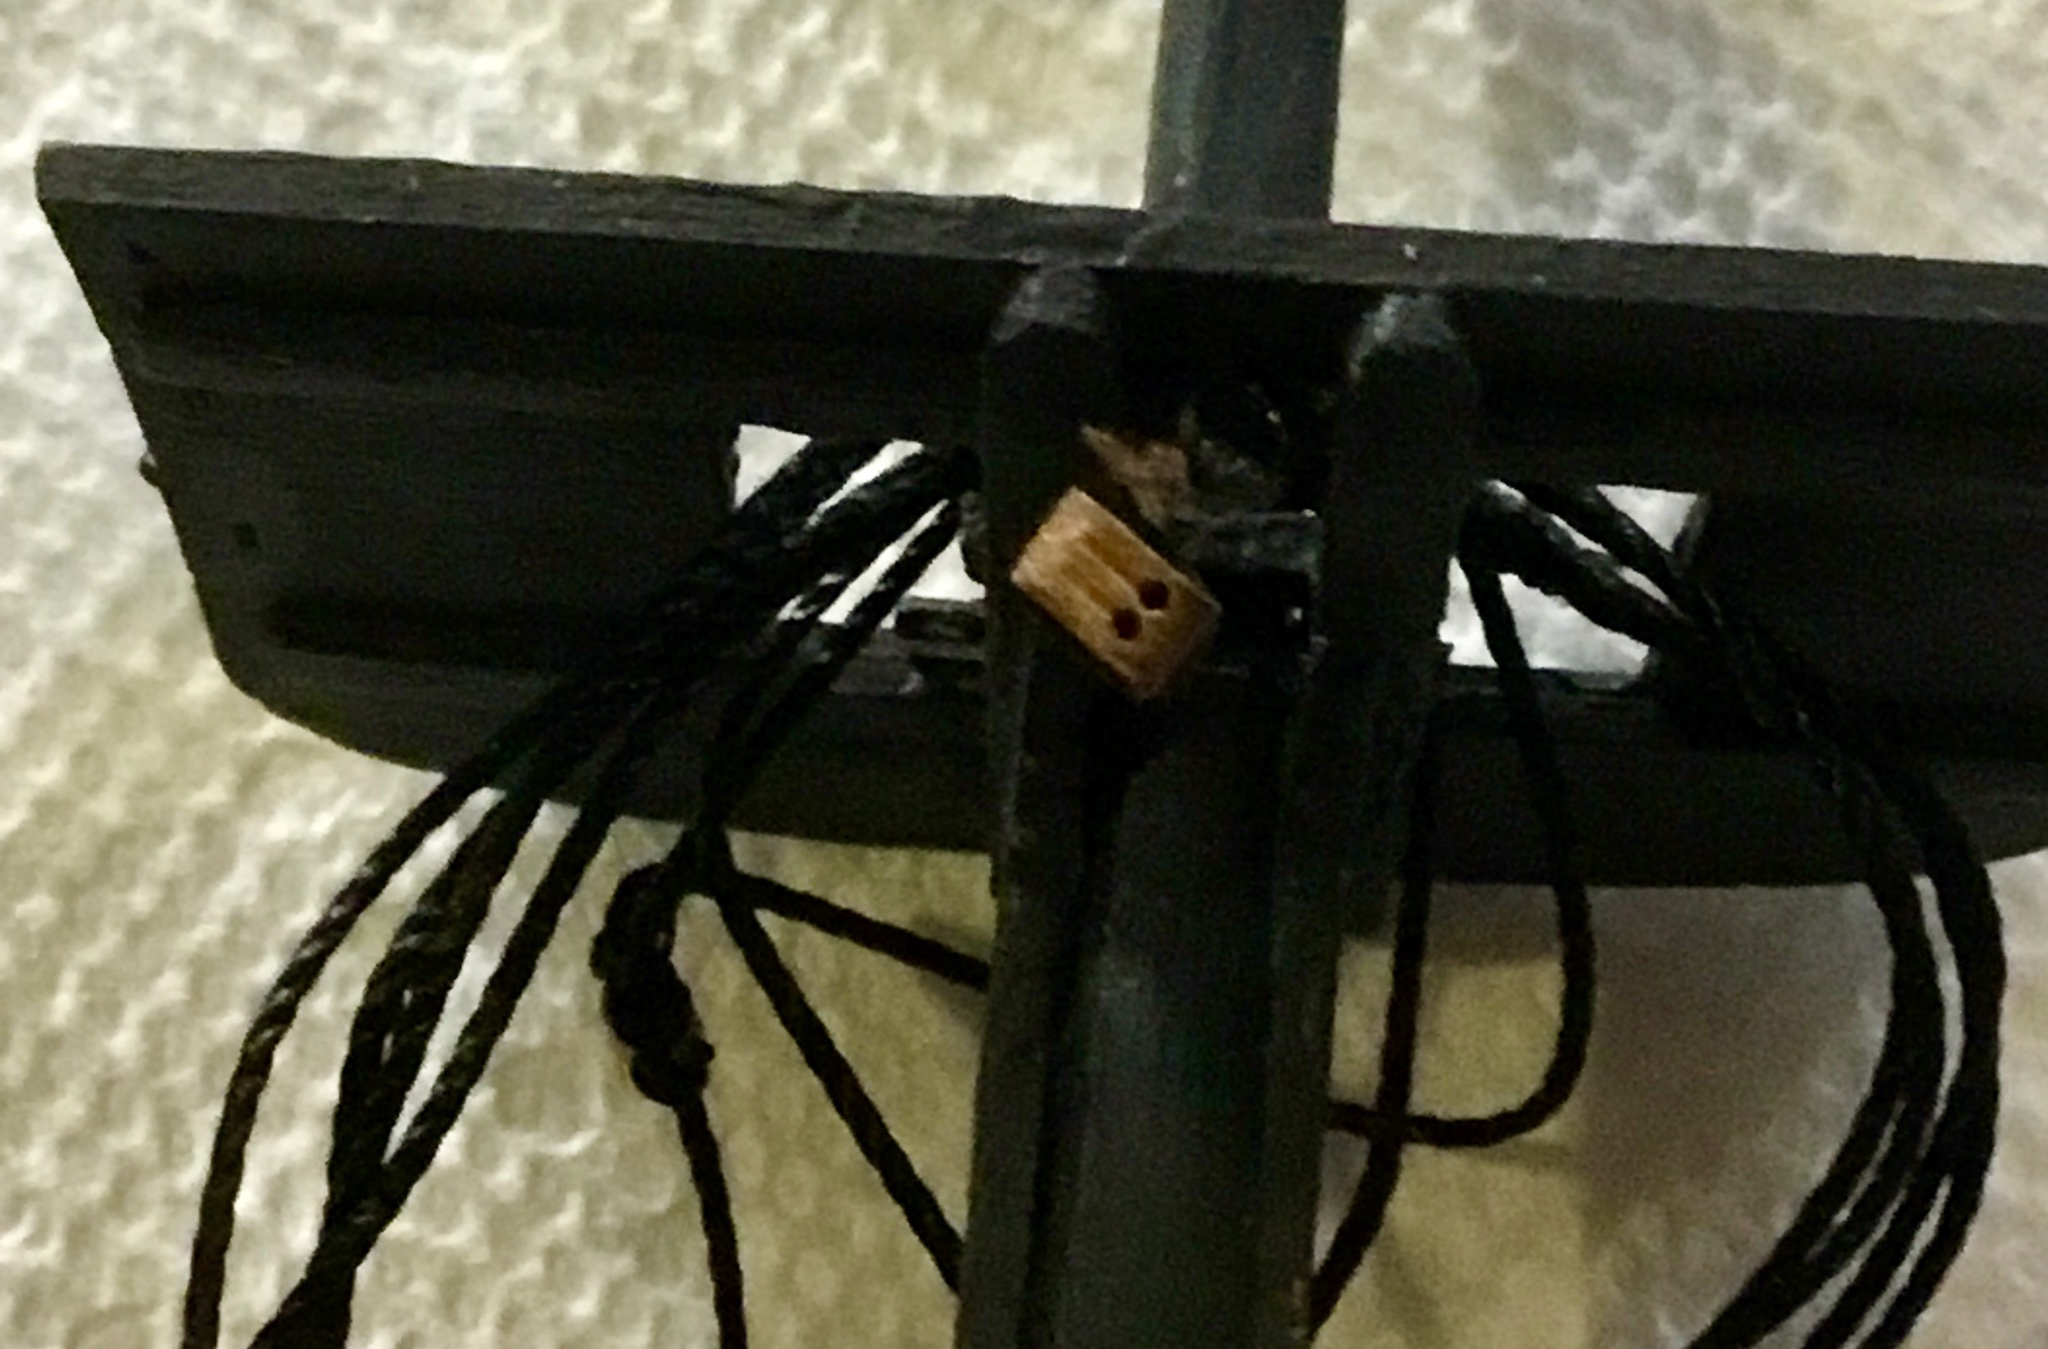
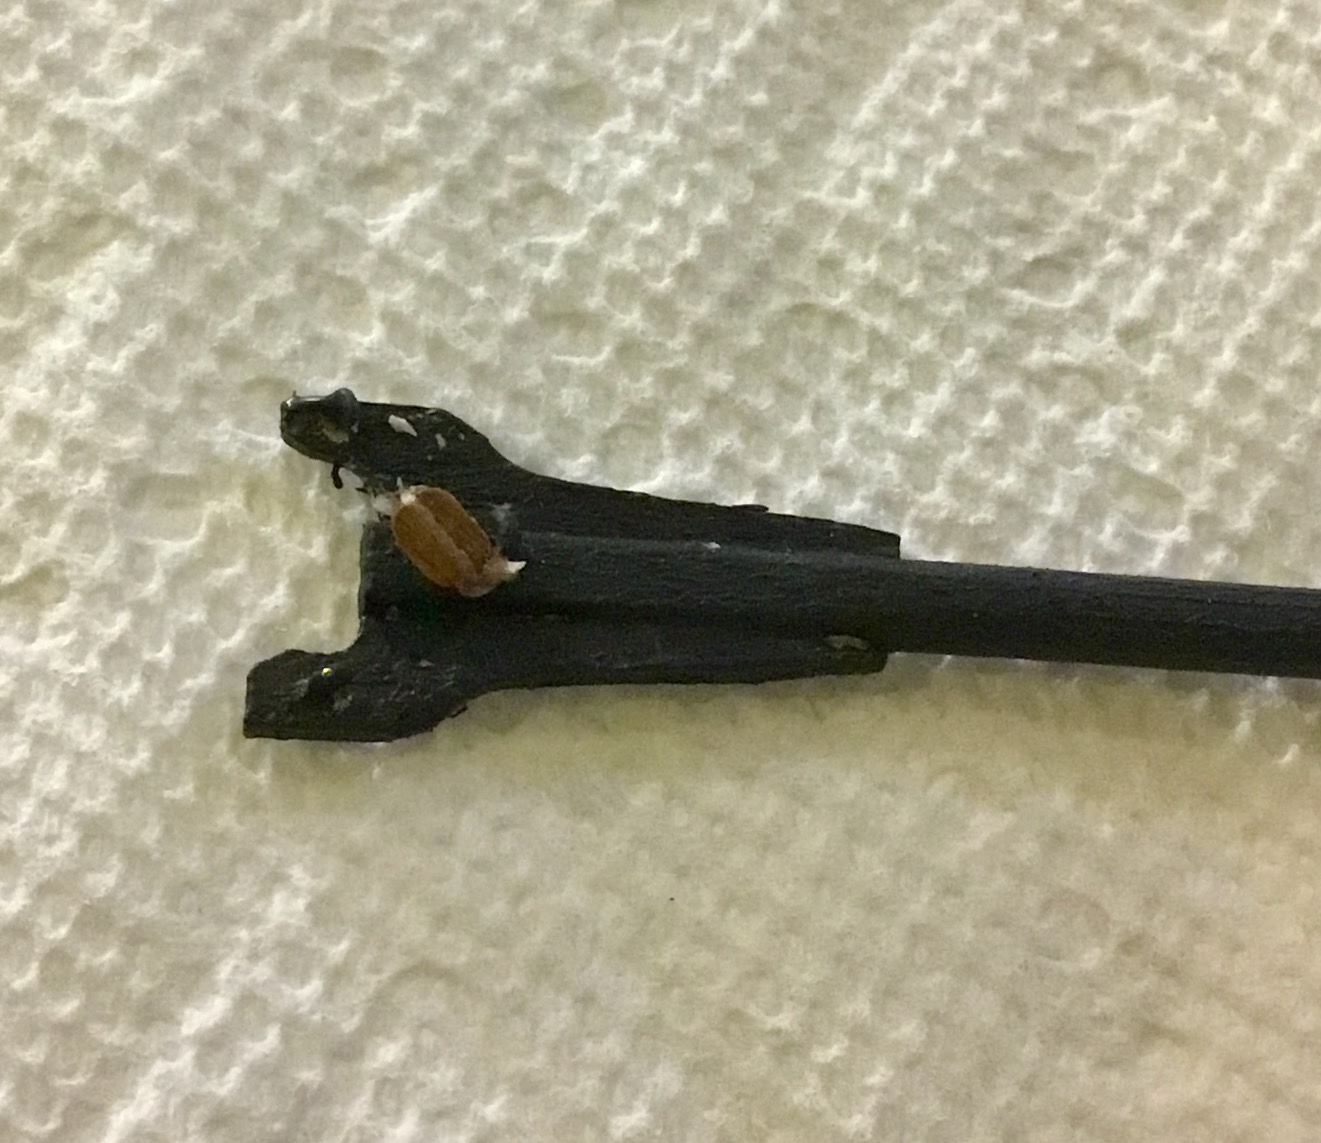
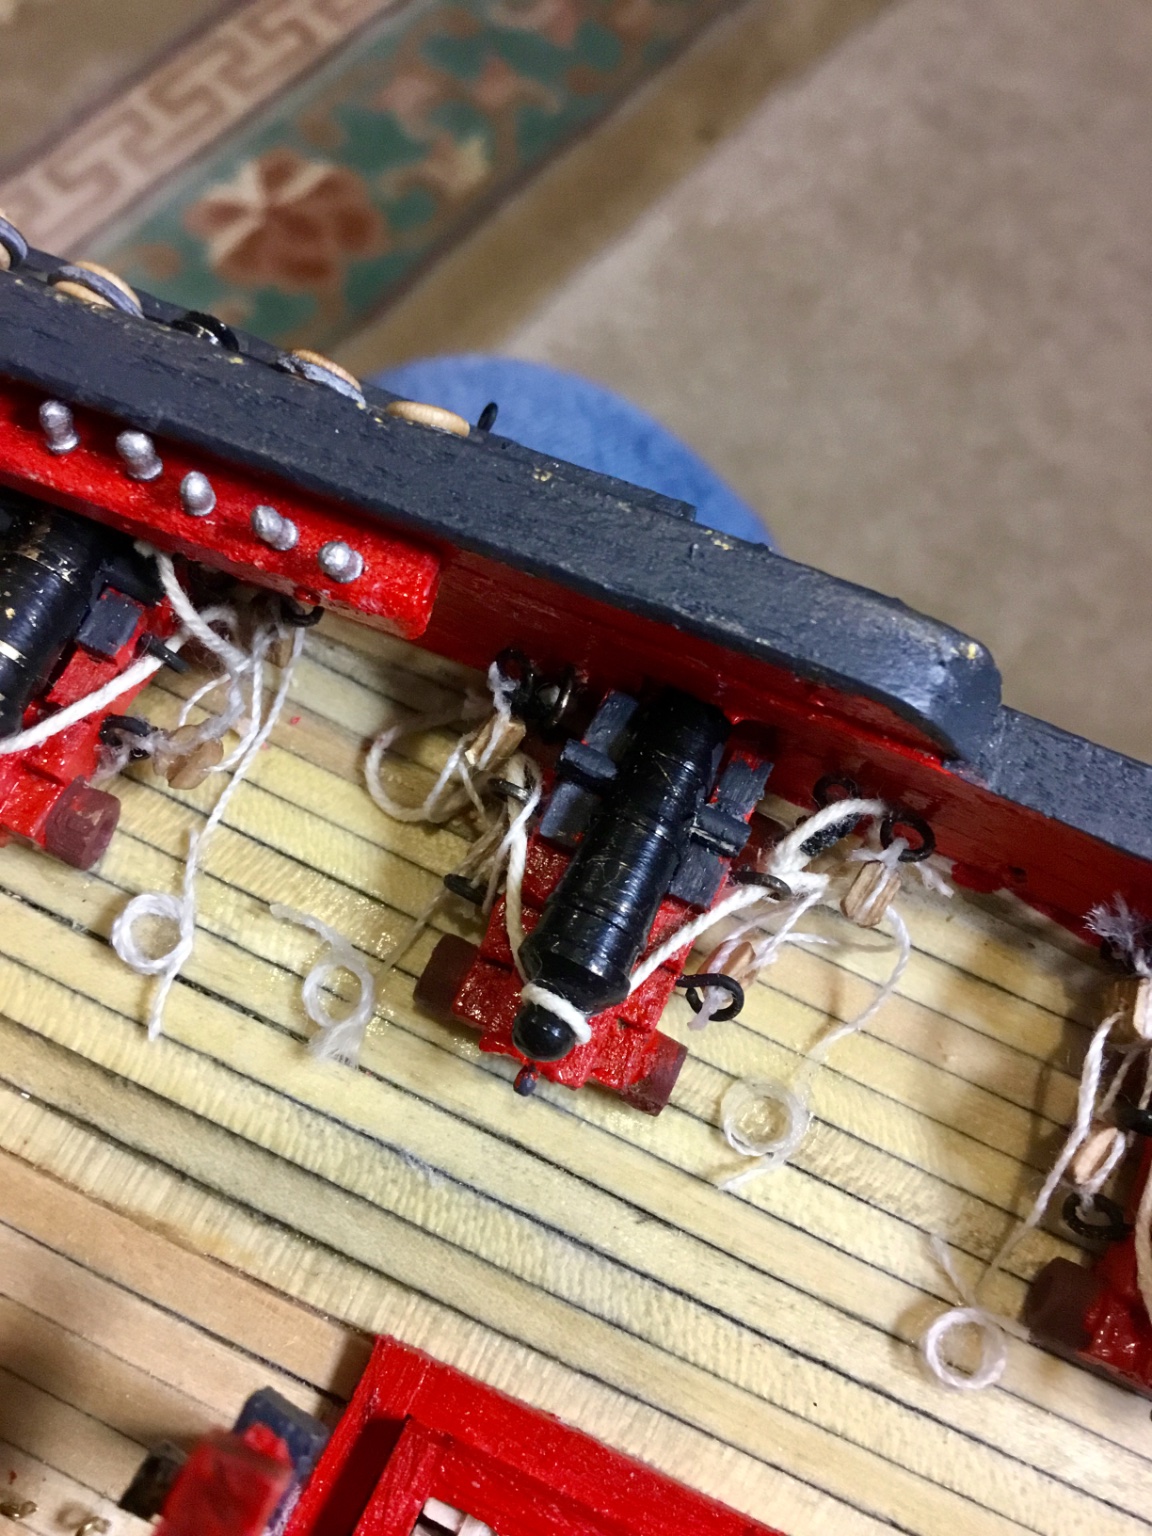
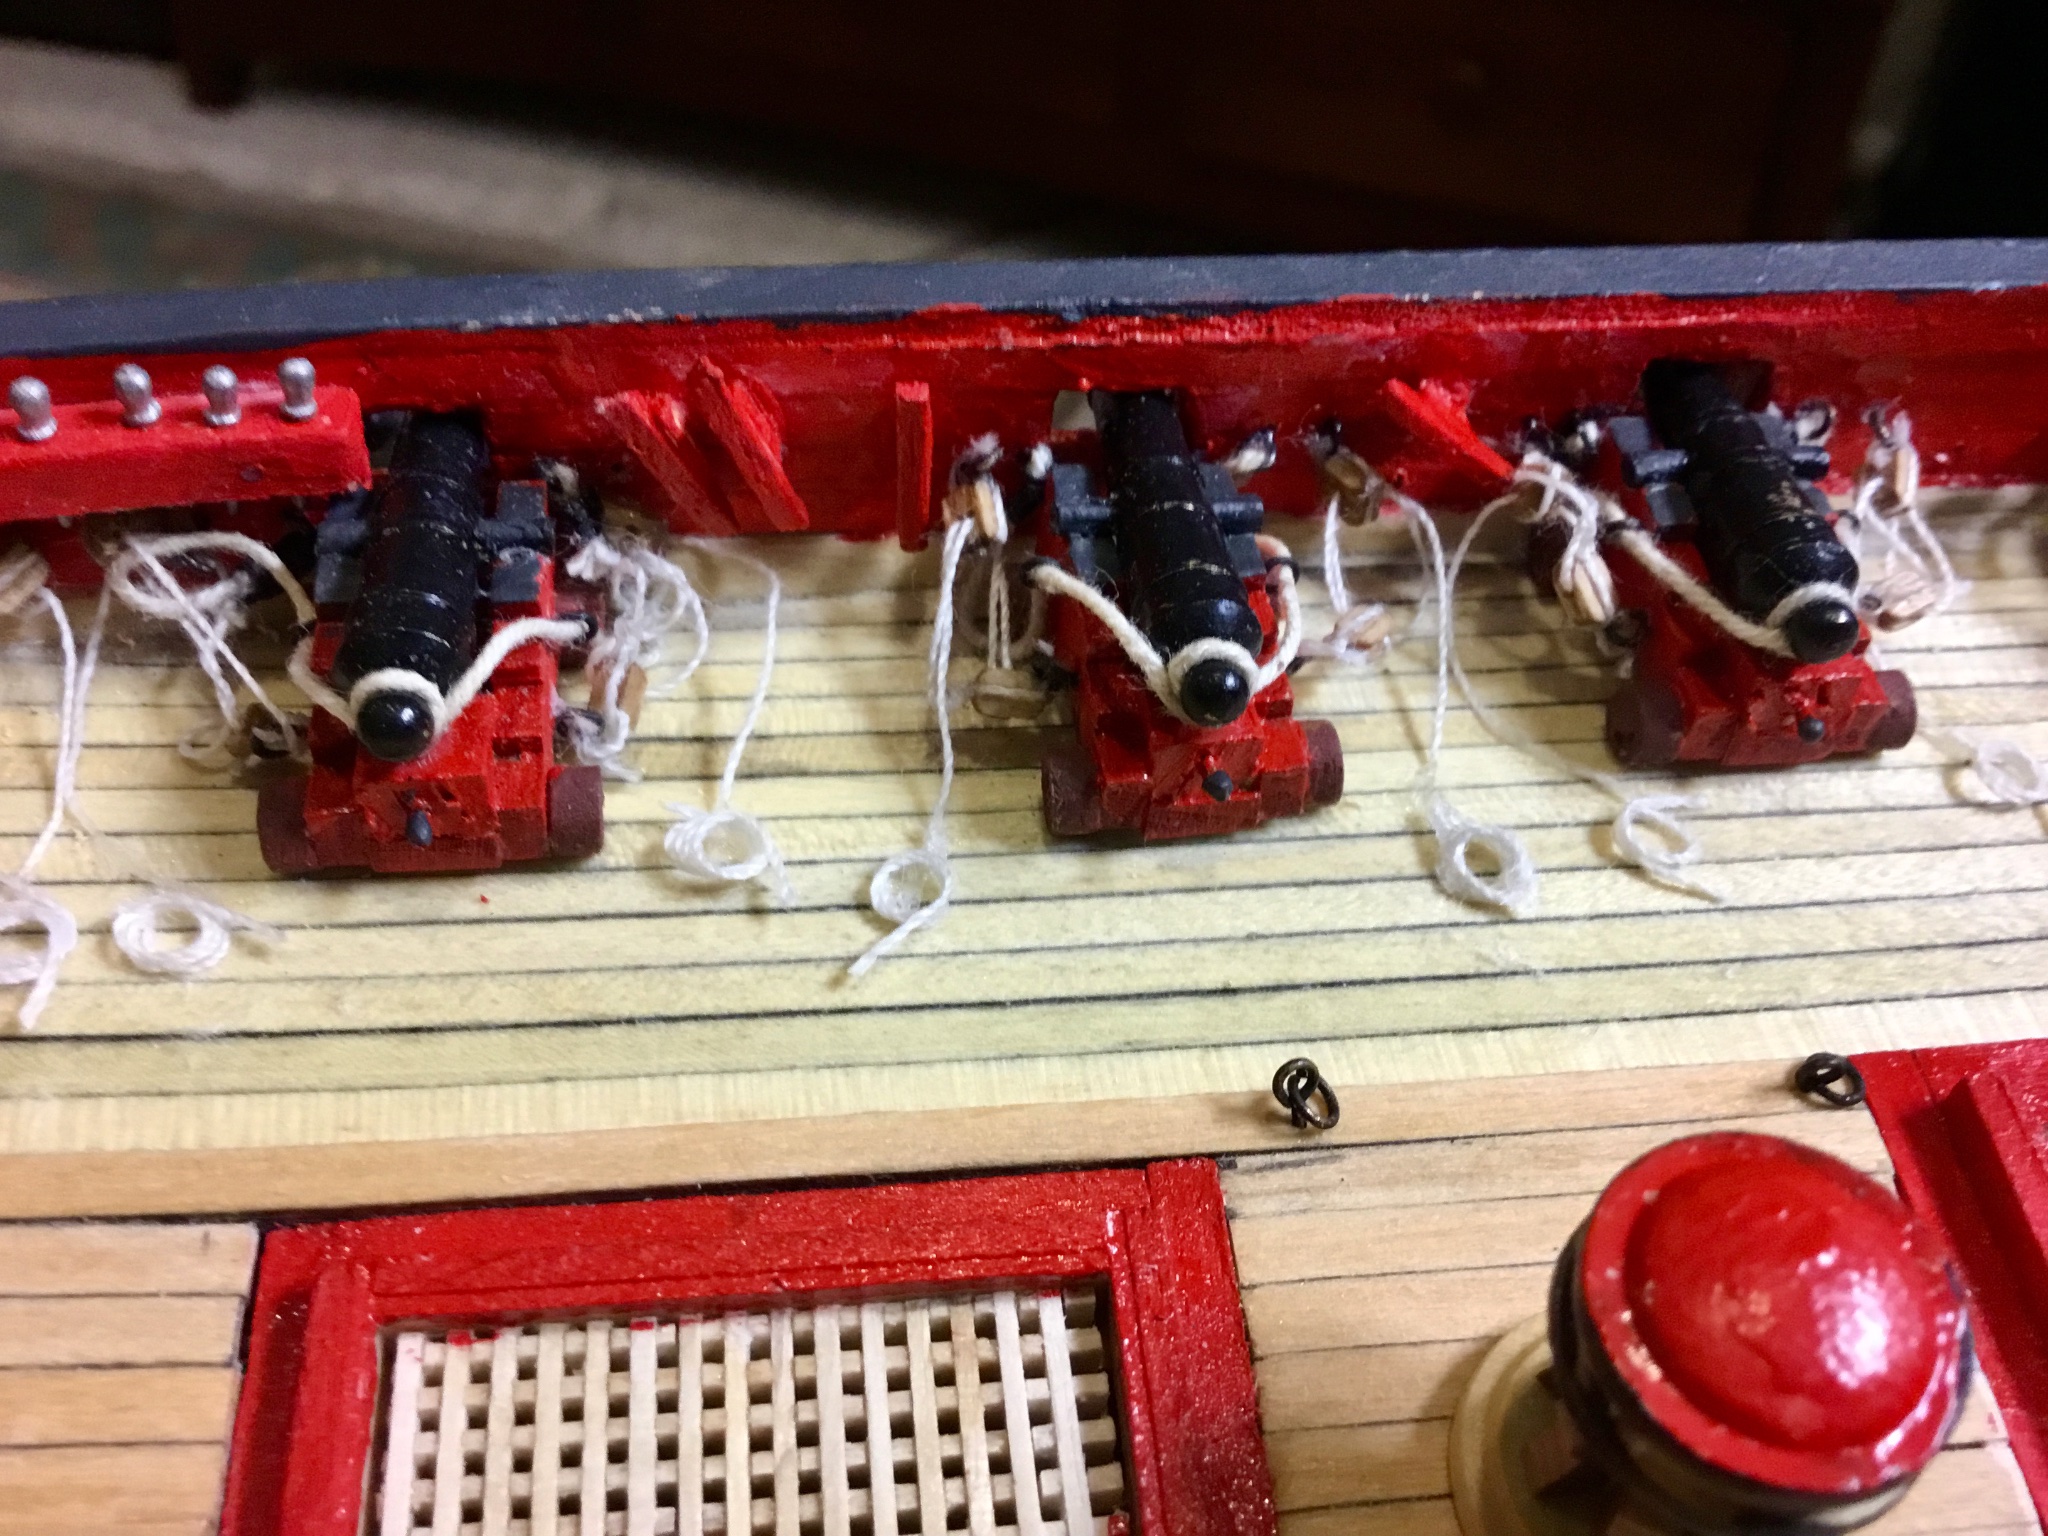
Finished all cannons and mounted them on ship. Spent a lot of time reviewing rigging plans, Bob Hunt practicum, standard instruction manual, etc. to plan my order of attacking the rigging of this ship. Plans and instructions from all sources have either some mistakes or lack of details or different order of doing things. Kit comes with a selection of blocks but the instructions don't show you where to use them, so I used a combination of the other sources and measurements on the plans to try to determine which blocks to use where, ditto line colors and sizes. I plan on following Bob Hunts practicum in general though I'm not so sure about his order of doing things, so we'll see how things go. The following is the instructions I have compiled for my own reference for completing the rigging. The [ ] 's are the beginning of each step are for checking off my progress so I don't forget a step. The [nn]'s correspond to the numbering of the rigging plan. Each block is called out as single/double with size in parens (). Nn.n steps are where I had to go back and add some instructions when I noticed someone was required before a current step and to avoid renumbering the steps. The [letter] entries refer to rigging details on the plans. I don't claim that these steps are correct, just what I plan on doing to complete the model. Standing (Chapter 9 of Bob Hunt Practicum) [ ]01 - Add angle pins at ends of lower and topsail yards for attachment of flemish horses. [ ]02 - Using thin black wire add Flemish horses [30] to topsail yards , lower yards don’t show any. [ ]03 - Using thin black wire add (1/2”) Stirrups [25] to all yards [ ]04 - Using thin black wire add Footropes [26] to all yards [ ]05 - Mount Fore lower shrouds [12] seized in pairs using thick black line - S/P/S/P [ ]06 - Mount Main shrouds [15] seized in pairs using thick black line - S/P/S/P [ ]07 - Create hearts (4) (2) (9/32")for Main stay [11] Inset [E] , (2) (9/32") for Fore stay [9] (one with collar) Inset [N] [ ]07.1 - Create 3 bullseyes (2)(3/32") for Main topgallant stay [38], (1)(9/64") for Main preventer stay [11] Inset [M] [ ]08 - Seize Main preventer stay [16] bullseye at bottom aft side of Fore Mast about (2") above deck line [ ]09 - Install Fore stay [9] using thick black line with mouse, Inset [C] about 14” long to allow heart seizing at lower end at step 49. [ ]10 - Install Main stay [11] using thick black line with mouse Inset [C], to Inset [E] measure from plans, allow extra for seizing heart at step 55. [ ]11 - Install Main preventer stay [16] using thick black line with mouse Inset [C] to Inset [M] measure from plans, allow extra for seizing loop at end at step 56. [ ]12 - Mount Fore topmast shrouds [33] seized in pairs using medium black line - S/P + single ( 3 each side total) about 12” long to allow for deadeyes at lower ends ) [ ]13 - Ditto for Main topmast shrouds [34] [ ]14 - Seize (2) Fore topmast stays [3] to Fore Mast using medium black line, Inset [C] about (2’) long each with mouse to connect later to bowsprit at two holes in bowsprit bees. [ ]15 - Seize Main topmast stay [36] to Main Mast with mouse using medium black line , Inset [C] about 18” in length, attaches later (step 57) via Inset [I] [ ]16 - Seize double block (5/32”) for Main topsail brace pendant [32] (Main topsail brace)[65] and single block (1/4”) below , Inset [I] to aft side of Fore Mast near Fore Top [ ]17 - Seize (3/16”) double block on Main Mast near Main Top on aft side for Main boom topping lift runner [53], see step 77.1 [ ]18 - Seize (3/16”) single block on Main Mast Cap on aft side using an eyebolt for Peak halyard [62] [ ]18.1 - Seize (5/32") double block to eye below Main Mast Top at rear for gaff support halyard. [ ]19 - Seize (5/32”) double block on Fore Mast just below Fore Mast trestle trees on aft side for Main topgallant braces [74] [ ]19.1 - Seize (5/32") double block on Main Mast just below Main Mast trestle trees on front side for Fore topgallant braces [75] [ ]20 - Attach deadeyes (5/32”) with wires and loops at bottom to Main Mast Top and Fore Mast Mast Top (single hole toward mast top) (6 each 12 total) [ ]21 - Create dead eye spacer and attach (5/32”) deadeyes together to seize shrouds using (12”) thin tan line (both masts) [ ]22 - Add ratlines [13] every (5/16") and sheer poles [14] to both sets of Top Mast shrouds [ ]23 - Seize a (1/8”) single block for Jib stay outhaul tackle [39] with an eye bolt inserted in the front lower part of the bowsprit mast top. [ ]24 - Seize (3) (3/16”) deadeyes to Bowsprit for Bowsprit shrouds [7] and Bobstay [6], Inset [D] (modified for 3 deadeyes) below jib boom P/S with 3rd one centered [ ]25 - Seize a (1/8”) single block to end of jib boom for Fore topgallant stay [1] on top side [ ]26 - Seize (2) (1/8”) single blocks to eyebolts on each side of bowsprit mast cap for Spritsail yard lifts [40] [ ]27 - Seize a (9/32") heart with collar, Inset [N] to top of bowsprit near step 25 [ ]28 - Seize (2) (3/16”) single blocks at Main Mast crosstrees for Main topsail yard lifts [35] [ ]29 - Add eye bolt to aft side of Fore Mast Mast Cap for Main topsail Brace [65] [ ]30 - Add eye bolt to Main Mast aft side near bottom for boom connection. [ ]31 - Seize 2 (3/16”) single blocks at Fore Mast crosstrees for Fore topsail yard lifts [35]. [ ]32 - Seize (5/32) double block to eyebolt mounted at front of Main Mast Top for Fore brace [61]. [ ]32.1 - Seize a single (5/32") block to the center eyebolt of the Gaff with a medium tan leader line for the Throat halyard [58] , line should be about 8 inches long, see step 73. Running (Chapter 10 of Bob Hunt Practicum) [ ]33 - Seize (1-1/2”) Yard tackle pendants [23] using medium tan line with (5/32”) double blocks to ends of Lower Yards (4 total) for both masts P/S [ ]34 - Seize 1-1/2” Fore topsail brace pendants [31] and Main topsail brace pendants [32] using thin black line with (1/8”) single blocks to ends of Topsail Yards (4 total) for both masts P/S [ ]35 - Seize 1-3/4” Fore lower brace pendants [27] and Main lower brace pendants [28] using medium black line with (5/32”) single blocks to ends of Lower Yards (4 total) for both masts P/S [ ]35.1 - Seize (2) 1-1/2” Spritsail brace pendants [10] using thin black line with (5/32”) single blocks to end of Spritsail Yard [ ]36 - Drill holes in center of yards and in each mast for attaching yards to masts, test fit. Don’t plan on using yard trusses and slings [F][H][K][O] at this time, but I may as I did use them without pins when rigging my Danmark model. [ ]37 - Seize a (1/8”) double block to front of Main Mast Top Mast crosstrees for Fore Mast Topgallant Braces [75] [ ]38 - Seize a (1/8”) double block to an eye bolt install at mid rear of Main Mast Top for Main topgallant halyard tackle [73]. [ ]39 - Seize a (1/8”) double block to an eye bolt install at mid rear of Fore Mast Top for Fore topgallant halyard tackle [70]. [ ]39.1 - Seize a (5/32”) double block to front of Fore Mast Top for Spritsail yard braces [41] [ ]39.2 - Seize (4) (5/32') single blocks to eye bolts in side of hull just behind channels for Main and Fore topgallant backstay runners P/S. [ ]39.3 - Seize (2) (1/8") single blocks to eyebolts at top front of bow. [ ]39.4 - Seize a (3/32”) bullseye to the aft side of the Topmast Masthead of the Fore Mast. Mounting Masts (Chapter 11 of Bob Hunt Practicum) [ ]39.5 - Insert metal mast wedges for each mast (from spares not in kit) [ ]40 - Create deadeye spacer for Lower Shrouds [ ]41 - Insert Main Mast [ ]42 - Attach (3/16”) deadeyes and seize shrouds using (12”) thin tan line S/P/S/P [ ]43 - Insert Fore Mast [ ]44 - Repeat step 42 for Fore Mast [ ]45 - Add sheer poles [14] and ratlines [13] for both masts, same spacing as step 22 [ ]46 - Seize (2) medium black lines around Top Mast below crosstrees on both masts and using (5/32”) deadeyes seize Fore topmast backstay [18] and Main topmast backstay [20] to (5/32”) deadeyes at rear of channels for both masts. P/S. [ ]47 - Seize (2) medium black lines around both Topgallant Masts where they flare and lead down to about (1-1/4”) above deck and attach to a (5/32”) single block for Fore topgallant backstay [19] and Main topgallant backstay[21], tie 12” thin tan line to this block as lead line and connect to (5/32”) single block attached to Fore topgallant backstay runner [46] and Main topgallant backstay runner[47] from step 39.2 and attach Fore to cleat on Bulwark and Main to belaying pin on rail. P/S [ ]48 - Mount bowsprit using glue and gammon with medium black line. [ ]49 - Add heart to Fore stay [9] from step 09 and lash using thin tan line to heart inset [N] on bowsprit from step 28 [ ]50 - Pass the Fore topmast stays [3] from step 14 thru the holes on the port and starboard sides of the bowsprit bees and secure ends to fiddle blocks. Attach fiddle blocks using thin tan line to blocks attached at top front of bow from step 39.3. [ ]51 - Seize a thin black line for Fore topgallant stay [1] to Fore topgallant mast and pass thru single block on front of jib boom from step 26 goes thru single and then belays at front of bow pin 1 port side. [ ]52 - Seize a medium black line for Jib stay [2] from Fore Mast Top Mast Mast Top thru a traveler ring made from black wire, Inset [S] and hole in jib boom and attach to fiddle block at end. Fiddle block is attached via thin tan line to block from step 24 and belayed at front of bow pin 1 starboard side. [ ]53 - Seize a (3/16”) deadeye to a (4 1/4") line for Bowsprit shrouds [7] to each eyebolt on the sides of the bow of the ship and then lash each to corresponding deadeyes from step 24, using deadeye spacer and using thick black line P/S for line and thin tan lines for lashing. [ ]54 - Seize third (3/16”) deadeye to eyebolt at midpoint of stem for Bobstay [6] using thick black line and then lash to center deadeye as above using thin tan line and deadeye spacer [ ]55 - Seize (9/32") heart to thick black line Main stay [11] and lash to heart connected to eyebolt near bow port side. Inset [E]. [ ]56 - Install Main preventer stay [16] thick black line thru bullseye in rear of foremast [M] and lash to eyebolt via loop at end using thin tan line at rear of Fore mast. [ ]57 - Install Main topmast stay [36] from step 15 thru (1/4") single block at aft of foremast mast top and down thru mast top to 3” above deck and seize a fiddle block to it. The Main topmast stay tackle [17] is connected to a (3/16”) single block via a medium tan leader line from an eyebolt on the starboard side of the foremast thru the fiddle block back down thru the single blocks and then to a cleat on the foremast. [ ]58 - Seize a thin black line for the Main Mast topgallant stay [38] with a (3/32”) bullseye lashed the bullseye in the aft side of the Topmast Masthead of the Fore Mast from step 39.4 [ ]59 - Install futtock shrouds Inset [G] with sheer poles [14] on both masts and then their ratlines [13]. Mounting Yards (Chapter 12 of Bob Hunt Practicum) MAIN [ ]60 - Mount Main Mast topgallant yard with pin [ ]61 - Add Main topgallant halyard tye [77] (thin black line) at center of yard and run thru hole near top of mast and down to about an inch below cross trees terminating with a (1/8”) double block. Attach thin tan line lead (Main topgallant halyard tackle)[73] to block from step 38 (mid aft of Main Mast Top) run up thru double bock back down then up again and finally down to belay on port side pin rack any free pin. [ ]62 - Install Main Mast topgallant yard lifts [37] (thin black line) tie above hole in TapGallant Mast. [ ]63 - Tie thin tan line at ends of Main topgallant brace [74] and run thru double block at aft side of Fore Topgallant Mast from step 19 and down Fore Mast to belay on second aft pin at Fore Mast belaying pin rack. P/S [ ]64 - Mount Main Topmast Yard with pin. [ ]65 - Add Main Topsail halyard tye [71] as medium black line as lift lines over cross trees and run down mast to (2”) below crosstrees ending in a (5/32”) single block. Seize a single (5/32”) single block to eye bolt at rear of aft starboard side channel (Main topsail halyard tackle)[57] with leader that comes to just above rail. Tie medium tan lead line to this block and run to (Main topsail halyard runner) [72] a (3/16”) single block with medium tan line leader that passes thru initial block (the one (2") below crosstrees) back down then finally [57] belays on aft port pin rack second from last pin and [72] belays to the main bitts. [ ]66 - Connect Main topsail brace pendants [32] by running medium tan line for (Main topsail brace)[65] from eye bolt at aft side of Fore Mast Mast Cap to block on end of pendants and back thru double block just below eye bolt and belay on bits just aft of the fore mast. P/S [ ]67 - Mount Main Lower Yard with pin. [ ]68 - Use thin tan line for lift lines (Lower yard topping lifts)[64] across Mast Cap and belay on cleats at rear of Main Mast P/S [ ]69 - Connect Lower Yard Main brace pendants [28] using thin tan line Main brace [59] tied to the Fore Mast’s aft most shroud near the top thru the single block of the pendant then back thru a single (5/32") block also tied to the shroud just below the original connection then down to 3rd belaying pin on forward rack. P/S [ ]70 - Seize a (1/8”) single block with a lead line (medium tan) for the Yard tackle [49] to the eye bolt at the front of the Main channel up to the other Lower Yard tackle pendant [23] block back down to the single block back up to double block and back down and then belayed on first pin of aft pin rack. P/S GAFF [ ]71 - Add thin tan line from aft to middle chock of Gaff [ ]72 - Add thin tan line from middle of line above to front chock (Peak halyard bridle) [63] [ ]73 - Attach Gaff below mast top with loop with beads (parrels) around mast run medium tan lead line for the Throat halyard [58] through double block below Mast Top back down then back up thru the double block terminating with a (5/32") double block about 2 inches above deck. Seize a single block with thin tan lead line (throat halyard tackle) [48] to deck just below Main Mast, run line up to double block back down backup then down to belay on mast cleat on starboard side of mast. [ ]74 - Add thin black line Peak halyard [62] from middle of line from step 72 to lift block on aft side of Main Mast Cap (see step 18) and then down to deck for belaying on third pin from aft of port side pin rack. [ ]75 - Attach two (3-1/2”) medium tan lines for Vang pendants [29] from aft chock point to end with a (1/8”) single blocks. Attach thin tan line from rail for Vangs [54] up to block and then back down to rear of two belaying pins on front of rail. P/S [ ]76 - Connect boom to eye bolt at aft lower side of Main Mast. [ ]77 - Seize (3/16”) double block on boom just above traveler with thin tan line (Spanker (Main Boom) sheet) [55] lead line attached. Seize (3/16”) double block on traveler run line connecting two to form tackle to secure boom at aft end. Tie off on pin at rear of railing. [ ]77.1 - Seize two medium tan lines (Main boom topping lift runner [53]) to end of boom run thru (3/16”) double block attached to rear of Main Mast above Main Mast Top down (step 17) thru Mast Top ending about 3“ above deck at a (5/32”) double block. Attach via eyebolt at rear of back pin rail a (5/32”) single block with medium tan leader line (Main boom topping lift tackle [52]) thru double block back down back up to double block back down again and belay on last pin of rear pin rack P/S FORE [ ]78 - Mount Fore TopGallant Yard with pin [ ]79 - Add Fore topgallant halyard tye [76] (thin black line) at center of yard and run thru hole near top of mast and down to about 2 inches below cross trees terminating with a (1/8”) double block. Attach thin tan line lead (Fore topgallant halyard tackle) [70] to block from step 39 (mid aft of Fore Mast Top) run up thru double bock back down then up again and finally down to belay on port side pin rack any free pin. [ ]80 - Install Fore Mast topgallant yard lifts [37](thin black line) tie above hole in TapGallant Mast. [ ]81 - Tie thin tan line at ends of Fore topgallant brace [75] and run thru double block at front side of Main Topgallant Mast from step 19.1 and down Main Mast to belay on second aft pin at Main Mast belaying pin rack. P/S [ ]82 - Mount Fore Topmast Yard with pin. [ ]83 - Add Fore topsail halyard tye [68] as medium black line as lift lines over cross trees and run down mast to (2”) below crosstrees ending in a (5/32”) single block. Seize a (5/32”) single block to eye bolt at rear of fore starboard side channel (Fore topsail halyard tackle)[56] with leader that comes to just above rail. Tie medium tan lead line to this block and run to (Fore topsail halyard runner) [69] a (3/16”) single block with medium tan line leader that passes thru initial block (the one (2") below crosstrees) back down then finally [56] belays on front starboard pin rack second from last pin and [69] belays to the main Fore bitts. [ ]84 - Connect Fore topsail brace pendants [31] by running medium tan line [60] (ForeTopsail brace) from mouse of Main stay [11] to block on end of pendant and back thru single (1/8”) block just below mouse to single (1/8”) block a little over midway down Main Stay and belay on cleat on bulwark. P/S [ ]85 - Mount Main Lower Yard with pin. [ ]86 - Use thin tan line for lift lines (Lower yard topping lifts)[64] across Mast Cap and belay at cleats at rear of Fore Mast P/S [ ]87 - Connect Lower Yard Fore brace pendants [27] using thin tan line tied from Main stay (1/4”) [61](Fore brace) above mouse thru the single block of the pendant then back thru a (5/32”) double block seized to an eye bolt at the bottom front of the Main Mast Top then down to first belaying pin on aft pin rack. P/S [ ]88 - Seize a (1/8”) single block with a lead line (medium tan) for the Yard tackles [49] to the eye bolt at the front of the Fore channel up to the other Lower Yard tackle pendant [23] block back down to a single block back up to double block and then belayed on first pin of front pin rack. P/S BOWSPRIT [ ]89 - Tie SprintSail to Bowsprit just above bottom of jib boom [ ]90 - Attach Spritsail yard lifts (thin tan line) [40] , run thru single blocks attached to mast cap with eyebolts and then belayed at bow pin rack second pin. P/S [ ]91 - Seize a thin tan line for Spritsail yard braces [41] at the Fore stay [9] just above mouse thru Spritsail yard braces [10] then back to double block beneath front of Fore Mast Top and down to deck tied on cleats in front part of Fore Mast. P/S ANCHORS [ ]92 - Mount anchors with thick black line coming from hawse holes tie anchors to bow anchored to bow bits with thin tan line. LANTERN FLAGPOLE ? Blocks Single count. Used Used at step 1/8 (18) 19 18.2 23 25 26(2) 34(4) 39.3(2) 70(2) 84(4) 88(2) 5/32. (12) 21 35(4) 35.1(2) 39.2(4) 47(4) 65(2) 69(2) 75 83(2) 3/16. (10) 8 18 28(2) 31(2) 57 65 83 1/4. (1) 1 16 Double 1/8. (4) 4 38 39 61 79 5/32. (11) 11 16 18.1 19 19.1 32 33(4) 37 39.1 87 3/16. (4) 5 17 77(2) 77.1(2) Deadeyes 3/16. (32) 32 lower shrouds + 6 not in kit for those at bowsprit 24(3) 5/32. (32) 24 upper shrouds + 8 backstays Fiddles (4) 4. 50(2) 52 57 Hearts 9/32. (4) 4 7 27 49 55 Bullseyes. 3/32. (2) 2 7.1 39.4 58 9/64. (1) 1 7.1 ITEMS SELECTED NOT TO MODEL at this time [4] Jib stay inhaul [5] Bowsprit horses [8] Fore track Boomkin guy [22] Main stay tackle pendant [24] Mast tackle pendants [42] Fore runner tackle [43] Fore tackle runner [44] Main tackle runner [45] Main runner tackle [48] Throat halyard tackle [50] Fore stay tackle [51] Main stay tackle [66] Burton tackles [67] Burton tackle pendants [78] Flag halyards [79] Ensign halyard


- 24 replies
-
- 2
-
-
- Fair American
- Model Shipways
- (and 1 more)
-
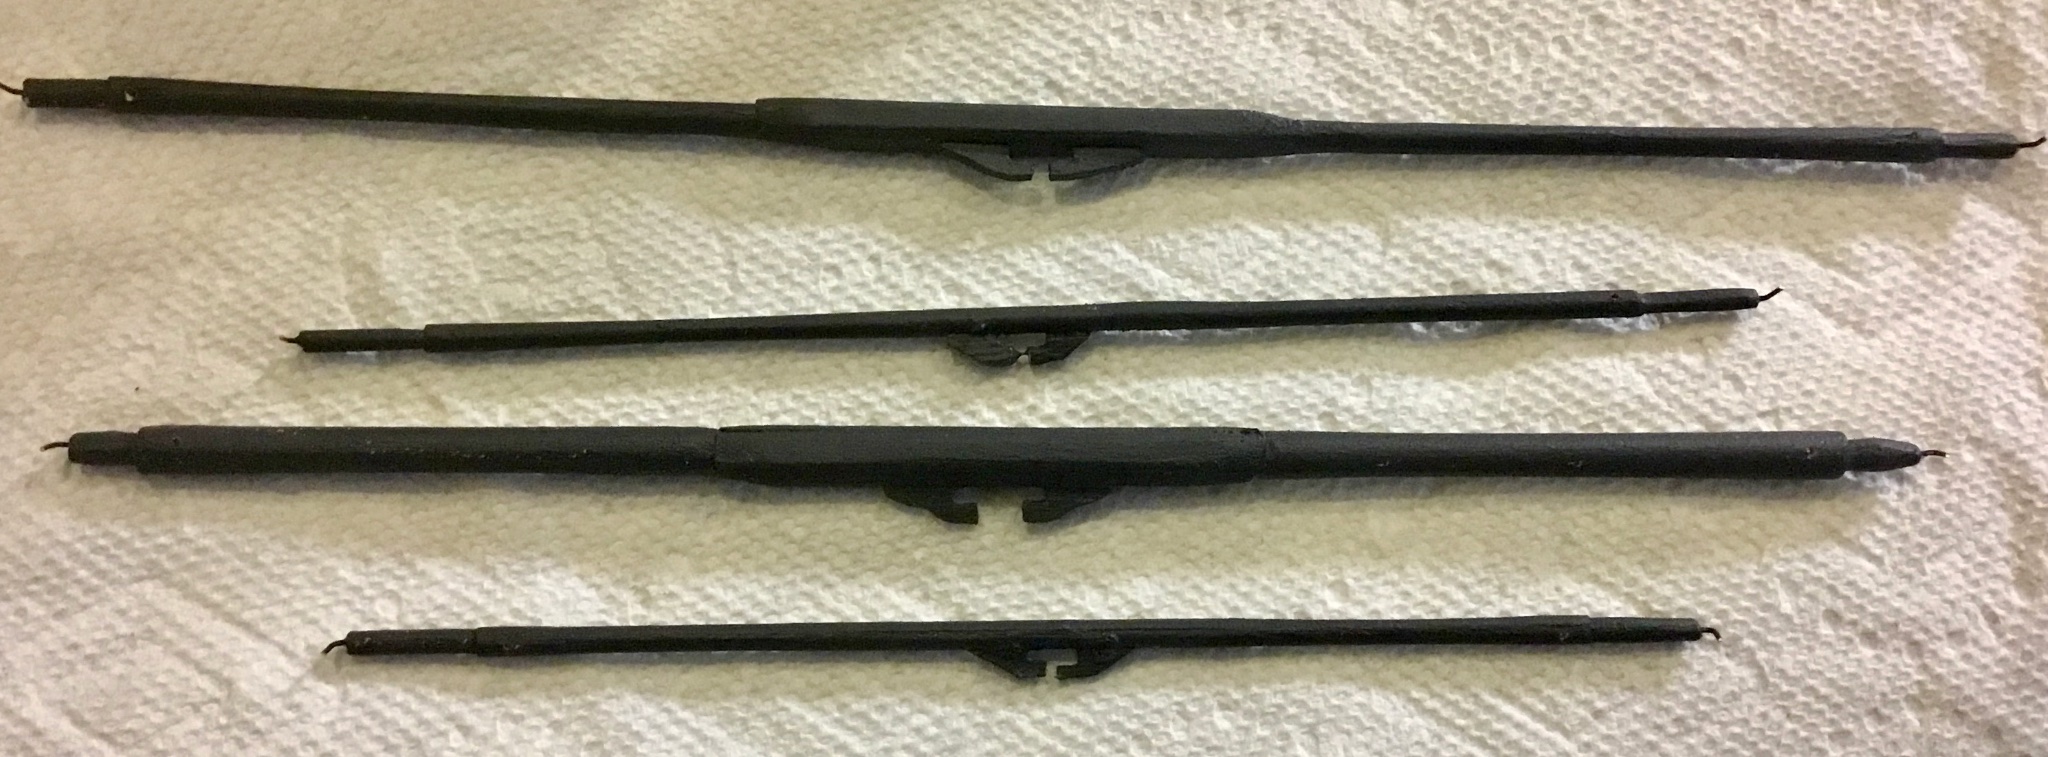
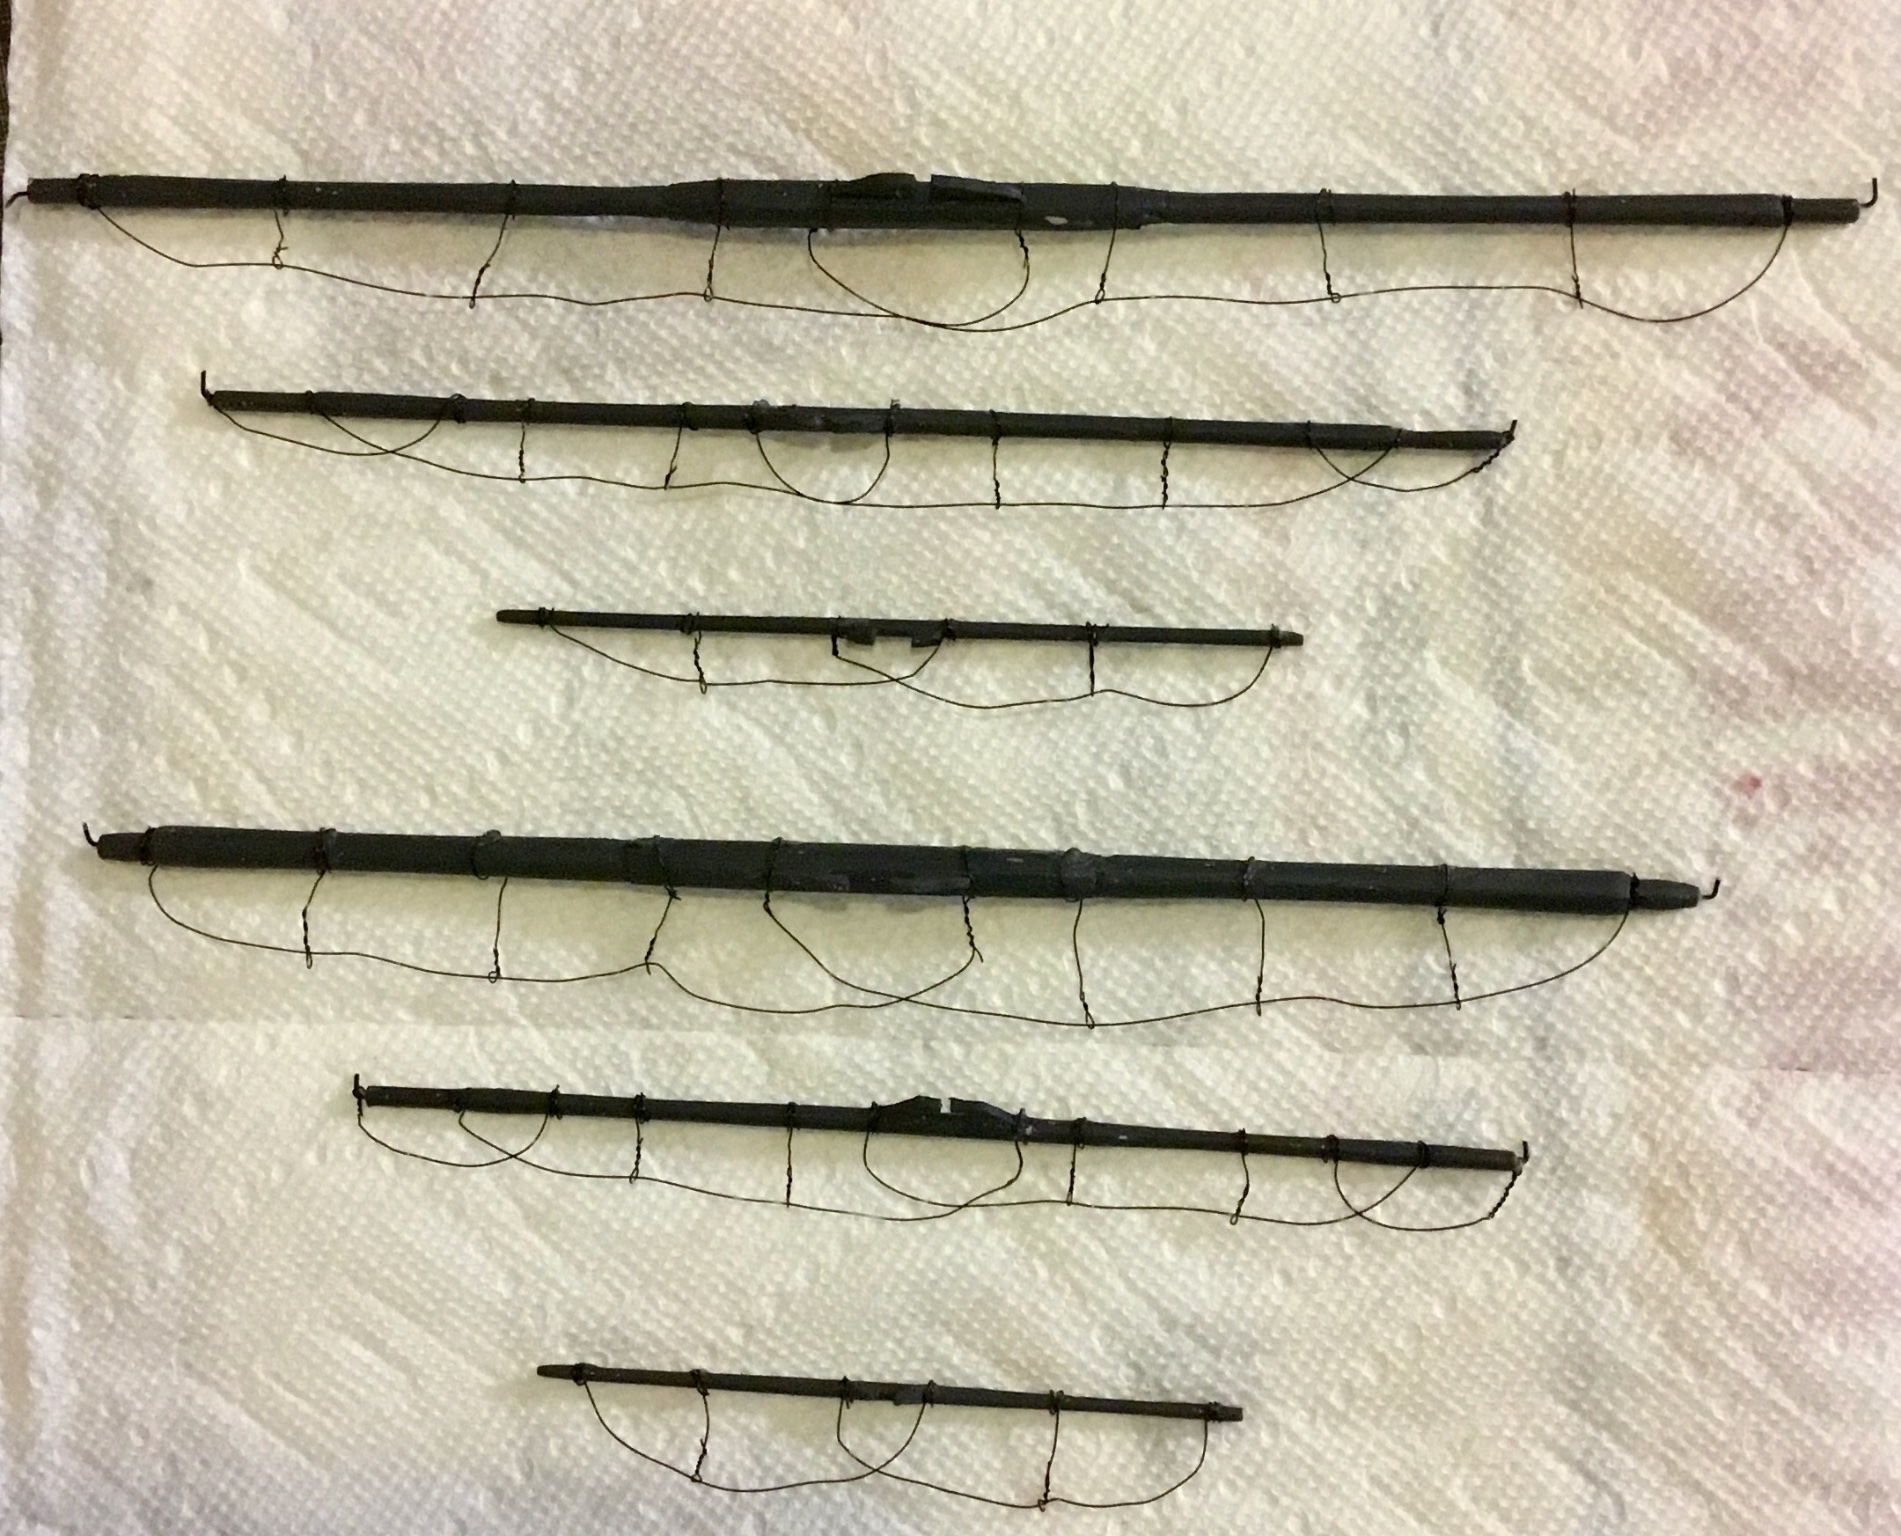
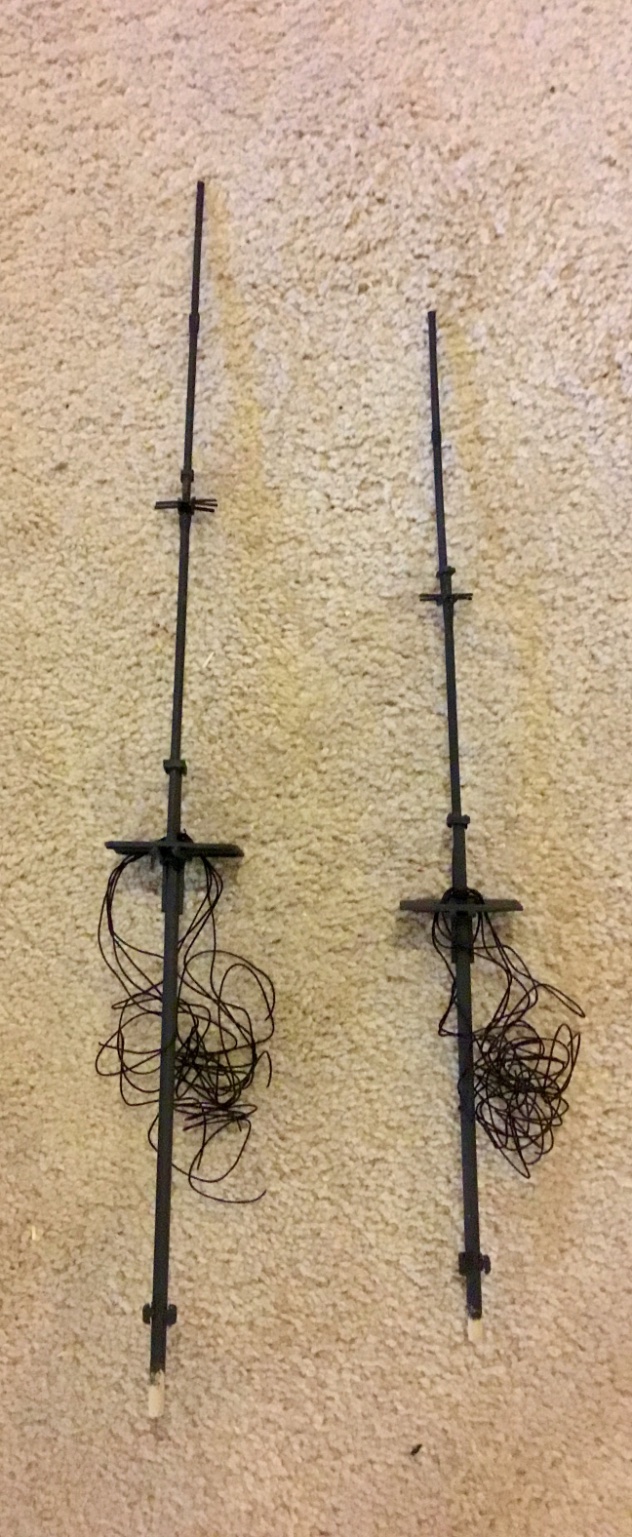
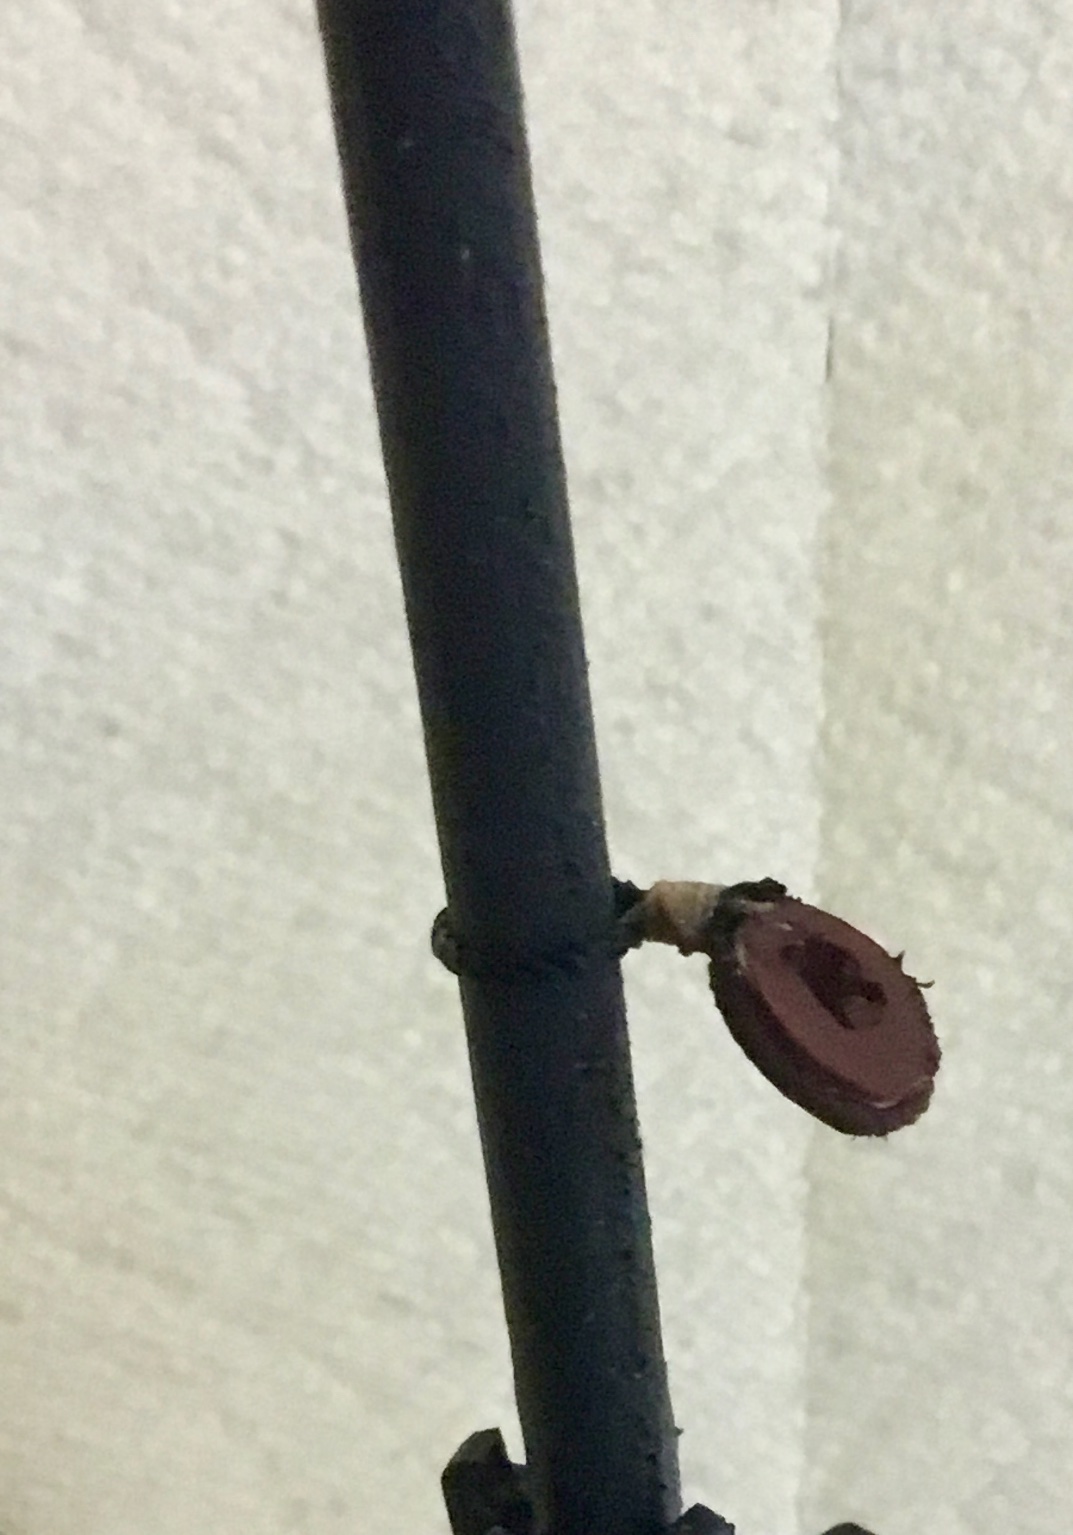
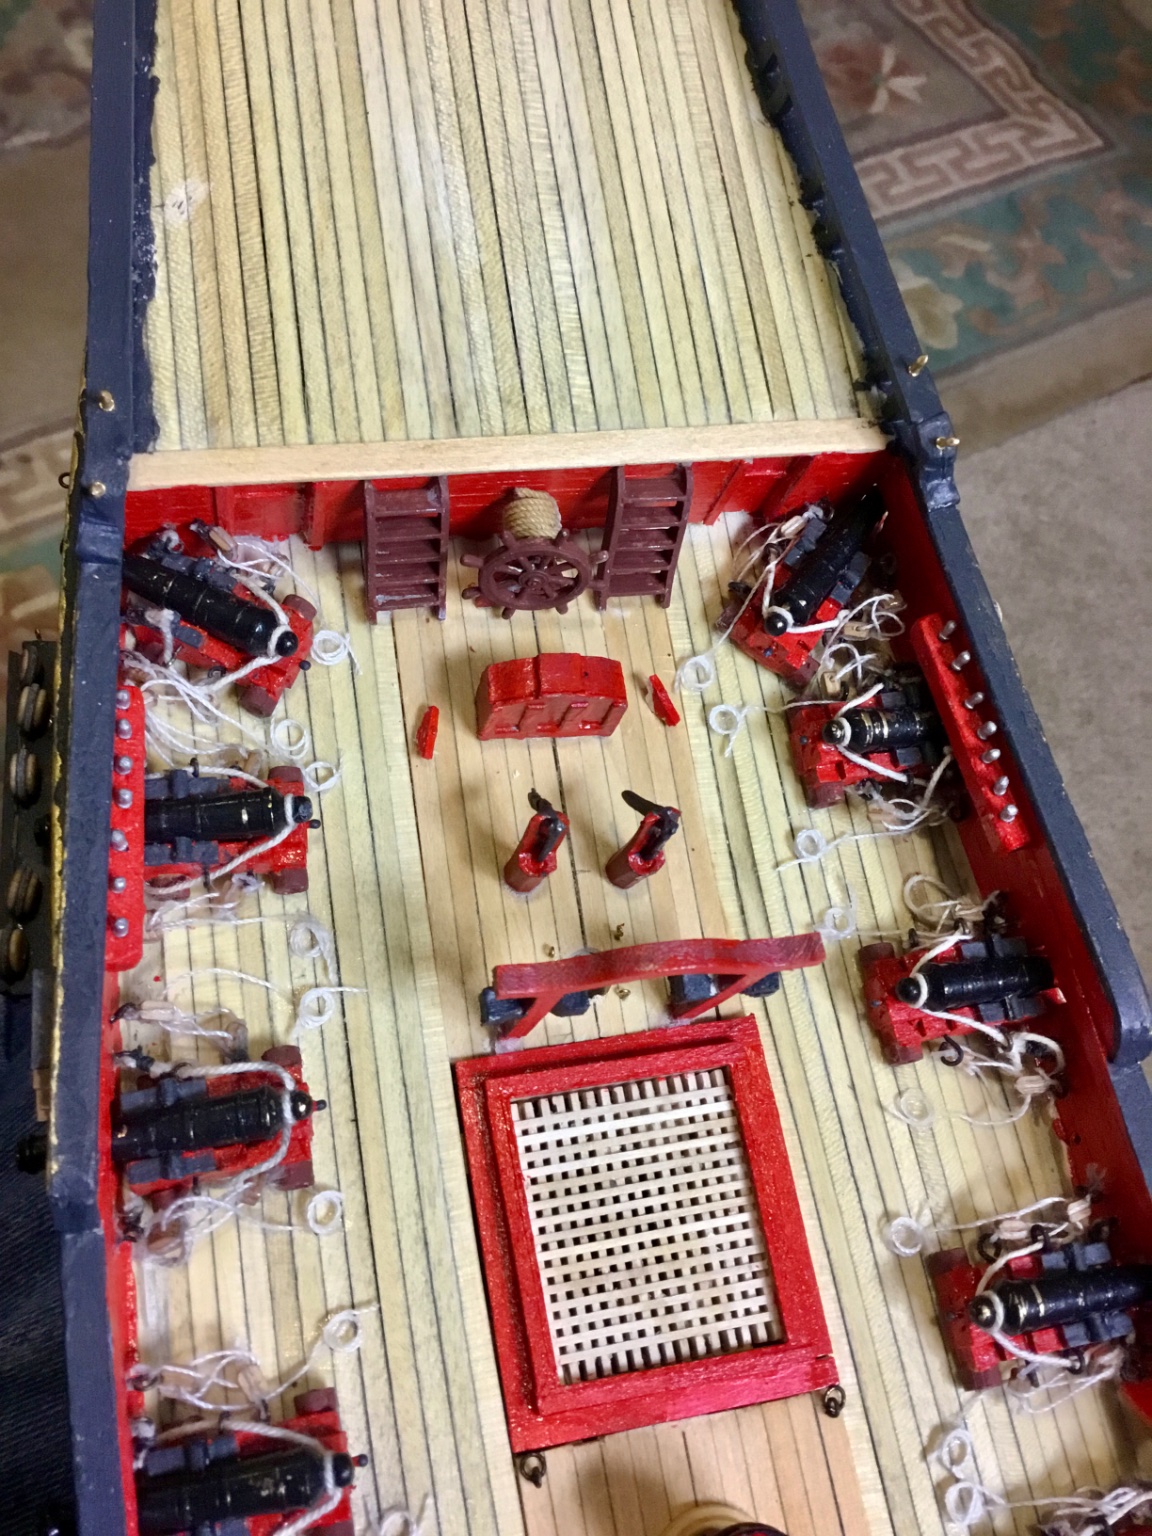
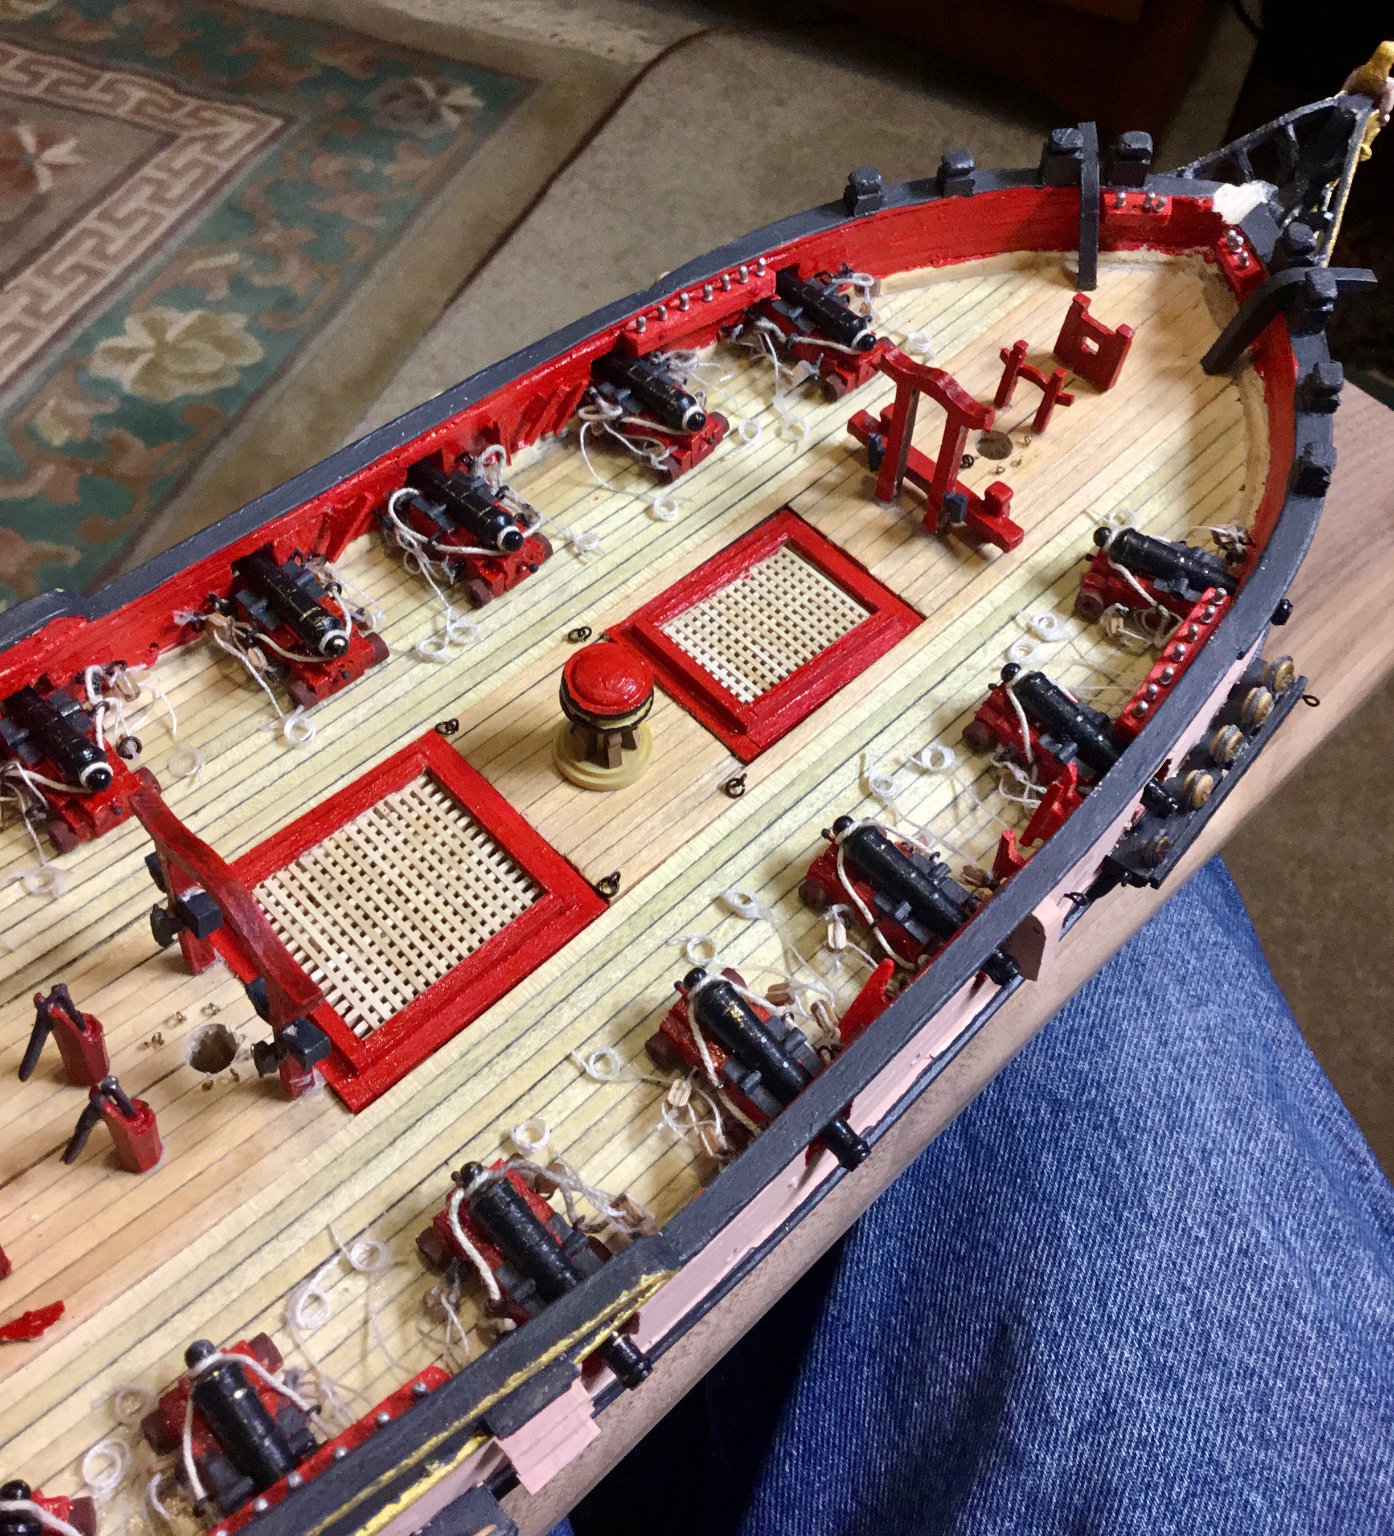
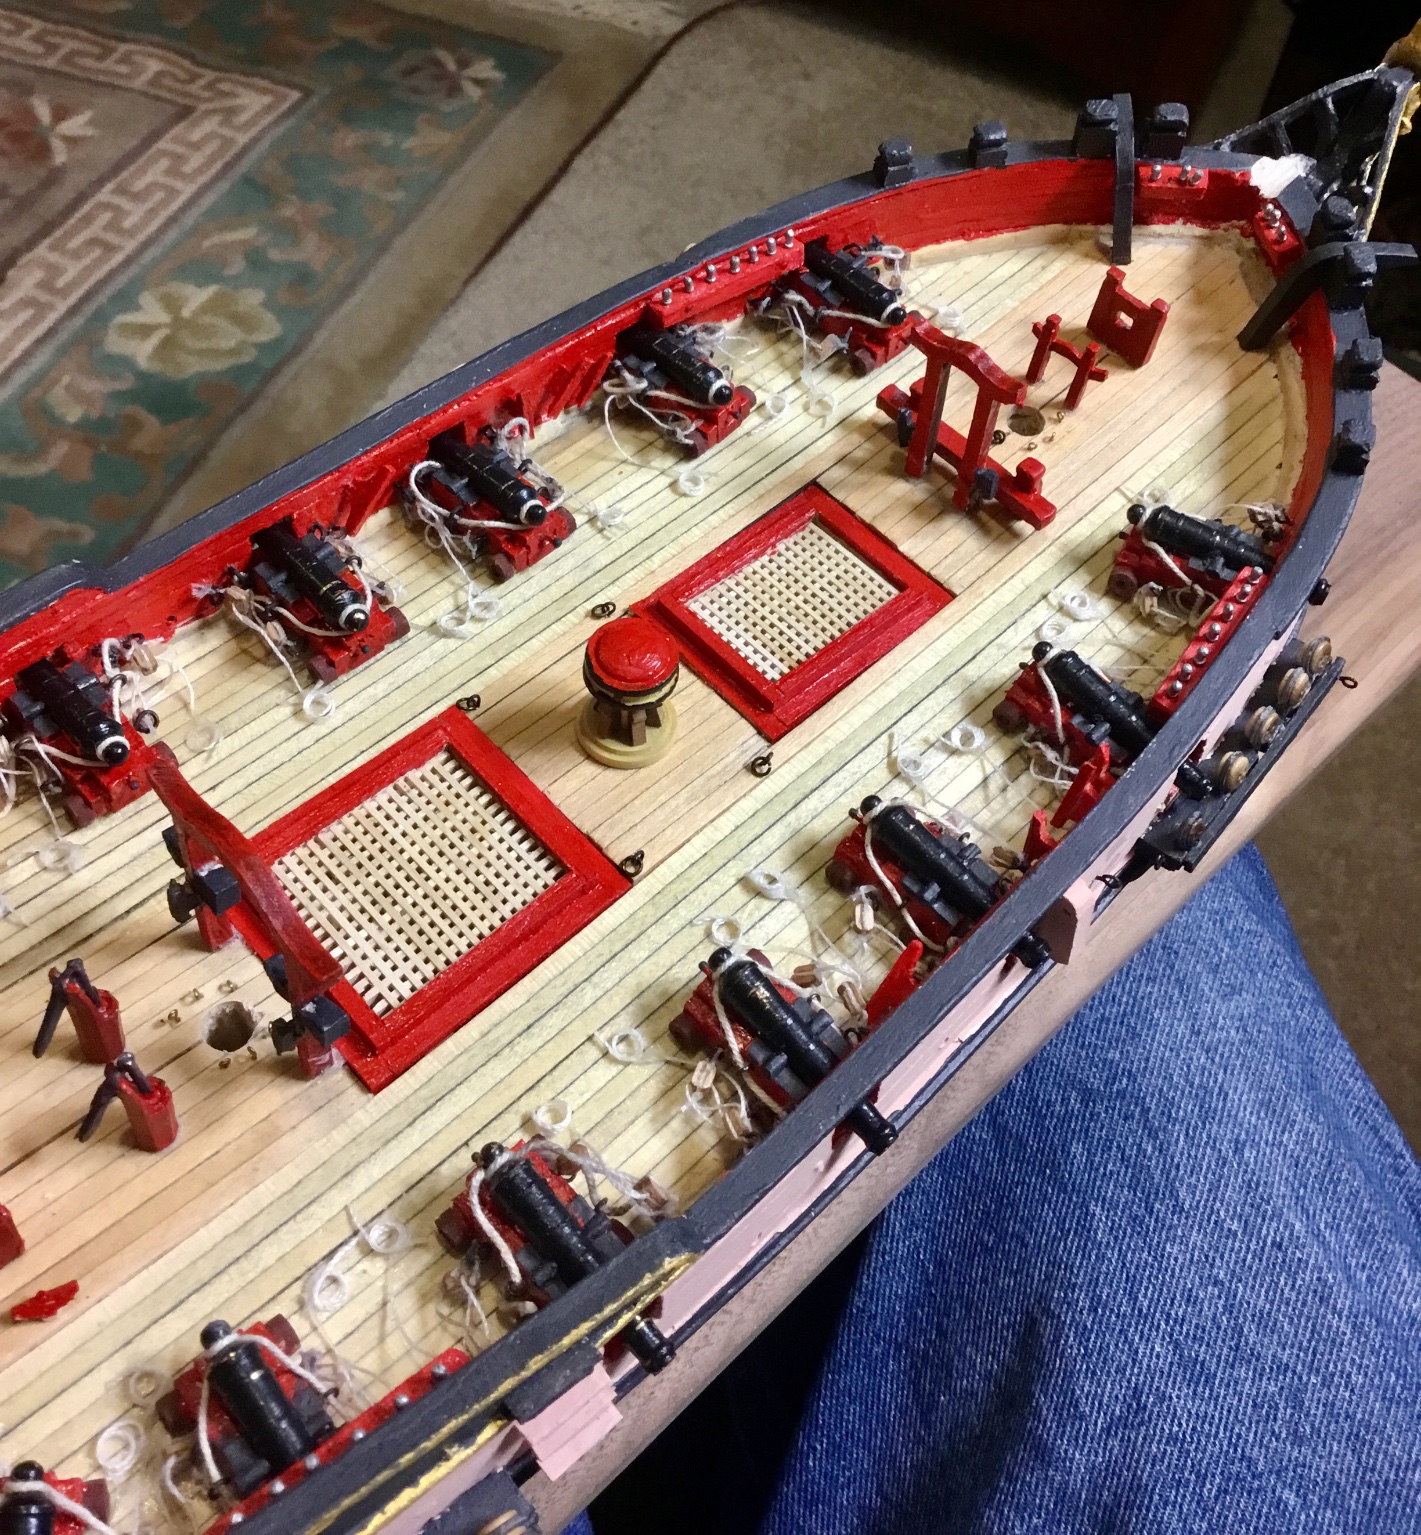
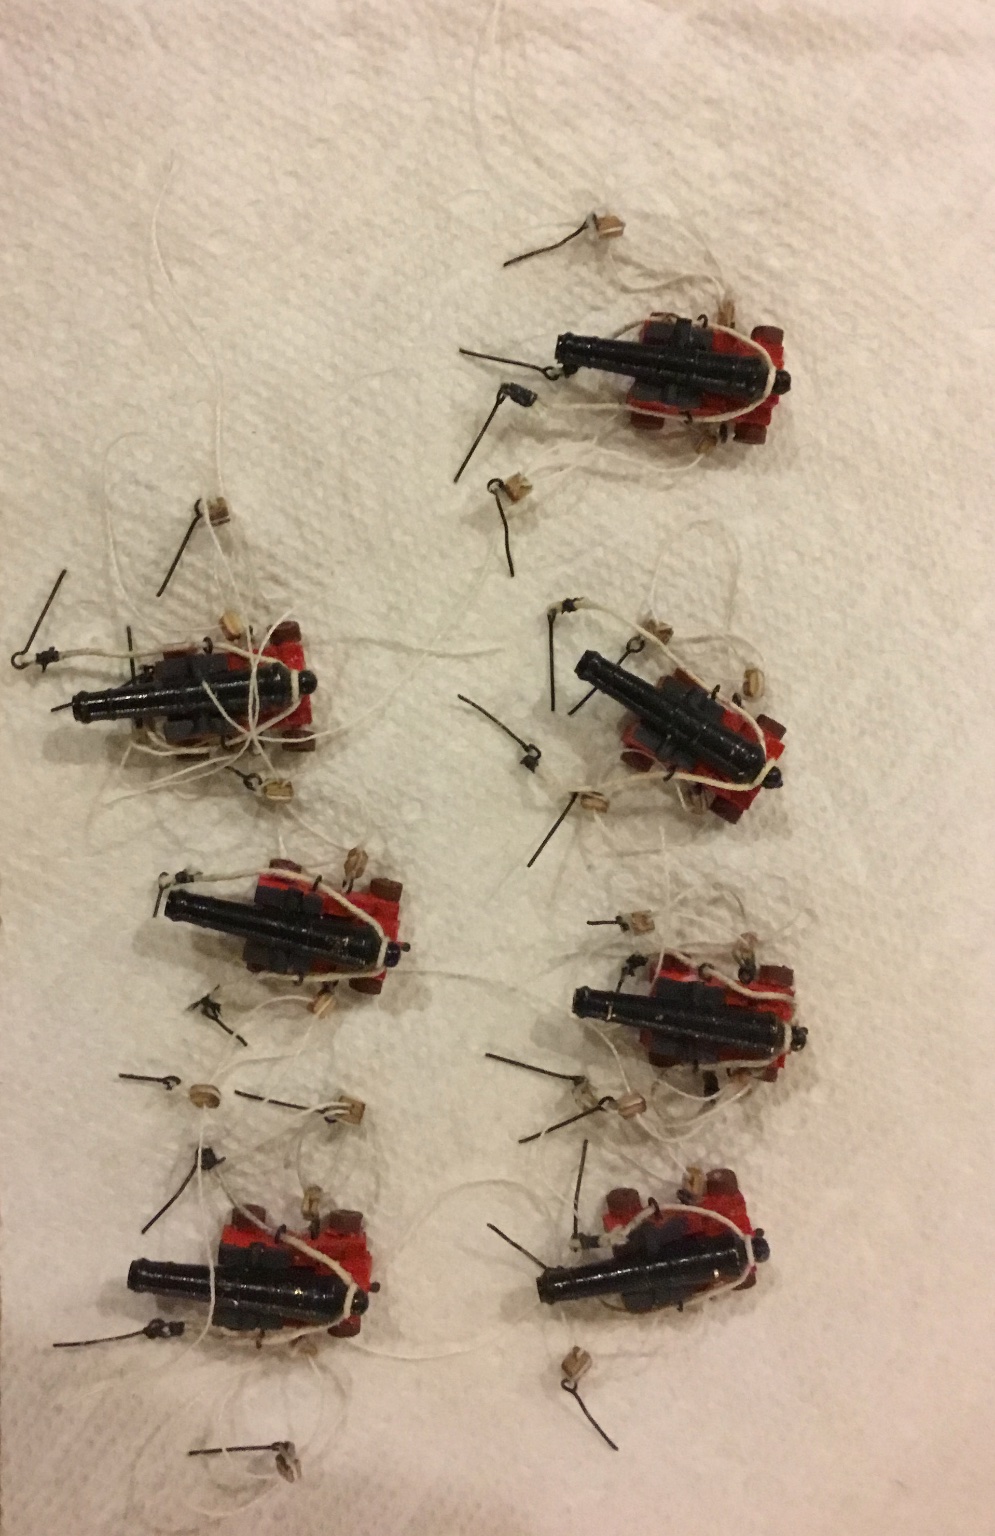
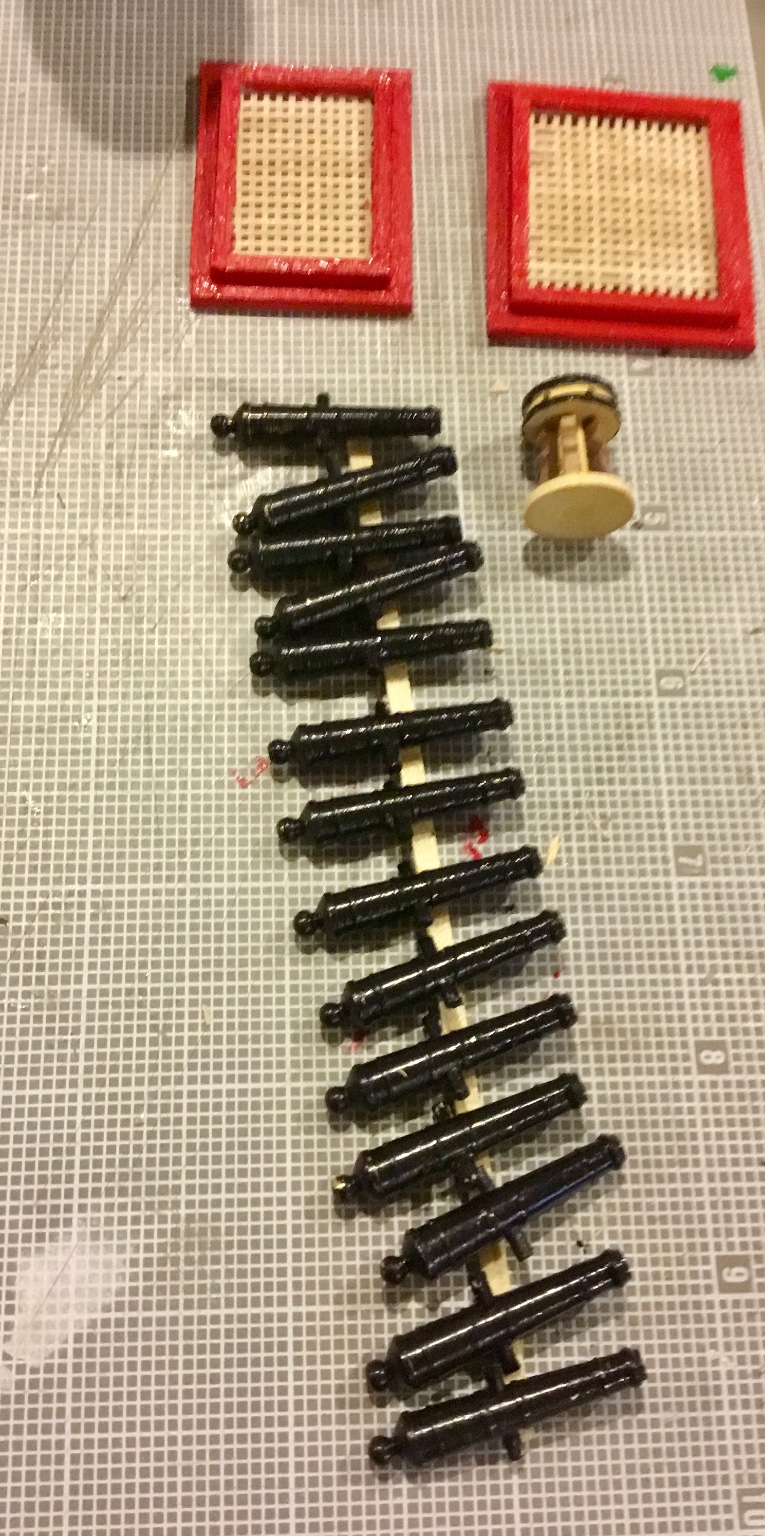
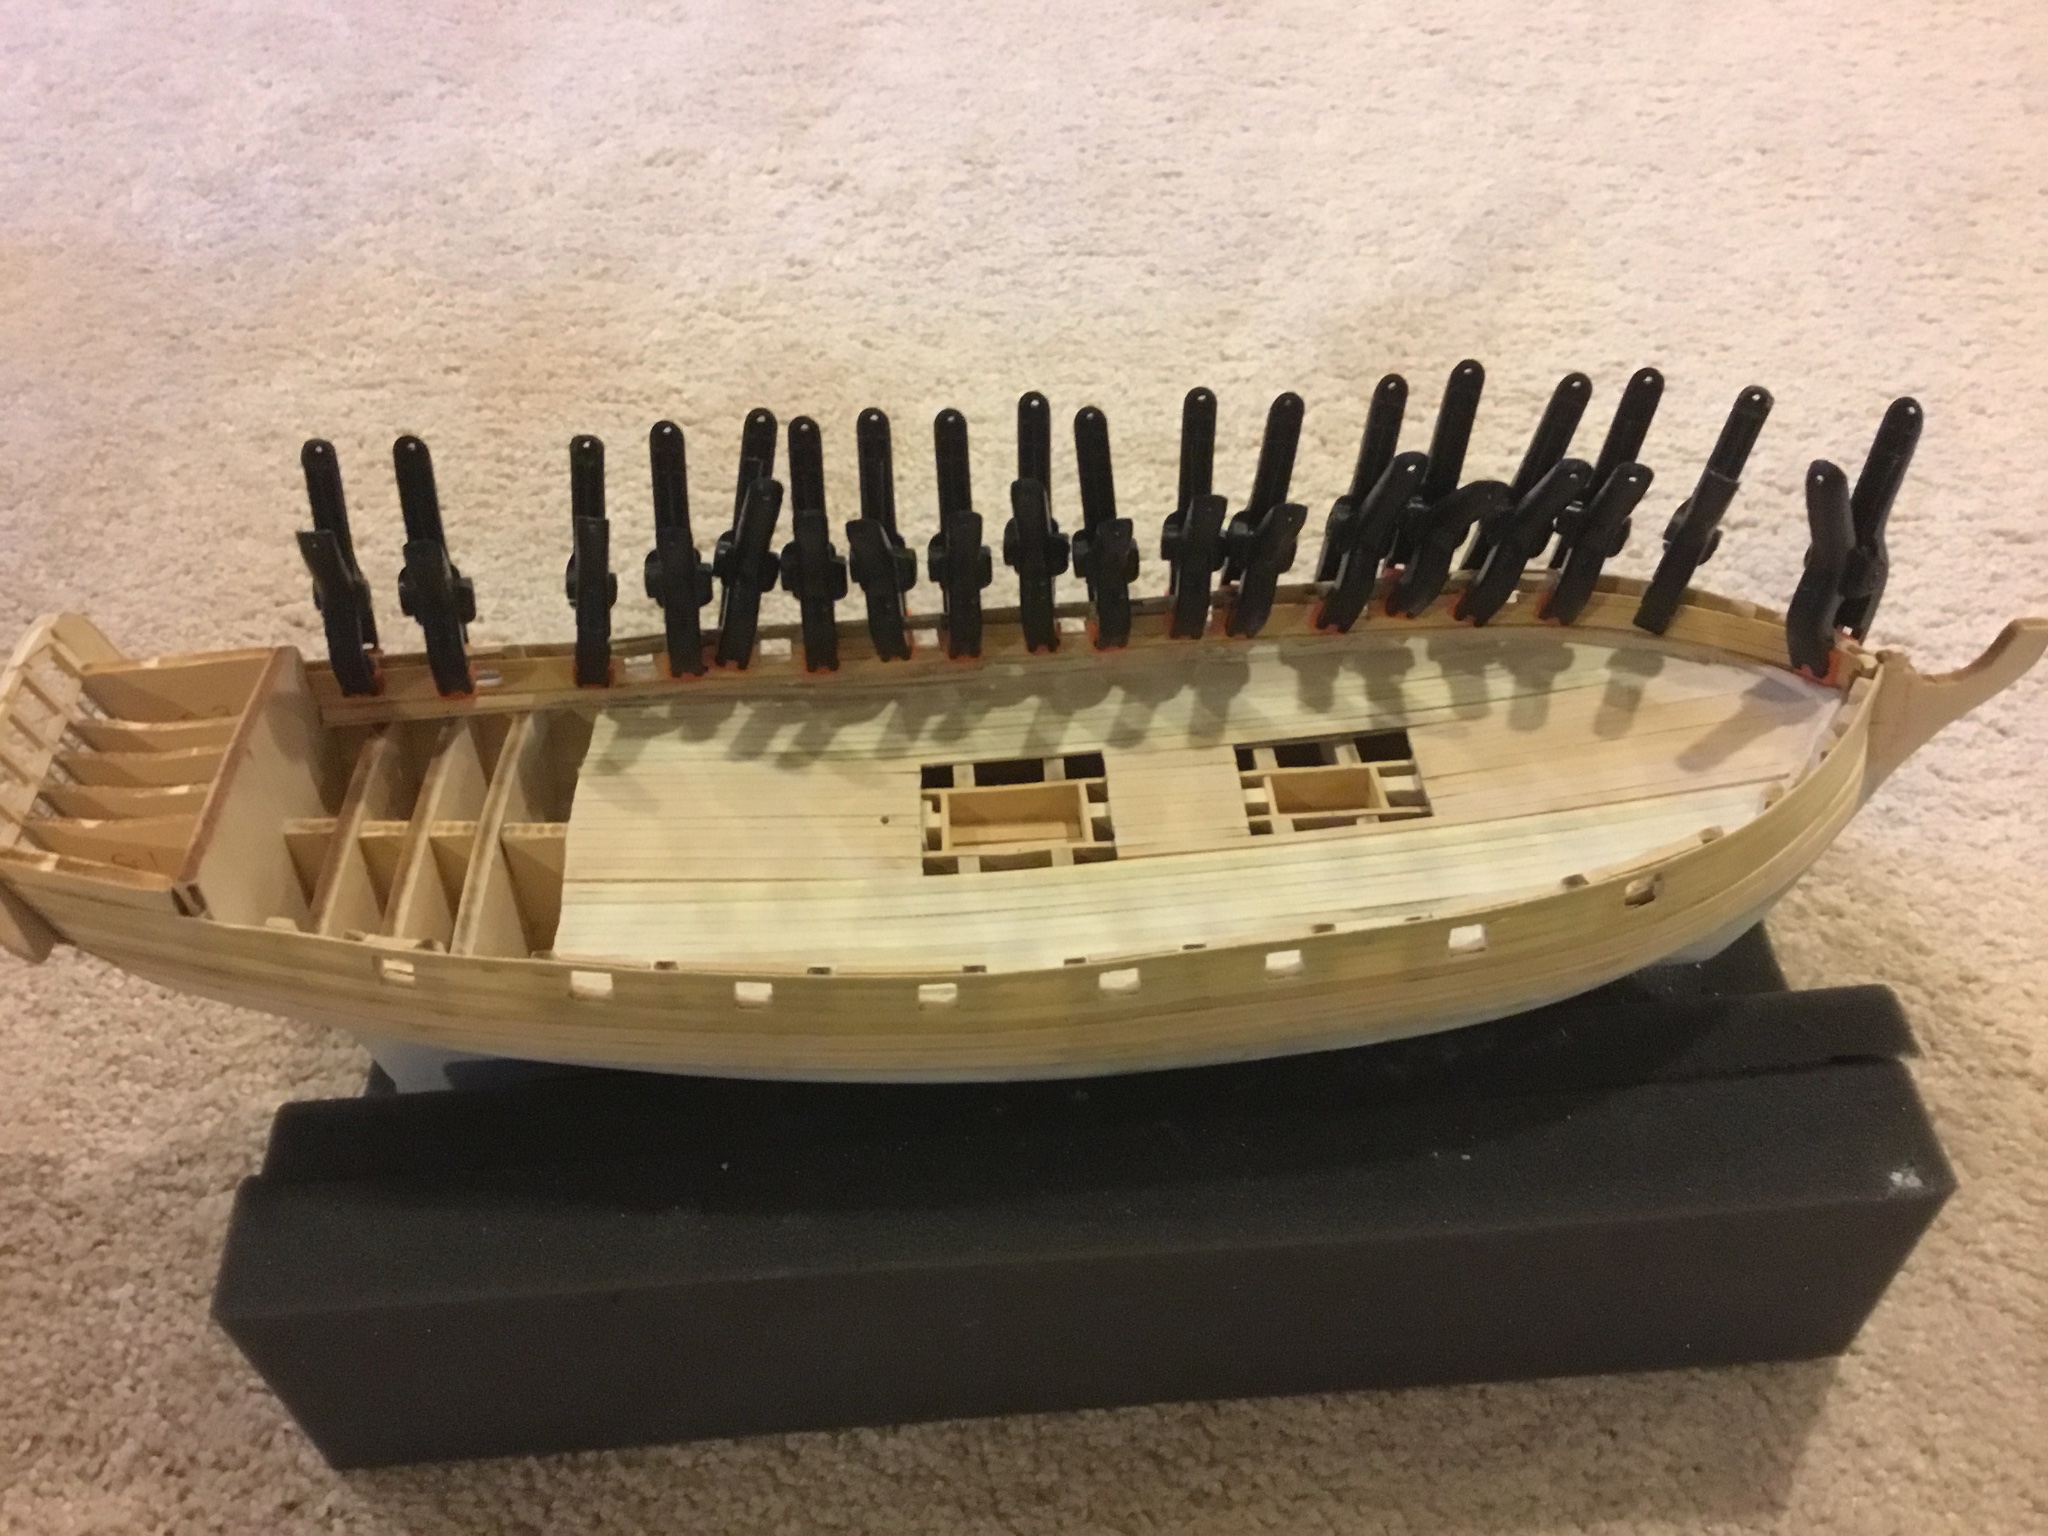
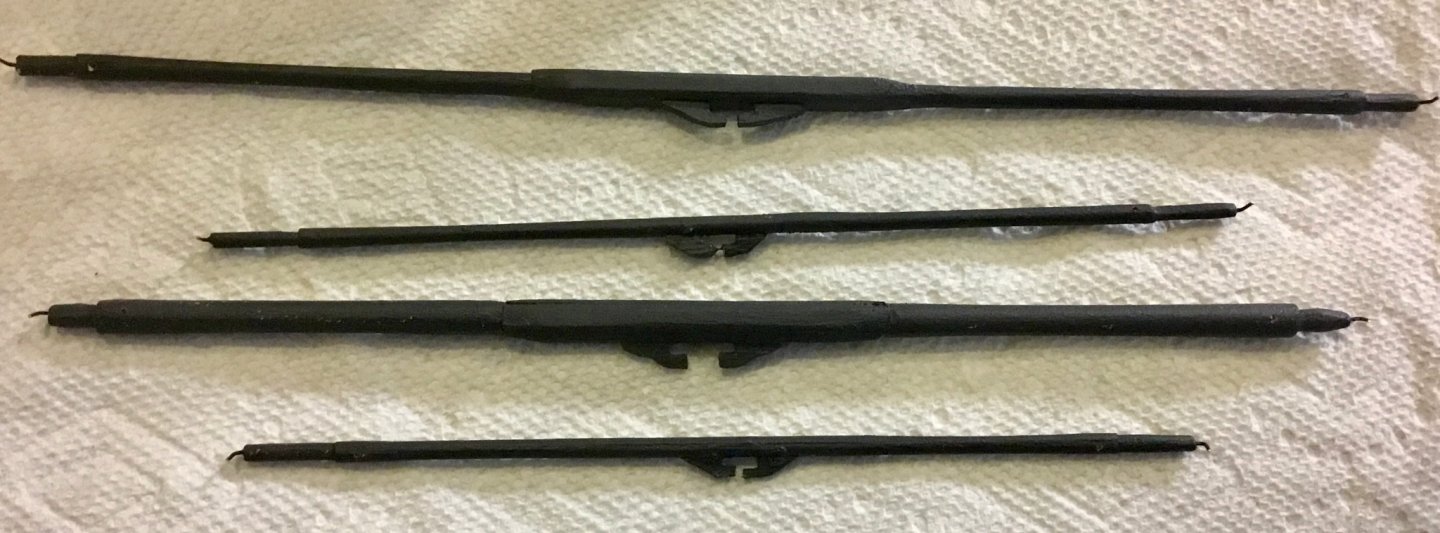
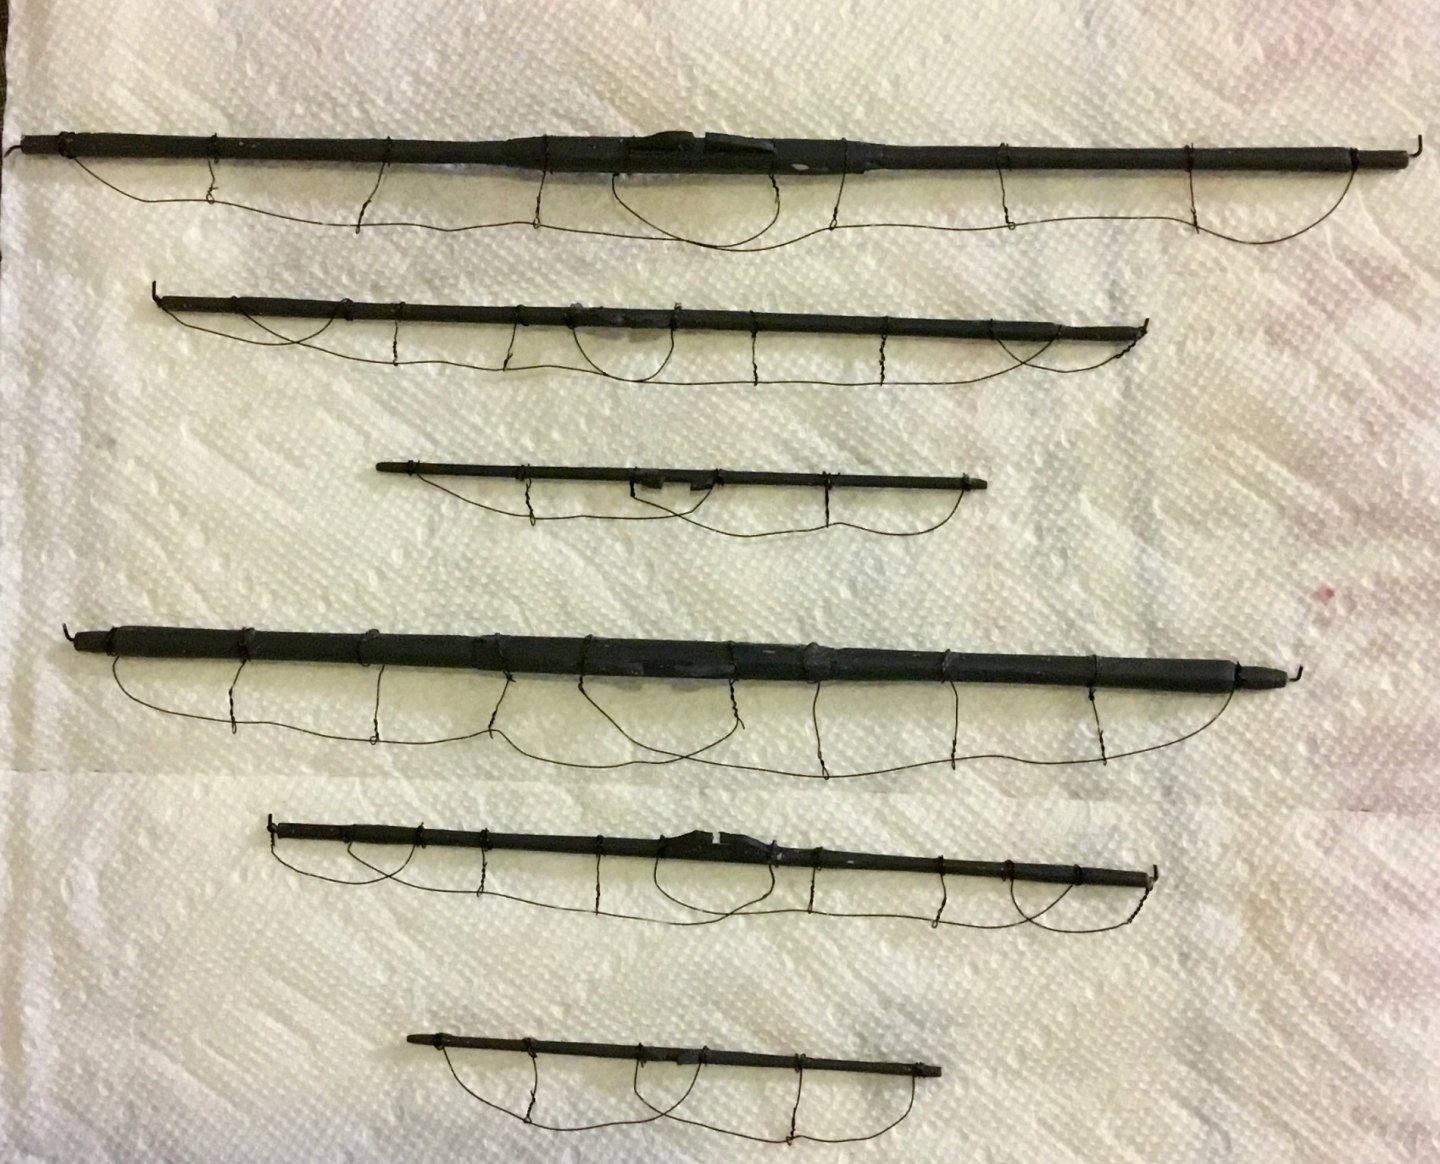
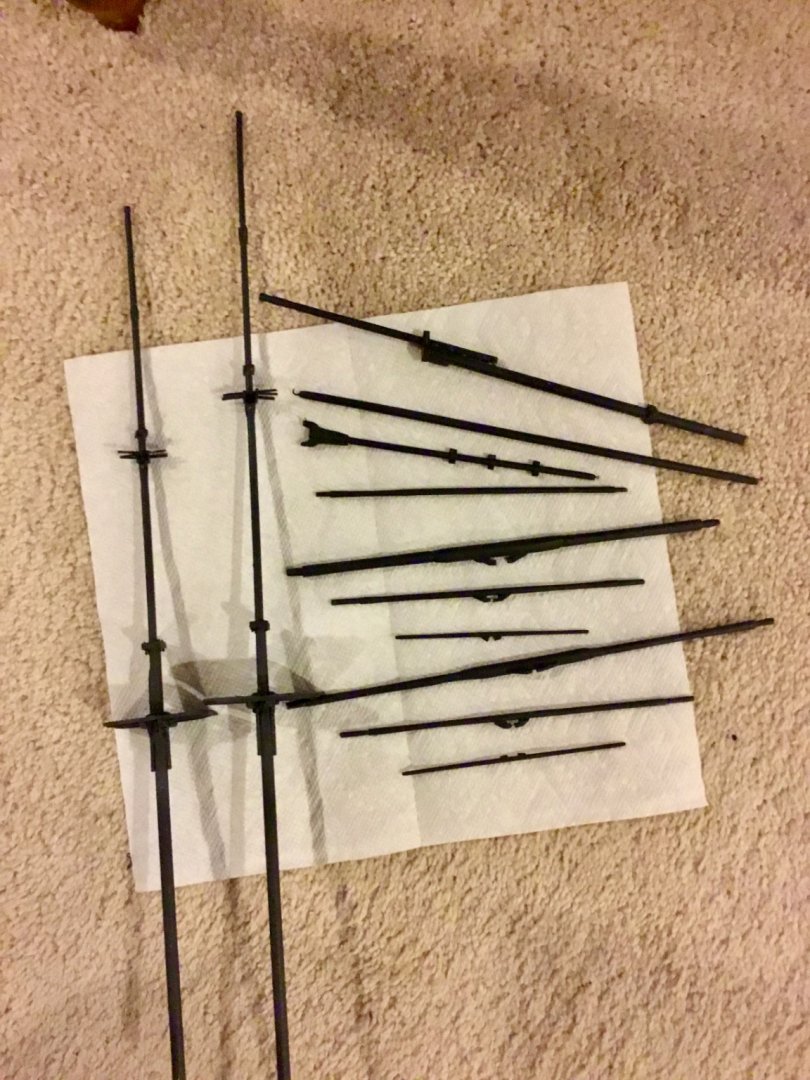
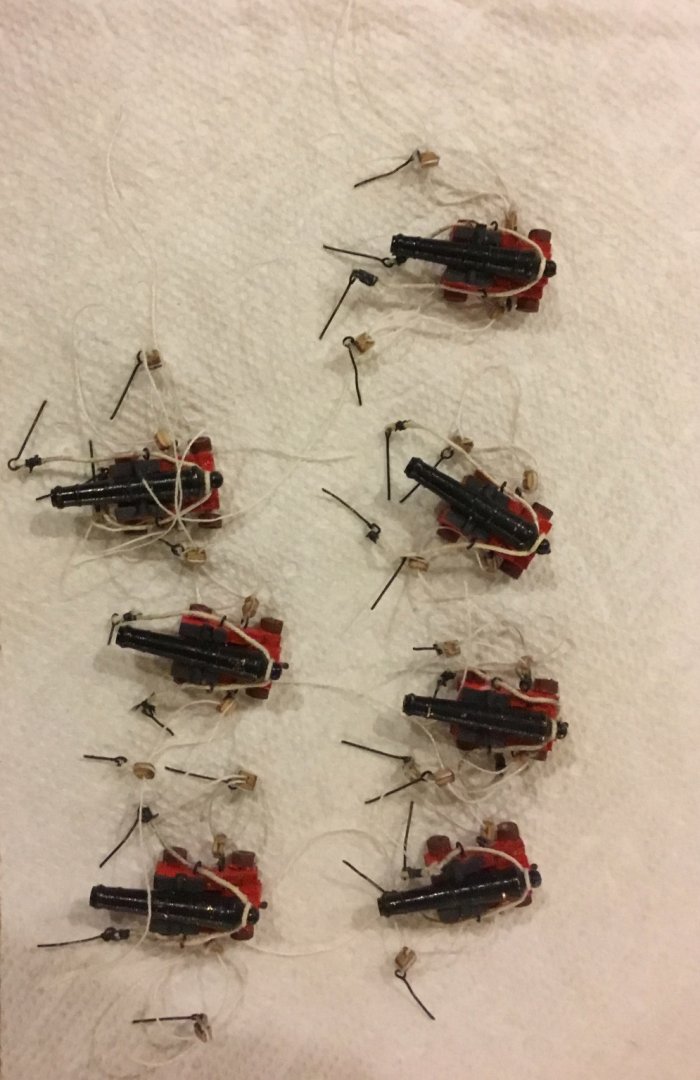
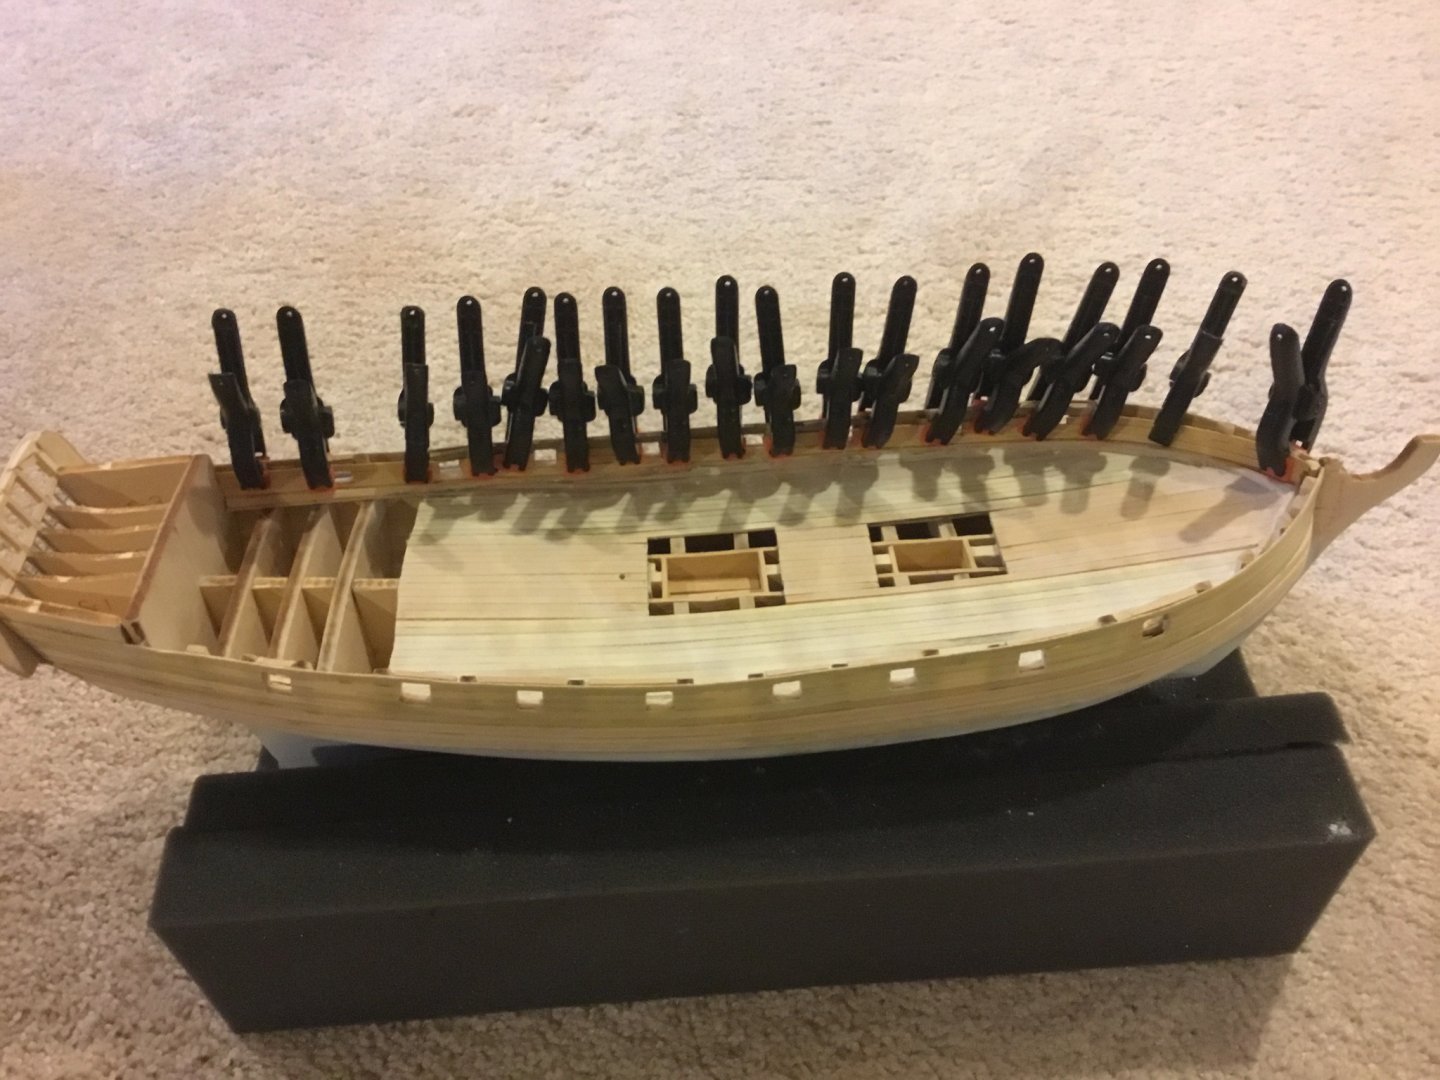
Completed build of masts and spars and half of the cannons with eyebolts on lines ready to be installed on deck. Will continue with remainder of cannons (7) then install them on the ship's deck prior to mast installation. Will also attach all blocks, upper shrouds, deadeyes, etc. to masts and bowsprit that I can while finishing the cannons and before mast installation and final rigging begins.
-
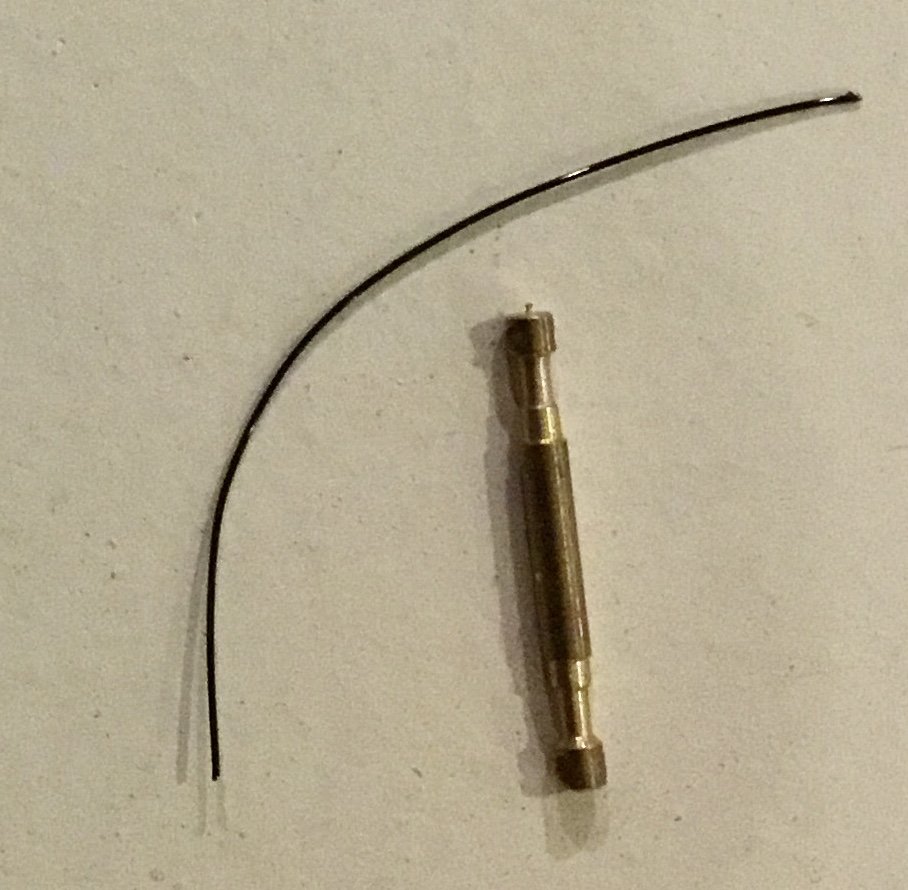
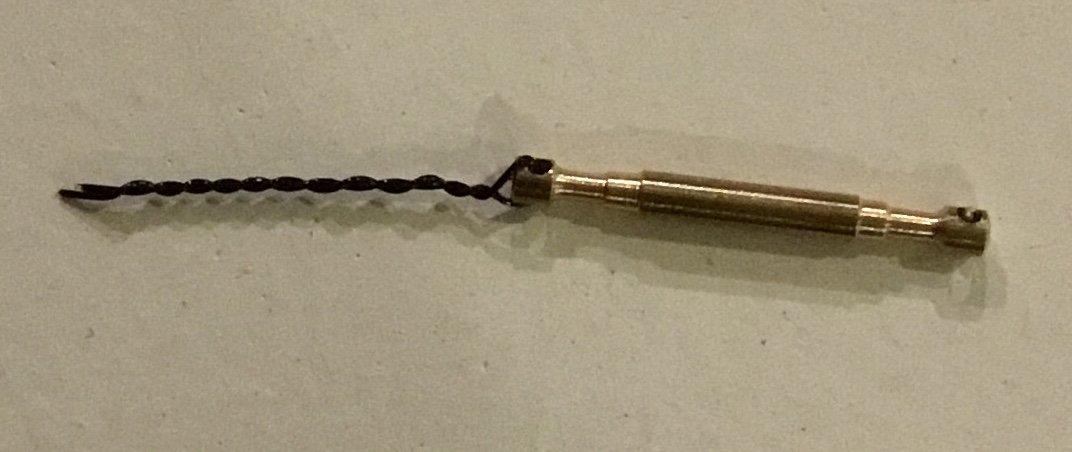
can I ask what weight of the Gutterman thread you are using? I am thinking of trying my first attempt at serving on a Fair American of a similar scale?
- 140 replies
-
- 1
-
-
- benjamin w latham
- model shipways
- (and 1 more)
-
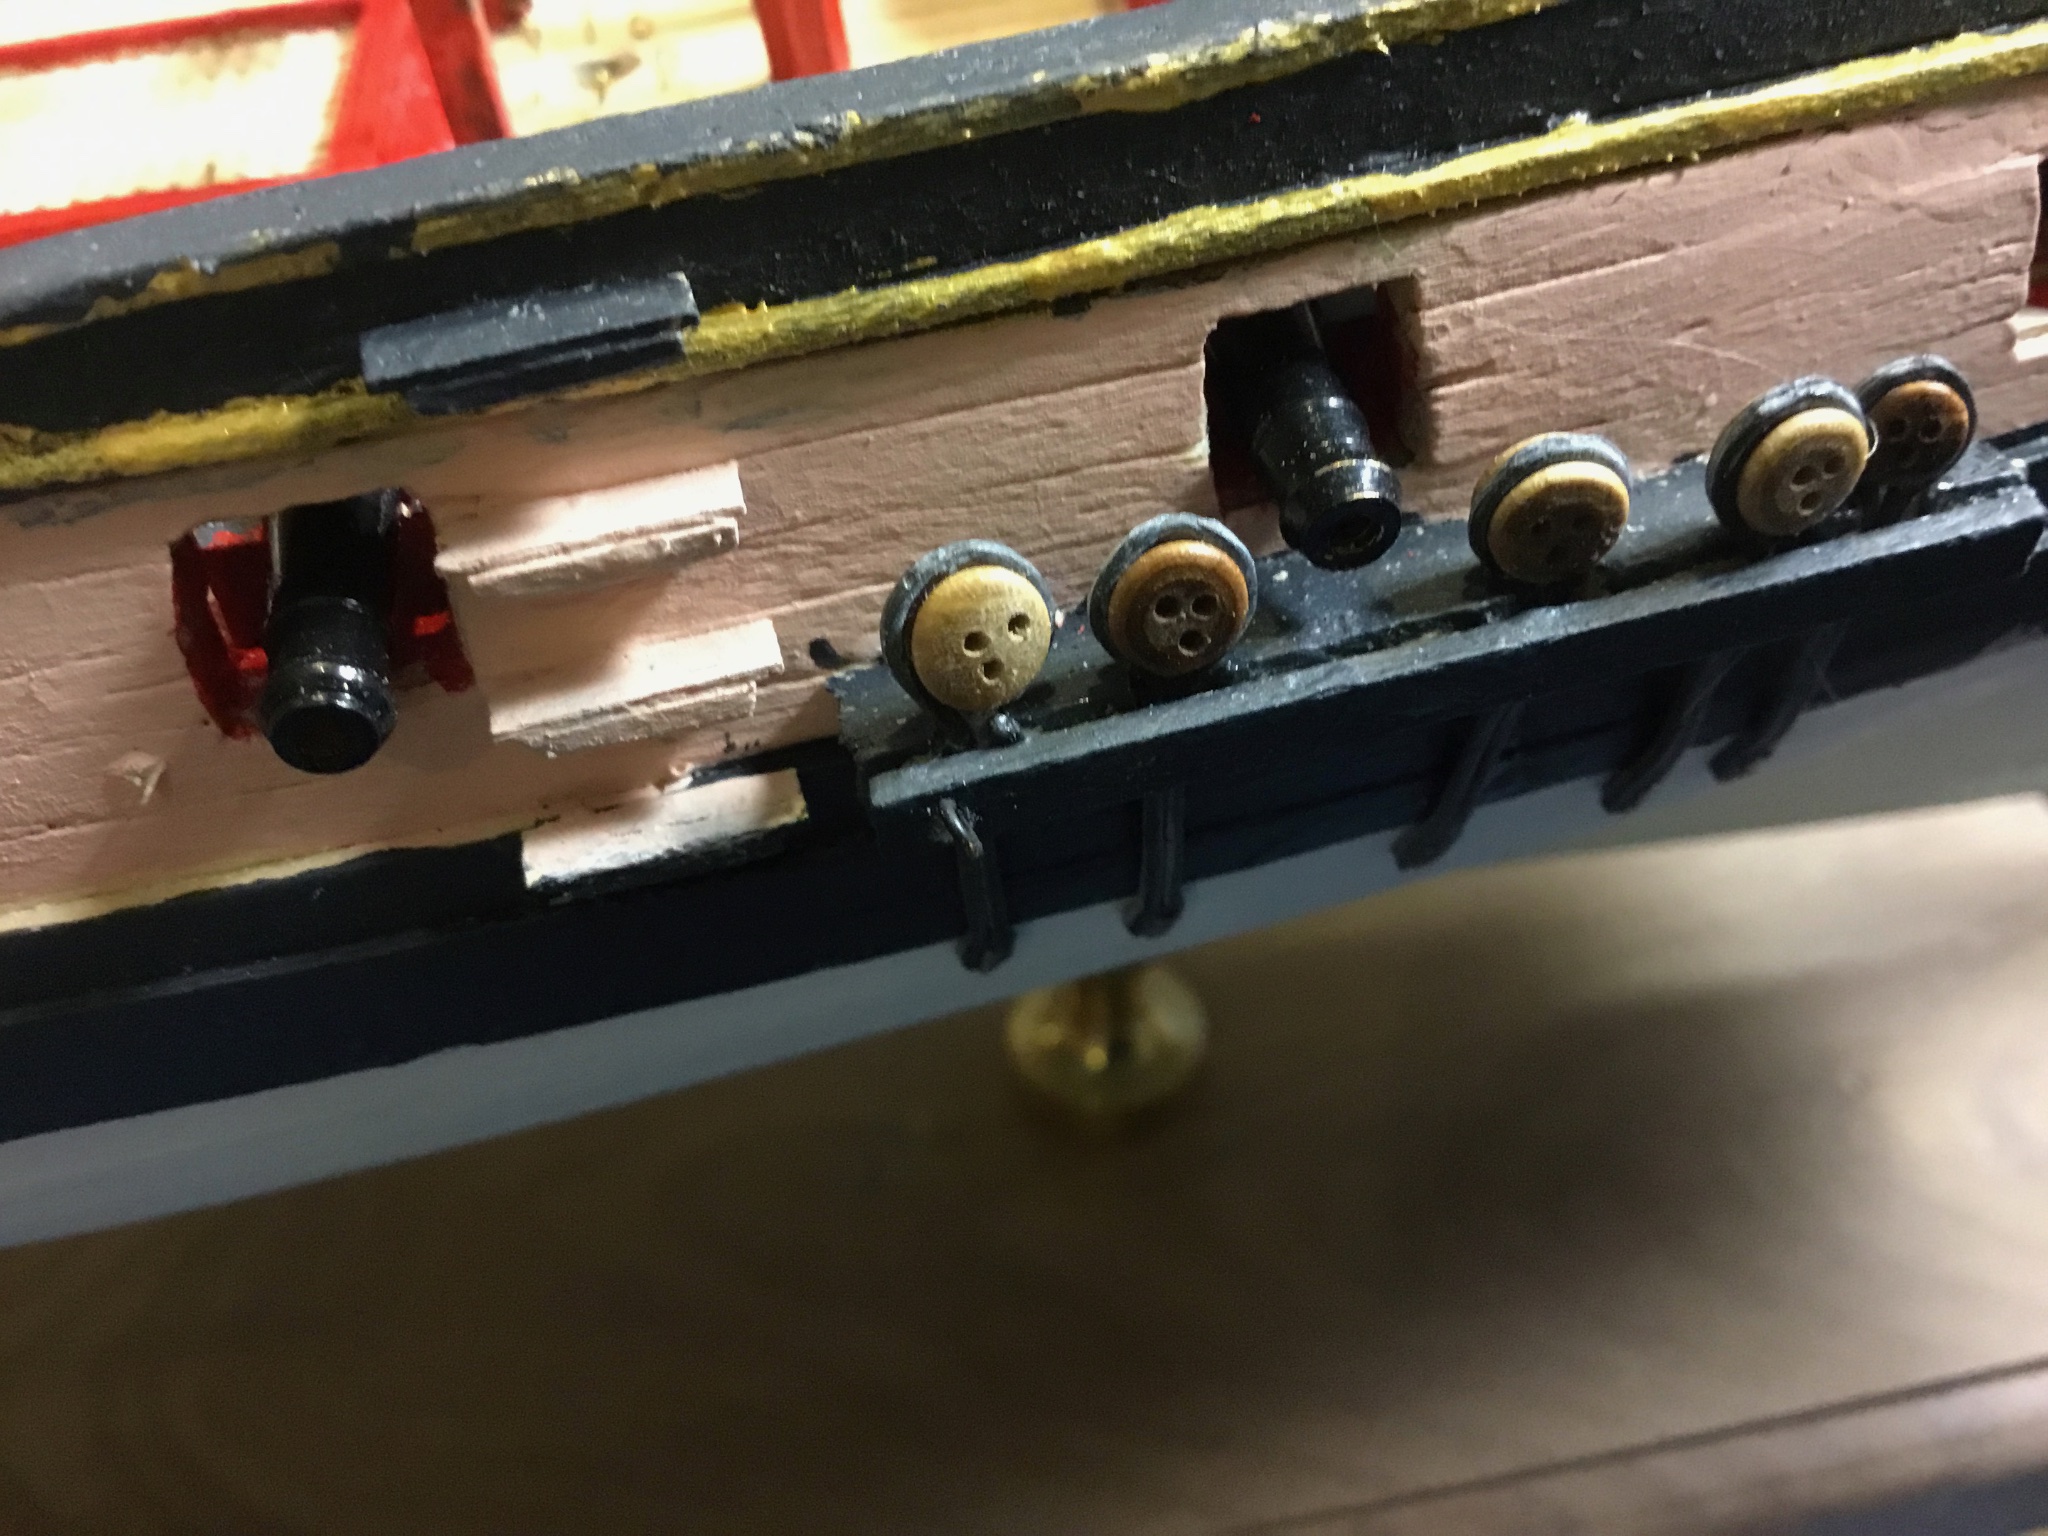
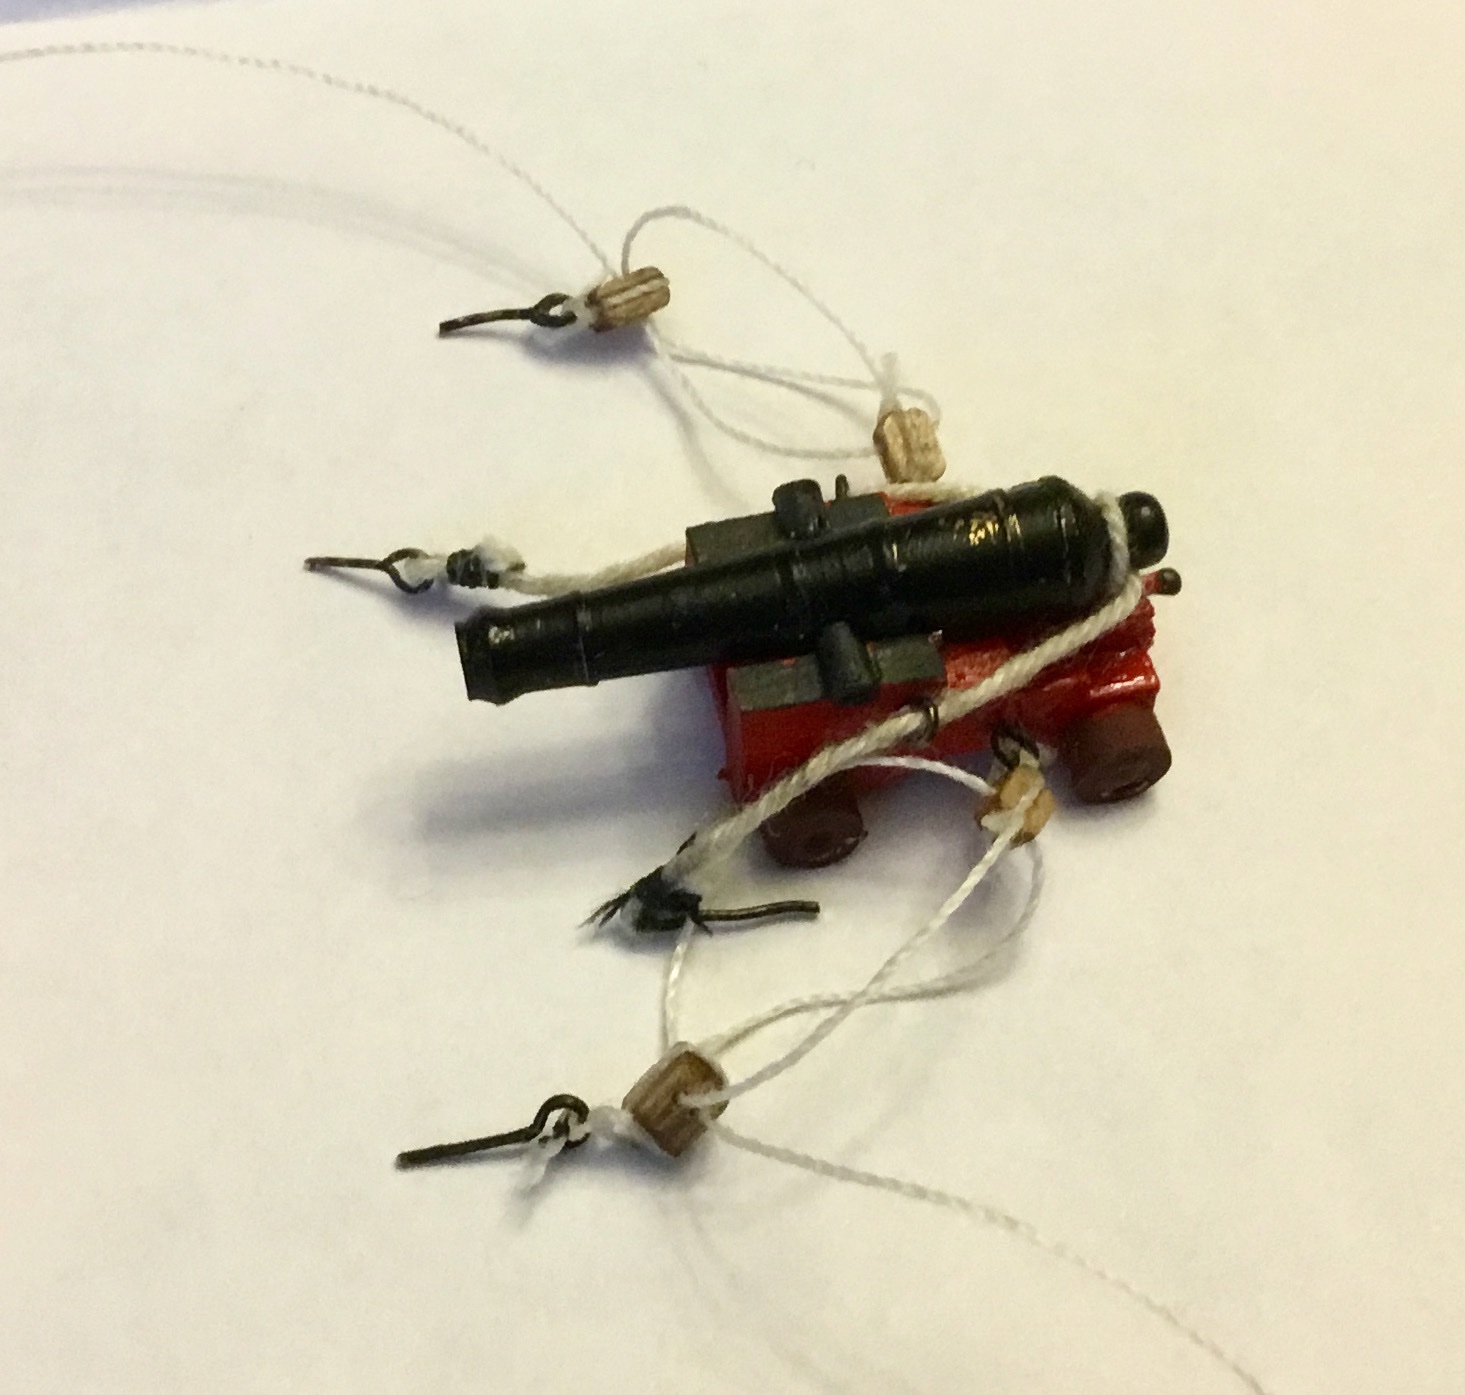
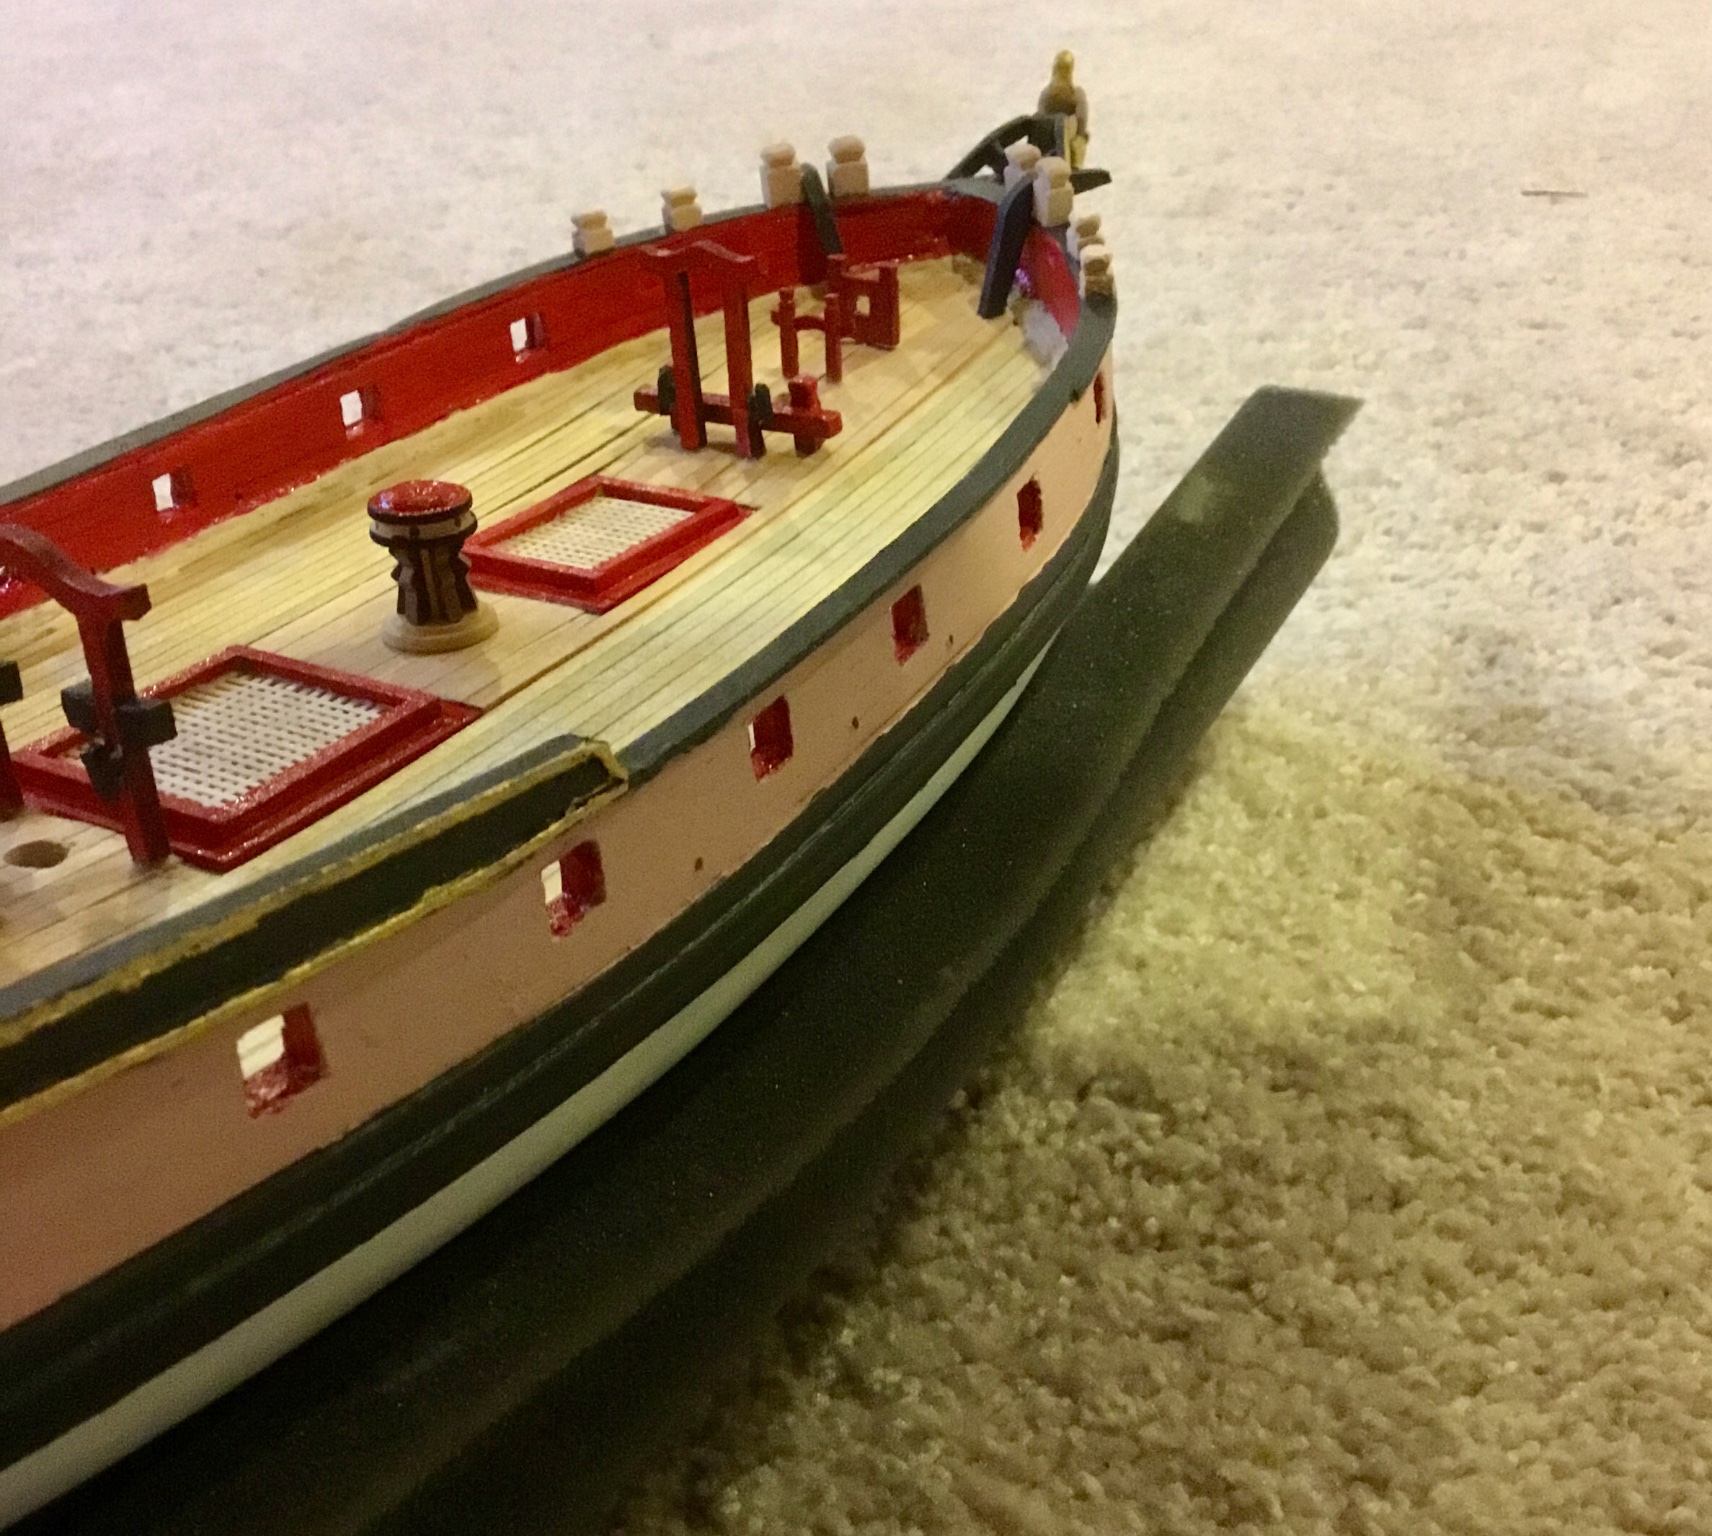
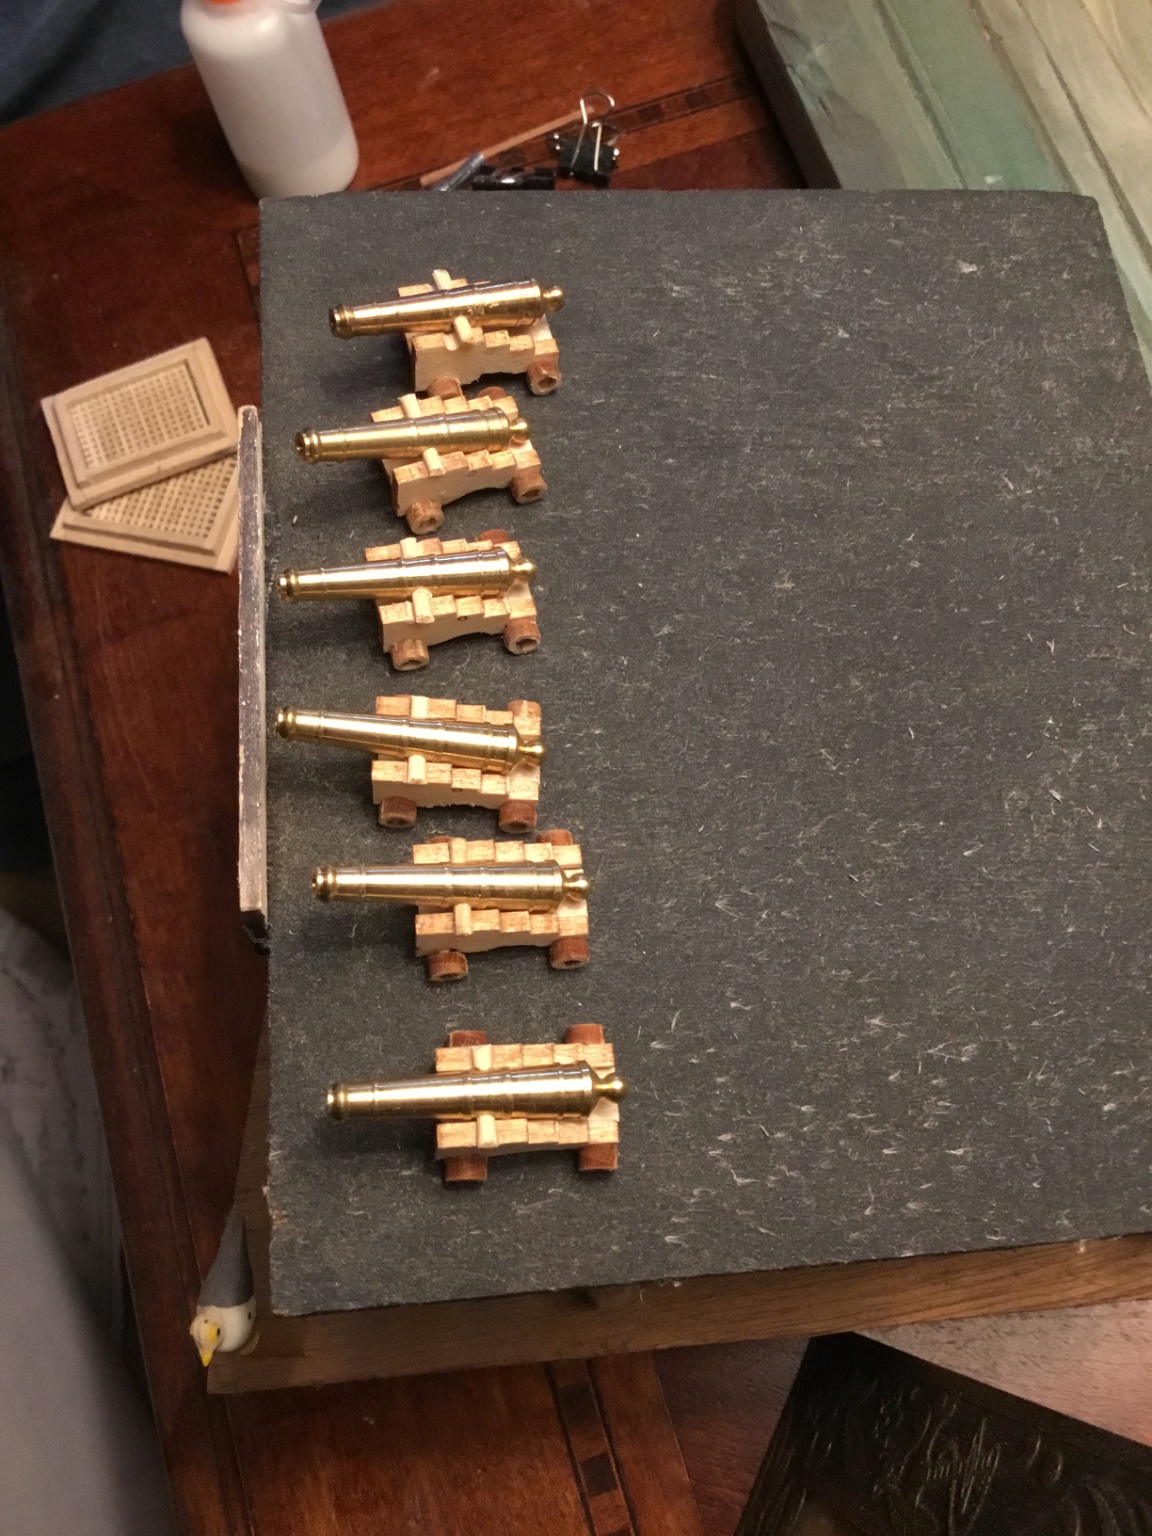
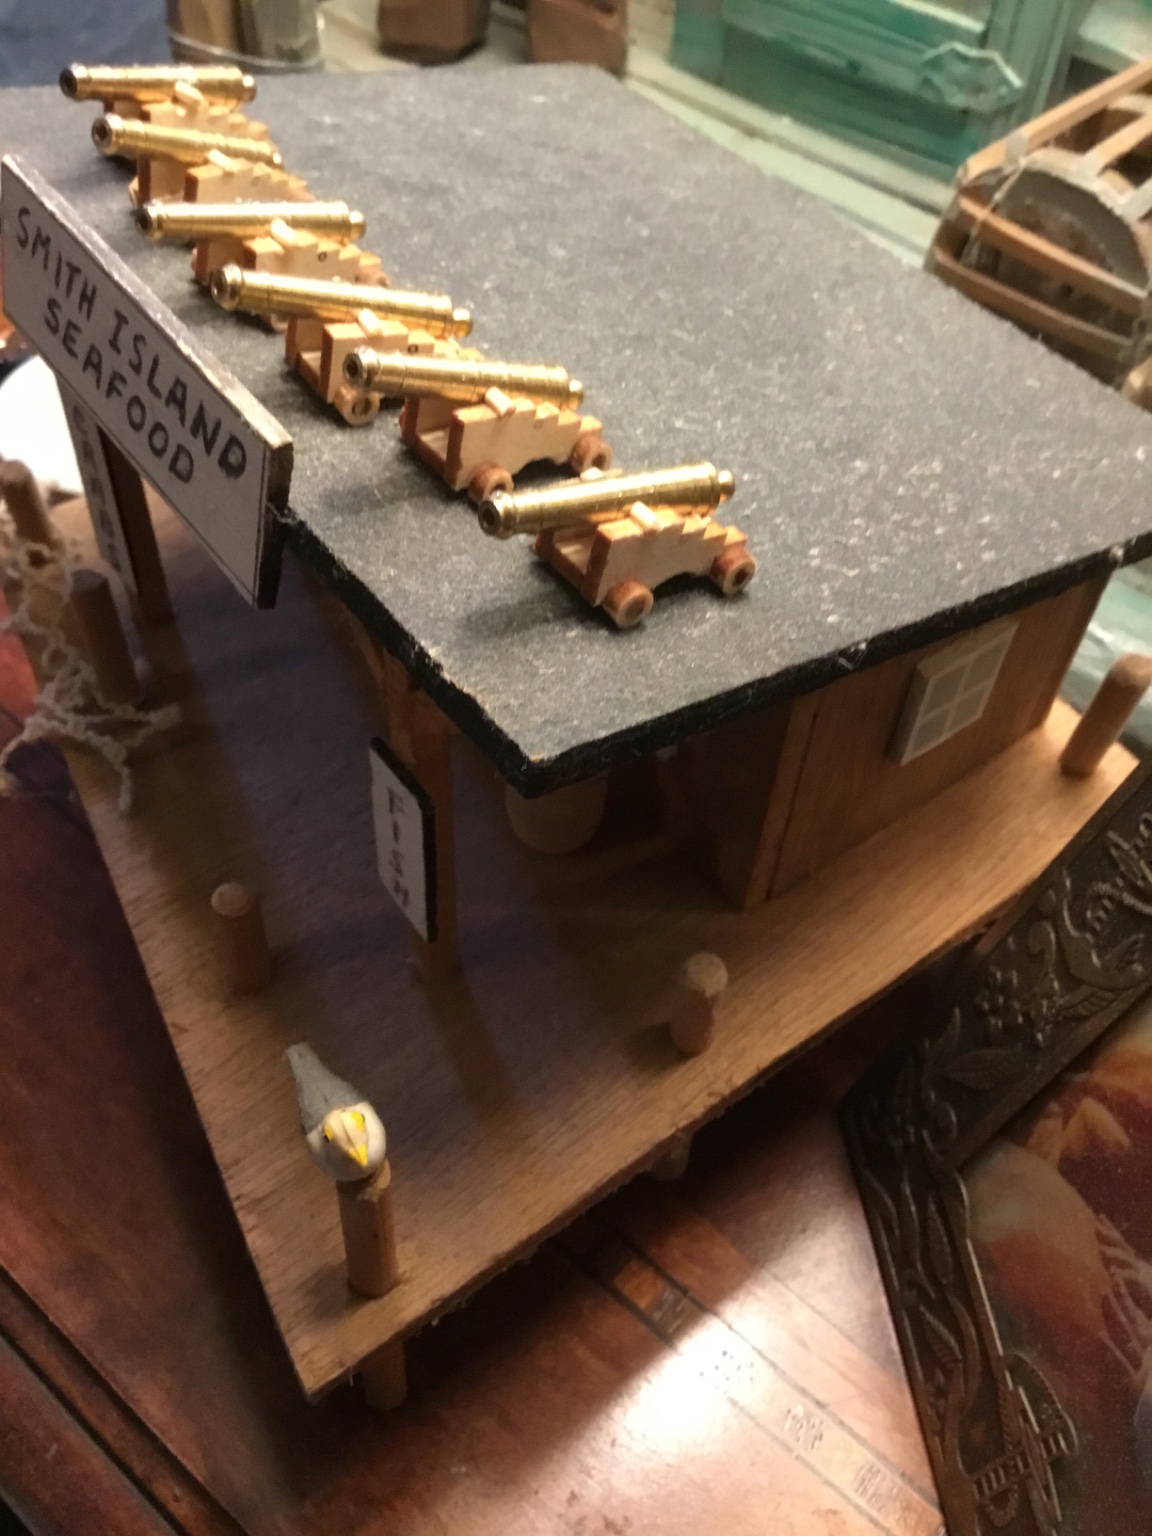
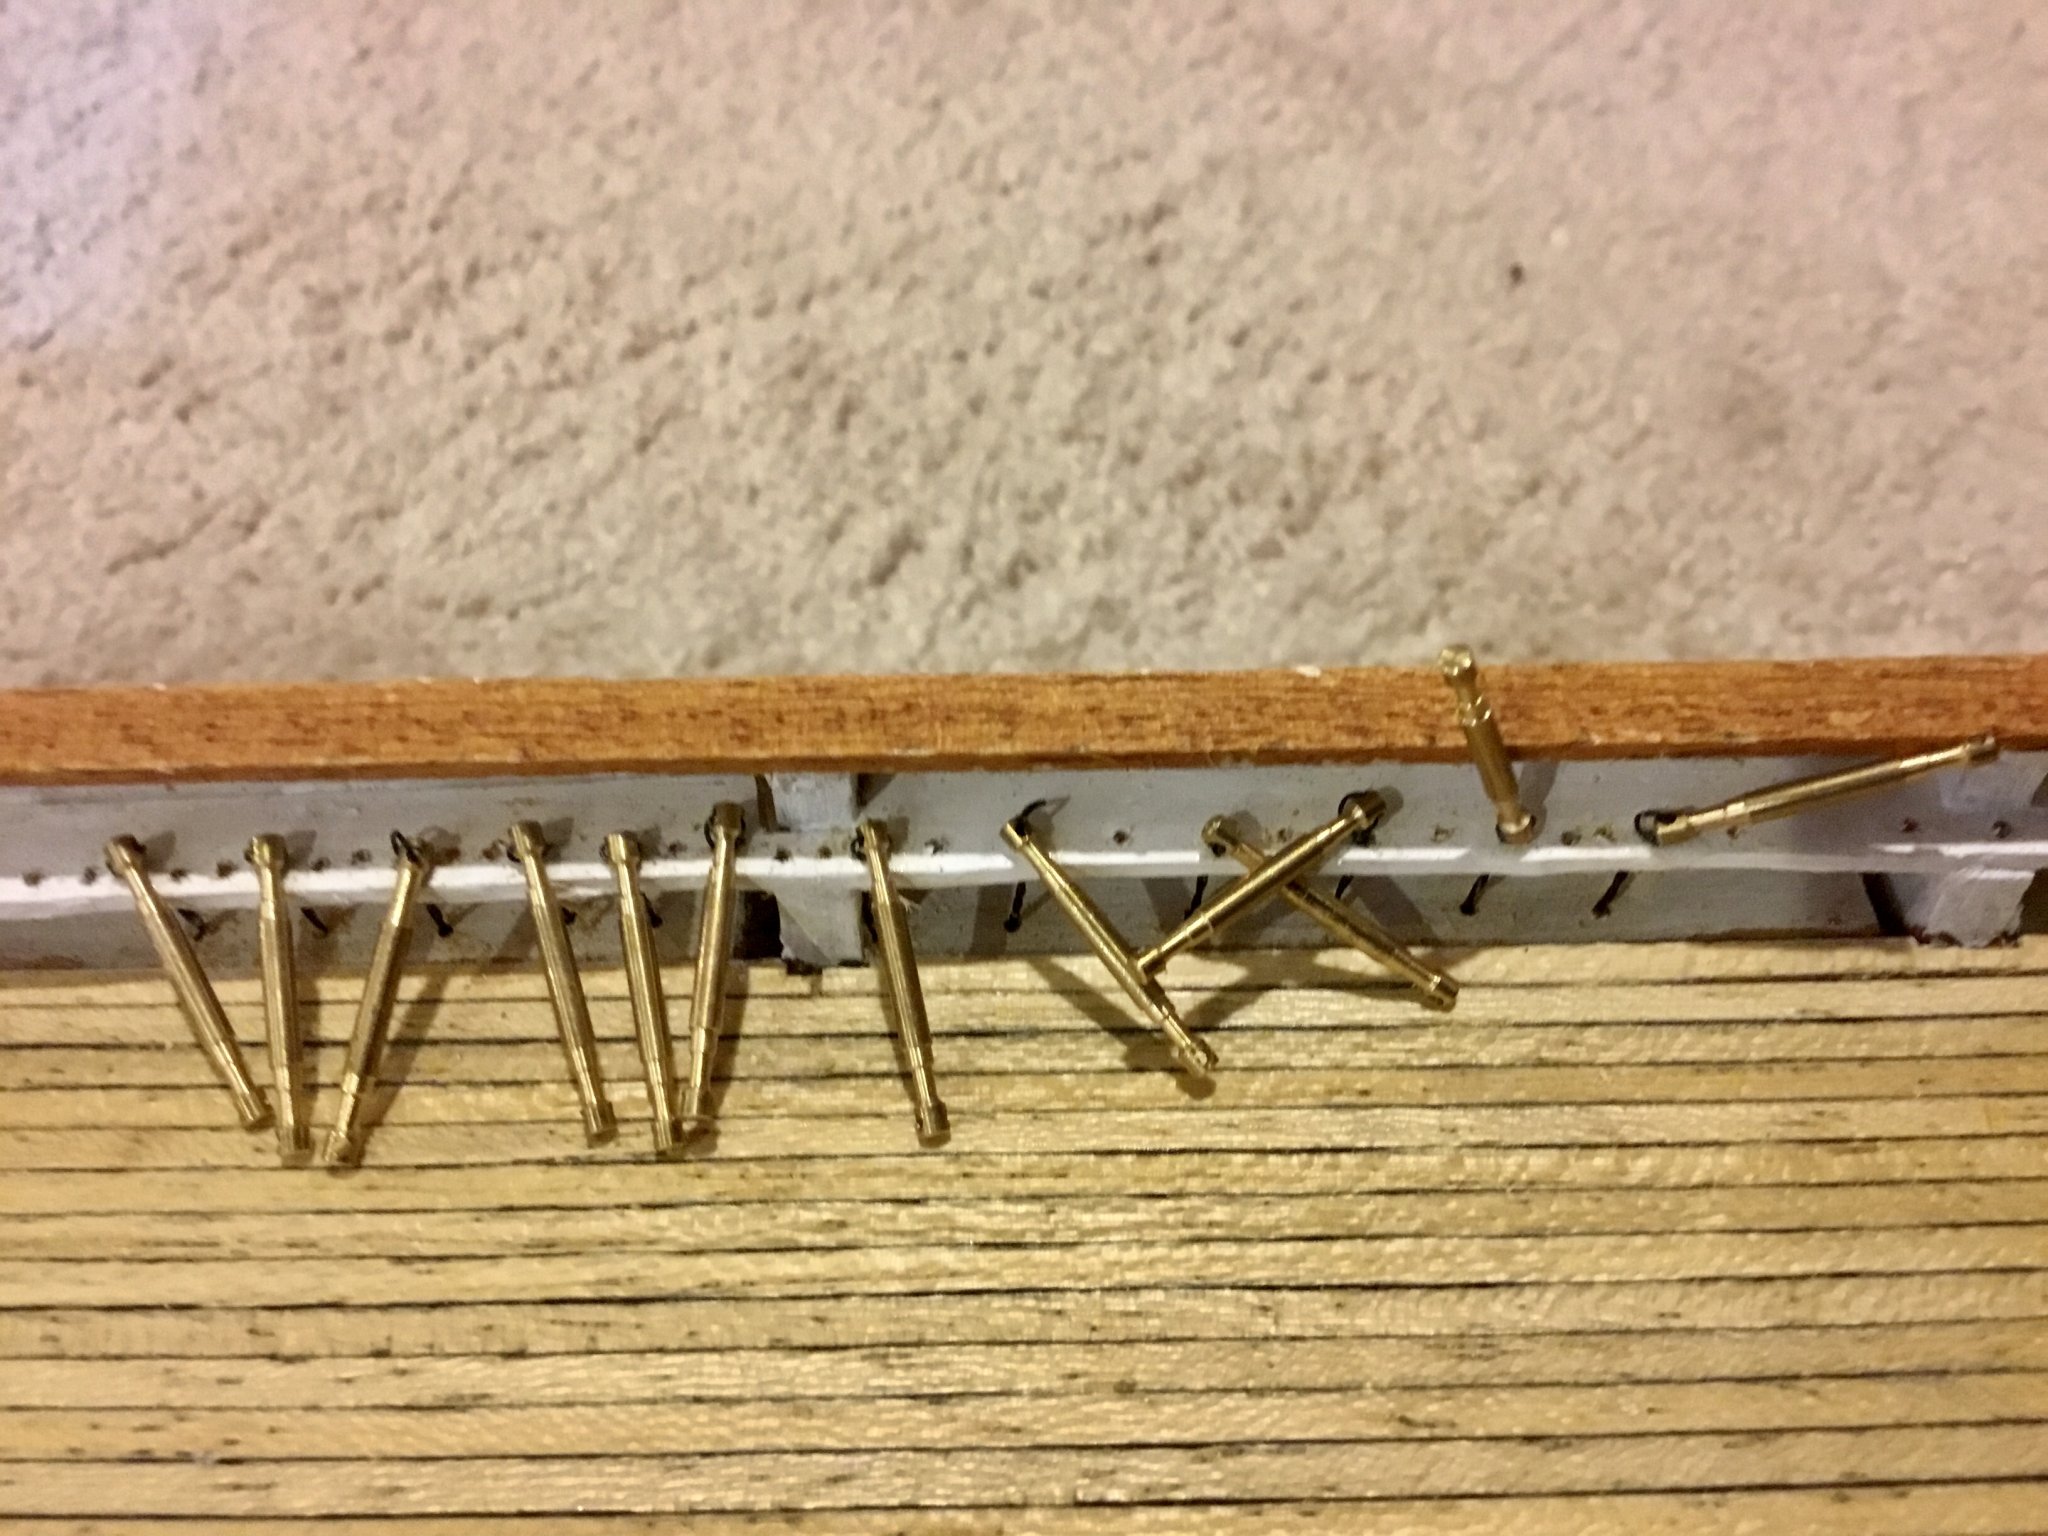
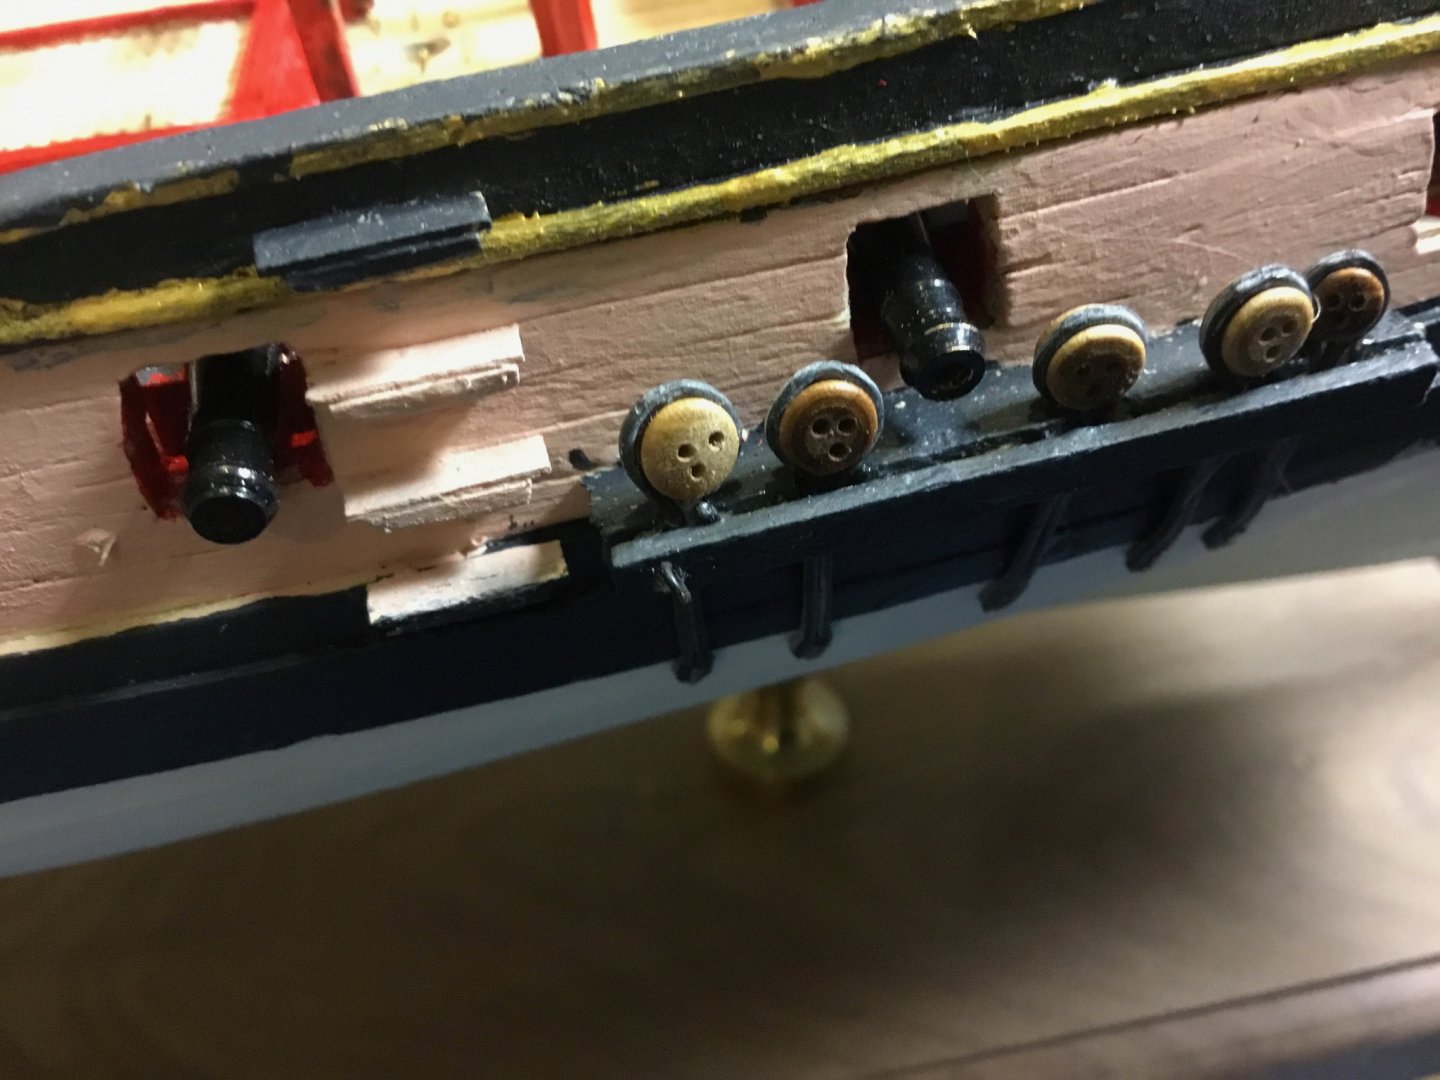
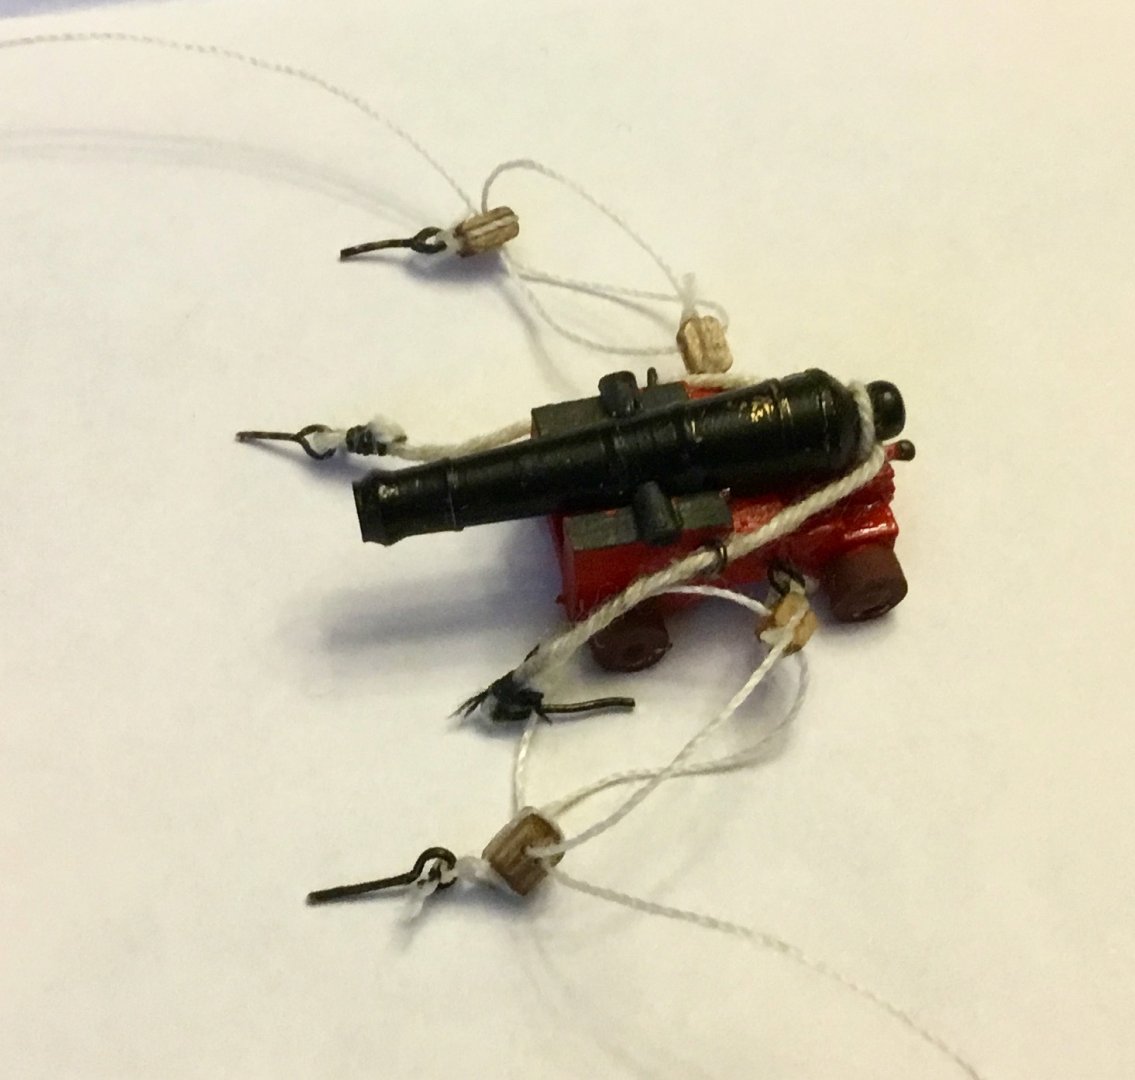
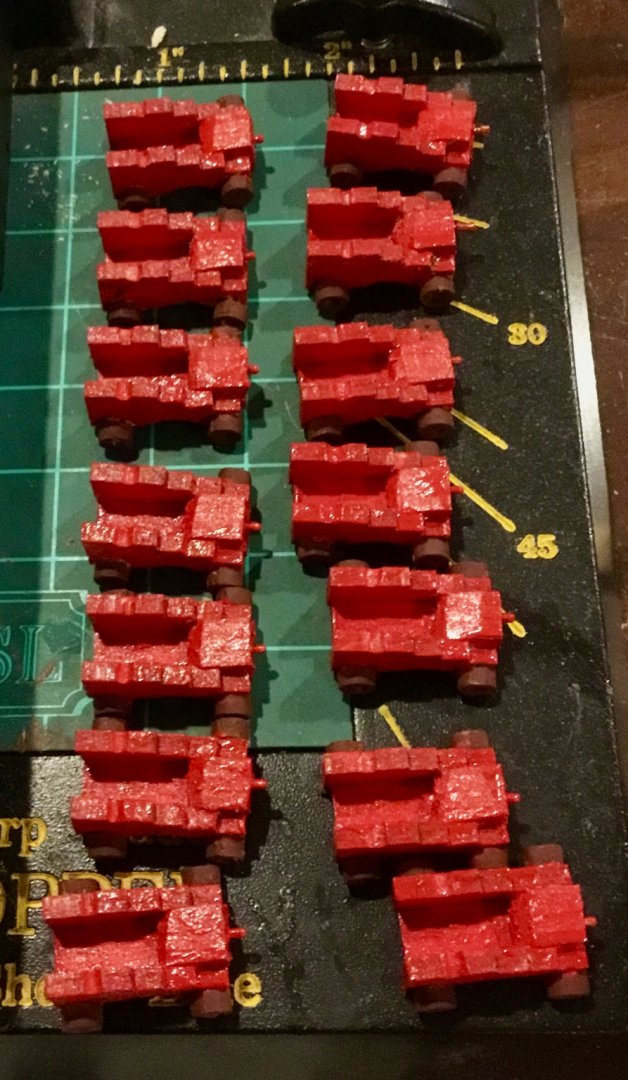
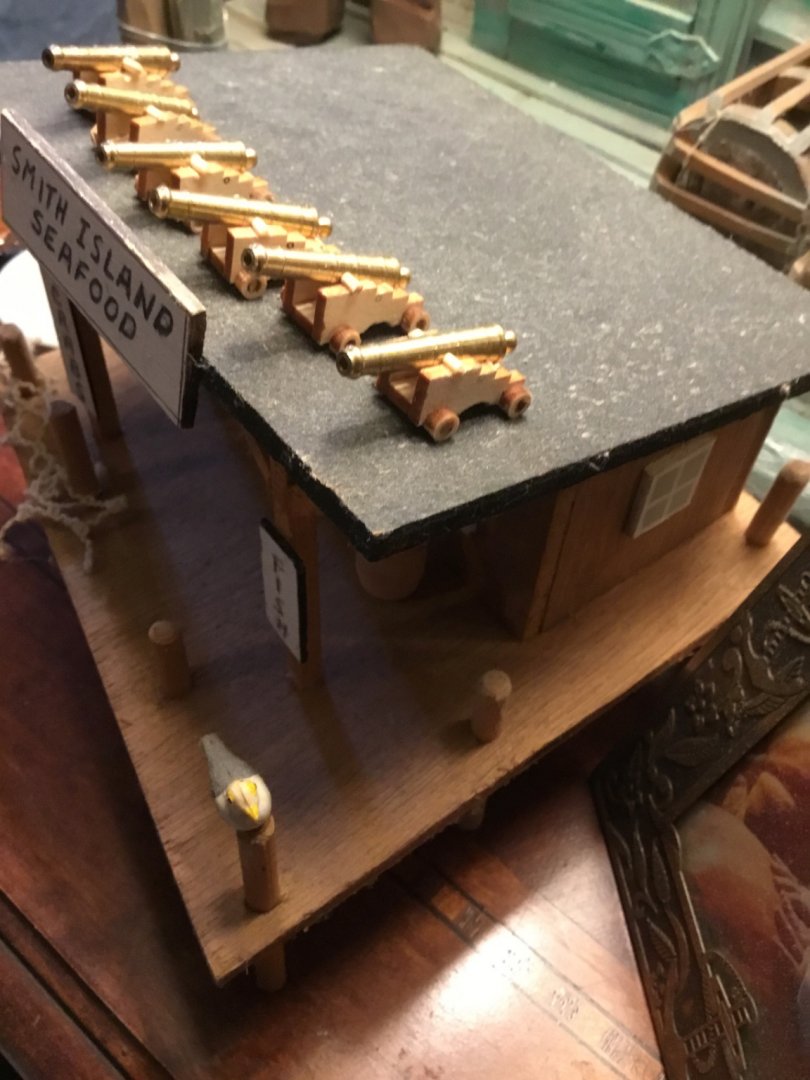
Completed most of the detail to the hull (eyebolts in various places, chess trees, gangway steps, belaying pins. cleats, etc.) Used a dowel and string to obtain estimates of shroud slants and installed lower deadeyes and chainplates. Mounted ship on display board. Completed rigging one gun carriage using technique I found on a Youtube video at www.youtube.com/c/Modelships for the Santisima Trinidad parts 37 and 38. Will now begin work on the masts and spars and try to get one gun carriage complete each day or two along the way. Only 13 more to go!!


- 24 replies
-
- 2
-
-
- Fair American
- Model Shipways
- (and 1 more)
-
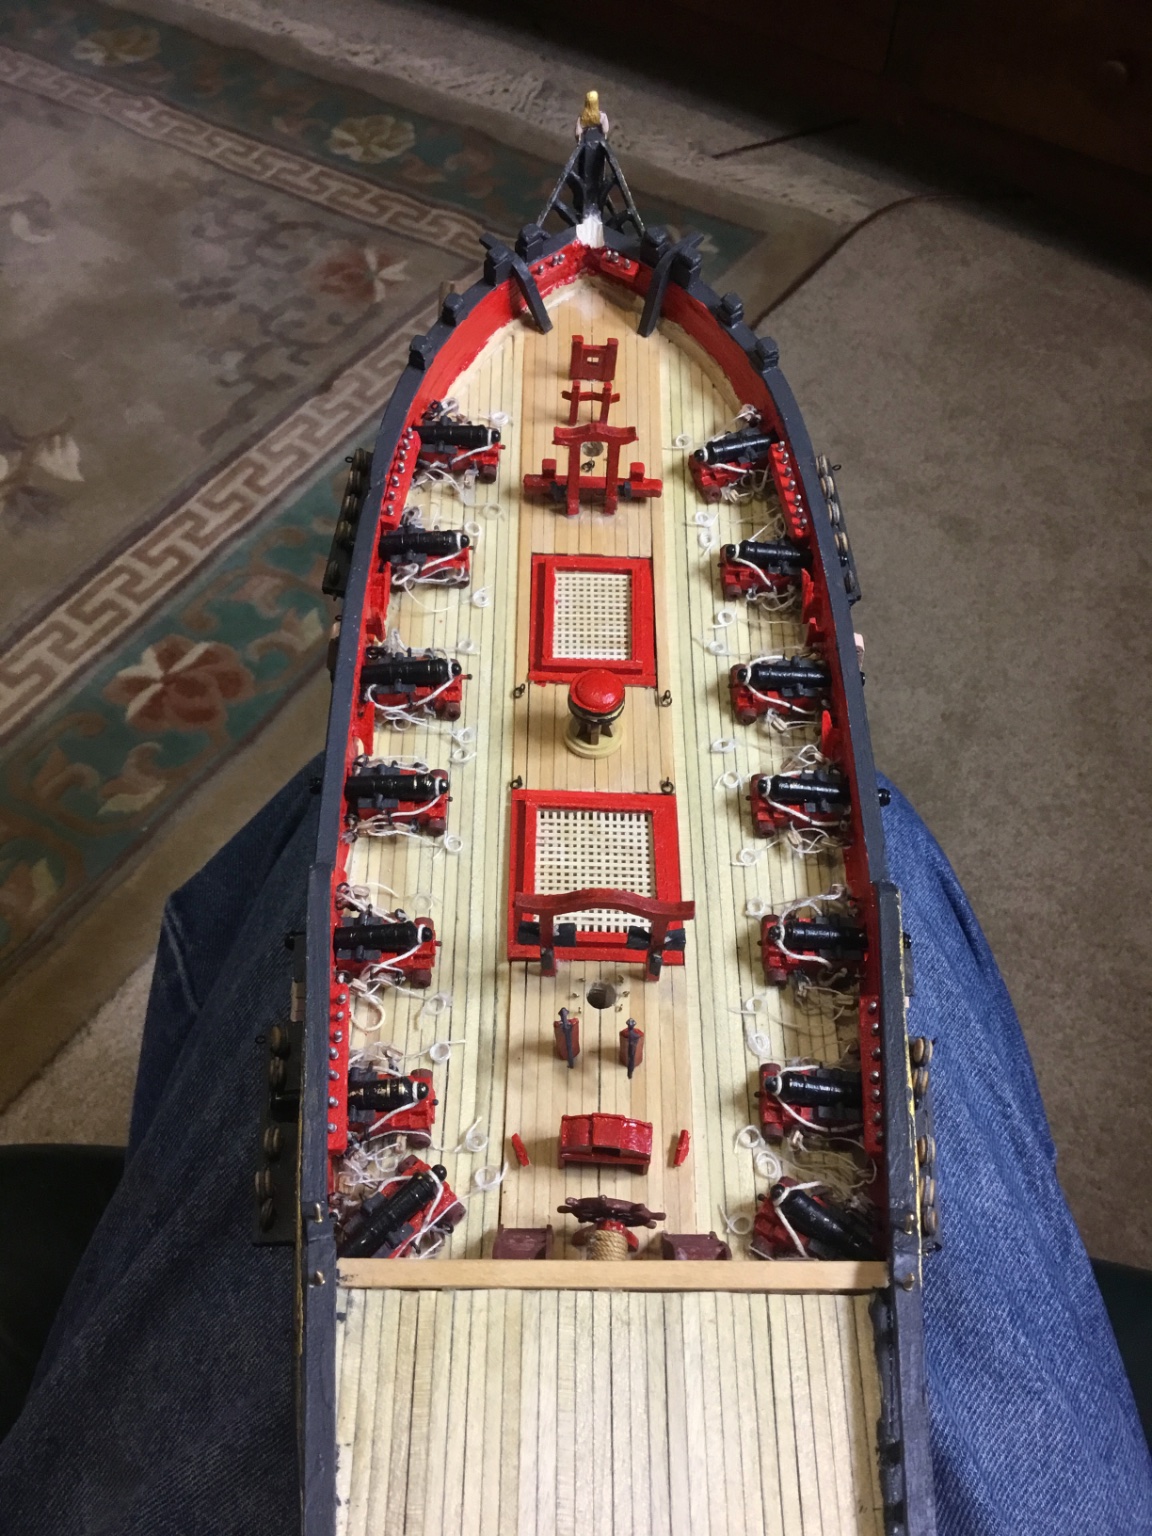
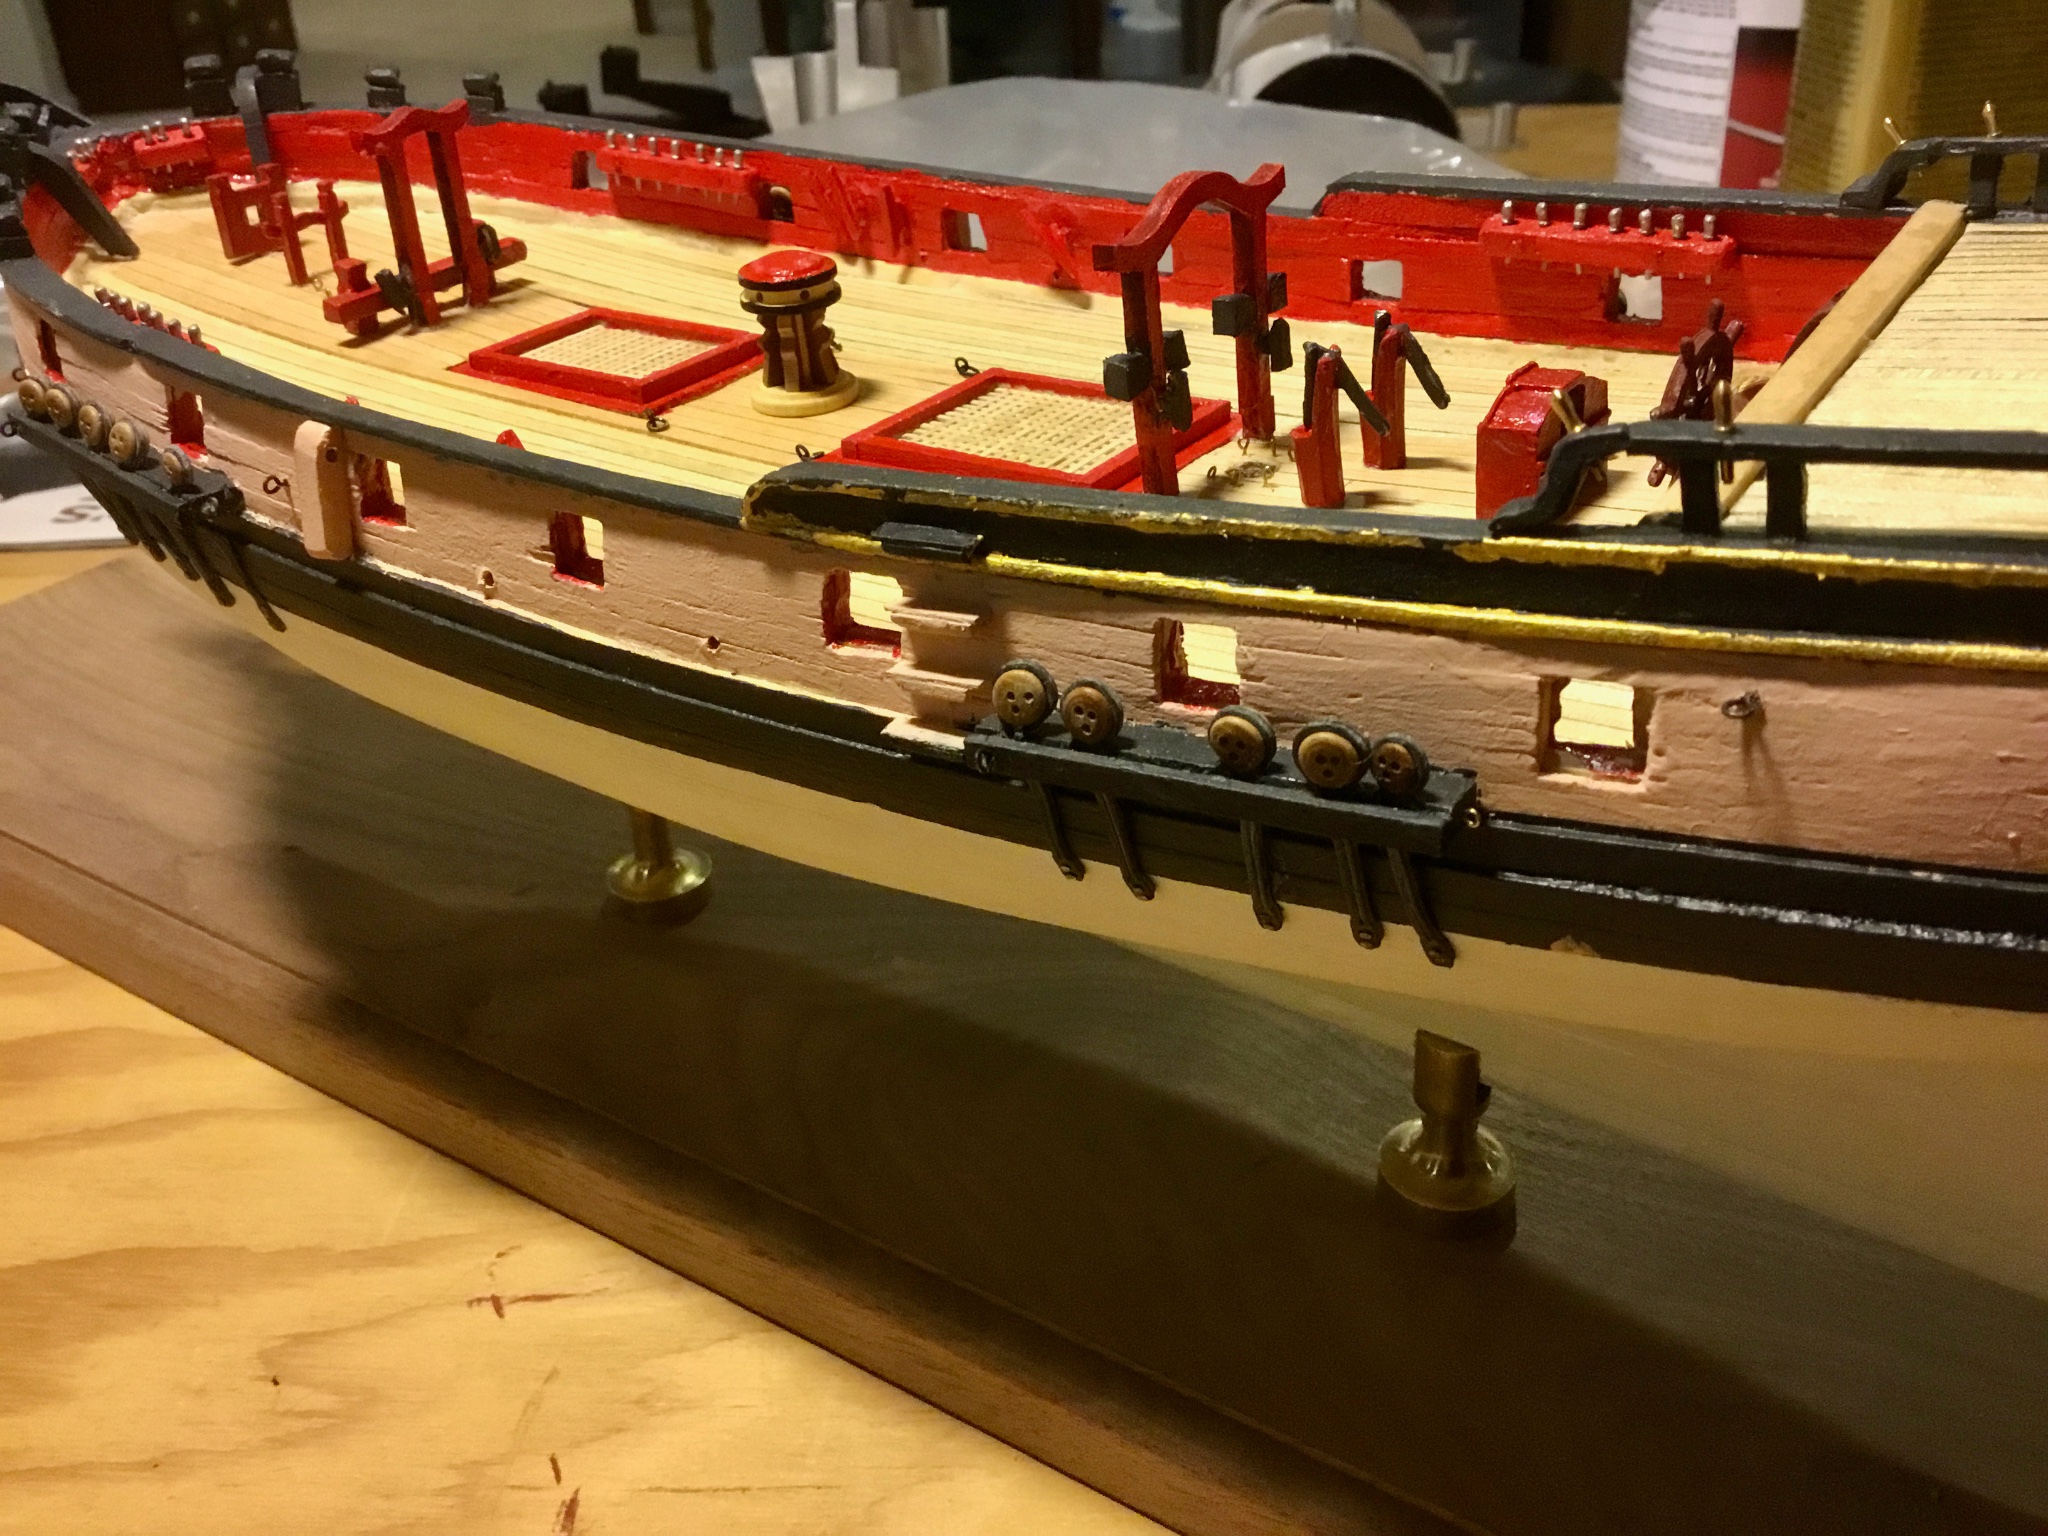
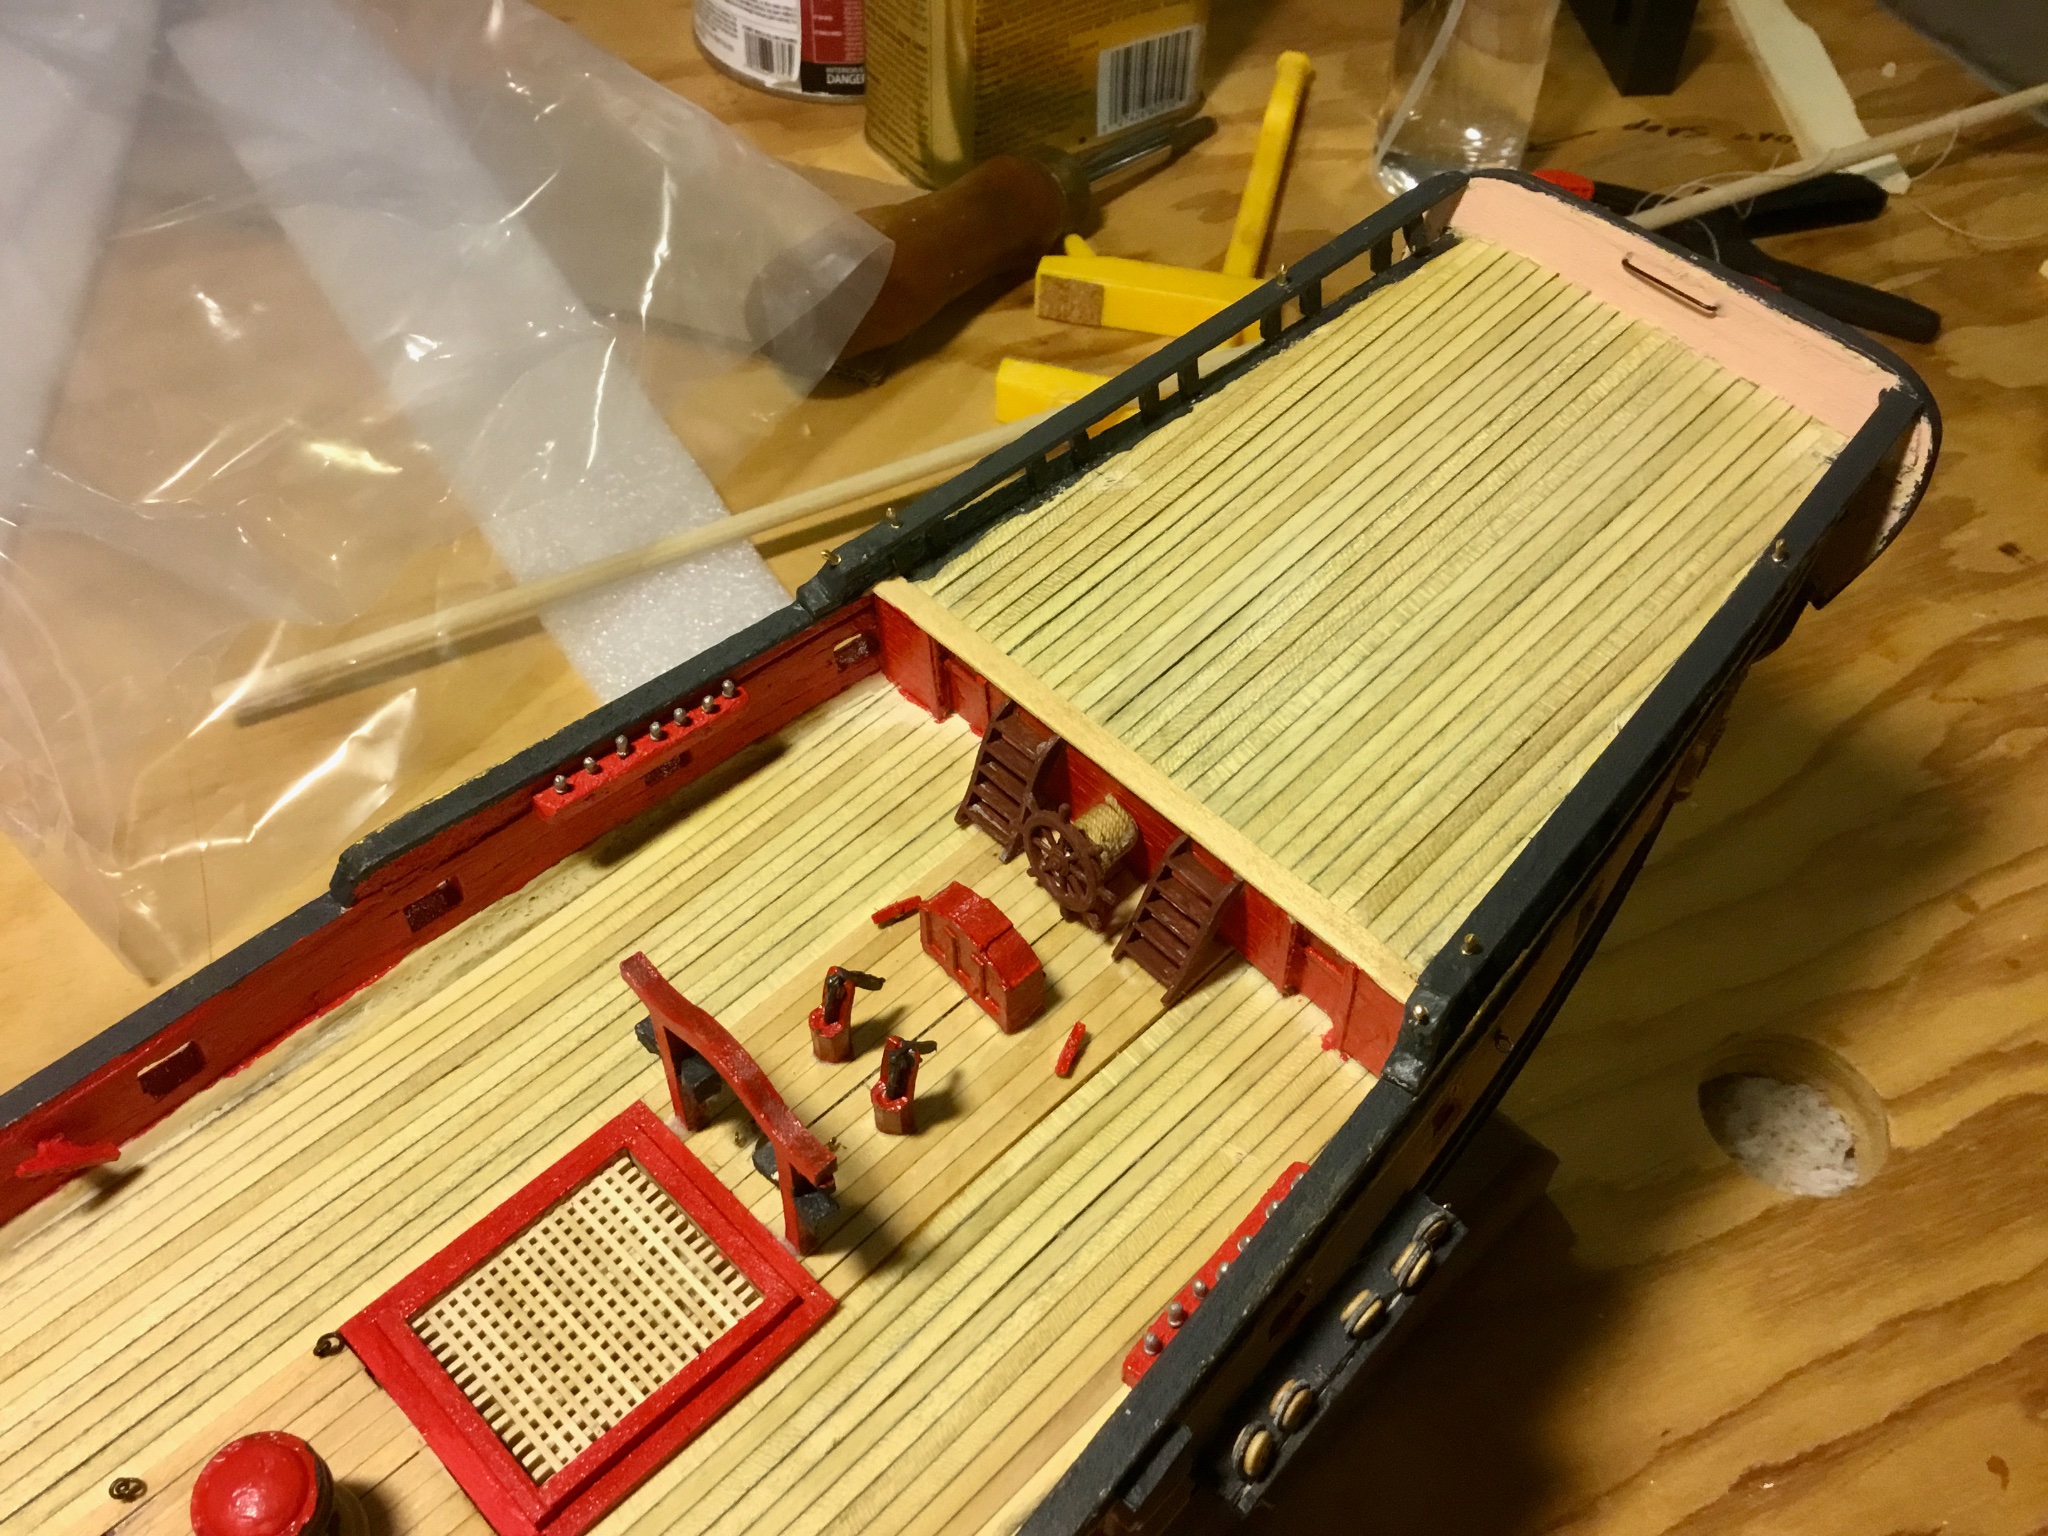
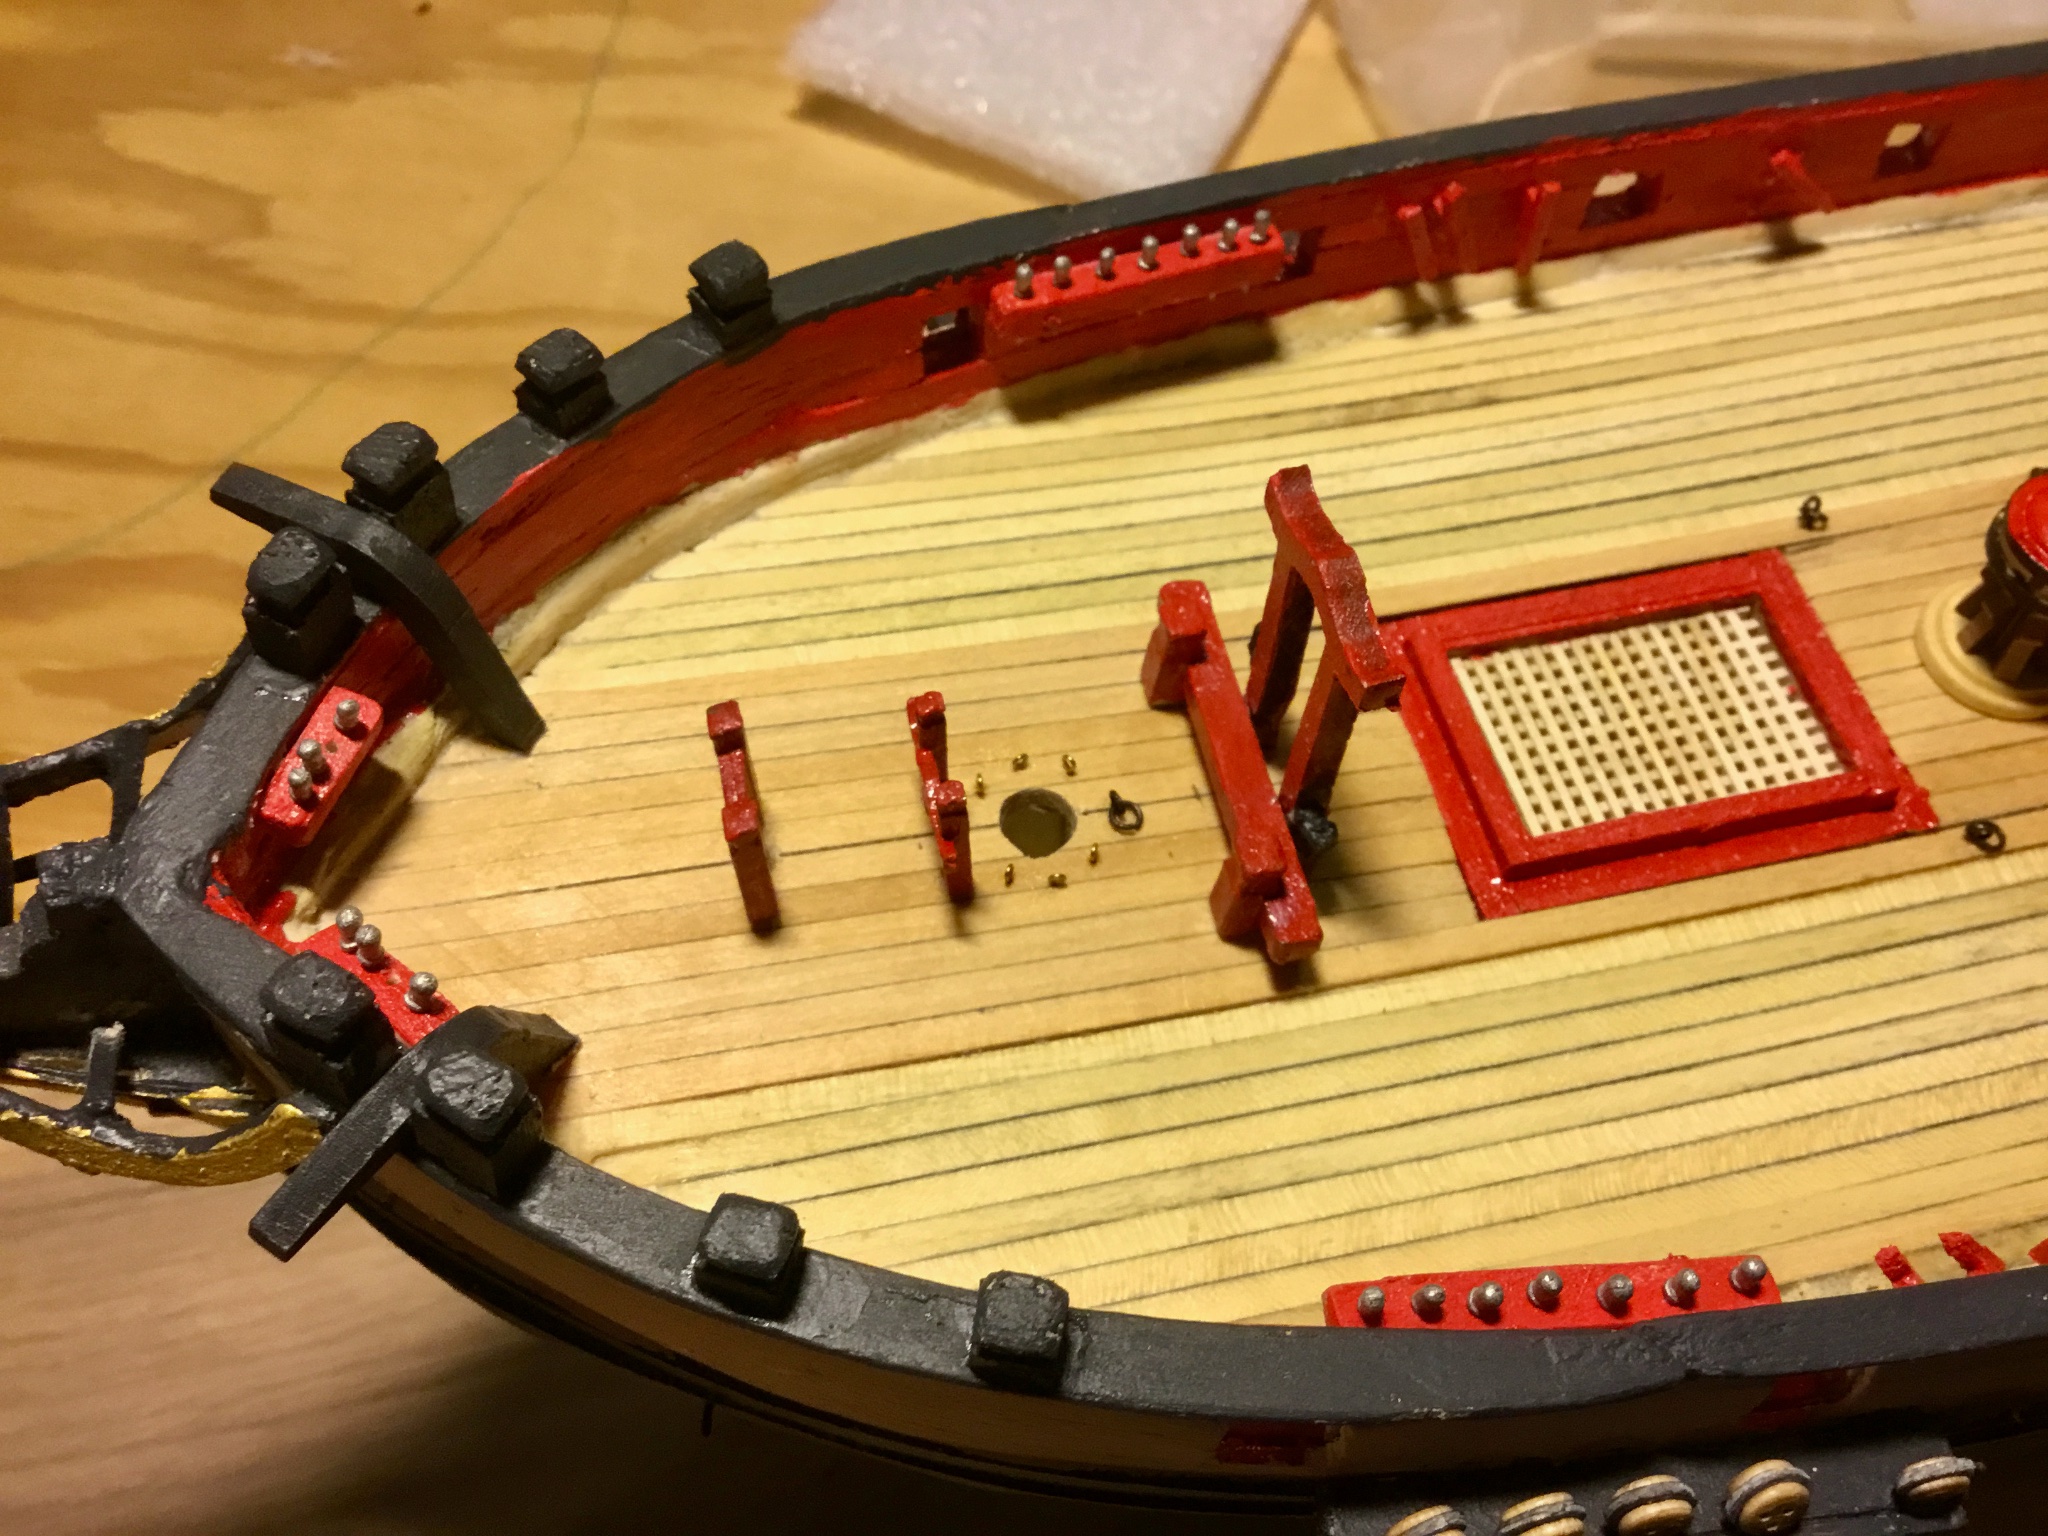
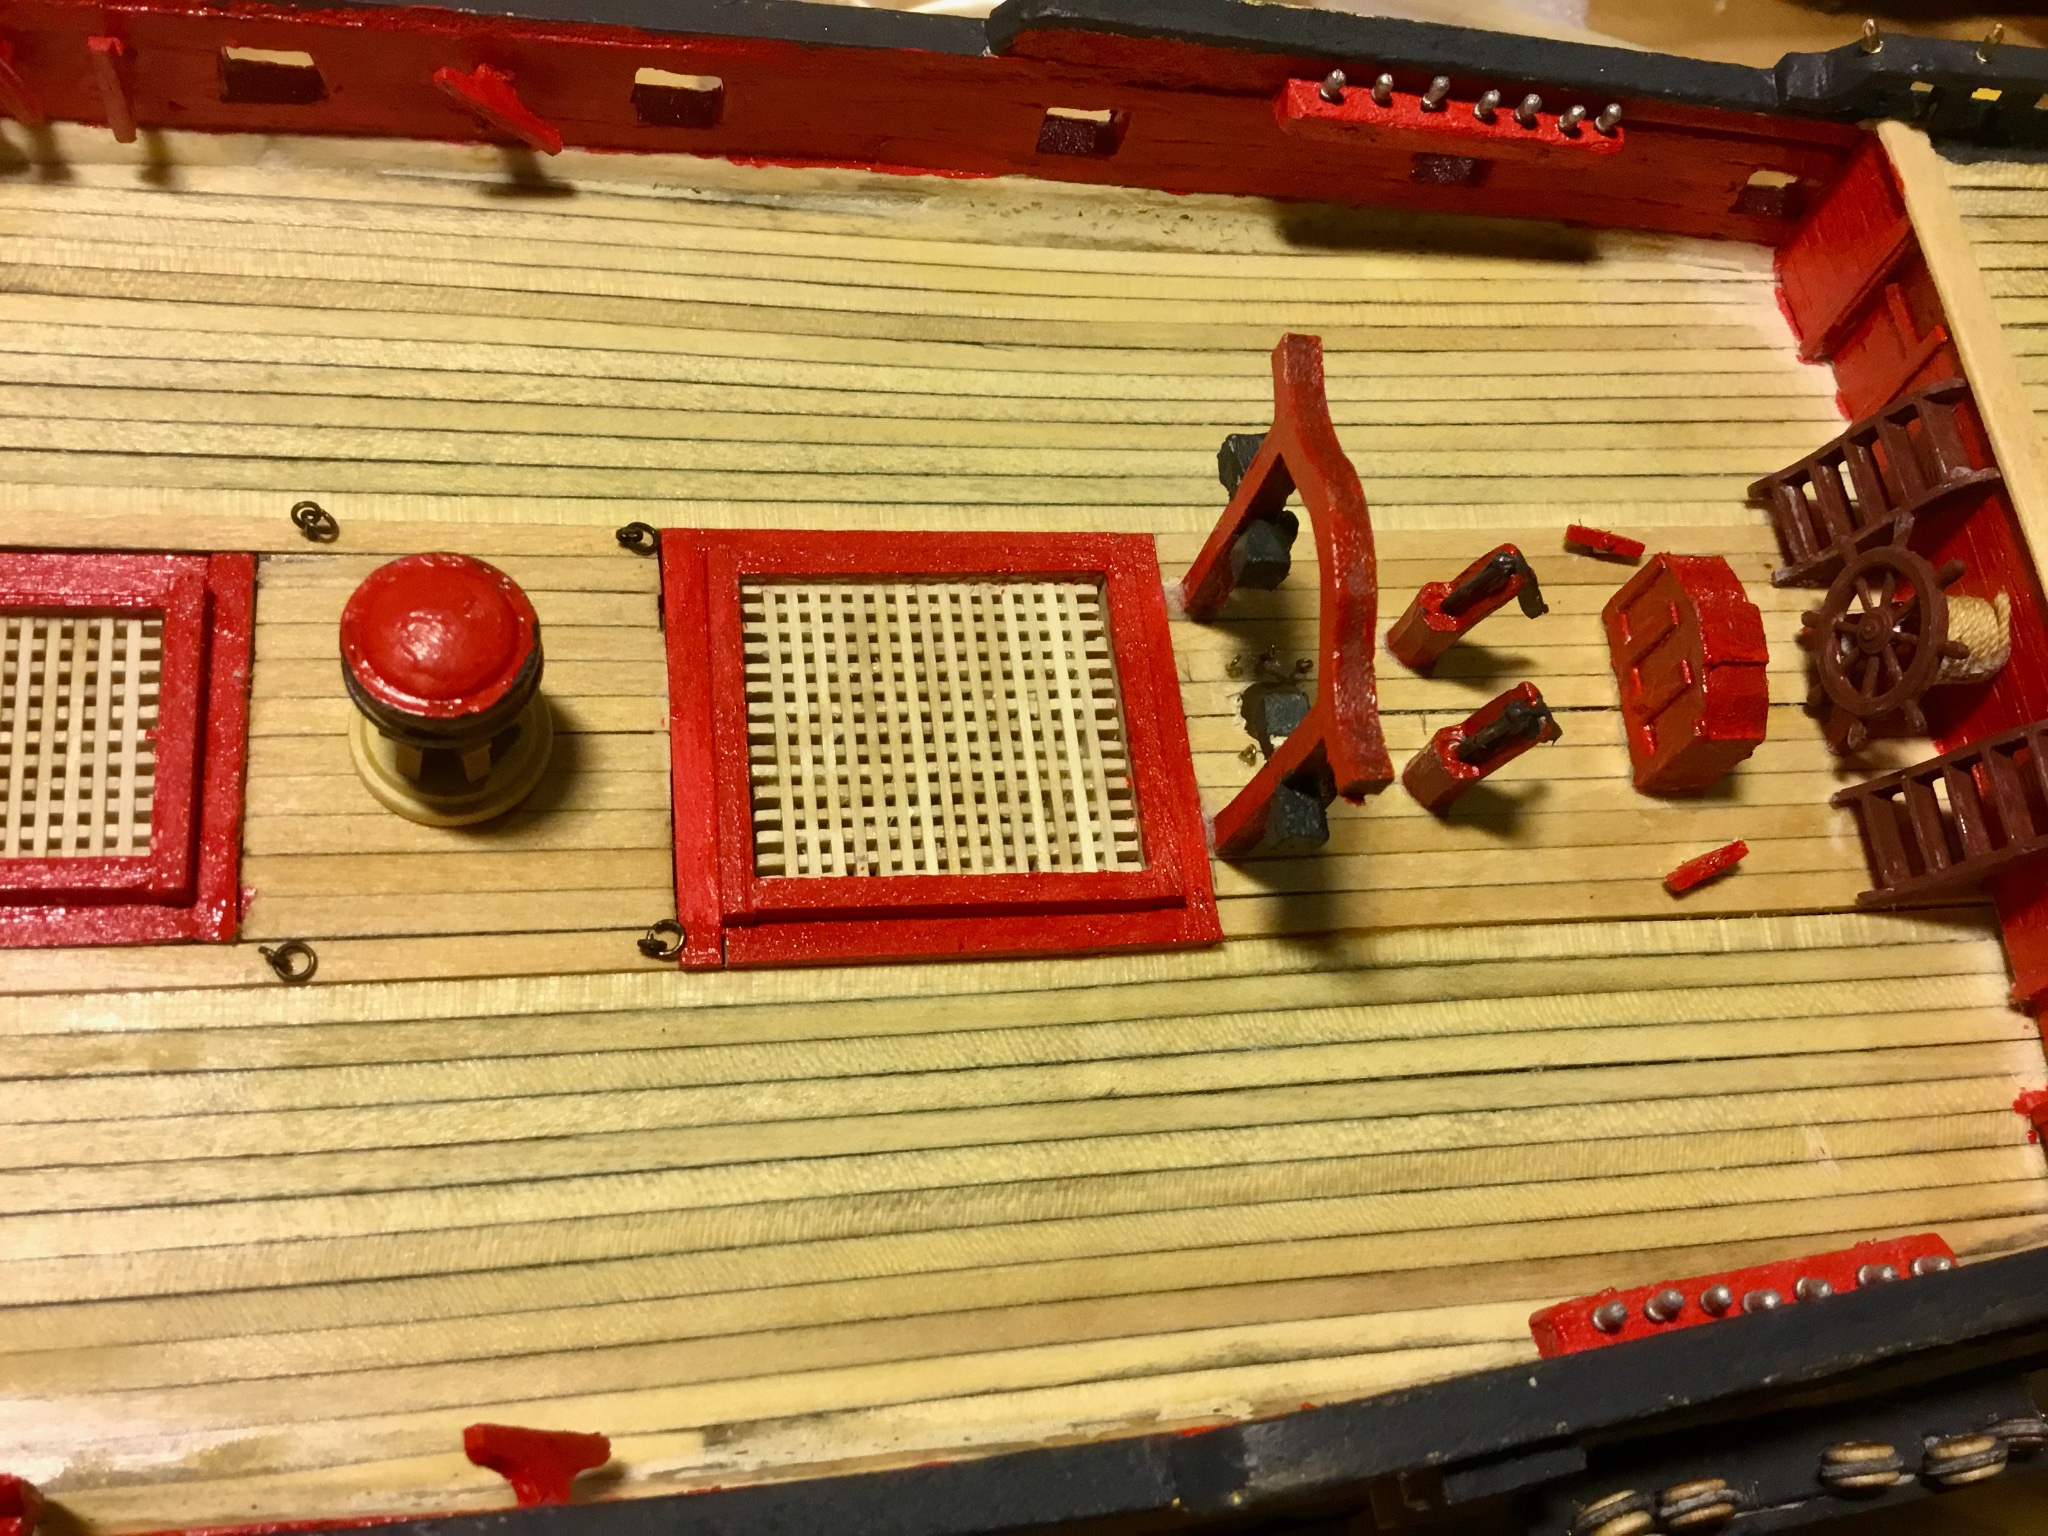
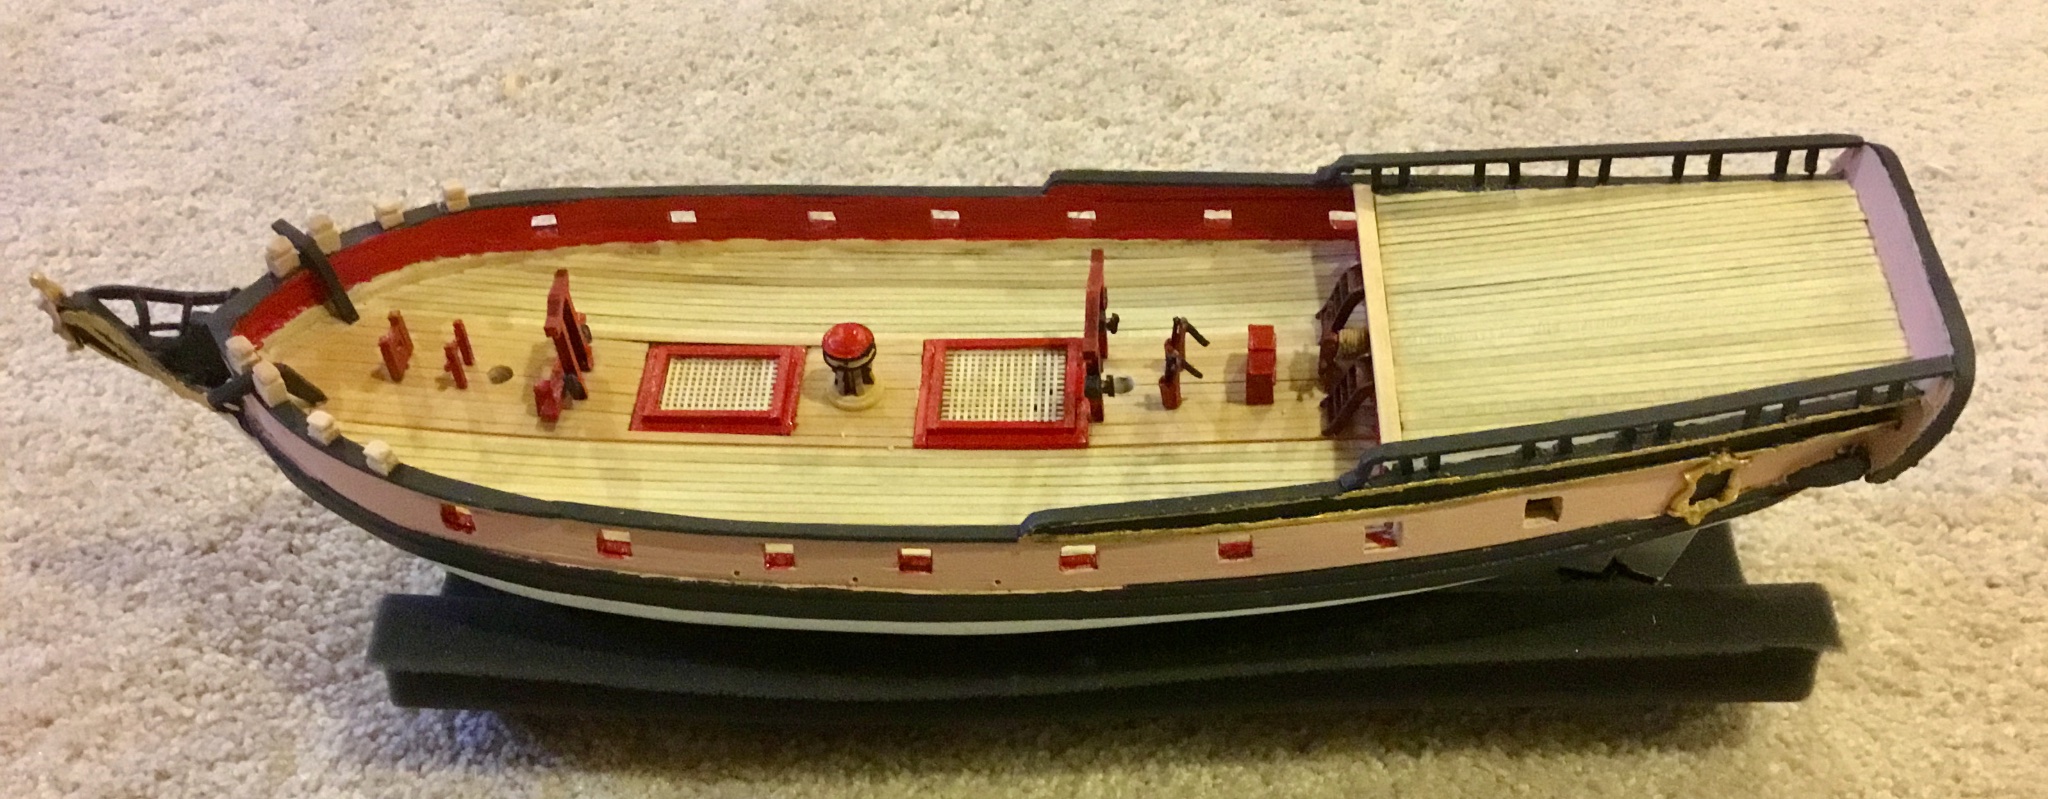
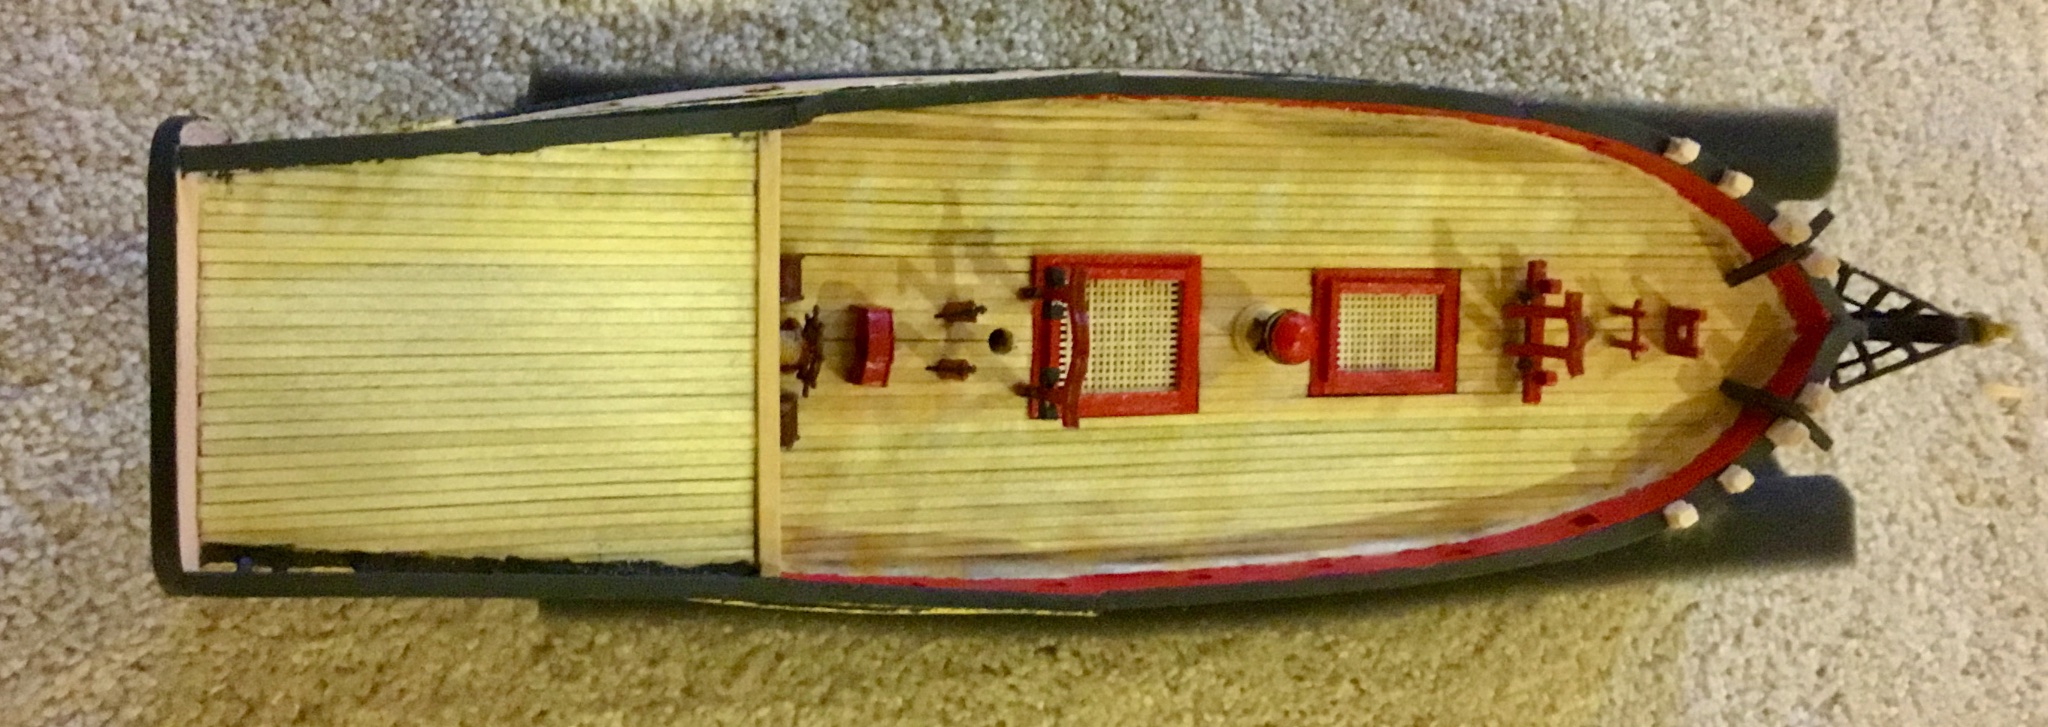
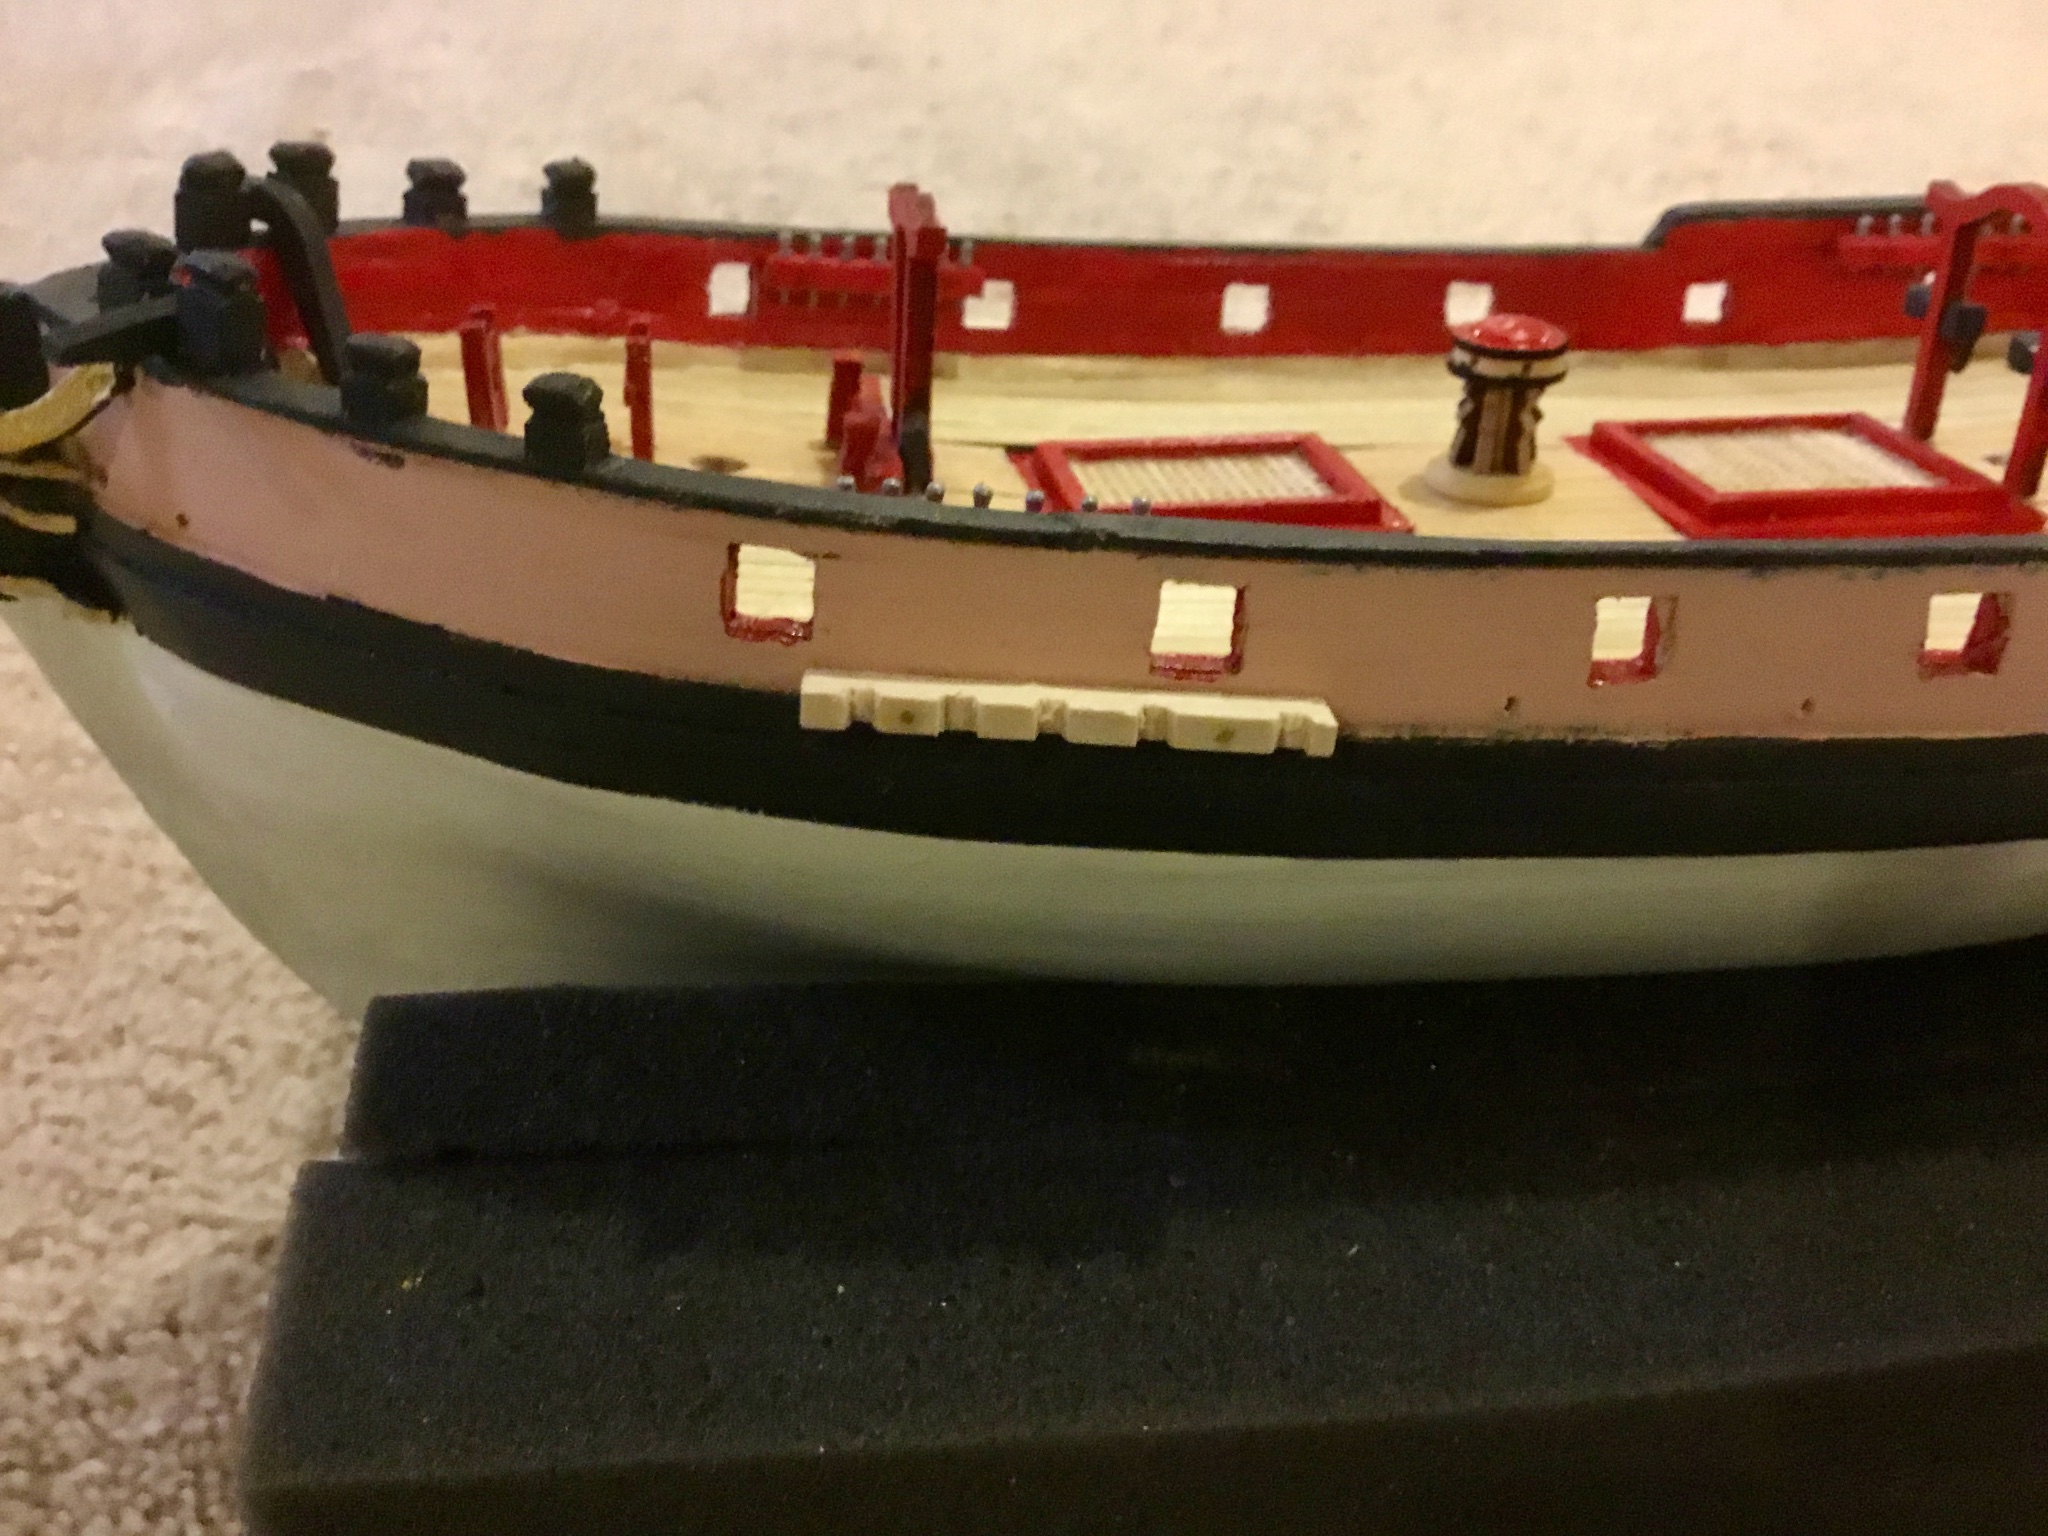
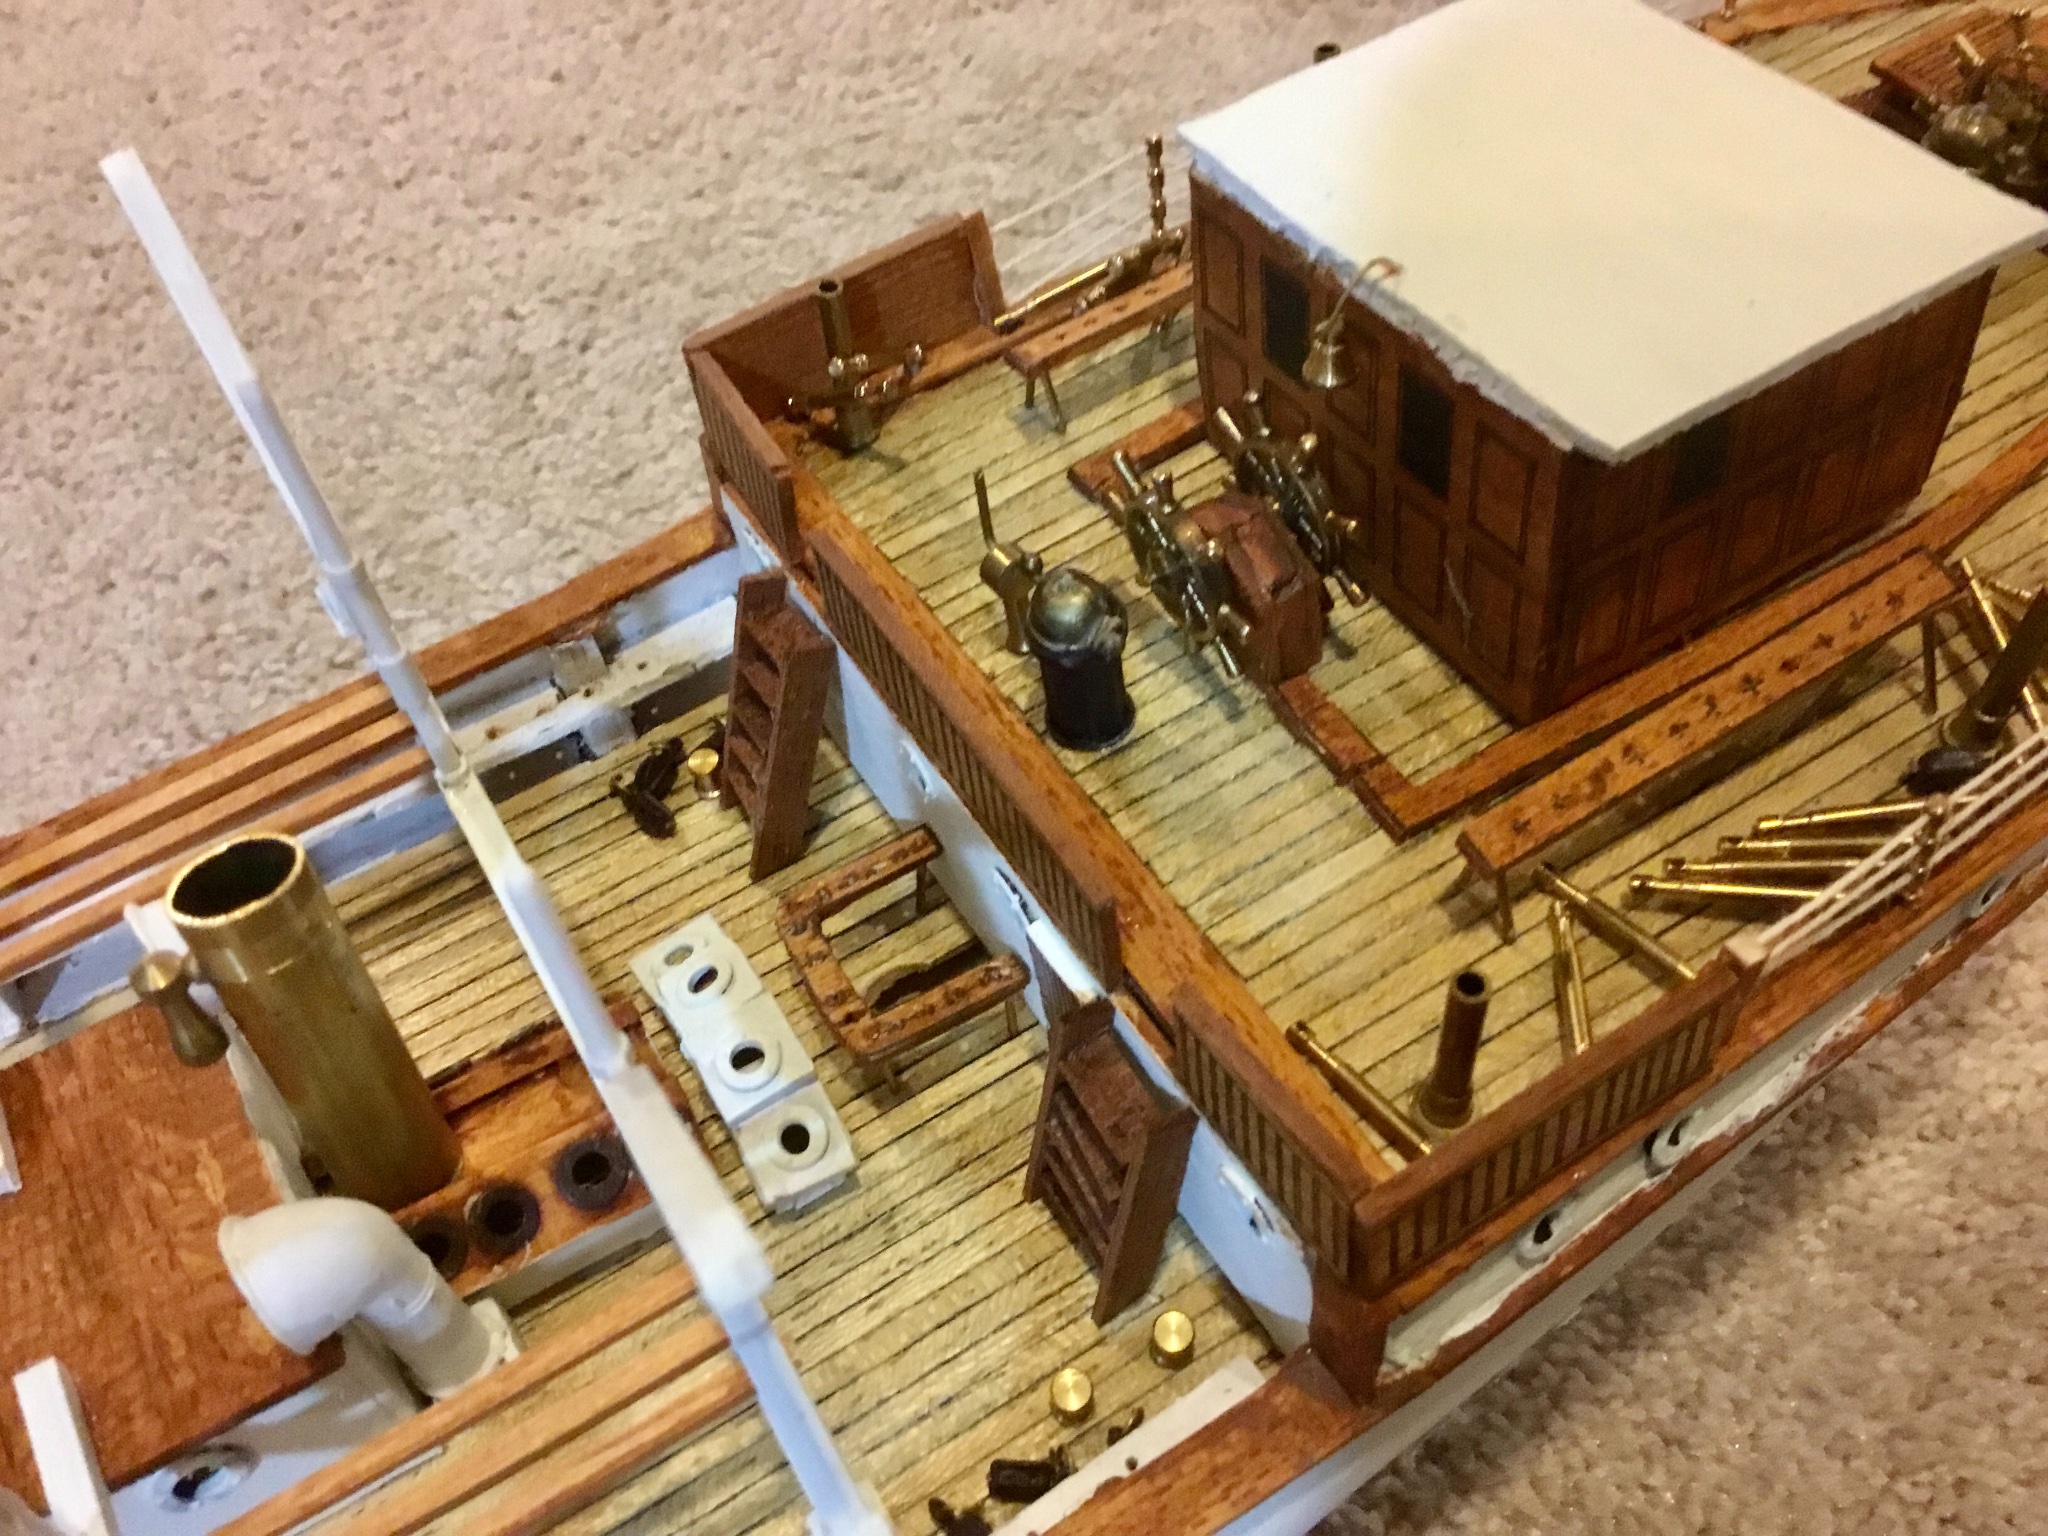
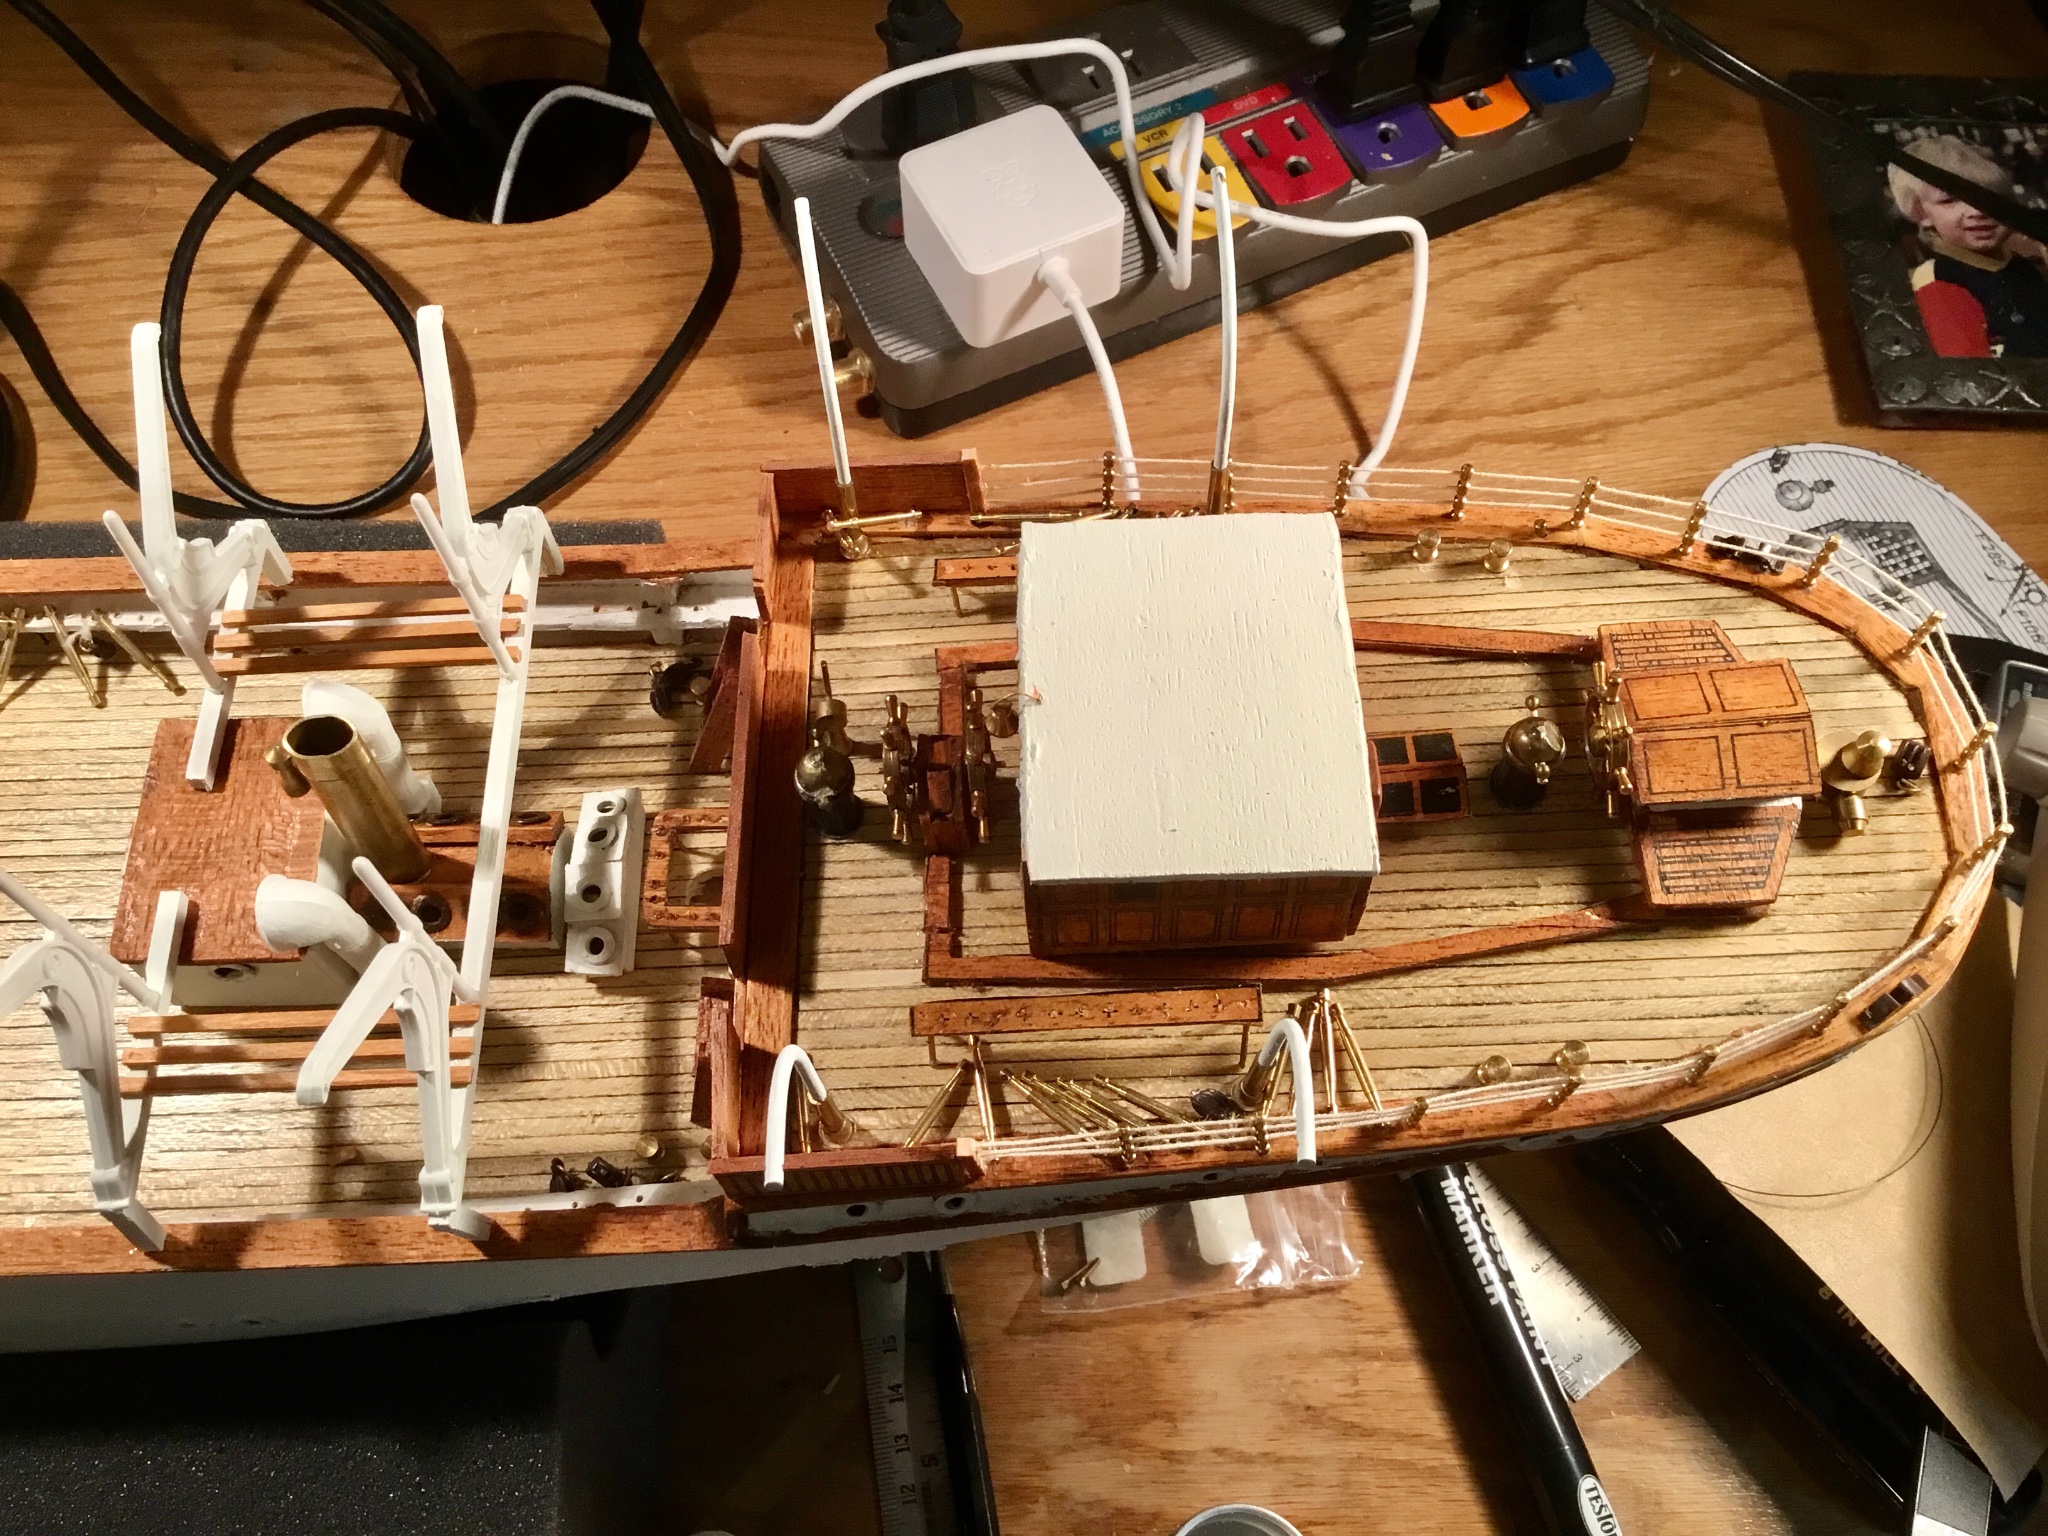
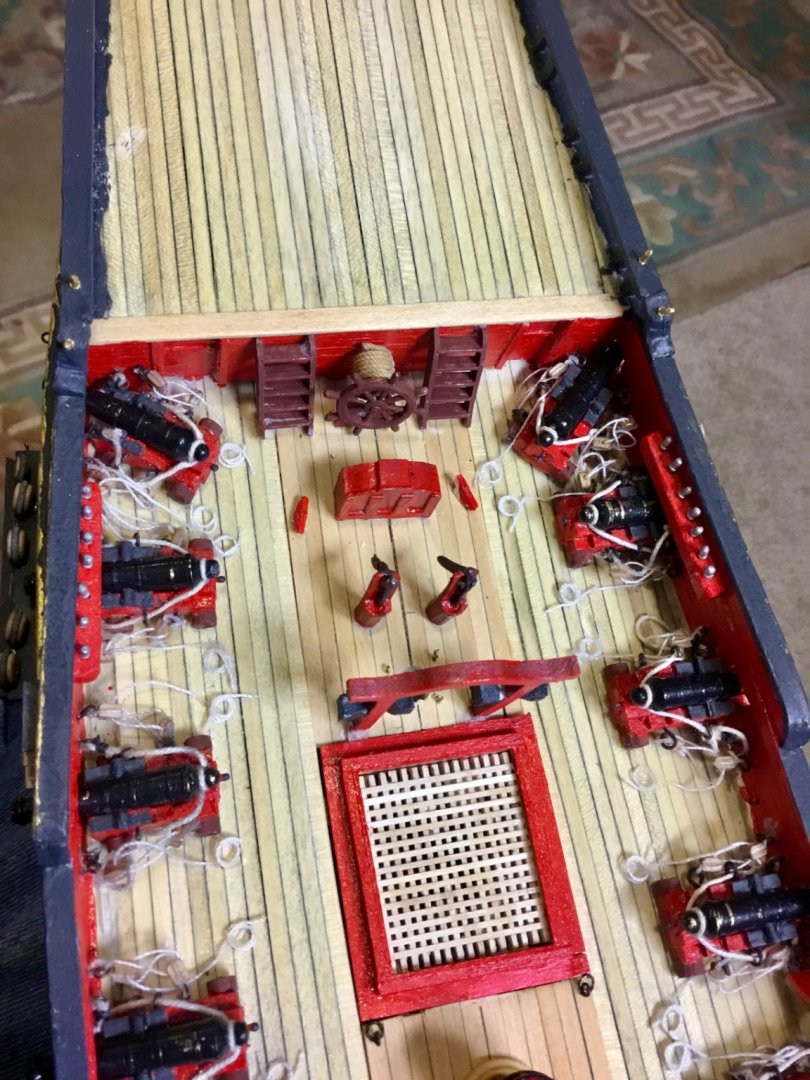
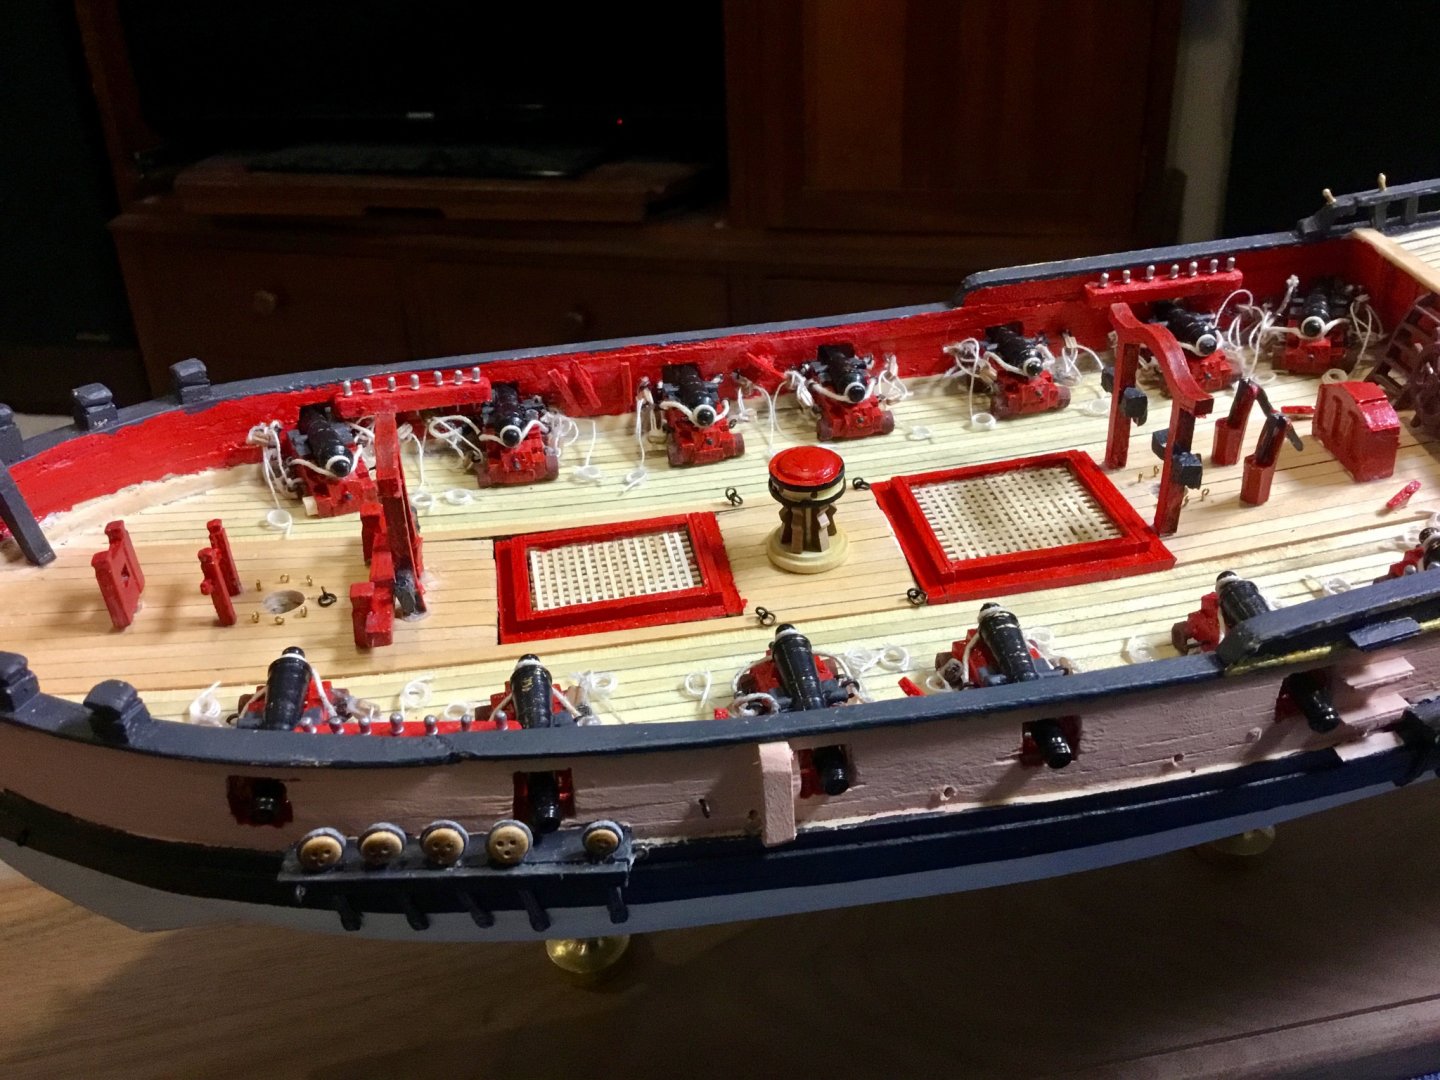
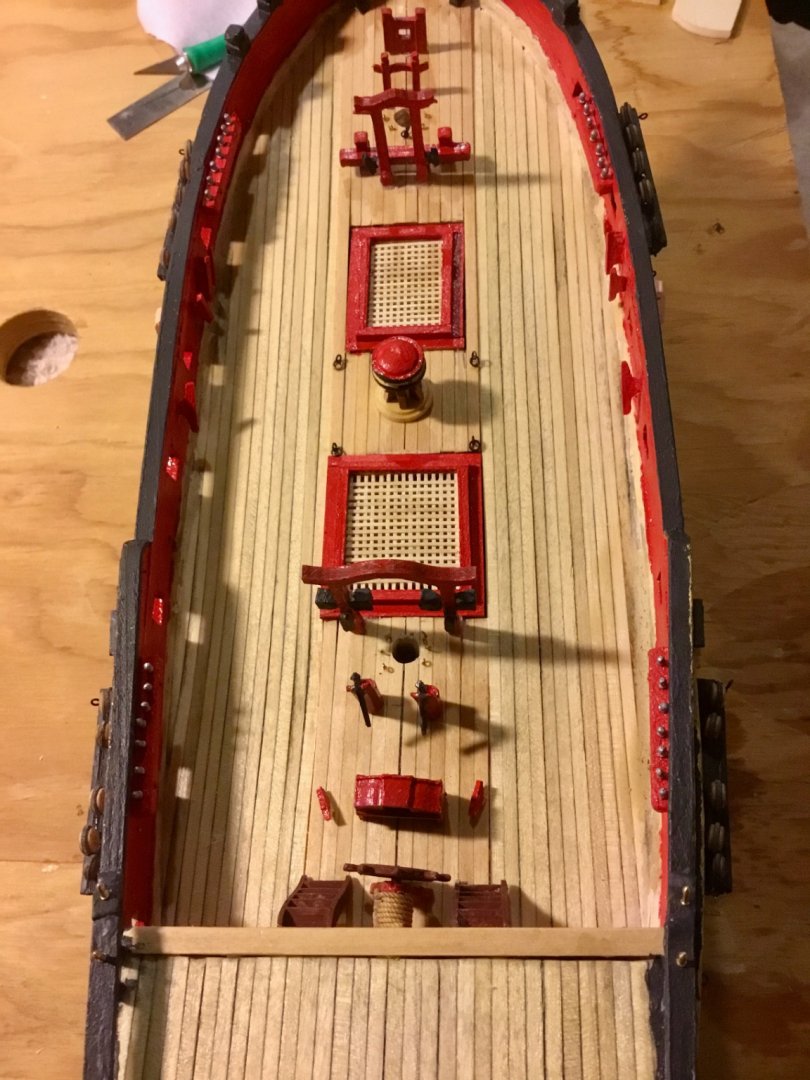
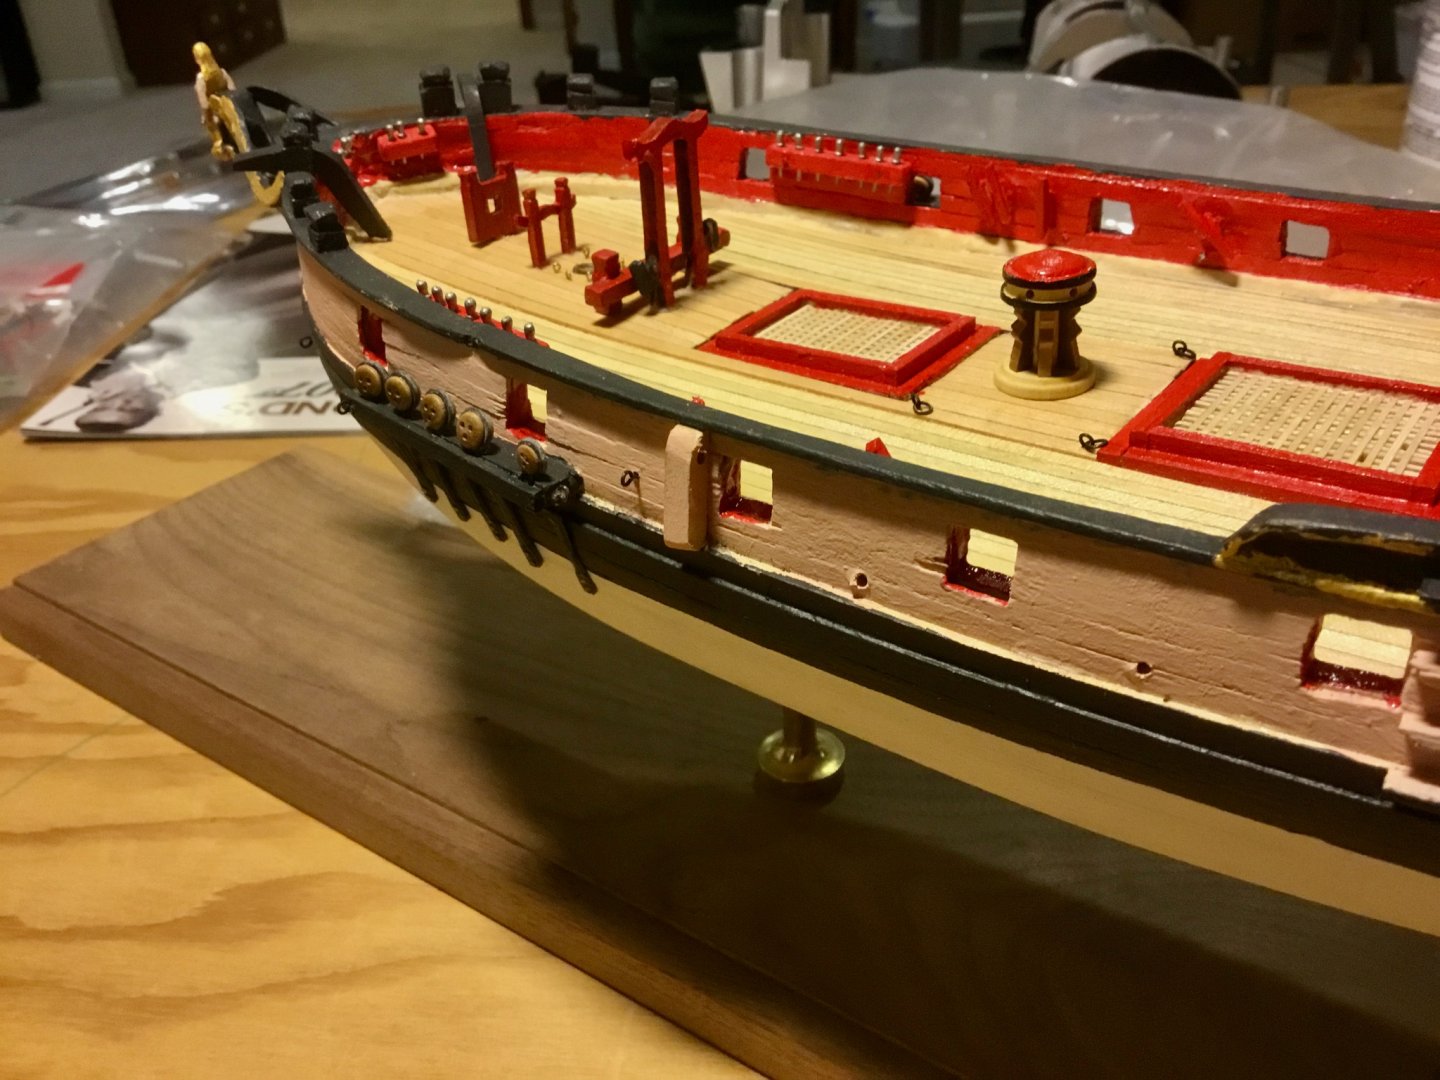
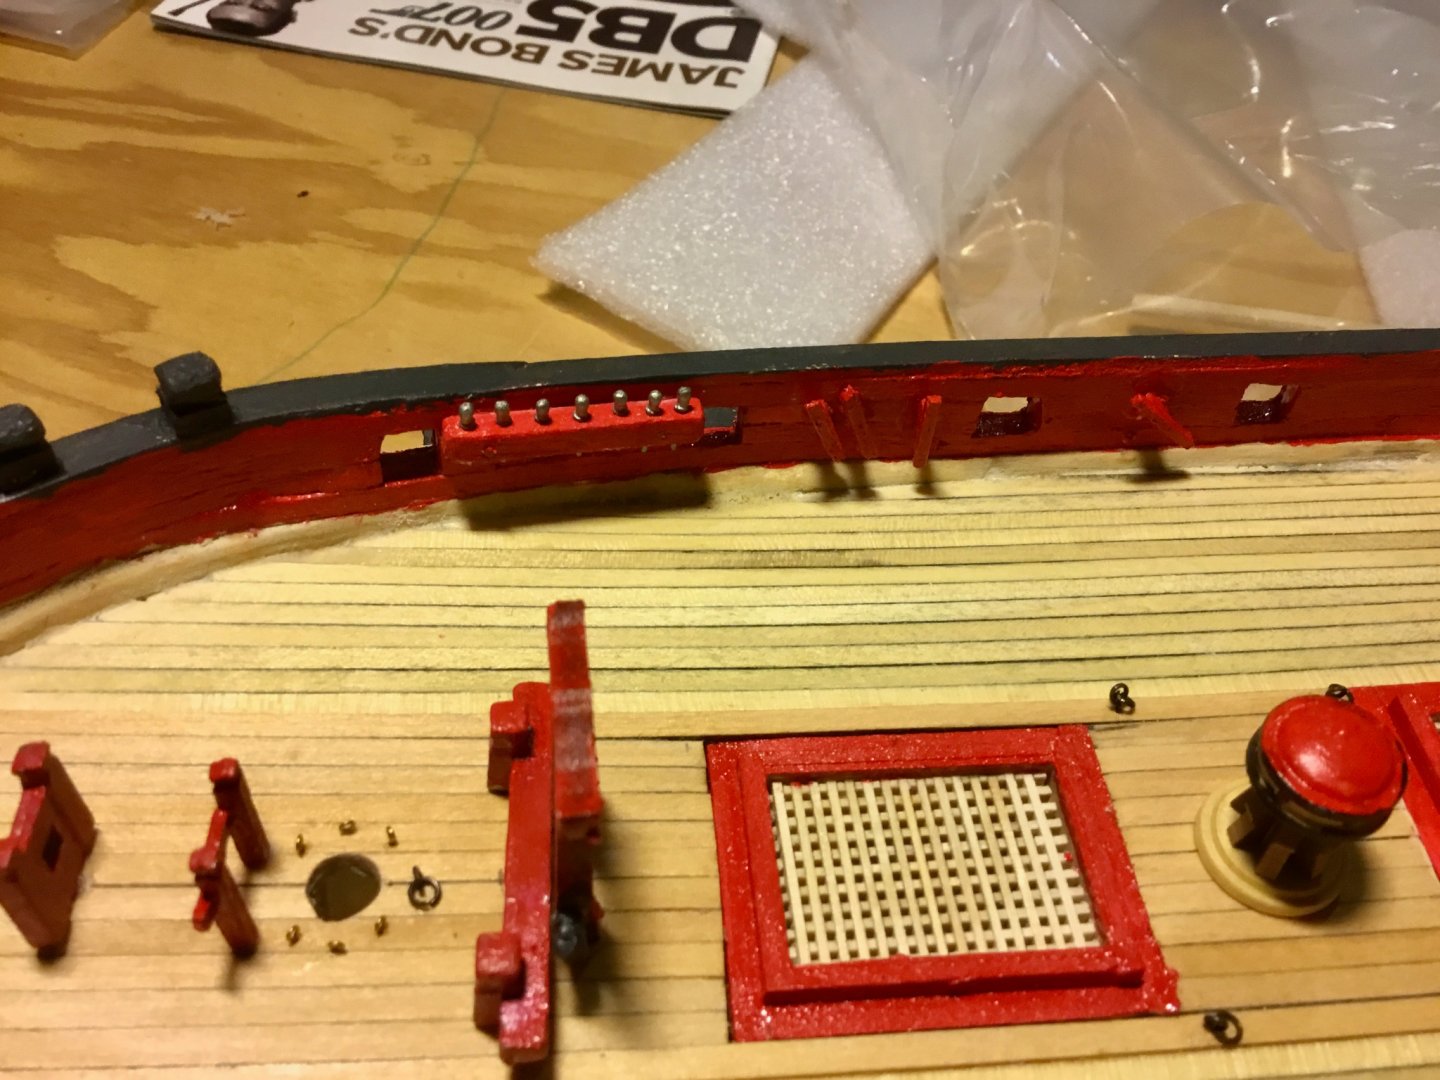
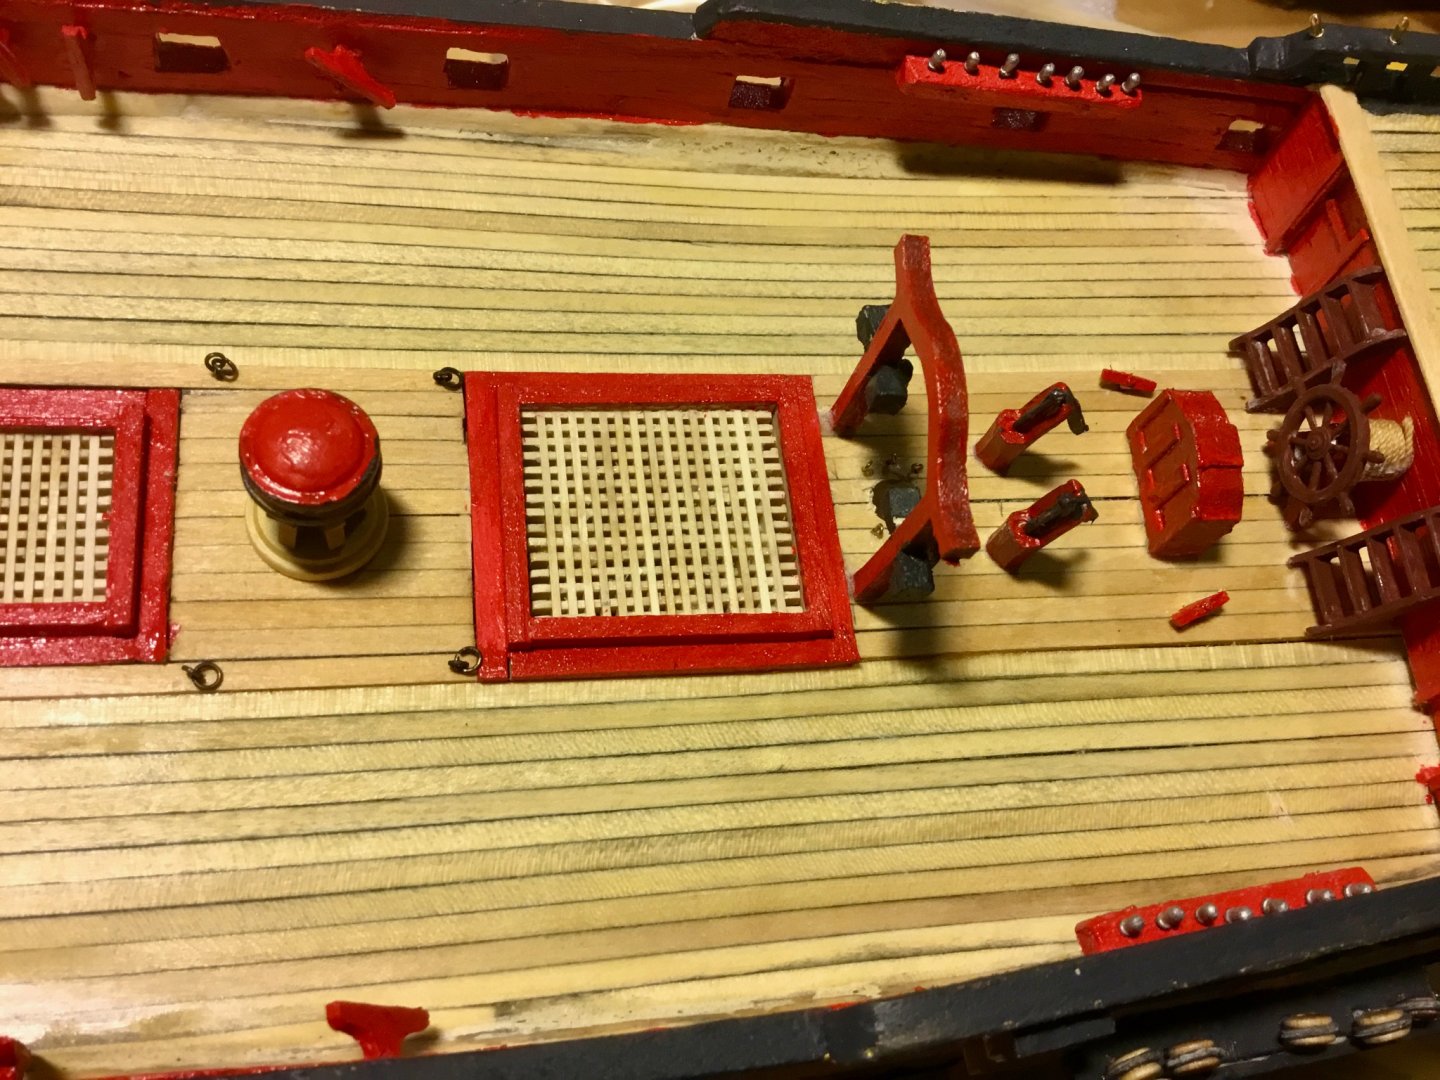
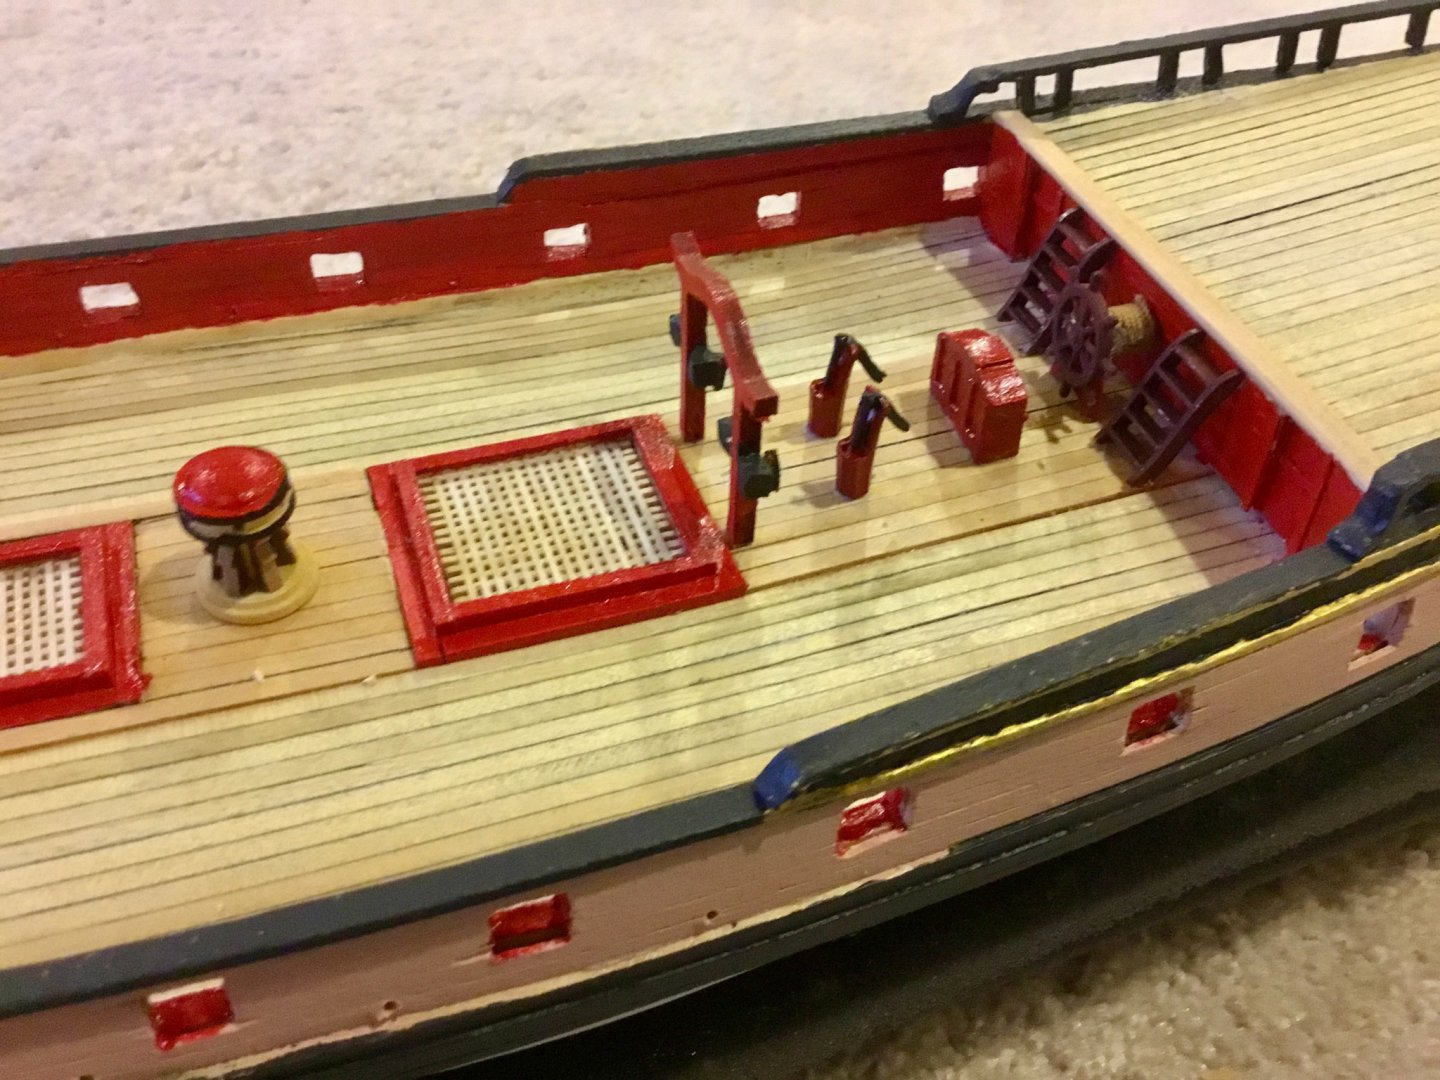
Added hatches, capstan, bits, pumps, binnacle, stairs, wheel, etc. Completed more work on cannons. Added belaying pin racks and began installation of channels.


- 24 replies
-
- 4
-
-
- Fair American
- Model Shipways
- (and 1 more)
-
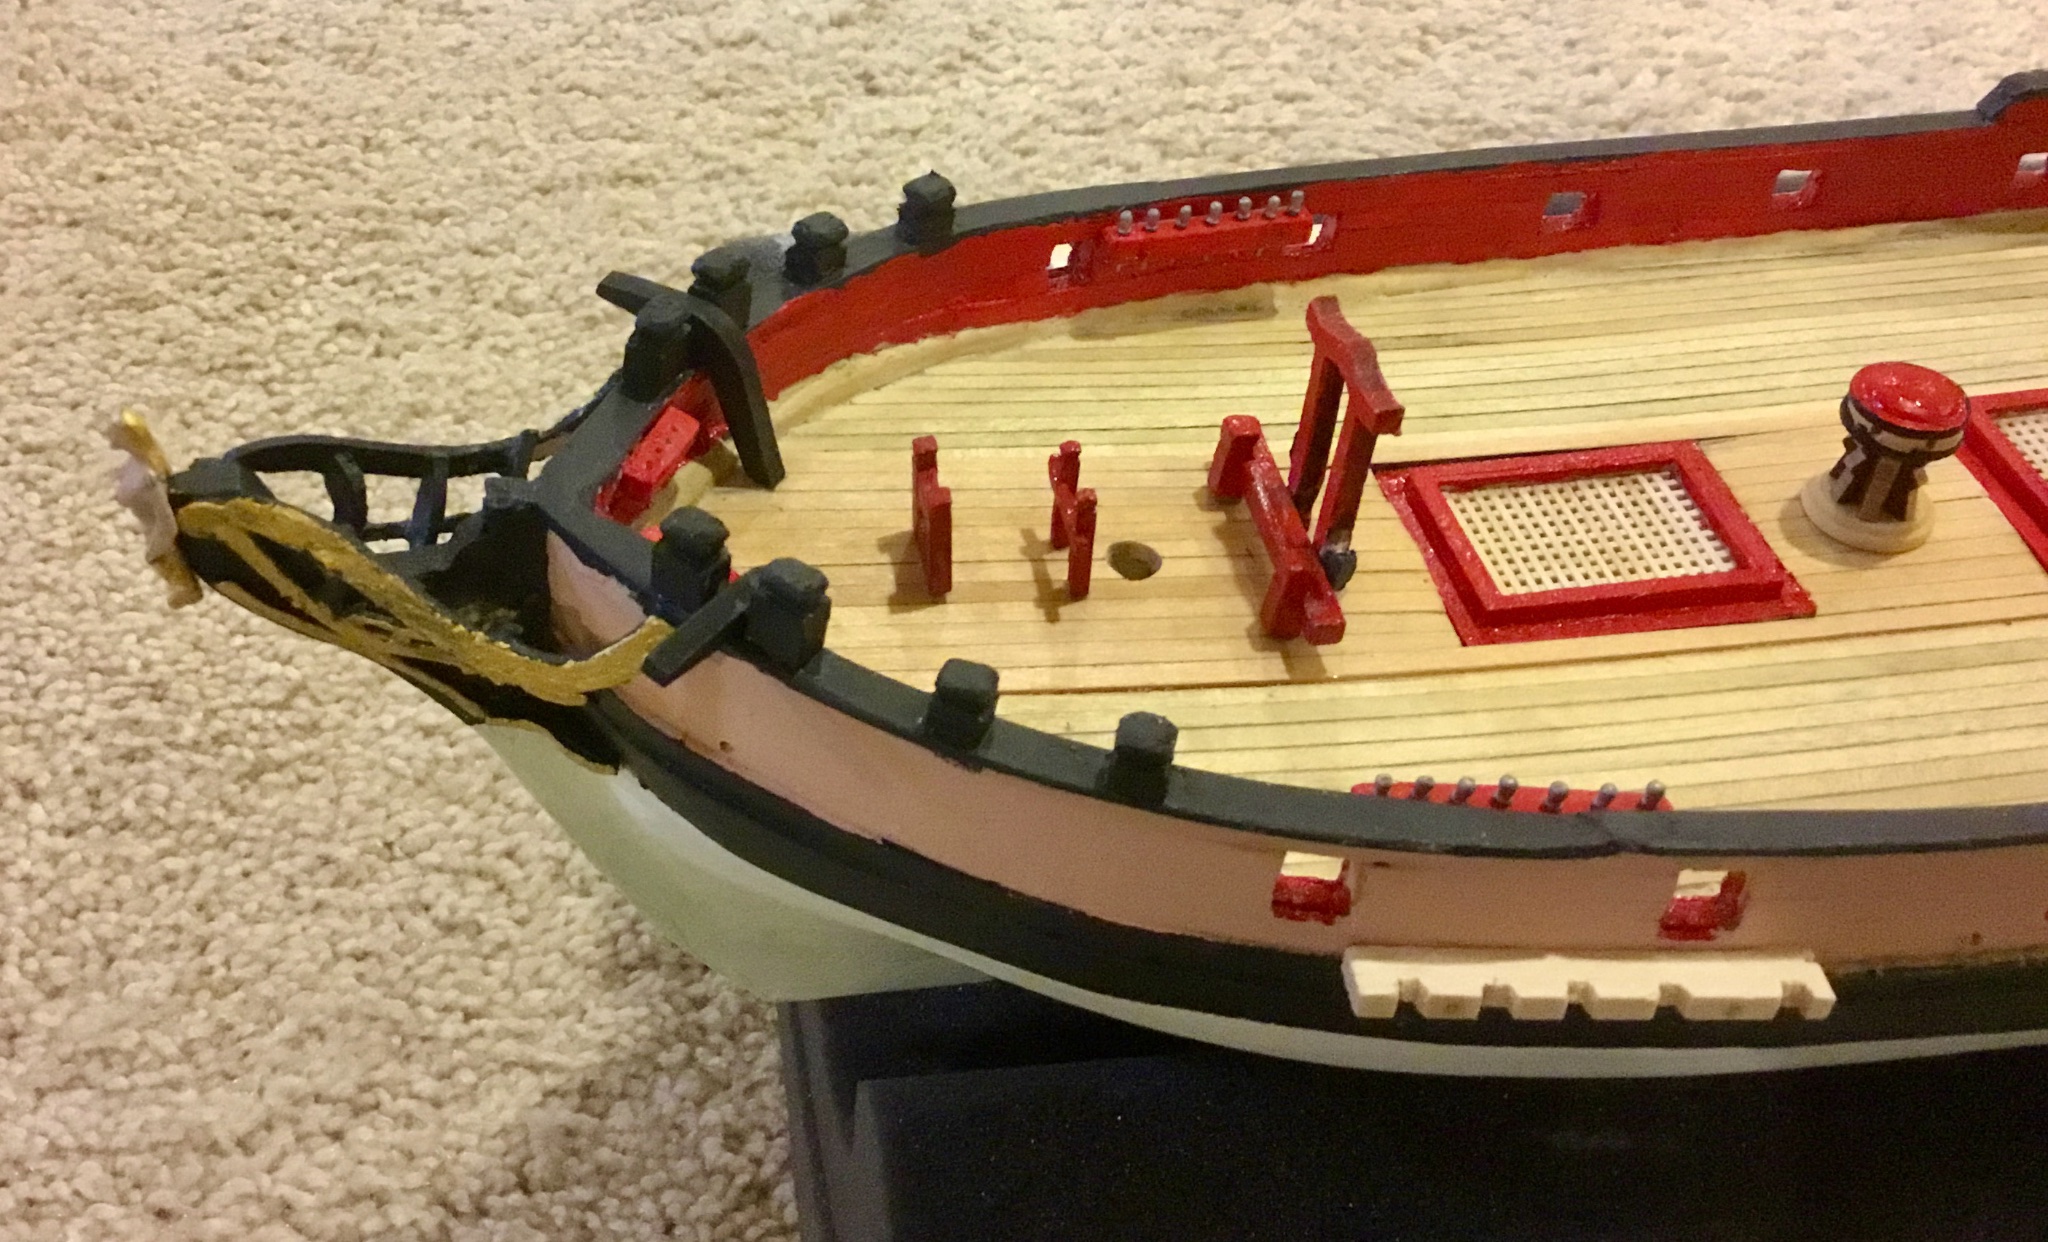
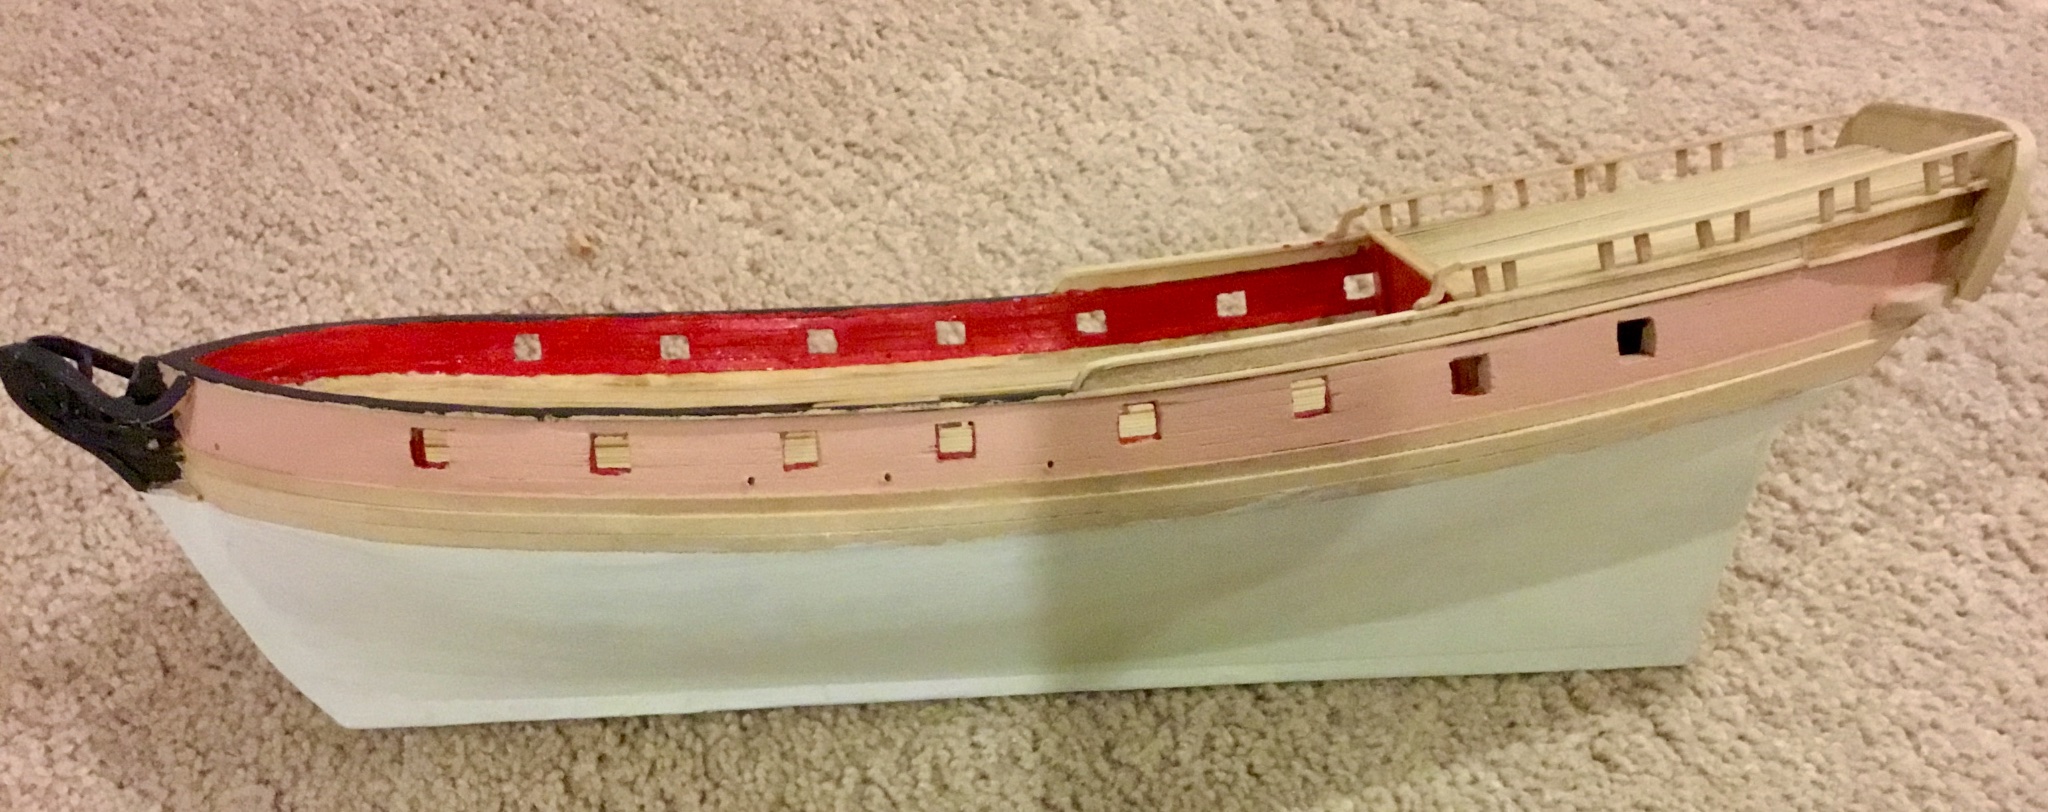
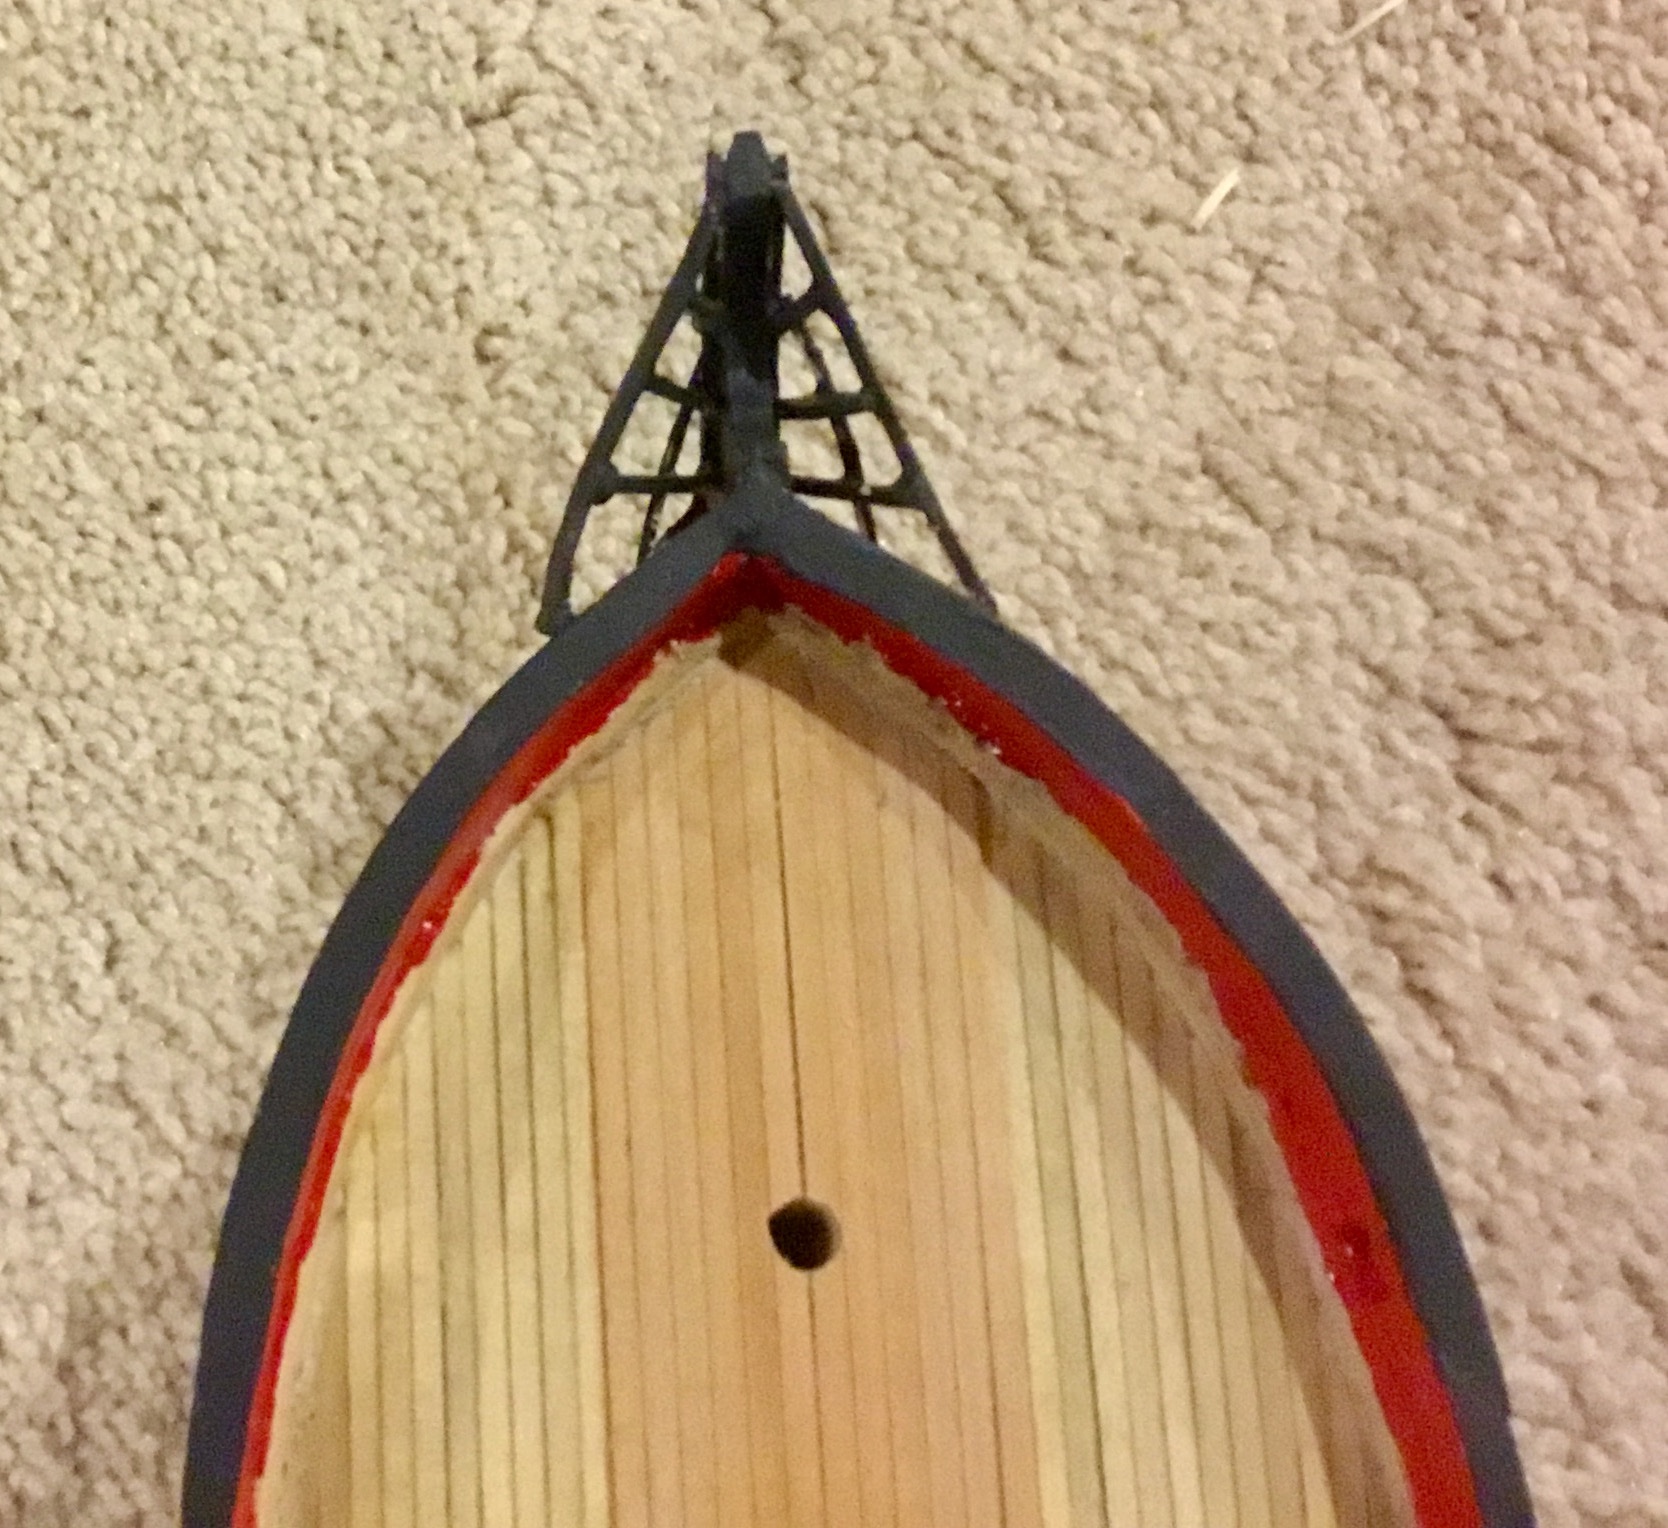
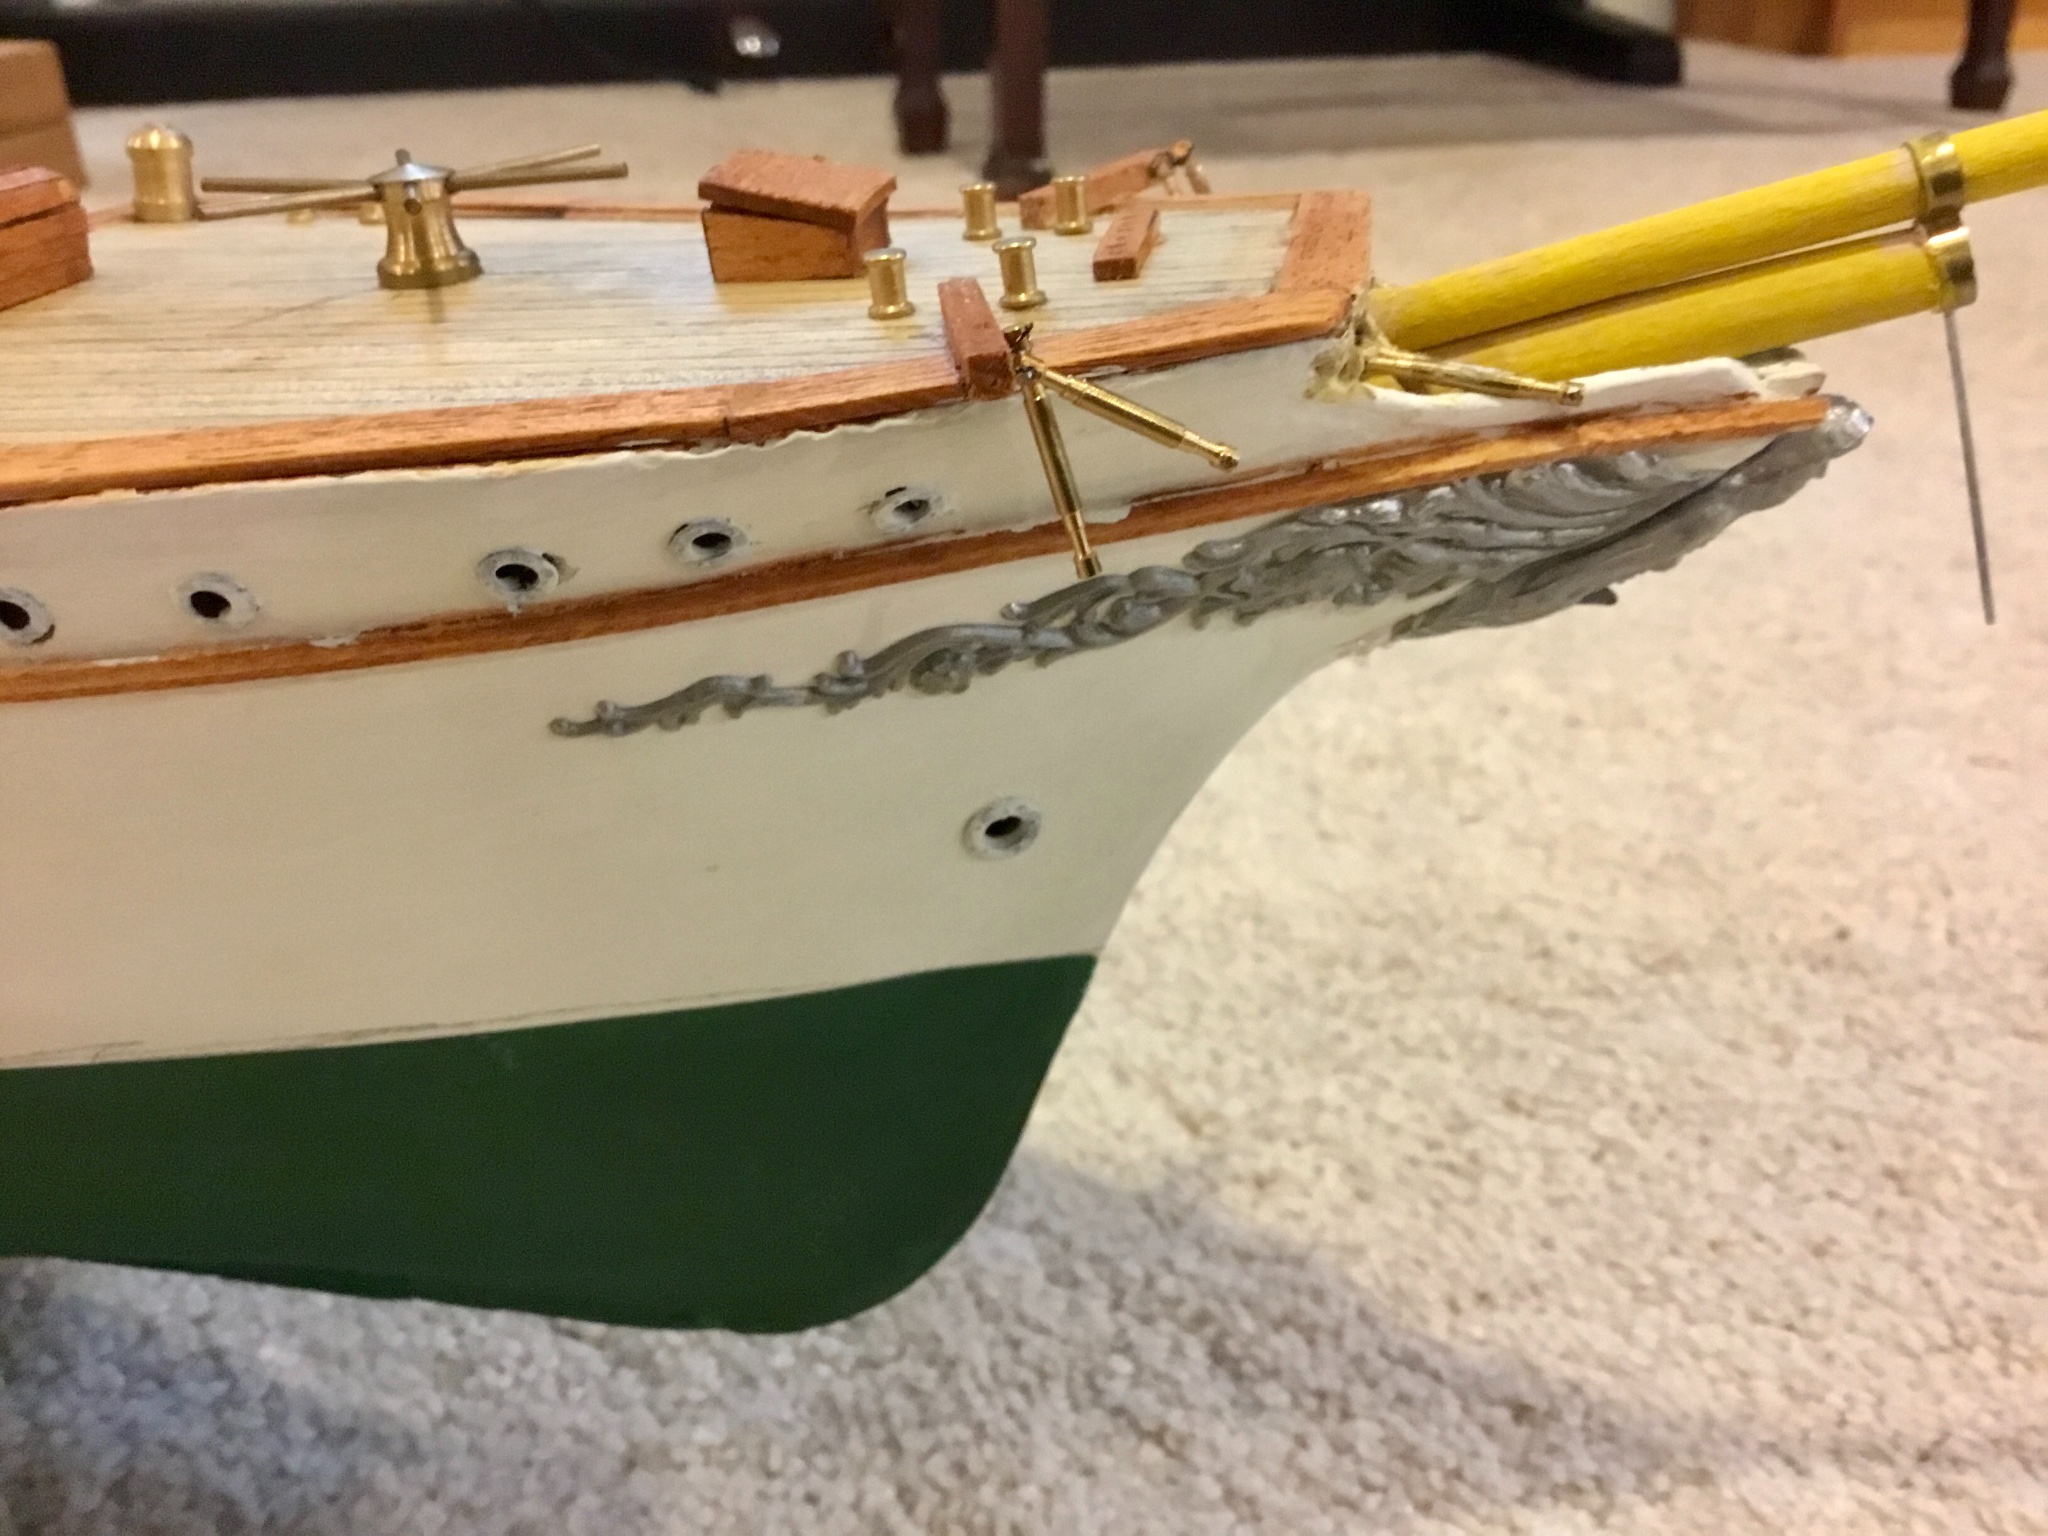
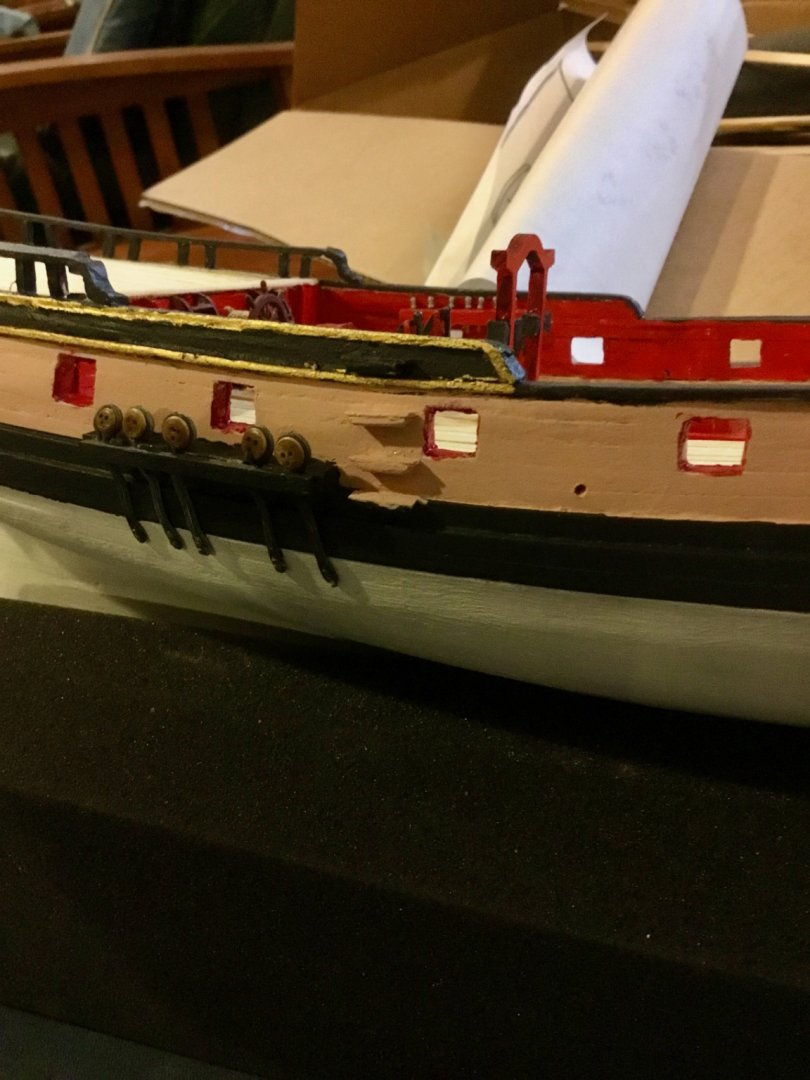
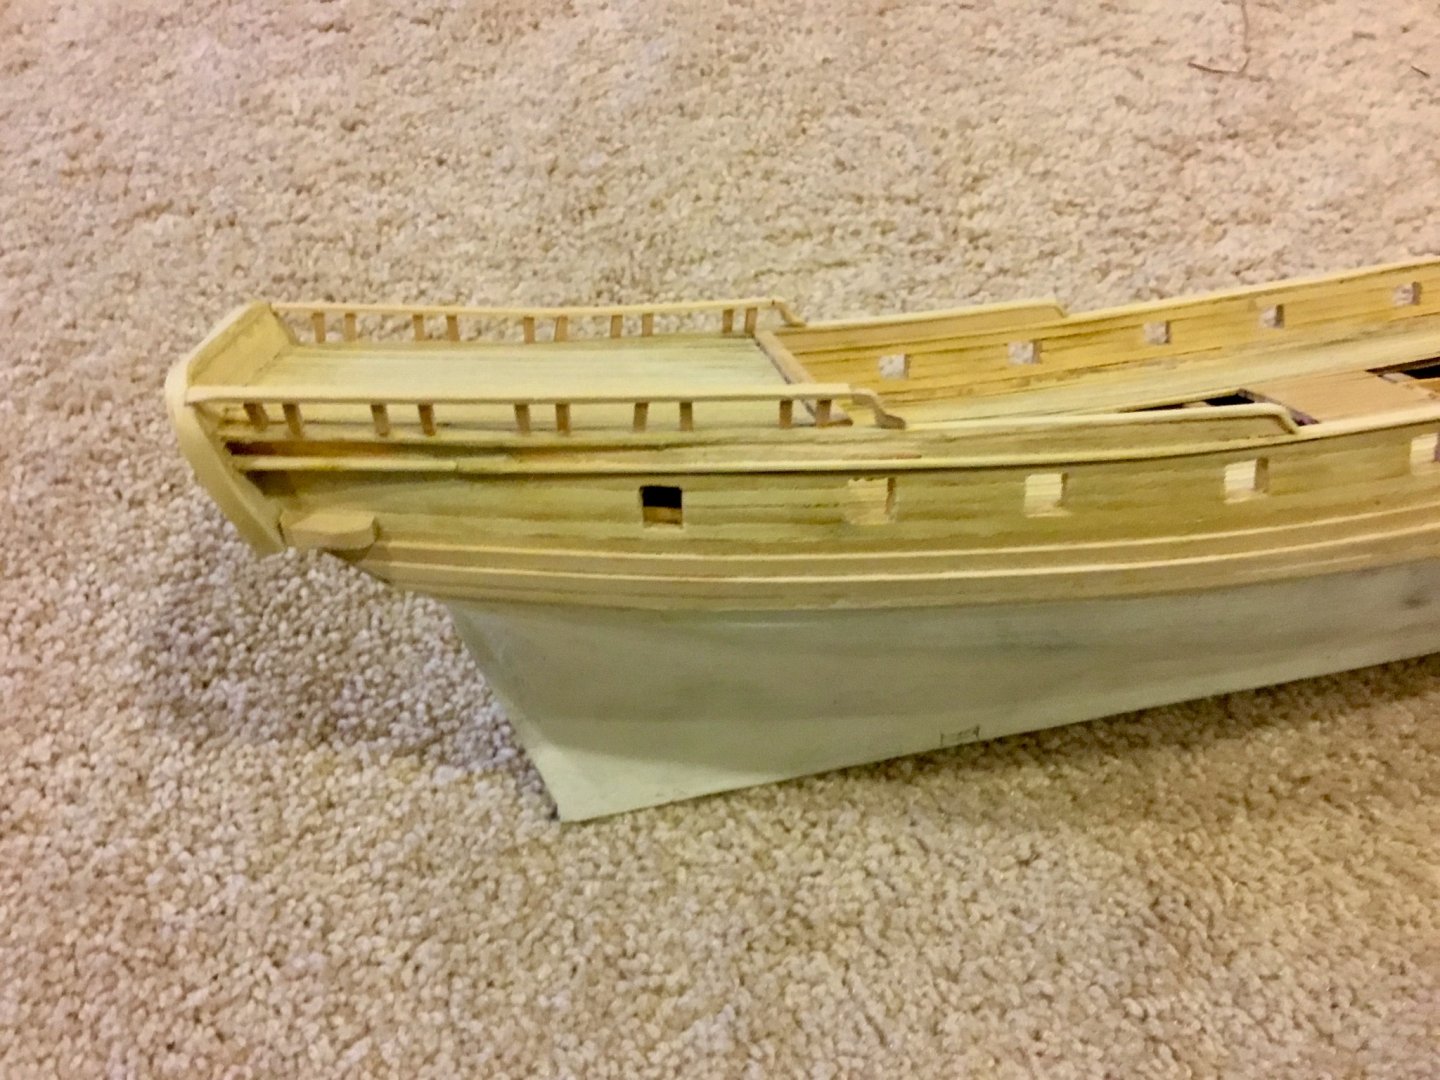
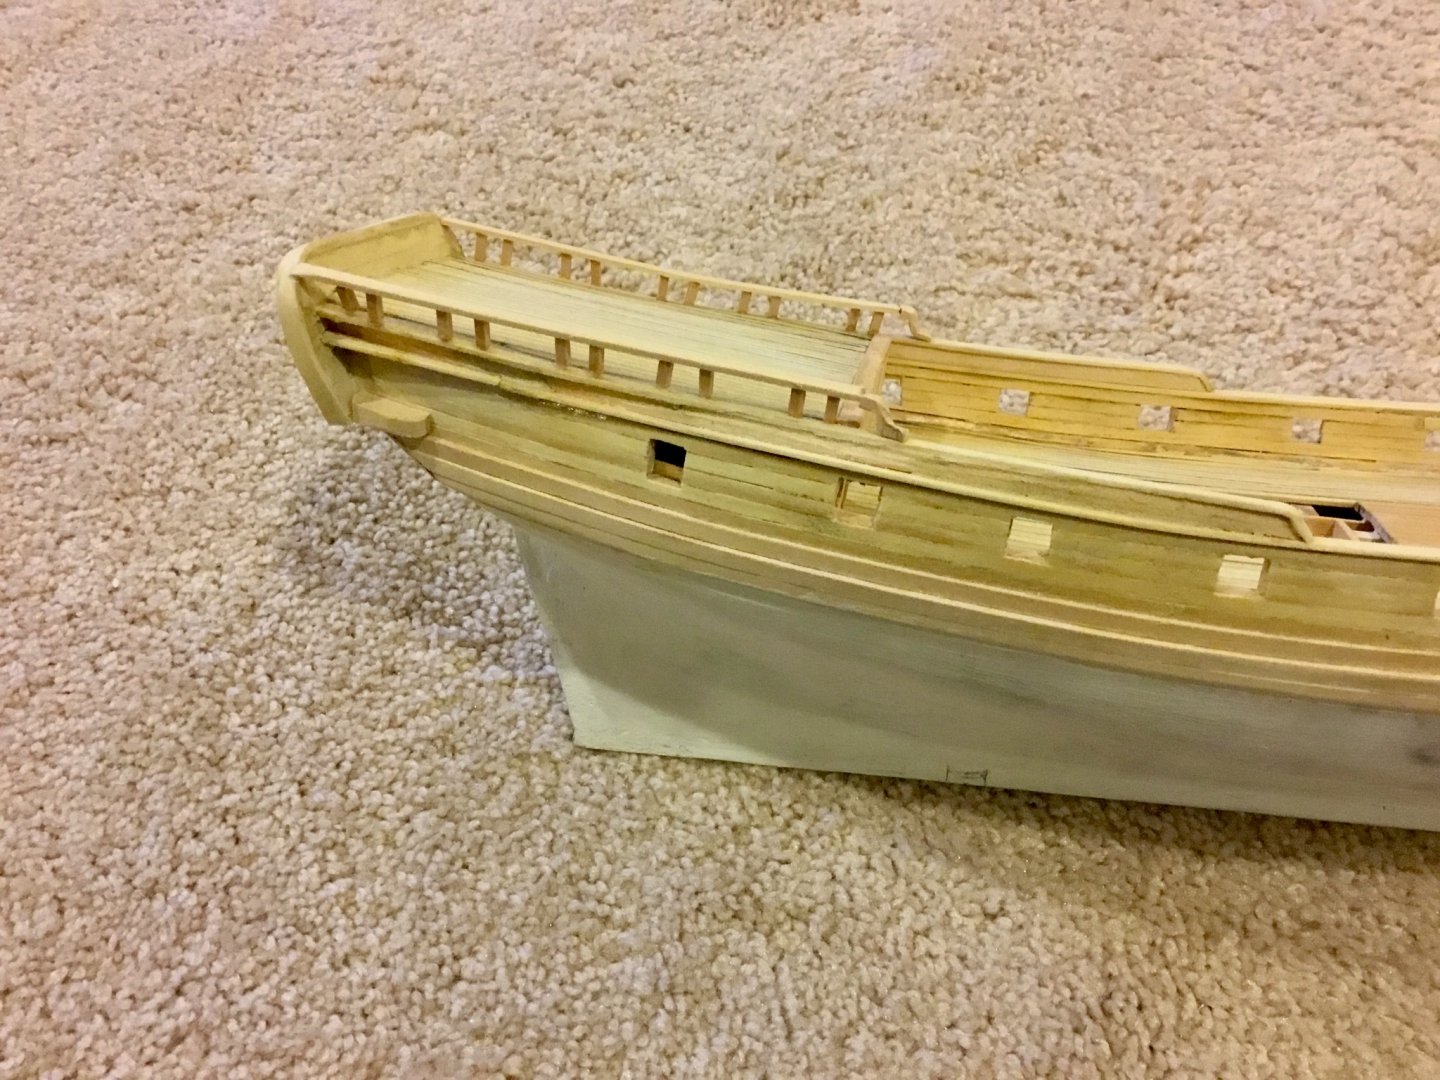
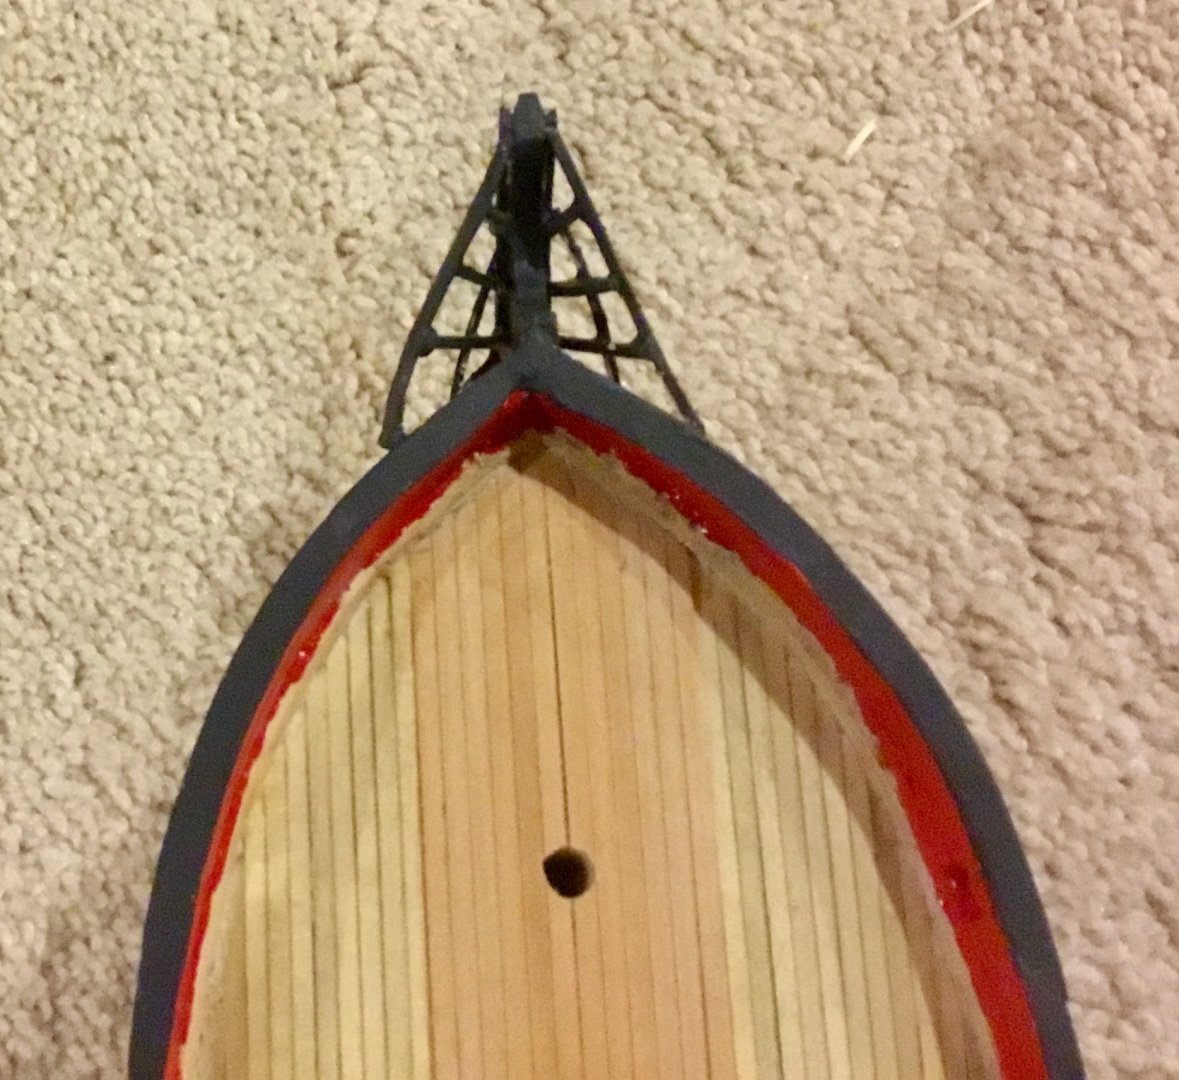
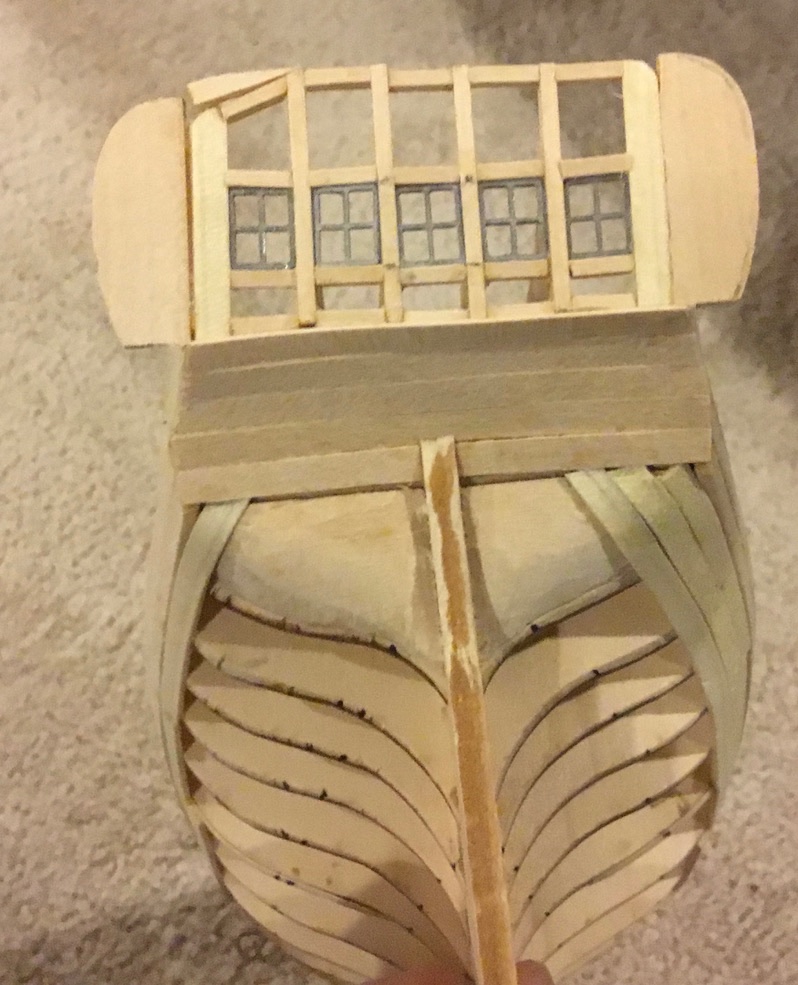
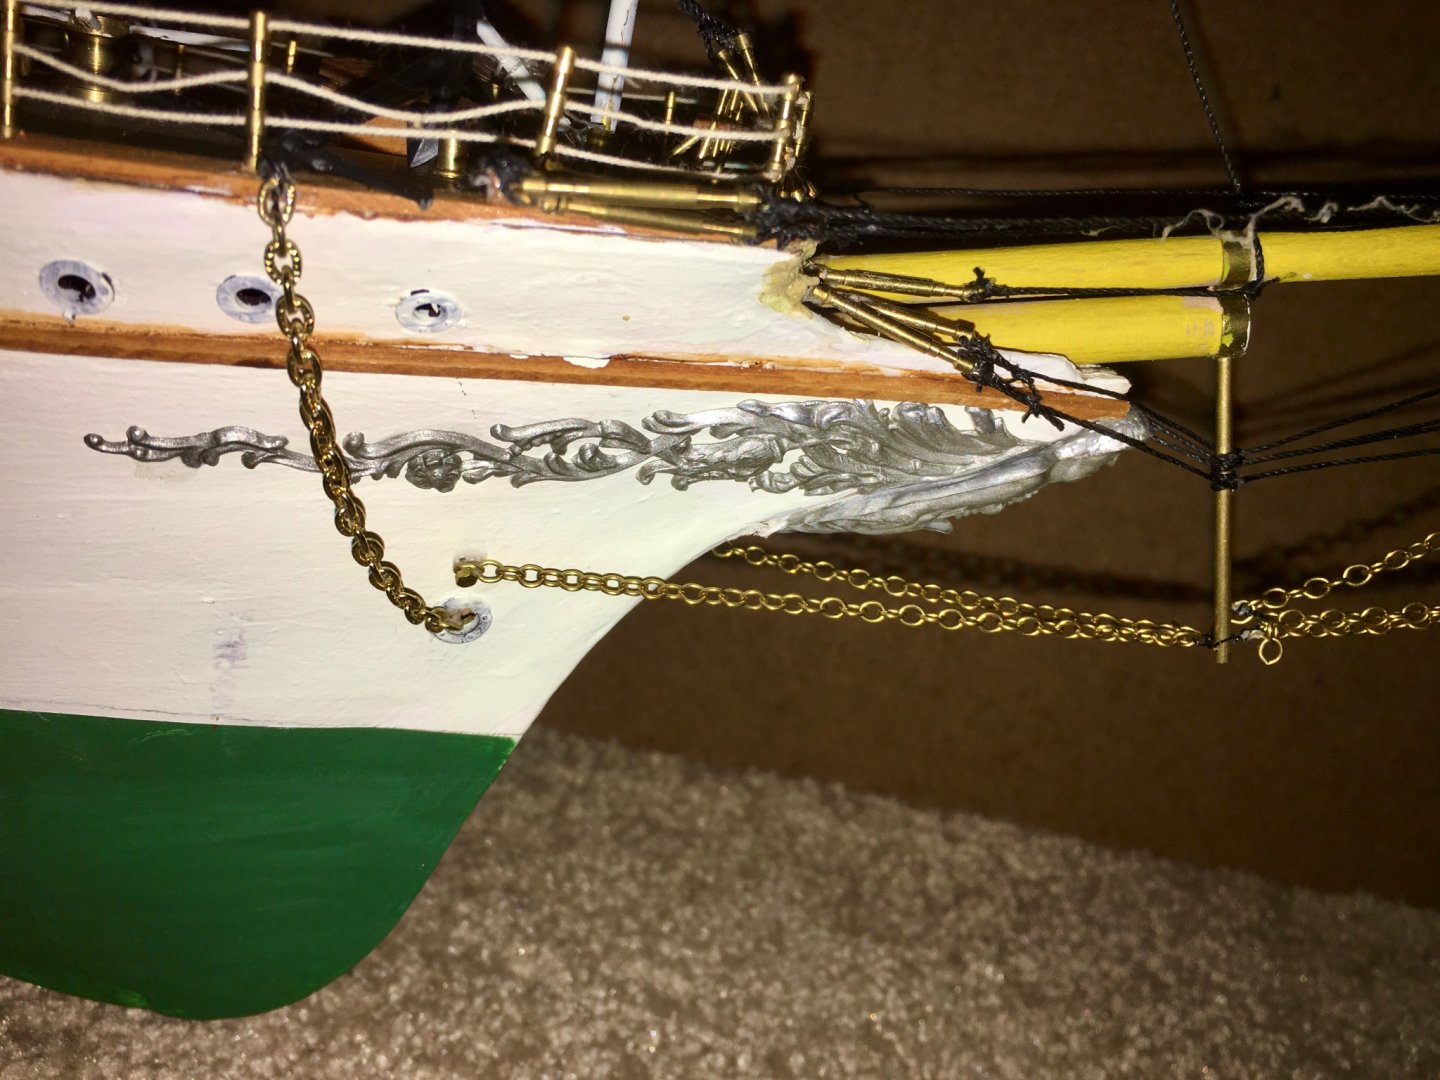
Added quarter deck rail, painted cannons, painted gun carriages and added quoins, fabricated the rudder and opened up the rudder port, fabricated the beak head, started some of the hull painting. Beak head was a chore and is sort of rough, wish it had been laser cut parts.


- 24 replies
-
- 3
-
-
- Fair American
- Model Shipways
- (and 1 more)
-
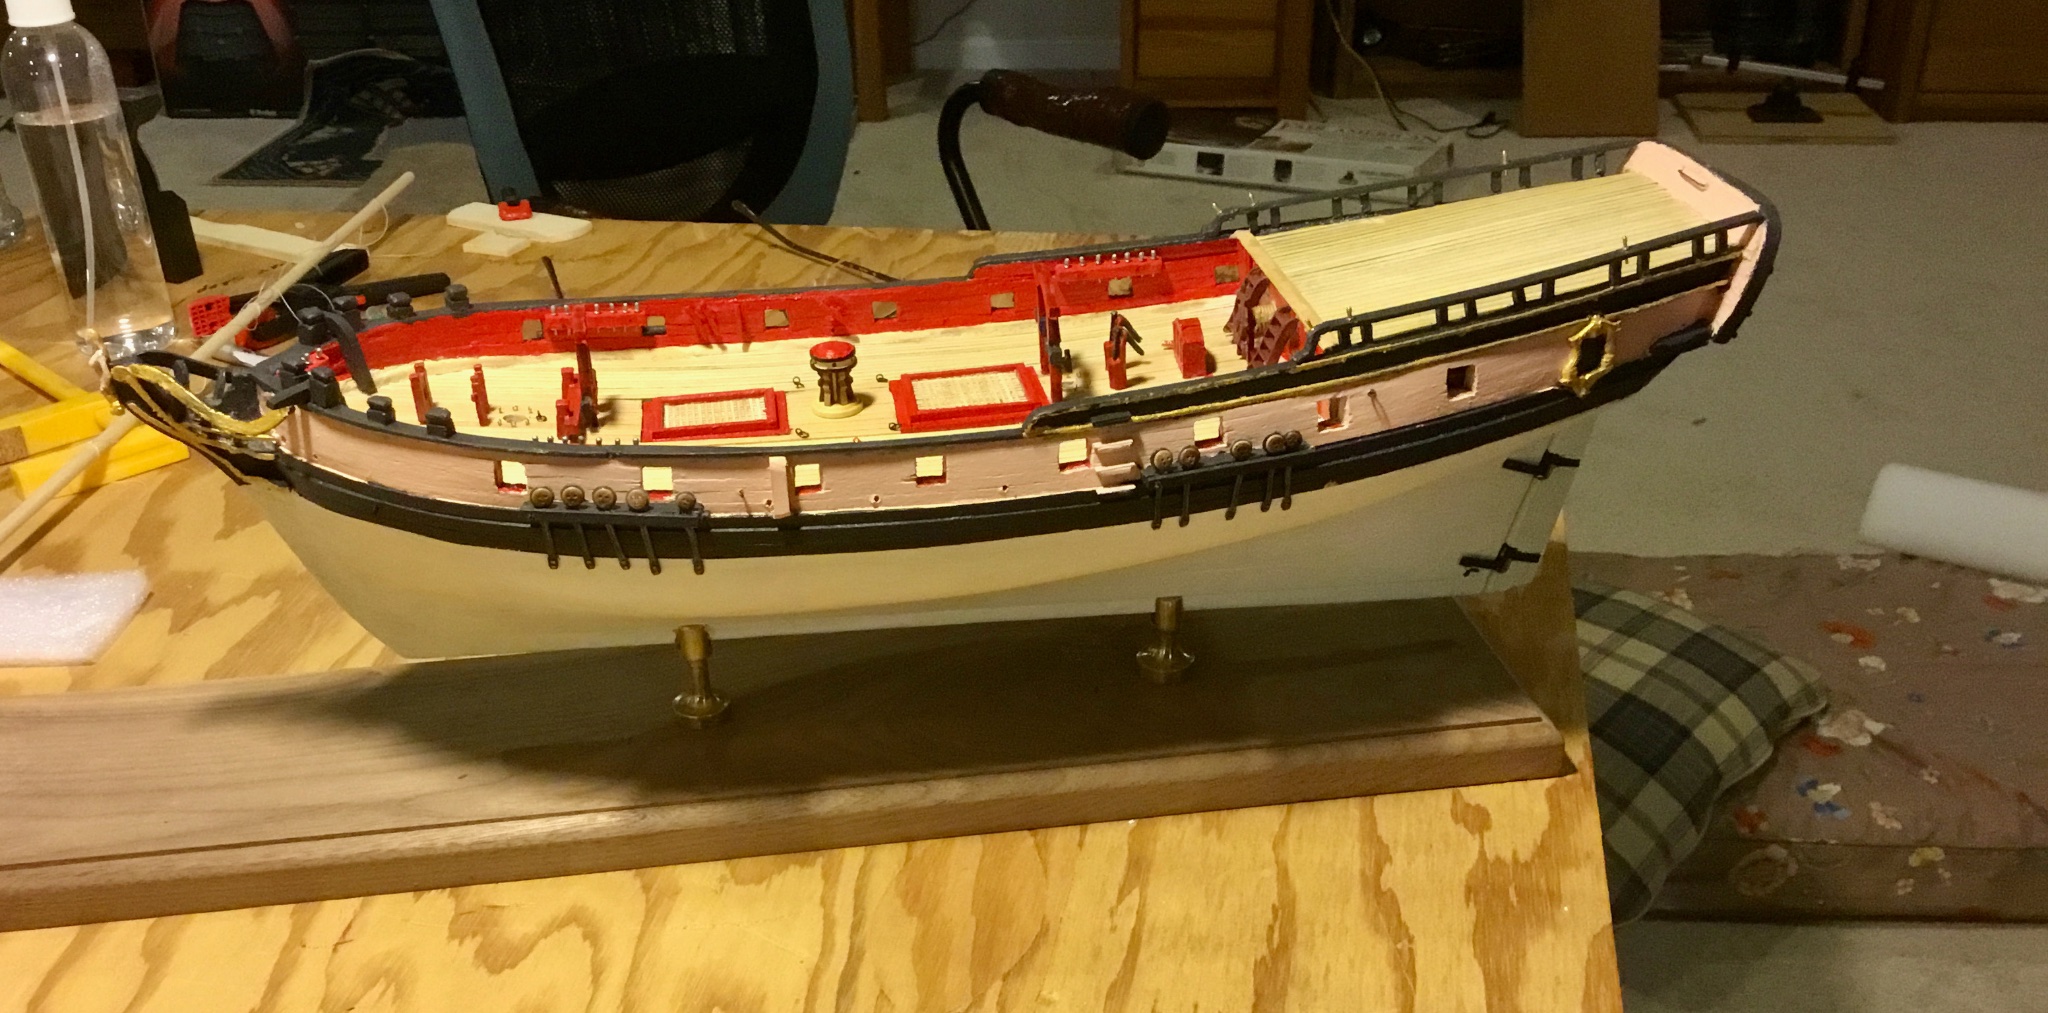
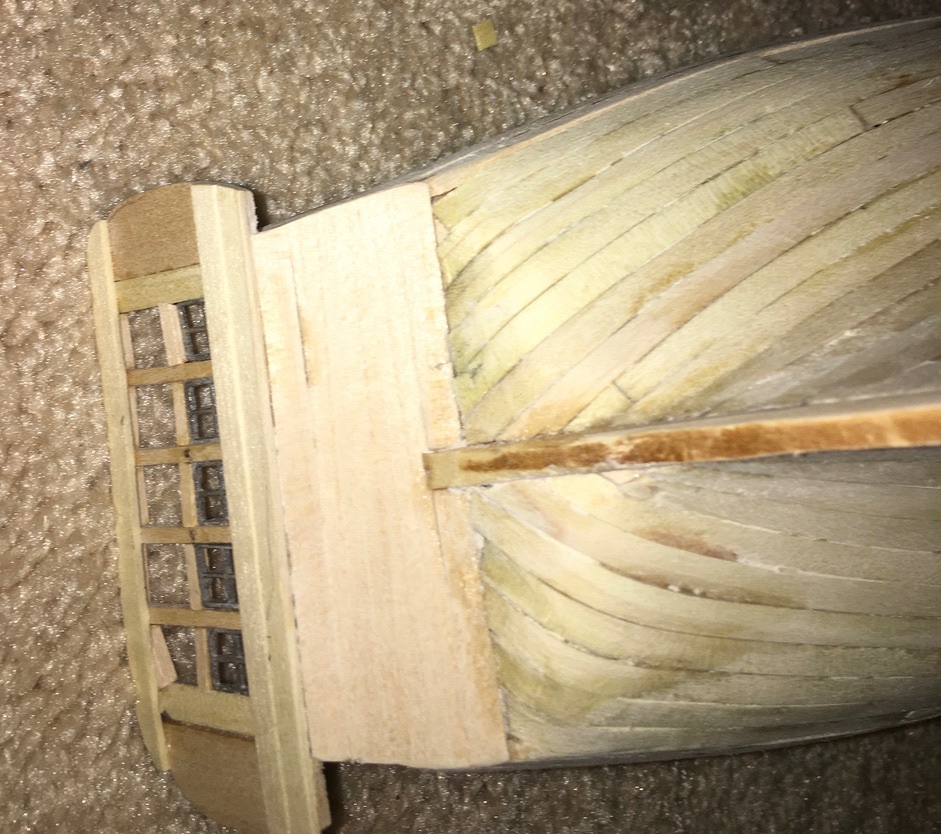
Planked the internal bulwarks. Started construction of the cannons. Planked the decks, decided to use straight planking instead of tapered on the quarterdeck, taking the easy way out. Worked on the stern transom. Added bulwark cap rails and the fancy rails. Added the cabin bulkhead.


- 24 replies
-
- 2
-
-
- Fair American
- Model Shipways
- (and 1 more)
-
Oops, sorry . I was watching the news when I started the log. I should have paid closer attention to what I was doing.
-
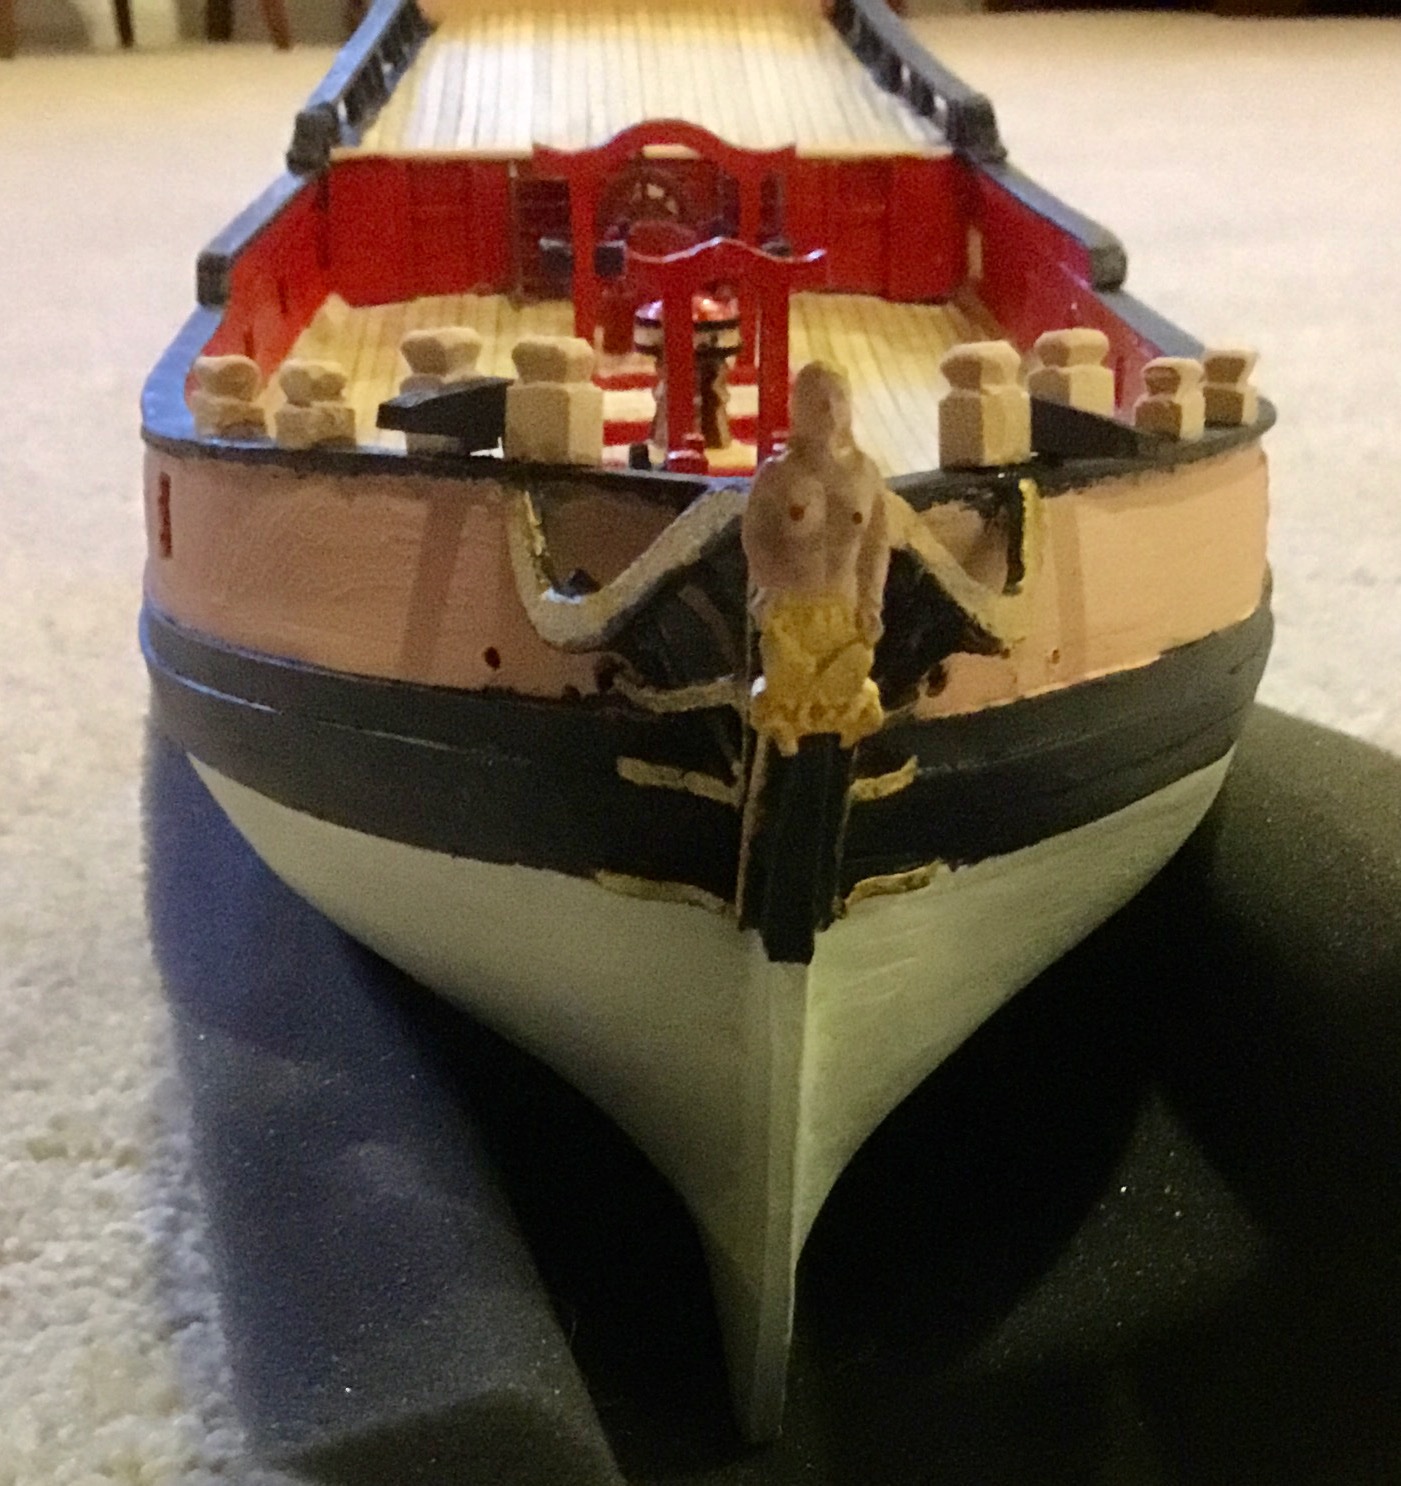
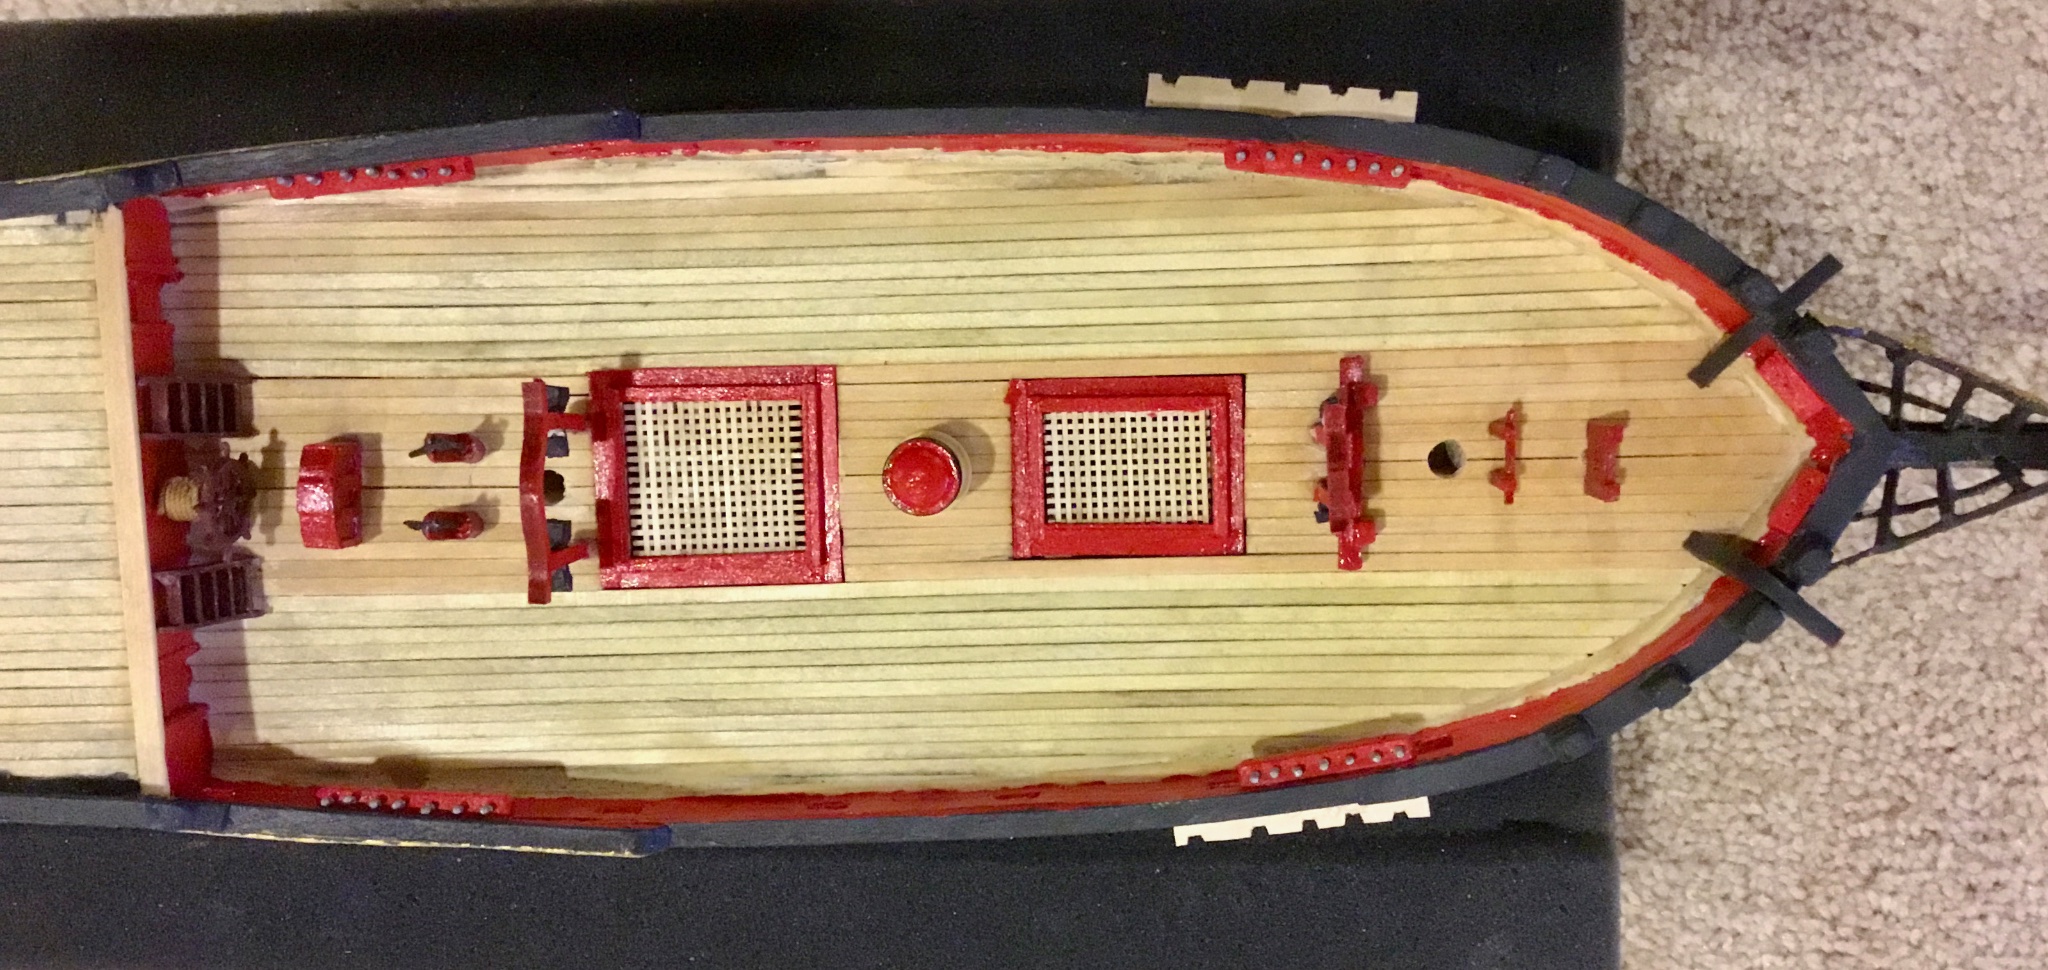
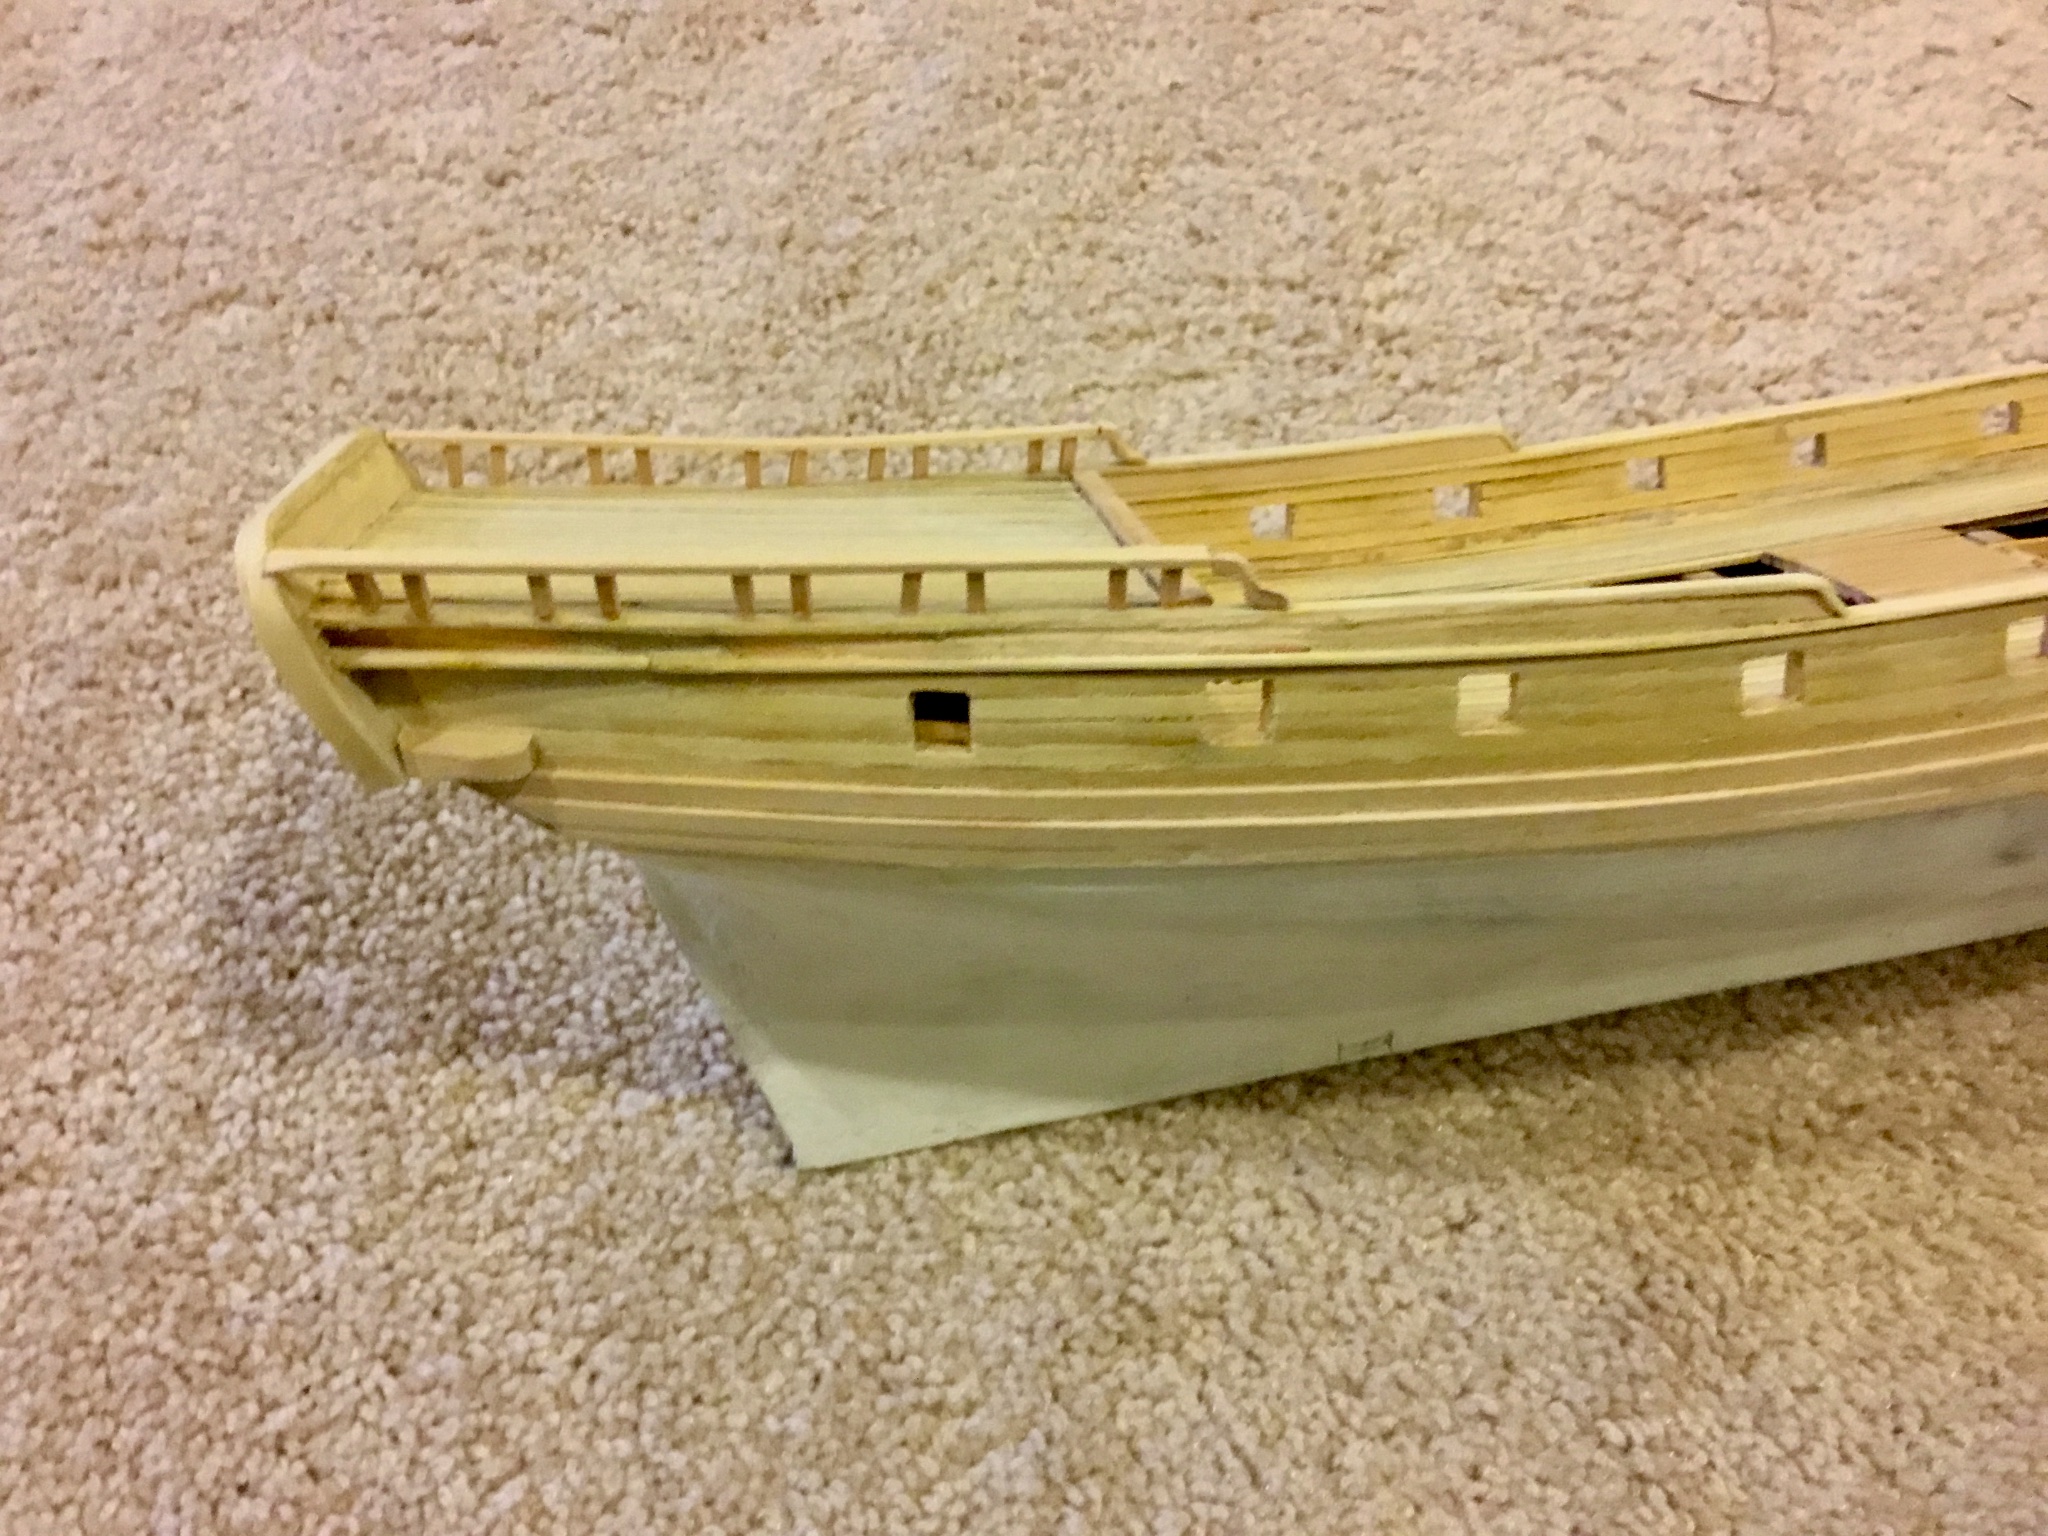
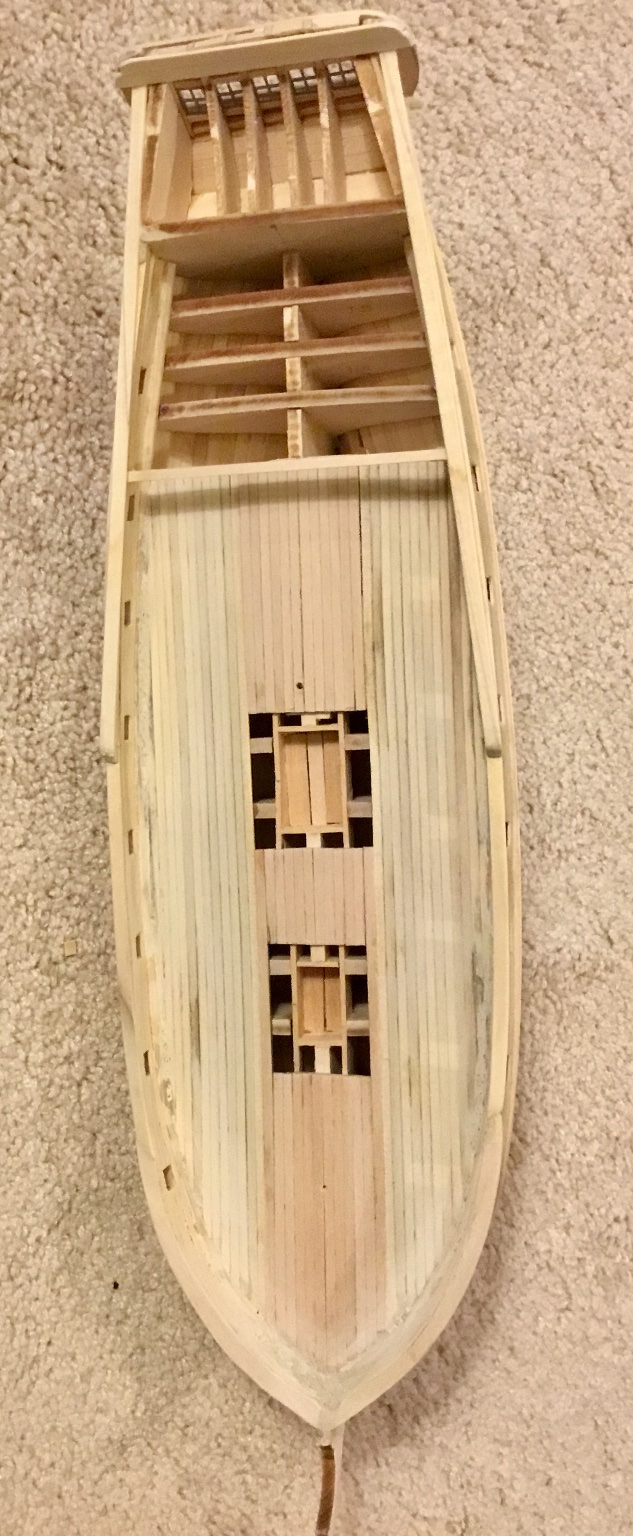
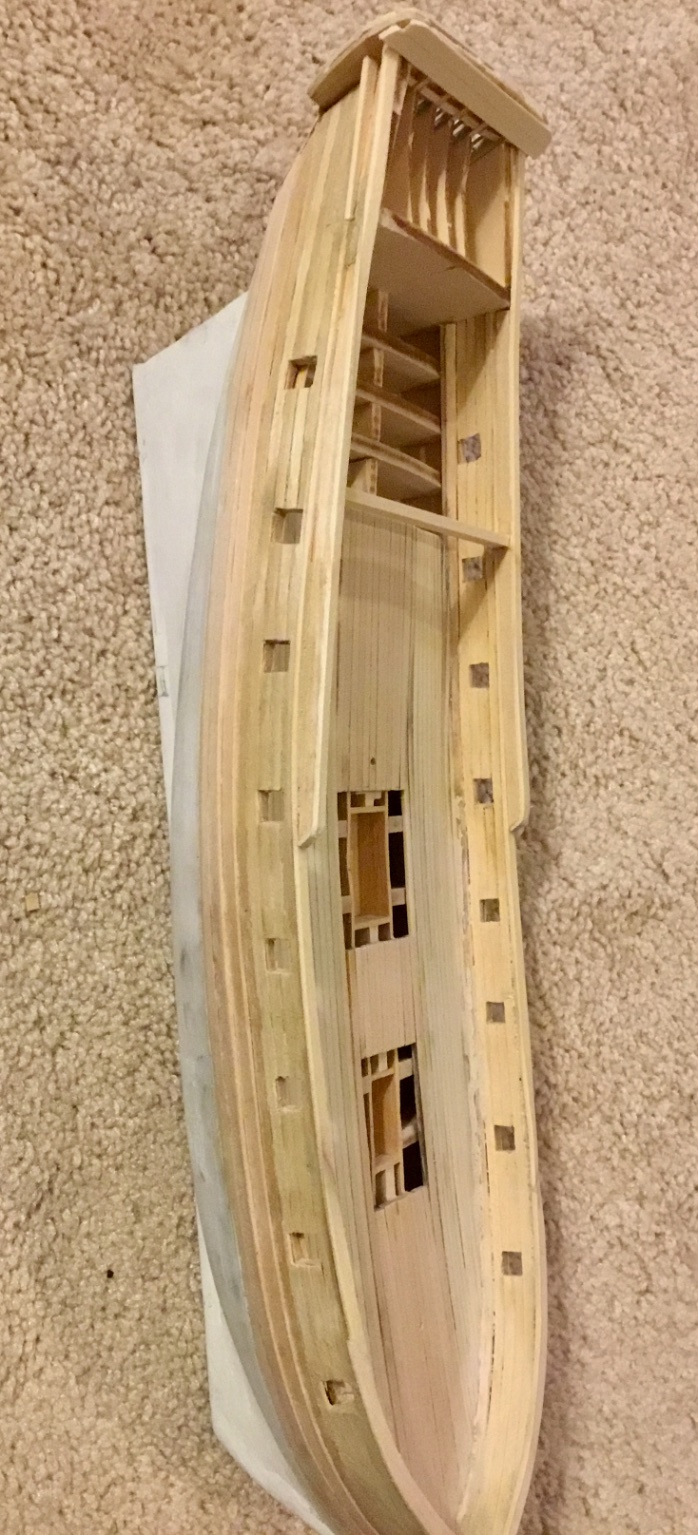
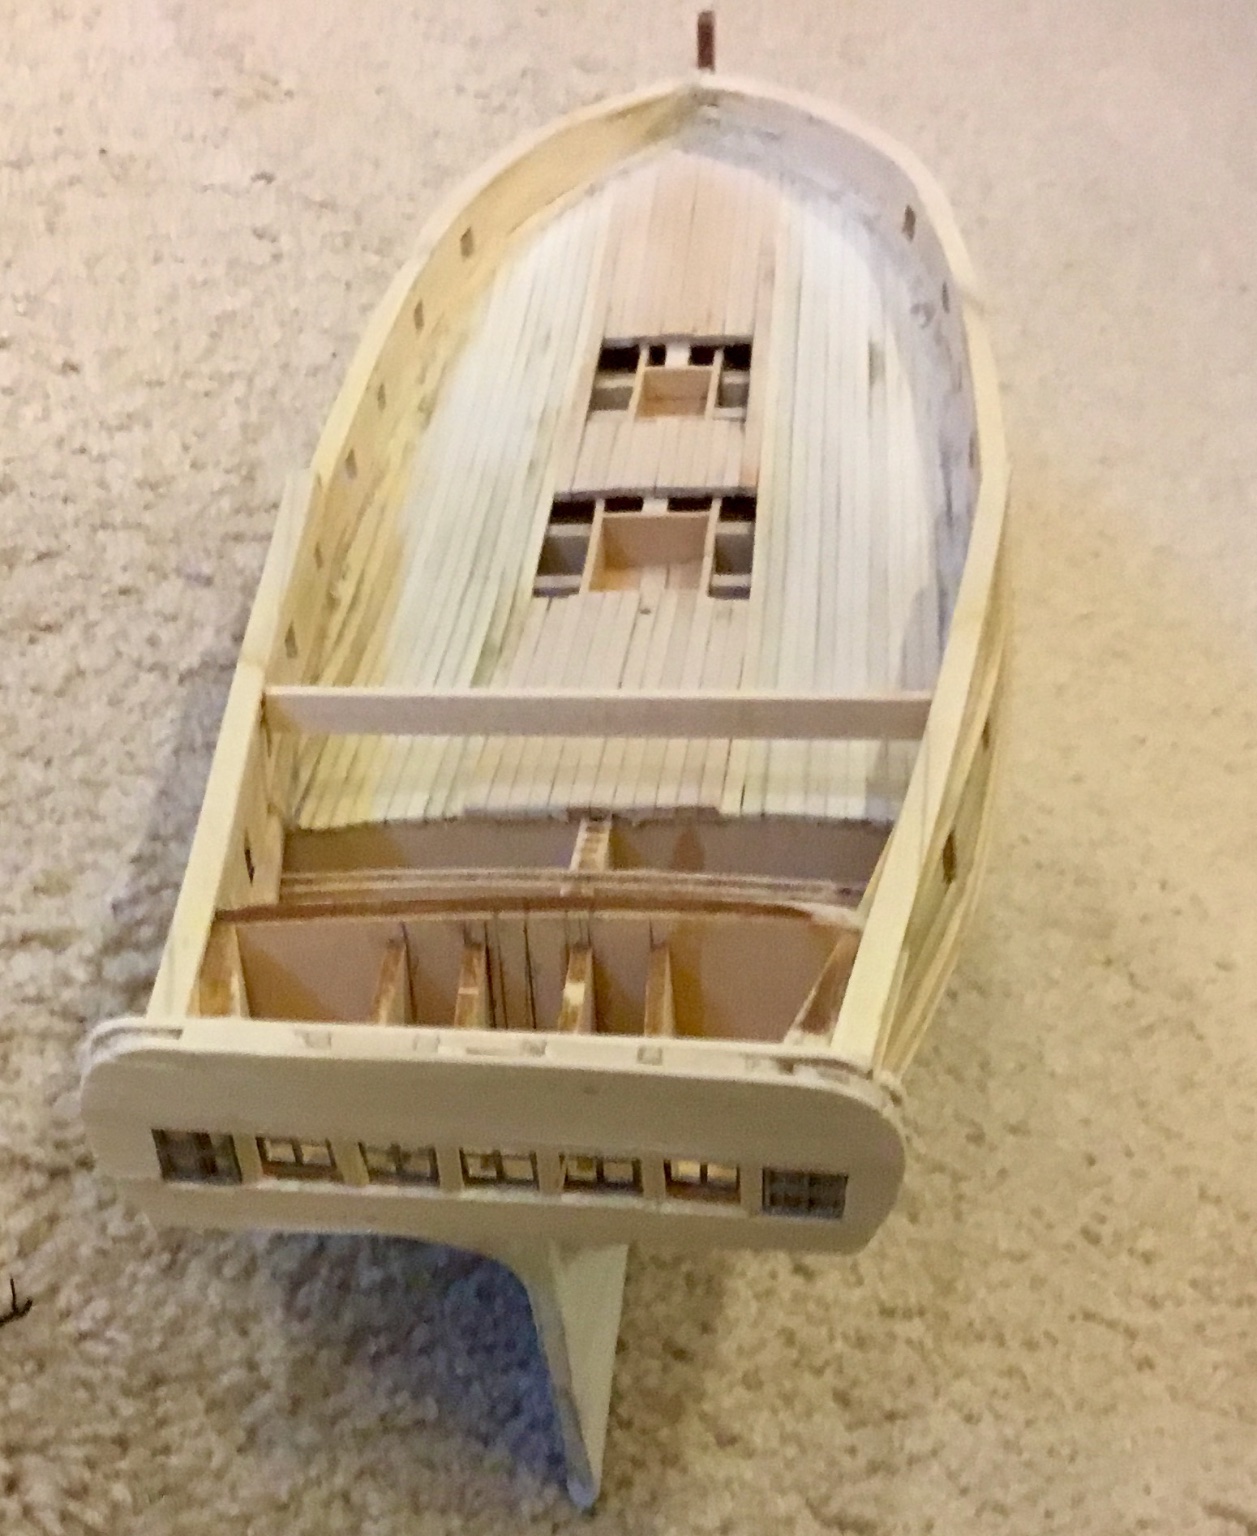
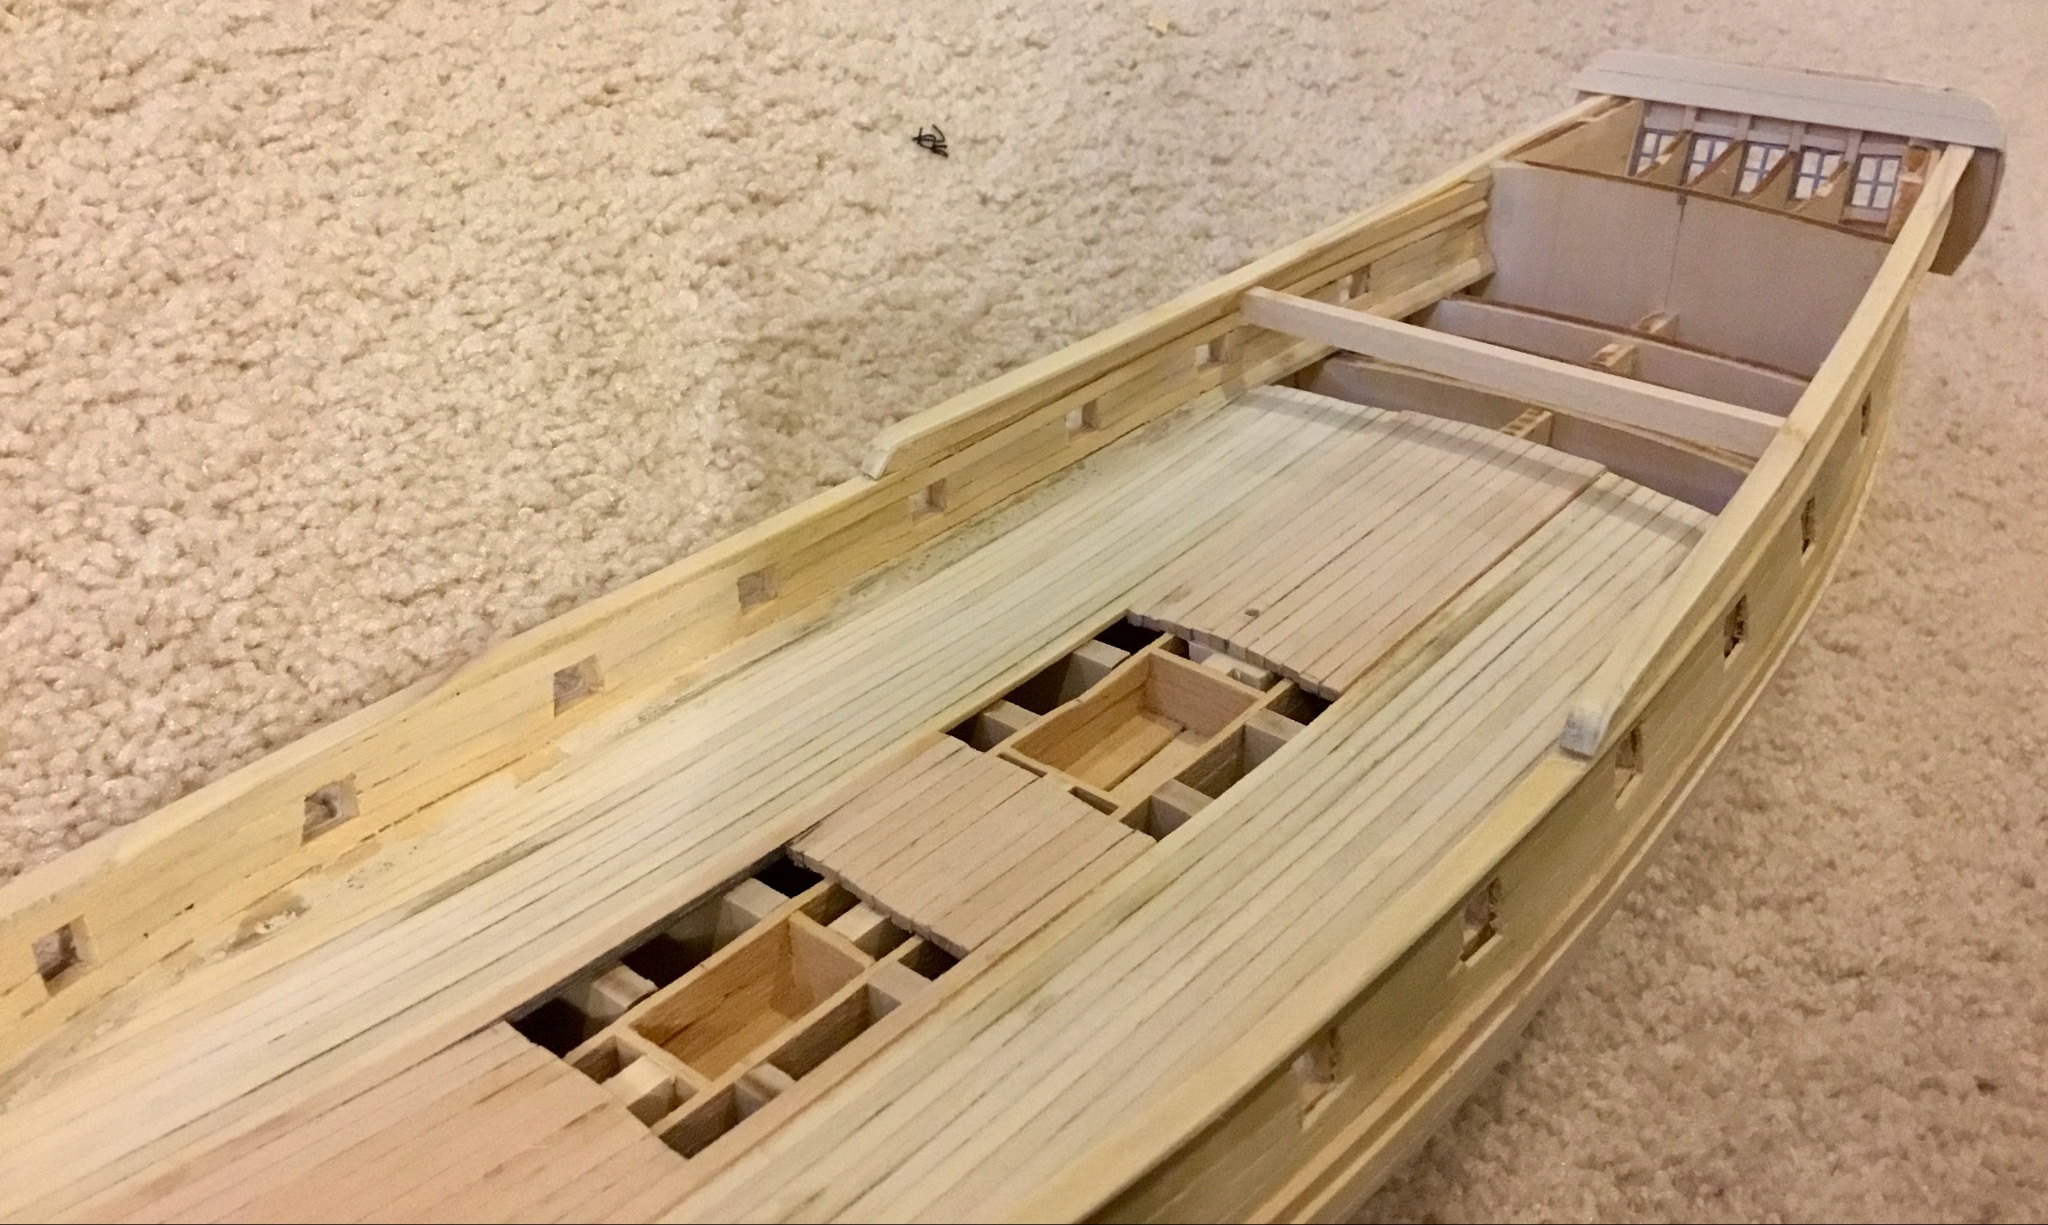
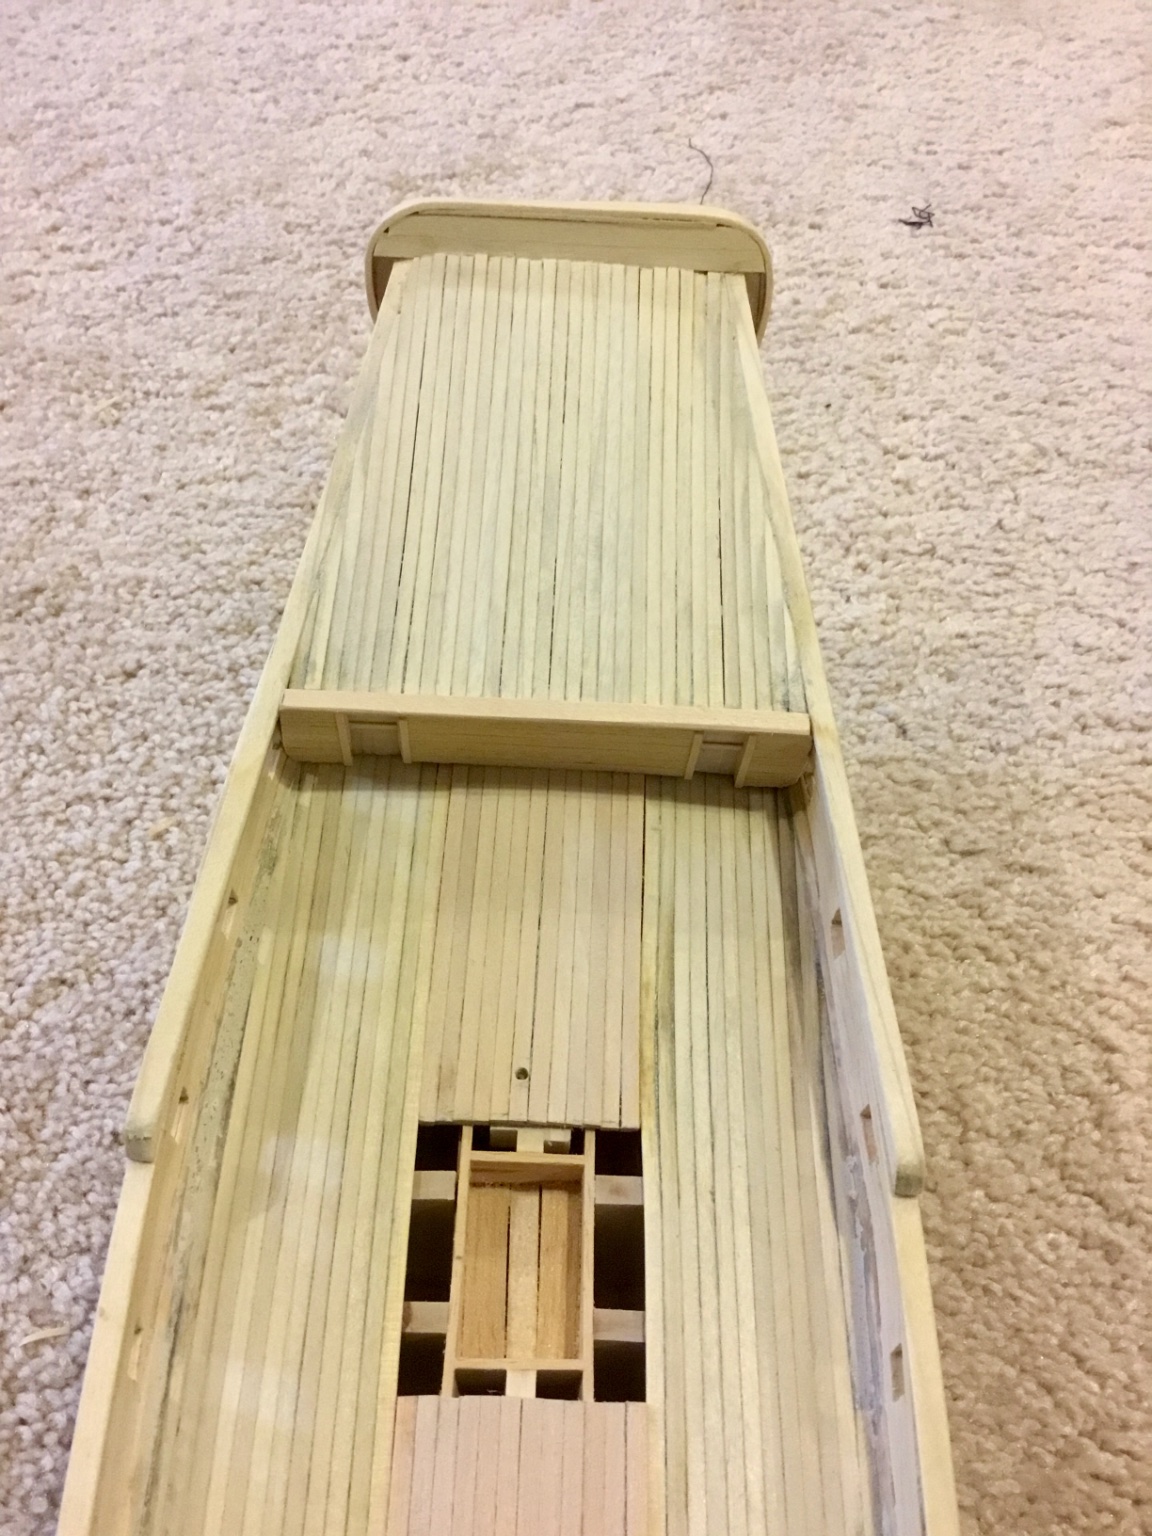
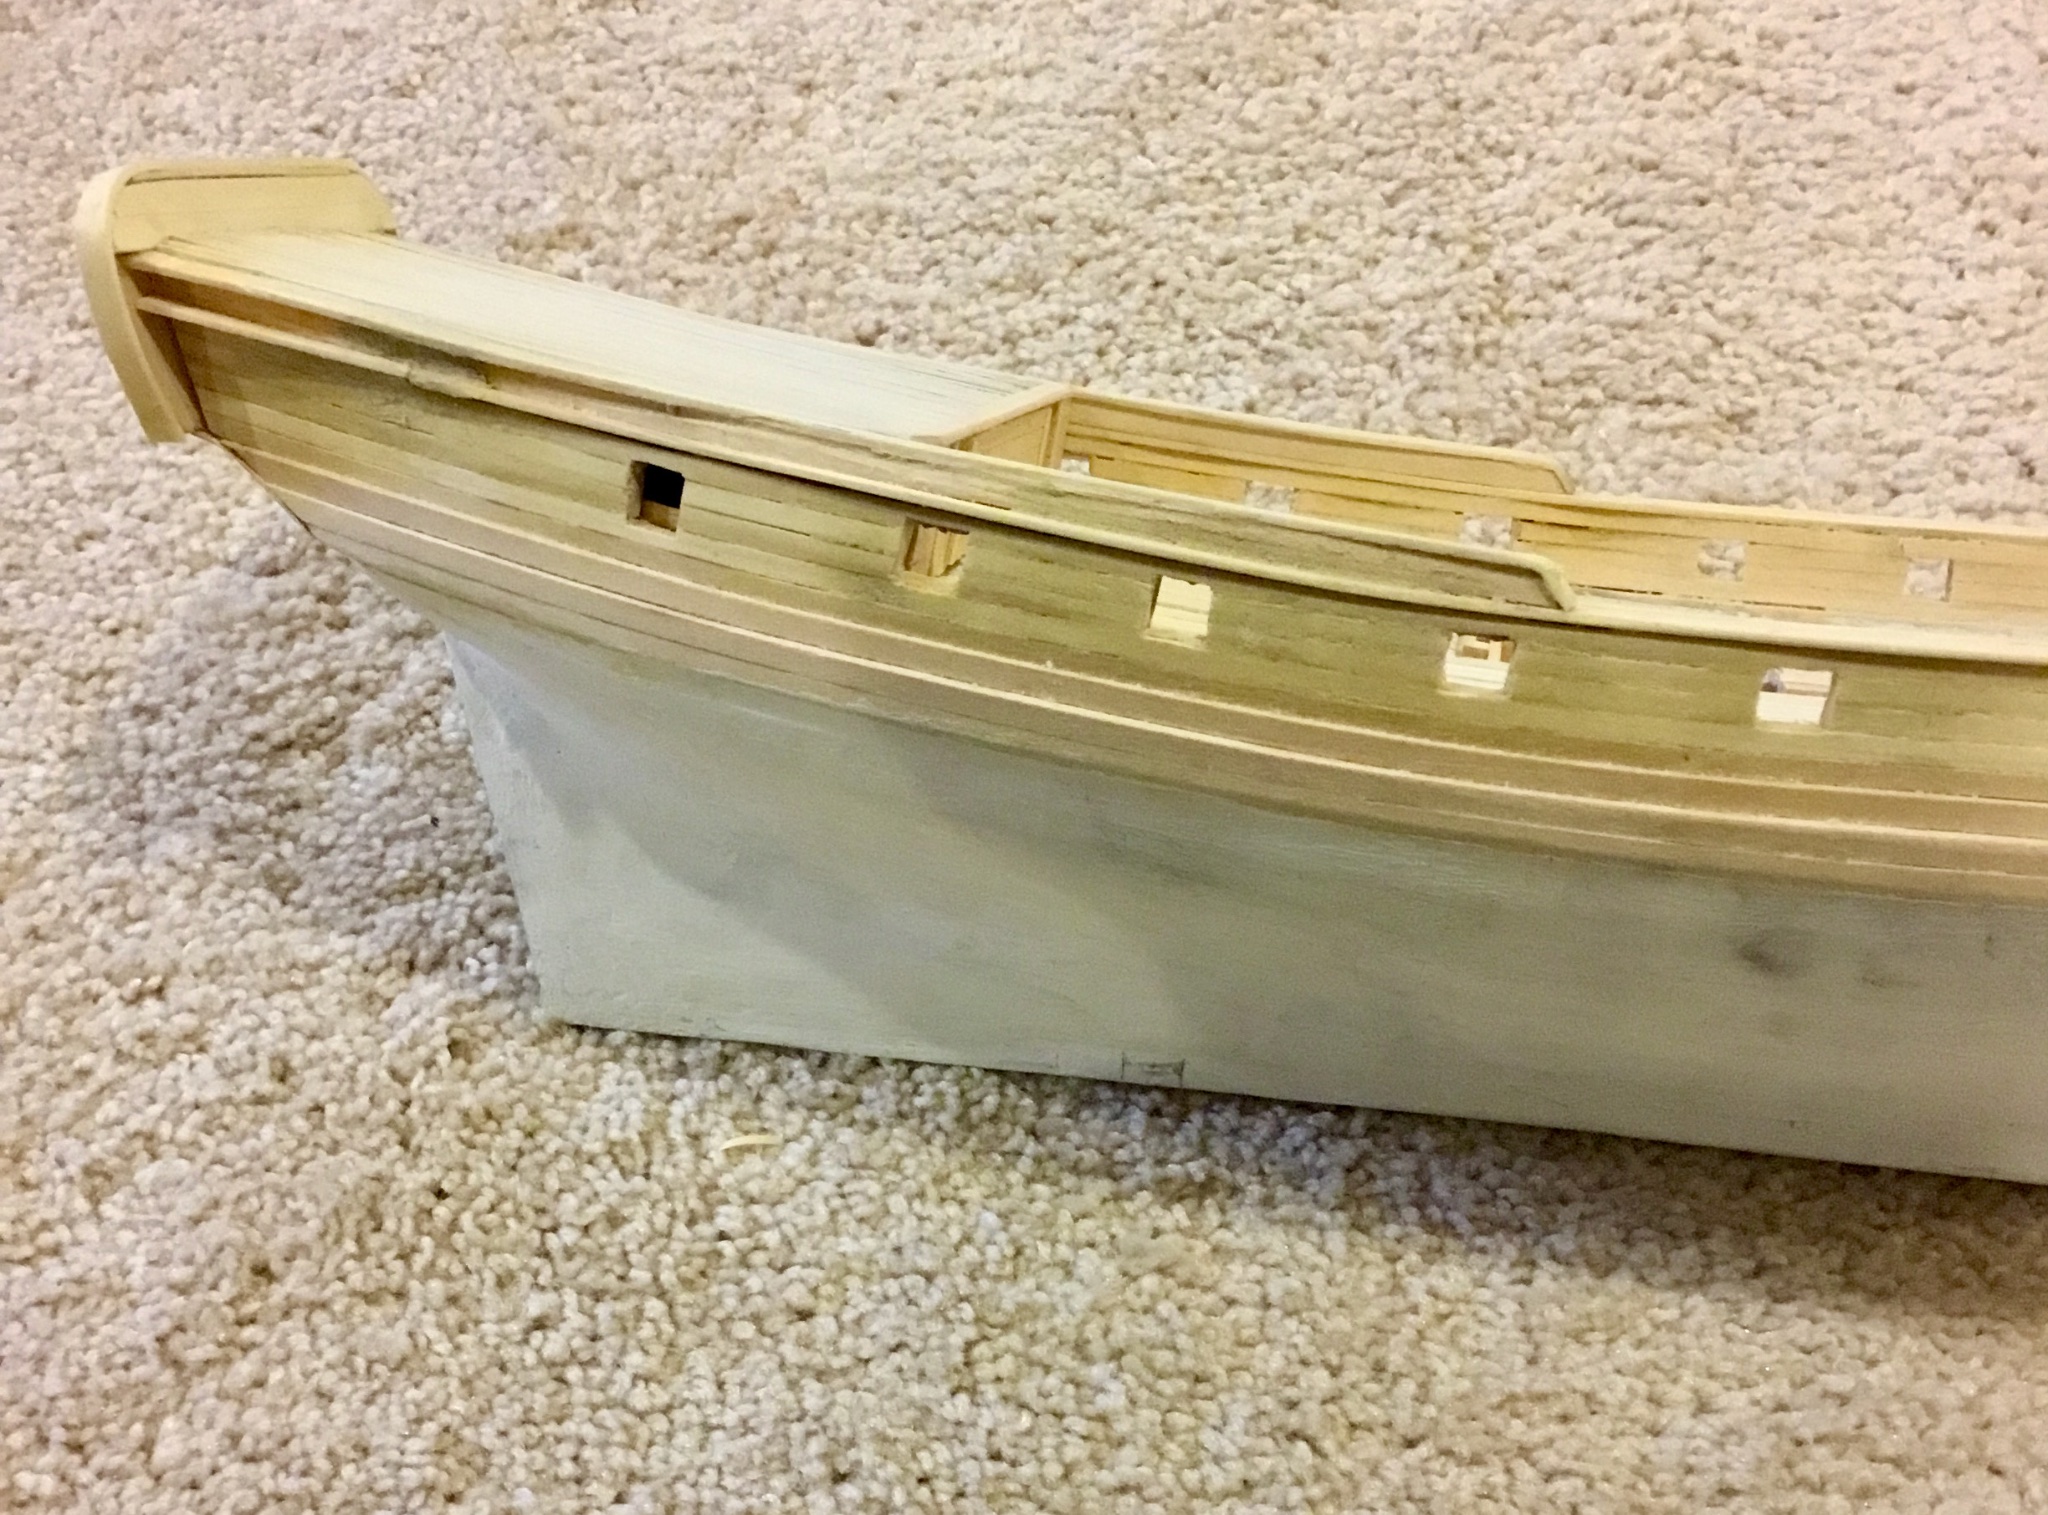
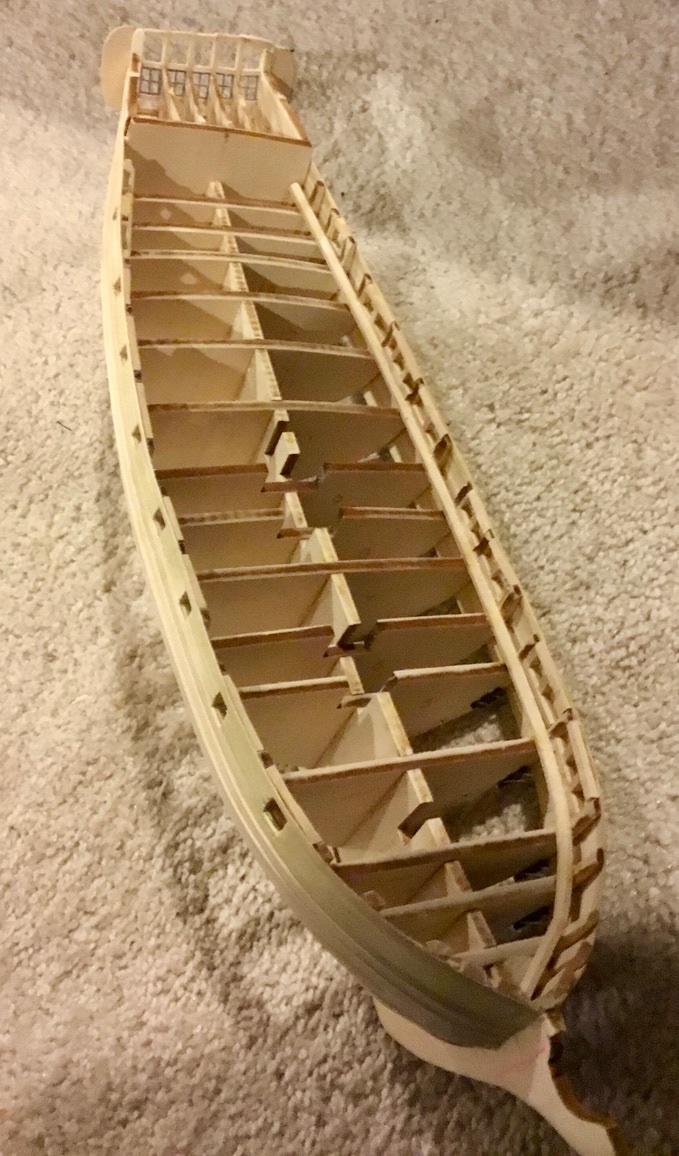
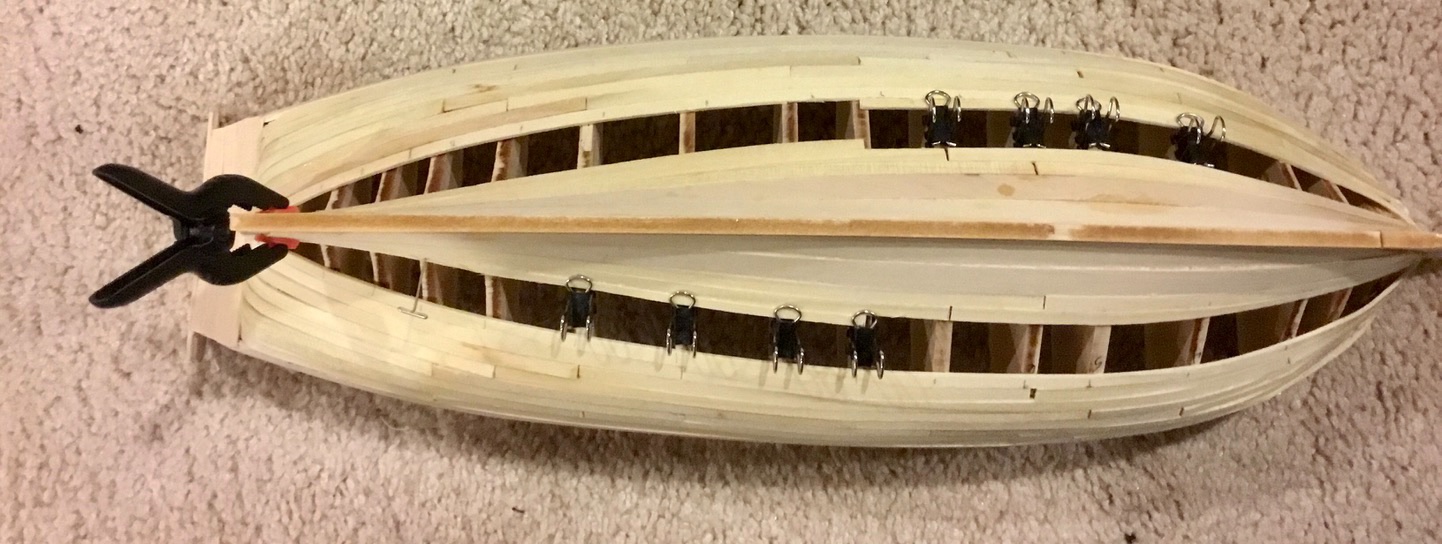
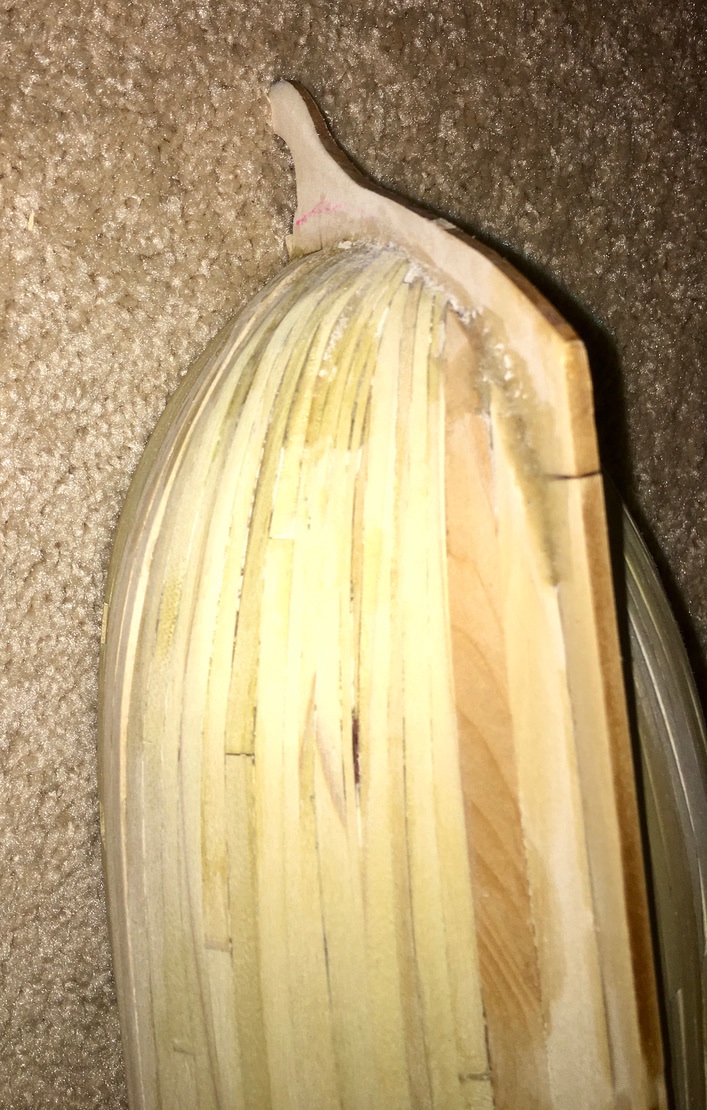
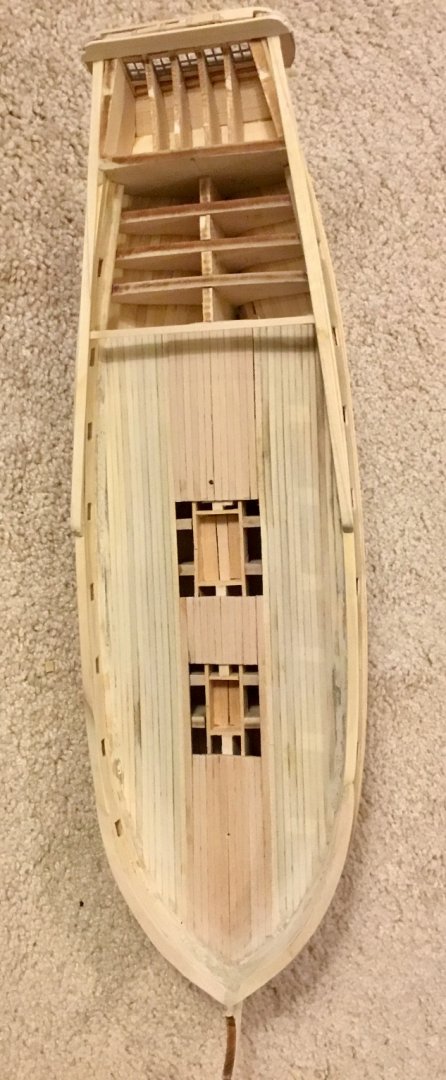
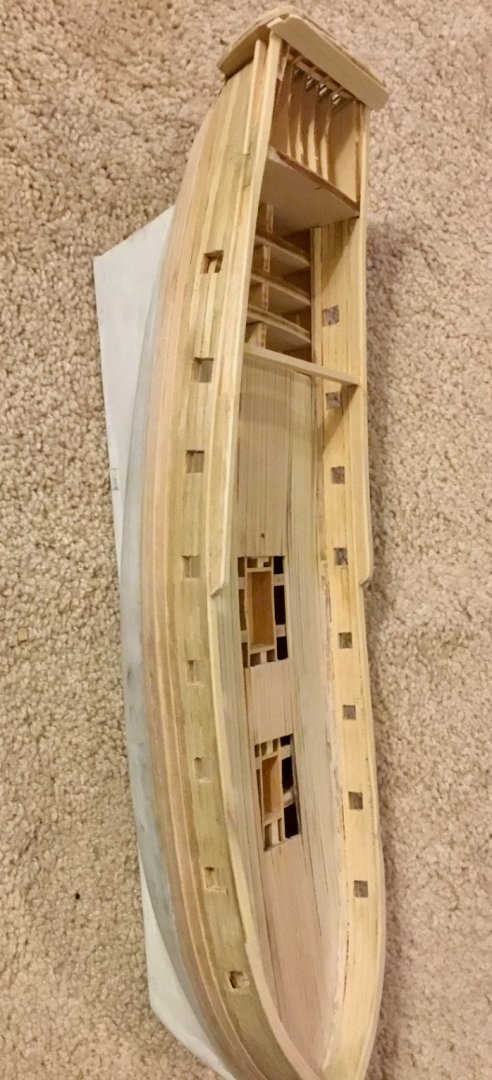
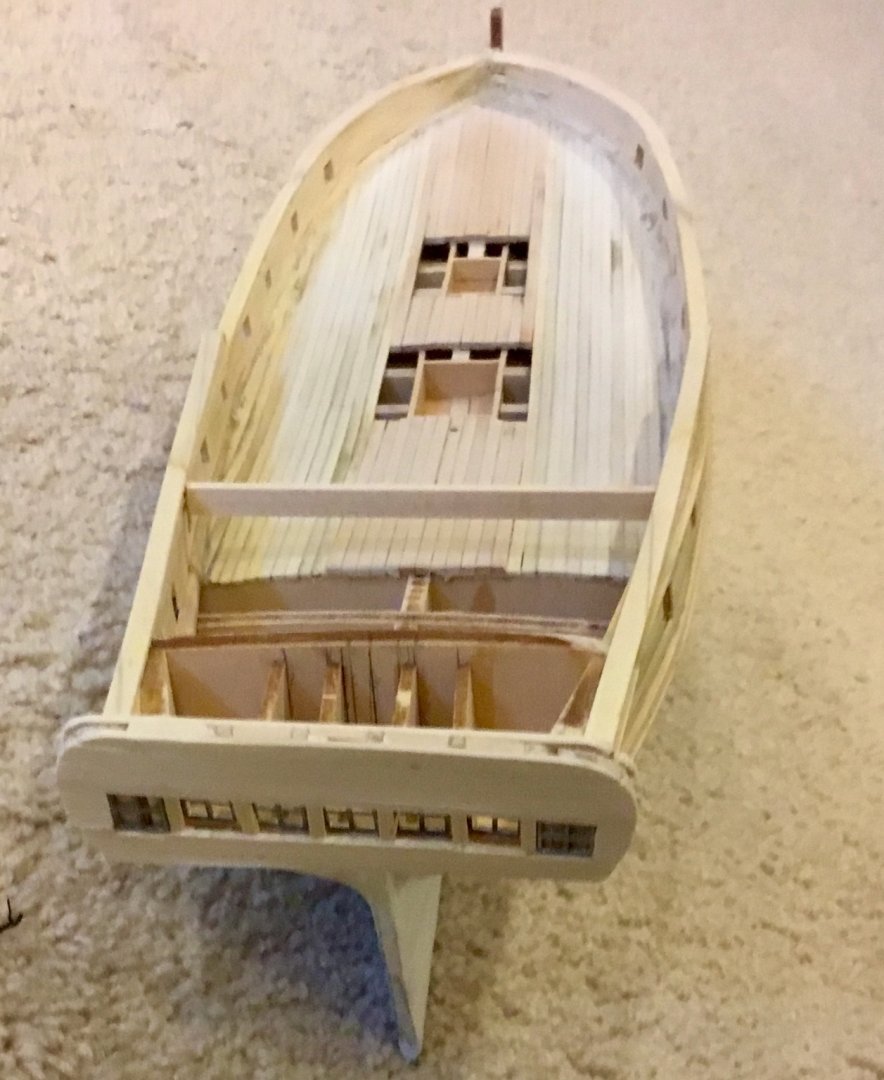
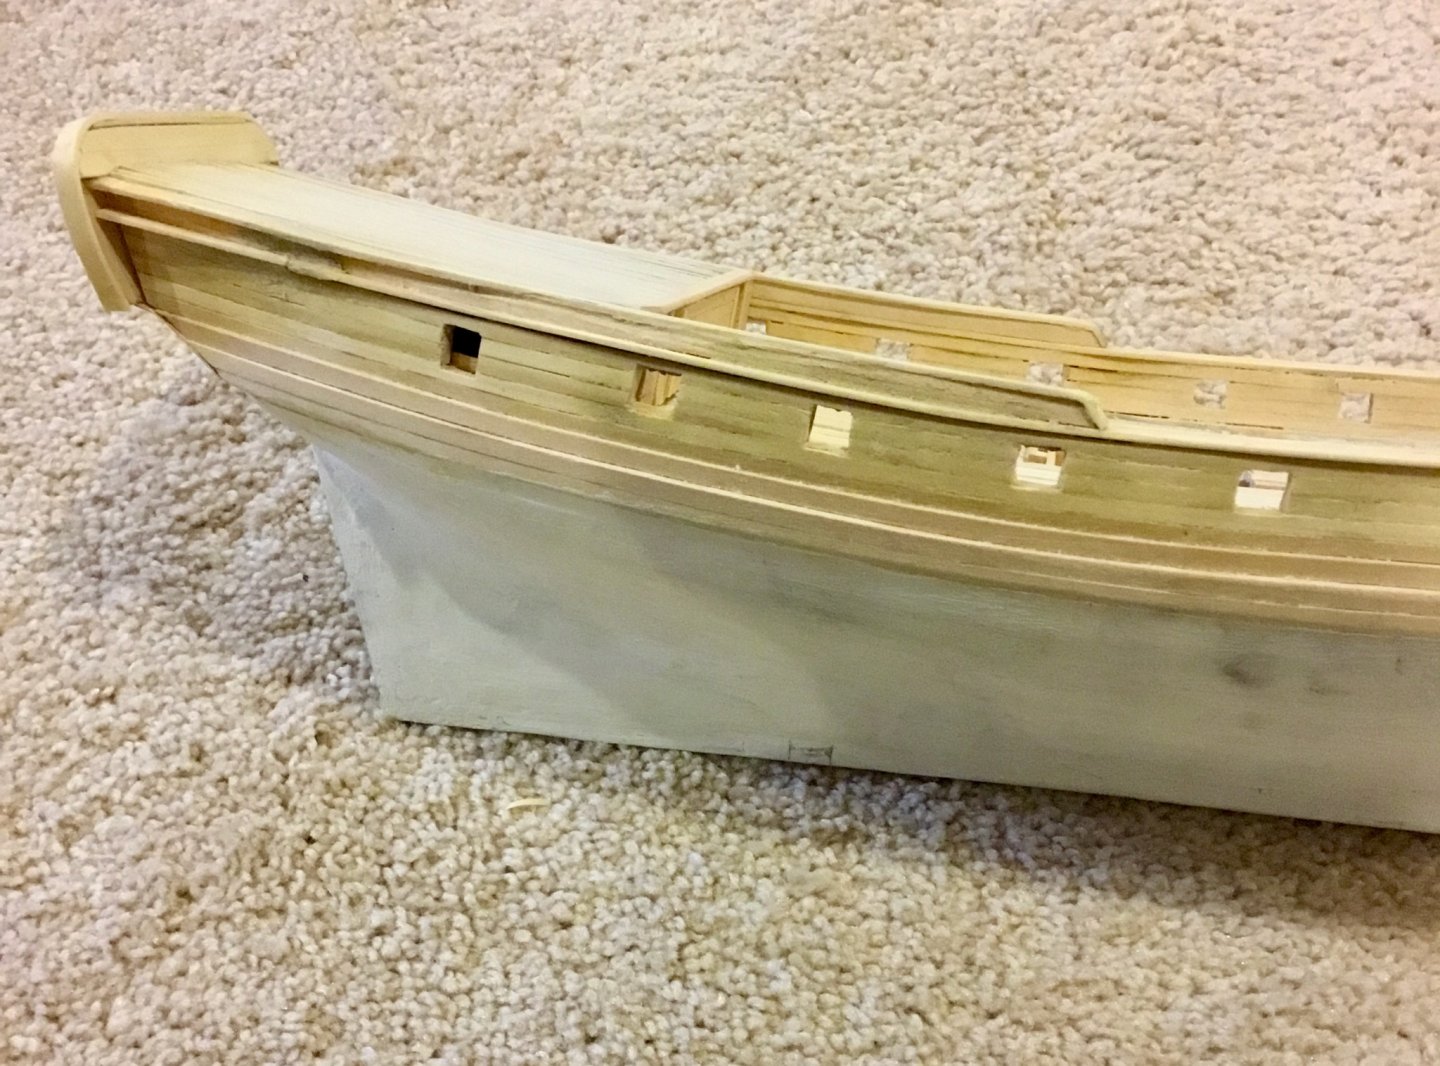
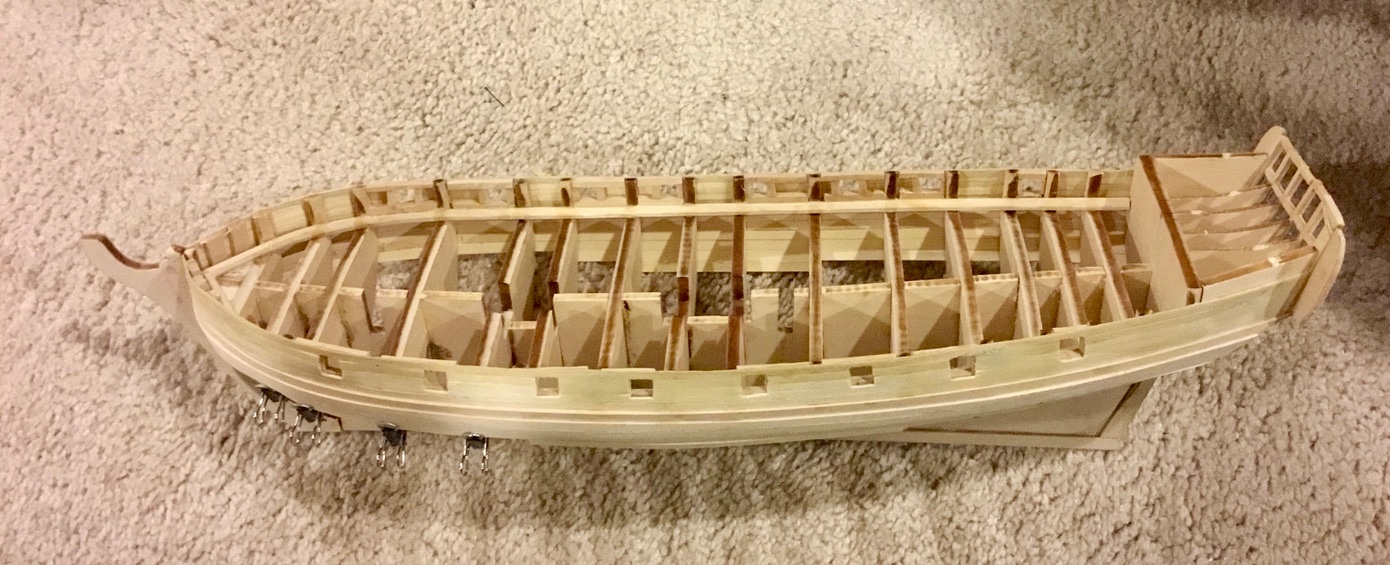
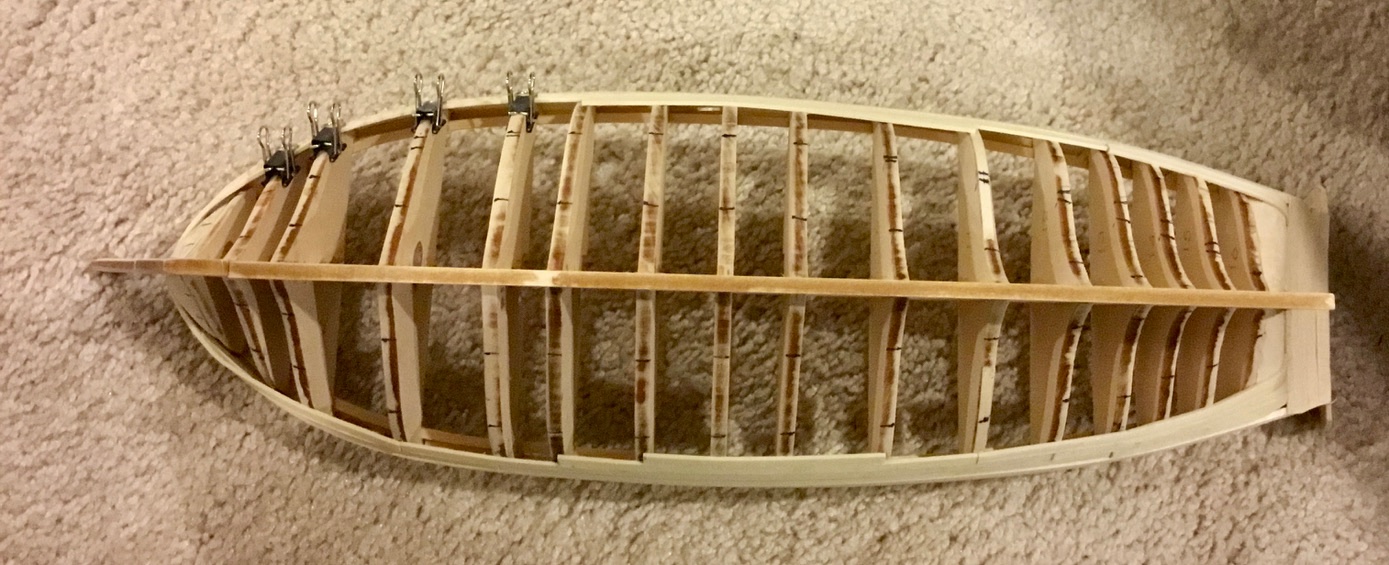
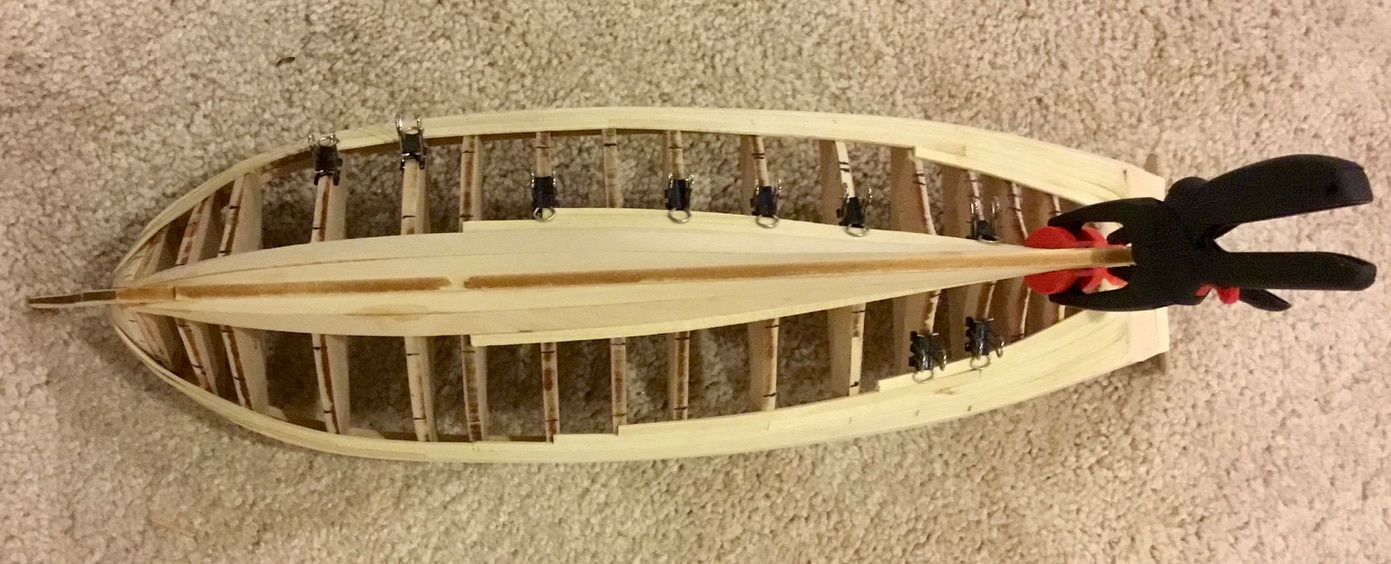
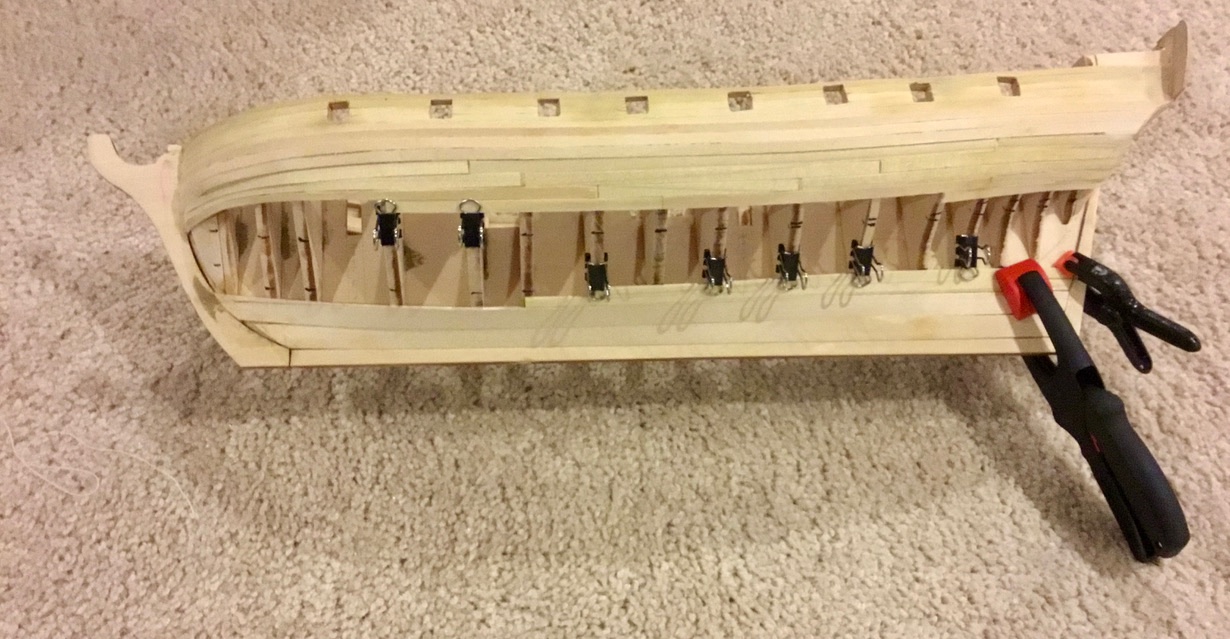
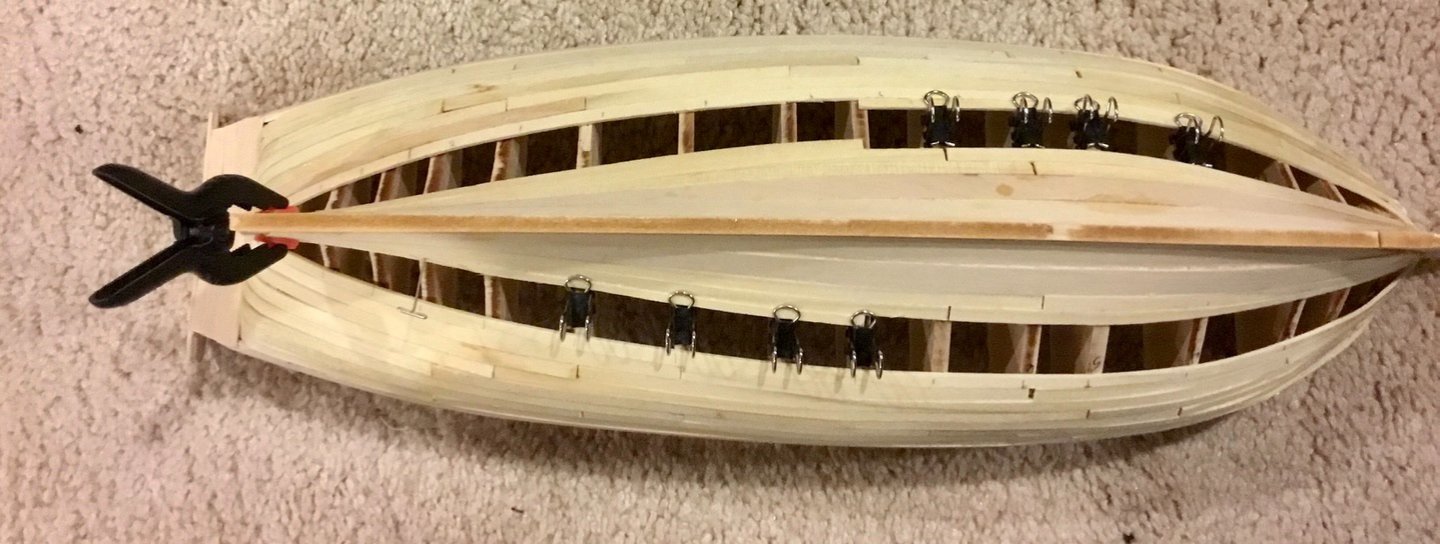
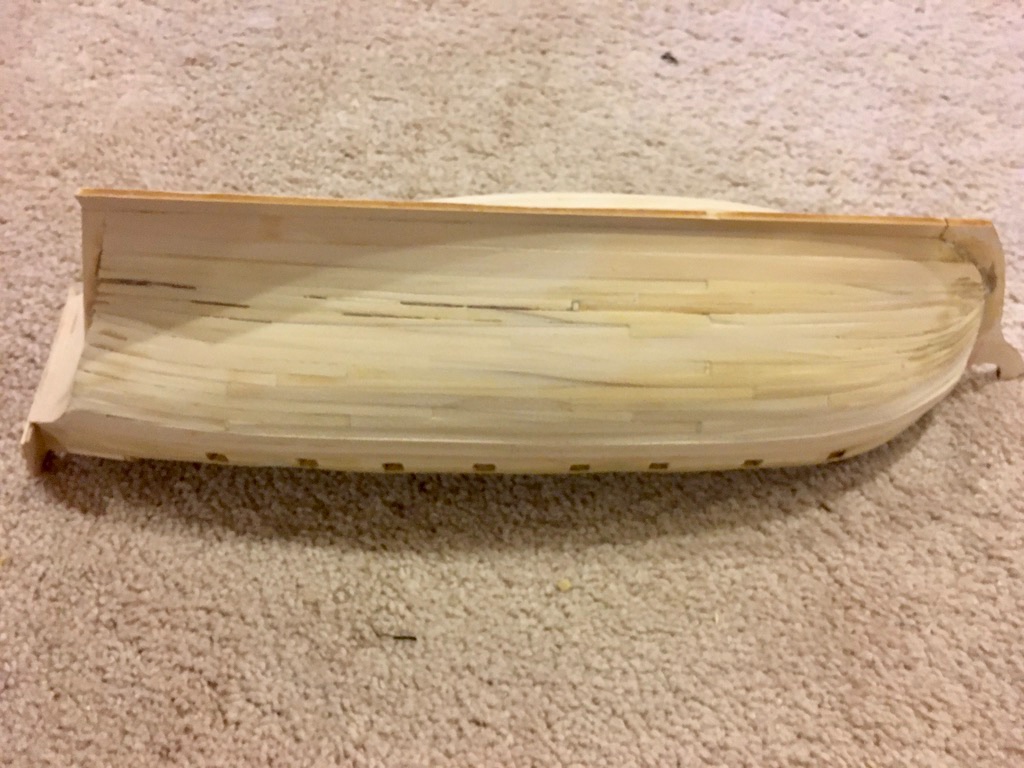
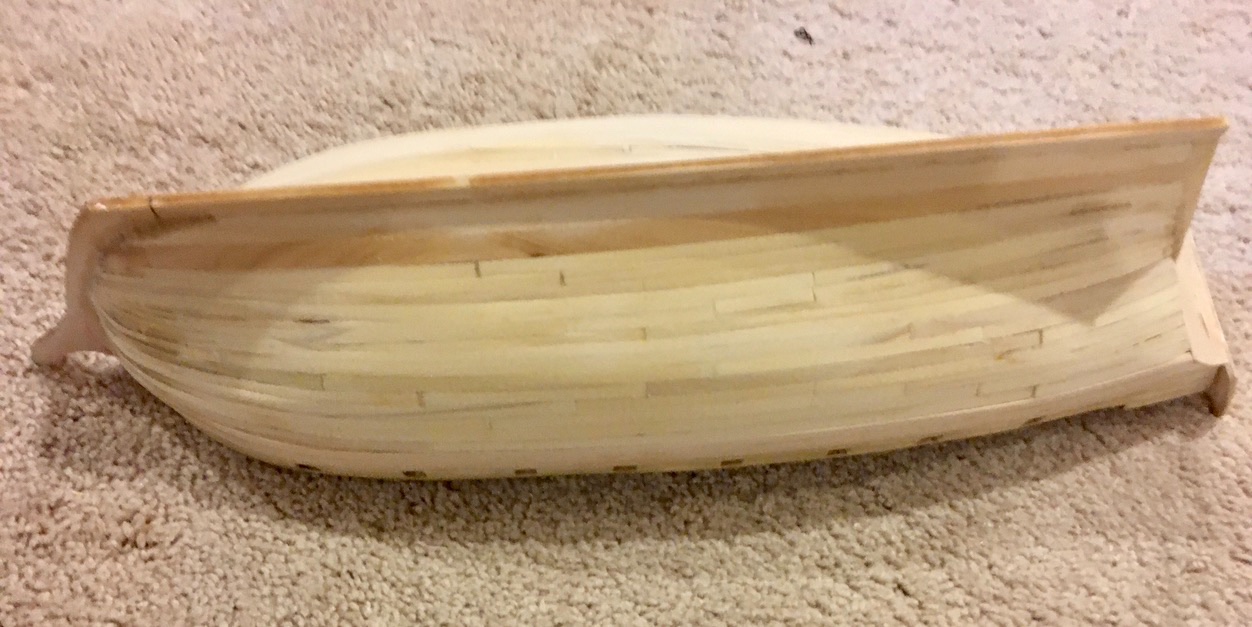
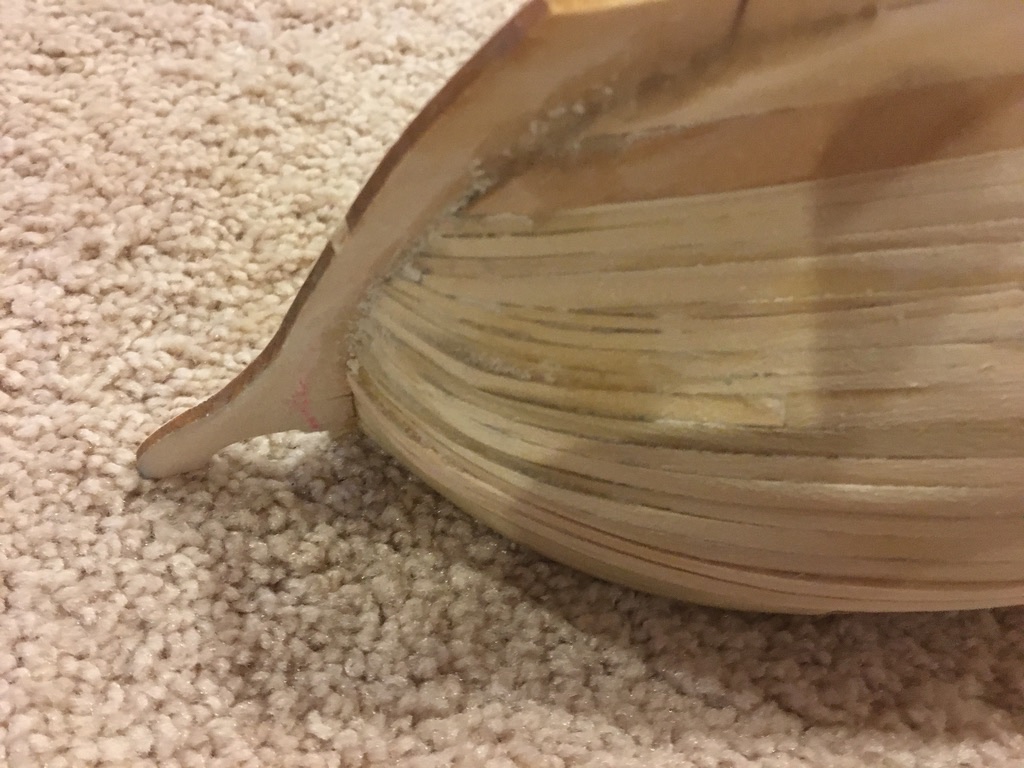
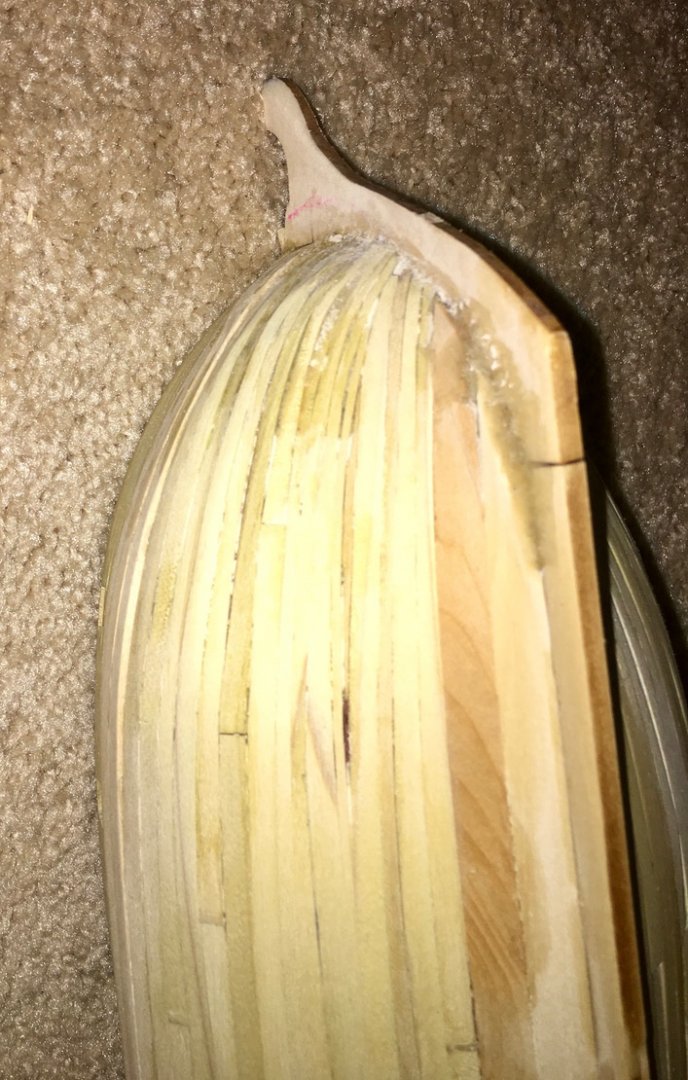
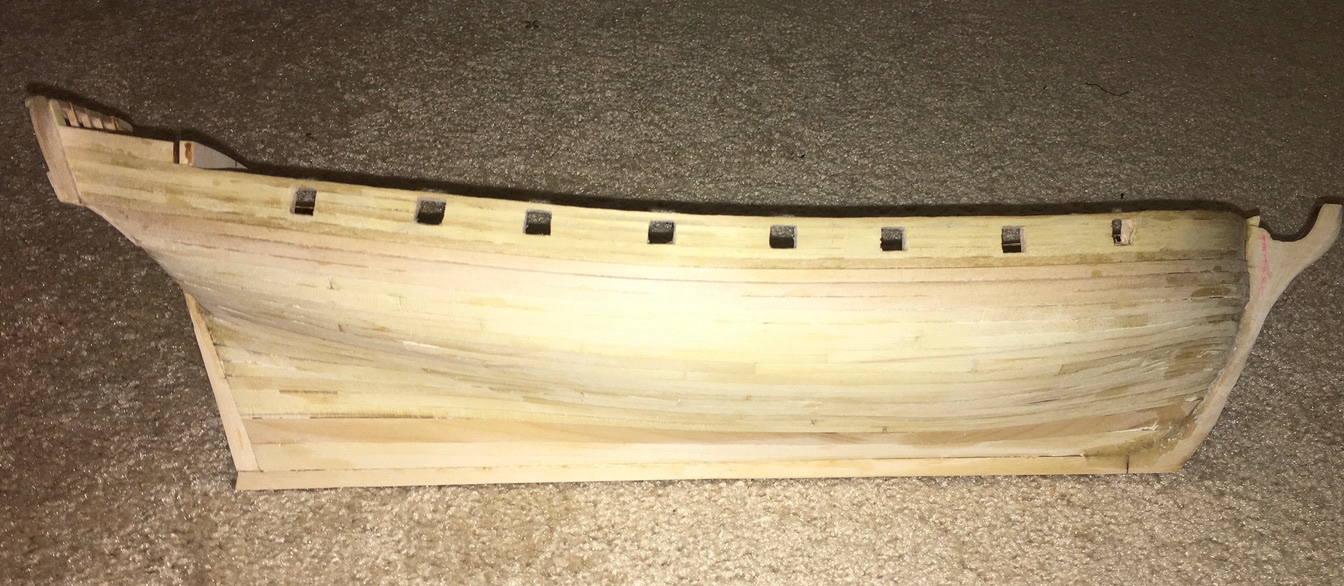
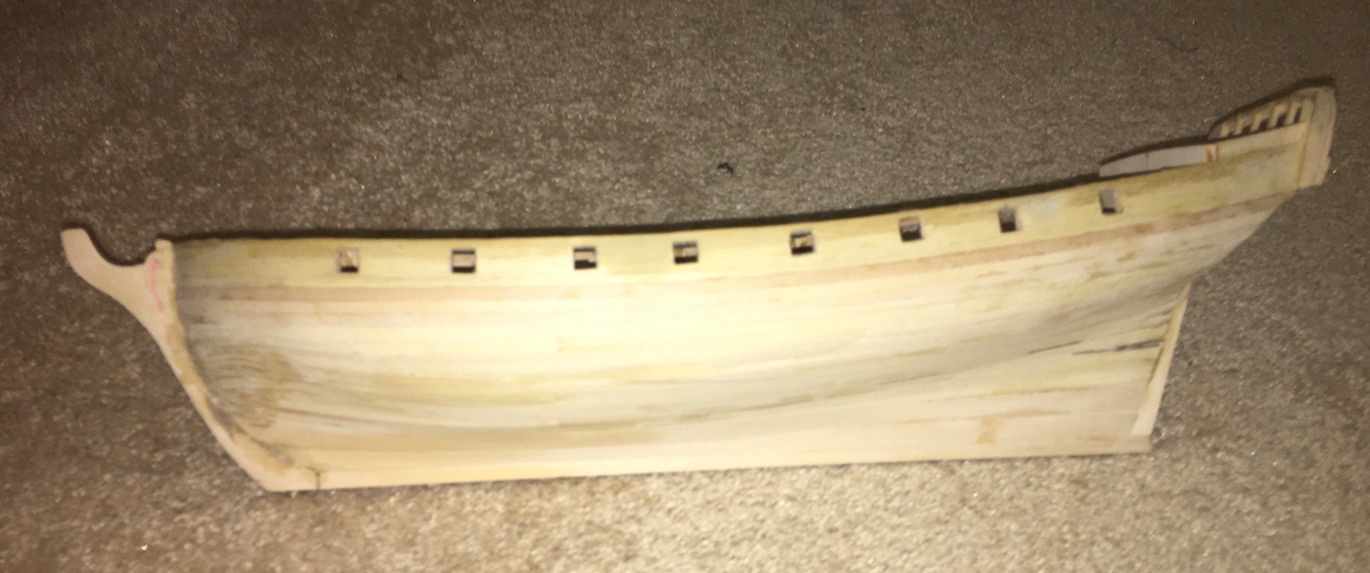
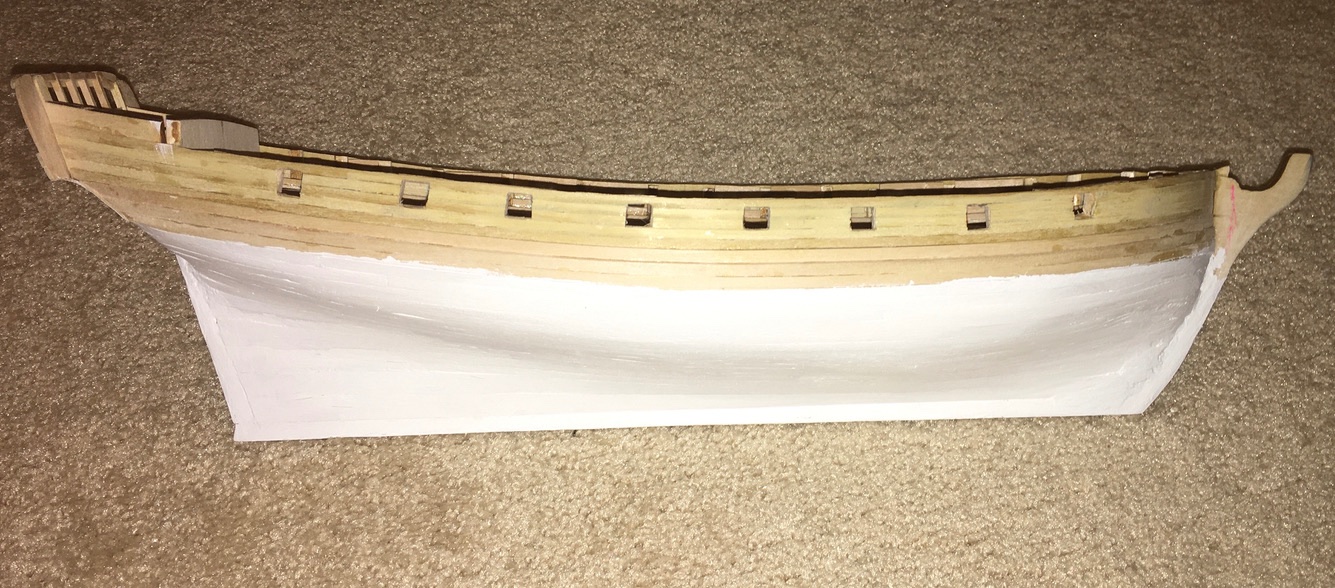
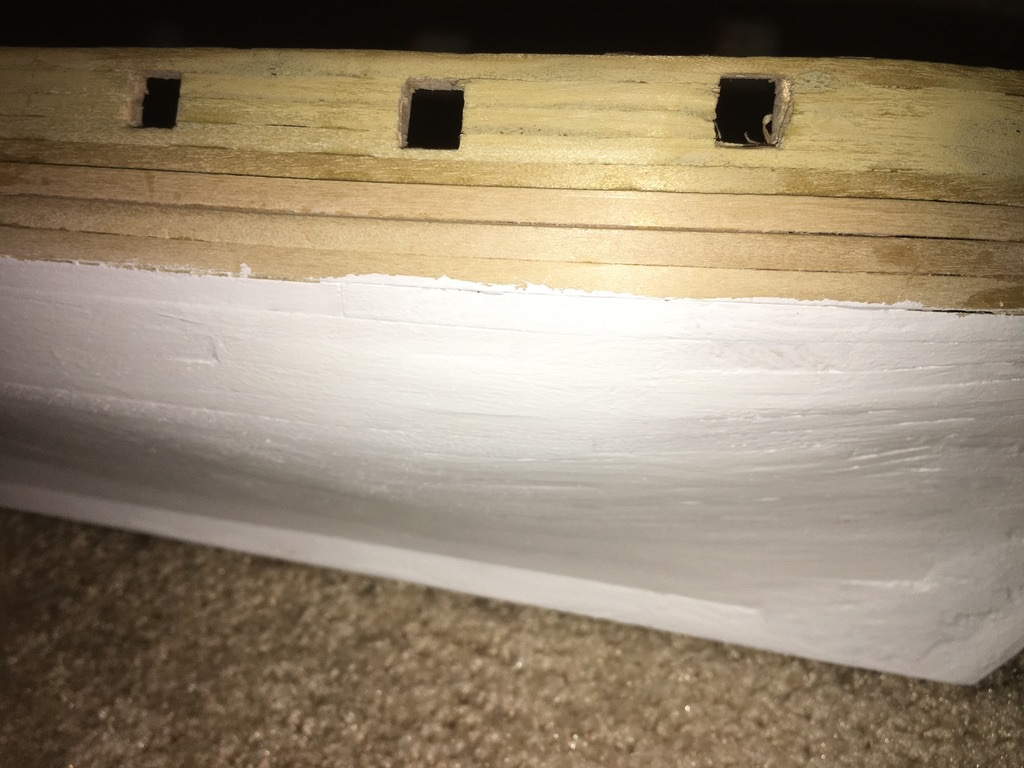
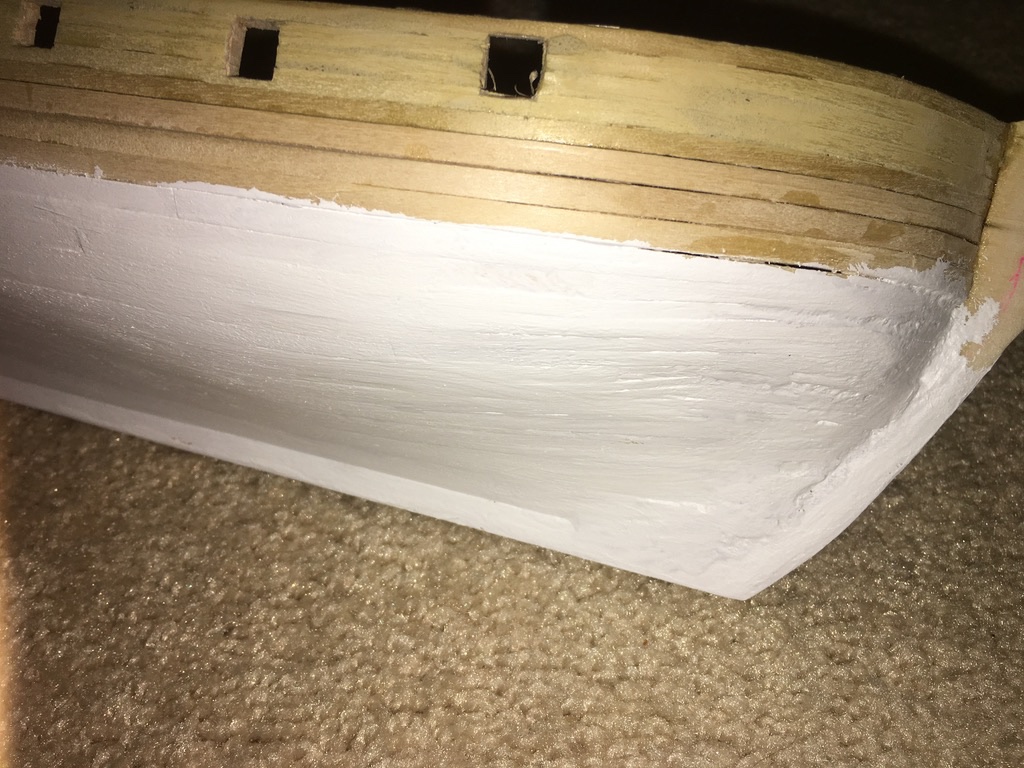
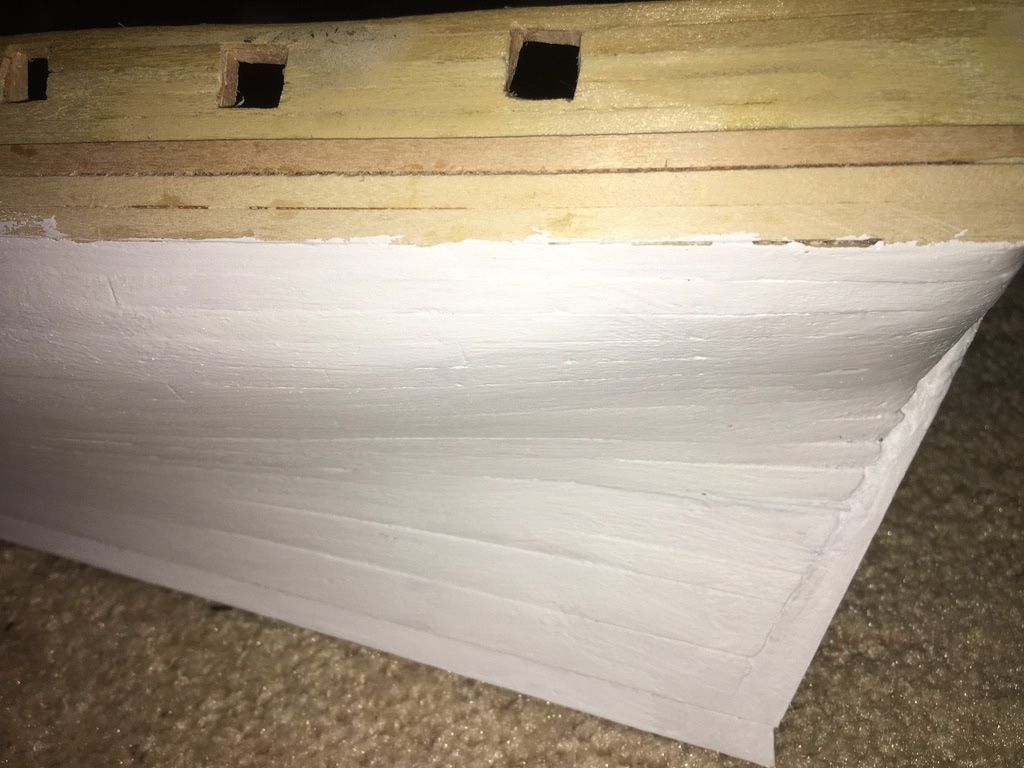
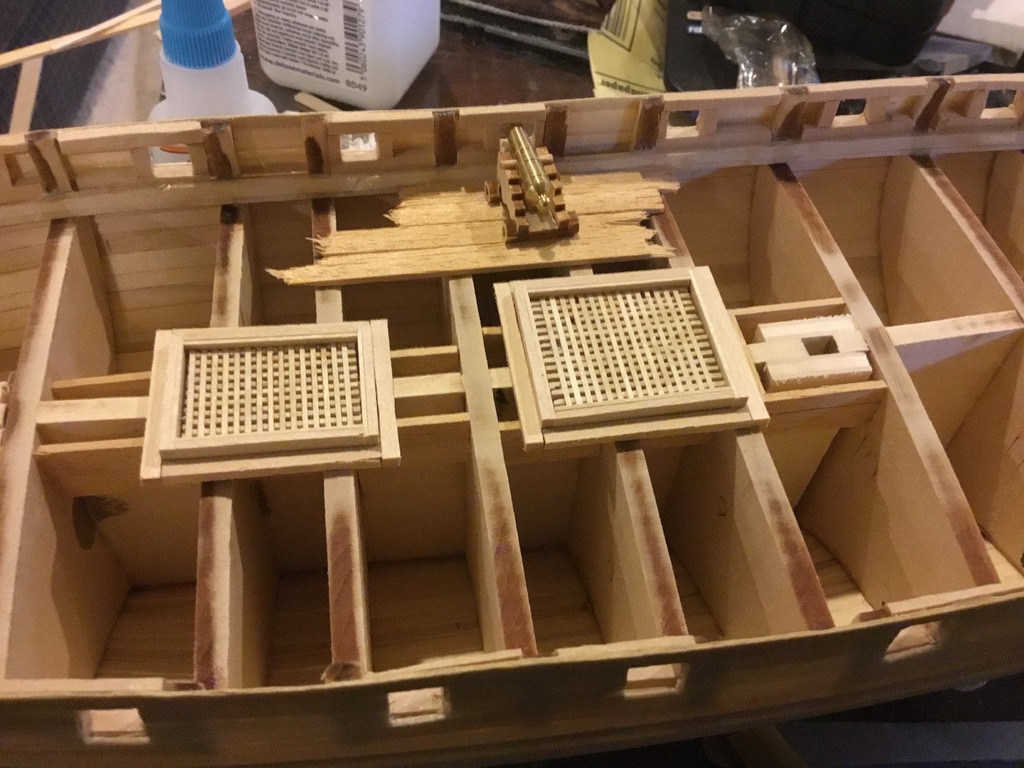
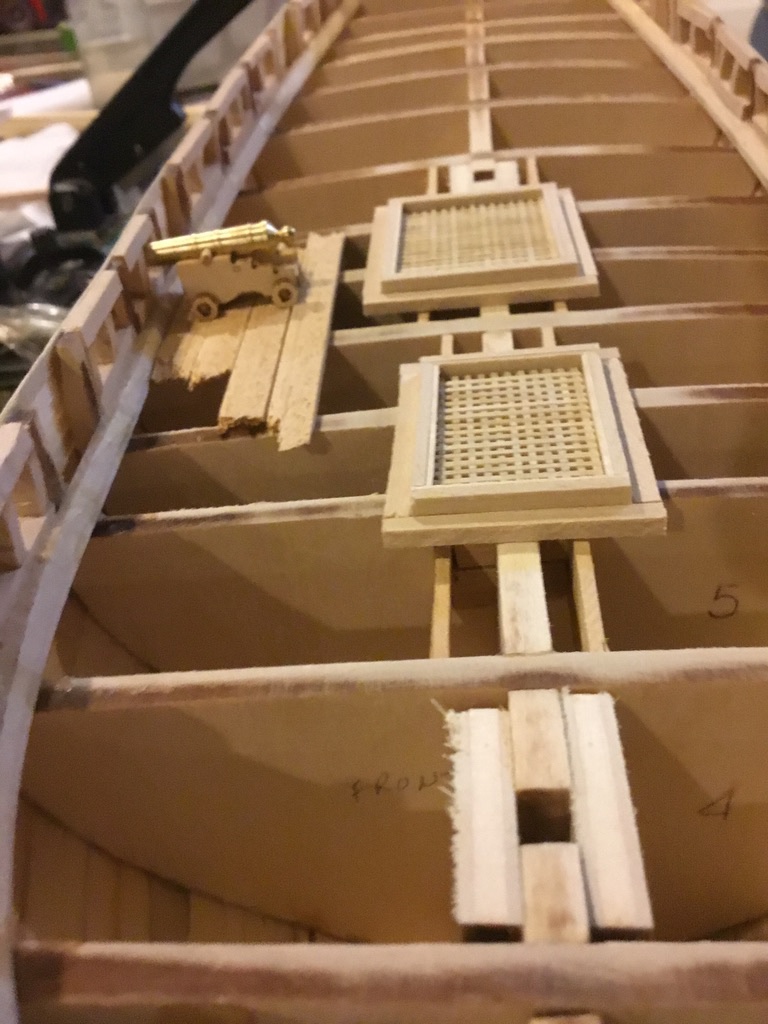
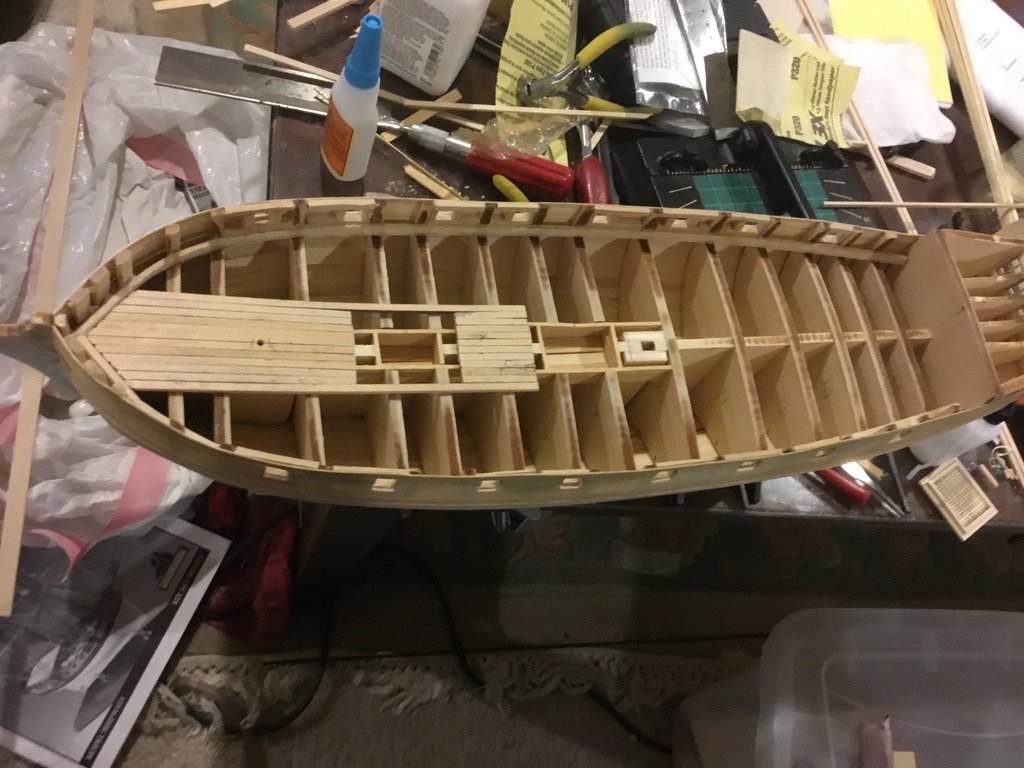
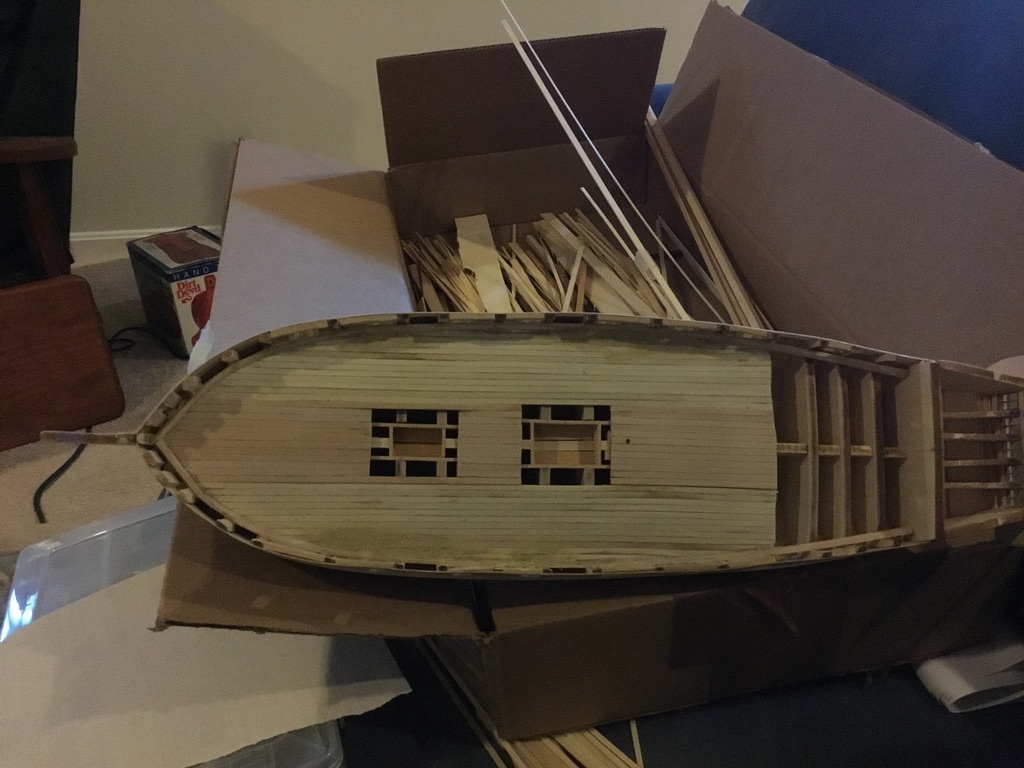
This is the beginning of my build log for the 14 Gun Brig Fair American by Model Shipways. It starts with my planking the hull, as the steps up to that point were not recorded due to my fear of doing a build log after seeing the quality of the build logs presented on this site. I had stopped at that point in the build process because I was reviewing the existing build logs on this site for the brig; and was getting confused by the various ways the models were being built and how they differred from the instructions provided in the kit. I have a copy of Bob Hunt's practicum to follow (but I didn't want to do the extensive kit mods he was advocating; nor did I have the skills of someone like Pete Jaquith and the desire to work on the model for several years). I was also concerned that of the 15 build logs for the Model Shipways kit on the site only 3 were finished with a lot appearing to be dropped altogether. What was I getting myself into? So I stopped my build and started a build log for the Danmark by Billings which was a kit that had been sitting around for years being neglected. Completing the build of the Danmark and it's build log improved by confidence (if I could build that old kit with its absolute minimum set of instructions compared to todays kits then I should be able to resume work on the Fair American), so here goes! I started with the basic shell, a partially finished stern, and the bulwarks with gun ports and the outside planking from the wales up done. I then planked the hull in a rather haphazard way after failing in my attempts to partition the hull into four sections using battens, calculating widths of planks at each frame etc. as I have extensively read about, and just did my best. I bought the half-hull planking kit from this site to learns from for future builds (but that's for later). When the hull was planked, I filled any voids and low spots after sanding with wood filler, resanded, refilled, resanded then primered the lower hull and resanded again before my final application of primer. I then constructed the hatches as best I could (they seem to be too big, but match the dimensions on the plans), positioned them and started the deck planking. I checked the fit of the cannons in the ports by temporarily mocking up a cannon and checking its fit. It appeared reasonable to me so I won't do Mr. Hunts suggesting of increasing the height of the bulwarks but will instead adjust the cannon carriages instead. I completed the deck planning for the main deck and created the forward portions of the main cap rails. I plan on using wipe-on poly for the main deck planking and will do some hull painting after building up the fancy rail and cap rail. Will probably continue using a combination of the instructions that came with the kit and a little bit of the methods from the practicum and other ideas or sequence of steps form other build logs.

- 24 replies
-
- 6
-
-
- Fair American
- Model Shipways
- (and 1 more)
-
I have a copy of the same kit but never started it. Will be following your build with great interest. Good luck!
-
I was just part way through building the brig Fair American when I got engrossed with finishing the Danmark, so I will take up that where I left off which was planking the hull. I'll probably start a new build log for that now that I have some experience with keeping a build log on this forum. I was reluctant in the beginning due to a lack of experience and being intimidated by the quality of some of the builds on this site.
- 39 replies
-
- 2
-
-
- billing boats
- danmark
- (and 1 more)
-
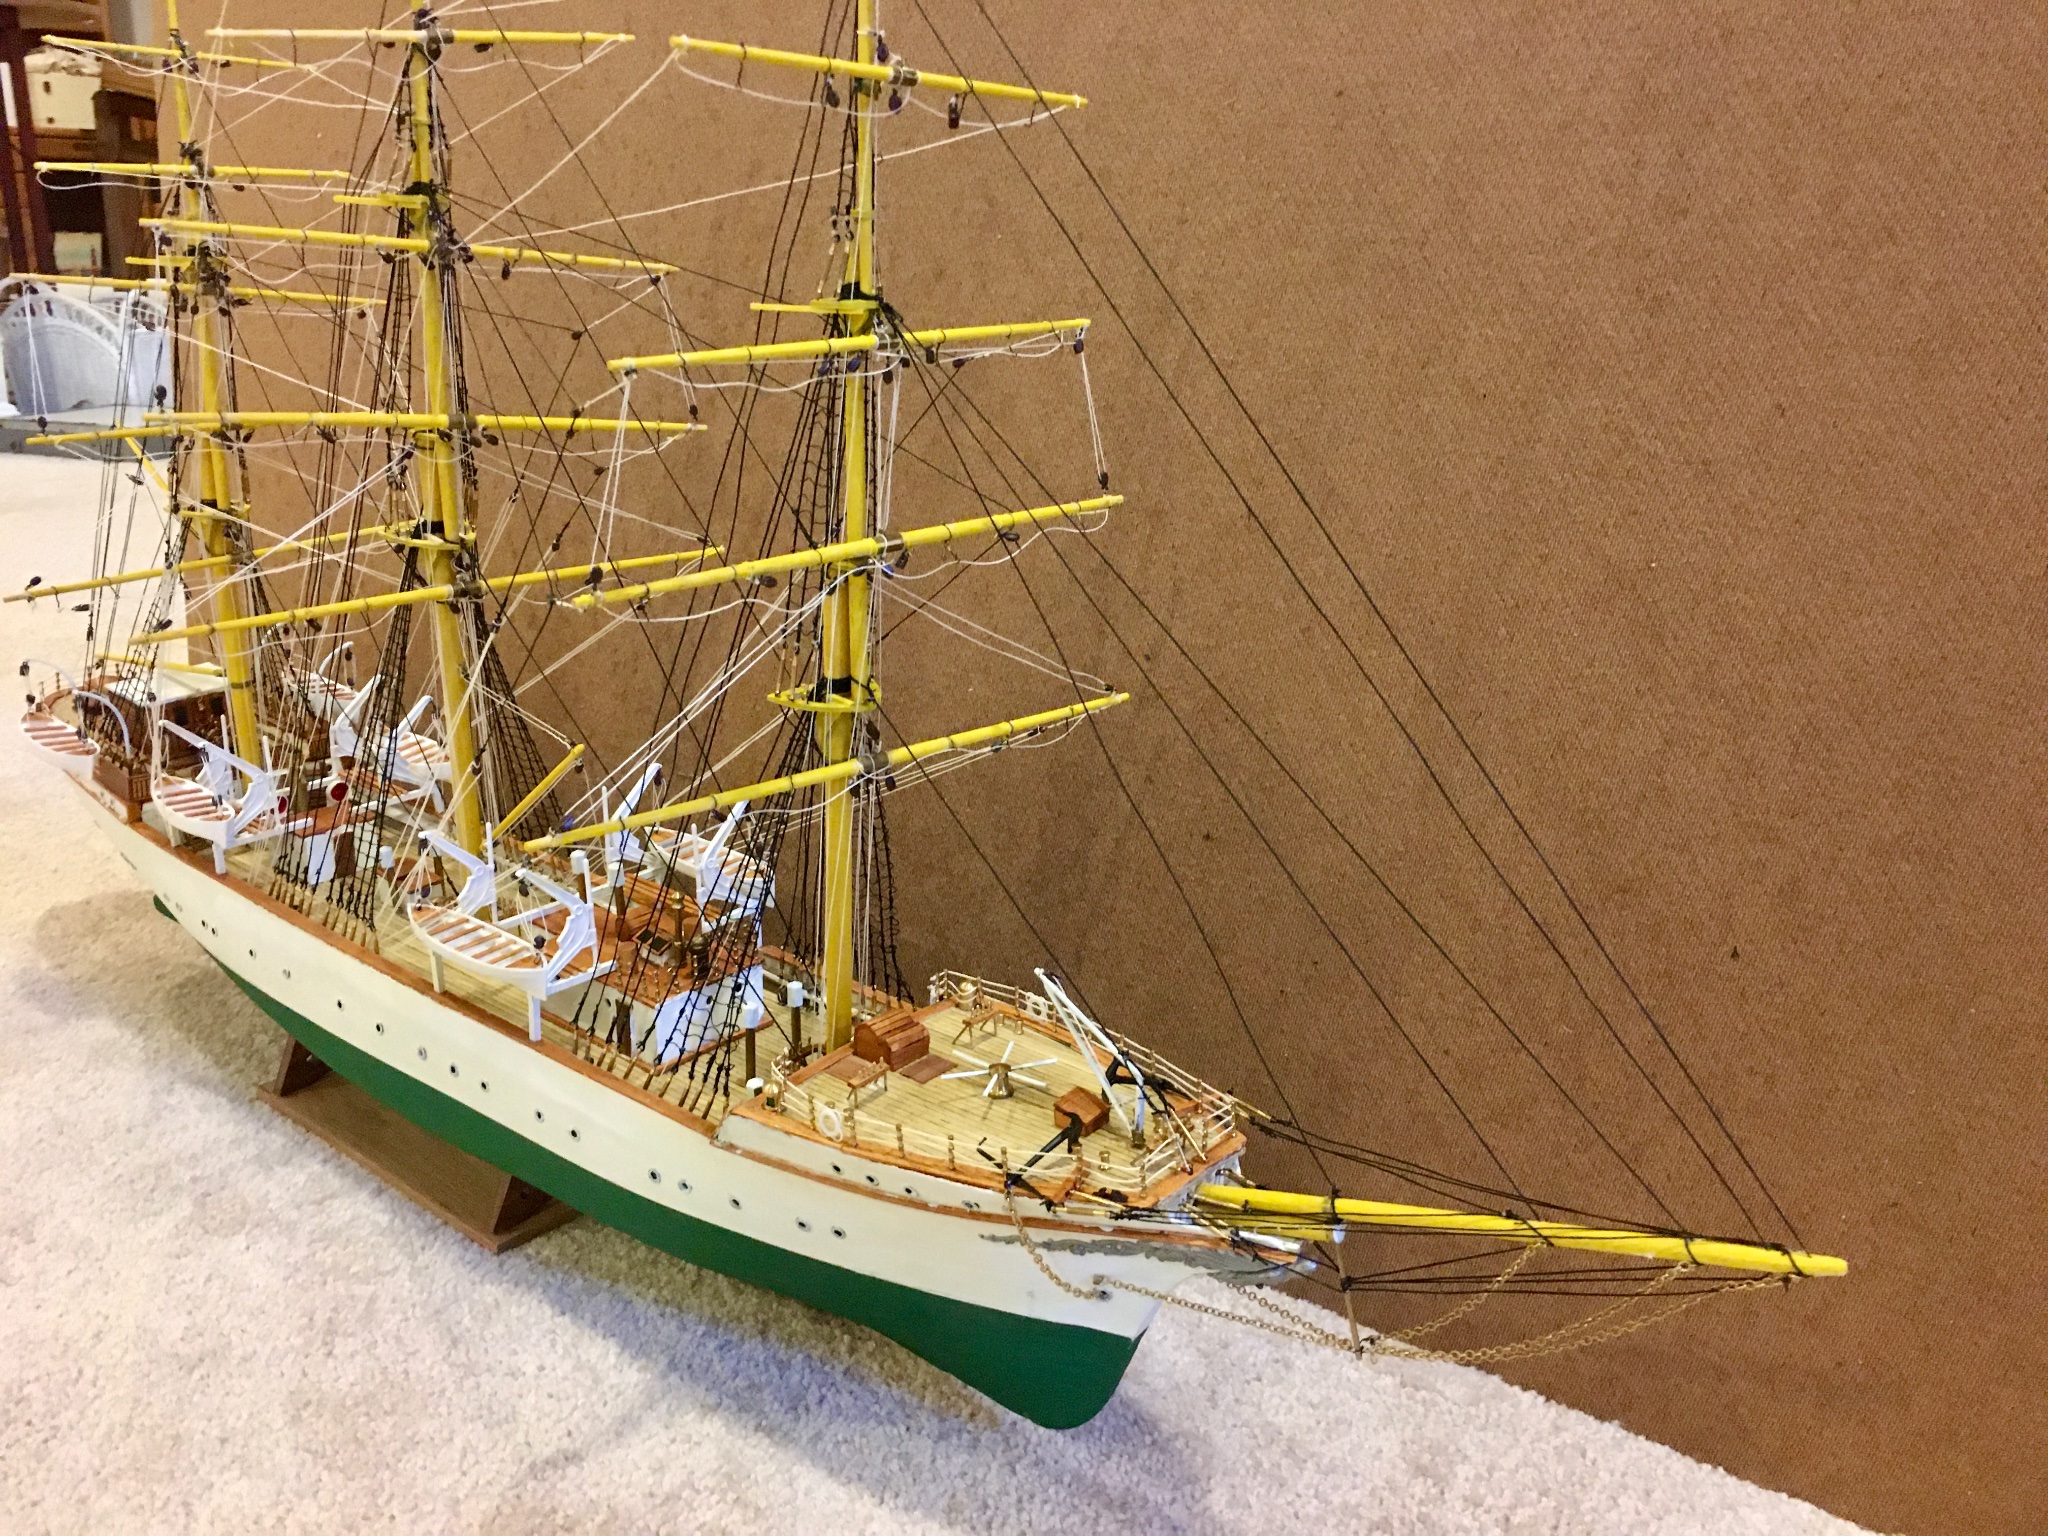
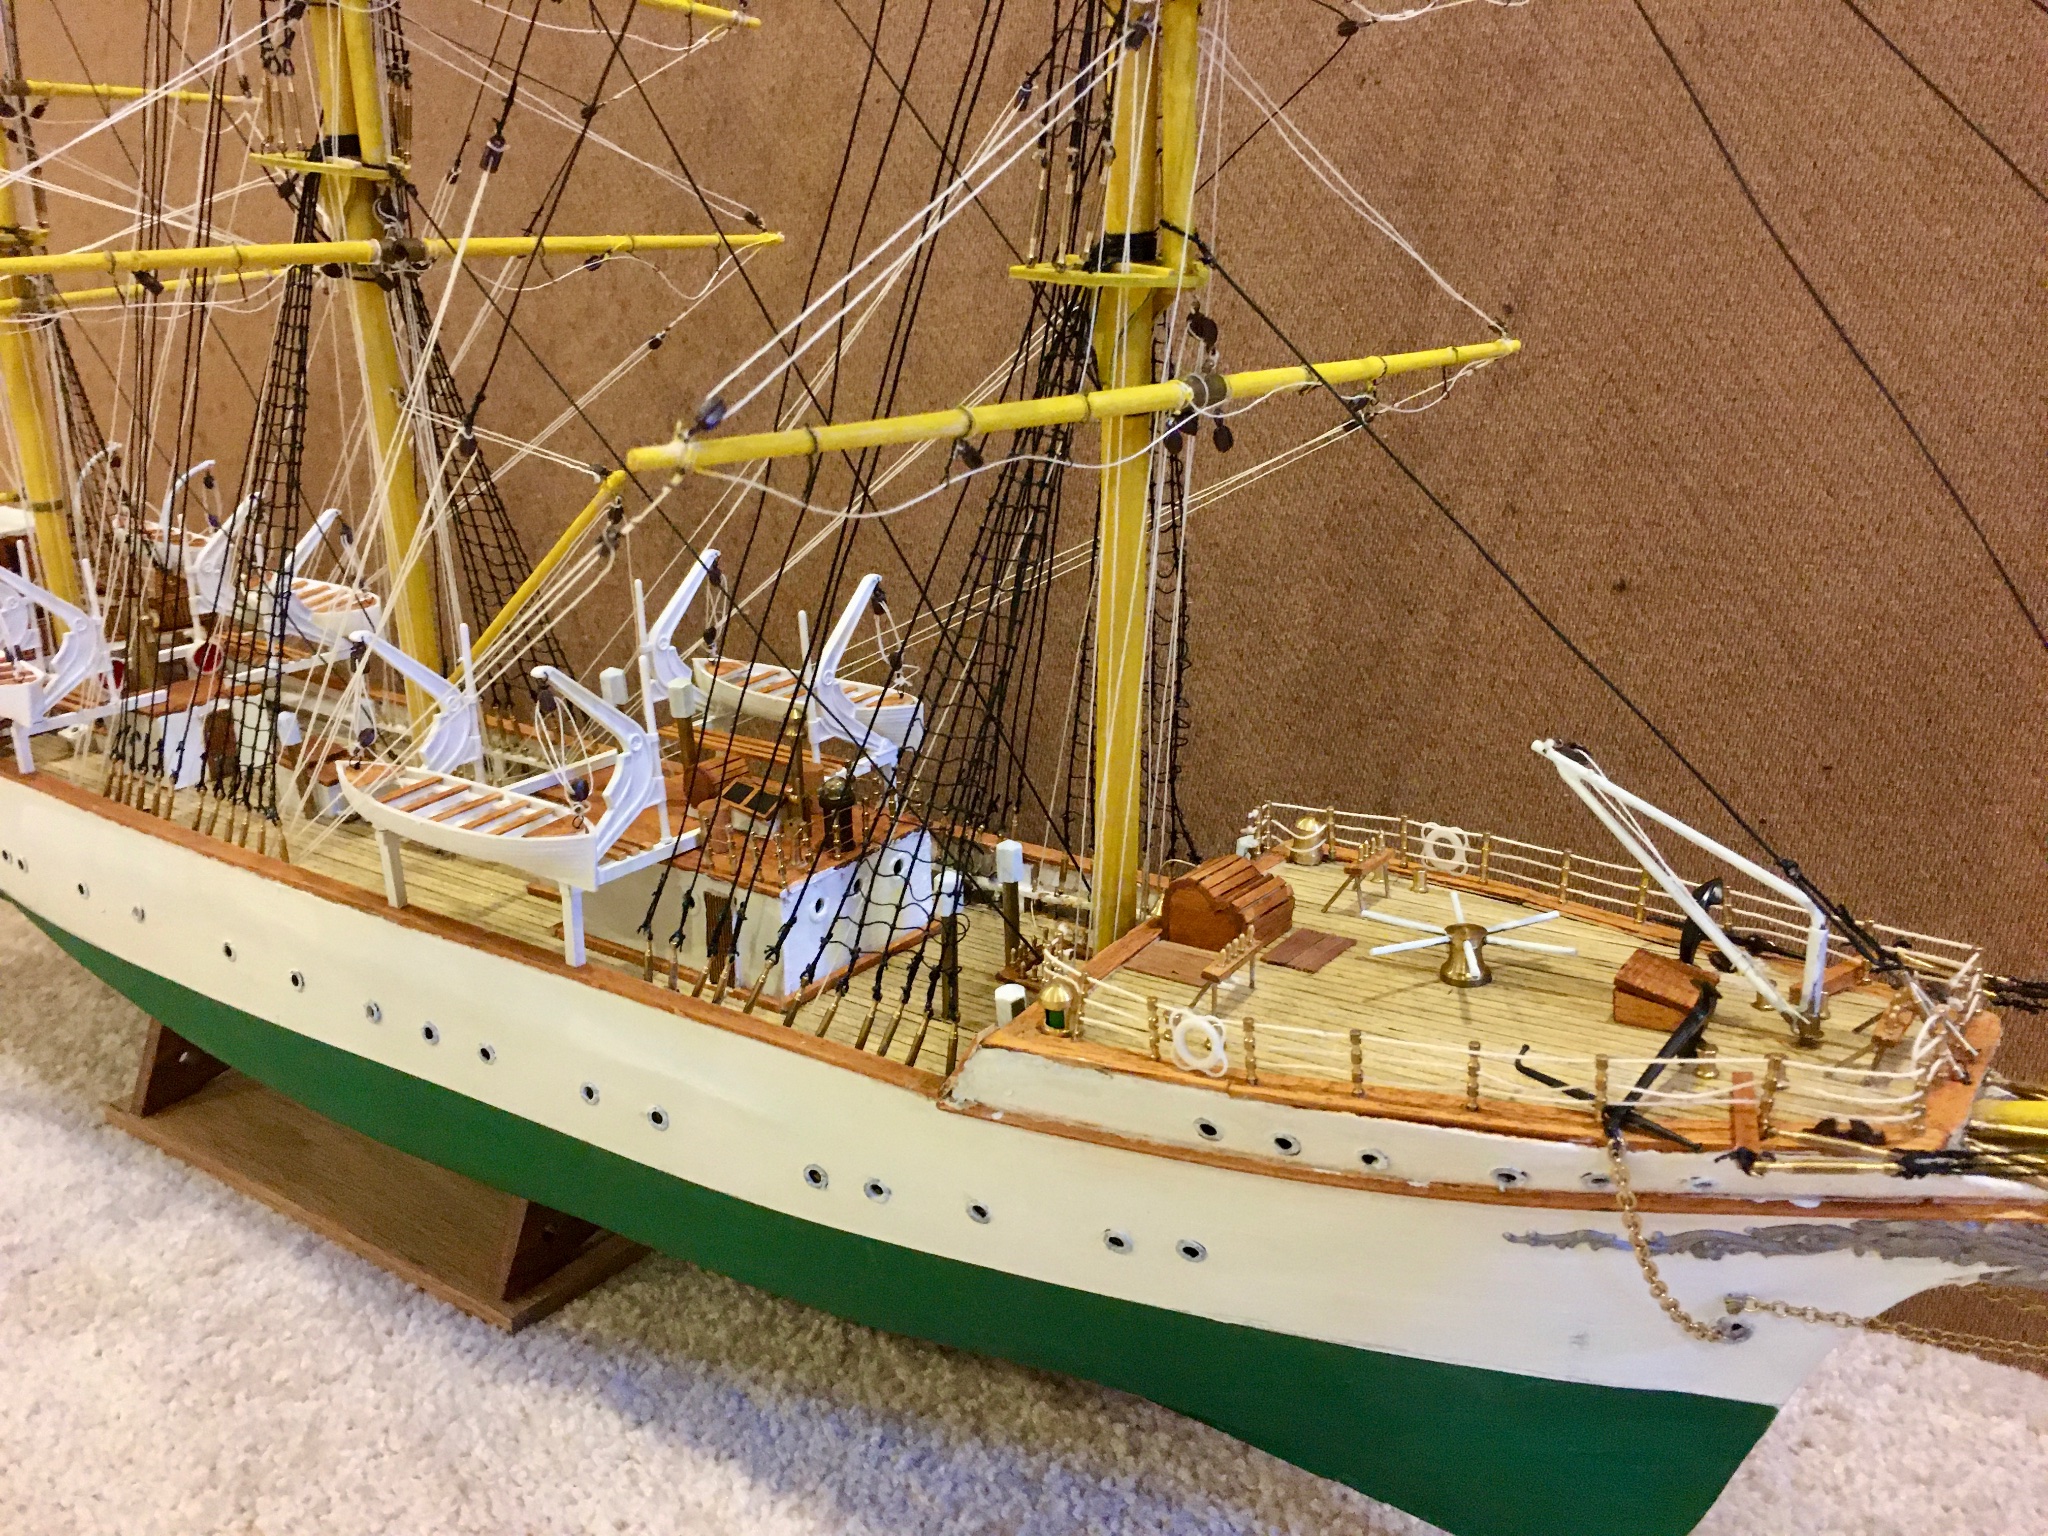
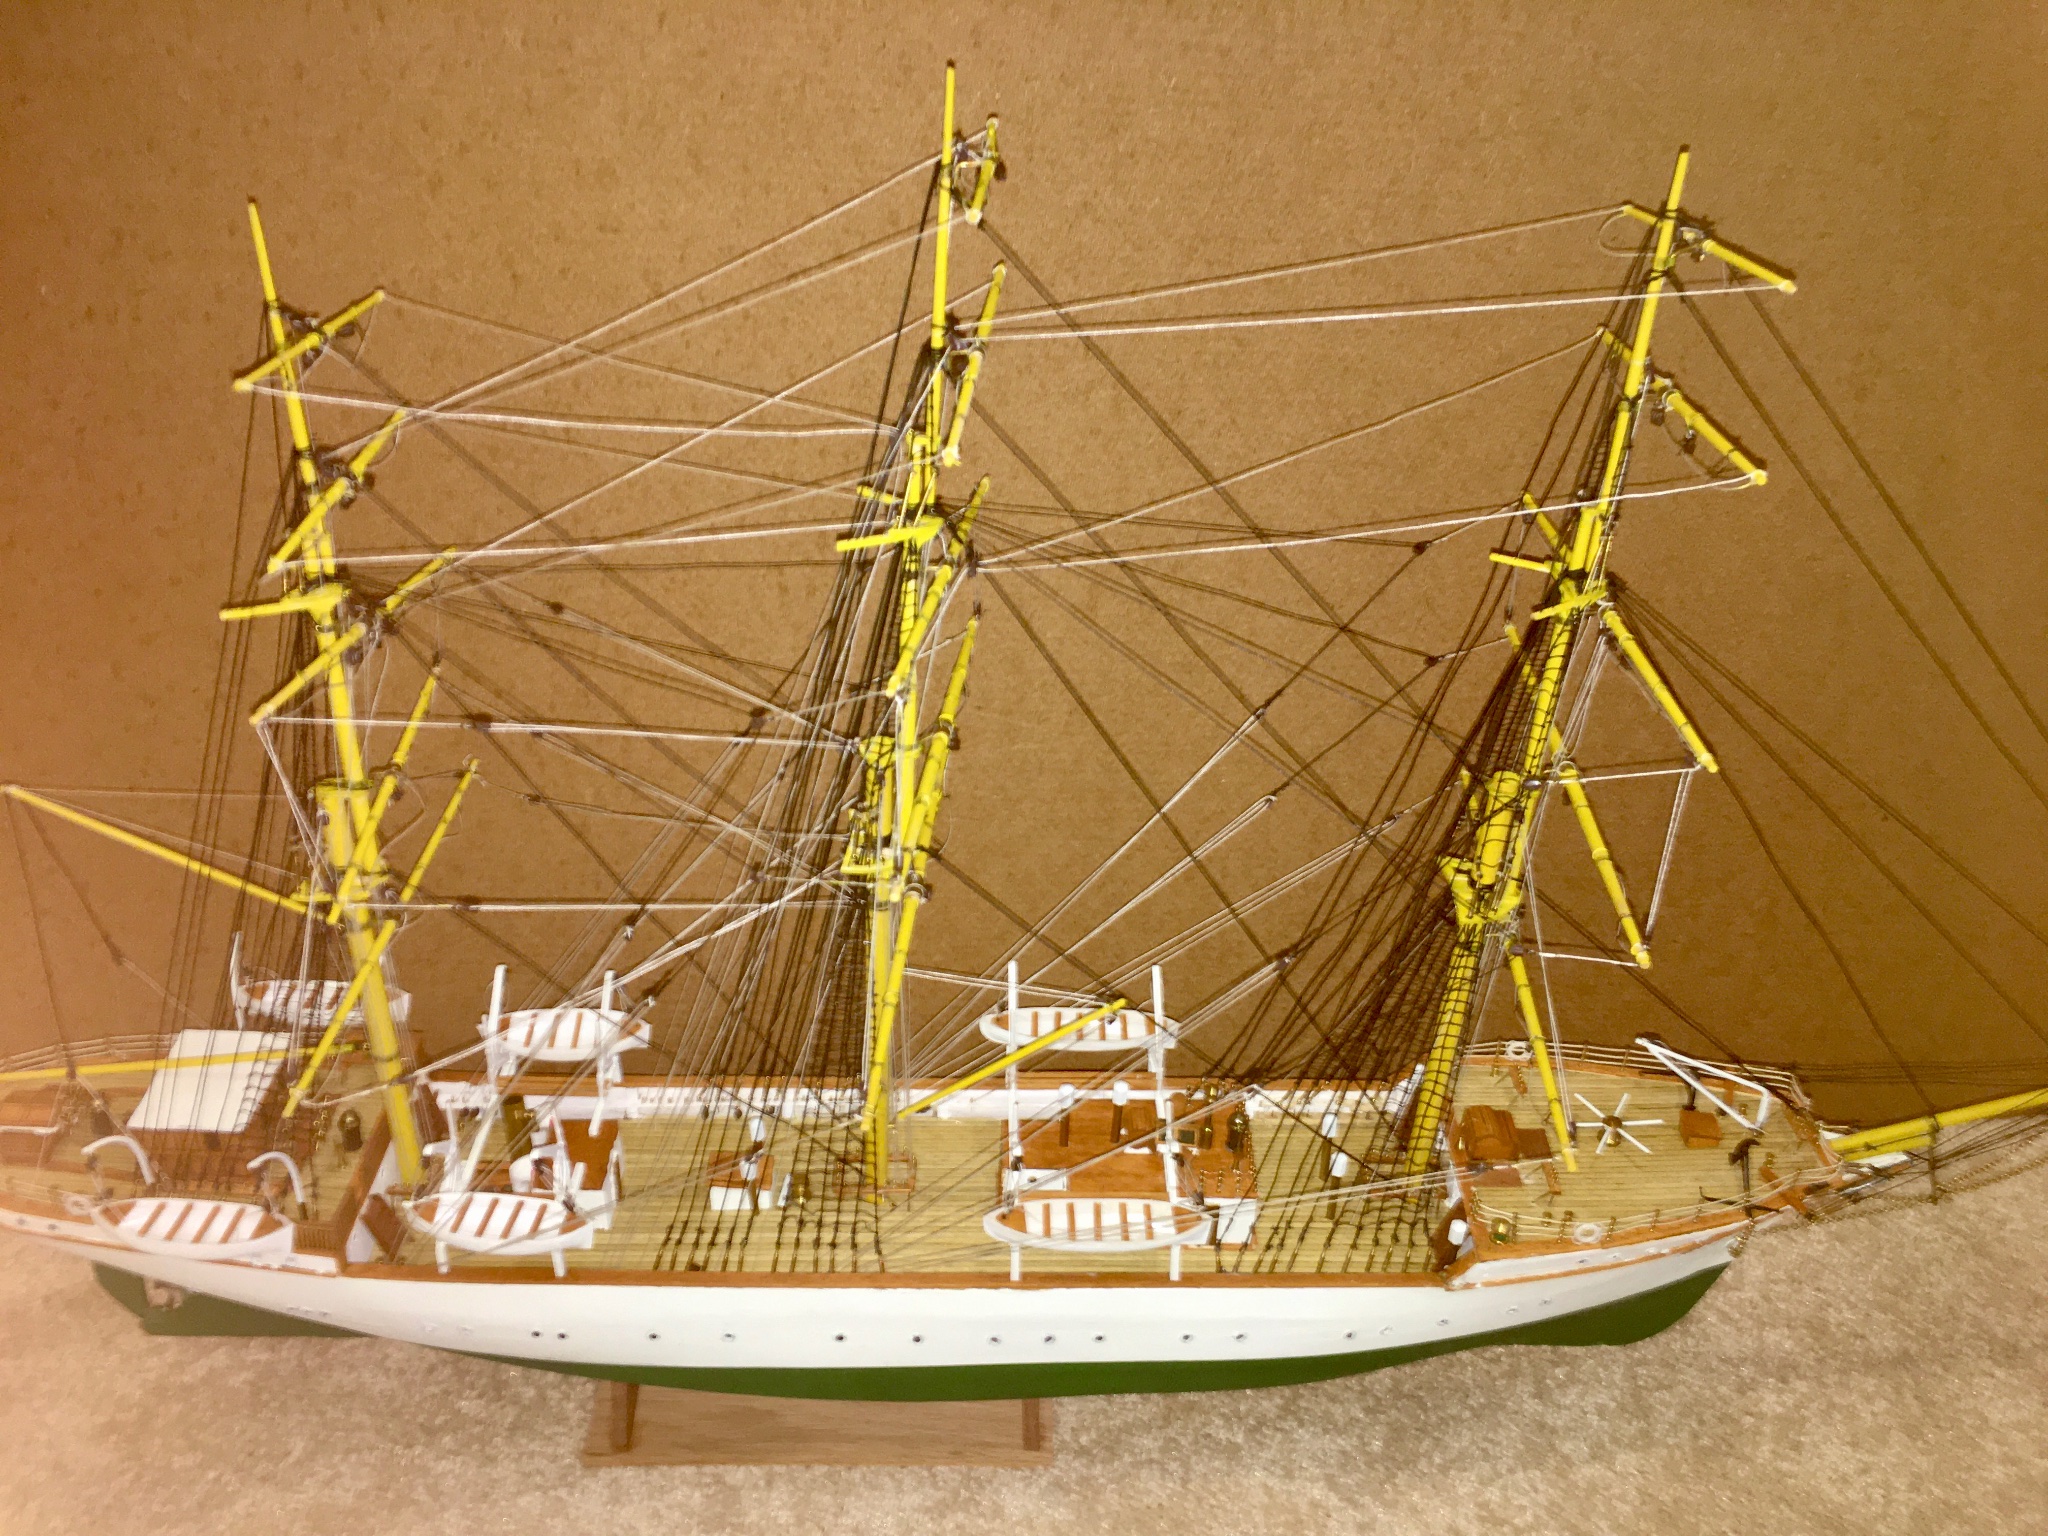
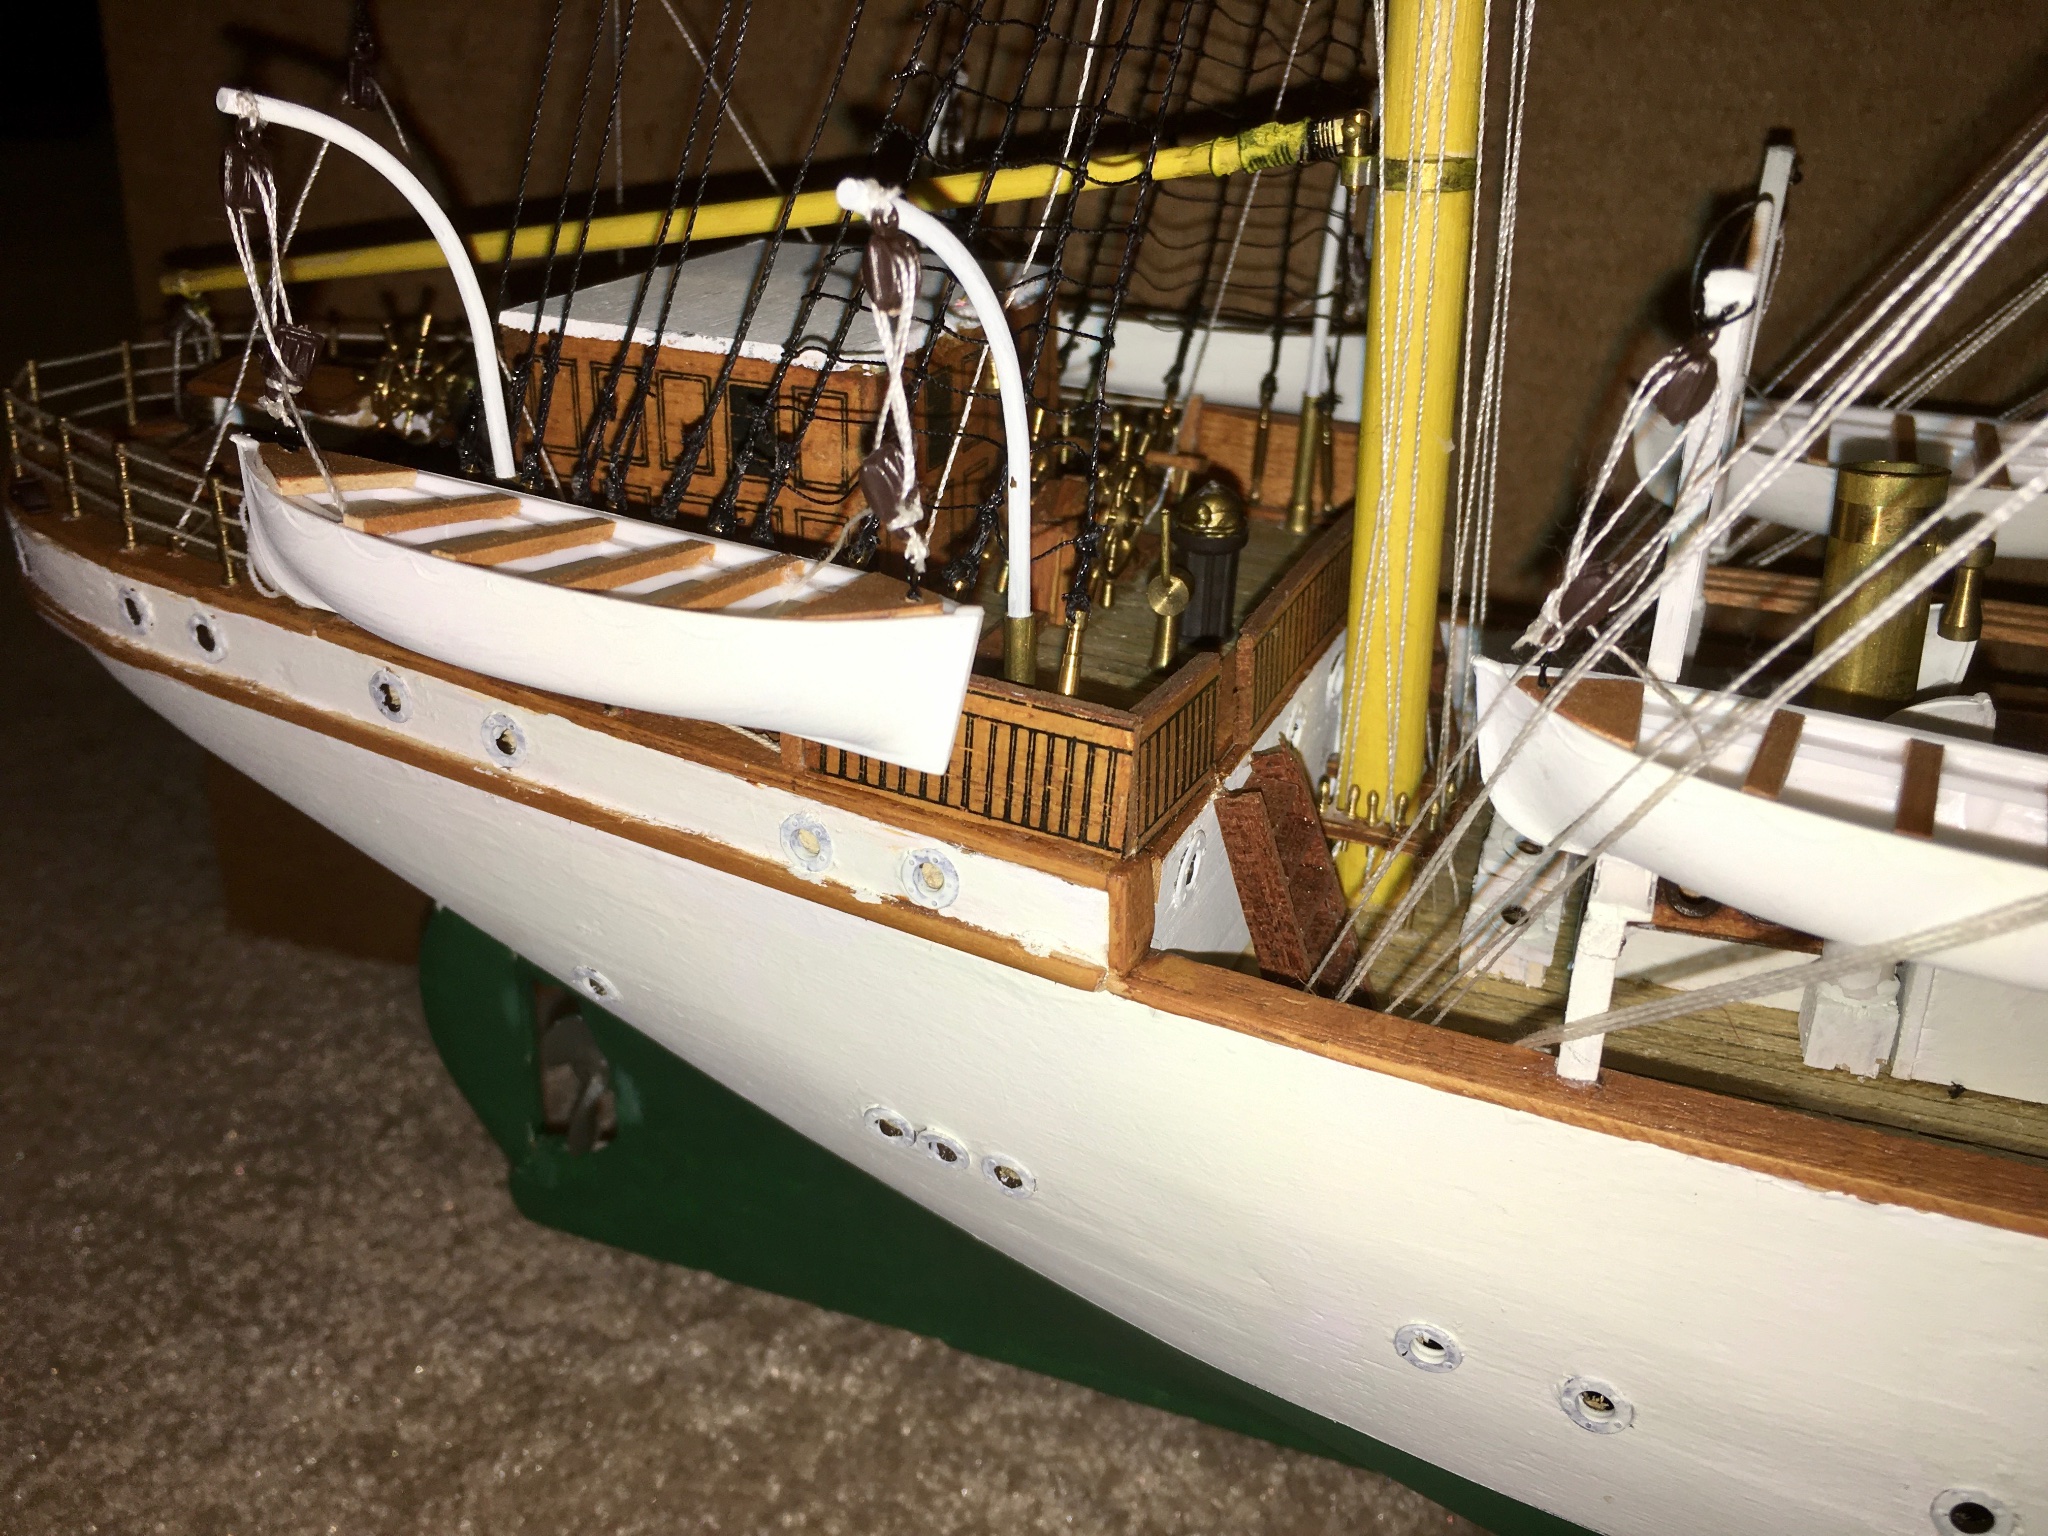
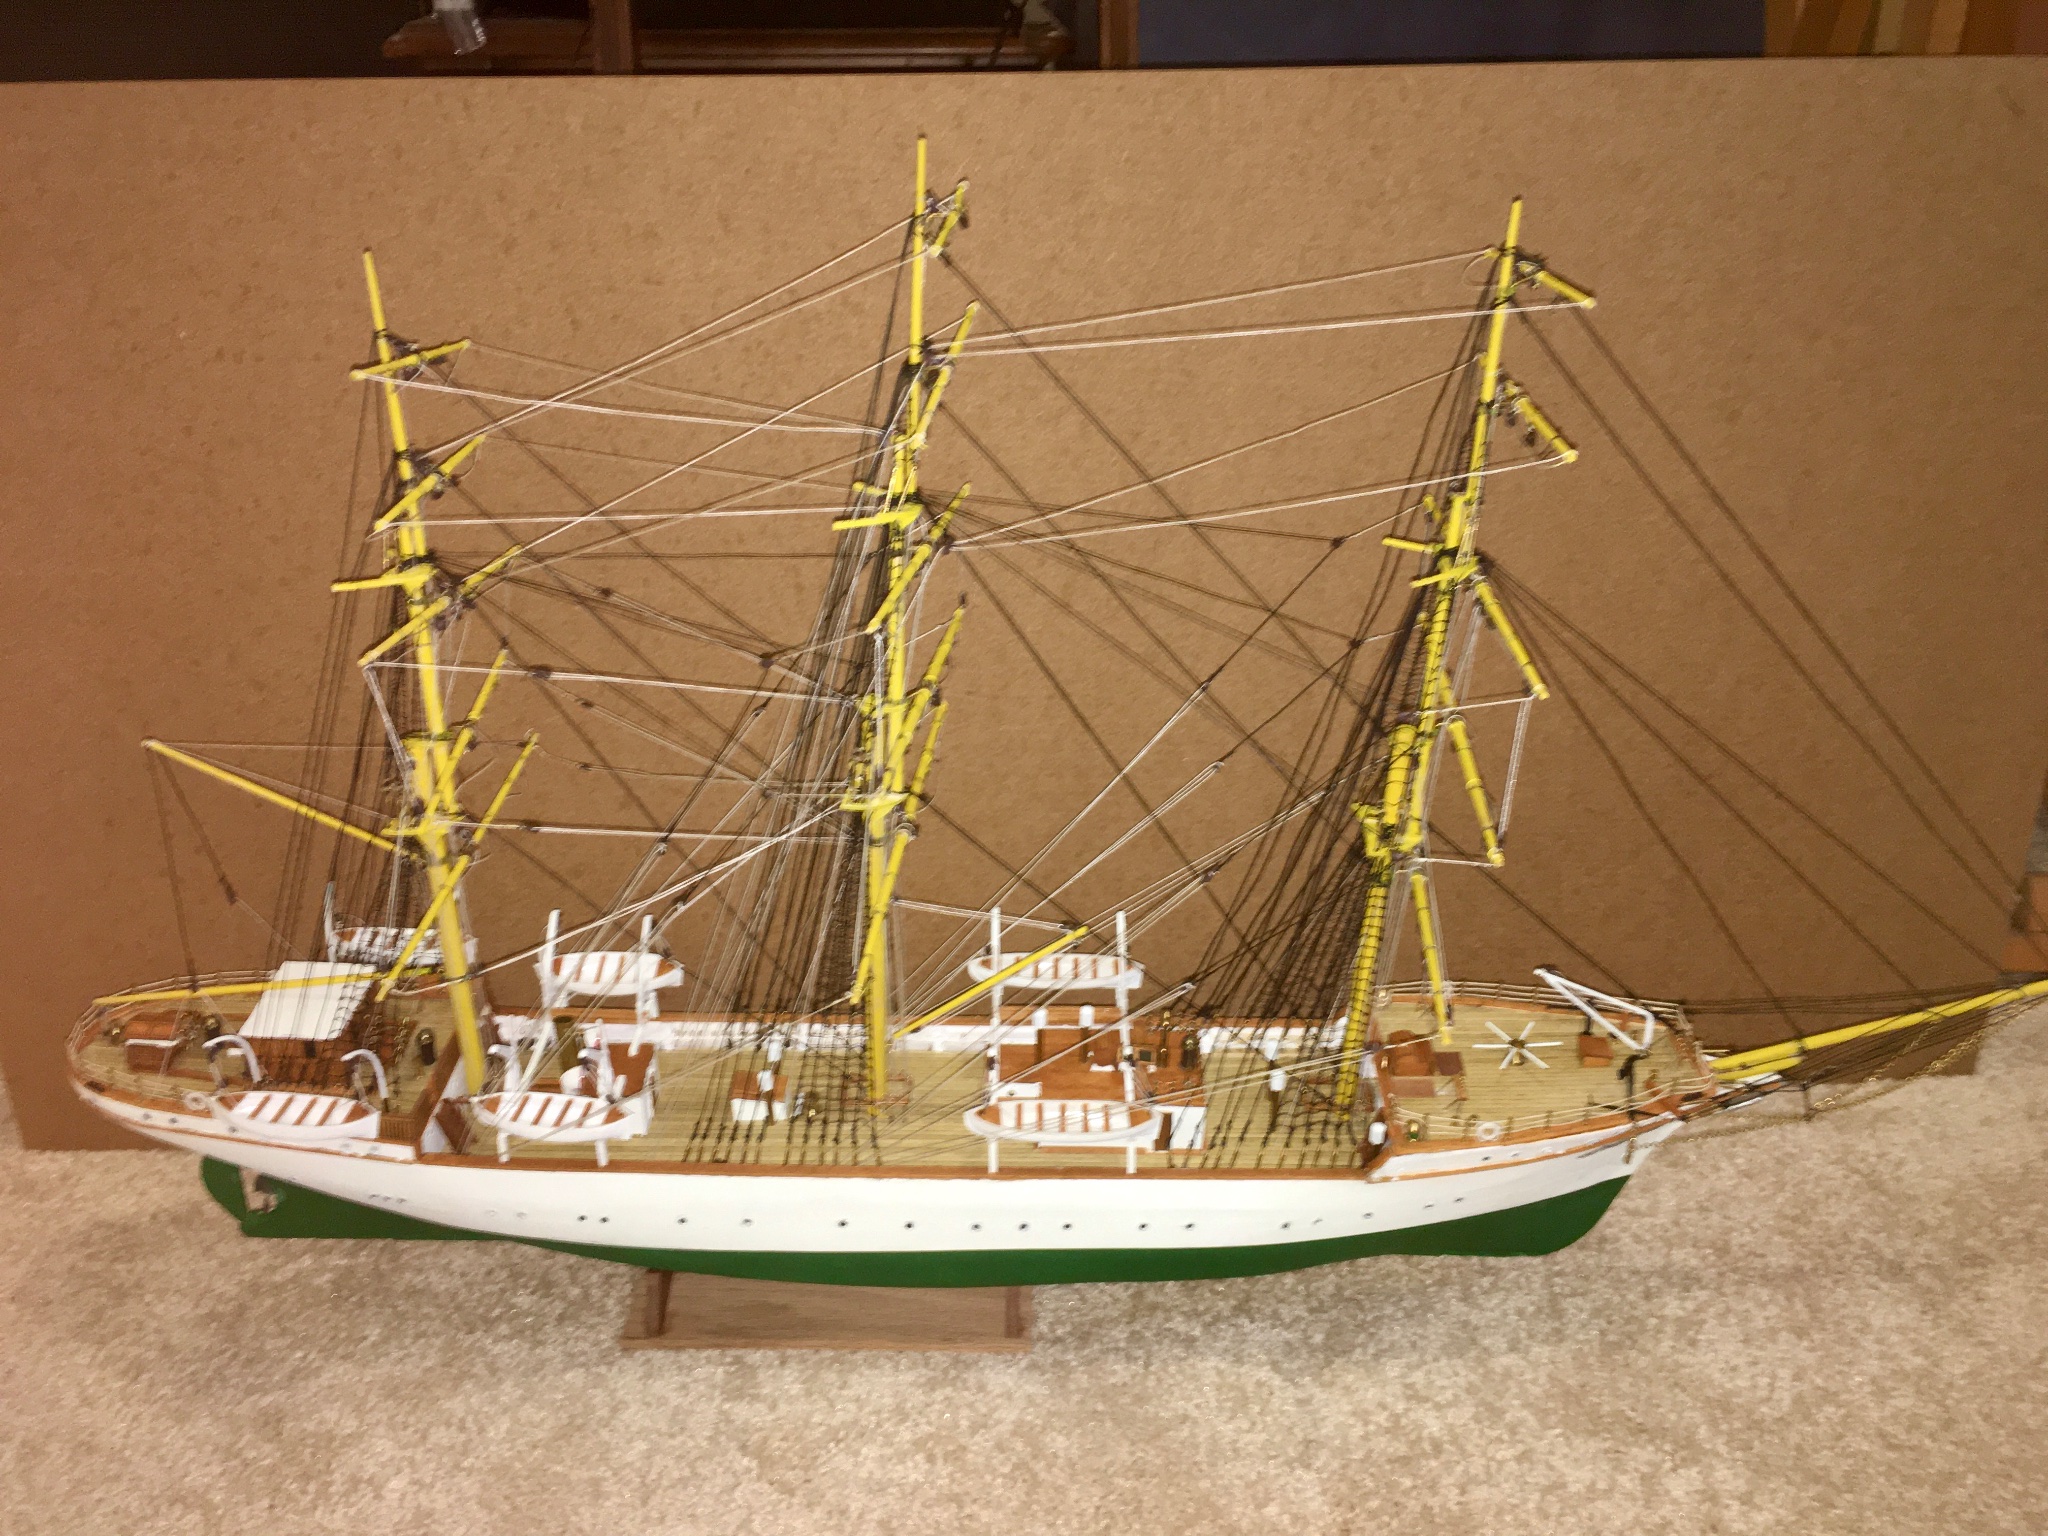
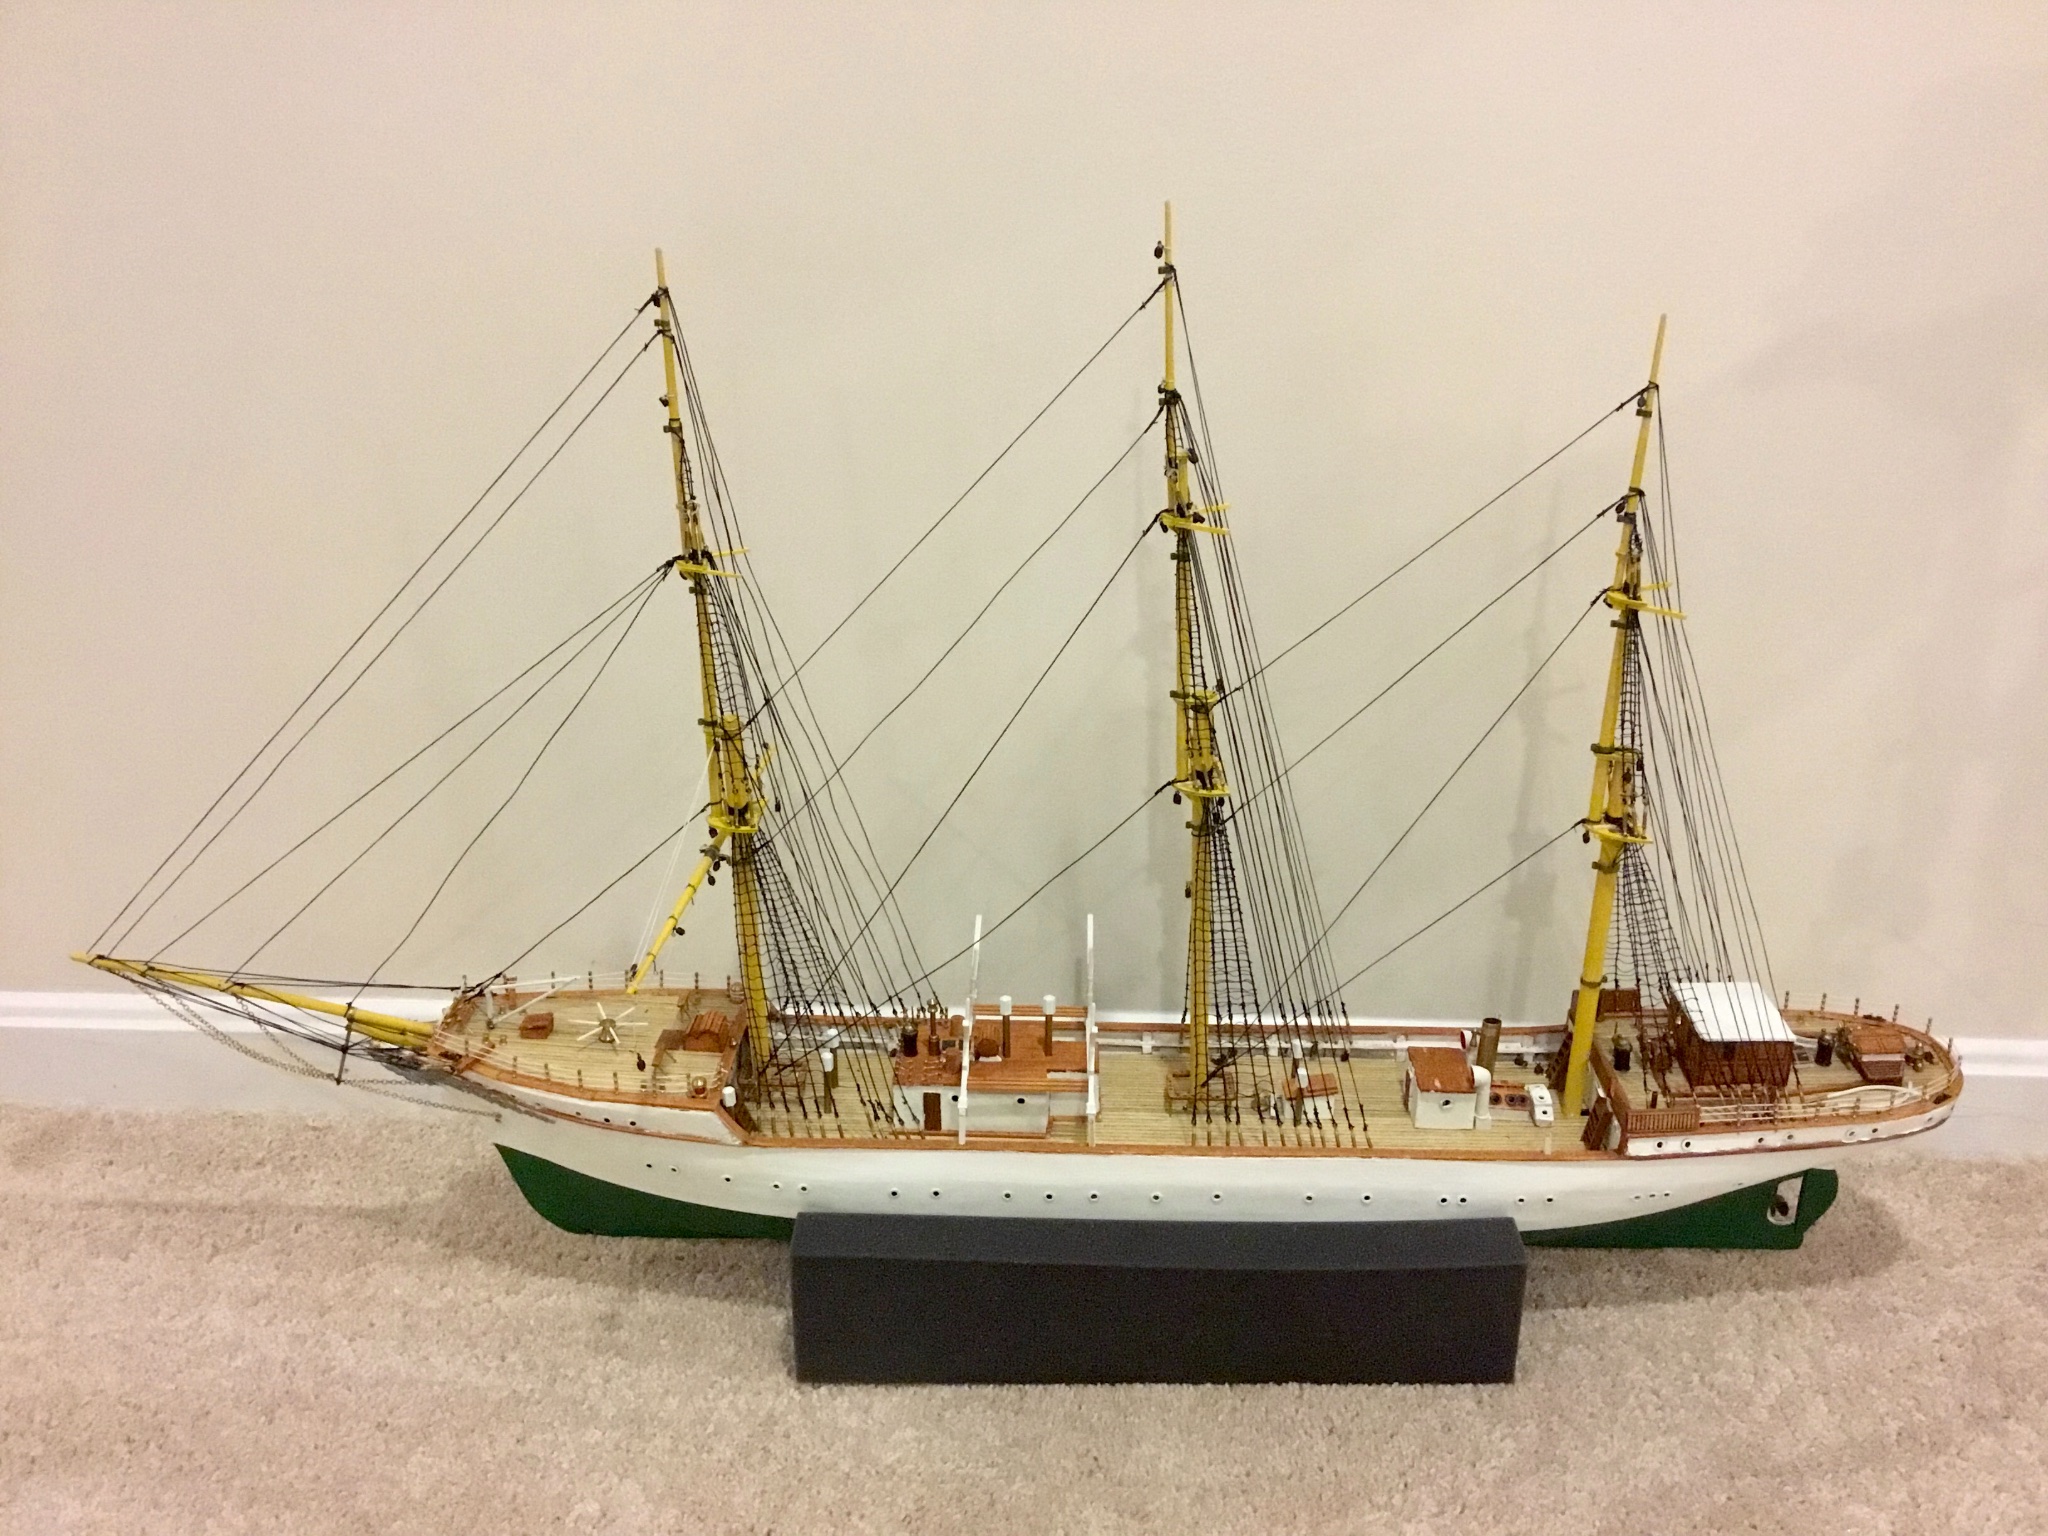
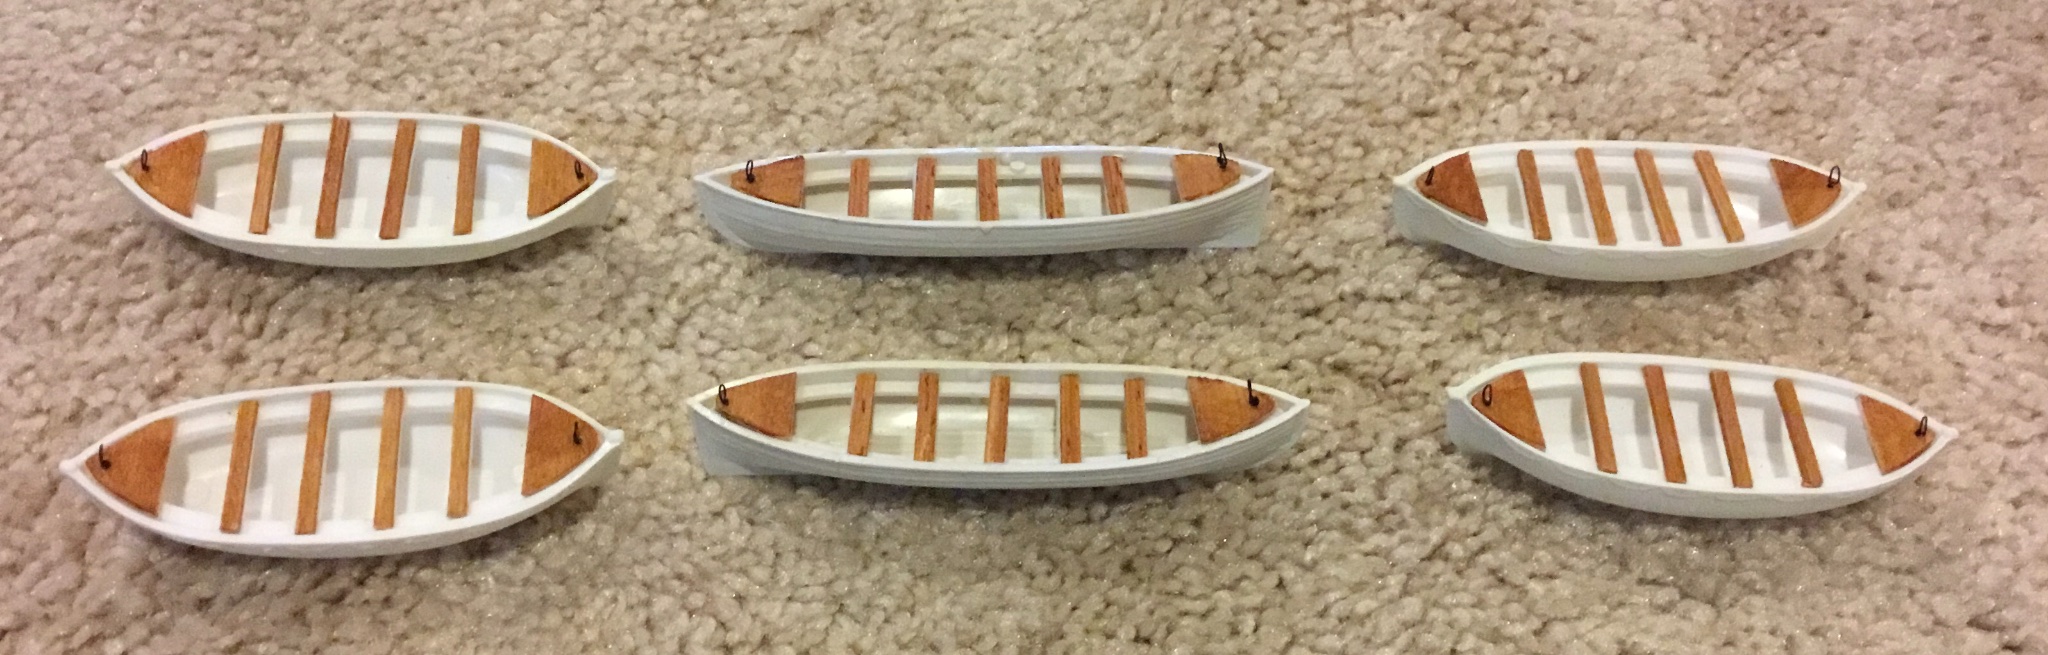
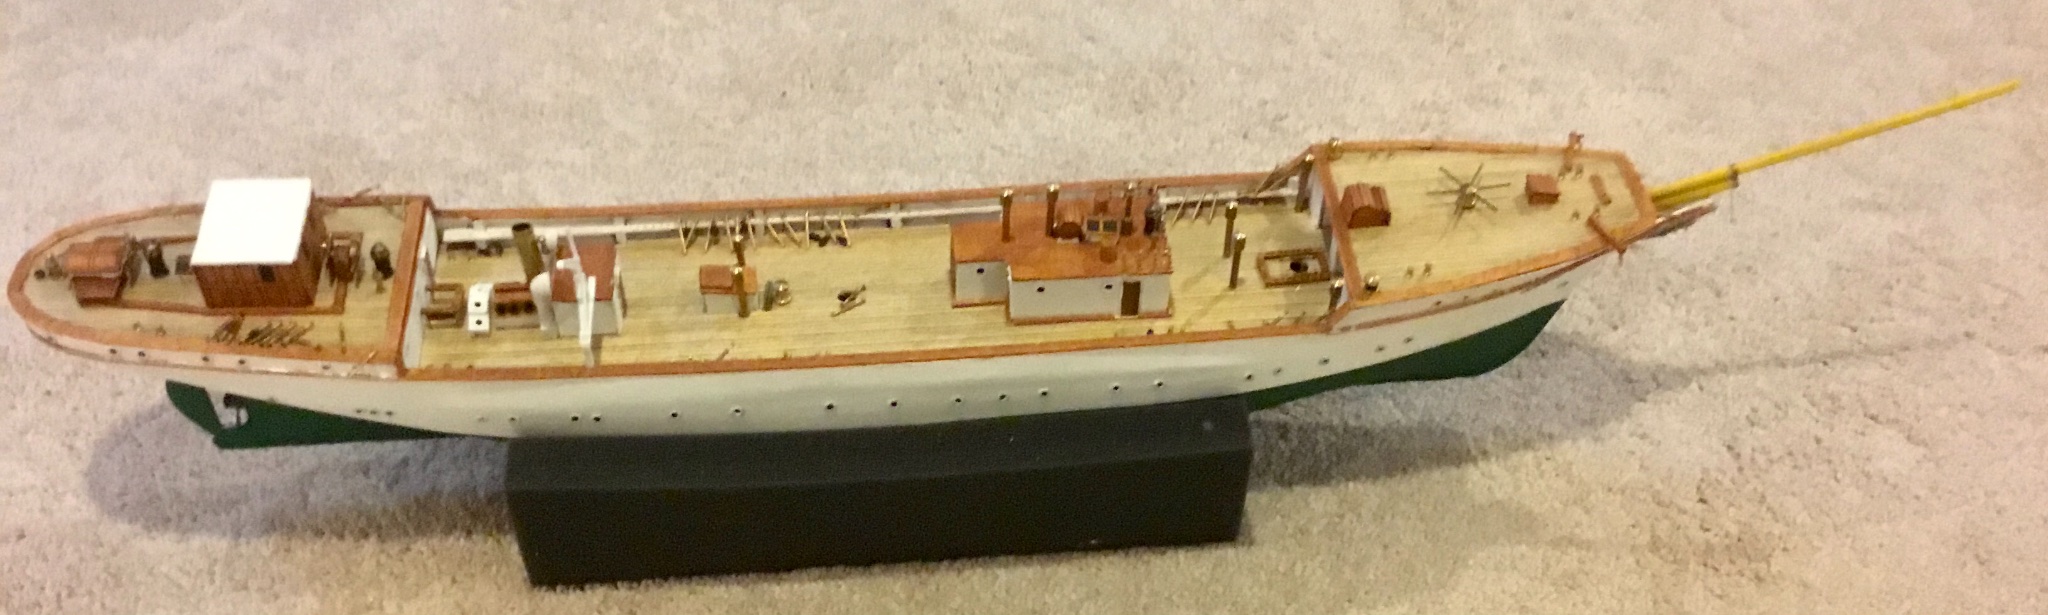
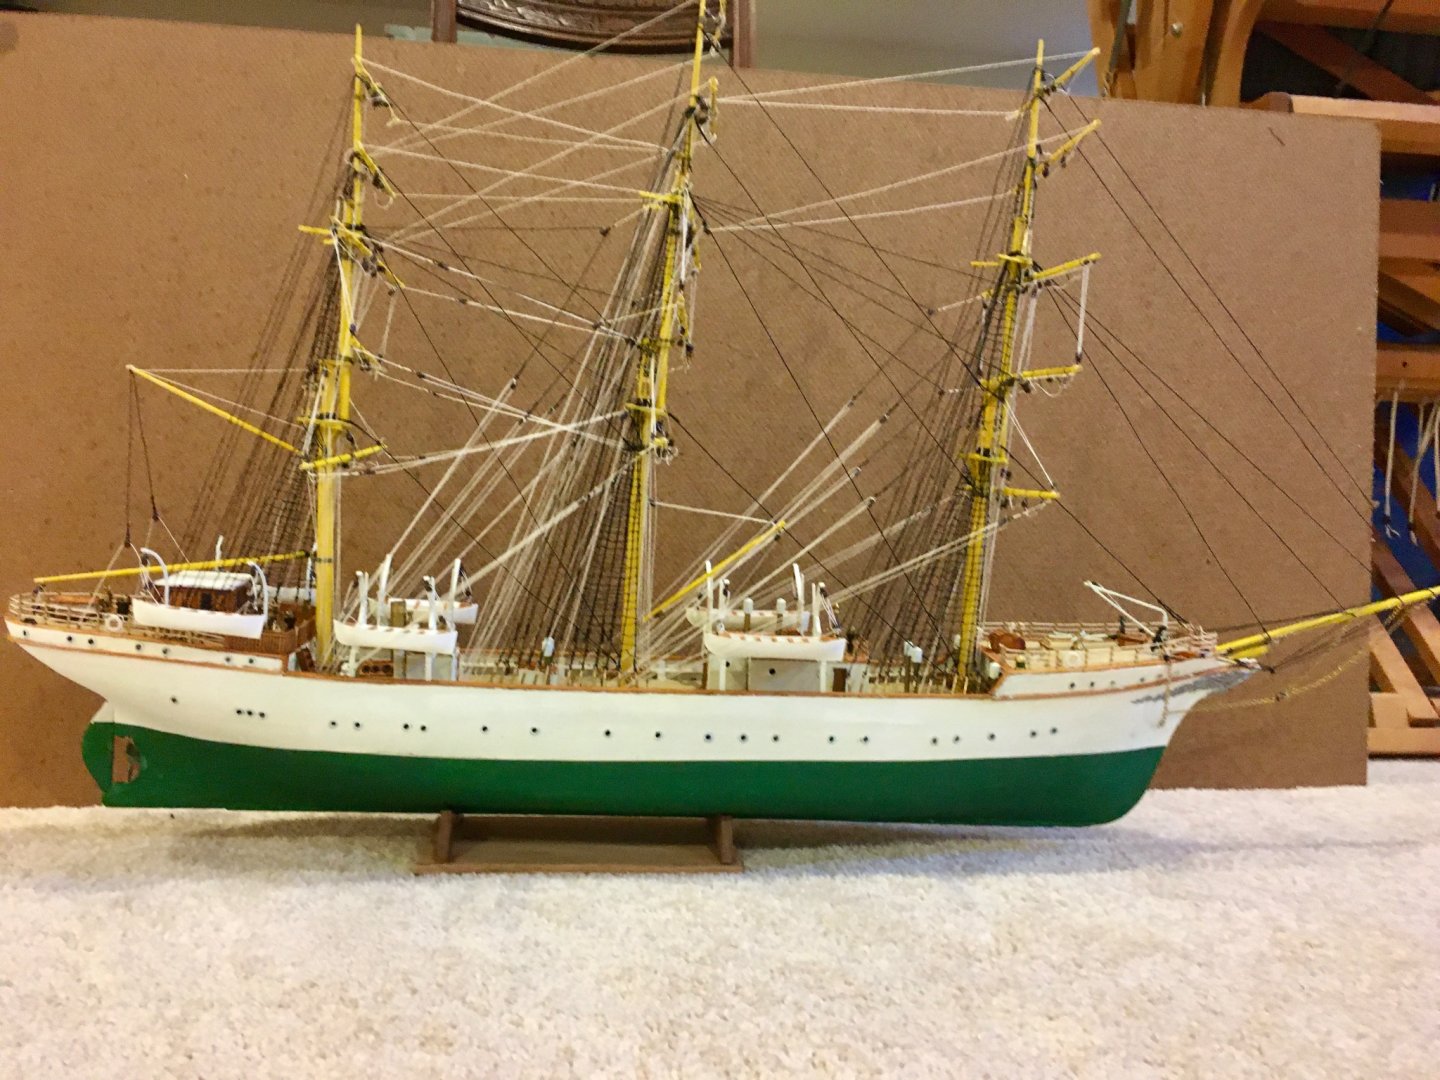
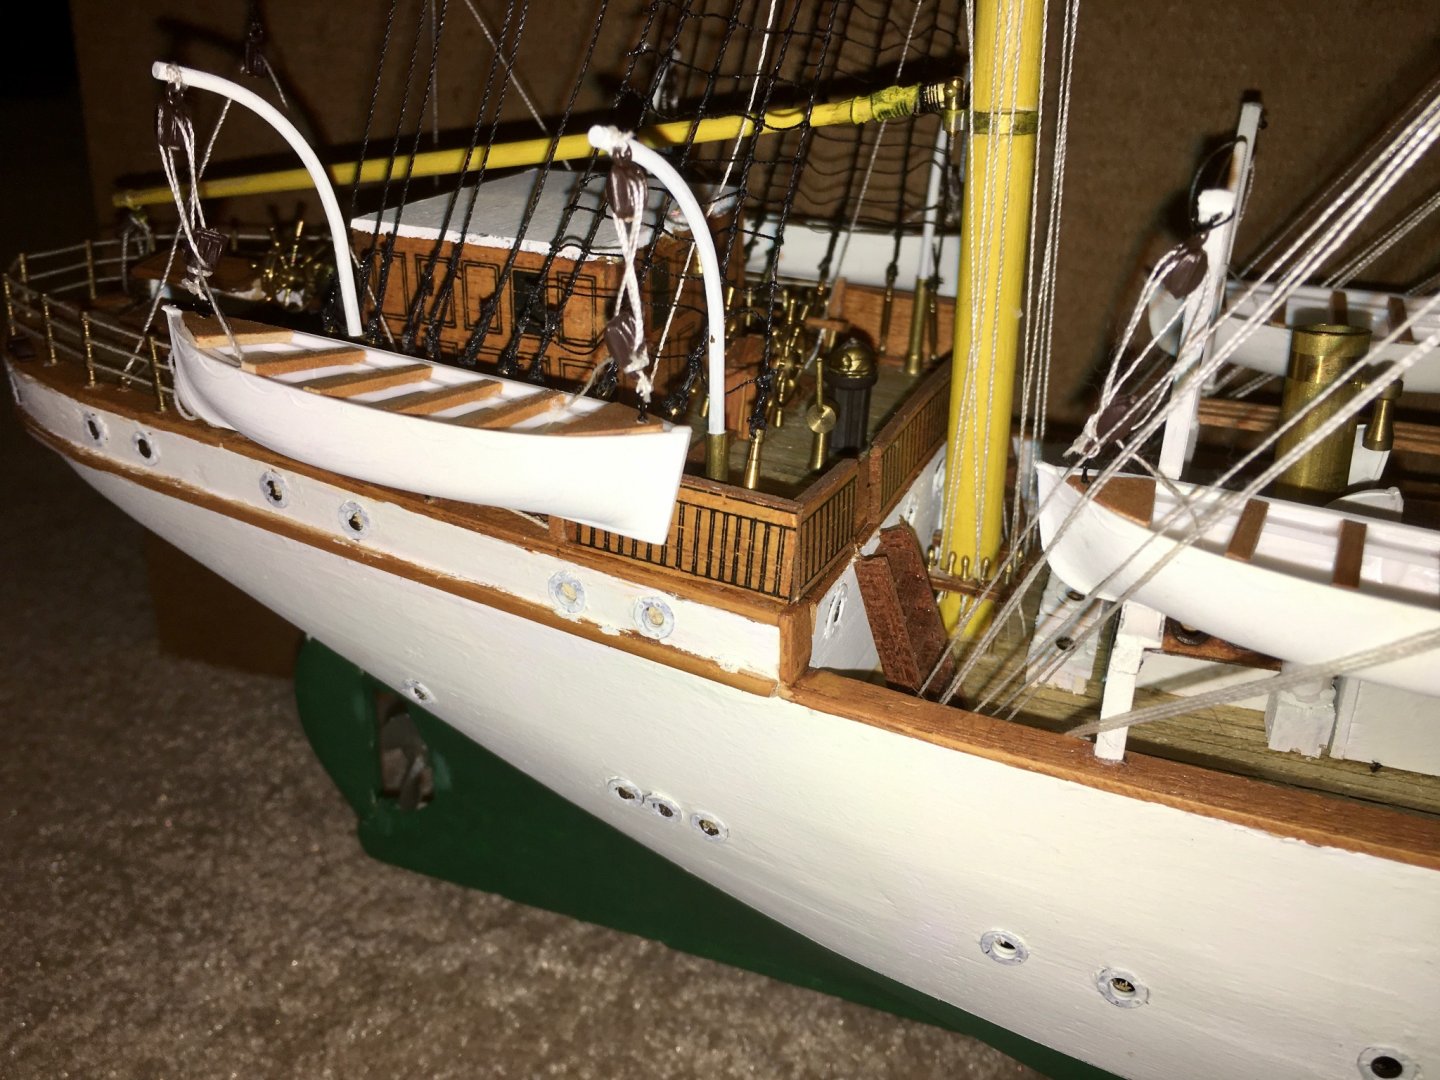
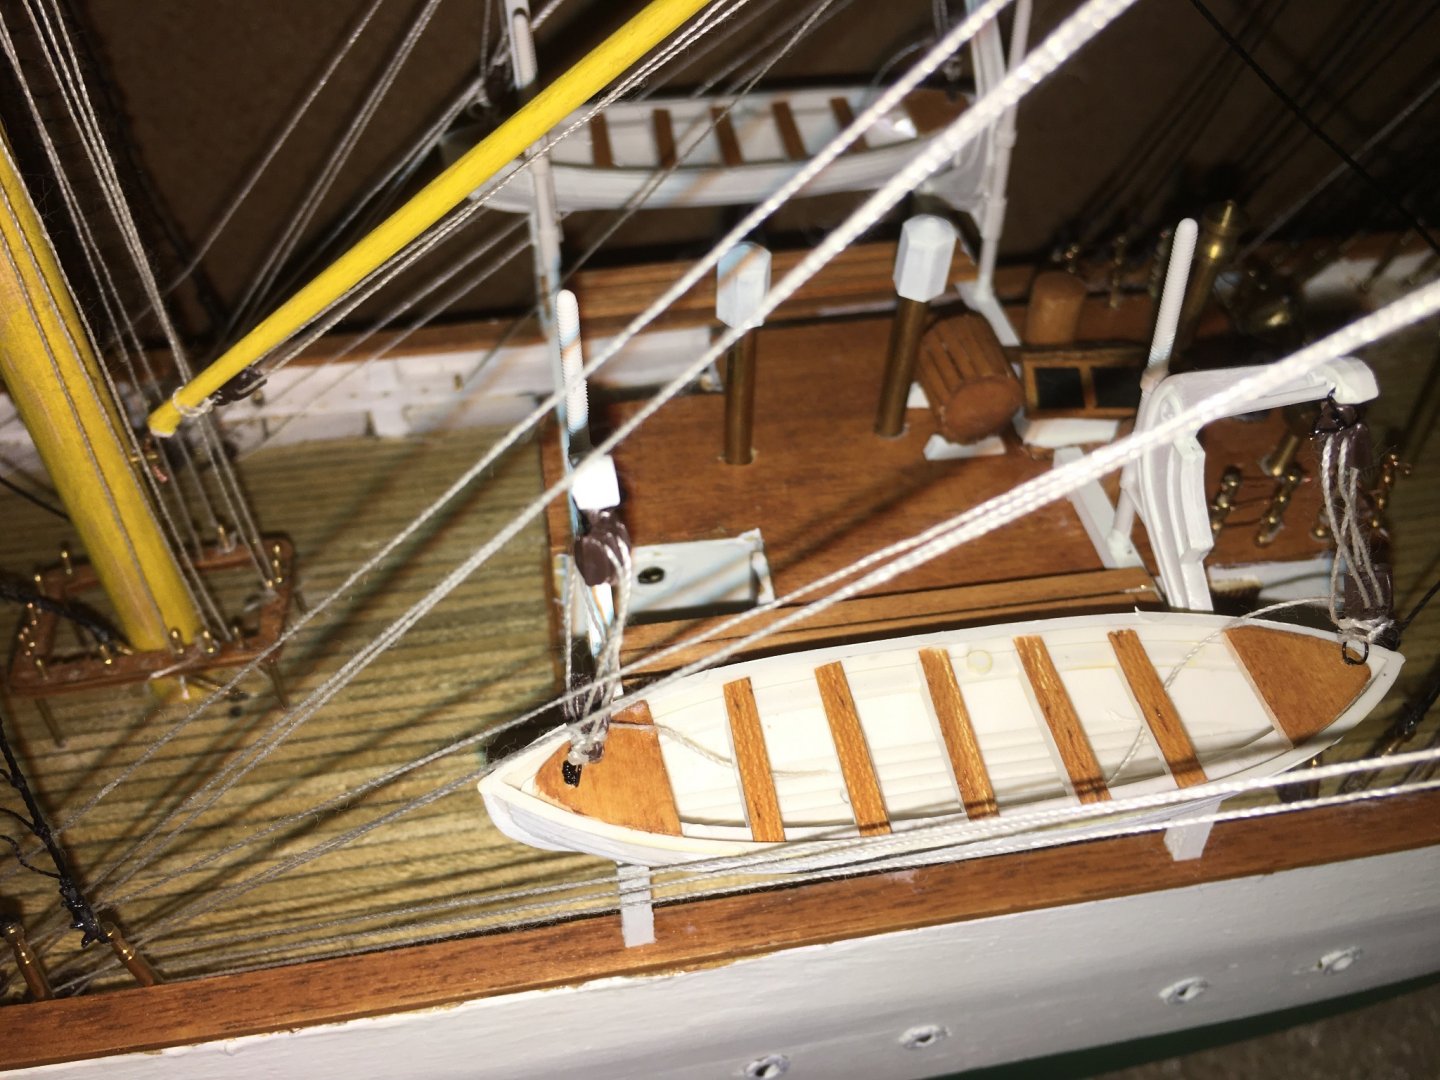
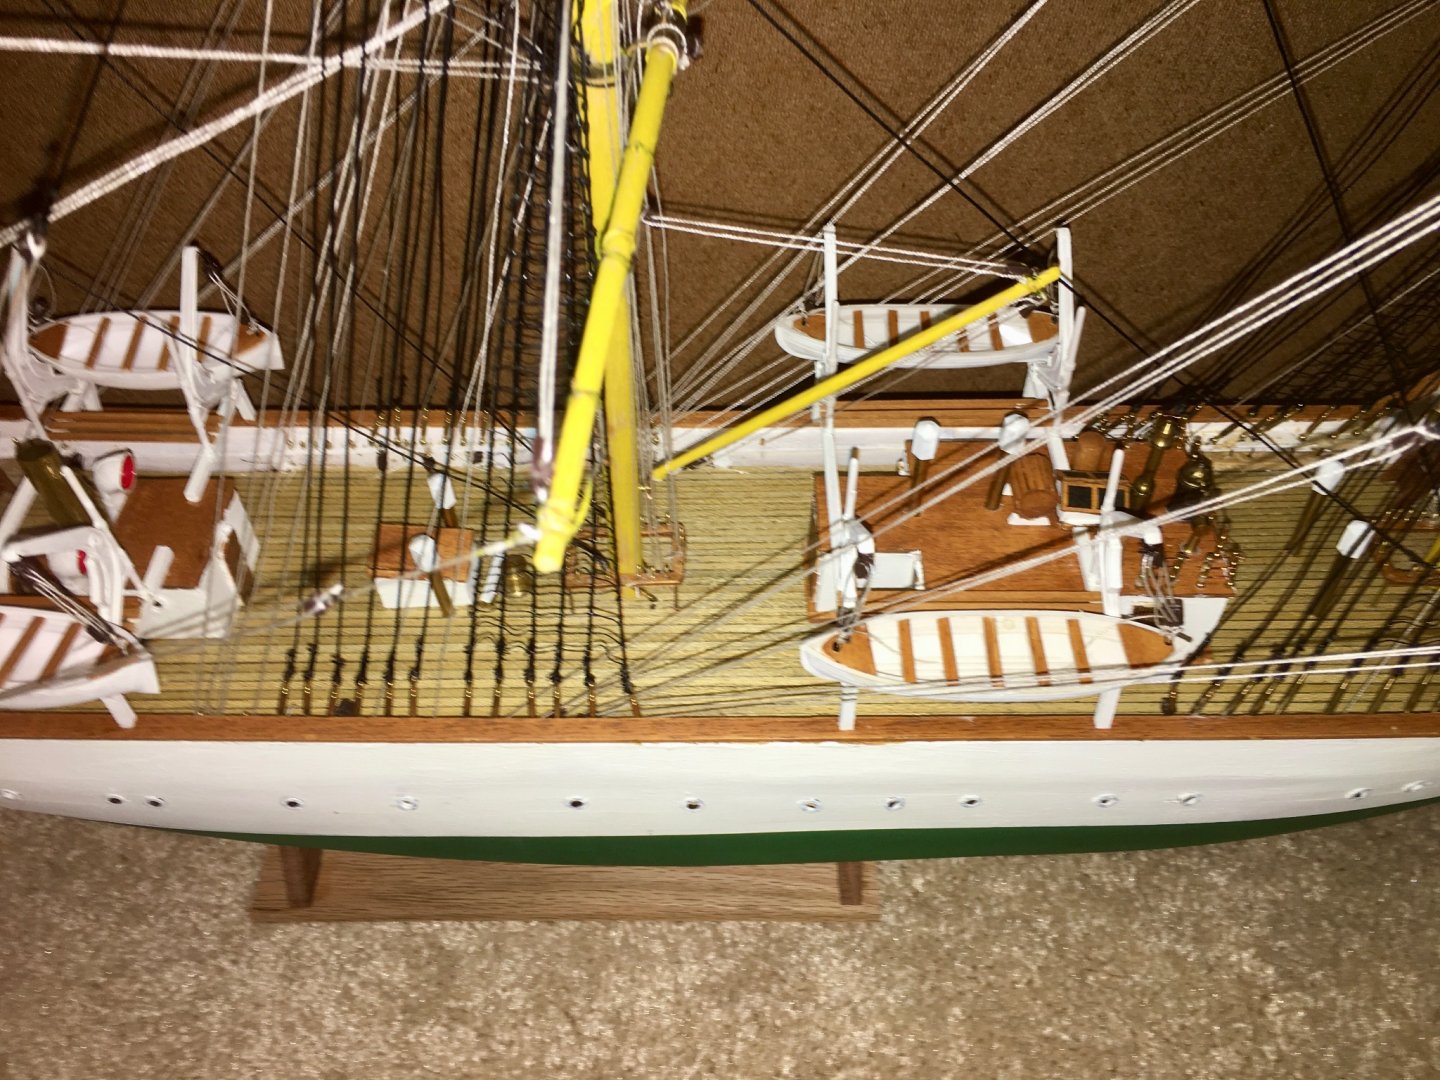
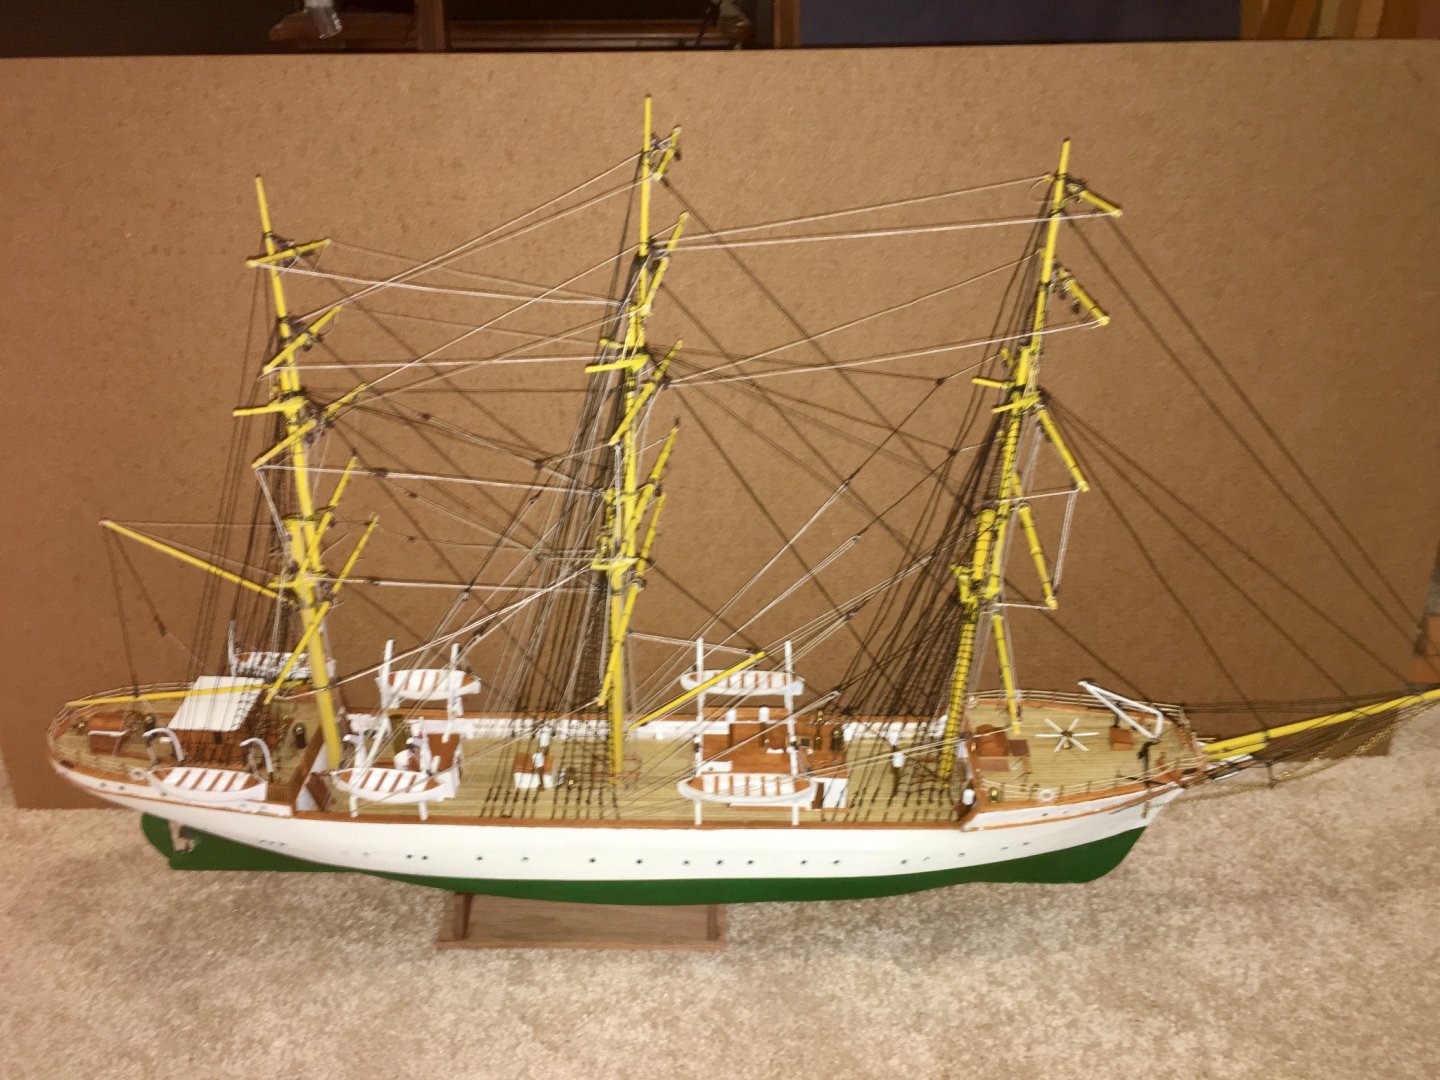
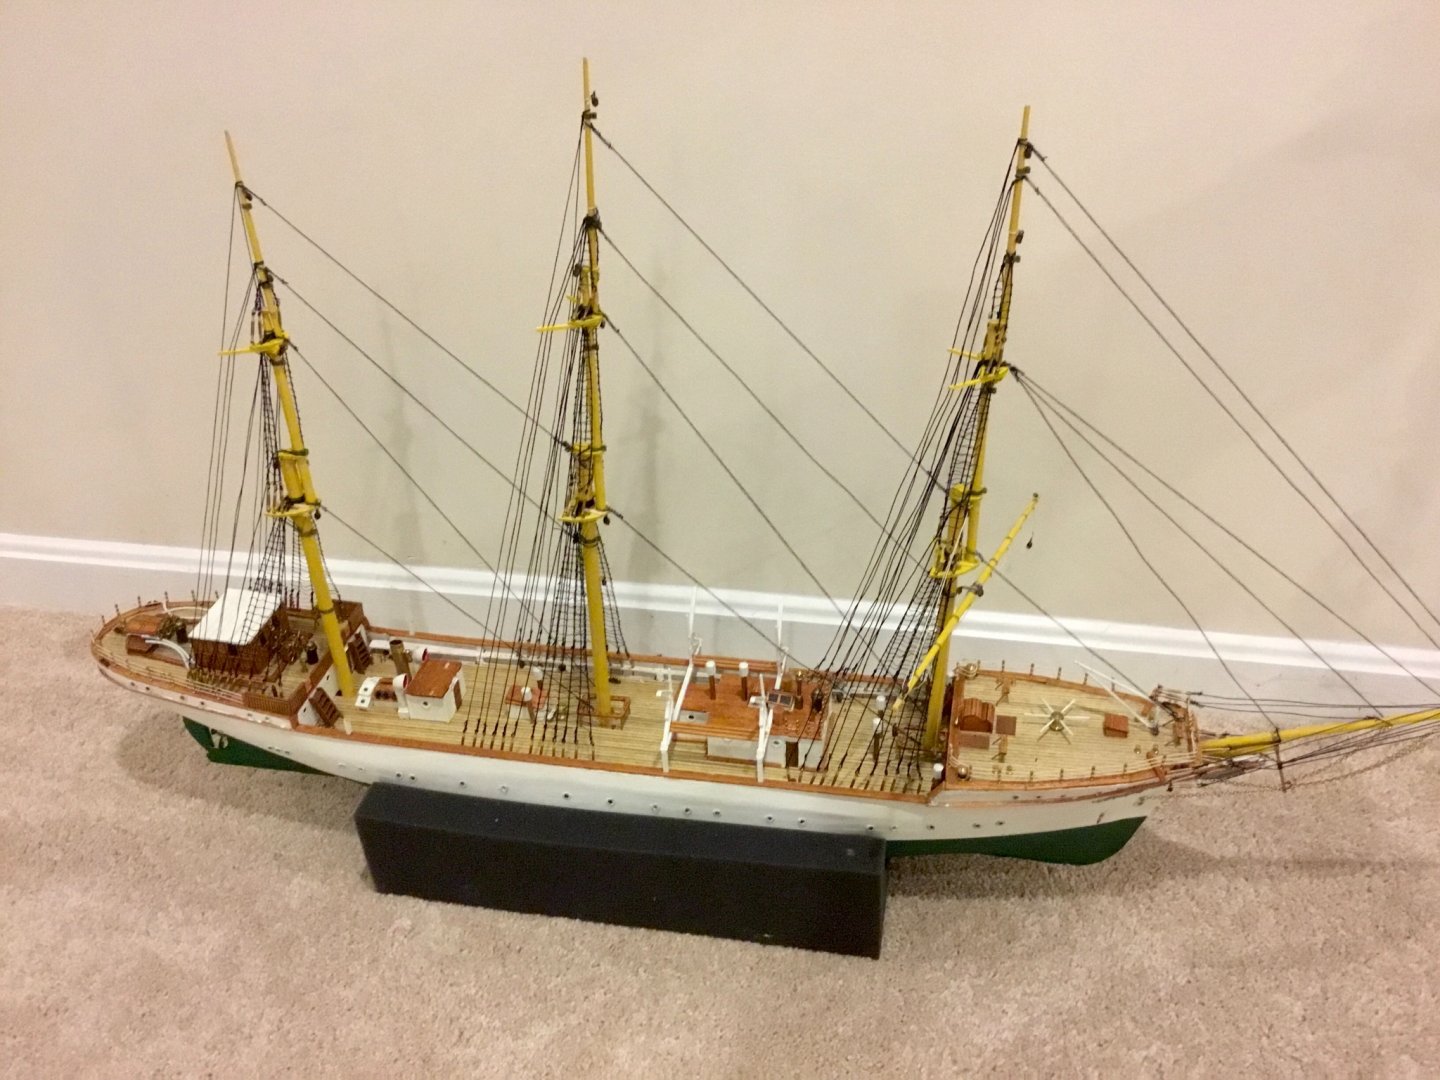
I added ships boats and anchors and did a little touch up. I'm calling her complete! DANMARK.MOV


- 39 replies
-
- 7
-
-
- billing boats
- danmark
- (and 1 more)
-
yes, but it appears to be rather feeble. I was going to try using my woodworking profile duplication tool to copy the profile of the hull at two points about 25% from each end and then use that to make my own stand. I'll try the kit version first to see how steady it is. Thanks for the kind comments. My next project will be something simpler for a change of pace.
- 39 replies
-
- 2
-
-
- billing boats
- danmark
- (and 1 more)
-
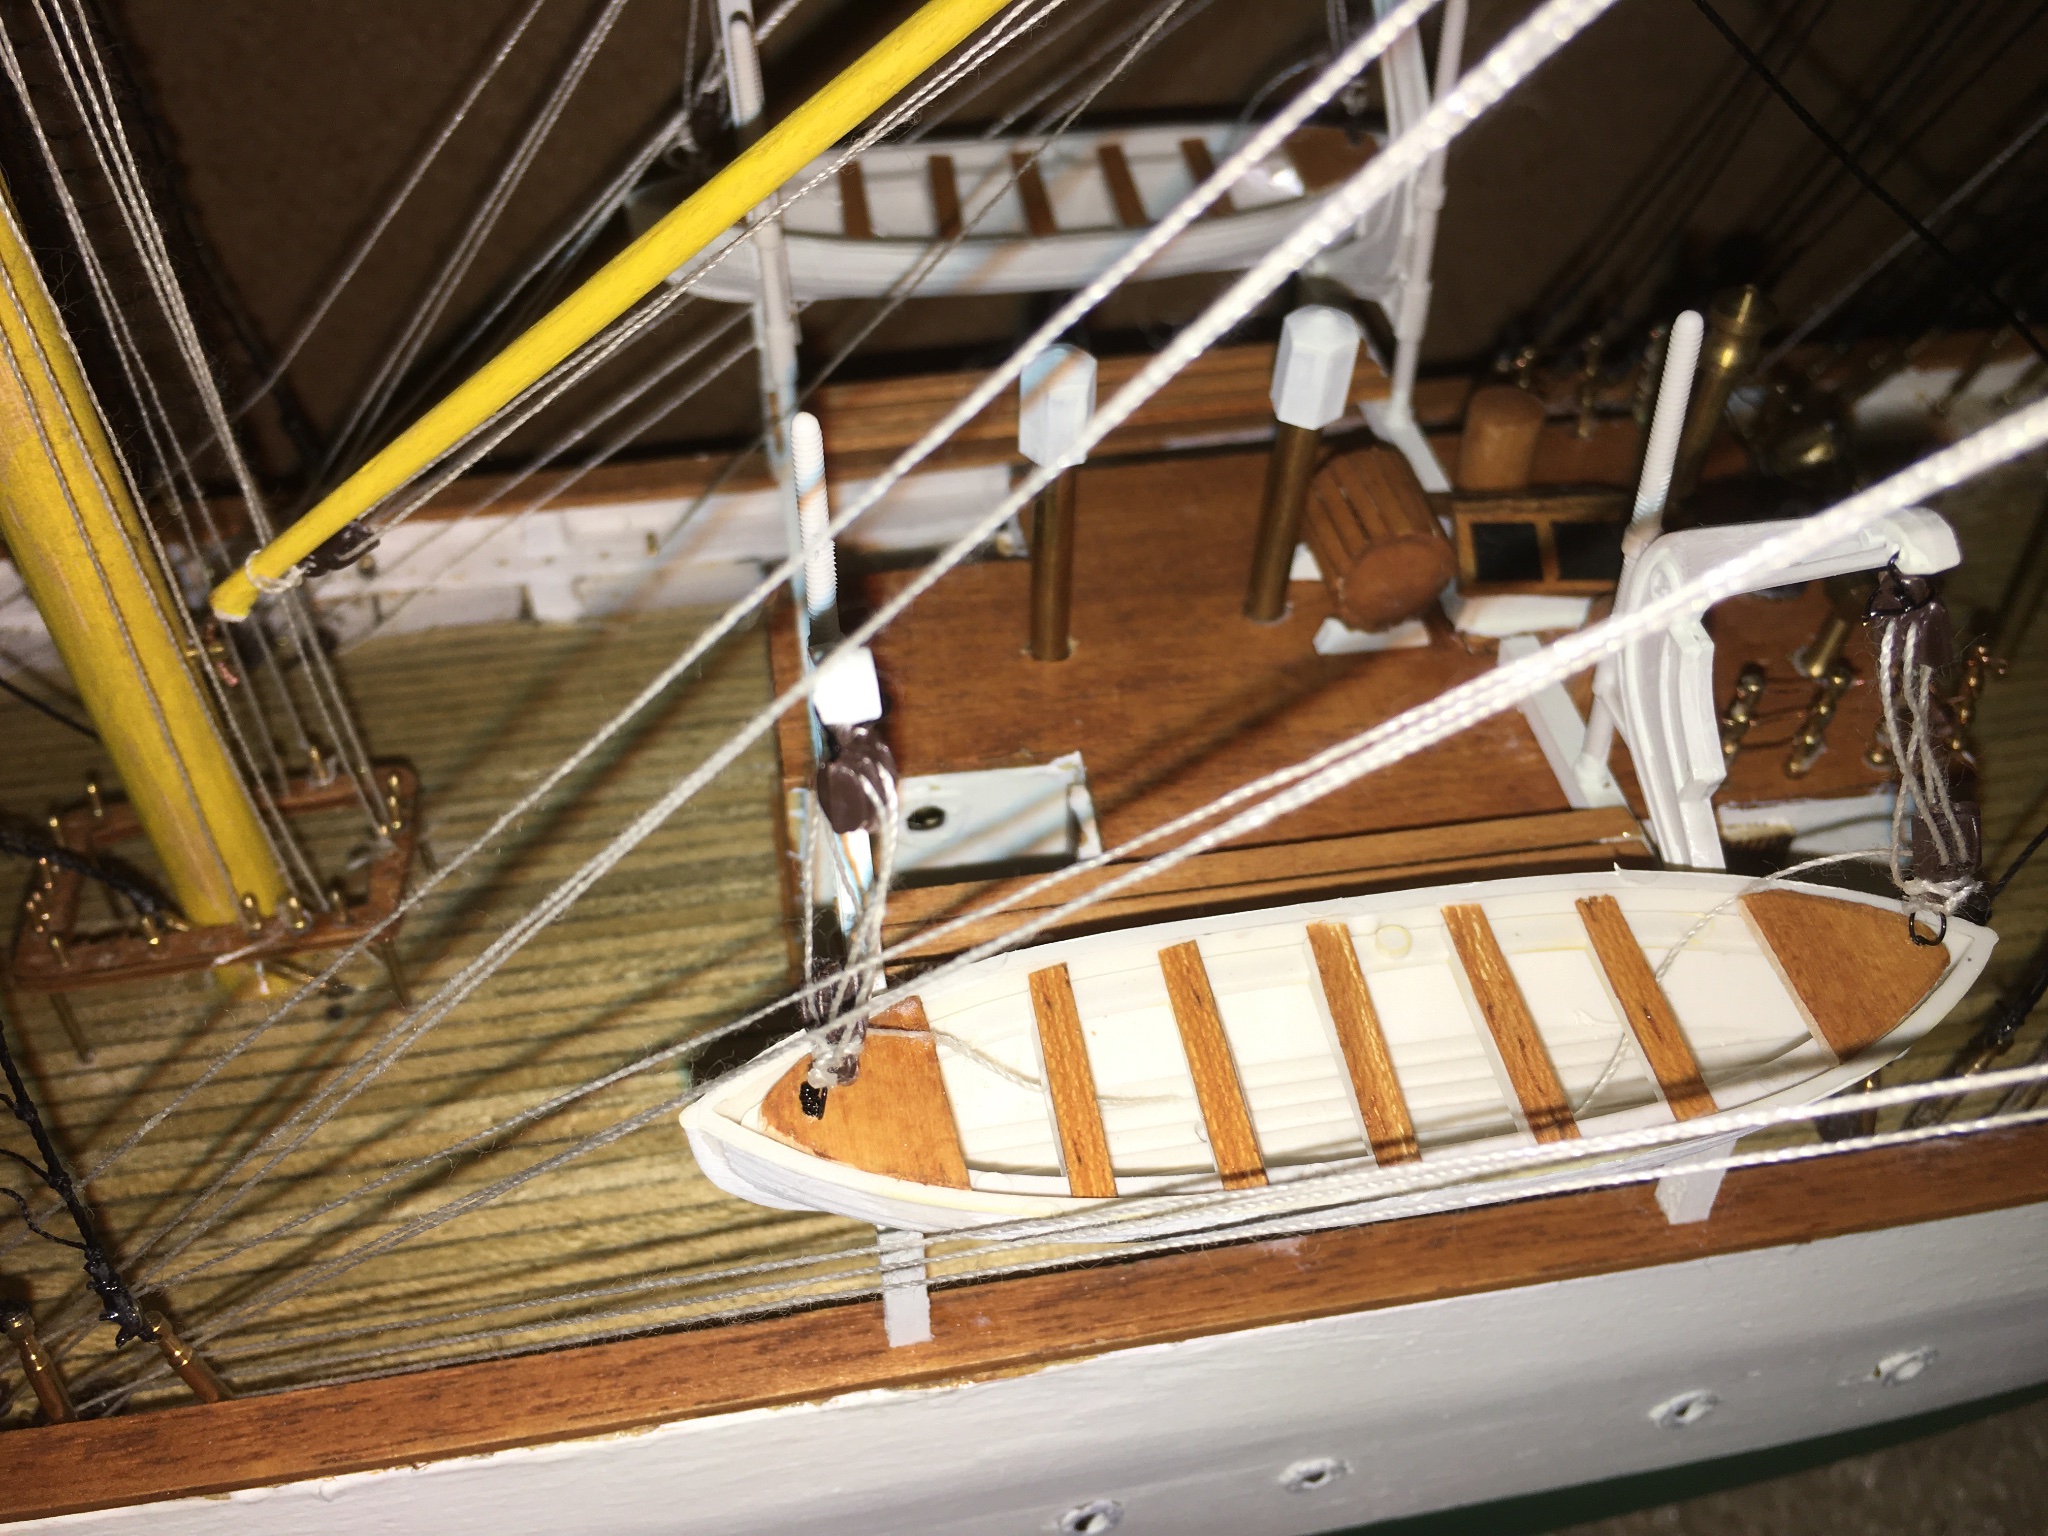
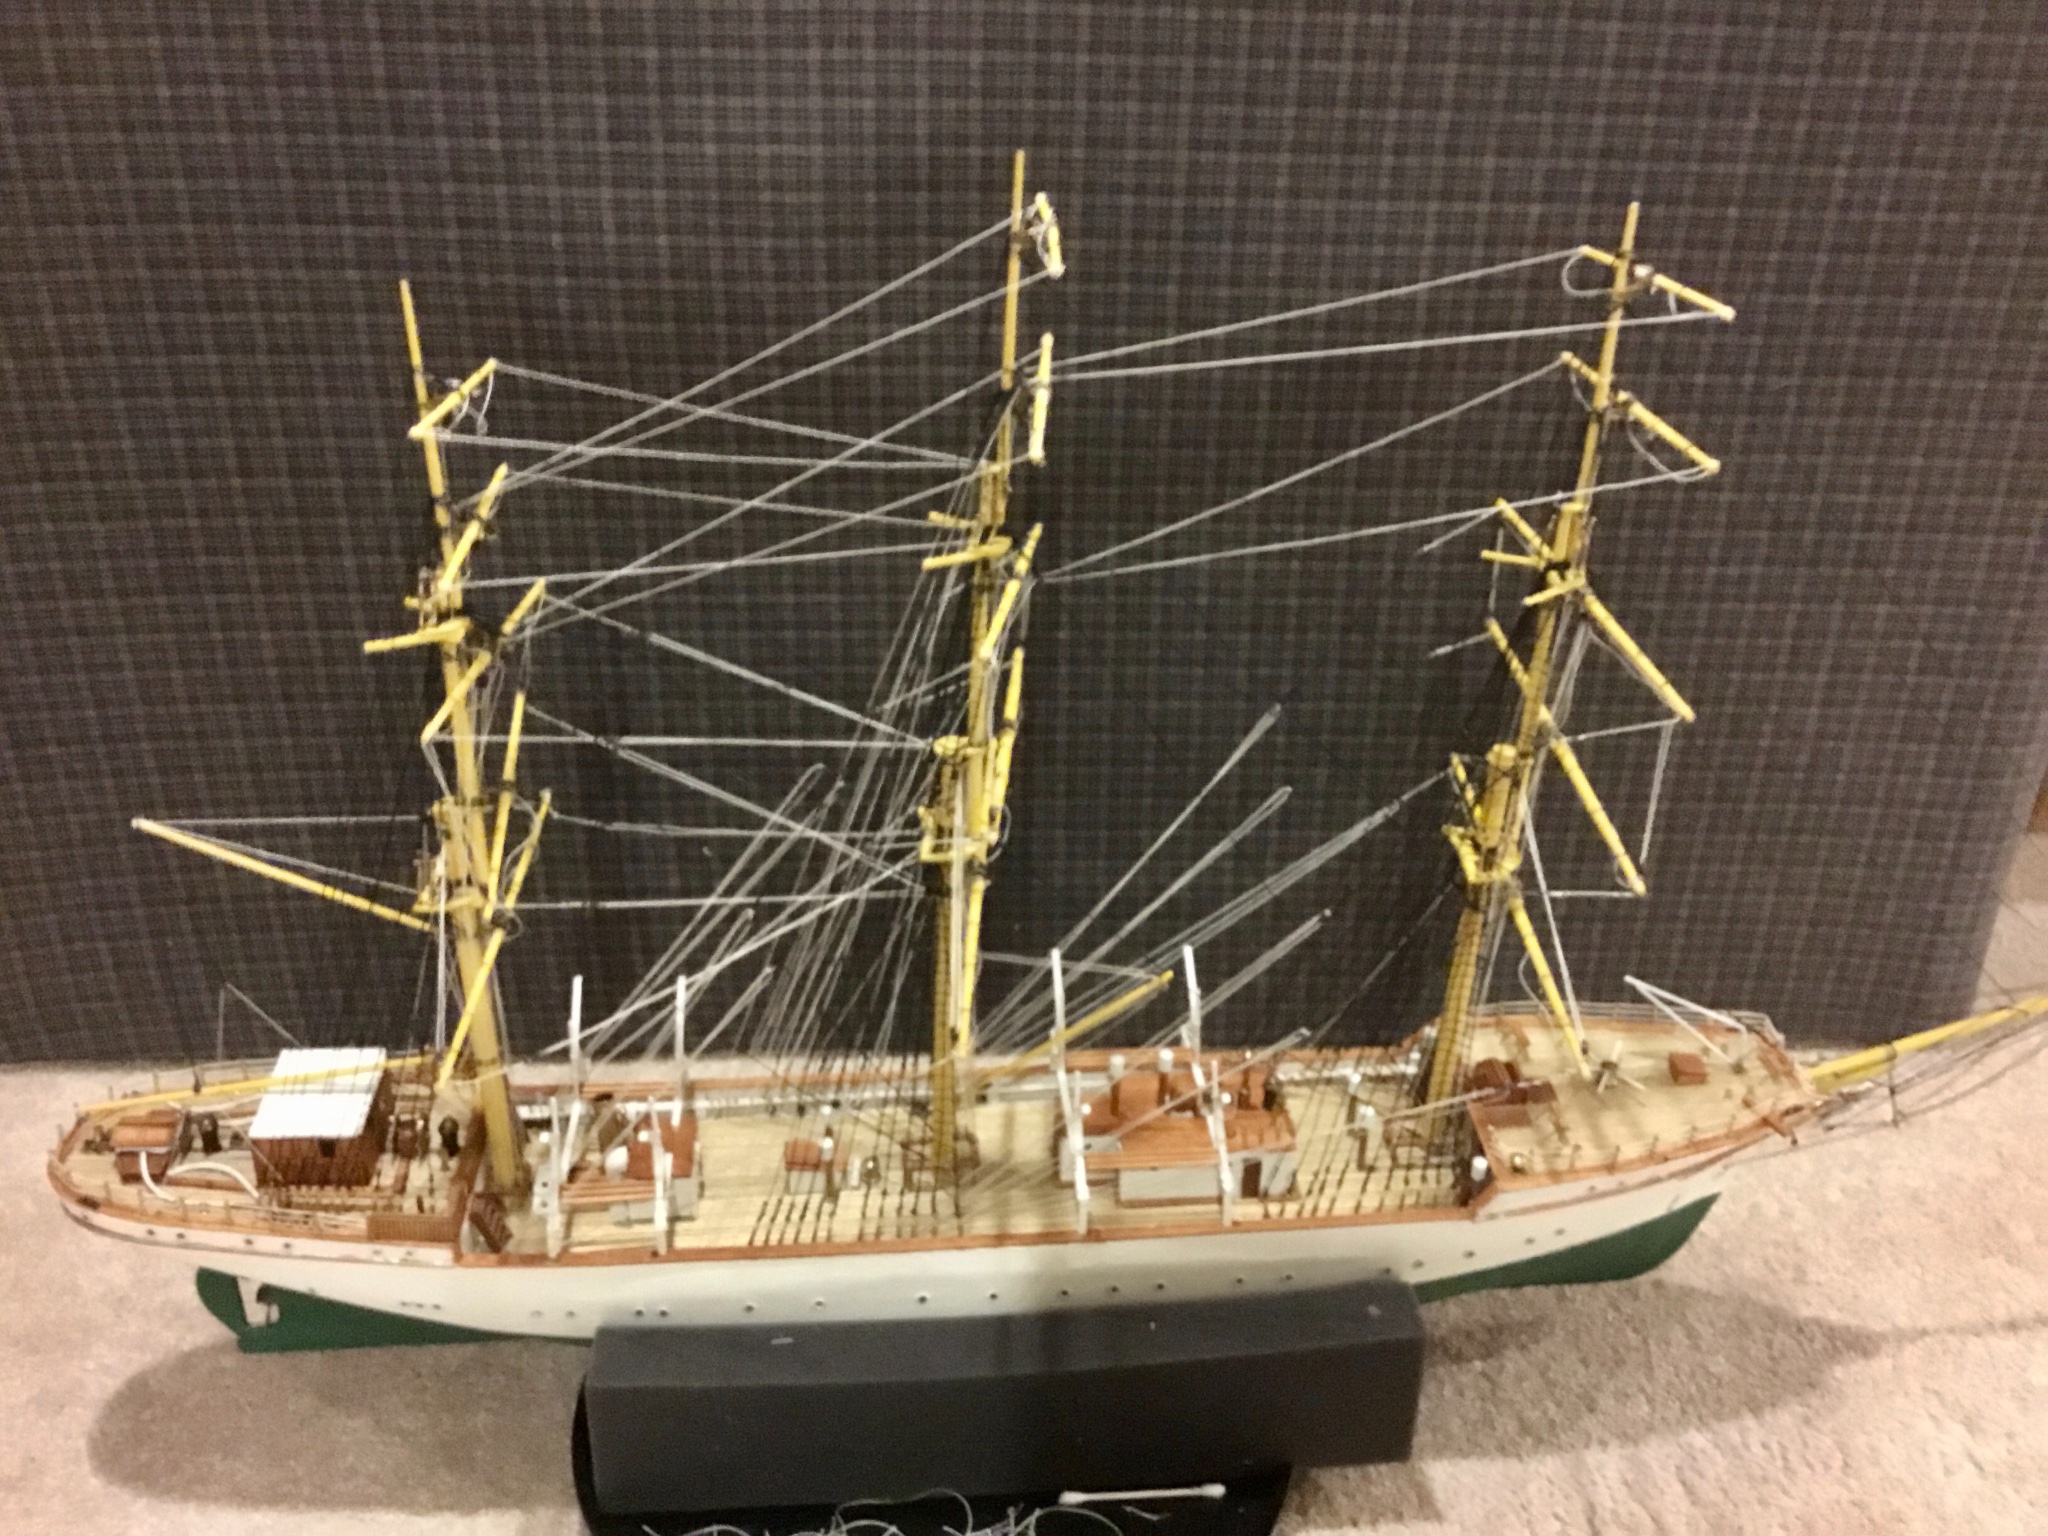
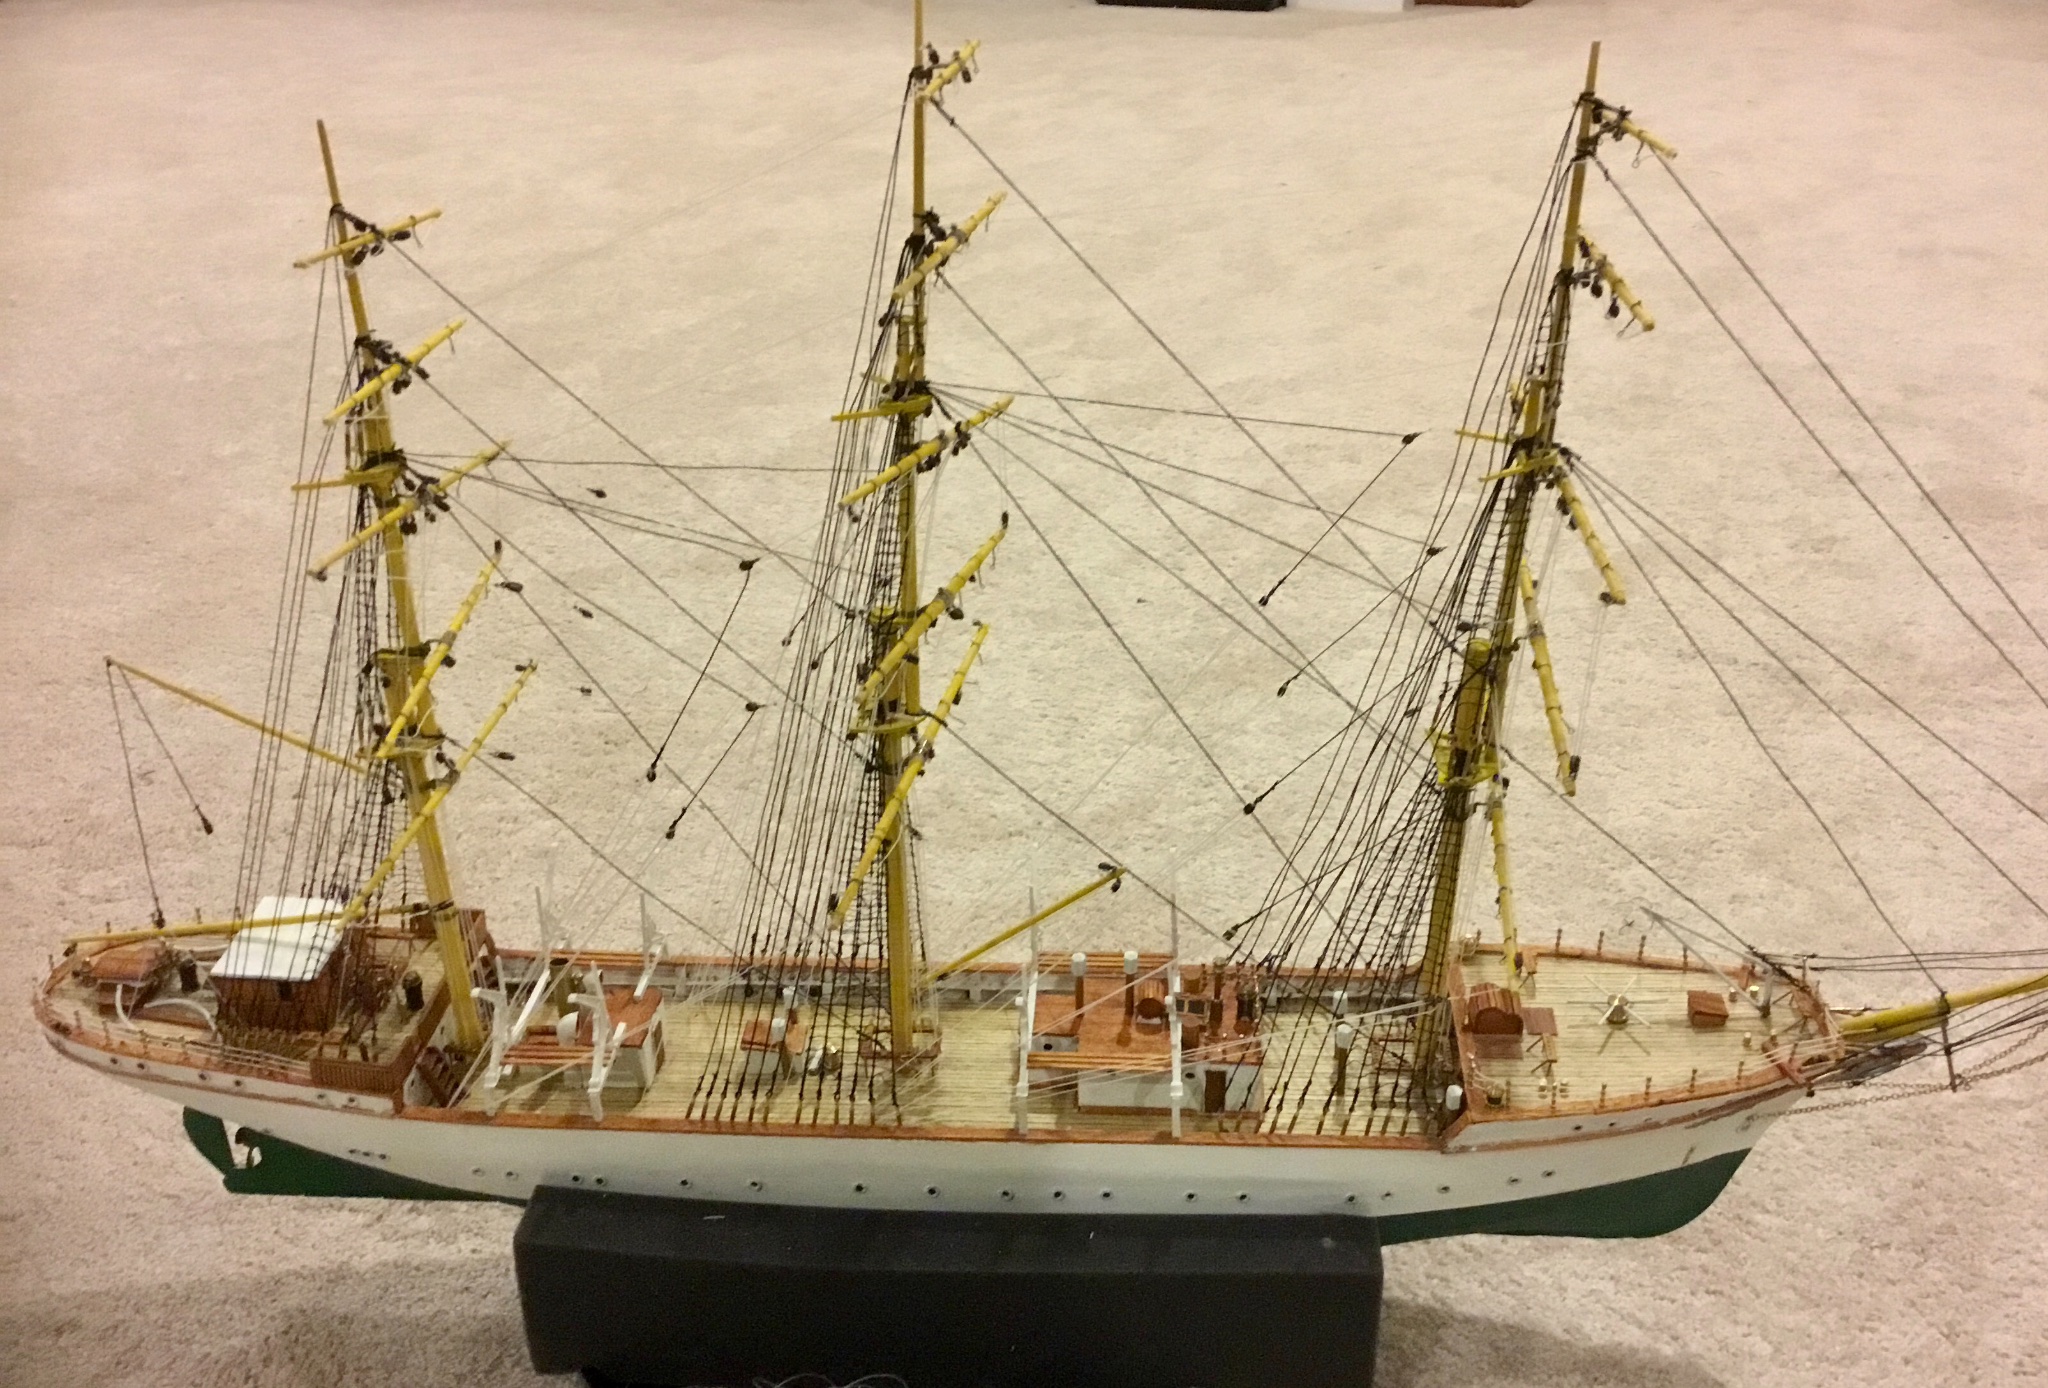
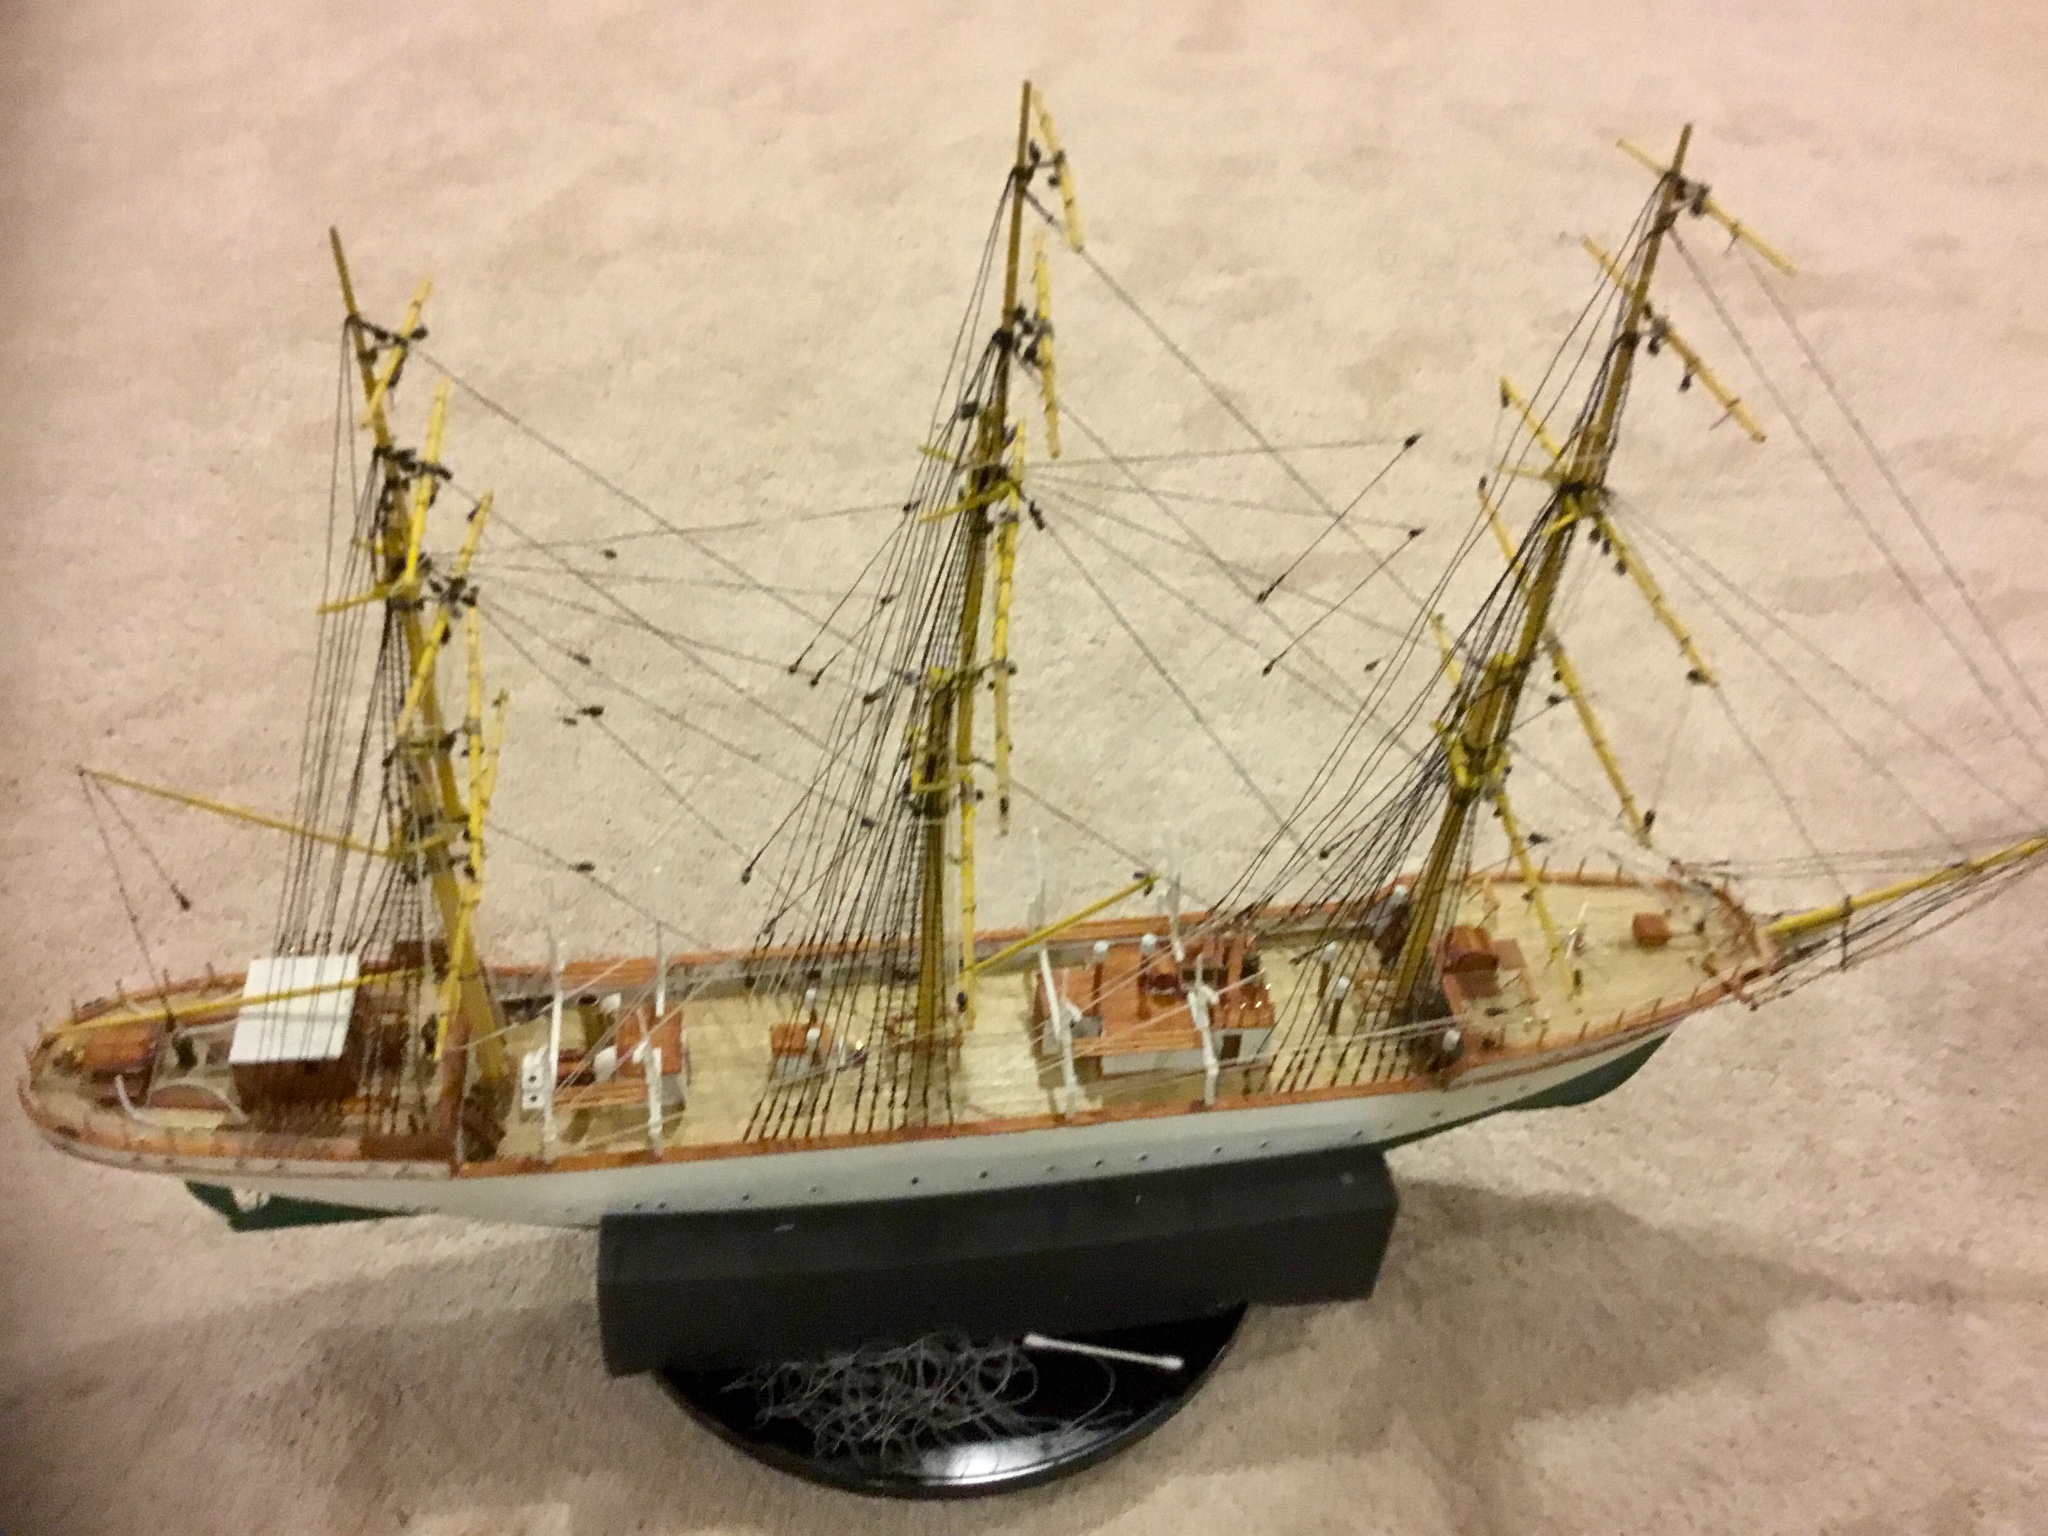
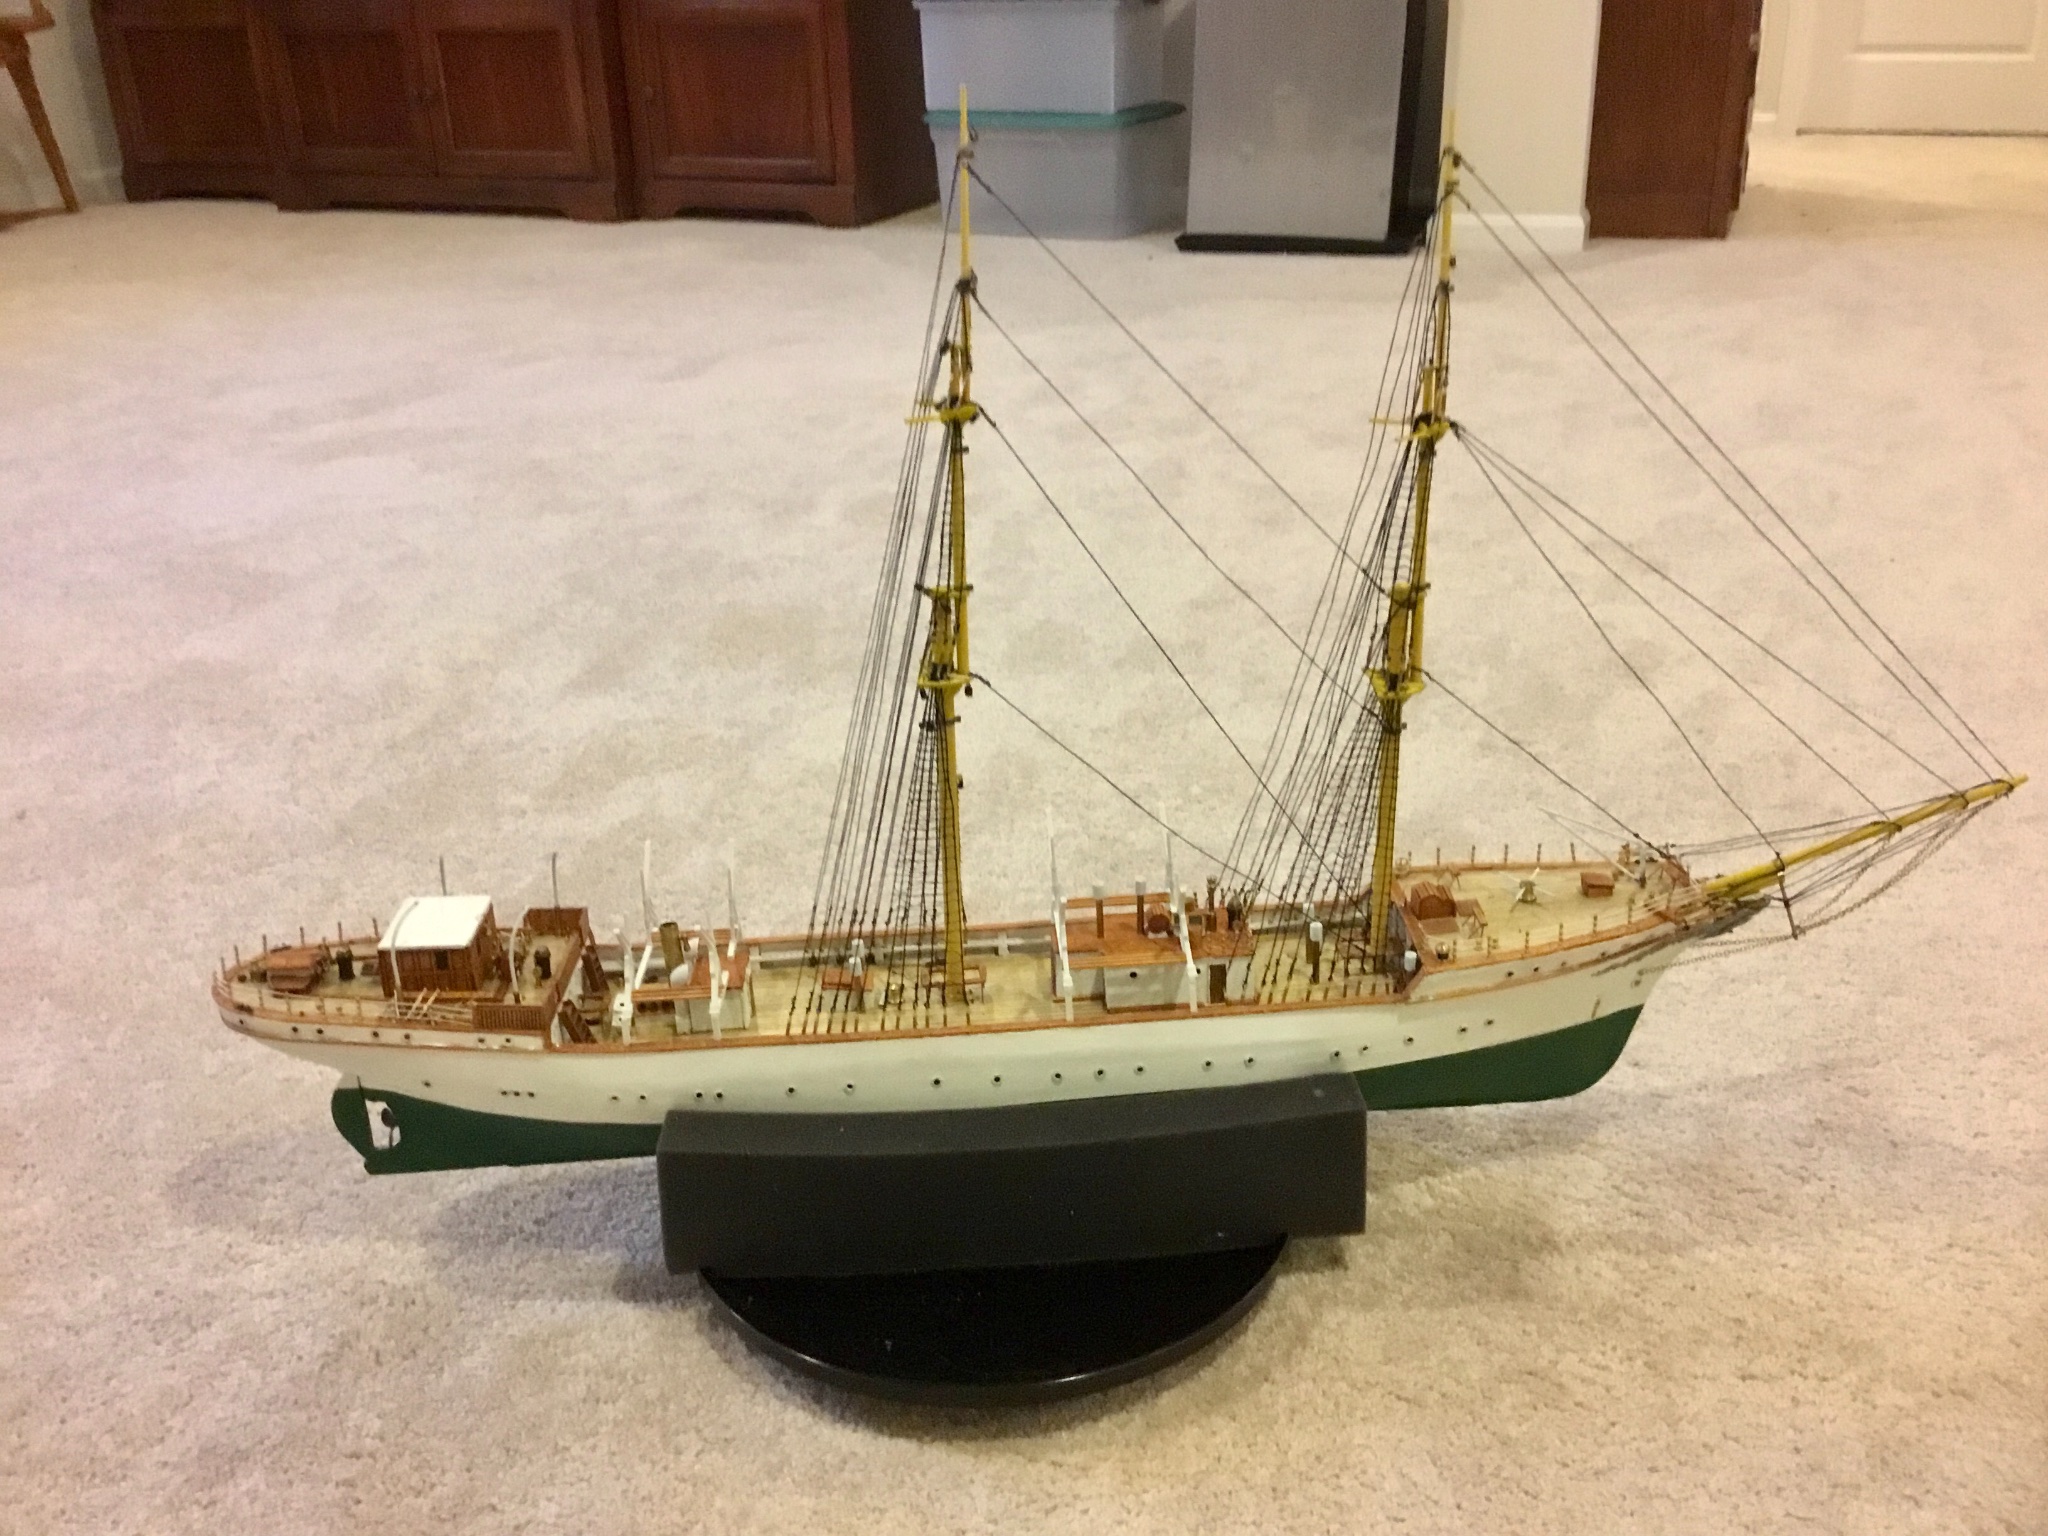
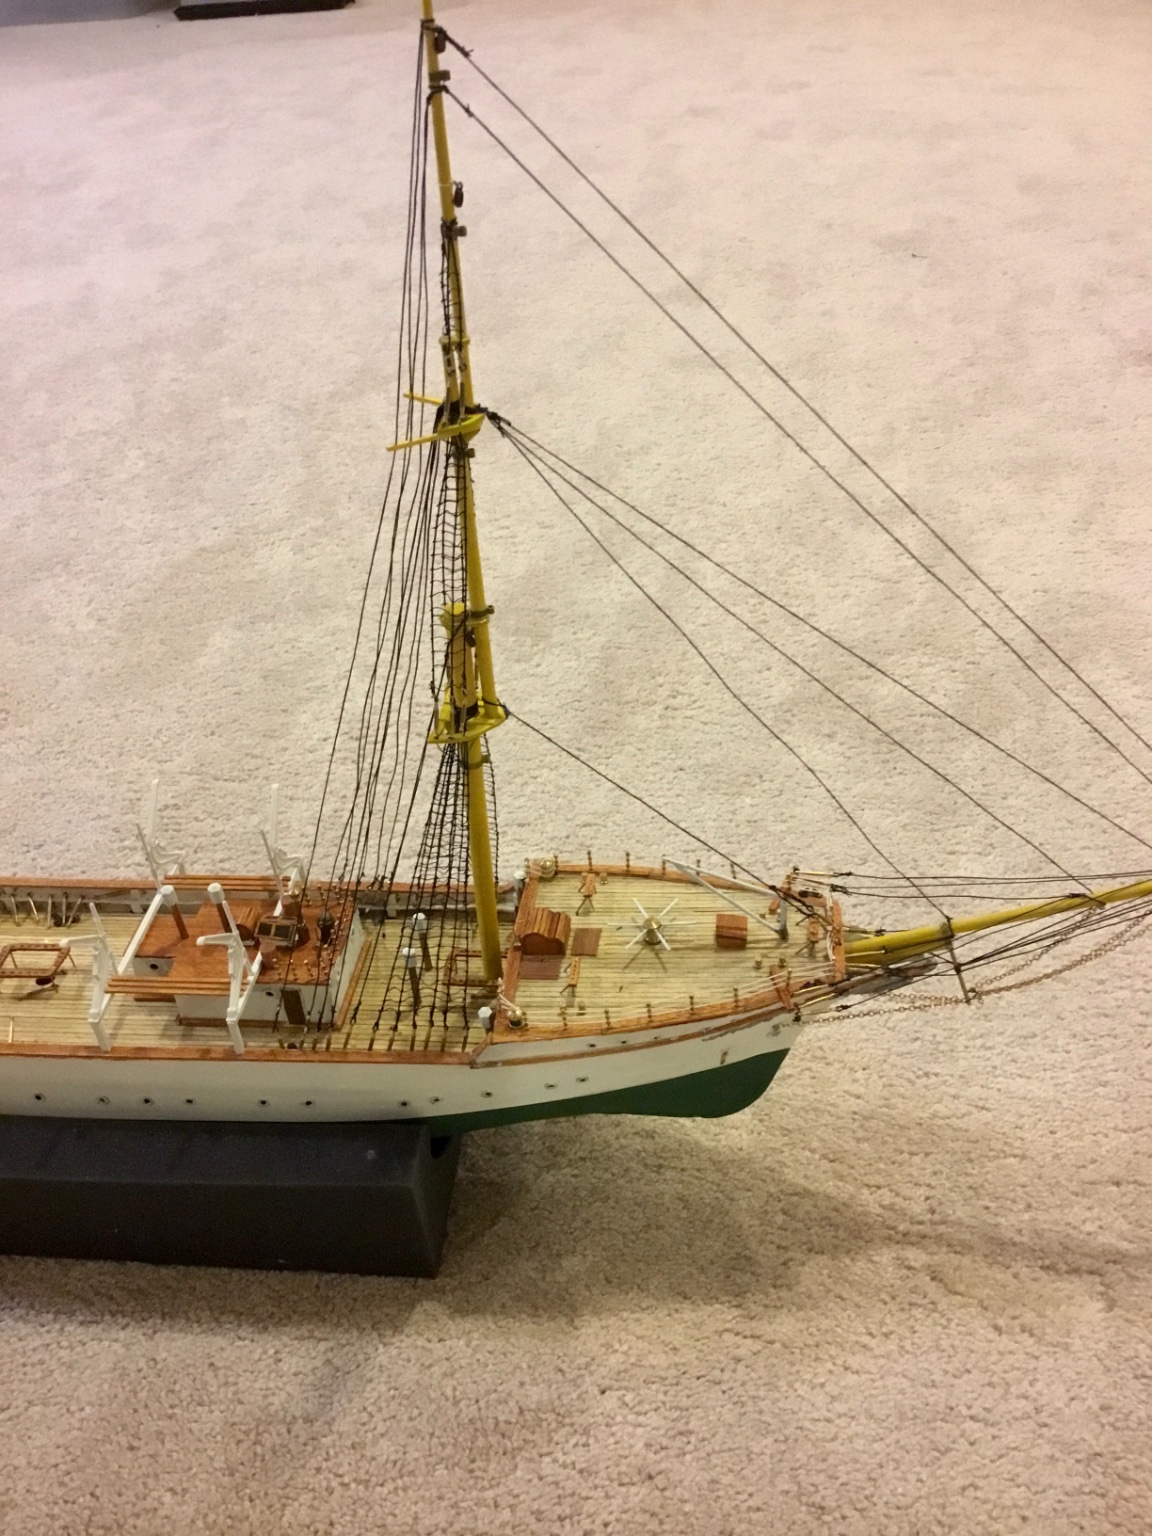
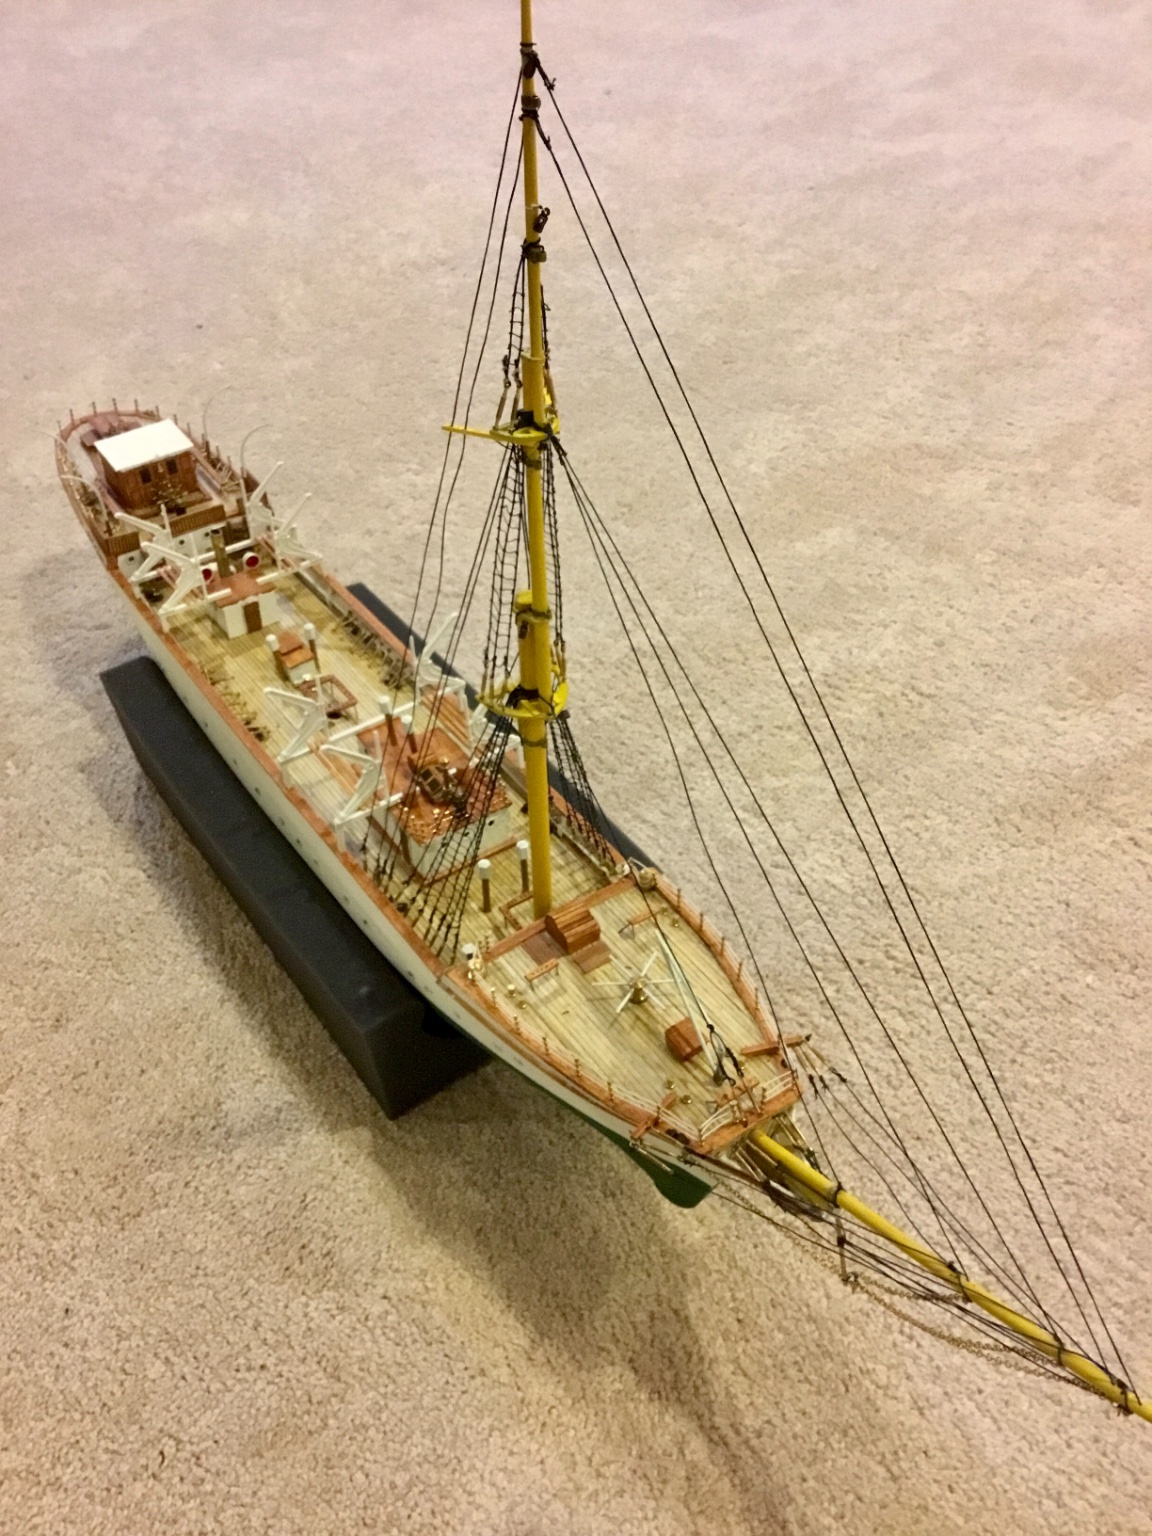
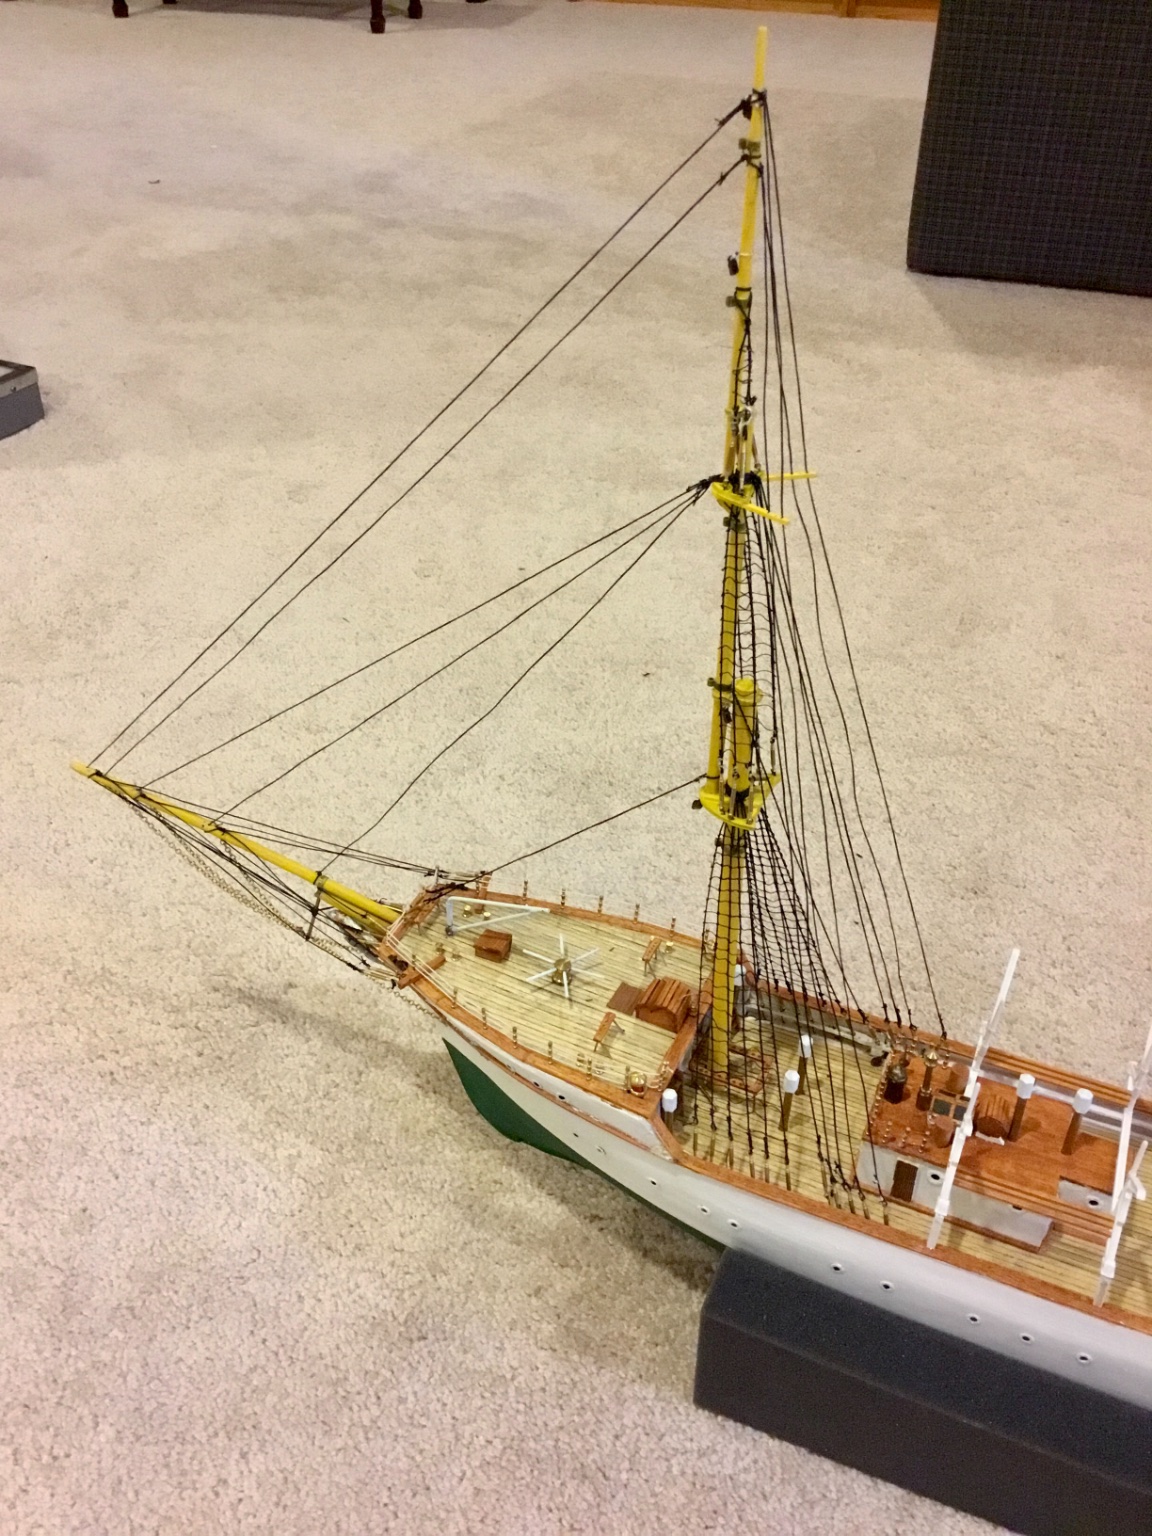
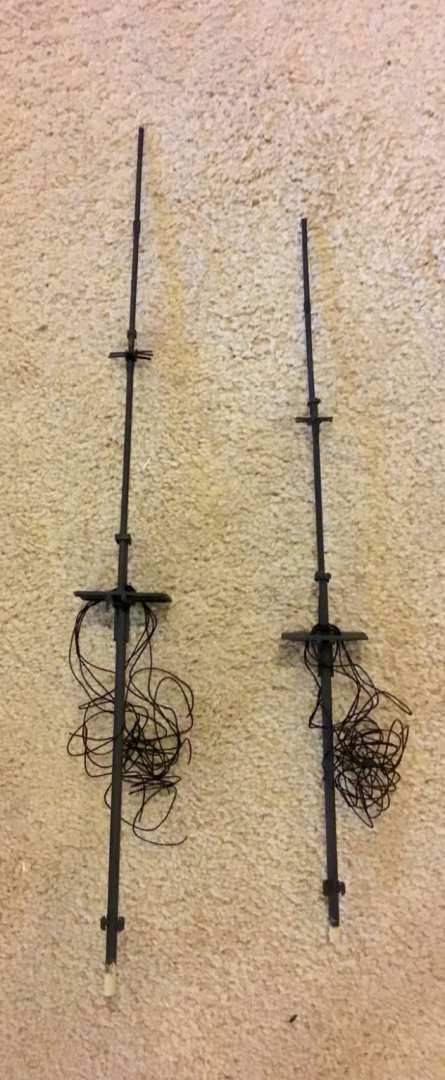
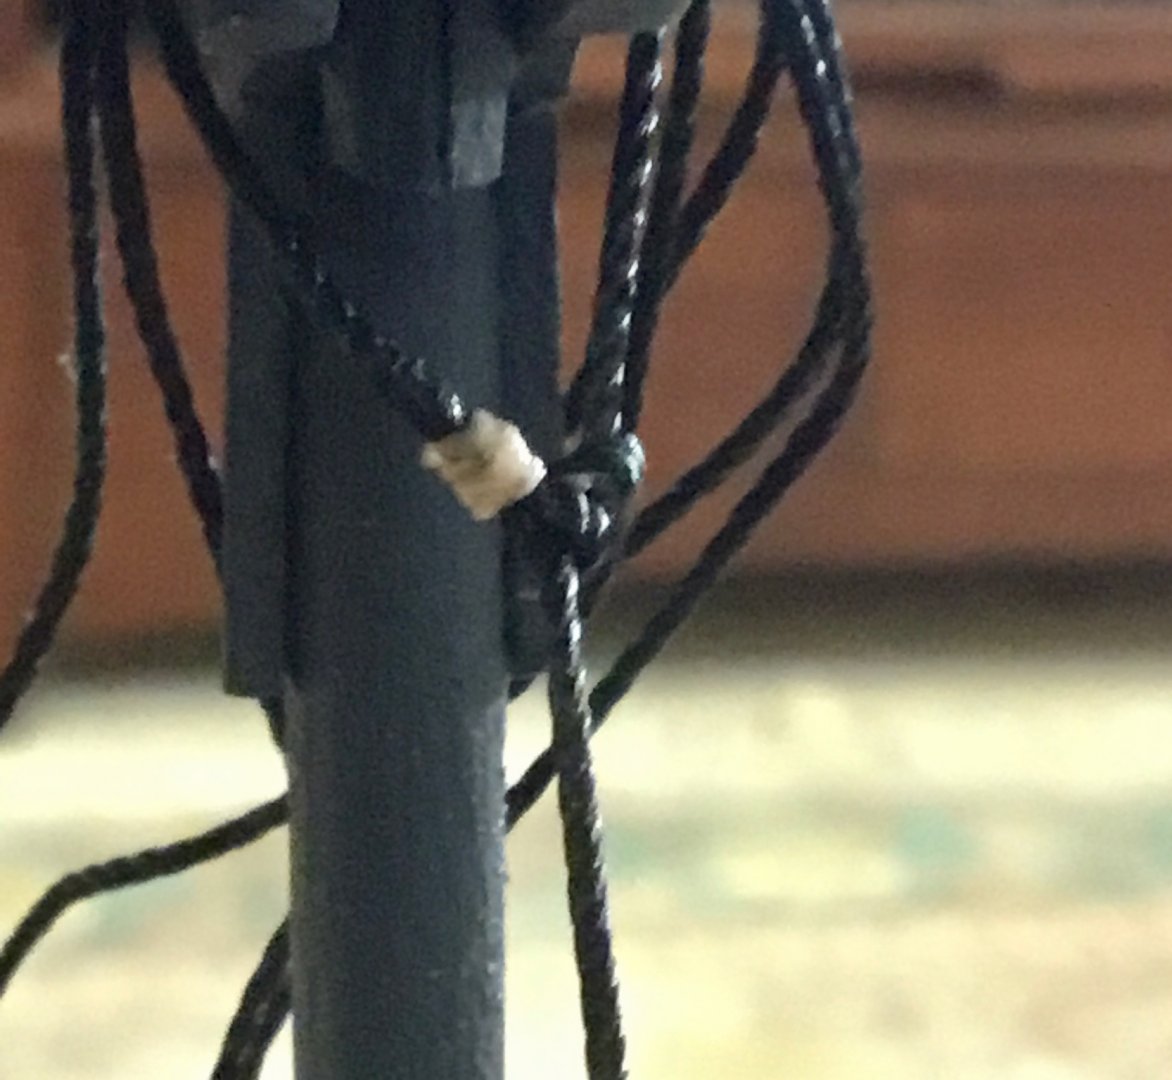
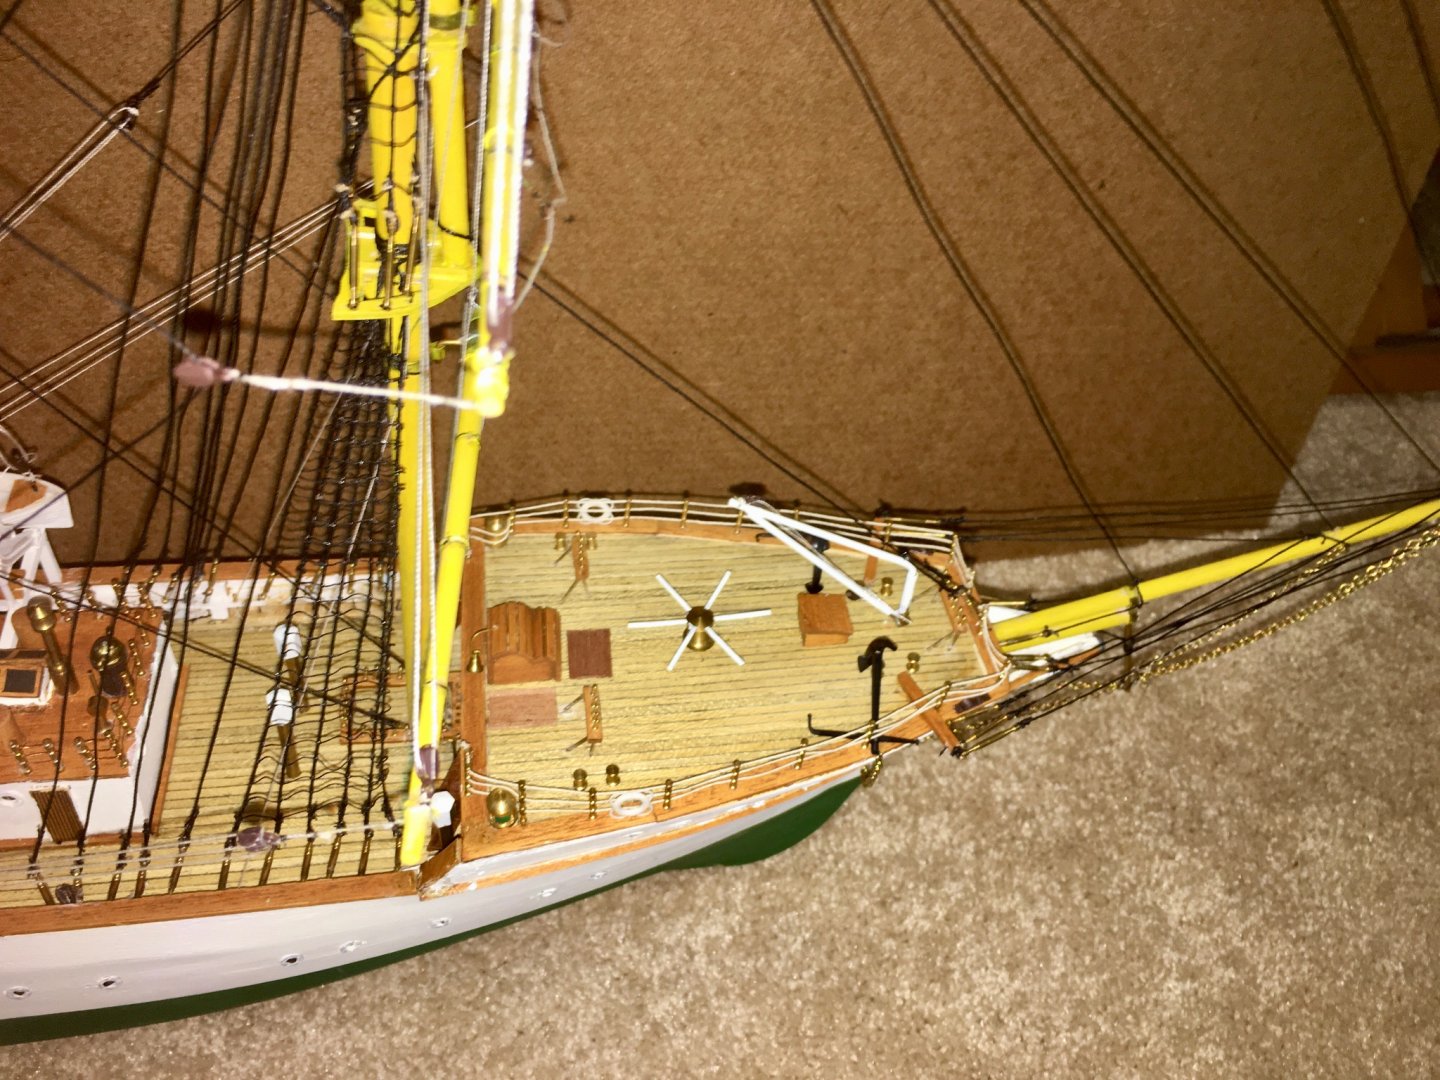
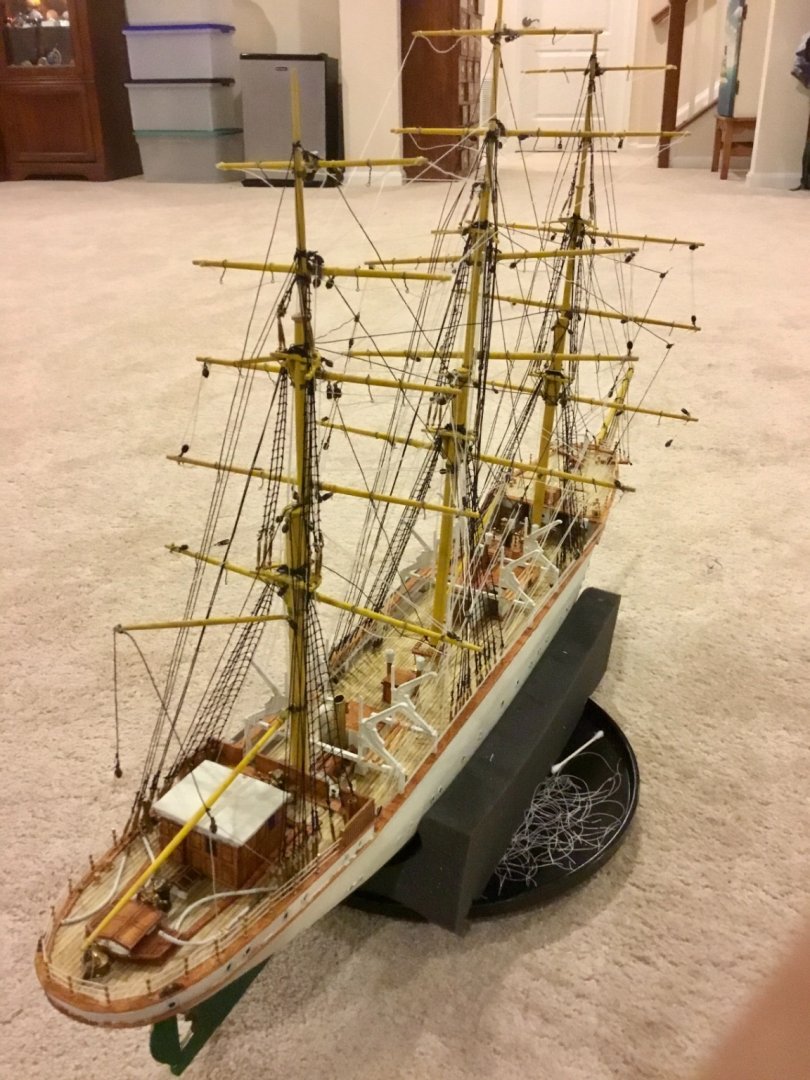
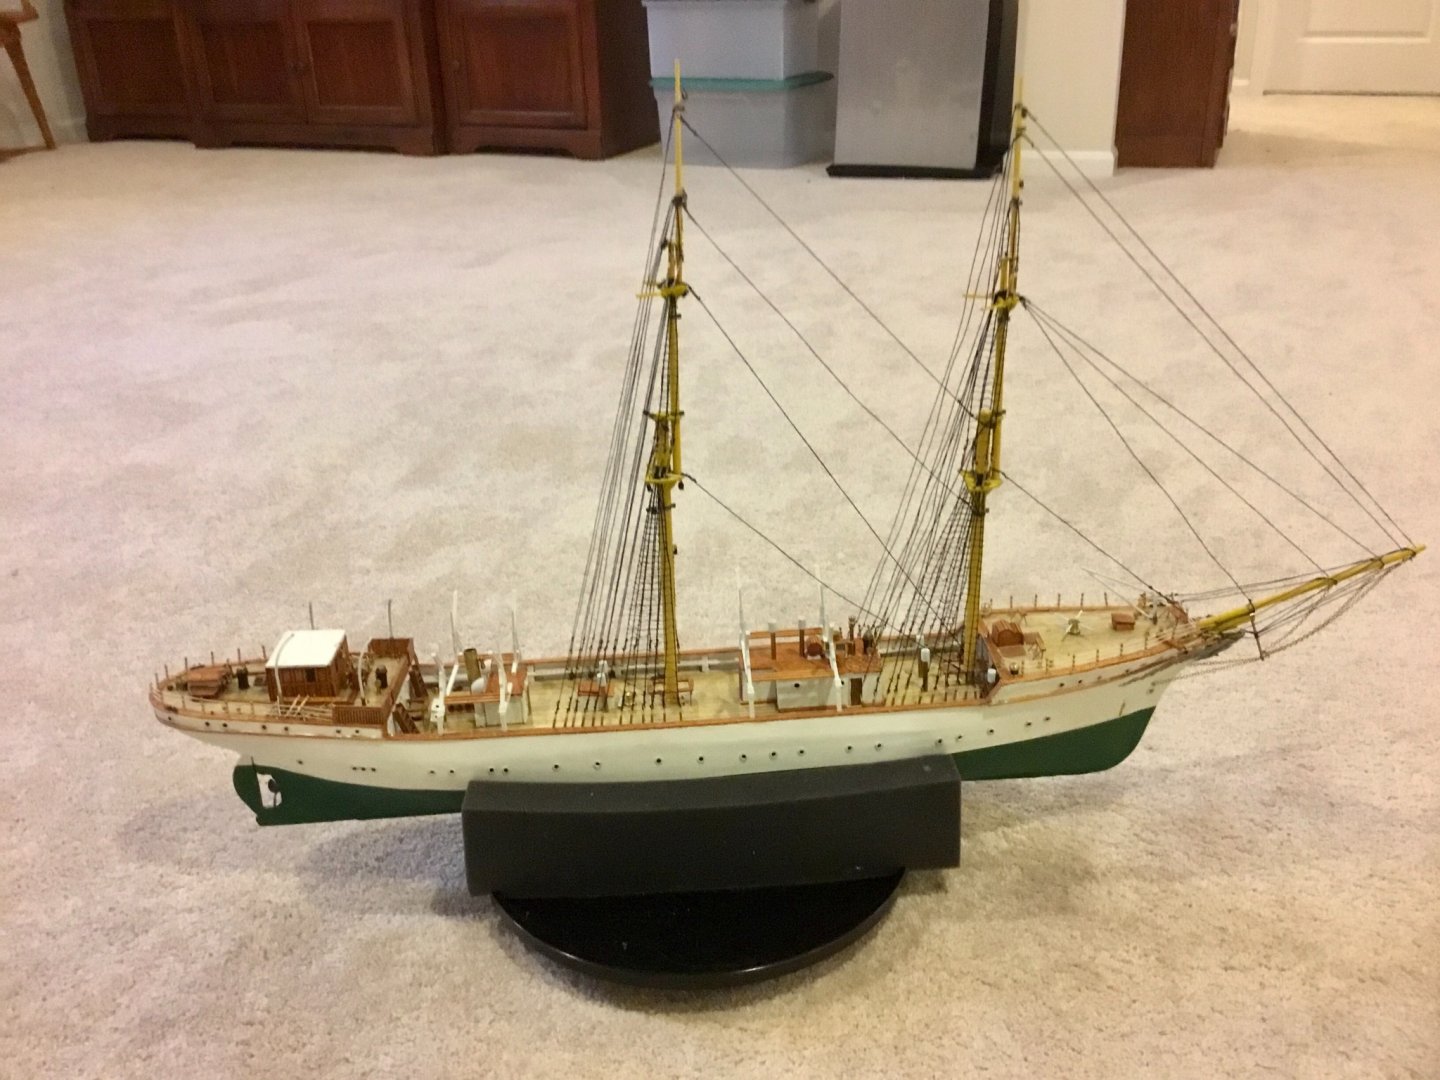
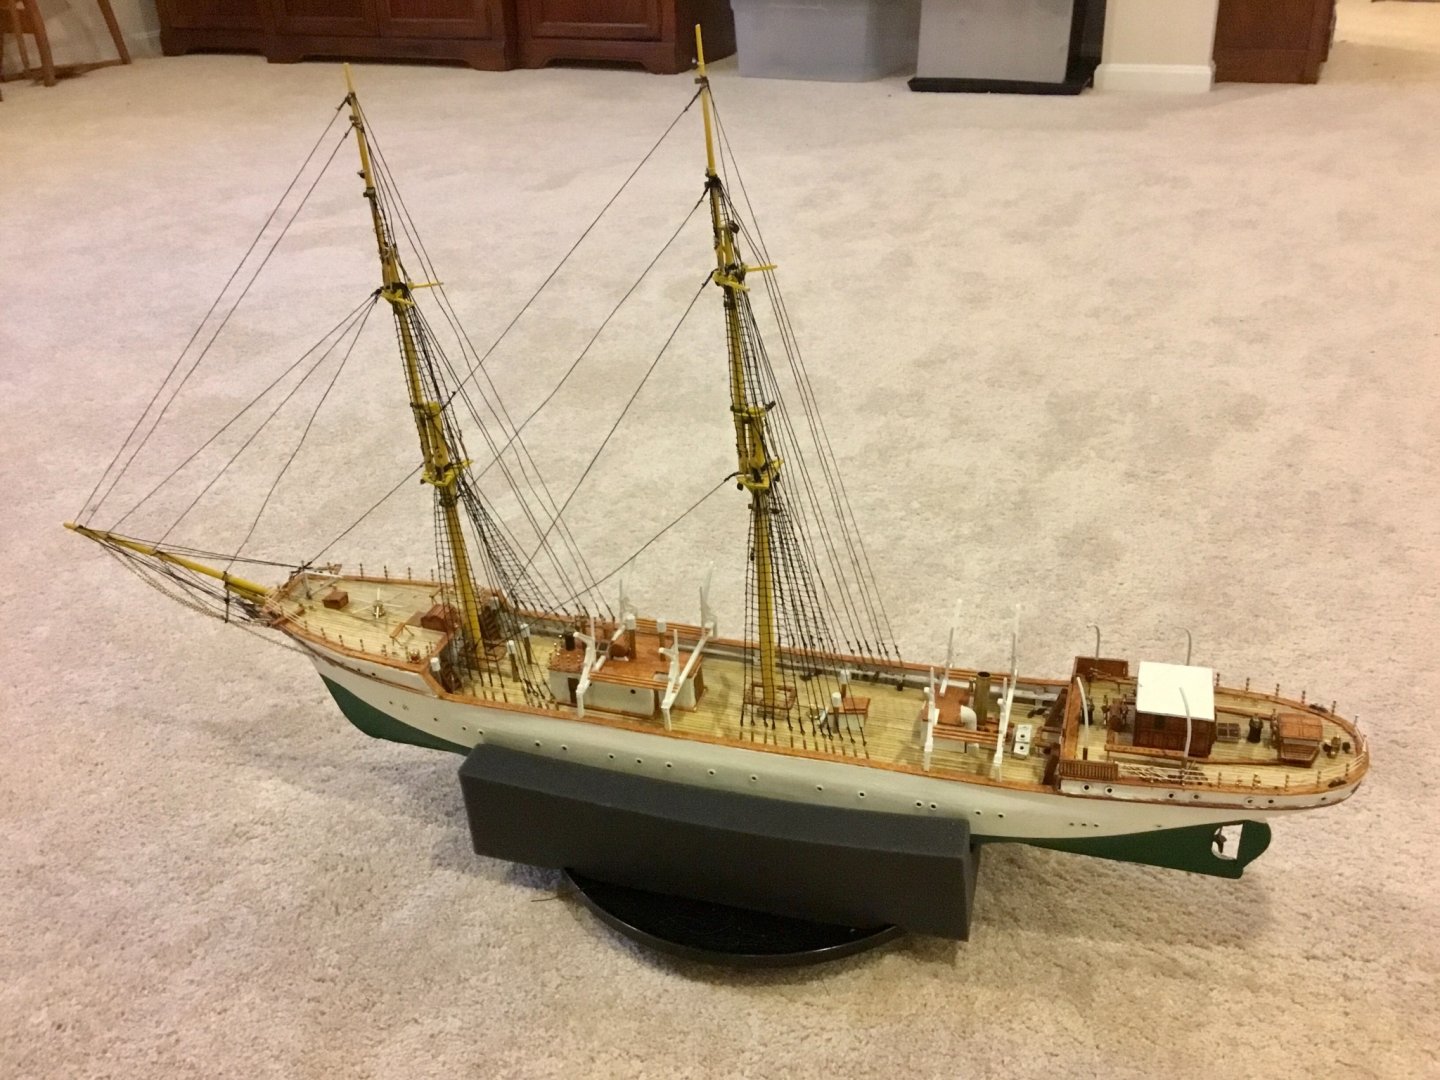
Completed installation of the running rigging with the exception of the (I believe) halliards as it was getting to congested for my tastes and the kit was lacking the number of double blocks as shown on the plans. I made a few minor errors as well but the rigging is so complicated that no one I know would notice the errors and missing components without studying the plans. The running rigging that controls the sails was not included as I chose not to install sails. I think its beyond my abilities to put sails on a model of this complexity. I will try to take better pictures before completion as the lines being either black (standing) or white (running) are difficult to see as they tend to disappear into the background in the photos, maybe a medium gray background will make ir possible to easily see both. Next I will install the ships boats with davit tackles, the anchors, etc. and do some final touchups before calling it done.


- 39 replies
-
- 2
-
-
- billing boats
- danmark
- (and 1 more)
-
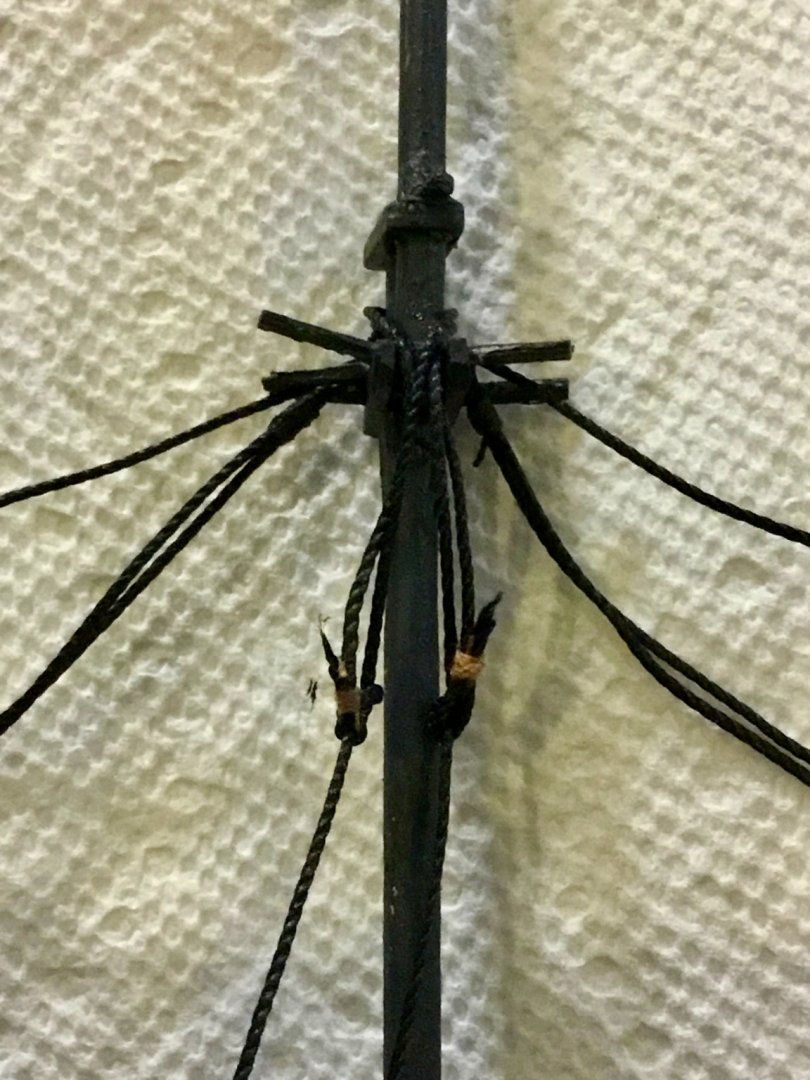
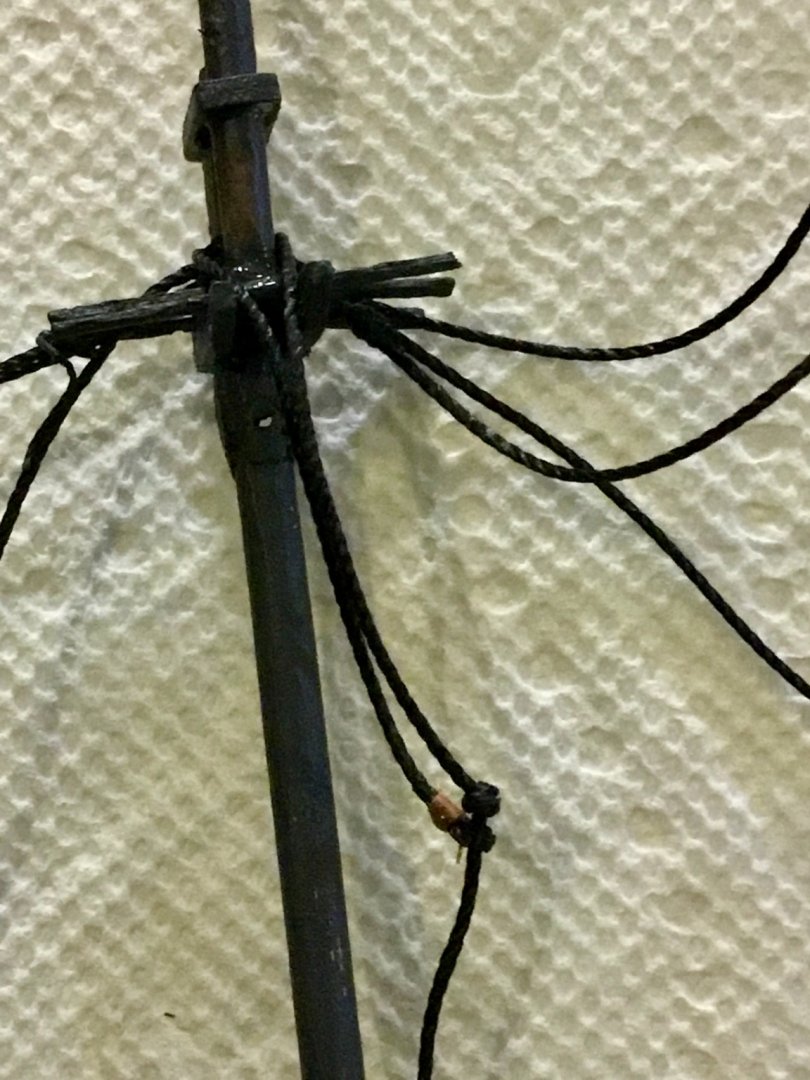
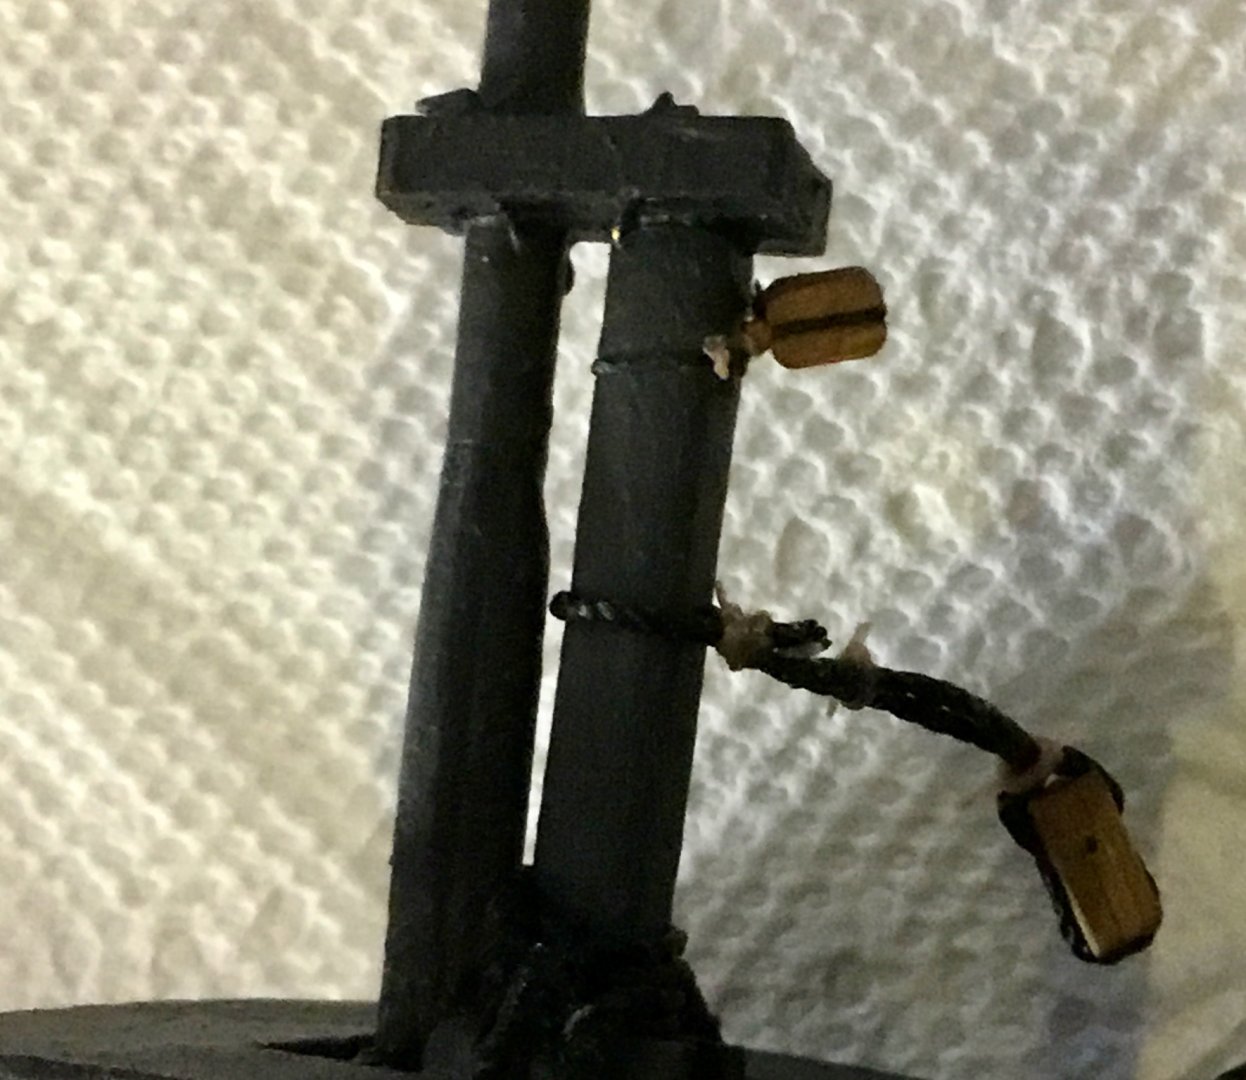
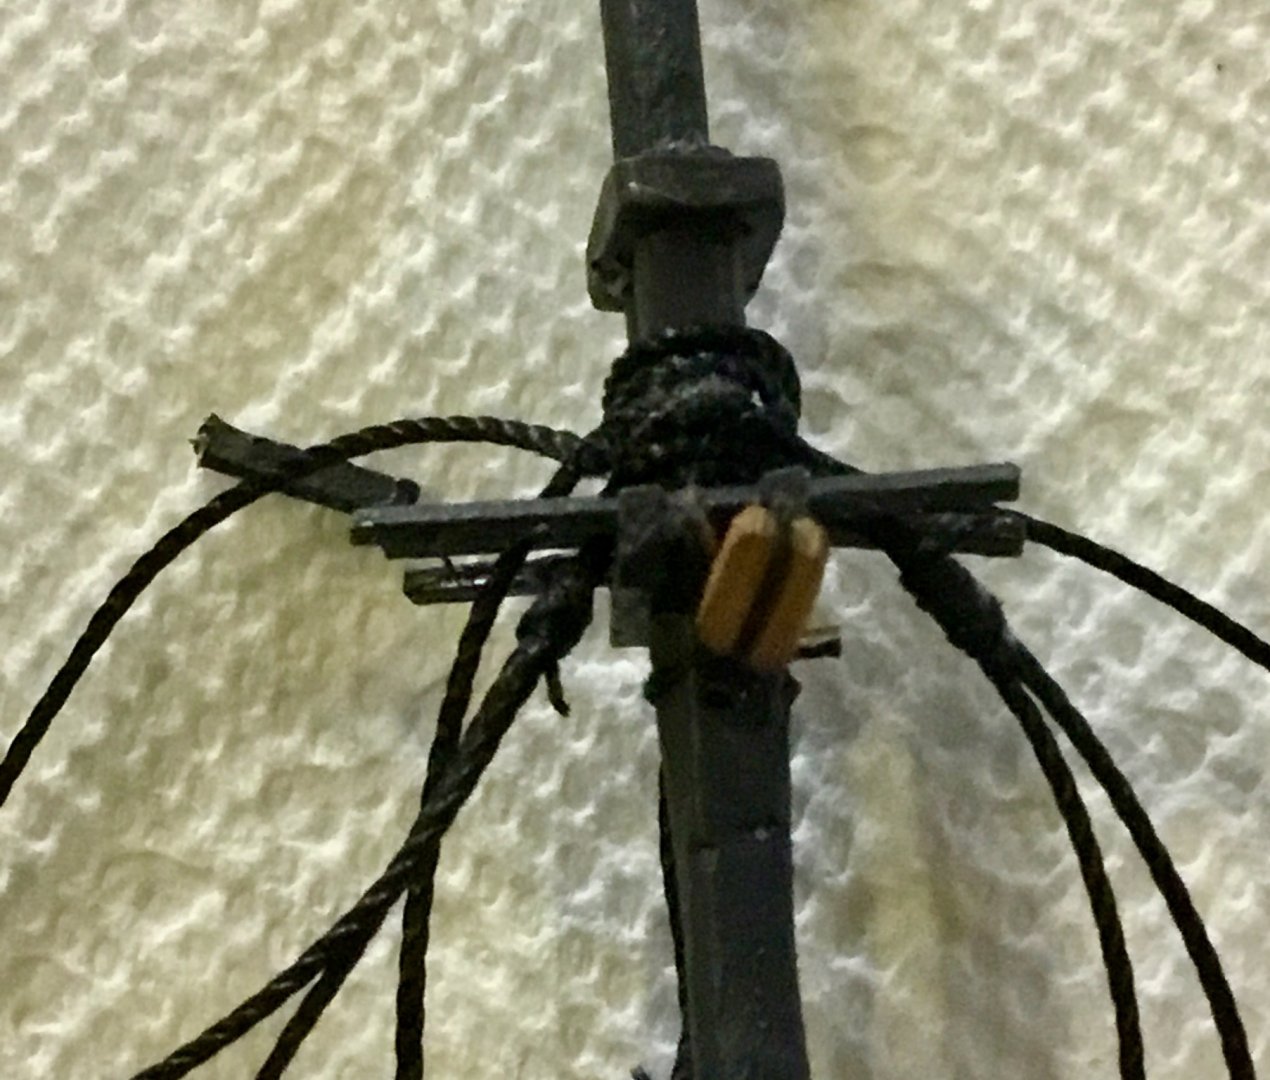
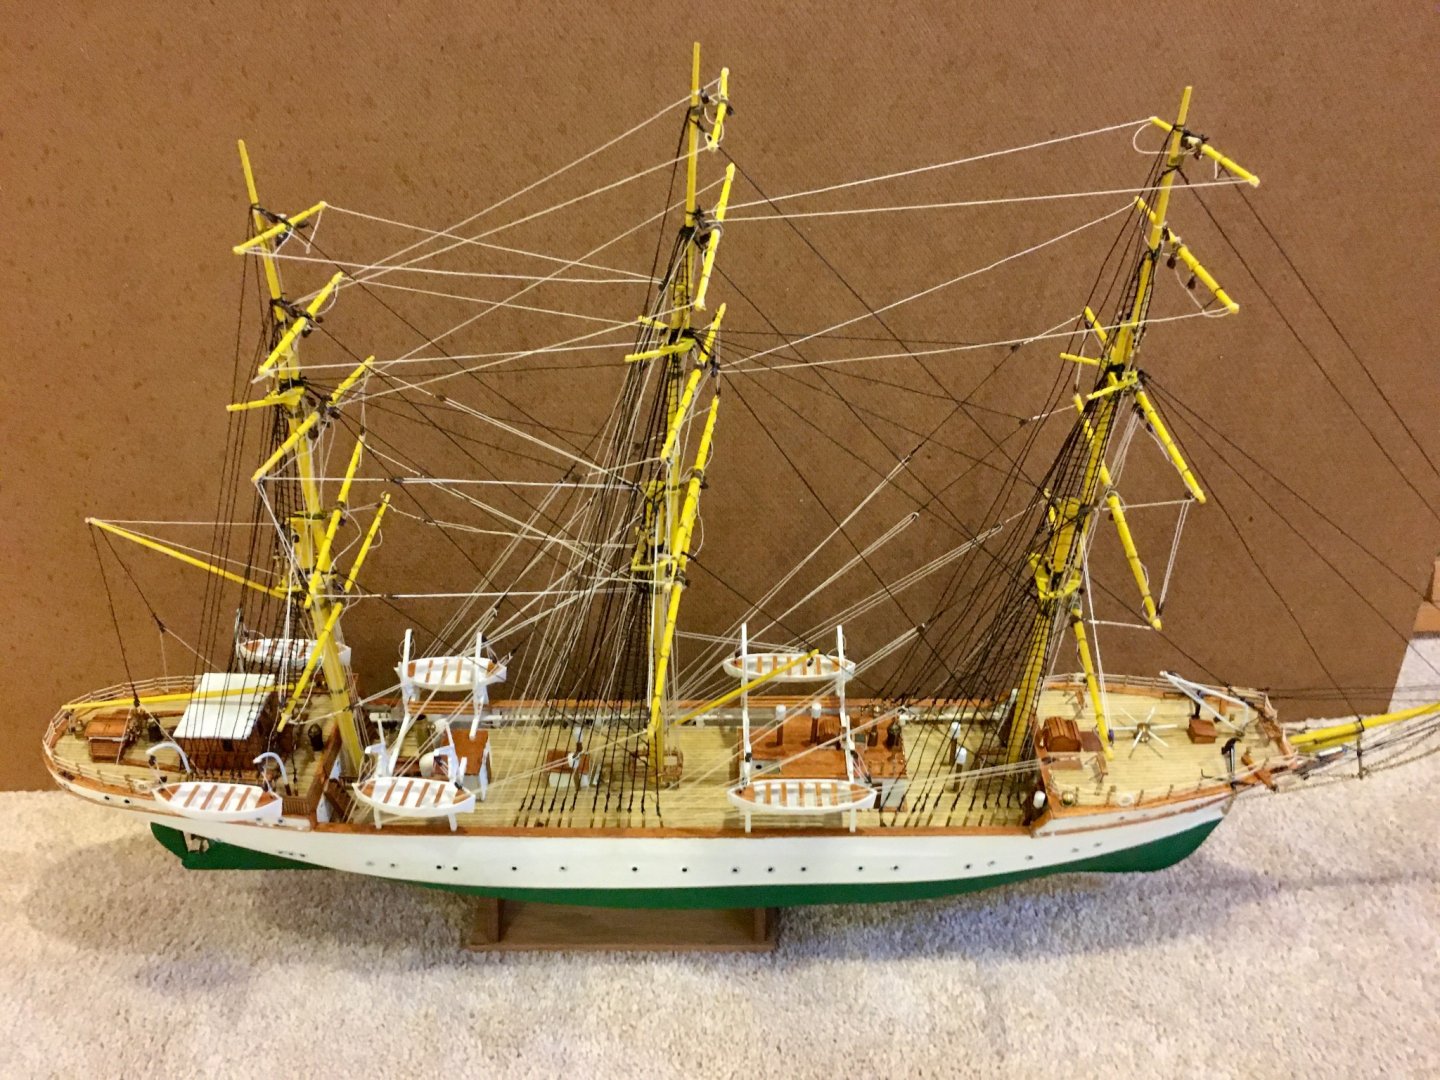
I stepped the mizzen mast and installed its standing rigging. Installed lower yard on foremast and added fore lower yard lifts. I tried to secure the lines to the belaying pins the standard way but found it to difficult to accomplish with my skills at this scale so I am securing the lines by inserting the line thru its appropriate hole in the pin rack and then inserting the belaying pin to hold the line in place. Some of my standing rigging lines are not as taut as I would like. I've read where it is suggested to install all the lines but not to glue them in place until you have adjusted the tension in each line, but was afraid that my previous work would become undone and a mess. So I glued the lines in place as I went along. When I tensioned later lines it resulted in the loosening of some previously installed lines. I installed the lines in the recommended order so I think that helped to reduce the problem somewhat. It looks like installing the running rigging is going to be more difficult than the standing rigging as the plans provided so far are not clear to me. When I did the Constitution cross section, the instructions , though terse, at least showed how to run the ropes thru the blocks in the proper order. But I guess if I don't get it 100% correct, I'll probably be the only one that sees it that will know. I had to temporarily remove some of the boat davits because they were getting in the way. Will add them back when the rigging is complete.


- 39 replies
-
- 2
-
-
- billing boats
- danmark
- (and 1 more)
-
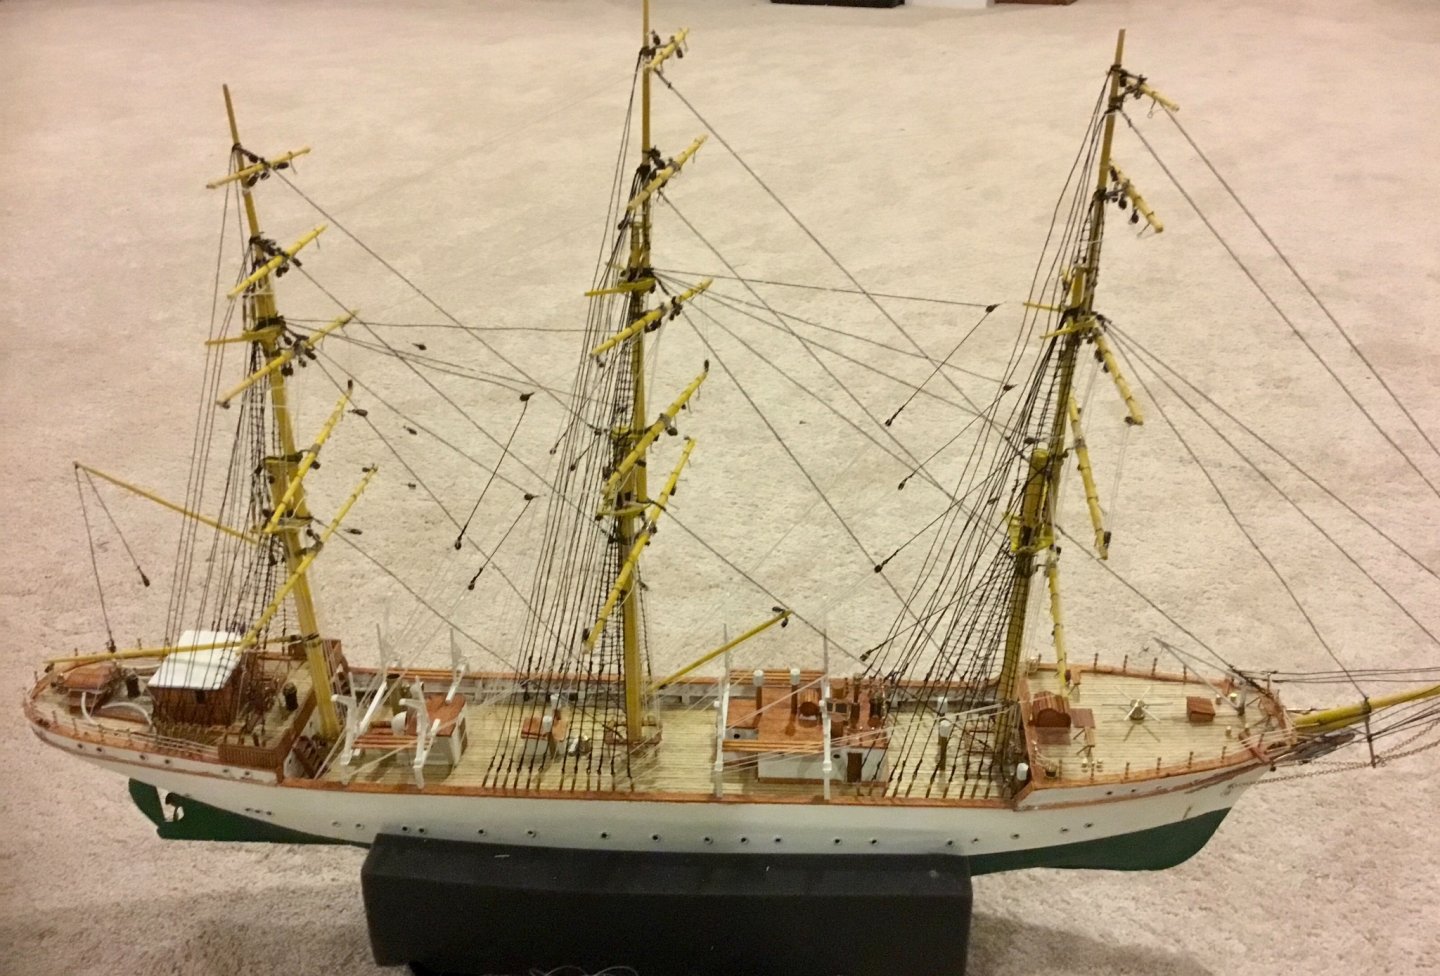
Stepped main mast and installed all its standing rigging.
- 39 replies
-
- 2
-
-
- billing boats
- danmark
- (and 1 more)
-
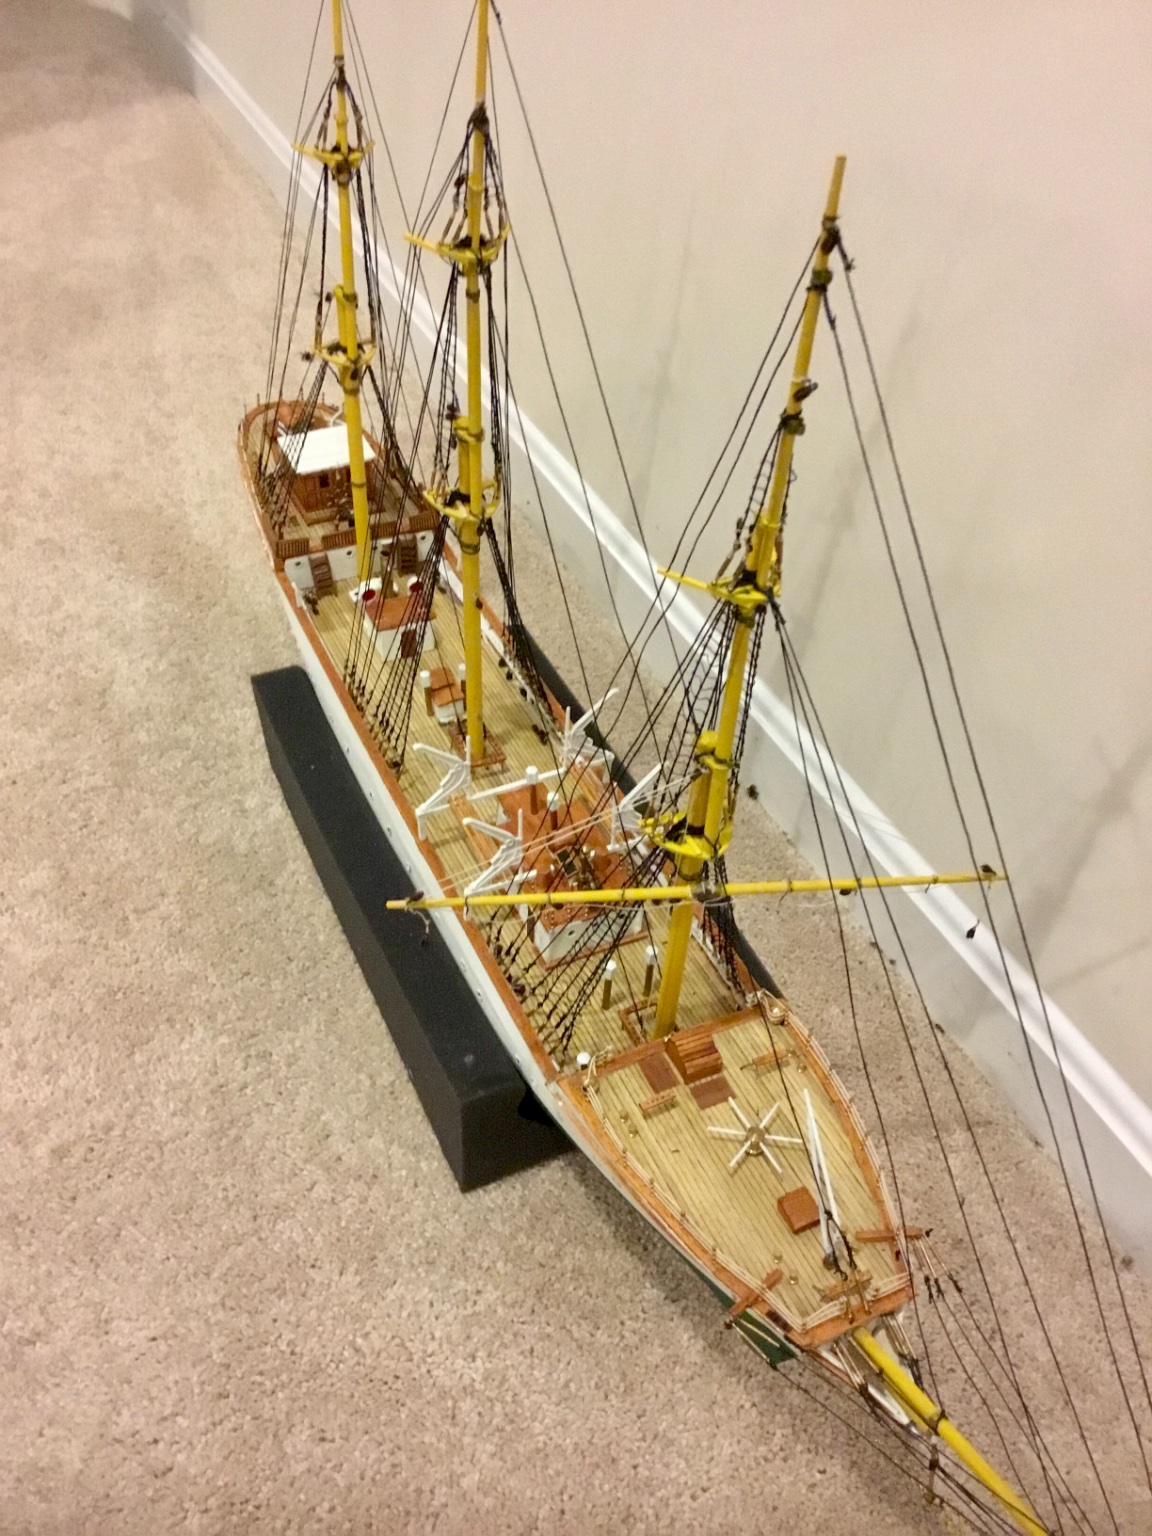
Thanks for the kind complement. It looks OK from about 3-feet but any closer and you can begin to see my many rough finishes. Having Parkinson's makes doing fine details a bit of a challenge. Hopefully I'll improve on my subsequent builds. Currently continuing work on rigging following member alpayed's rigging plan for the Danmark he was kind enough to provide to me. Only exception so far was the above deck shrouds which I thought would be easier to do before mounting the masts.
- 39 replies
-
- 2
-
-
- billing boats
- danmark
- (and 1 more)
-
Topmast and Topmast Gallant Shrouds with ratlines added to all three masts.

- 39 replies
-
- 3
-
-
- billing boats
- danmark
- (and 1 more)
-
I have an older version of the Billings Danmark Kit (circa 1975) which I am currently building. My sail plans show the various lines only as numbers. Yours appear to name the various lines but the resolution is not good enough to read. Would it be possible to load higher resolution copies of the plans you recently posted? I think the names of the lines might be more helpful in my efforts than just the numbers shown on my plans. My work does not compare to yours, but everyone has got to start somewhere and the parts and instruction from the 1975 kit leave a lot to be desired.
-
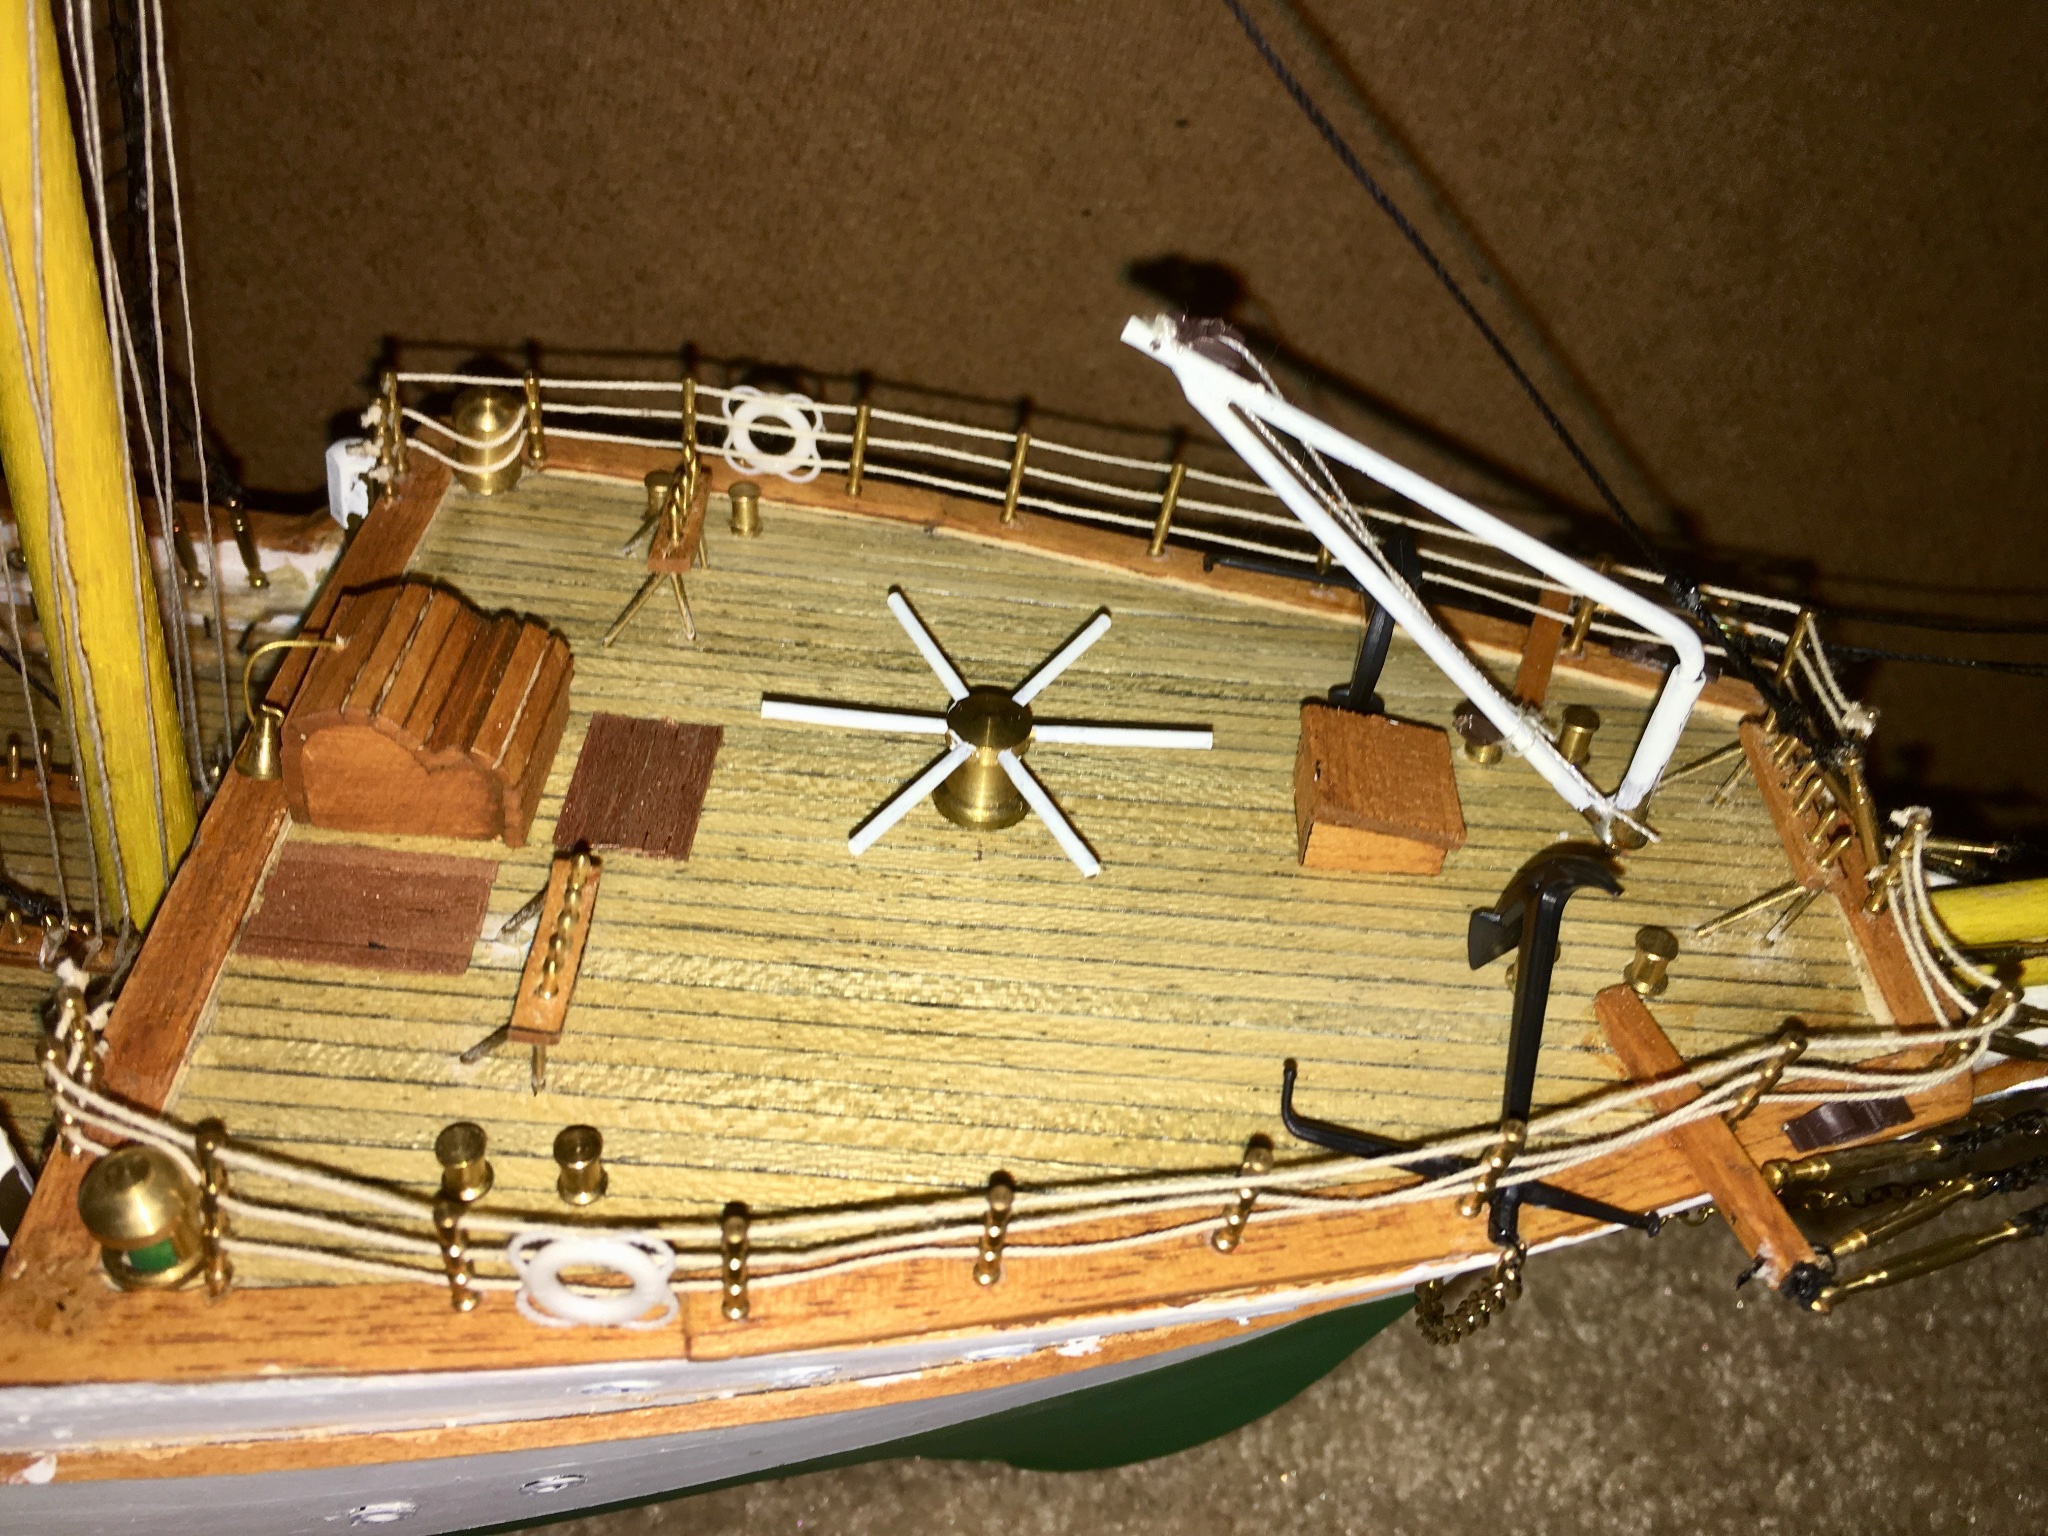
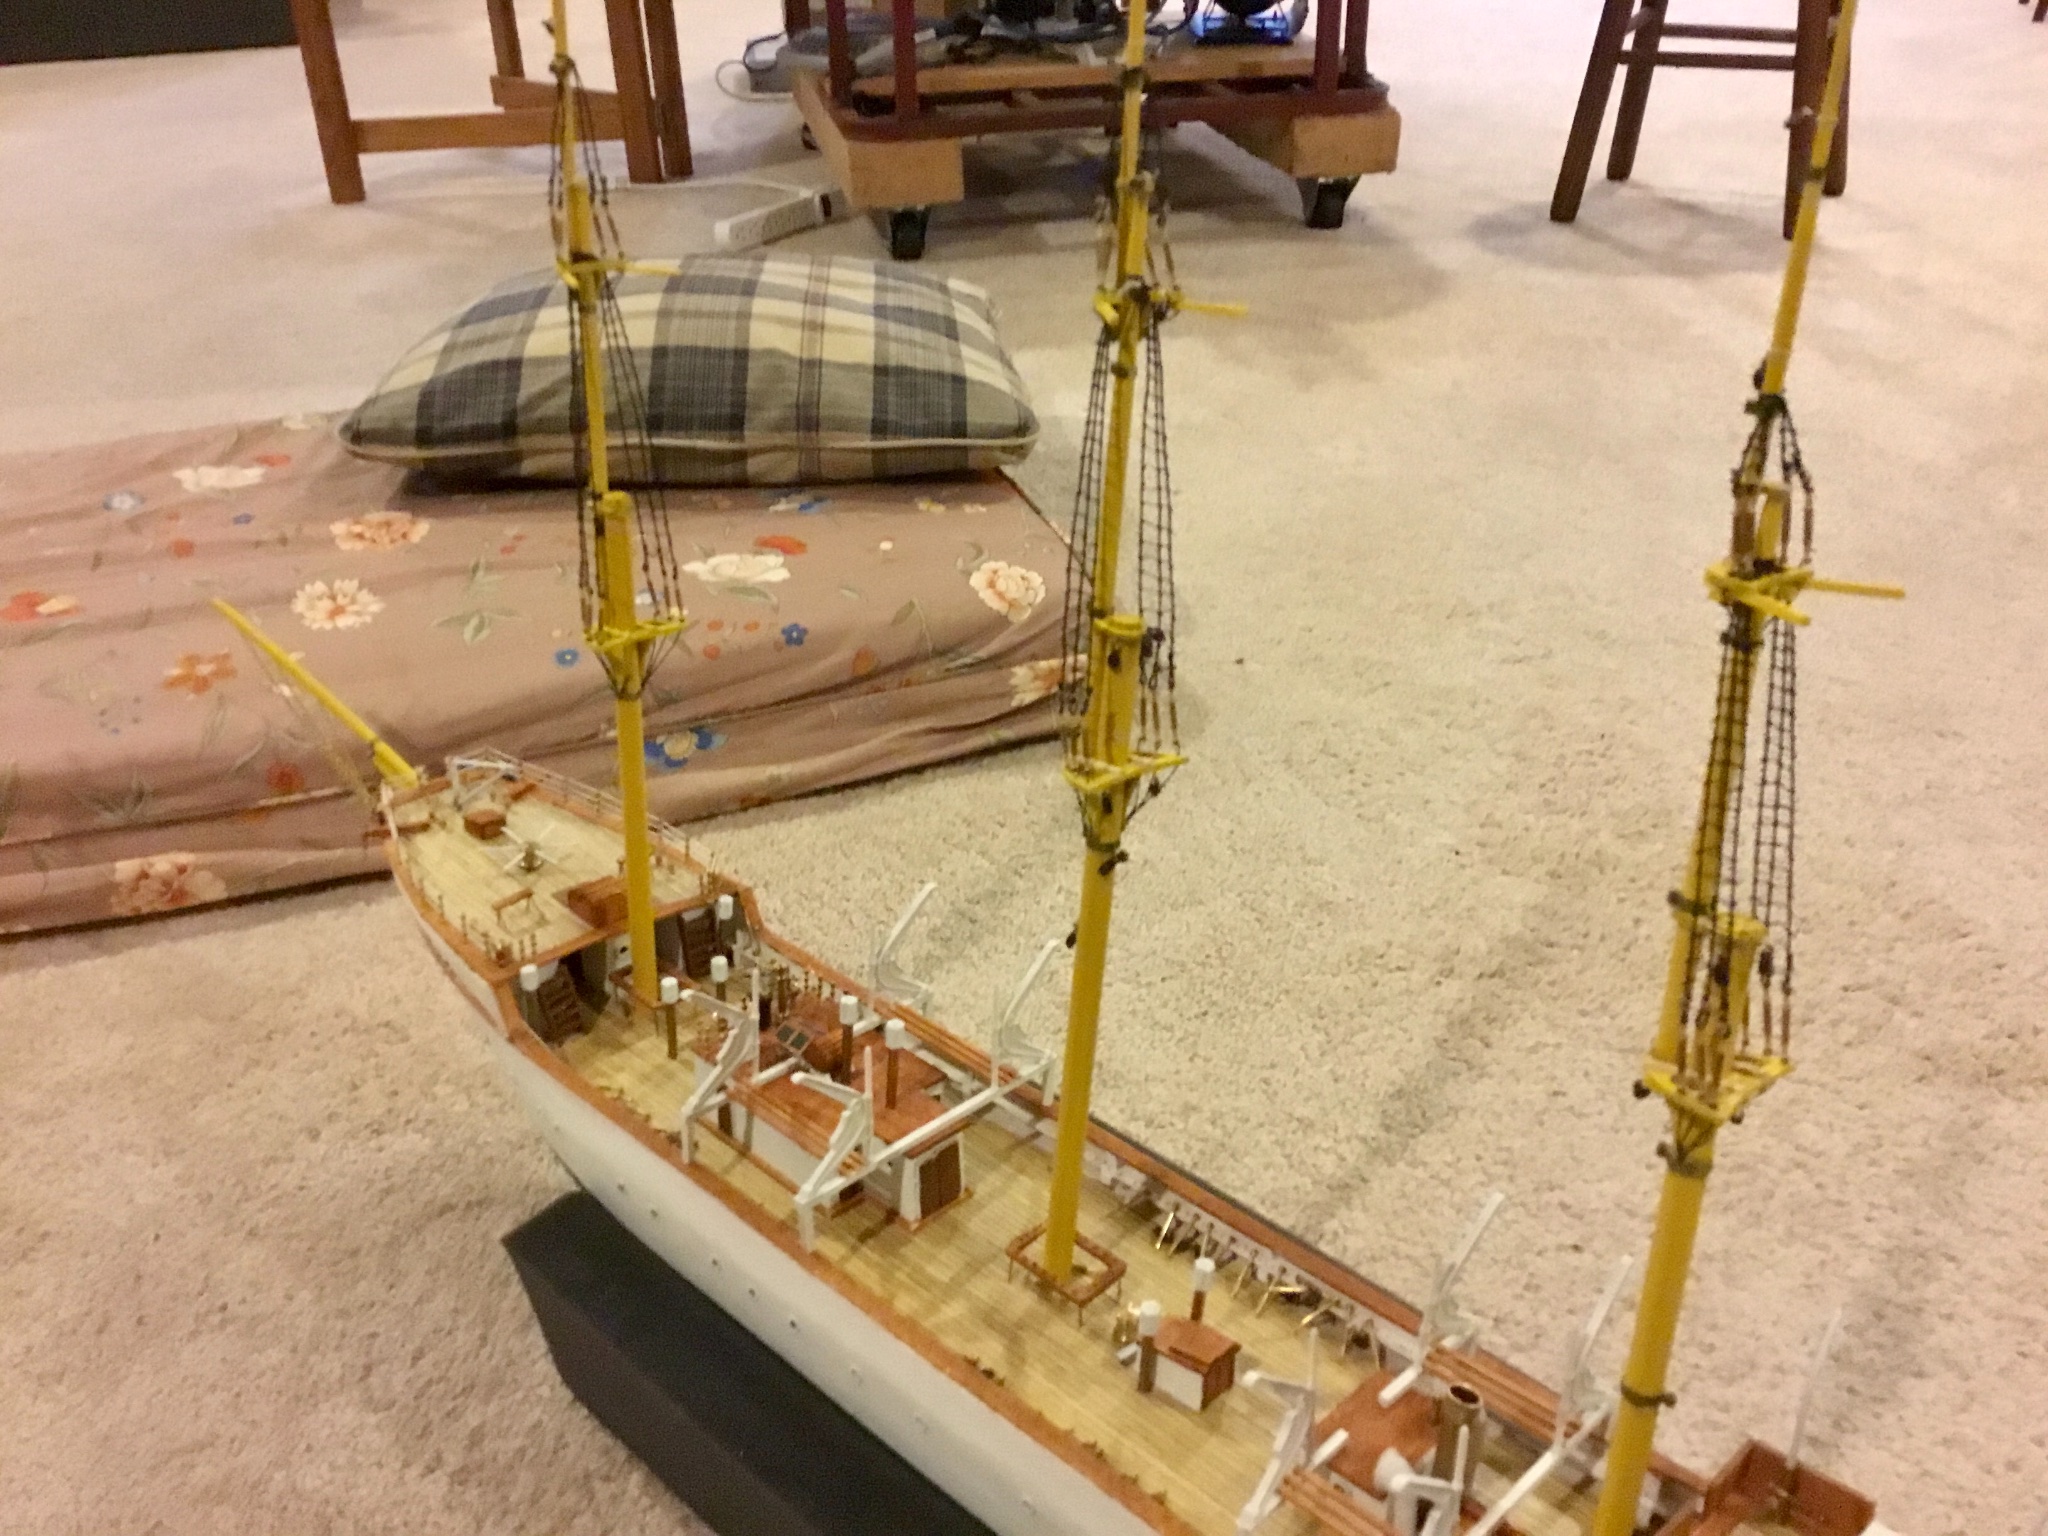
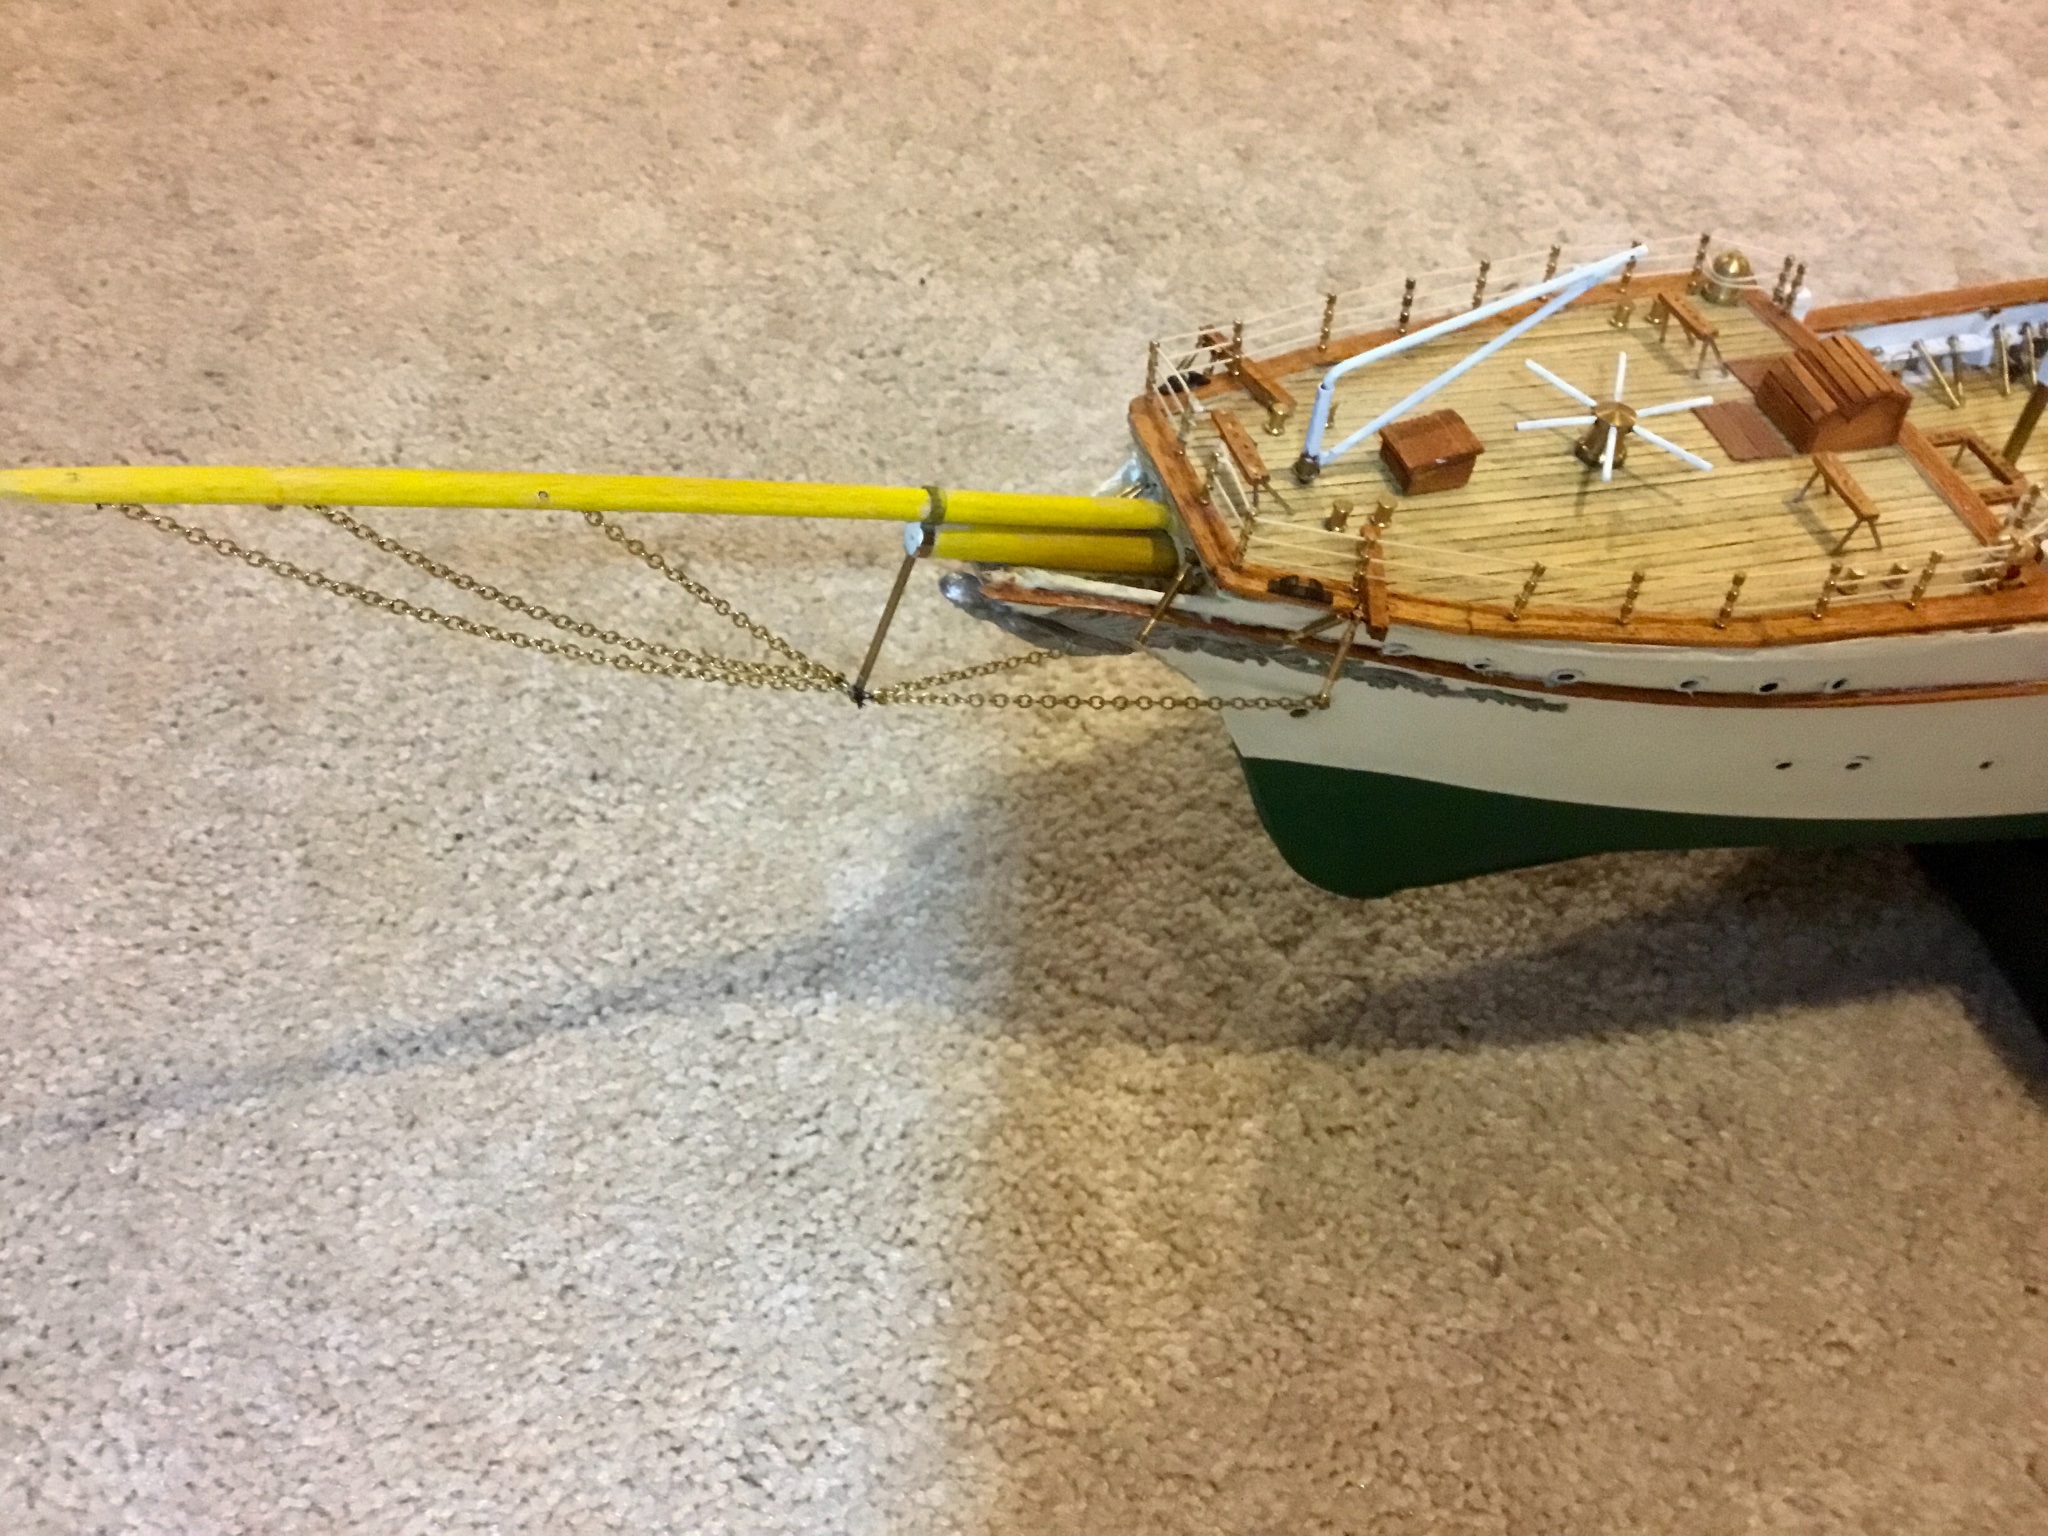
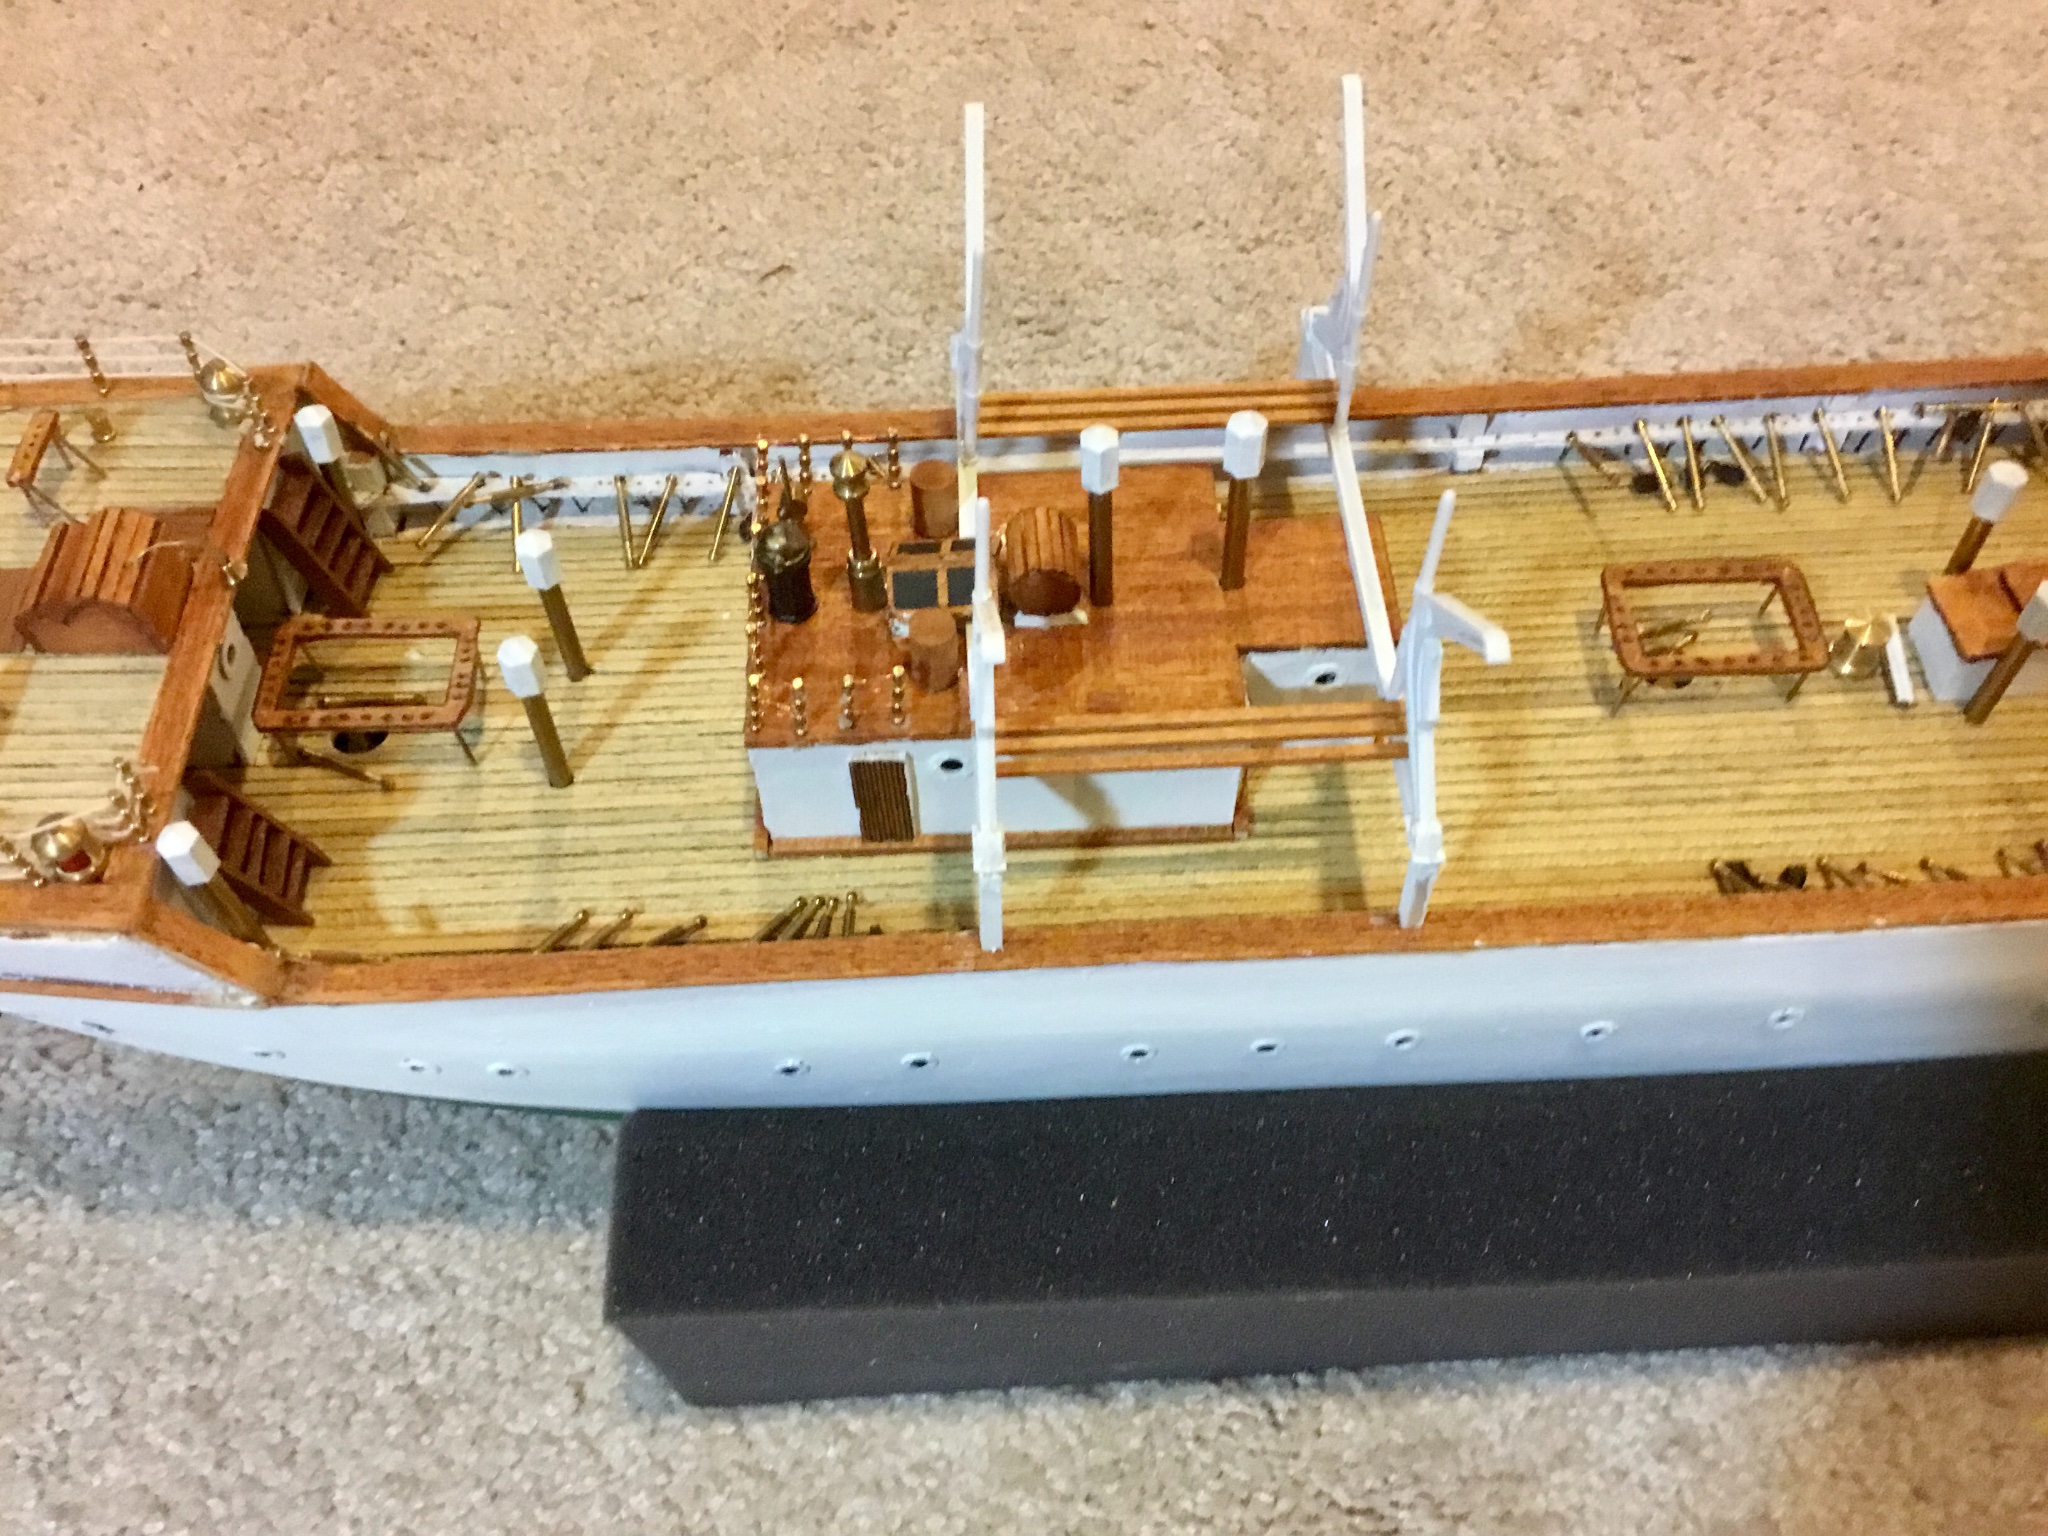
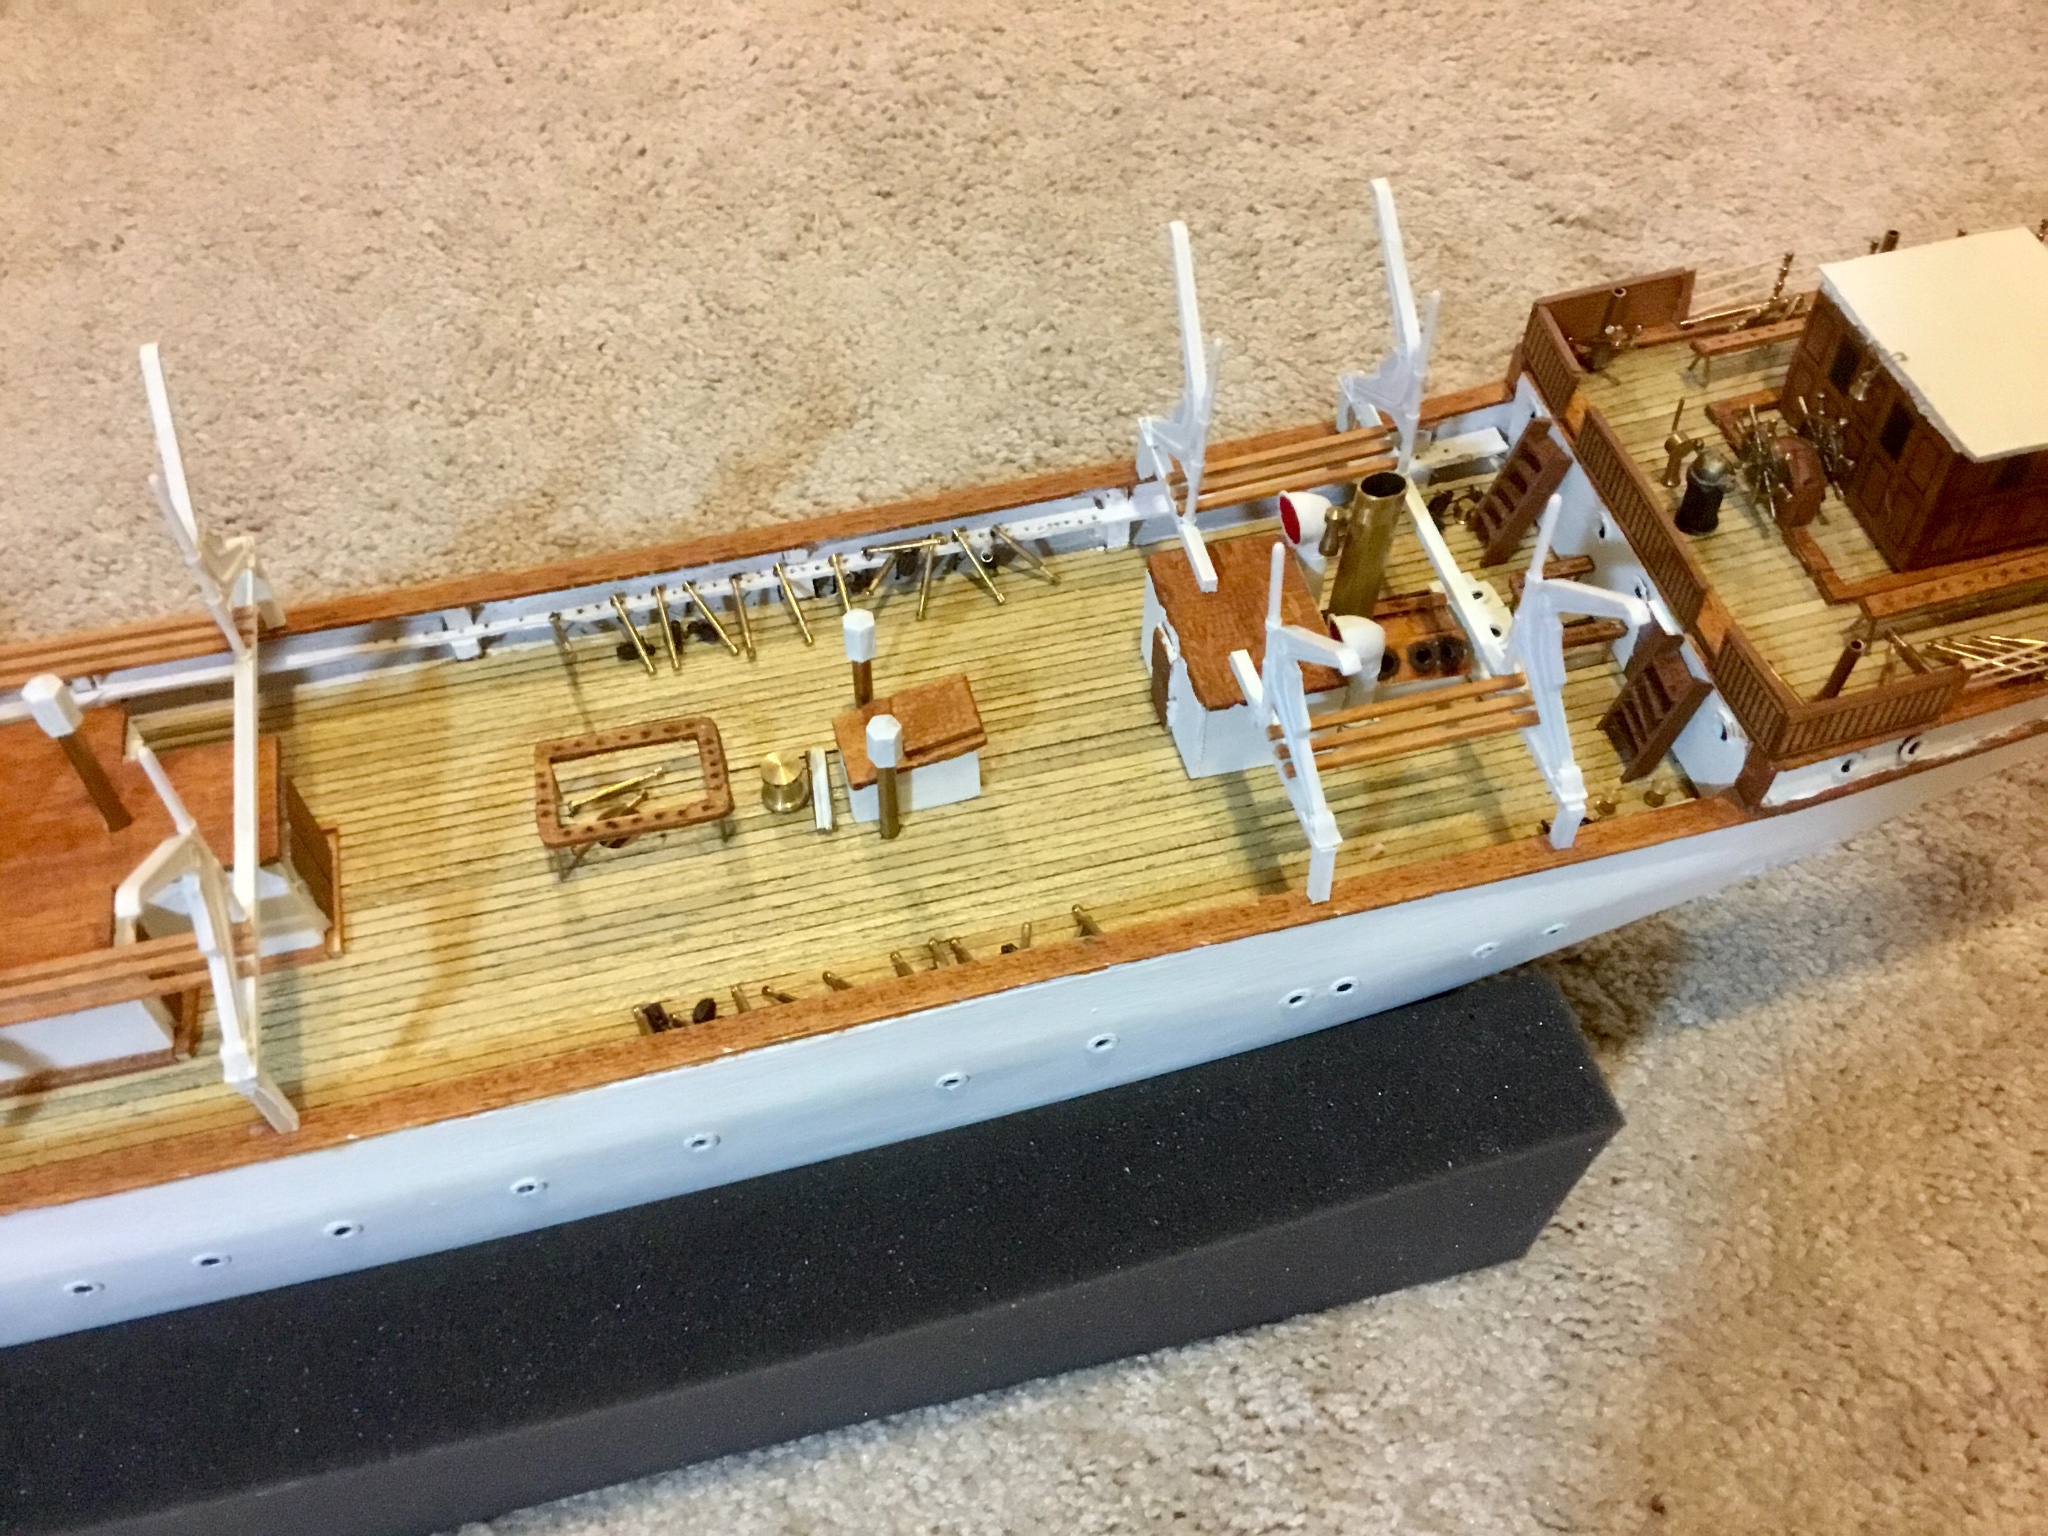
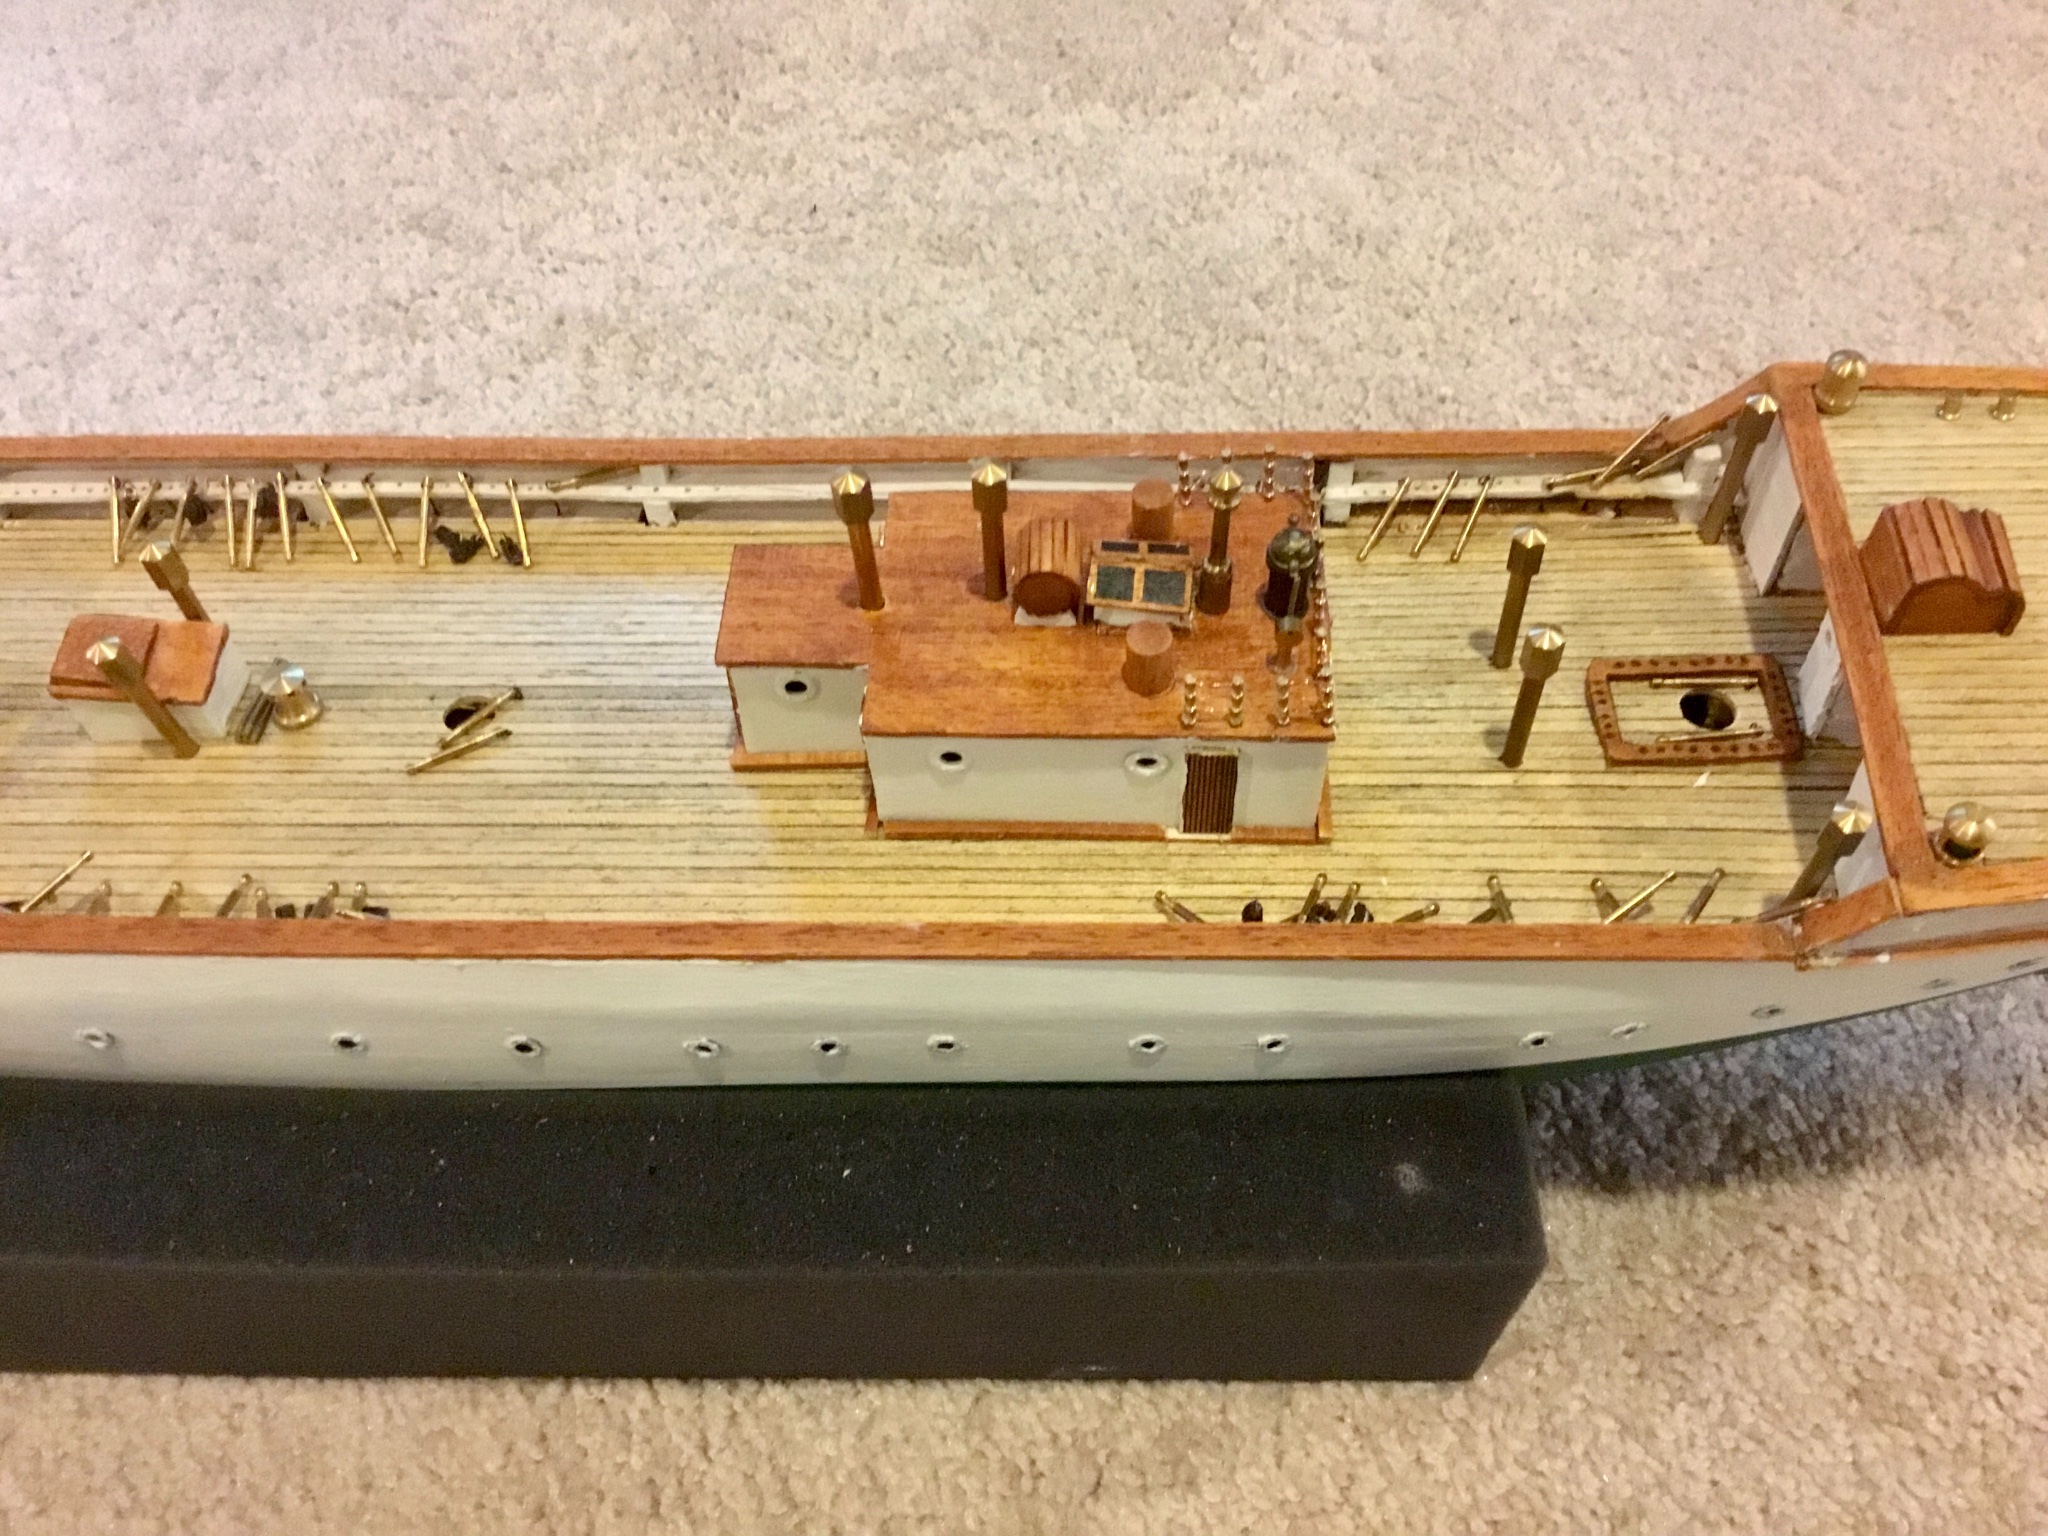
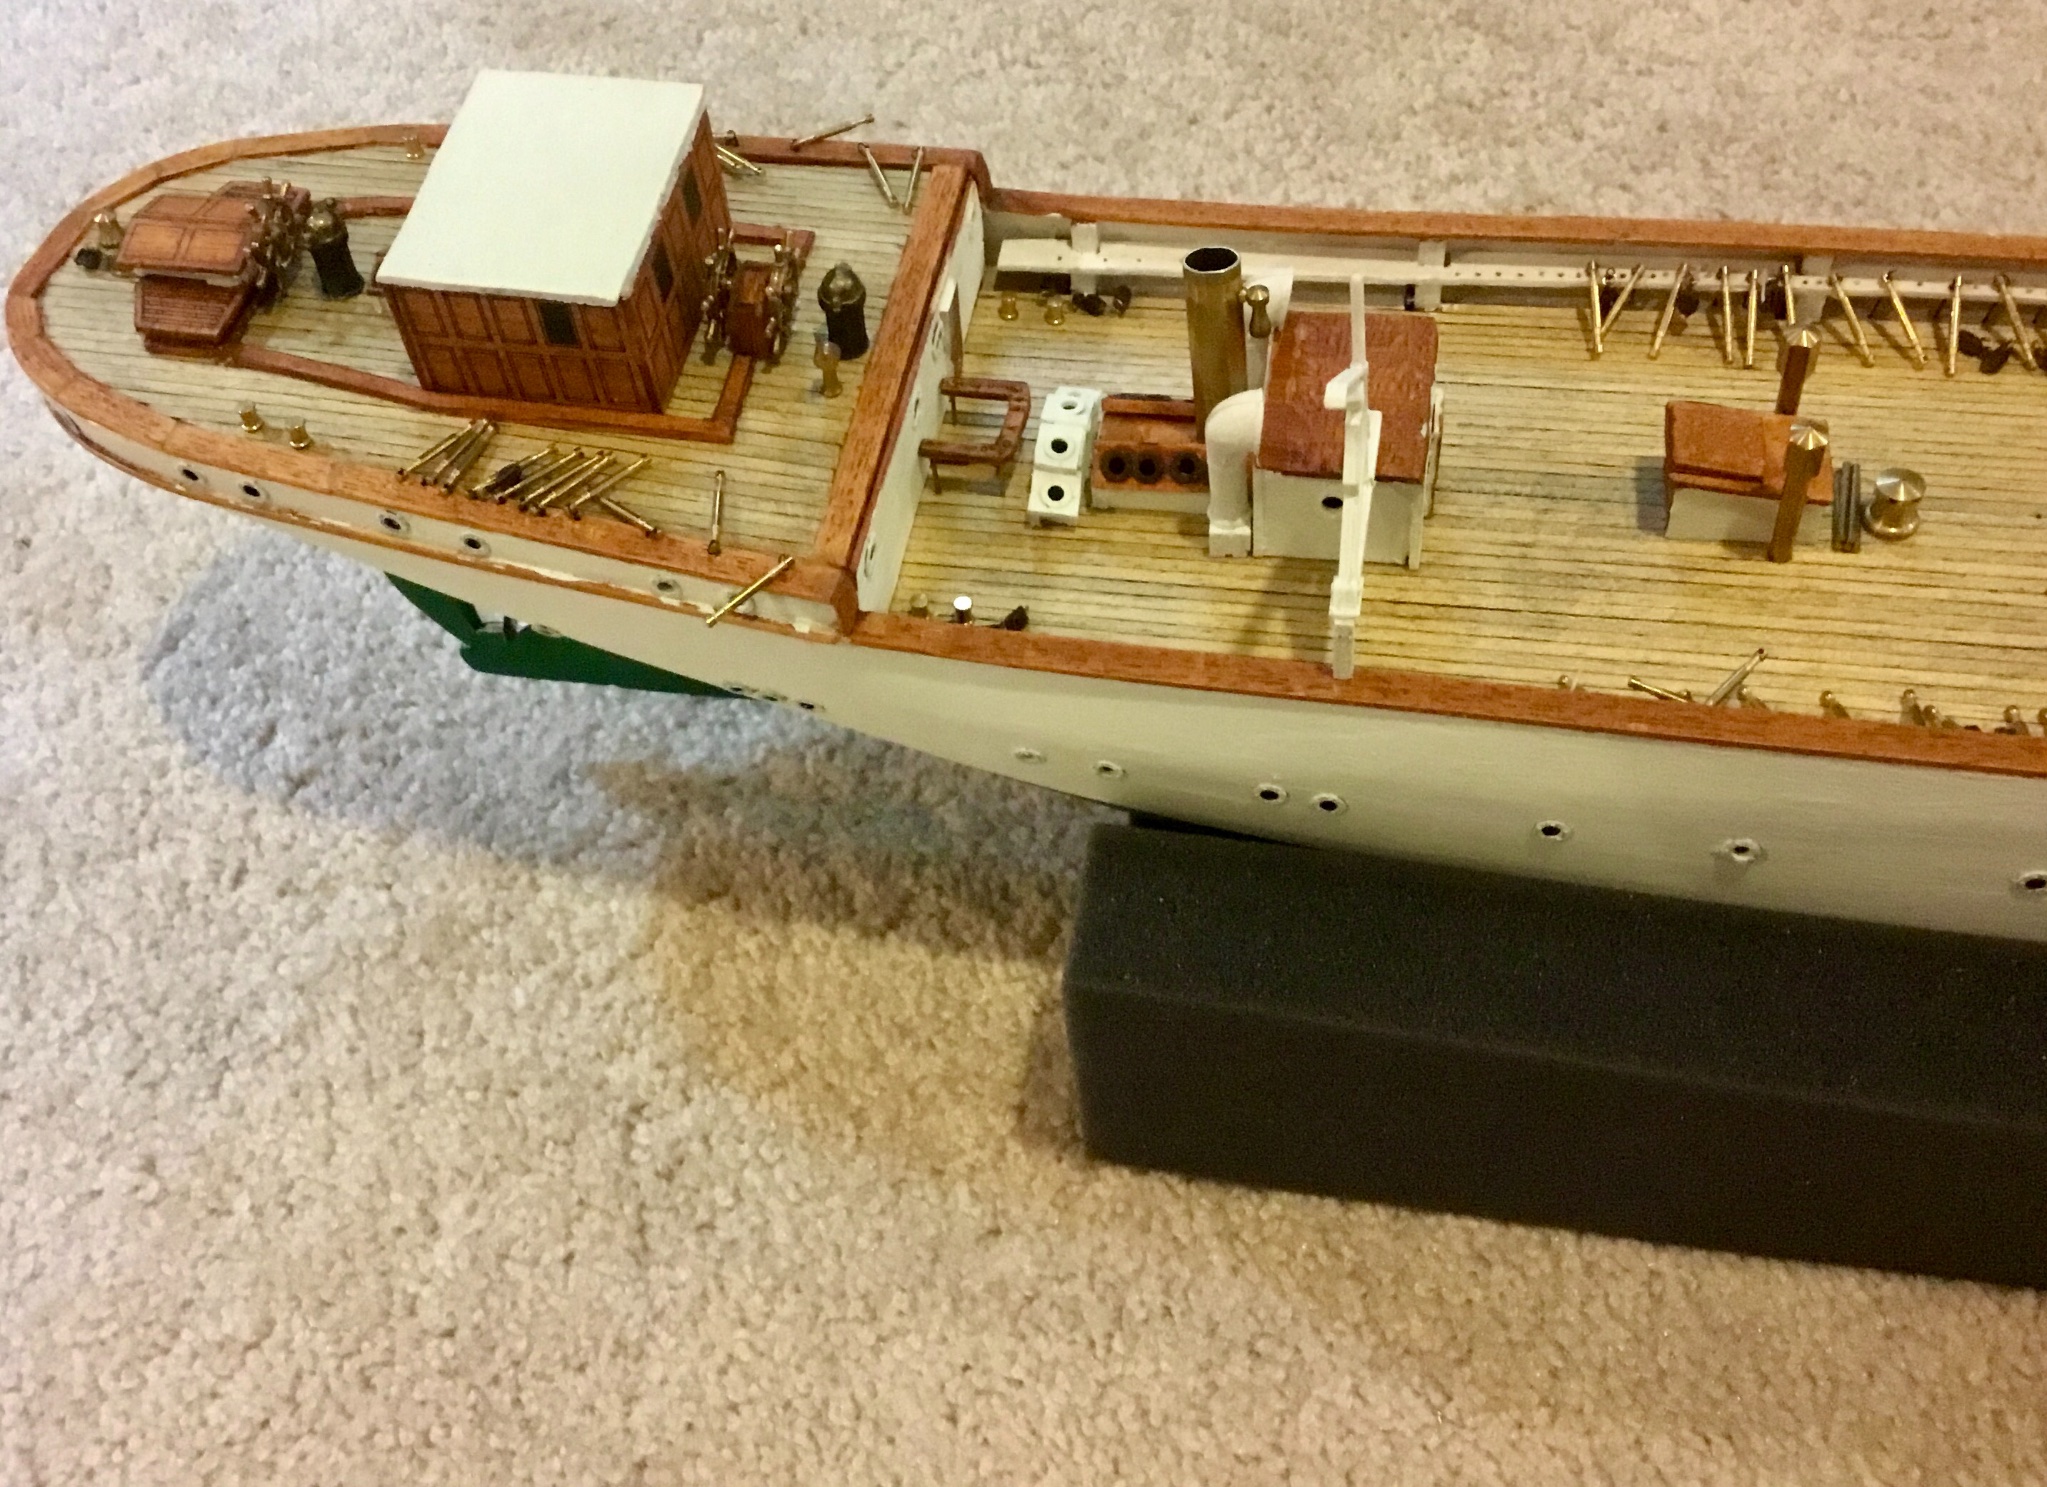
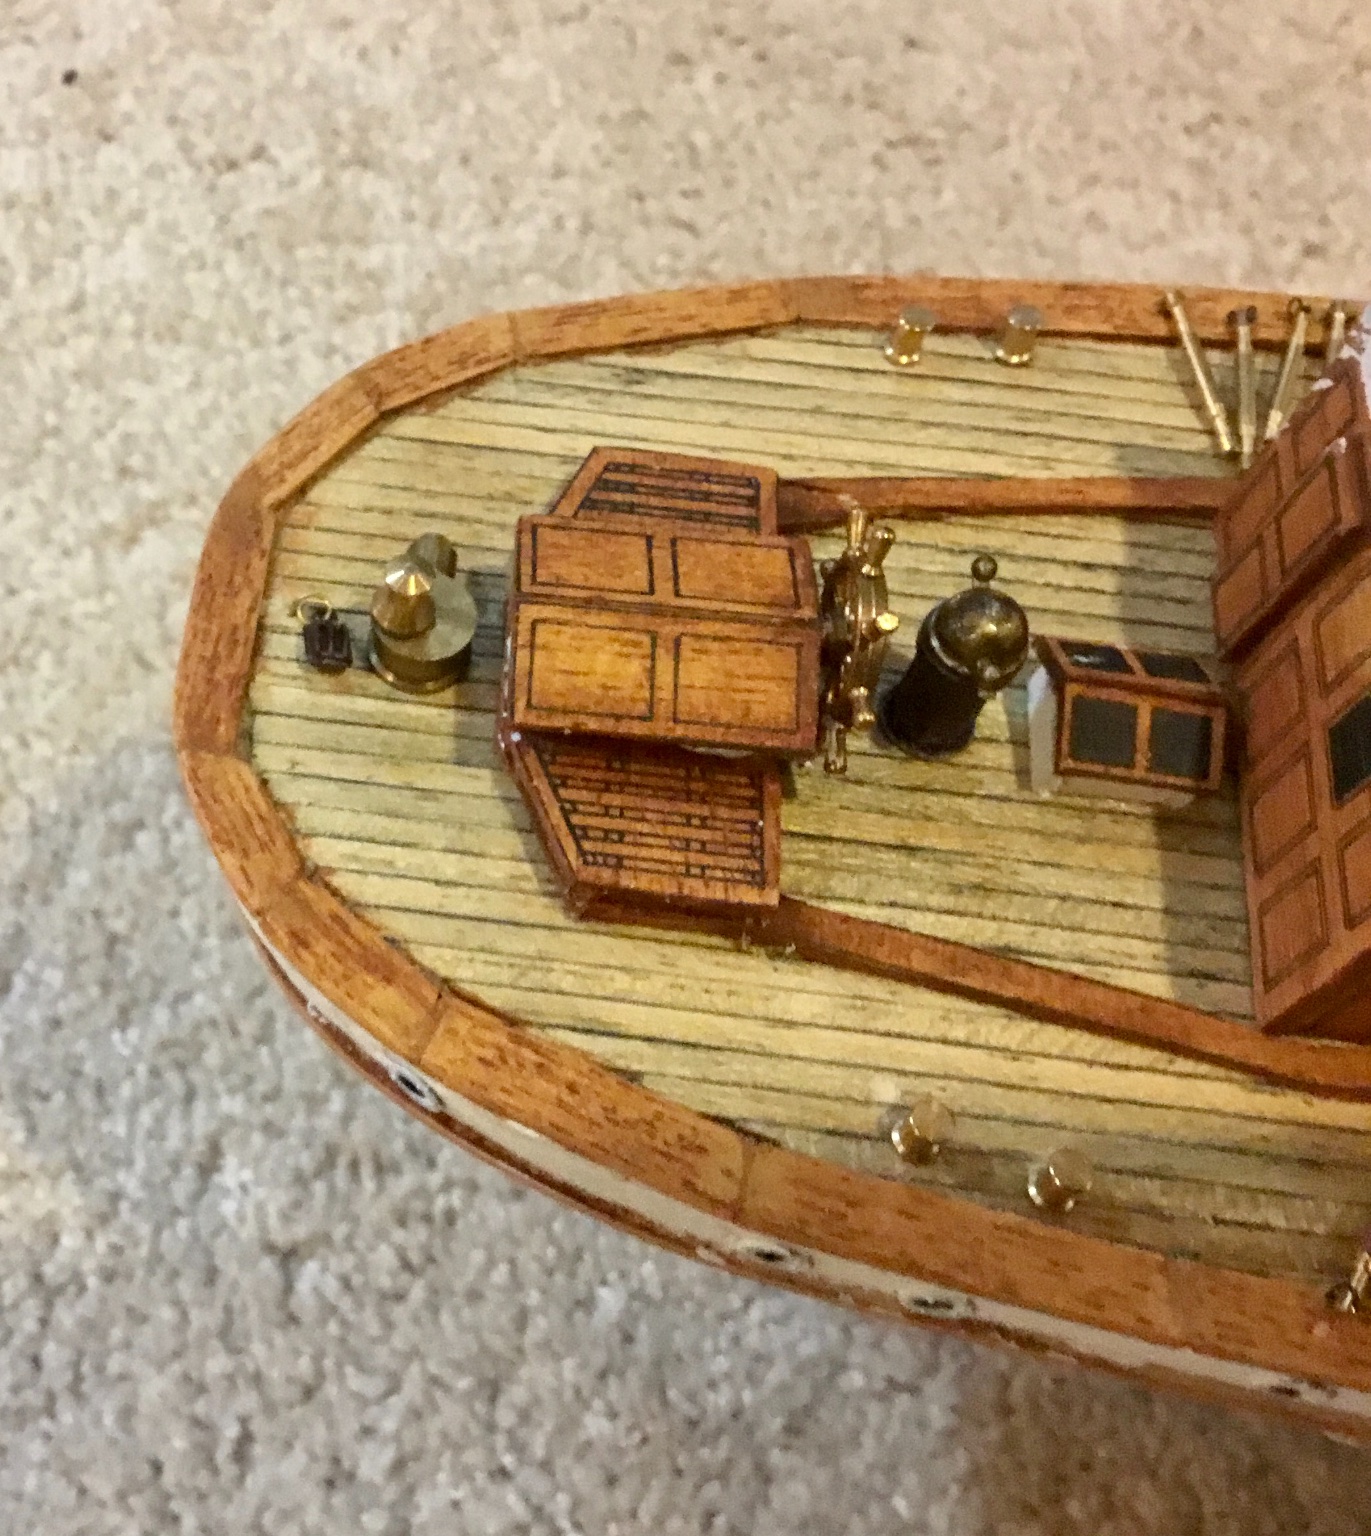
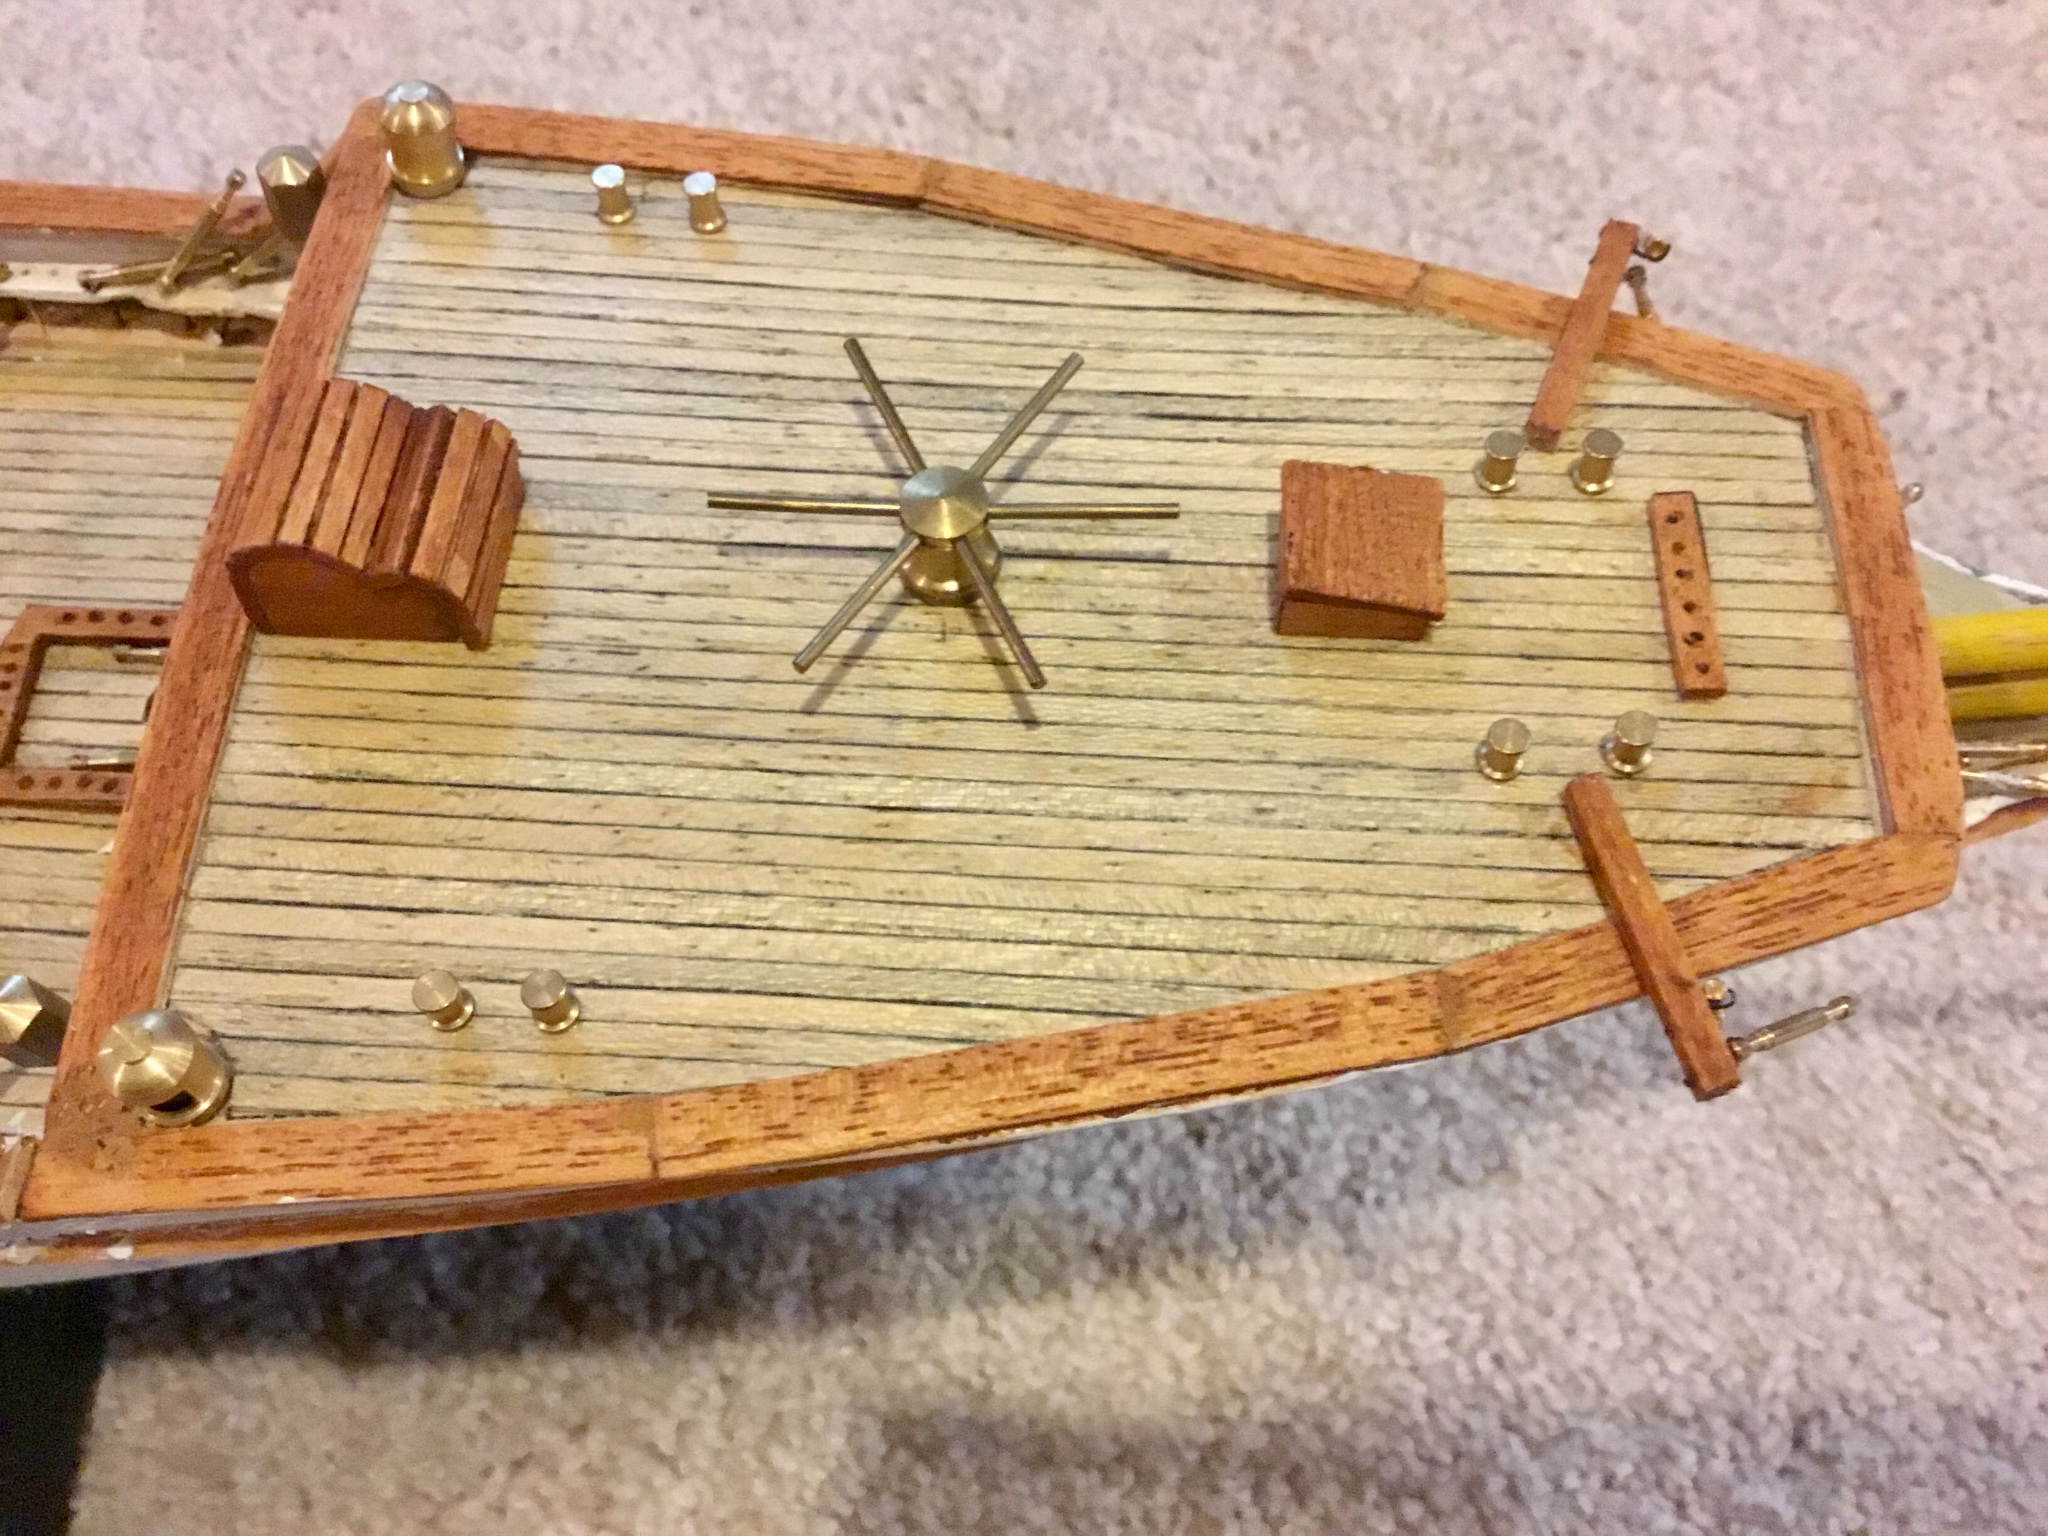
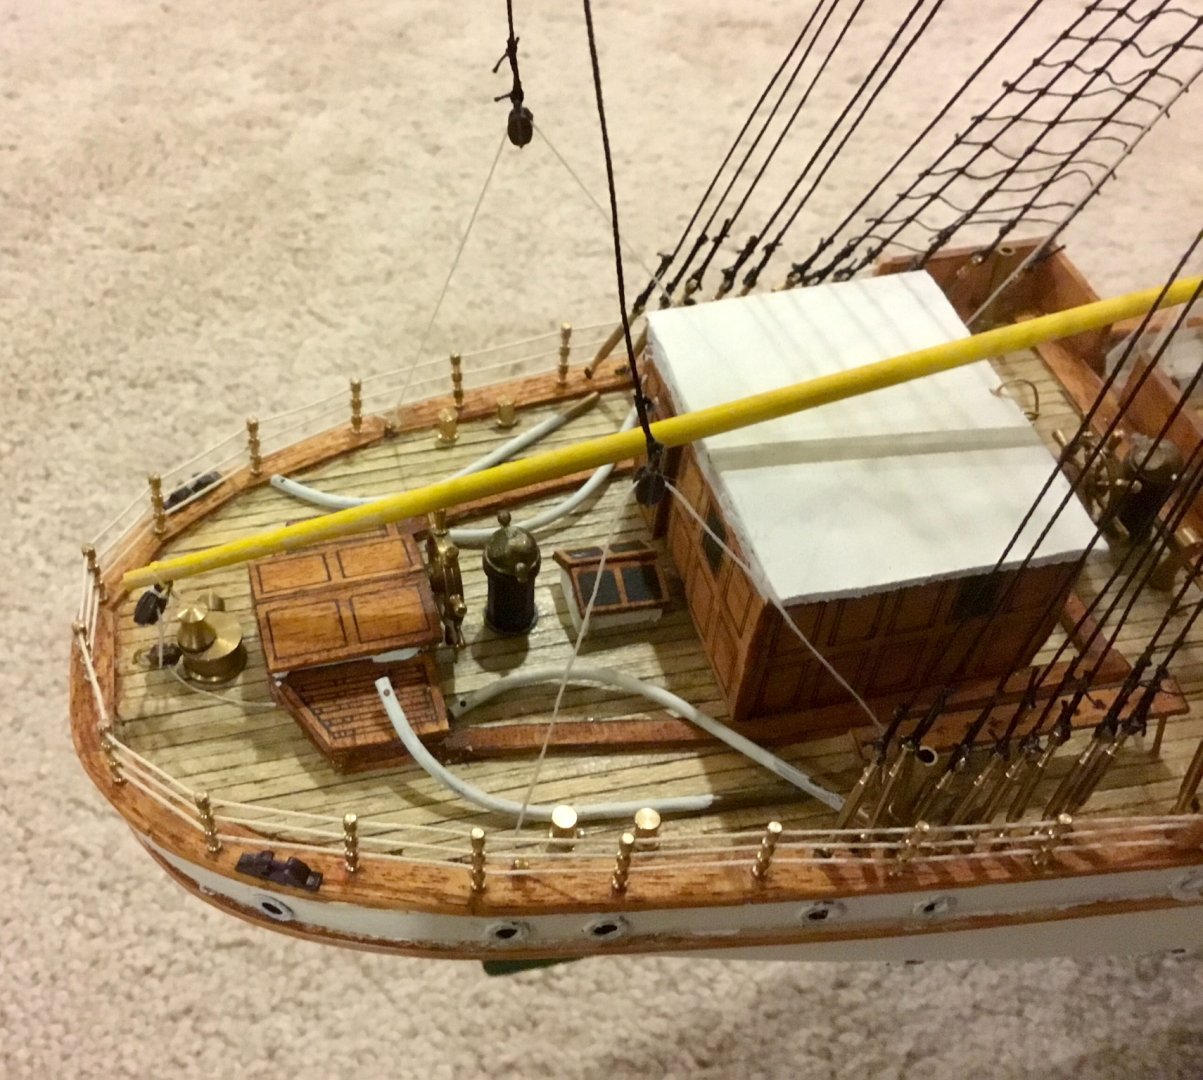
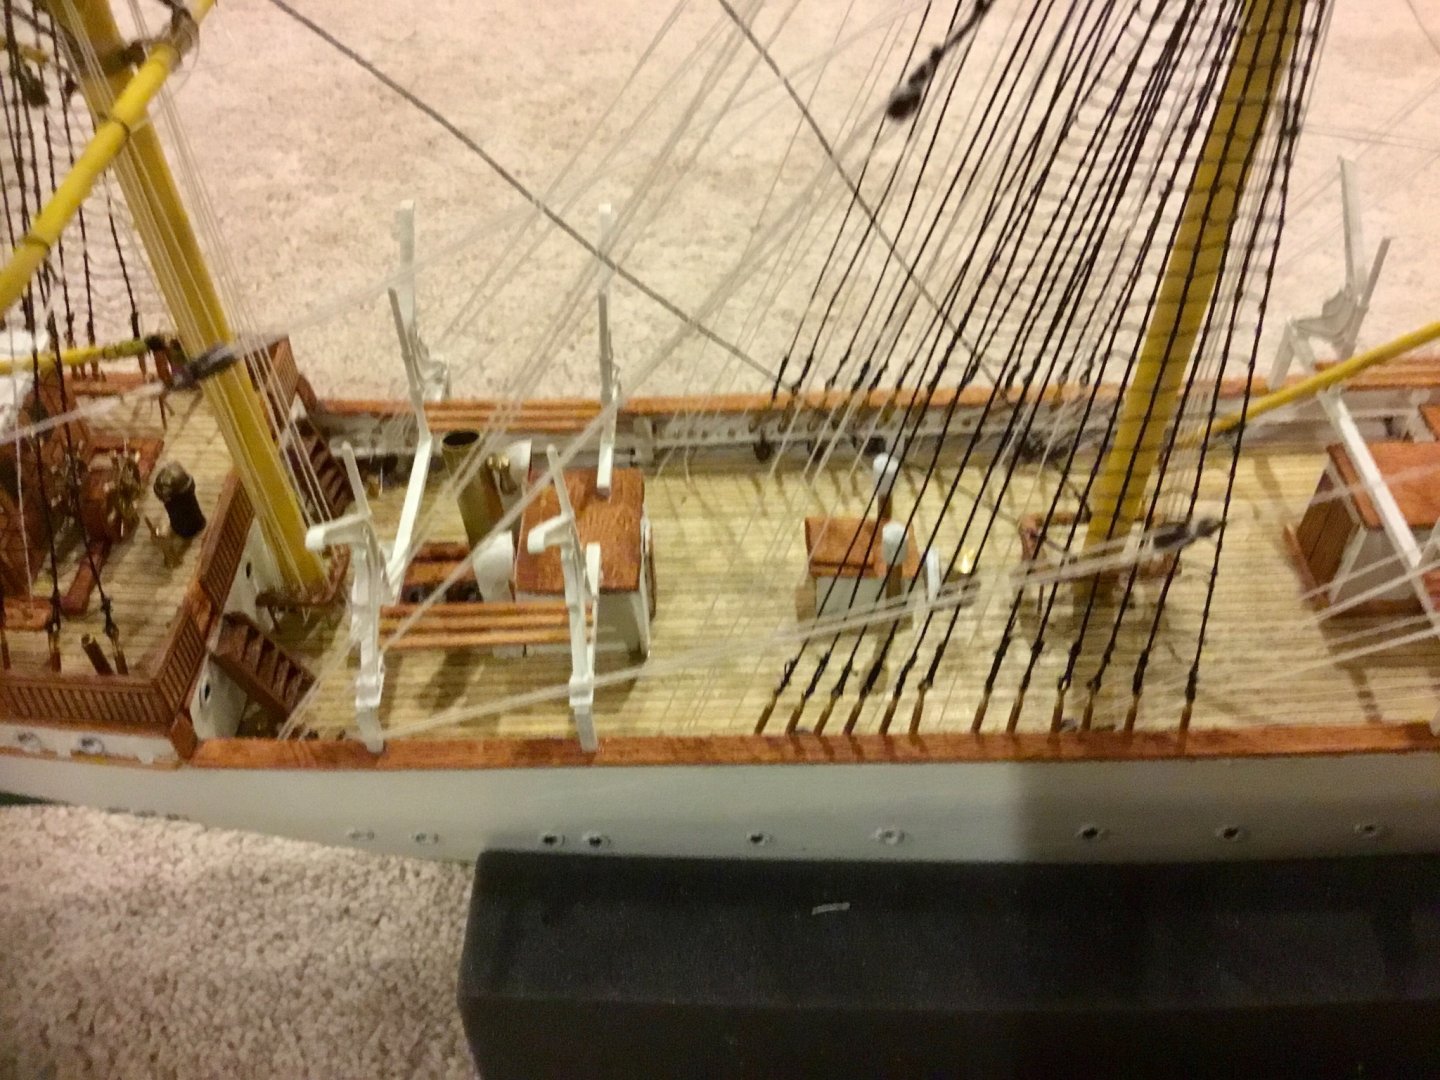
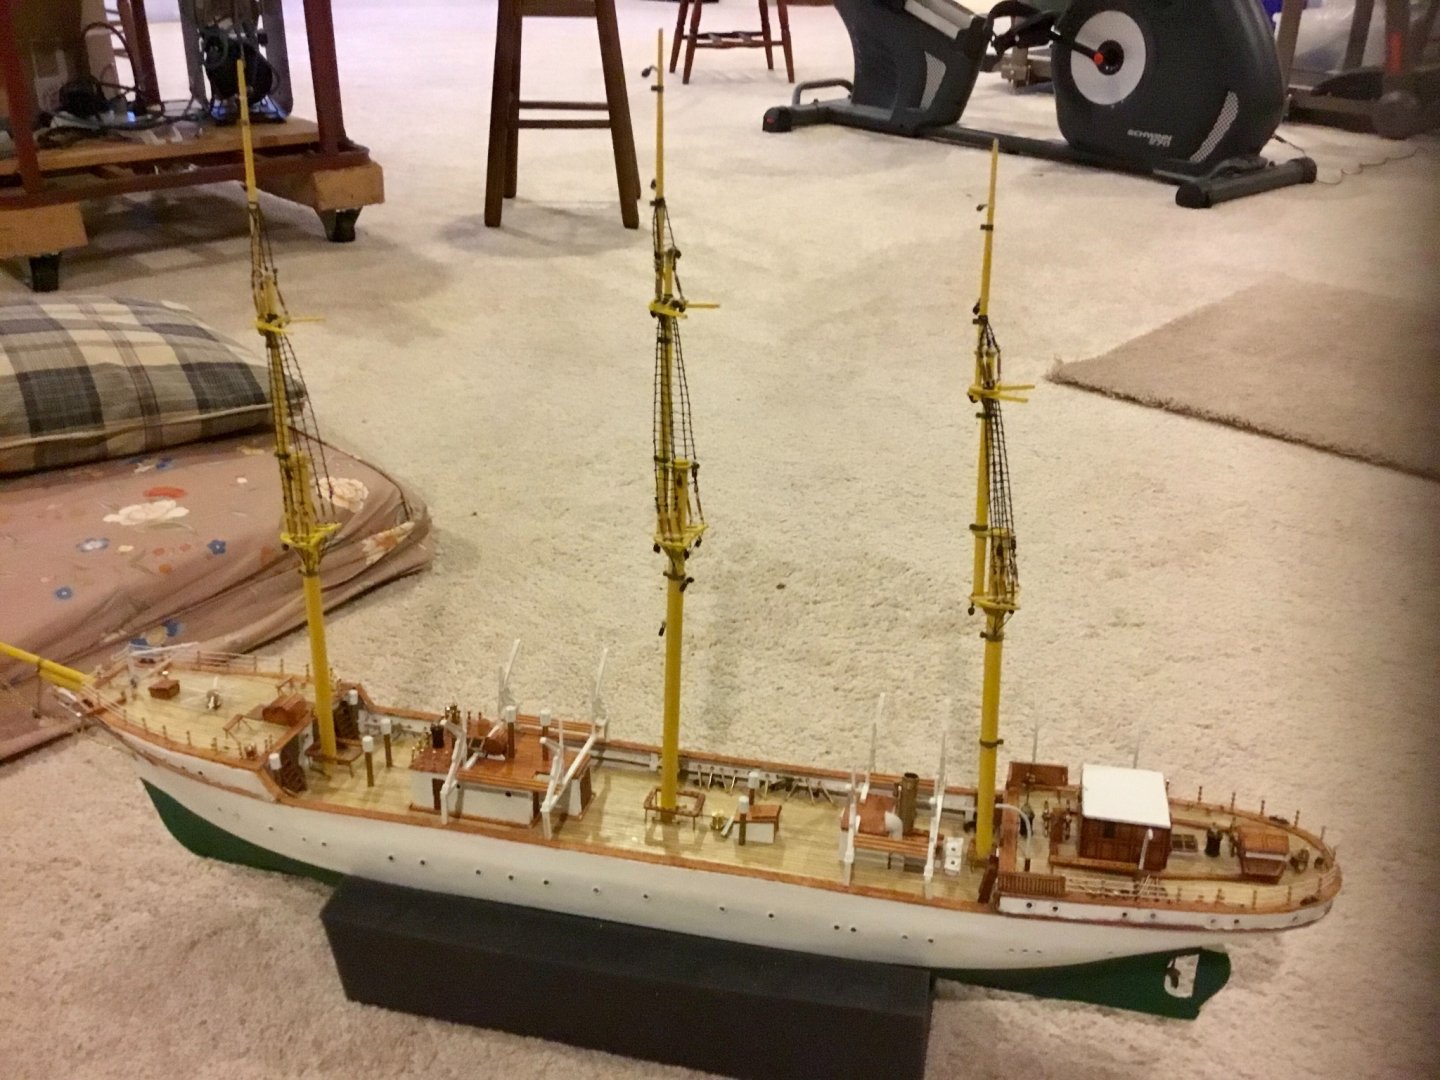
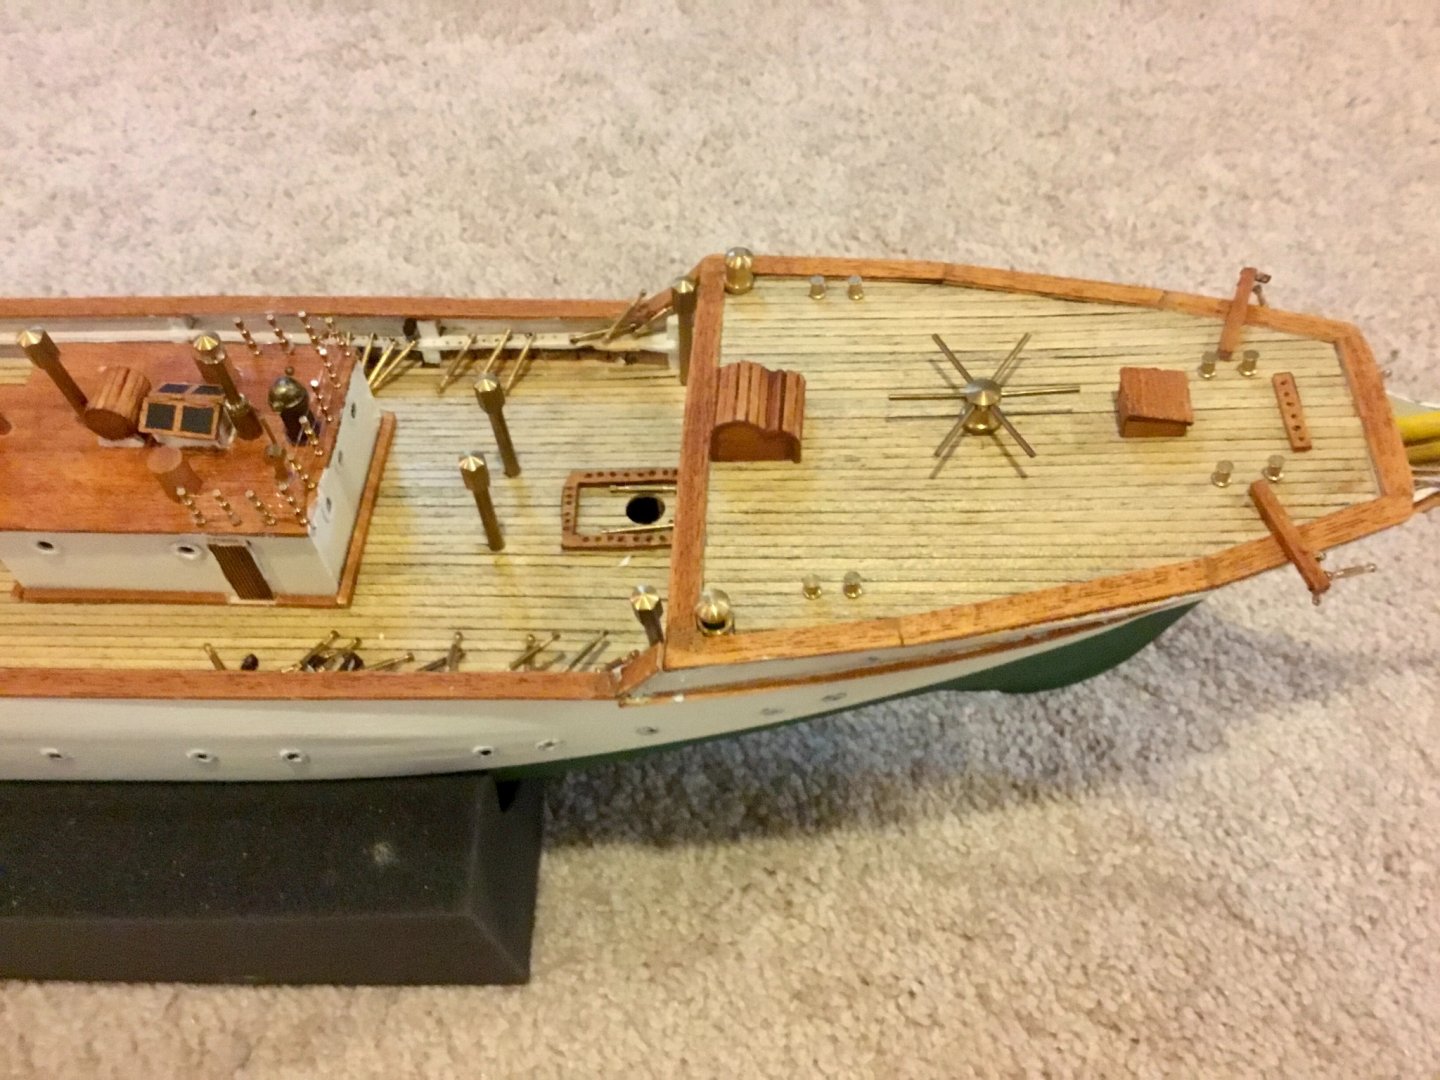
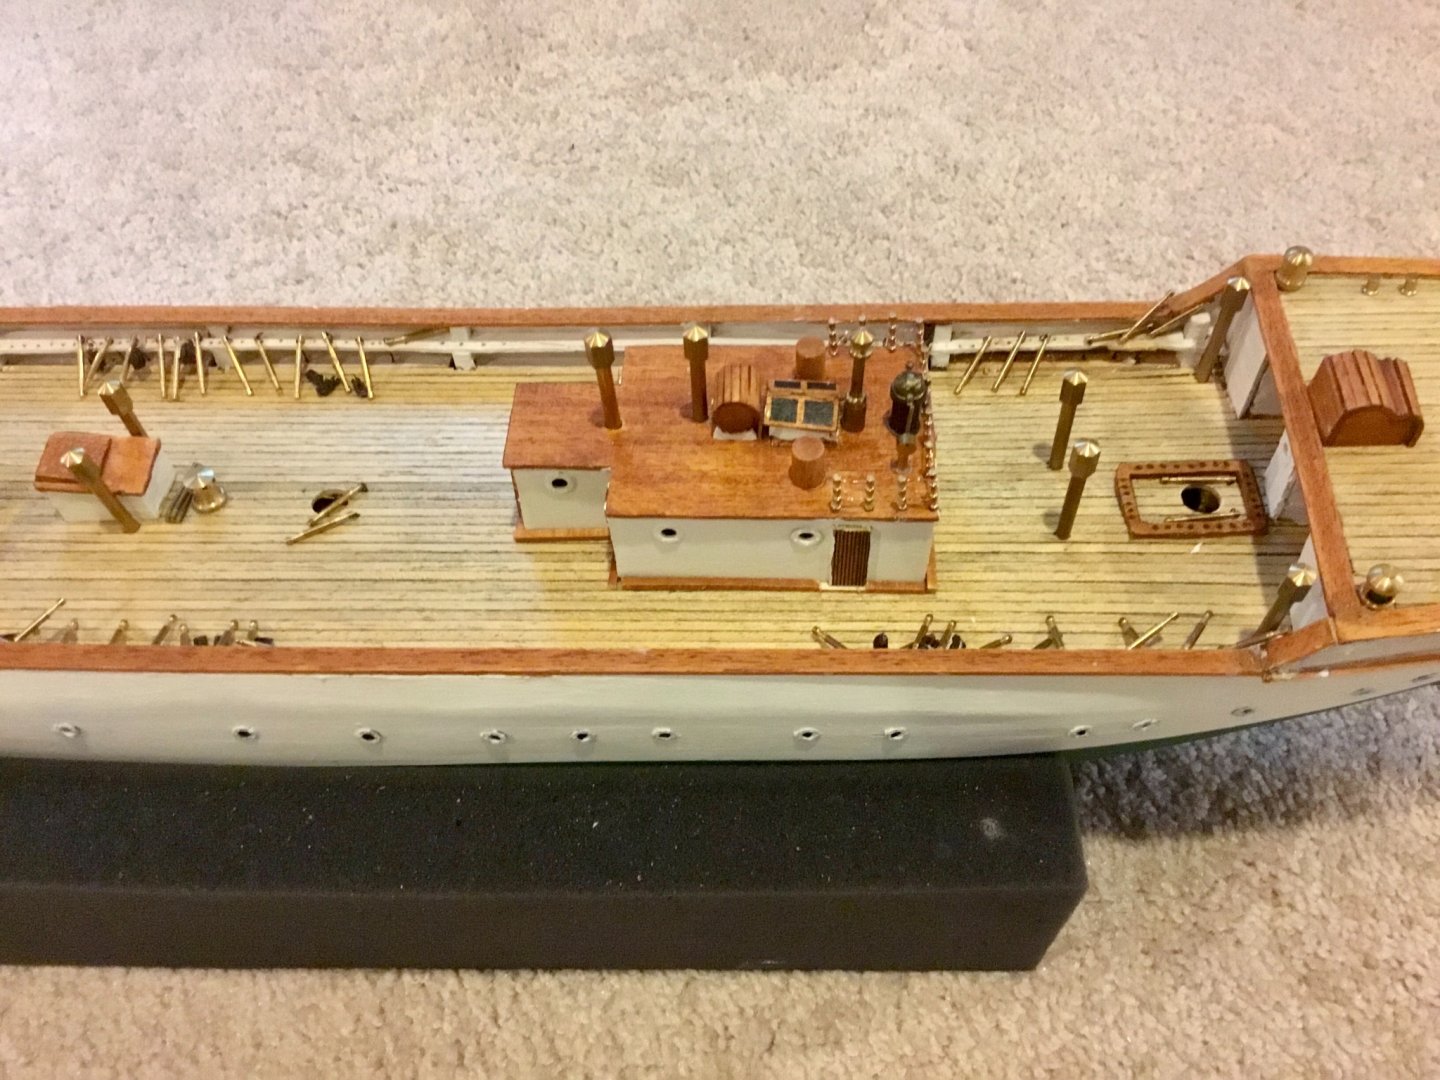
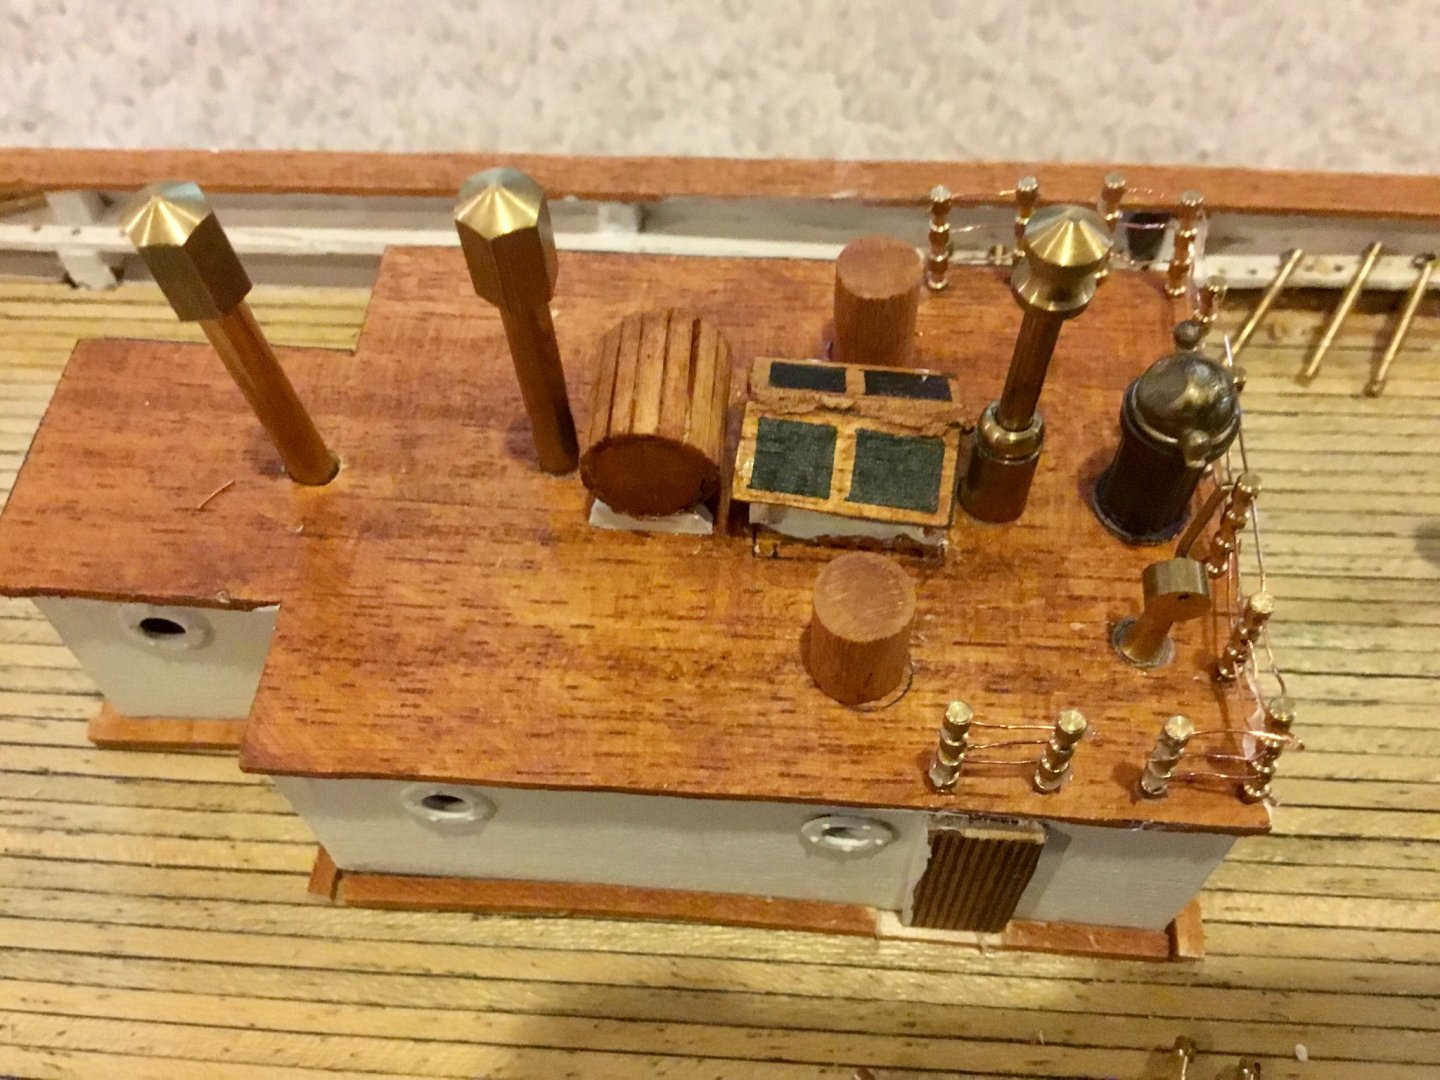
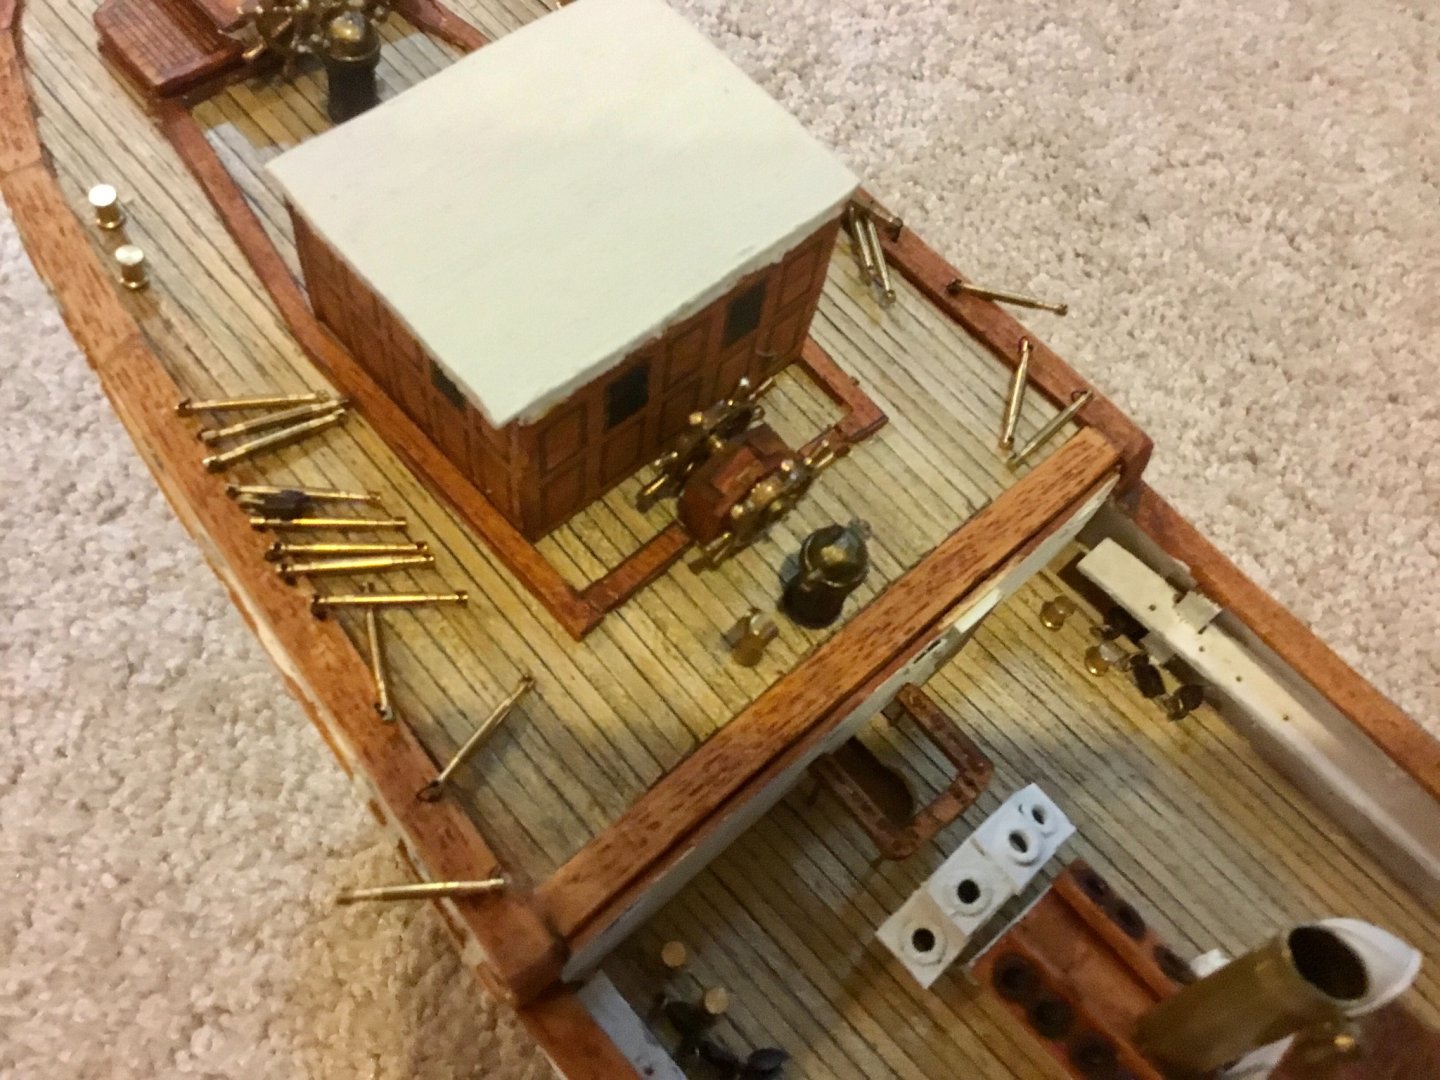
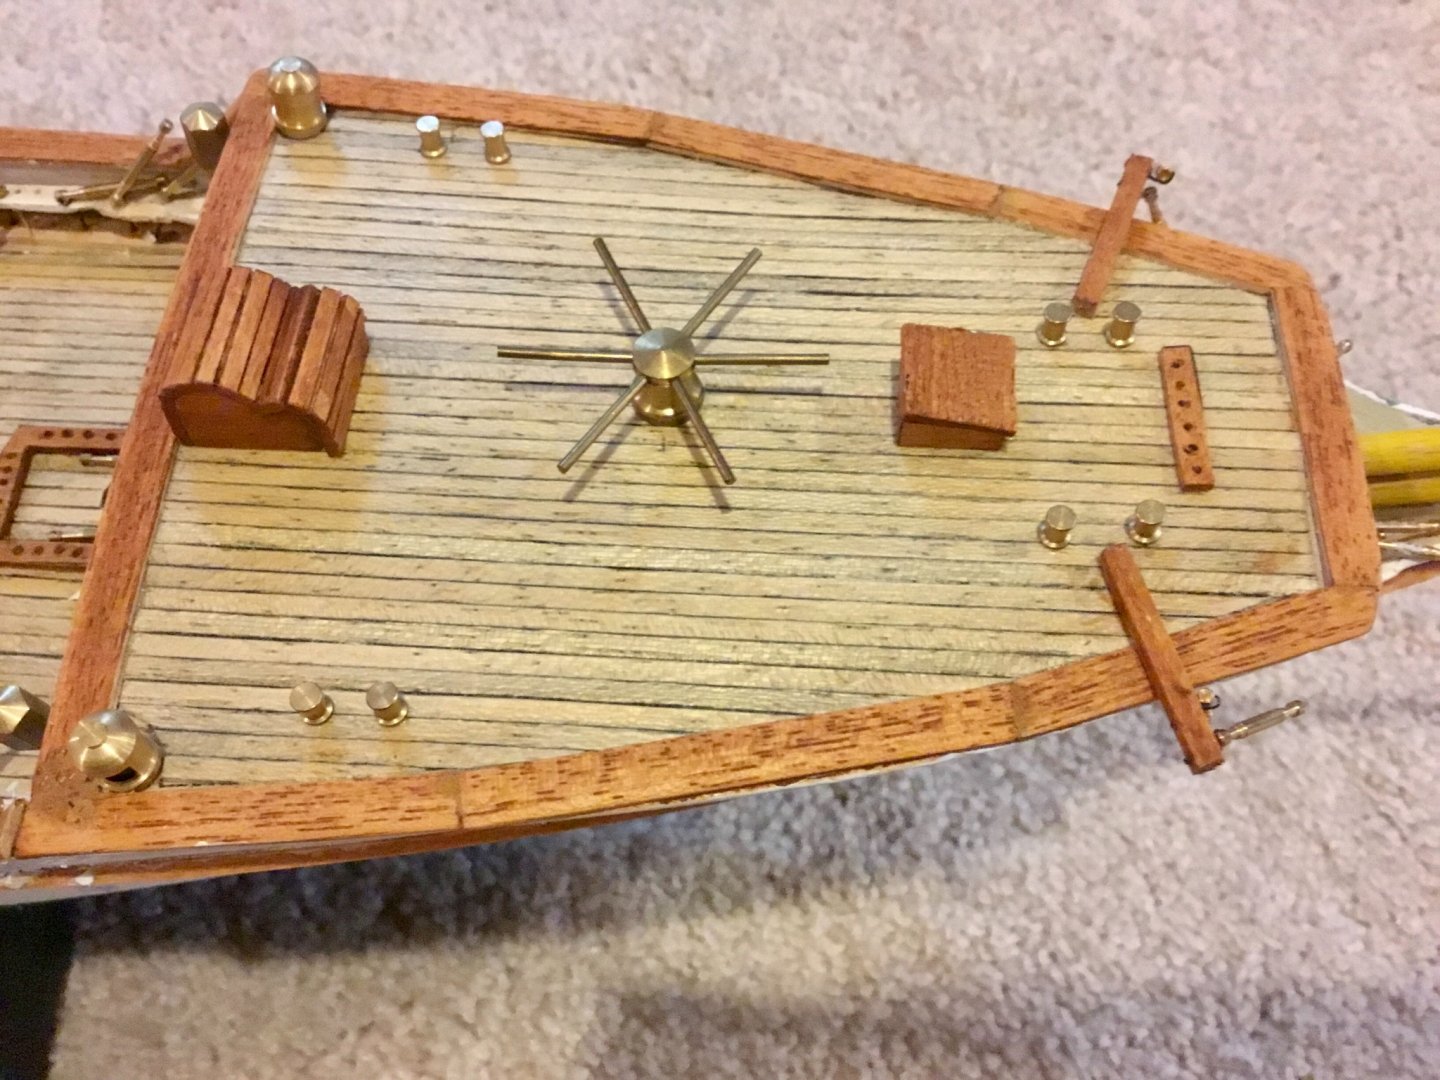
Continuing with build, working on all deck structures prior to installing masts.


- 39 replies
-
- 1
-
-
- billing boats
- danmark
- (and 1 more)
-
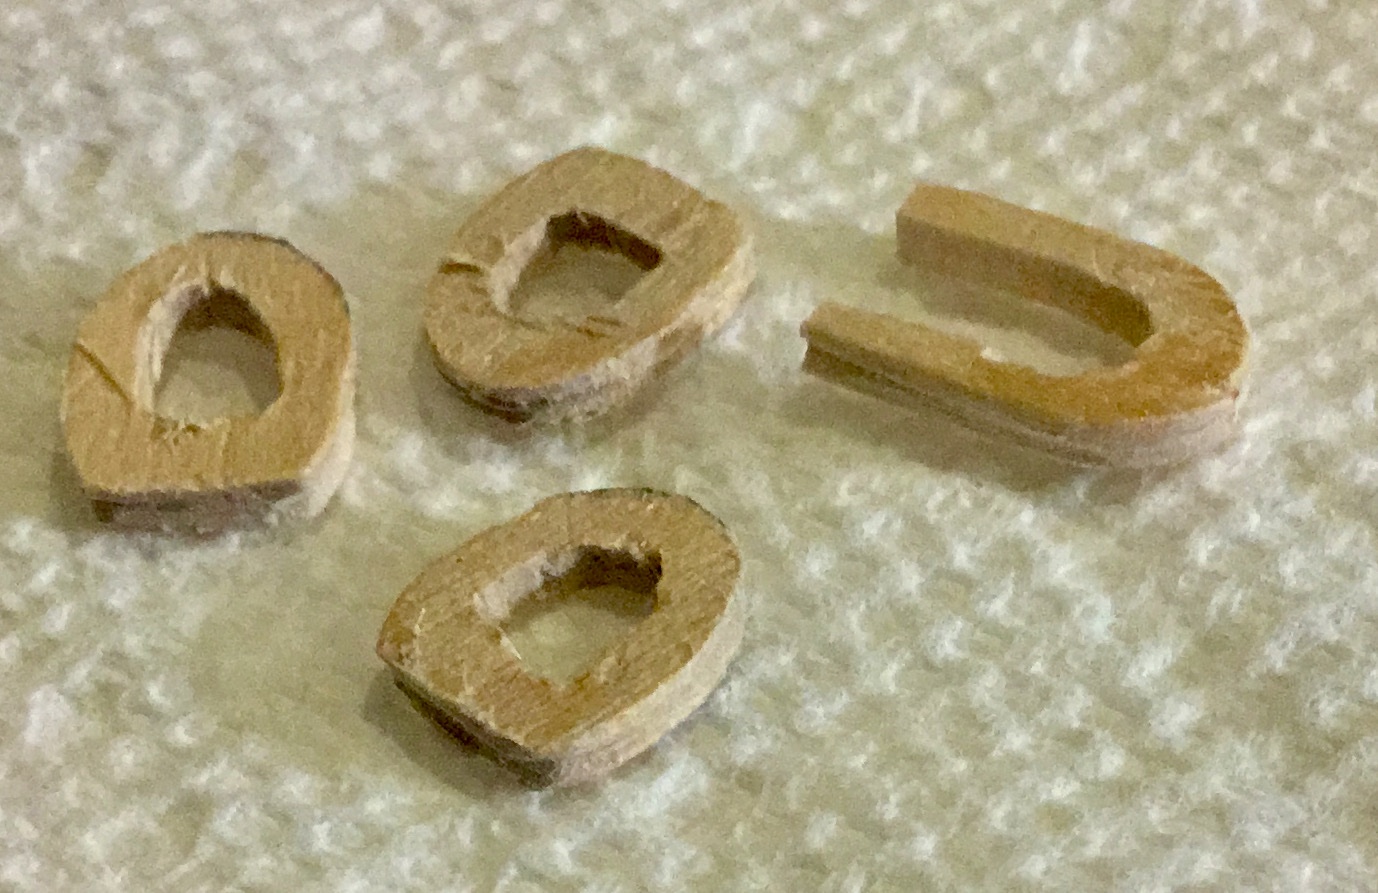
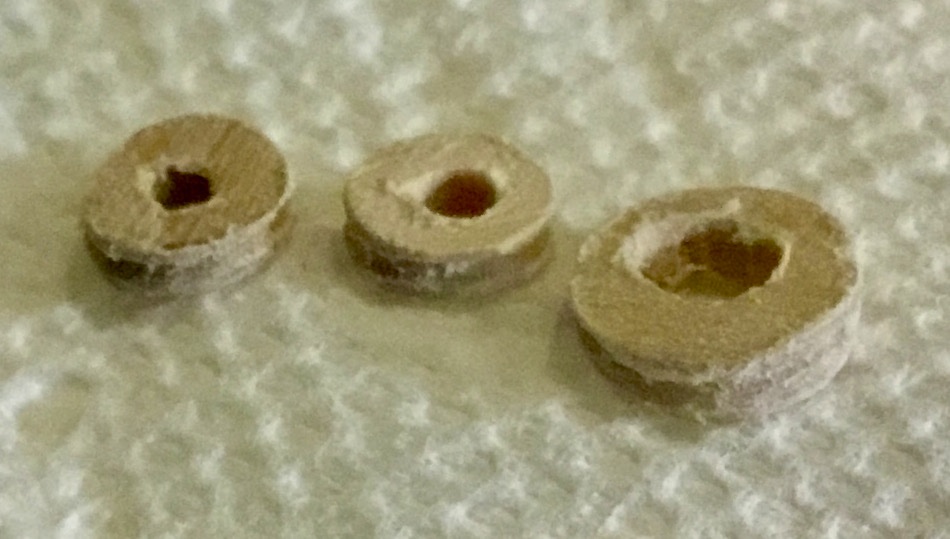
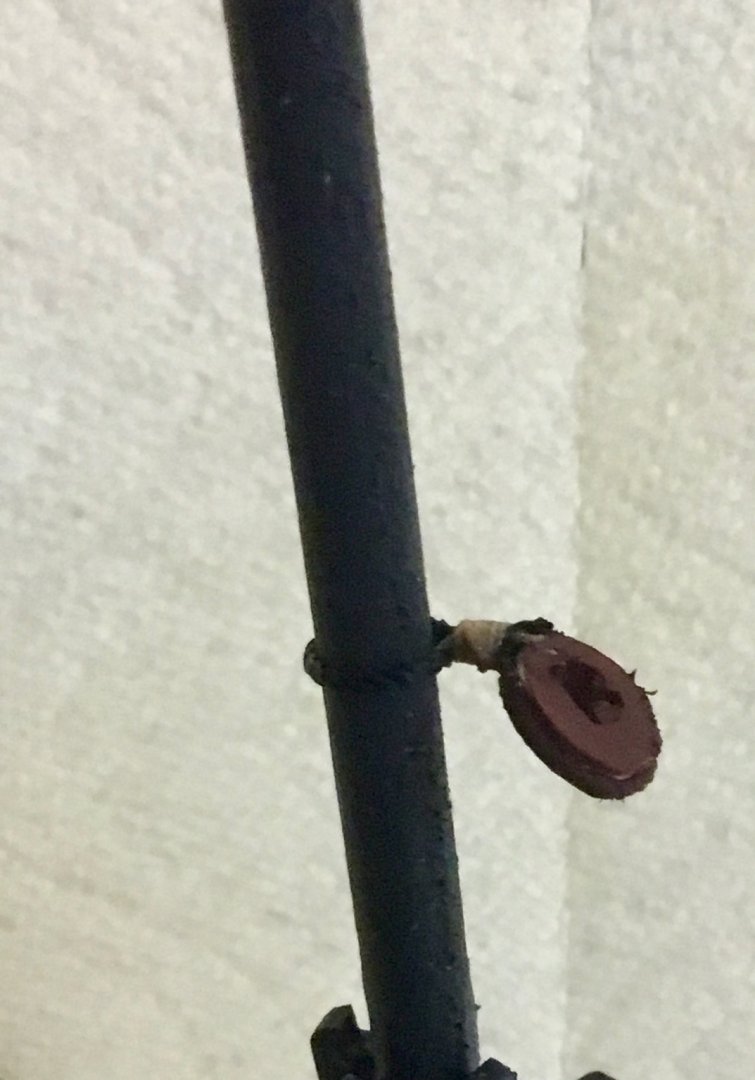
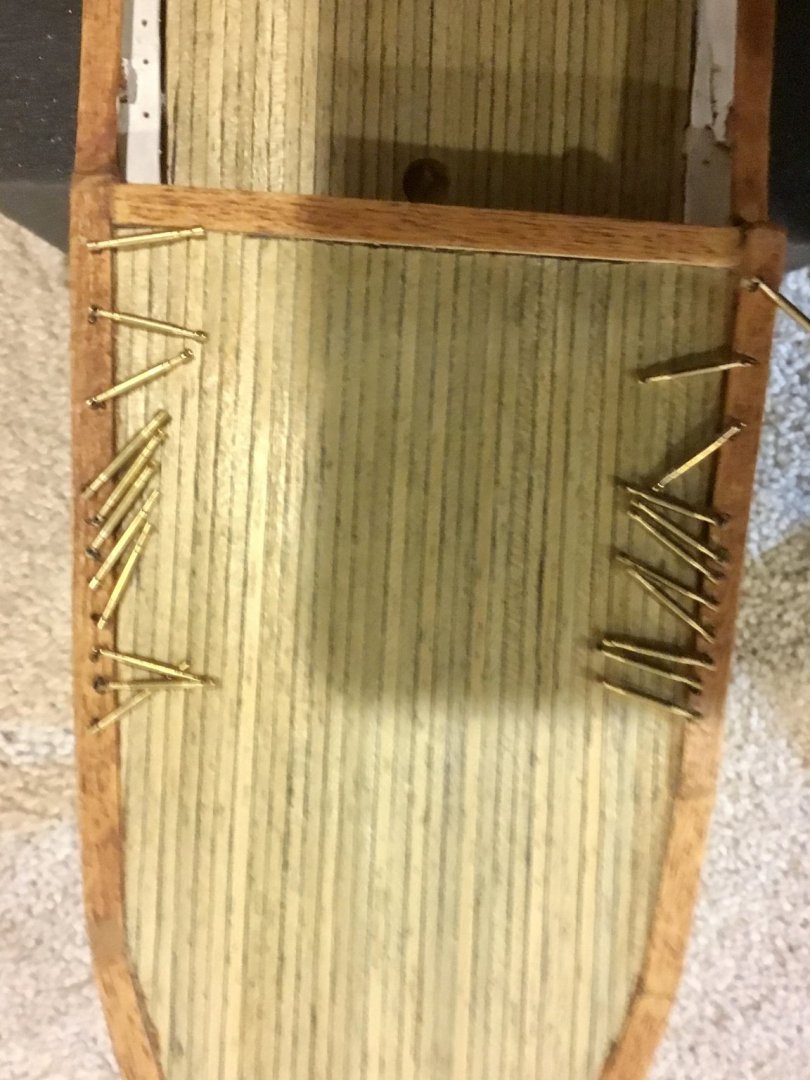
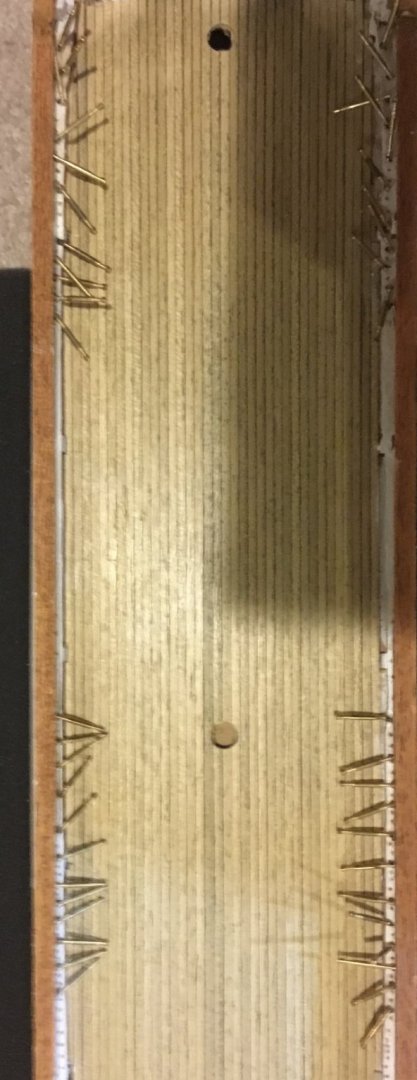
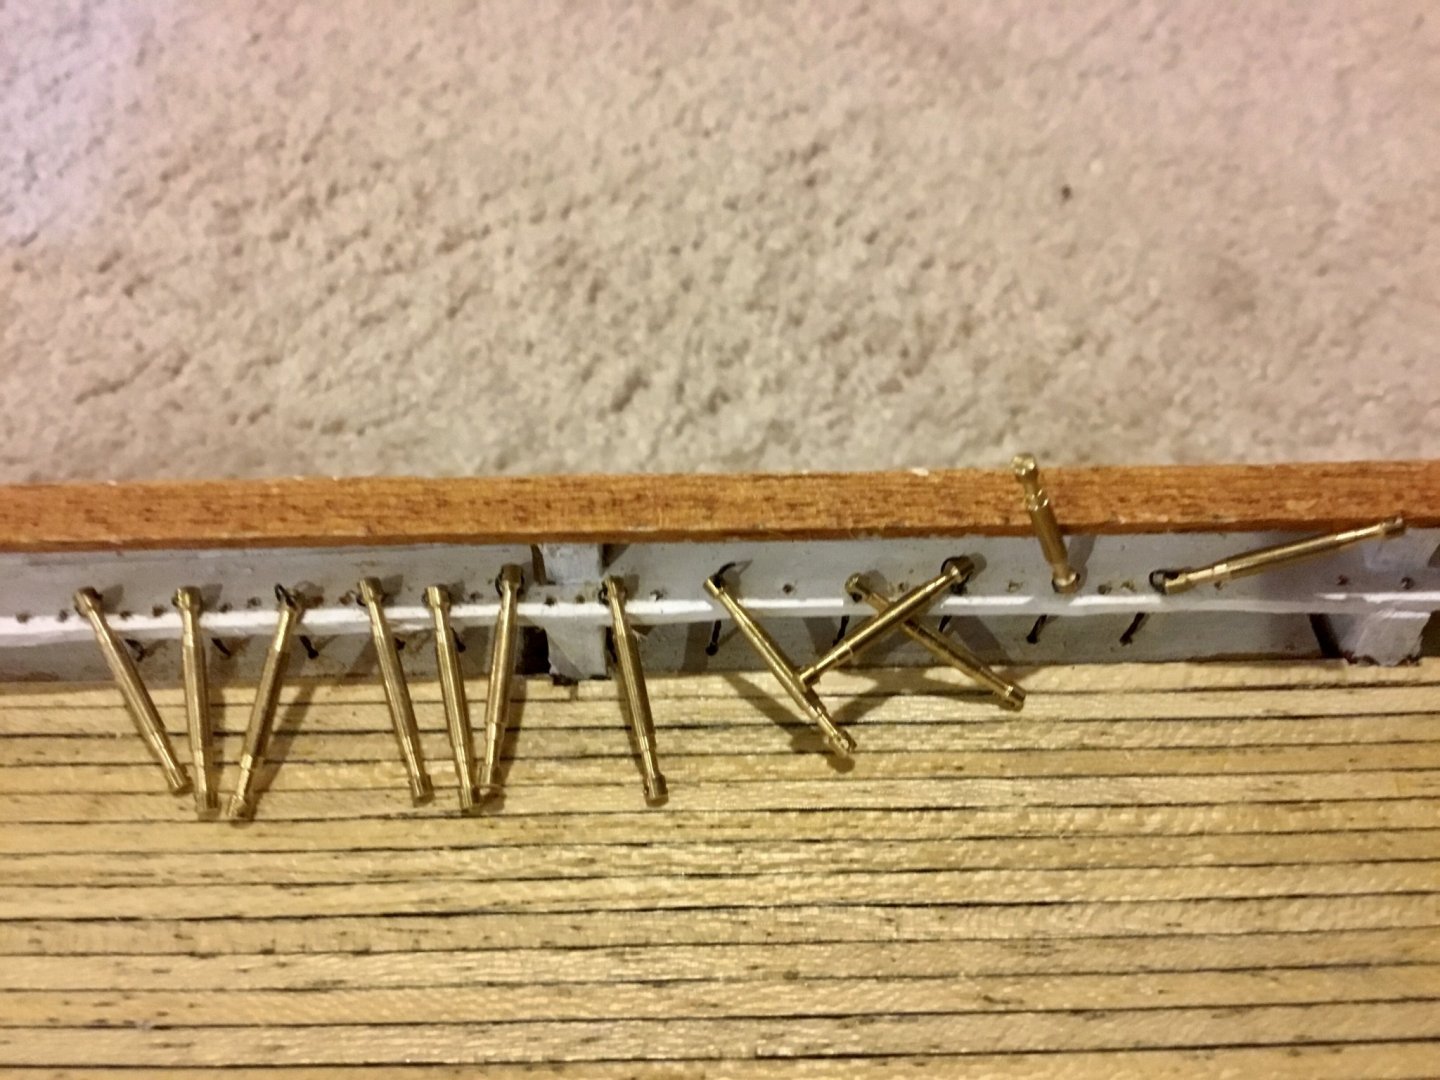
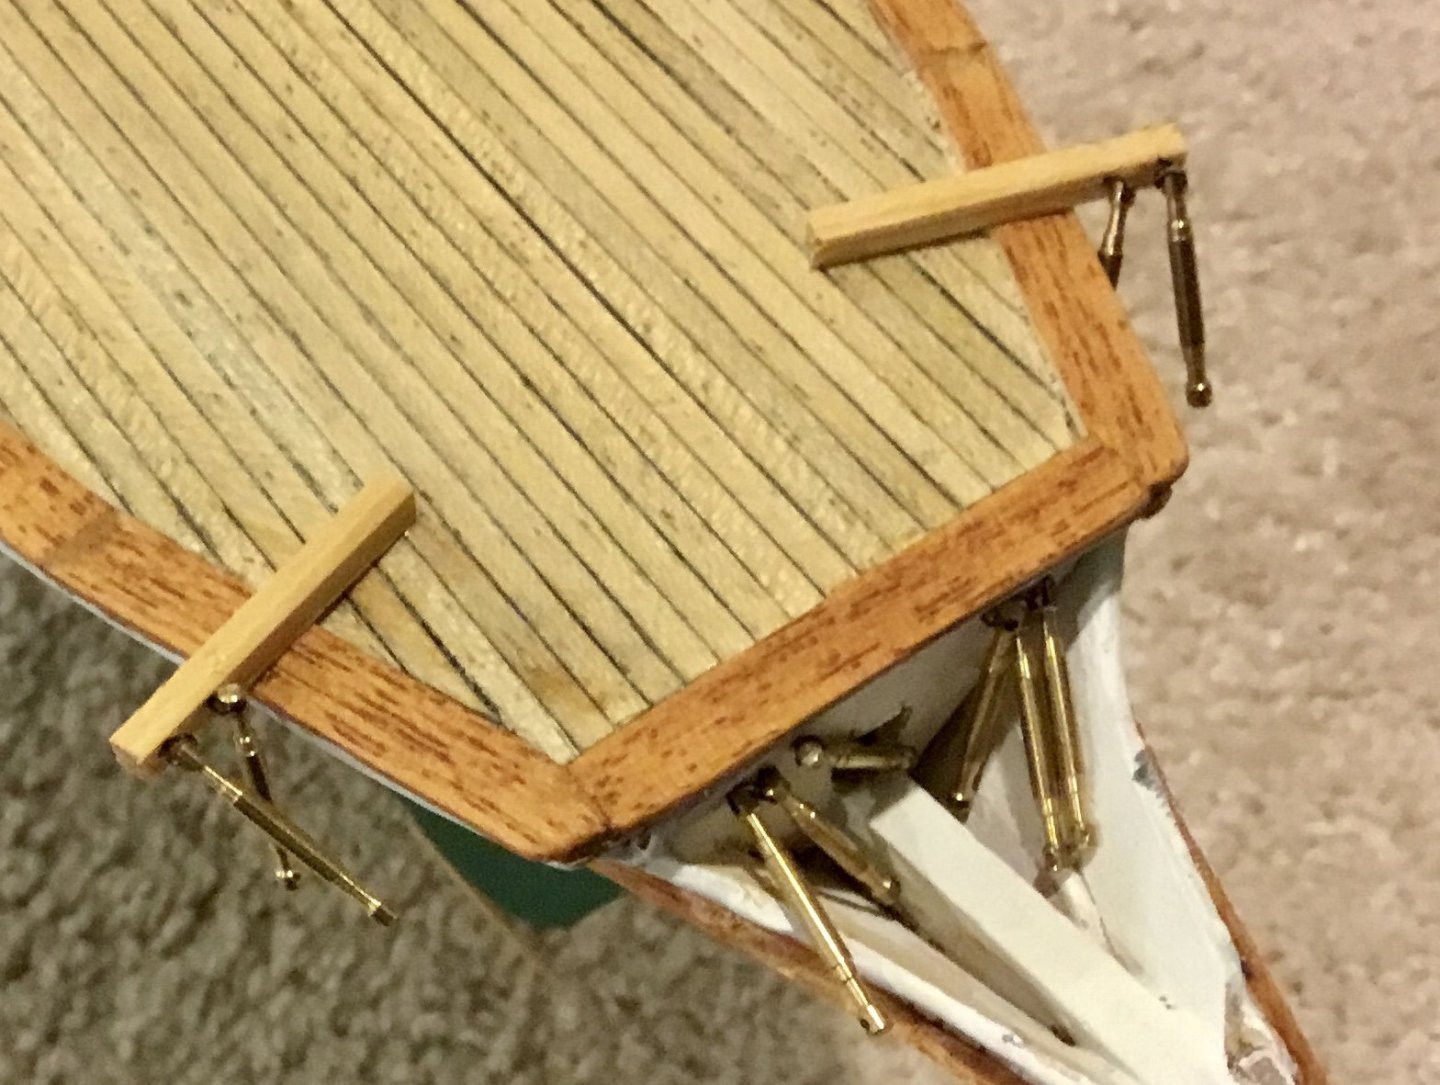
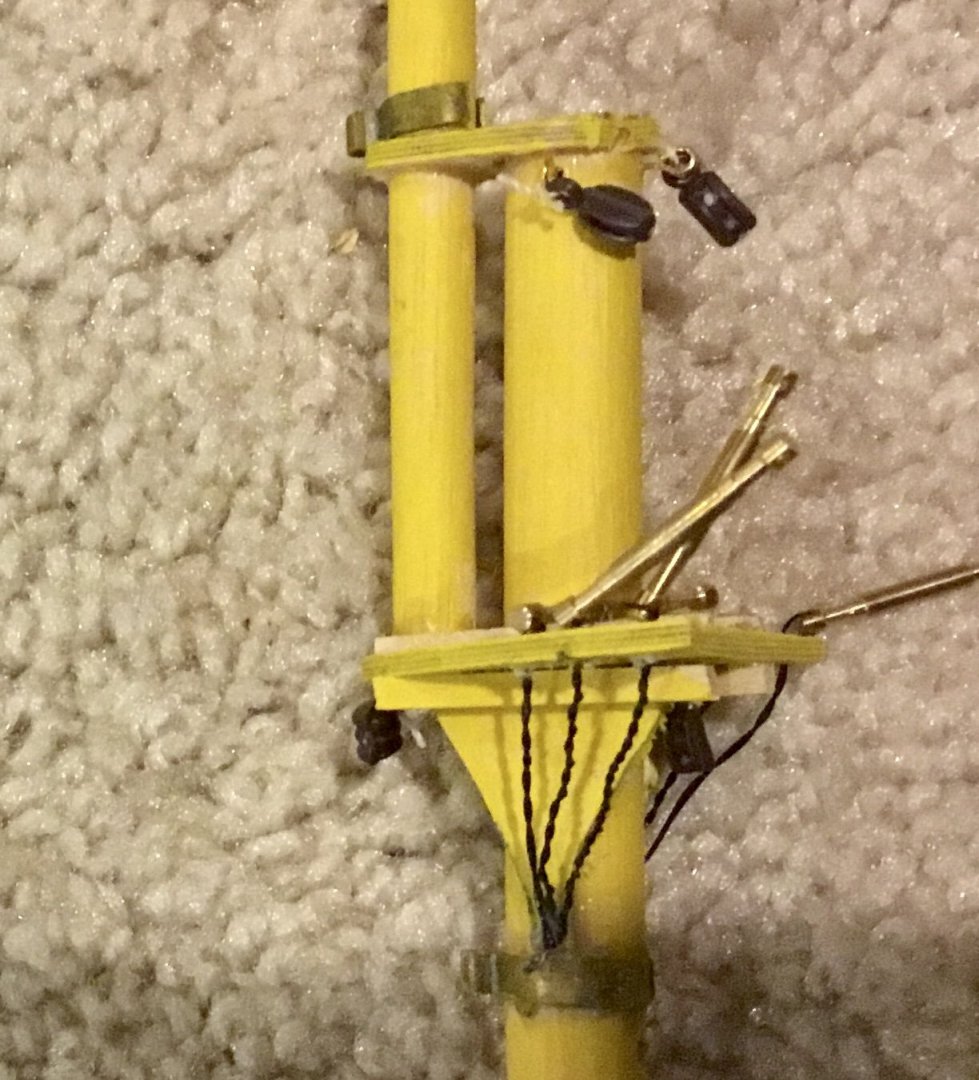
Built and installed 114 turnbuckles. While placement isn't perfect, I'm looking at it as a learning experience. Hope to do better next time. Though I don't foresee building another ship model using this many turnbuckles for lines.

- 39 replies
-
- 1
-
-
- billing boats
- danmark
- (and 1 more)