HOLIDAY DONATION DRIVE - SUPPORT MSW - DO YOUR PART TO KEEP THIS GREAT FORUM GOING! (89 donations so far out of 49,000 members - C'mon guys!)
×


Wacom
-
Posts
205 -
Joined
-
Last visited
Content Type
Profiles
Forums
Gallery
Events
Everything posted by Wacom
-
Many thanks, very useful.
-
 Hi Erik, I find that enjoying this hobby is more important than having to force yourself. The Victory was going to be my project until I started reading Chuck’s write up on Winchelsea after that it was no contest. Do what you can when you can, it surprising how things come together. Reg
- 137 replies
-
- 2
-

-
- winchelsea
- Syren Ship Model Company
- (and 1 more)
-
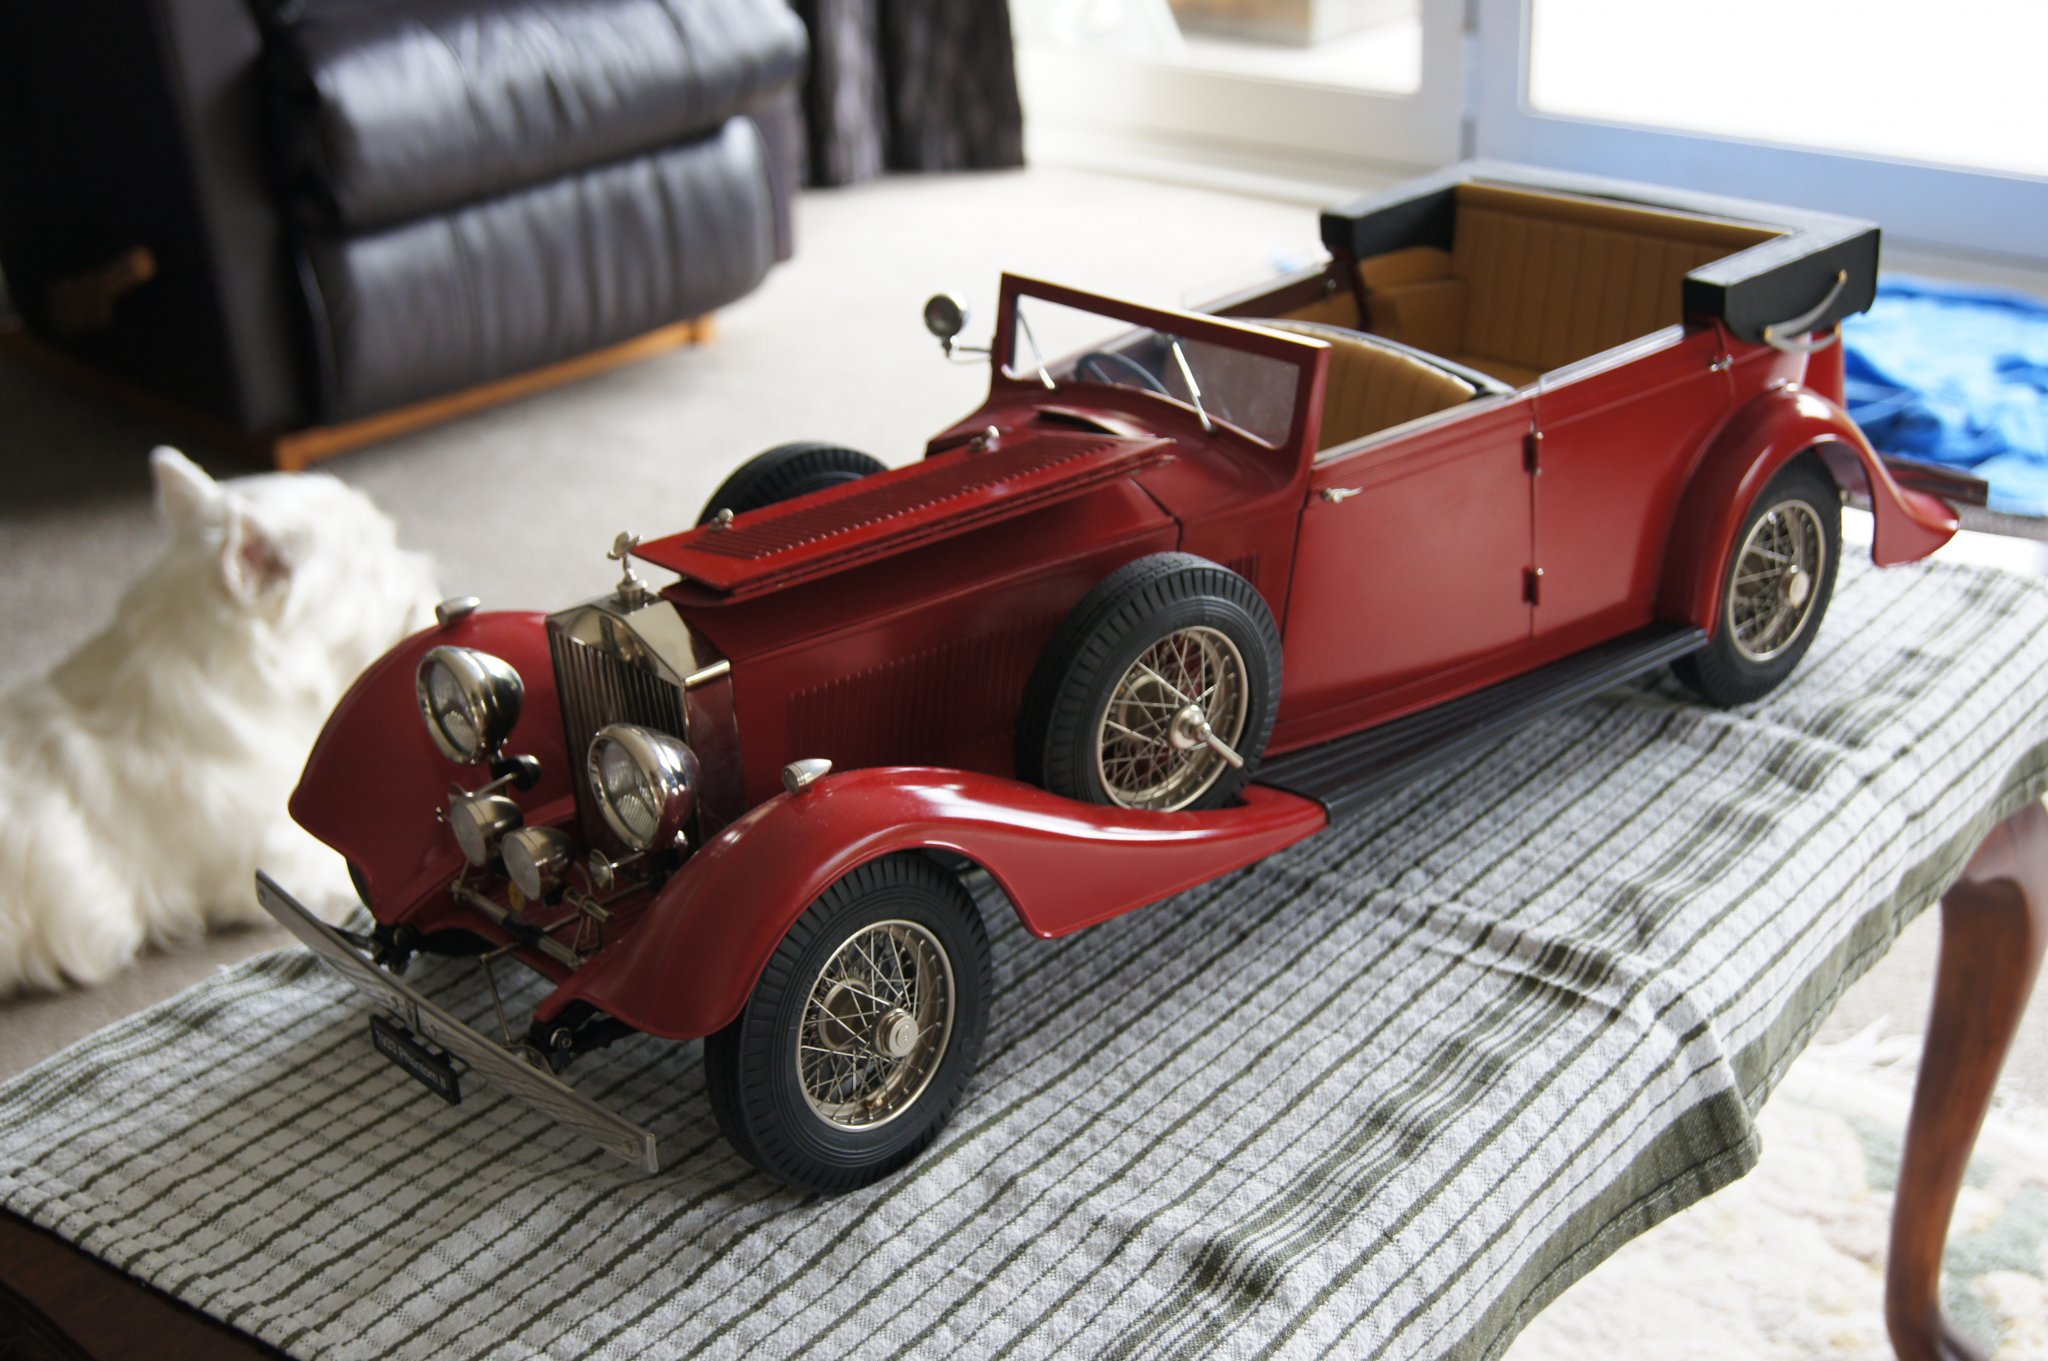
Just to whet your appetite a 1/8 Pocher Rolls, kit bashed. Real leather seats, built up wheels, fully detailed engine. LED lighting and full cocktail bar. I look forward to following you progress, they are a great car no matter what scale.

- 51 replies
-
- 14
-
-
No point in me having a bigger workshop, I would only have a bigger mess. 😱
-
Looking real nice Rusty, I envy your skills.
- 642 replies
-
- 1
-
-
- winchelsea
- Syren Ship Model Company
- (and 1 more)
-
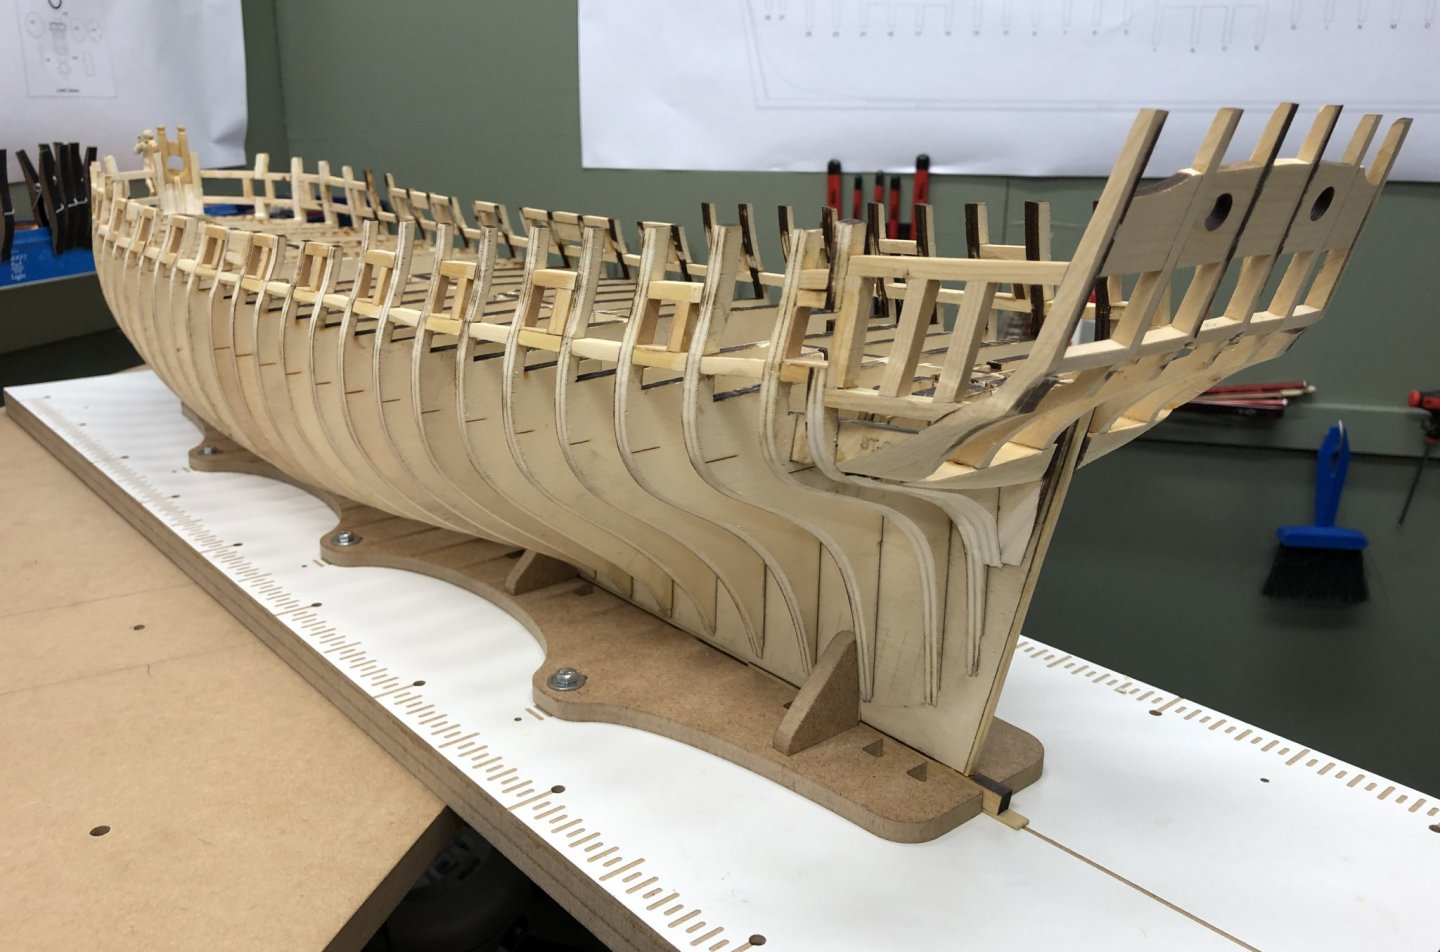
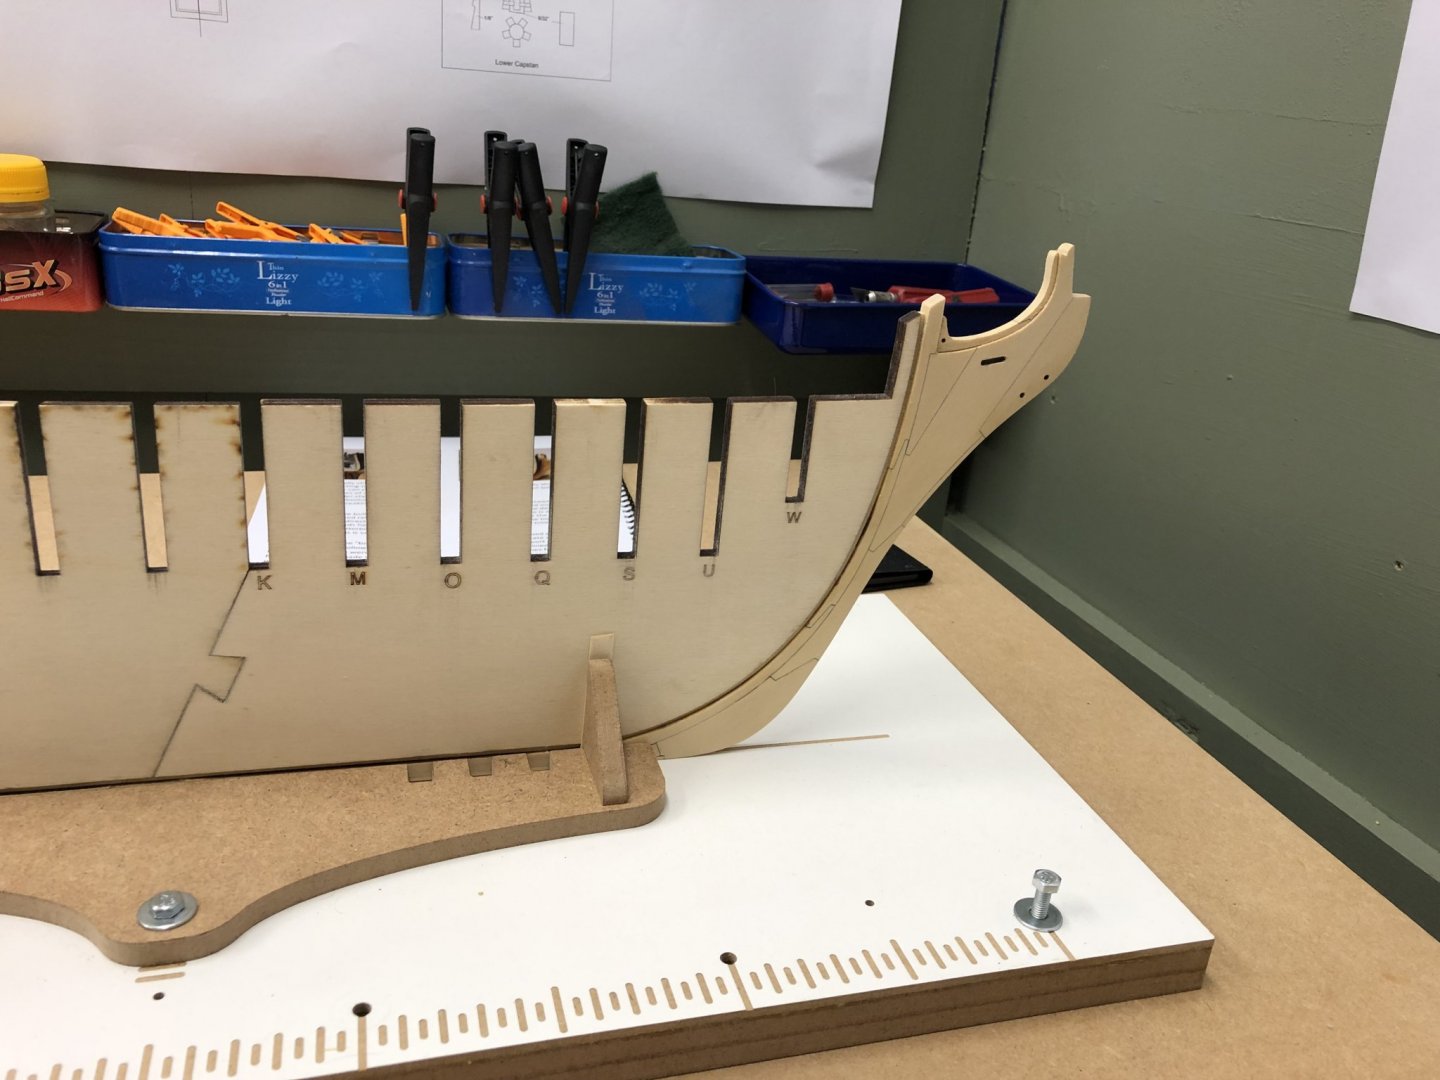
Been spending time prepping the frame for planking. The Knight-heads are fitted, good job Chuck allowed extras as I found them to be tricky to get right. I have faired the inner bulkheads at the bow and now I am ready to try my hand at planking. I must say that without the excellent chapters to guide me it would have been almost impossible to get to where I am now. The resin carving set arrived from Chuck in good time and is magnificent. Thanks to both Chuck and Jack for these pieces of outstanding craftsmanship. Is there anyone on the forum who would know where I can find the Fruitwood Gel Stain? It seems none of the retailers I have found will ship to New Zealand and its not something available locally. Any suggestions welcome.

- 137 replies
-
- 10
-
-
- winchelsea
- Syren Ship Model Company
- (and 1 more)
-
BNA model world. Good price, fast delivery, great place to find those hard to get items. No connection, just a very satisfied customer. 👍
-
Thanks Chuck, had the feeling I was missing something.
- 1,784 replies
-
- 1
-
-
- winchelsea
- Syren Ship Model Company
- (and 1 more)
-
Chuck, could you clarify for me the width of the bulkheads. I am at the stage where the bow bulkheads need thinning down. In chapter one you mention thinning the bow bulkheads down to 1/8" wide. Later in chapter two the thickness is given as 3/16" for the quarter deck. I wondered if I am reading this correctly or just being a dumbell
- 1,784 replies
-
- 1
-
-
- winchelsea
- Syren Ship Model Company
- (and 1 more)
-
Rusty, I like the way you share your triumphs and tragedies with us. Believe it or not its great to know that its OK to go wrong sometimes. I guess the important thing is to spot the error and find a fix. Well done.
- 642 replies
-
- 2
-
-
- winchelsea
- Syren Ship Model Company
- (and 1 more)
-
Did someone mention that we need to make sawdust

- 137 replies
-
- 11
-
-
- winchelsea
- Syren Ship Model Company
- (and 1 more)
-
Nice job on the bollards Rusty. looking at your photo I don’t see the problem with the ports. Could you clarify this for me?
- 642 replies
-
- 1
-
-
- winchelsea
- Syren Ship Model Company
- (and 1 more)
-
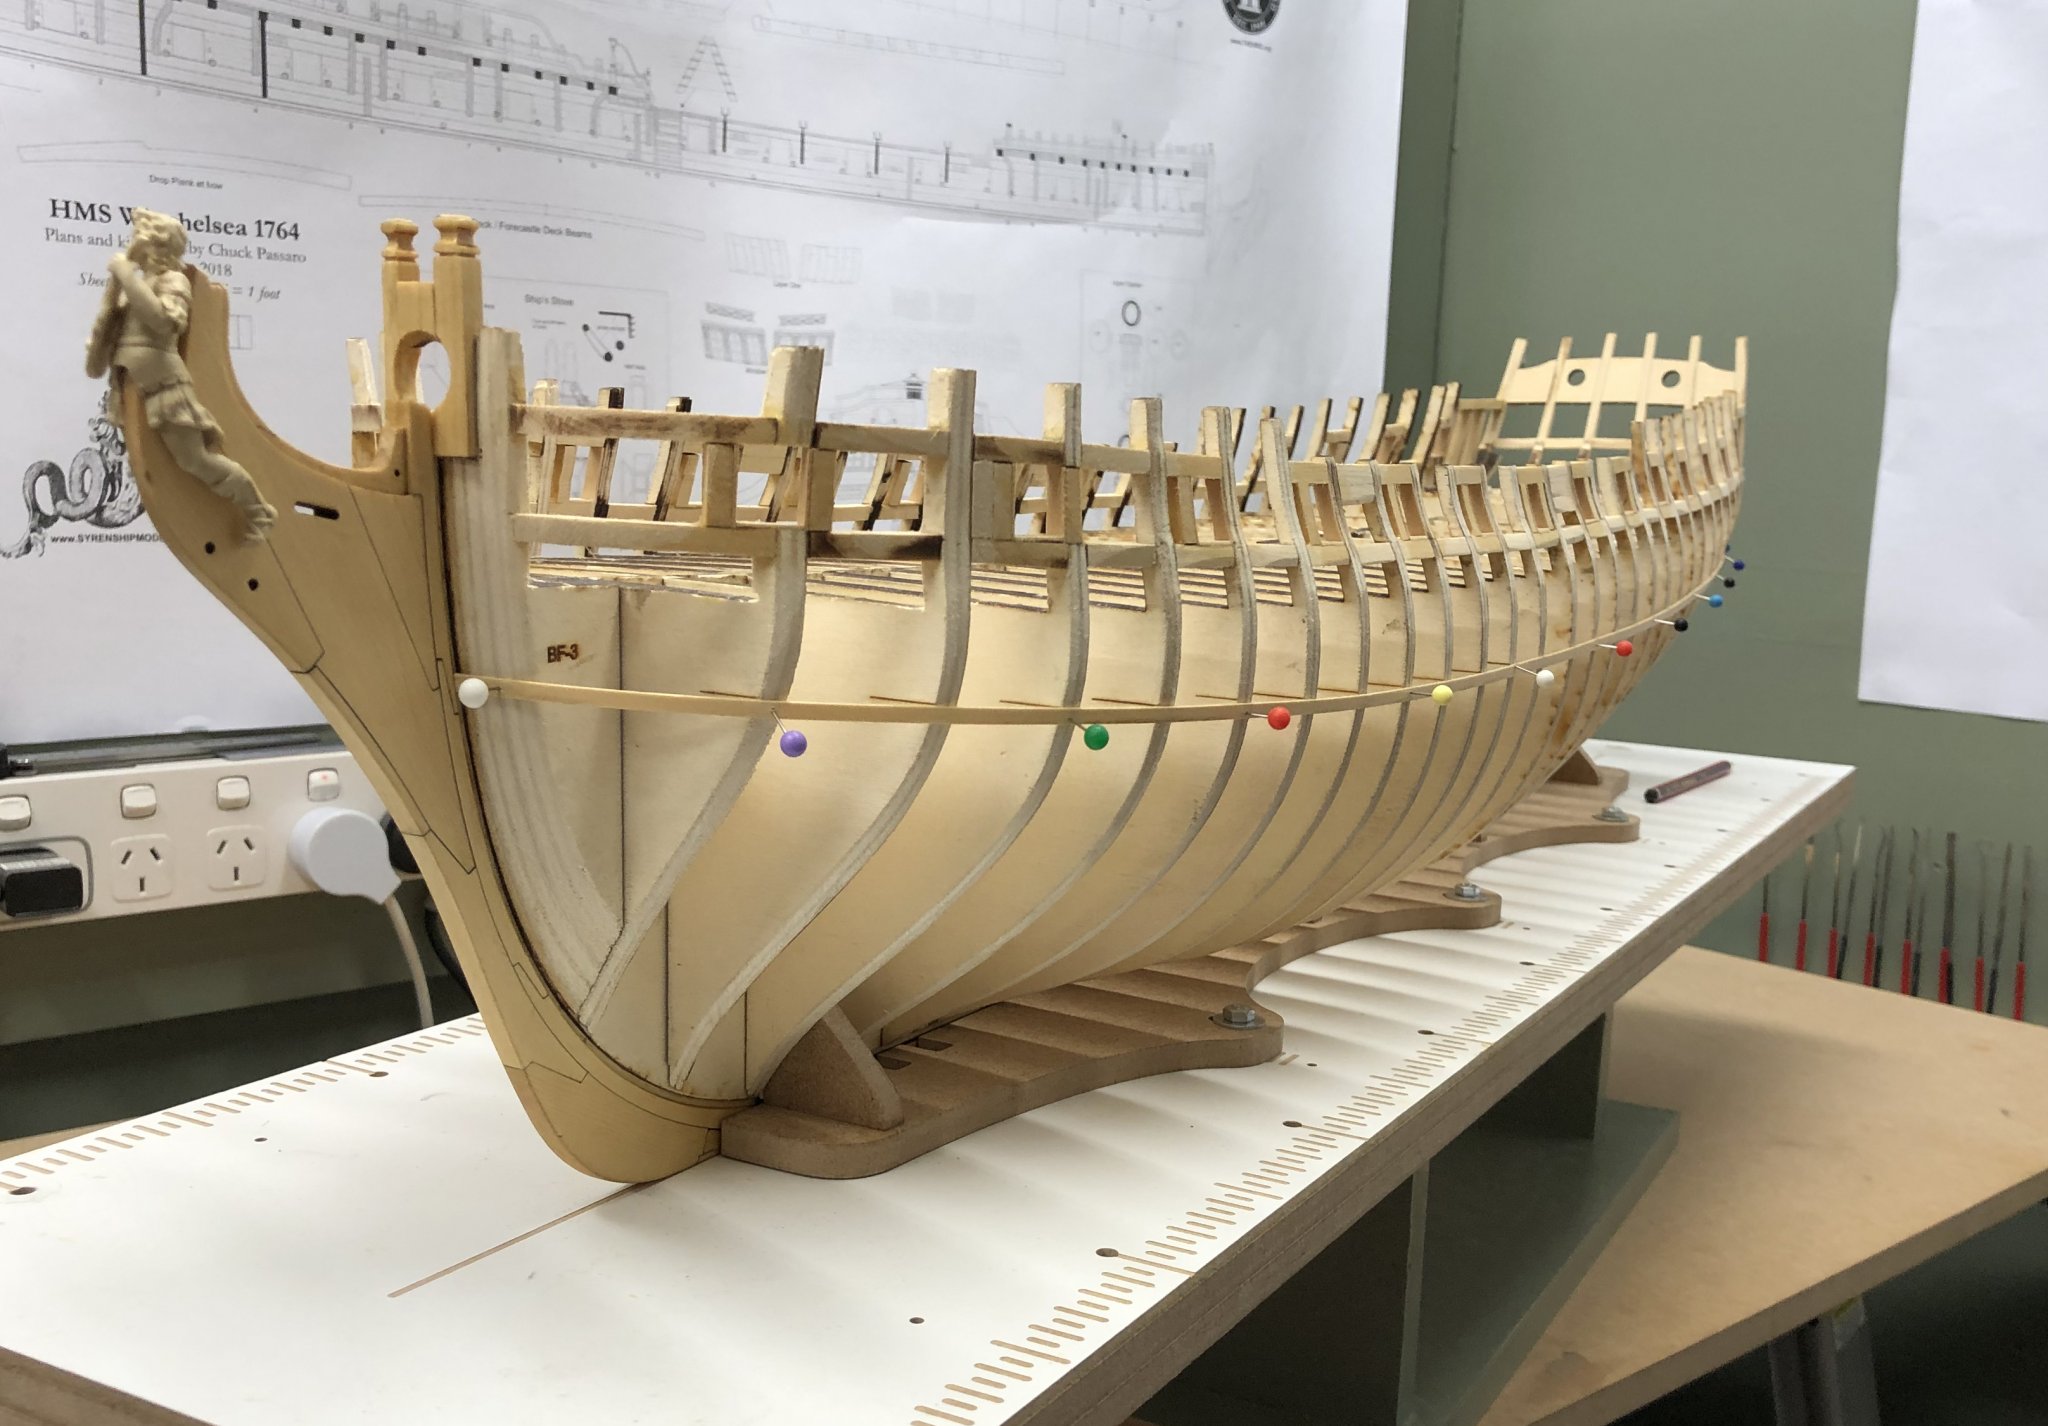
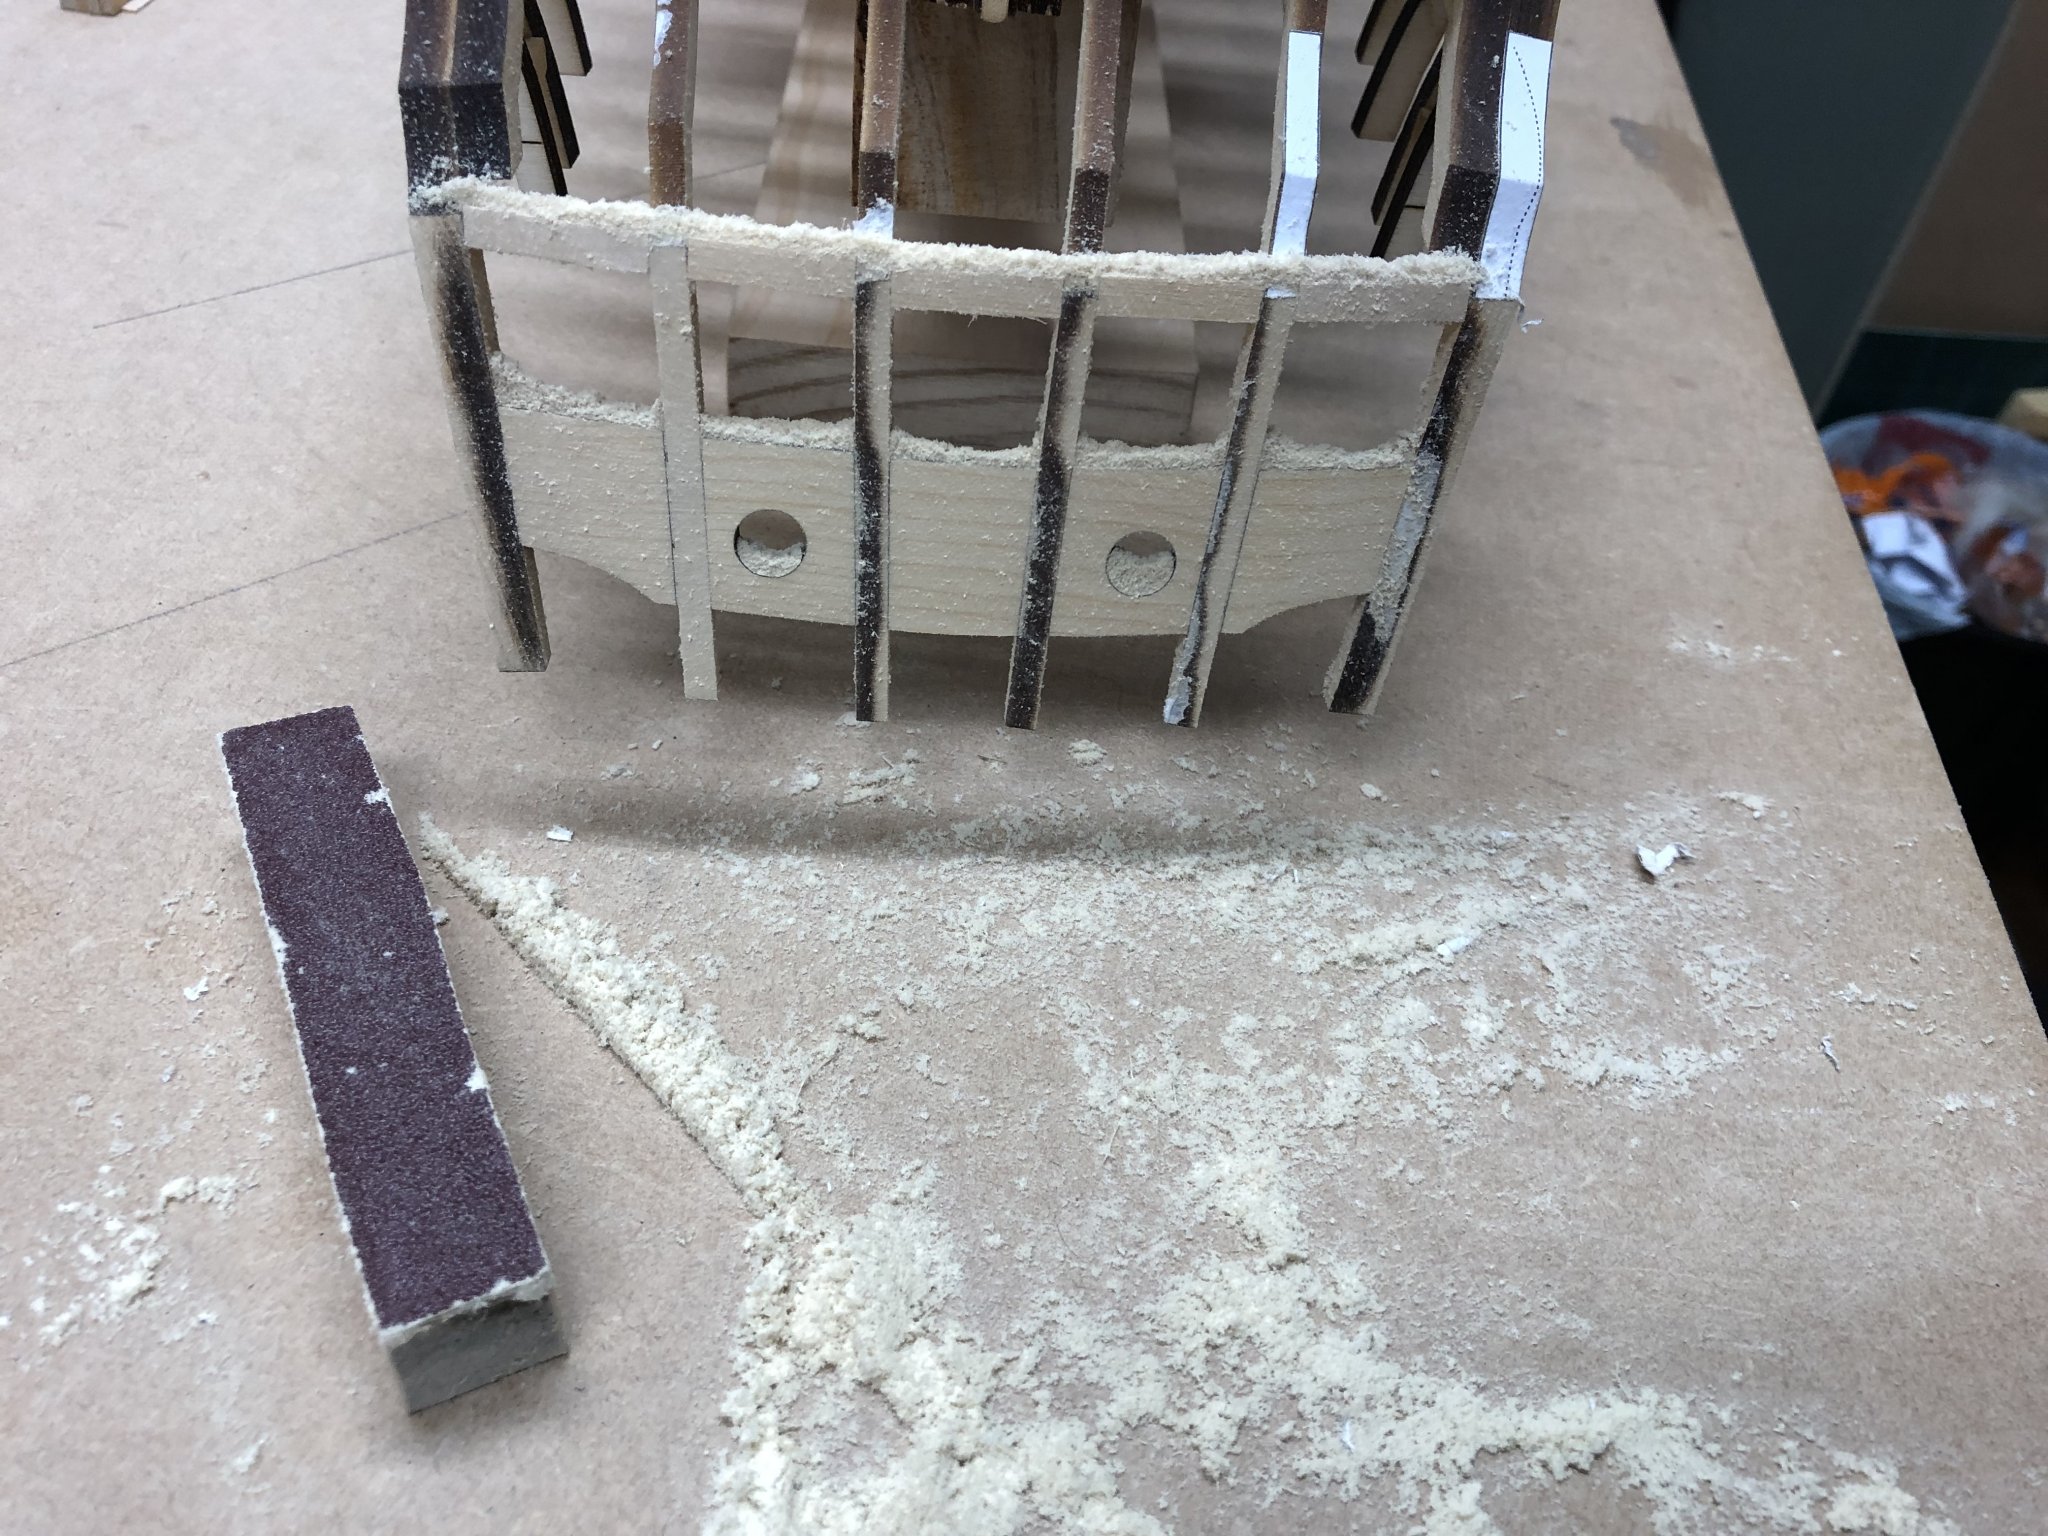
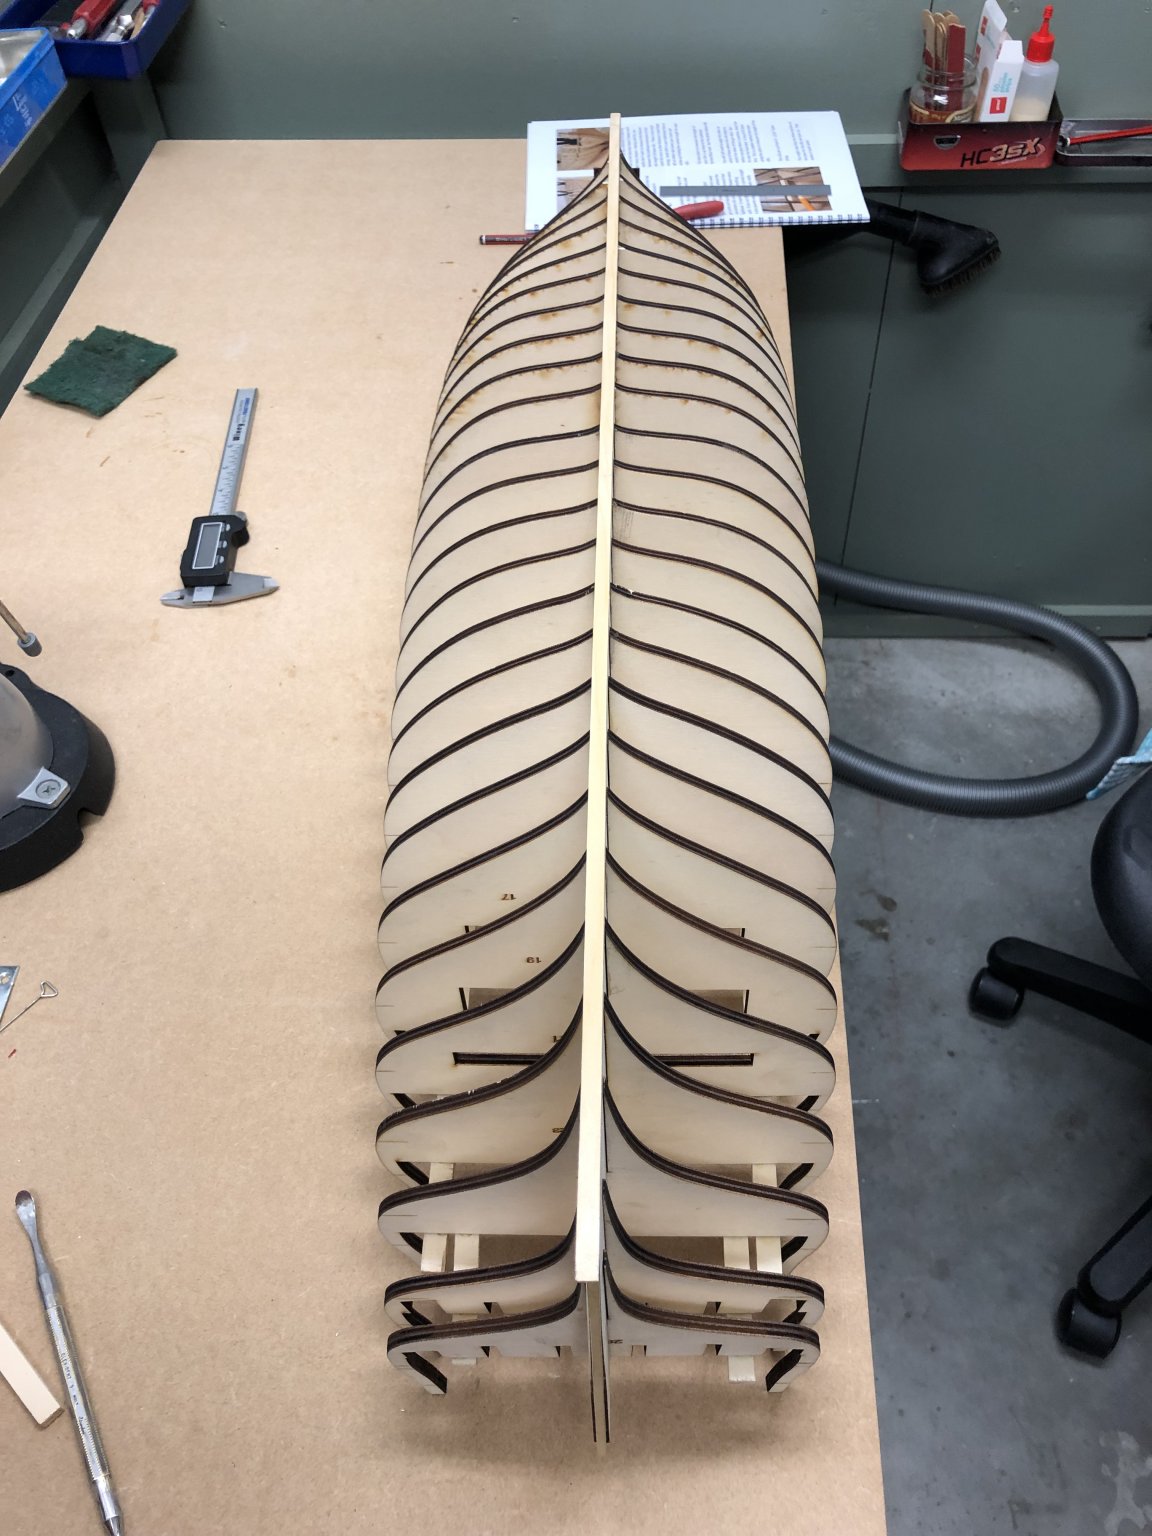
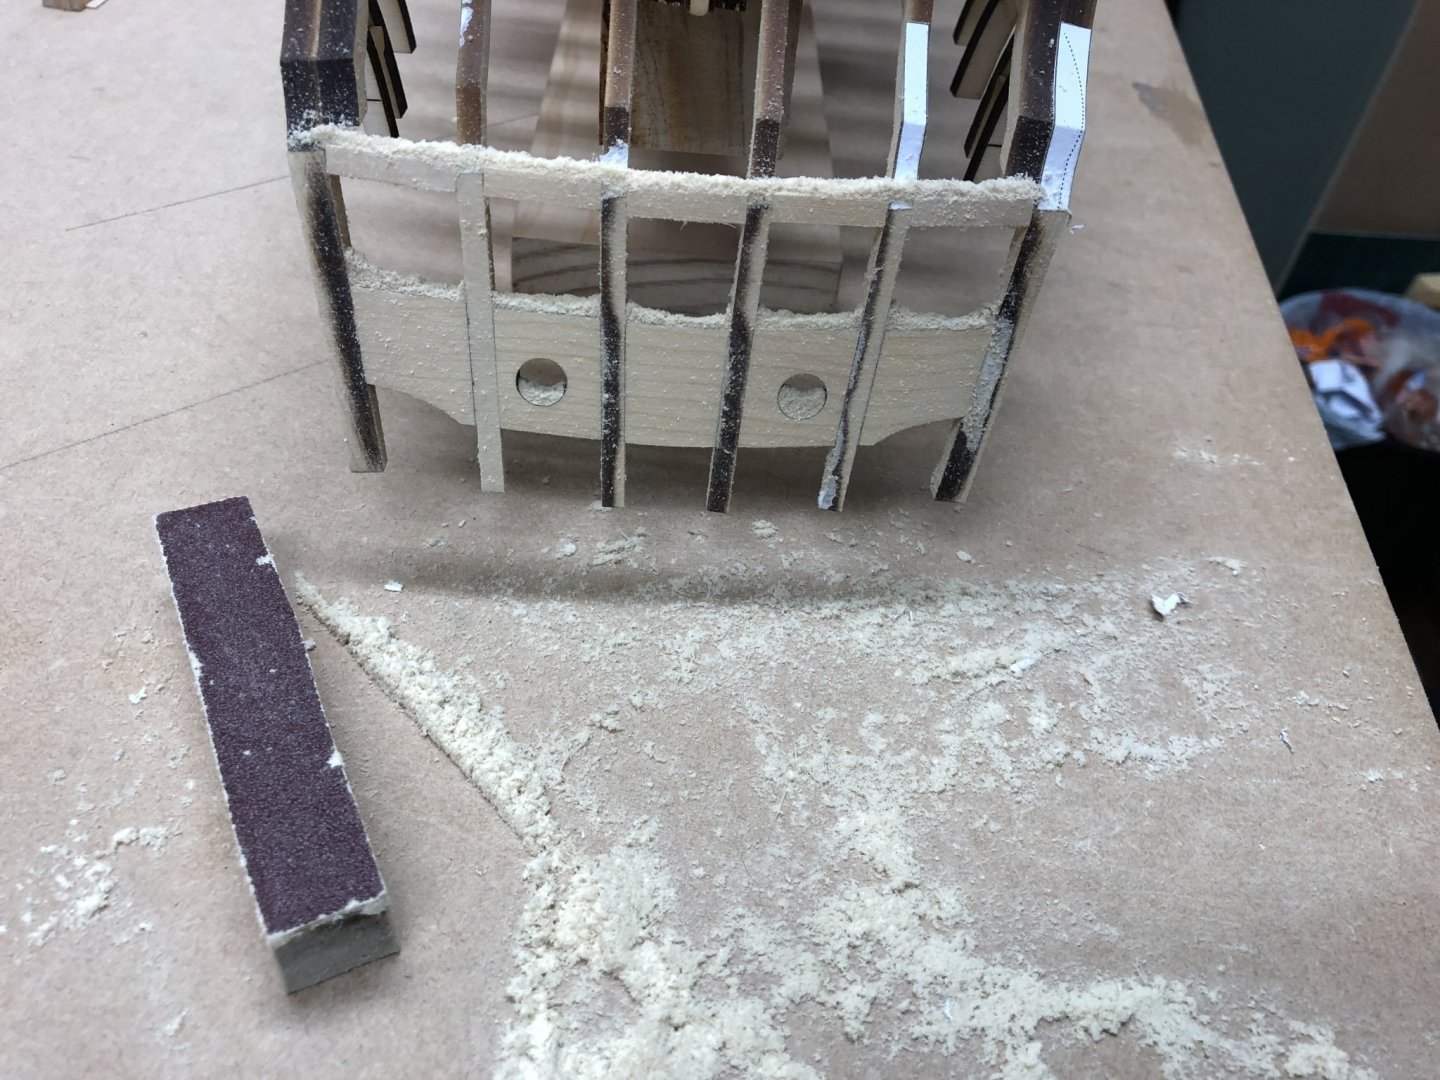
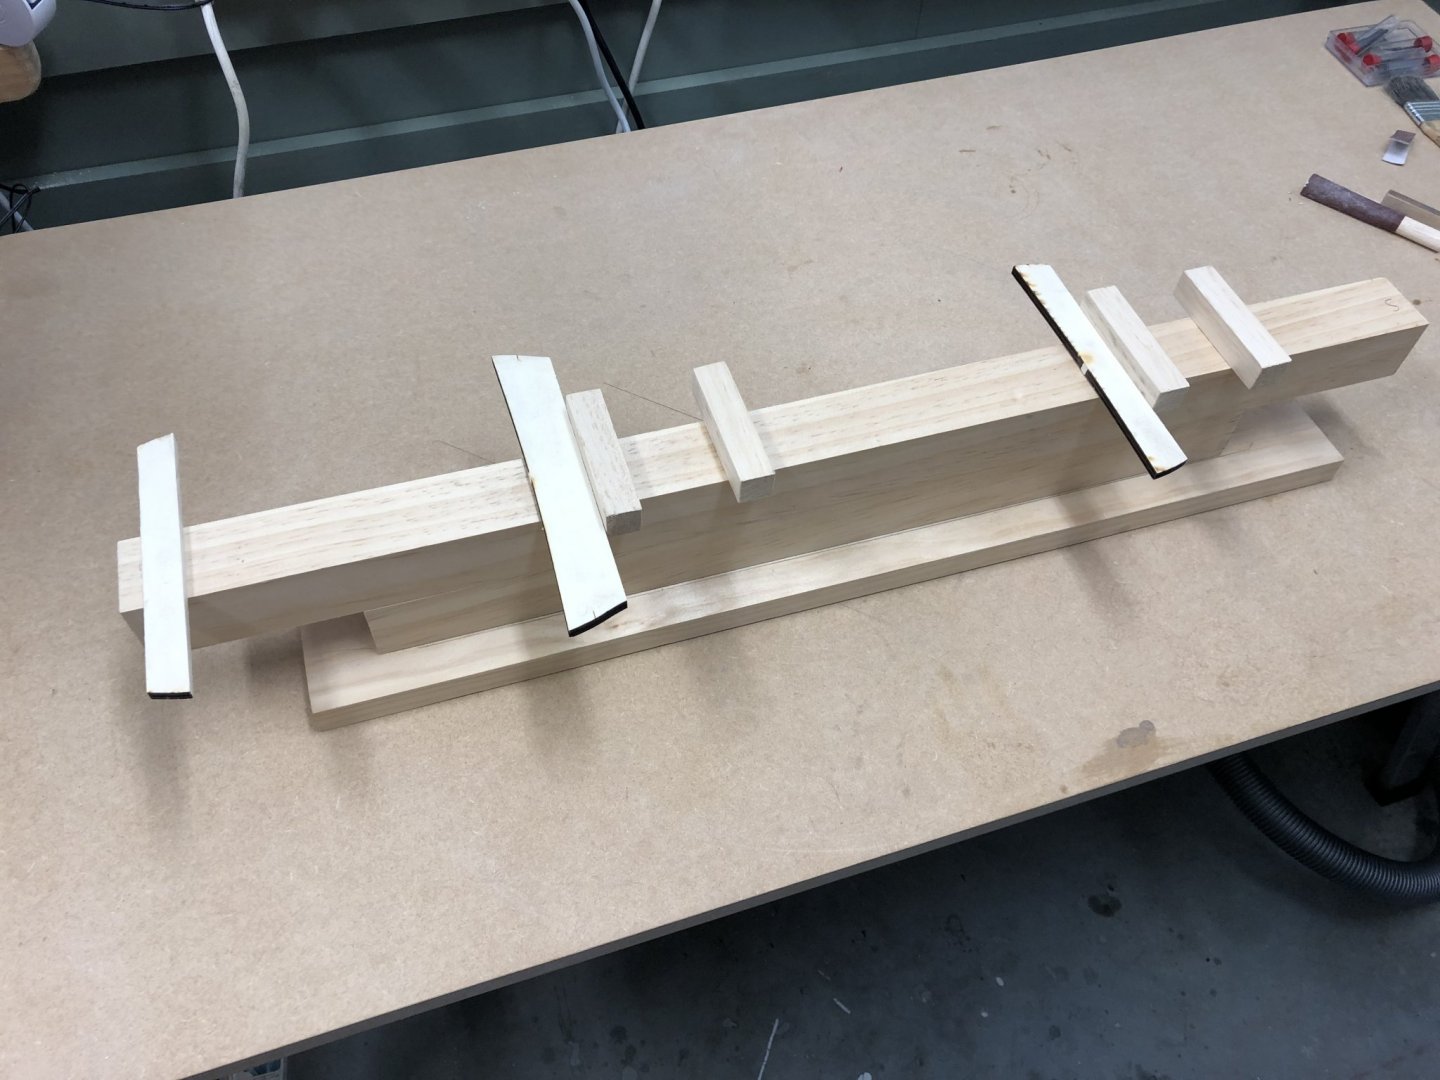
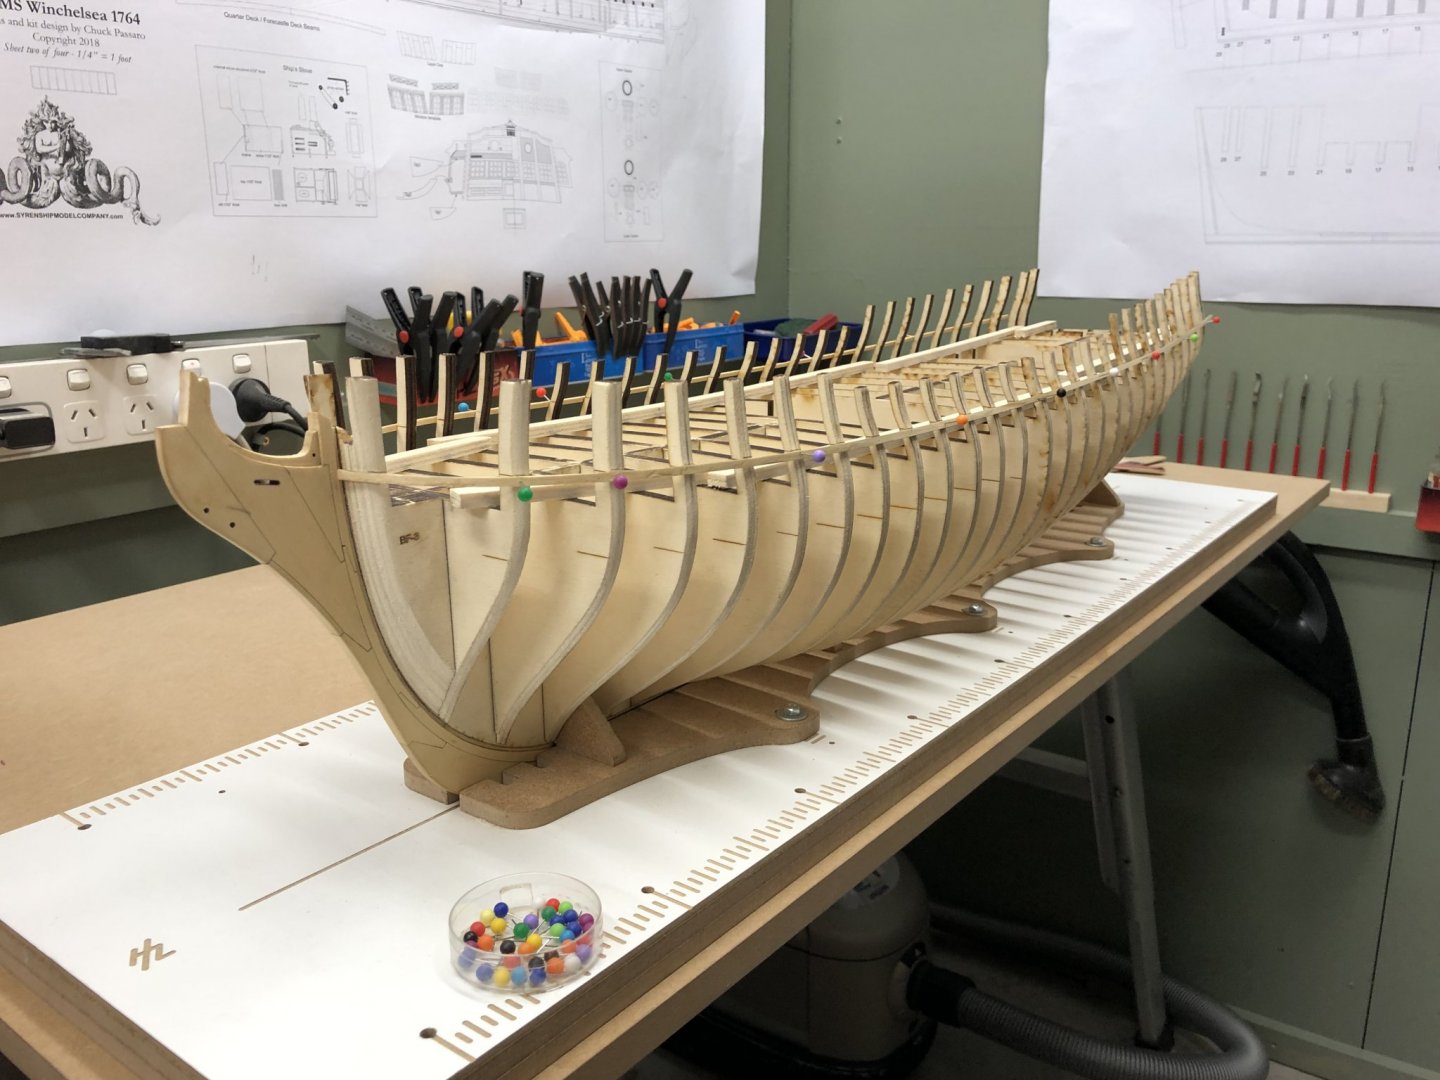
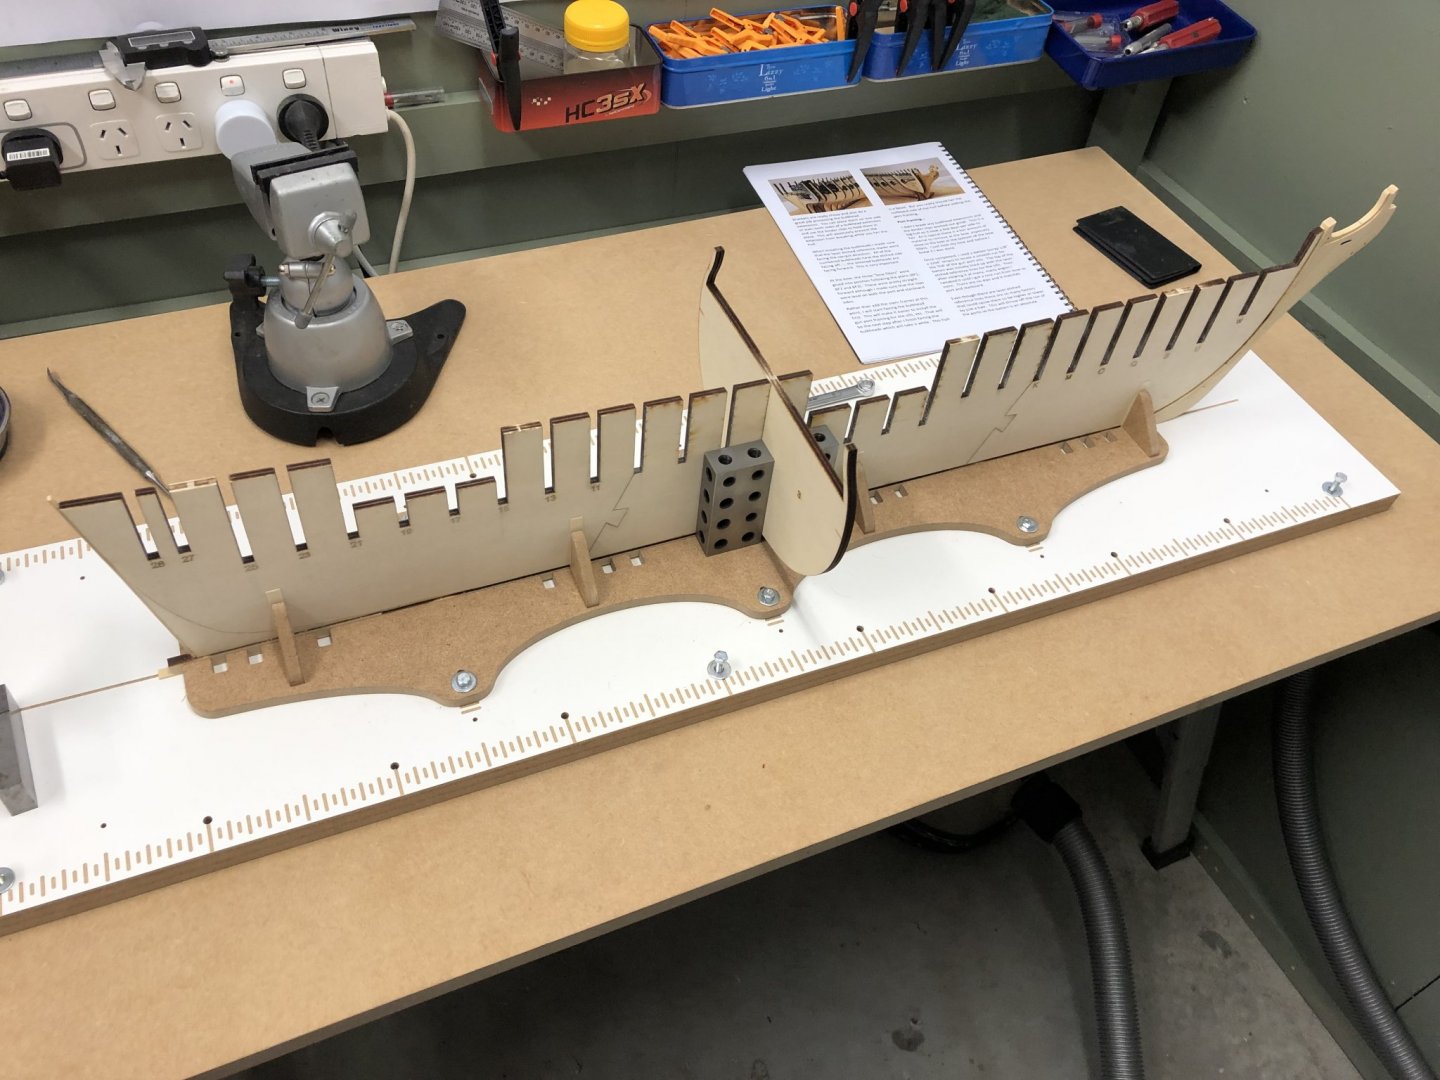
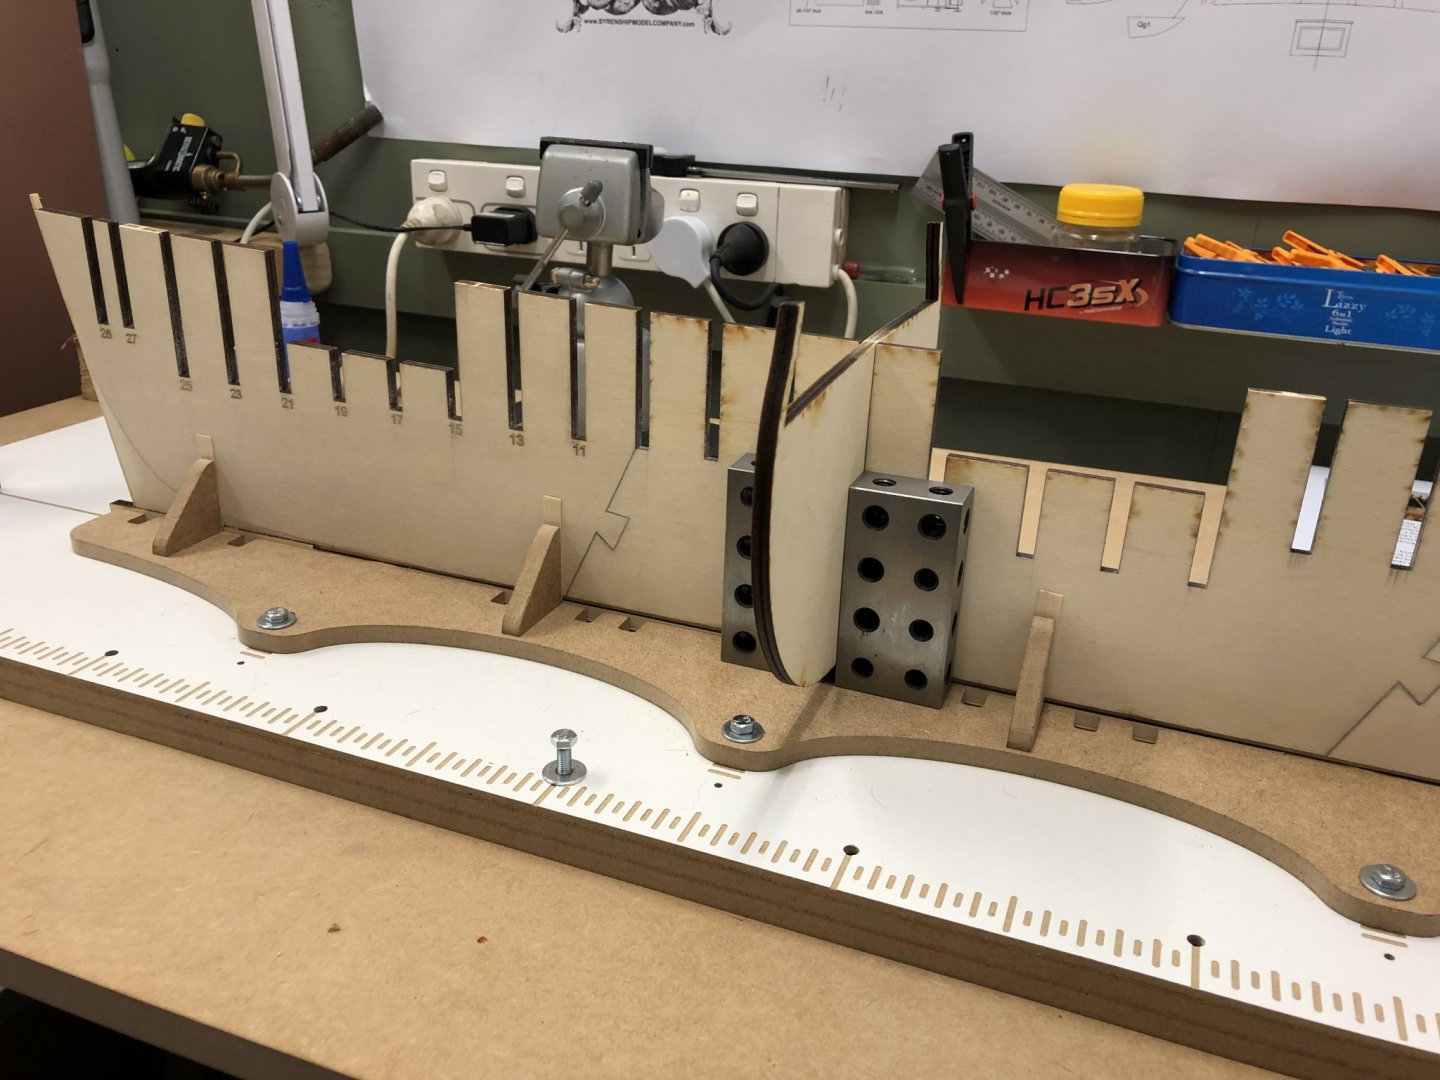
Time for another post before Christmas kicks in. Having spent the last few days fairing in the bulkheads my arms need a good rest. I made up the jig shown in the photo. This held the ship firmly while I sanded the bulkheads, also ensured that I did not snap off any of the extensions. I left some material at bow and stern to finish after I have fitted the port framing and stern extension timbers. The last photo shows the battens fitted to allow marking for the sill positions. I just ordered a set of the resin castings from Chuck, something to look forward to in the New Year. Heres wishing you all the best for this holiday season, time to recharge the batteries for another year of ship building.

- 137 replies
-
- 13
-
-
- winchelsea
- Syren Ship Model Company
- (and 1 more)
-
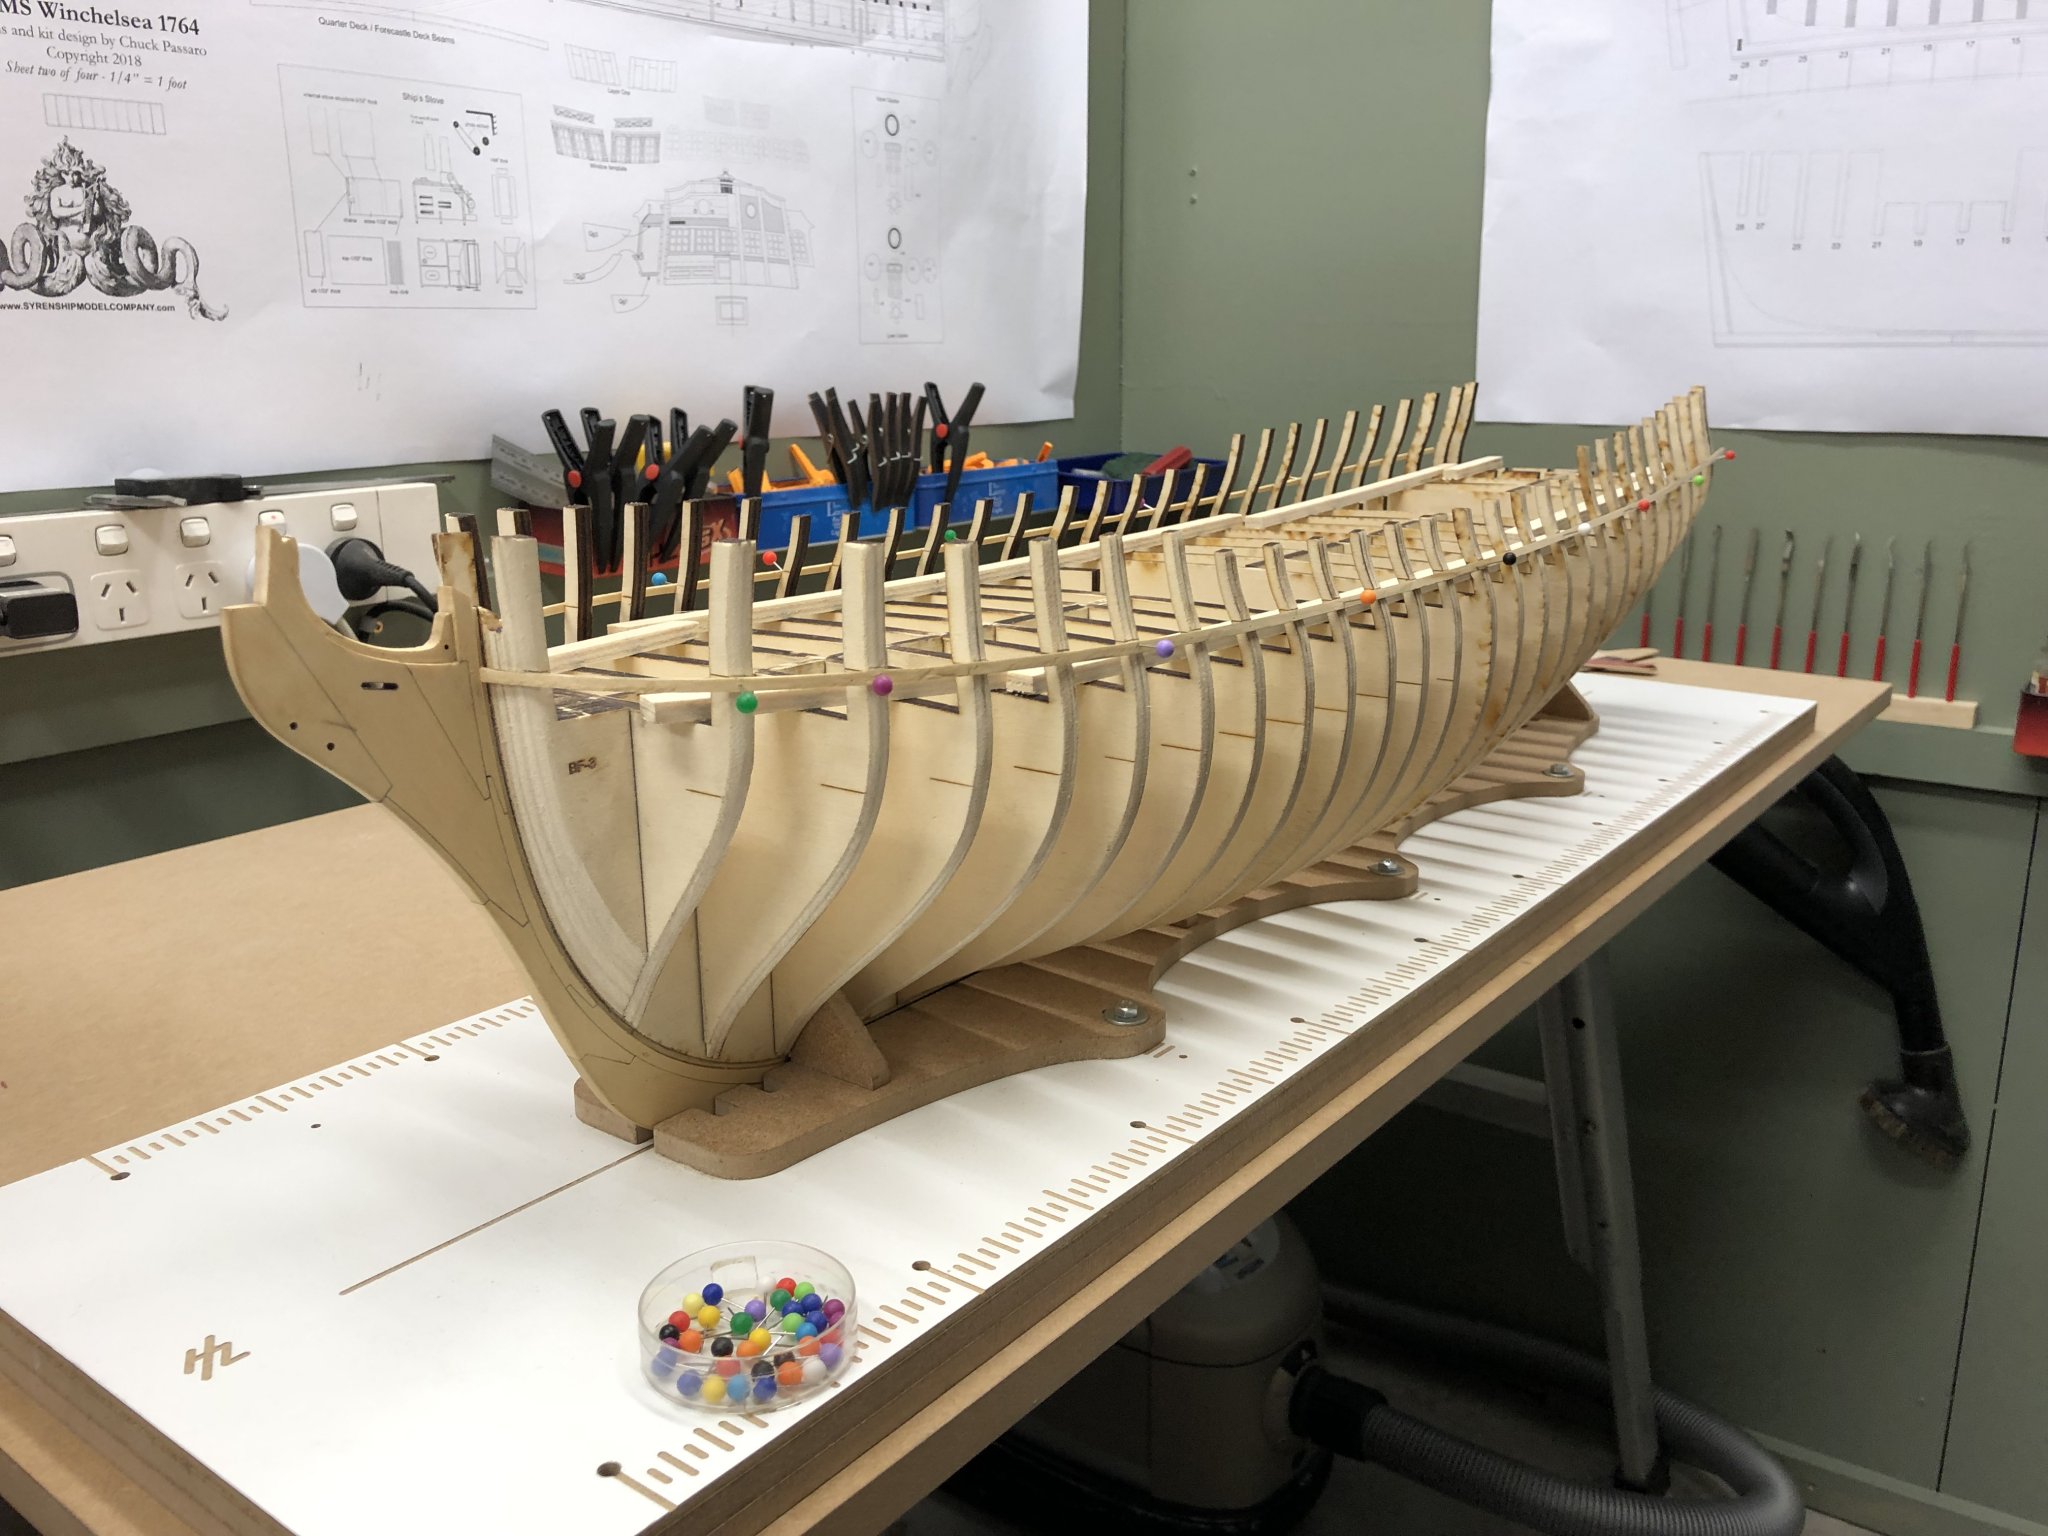
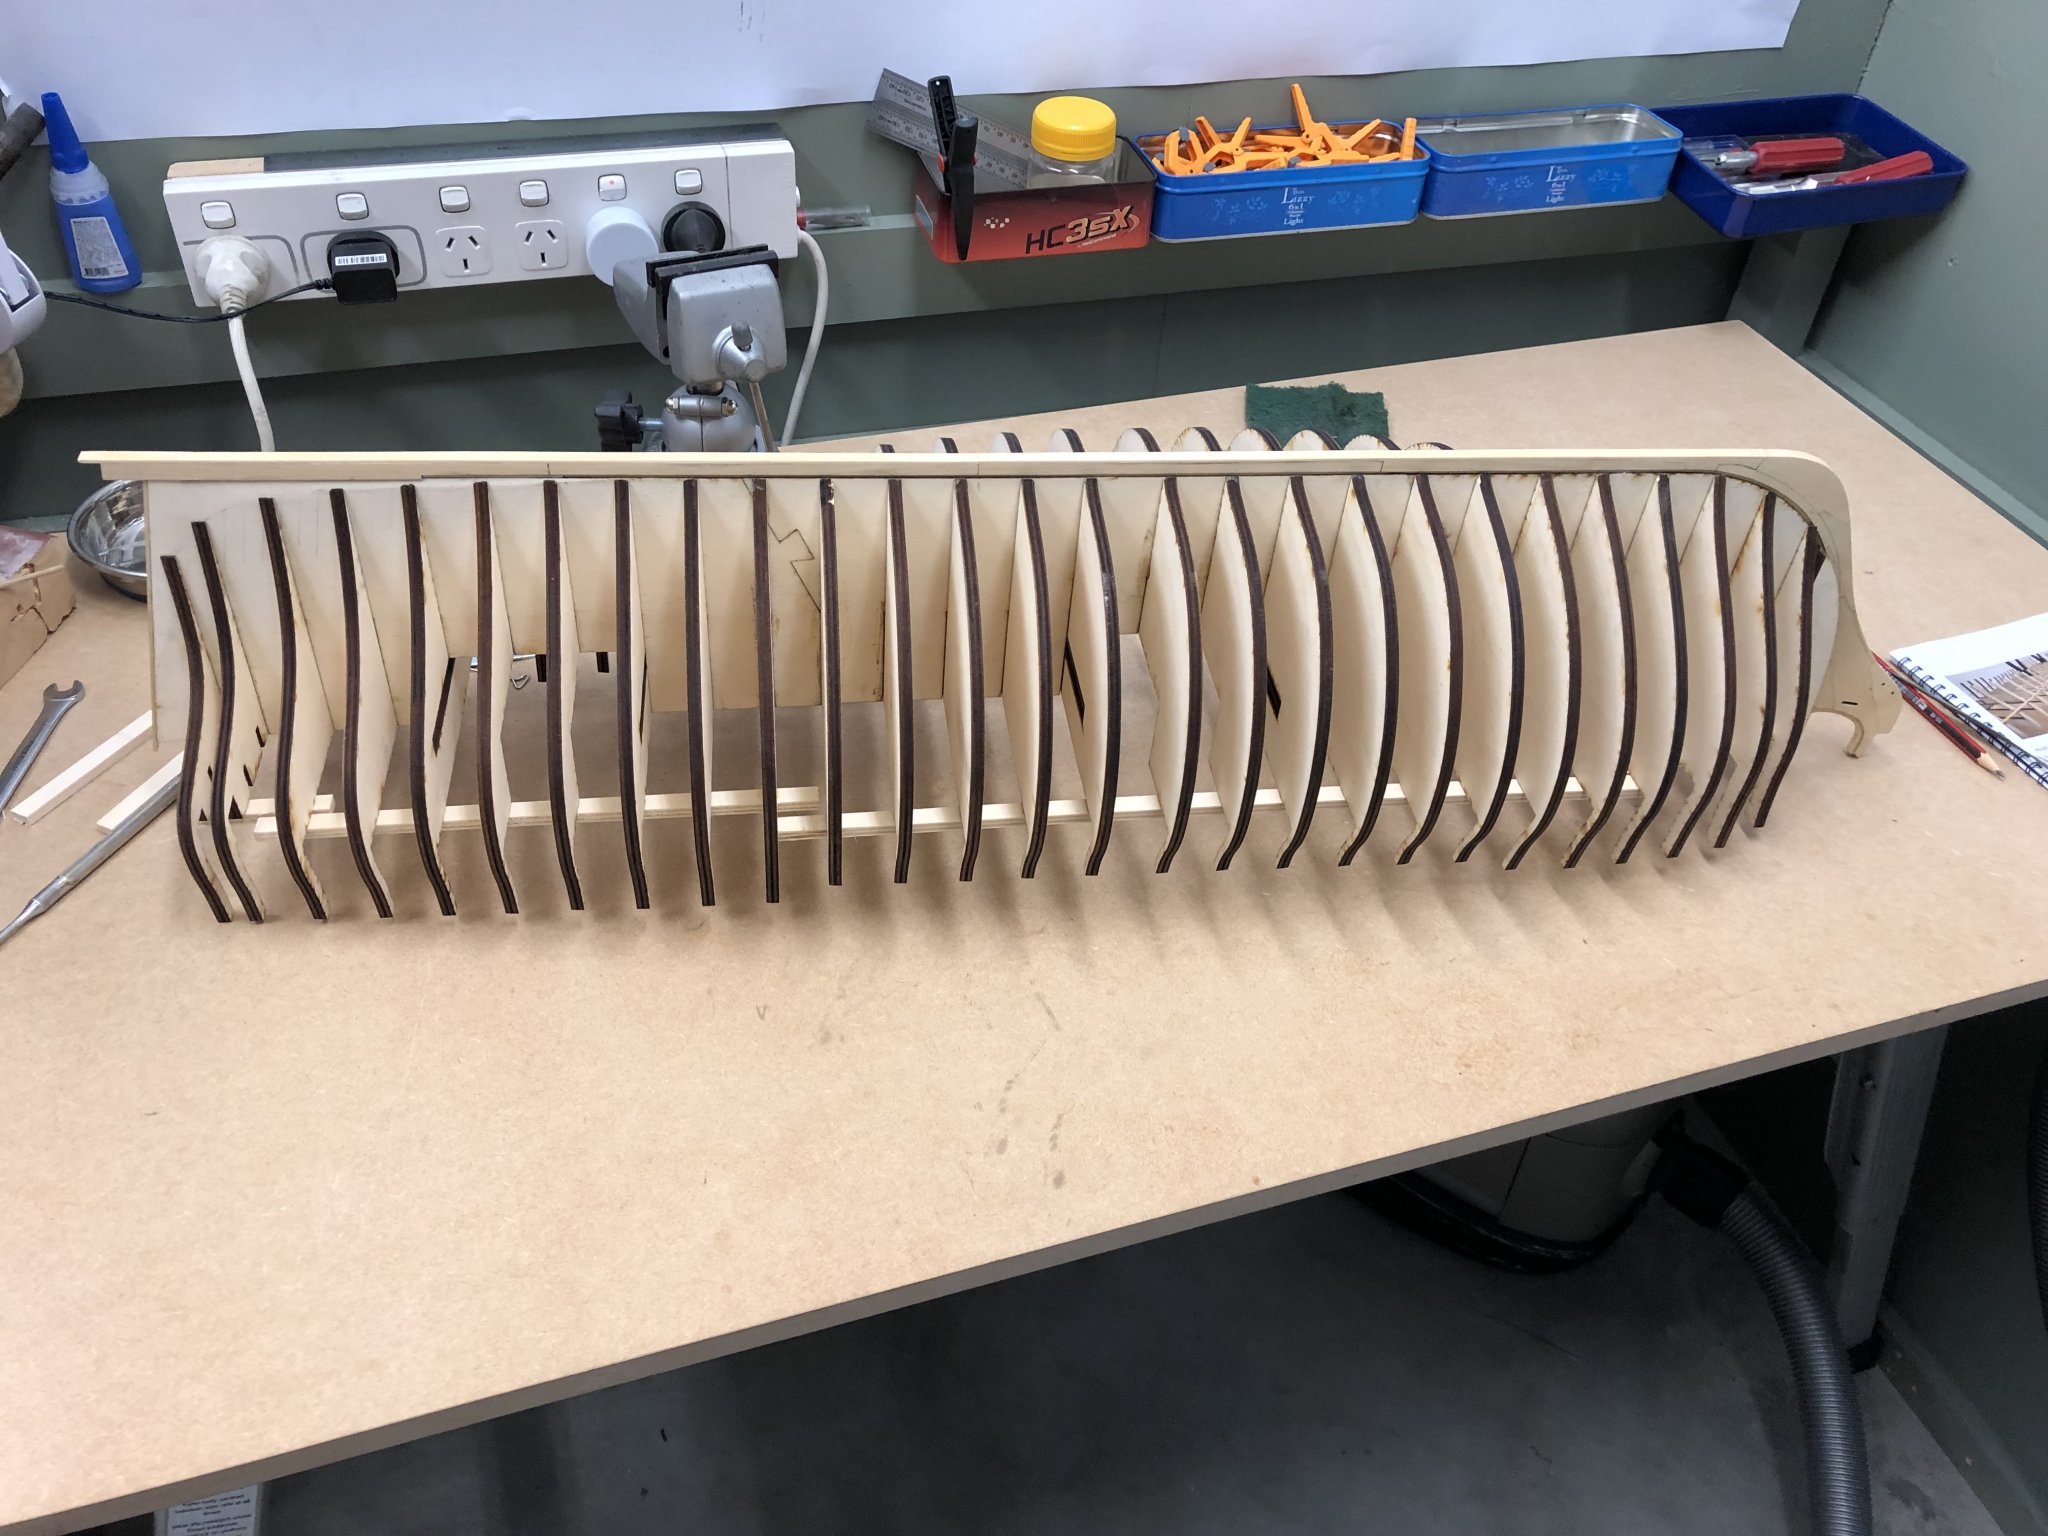
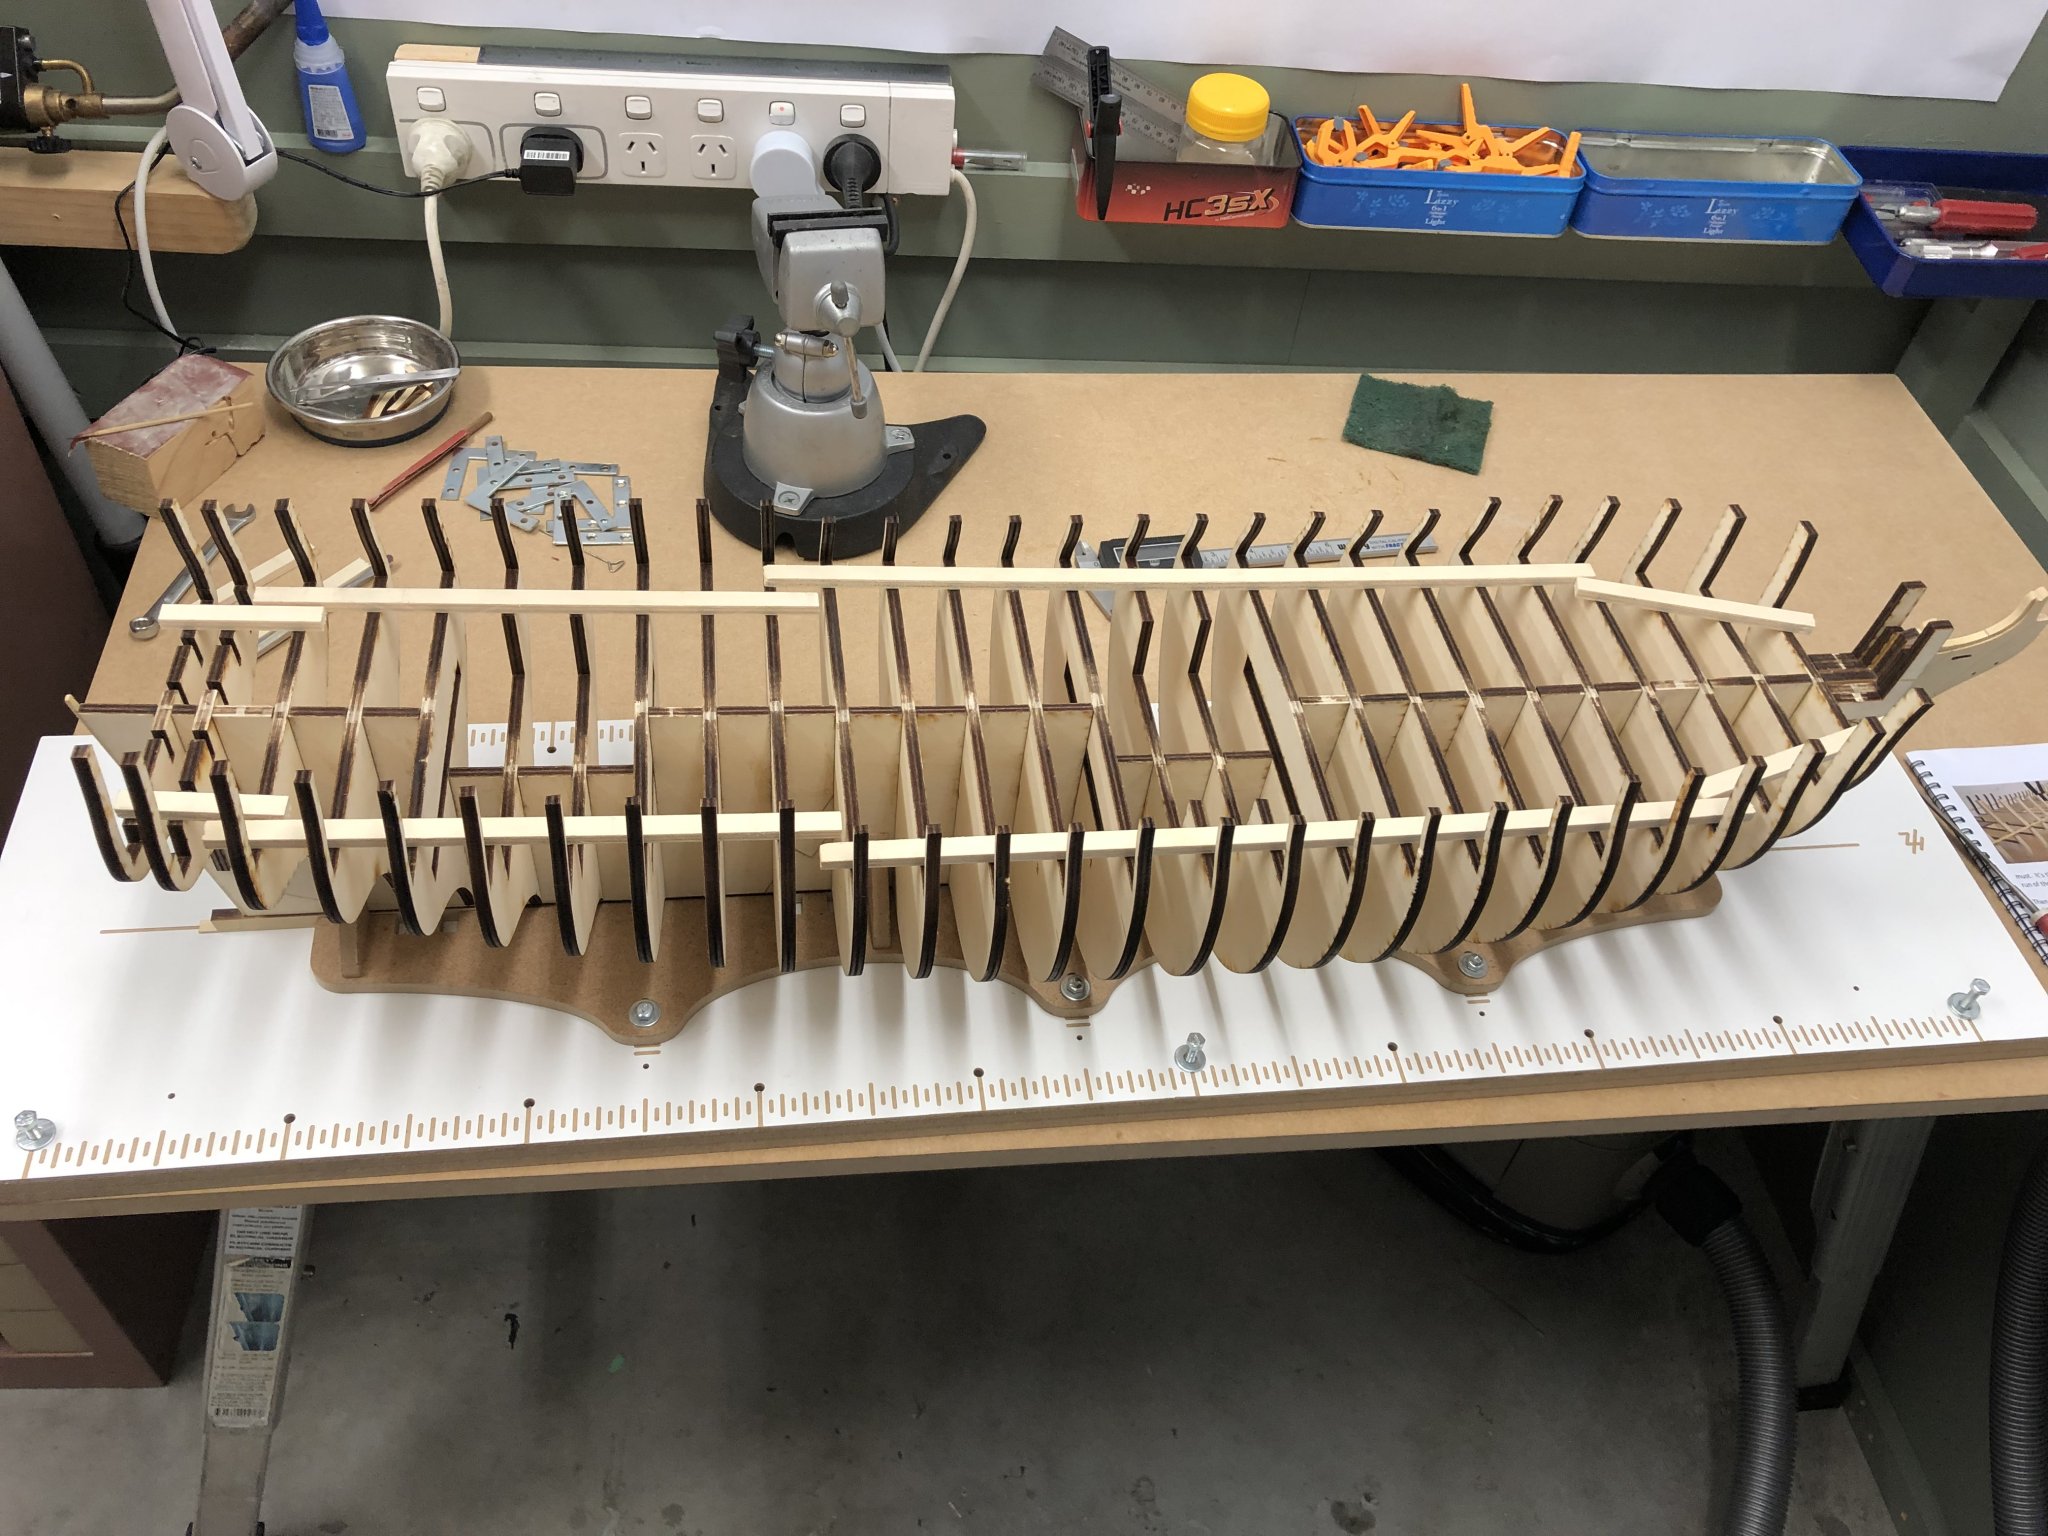
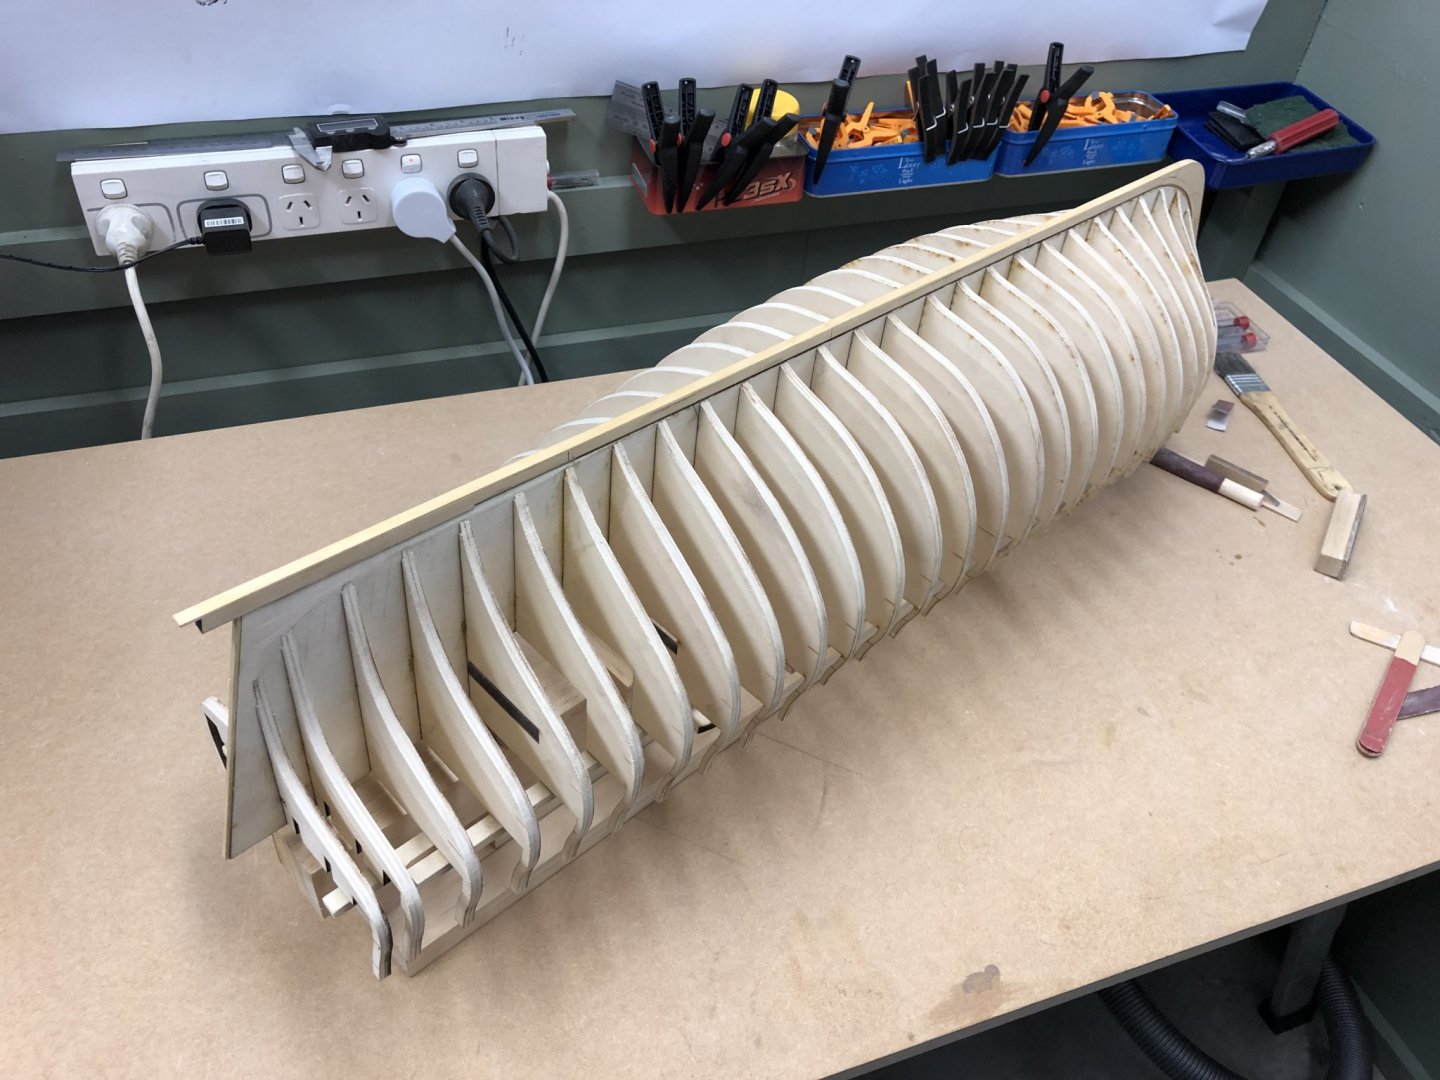
Time for an update. I finally finished my steam engine ahead of schedule so its now onto Winnie. Took a week to re-organise the workshop (half a double garage). I opted to purchase the bulkheads from Chuck along with chapter one and two laser cut pieces. They are extremely good quality and I find the AYP easy to work with. A few pics of progress to date. I am now in for a lot of sanding as I fair in the bulkheads. I popped down to the Kitchen bench top factory and had the guys cut me a chunk of granite to use as a flat surface for gluing up the various components, I like it being heavy, not so likely to shift. All bulkheads in place and ready for fairing To stabilise the bulkheads during fairing I spot glued ply strips I cut from the bulkhead waste. I feel sure the experts on here know a better way but this is one of the joys of trying something different. Being ply they should come of easily. Now where is that sandpaper?
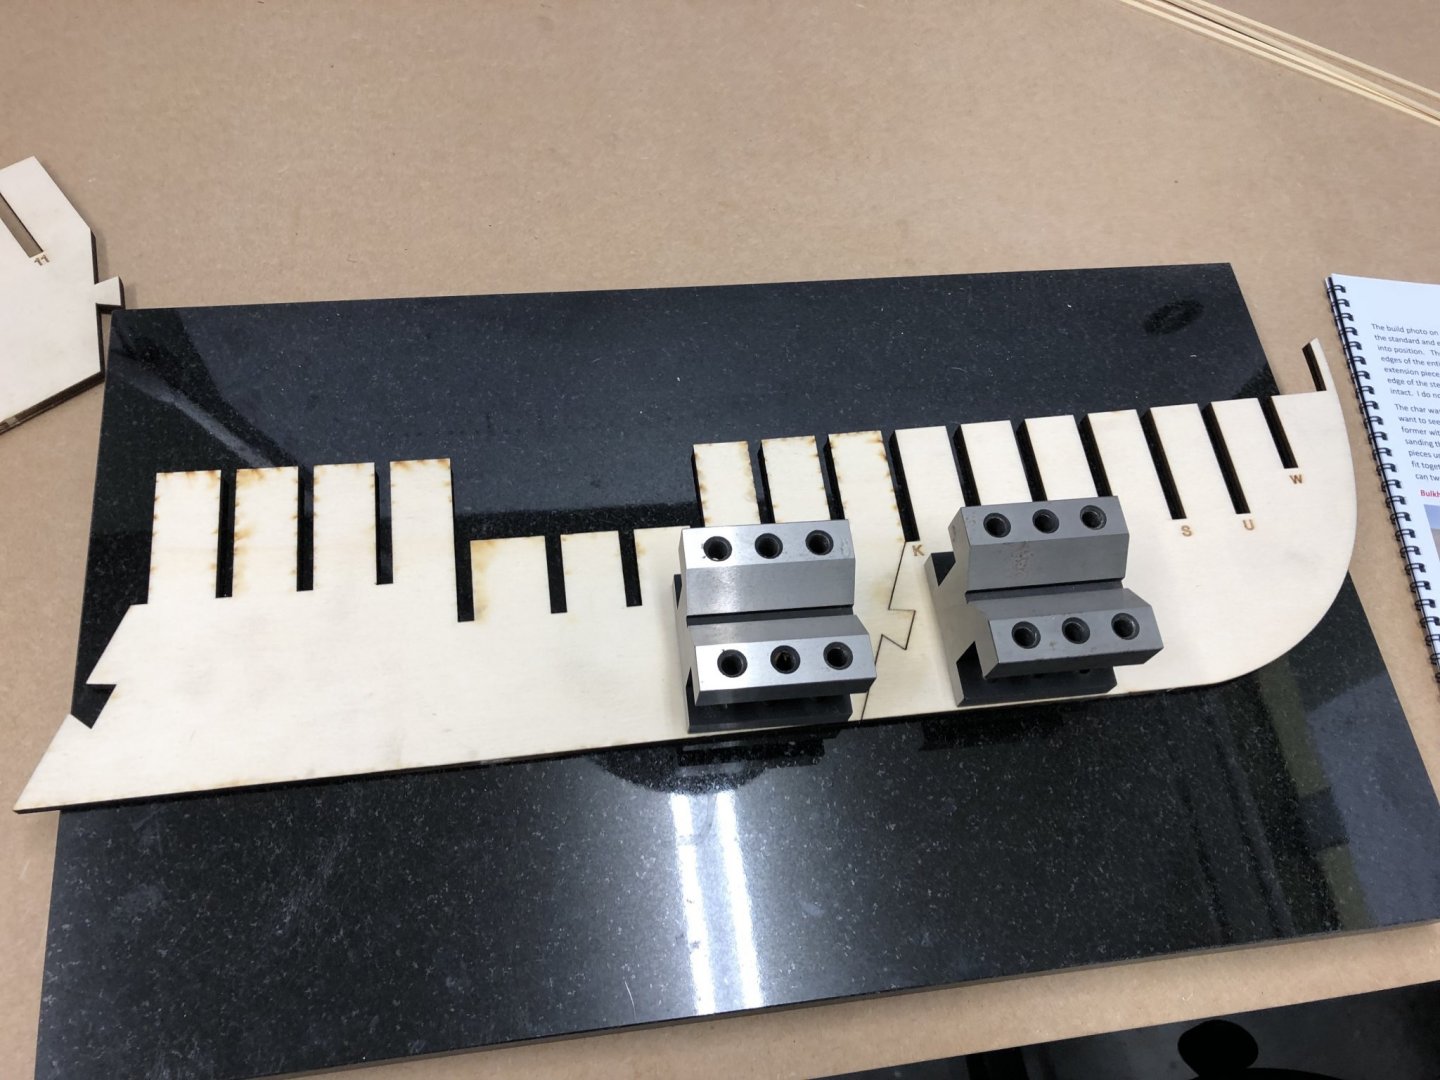


- 137 replies
-
- 14
-
-
- winchelsea
- Syren Ship Model Company
- (and 1 more)
-
I prefer the natural look. Sometimes it can be difficult to find a good match with the paint and the printed frieze. Plus its such a small area and the fancy rail will affect how the roof finally looks.
- 1,784 replies
-
- 1
-
-
- winchelsea
- Syren Ship Model Company
- (and 1 more)
-
Will you be putting up a 1:48 scale Chuck Passaro for sale on your website? I want one😀
- 1,784 replies
-
- 2
-
-
- winchelsea
- Syren Ship Model Company
- (and 1 more)
-
Fantastic work Chuck. Just looking at the photos makes me want to start, really having to make myself work harder to finish the engine so I can start on Winnie. looking at the plans yesterday and see there are two sizes of long gun on there. I know its way out of sequence but wondered what the mix of guns is. Just curious.
- 1,784 replies
-
- 1
-
-
- winchelsea
- Syren Ship Model Company
- (and 1 more)
-
Thanks Jim, I had wondered how you were going to hold the stern later on. Information gratefully received.
-
Welcome to the group. You will love your new saw when it arrives, Jim is an artist in metal.
-
Took the drawings to our local copyland today. Asking them to print out the four large general arrangement drawings They questioned the instructions saying that it would require a sheet size AO the largest they could handle. Being a metric country doesn’t help. I checked the 50” by 30” and it came out at 1016mm by 762mm, after printing the scale box measured exactly 1/4”. Much to my relief I also had them print the same files onto A2 paper as a quick reference on the bench plus chapter one and two then spiral bound. Saves having the iPad open on the bench. Another step completed.
- 137 replies
-
- 5
-
-
- winchelsea
- Syren Ship Model Company
- (and 1 more)
-
My second instalment of parts arrived today. Thanks Chuck for the great service and the extra 👍
- 137 replies
-
- 2
-
-
- winchelsea
- Syren Ship Model Company
- (and 1 more)
-
Jim, how do find the building slip? I have thought about getting but would value your advice. Reg
-
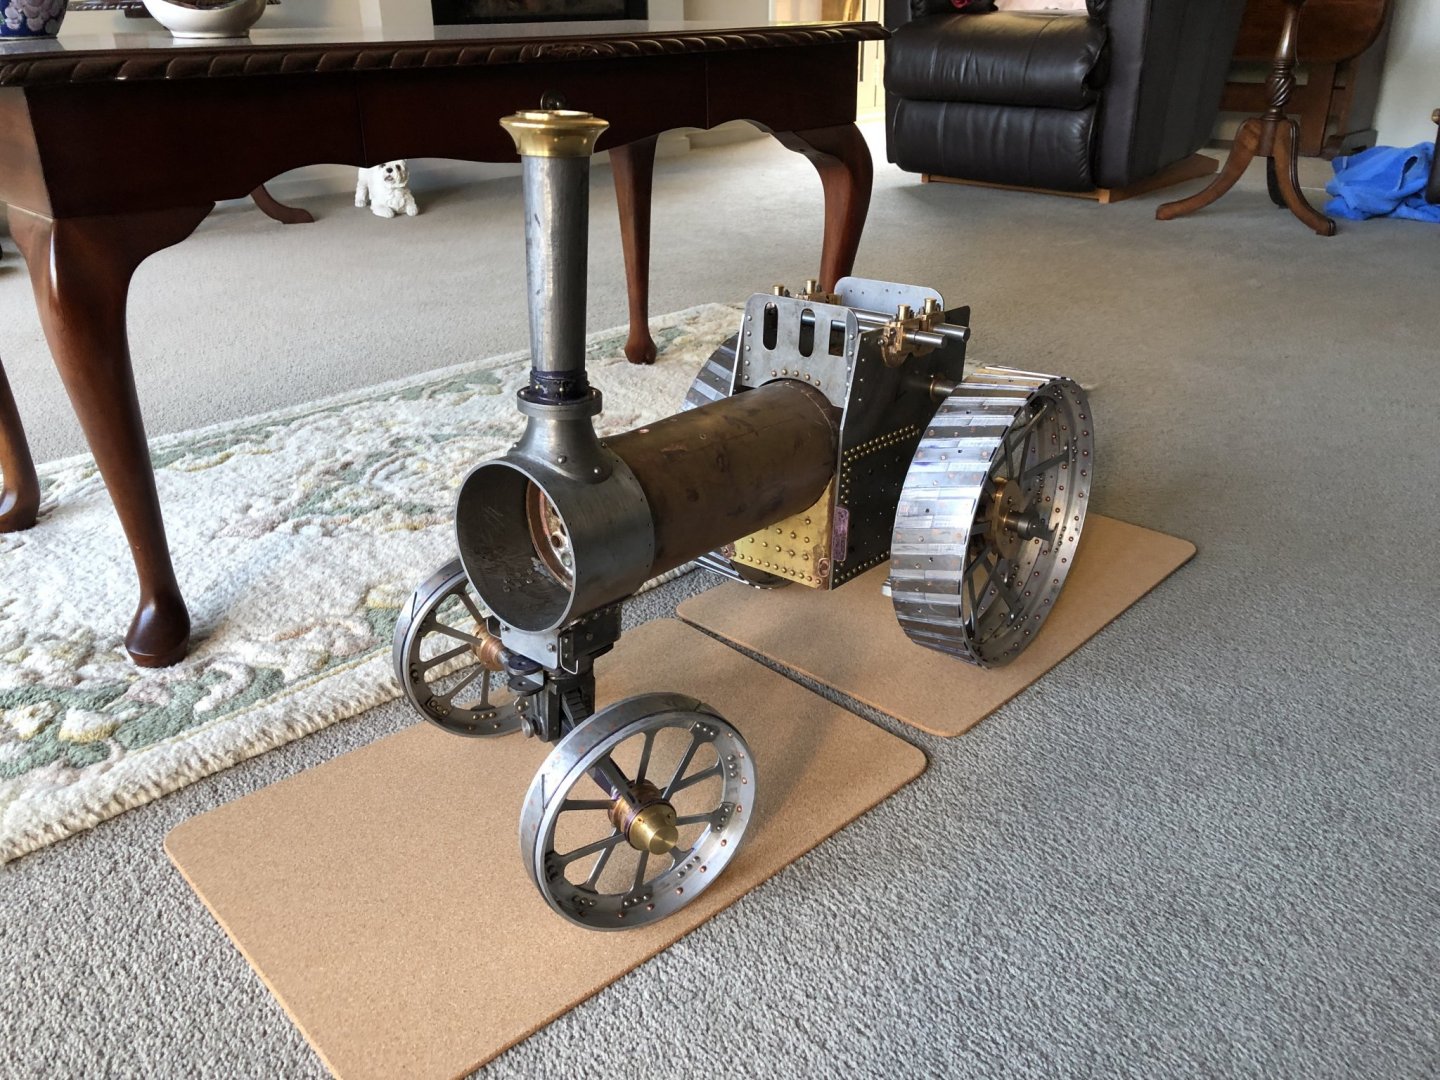
Christmas came early to this shipyard in the form of a Bynes benchsaw. No excuses for not being able to cut neat planks. I am still working on my steam engine but that should be finished by the end of January then its on to rearranging the workshop to cater for Winchelsea. I am still waiting on the next delivery from Chuck which will give me everything available for the build to date. Just a quick pic of my current project, its much further along than this though.
- 137 replies
-
- 13
-
-
- winchelsea
- Syren Ship Model Company
- (and 1 more)
-
Sorry if this question has already been answered but with the planking do you cut the planks to the scale length? I looked at the photos and while I can see the plank shift I find it difficult to determine the plank length.
- 1,784 replies
-
- 1
-
-
- winchelsea
- Syren Ship Model Company
- (and 1 more)