woodartist
-
Posts
292 -
Joined
-
Last visited
Content Type
Profiles
Forums
Gallery
Events
Everything posted by woodartist
-
I would love to start on this when you are ready. It looks awesome. Have you considered fully planking one side of the hull?
-
I too am a big fan of West Coast Lumber Schooners. I frequently visit the Port Gamble Museum, which houses the memorabilia from the Pope and Talbot lumber operations. There are numerous photos of the ships that sailed from their lumber mills on the Olympic peninsula and sent lumber to San Francisco.
-
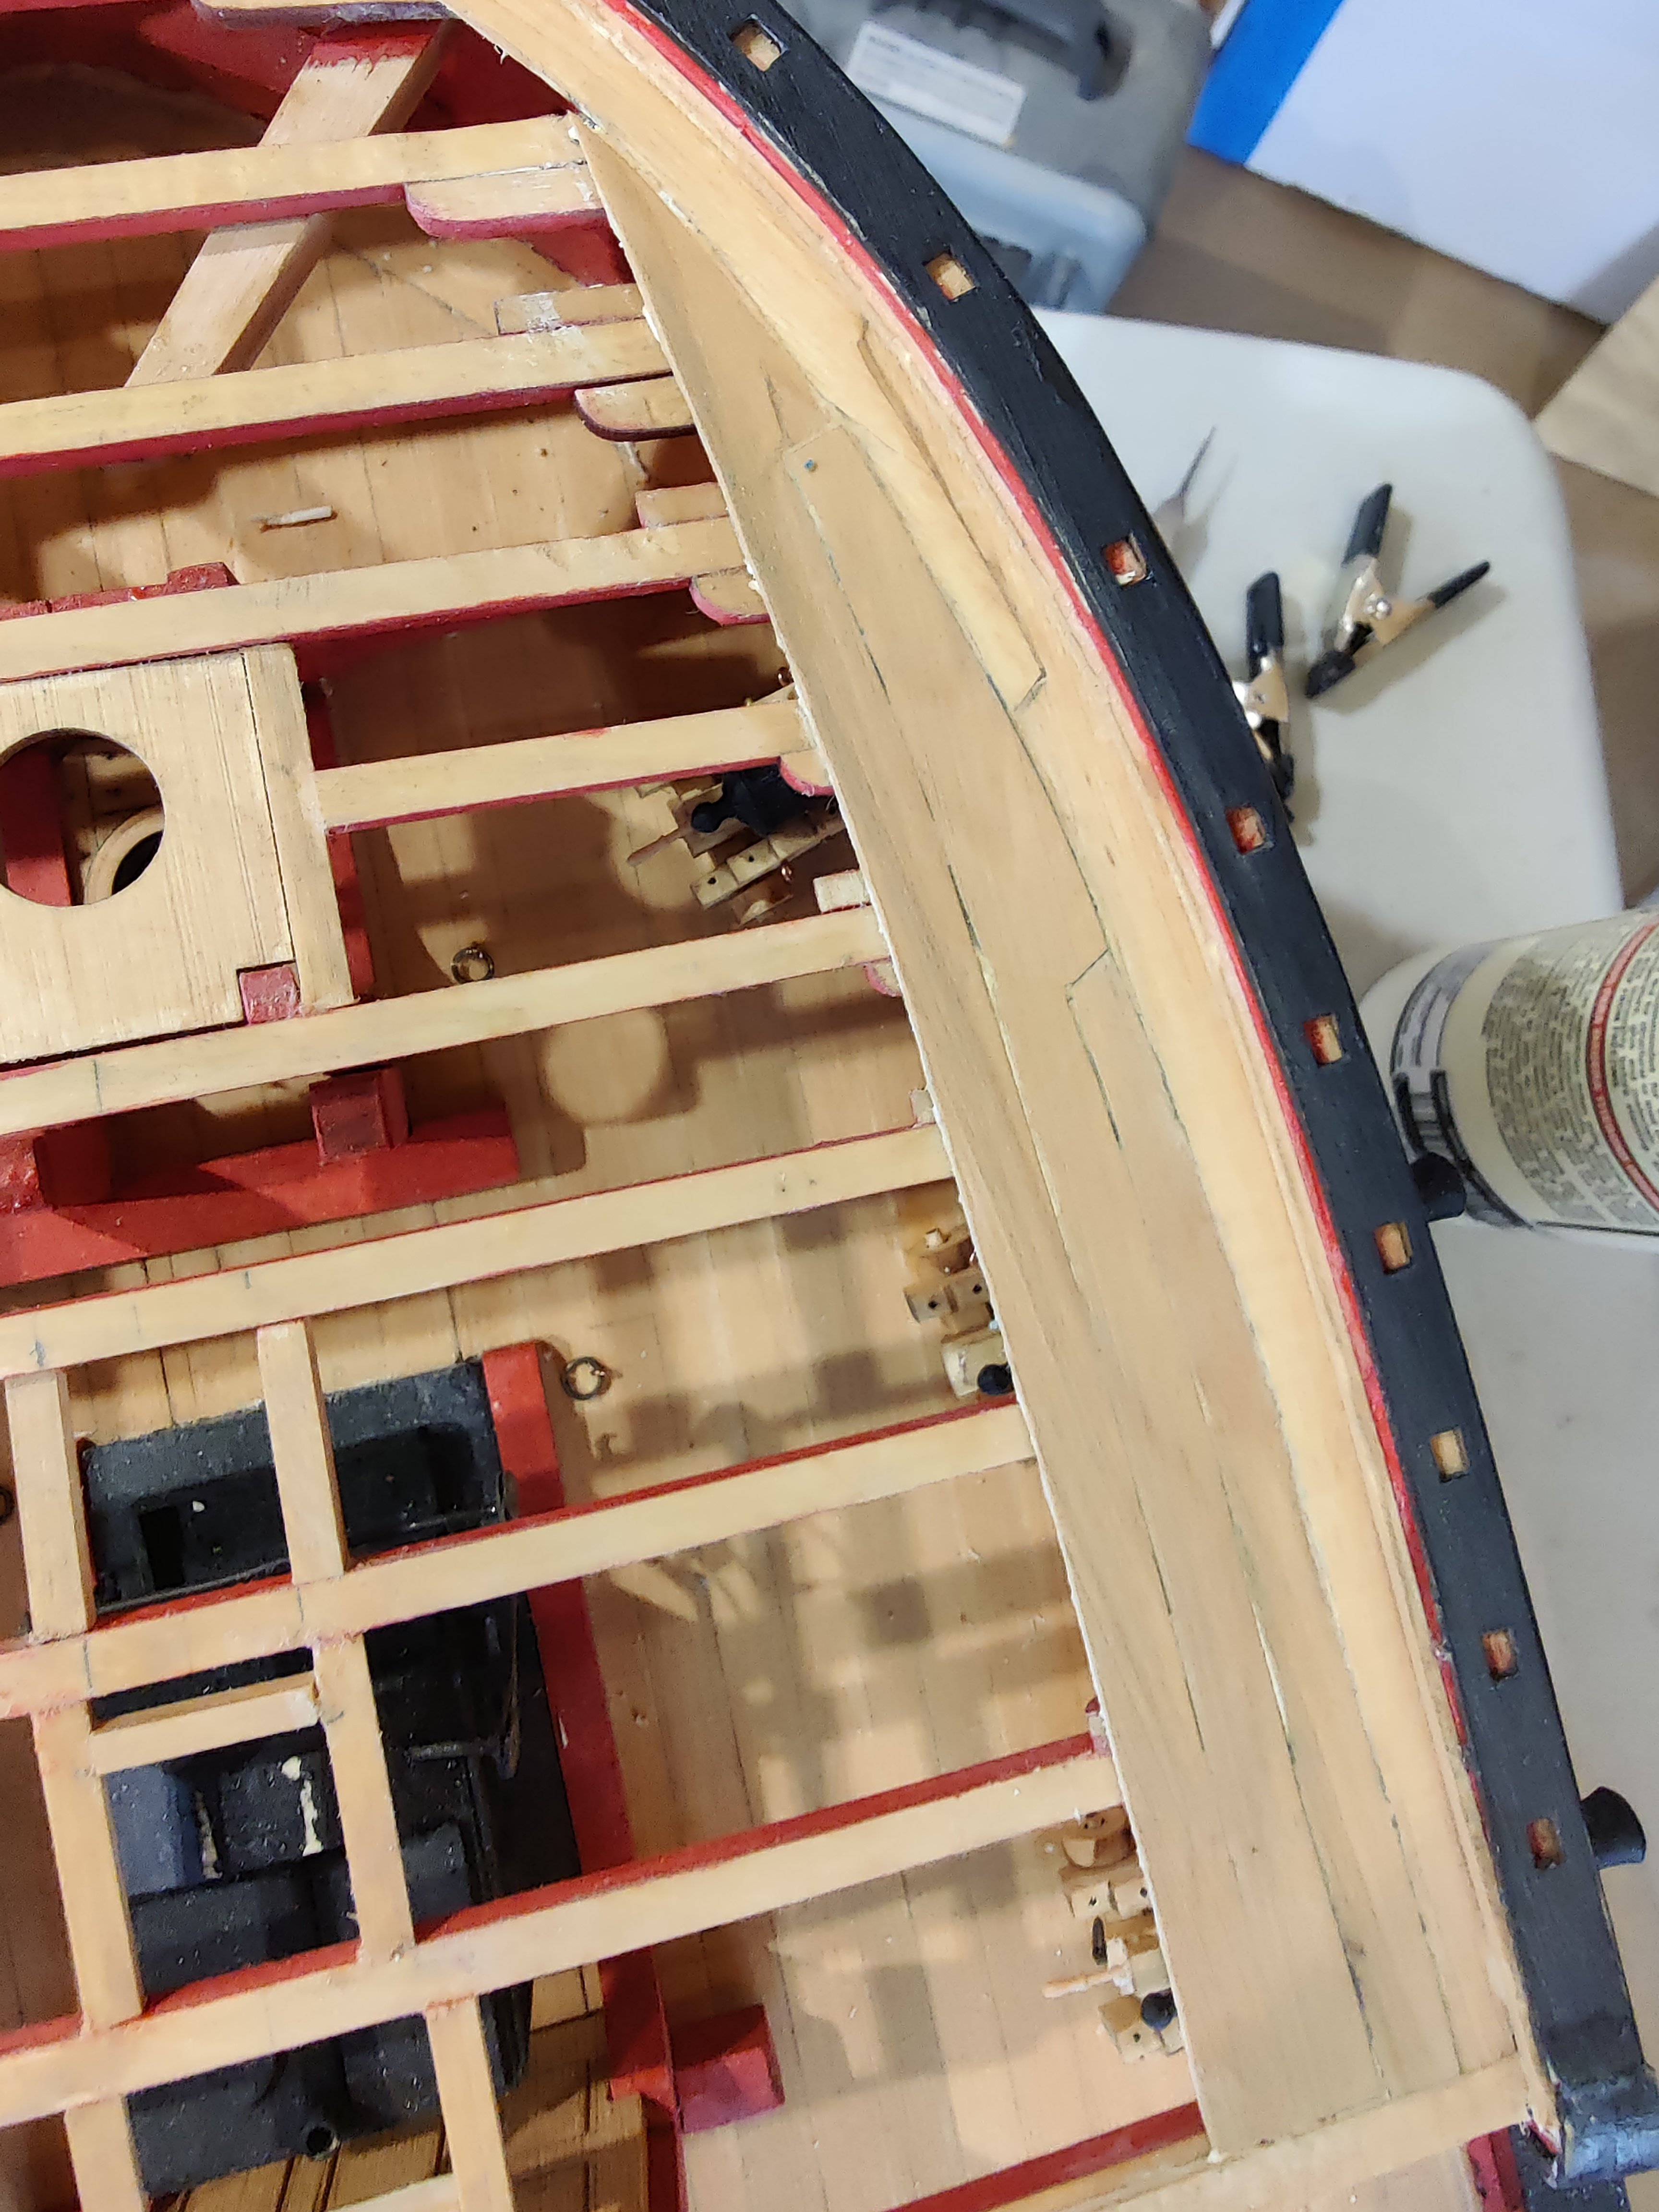
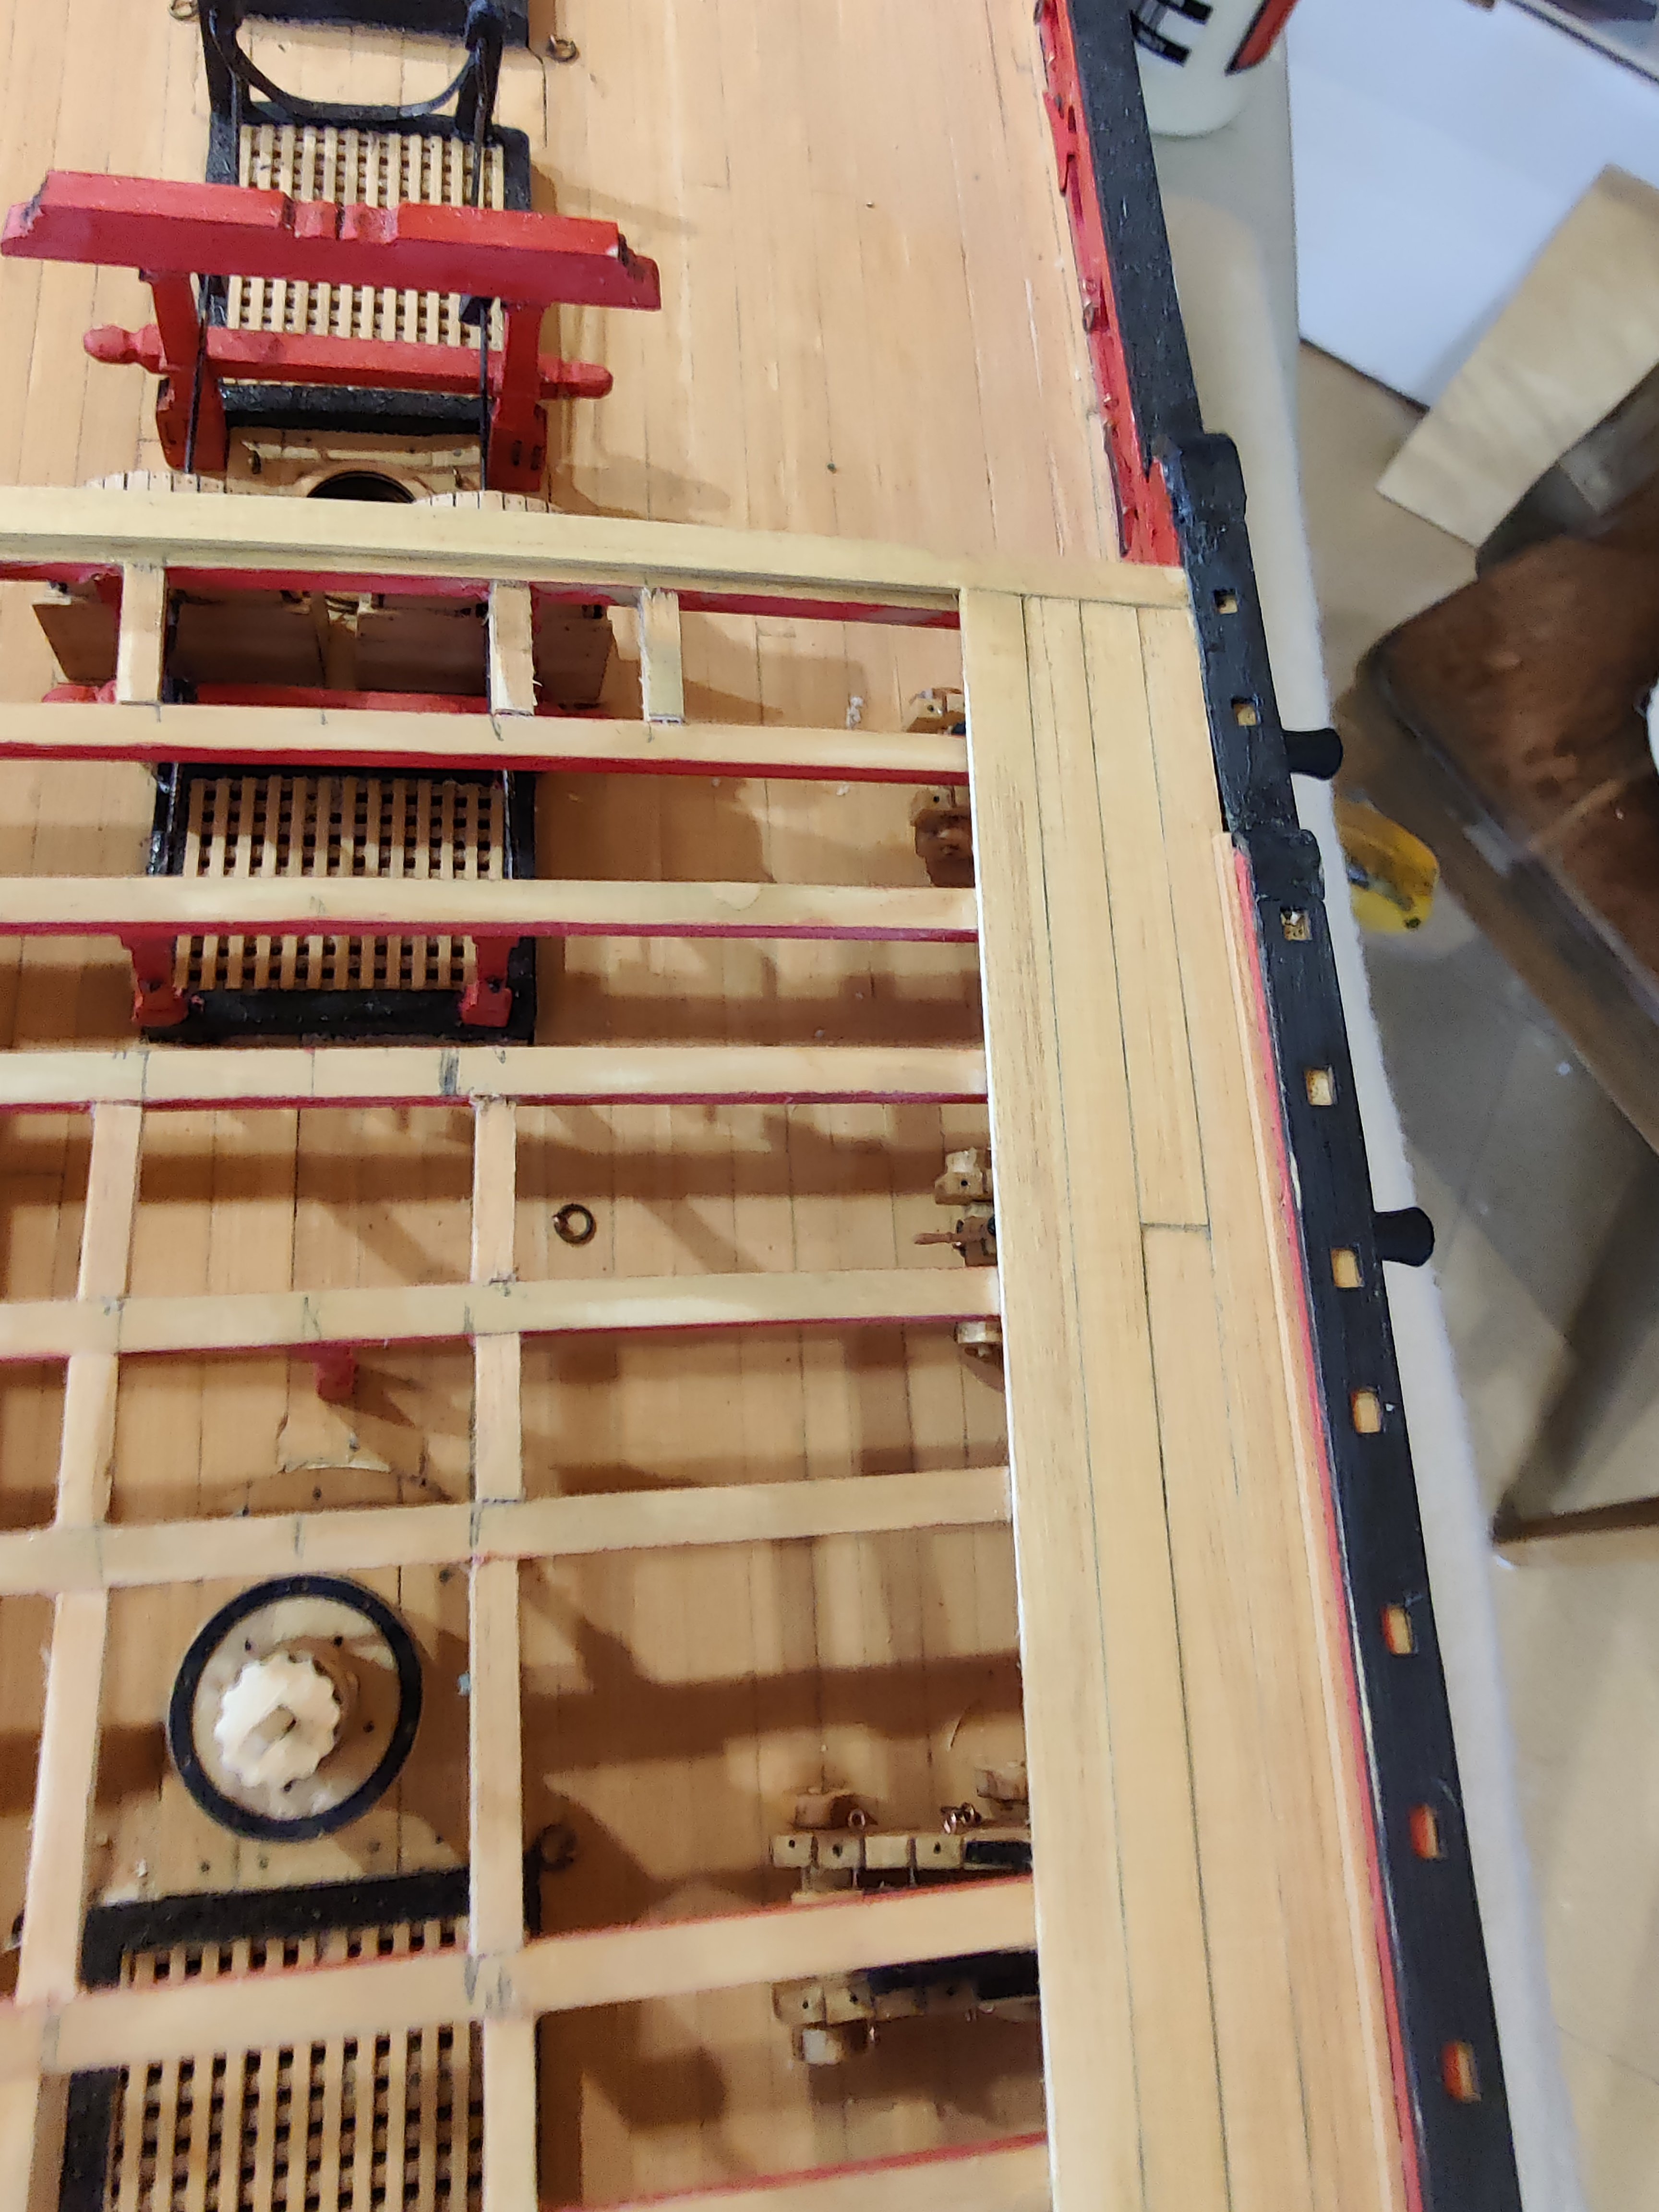
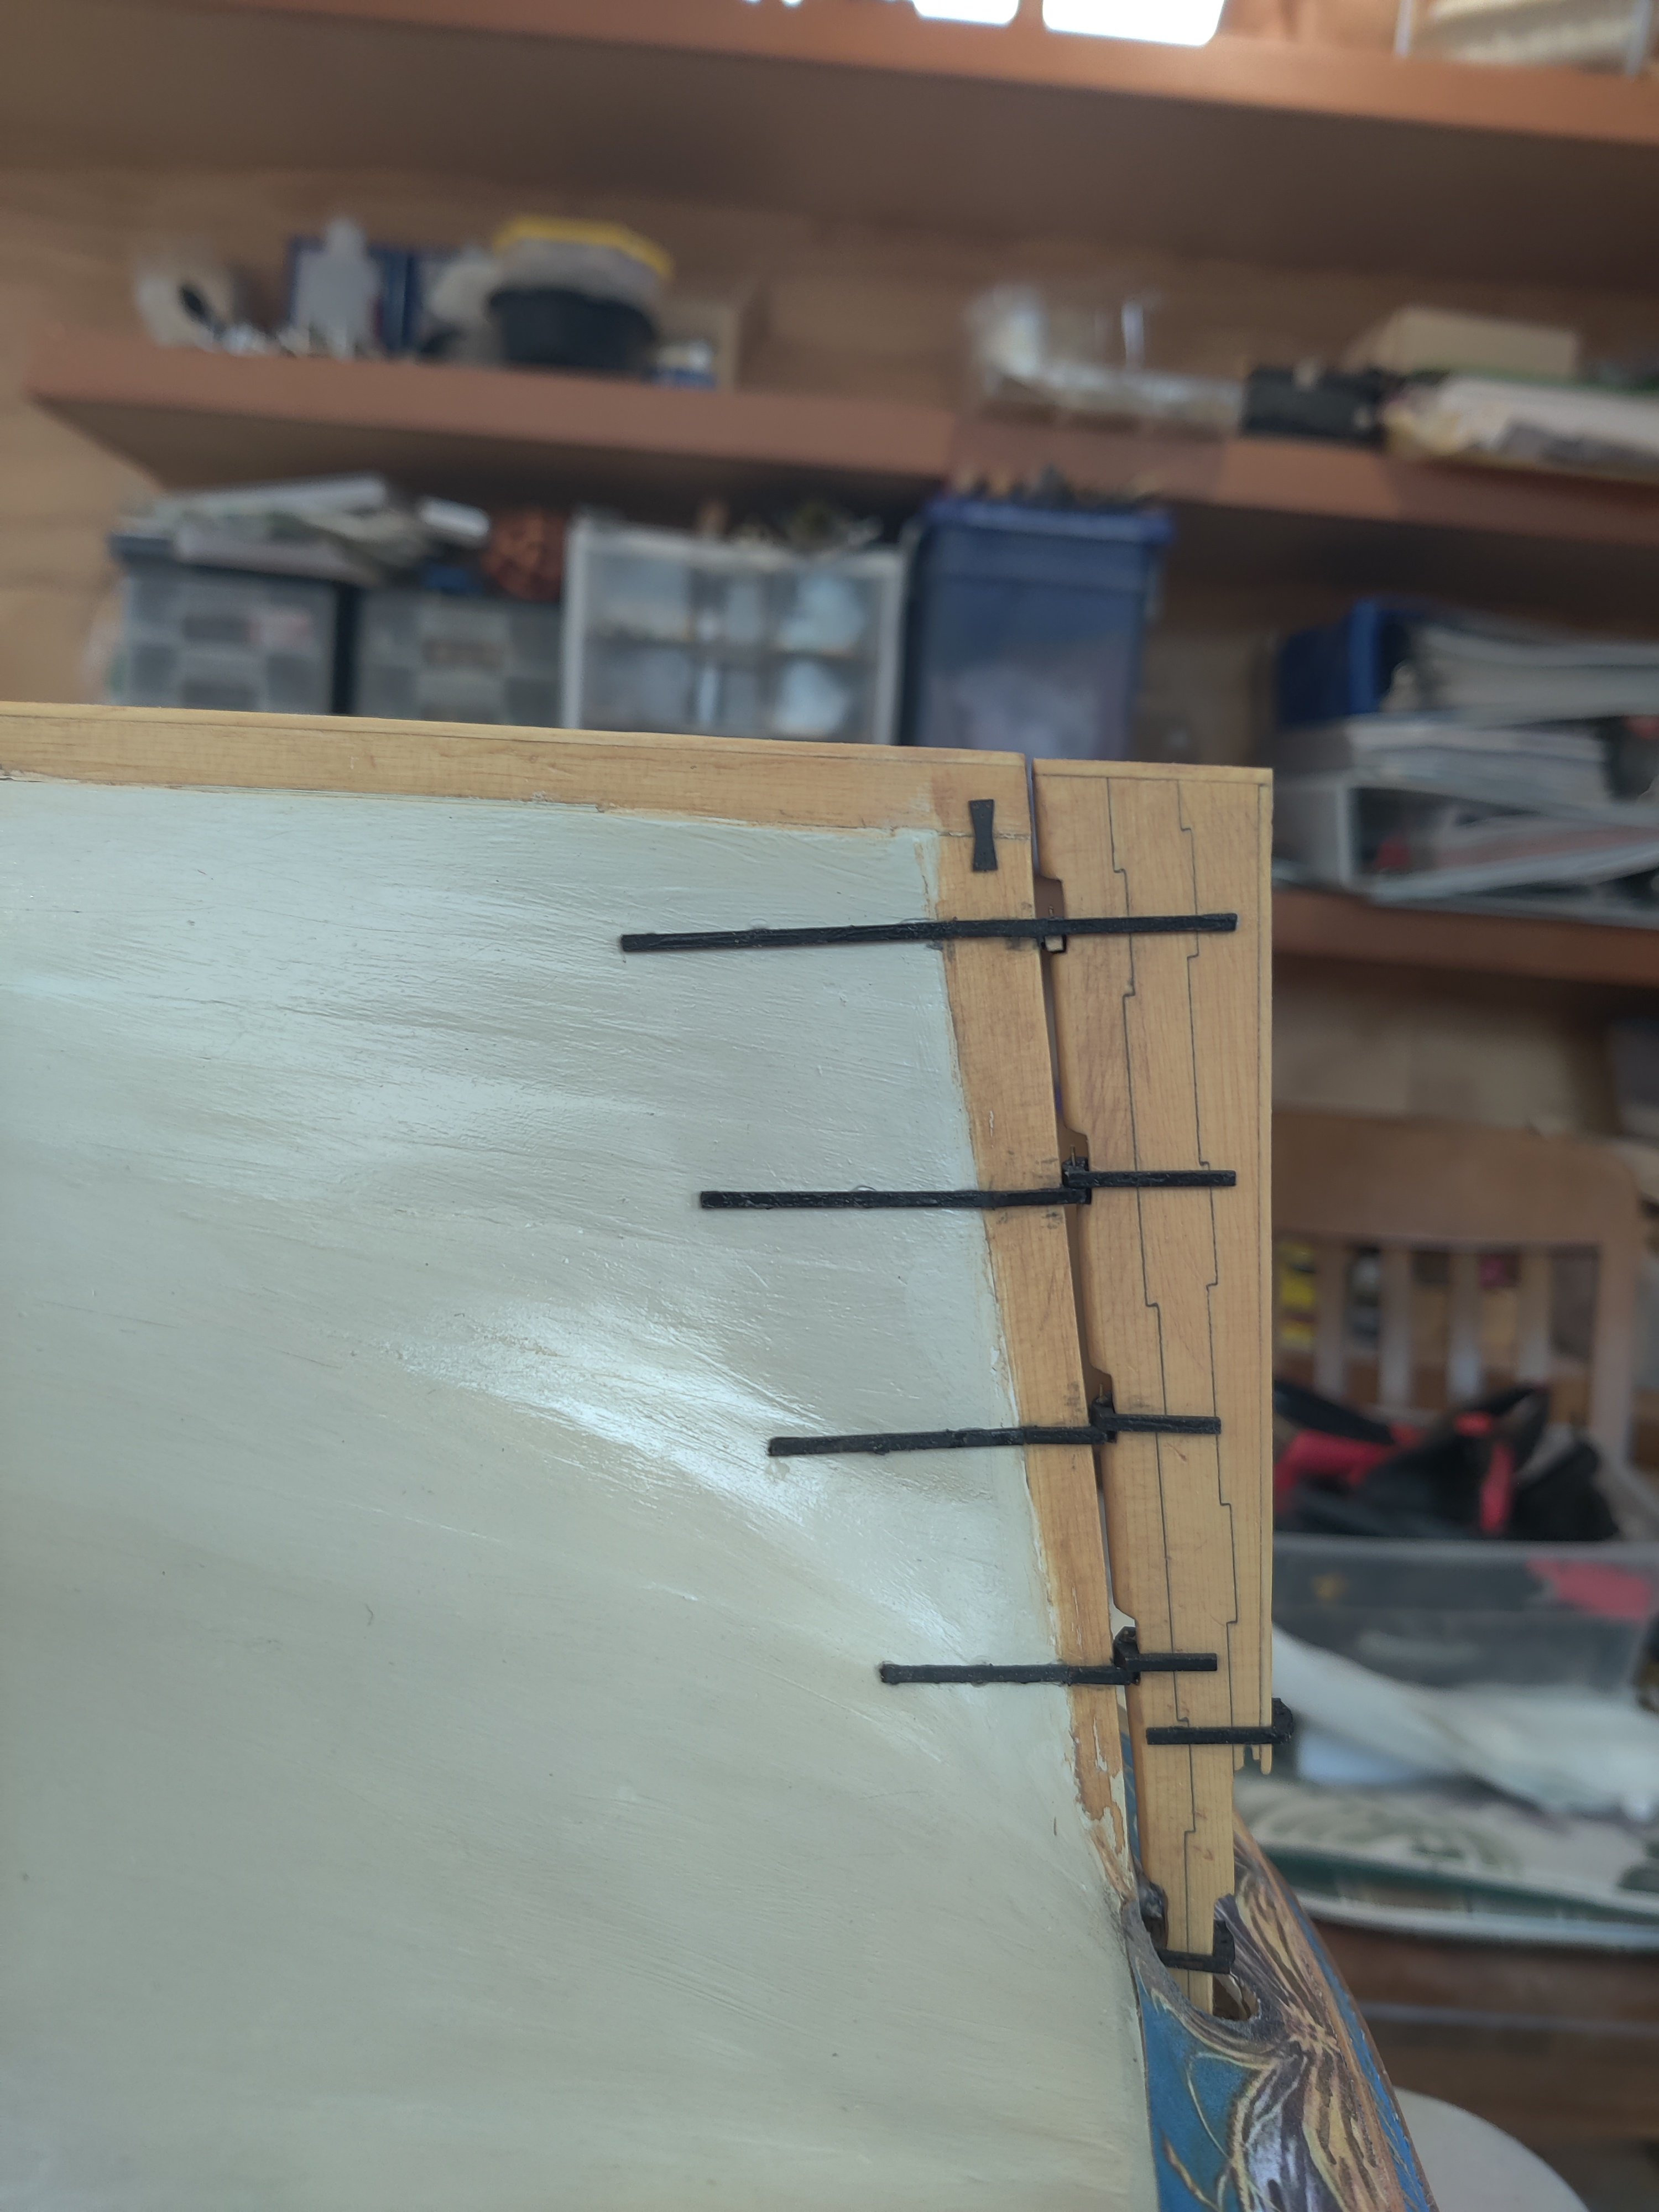
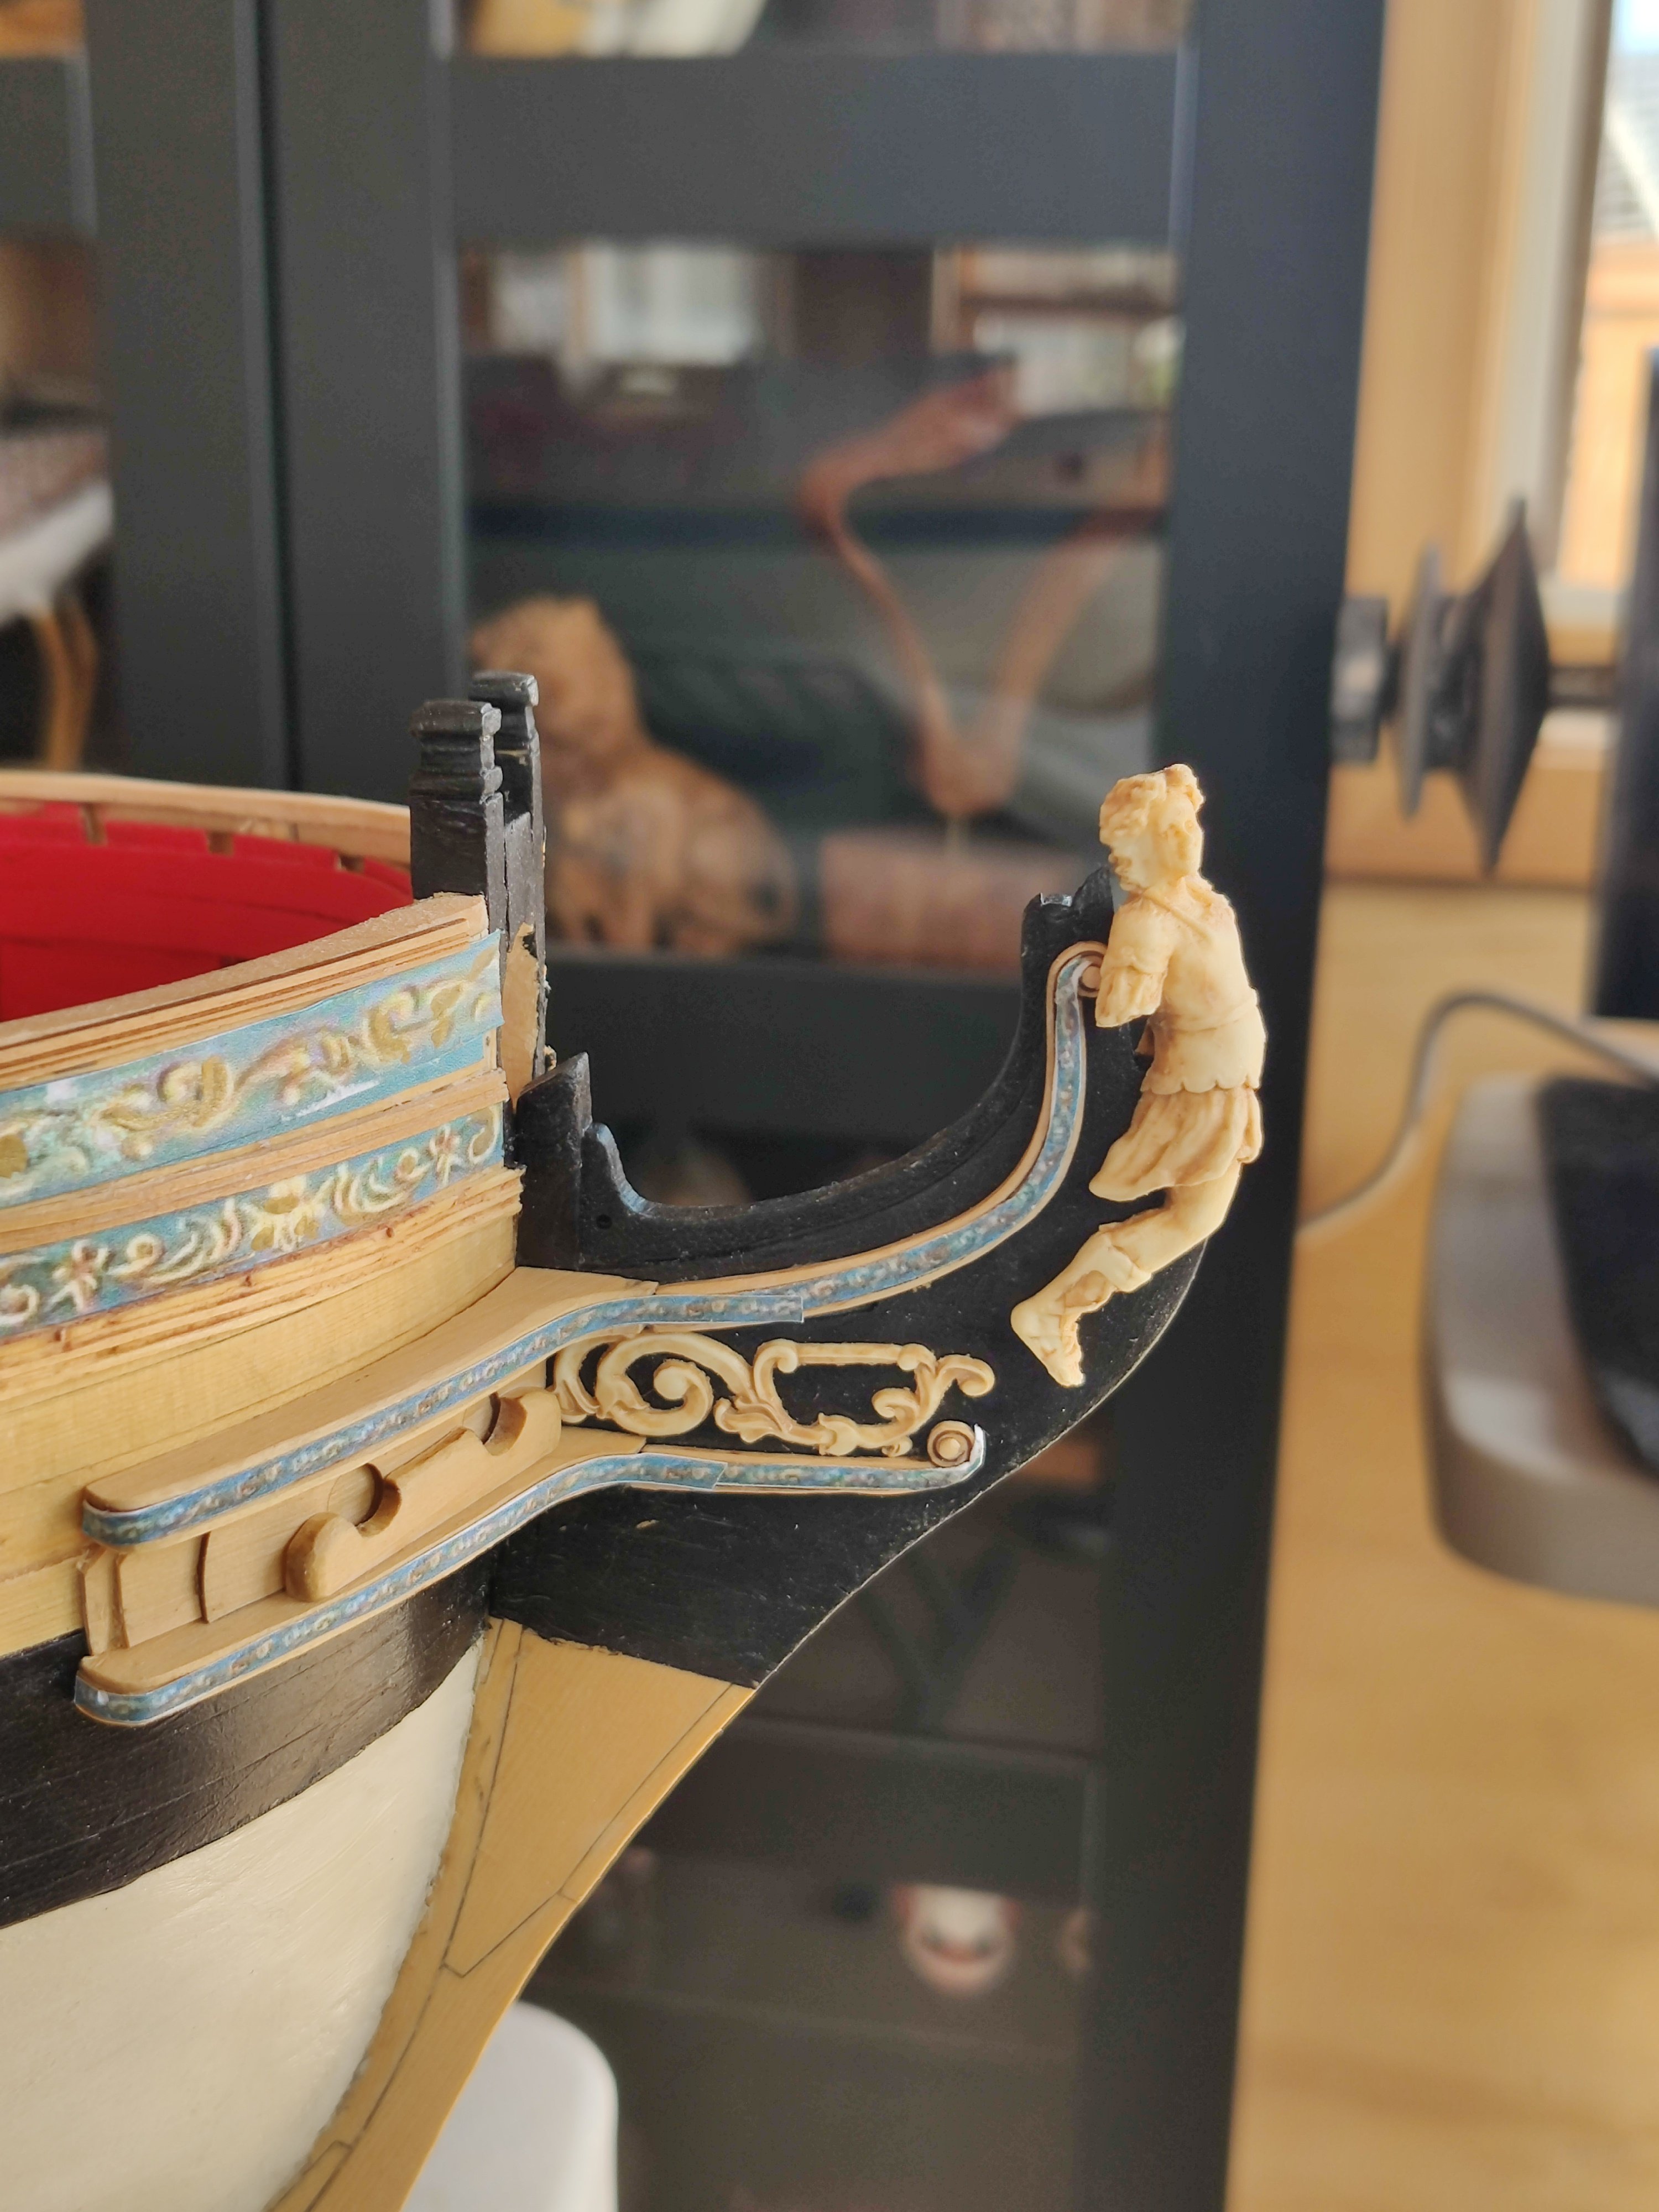
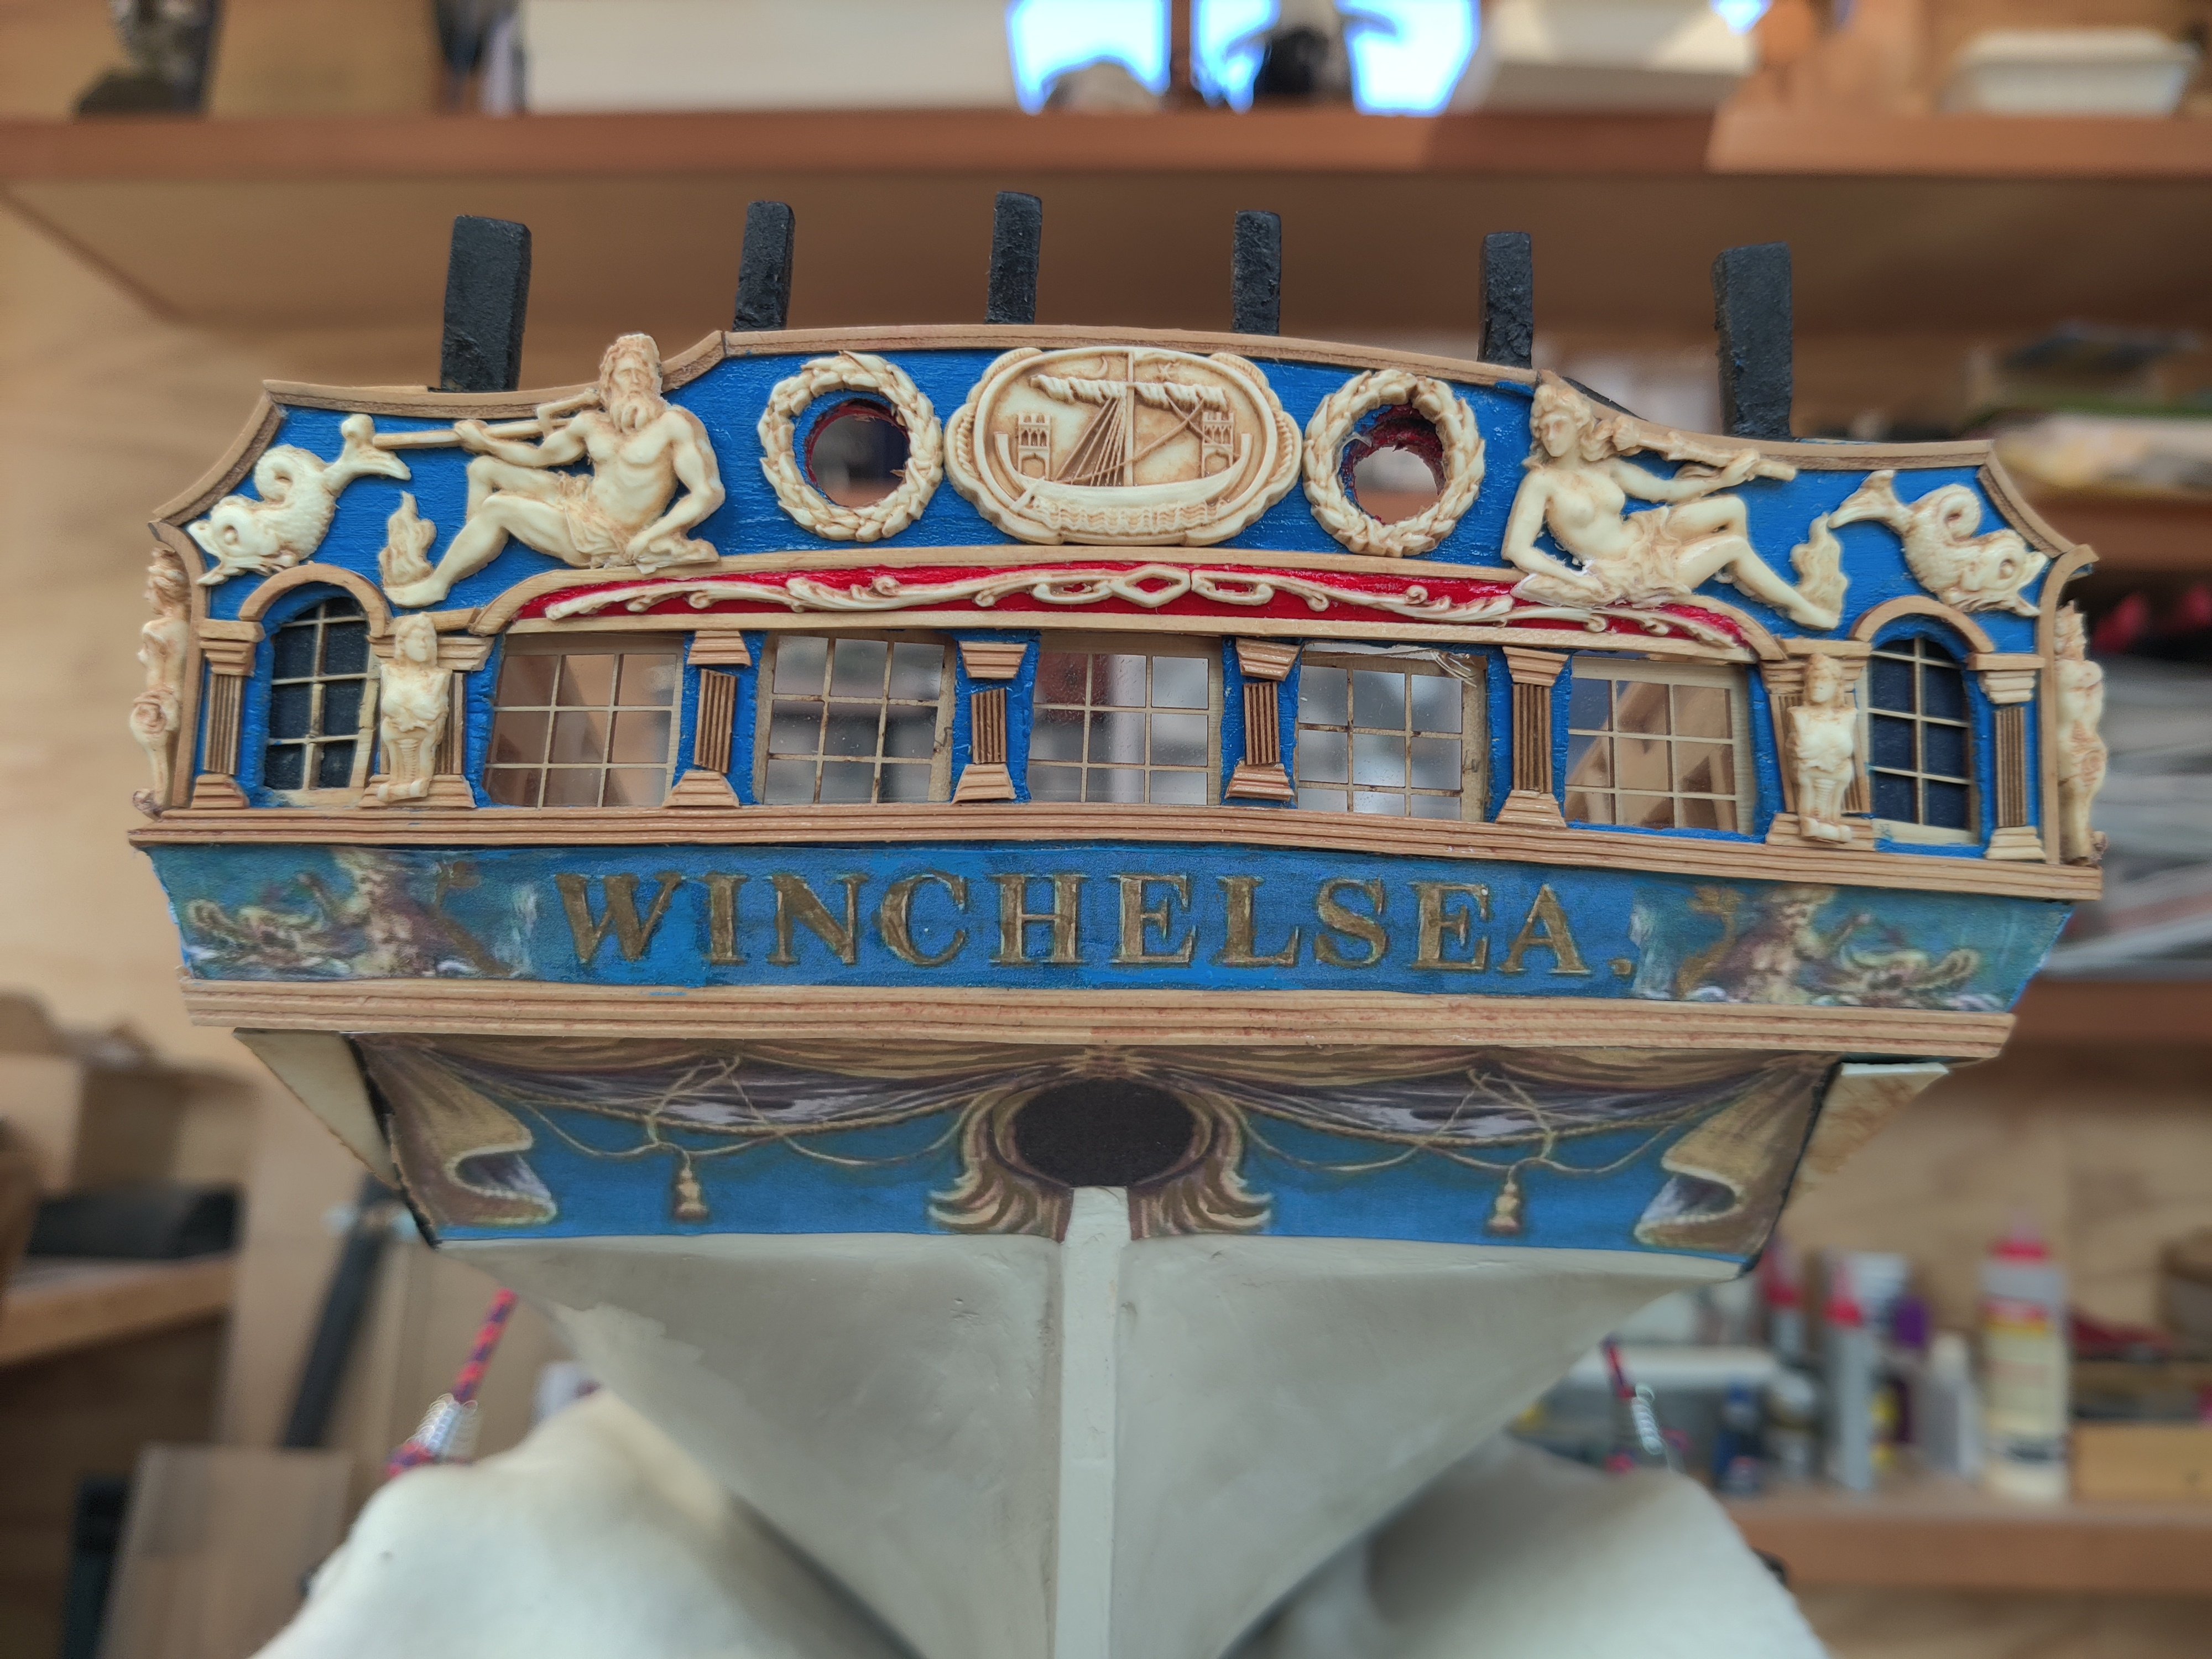
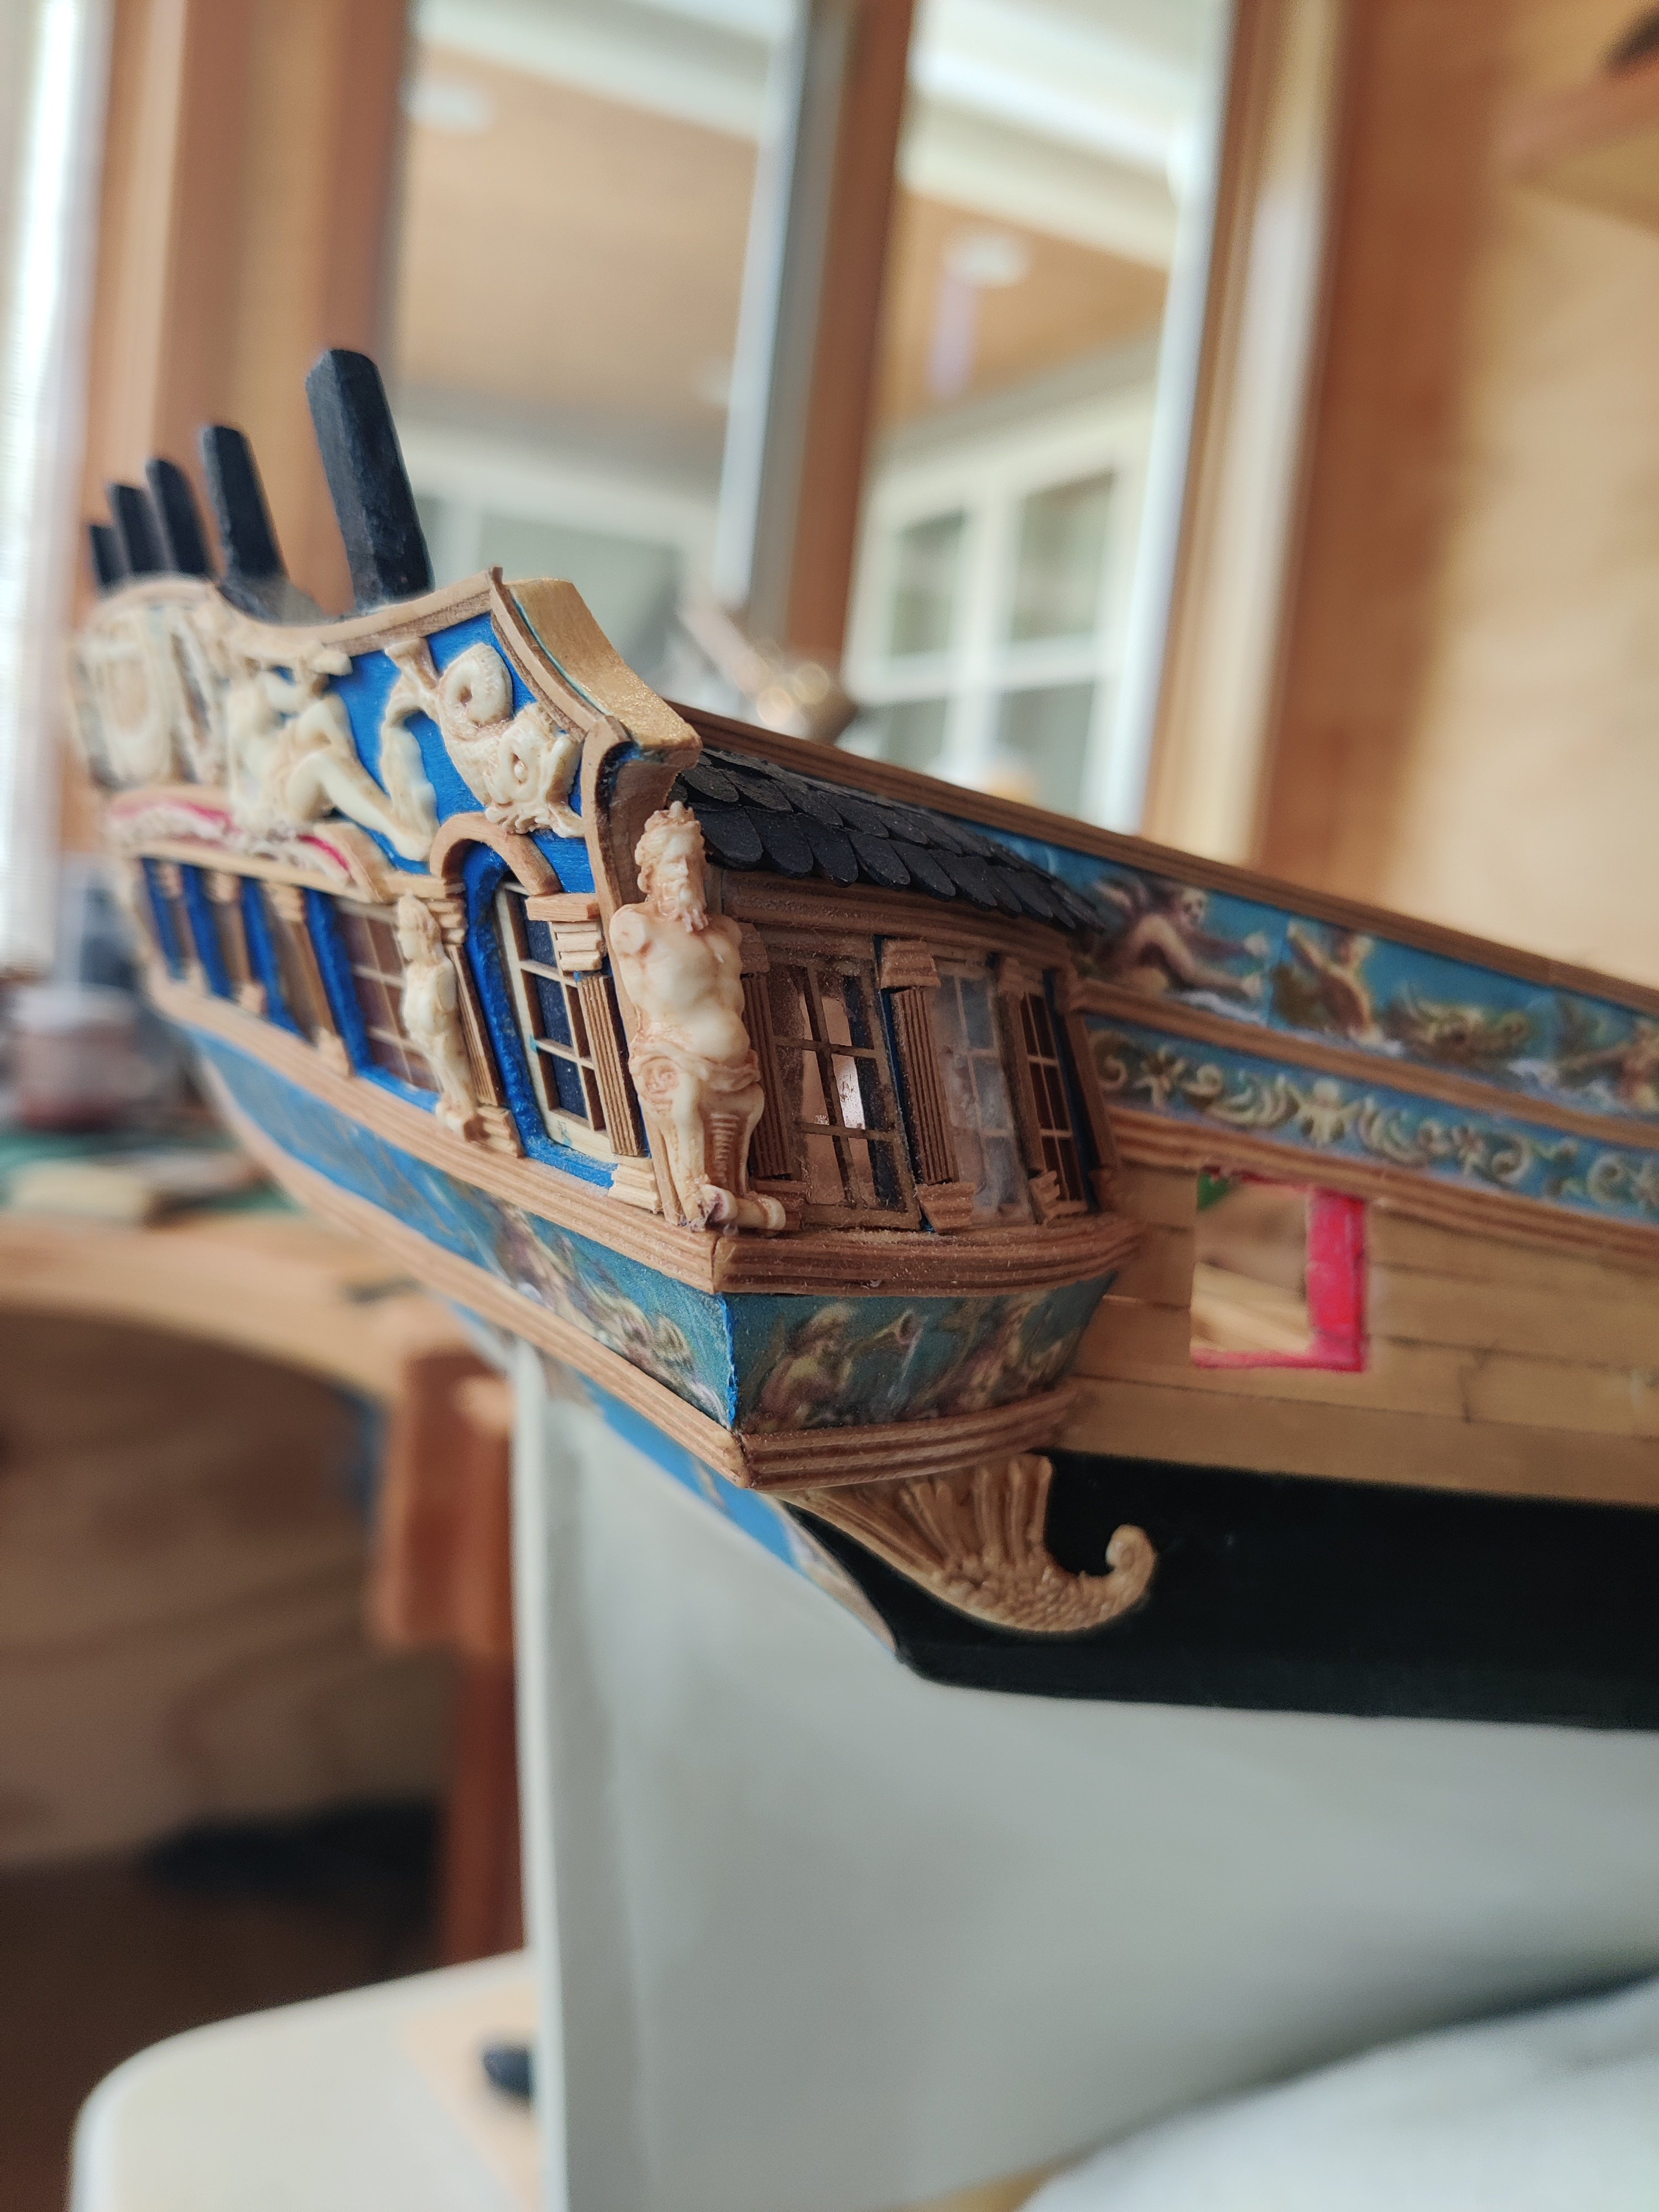
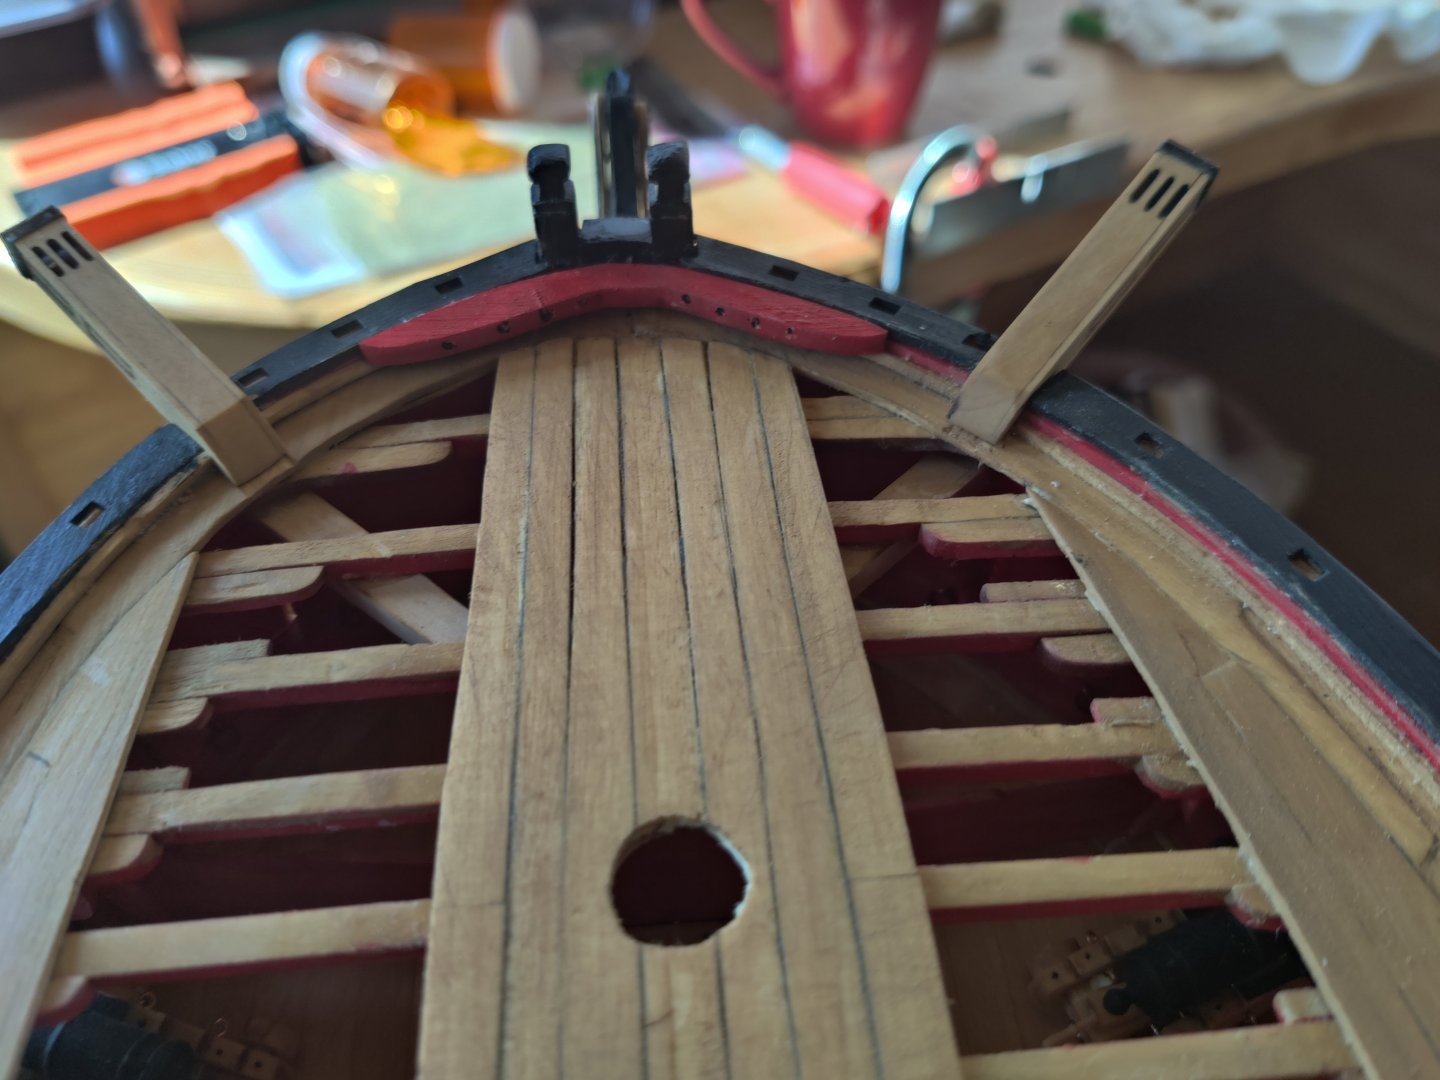
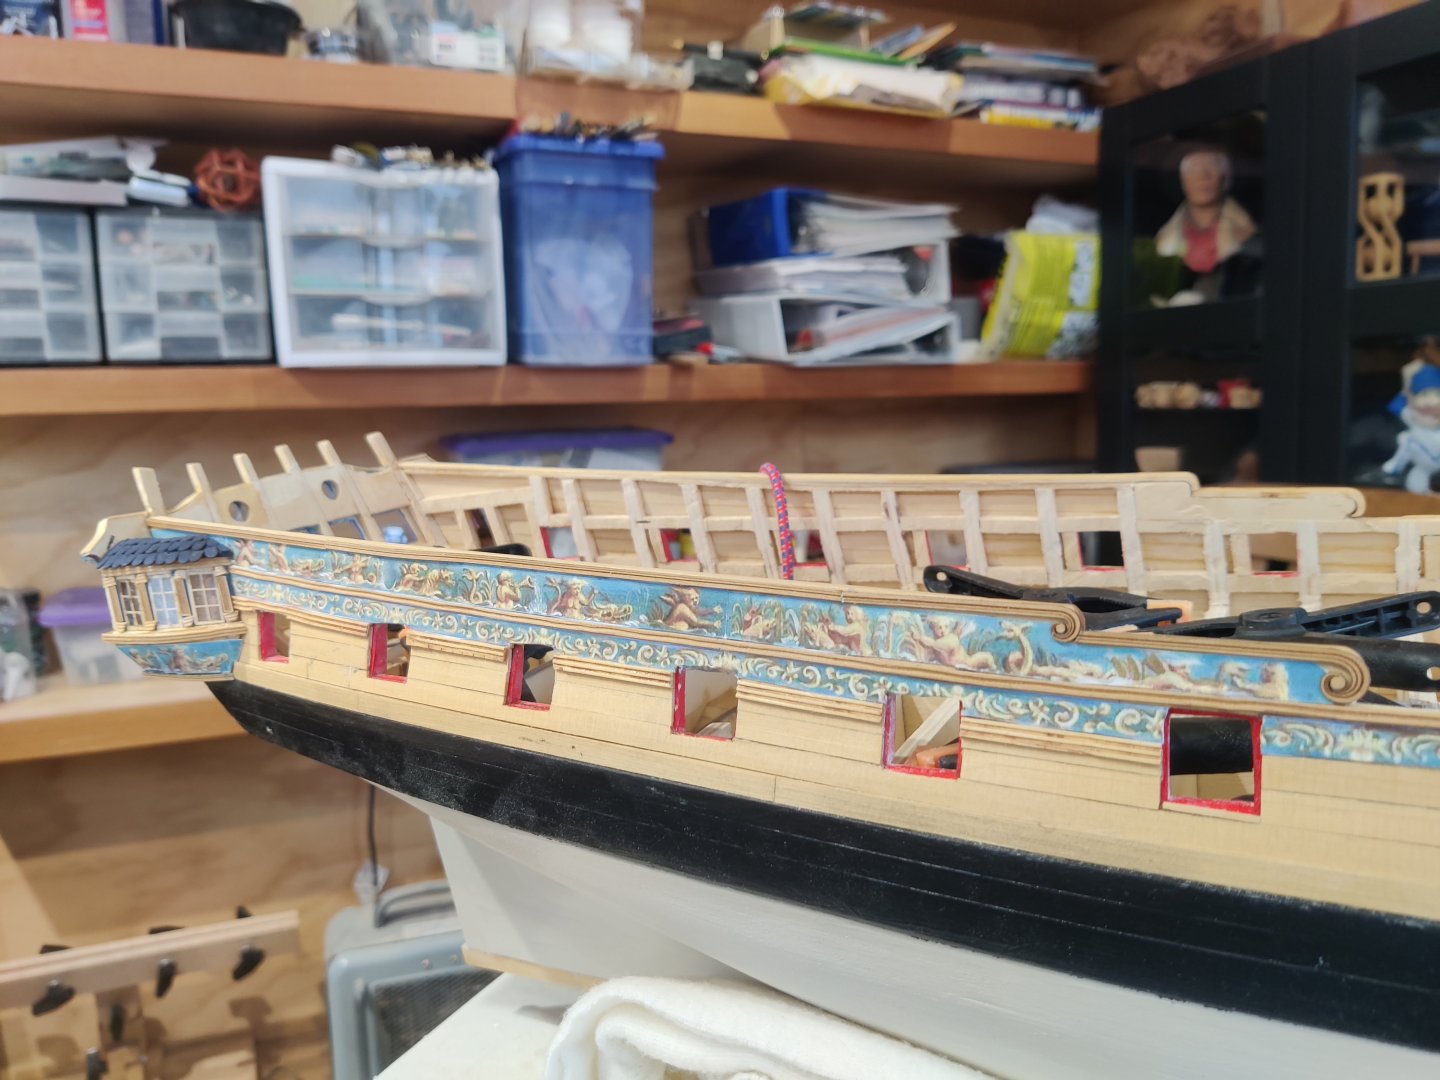
I finished on side of the forecastle cap rail. It was not without its problems, all self inflicted. I was not exact in fairing the bow. The curve at the bow was slightly different. I did not see that until I tried to place the cap rail on. The laser cut piece did not fit the curve. To cure that I had to cut the rail in two places to match the curve. It is not perfect but I did the best I could. The opposite side will be much easier because it matches the curve of the laser cut pieces. Thank goodness.
-
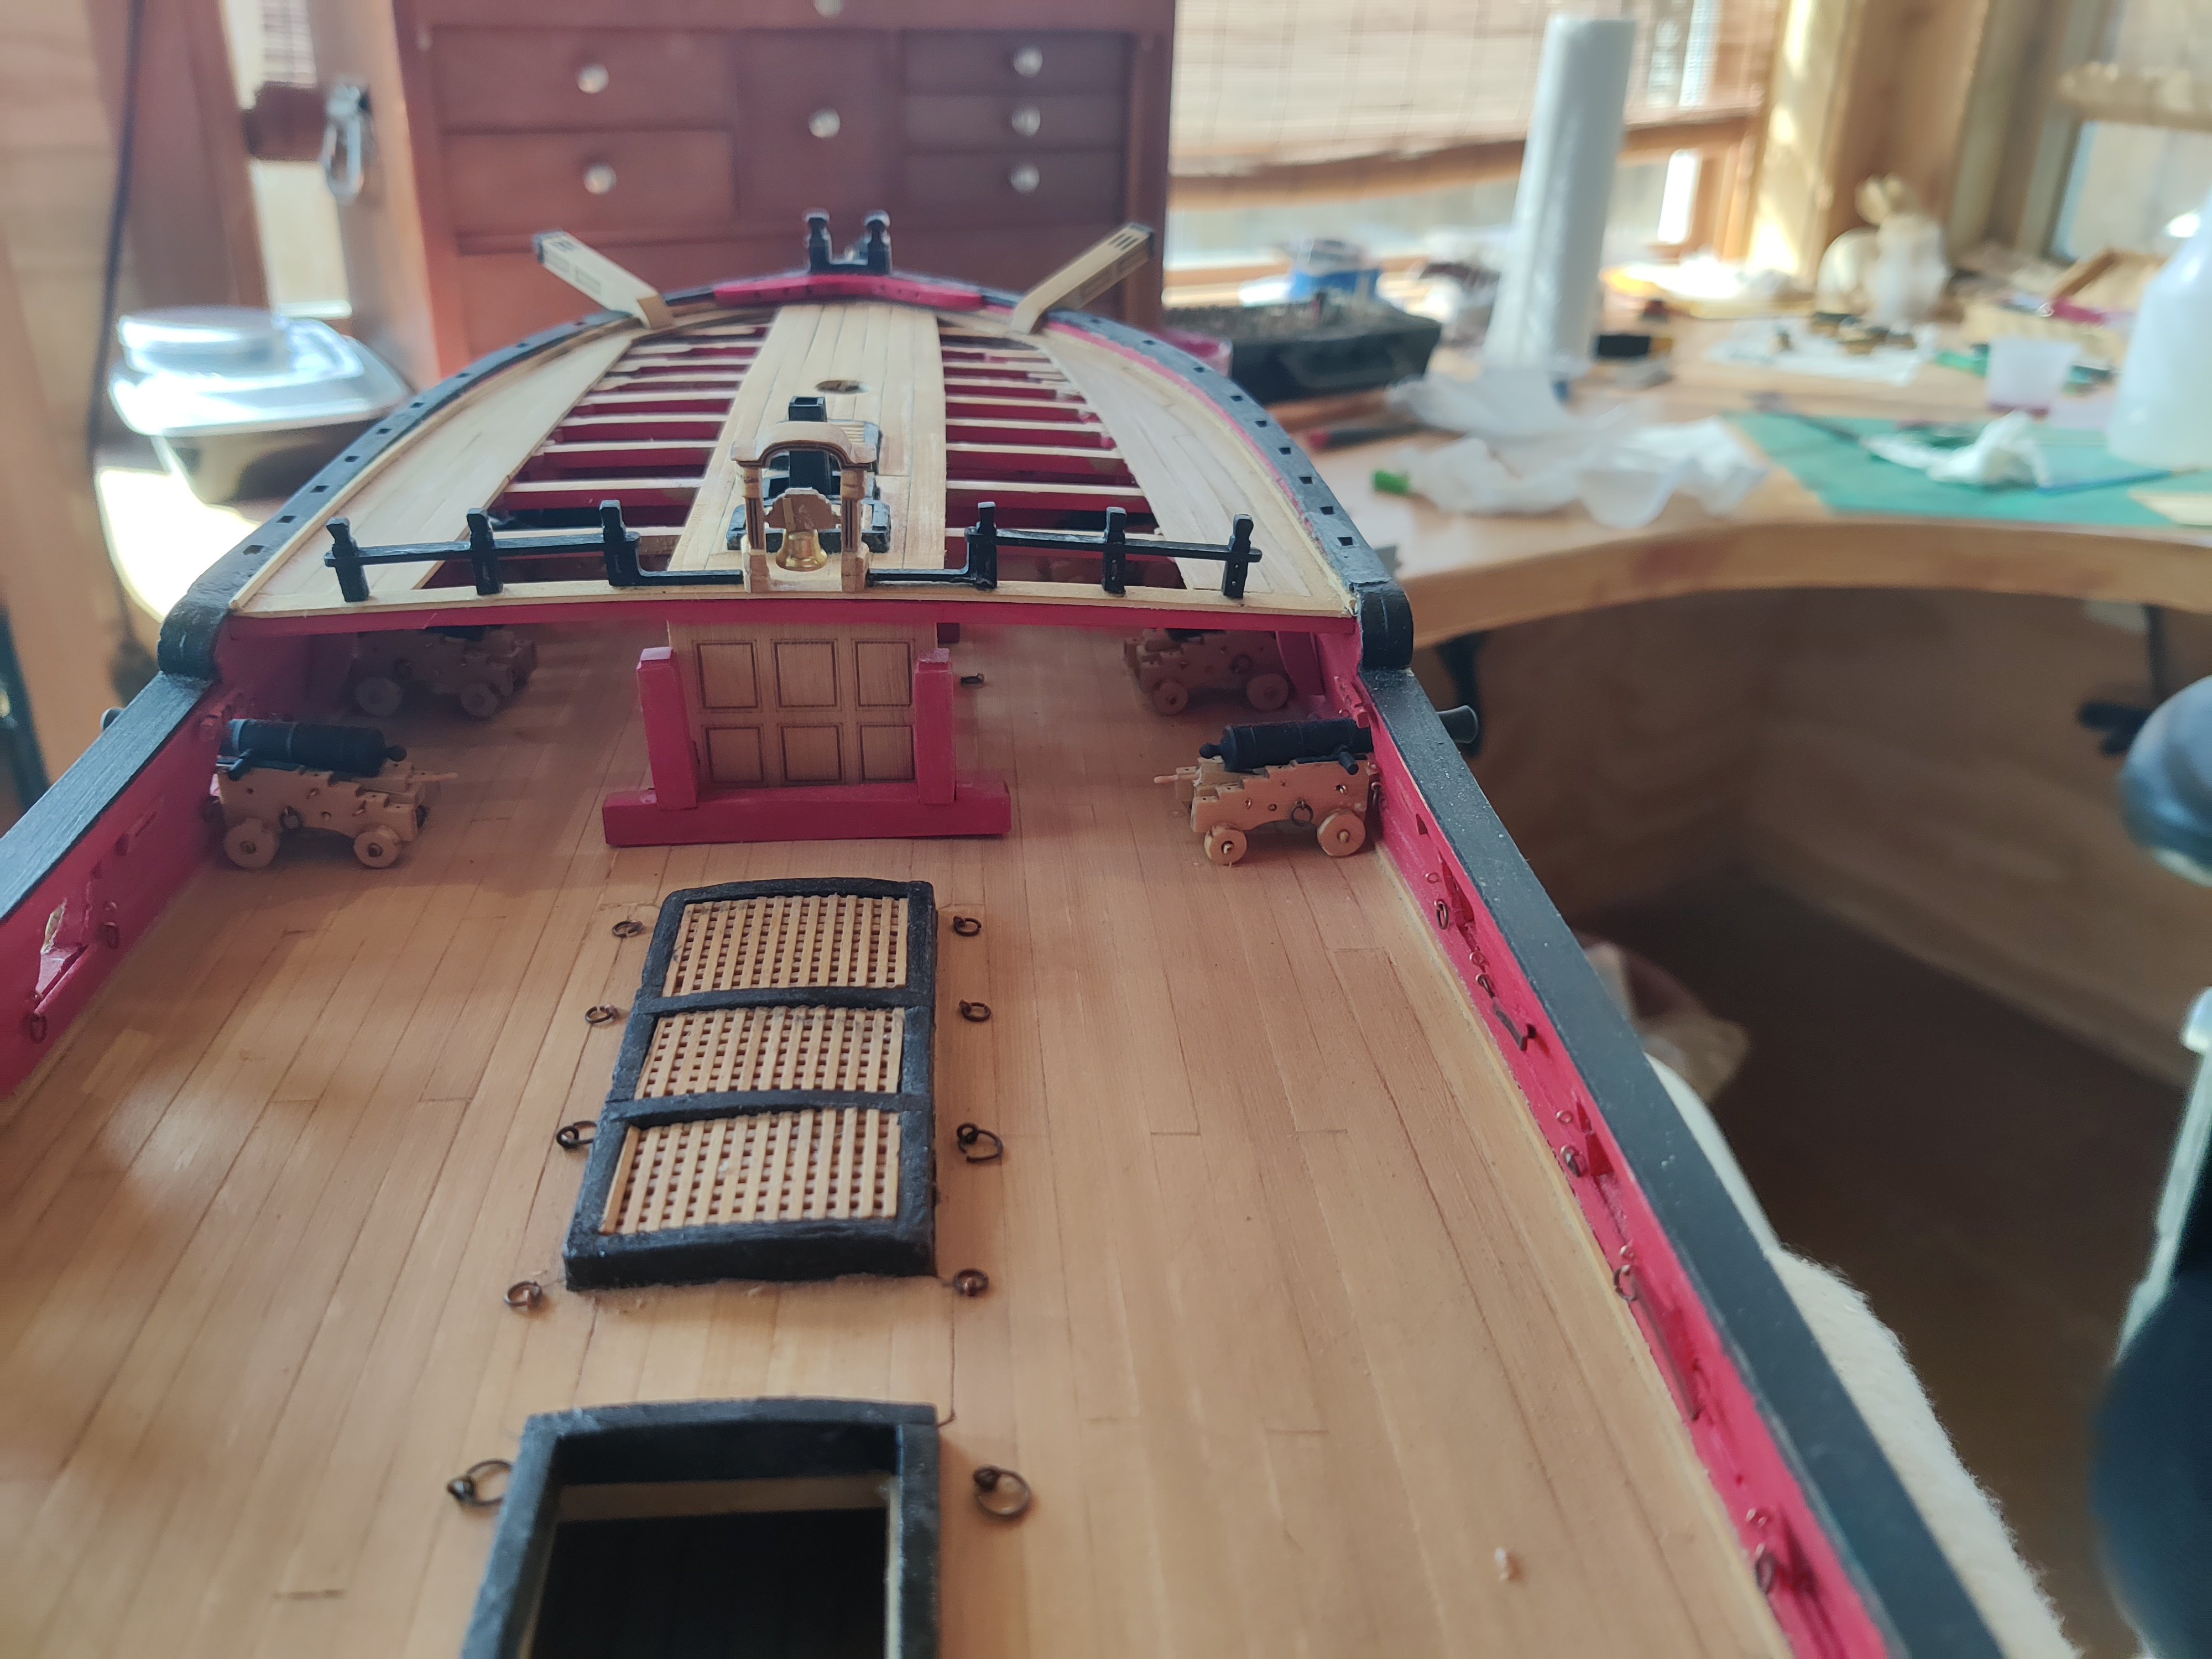
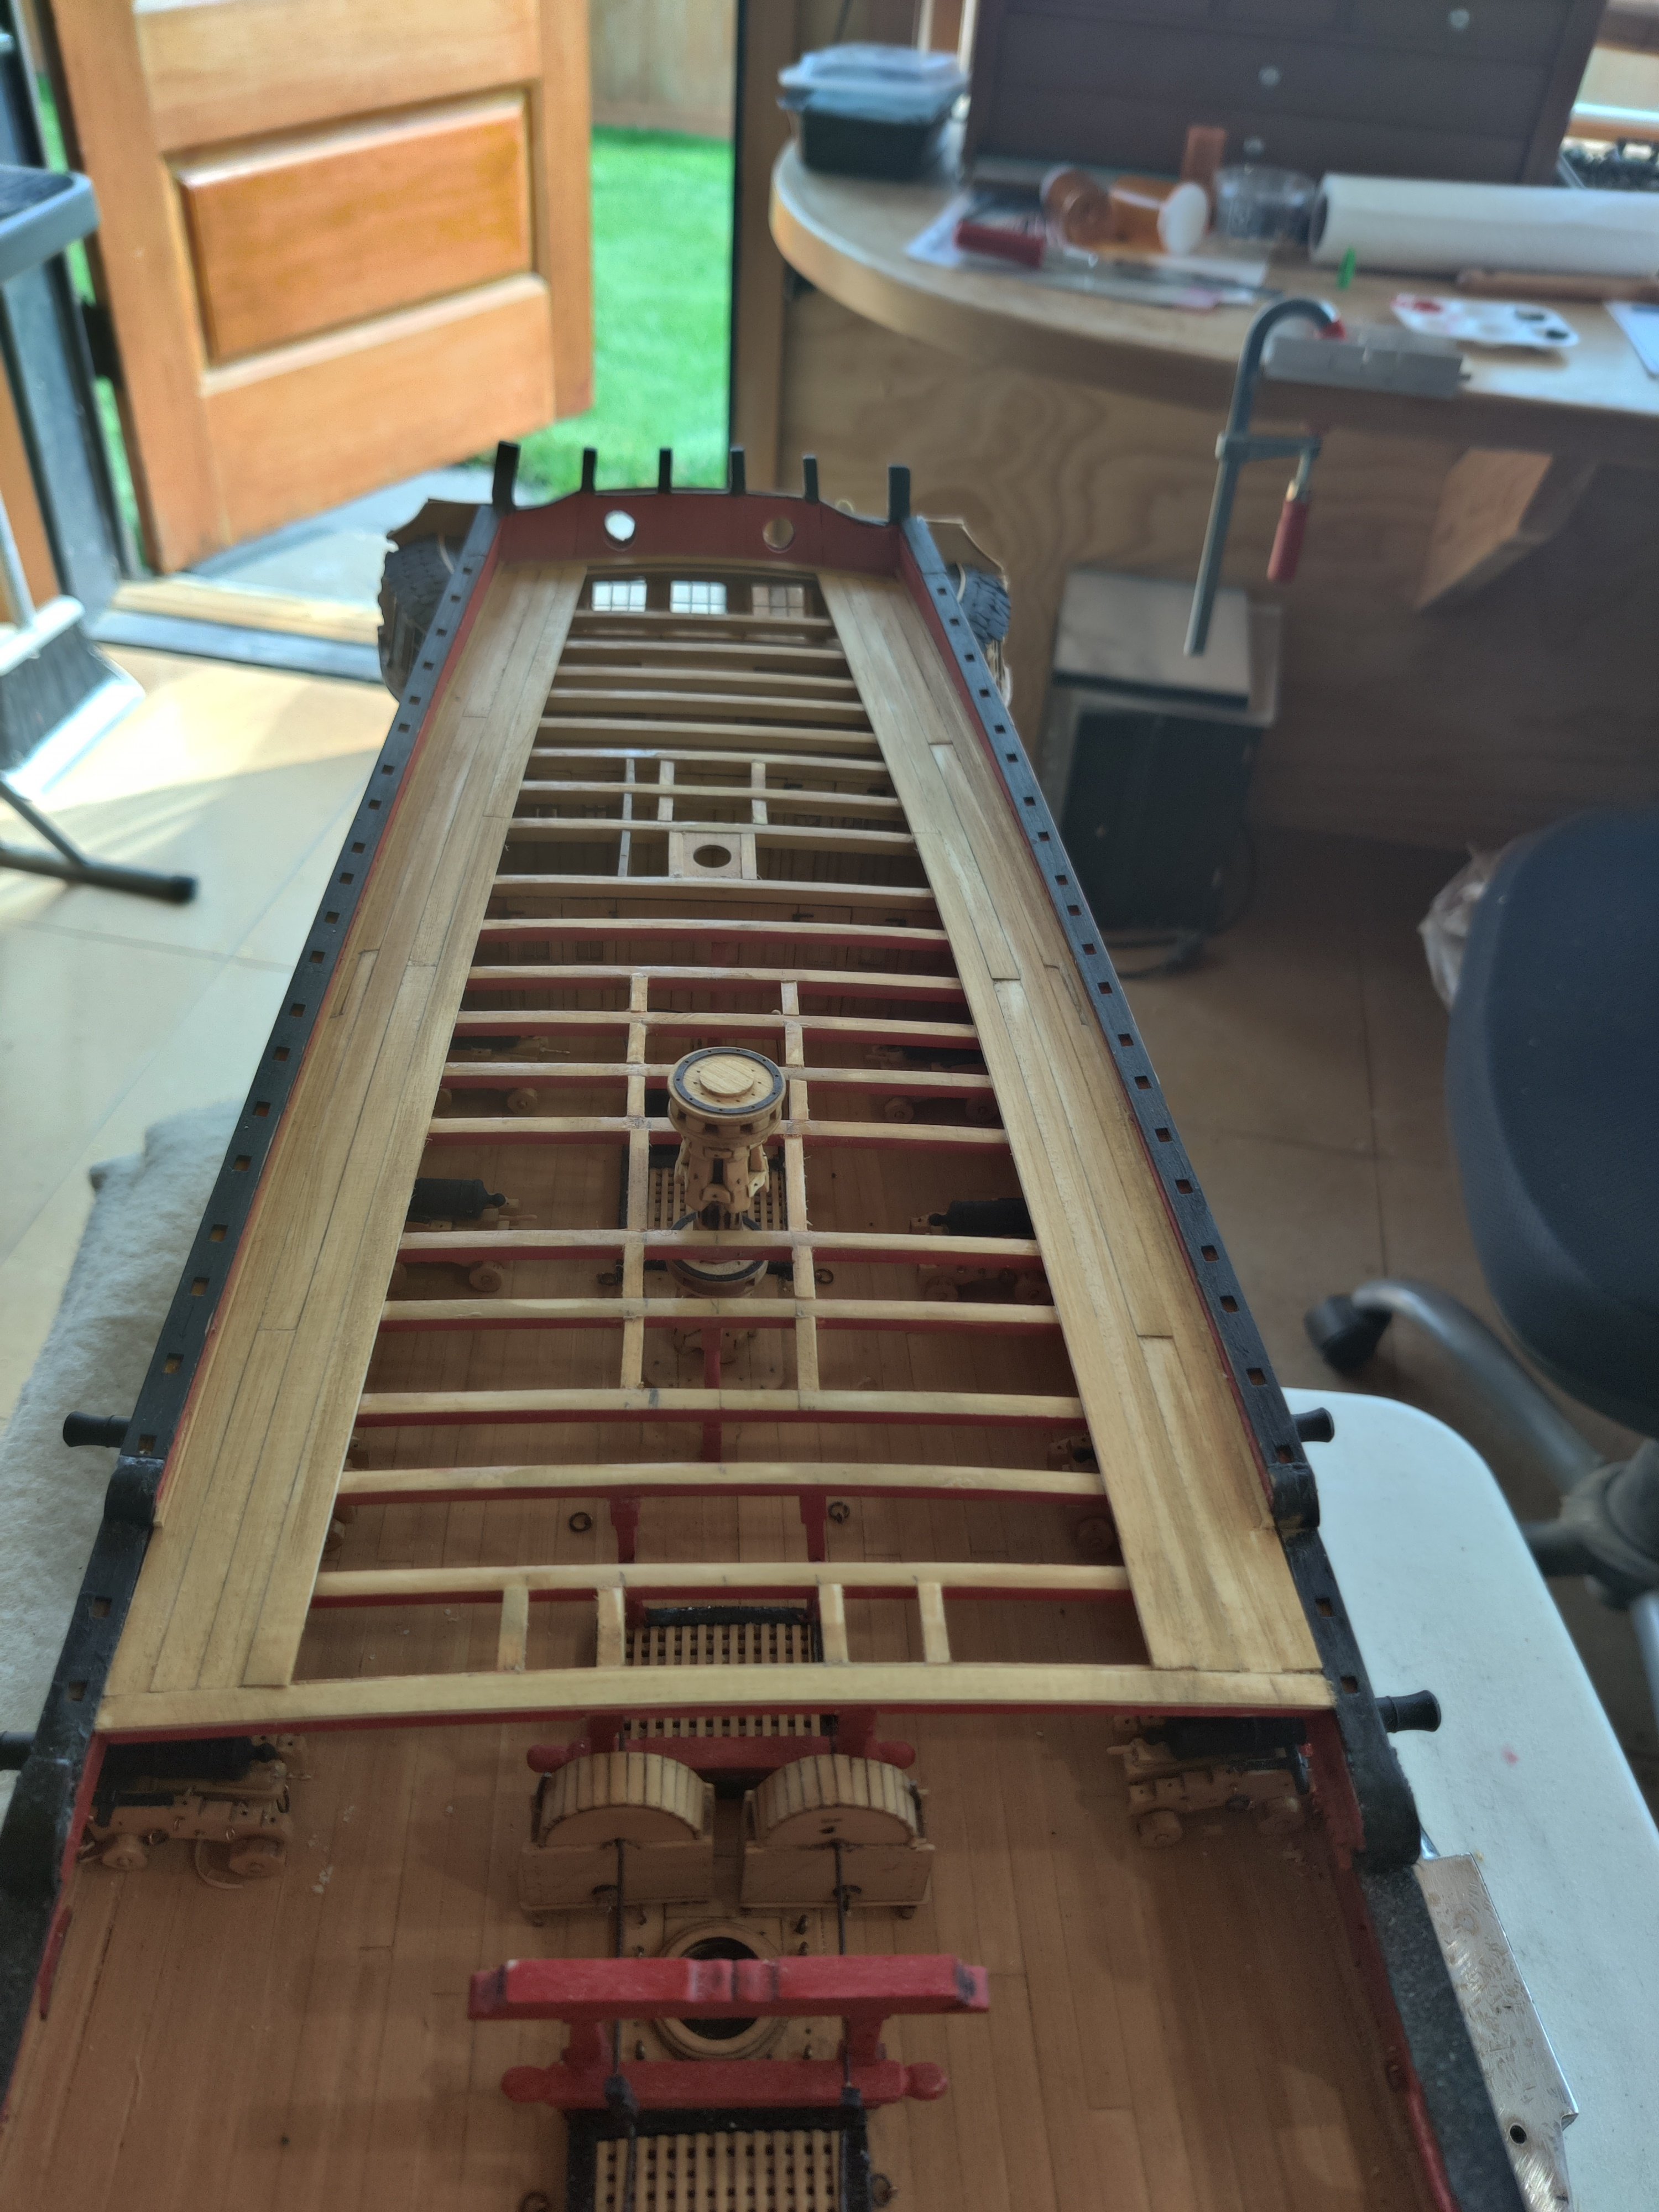
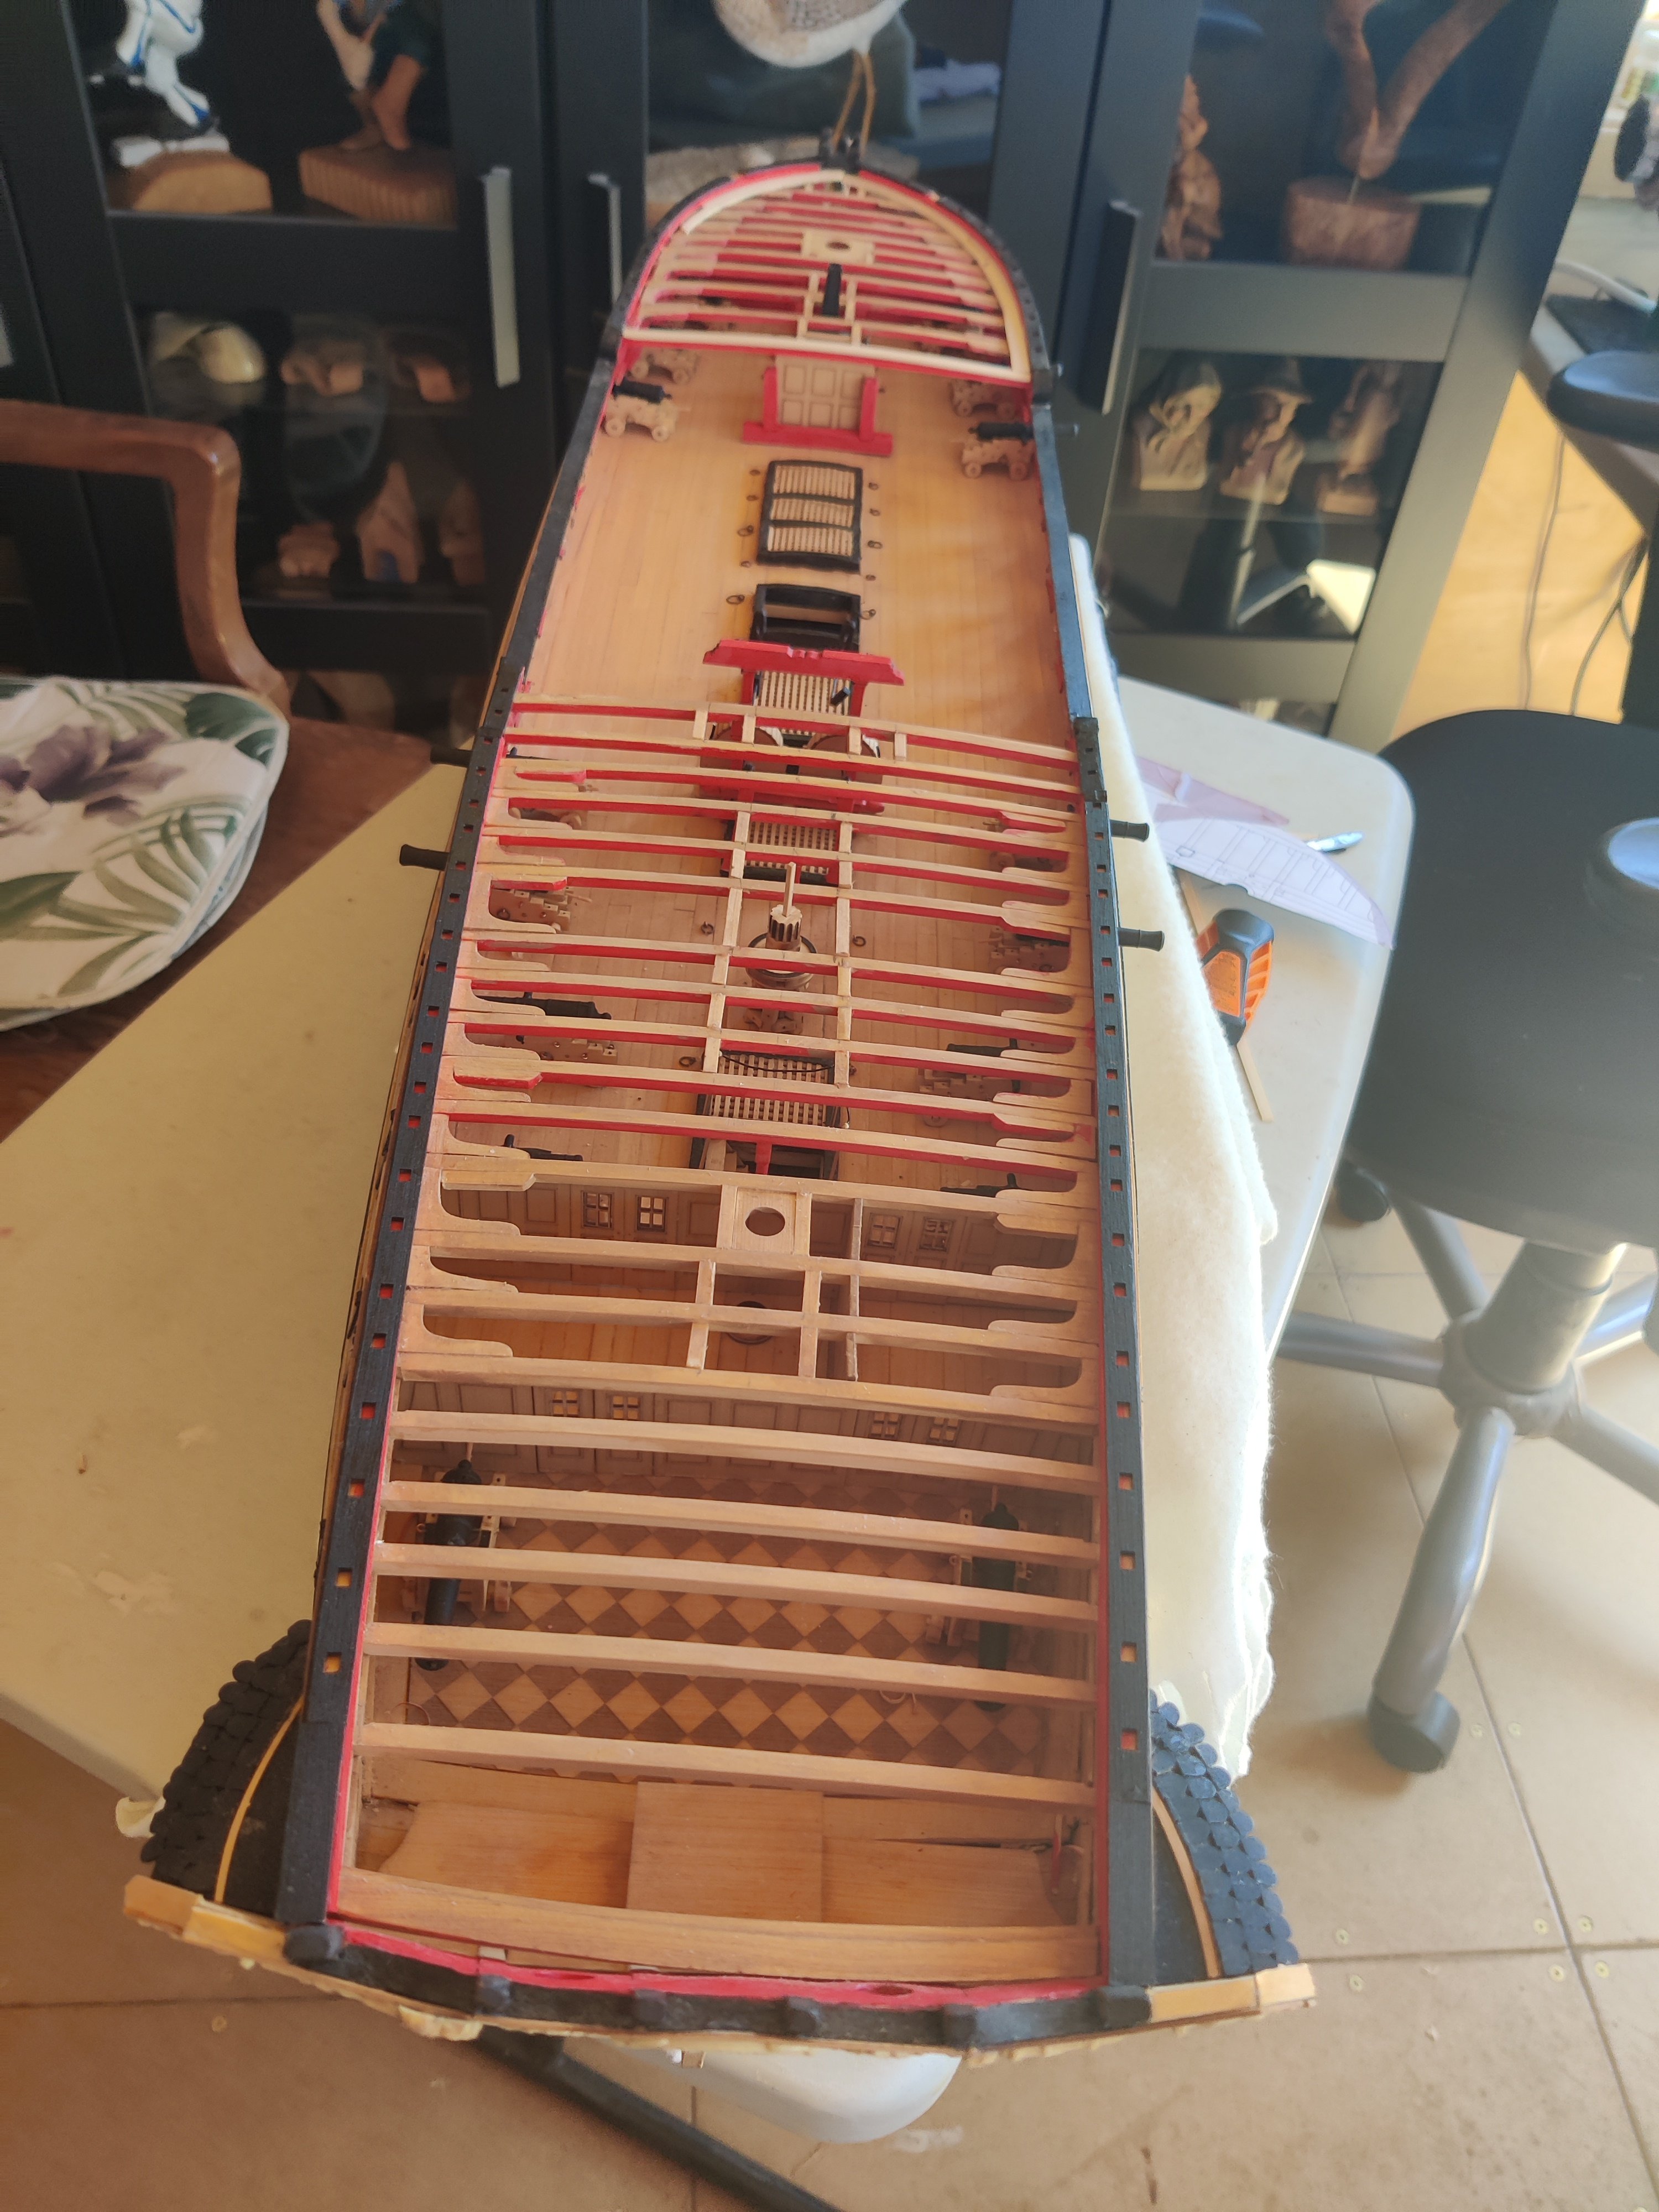
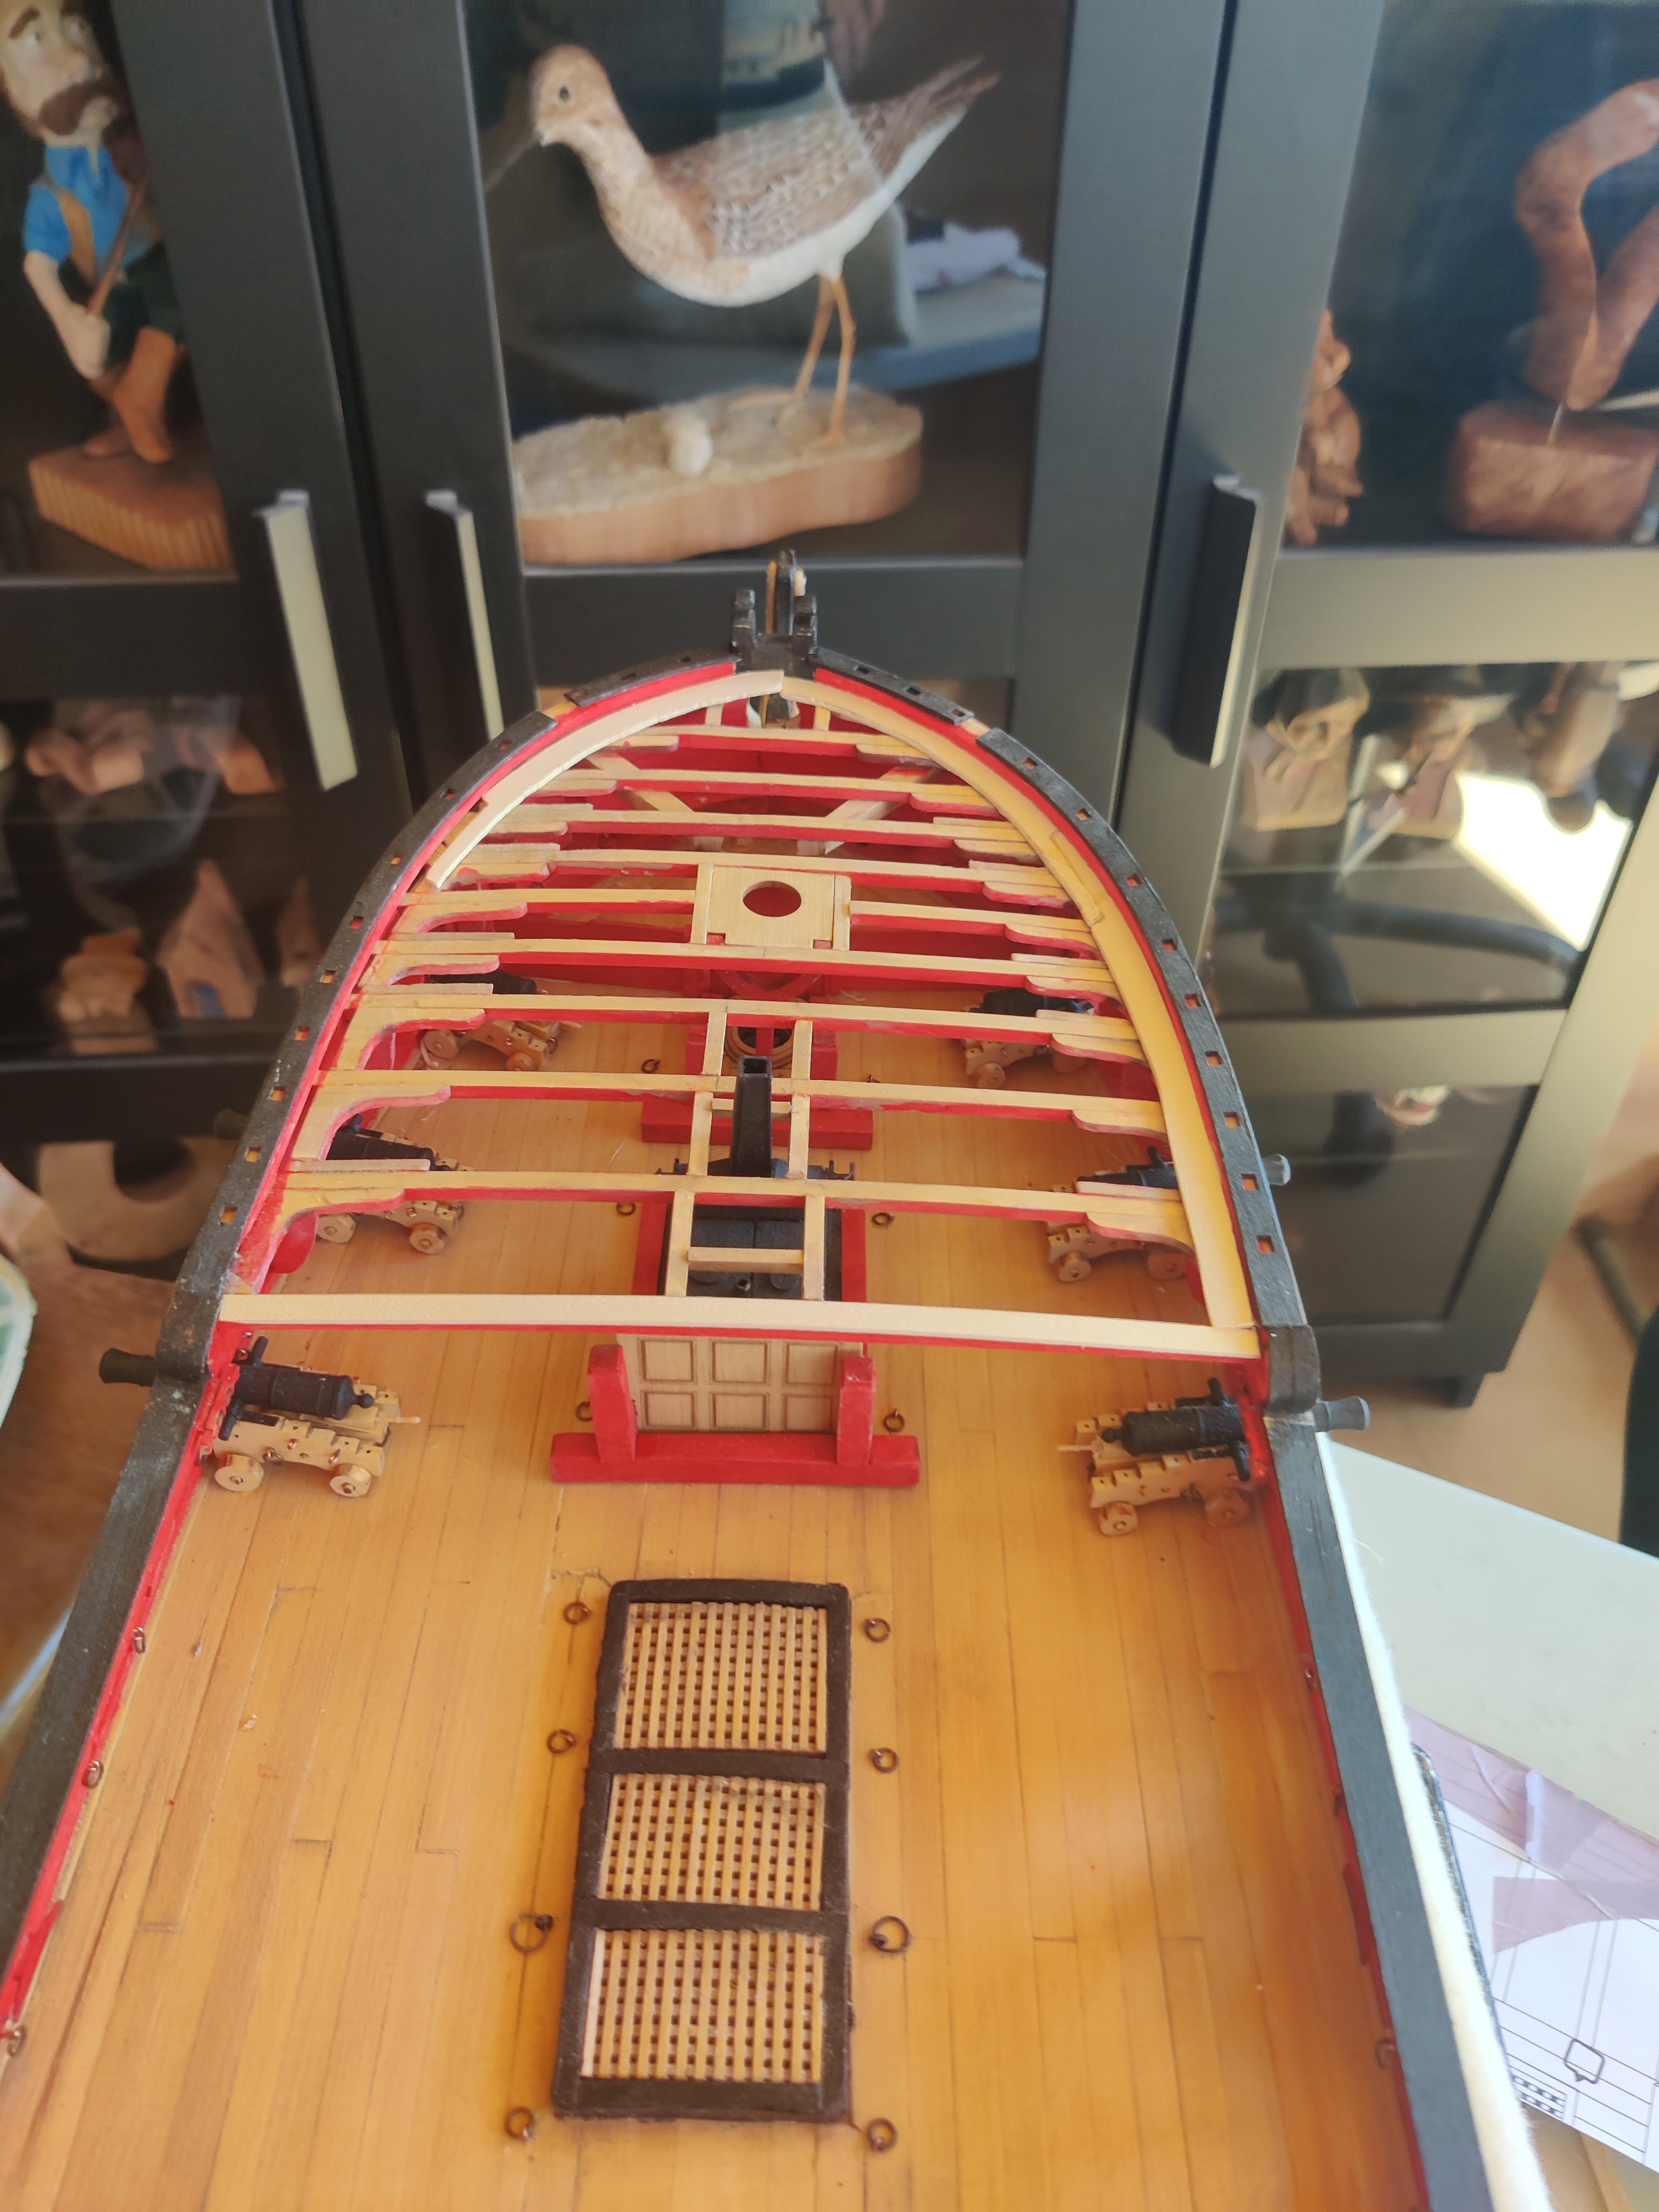
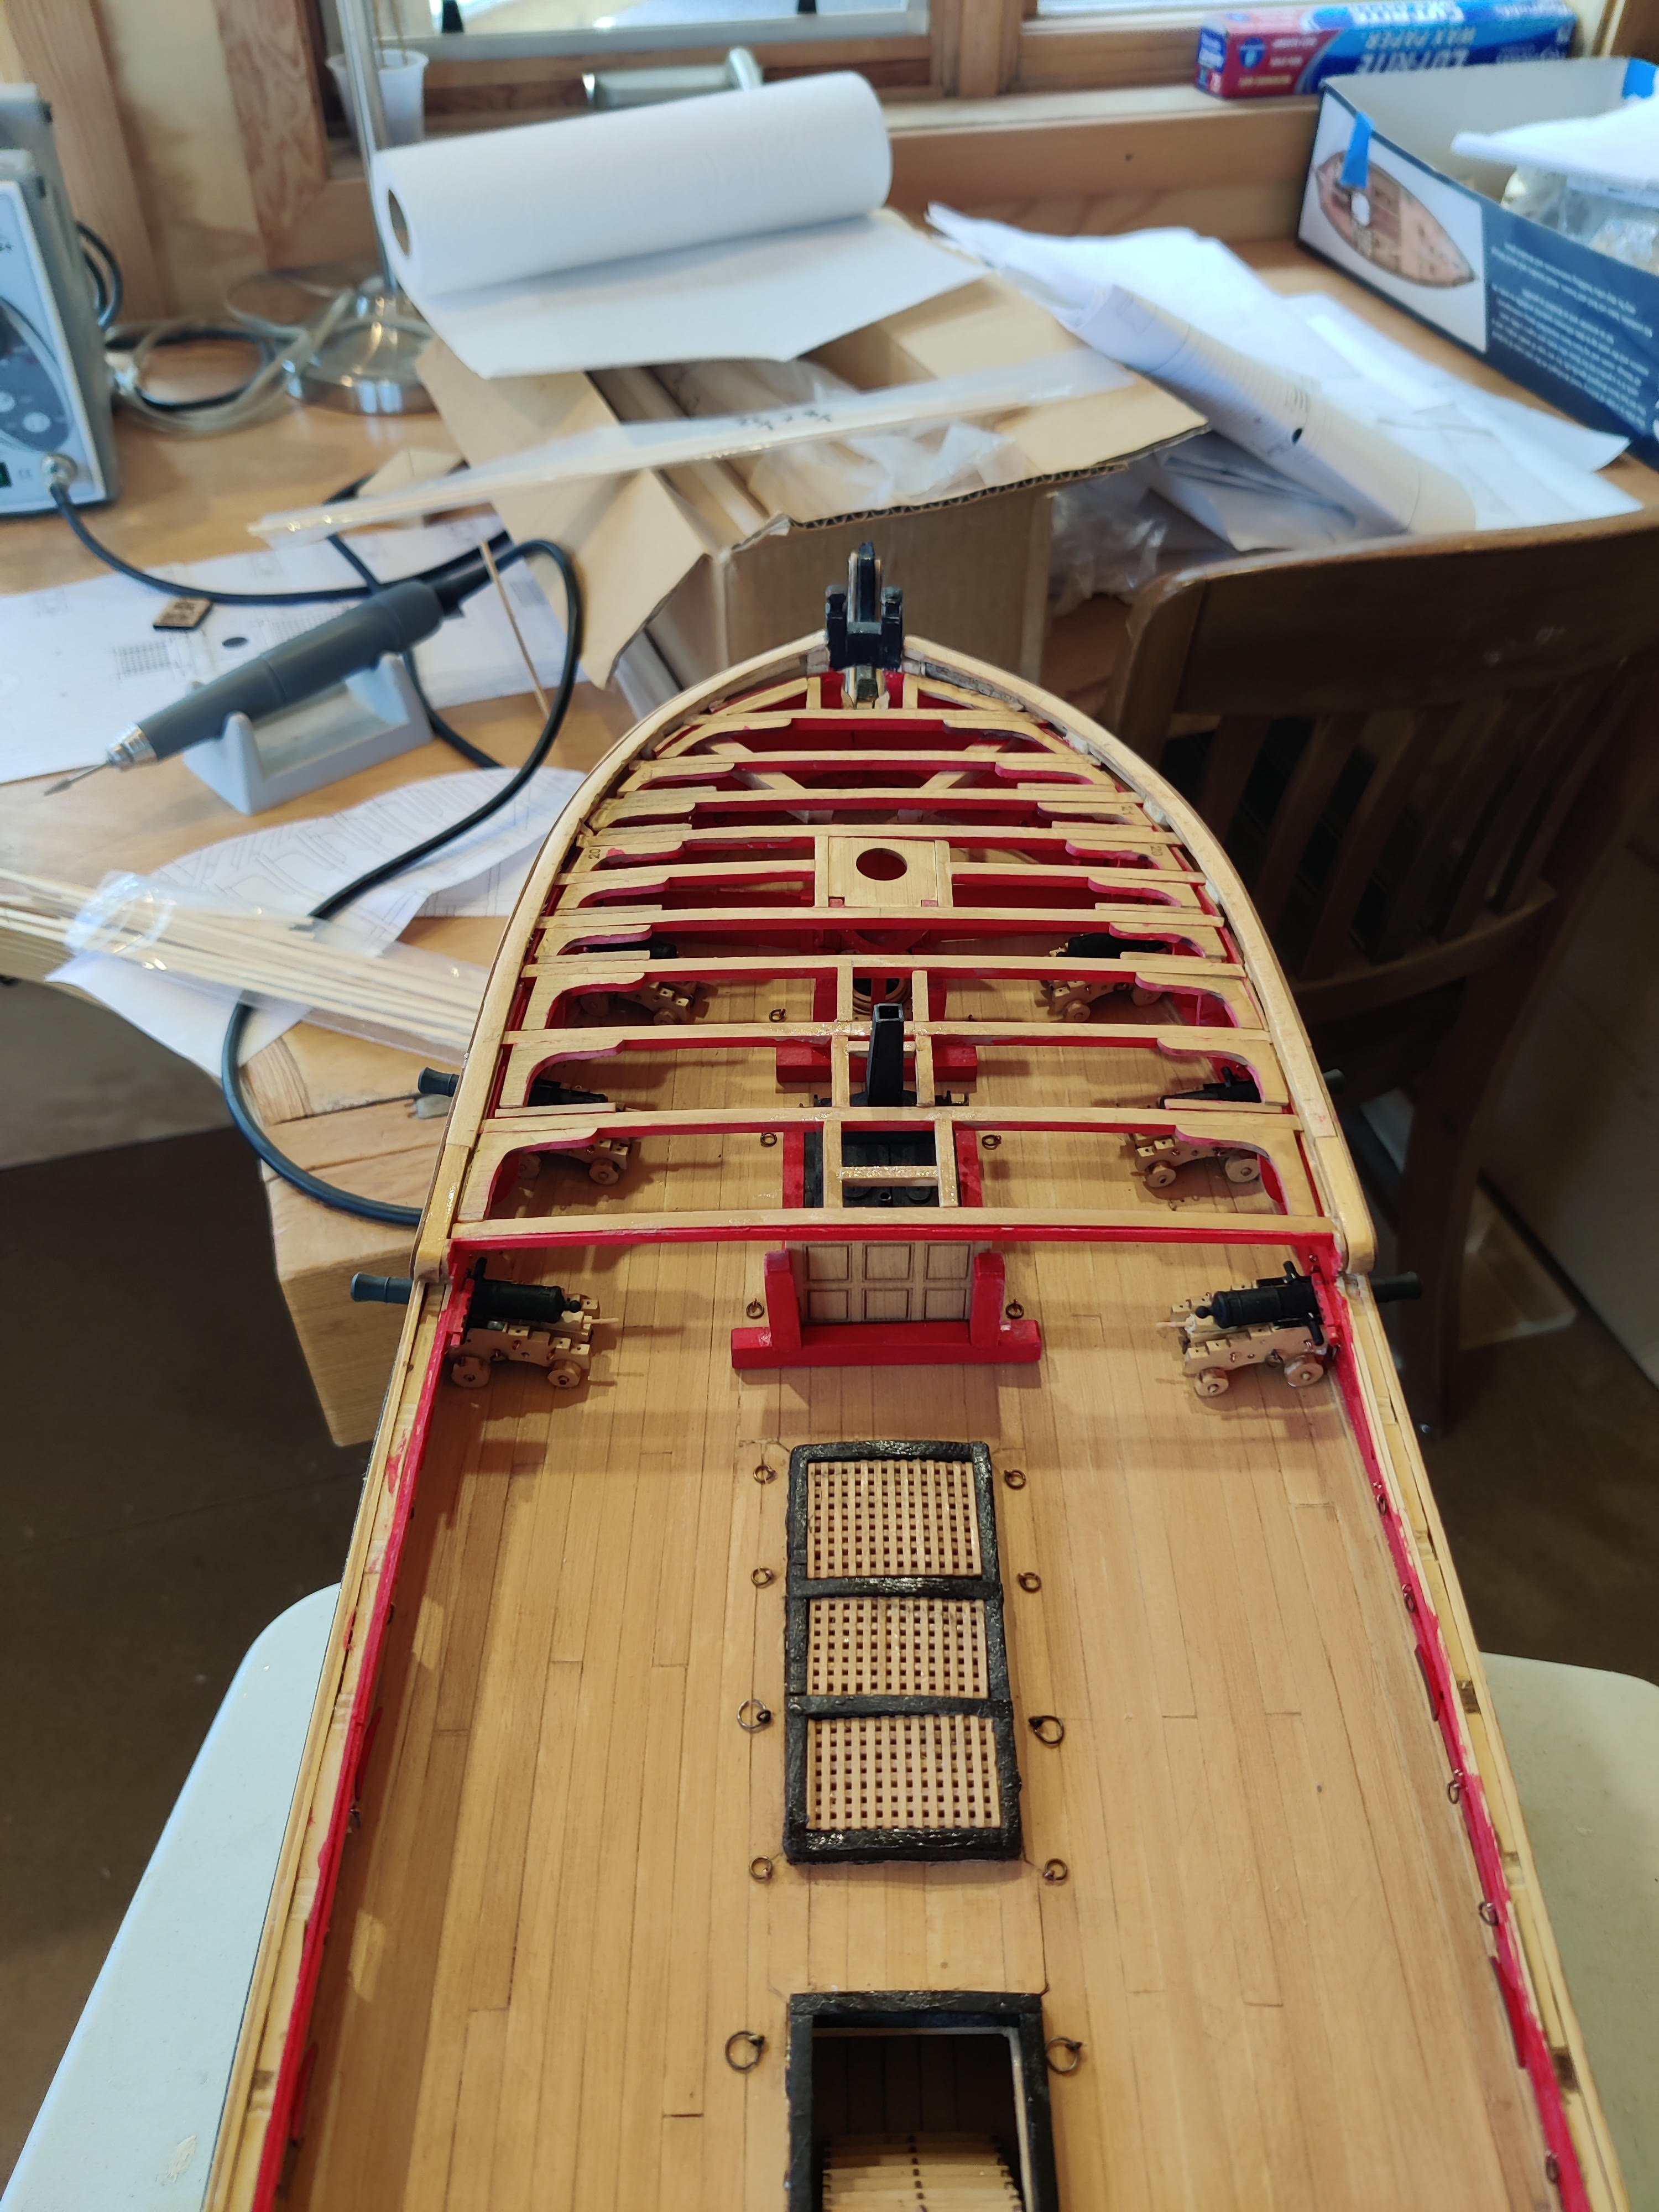
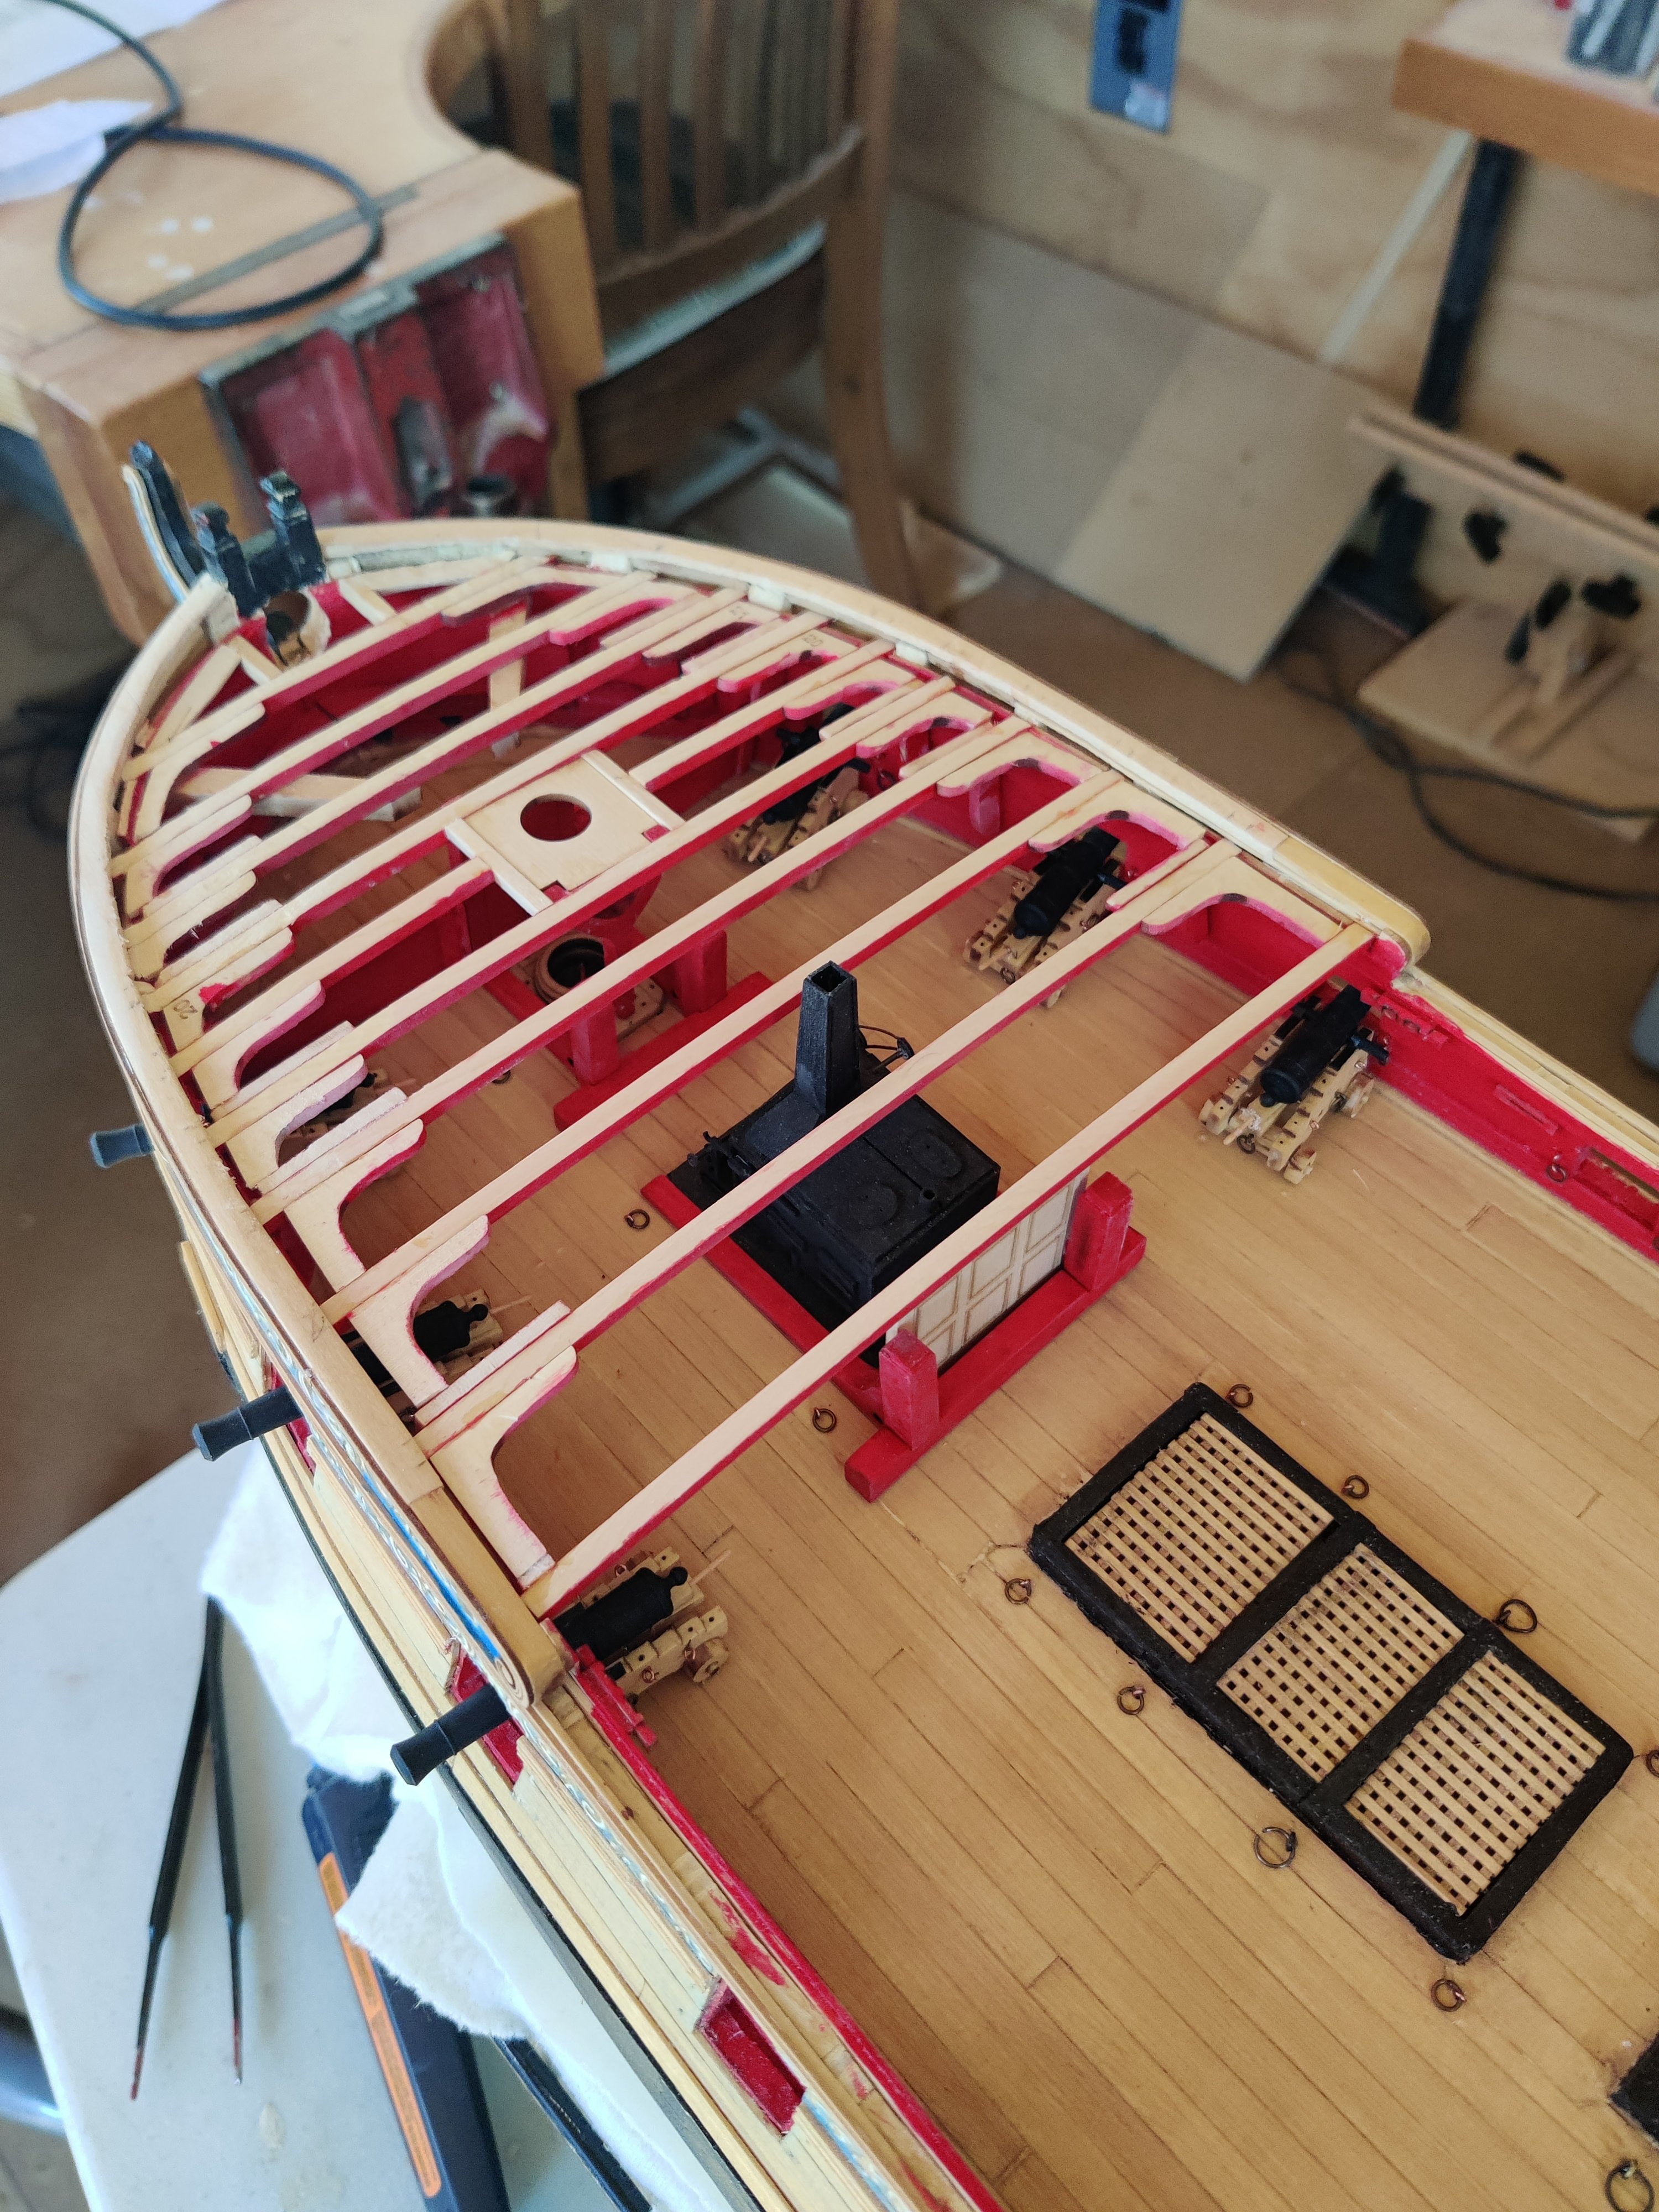
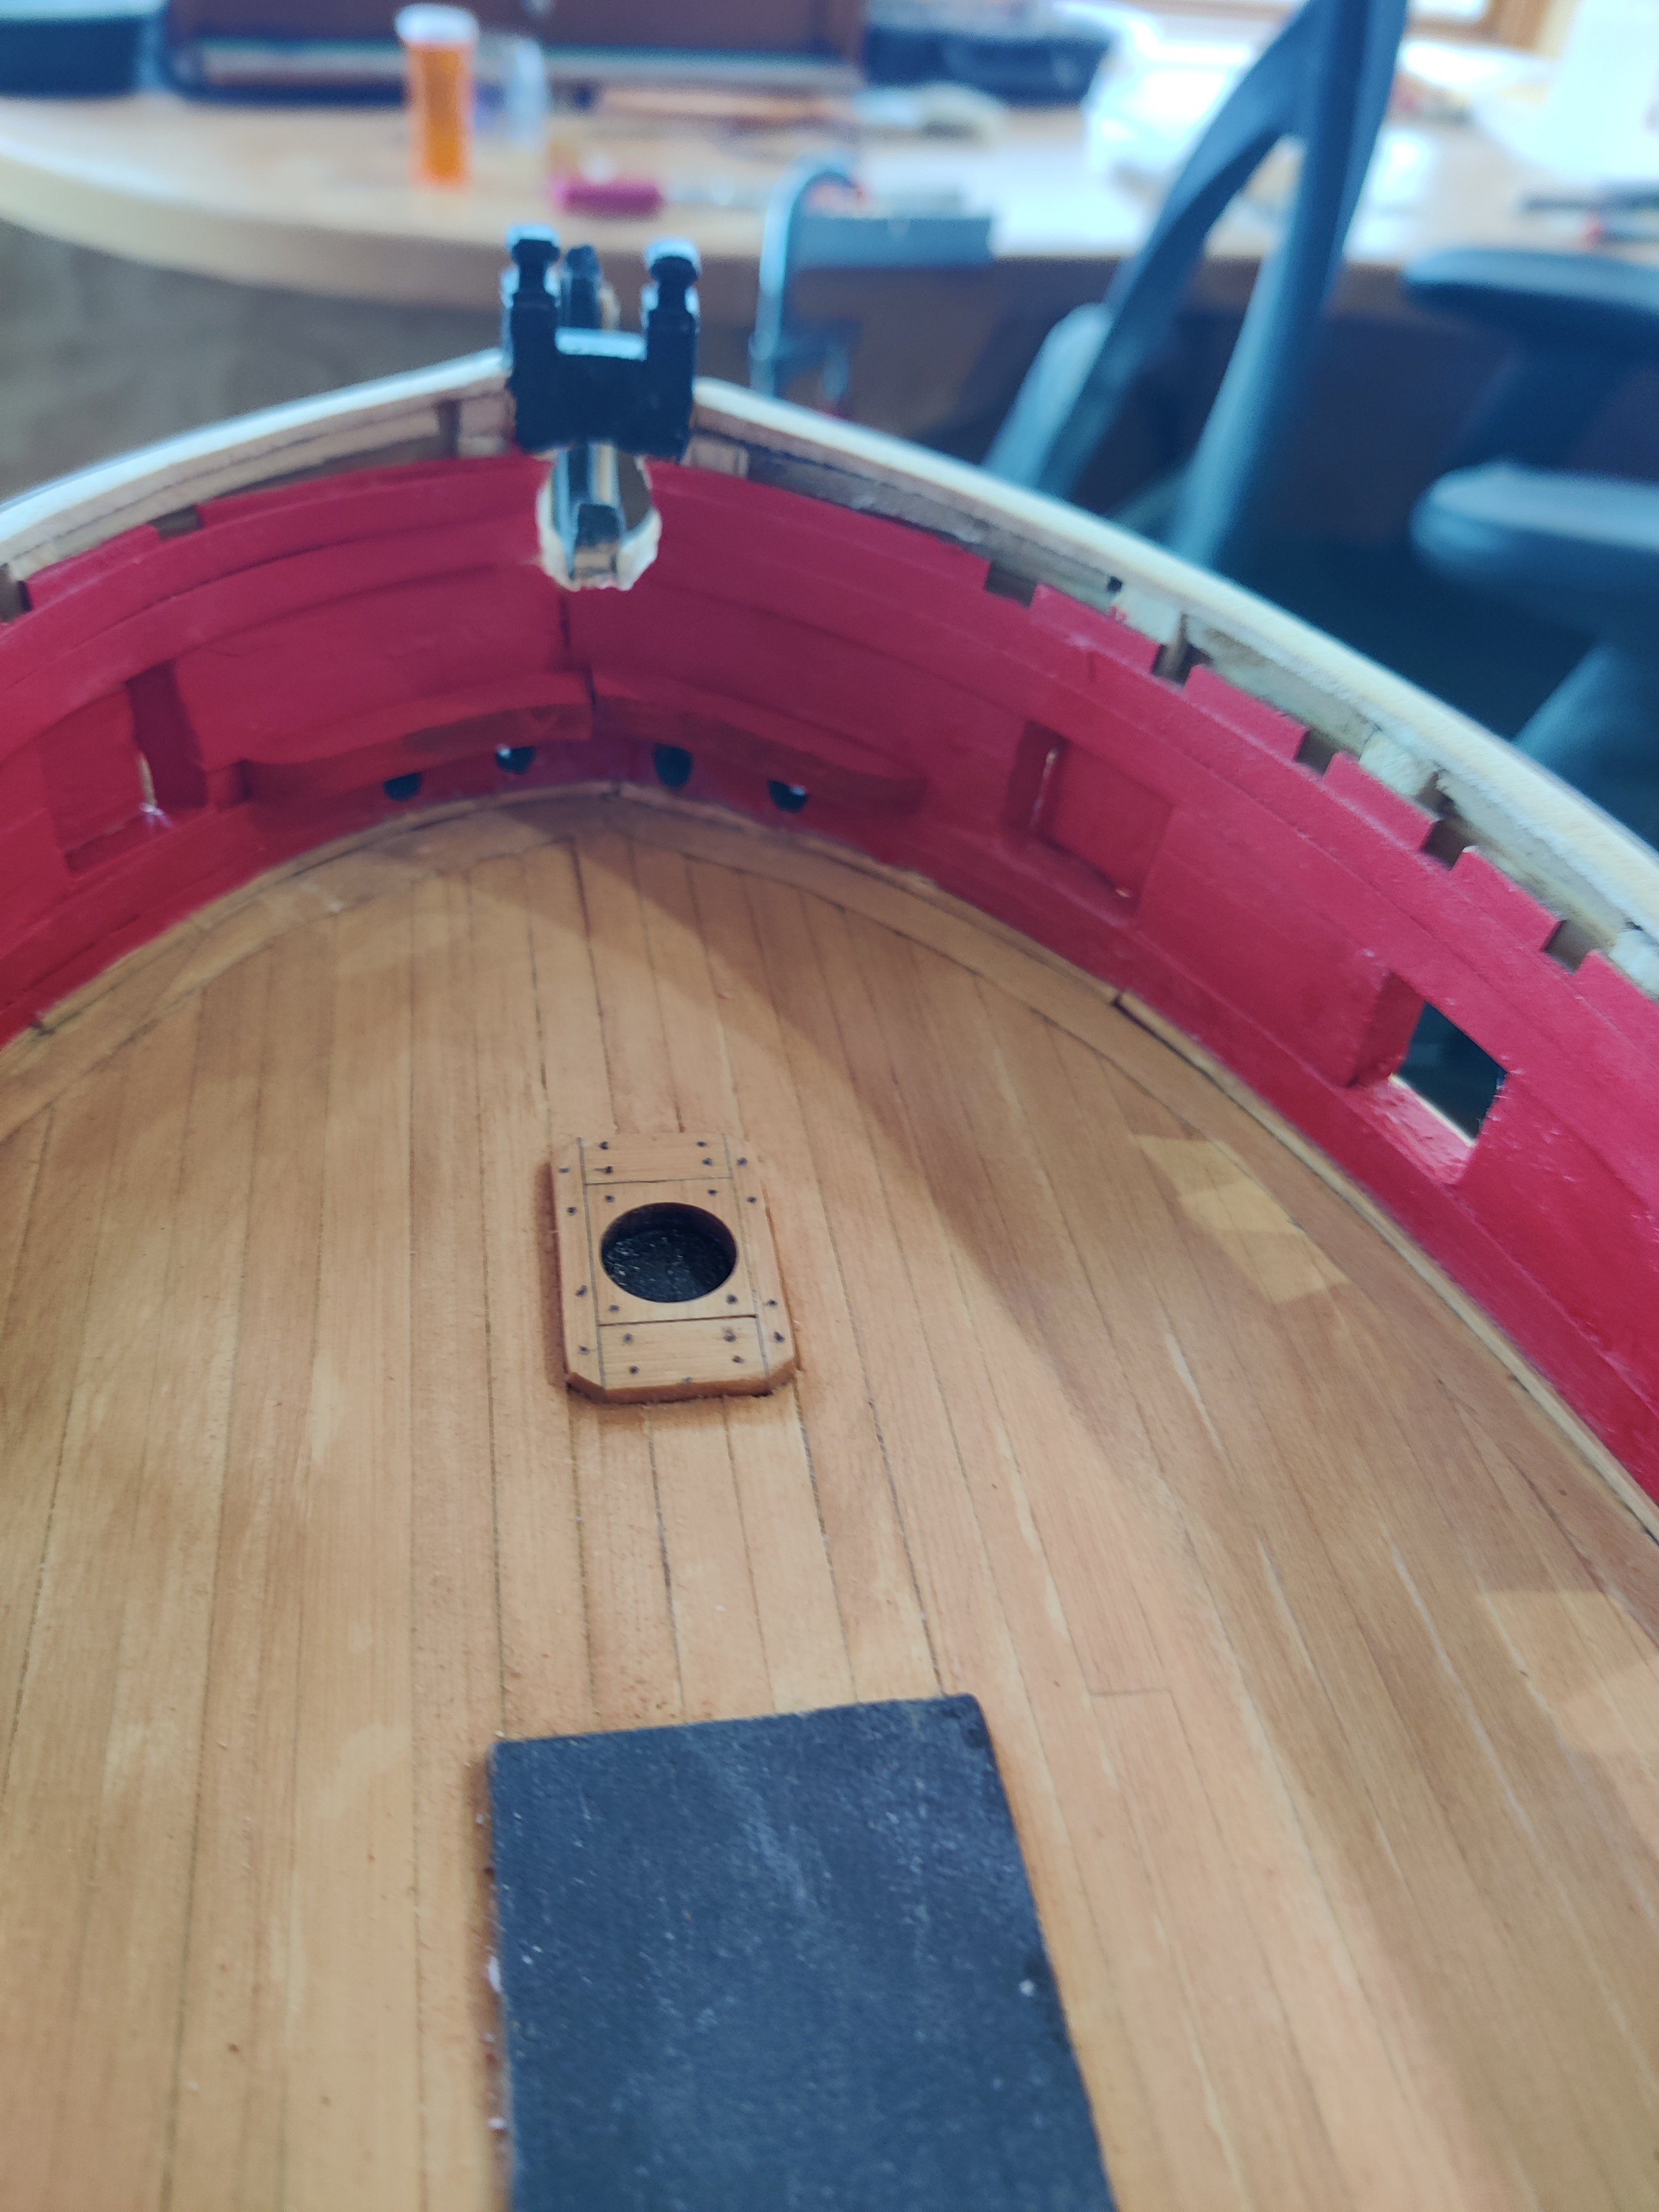
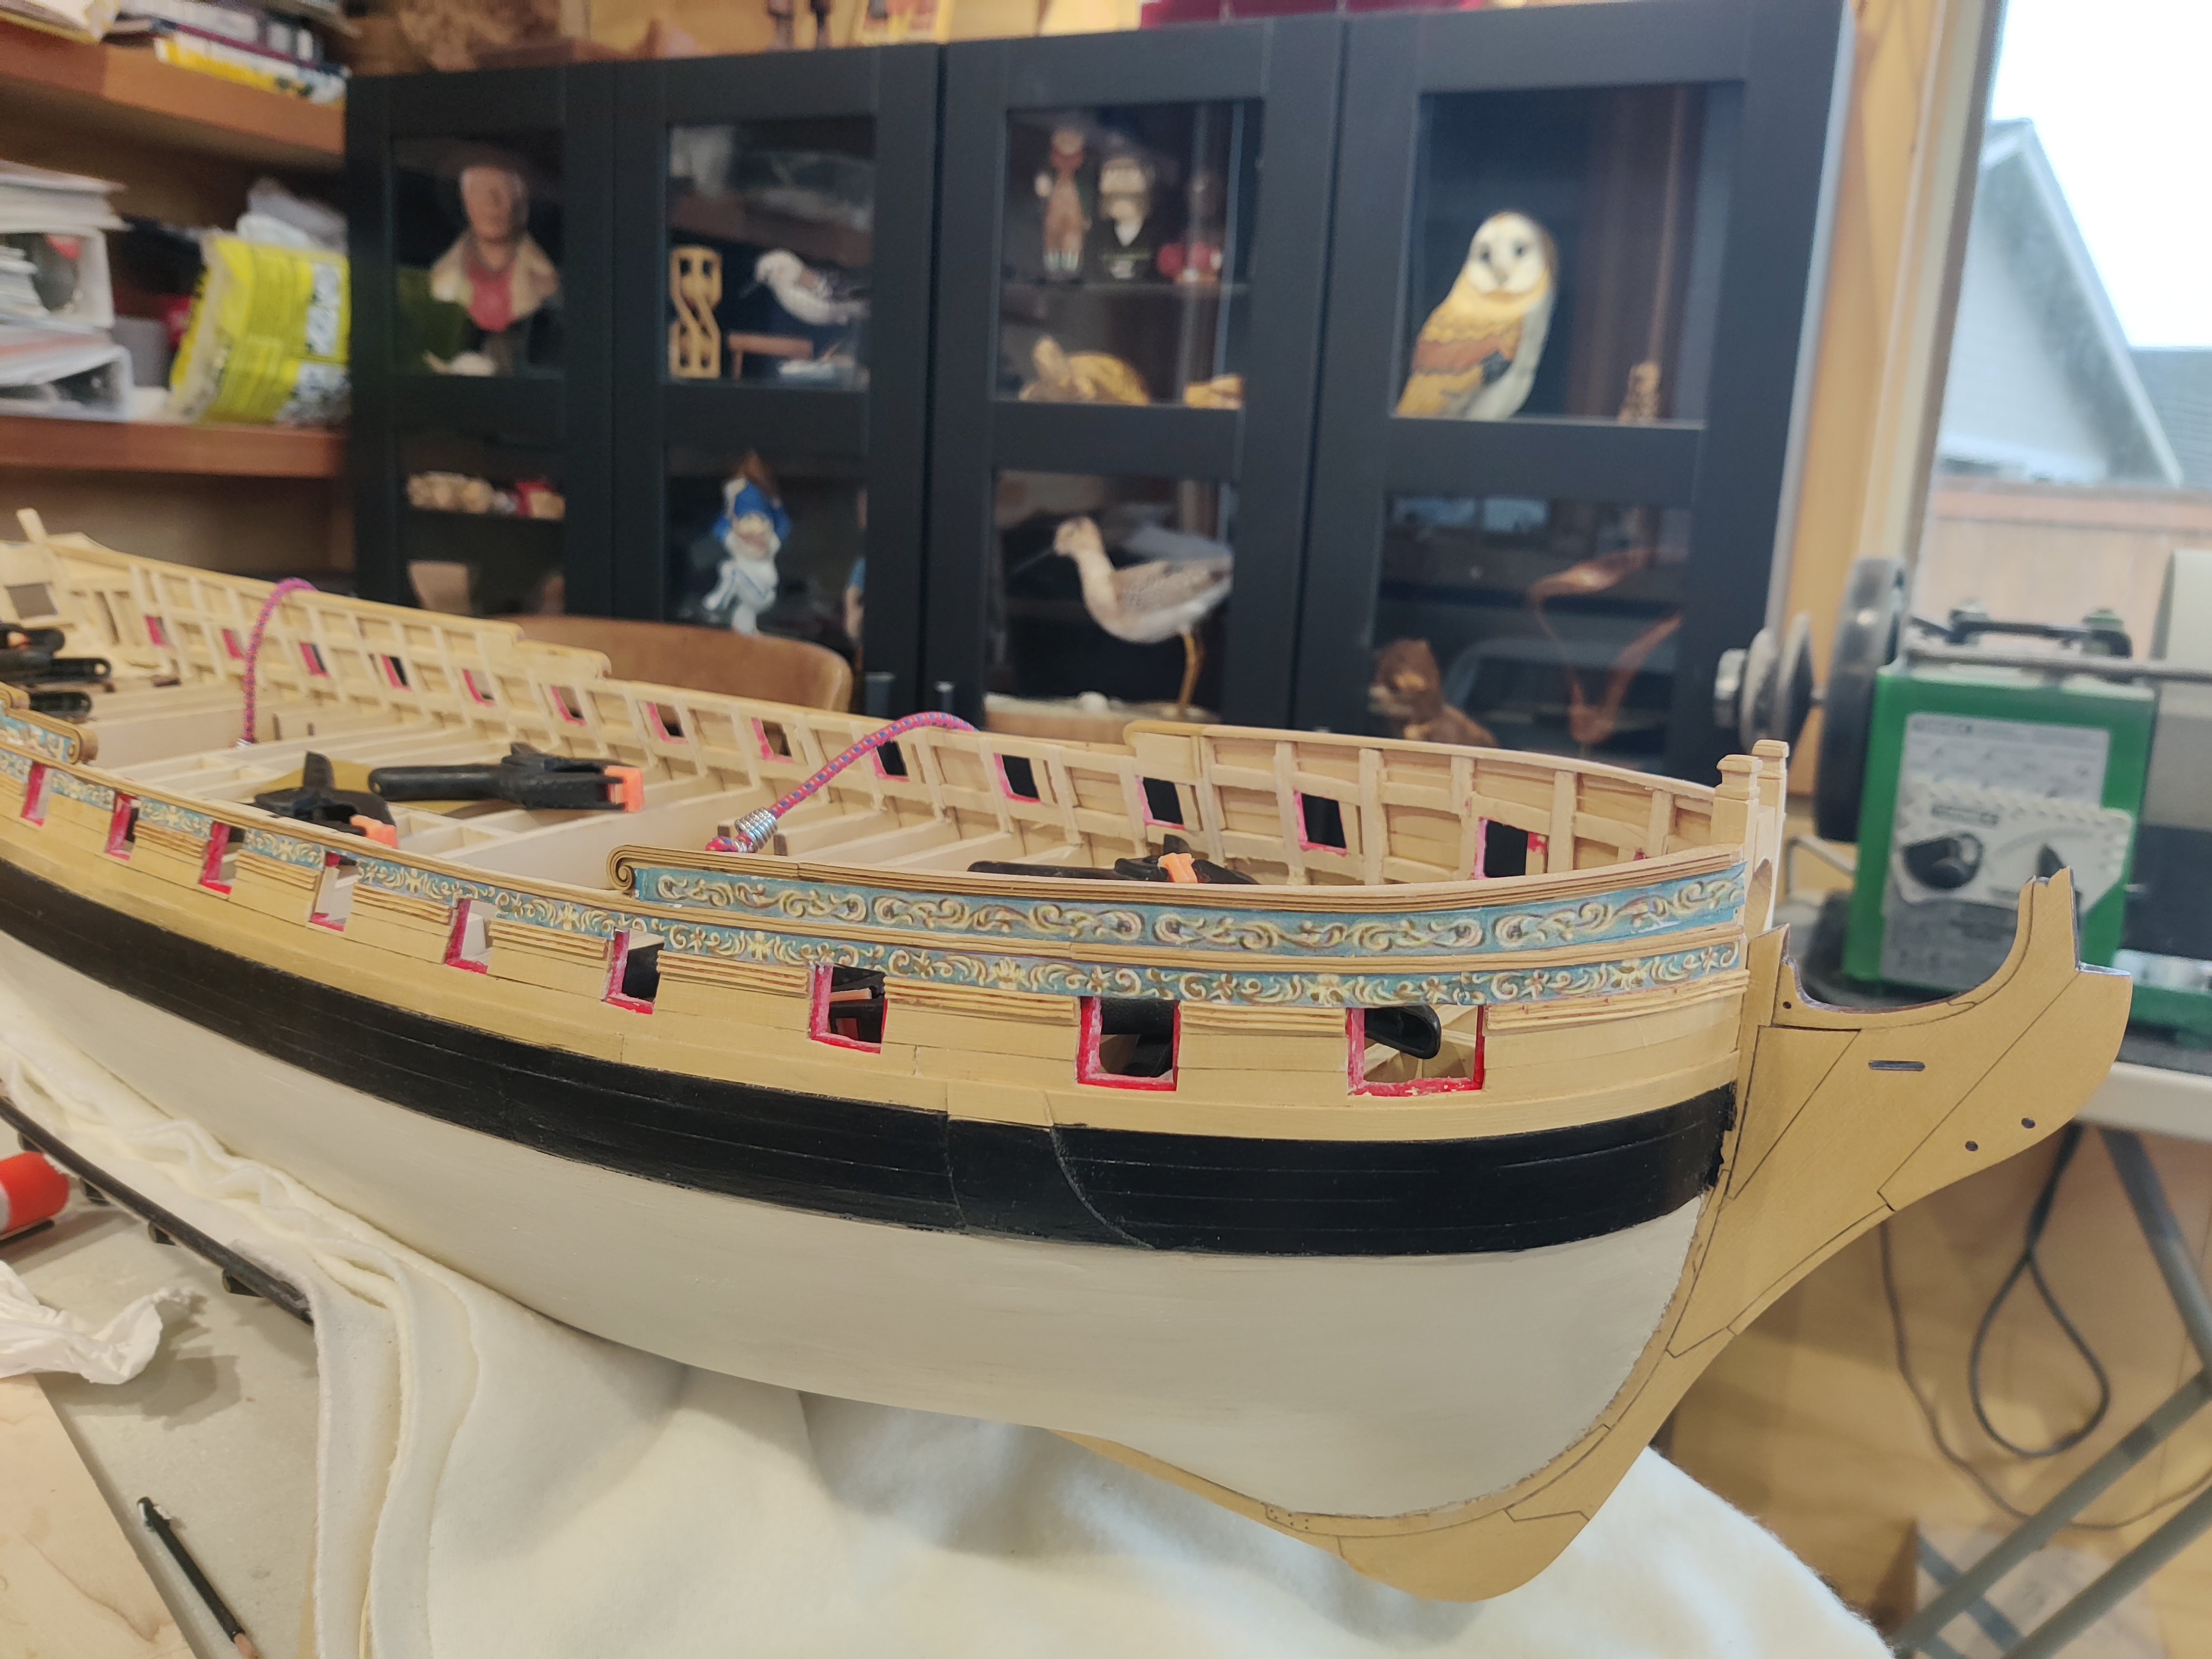
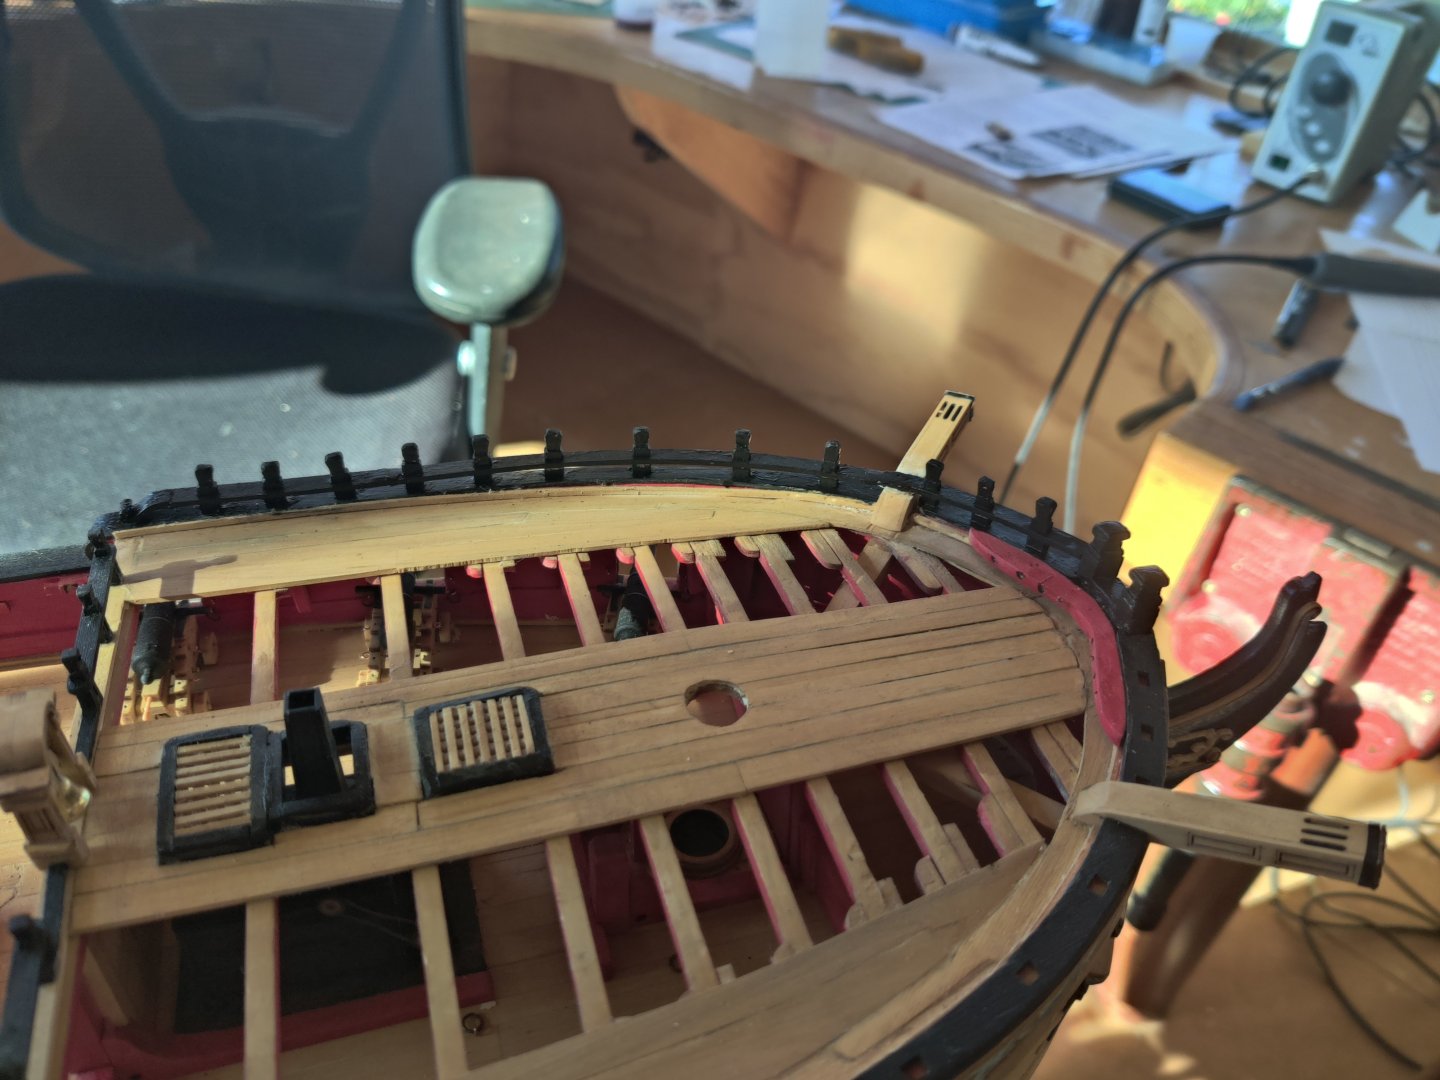
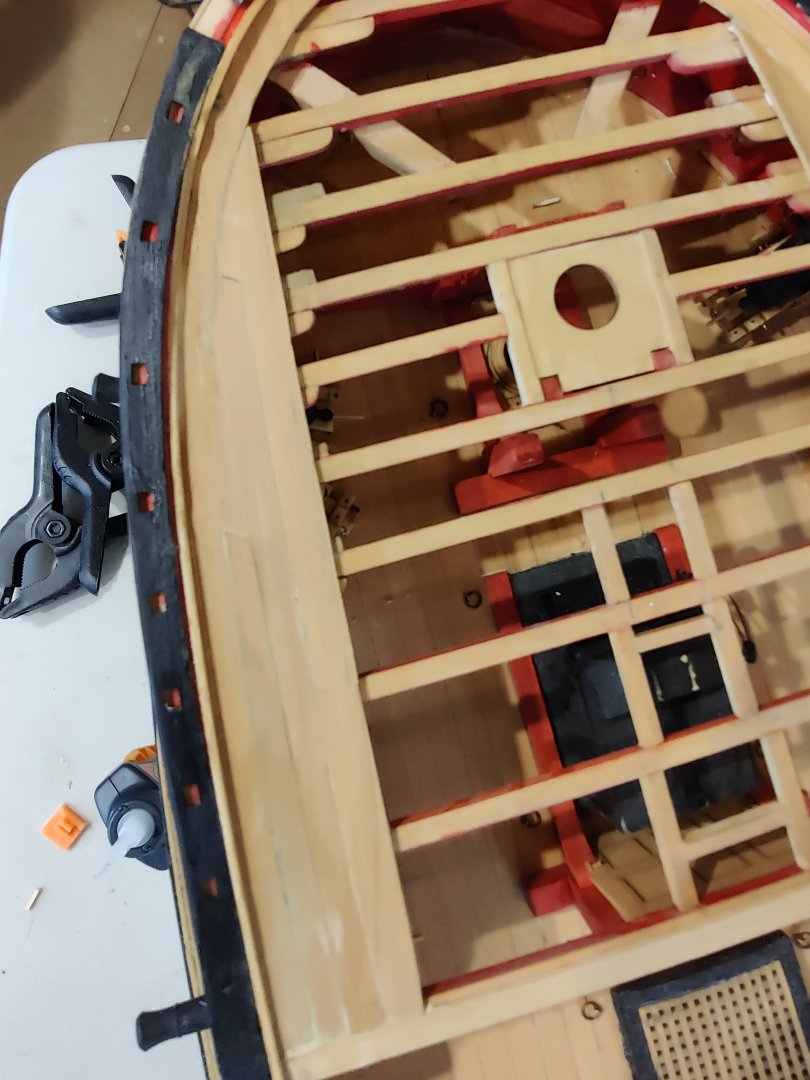
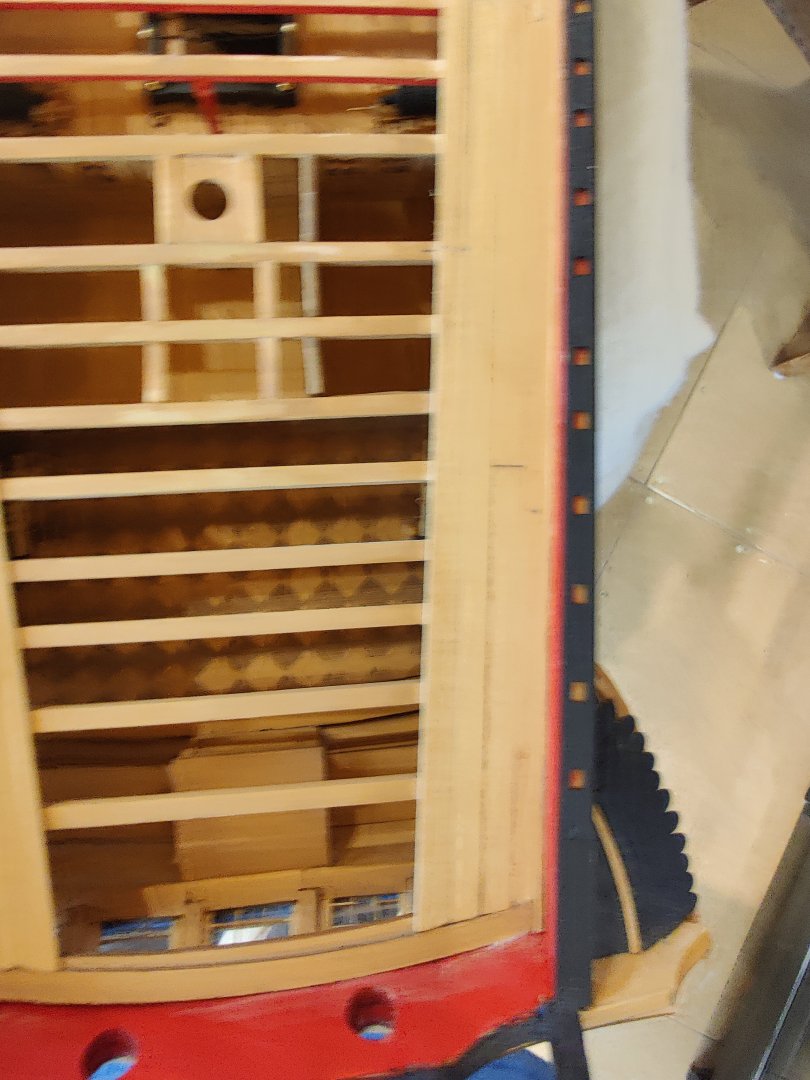
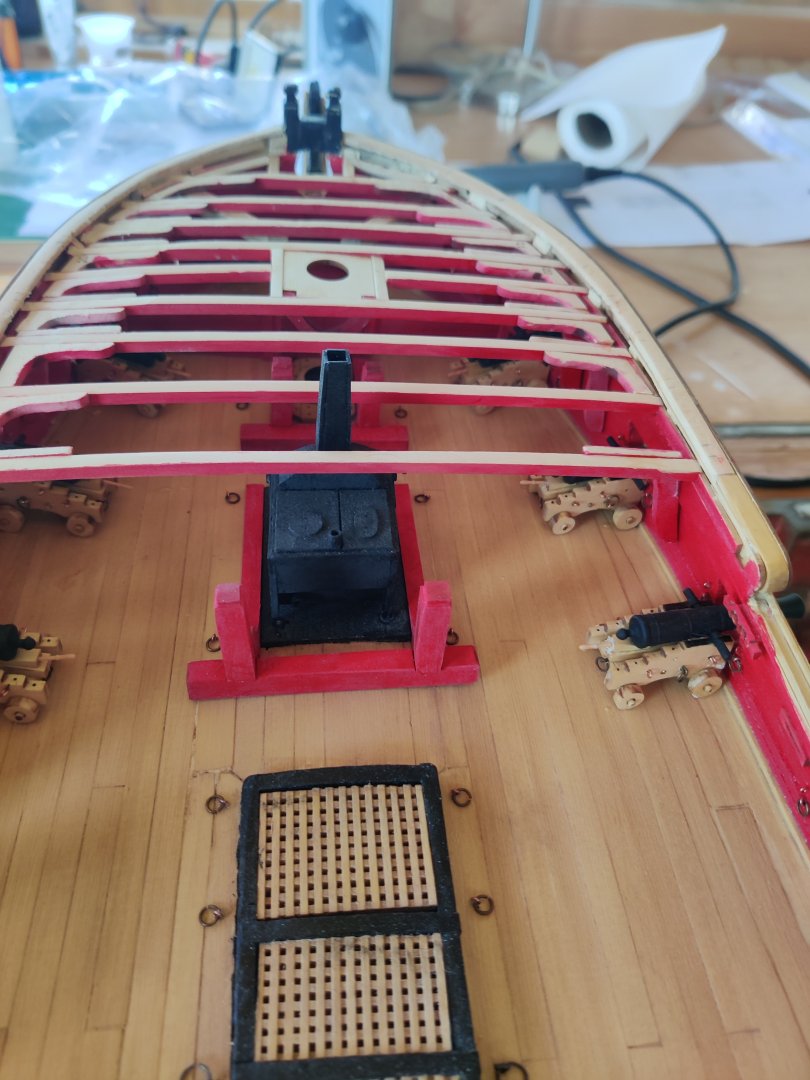
The forecastle planking is completed, the Belfry installed, catheads installed, the hatch covers completed and some of the cap rails installed.


-
HMS Victory by ECK - OcCre - 1/87
woodartist replied to ECK's topic in - Kit build logs for subjects built from 1751 - 1800
Great idea to use the tape to reduce splitting -
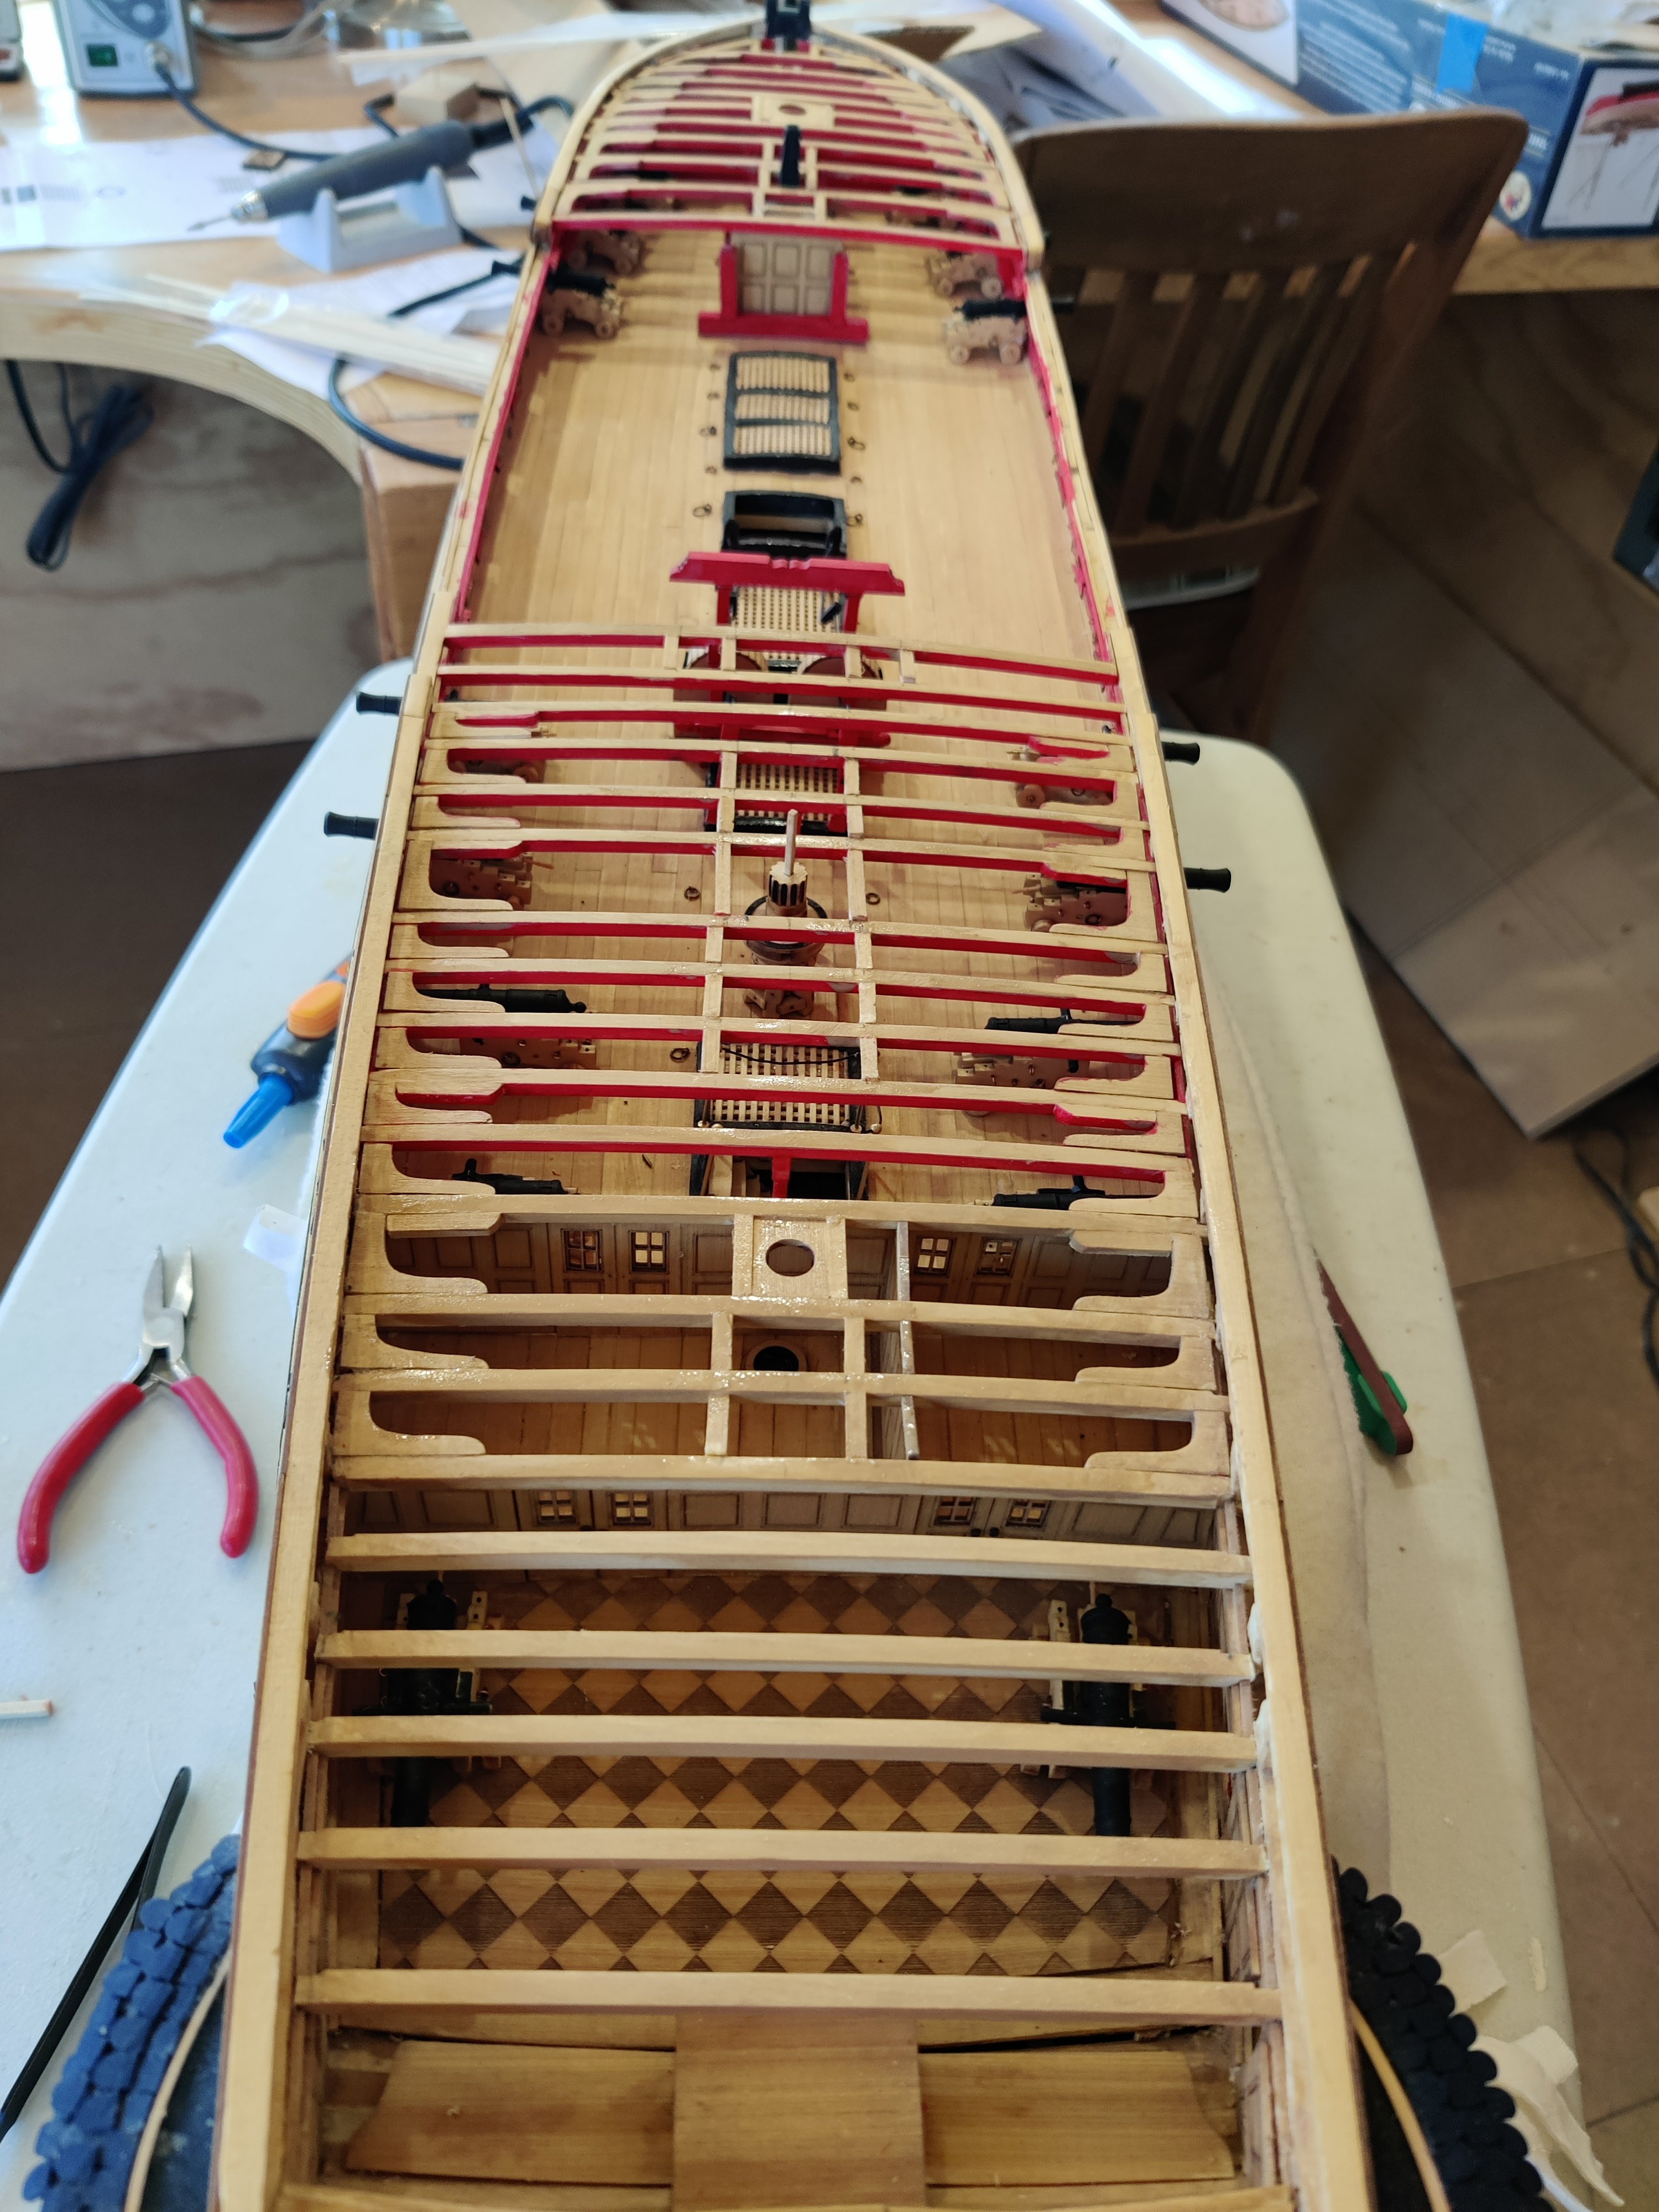
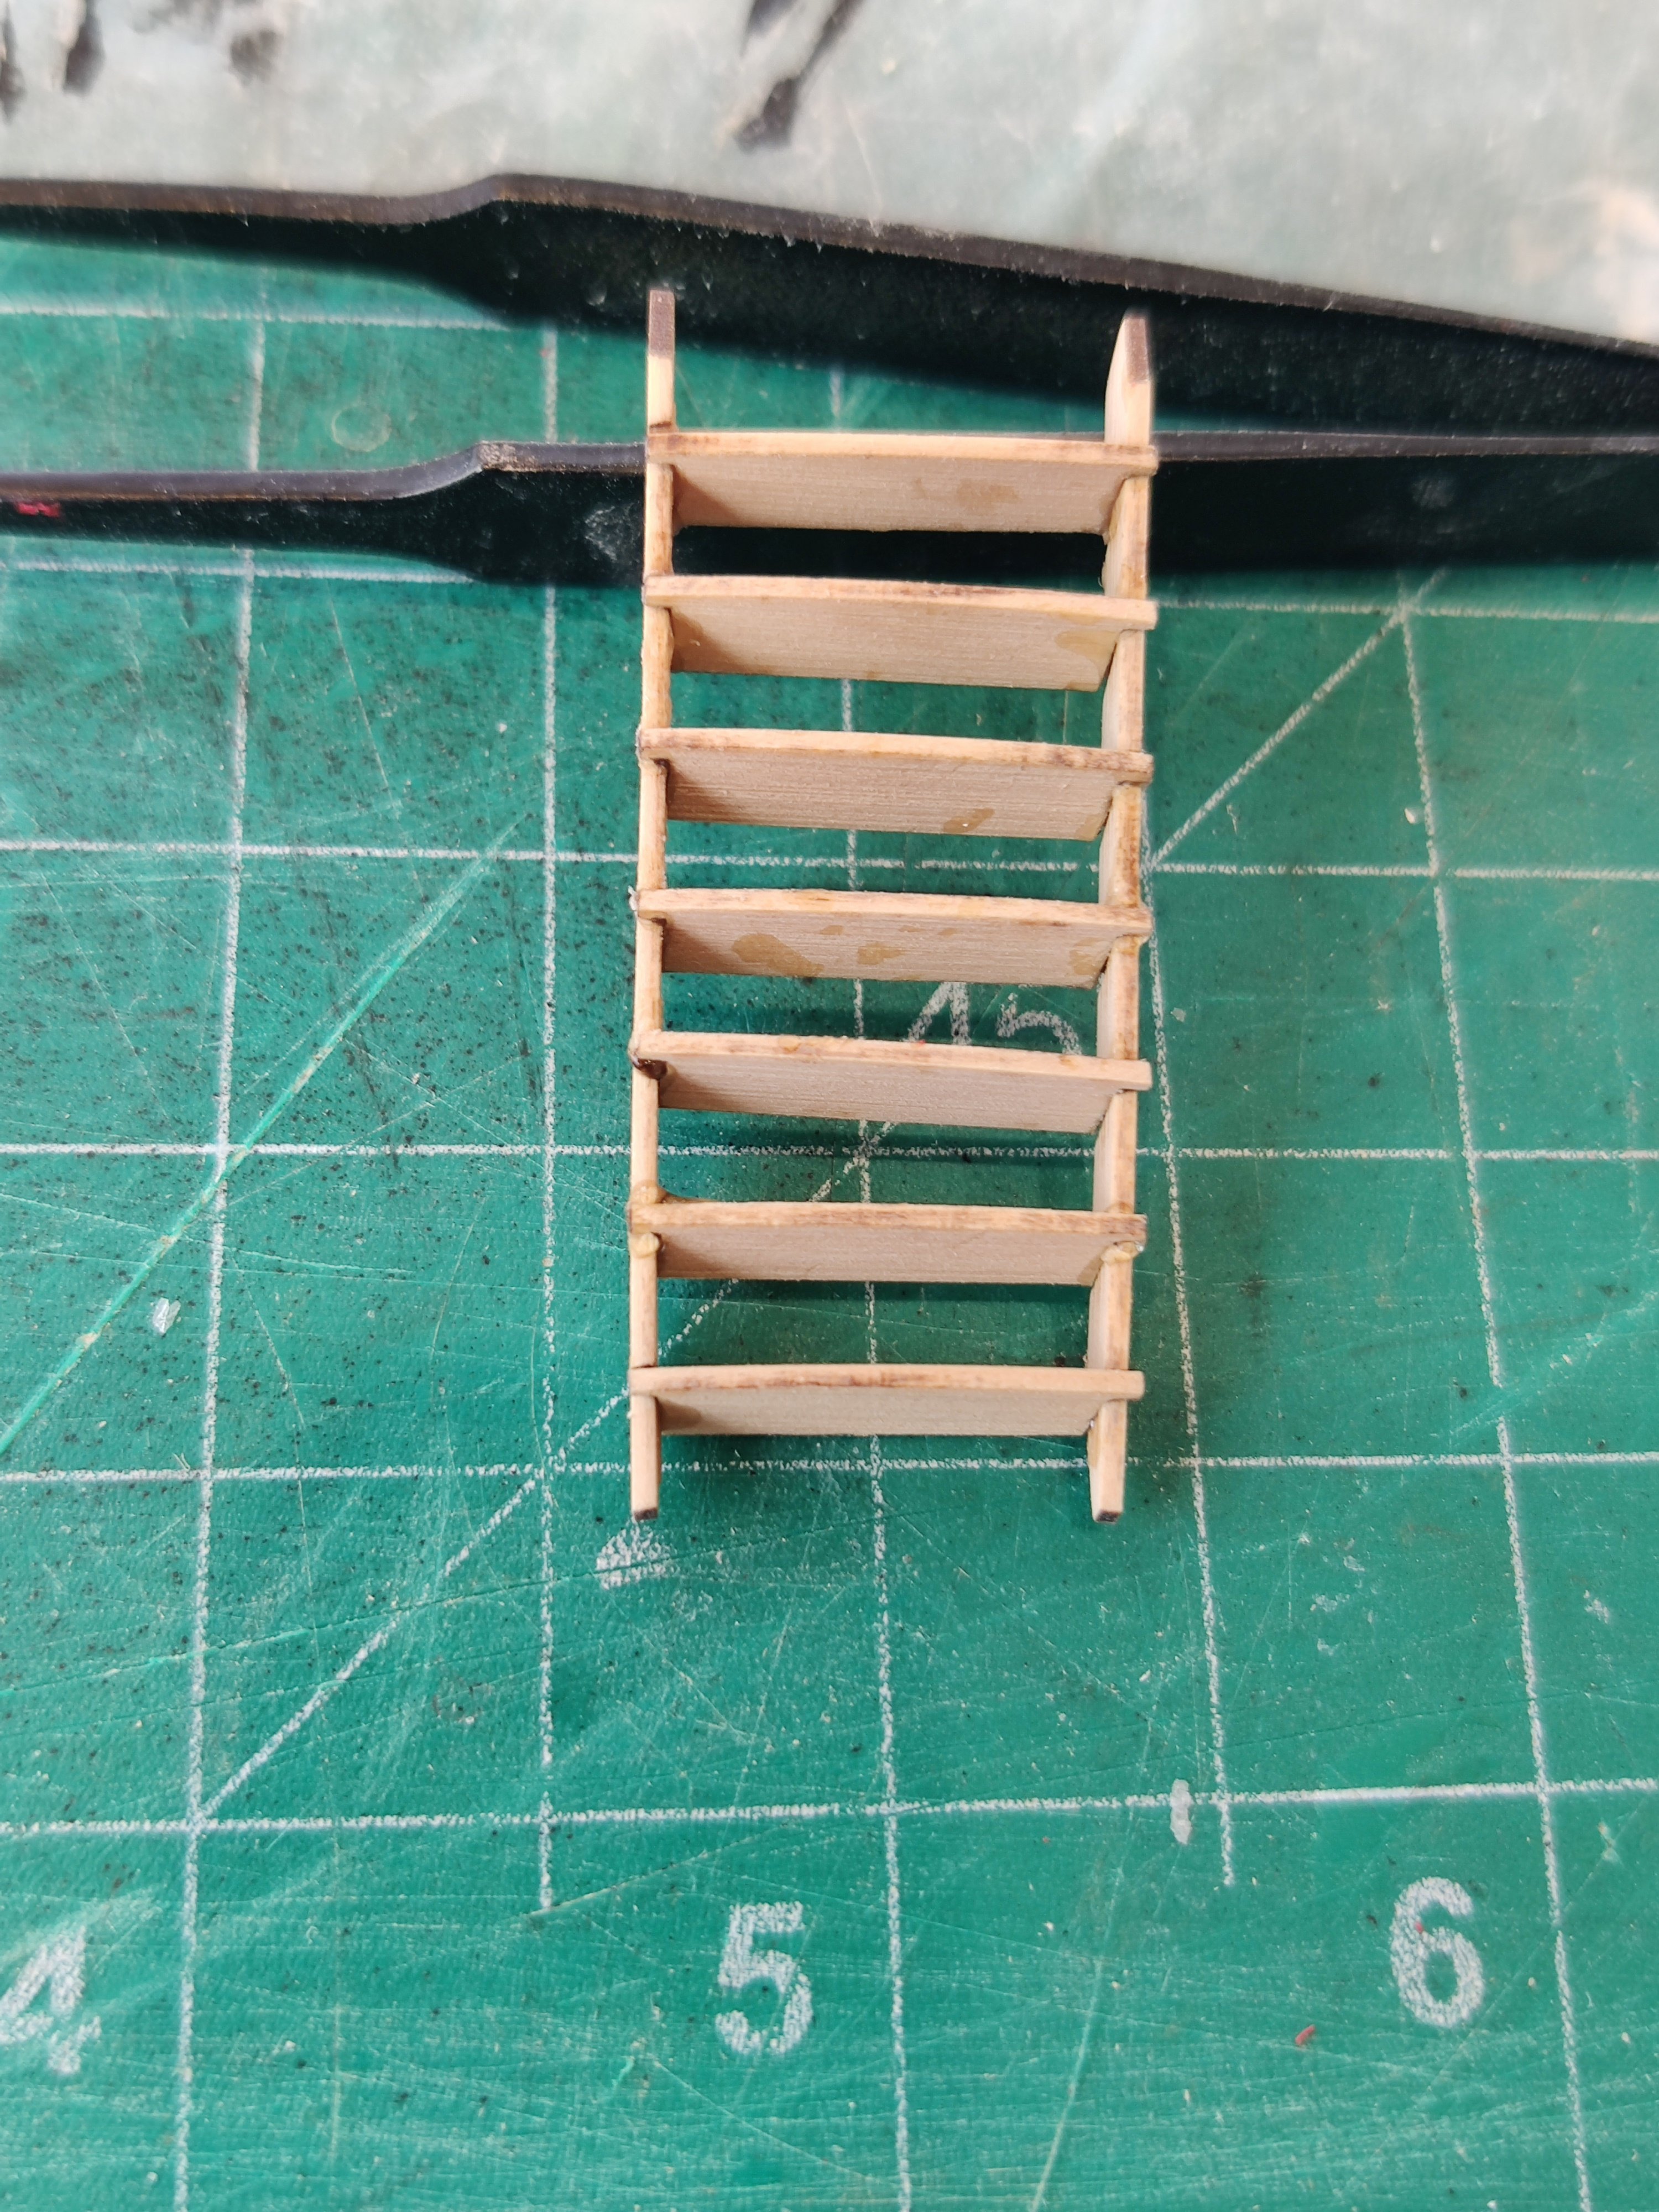
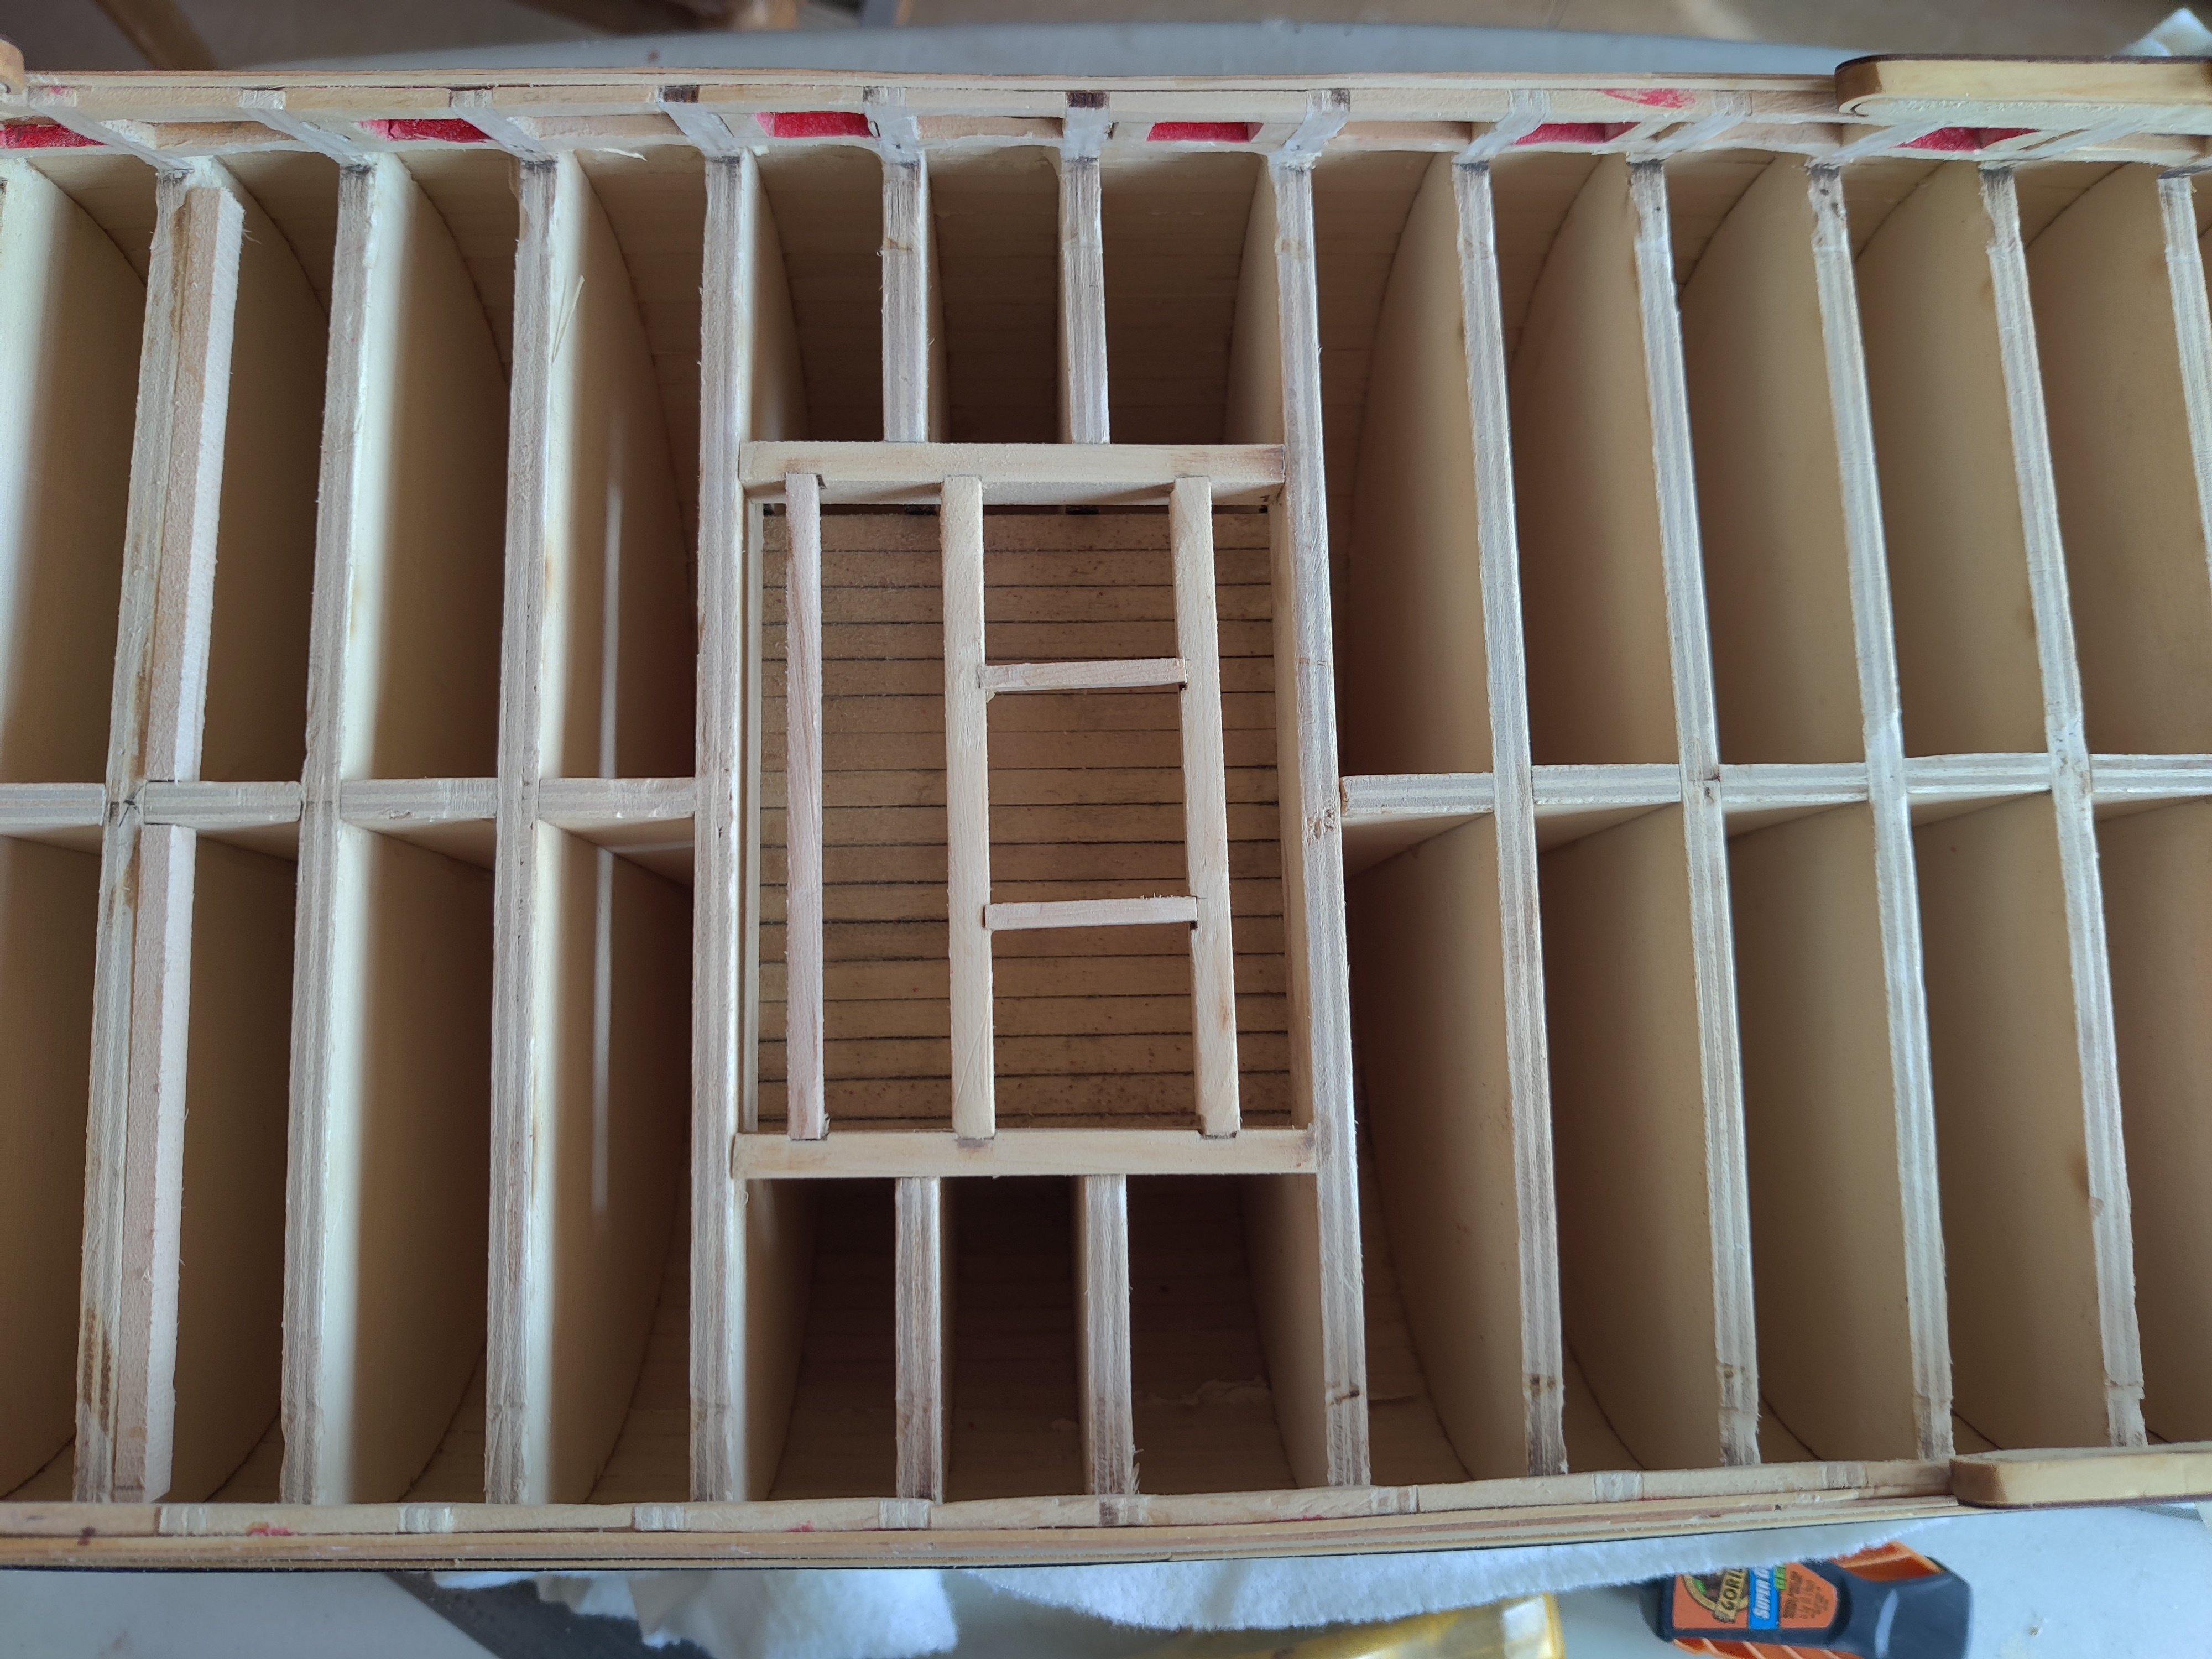
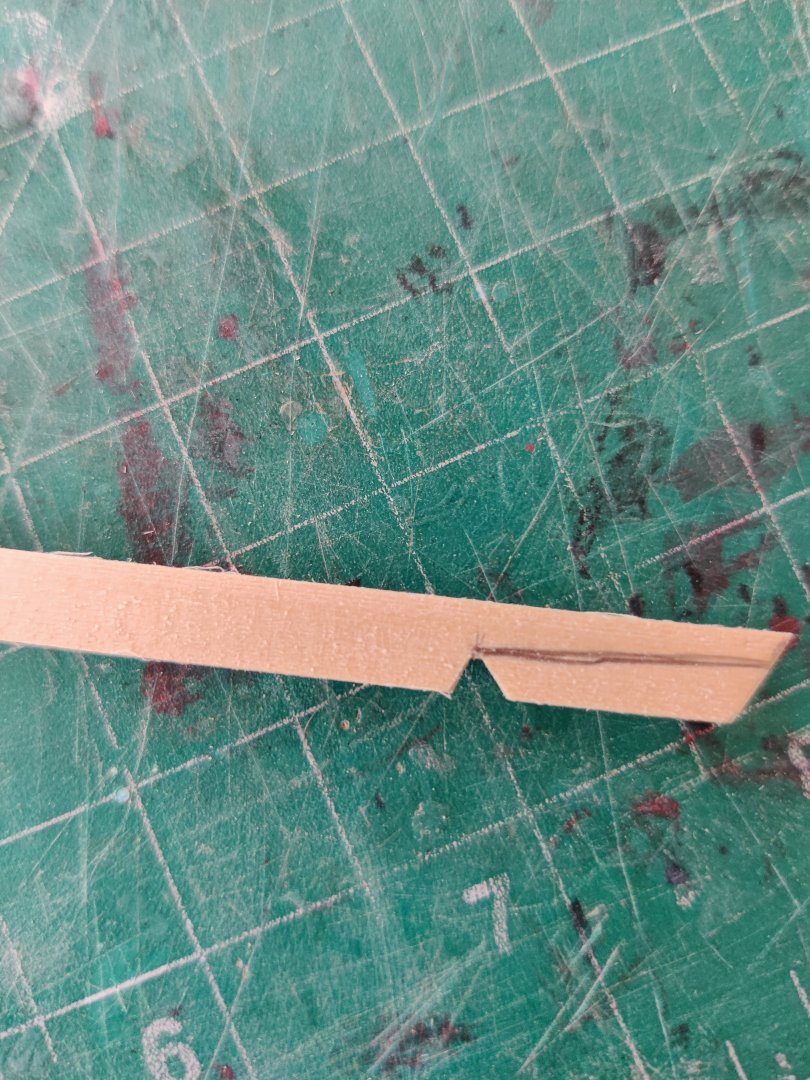
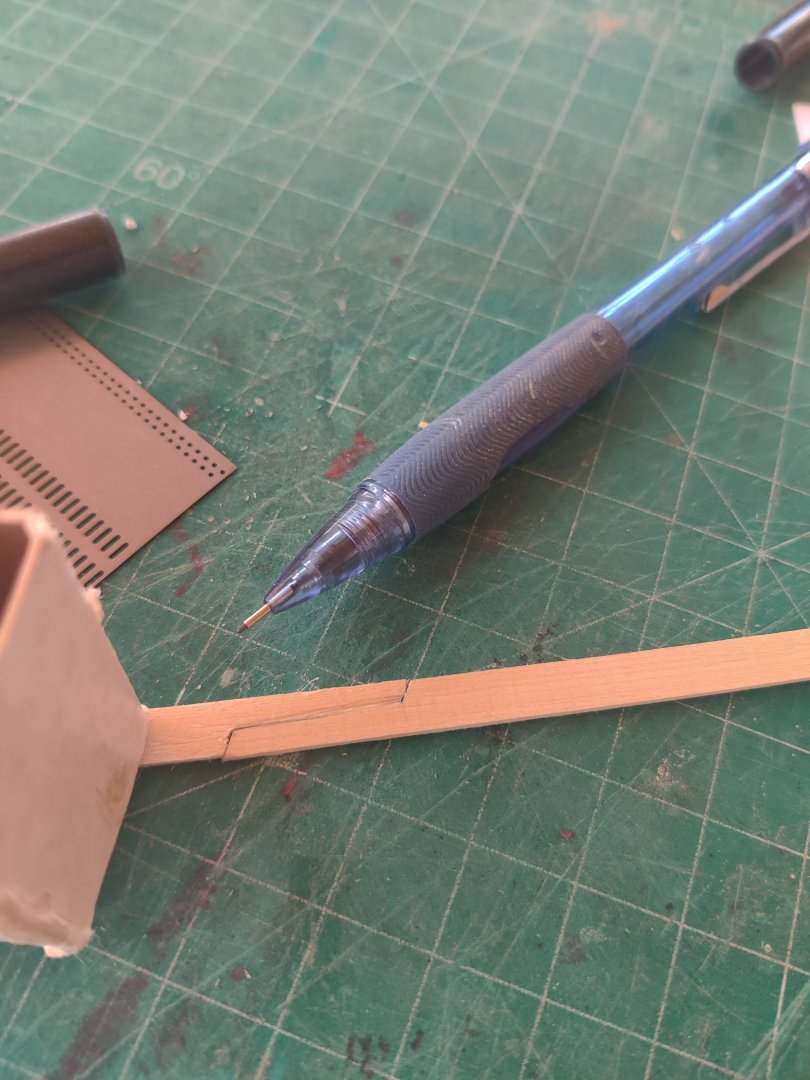
Planking of forecastle and qdeck and using scarf joints. I found that I often split the plank when trying to make the scarf. Once I started making a v cut I prevented the tendency to split the planks. I will finish the center sections when I have finished the carlings.


- 72 replies
-
- 10
-

-

-
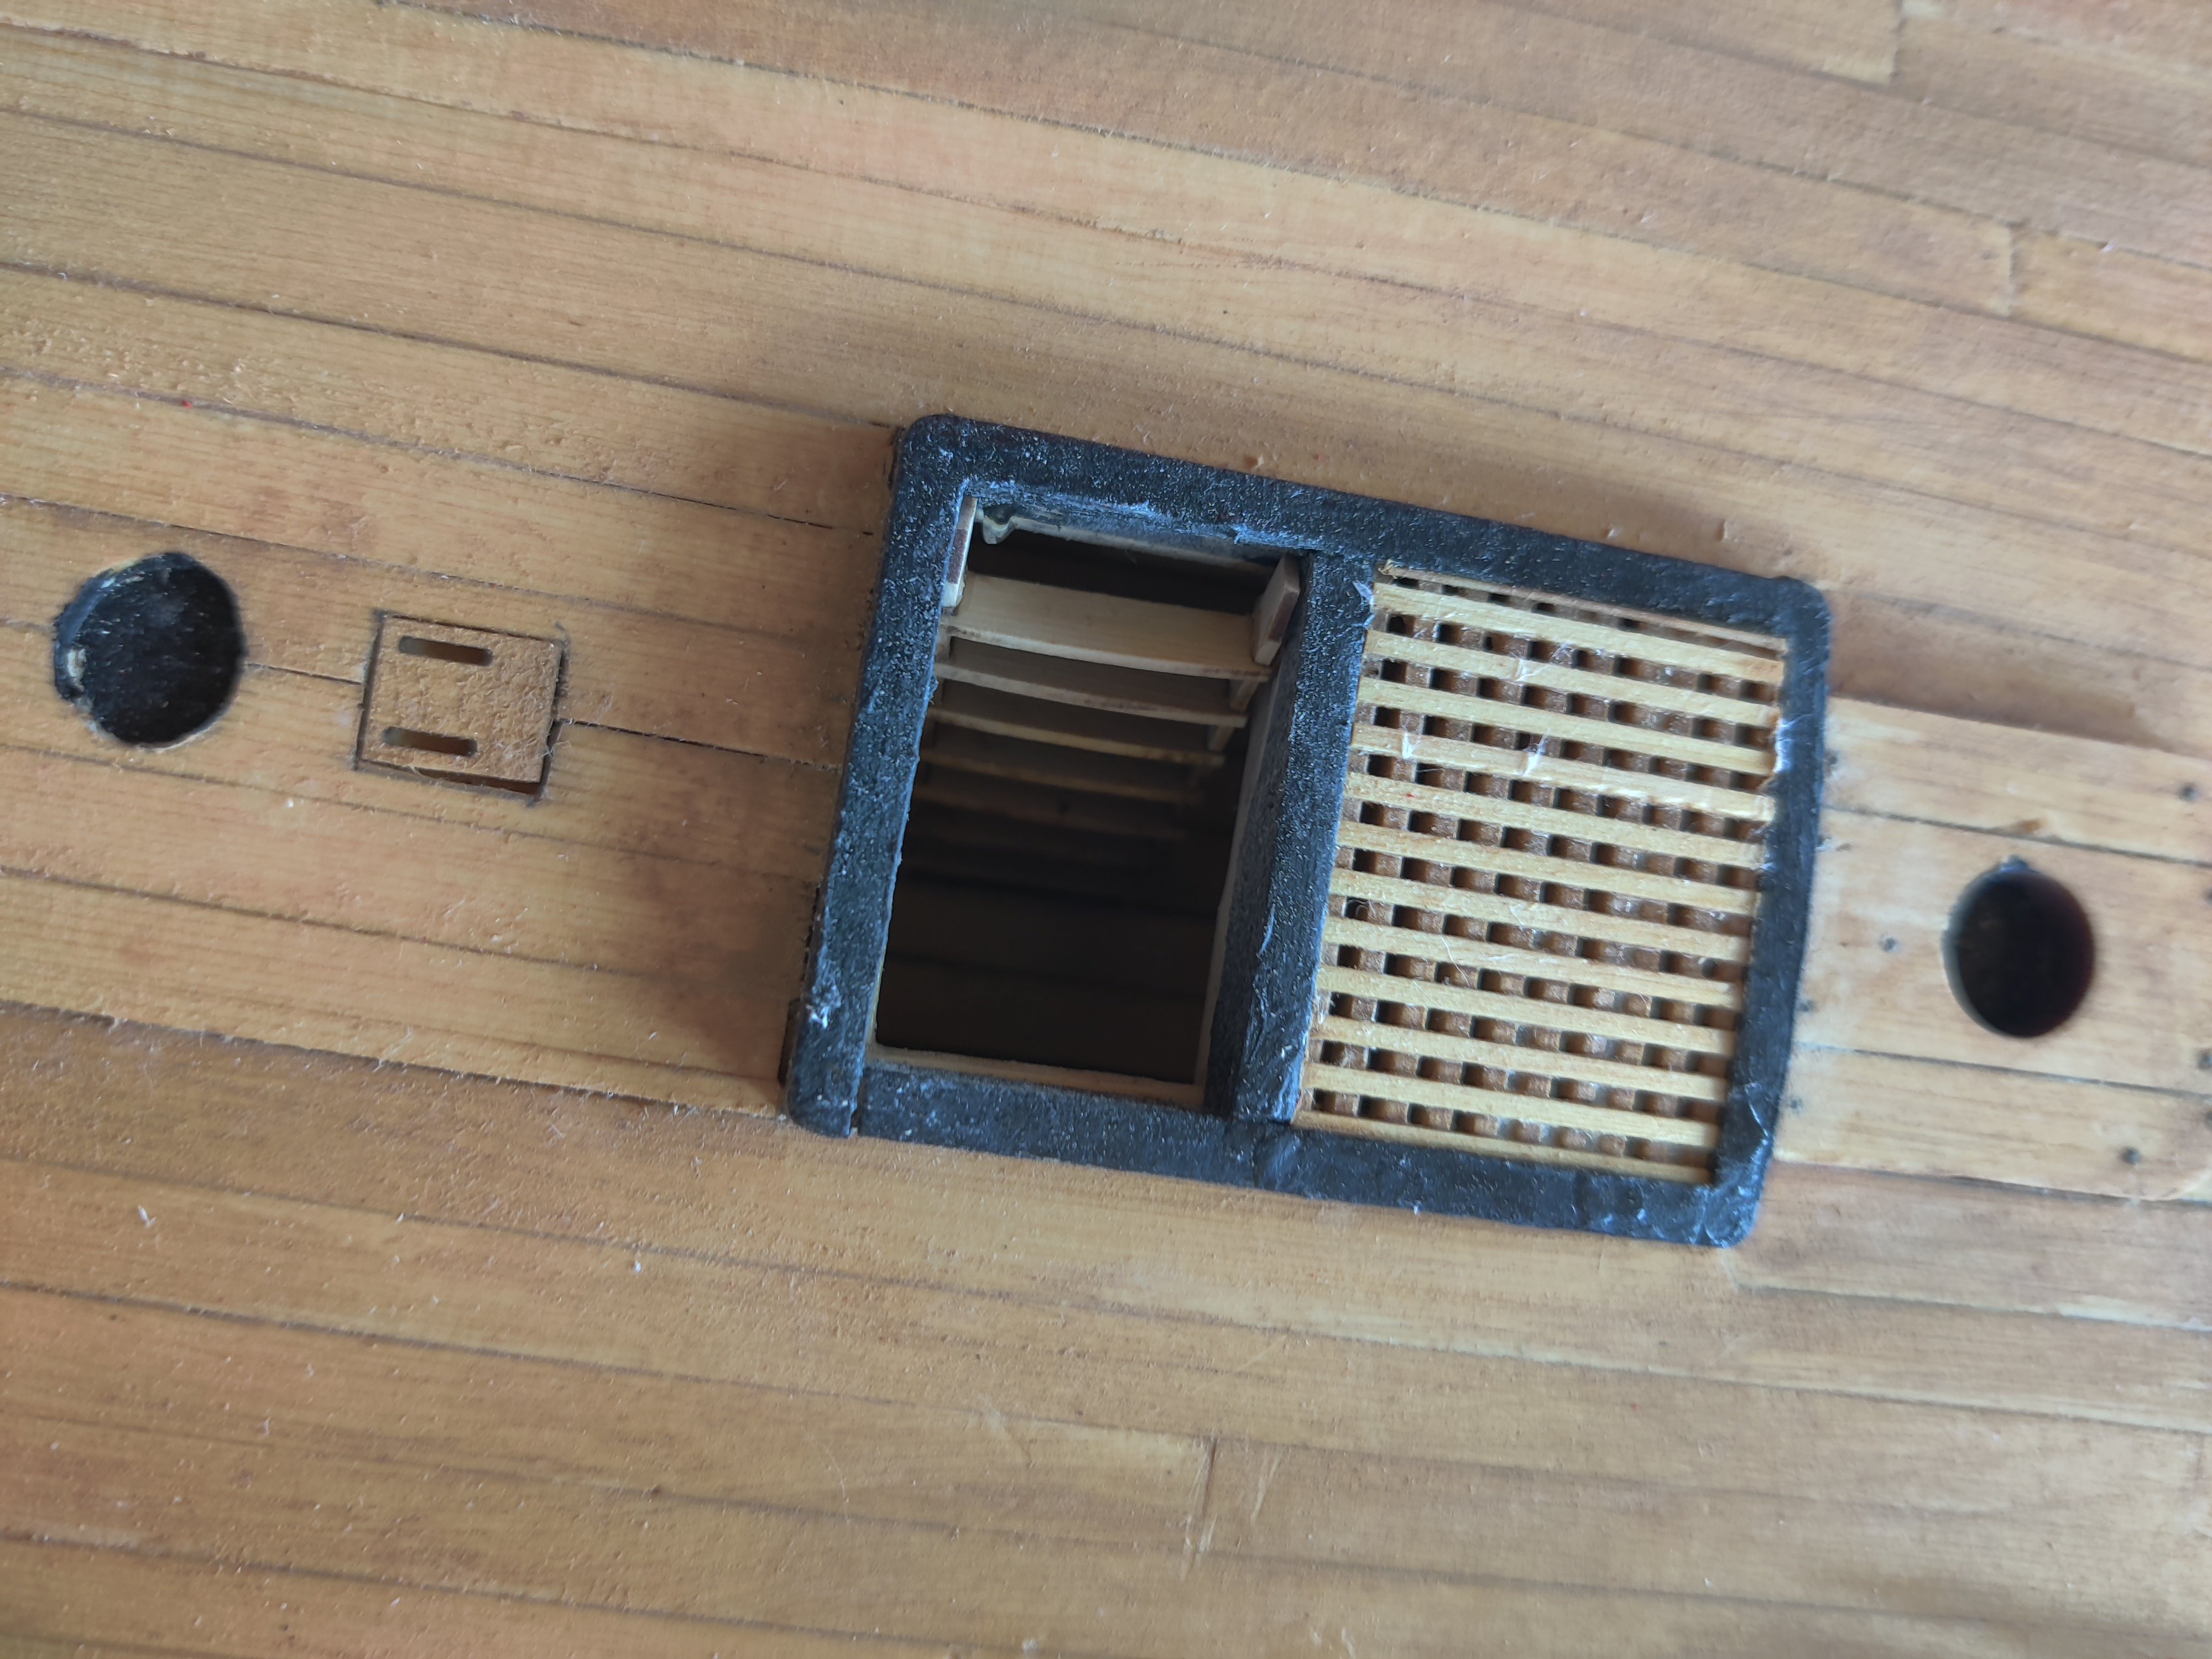
I looks like the inset where a light is to be located from the pictures of the boat?
-
I can not tell from the picture if there is a rabbit on the bow and stern where the planks meet the keel.
-
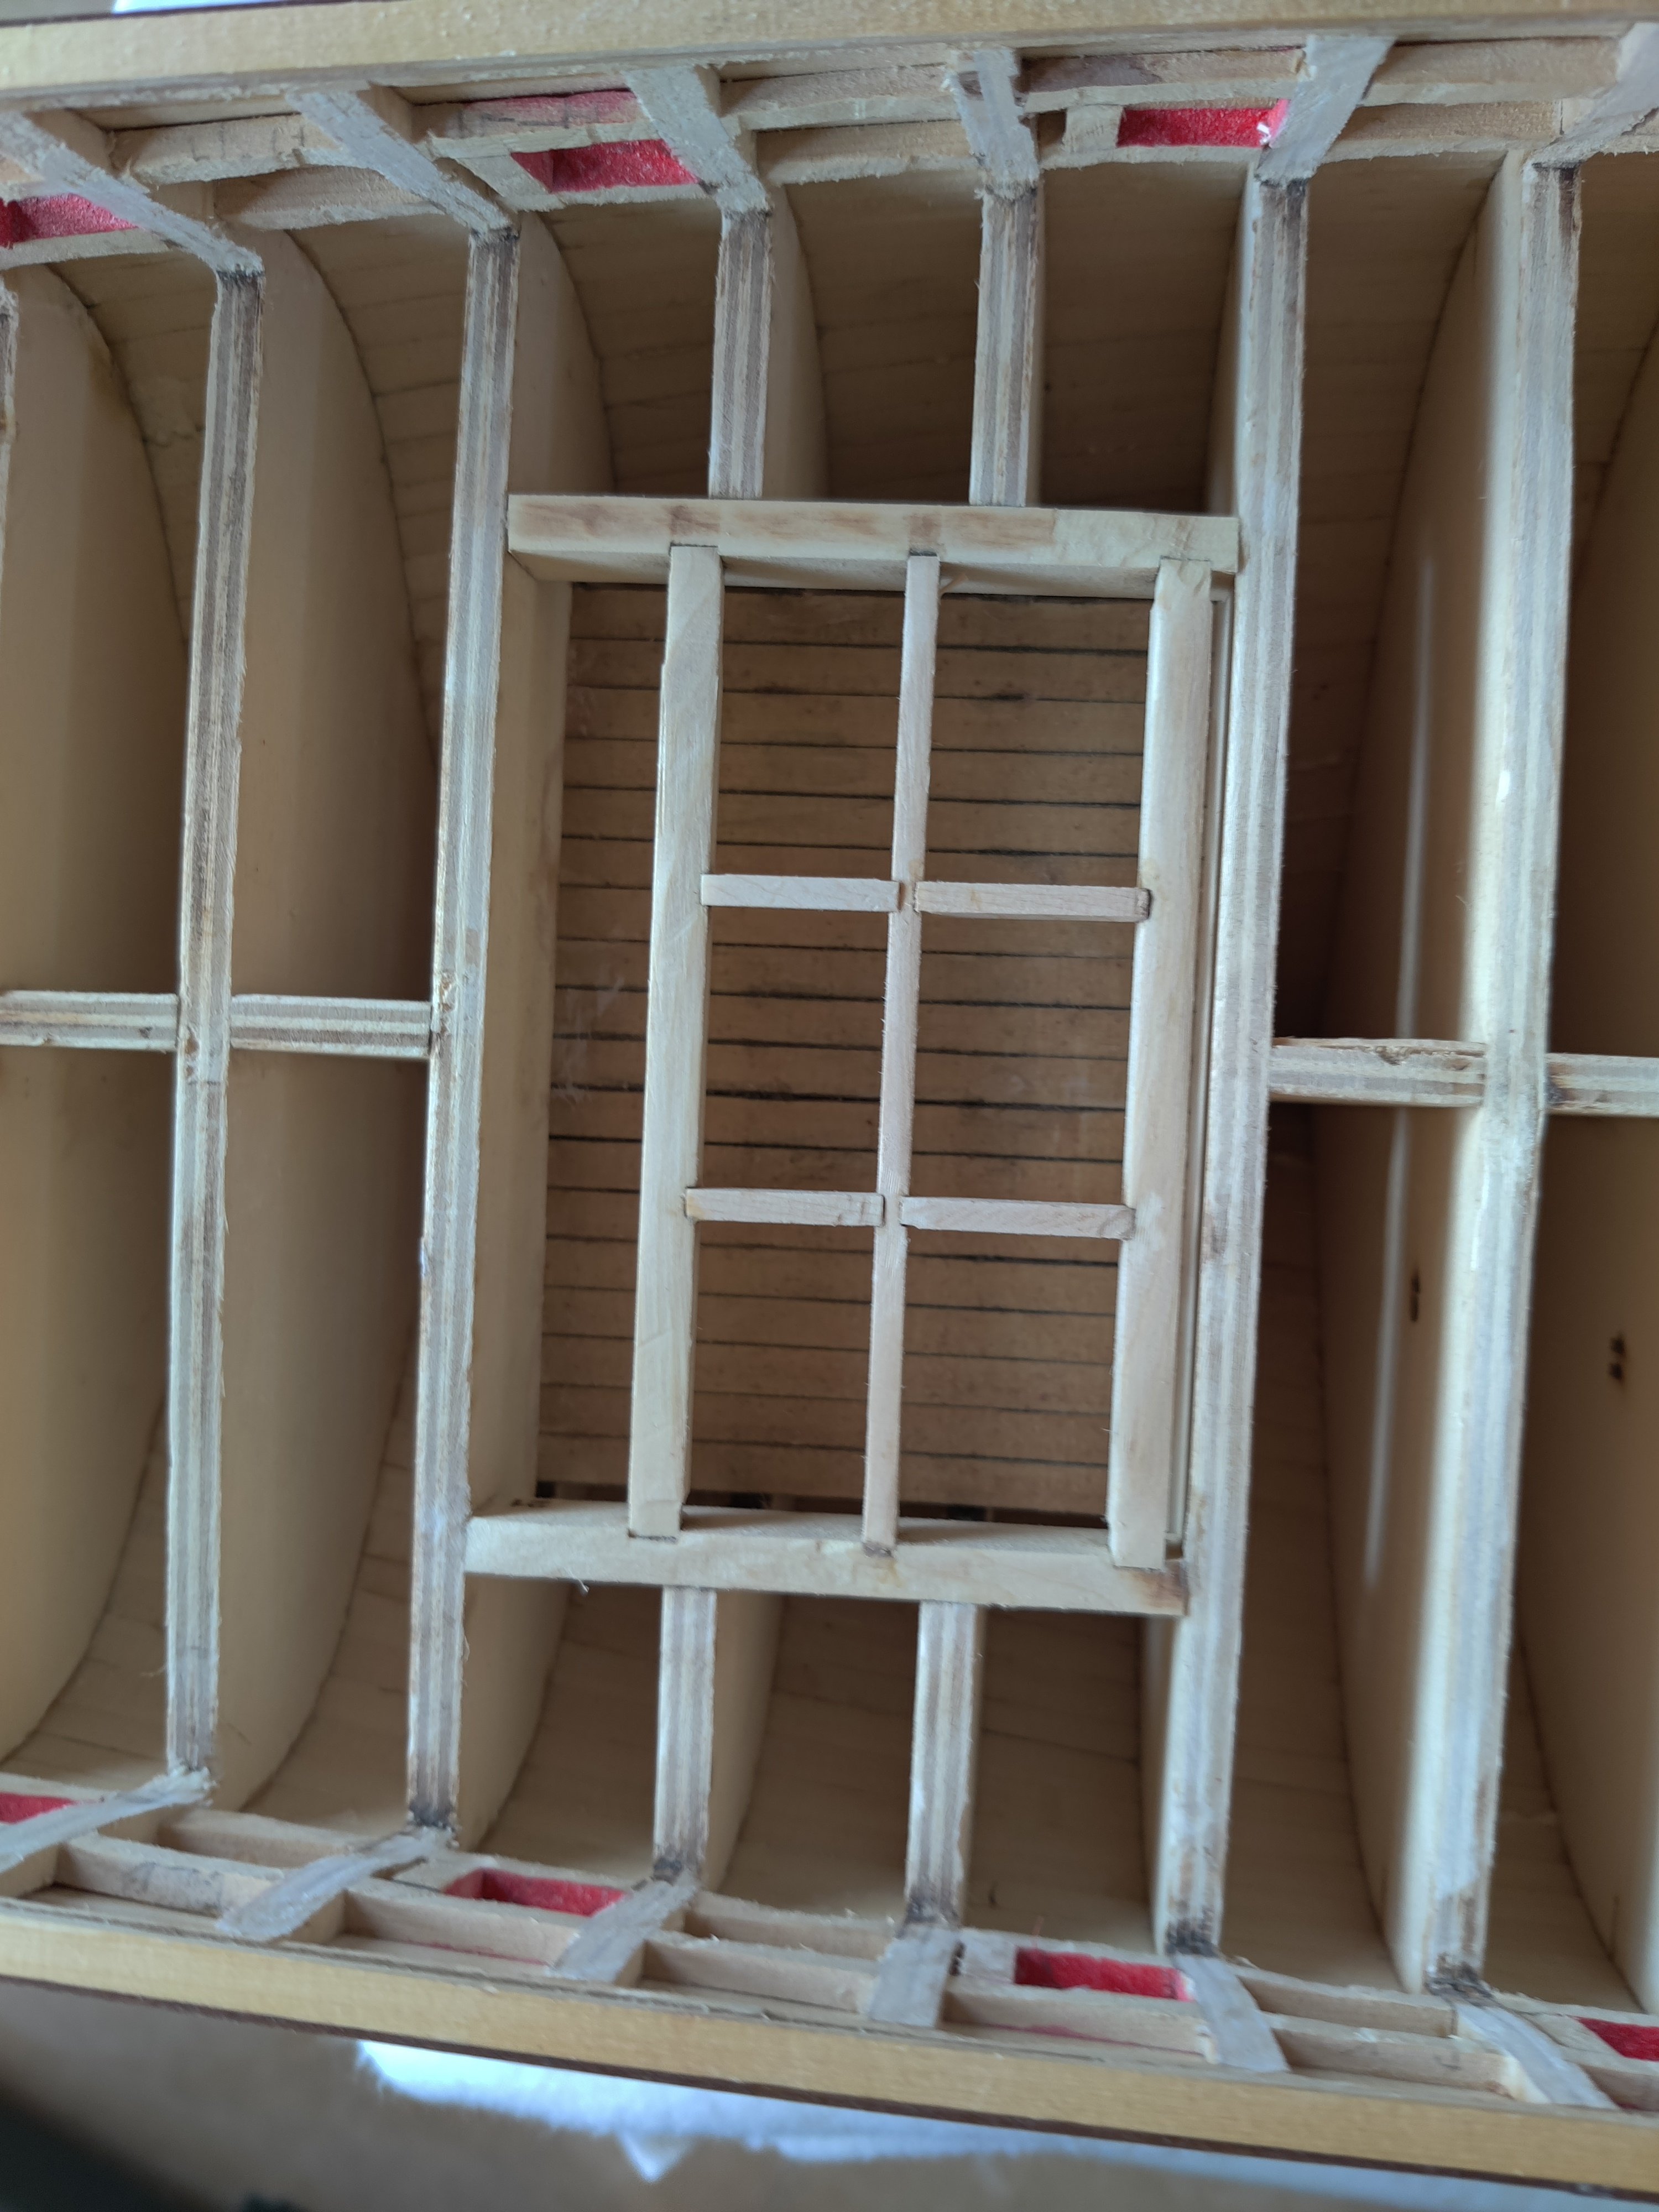
What do the color changes on the strips signify? Why do the lines on the strips run in different directions?
-
Yes I only have one hand that I can use. yes i only have one had that I can use, and it is my left which was not my primary hand, I had to learn to do everything with my left hand.
-
I learned more about planking from Der Alte Rentner log on planking than i did any place else.
- 233 replies
-
- 2
-
-

-
- Model Shipways
- constitution
- (and 5 more)
-
This looks really clean and will pay big dividends later.
-
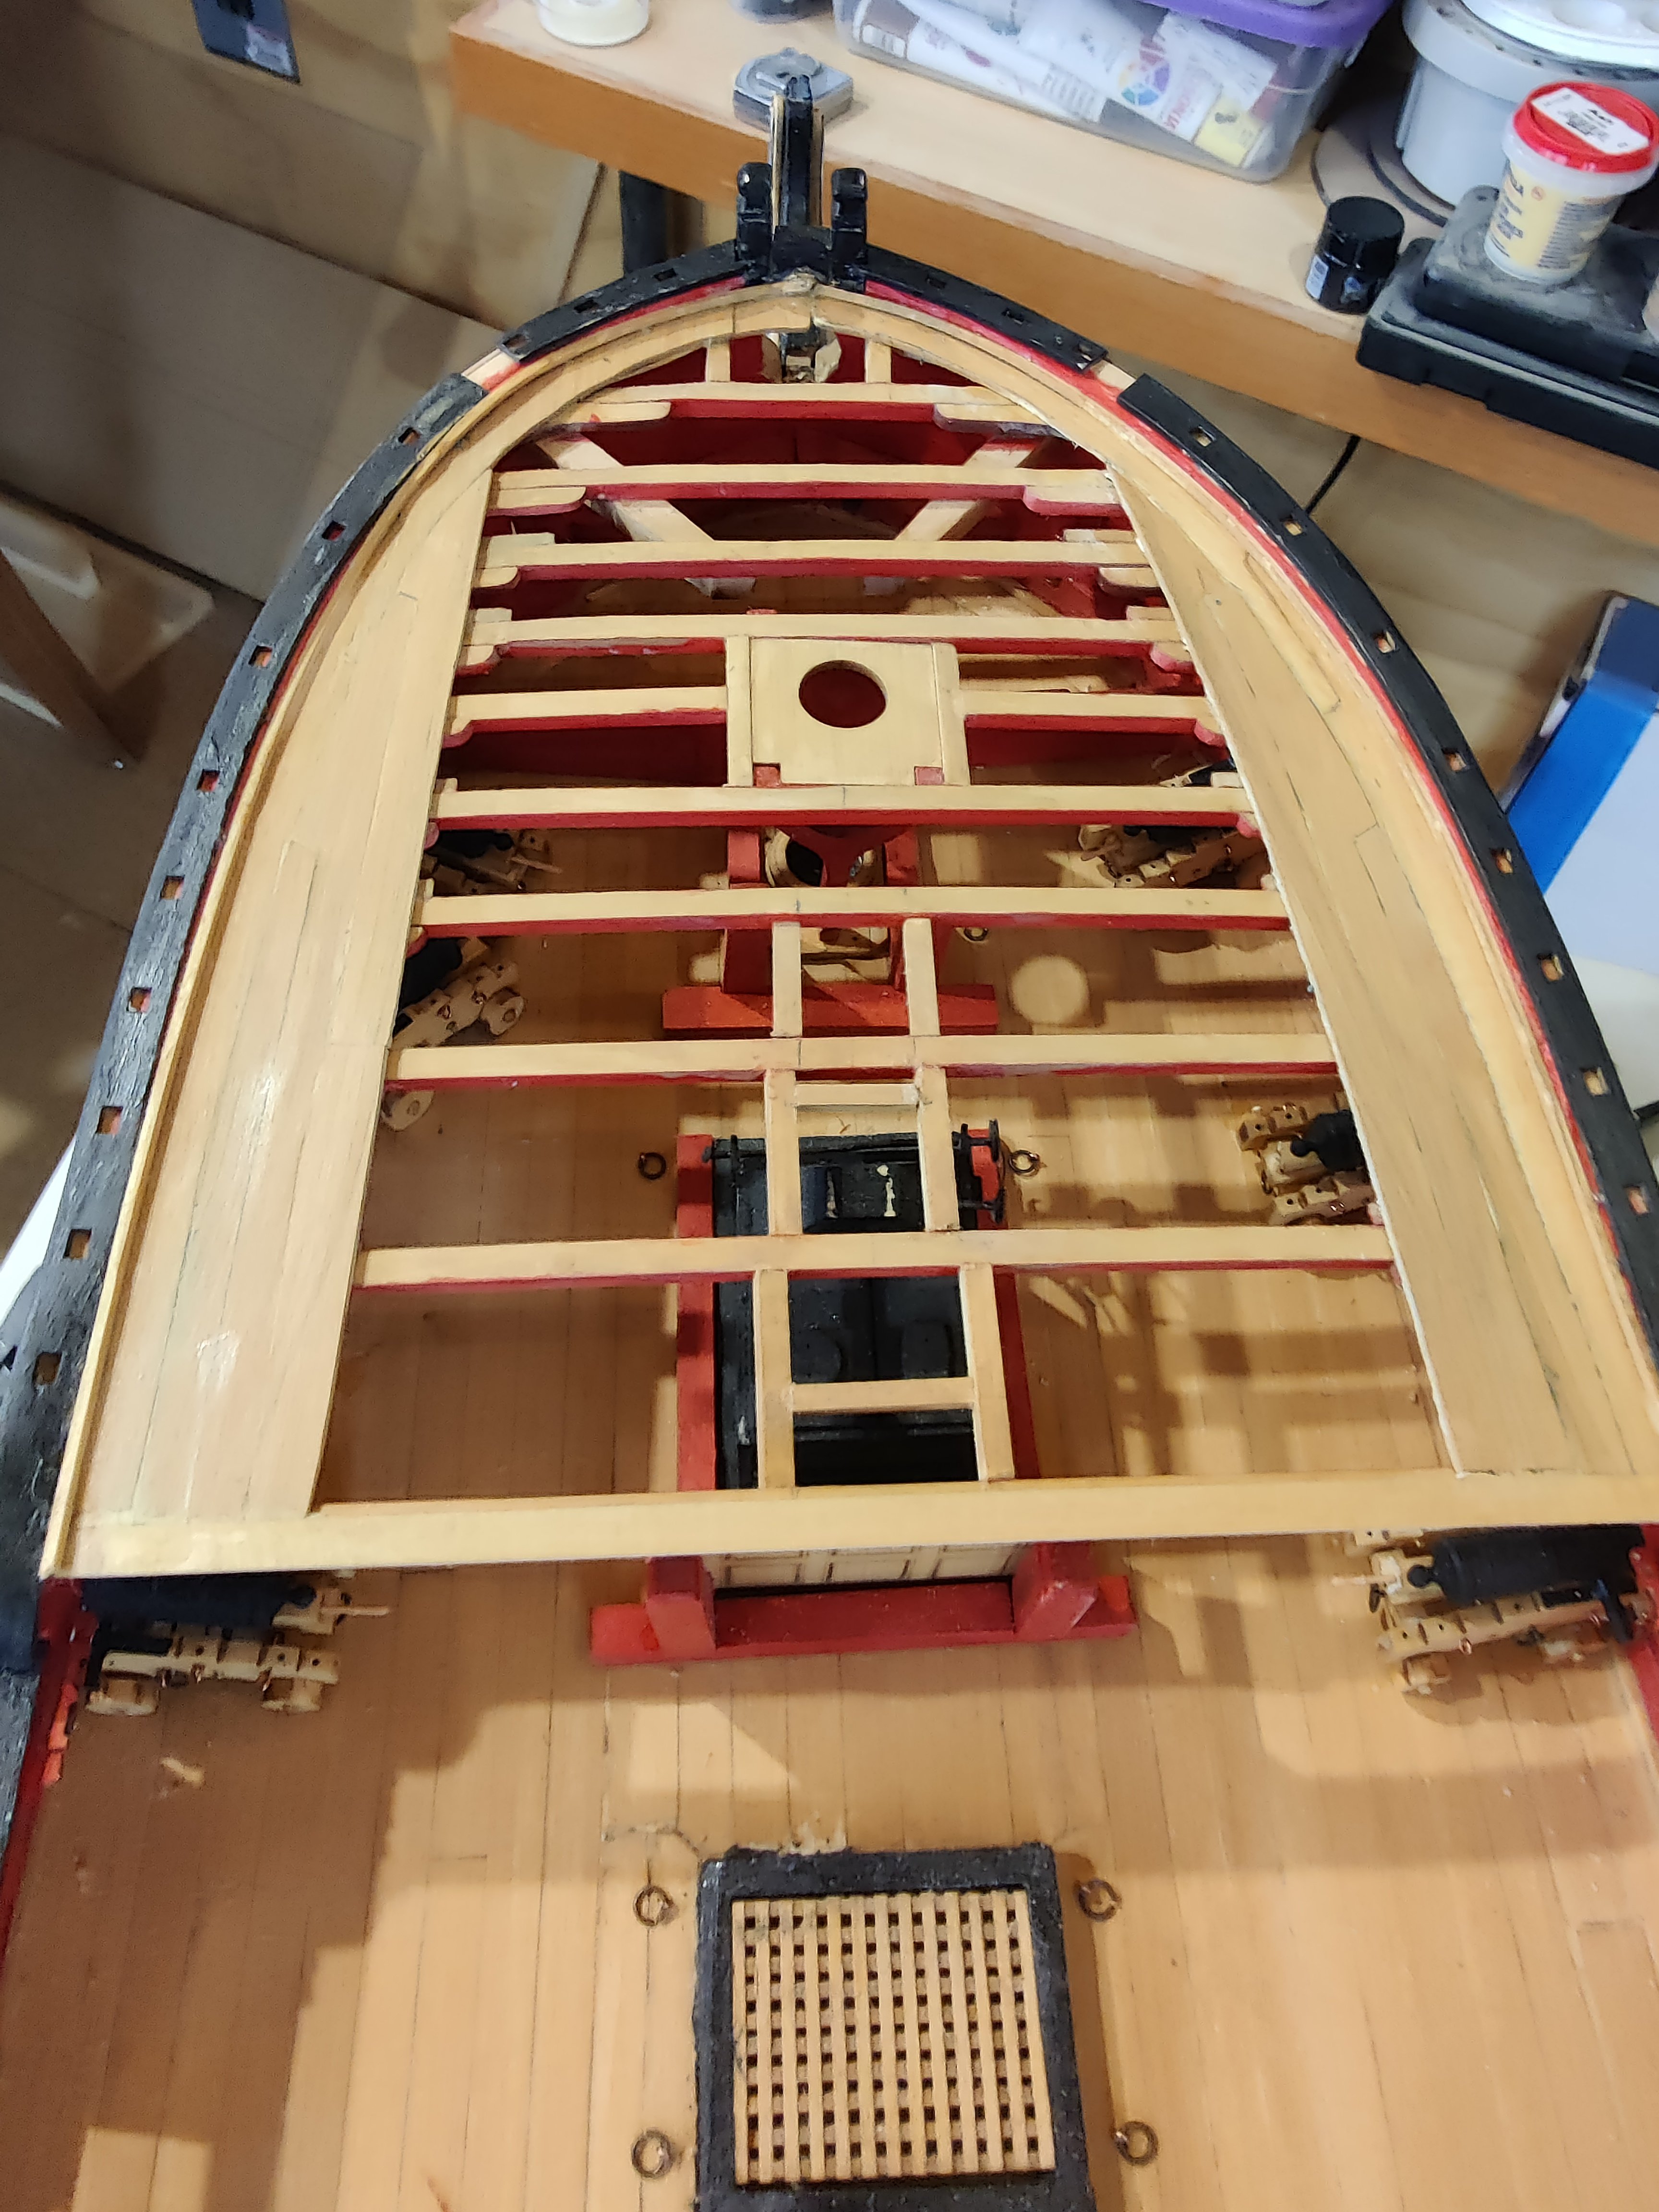
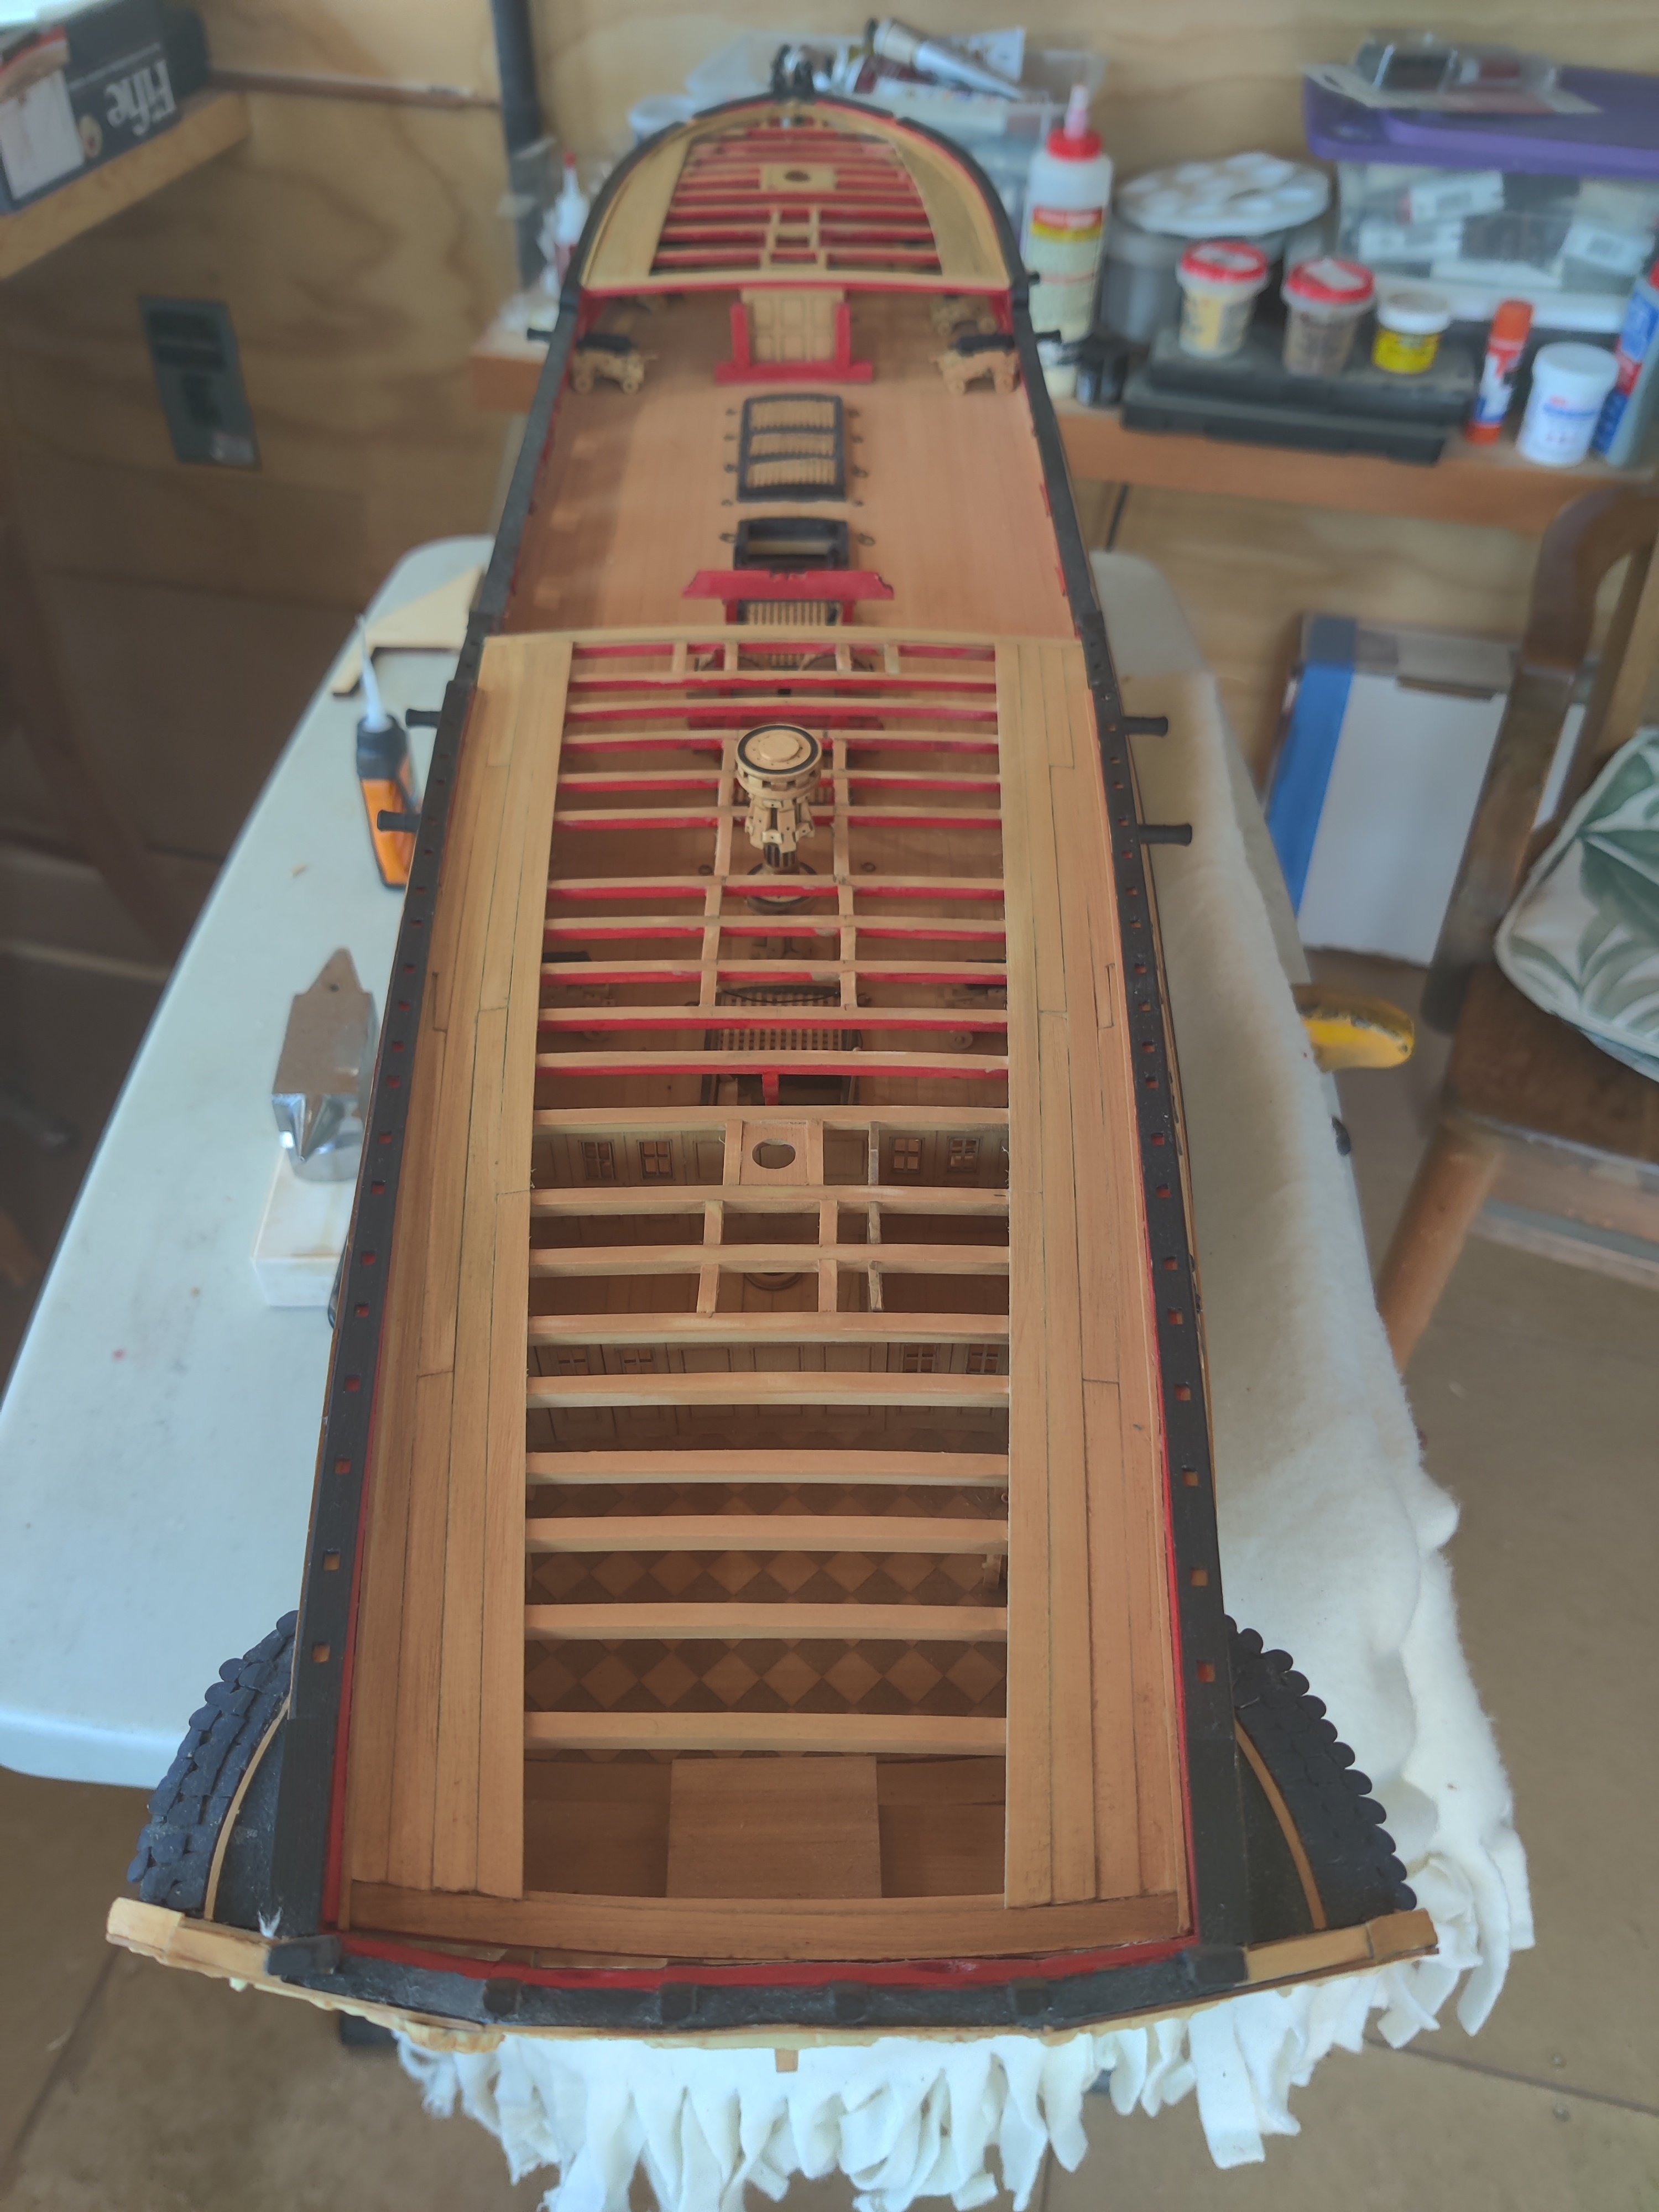
The carlings are completed fore and aft and the trim on fore beam added.


-
Chapter 8 almost finished. I have to add molding to final beam and stain beam tops to match those completed in Chapter seven.


-
Frank your Winnie is awesome, find the time to complete her!
-
USS Constitution by mtbediz - 1:76
woodartist replied to mtbediz's topic in - Build logs for subjects built 1751 - 1800
beautiful, love to see your work -
i was going to order more parts, anytime in the next 10 days is ok. I have deck planking to complete
-
Thanks, This has been a very rewarding journey. There are some really awesome examples and it is hard not to compare ones work to those, nonethe less completing each task and chapter is so exhilarating that it motivates you to face the next challenge with a smile. Your guidance and others makes it all possible.
-
It has been 6 months since I last posted but I have been diligently working. However, Chapter three took me a very long time. It is very detailed work and trying to do it with just one hand created a lot of challenges and i ad repeated do overs in the process. The final product is not without flaws but it the best I could muster. I simply do not have the capability to be as precise as the masters that exist on this site. Nonetheless, I really enjoy the challenge.


- 72 replies
-
- 10
-
-
USS Constitution by mtbediz - 1:76
woodartist replied to mtbediz's topic in - Build logs for subjects built 1751 - 1800
I absolutely love the precision of all that you do