woodartist
-
Posts
287 -
Joined
-
Last visited
Content Type
Profiles
Forums
Gallery
Events
Everything posted by woodartist
-
USS Constitution by mtbediz - 1:76
woodartist replied to mtbediz's topic in - Build logs for subjects built 1751 - 1800
My congratulations too each of you. -
It looks like you have really put the milling machine to good use. It would be a nice item to have. Probably more useful than a Byrnes table saw, since there are sources for finished wood planks and sheets.
-
OMG if I was 10 years younger, I may have been interested 😊 , however it is a huge commitment, you better be in love with it!!
-
There are about a dozen members in your area. I am in Sequim, there are others in Seattle, Port Orchard, Edmonds, & Tacoma
-
USS Constitution by mtbediz - 1:76
woodartist replied to mtbediz's topic in - Build logs for subjects built 1751 - 1800
The cleats are really well done!! -
What is best to use on the aluminum sanding discs to remove the sanding sheet and glue on disc?
-
I really enjoyed looking thru his build log, he was creative and it looks like he never completed the rigging but the ship is really well done.
-
USS Constitution by mtbediz - 1:76
woodartist replied to mtbediz's topic in - Build logs for subjects built 1751 - 1800
I totally agree!! Your sharing of your progress and process is invaluable to those of us just learning how to do these models with integrity. Thanks -
Glen, It is awesome!! I have just started the journey, 6 months of work and I am only 1/2 way thru Chapter 2. I have been using your build log as one of my references since I started and it has been immensely helpful.
- 840 replies
-
- 3
-

-
- winchelsea
- Syren Ship Model Company
- (and 1 more)
-
did you stain your Cherry wood or just apply WOP?
-
USS Constitution by mtbediz - 1:76
woodartist replied to mtbediz's topic in - Build logs for subjects built 1751 - 1800
Having a milling machine is a great asset. How long does it take to be efficient with a milling machine. Does it require a lot of additional attachments? -
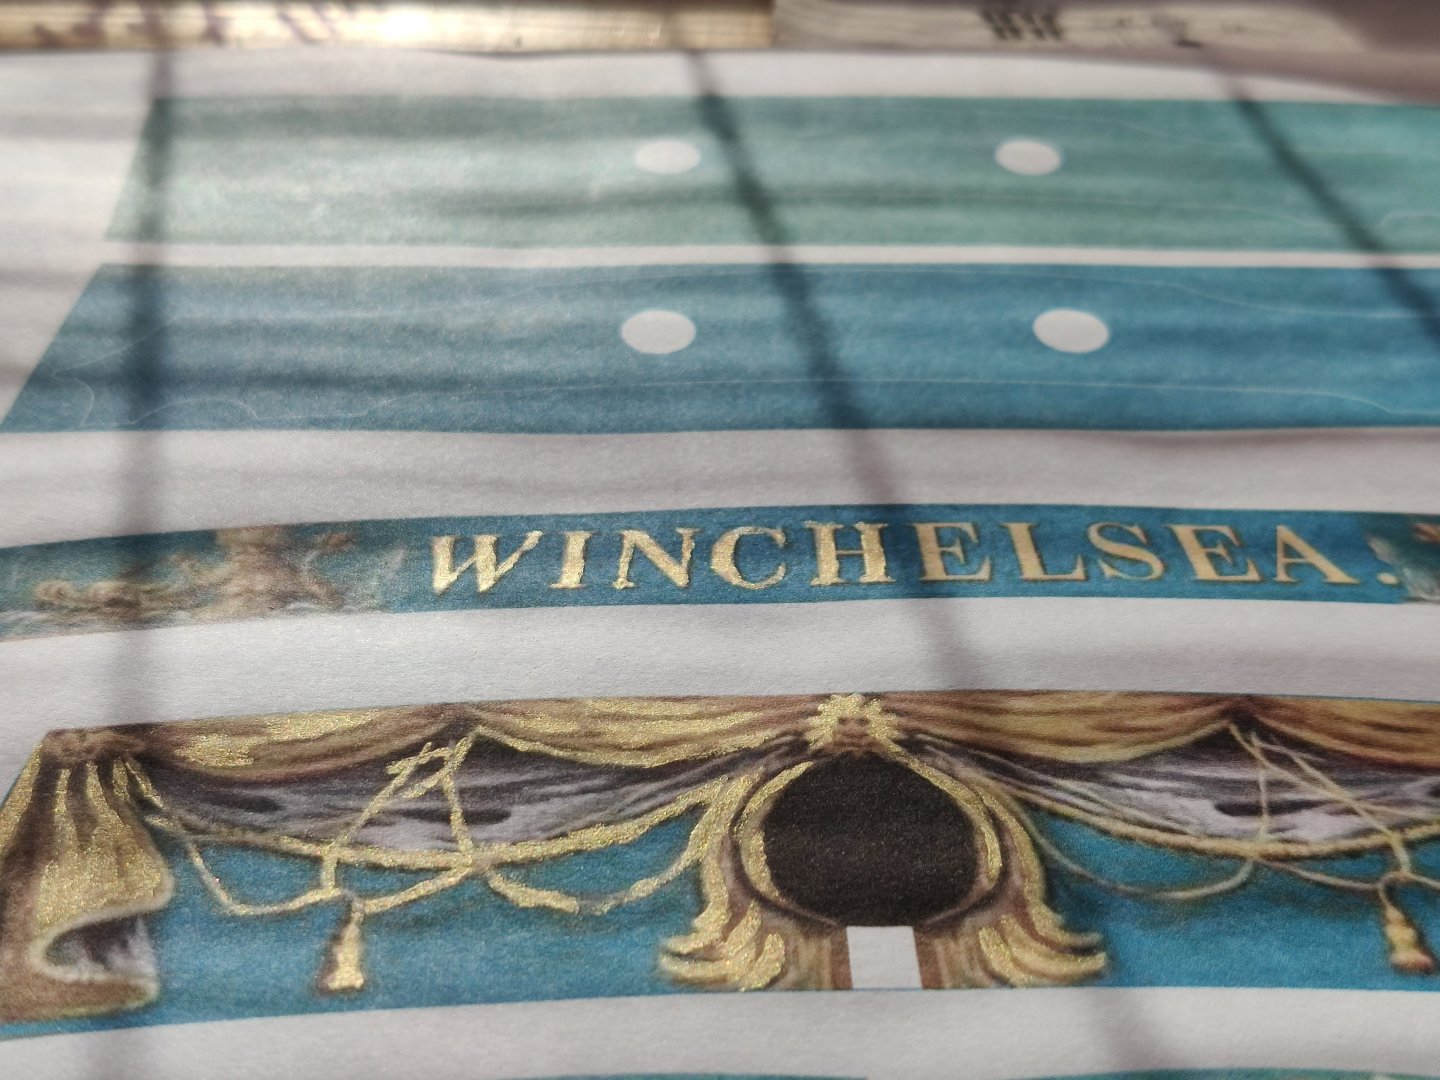
i have been working on planking the wales and above the wales for a month and needed a break, so I printed off a color copy of the friezes for the stern. Looking at them I thought I would try and apply some iridescent gold paint to see if I could enhance them. I painted the left side and not the right so you could compare the before and after. This was just an experiment, I have not decided if I will actually do it. I have painted birds that I have carved for years and I am accustomed to painting very fine feather details, but do not know if it would be appropriate on a boat. Looking at the other friezes that go by the gun ports there are some details that I could enhance with painting but maybe I should leave well enough alone. Thoughts?
-
really lovely work, nice to see, hope mine ends up half as nice
- 399 replies
-
- 1
-
-
- winchelsea
- Syren Ship Model Company
- (and 1 more)
-
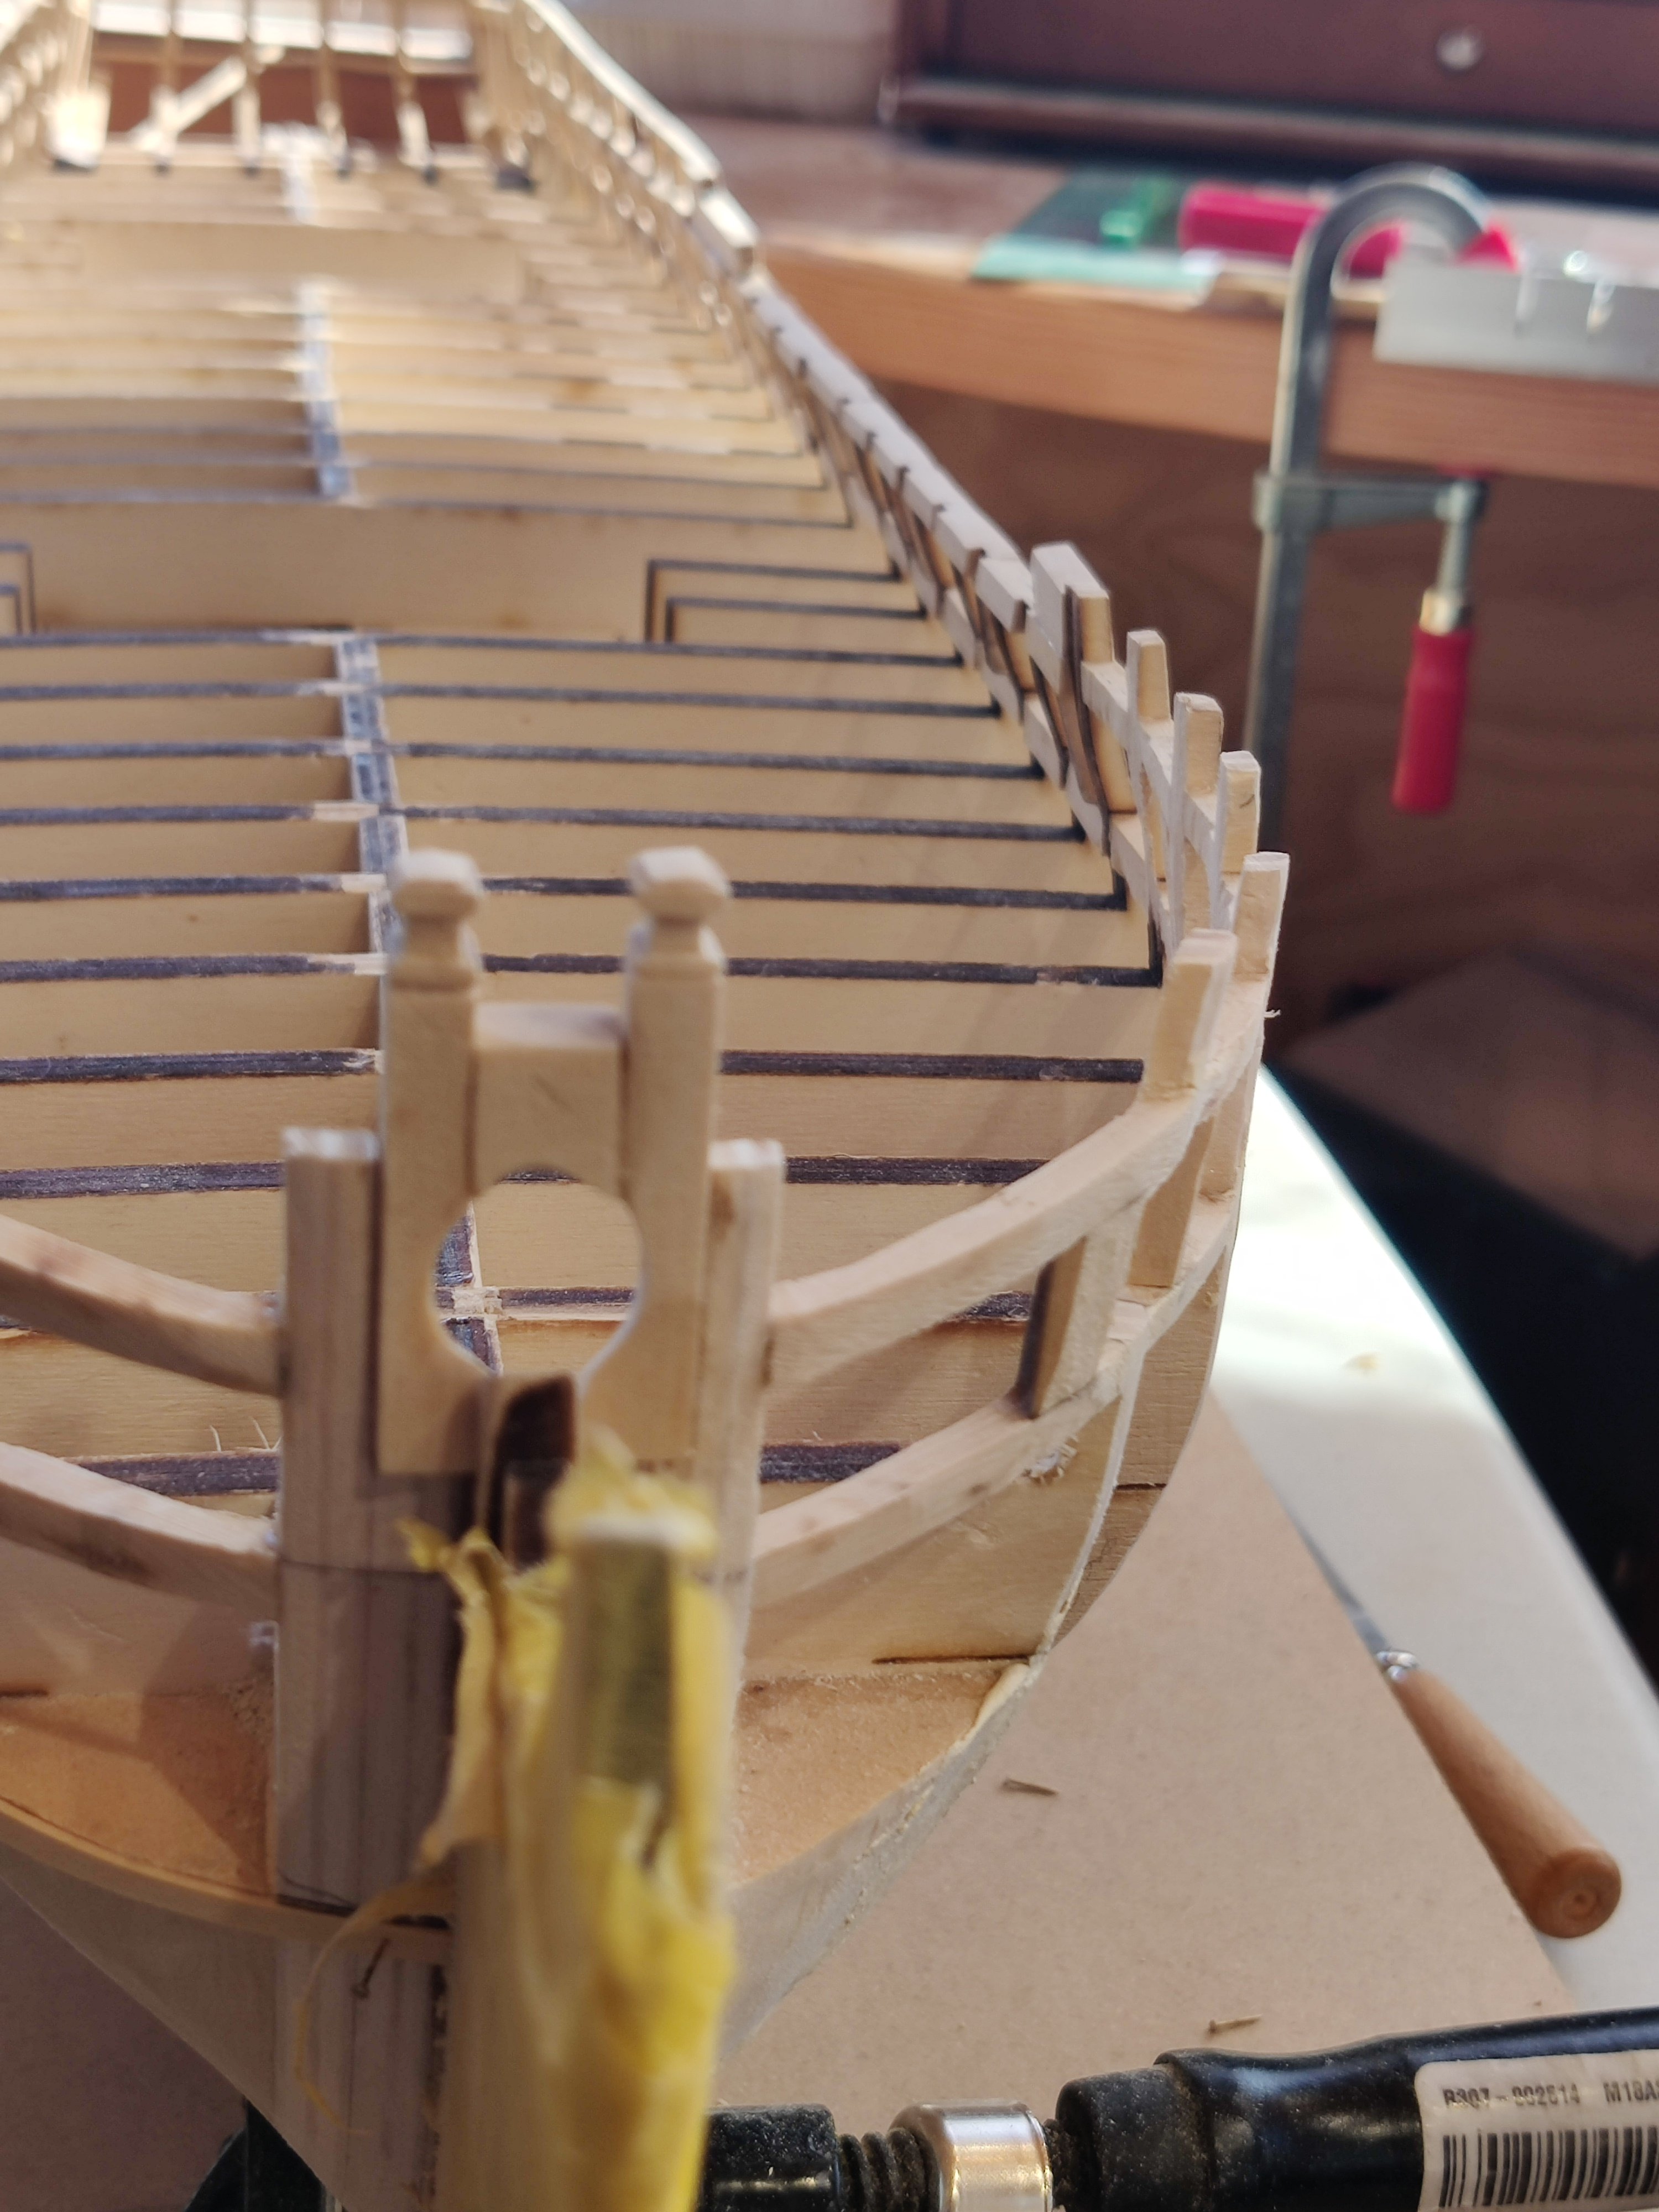
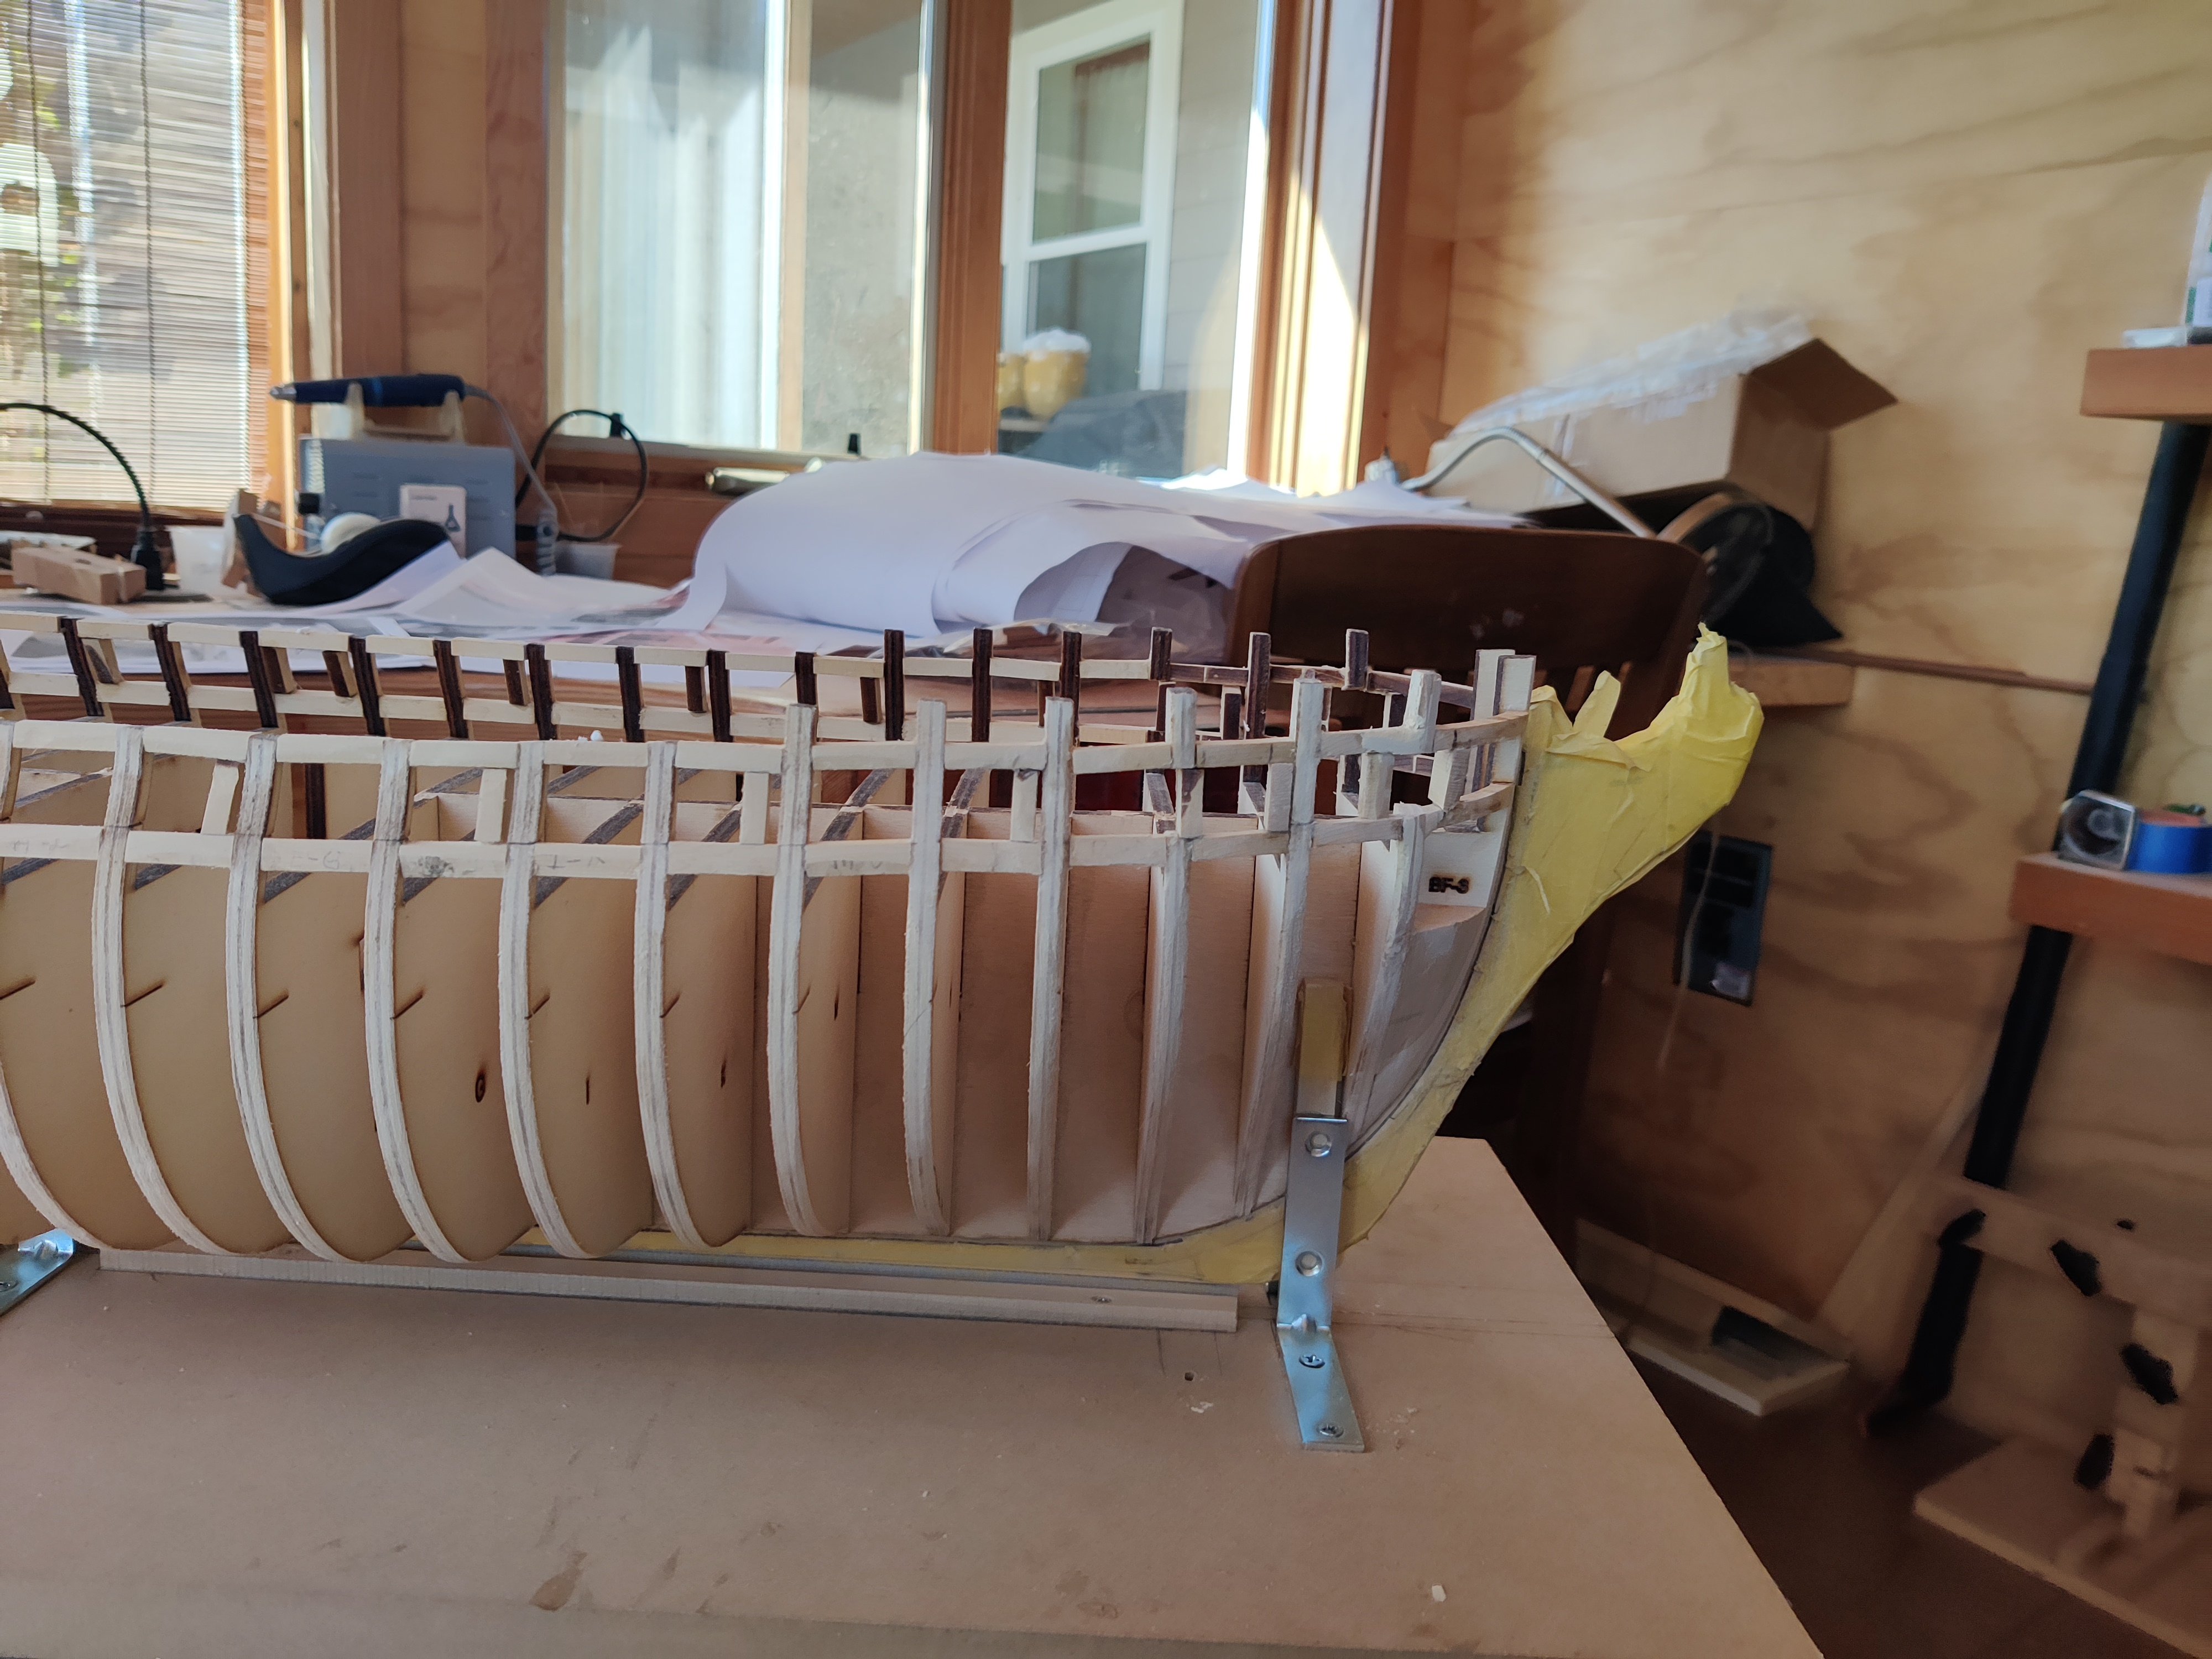
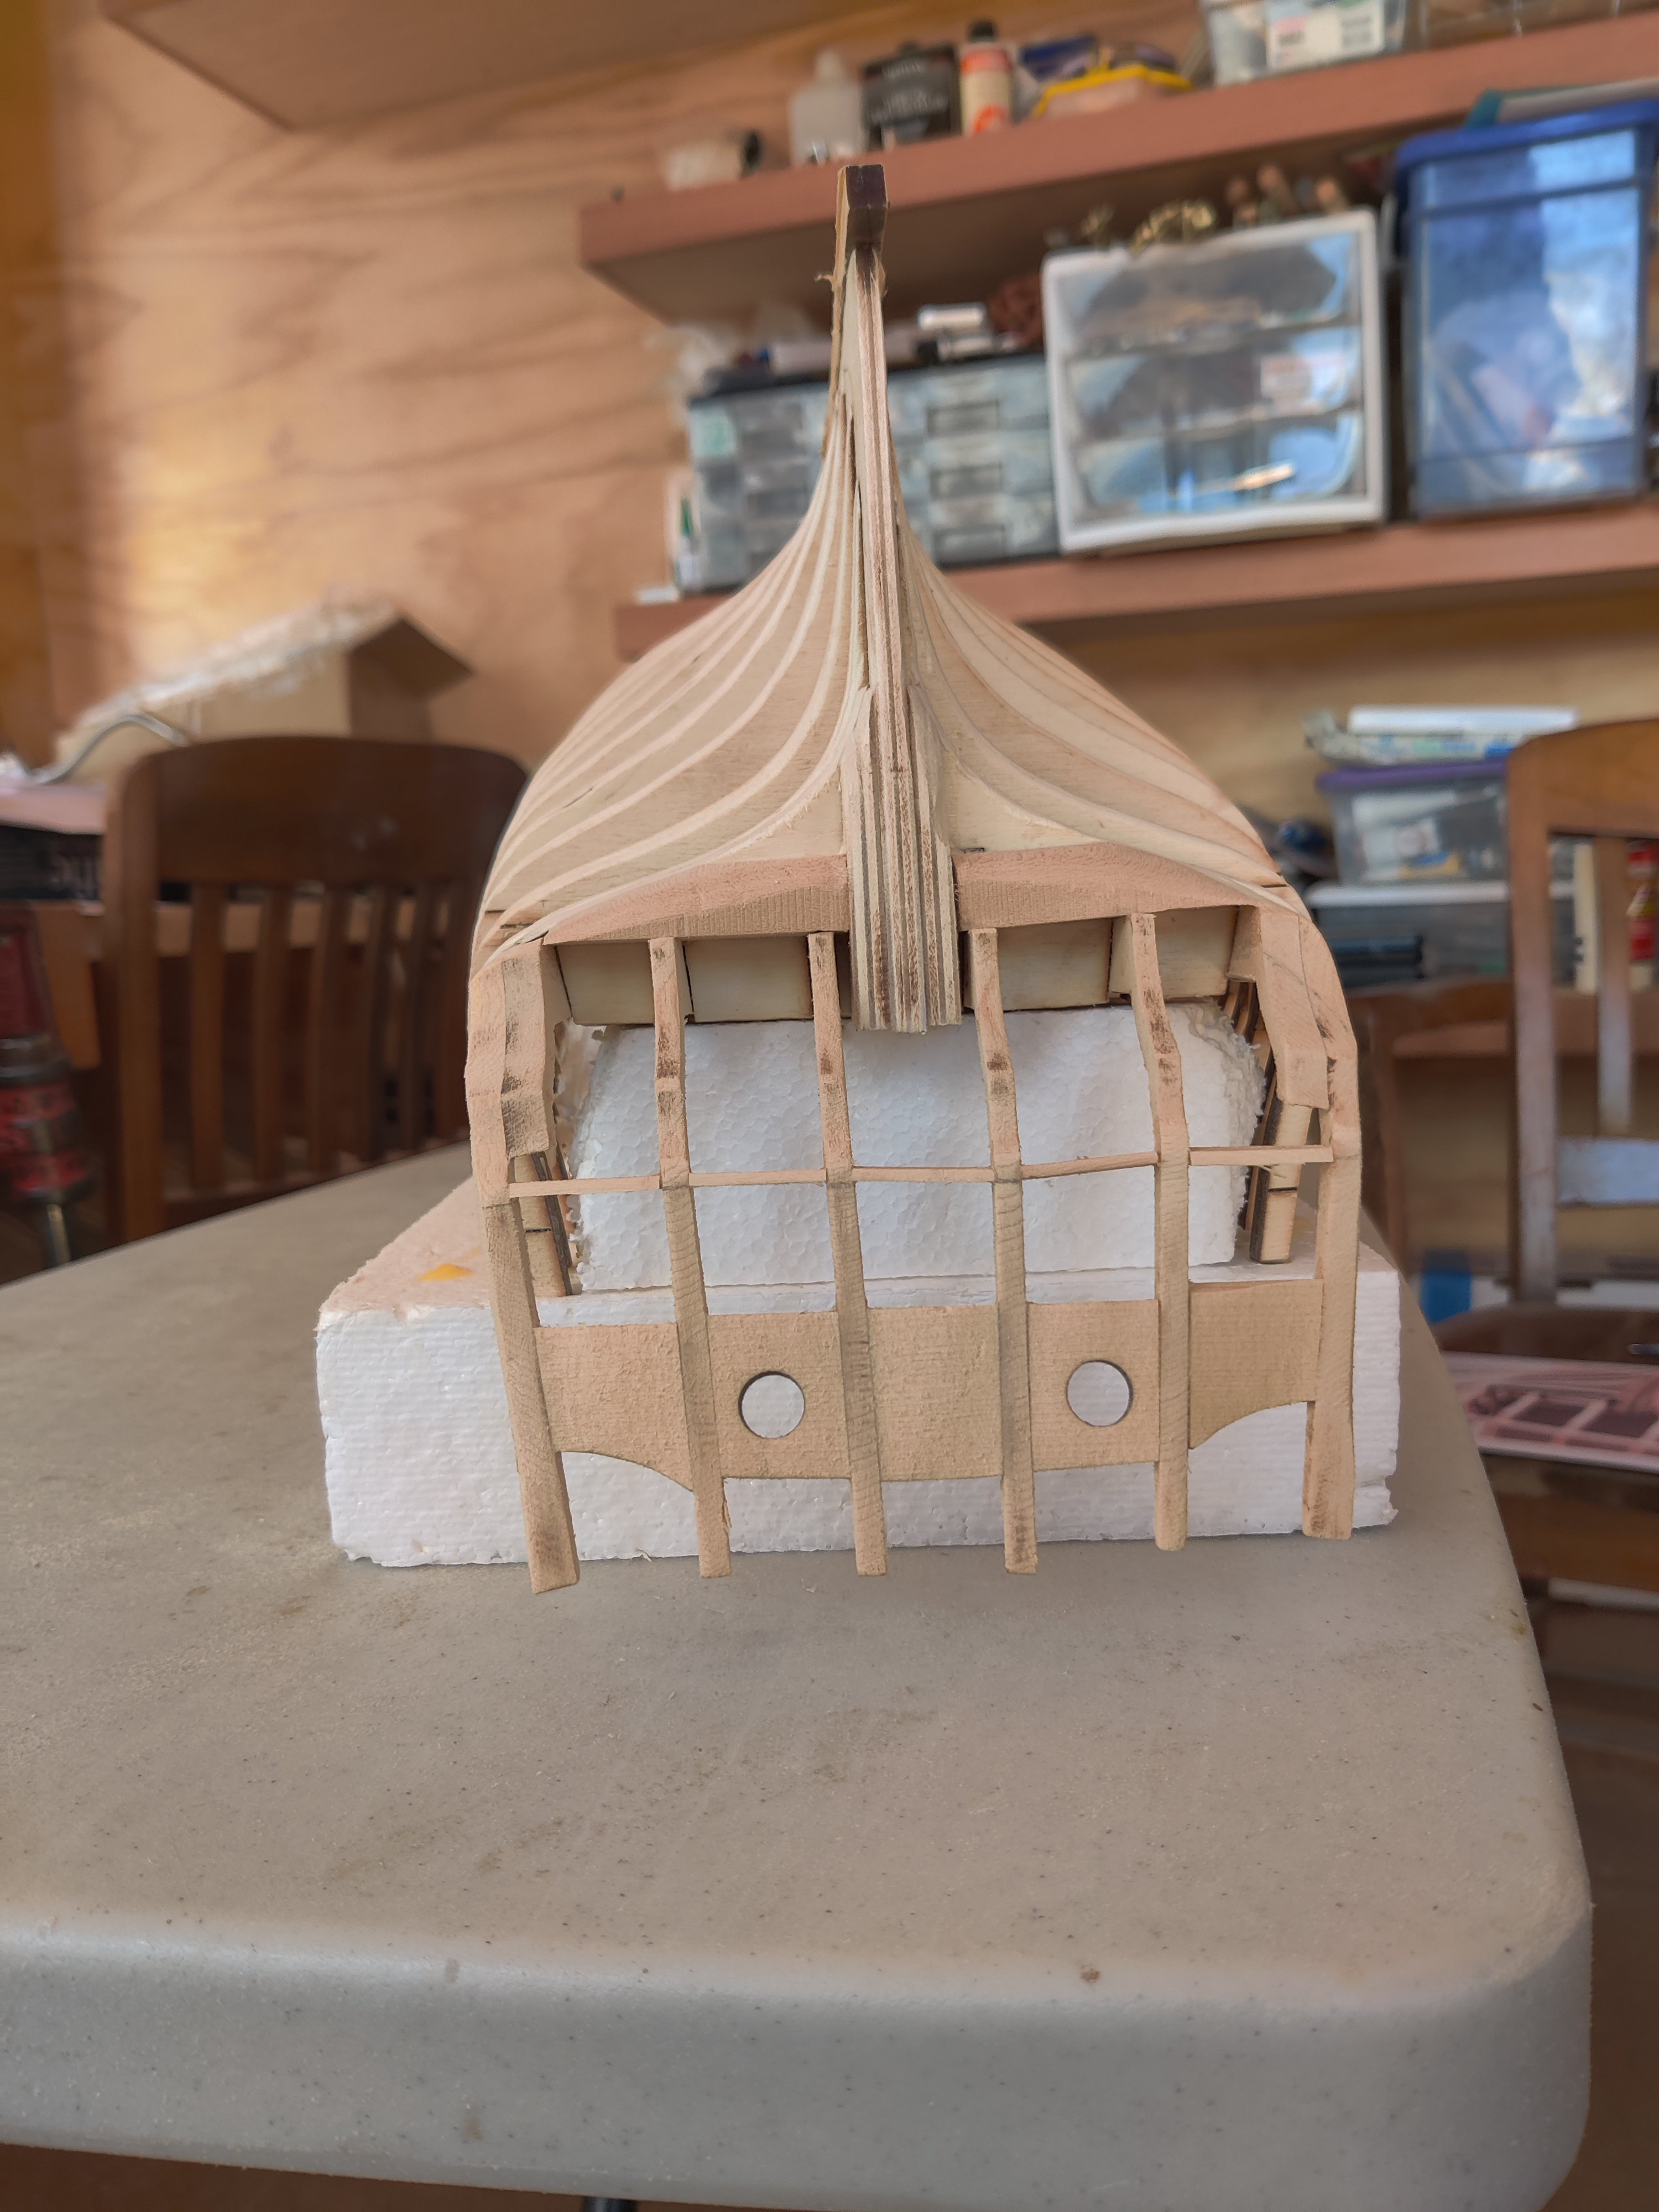
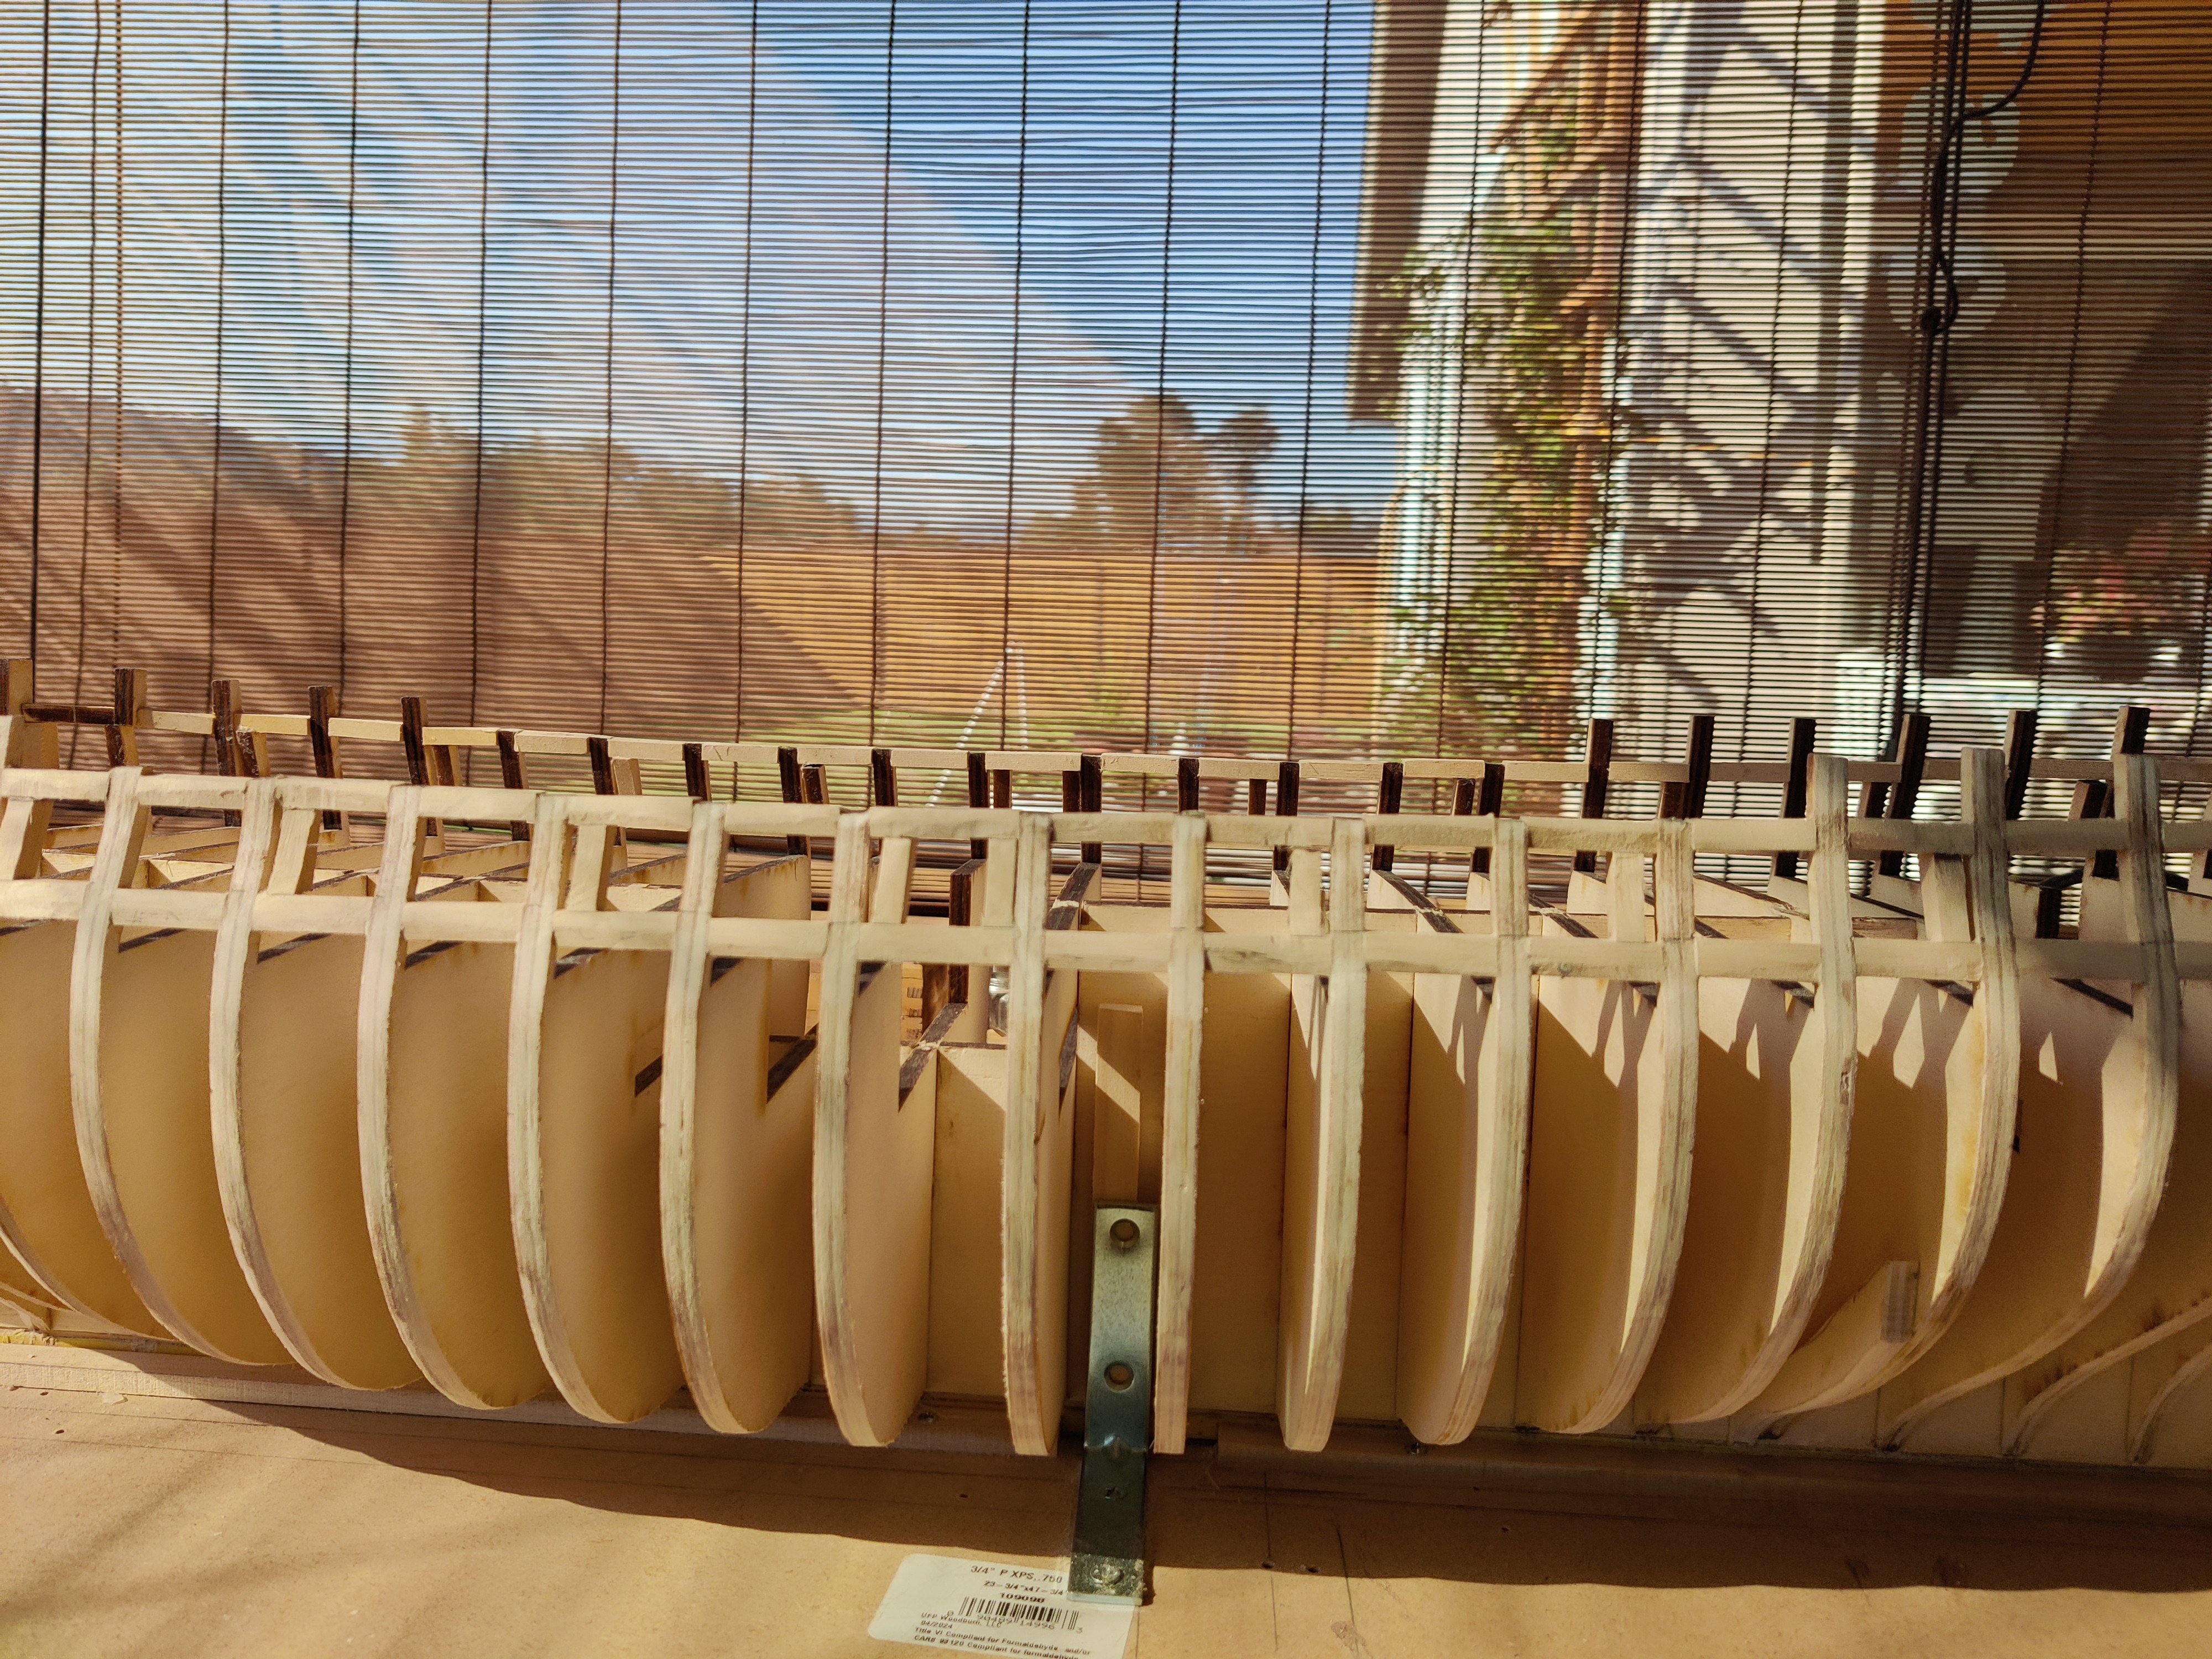
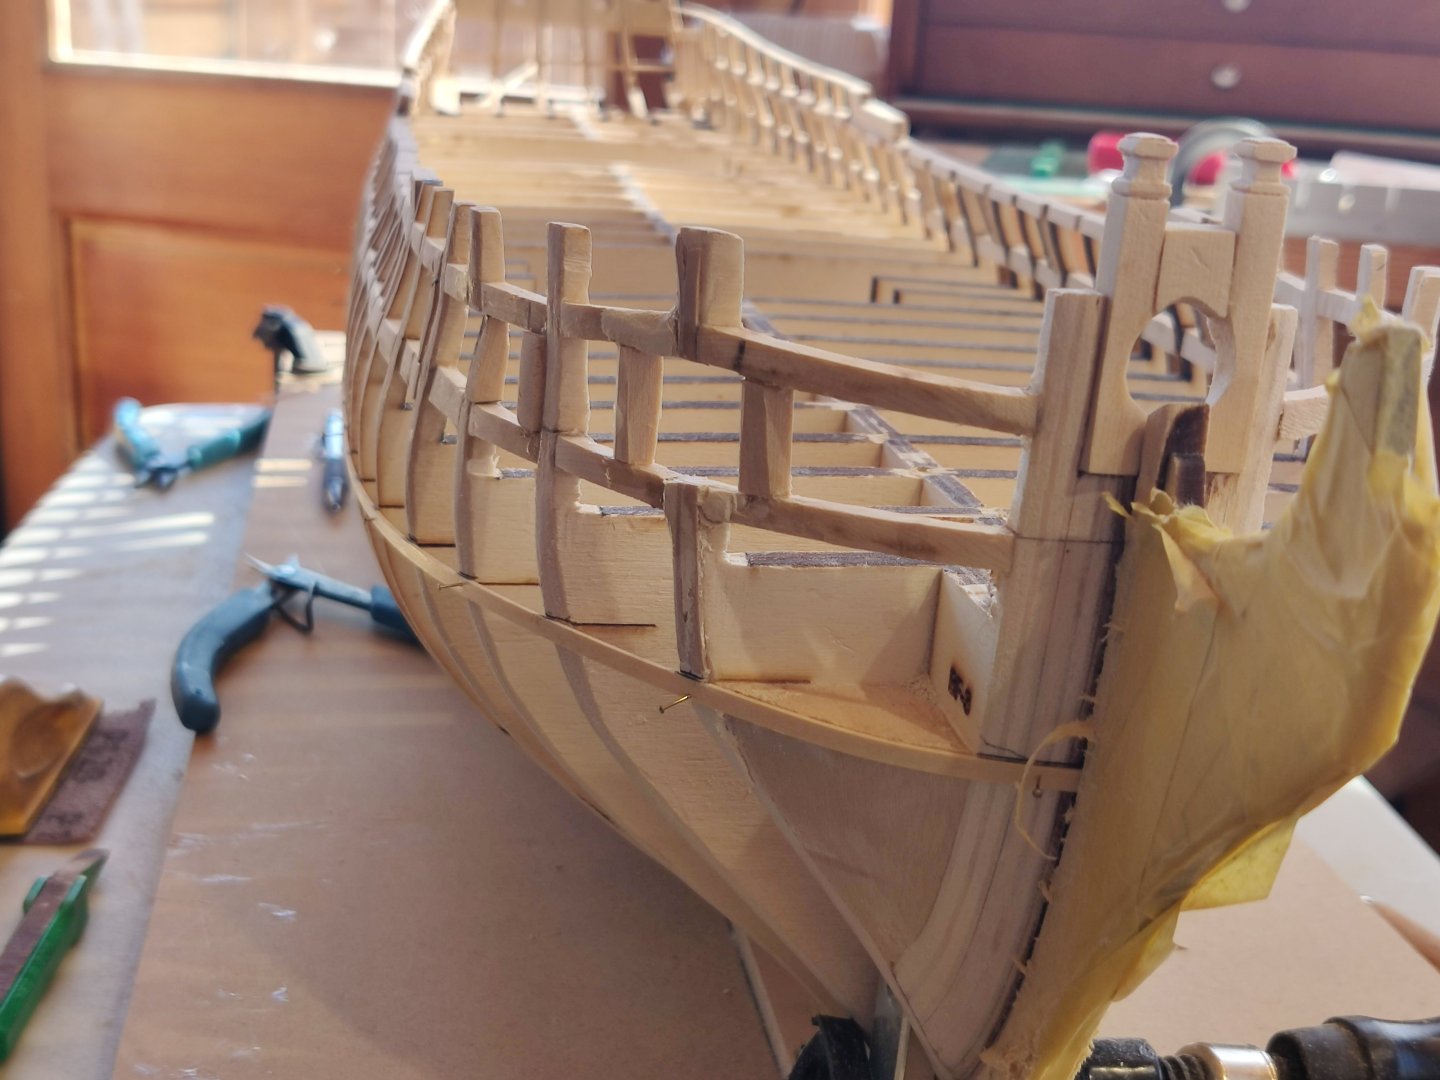
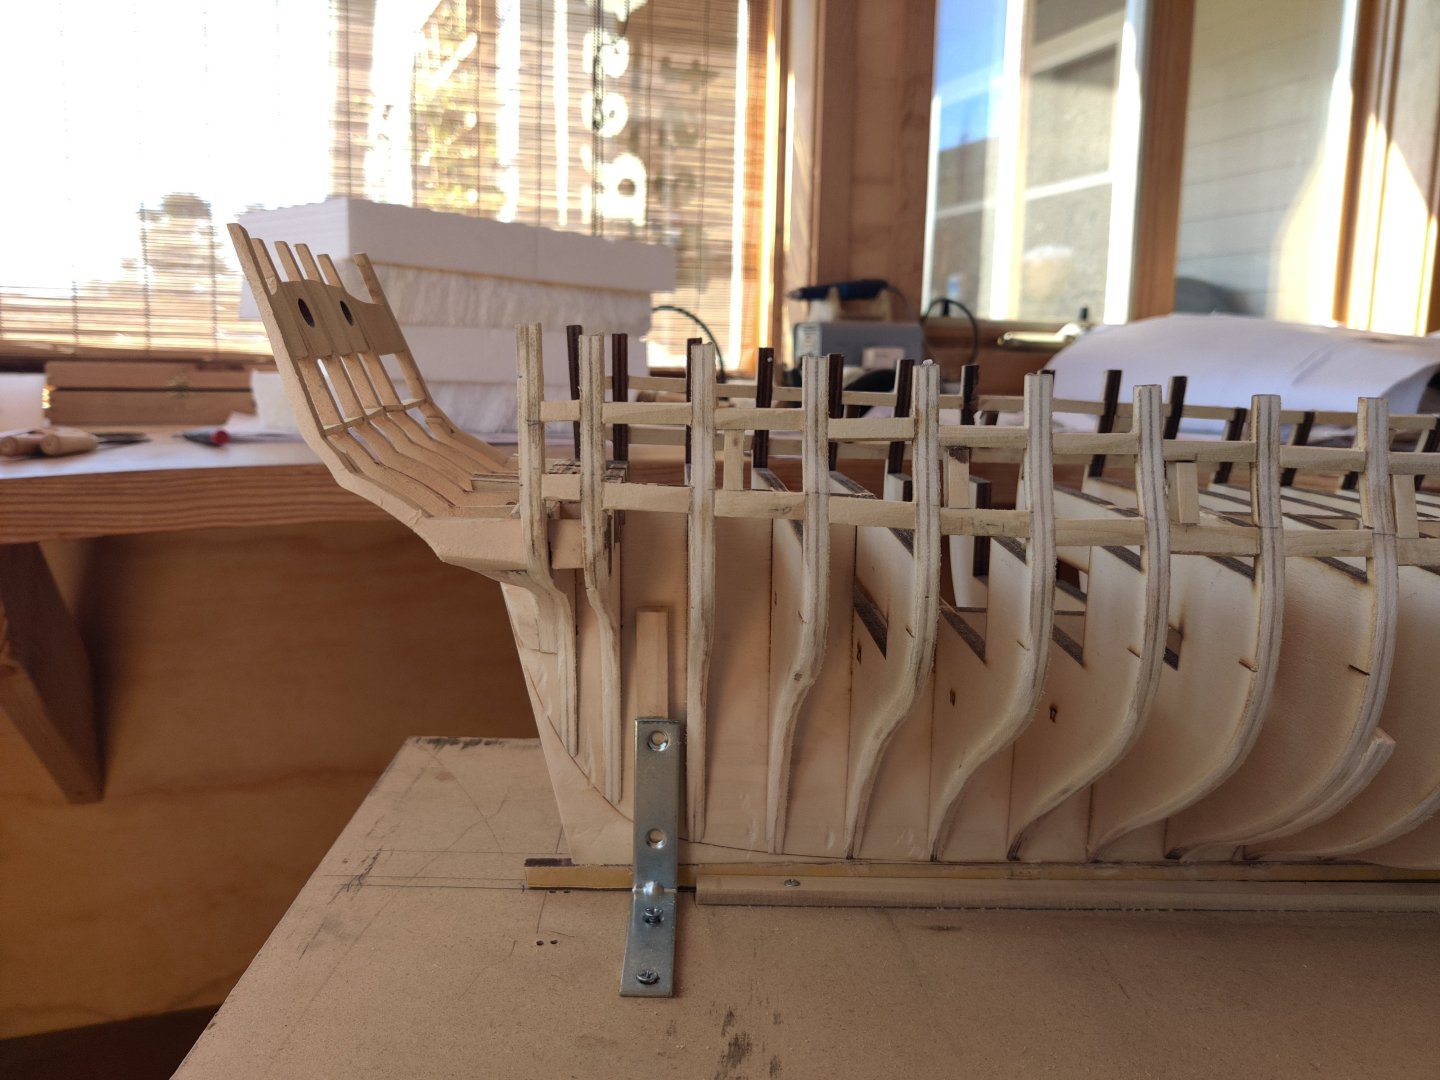
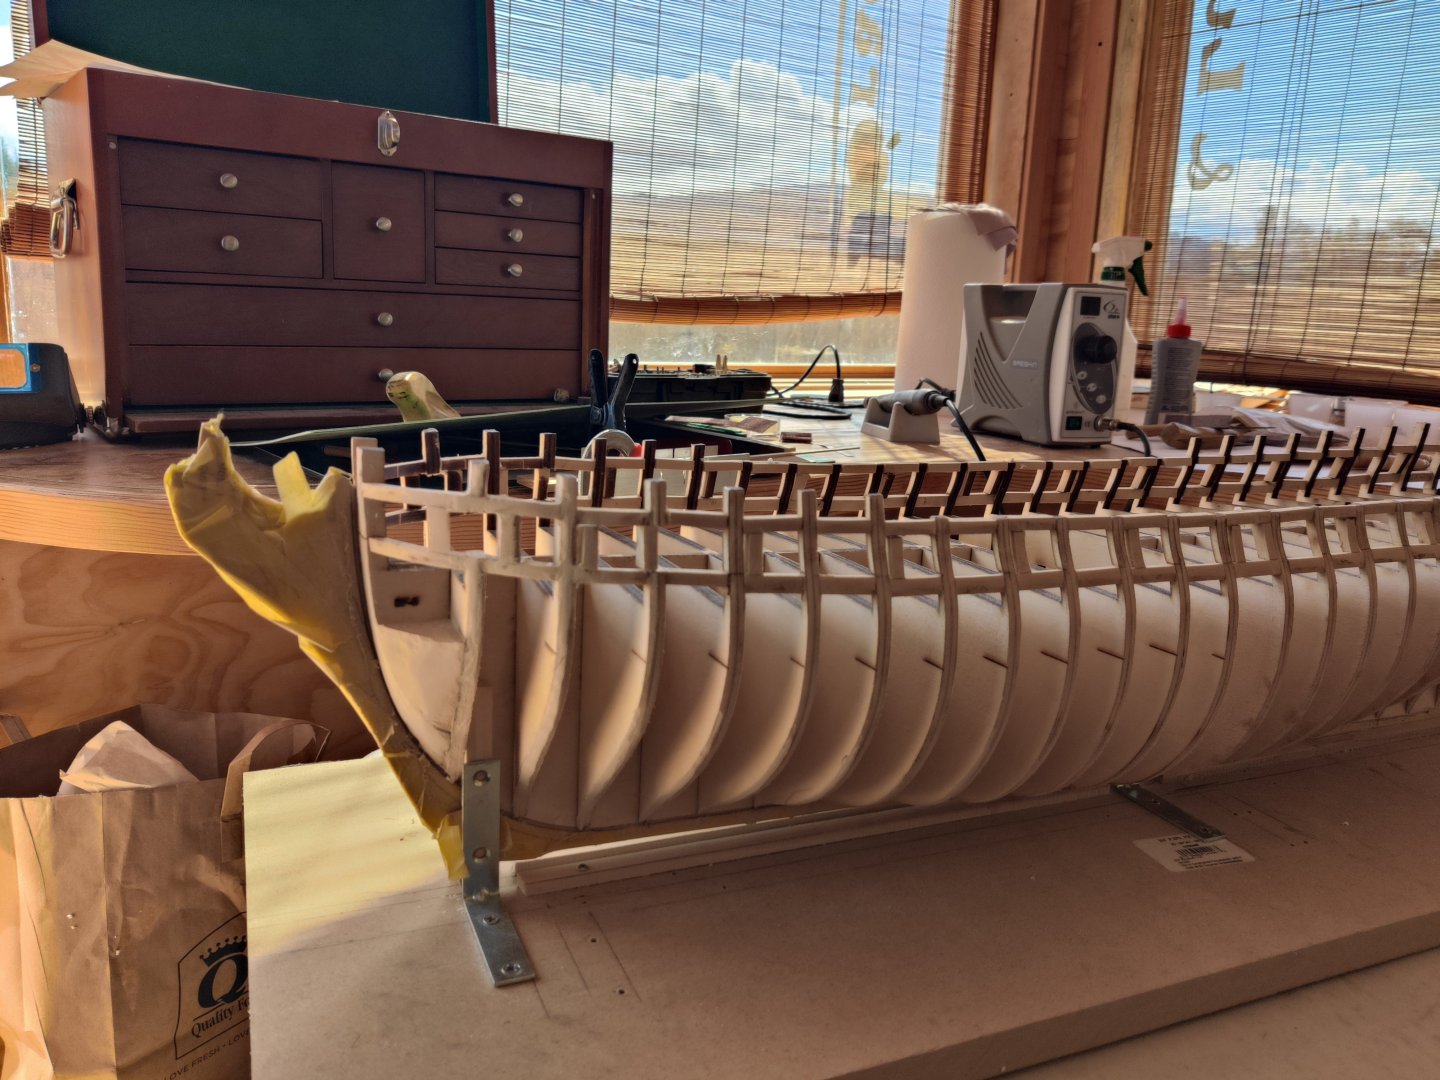
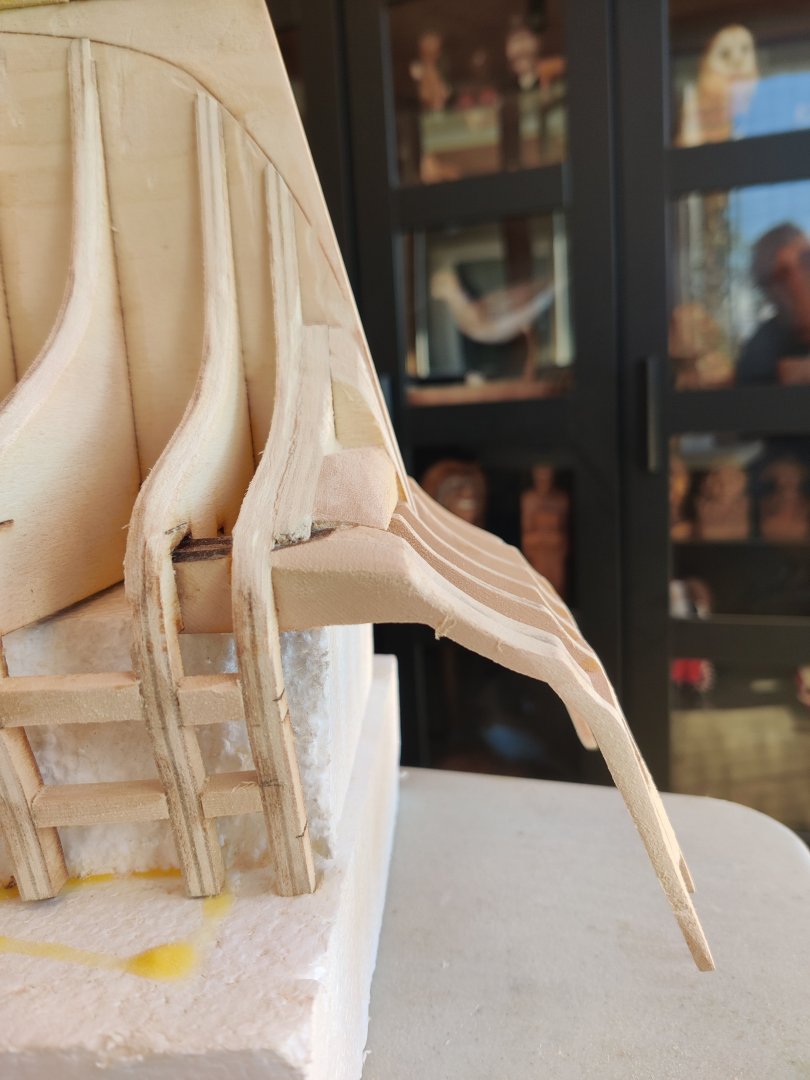
I have completed Chapter one, it took me four months, only 11 chapters to go. I faired the inside of the bow, made the bollards and installed them, then started on Chapter 2, aligned the batten and marked the bulkheads in preparation for planking the first layer of wales. I temporarily laid out the planks for the lower counter, by placing pins on the stern frames to keep them in place. what i can not figure out is exactly where the first plank should be laid. There is nothing in the plans that show the counter planking, and I could not find any instructions of where to start them. I looked at several build logs and found no measurements listed so I tried to guesstimate the location based upon the photos in the build logs. Do they look correct to the members who have installed them on Winchelsia.


-
Chuck,
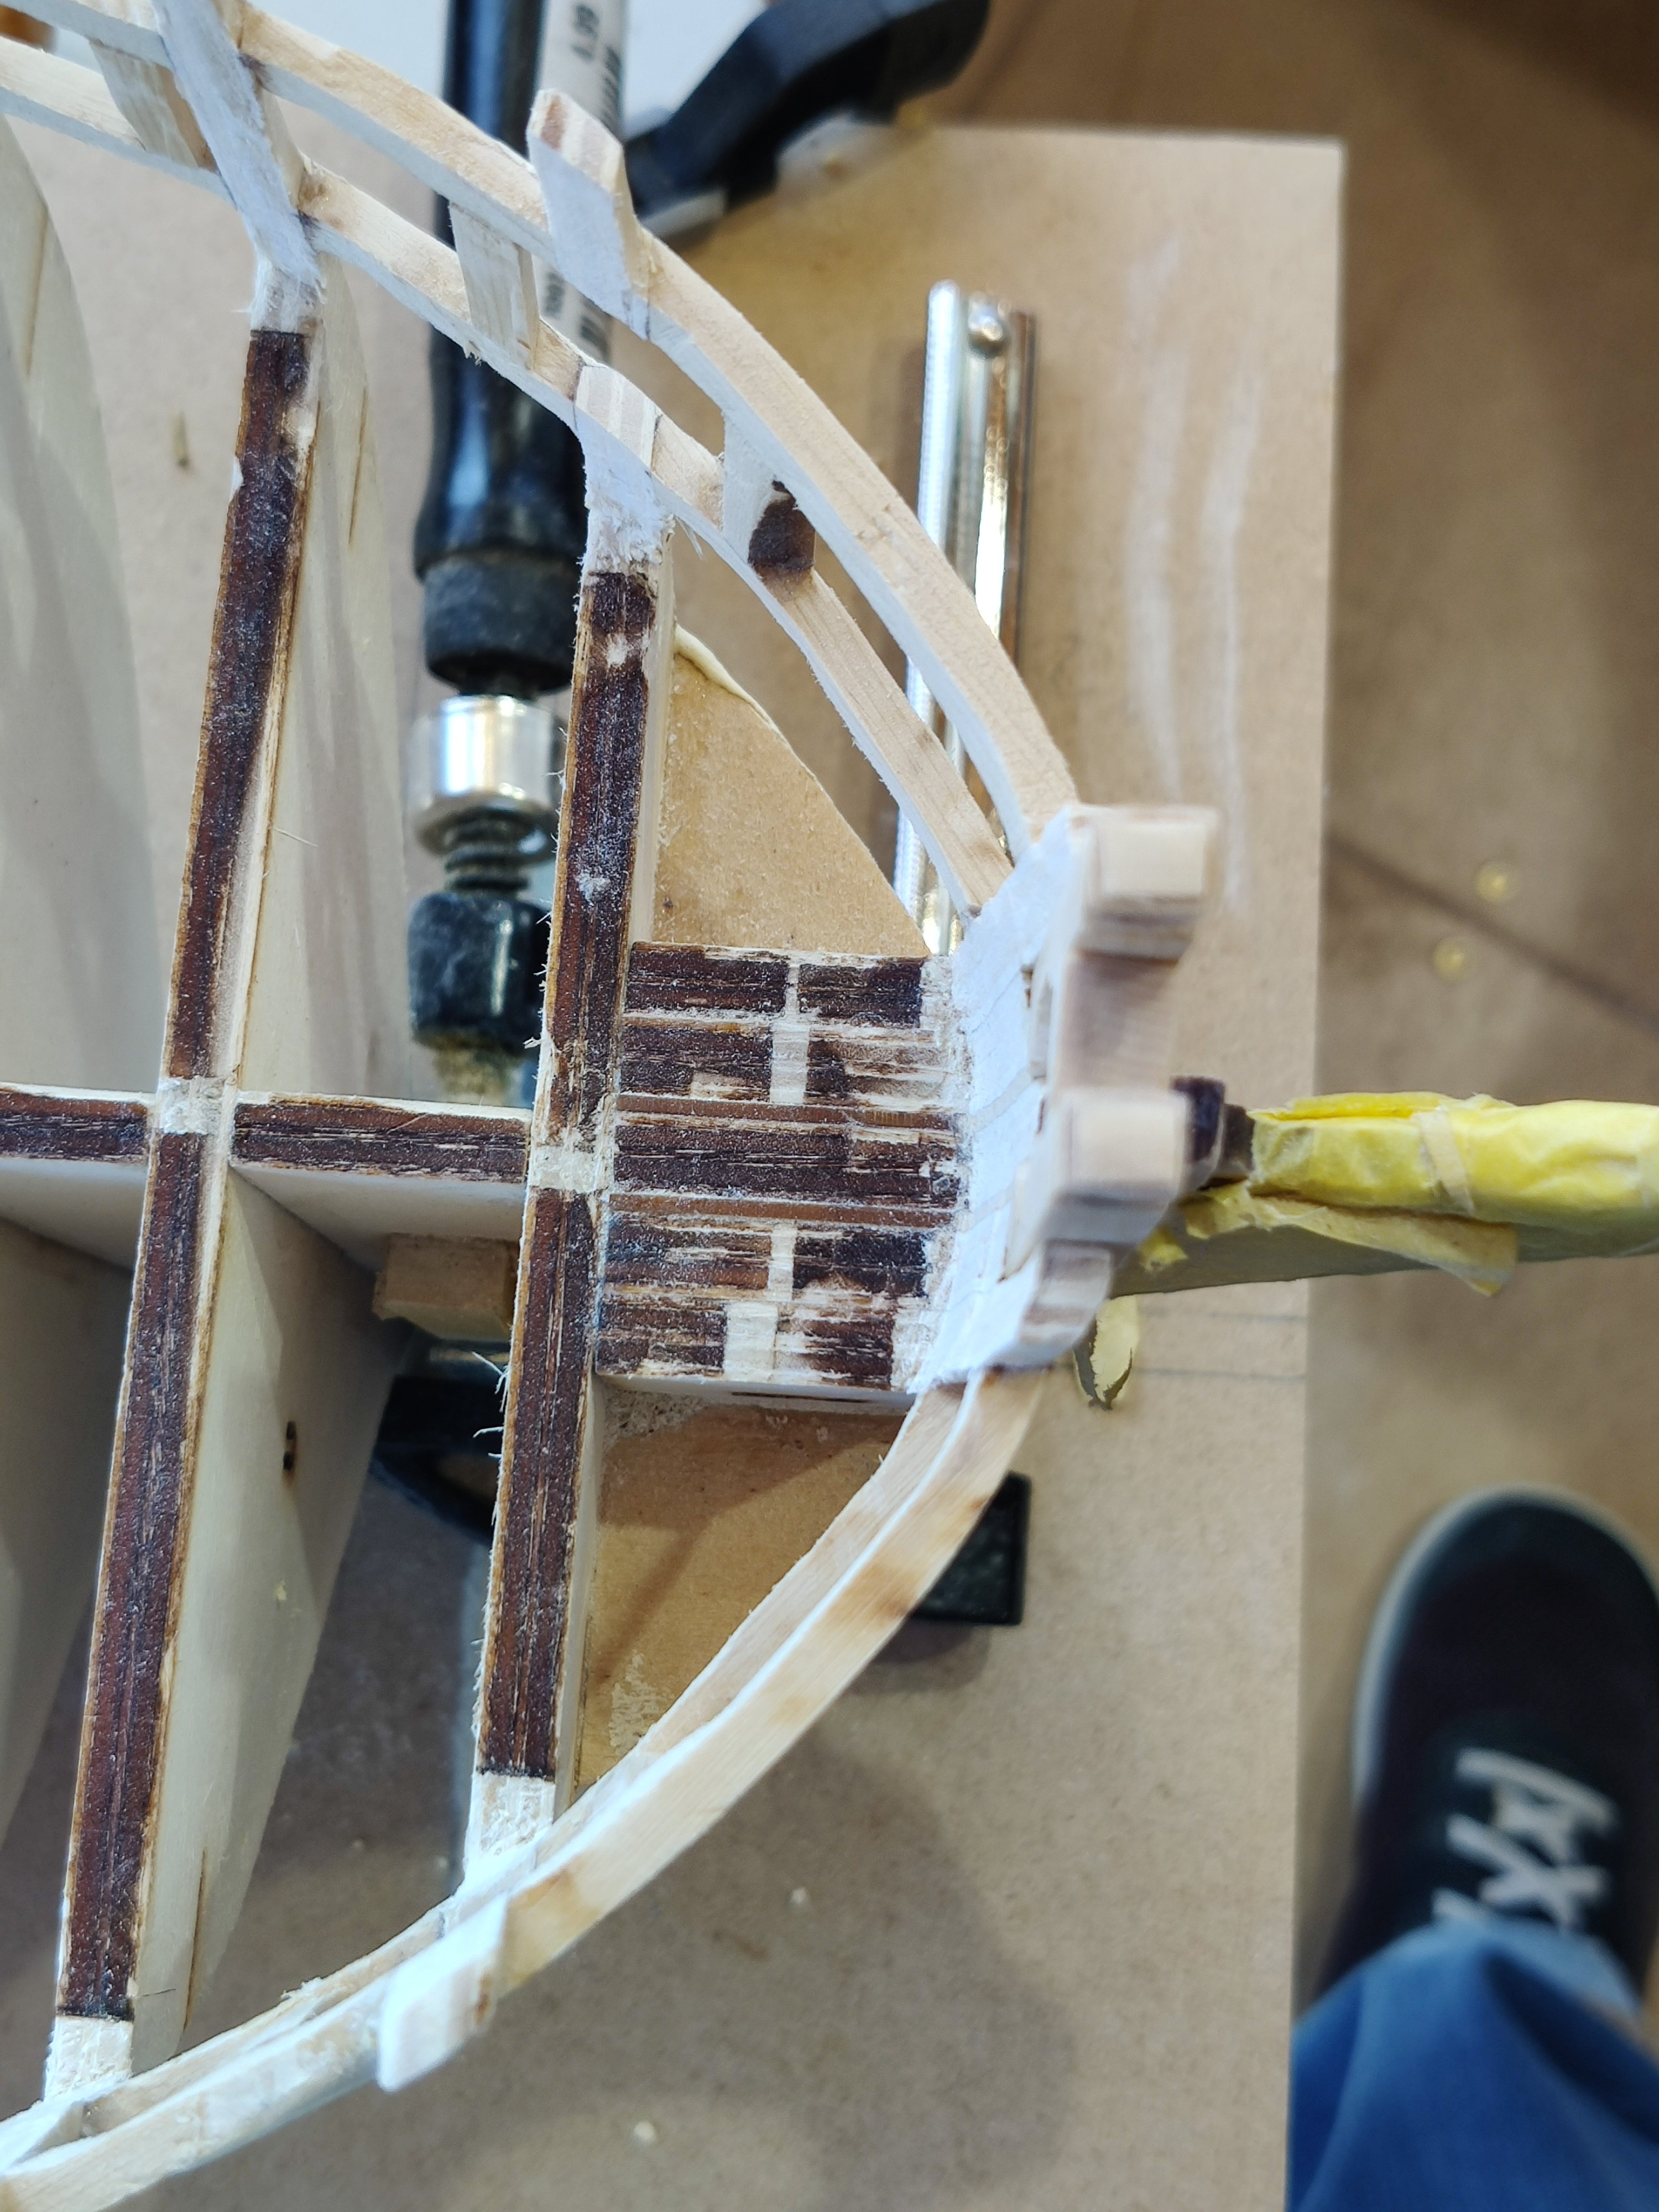
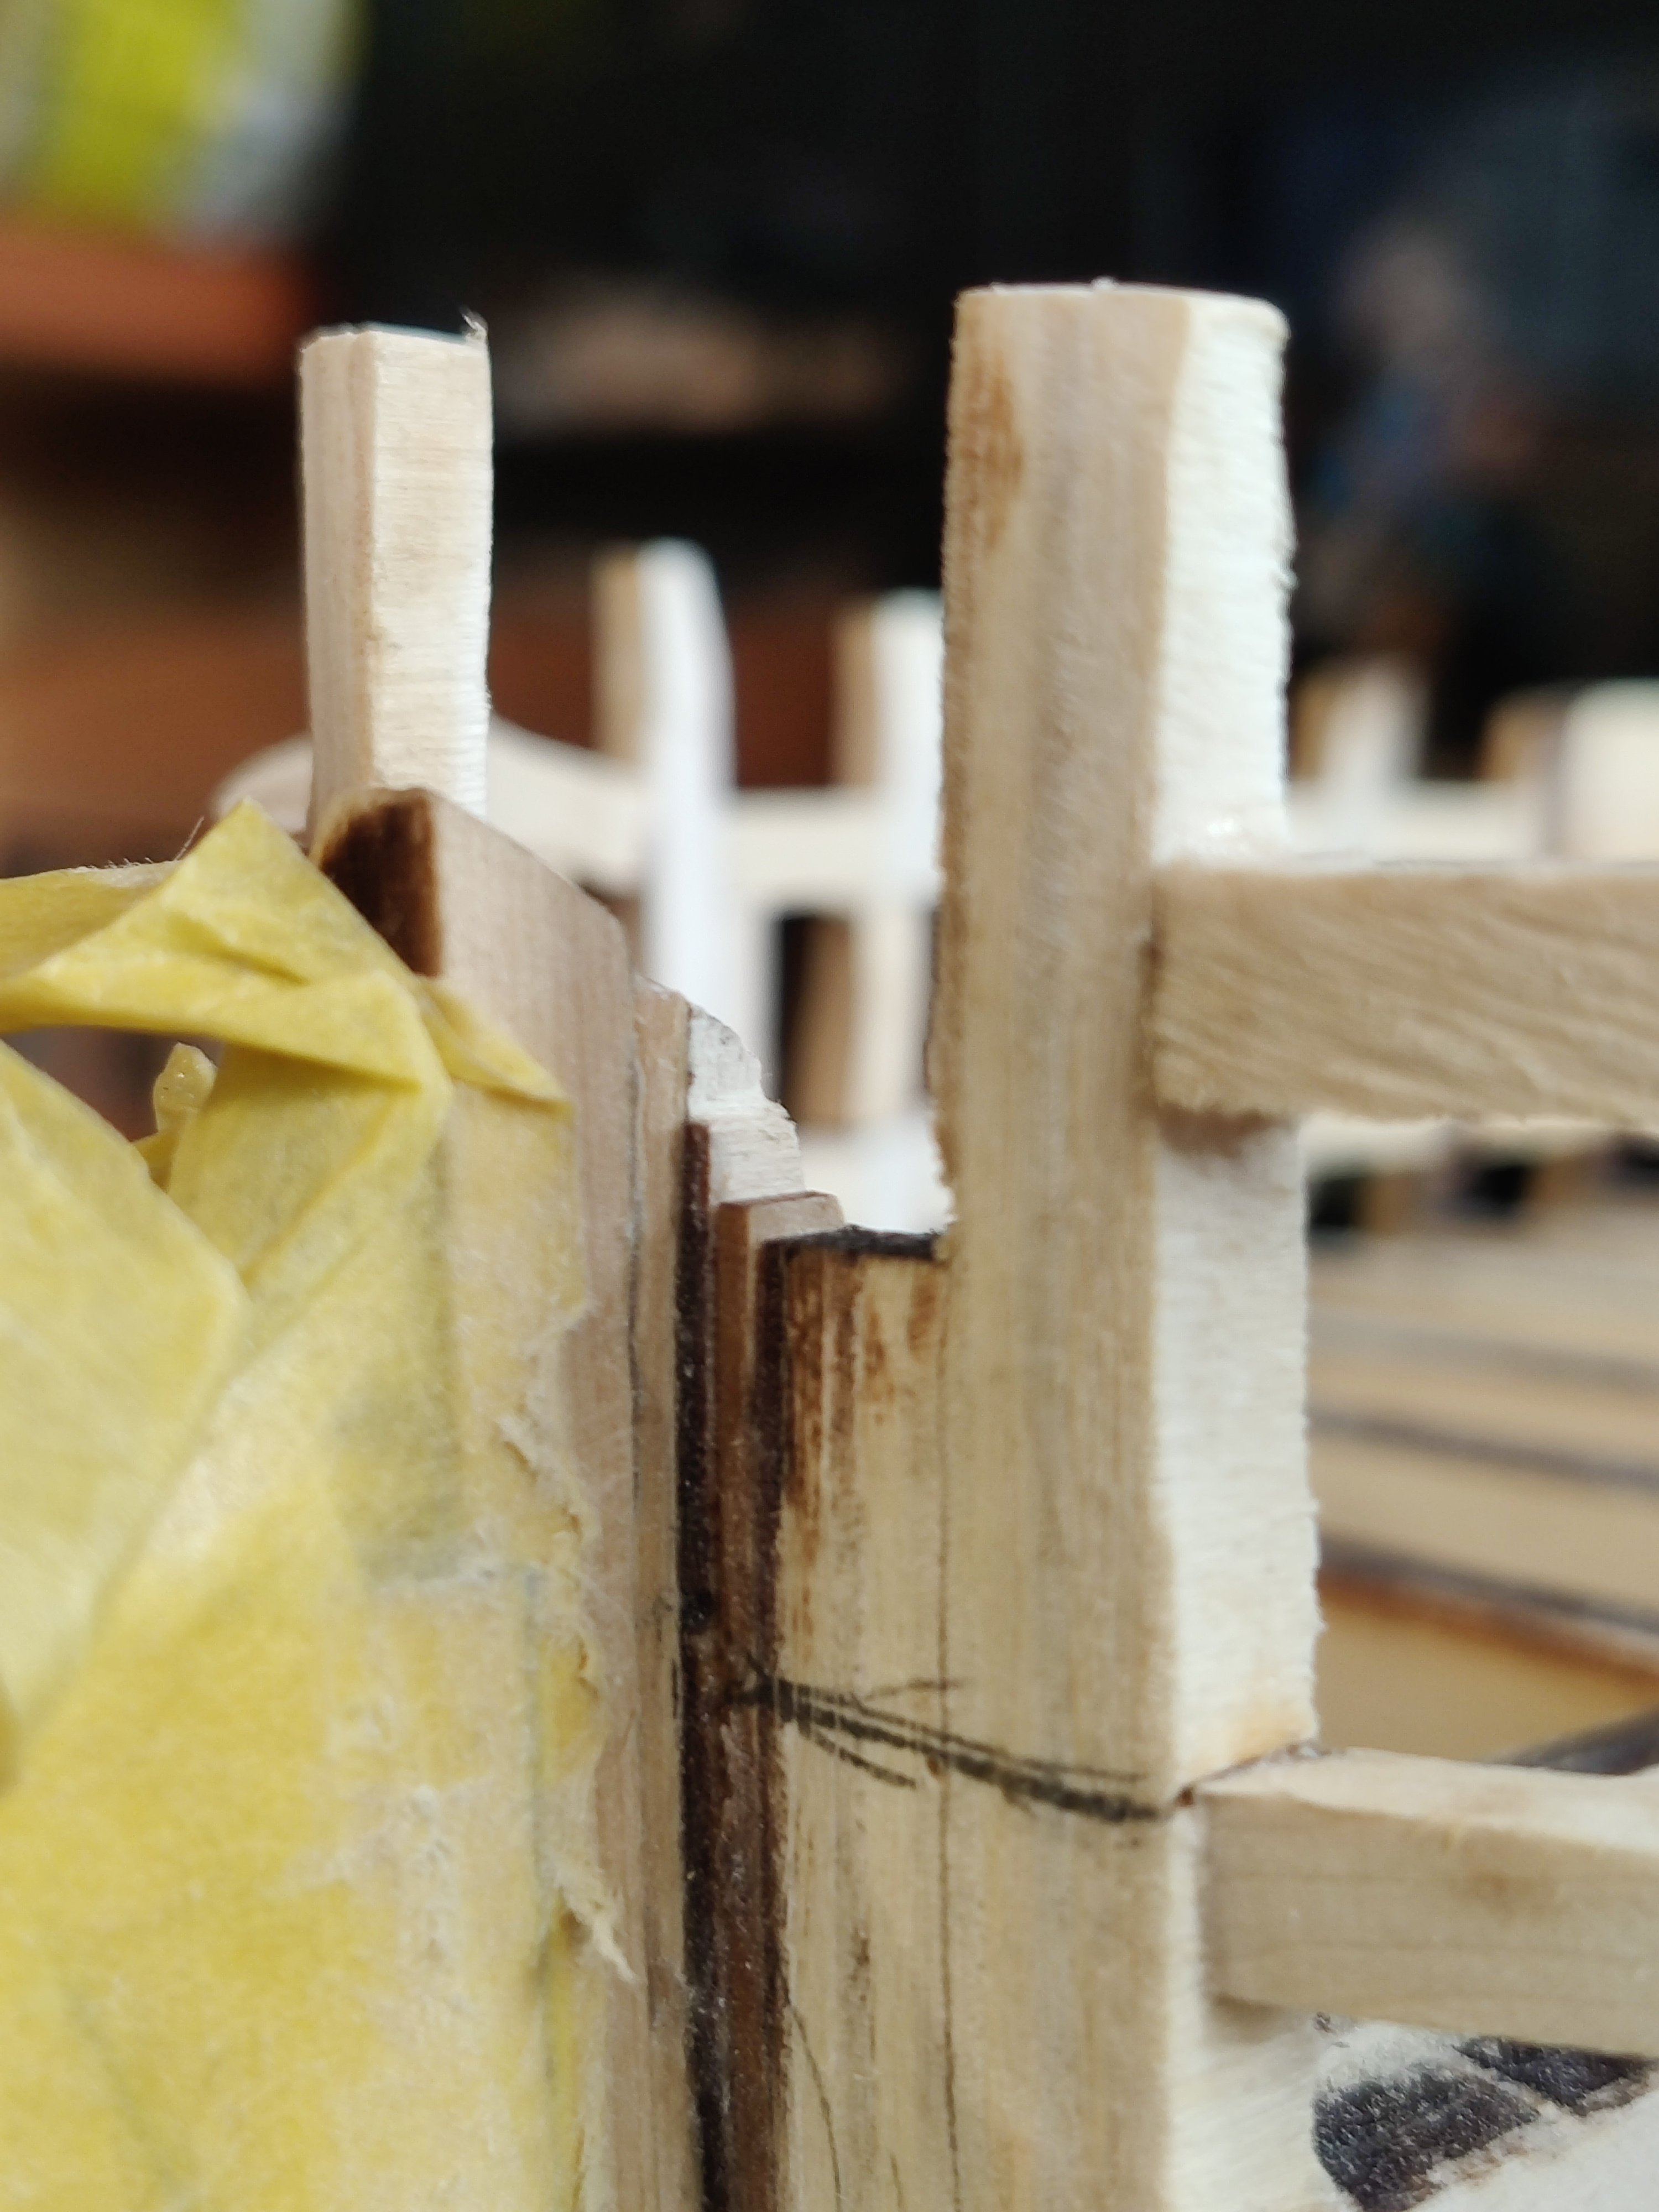
I have finished the bollards but before installing them I have noticed that the very thin filler piece installed on the stem is about 1/32 proud of the stem. Is this intentional? It slants the bollard a little. Do I need to file it smooth with stem top?

-
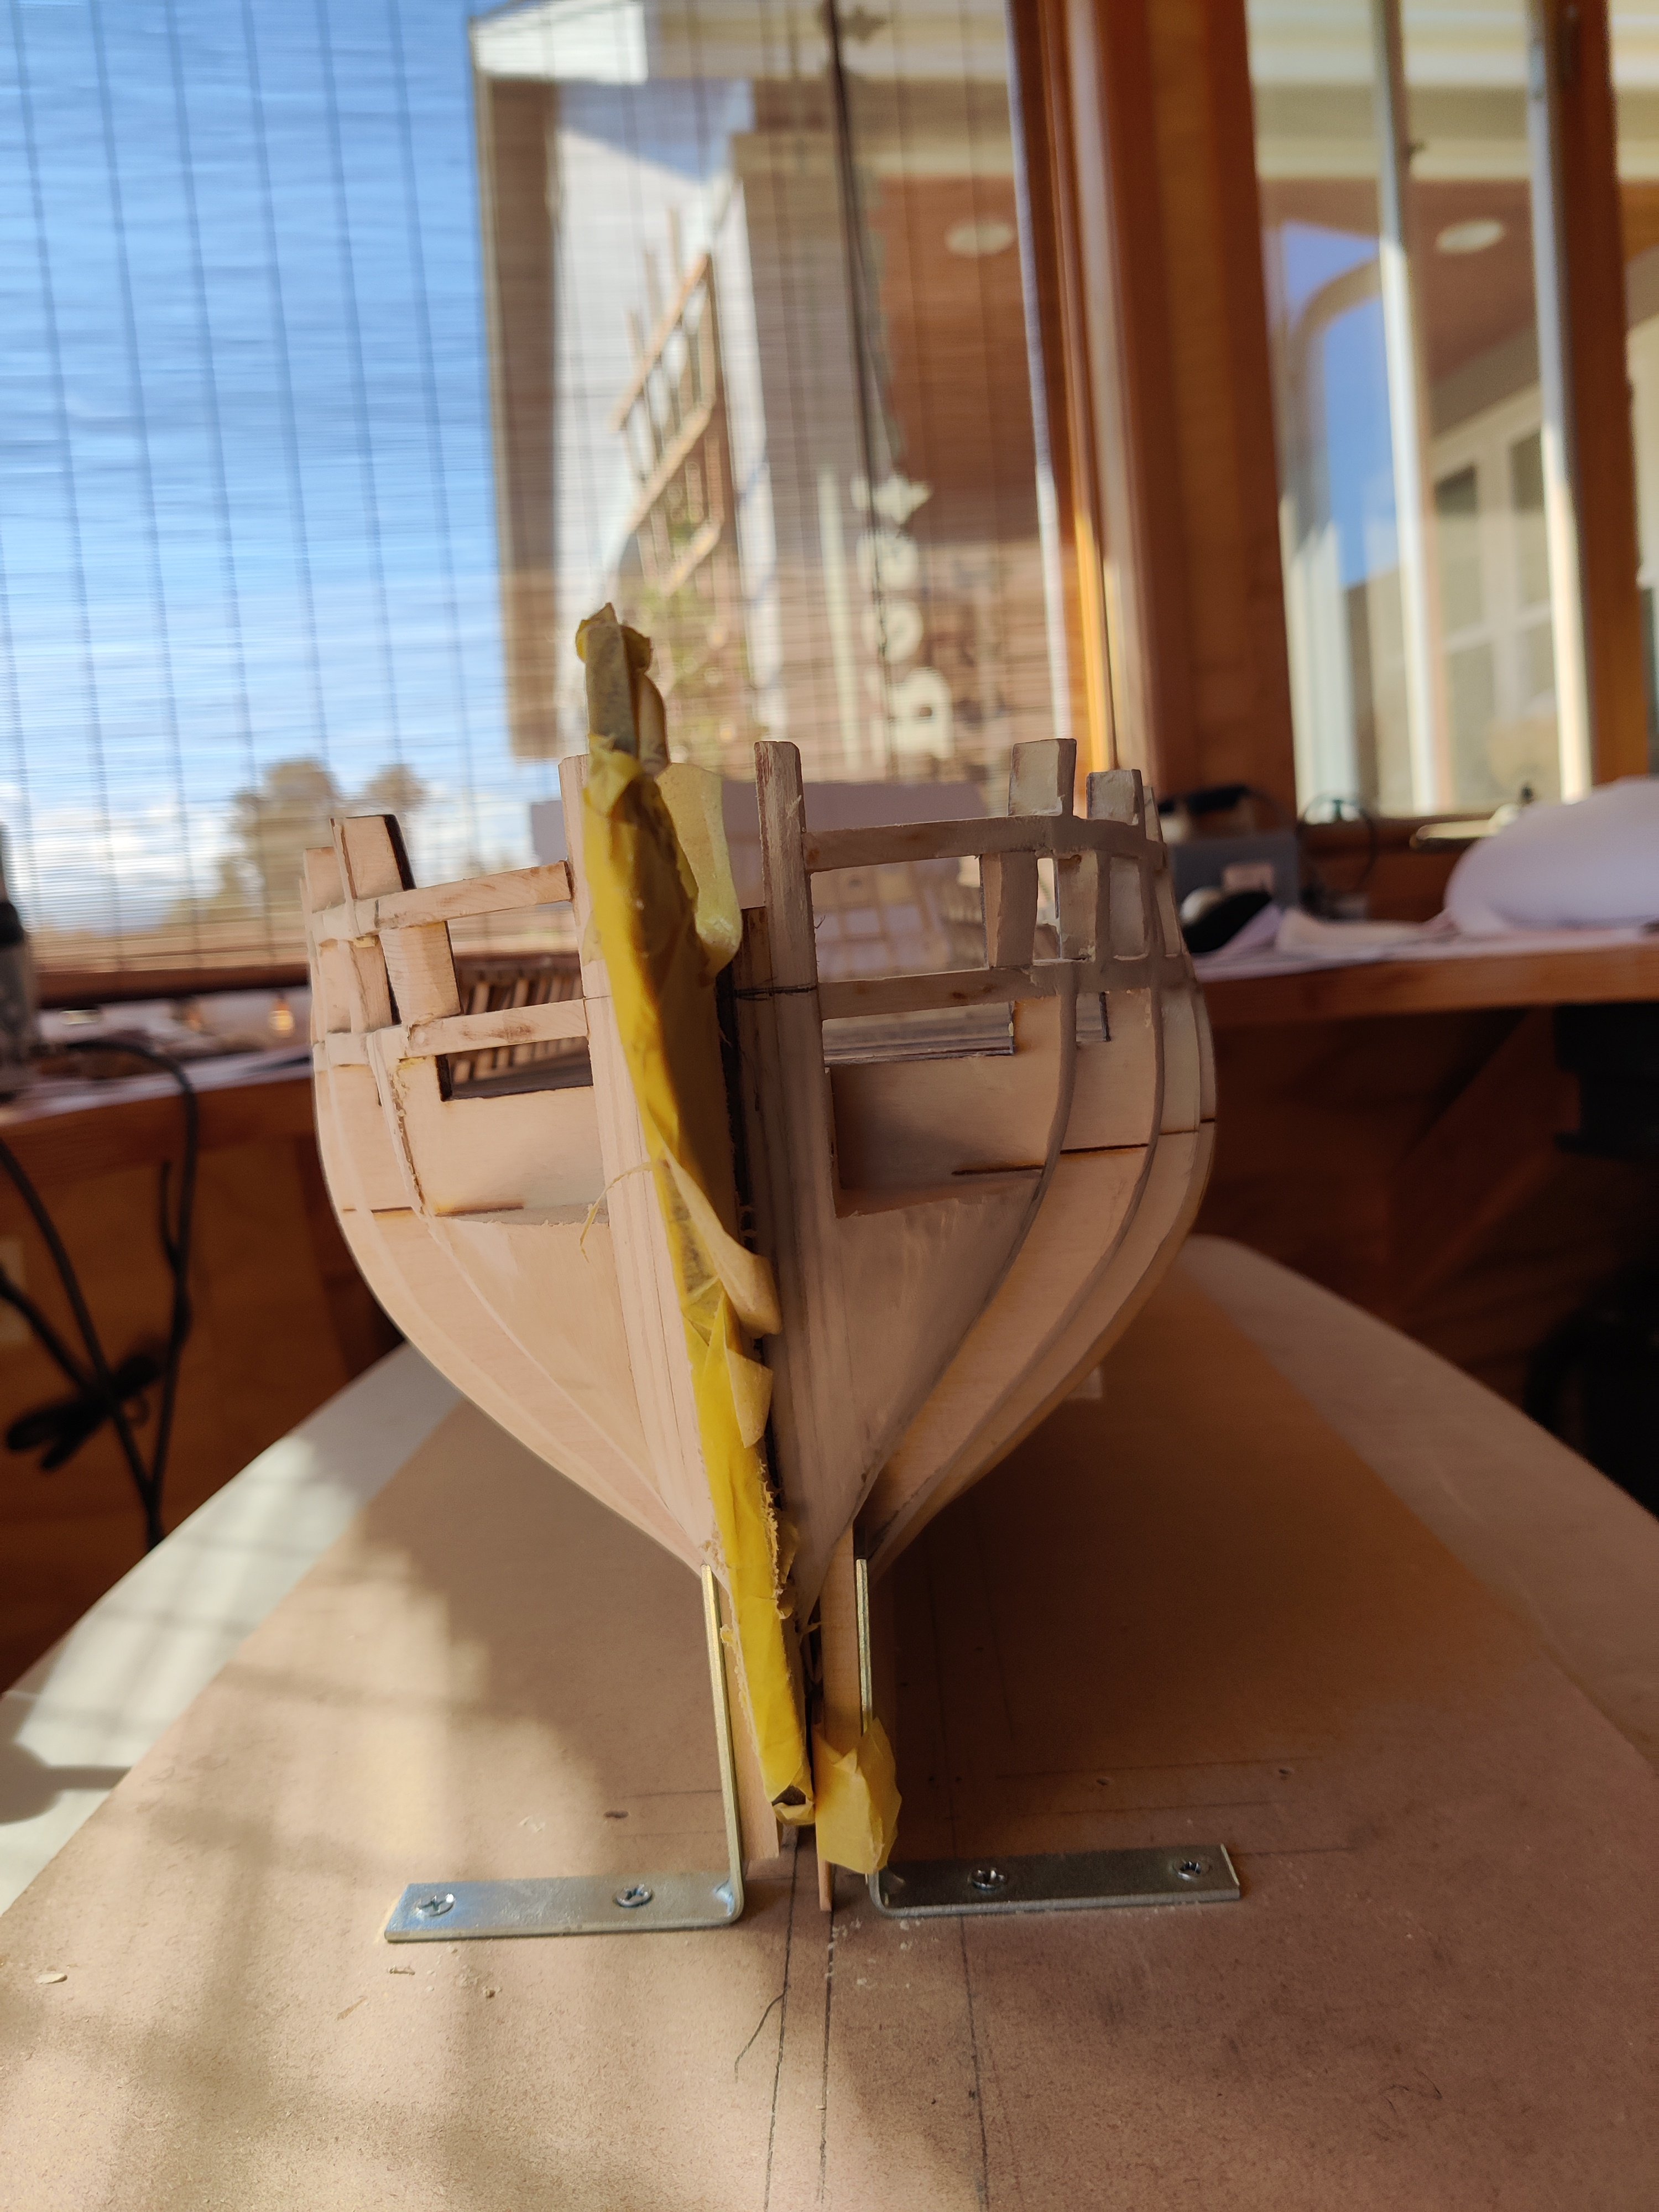
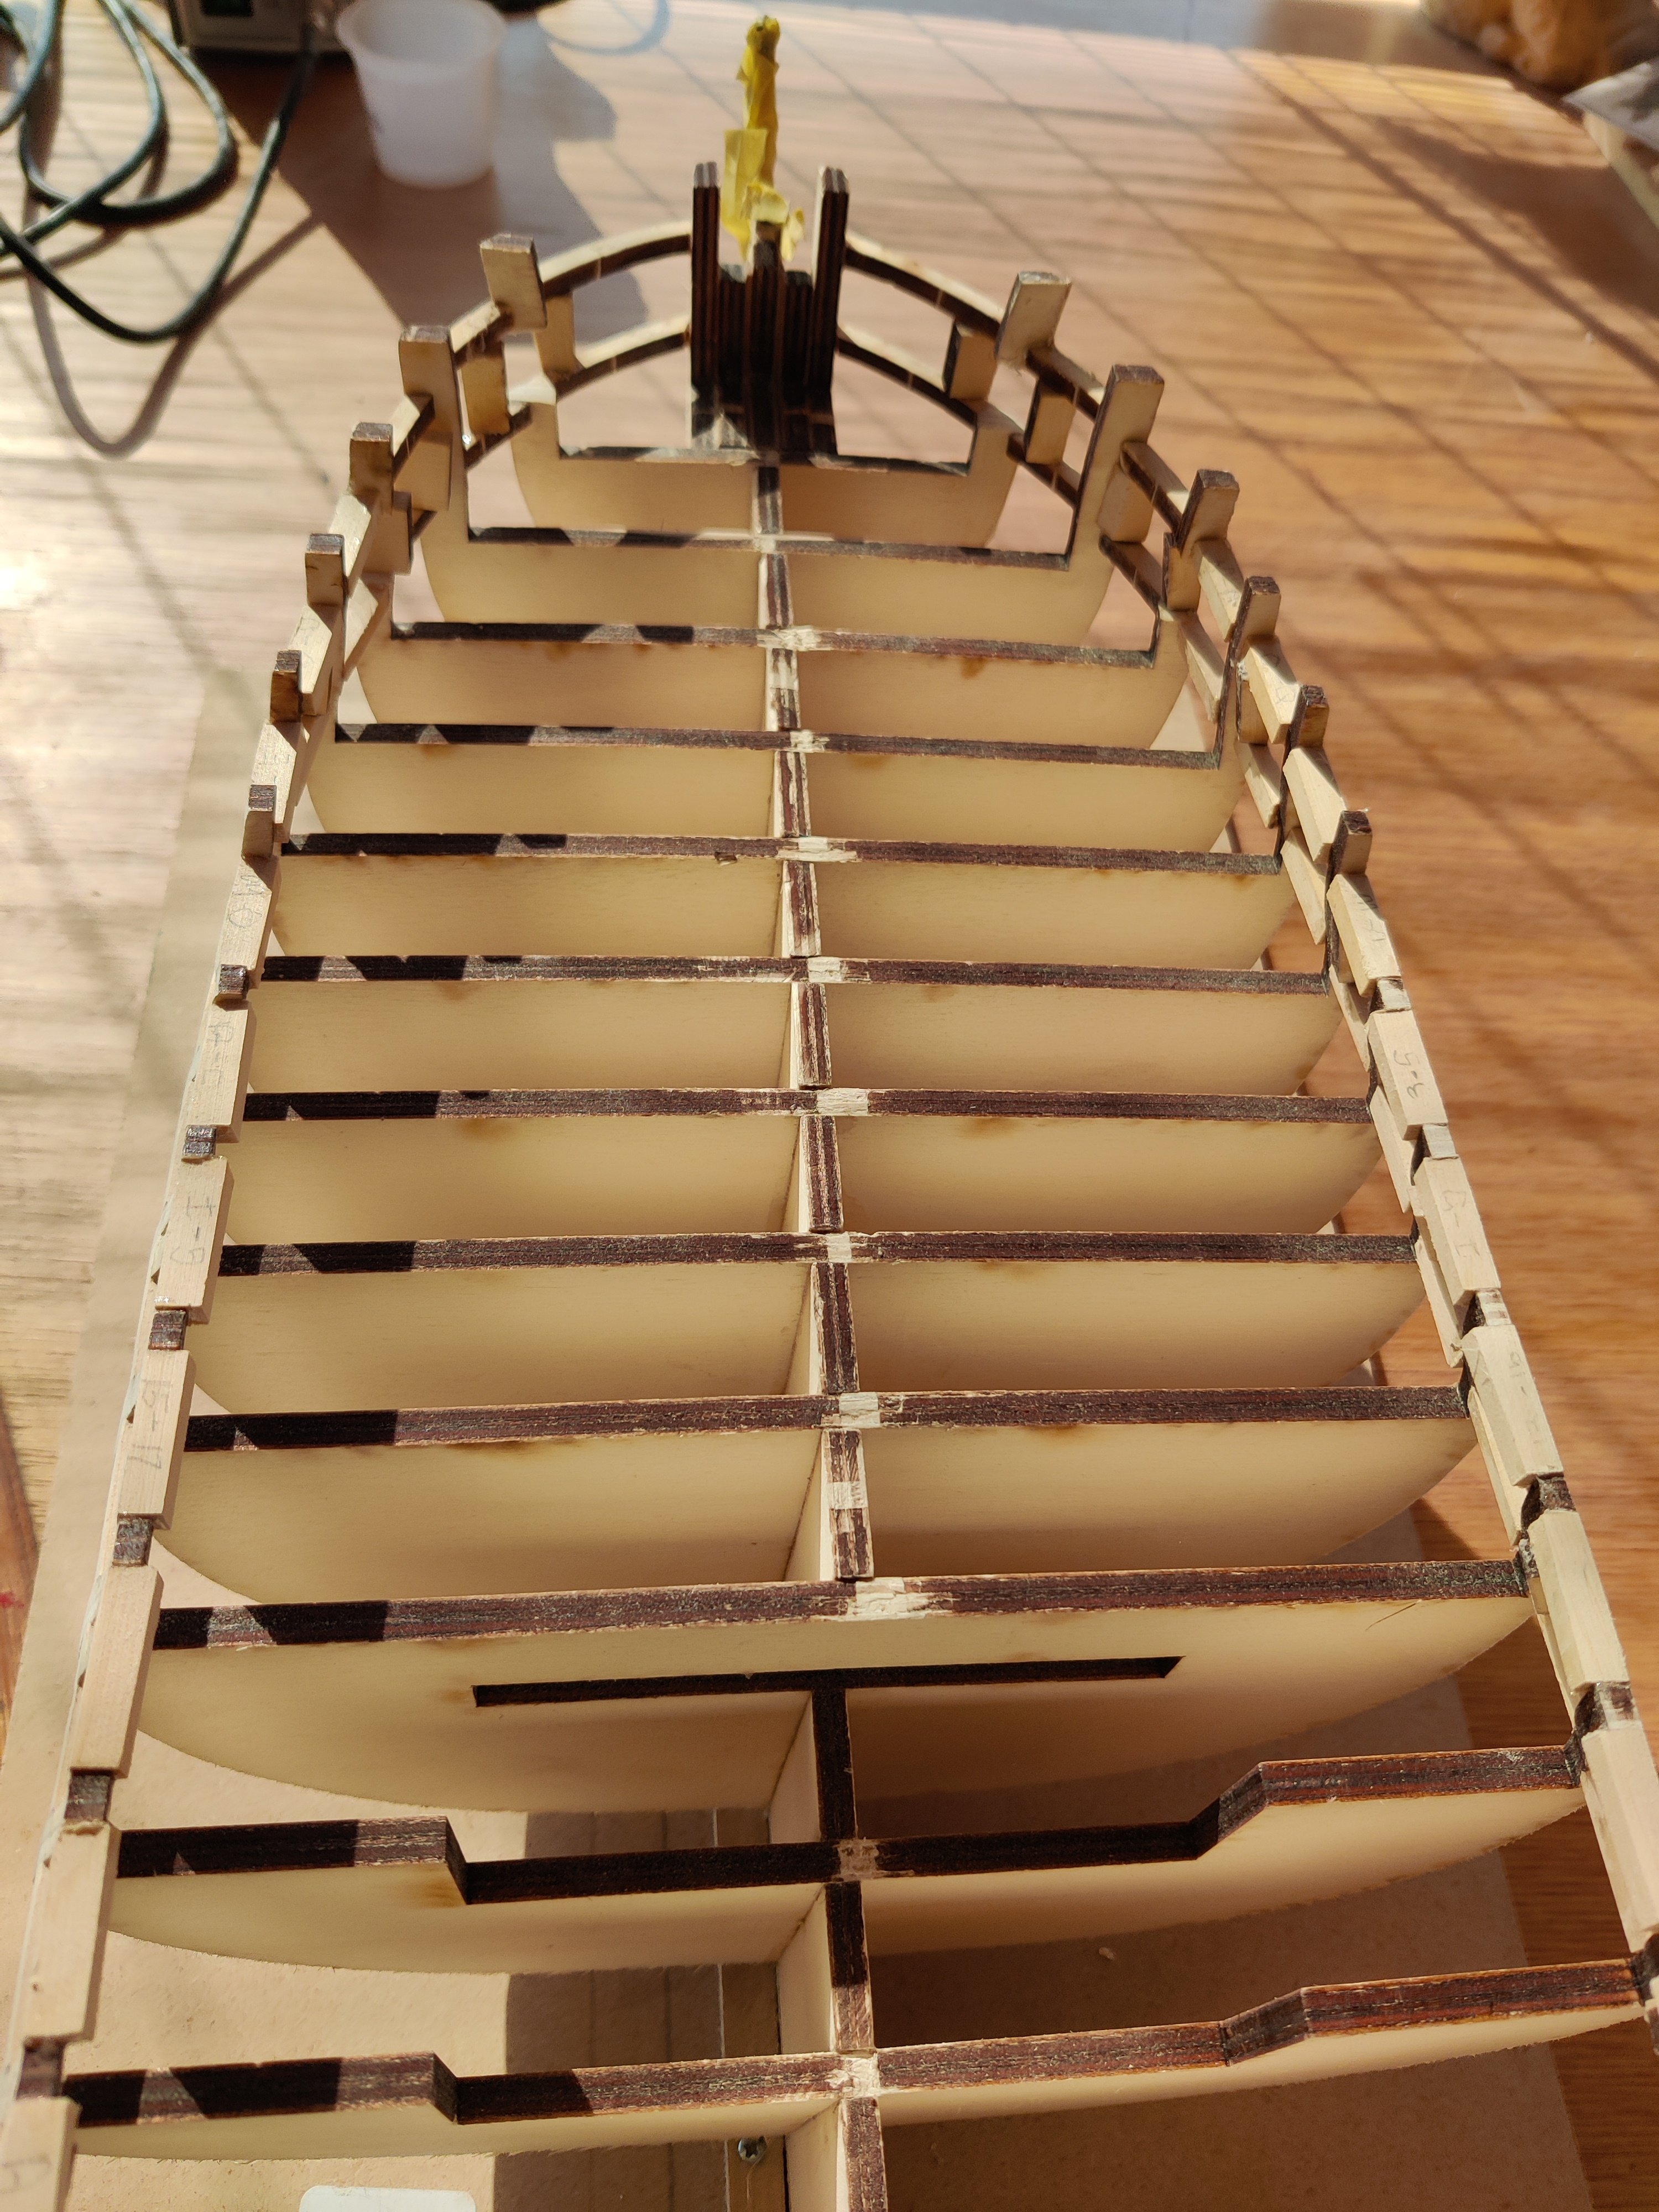
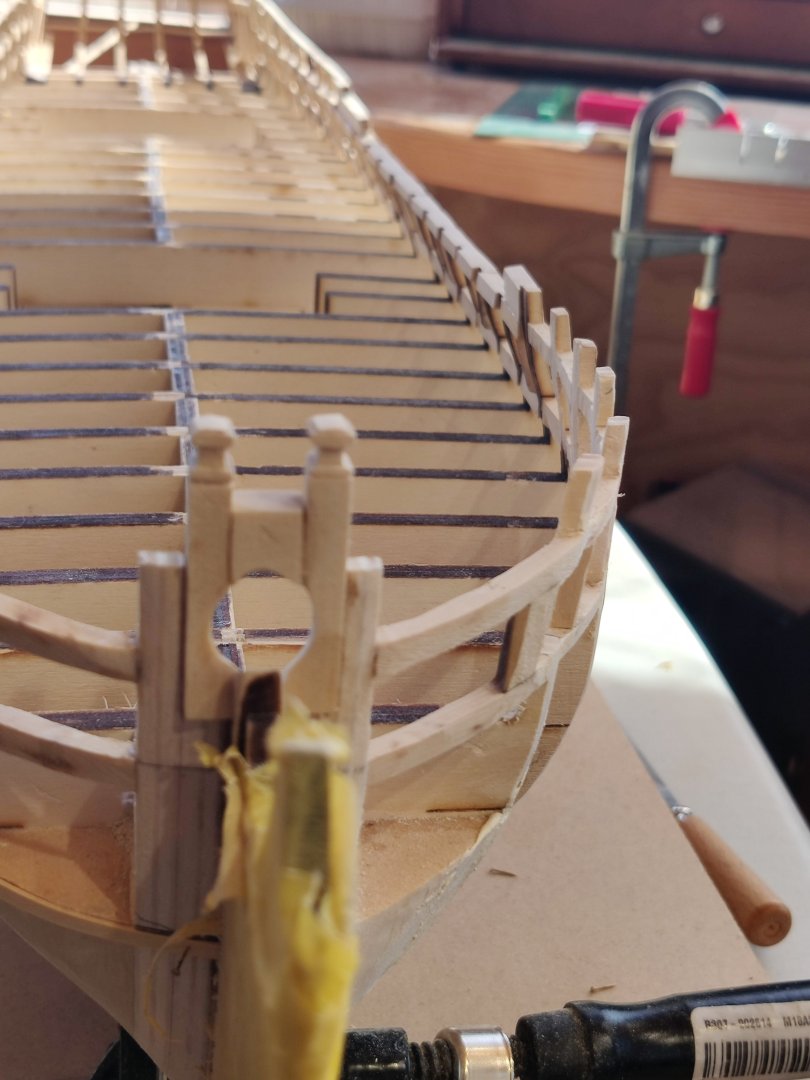
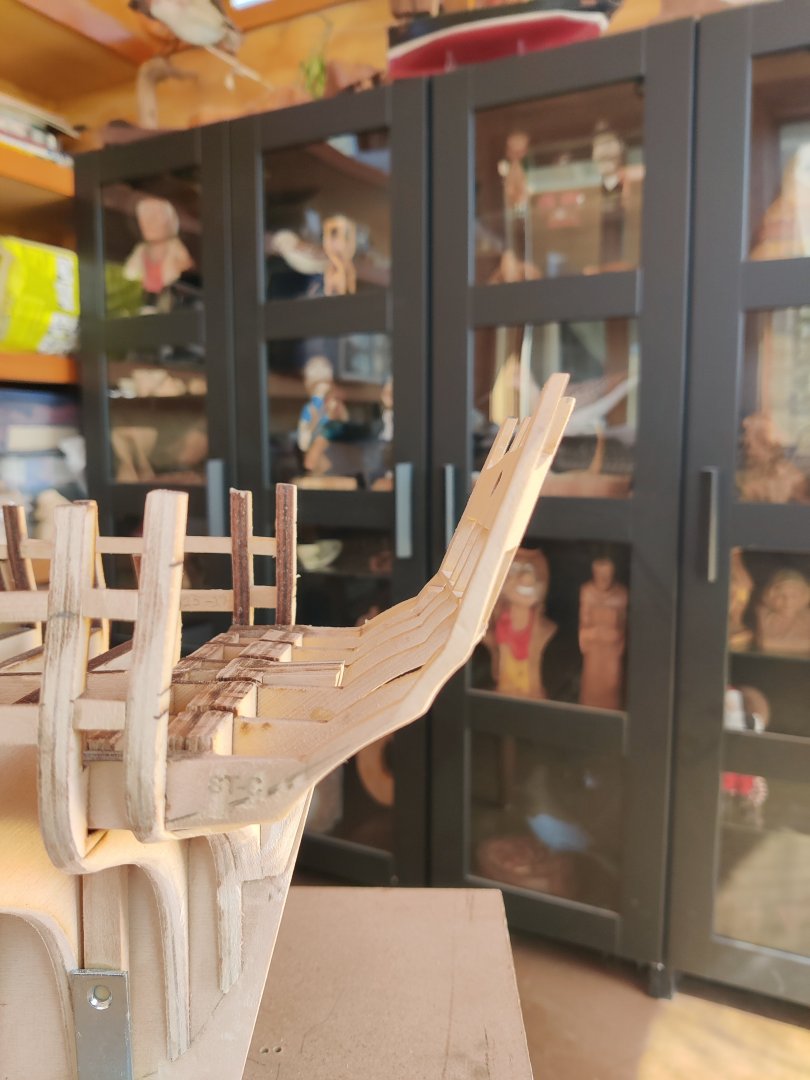
Thanks Chuck, I have so much admiration for you and the other awesome builders here and earning their respect puts me under pressure to do things well. So a reminder to relax and enjoy the journey is appreciated. I will try and do both. I got the remainder of the qgallery framing done today. The pieces were measured off the plans and went in without having to be pressured into place and were square.
-
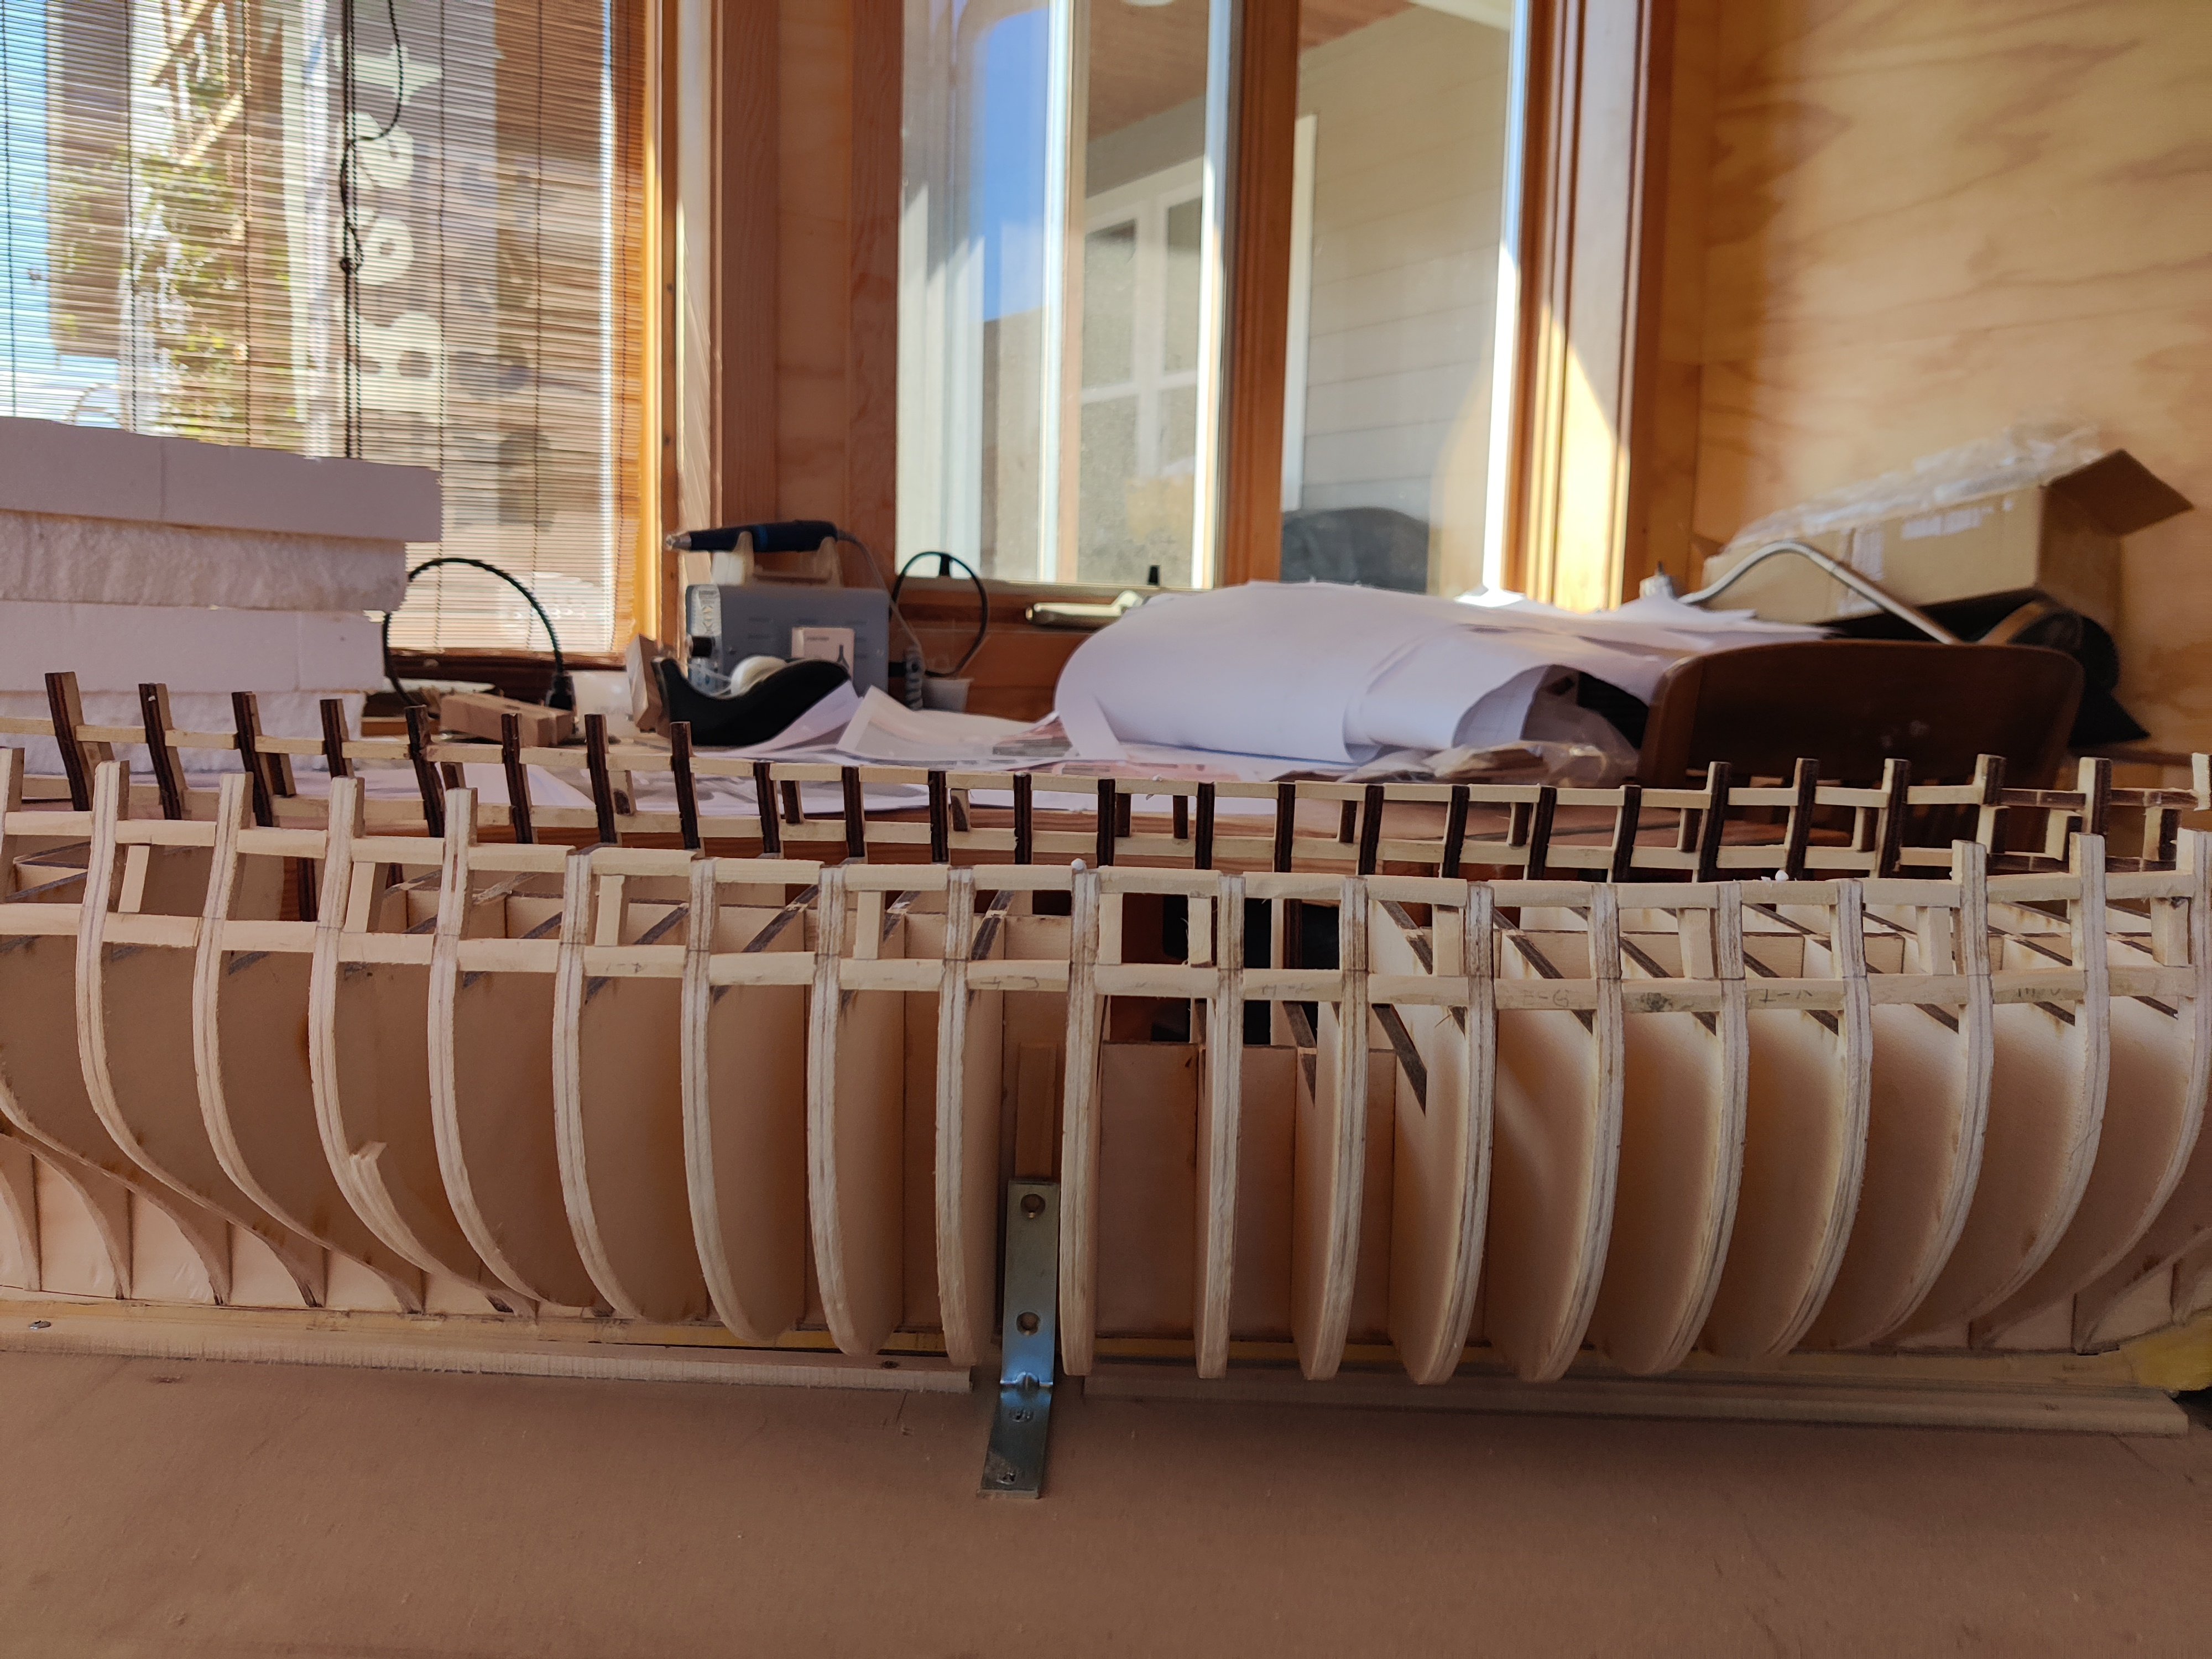
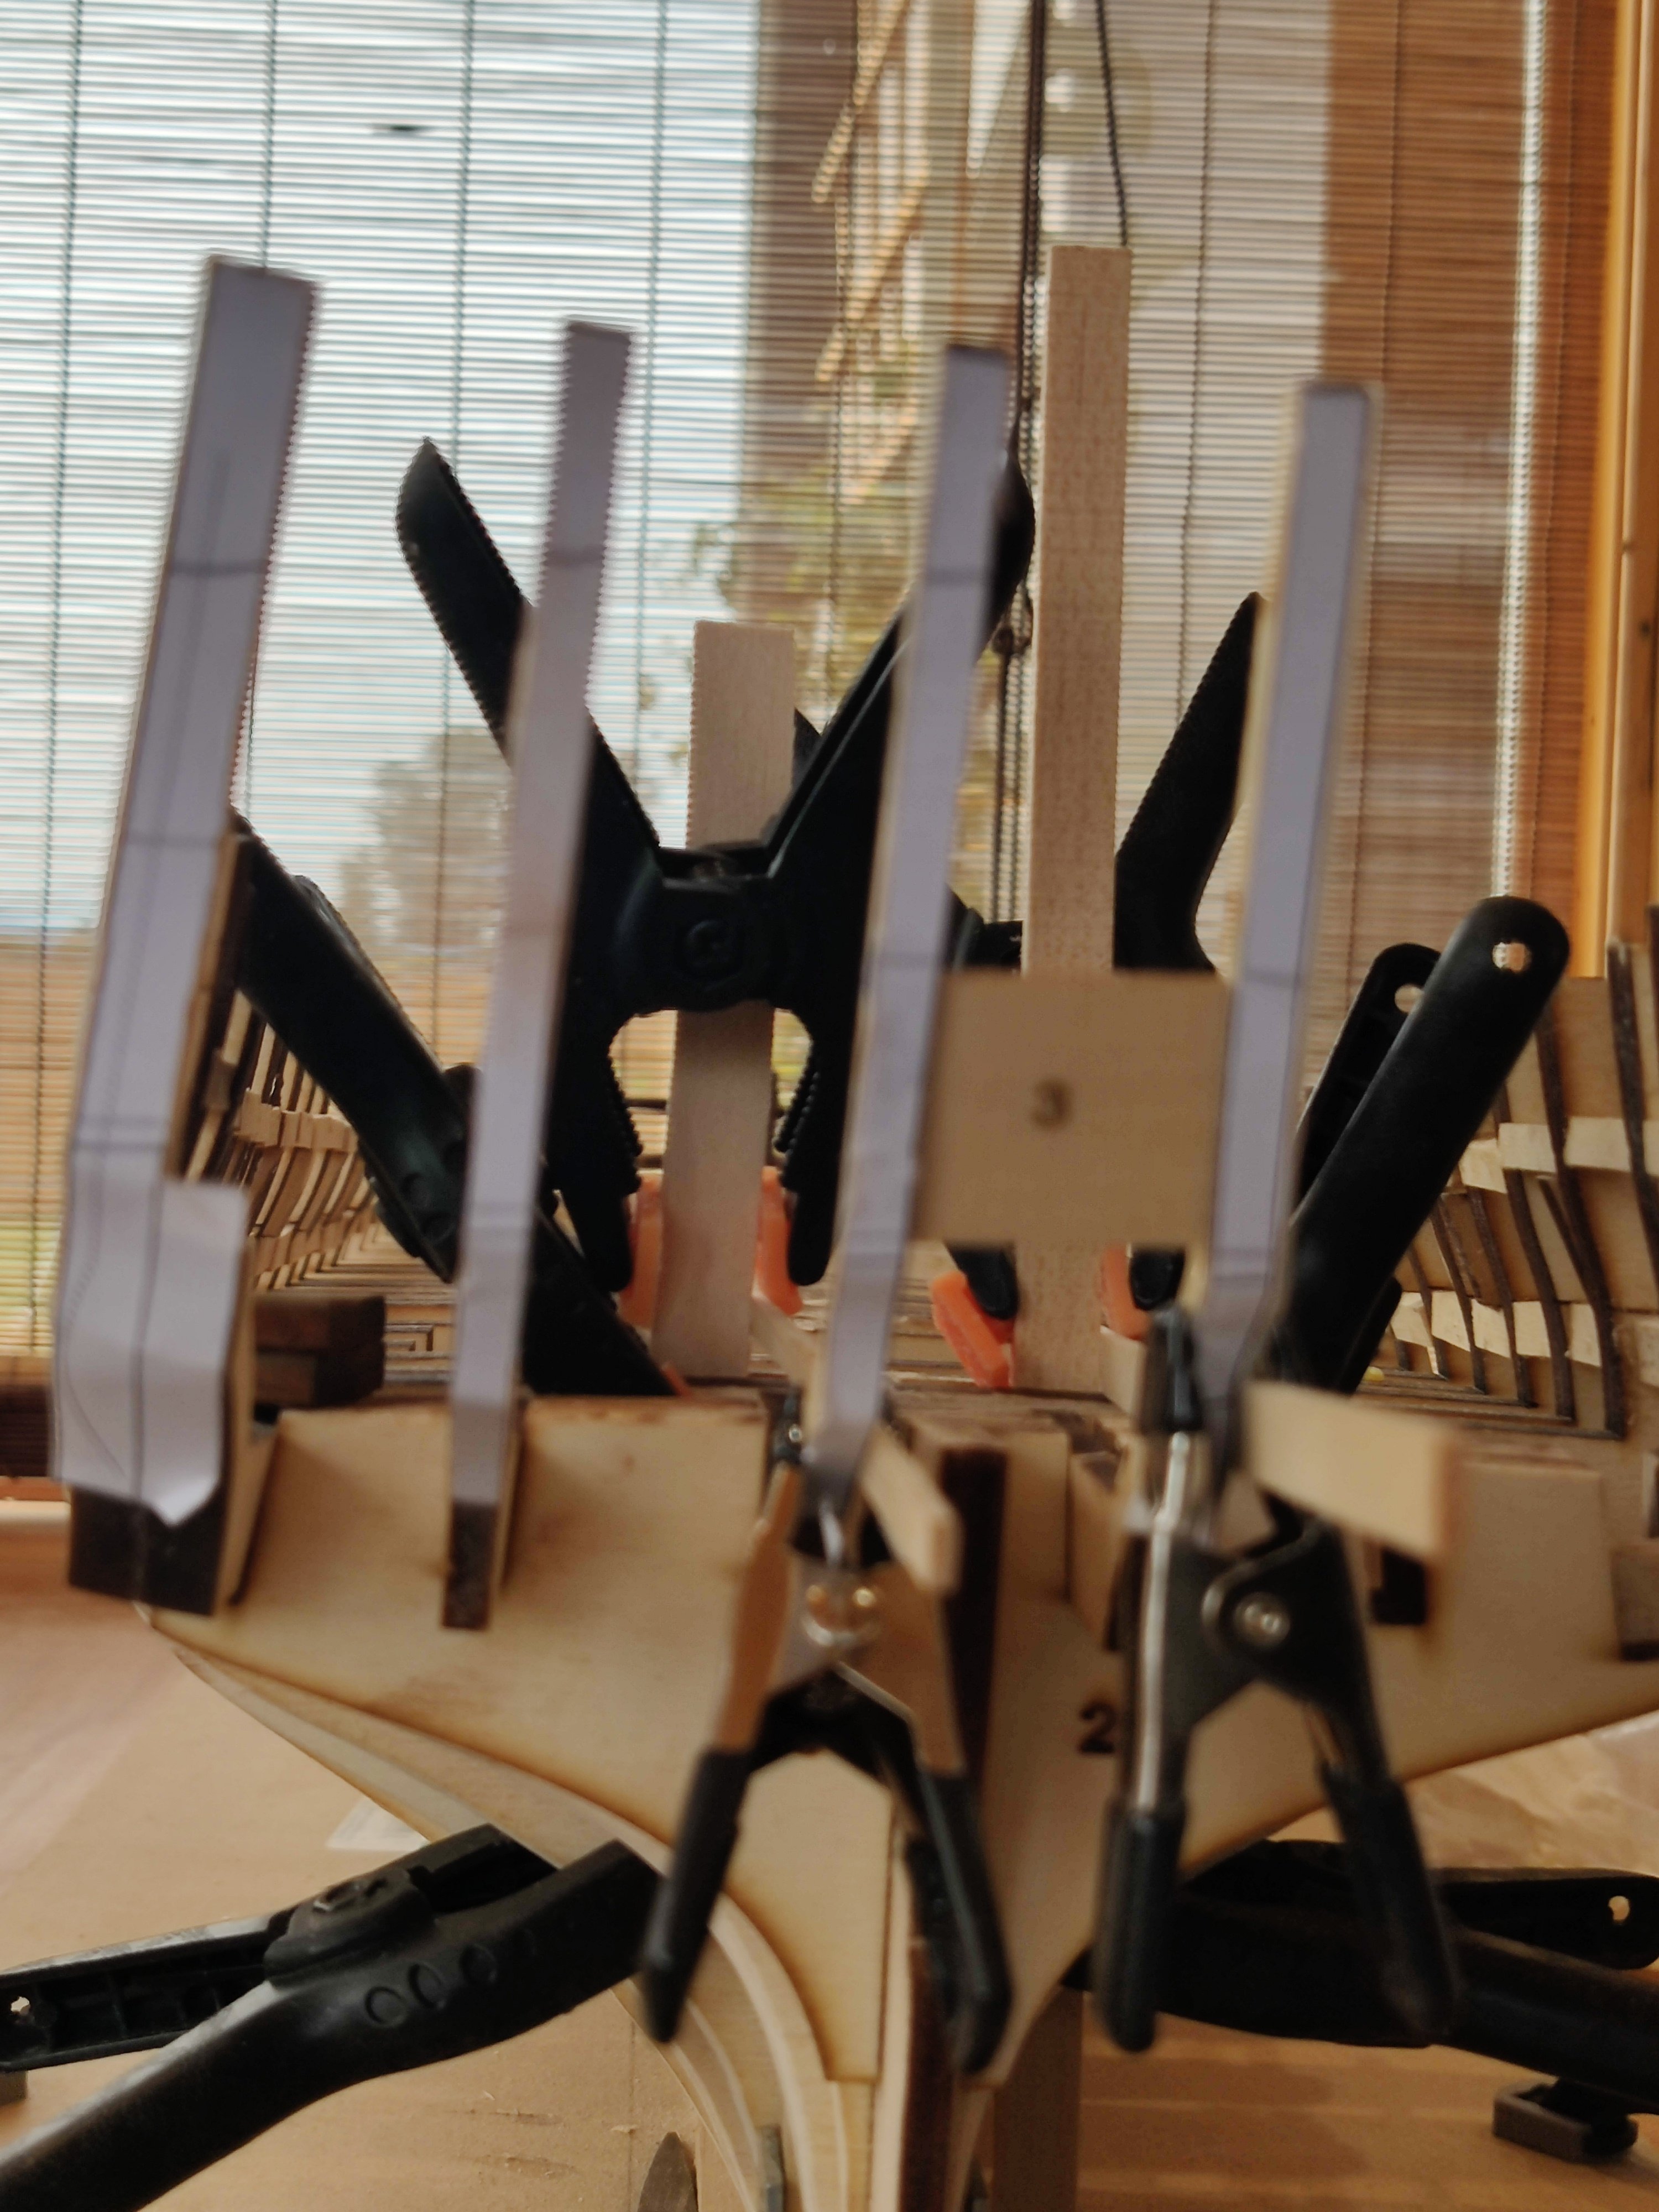
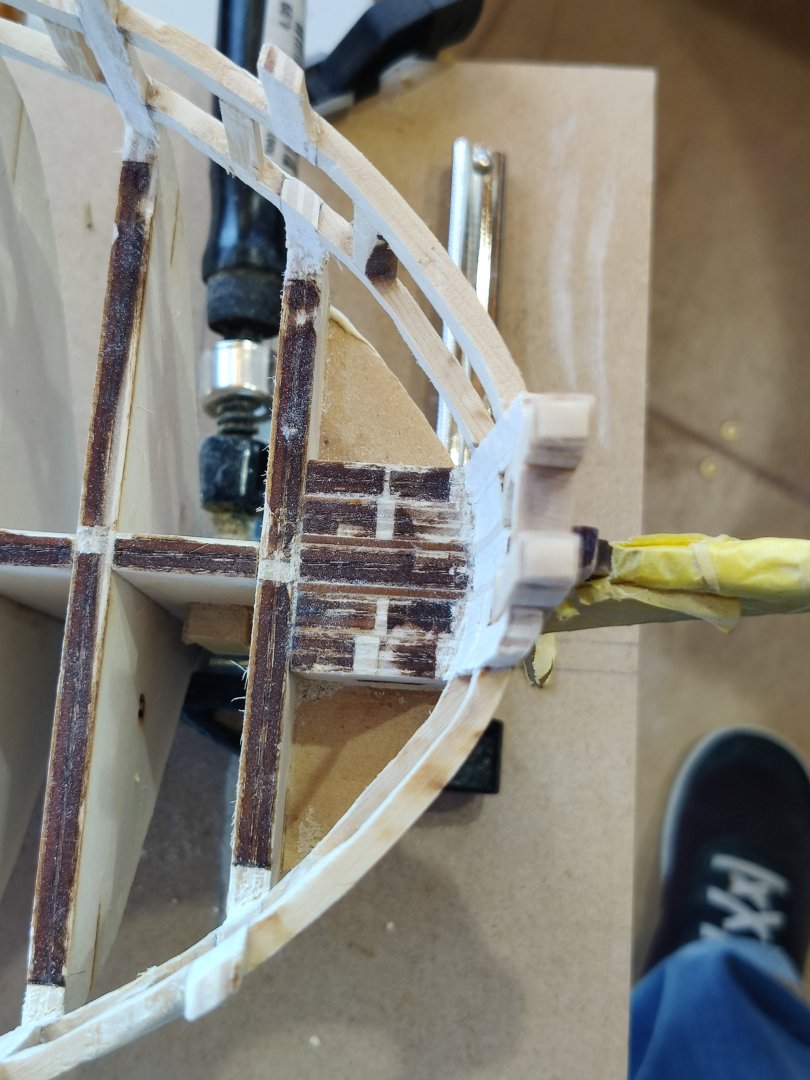
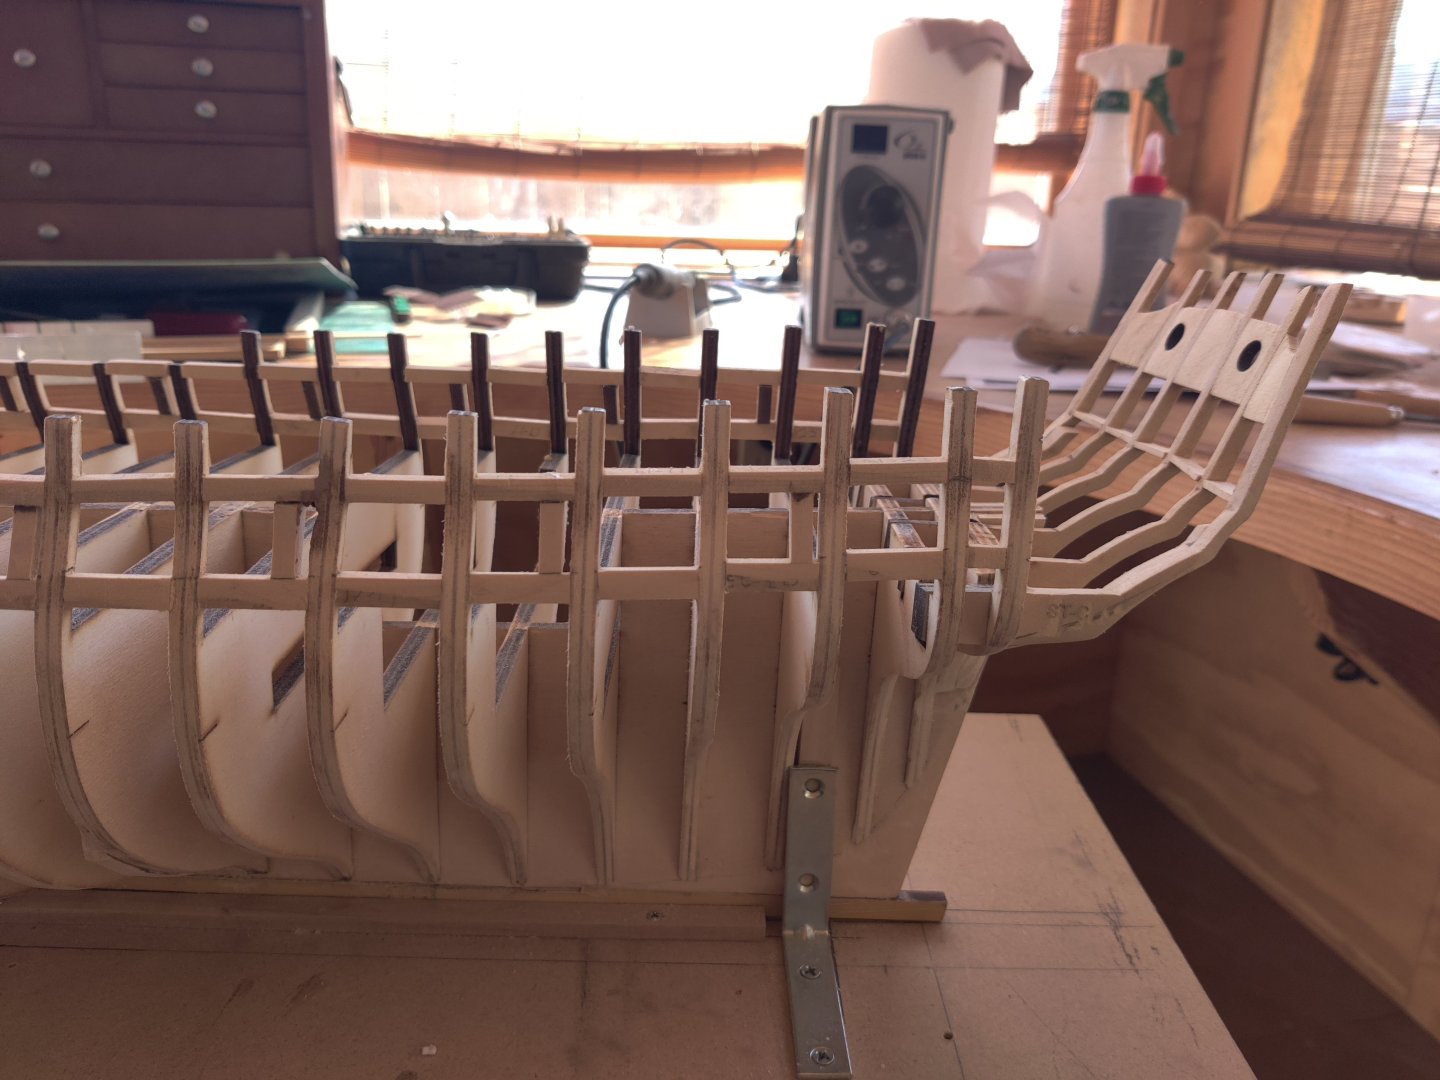
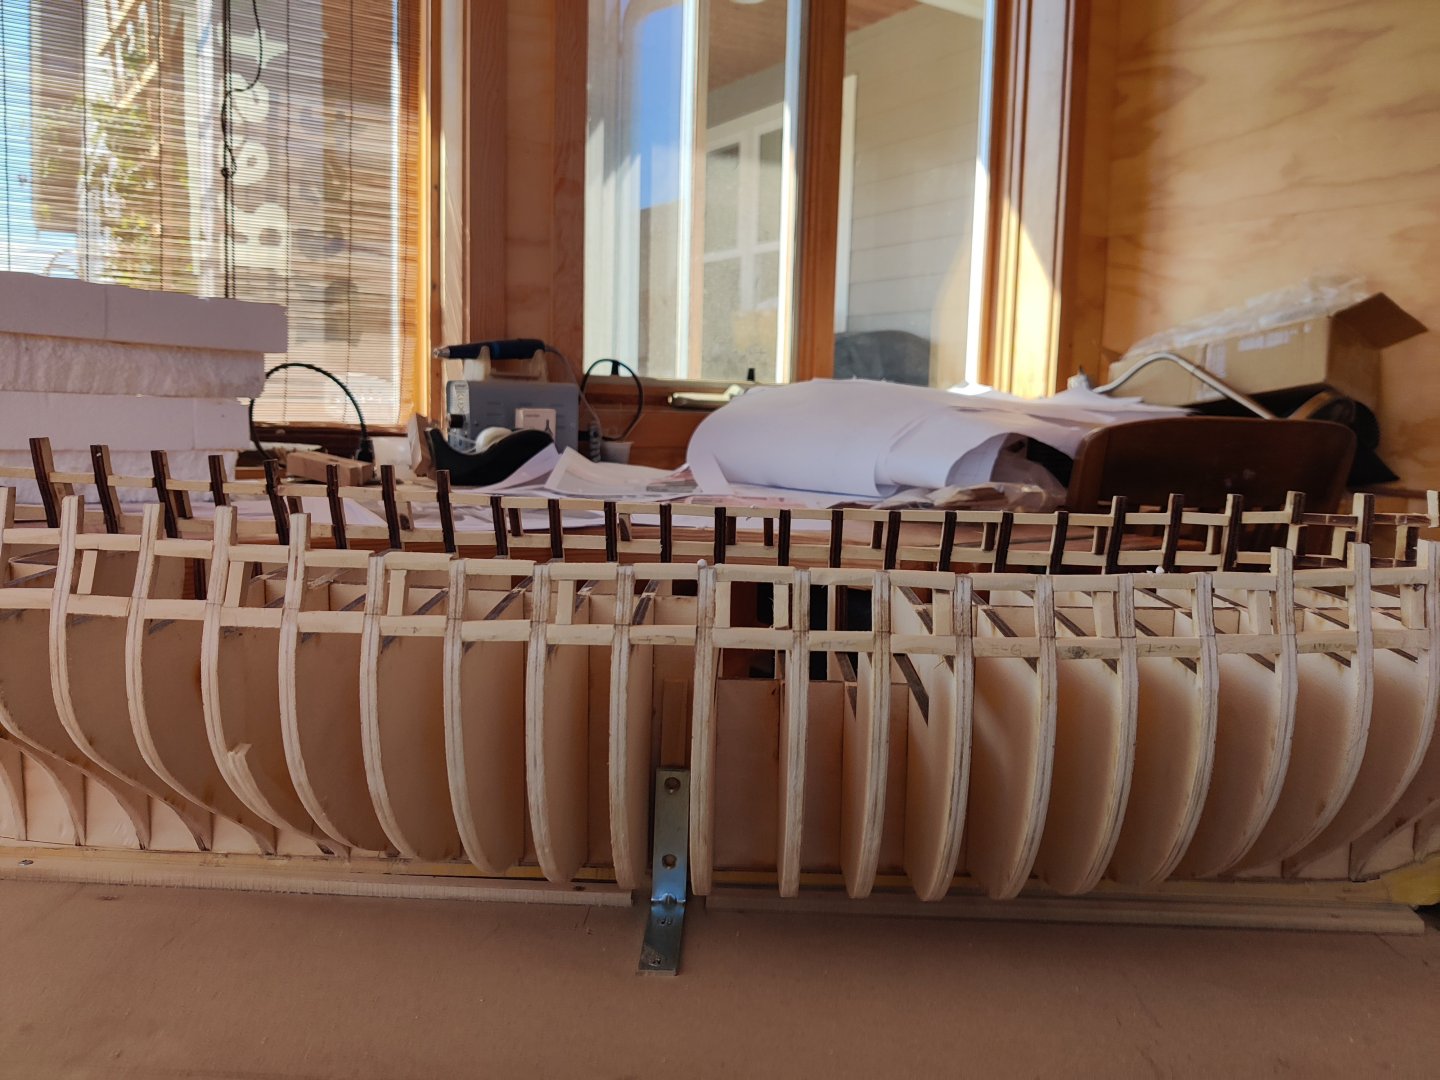
I have been working on this since July 1, I have measured, remeasured, checked and rechecked, read lots of logs and Chuck's instruction and worked daily to make meaningful progress. Before I move ahead with the remainder of the stern framing I wanted some other eyes to see it and let me know if there are things I need to fix before going further. Thanks for your help.


-
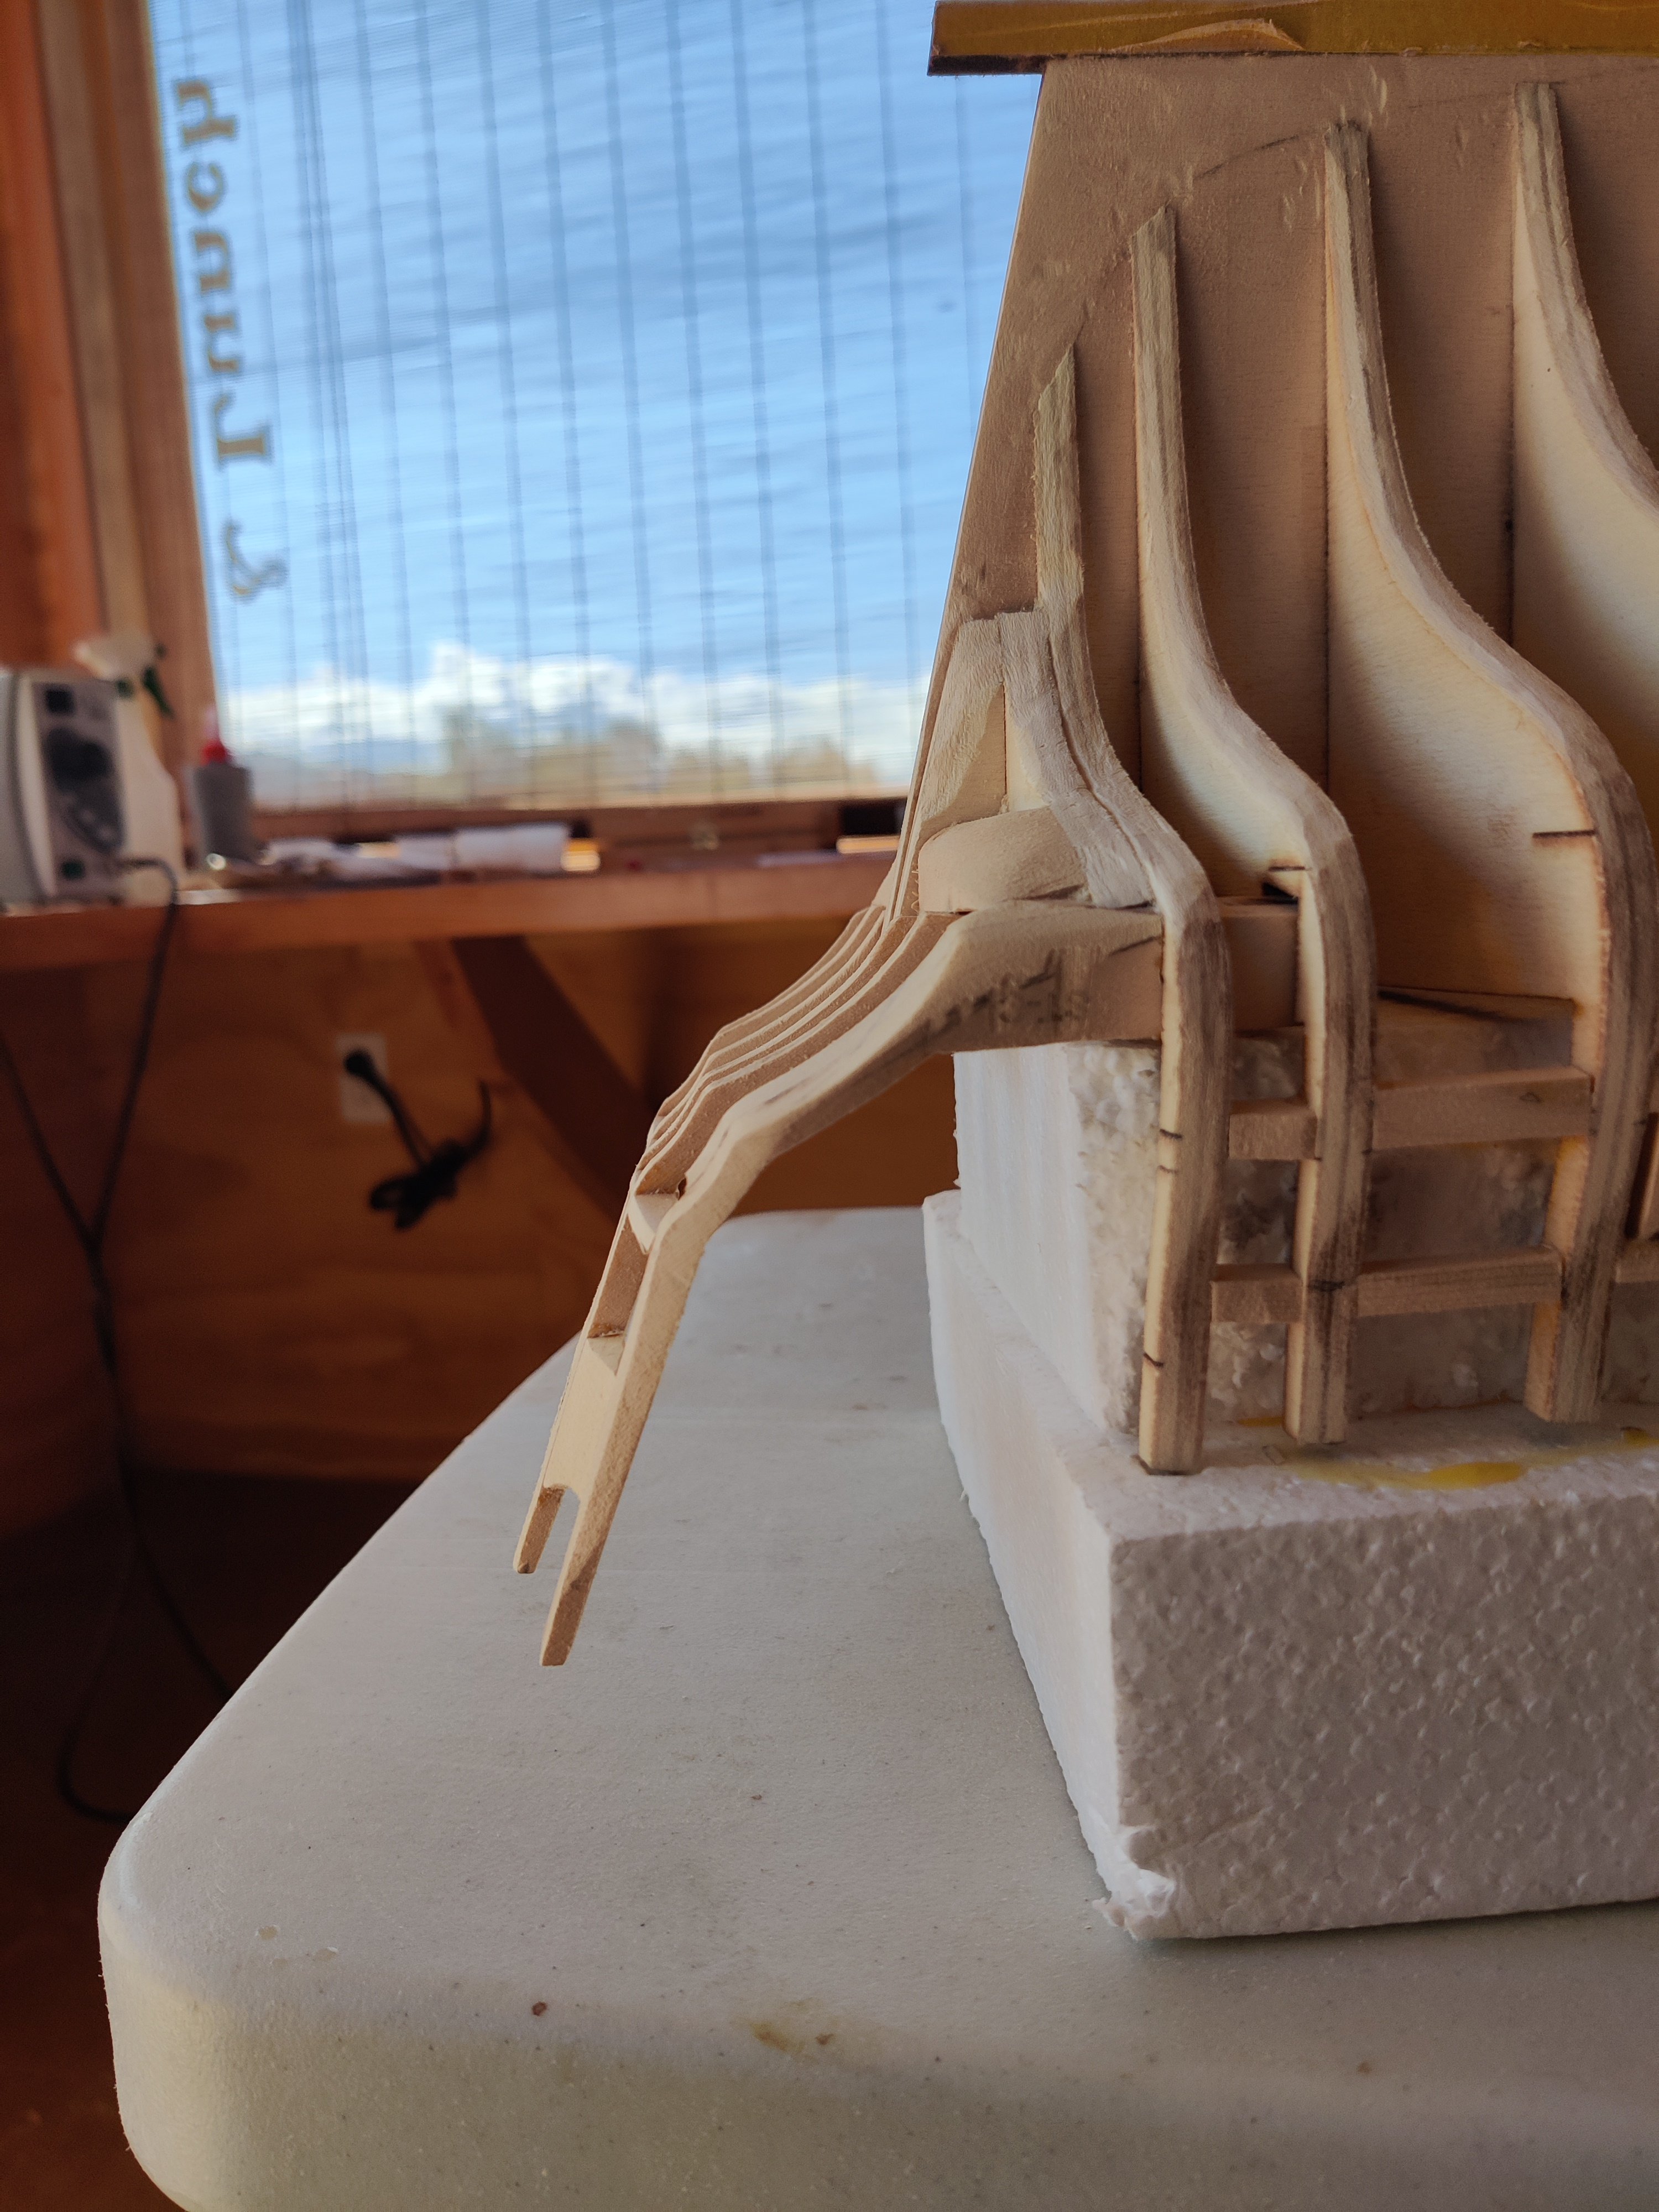
Chuck, I am installing the stern frames for Winchelsia, I have read the instructions several times but see no mention of the installation of the two filler pieces that attach to bulkhead 29 and the aft keel.
In reviewing other build logs I see them in place. Do they go in now or should I wait and put them in later?
-
Call if you want to confirm this but I just spoke to her last Thursday. Thanks I will do that.
-
I have used all the discs that came with the sander. Does anyone know a source for more? All I can find are 5" and 6" discs.
-
Well you were one hell of a good student and teacher!
-
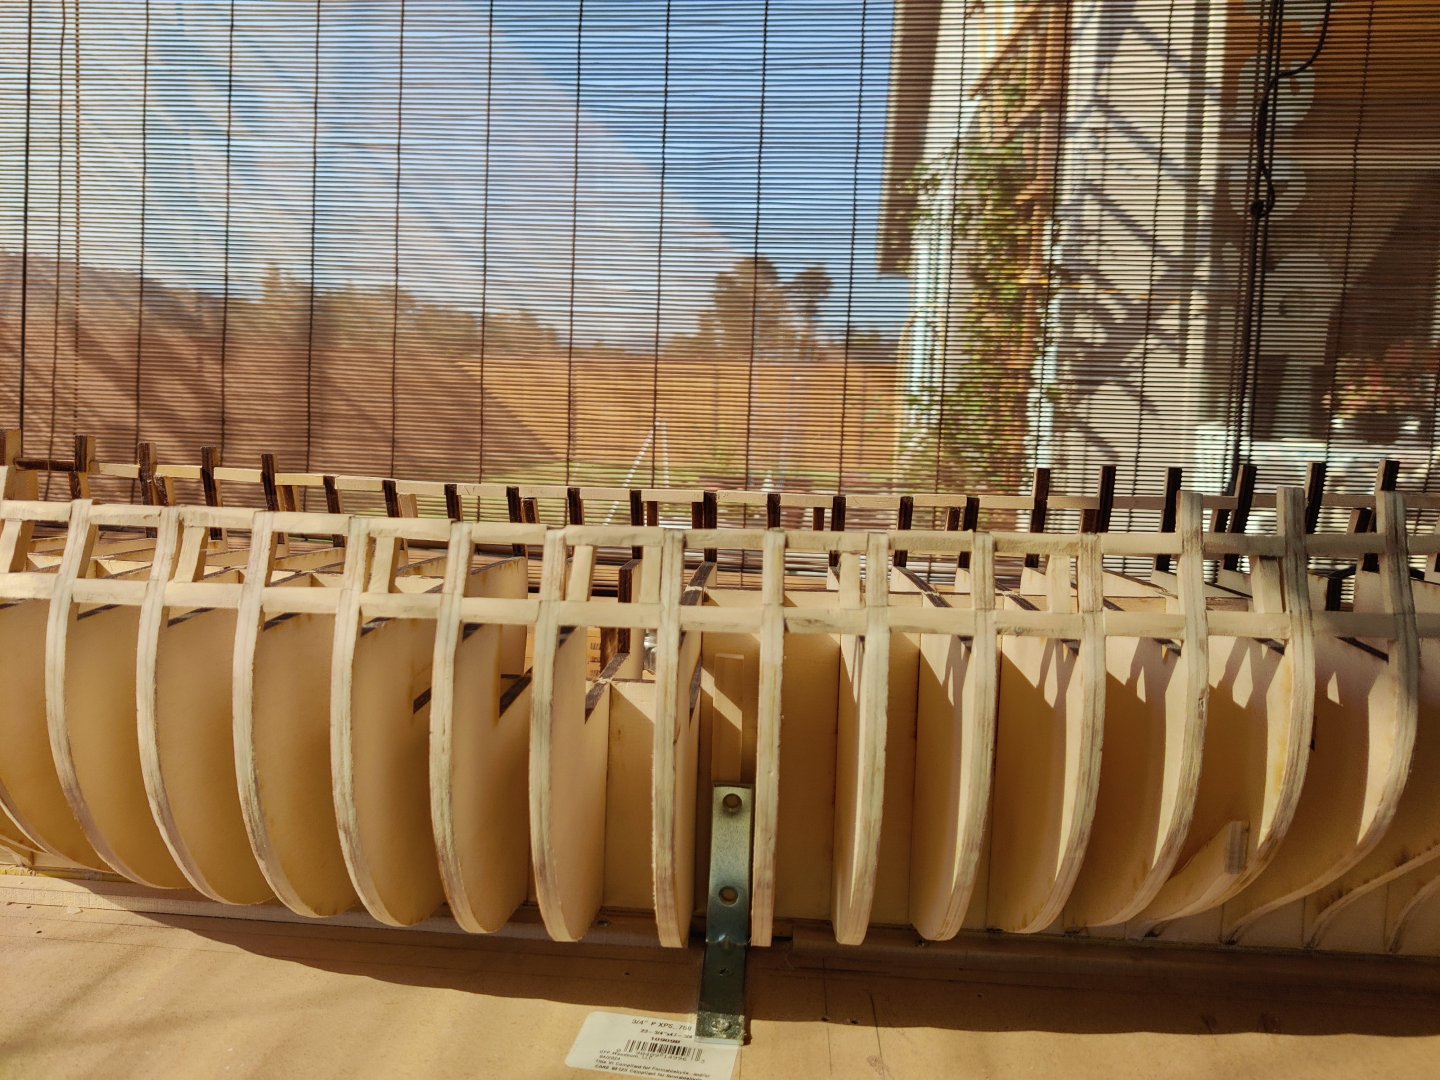
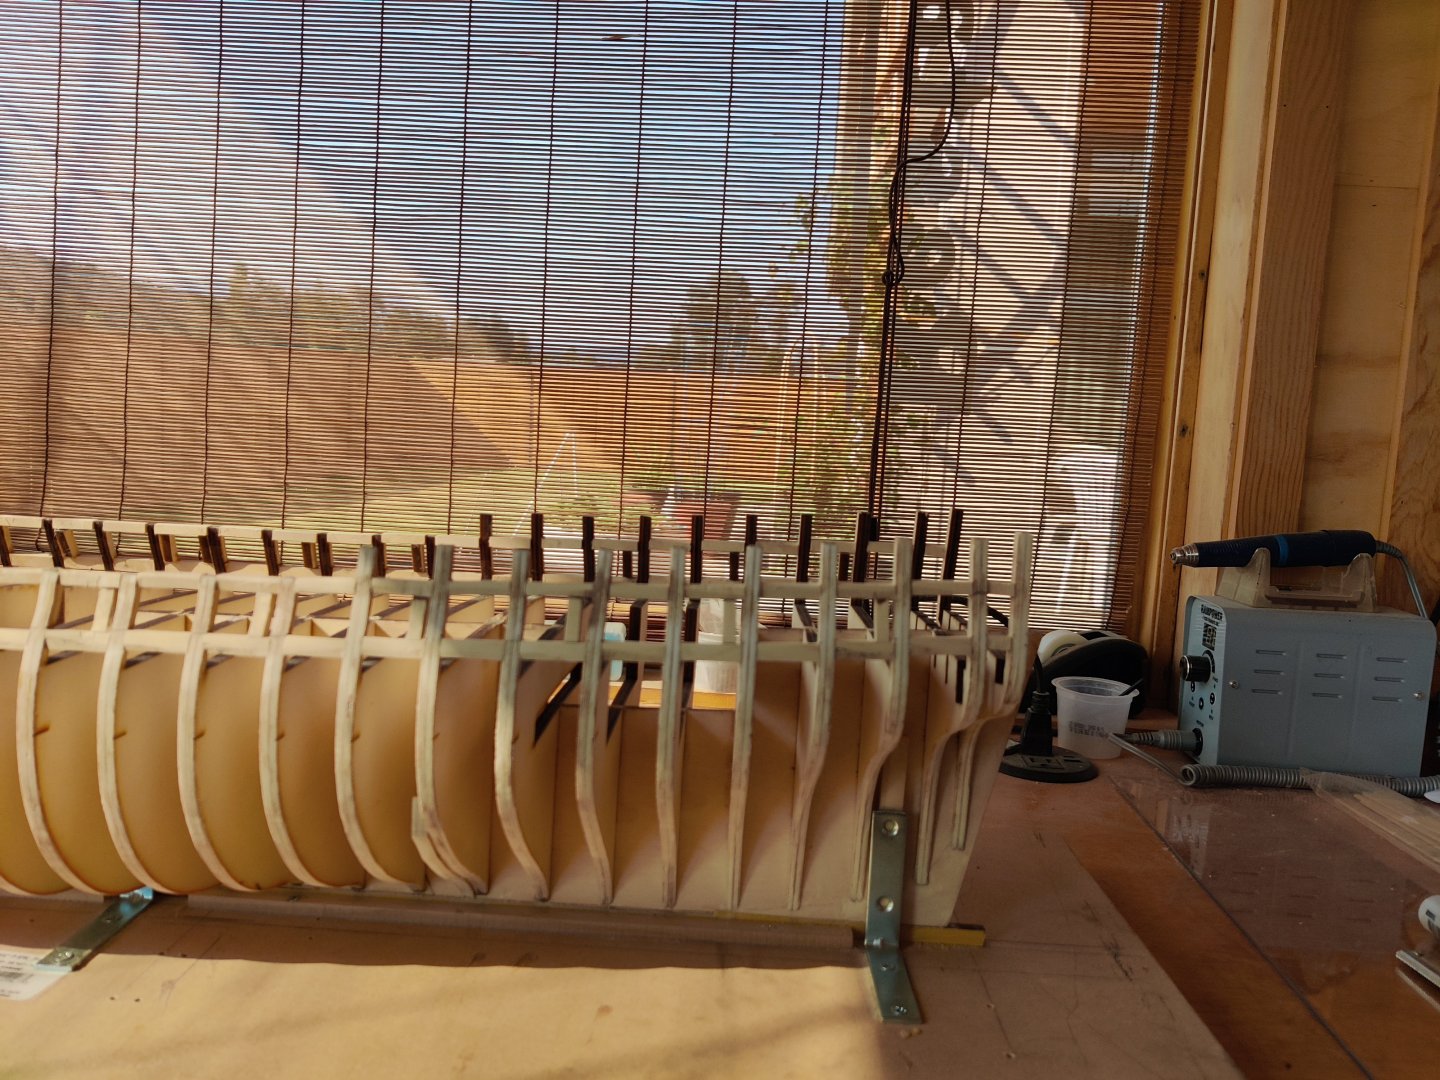
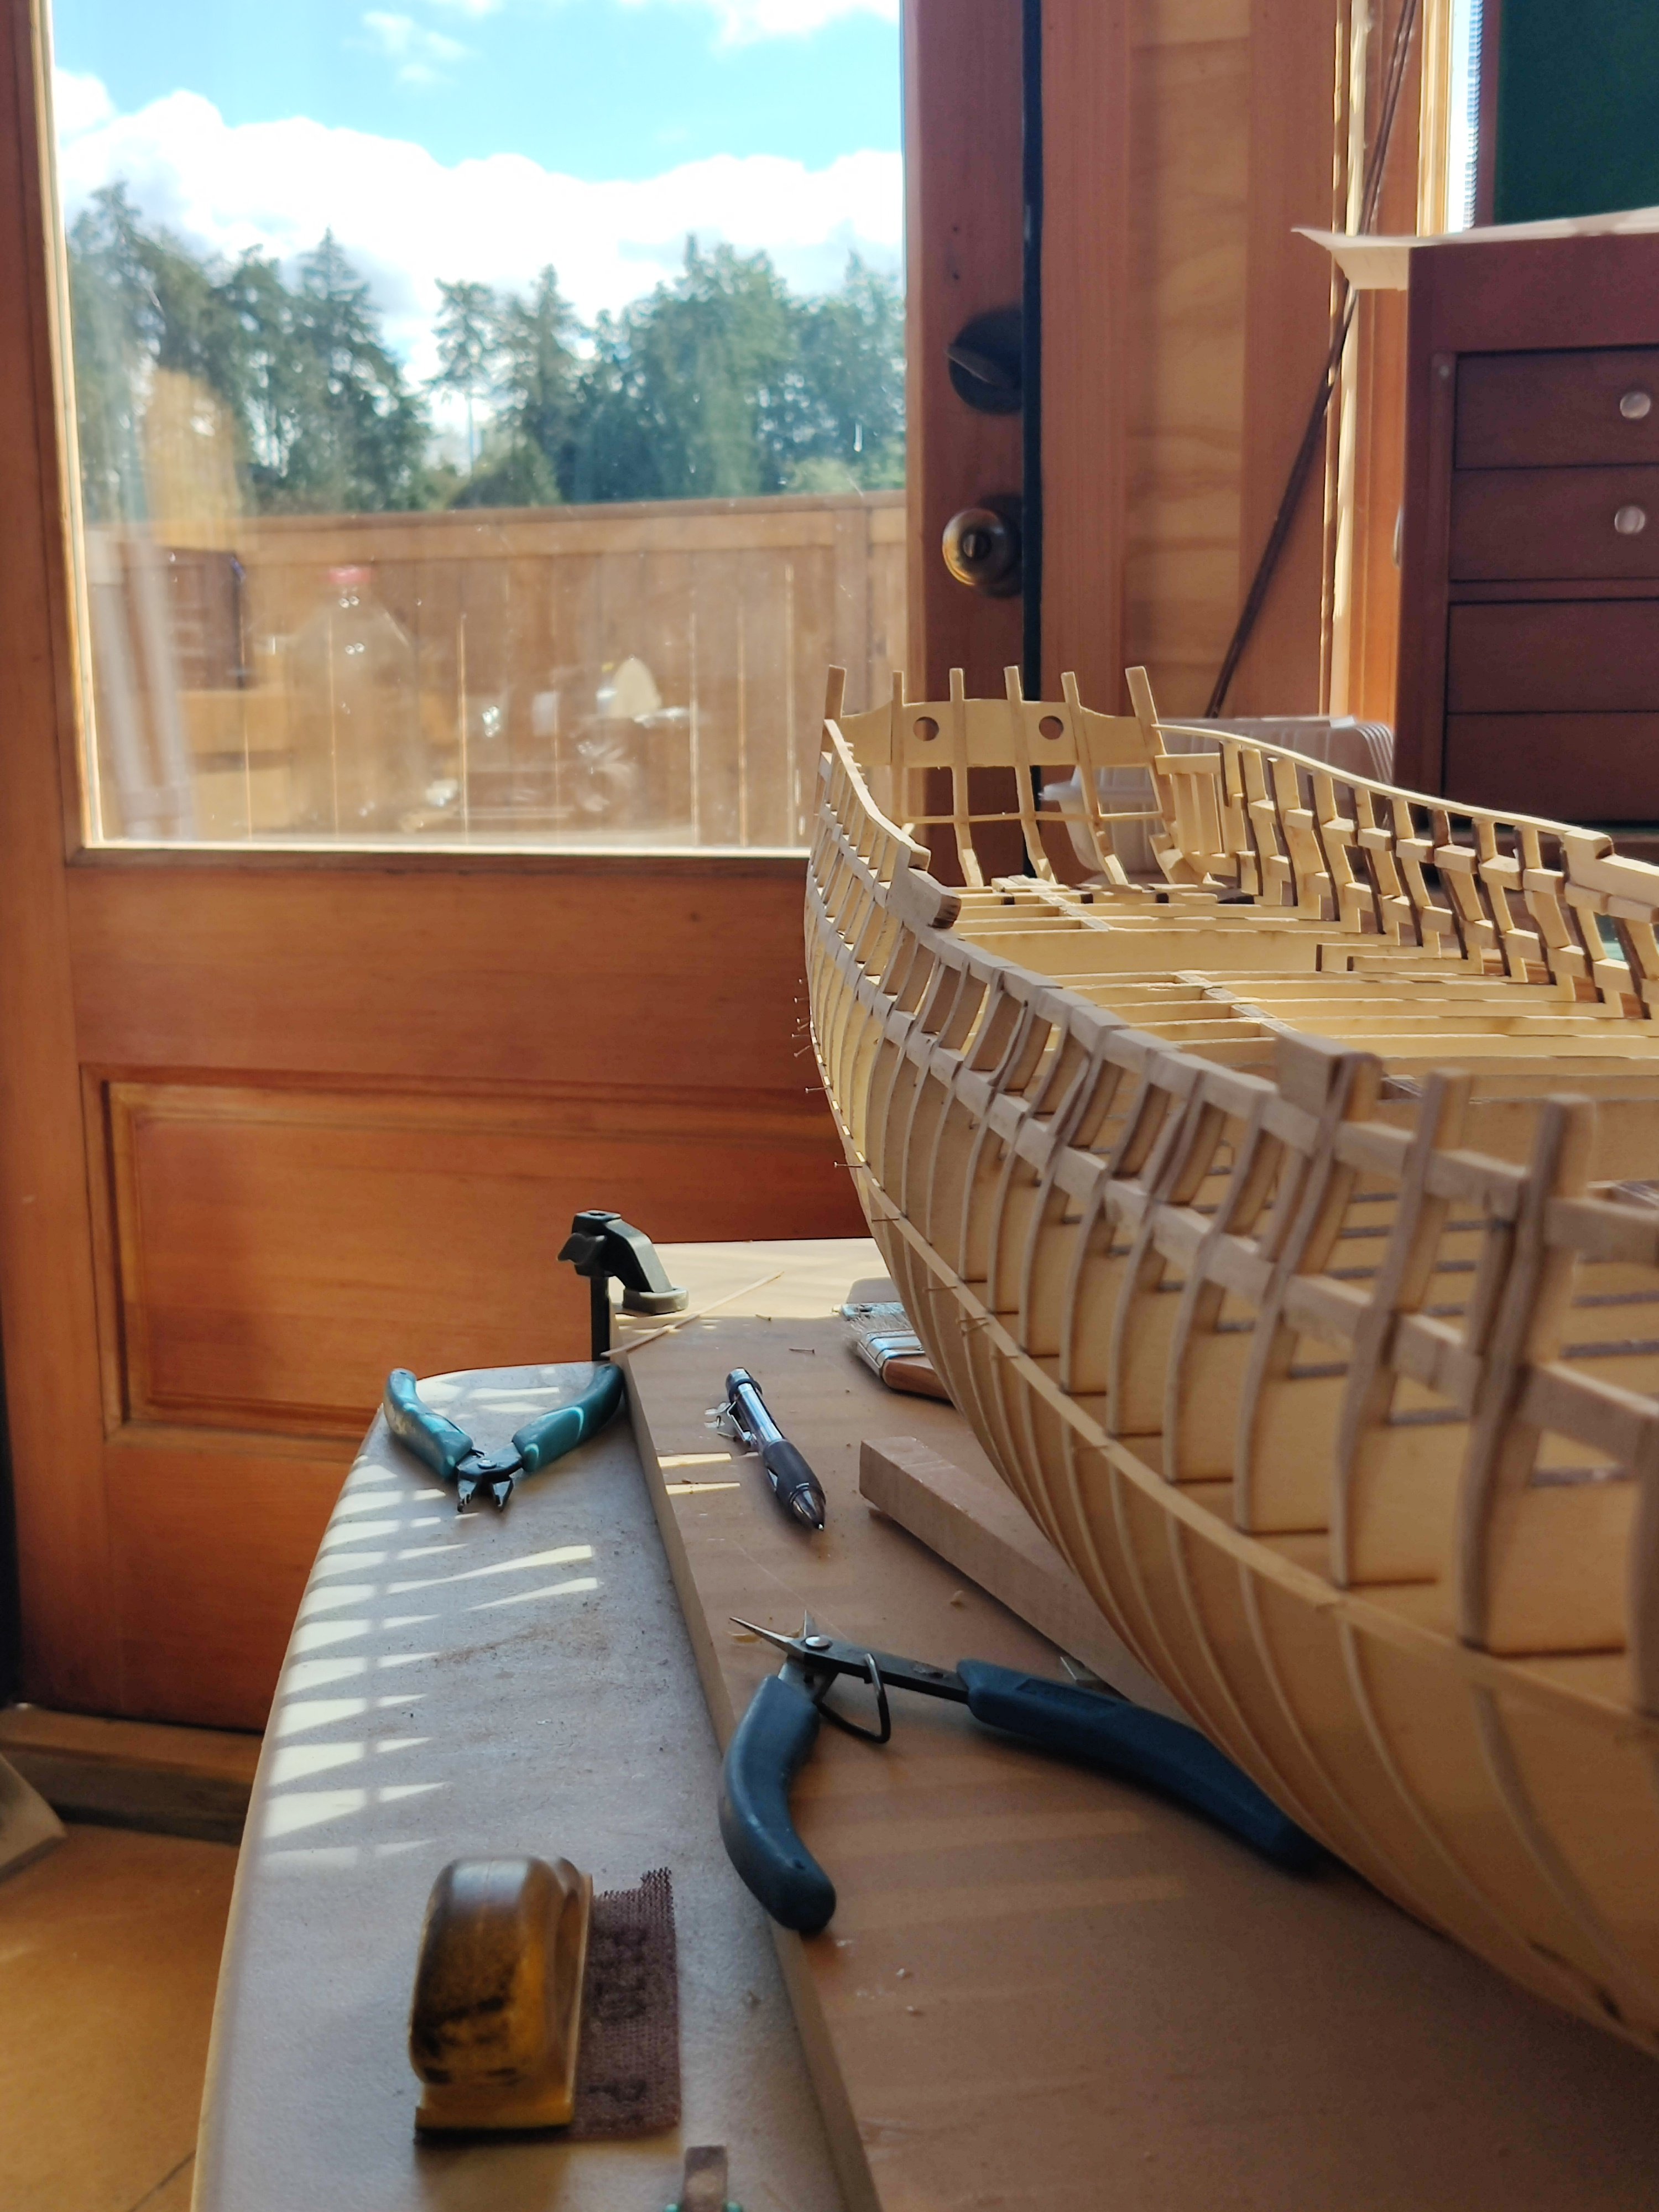
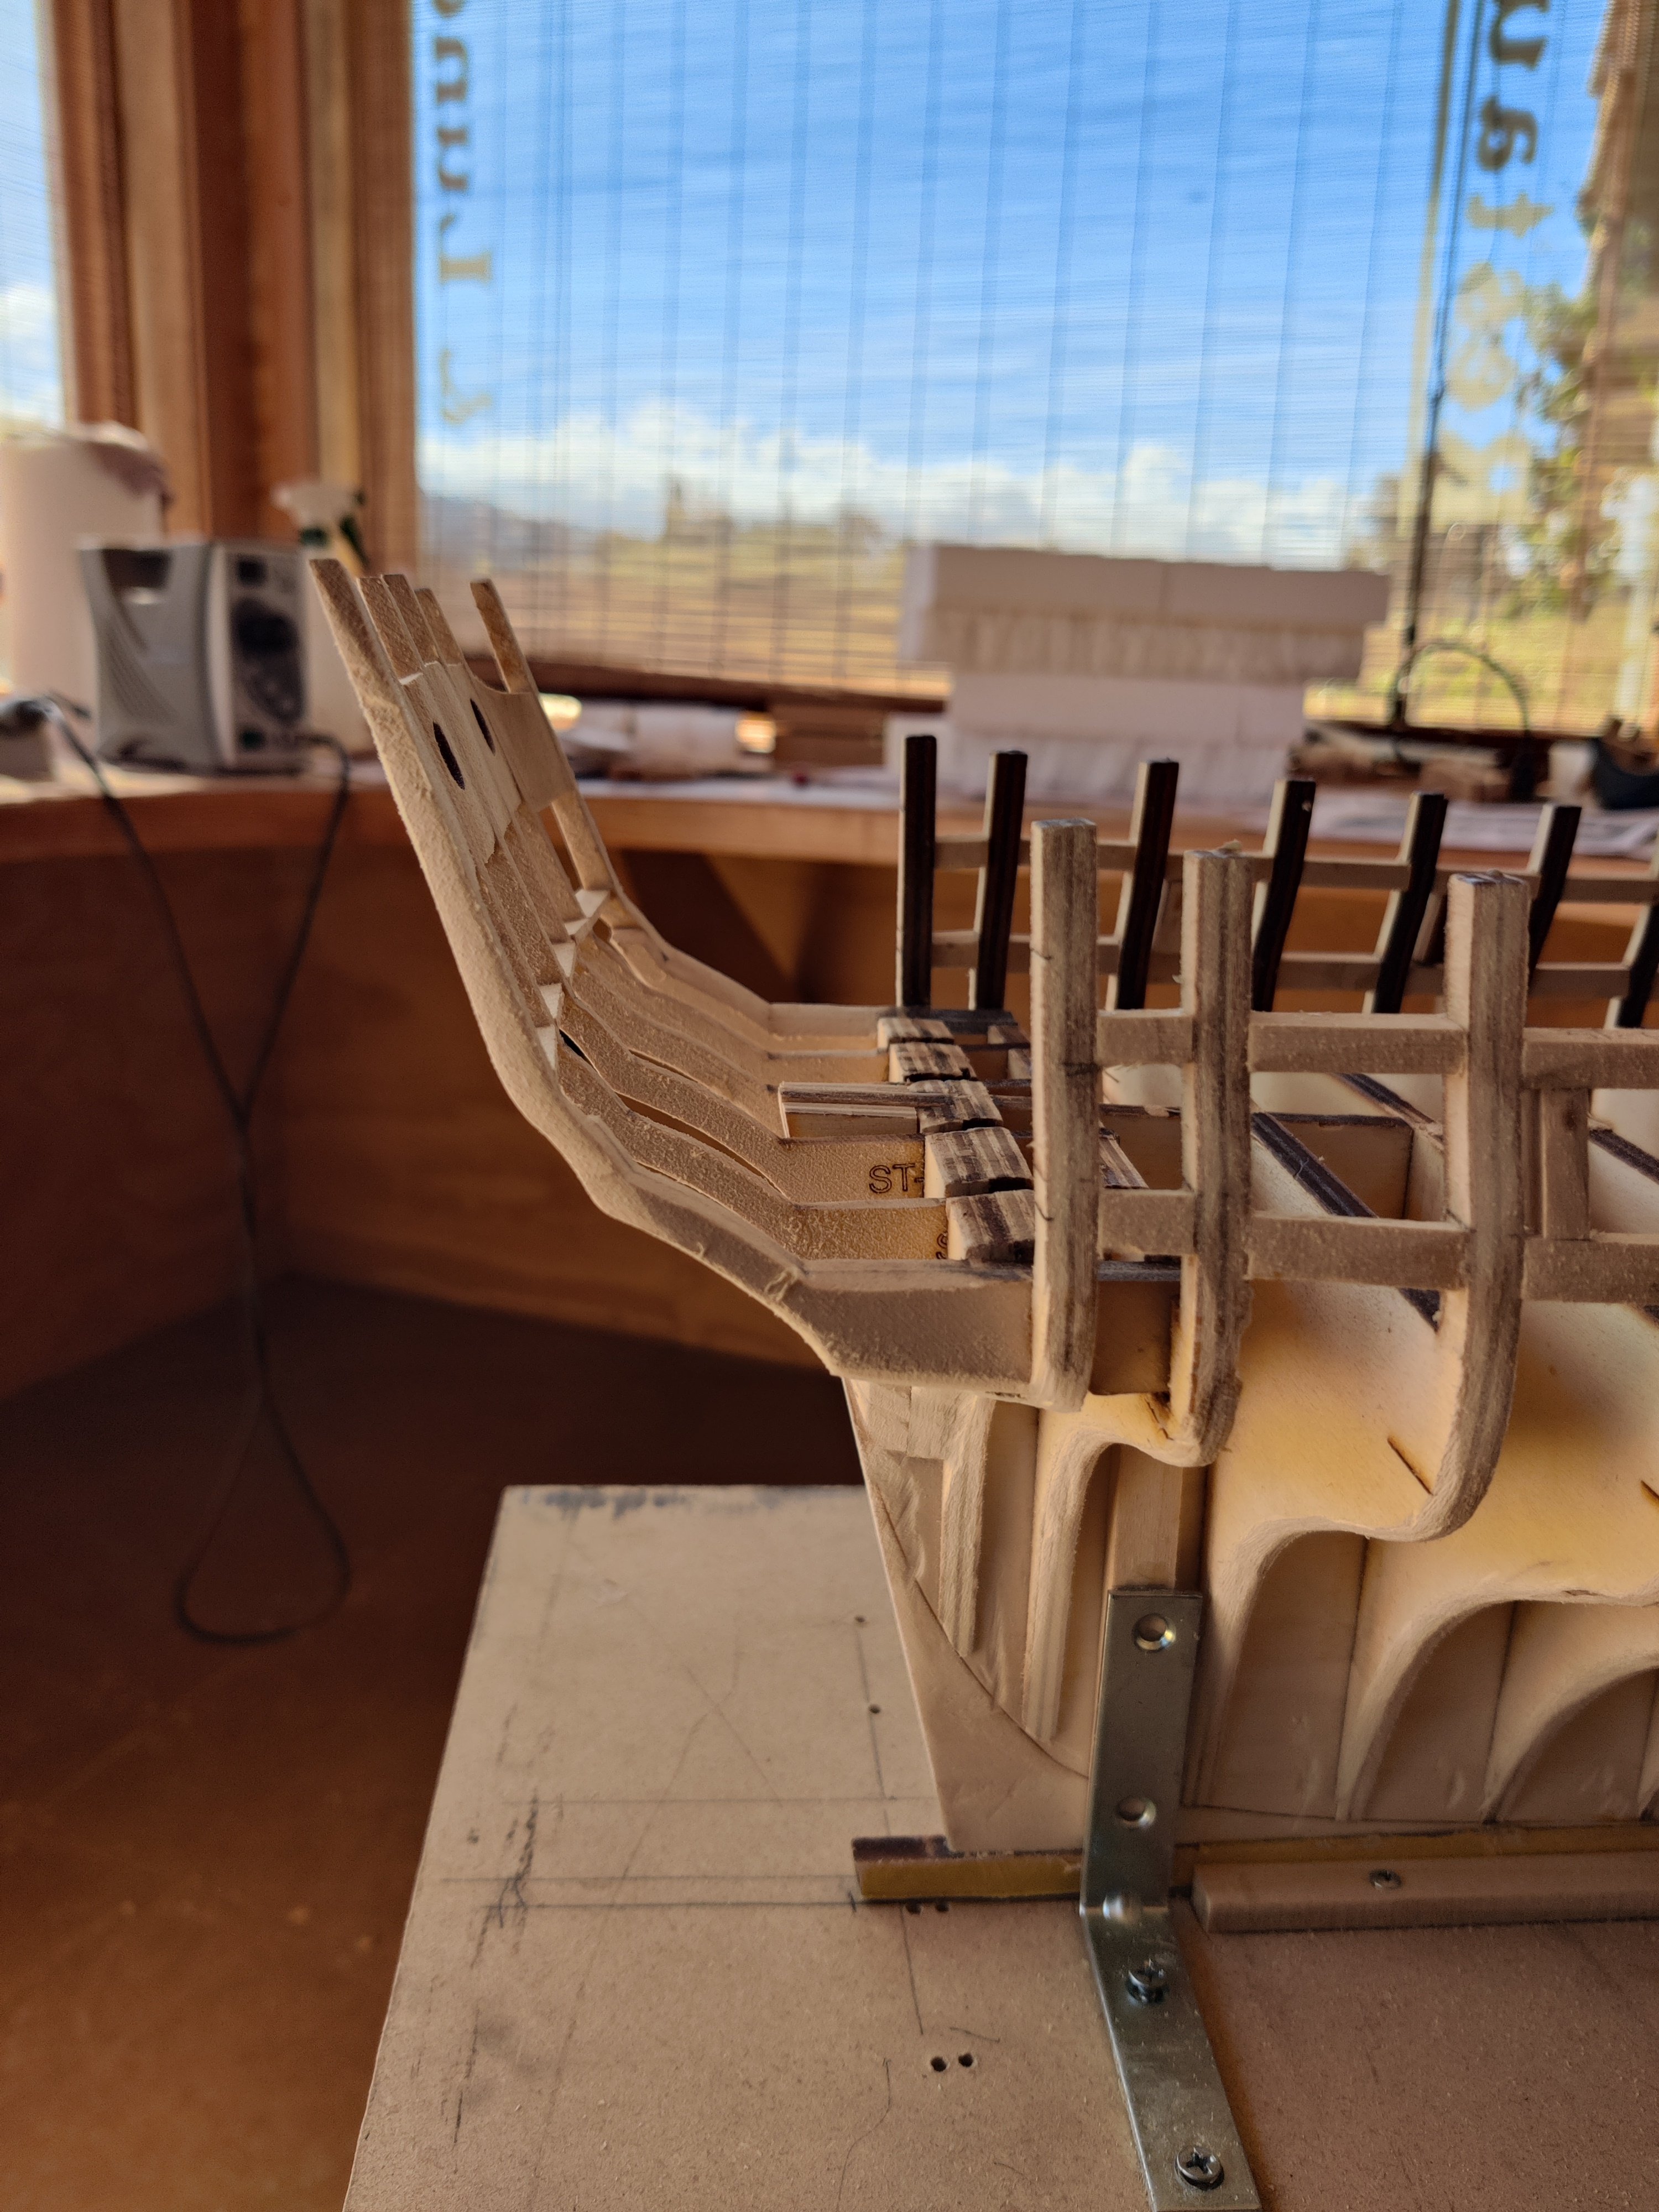
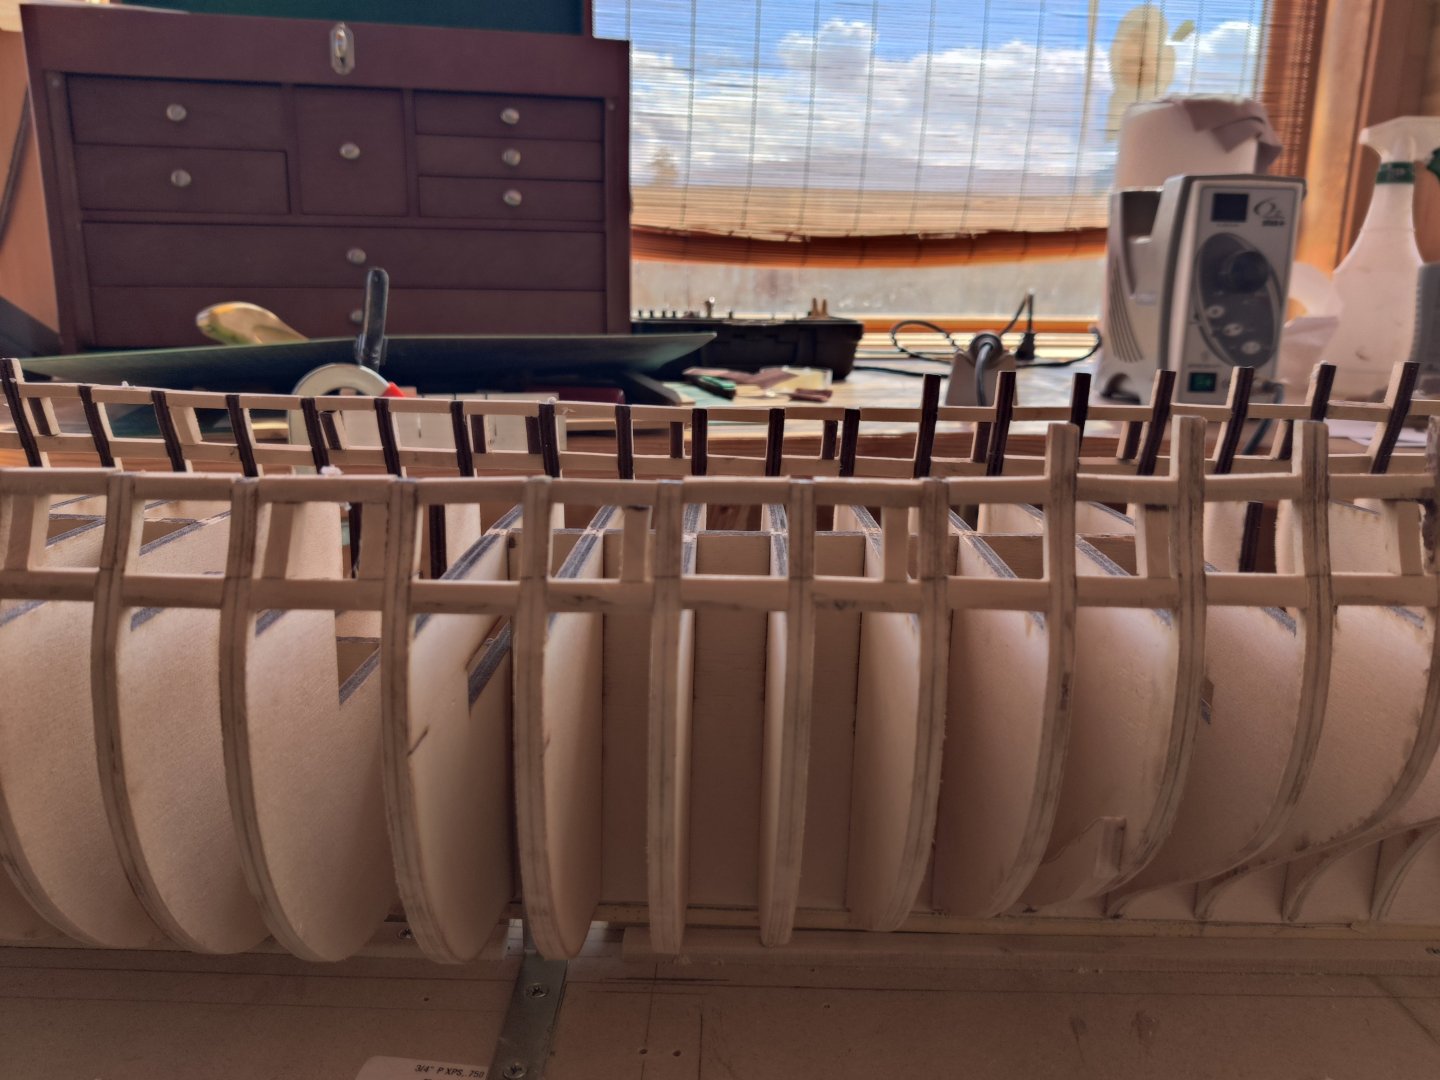
I have been working since the 4th of July to put in the upper and lower sills, the gun port framing, and fairing the hull. It was hard work and a lot of sanding. In a couple of spots I was too aggressive sanding and had to redo a couple of sills and add a little filler too. I still may need to fair a little more in the area near the rudder but I was cautious about being too aggressive. I have started on the stern frames. Frankly, the stern frames are daunting. Securing al the pieces in place before gluing is a real challenge. Question: are all the stern frames to be level with each other or is it only necessary to get the pairs level?