woodartist
-
Posts
286 -
Joined
-
Last visited
Content Type
Profiles
Forums
Gallery
Events
Everything posted by woodartist
-
It takes a little practice but you can control the amount of glue dispensed. I do not squeeze the tube at all, I just lift it up and touch the spot and a drop forms and i turn the tip up and the glue drains back into the tube. I make a really small hole in the metal cap with a thin needle so it does not dispense very much glue.
-
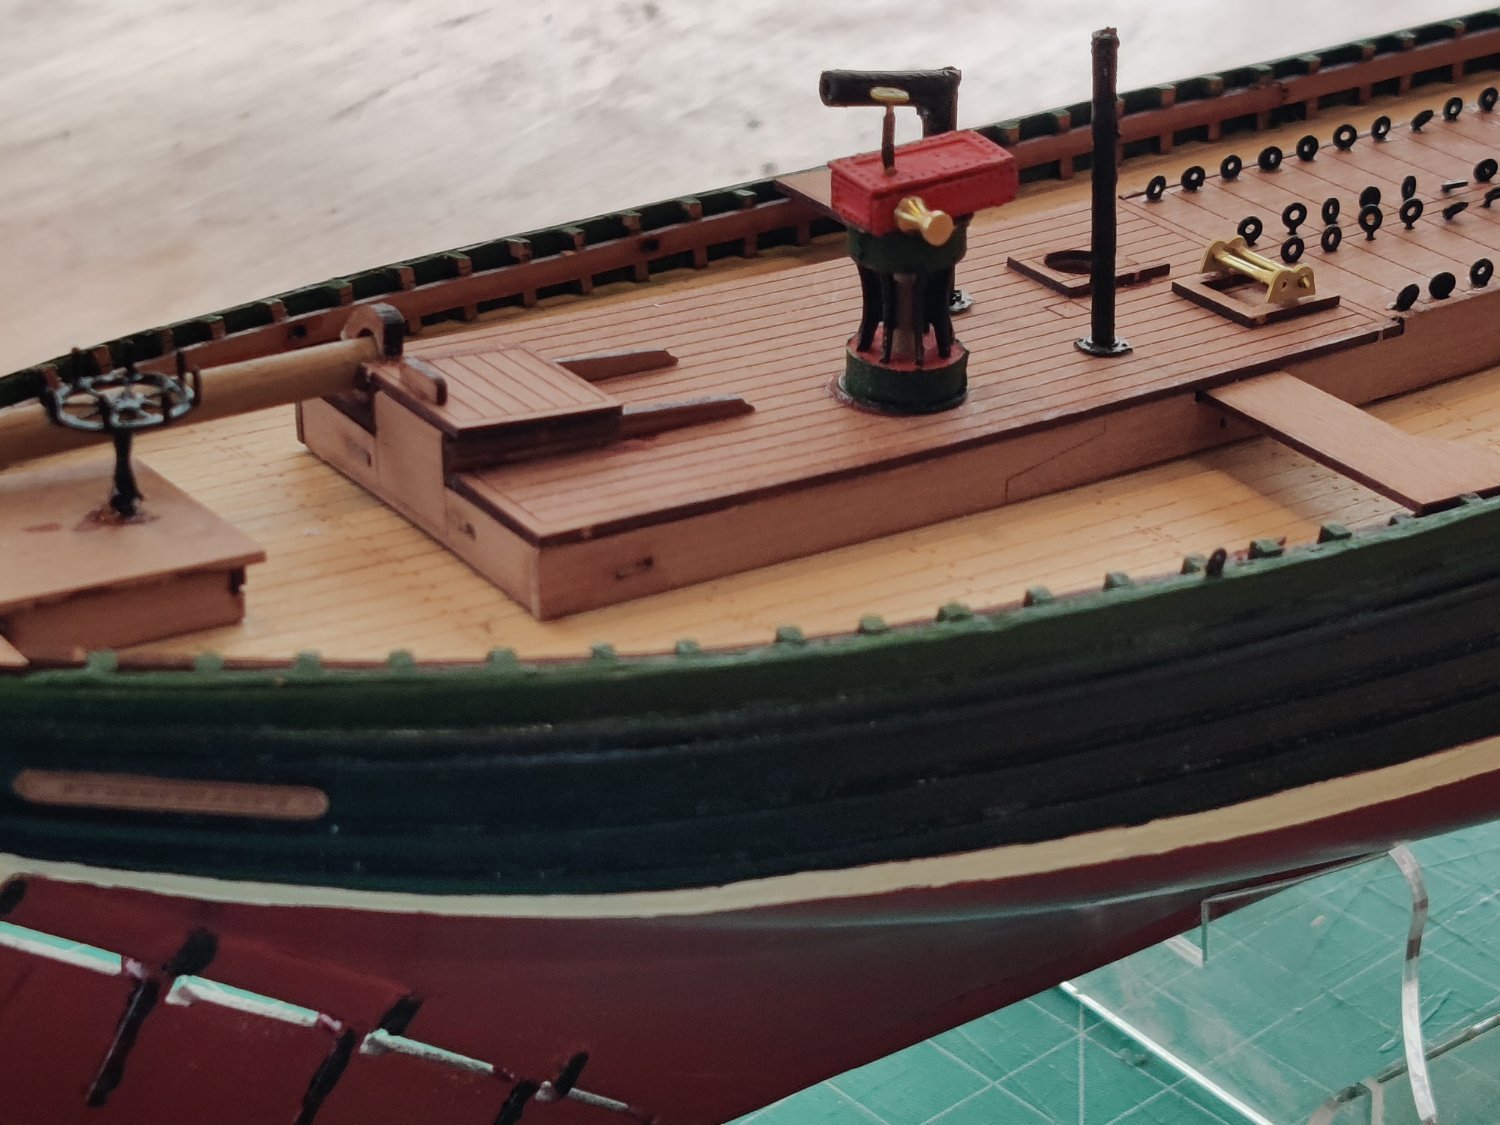
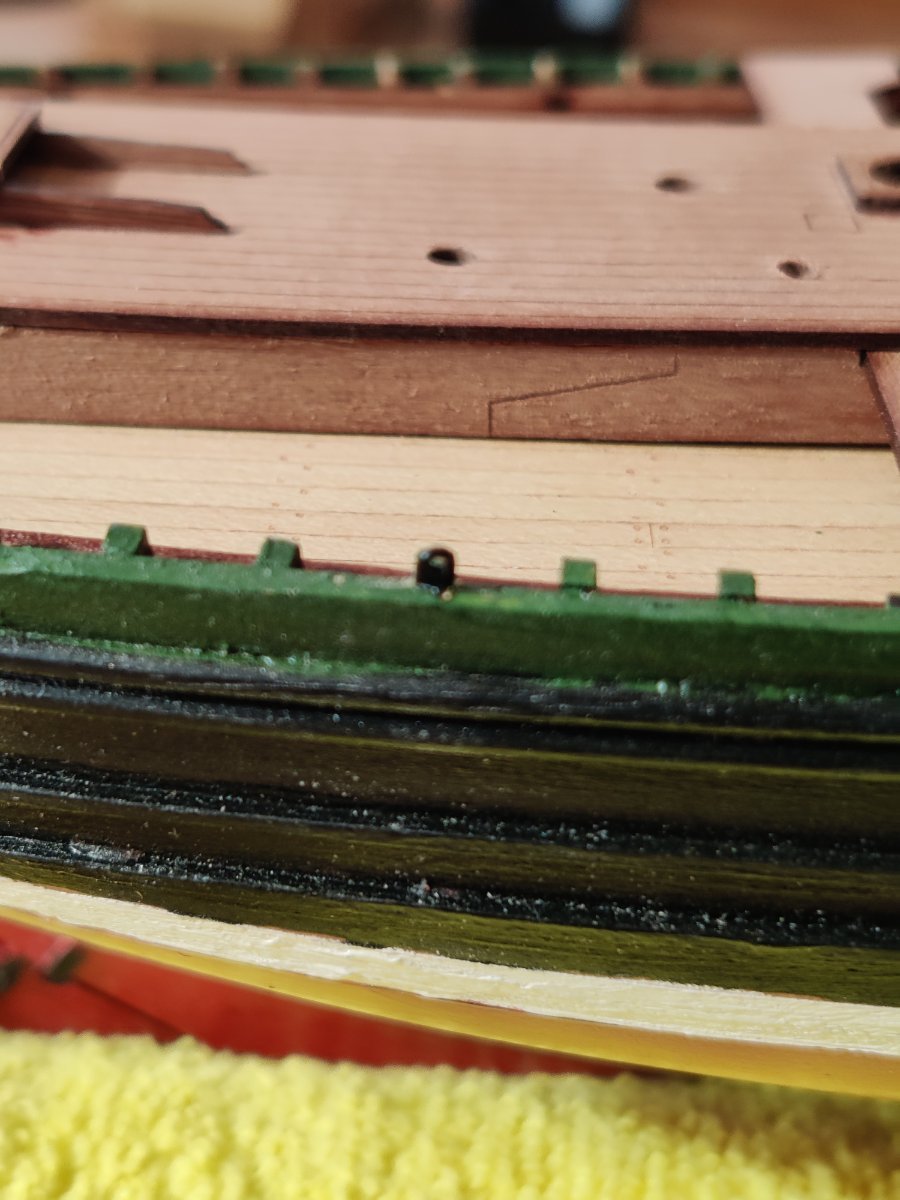
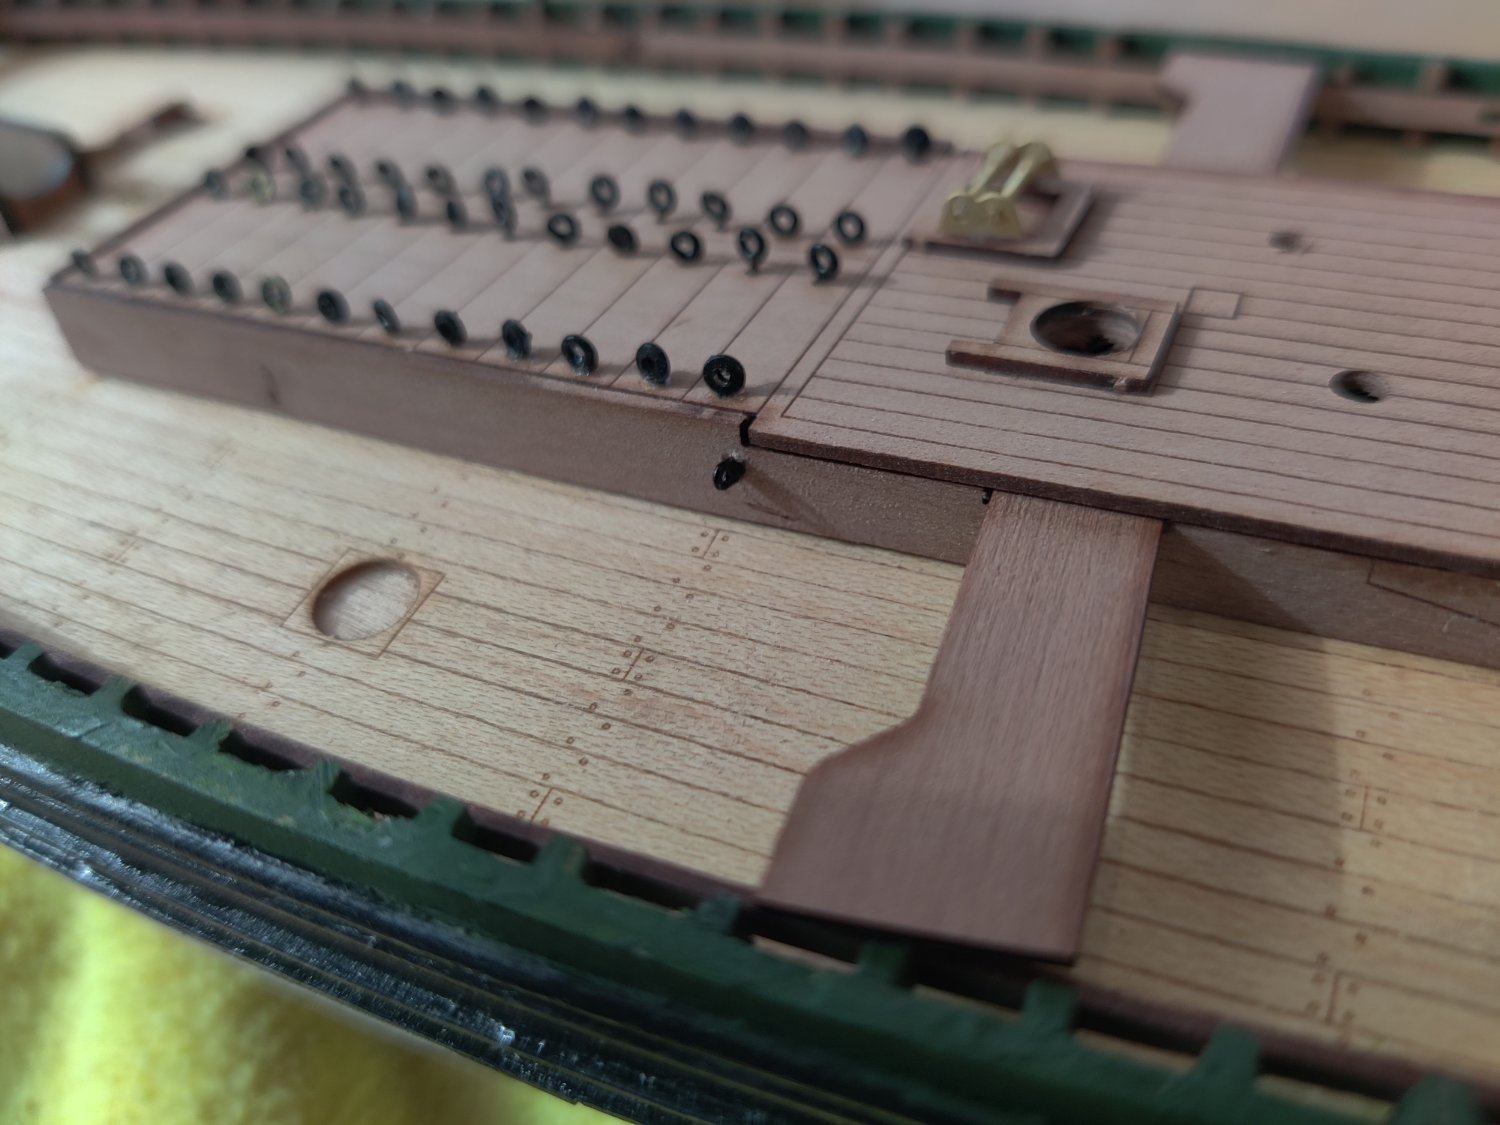
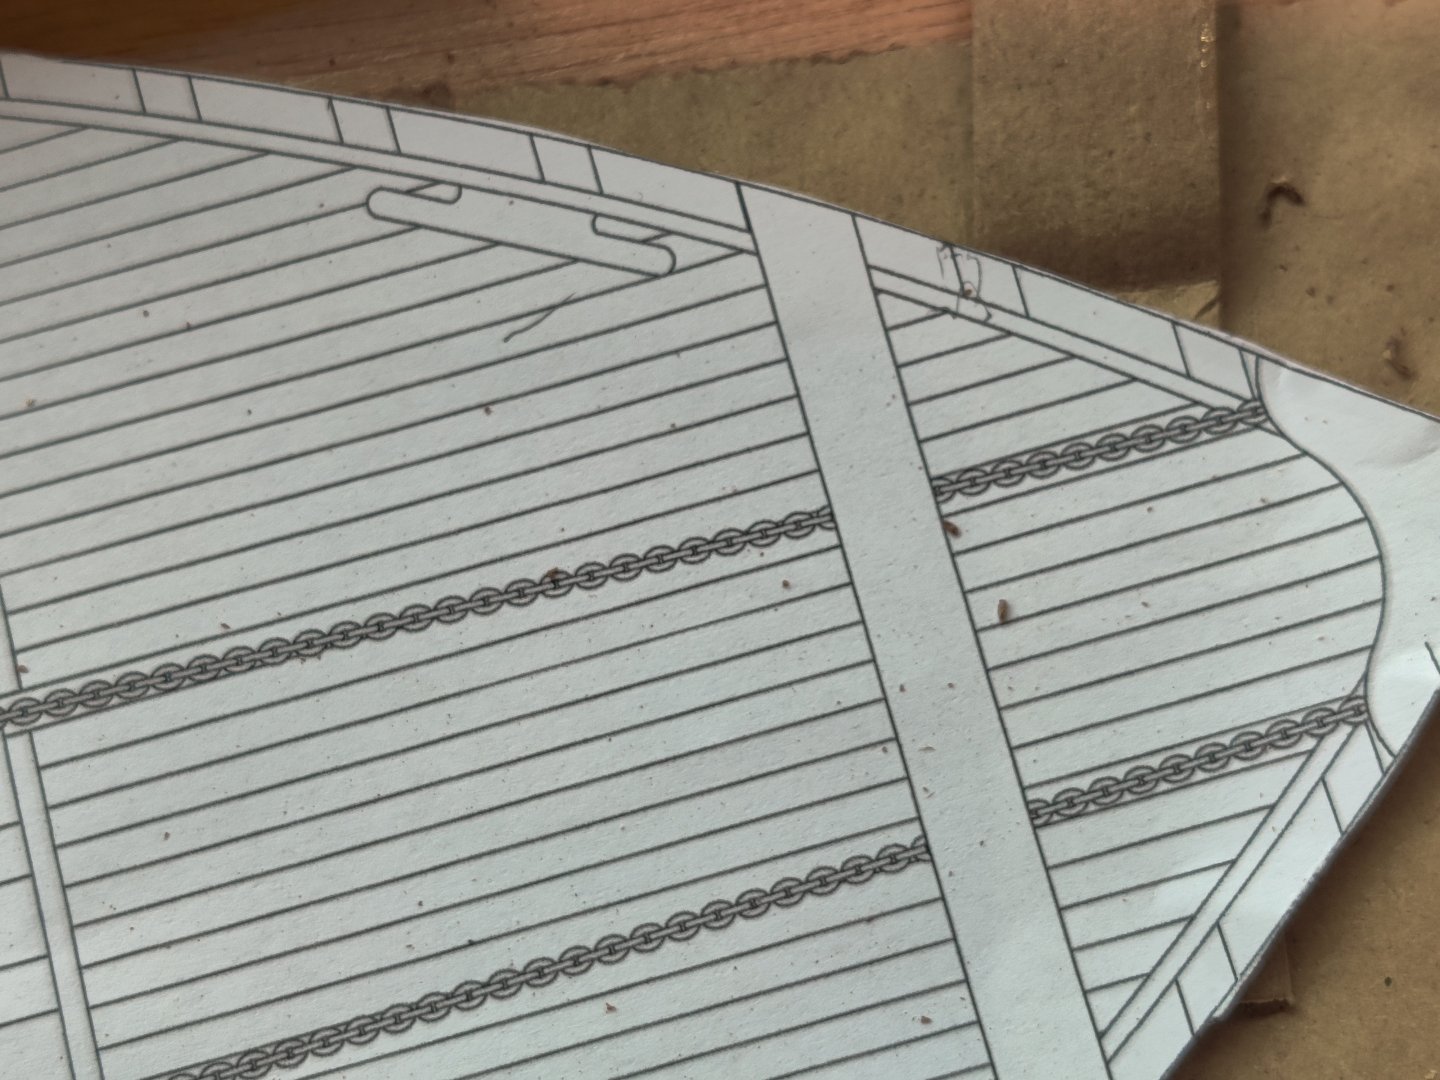
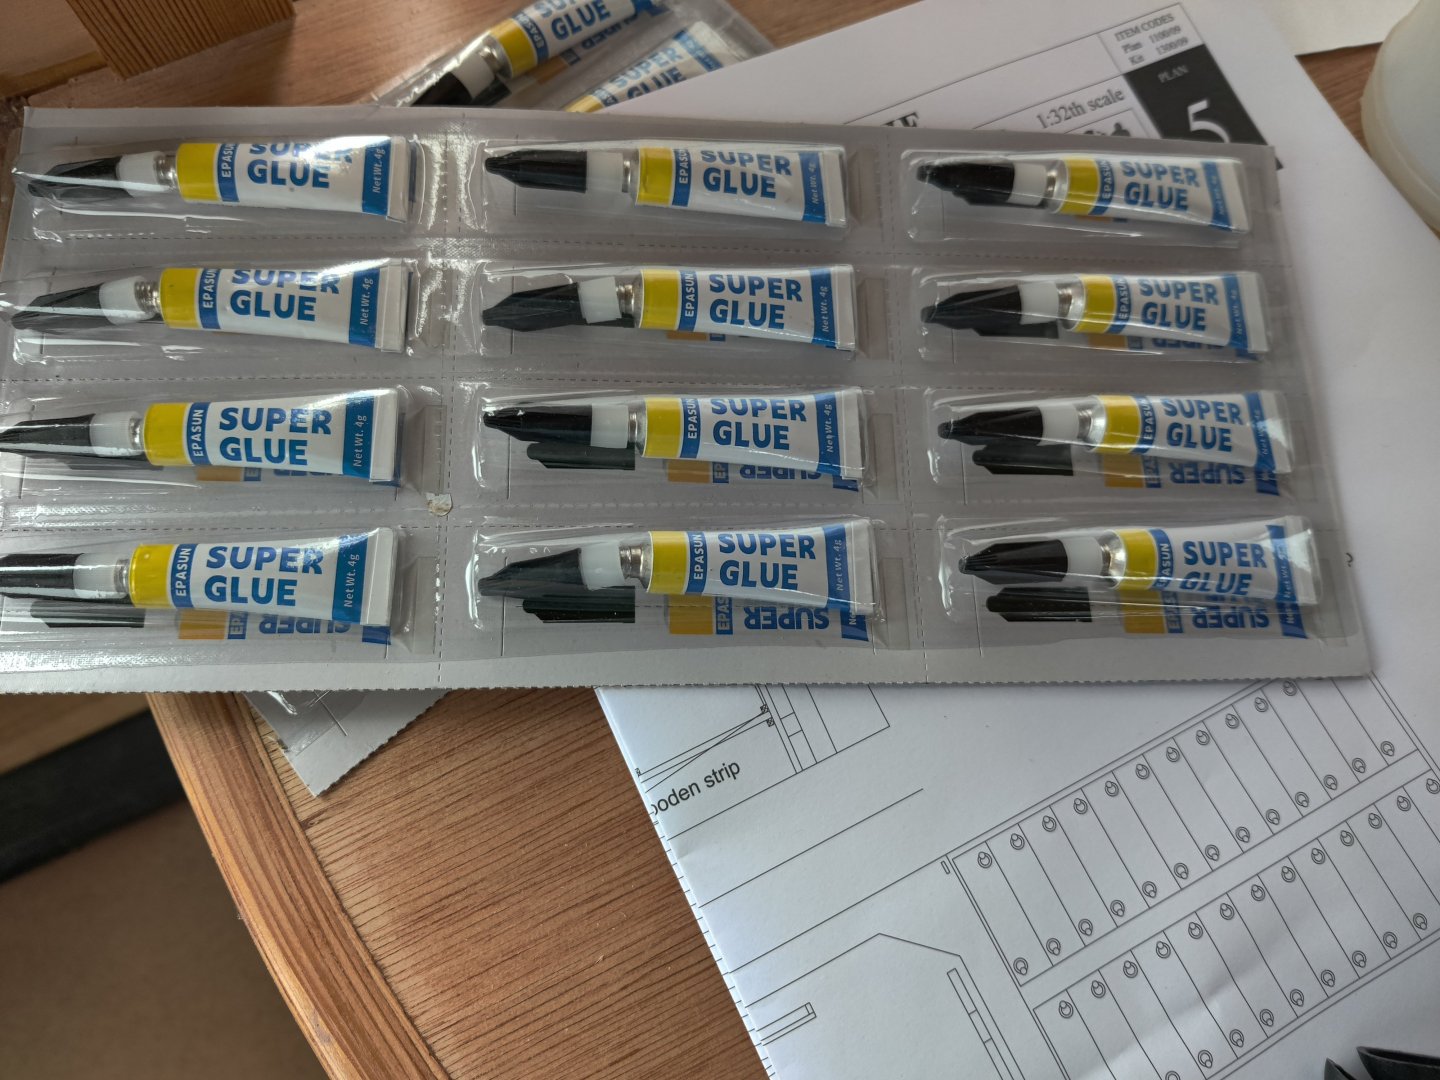
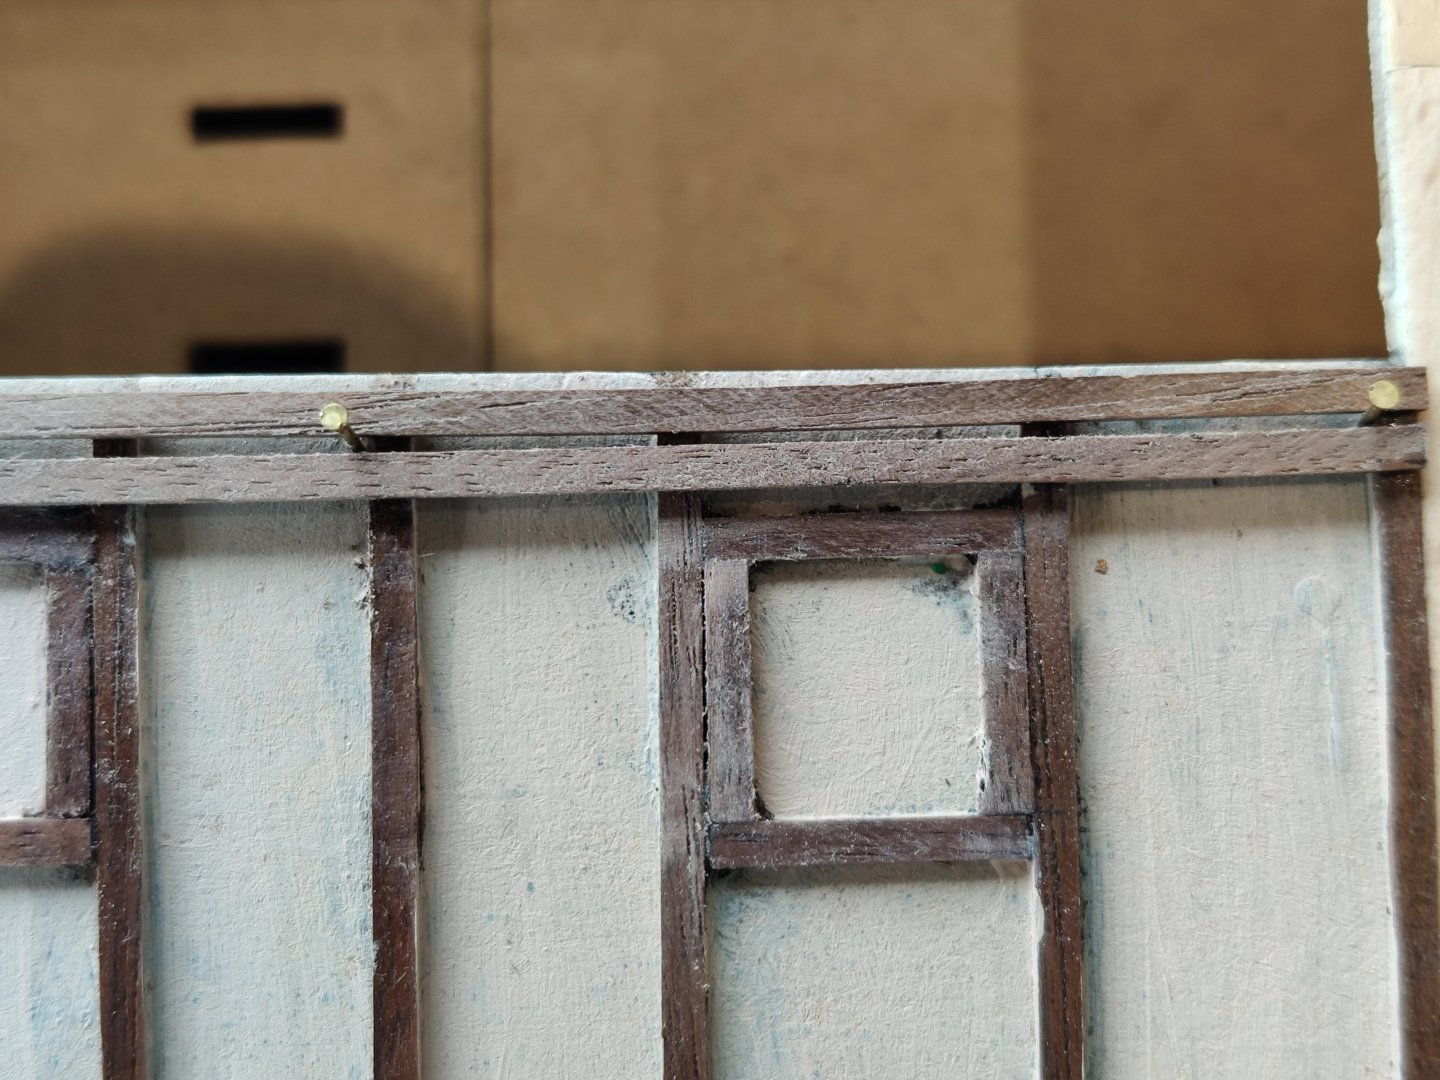
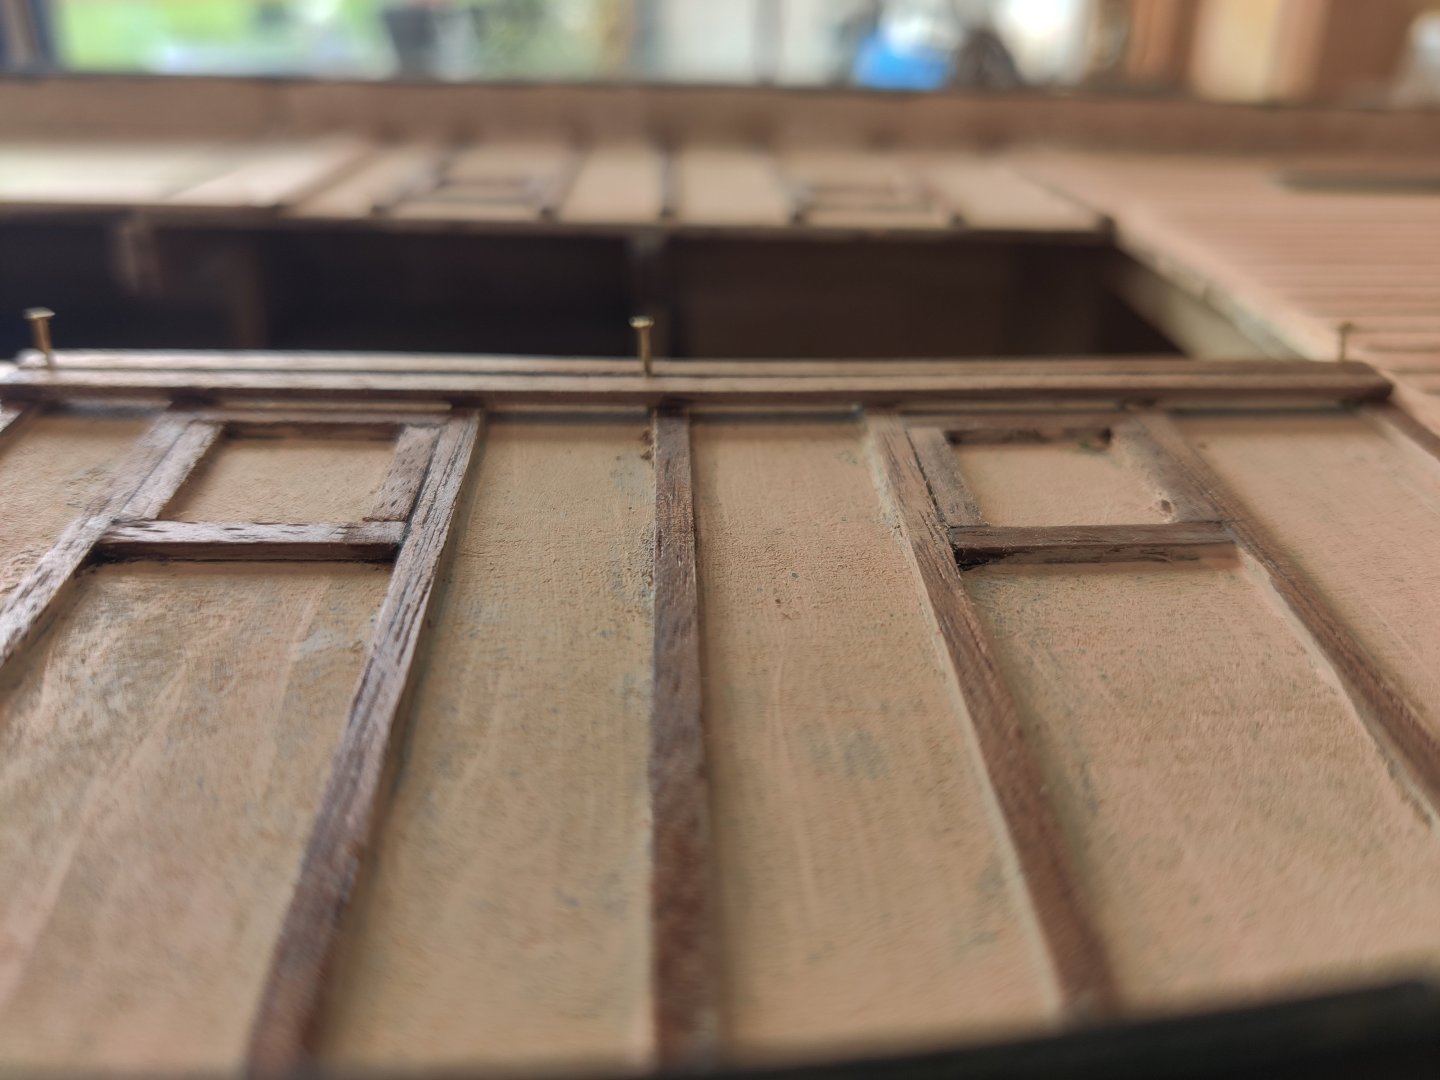
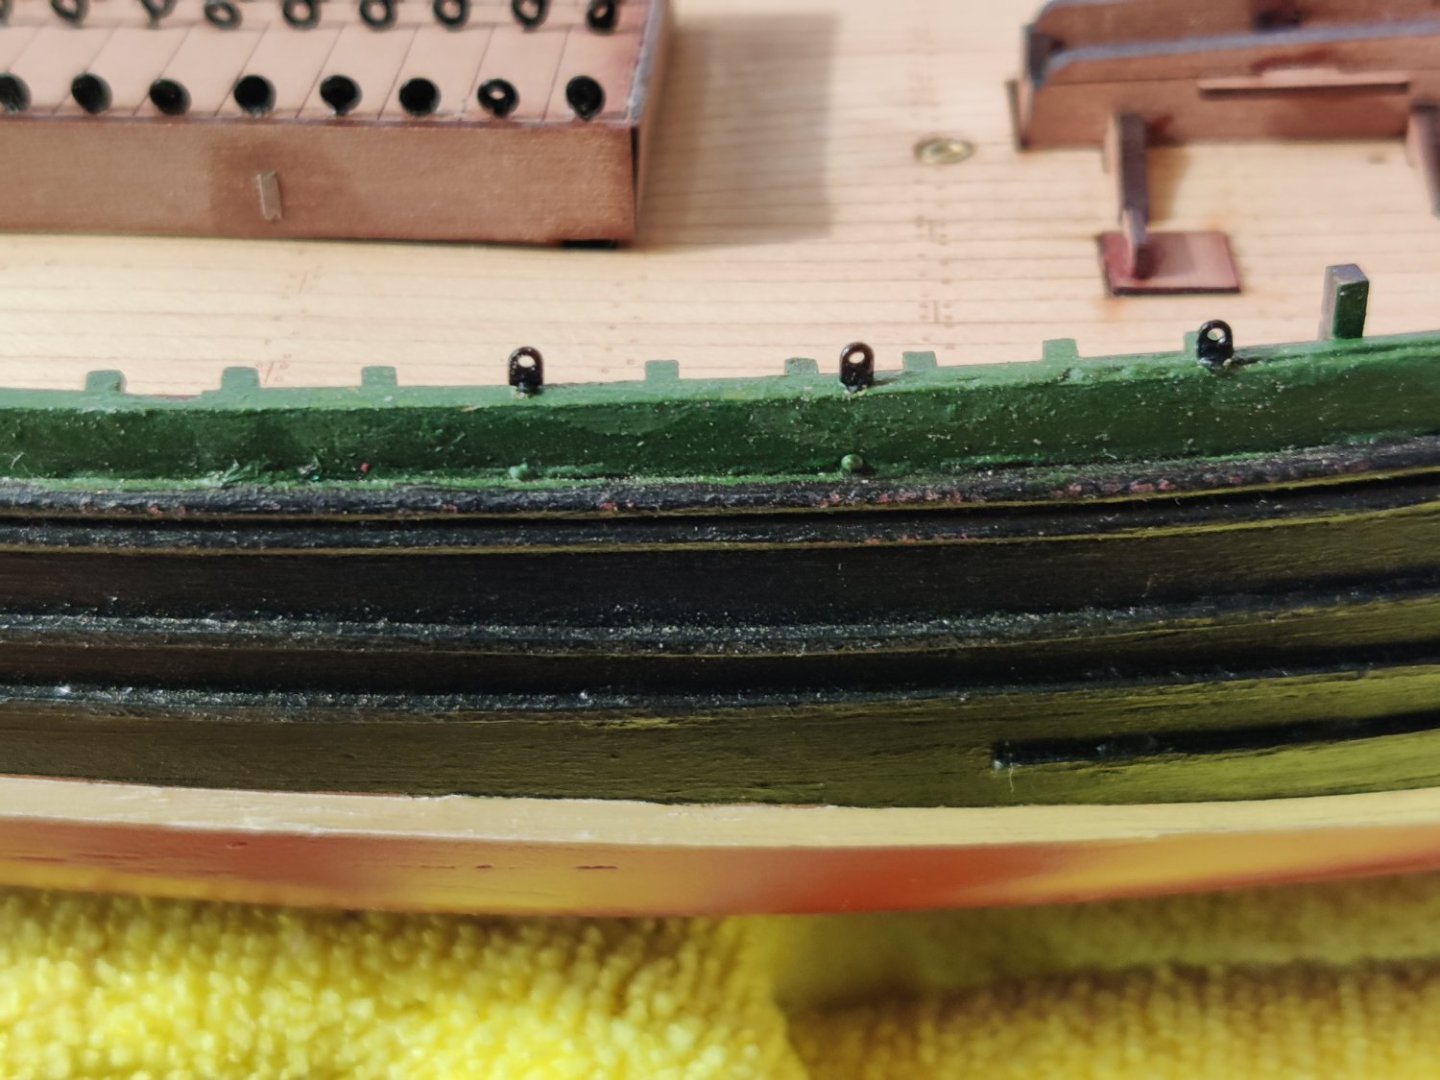
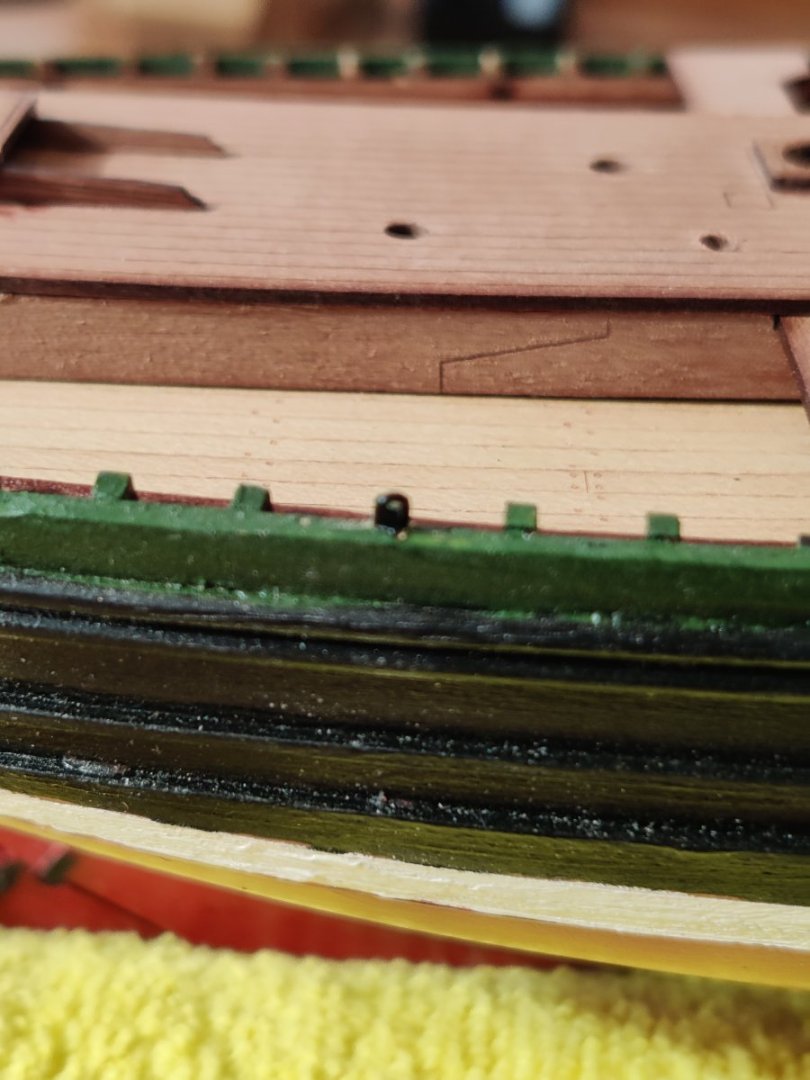
The decking is proceeding with few surprises. However there were a few surprises when it came to the timbers and rail. The manual directs the rail to be nailed with iron black nails to the timbers. The rail and timbers are both walnut wood. I tried nailing the rail but the nails split both the rail and the timbers. I then glued the rail to the timbers and drilled a hole through the rail and timber and then super glued the nails in the drilled holes. In the first picture you can see one drilled hole without a nail. I broke a drill bit off in the rail and timber. I will cut the head off one of the nails and glue it over the hole. The next step is installation of the cleats onto the rail with nails. The second picture is from the manual and it shows the cleat attached at the sixth timber from the stern end of the rail, the second picture is a picture of the plans and it shows the cleat at the 3rd timber. I am going to follow the picture in the manual because the cleat at the 5rd timber would not provide enough distance to secure the rigging. The last picture shows a 12 small super glue dispensers each with 4 grams of super glue. There are actually 24 dispensers included in the package. The cost of that in Amazon is $10.88 including tax, that equates to a cost of just over $2 per ounce. The cost of the gorilla glue 4 gram dispenser is just over $7. That is a huge savings. If you put the small dispenser tip on it dispenses a very small dot of glue.

-
what is the timeline for first sale?
-
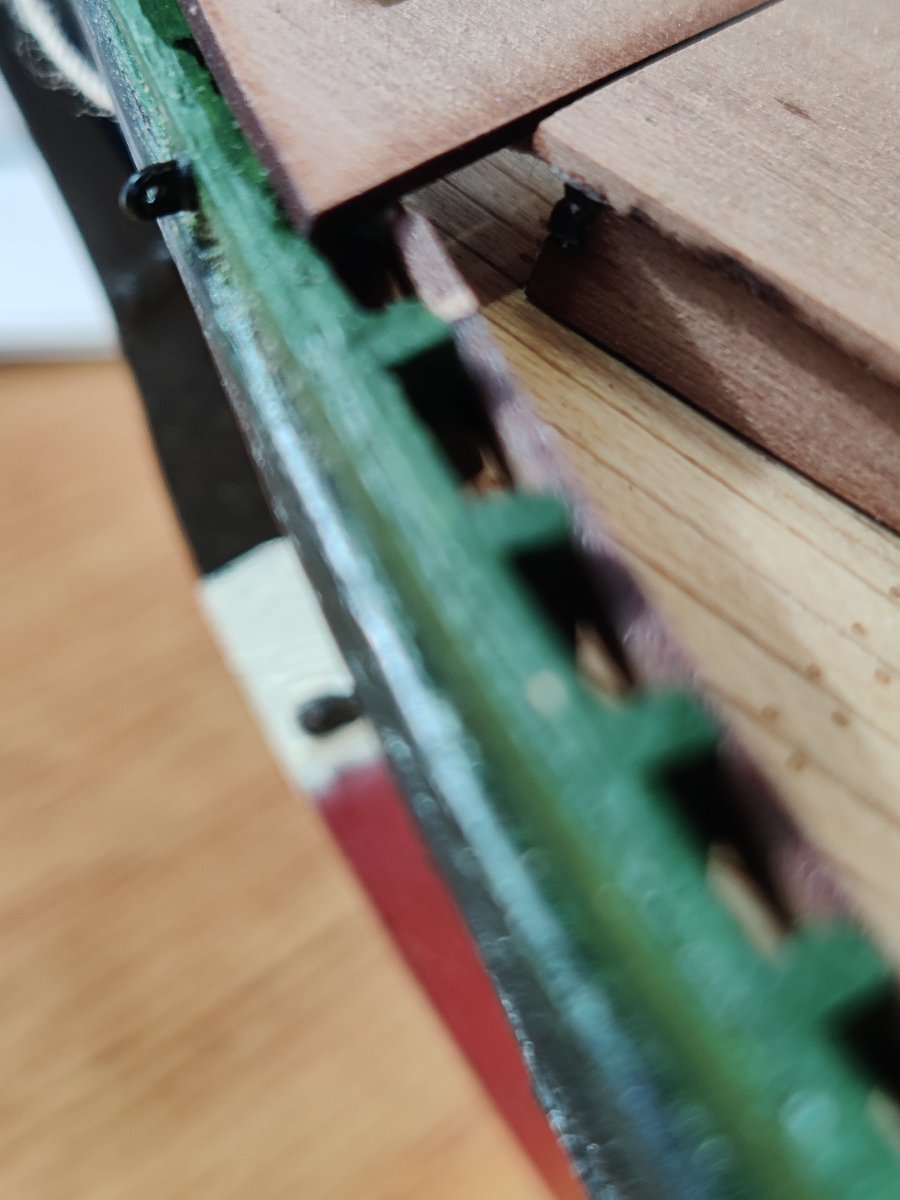
Deck planking continues on FiFie. The bow section of planking is completed. It was sanded, and a few small spots of wood filler were applied, re-sanded and one coat of Minwax wip-on poly satin finish was applied with a soft cloth. The manual says to use 1mm x 2mm planks but I had none in my wood supply so I ordered them from Joe Volpe at the Sawmill, the ones he supplied were perfect. He also supplied the 1/64" x 1/64" walnut strips that were used between the pear planks in the bow section. The center section of planking is different with 1mm x 2mm walnut planks laid on top of 7 rows of planks. The planks are to be separated by a 1mm gap. I used pins inserted between the planks to maintain the gap. I tried using a wood space but it was impossible to keep it from getting glued in so I went to the pins.
-
This is the first time i have seen large paper clips used with clamps to extend the reach, great idea!!
-
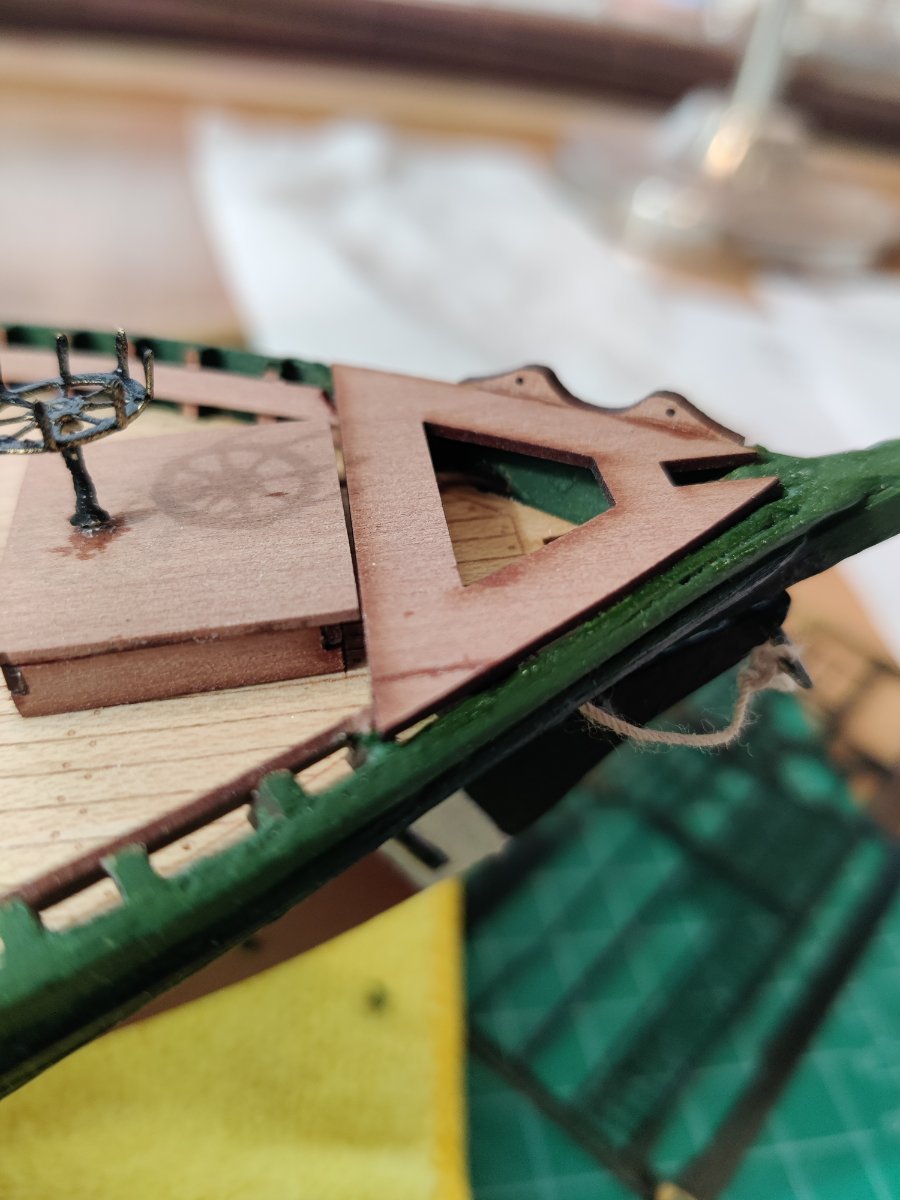
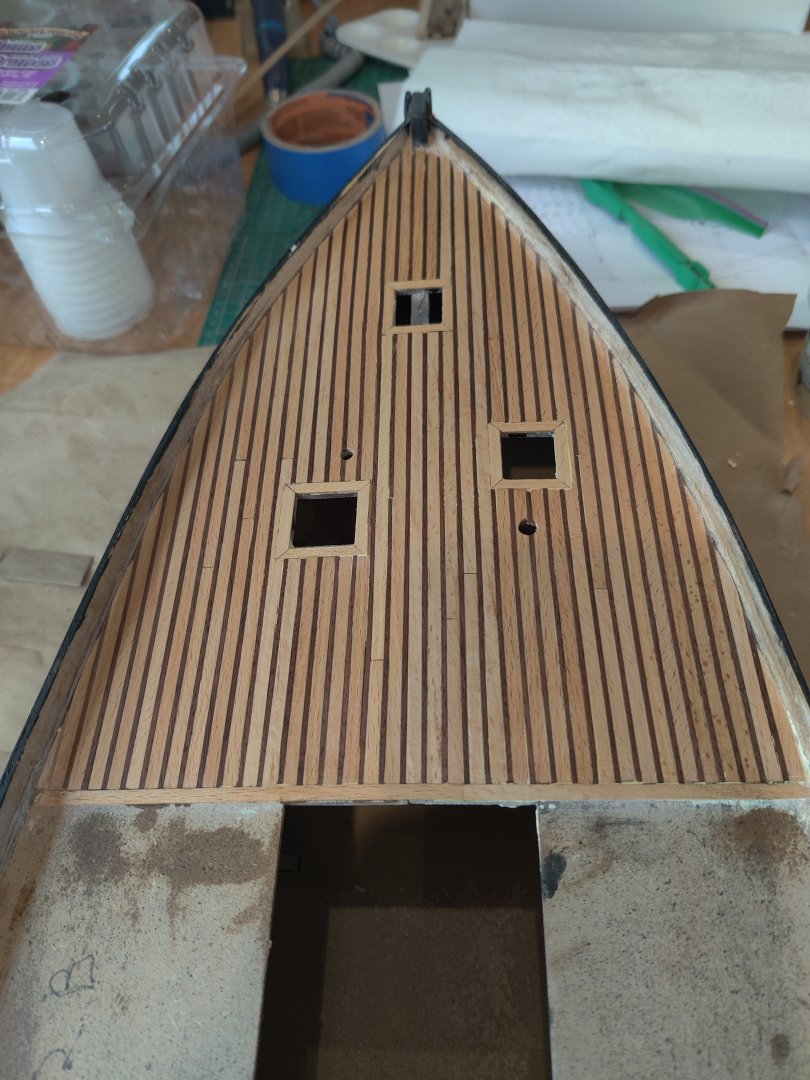
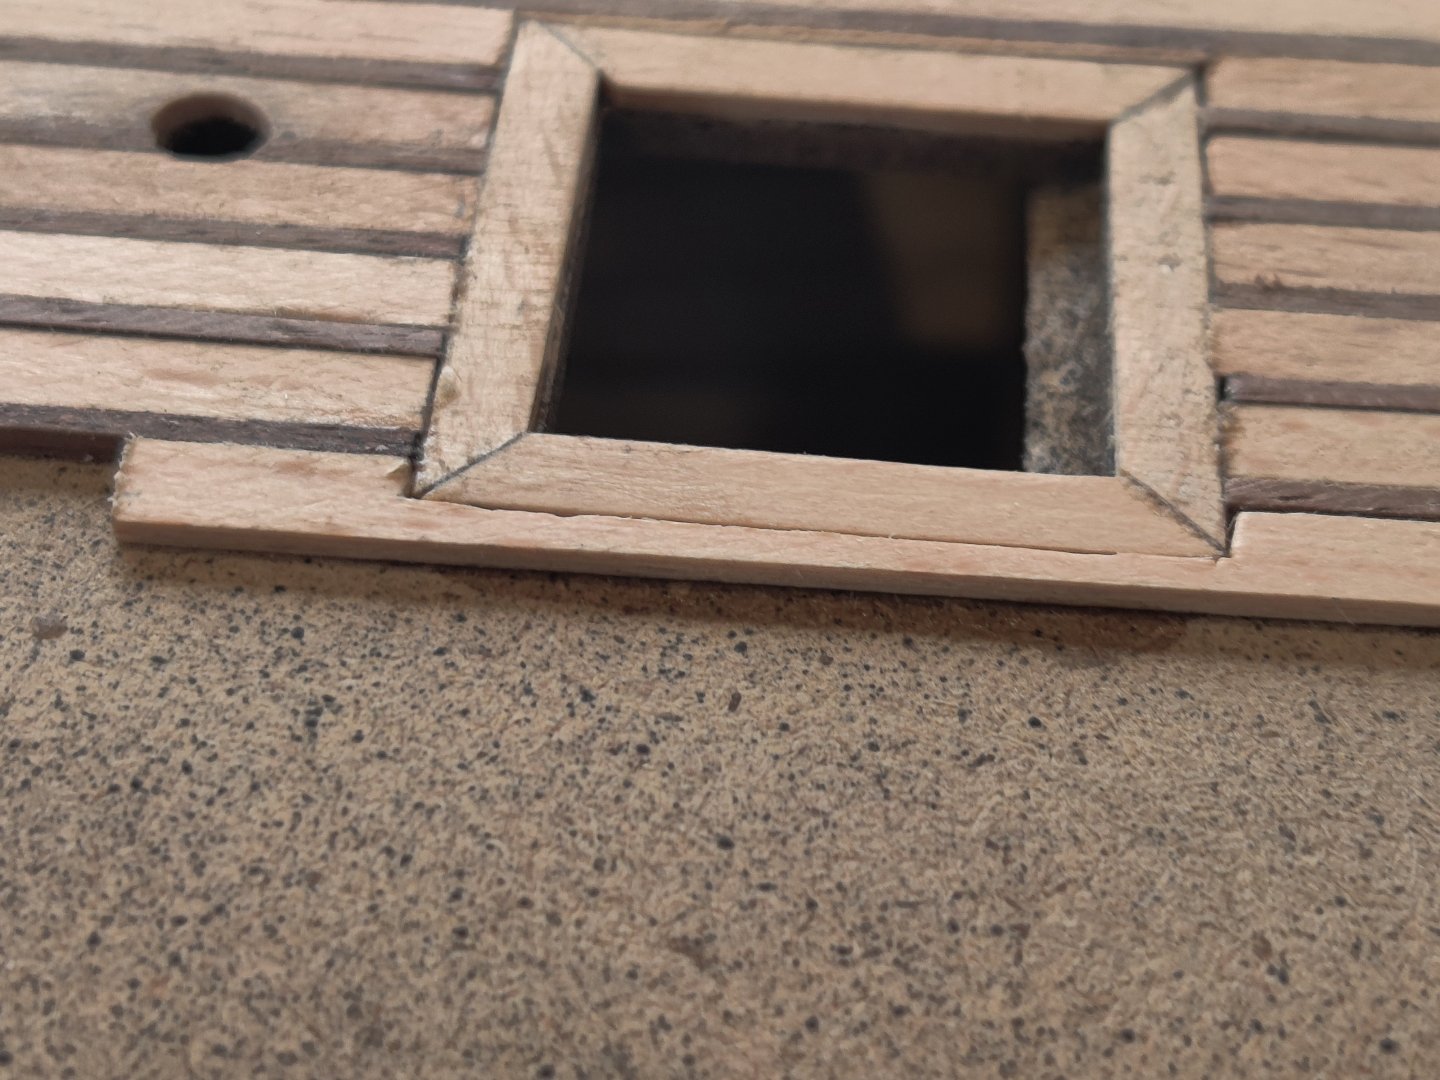
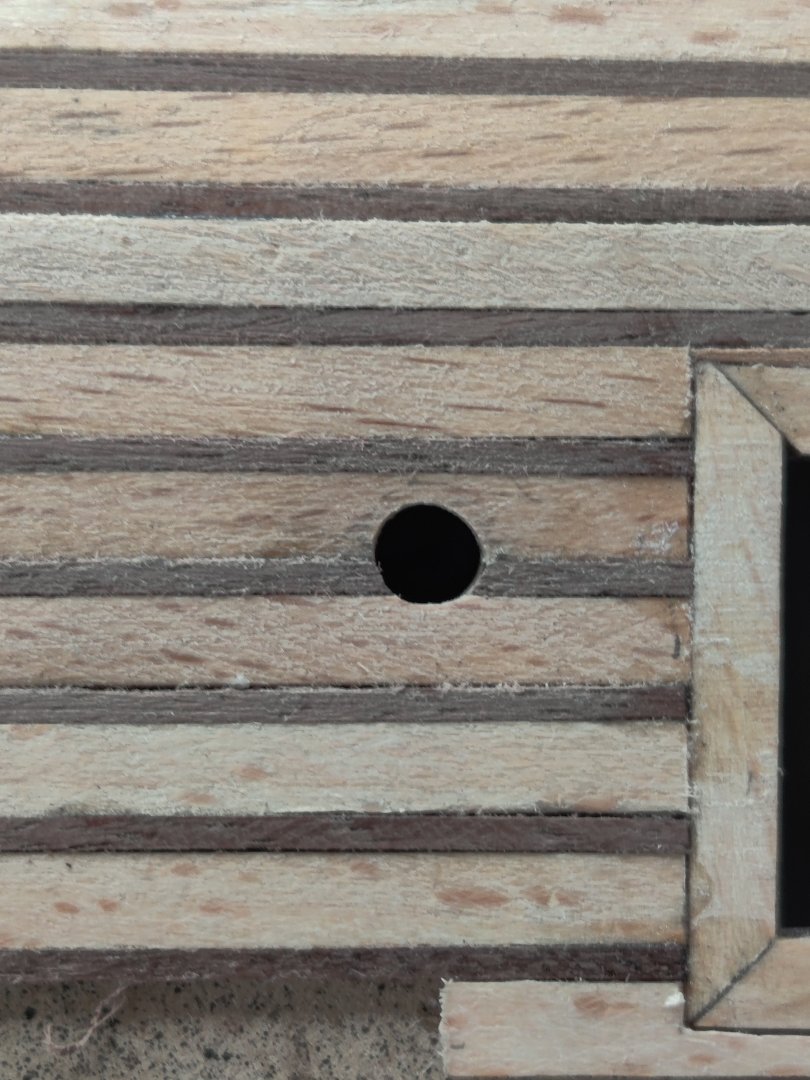
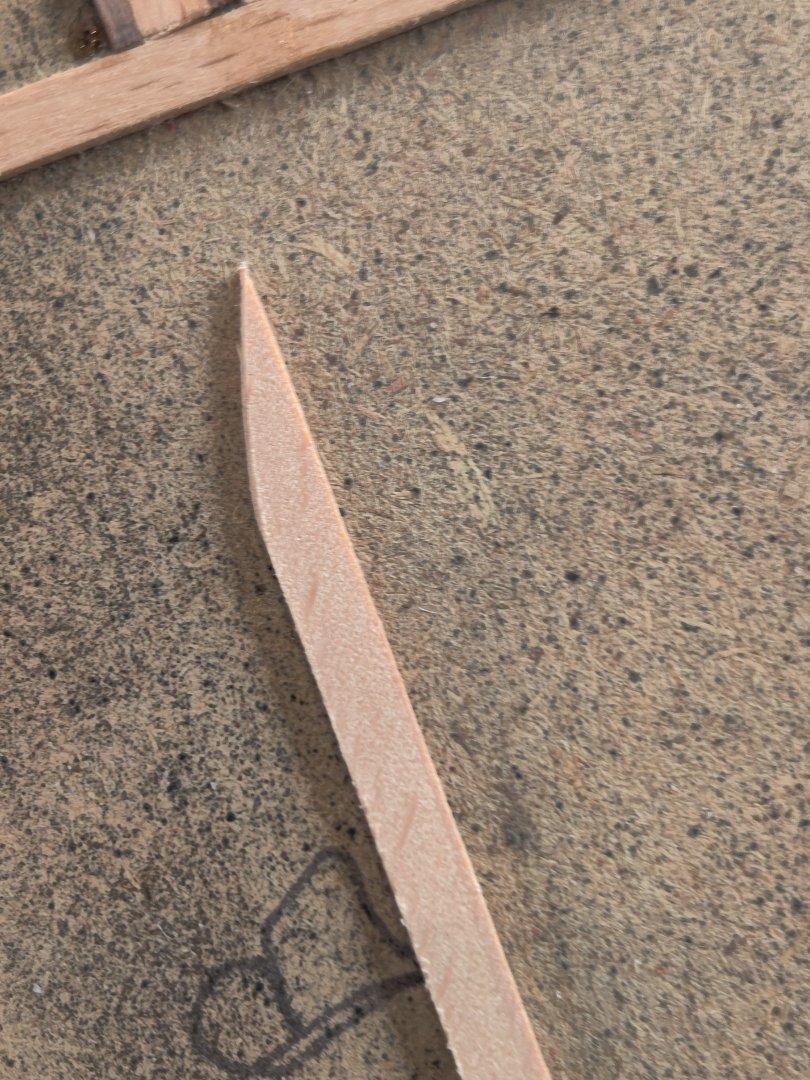
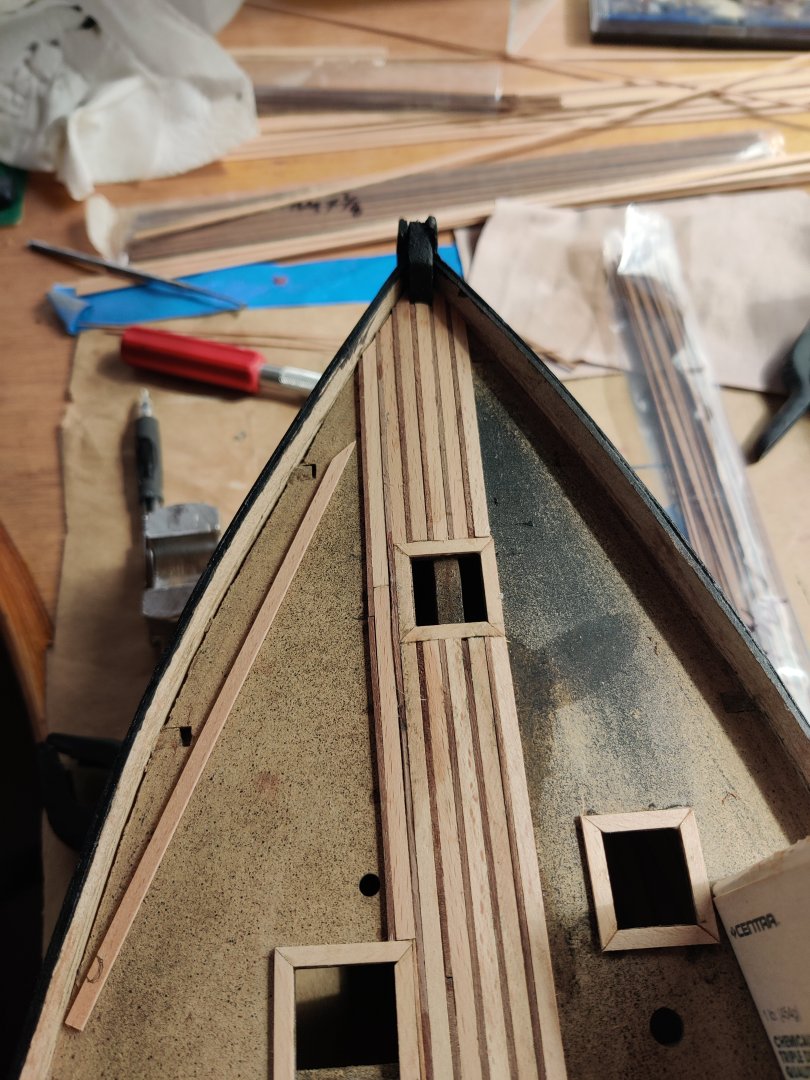
Moving ahead with the deck planking,a coupe of tips if it is your first time deck planking: dry fit each piece before gluing. Start in the center and plank toward the outer edge. As can be seen from the photo's the angle of cut on the outer edge continuously gets sharper as you progress towards the boats center. When you need to work around obstacles take the time to do the cut outs, trim and check the fit and re-trim and re-fit. For the circle cut outs I marked the center of the circle and made a small cut with a tapered round file. The glued the piece in and once dry I finished file the circle to size.

-
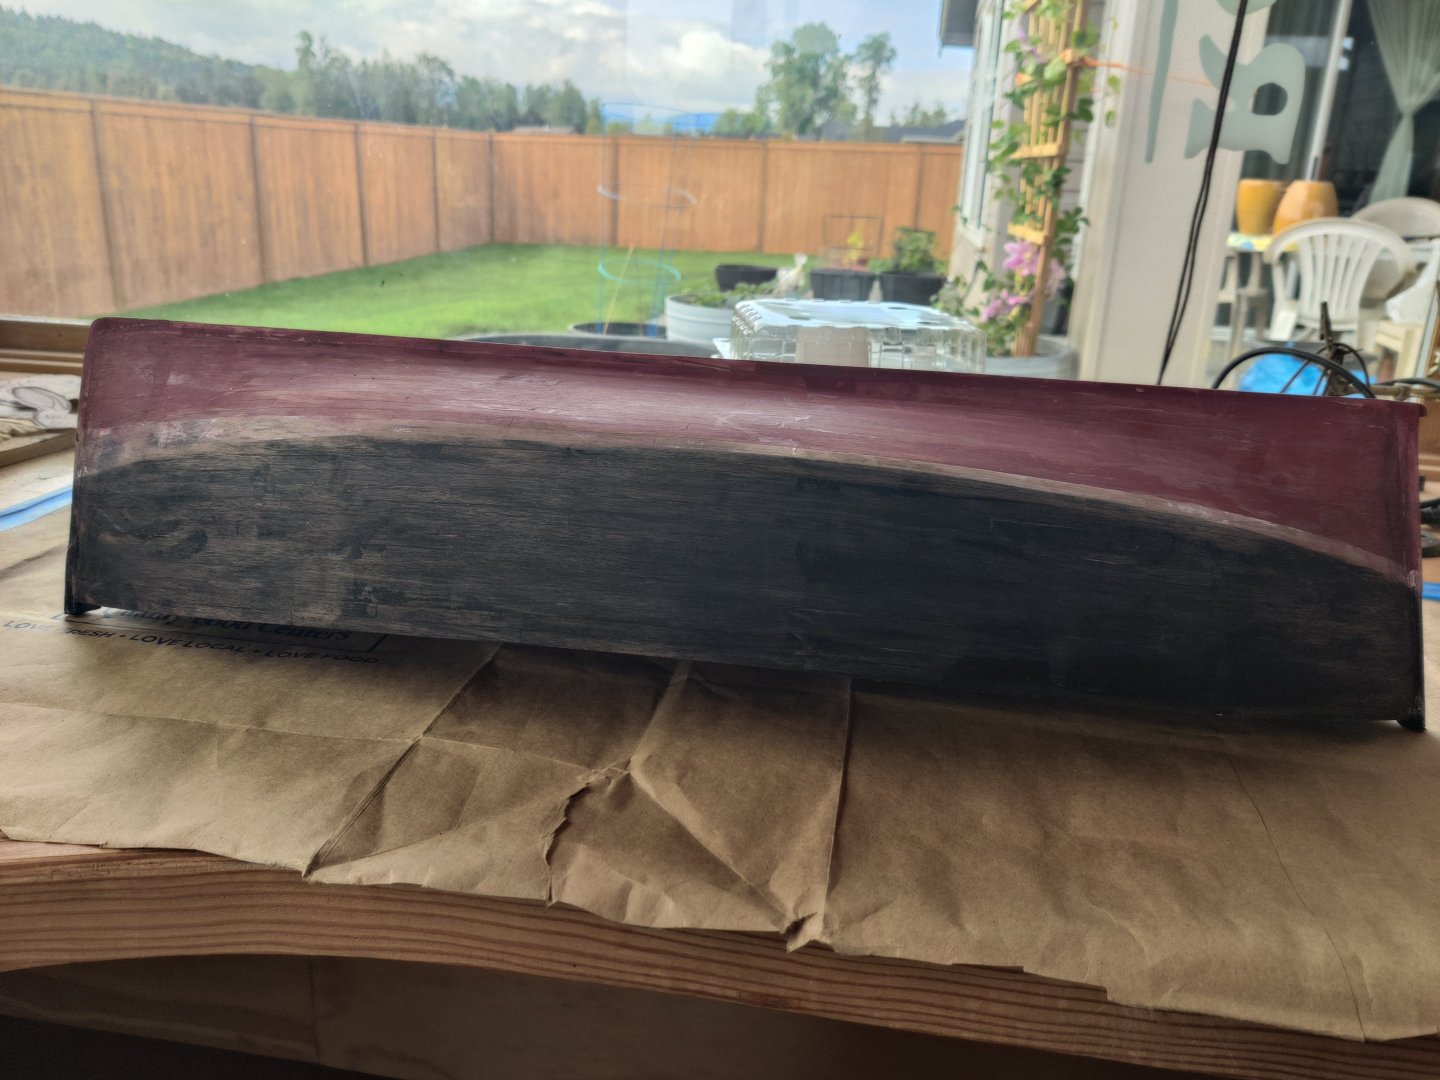
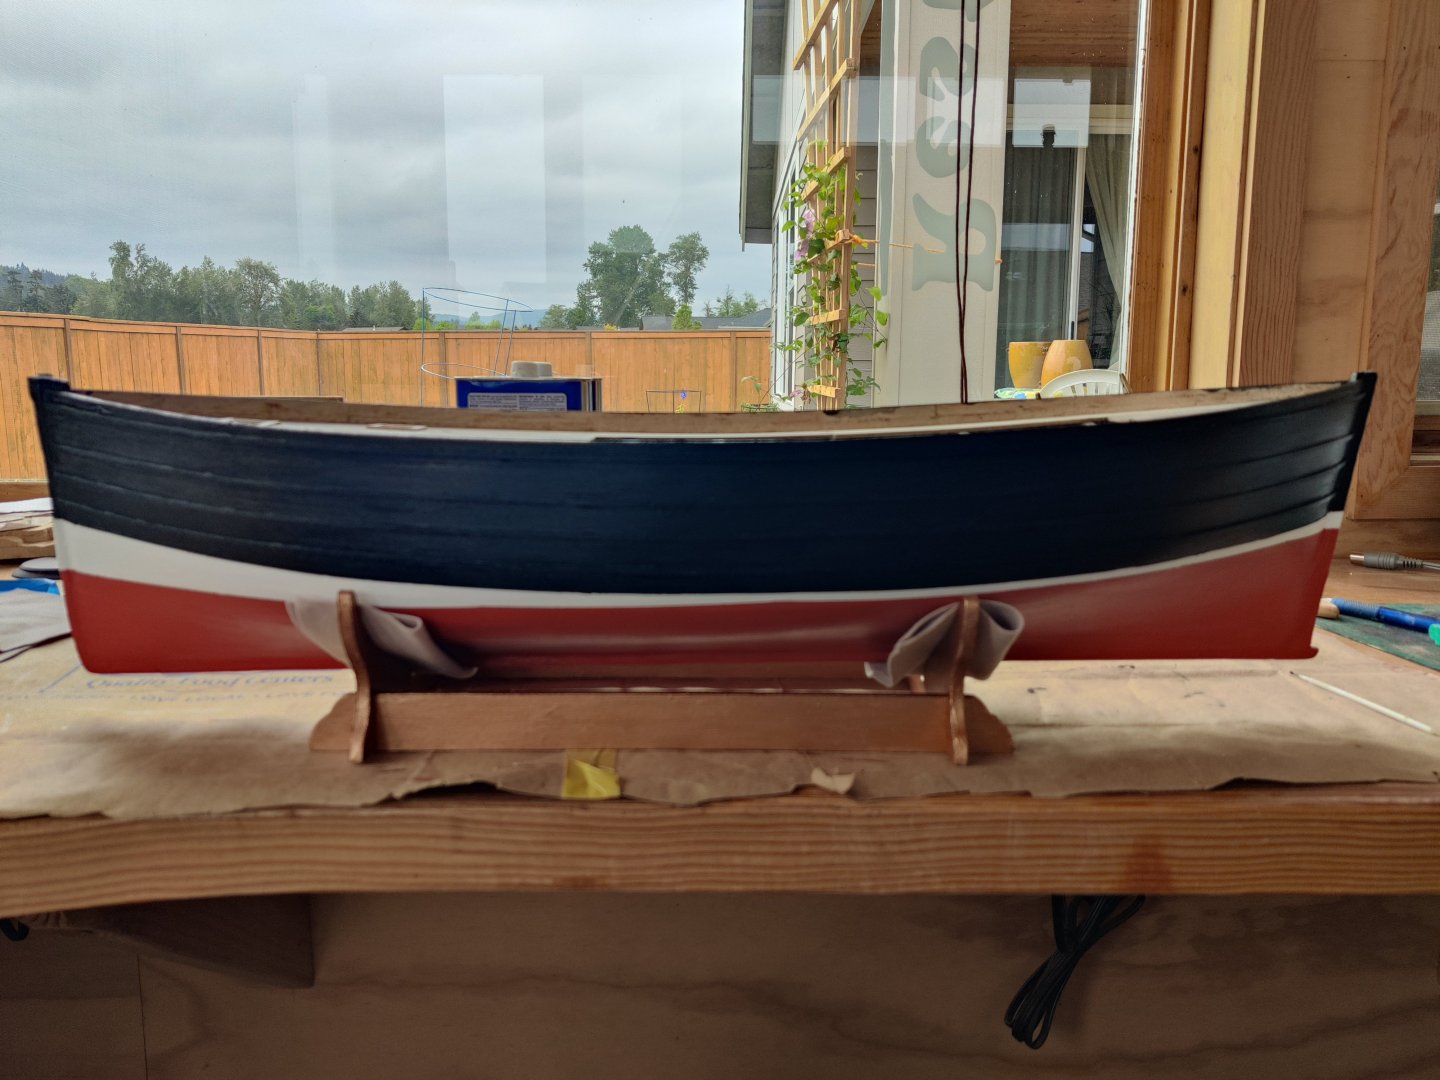
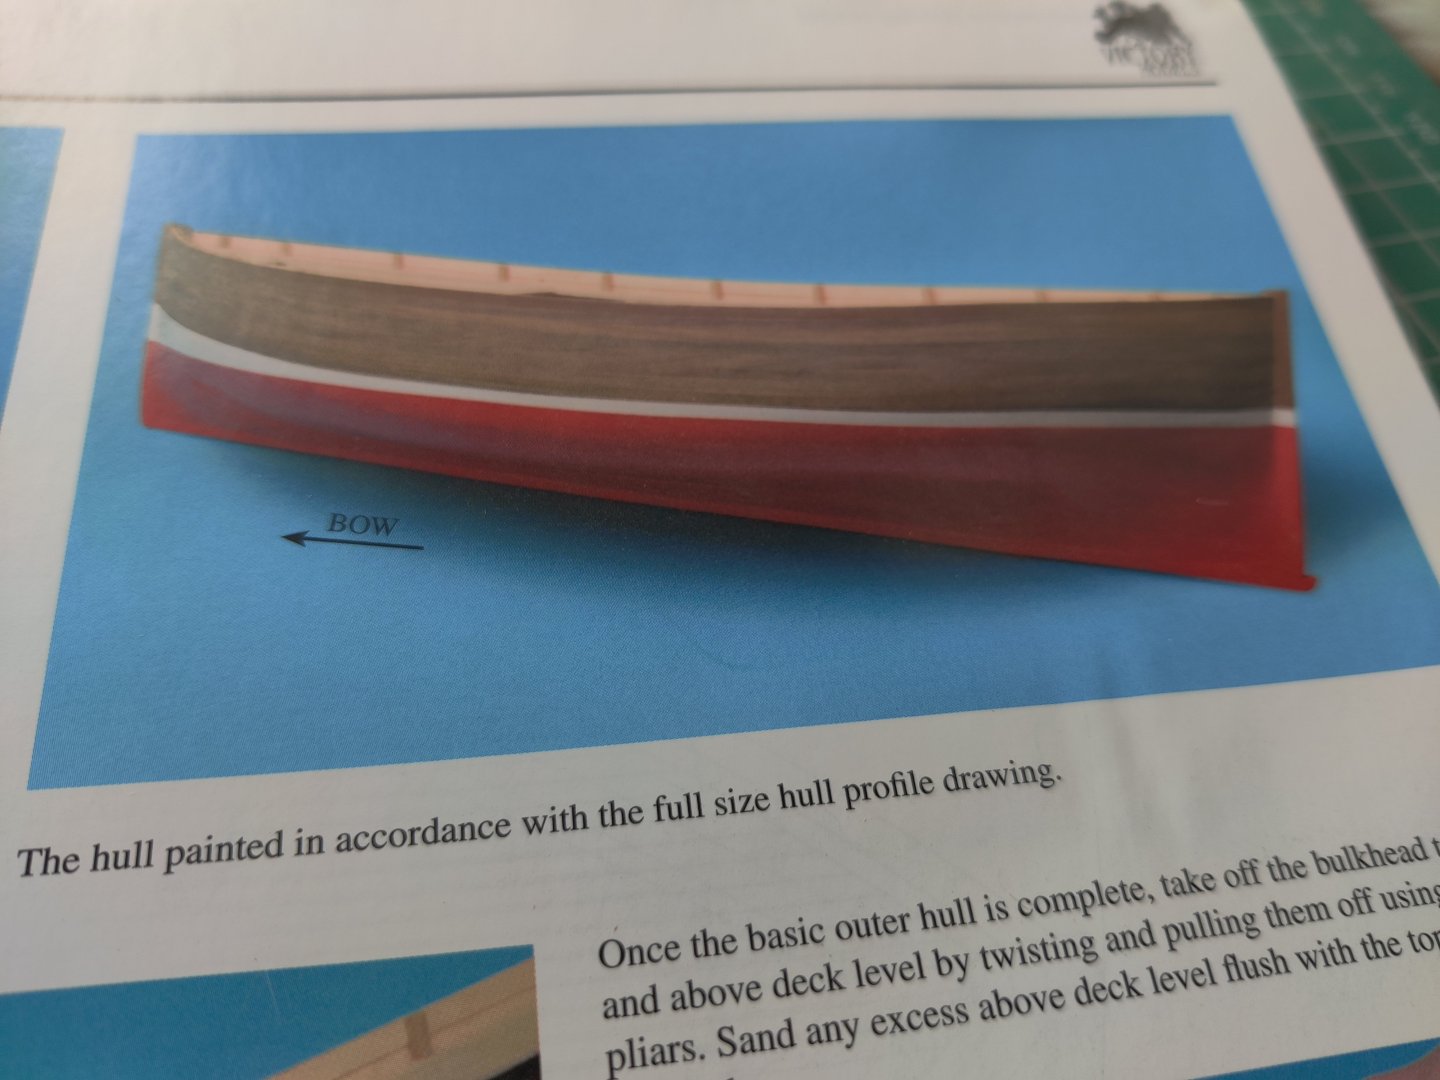
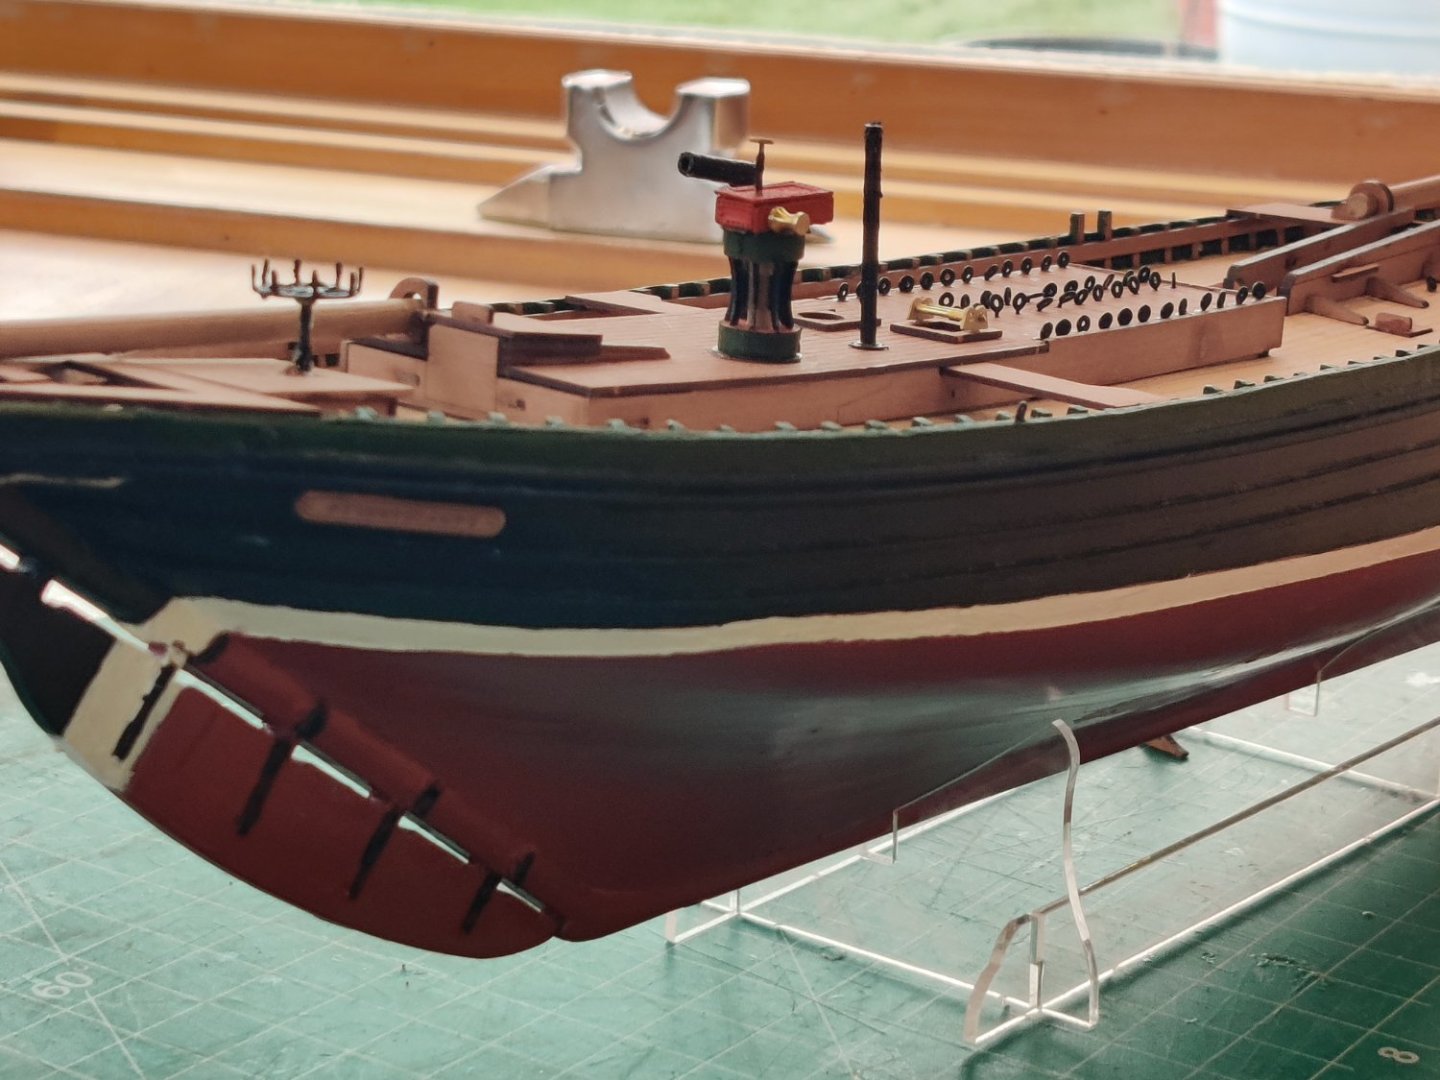
Well, I made the decision to paint the beautiful walnut hull planking on Fifie. I tried to spray paint the tricolor hull. The first two colors went fine but the third color was a disaster, I had some leaks in the taping that ran. I tried to fix the mess bit it only got worse so i stripped off all the paint. I really liked the look once it was stripped, it looked like a really old fishing boat. I was so tempted to do the distress look for the rest of the boat but did not really know how to pull that off, so i repainted. I hand painted the second painting and liked the result. I painted the top portion acrylic Grambacher Mars Black, The center stripe was Sojonja Titanium White, and the bottom Sojonja Norwegian Orange. I also painted the stand with iridescent bronze. The deck planking is started. Looks good so far but a long way to go. My wife of fifty years got diagnosed with lung cancer and had 1/2 of her right lung removed so I took the last six weeks off to care for her. Thankfully, they got rid of all the cancerous tissue and sh is doing well now. So back to work full time on the boat.
-
It is truly beautiful. Having planked two hulls now on my Vanguard models, I am ready to go back and complete the Conny hull. You have inspired me.
-
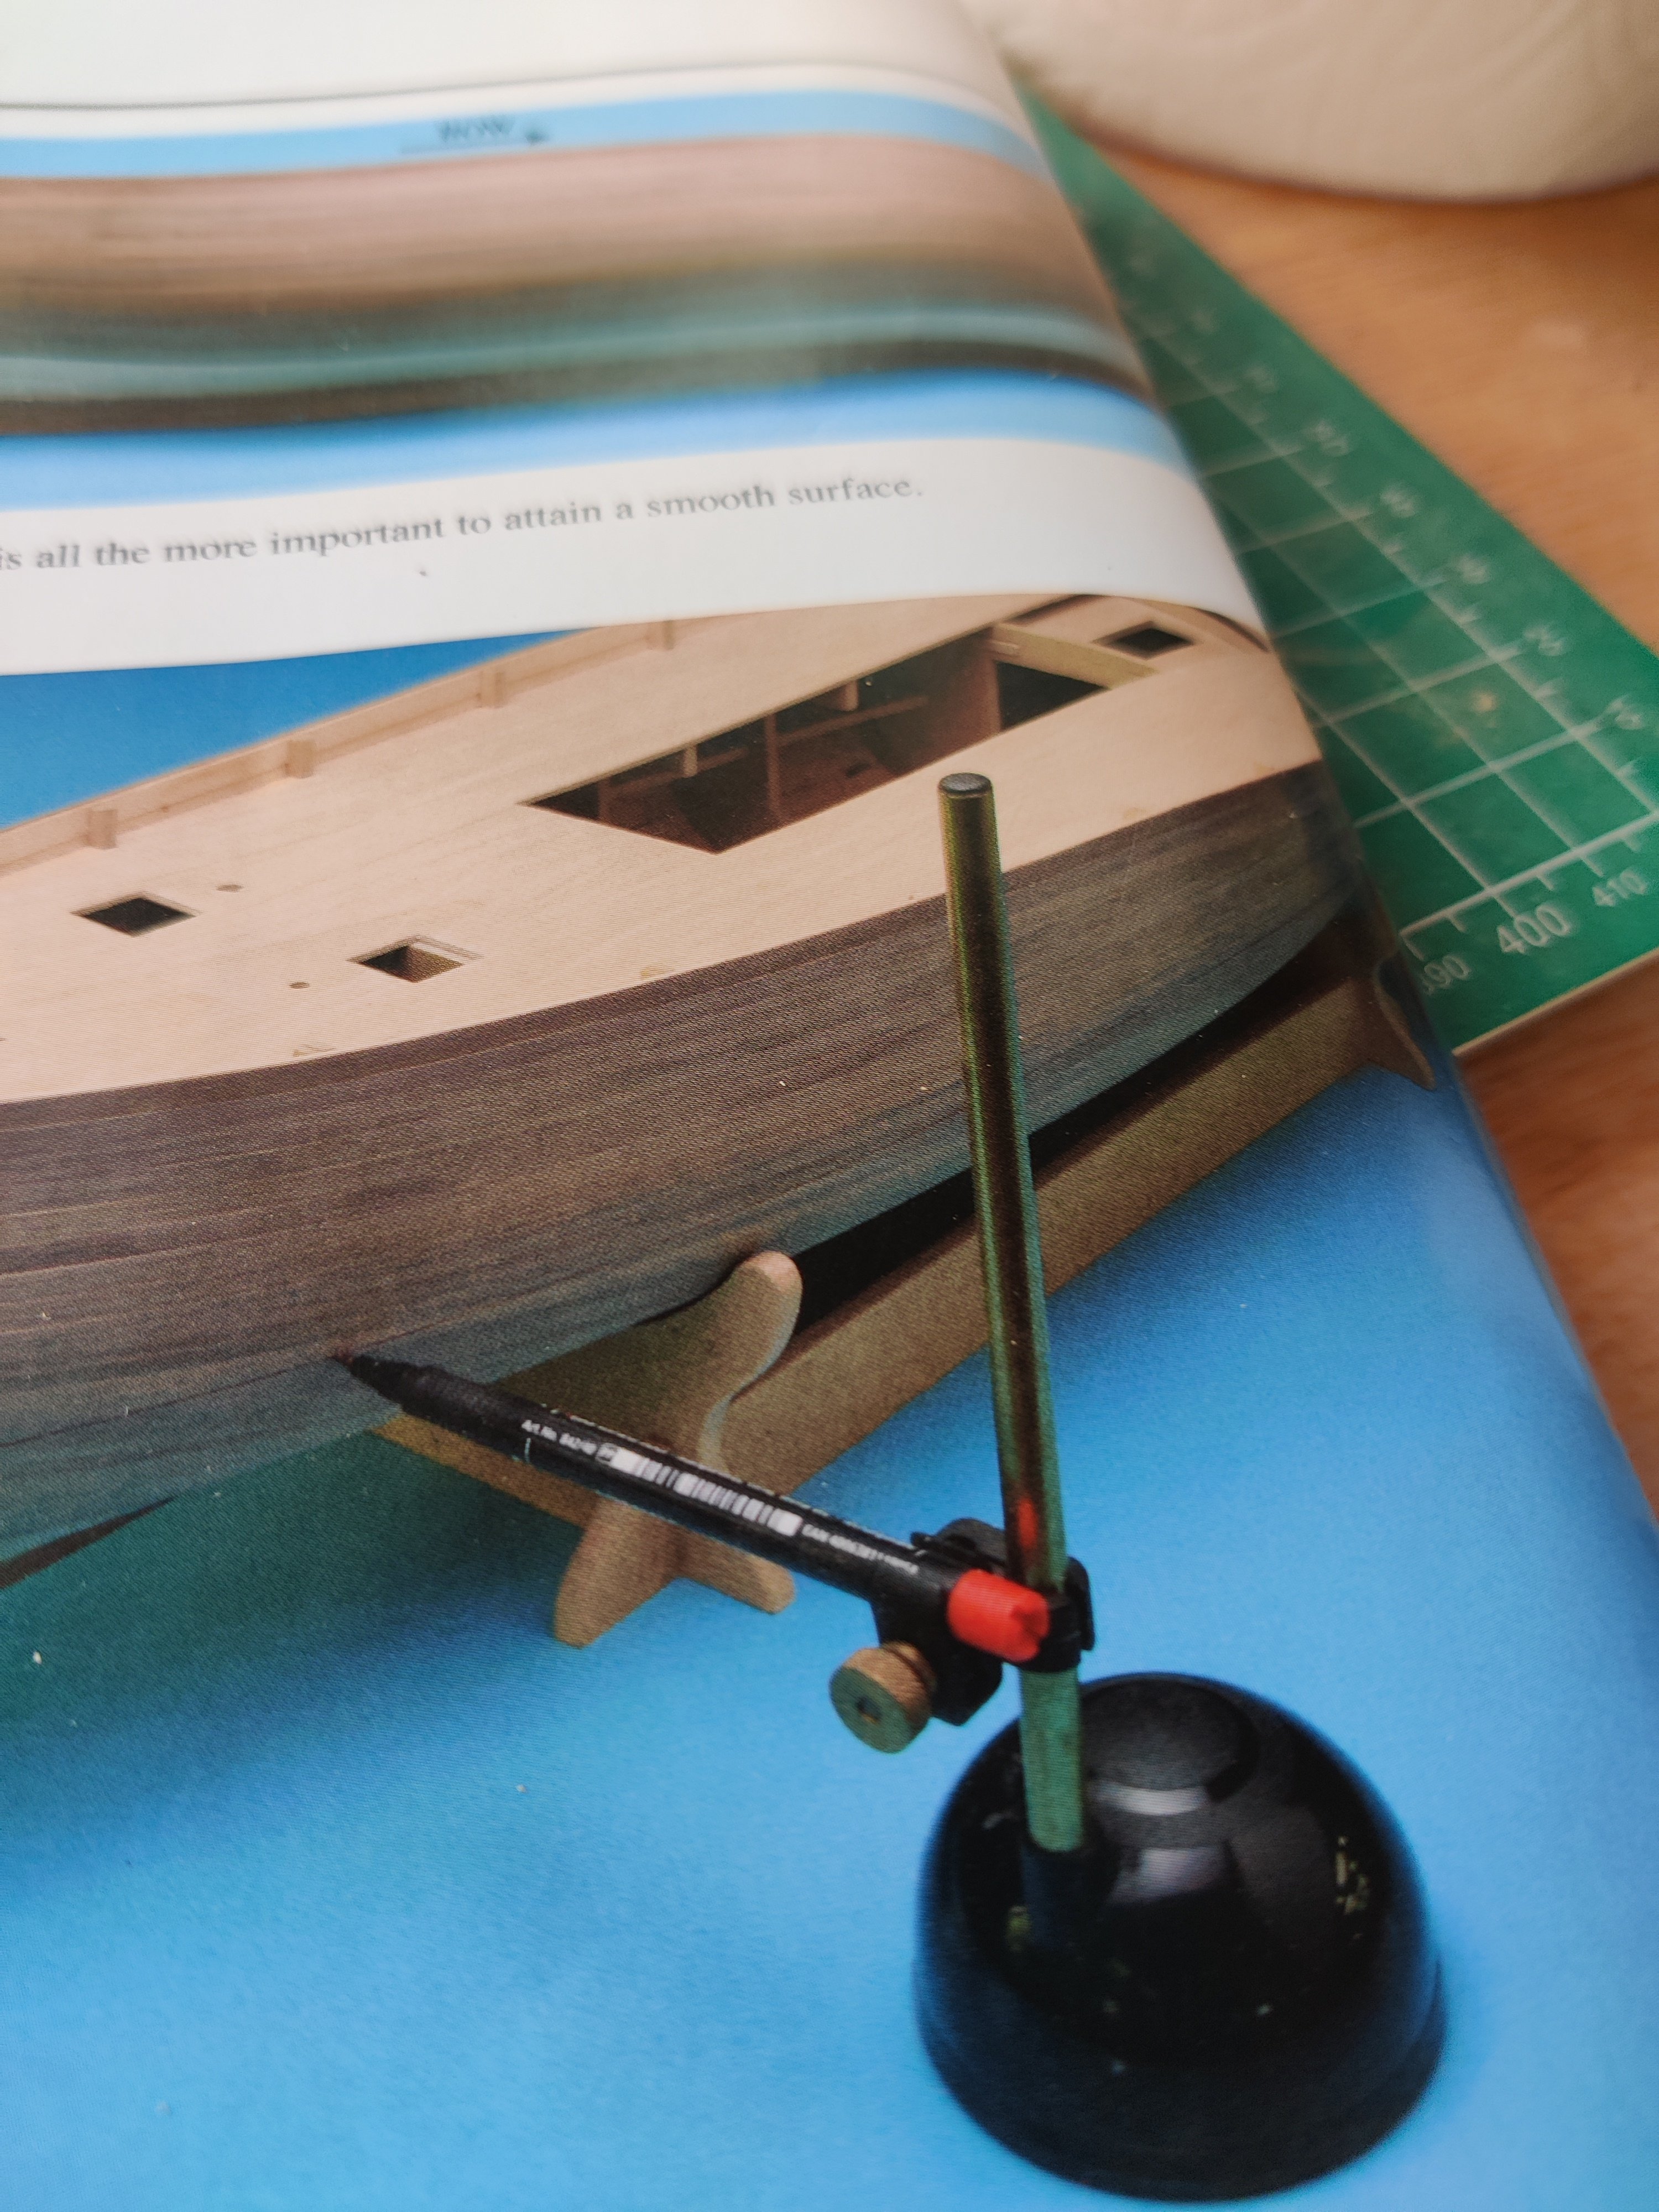
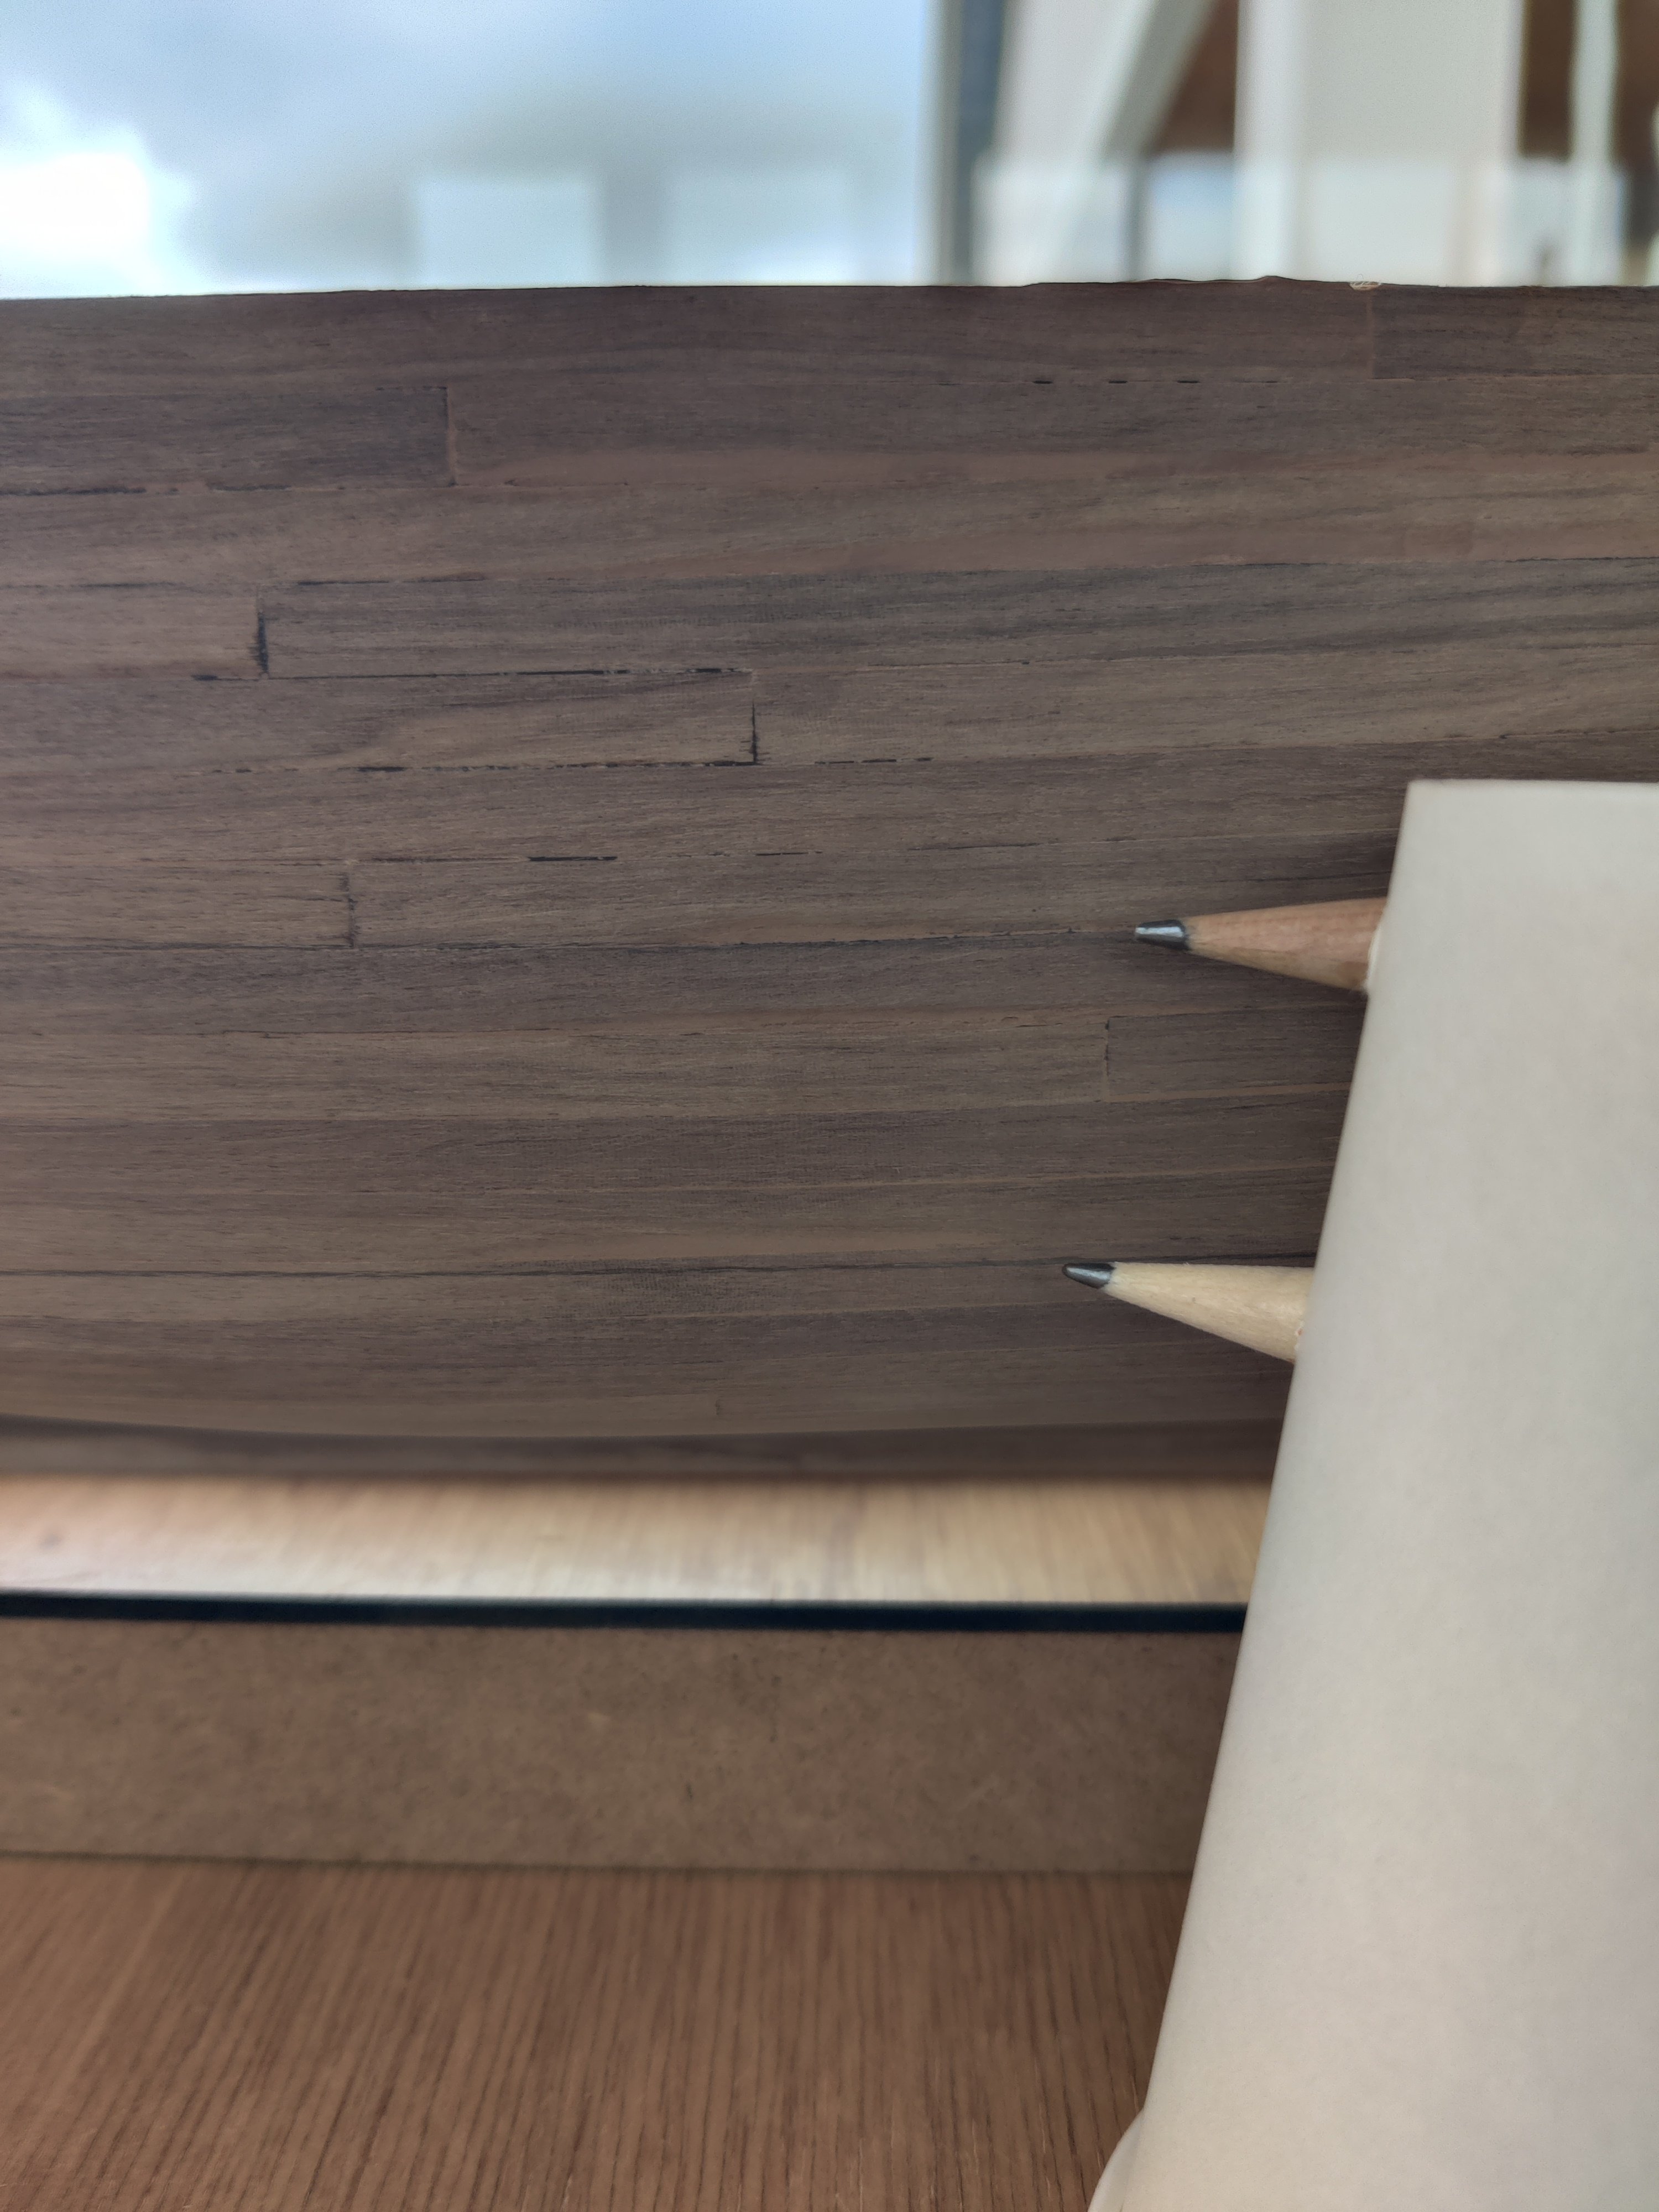
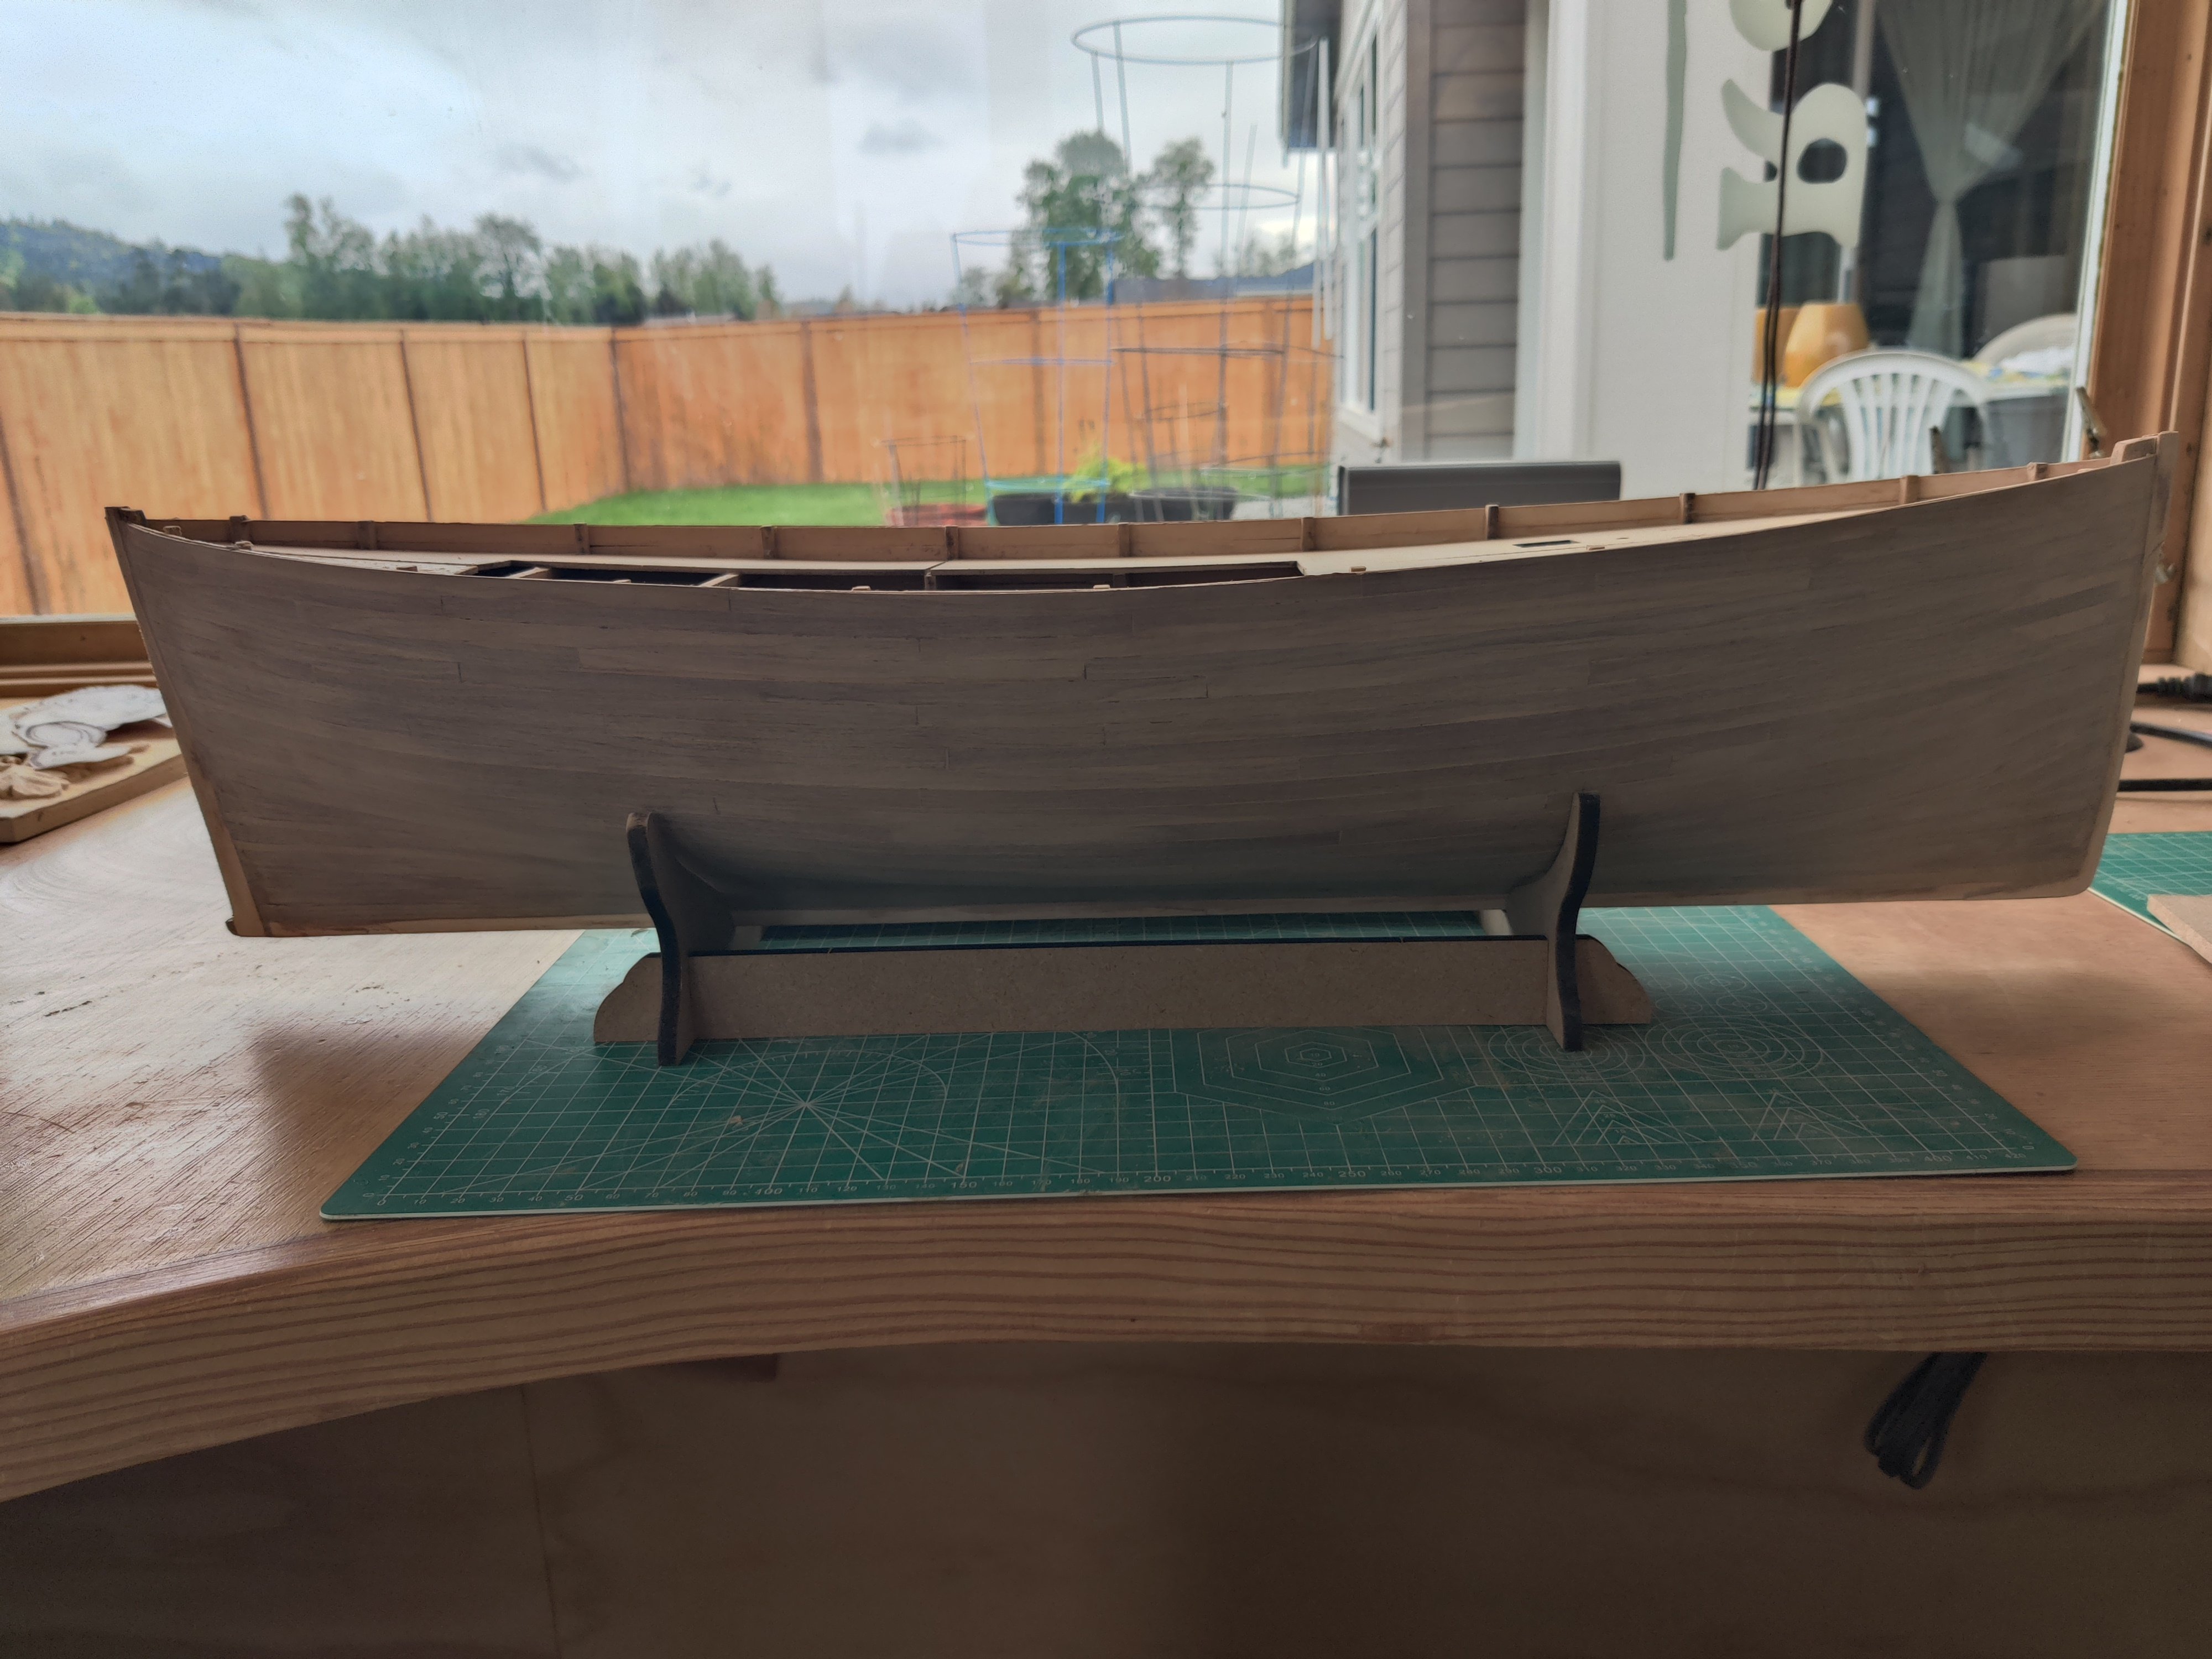
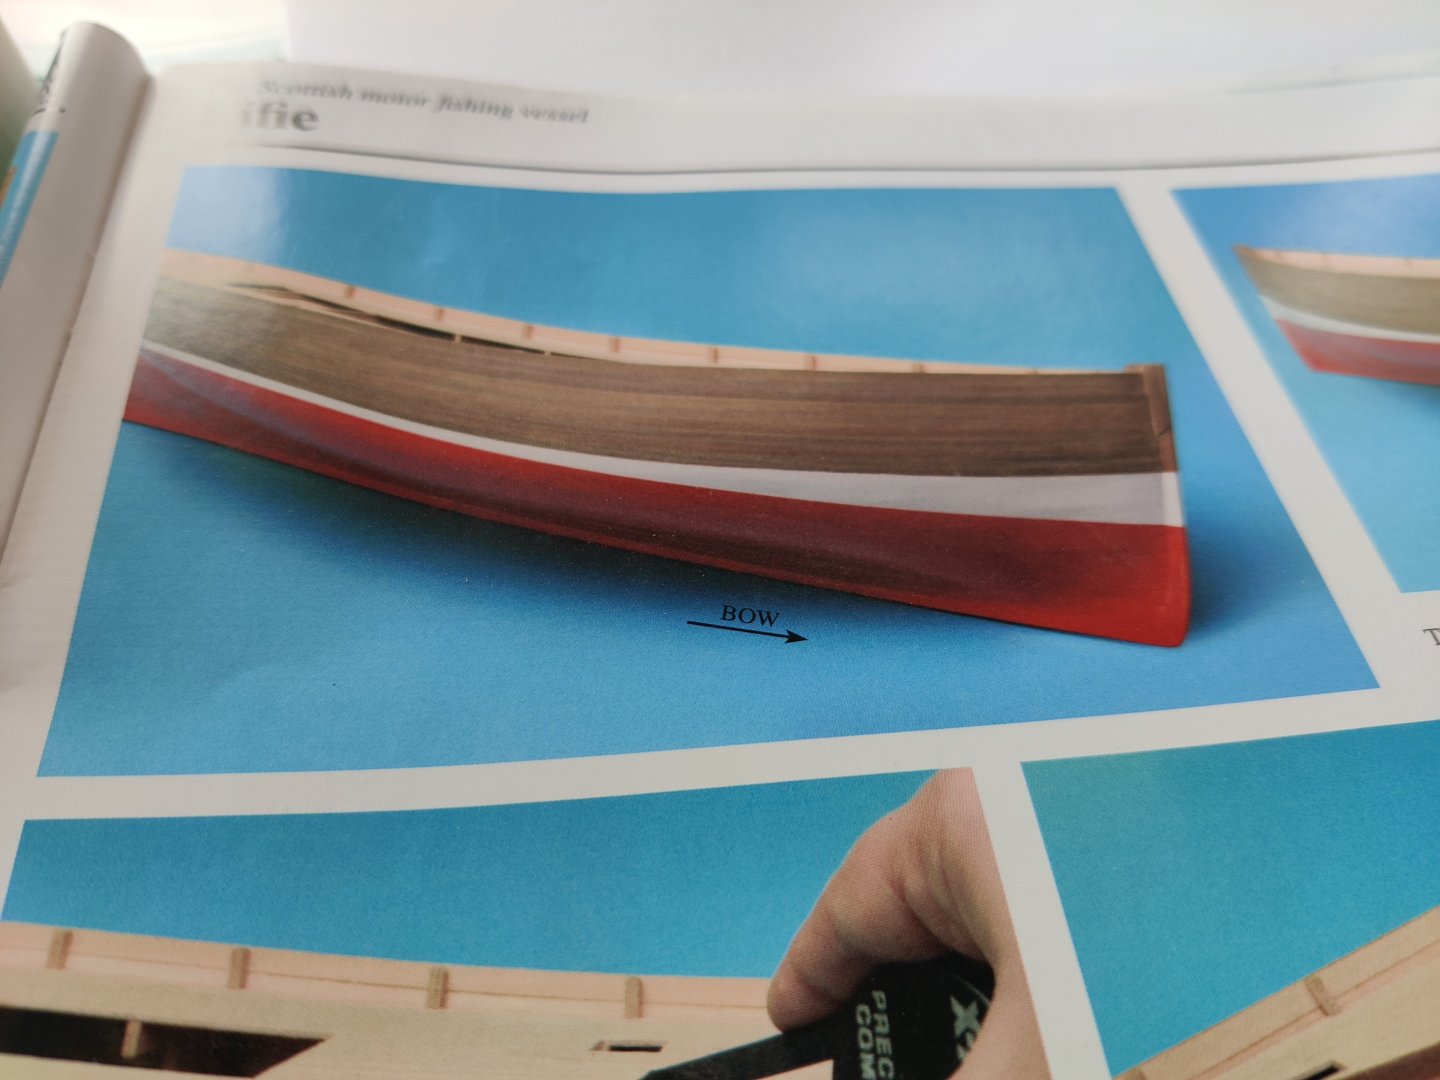
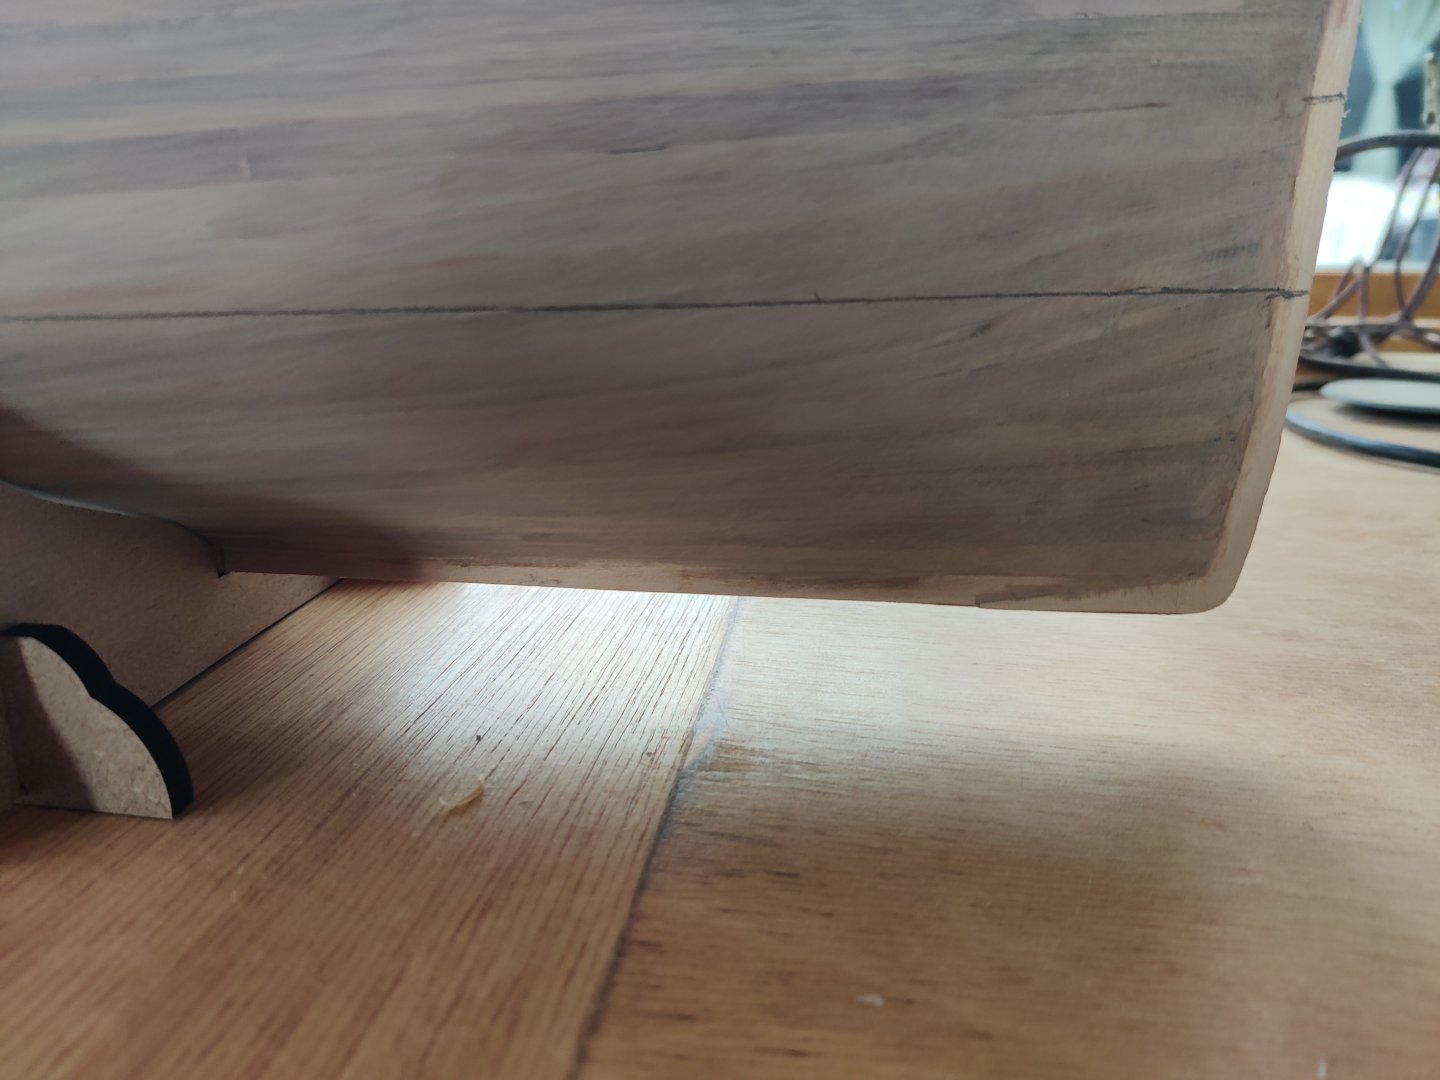
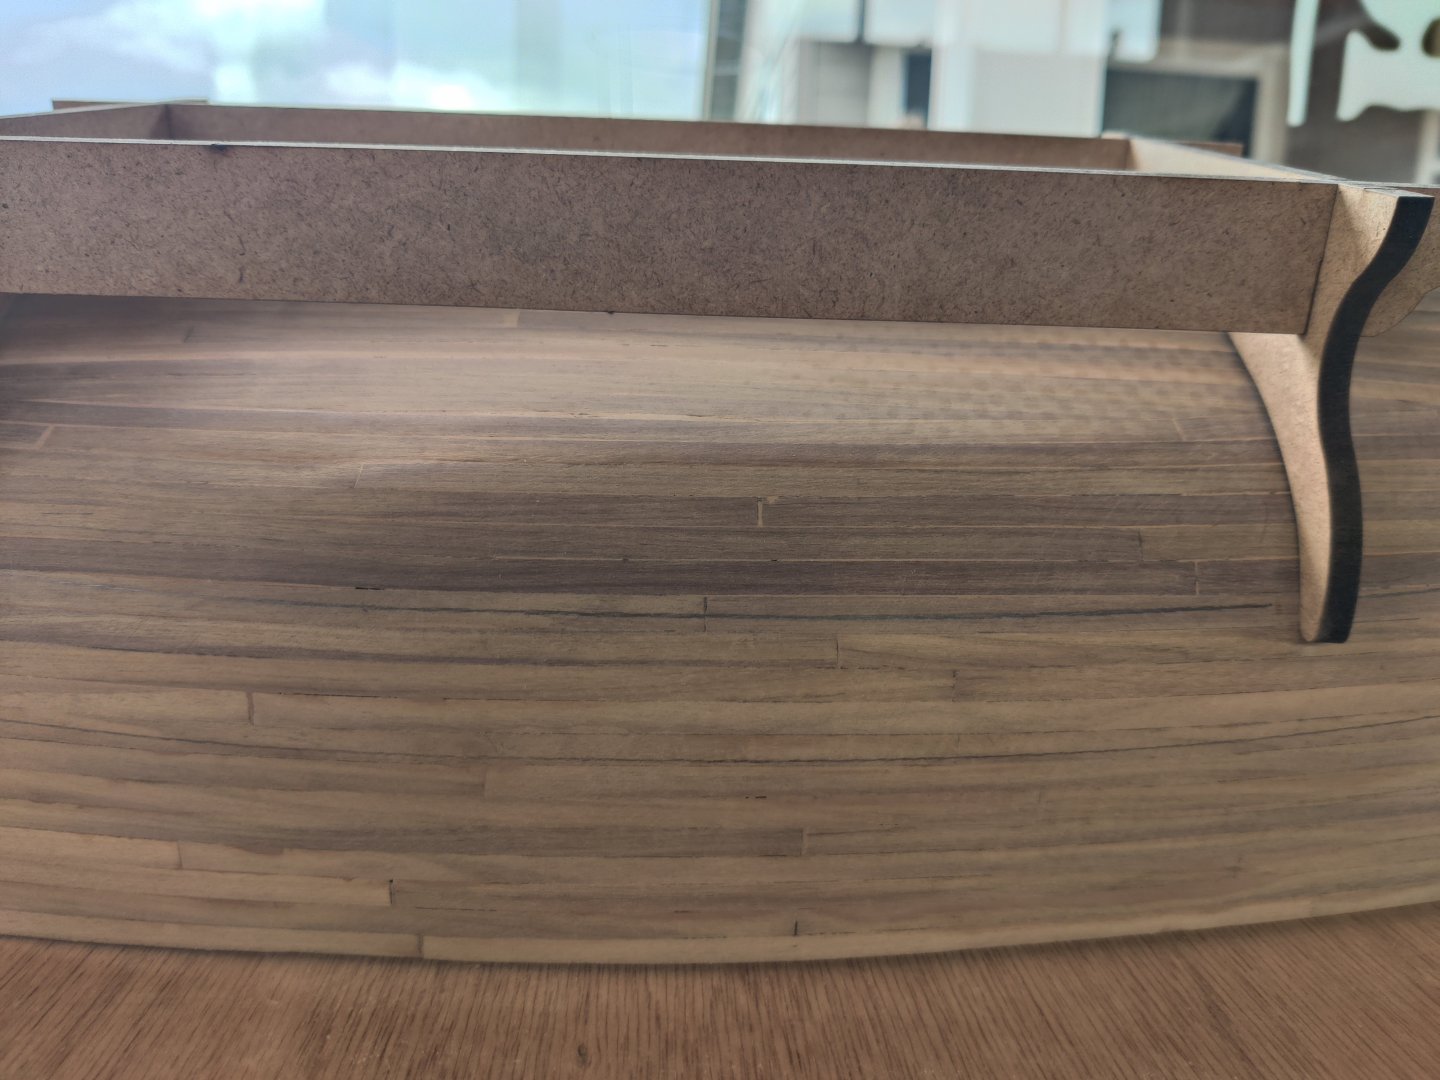
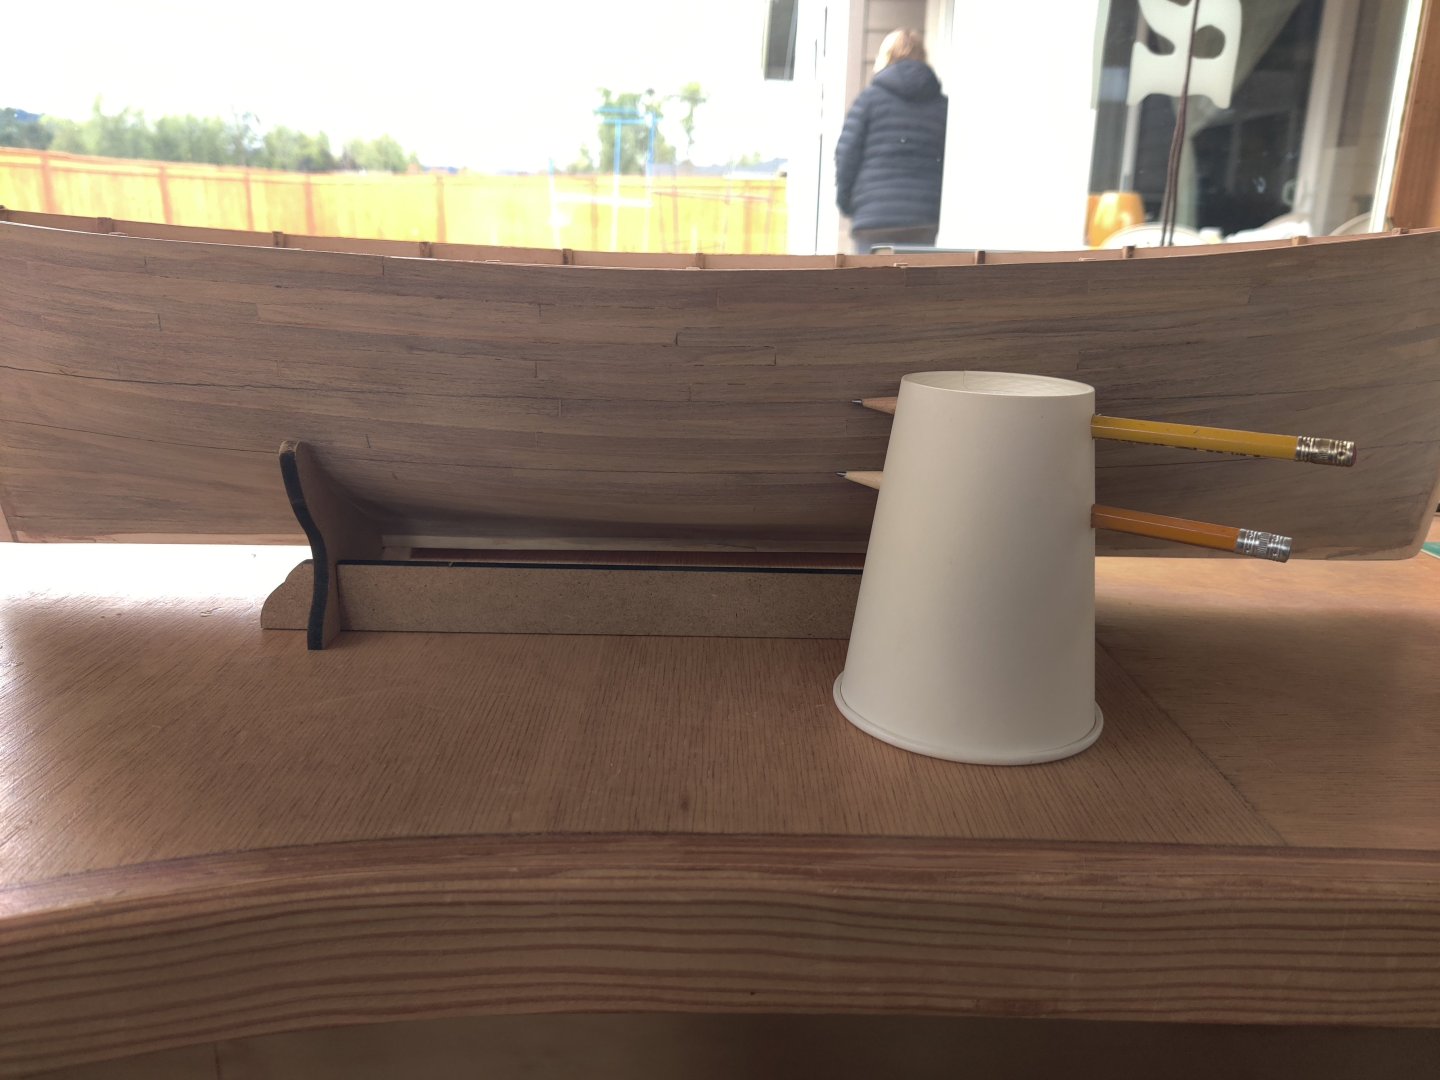
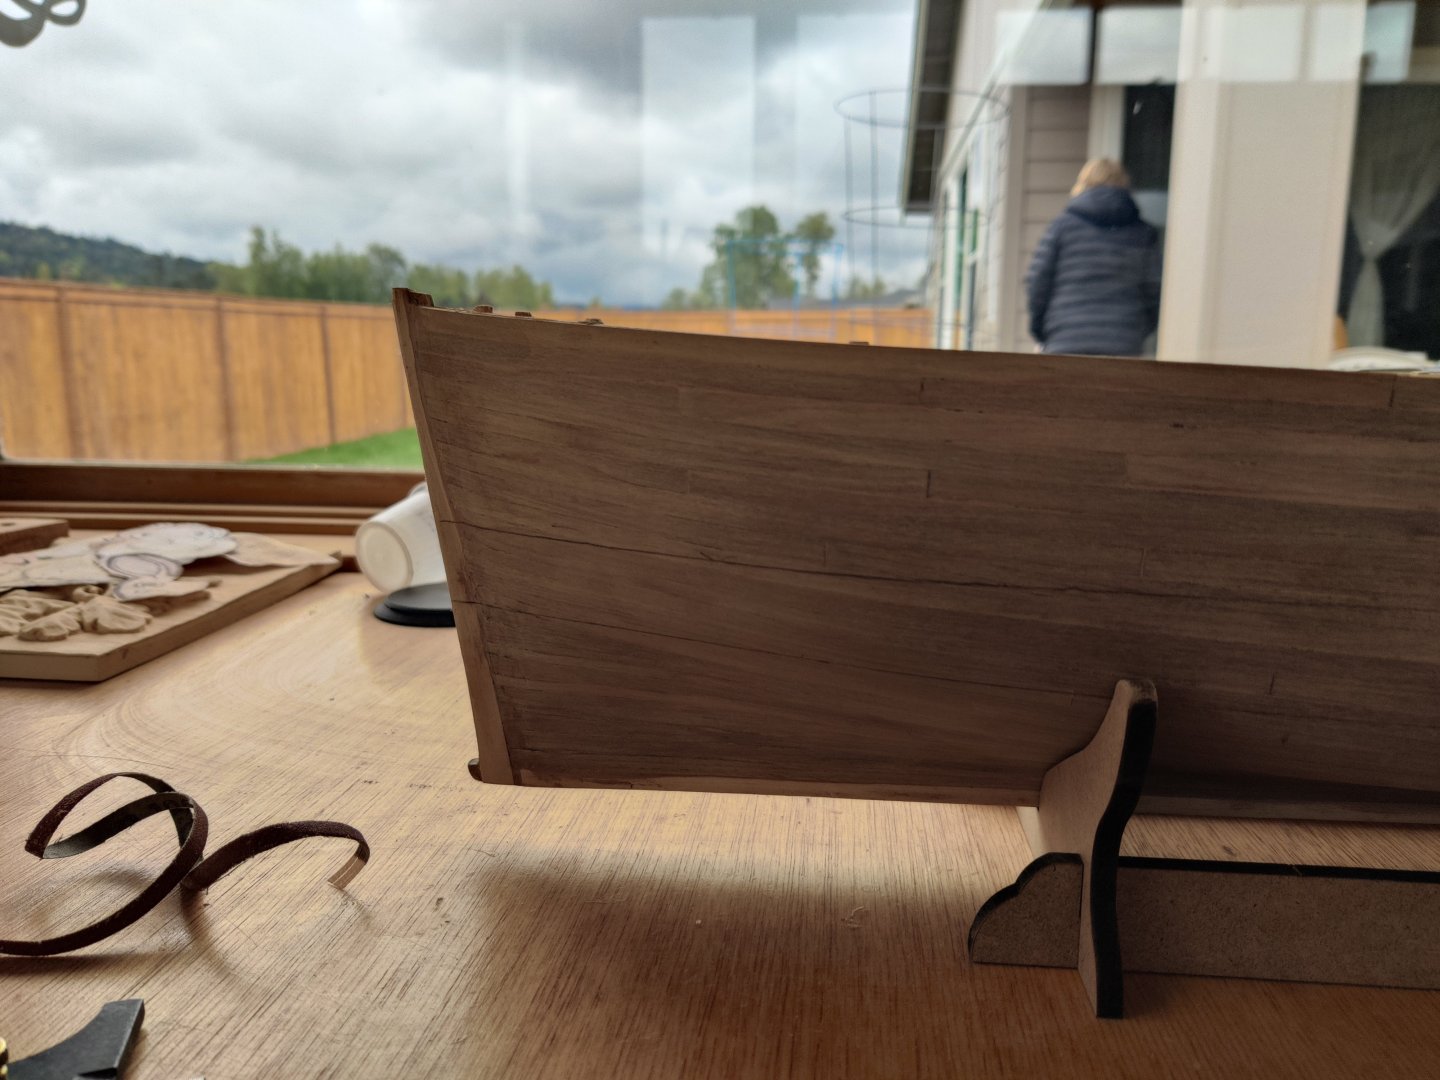
How to mark waterline for painting. I am trying to mark the waterline for Fifie by Amati. The manual shows that the hull is placed on the provided cradle to mark the waterline. the plans show the distance on the bow and stern for the waterline. At the bow the width of the stripe is 1"+ at the stern the stripe is about 3/8". I measured and marked the stripes width on the bow and set up my marker with those widths. I used the marker and the stripe does not narrow but remains the same width at the stern as the bow. When the boat sits on the cradle the at the location where the boats fits the shape of the cradle. the bow ad stern are at approximately the same level. If that is true how can the stripe narrow at the stern? What have I missed. She pictures below for illustration. The first pictures are from the manual my boat pictures follow.

-
This is a photo of the finished 2nd planking on Fife. The walnut is beautiful. It is a shame to have to paint it.

-
Some observations regarding planking on Fife: The thicker pear pieces that are to be used for the first planking, are much harder to bend than the thinner planks of walnut for the second planking. I was able to plank 8 rows without tapering on the pear first planking and could do 11 rows on the second planking of walnut with out tapering. In the instruction manual the pictures show the keel pieces that appear to be the same wood type as the second planking. That appears to be a consistent practice of the boat designer Chris Watton. However, since Chris left Amati, that does not appear to be the practice. The instruction manual discussed the possibility of not painting all of the hull to show off the beautiful walnut used to plank it. Because the keel is now made with pear wood that is not a realistic possibility. I tried staining the keel to get it darker to match the walnut but could not get a good enough match to do that so that beautiful walnut will be painted. Having the keel a different color than the planking just does not work. I do like the shape of the hull and it is easier to plank than most models.
-
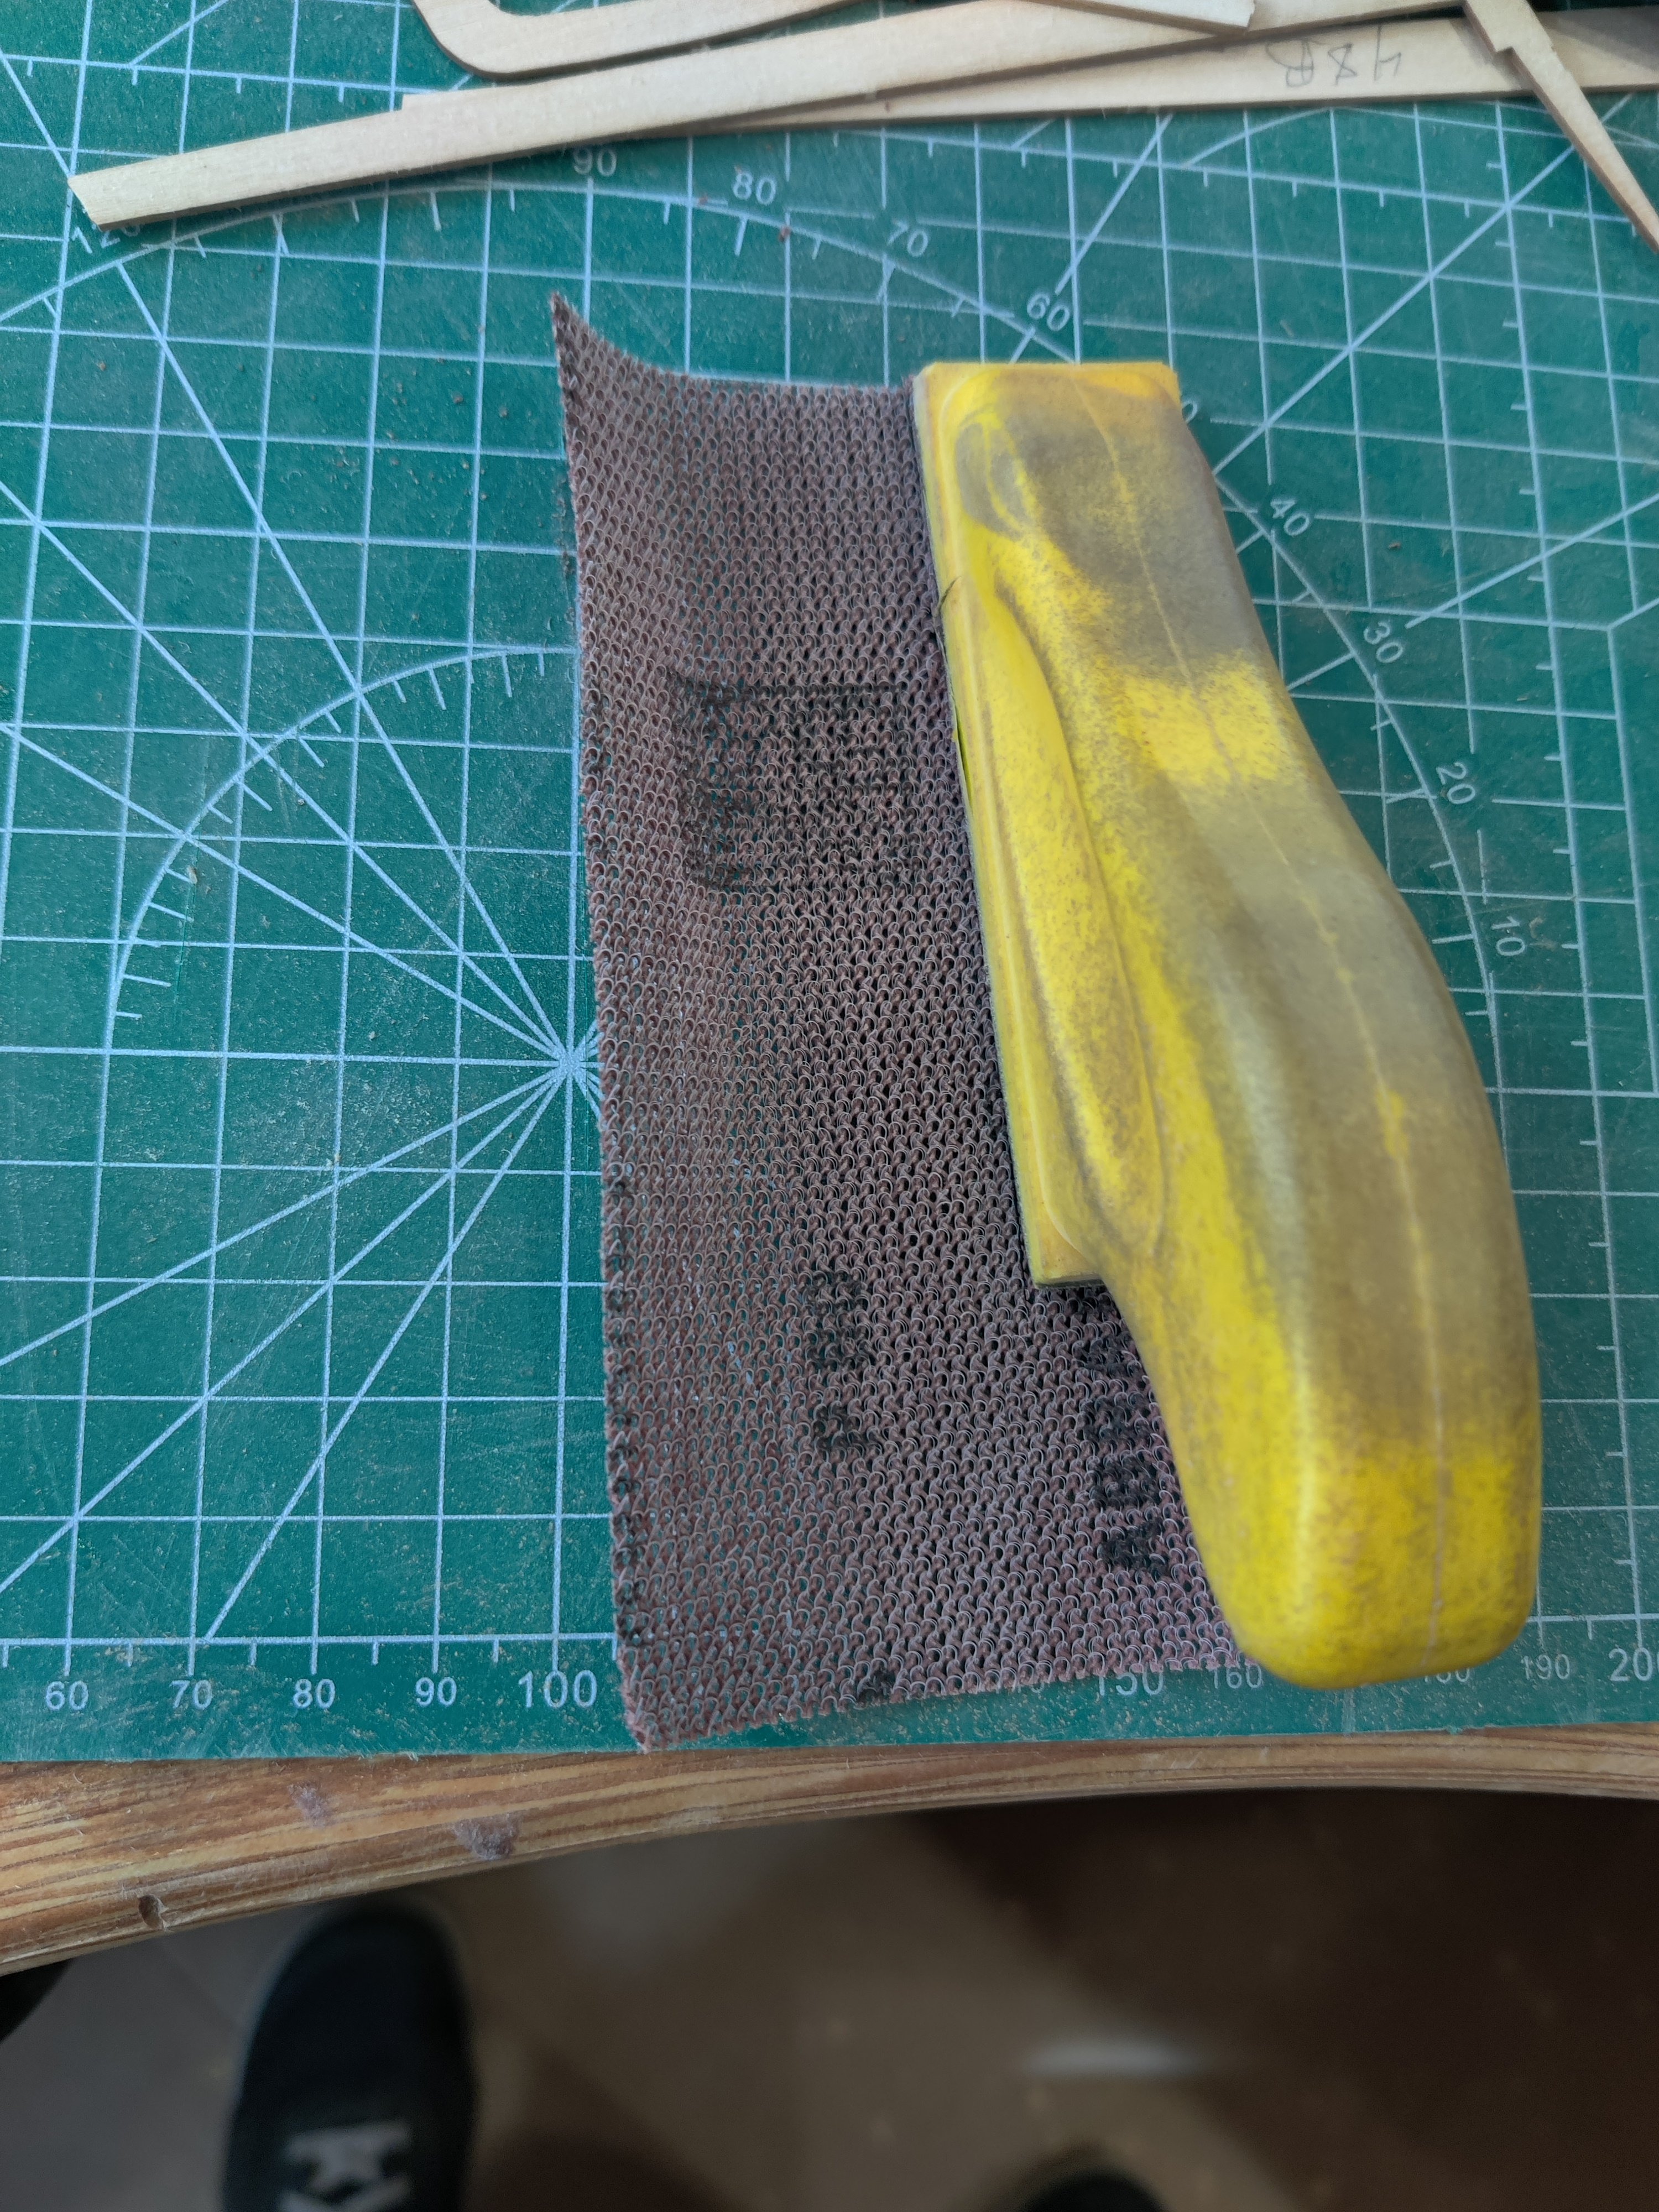
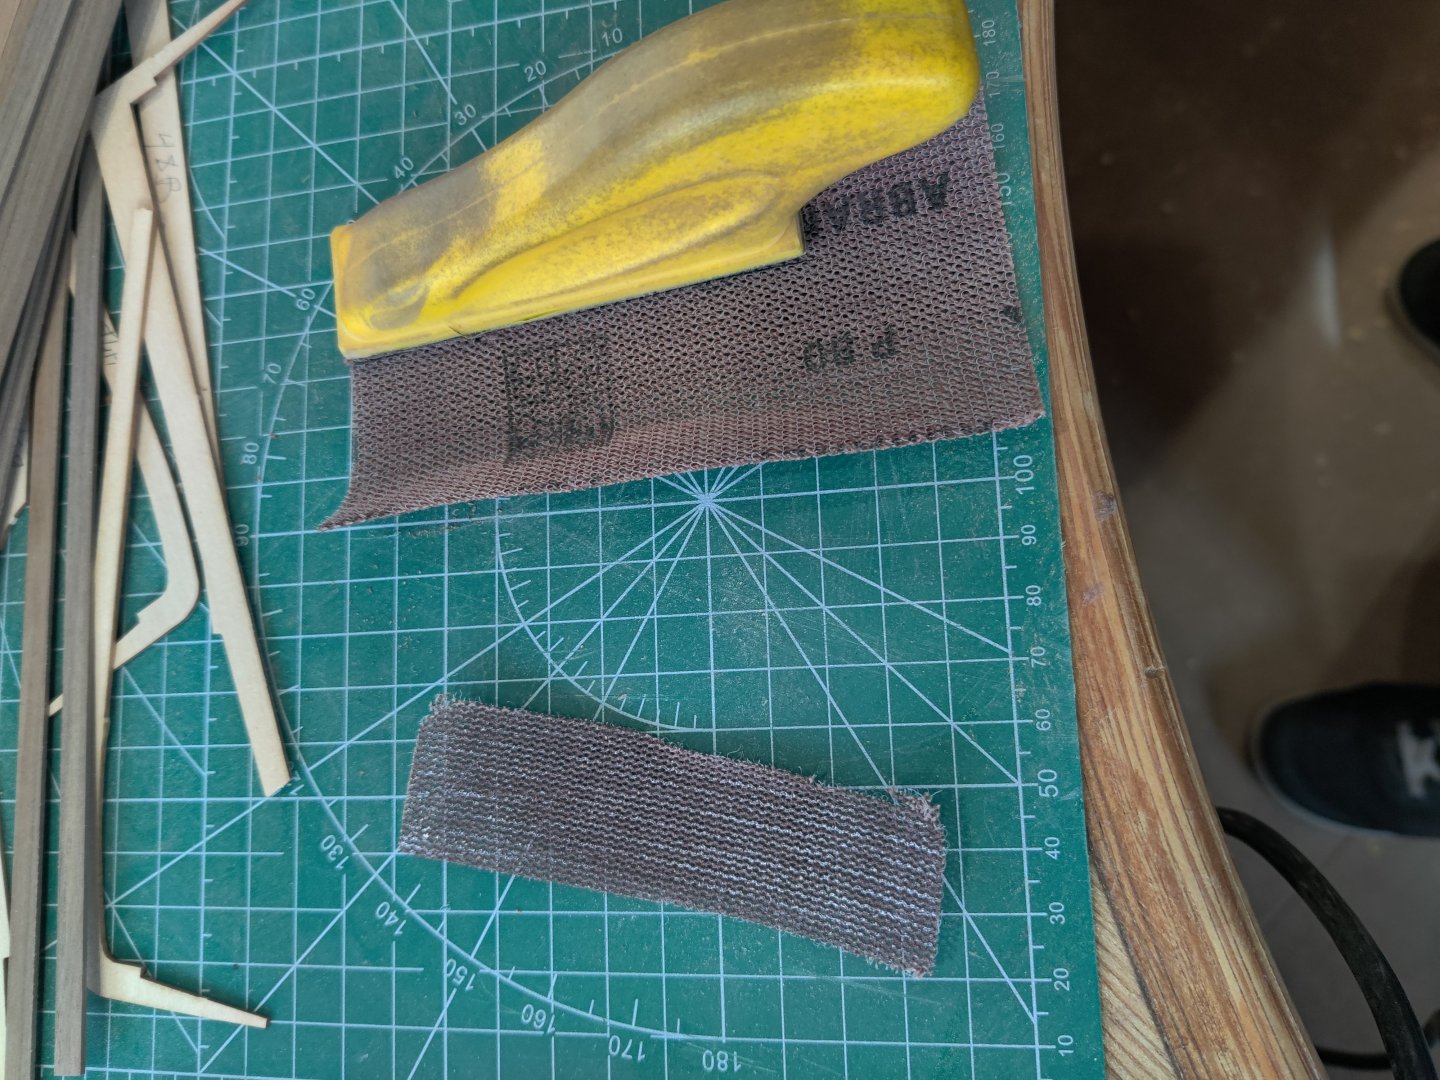
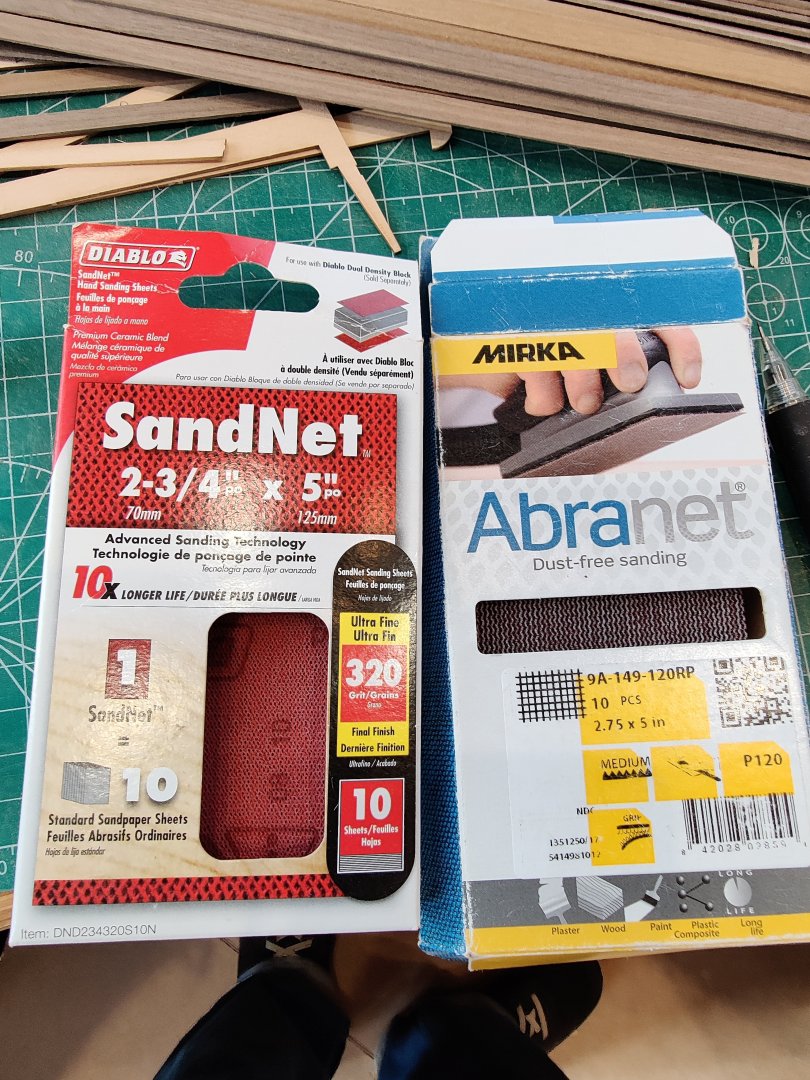
For those who have used traditional sandpaper with a paper backing the improvements in sanding paper took a major advancement when they started producing self cleaning sand paper. There are several brands, I prefer Abranet, made by Myrka. it lasts longer ad self cleans better. It works really well with the soft sanding blocks that have the backing that grips the sand paper. Just cut it to fit. The other characteristic is that it never really wears out it just changes the grit as it ages. After long use 80 grit becomes 120 grit and with more wear becomes 220 grit etc. Try it and you will never go back to traditional sand paper.

- 2 replies
-
- 10
-

-
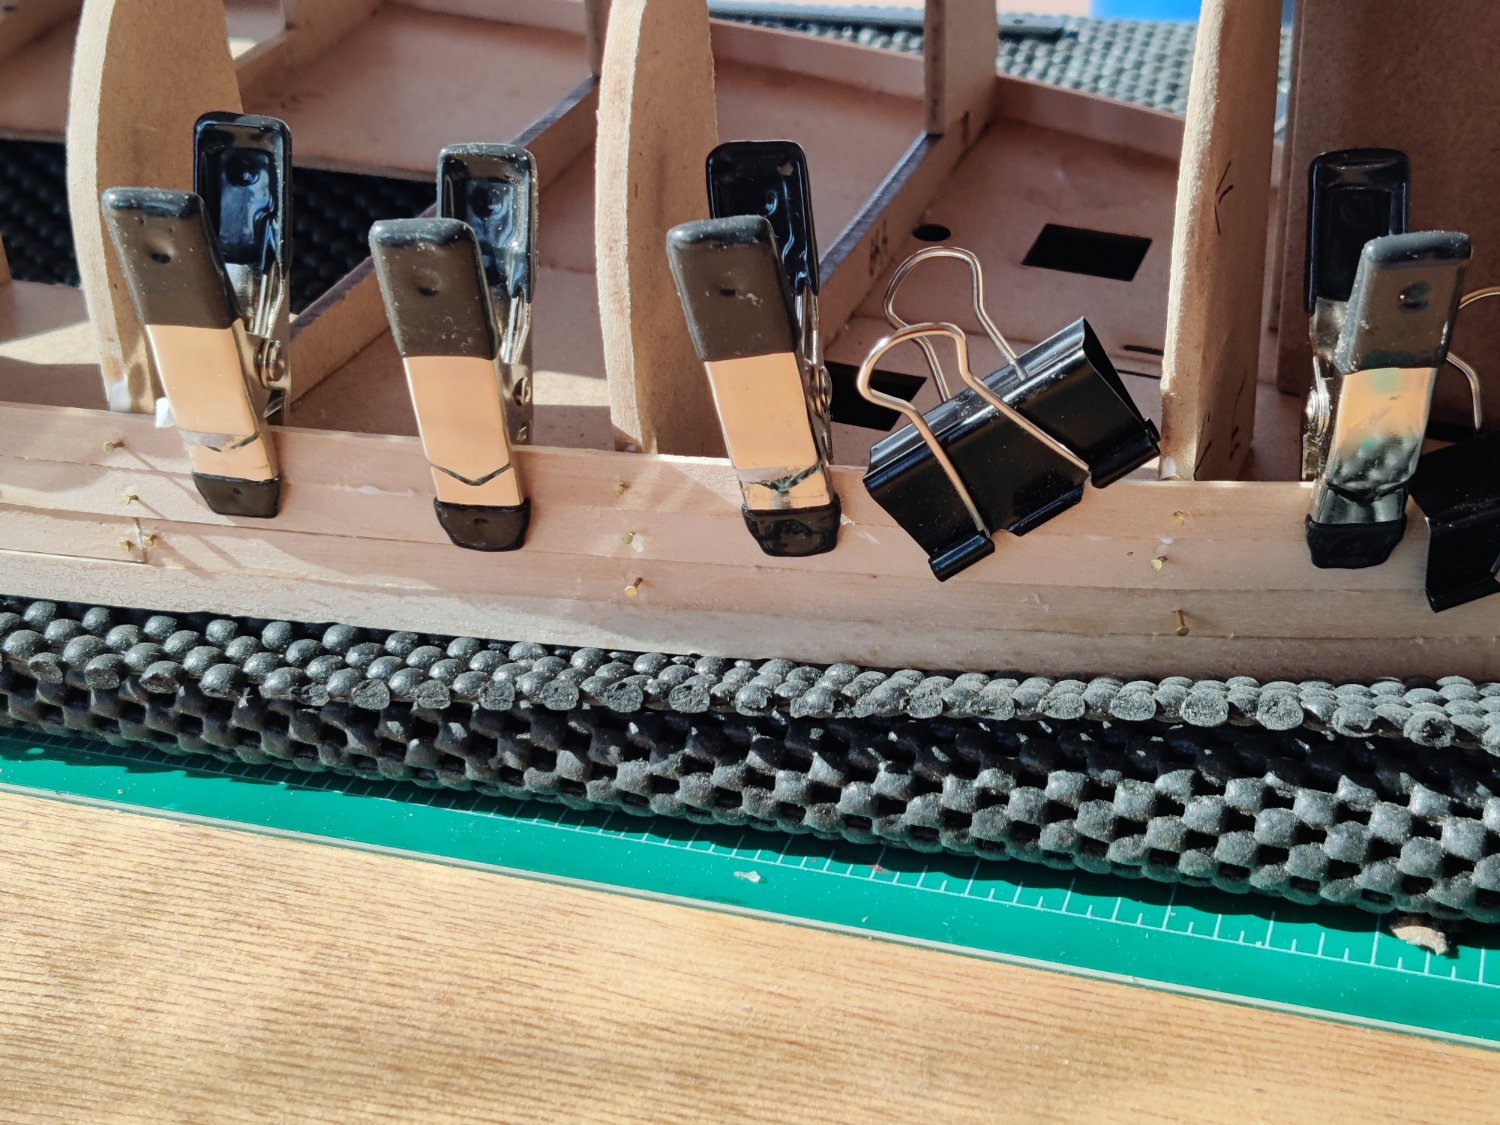
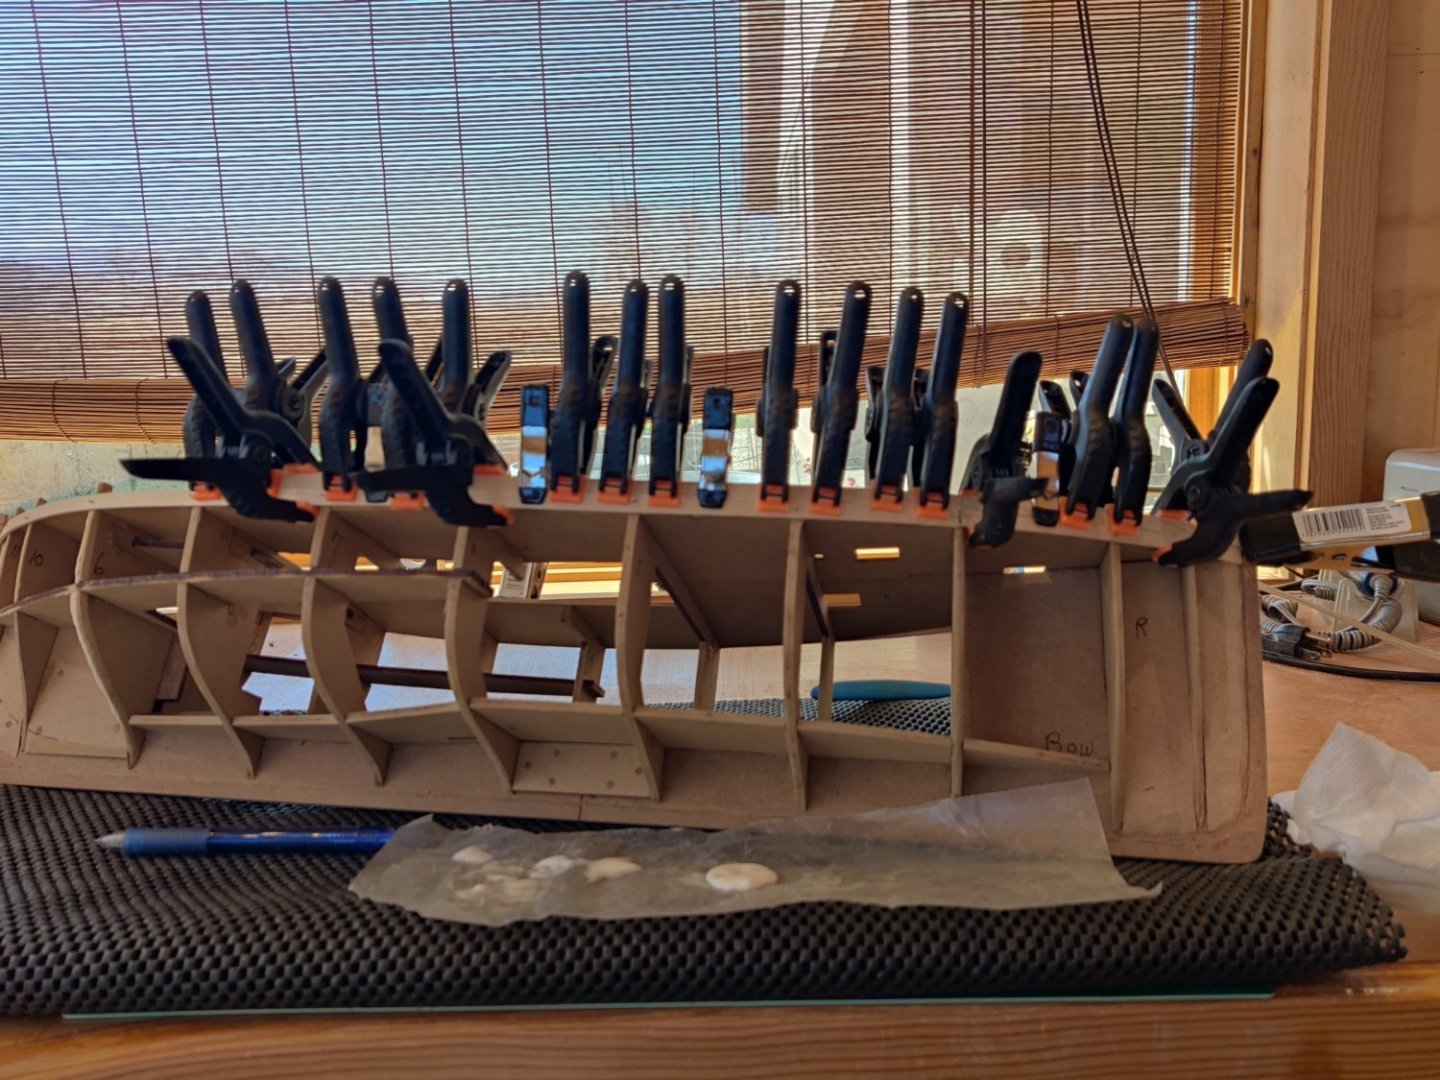
Because the Fifie is so large there is a large expanse between the bulkheads. When yo plank such a wide expanse it helps if you use small clamps to align the current plank with the prior plank. This is not always possible but it sure reduces the amount of sandig when you can.

-
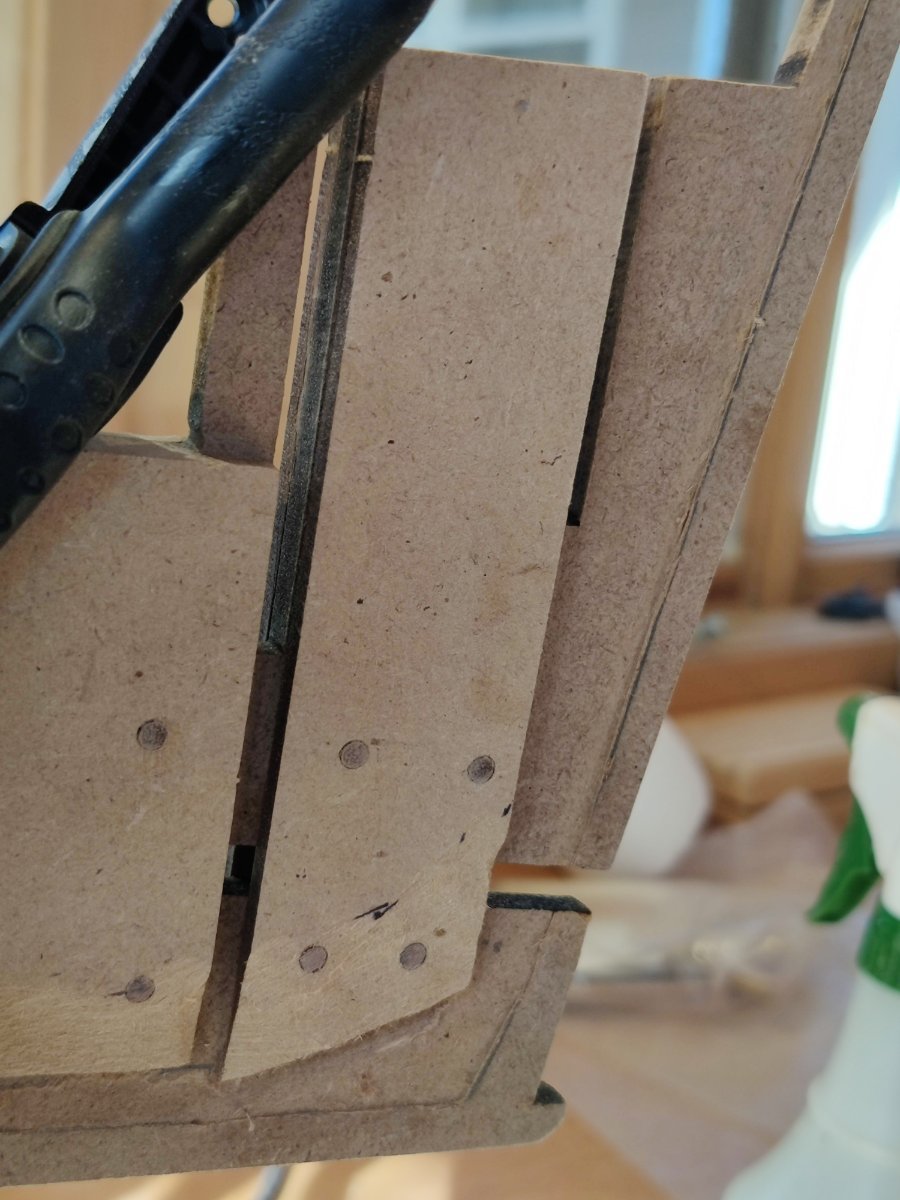
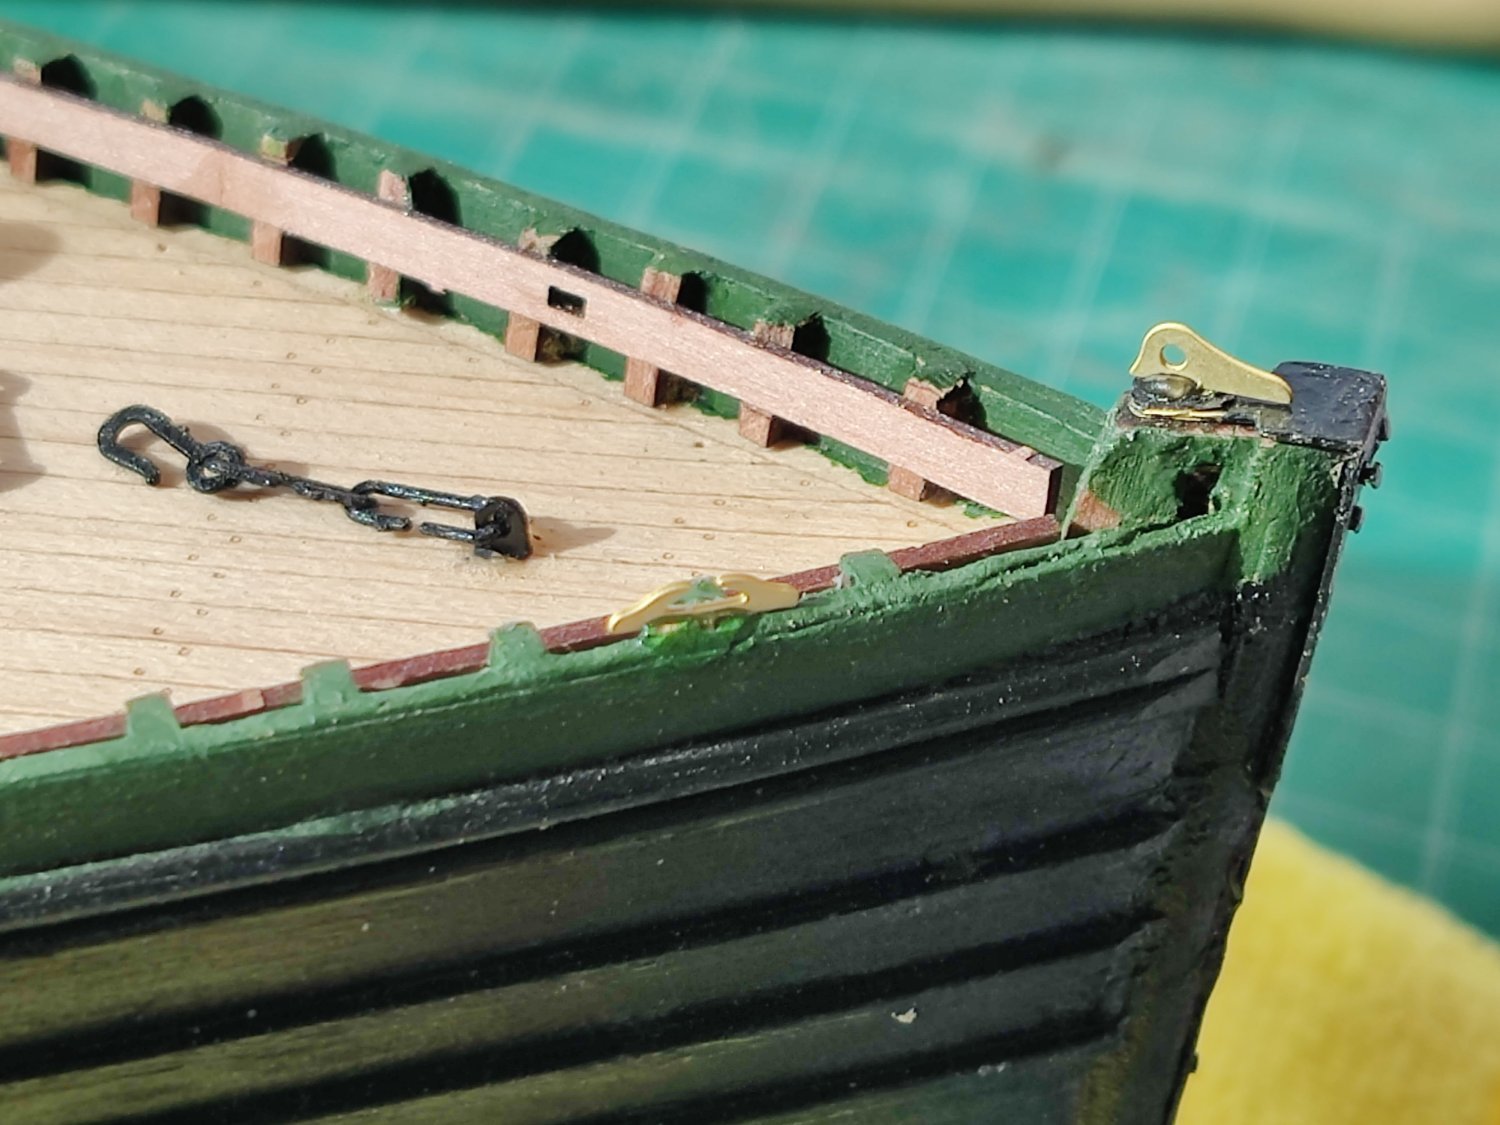
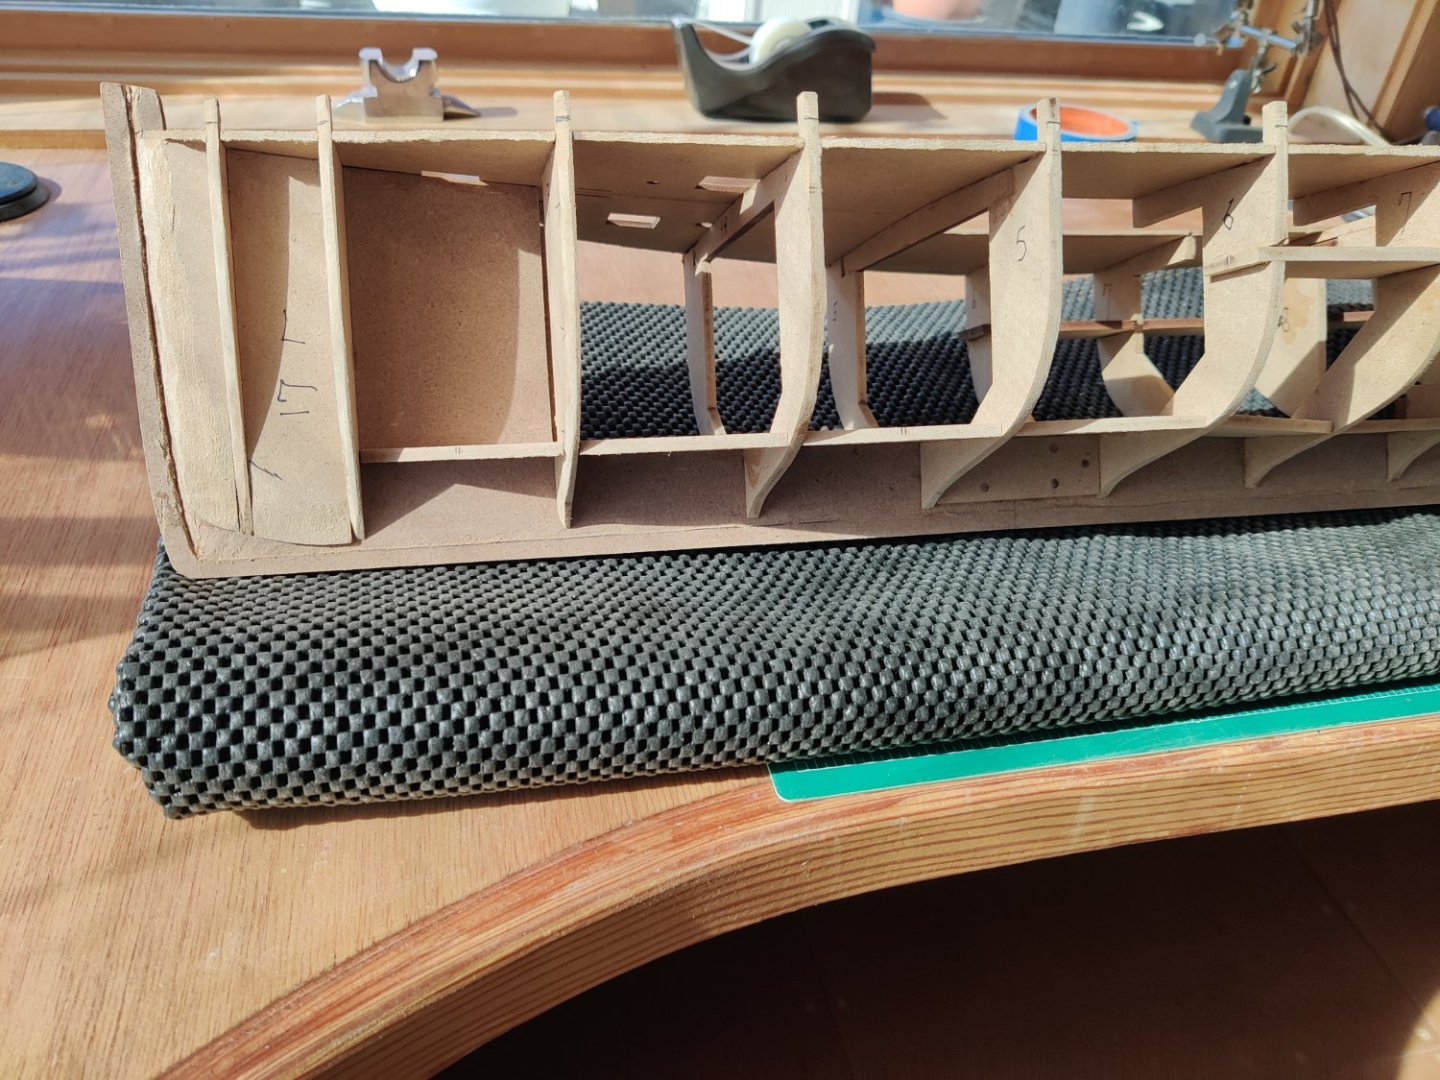
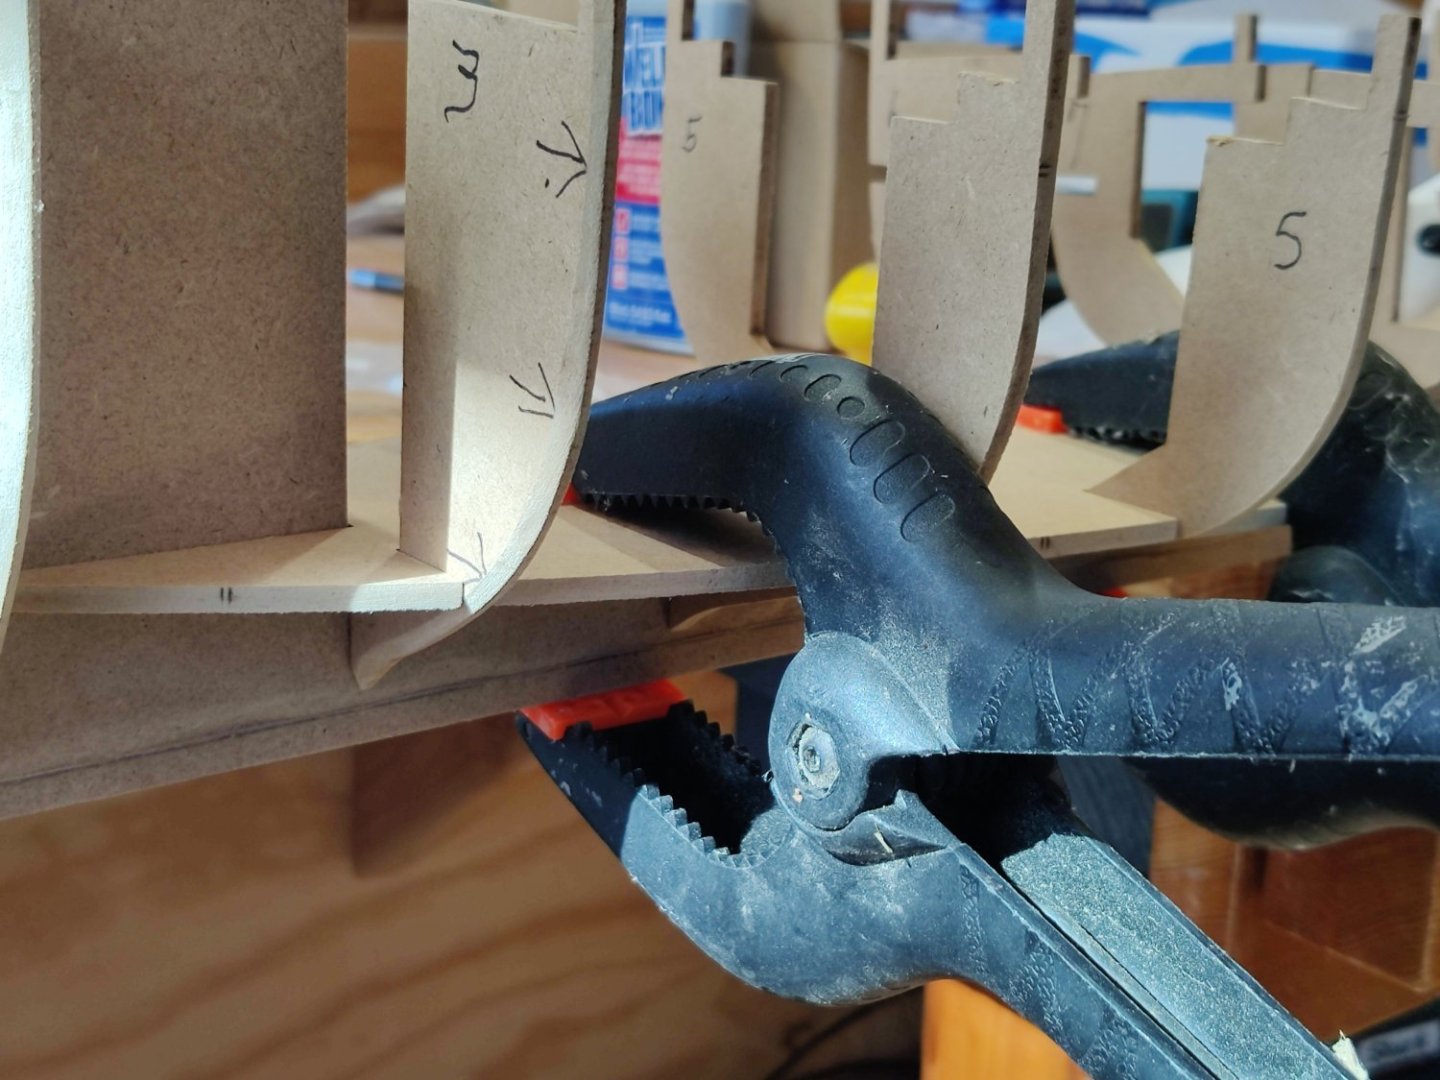
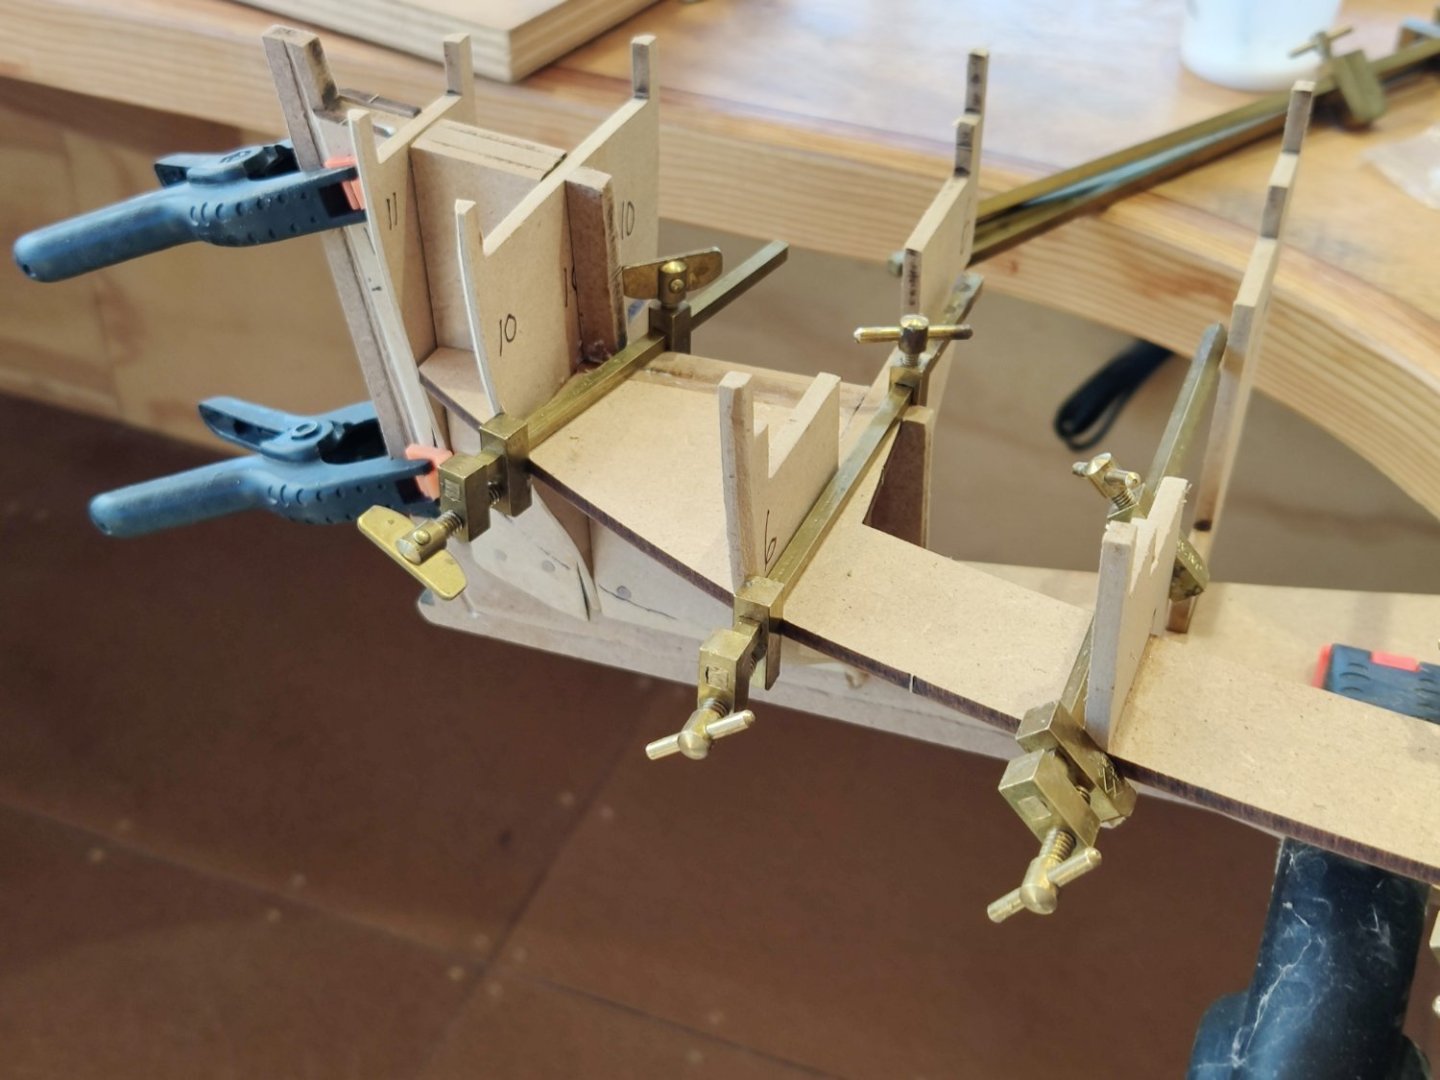
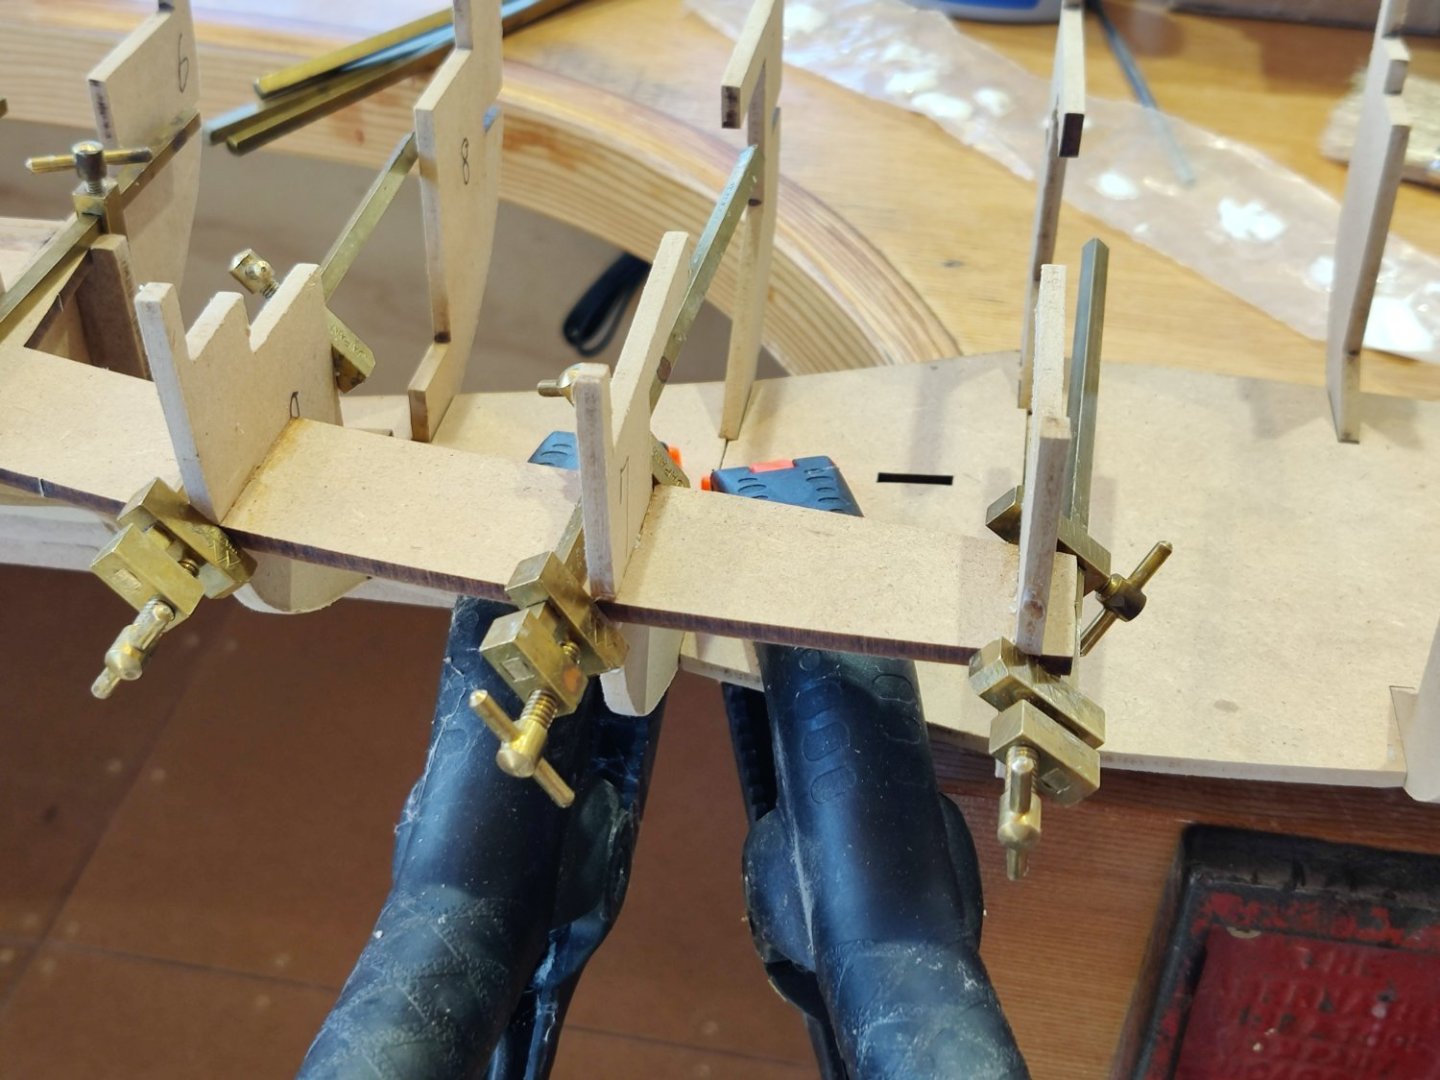
When planking it is easier for me to lye the boat on a flat surface. To protect it and keep it from moving I take a large roll of rubber shop shelf liner and make a tick wide bed to lat the boat on. One of the lessons I learned from the Lady Isabelle build was that when you have a double hull it is critical to get the rabbit at least as deep as the thickness of the first layer of planking.I did not do that so i had to have paper thin edges on the plank ends. Also MDF does not cut as cleanly as wood, so a very sharp knife is essential to get a sharp rabbit. I made a knife cut with a sharp blade and then used a v tool chisel to clean out the cut. That leaves a crisp edge. Because the bulkhead ends that extend above the top deck are going to be removed and replaced with other wood beams it makes installation of the first two planks more challenging. If you glue the planks to the bulkheads it makes it more difficult to remove them later. I found it easier to install the 2nd plank first by gluing it to the edge of the top deck and that portion of the bulkhead below the top deck, and to pin it in place also. Then install the top plank by gluing the bottom edge of the top plank to the top edge of the 2nd plank. This requires some creative clamping. A clamp that keeps the two planks in line a plank the squeezes the the tow planks together and a clamp that keeps both planks in line with the bulk heads. So if you look closely you can see the clamp sequence. *When you have the stern keel piece added, get the rudder and the rudder hardware and dry fit it to the stern even though the rudder has not been planked. Note how far the hinges go onto the keel piece and mark their location. It is easy to allow the planking to intrude onto the keel. If you allow that to happen then there will not be enough width left to accommodate the rudder hinges. So clearly mark onto the keel space needed. O
-
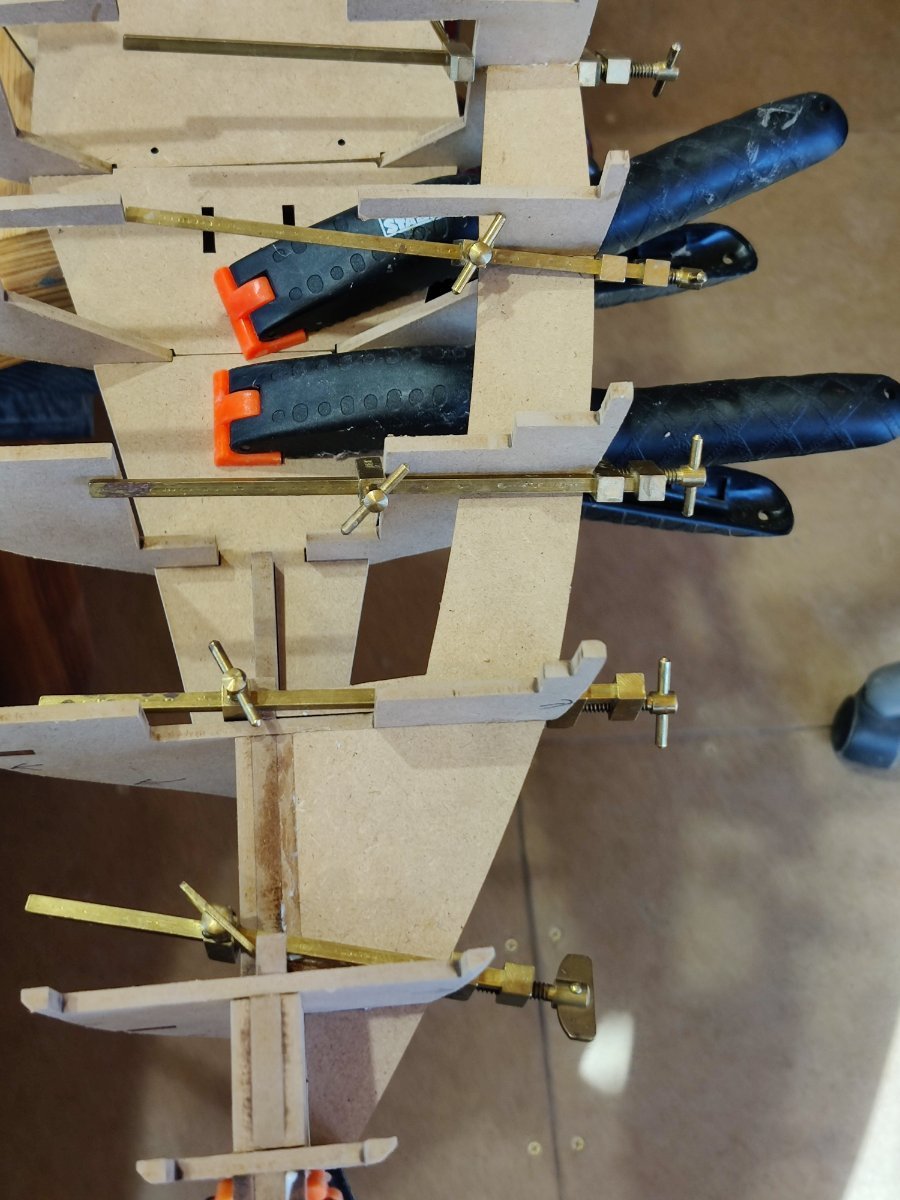
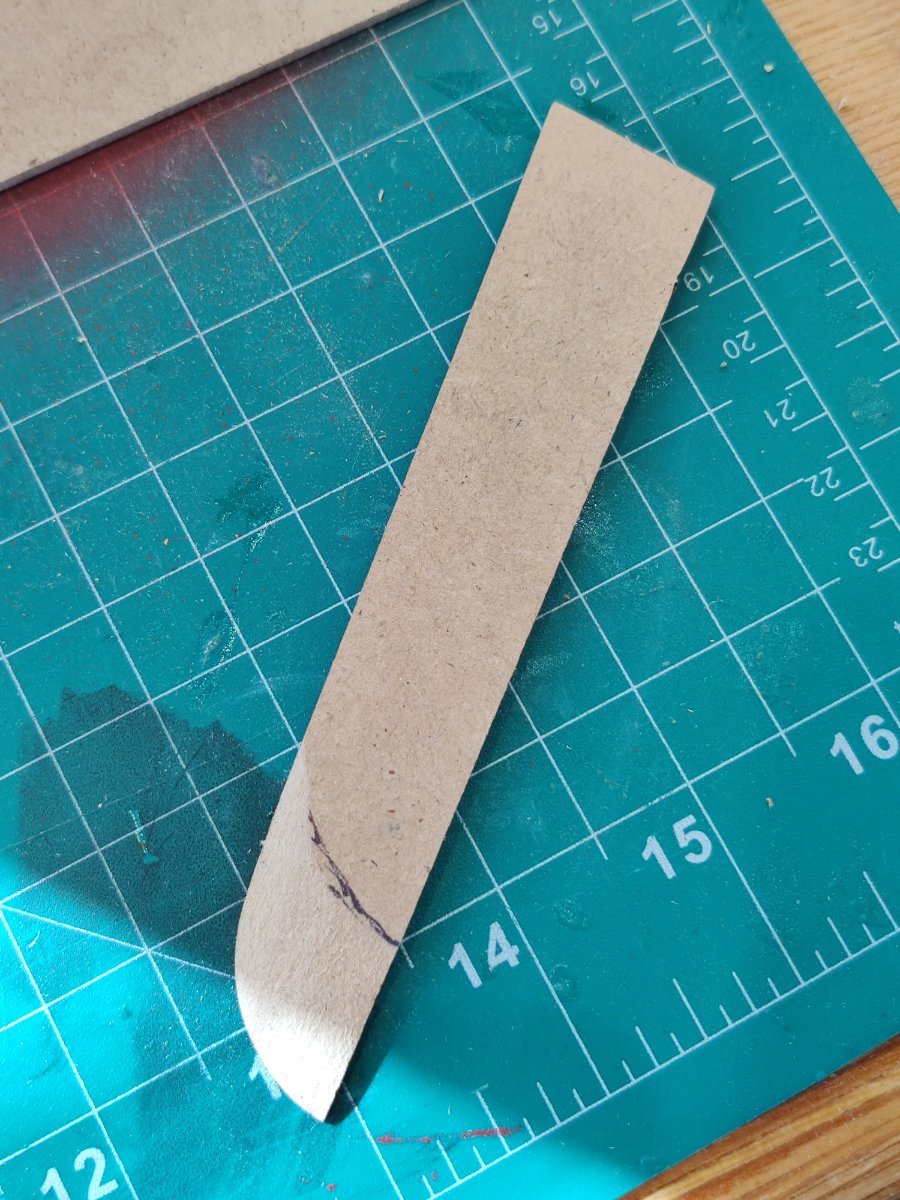
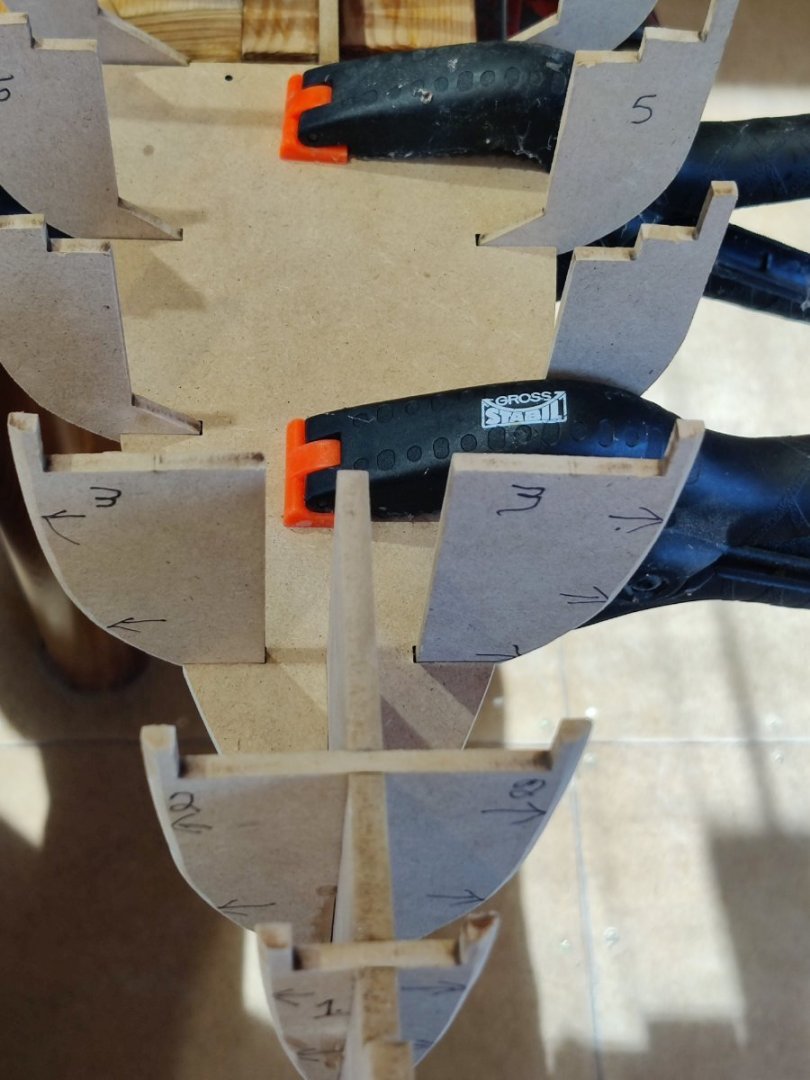
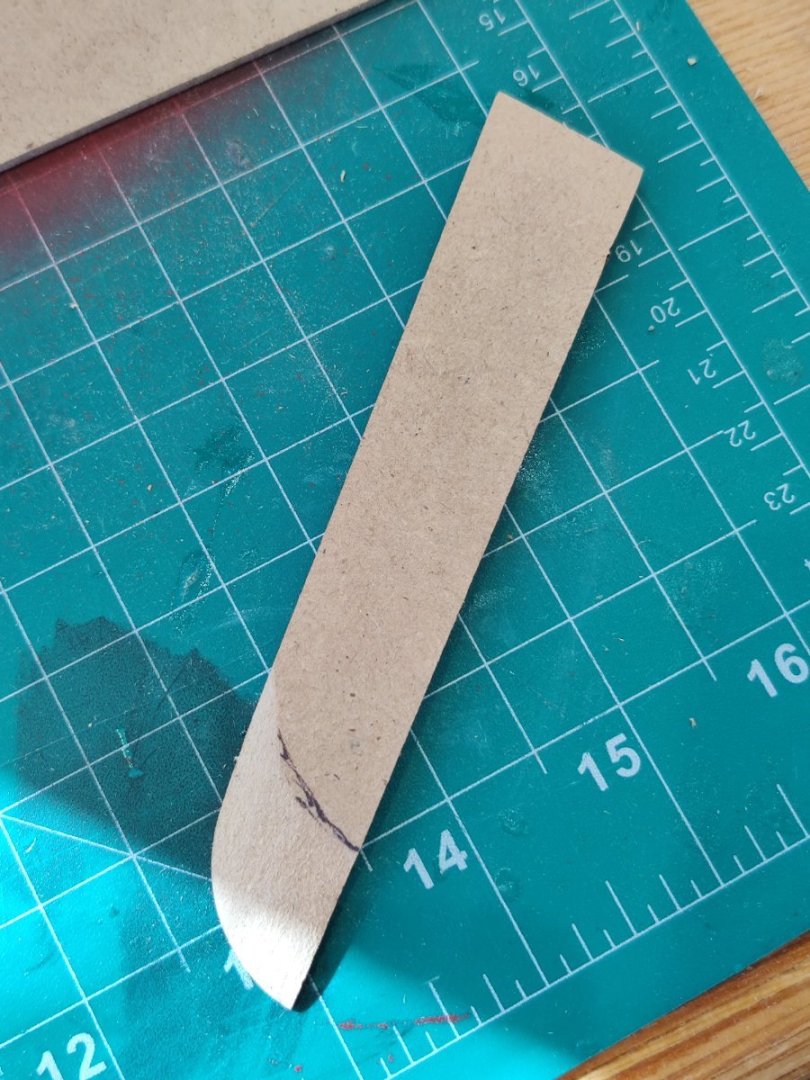
I have an assortment of clamps which is very helpful. You can never have too many clamps. On the Fifie you need some deep clamps to secure the super structure and deck pieces to the bulk heads. As other builders have noted the MDF used for the super structure and bulkheads is very hard and it takes supreme effort to piece with pins. Having the keel firmly secured in a vice is essential. Clamping is easier than pinning and I only use pins where I was unable to get clamps. Long bar clamps are also helpful in keeping the super structure squared up with the bulkheads. Also as noted by others the parts are not number identified on the parts and the bevel lines are not marked on the bulkheads or the other pieces so it is critical to mark them before removing them. I did that but still made a mistake on the piece below because i beveled it on the wrong edge. There was plenty of scrap MDF material and I was able to cut another one out.

-
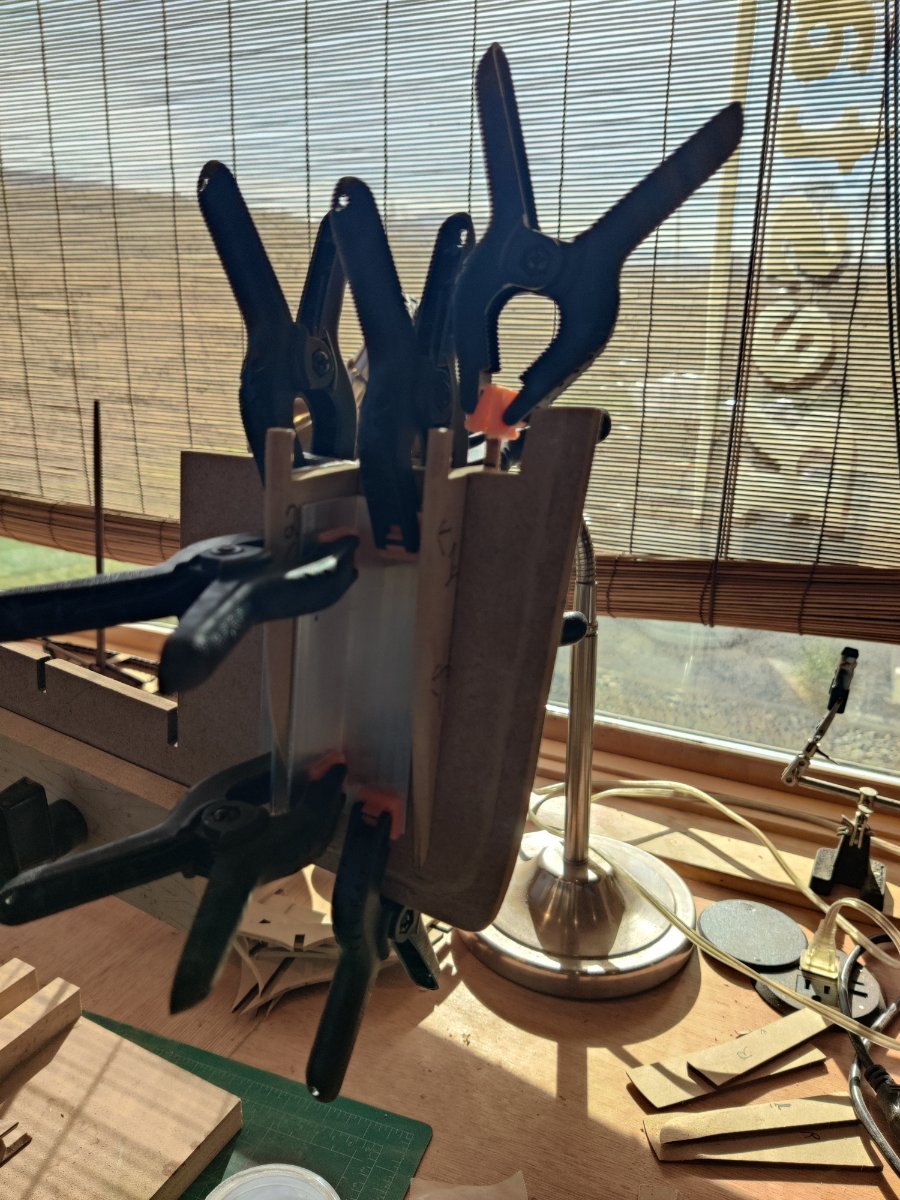
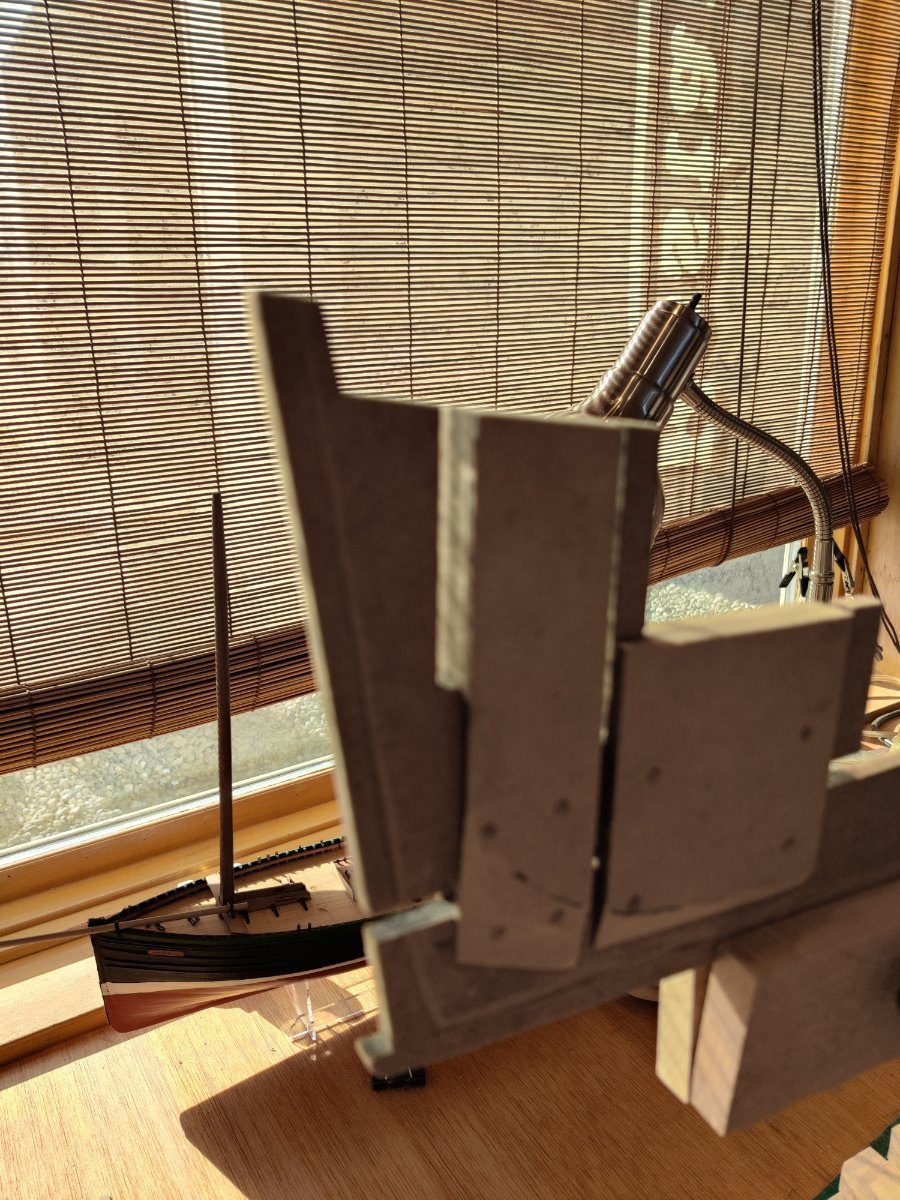
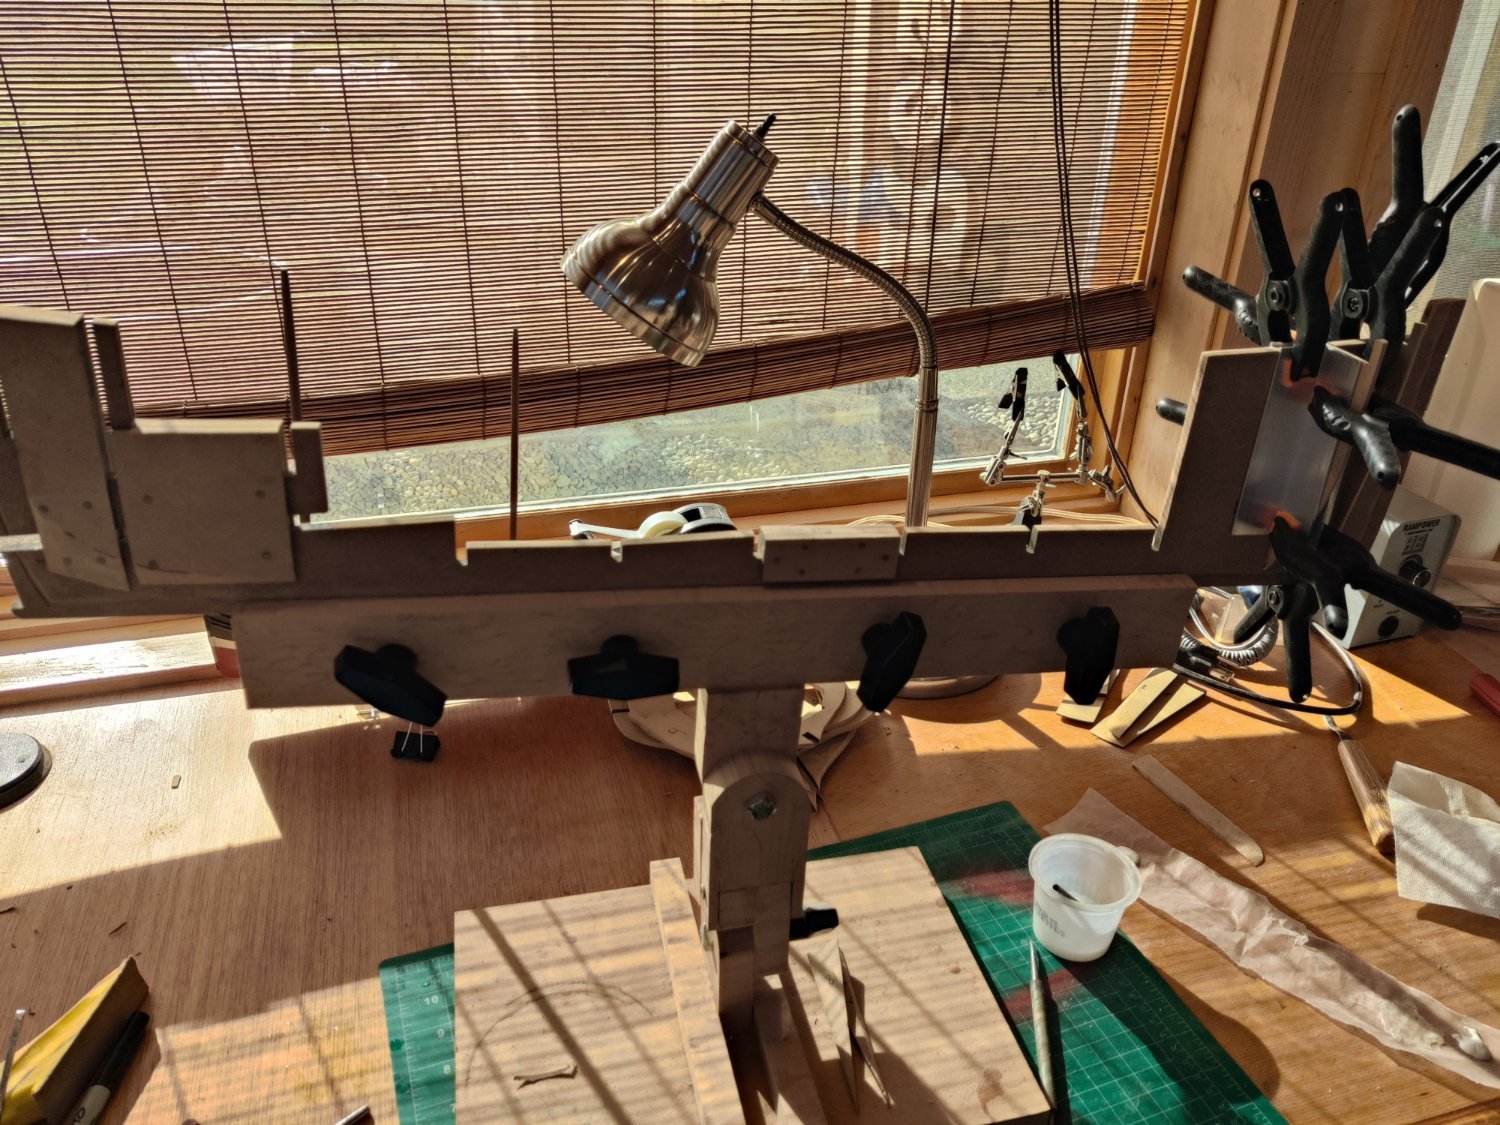
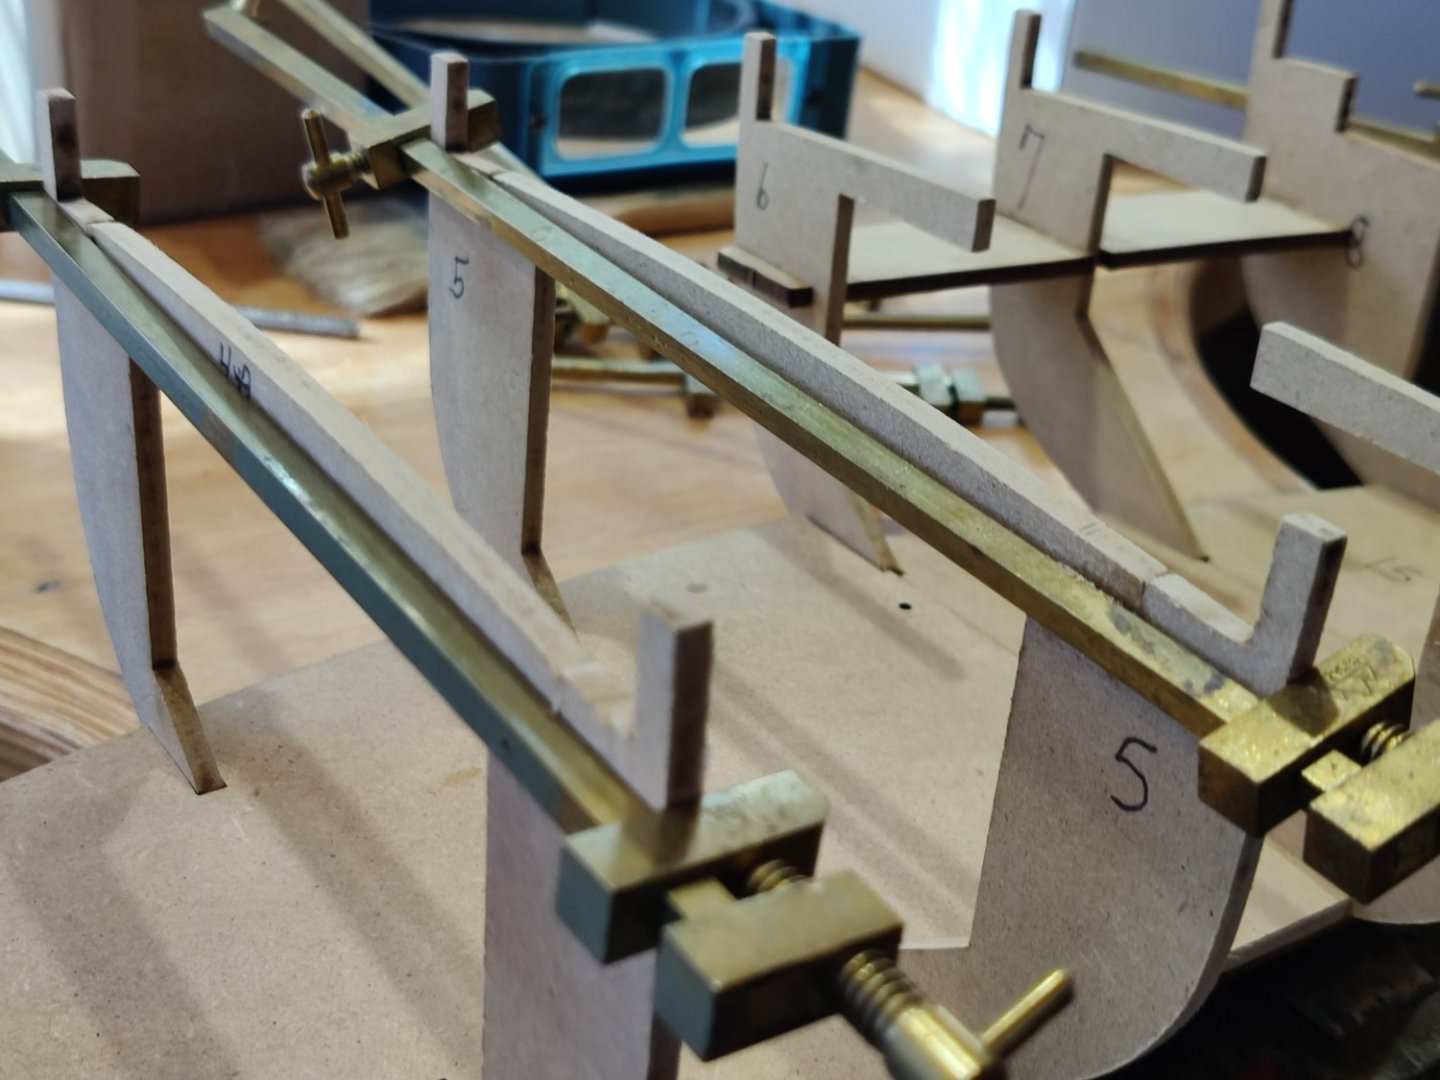
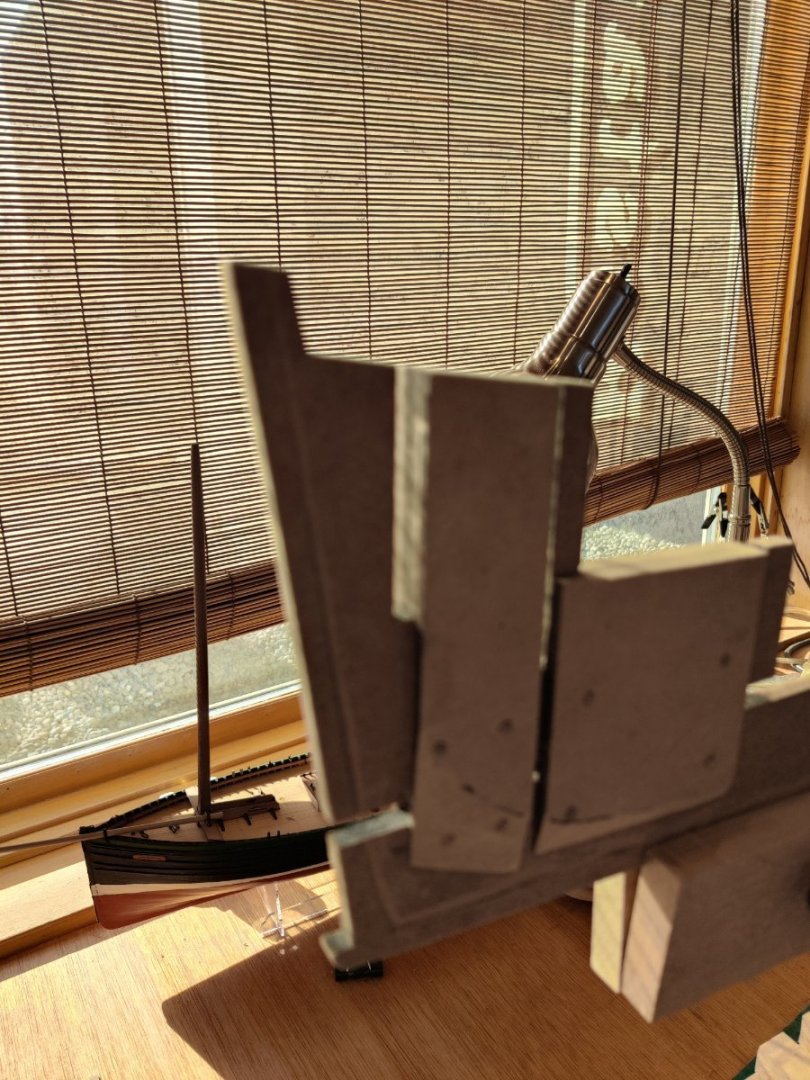
After almost completing Lady Isabelle, by Chris from Vanguard Models I knew I wanted to do another model by Chris. Lady Isabelle created plenty of challenges for a newbie yet it was gratifying to be successful and learn new skills at the same time. I have yet to complete the rigging on Lady Isabelle. Having never done any rigging it is all new. The challenge I have is that I only have complete use of one arm, I have severed the motor nerve for my right bicep so I am unable to lift my right arm. I can put in place on a chair arm or table and then have limited use of my right hand. The challenge is not being able to elevate the arm or hand so tying knots or doing seizing is a one handed process, even with the use of a third hand clamp it is very difficult. So far after 40 hours of work I have gotten two blocks seized and one hank completed. It is exhausting mentally to do it. So I decided to do another boat and work on the rigging for just two hours a day, with the hope of eventually getting it the masts at least rigged. I decided to do the Fifie because it is 1/30 scale and hope that rigging will be easier with the bigger scale. We shall see. Because there are some great build logs for Fifie by DSmith20639, PJG, Tim Moore, and Ken I will not show the box or parts. However, I will echo their sentiments that Chris Watton is a great designer of boat models. I will concentrate on showing how I have been able with my physical limitations to complete some tasks which may be helpful to other newbies who have not yet gained the skills of the awesome model makers on this site. The first pictures below show the keel clamp I have made. It Is able to hold a long keel. it can rotate forward and back ward as well as left and right. It is essential to me being able to reach things with both hands simultaneously. It also shows the aluminum quarter rounds that I use to make sure the bulkheads are perfectly square. I have 4 of them to completely lock the bulkhead square. I also have them in 1/2", 3/4", 1", sizes in lengths of 2" and 4" so that they can be used on smaller scale models, like Lady Isabelle and larger scale models like Fifie. After almost completing Lady Isabelle, by Chris from Vanguard Models I knew I wanted to do another model by Chris. Lady Isabelle created plenty of challenges for a newbie yet it was gratifying to be successful and learn new skills at the same time. I have yet to complete the rigging on Lady Isabelle. Having never done any rigging it is all new. The challenge I have is that I only have complete use of one arm, I have severed the motor nerve for my right bicep so I am unable to lift my right arm. I can put in place on a chair arm or table and then have limited use of my right hand. The challenge is not being able to elevate the arm or hand so tying knots or doing seizing is a one handed process, even with the use of a third hand clamp it is very difficult. So far after 40 hours of work I have gotten two blocks seized and one hank completed. It is exhausting mentally to do it. So I decided to do another boat and work on the rigging for just two hours a day, with the hope of eventually getting it the masts at least rigged. I decided to do the Fifie because it is 1/30 scale and hope that rigging will be easier with the bigger scale. We shall see. Because there are some great build logs for Fifie by DSmith20639, PJG, Tim Moore, and Ken I will not show the box or parts. However, I will echo their sentiments that Chris Watton is a great designer of boat models. I will concentrate on showing how I have been able with my physical limitations to complete some tasks which may be helpful to other newbies who have not yet gained the skills of the awesome model makers


-
Is that a proxon mill setting on your bench? I have thought about getting one. I really like the Byrnes variable speed sander I got and was hoping to get their table saw. If they stay in business I will get one and get rid of my big one and get more room in the garage. I keep my bandsaw and other major tools in my garage to cut down on the amount of dust in my work area. I roll my bandsand and table saw onto the driveway to do any work and roll them back when I have finished. You have a nice set up!!
-

It is indeed. For me it's indispensable for shaping the planks. One feature I wish the table on the mill had was a feed drive. turning that crank for long planks by hand gets very old very quickly.
I looked at the upscale version, but the table on that didn't seem mechanized either. Note also the use of two vises to hold longer planks. Take a look at Mustafa's build log, he makes great use of the Proxon mill.
One tool I wish I had in a smaller size is a thickness drum sander. I could be making my own stock instead of struggling with the lousy material in that kit. Those 1/8" (3.15 mm) planks vary as much as 10% in width.
When we moved into the house we're in now, my plan was to move my woodworking gear from the basement of the old house to the new one. We opted to take our time with the move, so did not sell the old one immediately. As we were moving things out of the first into the second, I notices sawdust EVERYWHERE - despite having two dust collectors and the basement not being on the house's HV/AC vent system. That led me to the search for a small unit elsewhere, and I am glad I found the place I'm in now. I don't care (that much) about dust there, and if I want ventilation, I open the garage door in back and the man door in the front. Plus it gets me out of the house.
-
-
Thanks, I found a great set of videos on You Tube by an Englishman that showed how to seize the blocks and how to create a hank for the block.
-
I am rigging my first boat, Lady Isabelle. It does not have a lot of rigging but I have no idea where to begin but thought I would start with the double blocks. The blocks need a circle of rope that can attach to a hook on one end. How do you make that circle? On others you need a line that runs to another block. How do you secure the block in place. It looks line line is wrapped around its self but how is that accomplished. I know this is ultra basic but I have tried to do this for hours with no success. Is there a manual or book that has those basics? Are there videos?
-
Thanks, the boat builders here are awesome. I read it every day. Without their experience, expertise and guidance, I would have quit long ago.
-
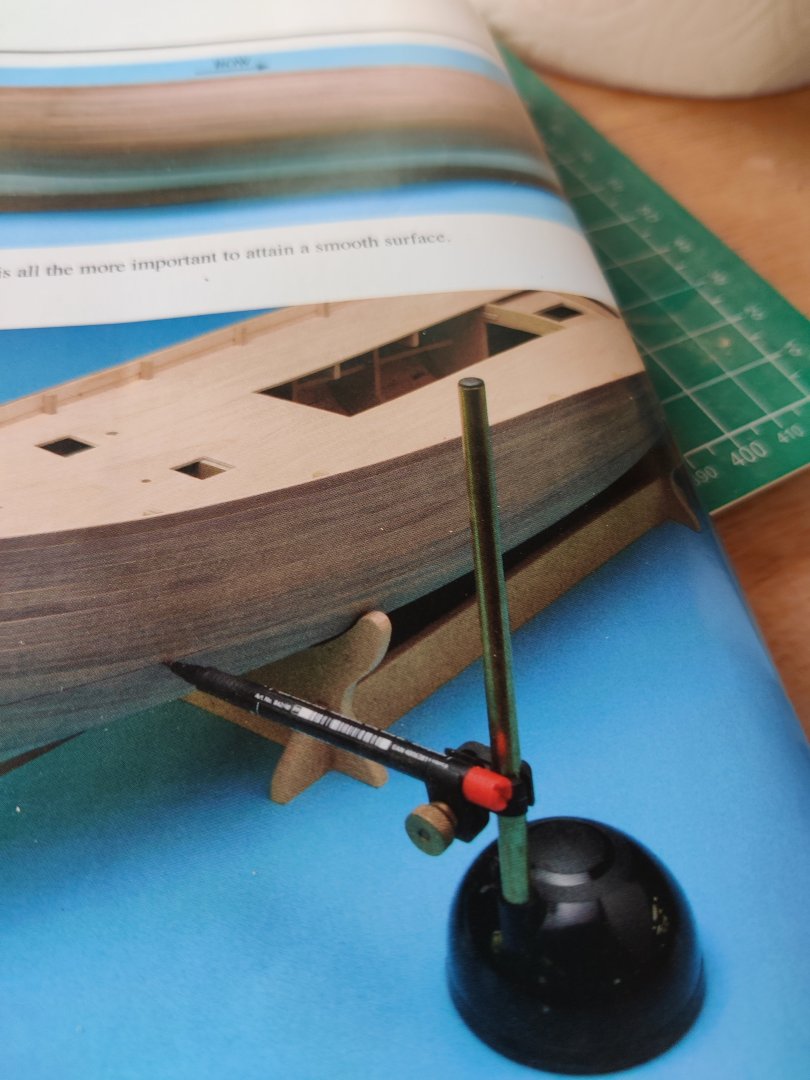
Where did you find your proportional dividers? I have been looking for a pair but the only ones I see on ebay are $100 plus.
-
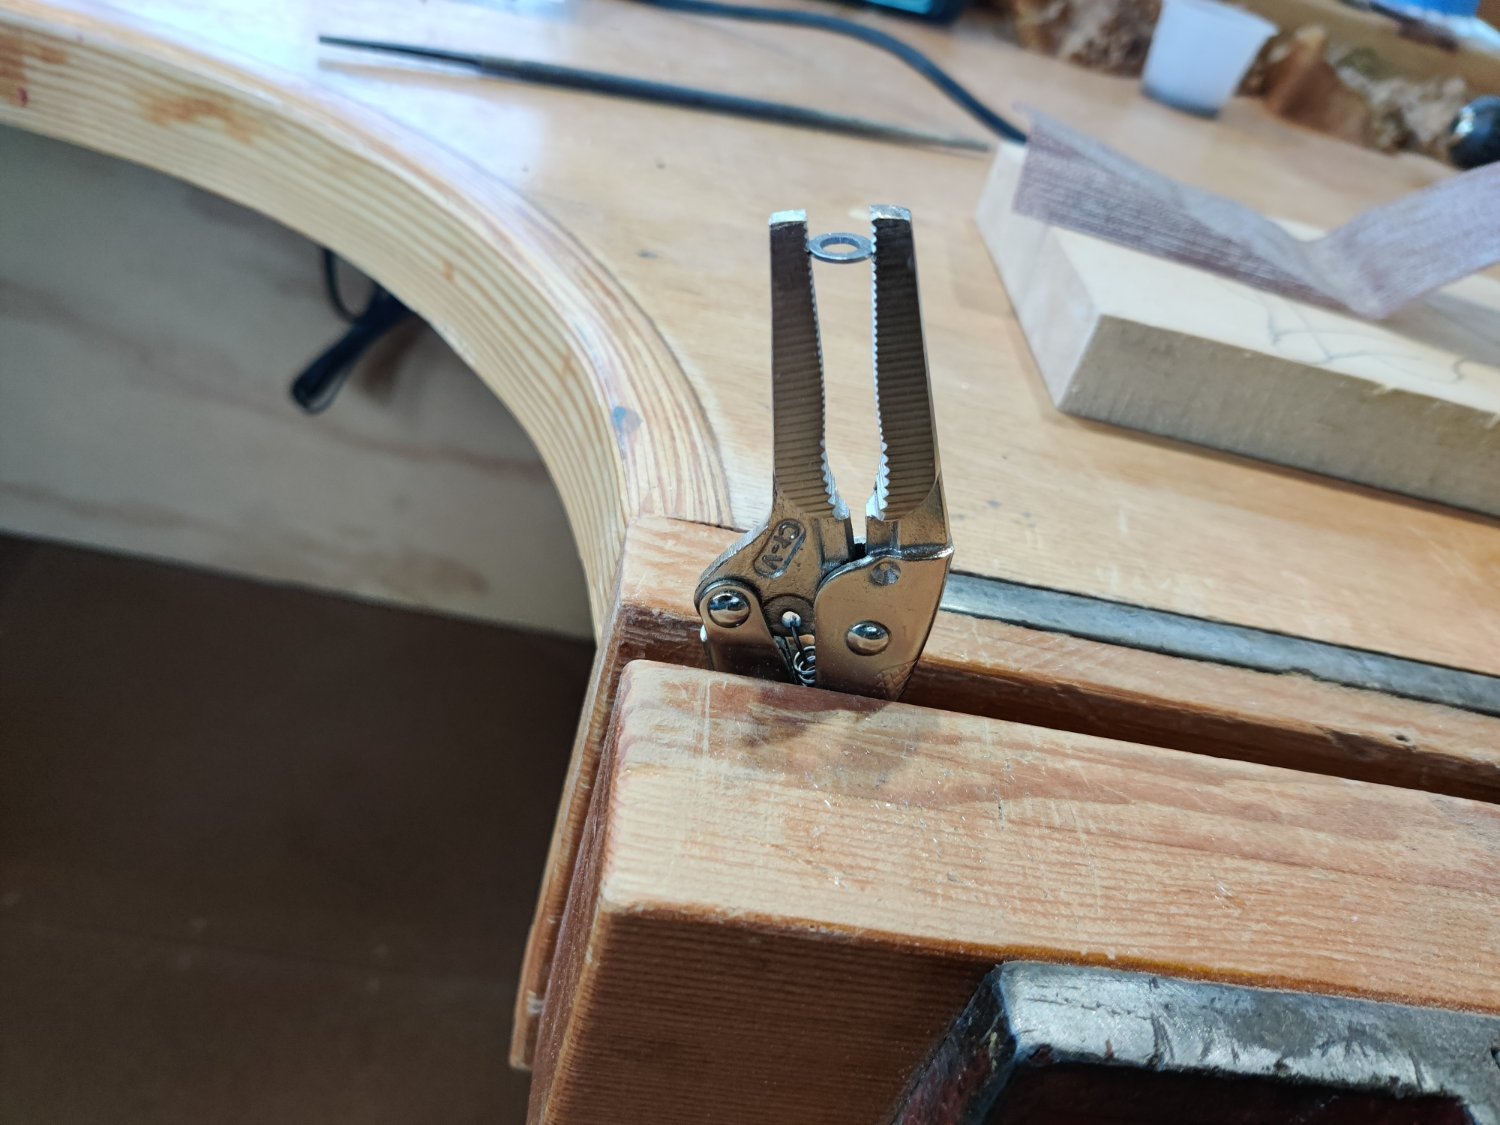
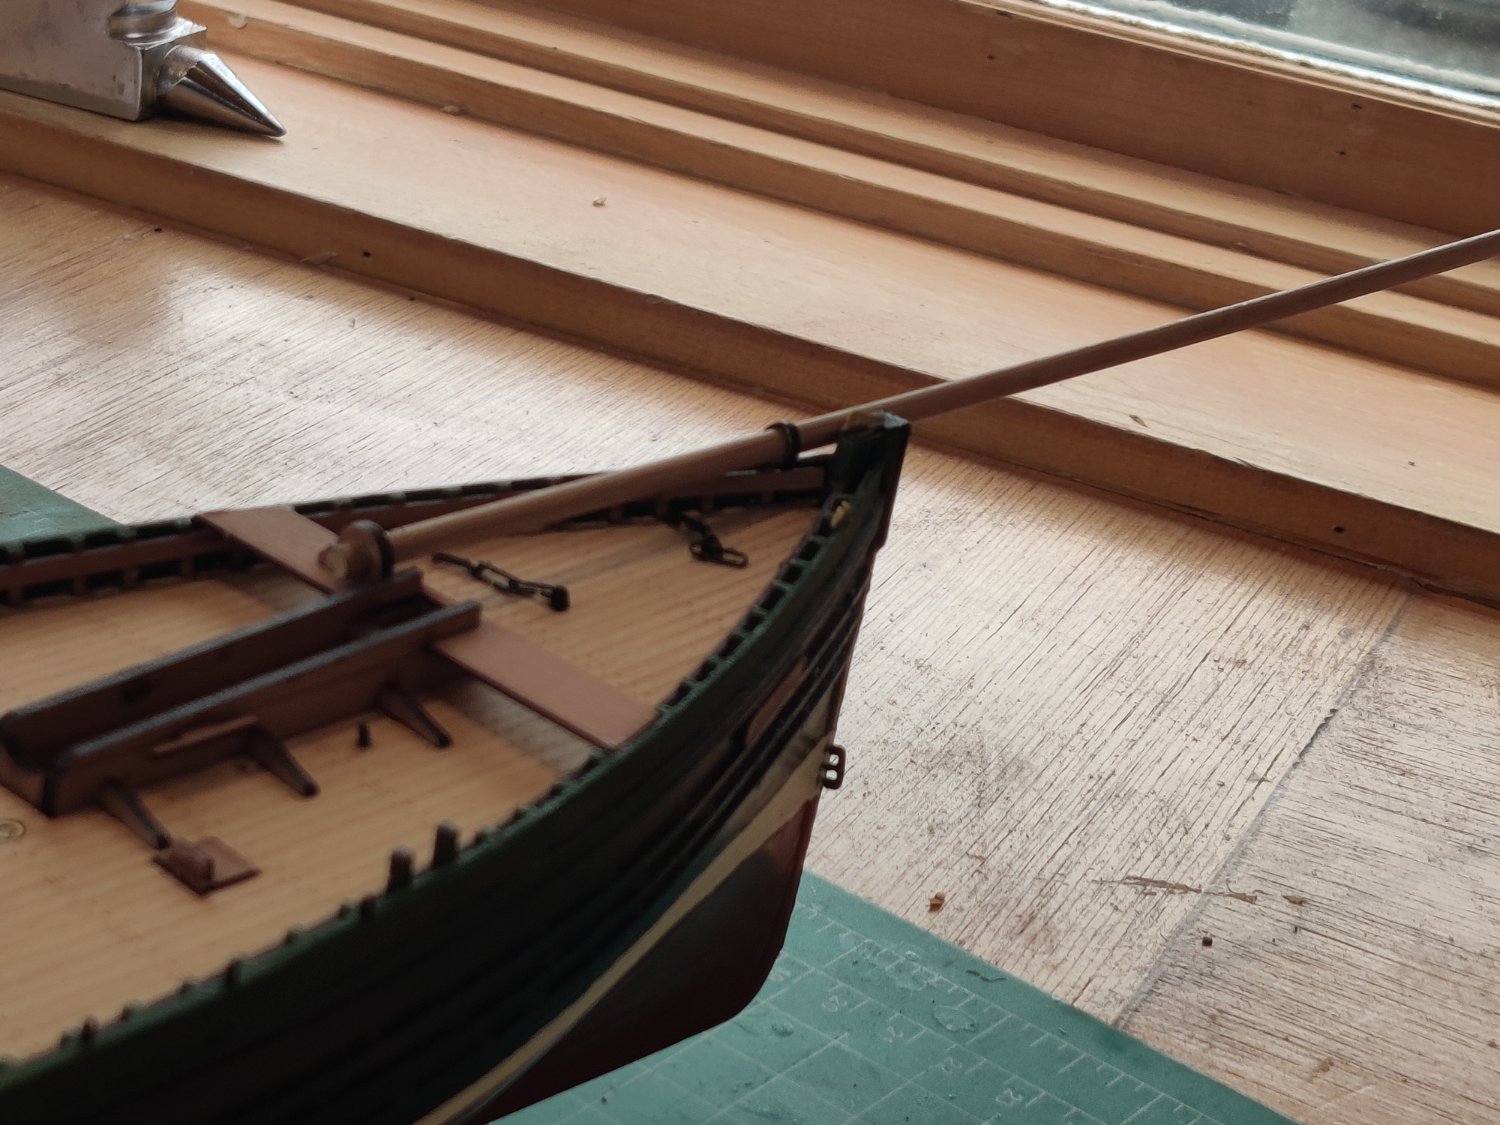
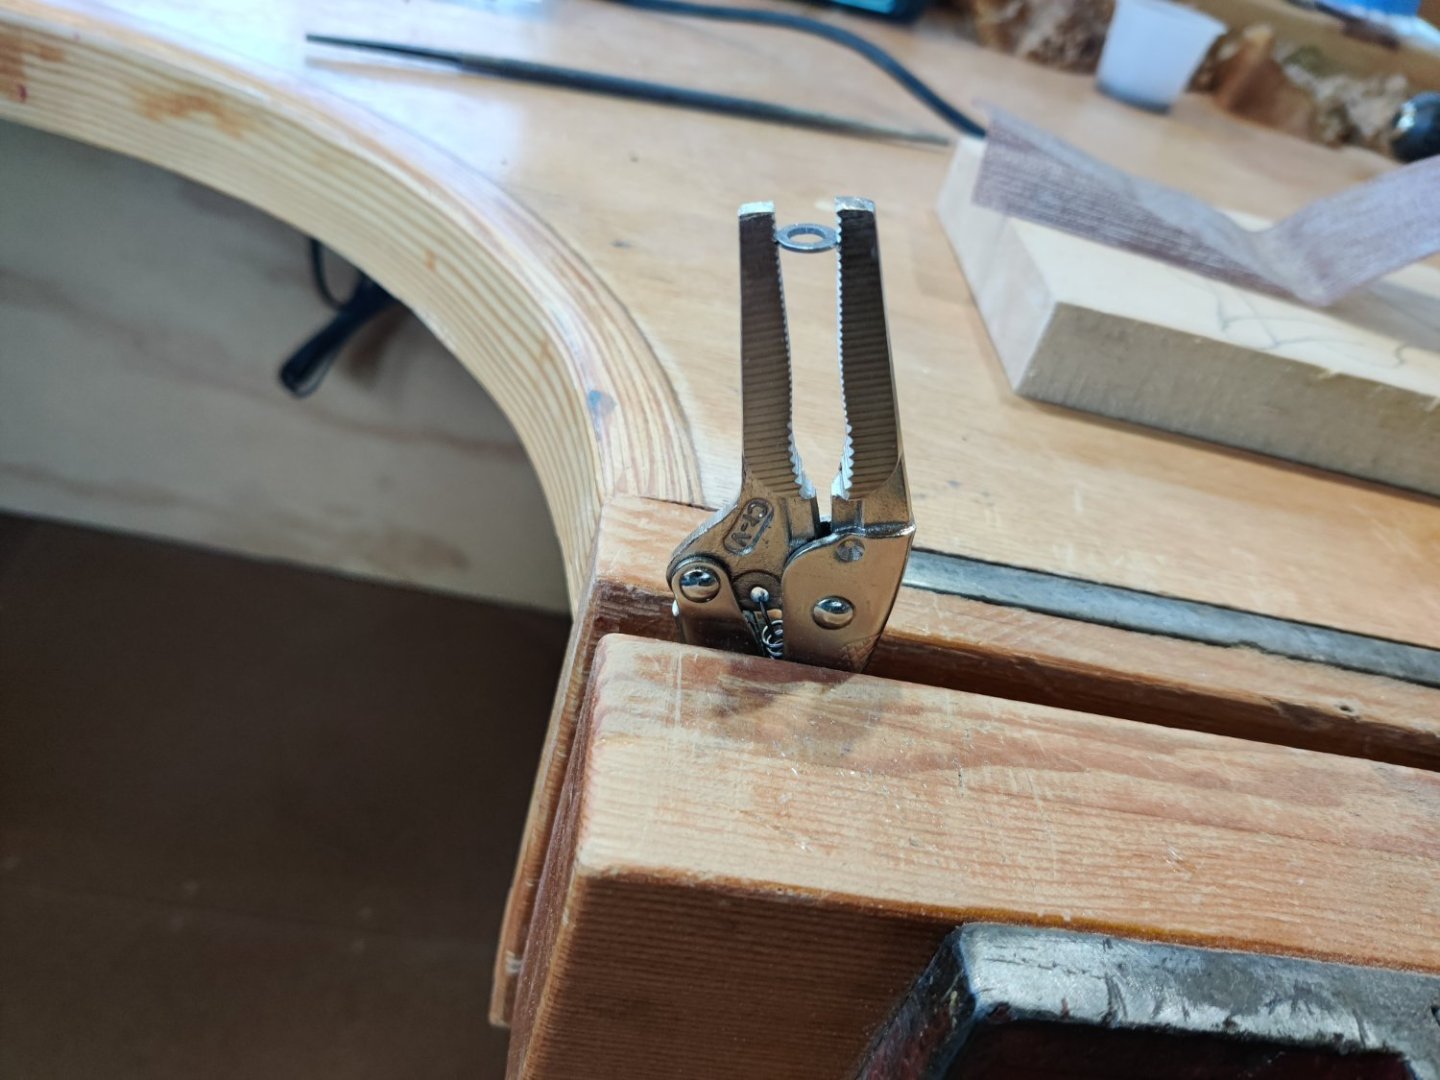
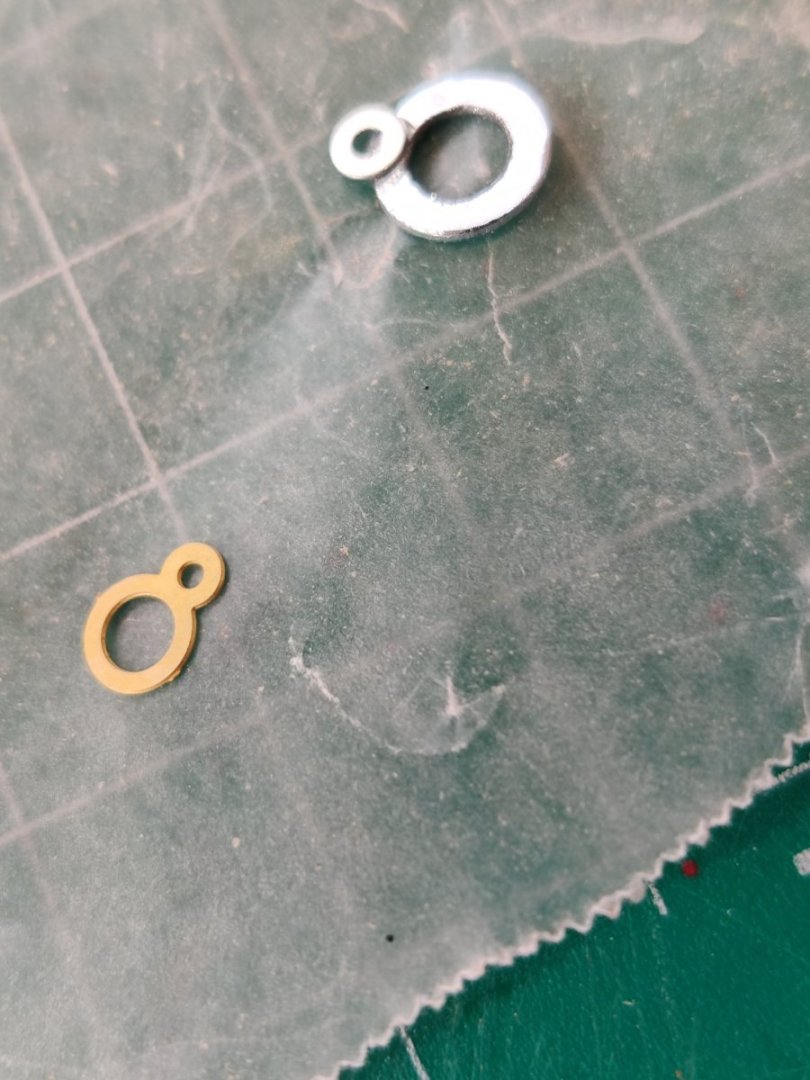
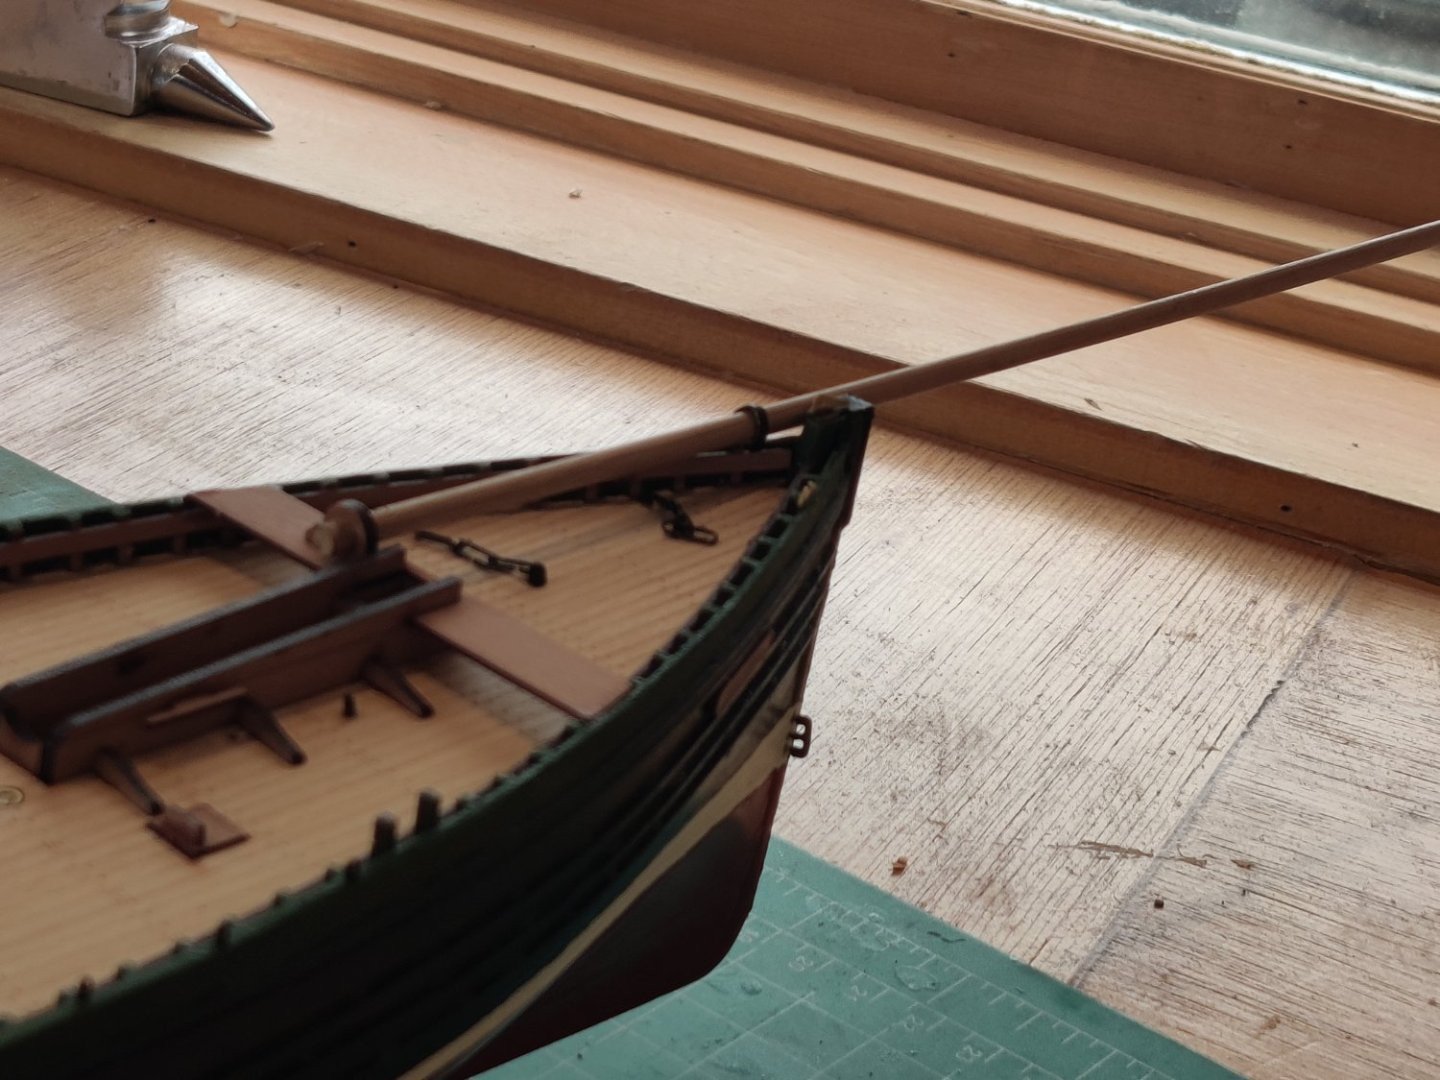
The sails arrived this morning ad I started tapering the masts as per the plans. I started with the main mast which was square walnut. I was using the mast ring piece to determine if I had got it narrow enough. Some how in the process I lost the mast ring piece. I searched for two hours and did not find it. So I decided I would try and make a replacement. I got the smallest washers I could find. I had to drill the center of the larger washer out to get it to match the size in the plans. I clamped the washer in a vice grip, then put the vice grip in my wood vice to keep it secure. I will need to paint it black but it will work. not as elegant as the brass mast ring but it will perform the same function. Now back to tapering.
-
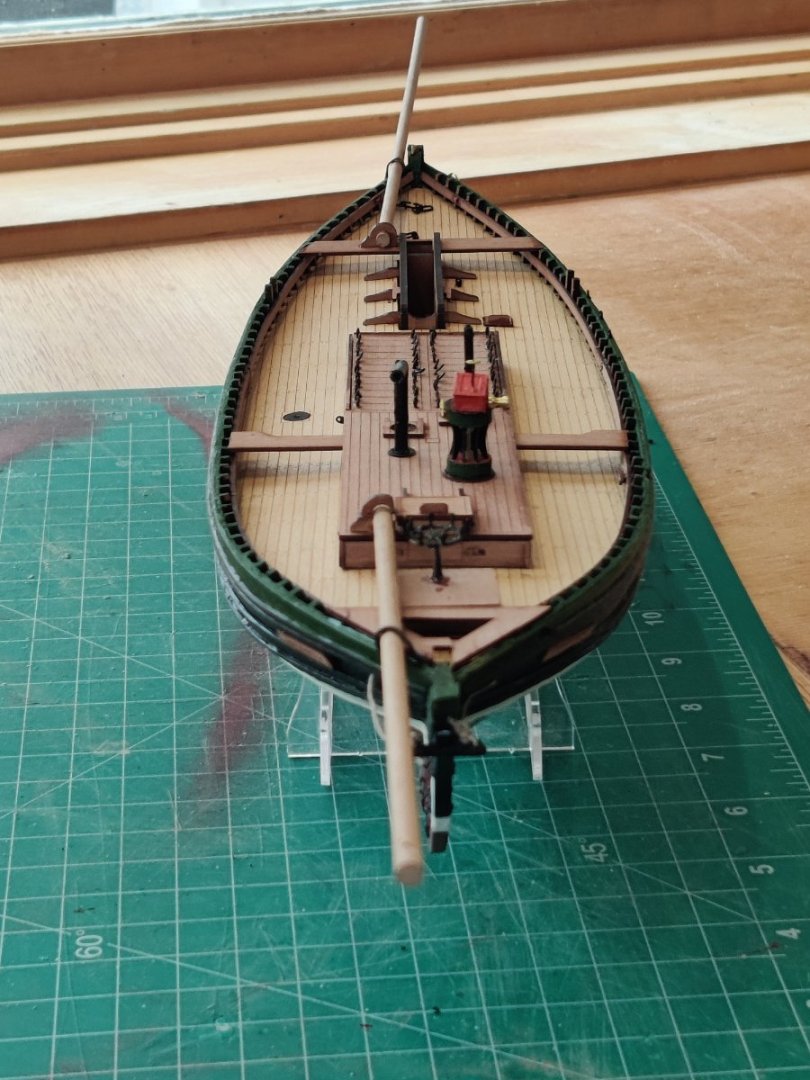
Lady Issabelle is done until the sails arrive. I did not use the wood slings/for the bow sprint mast or the aft spar. Instead I made a metal ring that secures the spars. I have not tapered the spars yet. This has bee a really fun build. Can not wait for the sails and the chance to rig my first boat.

-
I have installed the pins needed for installing the sails. I first drilled the holes and found that the easiest way for installing the tiny pieces was to use the pin insertion tool to grasp them and to put a drop of ca on the tip before inserting.


-
The parts are included with the kit, but it is still challenging due to their small size and fragility.