woodartist
-
Posts
286 -
Joined
-
Last visited
Content Type
Profiles
Forums
Gallery
Events
Everything posted by woodartist
-
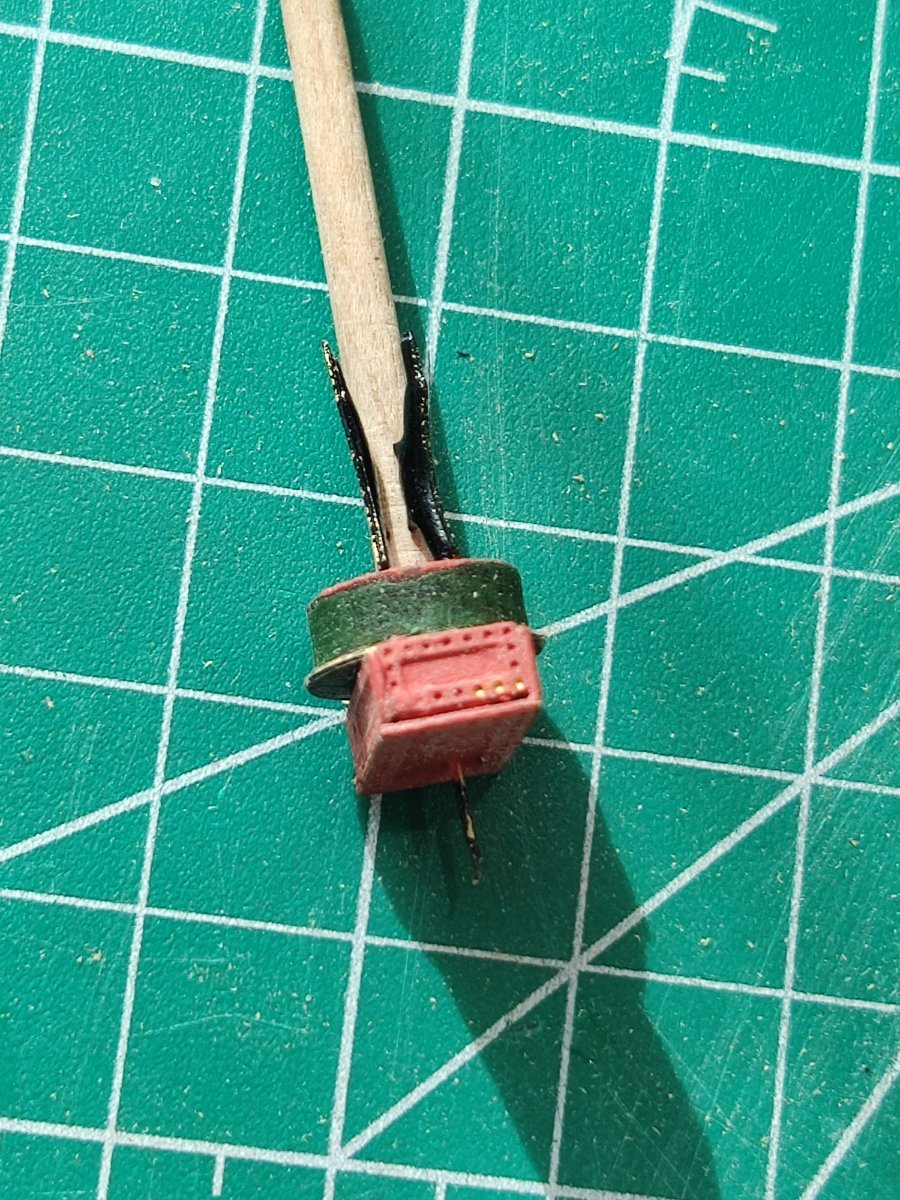
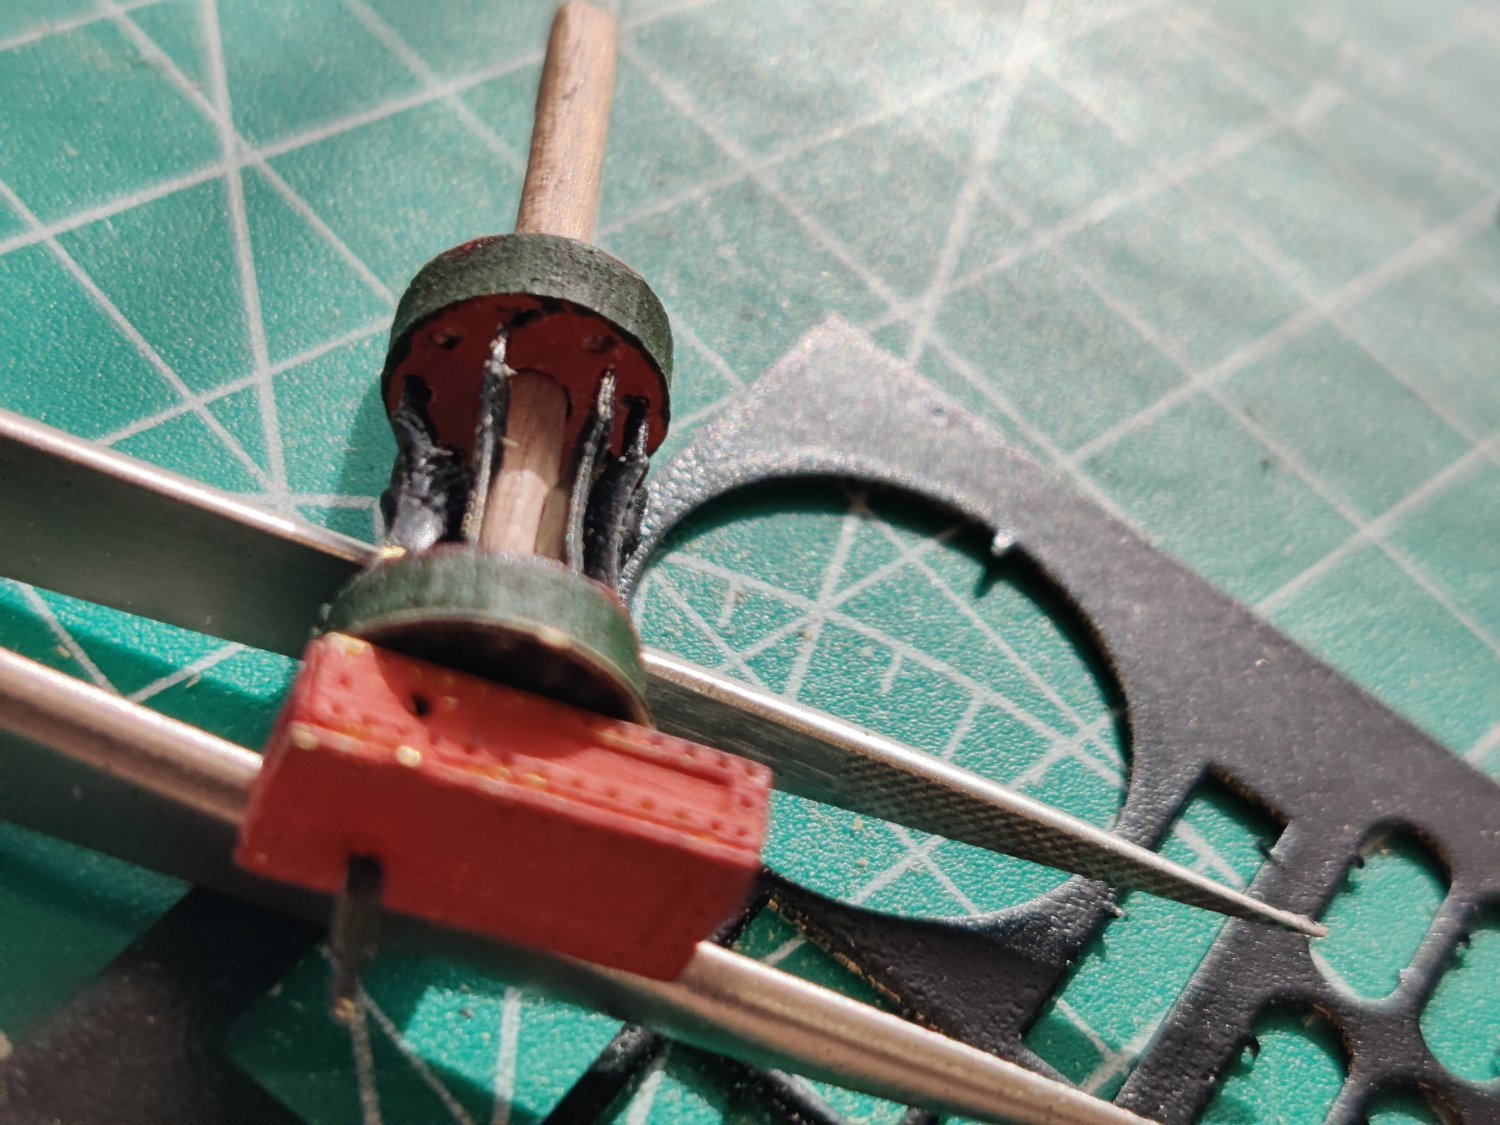
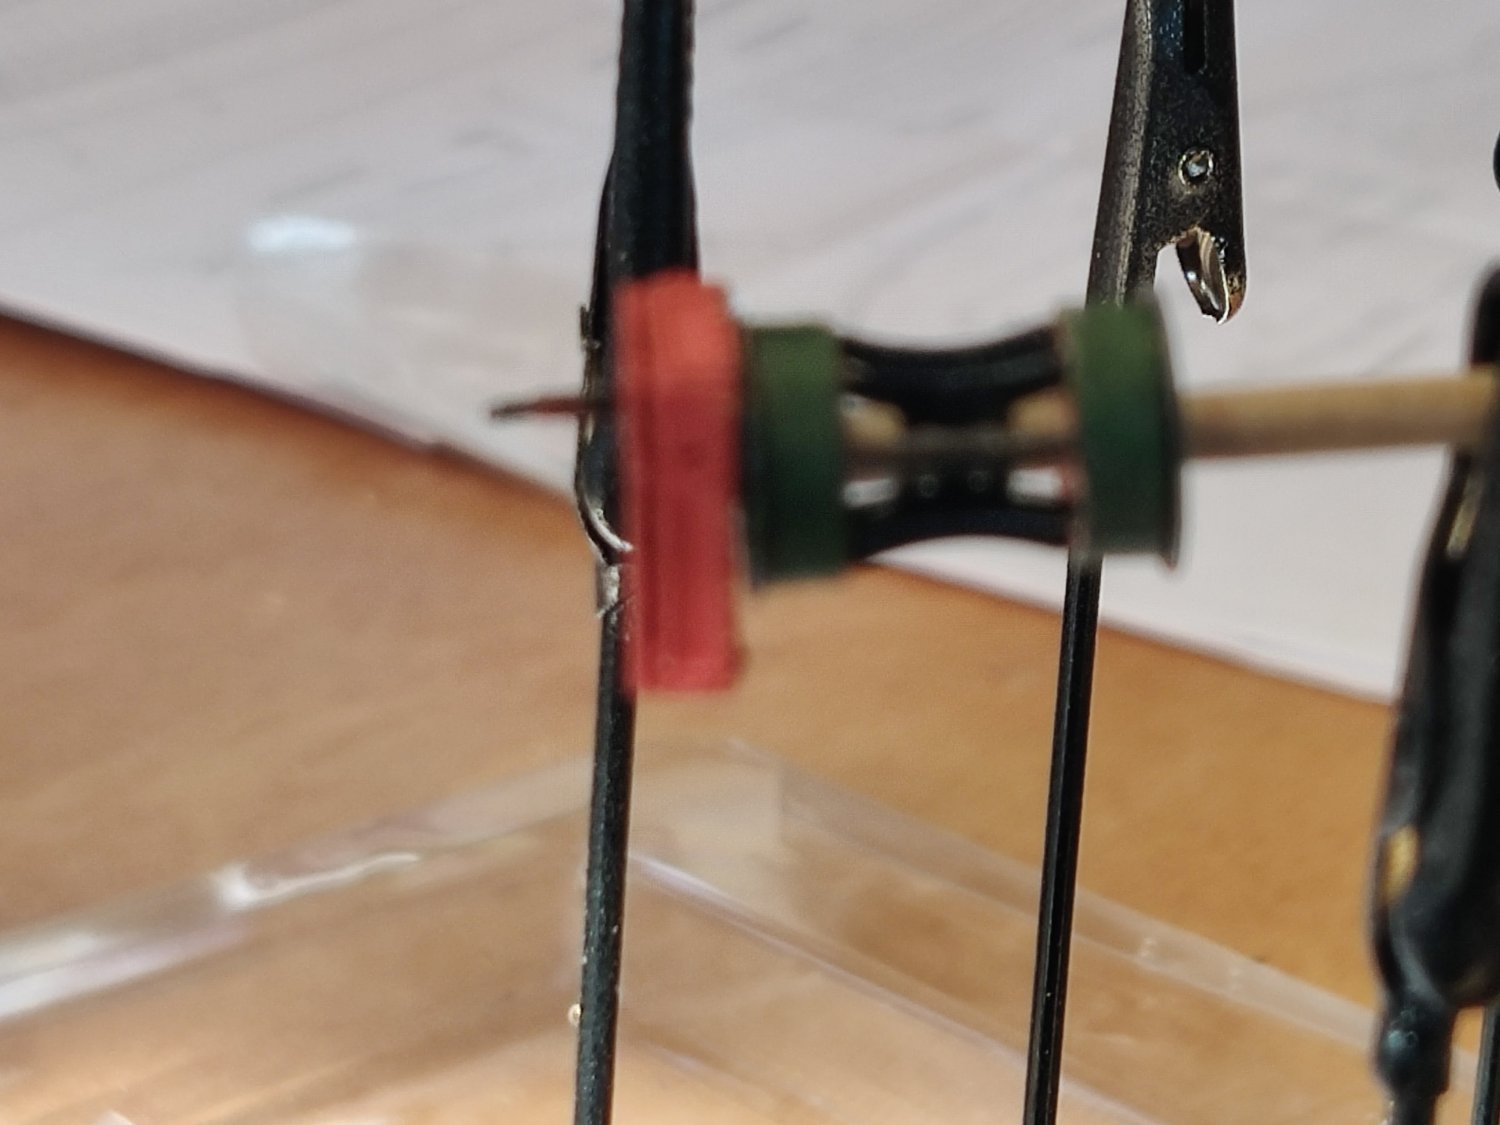
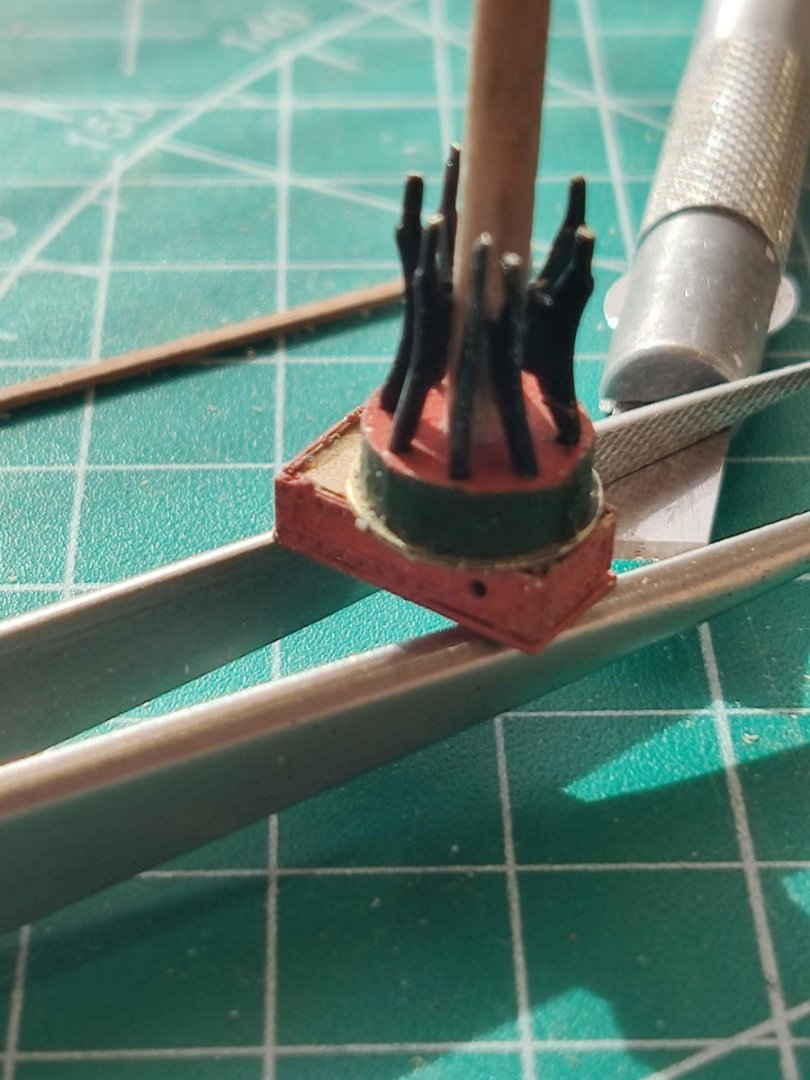
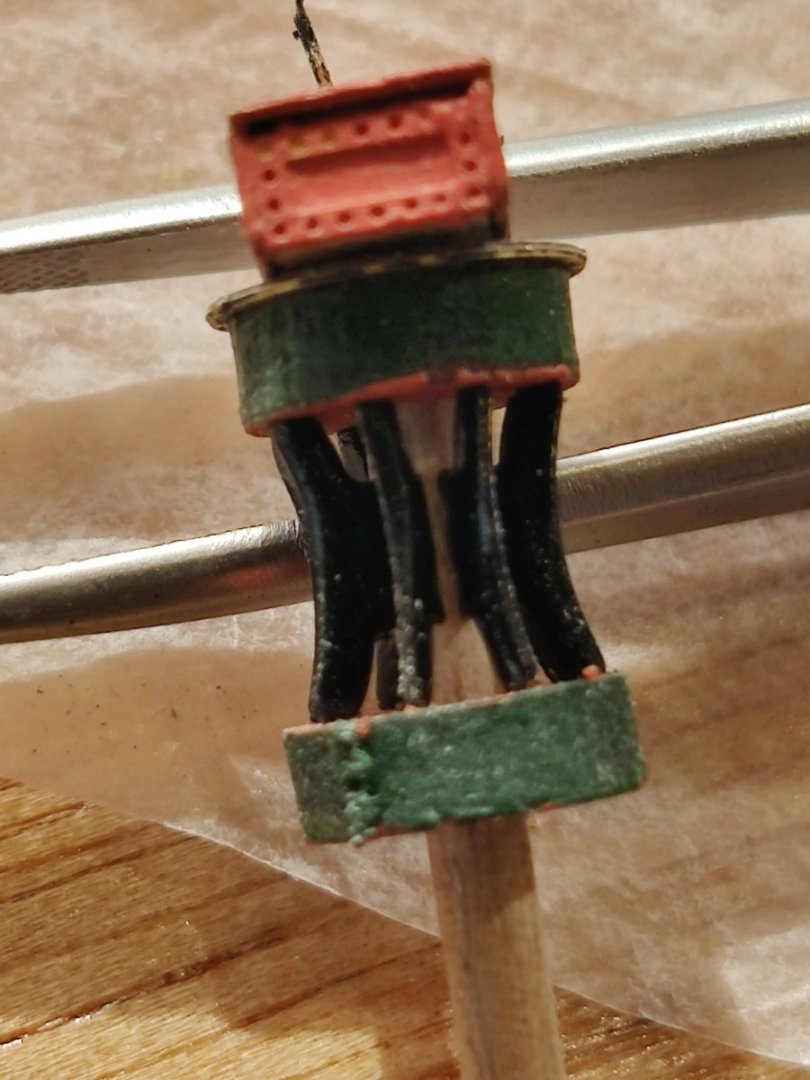
The steam winch completed. Some tips to make it easier: 1. sand the dowel before you cut it until the pieces fit on smoothly. It is much easier to sand while still one piece. 2. paint the pieces before assembly, then do touch up after completed. 3. after the wood circles are painted, re-drill the holes and the inserts will fit in better. 4. Do not install the top stem until after the circle inserts are completed, it is easier to be able to sit it flat when installing the inserts. 5. These inserts are fragile be careful, go slowly, and use fie tweezers to align inserts.


-
Working on the steam powered winch, it is wise to paint the component pieces before starting assembly, and just do touch up painting after assembly. Be sure to sand the dowel before cutting it to the 40mm length, it is much easier to sand then cut to length. Add the brass components that are not to be painted until after the assembly, including the post which is inserted into the orange top piece. It is helpful to have the winch sit flat when inserting the 8 center pieces that are painted black. You will also likely need to re-drill the eight holes for the center pieces after painting.


-
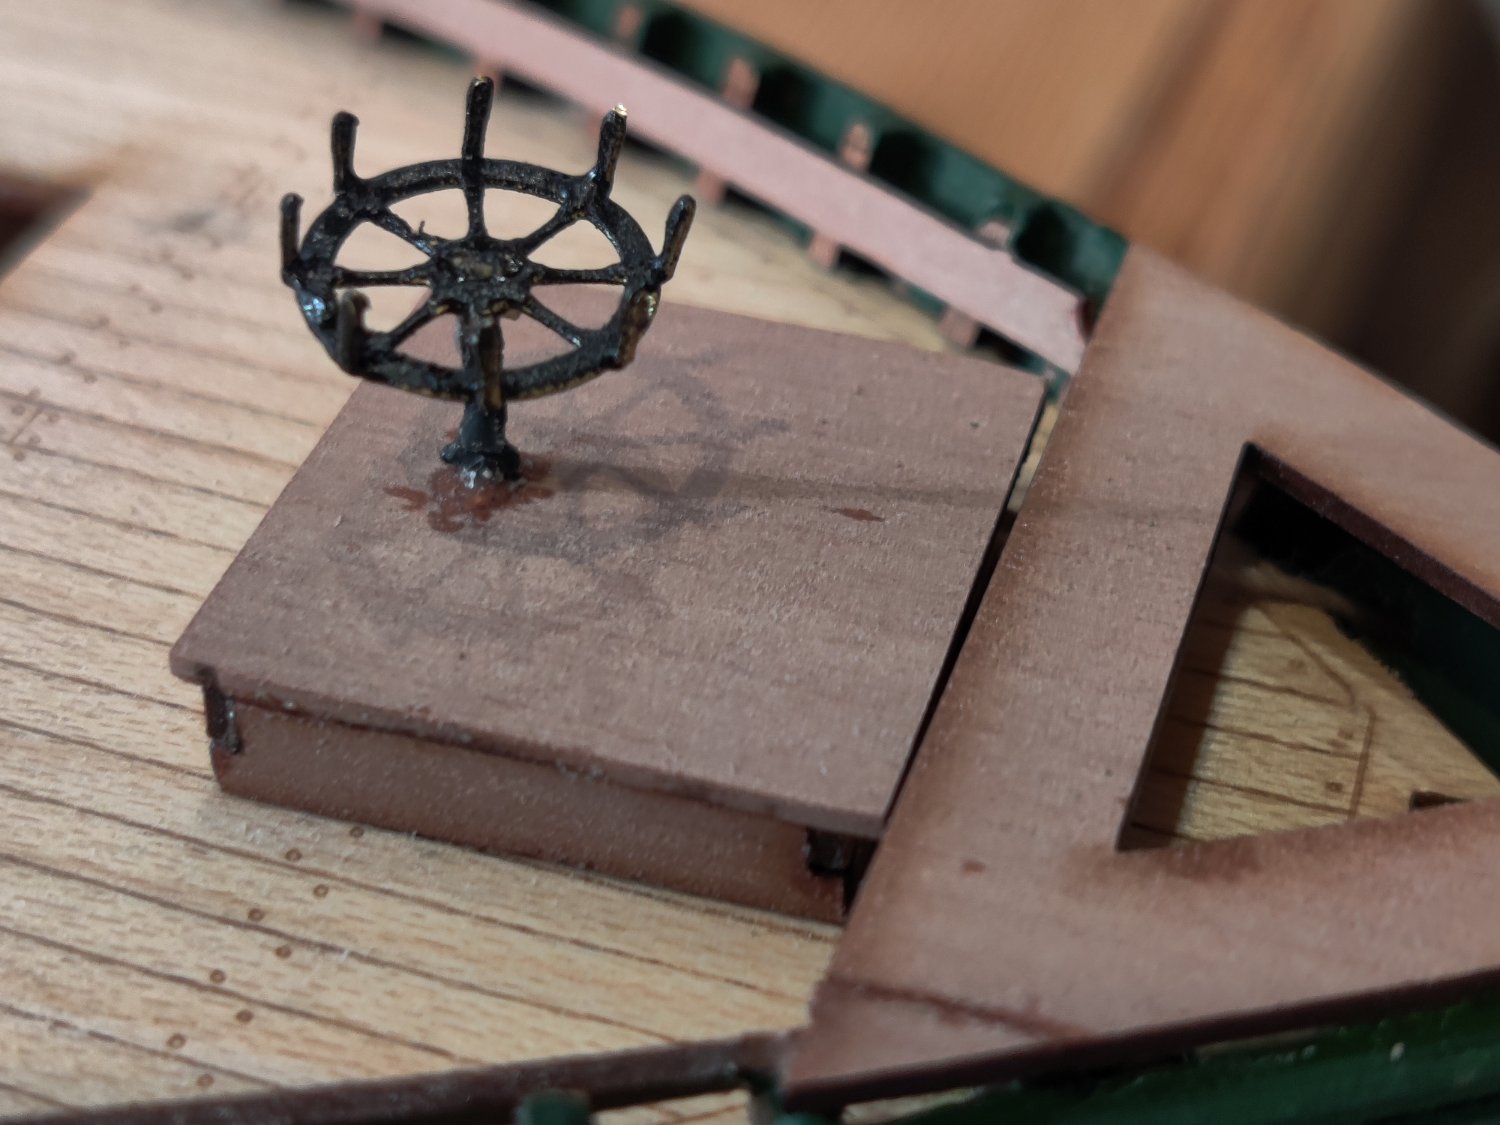
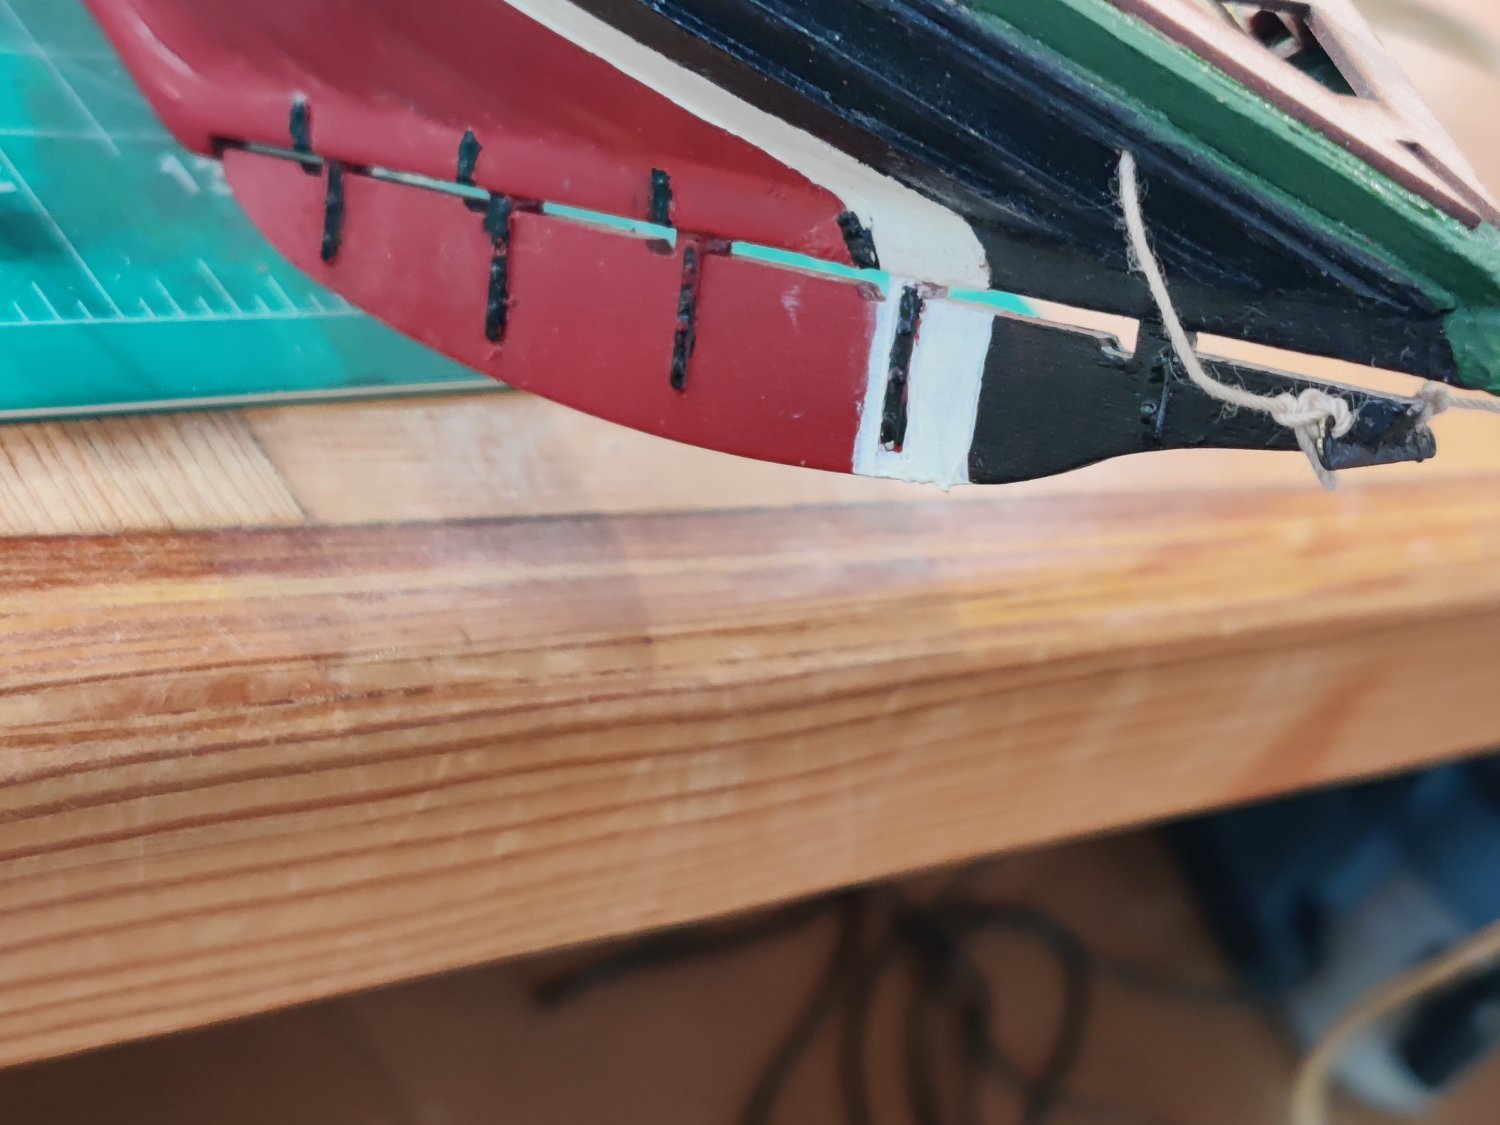
The Steering box is installed with the ropes connected to the rudder. Be very careful when installing the triangular corner in the stern. it is fragile , as can be seen I cracked it and had to reinforce it with glue on the back side but a little CA seeped thru even then.

-
The rudder is in place, and the rope to the helm was threaded into the stern tiller box. Fr newbies it is important to thread the string in the back piece of the steering box before assembling the box. It is much easier that way.

-
I used the same technique on Lady Isabelle, I had the same issue with tick marks. I used the protruding pin on the micrometer to due the measurement.
-
Some tips for novice builders on Lady Isabelle that I learned the hard way: 1.The brass plate that goes on the bow, if you are going to paint it black, wait until it is installed with glue to
paint, drilling the holes for the pins and the hammering of the pins ruins the paint, also the pins are too long at the top of the bow, you need to cut about 1/8" off the pins and it will fine. 2. Go thru all the instructions and identify which brass parts will need to be painted black. It is much easier to spray paint them when they are still connected to the brass plate card. Remove those brass parts that you do not want painted black while they are attached to the brass card before you paint the remainder of the parts. 3.Put the string thru the back of the stern steering box before you assemble the box. 4. Before you paint the bow, put pins in the three holes that will hold the little brass plate. the holes are so small that they disappear when painted. Also if you have sanded the bow the pins may be too long and will stick out the other side and will nee to be trimmed. 5. Before you start putting the 50+ rib pieces on, cover the two large openings on the main deck. I dropped one off the tweezers and it fell into the space and became attached somewhere on the inner hull so I had to make one from the edge of the wood pair card piece. I am sure that there will be more tips I learn the hard way before I am finished.
-
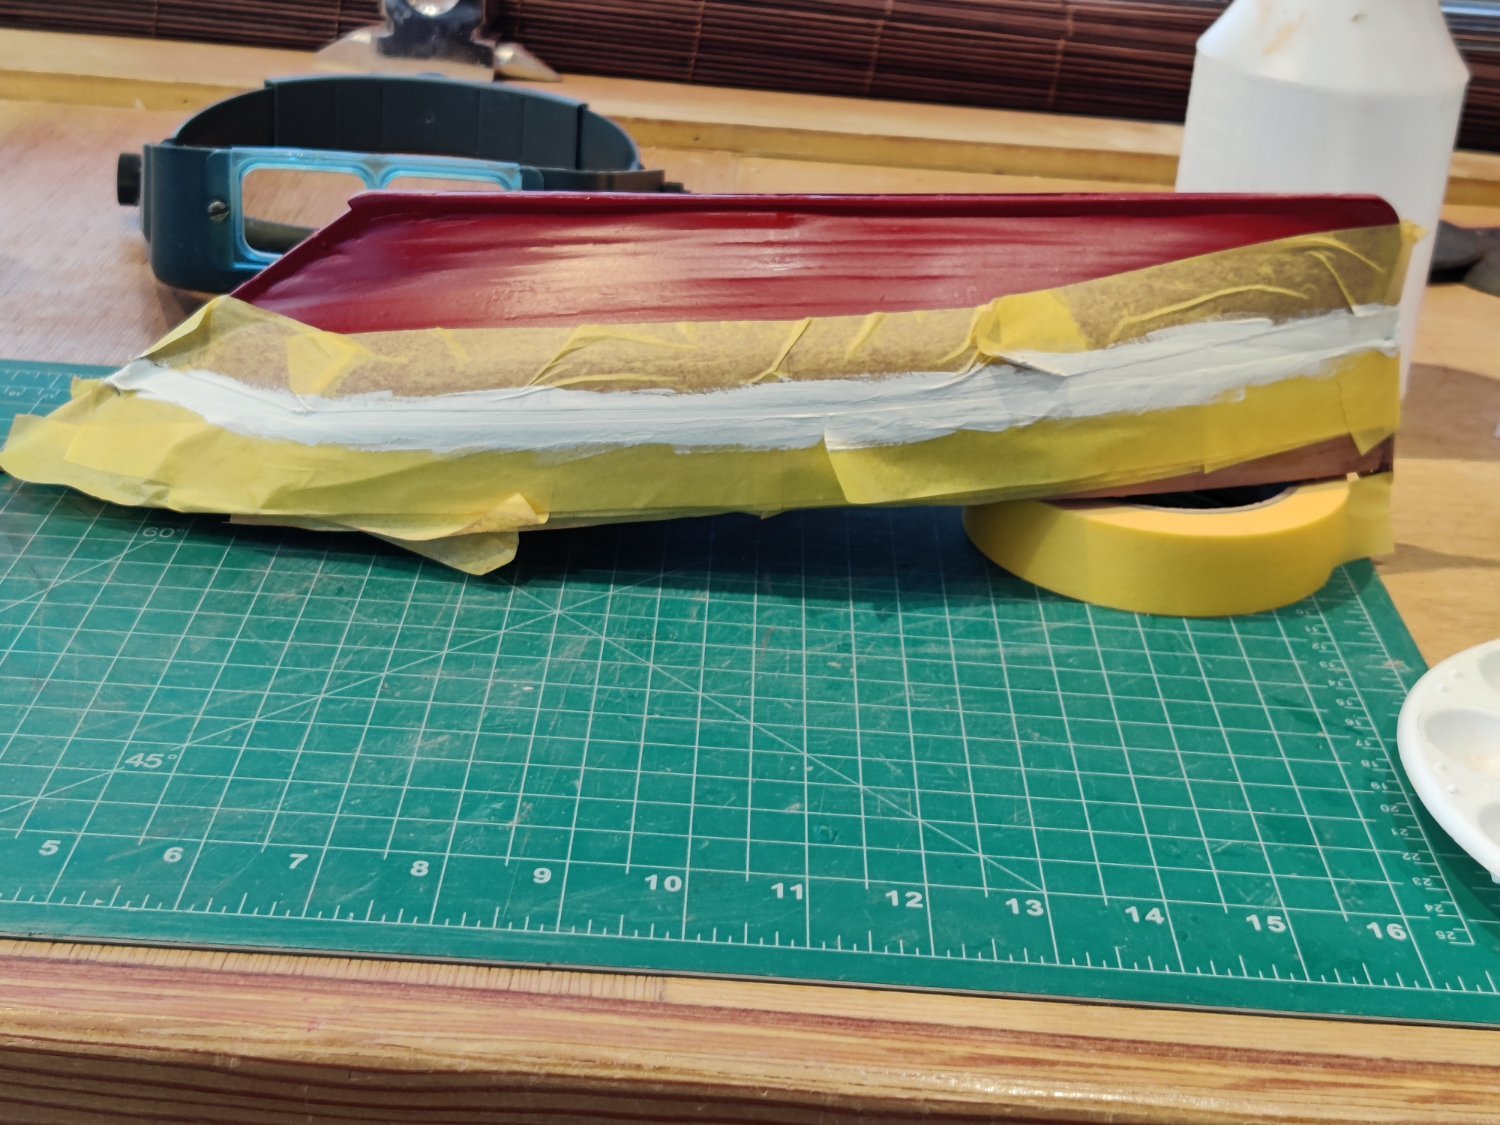
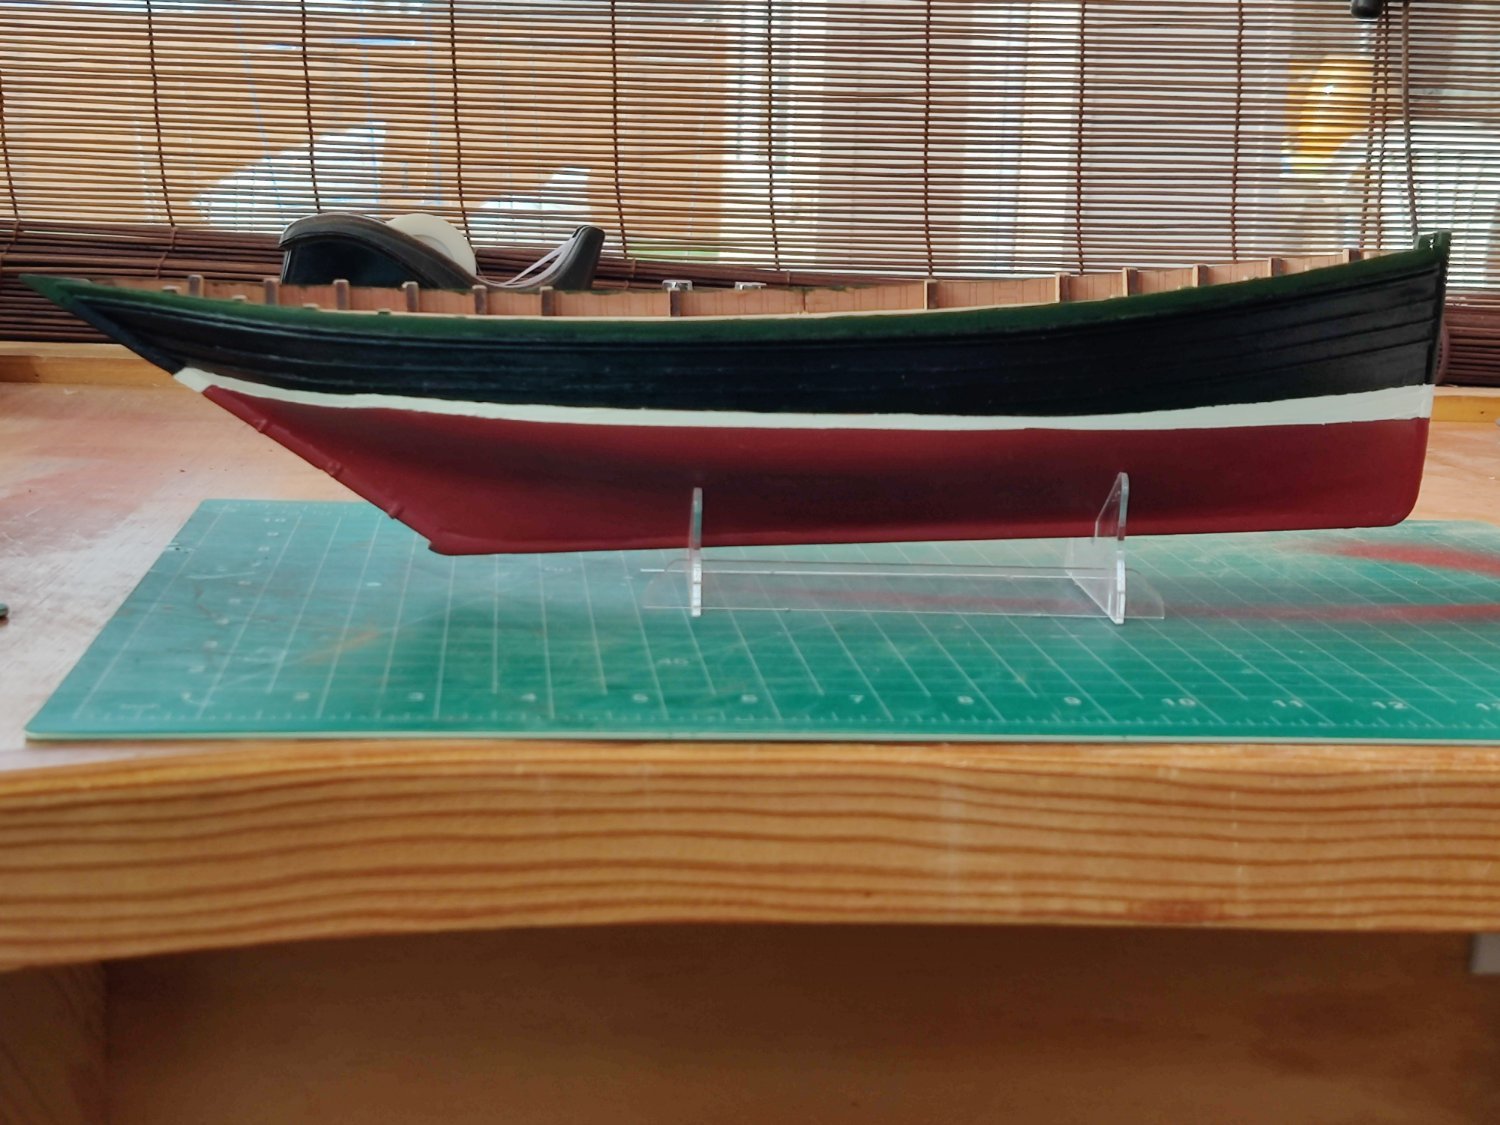
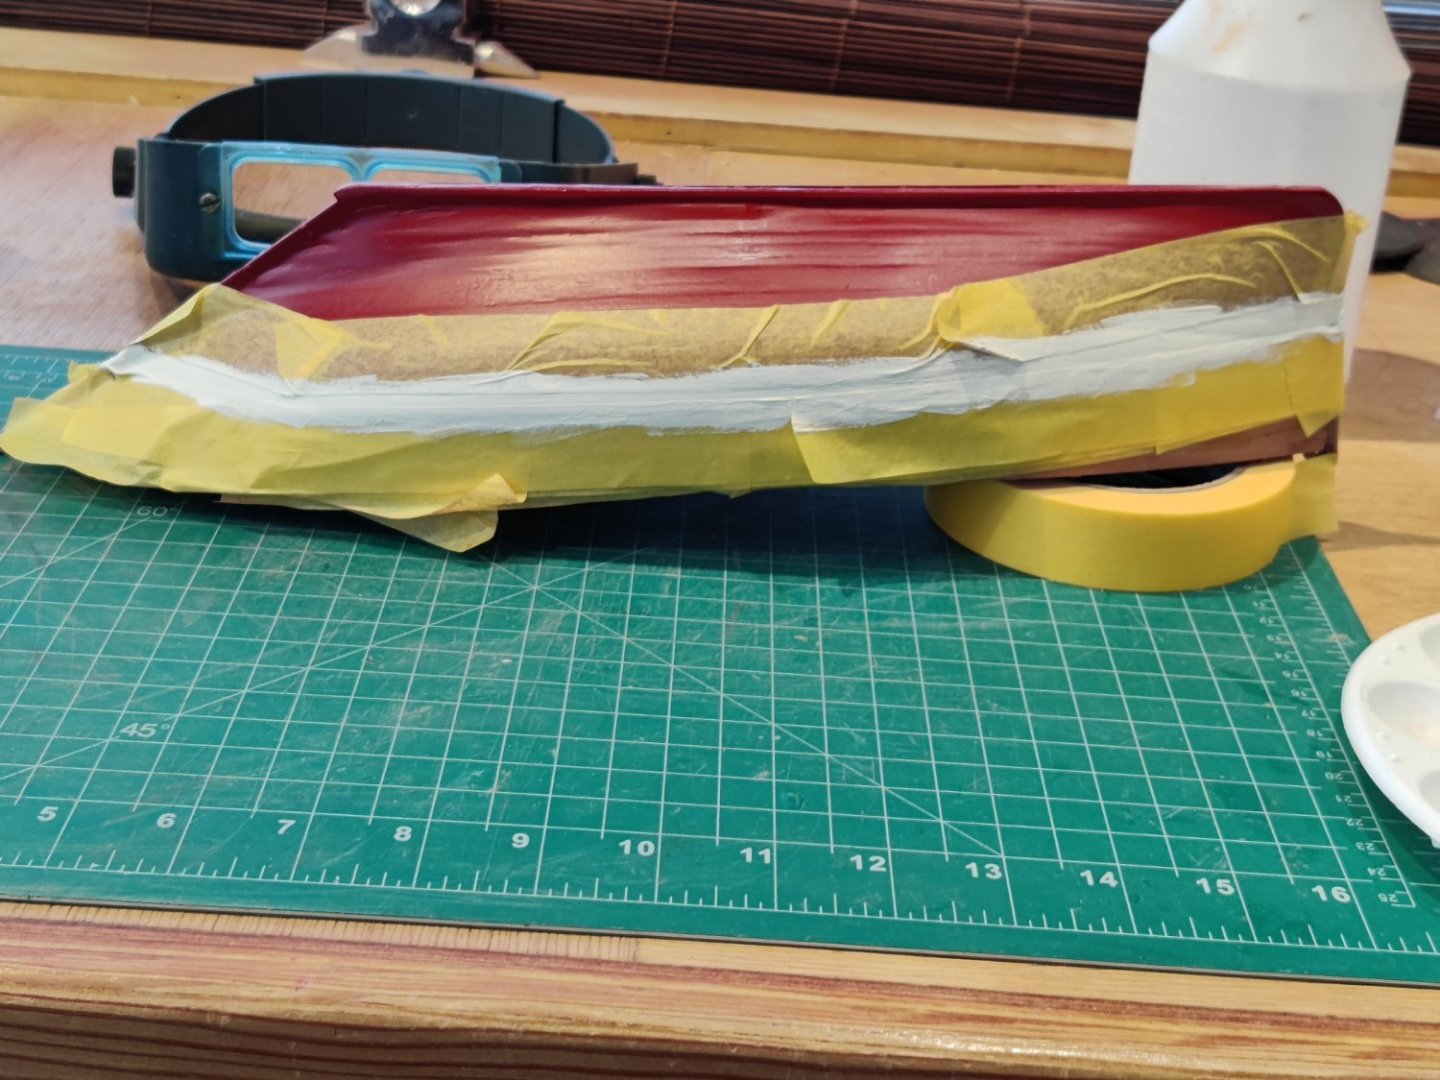
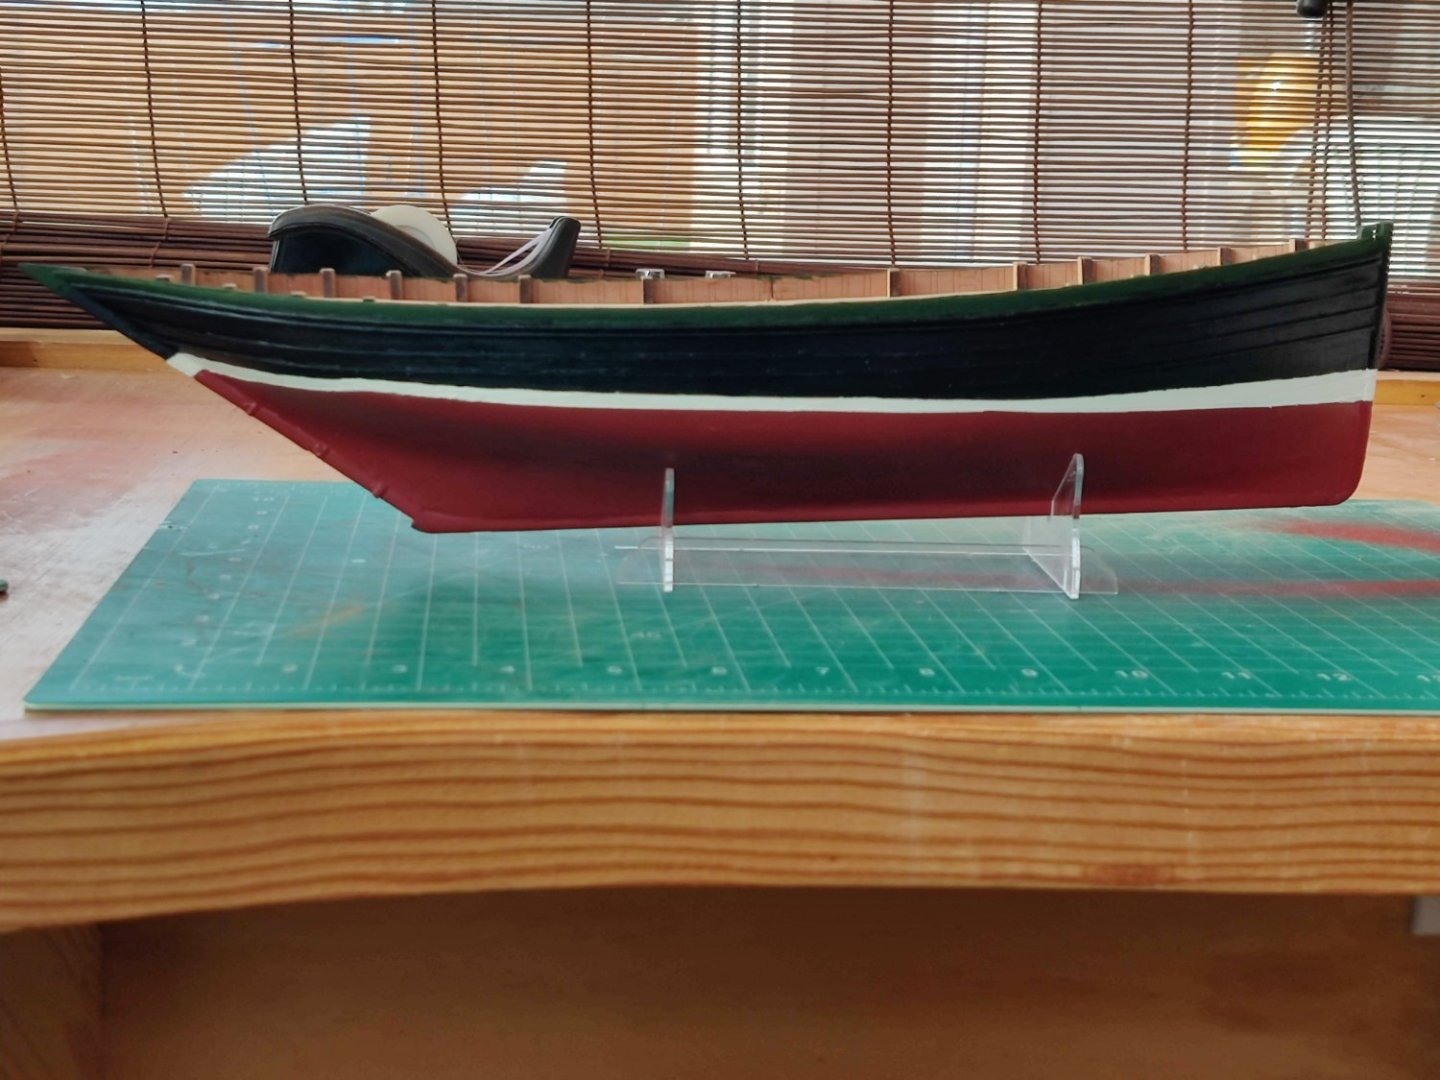
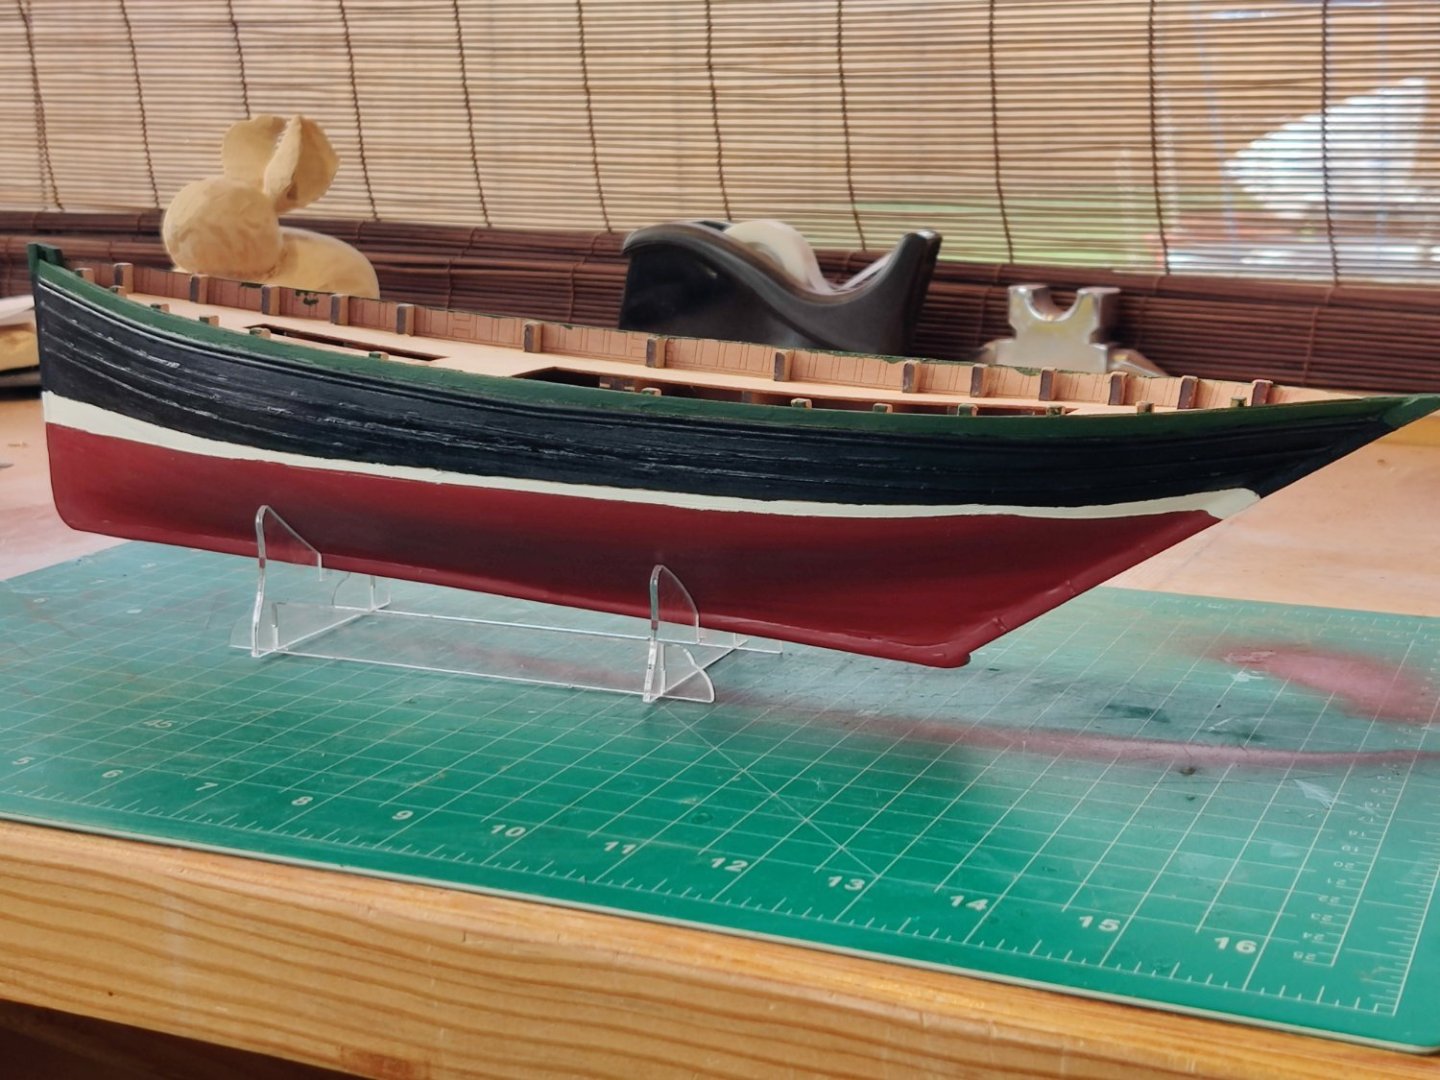
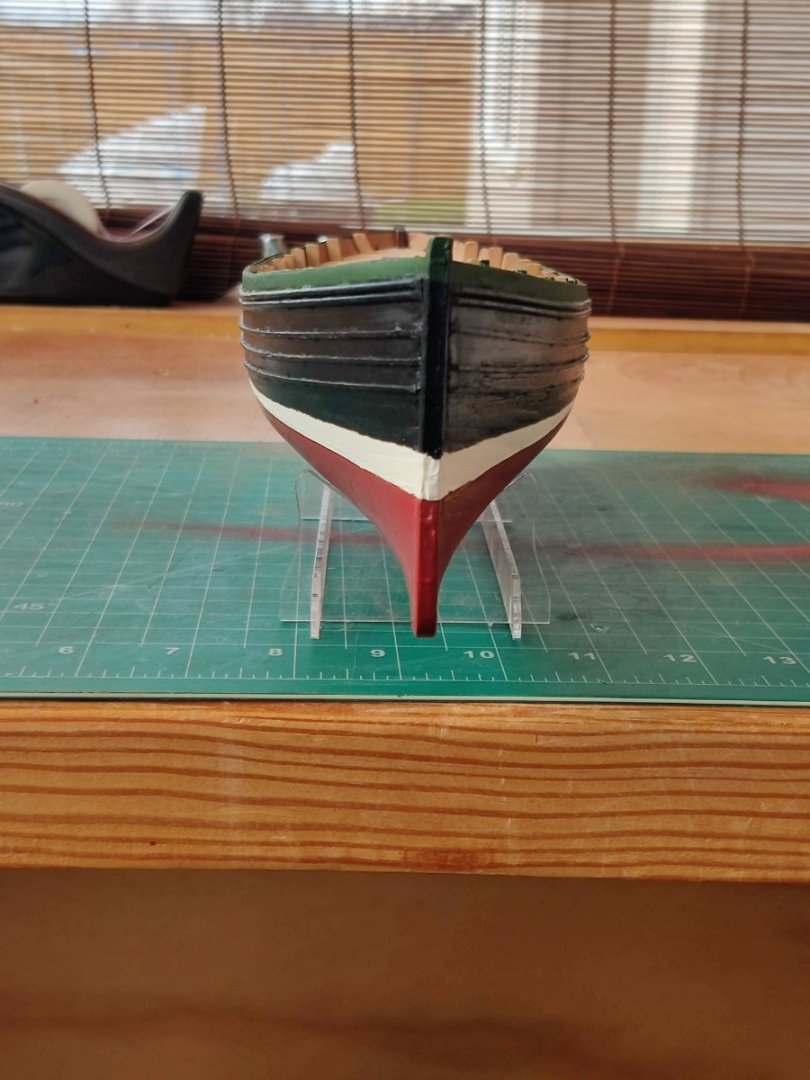
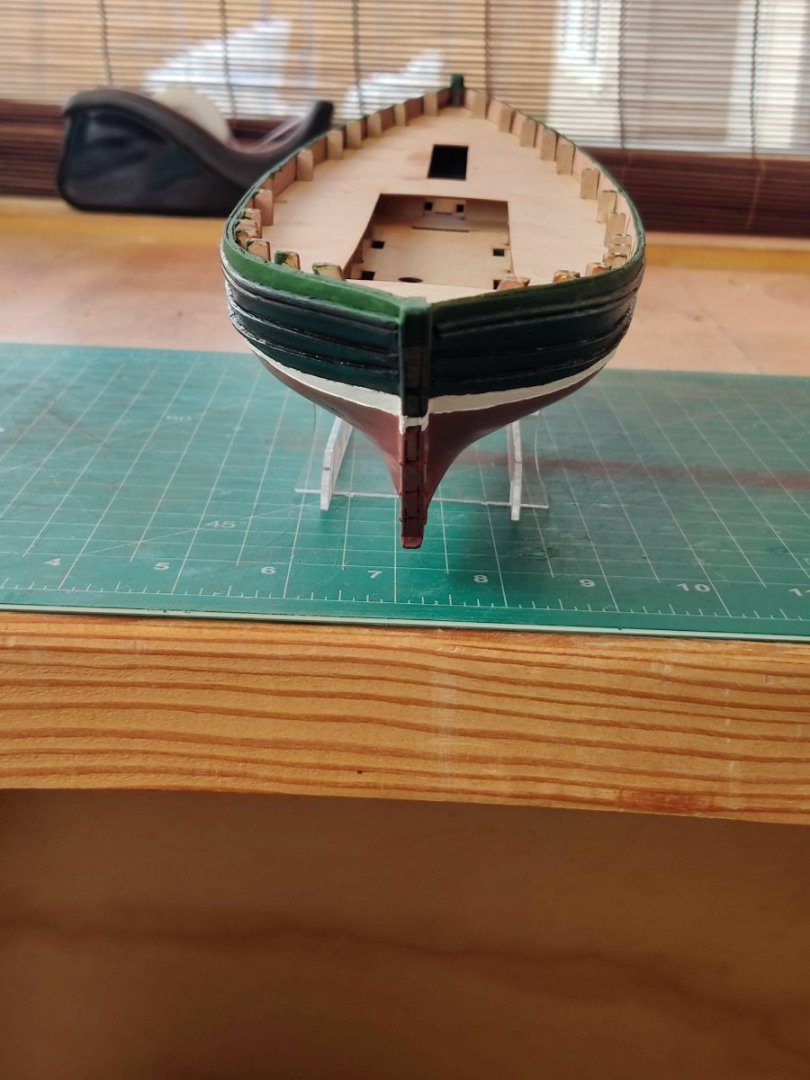
The painting is finished, I sprayed the rust below the waterline, then used a brush to paint the white stripe, added the rubbing rails, the brush painted the black, finished the area above the rails with pine green. Trying to decide whether to also use pine green on the interior sides and contrast that with the natural wood look for the posts and rails.
-
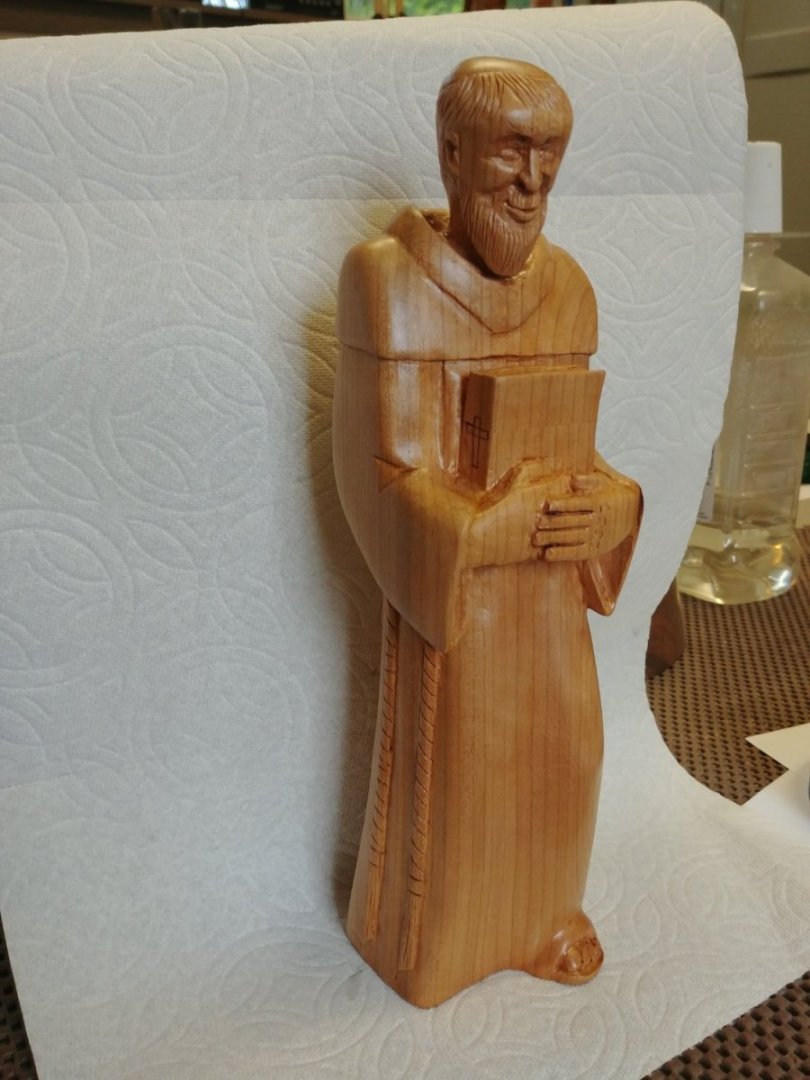
Cherry carves very well, holds detail. is hard to crush, and is not prone to splitting. Below are two carvings I did in cherry.

-
Motored Syren Rope Rocket (Modification)
woodartist replied to modeller_masa's topic in Modeling tools and Workshop Equipment
amazing to see such craftsmanship. impressive!! -
I have really enjoyed The Vanguard kit for Lady Isabelle. The fit is perfect and the instructions complete. Chris is awesome. Looks like you have made a great start. I look forward to watching your progress.
- 95 replies
-
- 1
-

-
- flirt
- vanguard models
- (and 1 more)
-
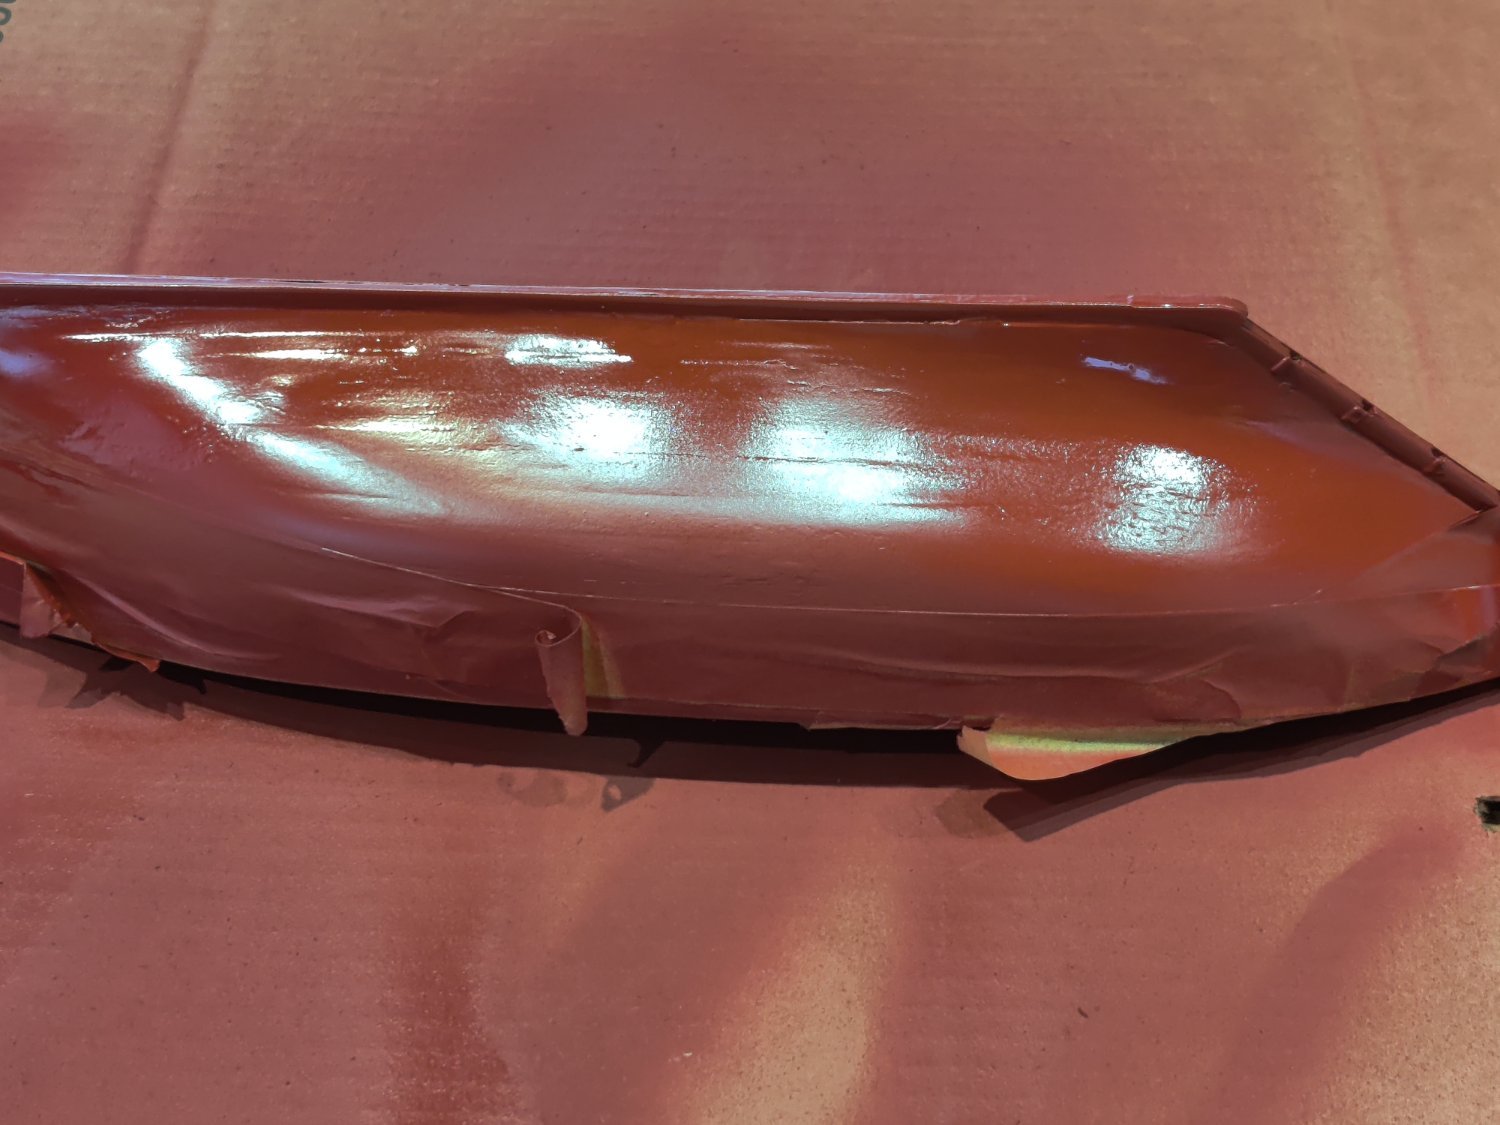
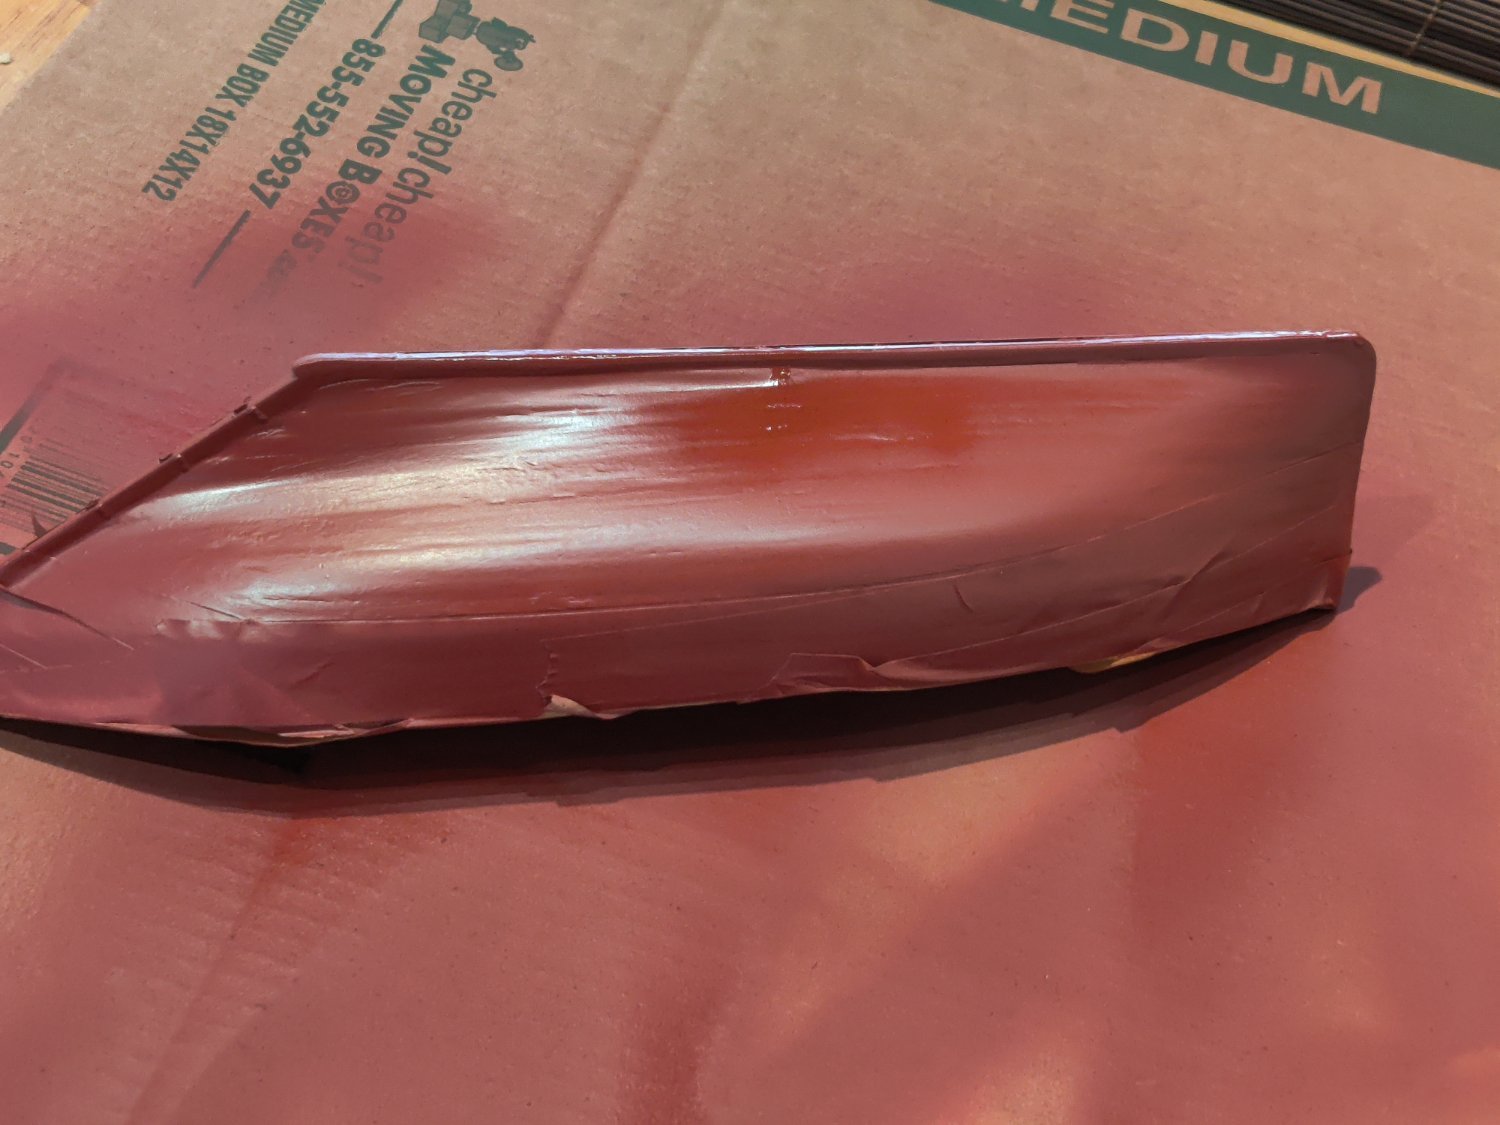
I have painted the hull below the waterline. It has five coats with sanding between each coat. Next is the white line above the waterline and painting the rudder.


-
I really like the GoodFilla! It is water-based, drys quickly, sands easily and really seeps into deep narrow holes. I put it on with a stiffle paint brush to be ensure it gets in every crack. I comes in a multiple colors to match the wood type. I used the "cherry" for the pear wood supplied on my Lady Isabelle kit and it matched perfectly.
- 88 replies
-
- 2
-
-
- Muscongus Bay Lobster Smack
- Finished
- (and 1 more)
-
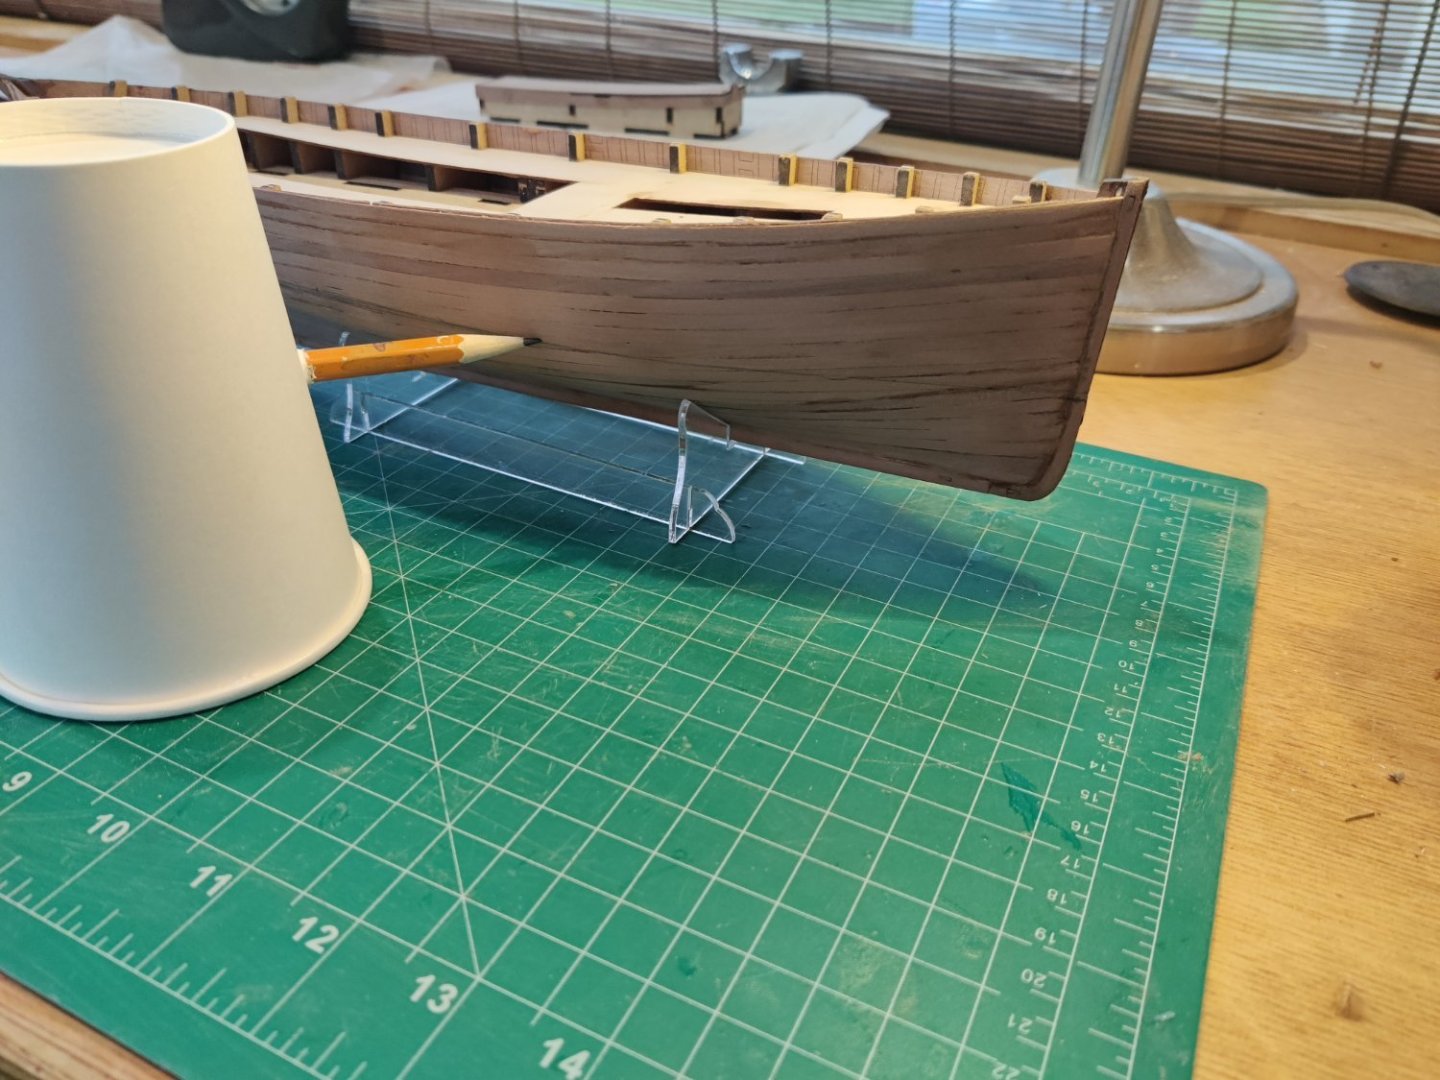
I improvised a large paper cup to use to mark the waterline. I used the calipers to measure where the line was on the plans and centered that distance on the paper cup. I used my power carver to center the hole in the cup to the size of the pencil. I re-checked the starting and ending point with the calipers after I drew in the line for both sides of the hull. I had my daughter hold the boat steady on the plastic base provided, which was necessary to get the line accurate. I hope to get it painted tomorrow.
-
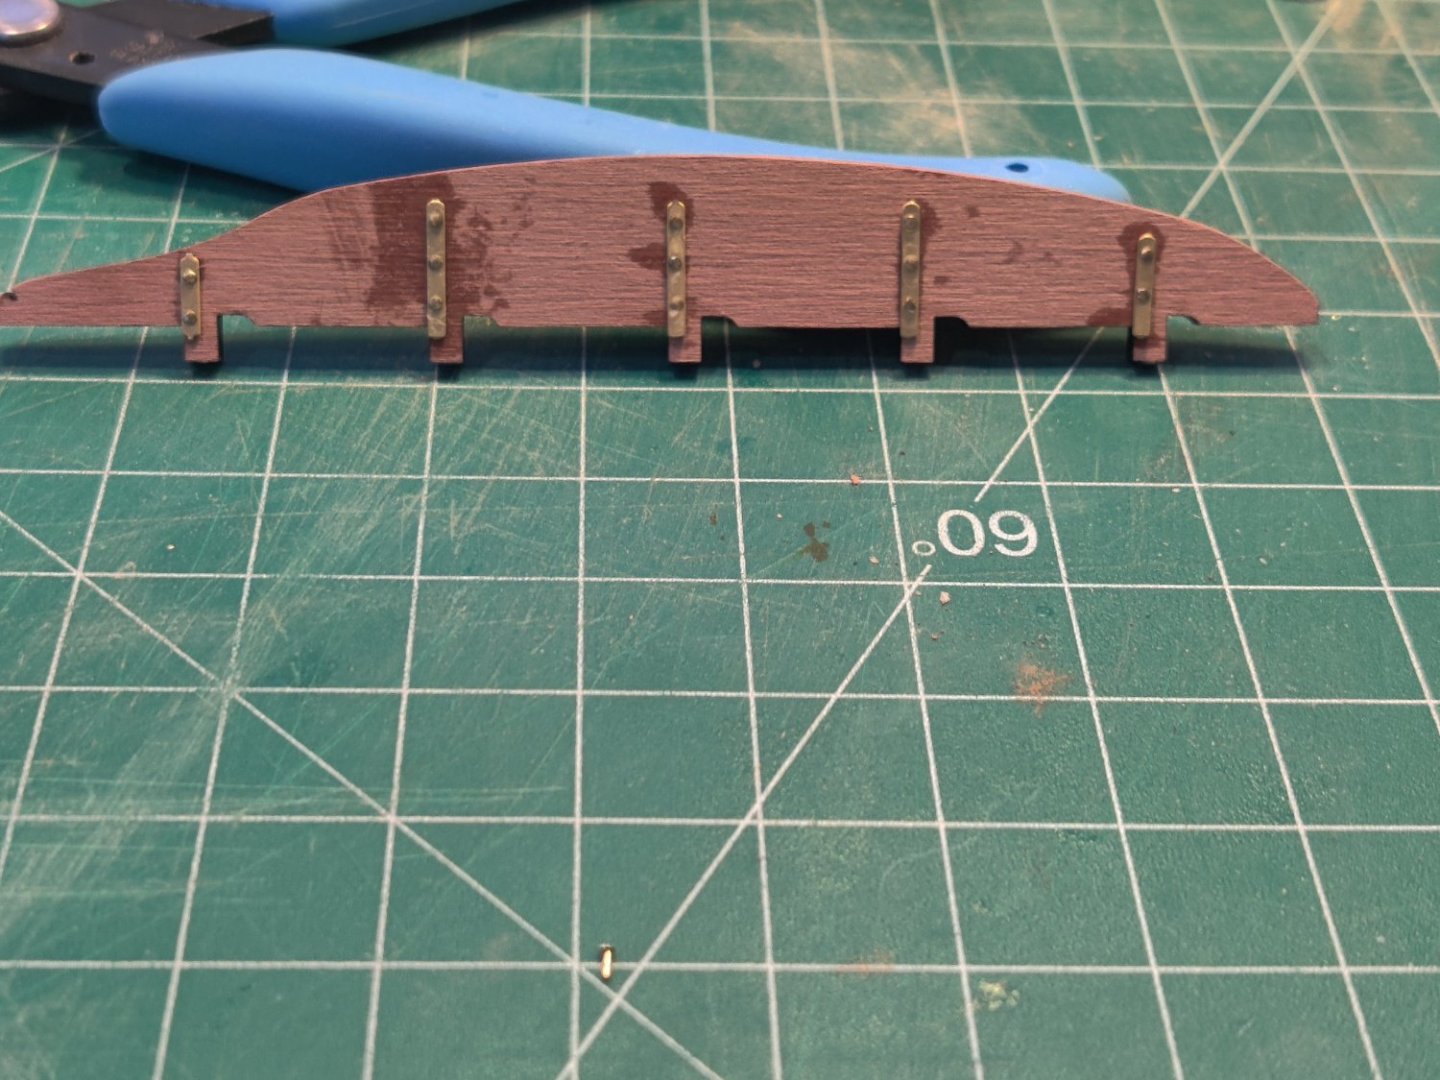
To position the straps I inserted a pin in one of the holes in the strap and pulled it out after I had one of the pins nailed in place. I tried to glue the plate in place and then nail but I could not get it perfectly centered on the holes, so I temporarily pinned it and then nailed it in place and put a drop of CA on afterwards. The acetone does remove the glue but it will tarnish the brass if it gets on the brass. That may not matter if you intend to paint it. I used a Q tip to put the acetate on.
-
The second planking is complete and I have filled the gaps and sanded, then filled the gaps and sanded and then filled the gaps and sanded. It is smooth and the 400 grit final sanding and no gaps. Started finishing the rudder. The pins in the rudder are1.5mm. It was a challenge. I had a little glue over run on one of the clamps. I will use a little acetone to remove it when I finish the other side.

-
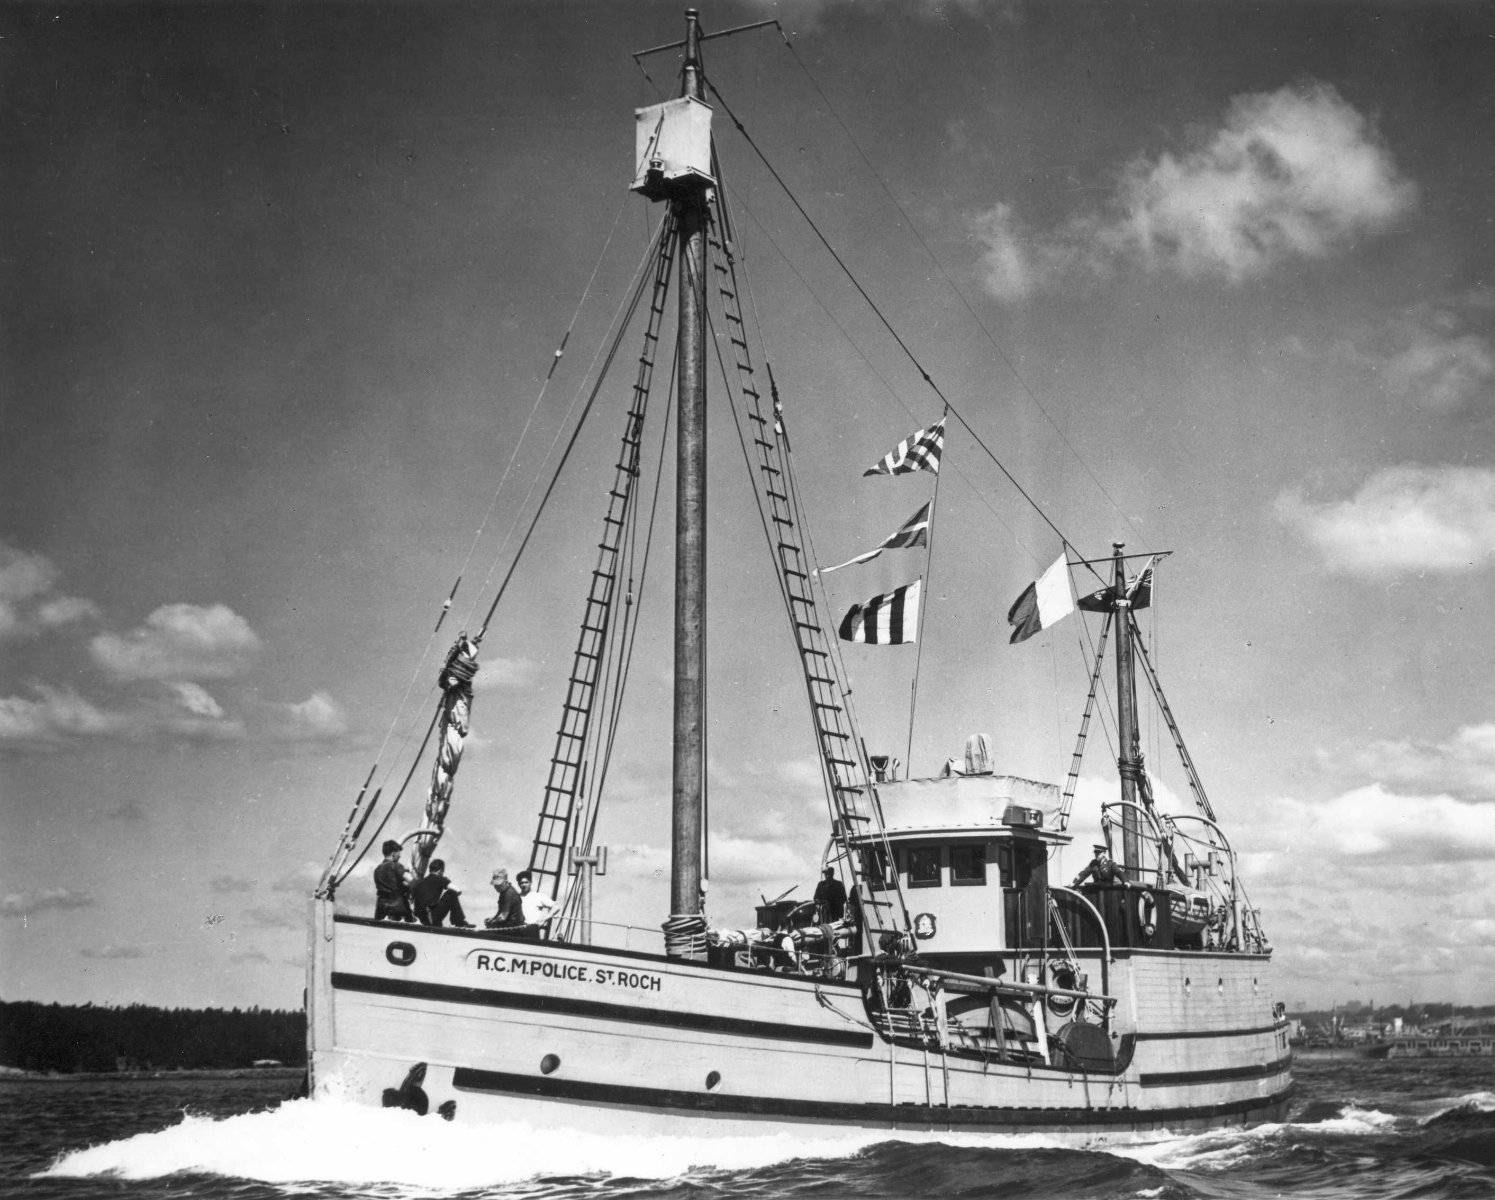
I would like to see St. Roch, a Canadian Mounted Police schooner, the first boat to circumnavigate North America, and the second to Navigate the Northwest Passage.

-
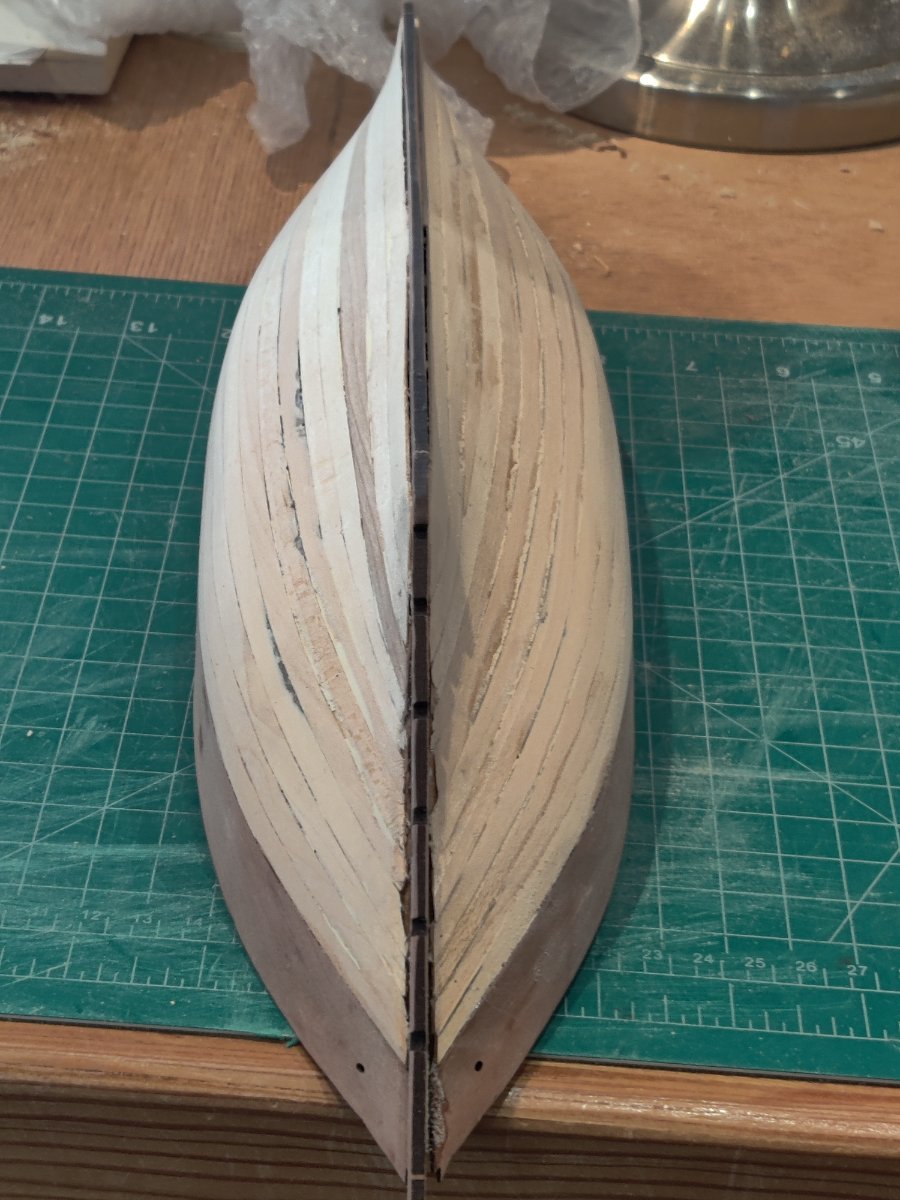
Finished the second planking on one side of hull, about 1/3 of opposite side completed. Using the super glue pen is an improvement. Much less mess. Still need to fill gaps with wood filler and sand. But looking better already.
-
Thanks for the suggestion on using Gorilla Super Glue Gel. I got some and it is so much easier to use, using the squeeze handles give a measured amount of gel.
-
Second planking is proceeding, although slowly. Still have not gotten the knack of using super glue without getting it on adjoining pieces.
-
Second Hull planking is going well so far, the pear wood is really pretty, I am really conflicted about painting over such beautiful wood. I know the instructions are to paint it red below the waterline but I would really hate yo cover this beautiful wood with red paint.

-
it looks awesome to me, I keep reading you log daily, to get my mind adjusted to going back to Connie 2. However the knowledge I have gained on planking Lady Isabelle will surely pay dividends when I return.
-
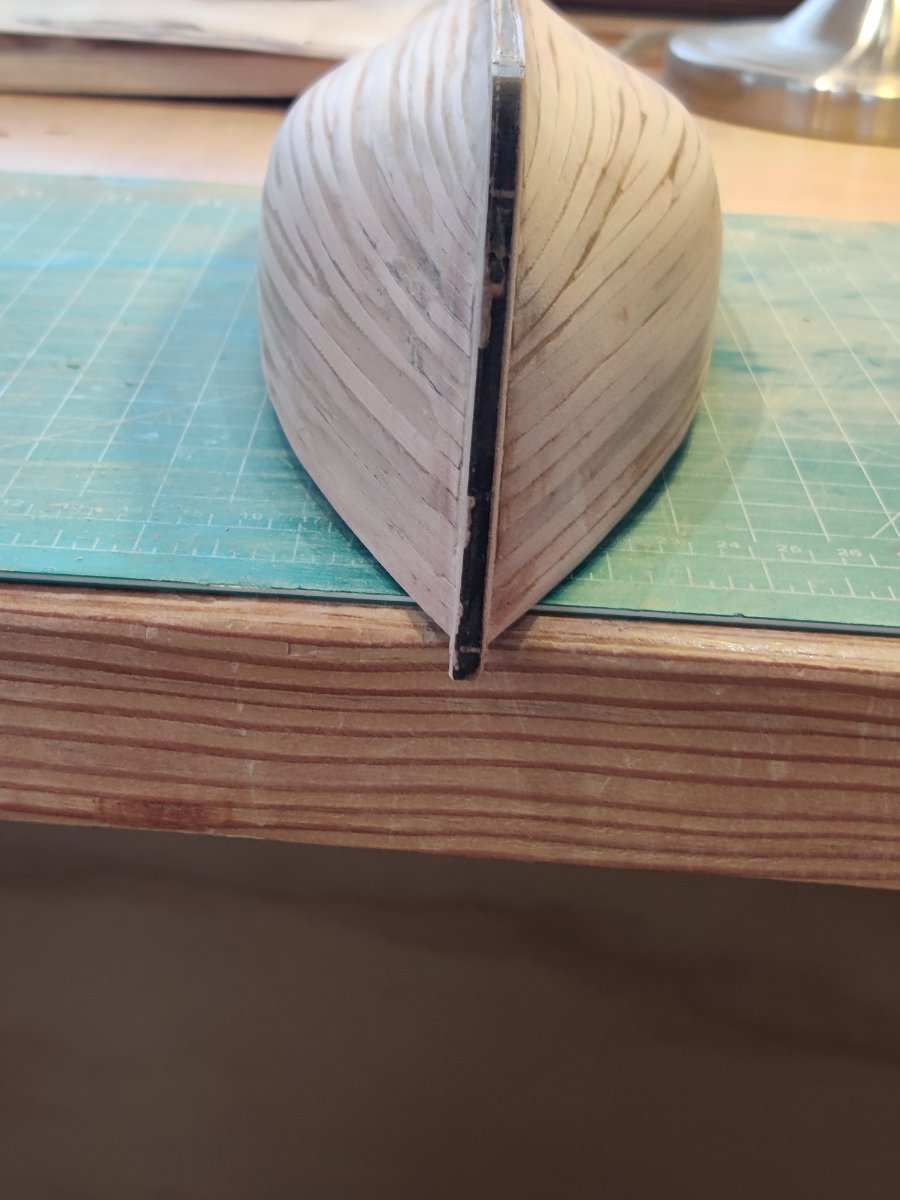
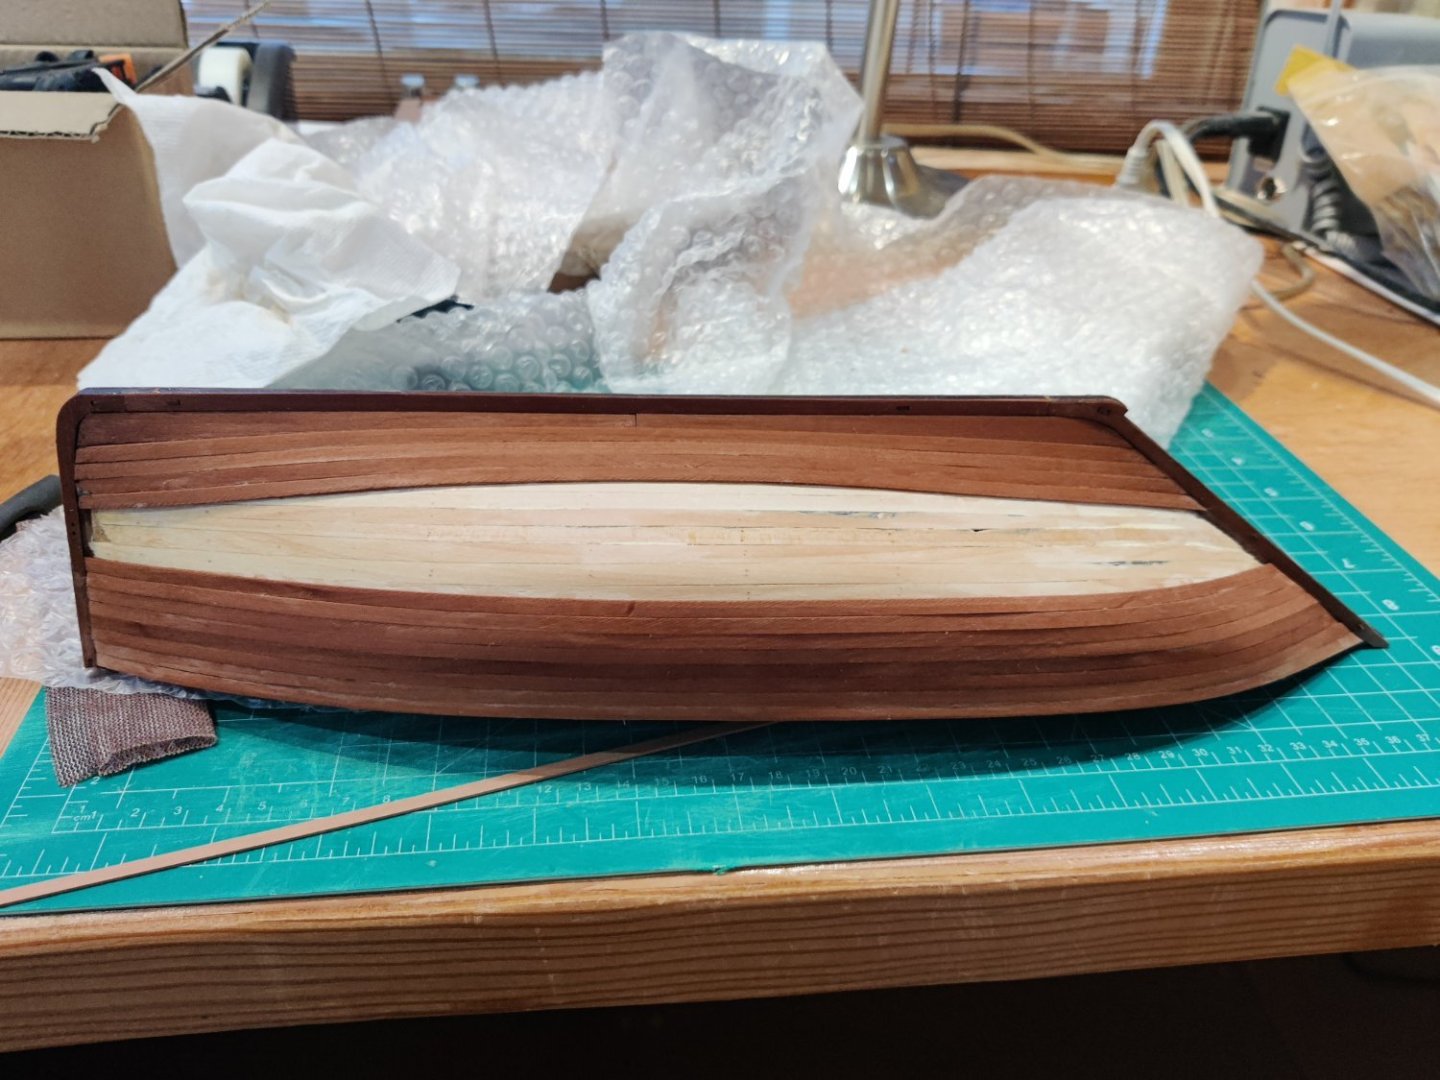
The first hull is now complete on both sides and sanded. The second side went much better ad did not need filler like the first side. Starting to better understand the plank bending and fitting process, even thou this hull was complex or severe like many others it was a great example for me to learn the process and have some success. I have also inserted the keel alignment pins. Will be ready tomorrow to add the additional keel parts to form a rabbet for the second hull.

-
I think I will try the approach suggested by Stevinne, I only have the use of one hand and his approach is my best bet.
-
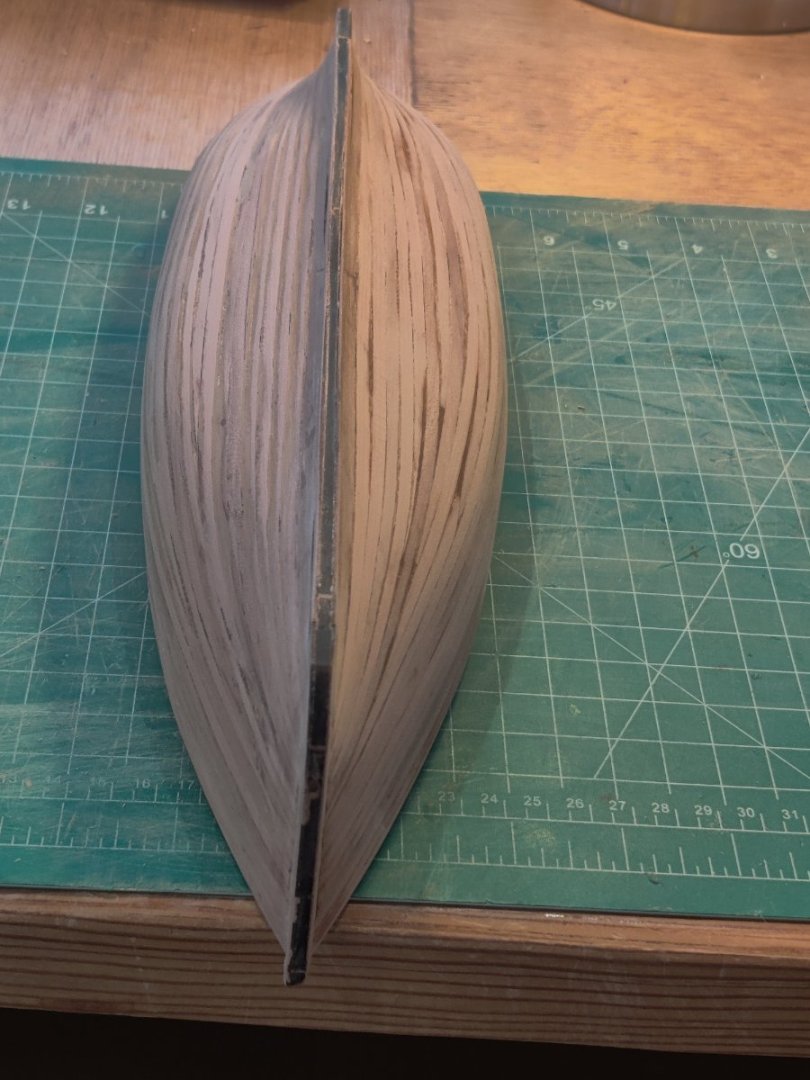
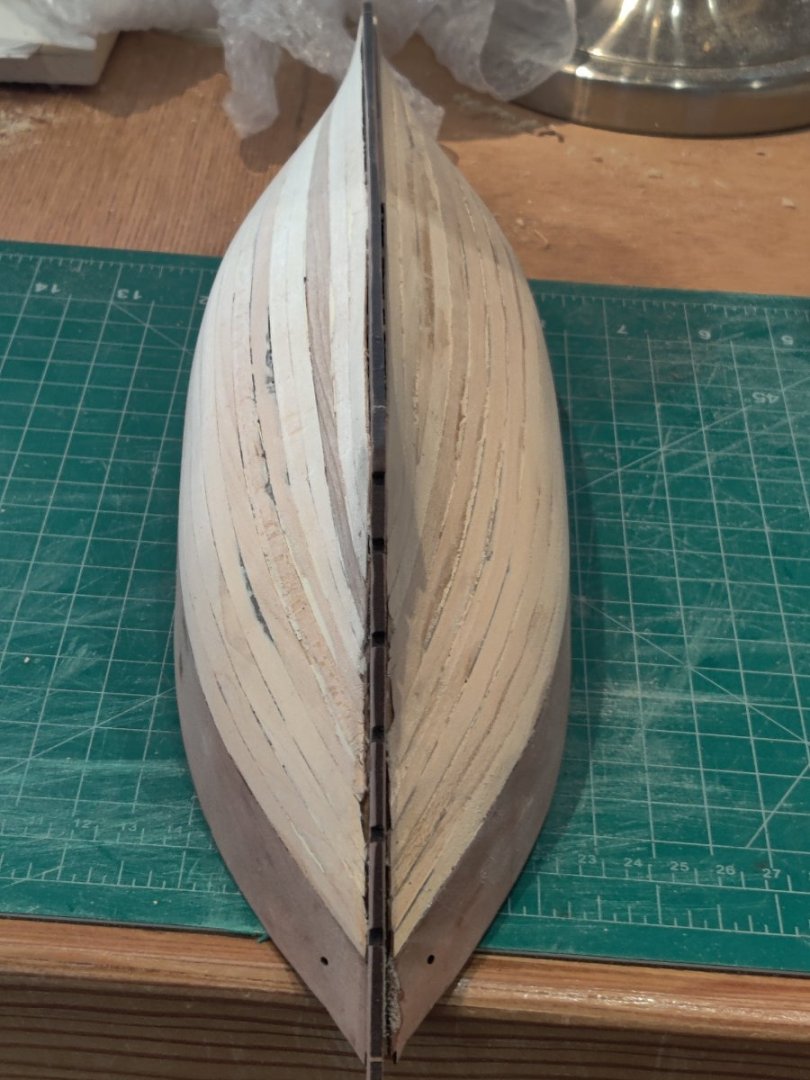
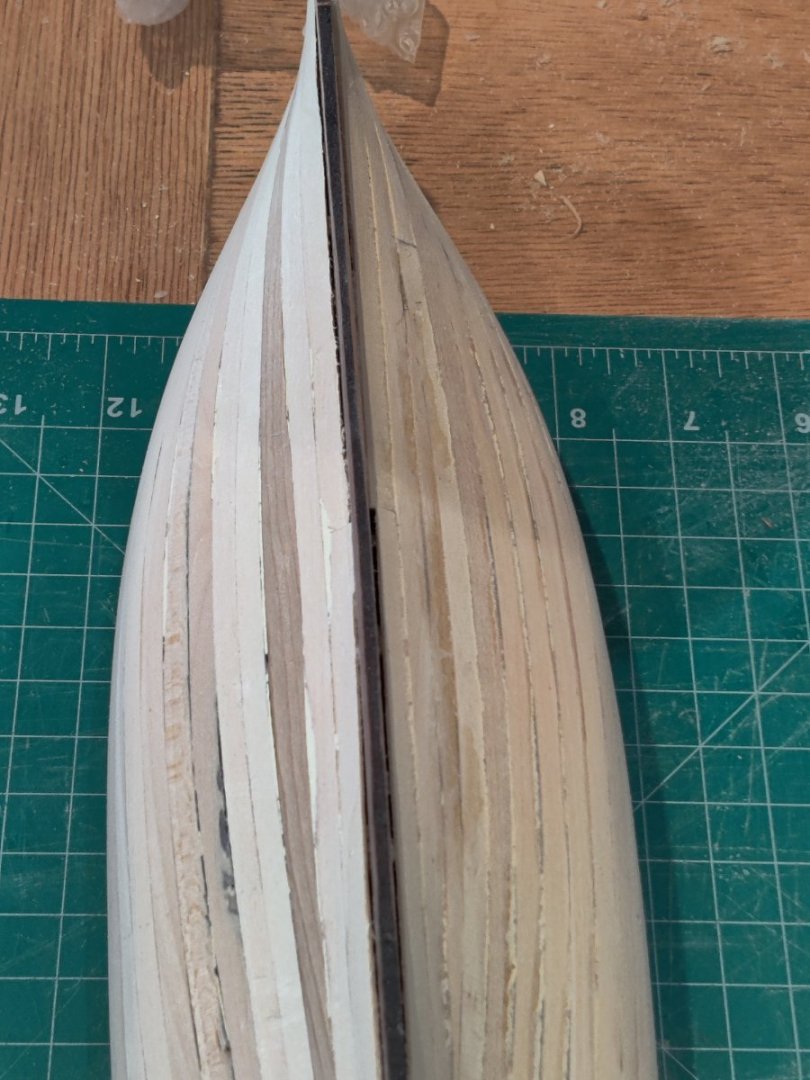
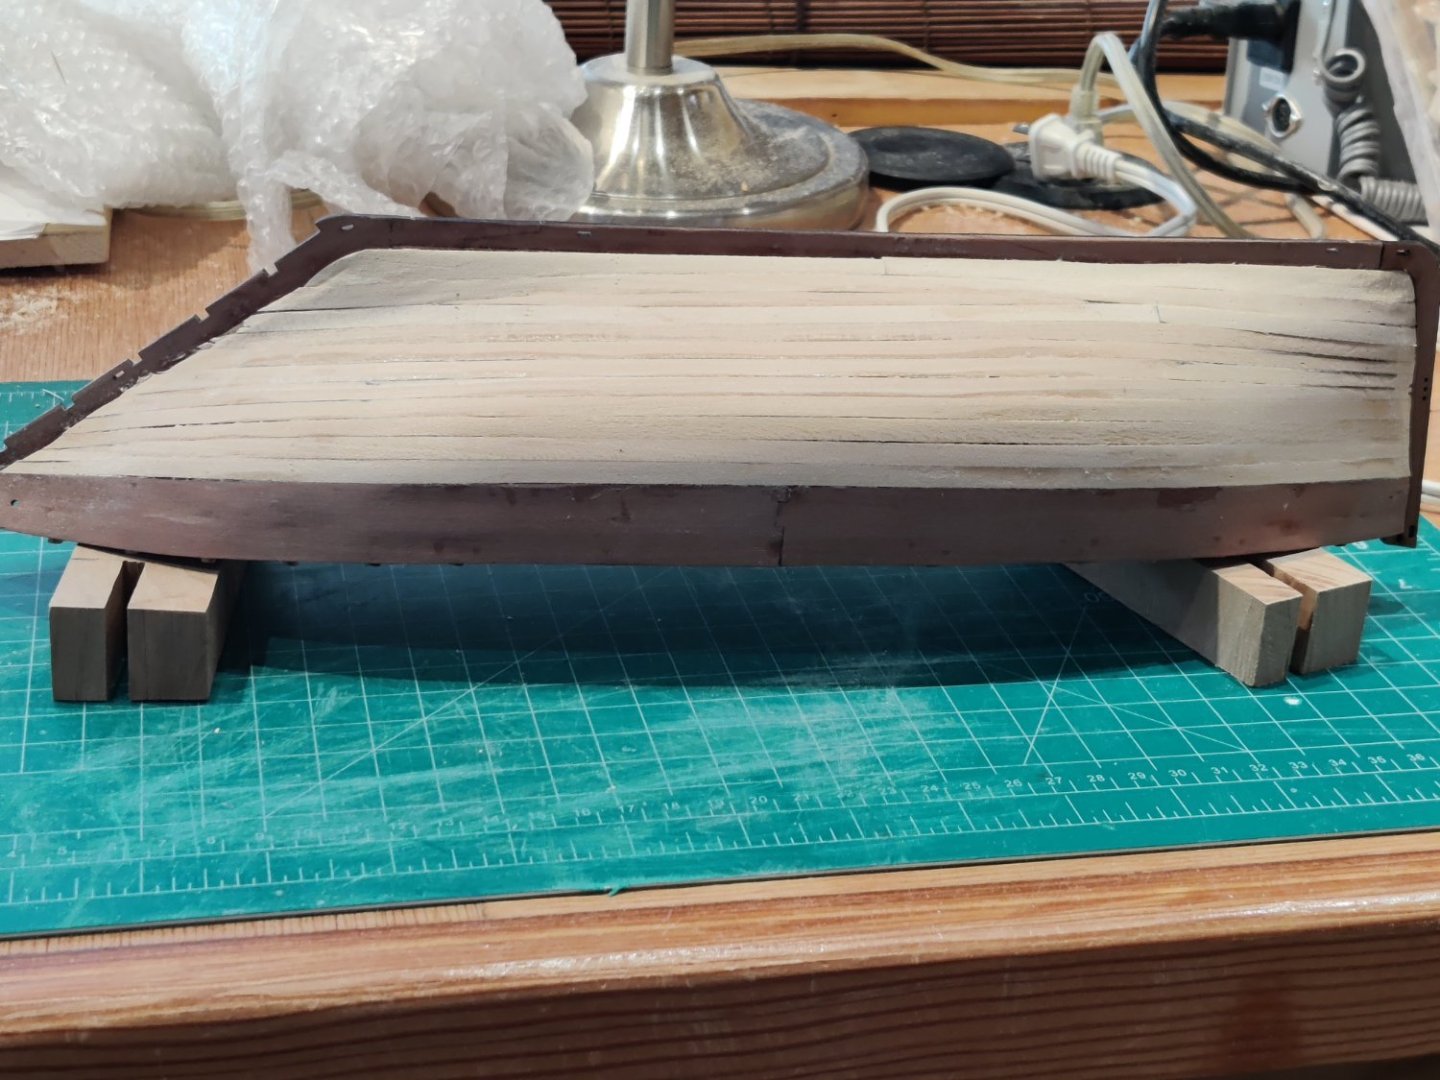
I have finished the first planking on my Zulu from Vanguard. I have sanded the first hull after tapering and bending the planks to get them to fit smoothly on the hull. This is the first time I have planked. I had to pin the planks until the white glue dried. The instructions say to use CA glue to put the second planks because they do not want pin holes in the hull. Do I need to soak the 2nd hull planks in water to get them to lie flat? When I used the iron like I did on the first hull to bend the planks, I still needed to pin them to get them to lay flat. Will the CA hold the planks flat without pins? I am nervous about using CA glue and a plank not laying flat and then not being able to get it off without ruining the first hull. i
-
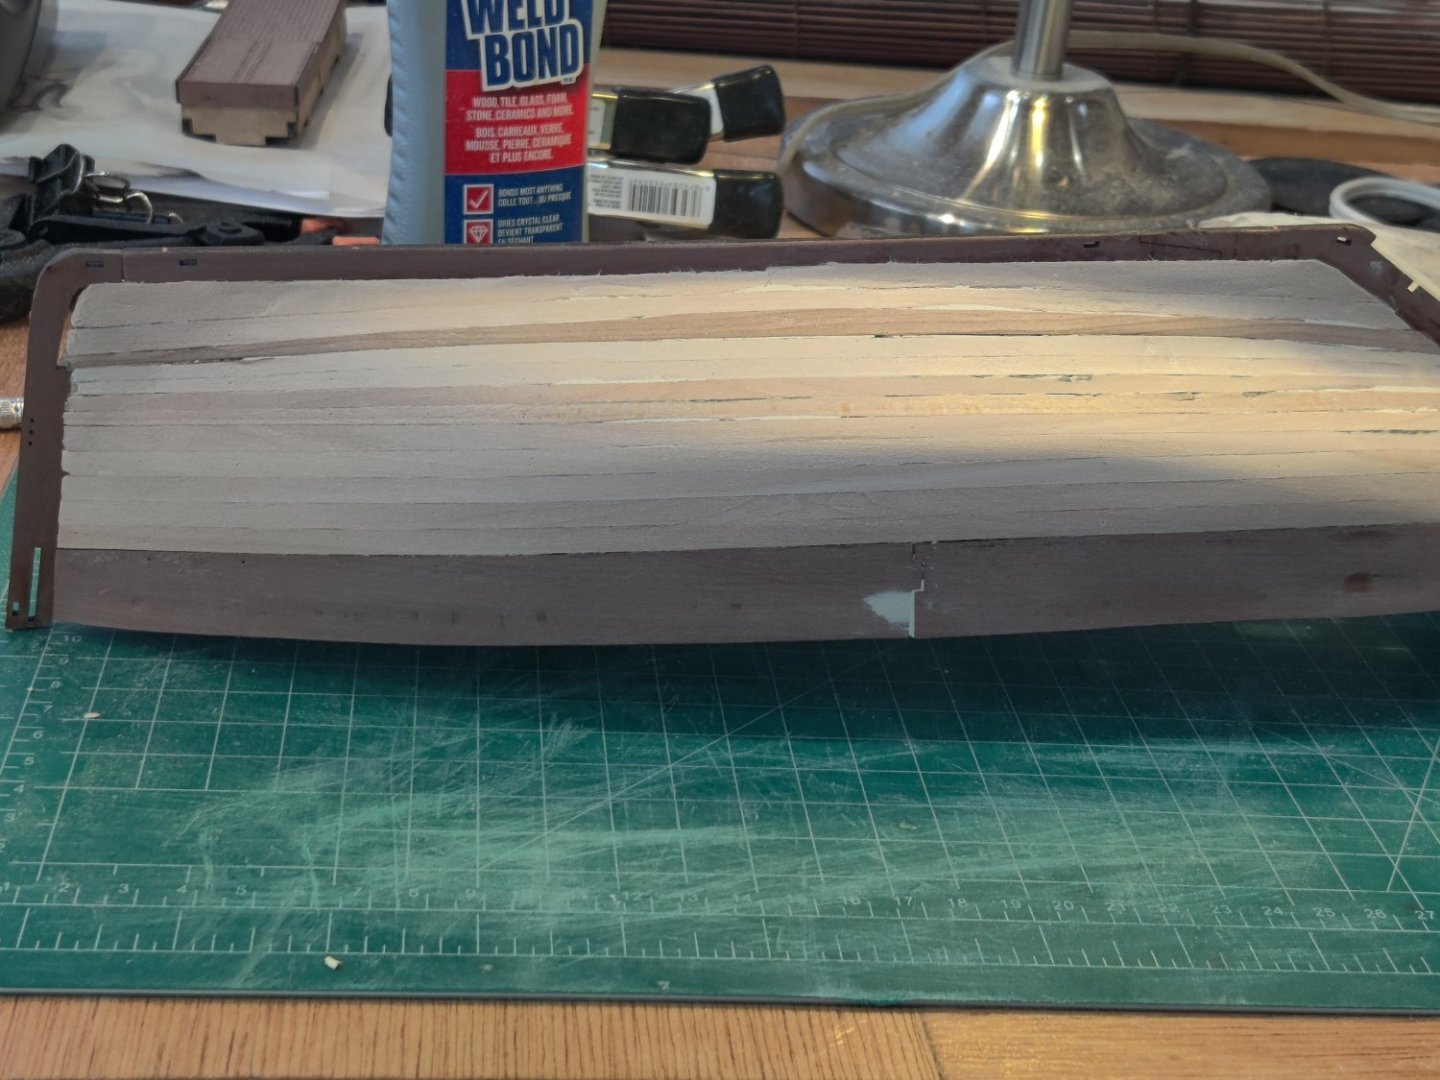
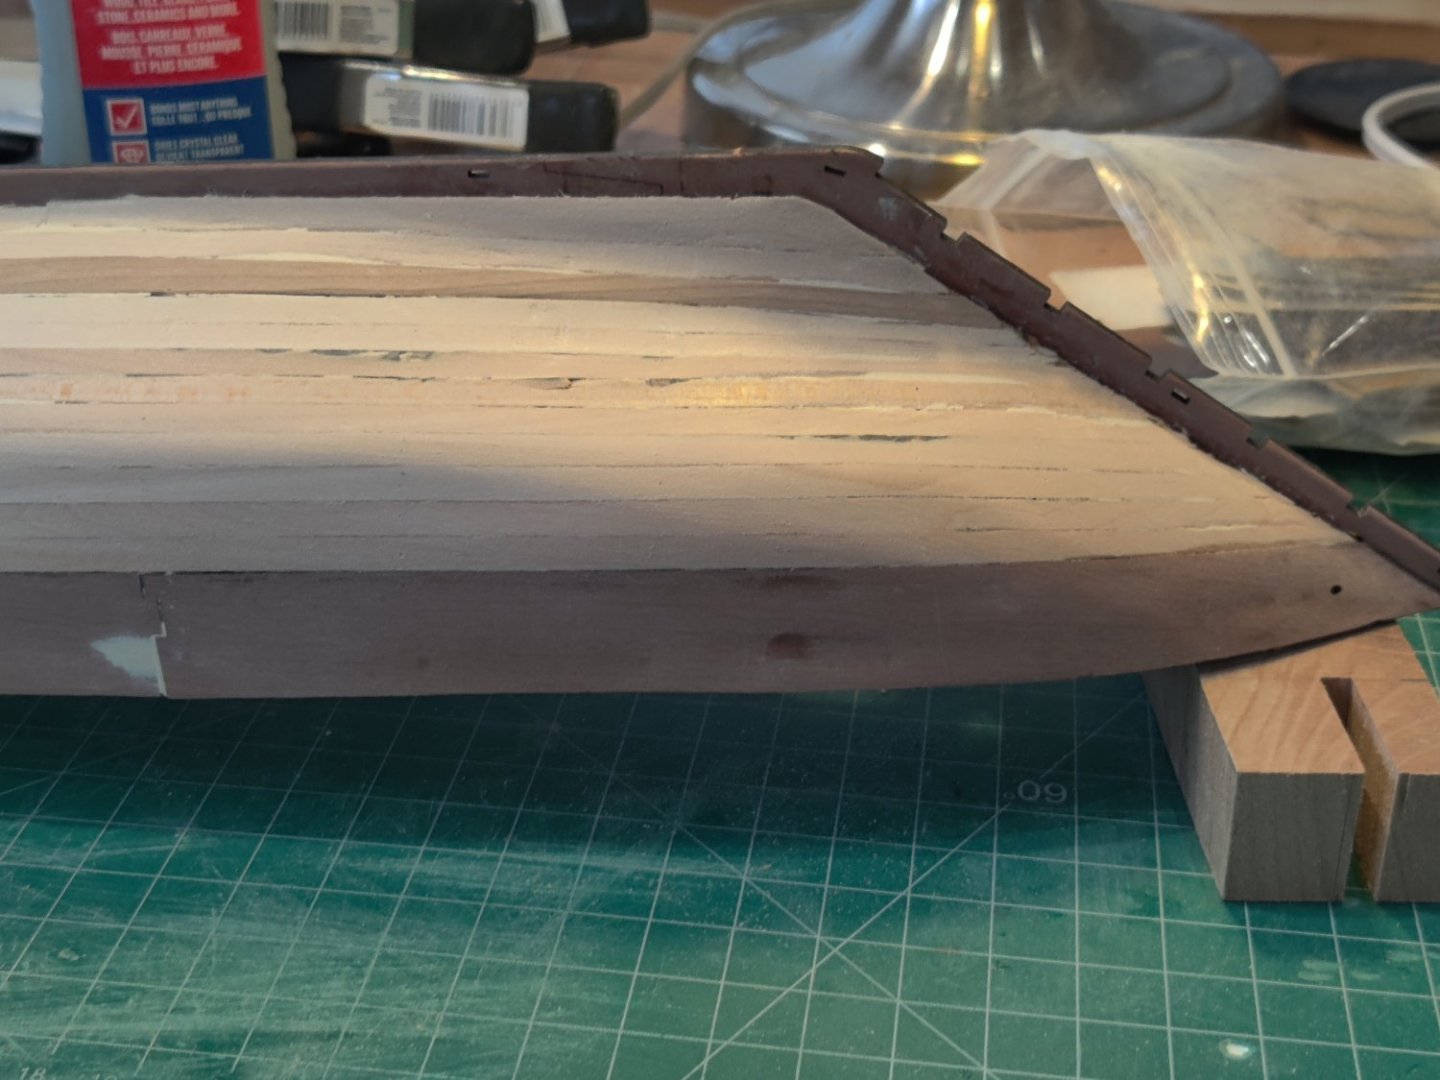
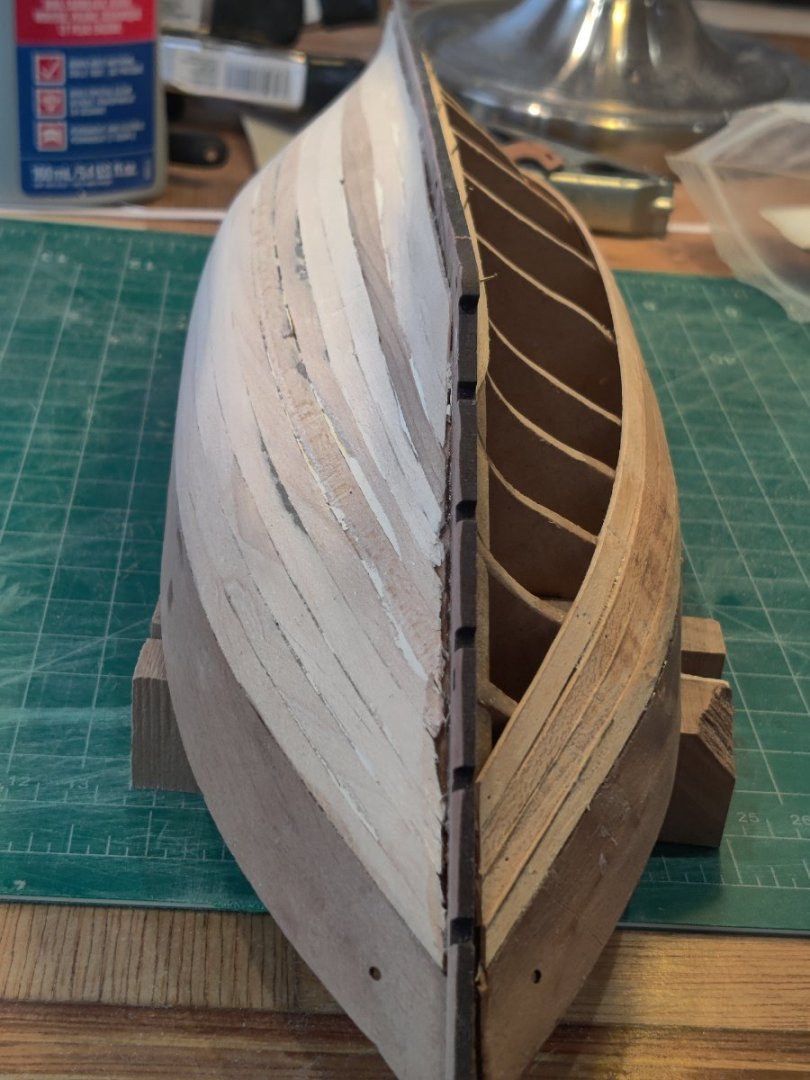
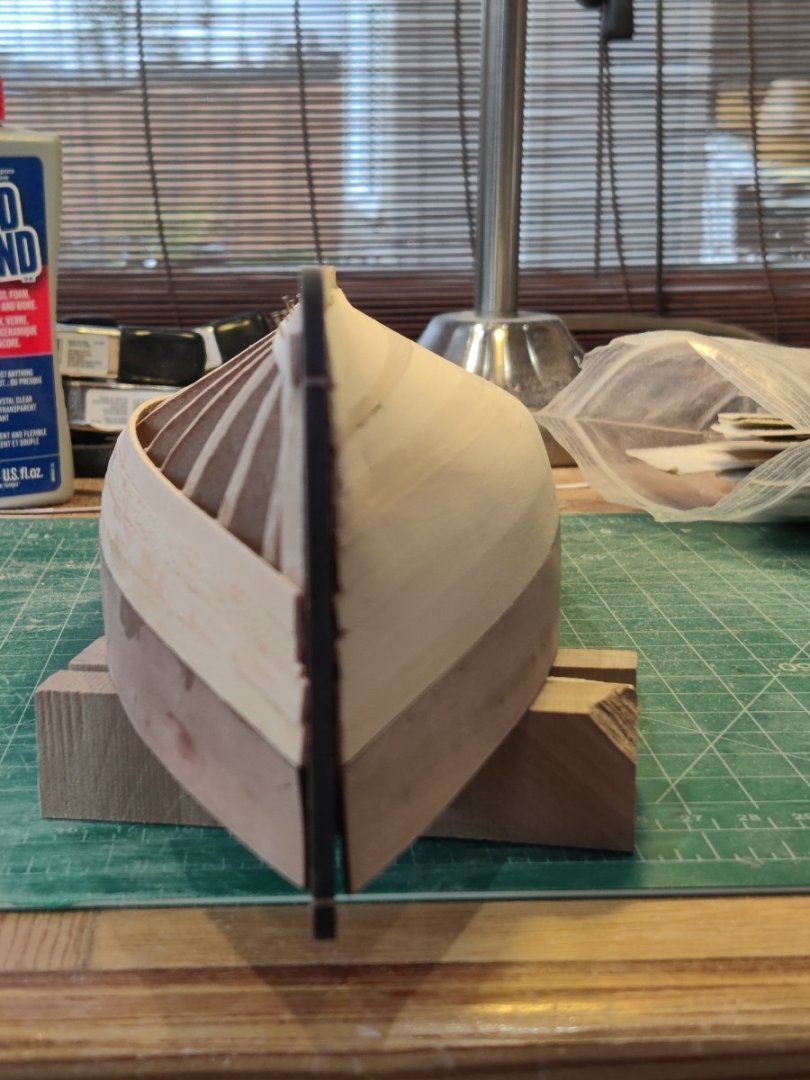
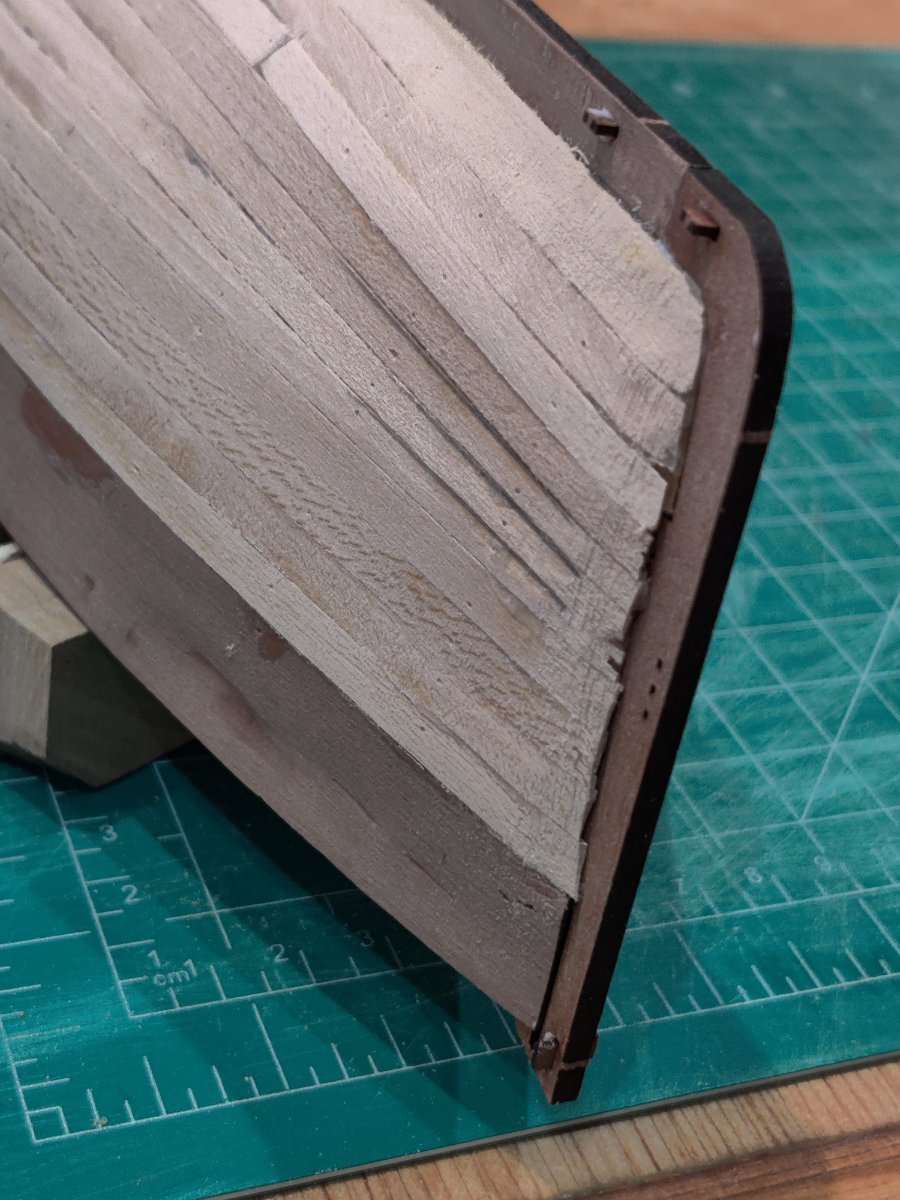
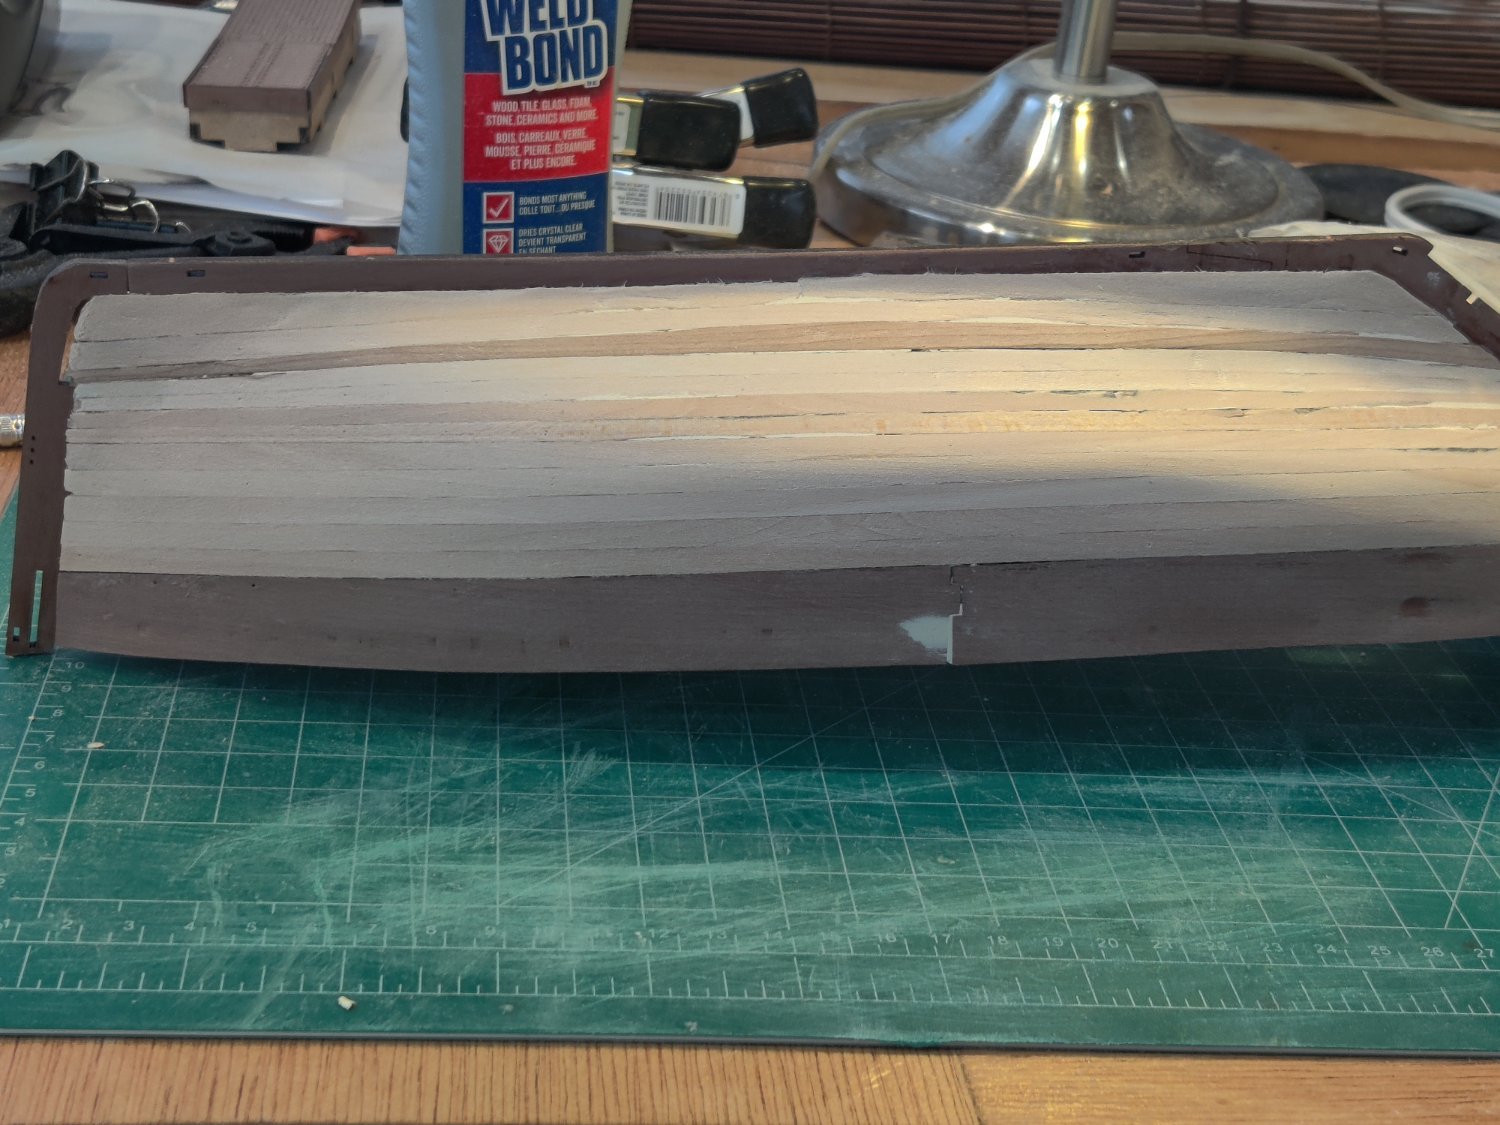
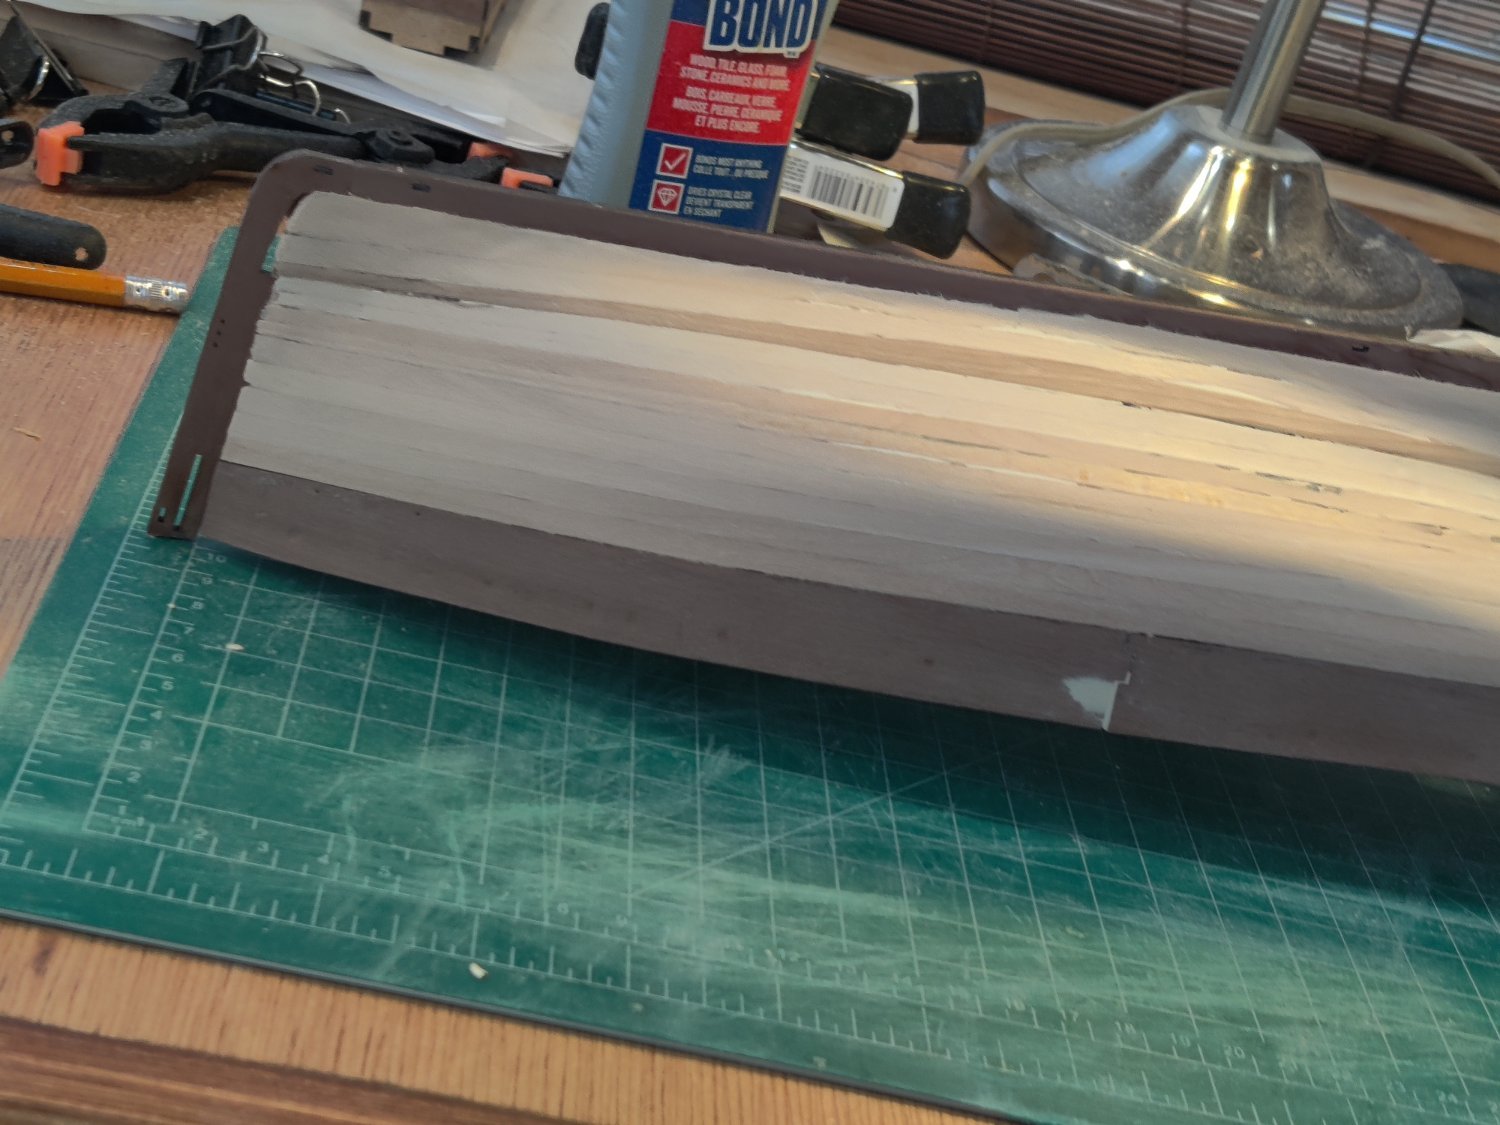
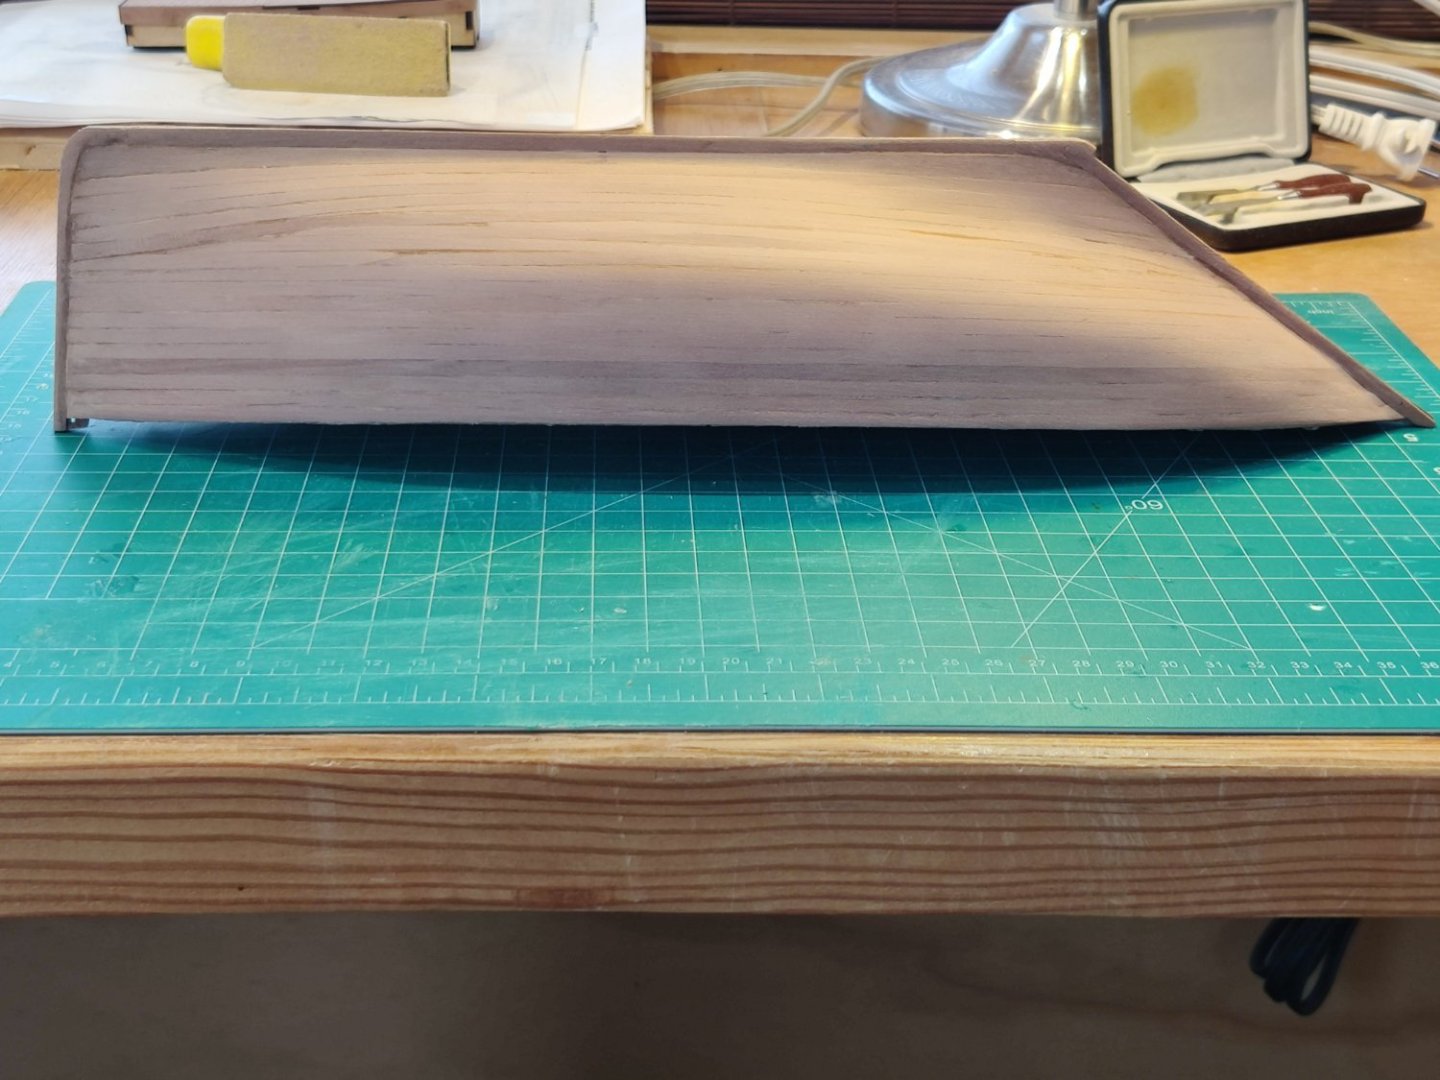
The one side of Zulu now has the first layer of planking completed and I spent the last few hours getting it sanded. I put some wood filler in the gaps before sanding. when you look at the pictures below from the side it looks like there is a swale. However, when you view from either end you do not get that impression. I think it is the color change in the wood that created that impression, not sure. It feels really smooth if touched so I am a little conflicted. Thoughts or suggestions are appreciated.