woodartist
-
Posts
292 -
Joined
-
Last visited
Content Type
Profiles
Forums
Gallery
Events
Everything posted by woodartist
-
San Francisco cable car by kgstakes - FINISHED - OcCre
woodartist replied to kgstakes's topic in Non-ship/categorised builds
Really clean build! -
For those who have built your kits, and considering the time, effort, and expense of building a quality ship, they will not be seduced into buying an inferior kit. Those that do so will notice what could have been and that is a horrible realization. Been there done that, will not repeat the mistake!!
-
Chuck you have always been there for all of us and we need for you to take care of yourself first. Rest, recover, relax!!
-
I whole agree. I bought 2 pairs and with the second pair I filed the v a little deeper to accept larger pins.
- 48 replies
-
- 1
-

-
- Lady Isabella
- zulu
- (and 1 more)
-
Importing files into Delftship
woodartist replied to woodartist's topic in CAD and 3D Modelling/Drafting Plans with Software
the pdf files really help.Thanks so much, I will figure this out somehow. -
I have never used a cad program before for starts, however I have downloaded the free version of the software, I am trying to import plans. I have the same plans in jpeg, bmp, and tif files. I would like to learn how to use the software but can not find a basic tutorial to get started. I thought that if if loaded in some boat plans that I have that it would be a place to start. But when i try to load the plans into the app it appears that Delftship only recognize fbm or bak files. How can i proceed? Is there a basic tutorial online?
-
USS Constitution by mtbediz - 1:76
woodartist replied to mtbediz's topic in - Build logs for subjects built 1751 - 1800
Thanks, I am sure you are correct -
USS Constitution by mtbediz - 1:76
woodartist replied to mtbediz's topic in - Build logs for subjects built 1751 - 1800
I was referring to a post you made on 9/23 #26 that shows a photo of the gun deck hatches. I got the Proxxon mill you recommended and was starting to make hatches with it so I was looking at your early posts when you described the process. -
USS Constitution by mtbediz - 1:76
woodartist replied to mtbediz's topic in - Build logs for subjects built 1751 - 1800
The grating at the bow in blue is proud of the frame, all the rest are flush with the frame? Is that intentional? -
These cutters that mtbediz is referring to can be found on Amazon, I have bought the .05-09 mm bits in a 10 pack and they were perfect
-
USS Constitution by mtbediz - 1:76
woodartist replied to mtbediz's topic in - Build logs for subjects built 1751 - 1800
Fiskars cutters are available from Amazon, they have a cutter that will cut 30 sheet thickness of paper for $60 and one that will cut 12 sheets of paper thickness $22 -
Work area pictures only
woodartist replied to Johnny Mike's topic in Modeling tools and Workshop Equipment
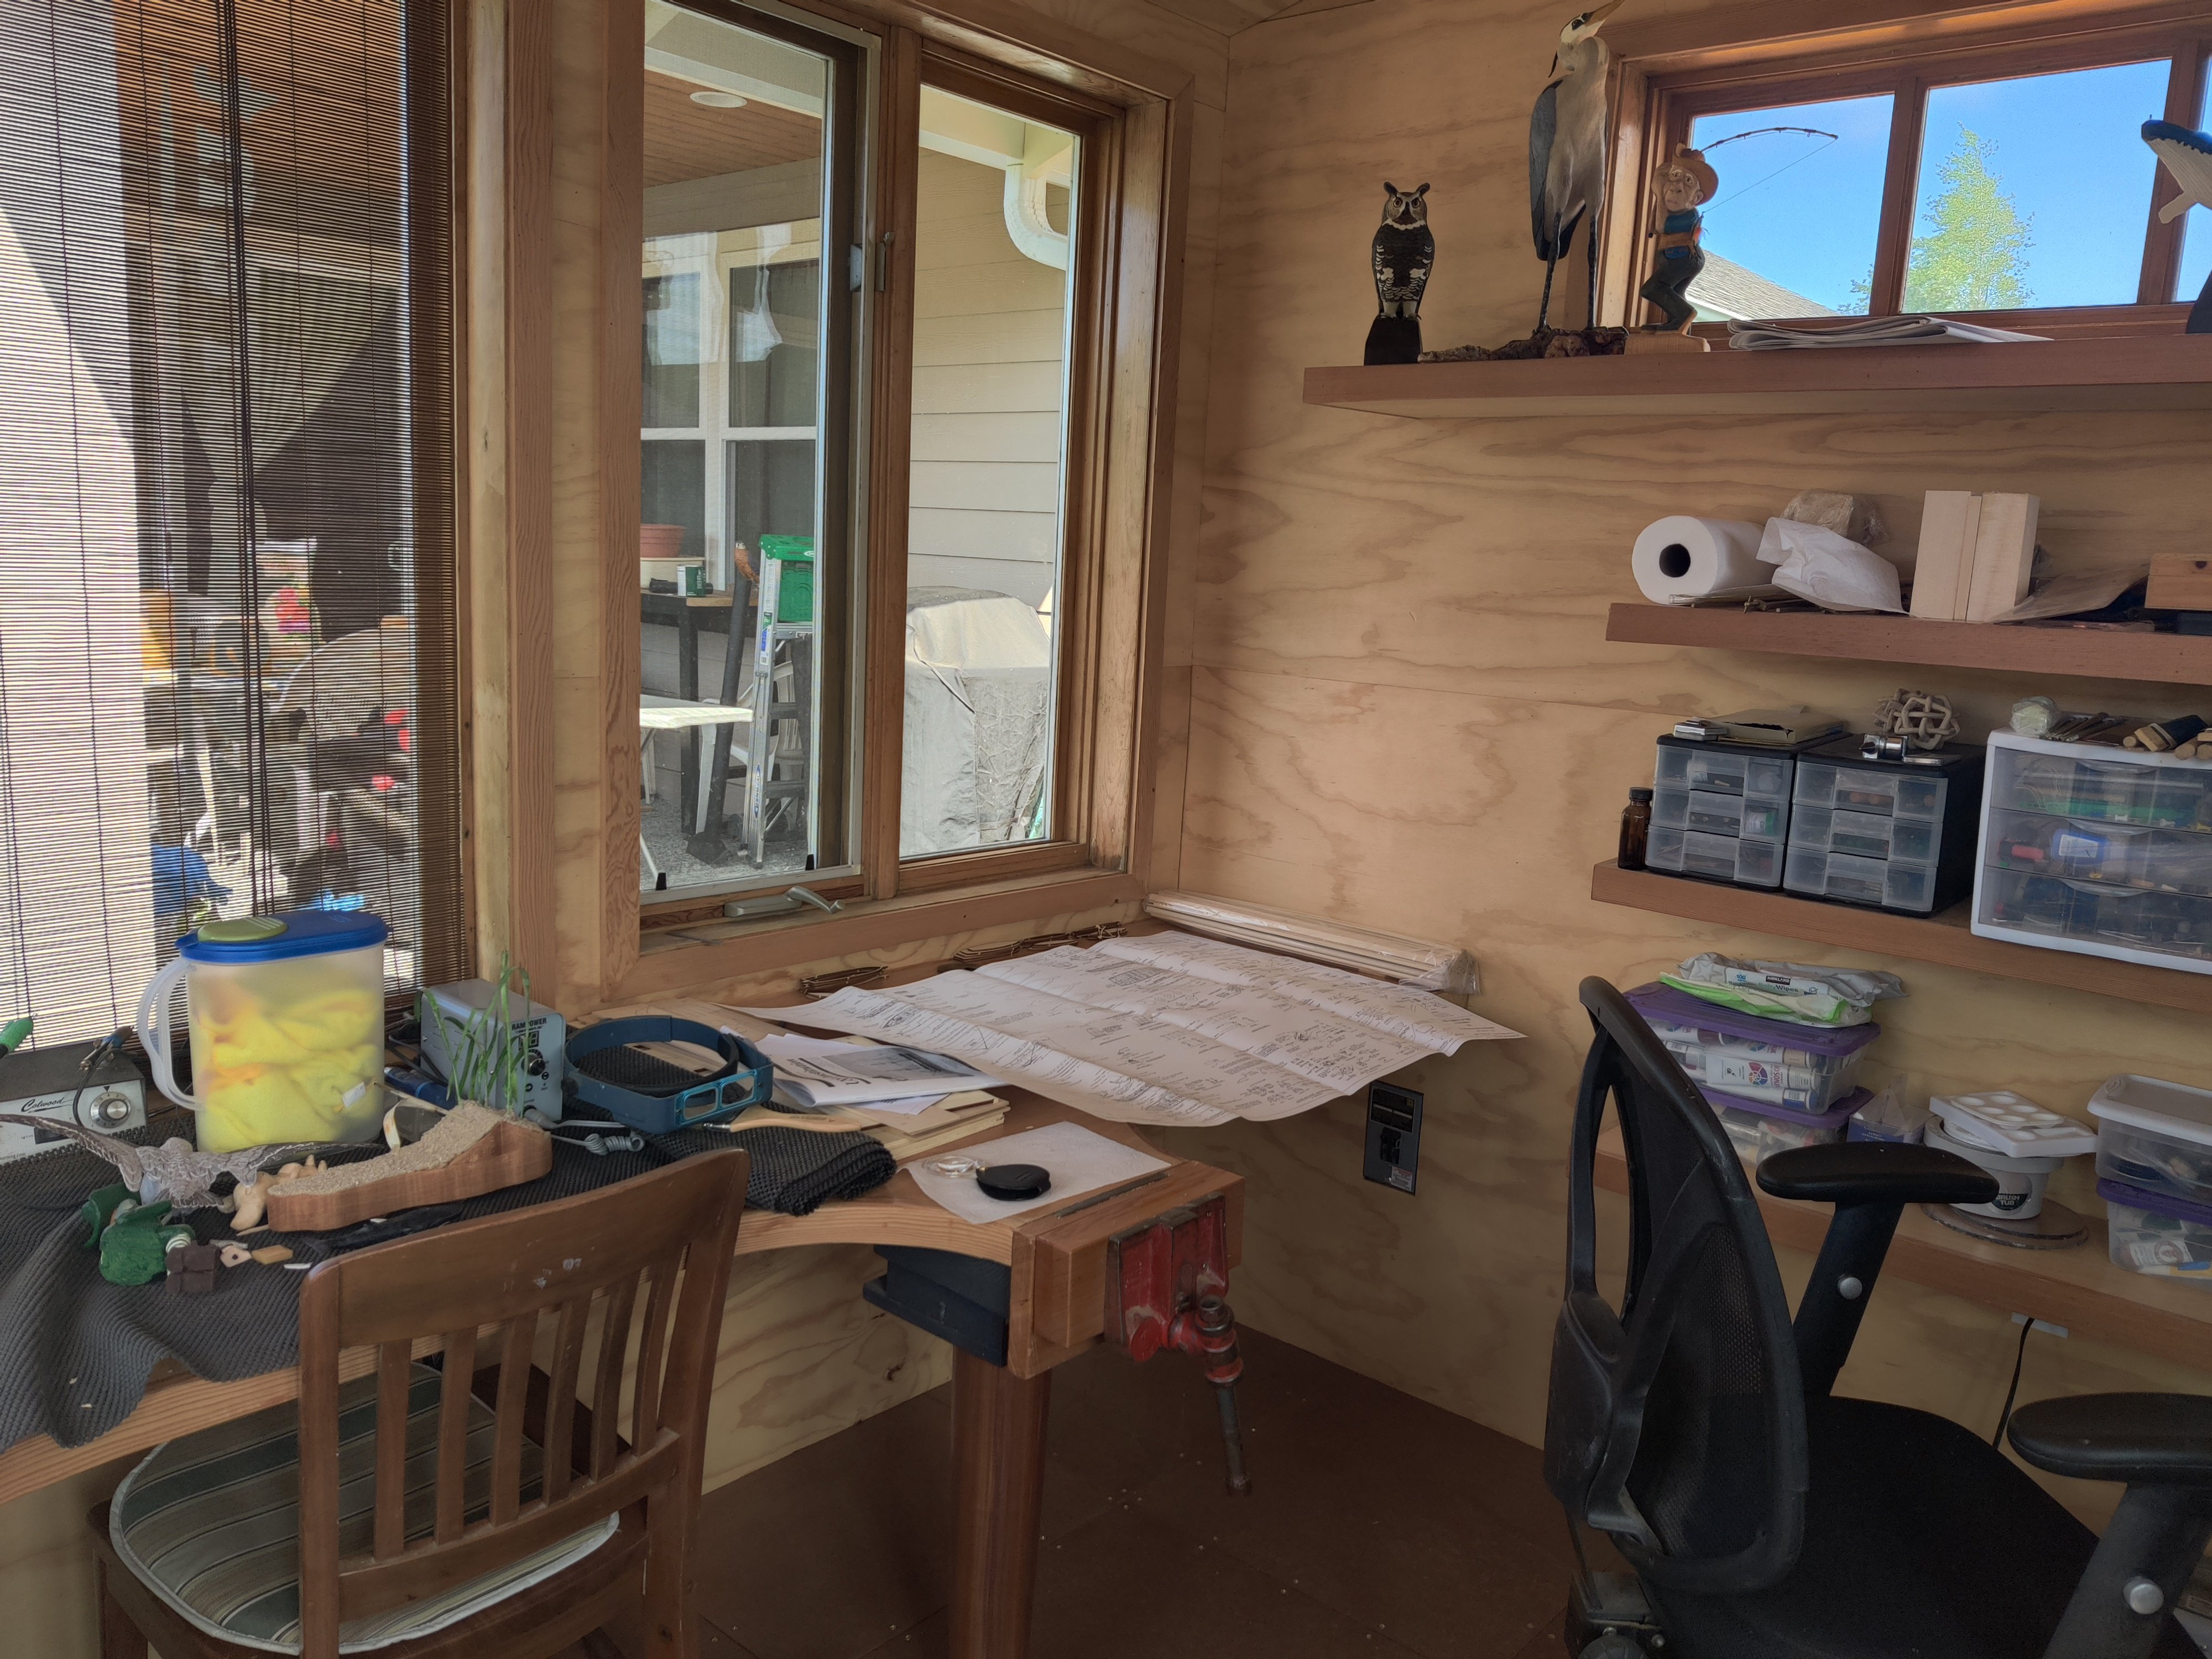
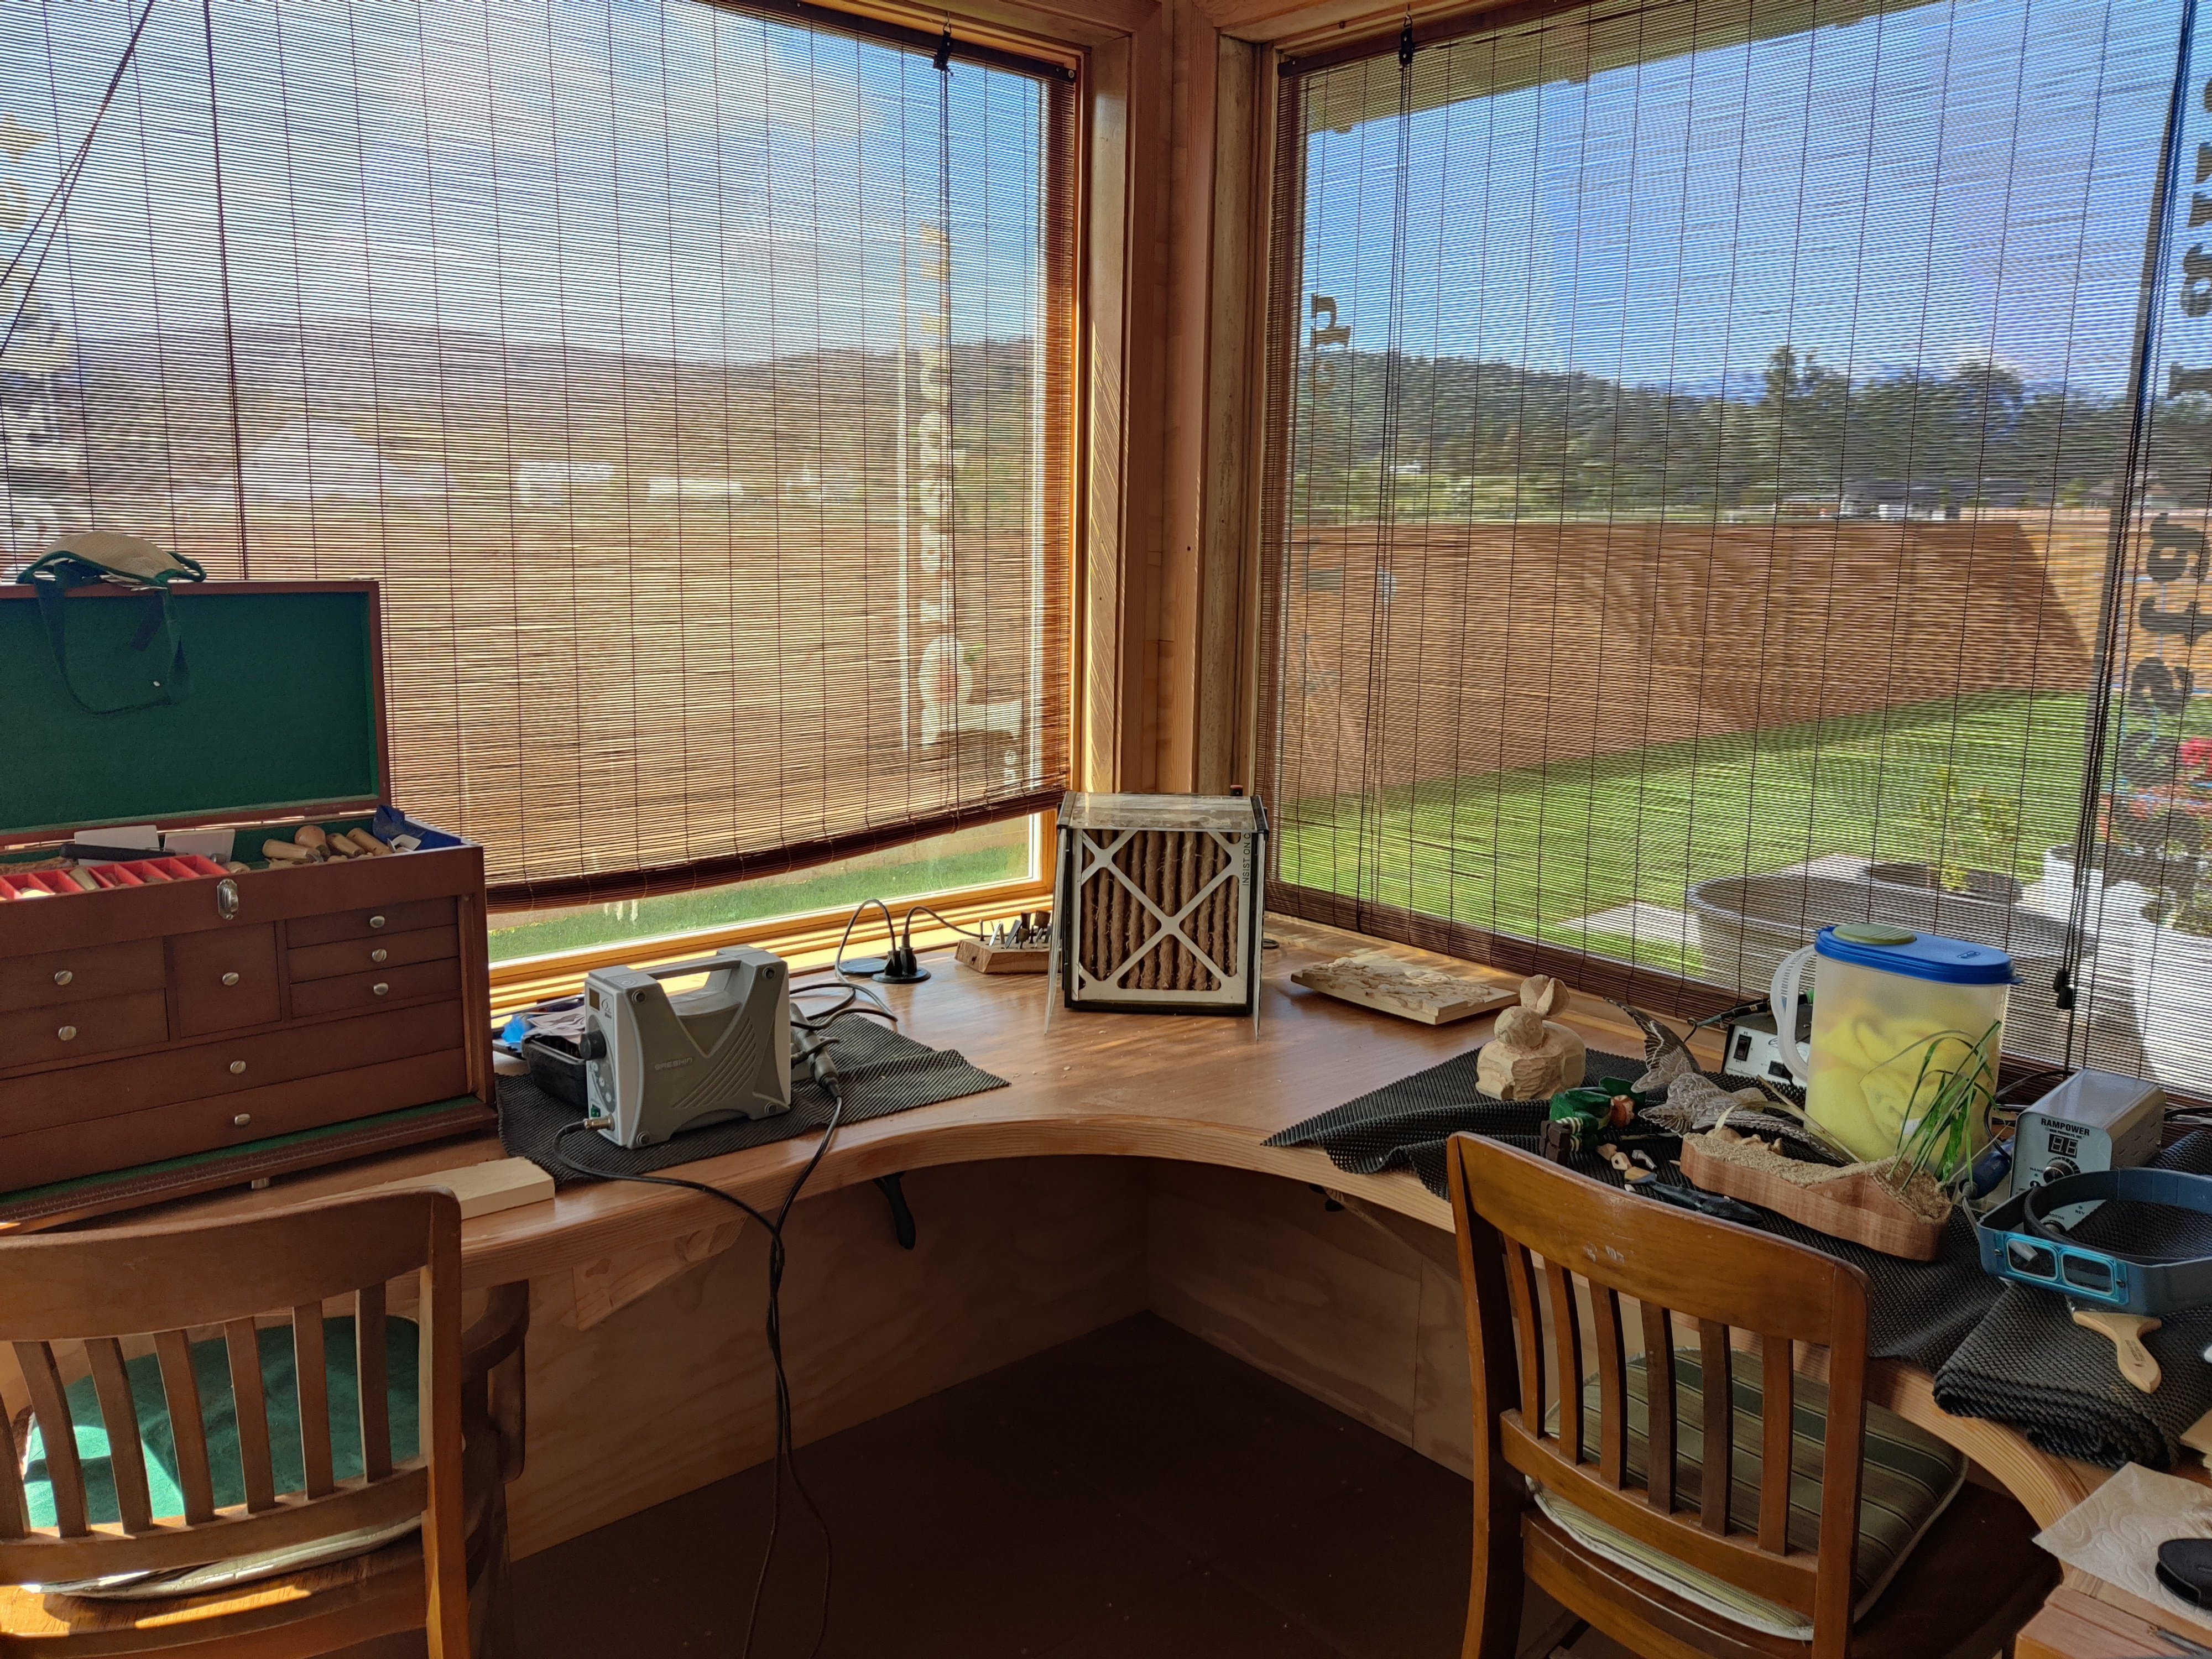
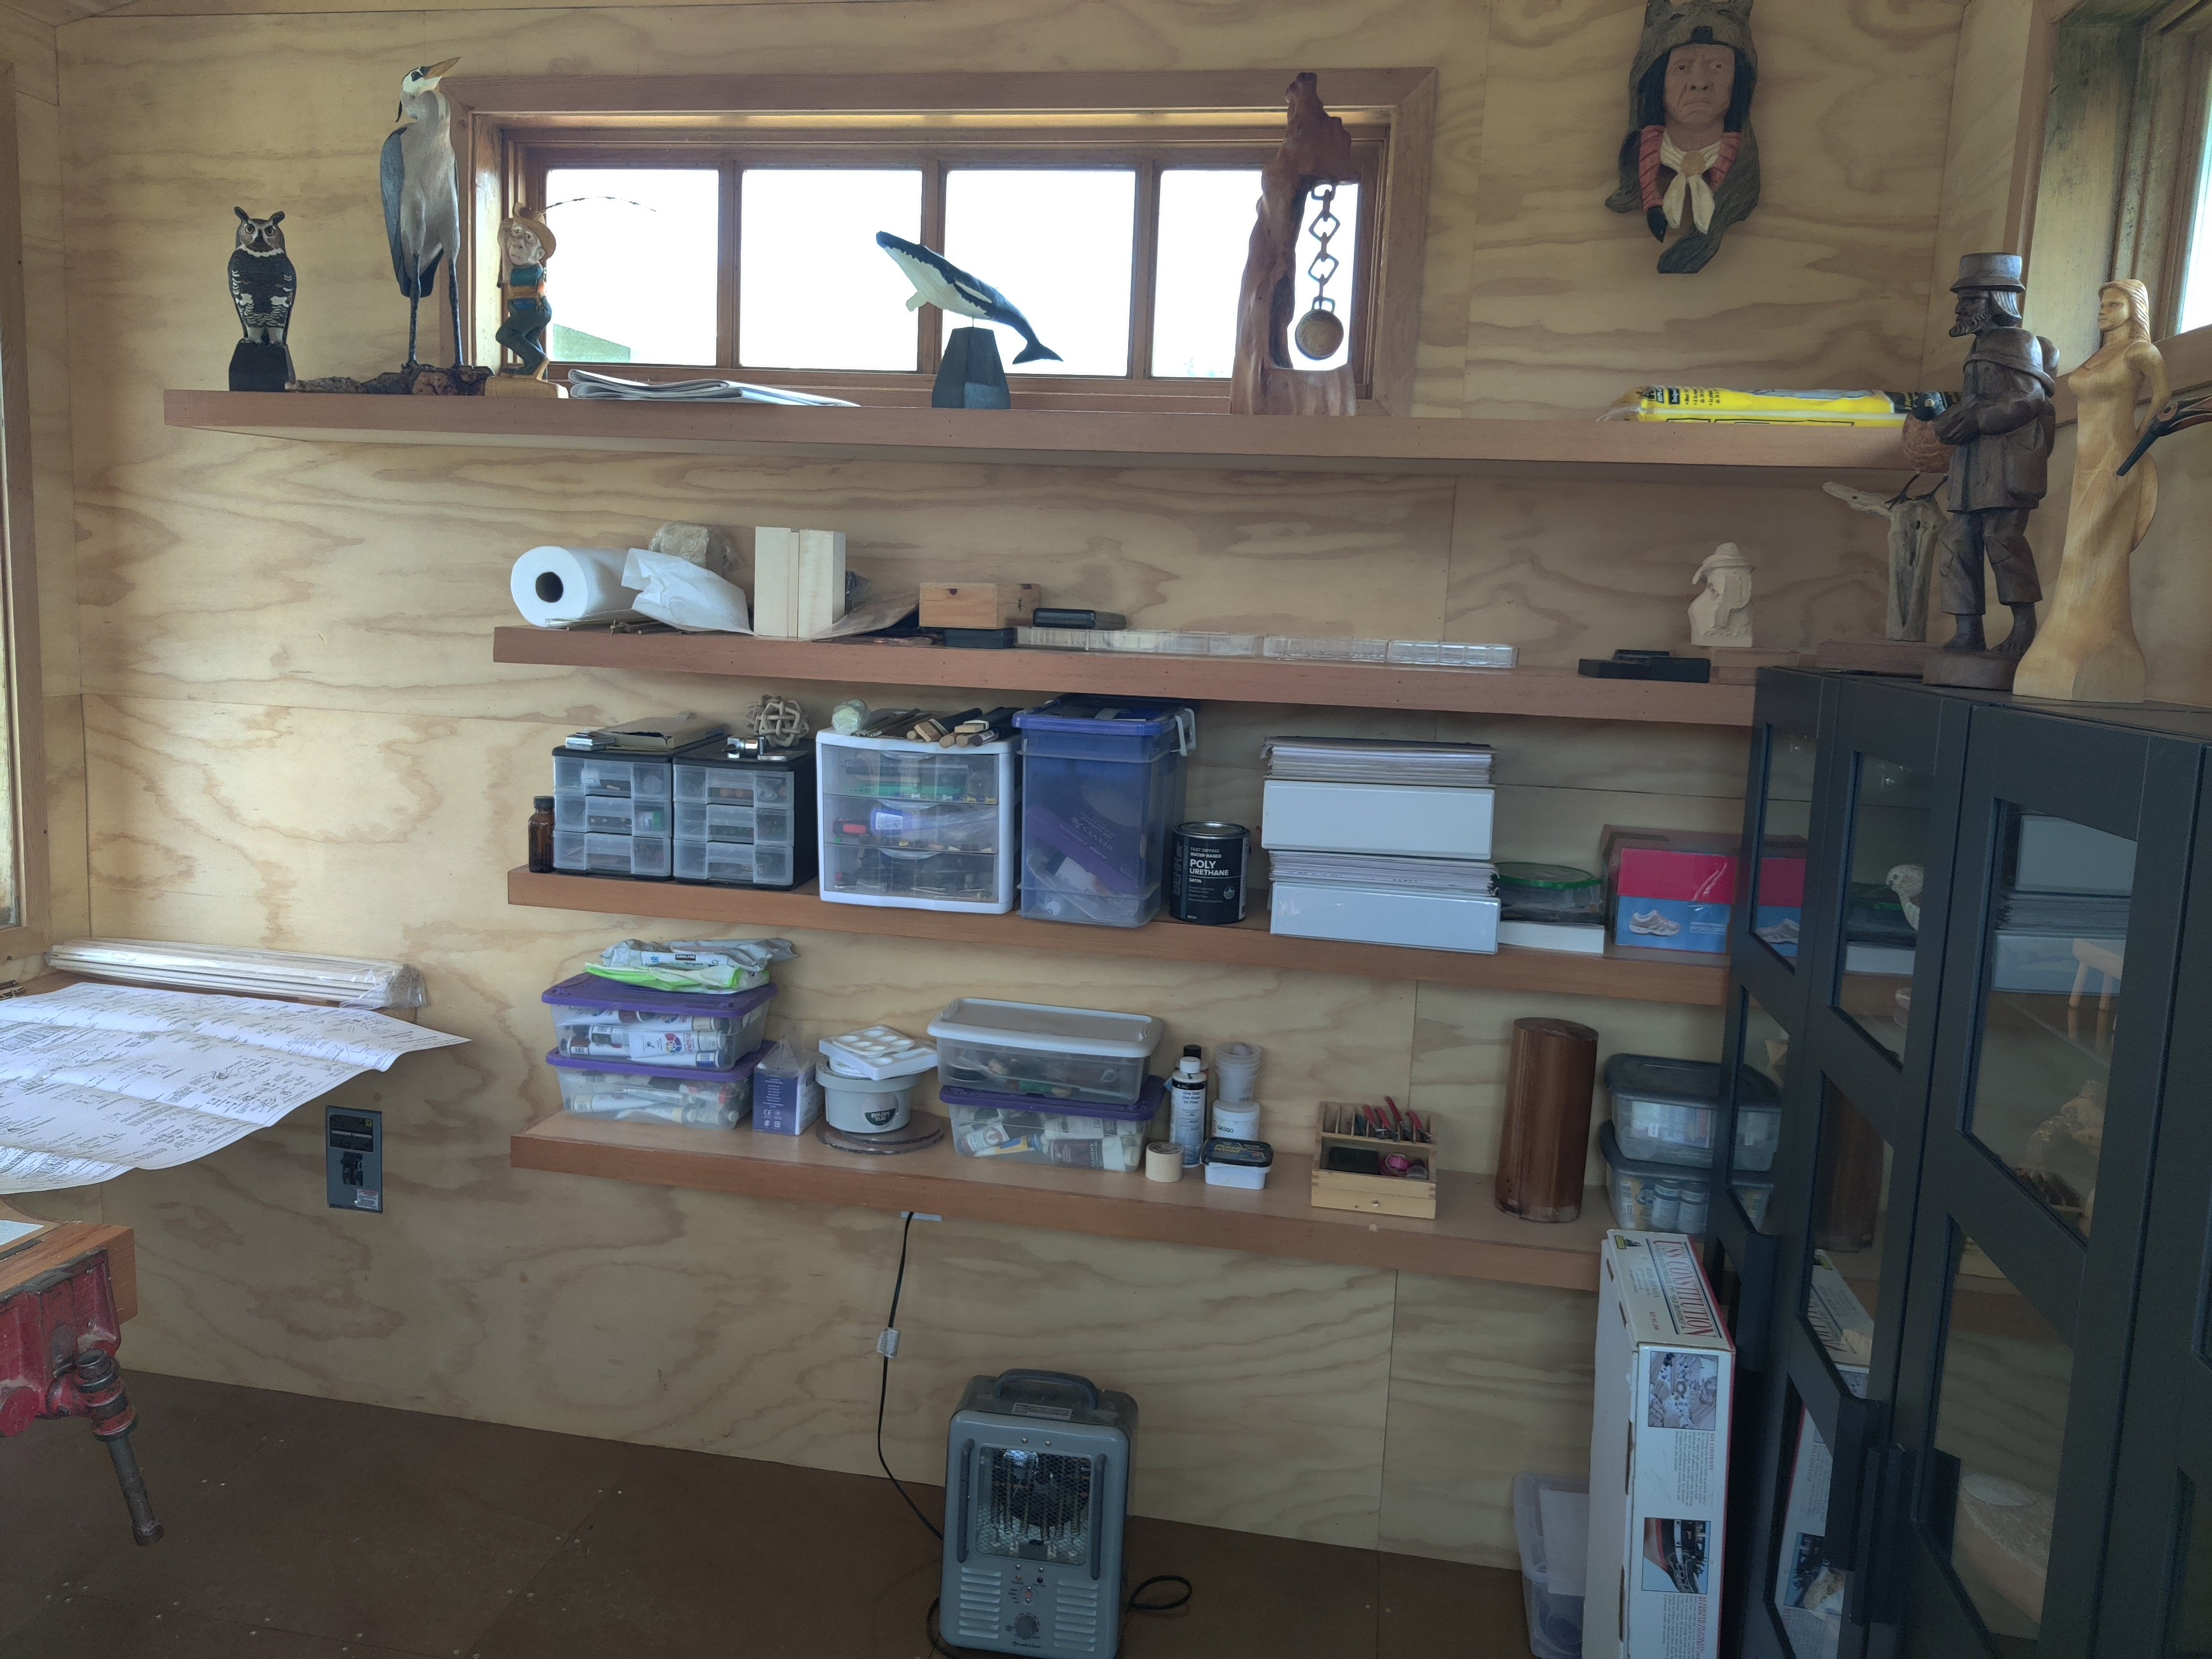
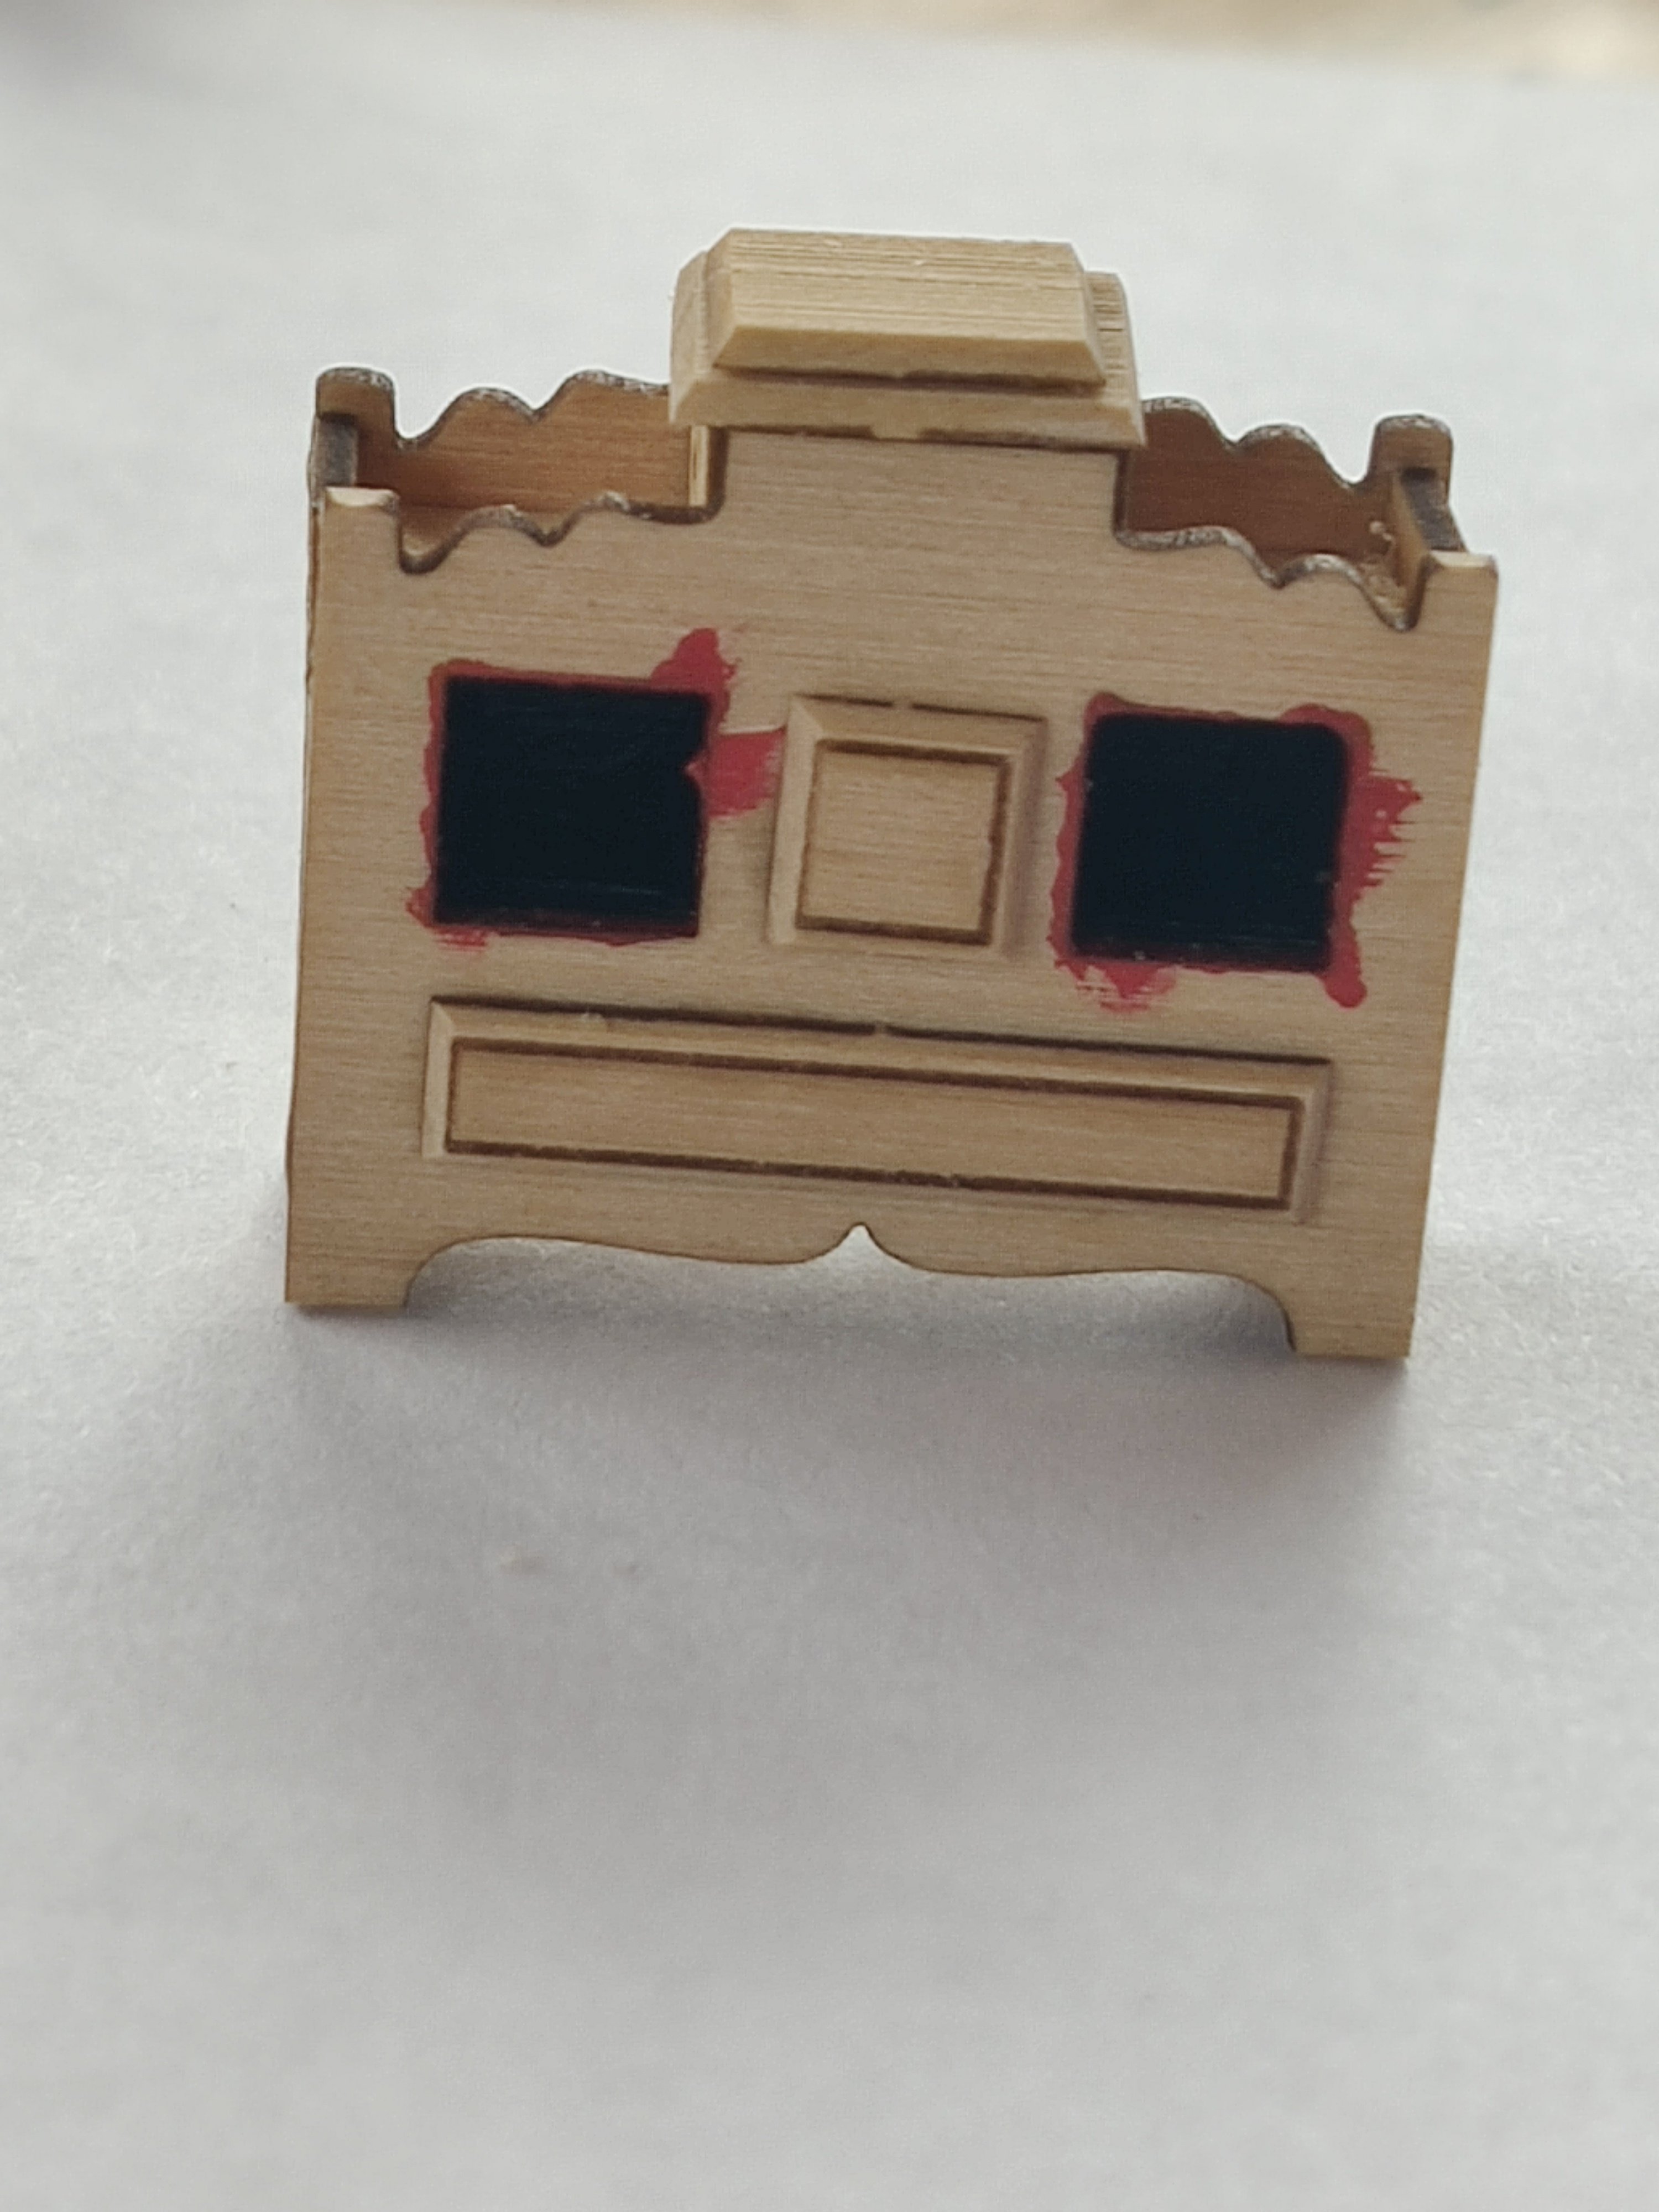
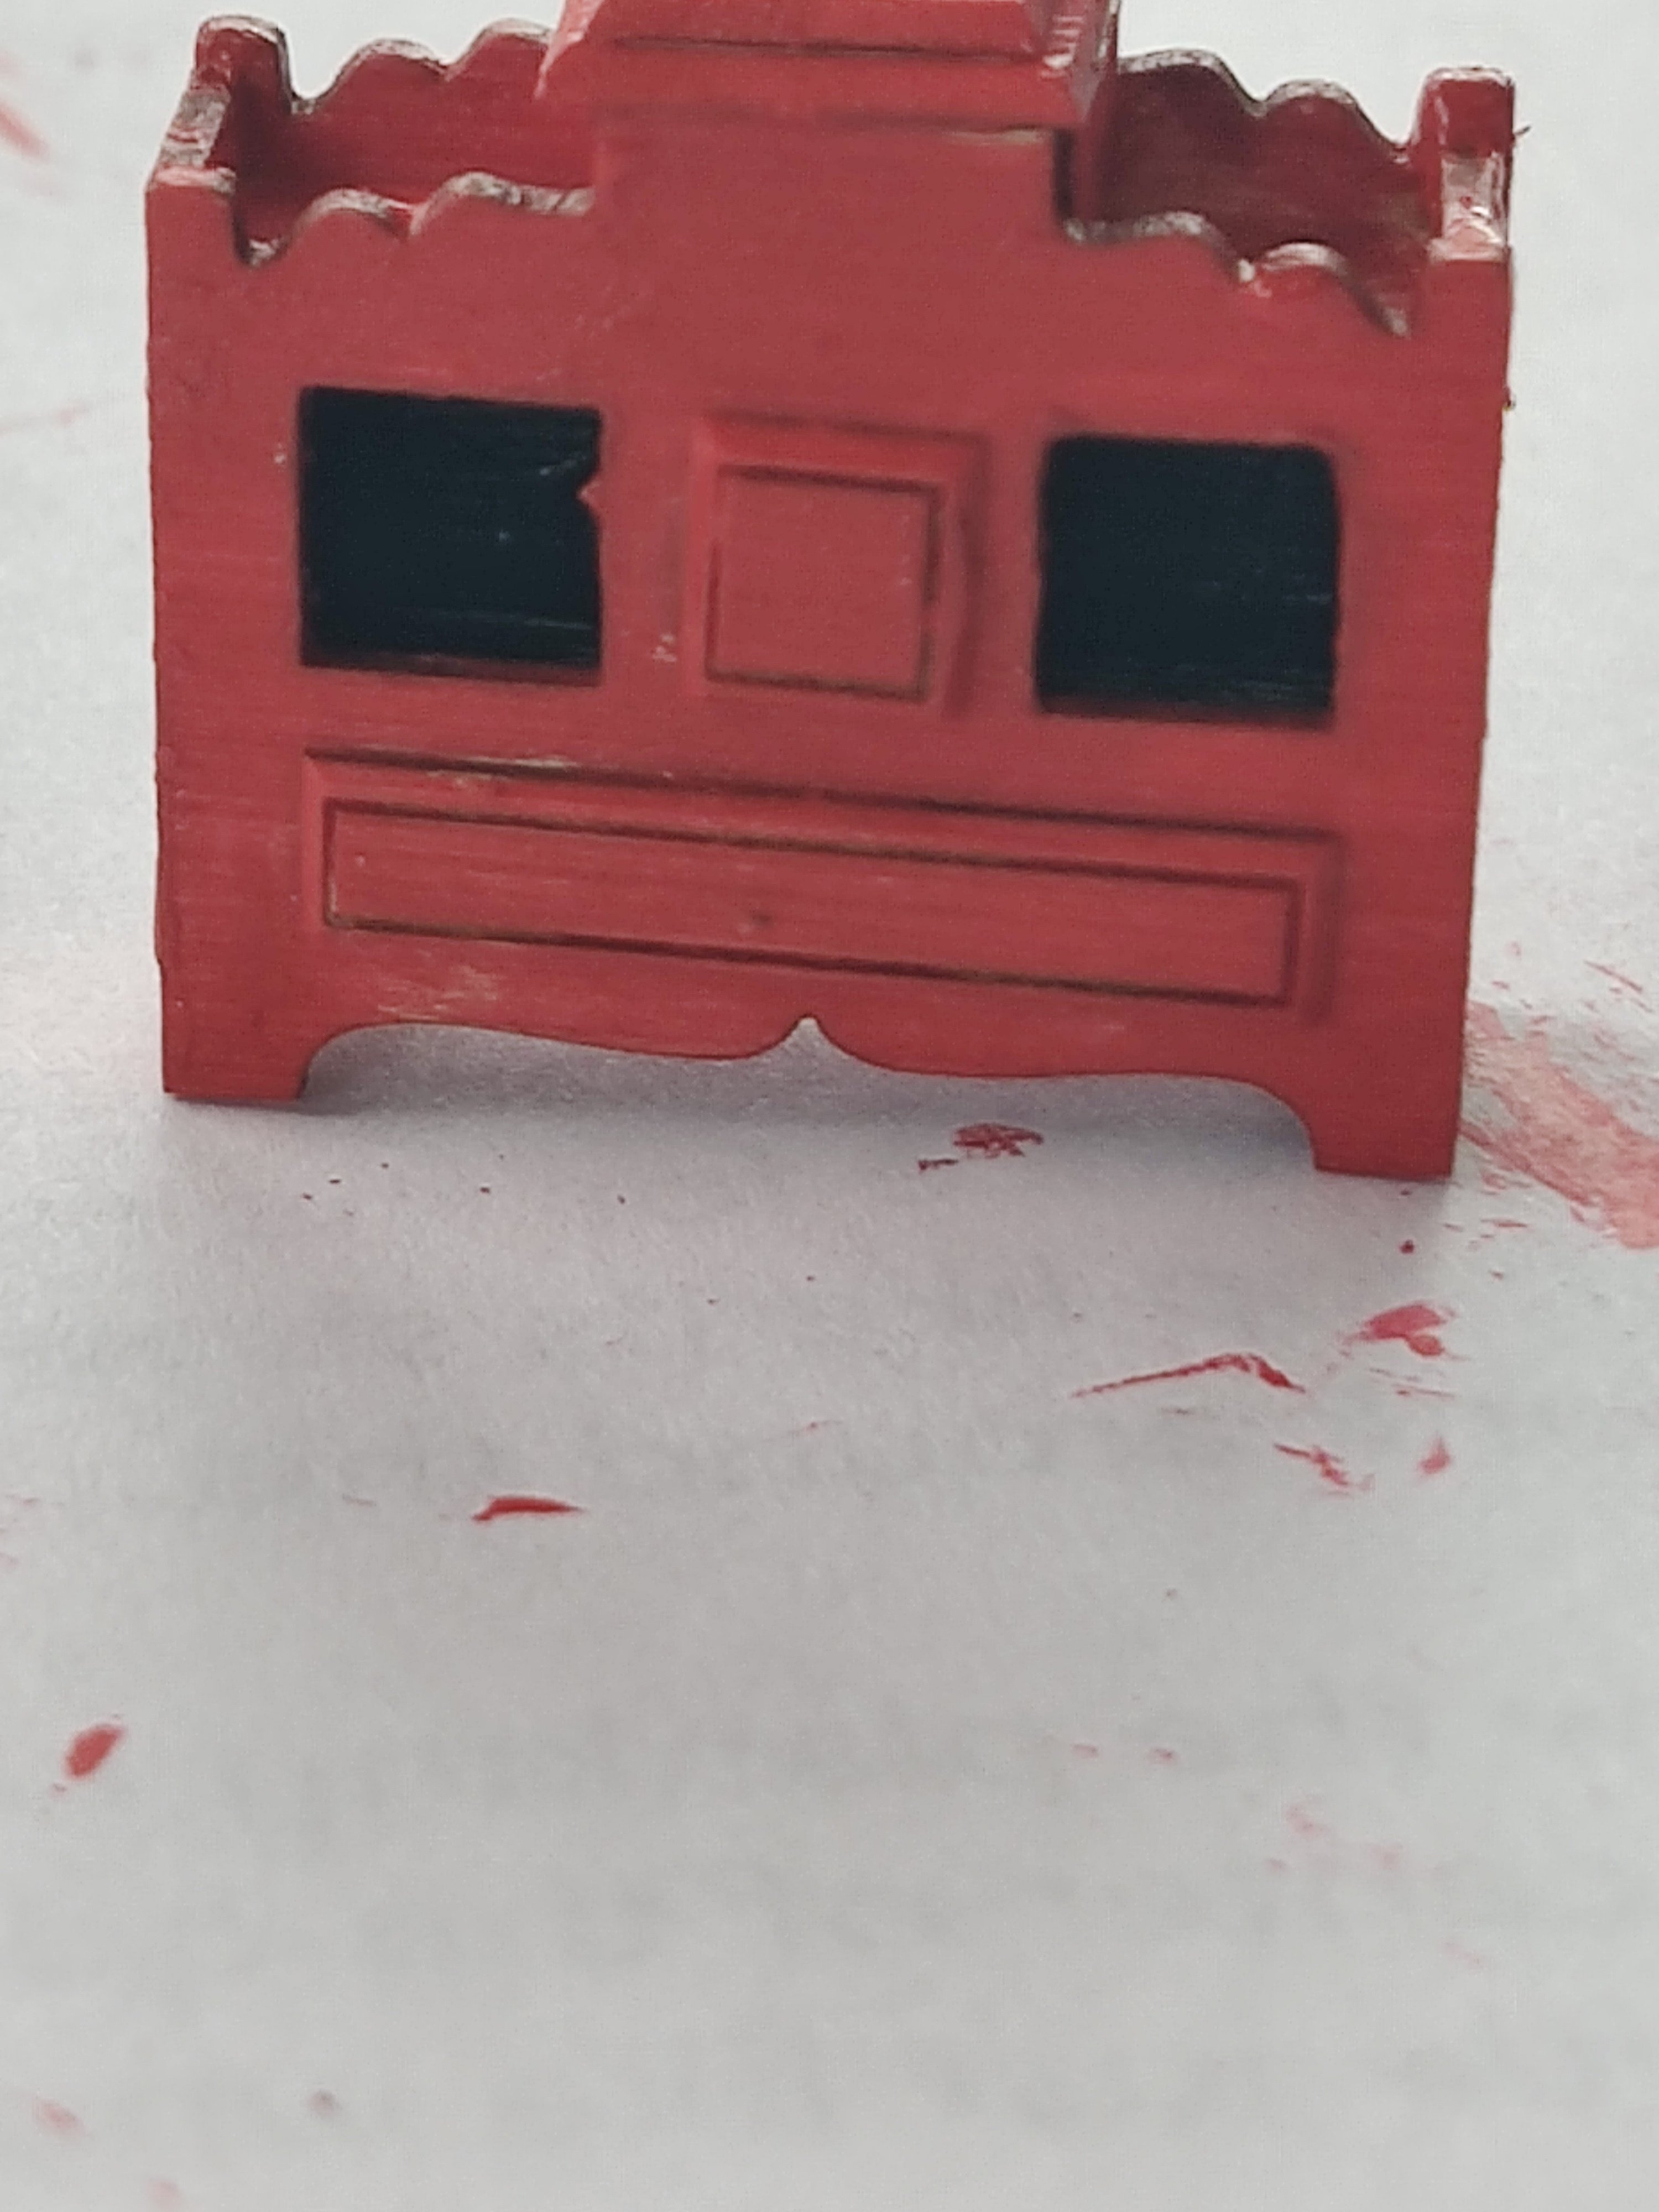
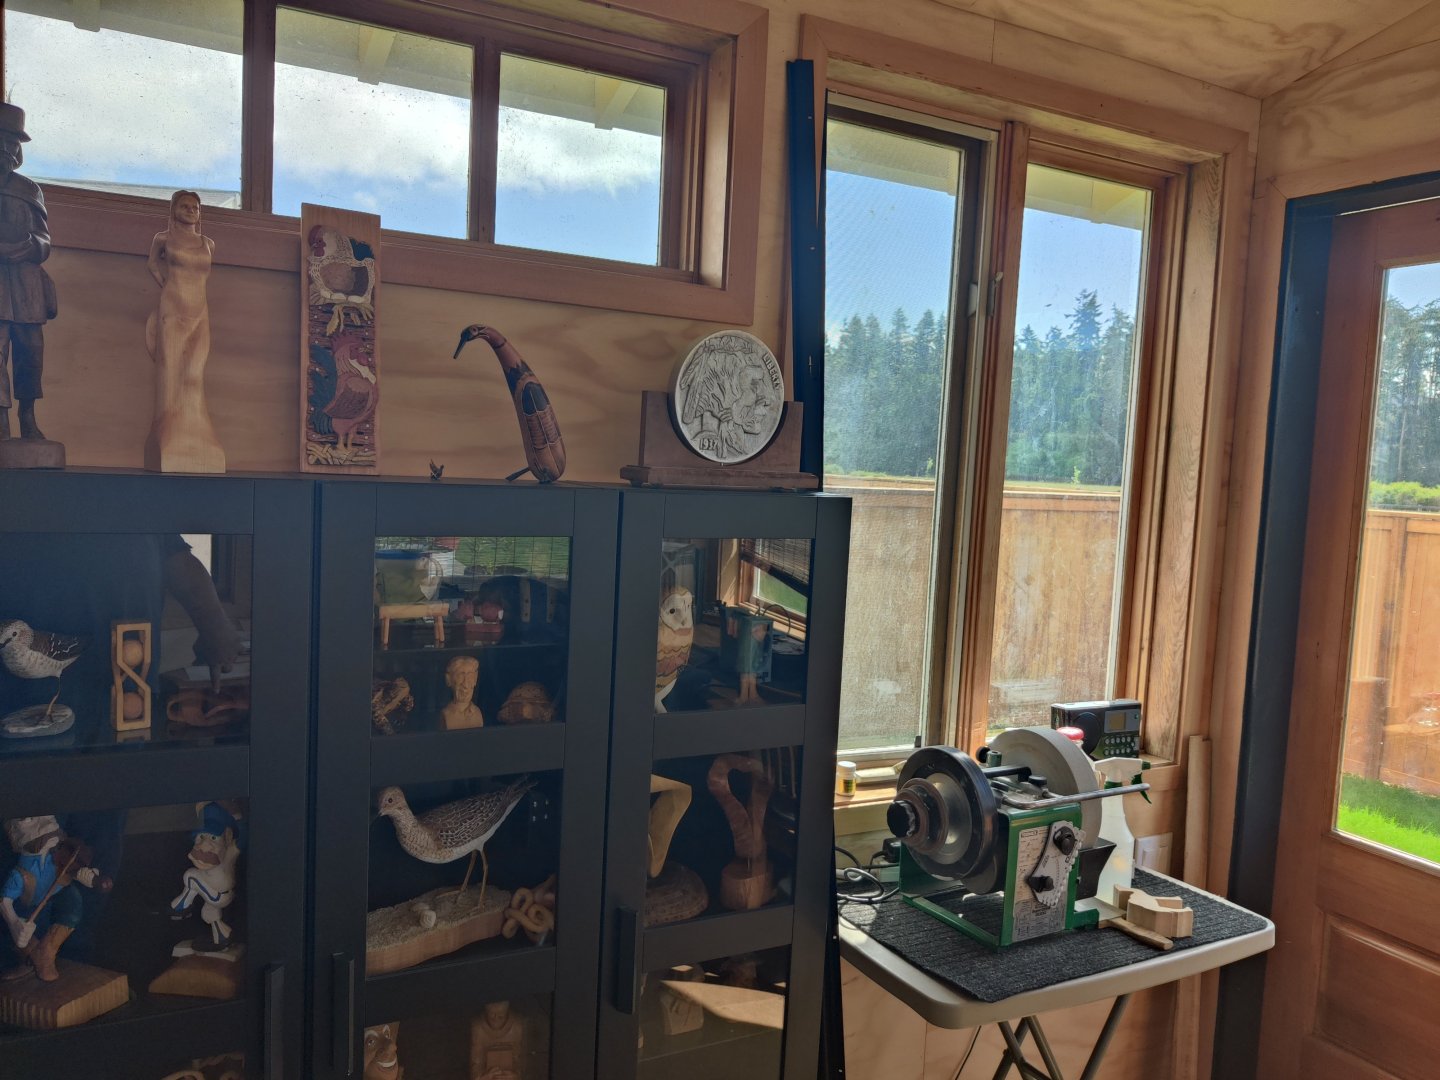
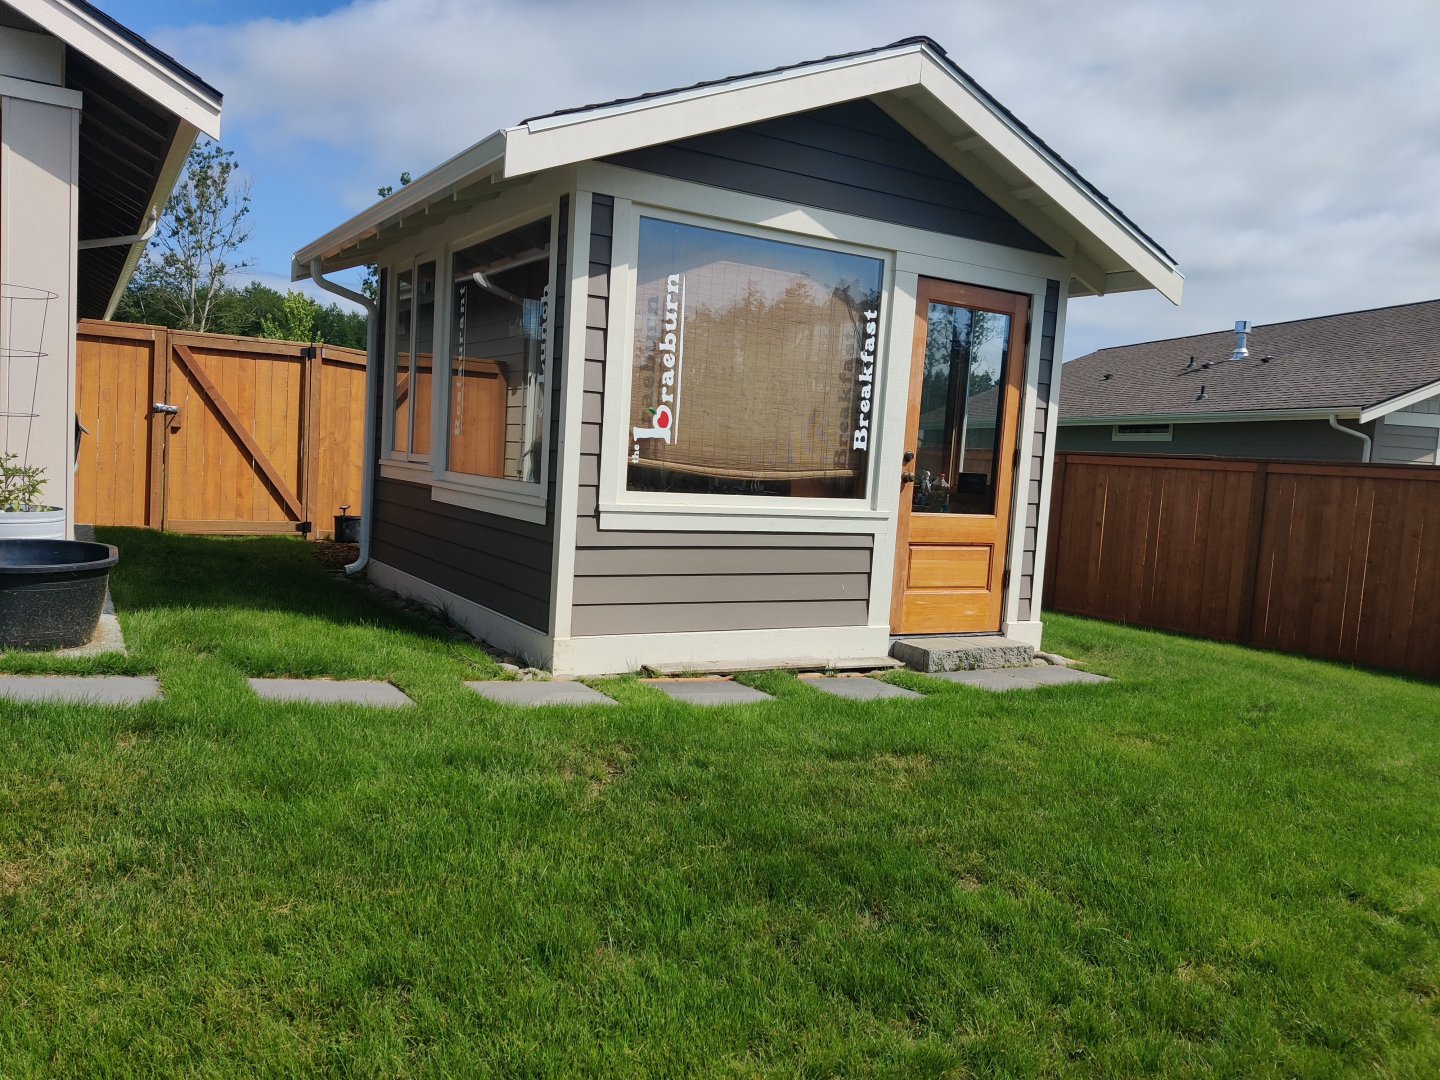
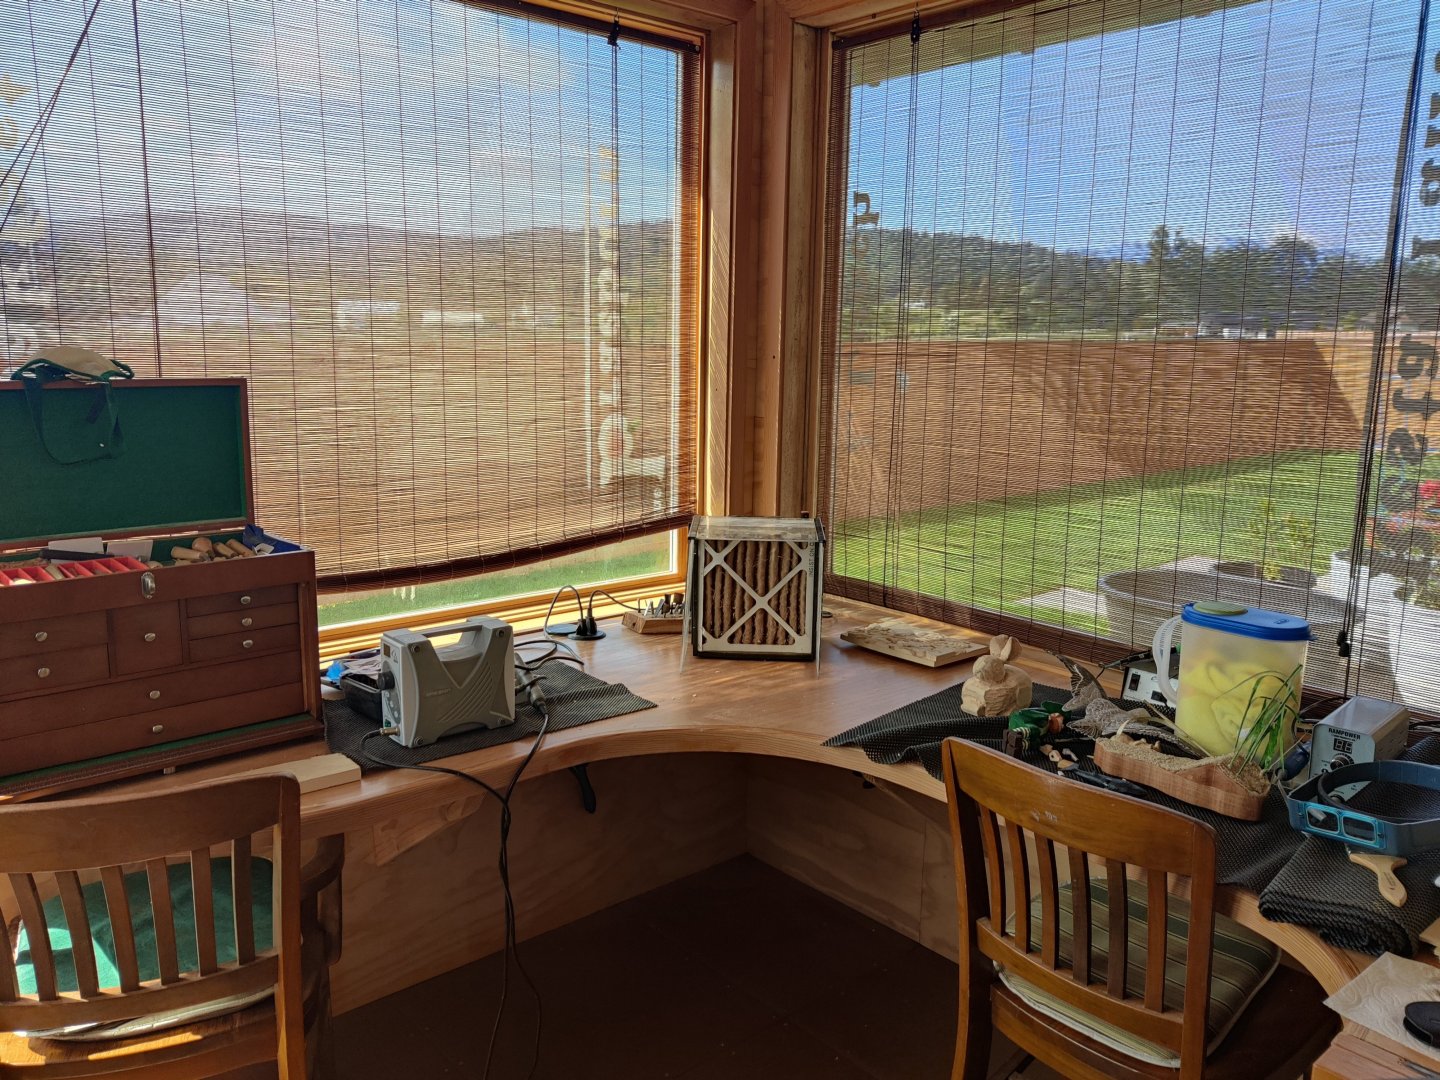
i have a small 10x10 workshop in my back yard. I used to do a lot of wood carving and taught small classes in my shop. Now it is my boatyard.

- 52 replies
-
- 17
-
-
me too, I am about 4 weeks from finishing Winchelsia and looking for the next project
-
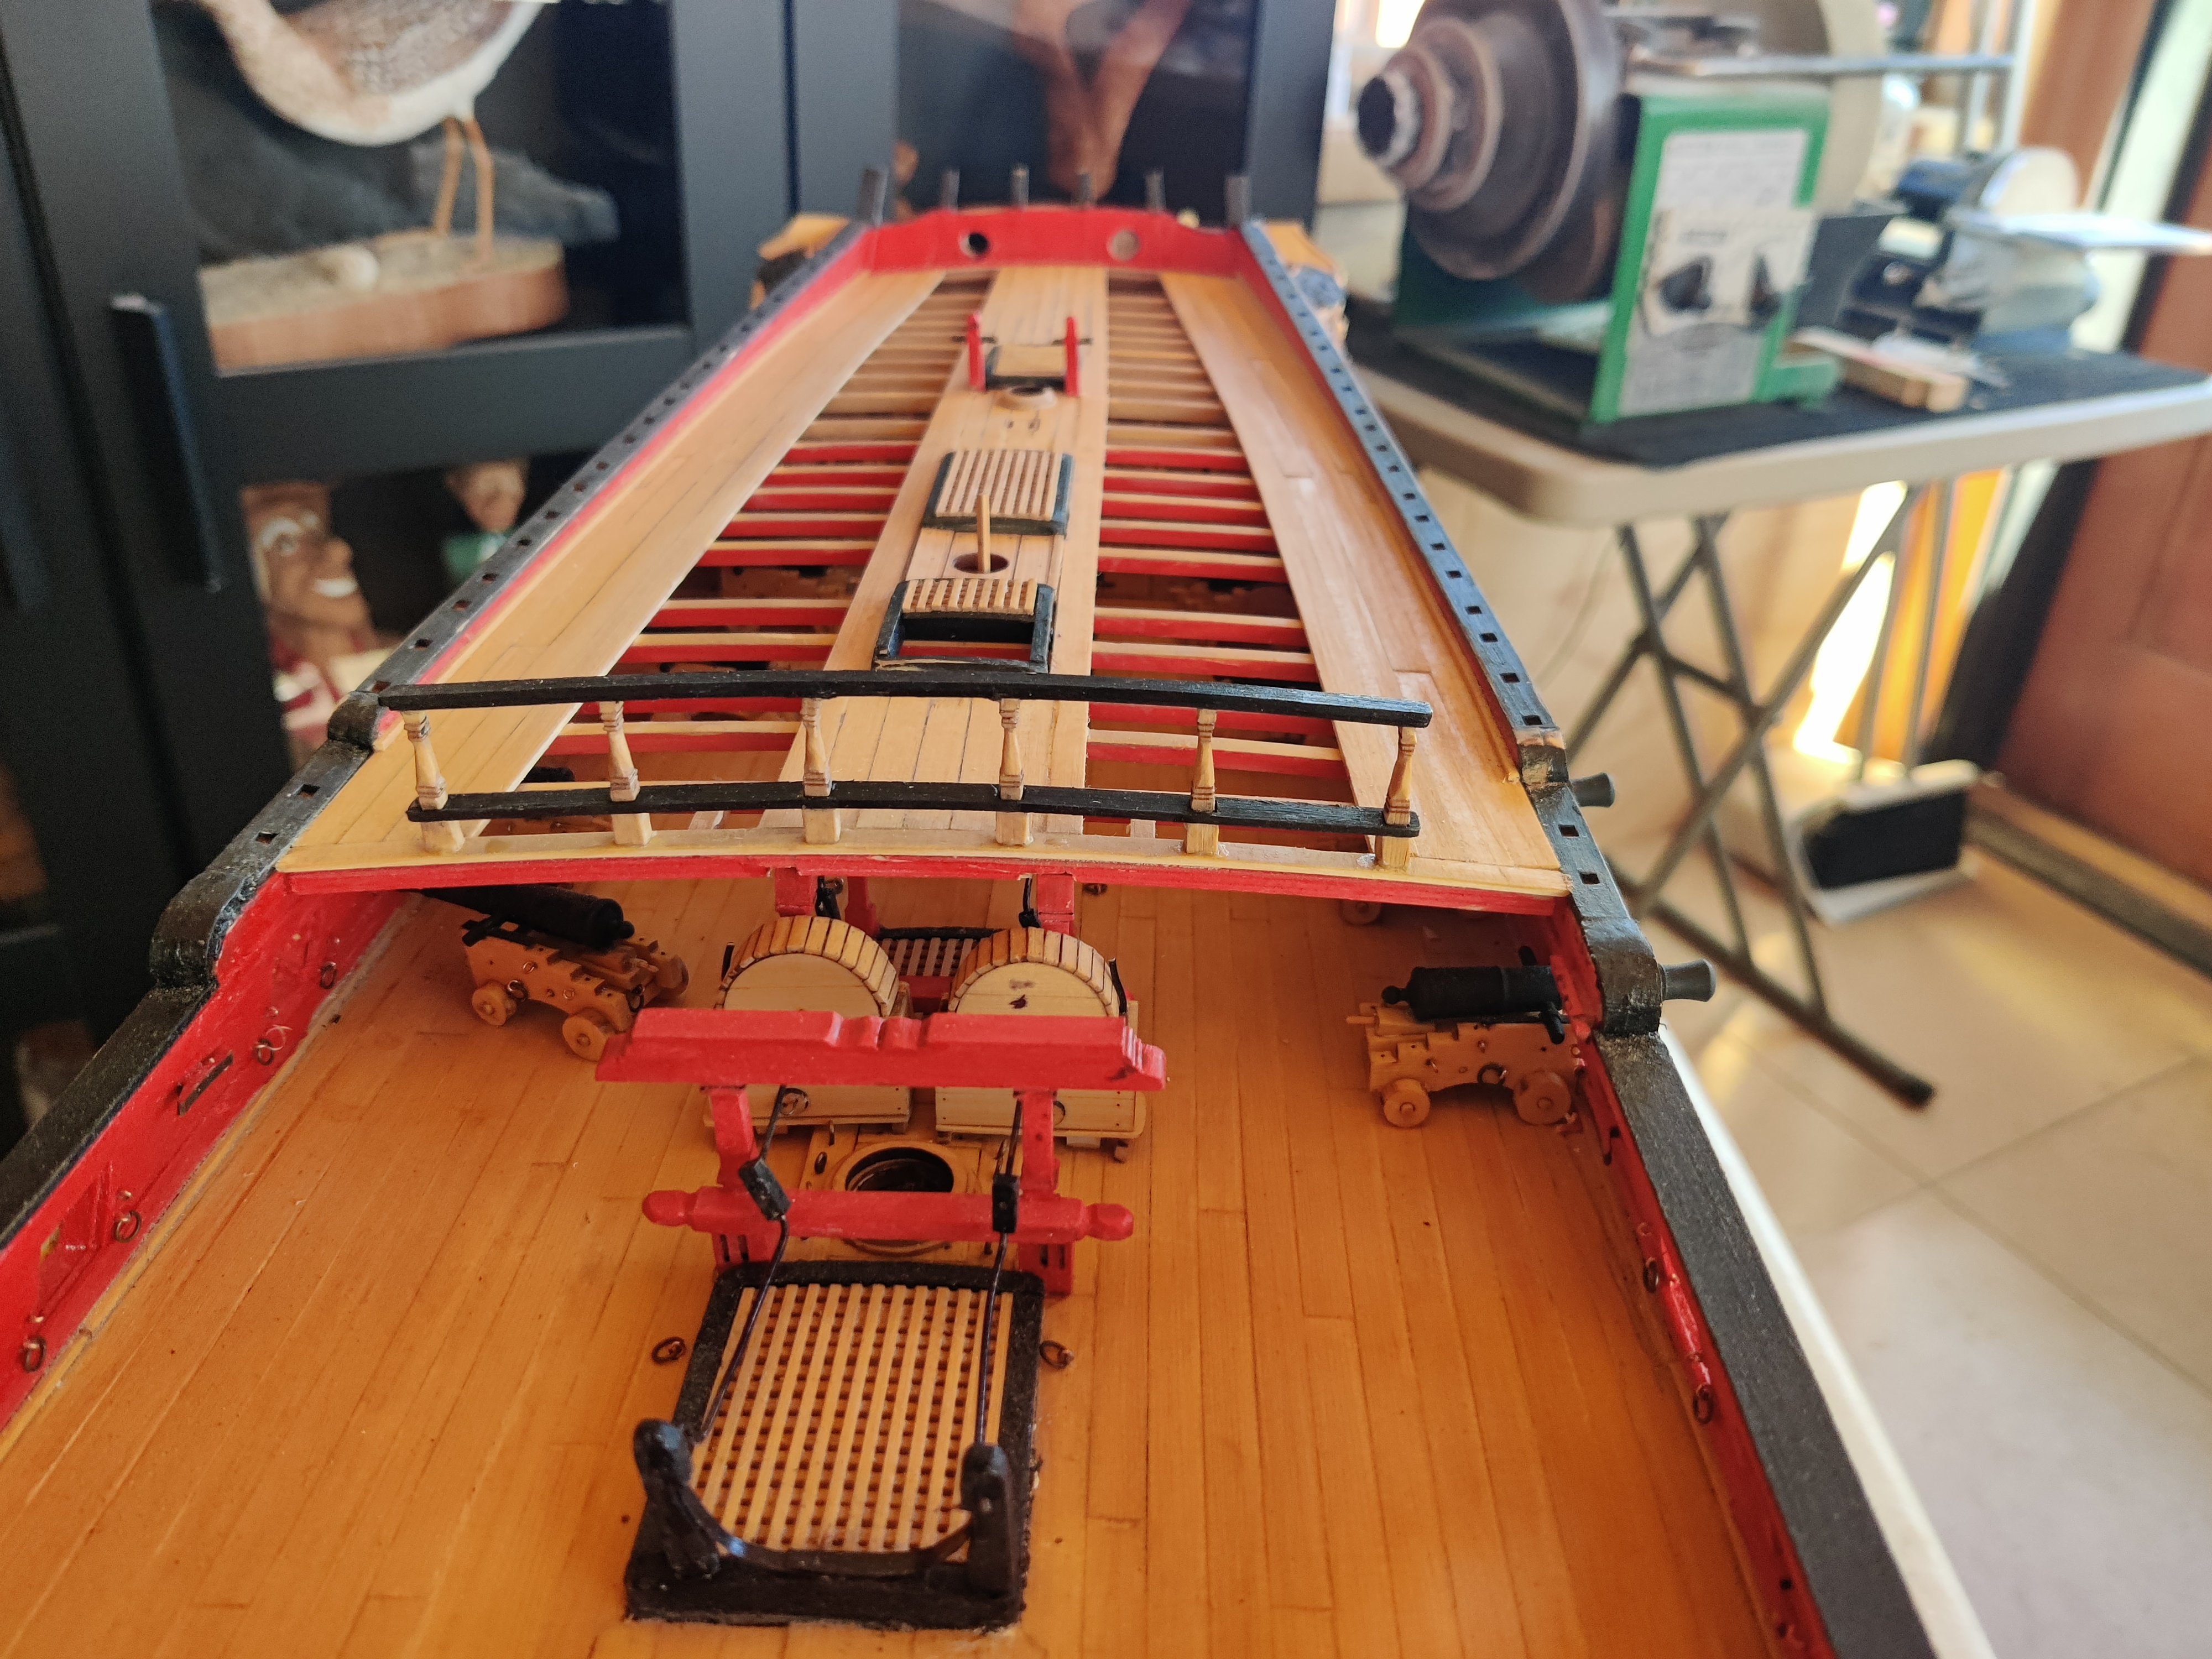
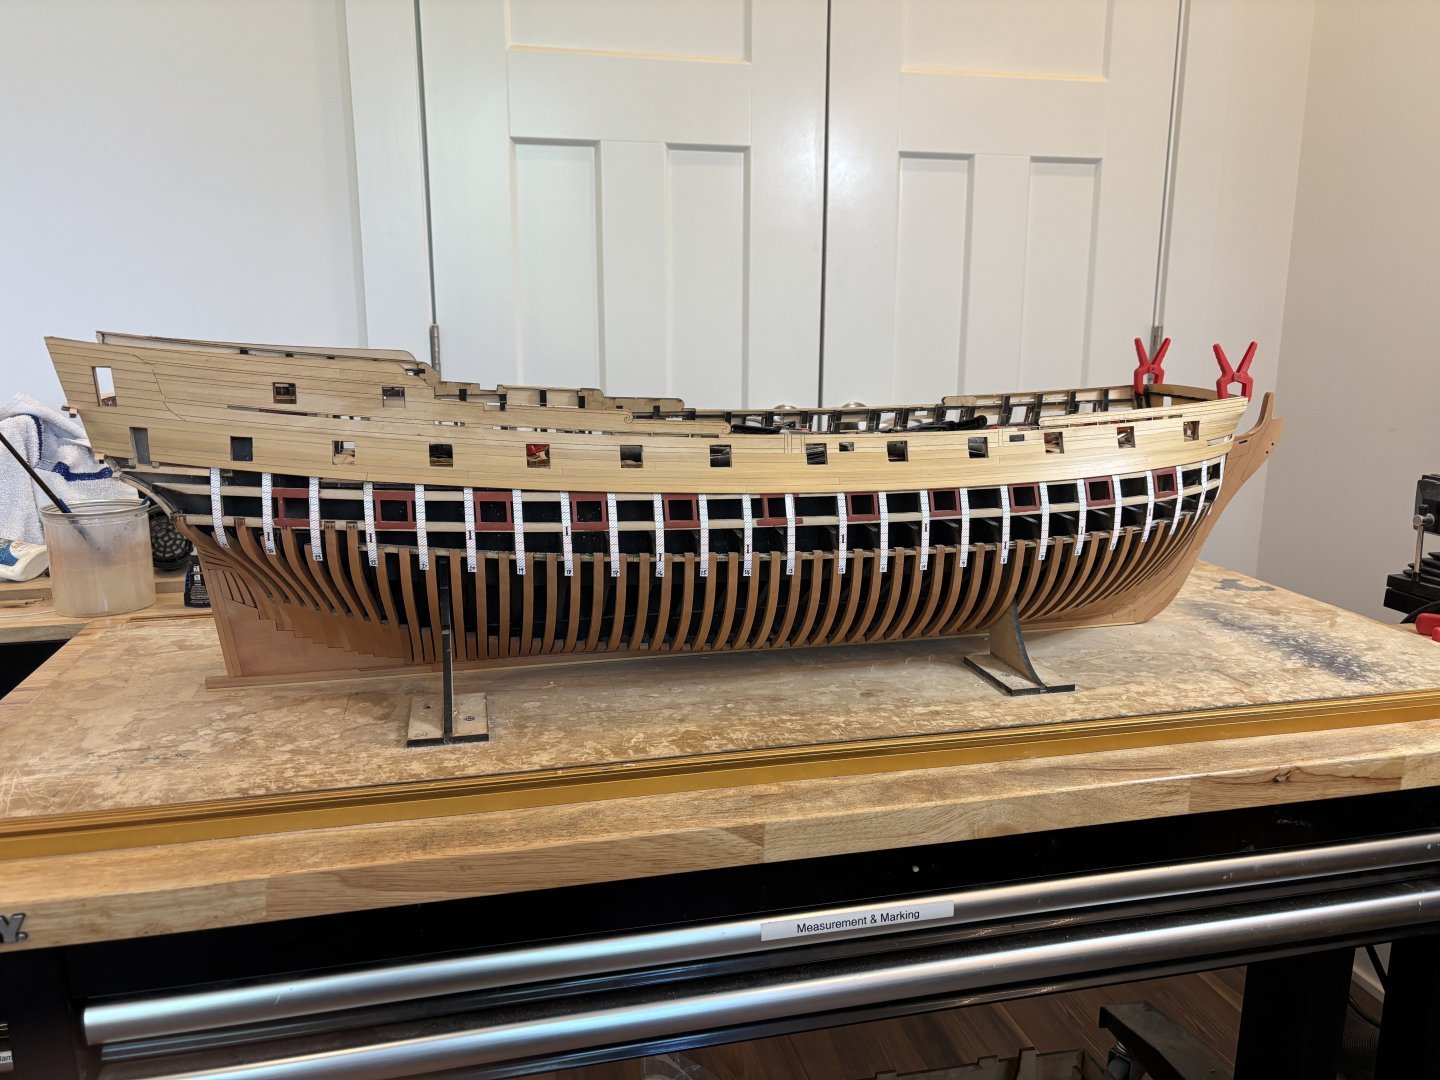
The diagonal line in the photo just forward of the large opening that is in the Captain's quarters, I presume, shows an interruption in the planking pattern and I am wondering what the reason/purpose of that interruption.
-
What is the historical purpose of the "slight off set/change in width" in planking on the stern? It appears that the planks are the same thickness.
-
i am sure that it is somewhere in this blog but i have not found it, when do you anticipate the Surprise being ready for sale?
-
thanks I will research further on the machines, software and 3D forum
-
Is anyone using a lazer cutter to make parts? What equipment are you using? What software are you using? Any recommendations?
-
can you elaborate as to what minor alignment errors you made, it may help some of us who want to build this avoid them in the future?
-
Johnny I had an accident and lost use of my right arm bicep. I can still move my right hand but it is stiff and does not have a lot of flexibility. I use my left hand as my primary hand now because I can not raise my right arm without assistance from my left arm. So I am incredibly slow in moving and each move has to be planned in advance. I use a 3rd and 4th hand a lot, I use reverse tweezers a lot to hold things, I use super glue much less often because it takes awhile to get pieces situated. I use a white glue that can be released with alcohol as well. Mainly it is just realizing that I have limitations and plan accordingly. Can I be as good as those with two good hands, NO, but I can still do quality work and enjoy the process. I do 1/48 scale but no longer try to do 1/64 or higher. I also do admiralty models because rigging is not possible with my limitations. I still have great fun.
-
Thanks!! I will fix that
-
The front railing on the Qdeck is in. It was real challenge to get everything properly aligned taking into consideration the curvature of the support beam.

-
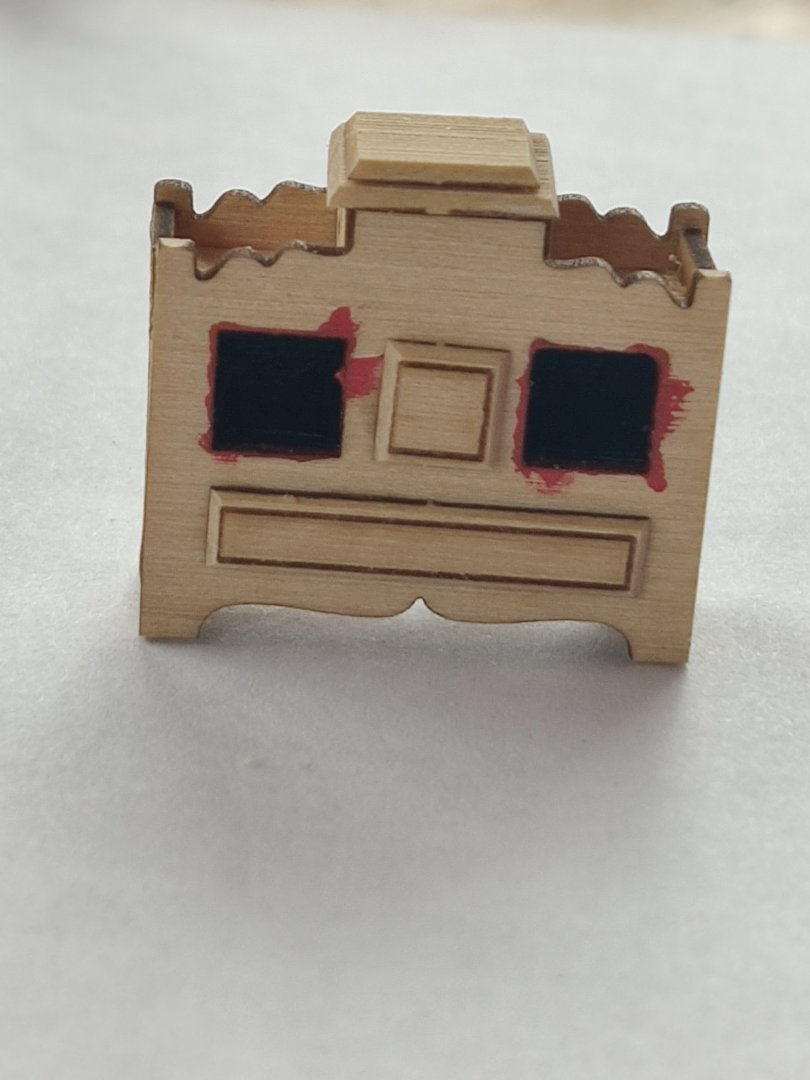
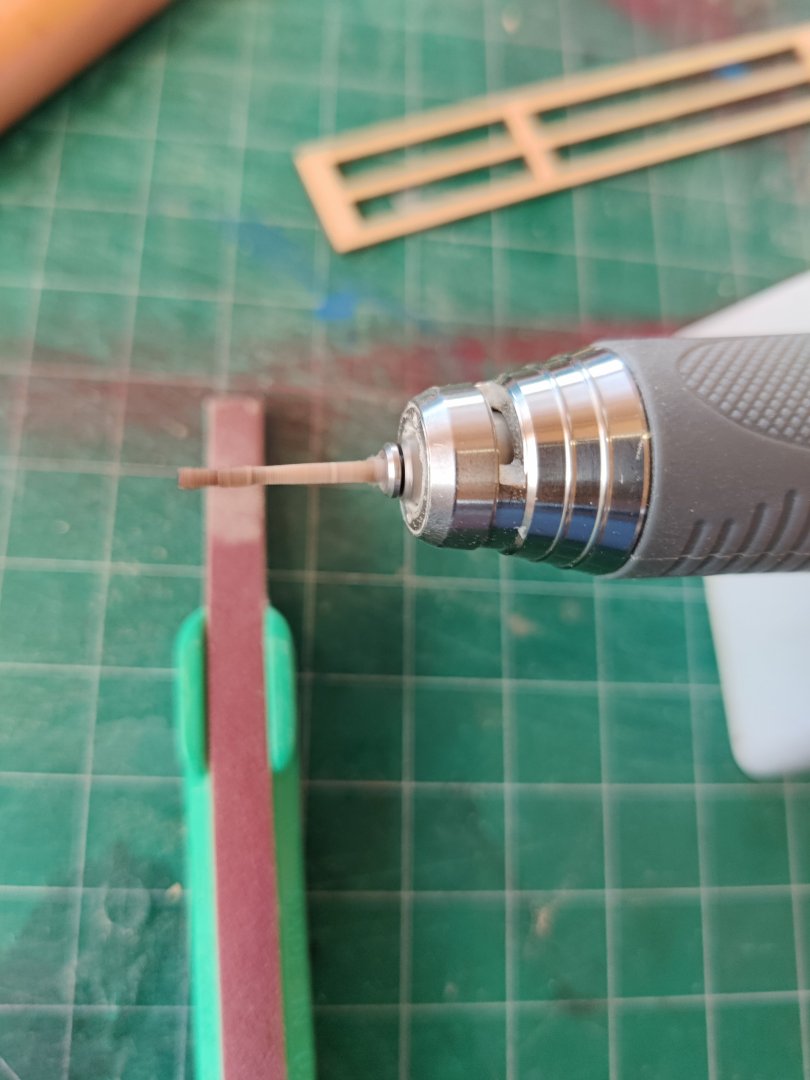
The binnacle has been completed. Work has started on the Captain's wheel. I do not have a dremel but I do have a power carver that i am using to finish the spokes on the wheel. I only accepts 3/32 and 1/8" bits so i had to put some scotch tape to secure it in the carver.

-
Are there any plans that you know of for the Bailey Gatzert? Do you know of any photos? I would like to build a stern wheeler with connections to the PNW