woodartist
-
Posts
292 -
Joined
-
Last visited
Content Type
Profiles
Forums
Gallery
Events
Everything posted by woodartist
-
How do you decide when to put the pieces in place permanently?
-
Thanks for the reminder. I will follow that advice.
-
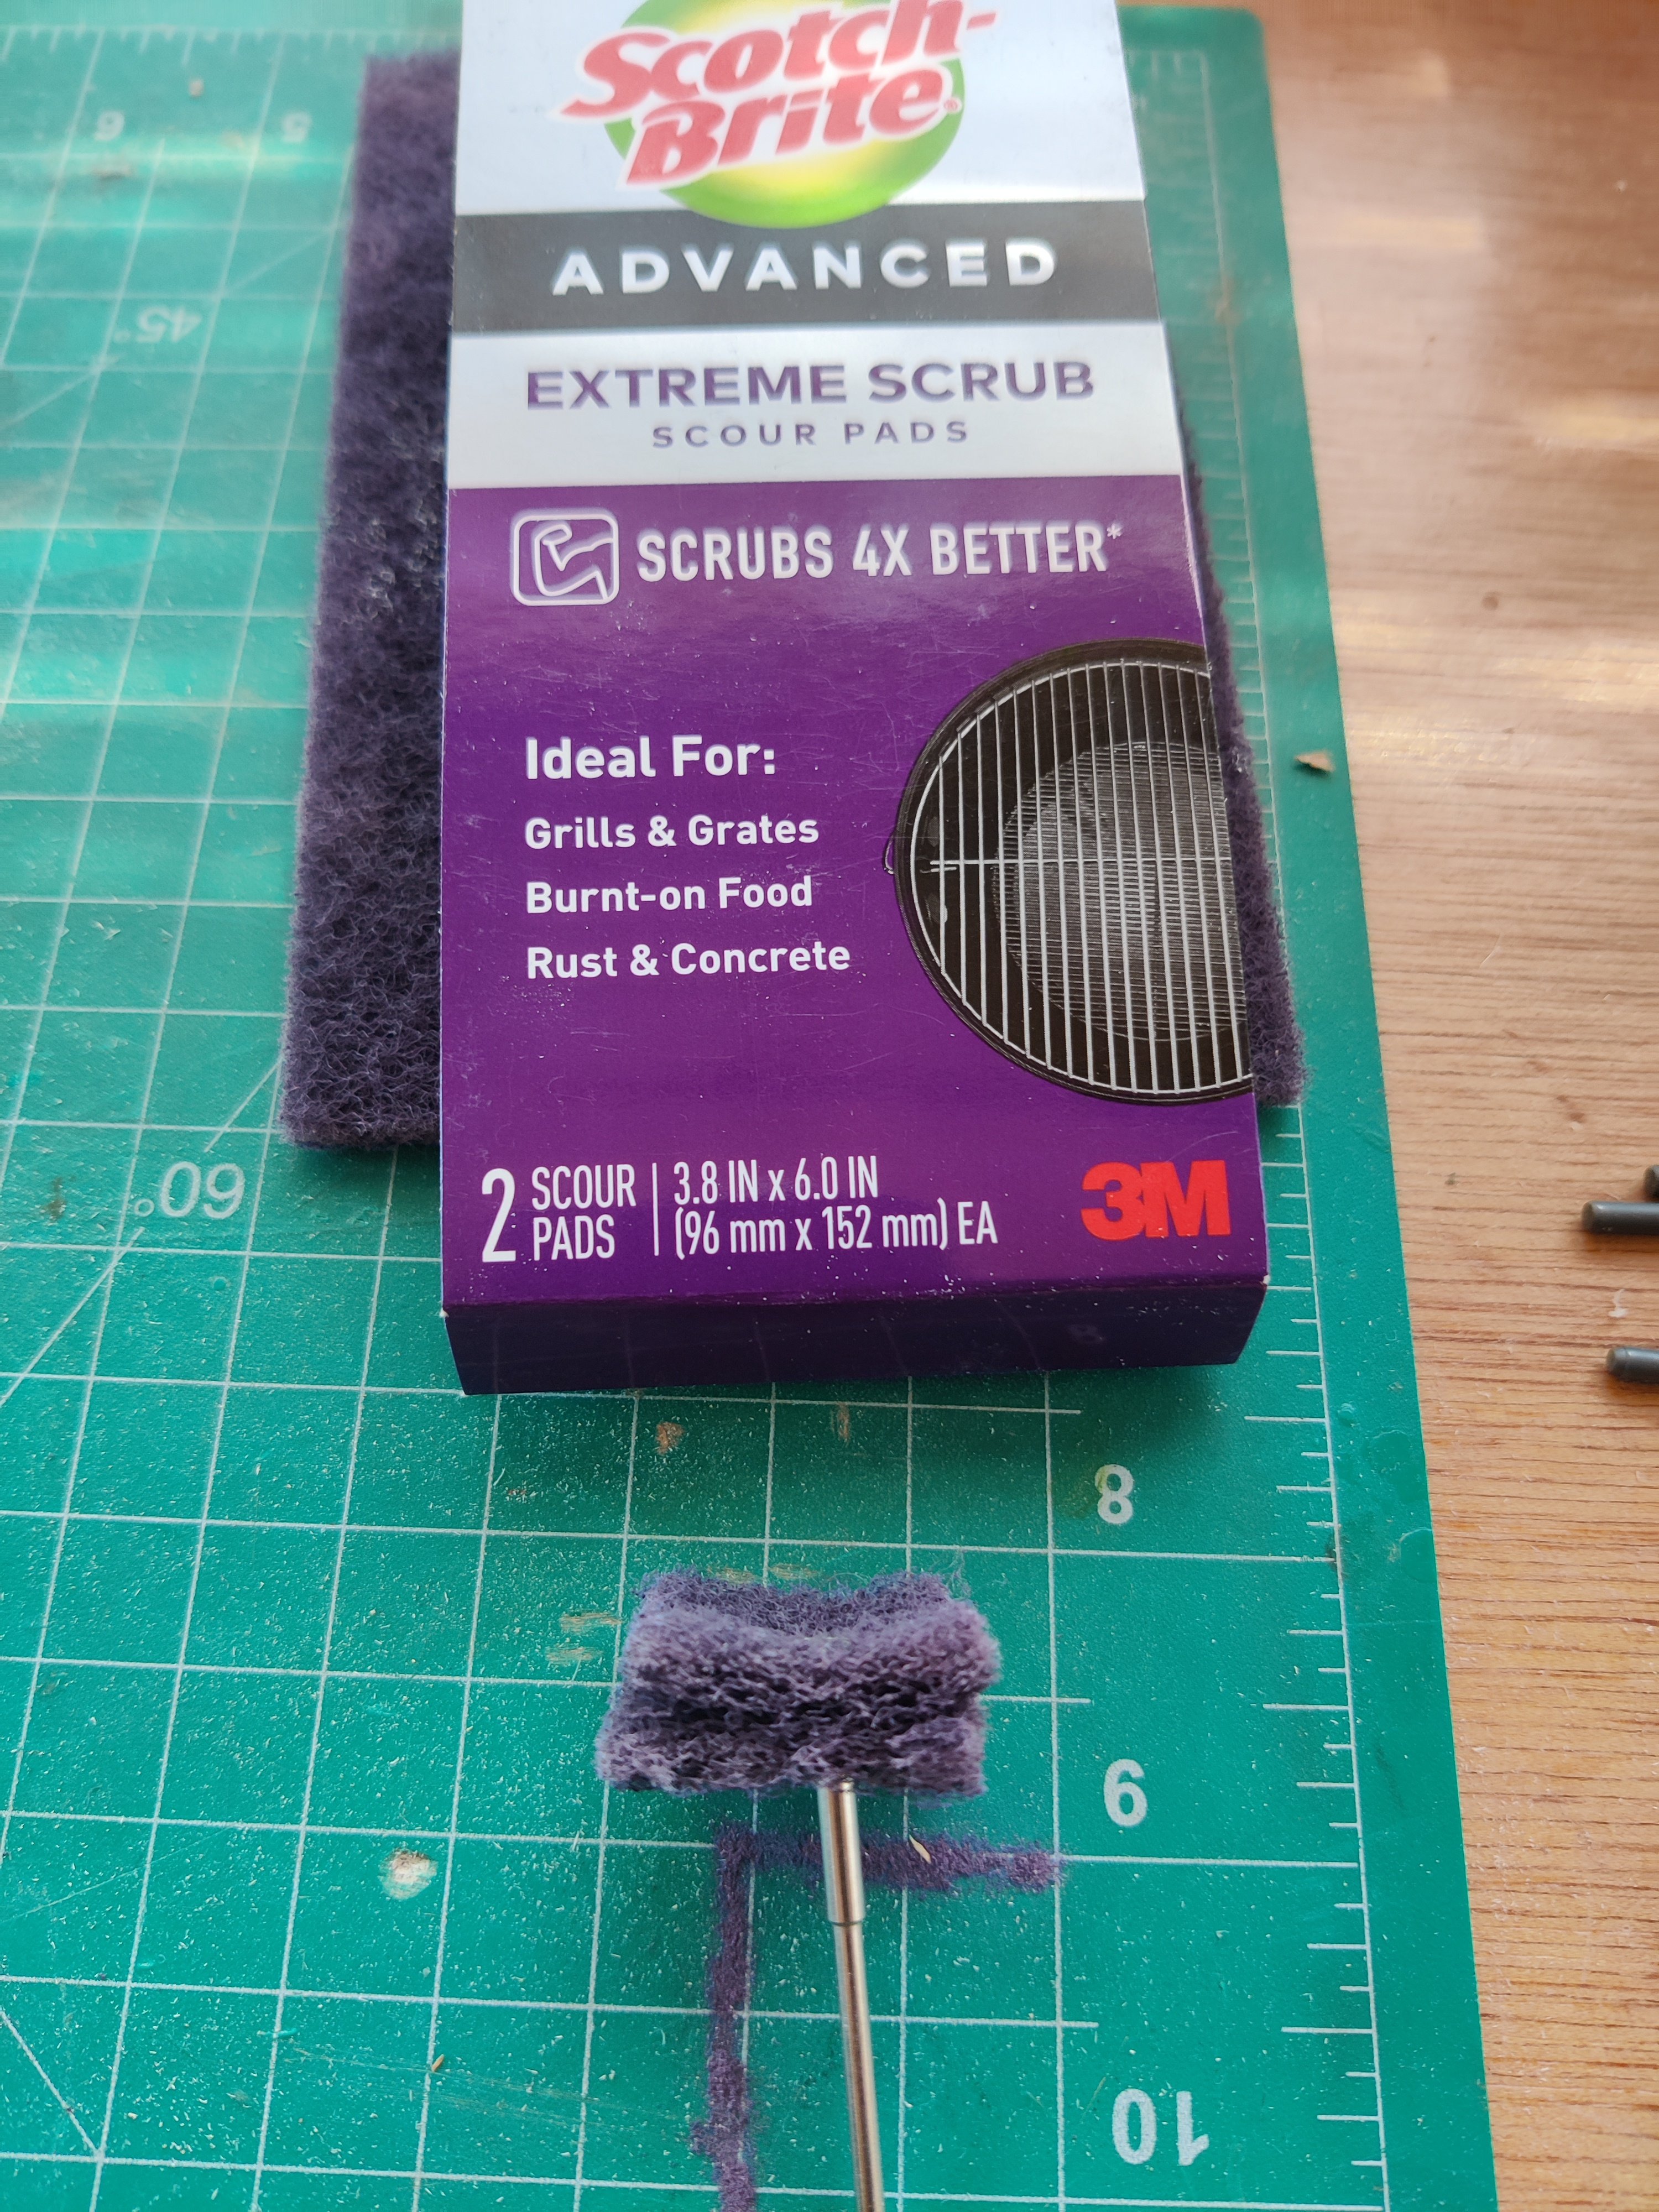
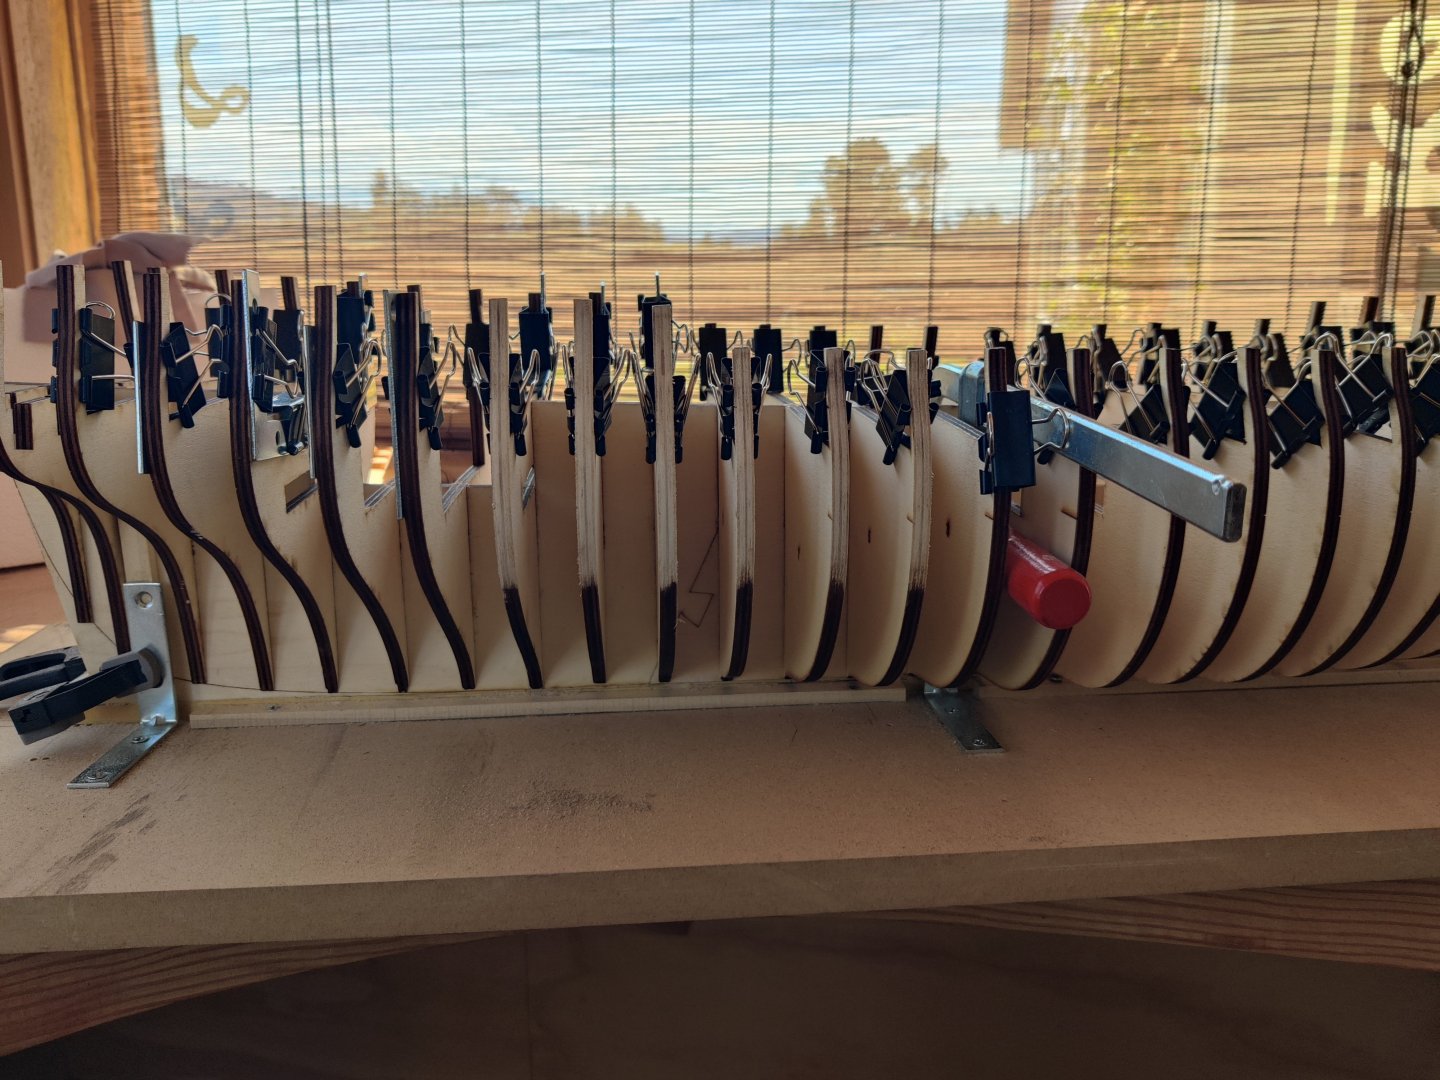
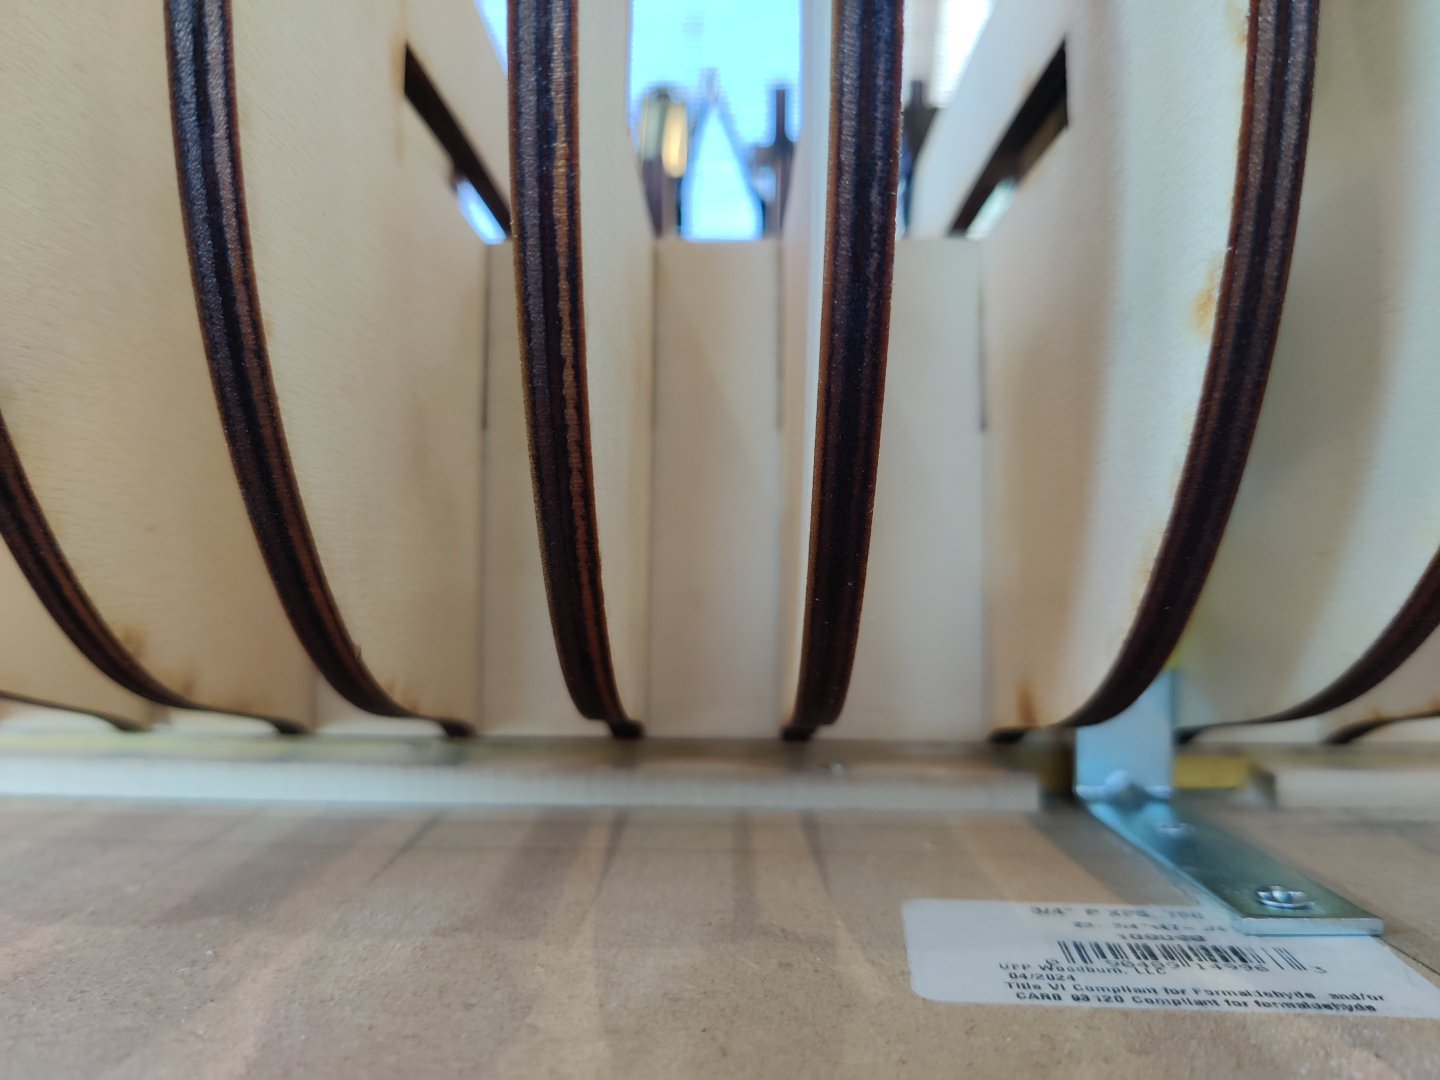
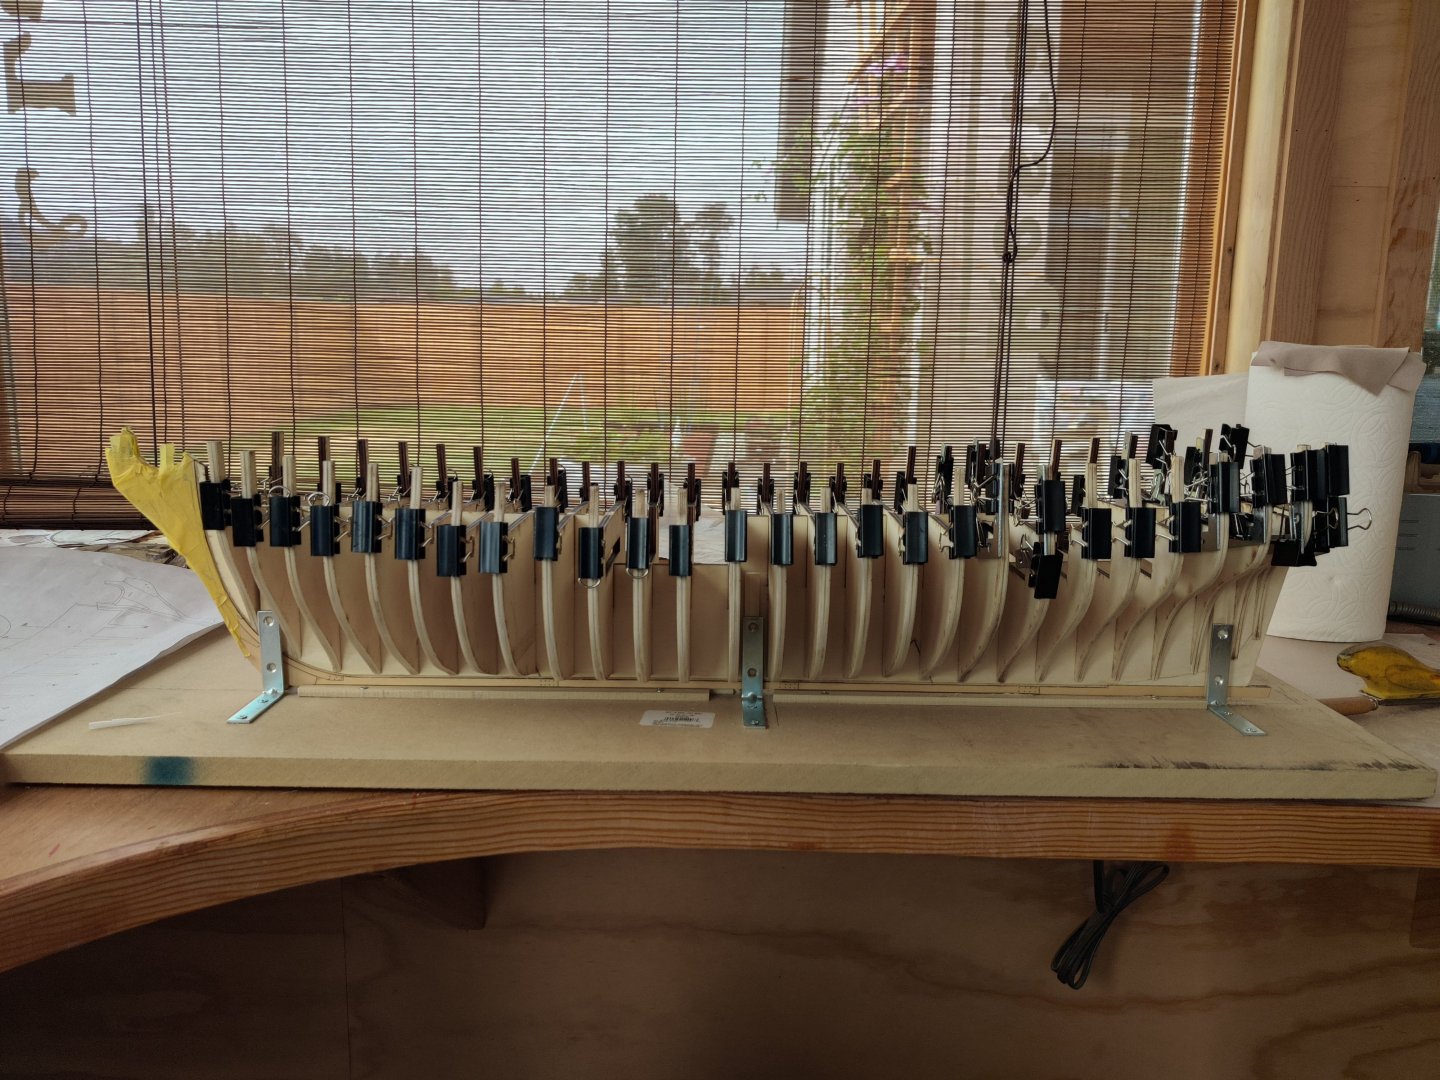
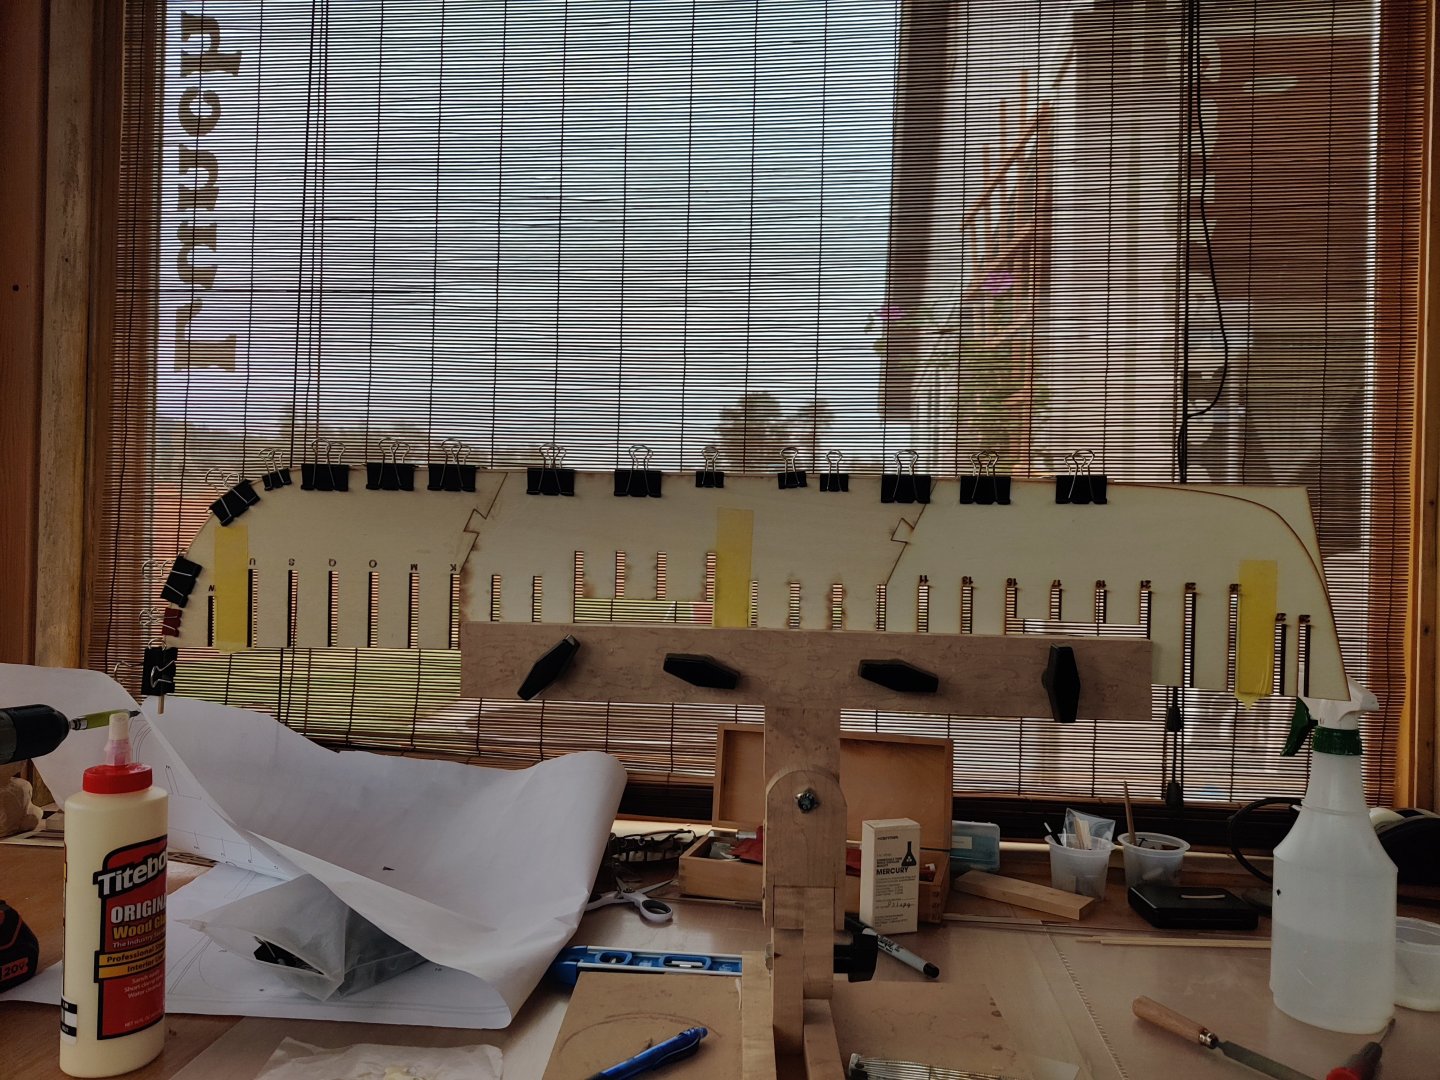
Glue up completed and commenced sanding away the char and started the fairing. I thought I might be able to use a Scotch Brite pad for removing char on a charcoal grill to get the char off. I cut out a couple one inch squares and and secured them to a bit that fits in my rotary carver. They did not work. So I used my diamond flat file first then a 120 and 220 sand paper to start the process. A long way to go!!

-
glue up started

-
It looks fabulous from every perspective. It seems a long way off, but i will remember your struggle and victory
- 840 replies
-
- 2
-

-
- winchelsea
- Syren Ship Model Company
- (and 1 more)
-
thanks Glen, I will glue them in then.
-
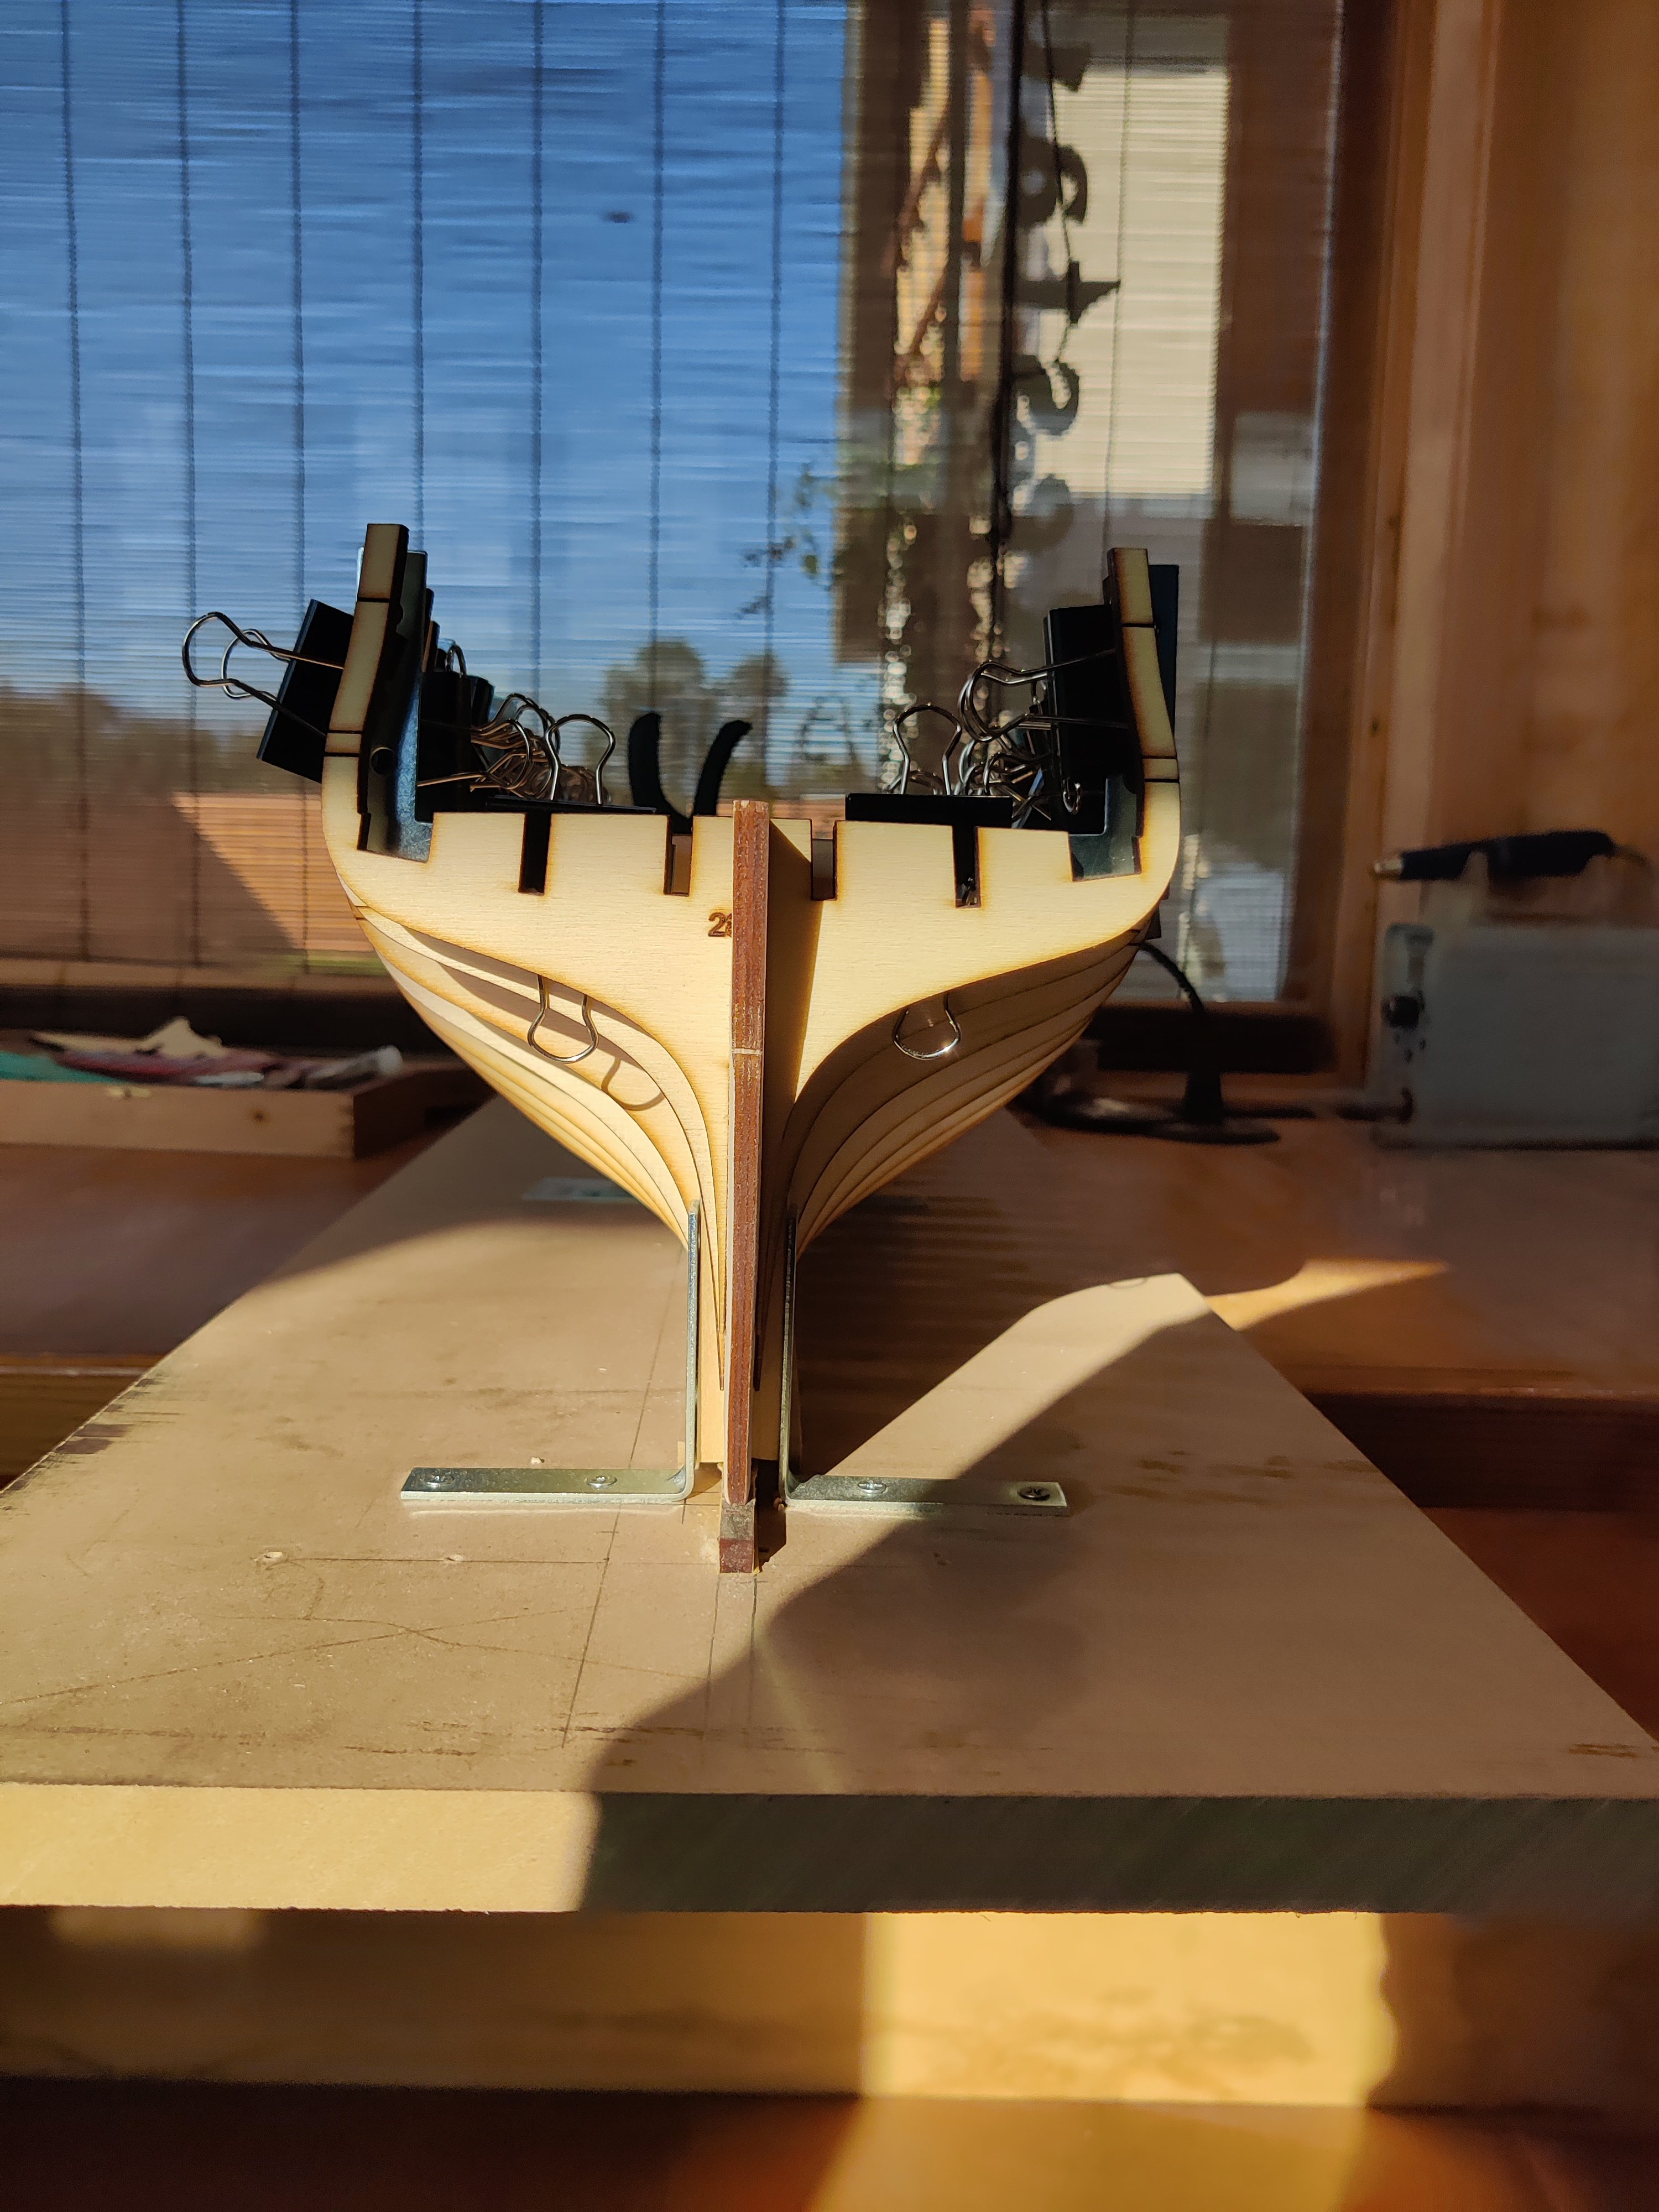
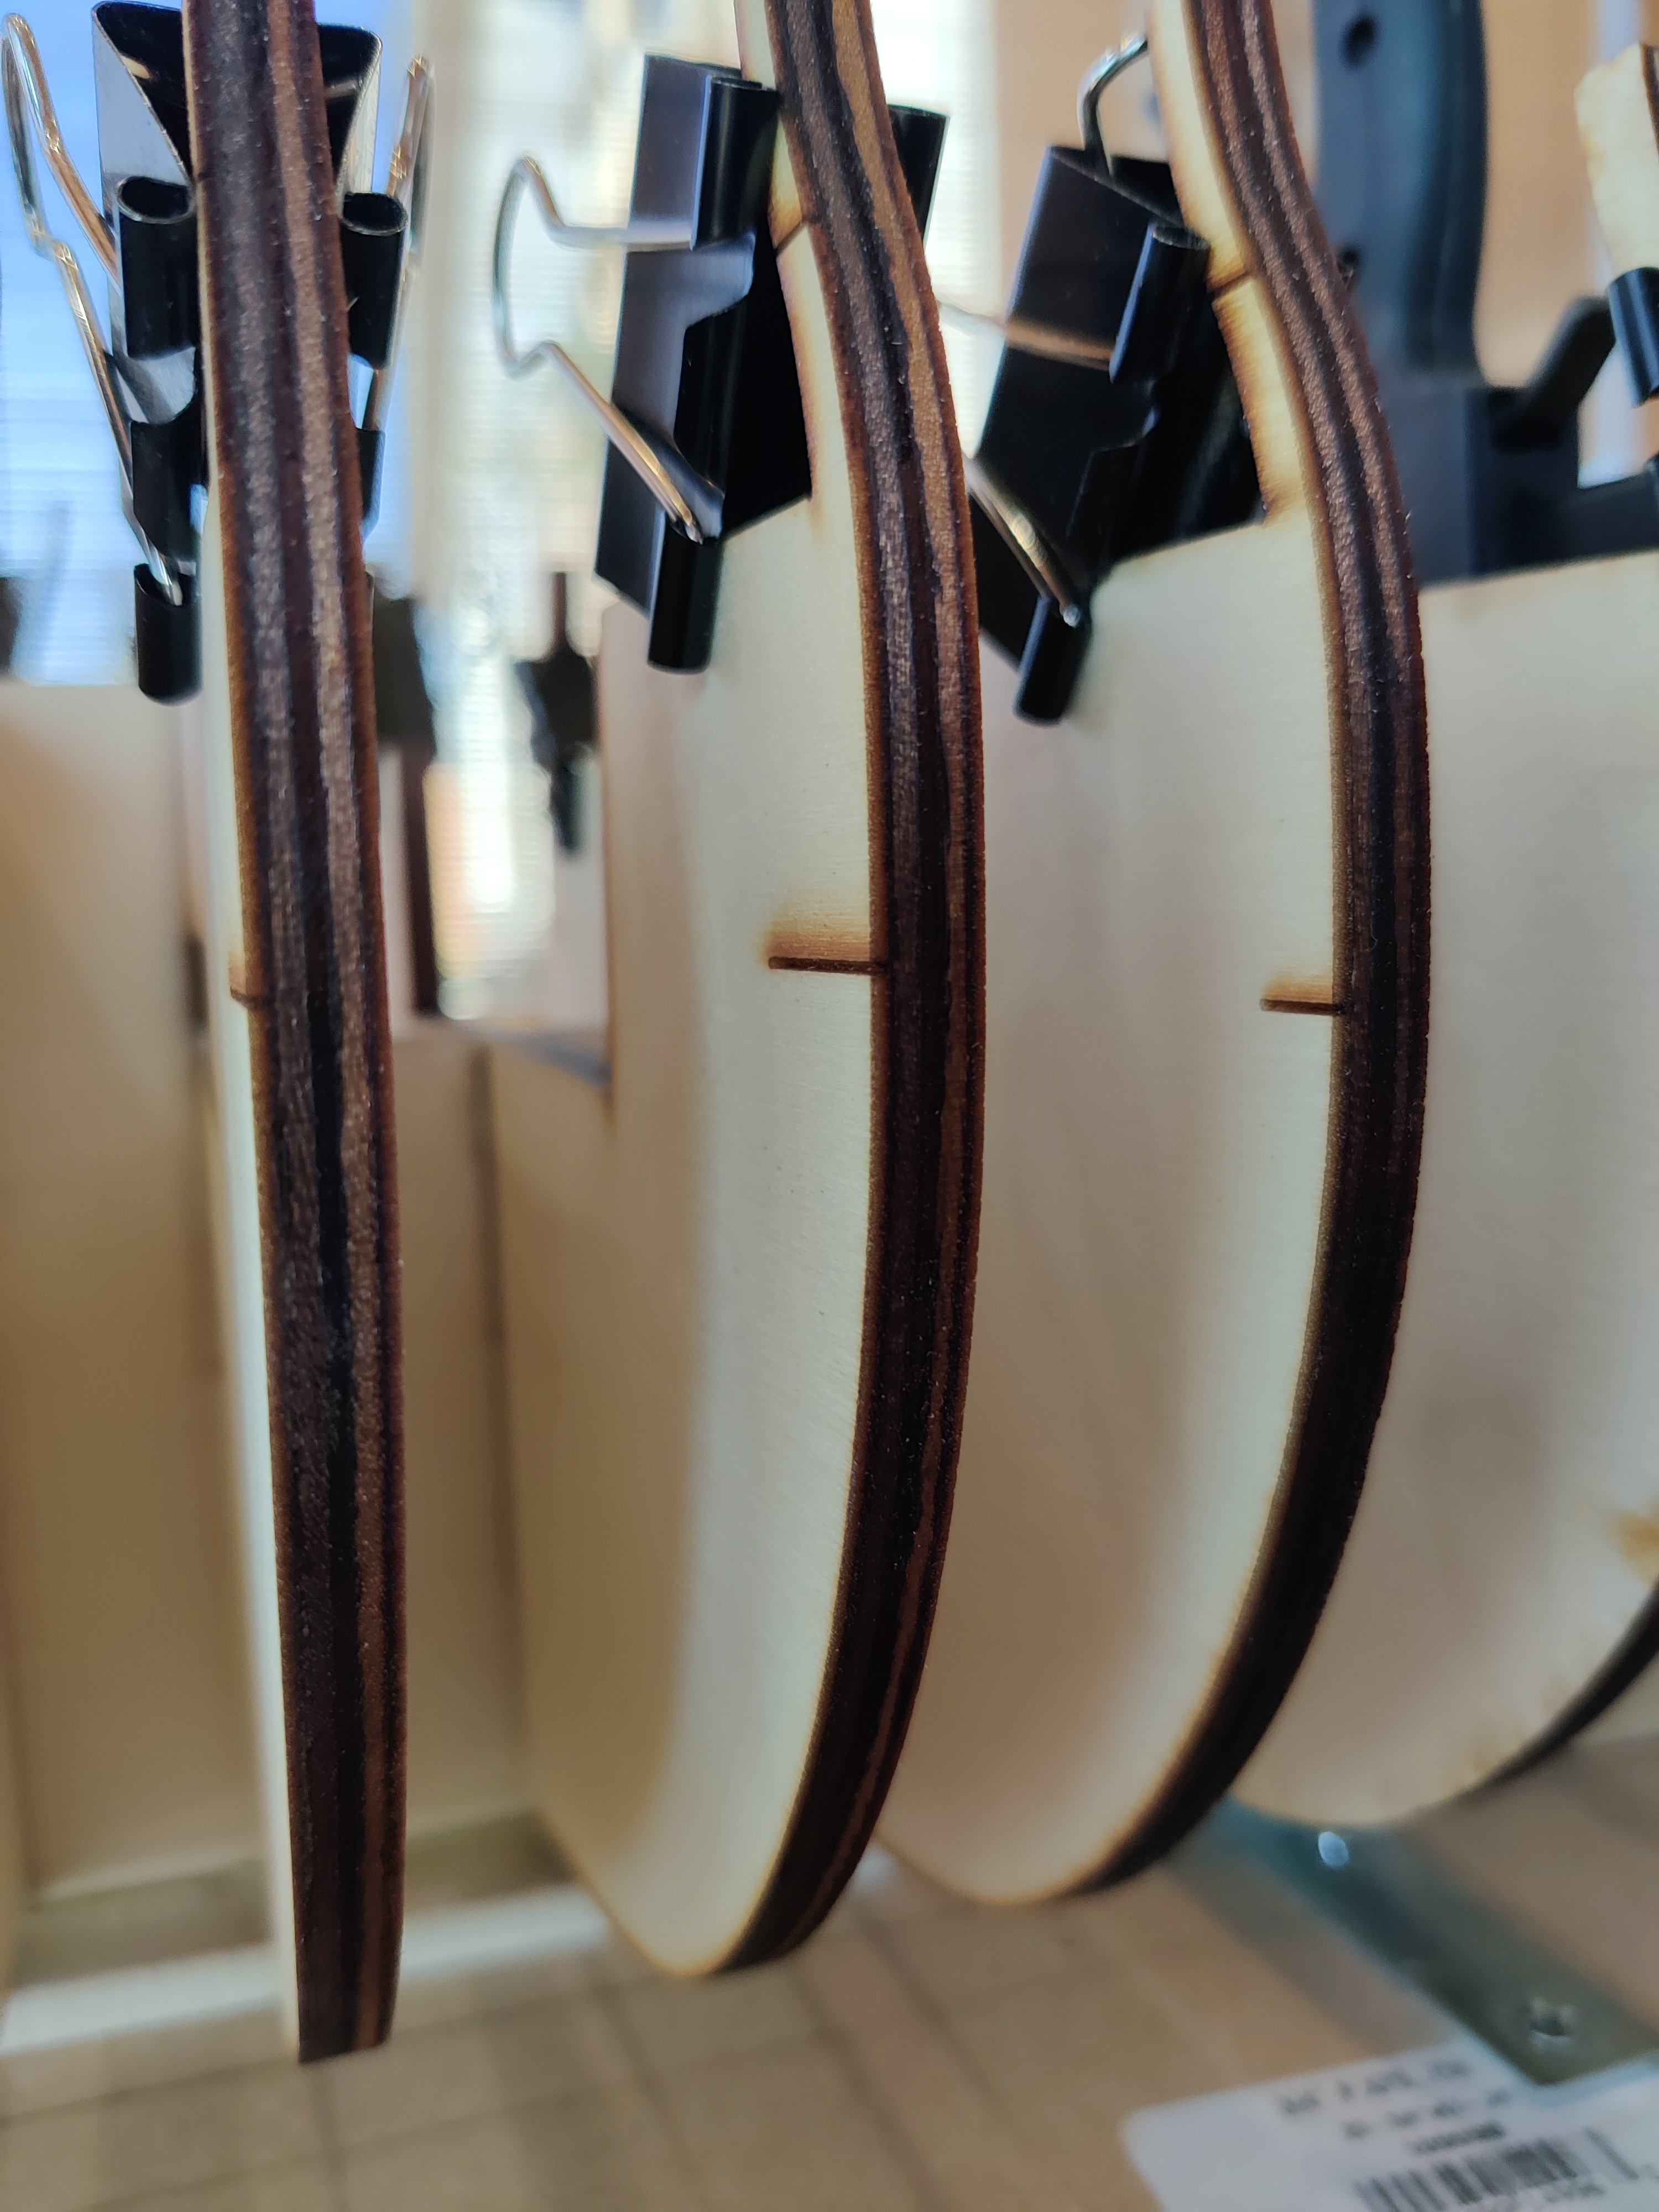
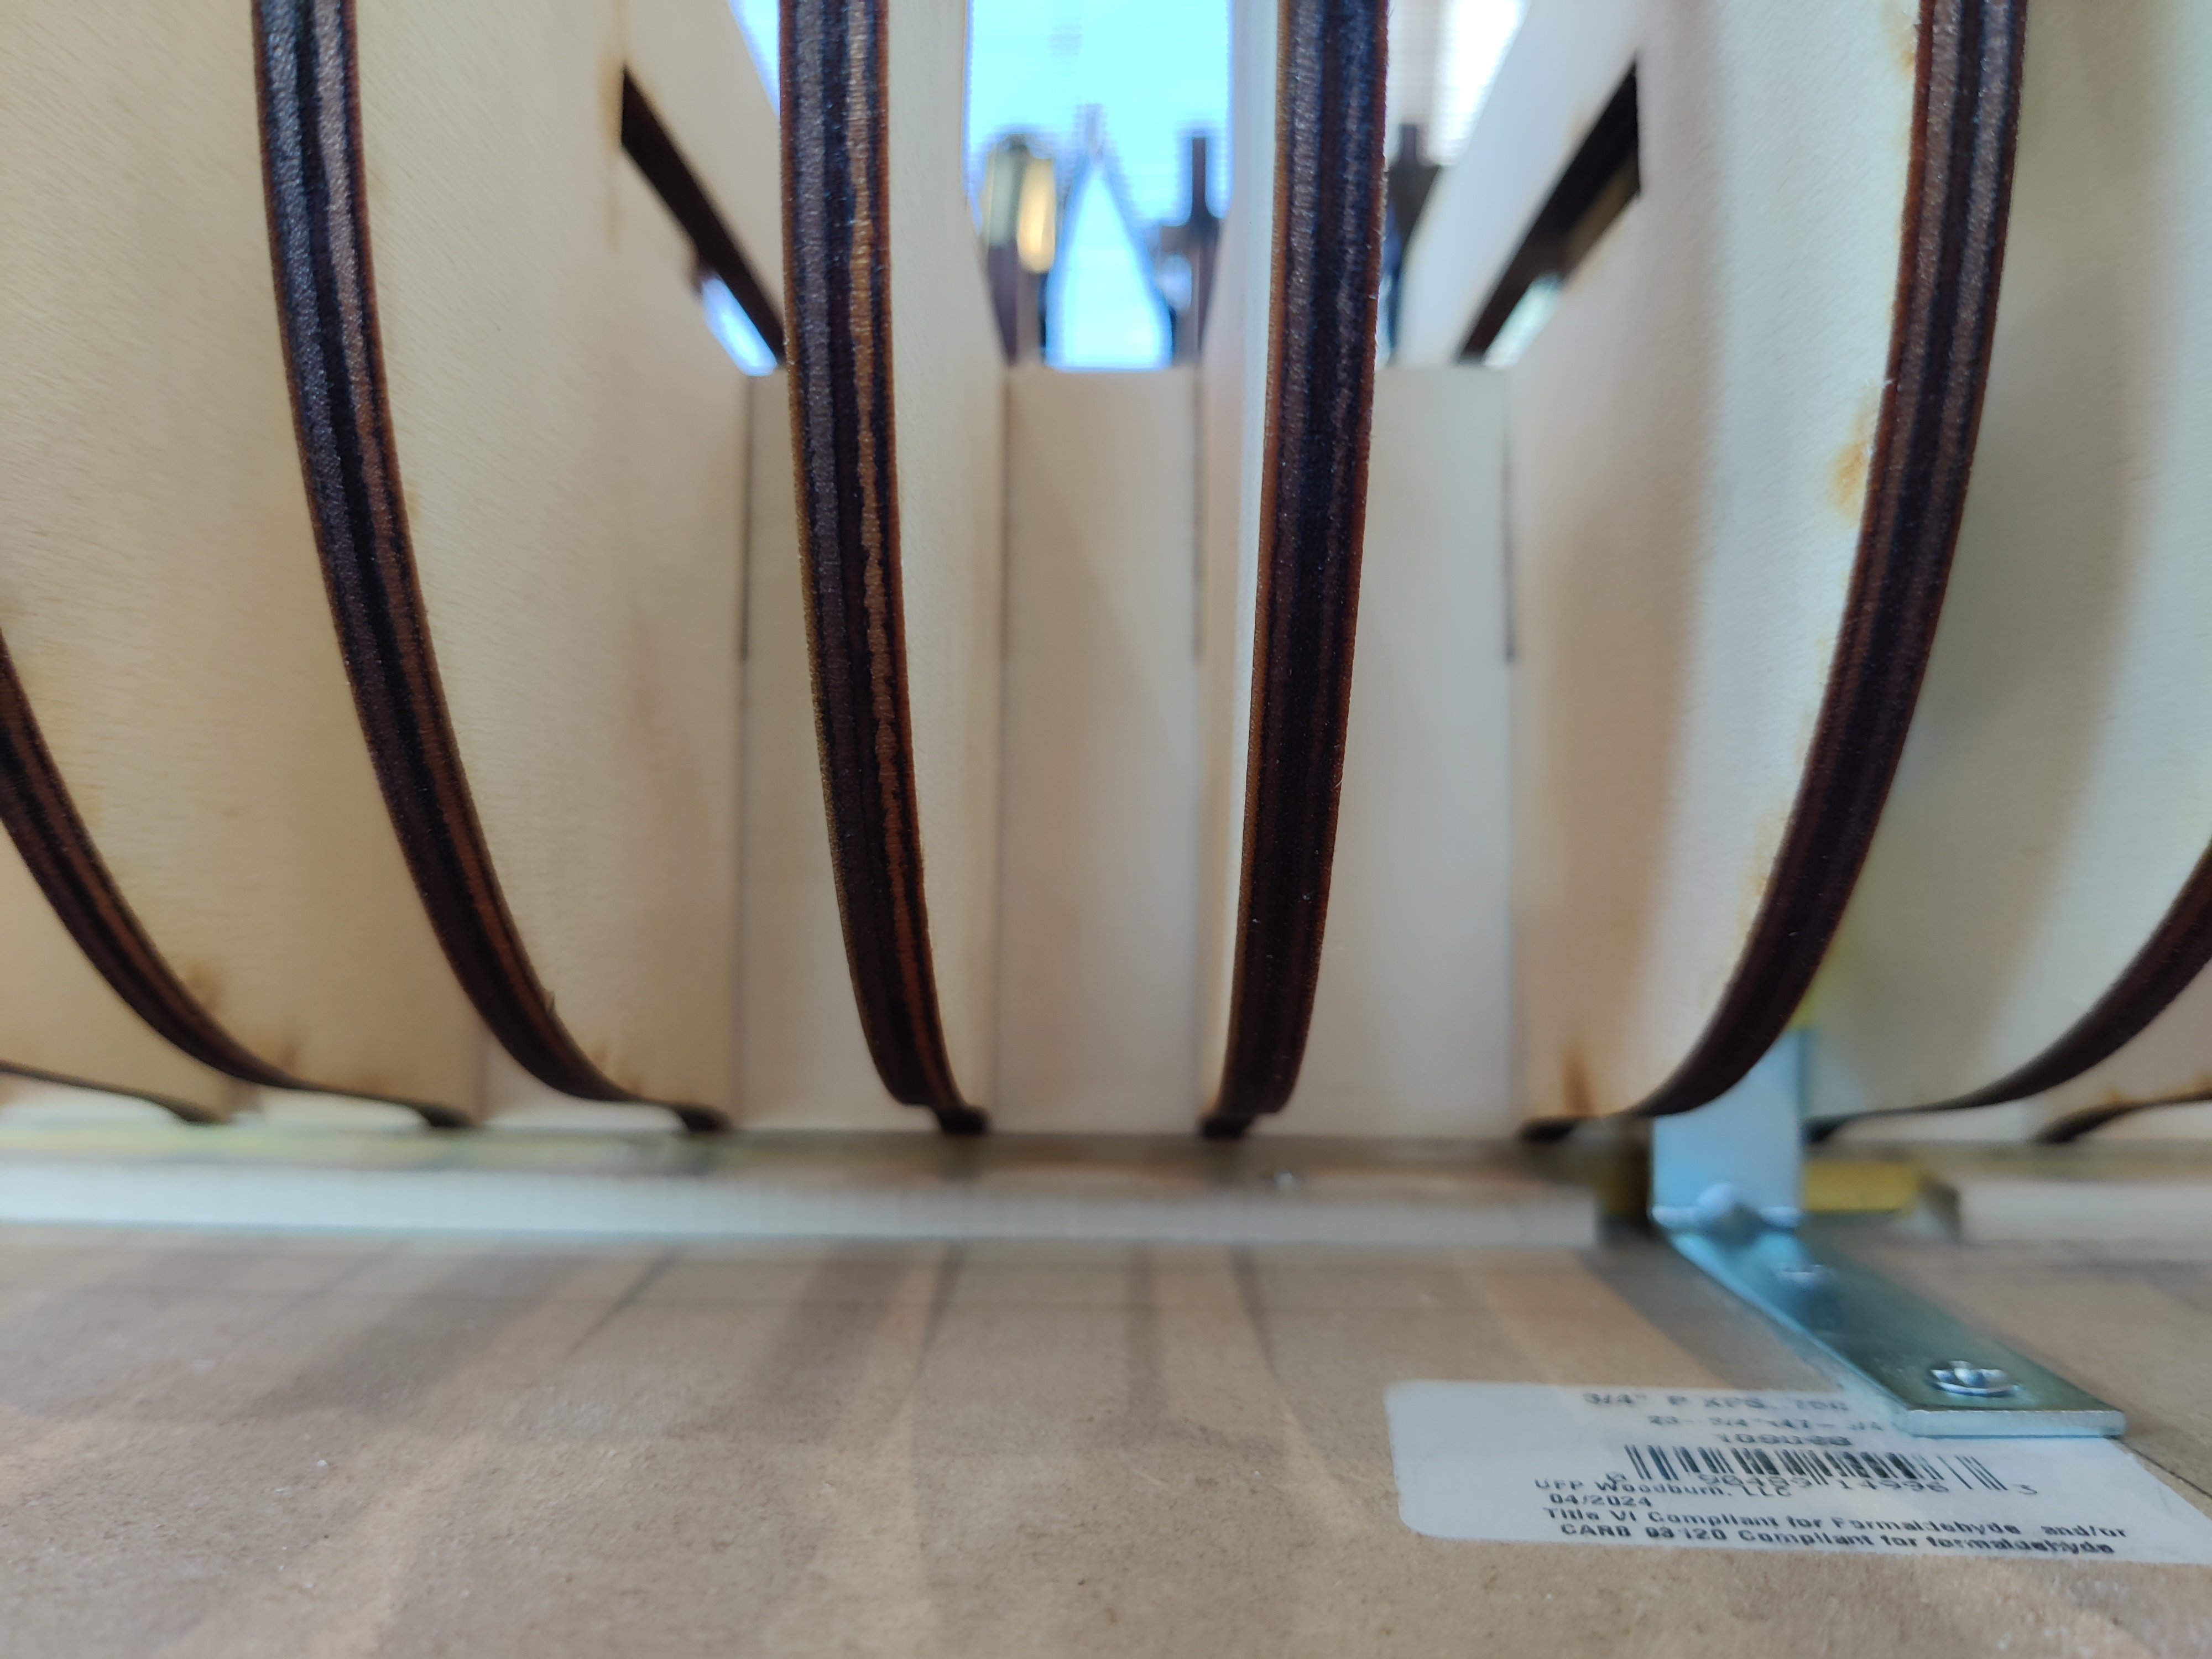
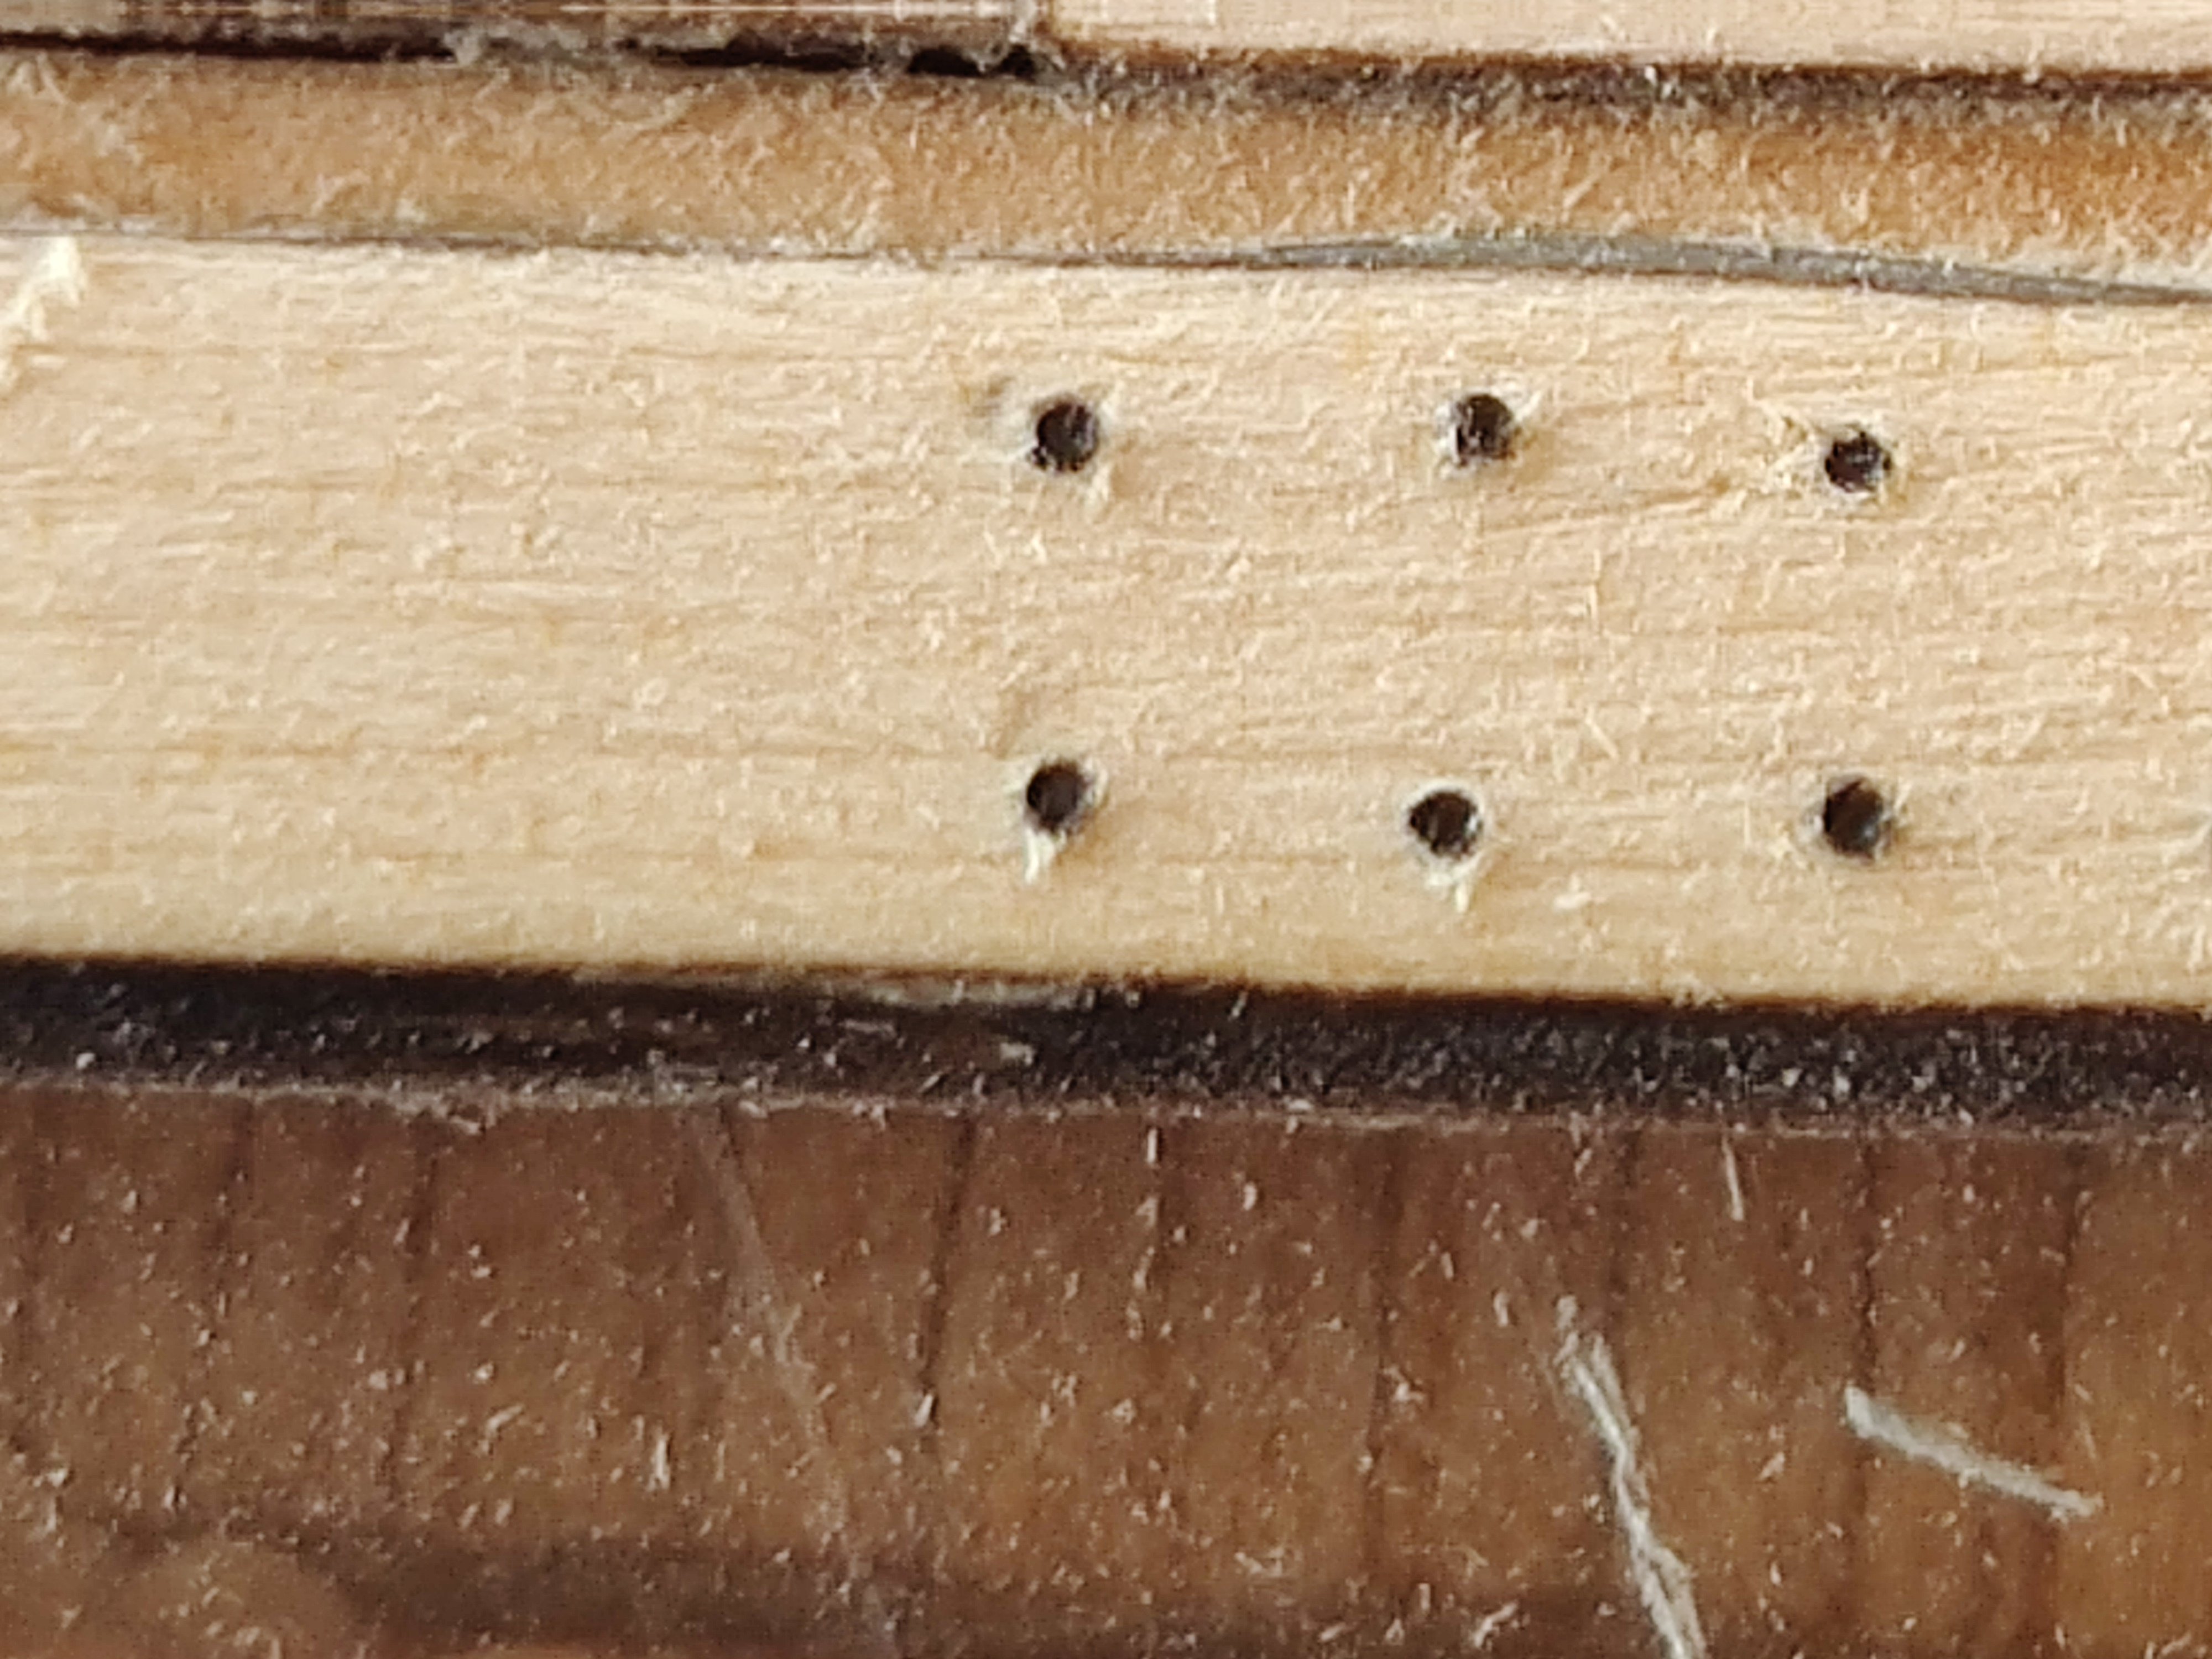
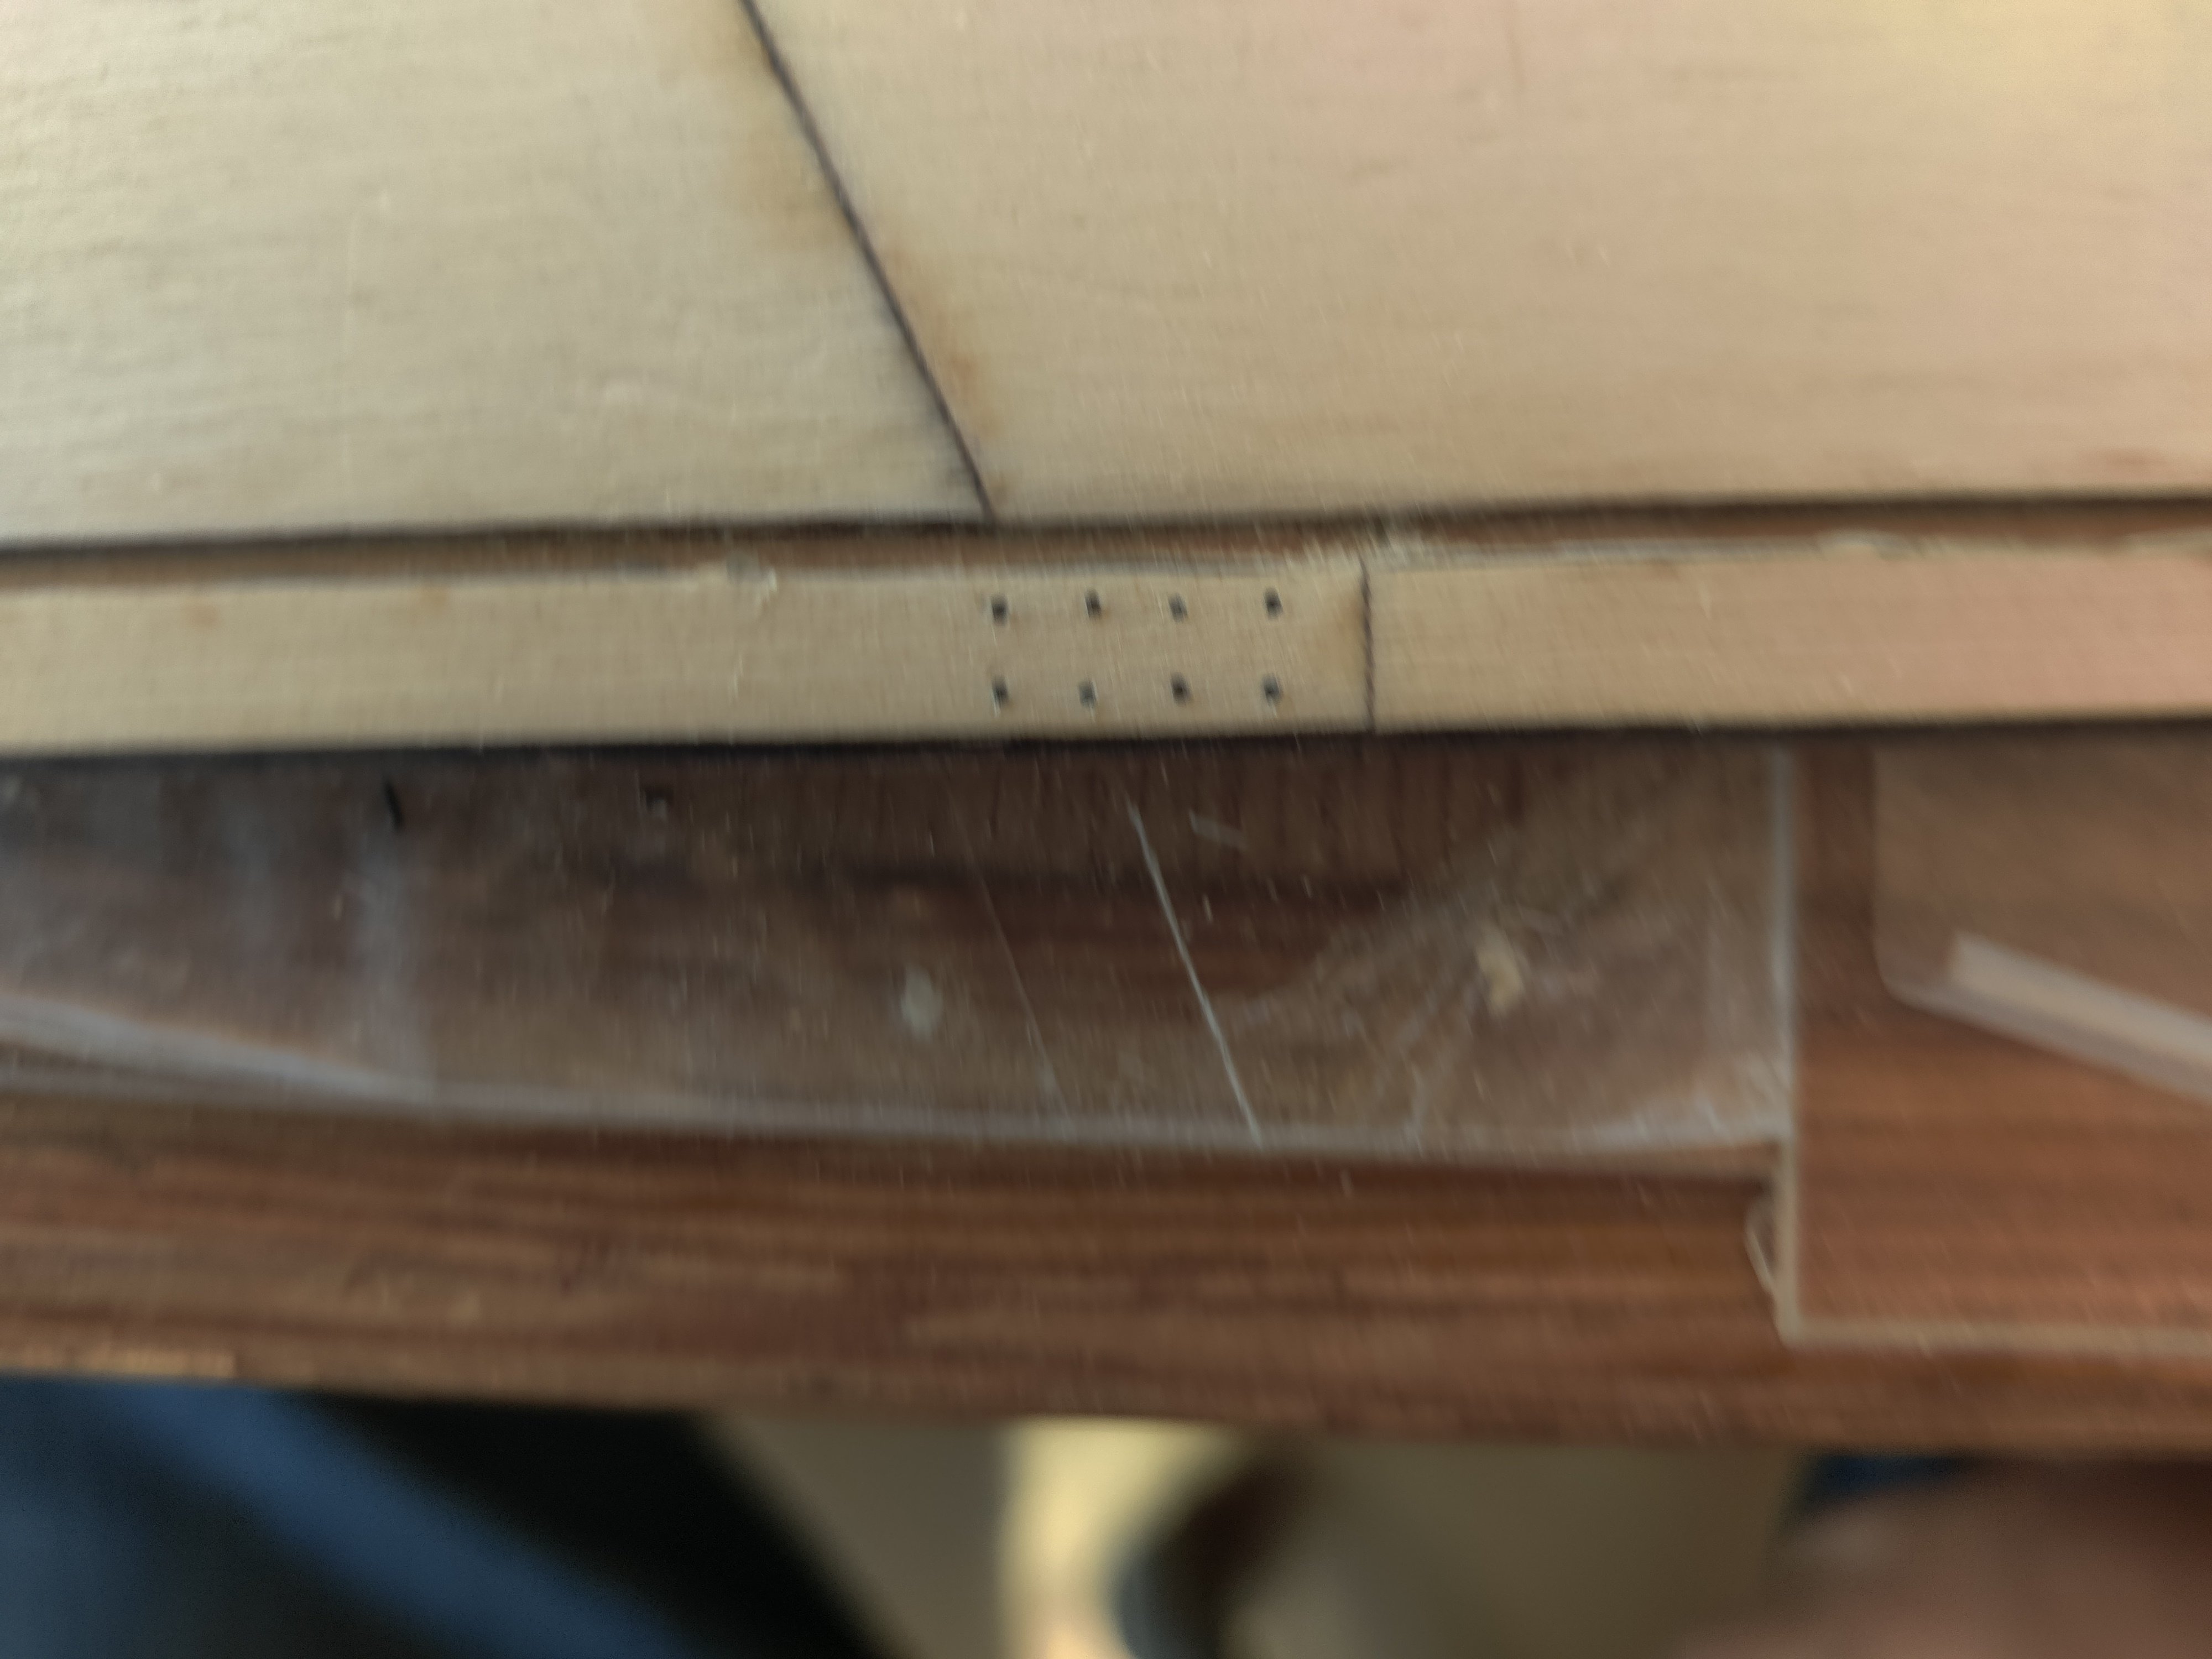
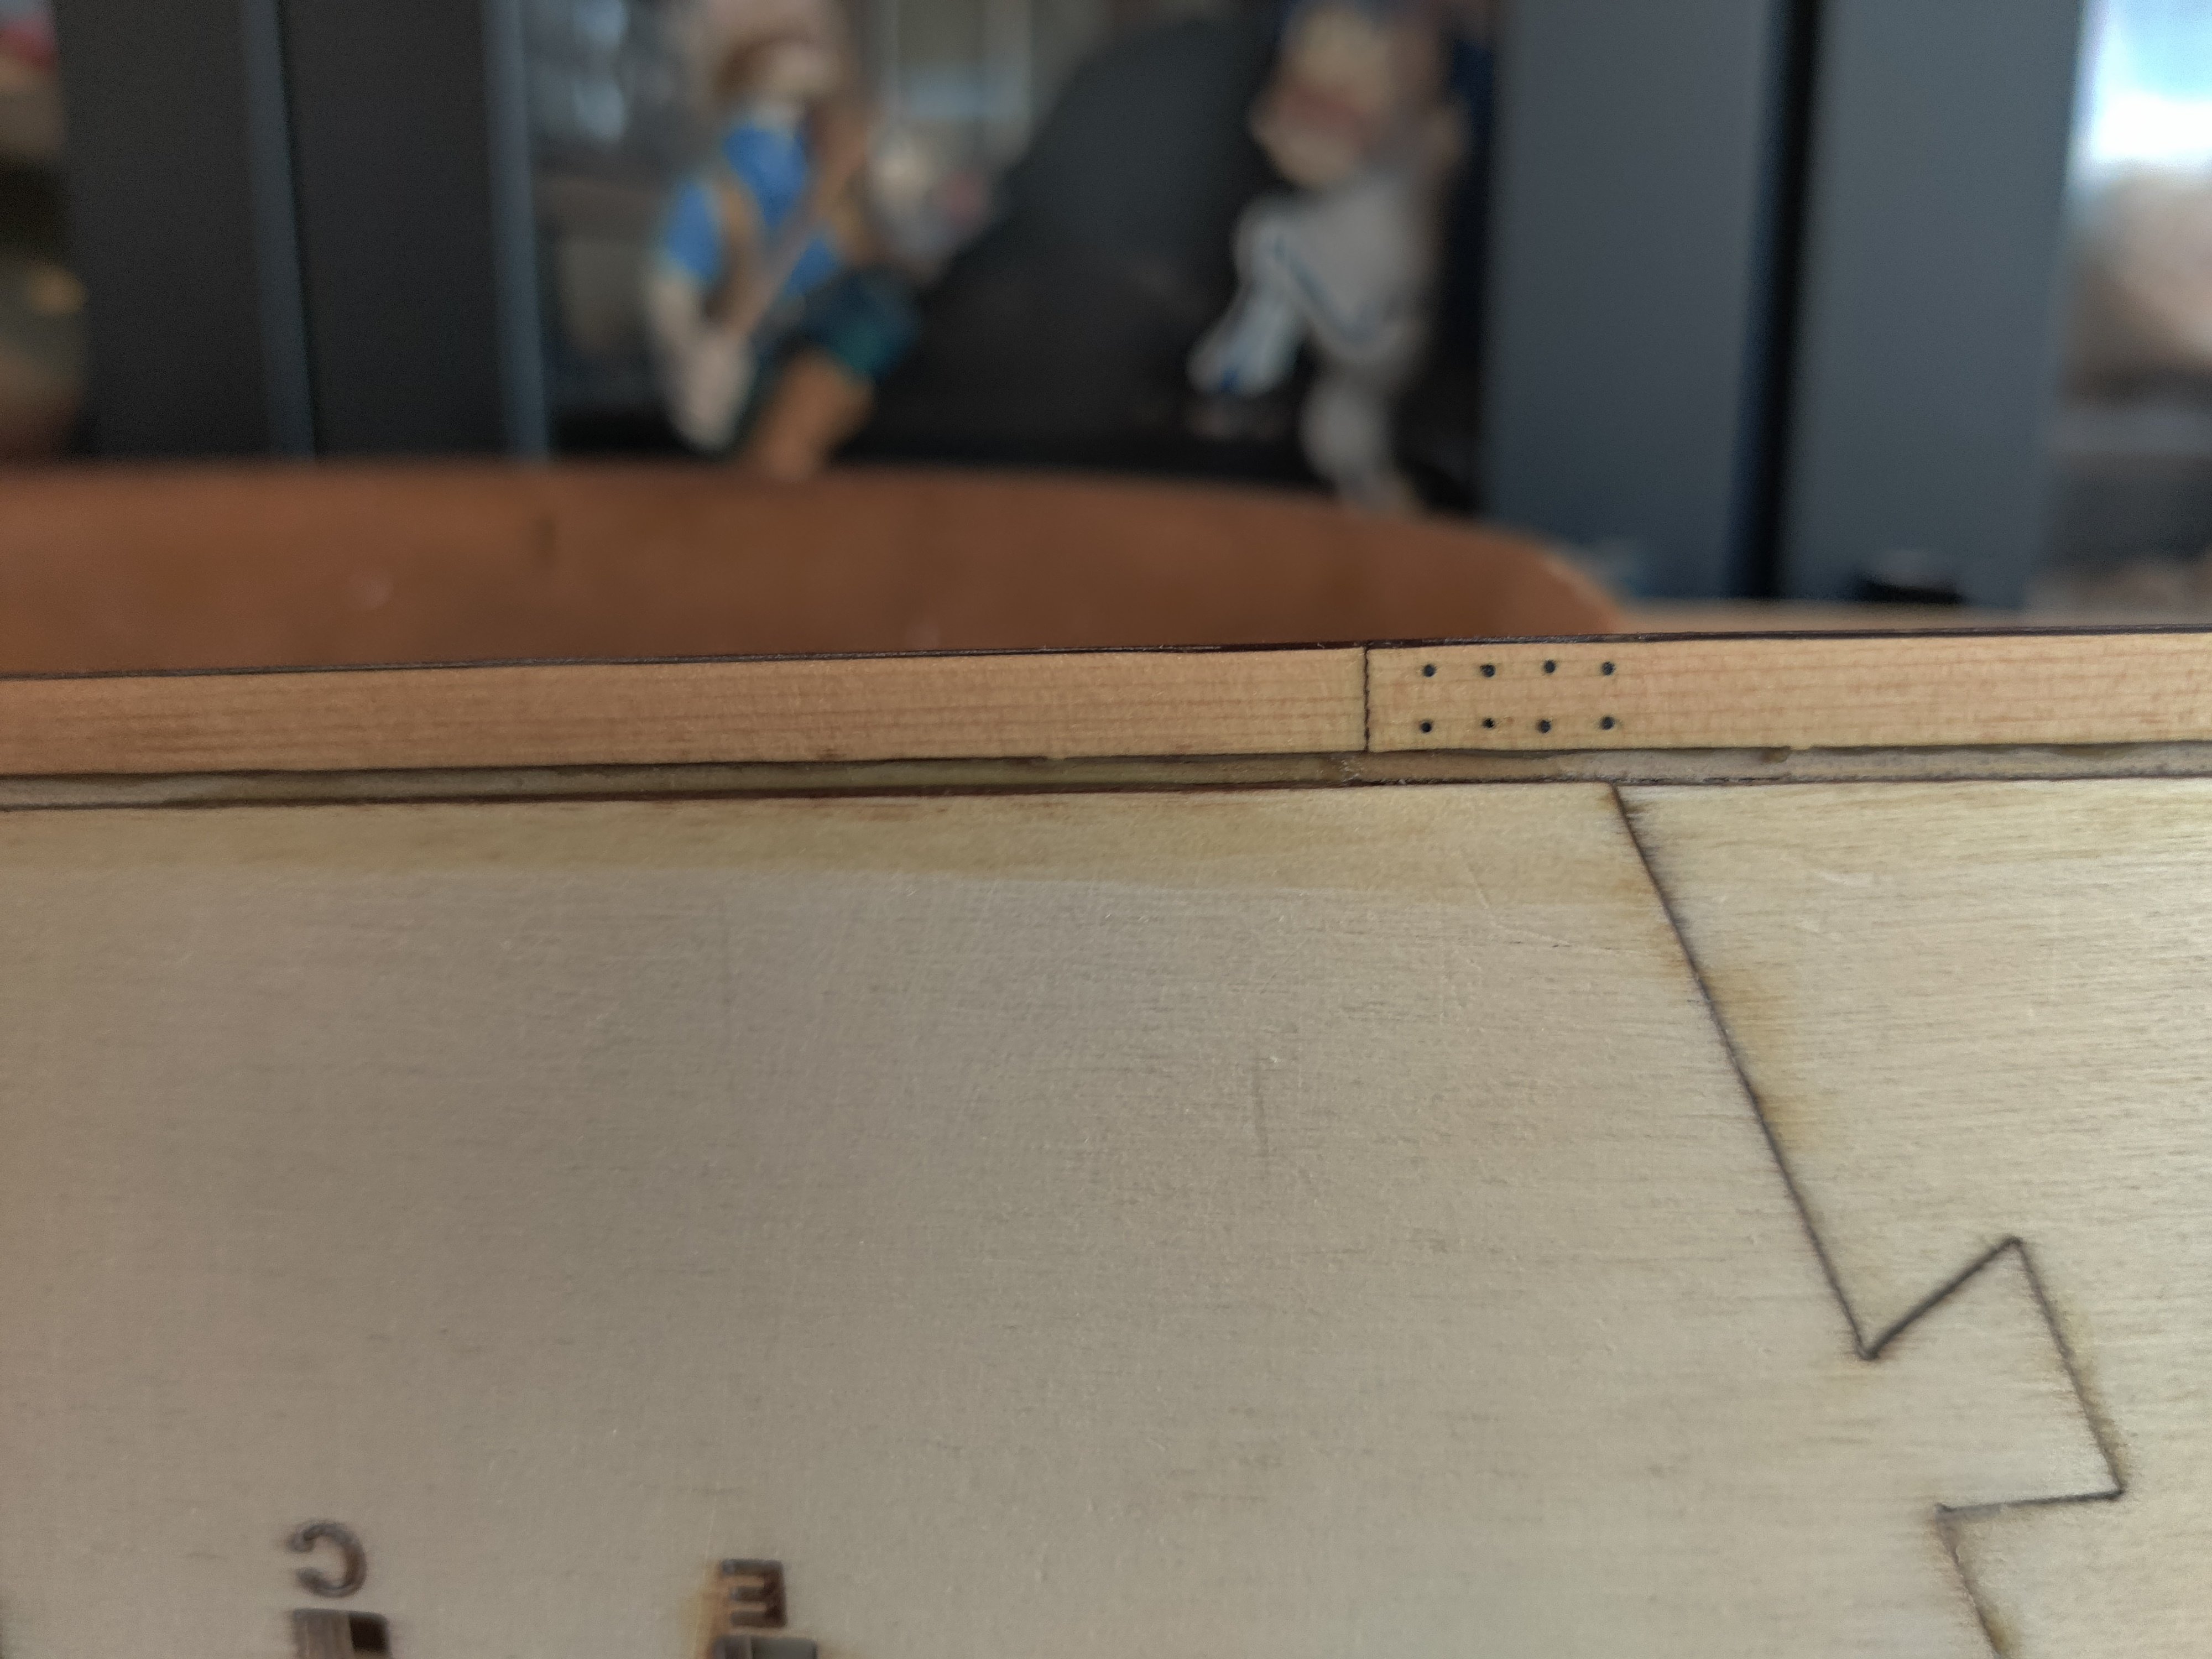
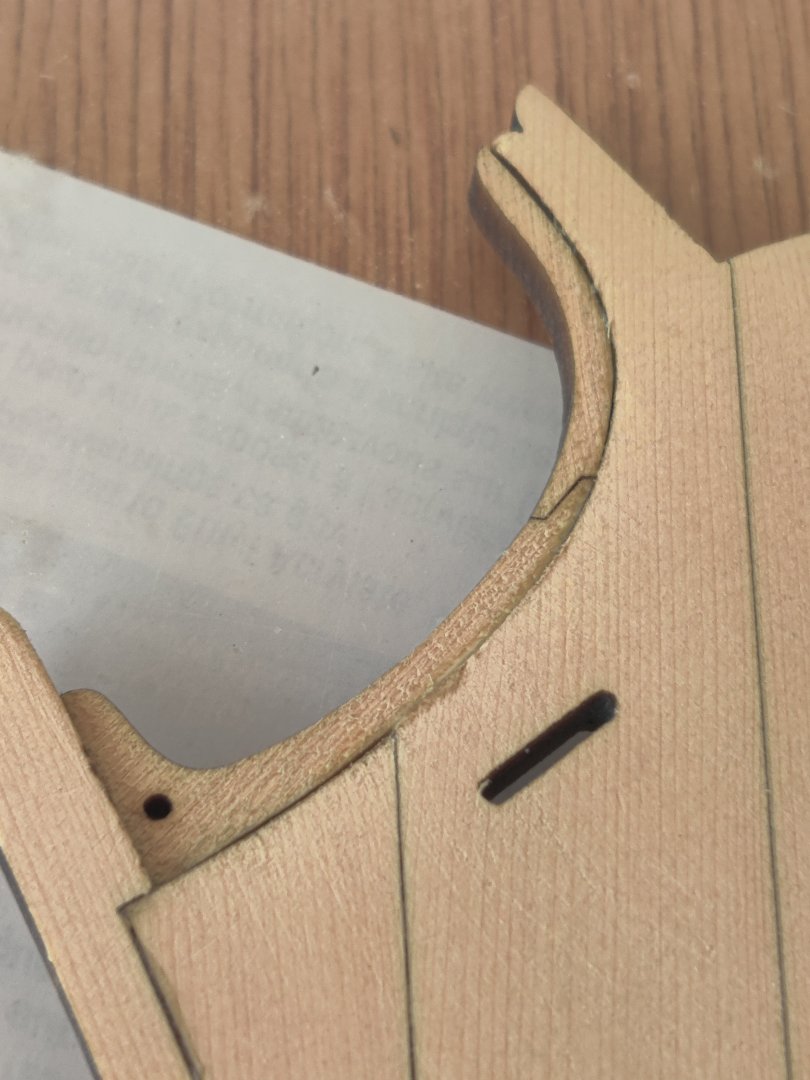
I made a mistake in sanding some of the bulkheads at the very tip next to the rabbit. I consulted with Chuck, he made a suggestion that I add another 1/4" piece next to the existing one that reaches the rabbit. I looked at another members log who had done that too. I did not like the looks of it so I bit the bullet and got all new bulkheads and started over. I have now gotten all the bulkheads dry fit and they all reach the rabbit. The only issue I have now is that it appears that on bulkhead A the lazer etched reference mark is just slightly lower than the other reference marks. See below. However; the line up with the rabbit is spot on and the top of the bulkhead is level with the keel board. Is this acceptable or do I need to do something to correct it. The rest of the reference marks all all fine.


-
Yes the Oasis is Open and doing fine. I live in Willow Creek just east of the Marie Carrie Park. This is a great place to live!! I have used your build log a lot so far.
-
glbarlow, I was not suggesting that anyone was unwilling to help. I was in fact complimenting those that know for helping those that did not know. I was just saying that the answers to a lot of questions are found in the build logs of those who are struggling because they are seeking help. The superstars are the ones providing the help. I was just highlighting that those answers can be found in the build logs of those struggling so do not ignore those build logs. I have found everyone here to be of great assistance and free to pass on their knowledge.
-
When I started this journey I decided to read all the build logs of those members who had completed the Winchelsia. Then I started to have some questions about how to proceed with certain steps and I did not find the answers in the building logs of those that had finished but when I started reading the build logs of those that started and quit, those the had restarted one or more times and those that were struggling but continued to make progress I gained some very valuable tips and insights I did not find in the logs of those that had finished. A realization became clear, many of those that had finished were so experienced and talented that what us mere mortals were struggling with were not issues they ever experienced. However, those same super stars, were the first to offer guidance and help to those mere mortals. Going forward I will look for those gems in the logs of those yet to finish. I have reached the dry fit stage, getting ready to start glueing the bulkheads into place.
-
Did you glue all your bulkheads onto keel before you removed the char?
- 399 replies
-
- 2
-
-
- winchelsea
- Syren Ship Model Company
- (and 1 more)
-
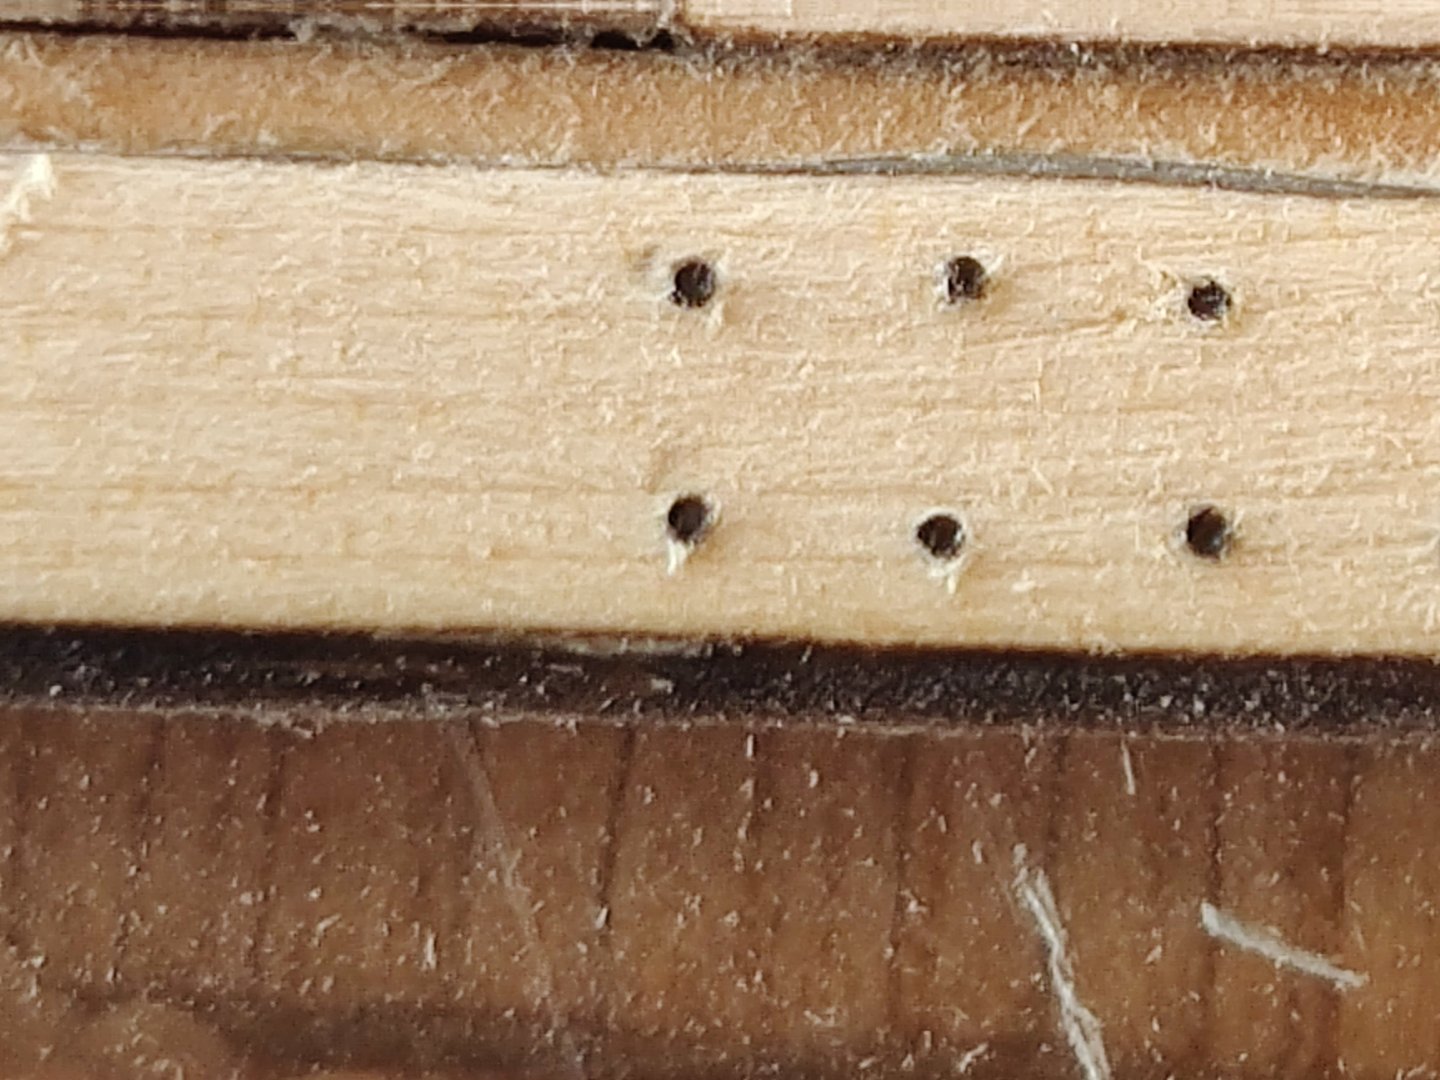
The tree nails were installed. I used 20lb nylon fishing leader. I used a 74 bit to drill the holes. The first picture is 6.7 magnification, the 2nd is 1.5 magnification. The last is after sanding and application of wipe on poly (oil based).


- 72 replies
-
- 10
-
-
thanks
-
It would appear much easier to remove bulkhead char prior to gluing them in. Is there a reason to do so after gluing them in to keel board?
-
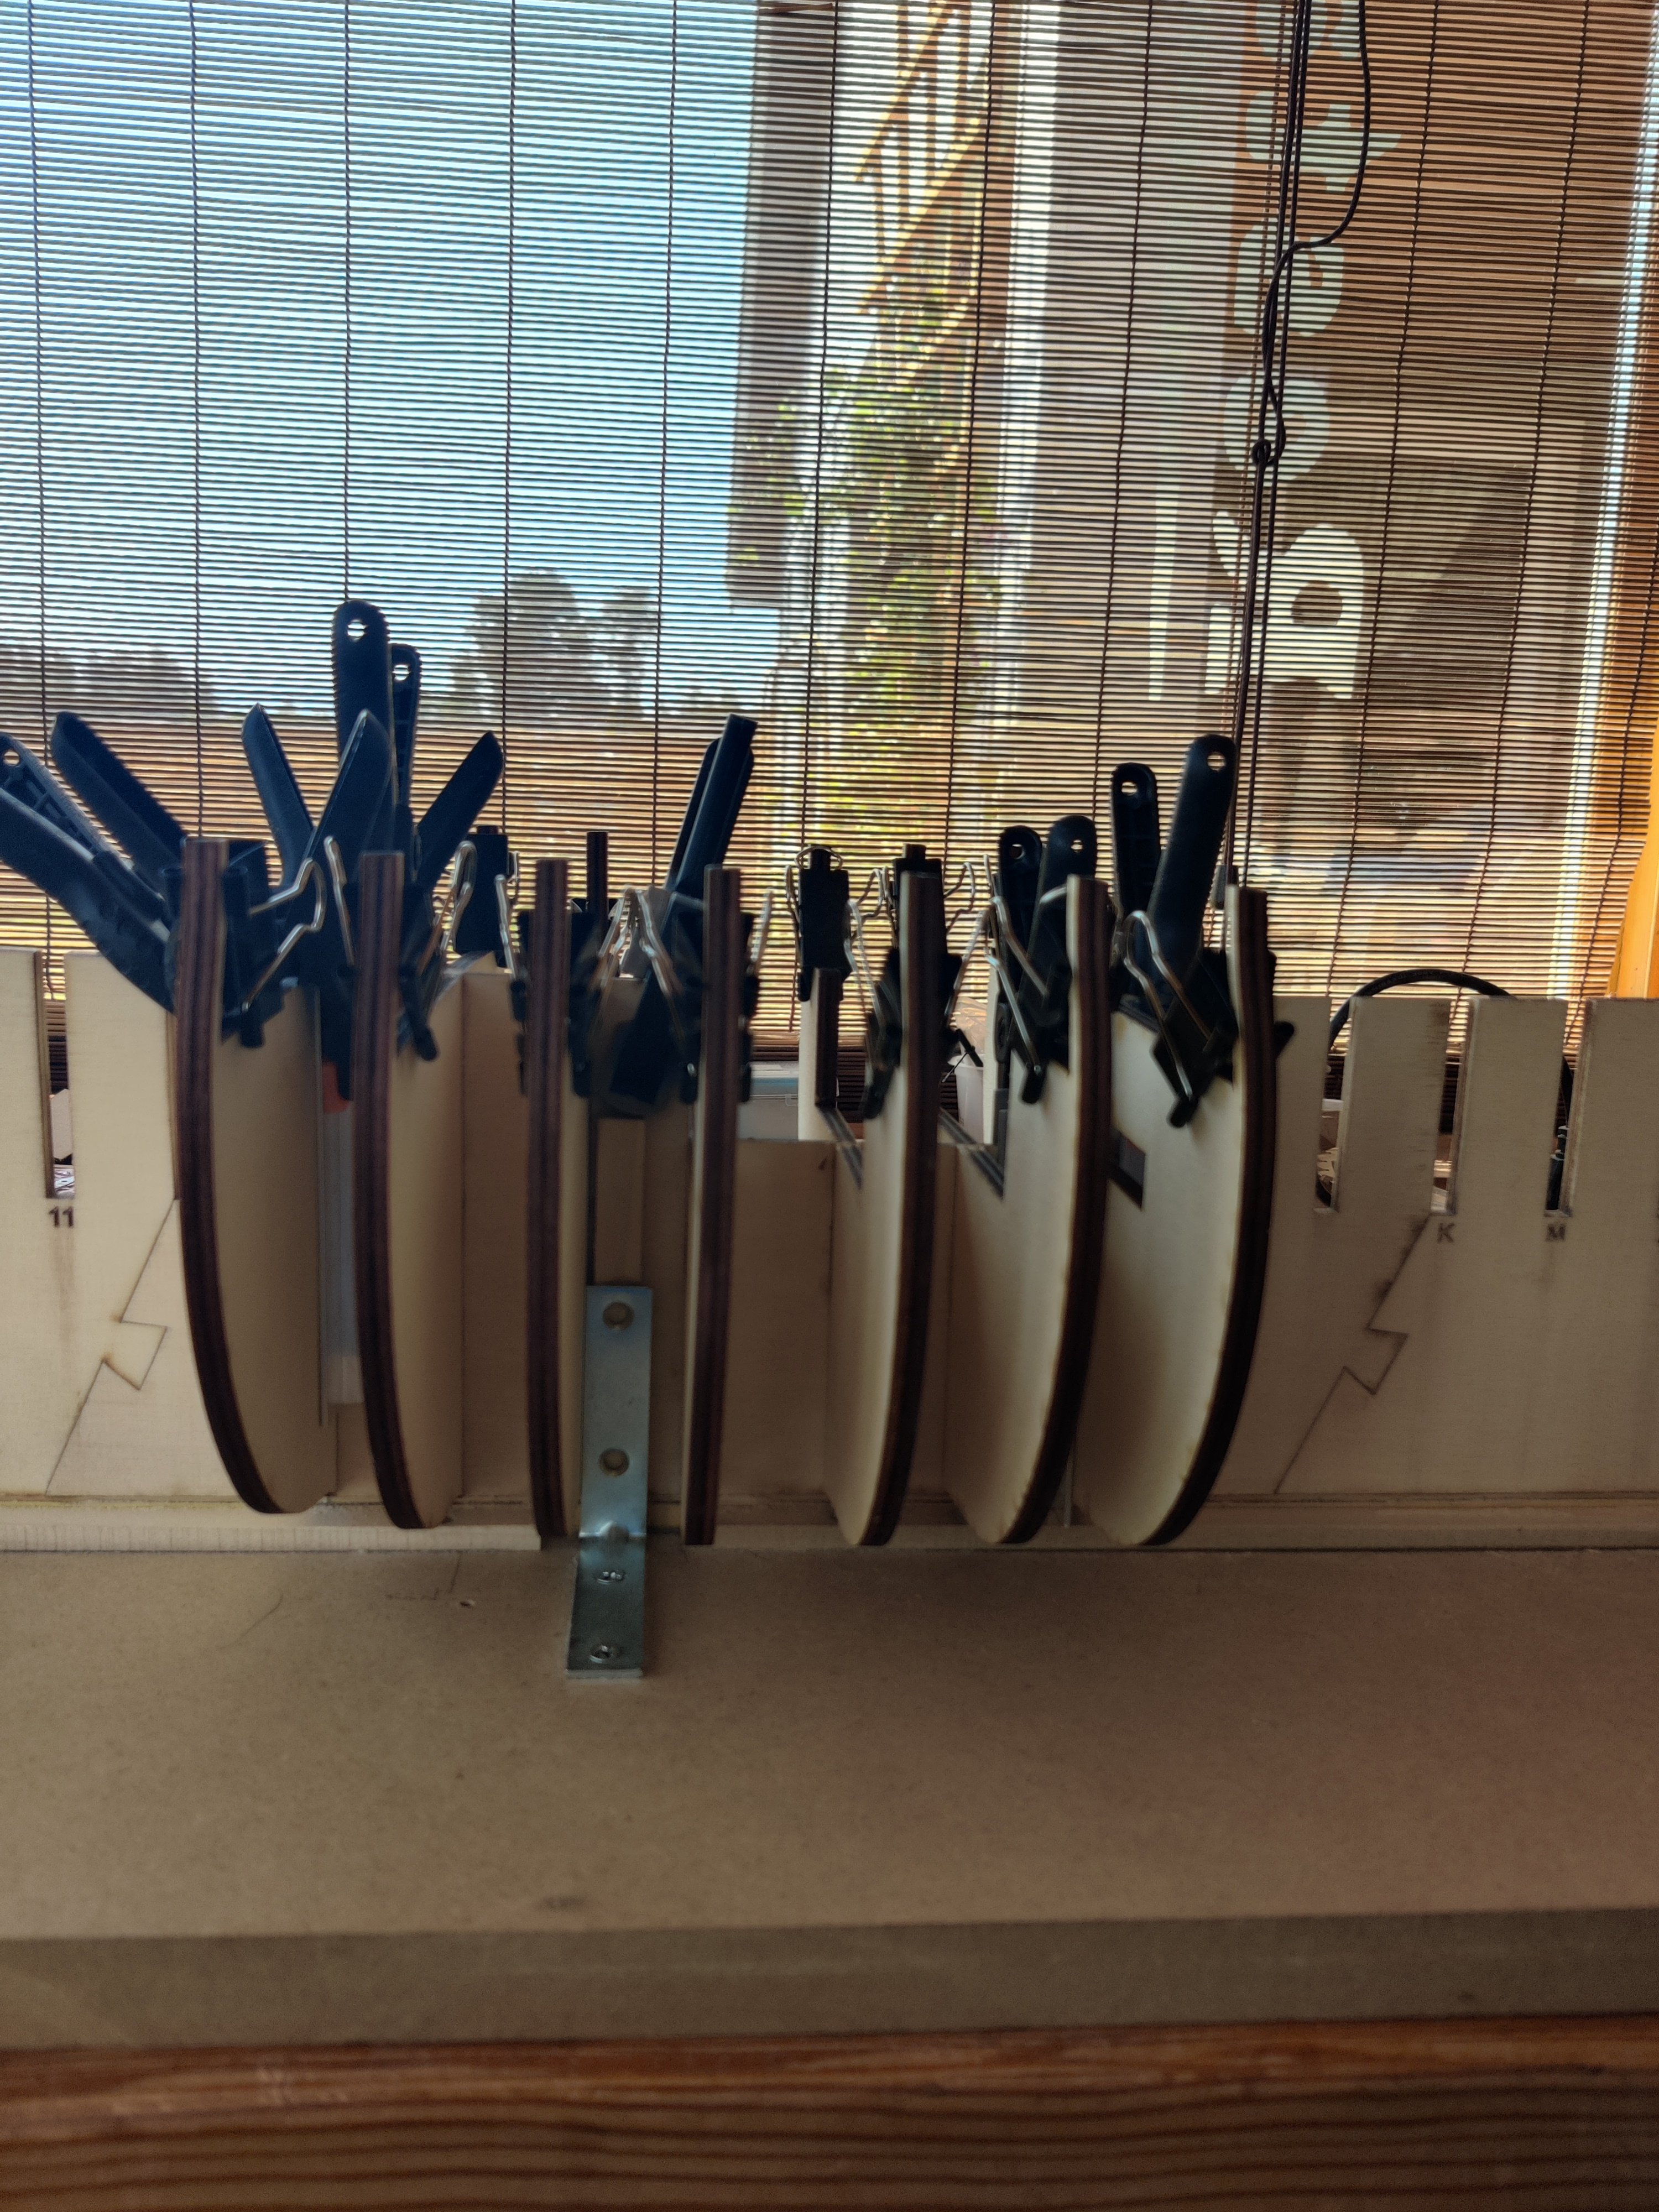
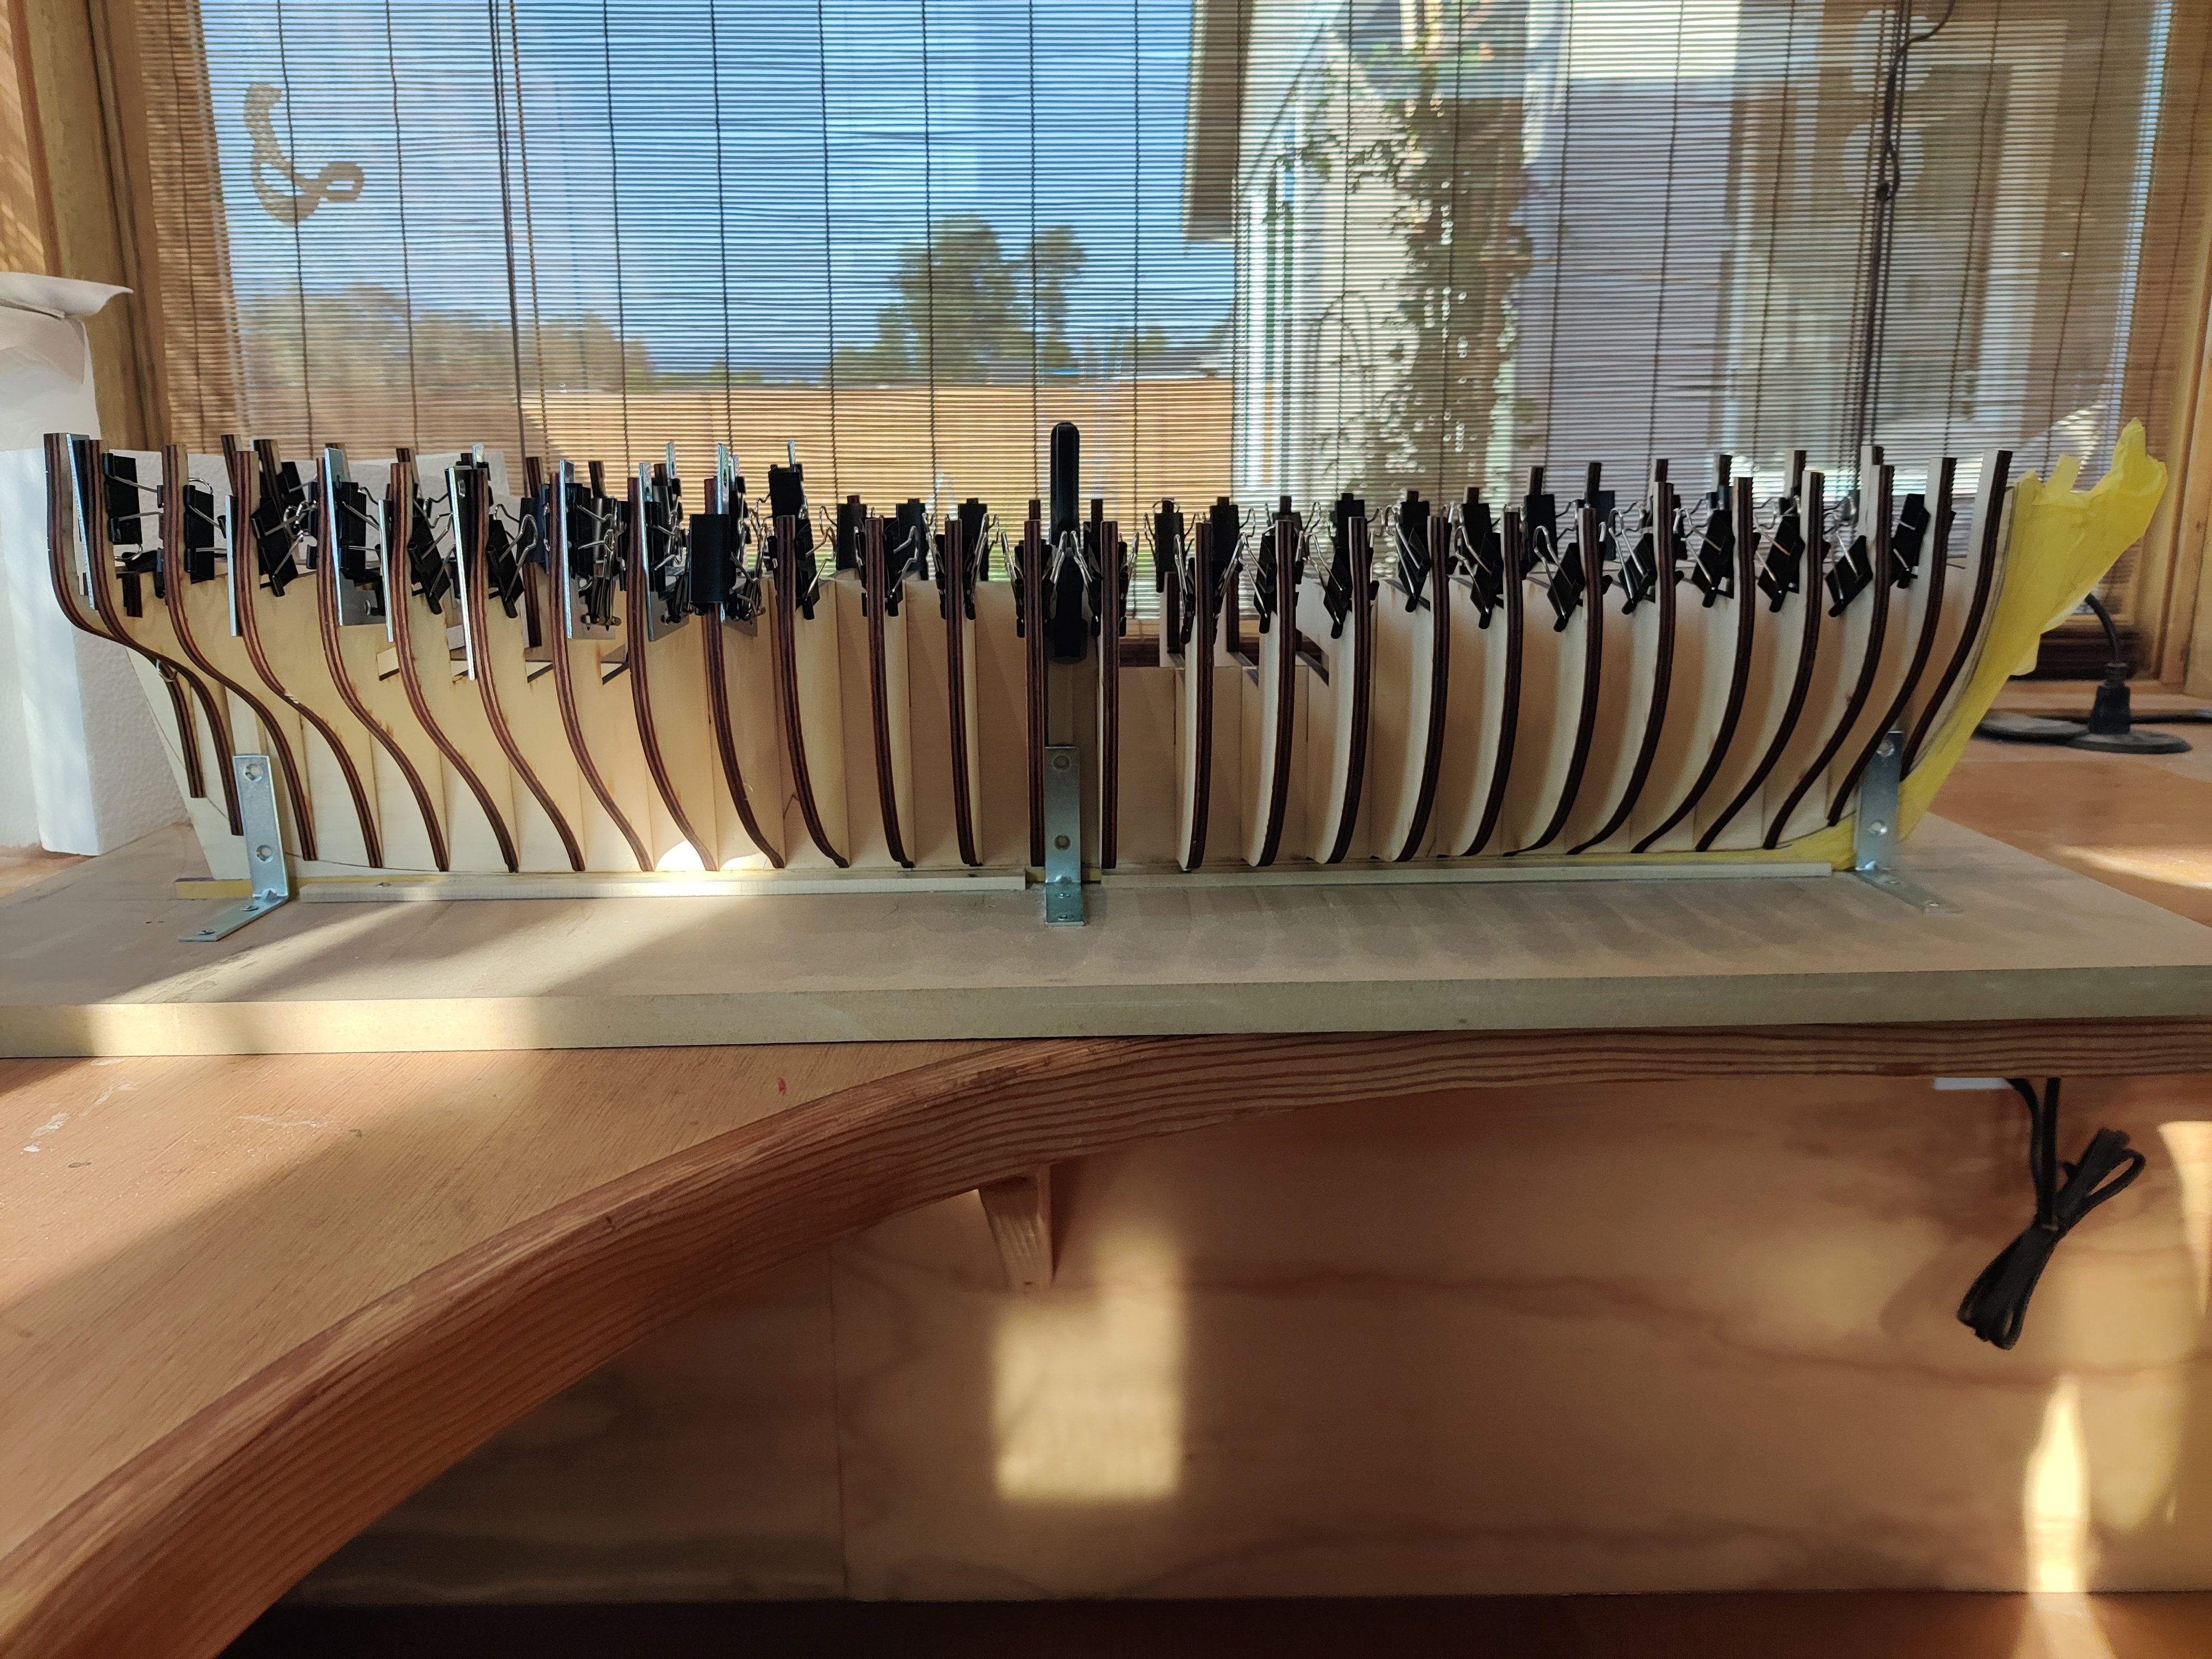
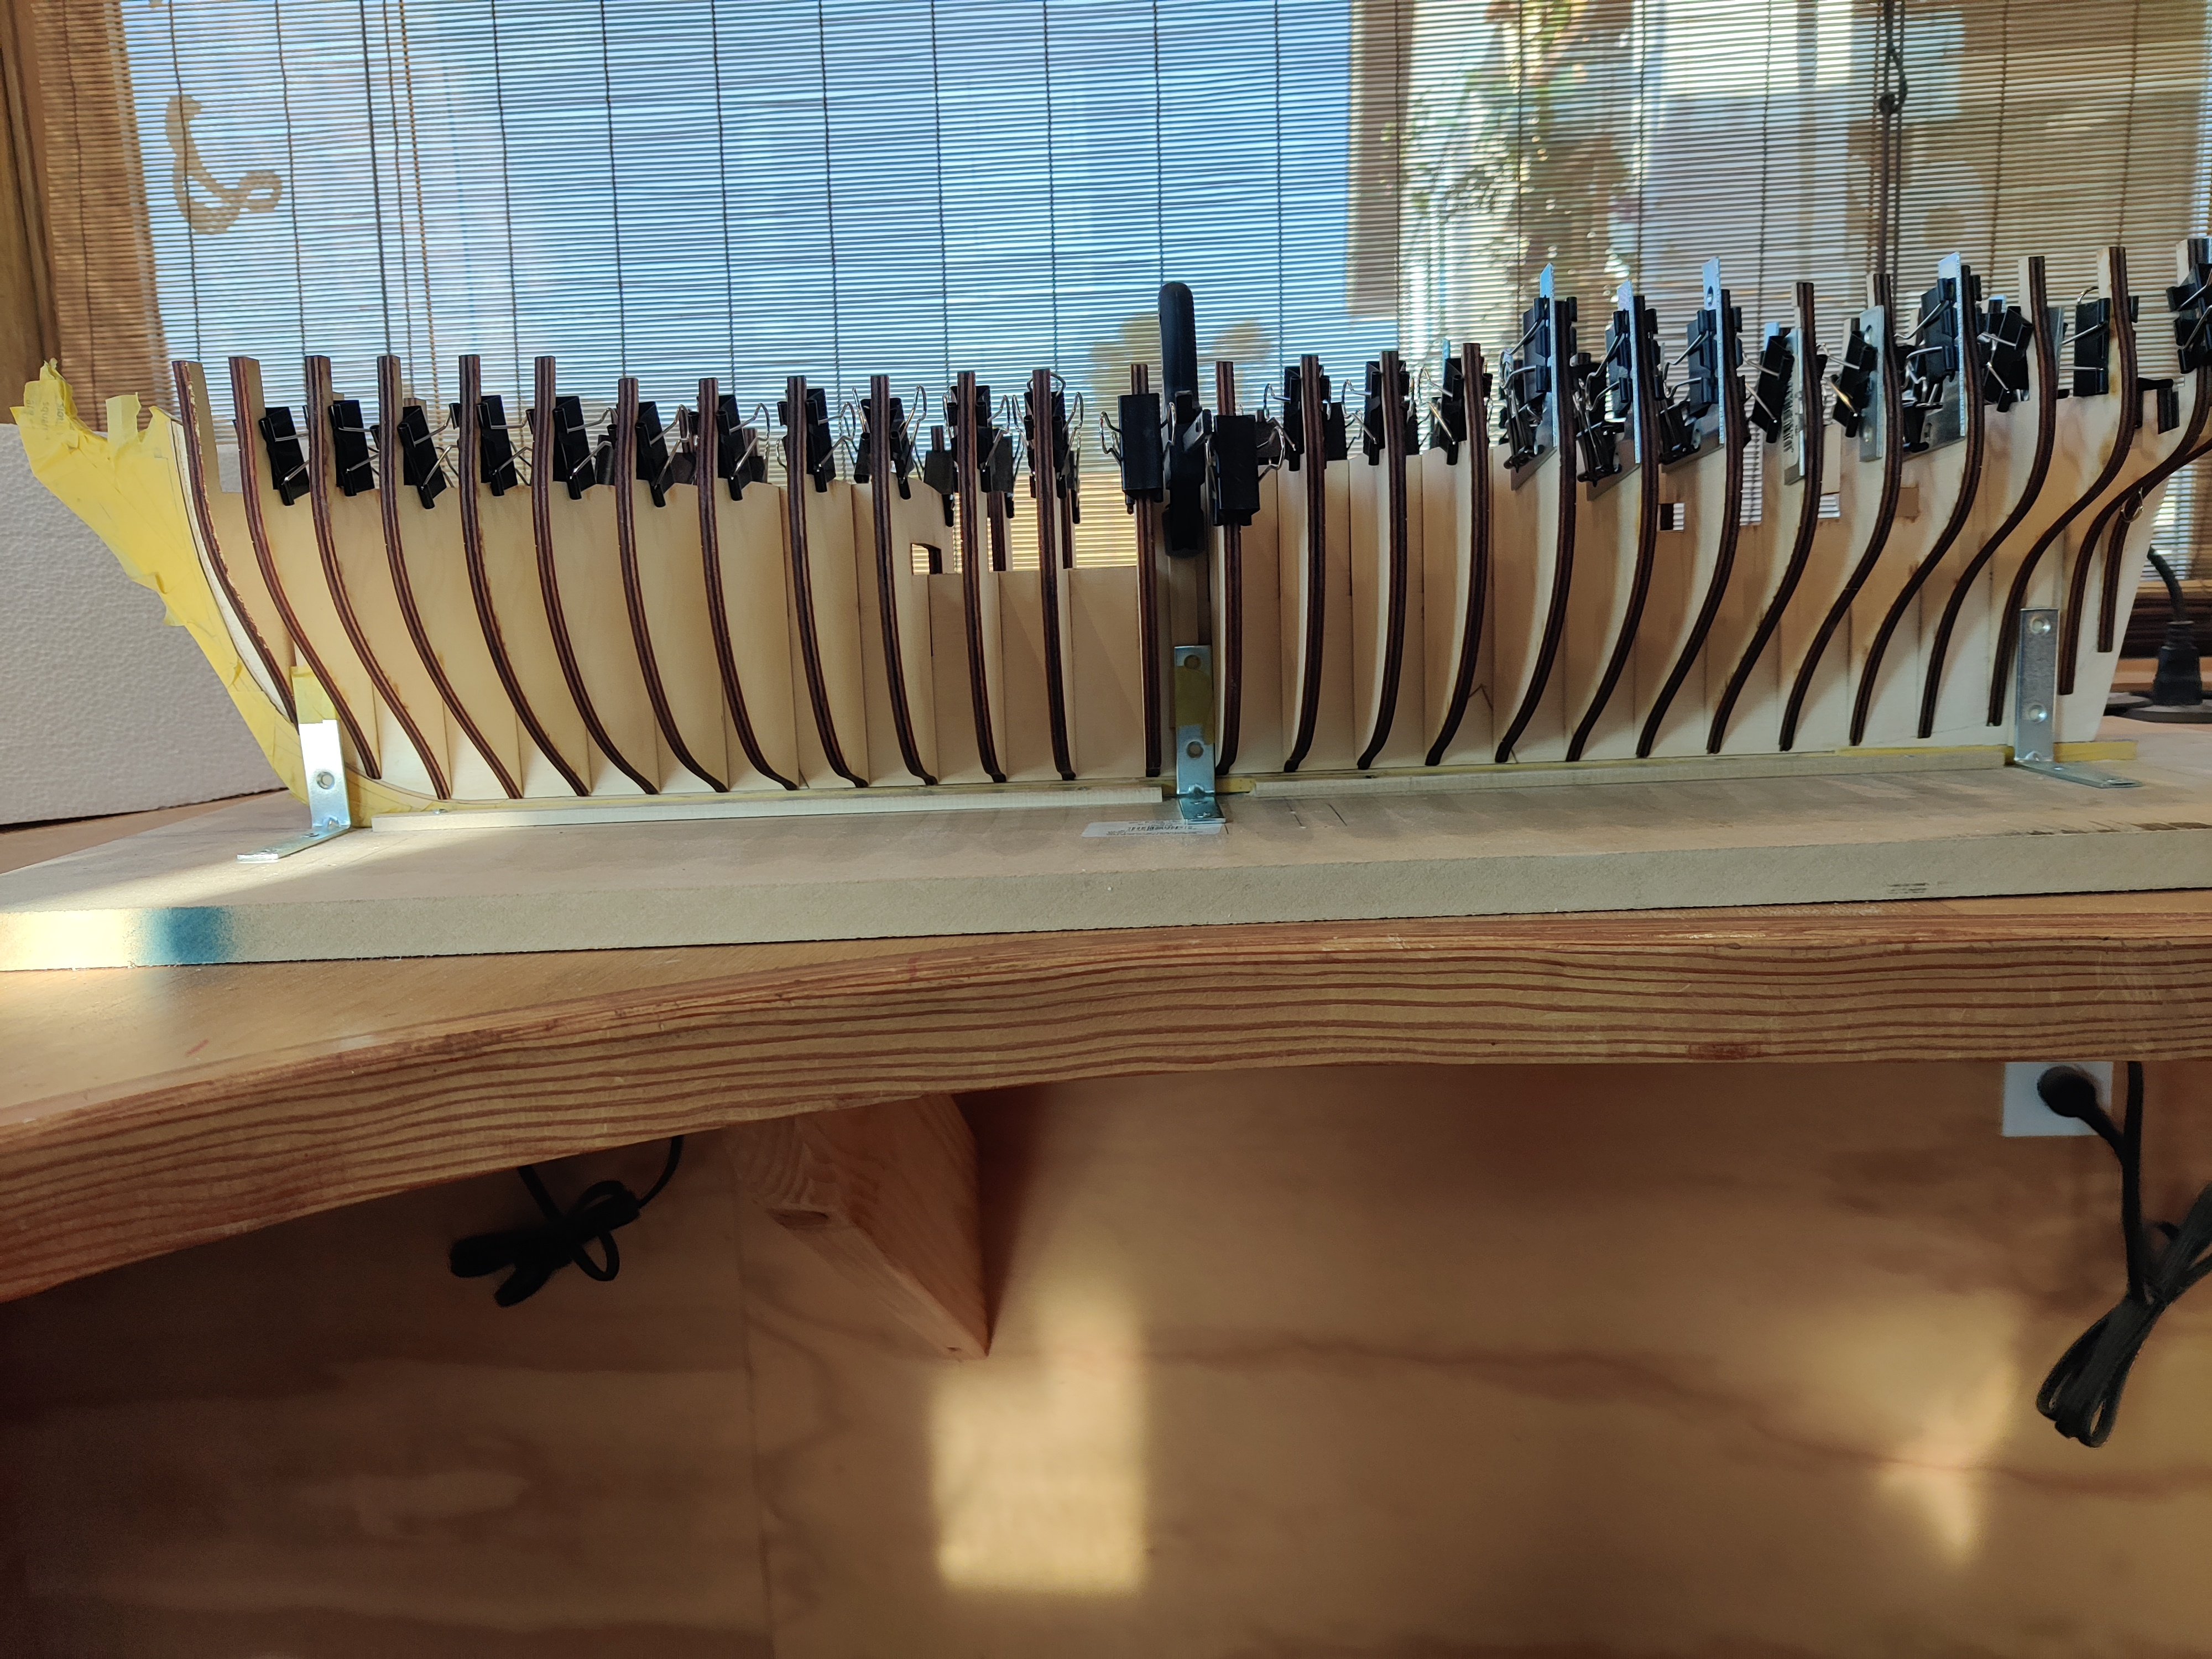
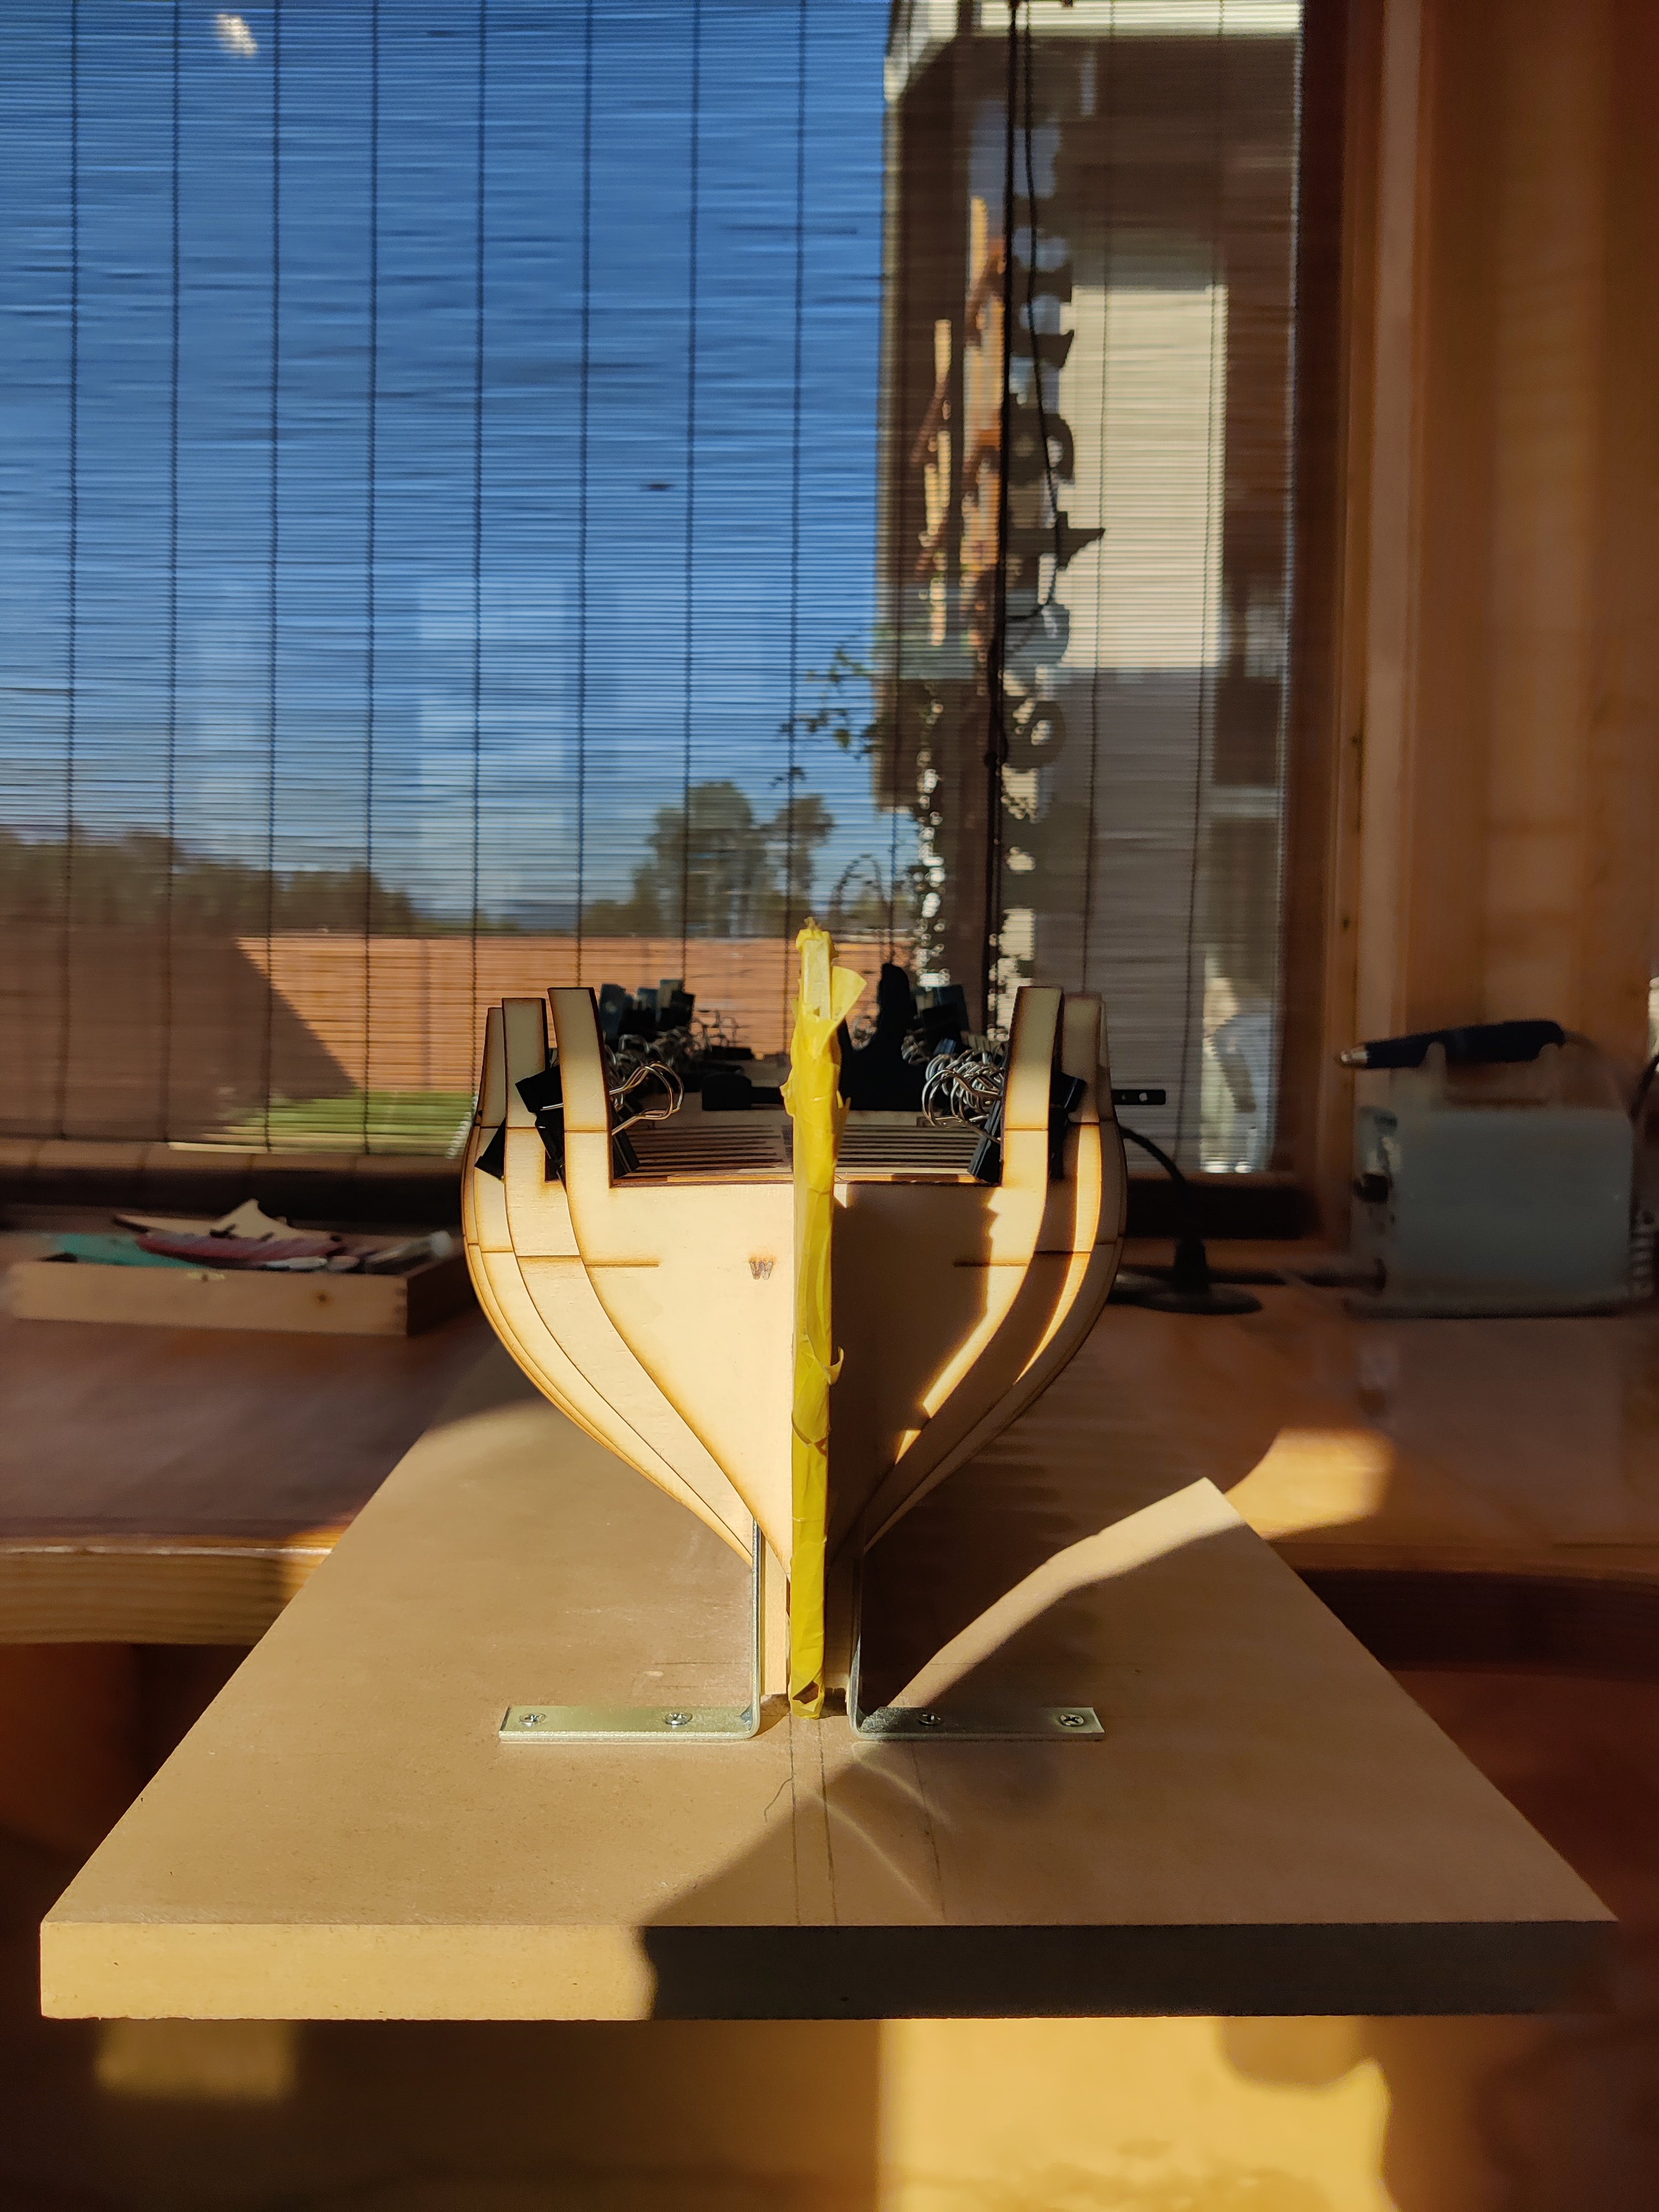
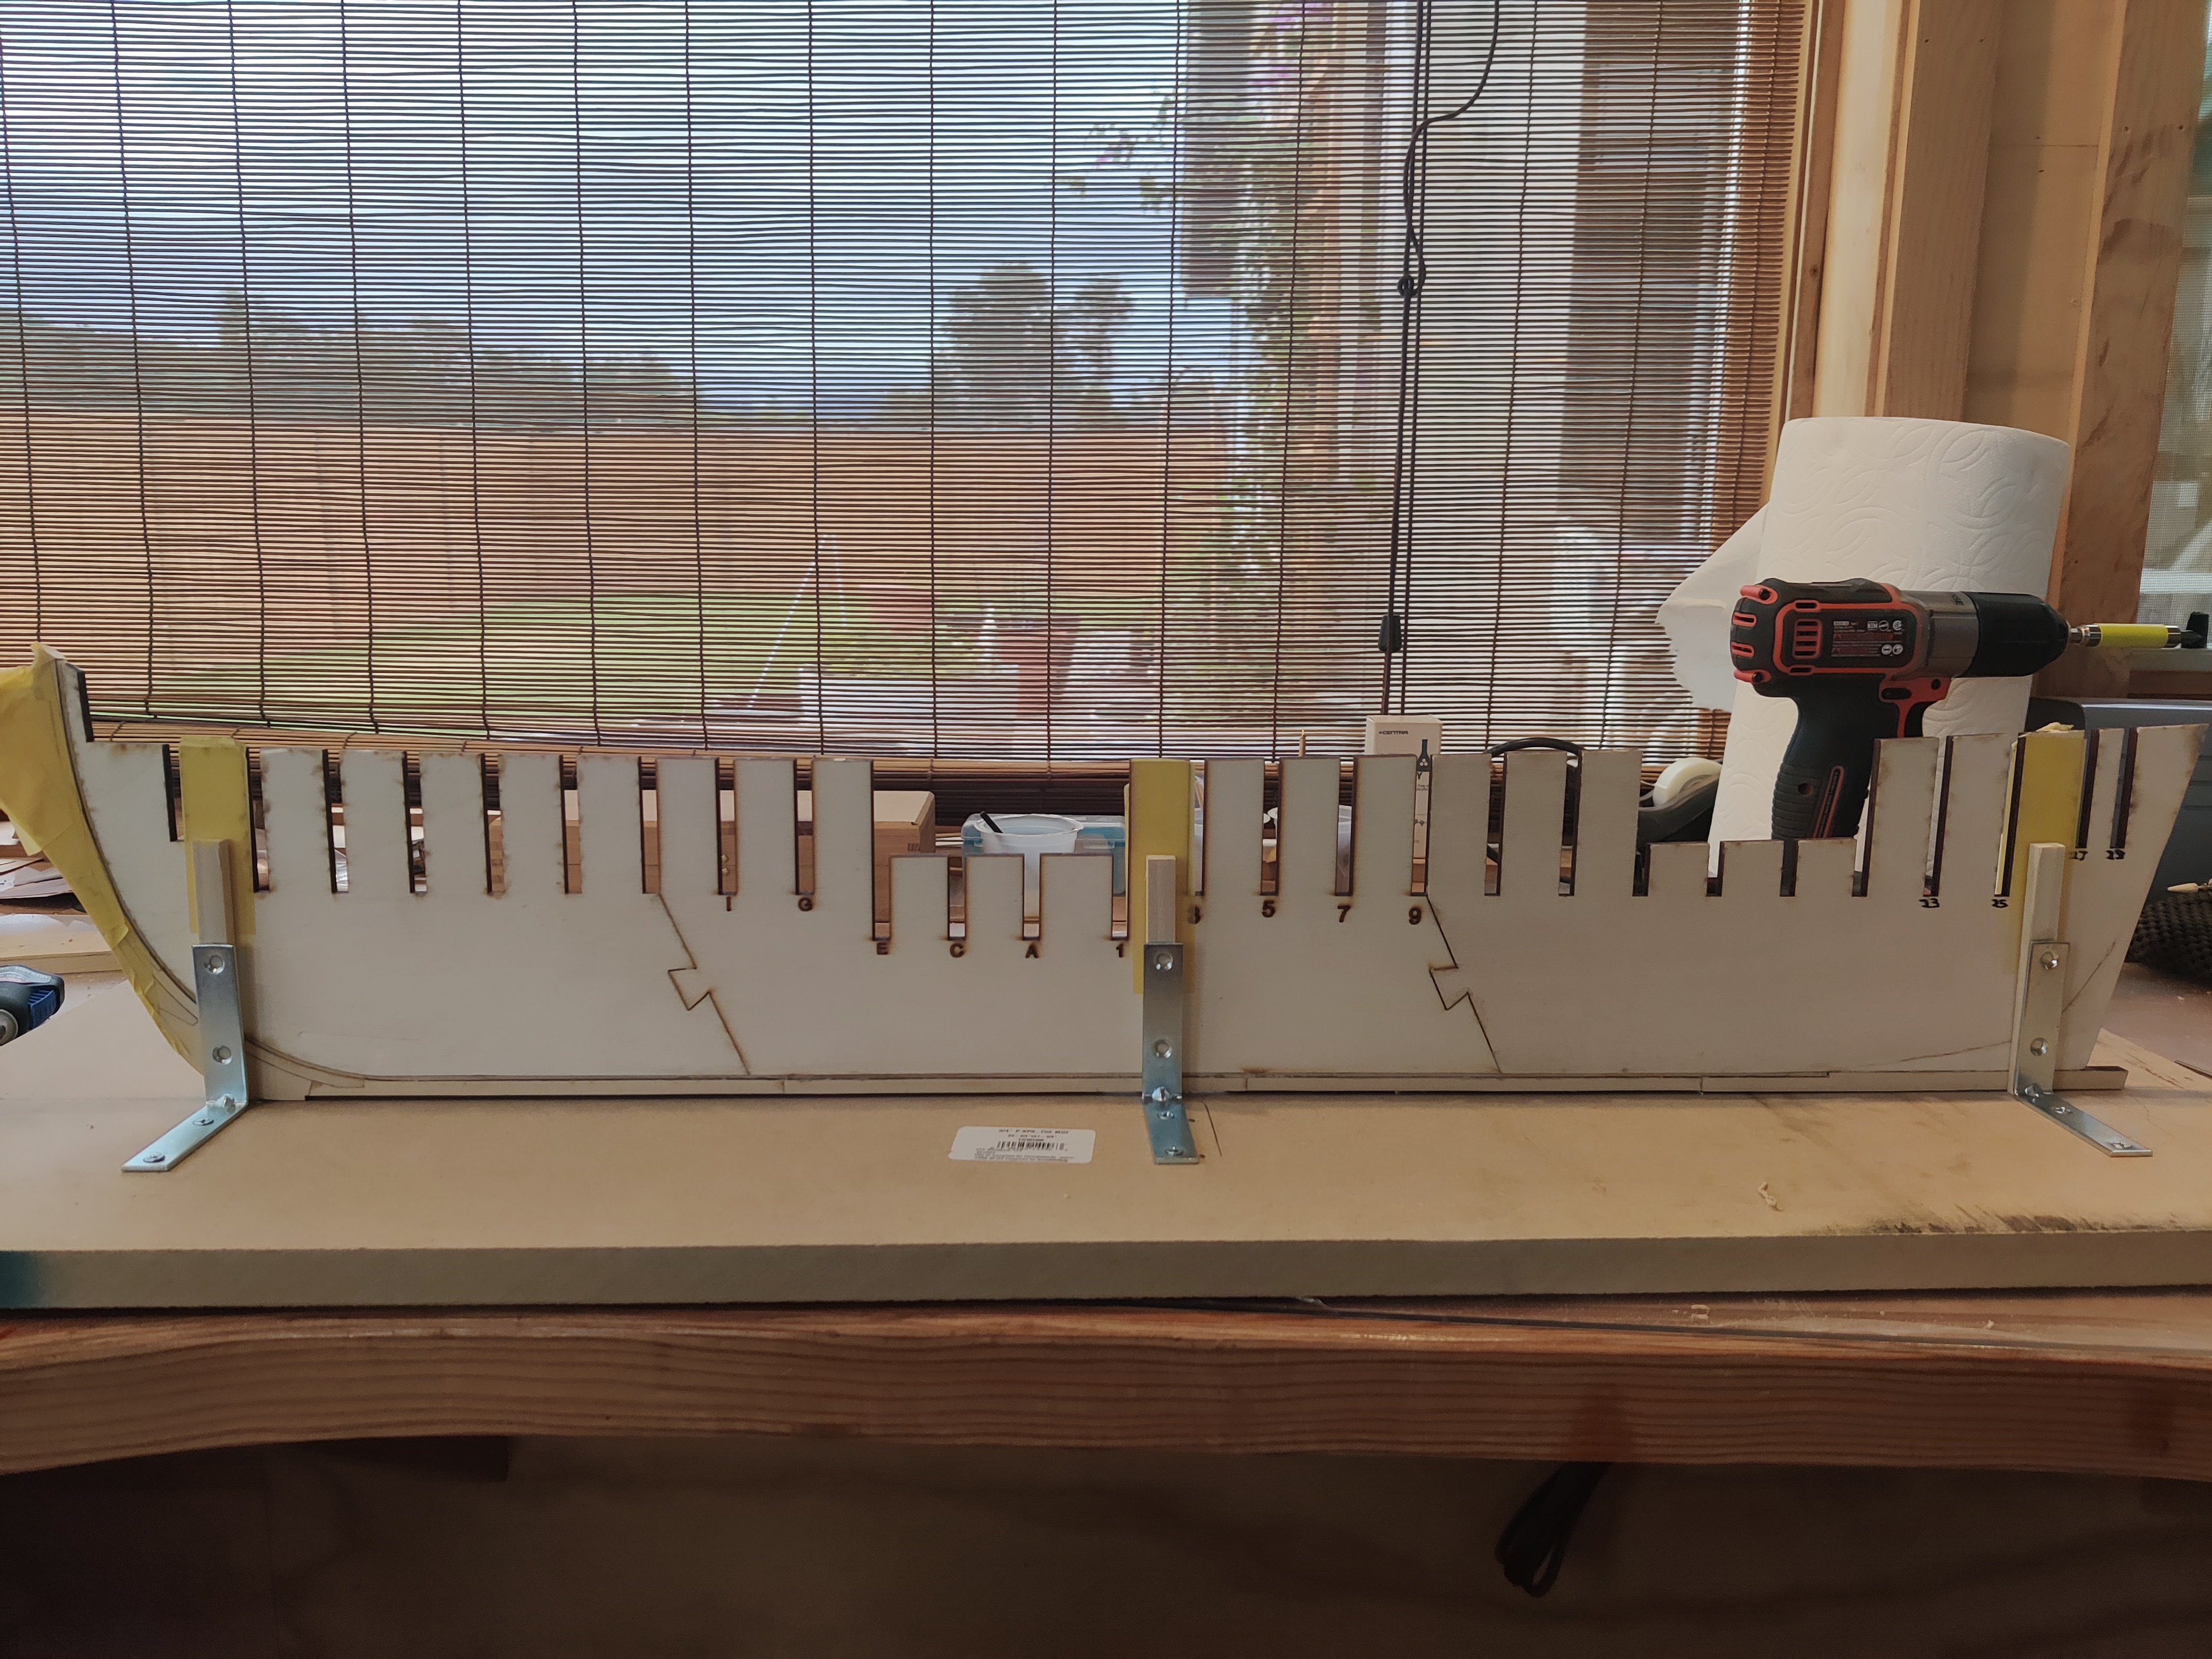
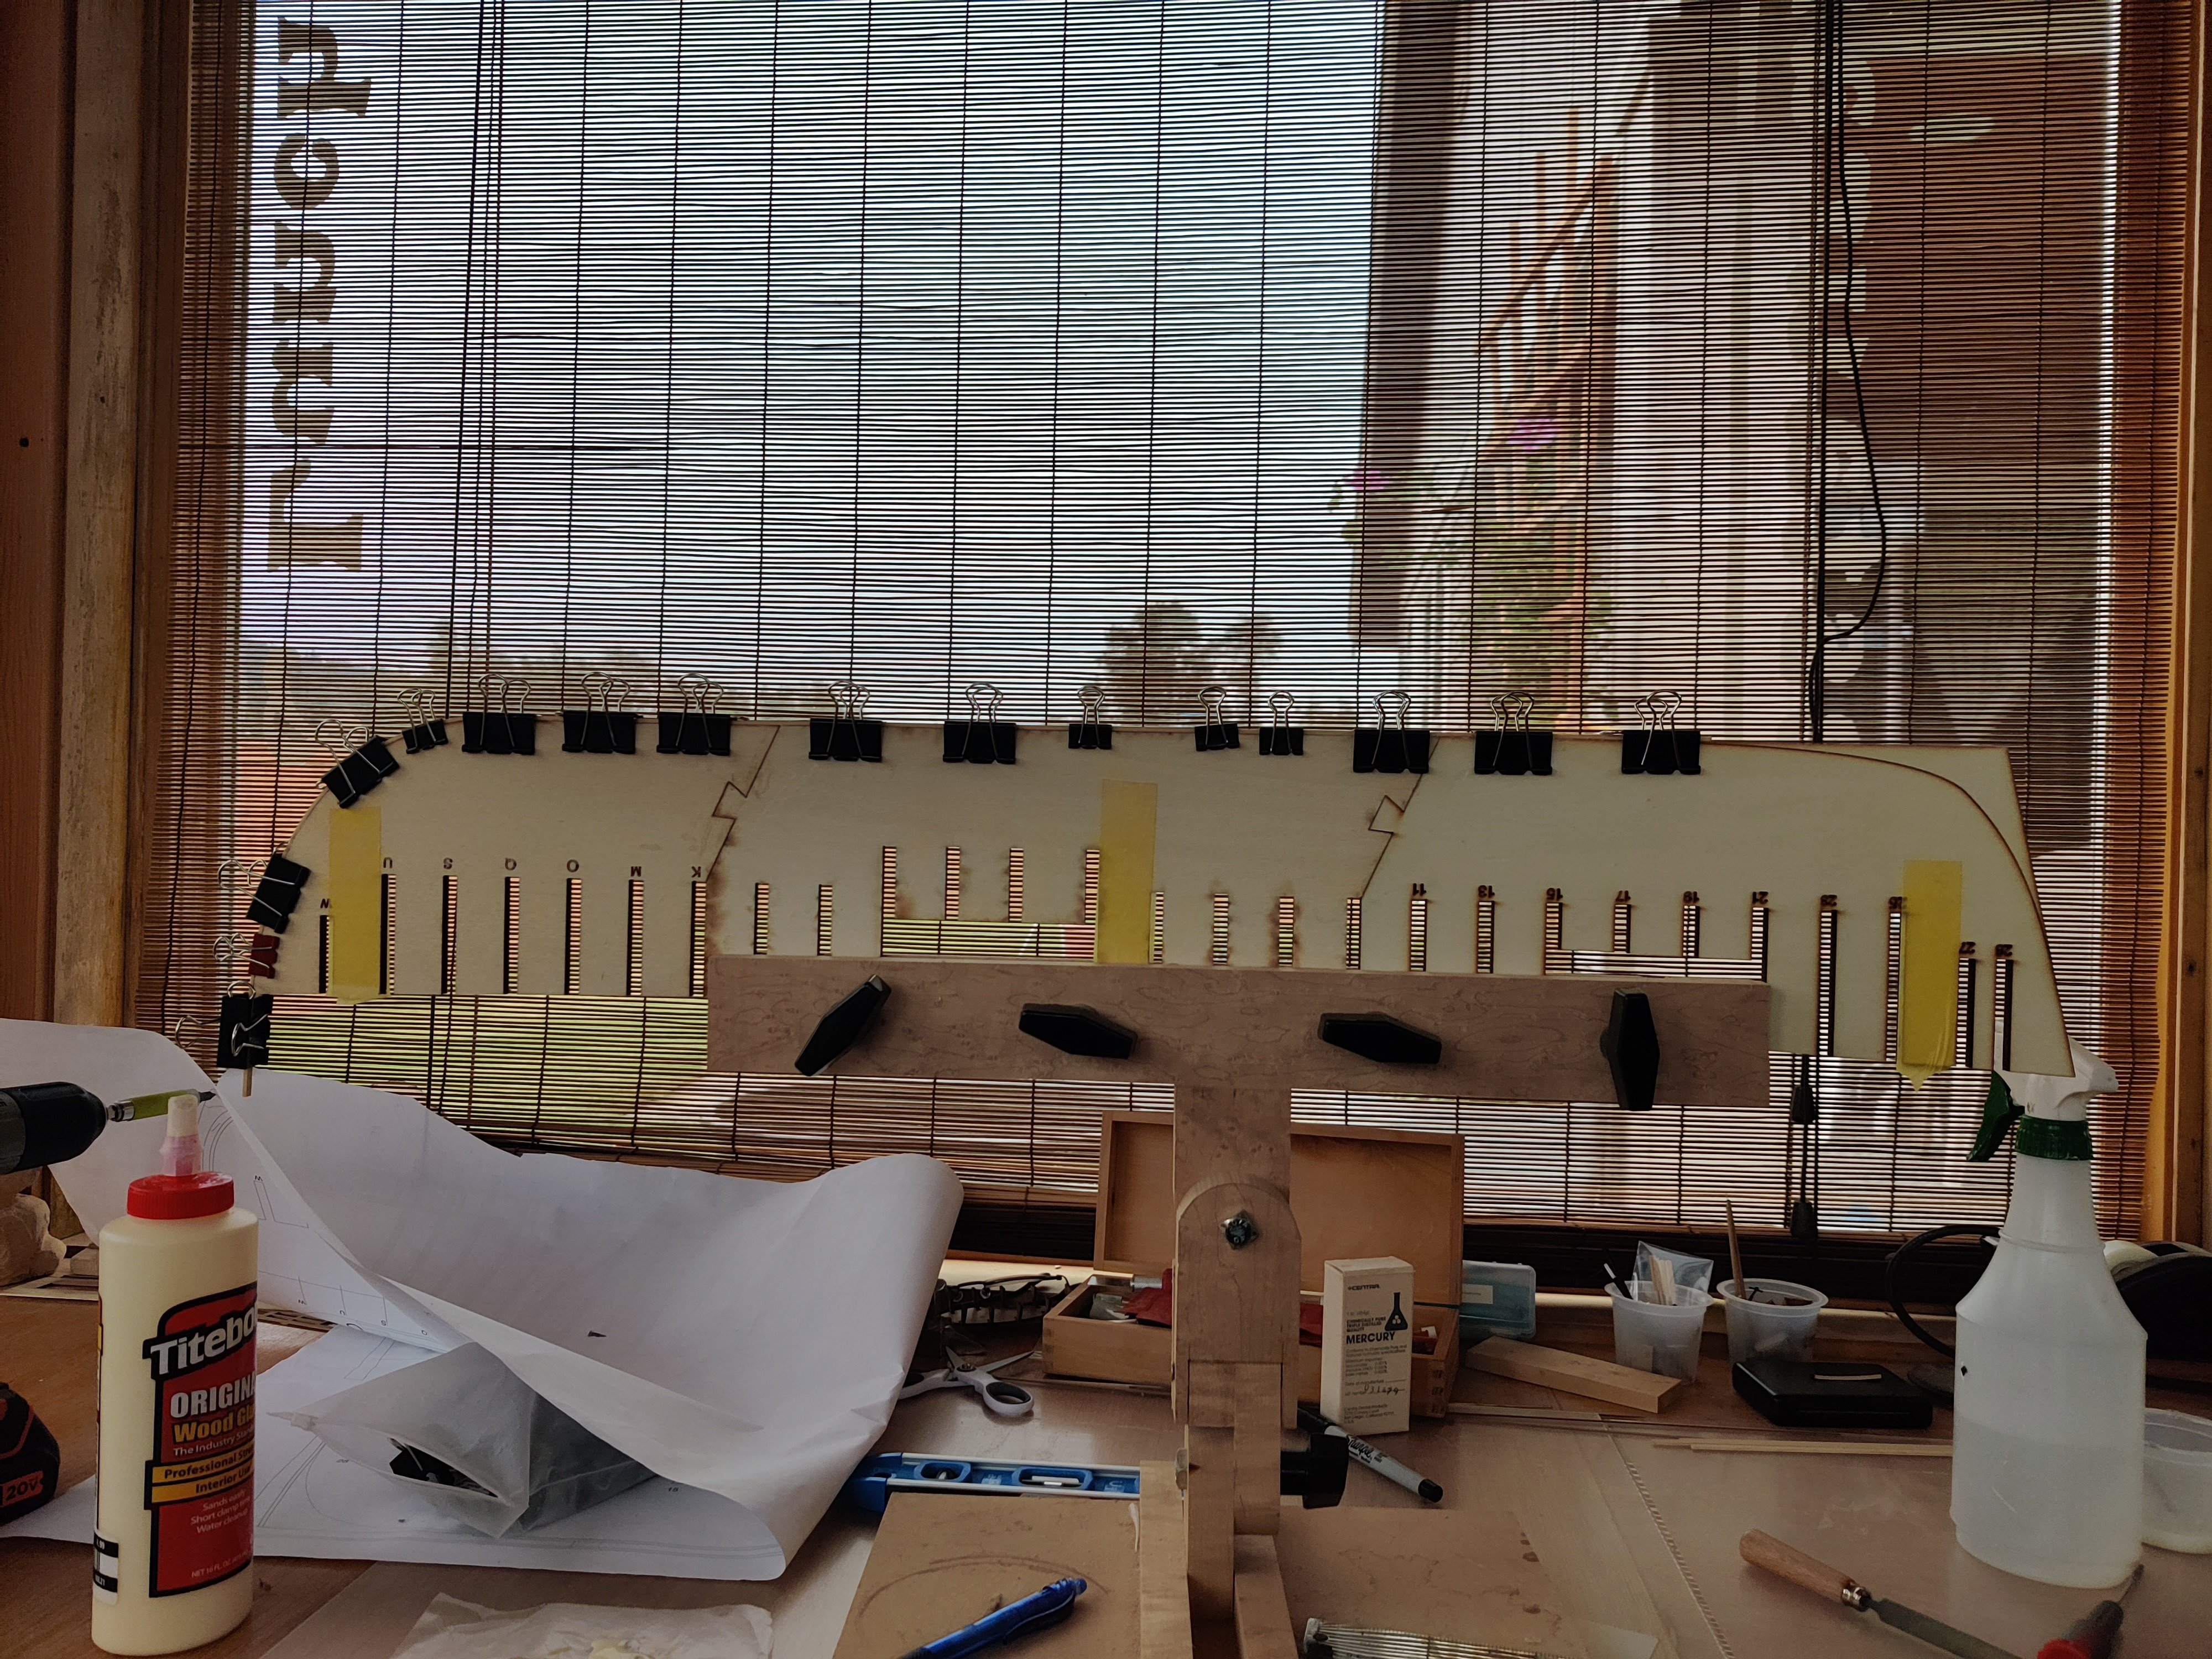
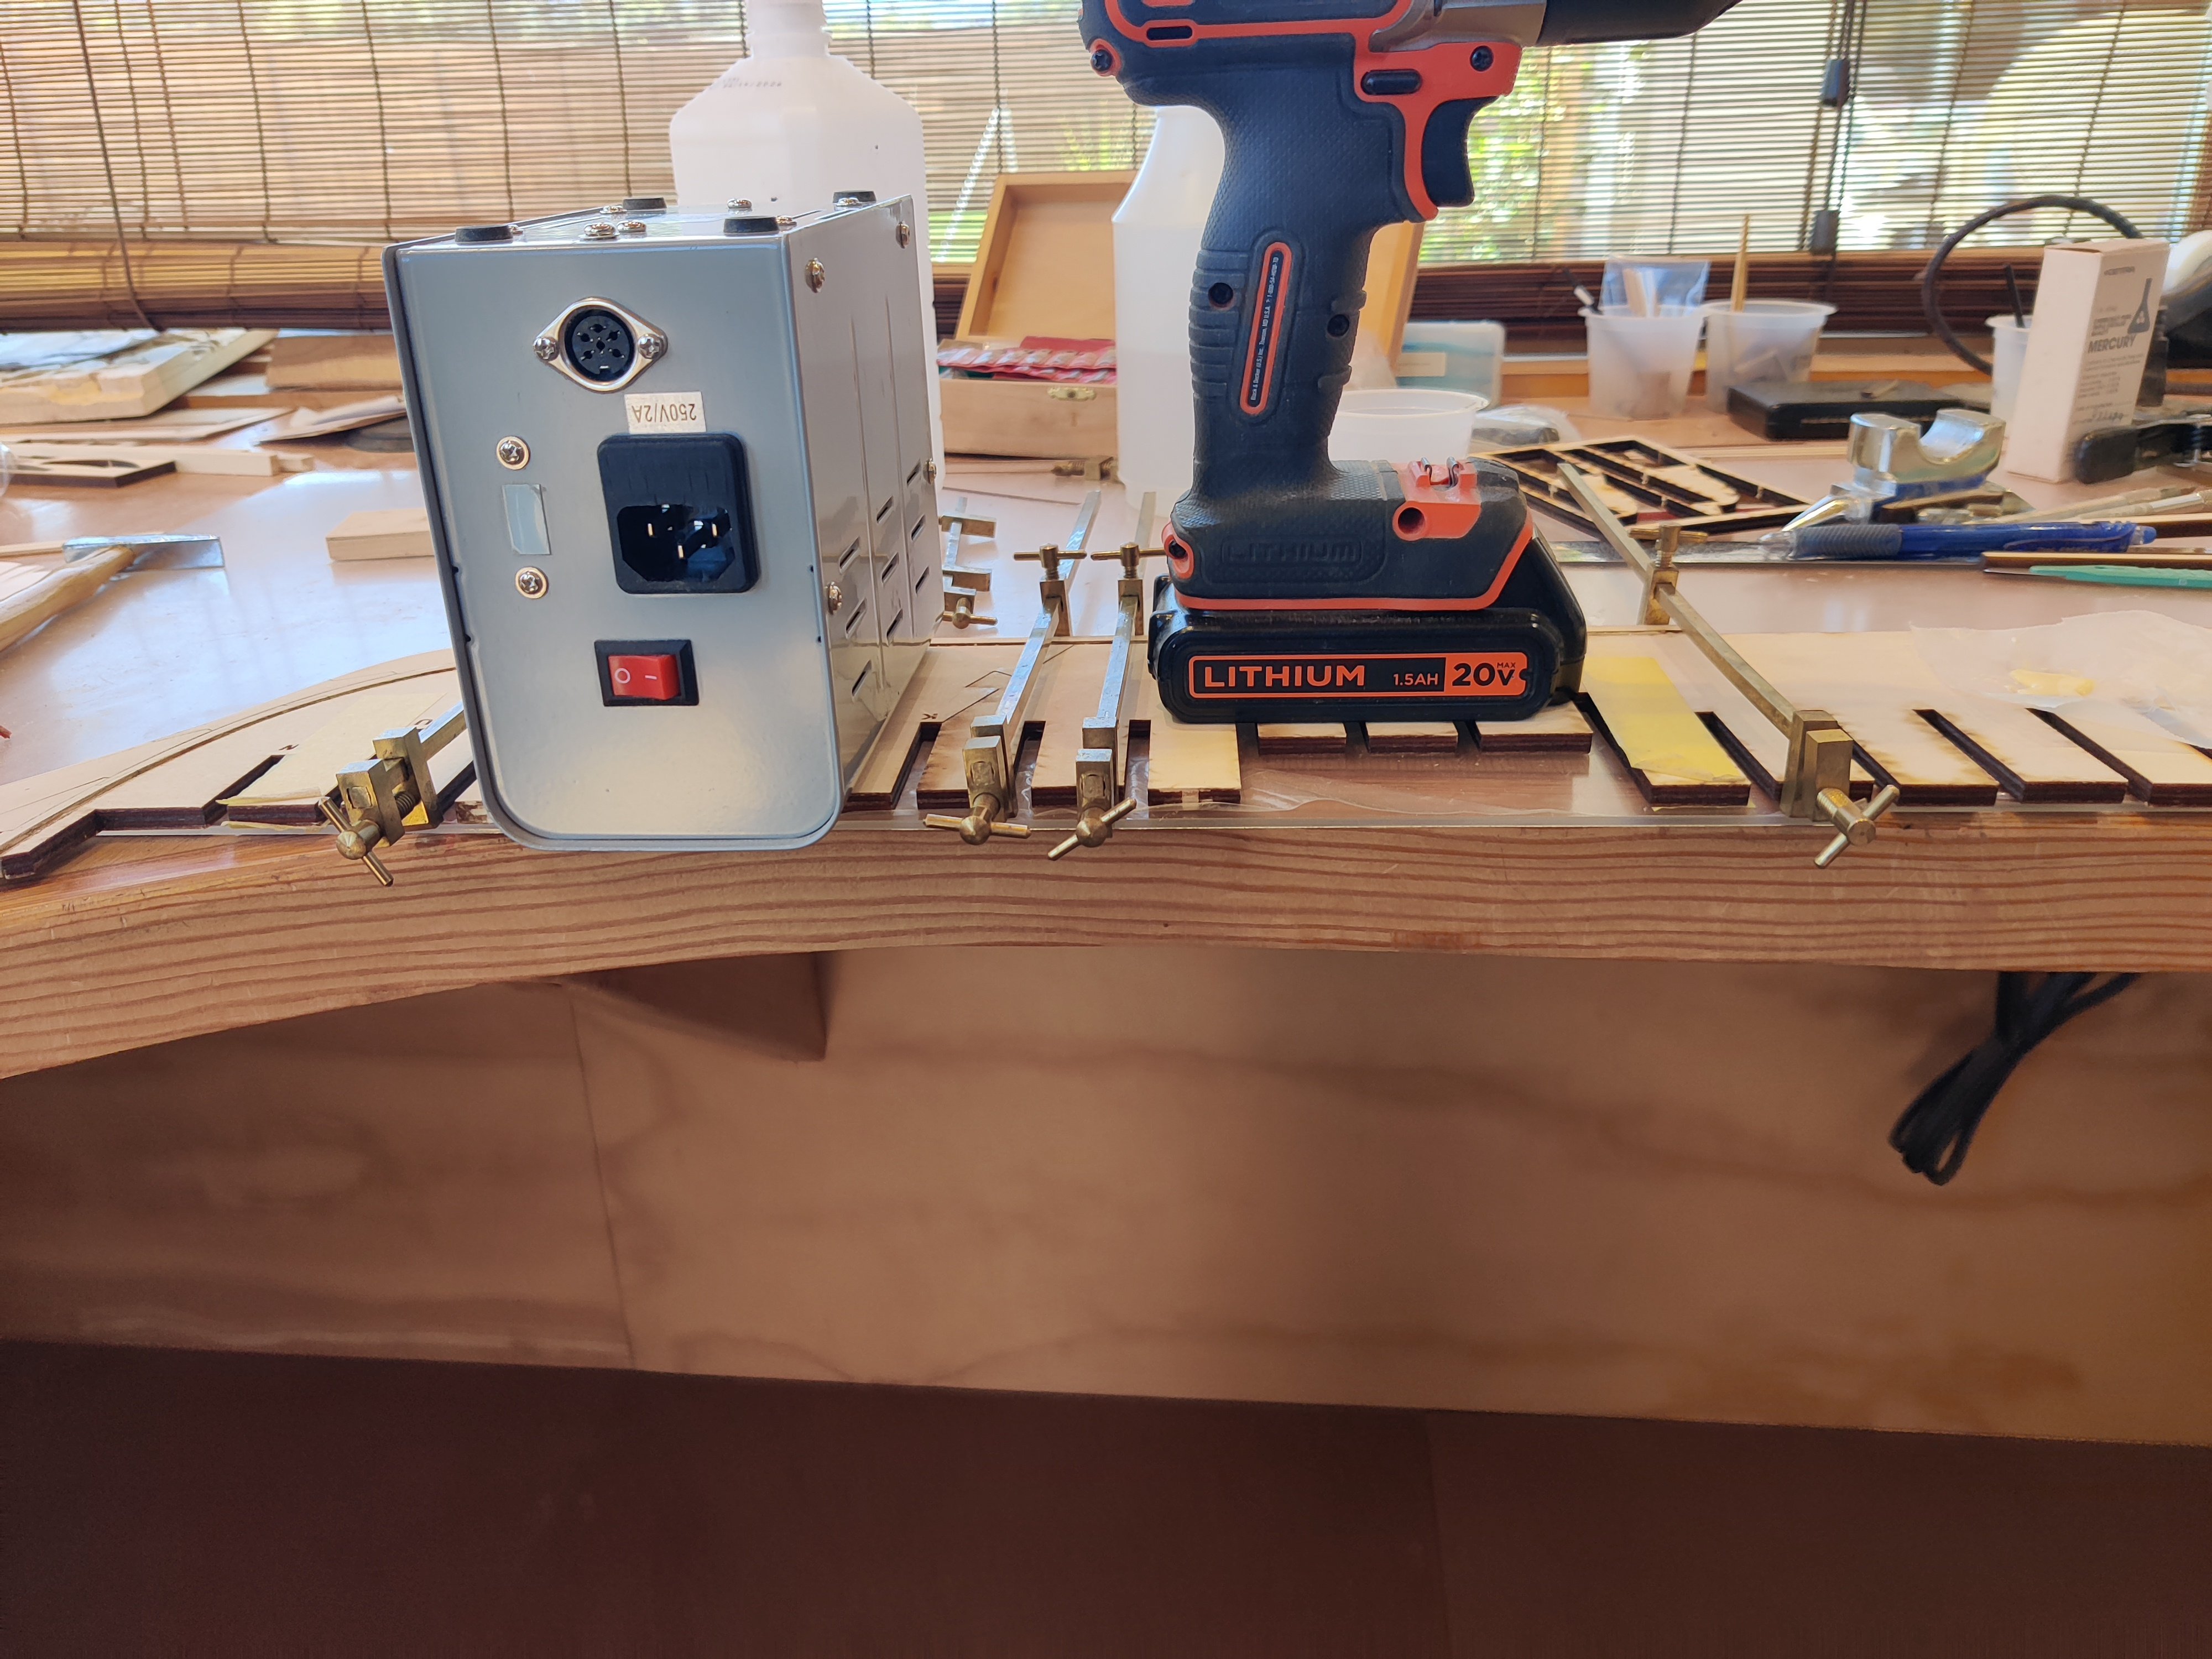
Build board about done. Need to add base boards between struts. I used 2 1/2 inch 90 degree metal supports for my struts and glued a 4" basswood strip on each one. I tried to build wood ones, however, I could not get them to have the same gap at the top as the bottom. So I used the metal ones which solved the problem. I tested them with square and I did have to tweak 2 to get the gap identical. Once tweaked they held the same gap.

-
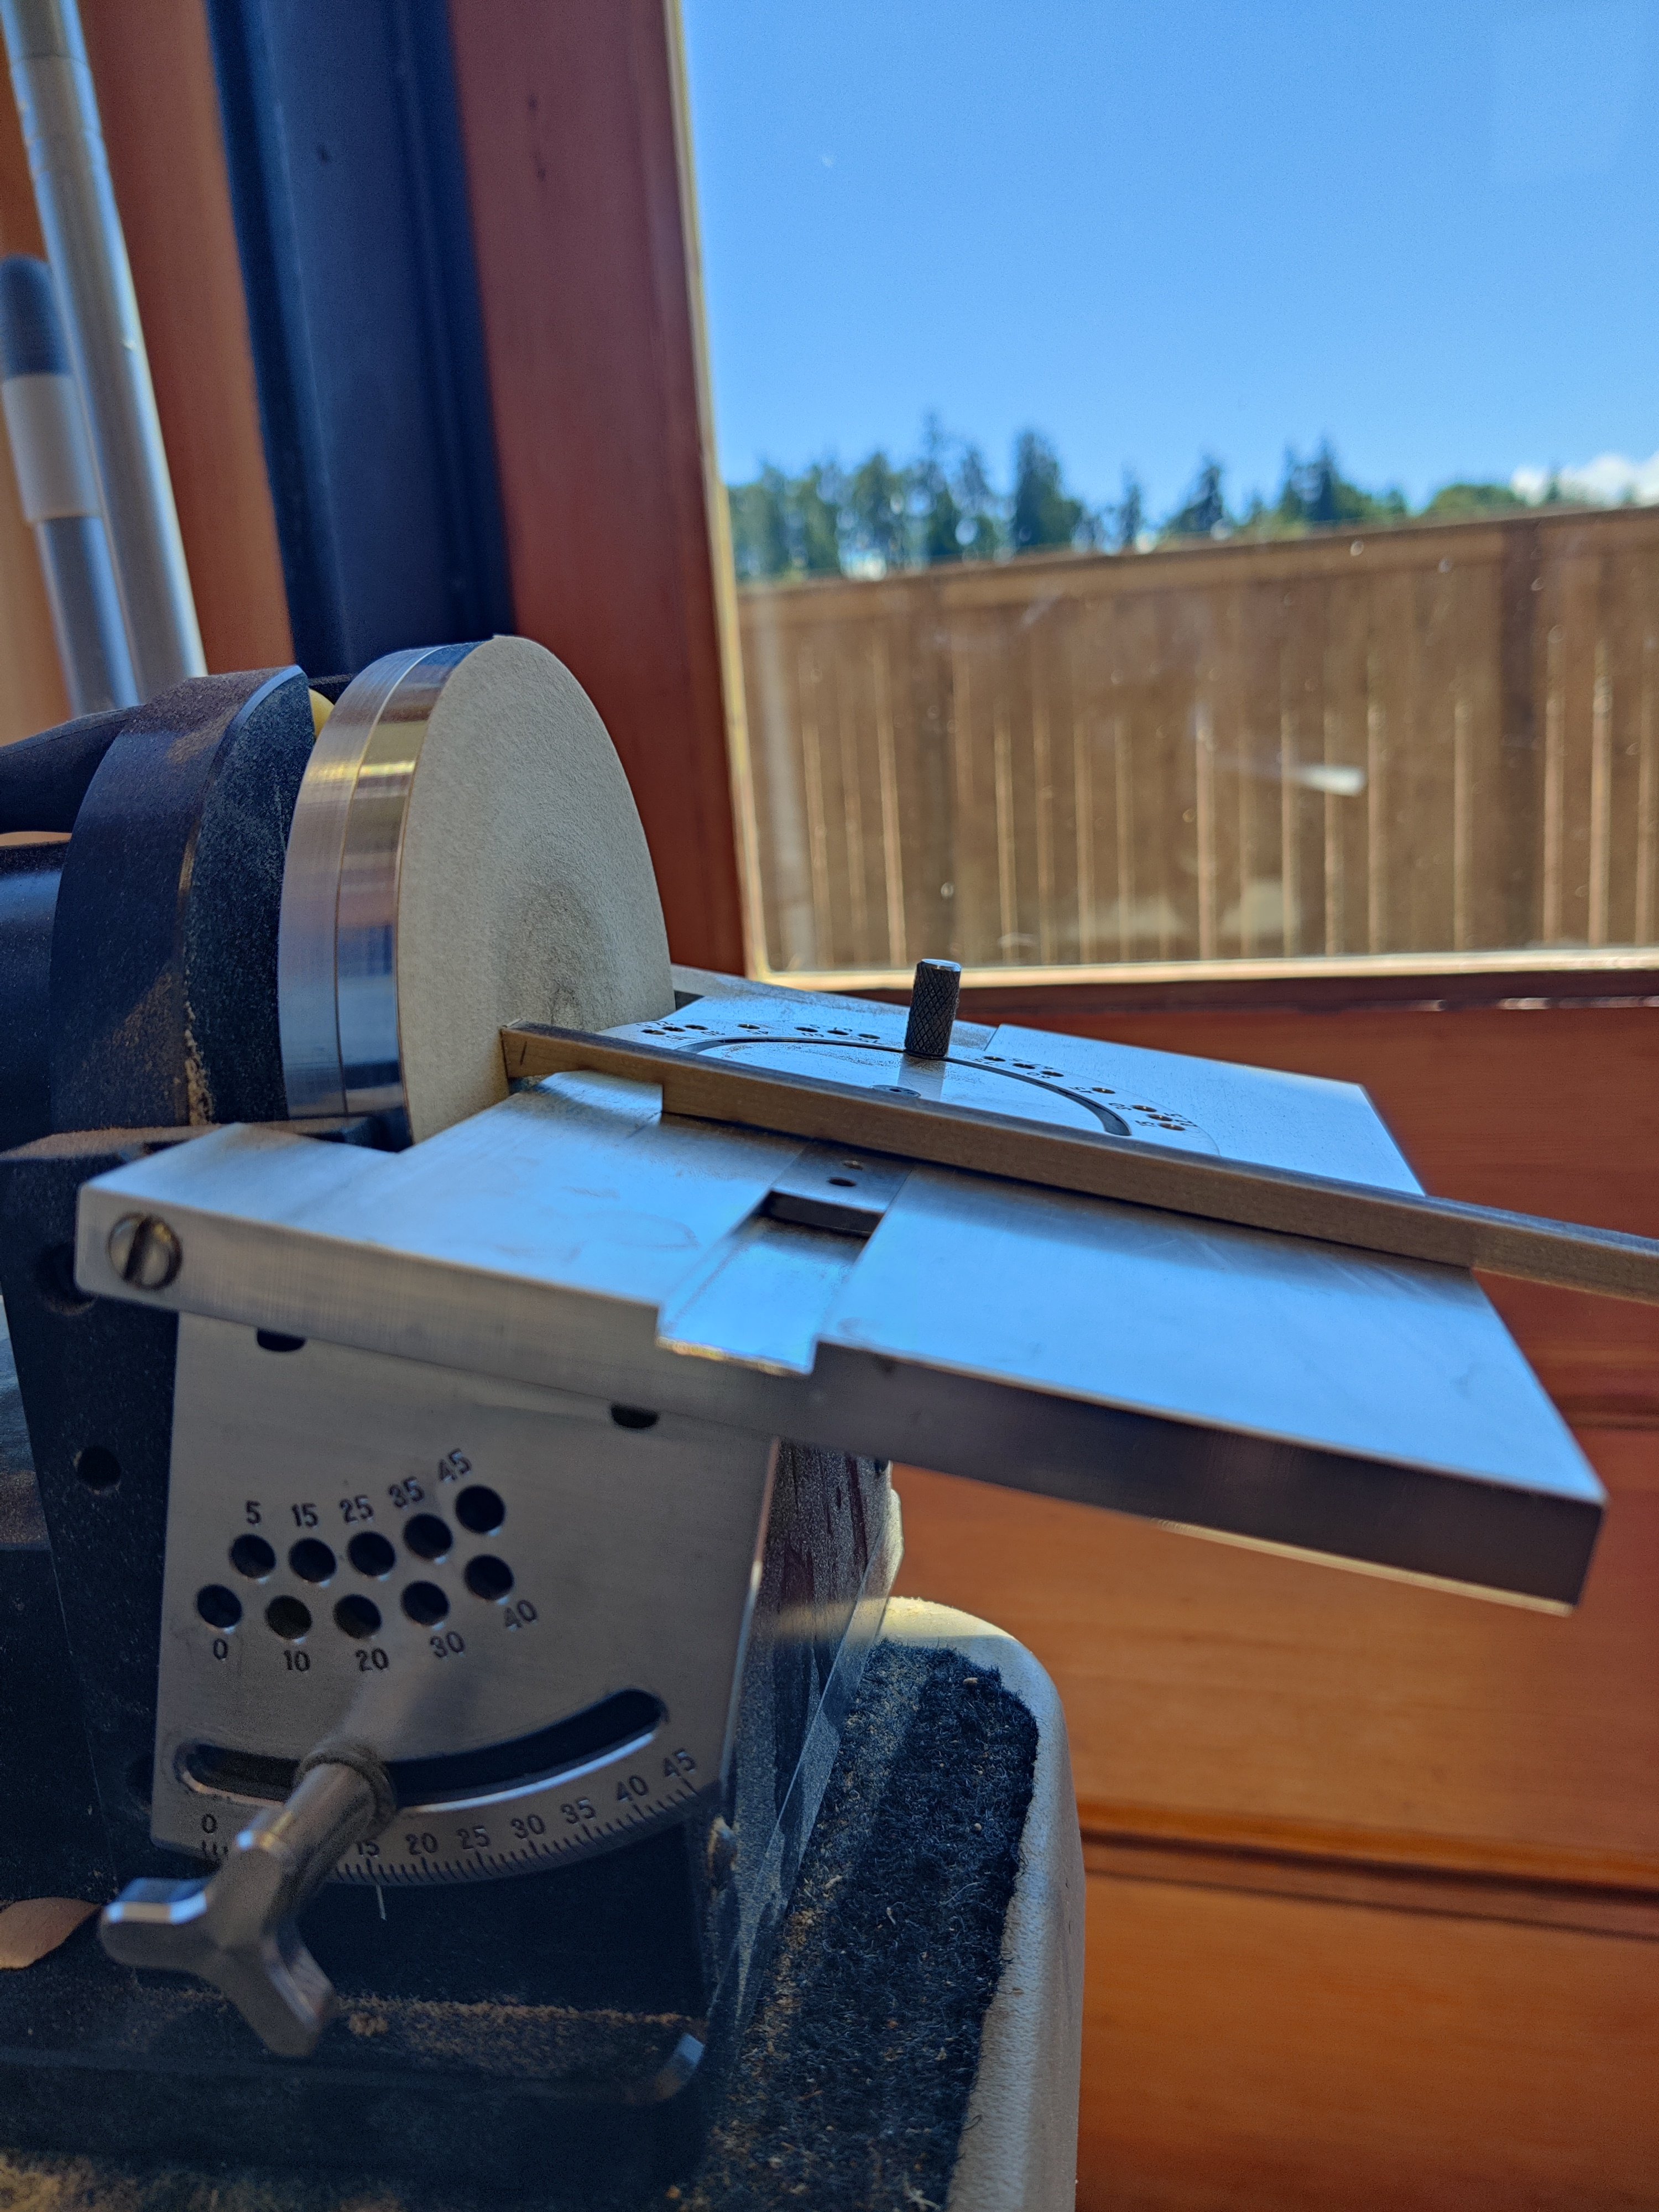
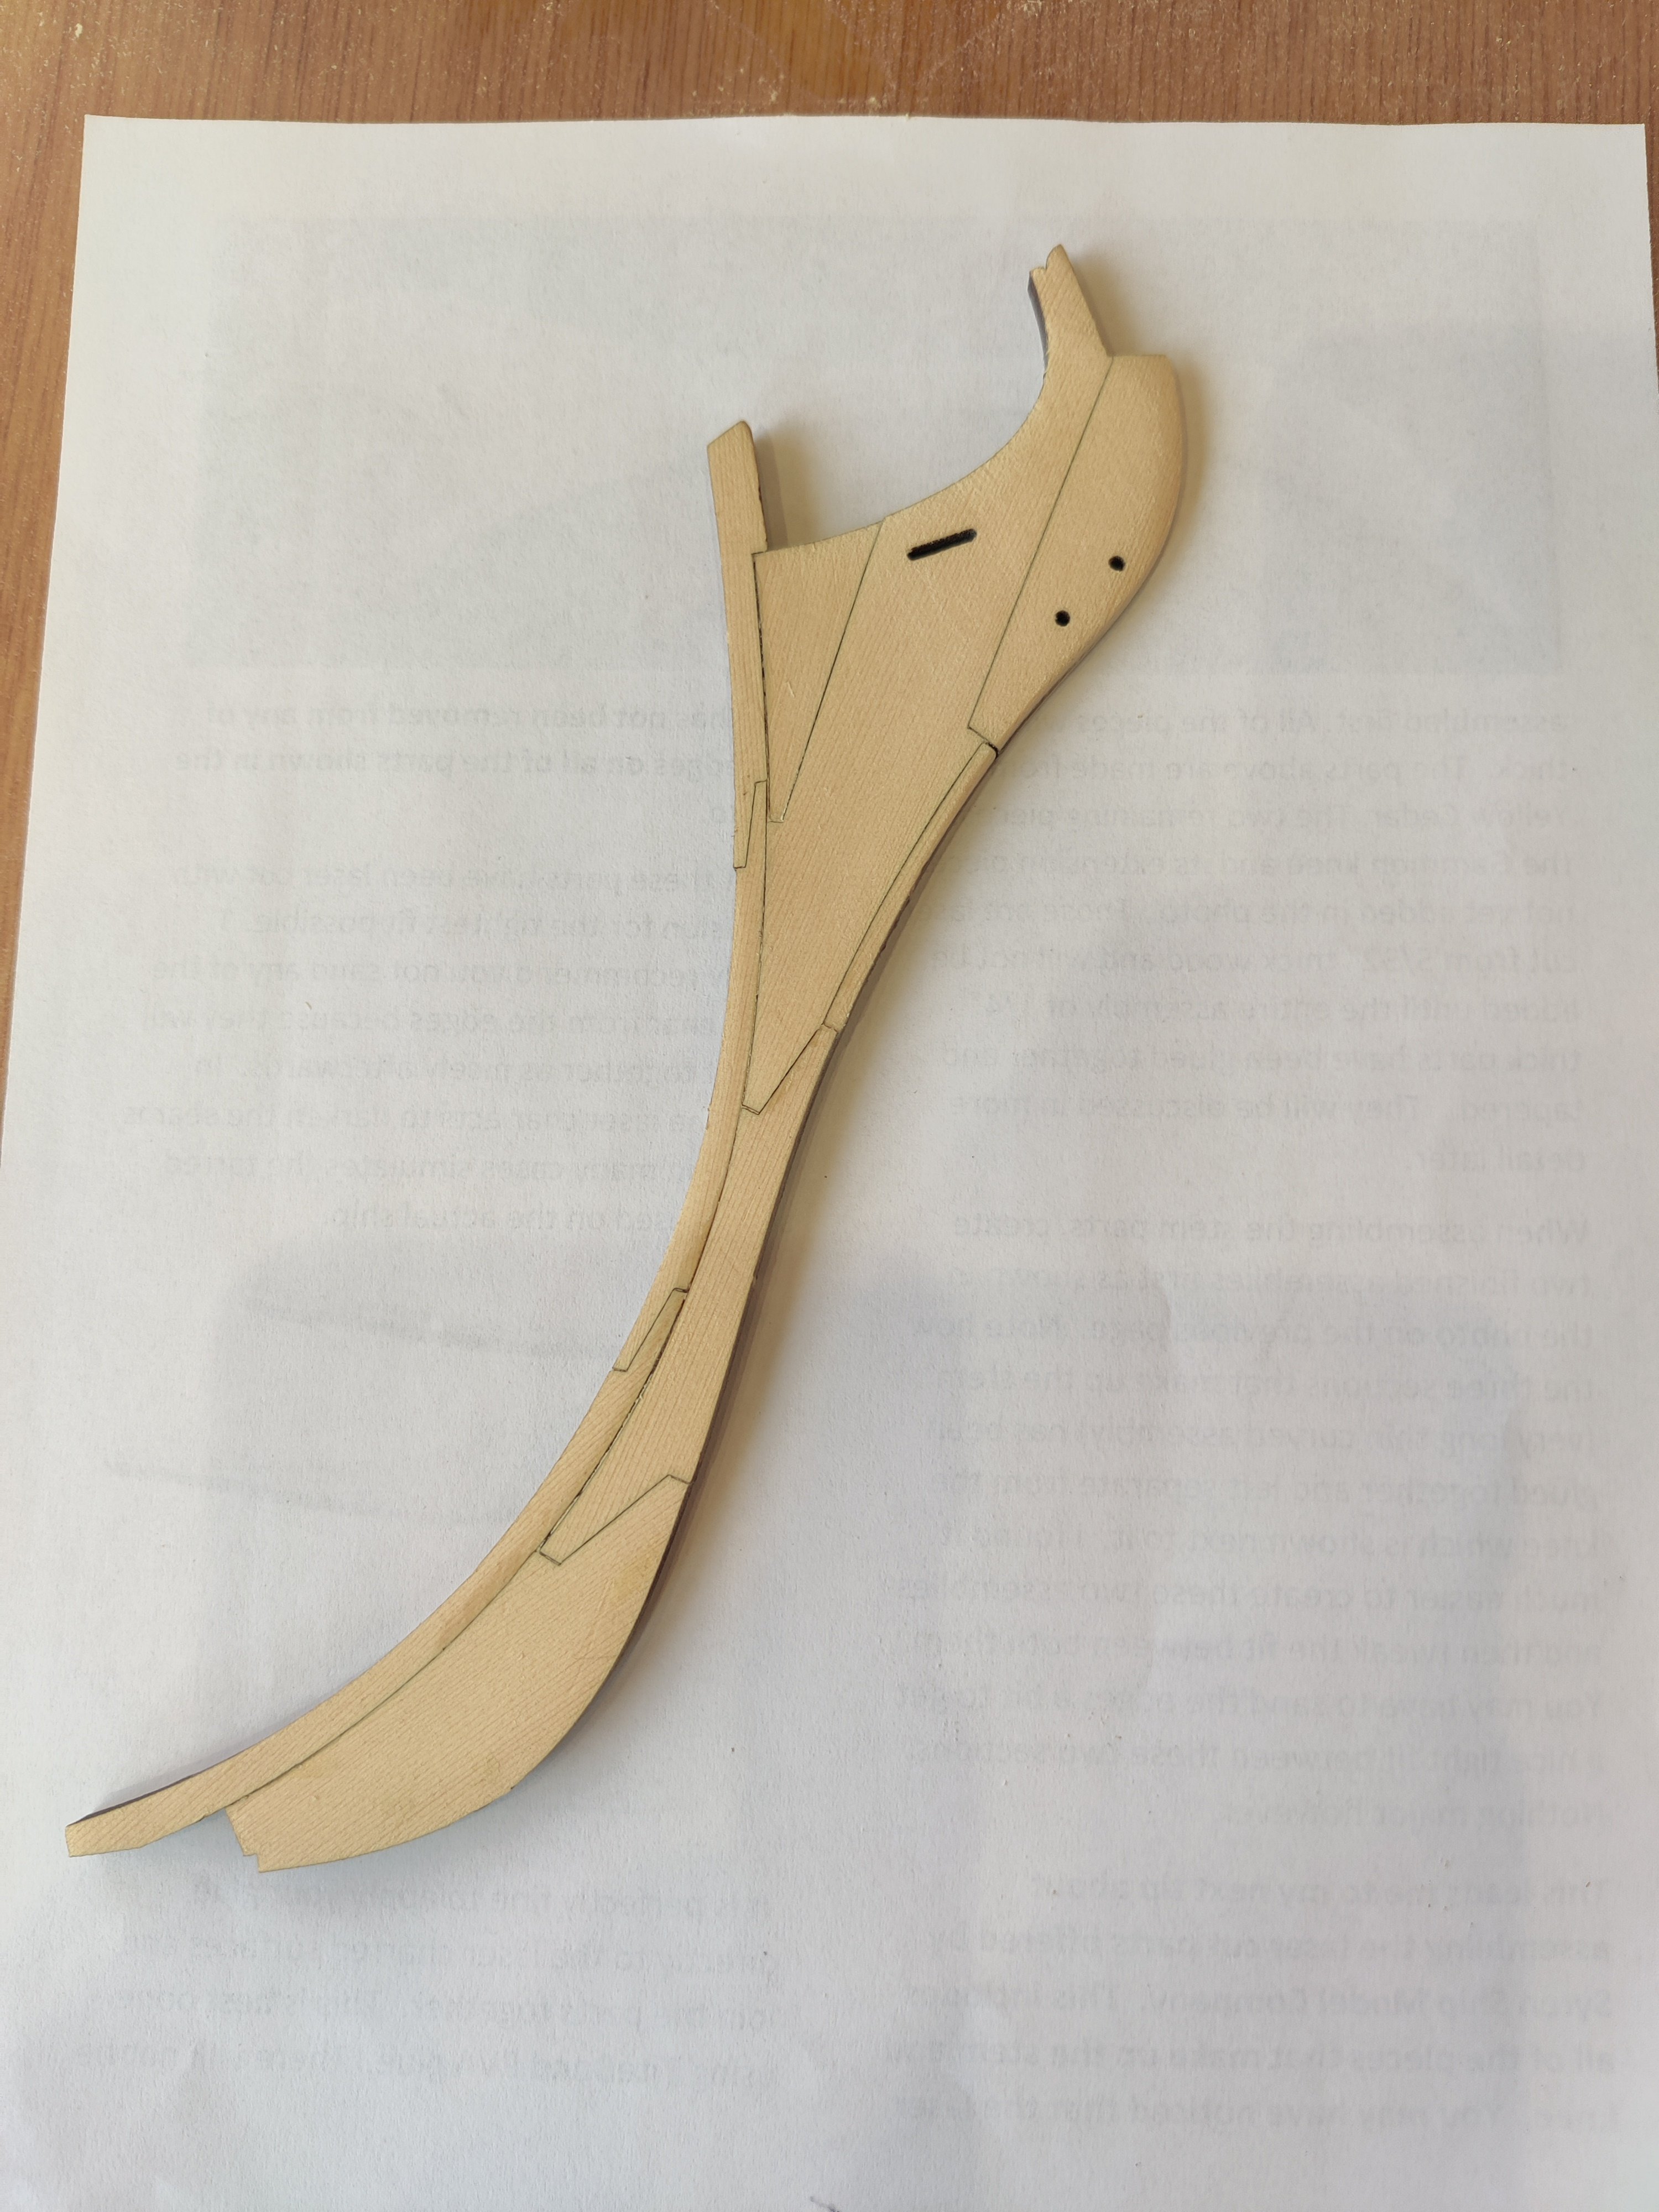
Added rabbit pieces with no difficulties. Then progressed to adding pieces 1-4 of keel. They all fit perfectly except #1. It was a smidgen too long so I matched the angle of the piece, 15 degrees, and tilted the table to match, sanded it and it fit perfectly. I had previously fit the head knee. It took a bit more sanding to fit exactly, but not much, these pieces are very precisely cut with laser. I do not have enough weights so i have to be creative. My Ram rotary cutter motor, Drill with heavy battery, small metal anvil and in the little box is a bottle of mercury. That little box weighs more the the drill with battery. Amazing.


-
gammon installed. I followed Chuck's advice and only removed wood fro the back of the gammon. it was a lot of trips to Byrne's sander but it ended up just right. Thanks Chuck.
-
When I was removing the pieces for the build board I noticed that the laser had not completely burned thru one one sheet. The other two were fine. When I closely examined it, it became apparent that the root cause of this was that the piece of plywood had warped thus causing the problem. It just took a little more work with a fine exacto blade to cure the problem. This was also true on one sheet of the bulkheads. The head knee was my next project and it fit together wonderfully, I was surprised at the exactness of the fit. The tapering is now done, I think. I have yet to put in the gammon knee. I may have to taper some for that but we shall see. The three section keel boards are glued and drying.

-
The first shipment has arrived. Work/fun will commence immediately. The instructions have been printed and placed in three ring binder. Will commence preparation of the bulkheads with sanding them before removing them from plywood sheets.
-
I have downloaded the plans and took those to the printer. They are huge!! Just realized how large this model really is. I do not have a wall space large enough to post them. I NEED TO COME UP WITH A SOLUTION FOR THAT, I purchased a 12" x 36" piece of MDF to use as the base once the form parts arrive. I have read quite a few of the build logs and better appreciate how difficult this build will be. The common themes are to get everything exactly right at the beginning, take your time!!, read and reread the instructions, if you do not know what to do ask before doing something you are unsure about.
-
i will have a nice scotch on rocks
-
Can you put a final coat of oil based poly over prior coats of water based poly. Which is preferred for use on model boats?