


PC52
-
Posts
29 -
Joined
-
Last visited
Content Type
Profiles
Forums
Gallery
Events
Posts posted by PC52
-
-
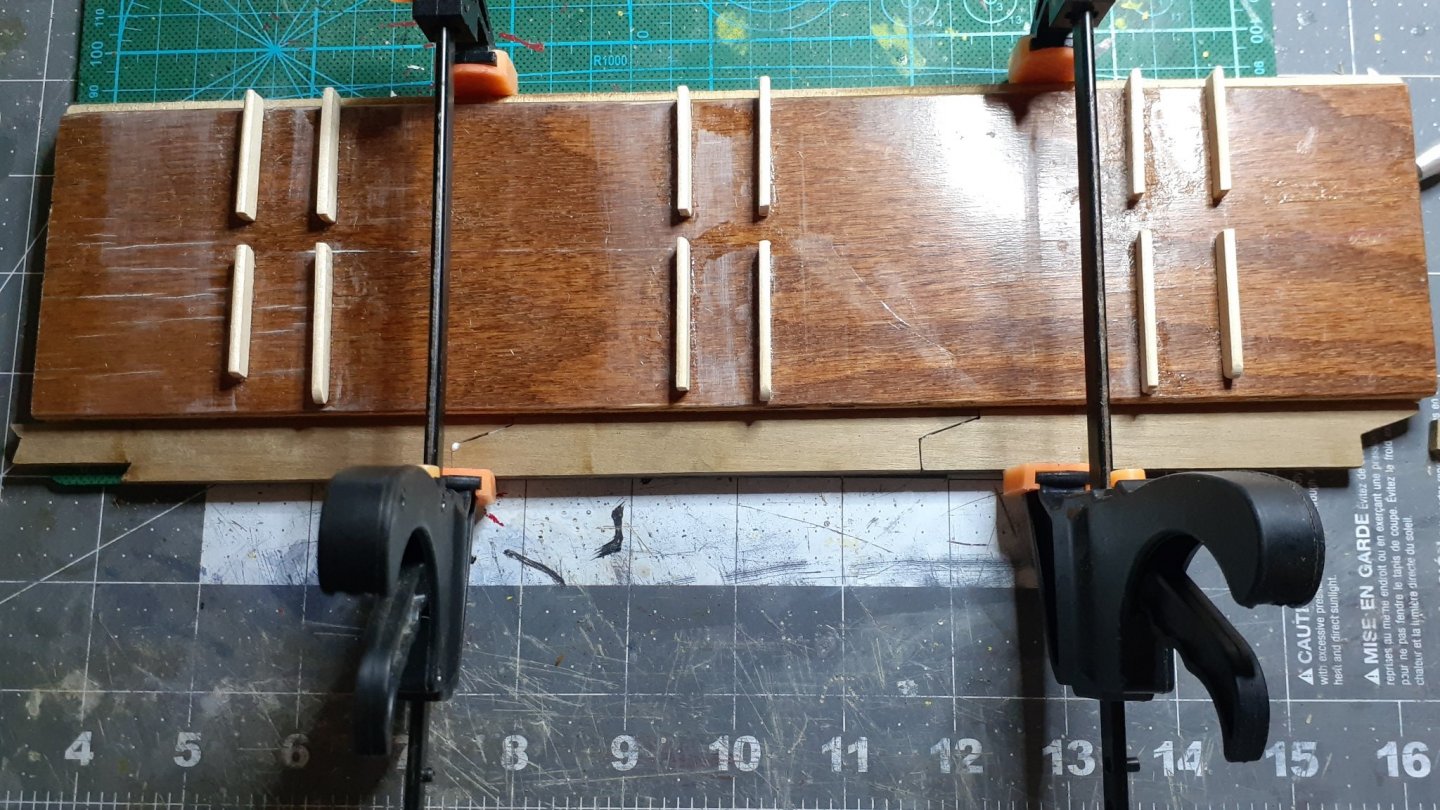
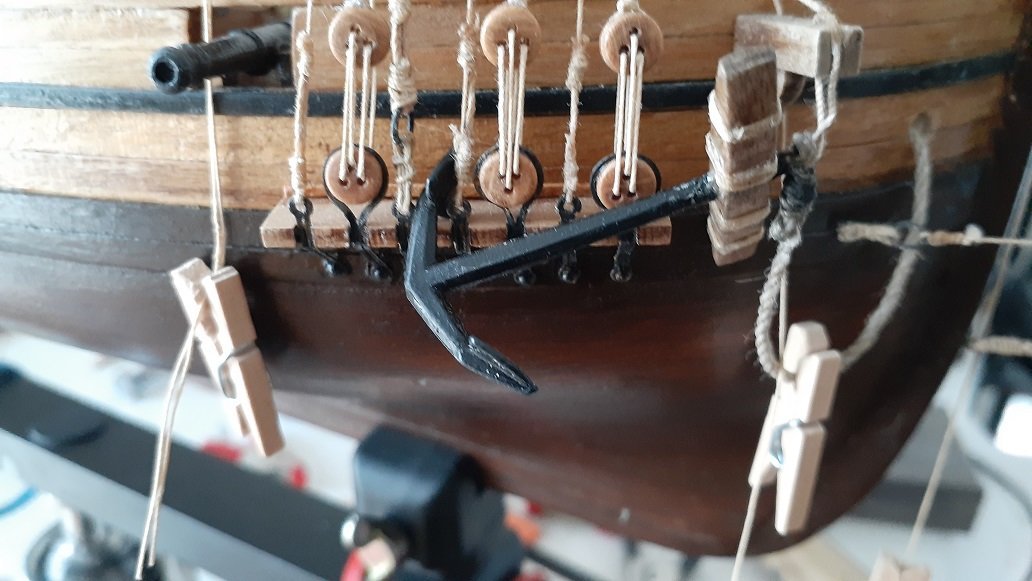
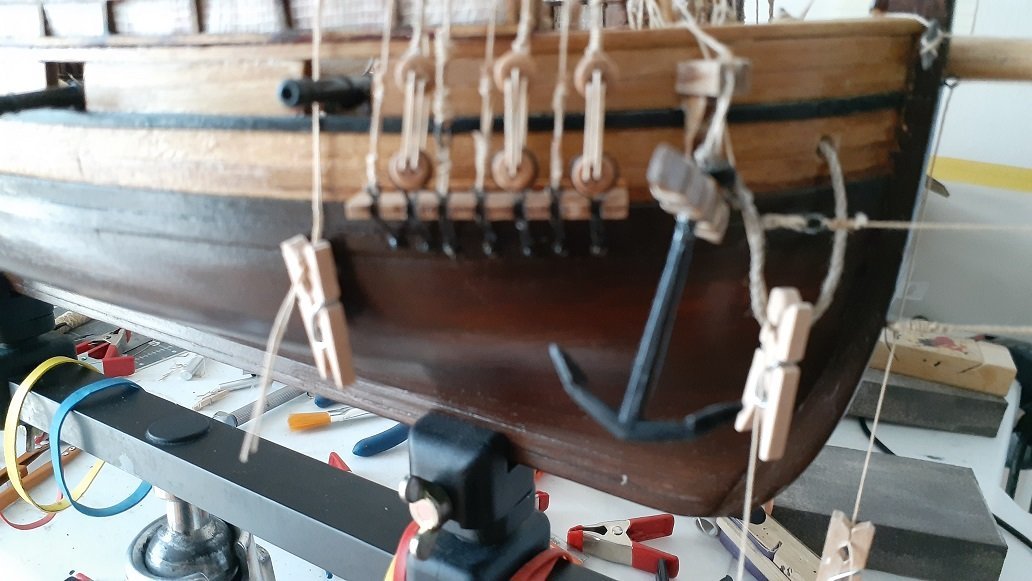
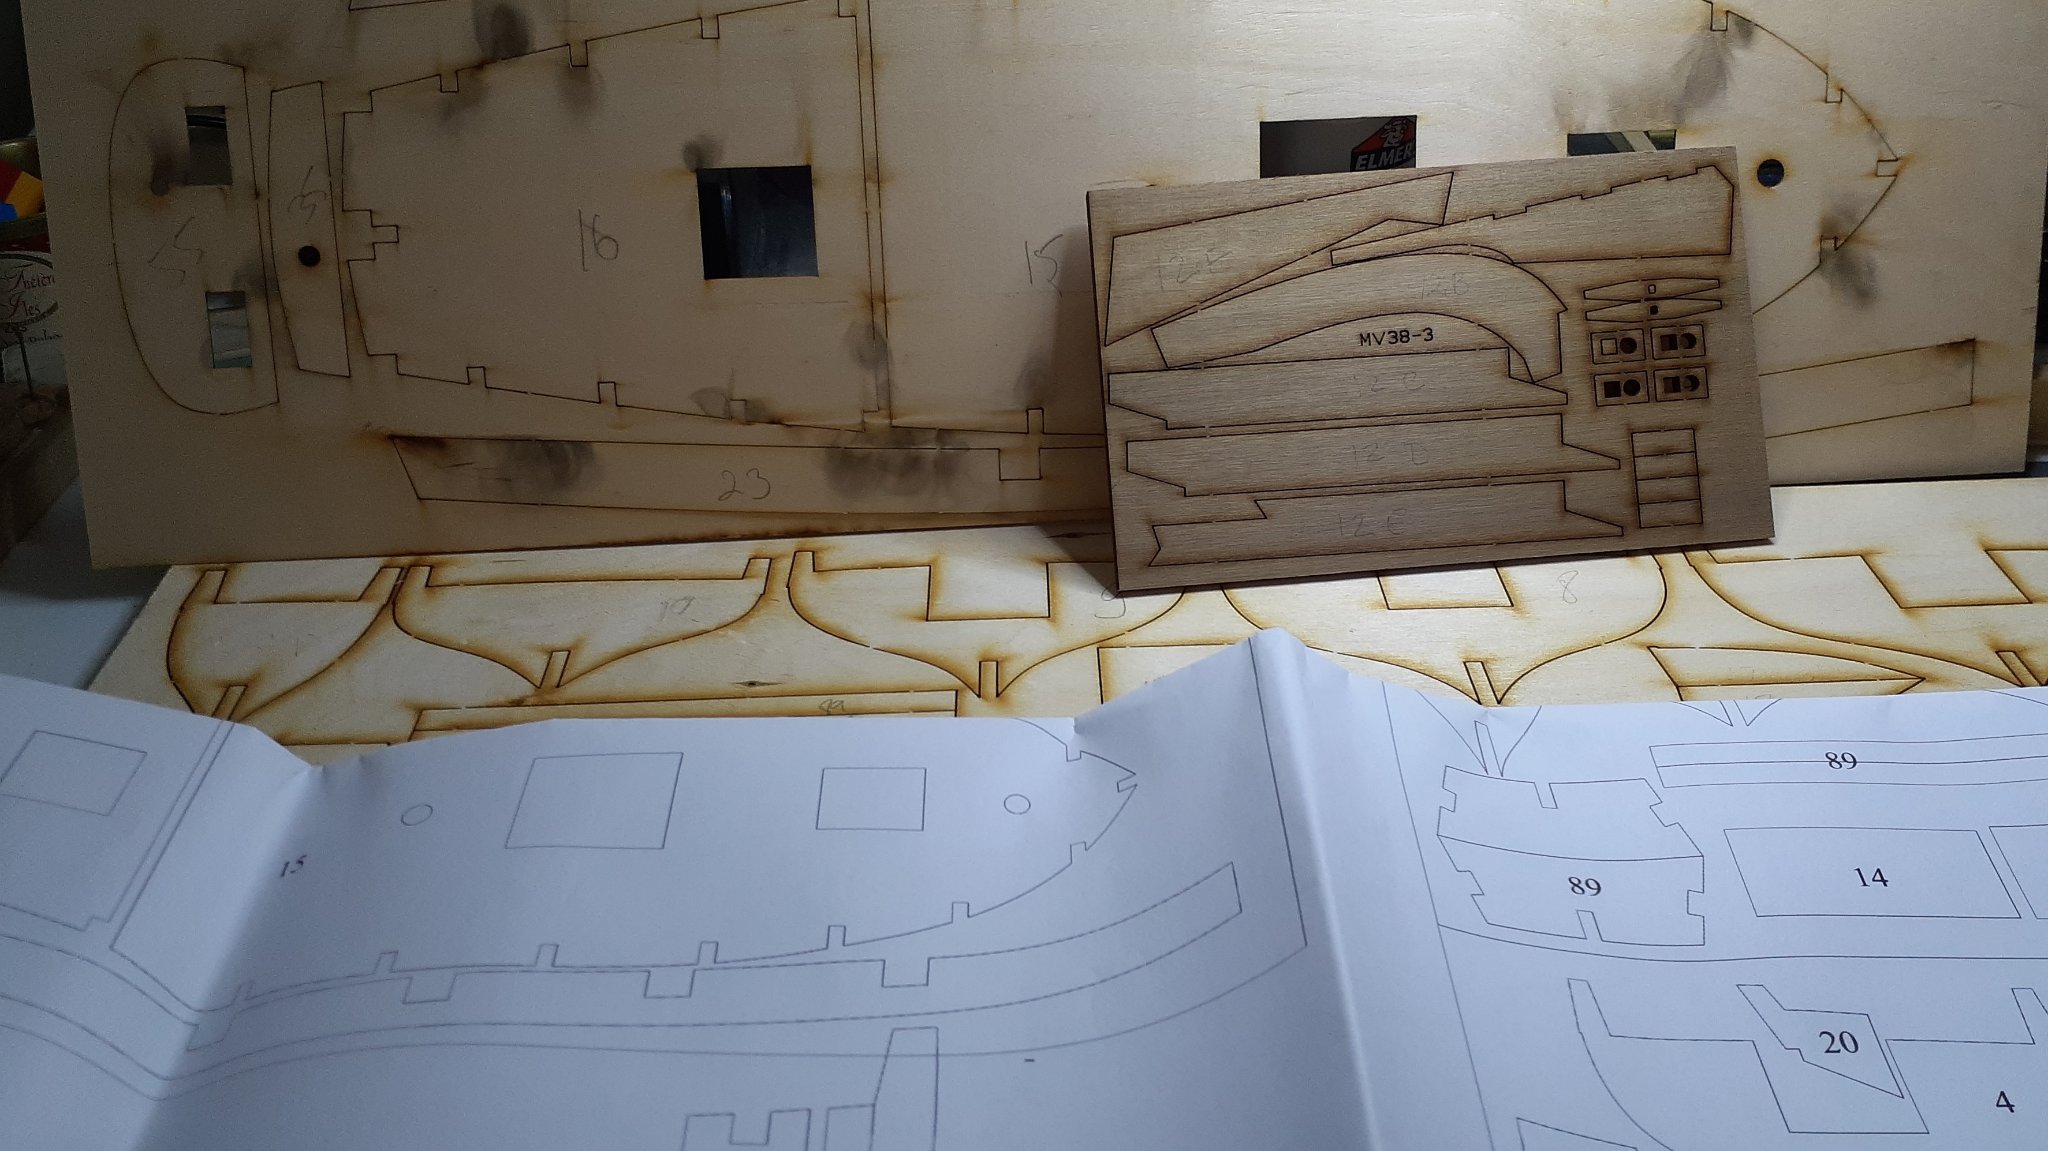
Thank you for the suggestion Gregory. I took a look at it (page 25) and it looks excellent. My issue is that there is no belaying pin available inside to attach the anchor rope to.
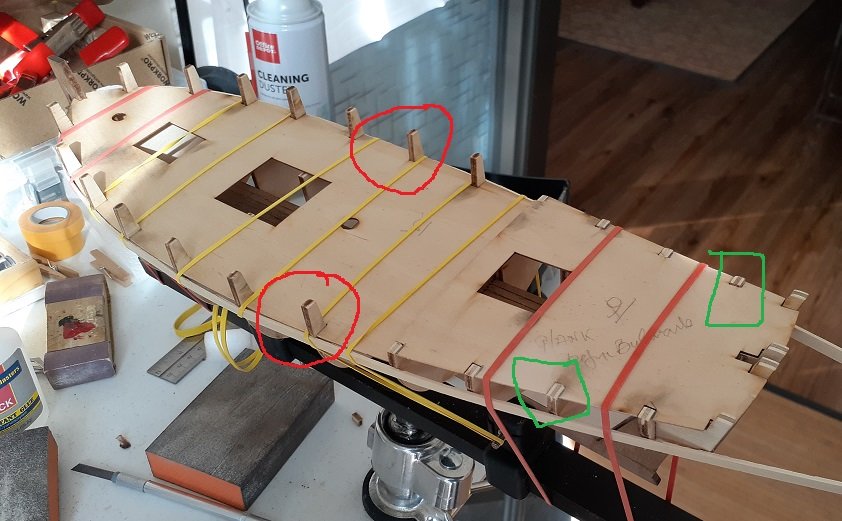
I have a picture below of what I could do to free up a belaying pin.
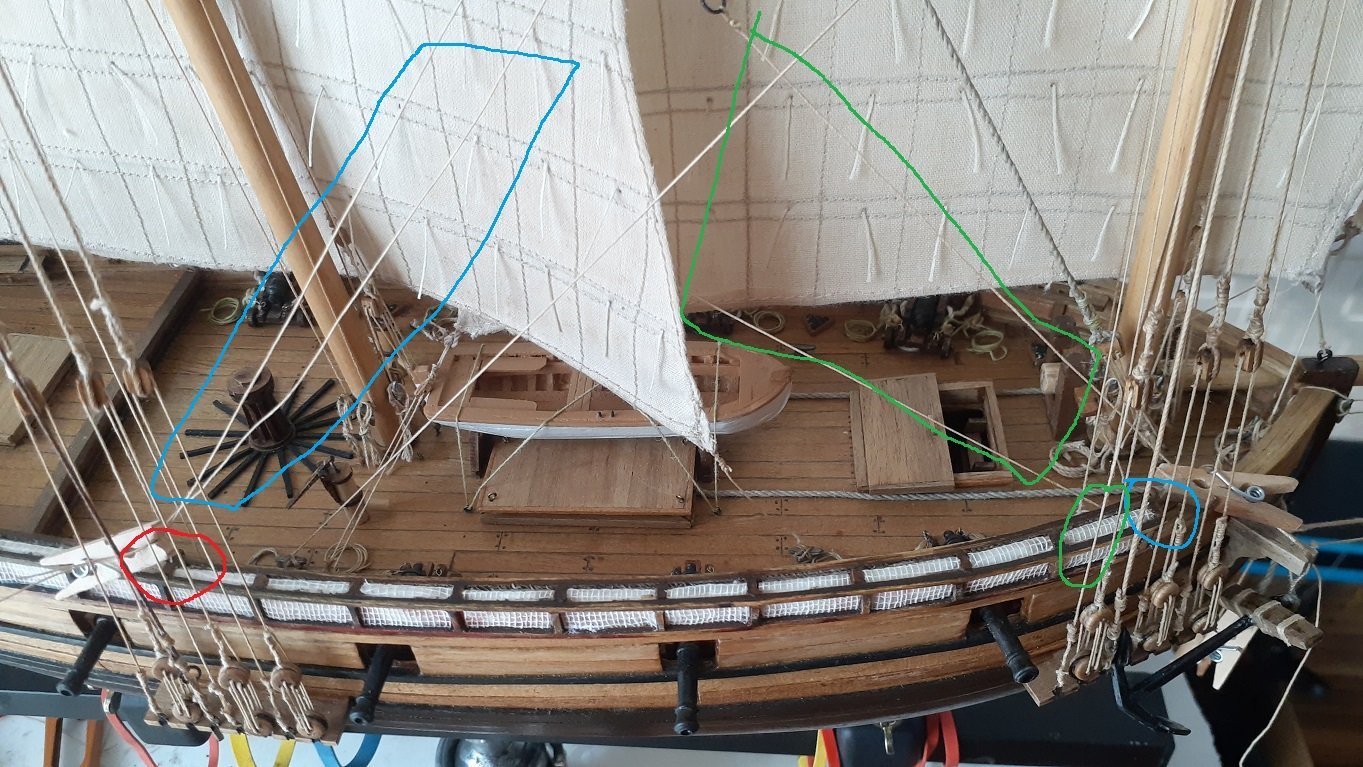
Here is my thinking but it could be heresy: the two ropes in the green box have to be tied together on belaying pin 3 (green circle) and the two ropes in the blue box are supposed to be tied to belaying pin 4 (blue circle), next to pin 3. To free up pin 4 for my anchor, could I tie the two ropes in the blue box to the free pins under the red circle? There are a couple of pins available there. (Note that the laundry pins are only temporarily holding the lines in place.)
Thank you!
-
-
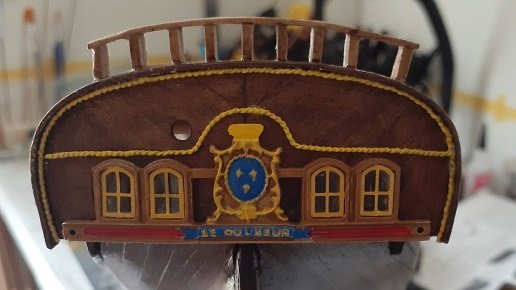
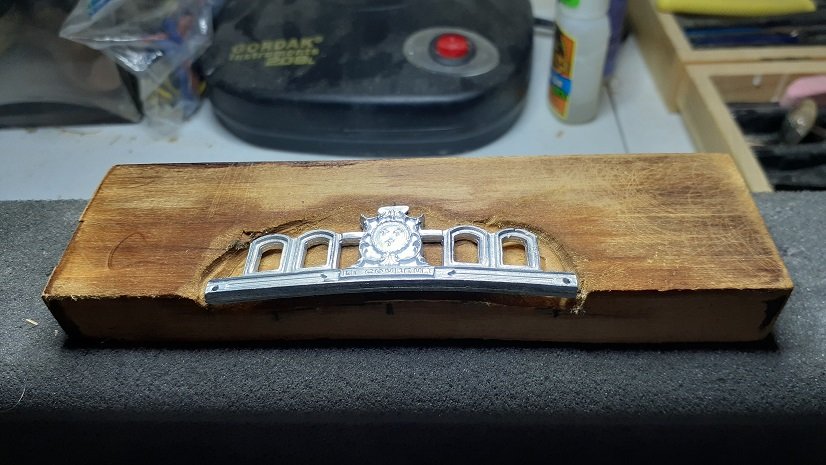
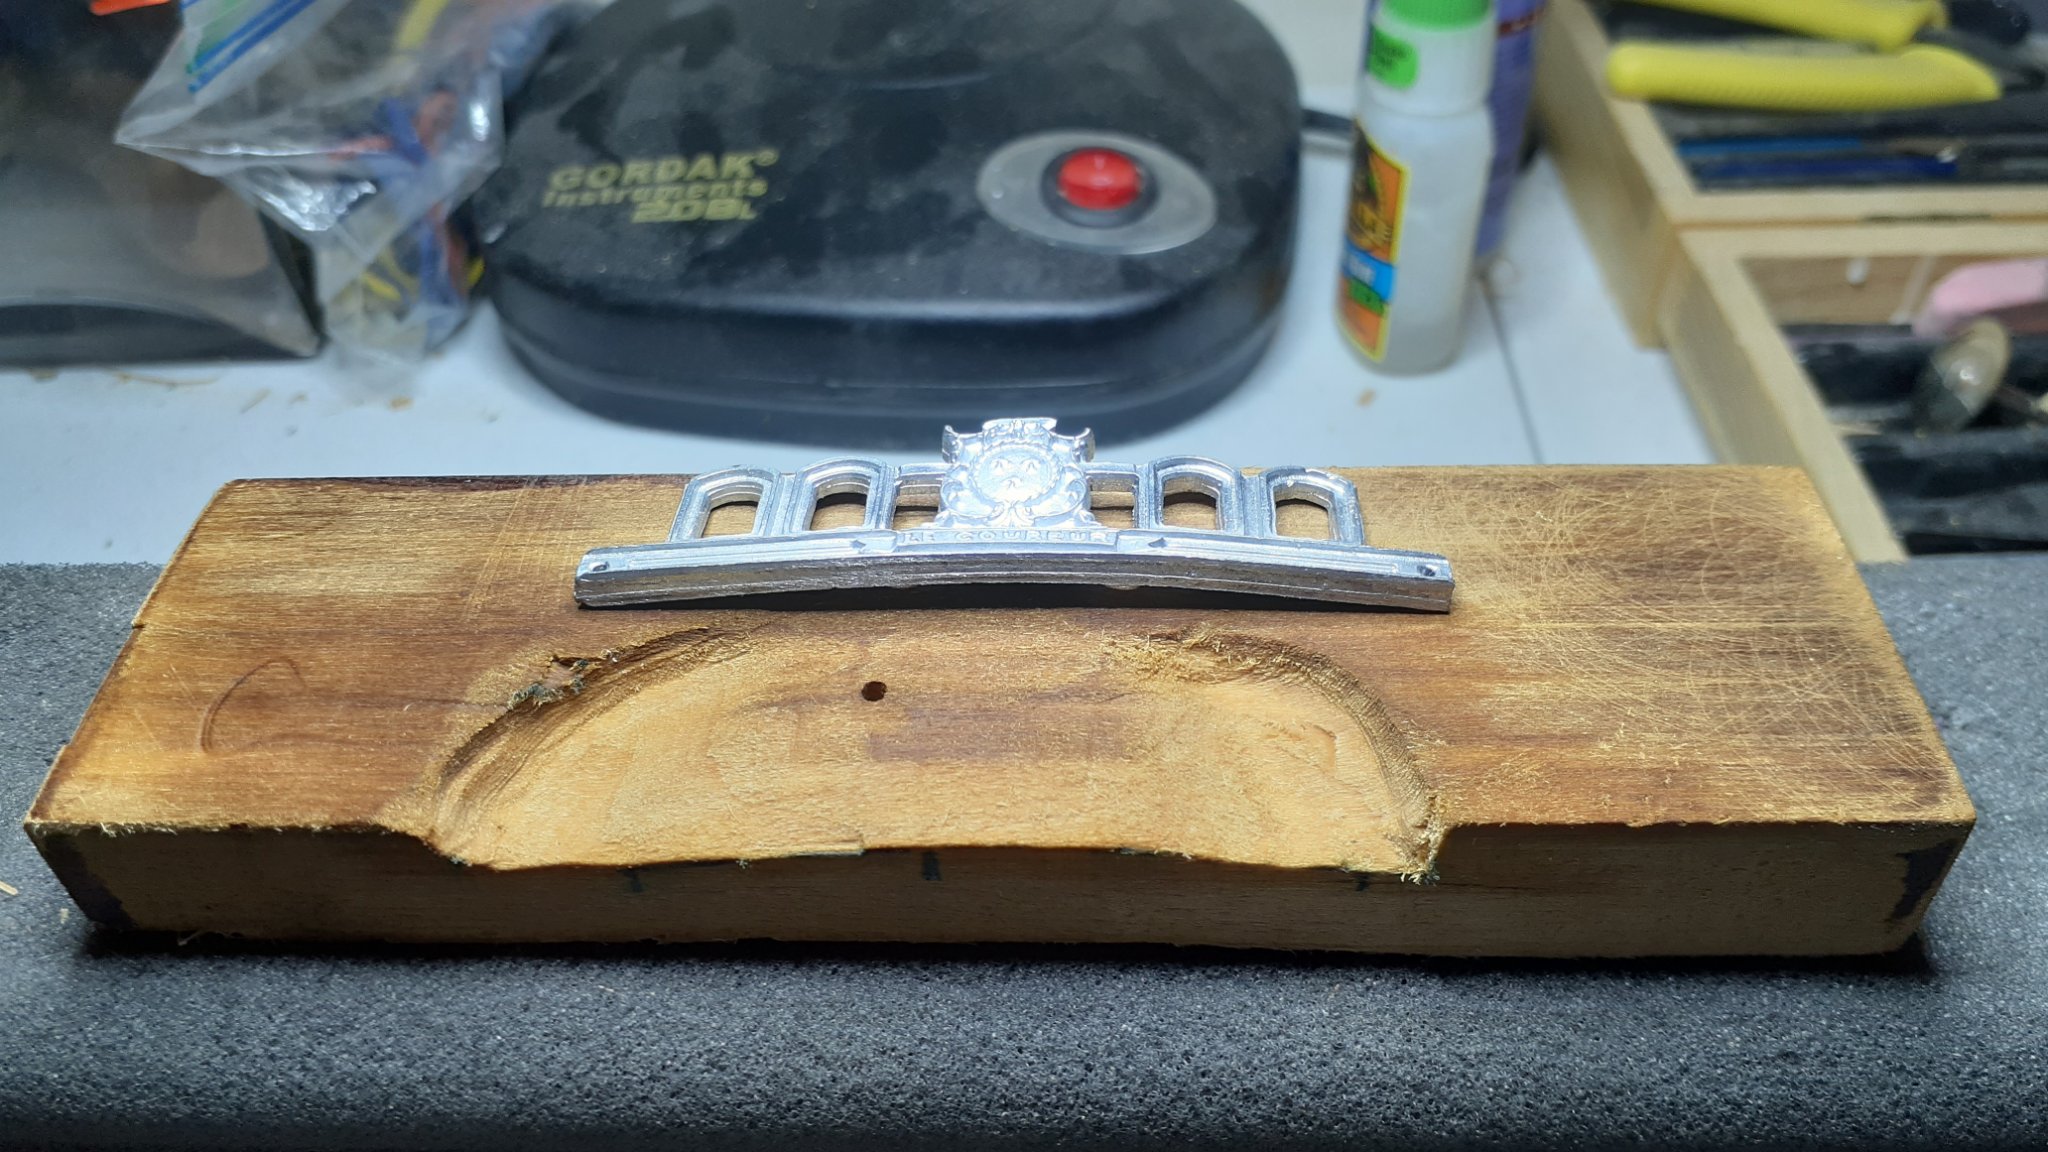
Here is a picture of my finished transom. Although not part of the instructions I decided to add transparent tape to mimic glass windows.
- GrandpaPhil and Gregory
-
 2
2
-
-
Well it's been quite a while since last time i posted. I hit several snags but also took pictures so i am going to share with you what happened the last 4 weeks.
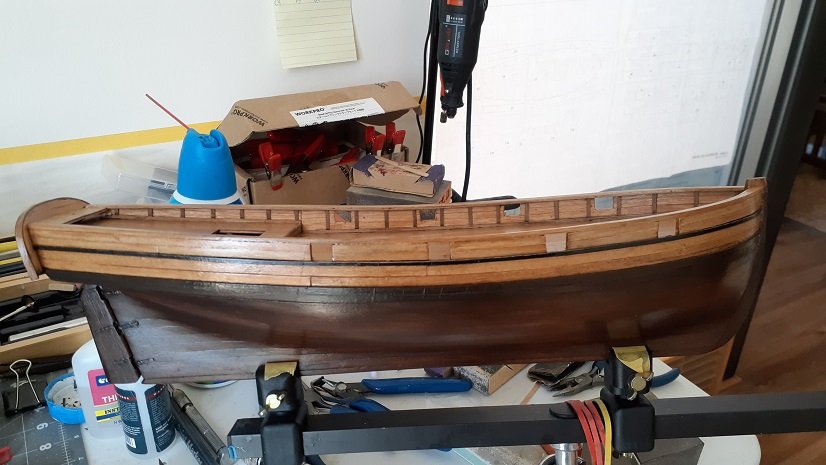
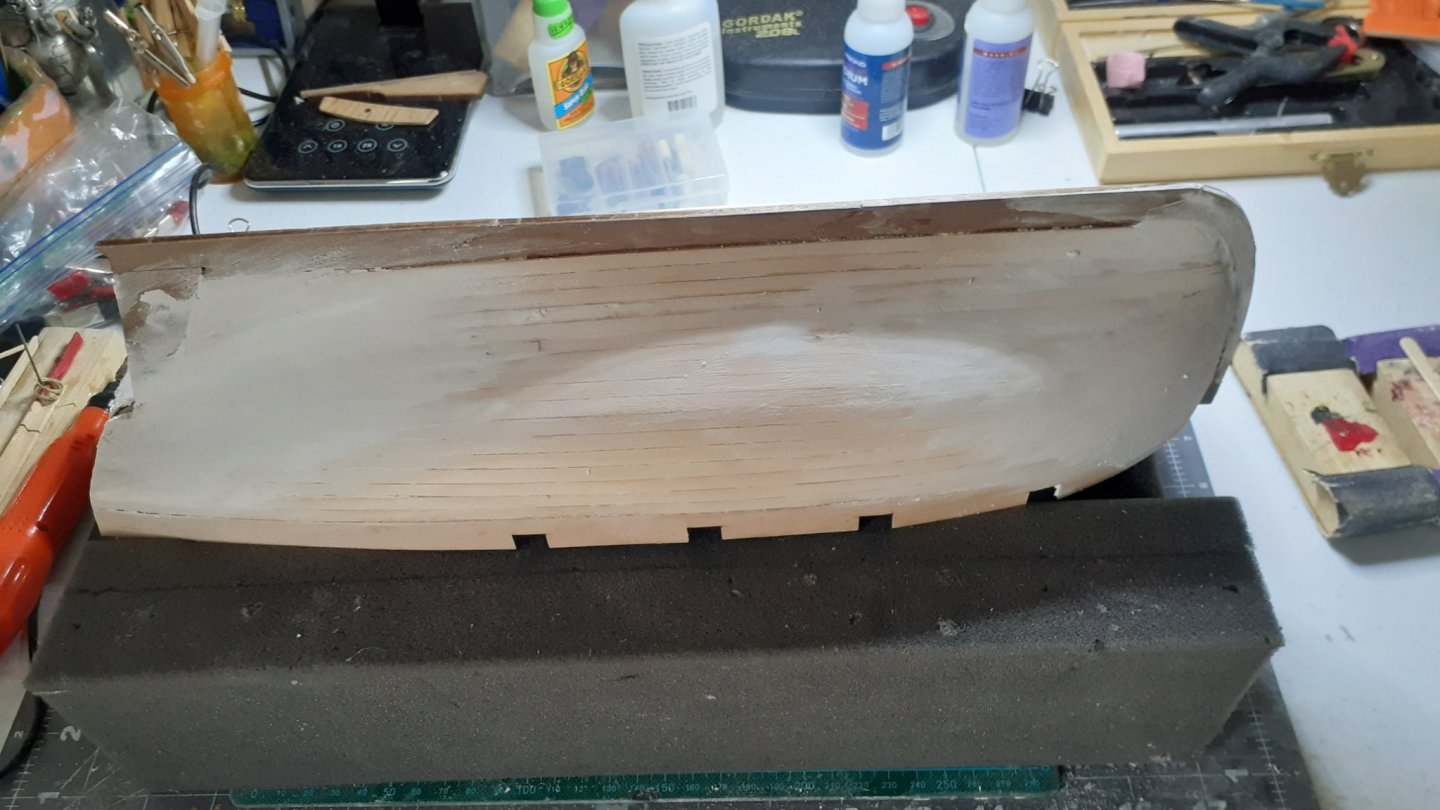
First i planked the hull again with 0.5x 5. It looks much better now
.jpg.24827e11c1a727bd7cf6cfa9c12072d3.jpg)
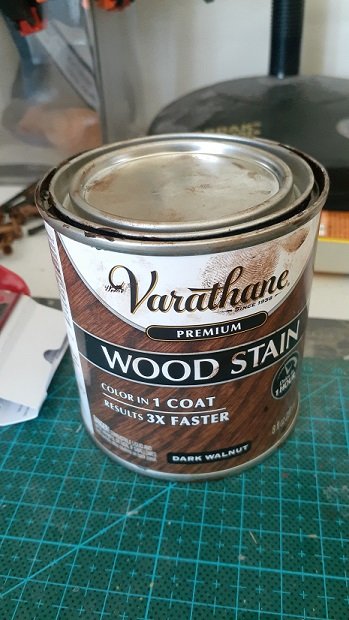
the i stained the hull
About the basswood supplied with the kit: First the basswood is not good quality. The 1x1 broke when I attempted to bend it and the 1x3 brittles under a band new blade.

I tried to strengthen it with a mix of white glue and water but it didn't work
Also I replaced the 1x1 with 2x2 and sanded it

Next issue was the plans scale. With very skimpy instructions i wanted to use the plans for positioning parts. The plans are not 1:1 scale
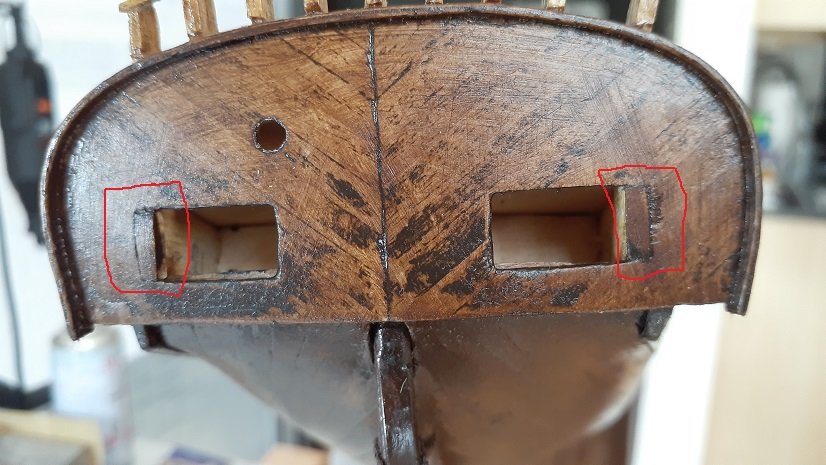
Next the transom rough opening were cut too wide. I had to resize them
More to come later. Unfortunately my impression is that Mamoli cut a lot of corners. I would not recommend this kit for a beginner. There is too much guessing work to be done and without experience it could become overwhelming.
-
-
Although i thought the maple strakes were similar in color the result is awful. I will cover the entire hull with some 0.5 by 5.
Oh well...
-
Hi all,
New snag with this Mamoli kit.
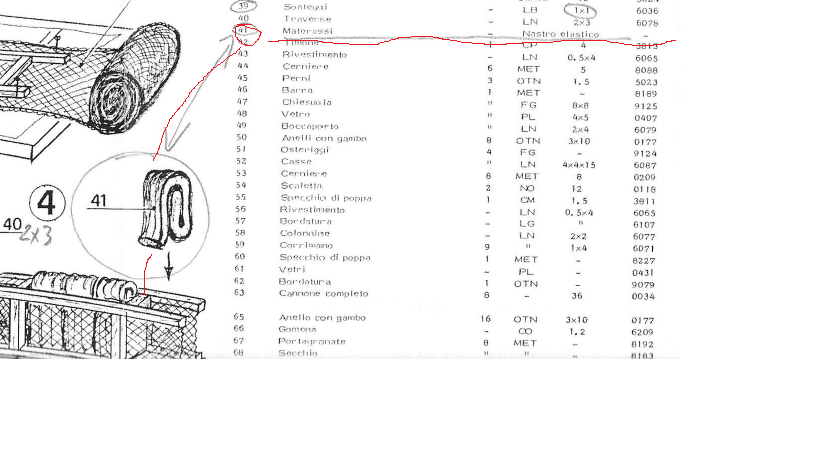
As I am moving along Part 41 is missing (nastro elastico). Unfortunately this part has no reference number so I am sending you a copy of the instruction sheet for help.
I contacted Daniel Dusek but he cannot find this part either. The description goes like this : false mattresses made from rolled up resilient cotton ribbon or "nastro elastico" I guess it's a ribbon that is missing.
Any suggestion as to how to replace this part? Thanks in advance.
Phil
-
Thanks for the tip Gregory.
Back to my project. As I wrote initially the instructions are very skimpy and the drawings quite imprecise, which leaves lots of room for pondering/dreaming/fuming/extrapolating and more -ing...
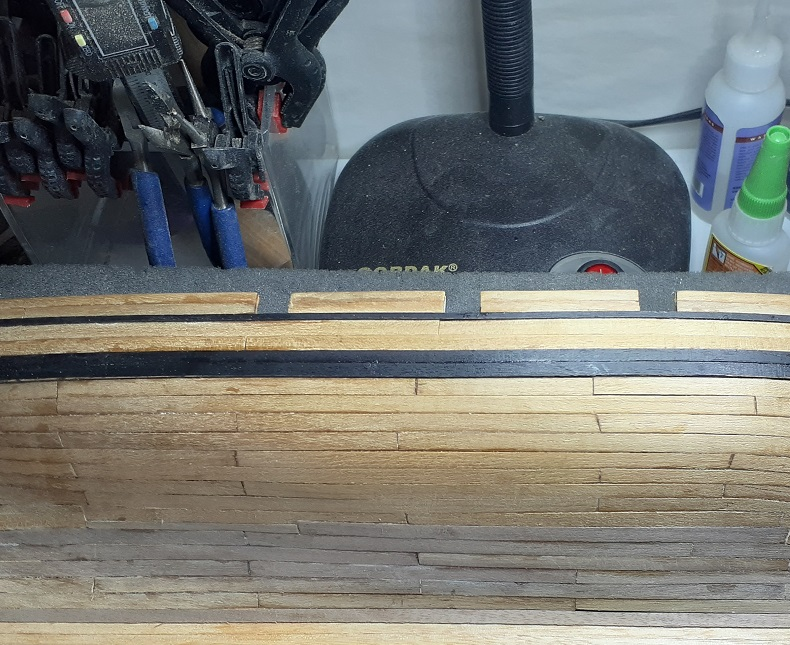
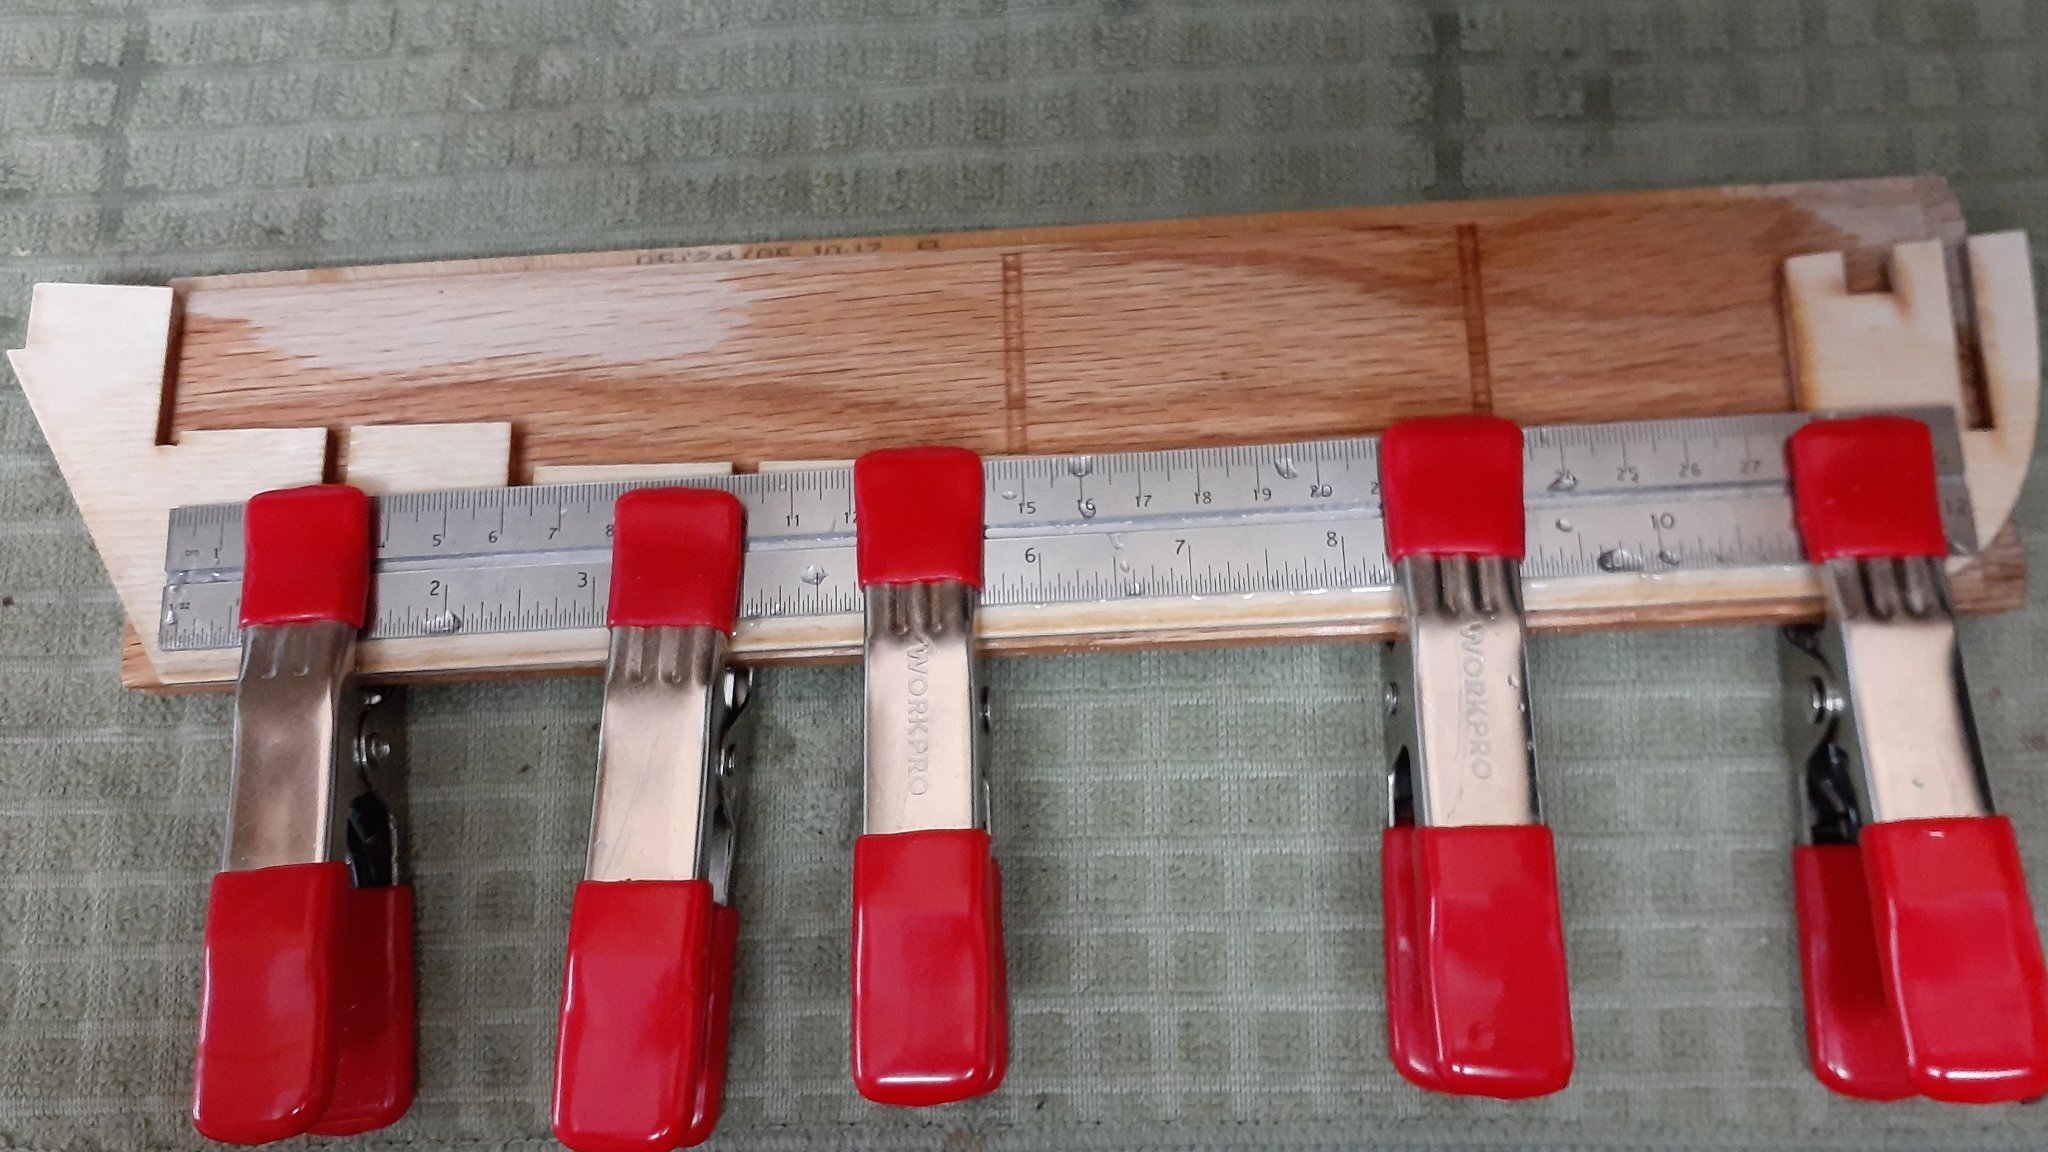
Here we go with the second planking:
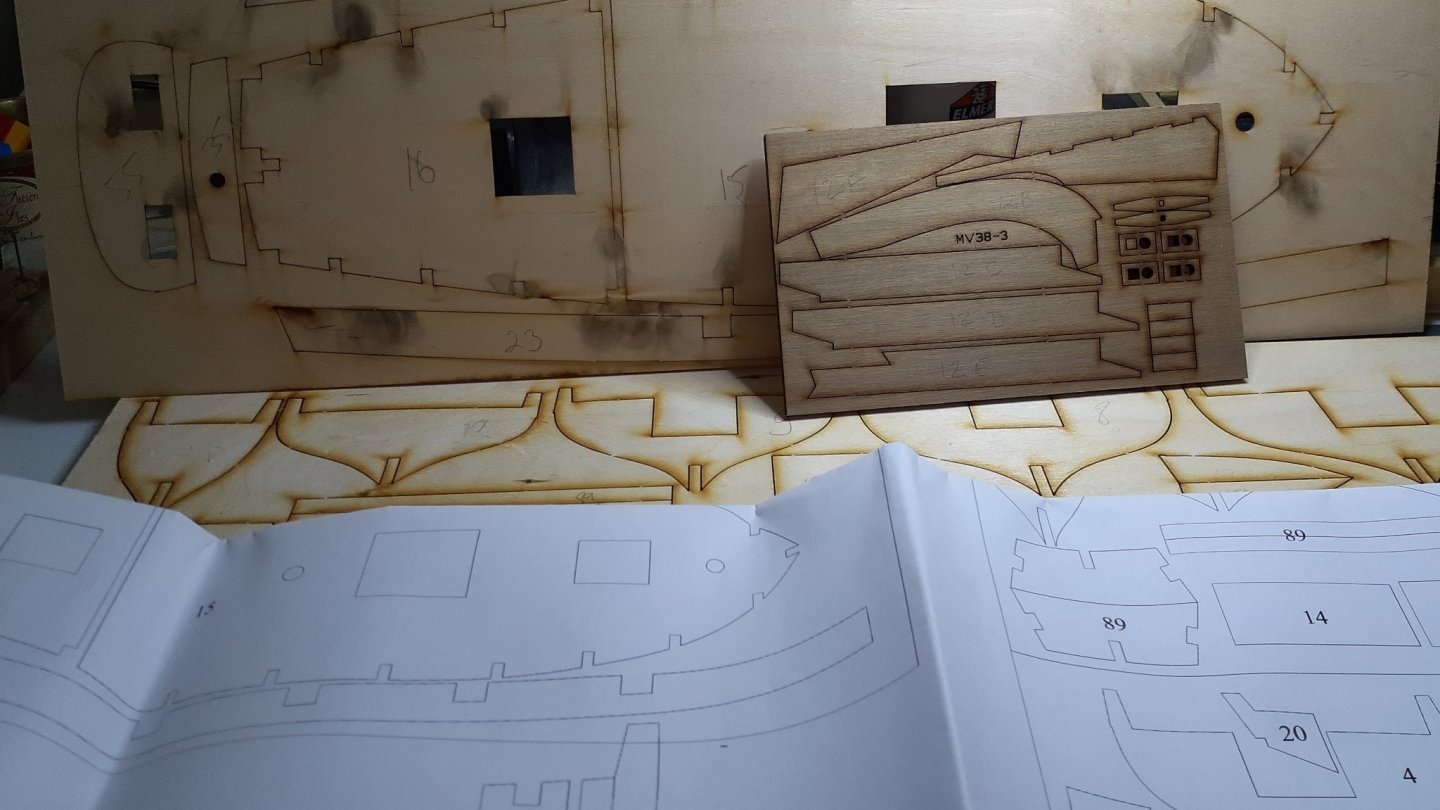
Basically the instructions say plank with number 25 or 30. The rest is up to one's interpretation of the drawings.
Luckily i noticed a small picture on the box cover. I enlarged it and saw what the second planking should look like around the keel

I also ran out of strakes for the second planking (about 10 short).. Fortunately i had some 1x5 walnut strakes from a previous jb so I'll be able to complete the second planking without contacting Daniel Dusek again. The color is not an exact match but i plan the stain the hull so it should not be too much of an issue.
- chris watton, Rob S and Gregory
-
3
-
Thanks for the tip, Gregory. This part is 3.3 mms thick or 0.12 in. Seems thick to me.
Out of curiosity what did you use to sand your zinc alloy parts?
-
Started the second planking. Will have to send and stain the wood to get rid of the glue blotches...
- VTHokiEE and chris watton
-
2
-
-
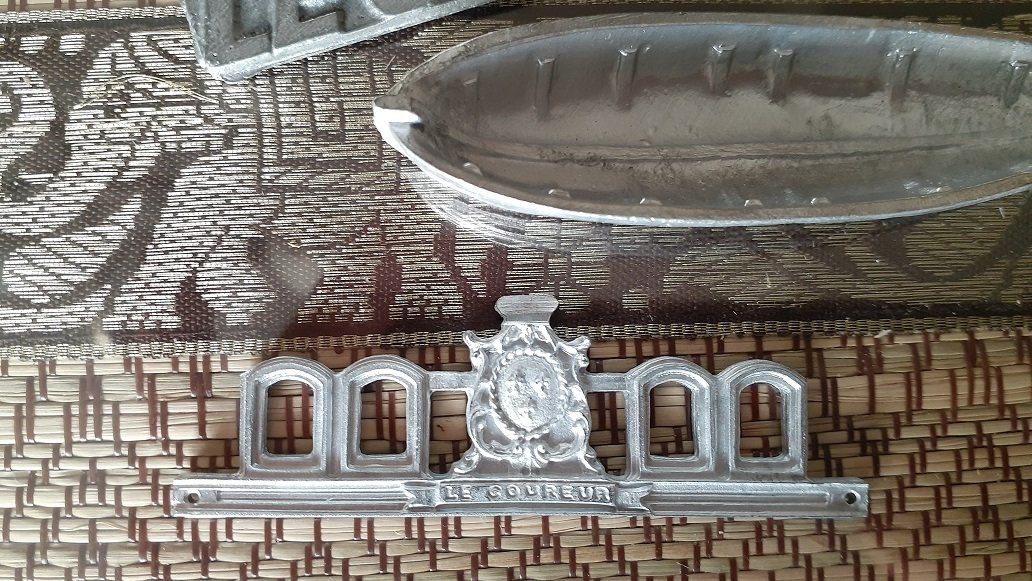
Unlucky. Someone who built Mamoli Le Coureur told me he was able to bend the metal transom by hand. So i tried and mine broke.
I emailed Dusek and asked if they could provide a new one. I am keeping my fingers crossed.
-
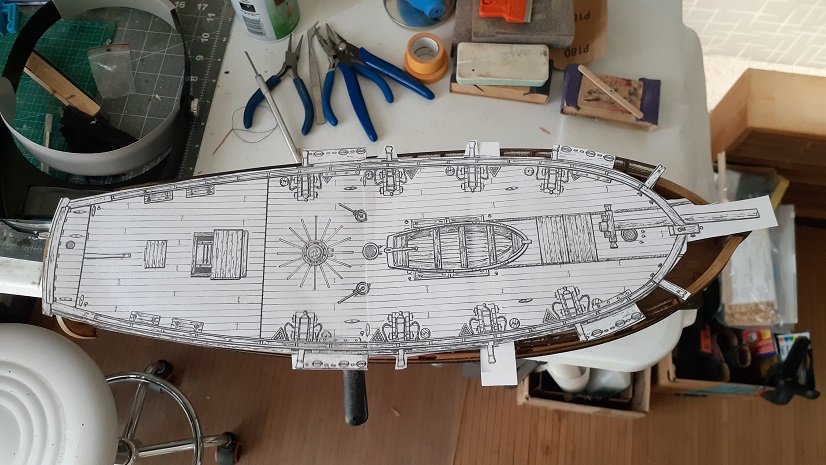
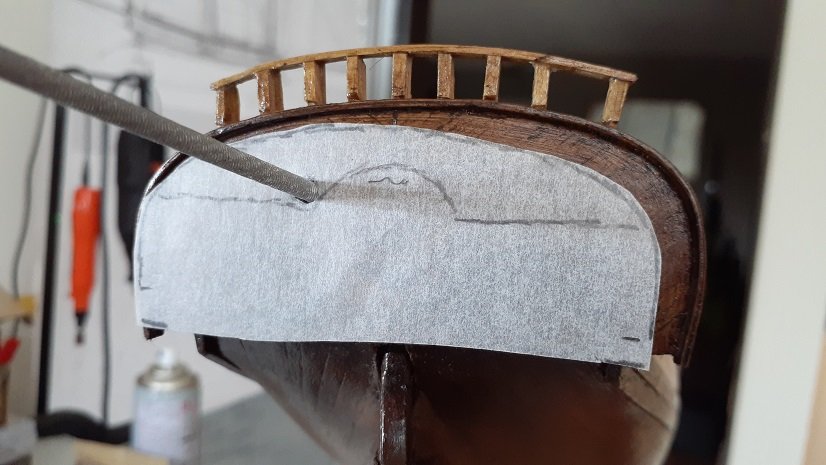
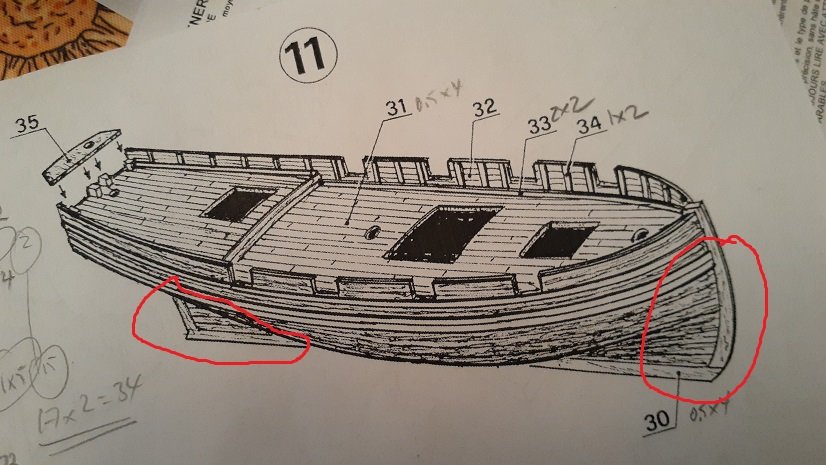
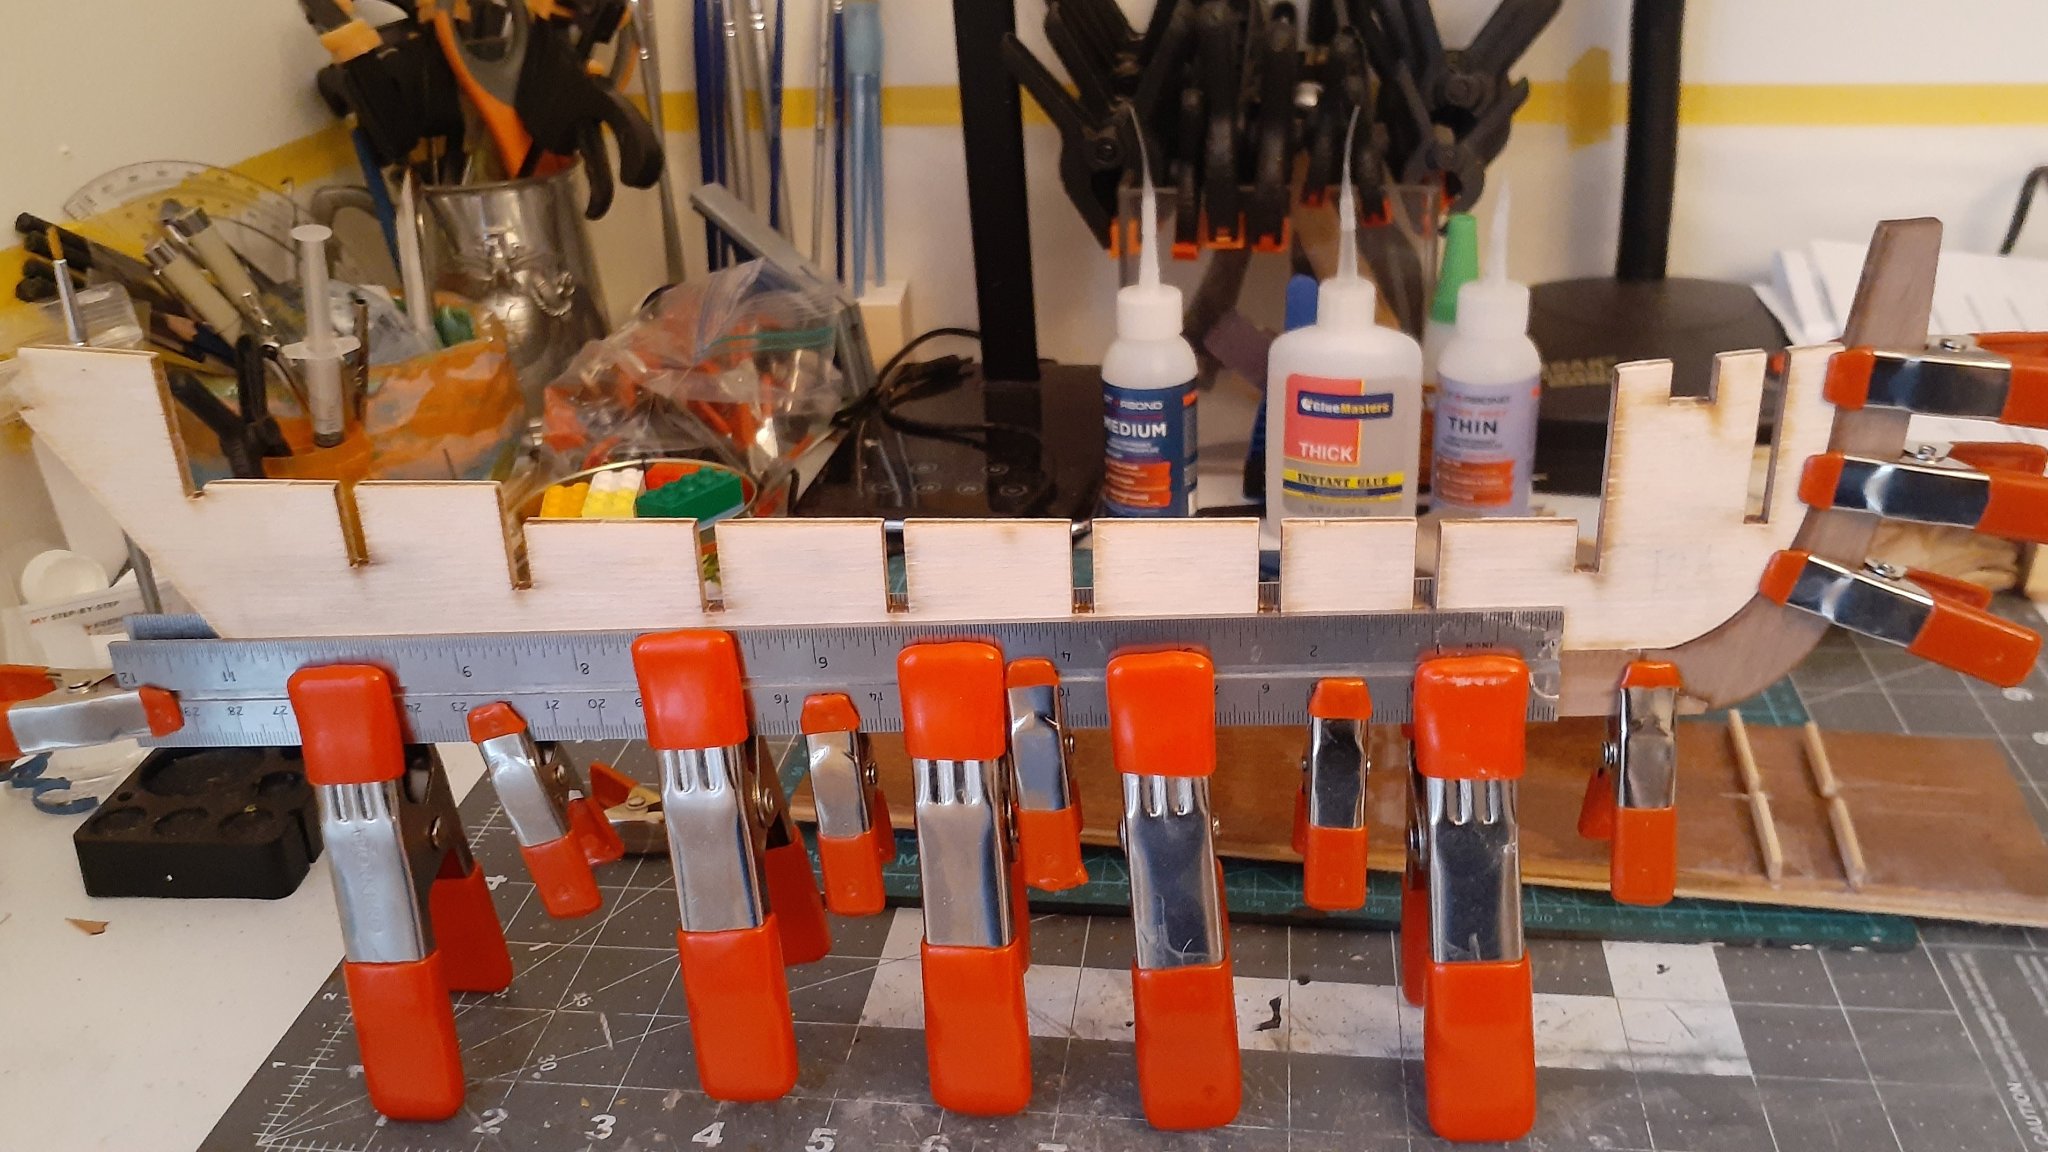
Today I hit a snag with the small quarterdeck. The instructions are pretty skimpy:
Glue the small quarter-deck 35 and sheathe the planking 36.
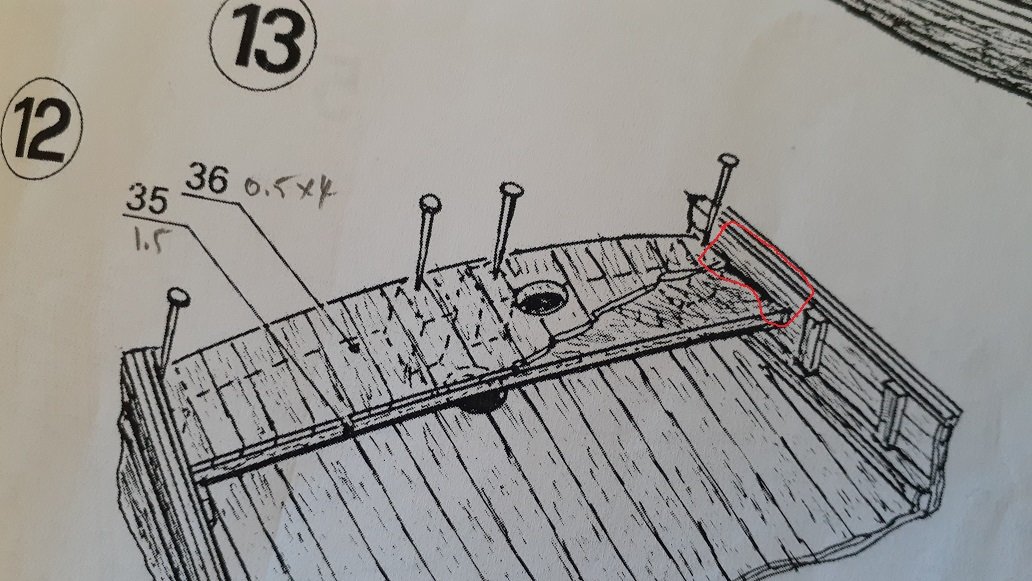
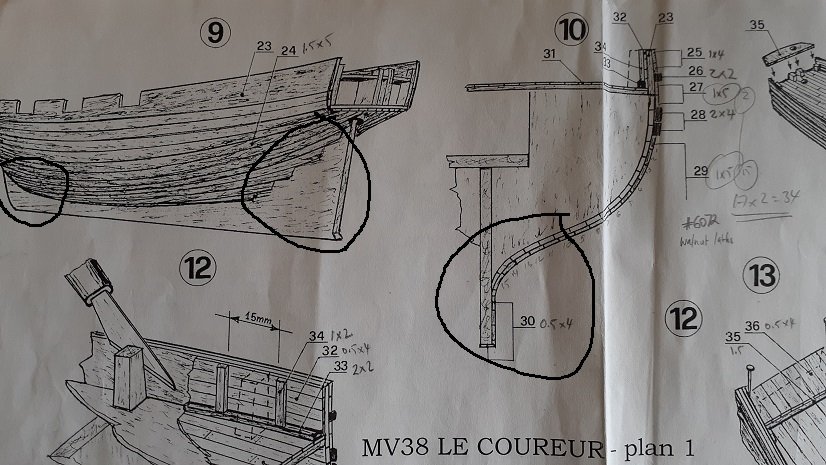
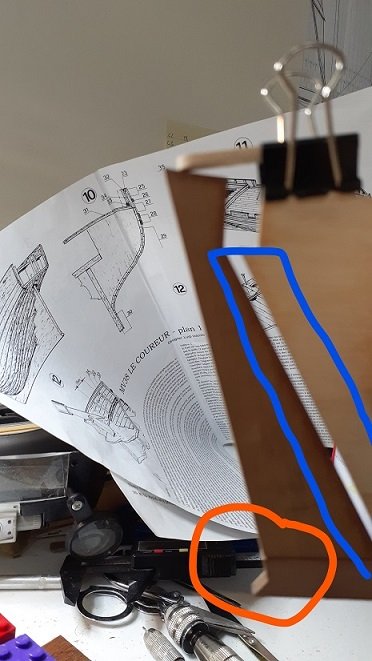
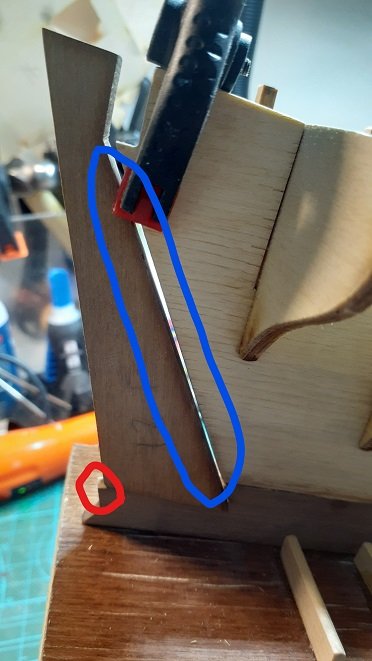
The snag is that the quarter-deck will sit too high. On the drawing it shows the quarterdeck is sitting about the height one strip below (circled in red)
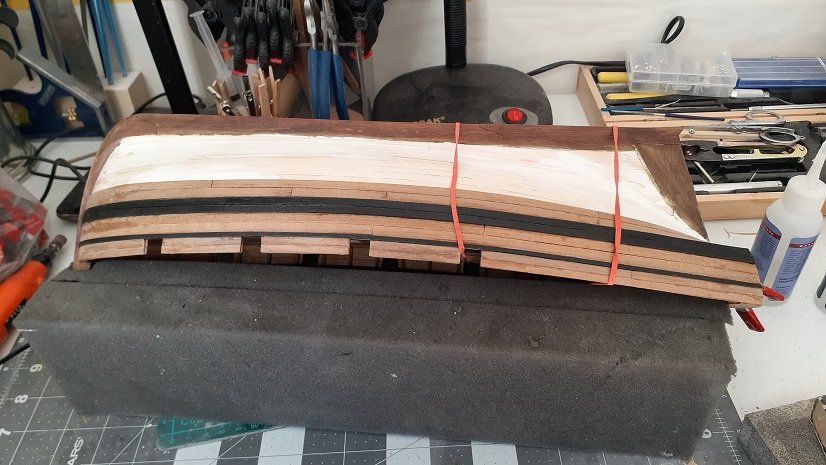
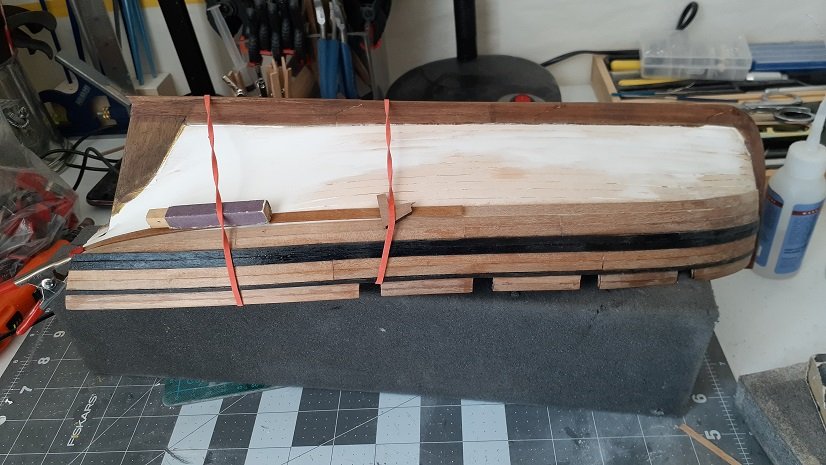
Here is what happens
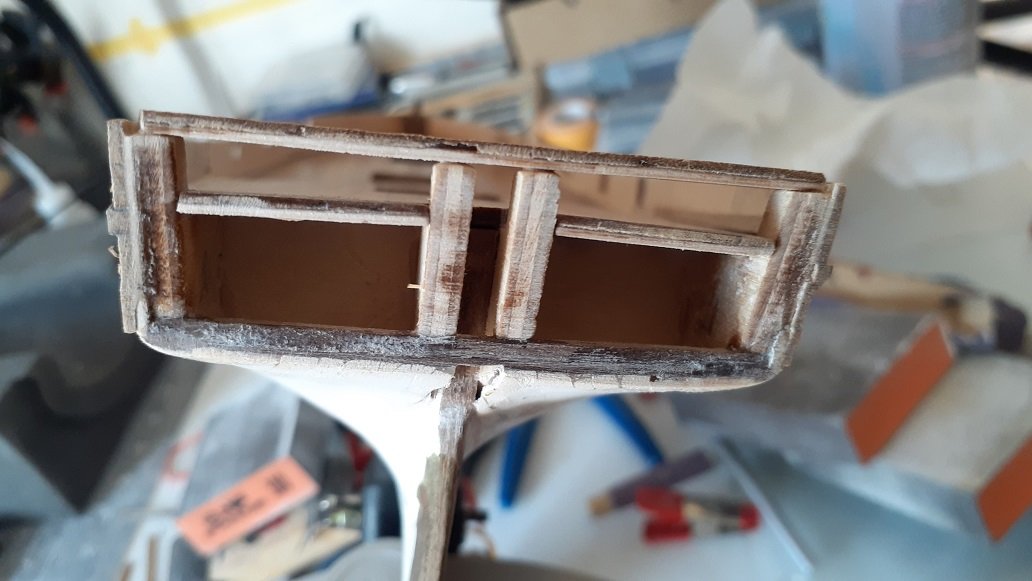
The quarter-deck sits flush. If i shorten the posts i have an issue with the rudder post and tiller. If i cut the top of the posts then the quarter-deck will sit too low for to squeeze the tiller on to the rudder post.
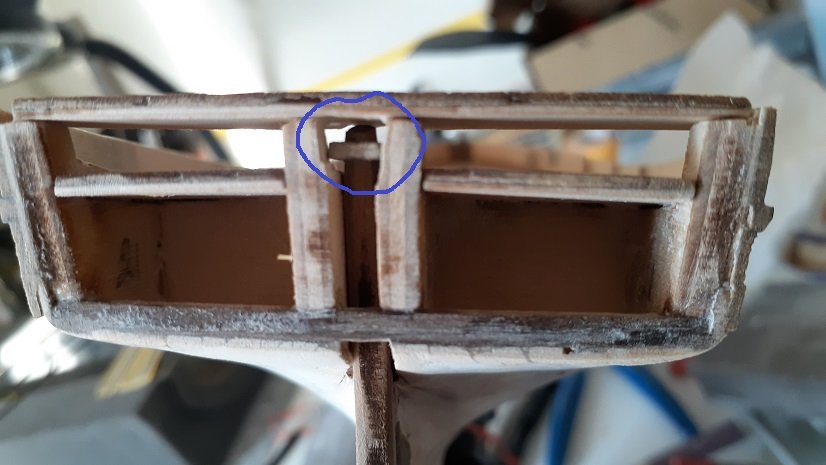
I hesitate between setting the quarter-deck on the posts and let it sit flush or cut the top of the external posts and bend the quarter-deck... which may spilt...
Suggestions? Thanks in advance.
-
Happy New Year to all.
Well it's been two weeks since the last time i posted. With the holiday season I worked piecemeal on my project but forgot to take pictures. Sorry. Here is where it stands:
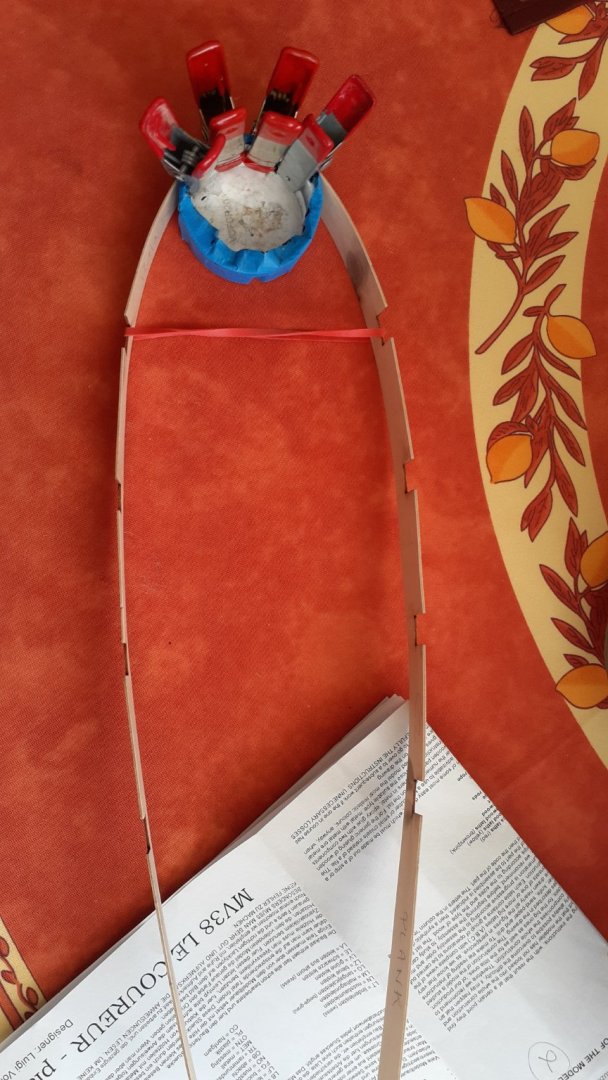
I bent the bulworks
I planked the decks
I planked the hull (nopics sorry)
After some more patching, sanding and cleaning i will start the second planking.
Thanks in advance for your feedback/support/interest.
-
Hi VTHokiEE,
It's a very slight arc but an arc nevertheless. Cannot be ignored...
-
Hi VTHokiEE and thank you for your feedback and offer.
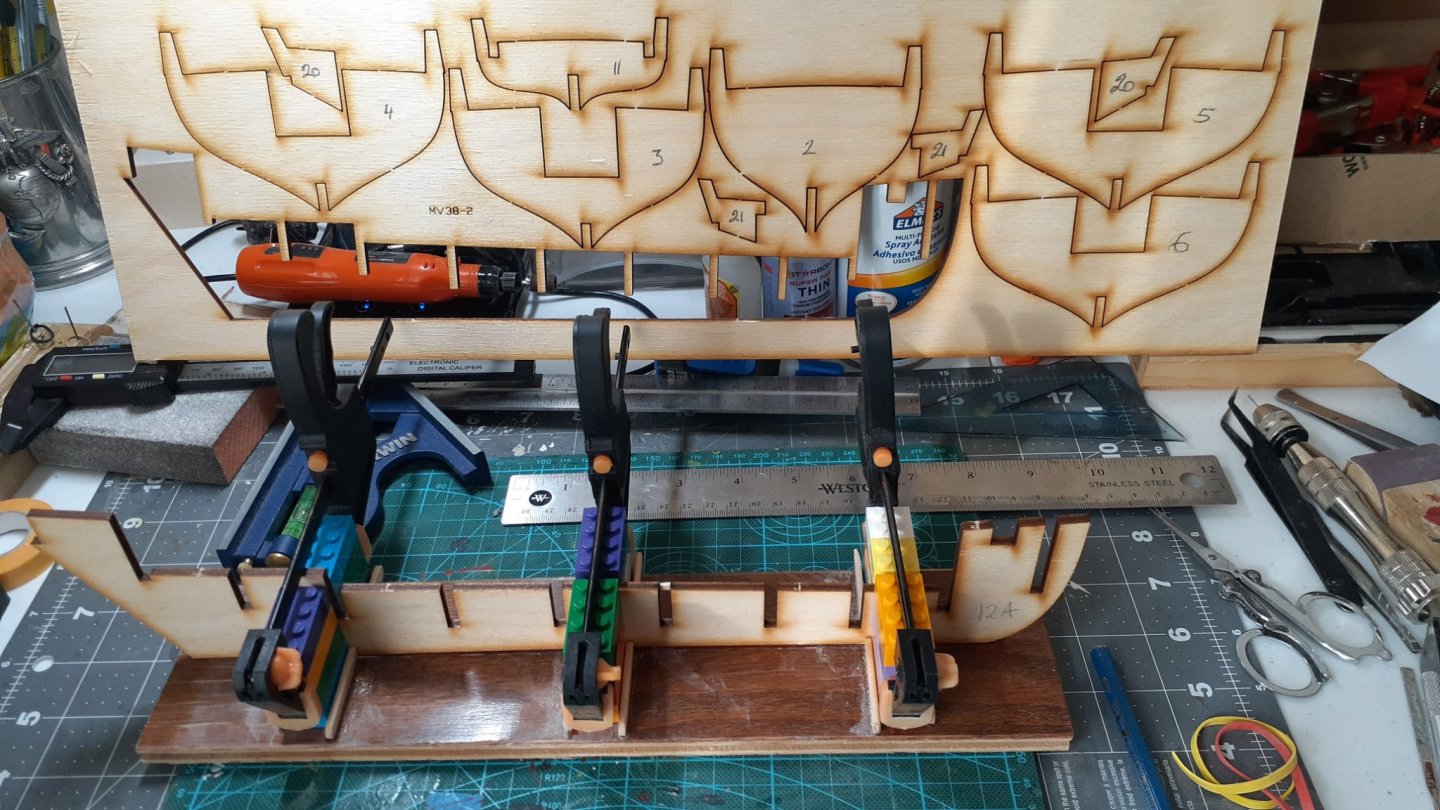
You are right that's what the cat ears are for but cutting them after the planked decks and the bulwarks are glued would have been too much of a challenge for me. So i called Lego to the rescue 🙂
As for the metal transom here it is. I don't know what kind of metal this is. I sent an e-mail to Dusek who now owns the mamoli catalogue but he has yet to respond.
-
I decided not to follow the instructions as the progression seemed strange to me. It said to start with gluing the deck and the bulwarks then planking the hull and finally cutting the "cat ears" (circled in red)
I found it more logical to cut those "cat ears" first (they are not very useful since the bulwark will sit 2 mms below the fore deck line and 10mms or so against the aft deck) then lay the planked deck and glue it.
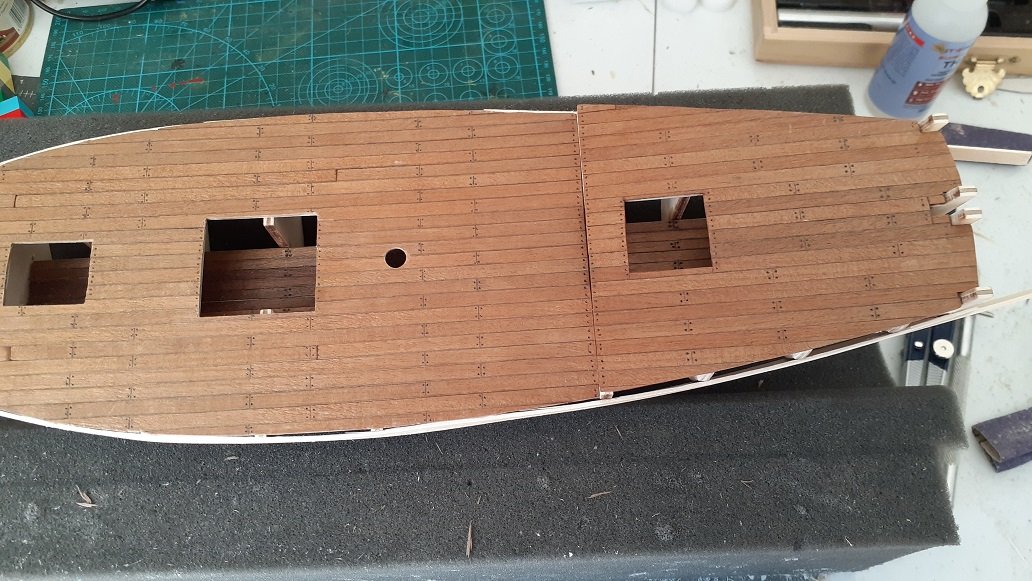
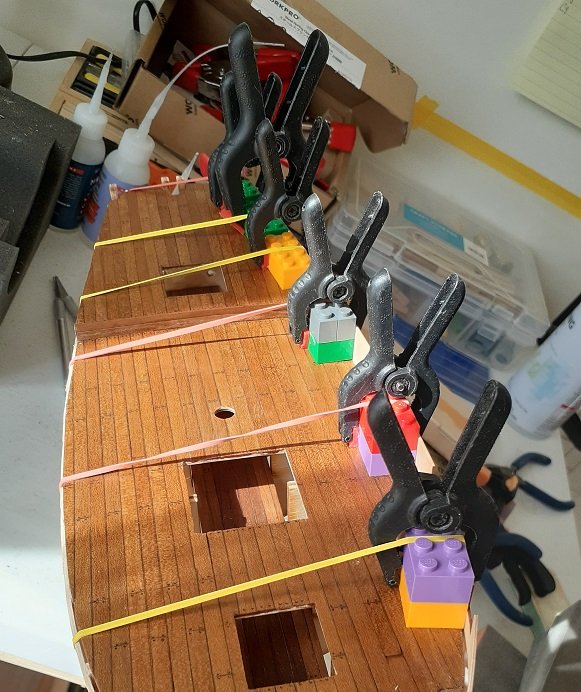
The decks are now planked and varnished.
The wood for the strips to plank the hull seems low quality. It's called soft wood and indeed it is. However it's only 1.5 mms thick so it bends nicely.
A question if someone can help. At some point there is a metal transom that needs to be bent. It doesn't say what metal type it is. Does anyone have a suggestion? Thanks in advance.
-
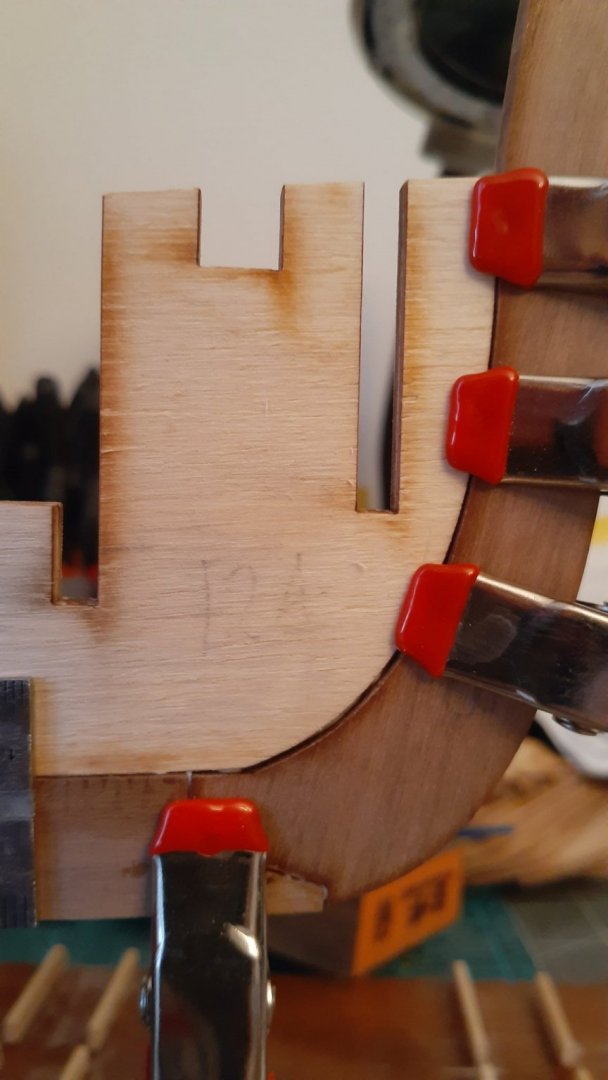
I hit a snag this week end with the keel and false keel assembly. I have a 3mm gap per the pics below. Any suggestion?
-
Forgot to mention i glued bulkhead number 1.

-
I made some progress this week. The false keel is now straight and i glued the keel on to it.

However there is a small problem here. A gap at the bottom between the two parts. Some sawdust and glue will be de rigueur.
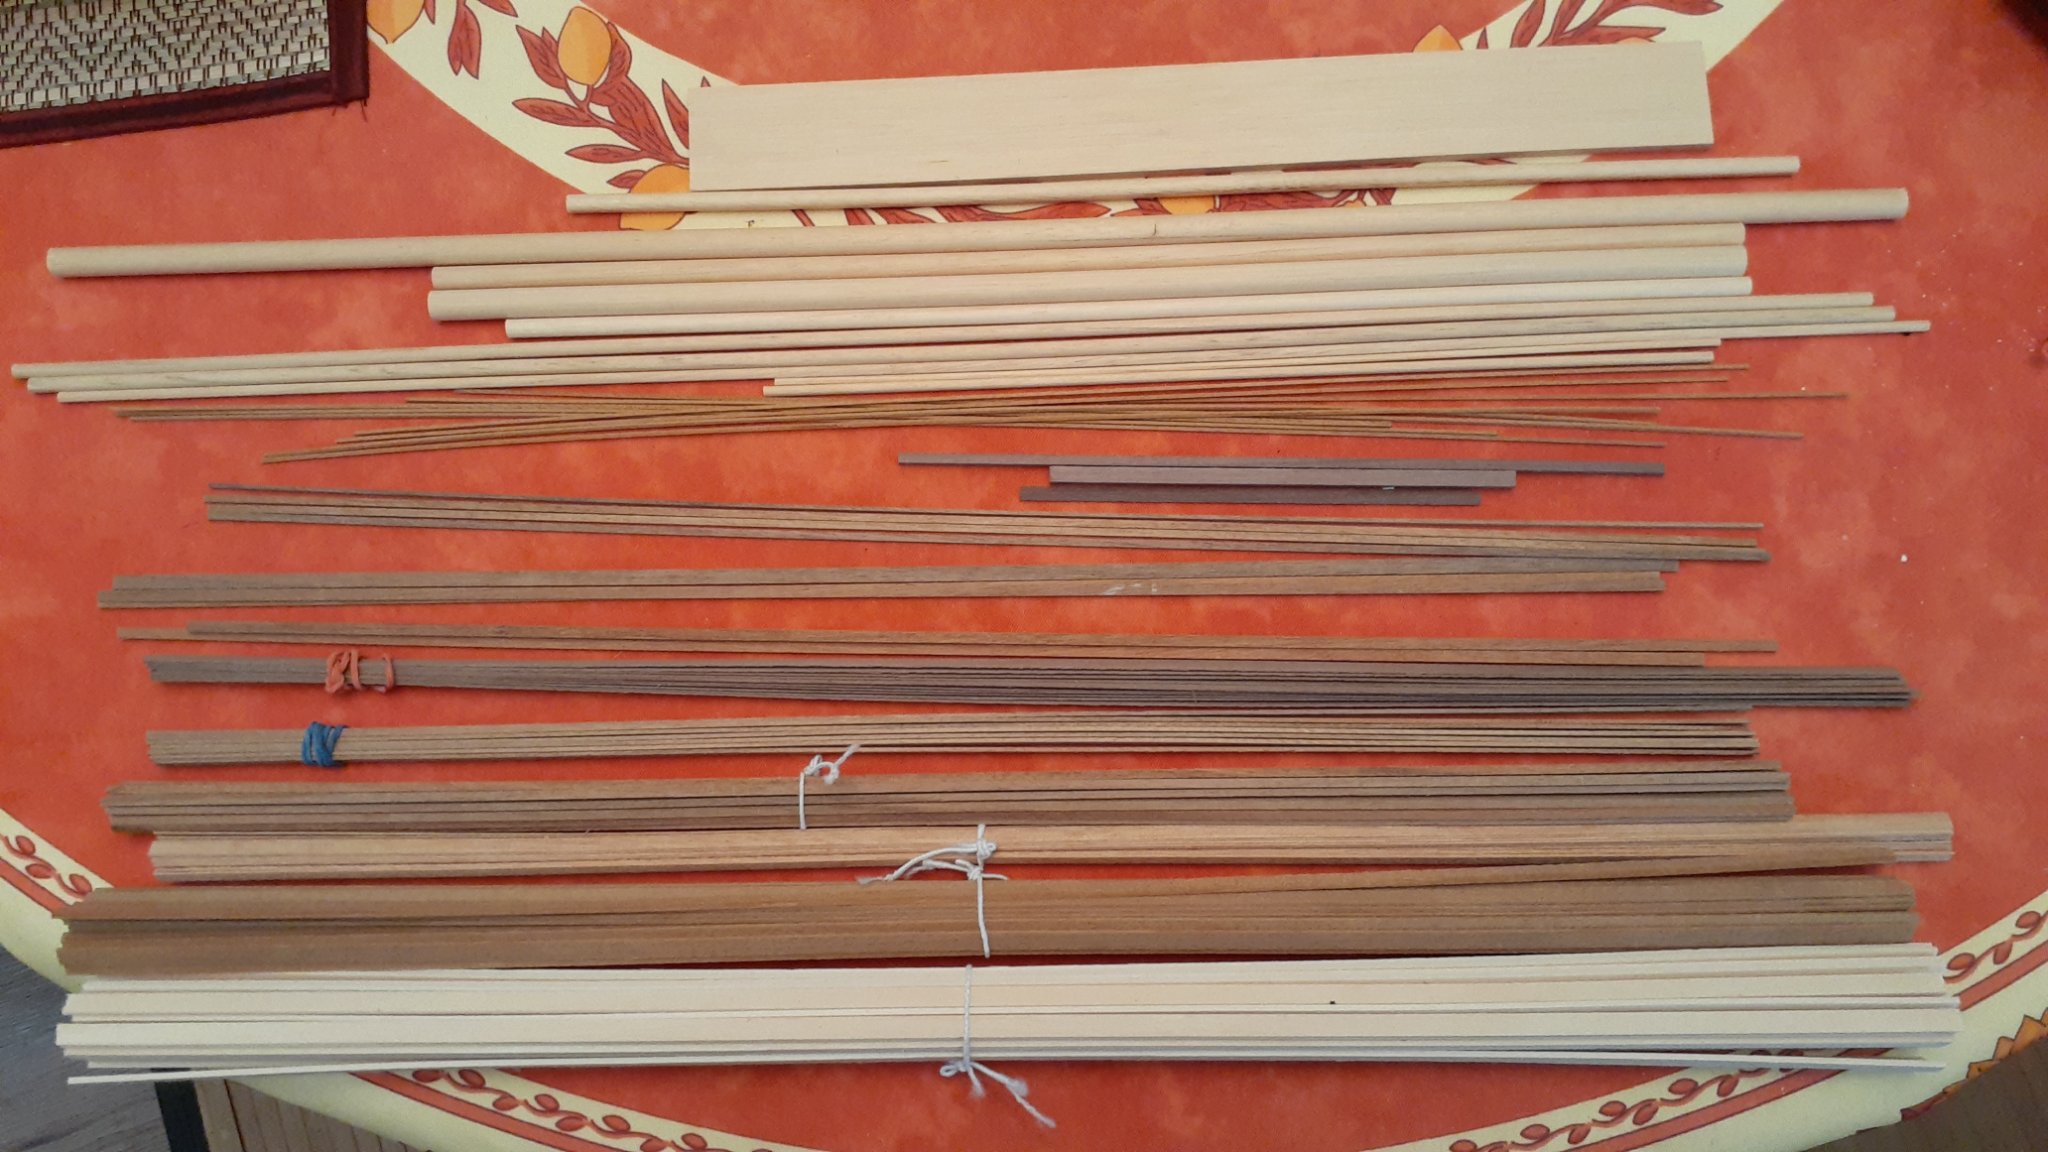
While my glue work is drying i explored the bundle of wood provided. I mean a real bundle. here it is and figure it out.
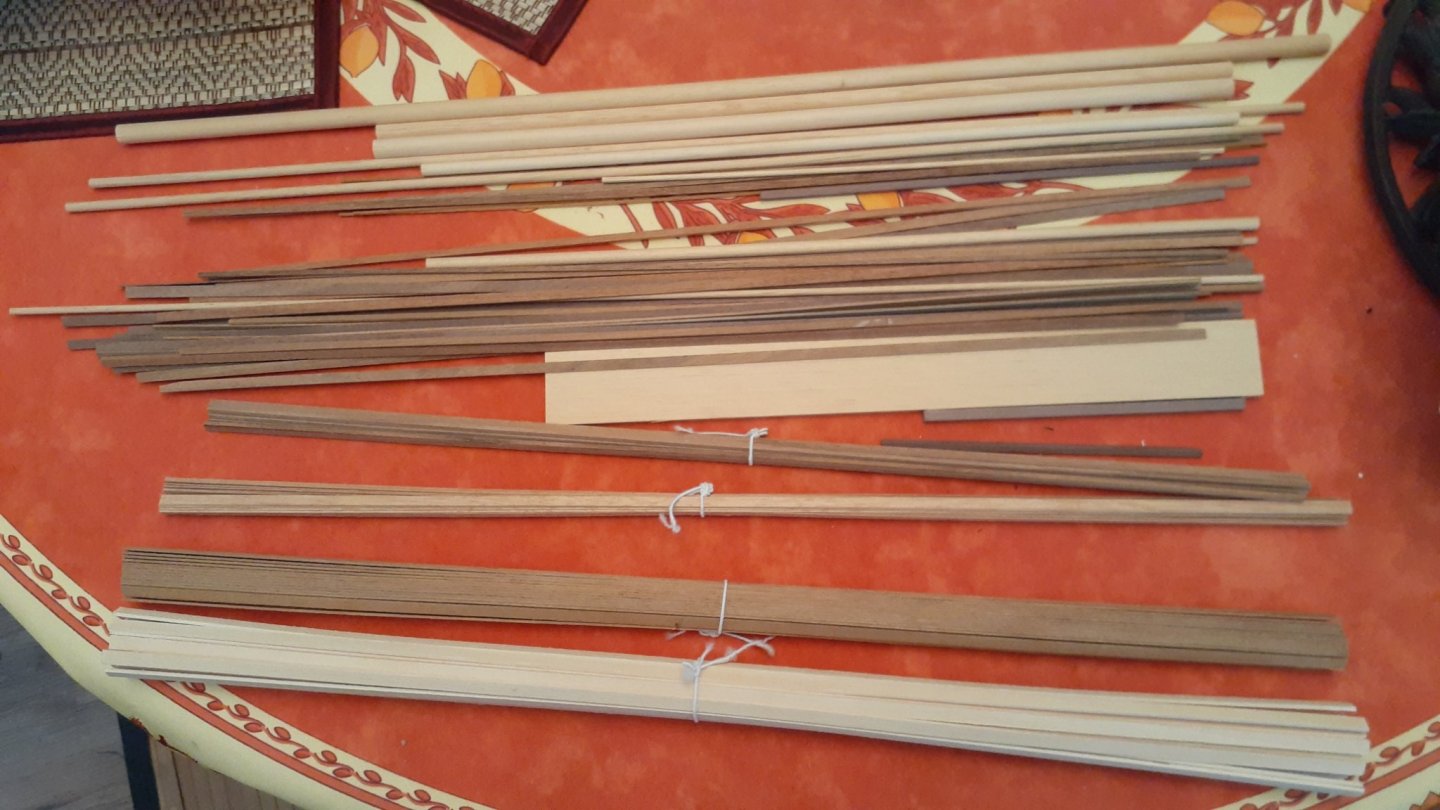
Using shape, color, width, length, thickness i manage to regroup them all by similarity.
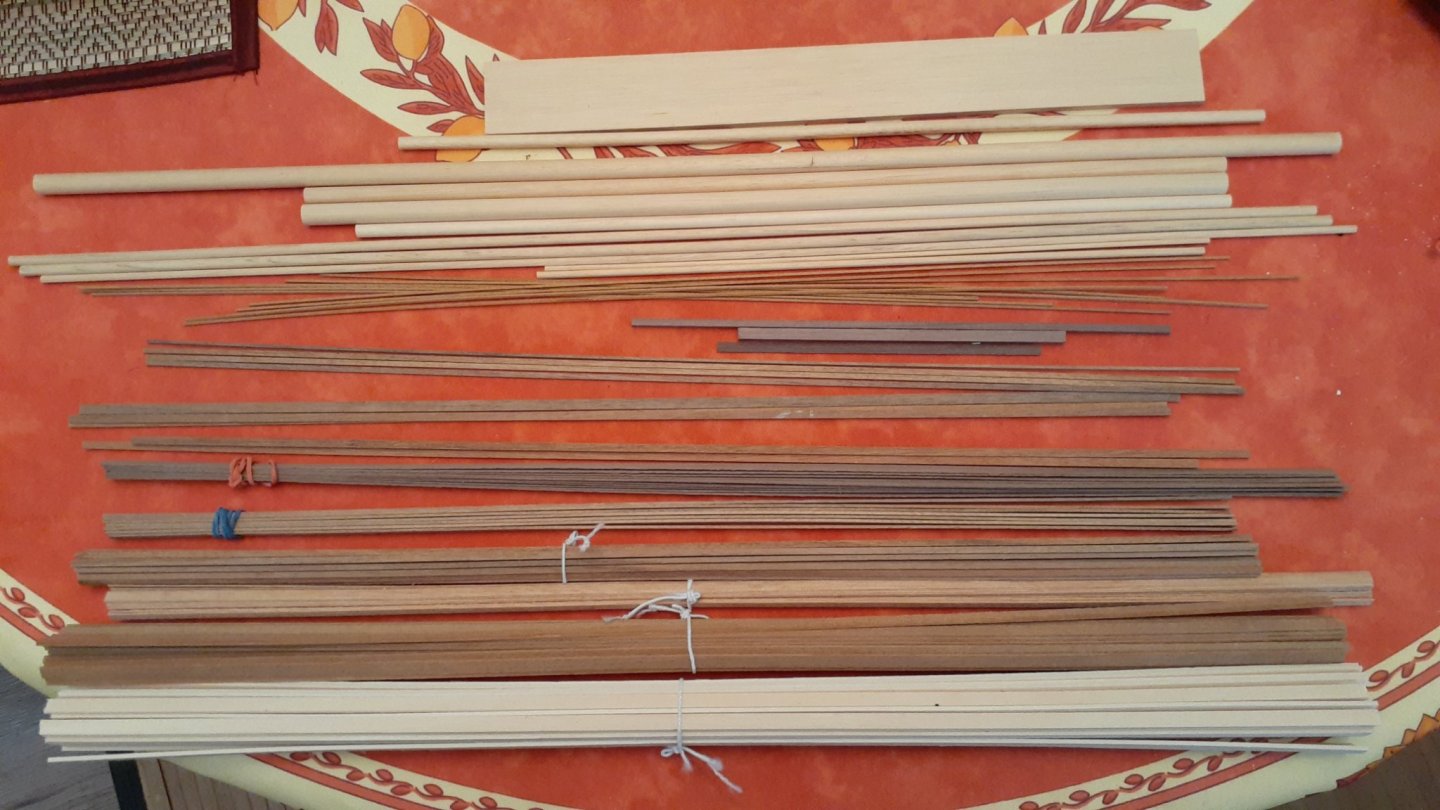
However i still don't know what is what. Nothing in the instructions to figure that out. And since the instructions say take part number X , it looks like it's a guessing game.
To be continued...
-
Hi Bruce D. No problem watching and feel free to comment.
-
No instructions on how to assemble the keel. Could be a challenge for someone without experience. No mention of
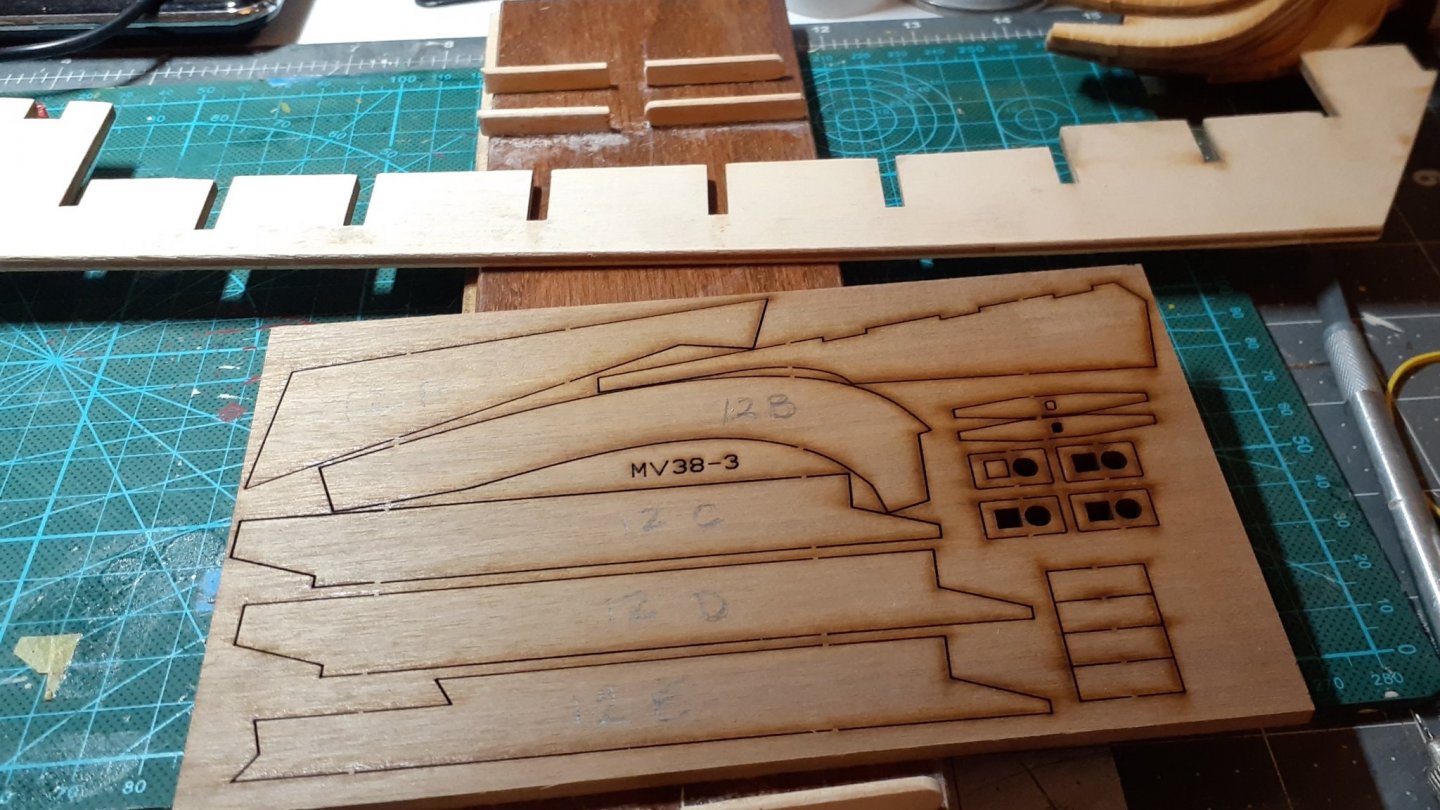 12B, 12 C, 12 D and 12E in the text pages nor on the plans :-(
I decided to go ahead and glue the parts together. I am using white glue for this part (you can see a little spot which i wiped out after taking the picture).
-
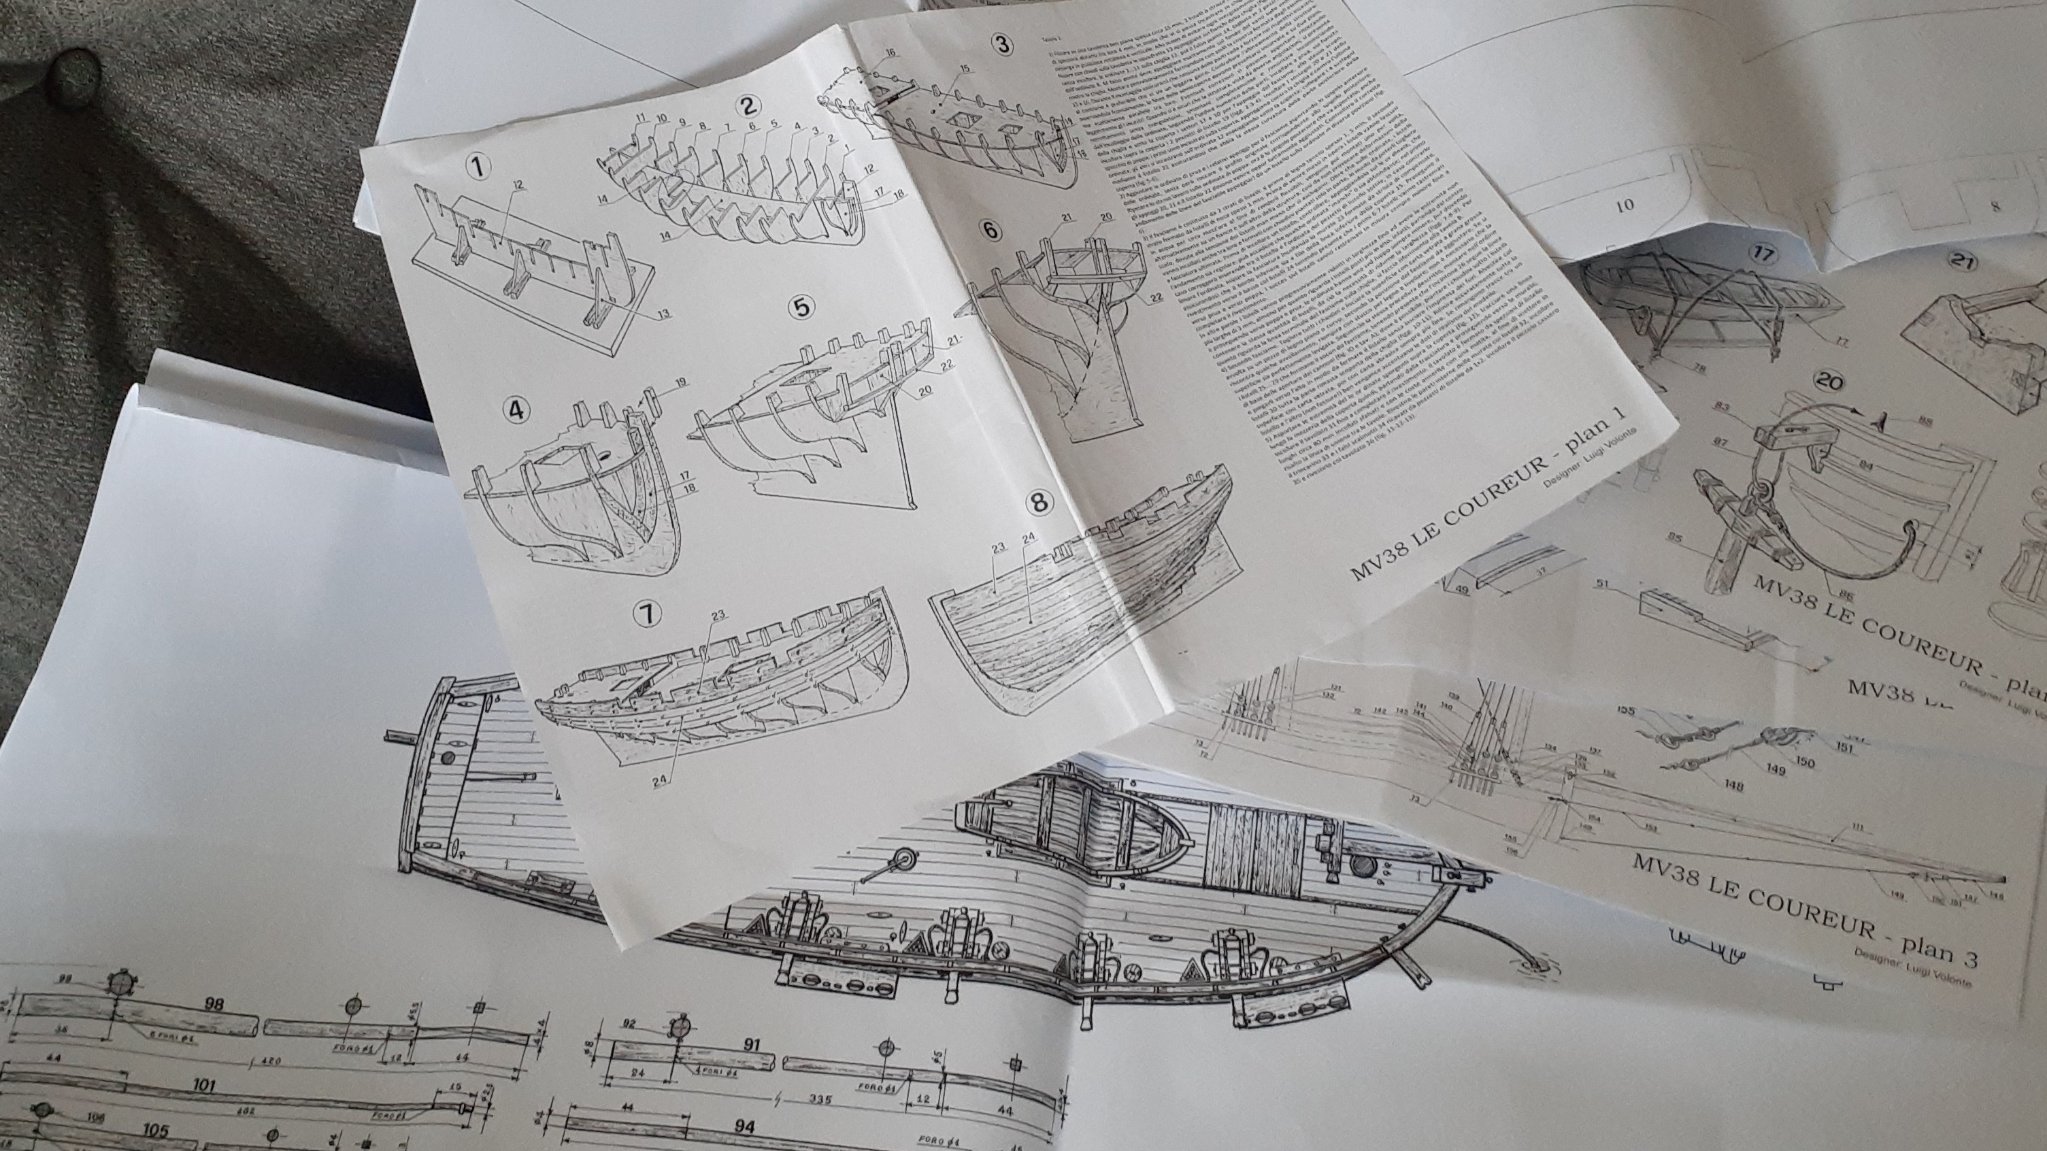
Time to get to work. So here is the open box. As I wrote, first surprise is the loose sheet instructions. Second surprise the parts are not numbered. The i discovered that the false keel is slightly warped.
Below are a few pictures:
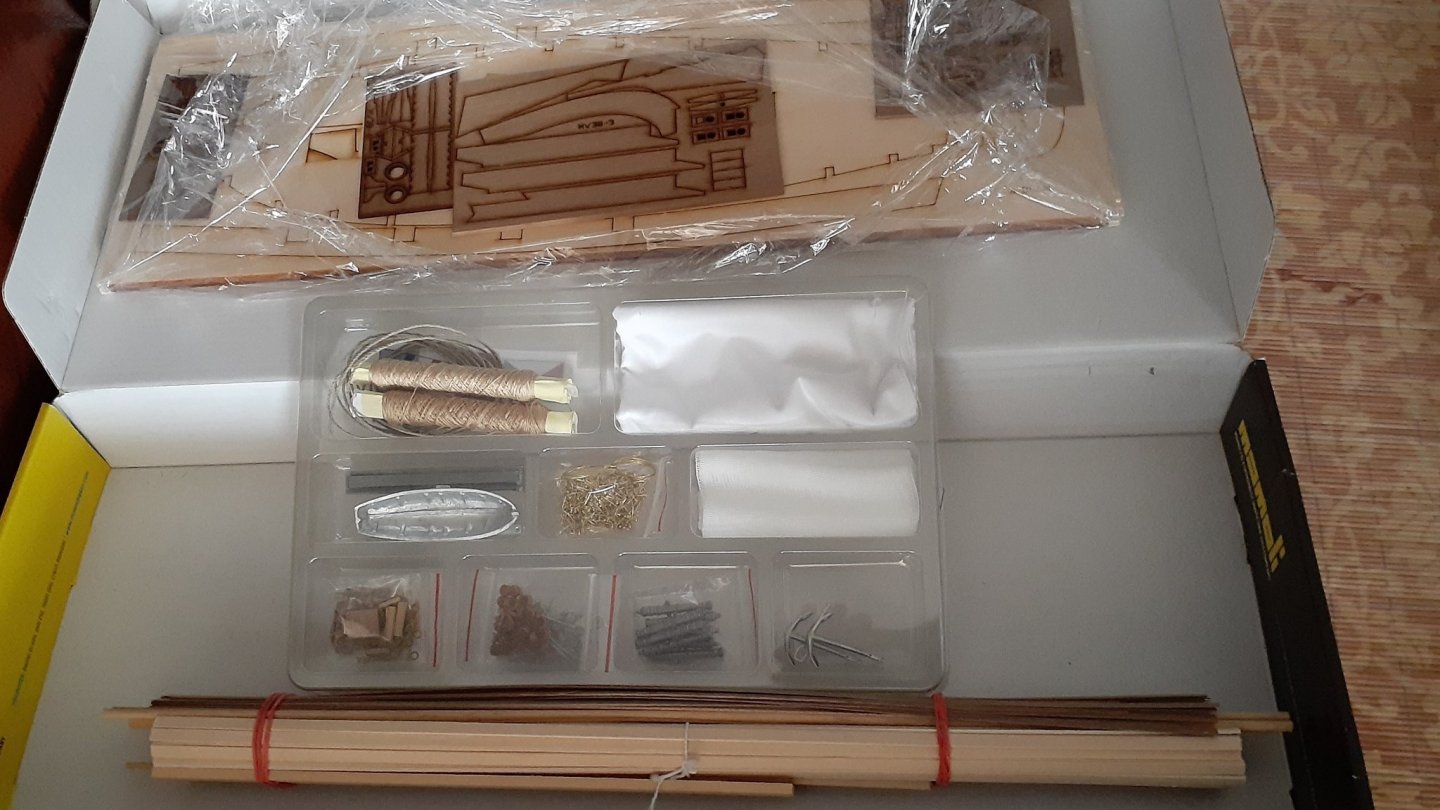
I dont like the fact that all the planking and dowels are bundled together. We'll see what happens... Also the life boat is cast in metal. I may want to built one from scratch.
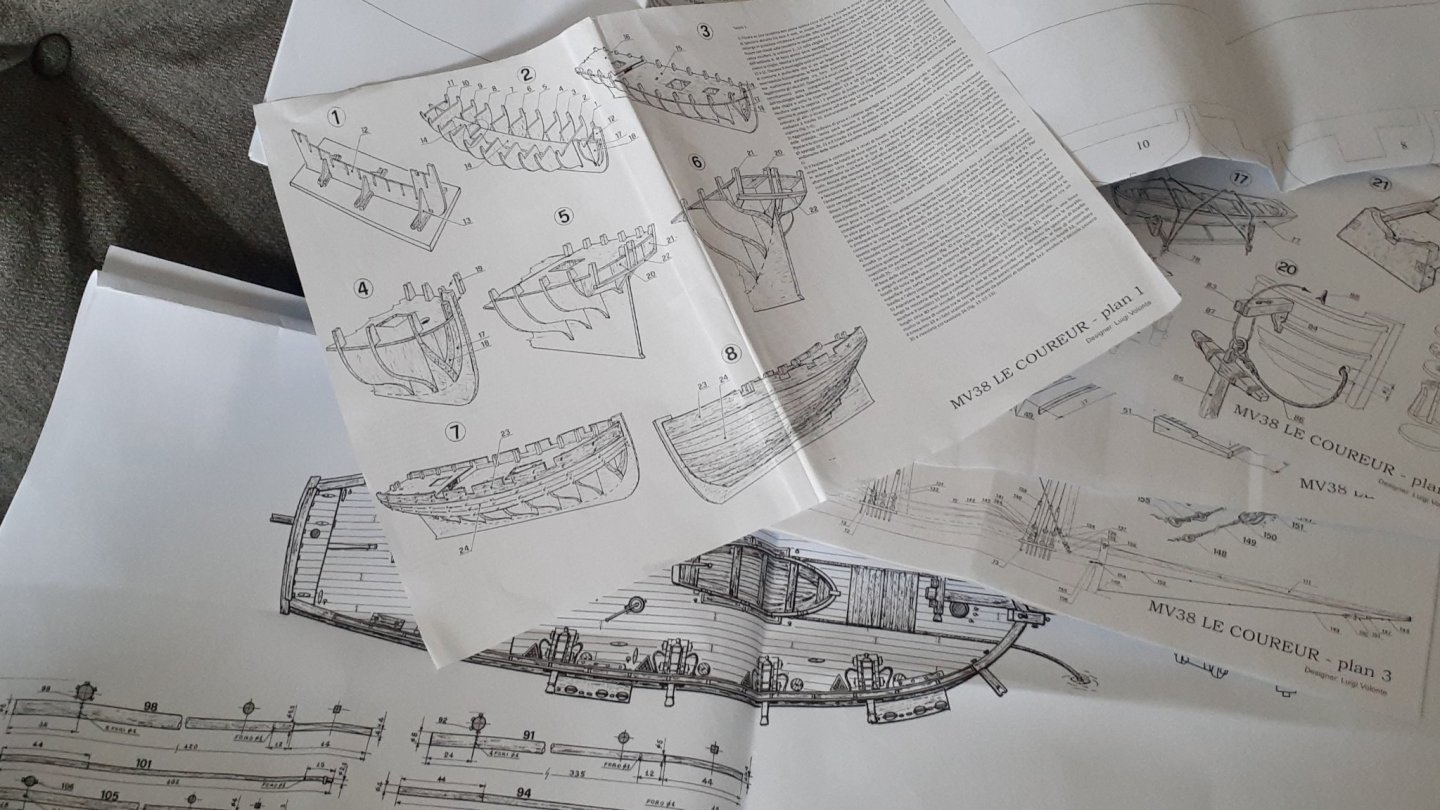
All instructions are in multiple languages. The font is very small (size 8?). No pictures, only black and white drawings.
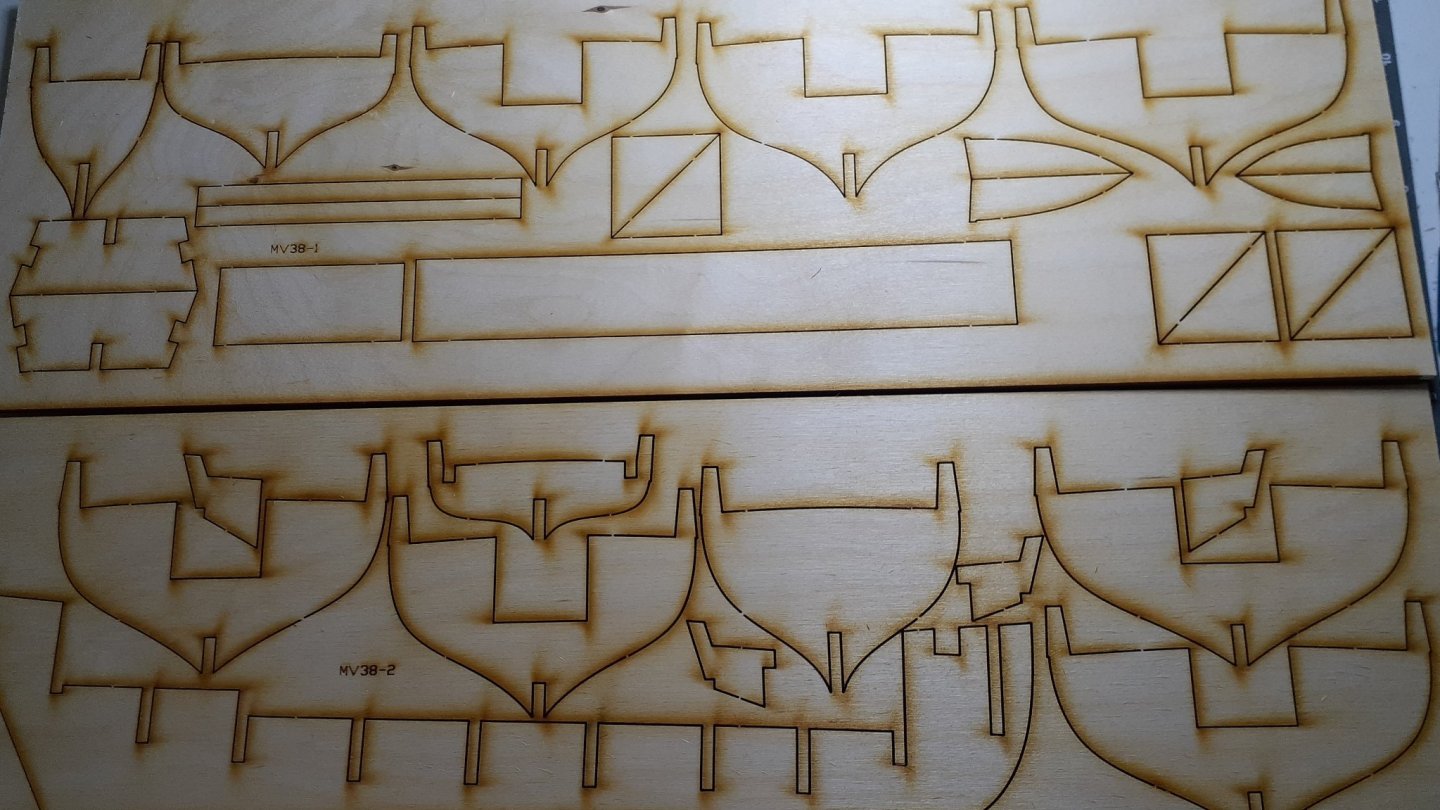
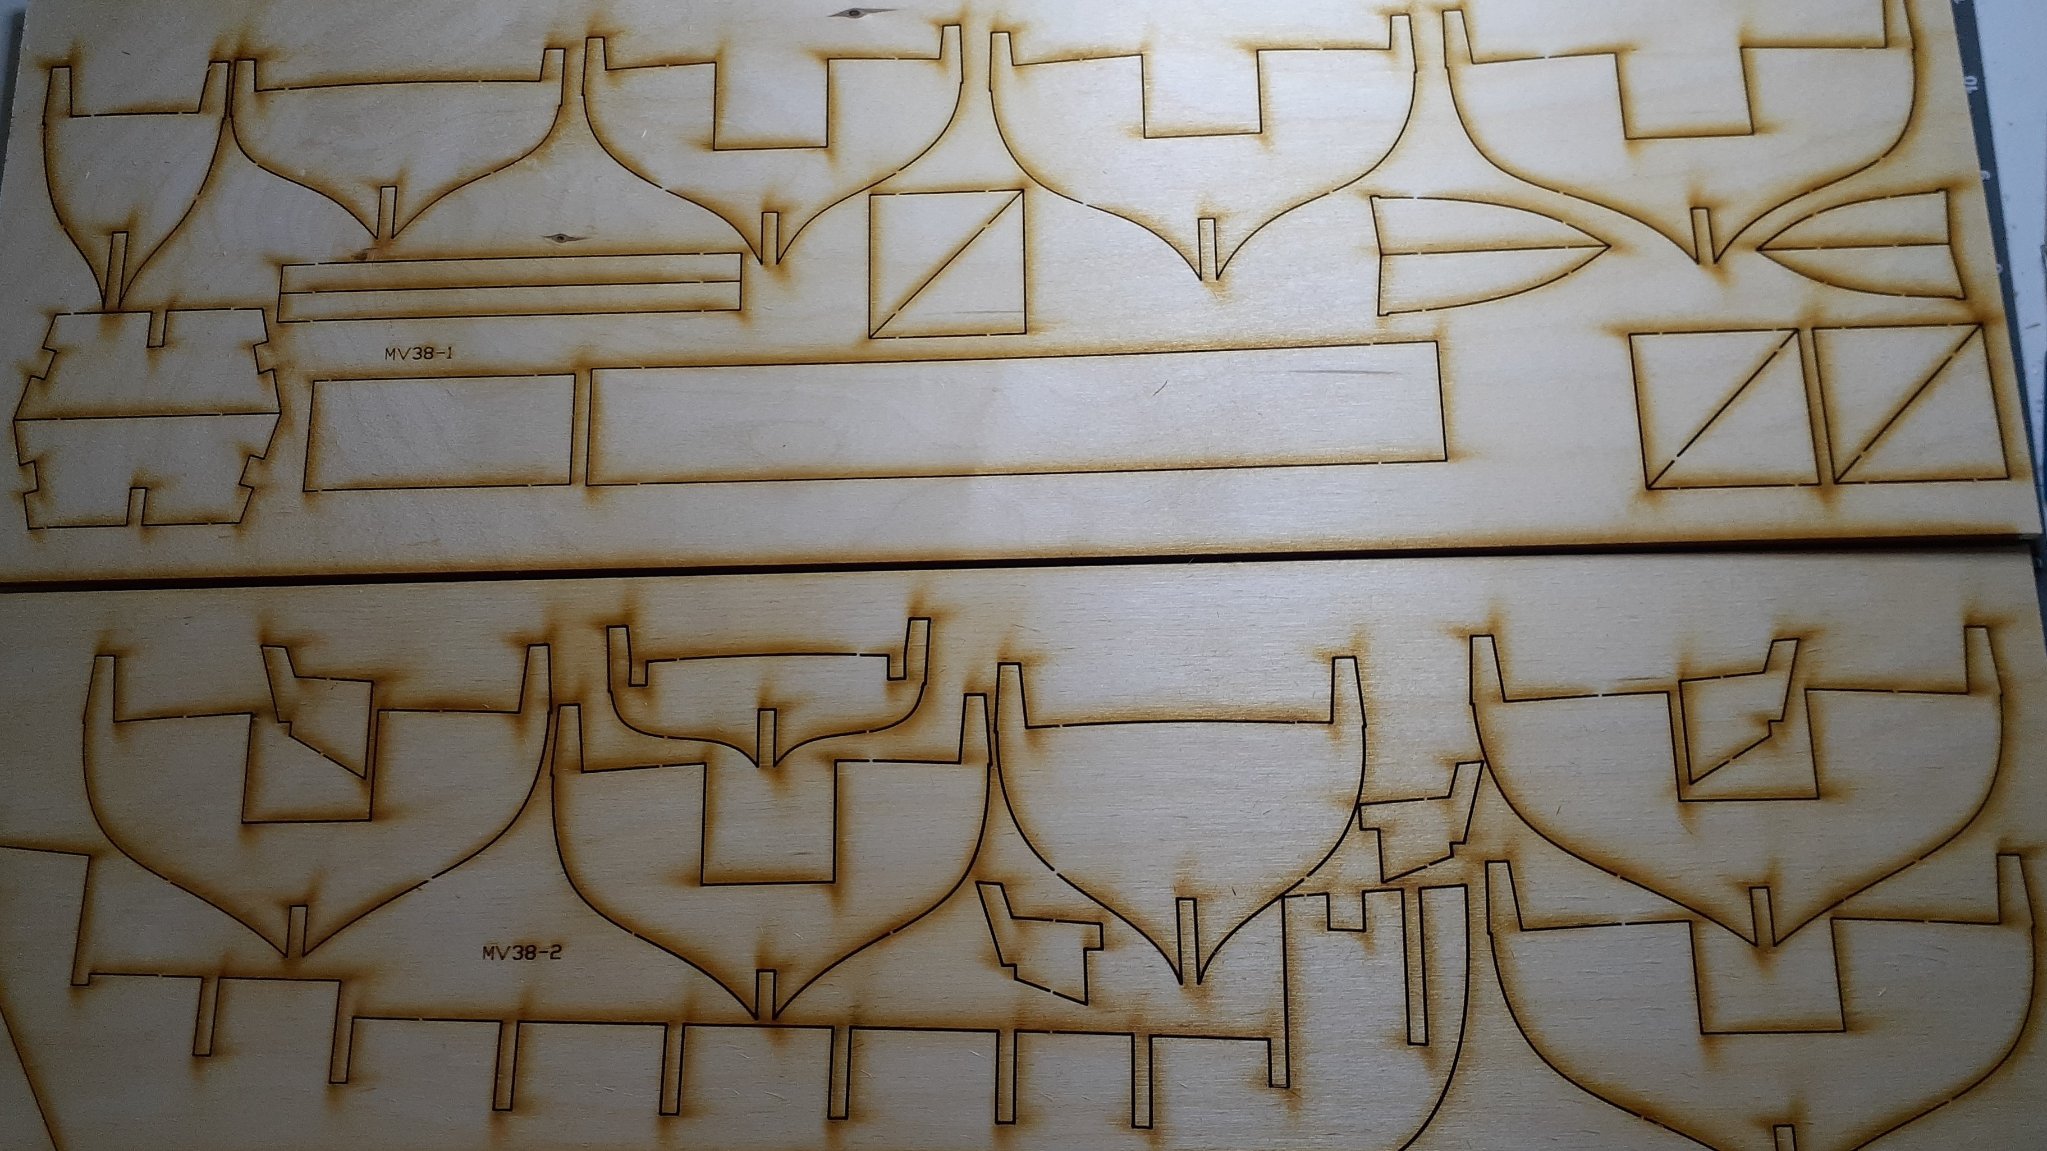
Nice 4mm thick wood for the false keel, bulkheads and the likes, but no numbers on parts 😞
Using the one of the plans as reference i numbered the parts.
Home made jig with legos. It's adjustable 🙂
The false keel needed some attention. By tomorrow it should be straight.


Le Coureur by PC52 - Mamoli - 1:54
in - Kit build logs for subjects built from 1751 - 1800
Posted
thanks for the suggestions. It's pretty crowded now and wont be easy with all the ropes hanging around but I'll give it a try.
Thanks again Gregory.