HOLIDAY DONATION DRIVE - SUPPORT MSW - DO YOUR PART TO KEEP THIS GREAT FORUM GOING! (Only 36 donations so far out of 49,000 members - C'mon guys!)
×


slagoon
-
Posts
465 -
Joined
-
Last visited
Content Type
Profiles
Forums
Gallery
Events
Everything posted by slagoon
-
haha allllll my clothes shrink in the dryer! You're right - cotton shrinks...grrrrr. Will be a really horrible thing to try to re-rig those spots, they are all in the MIDDLE of stufff.
-
 Hey Sherry - thanks - yeh the snap is horrible! Keith - you made me laugh - I was drinking when I was reading your comment about the toothpick - it almost came out my nose....OH and toothpicks would actually be too thick! Sam, you'll get there. Ok It is going to be a LONG time between updates I fear from now for awhile.... I've put in some of the blocks for the running rigging...and then realized I reallllllllly need to do the rat lines before I went any further. I've decided upon the putting in every 4th one first like many have shown before. The glue takes awhile to dry and I don't want to add the next row until after the glue dries. In case you are curious, once I fill in ALL the lines, they will be about 0.1" apart to be the 15"-16" separation that is what is standard in real life. Here's some photos in case You Know Who drops by....
 -
haha nice Harvey - I suppose that would be the case
-
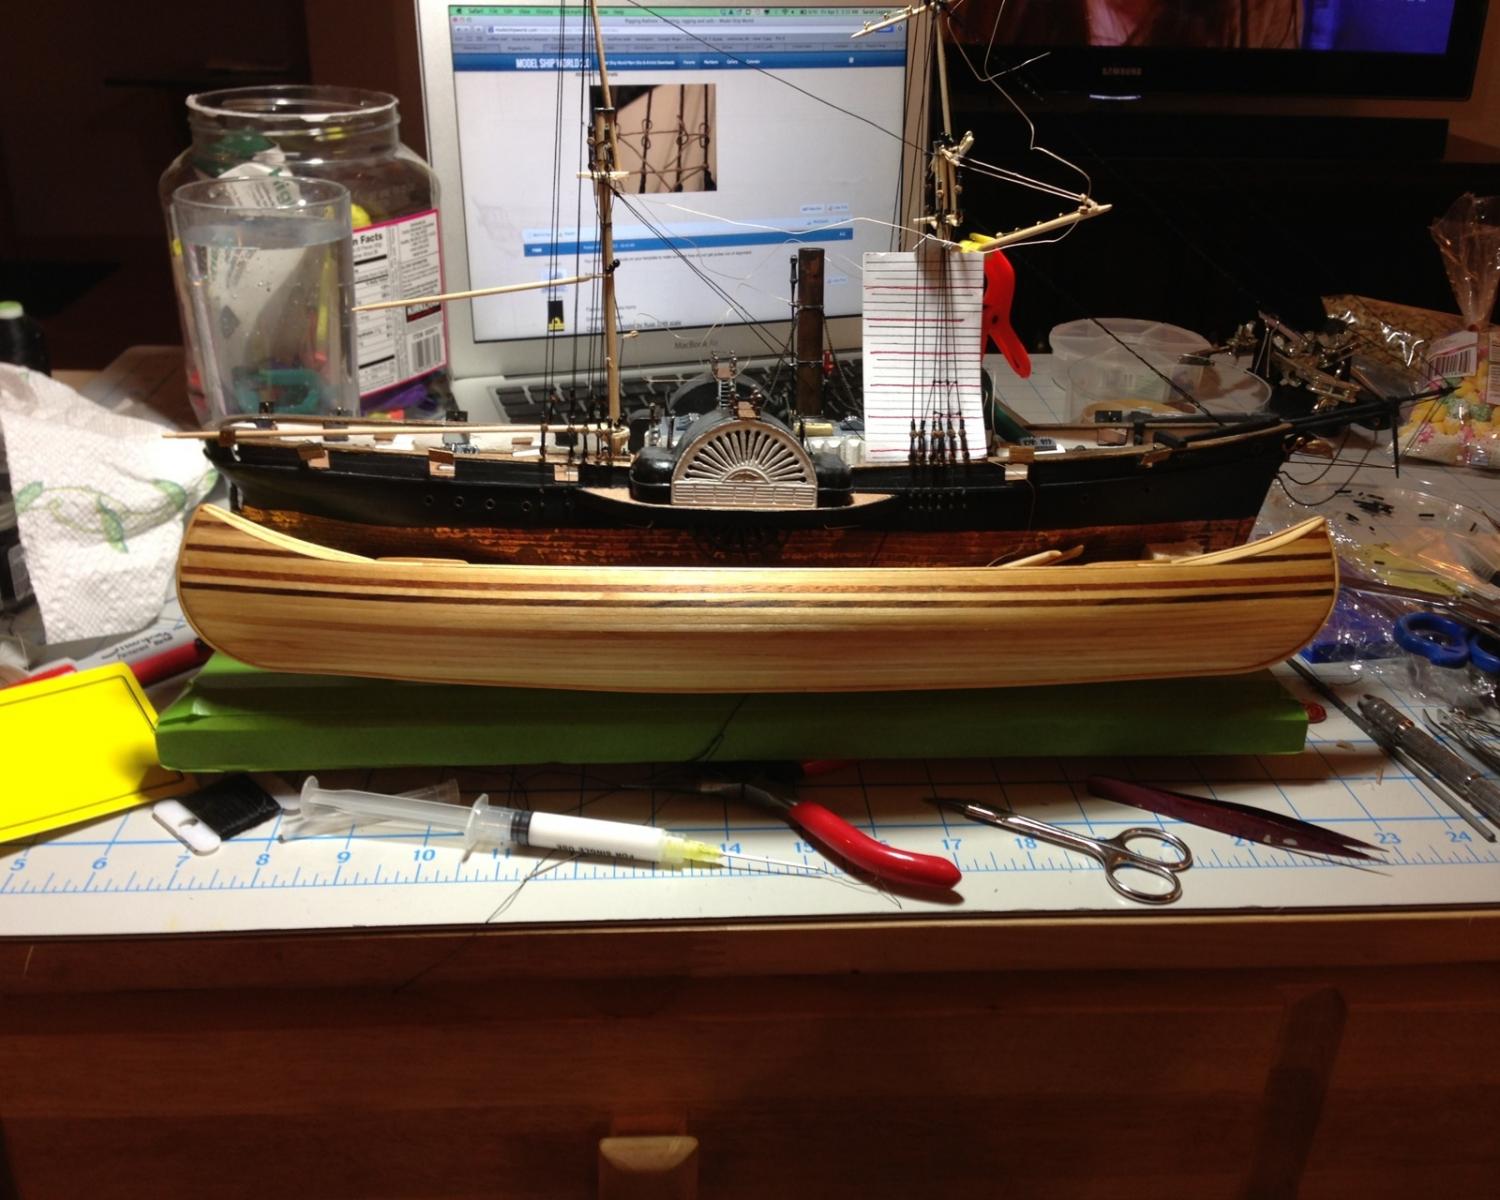
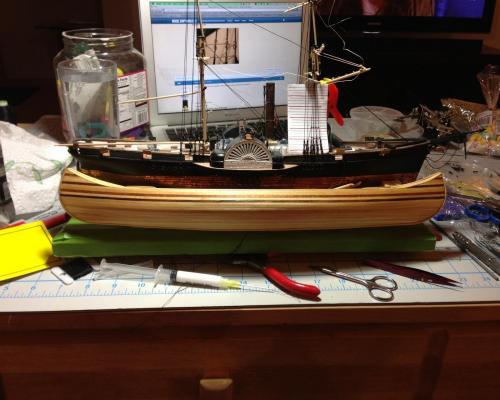
Thanks! I promised a comparison of size between the Harriet lane and the canoe. I can't believe it but their hulls are essentially the same size. Scale is a crazy crazy thing!
- 45 replies
-
- 1
-

-
- peterboro canoe
- Midwest Products
- (and 1 more)
-
So you may have noticed I mentioned in my Harriet Lane thread that I messed up. Well, upon trying to make my fix I didn't put enough tension on the lines again when I re-glued my bowsprit. oops. I remember in 1.0 that there was a thread talking about if you could shrink them. I can't remember what the resulting conversation said. I believe the lines are polyester since they melt when burnt. I was thinking (thanks to my husband's suggestion) that I should wet the lines that need to be shrunk and put my hairdryer on hot on them. Would that be viable?
-
Augie thank you Chuck, it was a great model to take a break with! John - thanks Michael Thanks Keith - the Harriet is actually longer by probably 6 inches. I'll try to get a comparison up tonight. I don't know about the kayak, it doesn't look nearly as fun...you can see the instructions on the Midwest website. Andy, awesome info on the spelling - I kept trying to spell it with the borough, but I kept having to go back and correct myself! There was no decal, and now that I've oiled it I don't know how well a decal would adhere to it. Jared - you always make me blush Buck - thanks. I will have to try your french polish on something soon though Mark, thanks - I'm super glad that I used the tung oil. Thank you Amazon.com! hehehe
-
What happened next was pure beauty.... Thanks for watching this build! You guys are great. I have my confidence back so I'll be working on the Harriet again now.
- 45 replies
-
- 3
-
-
- peterboro canoe
- Midwest Products
- (and 1 more)
-
Ok, I think I finished!!!! I didn't have a lot to do after what was in the last post. I started by installing the flooring that I showed you outside the canoe Oh, the dark edges are just fro where I used some instant set. Because of the slightly curved bottom I had trouble getting wood glue to stay (couldn't find an appropriate way of clamping...so I used some CA to tack it down. Then I installed the keel and sanded a little curved edge to it. I also installed the brace things and the strip around the front and back of the top of the canoe Then I got out my brand new Tung Oil...
-
I made my oars during all this glue drying time I also sanded (A LOT) and then got to the point where I added the support frames. Don't worry, they are only sporadically distributed because I couldn't clamp to glue them any closer. I finished adding them, then added the covers to the front and rear of the canoe I added the little decorative strips to the top of the covers and clamped them with a magnet. I also added the gunwales to the sides. Looks pretty slick all sanded. I've also started working on my cherry flooring. That's it for my updates so far but I'll get some more up before I go to work later this week. Thanks for looking in!
- 45 replies
-
- 2
-
-
- peterboro canoe
- Midwest Products
- (and 1 more)
-
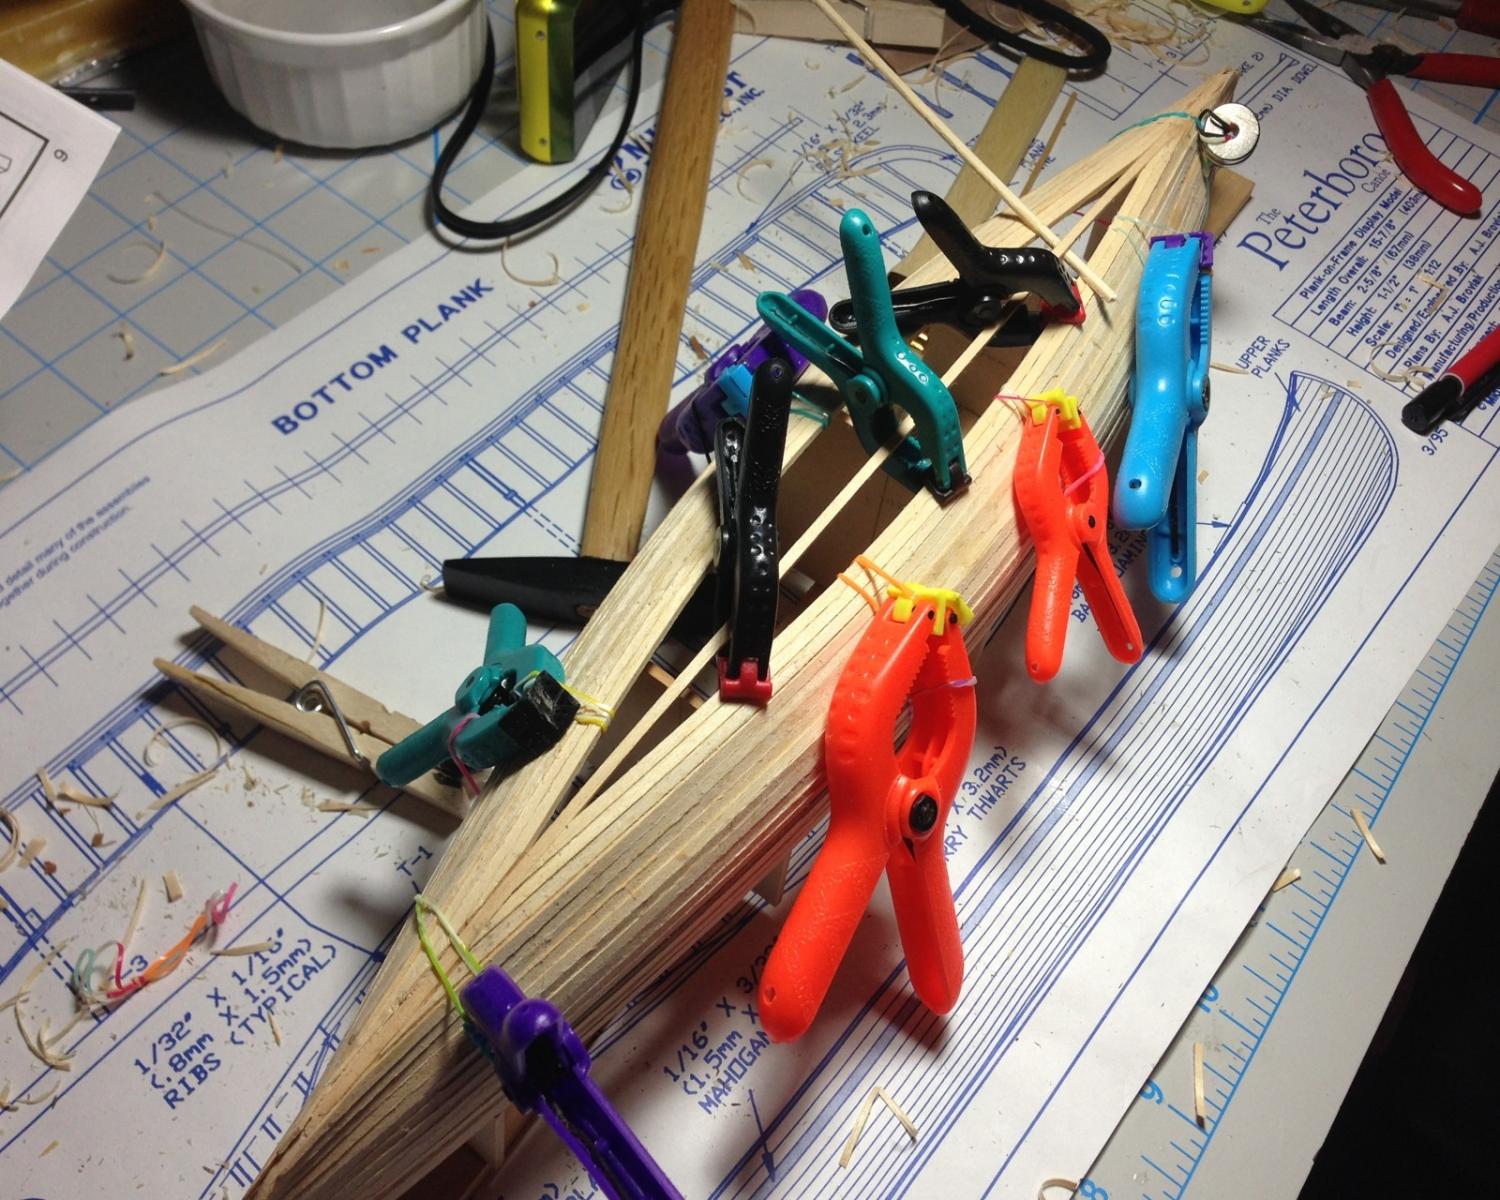
Yay I've made some fantastic progress since I've been off work the last few days. So you saw some planking earlier, I continued with that. I found that I needed to bevel the edges of the planks to get a smooth curve in the transition from side to bottom. For such good instructions they kinda failed there since it wasn't noted... When I got to the point that less than two planks would fit I stopped. I glued two planks together and let them sit and dry. Then I cut them into the shape that remained open on the bottom of the canoe. I sanded them into the correct shape and then glued them in. Next was adding the sloped top of the canoe. I used some of the leftover teak and mahogany to make it pretty.
-
Just for you Keith. Here is a photo. That curve to get to the bottom is a bugger

-
Its looking pretty neat. I'm thinking I should add her to my wishlist. The curves on the paddle look particularly nice.
-
Neat - did you end up making the cleats smaller?
-
Red Jacket then? All these clippers look alike!
-
Snow Squall? I'd think you were from Maine with all these ME ships
-
Since I don't have these books at least I have you guys who have these books! Thank you soo much...(0.1 inch on my model)
-
On the paint, this may seem silly, but did you really really really stir it? I've found that with non-gloss paints the mattefying stuff tends to separate to the bottom in a nearly solid clump so it doesn't re-integrate with shaking. you need to stir it with something solid like a toothpick vigorously and then shake it vigorously to thoroughly mix the paint. then do a test strip. if it is still too shiny then go for matte. As far as pics...check the forum on site problems and questions...if other people are having that problem there would be posts there...I'm personally not. Also not everyone checks the forums daily so it might take over 24 hours to get an answer to a question within your log....
-
As far as the lathe, I was thinking either the MicroLux Micro Lathe or the harbor freight equivalent...I want something where I can do precise work as I don't anticipate most of my work to be larger than 1:64 I've seen the dremel drill press but I don't think that'll do what I'm looking for, as I'd want it to be a bit more of a all purpose tool that I could use for my classic car work too....but THANKS
-
Seems like the appropriate place for my next dumbest question of the week....how far apart should ratlines be?(height wise)
-
wow! I used 2 power tools on my Harriet lane so far... a cordless drill to drill the mast locations (since my manual hand drill doesn't take bits that big) and a router to make the stand more interesting). My husband on the other hand likes using the dremel frequently, along with the power drill. We bought him a scroll saw since the kit he is working on doesn't have laser cut pieces and we figured that'd be faster to use than hand cutting...I do think when I start working on larger models I'll start using a few more power tools... my tool wish list is Metal Lathe Drill Press Table saw I guess my point is you can get good results without fancy machinery...
-
"Follow the topic"
slagoon replied to Nirvana's topic in Using the MSW forum - **NO MODELING CONTENT IN THIS SUB-FORUM**
Dr. Per you can sort of follow the ones that you've participated in using the "view new content" in the top right corner feature.... See the pic below (note the settings on the 3 circled items). (i've participated in loads of conversations but I only follow about 6...meaning I can use the view new content to see all those conversations but I only get emails with update notifications on the 6 I actually follow) I find this a little better...
-
Question about mast angle/length on phantom build
slagoon replied to kdnash's topic in Masting, rigging and sails
is there a 1:1 drawing that came with it? you can pull the dimension off that by measuring -
Question about mast angle/length on phantom build
slagoon replied to kdnash's topic in Masting, rigging and sails
I can't say for sure on the phantom....but on my Harriet lane I drilled it 2x deeper than the diameter of the mast...I figured it would give the mast a good enough grip. The main thing is to make sure you don't drill ALL the way through the ship AND to make sure that you leave the mast long enough that its above the deck size is still correct (keeping in mind you may have to actually shorten the mast) good luck -
Sjors, you can build a canoe next - join the canoe club with me and Keith! It is truly relaxing and non-frustrating :-D until then keep the attitude up - seems that is our best asset as builders: Being Positive.