DanielD
-
Posts
651 -
Joined
-
Last visited
Content Type
Profiles
Forums
Gallery
Events
Everything posted by DanielD
-
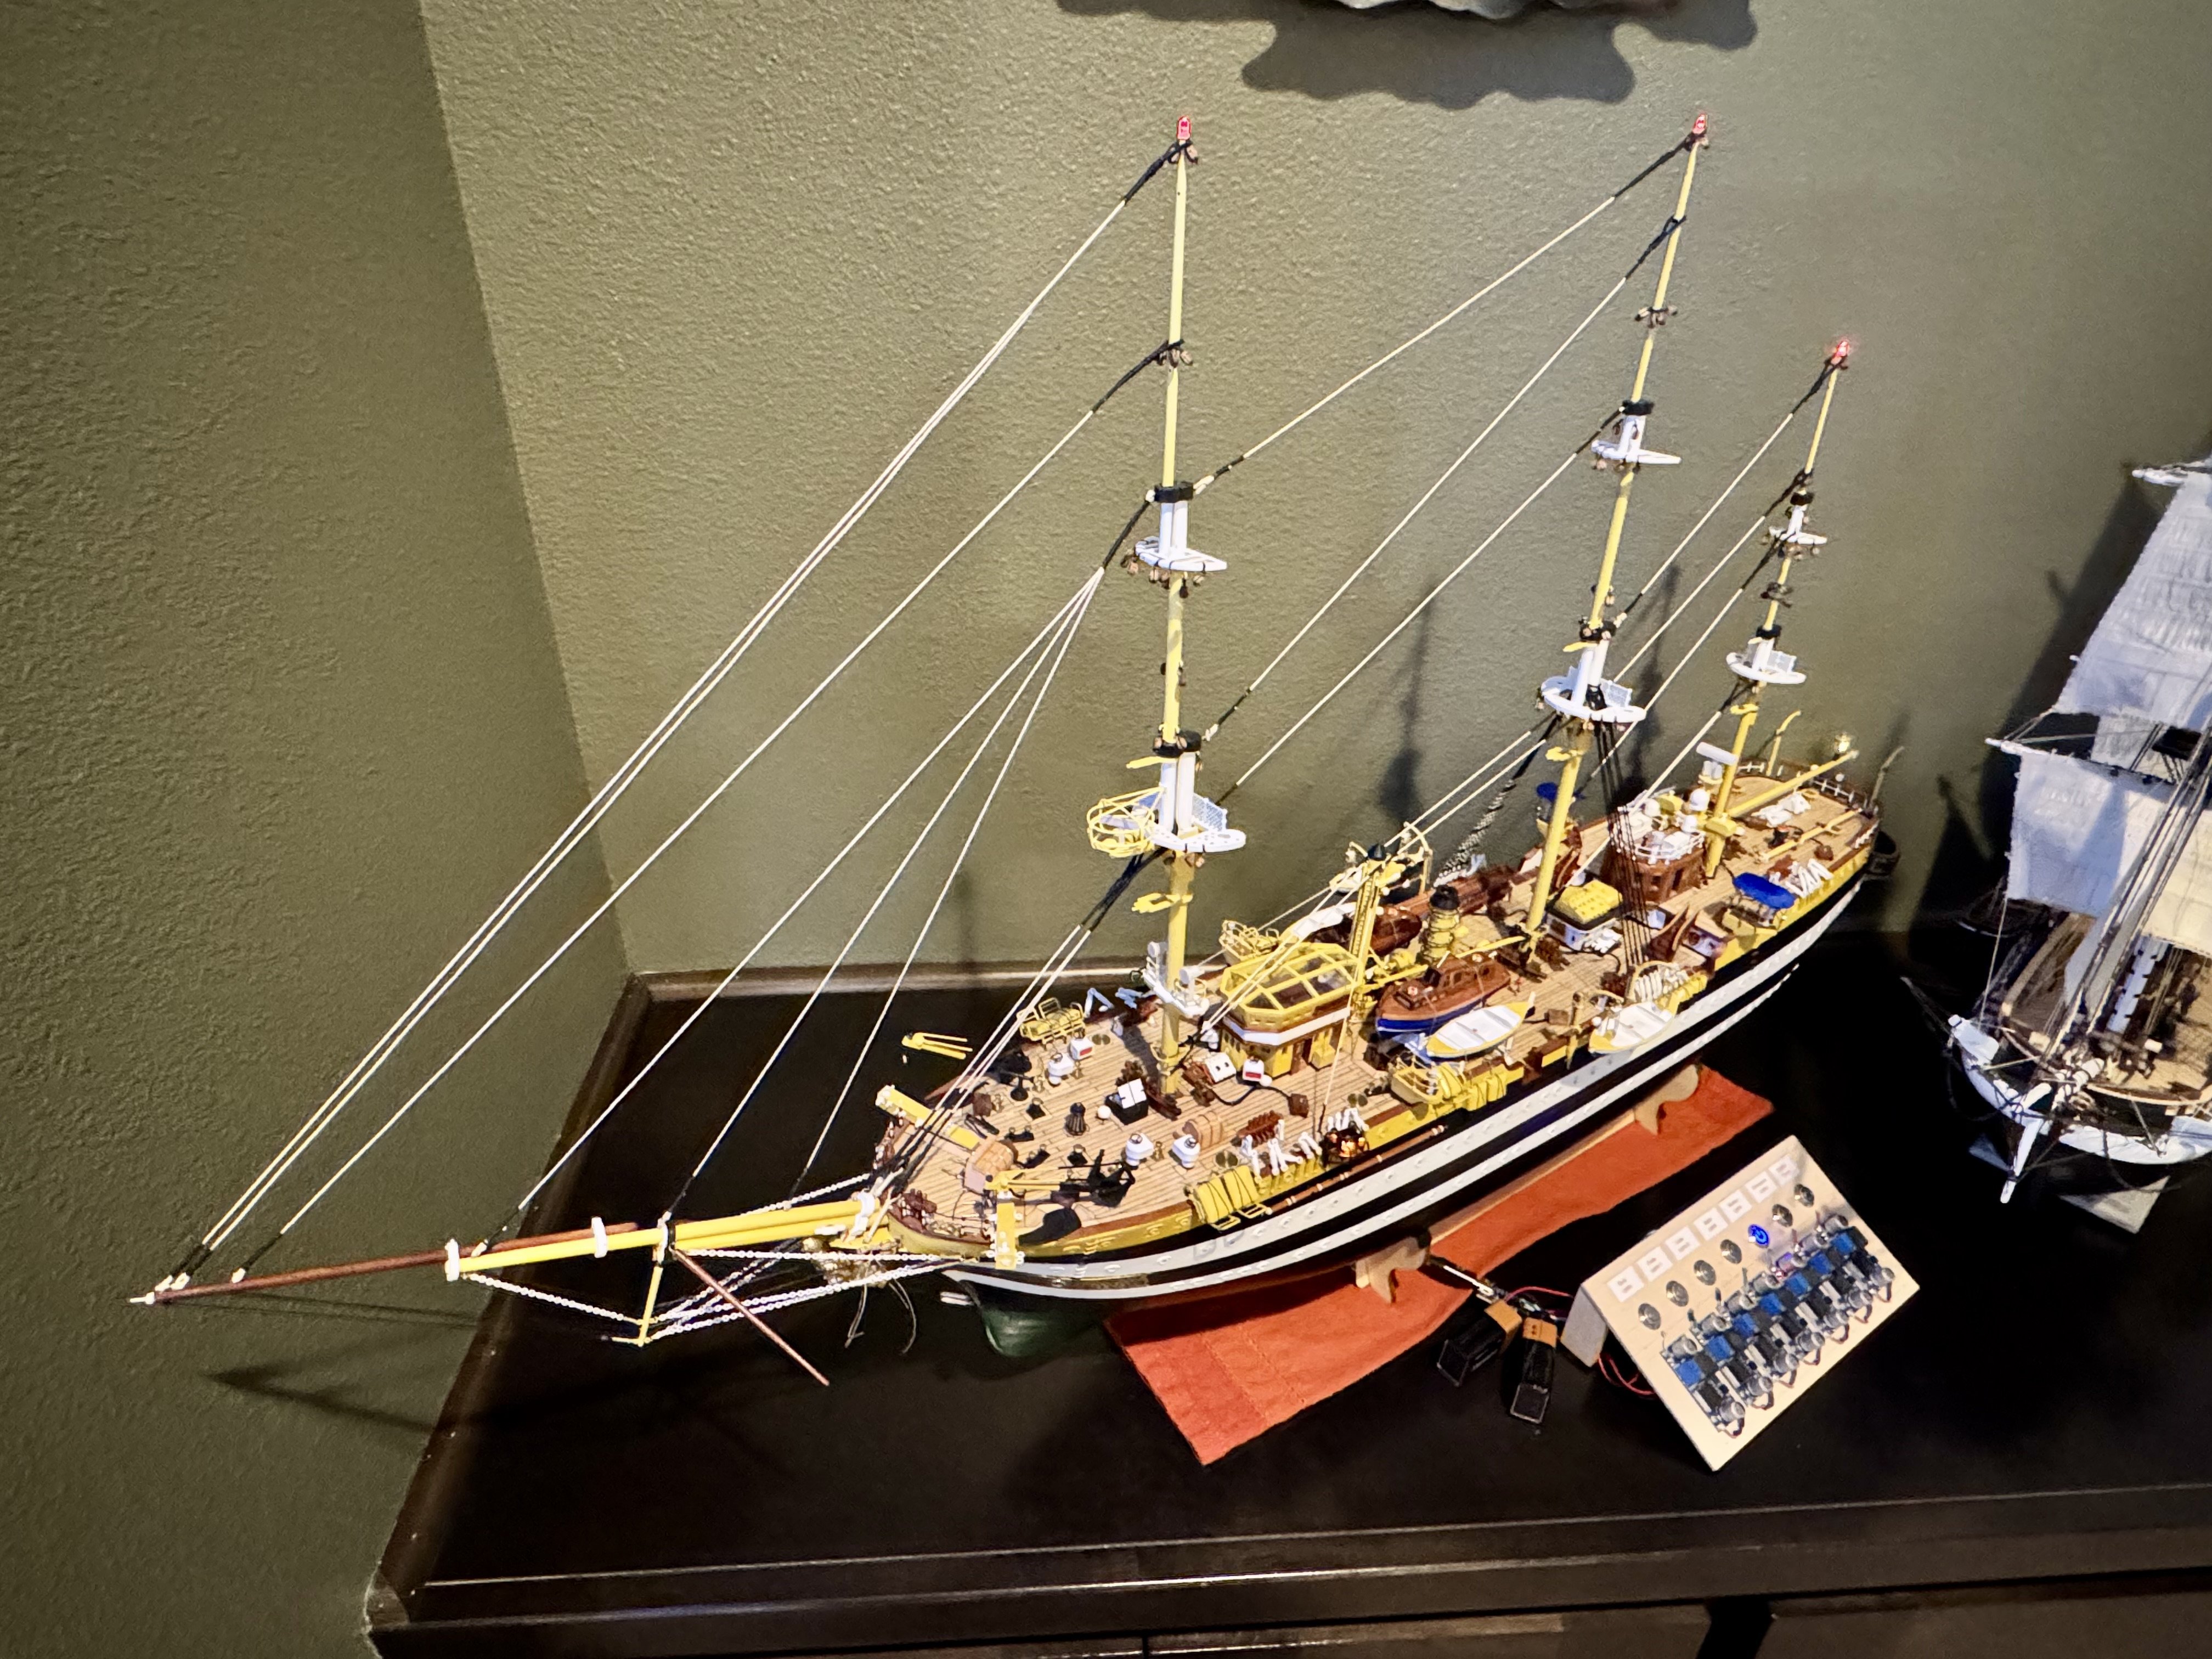
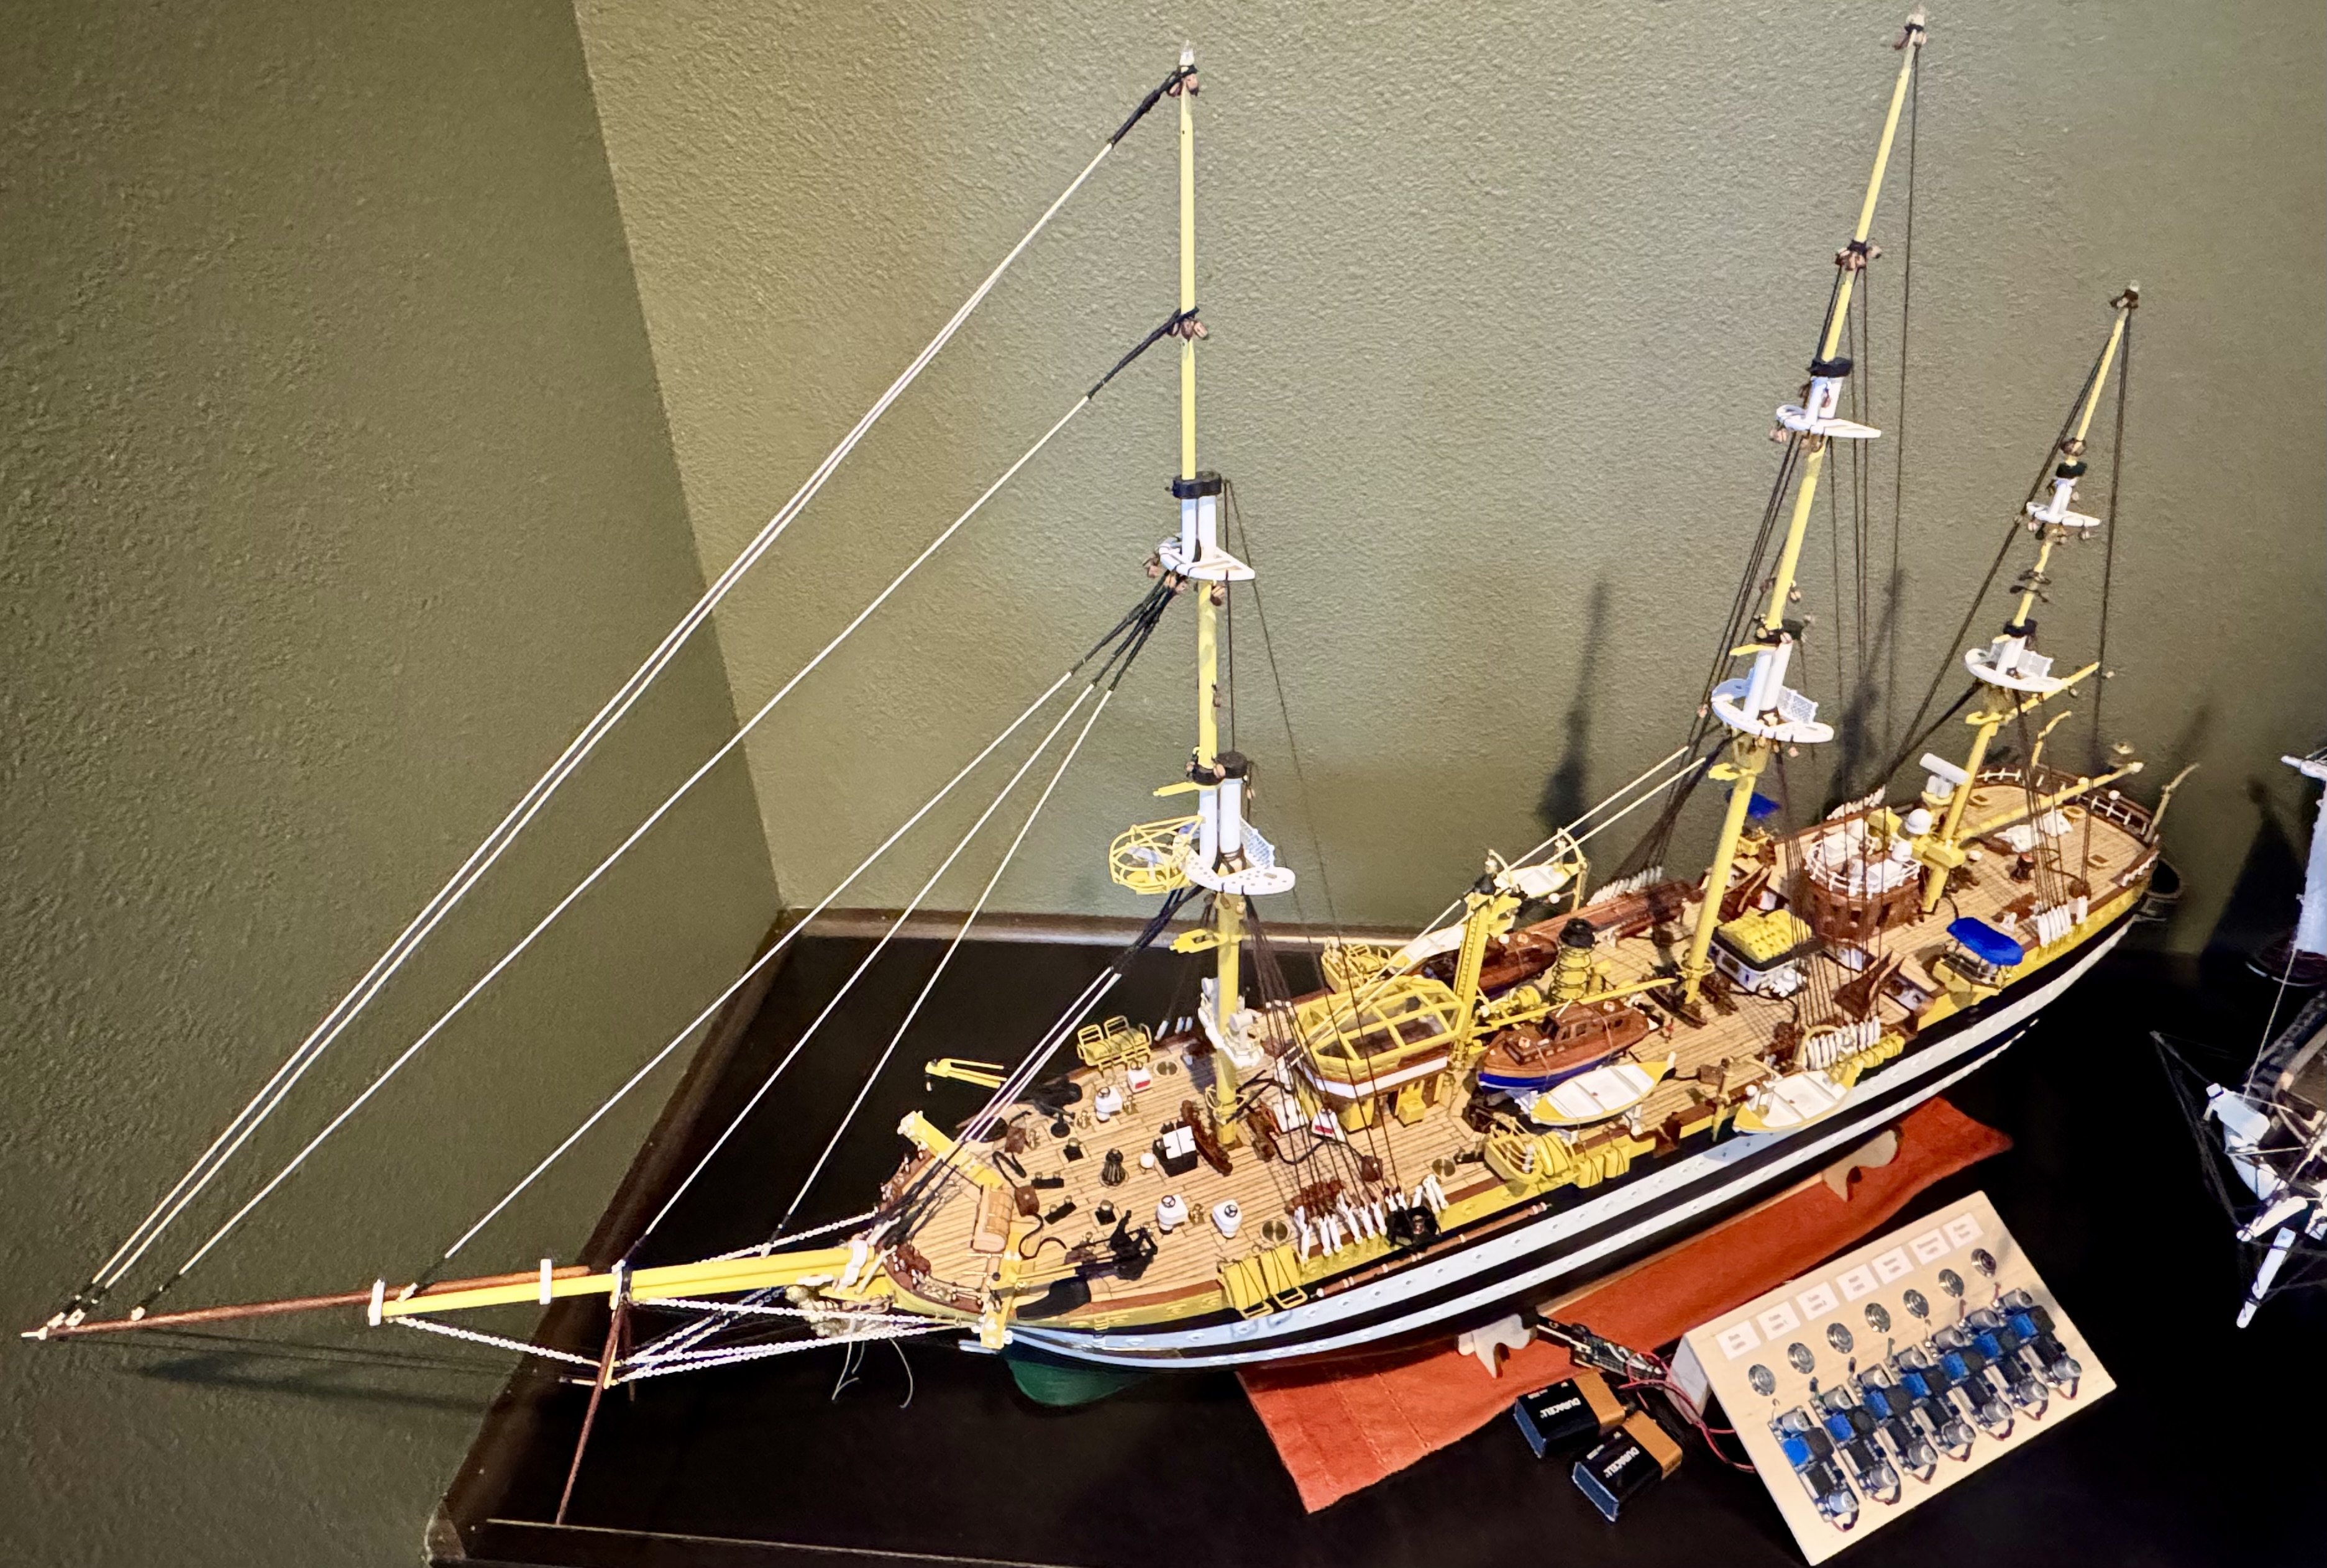
 Bill, Mike is correct in that as long as you don’t exceed the voltage requirement for your LEDs, you have everything you need. Now comes the hard part. Each color of LED has a different max voltage, usually stated on the package. In my case, the voltages ranged from 2.3 volts to 3.2 volts and a couple in between. A single AA battery would be 1.5 volts and not enough to turn on most LEDs while two AA batteries is 3 volts and exceeds the 2.3 volt requirements of my green LEDs. While this doesn’t seem like much a difference, .7 volts will cause my green LEDs to be very bright and likely burn out much earlier than they should. Thus the desire to use resistors to protect the LEDs from over voltage. Another option, like what I used on my AV is to use an adjustable voltage regulator. I purchased a 10 pack of these from Amazon for about $12. Using this method, I can have a large input voltage, in my case a 9 volt battery. Way too much voltage for most LEDs, but the cool thing is the output of the device is adjustable. With this scenario, you can set the output voltage to exactly what you need, I.e, 2.3 volts. Also, as you add more LEDs to your build there will be a voltage drain and you can then just turn up the output on the regulator to get back to the 2.3 volts necessary for full brightness. One last advantage is, because it is adjustable, you can to some extent control the brightness of the LEDs. Hope this helps.
 -
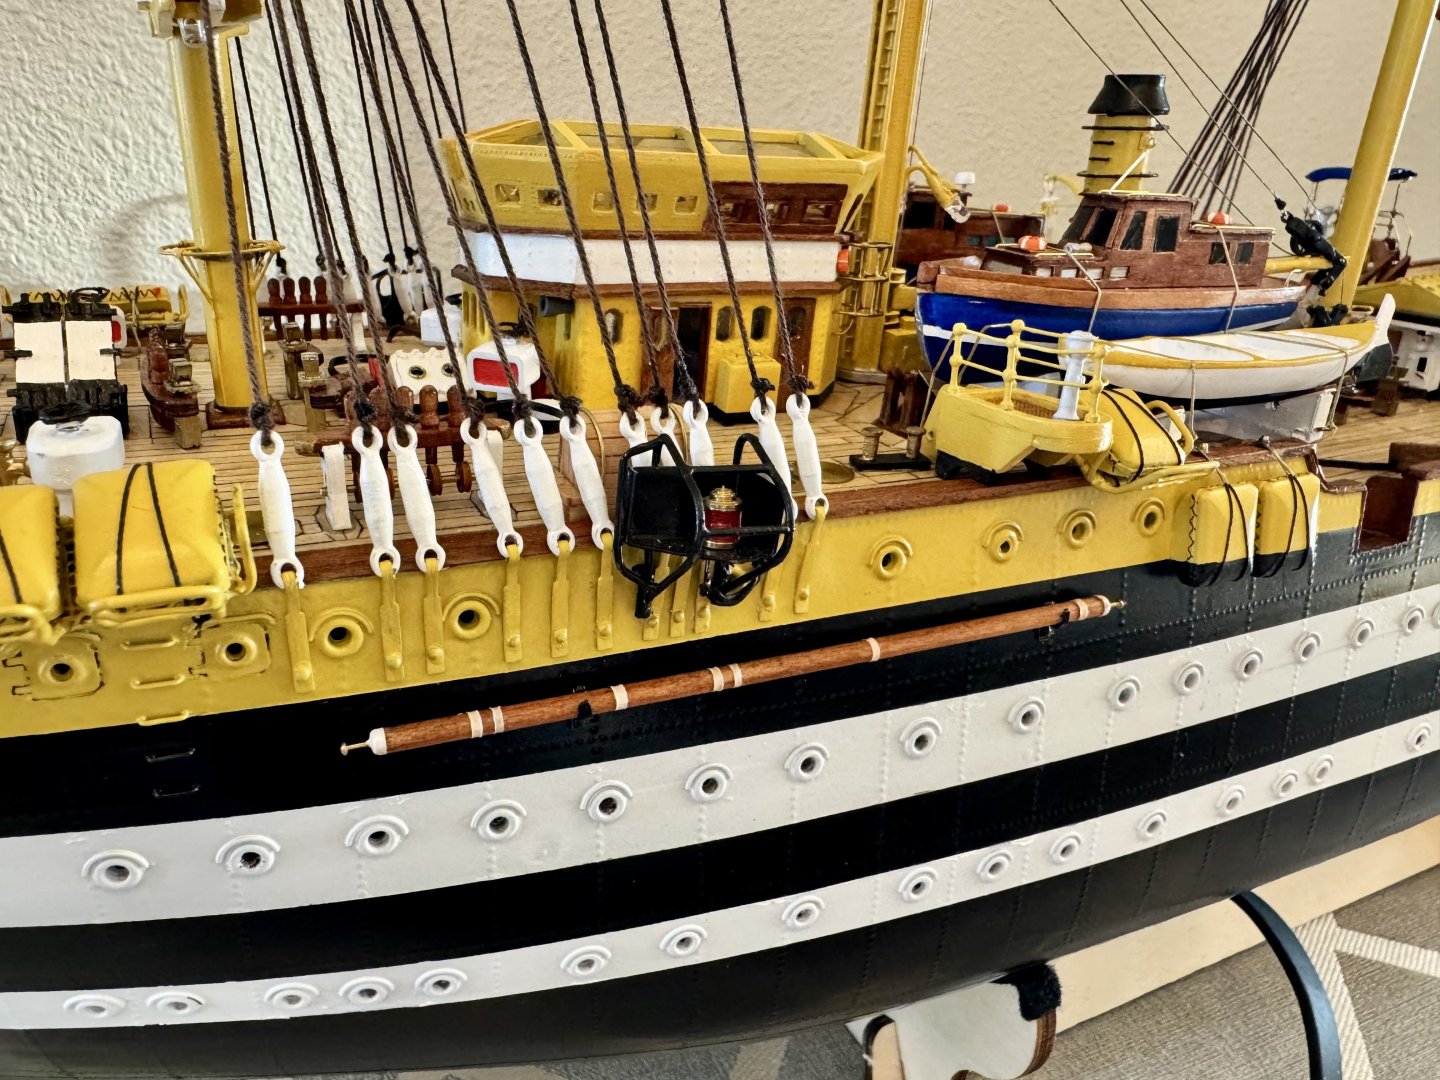
Bill, I did a second planking and filled and sanded the entire hull. It was a lot of work to get a steel plate appearance. As you probably saw on my build log, I added rivets in a pattern across the hull to give it that steel plate vibe. Interesting thought about making her have a wood planked hull…I can’t even imagine what that would look like…good luck. Do you have a build log started yet? I want to follow along.
-
Bill, I also noticed that on the ships I’ve previously built, the standing rigging is dark (black or brown) while the running rigging is lighter (tan). However, many of the standing lines on the AV are light but served with black. So as I build my model, I’m using the virtual tour to, where I can, determine which color I should use and whether the line is served or not. Oh, and the OcCre kit leaves out a few important lines / details that are unique to the AV. For example, the kit has a single black chain from the bowsprit to the front of the bow, but on the real ship there are two. For the running rigging, the kit uses pin rails like most ship do, but the real version the running line goes first through a sheave below the pin rail then tied off on the pin. At the base of each mast the kit ties off each line at the pin rail and either there is no extra line or you add extra line hanging off the pin like most other ships. In the case of the AV, the extra line is “stored” in a unique way and this detail is very important to the uniqueness of this special ship…so I added this feature. I realize that I can’t possibly have every line on my model match that of the real ship, there are thousands, but I will do the ones that make her unique if I can.
-
Good morning Bill, good catch,! I’m not using the thread that came in the kit, for me it’s just well…too fuzzy and the colors that came with my kit are a dark tope and brown. If you go on the virtual tour of the AV you will notice that the lines used on the actual ship are either black or light tan. As such, I’m using pre waxed thread in black and tan, but in the photos the tan appears brighter than in real life.
-
And one more with the night lights on, slowly starting to look like the Italian flag.

-
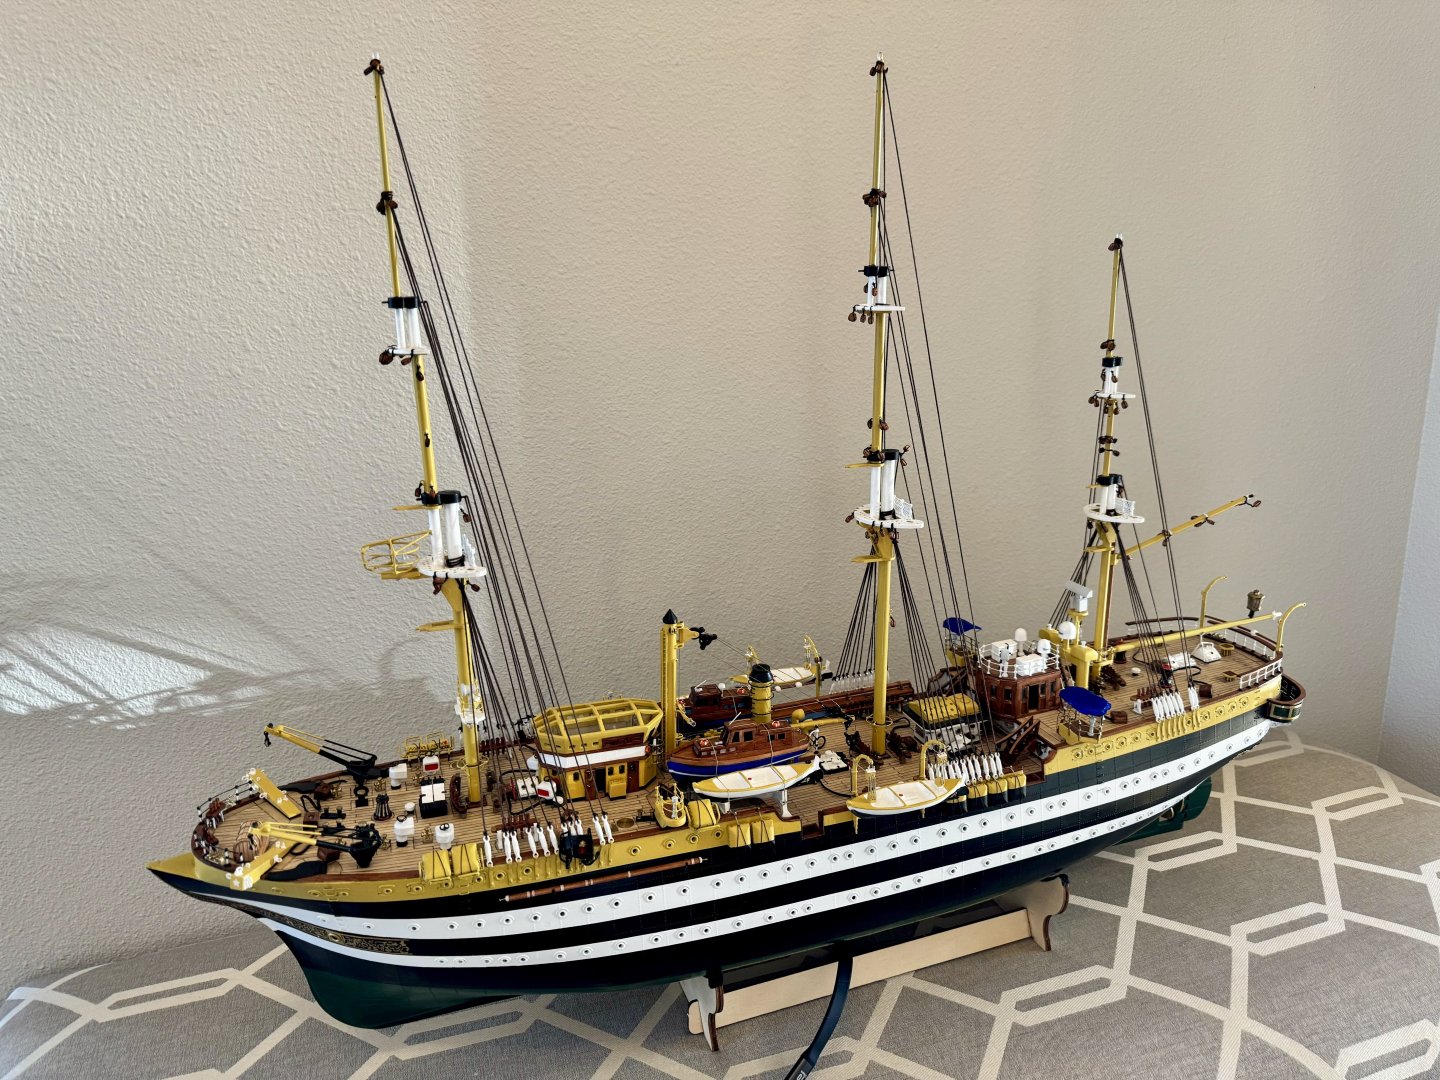
Here are a couple more up to date shots.


-
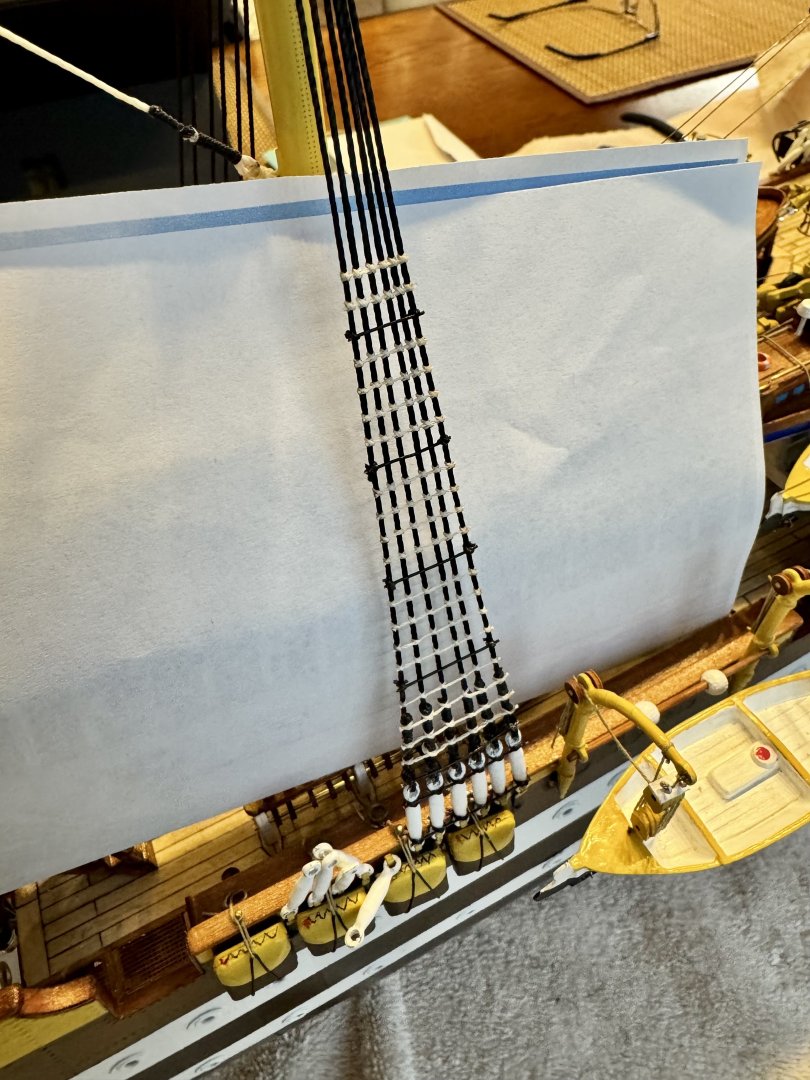
Good evening mates. I’ve finally progressed to the shrouds and some rat line production to stave off some boredom 😂. The photos don’t do it justice, but here are a couple.
-
Good afternoon mate! I have very much enjoyed my OcCre Amerigo Vespucci build. My philosophy for working on these models is to build in as much accurate detail as my skill level allows regardless how long it takes me to complete the model. I’m about two years into my AV with about a year to go. The best tool I have had for my build is a virtual tour of the AV which can be found here: https://tourmake.it/amerigovespucci The OcCre kit lacks a lot of details that are relatively easy to add that, in my opinion, really make the kit shine. Good luck and enjoy.
-
Good afternoon mates, I’ve finally started the standing rigging…

-
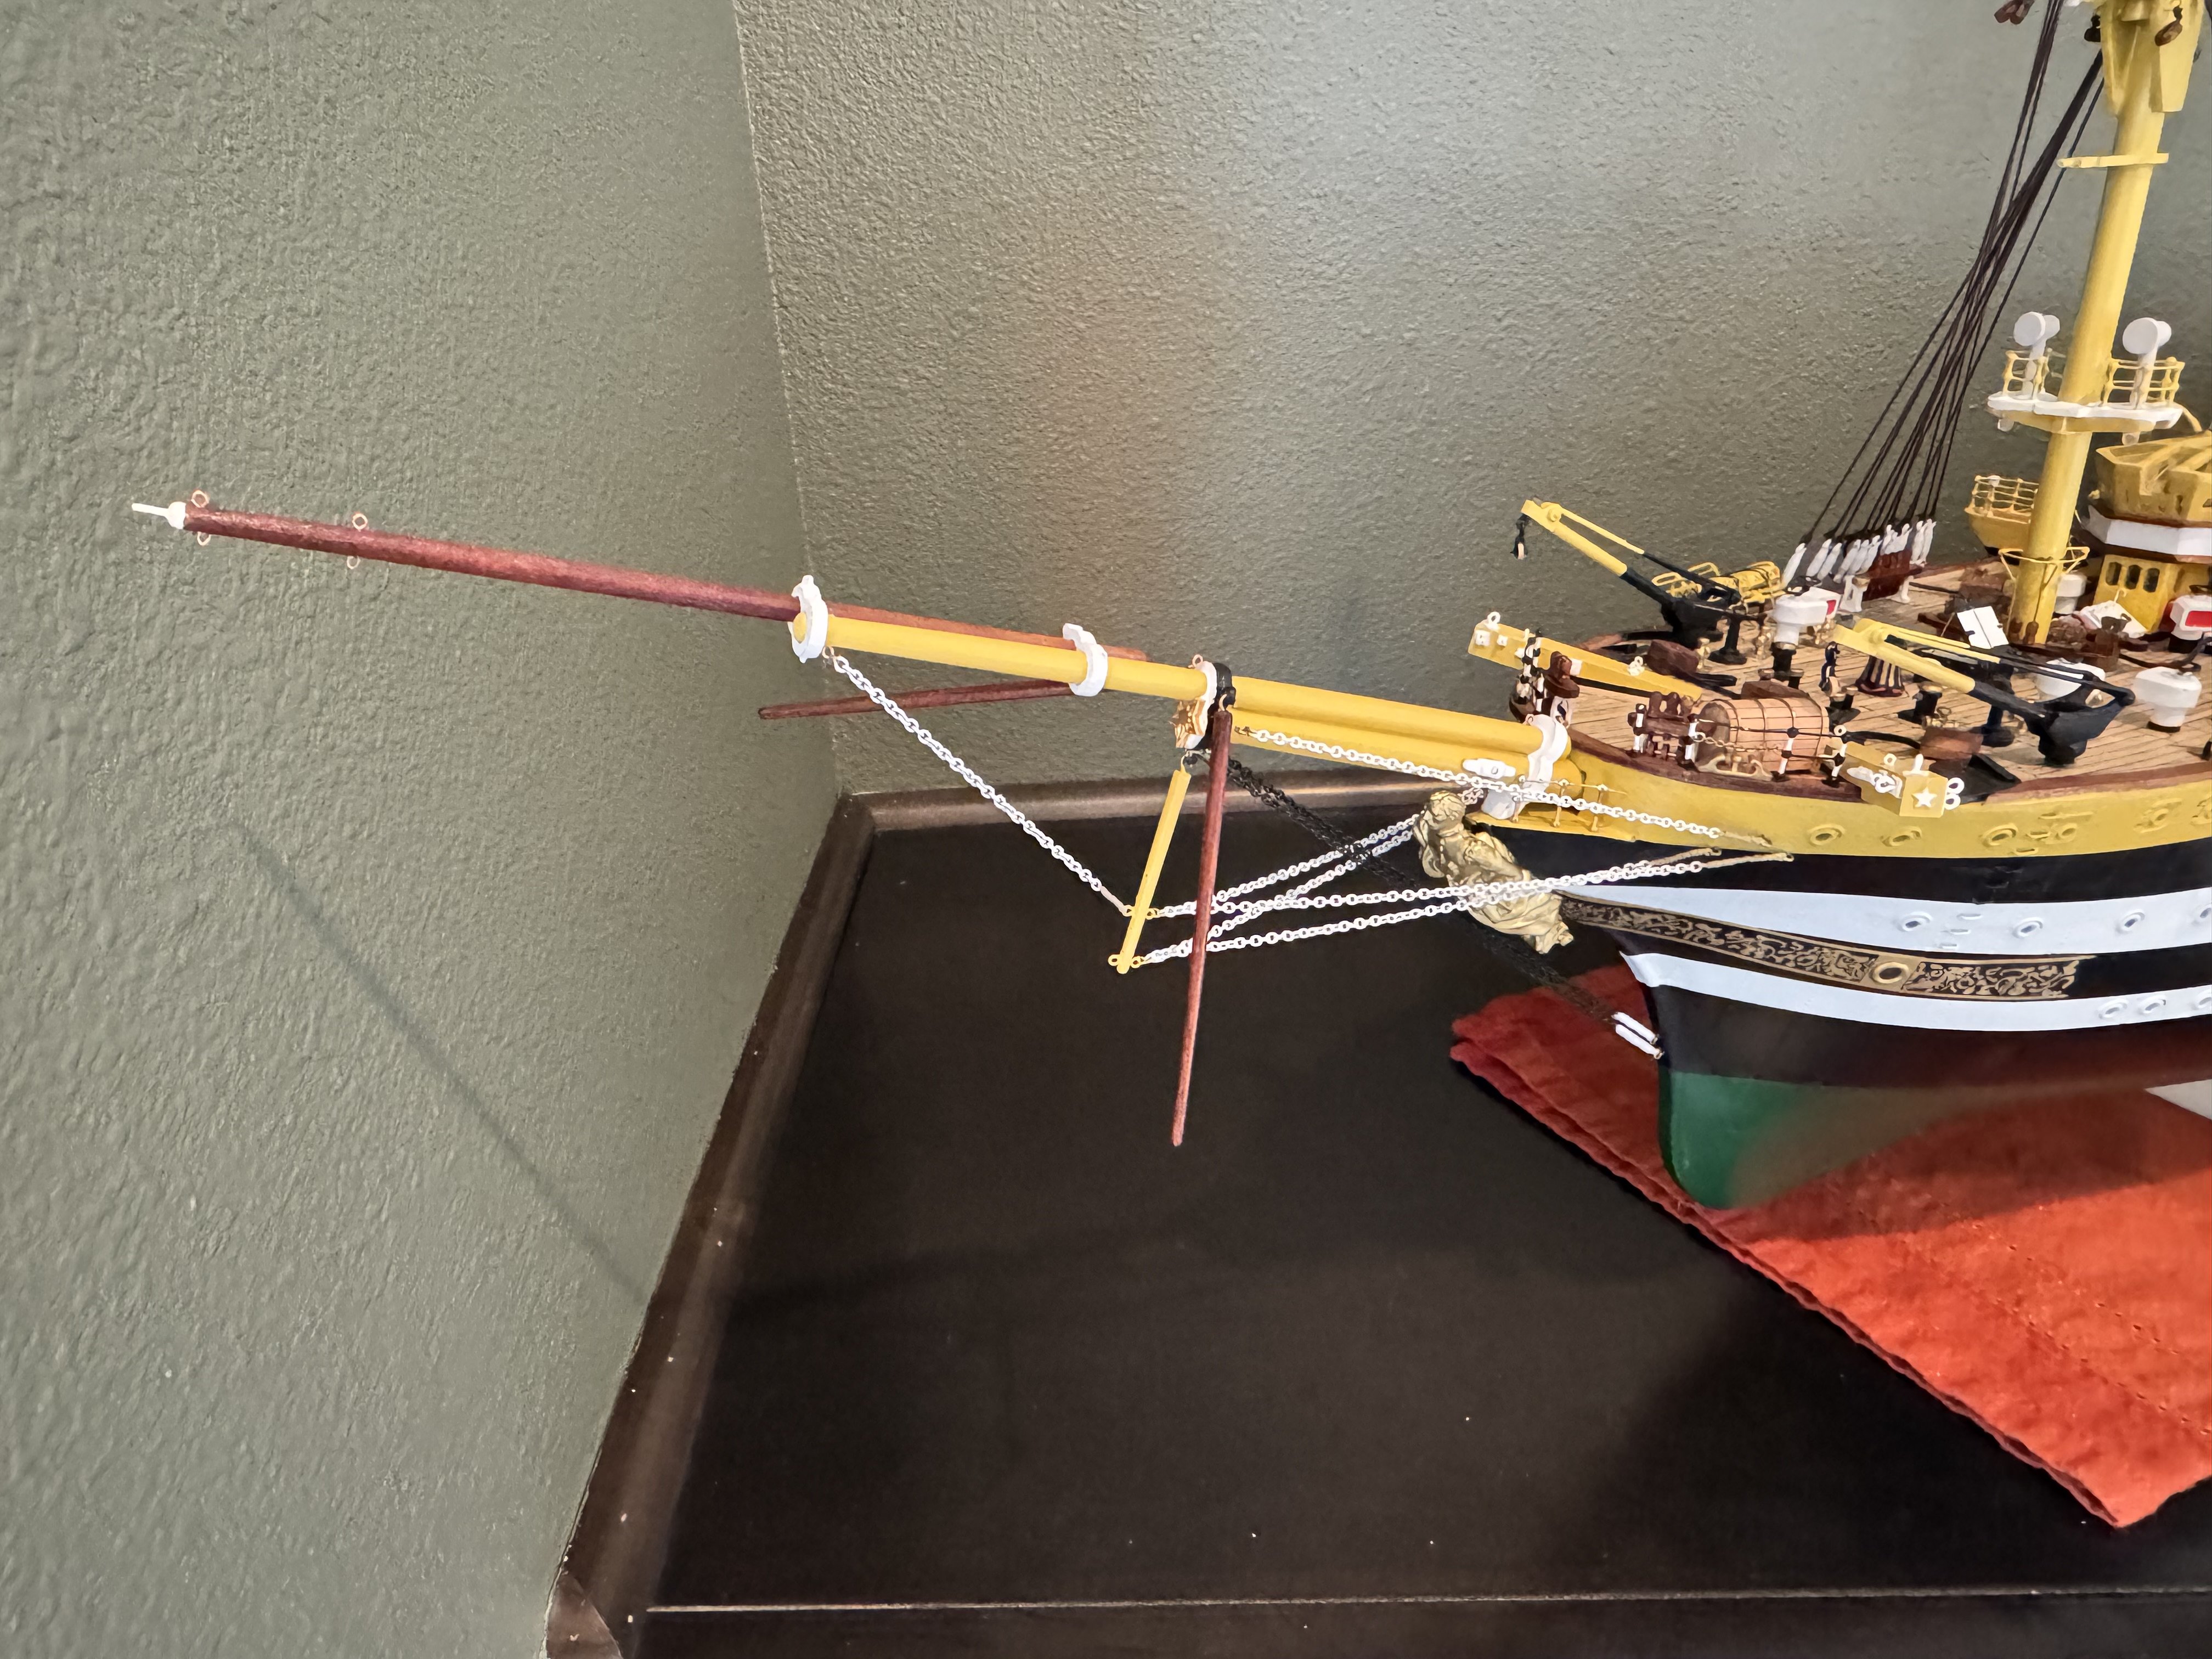
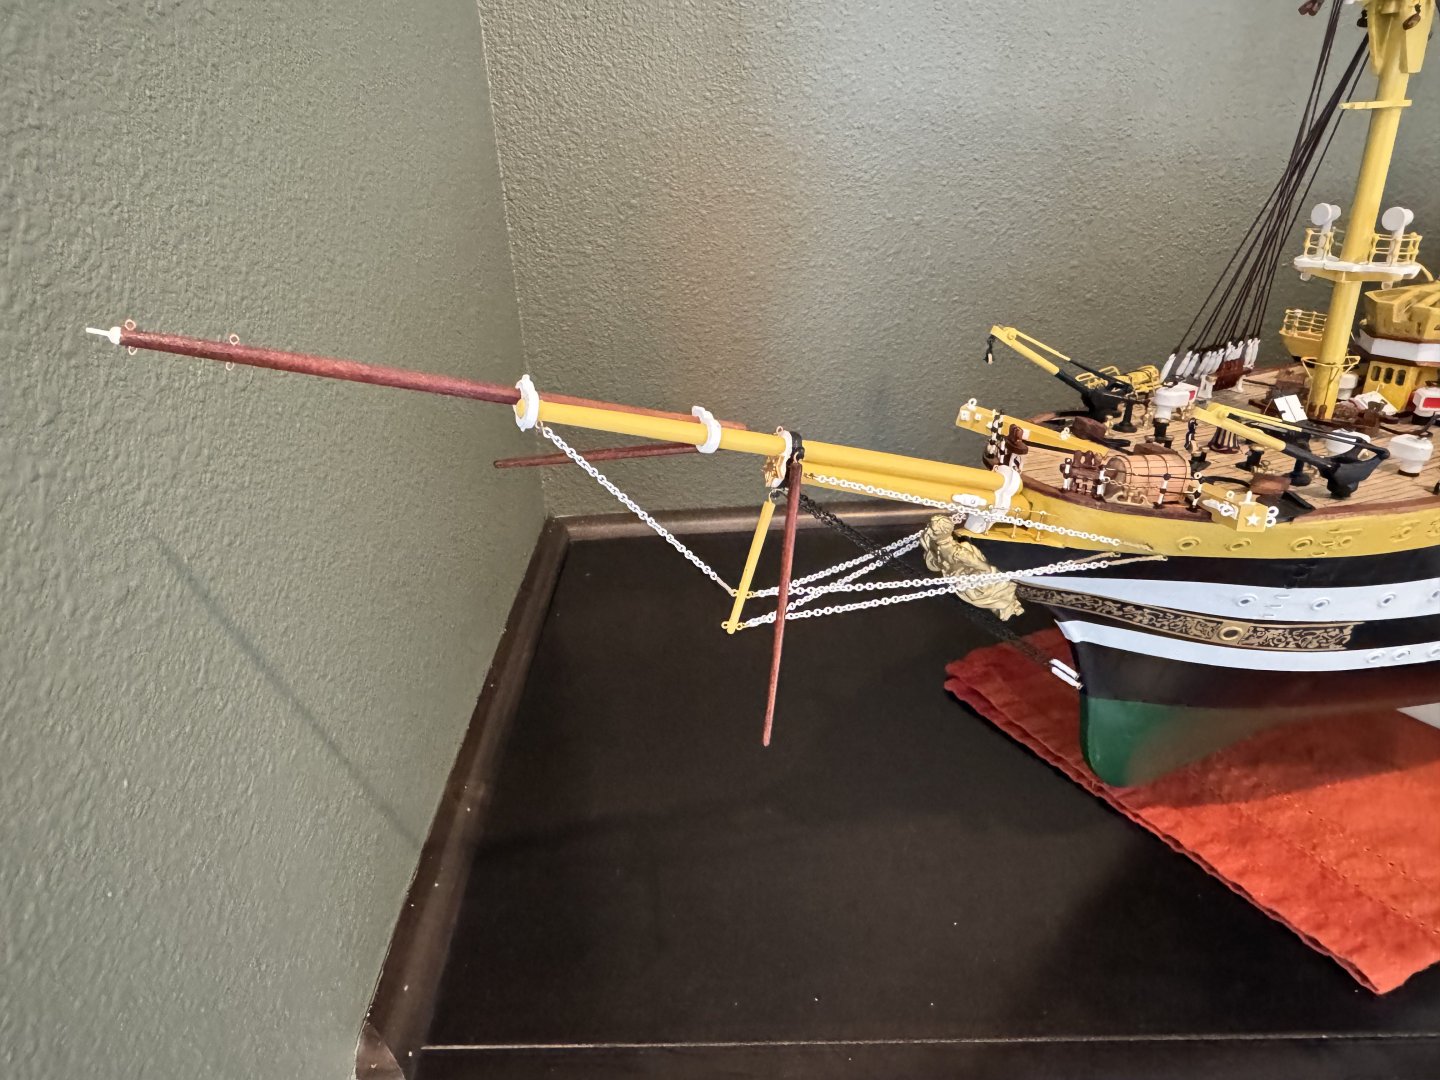
Good day mates, finished the chain work on the bowsprit. A bit different than the OcCre plans, but more like the real America Vespucci. Now to study the standing rigging for the bowsprit.
-
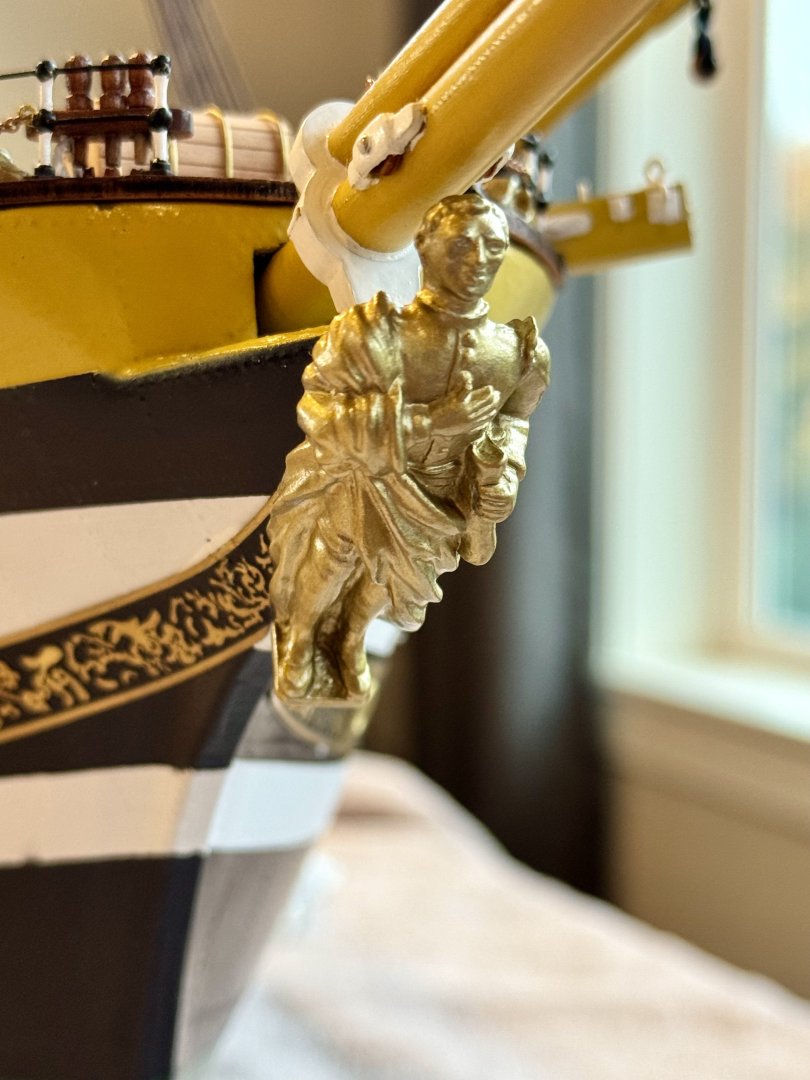
Good morning mates, last night I finally fitted and glued in place the face of the AV, the explorer Amerigo Vespucci him self, or a reasonable facsimile. Lots of work went into widening and shaping the groove of the piece to fit my hull, but in the end a nice firm snug fit.
-
Welcome to MSW!
-
Good morning, I just saw a post on Facebook about your model. It looks great! I was just on her decks about a week ago and I immediately recognized the canopy frames of the USS Constitution. Keep up the great work. This might be my next build….but need to finish my Amerigo Vespucci first.
-
Good evening mates! I have a question for all you more experienced modelers. The Amerigo Vespucci that I'm building will require some 1mm chain from the bowsprit to the bow of the ship. Several of the chains need to be black, not a big deal, I can chemically tarnish the chain from the kit and make it black with a mat clear coat sealer and done! The model will also require some WHITE 1mm chain. I've thought about painting it, but I'm not sure that will work as paint doesn't stick well to the chain. What have you all done to create small 1mm white chain? Daniel
-
BozzyBox, thank you for your kind words. Sorry it's taken so long to get back to you, my wife and I have been out of town. Actually, I had the opportunity to go on board the USS Constitution floating in Boston, MA USA harbor. Like you, I'm not really into war ships; however, I might have to make an exception for the USS Constitution because I have actually stood on her decks! While I was there I took a ton of pictures that may help in a future build. As for my Amerigo Vespucci by OcCre, it's my third build and each new ship I feel my skill level improves and is more detailed than the last one. Funny you mentioned that I call things by their "actual" names...that made me laugh because I'm still struggling with the terminology on these old ships and probably make up more terms than use the real names of things. Additionally, some items have several names which also make it difficult for me to follow along at times. Good luck on you AV build. Be sure to create a build log so that we all can follow along! Daniel
-
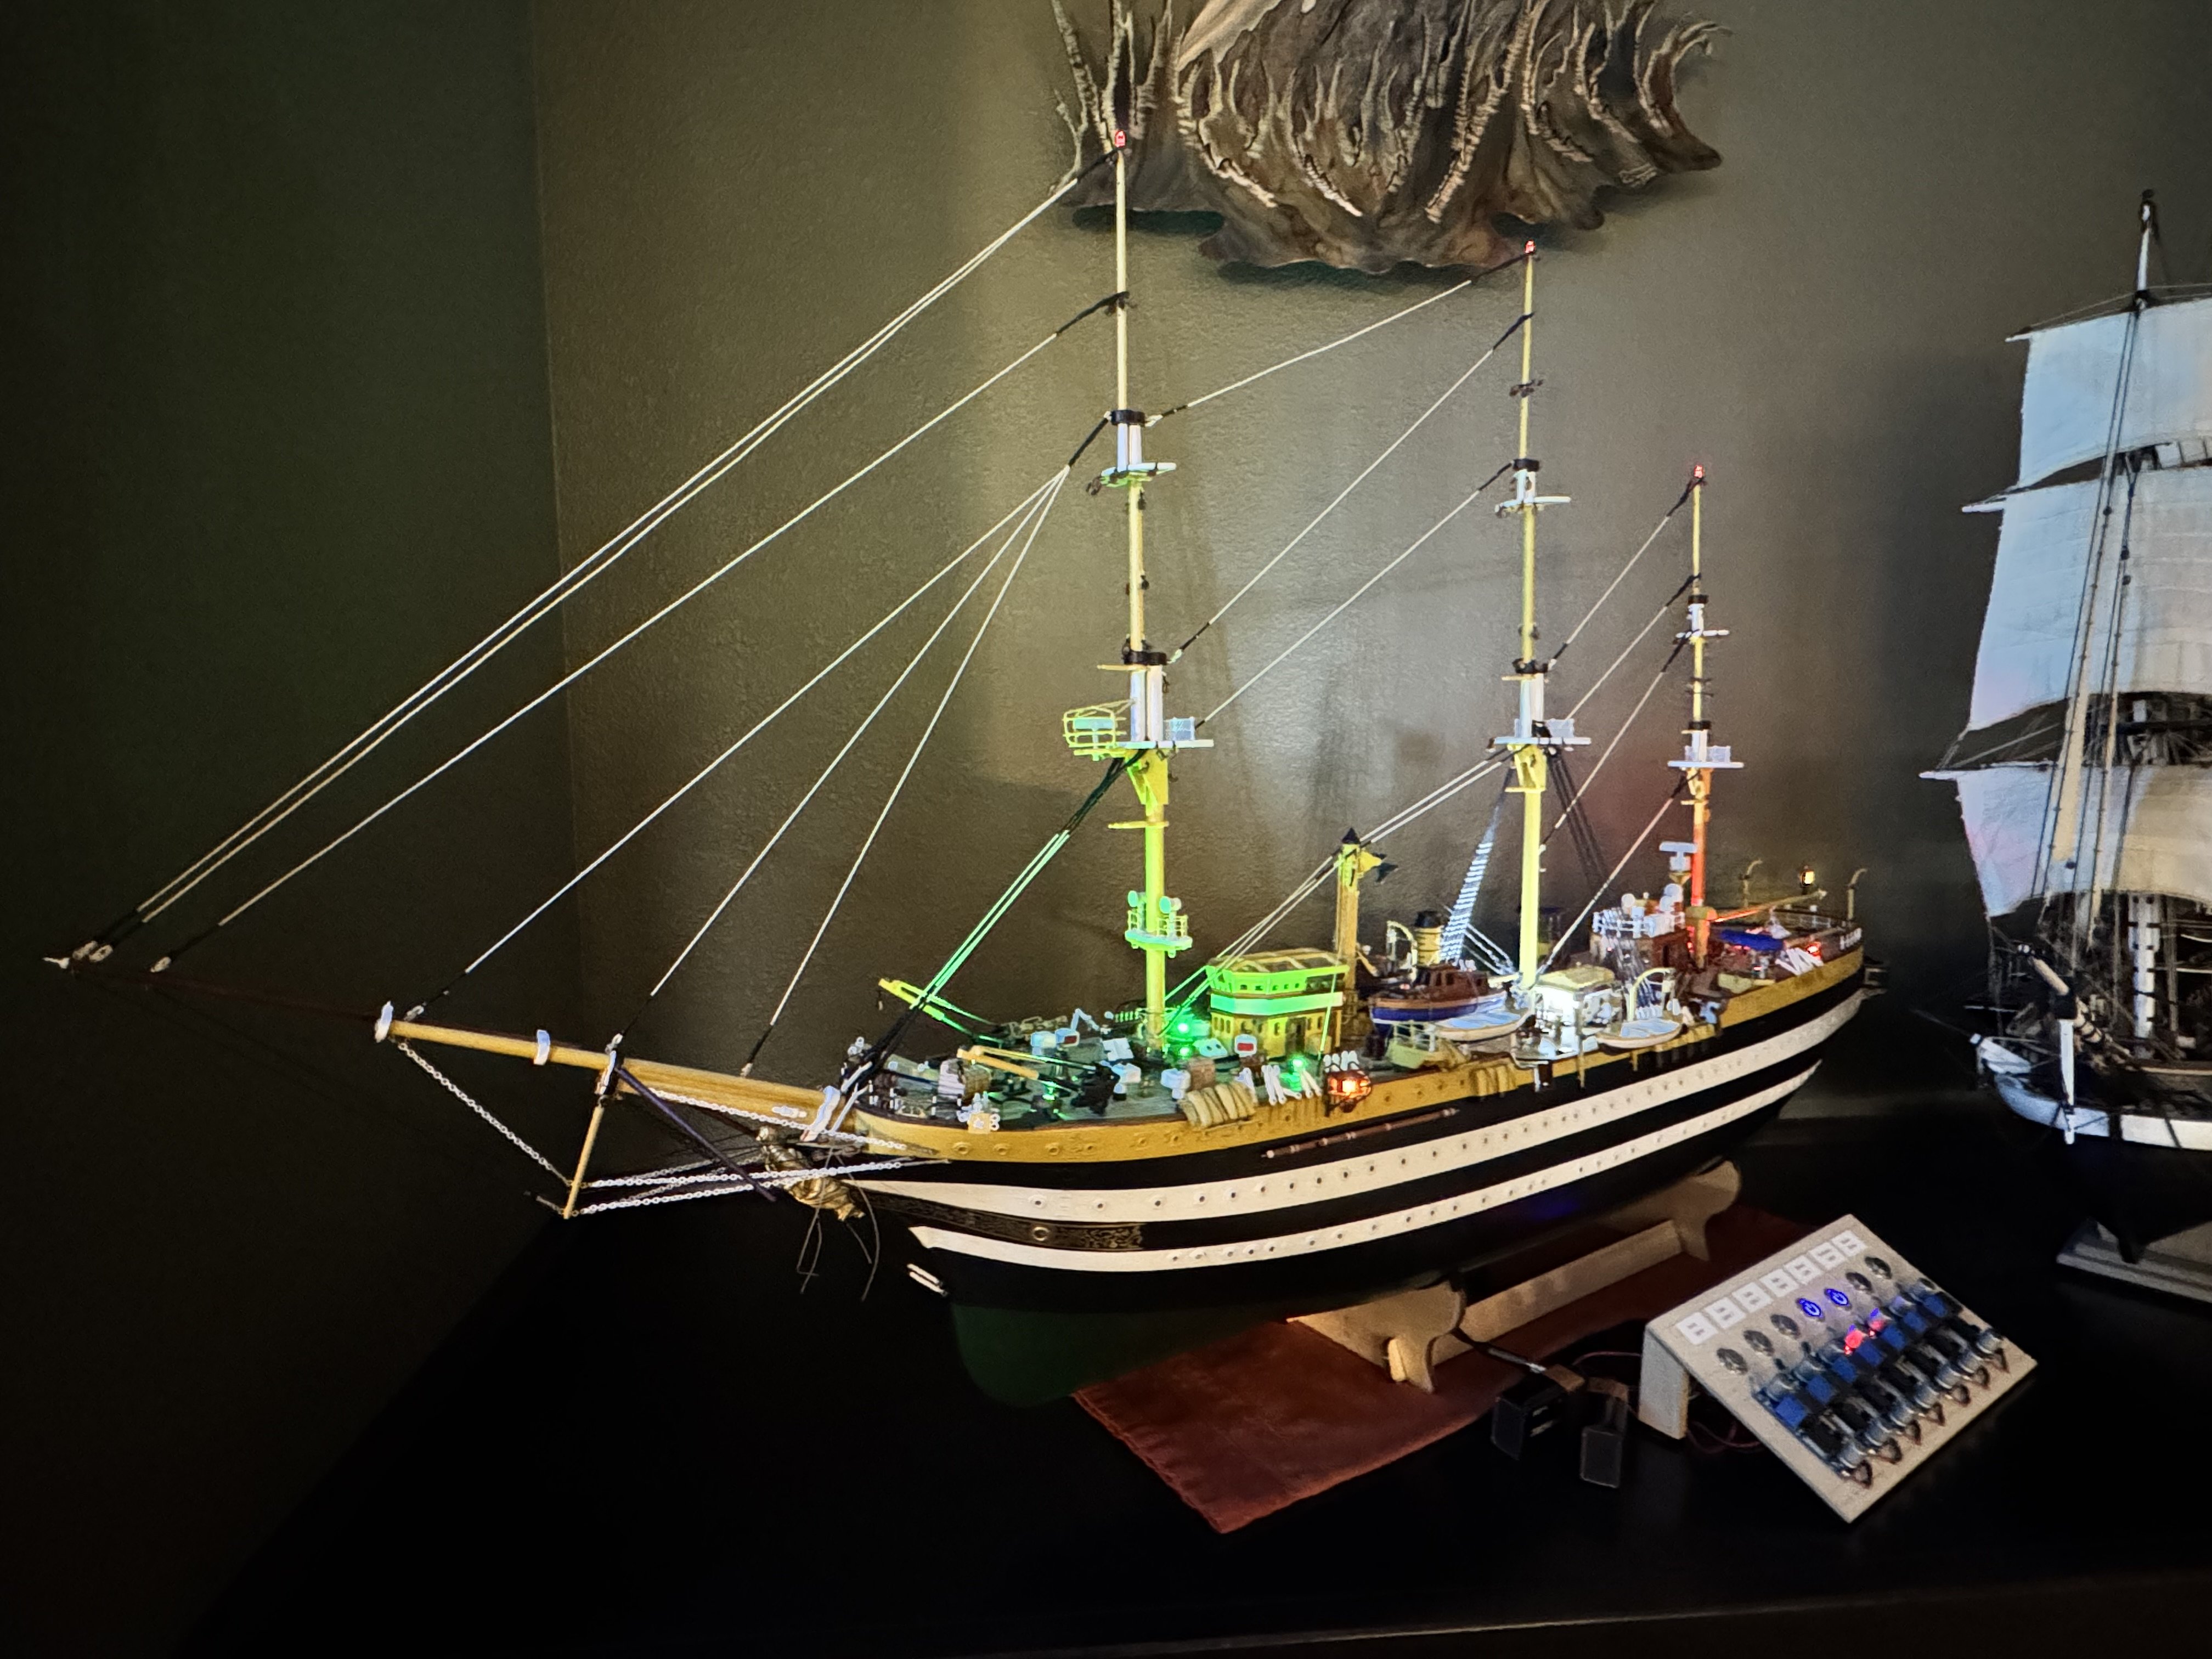
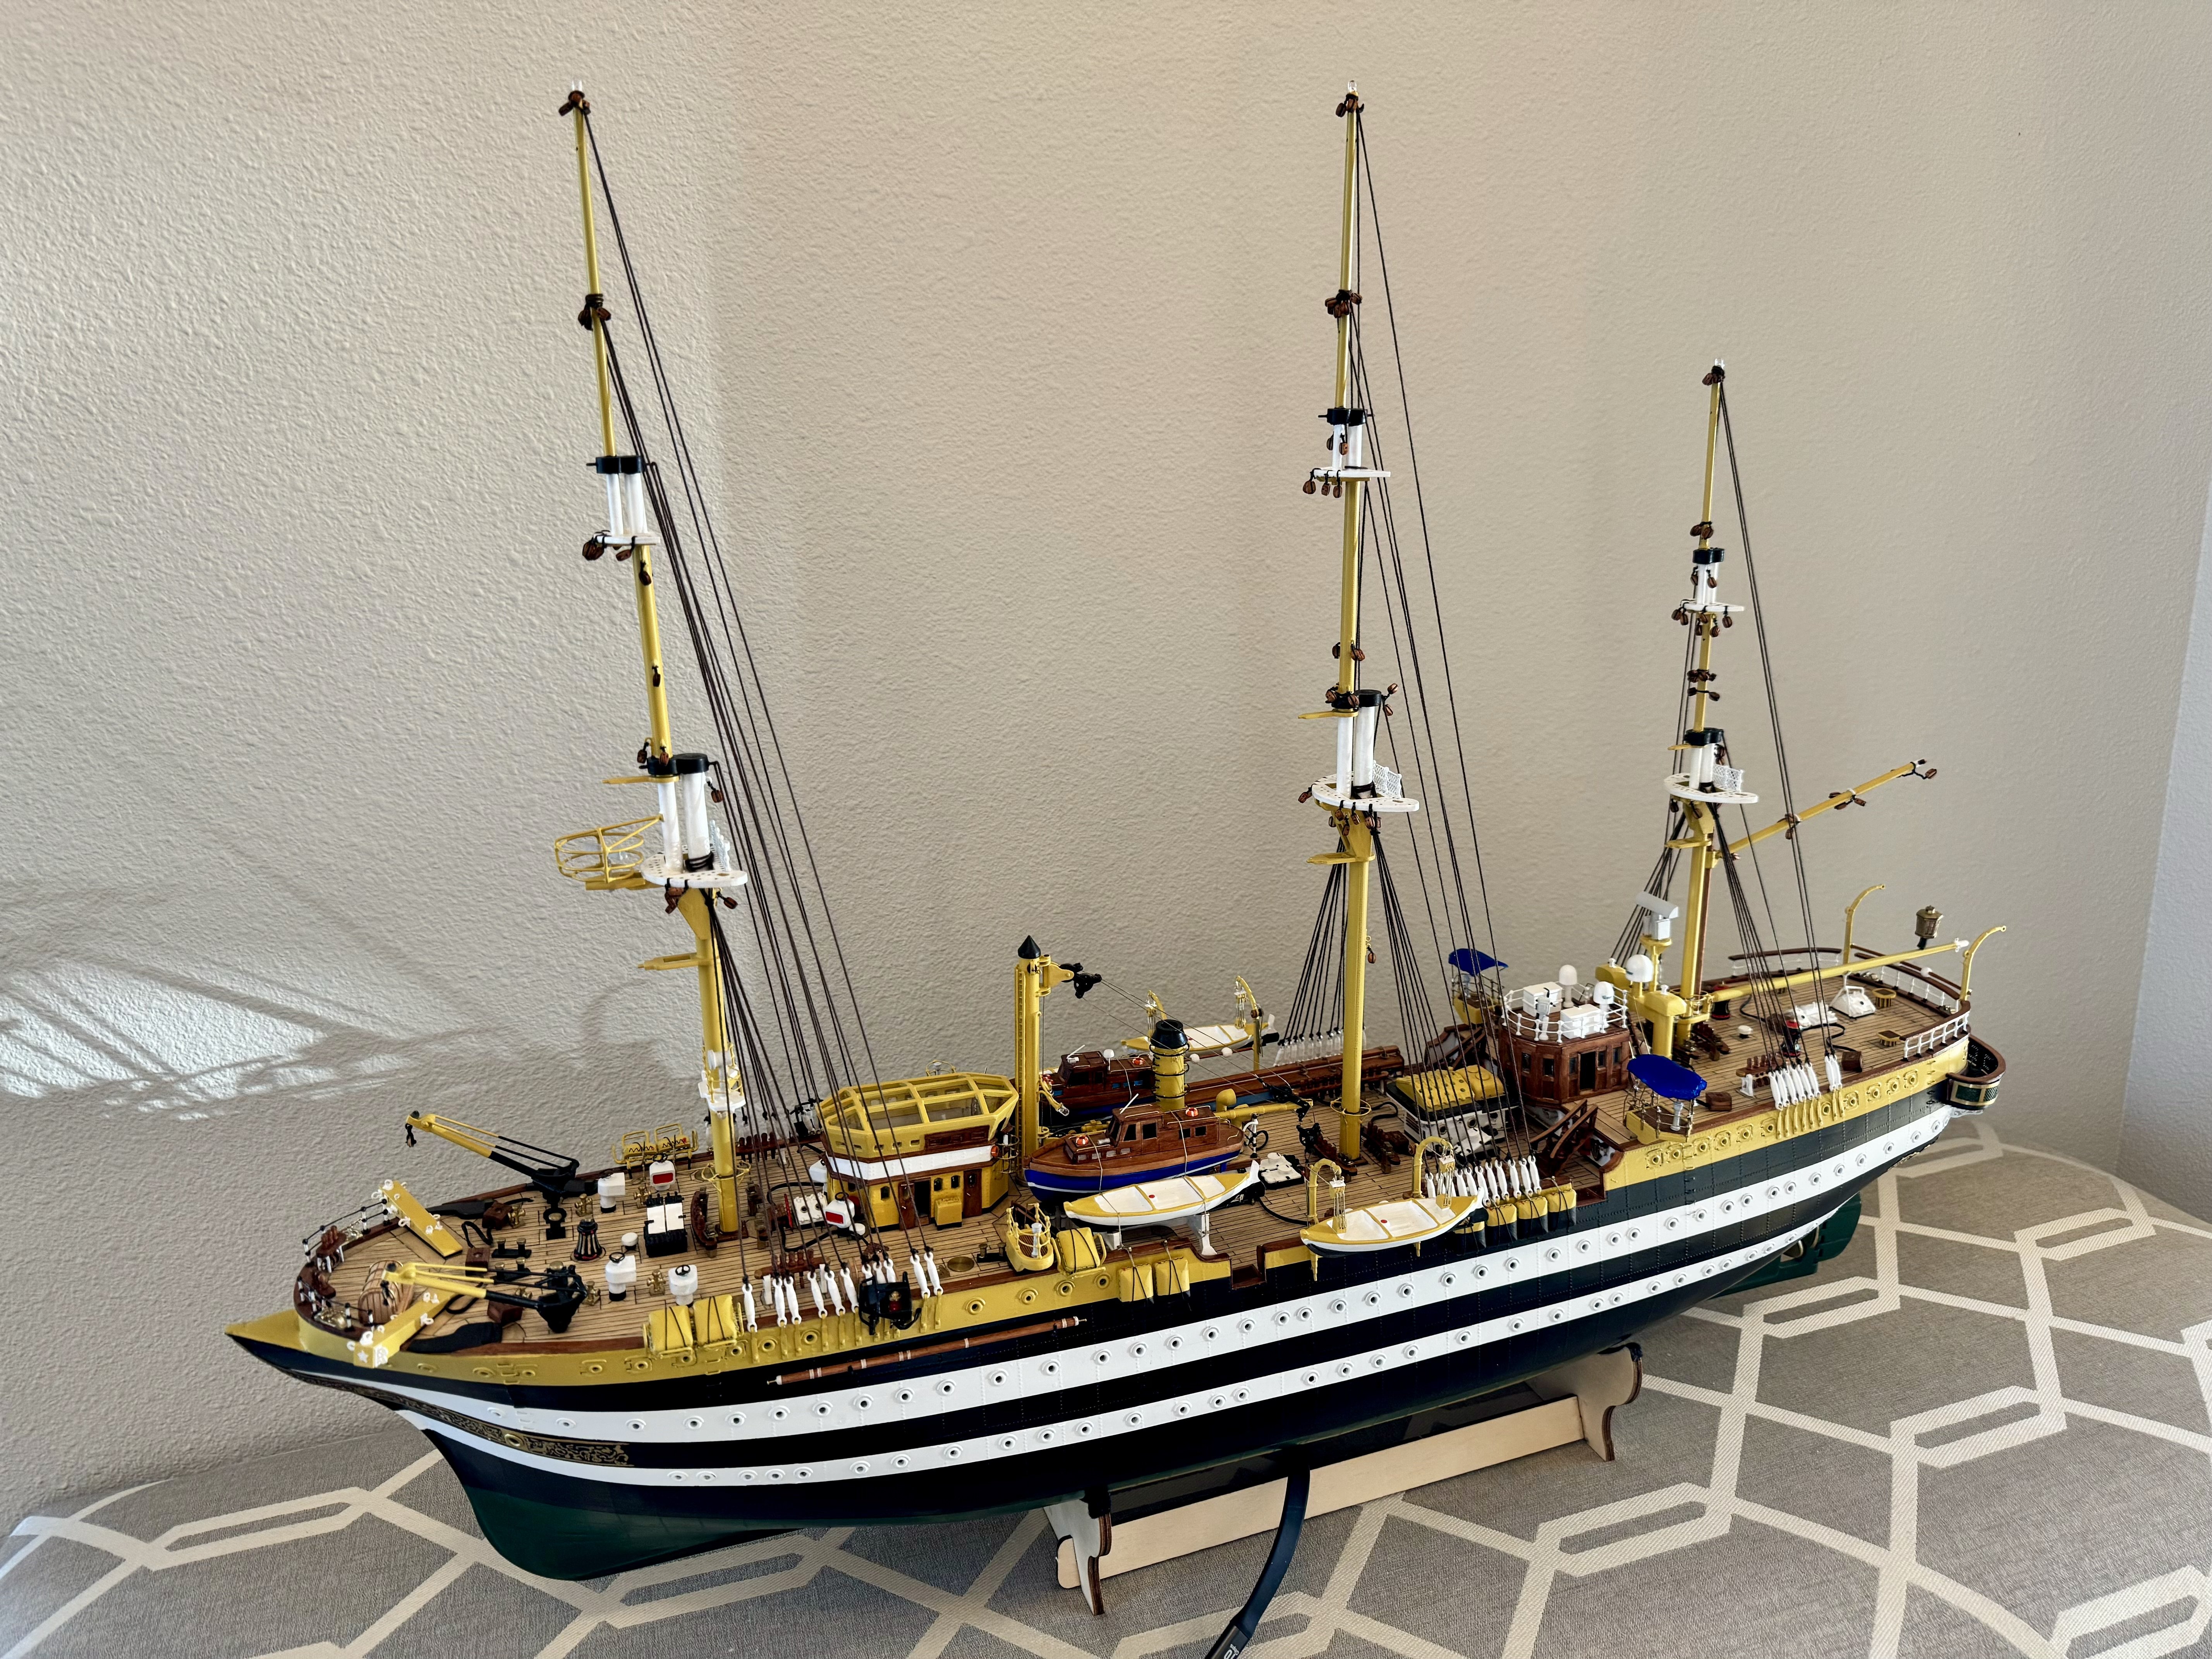
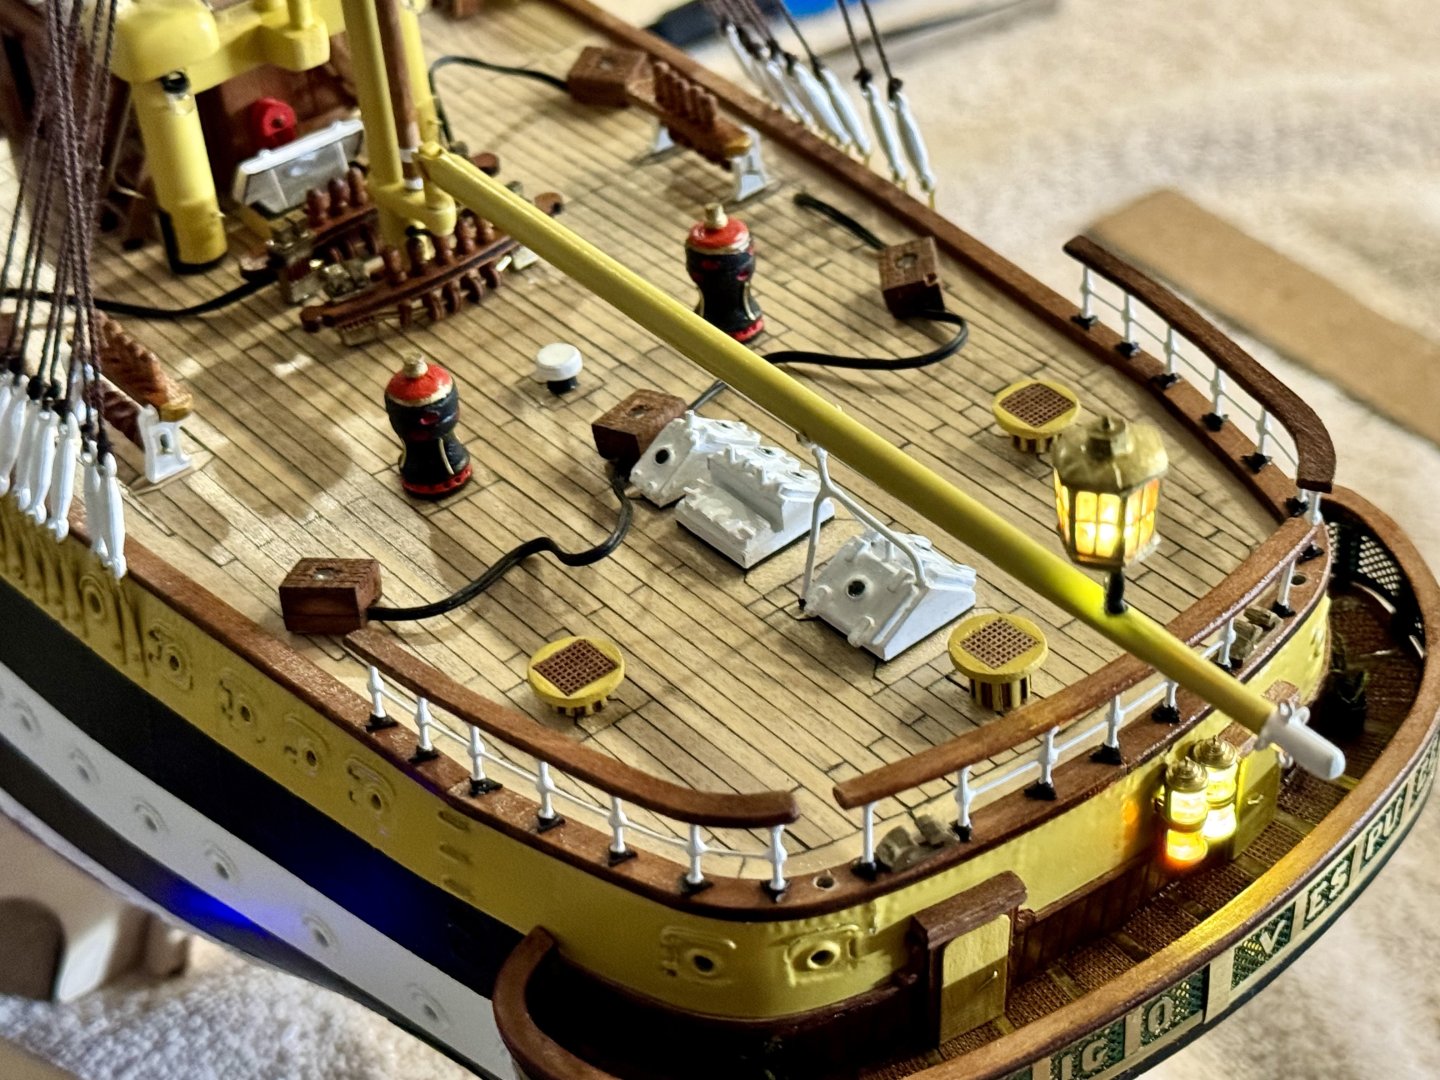
Thanks for stopping by and/or following along with my OcCre Amerigo Vespucci build. Here is a wide shot from today along with some closeups of what I’ve been working on recently.

-
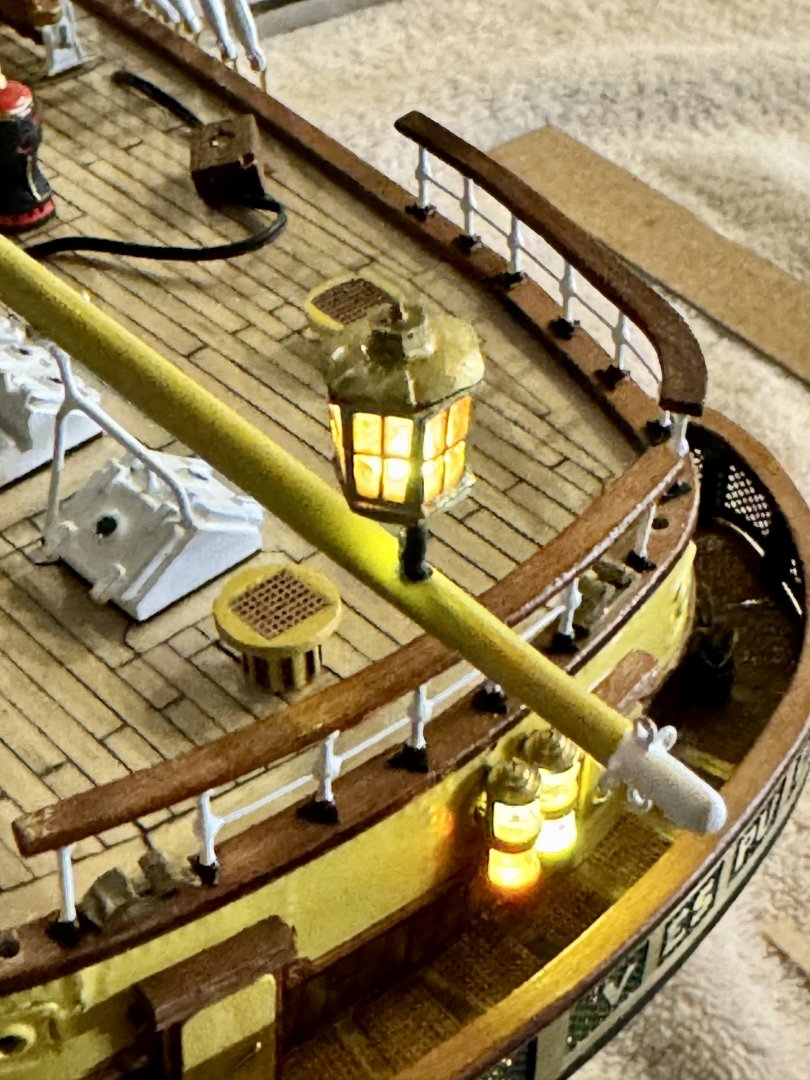
Good evening mates. This next task has taken a long time to figure out what to do. The Amerigo Vespucci has a lantern type light near the stern of the ship. I have wired for this, but have not, until recently, found a lantern that would work. Thanks to Syren Ship Model Company, I finally found my lantern.
-
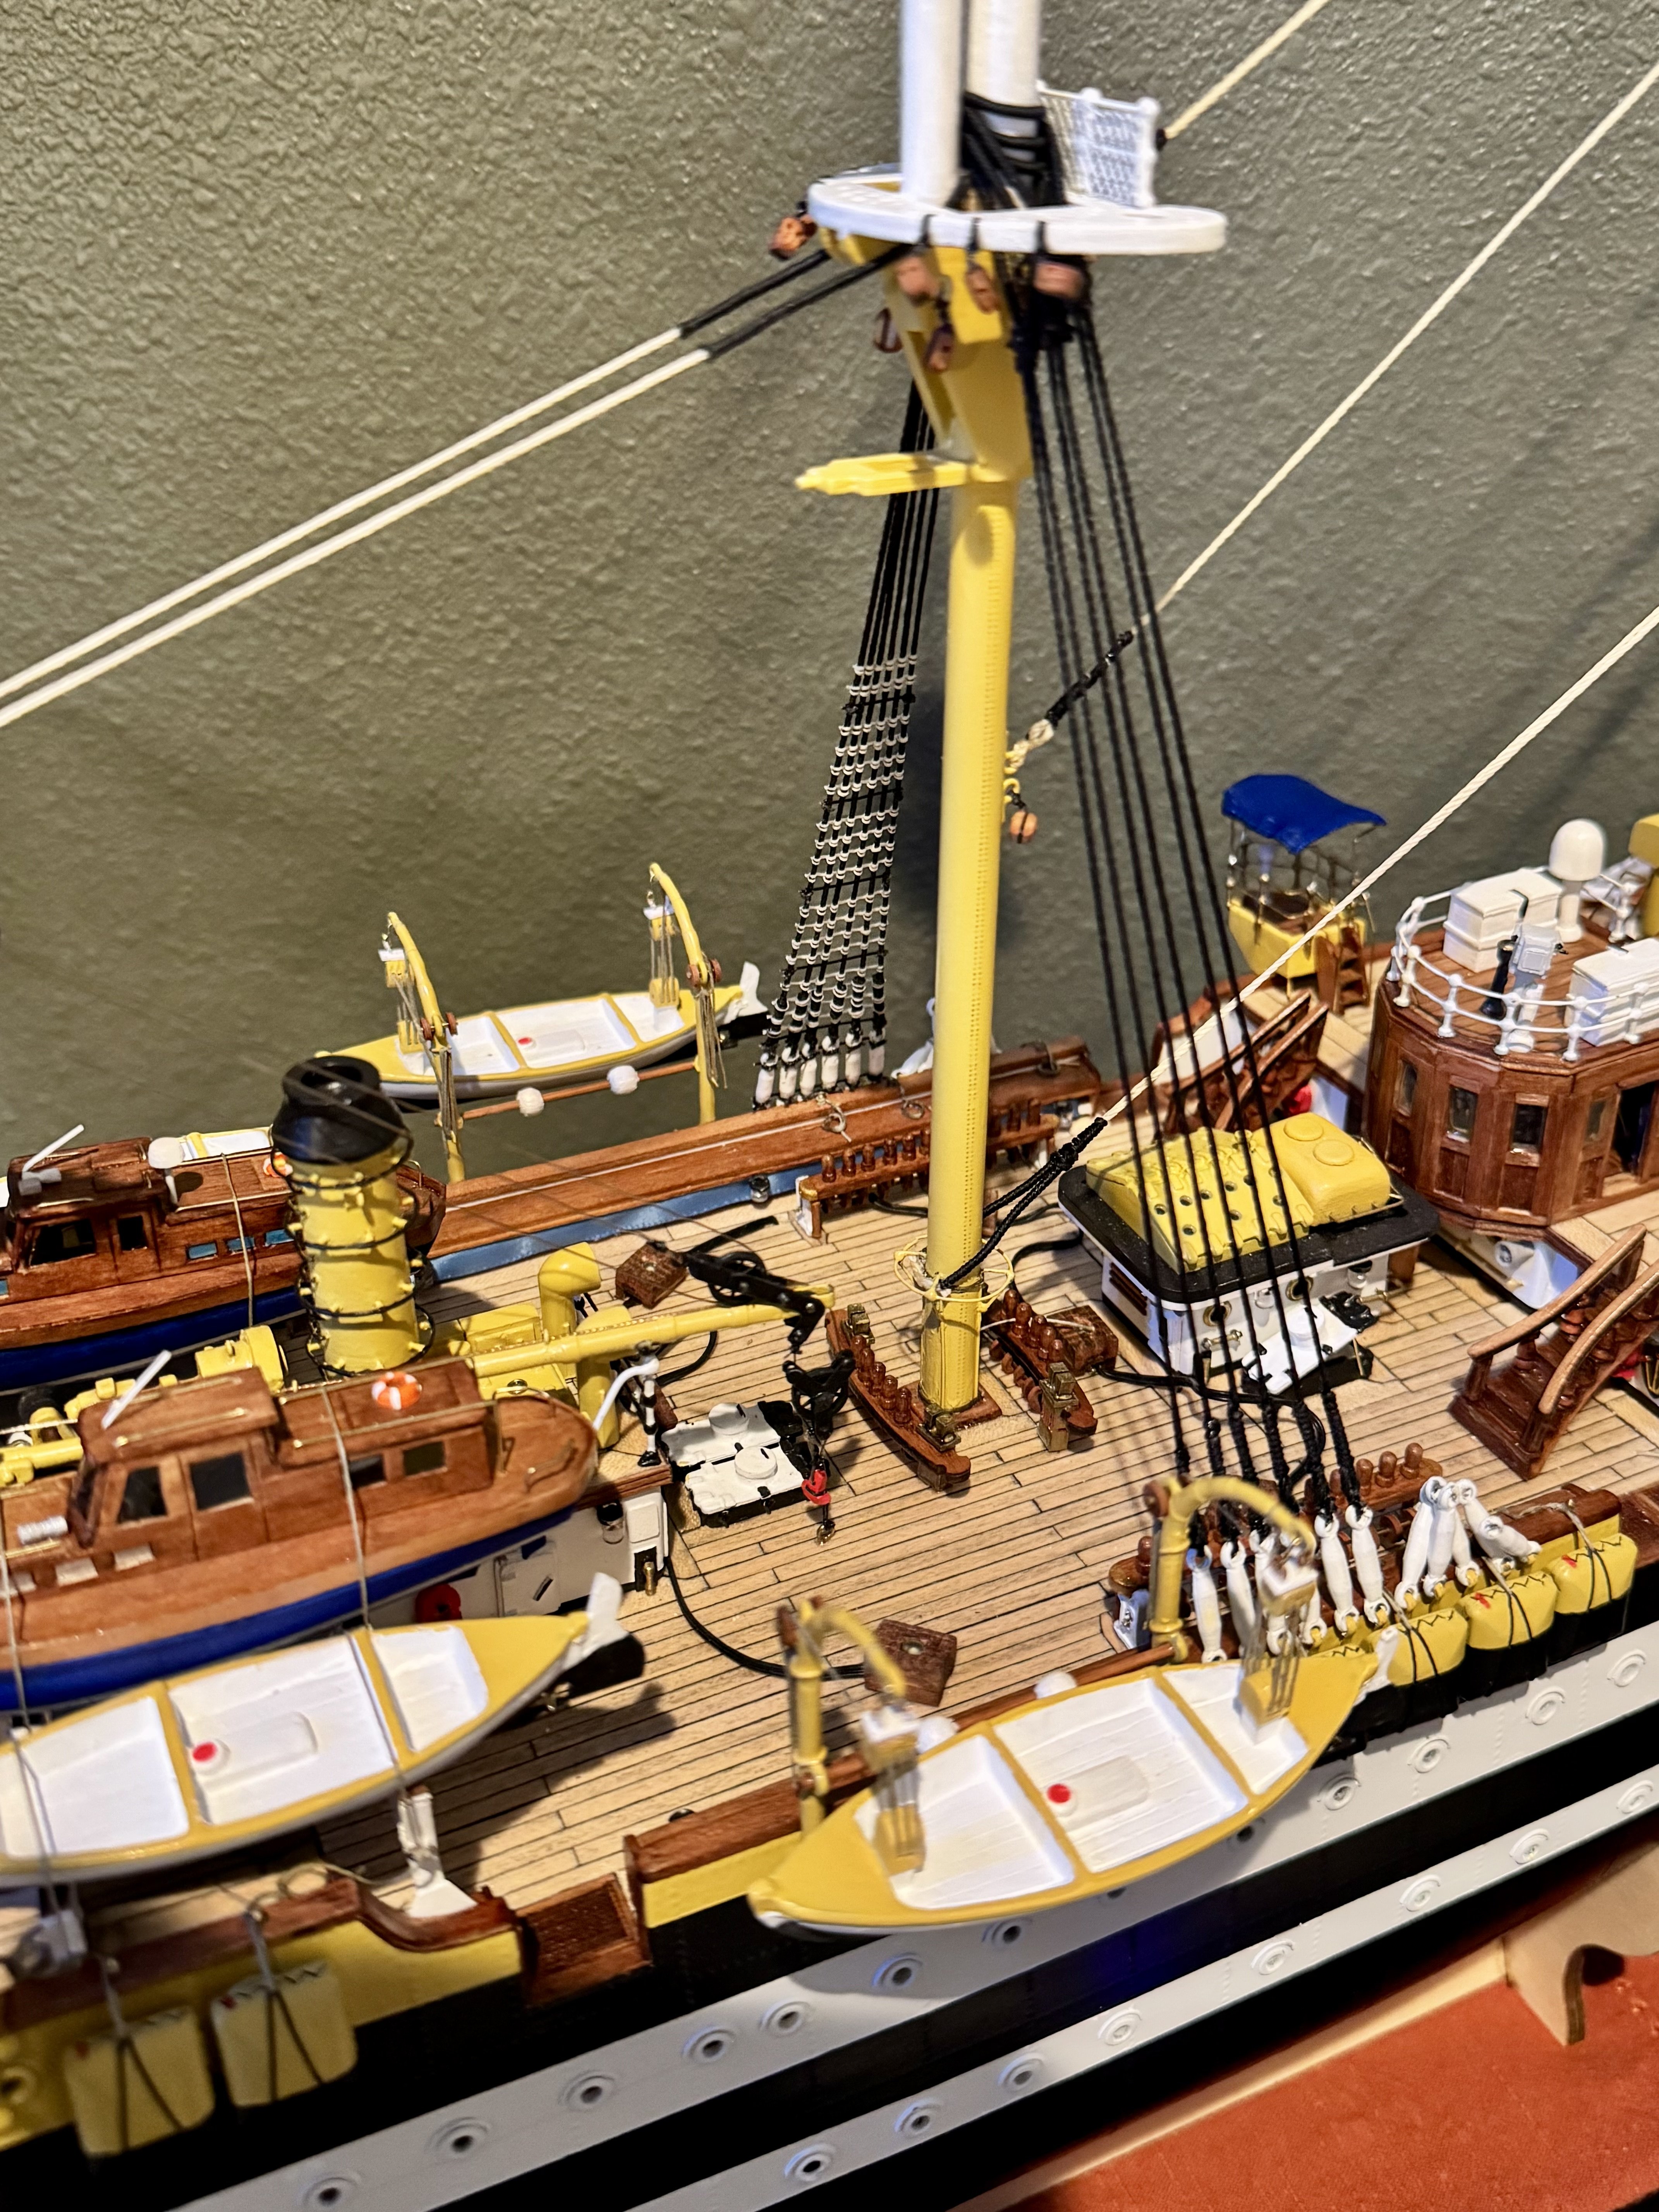
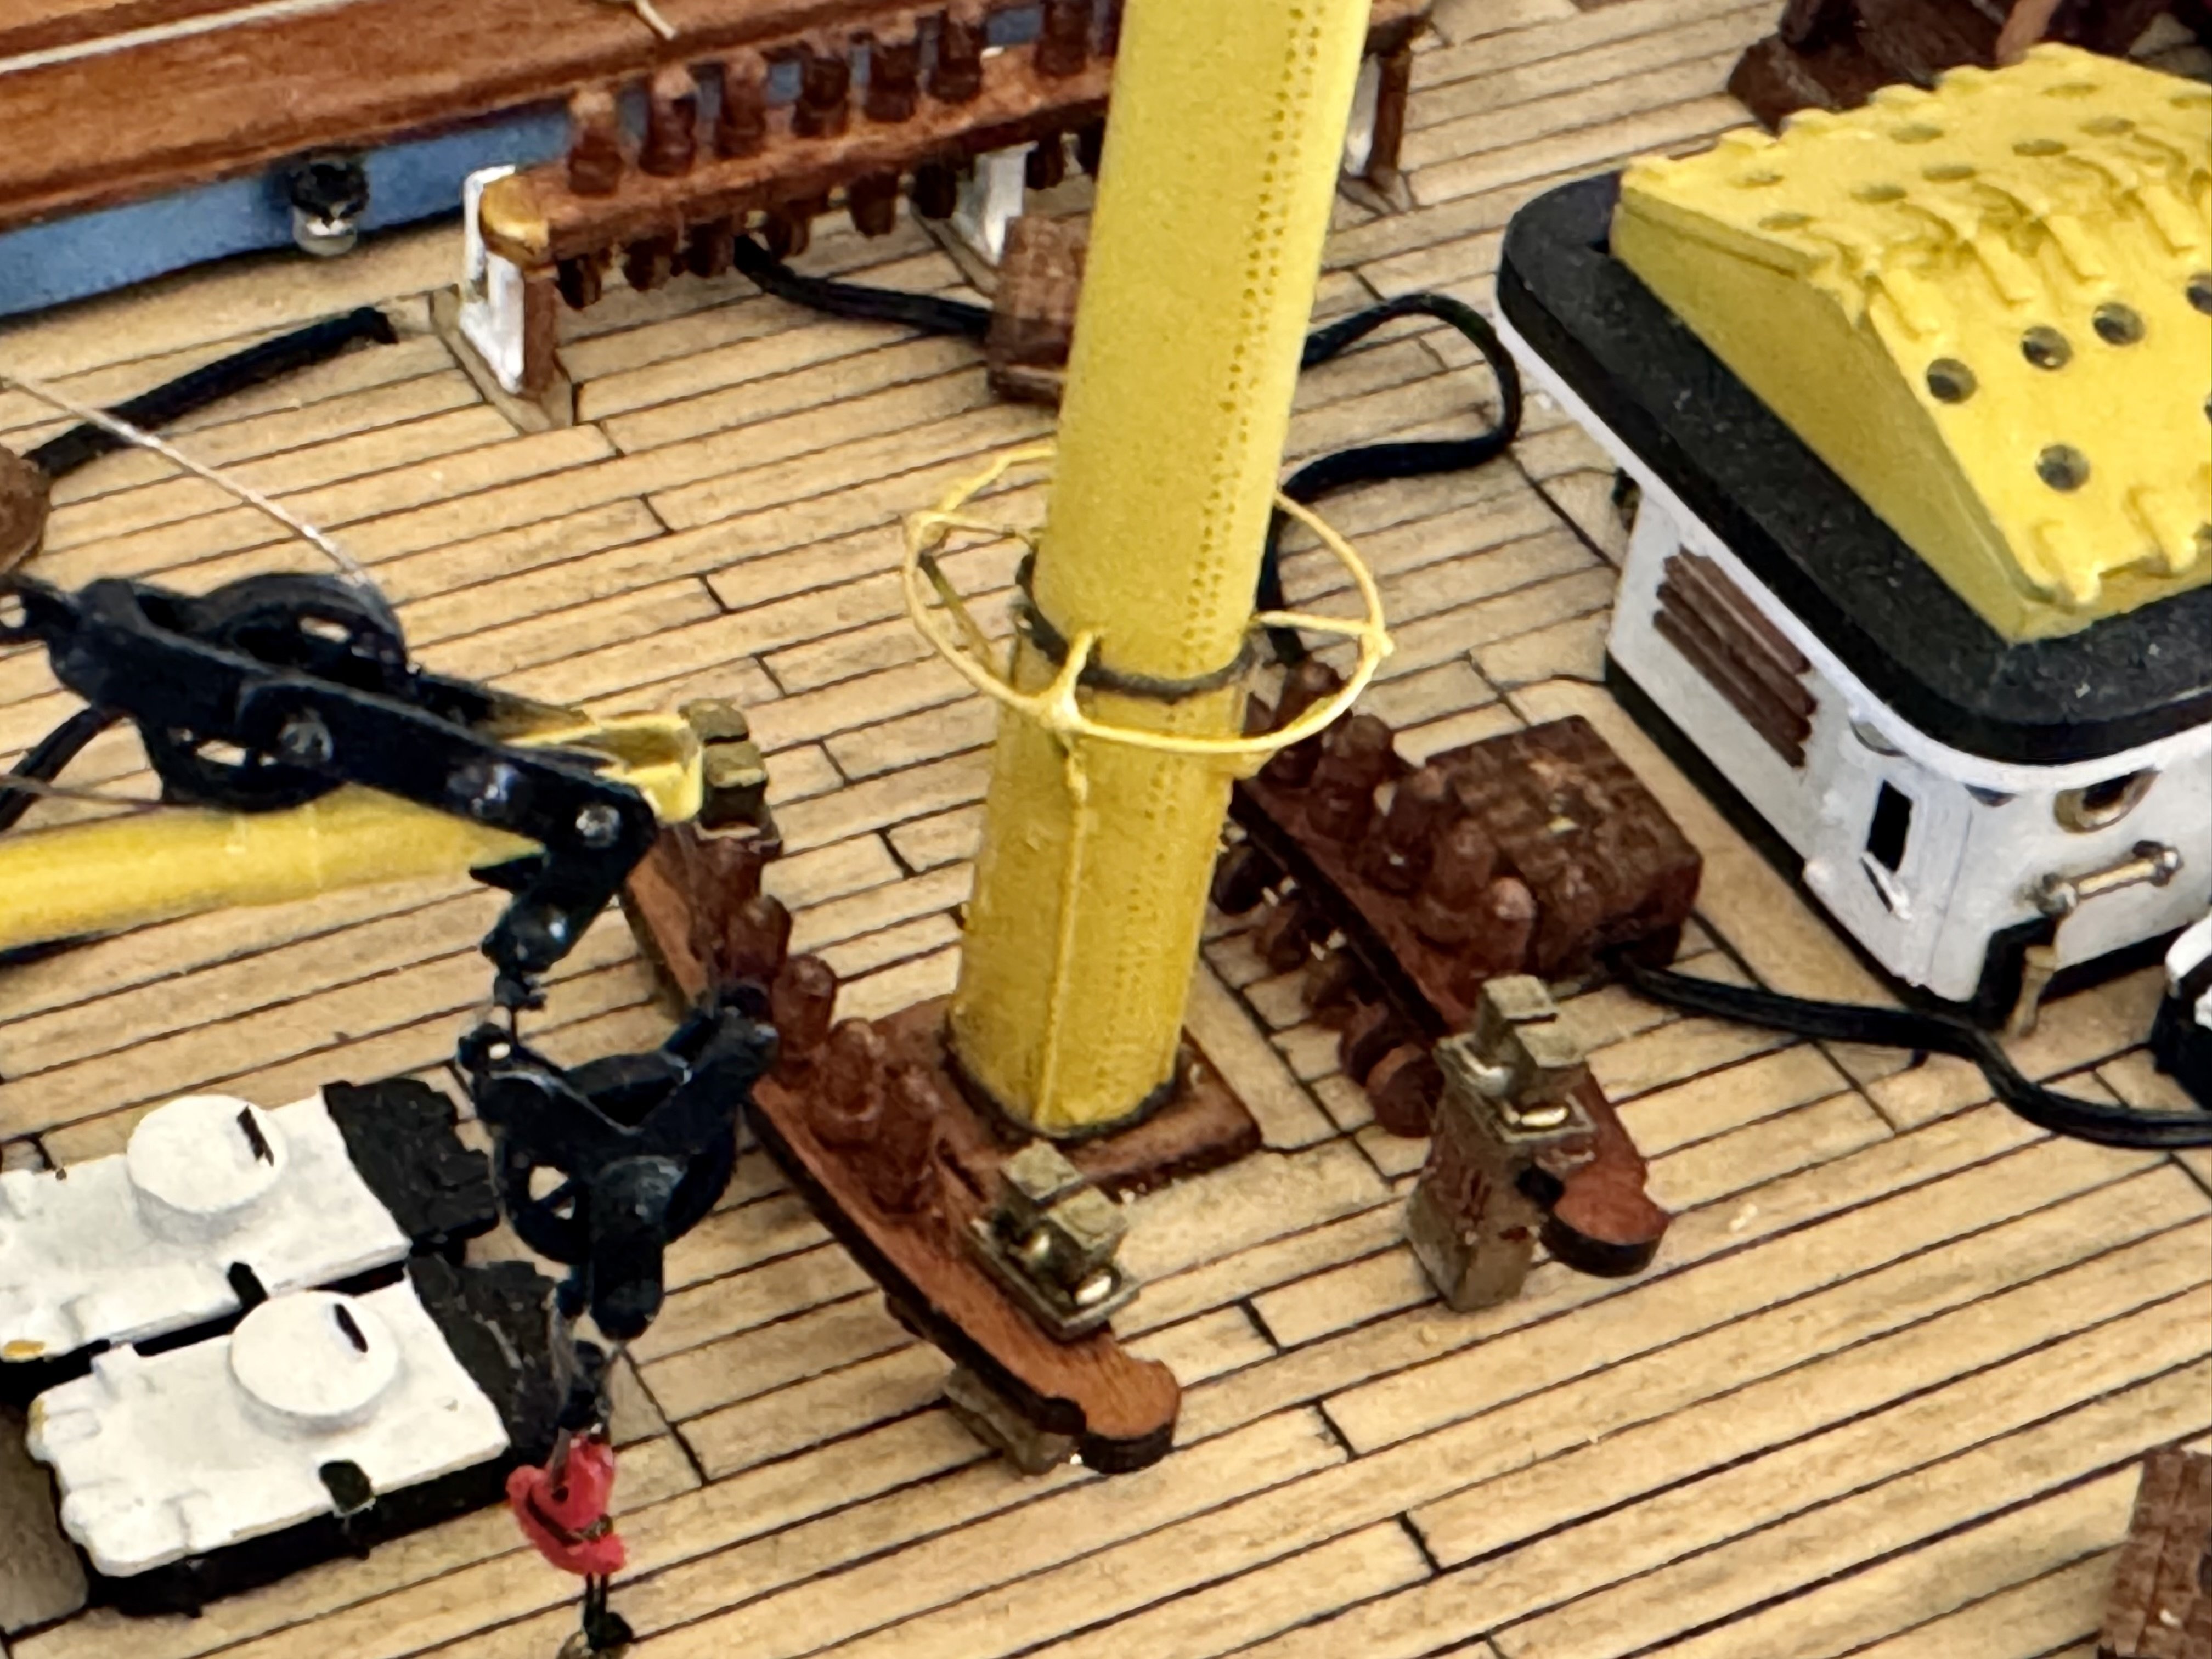
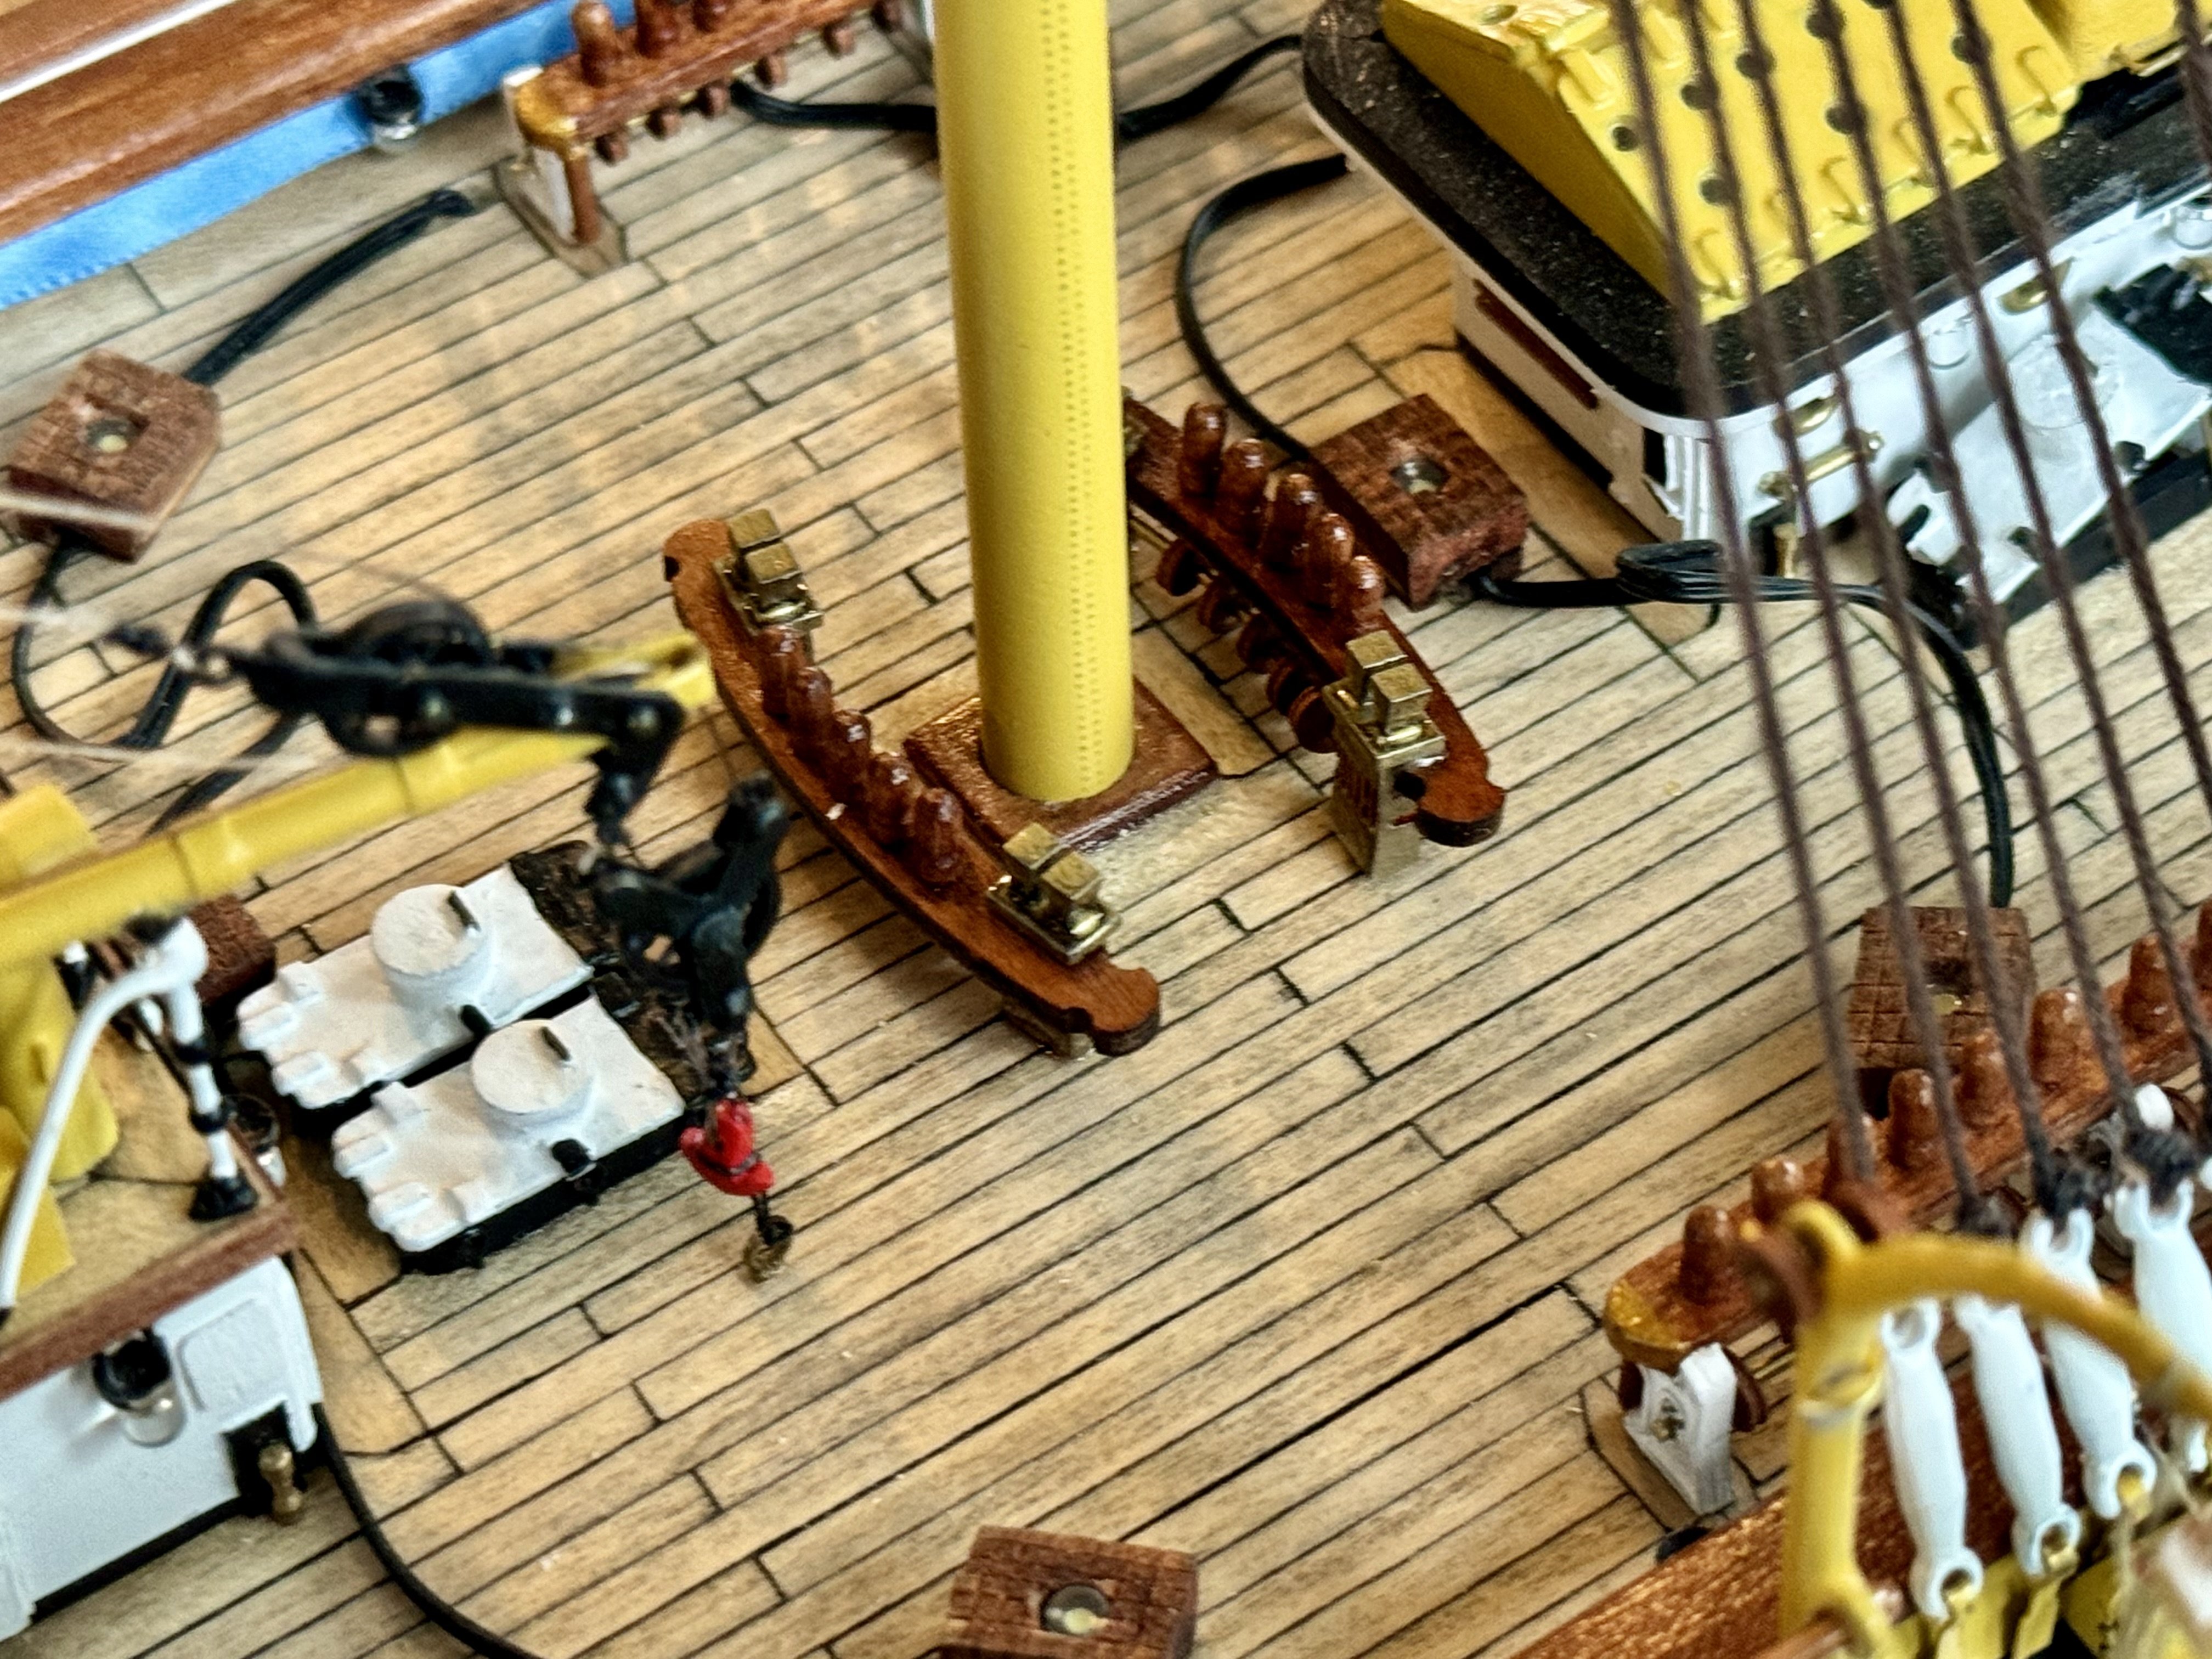
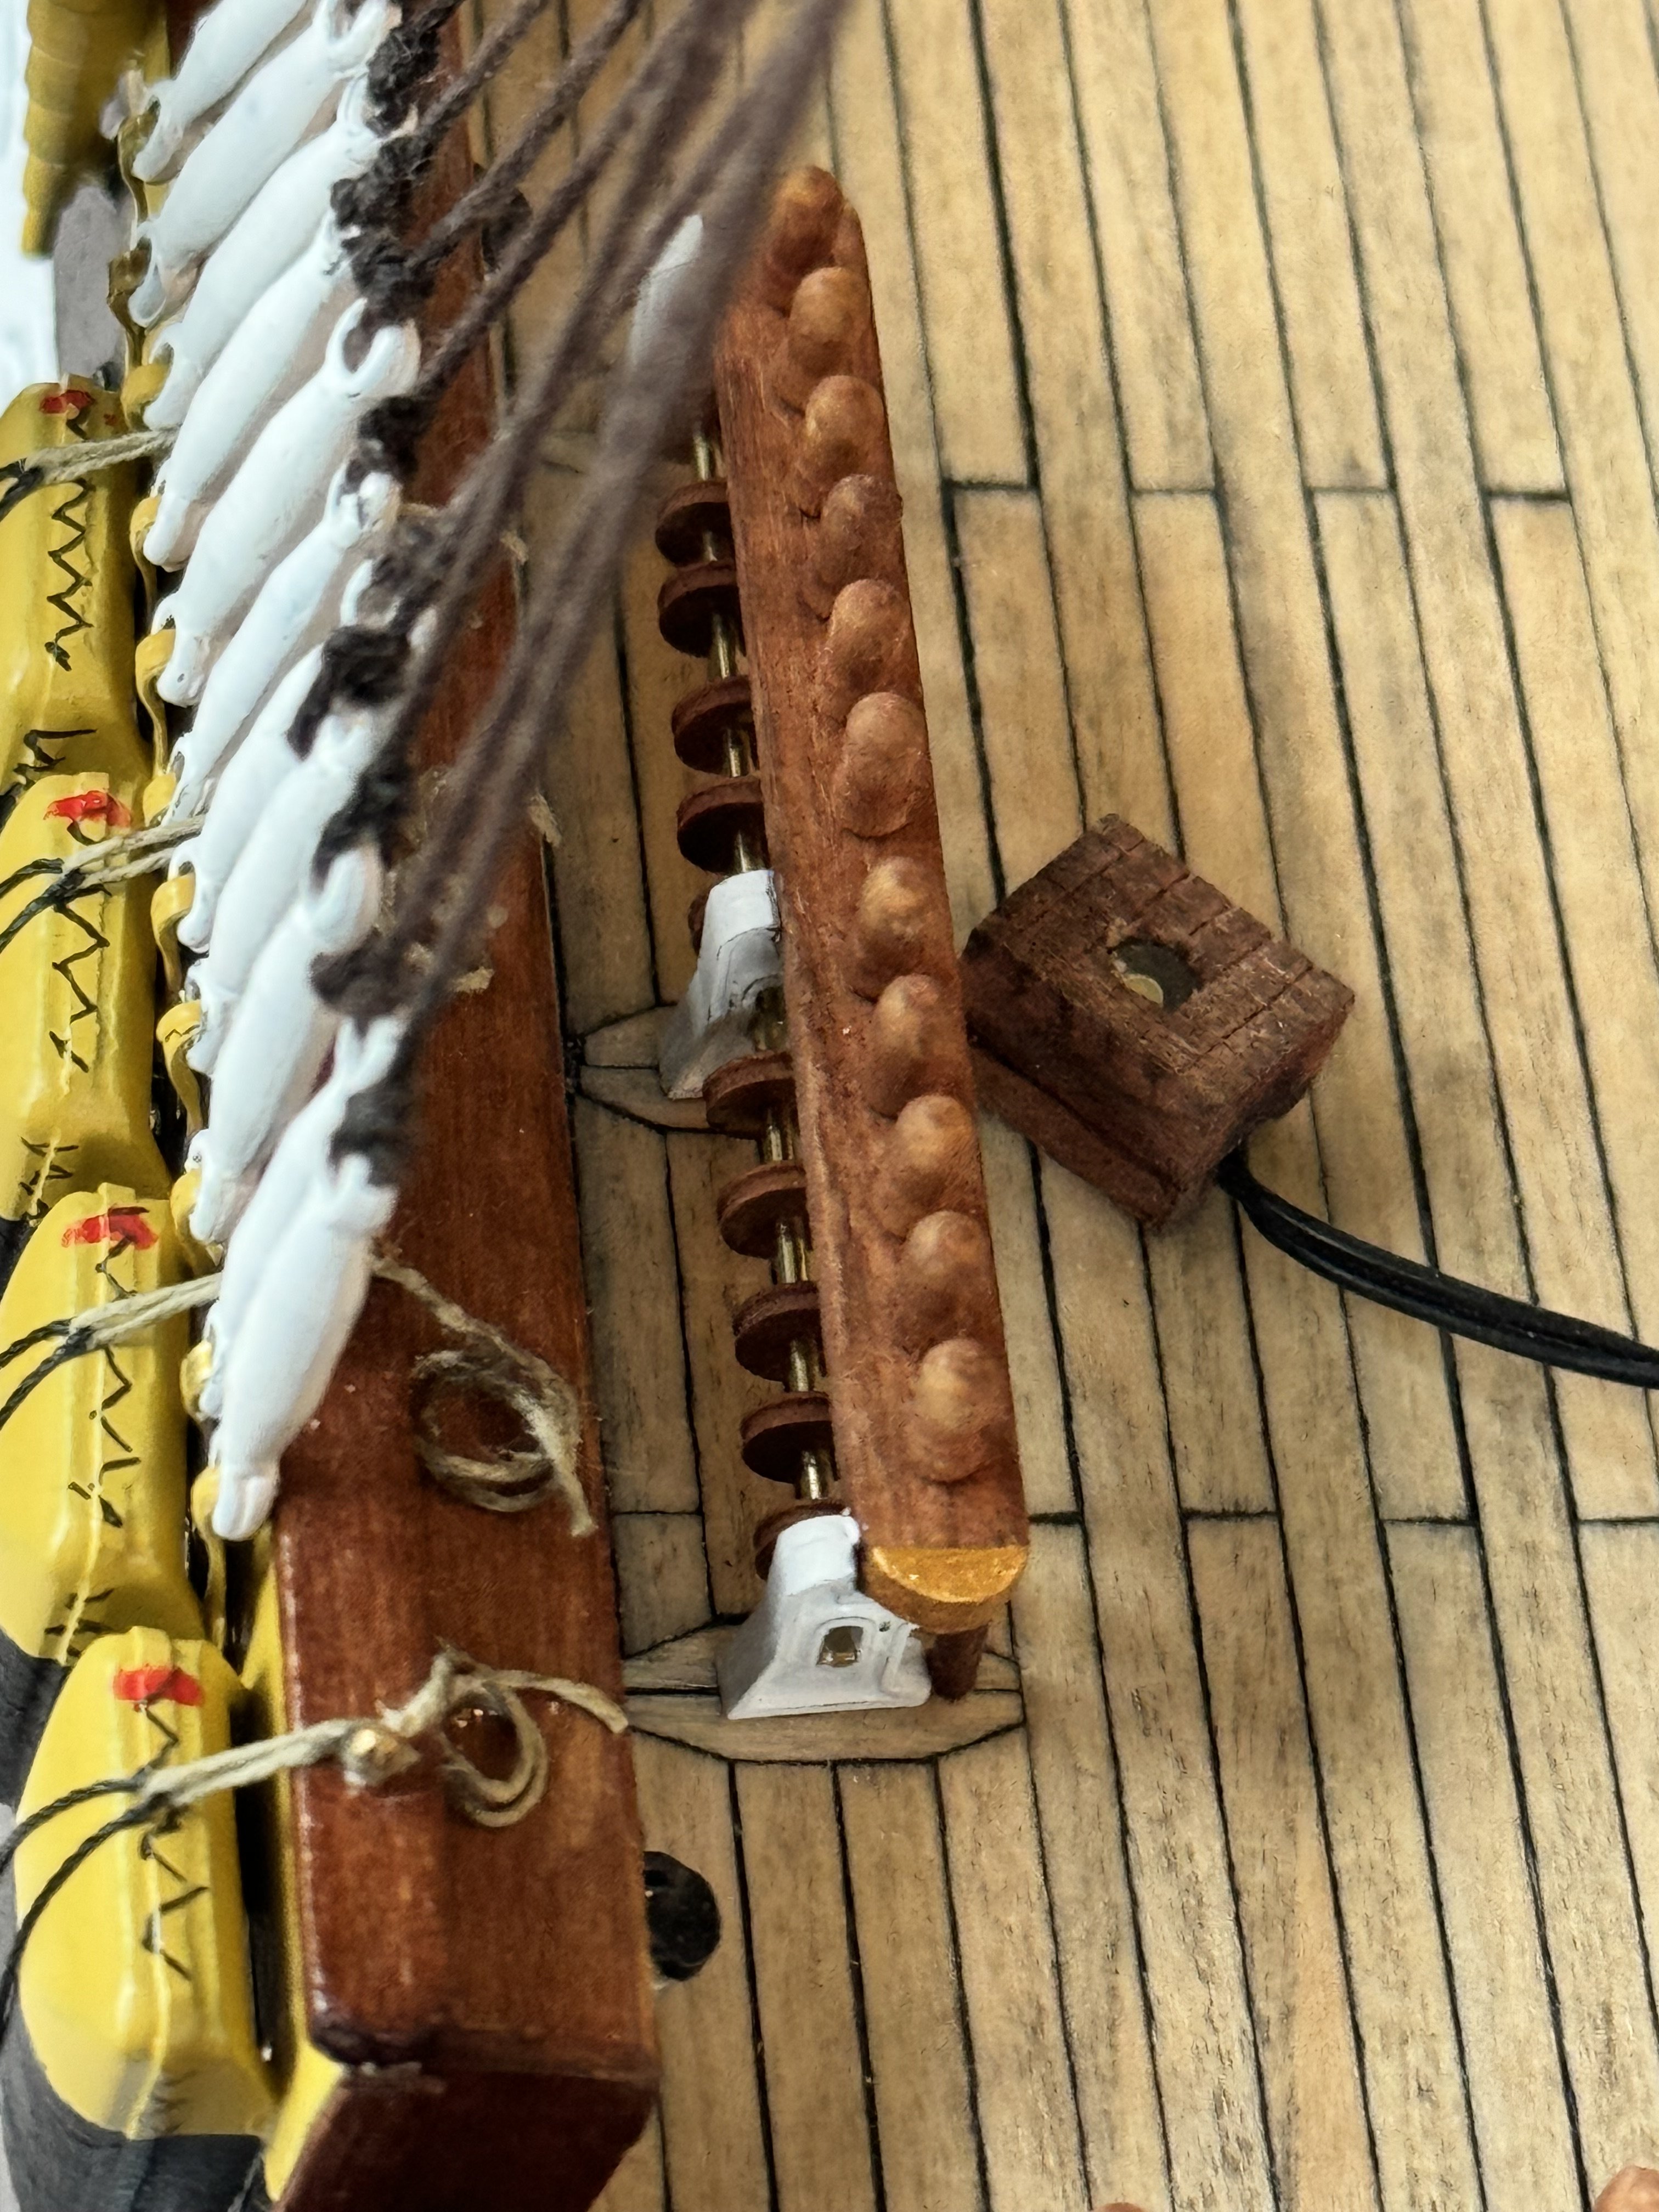
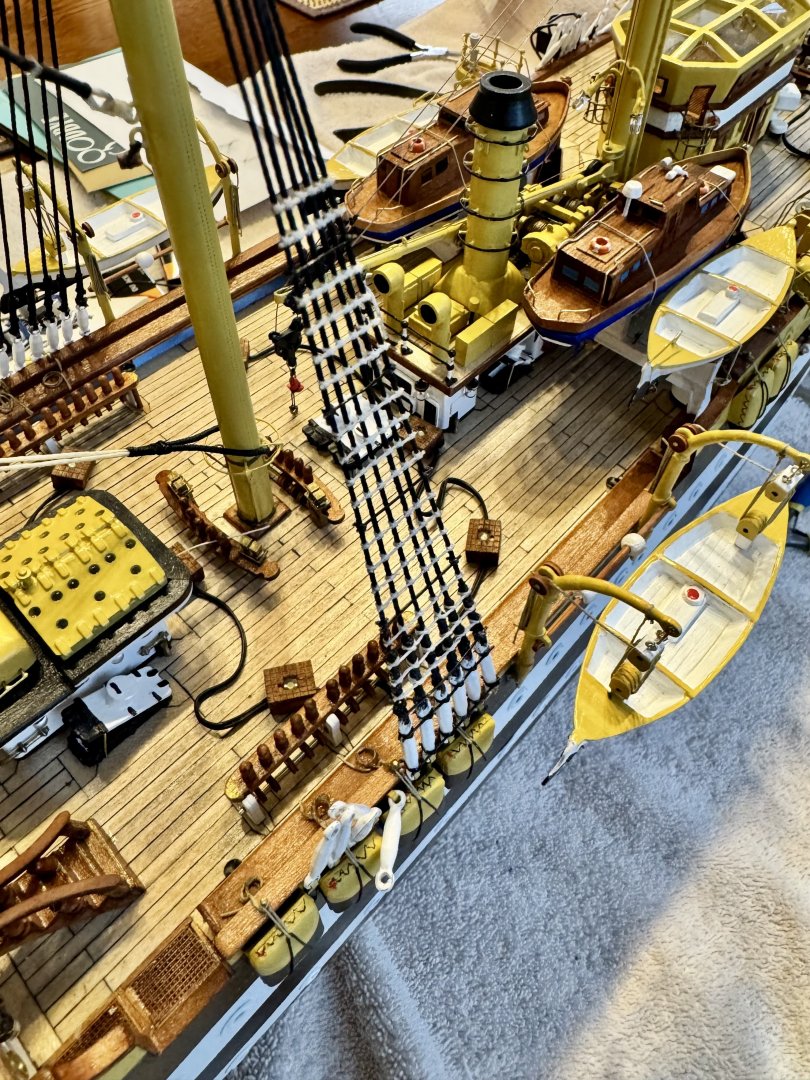
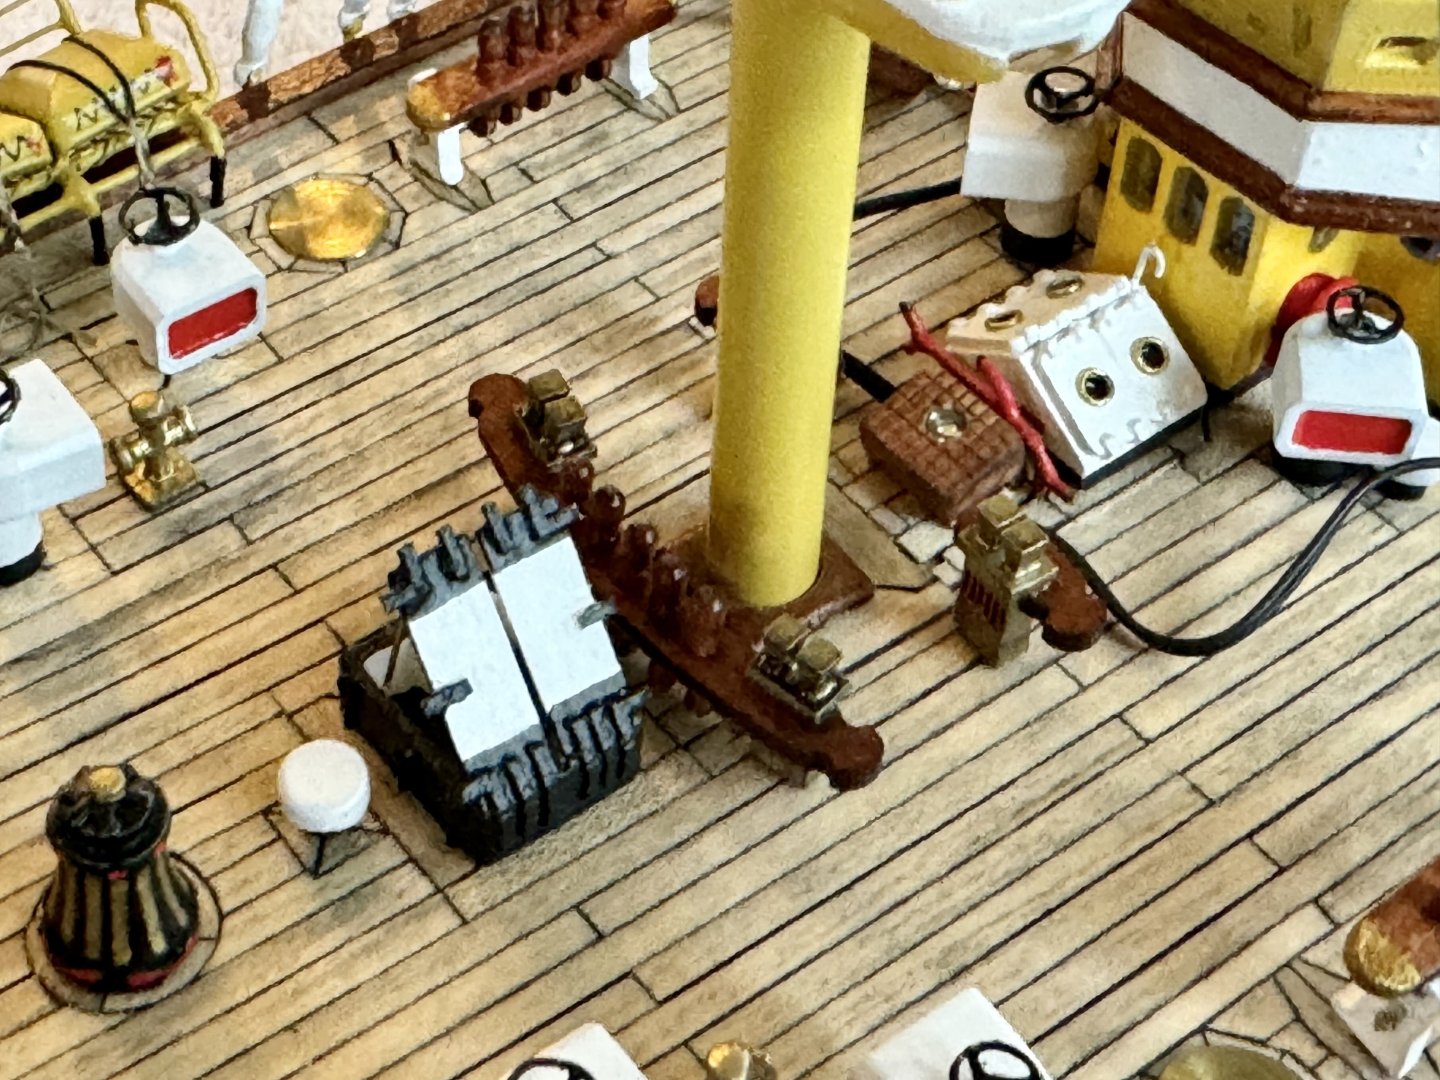
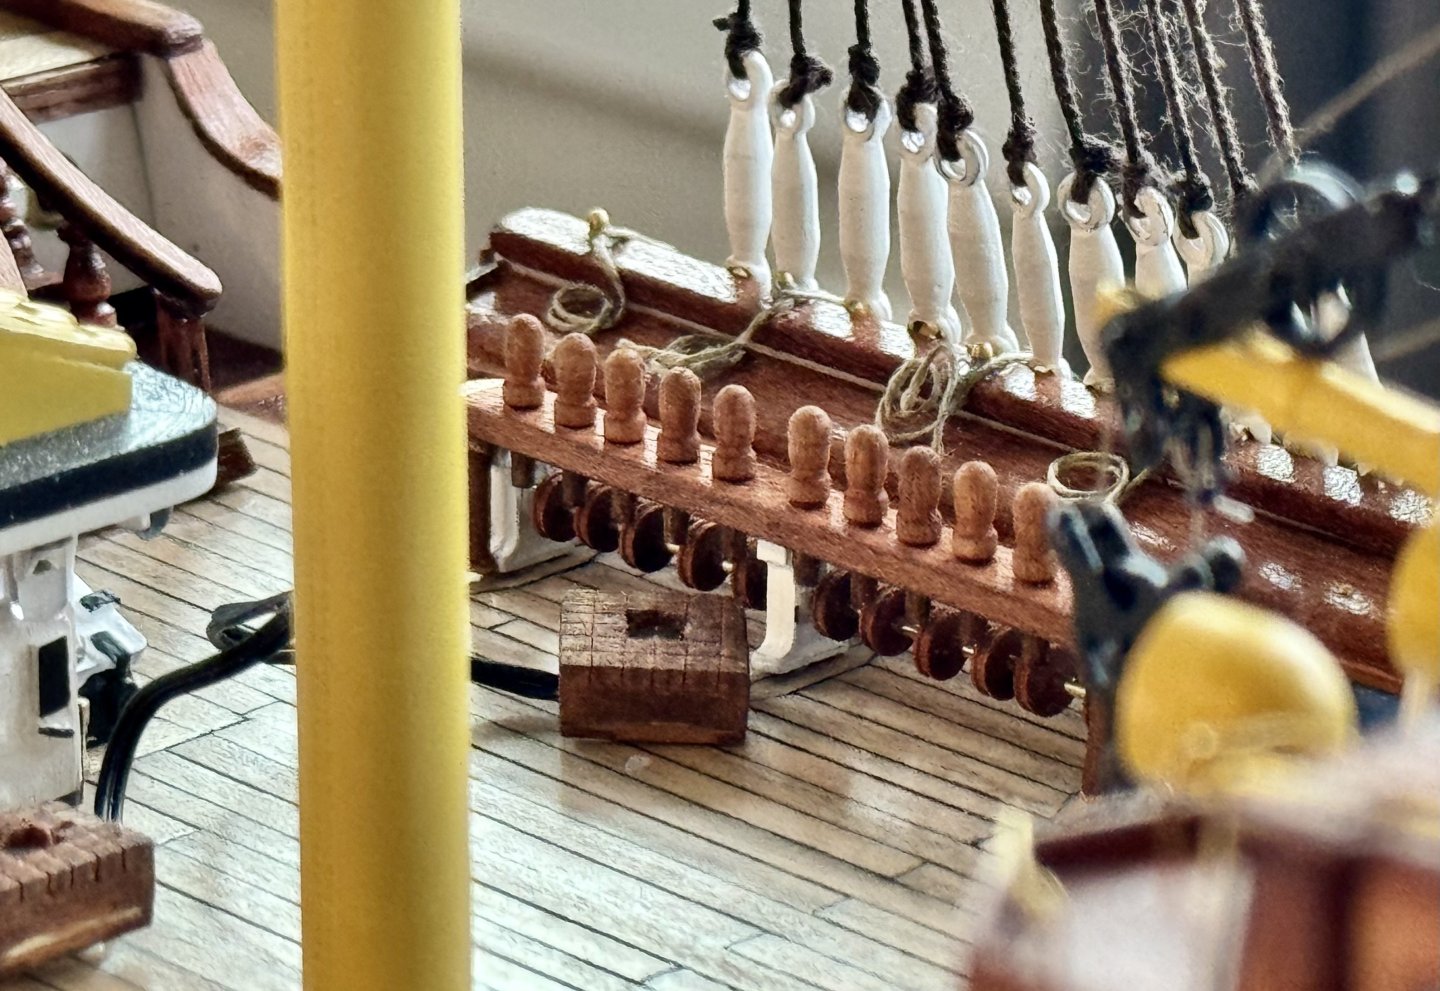
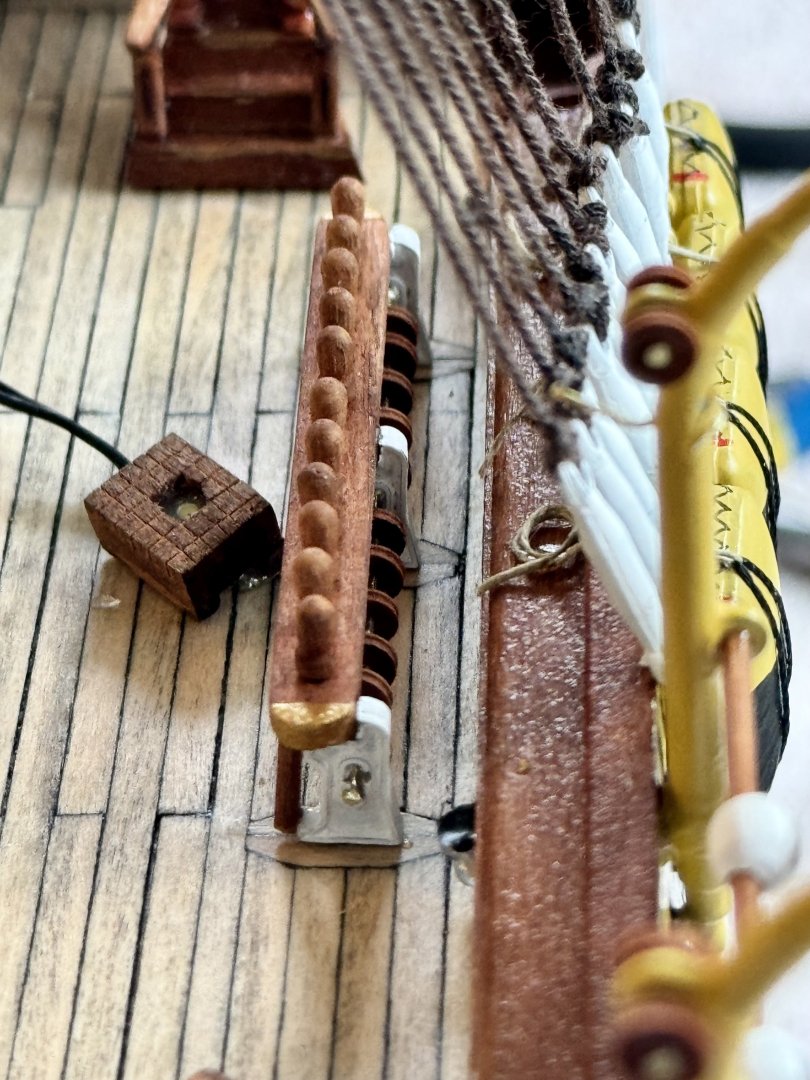
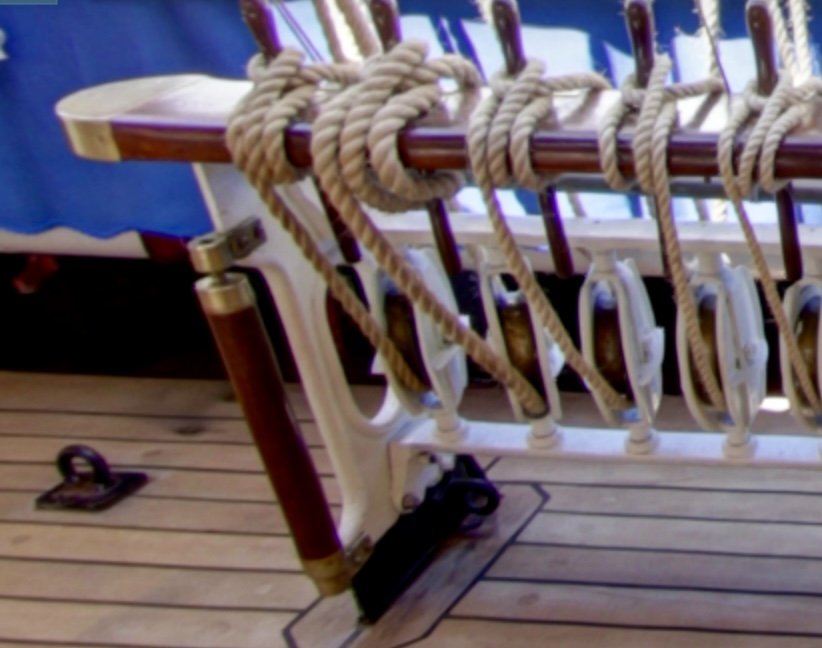
Well mates, I can’t believe it’s been so long since my last post. Life has been busy, but my Amerigo Vespucci plods forward. I’ve been working on the mast pin rails, different on the AV in that each pin has a matching sheath. The running rigging goes around the sheath before being tied off at the rail with the excess stored on a vertical rack I’m still figuring out how to make. A couple images so far. If you look close, you can see the sheaths below the rails.

-
Good morning mates. This week’s update falls around the pin rails. The OcCre AV kit includes the typical rails for the running rigging. However, the actual Amerigo has a unique, at least from what I’ve seen, pin rails that have sheathes below the pins (see the last image). The running rigging first runs below the rail, around a sheath before being tied off. This is my attempt to mimic the AV.

-
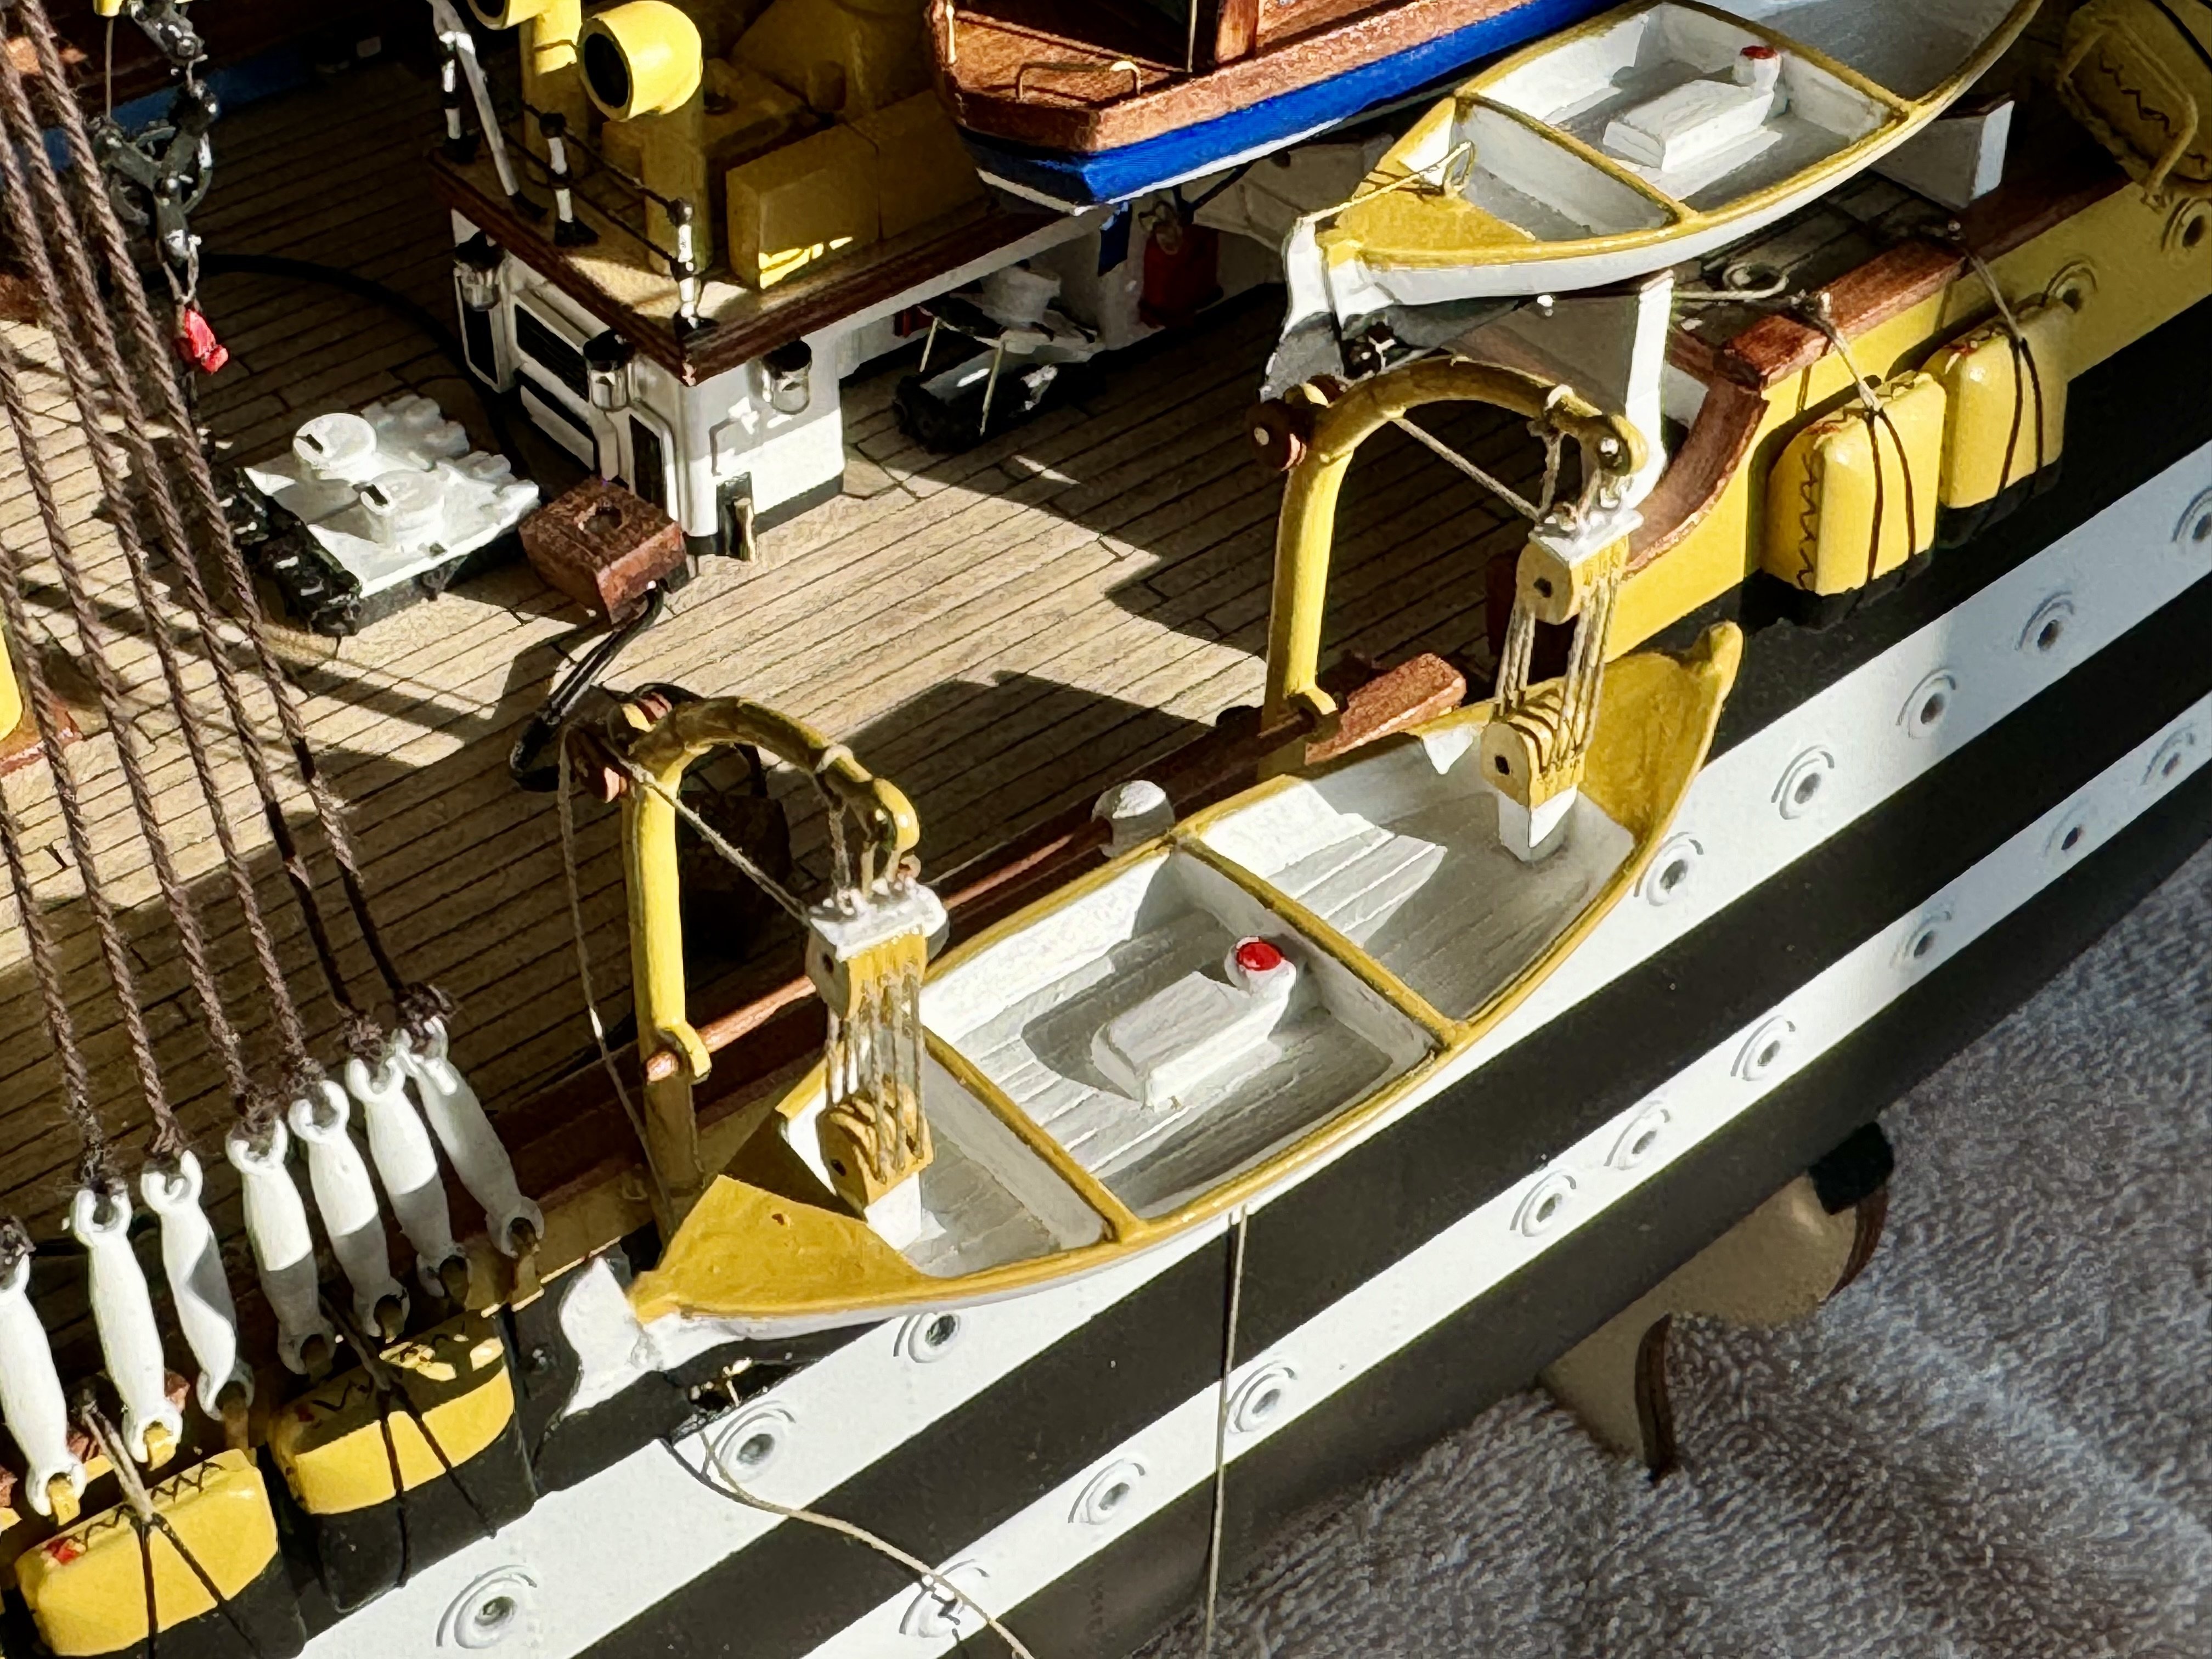
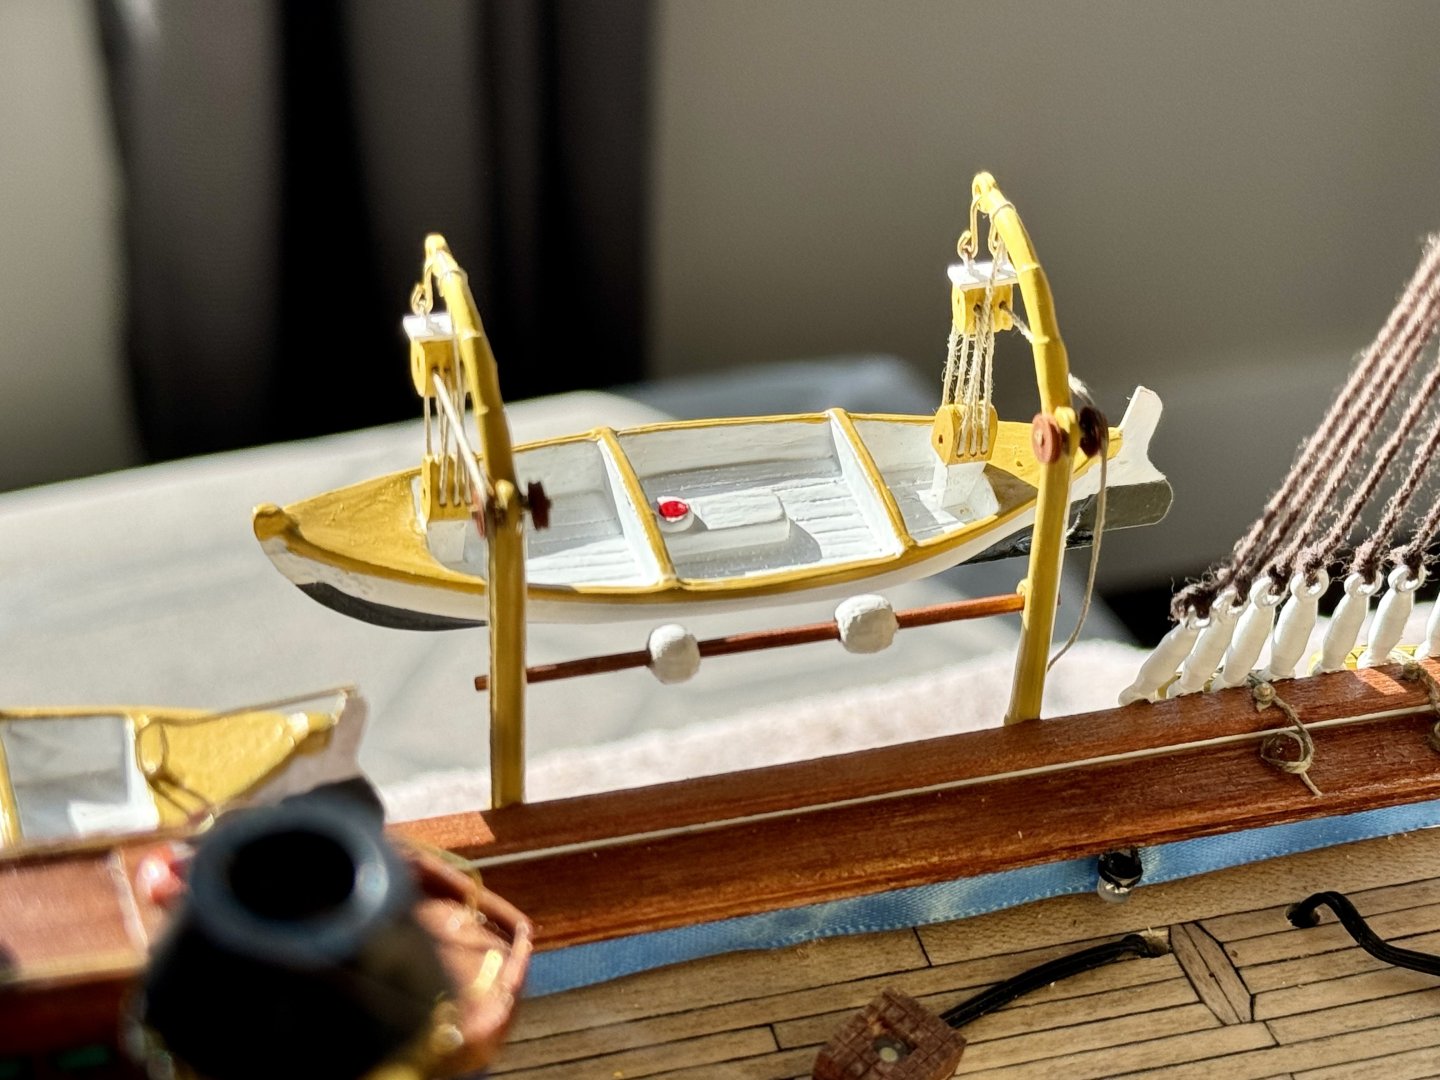
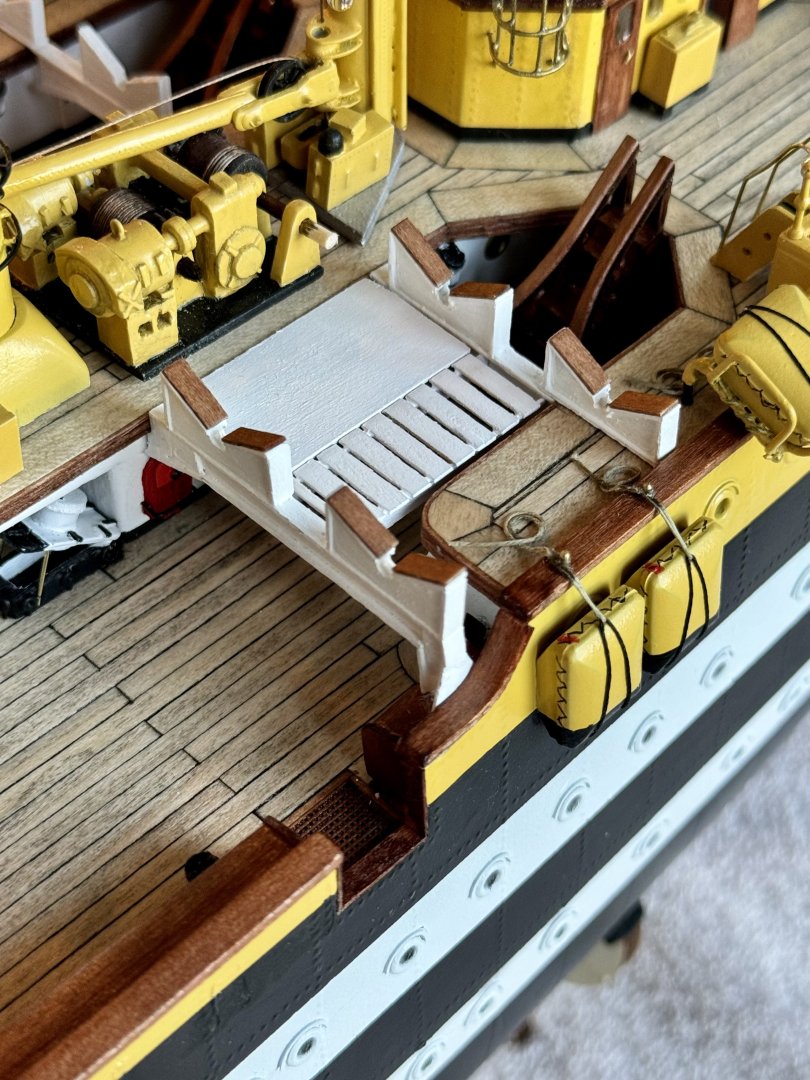
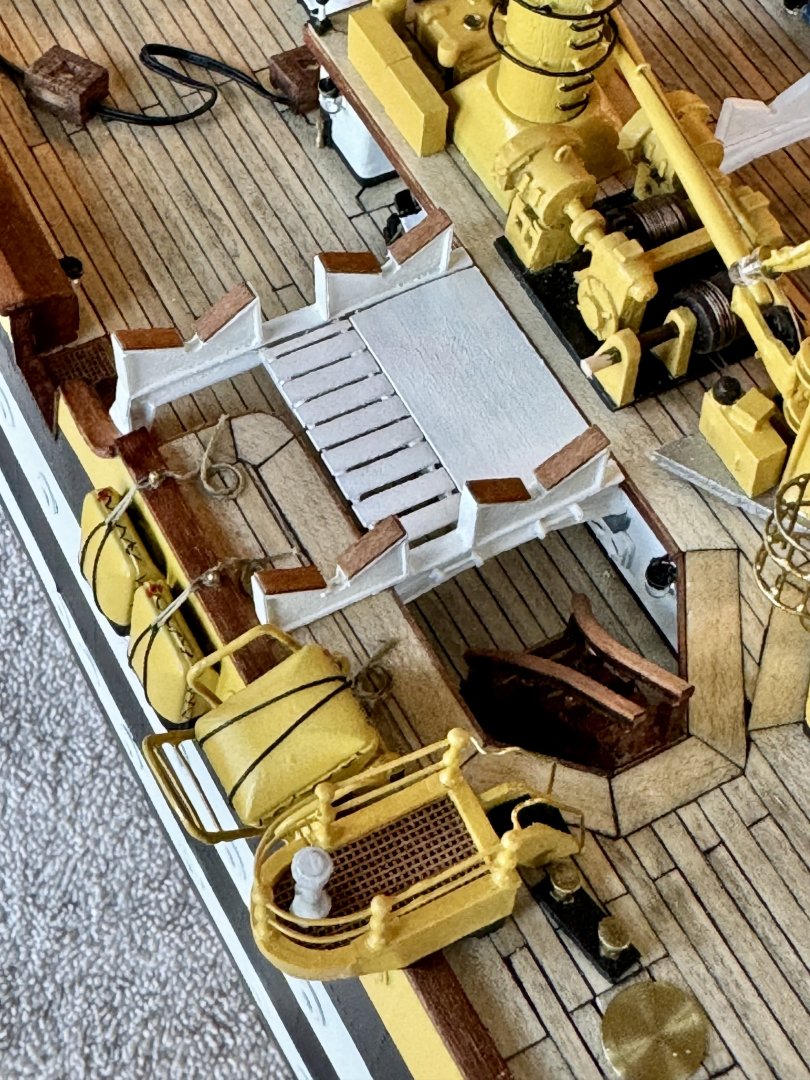
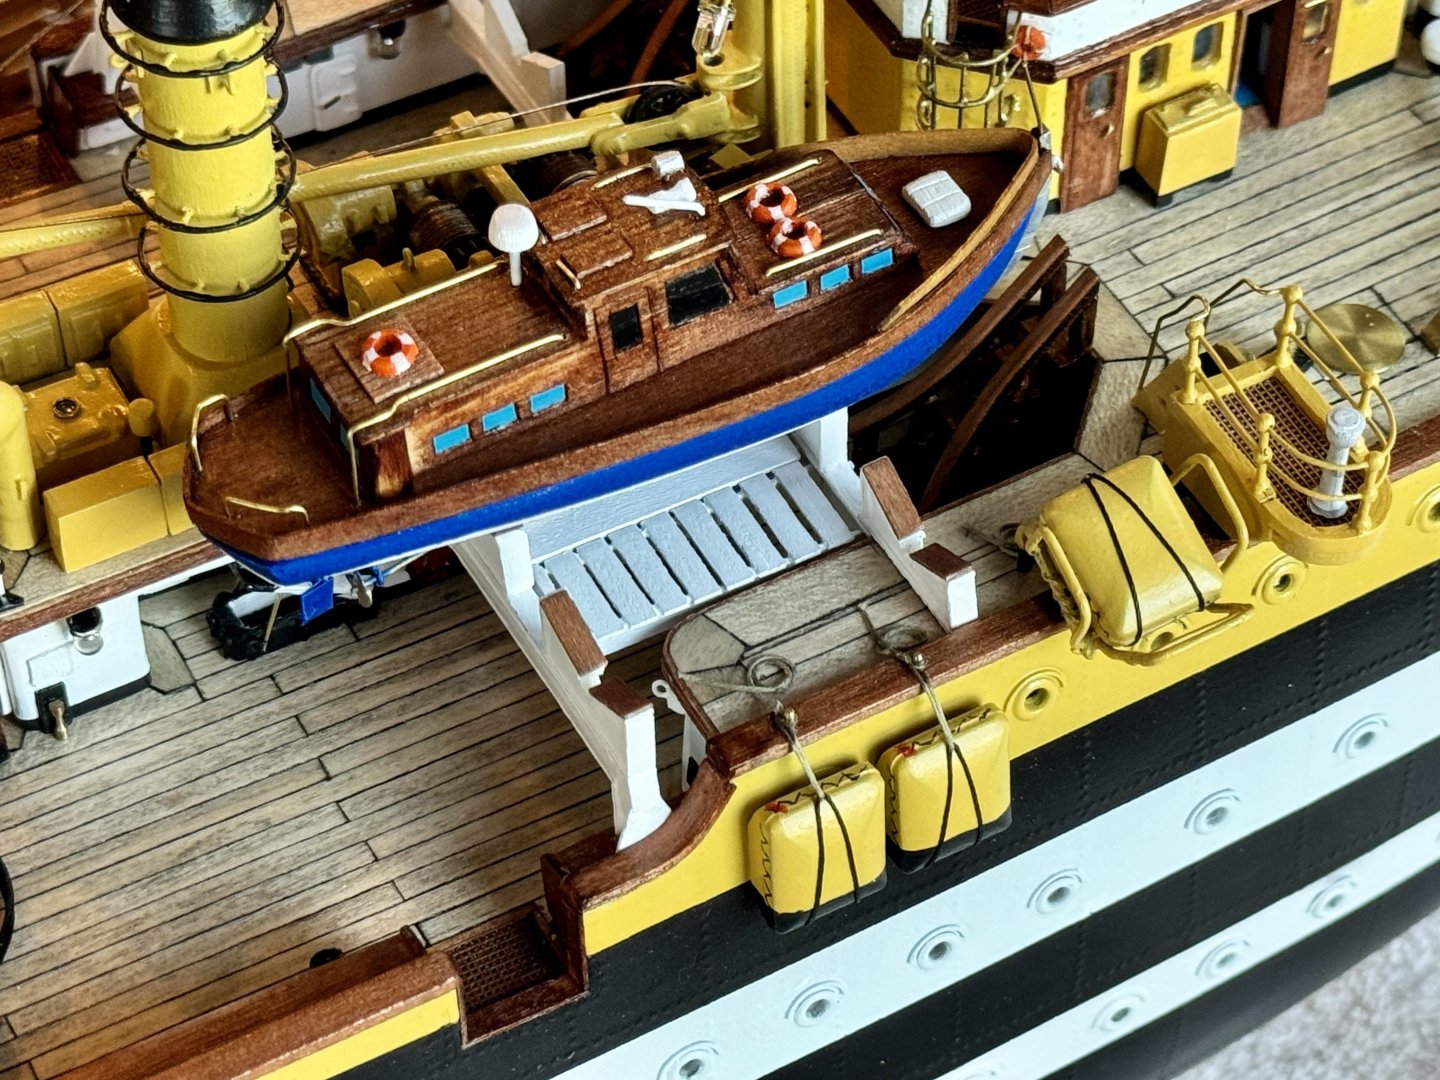
Good morning mates. AV progress has been slow as I’ve been very busy with life this summer. Still, I find time to spend some time moving forward. Here is the latest, davits installed with one hanging boat.

-
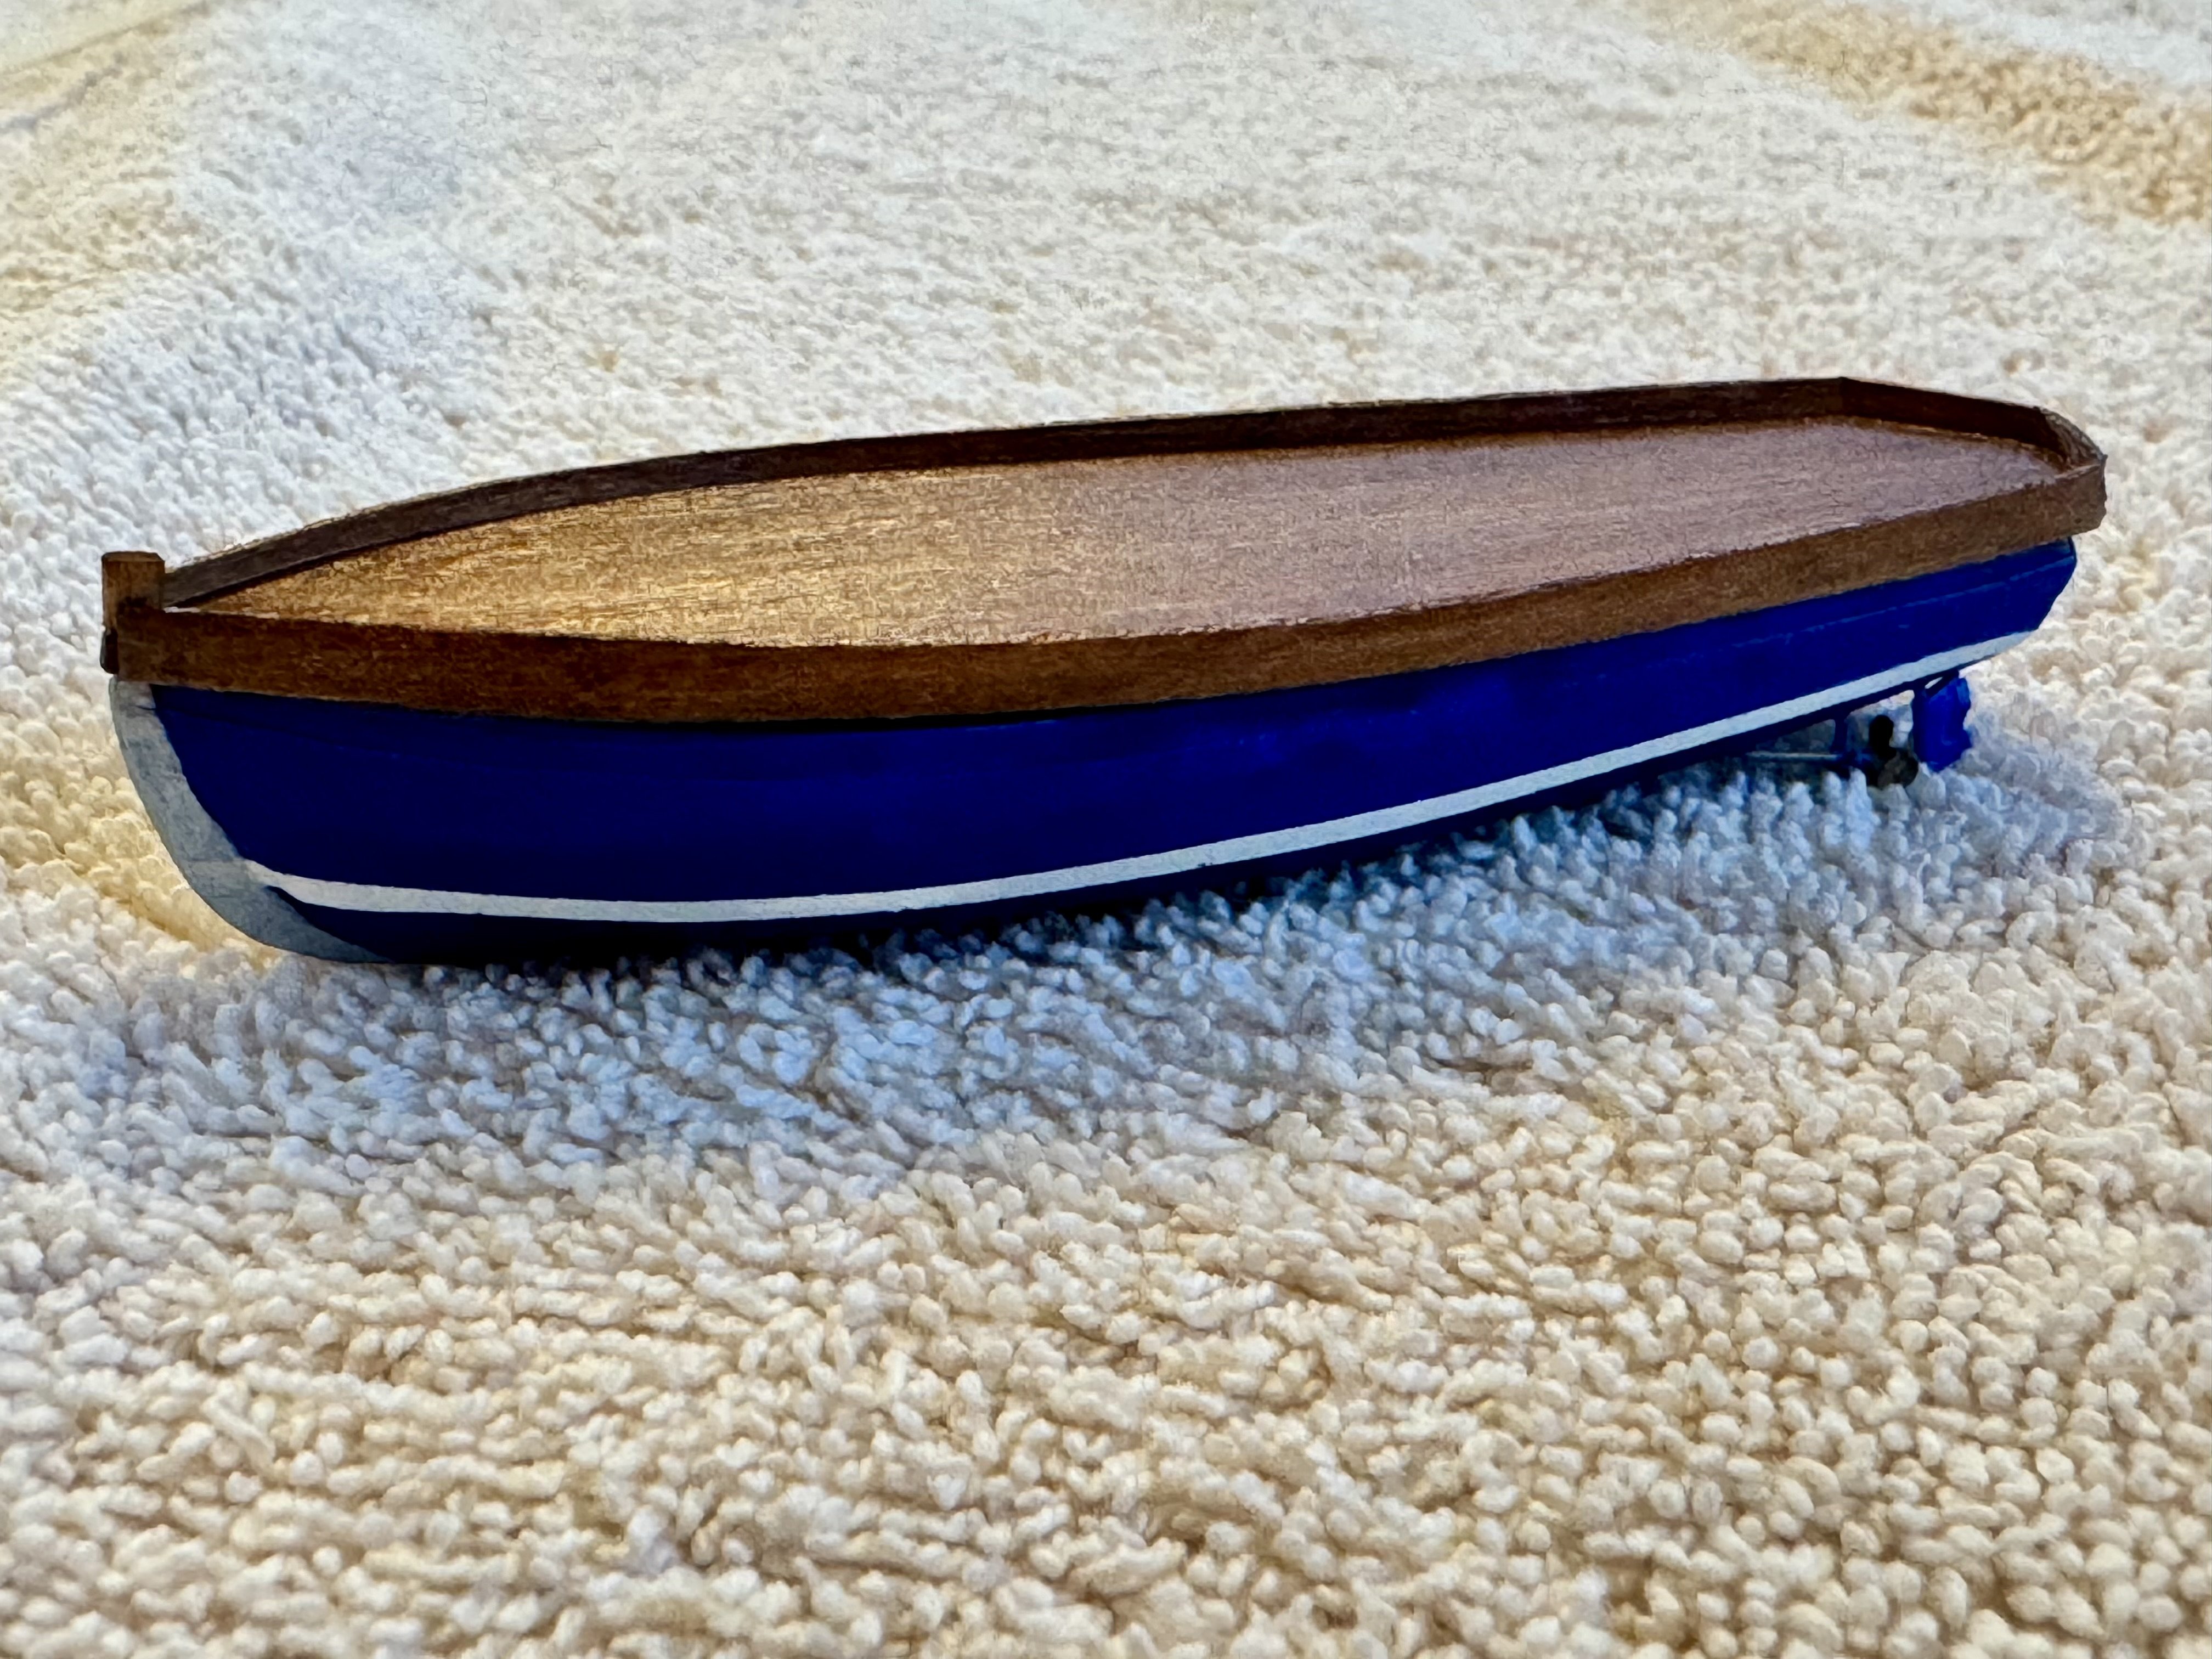
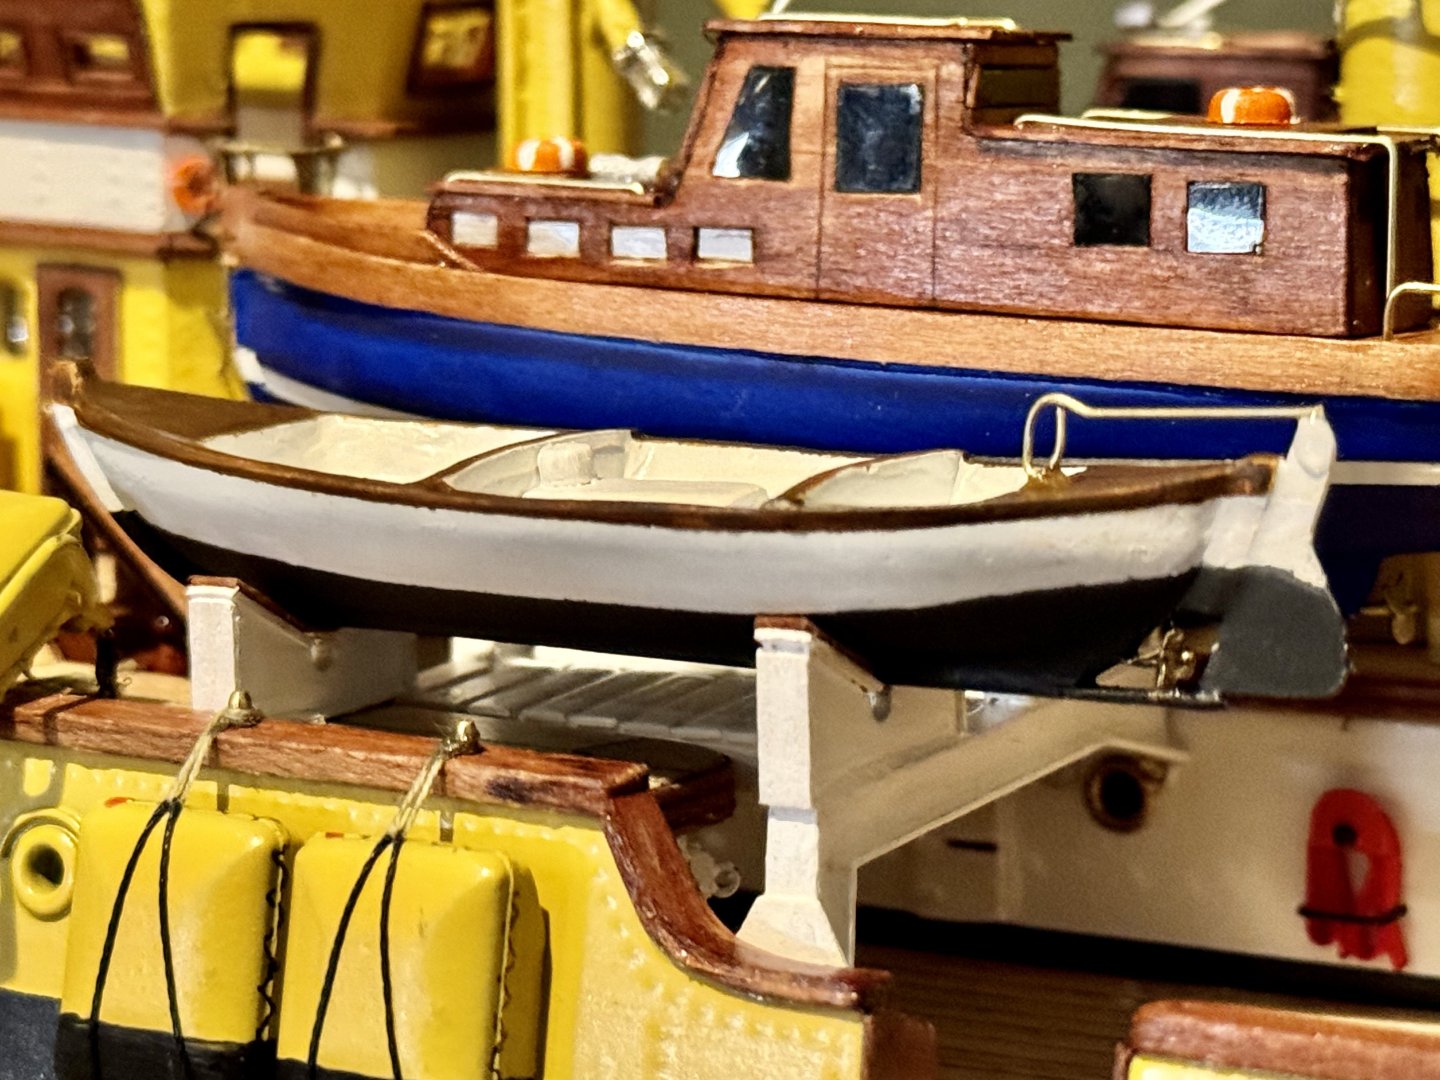
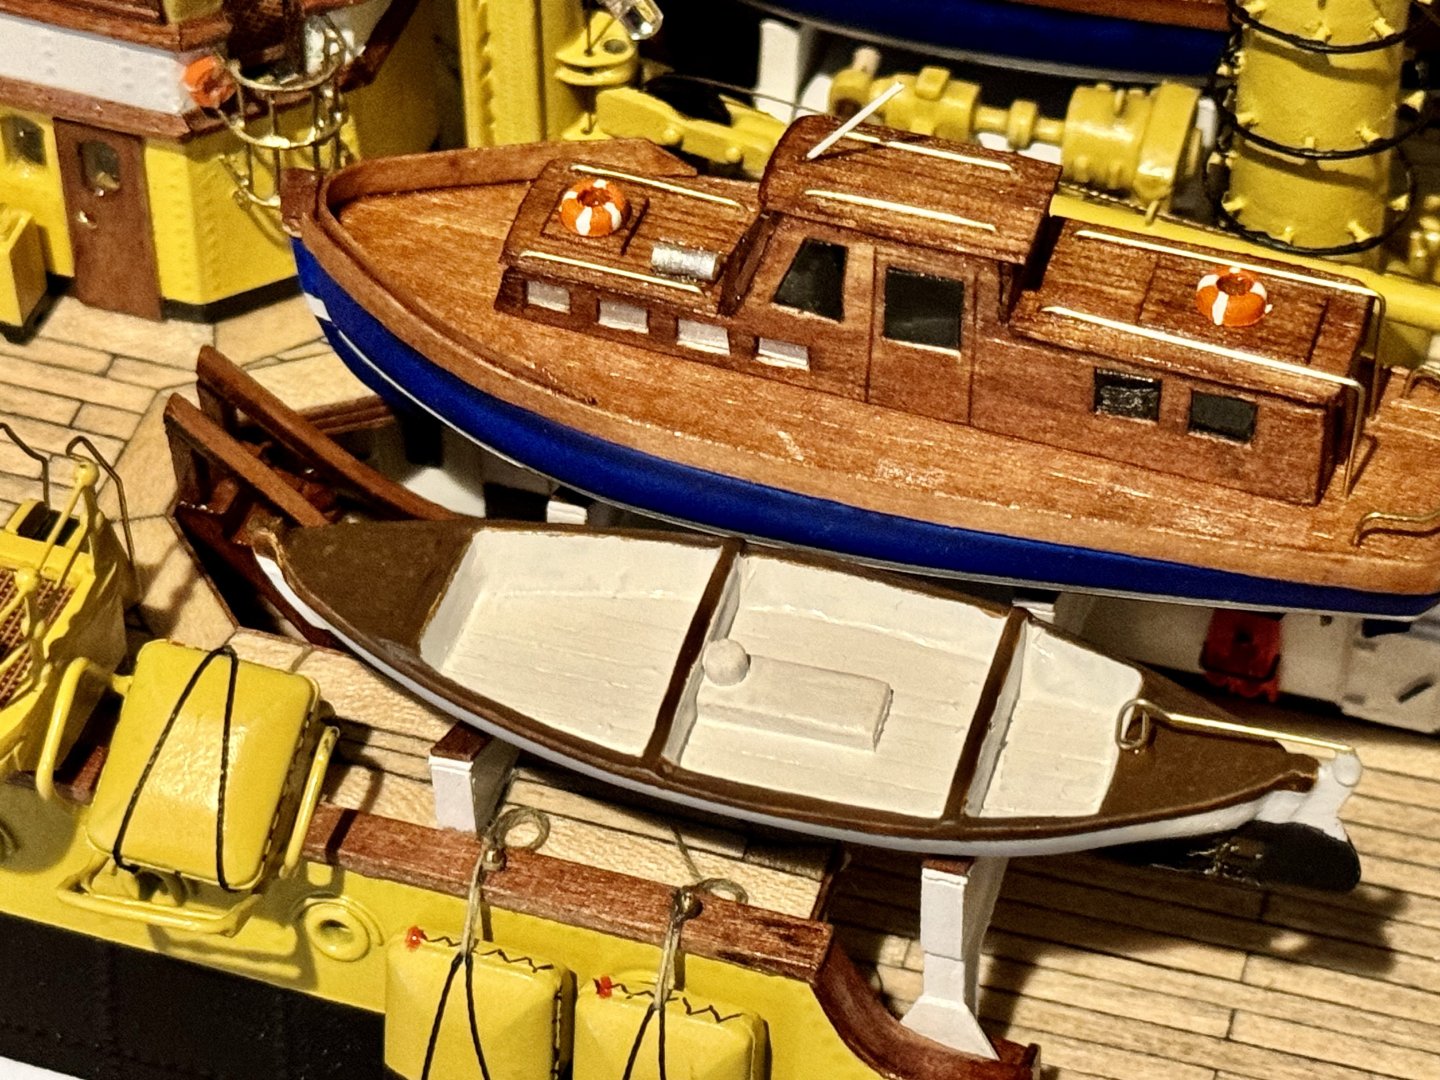
Good evening mates, it’s been a while since my last post. Life has been busy, but I have been plugging along on one of the small boats aboard the AV. Only three more like this to build.

-
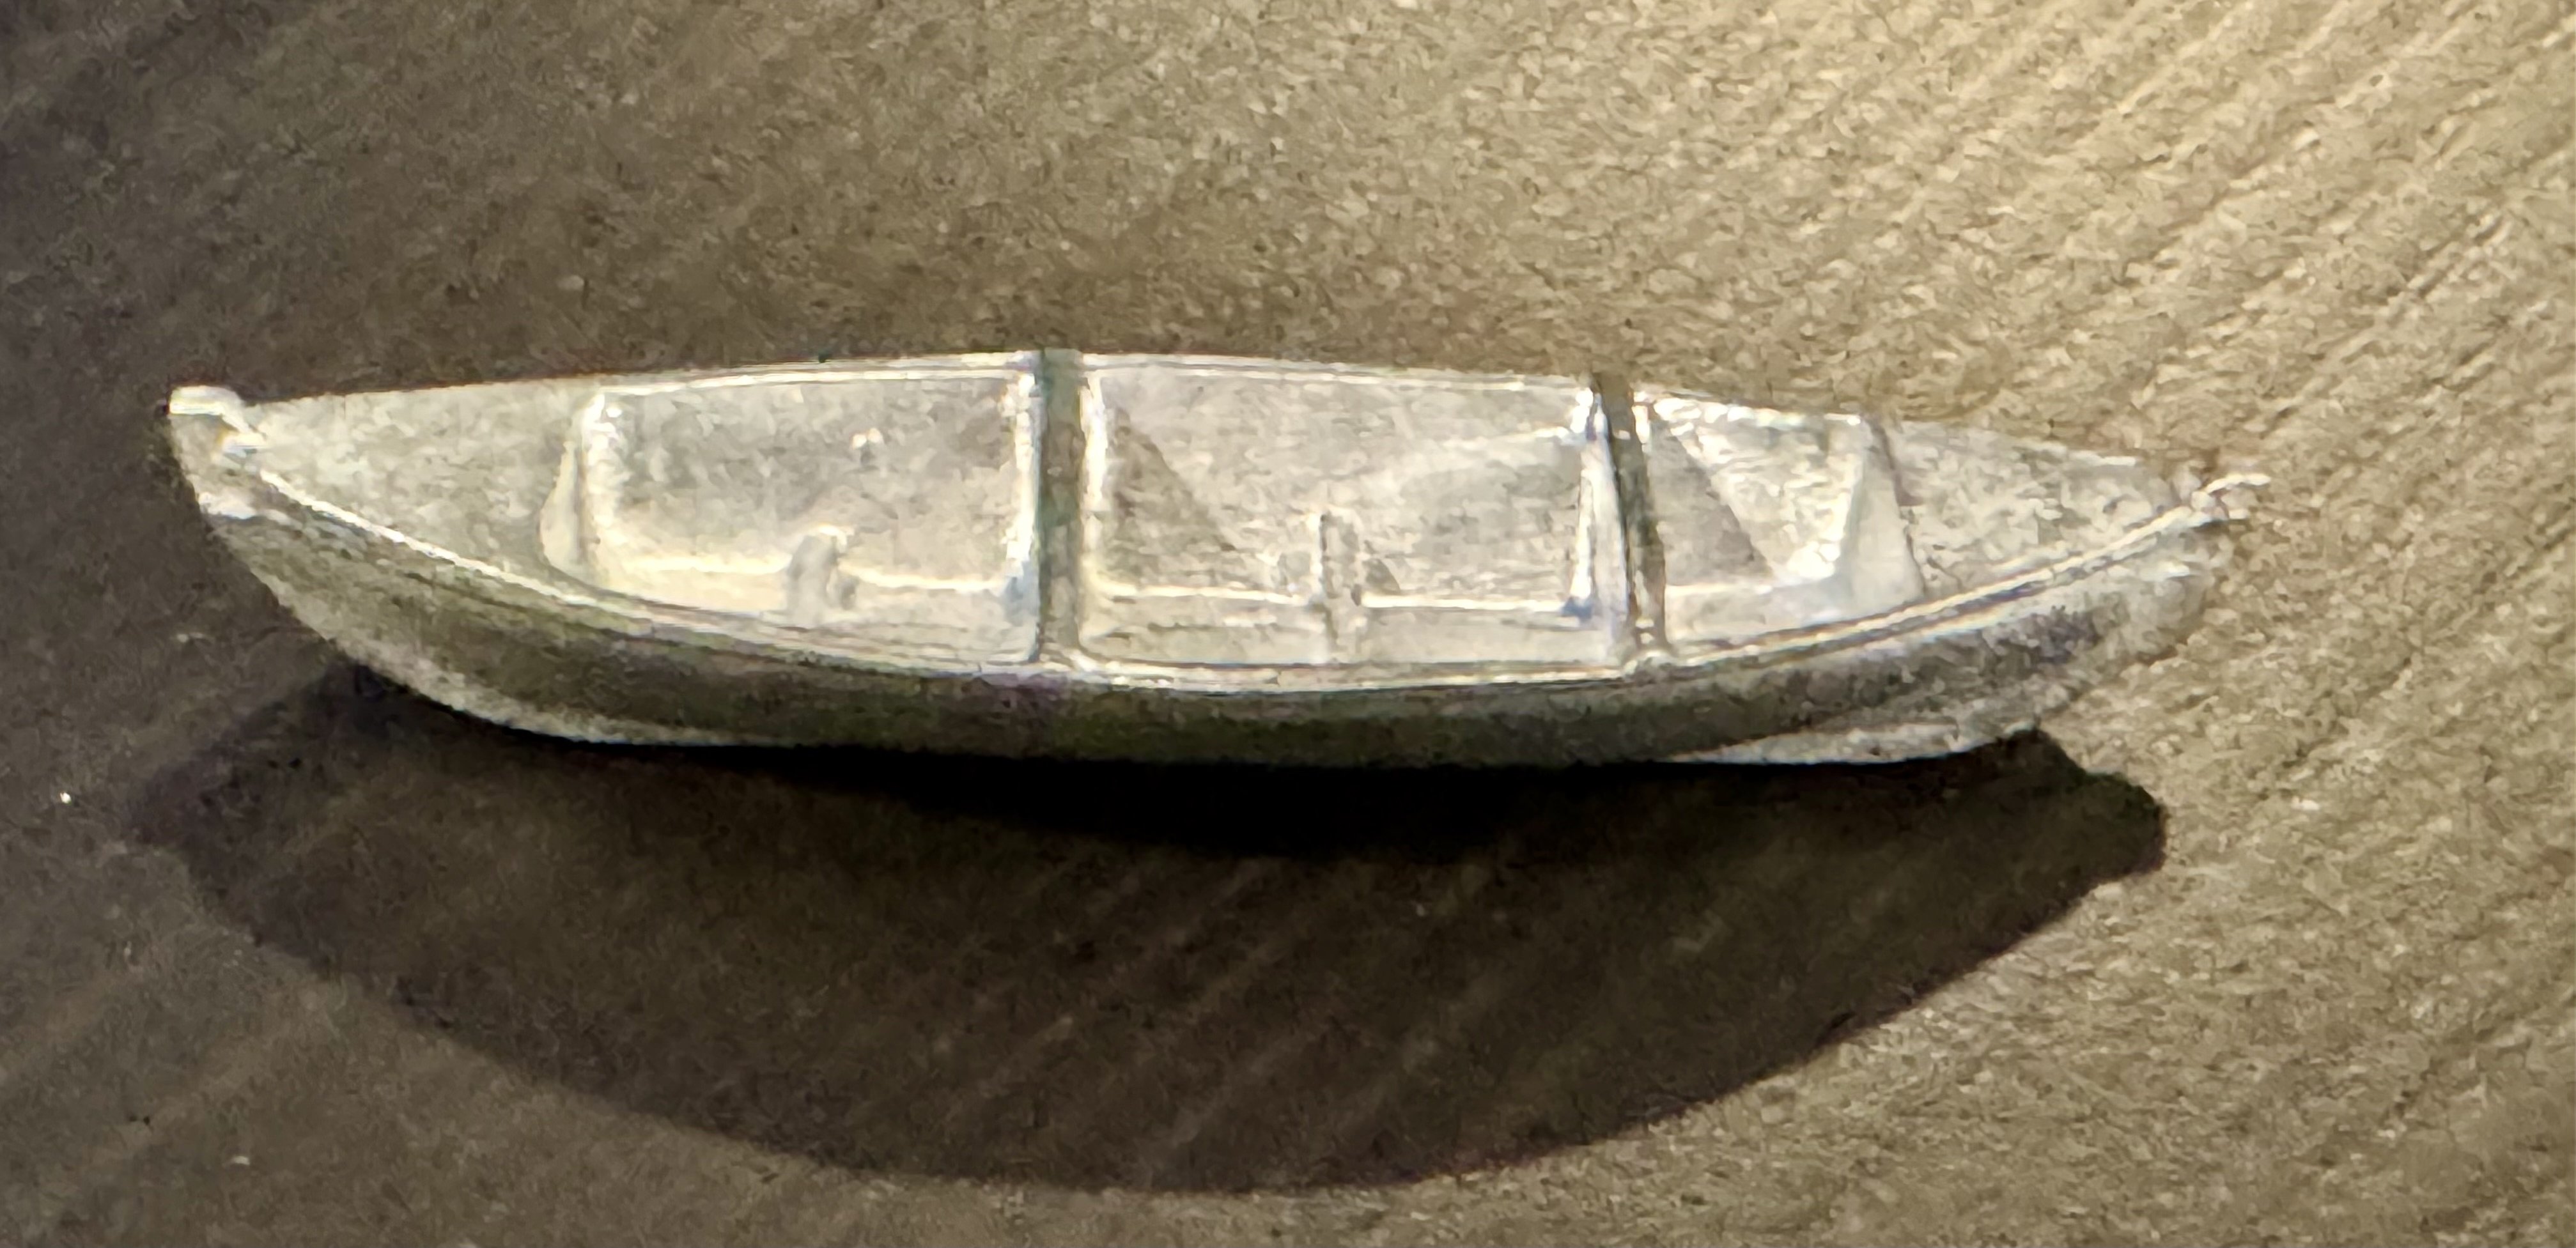
Good evening mates. It’s been awhile since my last update, part of the reason is that I was unhappy with the first small boat I constructed, so I completely took it back to bare metal and started over. Pictures of the new version coming soon. However, today I was interested in doing something different so I went back to building the iron works that supports two of the small boats. Here is the result.
-
Welcome aboard mates!
-
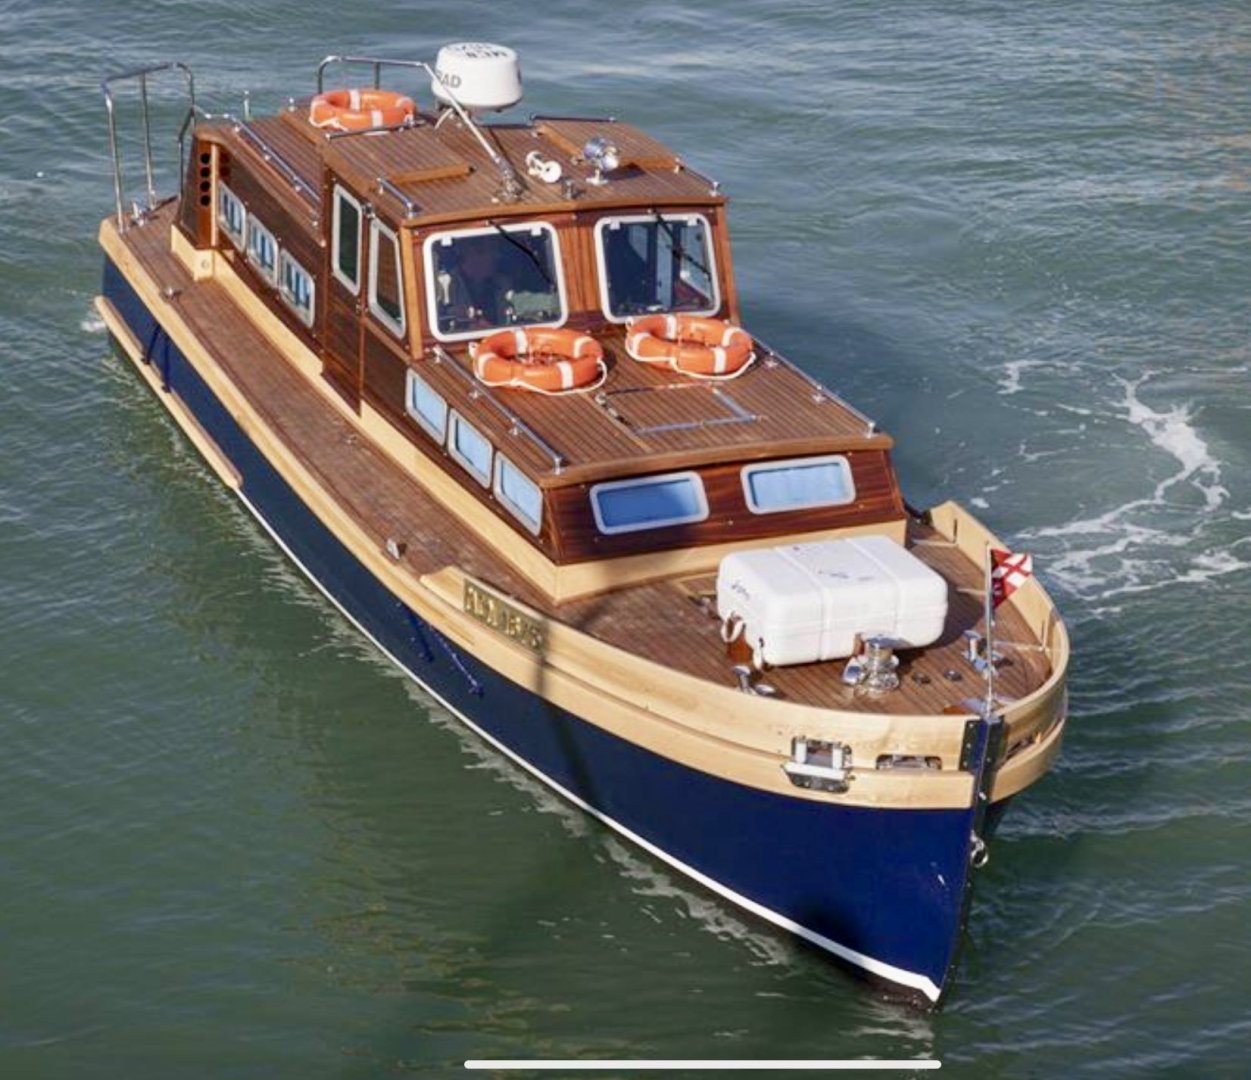
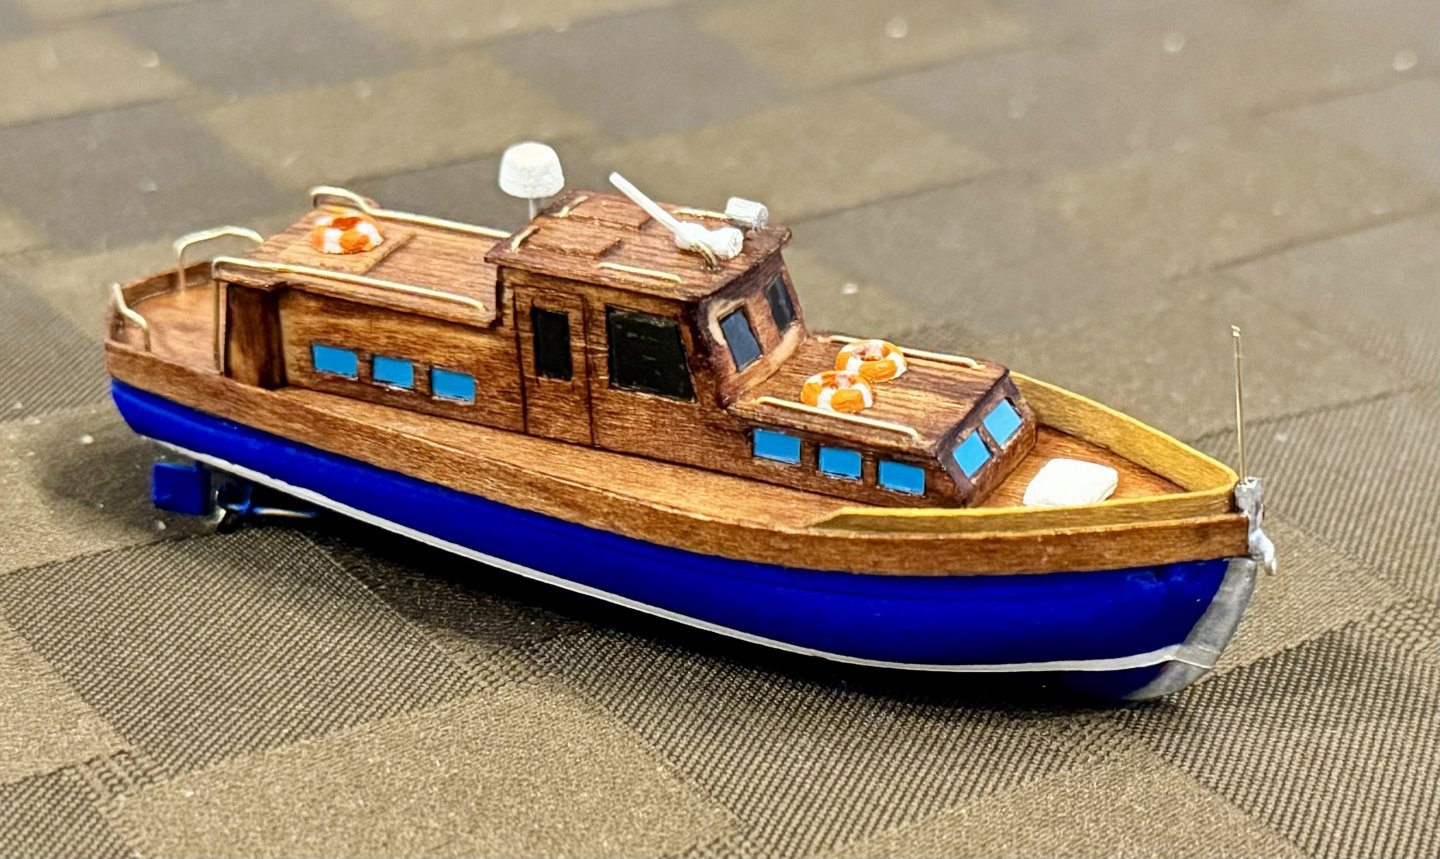
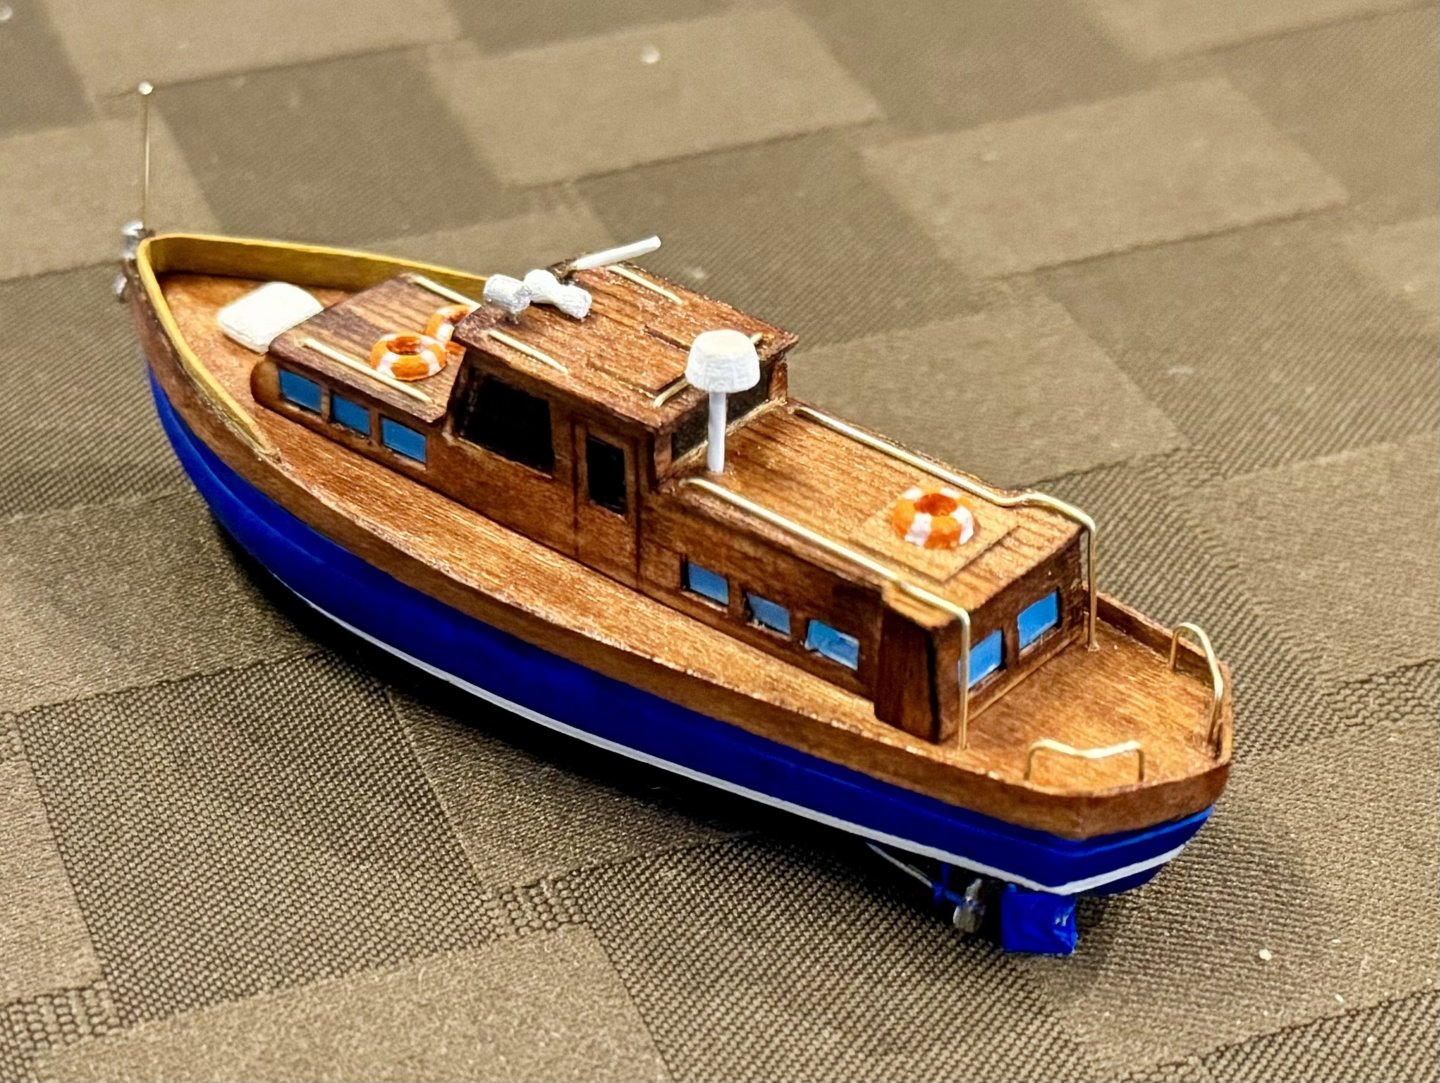
Good evening mates, the last week or so I have been working on one of the small boats on board the AV. The first image is an actual photo of MCN 1675 and the next two my interpretation of that small boat.
-
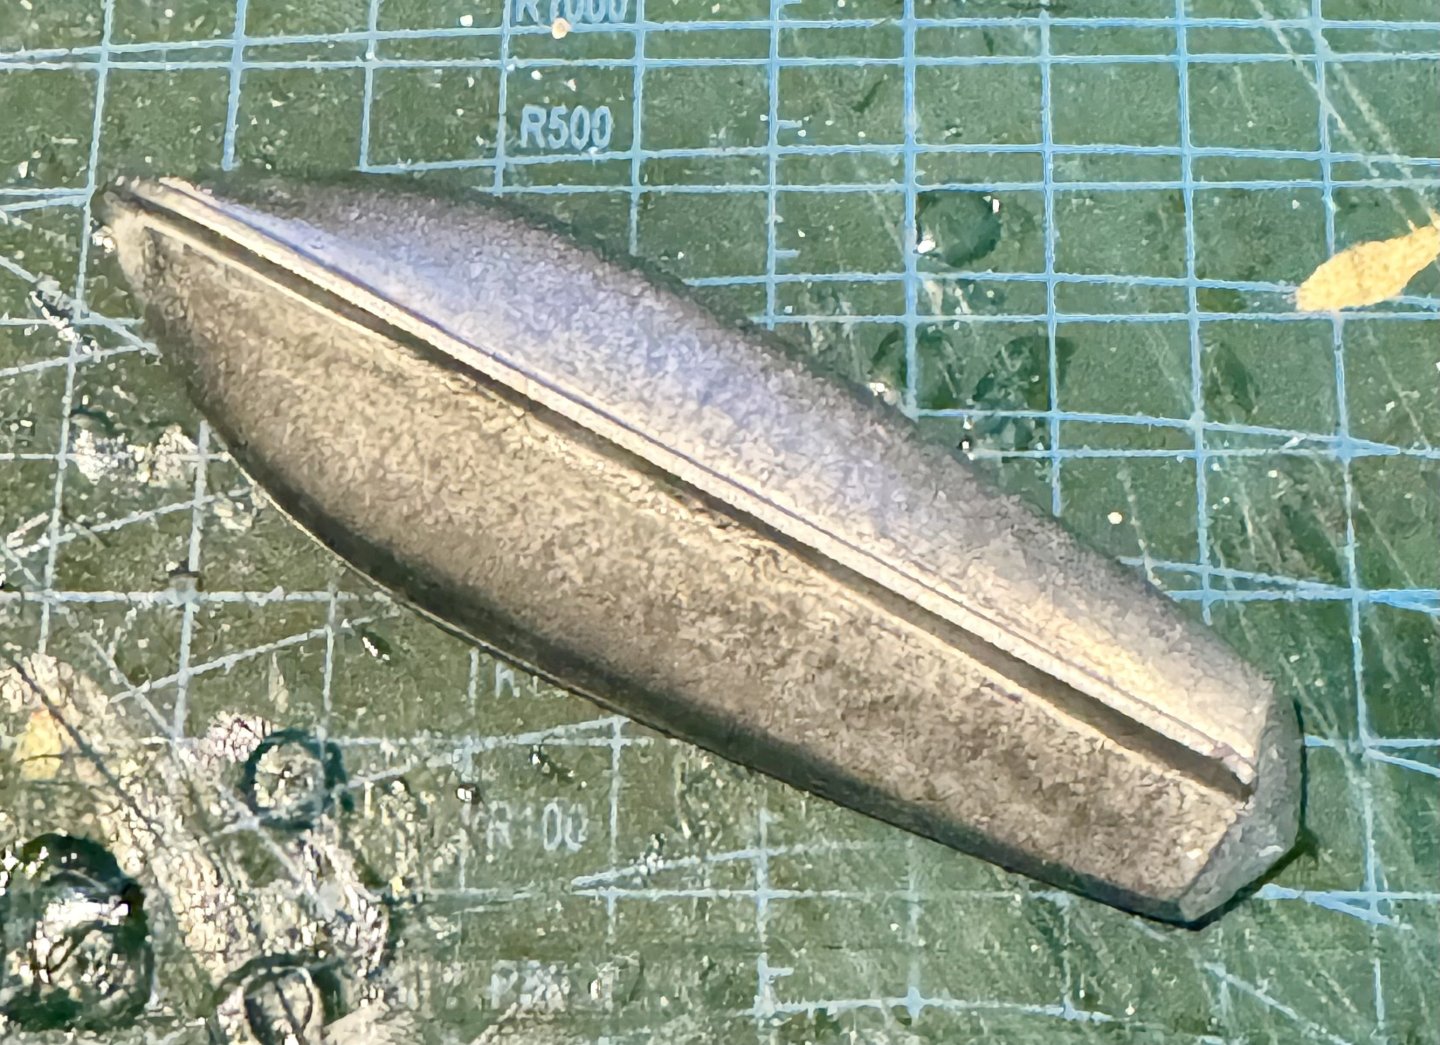
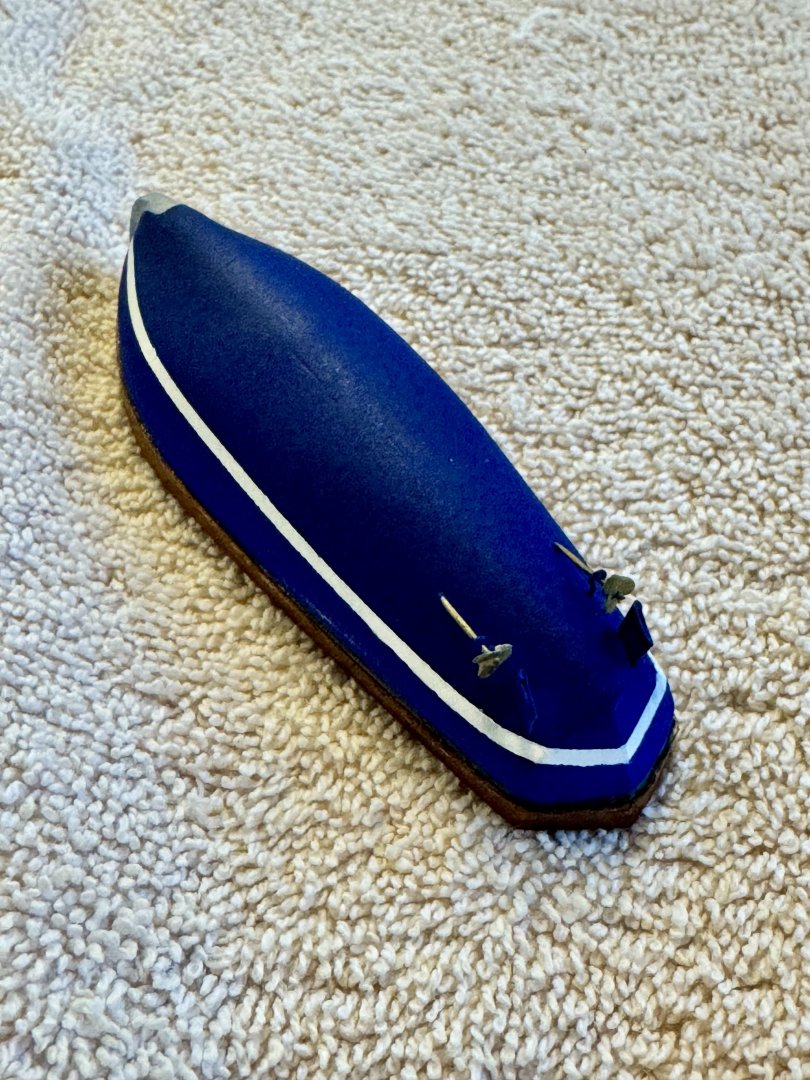
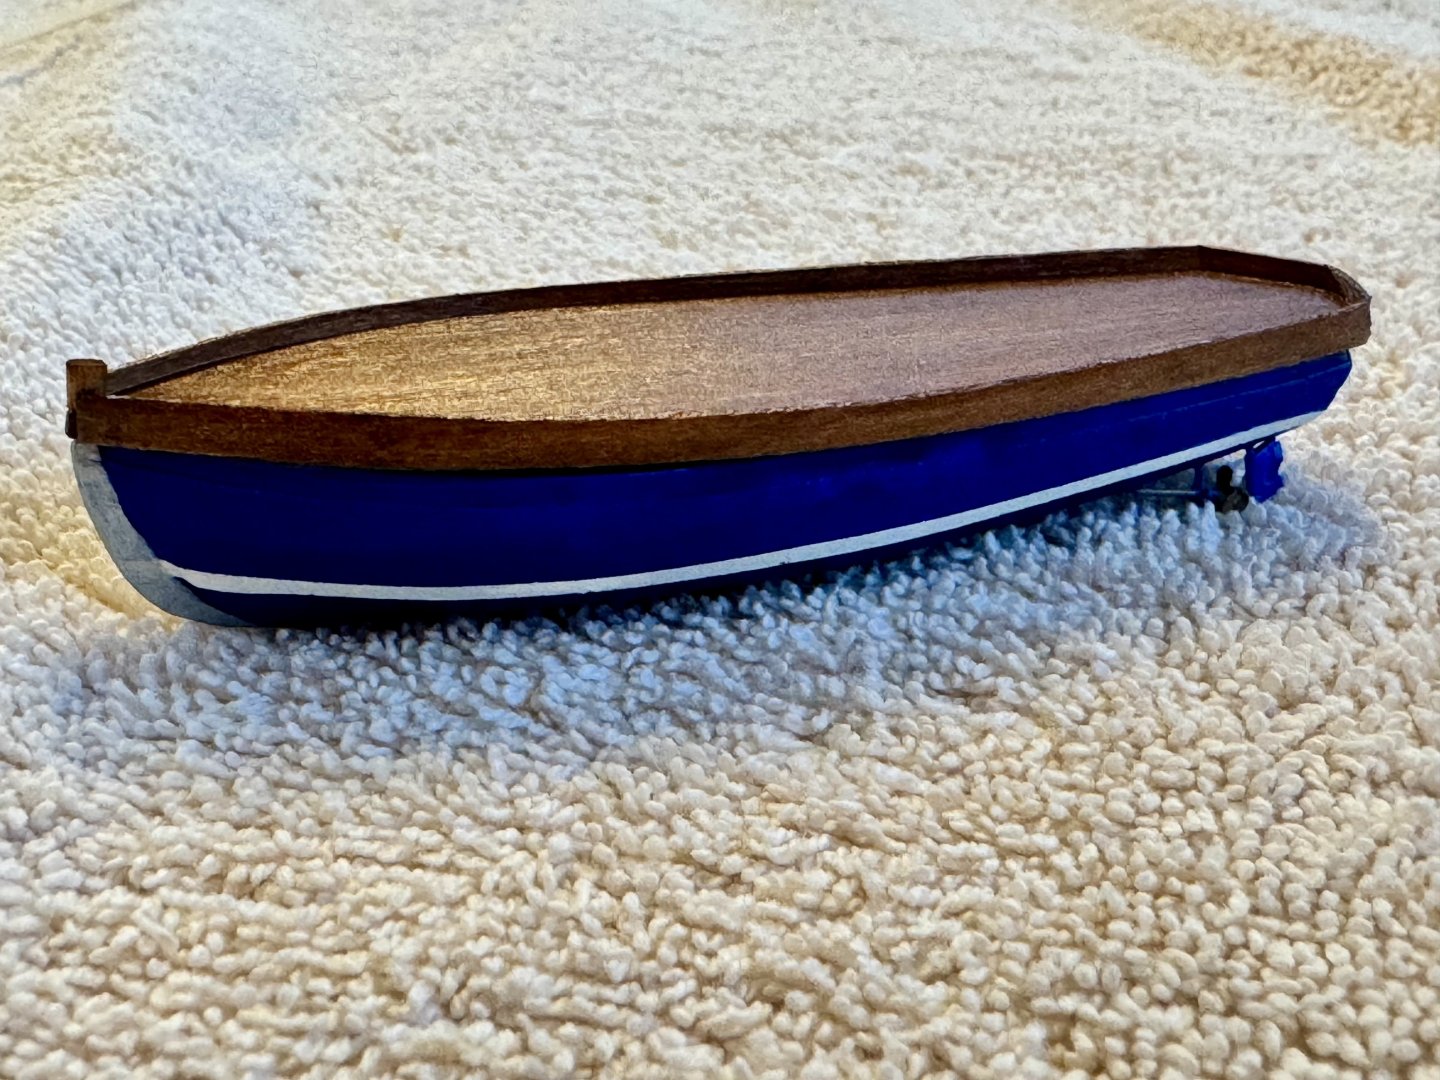
Good evening mates, today was a bit drippy in the northwest USA, which means more time in the shipyard. I decided to work on another small boat for the starboard side of the ship, specifically MCN 1675. I had to do a lot of modifications to the metal hull provided in the kit. As you can see from the first image, the real MCN 1675 is a flat bottom boat with two propellers and rudders. The blank provided in the kit is the next image with a pronounced keel. I had to file down the keel to make a better representation of the real small boat. Followed up with twin scratch built screws and rudders and completed with a nice air brushed paint job. Finally added a new deck (work in progress). One downside to how this boat is coming out…I’m not happy with the first one I built so I think I will tear it apart and build it again. I think I’ve subscribed to the thought process that it’s not about how fast you complete the build, but that you are happy with the result when it’s finished.