Mirabell61
-
Posts
7,418 -
Joined
-
Last visited
Content Type
Profiles
Forums
Gallery
Events
Everything posted by Mirabell61
-
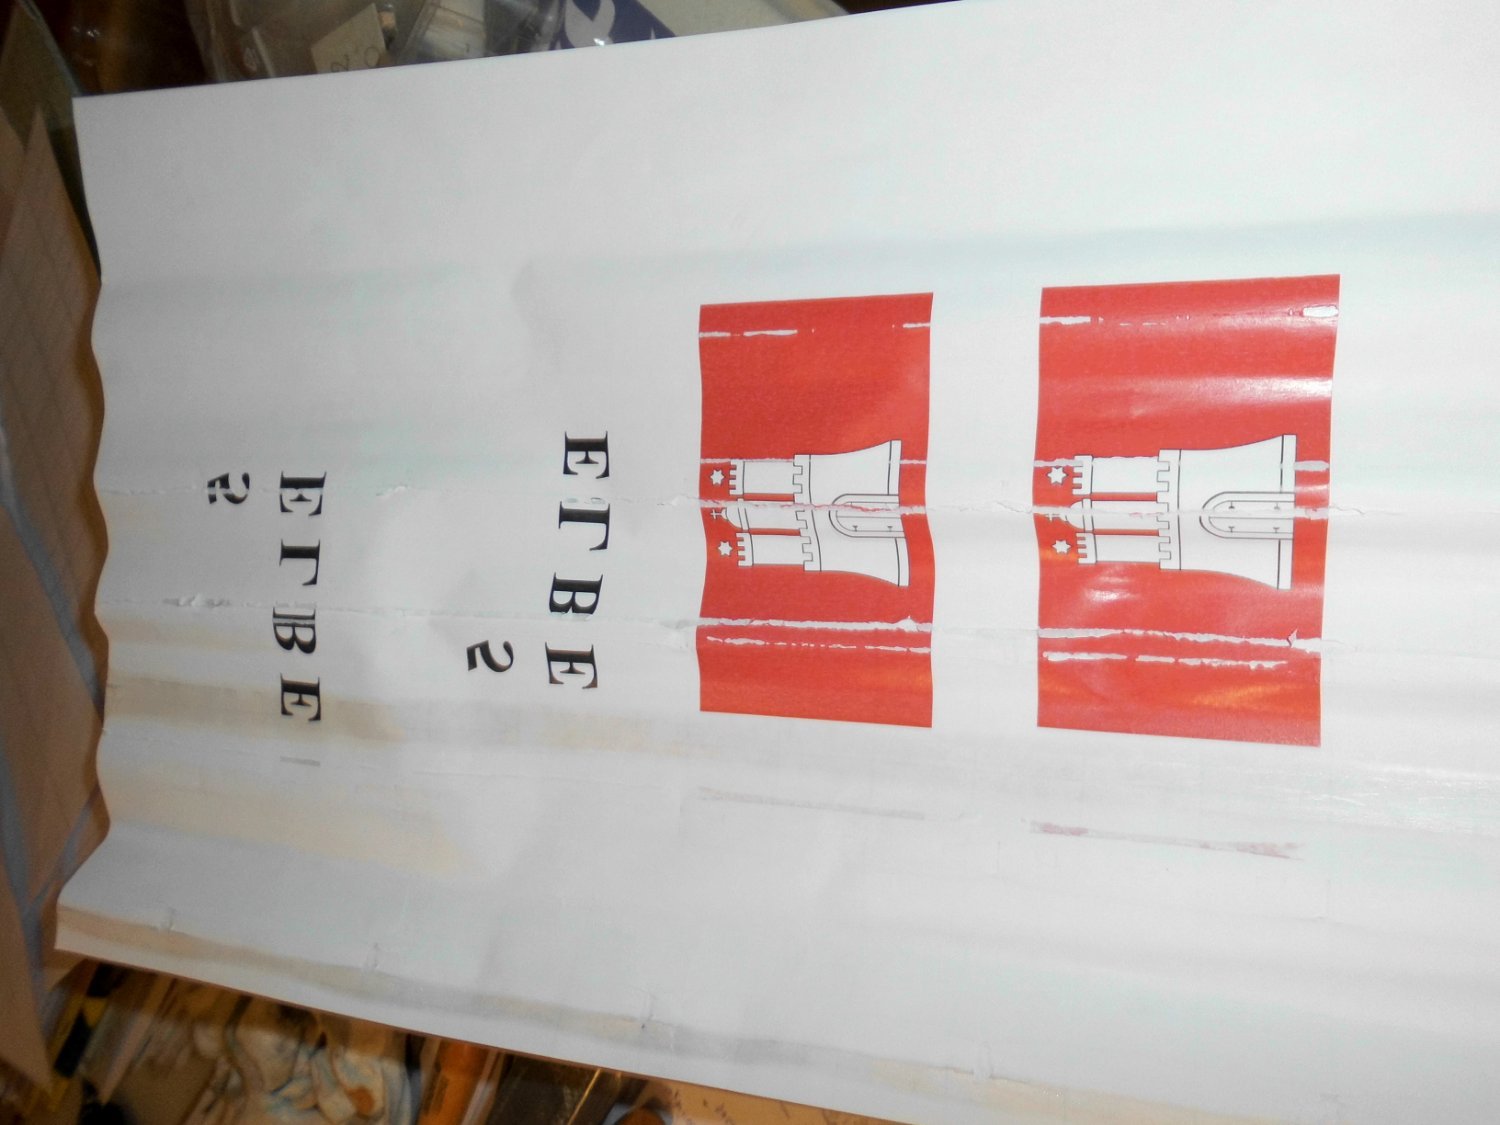
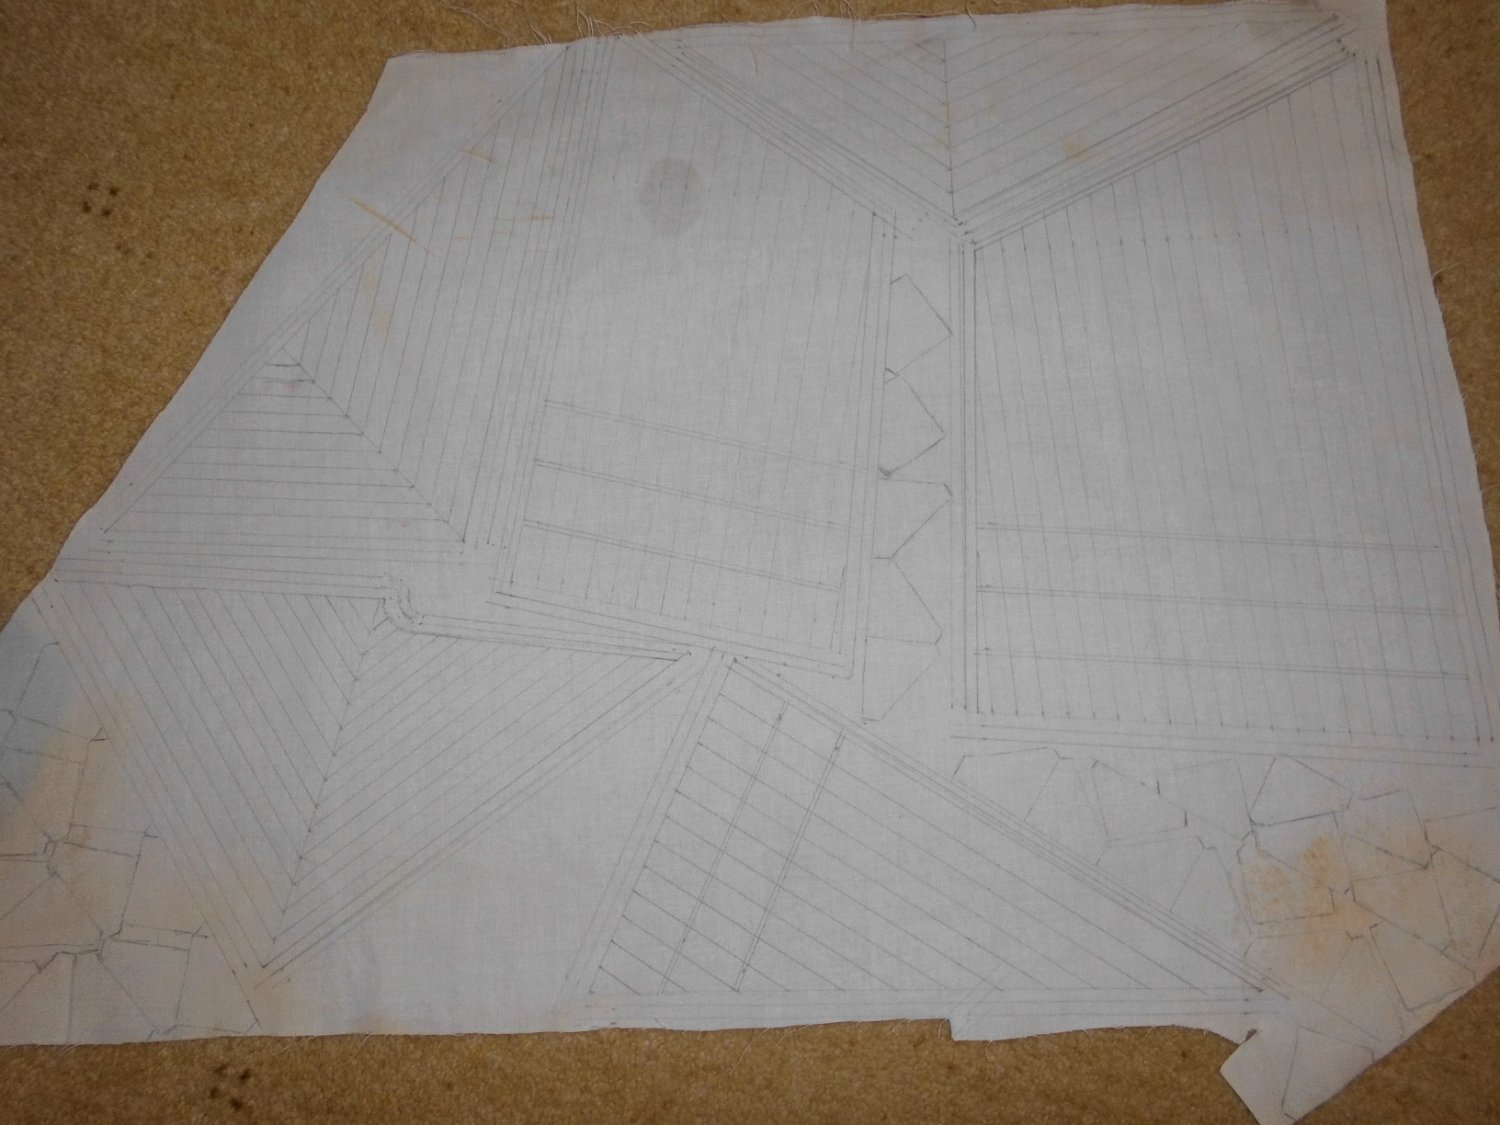
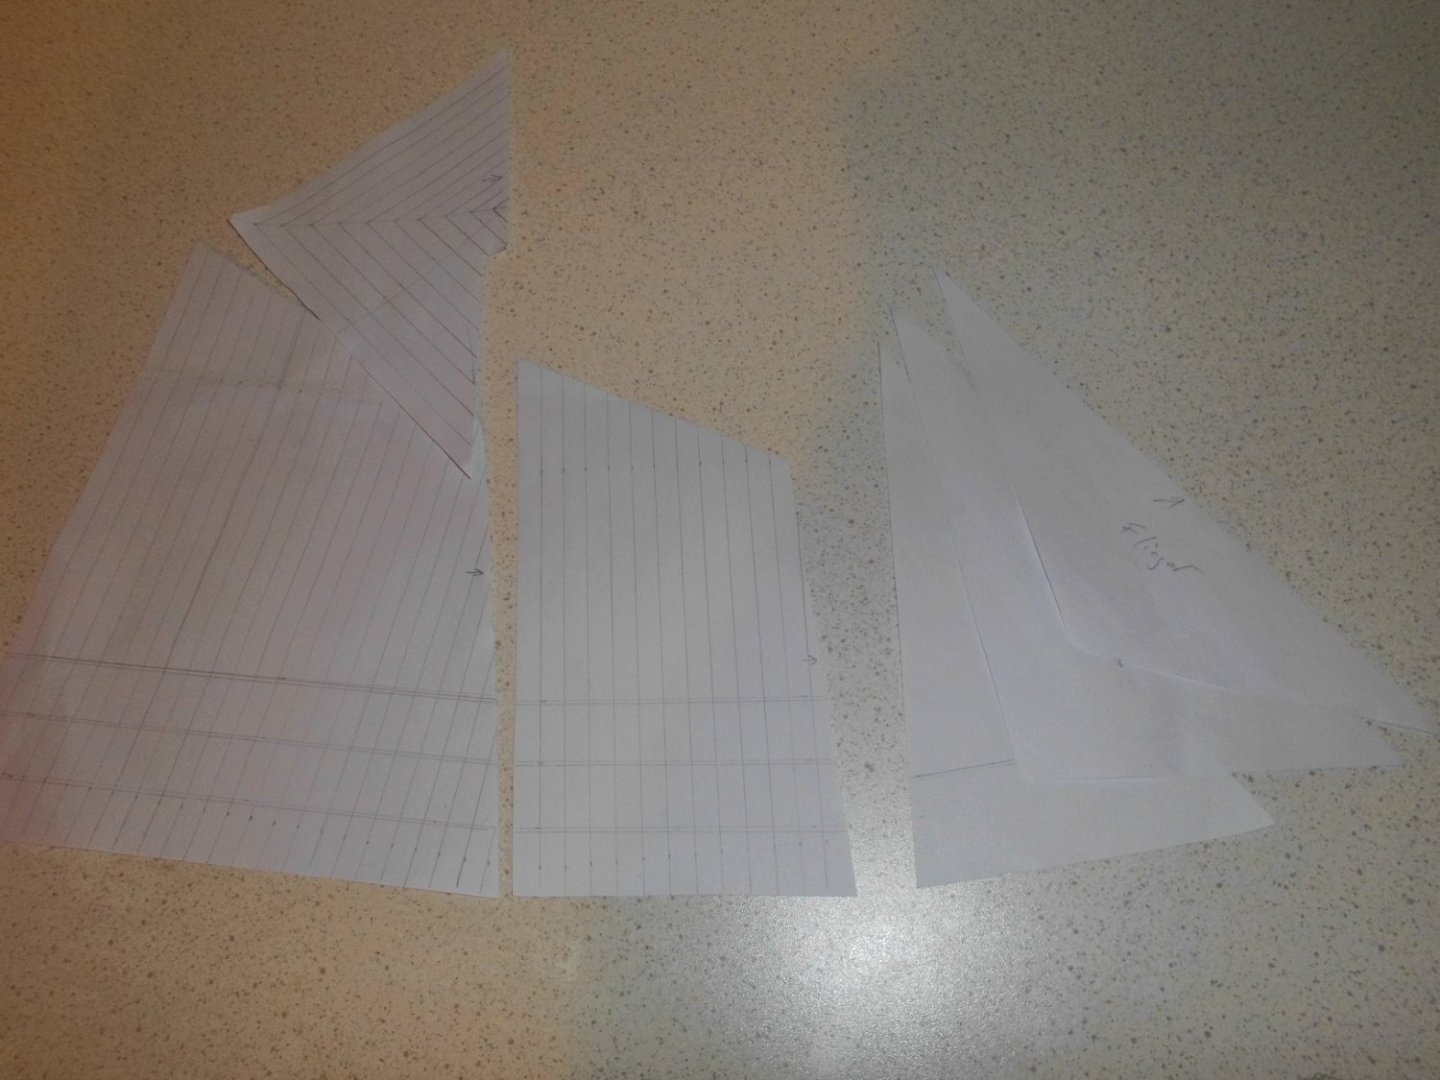
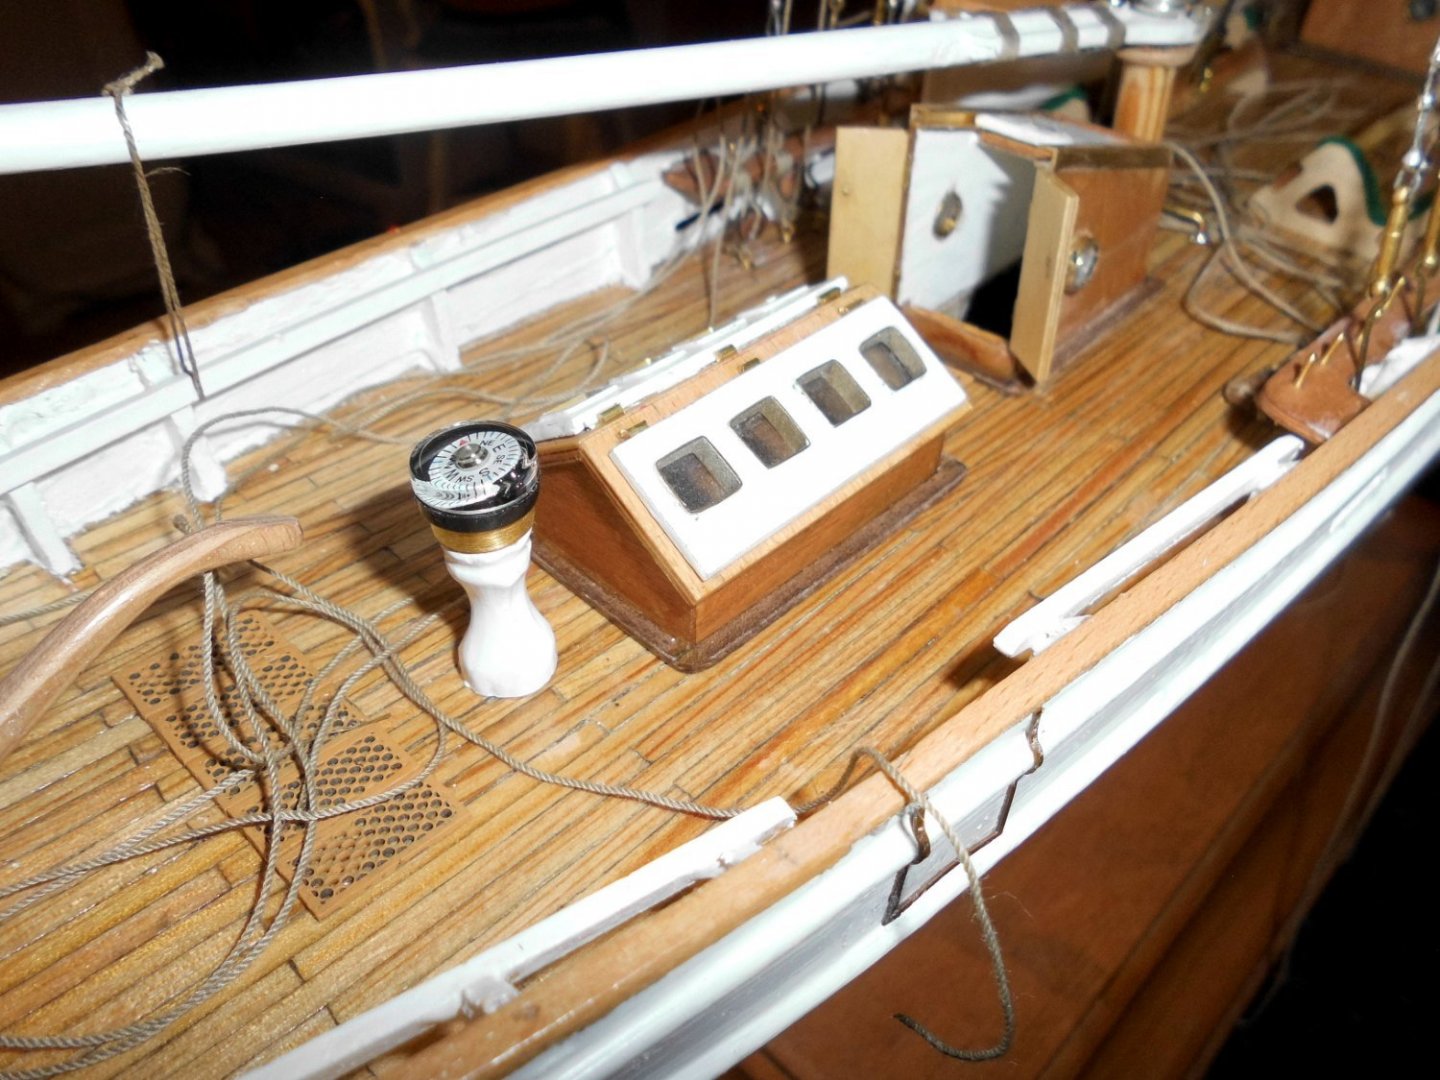
 Update beginning with the sails, thin cotton cloth preparation. With the first misfortuned contemt to print on the inc-jet transferpaper (Number on the sail), I probably wrecked my HP-printer. I does`nt take any sort of paper anymore from the paper infeed shaft. I shall now consult a professional shop for printing on cotton-fibres. Shall get the results not before wednesday this week. Meantime made the compass colum, hinges for the skylight covers, bulleyes for the companionways sides (light to the stairways ), and a grating for the helmsman .... Nils misfortuned attempt with the number and mirrored lettering in the sail and the Hamburg-flag using my last piece of cotton cloth Am planing to rig 6 sails to the schooner hinges for the skylight covers and compass colum, also grating for the helmsman bulleyes for the companionway sides


- 180 replies
-
- 8
-

-
- pilot boat
- Elbe 5
- (and 3 more)
-
Hi Richard, I came across your build rather late and am impressed of your modeling technique from the start to the state in progress. She will be a beauty and a highlight on MSW scratchbuilds. With ref. to the rivets, why did`nt you ponce them to the plating you are using, did you try it..... Nils
- 454 replies
-
- 2
-
-
- Union Steamship Company
- Stepcraft 840
- (and 3 more)
-
Very nice Model ! Nils
-
brilliant work Dan.... Nils
-
Hi Uwe. very nice solution for the water-tightness. Are you still able to hold the intended waterline (weightwise) Nils
-
Hi Uwe, you mentioned sharp keel by means of brass profile and to withstand rough driving...It looks very nice Are you intending to RC control the steamer on the water ? I did this with my boat in the beginning but had to relialize that moisture was creeping into the planking under the paint indicating several mini-cracks so I refrained from that and have a stand model instead since then Nils
-
Hello Keith, Thanks for you words. I`m quite through with the basic ship and am looking at the manufacturing of the sails set. The foremast gaff sail is to bear the lettering ( "5 ELBE) on both sides in larger black letters. I would start with this one. For doing so I need a working ink jet printer and a way to mirror the lettering (with Words program functions. Momentary my printer does not take any paper by the infeed shaft neigther for normal paper and especially not for transfer foil I`m intending to use, and I`m looking for a way to solve that. I need to find a solution on that. I hate to invest on a new printer. At least by now I practiced to mirror with the Words function..... Nils
- 180 replies
-
- 3
-
-
- pilot boat
- Elbe 5
- (and 3 more)
-
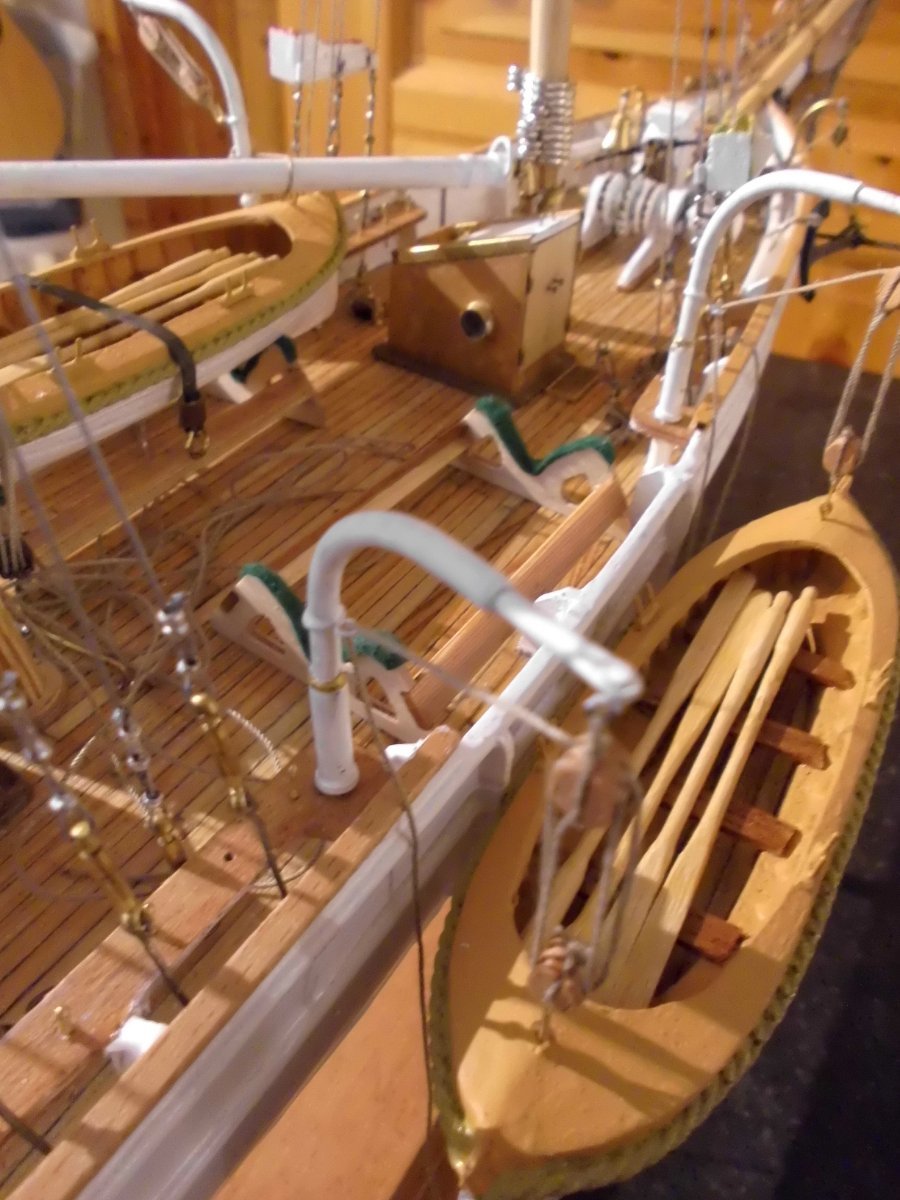
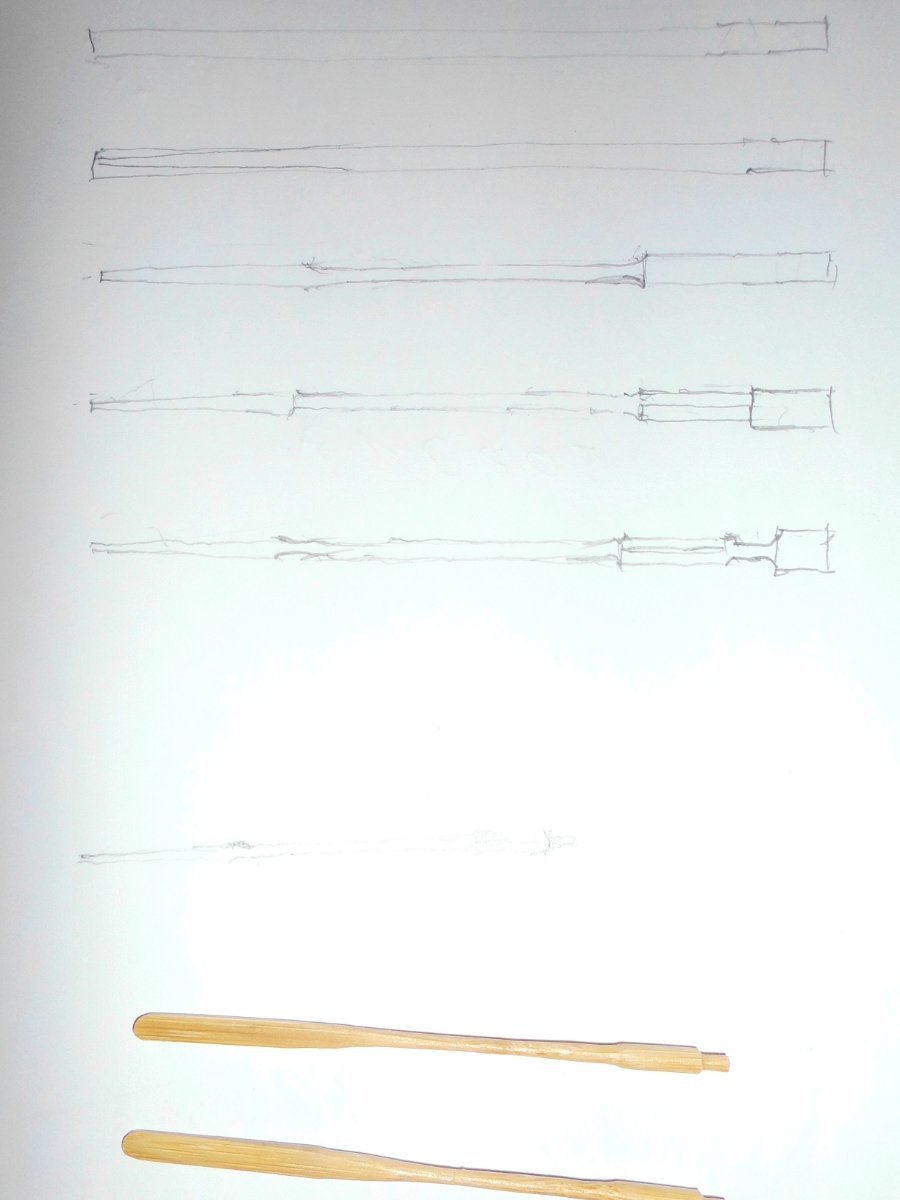
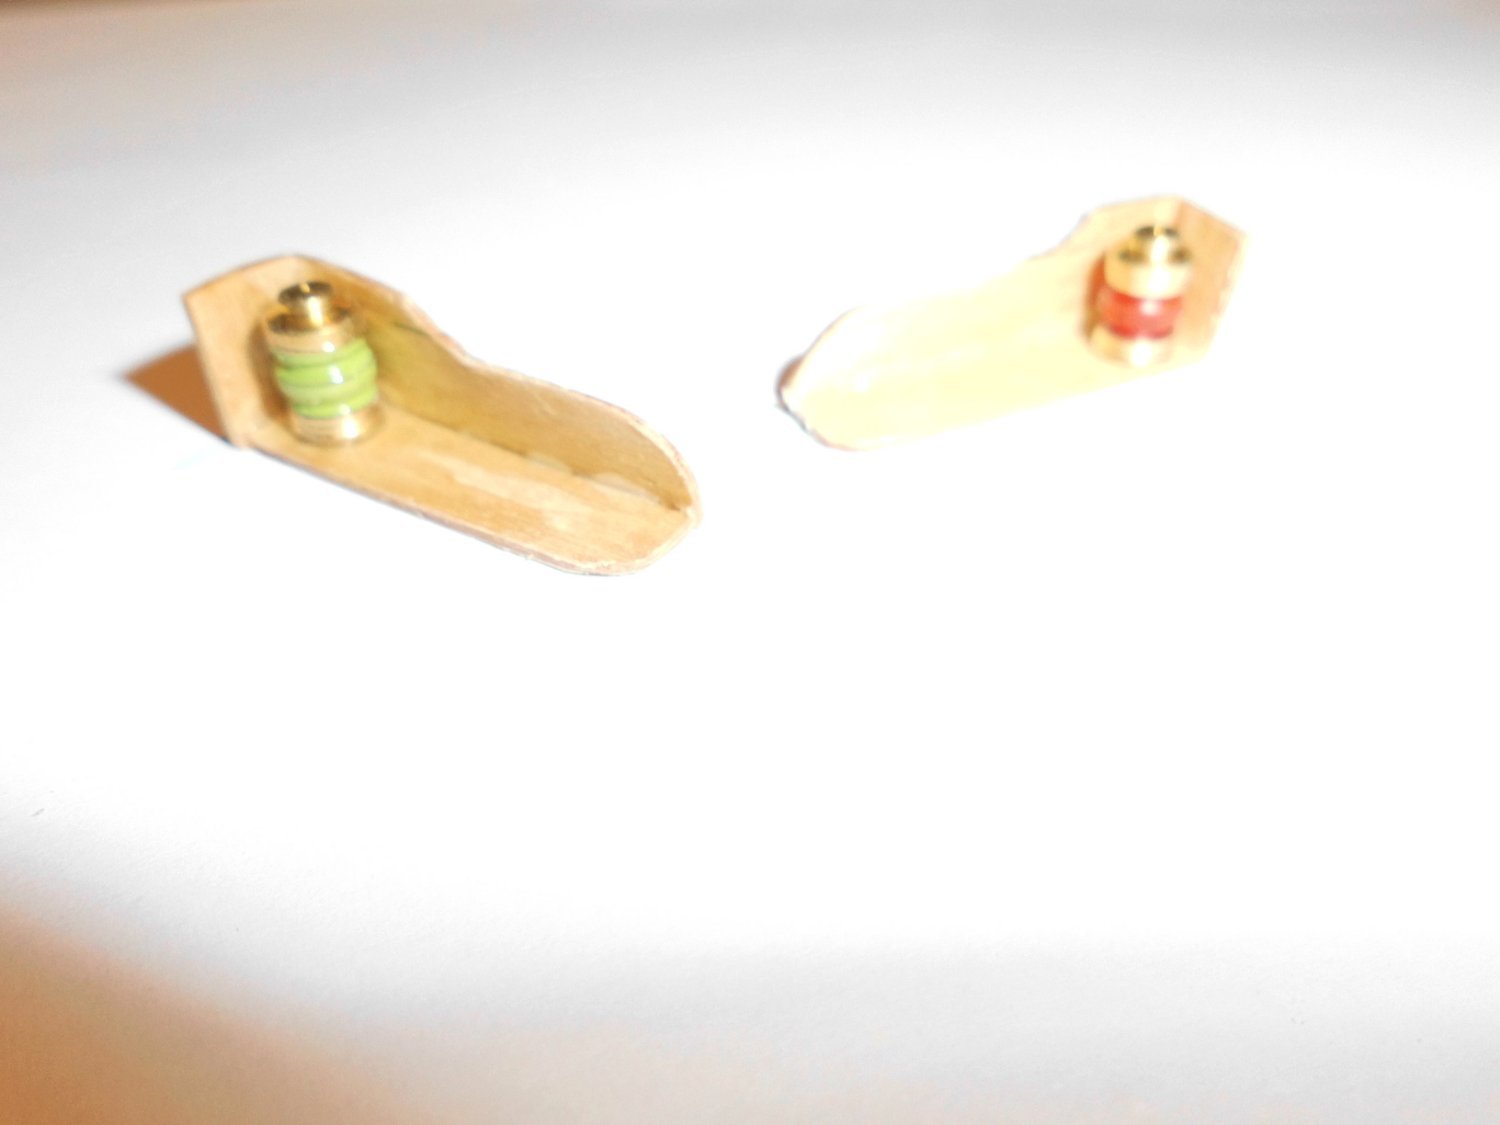
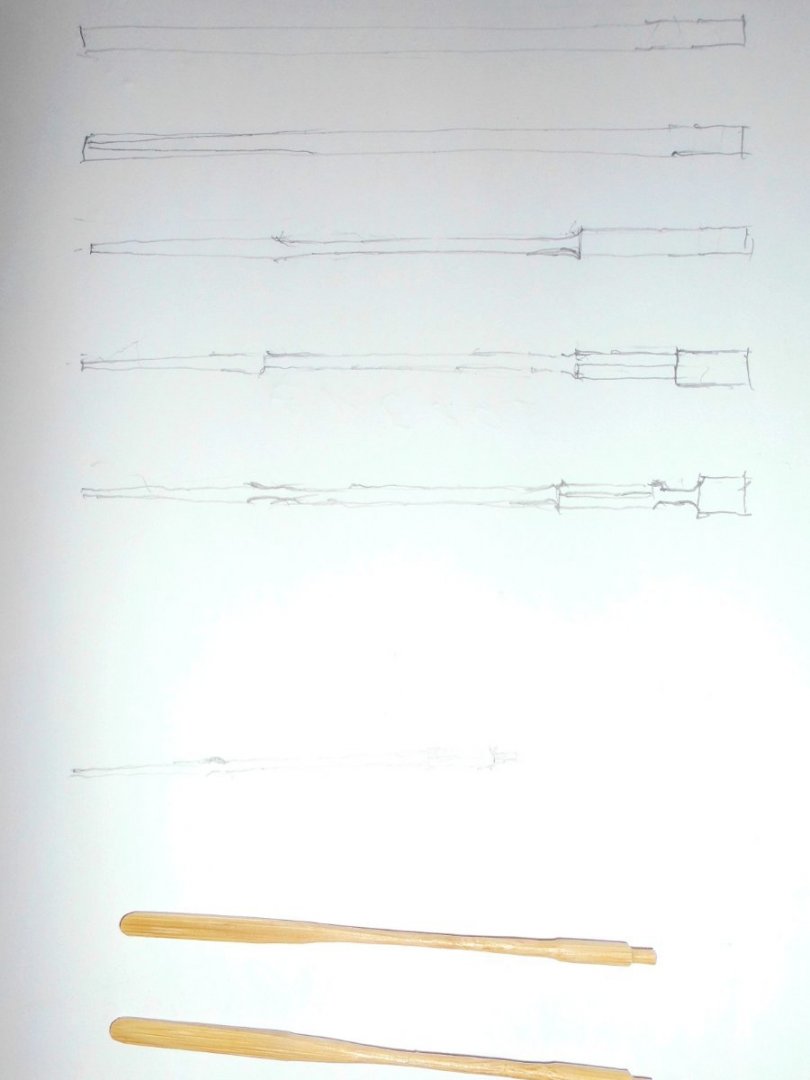
Update yes, the oars were still missing. I made two sets today from 4mm dia bamboo spars, ref. to encl. steps of manufacturing Nils oars from 4mm bamboo spars
- 180 replies
-
- 7
-
-

-
- pilot boat
- Elbe 5
- (and 3 more)
-
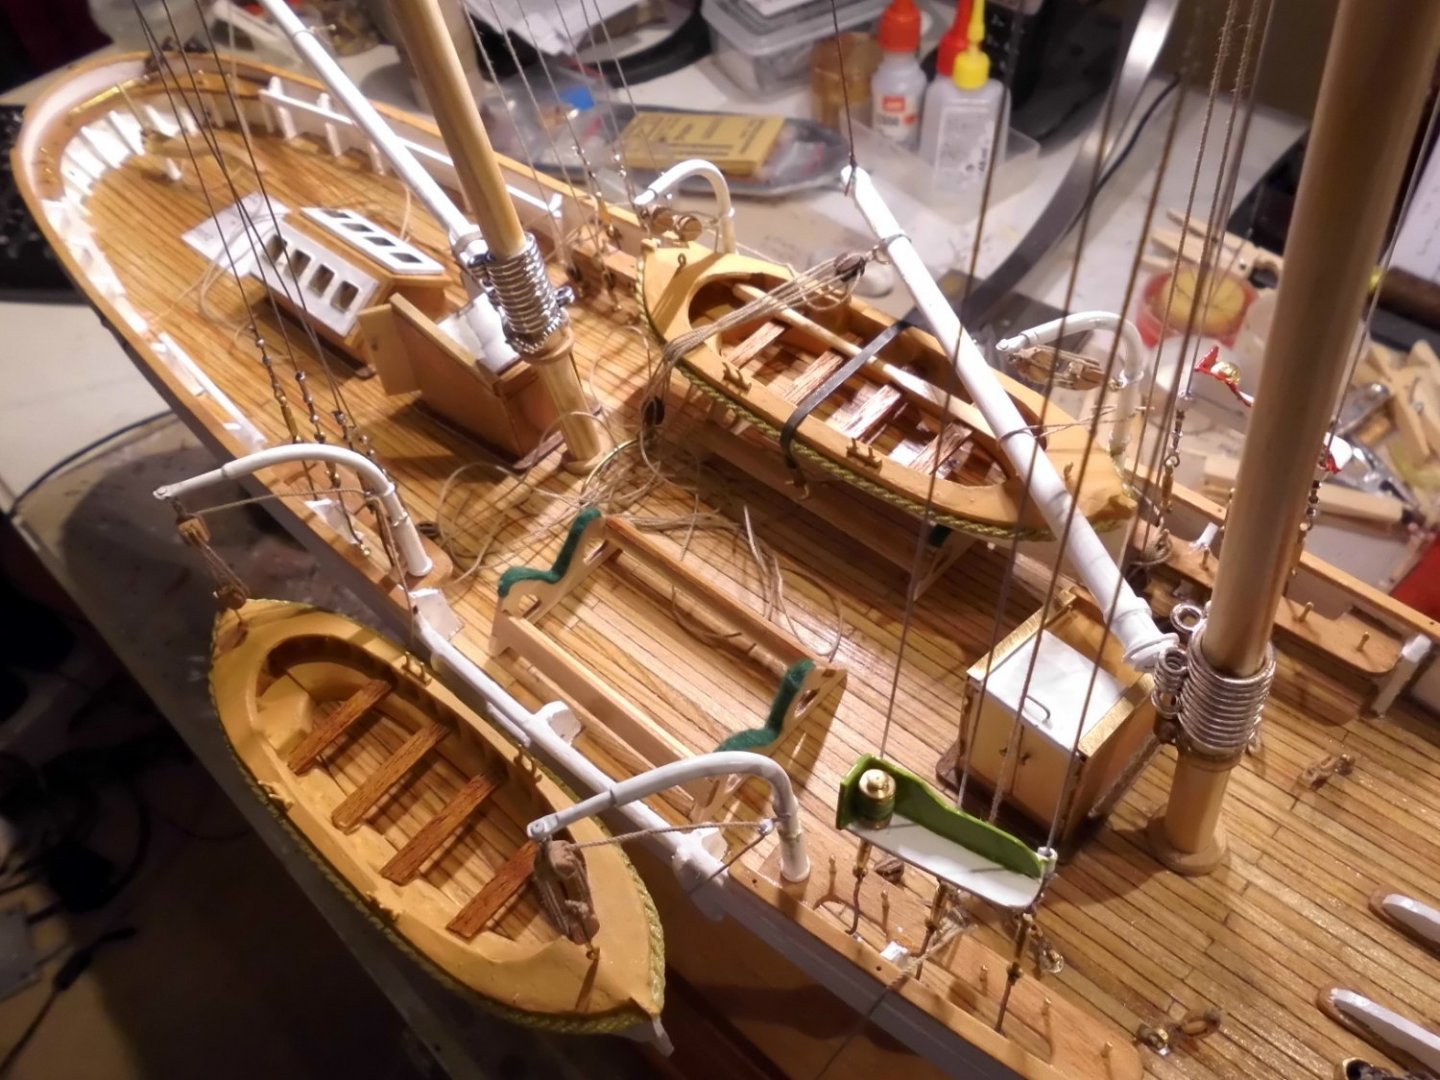
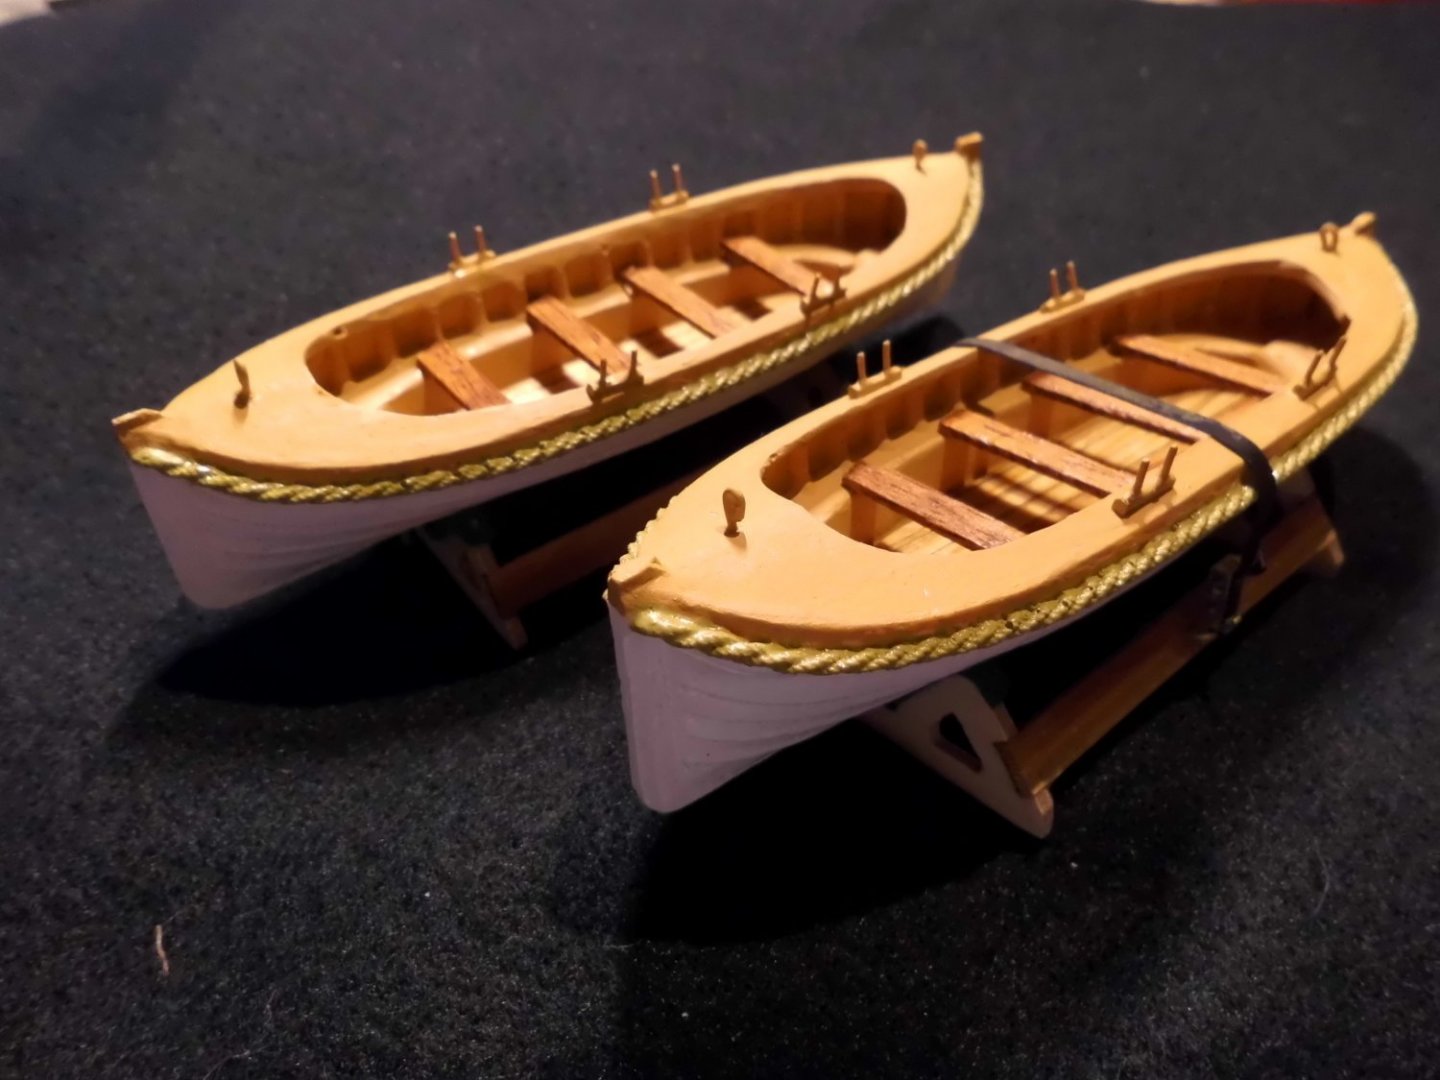
Update finished, the new set of boats. I wo`nt give them an underwater painting like the former ones, plain white hulls I think look better Maybe I`ll put the former obsolete ones on sale at Ebay Nils

- 180 replies
-
- 8
-
-
- pilot boat
- Elbe 5
- (and 3 more)
-
Hi Paul, congrats, thats a beautiful build, accurate and precise.... Nils
- 55 replies
-
- 1
-
-
- Nordlandsbaaden
- Billing Boats
- (and 1 more)
-
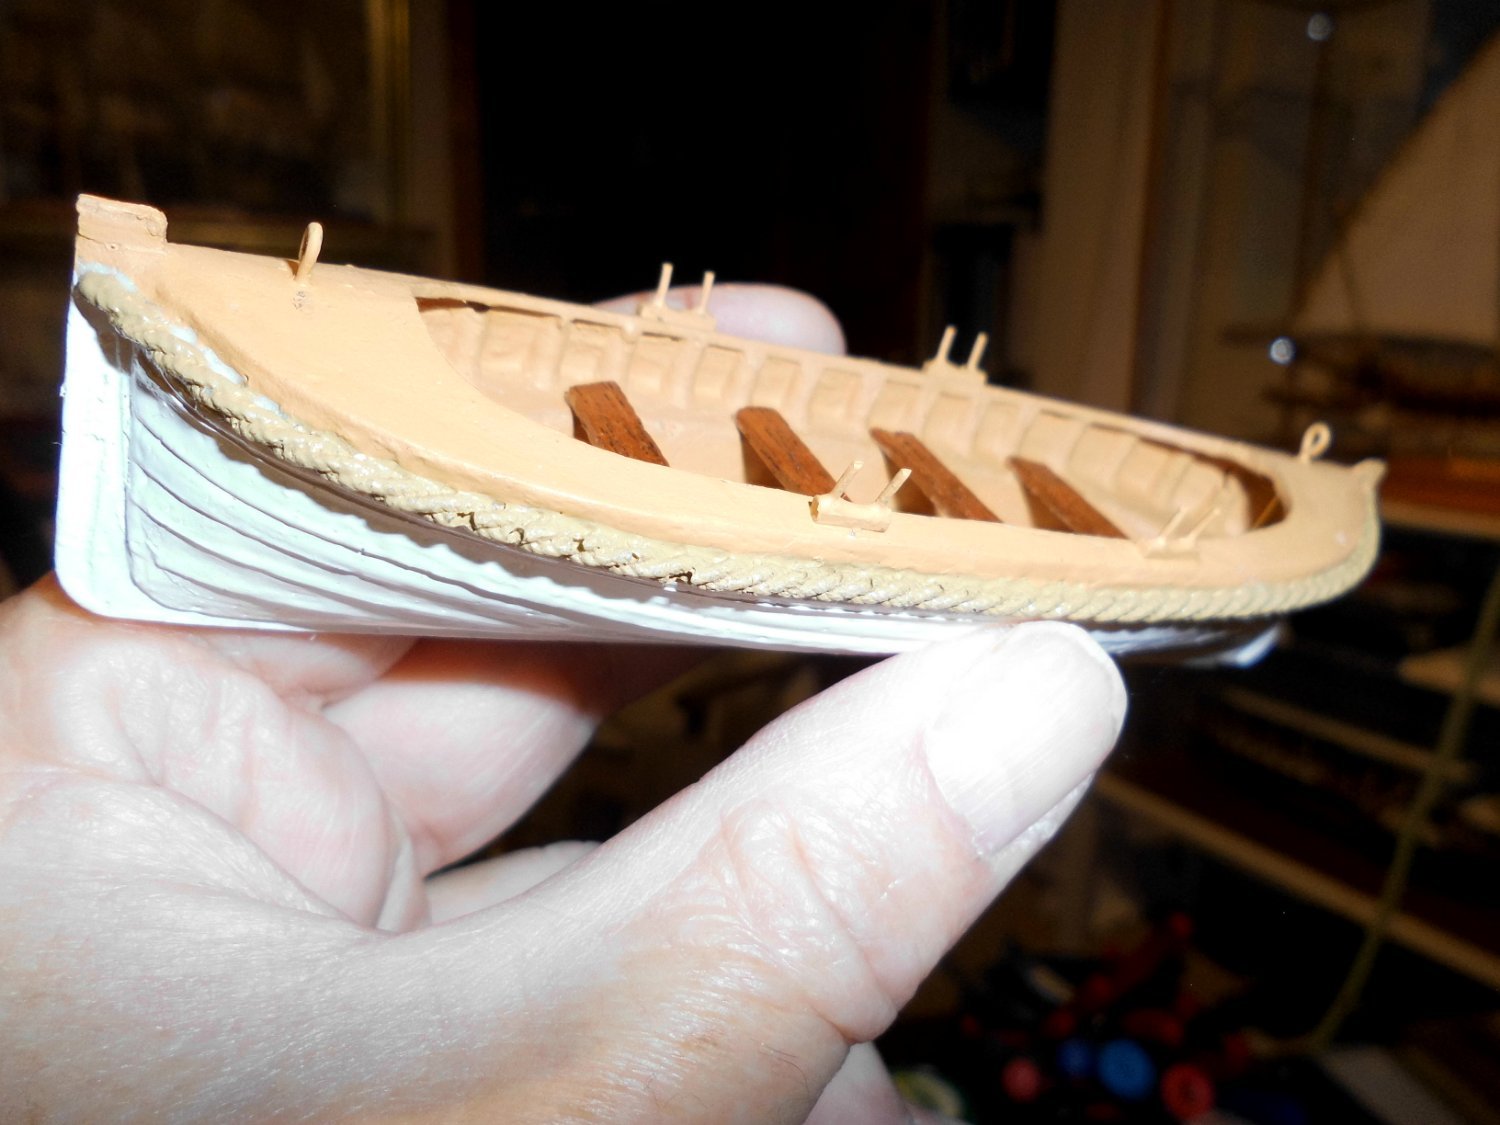
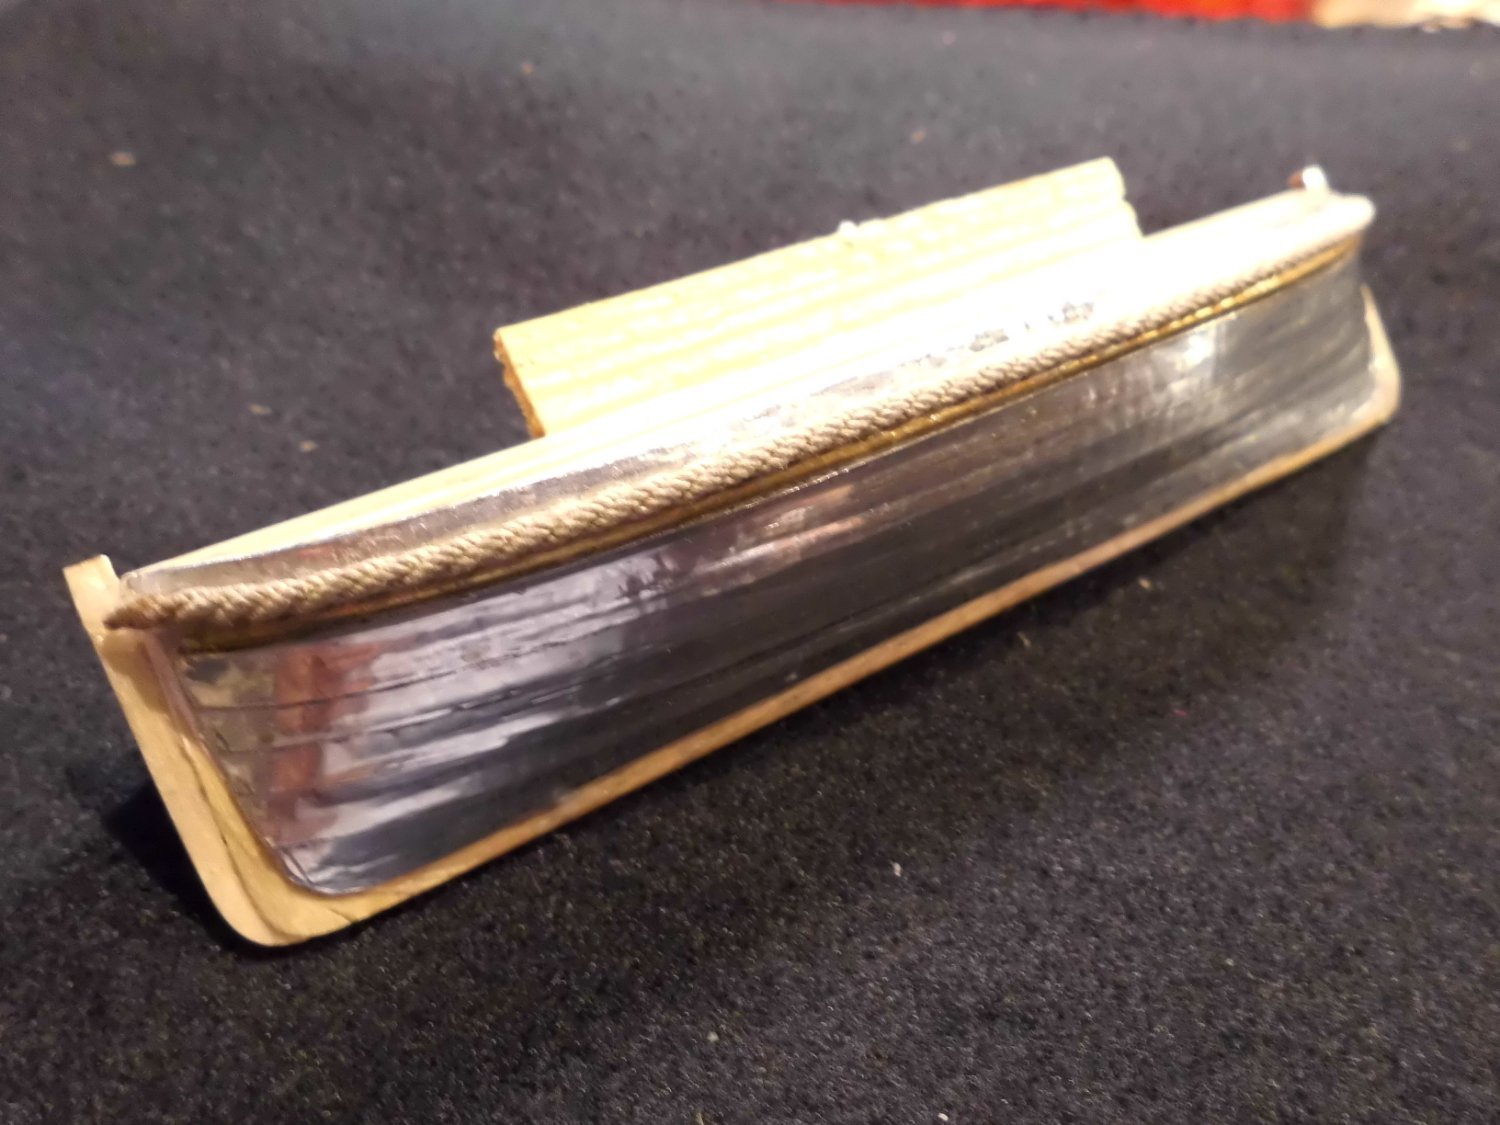
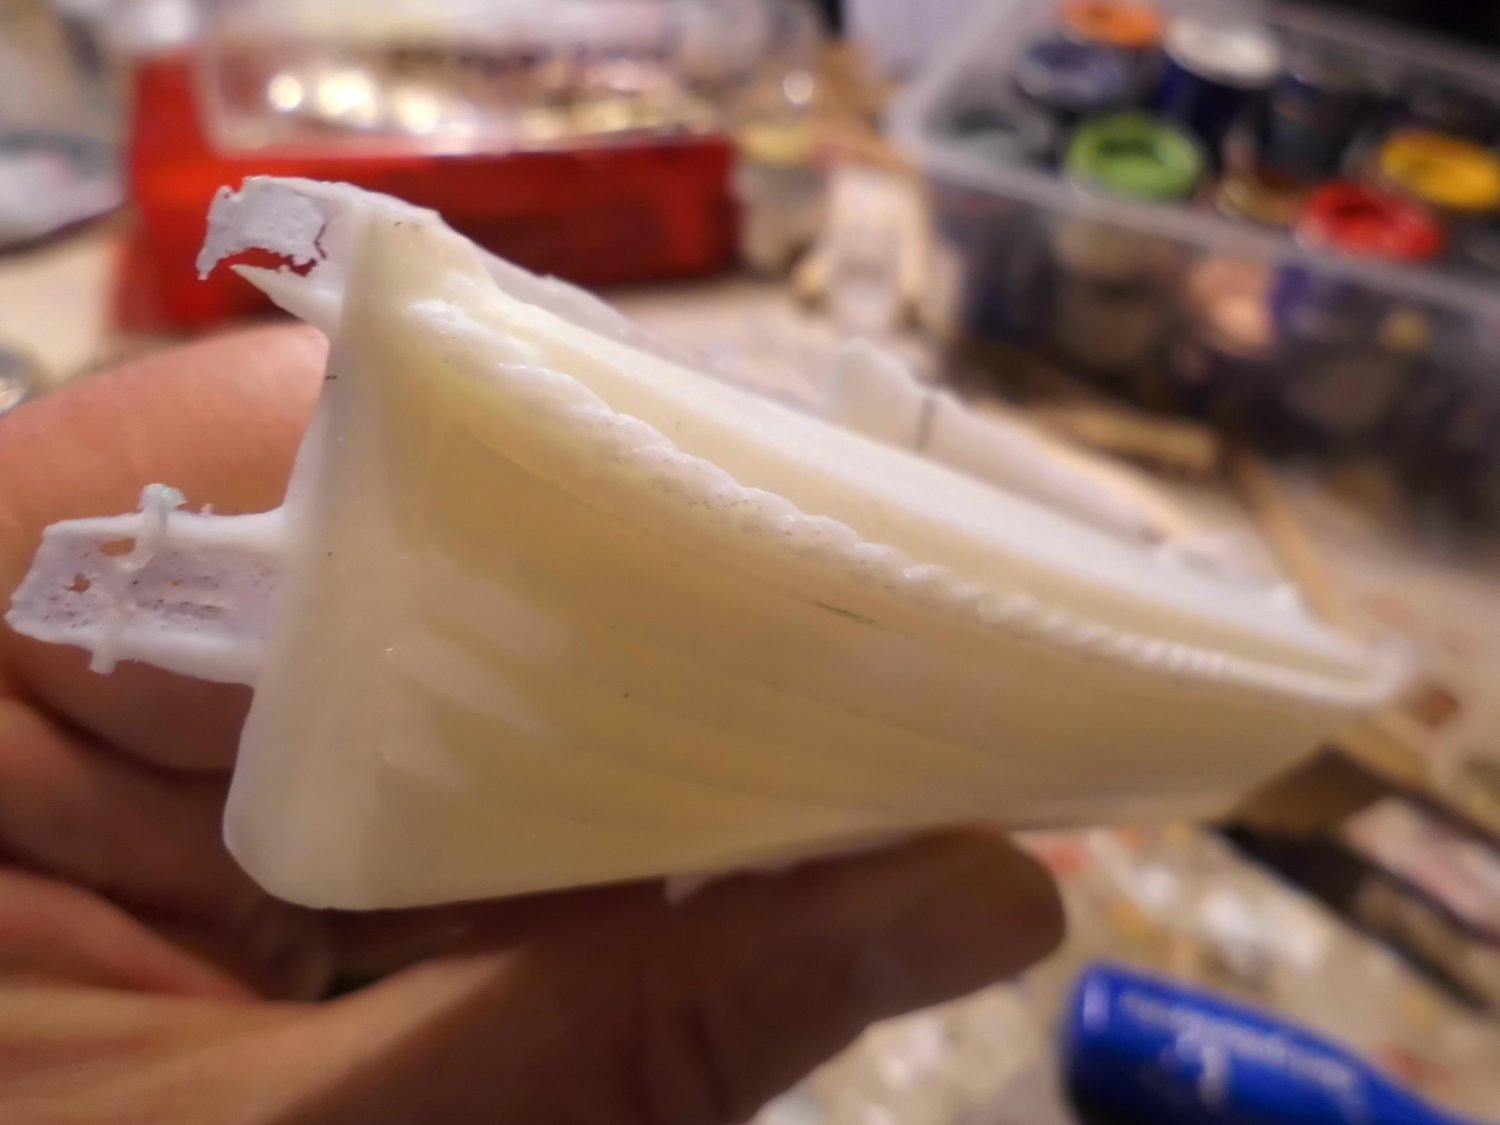
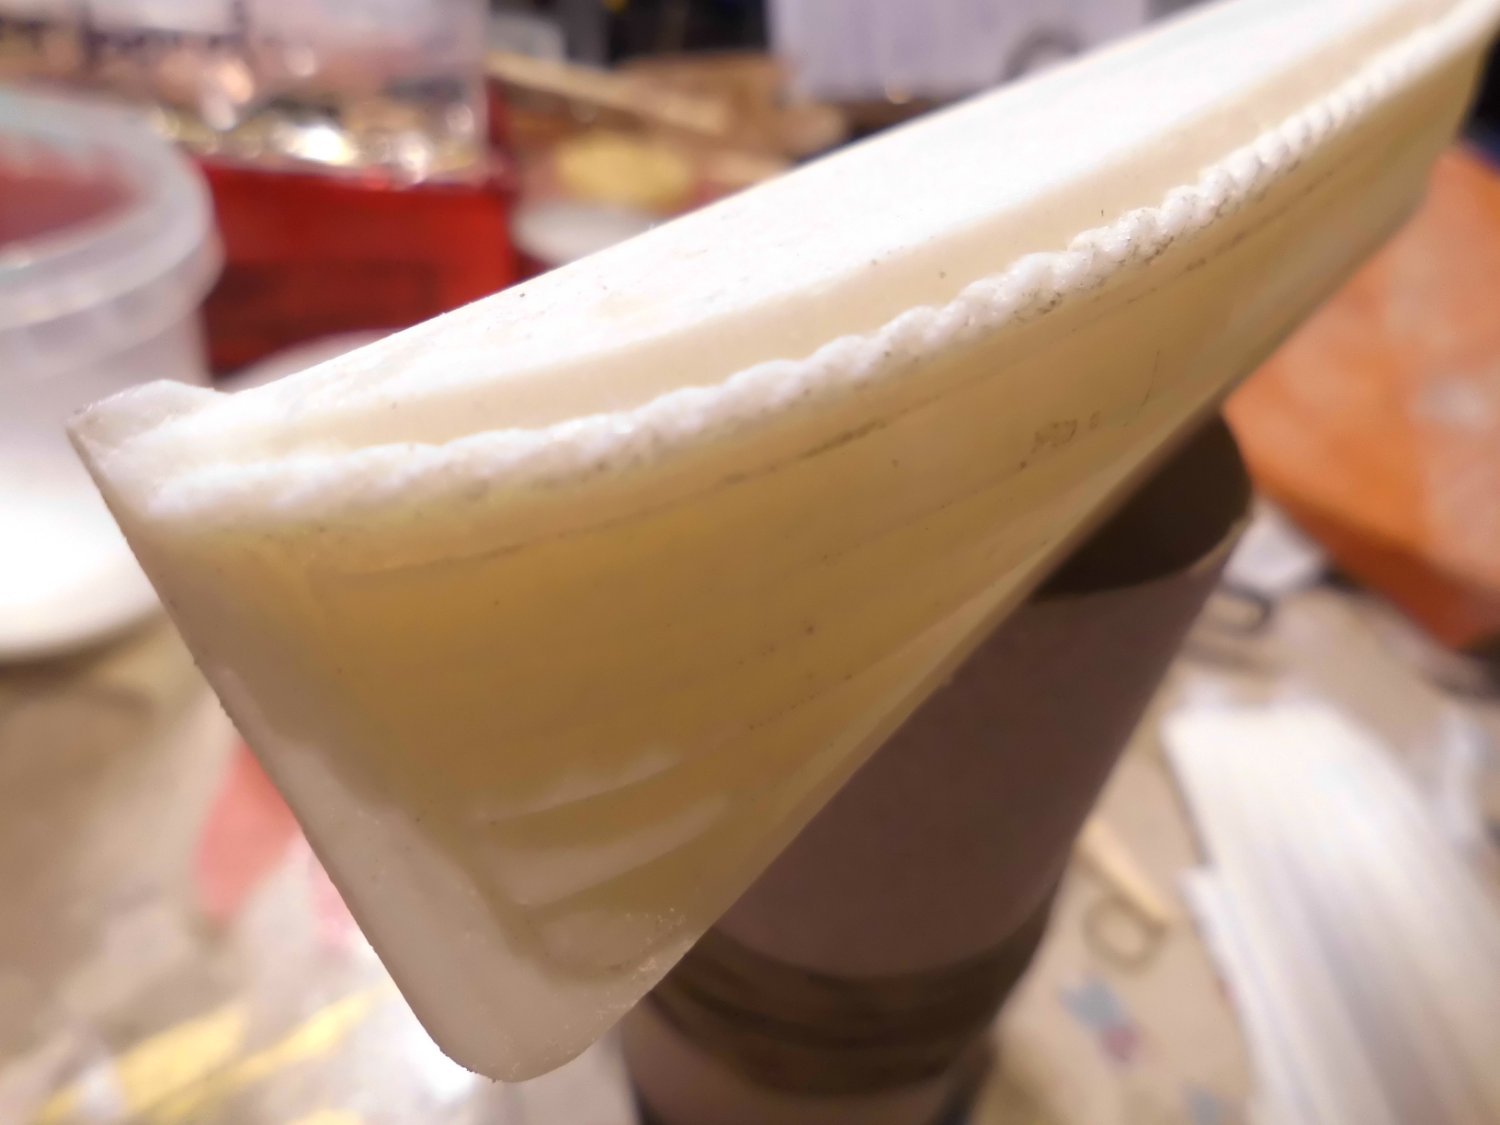
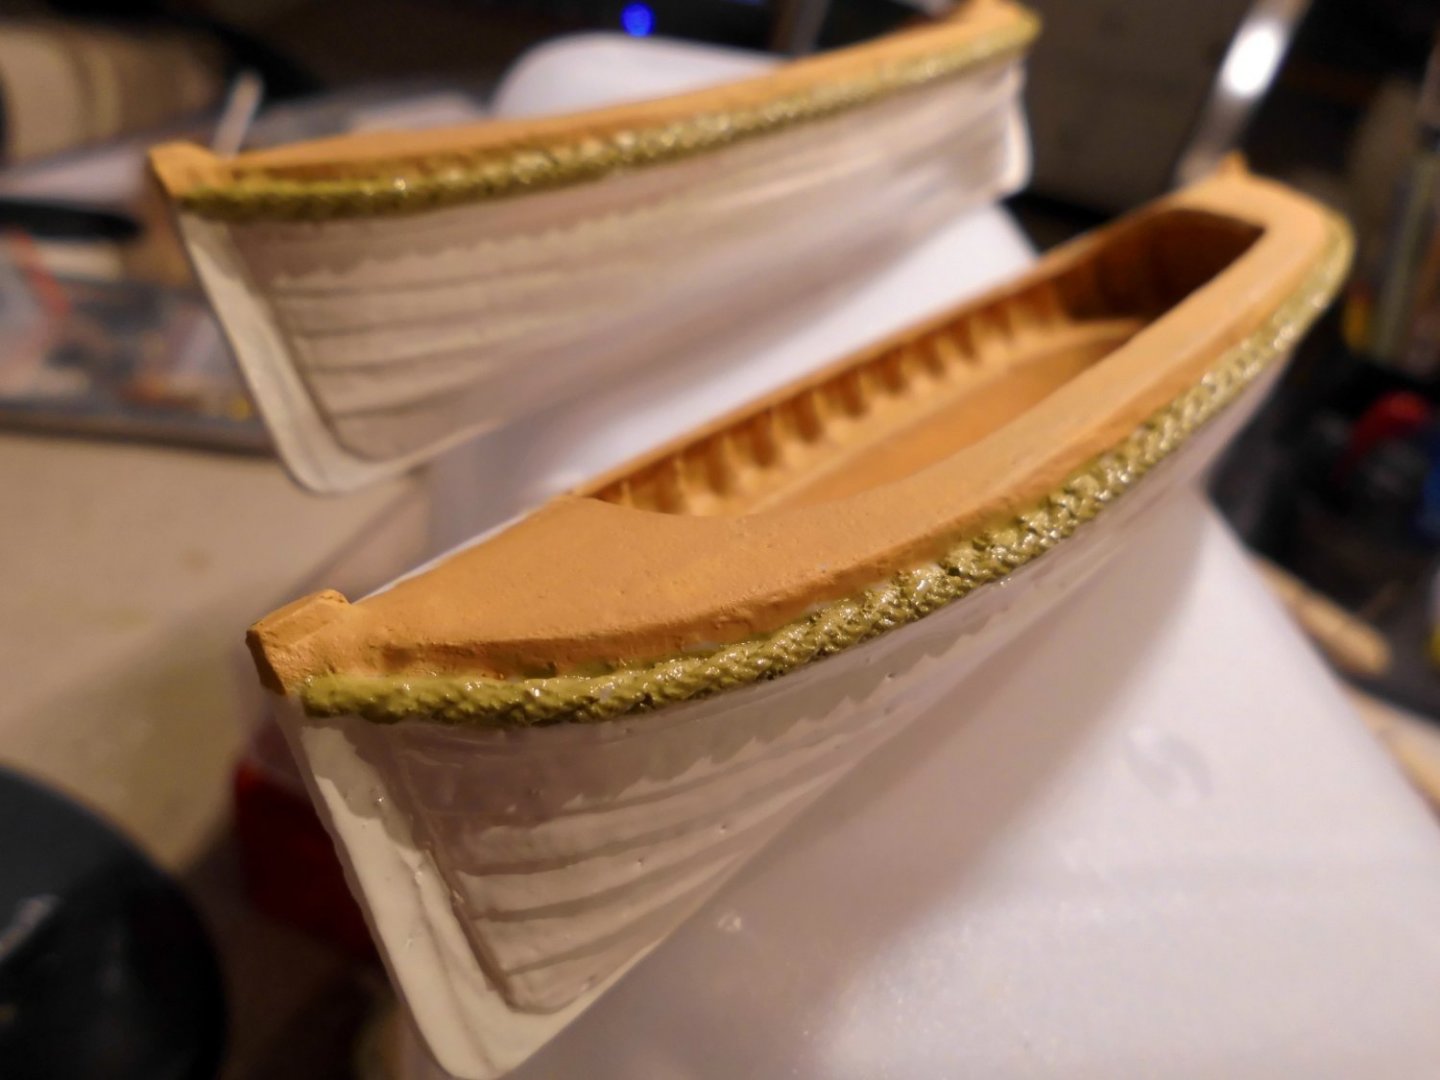
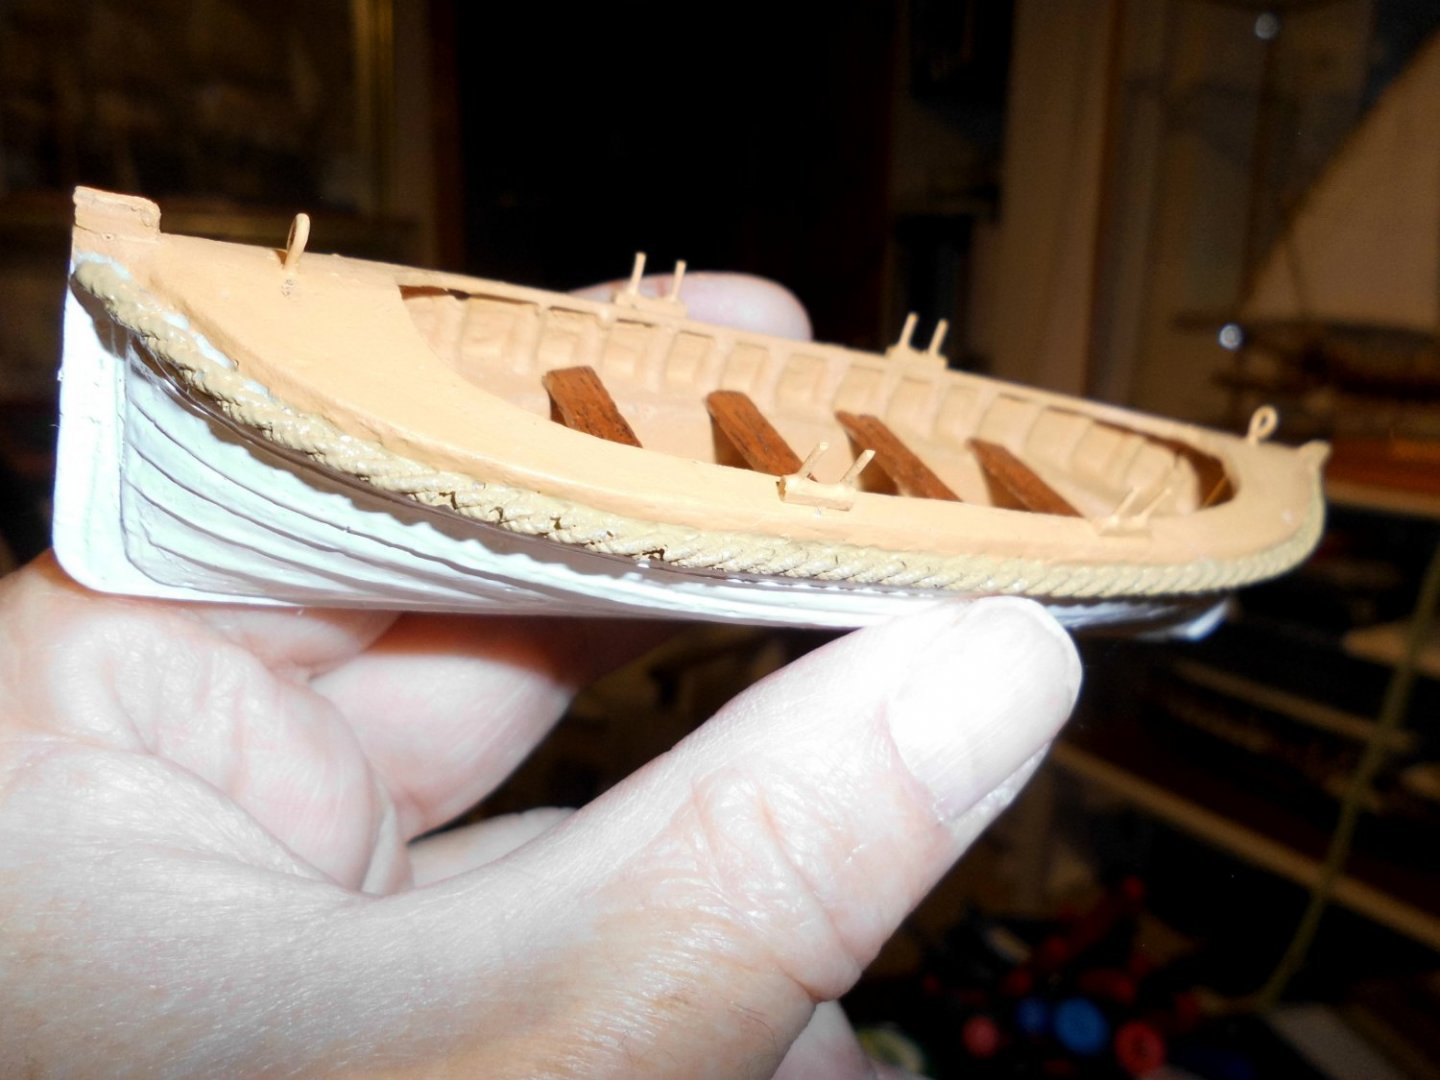
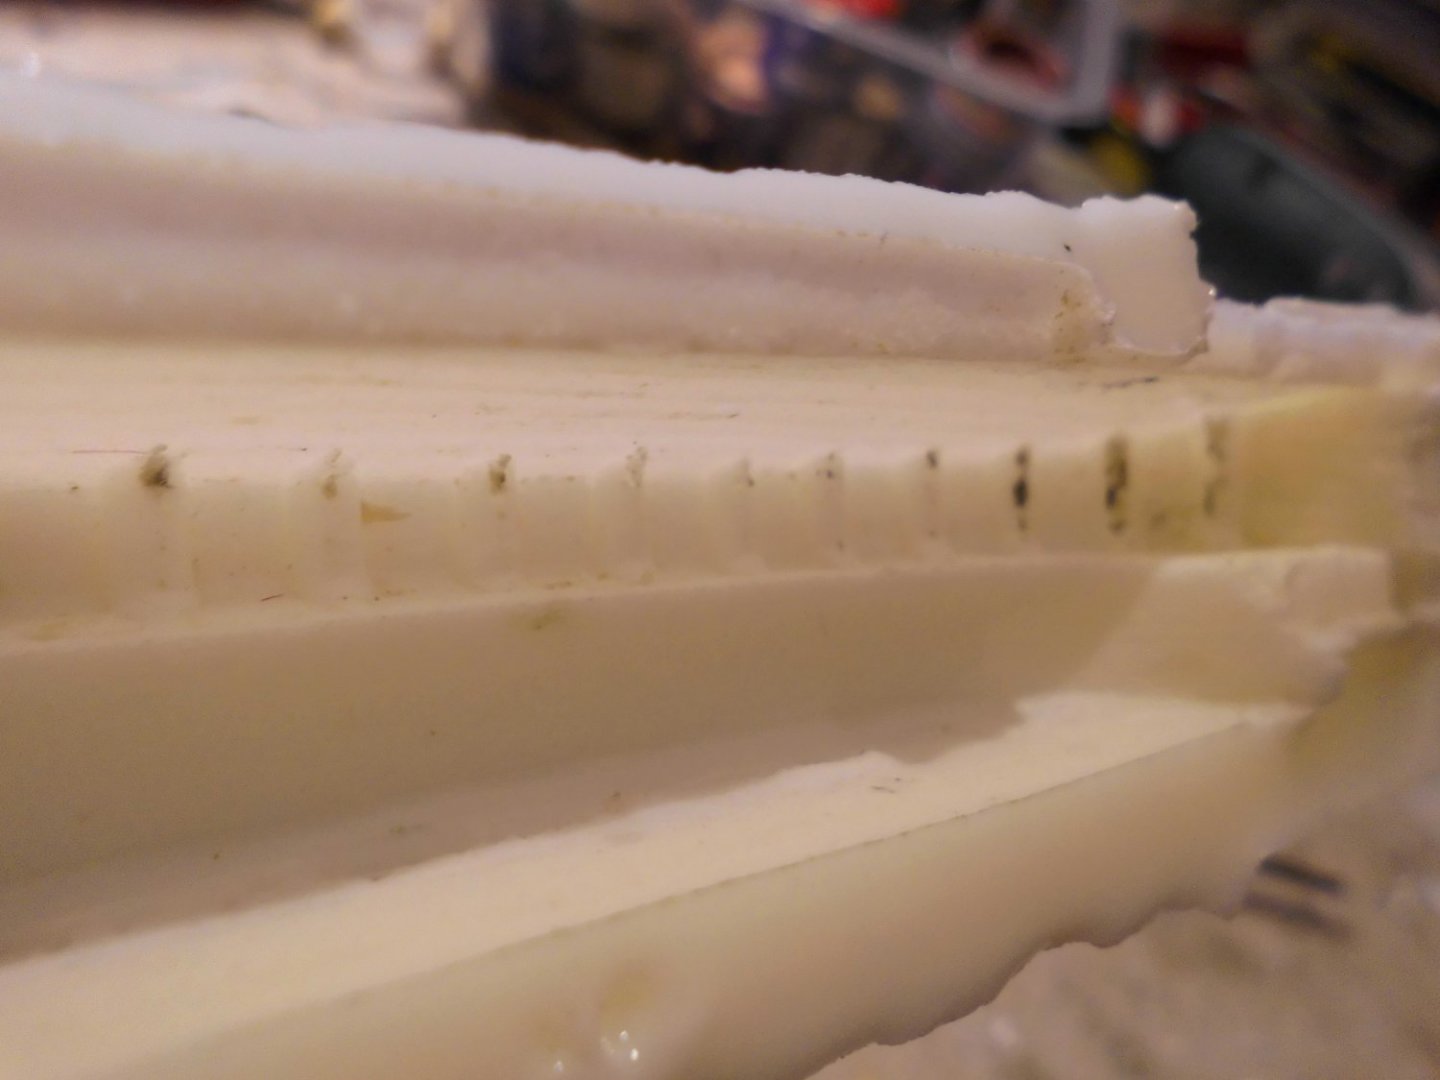
Update when looking at the boats bow-and sternposts I always had the relating coment, some mails ago, by Wefalck nagging at my mind. So I decided to overwork the boats model for casting accordingly. Now the "clinker planking" ties up with the rear side of the thinned out posts, I provided a cast rope-fender (tawling ?) all around, and reinforced the visable frame ends inside the bulwarks. My casting tool was adjusted and a new silicone mold was made....The first results are pleasing for myself Nils the overworked model fender rope attached first cast results


- 180 replies
-
- 6
-
-
- pilot boat
- Elbe 5
- (and 3 more)
-
Ver nice basic work with the gig Eberhard, it looks great, and that in a so small scale !! Nils
-
Eberhard, I`ll try with one sewn sail first and see what it looks like.... Nils
- 180 replies
-
- 1
-
-
- pilot boat
- Elbe 5
- (and 3 more)
-
Many thanks Keith, yes. she will be carrying all 6 sails set.... I have`nt sewn sails for a long time and hope that it will work out OK, depending also on the condition of my wife`s sewing machine Nils
- 180 replies
-
- 1
-
-
- pilot boat
- Elbe 5
- (and 3 more)
-
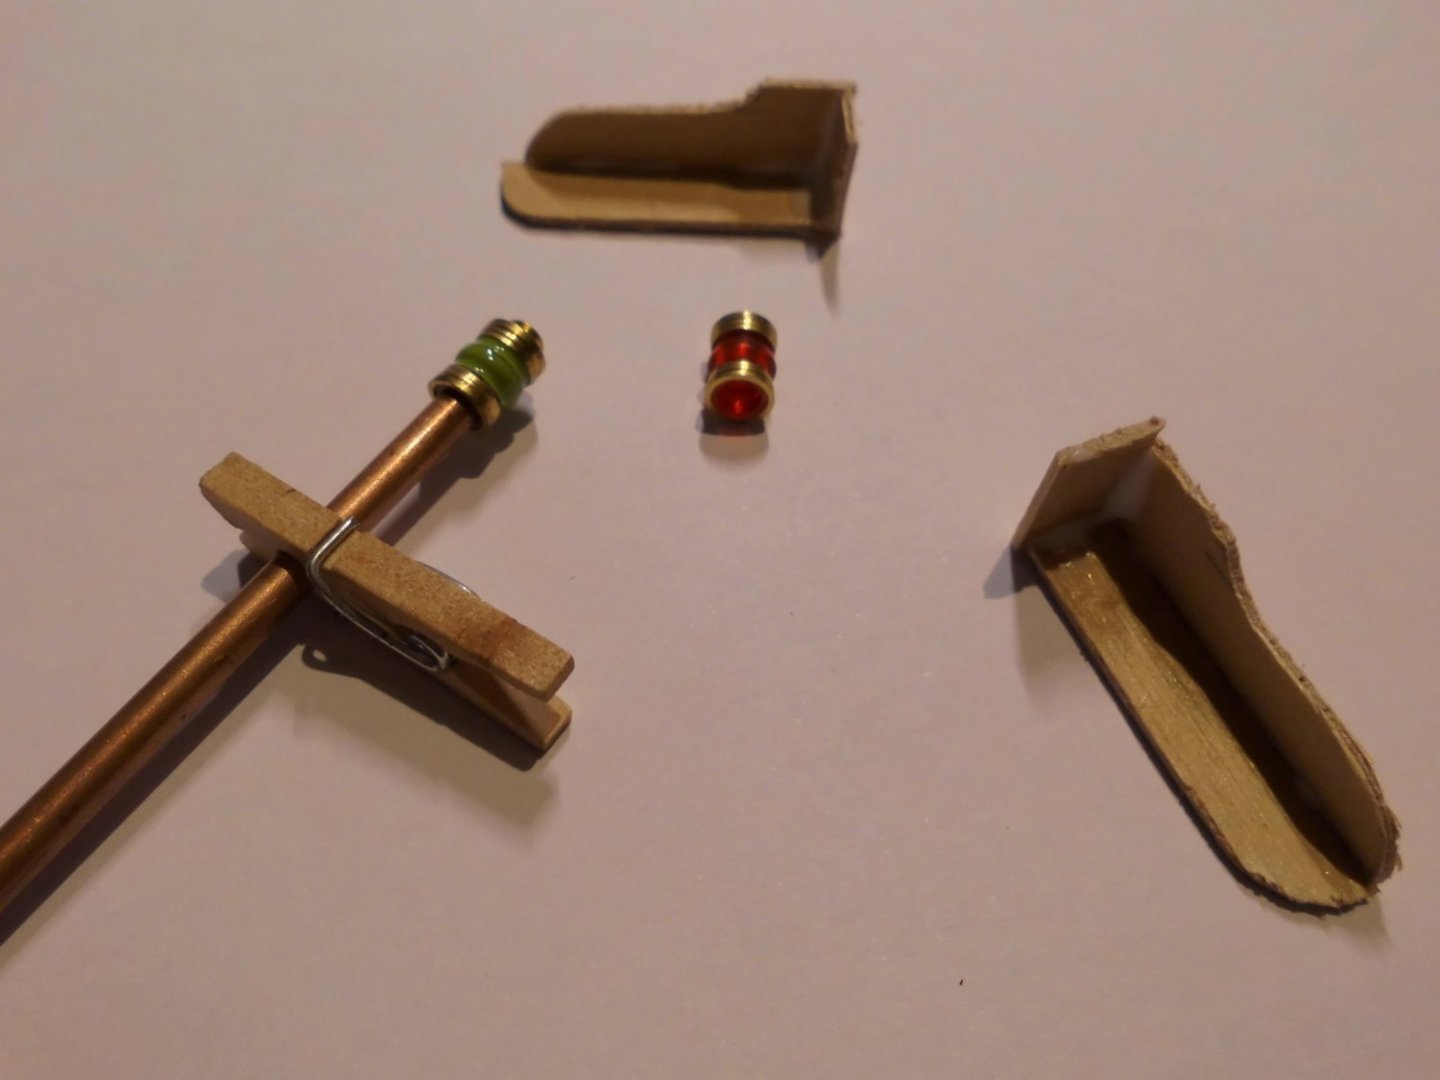
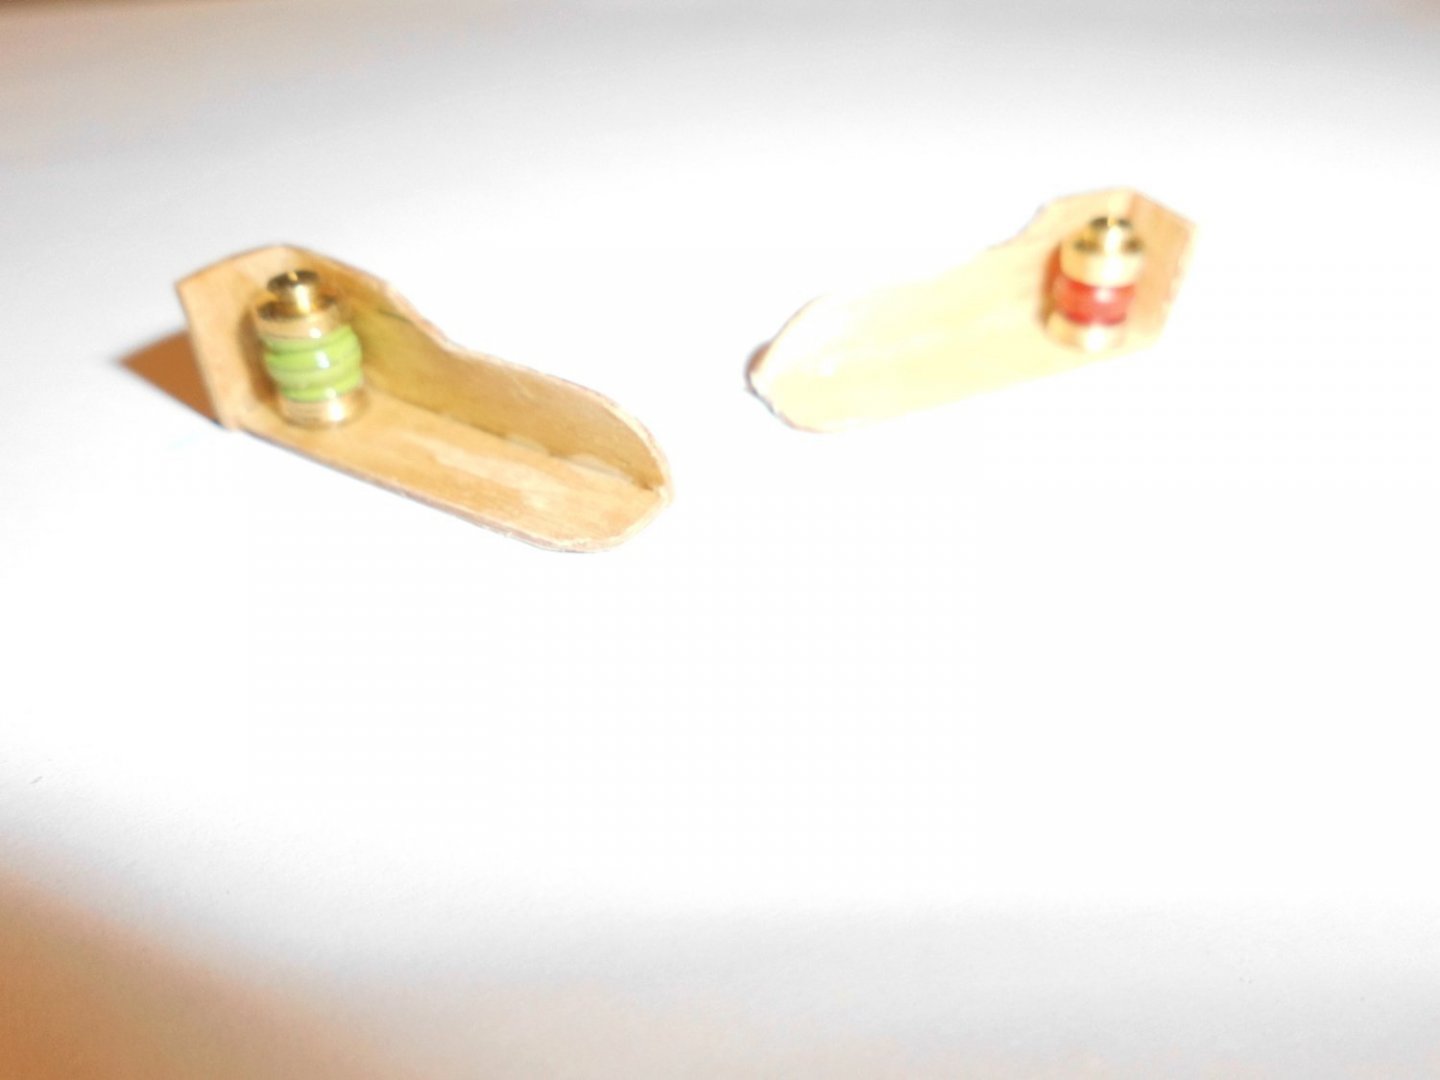
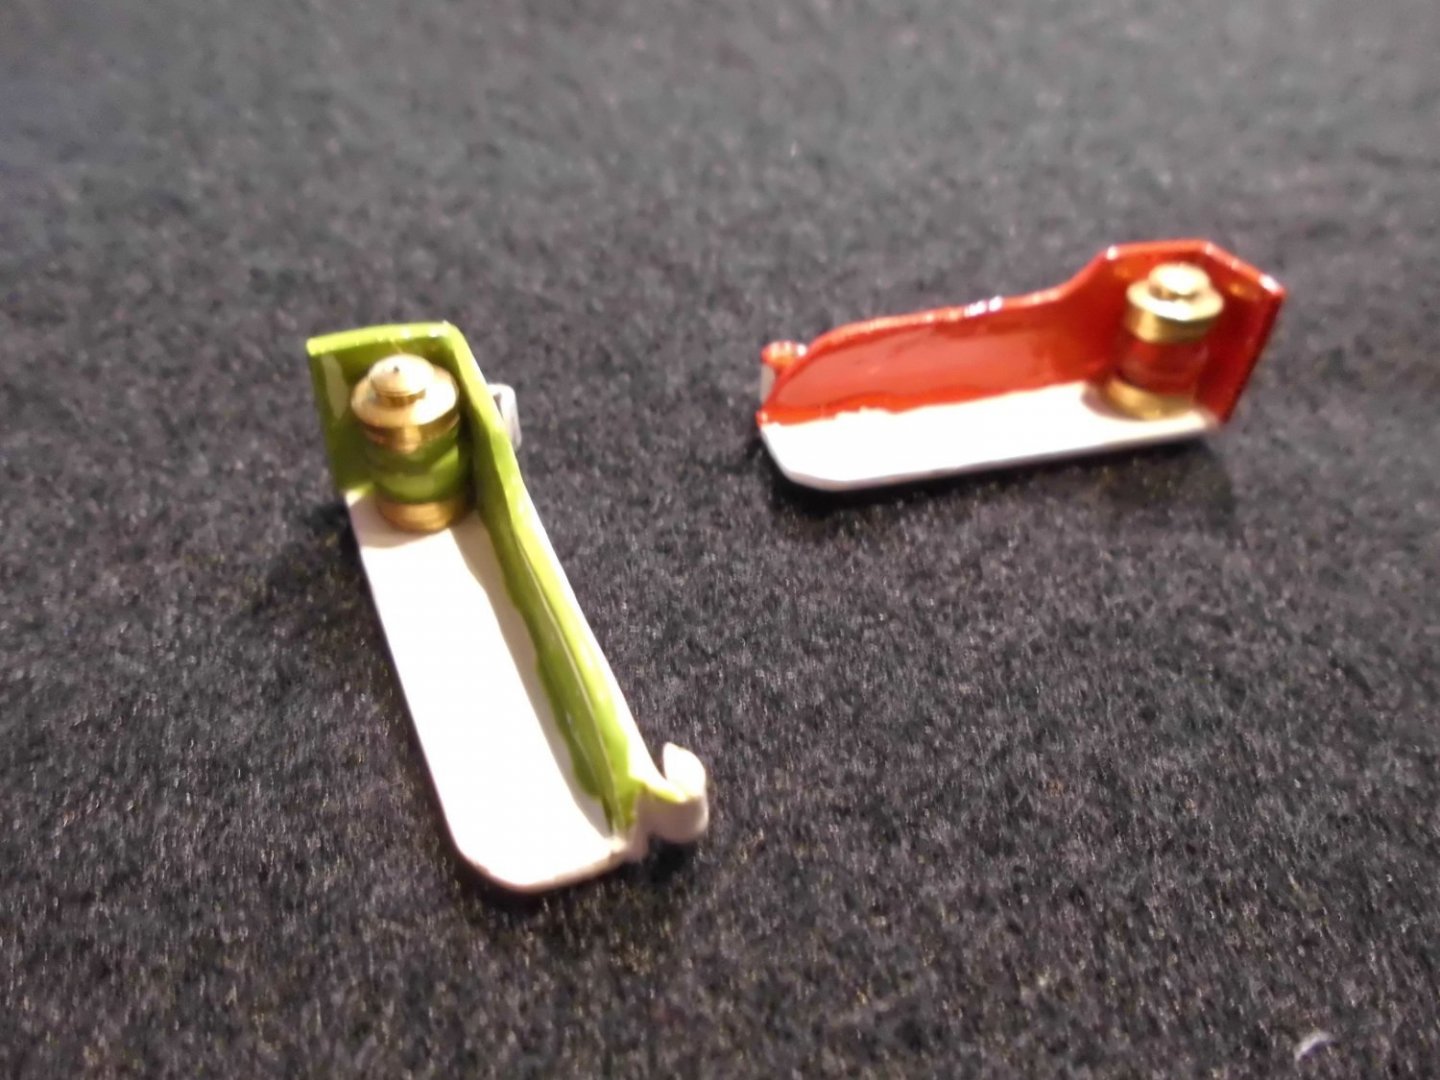
Update progress with the rigging, beams and gaffs, nav. lights... Nils nav. light brackets made from 0,8mm ply fastening rails for clipping to the shrouds rigging will go on when the sails are made


- 180 replies
-
- 9
-
-
- pilot boat
- Elbe 5
- (and 3 more)
-
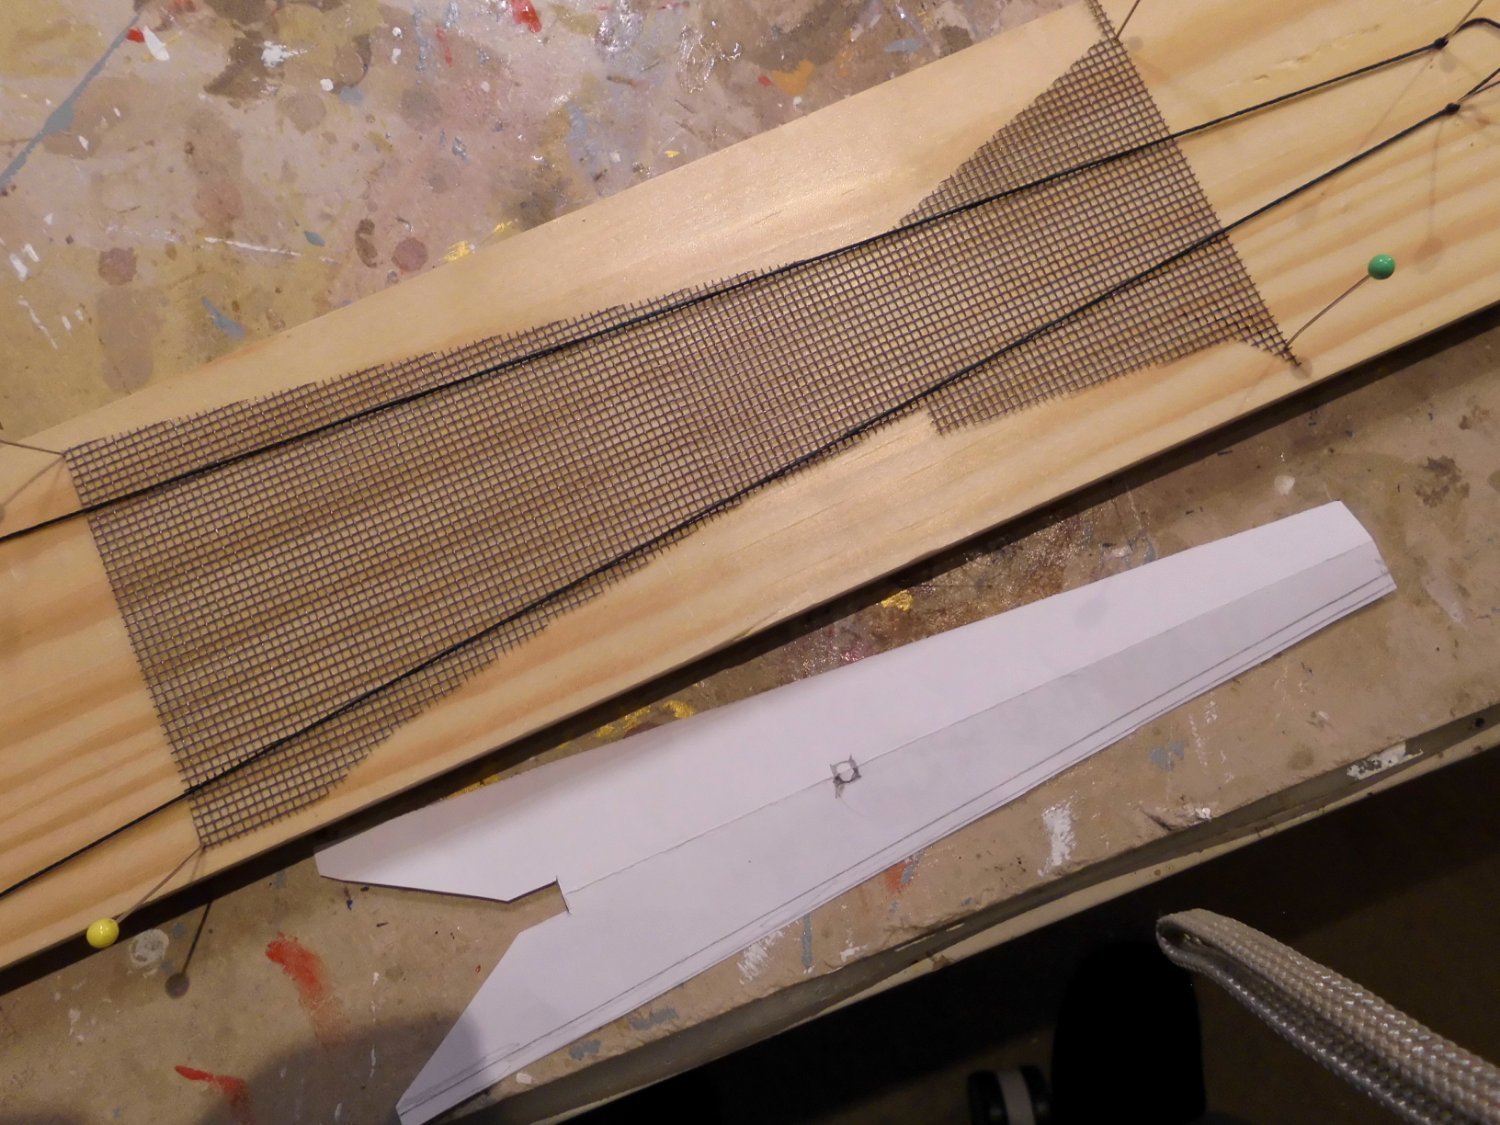
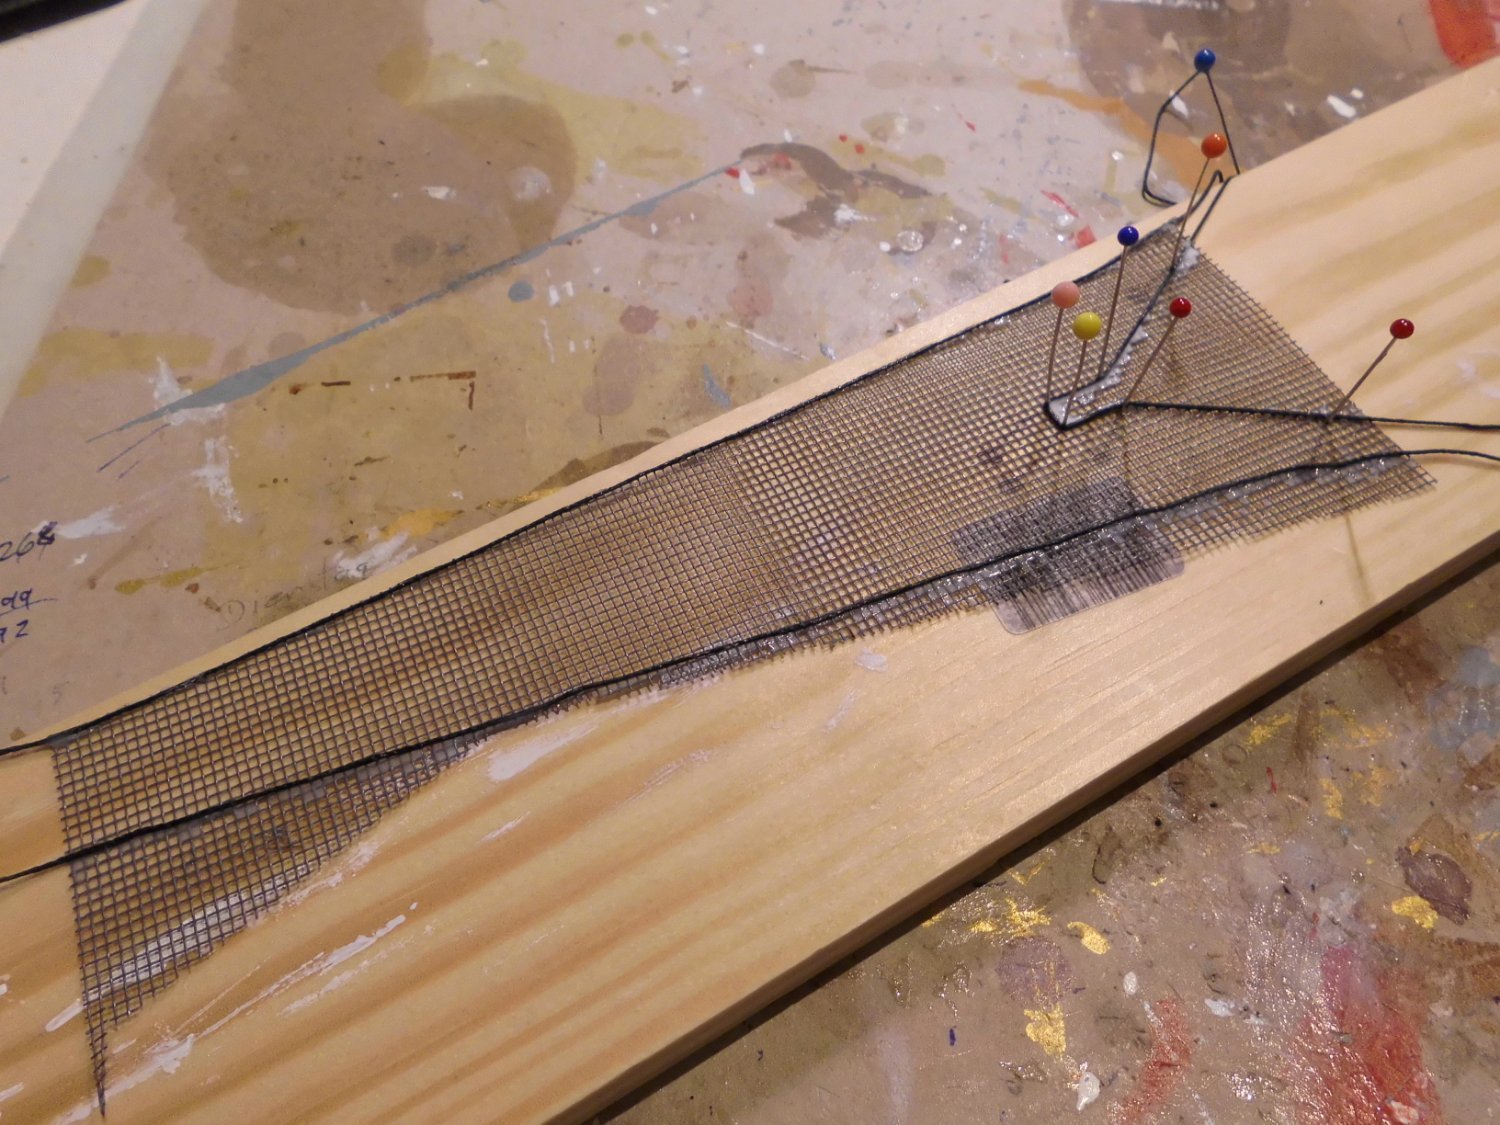
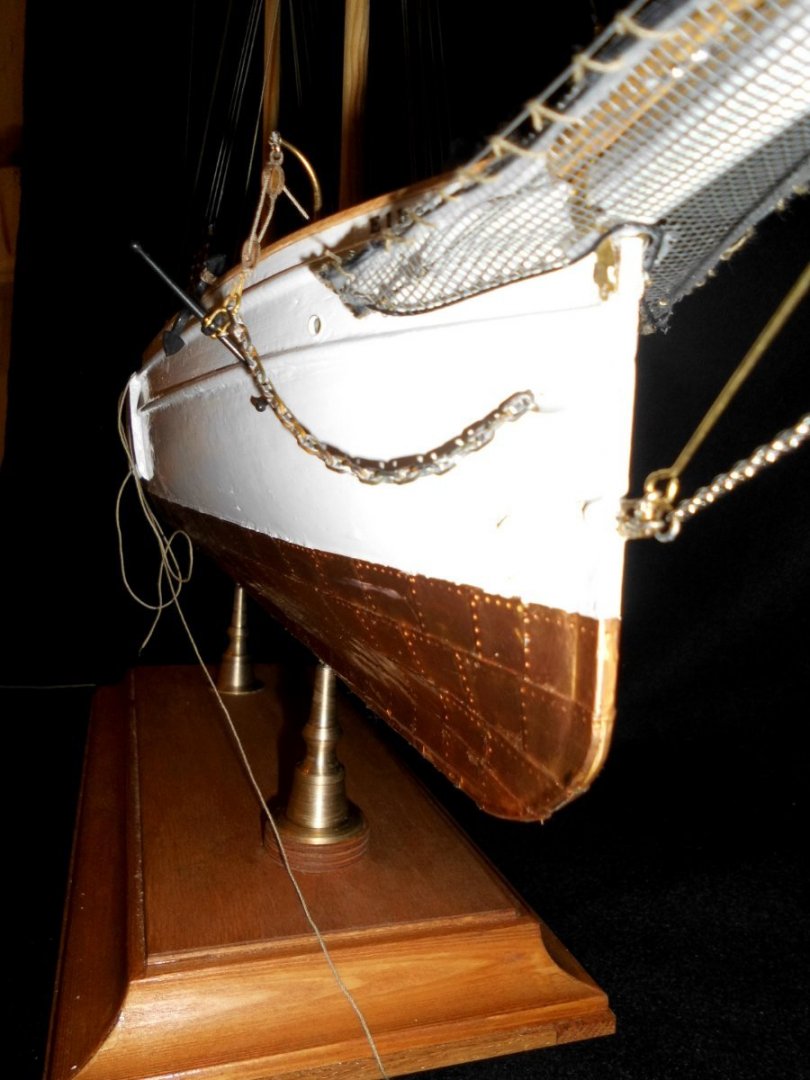
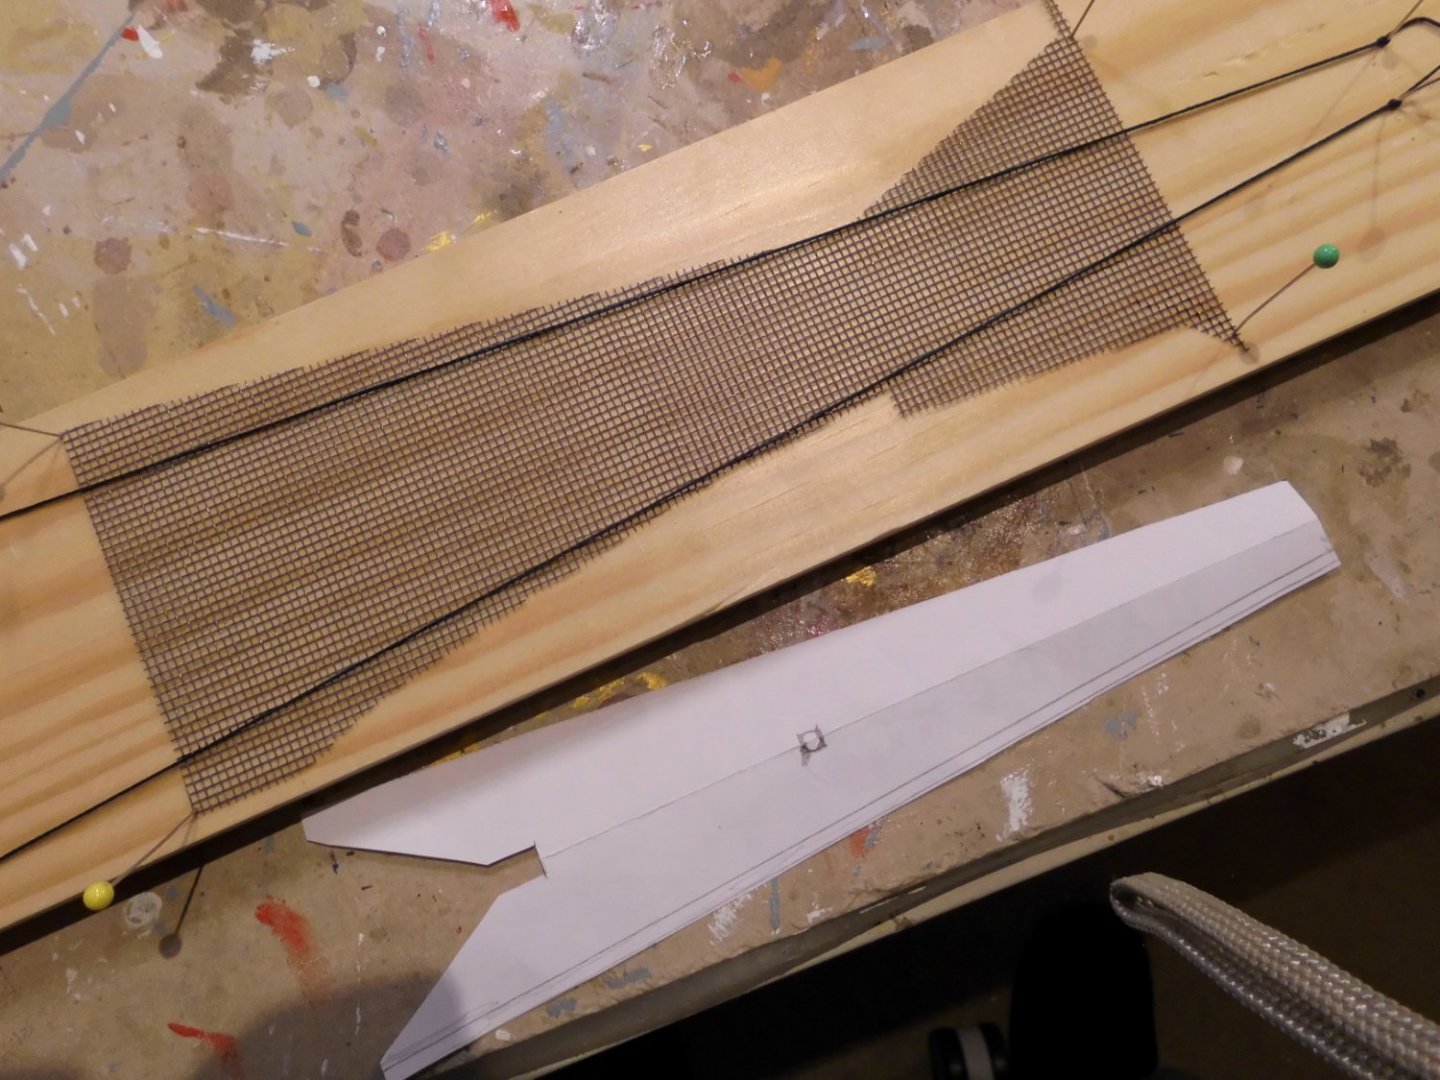
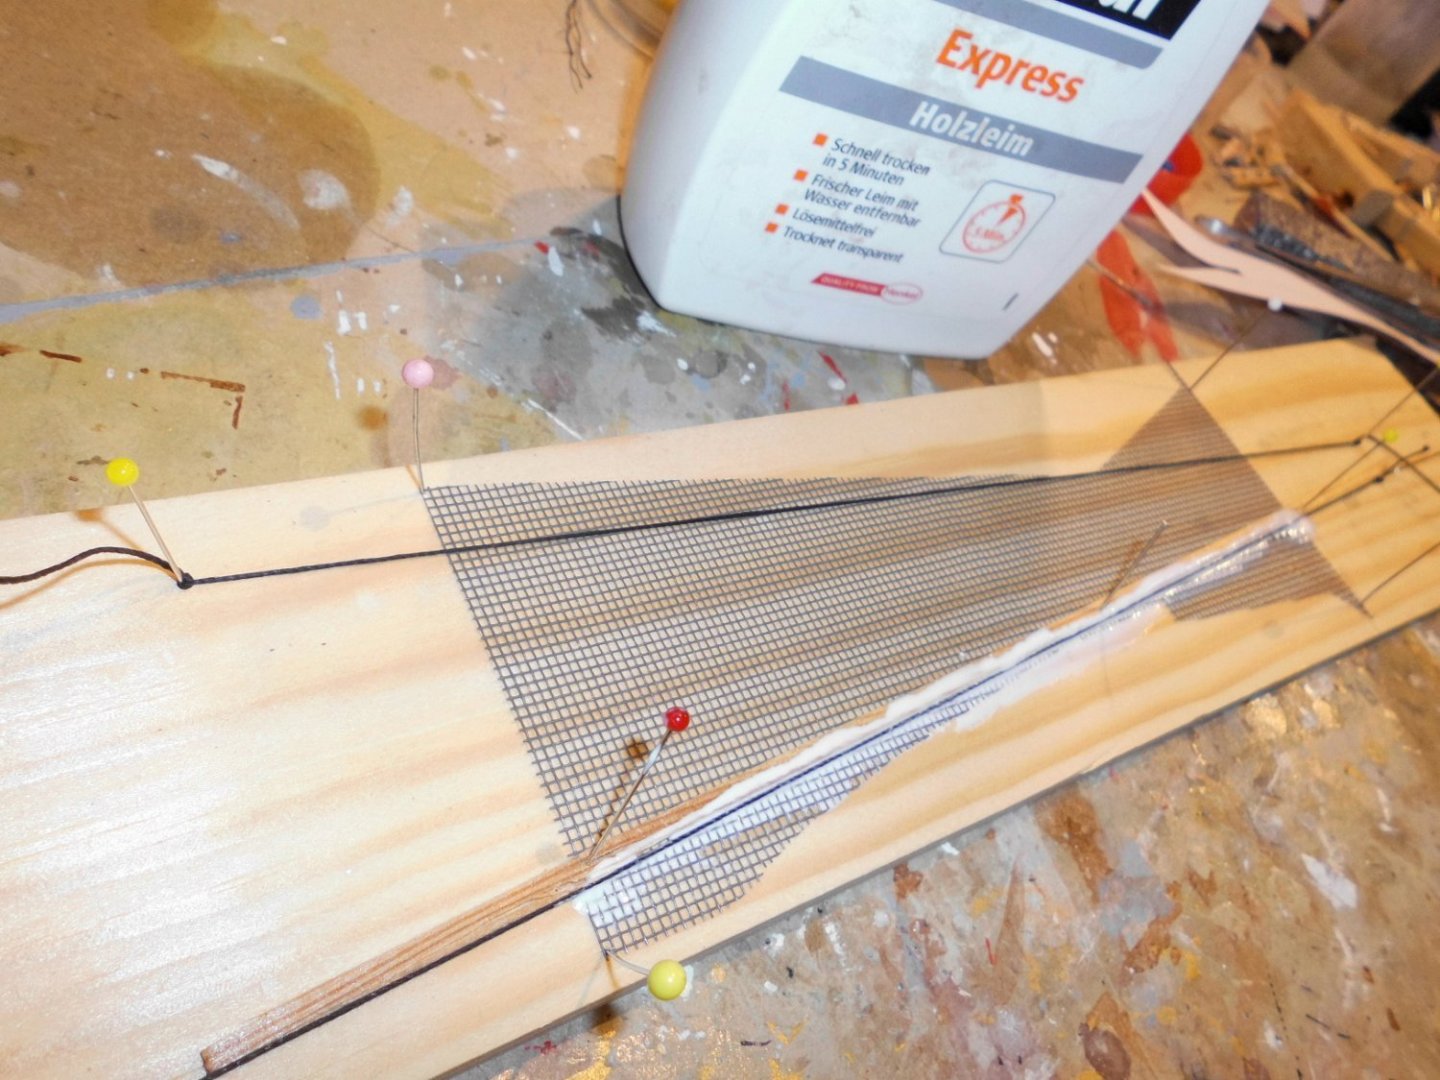
Update made the sprit spar netting and the belaying rail for the 3 for-/spritsail downhaulers.... I ran out of rigging rope in the moment and expect the delivery for this week. It looks like all my leftover blocks were just in the required quantity to suit the needs Nils a piece of leftover mesh from my Pamir netting the wooden strip is to prevent too much glue on the netting inside. The outer will be cut off after curing belaying rack for the sprit sail setting lines

- 180 replies
-
- 8
-
-
- pilot boat
- Elbe 5
- (and 3 more)
-
Hi Jim, many thanks for your words, I also had a look at your models, starting with the excellent built Pinky Schooner. I congratulate you to your skill on this behalf.... Nils
- 180 replies
-
- 1
-
-
- pilot boat
- Elbe 5
- (and 3 more)
-
B.E. these pumps look great, I like them very much... Nils
- 857 replies
-
- 3
-
-
- Sphinx
- Vanguard Models
- (and 1 more)
-
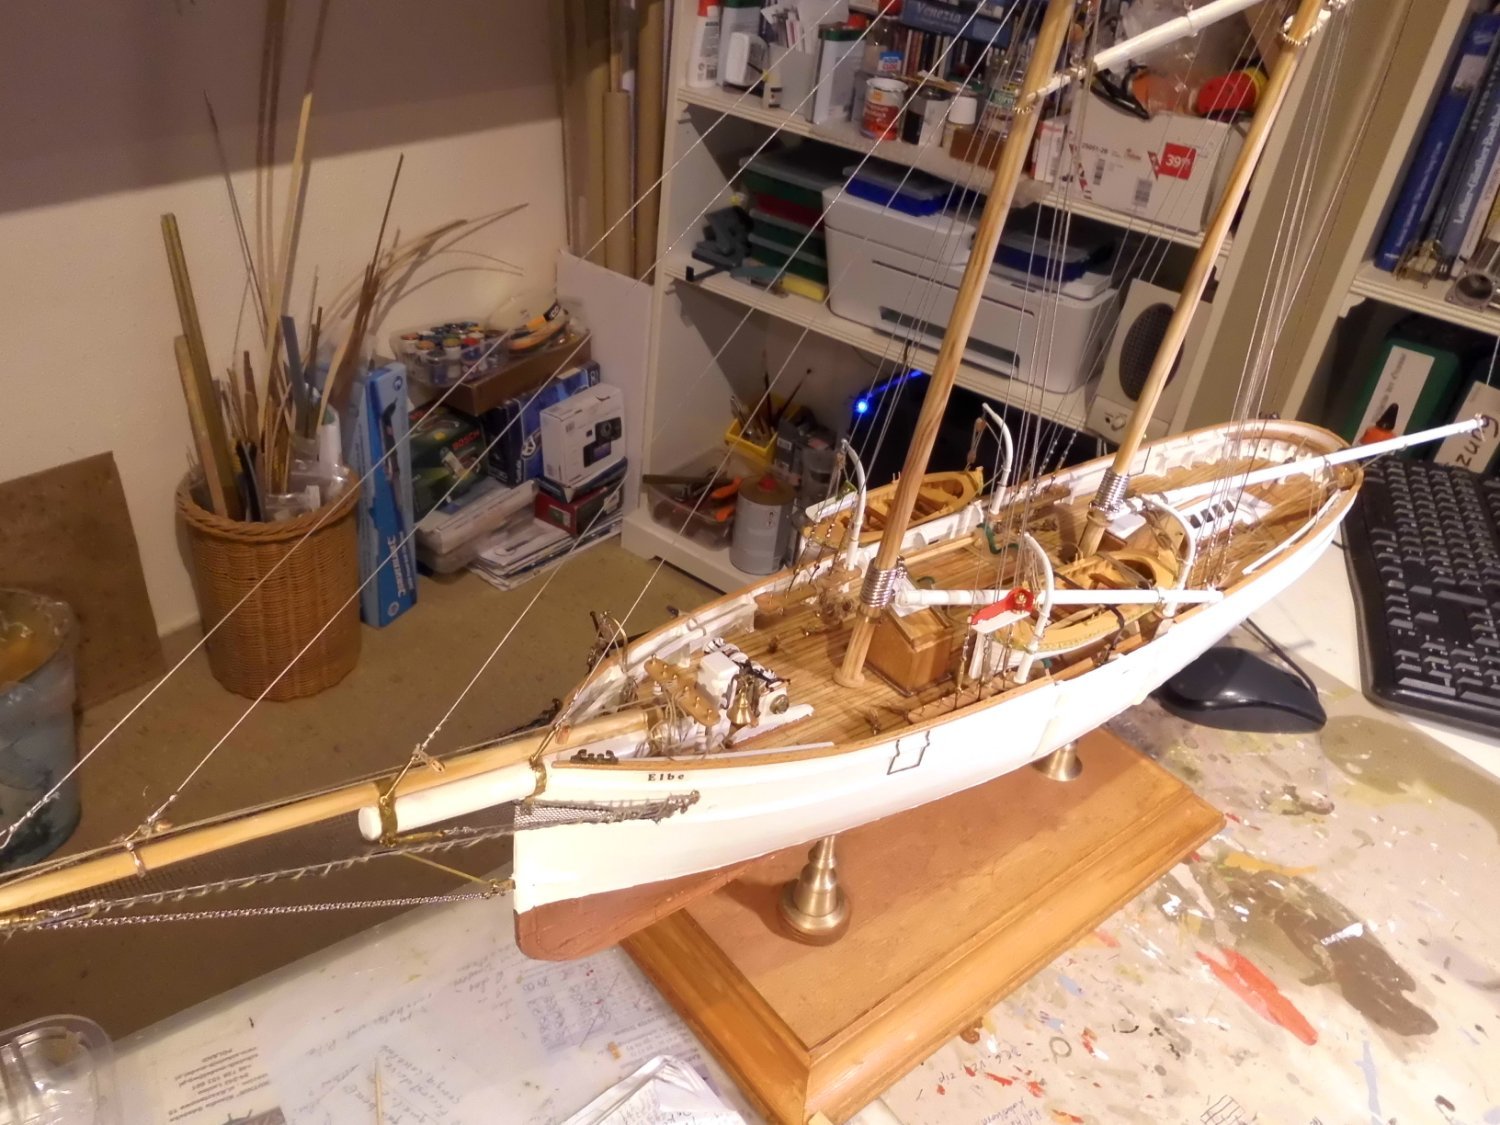
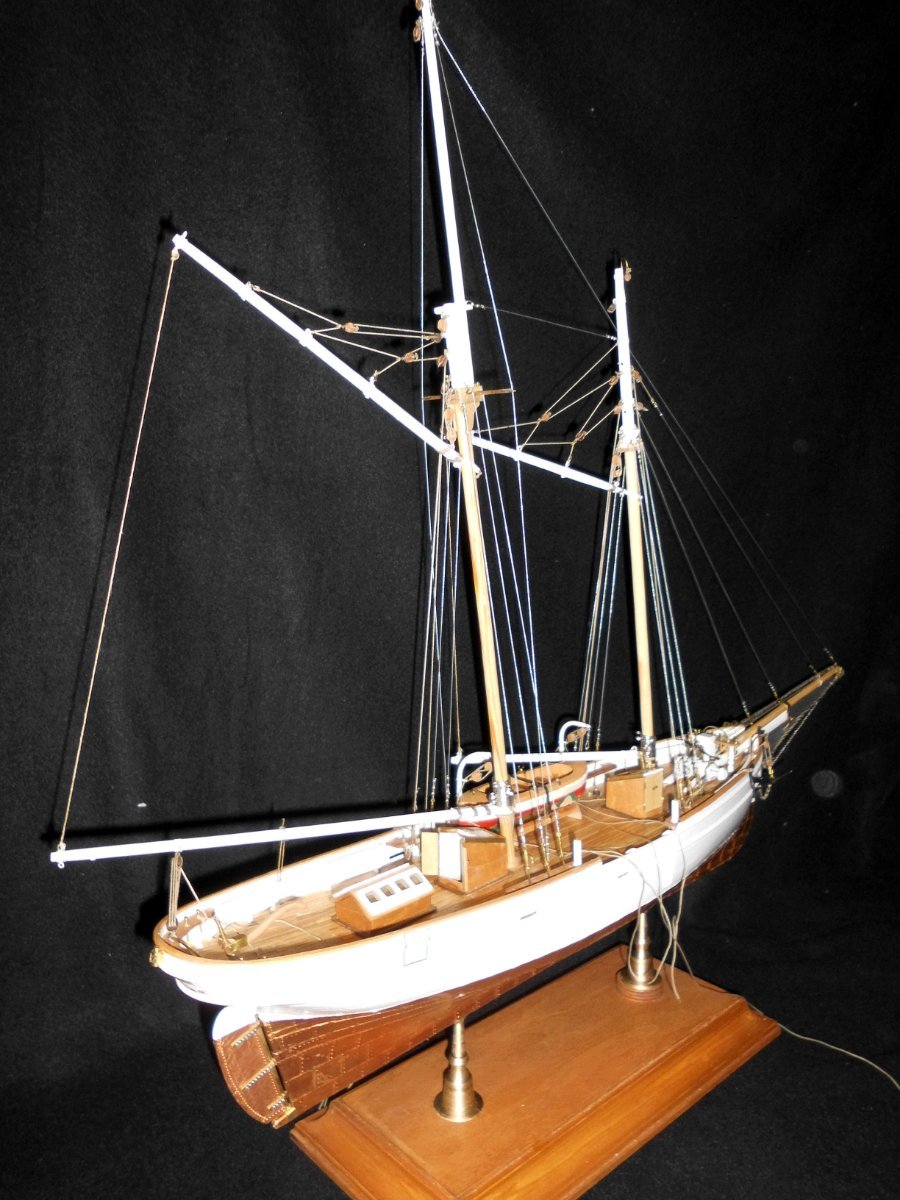
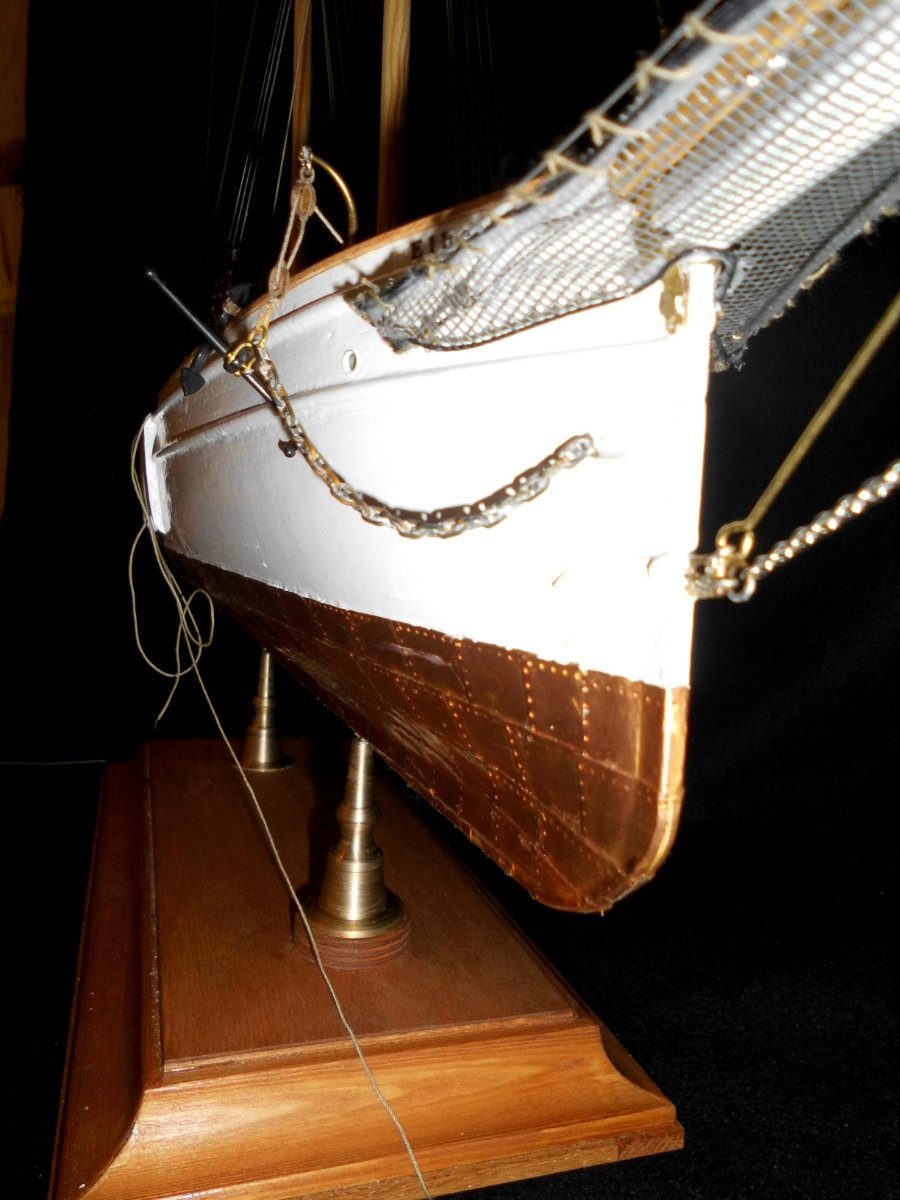
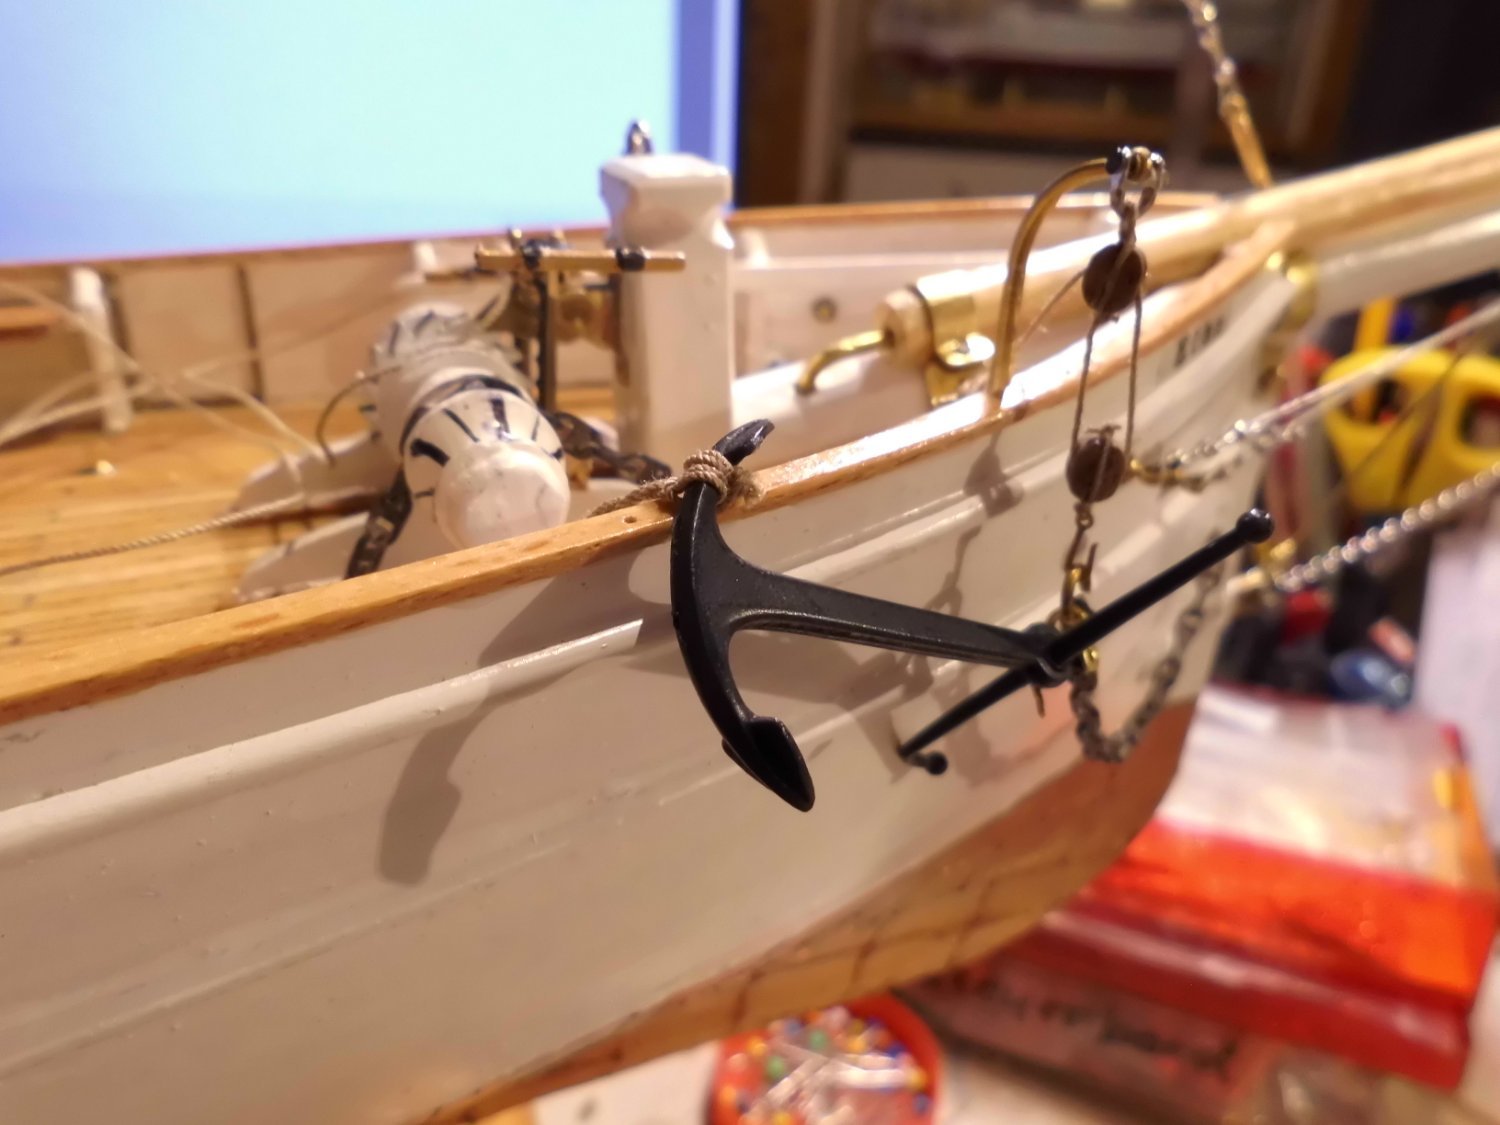
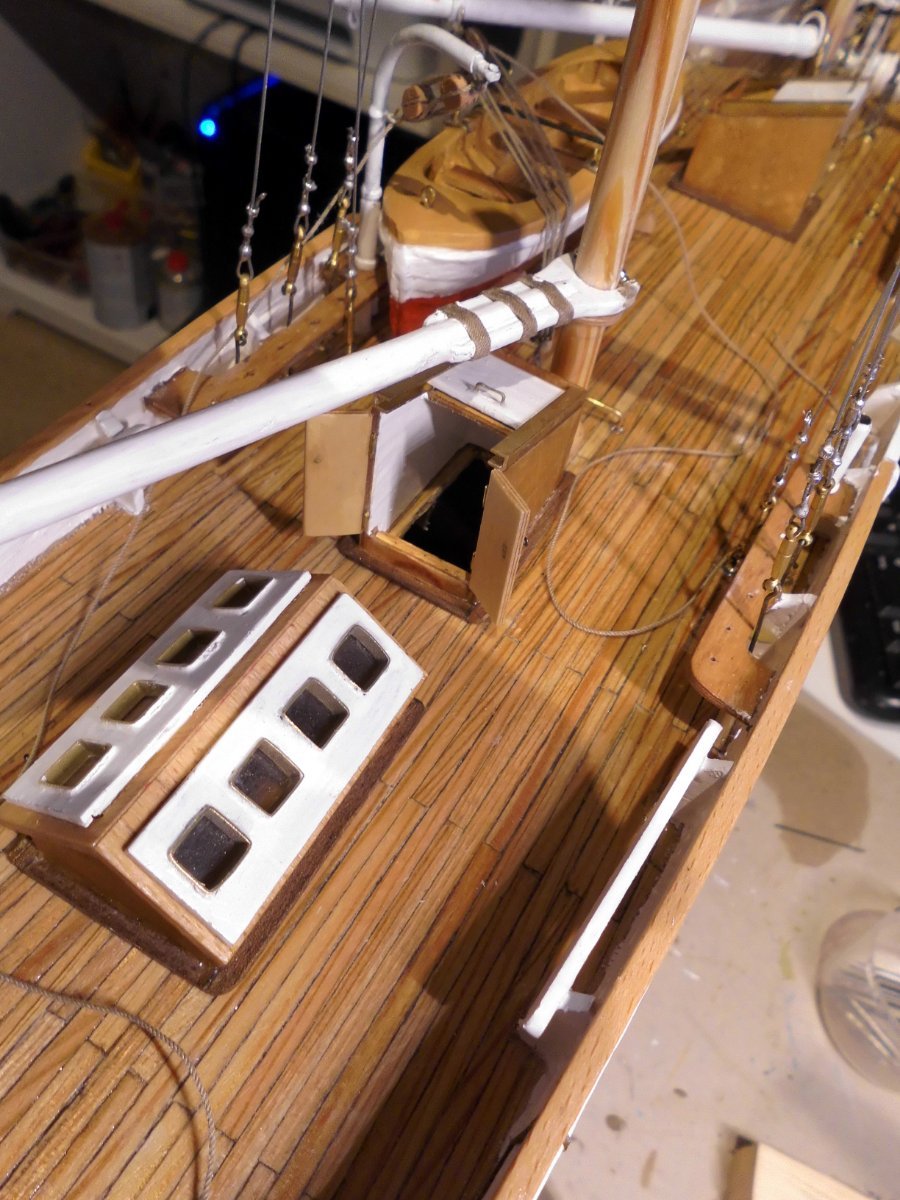
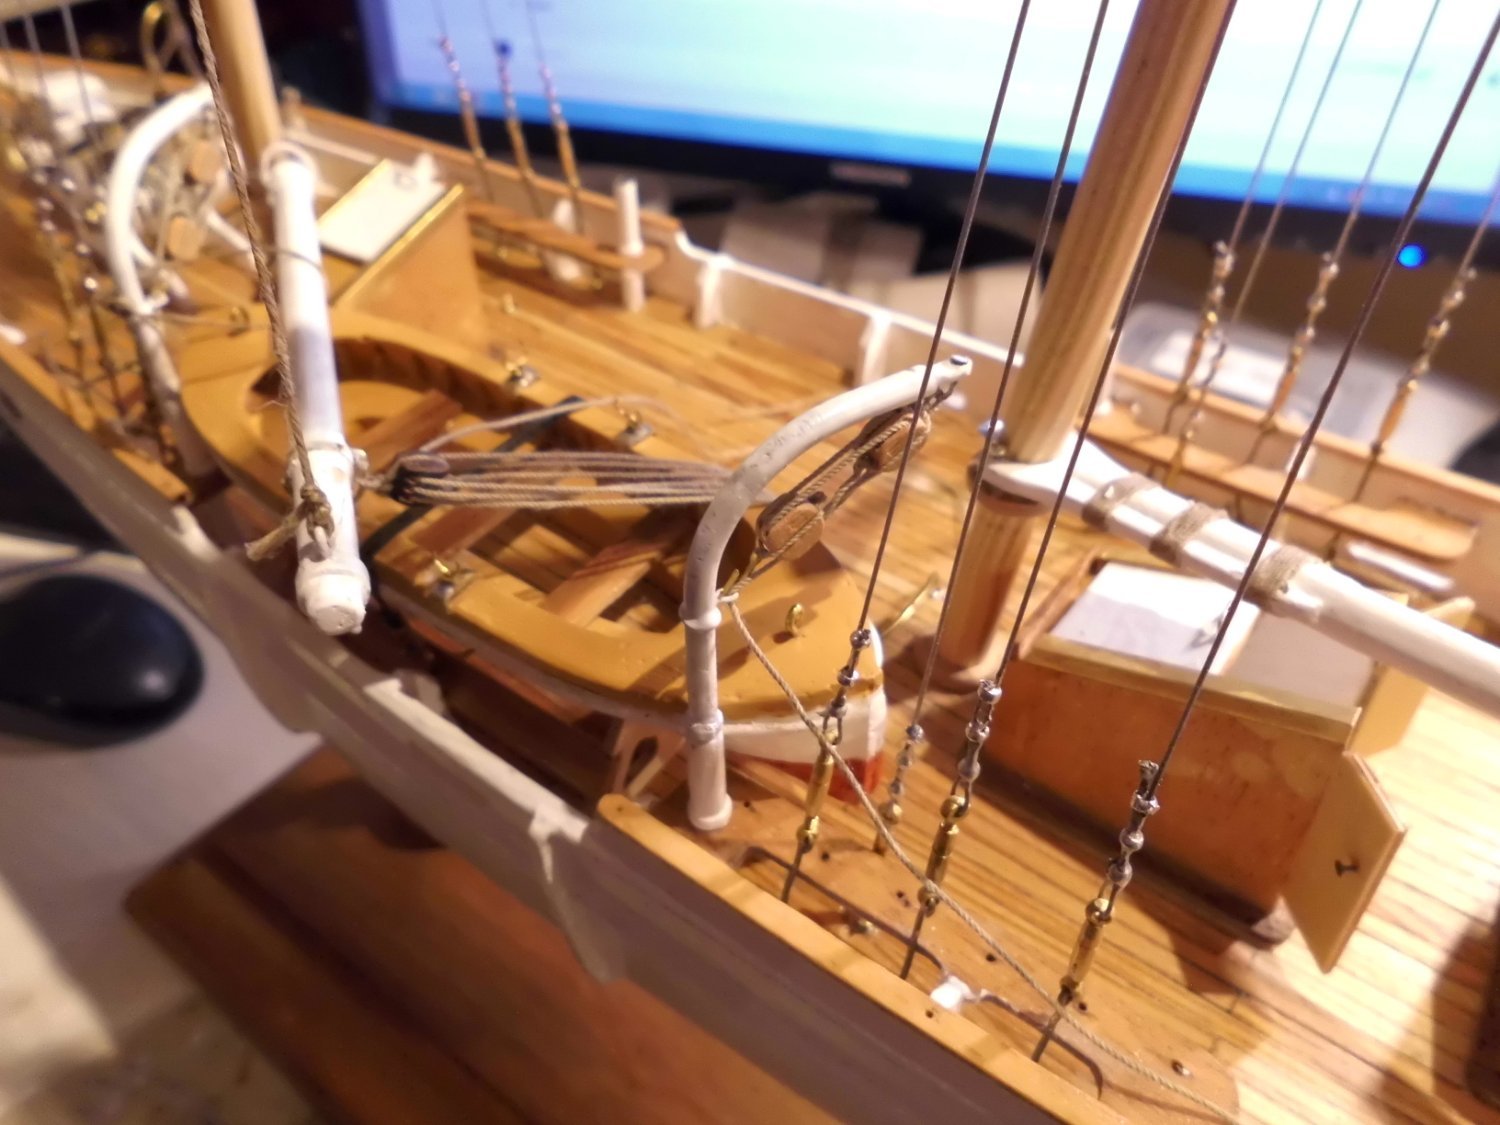
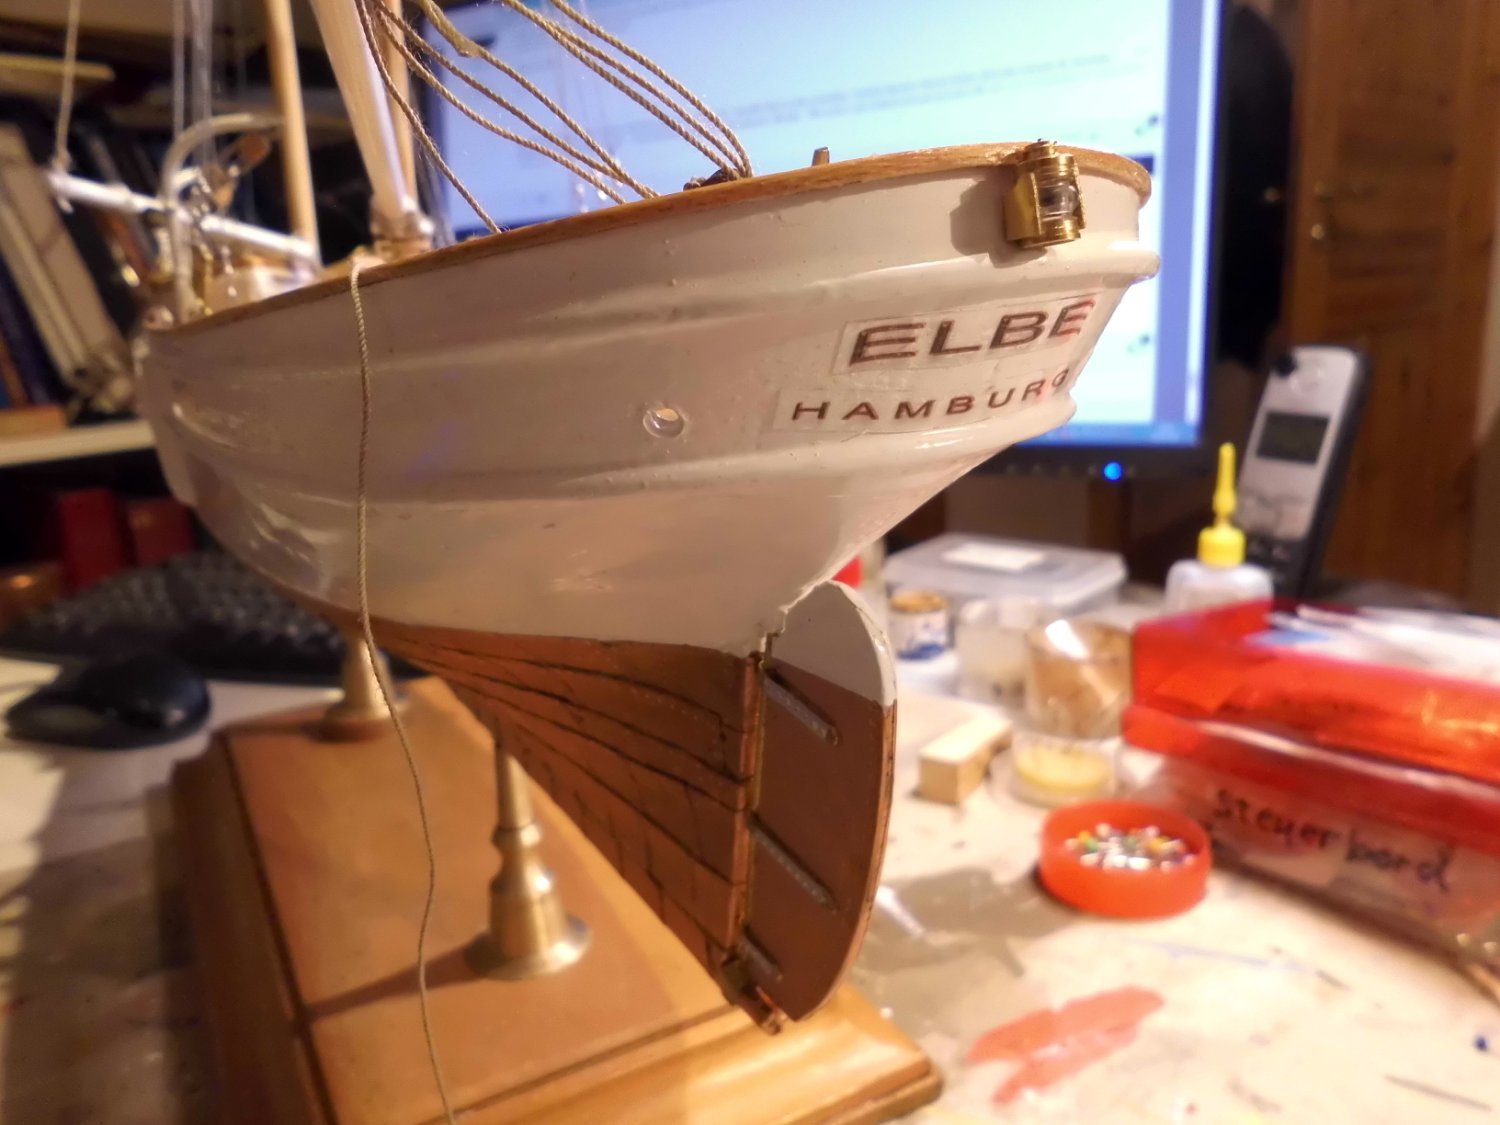
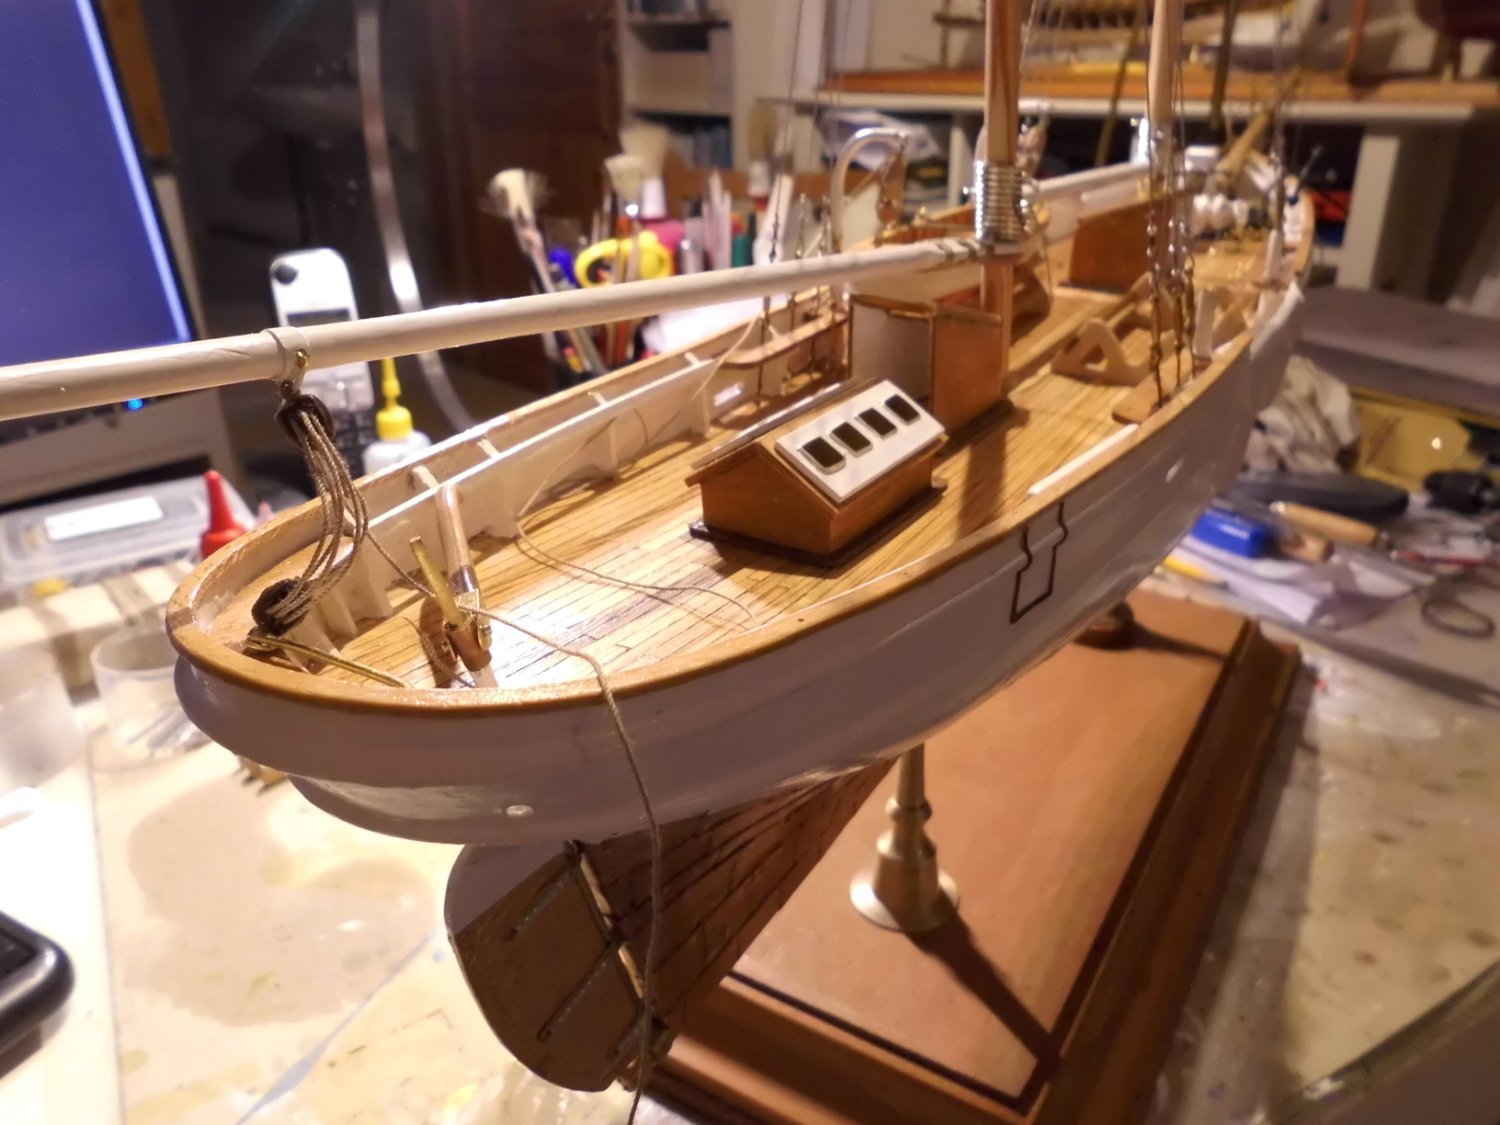
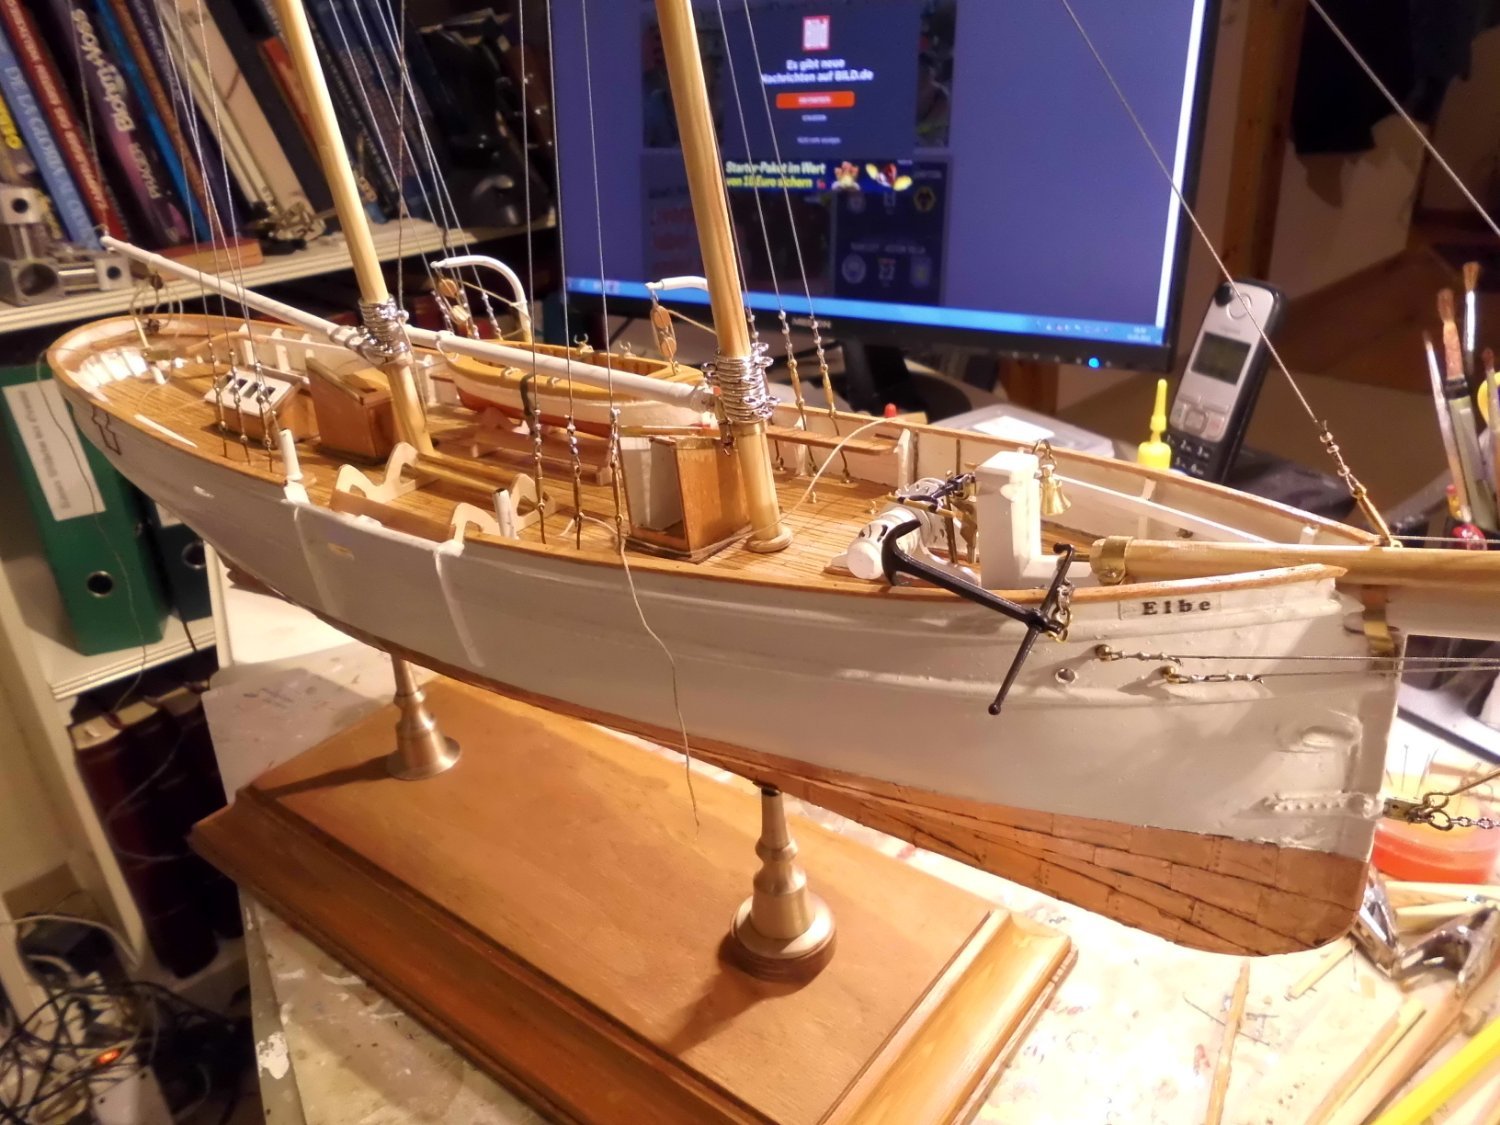
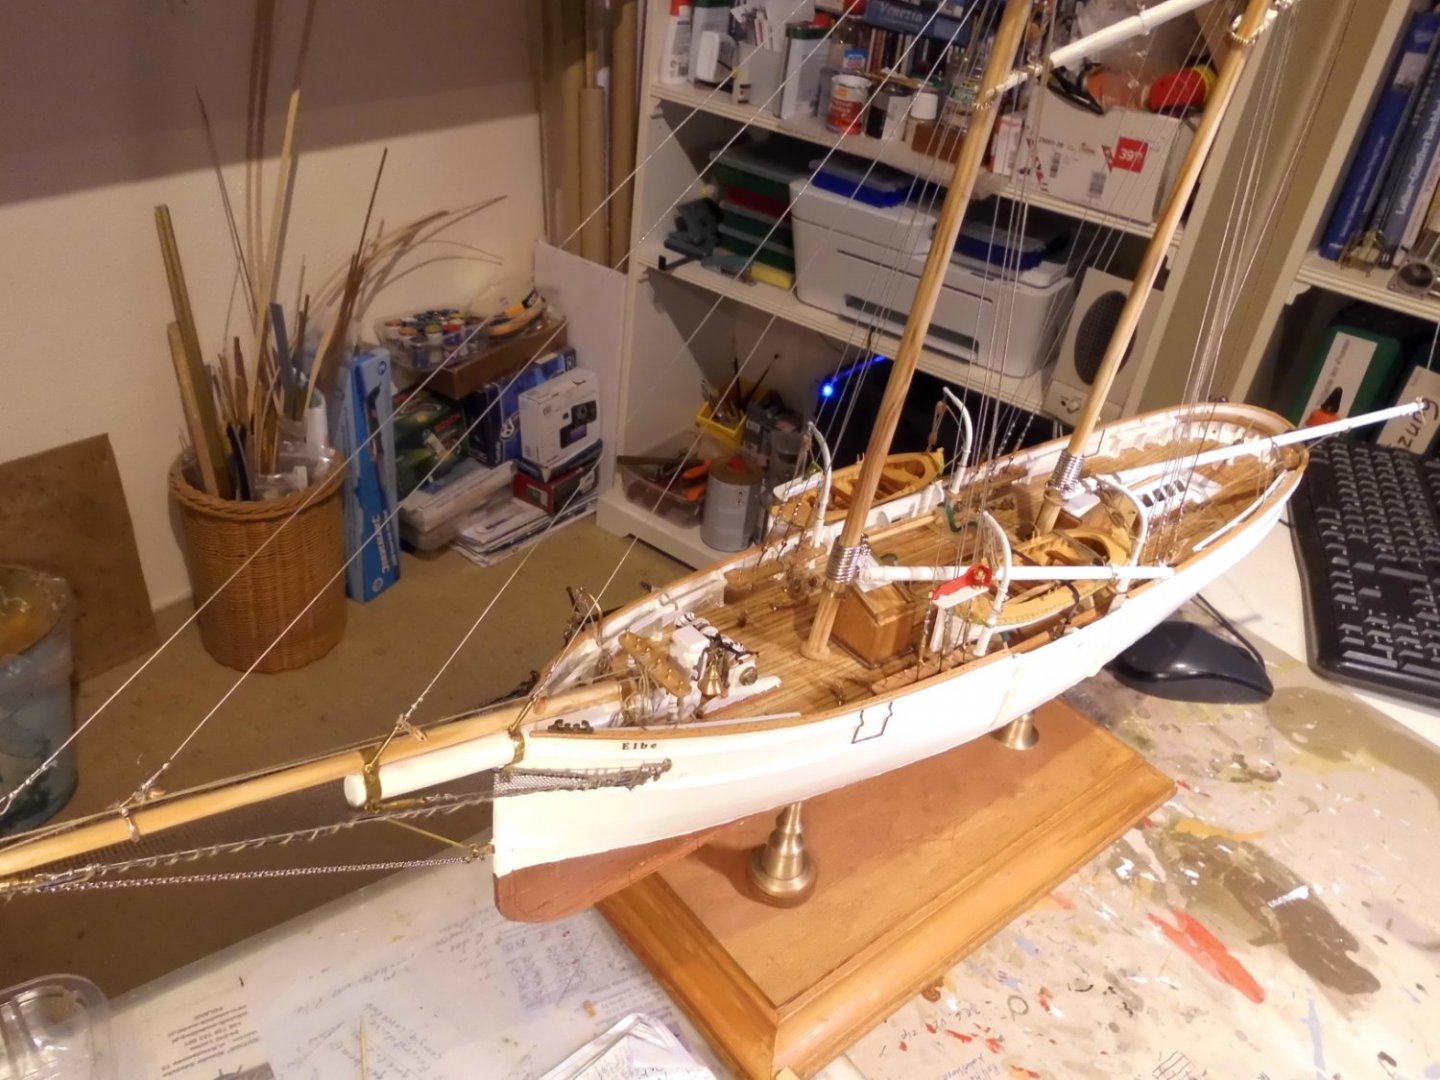
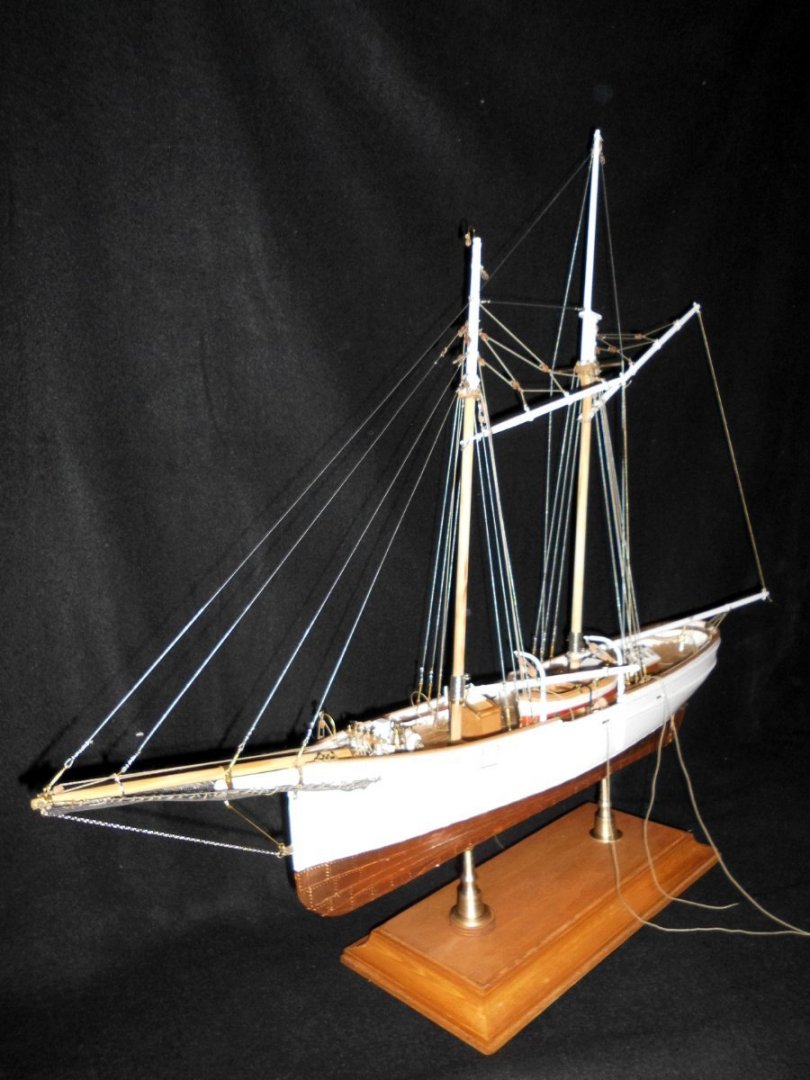
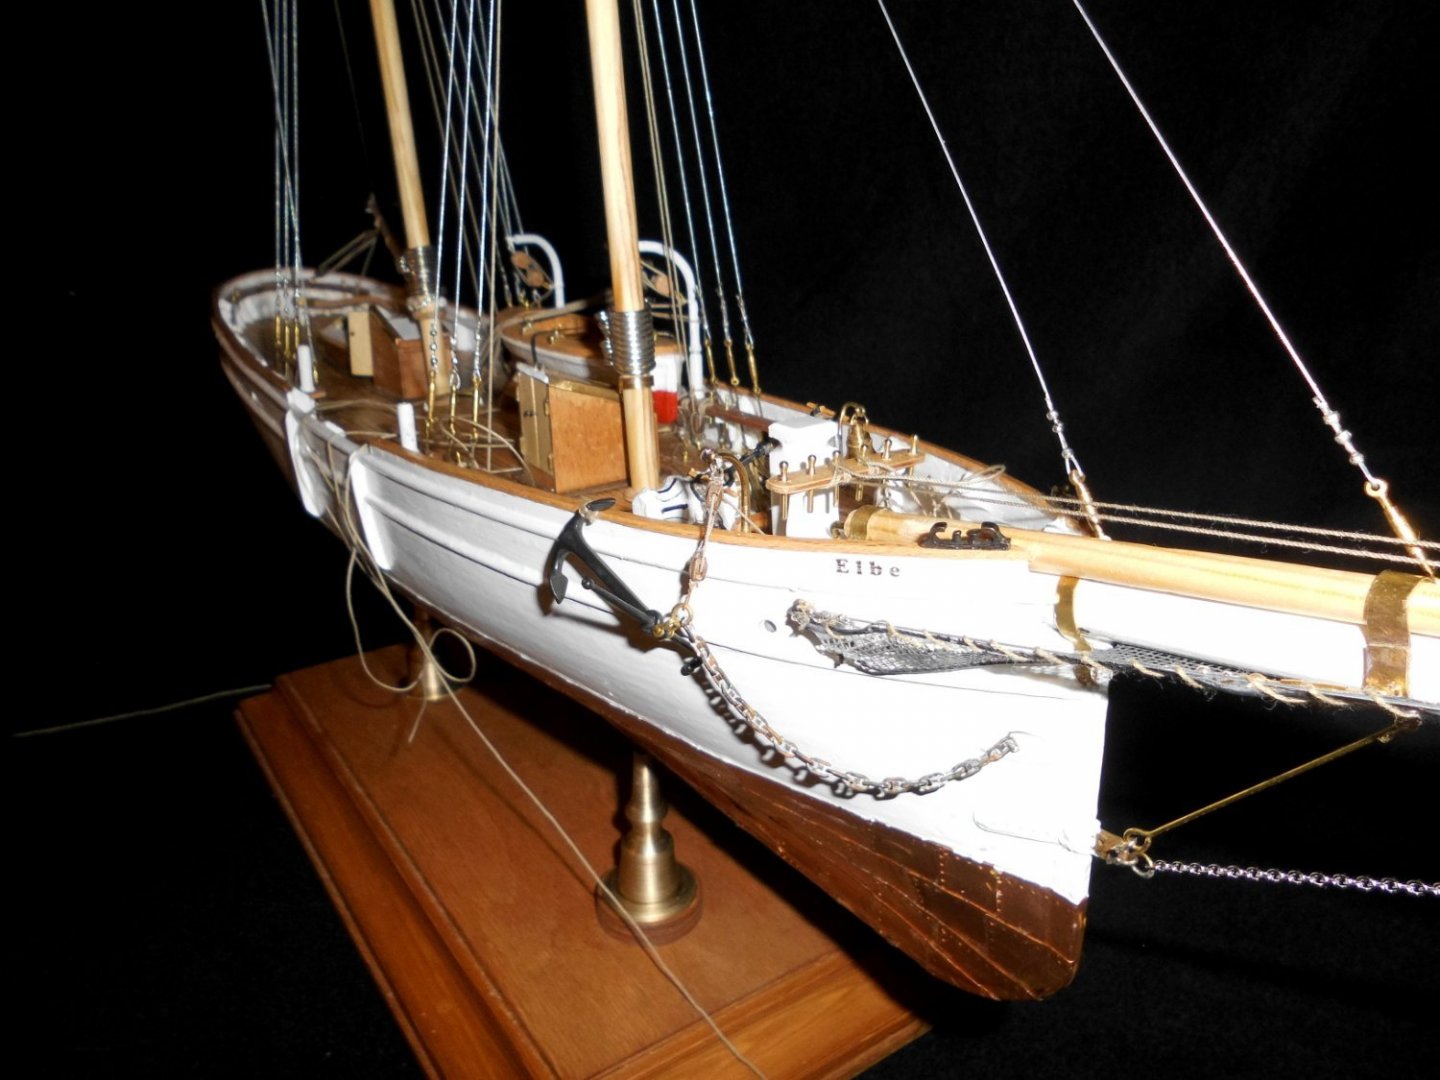
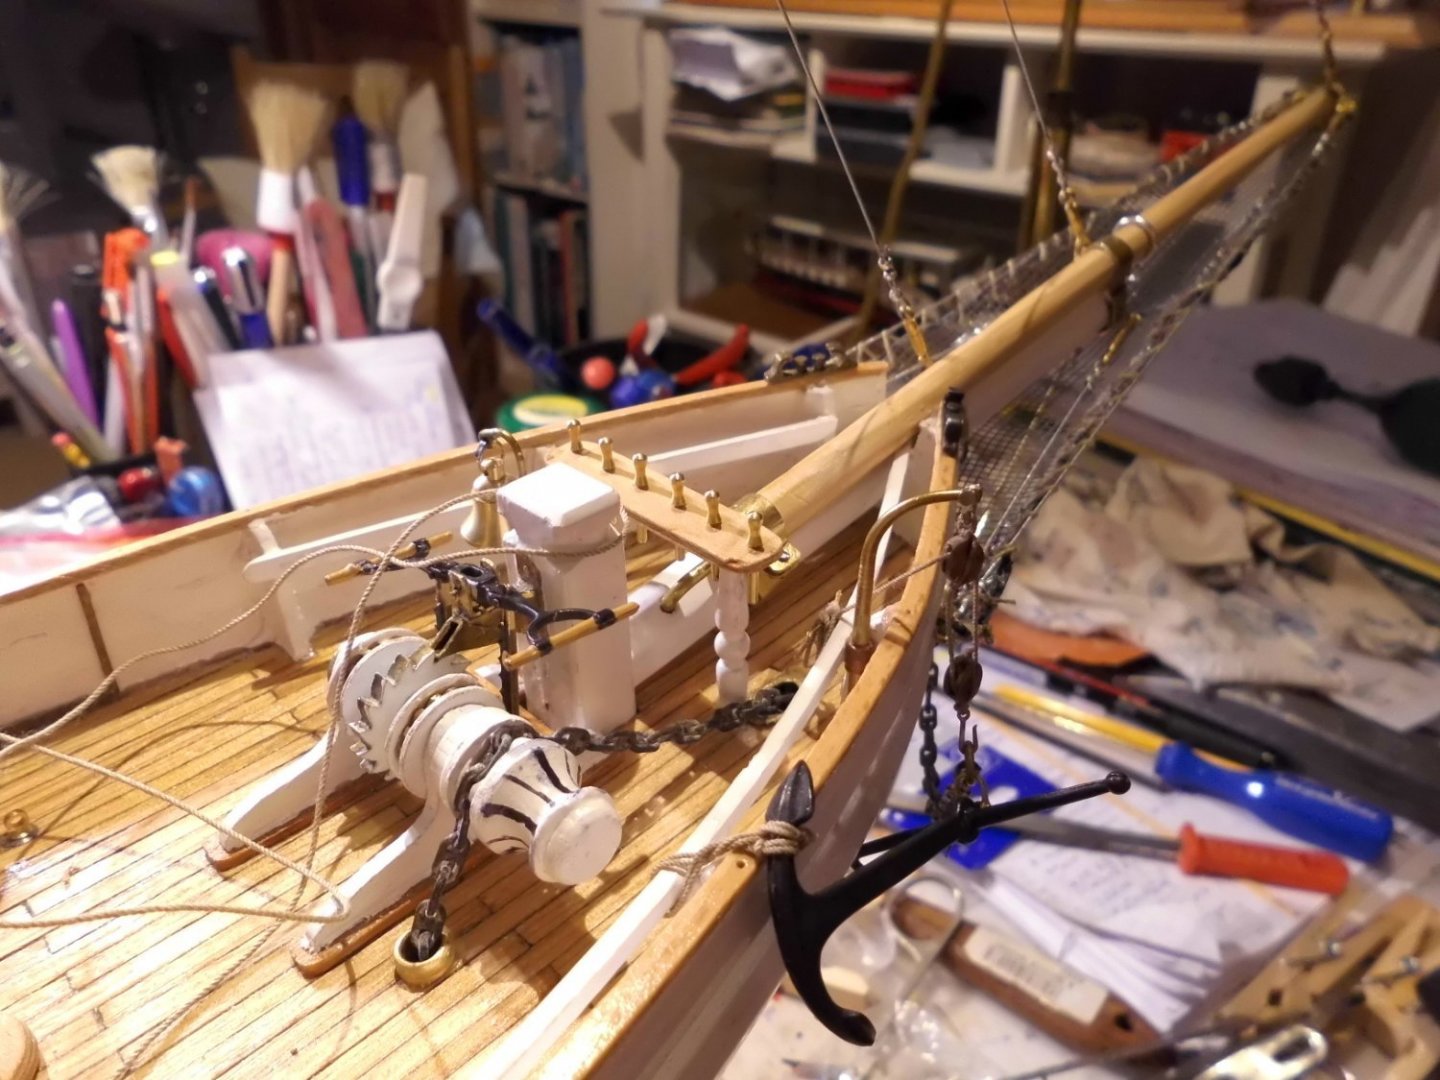
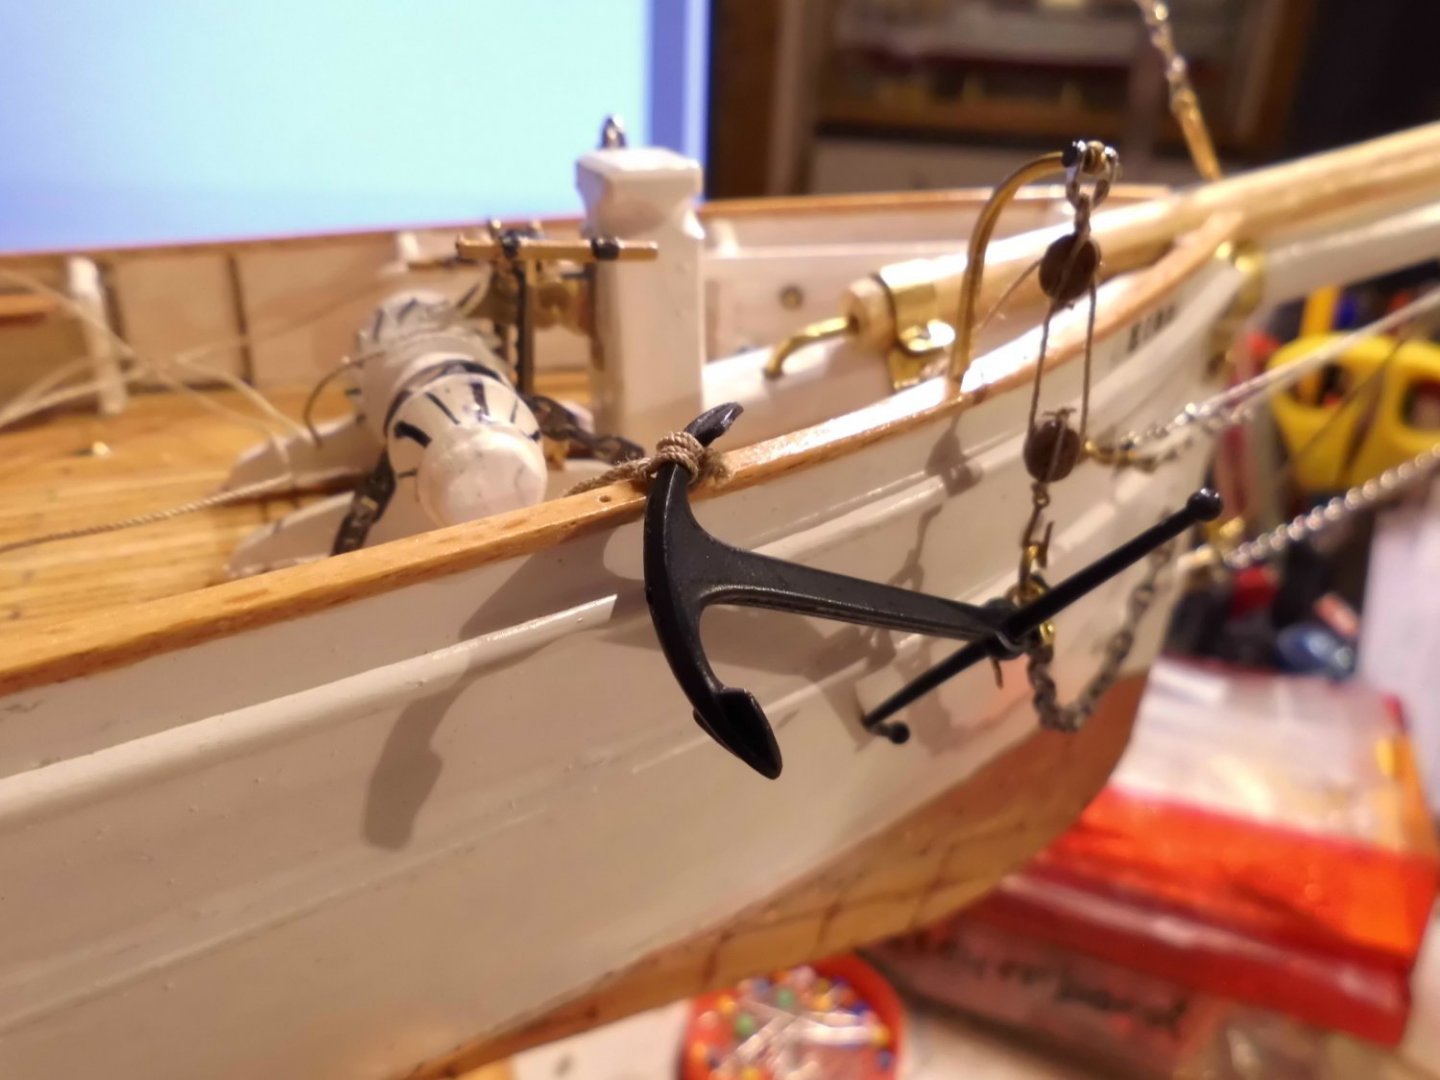
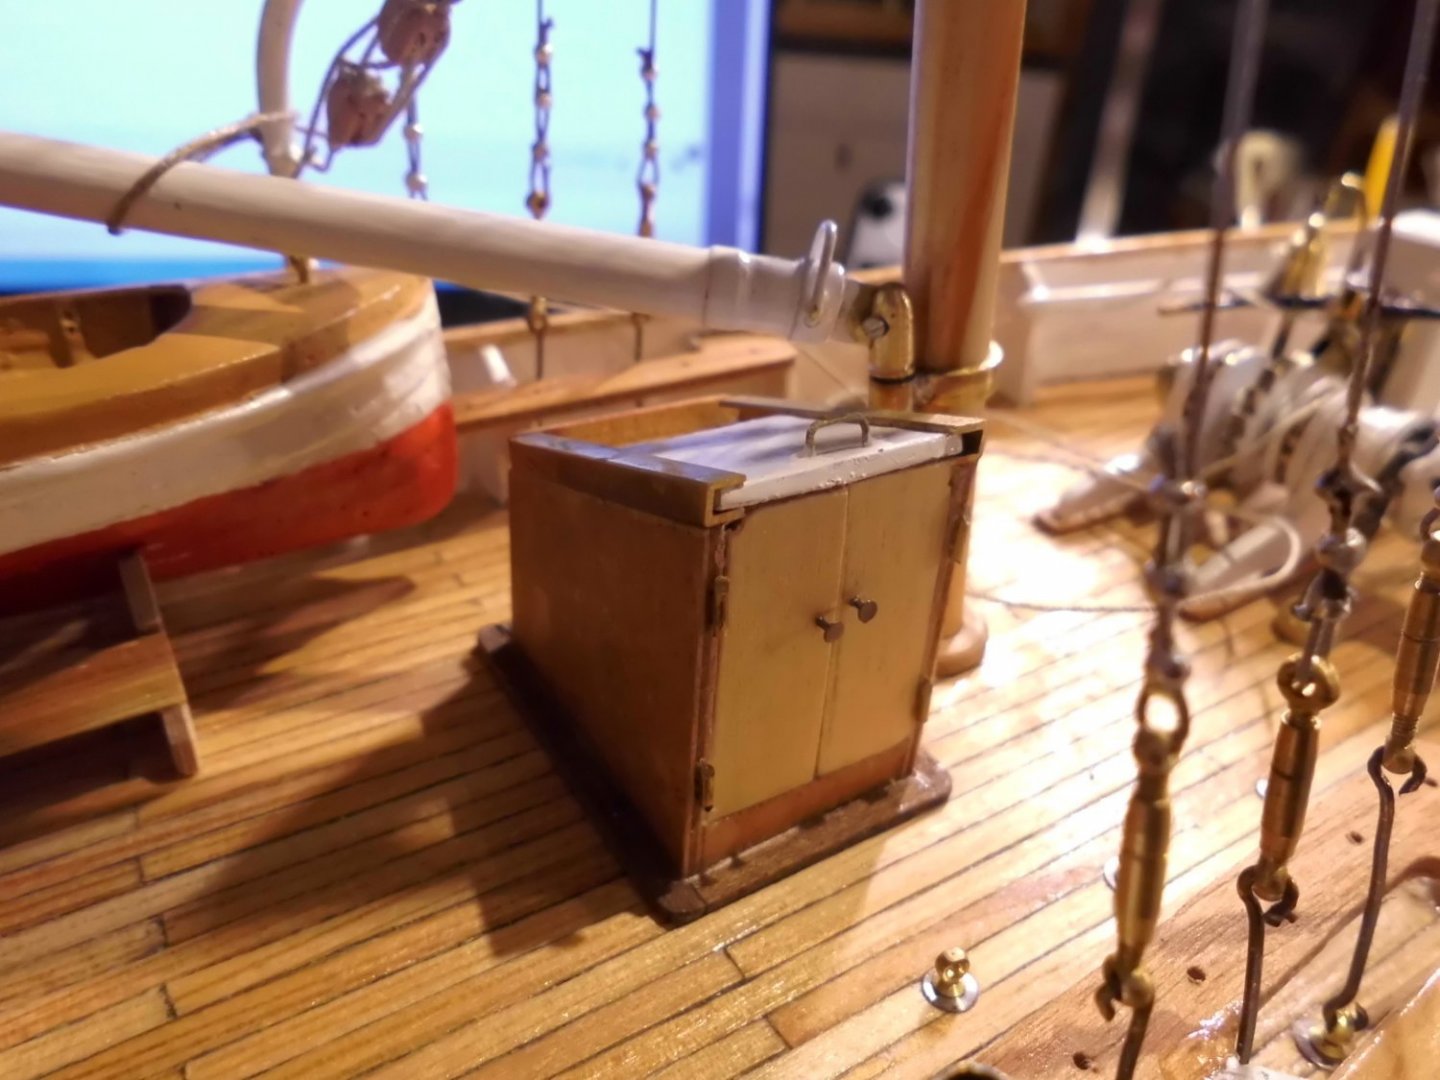
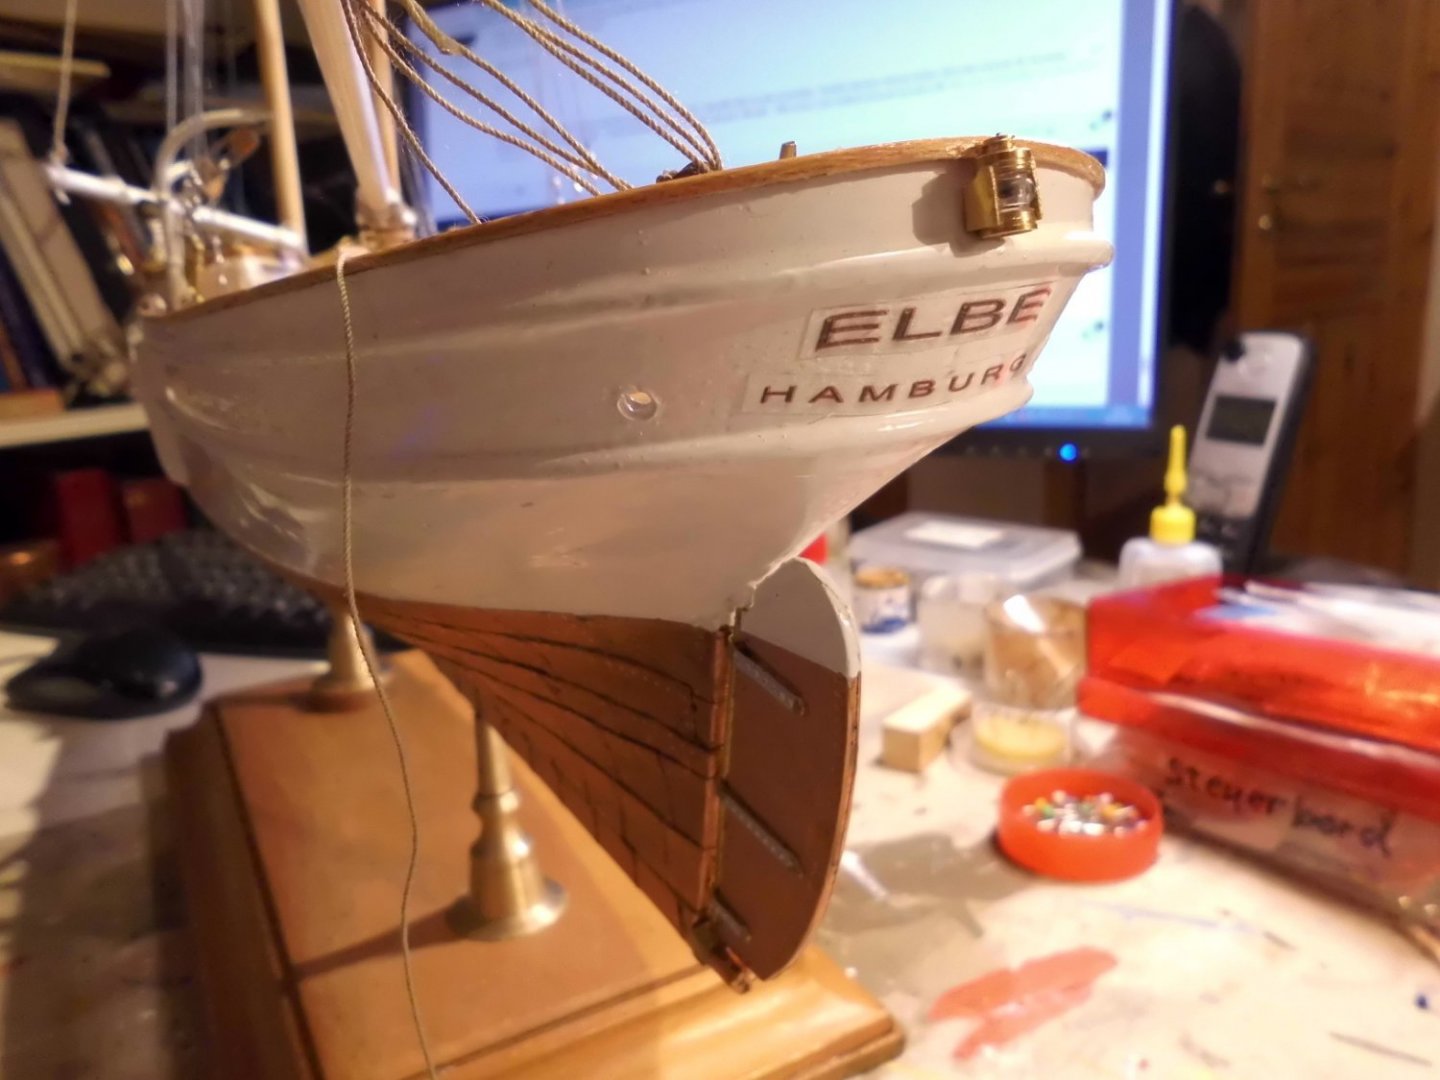
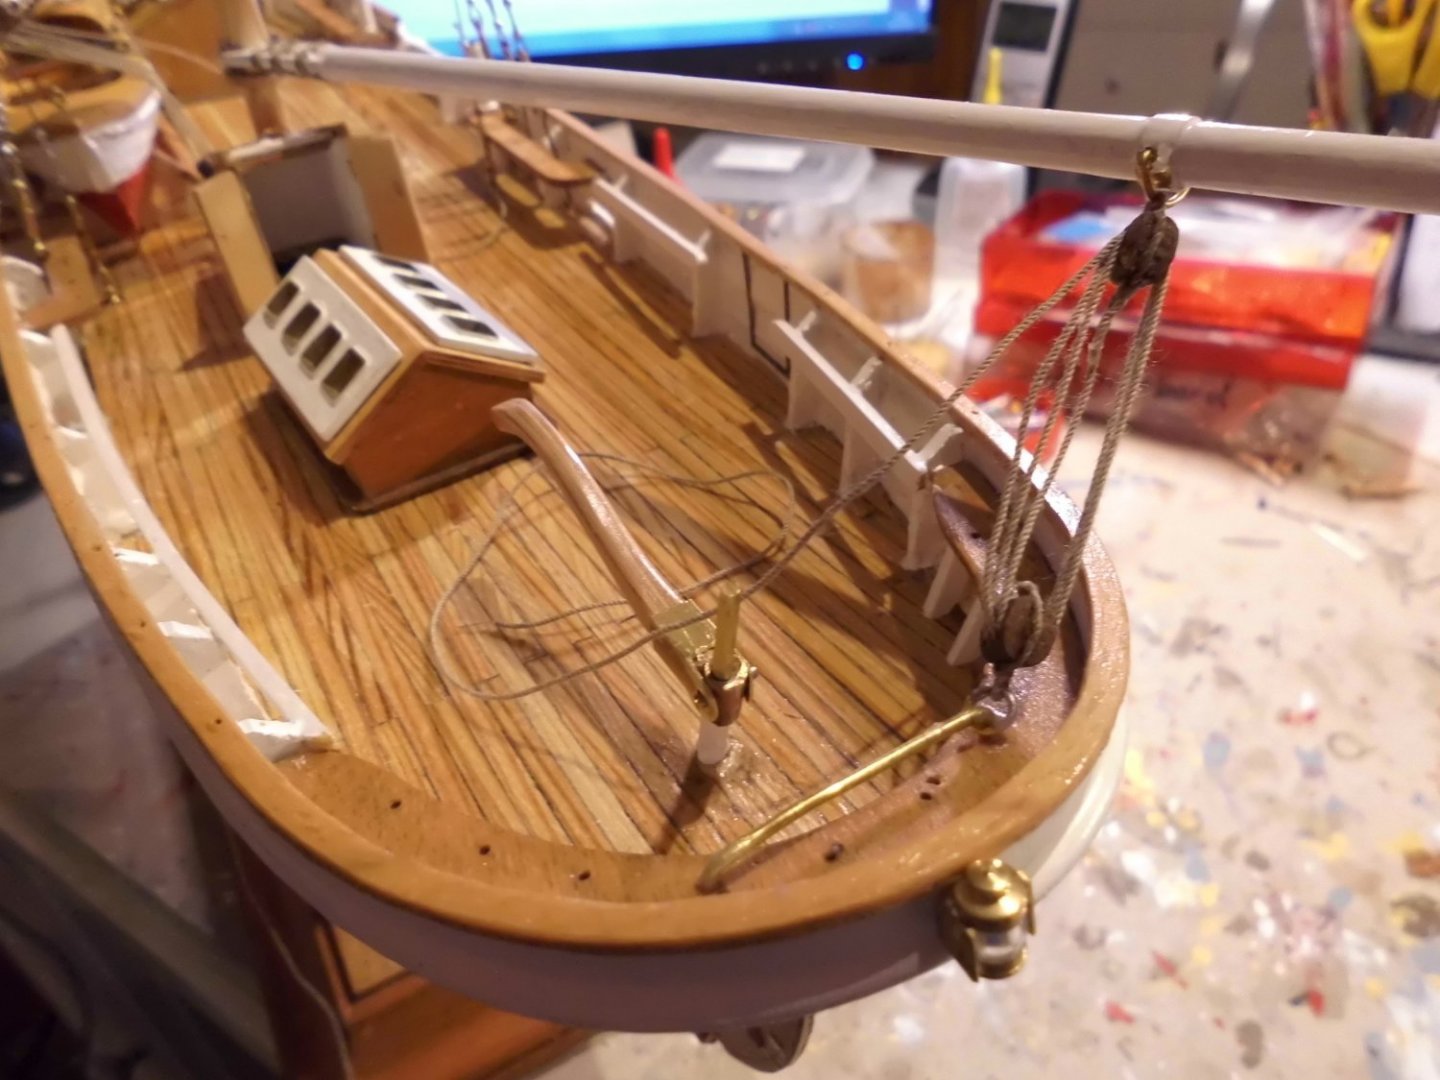
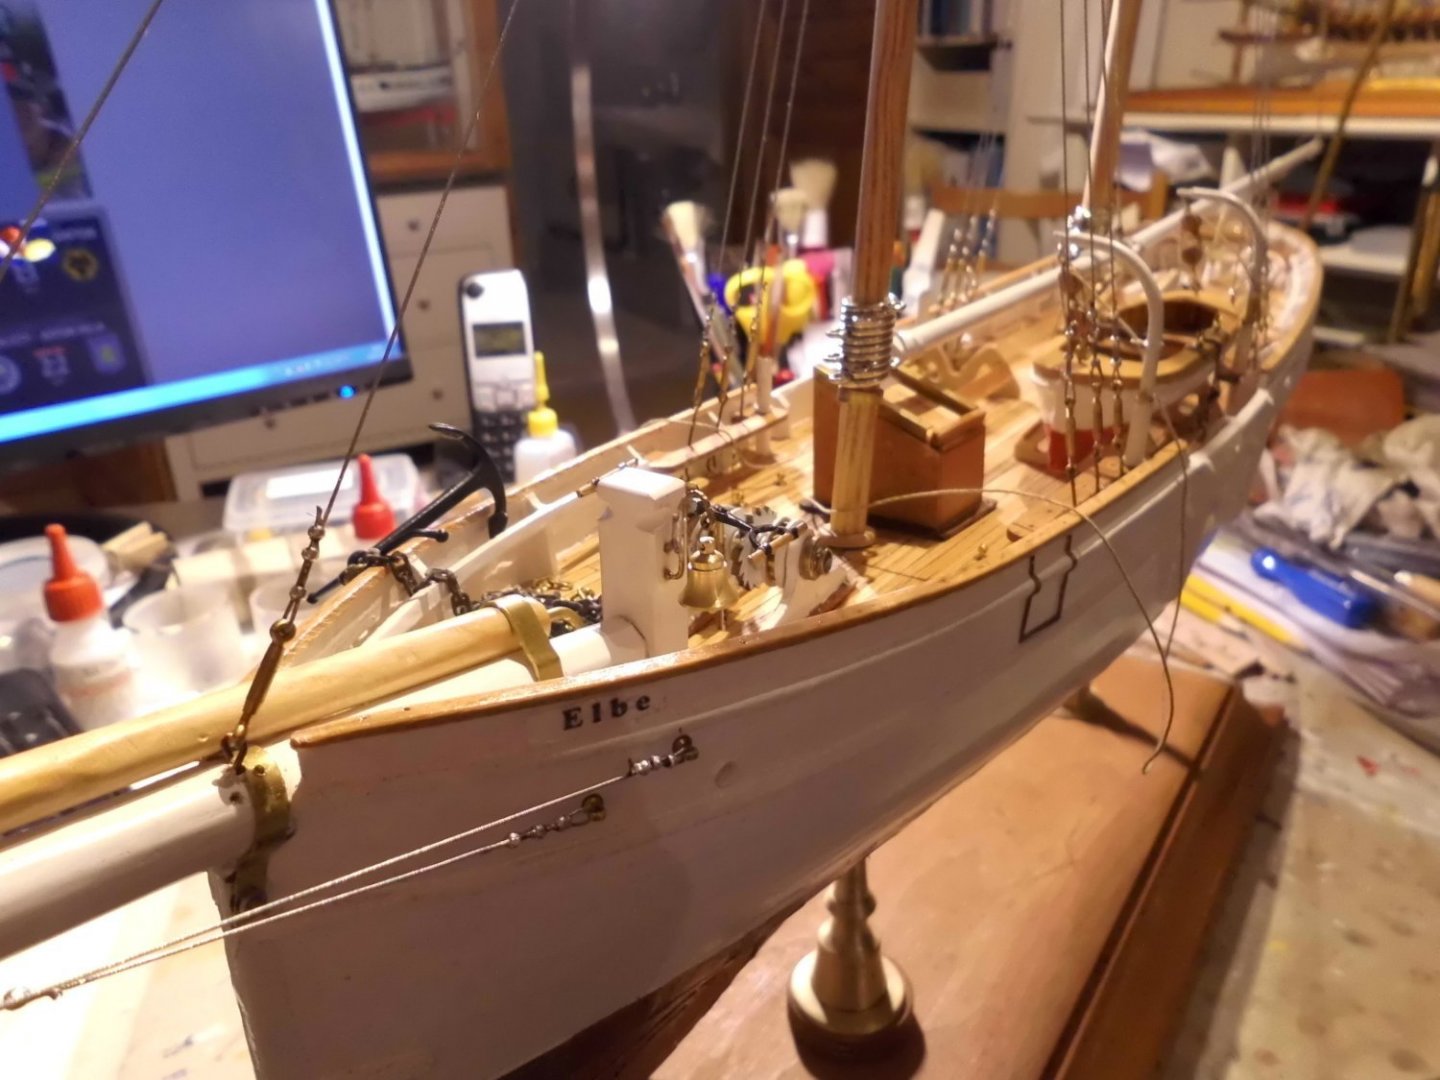
Hi Jon Hi John I thank you both for your kind comments. I`m at the time of installing some details, before I start making the six sails. Finaly I`ve found a way to decline the lettering for the tail name and home port. For the companion ways I decided to show one (open hatches) and the other one (closed hatches). The two gaff spars and their rigging will be next in the pipe. The anchor attachment is also done as well as the two main sheets with tripple sheet blocks, so all is coming on quite well.... There was the question in the beginning, why the odd scale 1:51, but now the model turns out 740 mm length over all, which turns out to 37000 mm for the actual ship, who`s rating is 37 meters and therefore the scale is now corrected to 1:50 Nils I onls put one admirals typ anchor with rigging at the stb side. A smaller one (emergency) will be placed at the inboard front bulwark later on the forward placed companion way with closed hatches and doors. The formast boomtackle differs to the mainmast boom tackle, probably to hook it out more easily when opperating the boats aft companionway and skylight. I chose an 8-window typ in order to allow more light down into the ship there is a slight problem with the forward sail sheet when the boats are in place on deck. I trust this must have been the same situation as with the actual boat. The boat tackles rest (hooked in) at the davits when not in use tail lettering and attached tail light the upper rudder shaft will be shortend later on


- 180 replies
-
- 8
-
-
-
- pilot boat
- Elbe 5
- (and 3 more)
-
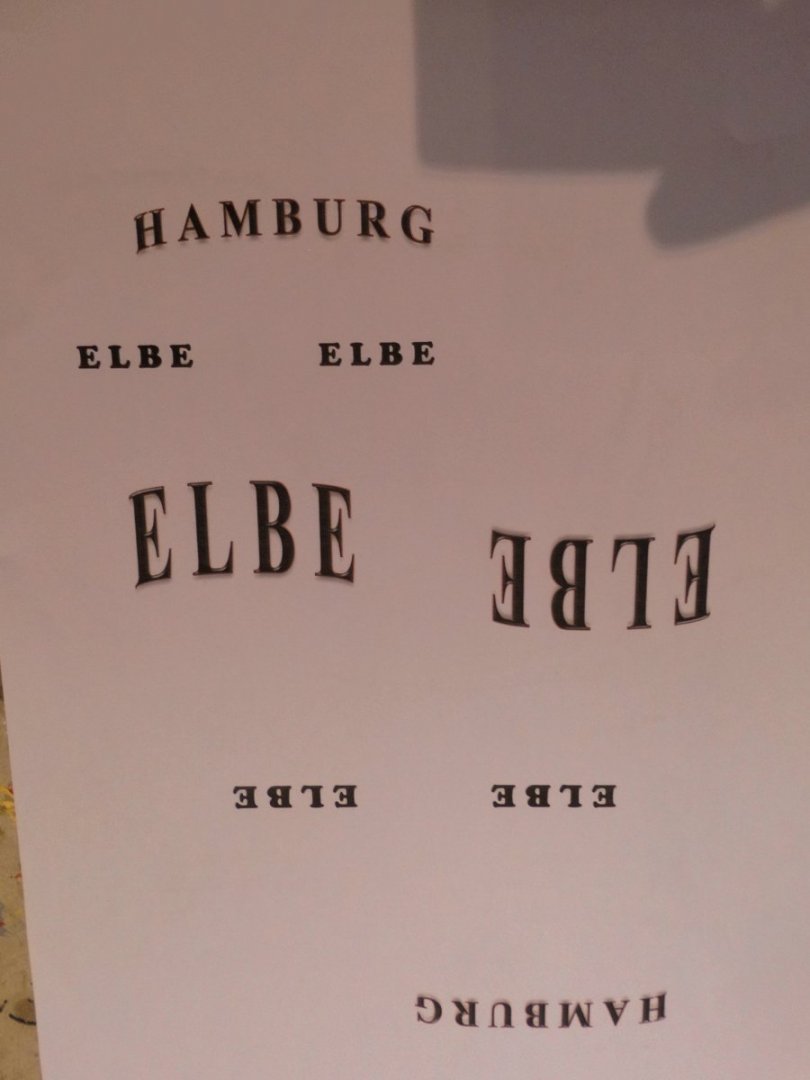
Update fitted the skylight, the mainsail sheet and the two uncompleted companionway hatches.... I`m trying to get the aft name sign and the port name reduced to the right size. The windows / excel tool allows to get the display in a rounded, bent shape, but only in a too large size. This is to compensate the tapered aft-section. I intend to print them on transparent self-adhesive foil and cut out the text for bringing it on to the hull surface. It looks like my printer has no built in decline function Nils


- 180 replies
-
- 9
-
-
-
- pilot boat
- Elbe 5
- (and 3 more)
-
thank you Igor, your fleet of mini scale- and bottle ships is amazing and very nice to see. At least you should not have problems with the places for display. When I was young I also built a few bottle ships for the family members as a christmas present as I had limited financial playground at that time.... Nils
- 180 replies
-
- 1
-
-
- pilot boat
- Elbe 5
- (and 3 more)