HOLIDAY DONATION DRIVE - SUPPORT MSW - DO YOUR PART TO KEEP THIS GREAT FORUM GOING! (Only 24 donations so far out of 49,000 members - C'mon guys!)
×


Mirabell61
-
Posts
7,407 -
Joined
-
Last visited
Content Type
Profiles
Forums
Gallery
Events
Everything posted by Mirabell61
-
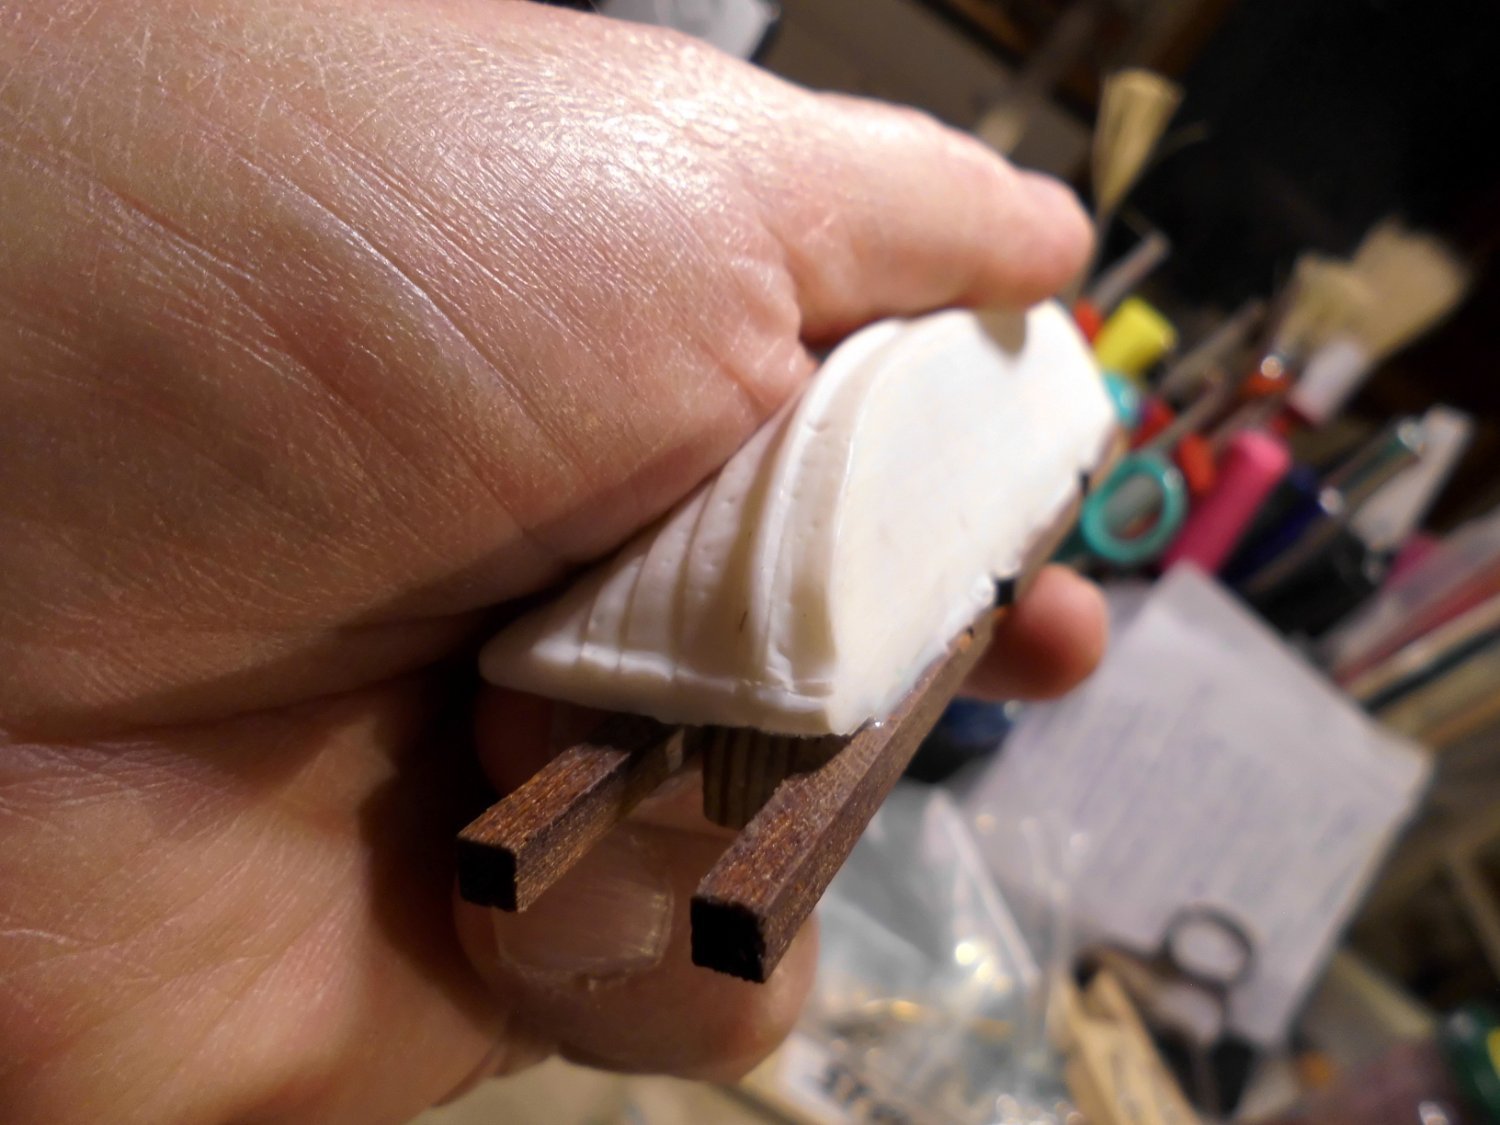
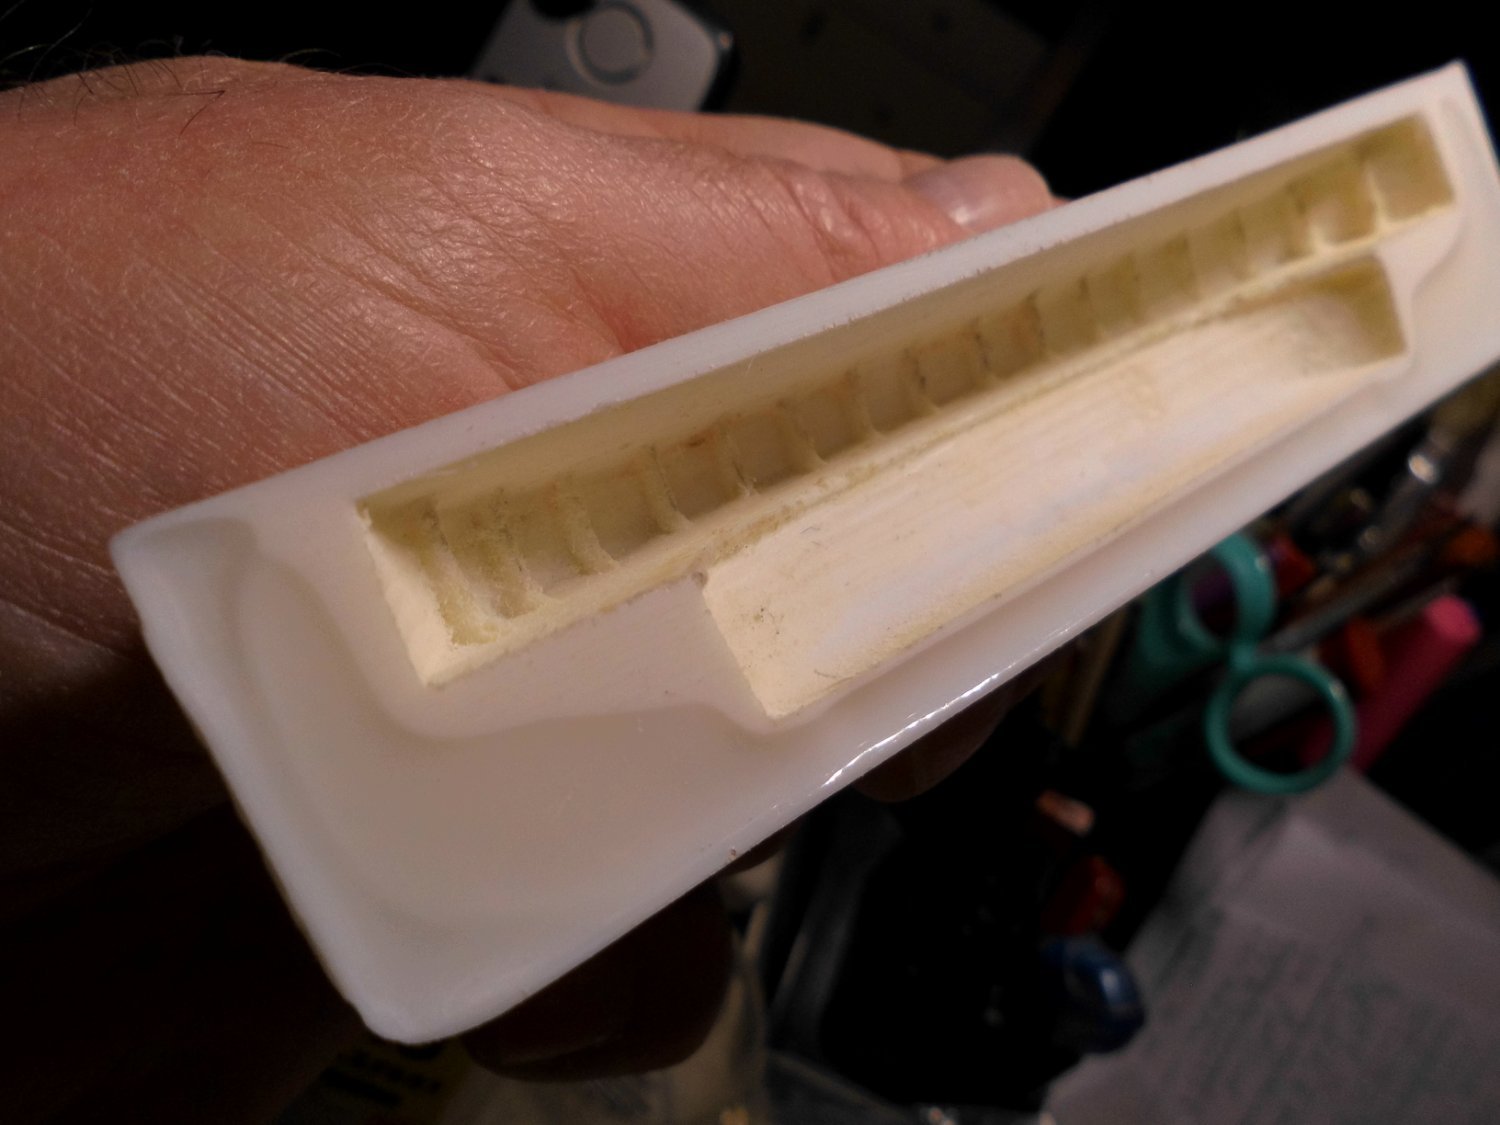
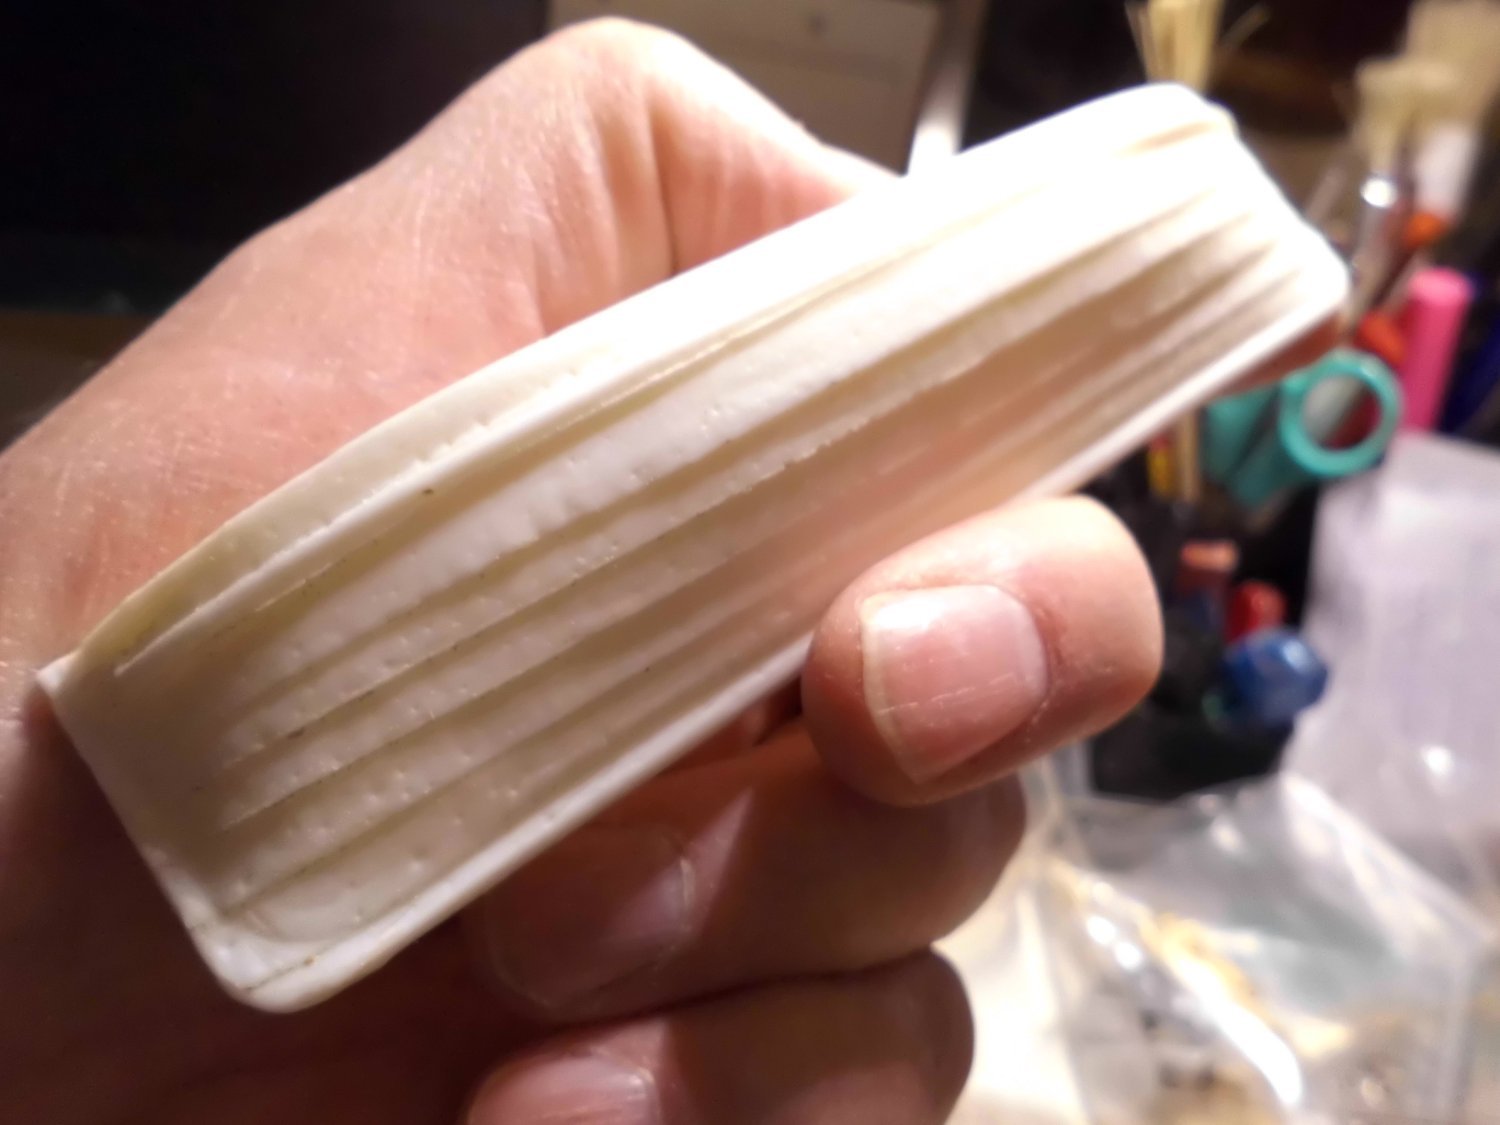
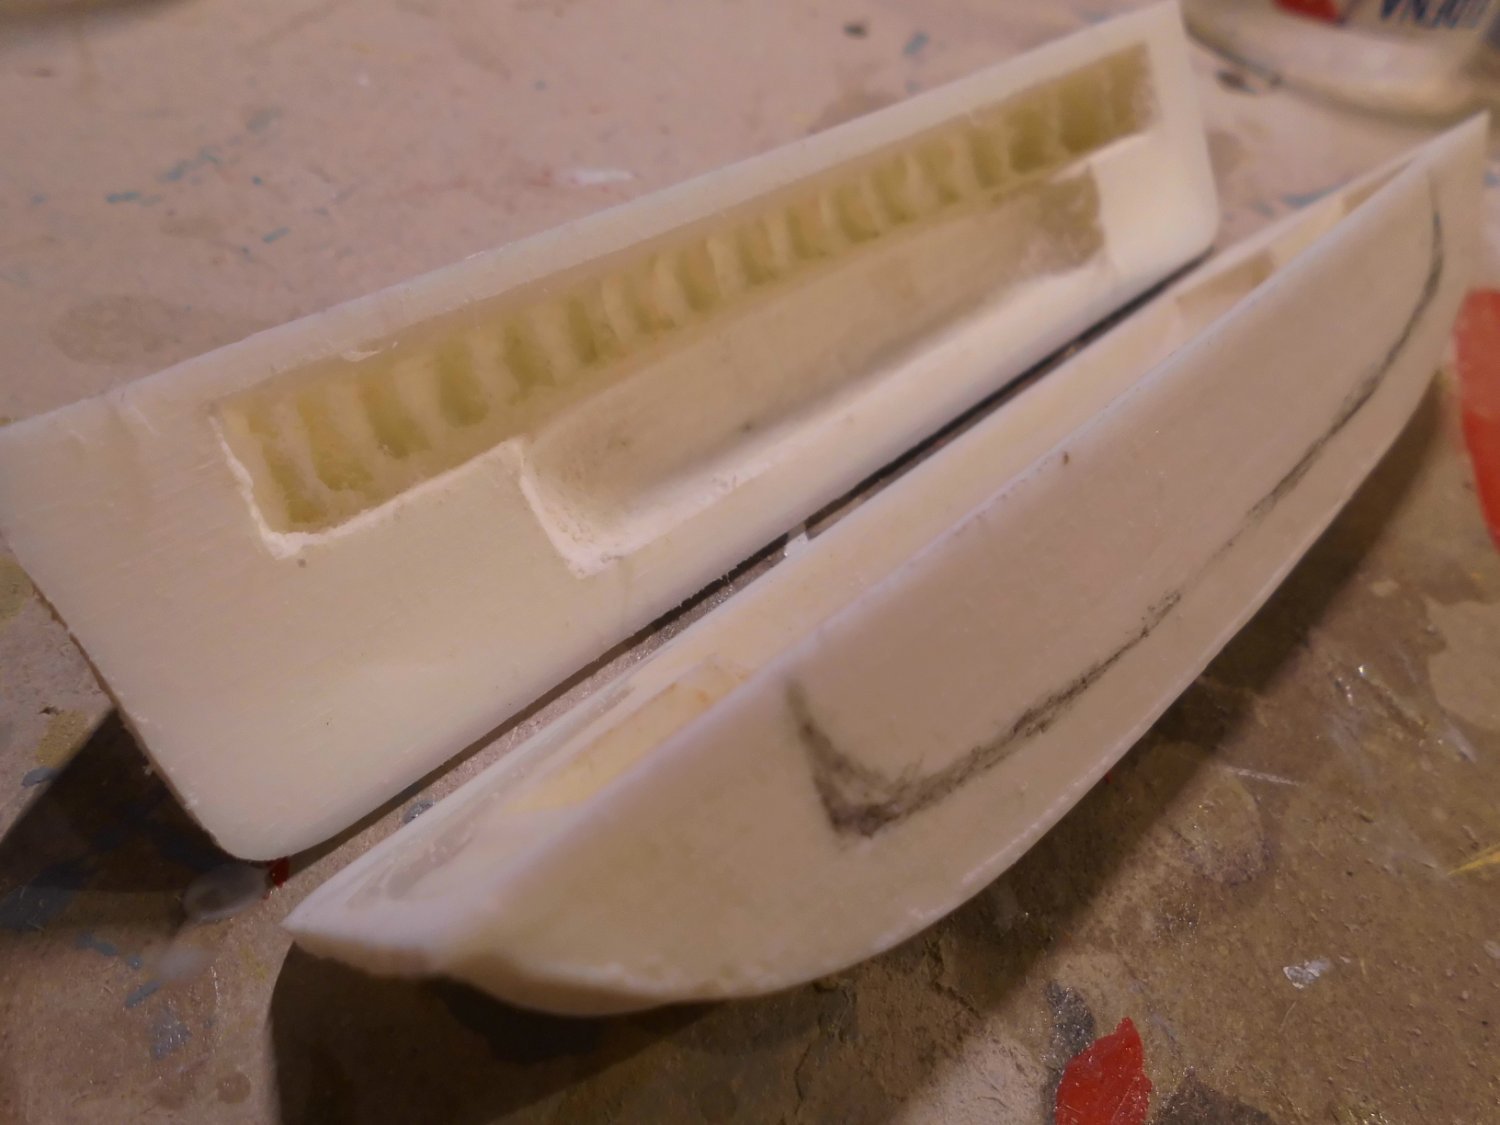
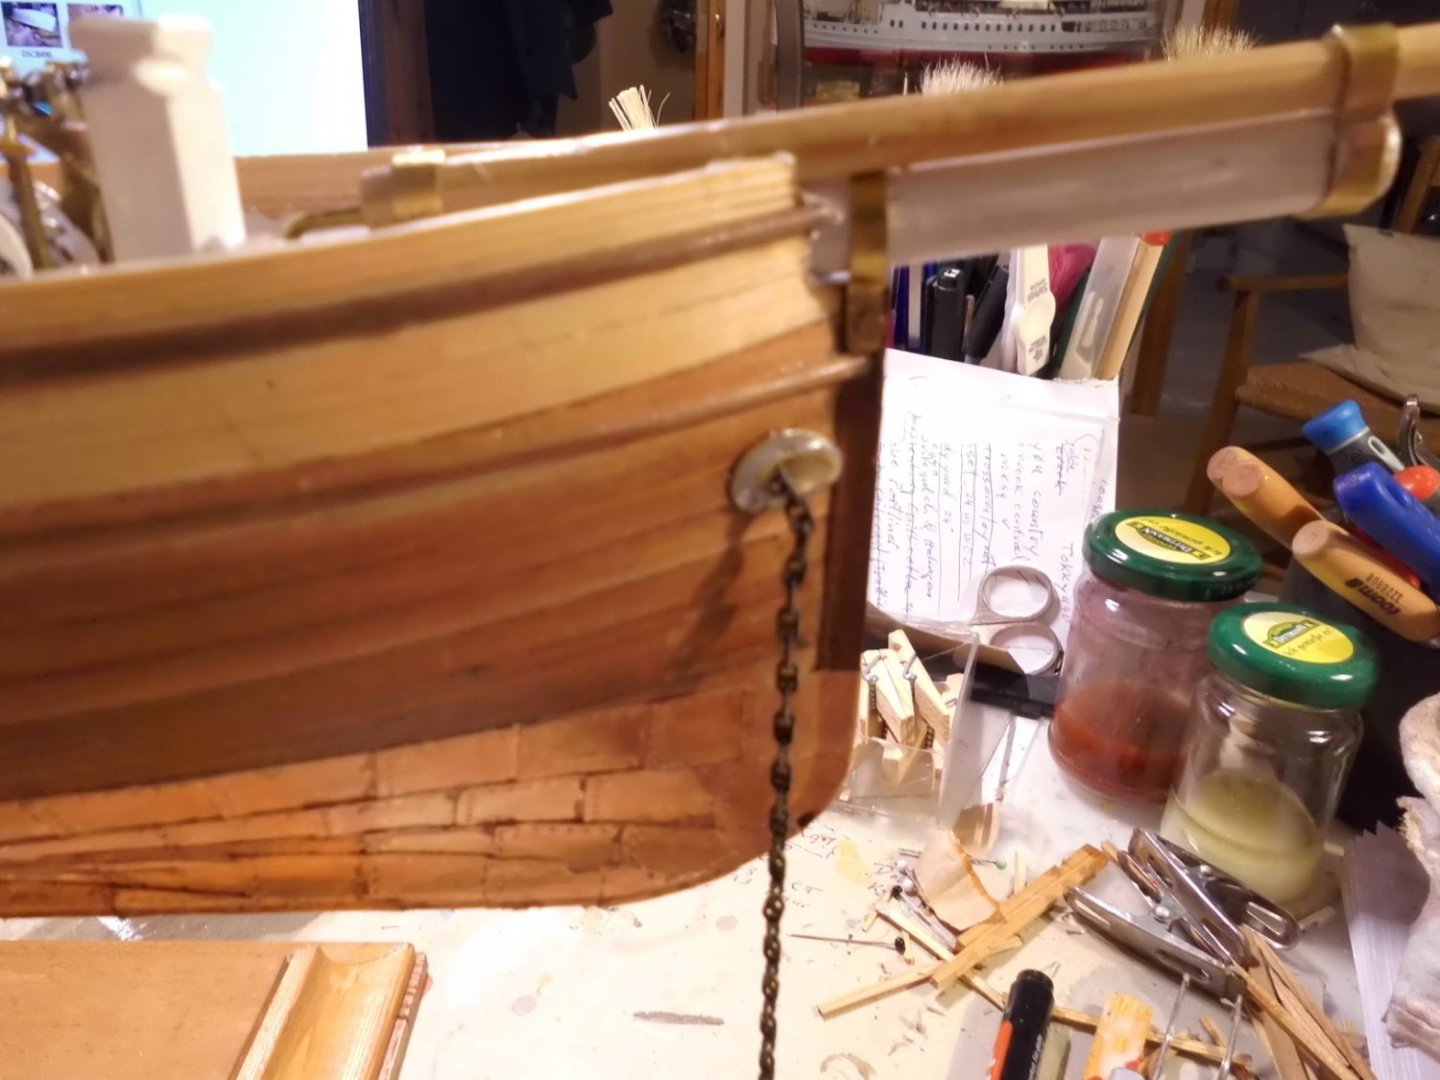
 Update making the tubes for the anchor chain, chemical blackening of the brass anchor chain, casting the boat halves, two halves of the boat checking out the fit, and ready for glueing together, the cockpit - cover still needs to be cut out Nils the chain is transported over the appr. shaped chainwheel port for the chain this is the cast box for the silicone mold this is the removeable heart for the boats inner shaping. The little distance chucks are only preliminary attached in order to determine the boats wallthickness here everthing is ready for casting the two-component raisin into the waxed parts this is the very first cast boathalf the fake frame-ends (at inner bulwarks) are included within the casting dryfit of two boathalves
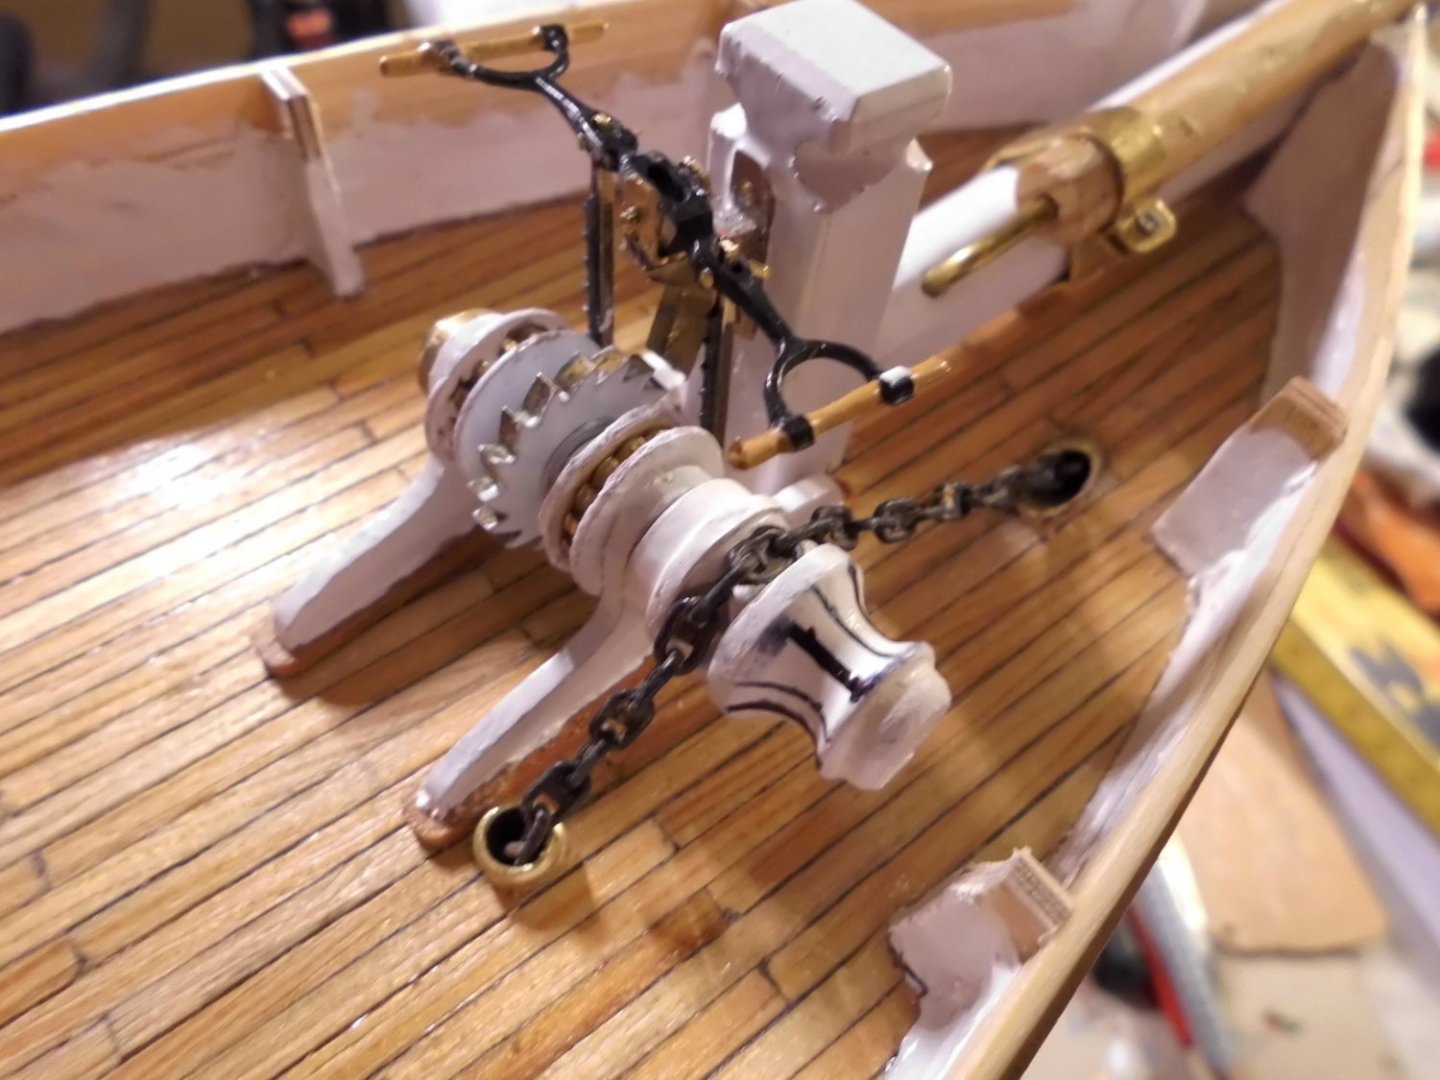


- 180 replies
-
- 10
-

-
- pilot boat
- Elbe 5
- (and 3 more)
-
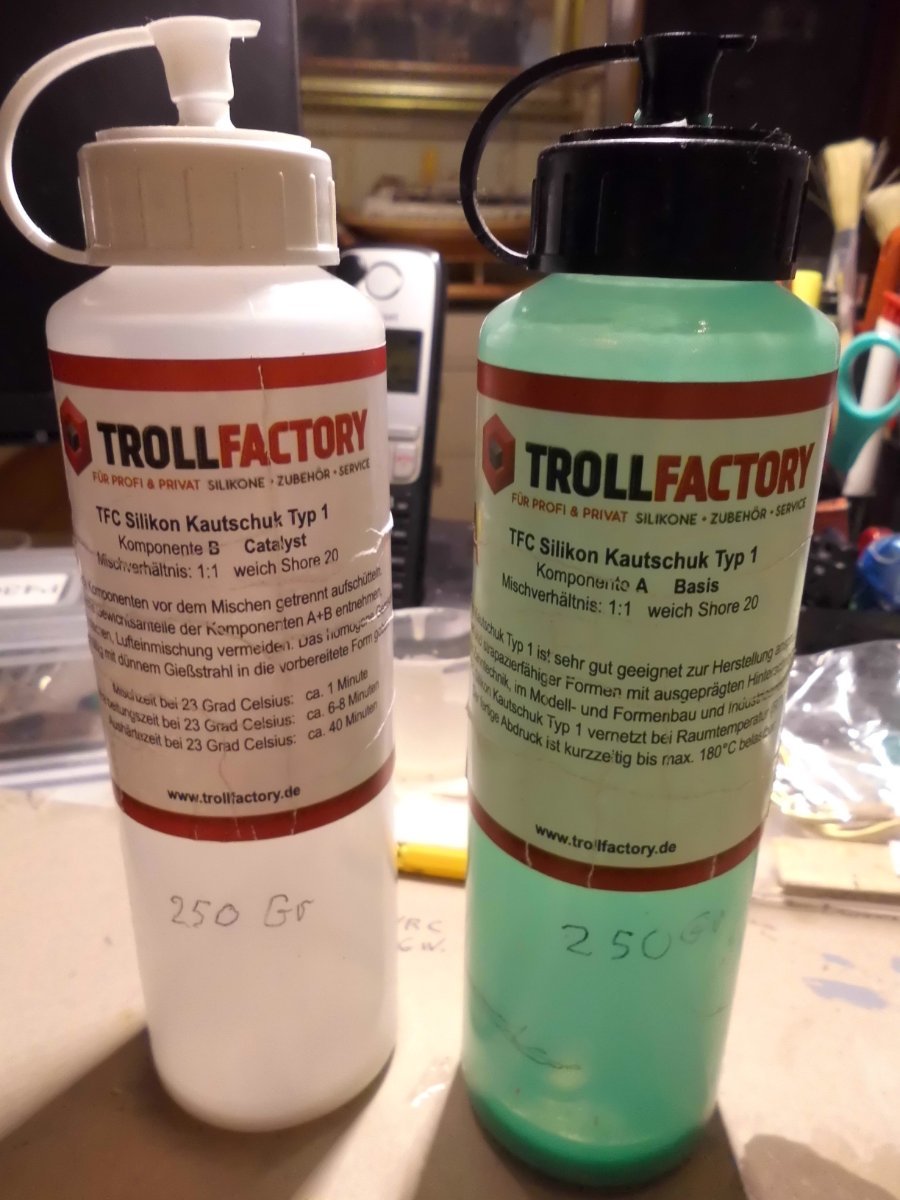
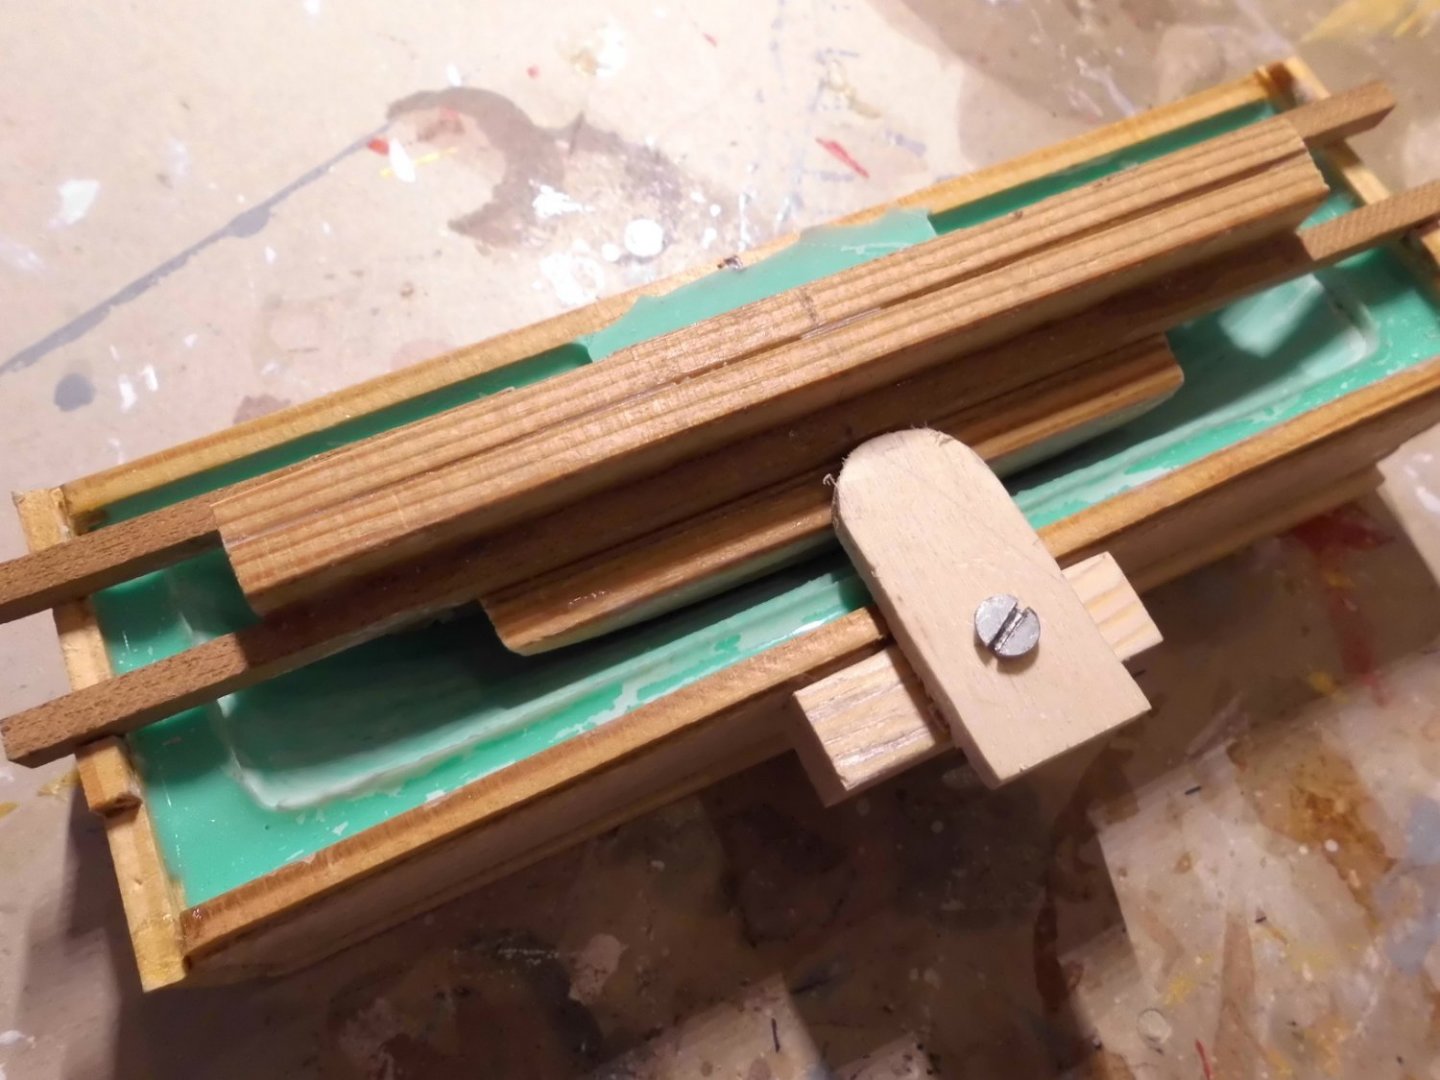
Update making the box containment for the silicone mold and casting the mold from semi soft silicone rubber Nils the box must be large enough to allow buffer rubber material all around. I used car polish wax for covering the box inside and for the submerging section of the model fot better removal I used up the leftover 2 component silicone I still had from making my boats for Kaiser Wilhelm der Grosse. It was just enough silicone for this application ( to the last drop ! ) taking the halfmodel from the mold, all looks well so far


- 180 replies
-
- 4
-
-
- pilot boat
- Elbe 5
- (and 3 more)
-
Many thanks Eberhard, now its understood. Shall overwork the sternpost on the castings Nils
- 180 replies
-
- 2
-
-
- pilot boat
- Elbe 5
- (and 3 more)
-
Eberhard, please would you please send me a handscetch on my message box here, it would be understood better what you mean. I intended to make a symetrical end, cast the parts, and then do the fine tuning individualy afterwards... (Rabbets, cutaways, etc) The raisin is easy to trim Nils
- 180 replies
-
- 1
-
-
- pilot boat
- Elbe 5
- (and 3 more)
-
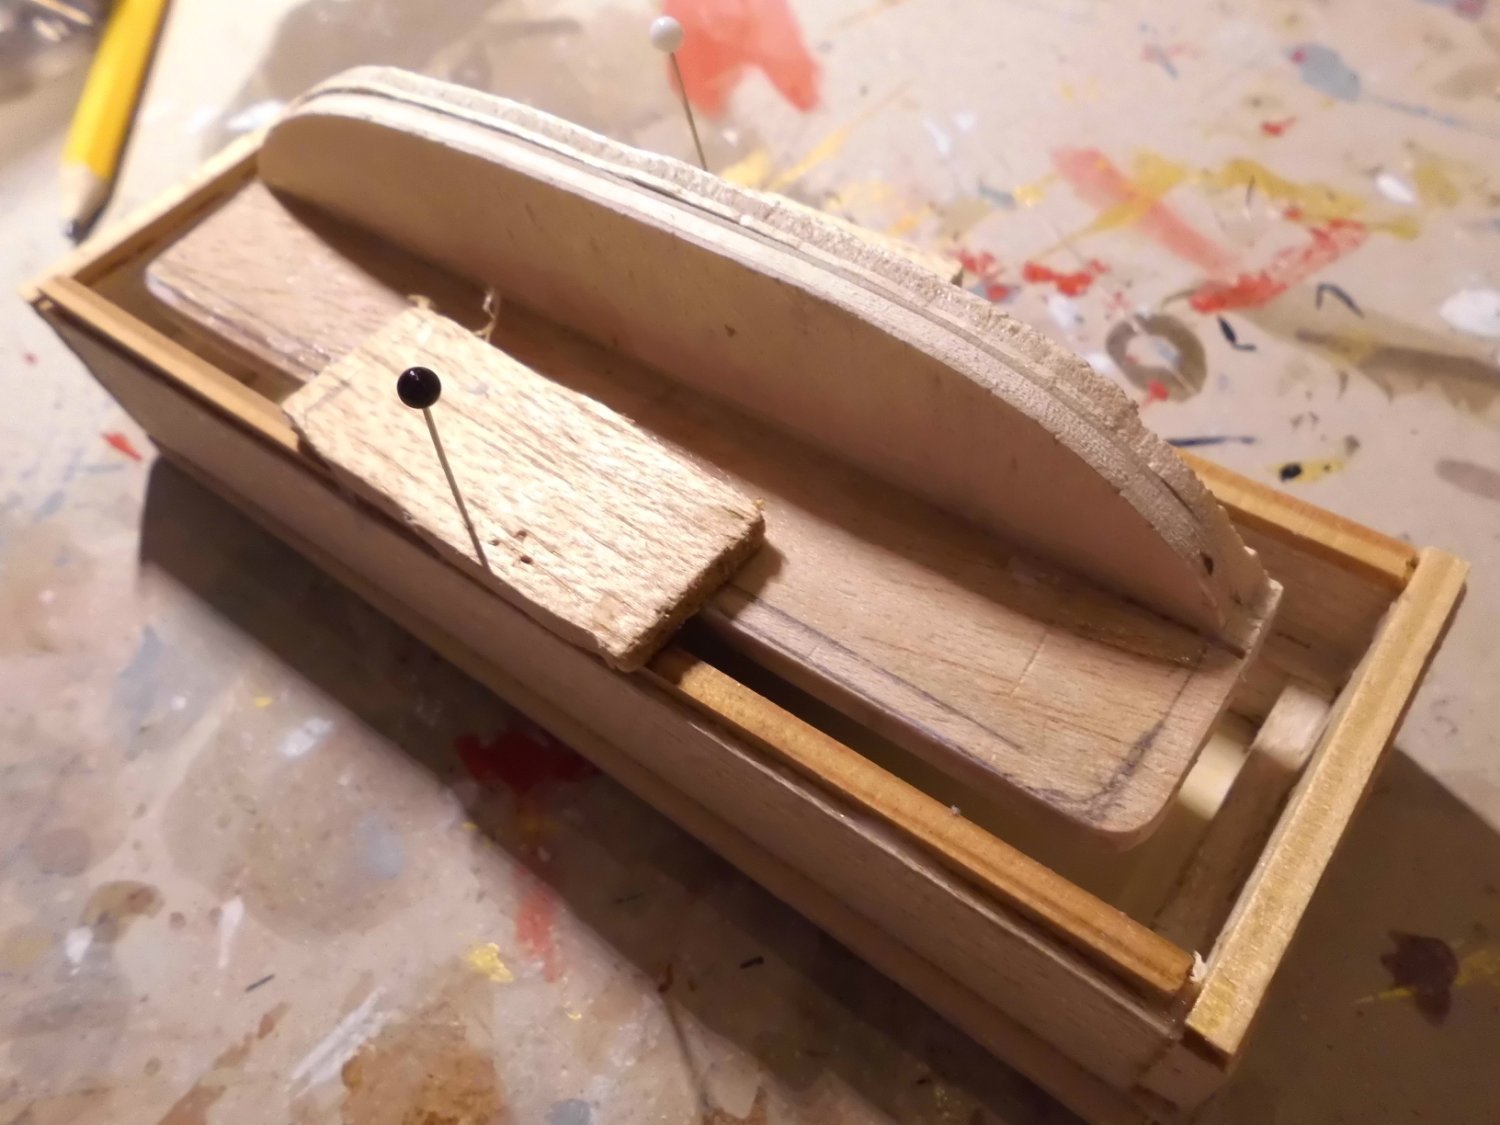
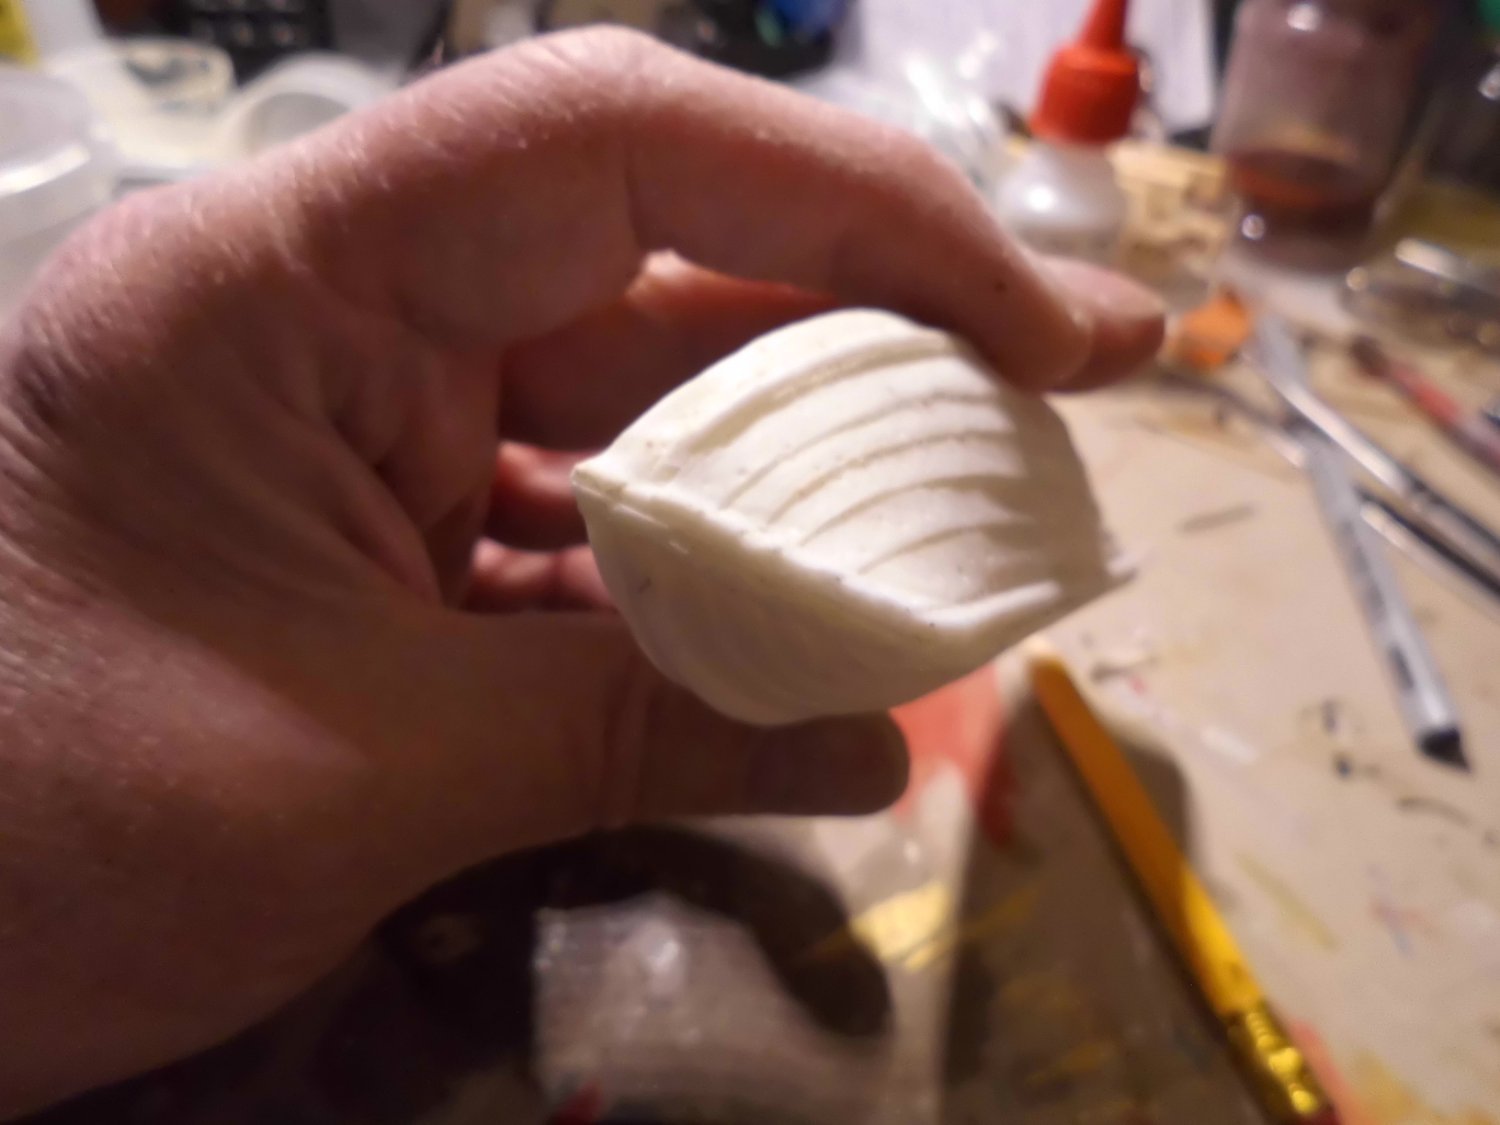
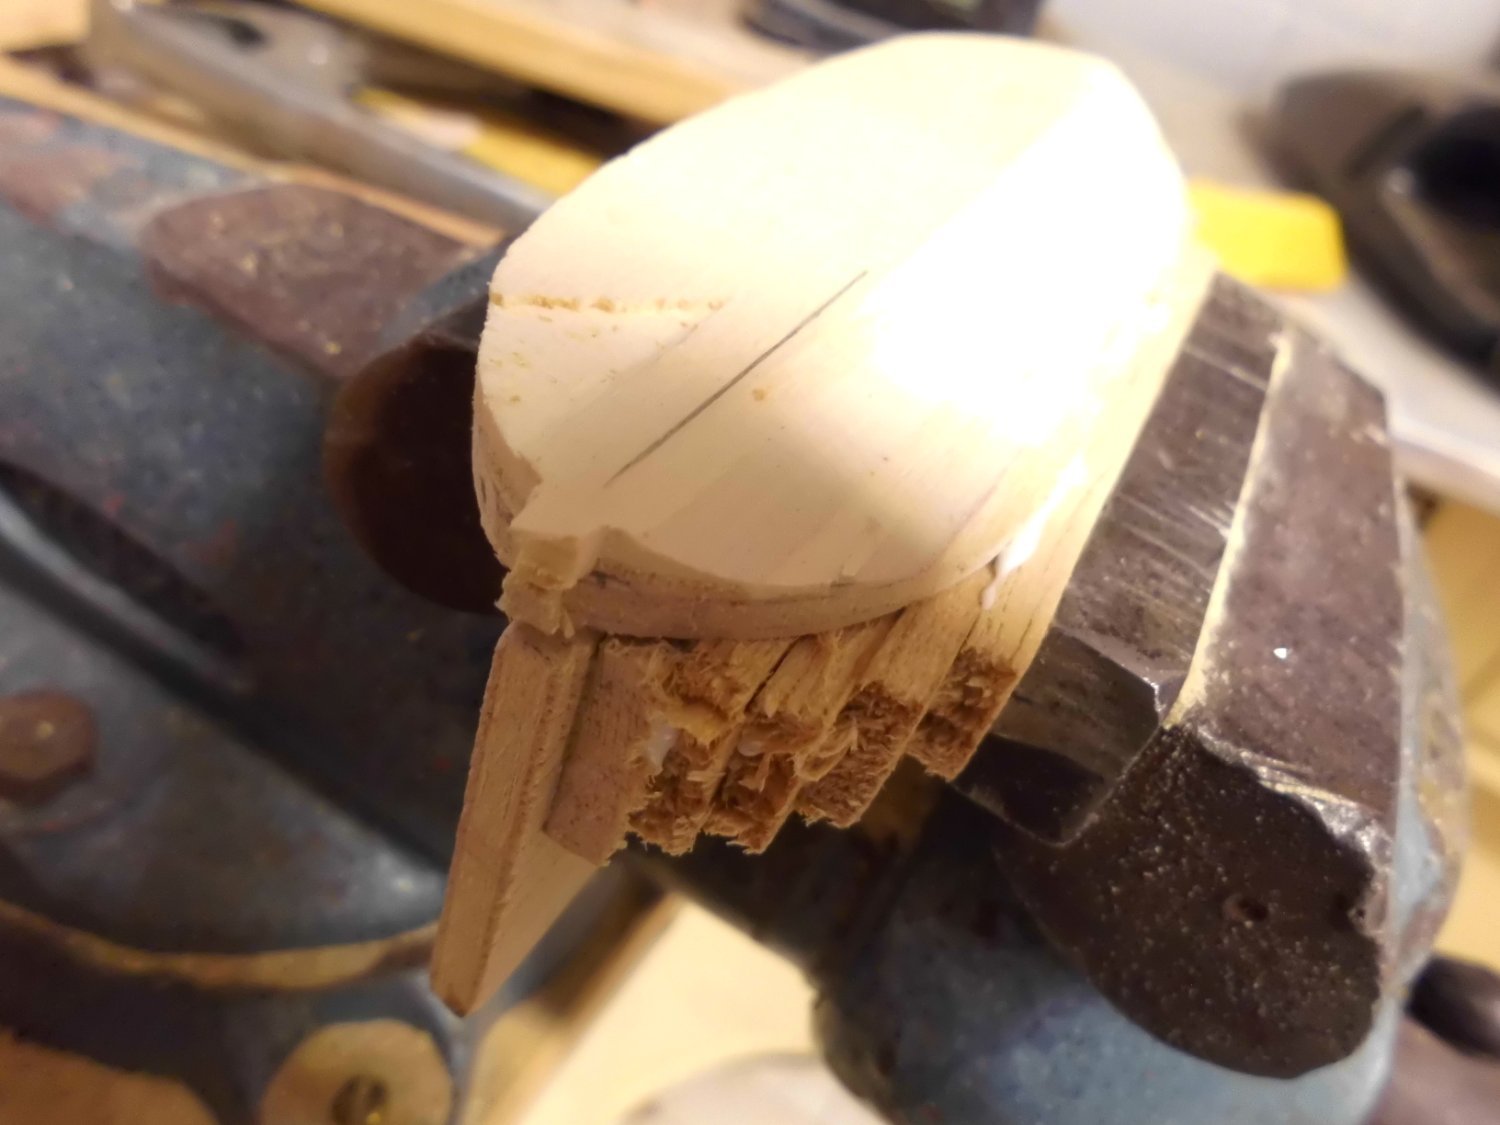
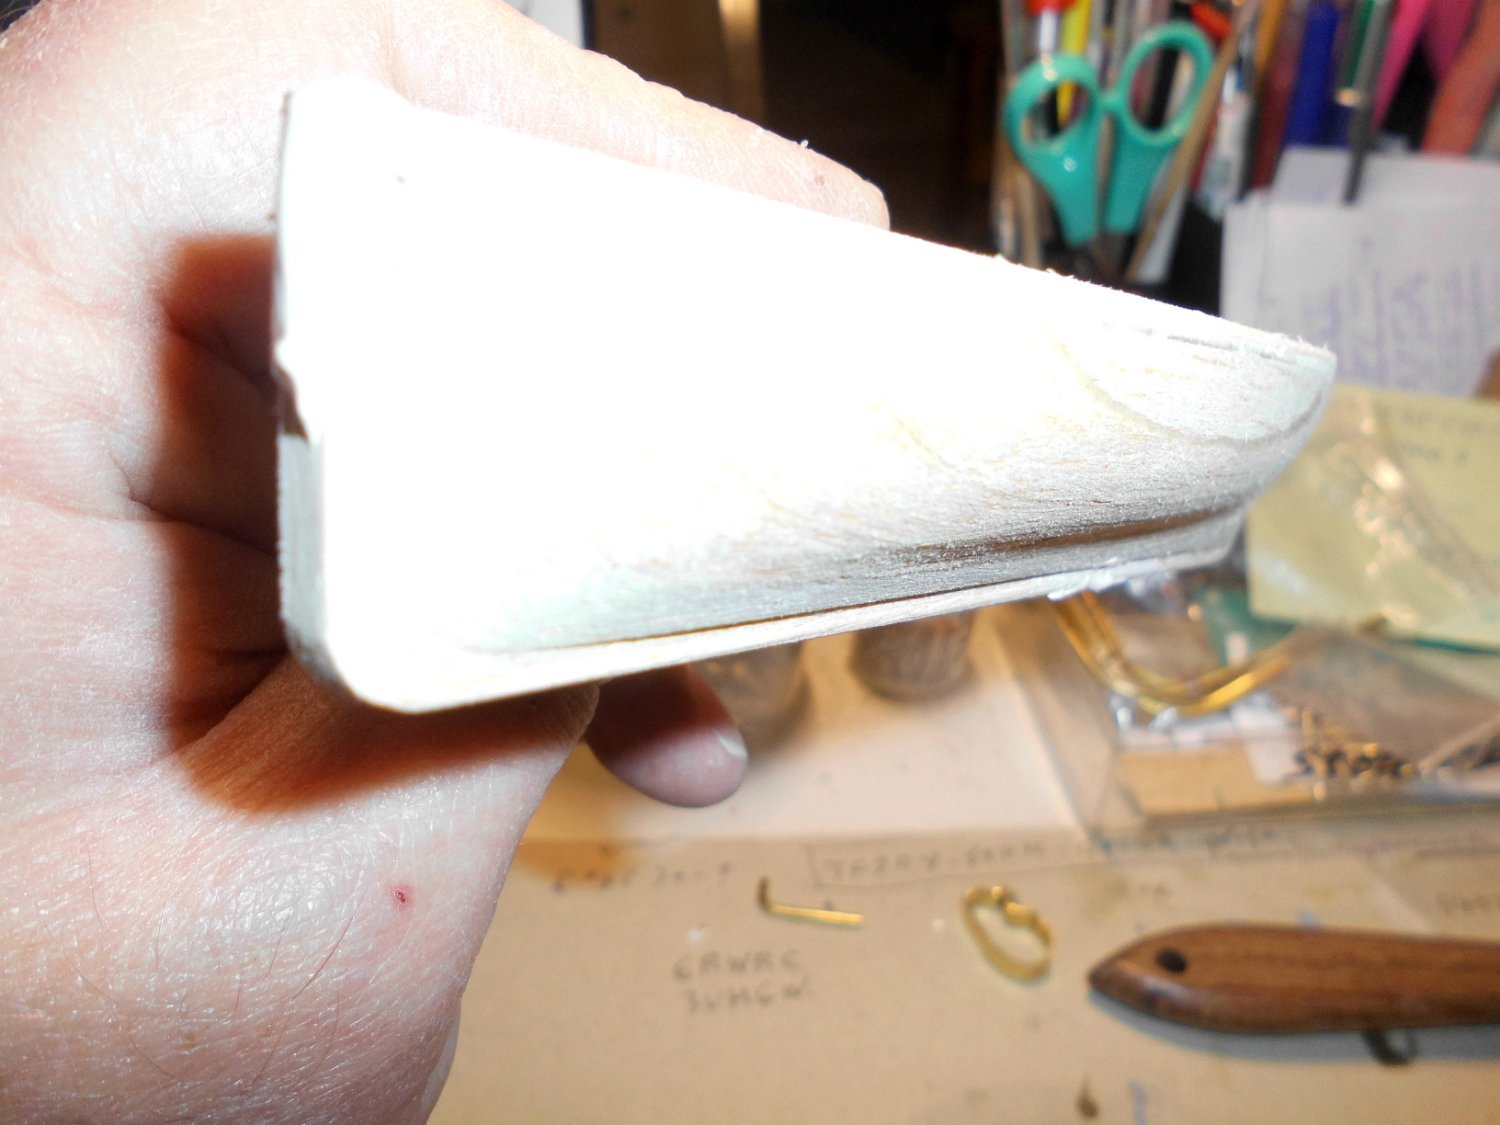
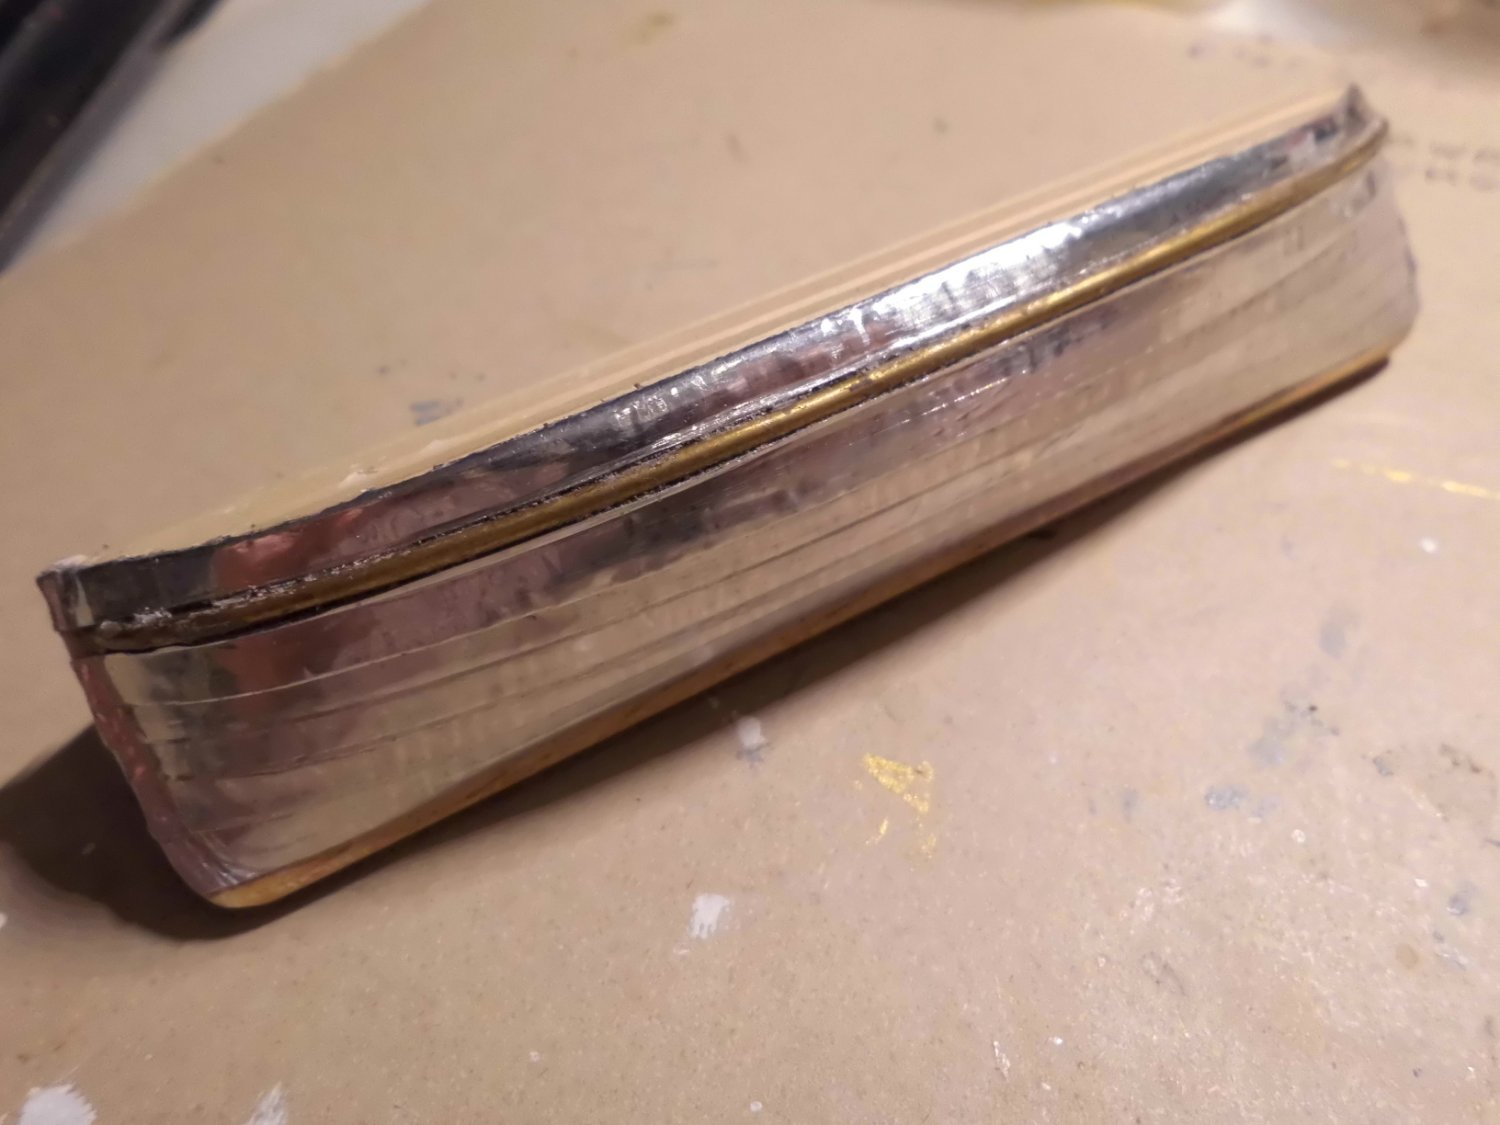
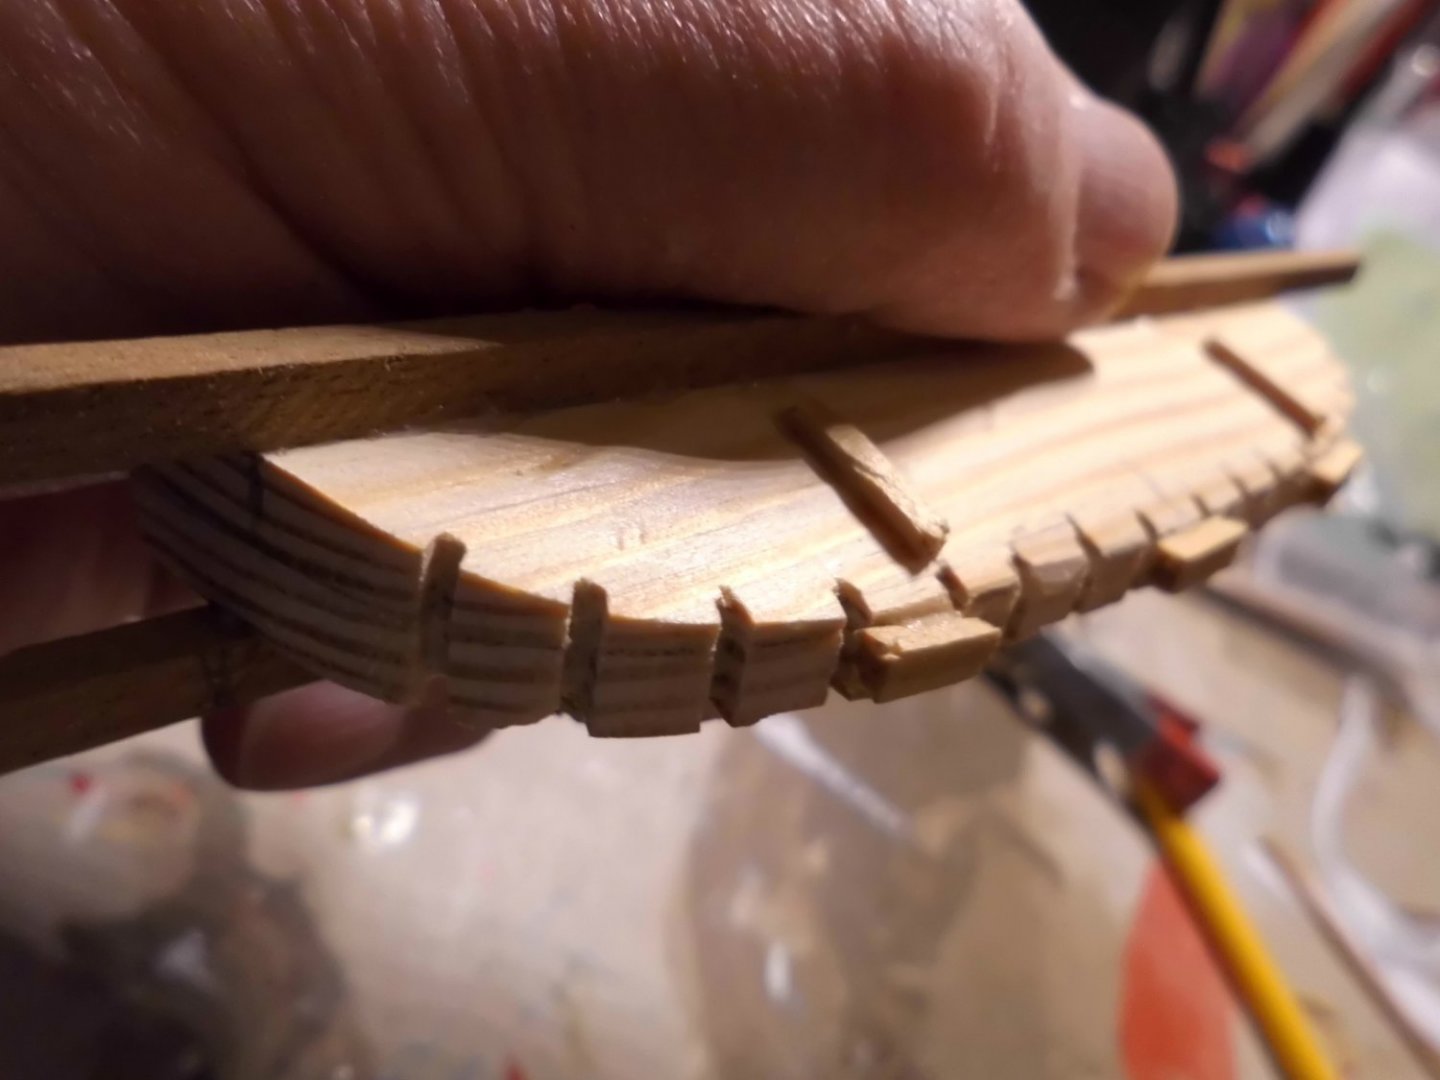
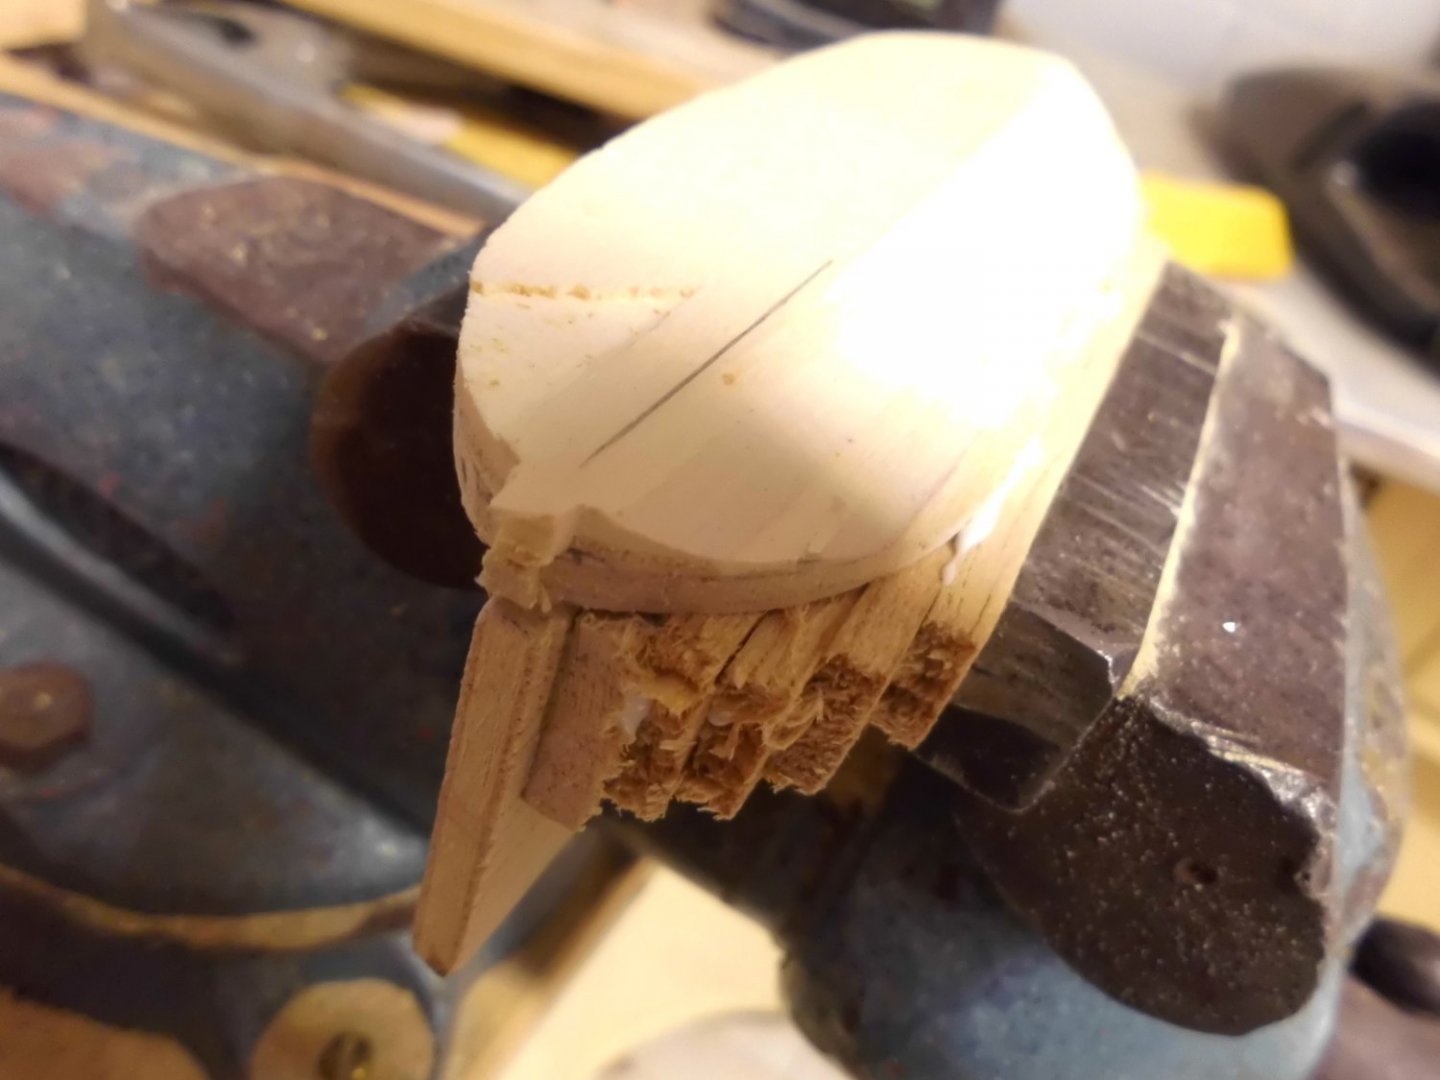
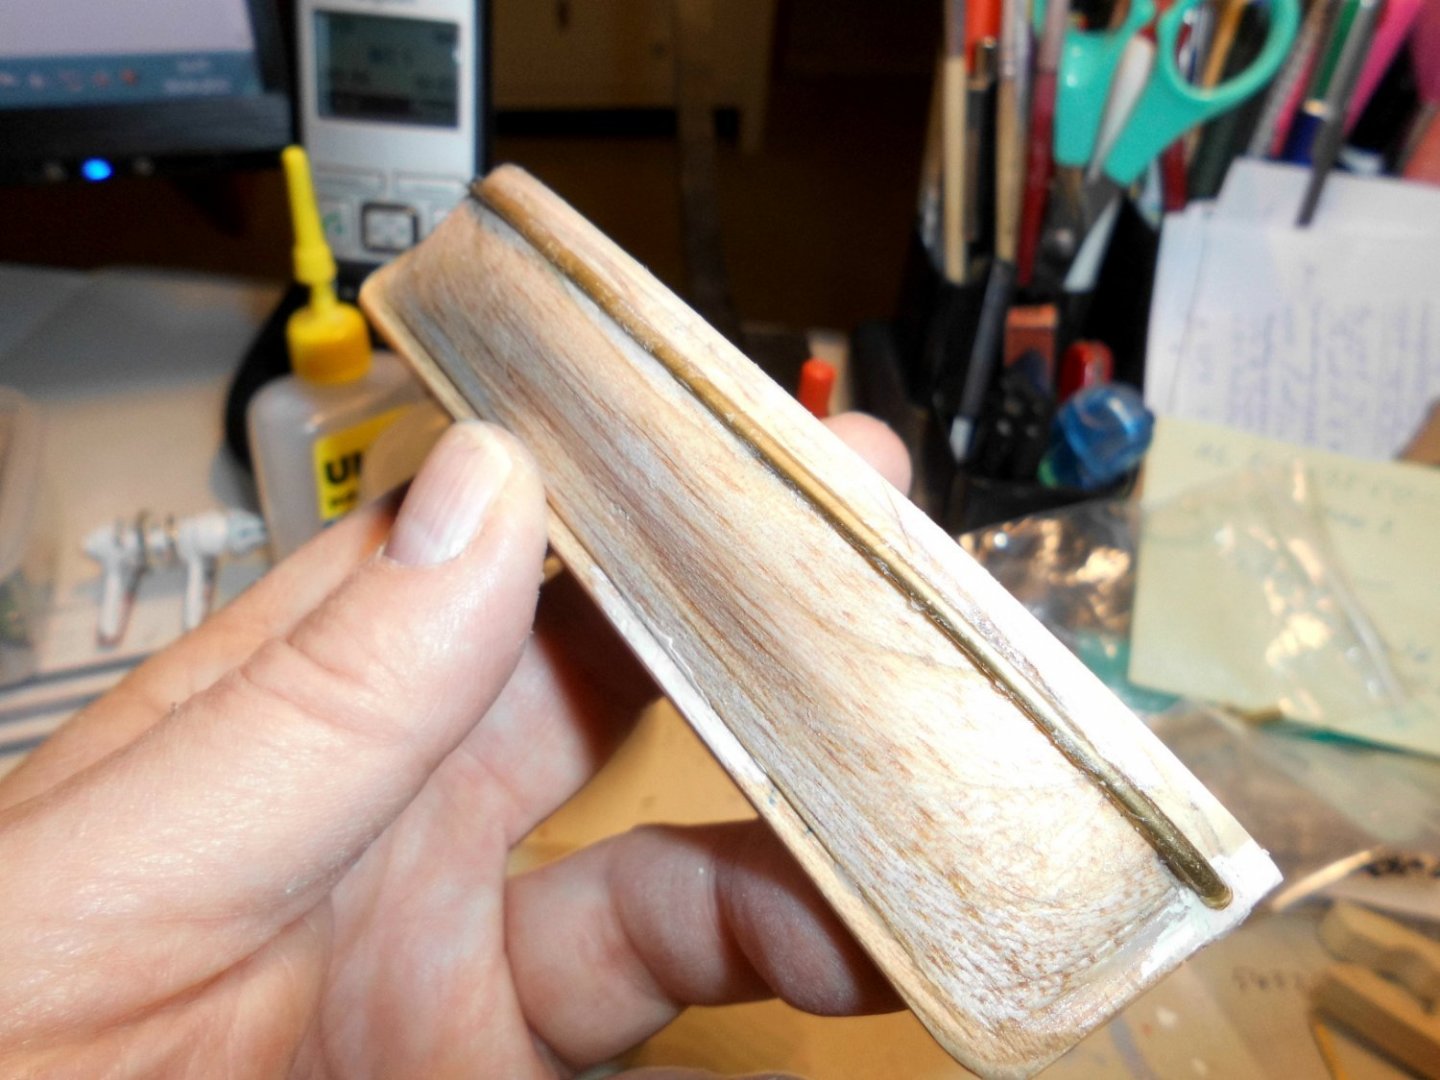
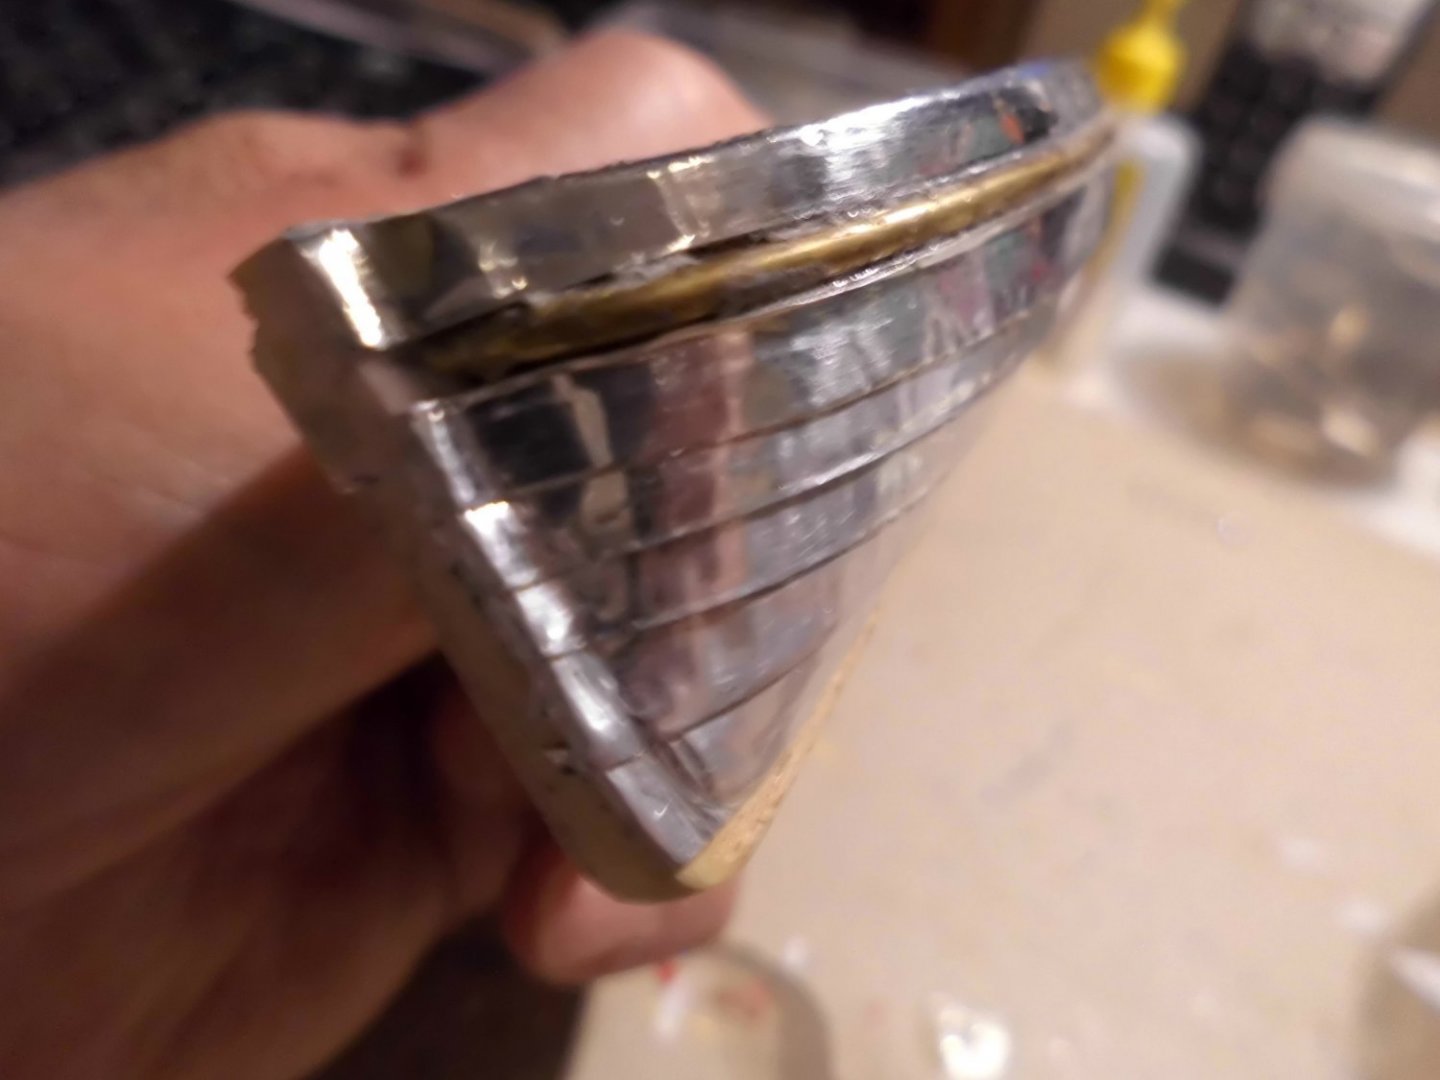
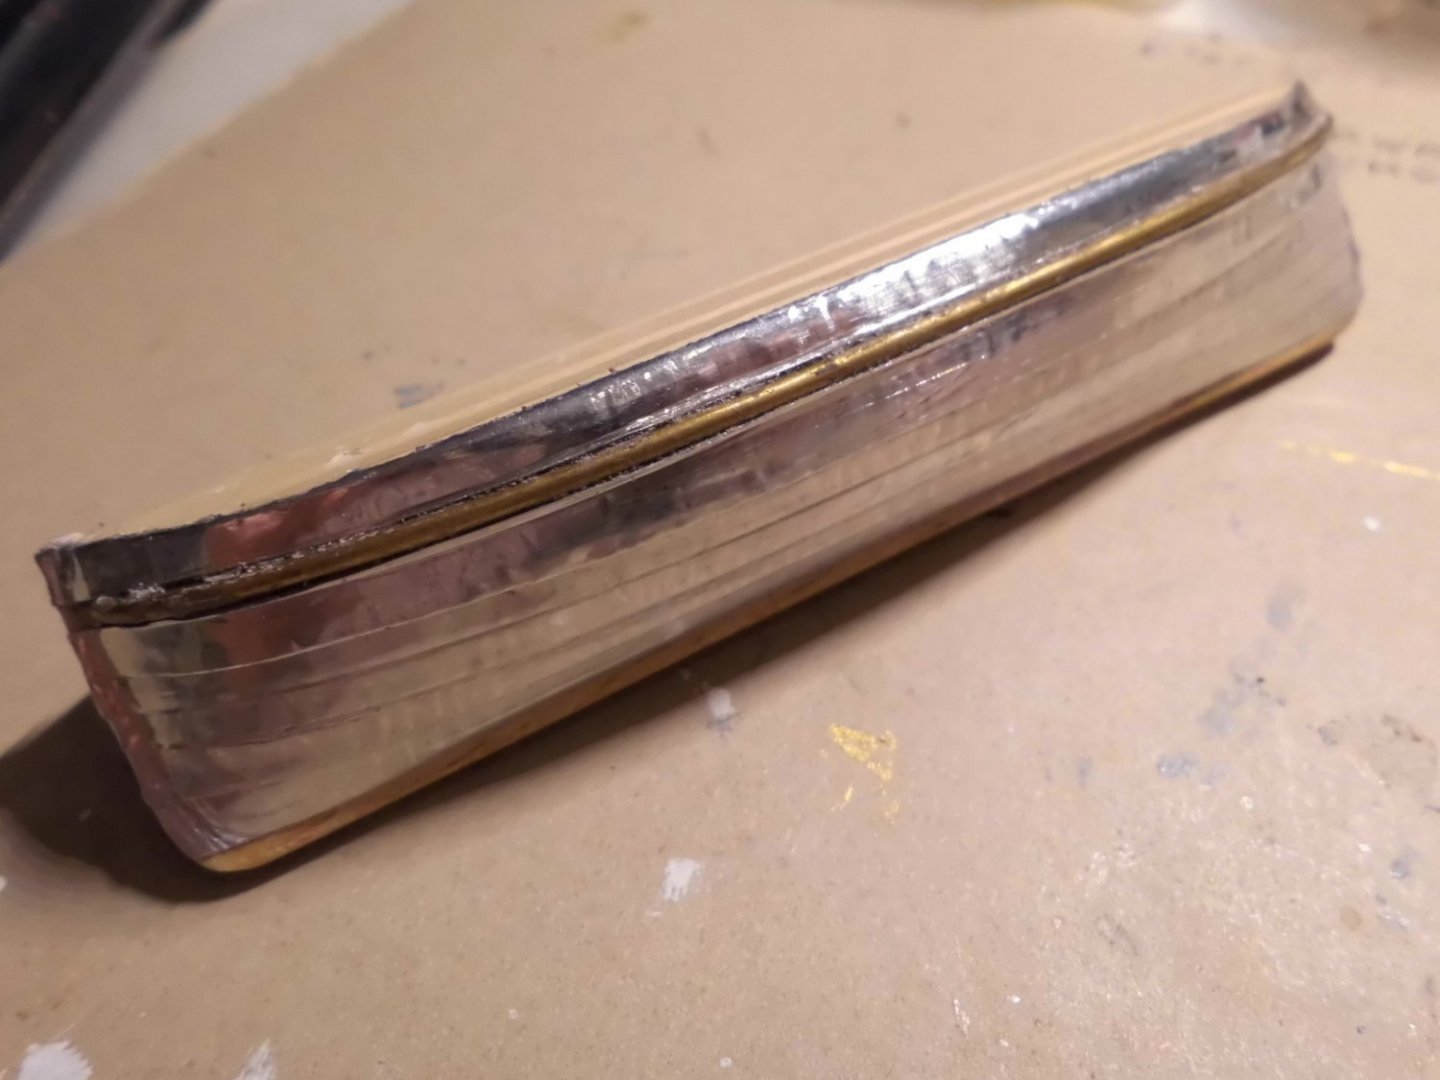
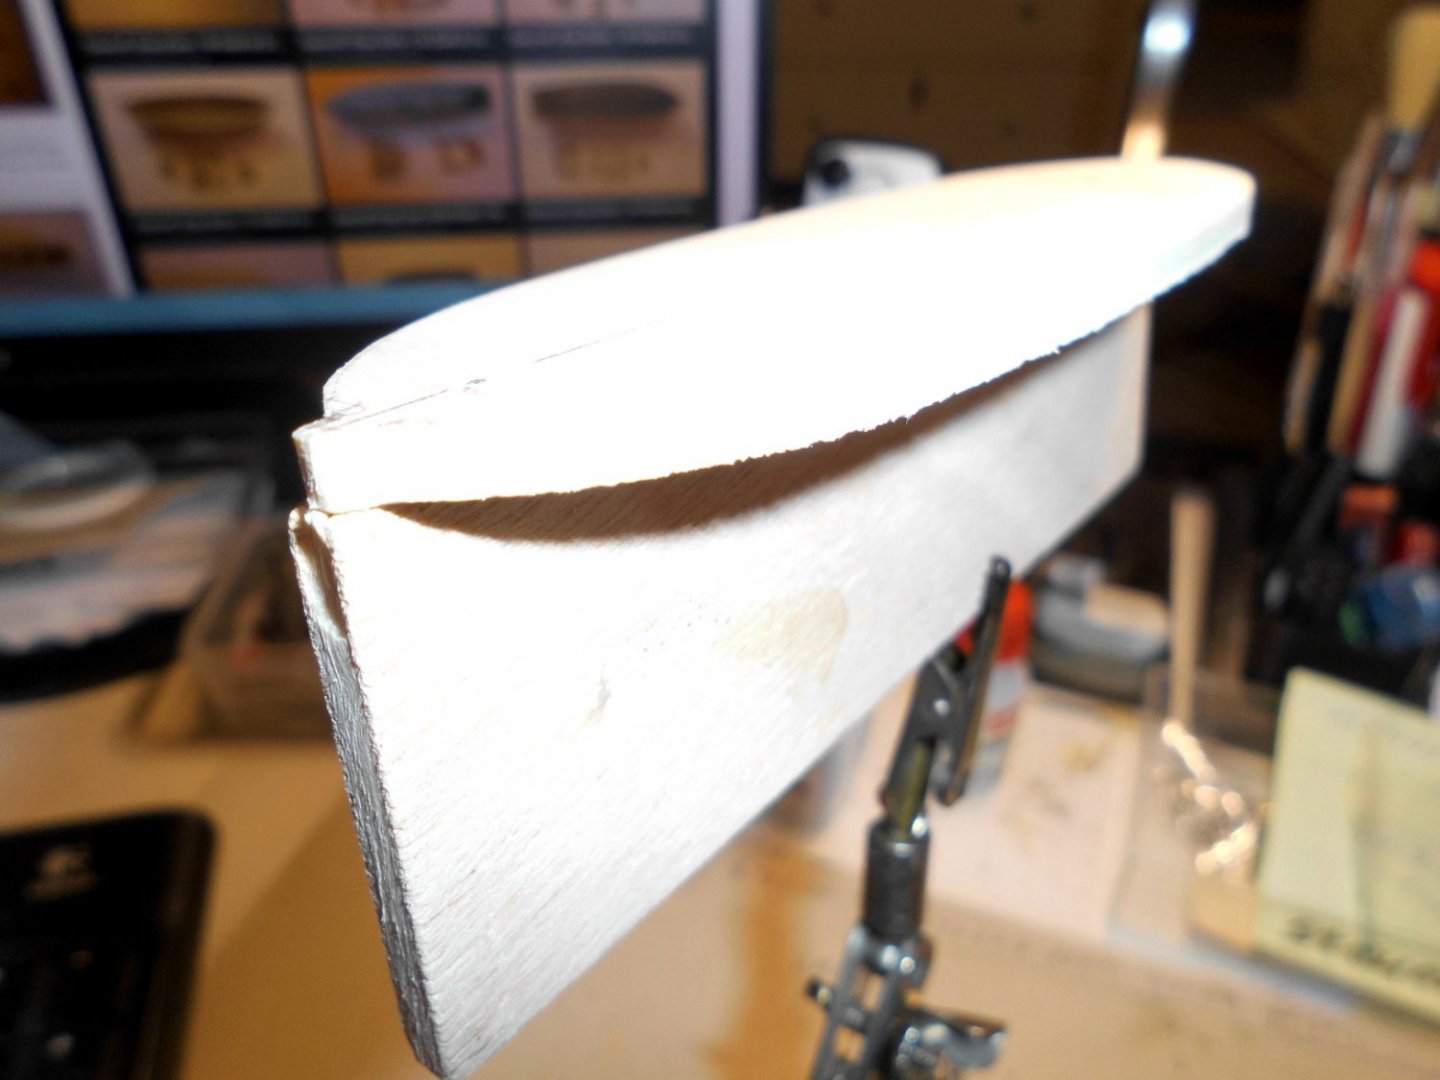
Update making the boats..... I could`nt find suitable double-ender boats in the web, so I decided to make them myself. It would be a 130 mm long double-ended and clinkered little model itself. I used ply and easy to shape Balsa wood. This will be the model for taking the silicone form from in which I intend to raisen-cast two symetrical halves and glue these together afterwards. The clinker is simulated with double laying strips of self adhesive aluminium tape Nils rough shaping the boats hull half after final shaping and sanding over fitting the rail ( from brass profile) clinkering Thats the look... the boats will turn out 130 mm long in scale 1:50


- 180 replies
-
- 6
-
-
- pilot boat
- Elbe 5
- (and 3 more)
-
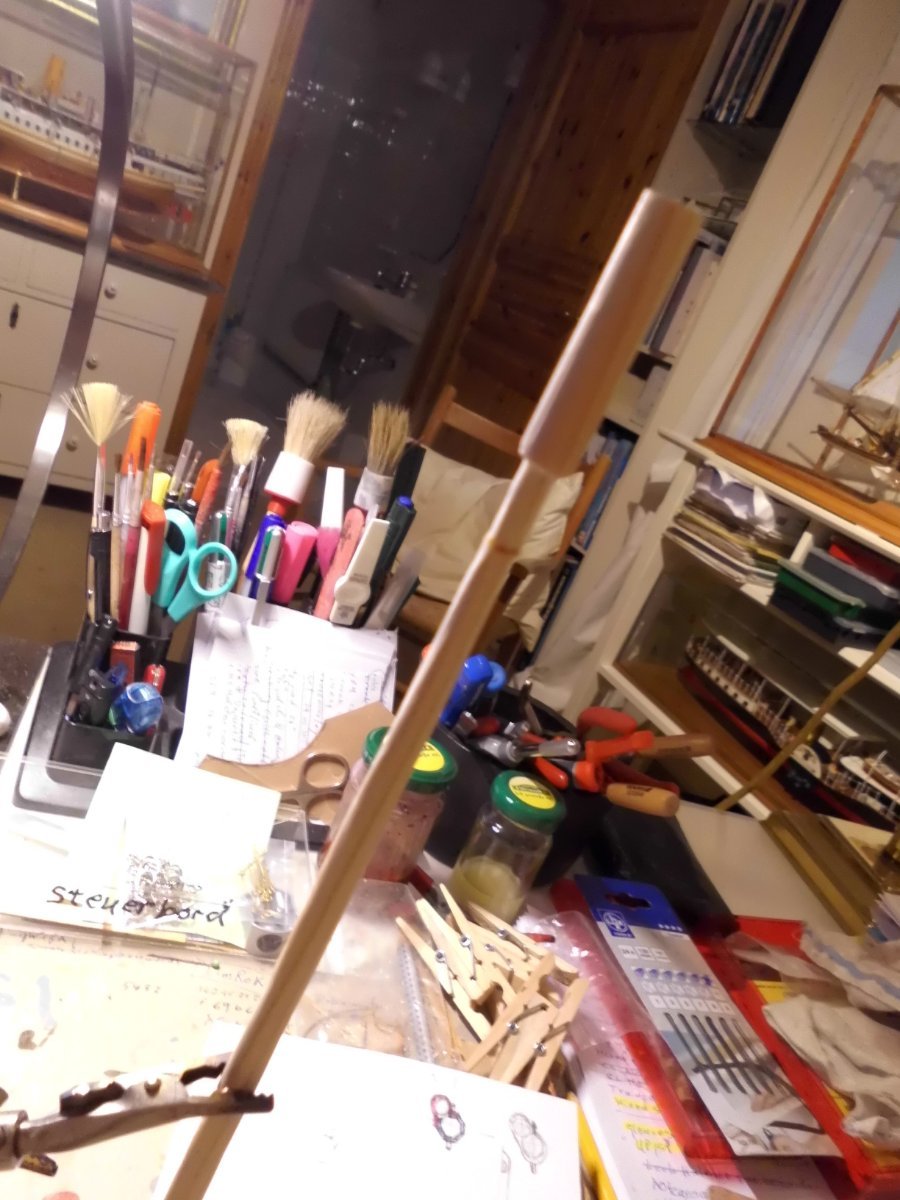
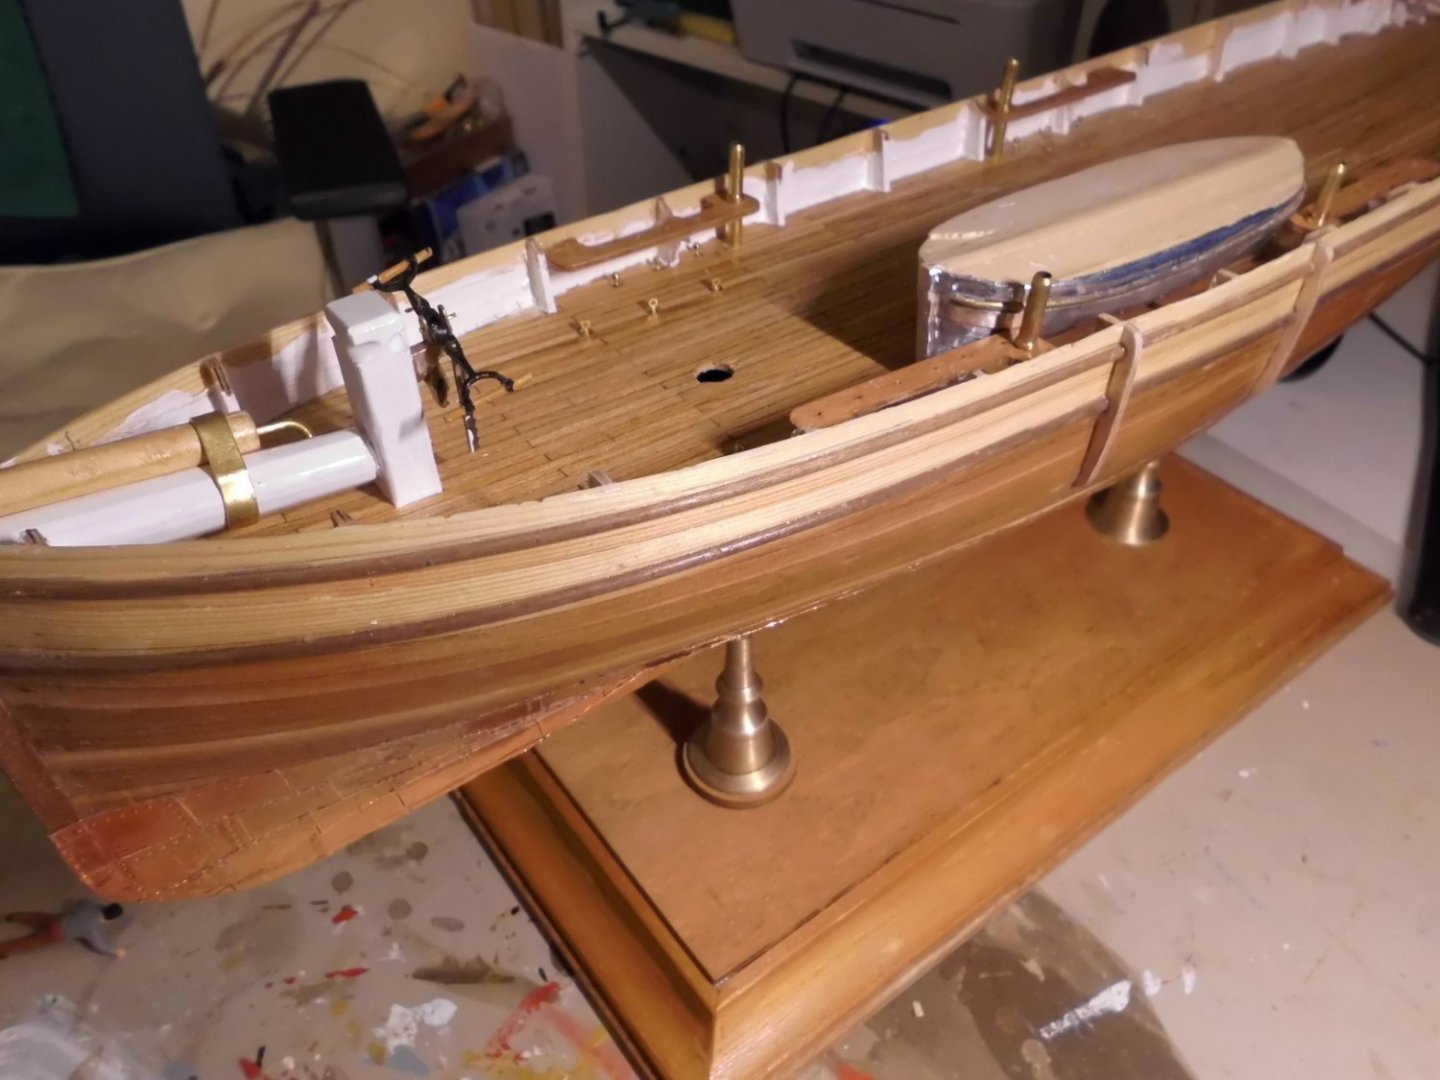
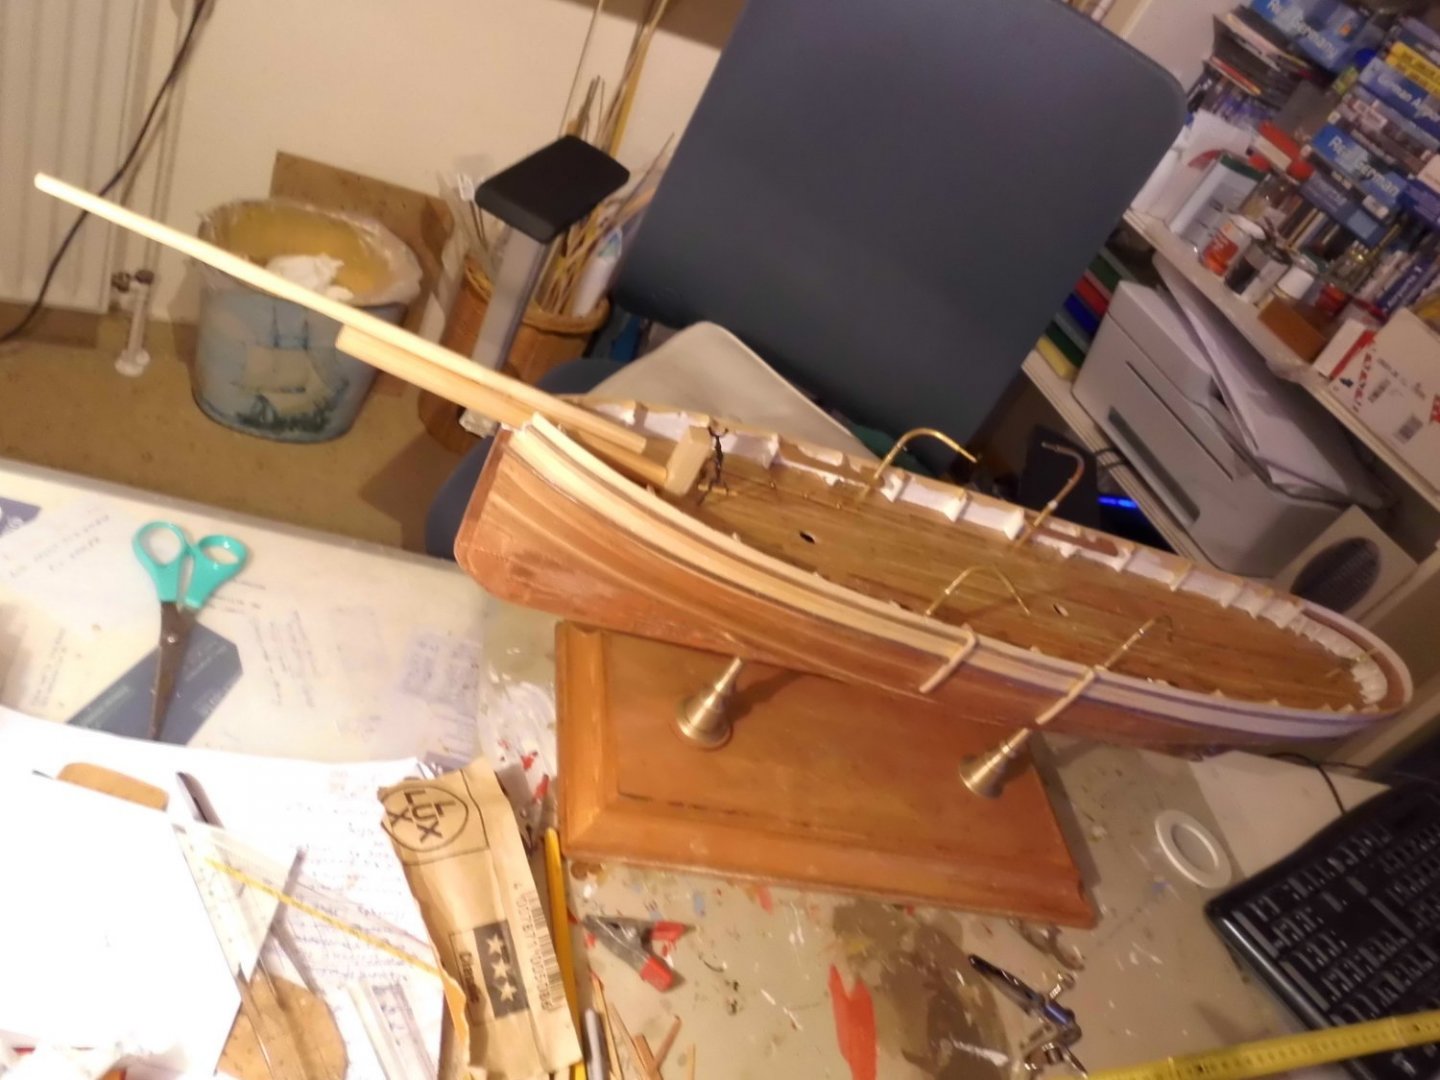
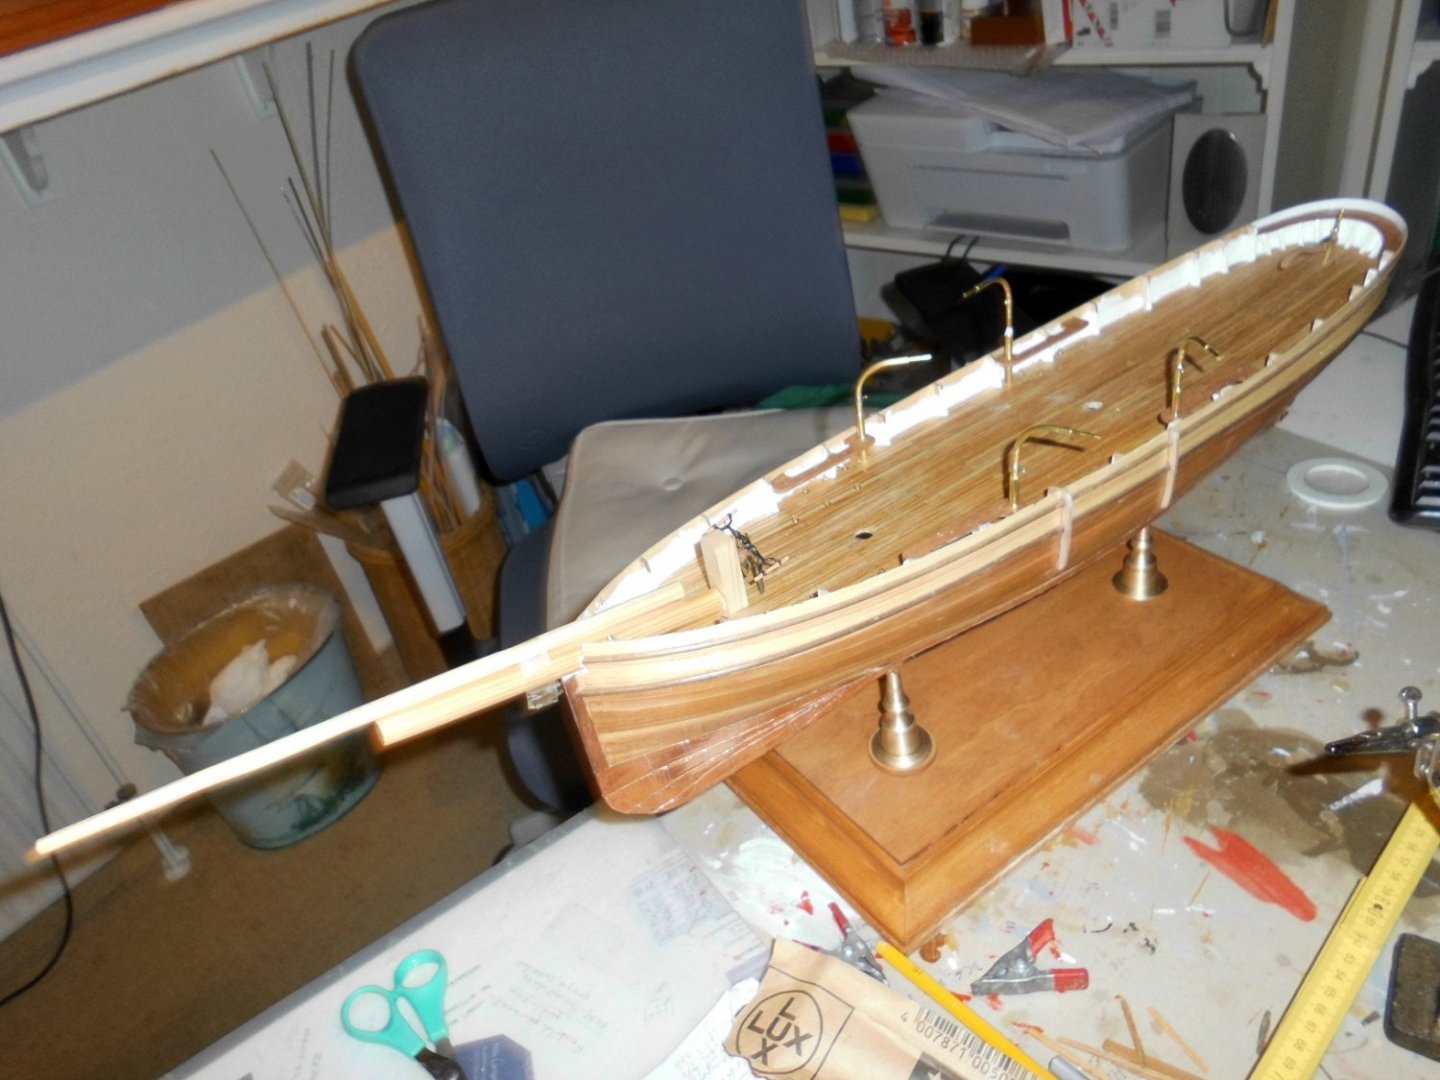
Update Mounting the pinrails that also take up the sleeves for the davits. Mounting the side vertical bumper-ails for raising / lowering the boats Mouting a short bumpkin through the upper bowpost at the bulwarks and making the bow sprit that will be fixed a bit offset to the bumpkin. Trying out if I can possibly make the two boats. The boats are symetric front and aft, so I would only need to make one halfmodel to take a silicone matrix from that. If it works out I can cast the raisin halves to make two boats from Making a gig to taper the bow sprit as well as the top spars later on. The total model length ( bow sprit to aft end of mainsail beam) will be 750 mm Nils tapering tapering simultaniously requires two machines in operatio tapered bow sprit preparing for making the (only 1 half) for the boats


- 180 replies
-
- 7
-
-
- pilot boat
- Elbe 5
- (and 3 more)
-
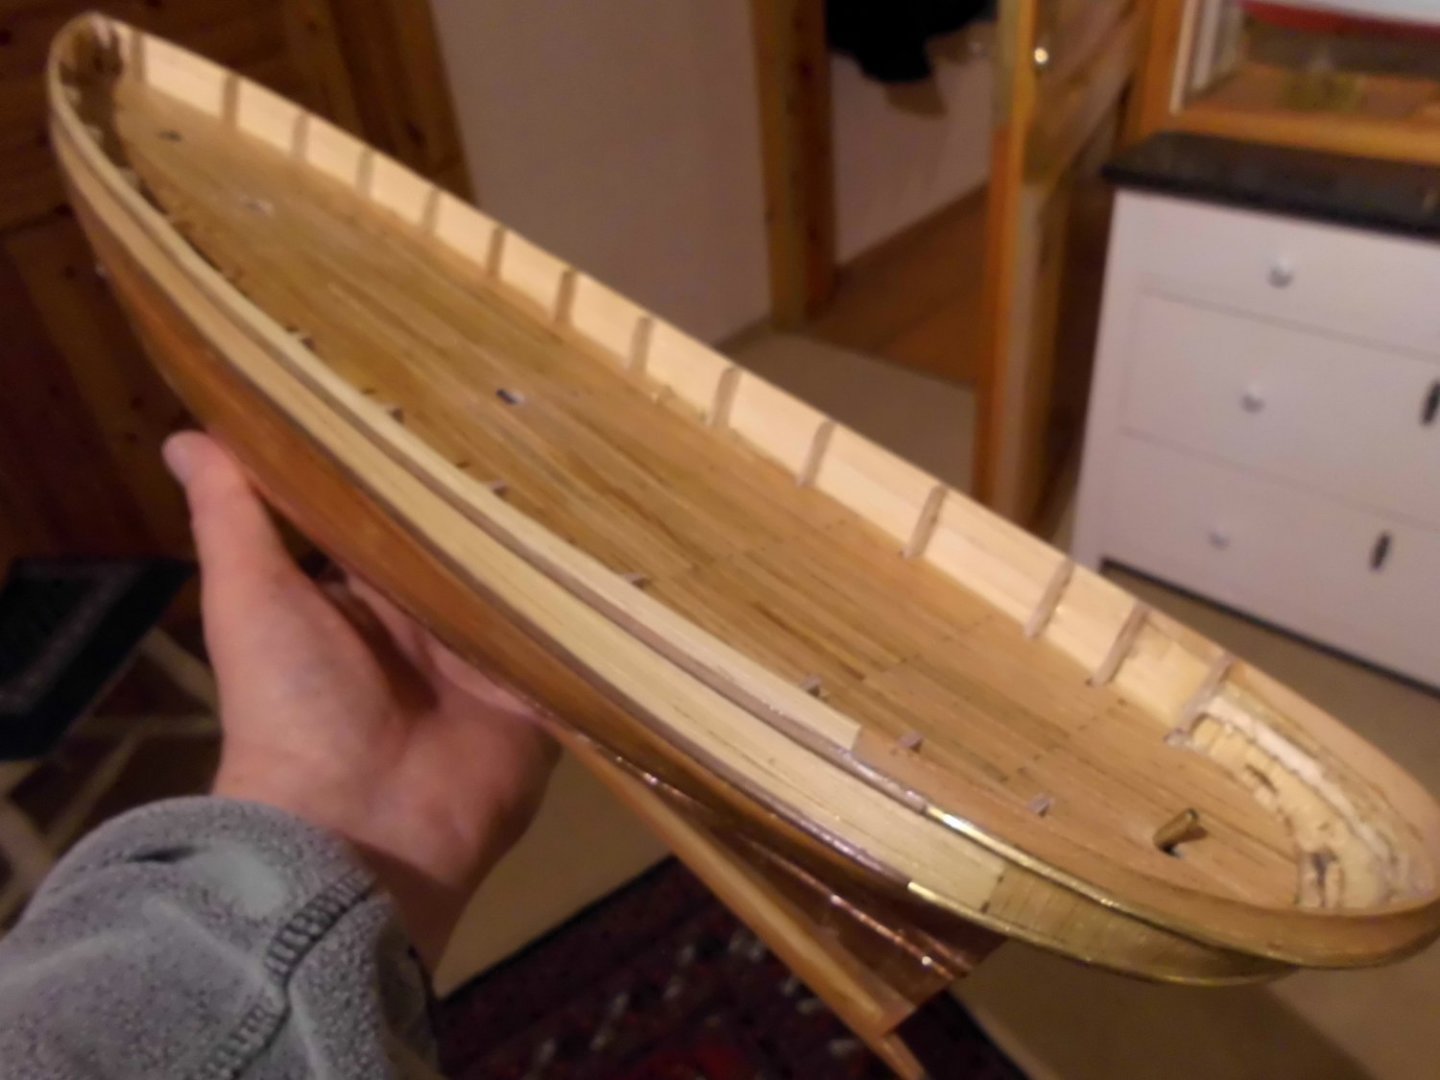
Eberhard, right I would have preferred M4 in the beginning, but the keel was so narrow, so it would have turned out too thick, also considering both sides planking and sheathing Now I have appr. 5,6 mm thickness at the keel, in scale that would be 286 mm on actual vessel keel, which looks quite realistic to me as there is no center-board to be integrated Nils
- 180 replies
-
- 3
-
-
- pilot boat
- Elbe 5
- (and 3 more)
-
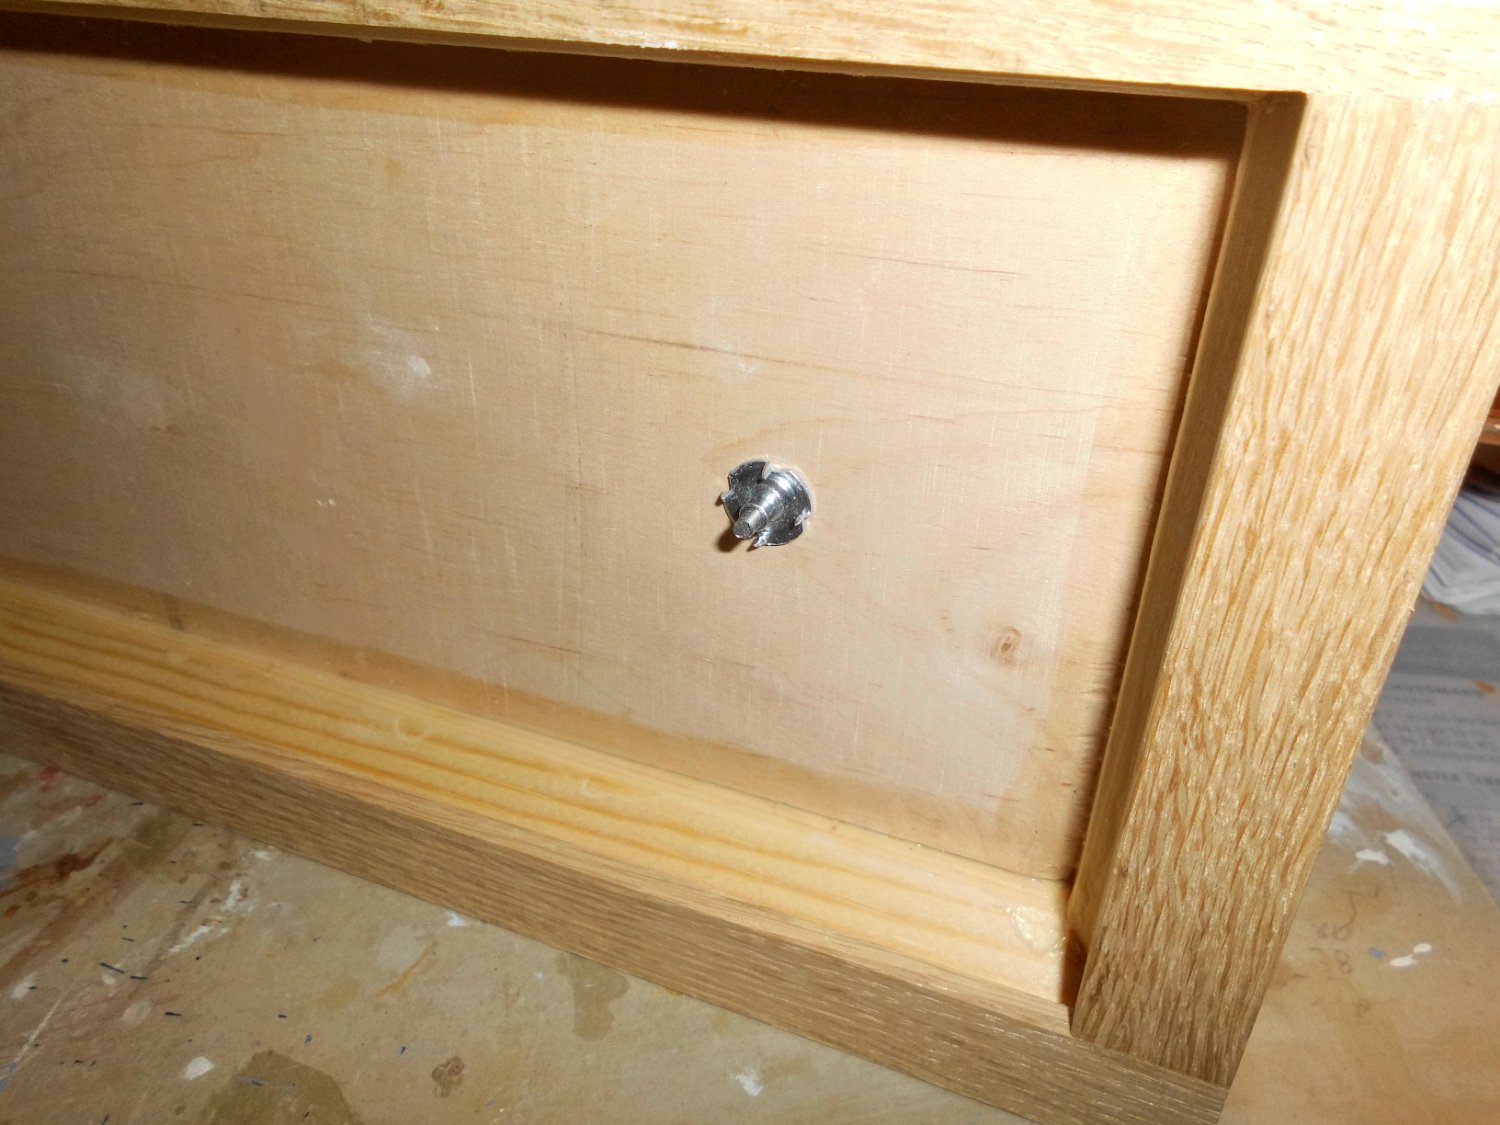
Eberhard, thanks for your words the reason for using the press-in nuts here is merely for the long thread section, whereby the regular M3 nut only has two or three windings in interlock with the spindle. I experienced it once that on the spindle the interlock area was damaged because the force was only unsufficiantly only on two or three windings and they gave way.... Nils
- 180 replies
-
- 1
-
-
- pilot boat
- Elbe 5
- (and 3 more)
-
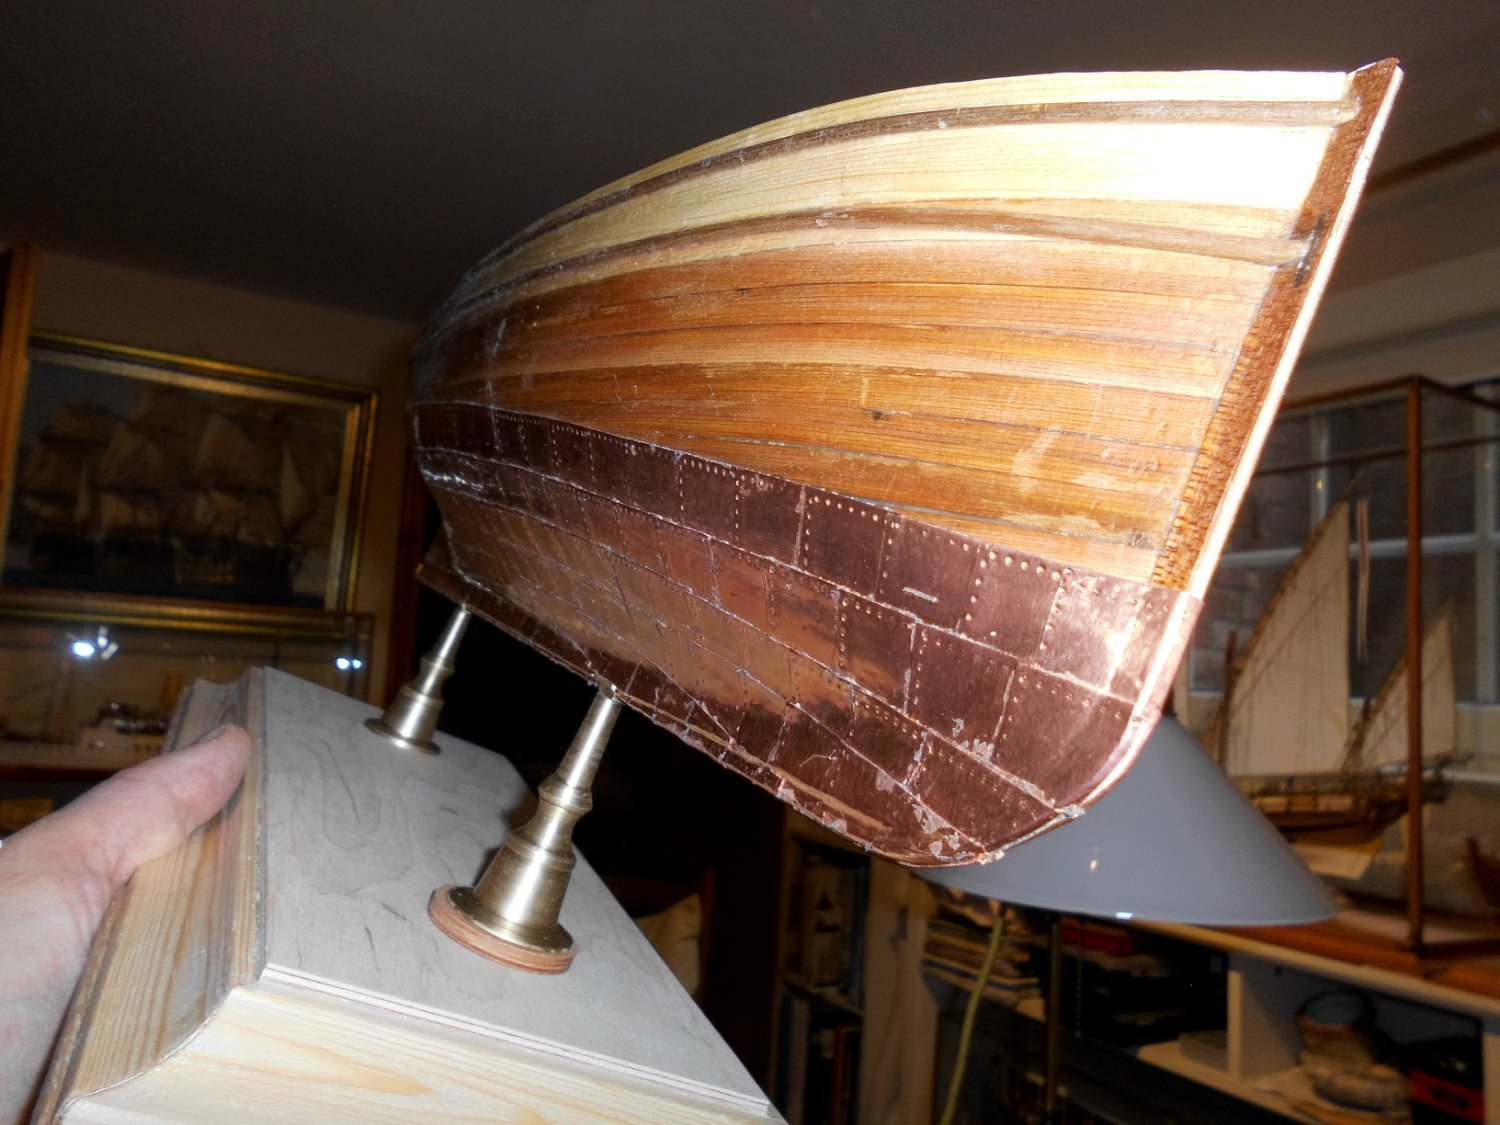
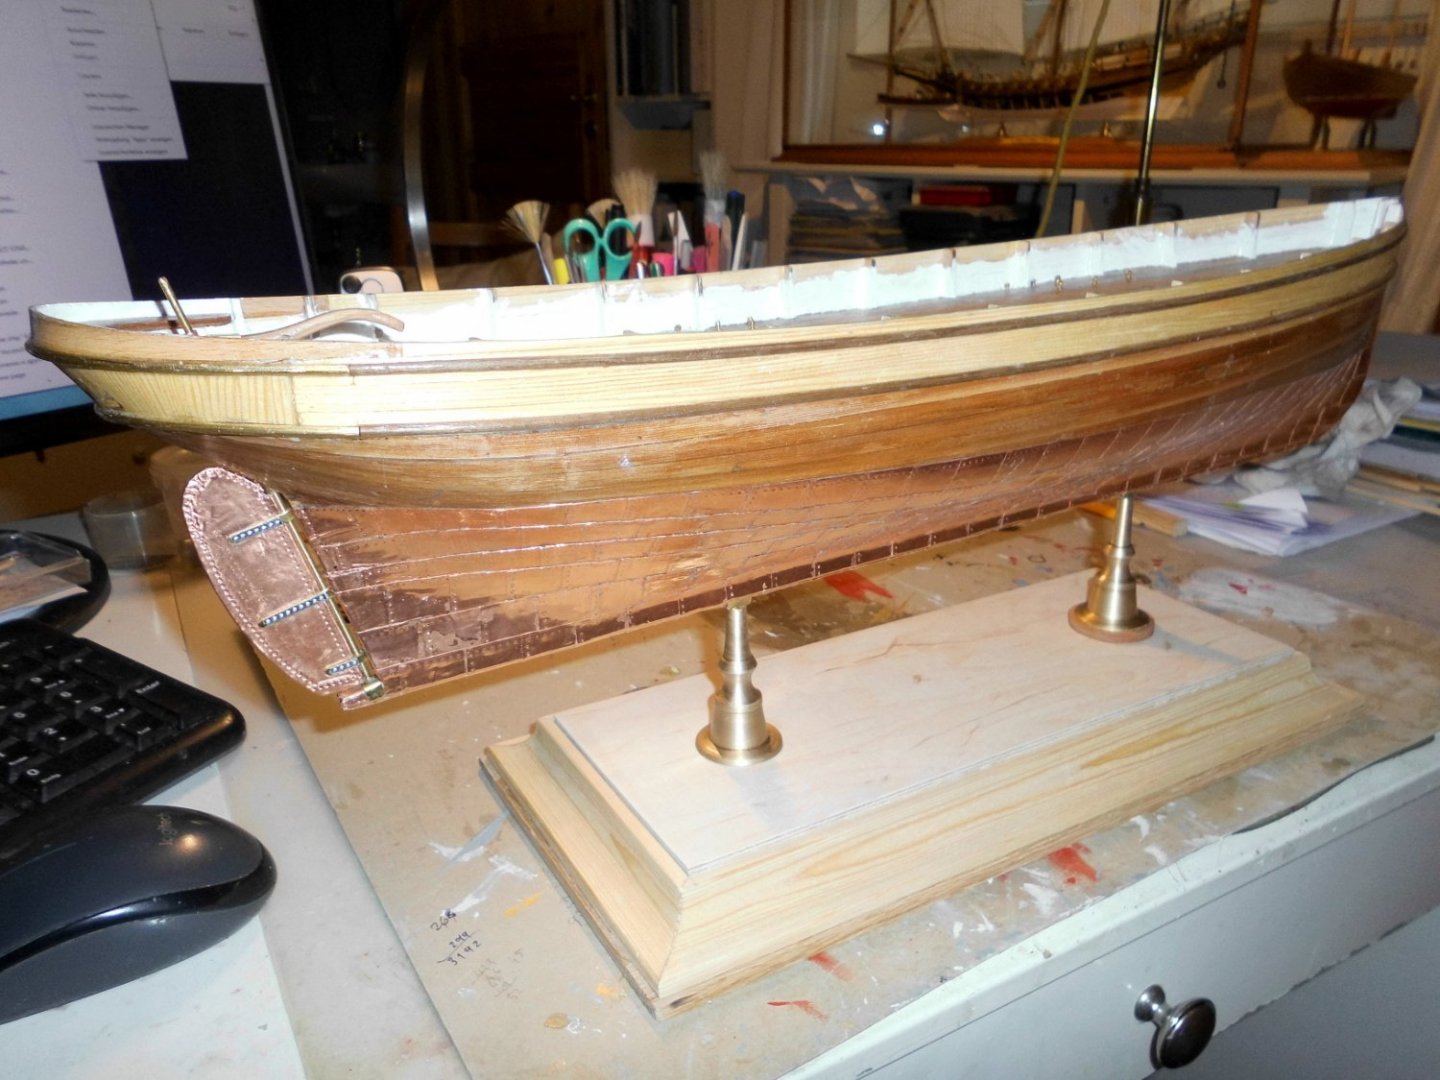
Update today the standplate (not stained yet) and the two pedestals are made. the front pedestal gets a narrow spacer underneath in oder to set the hull waterline horizontal Nils the baseplate is made just like all my stands to date the upper sheathing waterline is set up absolutely horizontal the counter of the spindles is done with a upside down press in nut (longer threaded sleeve and a larger contact diameter compared with a regular M3 nut


- 180 replies
-
- 6
-
-
- pilot boat
- Elbe 5
- (and 3 more)
-
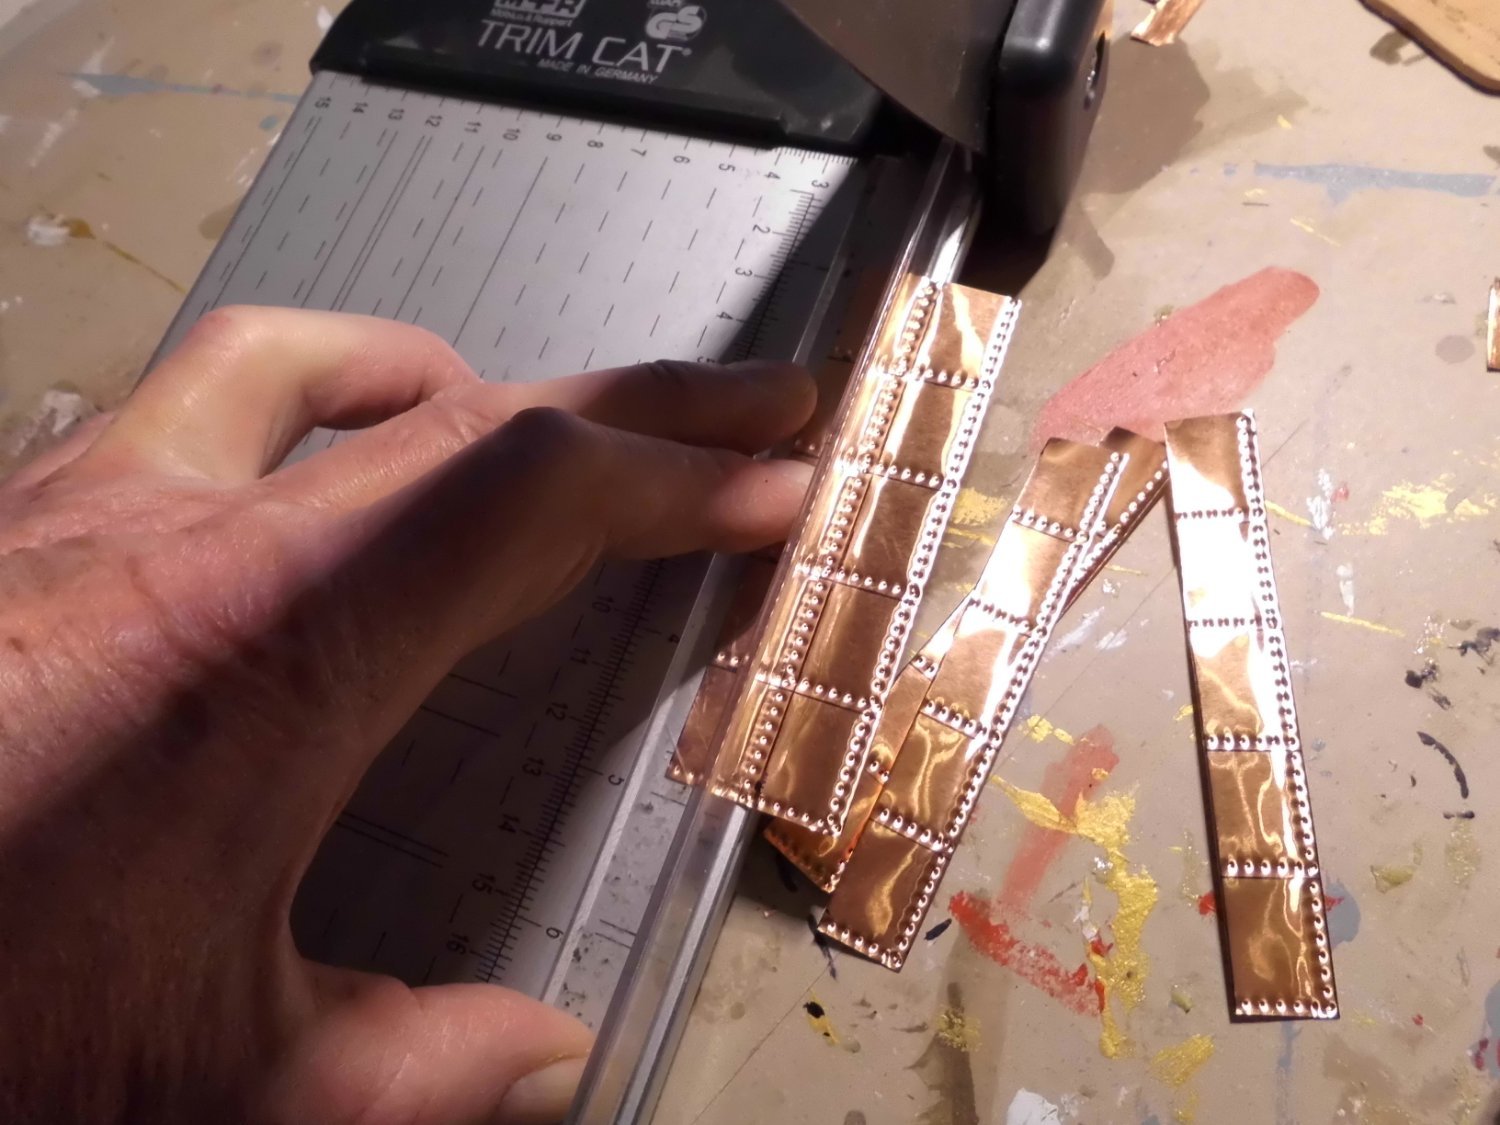
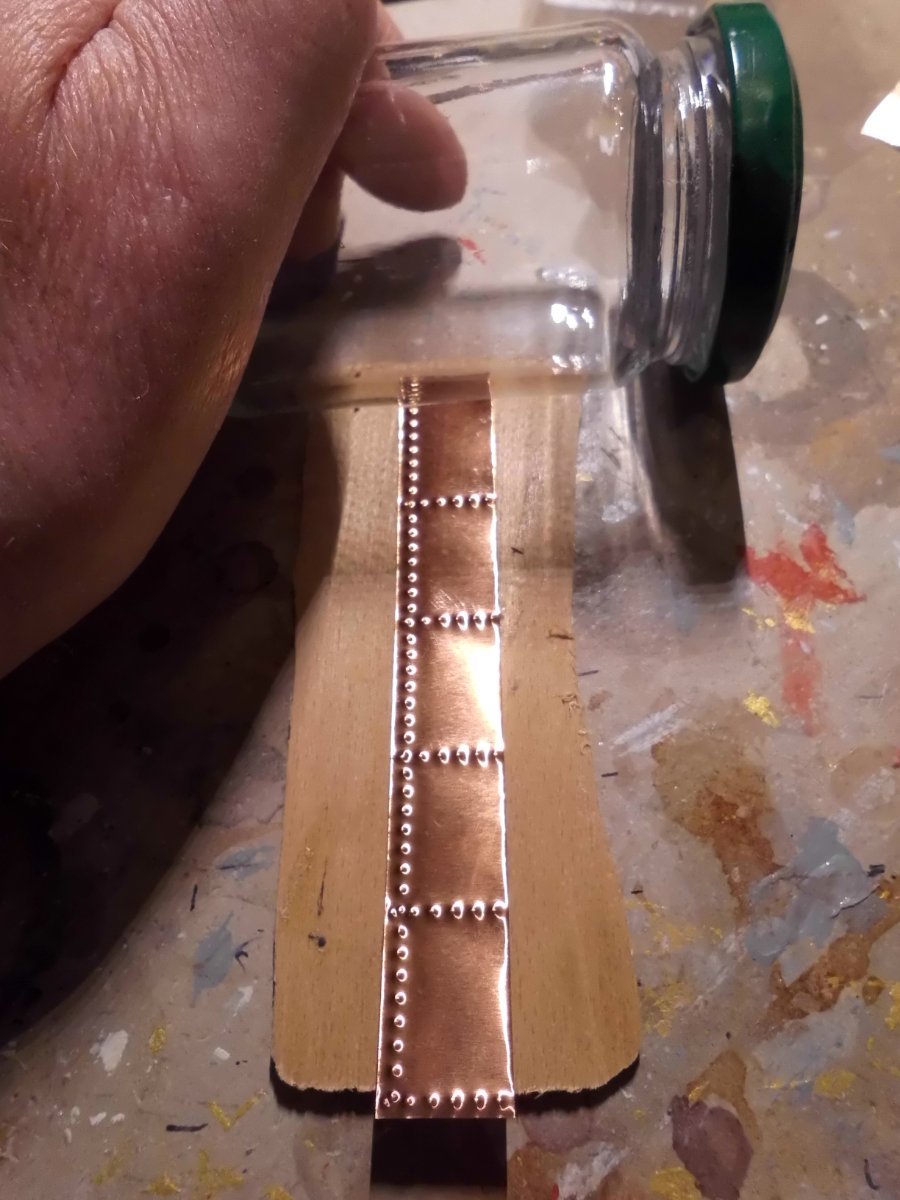
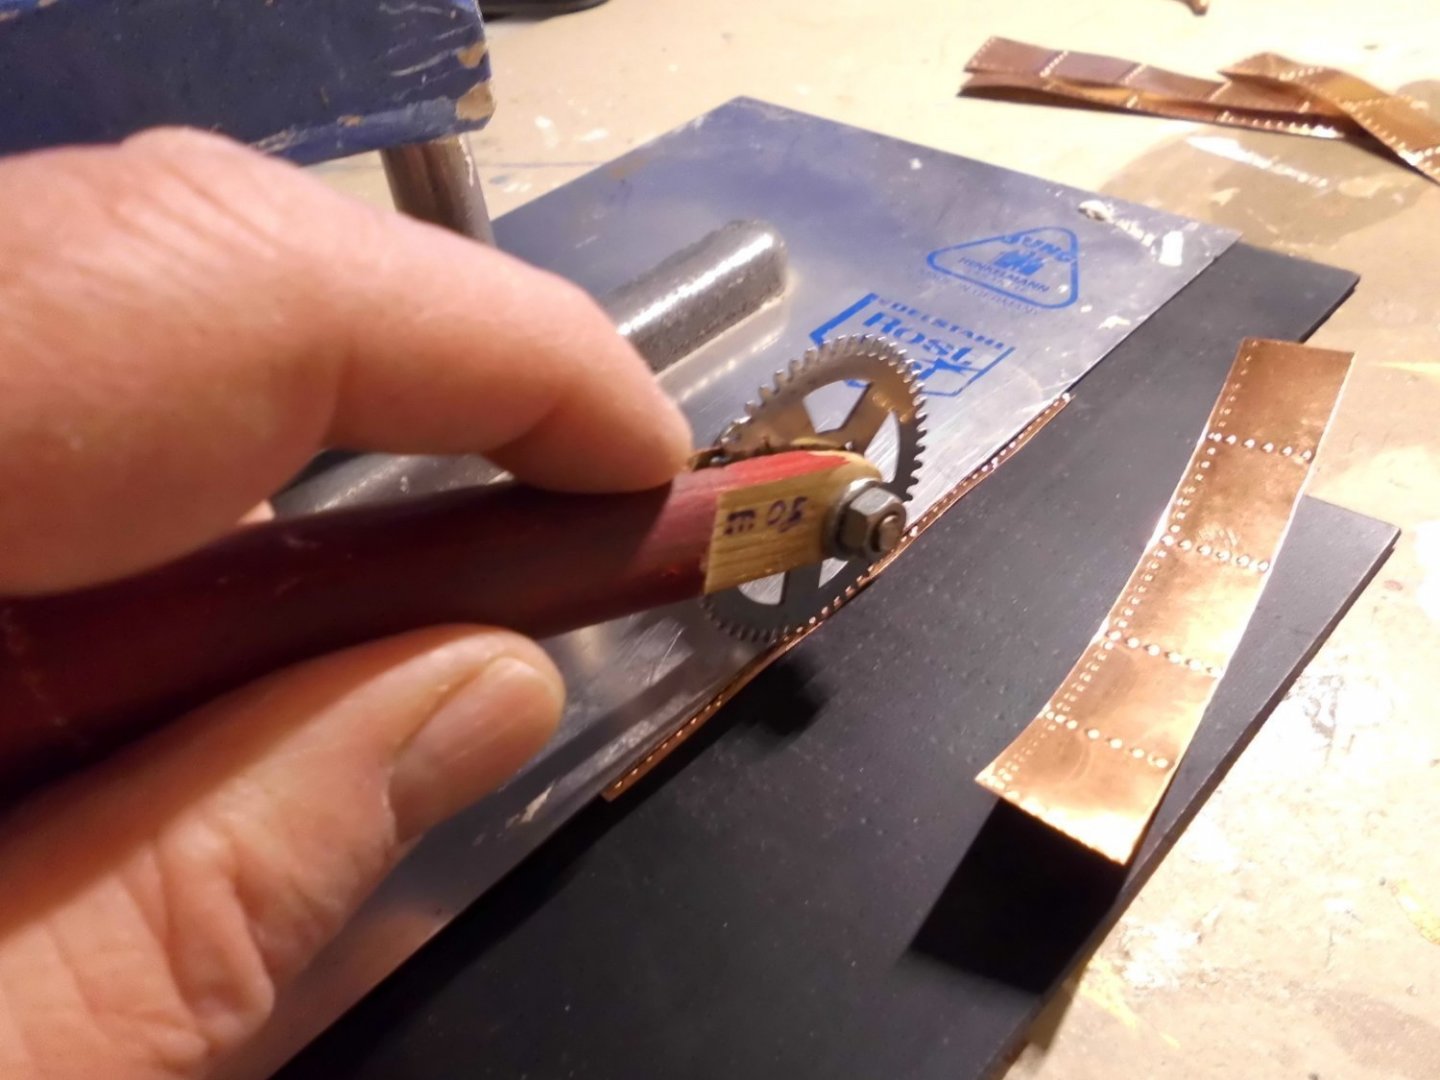
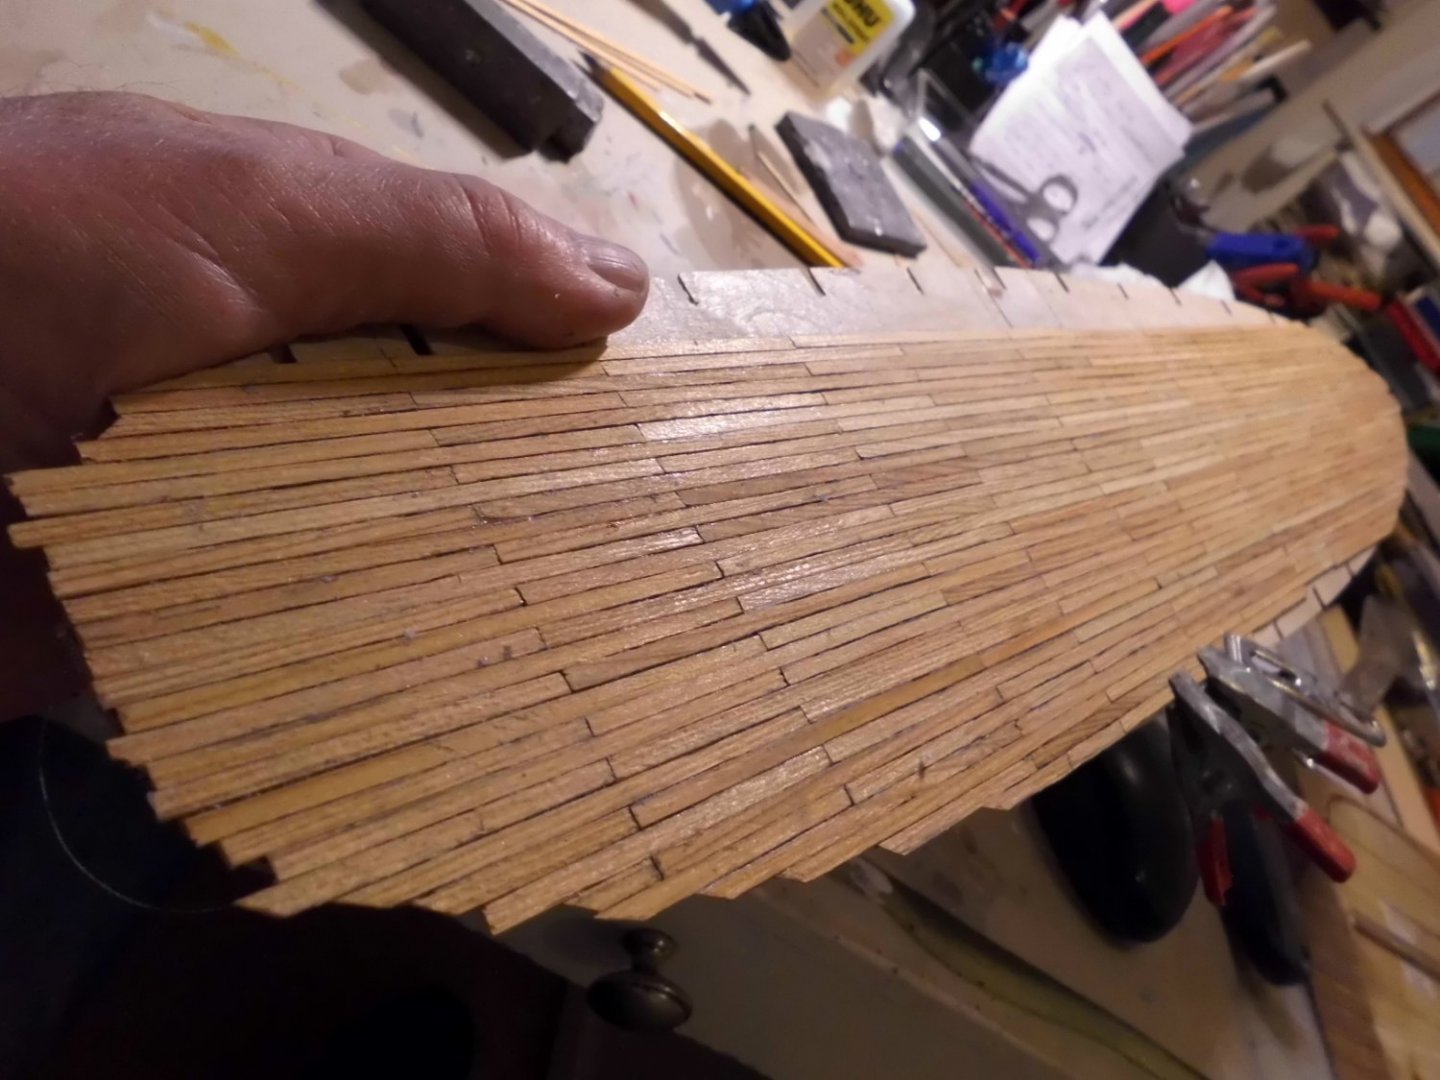
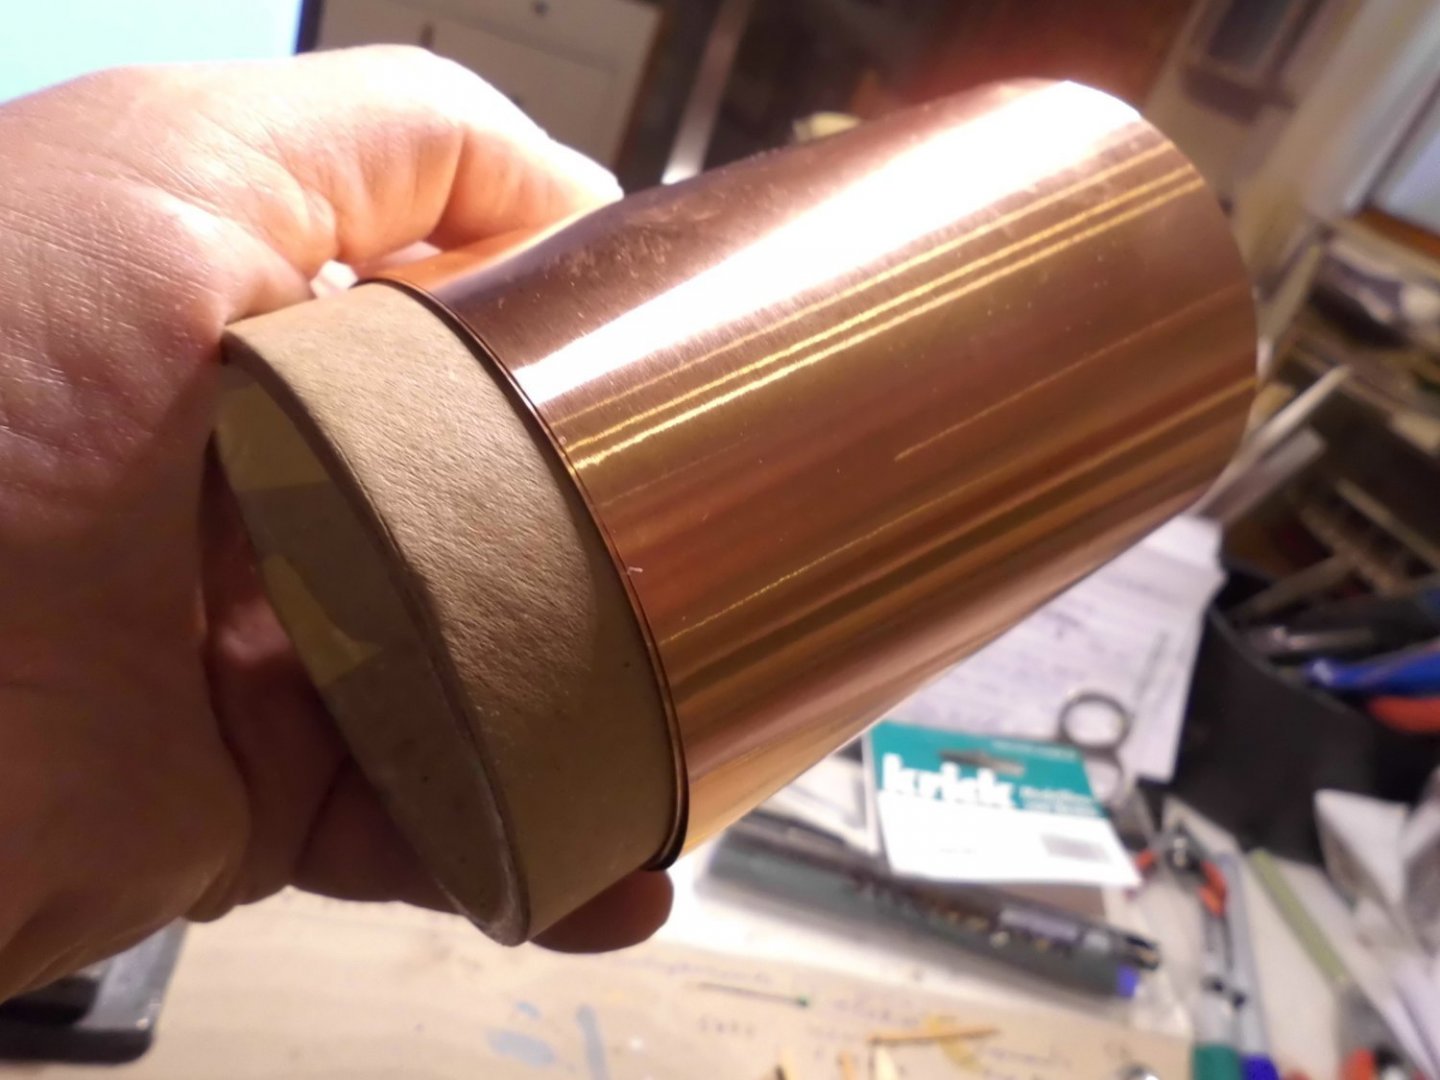
Update making the sheathing plates fom 0,1 mm thick copper foil ..... The stb. and port ones require a mirrored poncing. It takes about 25- 30 single plates per sheathing-row on the hull Nils poncing the foil stripes with a self made poncewheel cutting the stripes off a multi panel pattern. I make about 25 -35 plates from 7 stripes at a time flattening the stripes from the rear side by rolling over with a glas jar ( is simple and works well ) stripes after flattening. This will provide complete identical sheating plates 15 x 20 mm afterwards, cutting at the black lines


- 180 replies
-
- 7
-
-
- pilot boat
- Elbe 5
- (and 3 more)
-
Many thanks Allan, am pleased you like the "nailed version" of the sheathing.... Nils
- 180 replies
-
- 1
-
-
- pilot boat
- Elbe 5
- (and 3 more)
-
Thank you Eberhard, and also for your tip to use steel-wool. Up to now the deck is only treated with Clou Schnellschleifgrundierung... Nils
- 180 replies
-
- 1
-
-
- pilot boat
- Elbe 5
- (and 3 more)
-
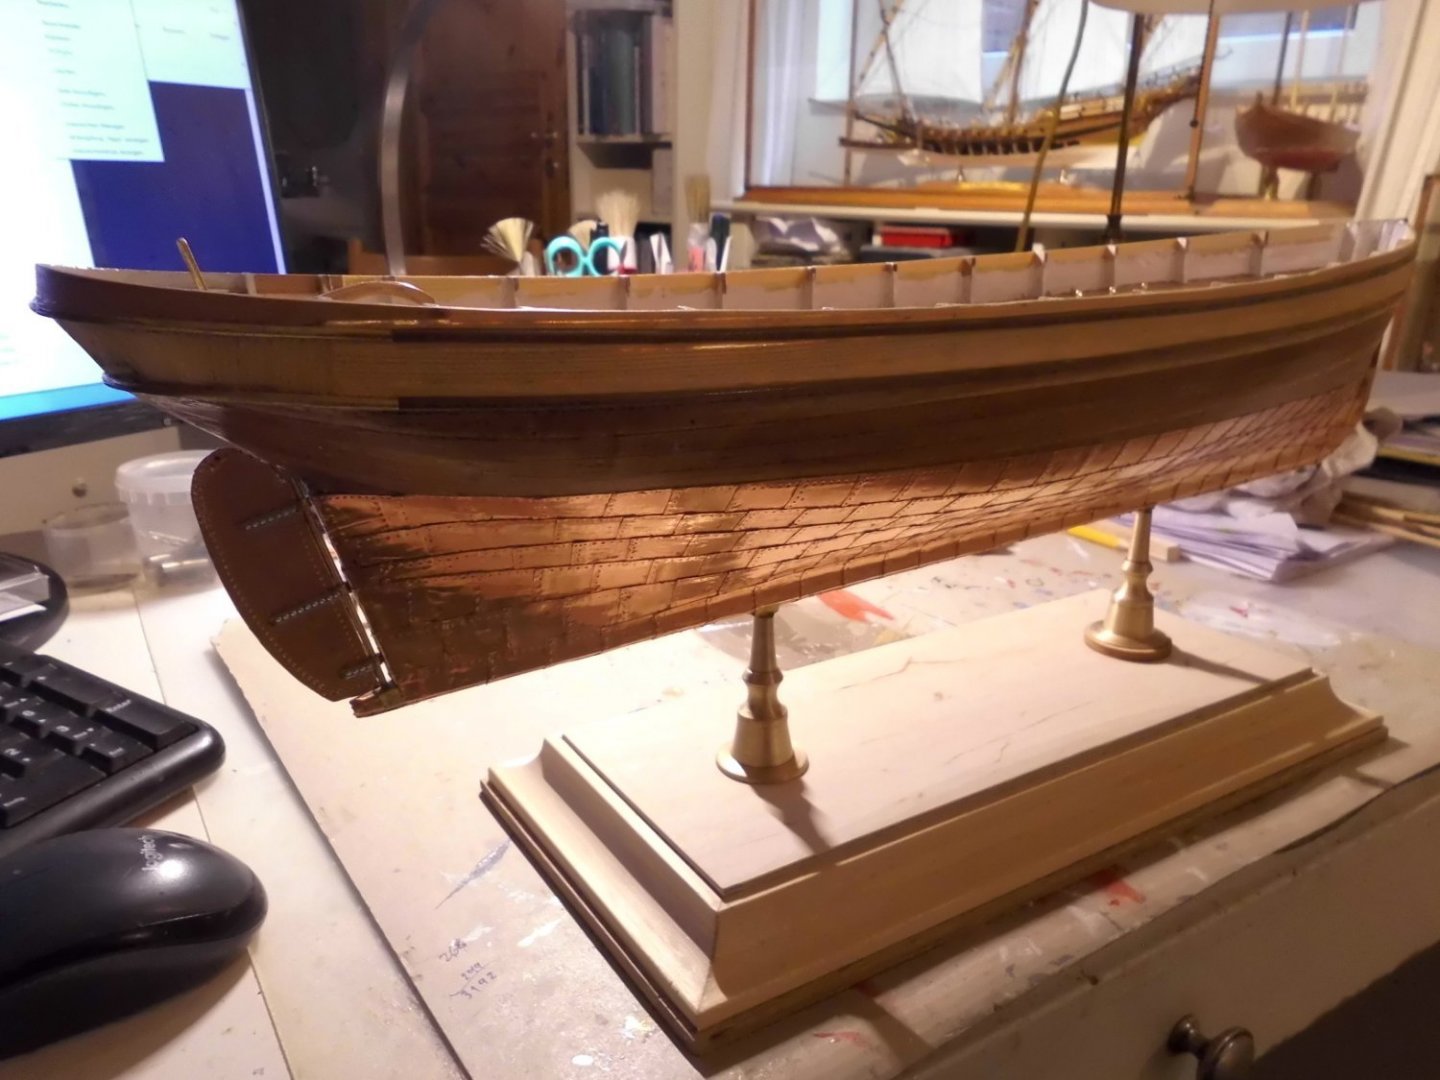
Update Stb side complete sheathed, and tiller made Nils
- 180 replies
-
- 10
-
-
- pilot boat
- Elbe 5
- (and 3 more)
-
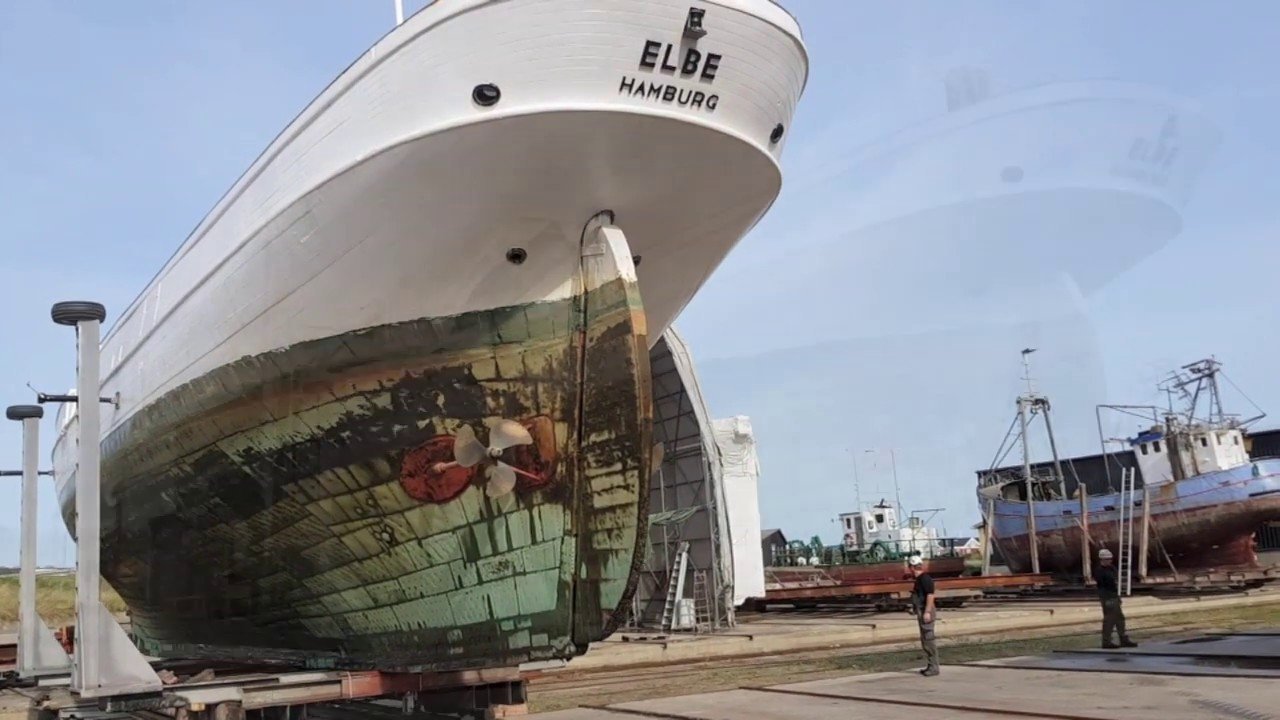
Update Rudder arrangement.... Nils the part of the rudder above the waterline will be painted white the actualship is equipped with twin props

- 180 replies
-
- 5
-
-
- pilot boat
- Elbe 5
- (and 3 more)
-
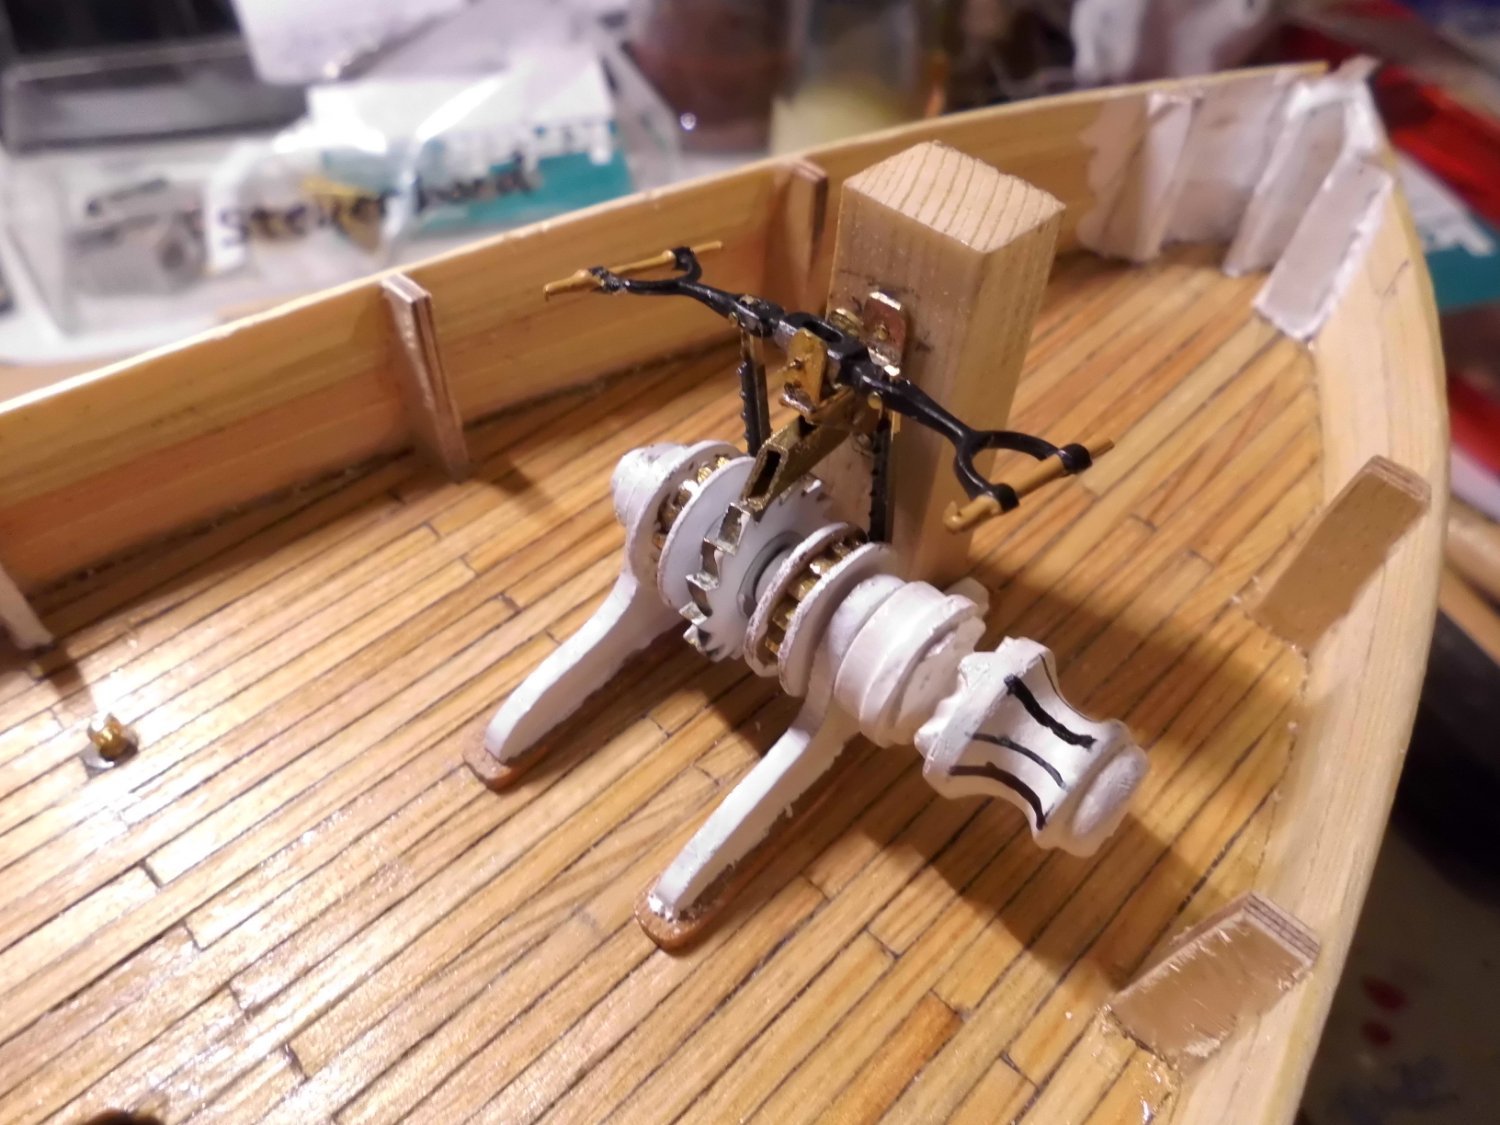
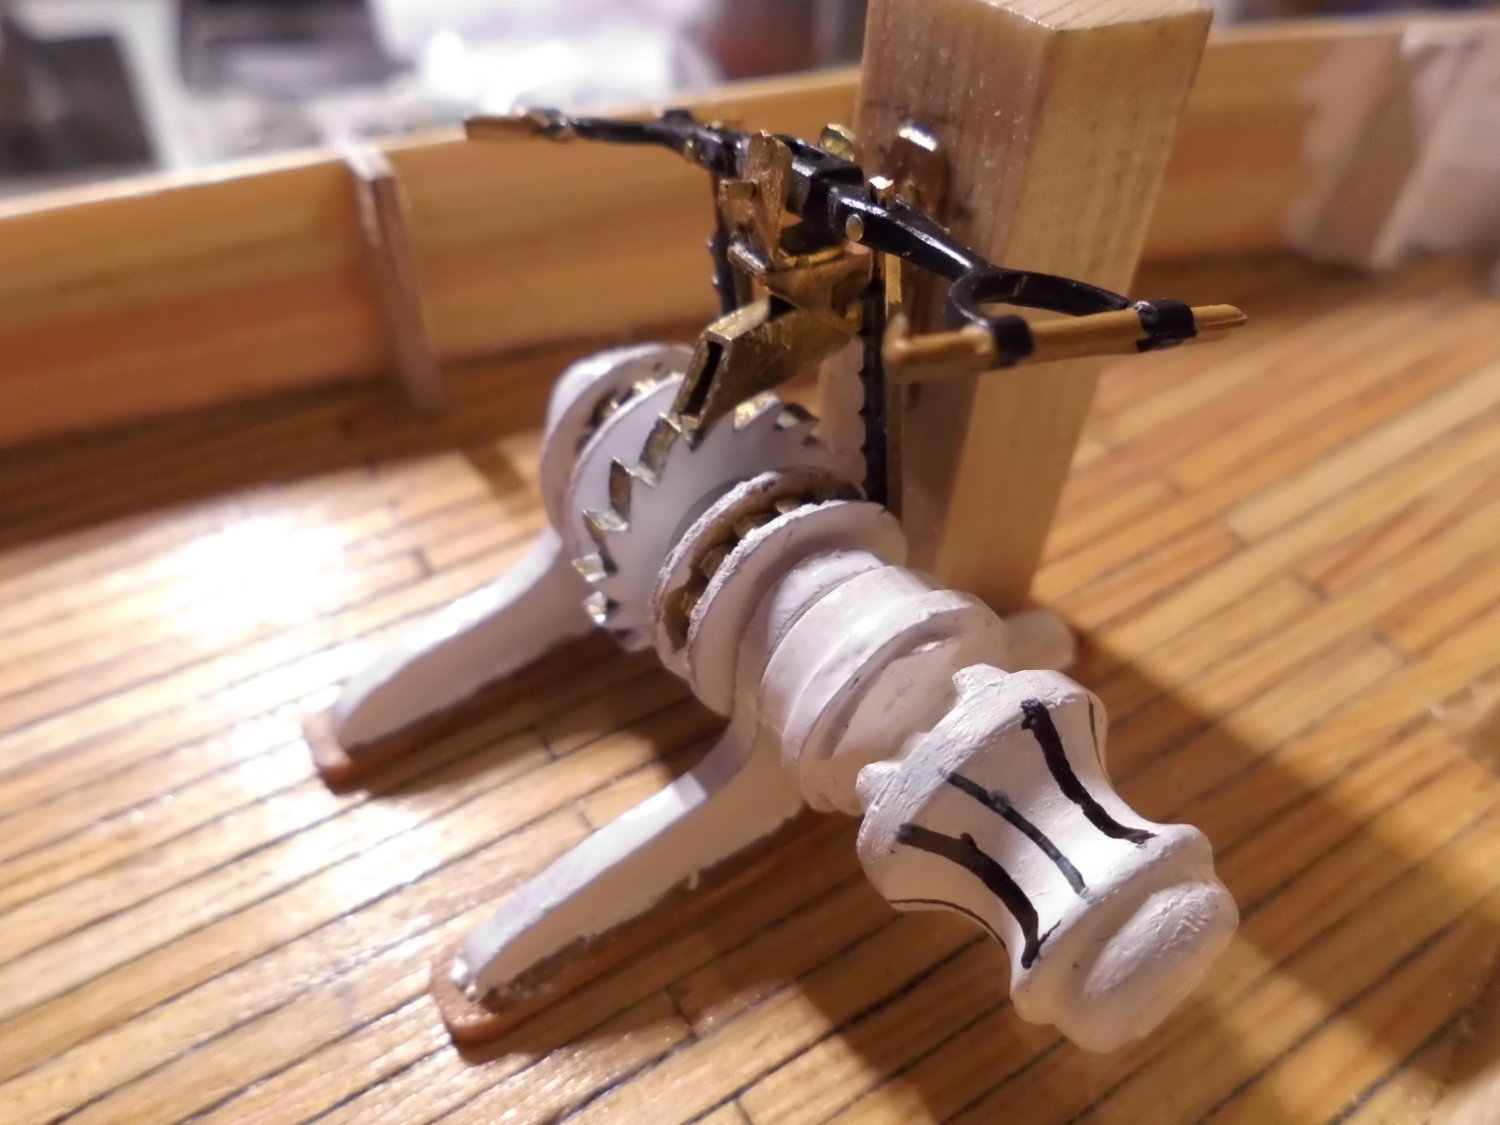
Update started with the aft section belaying bank and the pump-spill..... Nils the holes for the belaying pins will be drilled the size later on upper part of pump spill fastened to the post that also will take up the aft end of the bow sprit arrangement of the spill on deck


- 180 replies
-
- 6
-
-
- pilot boat
- Elbe 5
- (and 3 more)
-
Thank you John, were those the actual comands for launching the boat winding through the davits......? Great, you seam to have exactly experienced yourself what you are talking about Nils
-
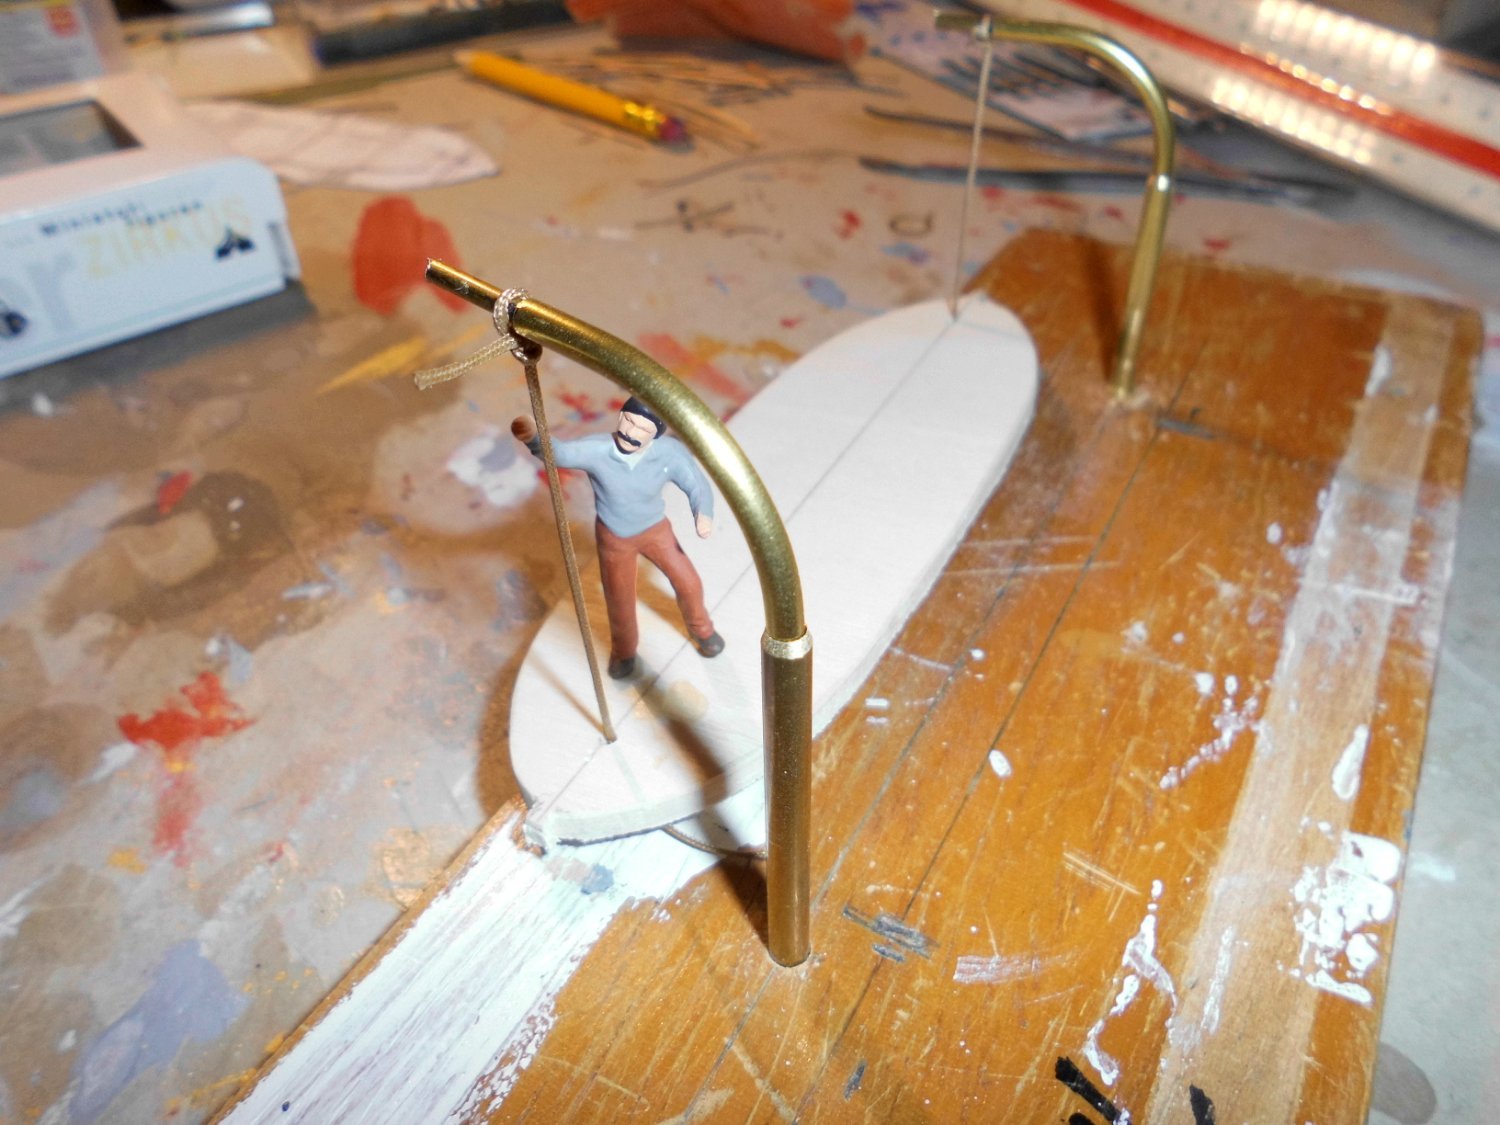
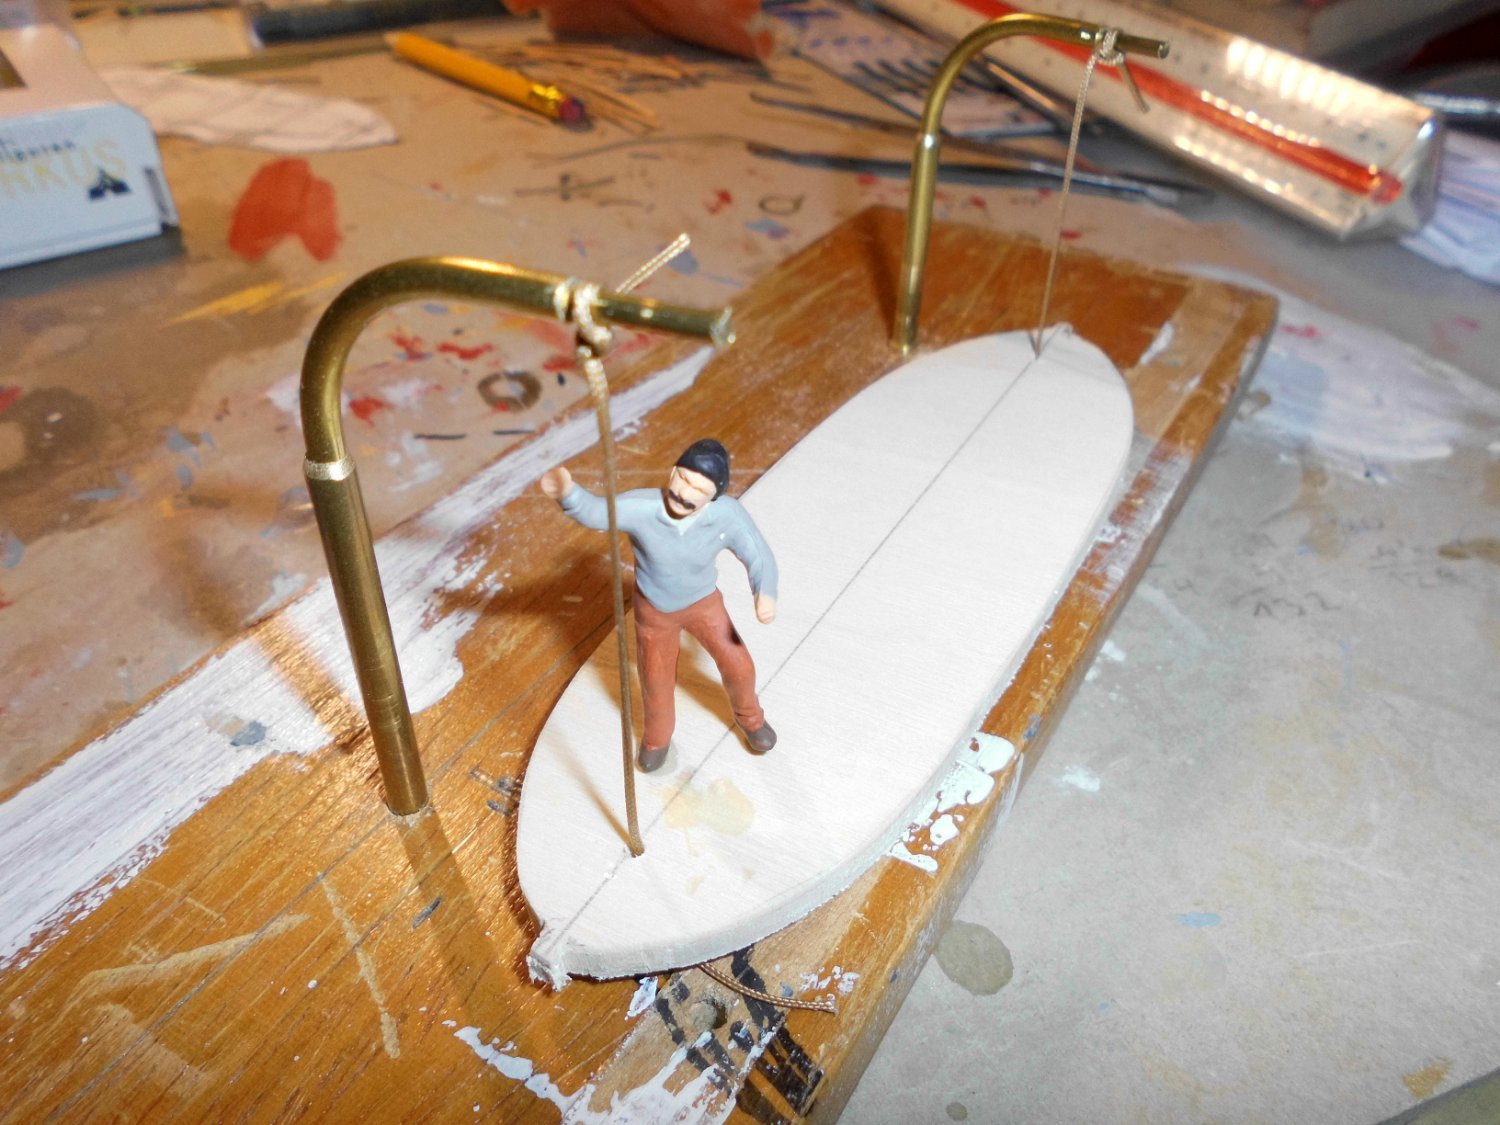
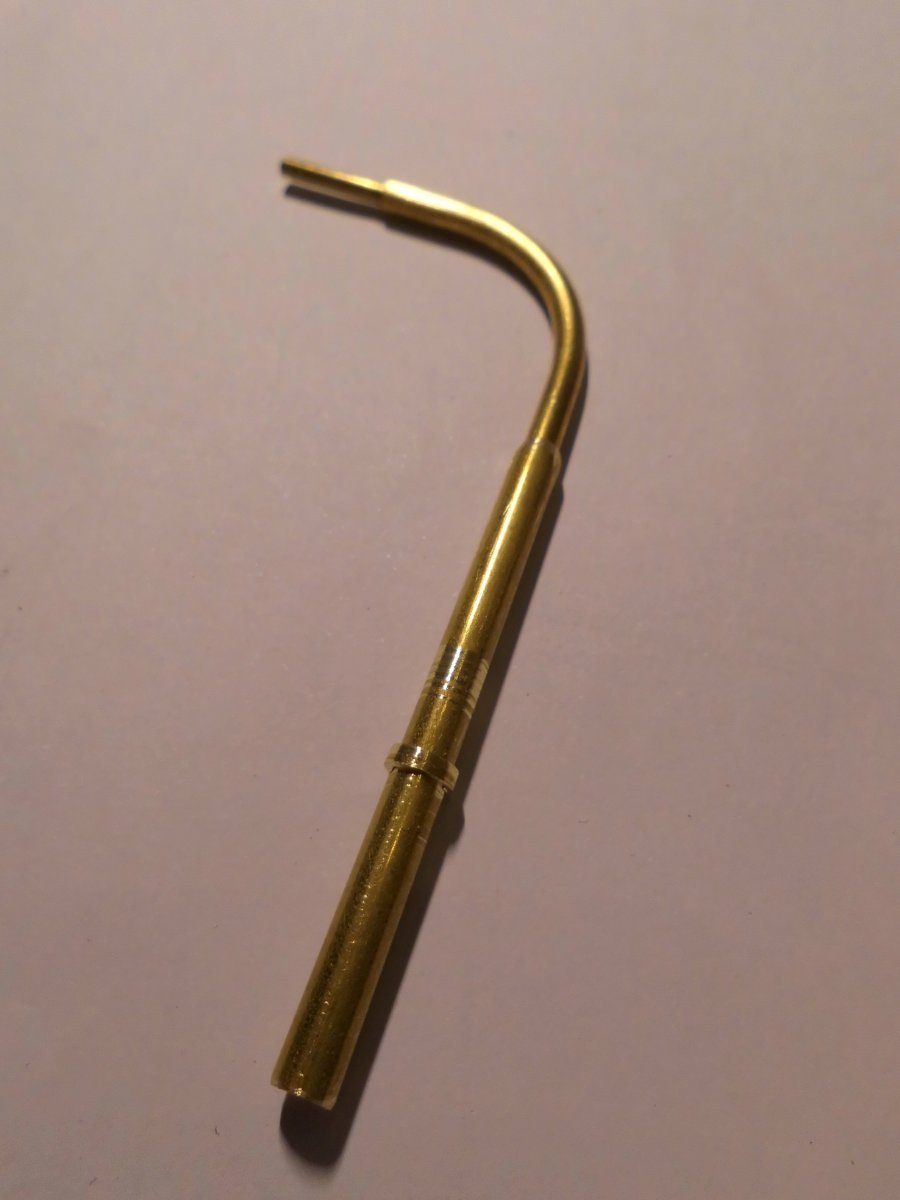
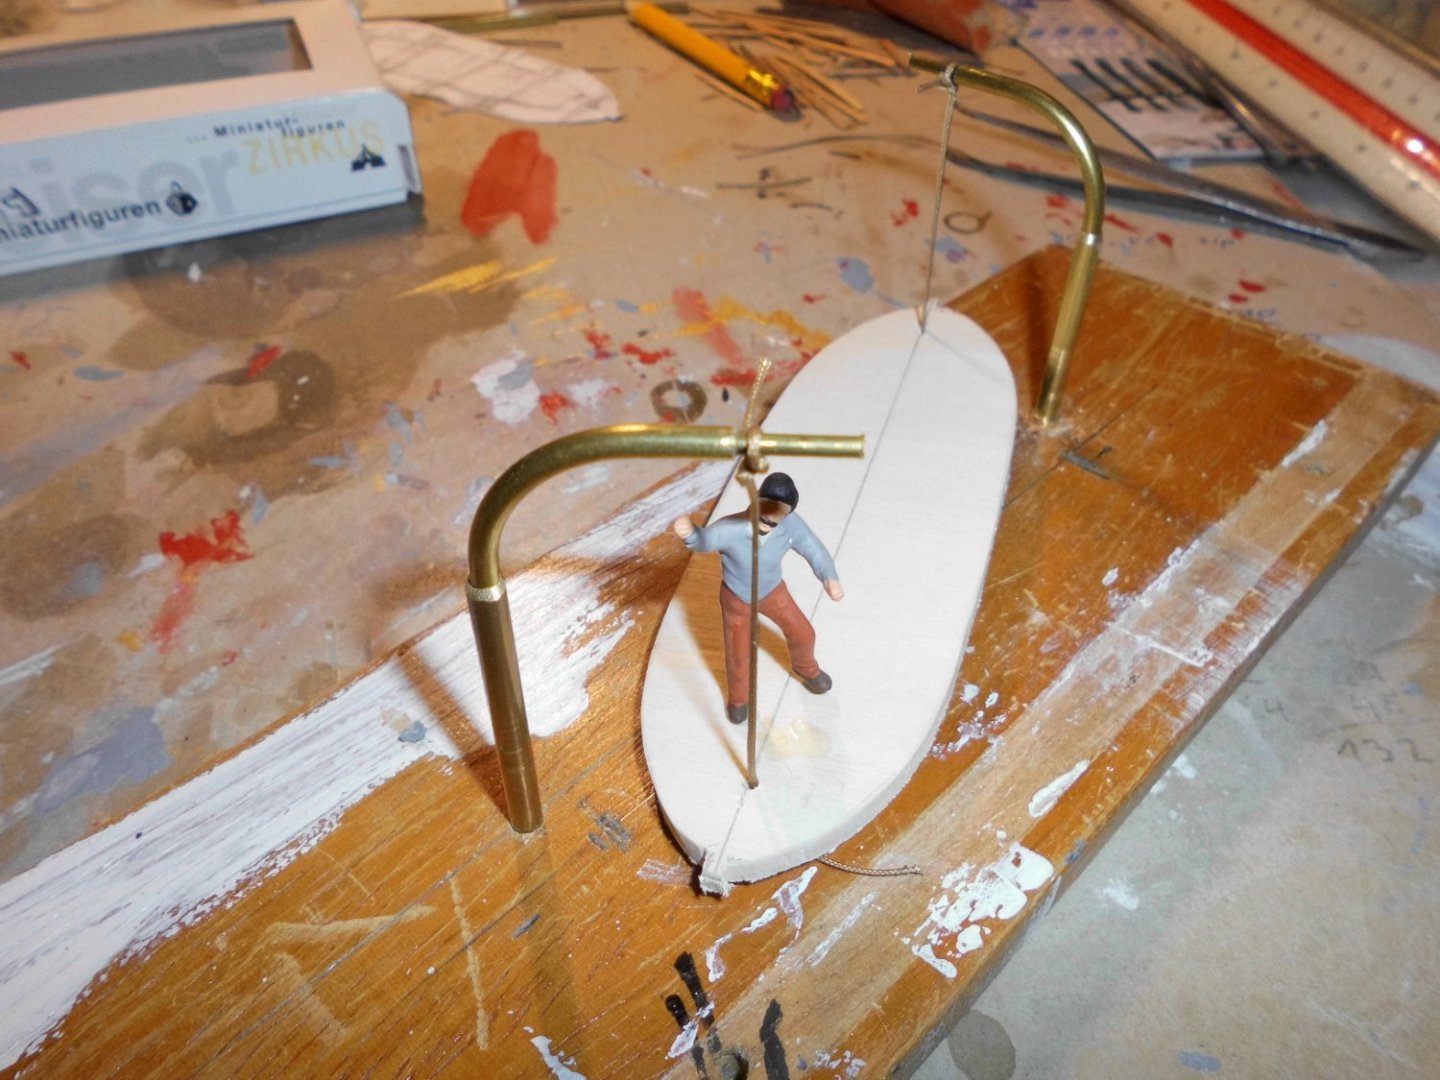
Update preparing for how the seaworthy transfer boats can be swiveled out/in with the davits Nils one of the four davits made from brass tube I made a dummy for checking the geometry how to get the boat swung out and hanging over the shooners side, ready to be lowered to the water in the swinging area the bulwarks have a limited less high section (outcut). The length of that outcut will be determined also with help of the dummy swinging operation completed, transfer boat hanging free from shooners side over the water the two boats will be placed on cradles on deck, next to the bulwarks, and between the masts Card template for rudder blade


- 180 replies
-
- 6
-
-
- pilot boat
- Elbe 5
- (and 3 more)
-
Thank you very much John, I`m pleased that you like the progress Nils
- 180 replies
-
- 1
-
-
- pilot boat
- Elbe 5
- (and 3 more)
-
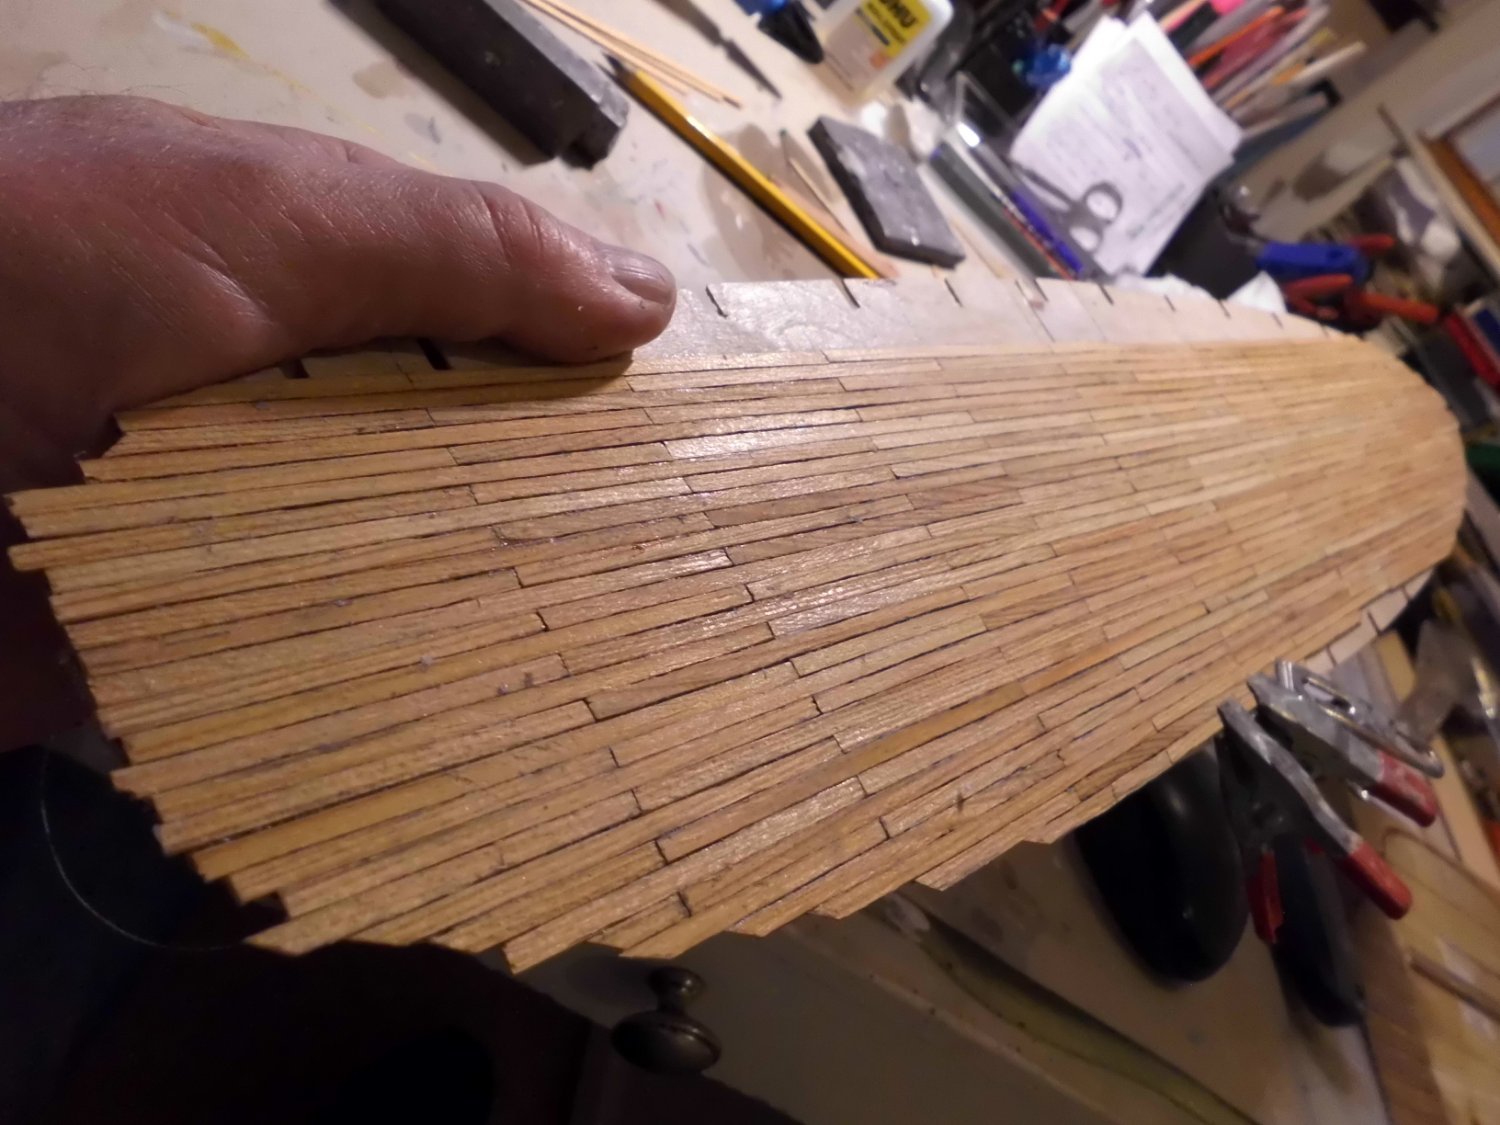
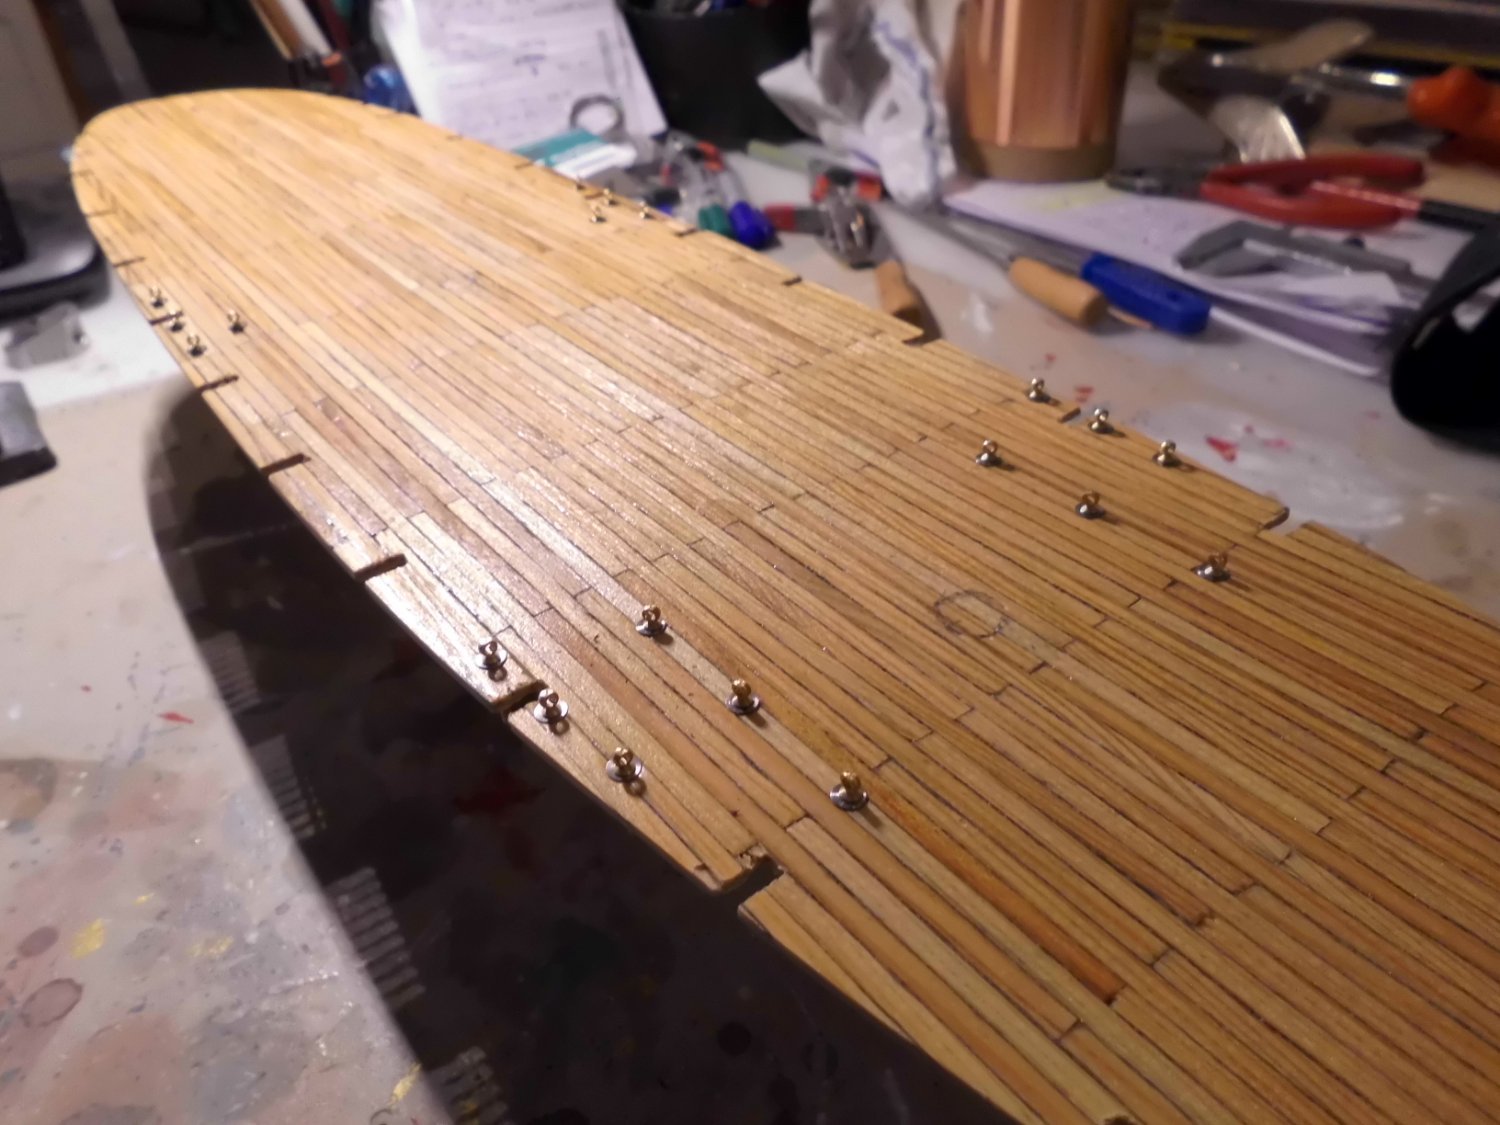
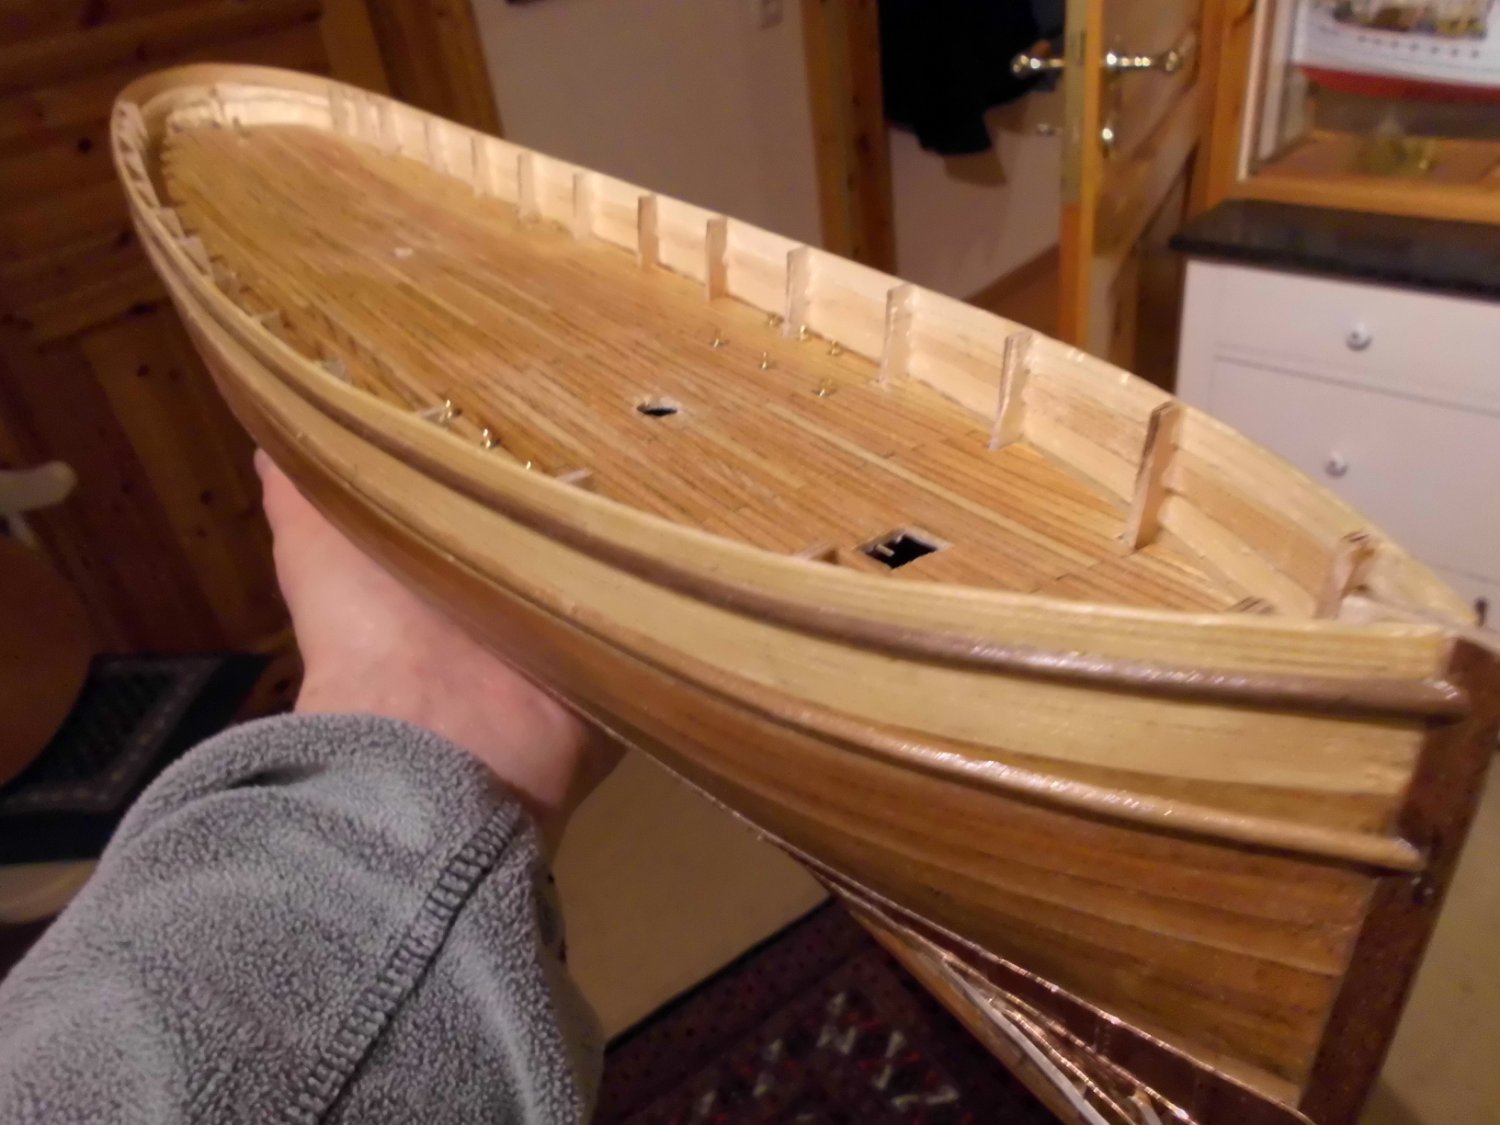
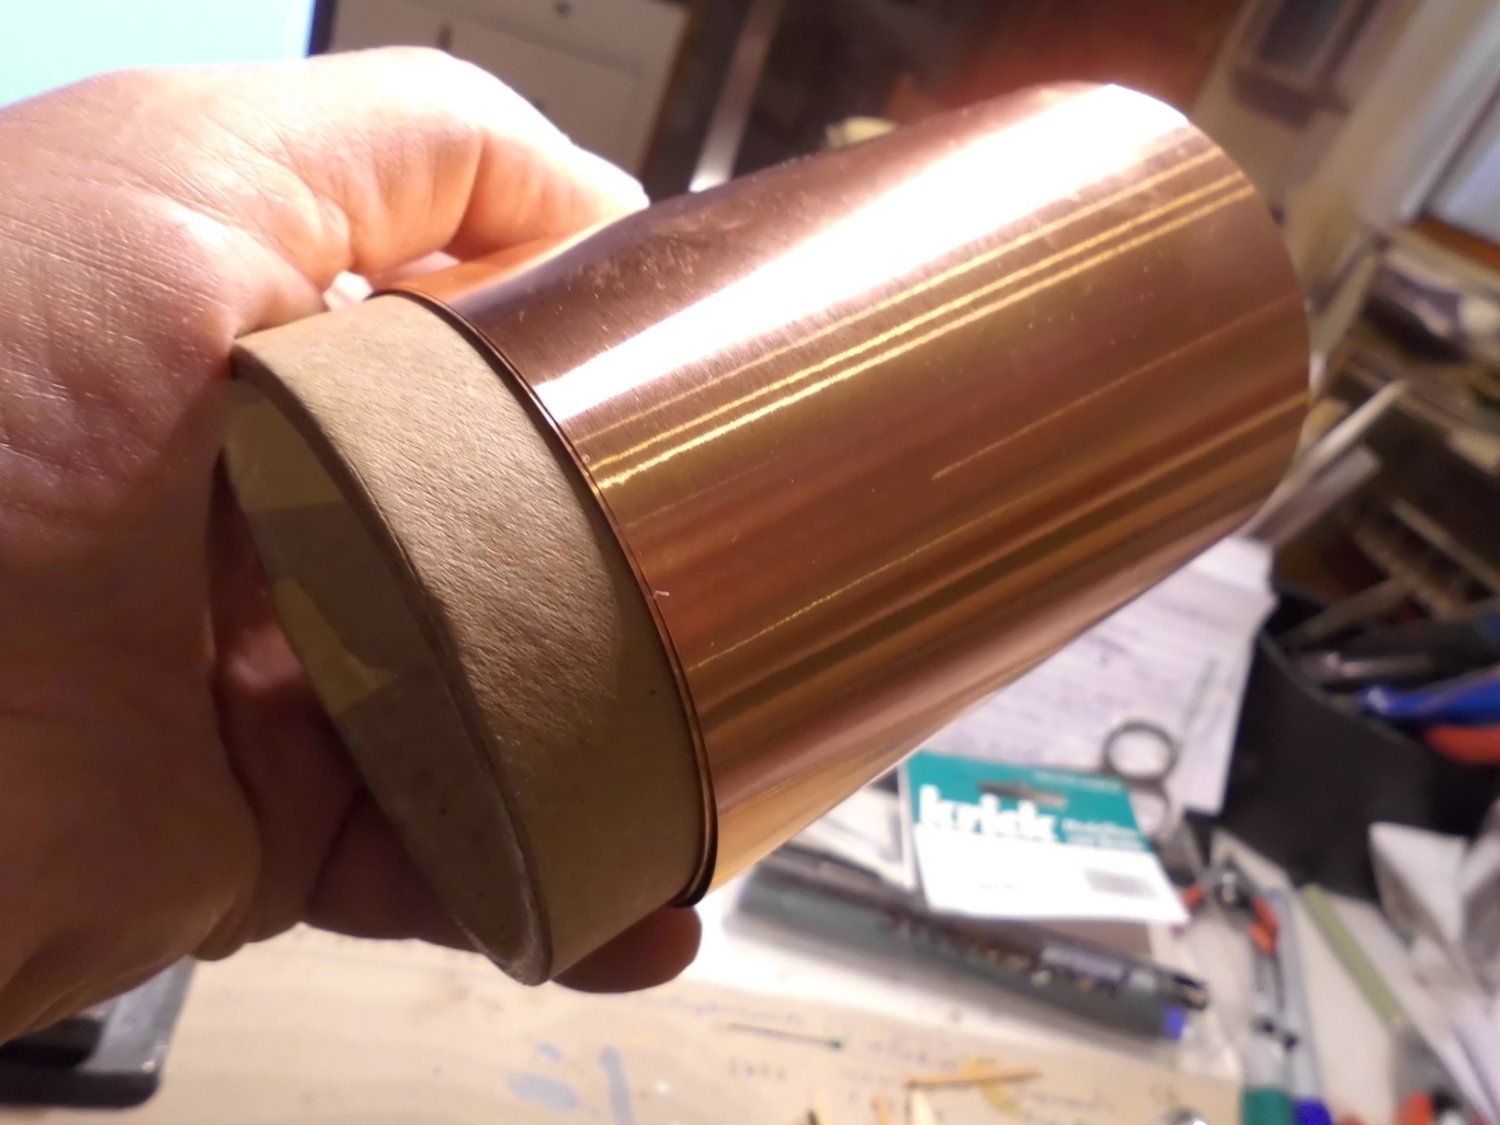
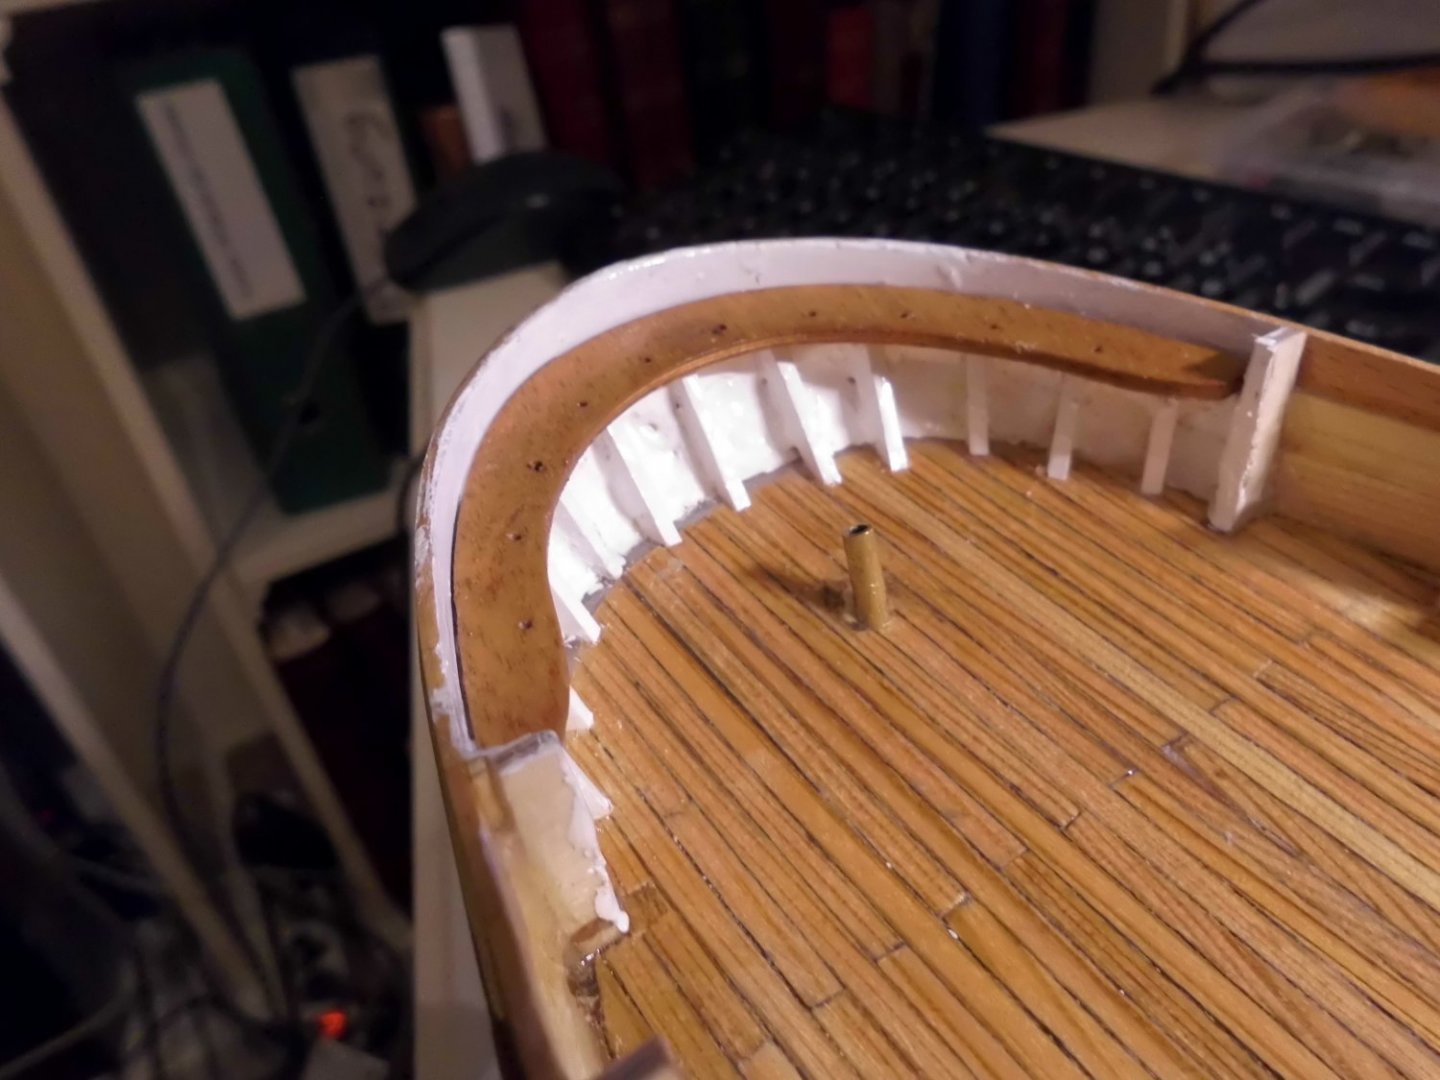
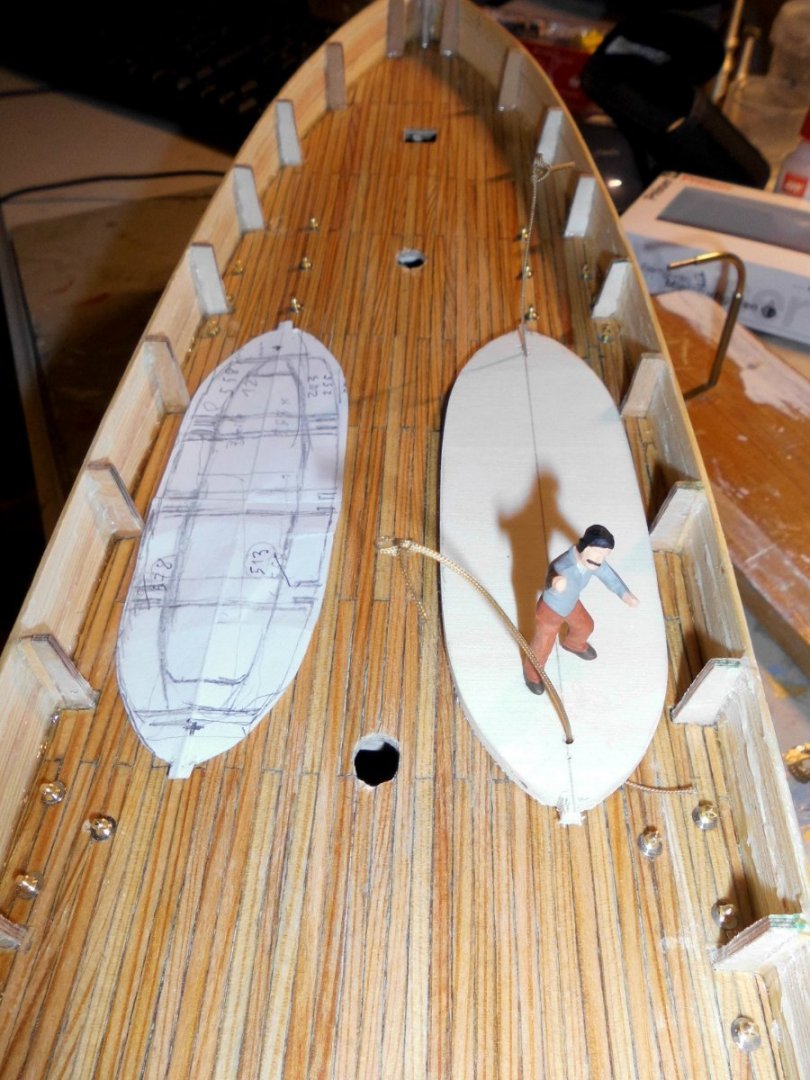
Update deck completed, eyebolts fitted for the rigging later on, mastholes drilled, then the deck was glued into the hull Nils the ply raw deck is fitted with caulked stripes 0,8 x 3 mm I tried to glue them on as neat as possile the outer eyebolts are for the shrouds, the inner ones are for the foresail sheet and the bowspritsail sheets Am pleased withfitted in deck so far Have just received the ordered copper material for continuing with the hull sheeting


- 180 replies
-
- 6
-
-
- pilot boat
- Elbe 5
- (and 3 more)
-
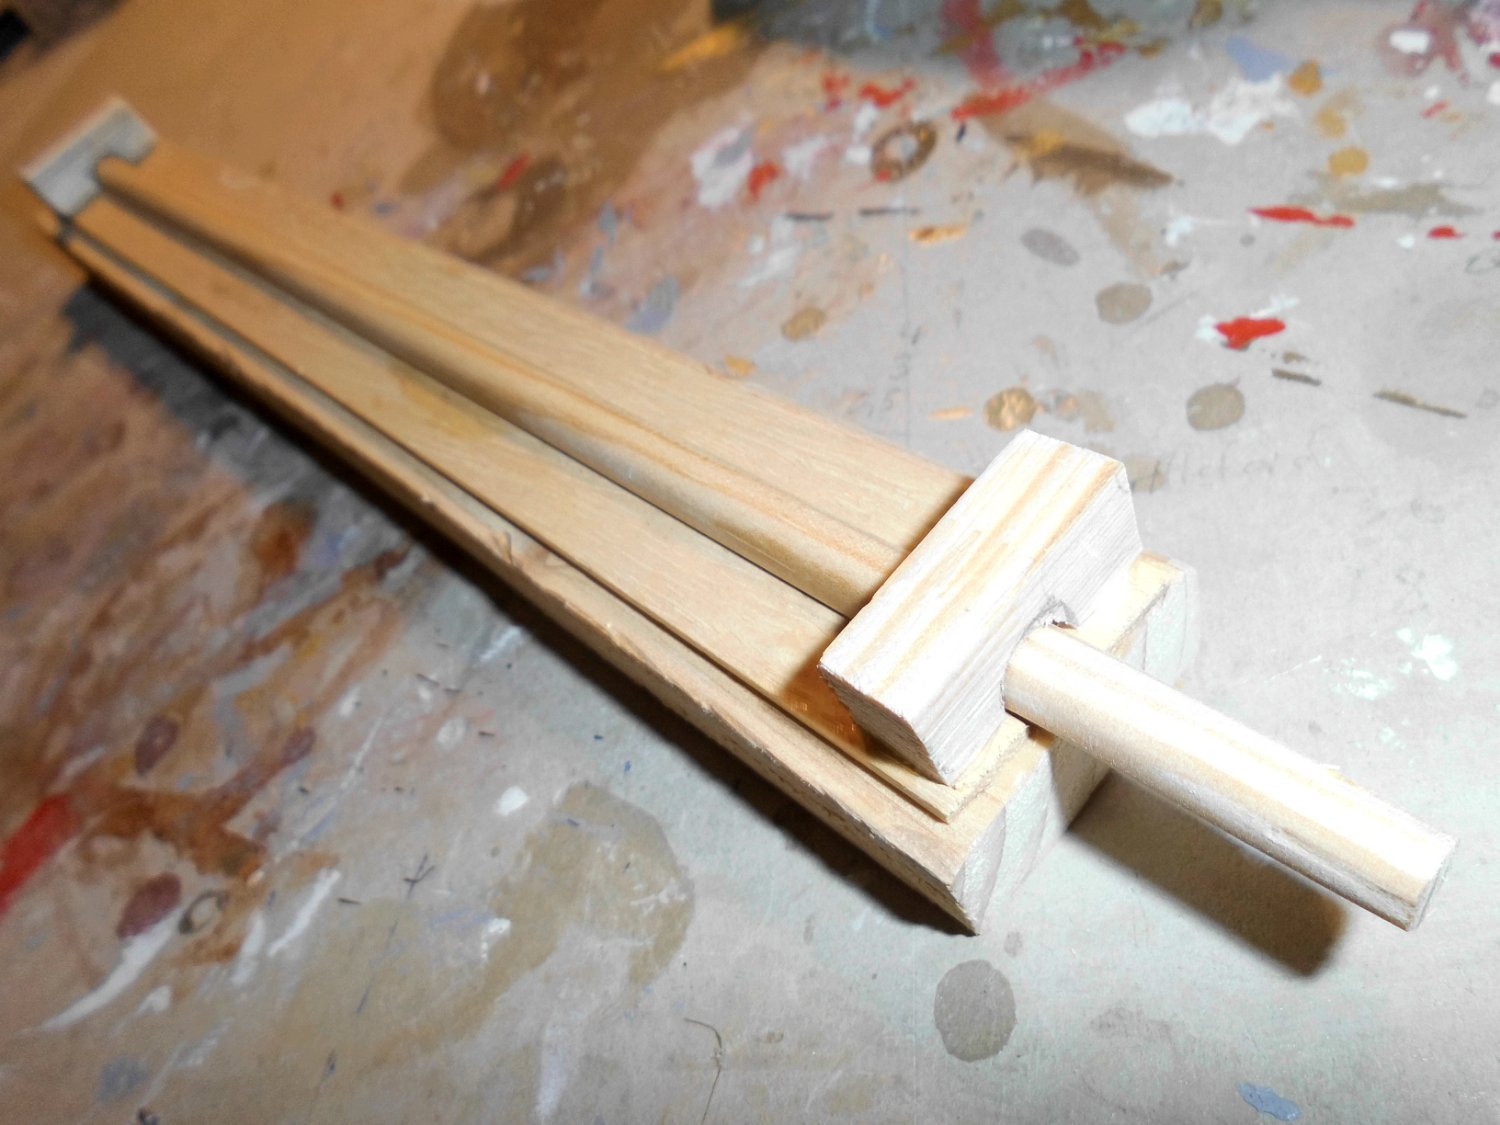
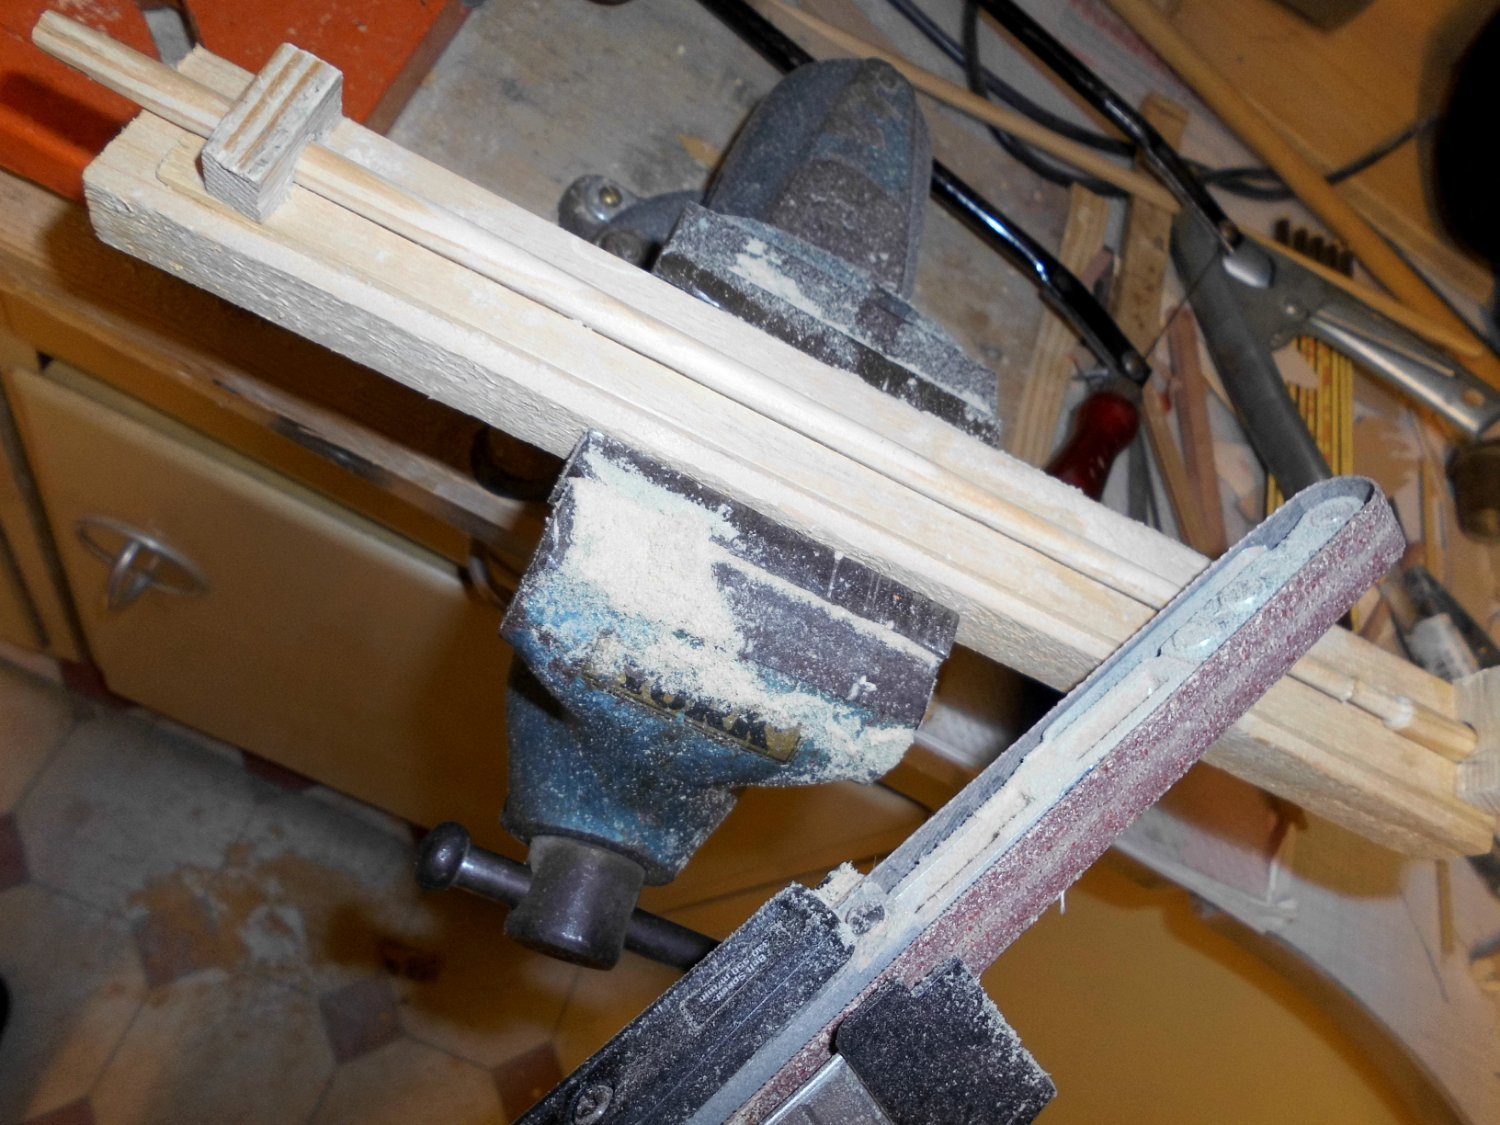
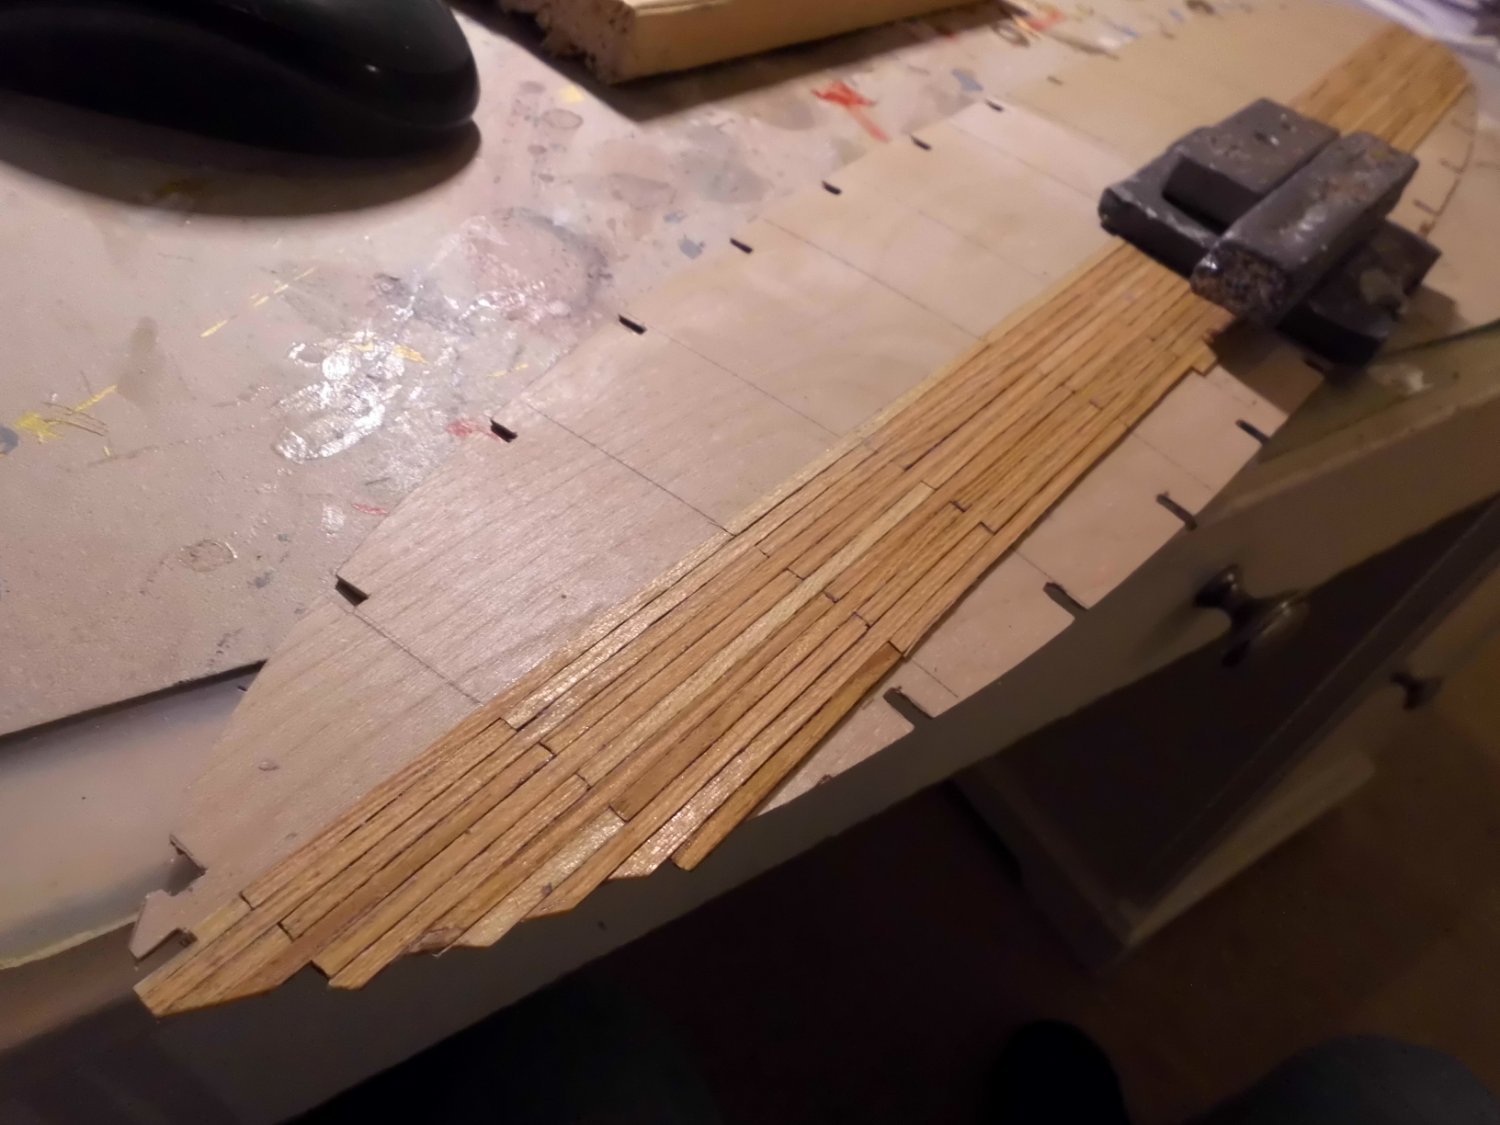
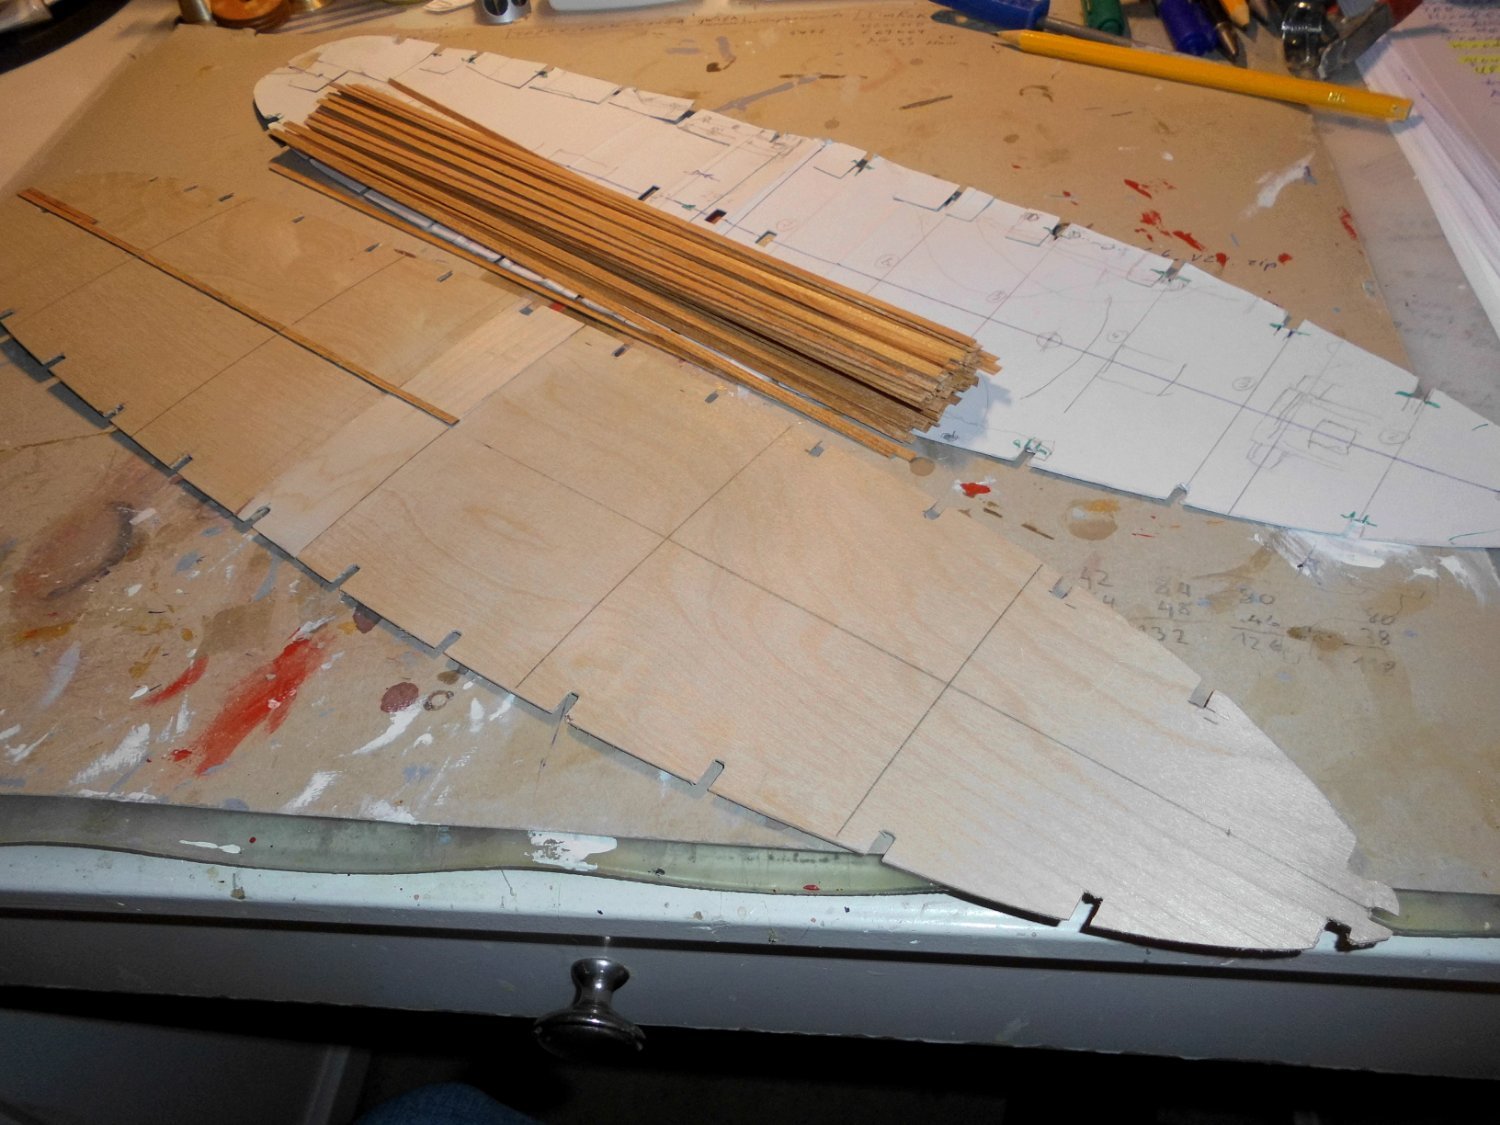
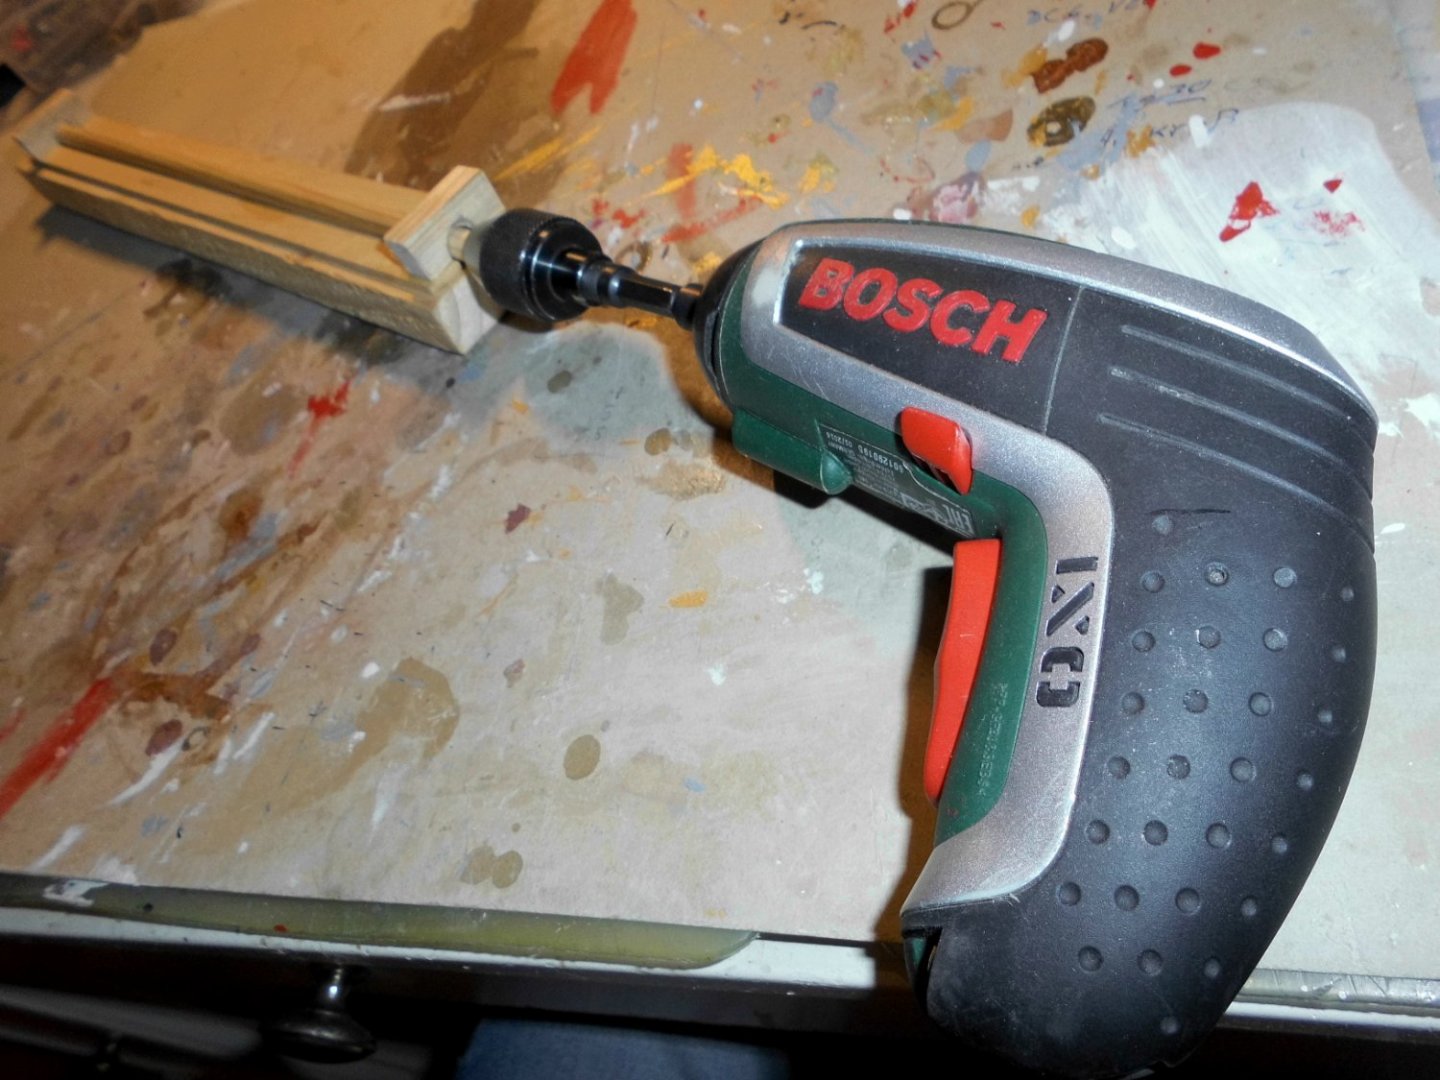
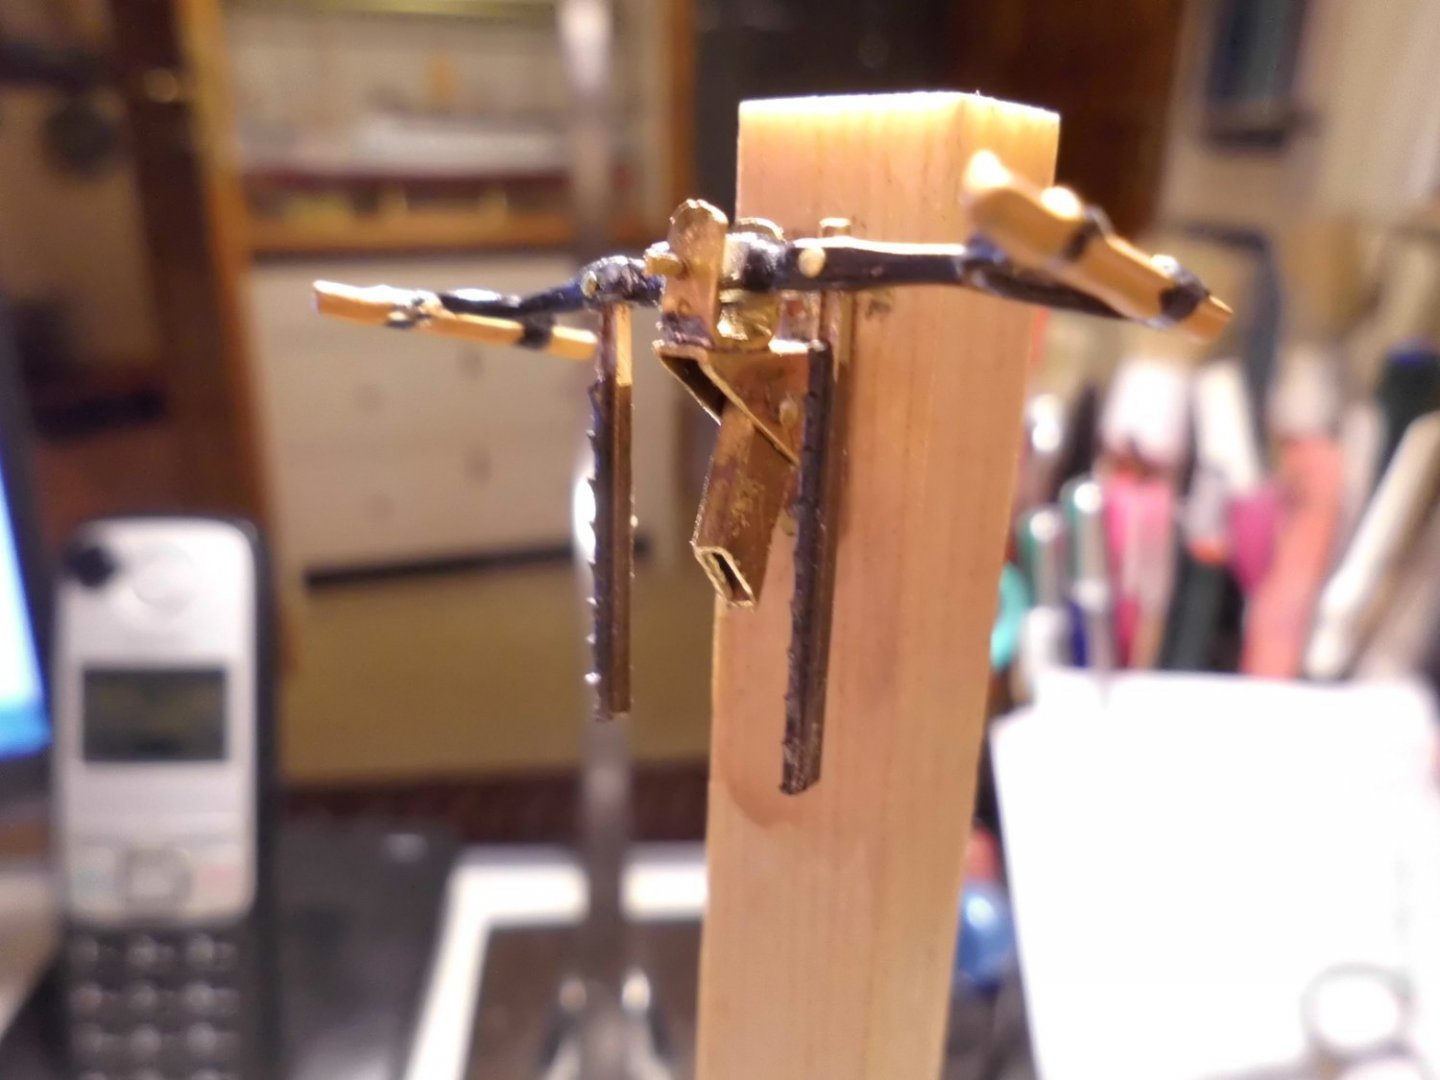
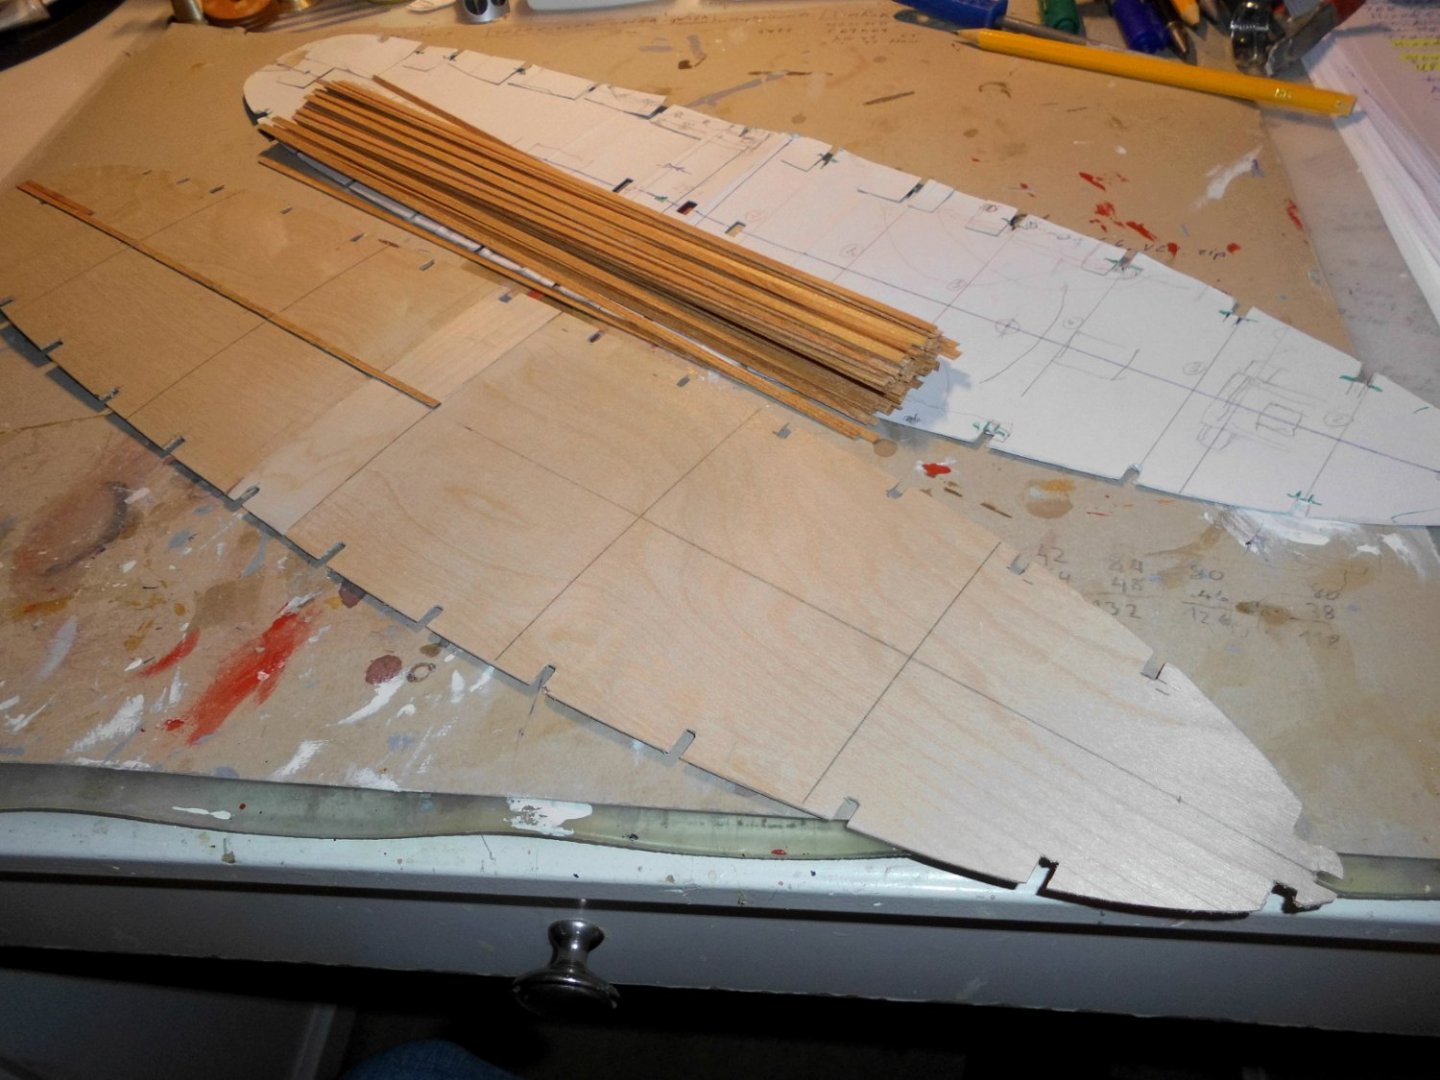
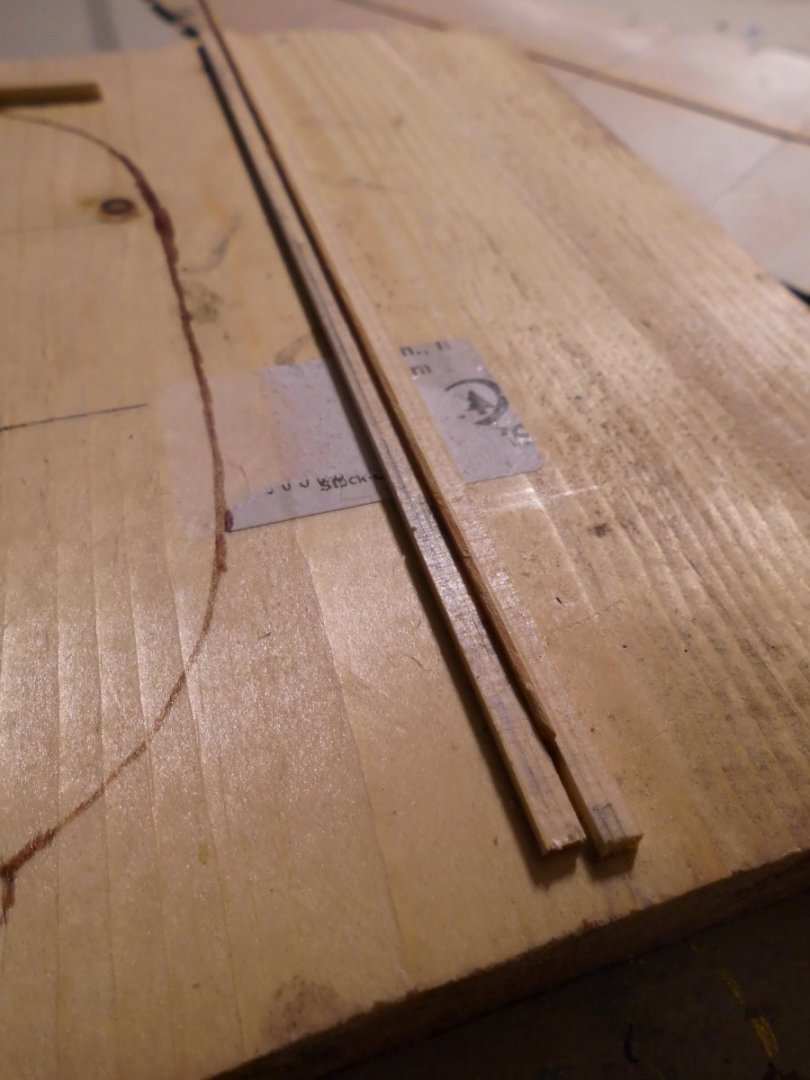
Update transfered the card template to 0,8 mm ply, now ready for planking the deck with pine strips (leftovers from the Chebec build) The strips have to be caulked at the side edges with a soft HB pencil. For holding the strips to the side edges I built a simple slot holding gauge that works quite well Nils for the deck base of ply I had to glue 3 parts together prior to planking with 0,8 x 3mm strips Slot gauge for holding the strips upright for caulking the edges
- 180 replies
-
- 4
-
-
- pilot boat
- Elbe 5
- (and 3 more)
-
Exellent work B.E I like the quaterdeck cutouts Nils
- 857 replies
-
- 2
-
-

-
- Sphinx
- Vanguard Models
- (and 1 more)