Jeff59
-
Posts
536 -
Joined
-
Last visited
Content Type
Profiles
Forums
Gallery
Events
Everything posted by Jeff59
-
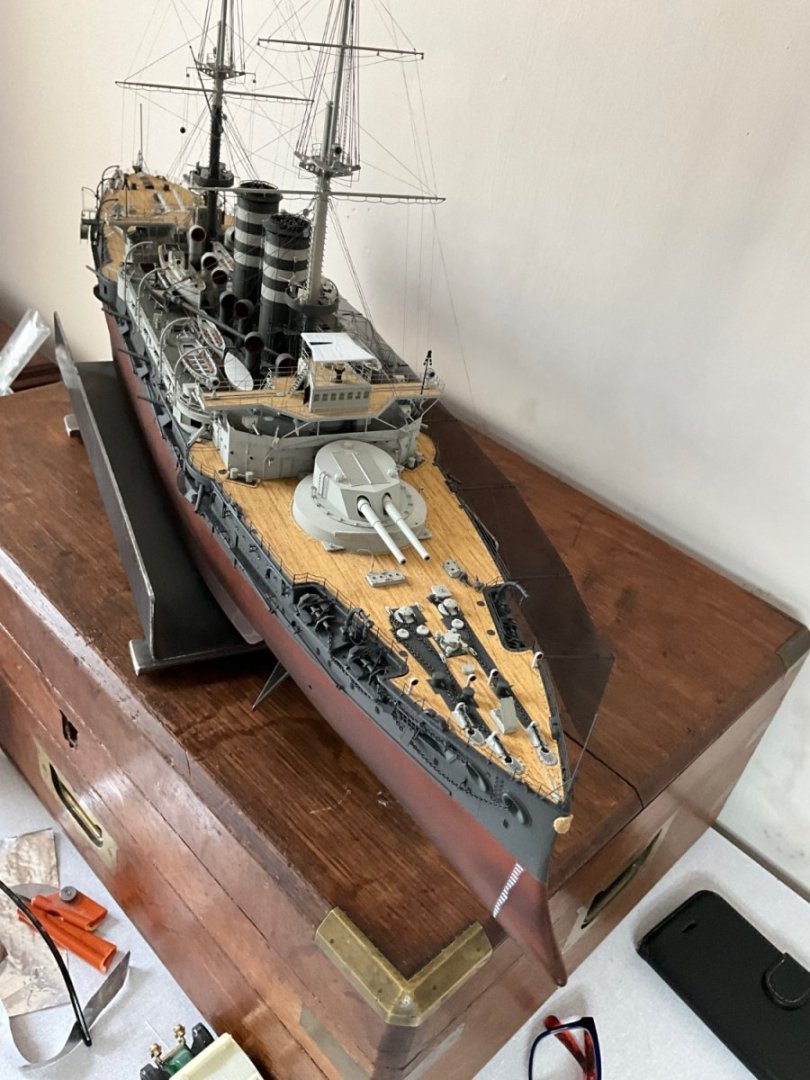
That’s me for now thanks, hope you give me some feedback on canopy, was going to pose some figures under here if it looks alright, just a bit indecisive just now as the open bridge looks nice with wood and no canopy. 🤛
-
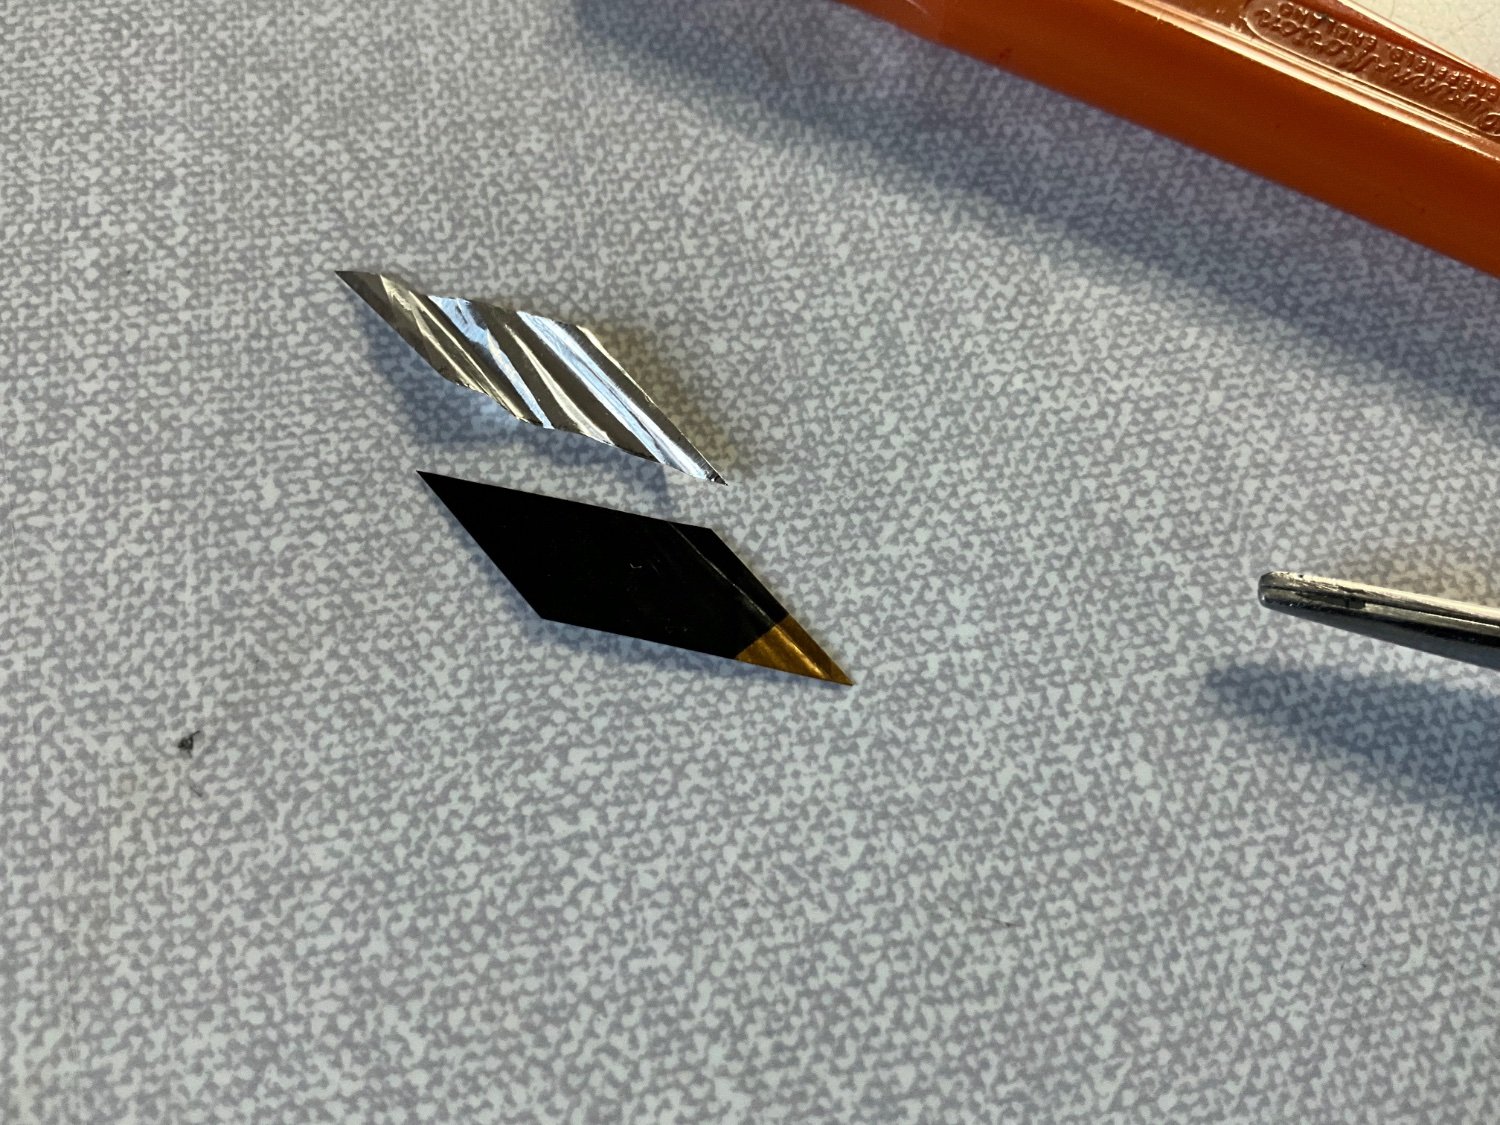
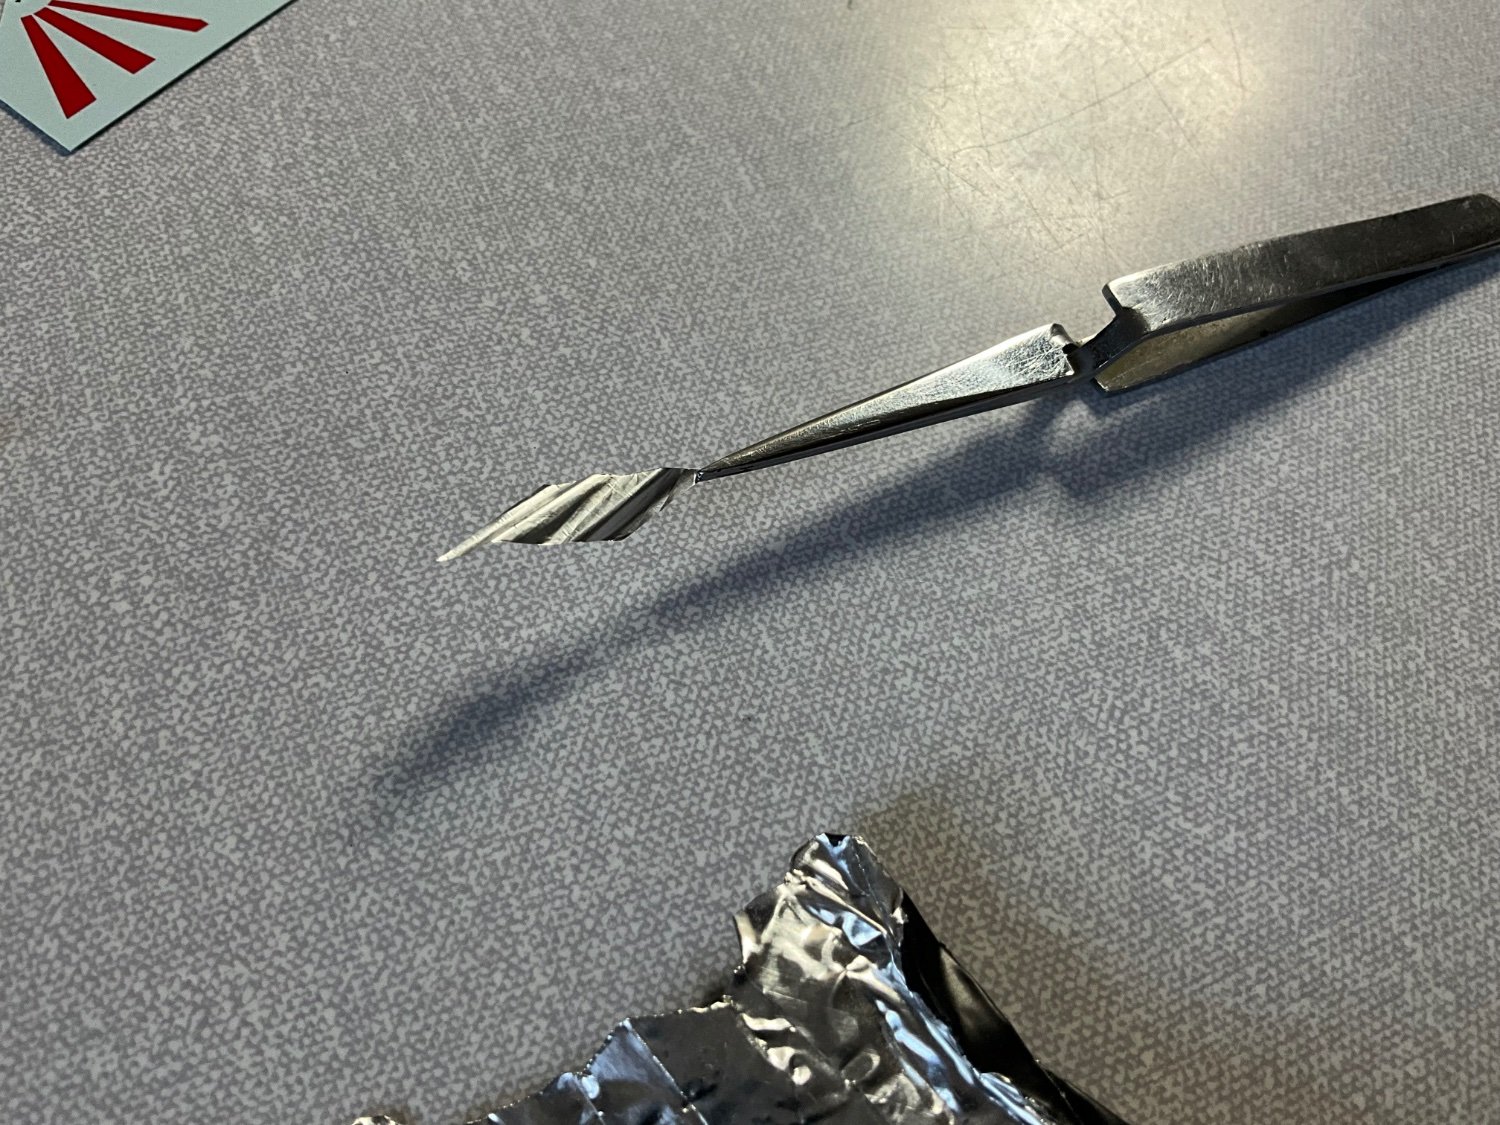
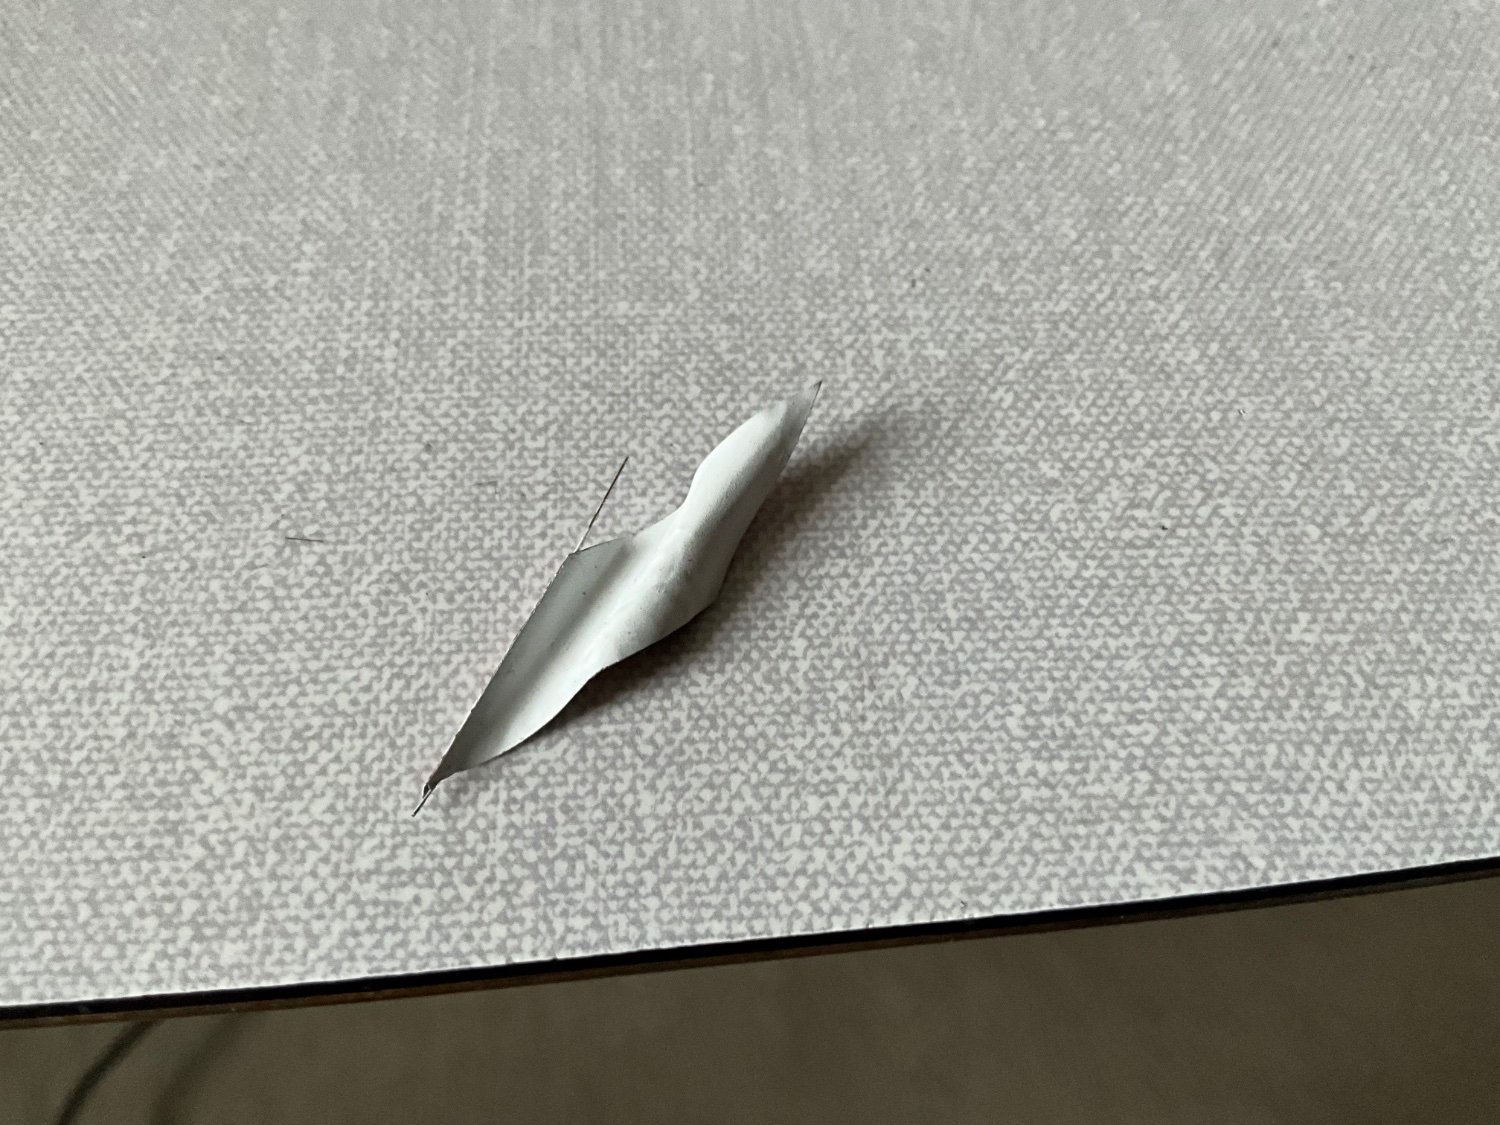
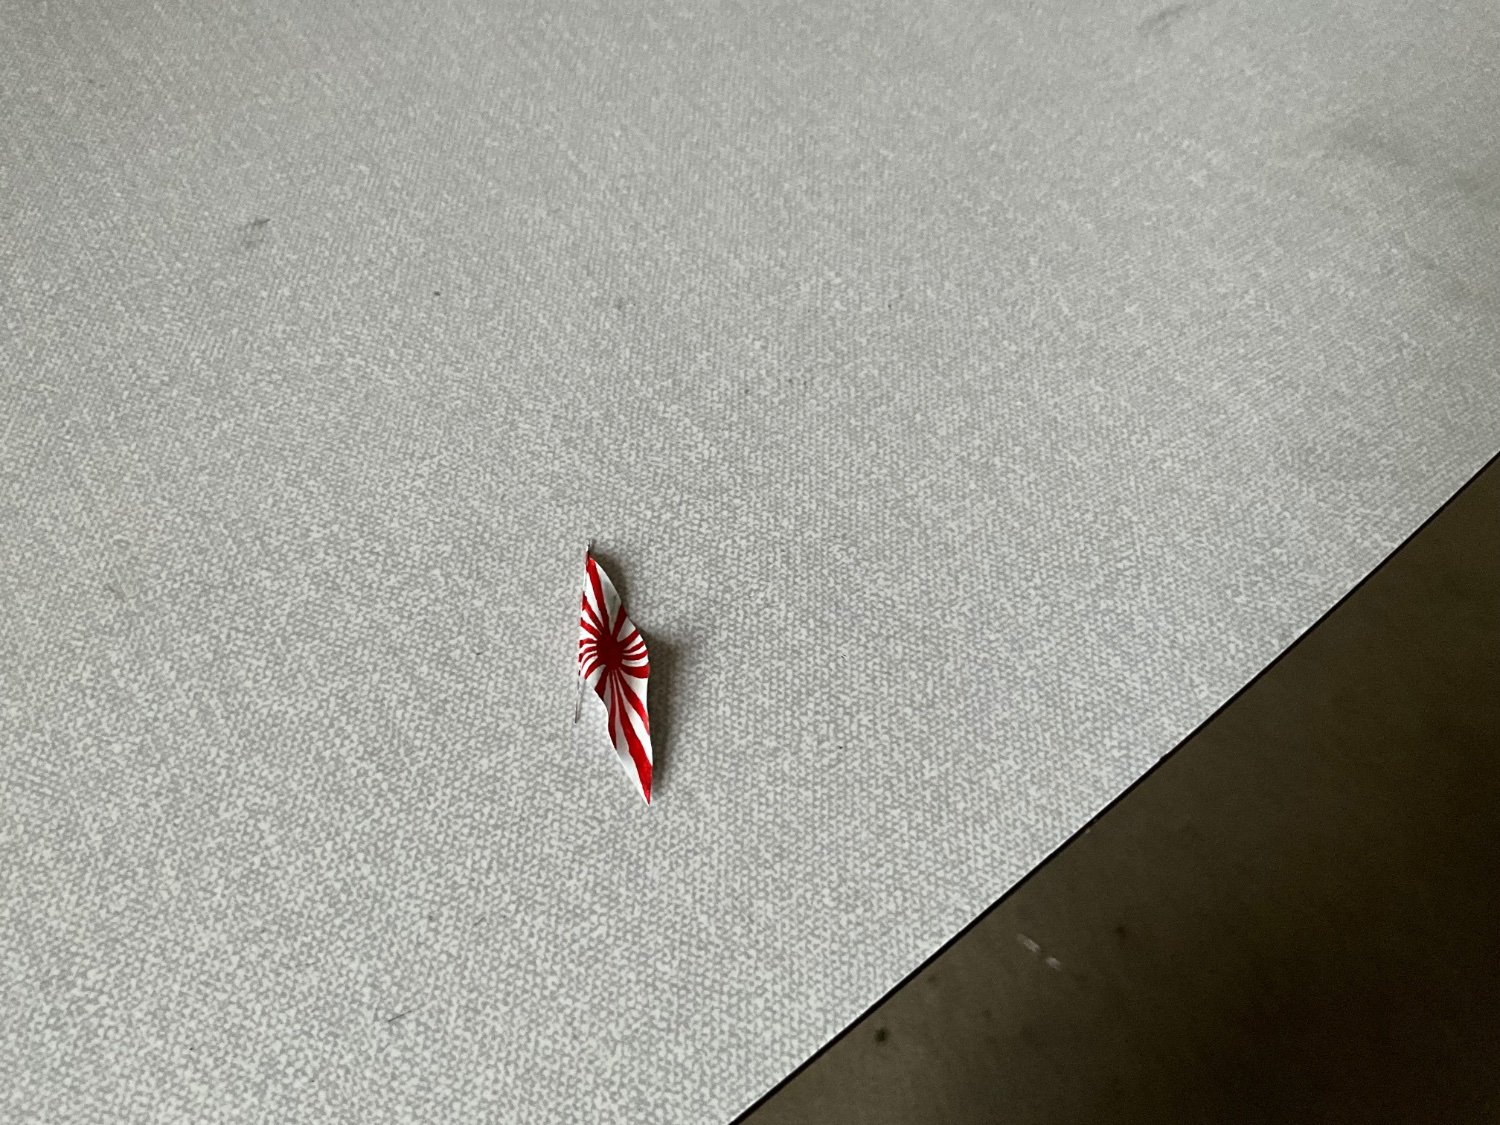
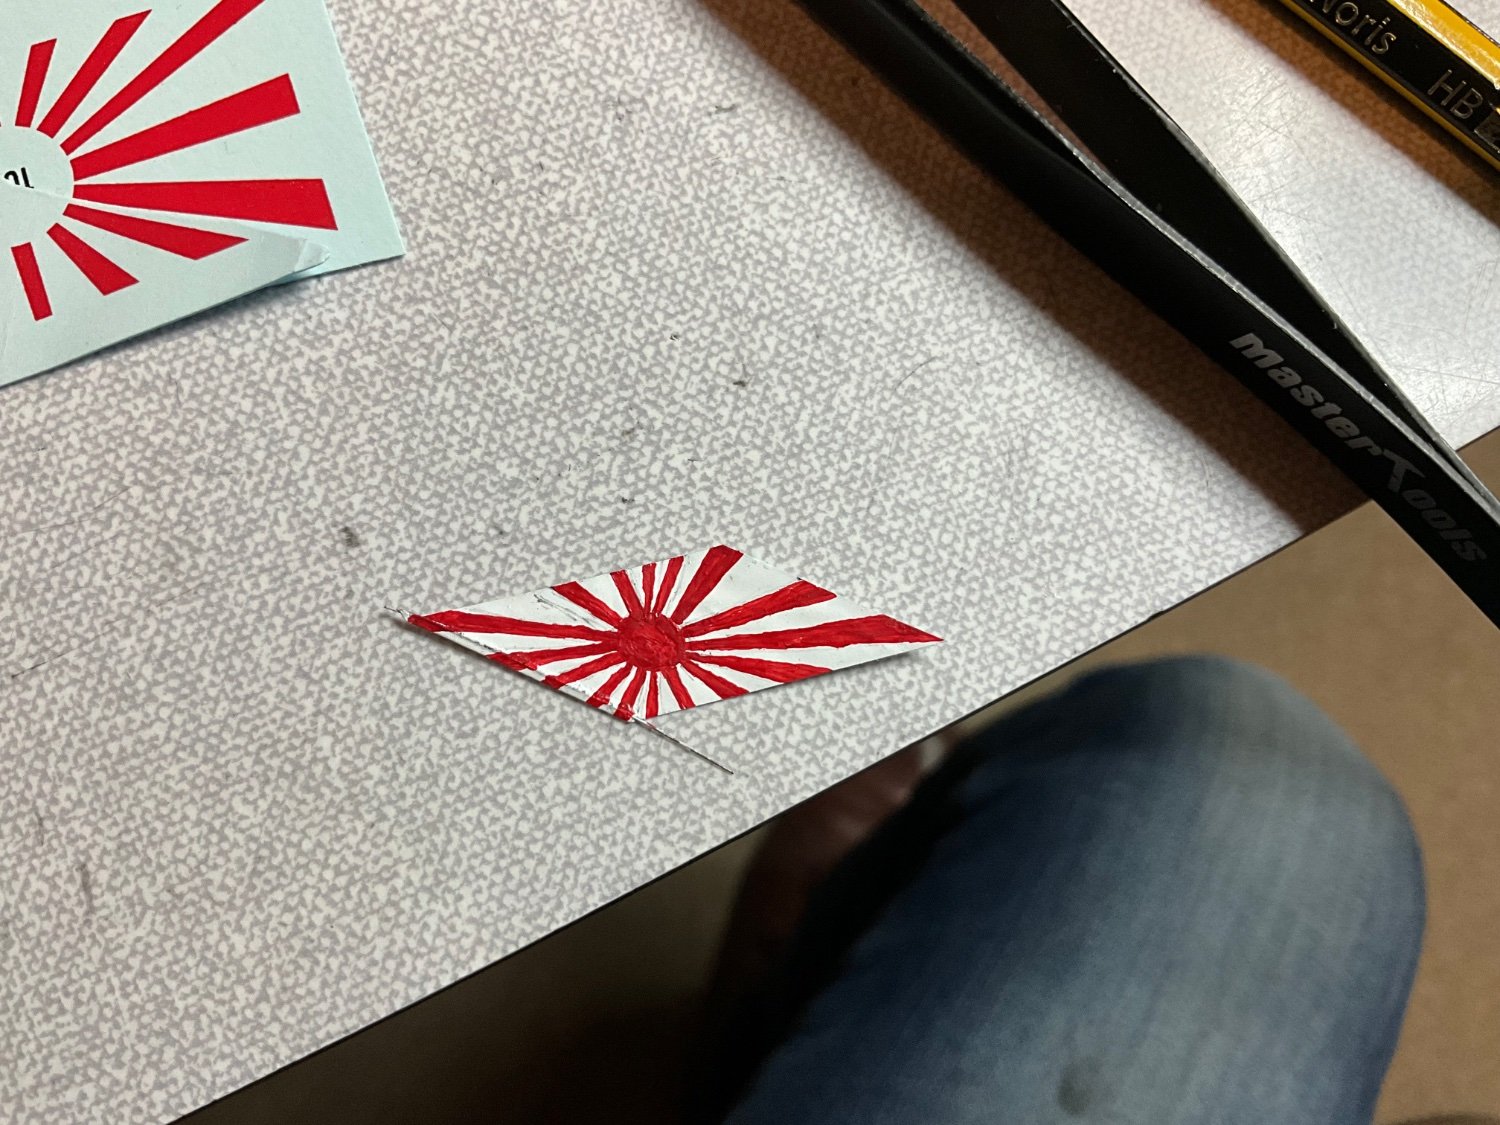
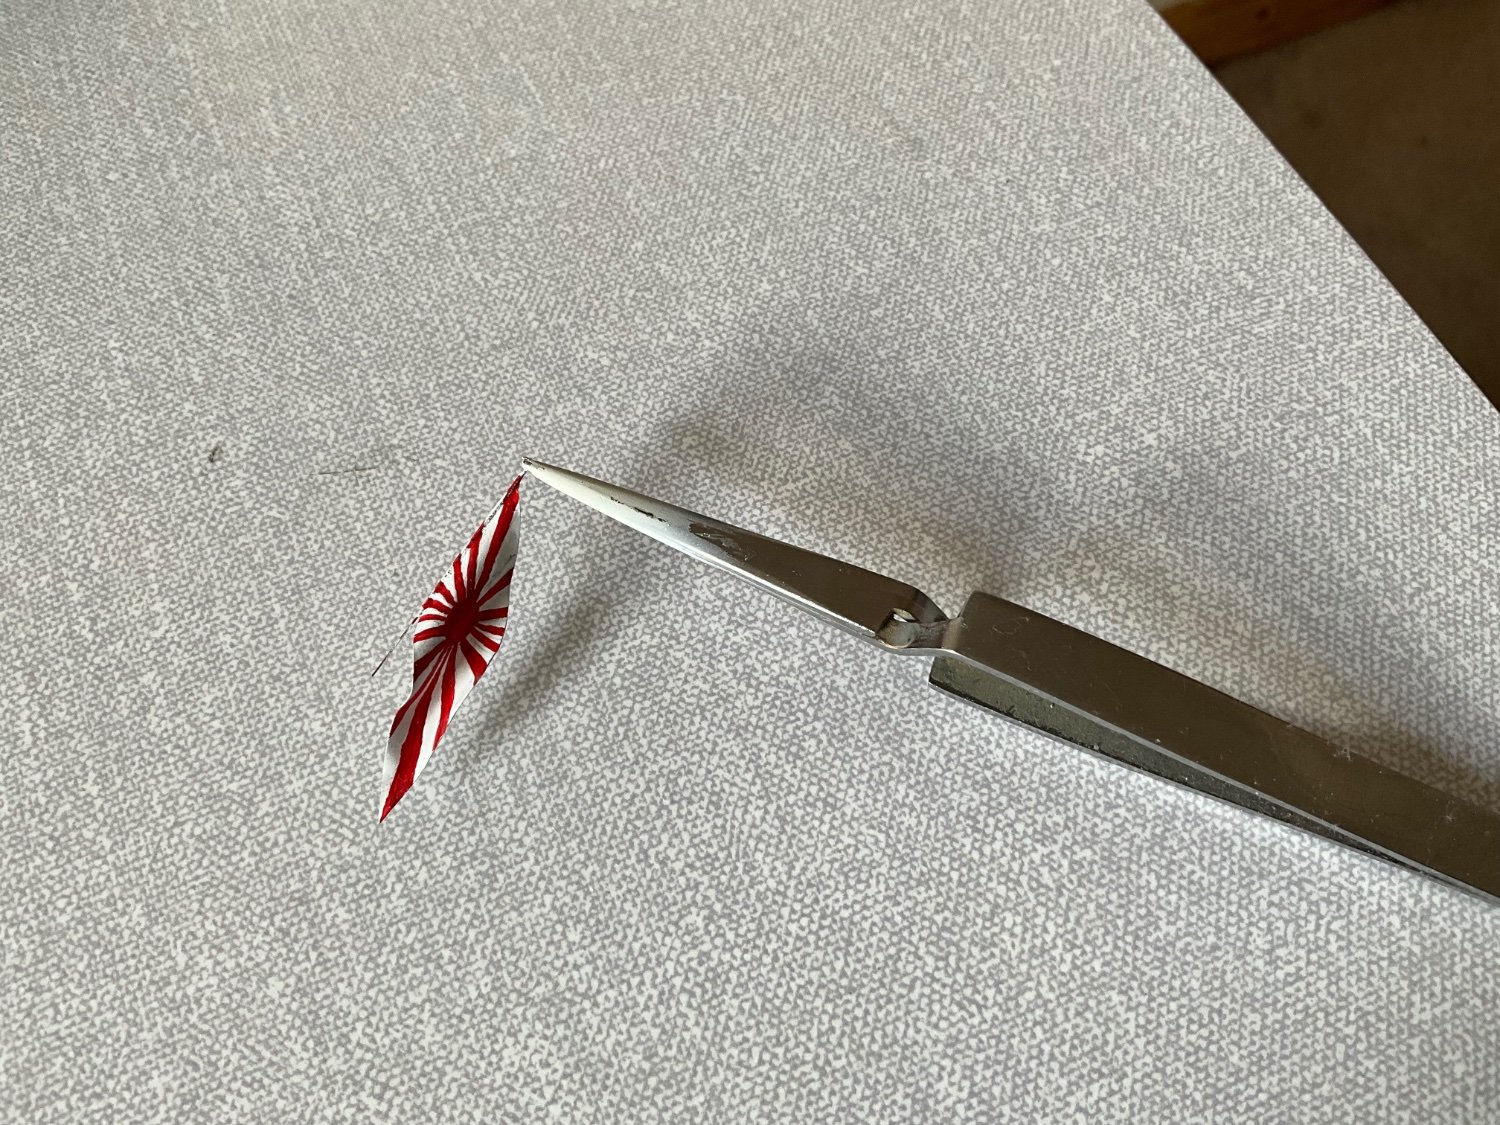
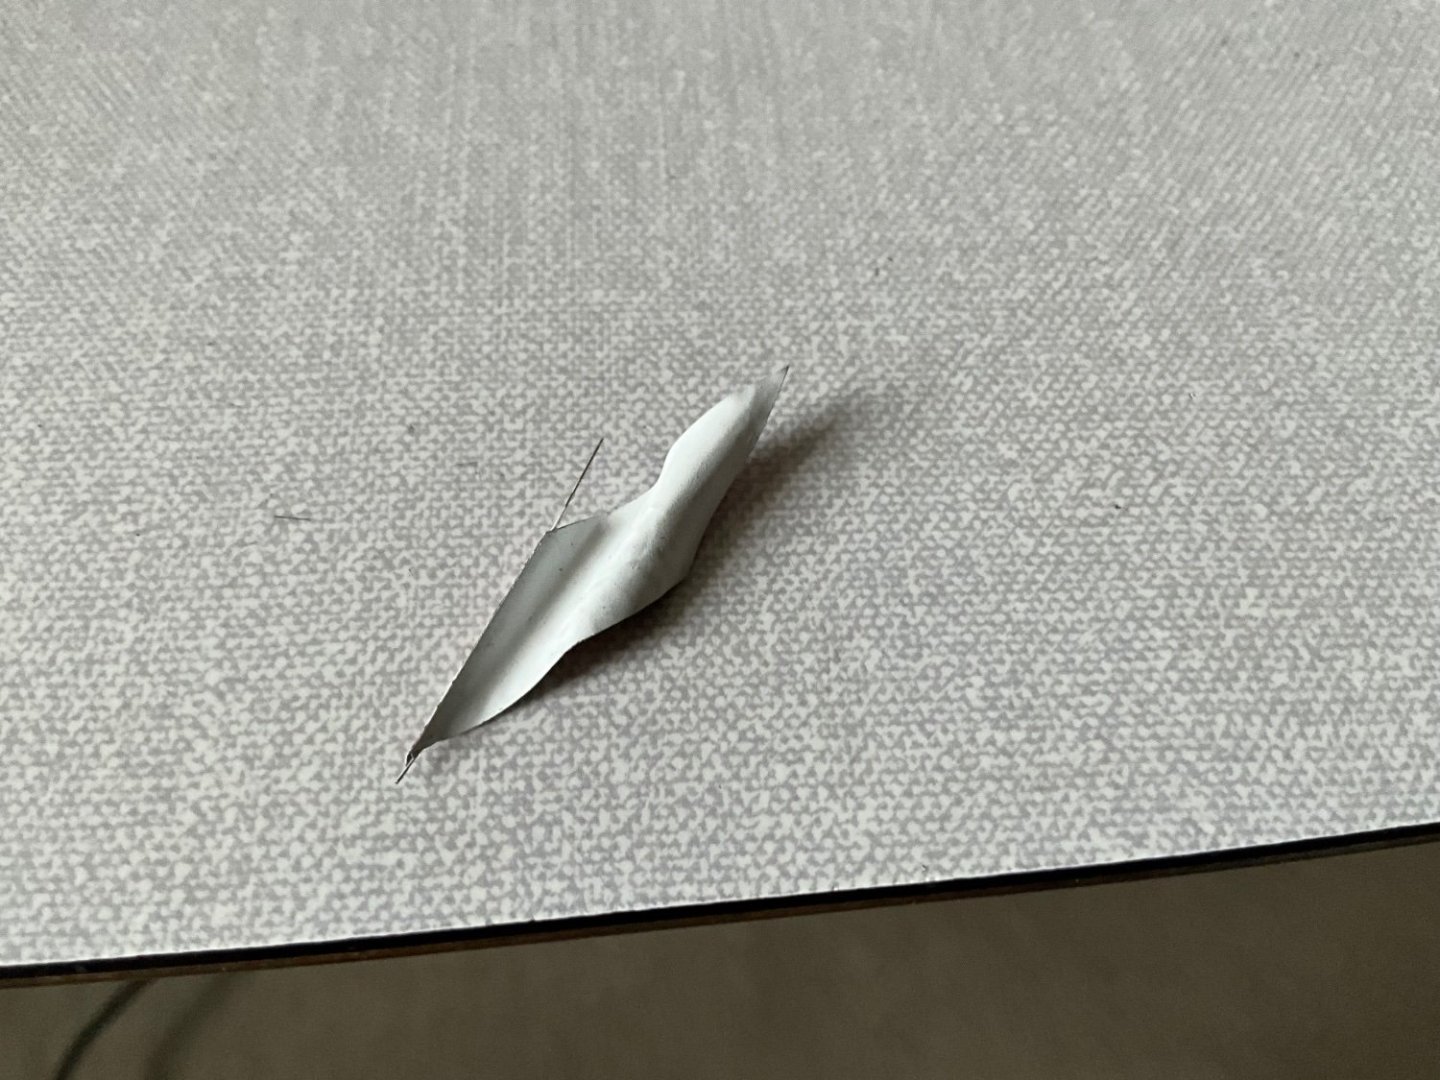
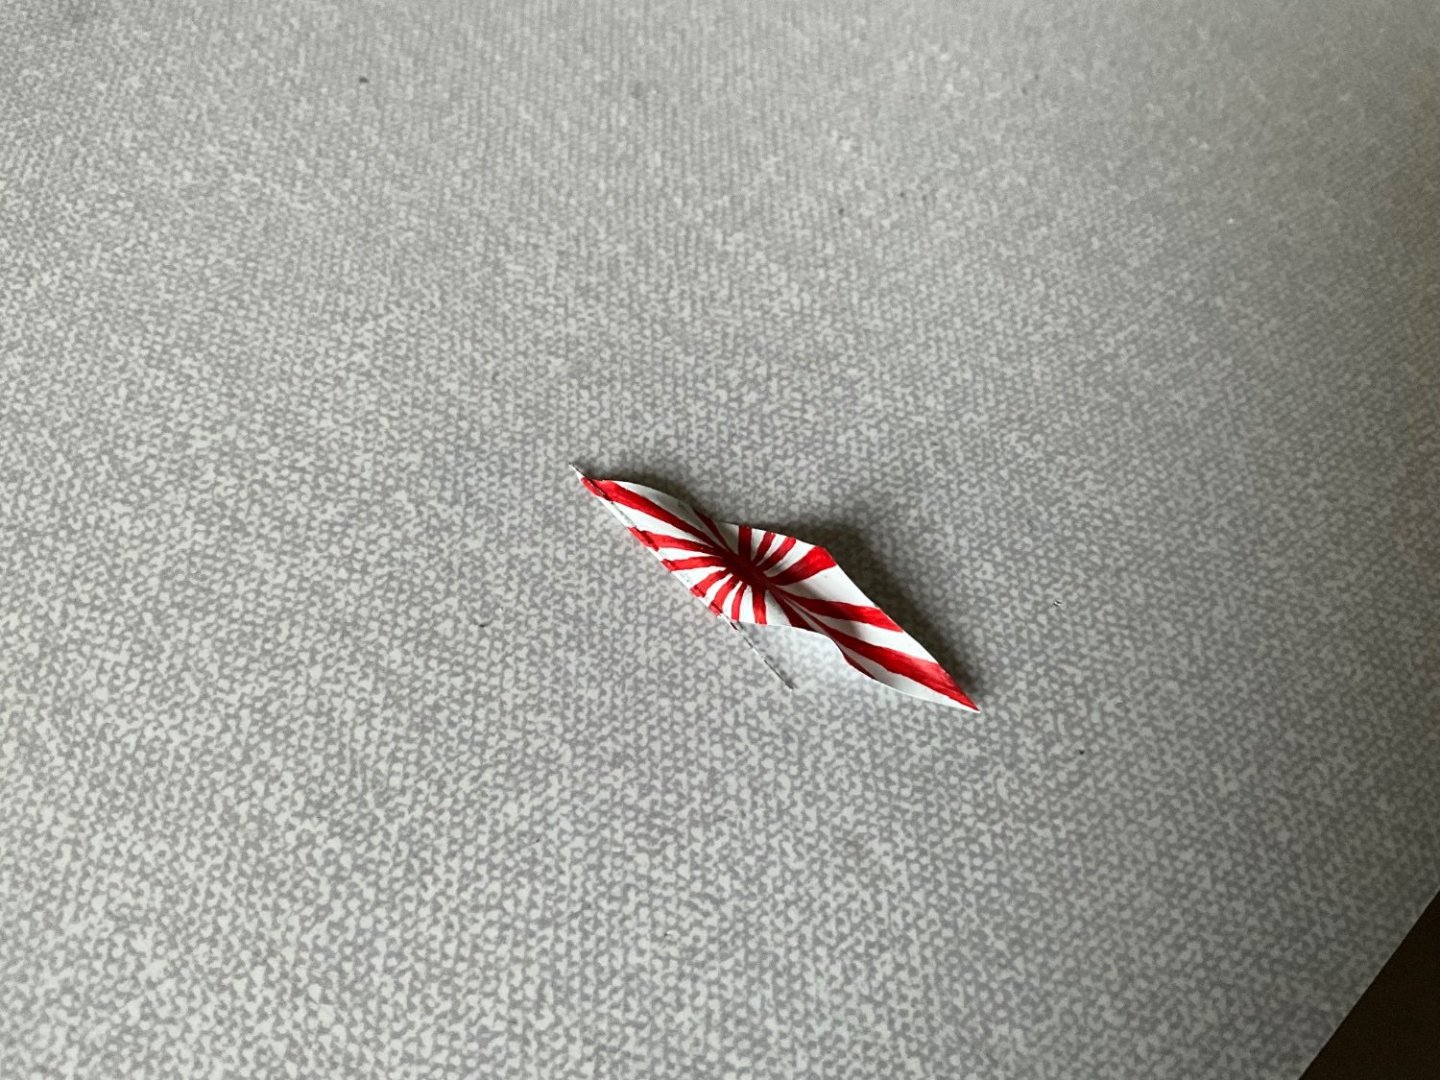
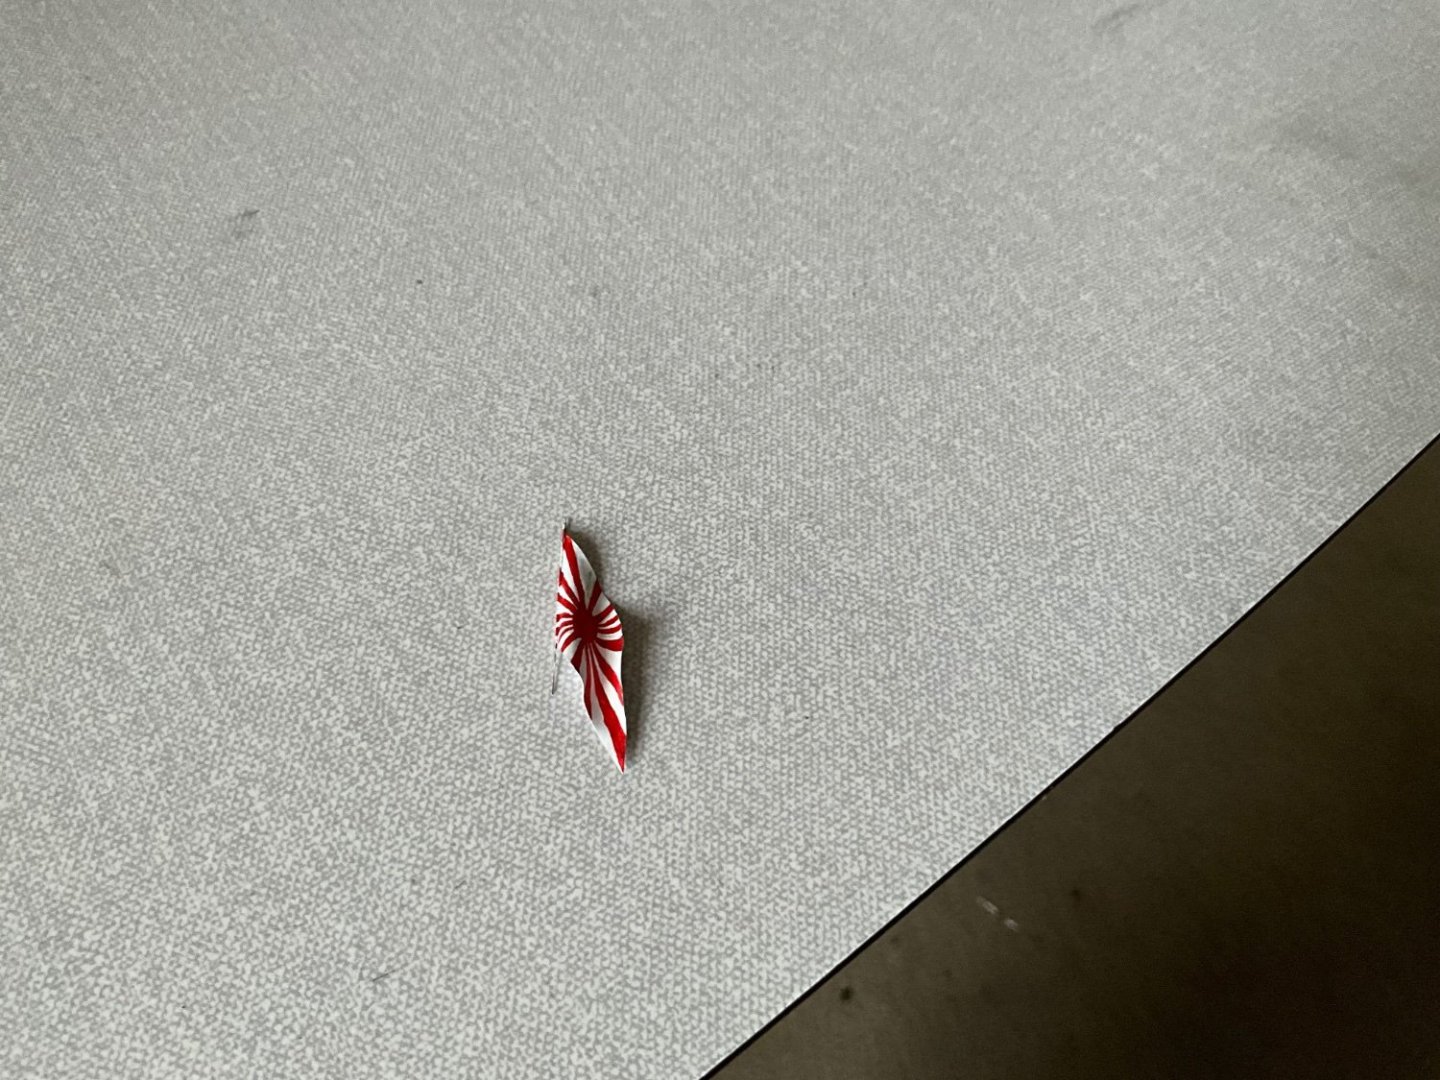
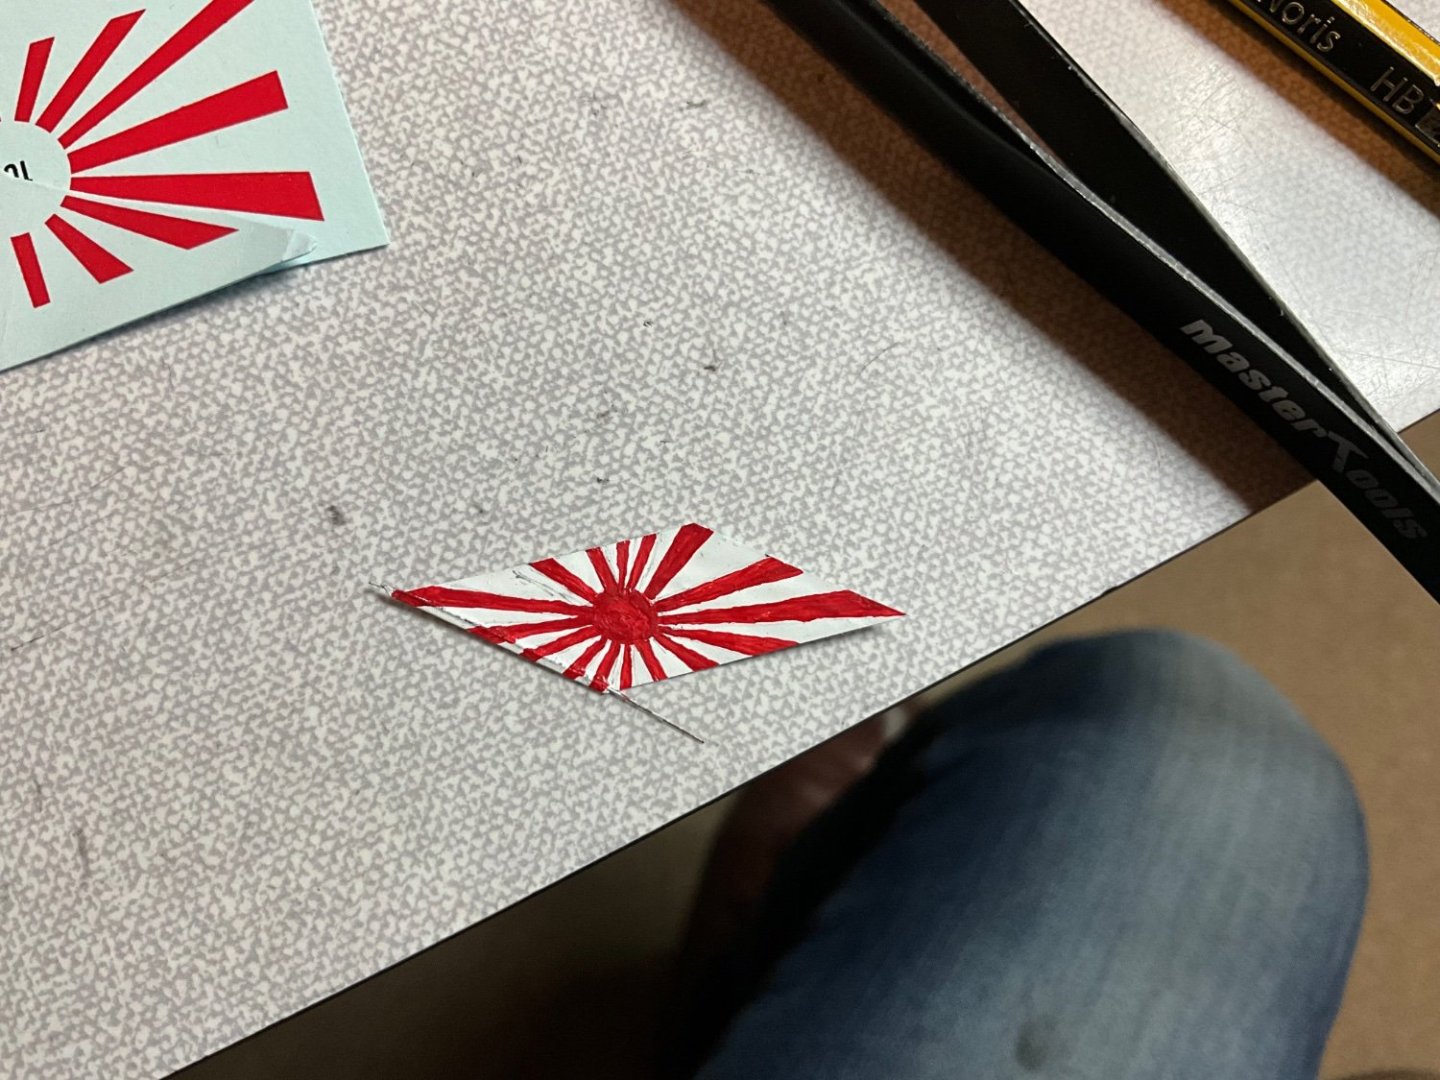
Hi guys, there’s more to painting the rising sun flag than l thought, when you see where all the rays reach out to outer edges of flag it’s going to be a challenge to get this right. I looked carefully and tried to lightly mark this out with a sharp pencil, then picked a red that looked close to shade and painted it, like painting by numbers for youse old enough to remember this 😂 you also have to mind if you’re trying to simulate a drooping flag you have to turn your marking off square to the droop, all gets a bit tricky, then of course you have to do it opposite hand on other side 😵💫 Well since this was just an experiment. Painted one side then when dry tried forming flag on various diameters of bar or wire, seems to work reasonably well and the paint didn’t crack or flake off. Now got to try again and improve. Also made a canopy for above Bridge, made from thin foil from around the neck of Prosecco bottle, same as for flag, this is slightly heavier than tin foil from kitchen. Good excuse to keep stocked up with Prosecco 😏 Painted this white, asked Jaqueline what she thought, said it’s awful bright, so tried white grey with a touch of white added, think it’s a bit more subtle. This is just sitting on top not fixed, wondering if you think this works or not, opinions more than welcome as l have got to decide one way or other 🤛 Shall put some photos up now. 👍


-
Just parallelogram the flag to get a droop effect, shall paint this white and let it dry before trying to hand paint the rising sun on to the white then let it dry again before starting to form folds into flag, hopefully the painting doesn’t crack when trying this. 🤞
-
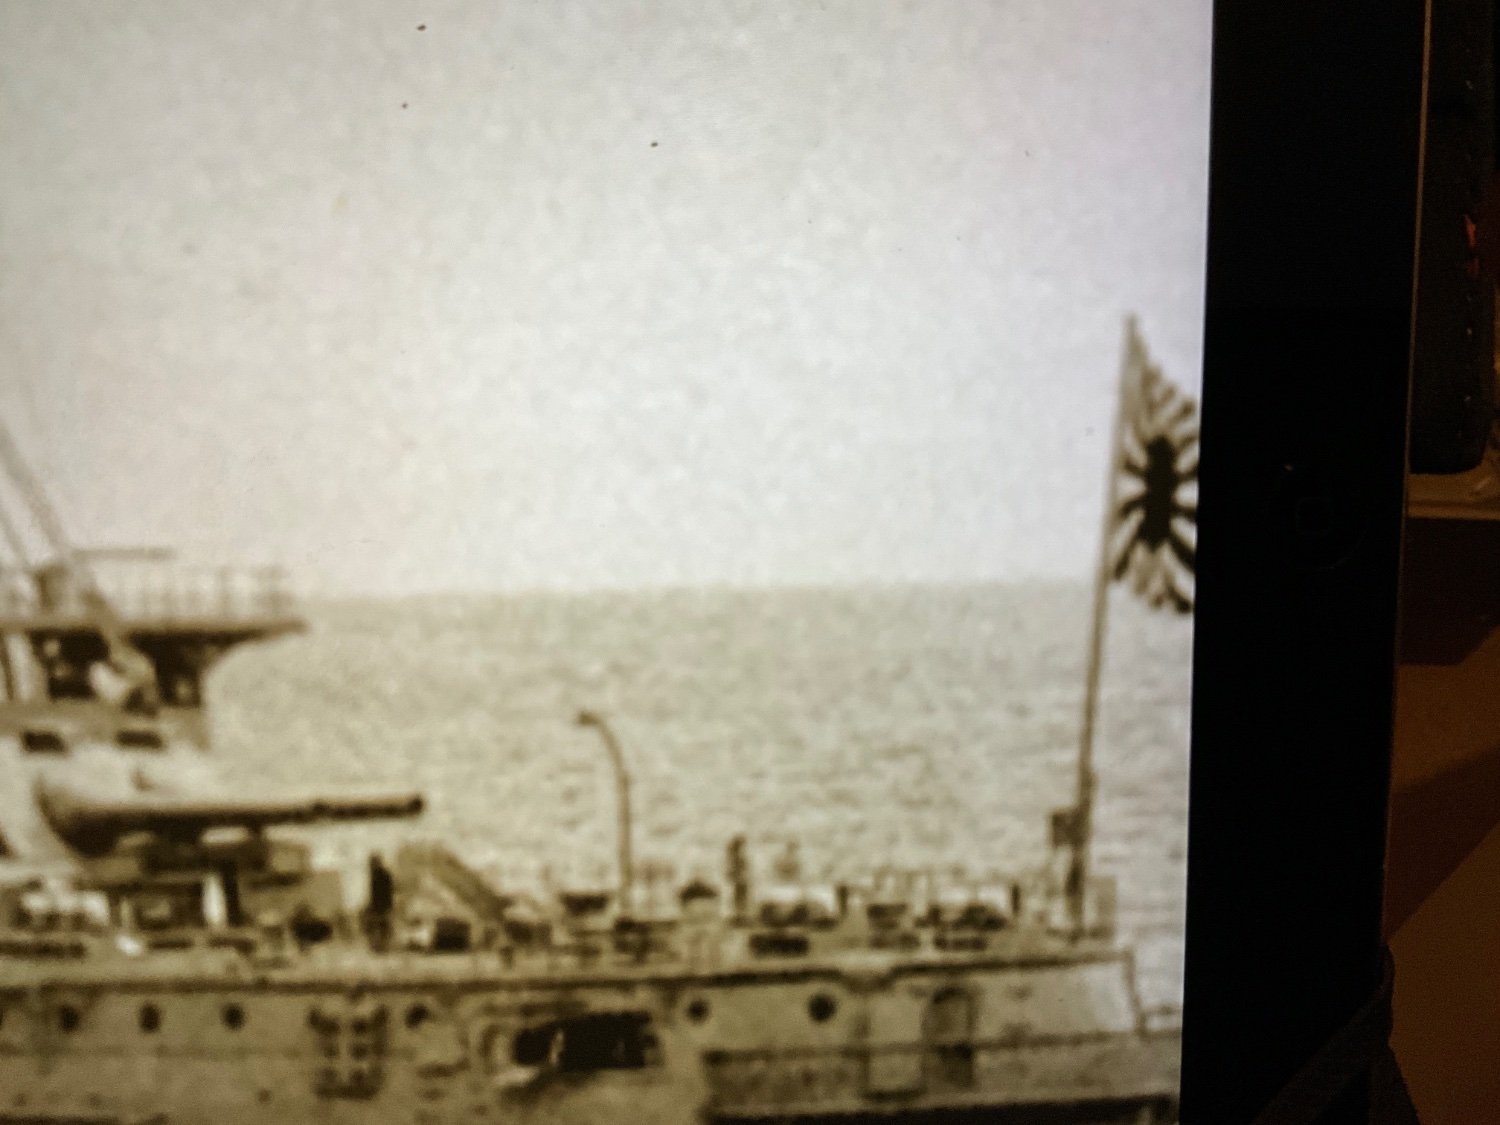
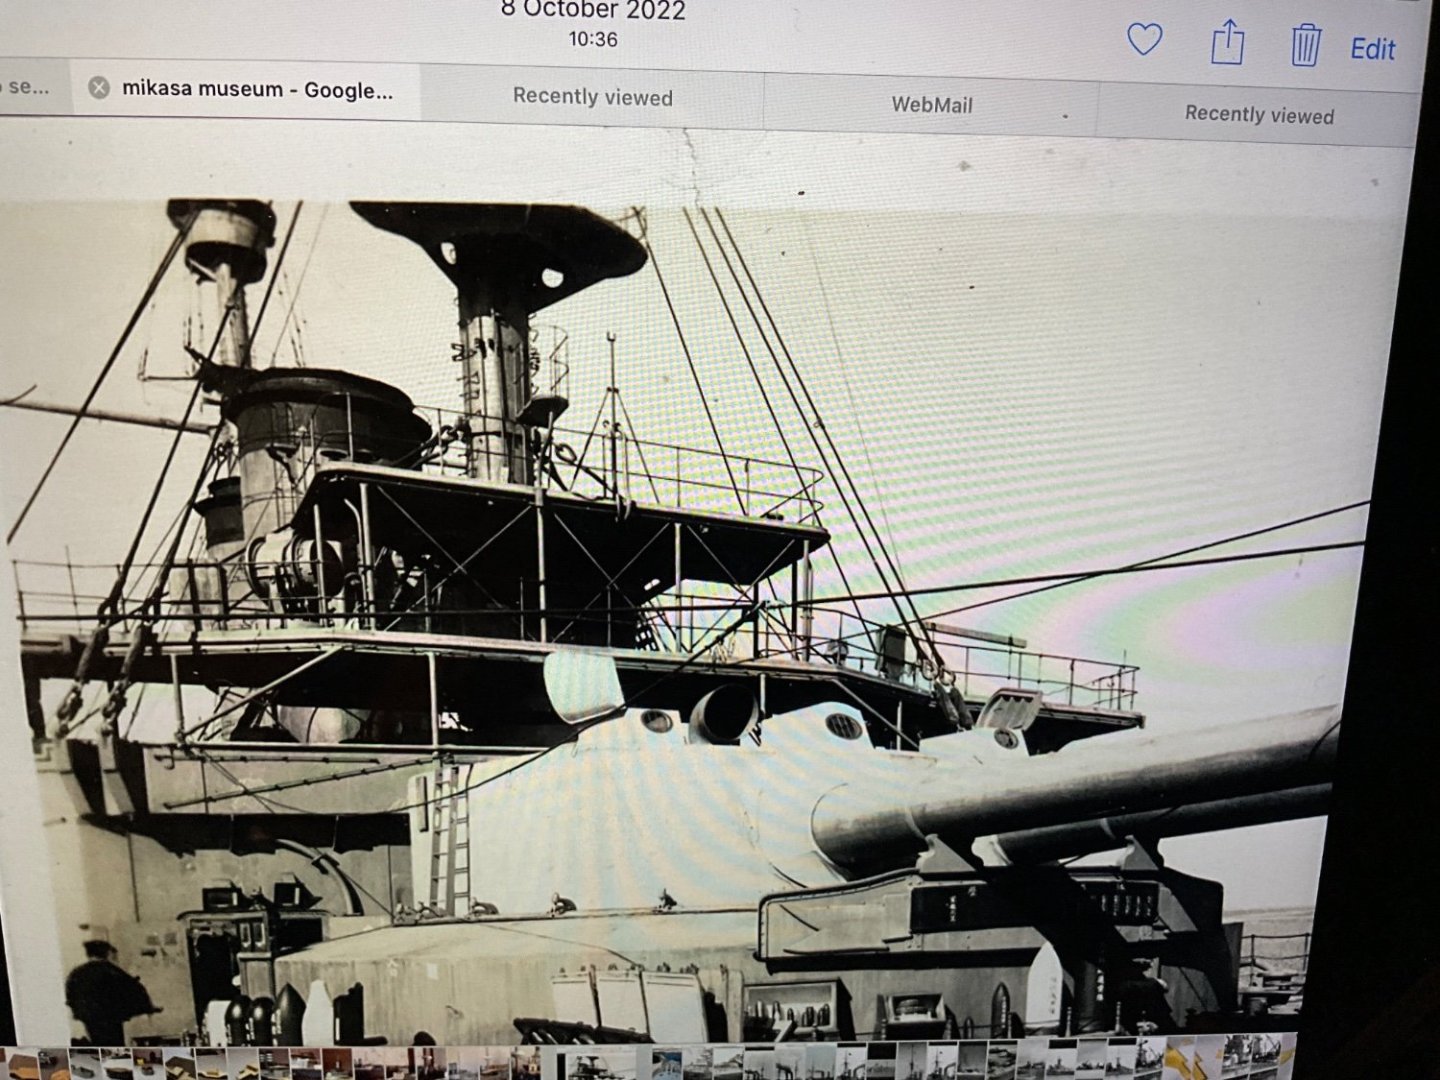
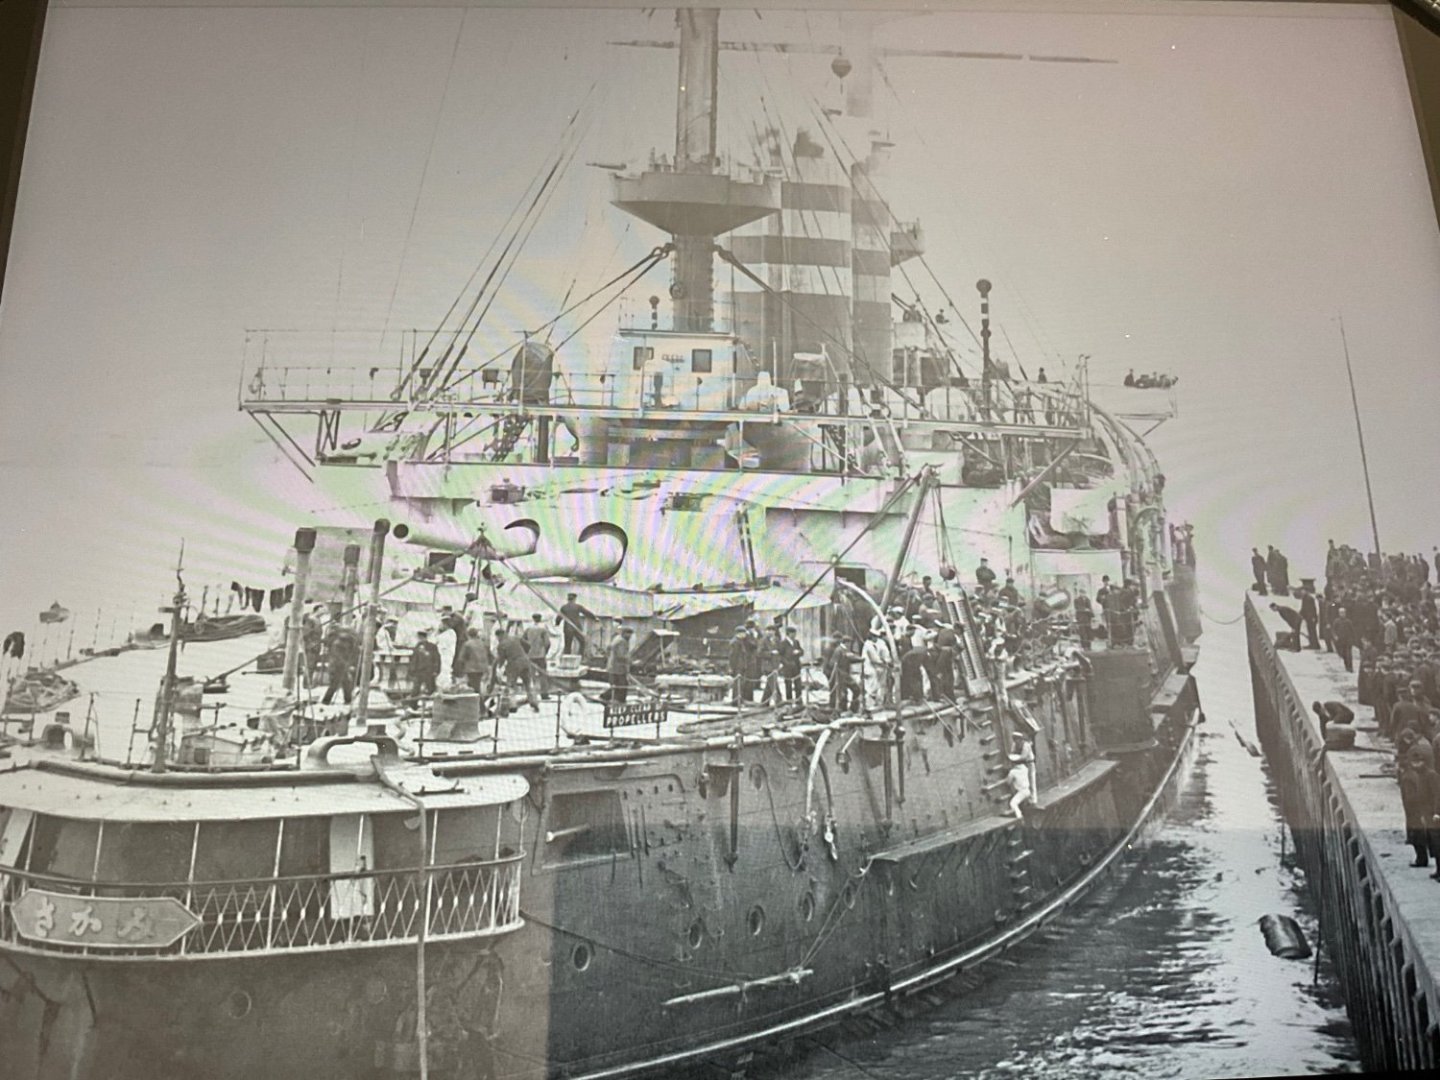
Photos show scale of flag on staff and that the 1905 Mikasa had different hatches in turret roof the round ones seem to be the original ones that are on the 1902 build of ship, well that’s what l think, maybe some day in future someone will do a book on her, strange there’s not one already.

-
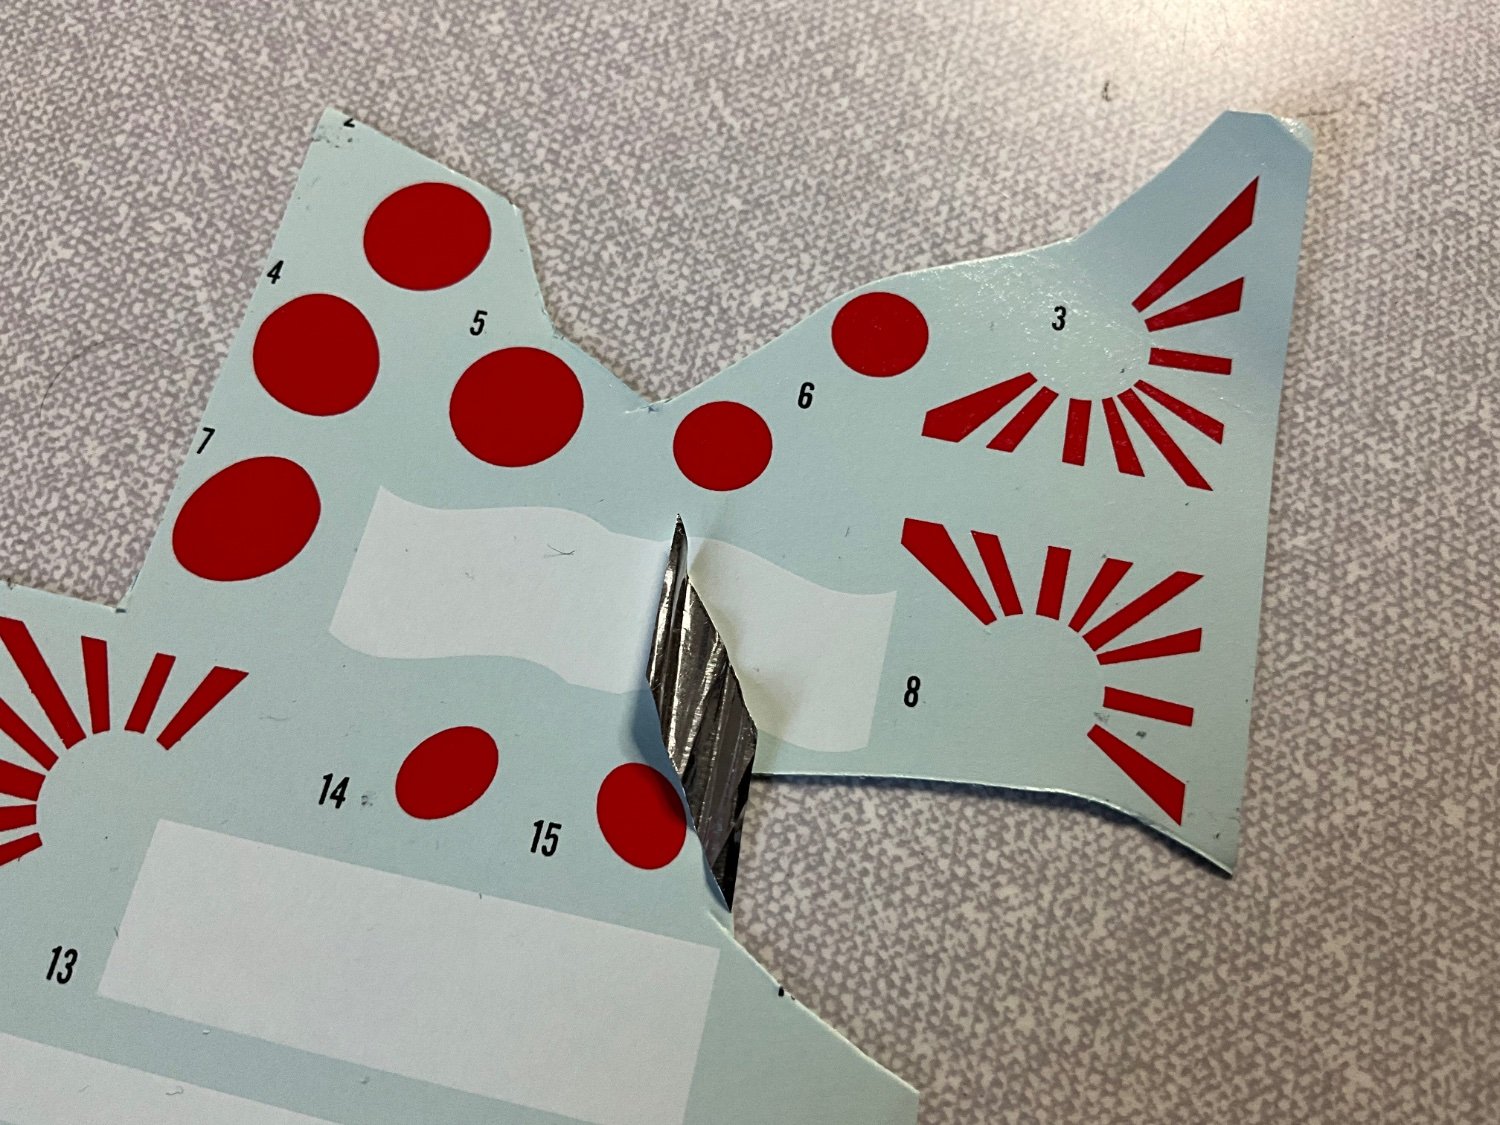
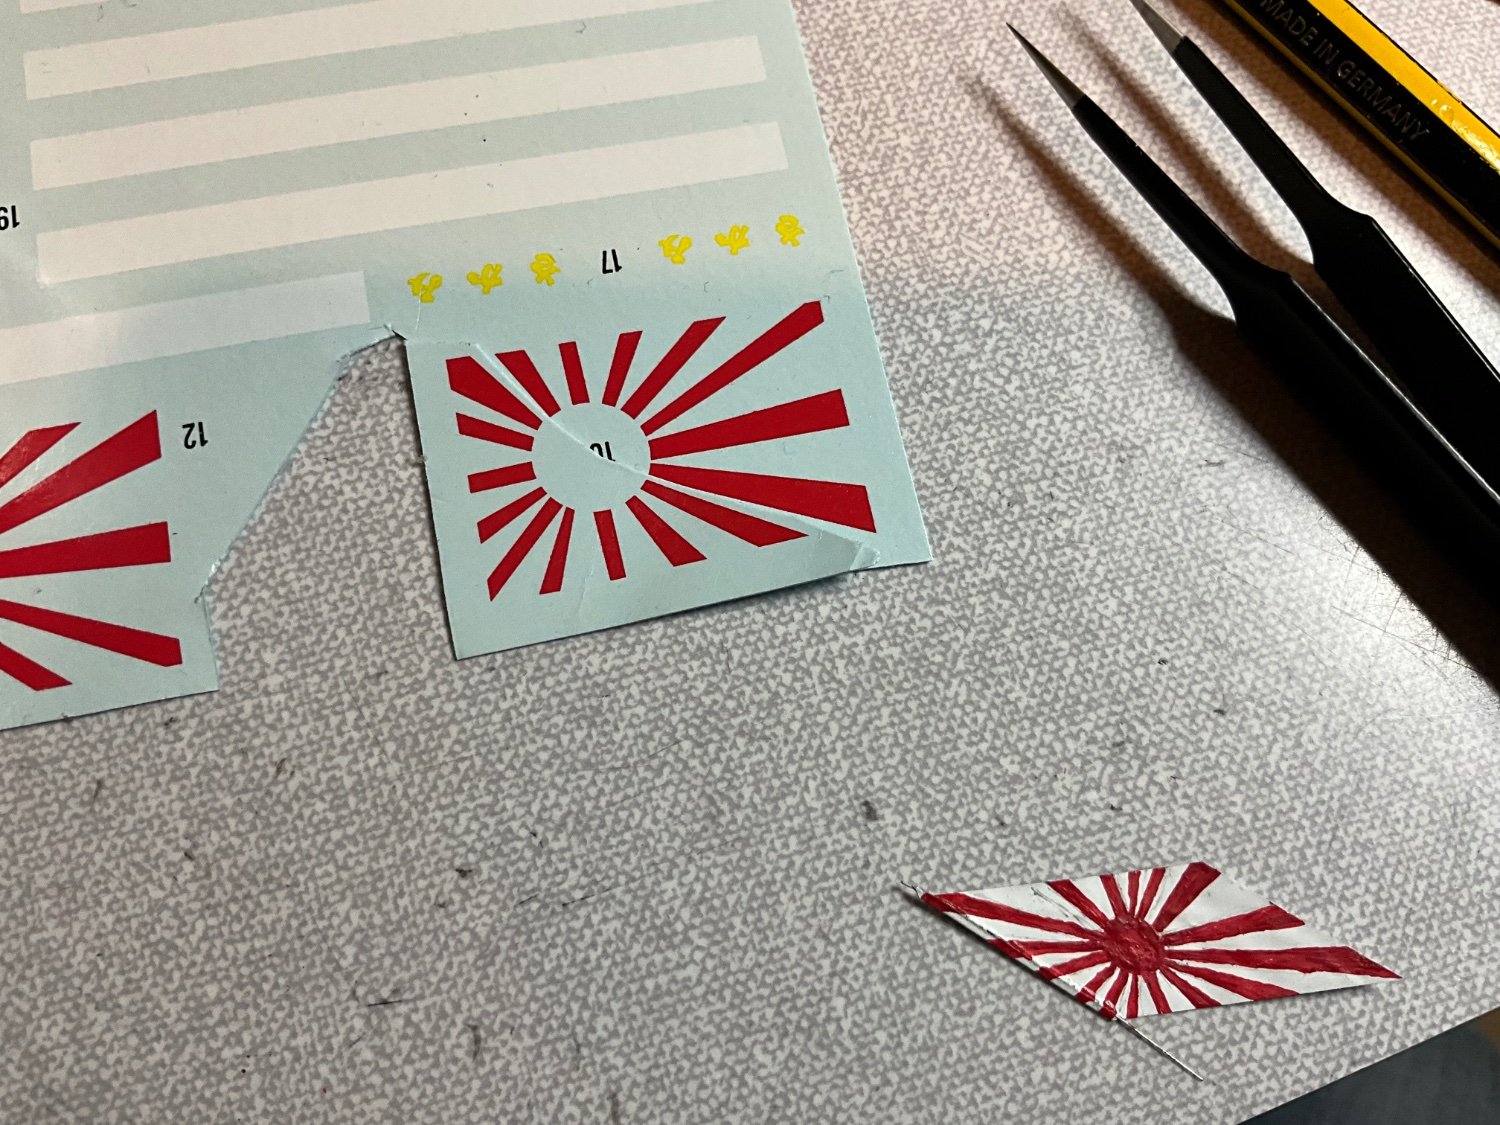
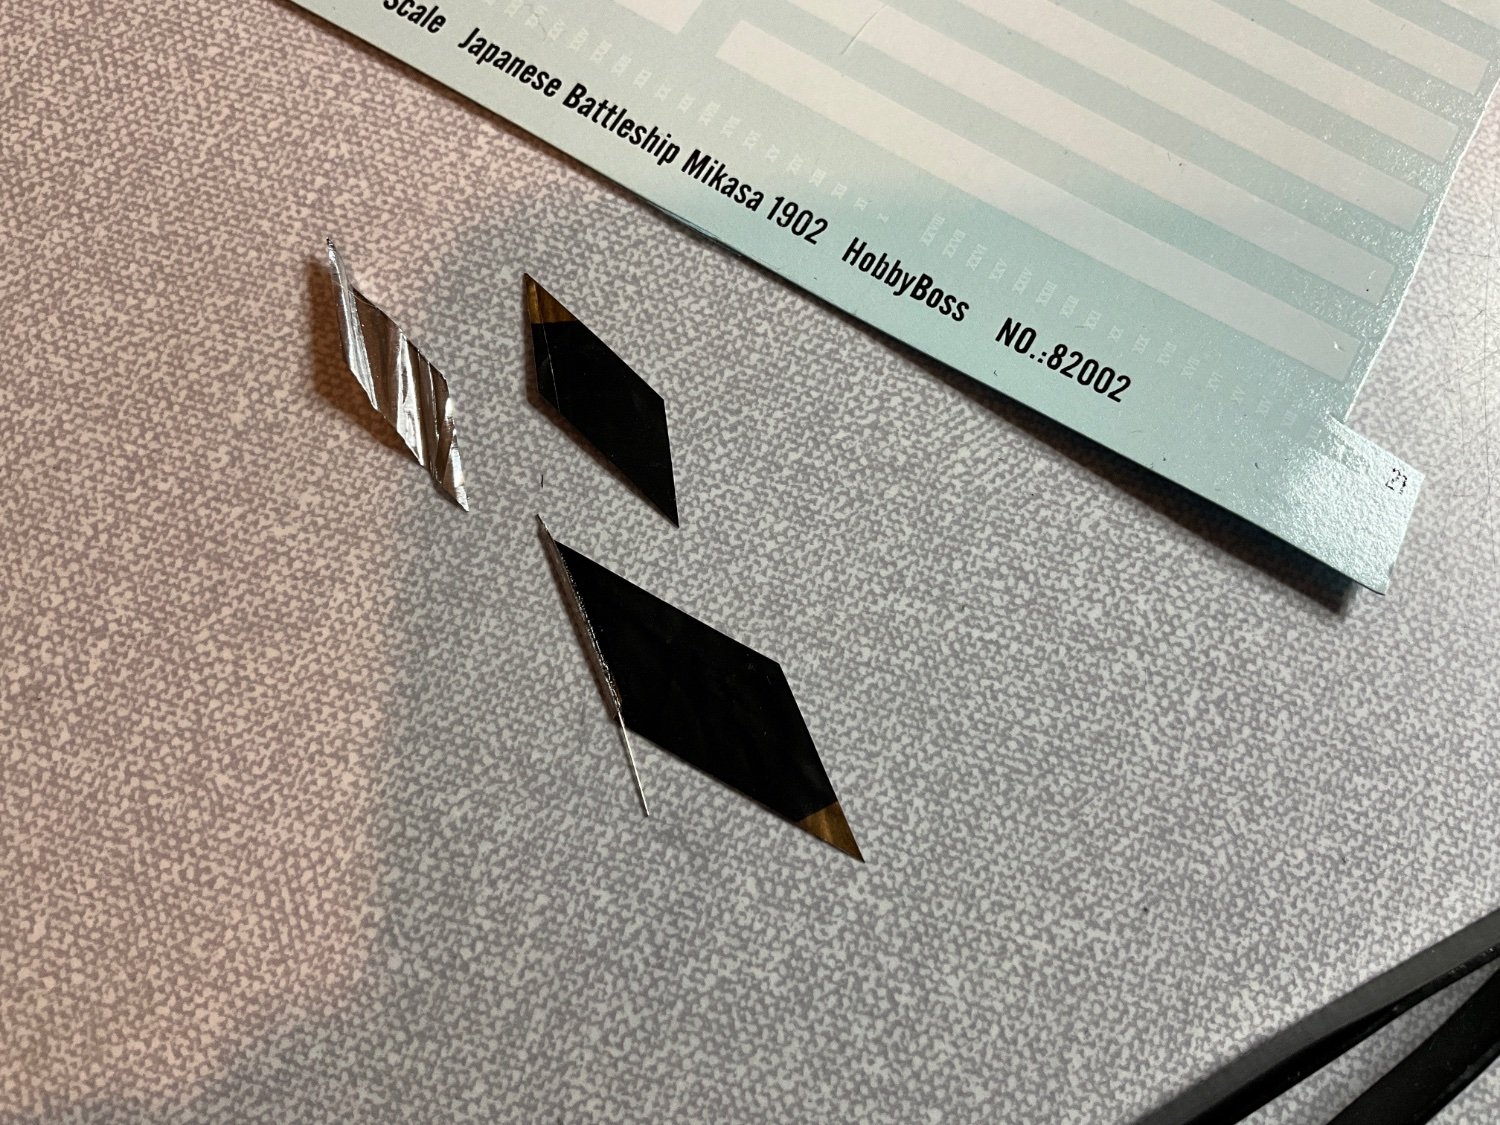
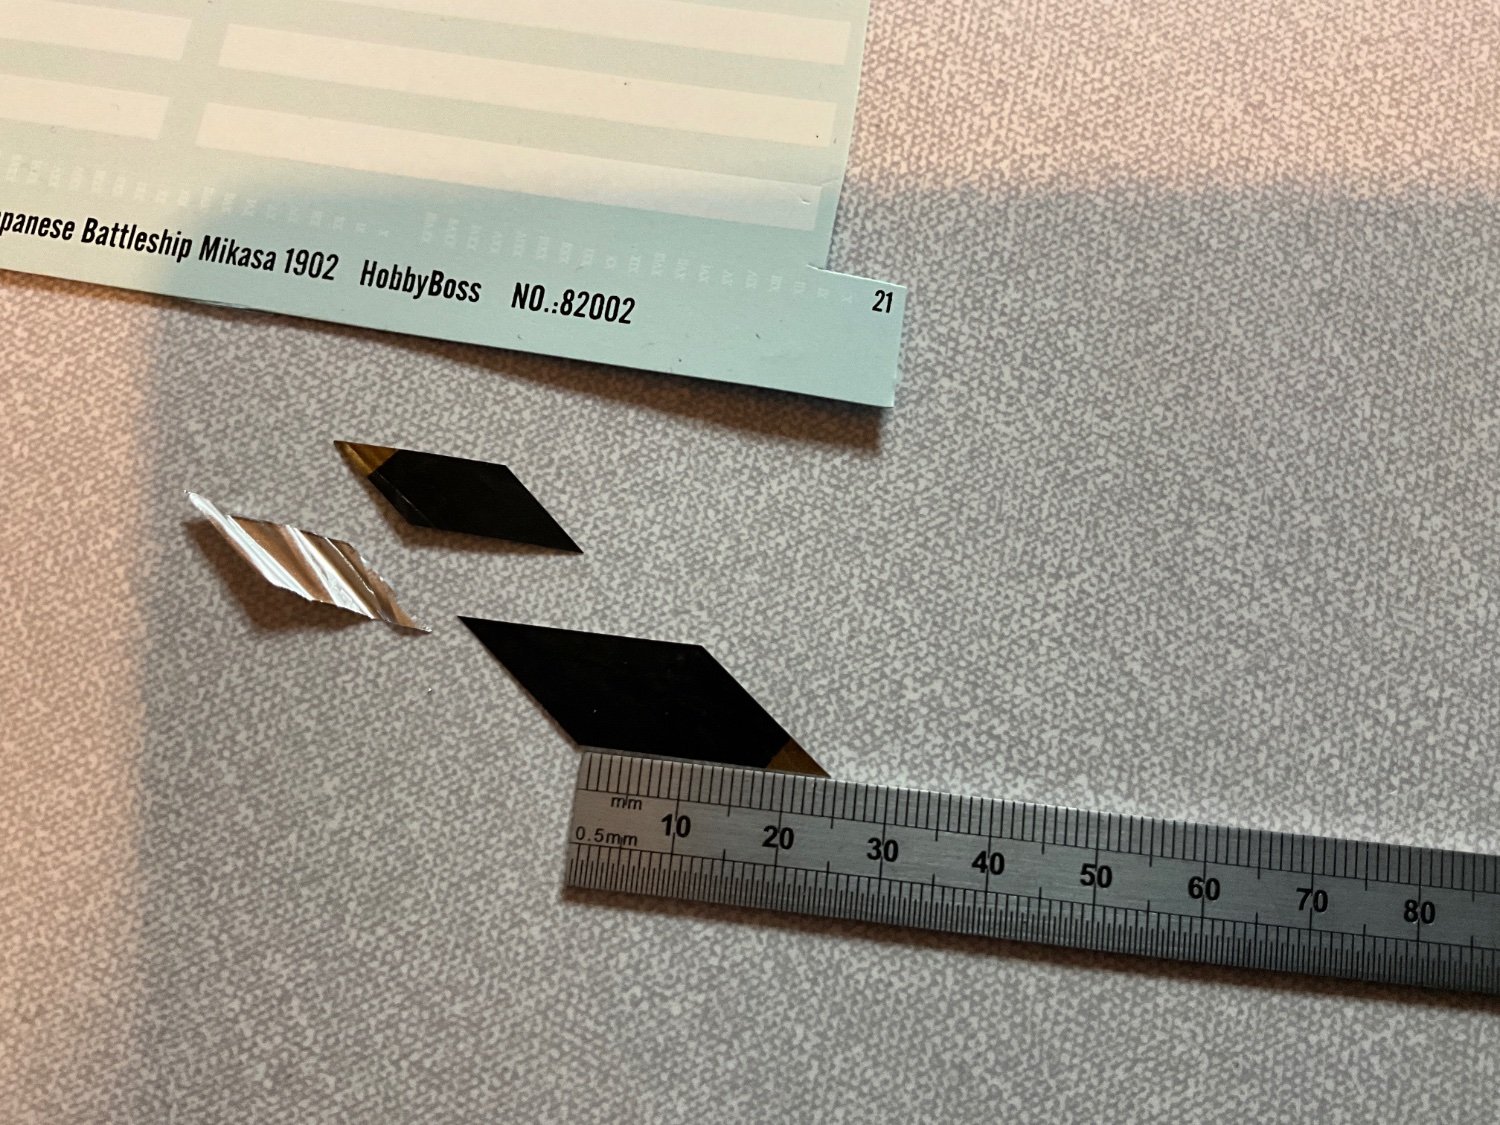
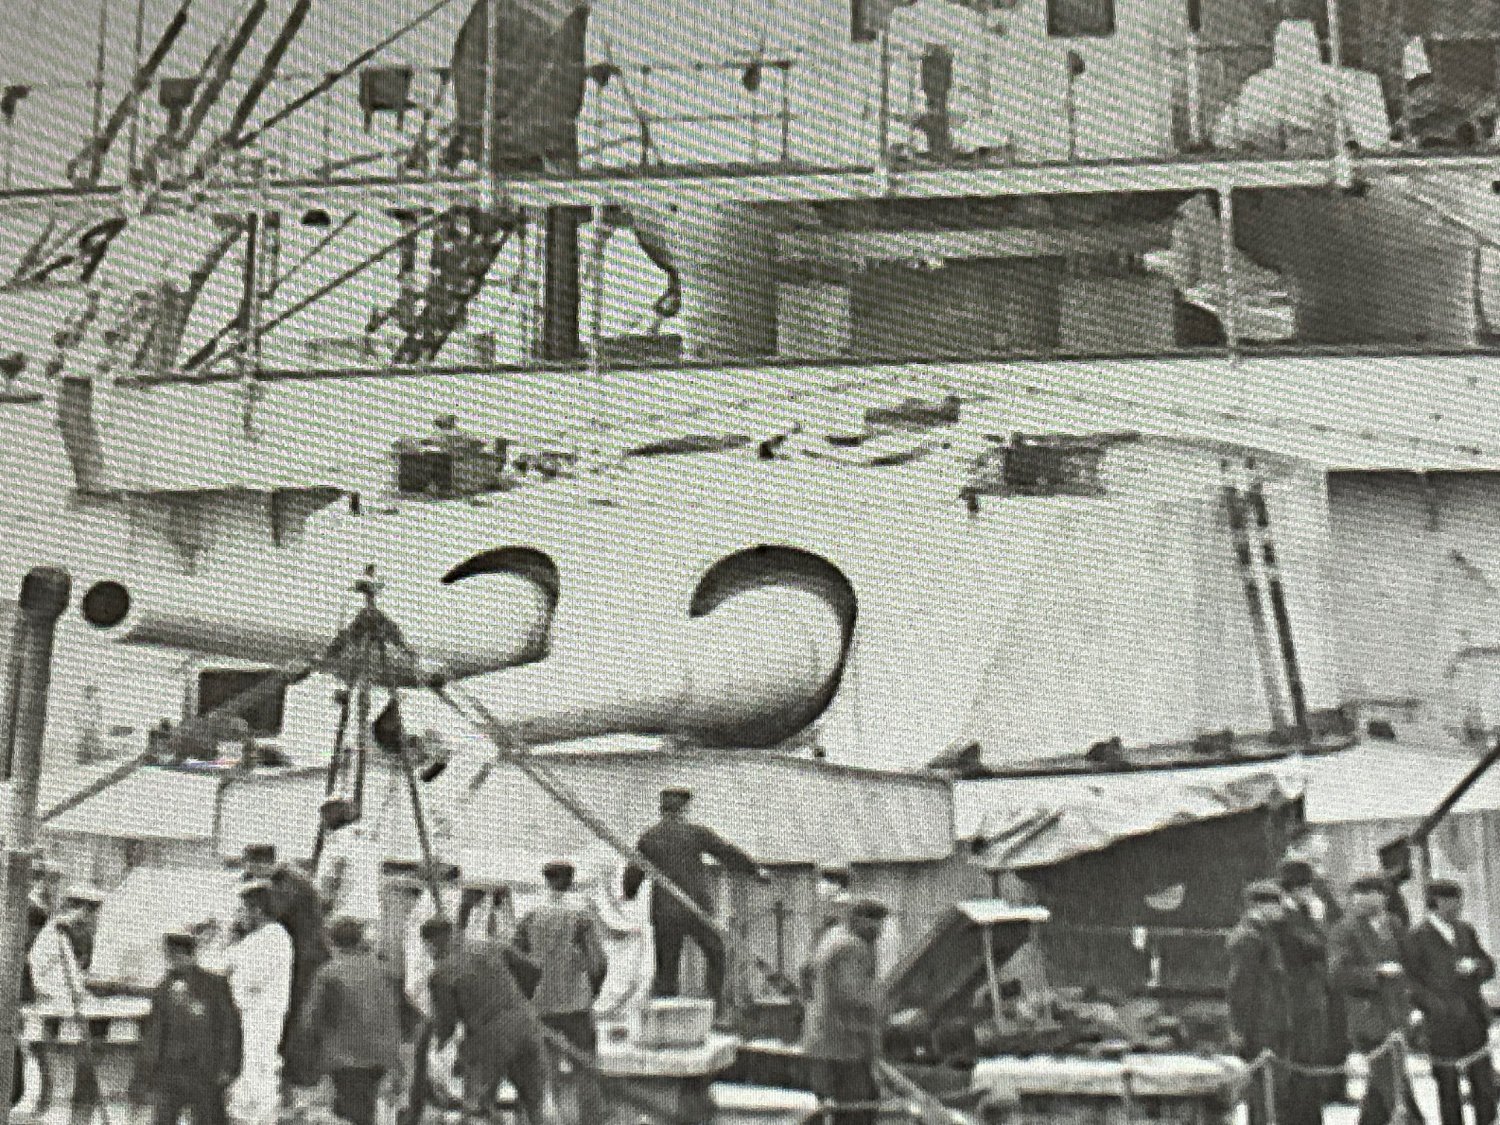
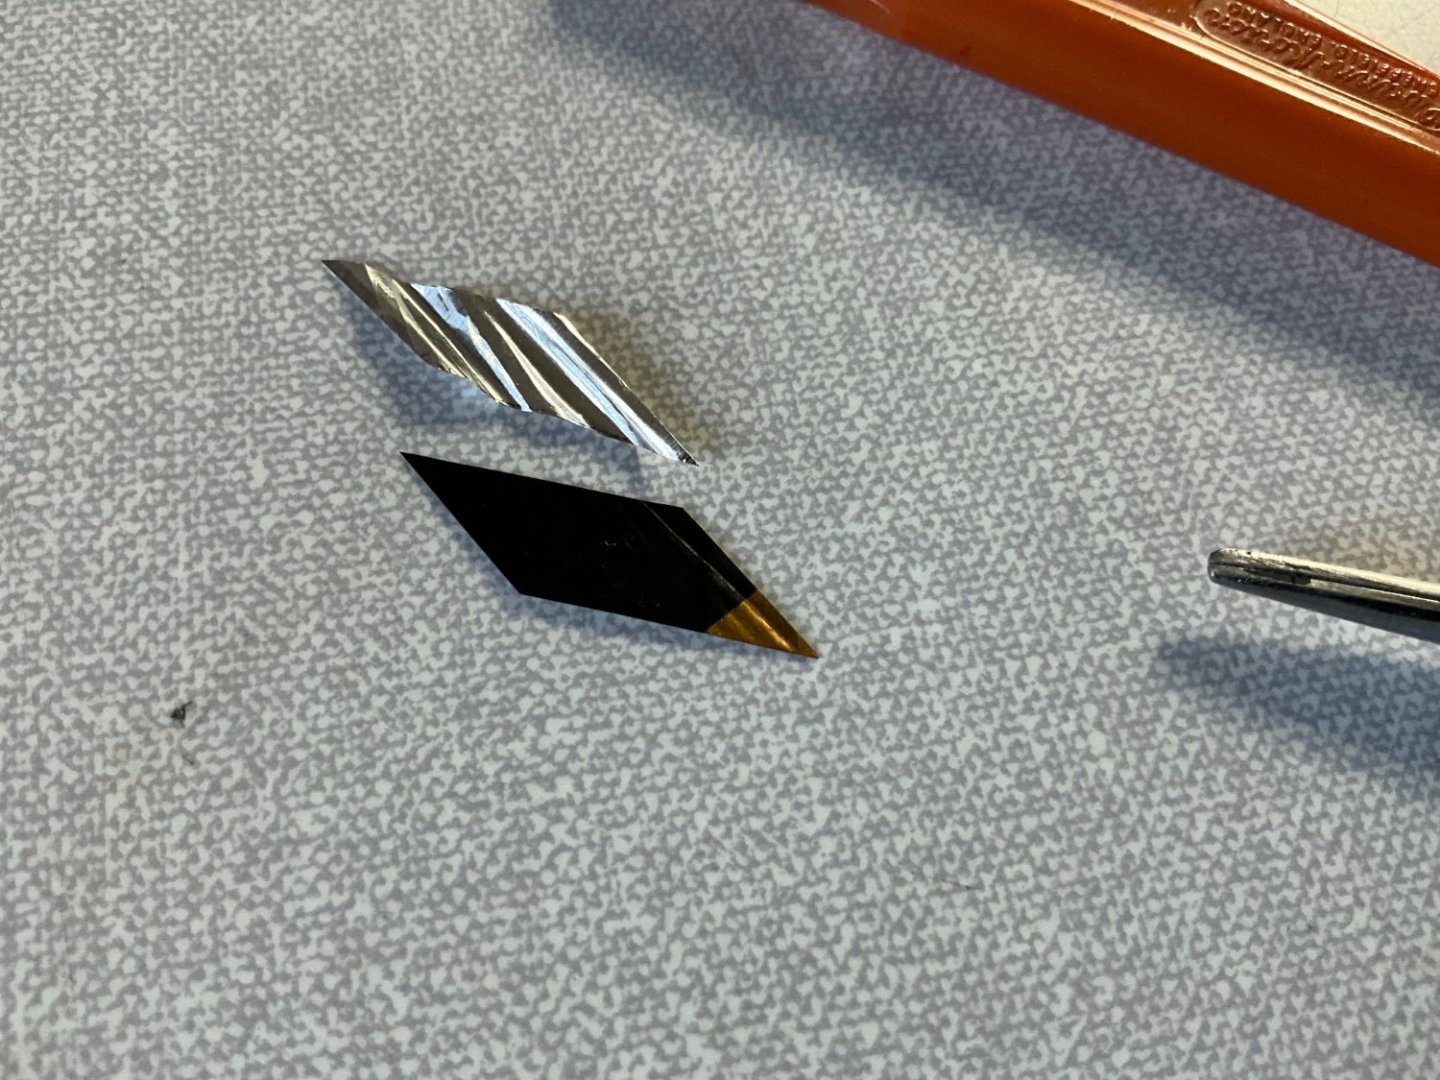
This’ll be a laugh if it works, Decals of flags in kit not going to work for me, the Japanese ensign on the stern isn’t the rising sun and l checked with photos of Mikasa for scale and it’s to small, shall put a photo up, smaller flag is size of kit decal the larger one is my guess of size just with scaling against photos, probably not spot on but closer. Size l cut it at is 24mm x 18mm.


-
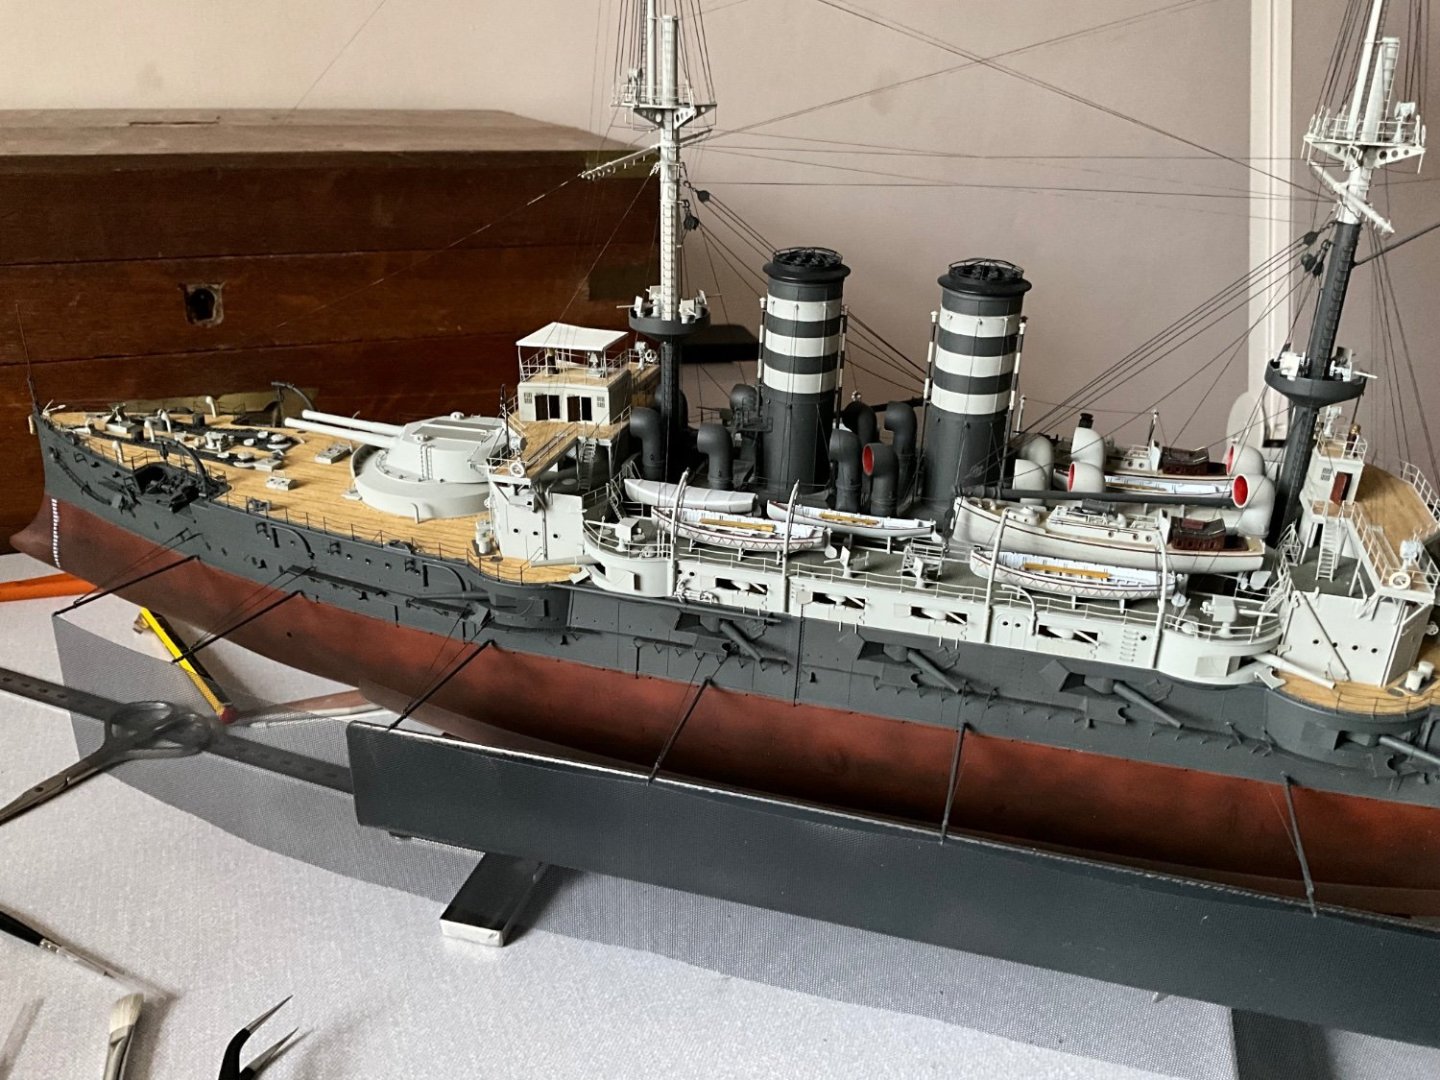
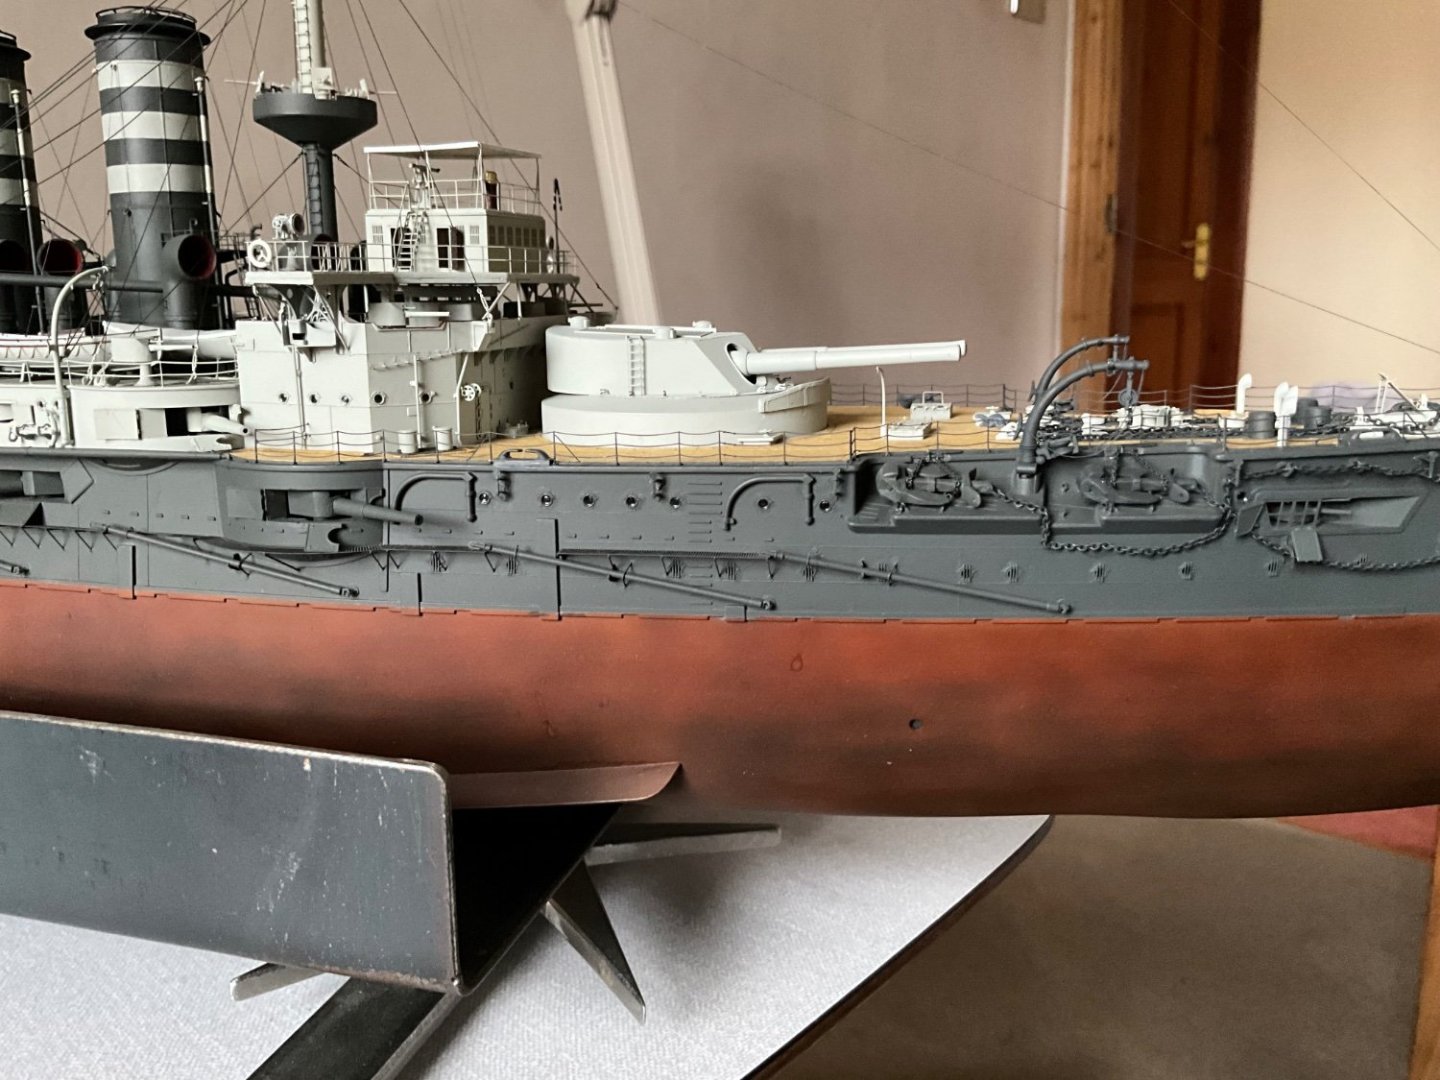
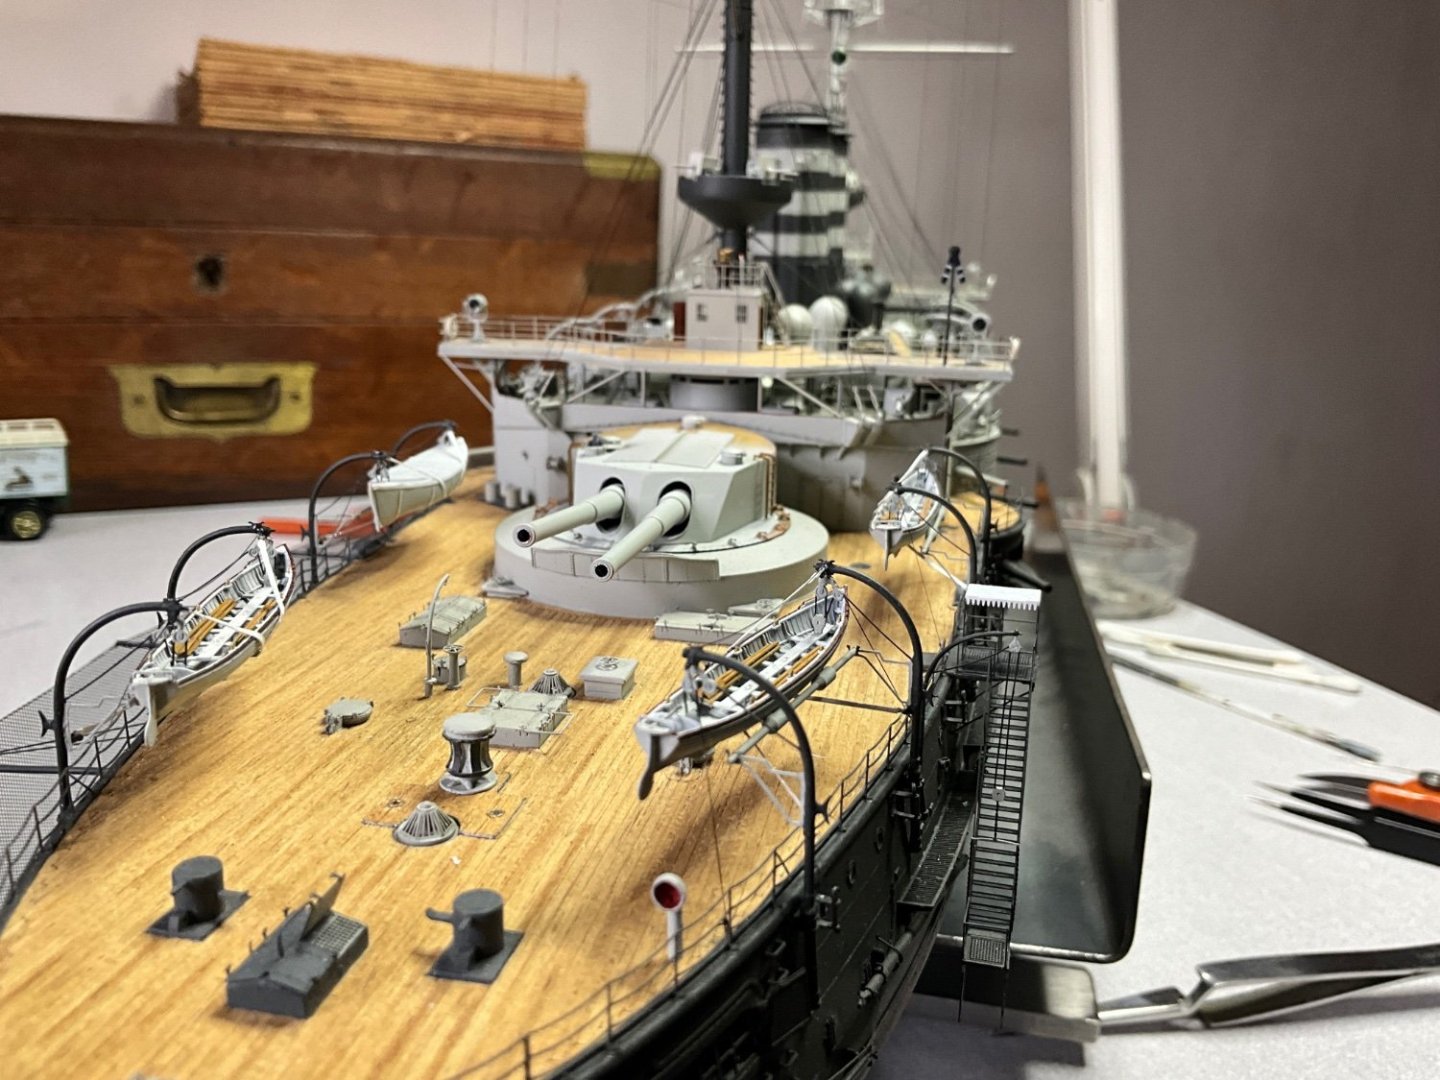
That’s turret painted now, no major disasters, leaves me with Ensign flag to work on, little people and what l think l want for water up the Starboard side, never done any of these before so shall be searching for guidance, trying to complete for end of April for model show with club, going to be a steep learning curve. 🤞
-
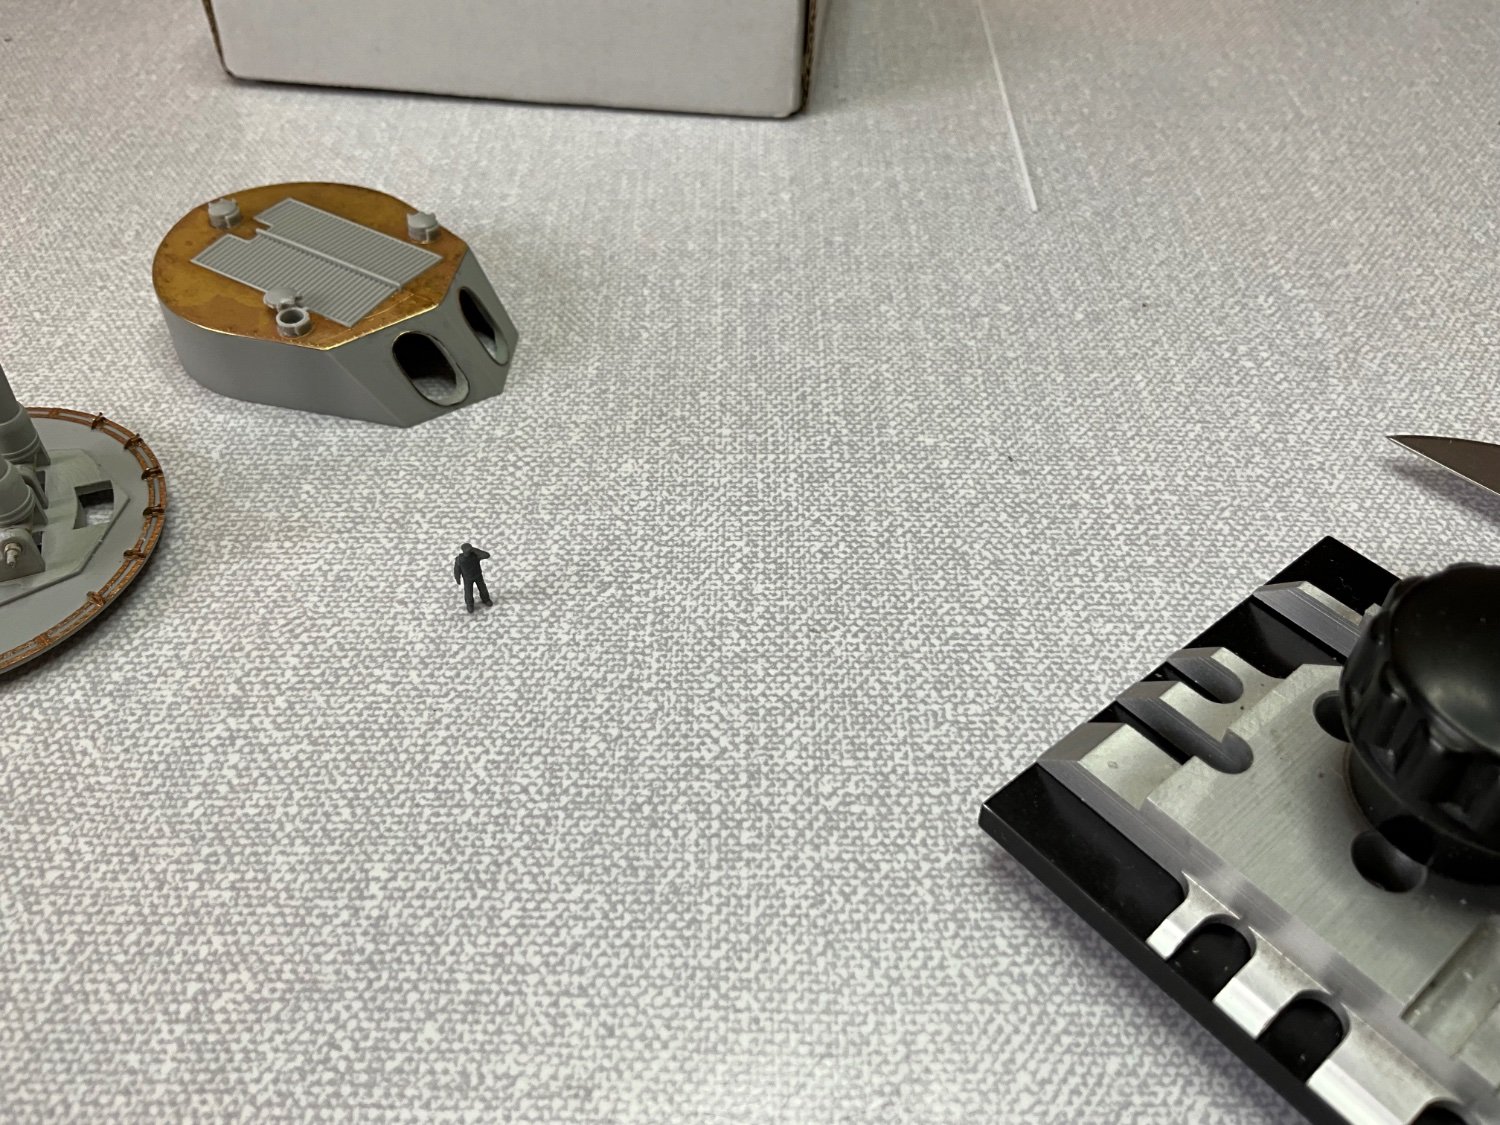
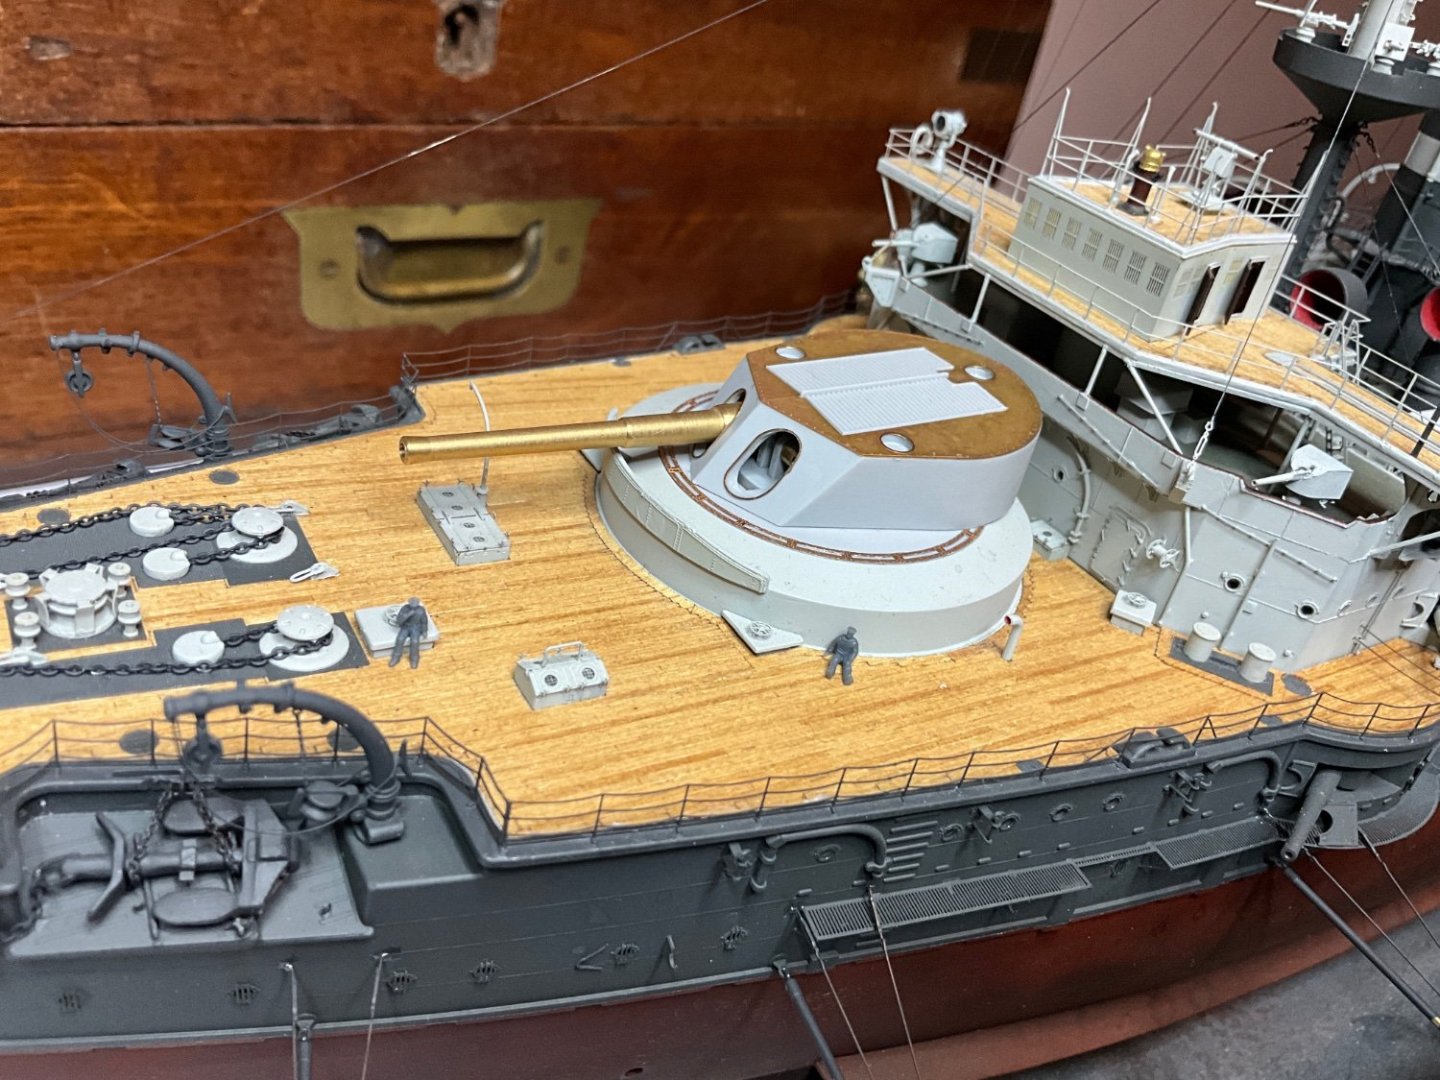
Photo of guy standing in turret, whoever he is he got his spot on my model, don’t worry,not doing the rest of guys in the photo. 😂

-
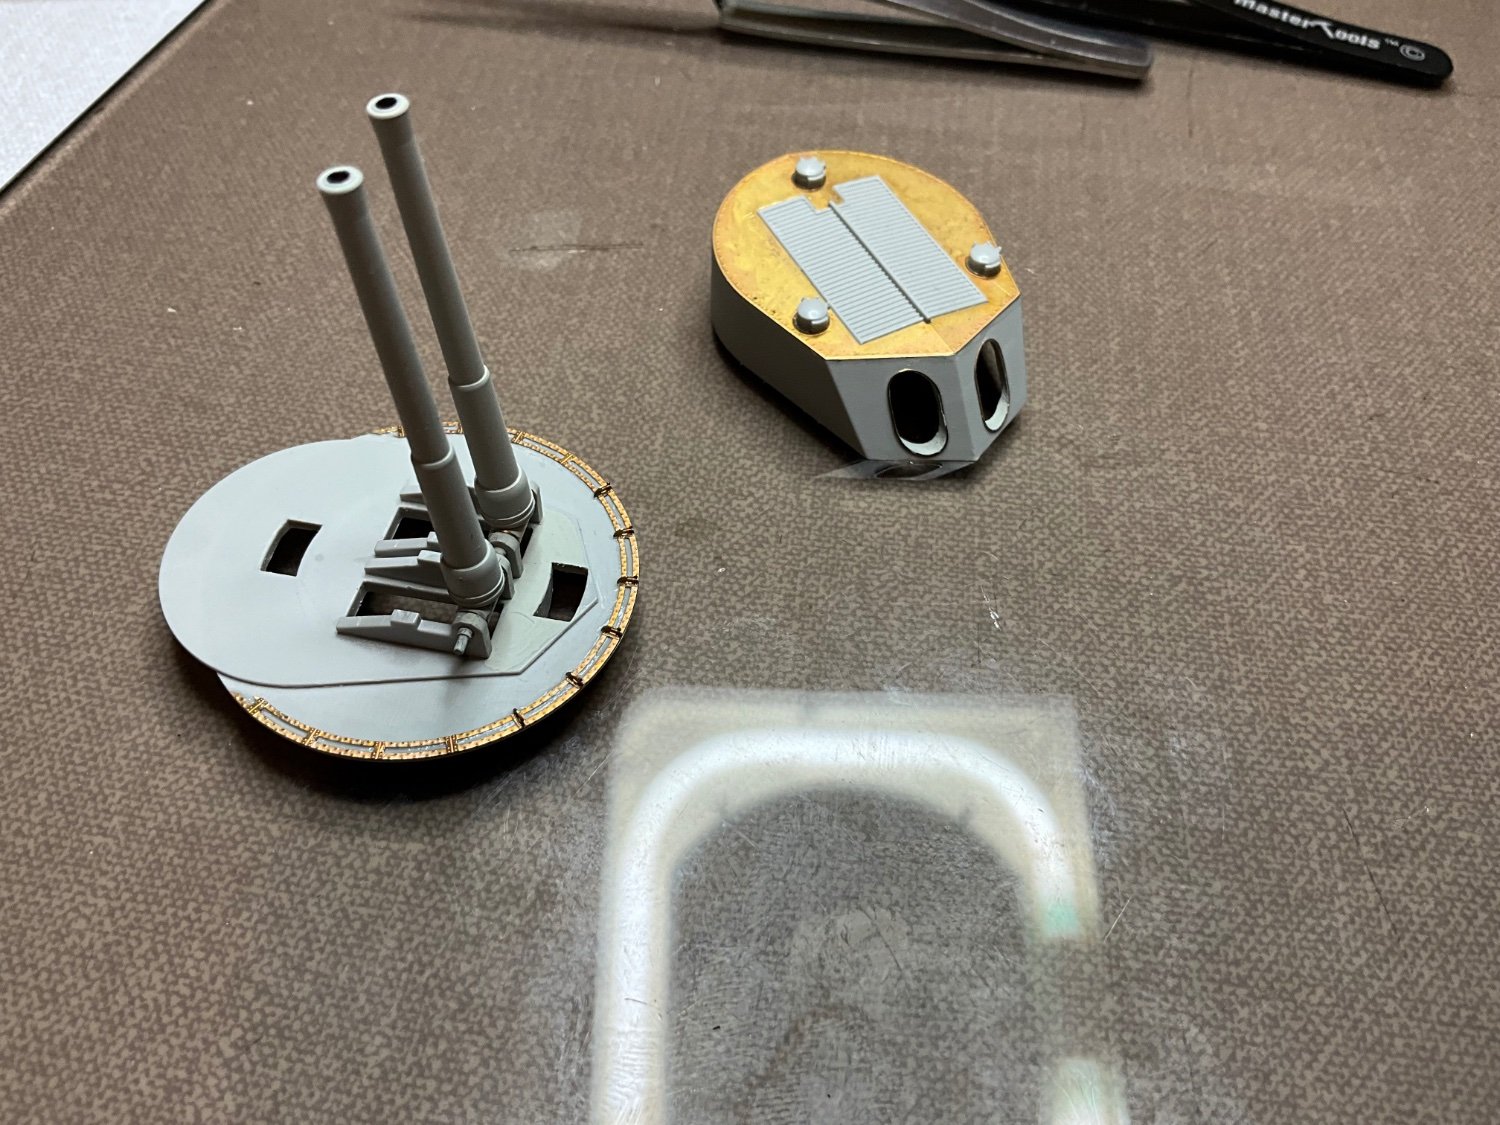
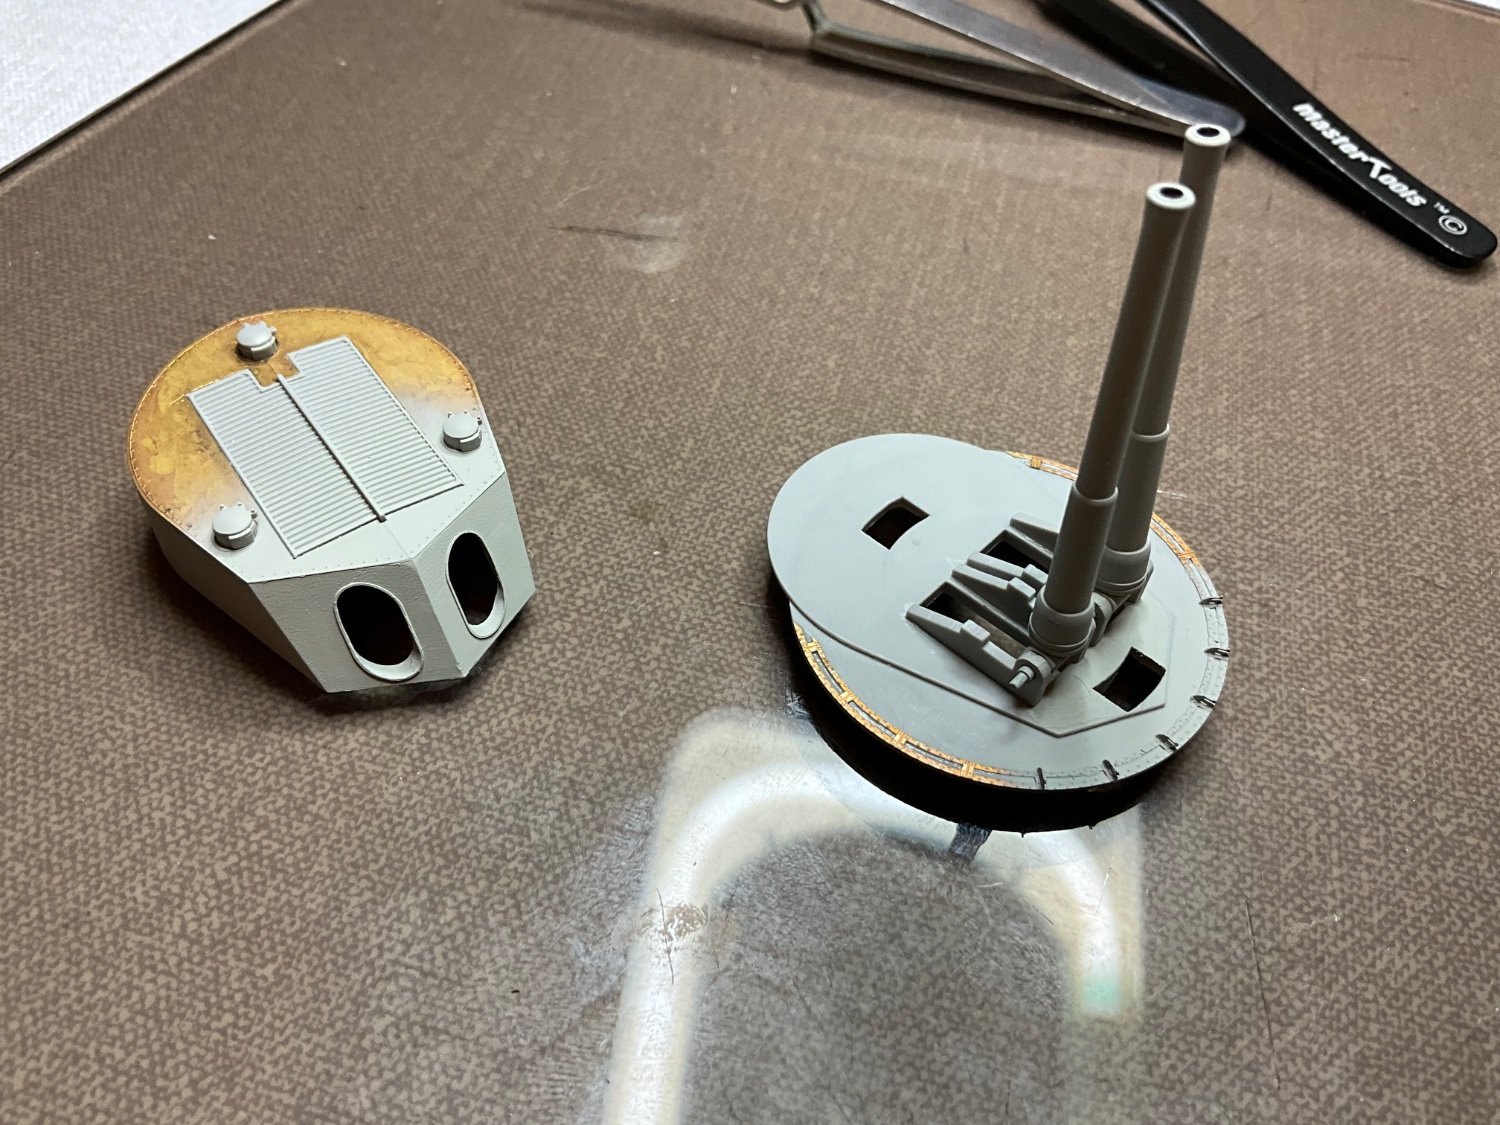
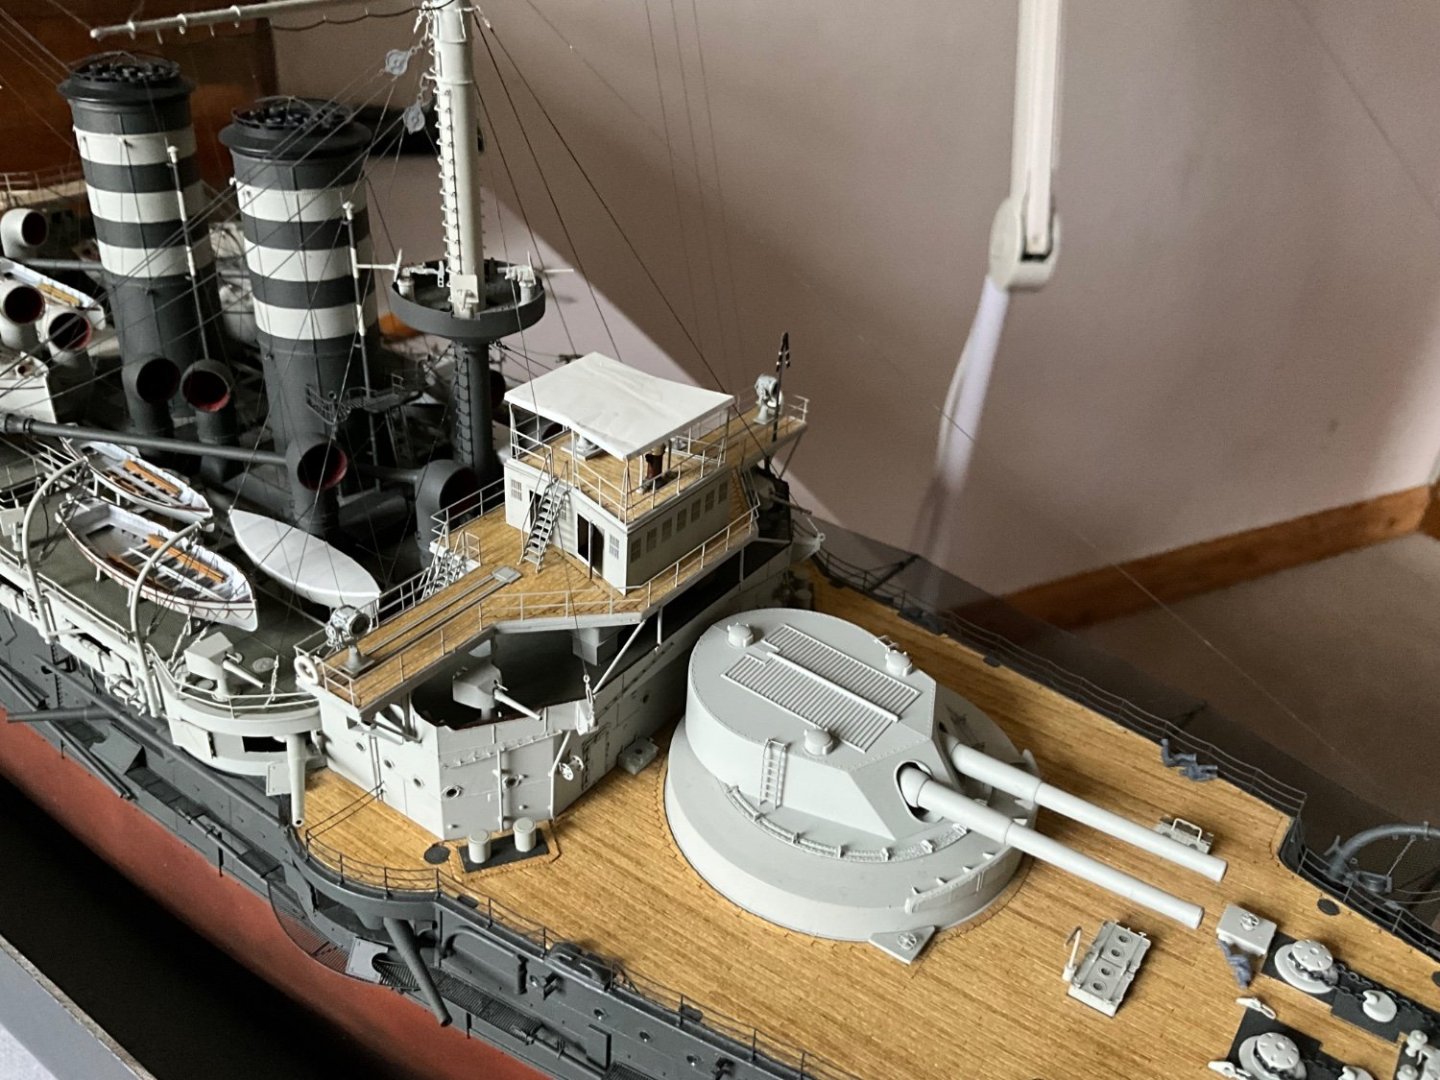
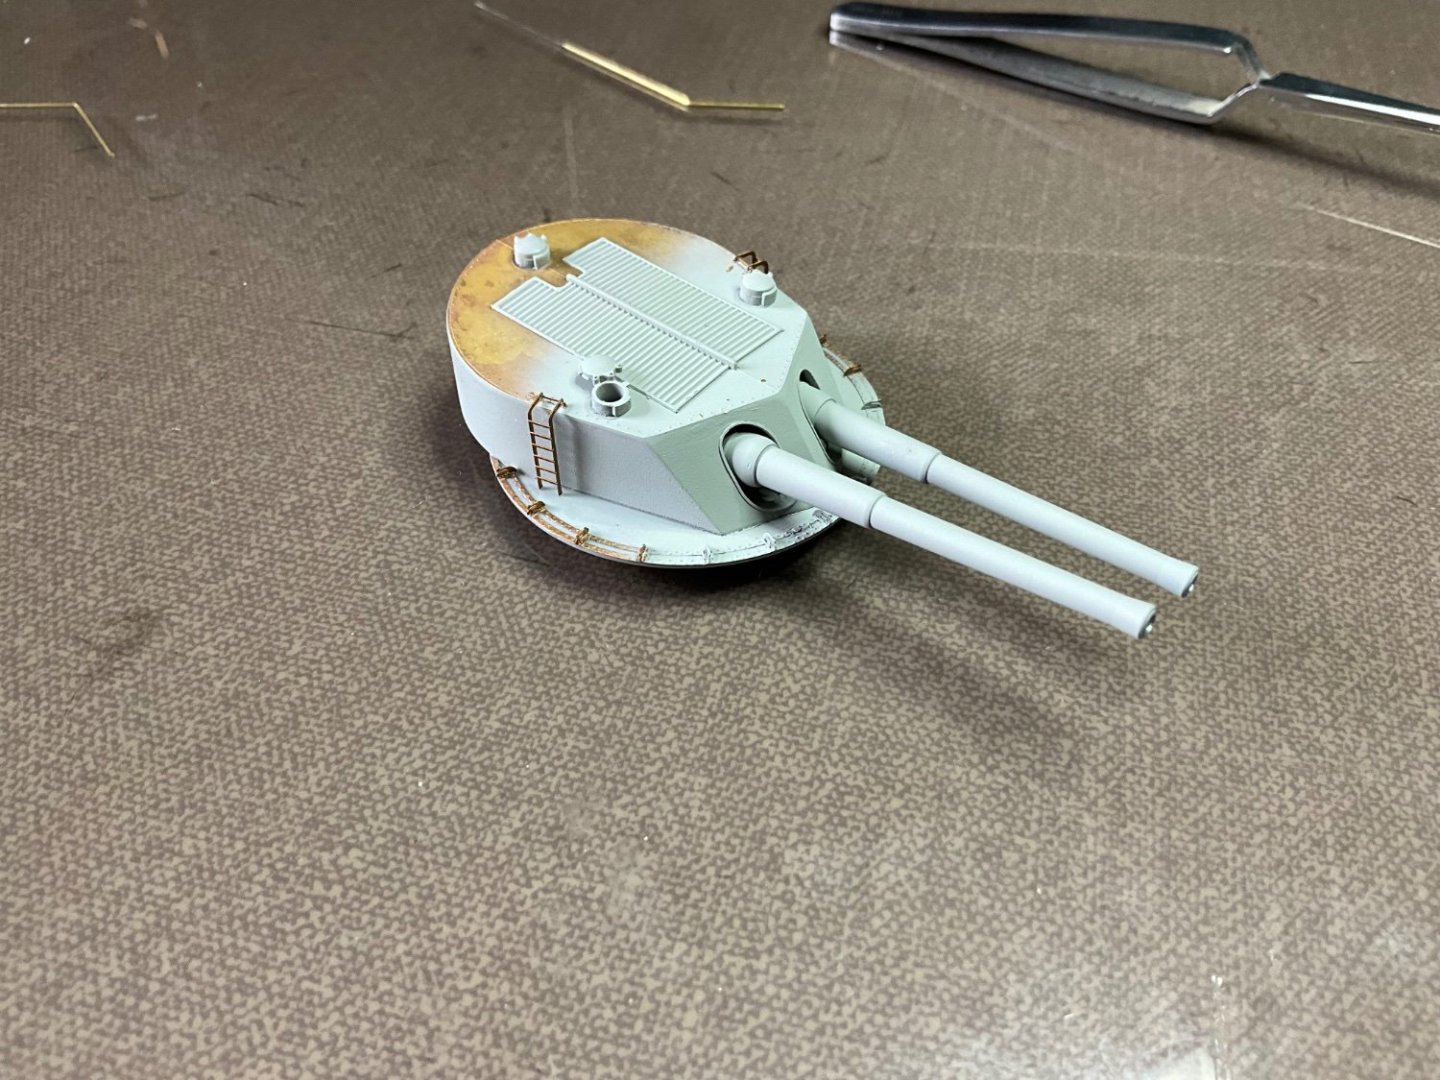
Working on this just now, just fitted my last piece of etch l think. 🤪 Stand corrected, you can still glue the guns from underneath if you wish 👍 Shall show photo of turret complete, just waiting final paint.
-
Thanks very much Greg, hope it helps others with their builds and encourages others to buy and build her. 🤛
-
Thanks Herby, the ones l purchased you can peel of backing and position them, the Pontos draught marks, can’t see any backing to peel off. Brave man trying to put torpedo nets on hull before painting the hull, would spend forever knocking them off😂 will be interesting seeing how you light it up. Thanks for the feedback. 🤛
-
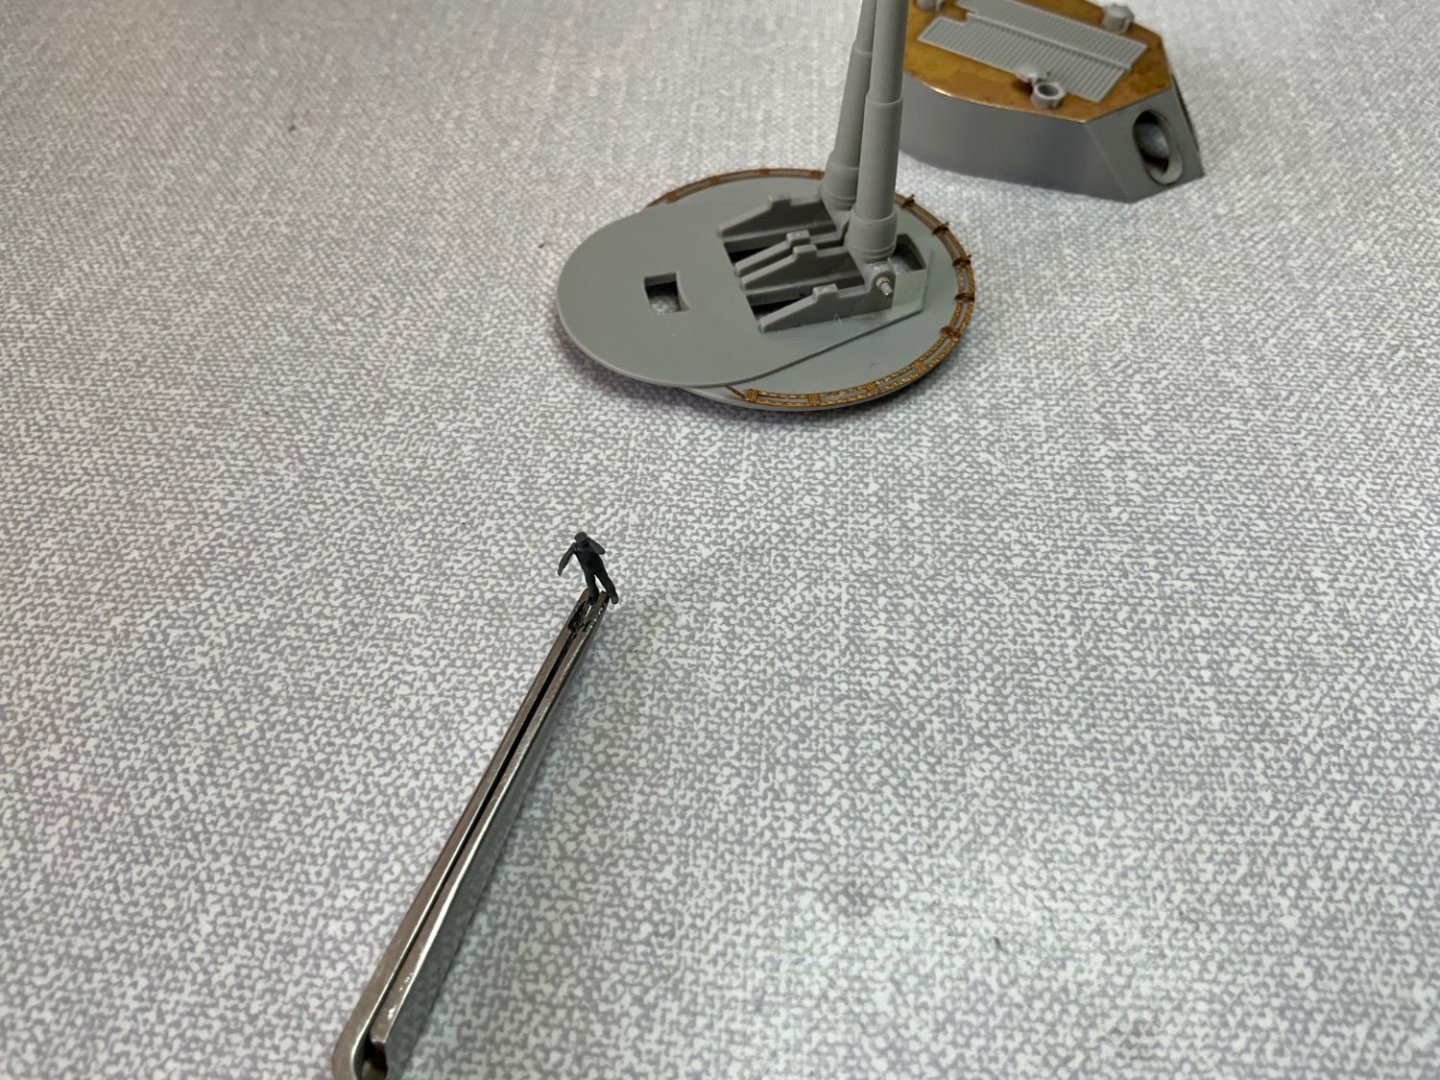
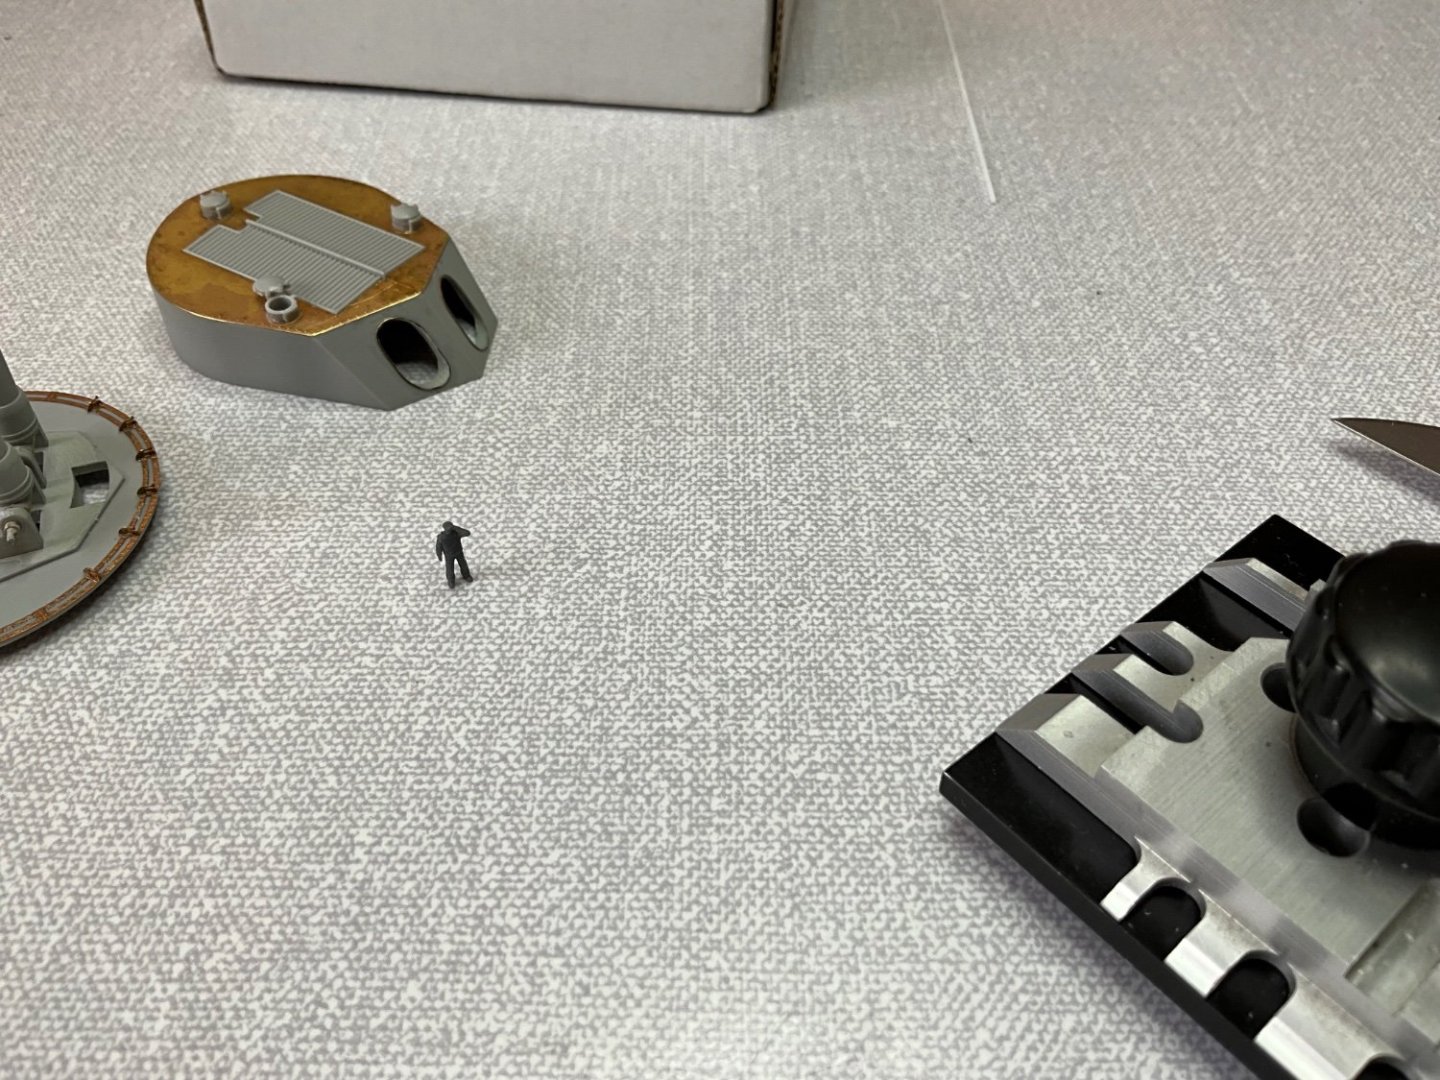
Hopefully he doesn’t look like something from Michale Jackson’s Thriller 😂 still working on these.

-
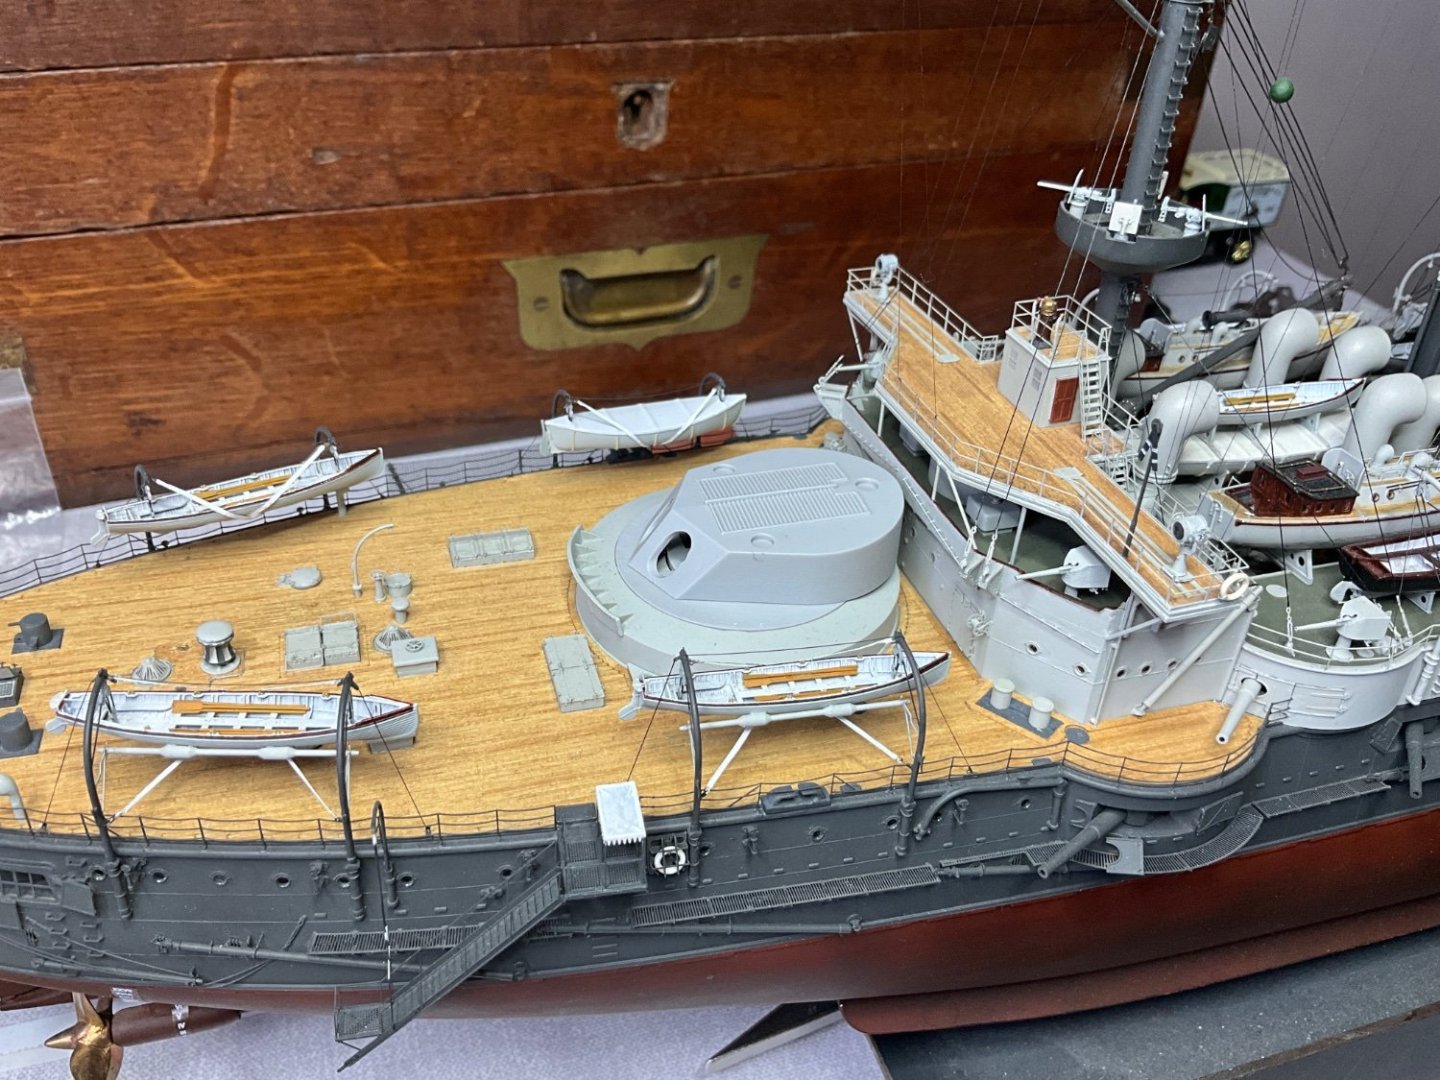
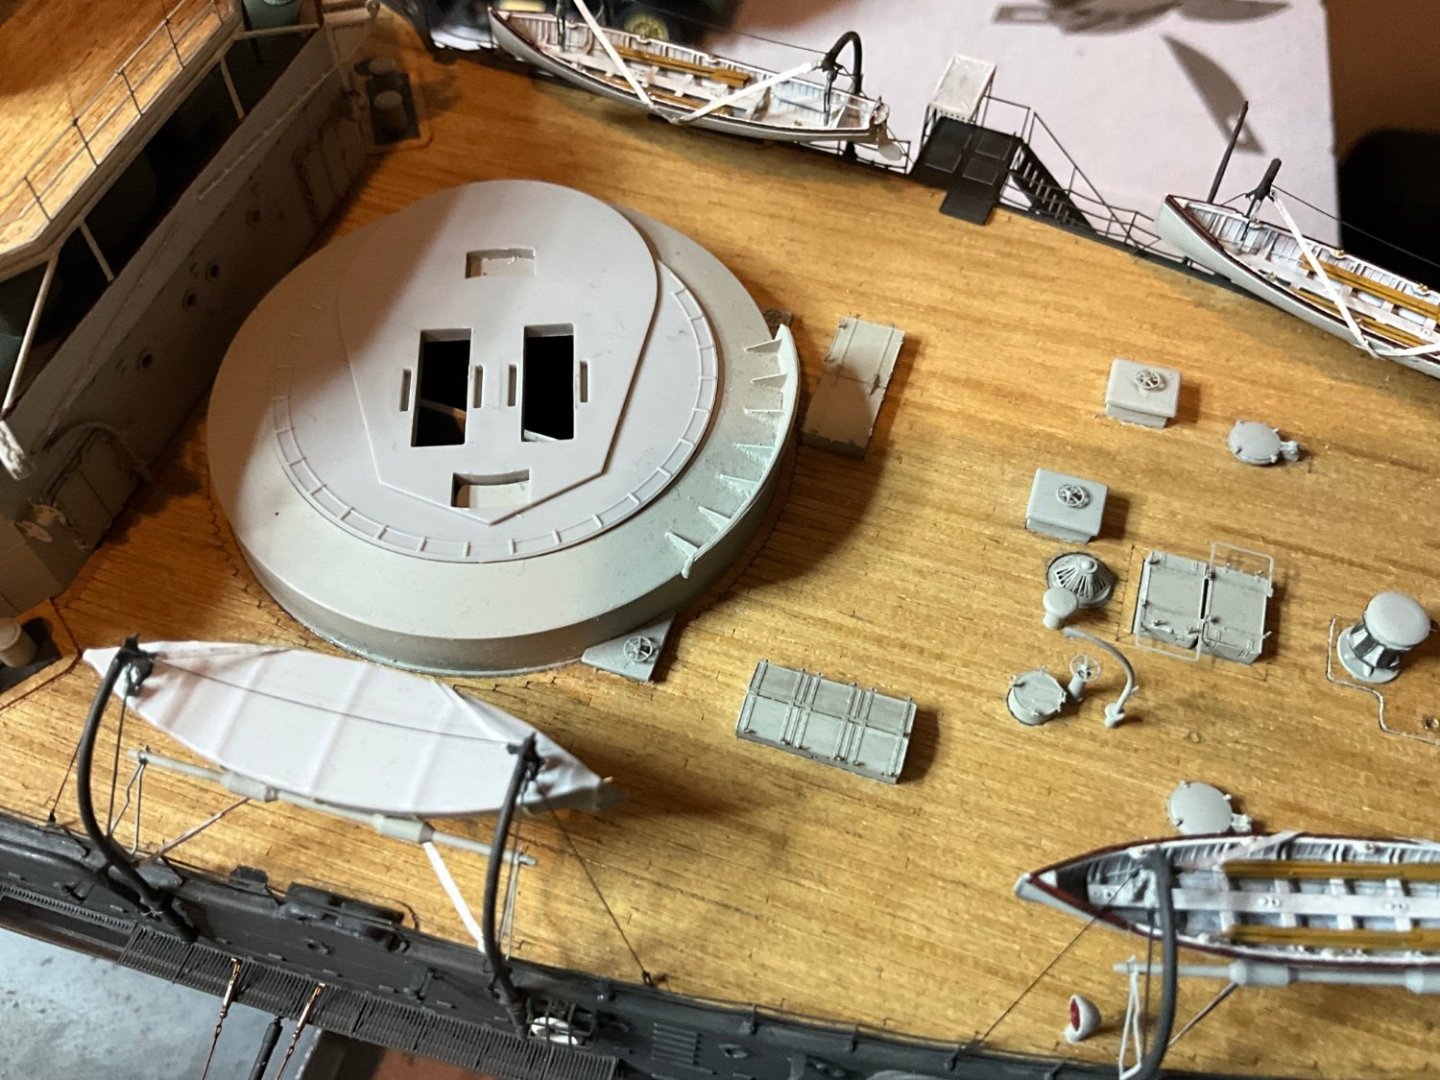
Doing the aft turret just now, decided to pose one hatch open as in this photo and altered one off figures to fit in place, surgery required 😂


-
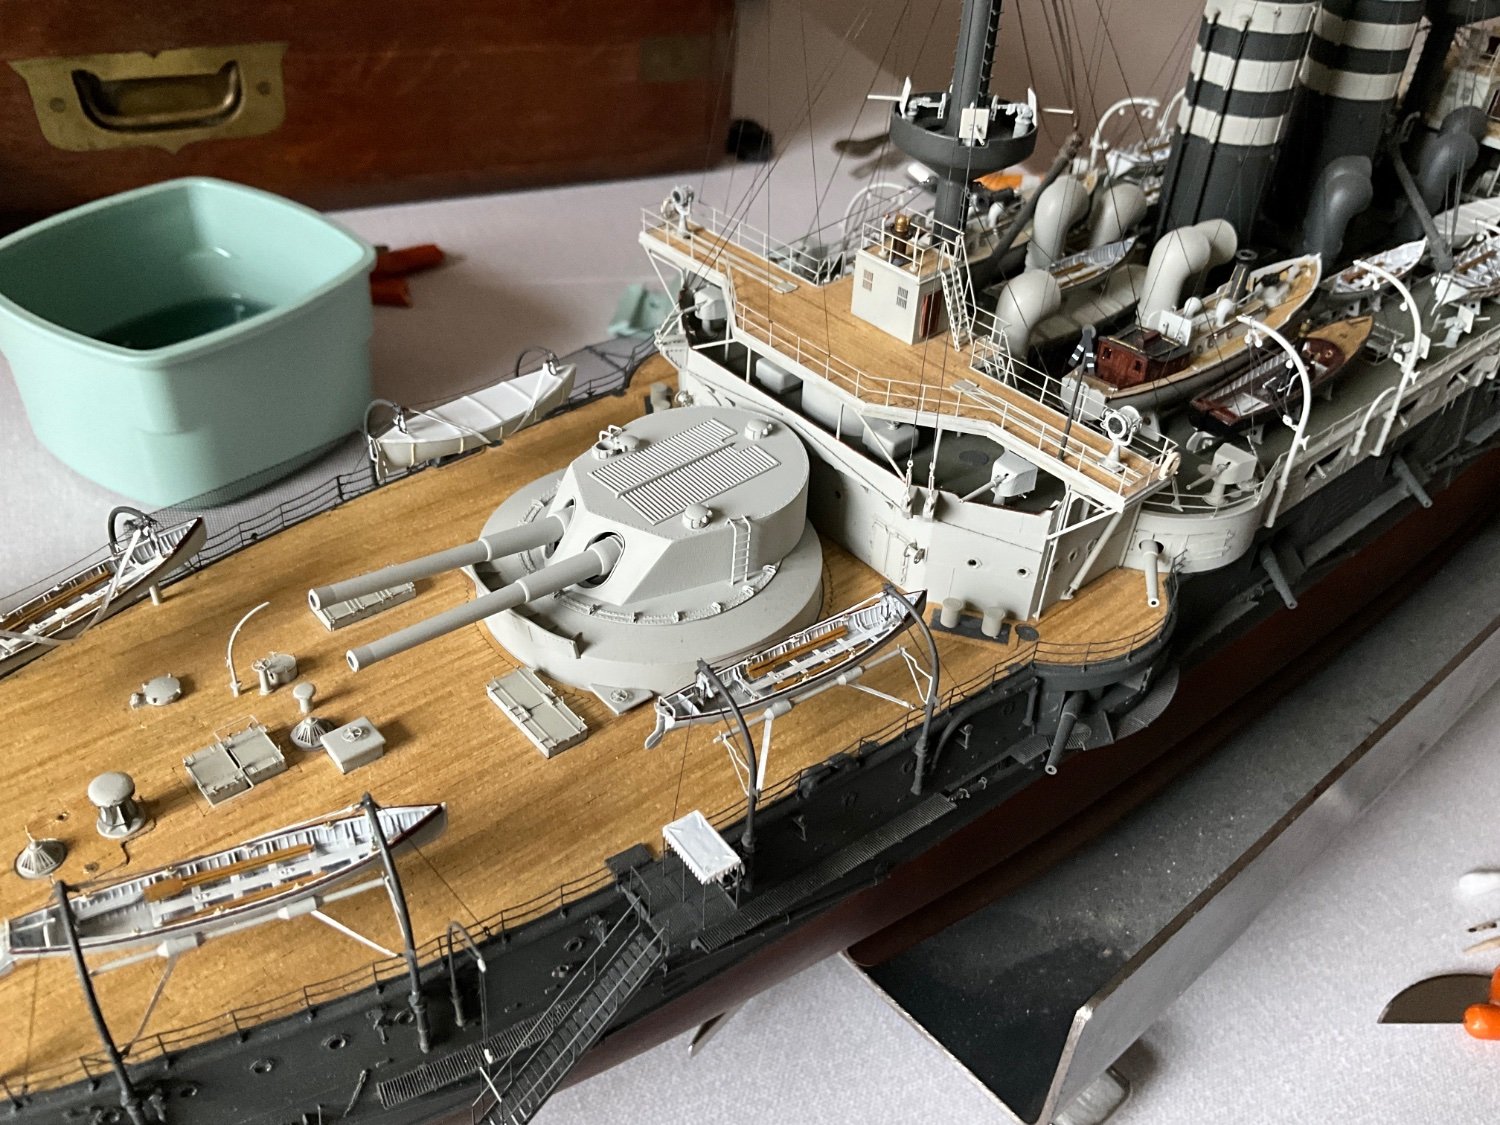
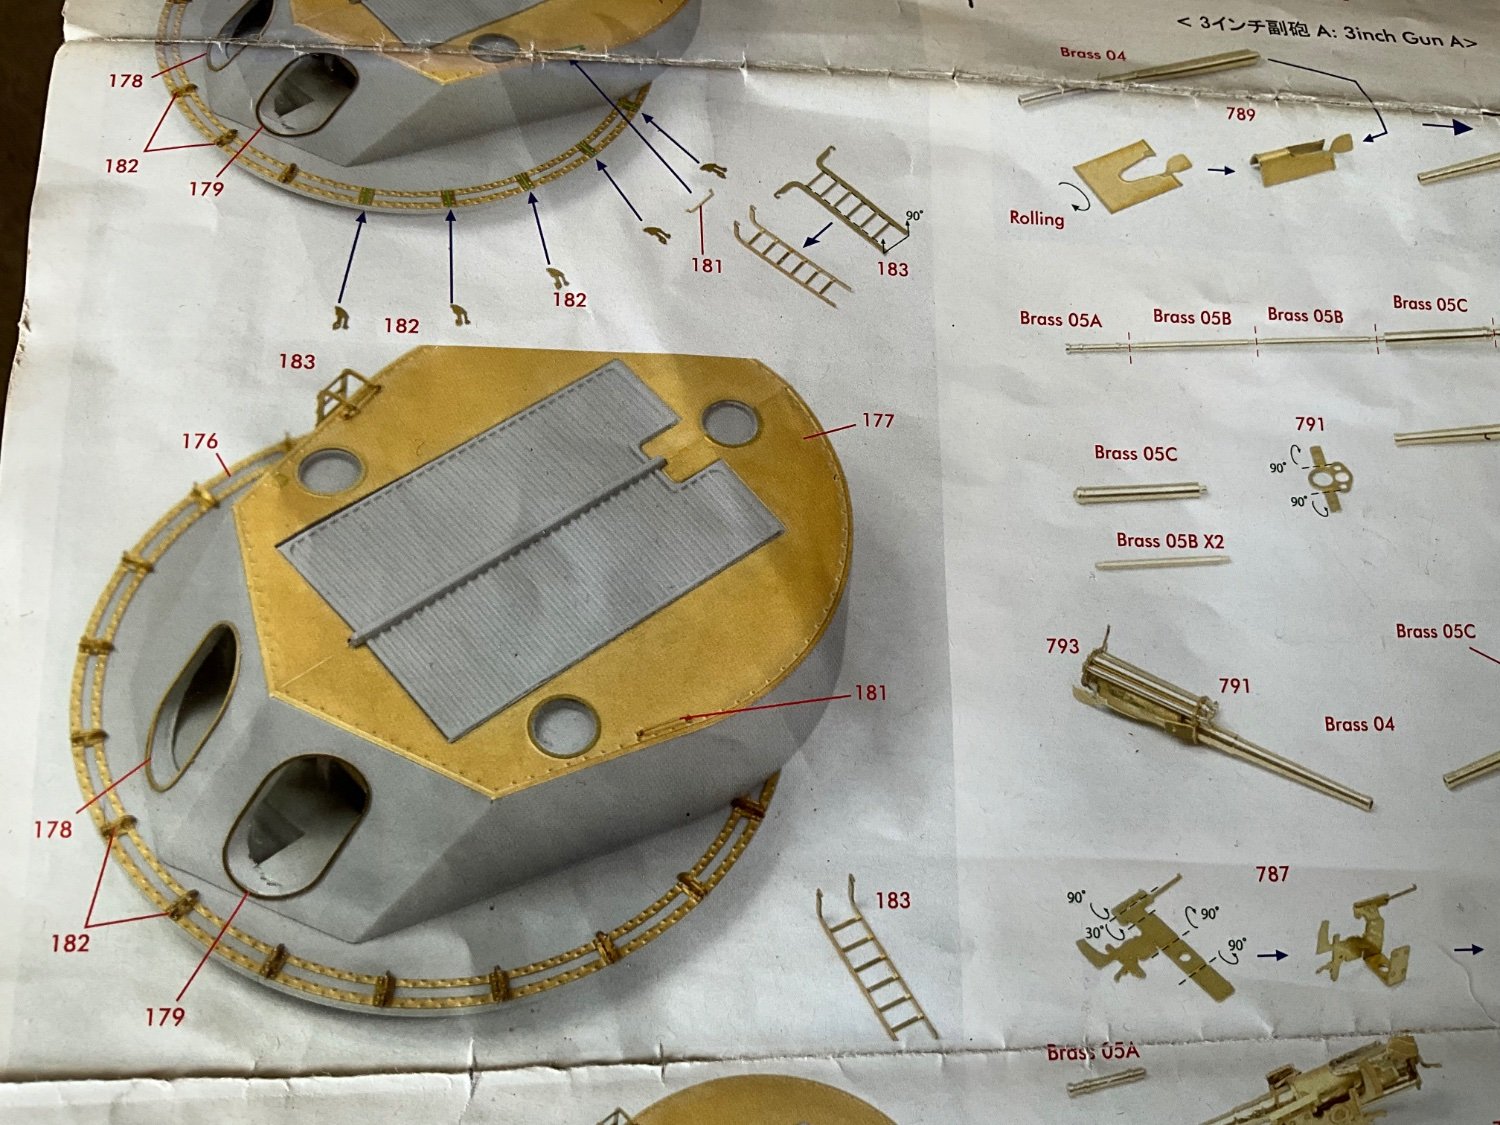
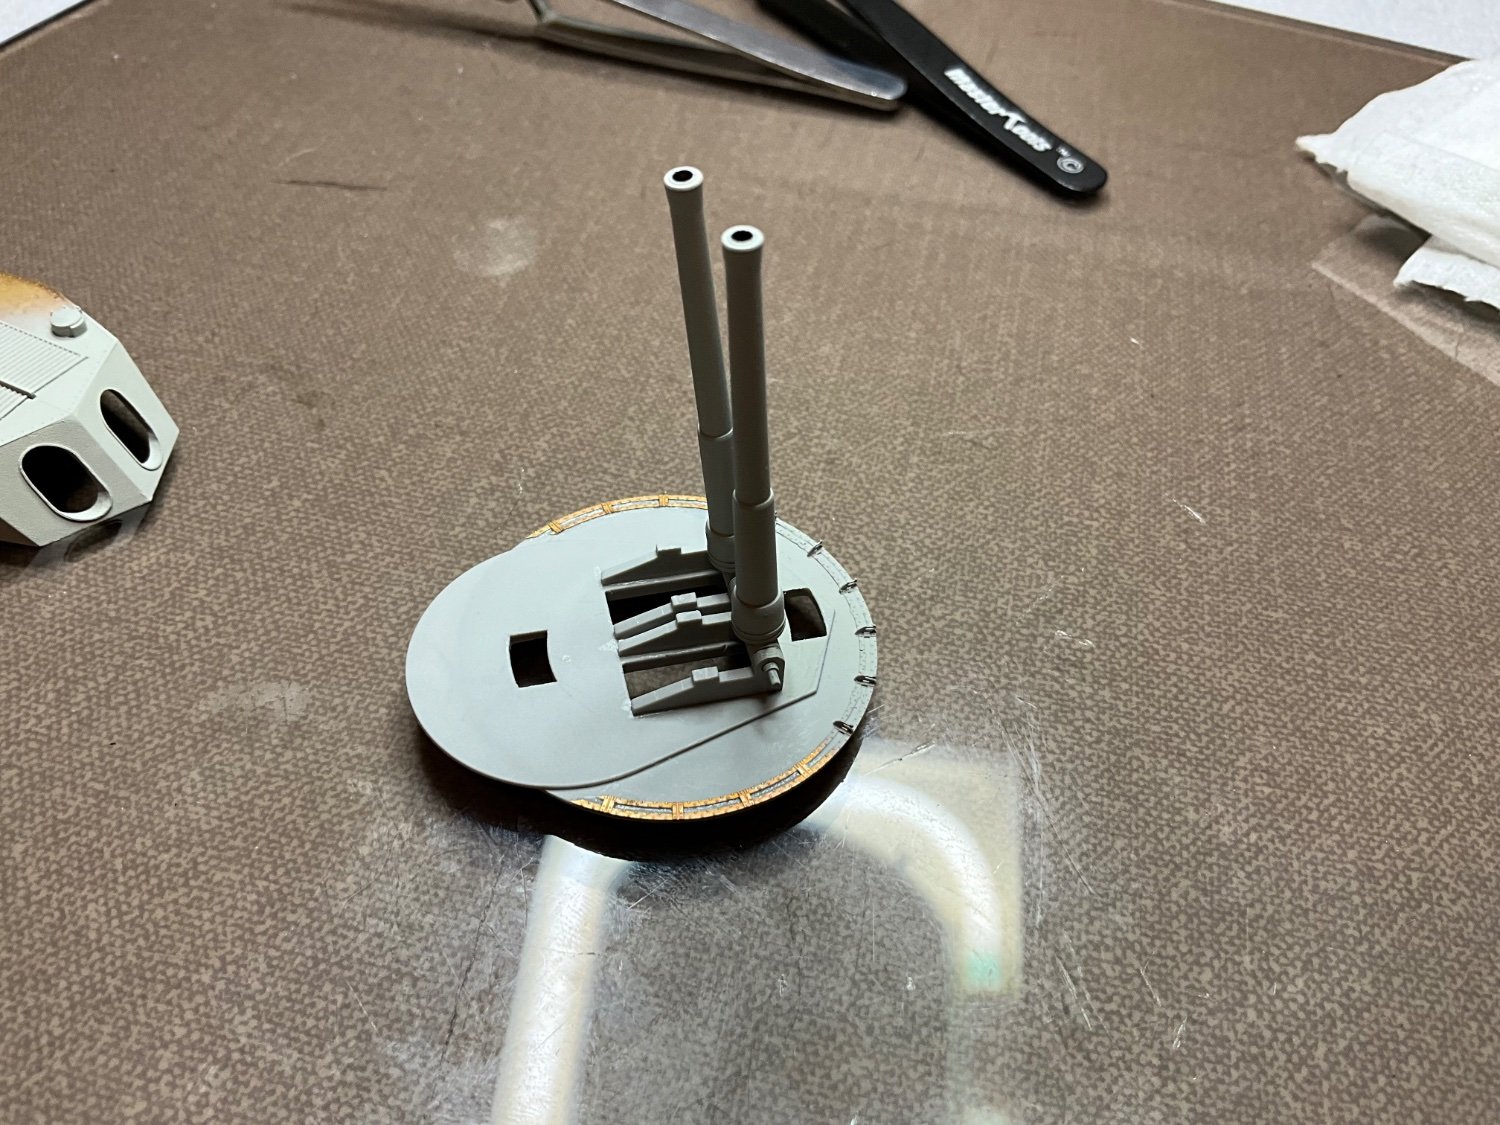
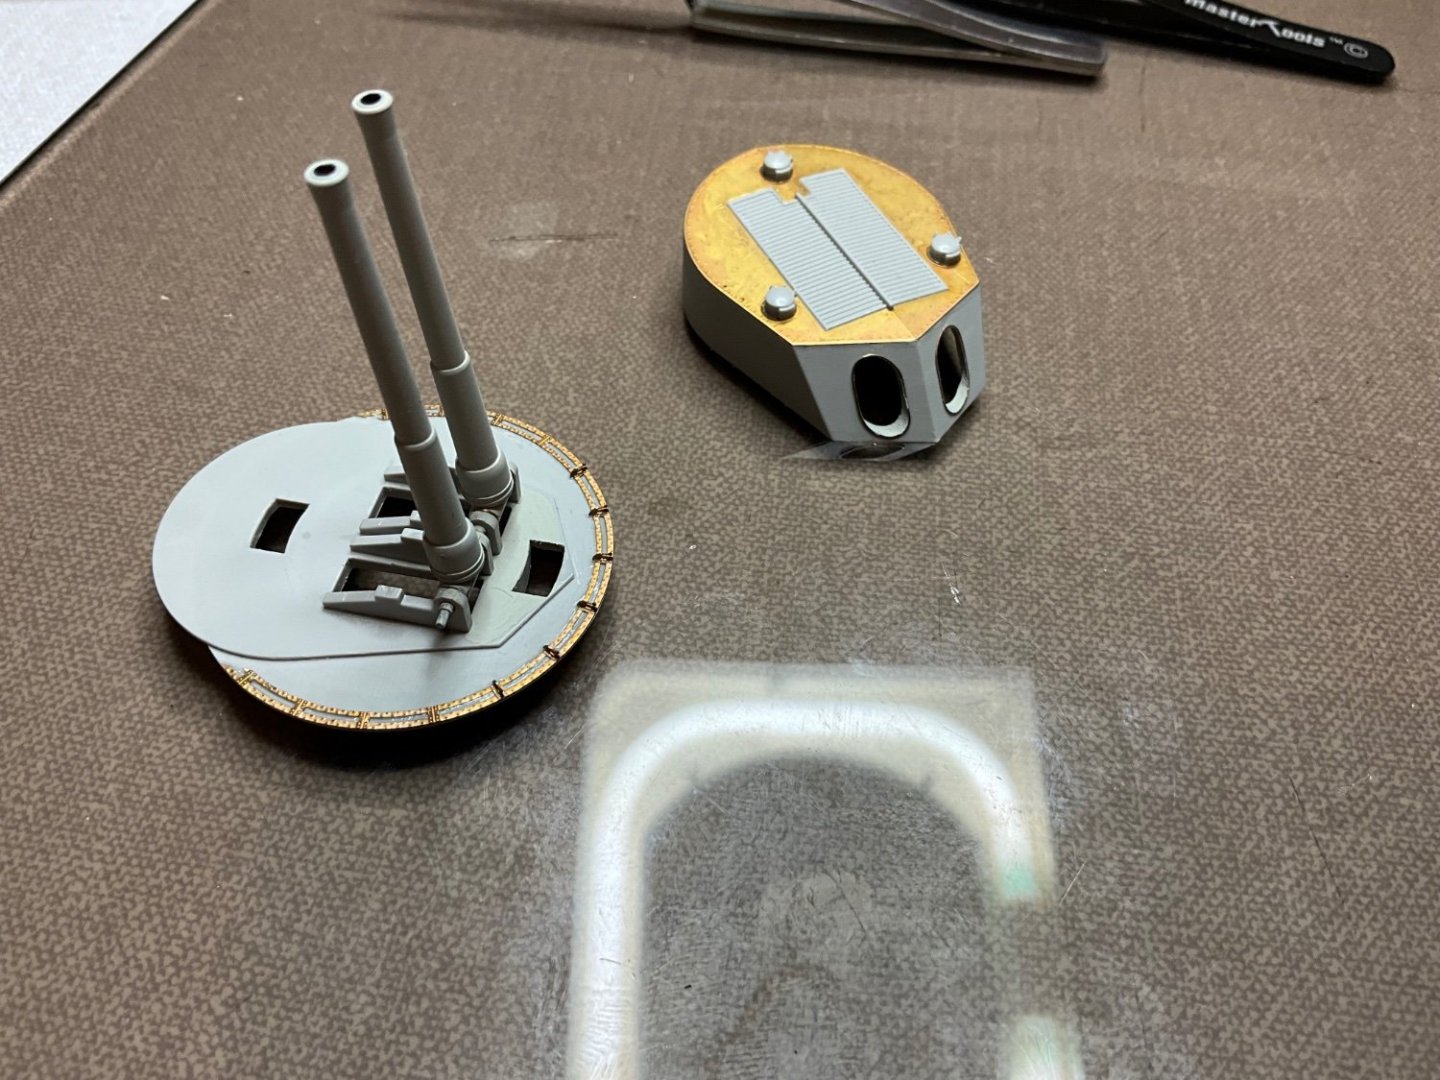
Next part is to finish fitting the remaining 182 parts and ladders to side of turret. As you will realise there’s a lot of fine detail on the assembly now, this is why l didn’t want the problem of it being too tight to fit in the casing on deck and not turning freely. 👍 just painting to complete this. I did get the barrels bored out deeper, probably about 5 or 6mm, painted black with steel paint at the open end.


-
Next part for me was glueing this assembly together, as lm not wanting the guns free to elevate, think they would just work loose and eventually sag so applied a good amount of super glue to pivoting assembly to give me time to build this and still adjust barrel angles before they set so no time to dilly dally when doing this, set barrel’s slightly high to allow room to slip turret casing on without knocking of parts 182, once casing in place applied liquid cement to both sides then place turret onto model and set barrels at desired angle, all before the super glue on barrel pivots sets to hard 😵💫
-
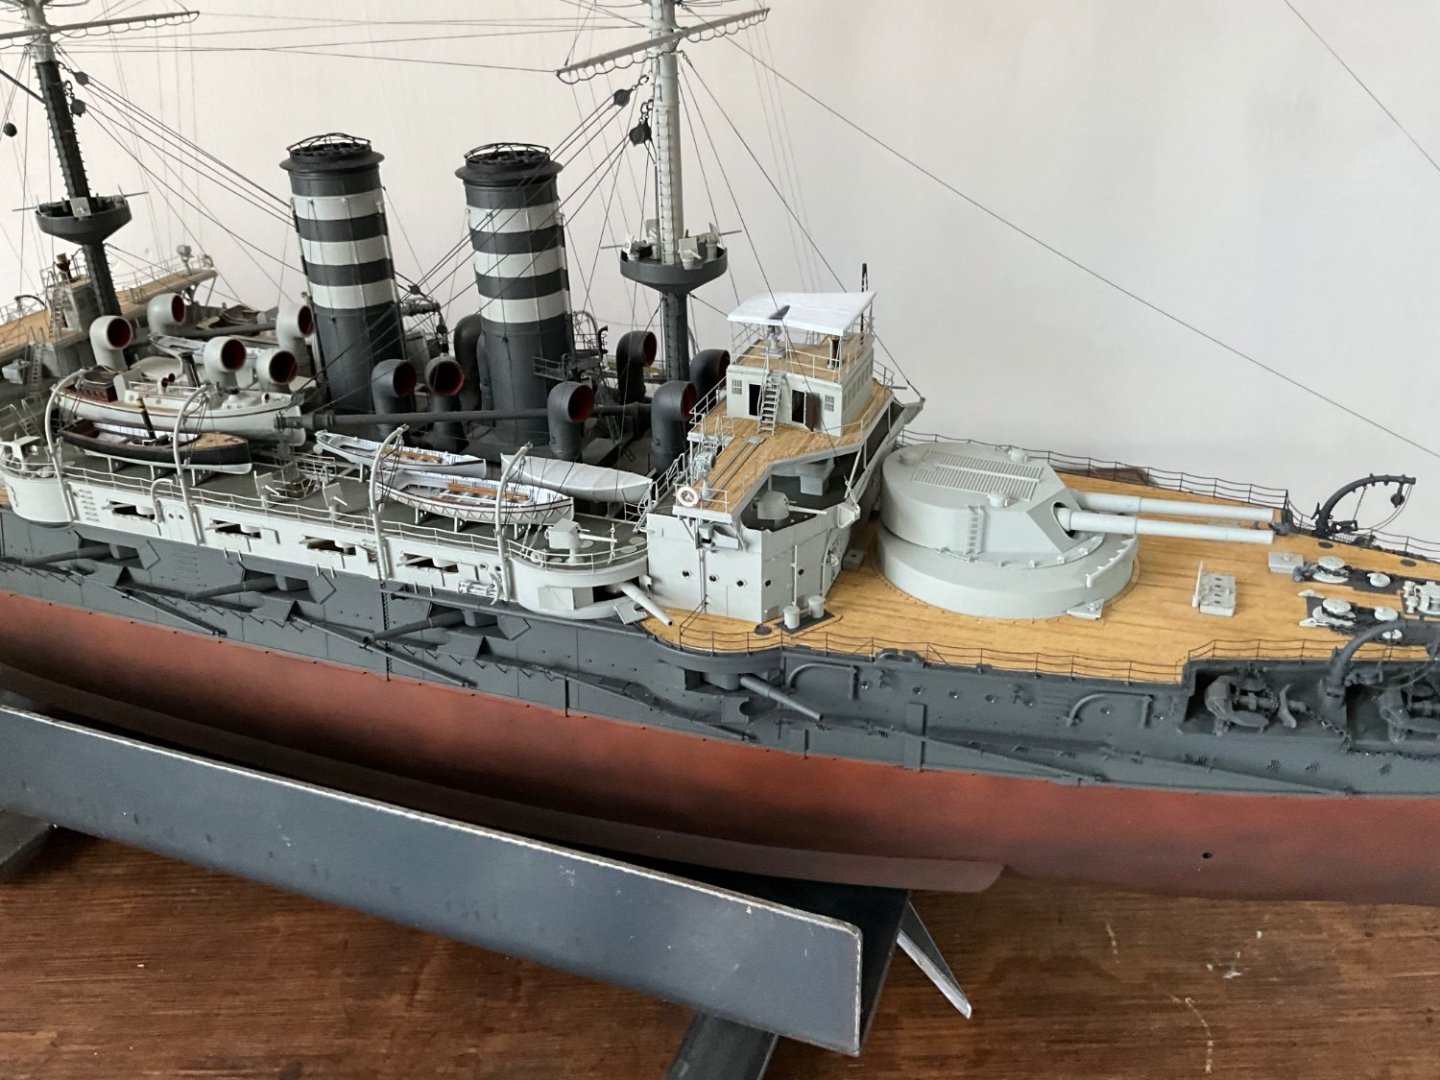
Managed a little progress on Mikasa, slowly getting near completion guys 👍 due to my earlier misshapes with air brushing l wasn’t to keen on spraying around completed turret, thought getting around under the barrels and those tiny parts 182 on instructions would end up with paint runs, you could always leave the barrels free to elevate but lm sure eventually they shall become slack so lm going to glue them at my own desired angle. Fixed enough parts 182 around the front to get away from painting issues for me, then painted this area and front of turret. Shall put a few photos up and you’ll see were l am with this.


-
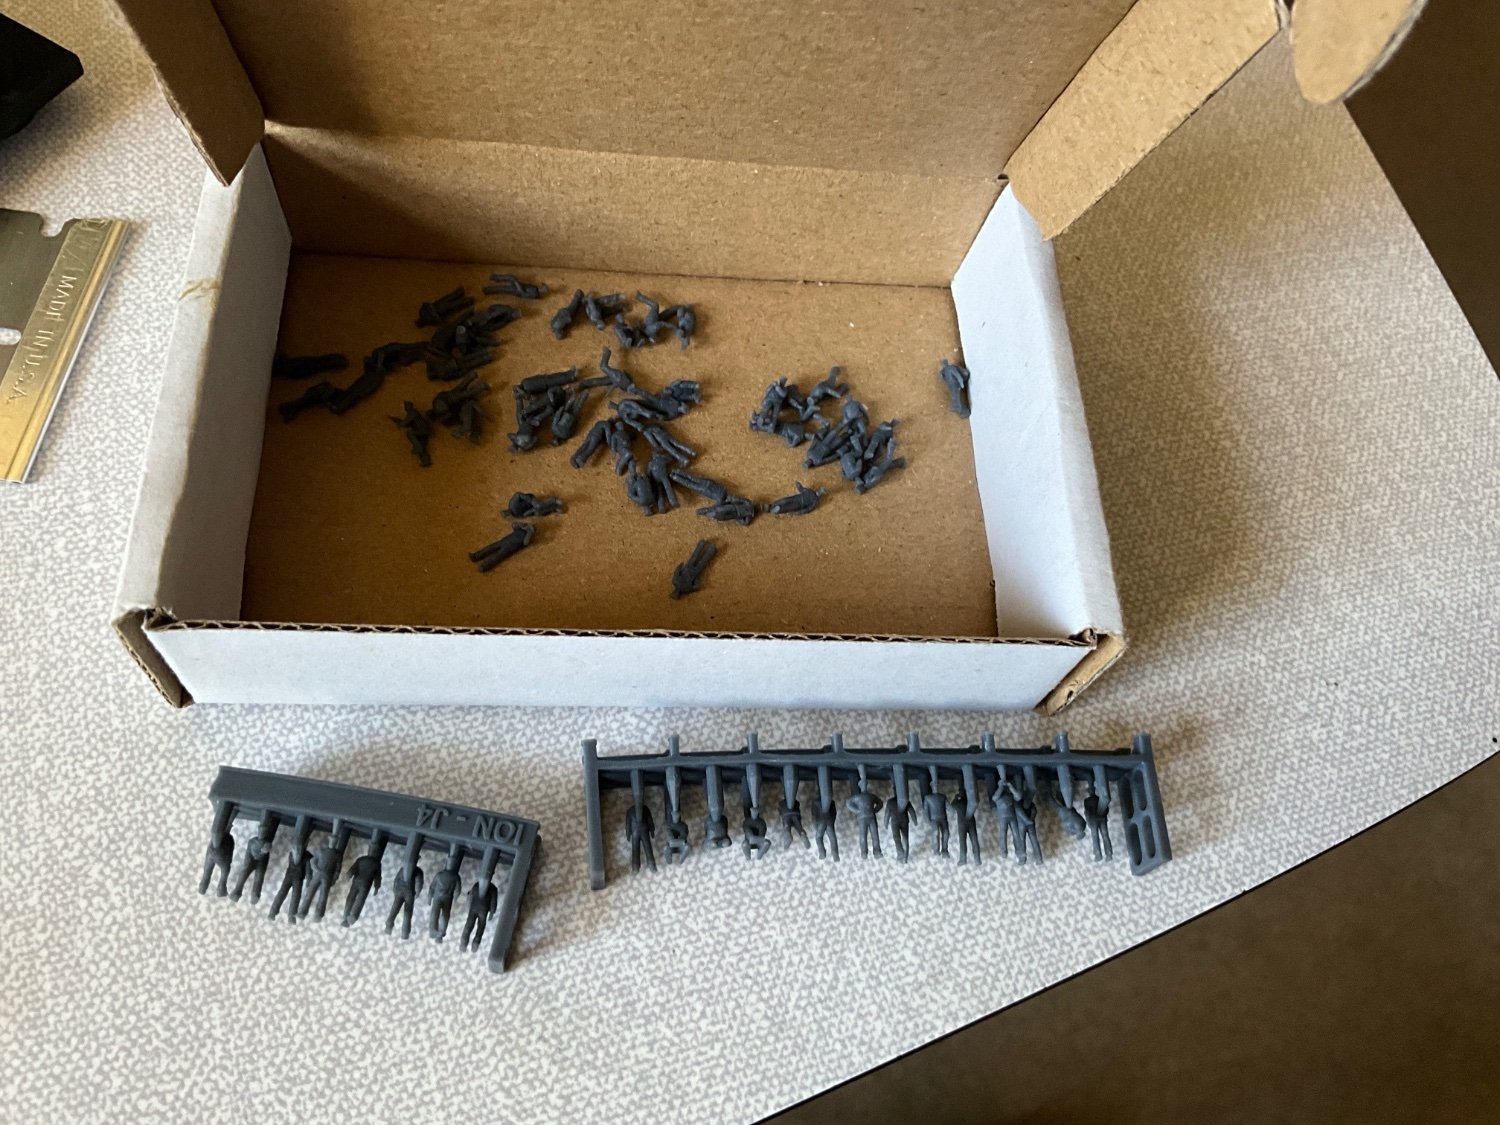
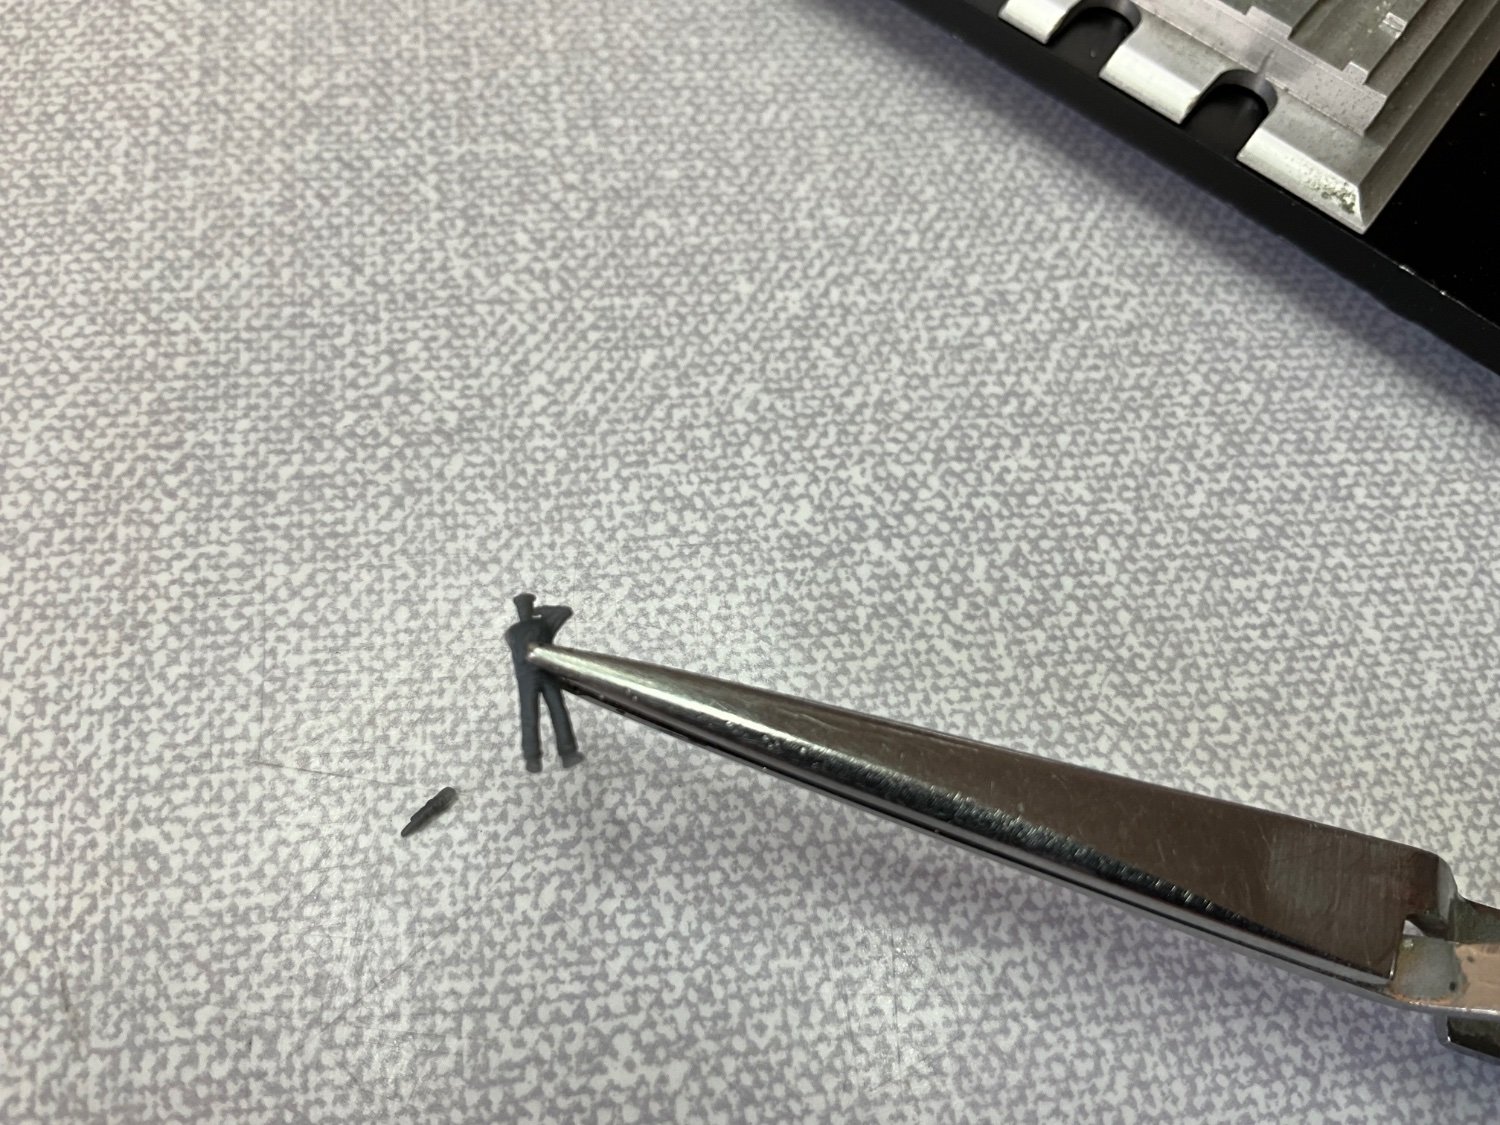
Still got to drill the main gun barrels deeper before progressing here, shall continue cutting the small figures from spruce and look at making a start to these, that’s me for a bit. 🤛
-
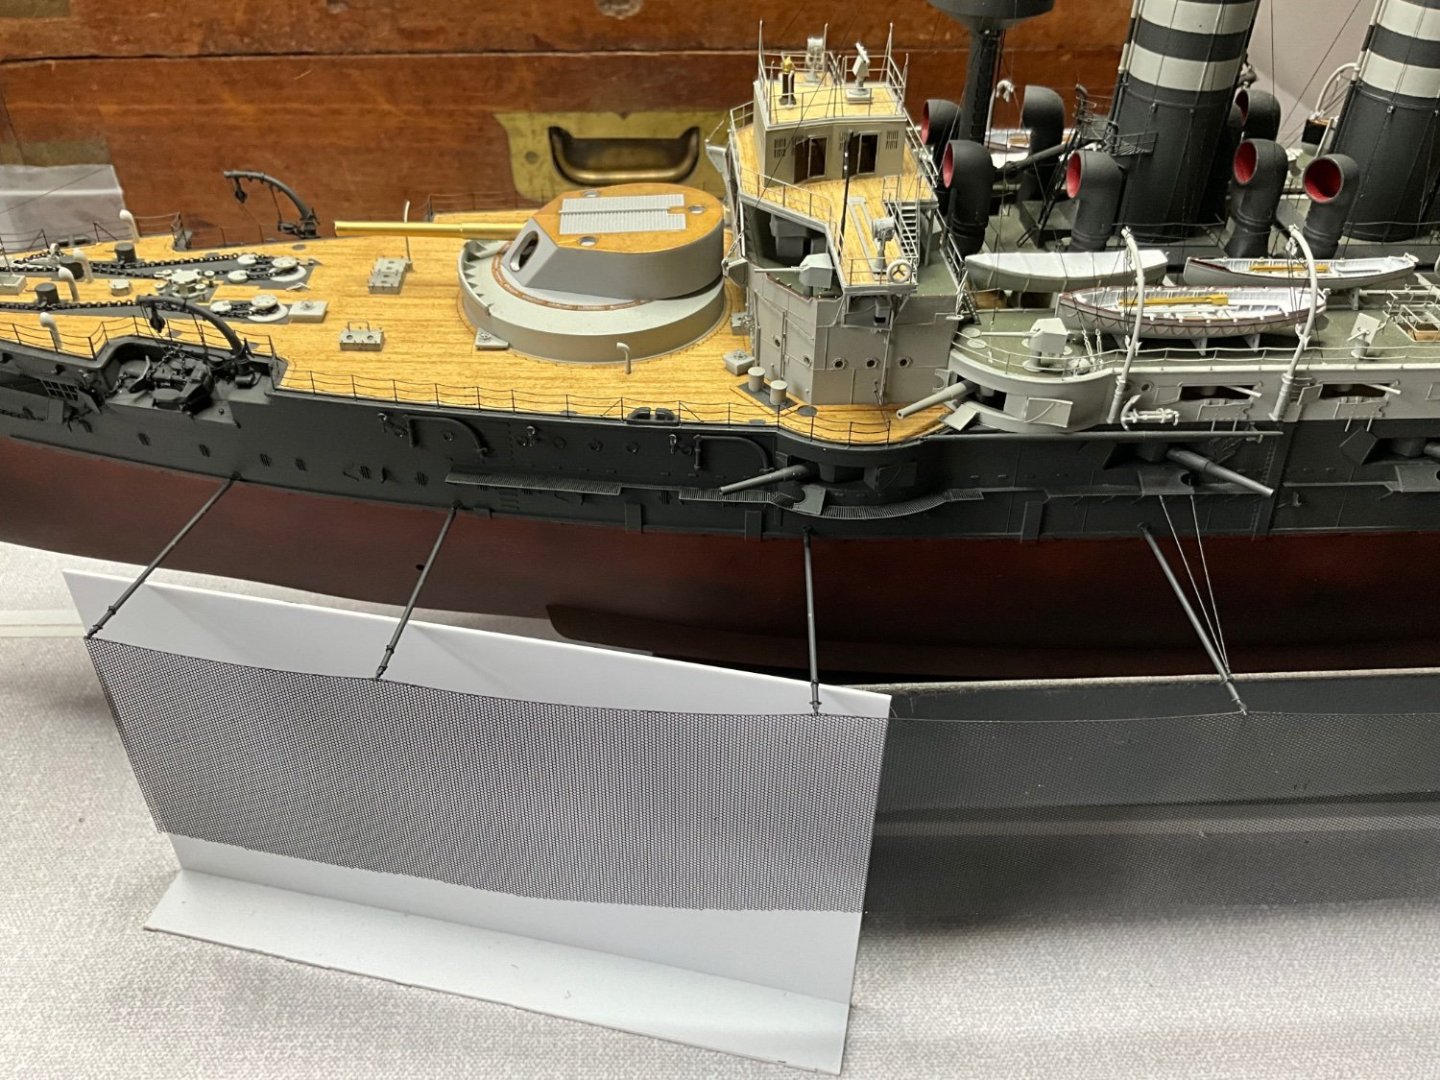
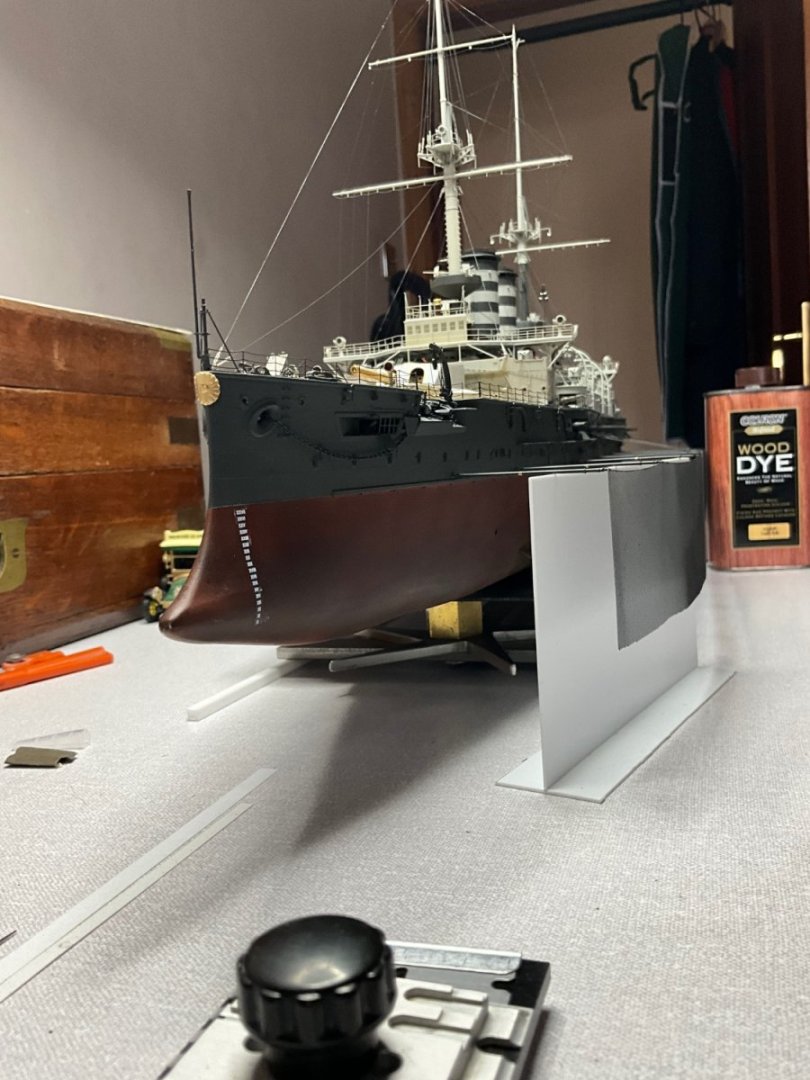
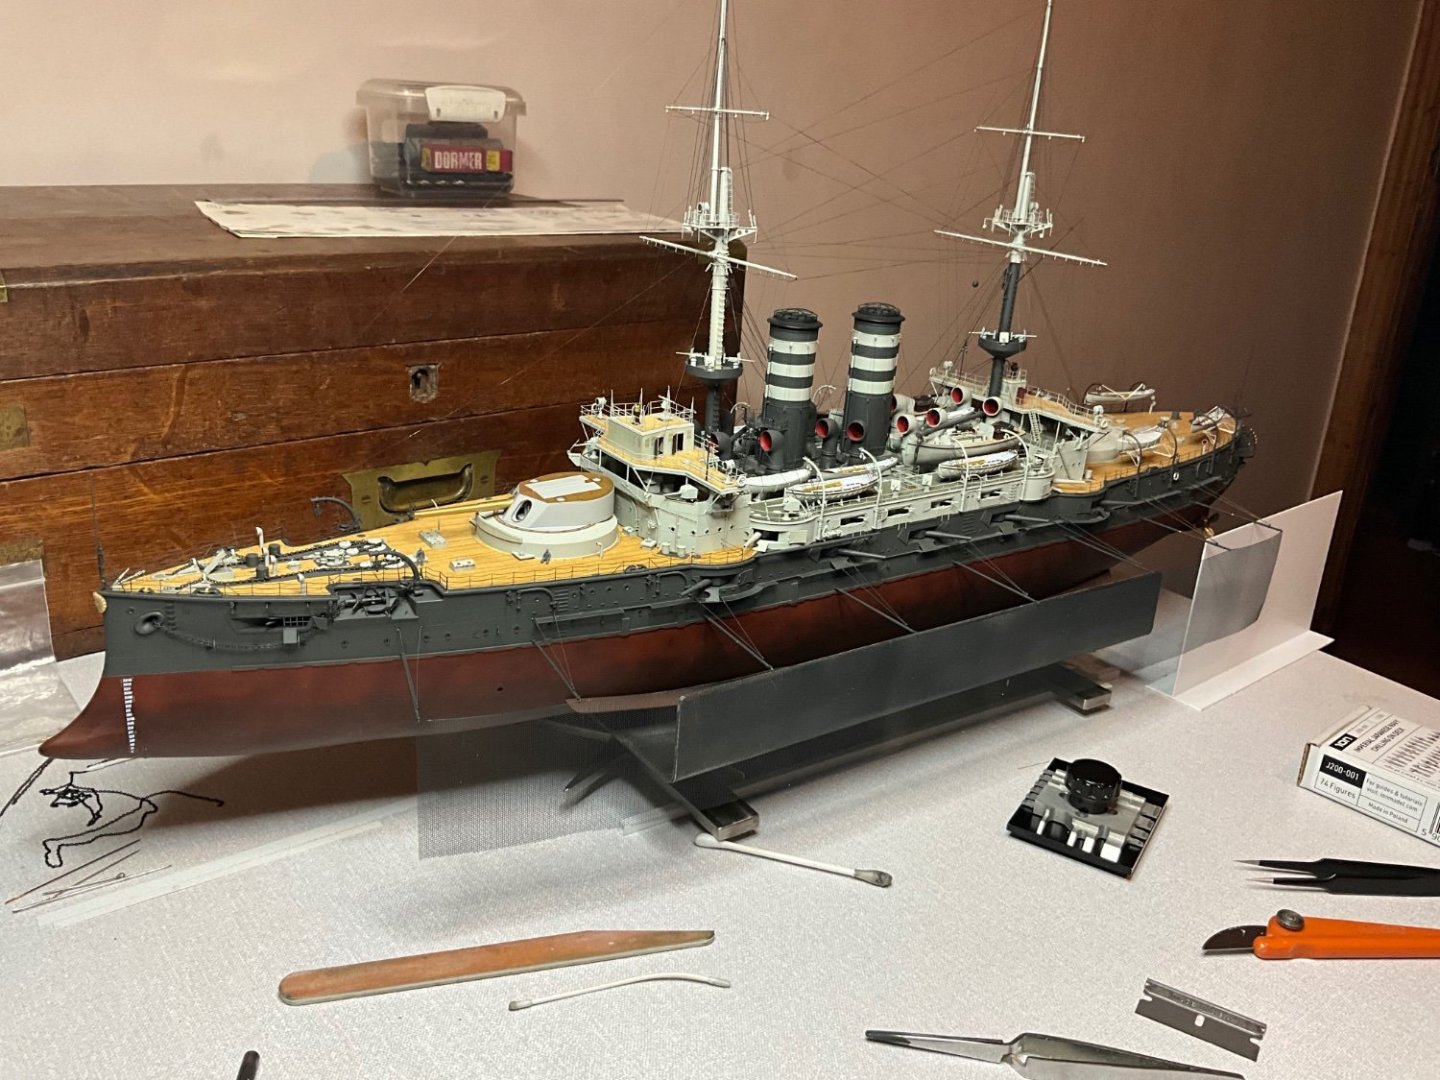
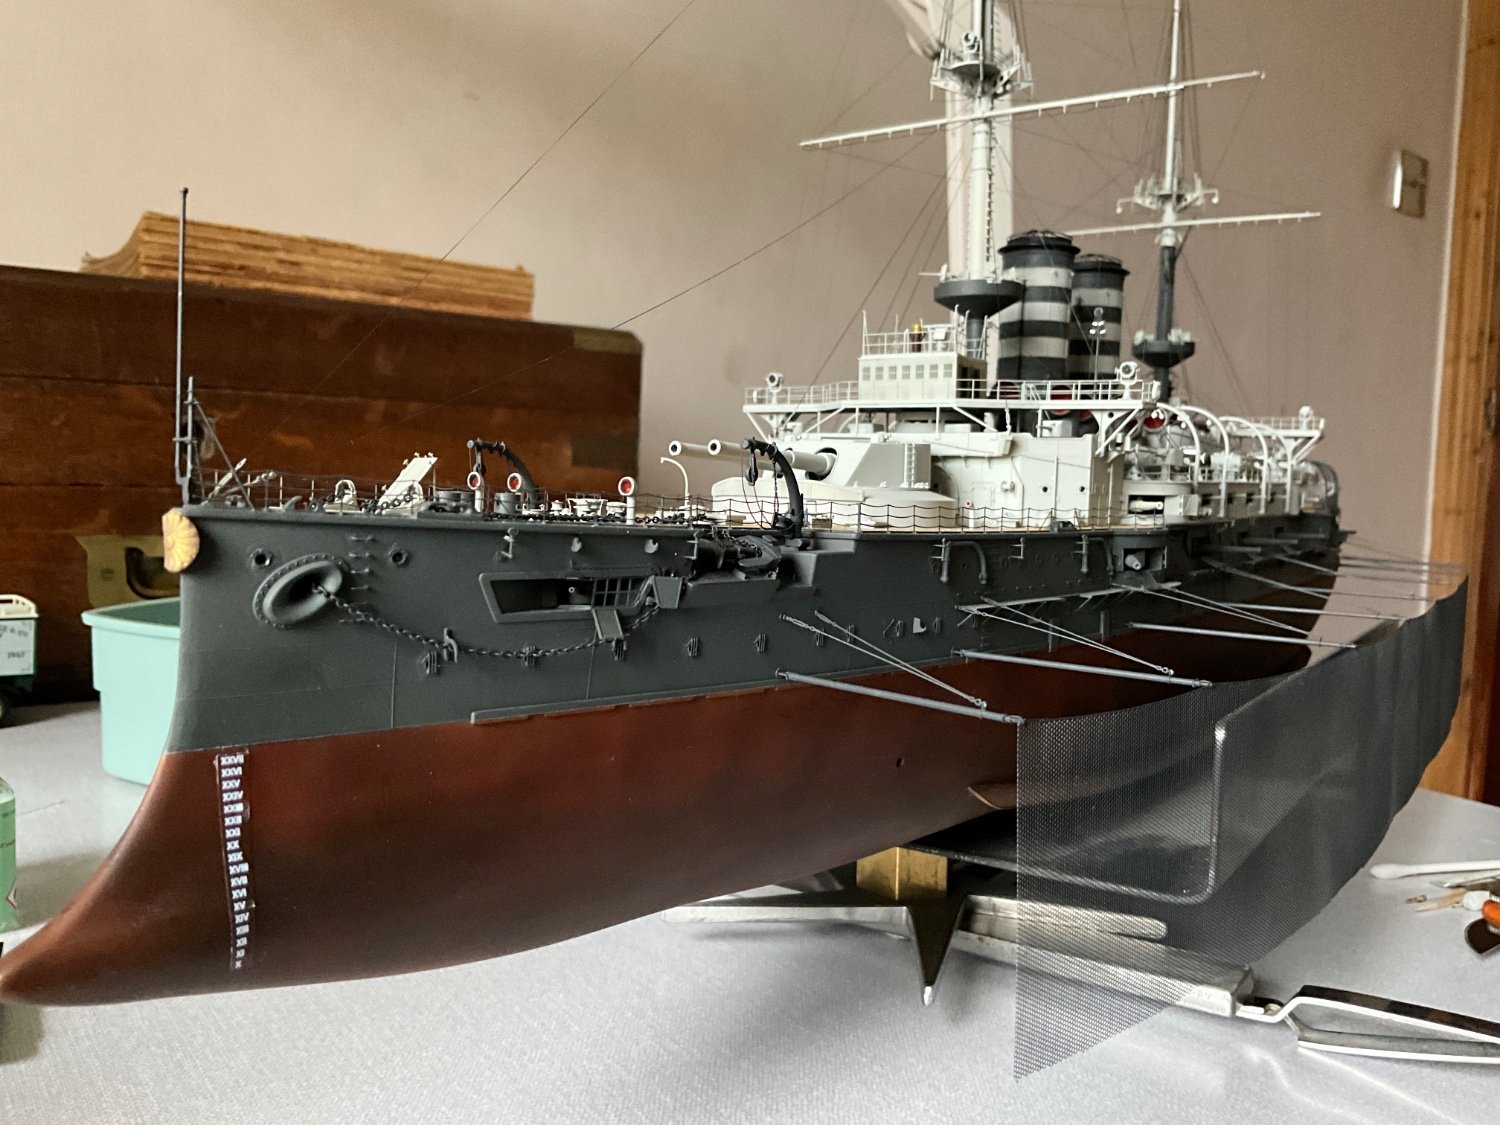
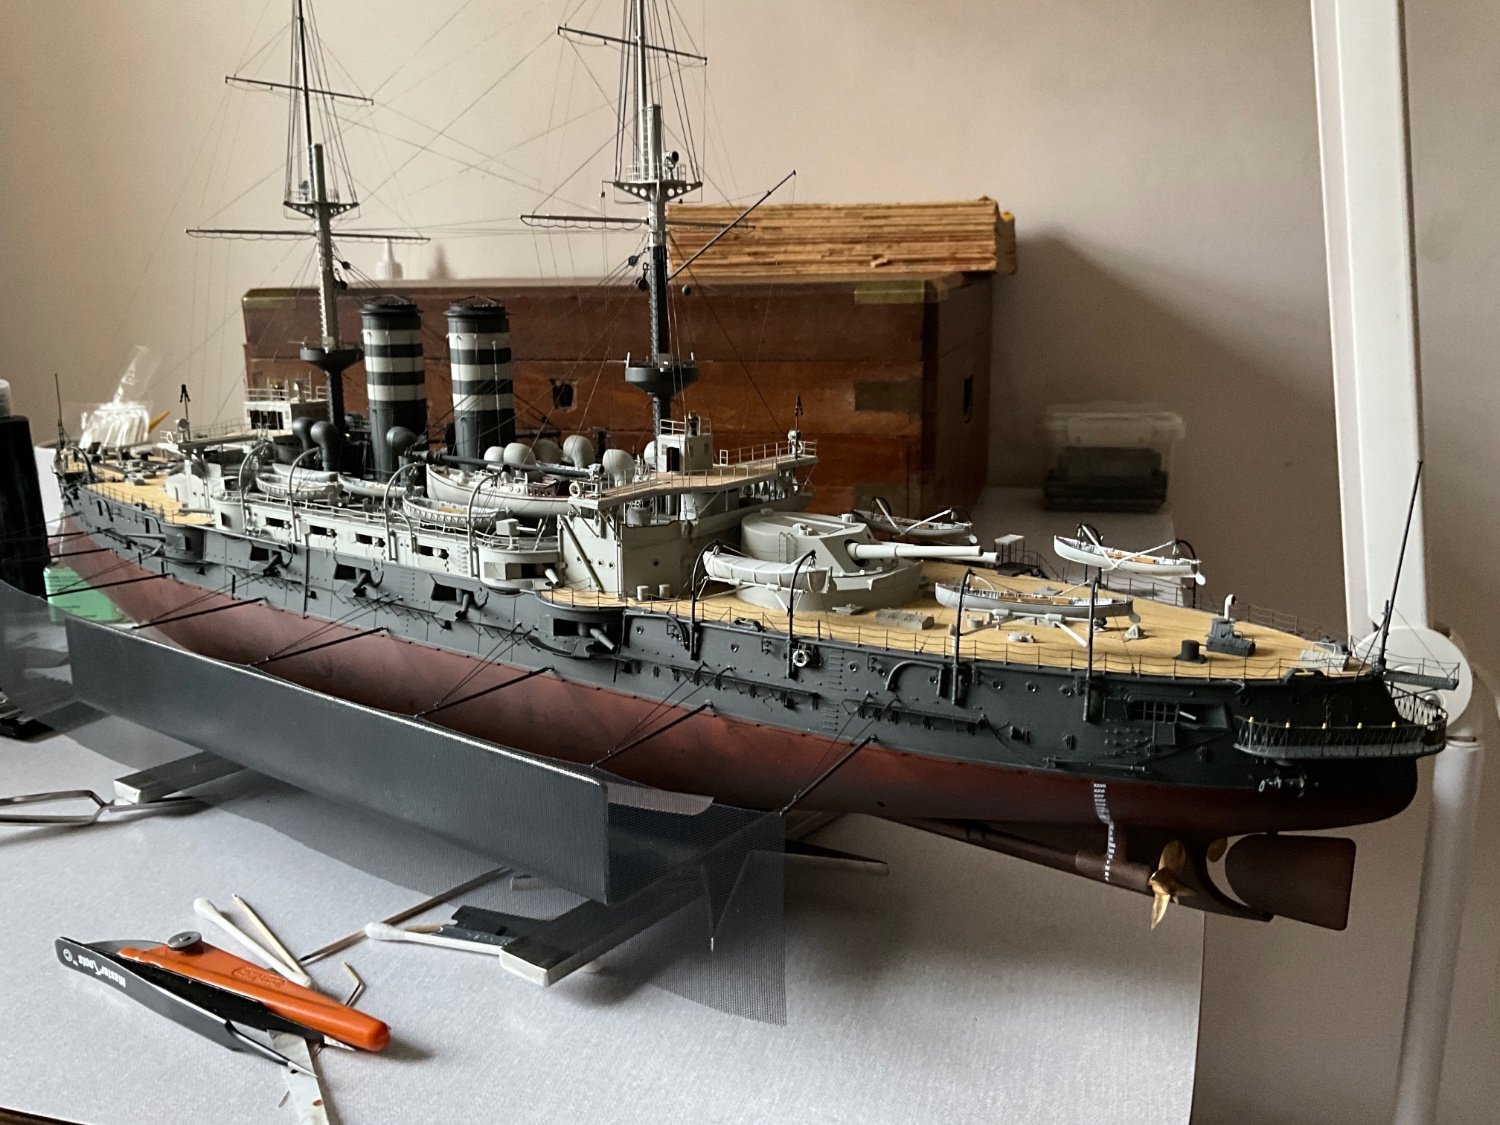
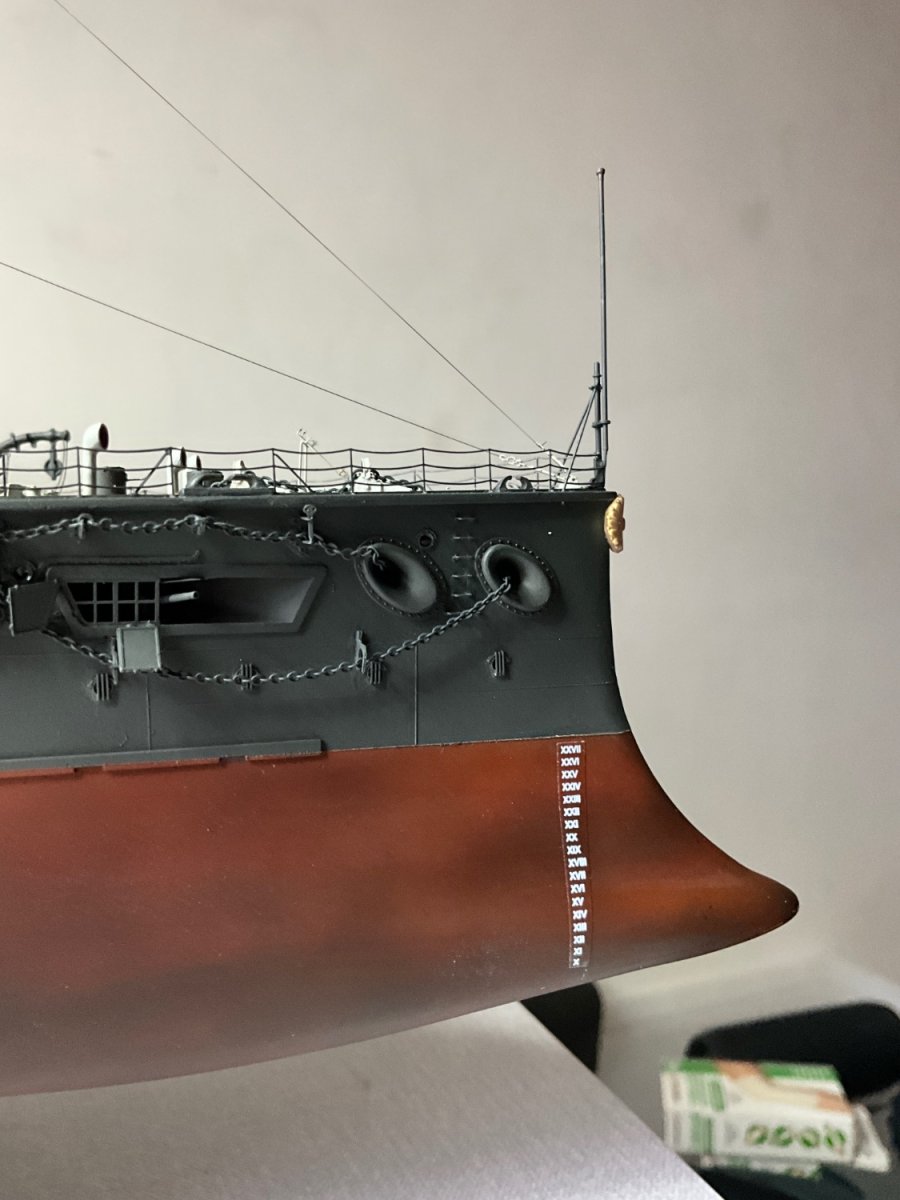
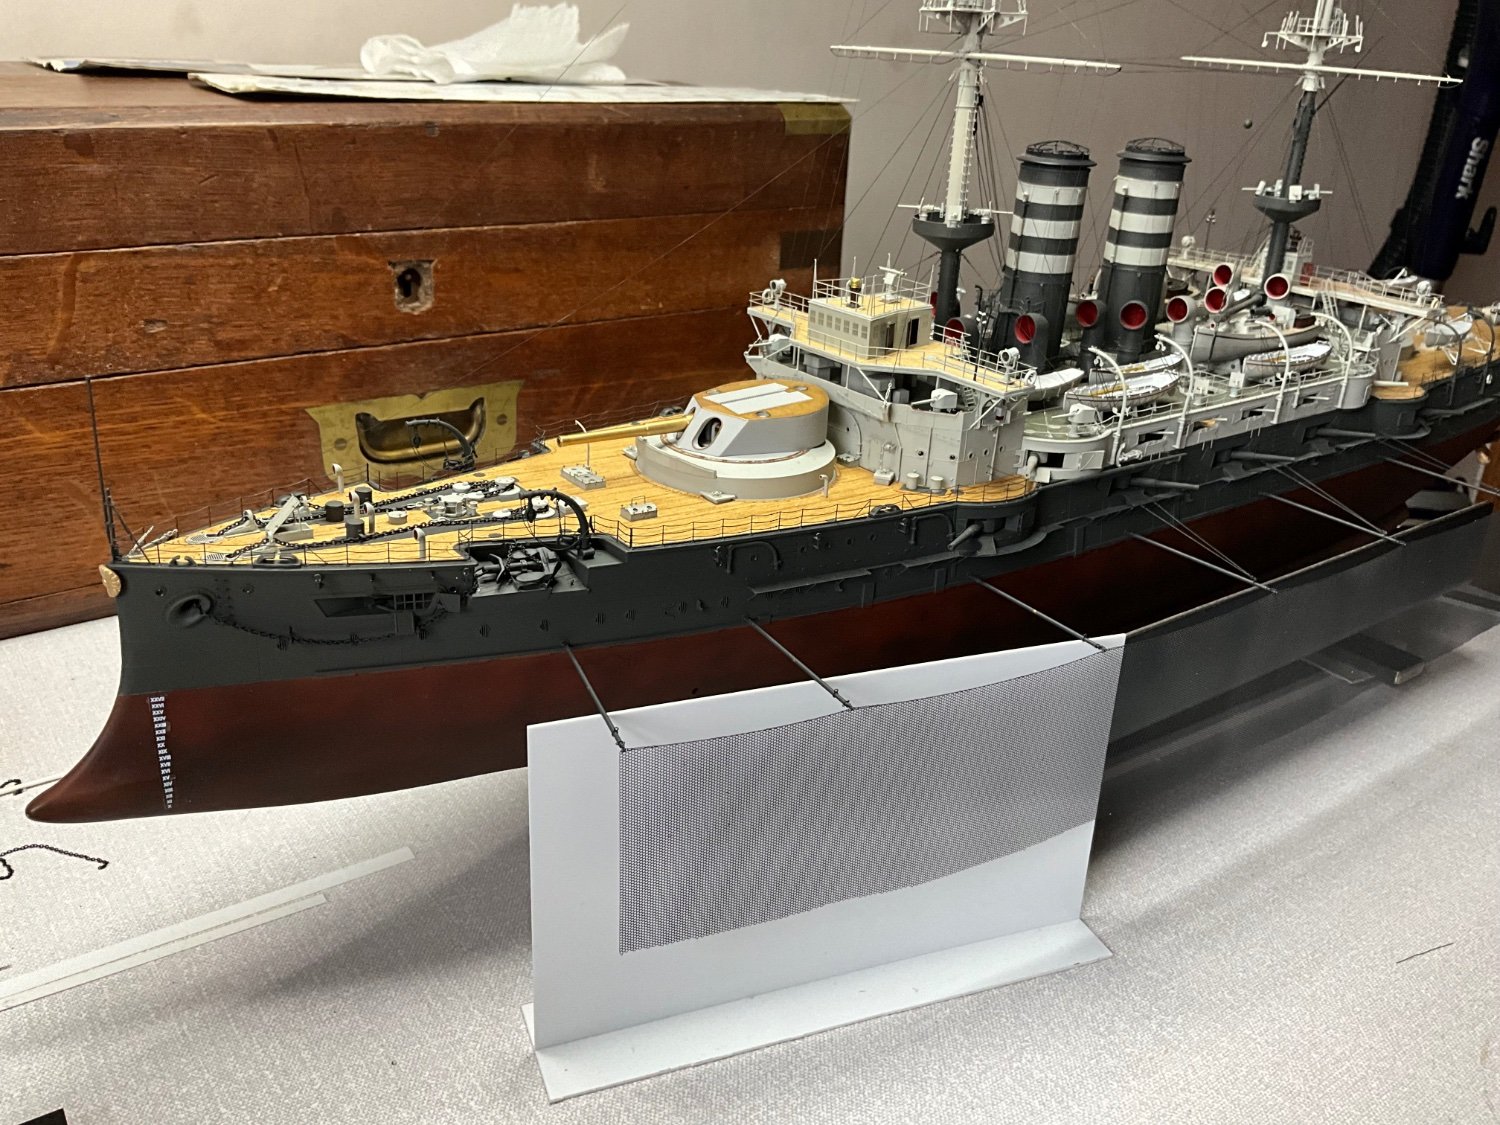
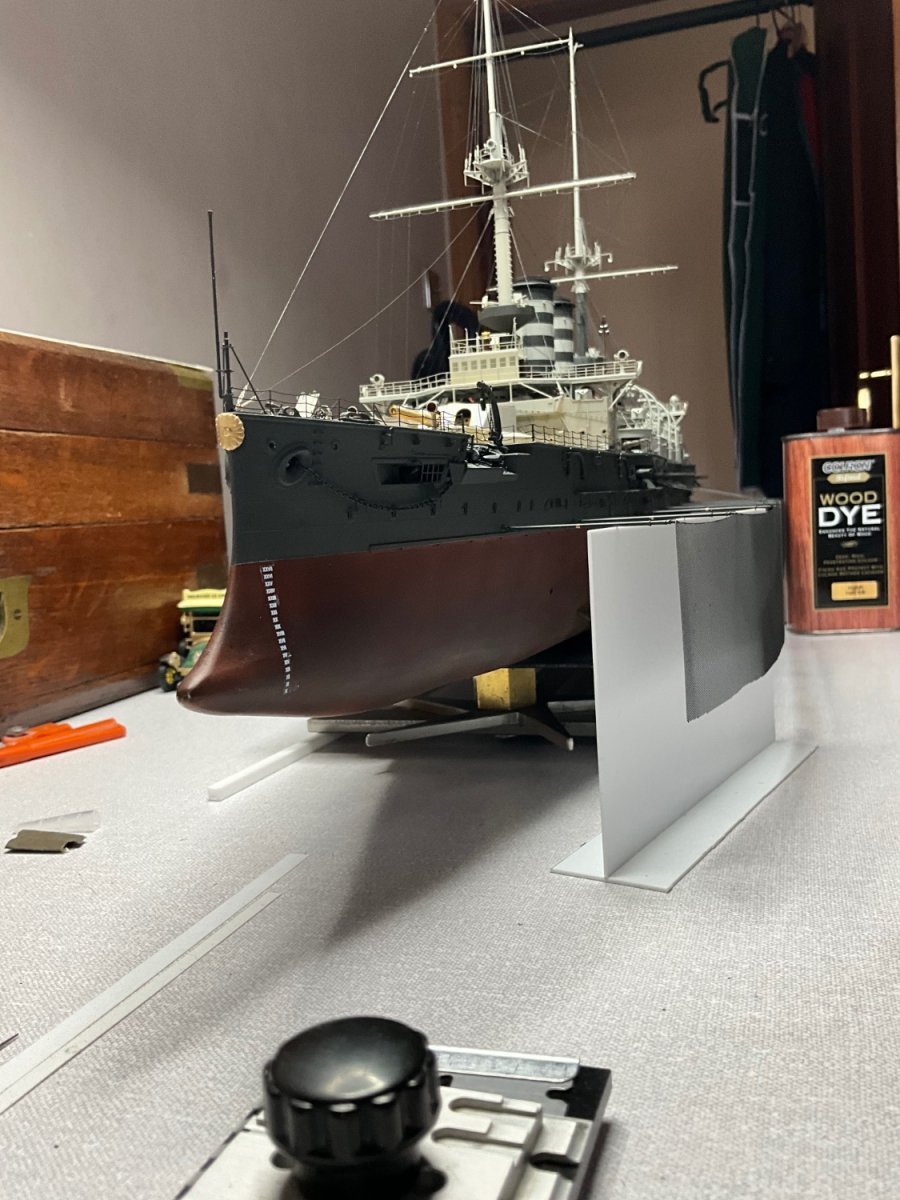
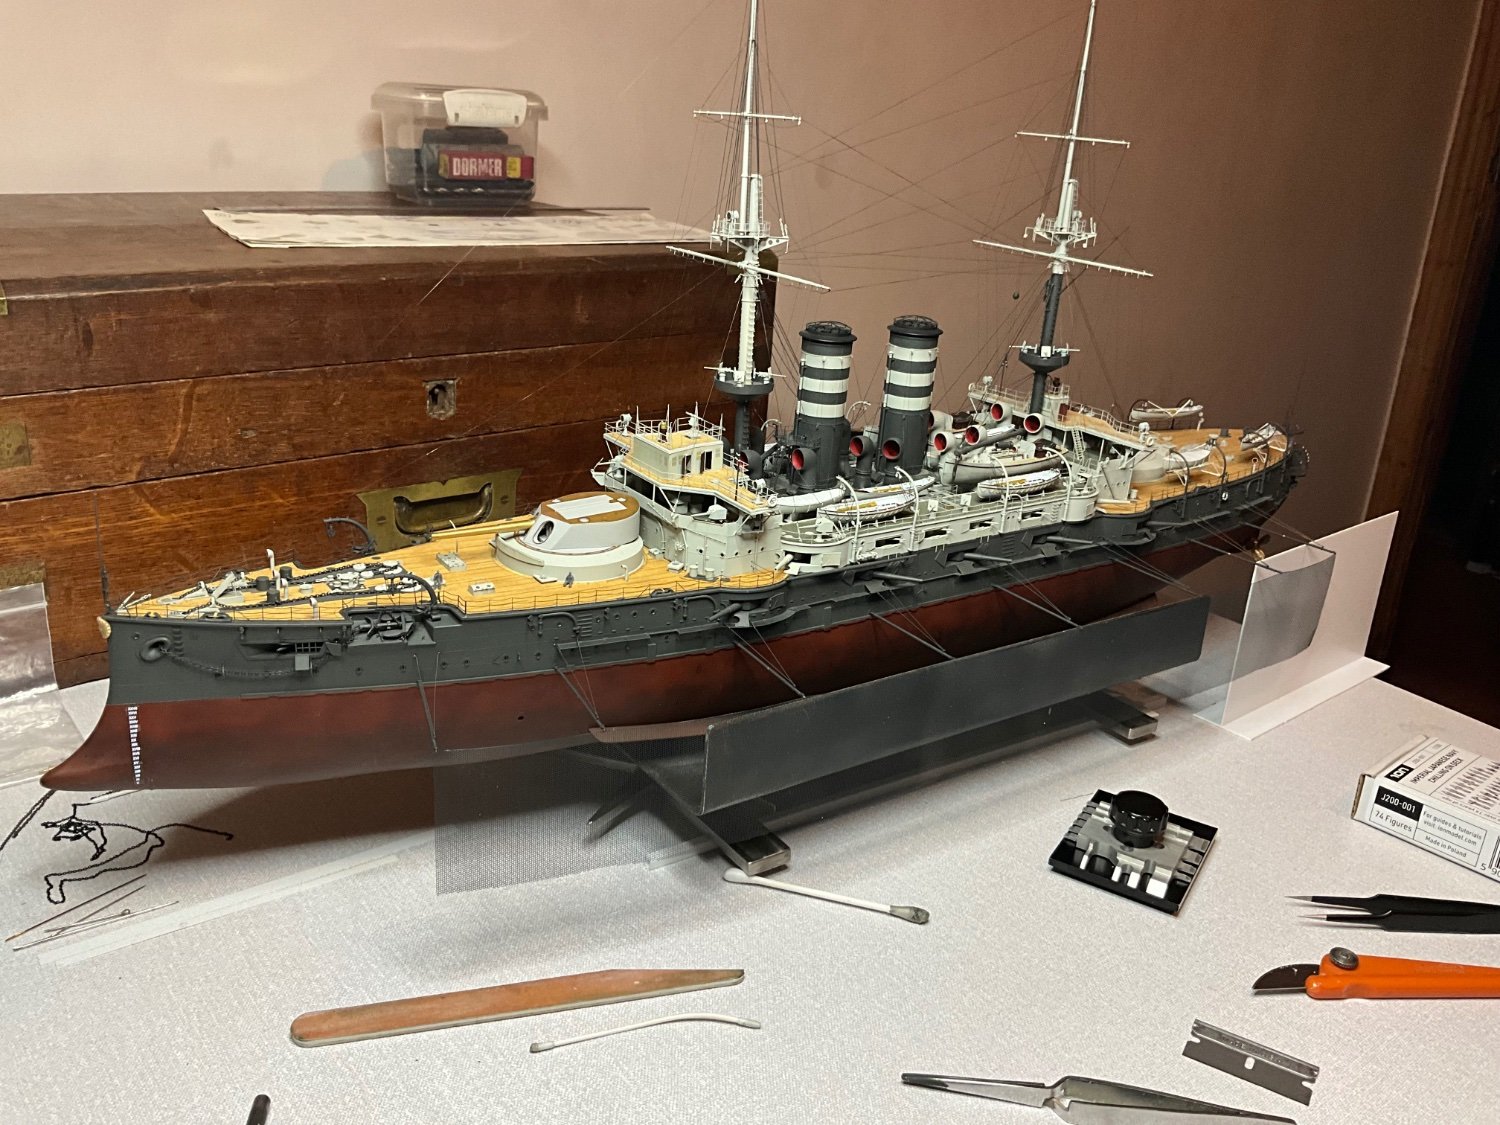
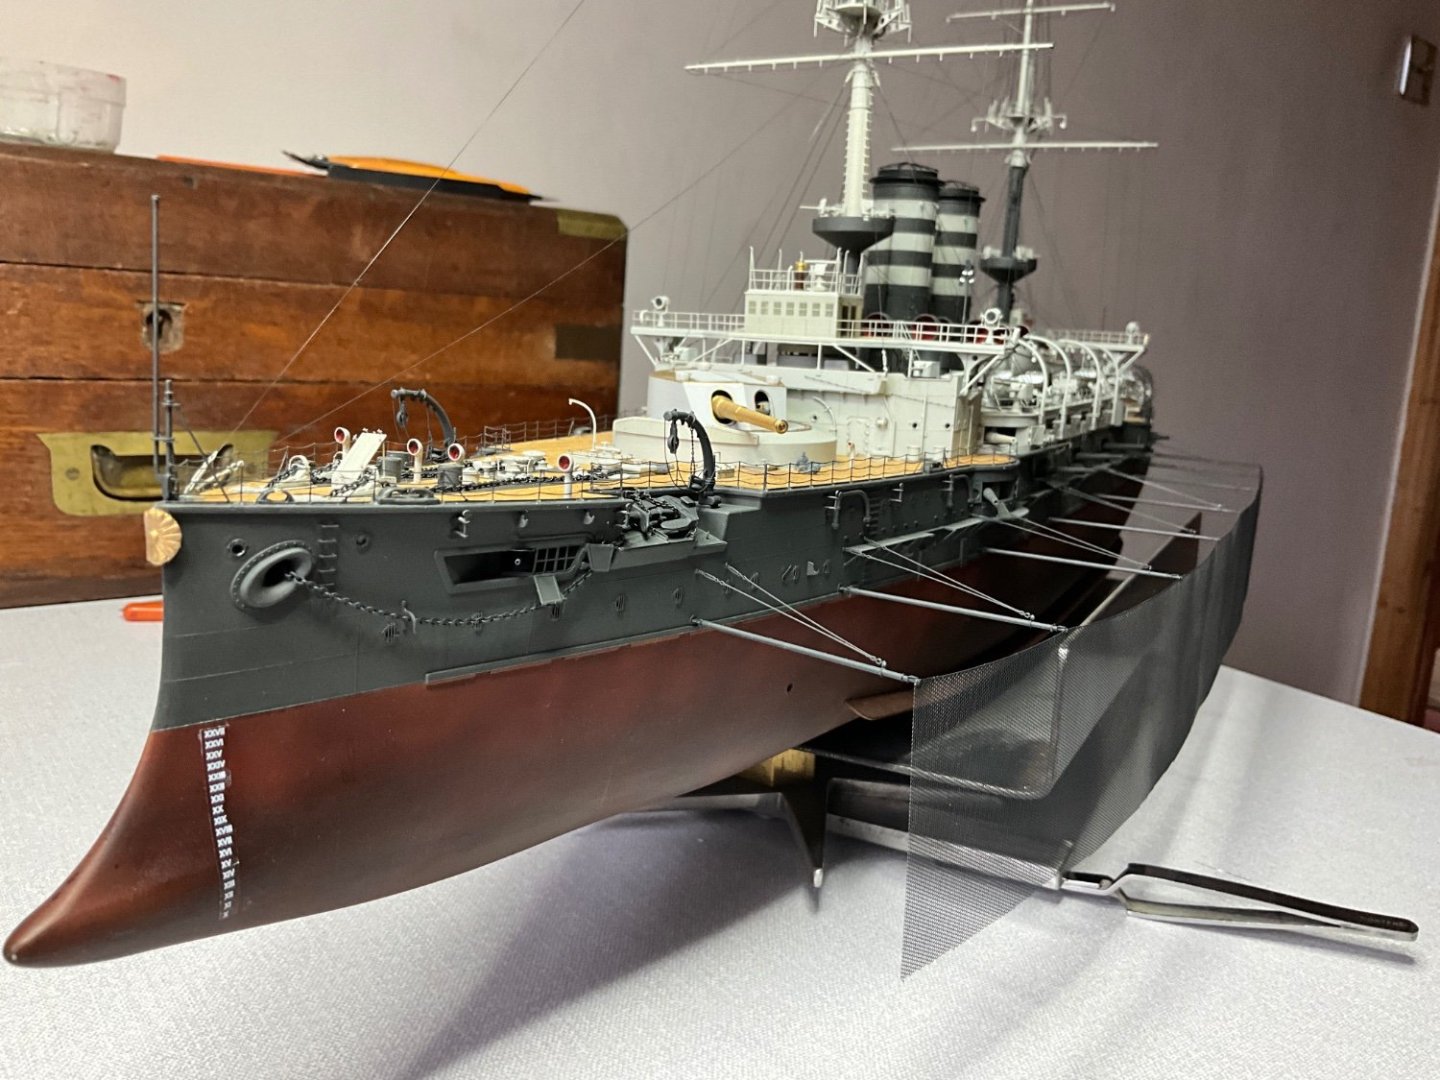
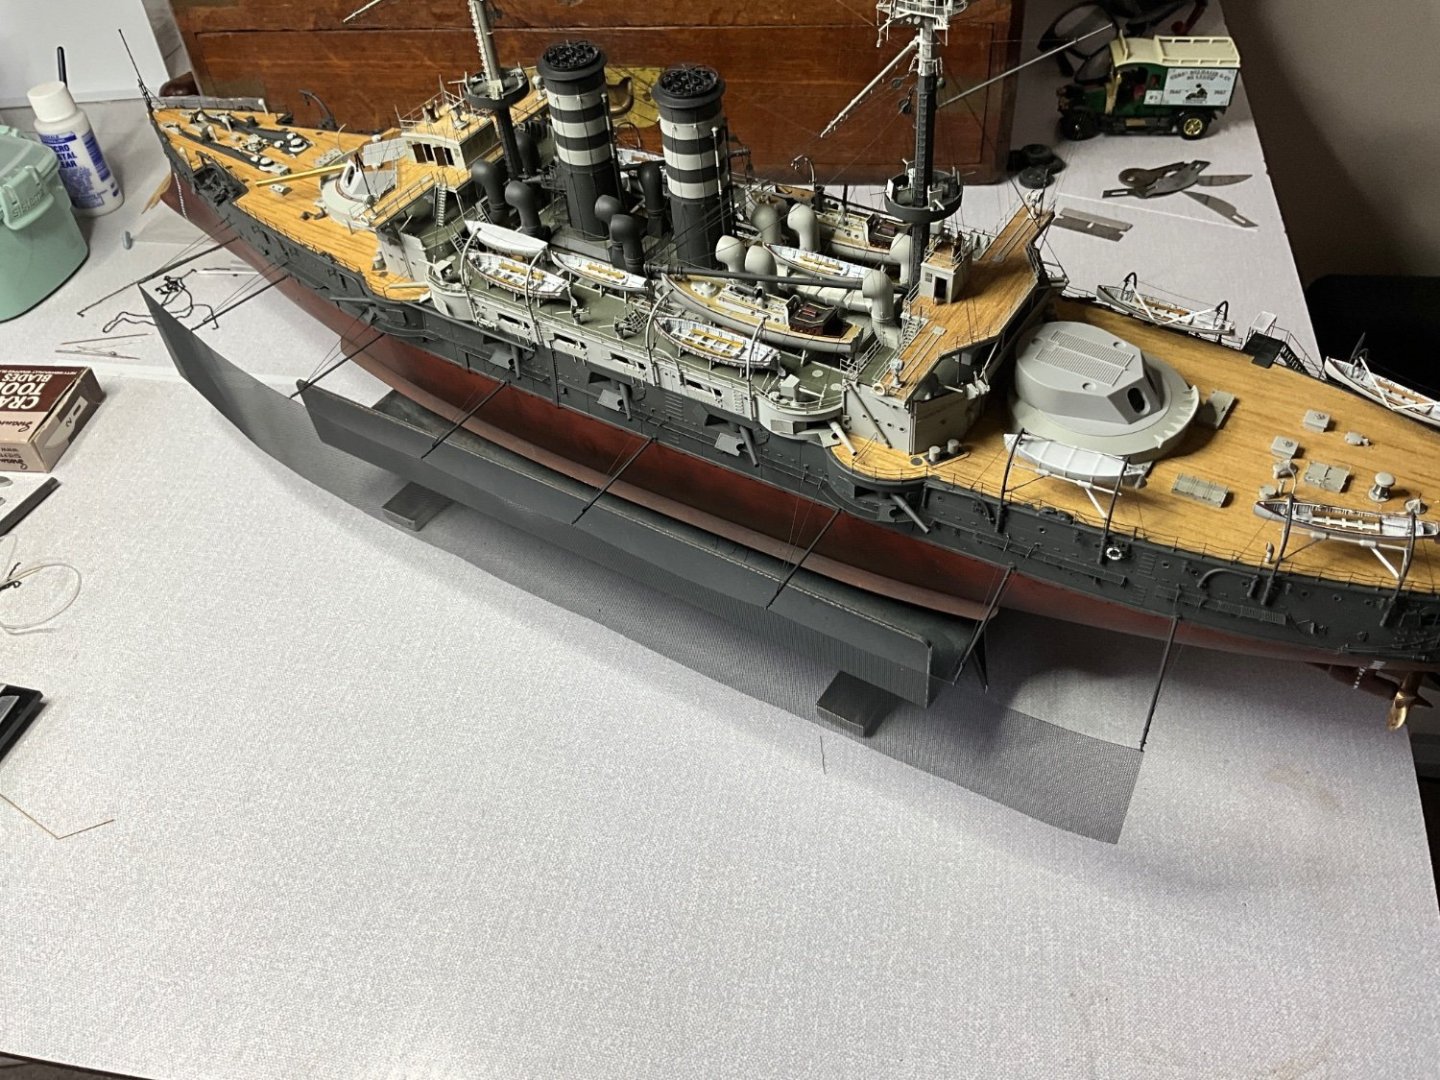
Hi guys, managed another couple of fixes, now have both turrets with no location tabs and scraped till free turning, think if you were trying to turn them with the etched ladders on the side and other fine parts a sure way to destruction, also finished the torpedo net, also fixed the chrysanthemum on bow that was sitting wrongly, every time l look at it it caught my eye for wrong reasons, clad l fixed it, looks better now 👍 also touched up painting on torpedo net assembly, won’t see it completely right till l remove the building cradle but you can sort of judge if it’s for you or not. 🤛 try put some more photos up now.


-
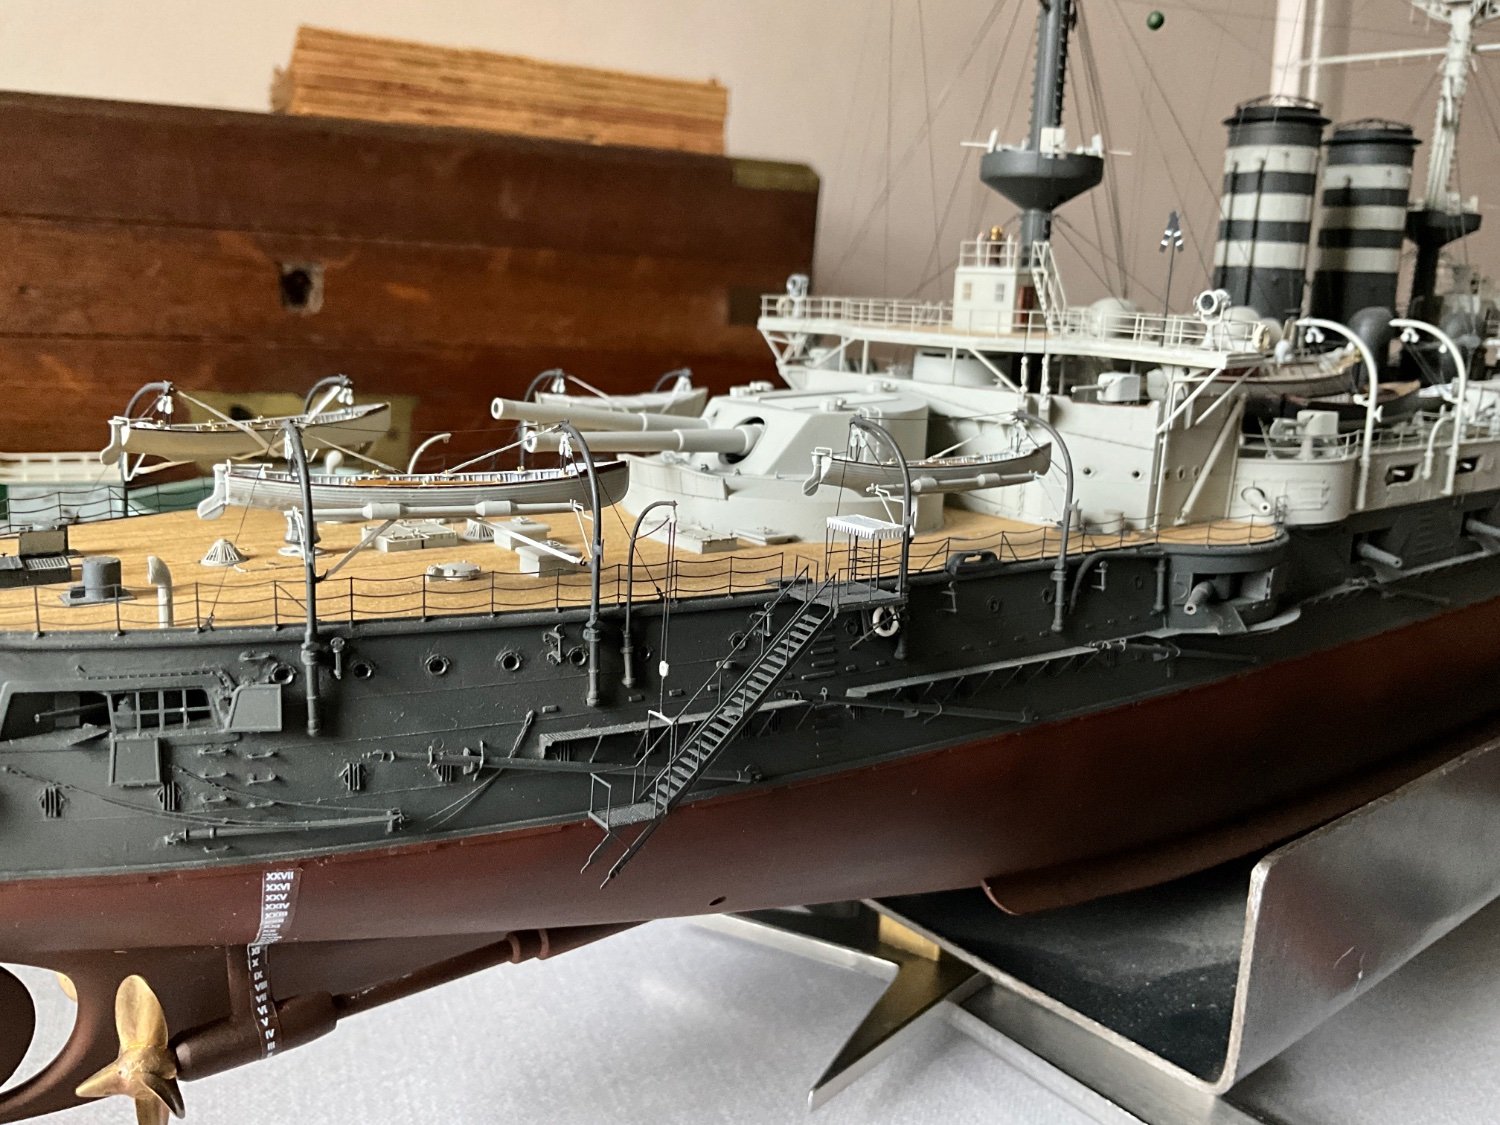
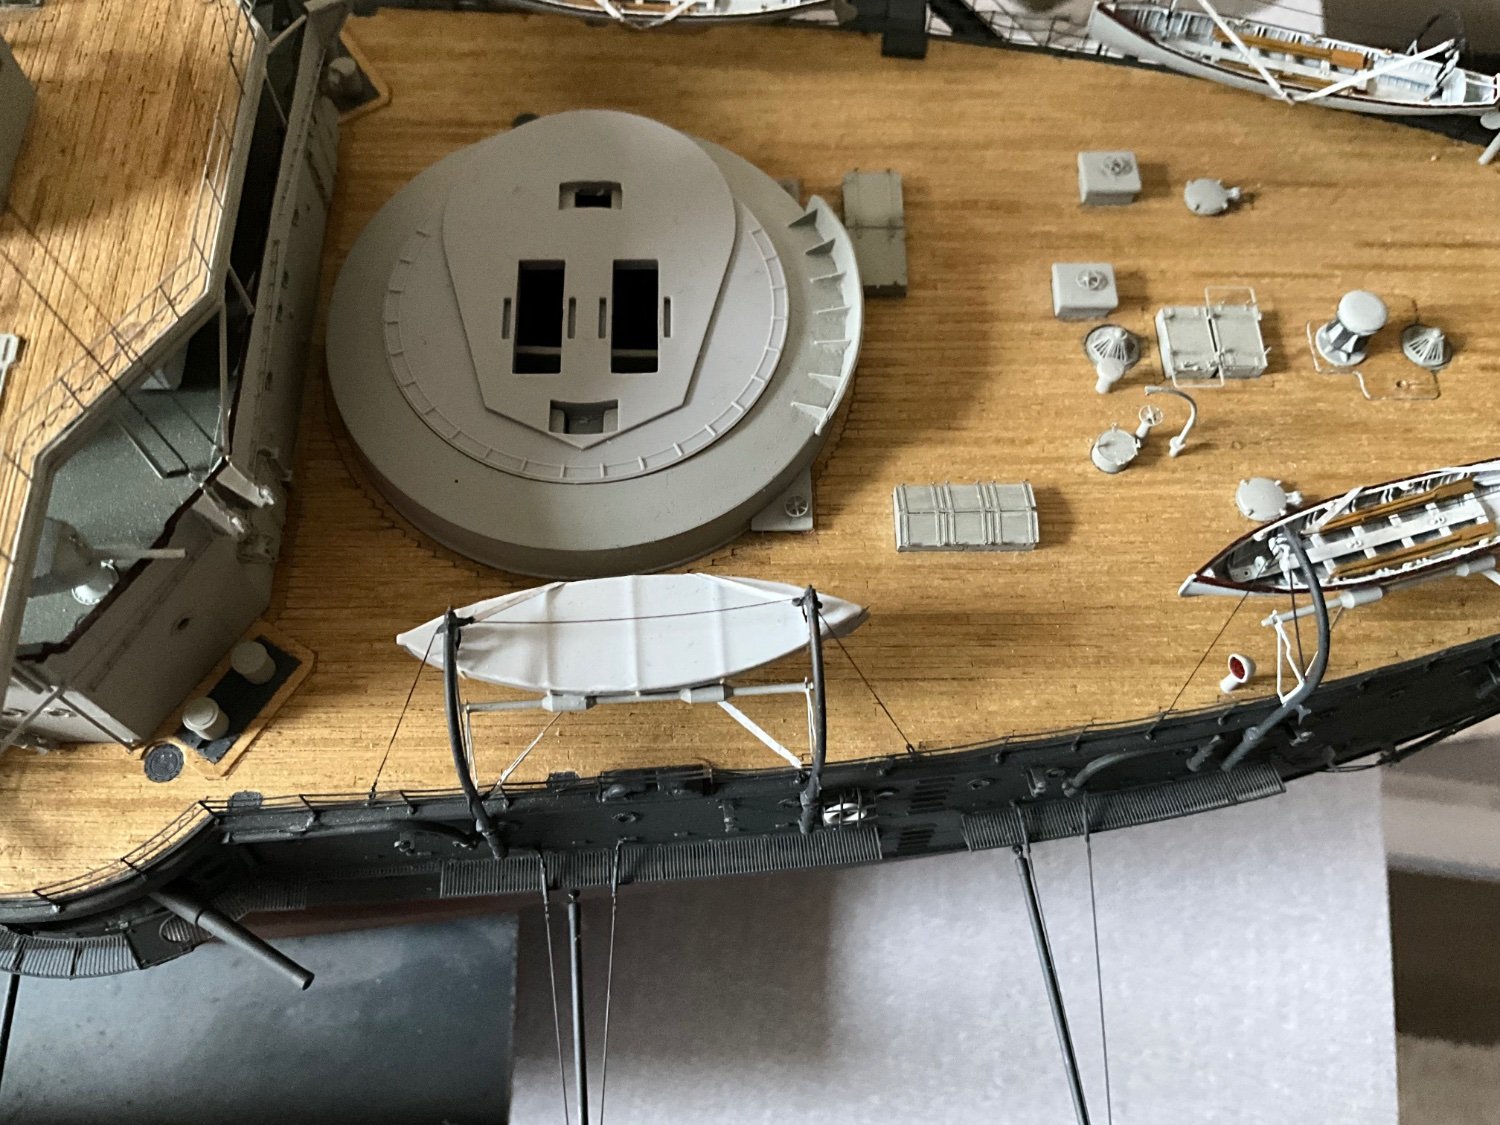
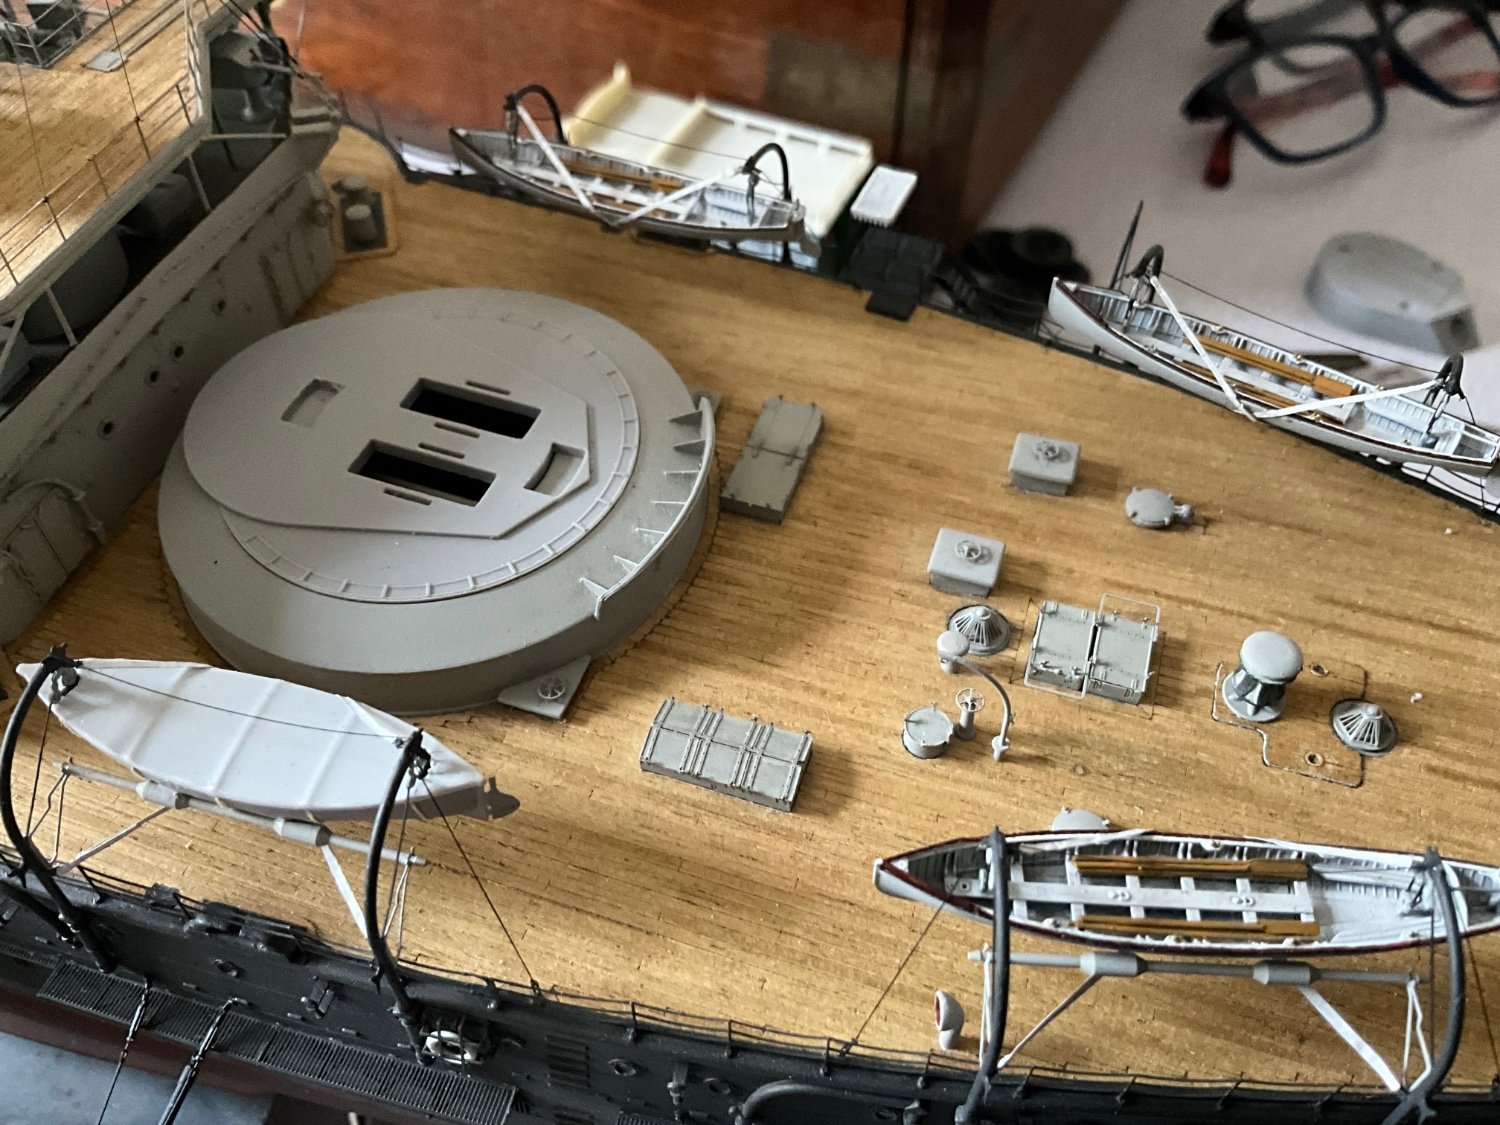
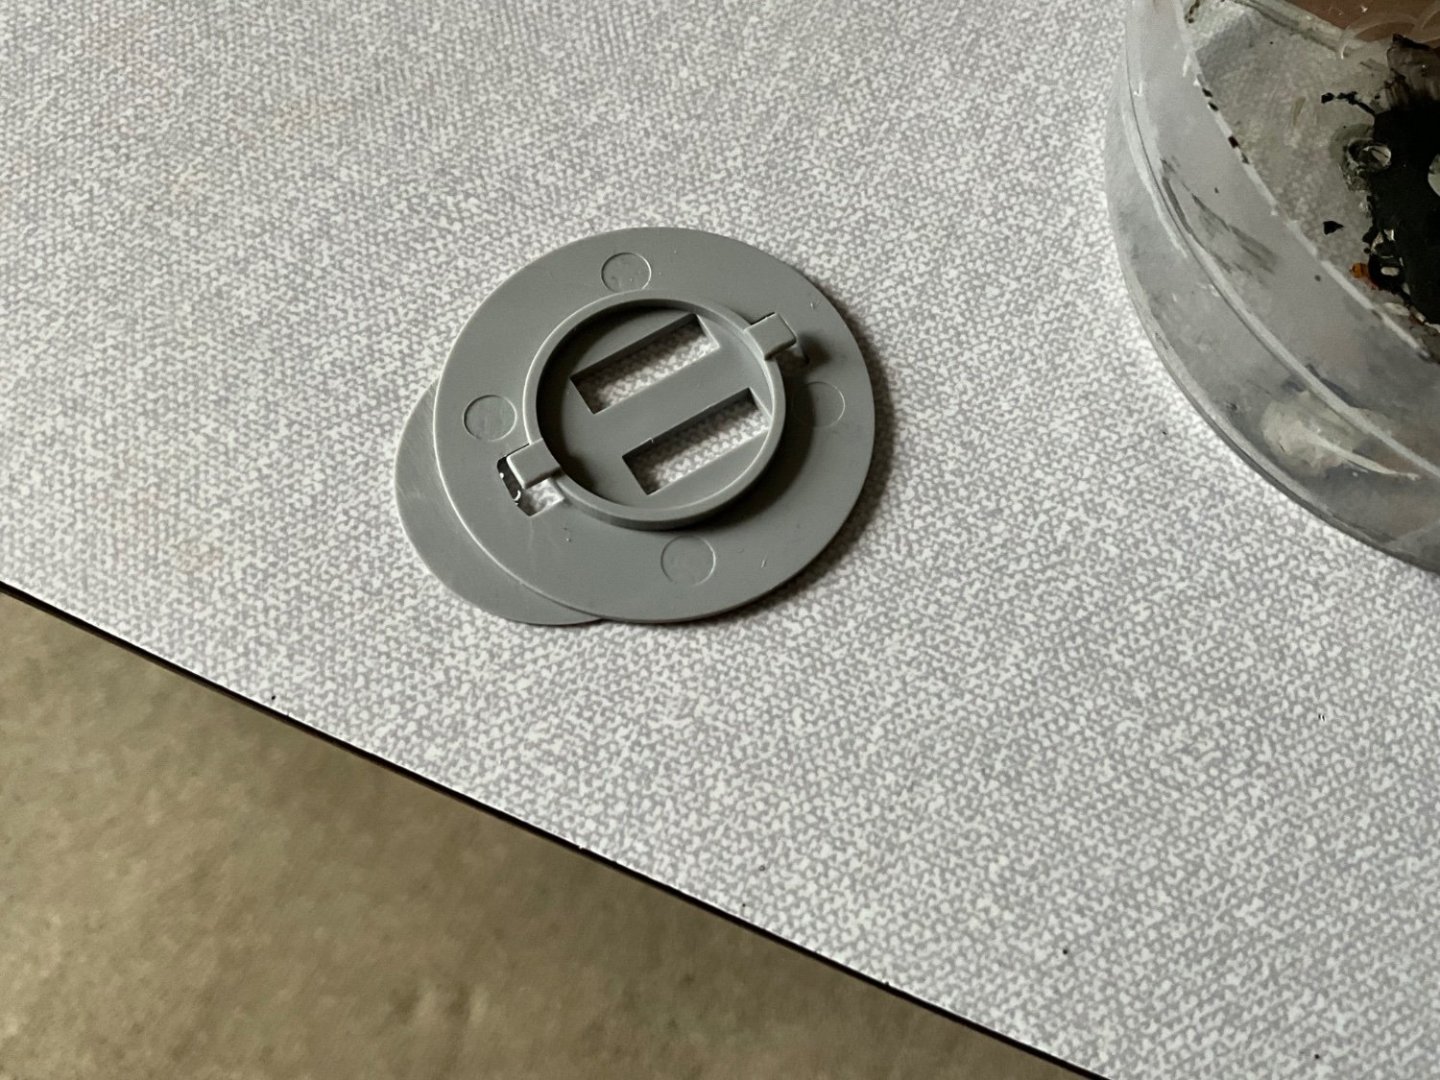
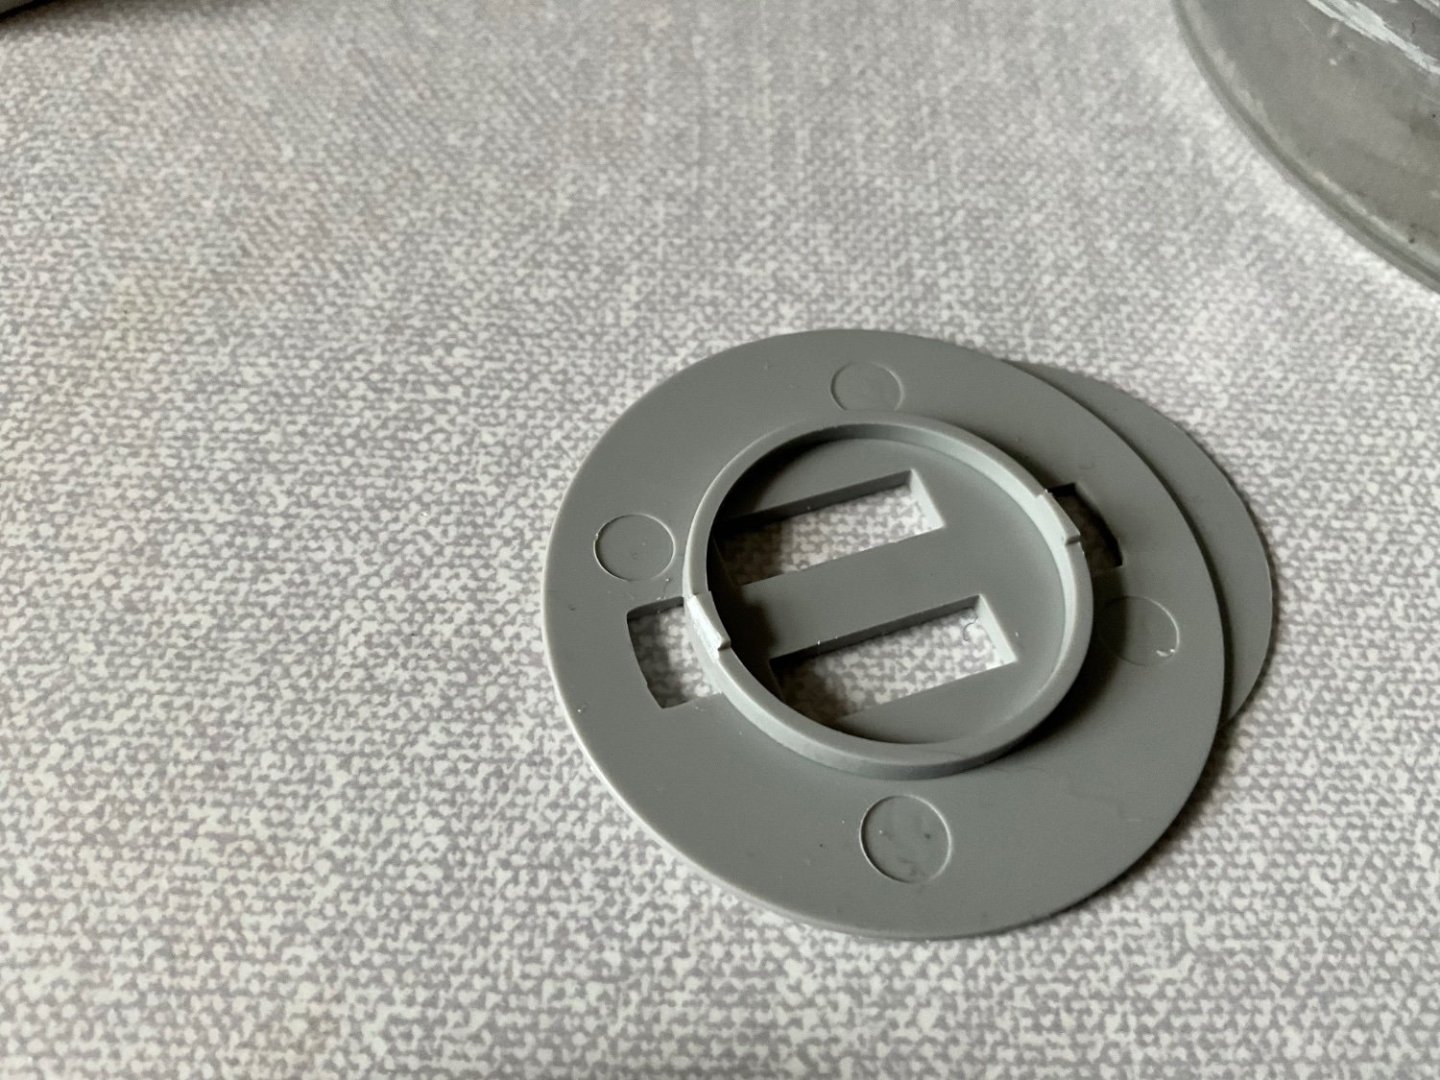
On the 12 inch gun turrets, fairly straight forward, eventually came to conclusion that the round turret points in the roof supplied in kit best option 👍 l also cut away the locating tabs so l could drop the turret into position at any angle, you can’t drop them in position across the aft deck for the ships boats with tabs here anyway, gun barrels don’t allow it, plus it’s better to make the base part of turret revolve freely, they are a bit tight so you might end up with damage to them if you have to force things, so l advise sorting this early in build when it’s not so busy. 🤛 also going to bore the gun barrels a little deeper 👍 1.5mm for this.
-
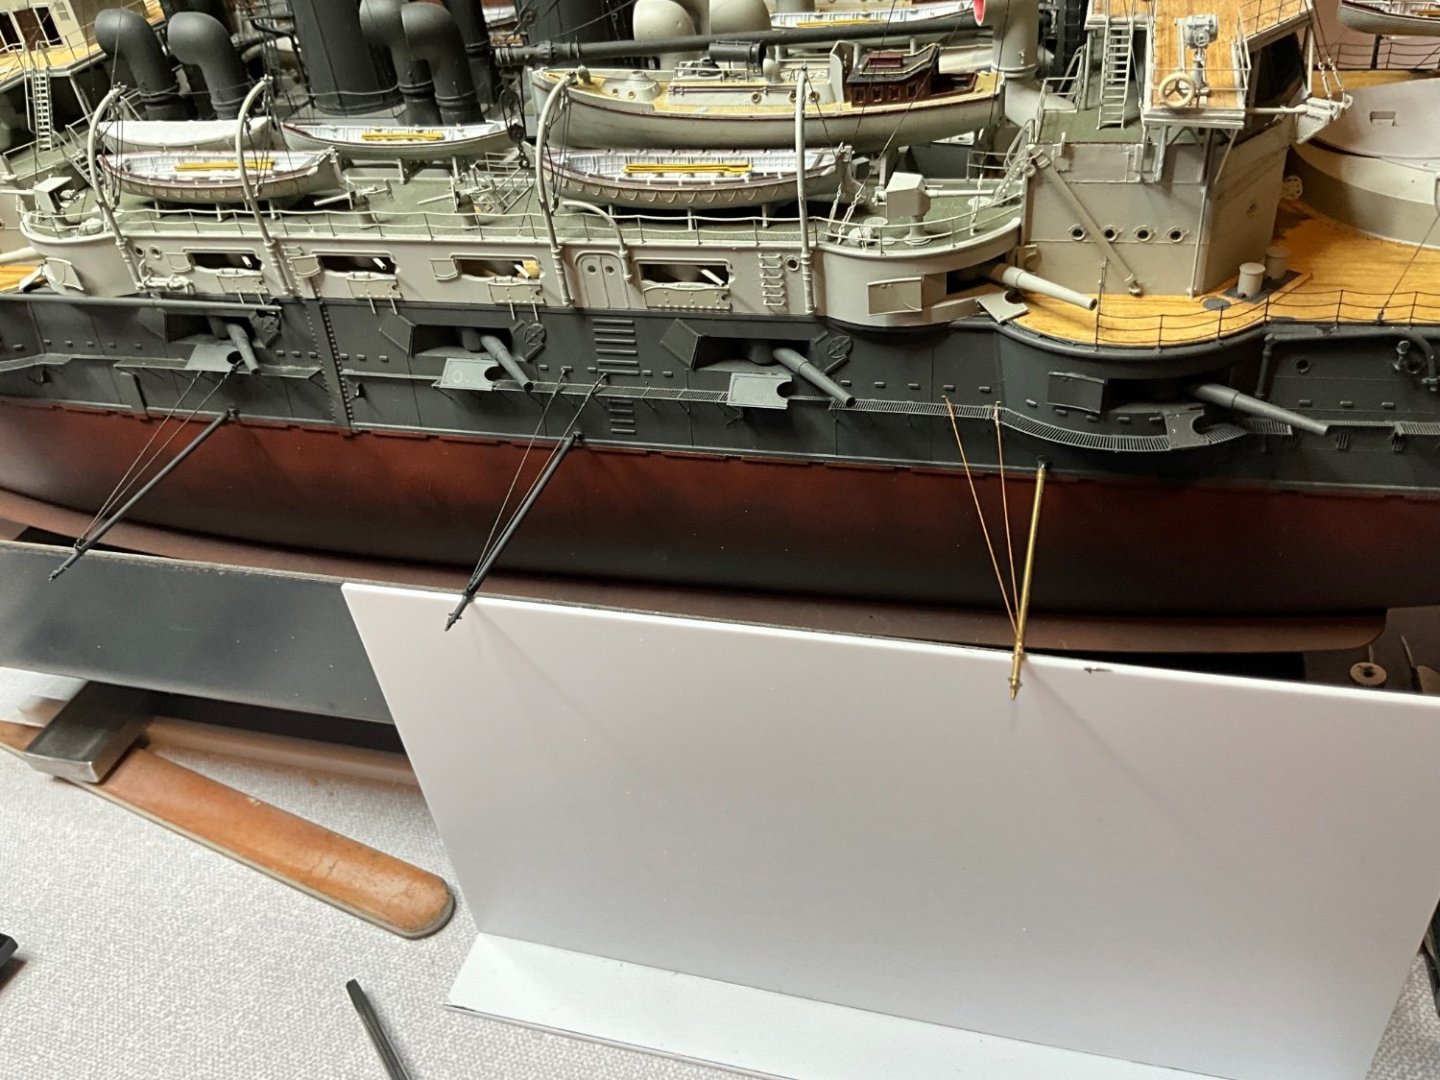
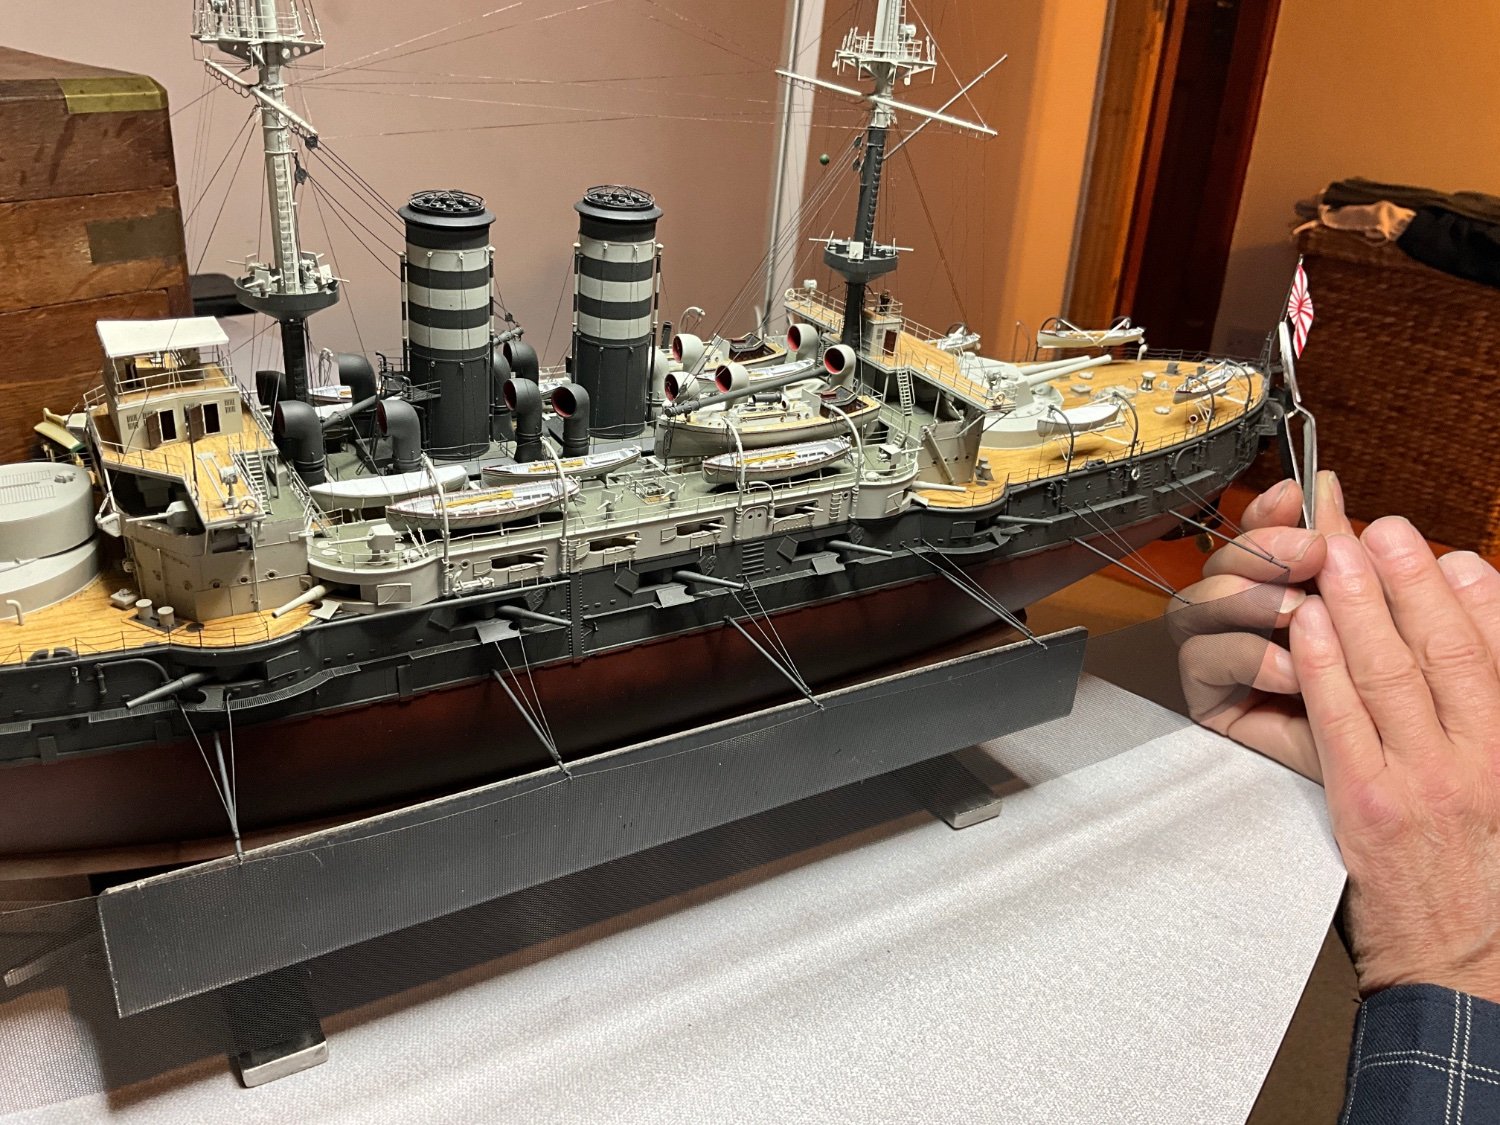
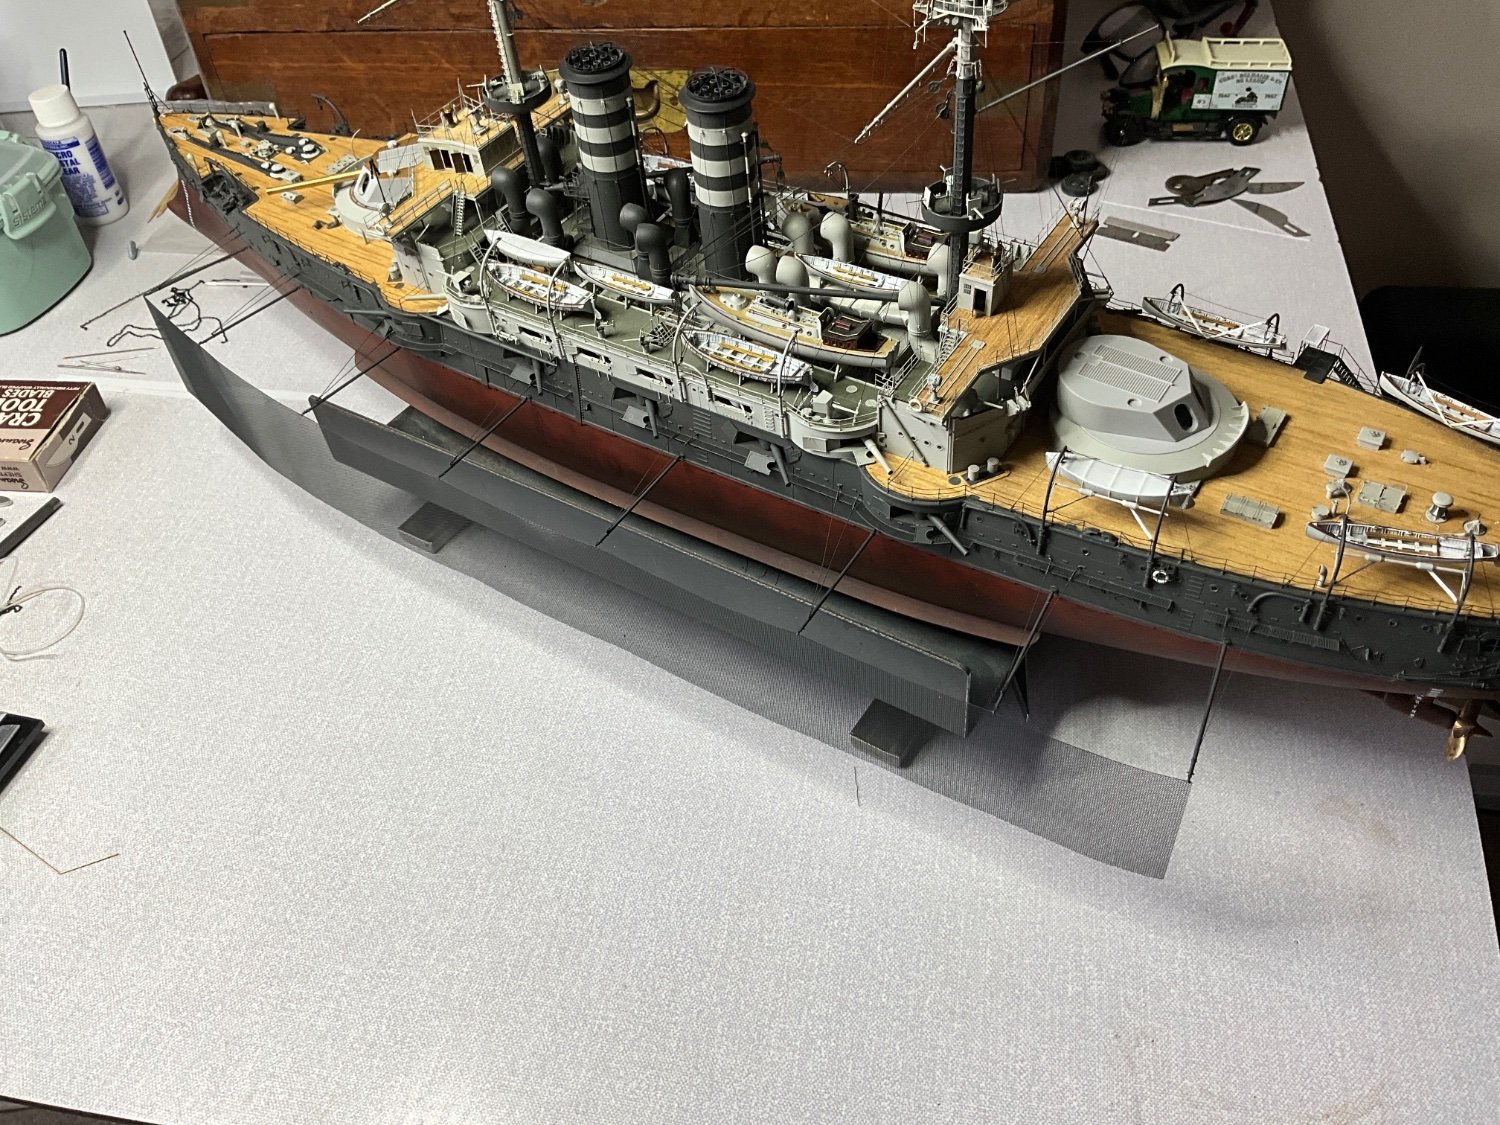
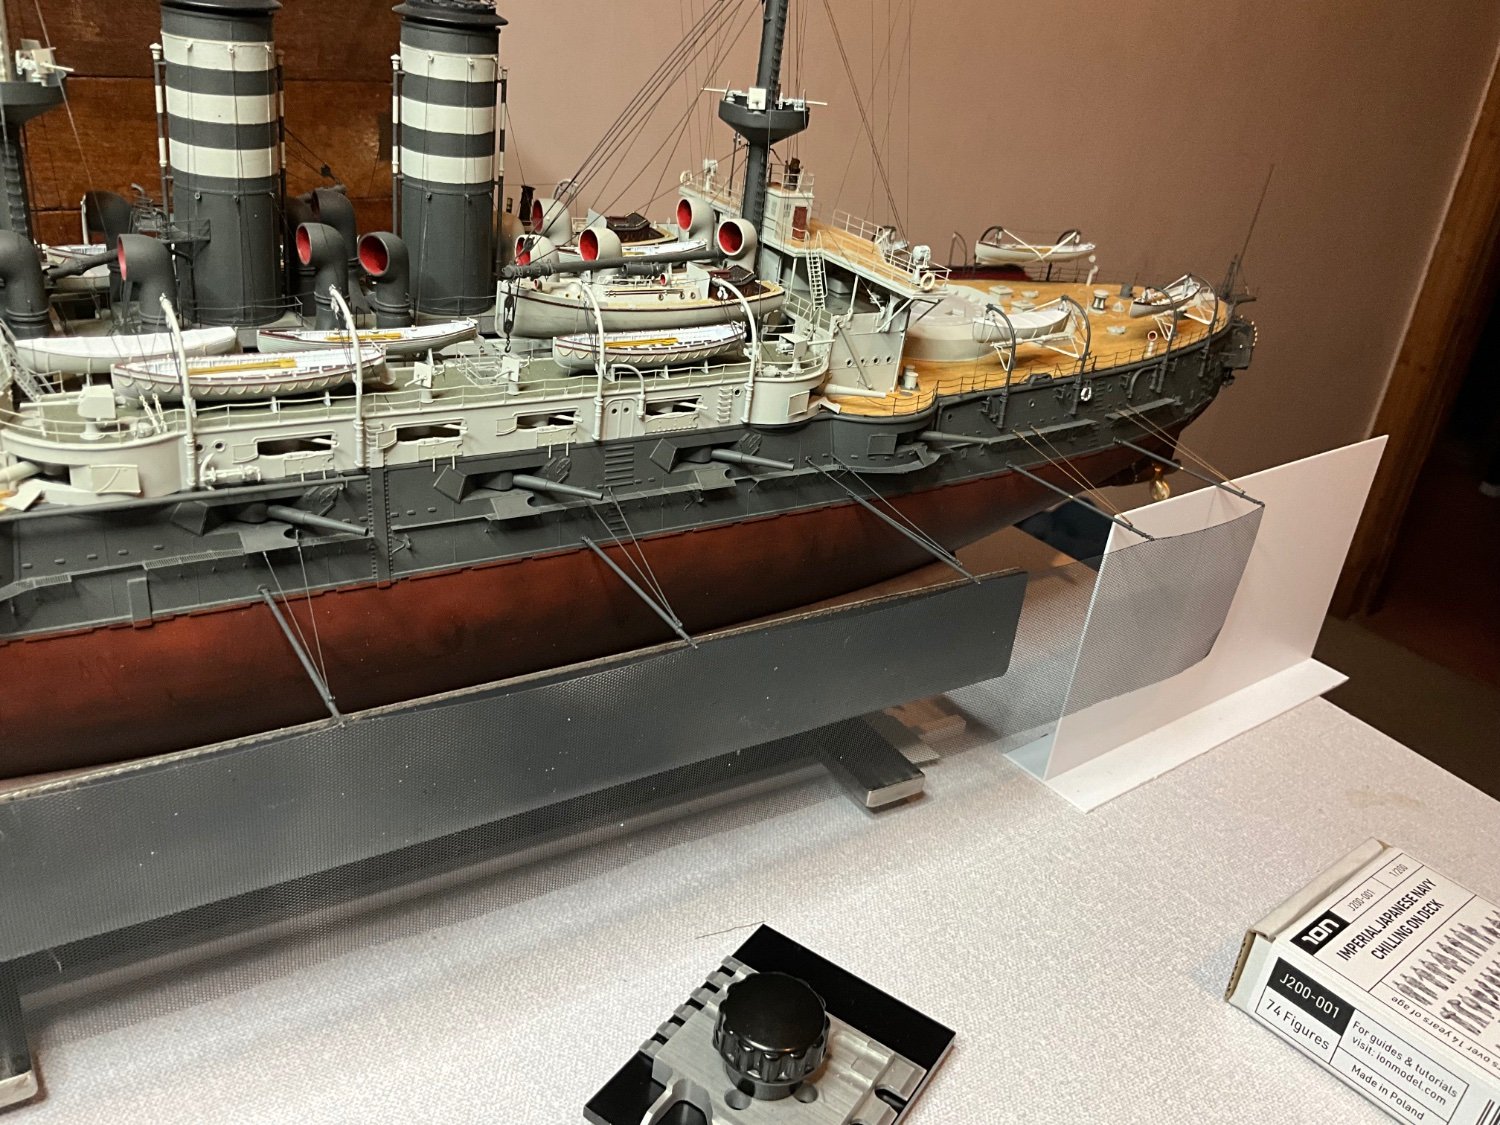
Short update on progress guys, the torpedo netting is certainly a challenge, set up booms 12 14 and 16, measuring centres from these points on actual etch net, thought l had them very close but when l hung the net on it caused the fine stay wires to bend slightly, so getting them spot on is the only solution, after a bit tinkering around l managed to recover it a bit, then decided the best way forward was to fit the booms two or three at a time to net and hull fixing points supported on my jig, then glue these before attaching guy rope wires, so you have to try each set of guy wires in position to see what length you need to achieve, slow process, but once made and painted just fit and glue in position, no stress in wires doing it this way, have l put you of doing this yet 😂 just on the last two now. Can’t make my mind up if it’s worth the effort or not but can’t see me ever doing another kit like this so it’s a one off for me. When you see it on that will help you decide what you prefer for yourselves when the time comes. 🤛 shall put some photos up now 👍