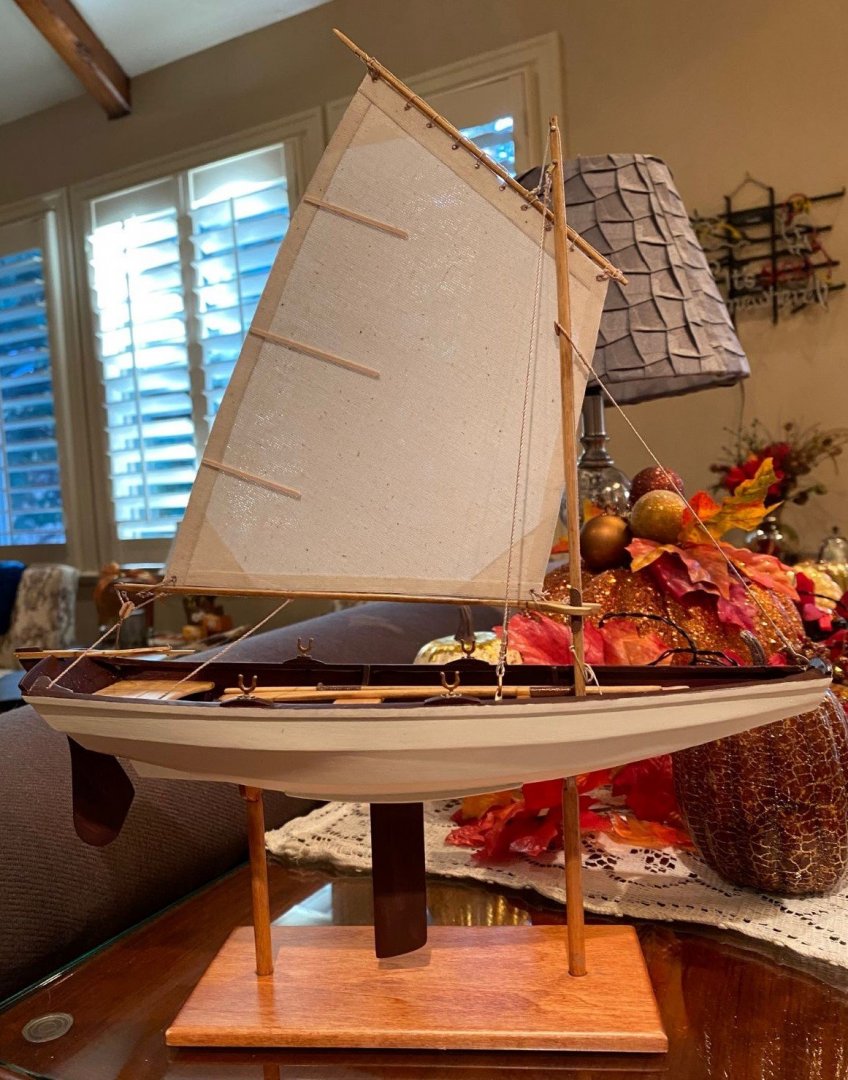
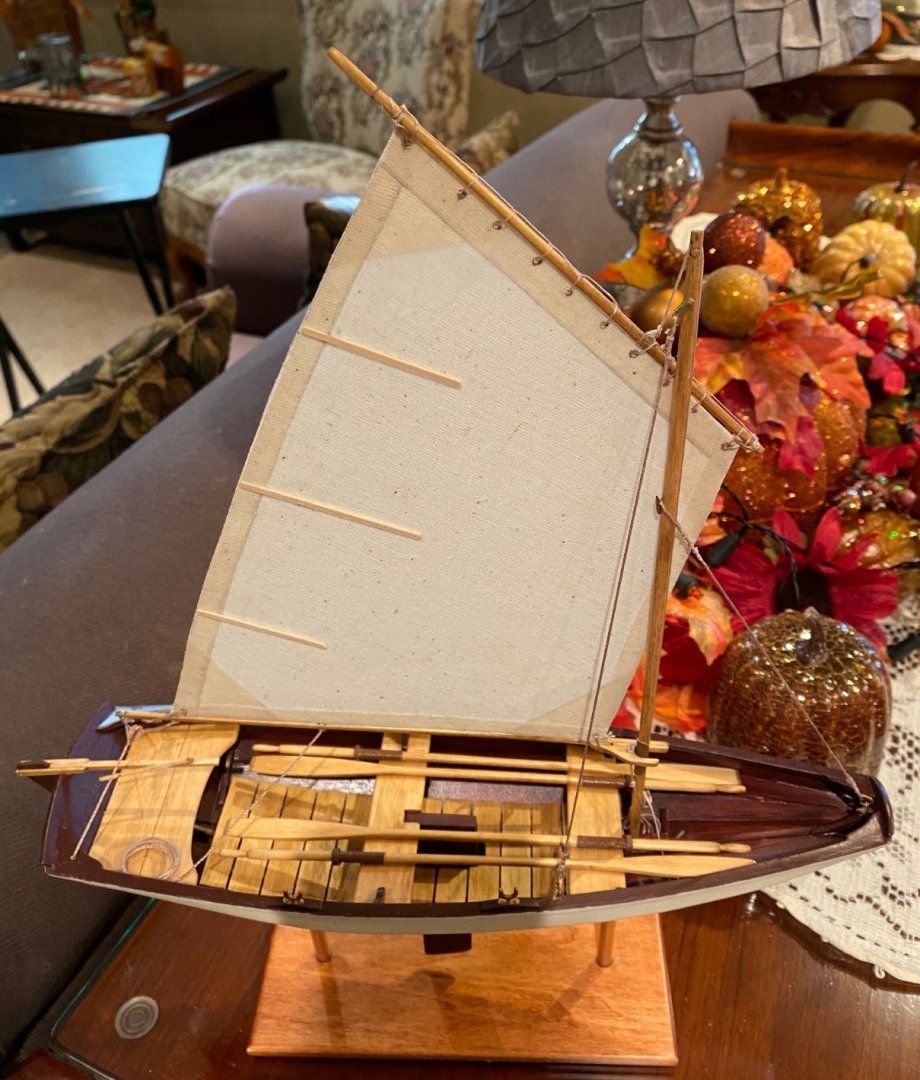
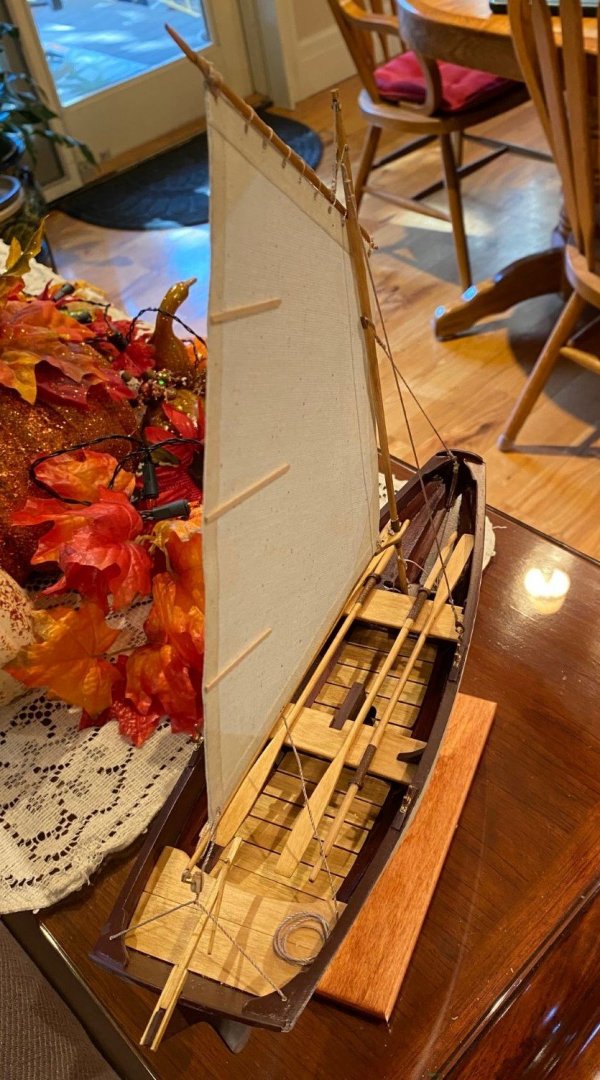
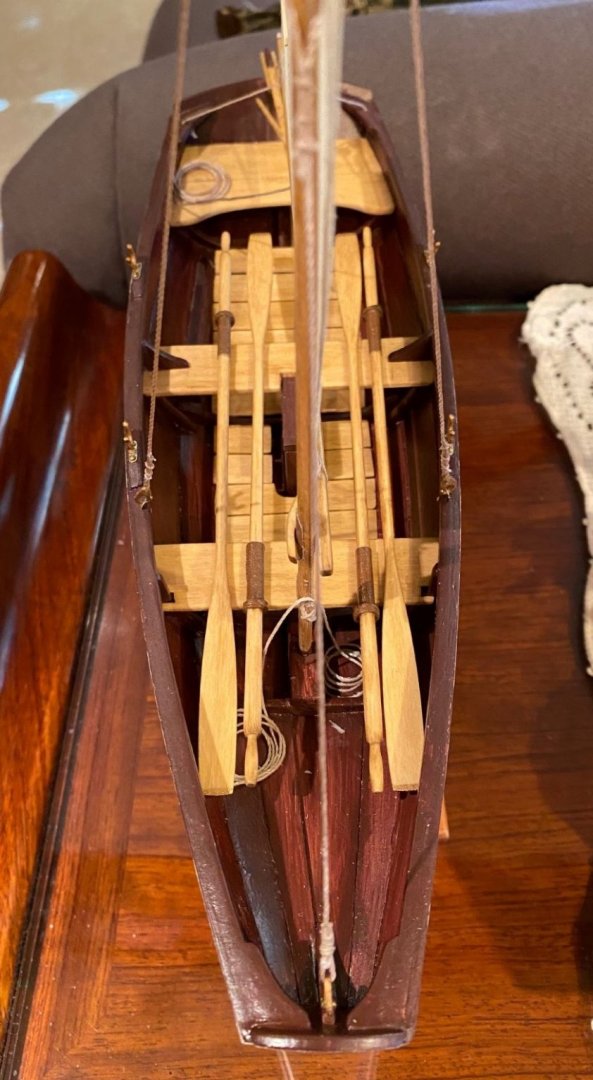
-
Posts
249 -
Joined
-
Last visited
Content Type
Profiles
Forums
Gallery
Events
Everything posted by SkiBee
-
Looks great, I had the same problem with the build board as you, I glued both transom holders. It really could use more molds, I think that would prevent the bending of the planks when putting rubber bands around them while the glue dries.
- 43 replies
-
- Norwegian Sailing Pram
- Model Shipways
-
(and 1 more)
Tagged with:
-
I received the block and reduced the size like the instructions recommended. Then put it all together and finished. I do think this is a Great second build following the Grand Banks Dory for us beginners, I would rate idea a 5 out of 5. However, Model Shipways does need to improve the instructions with more up-close pictures of the build so we beginners can understand the detail better. And the most important, they DO need to add a couple of views of to-scale drawings similar to what they did in the Dory instructions. Until they improve the instructions, I would rate this model a 2 out of 5 for beginners due to the lack of detail in the instructions.
- 54 replies
-
- norwegian sailing pram
- model shipways
-
(and 1 more)
Tagged with:
-
HELP again, between the lines provided don't match the few notes in the instructions, I don't know what line goes where in the rigging. Does anyone know of some of the build logs that go into detail on the rigging?
- 34 replies
-
- model shipways
- 18th century longboat
-
(and 1 more)
Tagged with:
-
whitejamest - thanks for the info. I glued two 'eyes' on the band and they seem to work ok. On the boom, I cut a 1/8" piece of brass tube from my Pram kit and glued that to the band at the lower end of the mast.
- 34 replies
-
- model shipways
- 18th century longboat
-
(and 1 more)
Tagged with:
-
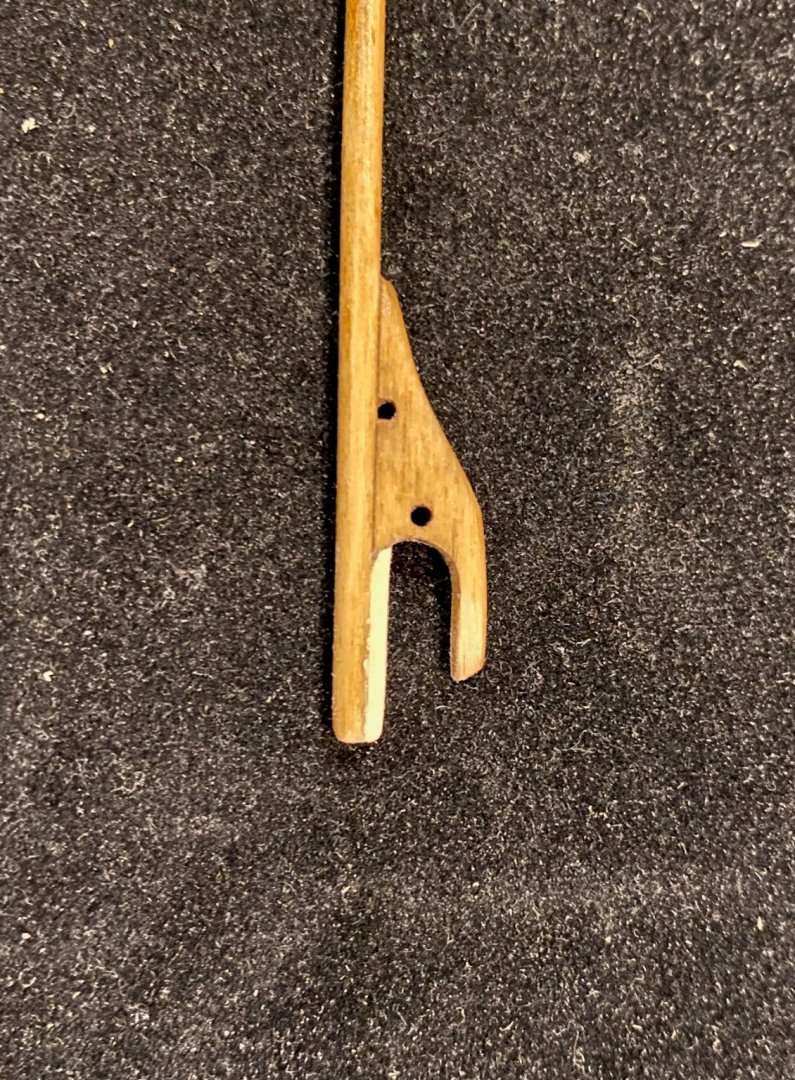
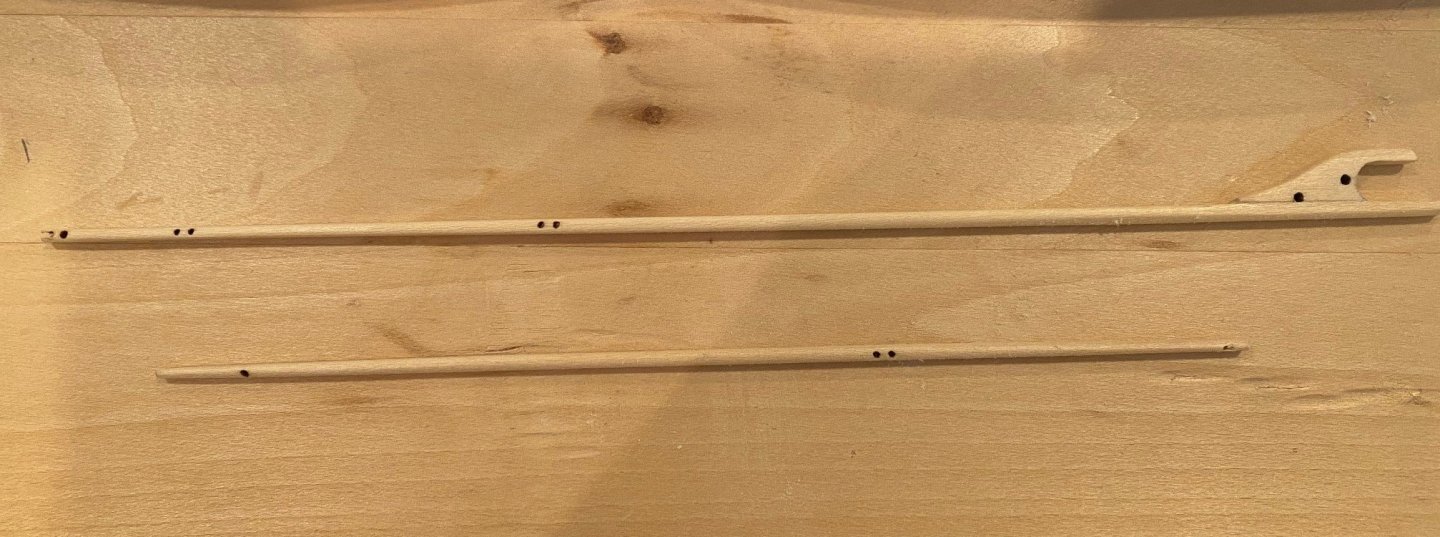
I did start the build of the Norwegian Sailing Pram and I’m almost done but the kit was missing a part so I’m waiting to receive it in order to finish it. Started building the masts and spars, the hardest part was cutting the jaws for the gaff, they are not pre-cut and had to cut them out of left-over stock. I failed a number of times drilling the hole and cutting them out of stock. Then I noticed that the extra ‘knees’ left in the stock I was cutting the jaws out of were about the shape of a jaw, so I used them for the jaws. Drilled the hole in them and then cut them out, sanded them to a ‘similar shape’ of the jaws and glued them on. I think they look ok and it was easier then trying to make them on my own. I do need to figure out and practice making small parts like the jaws but not now. I tried to make the iron bands for the mast but I can’t drill the holes in the small (1/32” x 1/64”) piece of brass strip. HELP, does anyone have a recommendation on how to drill a hole in that small of brass strip?
- 34 replies
-
- model shipways
- 18th century longboat
-
(and 1 more)
Tagged with:
-
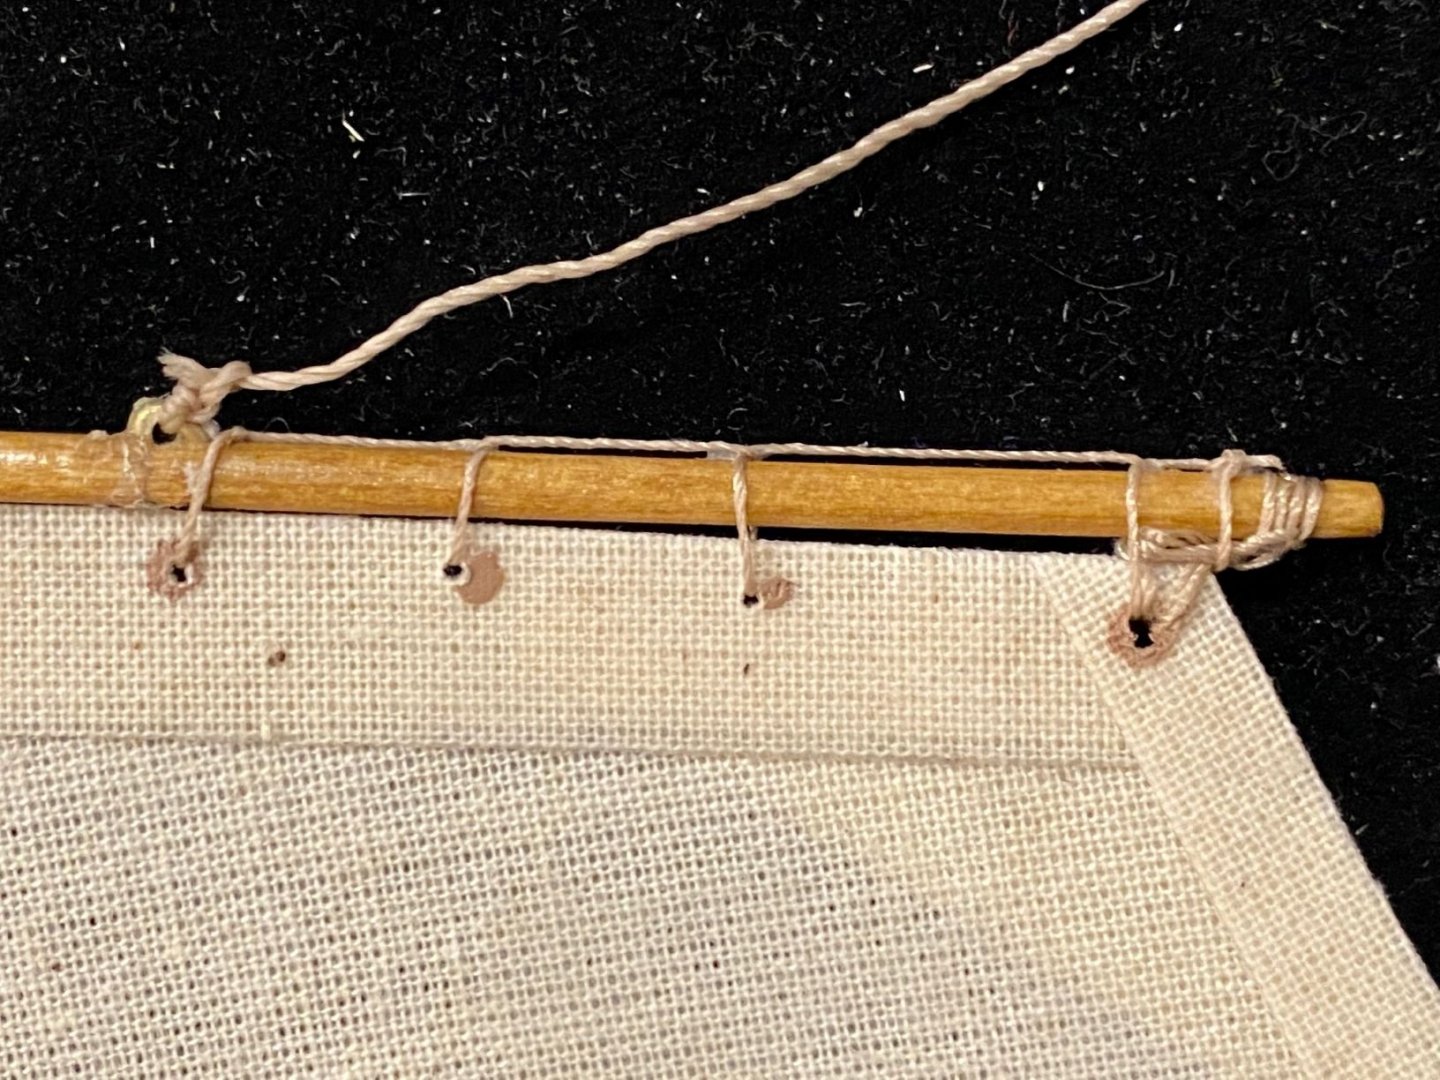
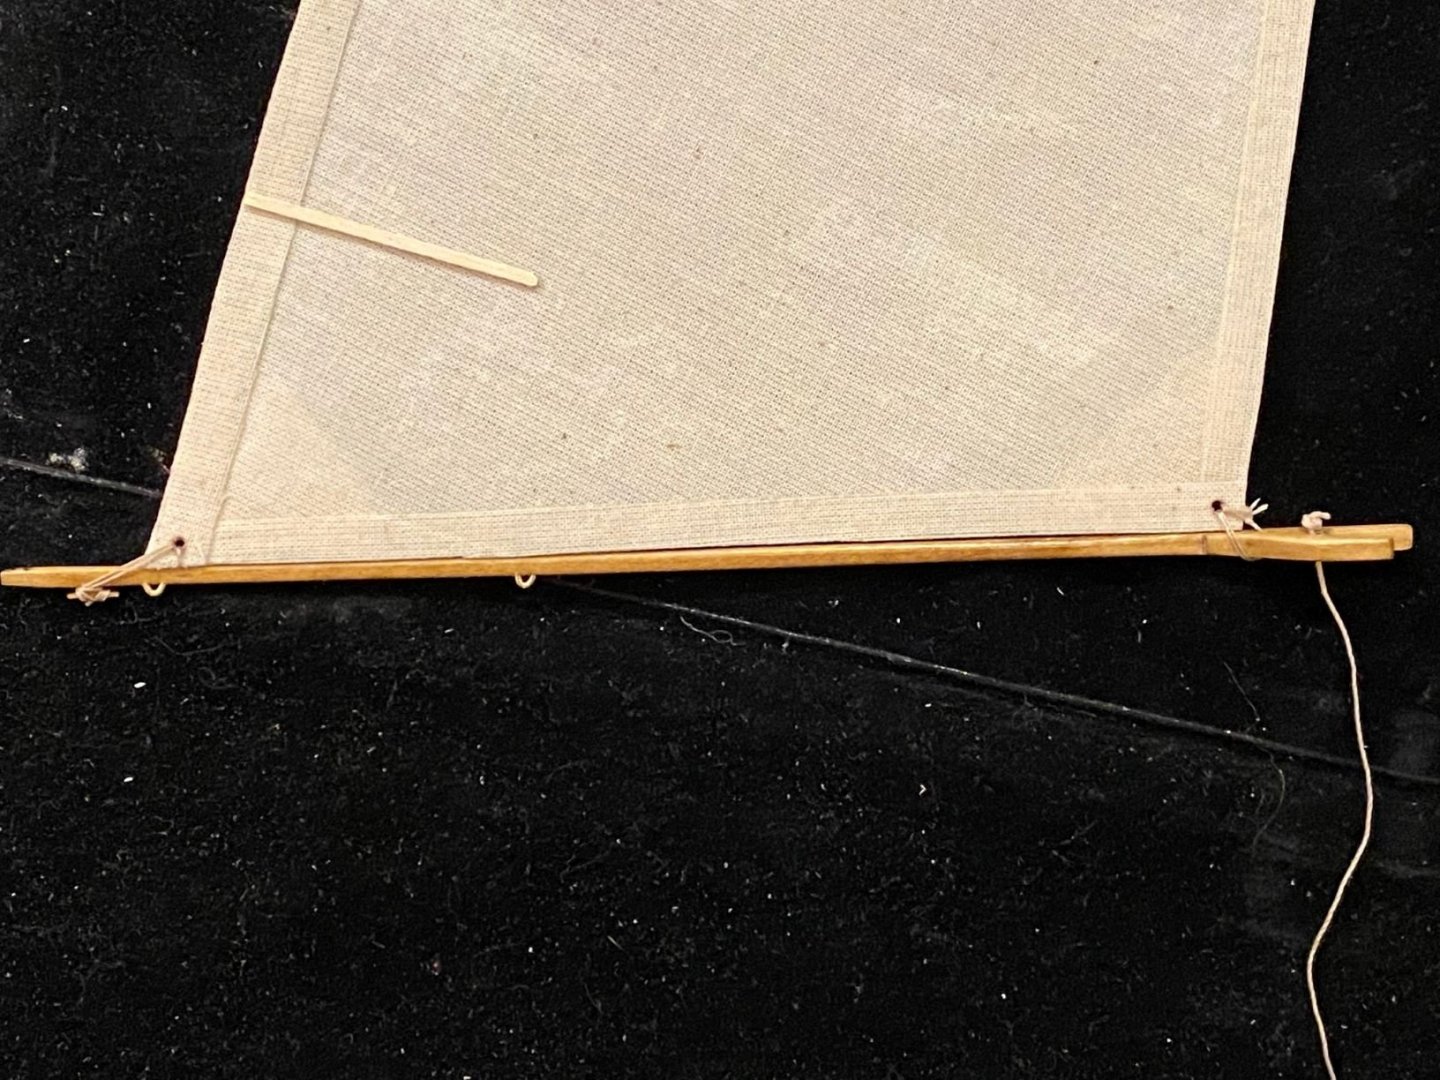
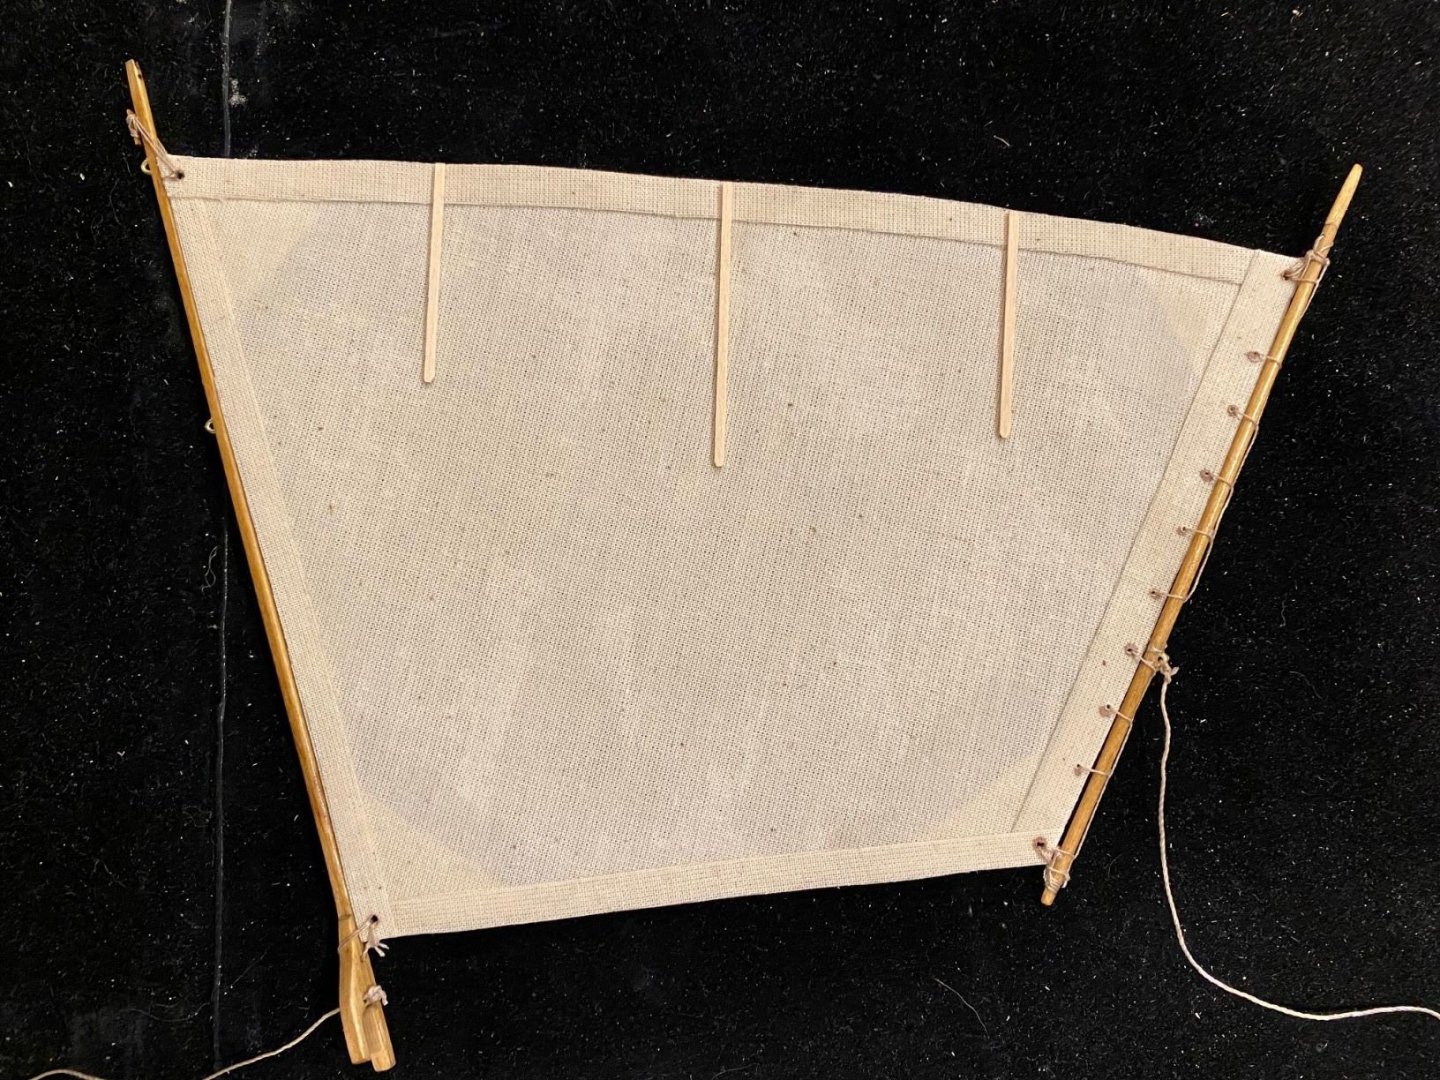
Finishing attaching the sail to the spars. This went well and I found out that it does help to put a little glue on each half hitch while lacing the sail to the gaff spar. While the glue on the knots was drying, I went to build up the traveler but found out that another part was missing from the kit, the sheet block. I reviewed the two parts lists and neither one had the block on it. So while I wait for Model Expo sends me a block, I’ll go work on a plastic Spitfire plane model.
- 54 replies
-
- norwegian sailing pram
- model shipways
-
(and 1 more)
Tagged with:
-
Look for a "Small Trimming Plane" or a micro plane, they are available from any hardware store or online. Good luck on your oars.
- 54 replies
-
- norwegian sailing pram
- model shipways
-
(and 1 more)
Tagged with:
-
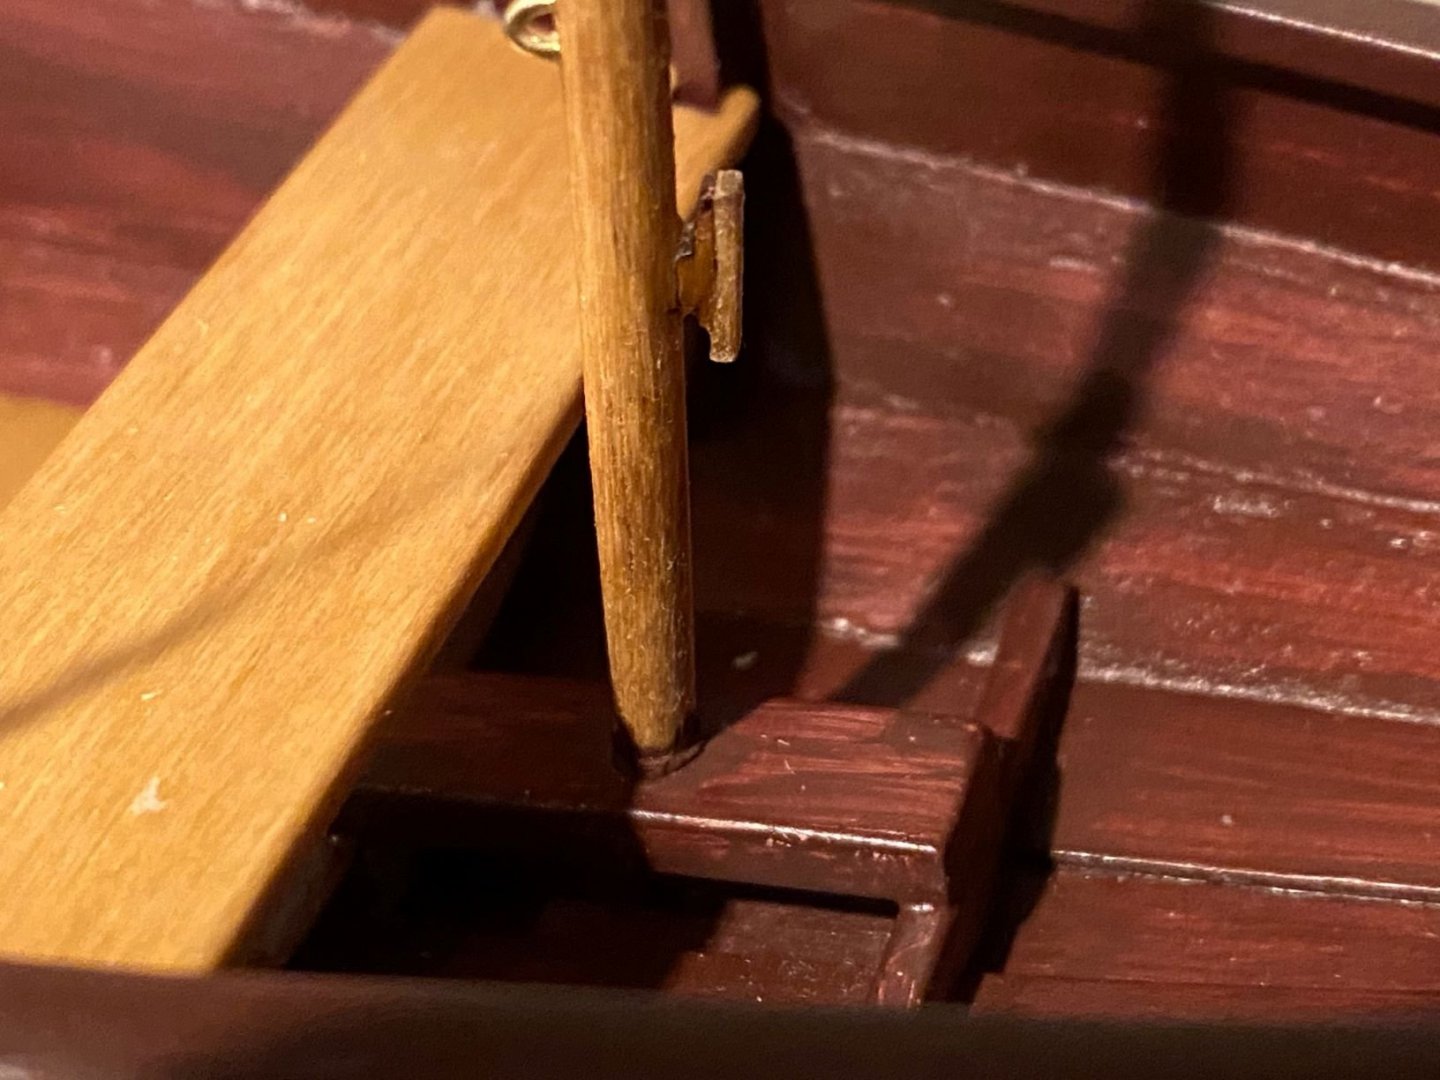
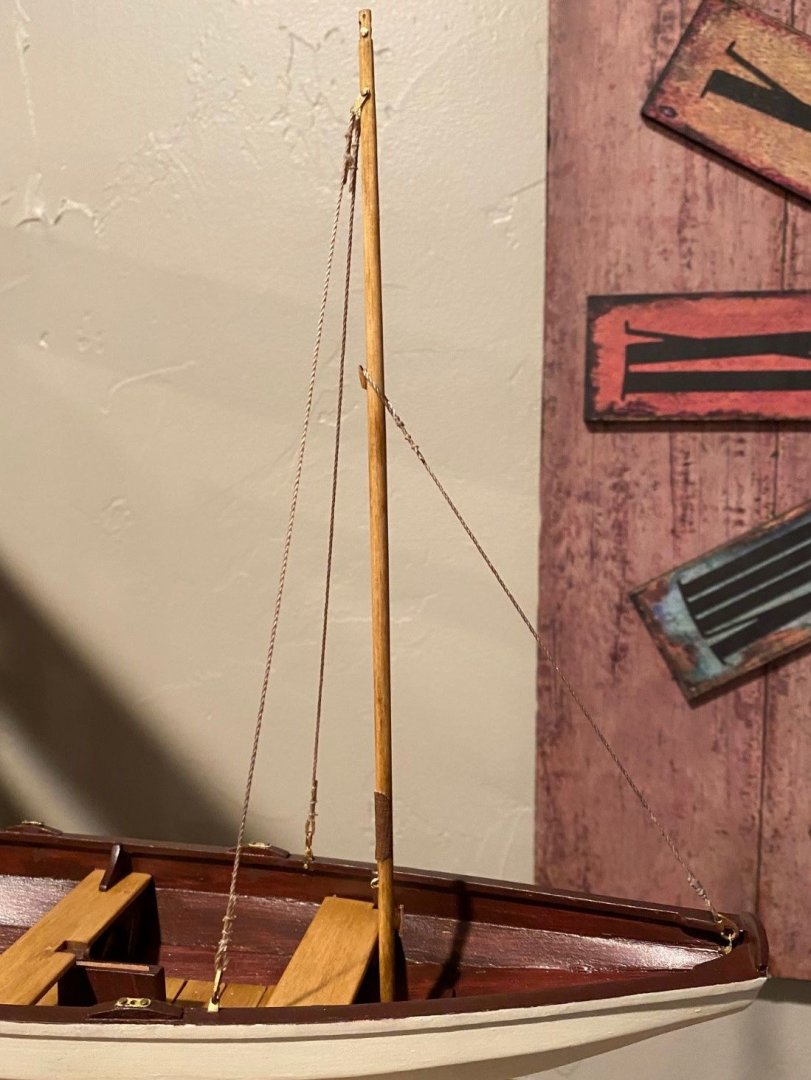
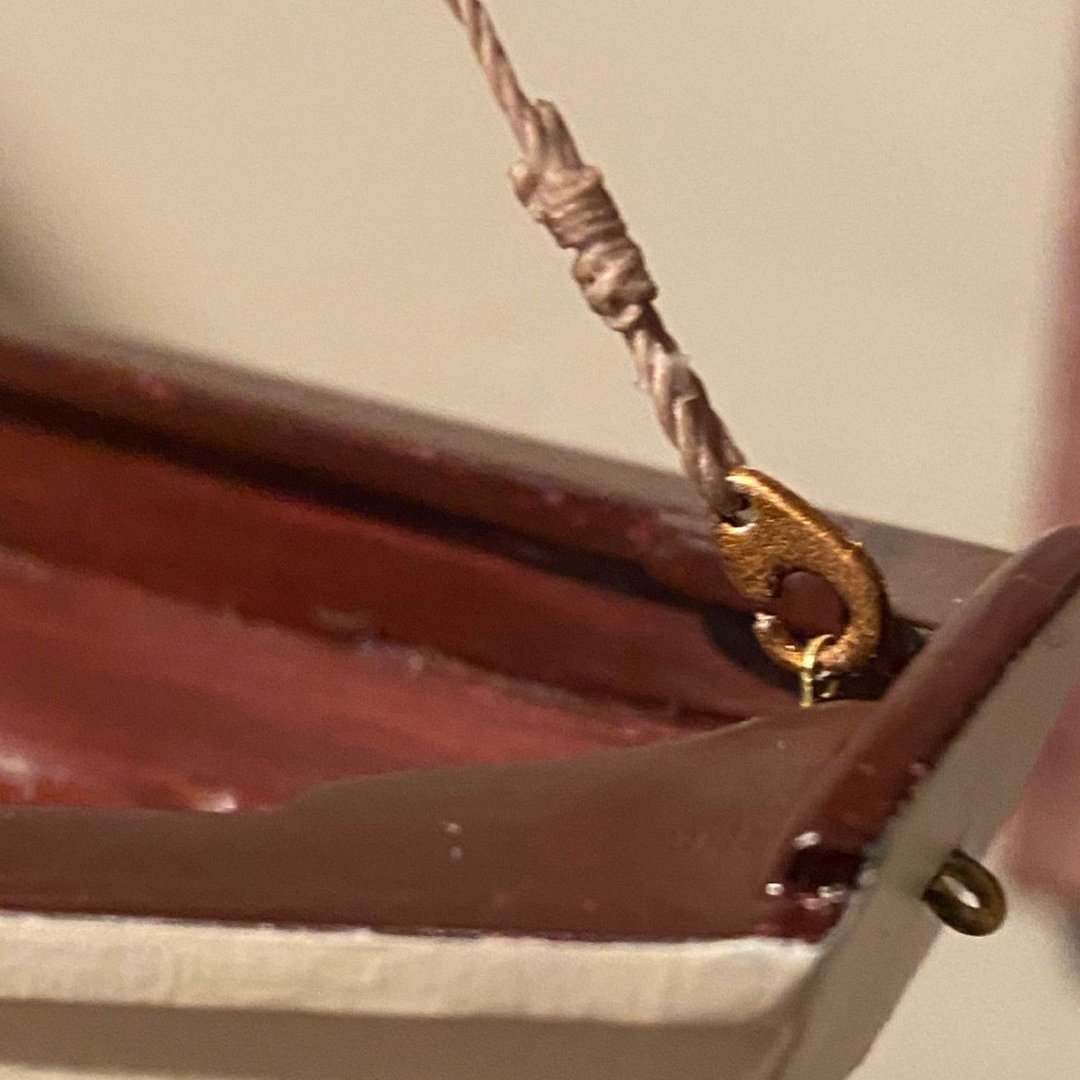
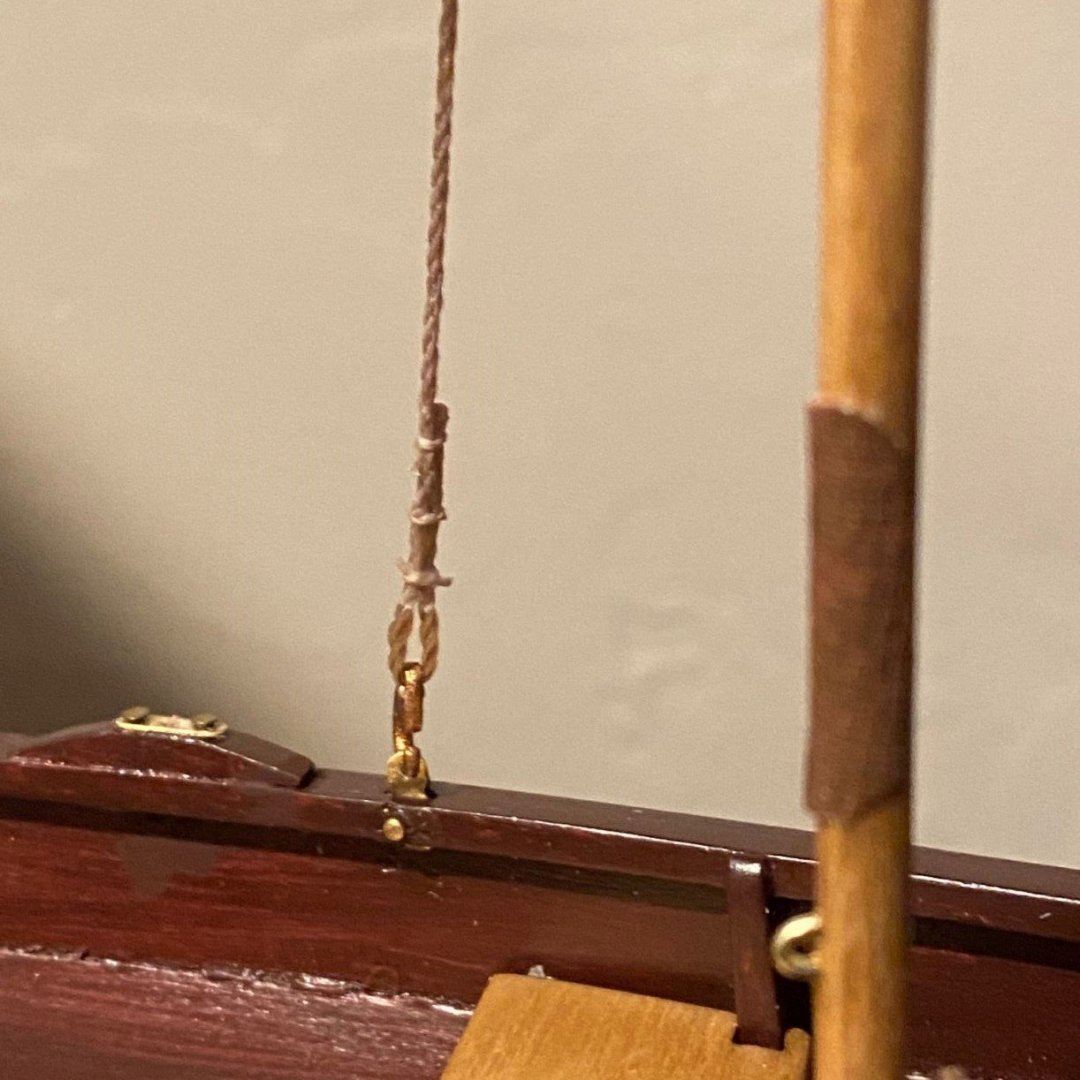
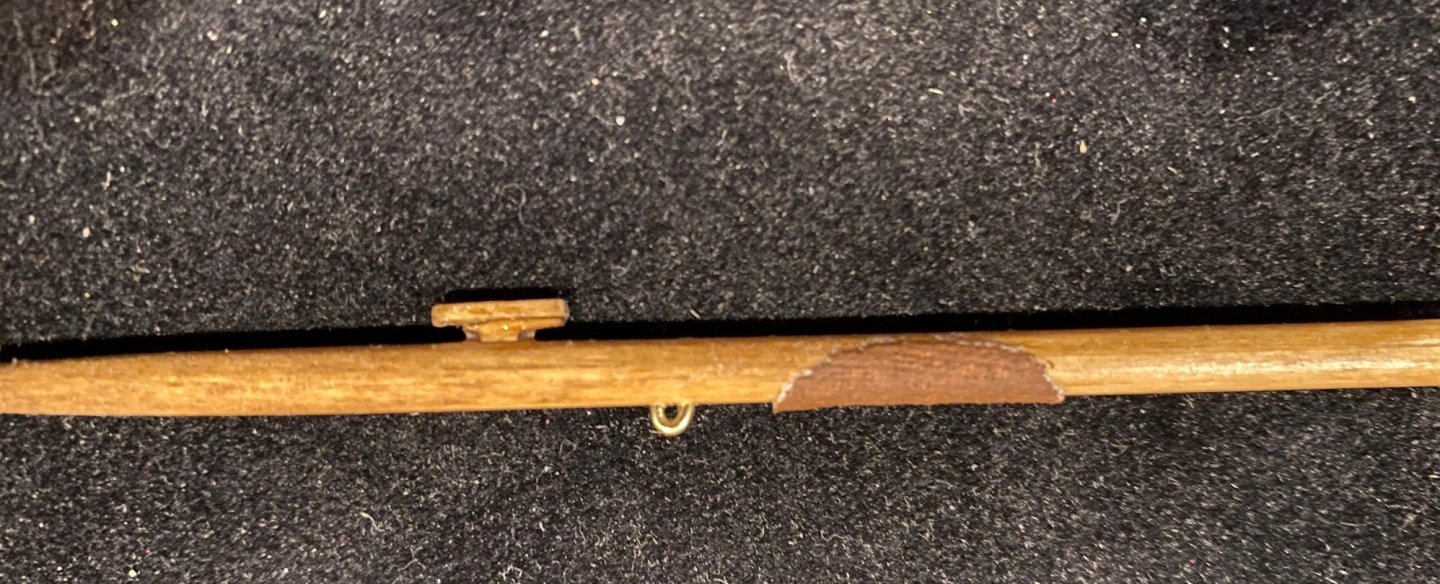
The only problem I came across with the mast installation is that hole for the back stays was not 90deg to the halyard holes, halyard cleat and the leather chafing pad but I’m probably the only one that will notice. Since I had added one wrap of sail cloth around the lower small diameter of the mast, it fit nice and snug into the Mast Step. On the forward stay line, I tried to whip the spice of the line, it looks good but was difficult to do with such fine line. I had used some of the 0.3mm diameter thread for the whip. For the remainder of the line splices, I used the alternate method in the instructions and I think it looked just fine.
- 54 replies
-
- norwegian sailing pram
- model shipways
-
(and 1 more)
Tagged with:
-
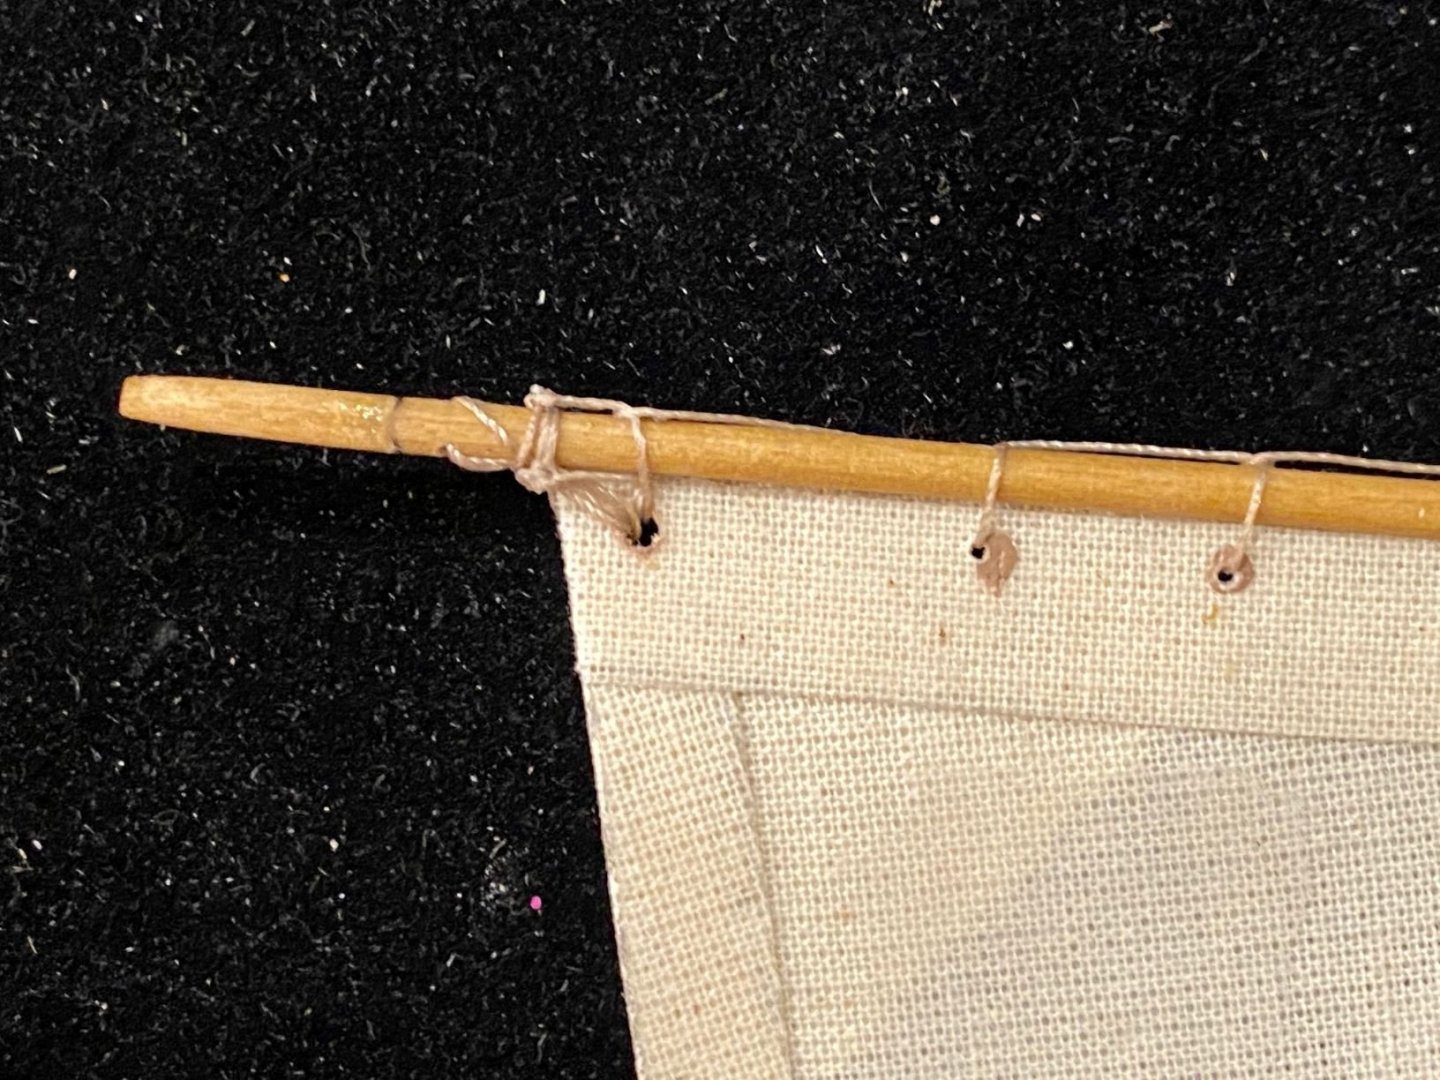
Started to attach the sail to the gaff spar, GOOF, as I was tightening the thread at the Leech end, POP, the thread broke through the thin wall where the hole was drilled. Between drilling the hole at a small angle and sanding to much to make the spar round, I ended up with a very thin hole wall on one side and that is were the thread broke through. Actually, the tip of the spar then broke completely off. I tried to glue the tip back on but it was not actually inline laterally. So I’ll move on to installing the mast while the glue on the spar dries. When the glue dried, I drilled a new hole inside of the break, then completed to tie the two ends of the sail to the gaff spar. Started to lace the sail to the spar and POP, the spar broke at the halyard eye due to a thin wall of the holes. I glue the spar back together, as it dried I went on to install the mast in the boat.
- 54 replies
-
- norwegian sailing pram
- model shipways
-
(and 1 more)
Tagged with:
-
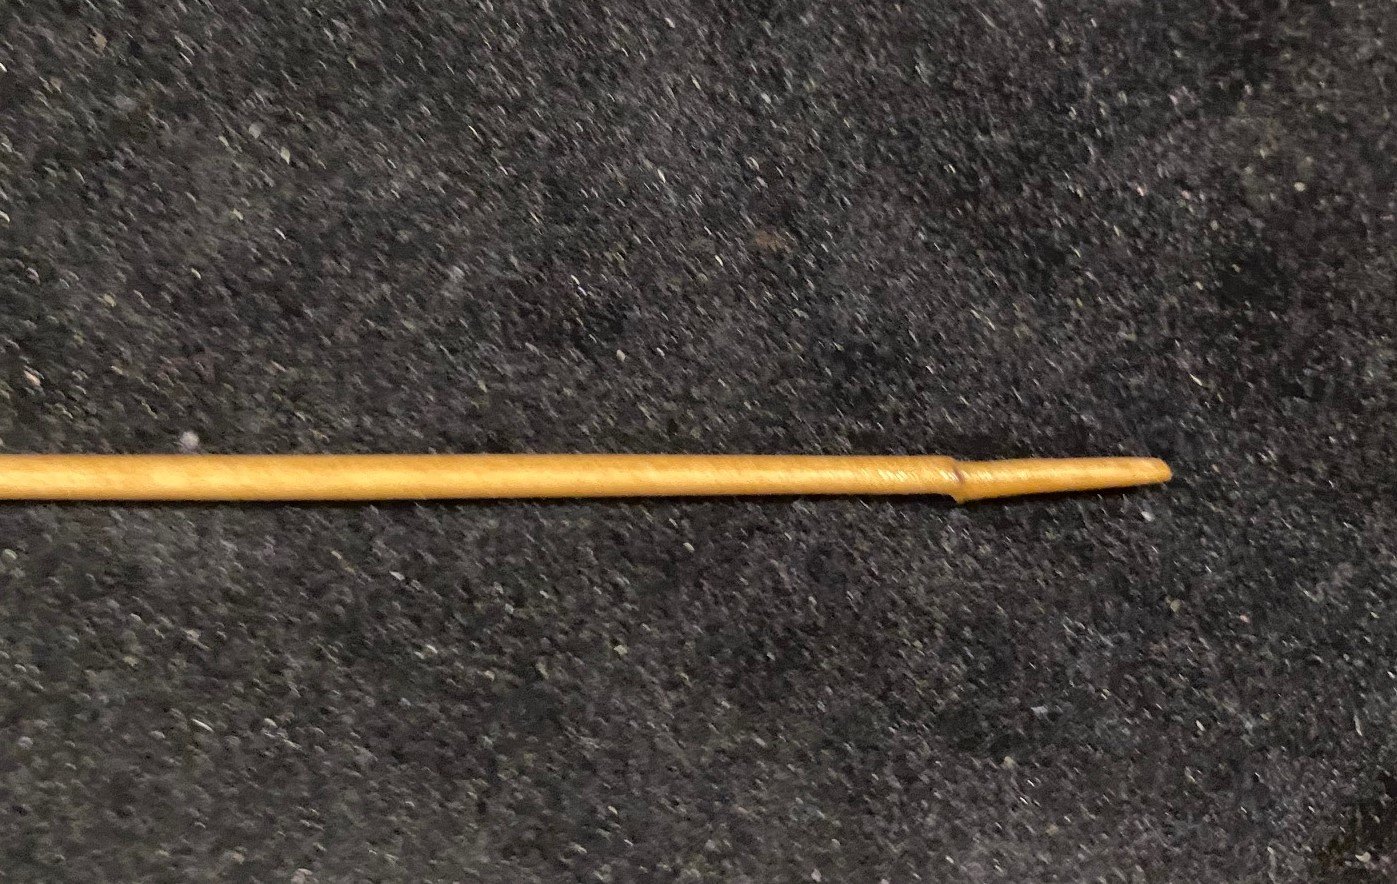
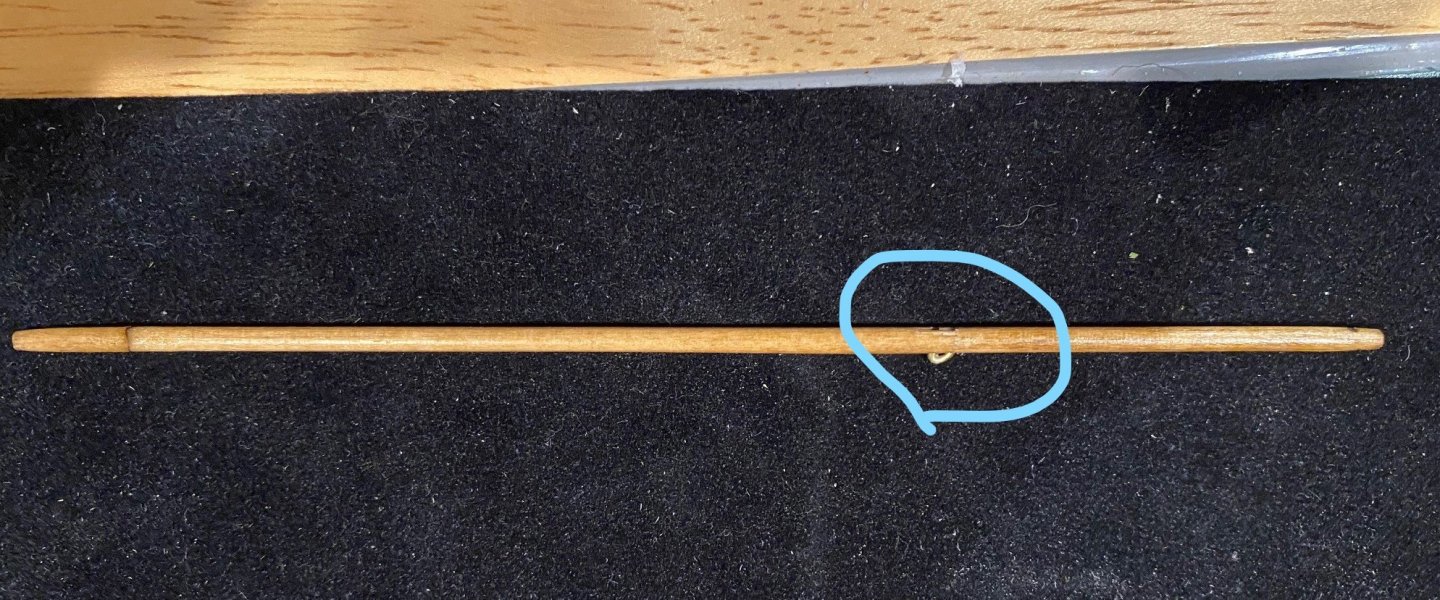
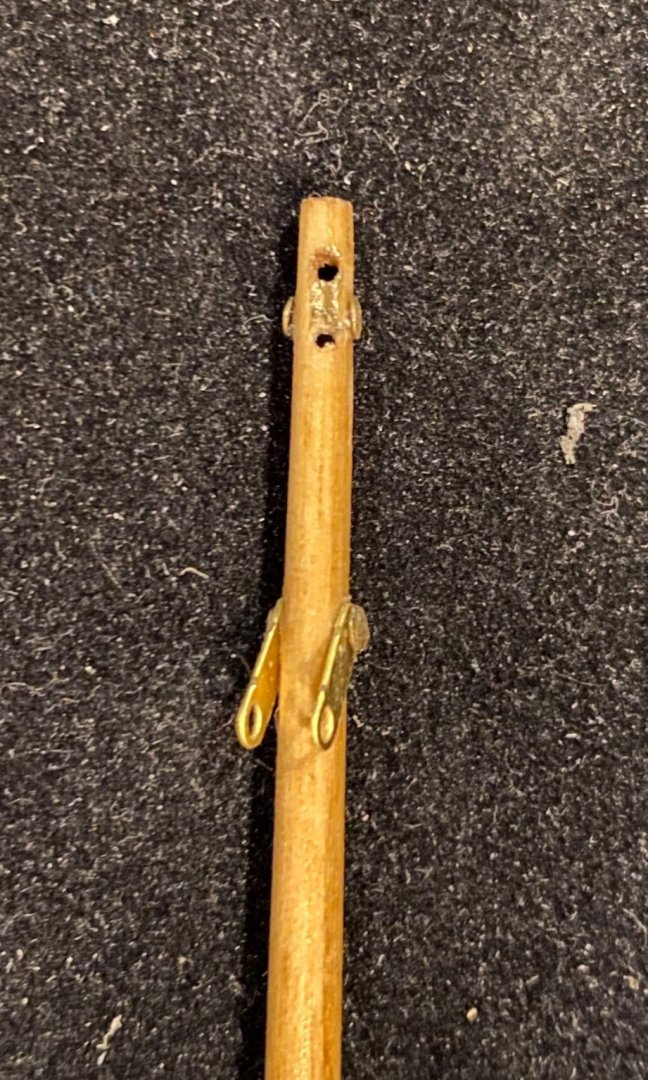
Buildup of the Mast I started with the square mast blank, drilled the holes for the halyard sheave and downhaul eye and started the rounding with my new plane which worked well. Then I sanded it round but I had the same problem as I did with the spars, it ended up oval rather then round. I had to stop sanding to make it round as the area around the holes was getting to thin. First mistake, the area around the pre-drilled hole was so thin from sanding that I broke off the tip of the mast at that point. I just drilled two holes down from the new top of the mast. I simulated the sheave by using the tip of a small round file. I stained the mast as I did the spars with a light oak, as I was wiping the stain off, Mistake two, I broke off part of the downhaul cleat. I just glued on a thin piece of wood on what was left of the cleat to create the t-shape. The third Mistake was sanding the bottom part of the mast smaller than the hole in the Mast Step. I just glued one wrap of sail material around were the mast interfaces with the mast step, worked great. I also used a piece of sail material to simulate the leather chafing pad as I had used it to simulate leather on the oars. The instructions say to create the downhaul eye from “brass wire”, but I found that the eye was to thin and would bend as I proceeded. So for all the eyes I used the 1/32” brass rod, which worked great. I did look through the rest of the instruction and could not find another use of the 1/32” rod, so I felt confident that I could use all of what was left for the eyes. When I test fitted the gaff to the mast it was very loose since I had sanded to much off the mast to get it round. I thought about building a new mast but instead I just glued a thin piece of wood on the gaff gooseneck.
- 54 replies
-
- norwegian sailing pram
- model shipways
-
(and 1 more)
Tagged with:
-
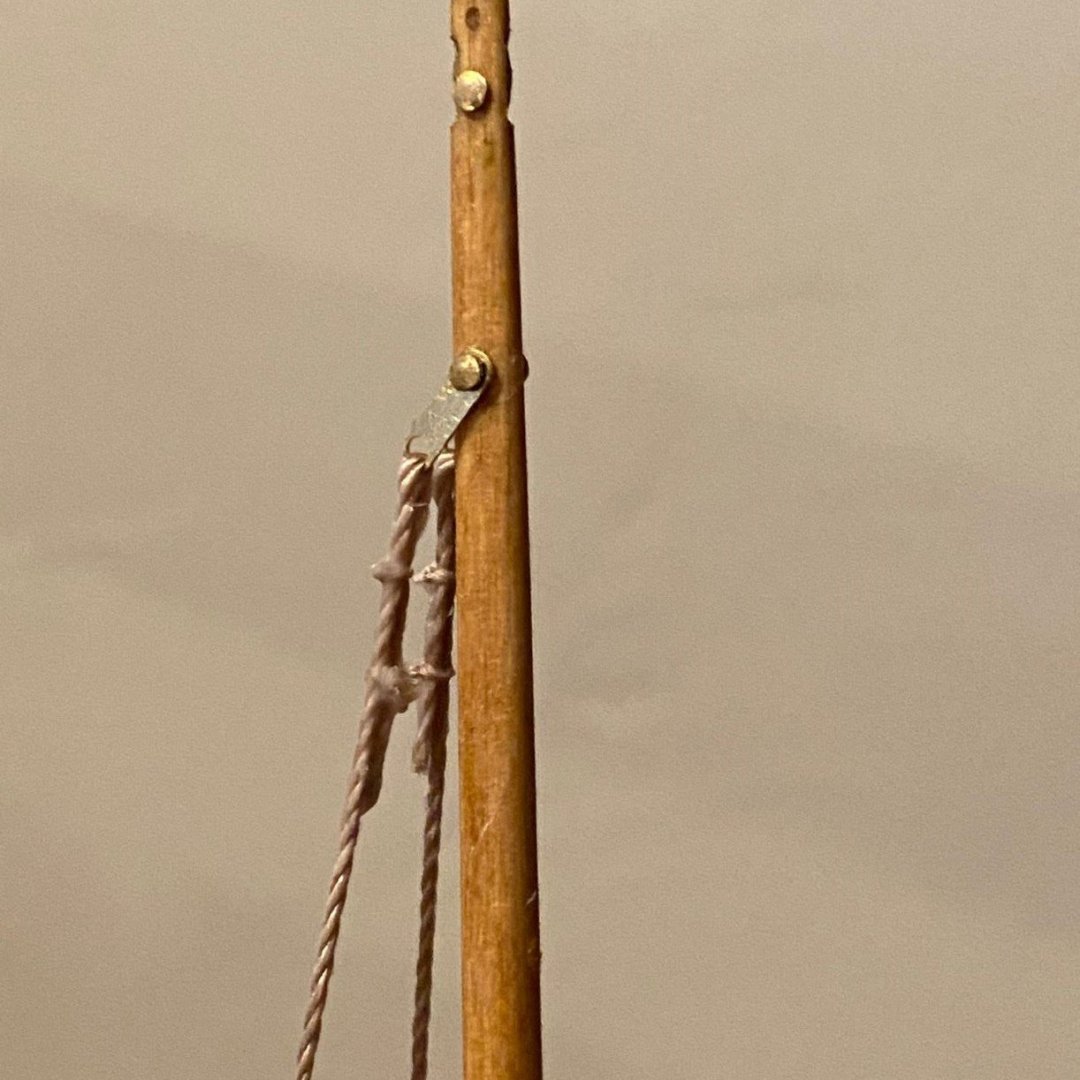
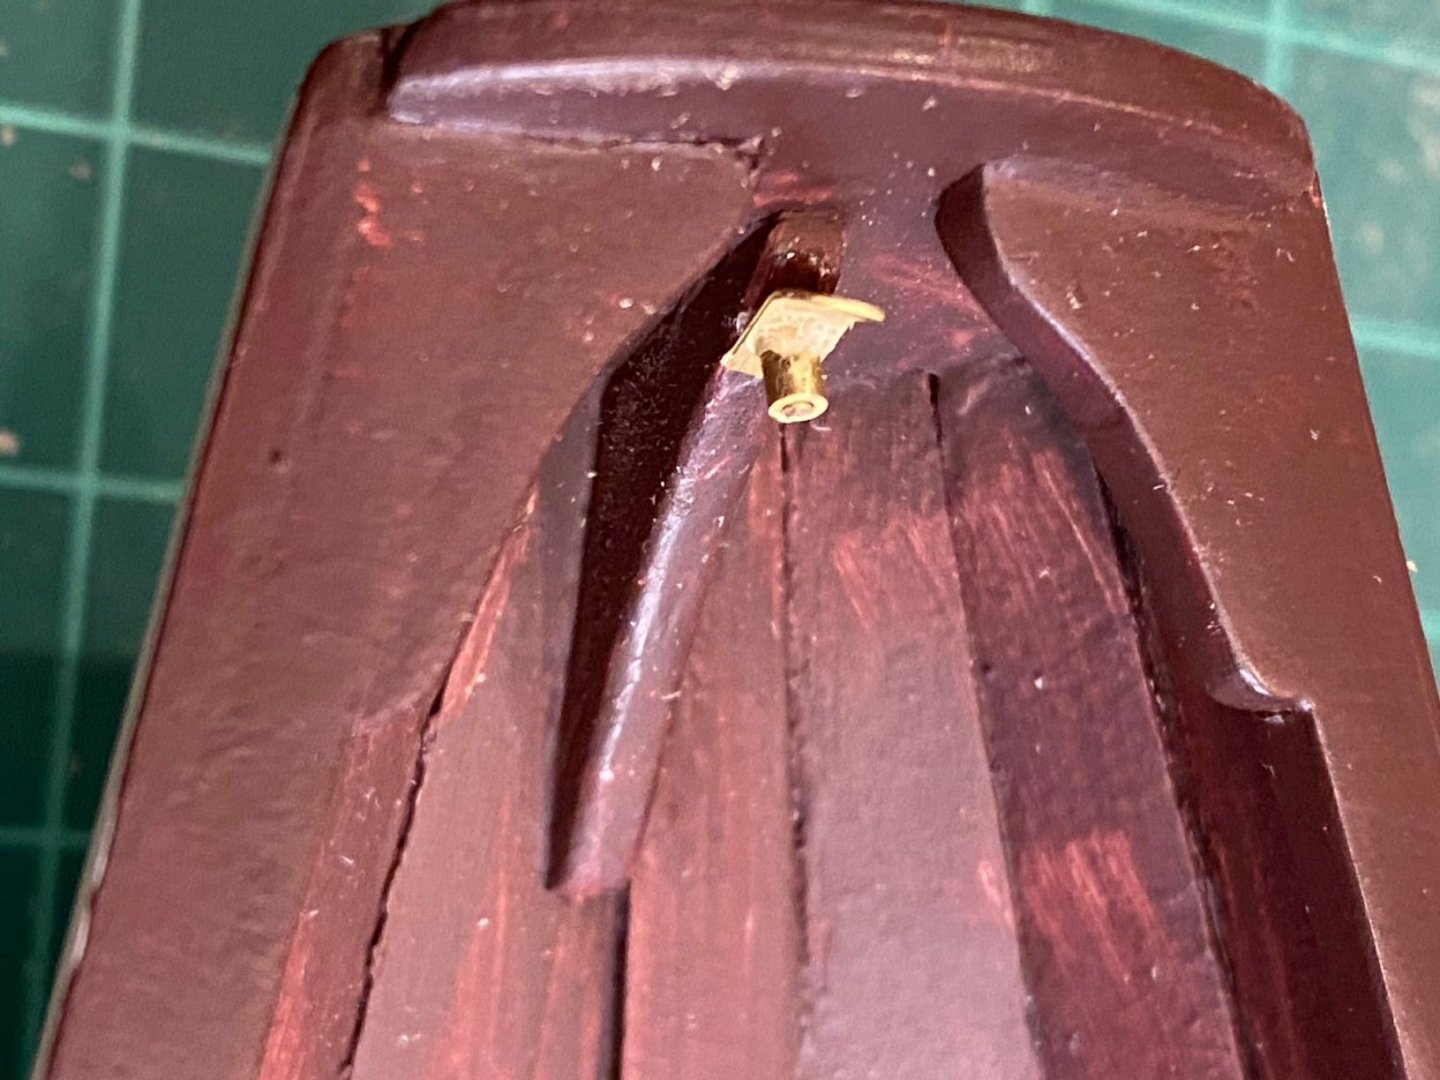
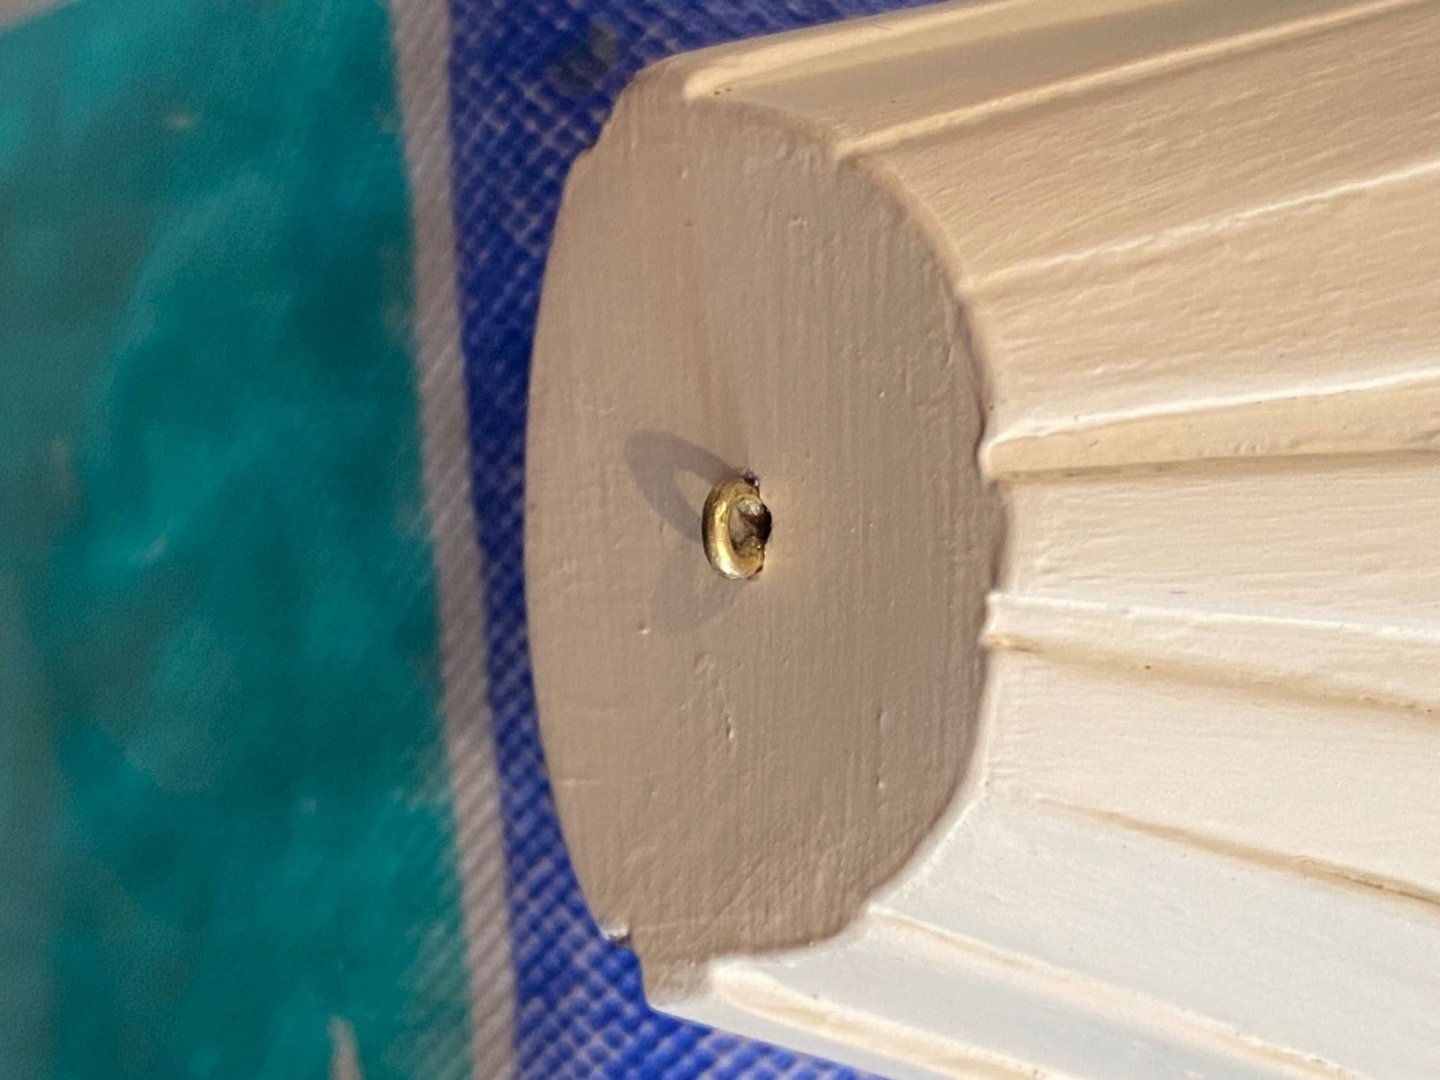
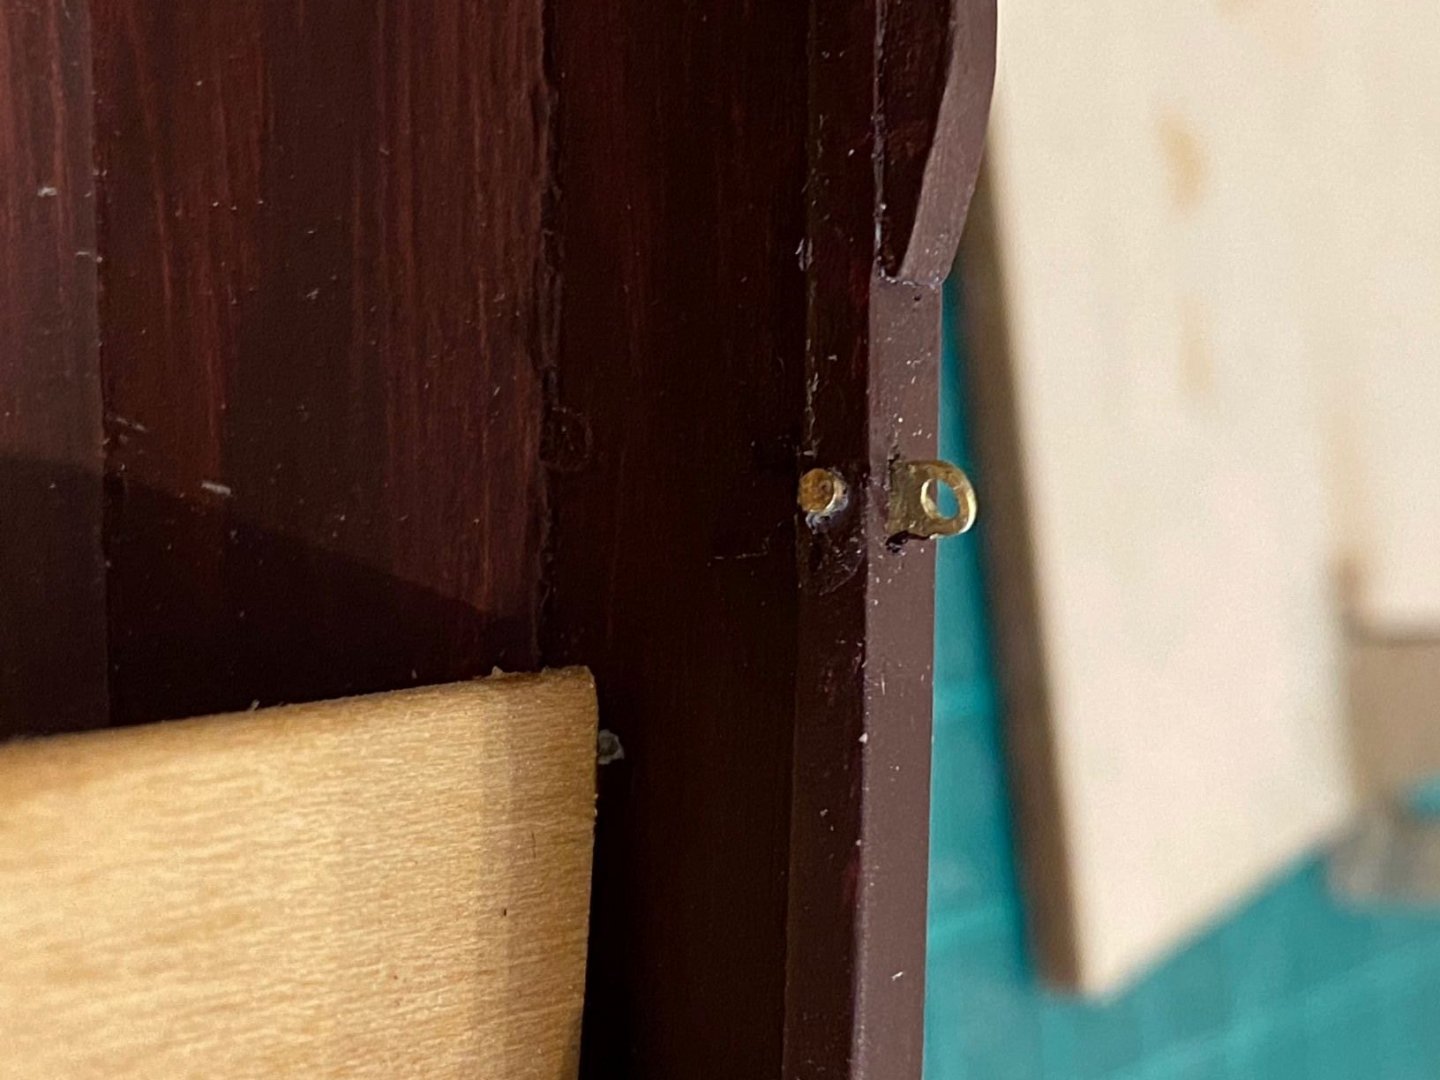
The assumptions I made and how I proceeded to build the Mast > Purpose of the Shroud Eye: this eye only shows up on the schematic on page 5, there is no reference in the text. There is an asterisk that states, “See instructions for alternate fitting”. I could only think of two things this eye could be used for; a guide for the halyard before it goes through the mast halyard hole, or to tie the back stays to. But the instructions cover installing two straps for the back stays. So, I decided to leave the shroud eye off for now until I get a response from my questions or I find a need later in the instructions. > In regard to drilling the two holes at the top of the mast, I think that the person that wrote the instructions was giving us two options; use just the laser pre-drilled hole for the halyard line to pass through, or drill and extra hole to simulate a halyard sheave. I went with the two holes and simulated a halyard sheave; I painted the inside a gold/copper to simulate the sheave and put in two nail heads 90deg to the sheave to simulate the bolt to hold the sheave. > The instruction doesn’t say how far down the mast to install the straps for the back stays and they are not indicated on the page 5 schematic. I installed them just below were the shroud eye should have been.
- 54 replies
-
- norwegian sailing pram
- model shipways
-
(and 1 more)
Tagged with:
-
Welcome Bud I to have build many a plastic model and tried my hand at a wood boat many years ago but put it away shortly after I started. I recommend the following thread on this web site: New to ship modelling? But what do you build first? I am a big Novice when it comes to wooden boat models. I've built the Grand Banks Dory and learned so much from it. I'm building the Norwegian Sailing Pram now and continue to learn a lot. I had started another boat when I decided I needed to back up and learn and practice on a easier and cheaper model. Good luck and as has been stated above, start a build page for any boat you build as you can get a lot of help from others and improve your learning curve.
-
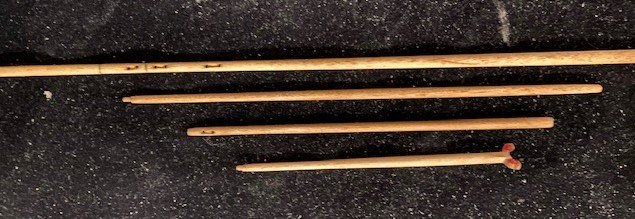
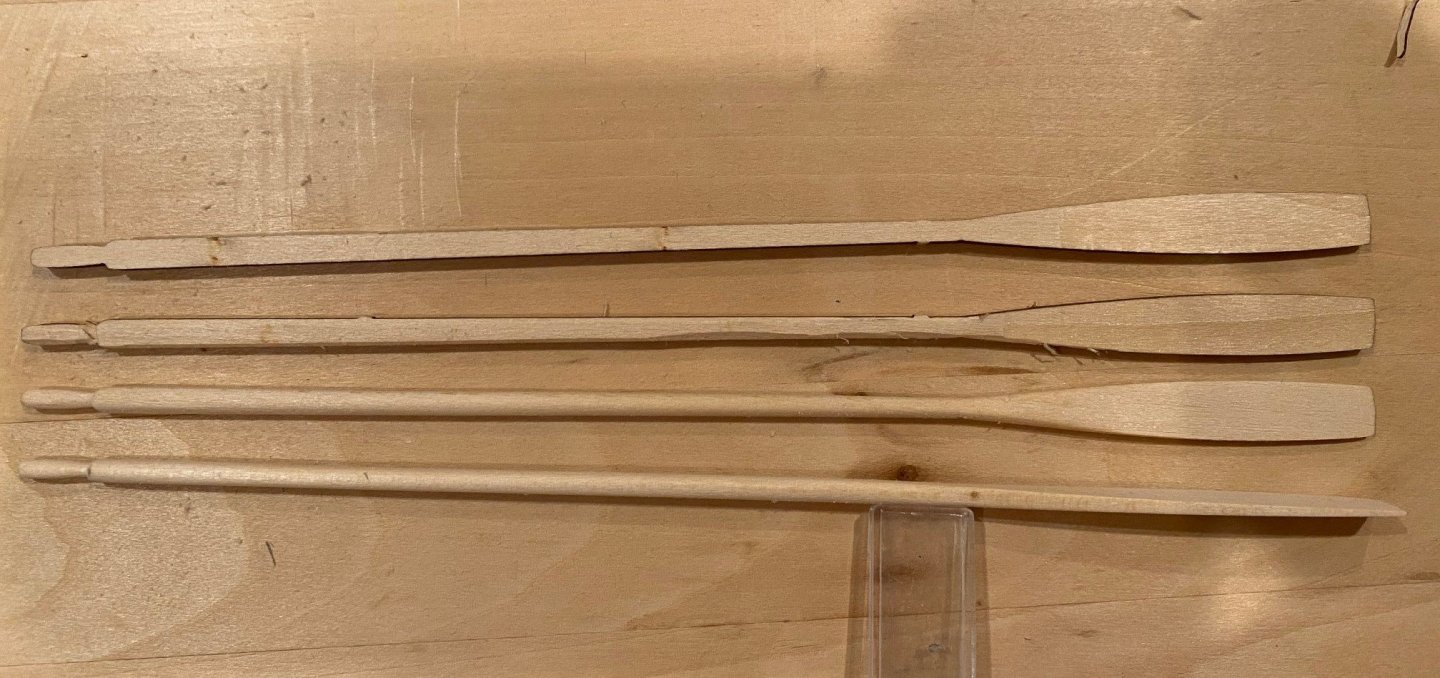
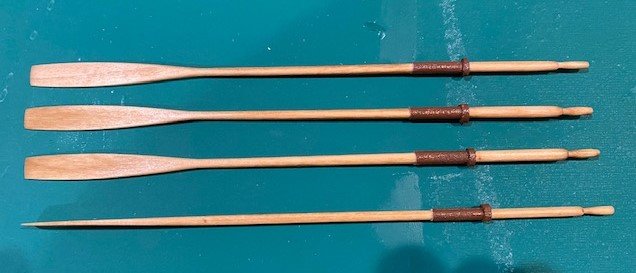
I bought a small Stanley Wood Plane to use on the oars, spars and mast. I just sanded the oars on the Grand Banks Dory, I did a good job but I wanted to try a plane this time. The plane was great on the oars, to round (octagon) the shaft and to reduce the thickness on the blade. I’m GLAD I tried the plane; it worked a lot better then sanding the blade. I just used medium sandpaper to round the shaft then fine sandpaper to smooth the shaft and blade. Instead of paper to simulate the leather I used some left-over sail material, I thought it would give a more simulated leather texture than the paper. I think it worked out really well. I painted the leather a brown and stained the oar with a light oak stain and wiped it off right after I applied it. I then planed off the edges of the boom and gaff and then sanded them to be round. They ended up a little more oval than round due to sanding the char off the wood. I wish they had pre-cut the spars wider so there would not be this problem removing the char. When sanding I broke of the tip of the Gaff were the laser hole was, so I had to drill a new hole and ended up with a Gaff that was about 1/16” shorter. I think I will go ahead and make the Mast and decide on my best guess to the above questions that I sent to Model Shipways.
- 54 replies
-
- norwegian sailing pram
- model shipways
-
(and 1 more)
Tagged with:
-
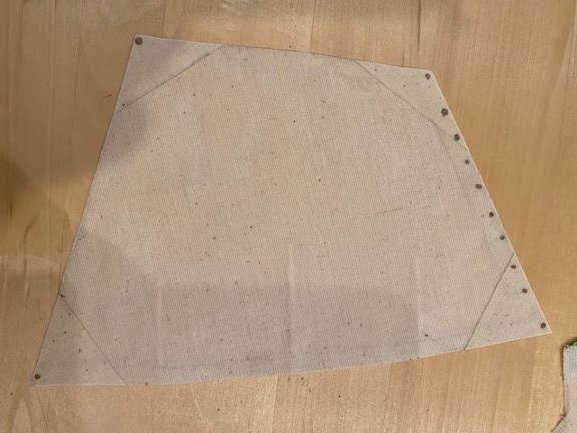
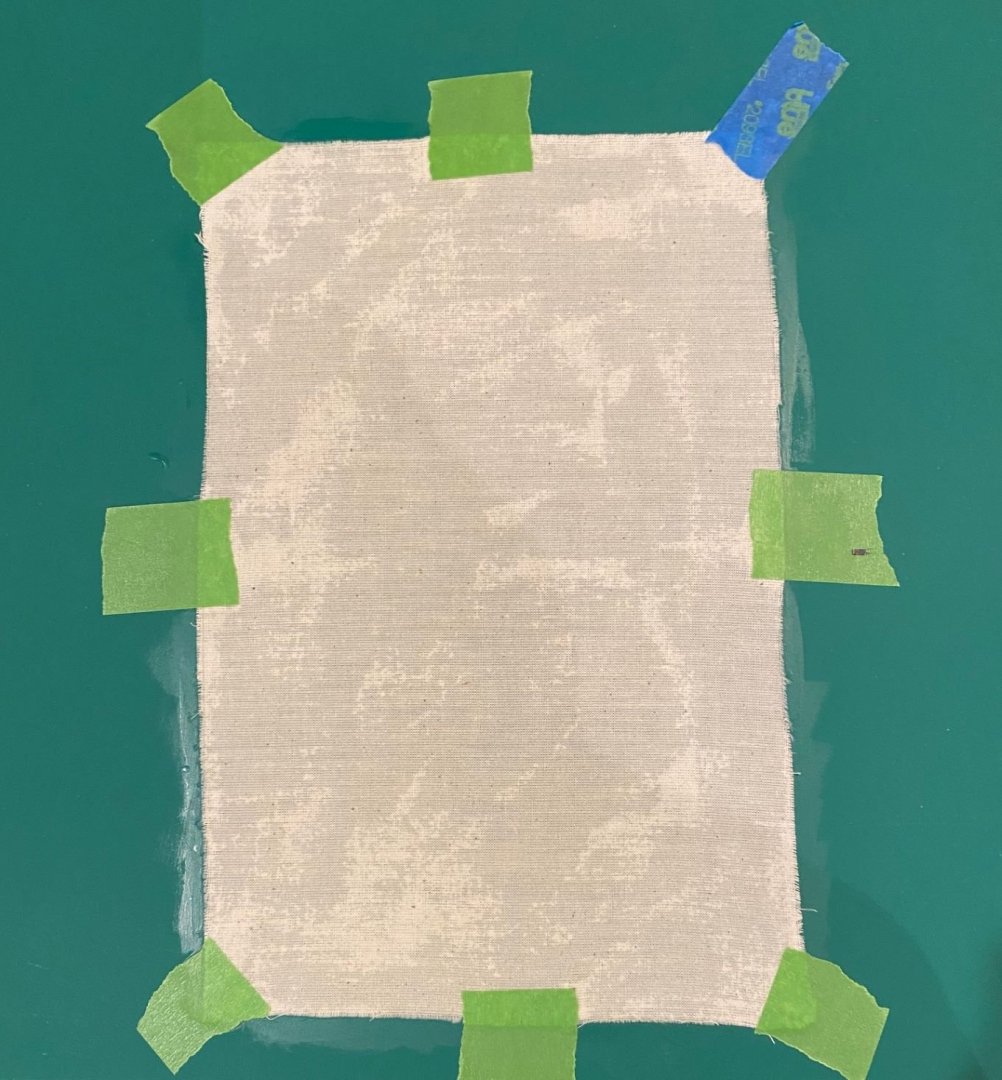
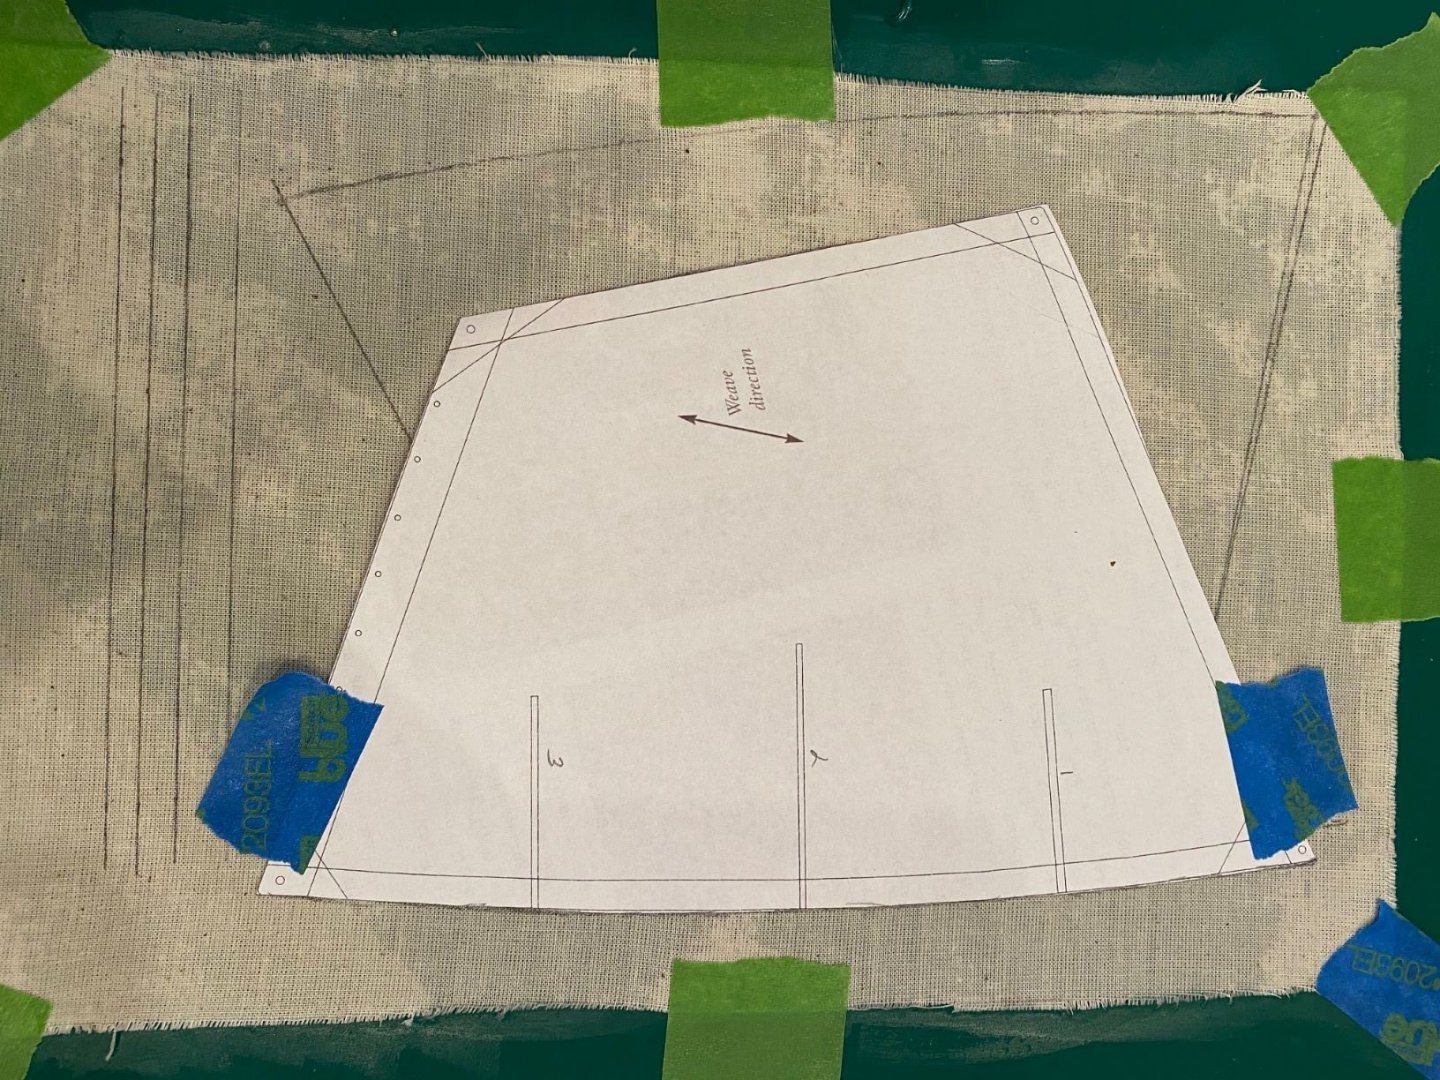
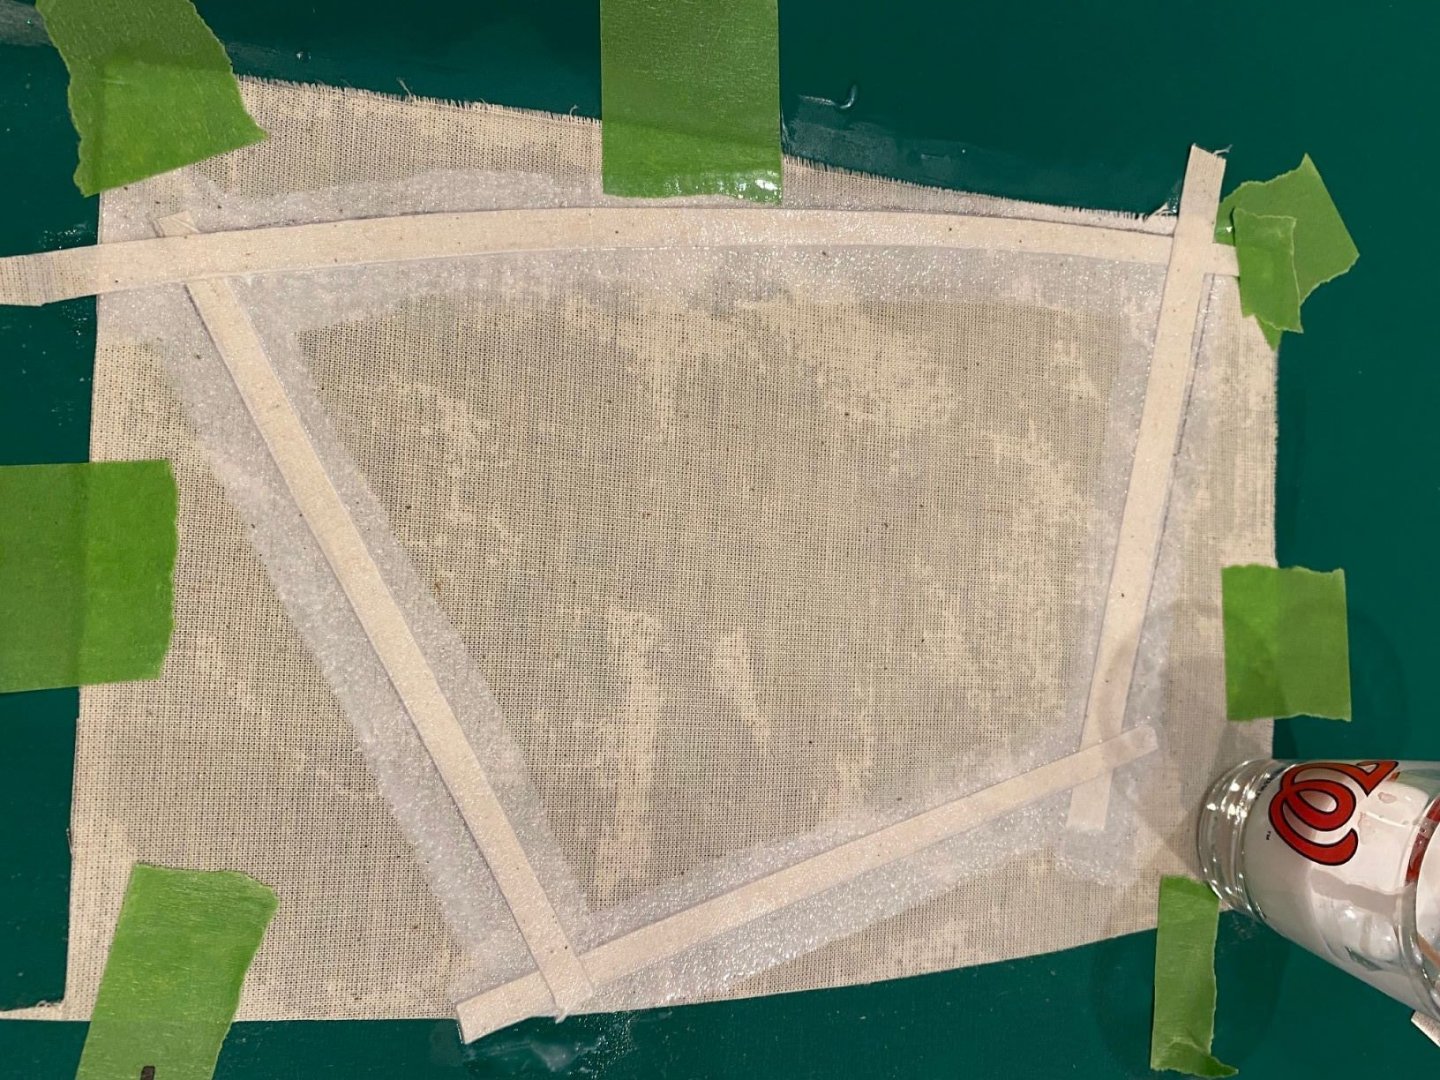
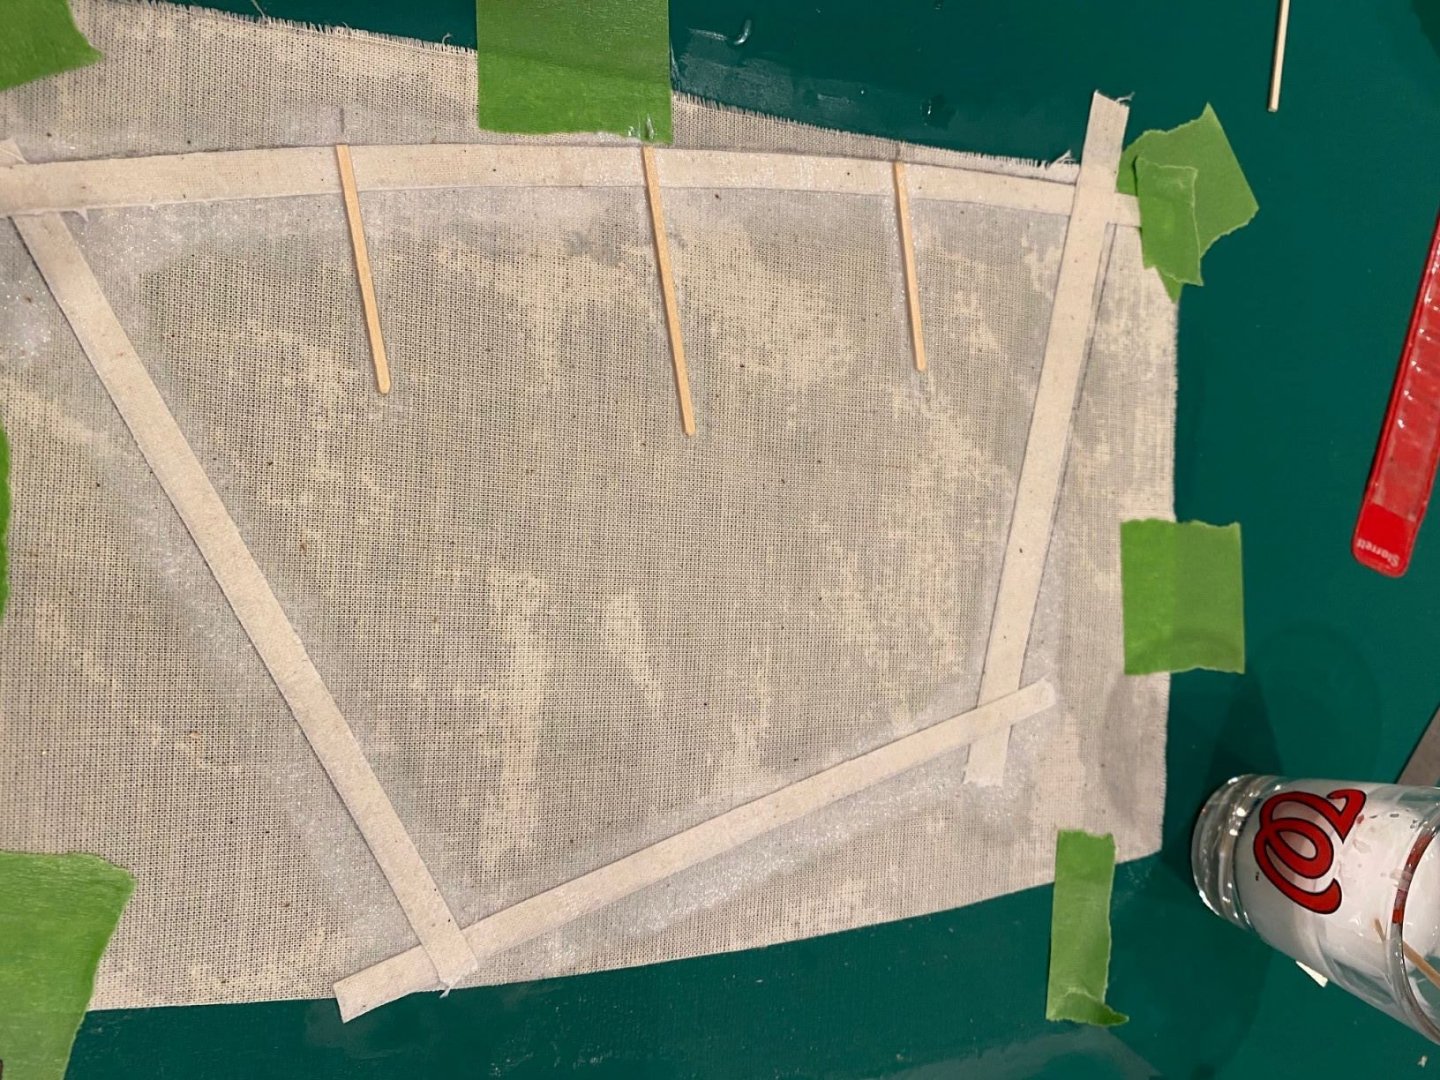
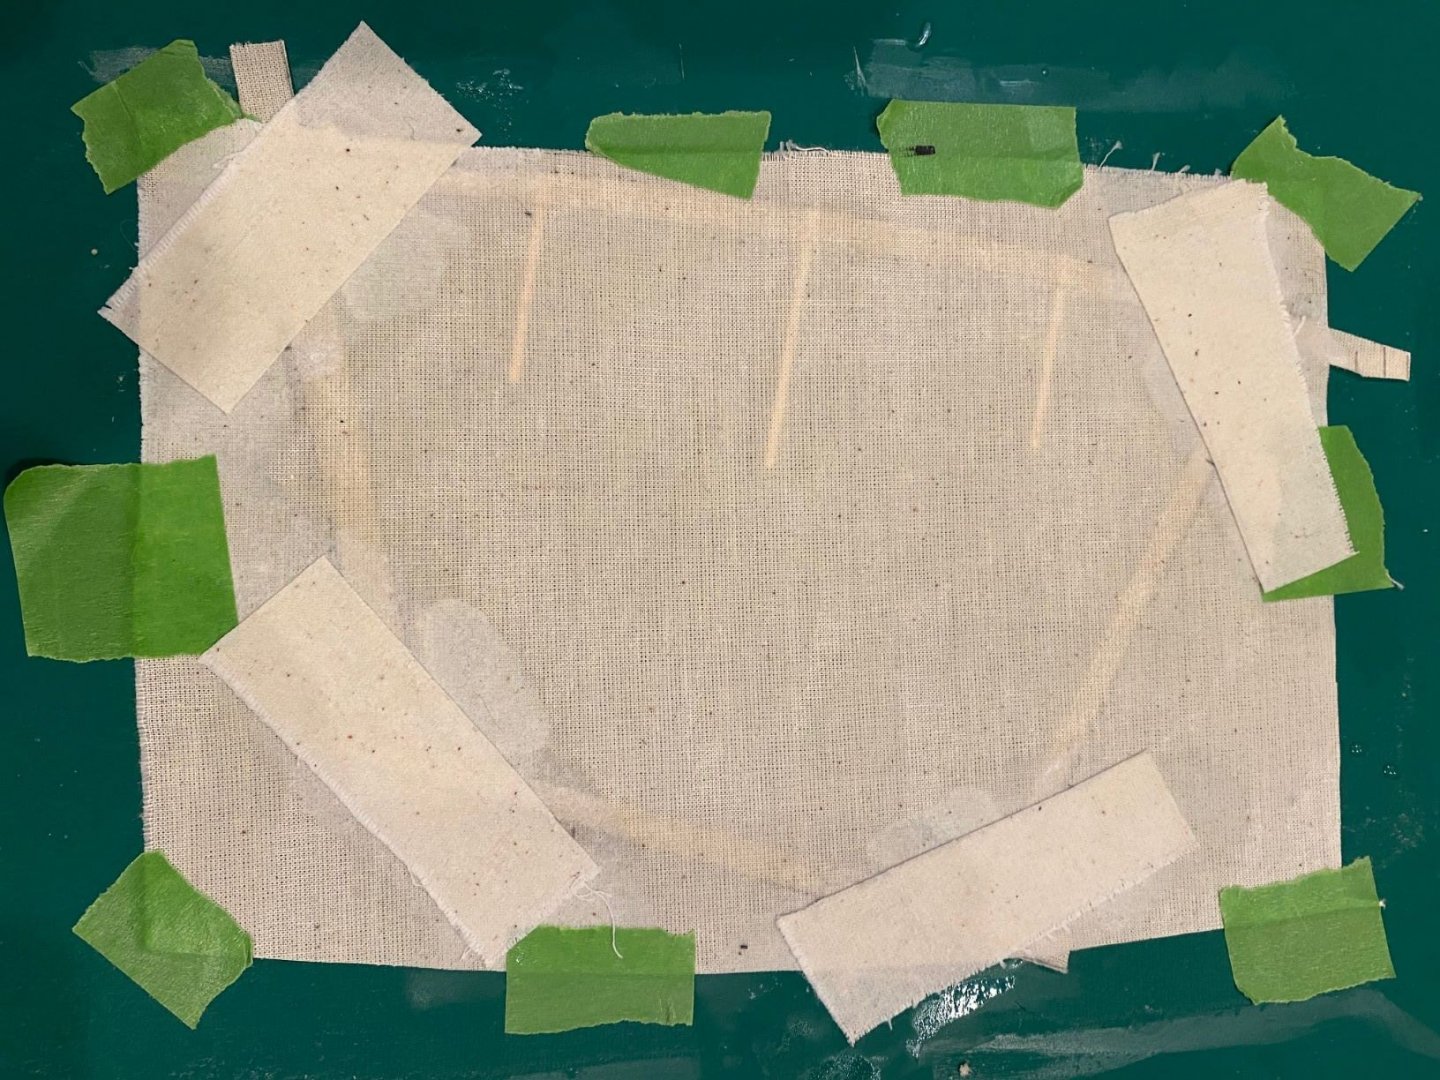
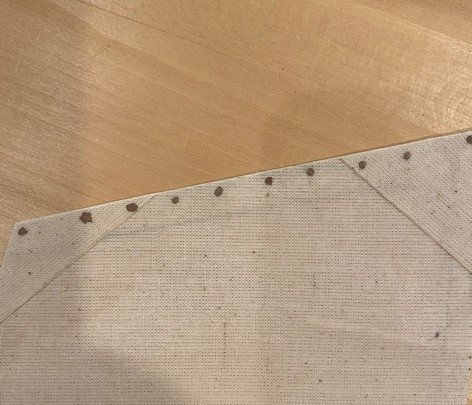
Sail The building up the sail was pretty straight forward, I the cloth first between two moist paper towels to get the creases out. The instructions said to cut out a 8”x12”, but that is the size that was provided in the kit. So I tried to be careful laying out the sail on the cloth to ensure I had enough material for the reinforcements. I used a pencil to outline the sail and the width of the edge doublers. I should have coated the sail before marking since I could not get the pencil marks off later and some of them showed through in the final product. Instead of using water down glue, I used my wife’s decopage which is watered down white glue. I did end up watering it down since I thought it was going on to thick. Then I added the edge reinforcements while the base decopage coat was still wet and coated them with the decopage and added the sail stiffening battens with white glue. I flipped the sail over and coated it with decopage and added the corner reinforcements in the same way as the edge strips. Instead of cutting the sail out with a knife, I used very sharp scissors and it looked just fine. Then I used a fine tip brush with just a very small drop of paint on the end and just barely touched the sail to create the lacing holes reinforcements. I did this on both sides of the sail. I noticed due to the slight porosity of the sail that the paint did expand more then I hoped. A couple of lessons learned; I would have drawn the lines on after the first coat of decopage and been more careful to ensure I cut the lines off to prevent the lines from showing through on the final product. Second, I would not have had the corner reinforcements been so big.
- 54 replies
-
- norwegian sailing pram
- model shipways
-
(and 1 more)
Tagged with:
-
The Mast I decided to try my hand at building the mast from the two laser cut halves, I glued the two mast halves together, also built up the spar shaping jig and left them overnight to ensure the glue was dry. While I was waiting for the glue to dry, I started to read how to make the mast. I read this section a number of times, studied the drawings on page 5 of the mast schematic and the picture on page 30 of the halyard sheave. I also, looked at the finished pictures and did some web searches for pictures, but the only ones are what are on the Model Expo site which are not detailed enough. The instructions seemed to contradict itself a few times. The first is, on page 29 the instructions say to drill 4 holes for the ‘eyes’ at a right angle to the laser hole. The schematic on page 5 shows the eyes are in the same plane as the halyard hole. So, I sent the following questions to Model Expo. I’m having a problem with the instructions about the top of the mast. The schematic on page 5 shows one hole drilled at the top of the mast for the ‘halyard block’ and a ‘Shroud eye’. I cannot find any other reference to the ‘Shroud eye’ in the instructions. Also, the instructions speak to a ‘halyard sheave’ not a block, and the halyard sheave requires two holes. > What is the purpose of the shroud eye? > Is it optional for a one hole for the halyard or to drill two holes and simulate a halyard sheave? > The instructions state to drill to holes near the top of the mast, one at 5/16” and one at 3/8” inch. However, the pre-drilled laser hole is 3/8” from the top of the mast. So, is the hole at 5/16” for the halyard sheave if you want to simulate a sheave? > Also, the schematic on page 5 does not show the two back stays. > The instruction does not say how far down to drill a hole for the back stays. How far down should the hole for the back stays be drilled? While I wait for an answer I will move on to the sail.
- 54 replies
-
- norwegian sailing pram
- model shipways
-
(and 1 more)
Tagged with:
-
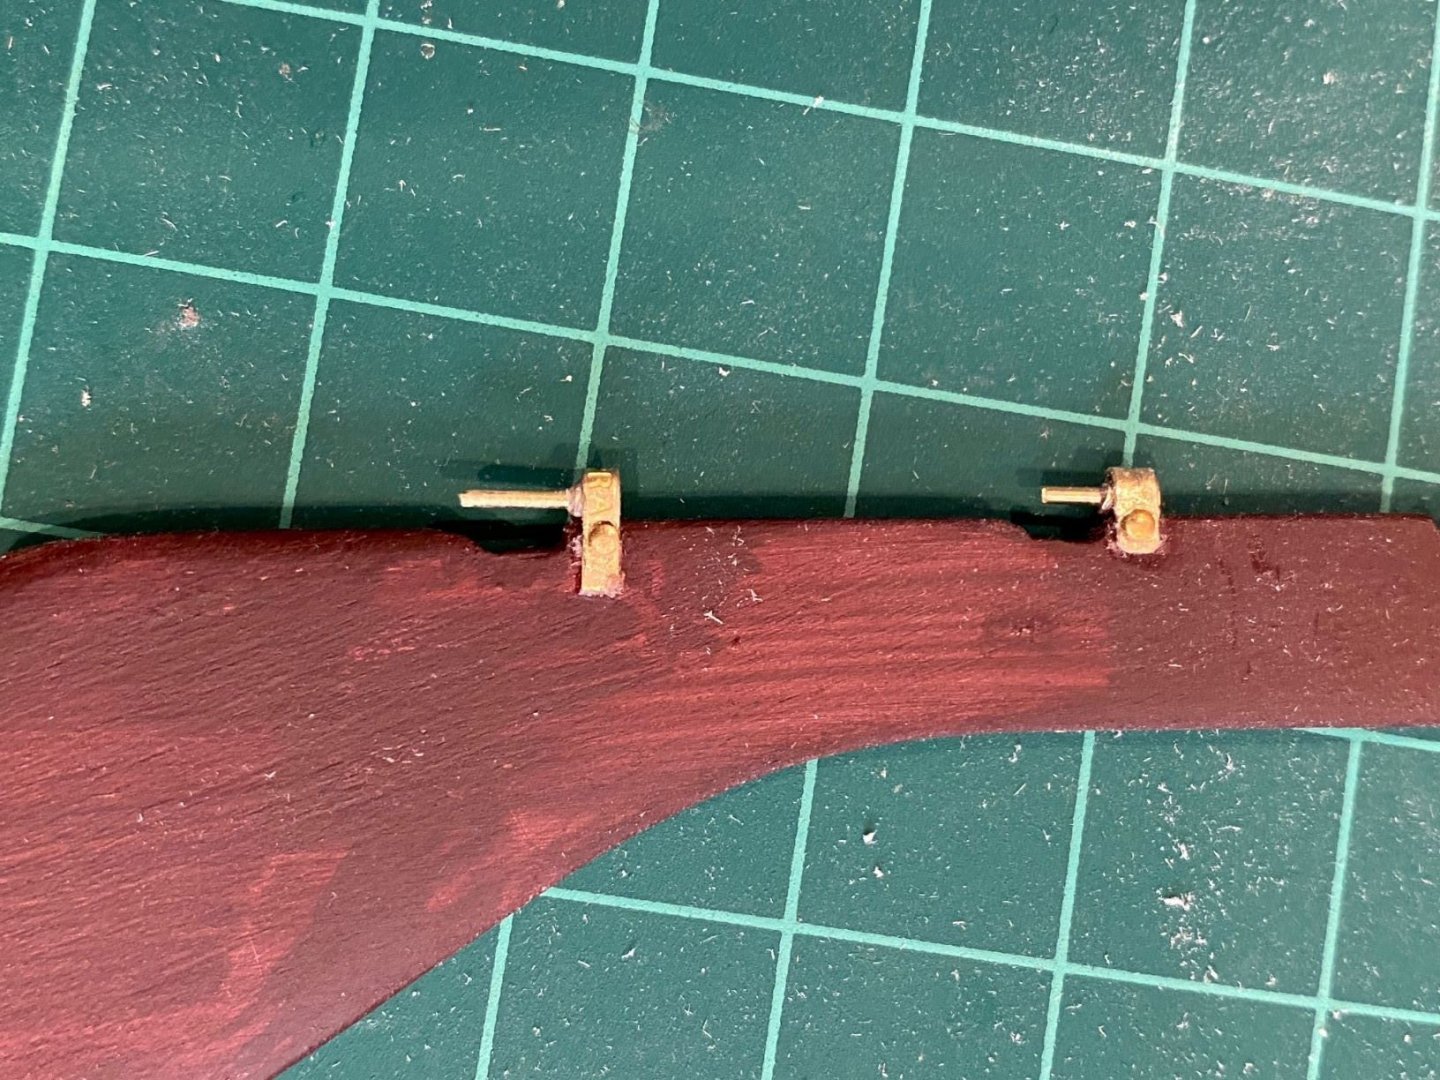
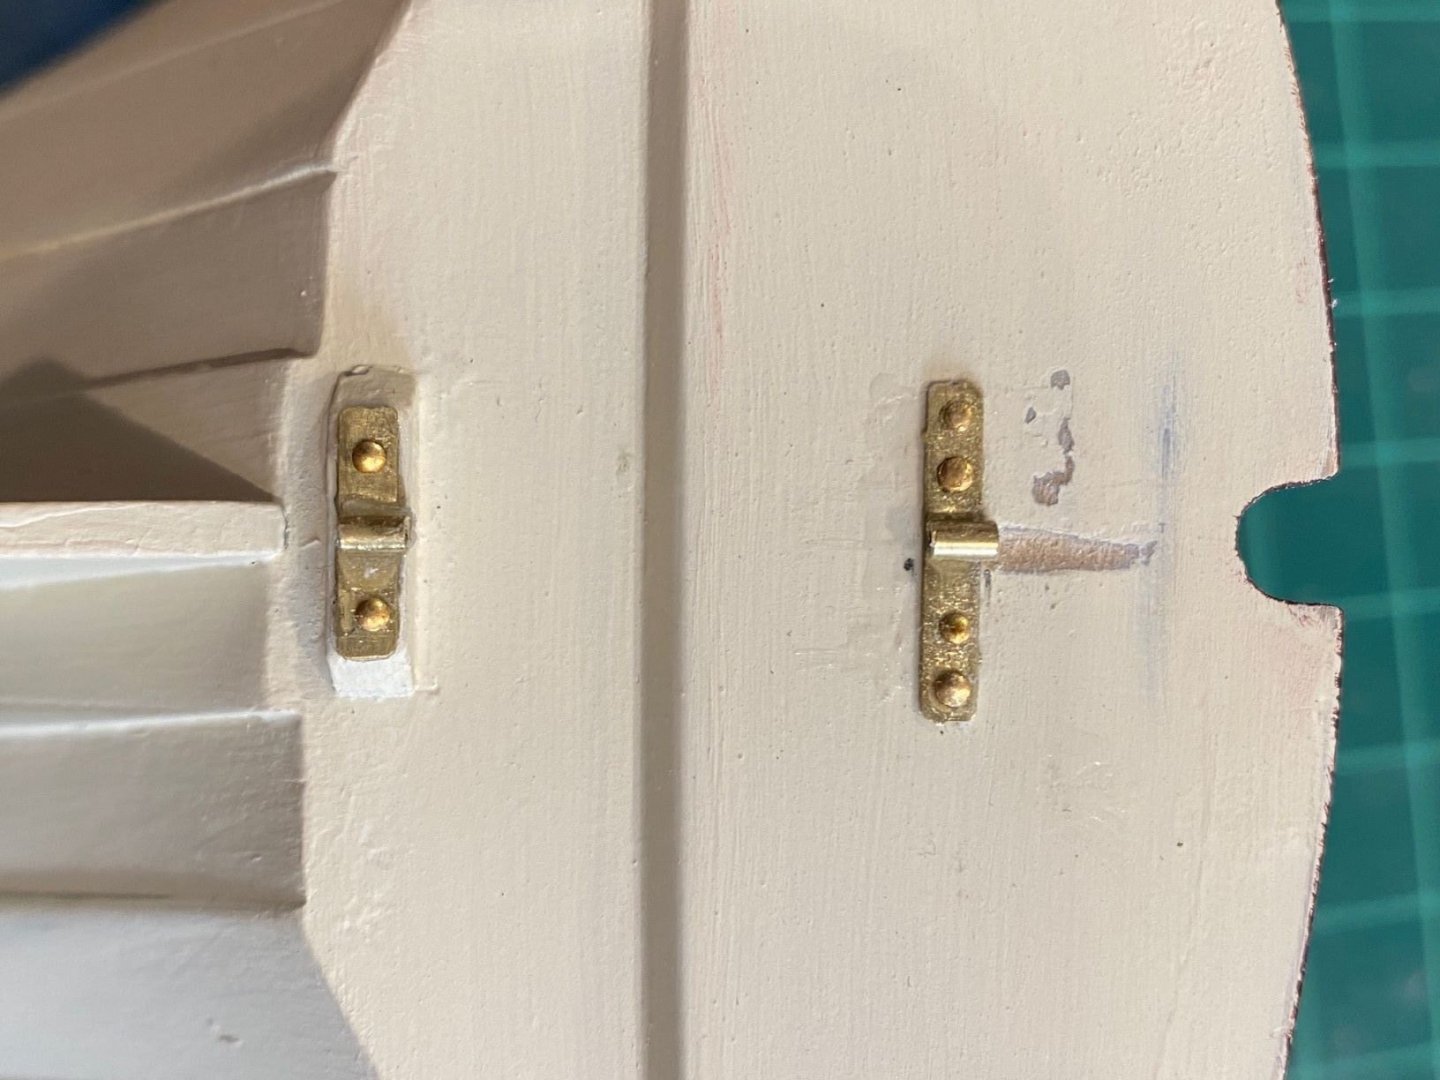
Buying a jeweler’s saw and a fine blade was what I needed to do, it cut the tube beautiful. I used my miter box to help hold the tube and get a square cut. Installing the fwd eye bolt was a challenge, not sure which wire rod to use but then I figured out it was the one that fit in the tube of the stay plate. The problem I had with the side stay plates was finding the hole in the plate with the nail to drive it in. Finally figured out that if I had a little glue on the end of a tooth pick it would hold the head of the nail straight so I could start to get the nail into the hole. The rudder gudgeons went ok, except for cutting the nails, I lost two nail heads as they went flying when I cut the nail down to size. I then cut them with the nail head in a paper towel to capture them. I assumed that the lower gudgeon plate was one of the two 4-hole photo-etched parts and just cut it to fit with two holes. I did use the brass rod to hold the short piece of tube at roughly a 90 deg angle to the plates as the directions said, it worked well. I left the rod in when I glued the lower gudgeon on the riser and made sure it was aligned with the middle of the transom U-shaped notch. Then I slipped the upper gudgeon over the rod as I glued the upper gudgeon to the transom, that way I was hoping that the two holes would end up aligned with each other as I installed the rudder. The rudder pintles were a challenge since there were not two of the same size plates with just two holes left on the photo-etched sheet. The longer of the two plates worked ok and I ended up using it for the upper pintle. The shorter one really did not look right after I bent it and installed the short piece of tube. So I made a longer plate from some of the photo-etched sheet excess, which work nicely. I did end up shorting the pintle rods from what the instructions call for to make it easier to install and I think it looked better. I still had to file a little indent above the upper pintle to install the rudder's upper pintle. Now on to the mast.
- 54 replies
-
- norwegian sailing pram
- model shipways
-
(and 1 more)
Tagged with:
-
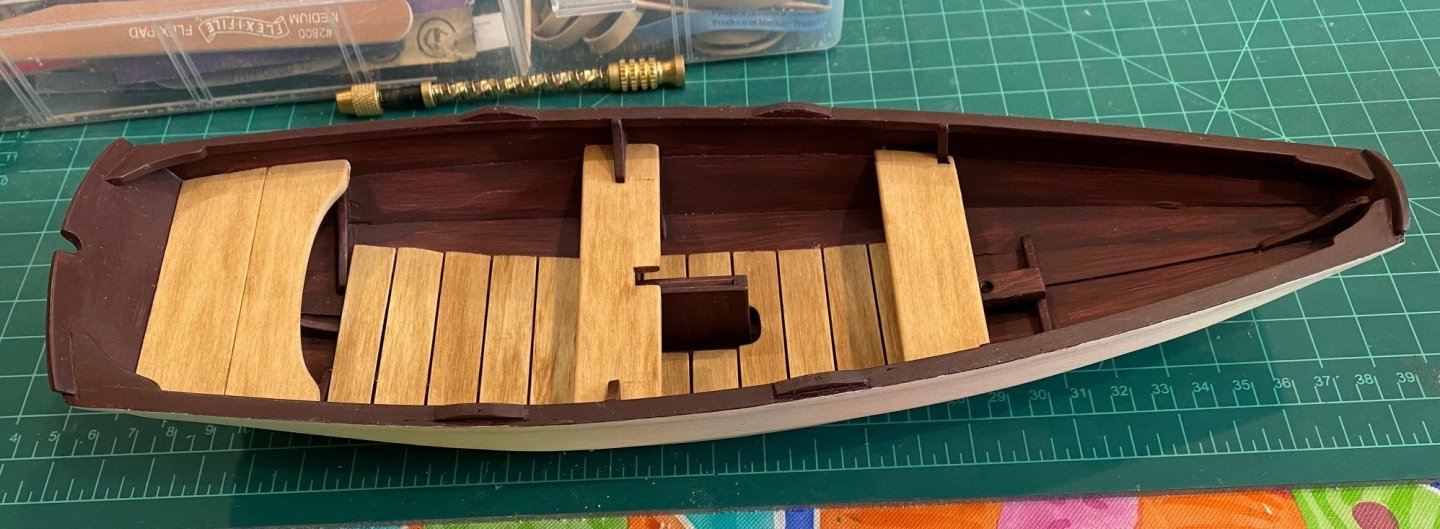
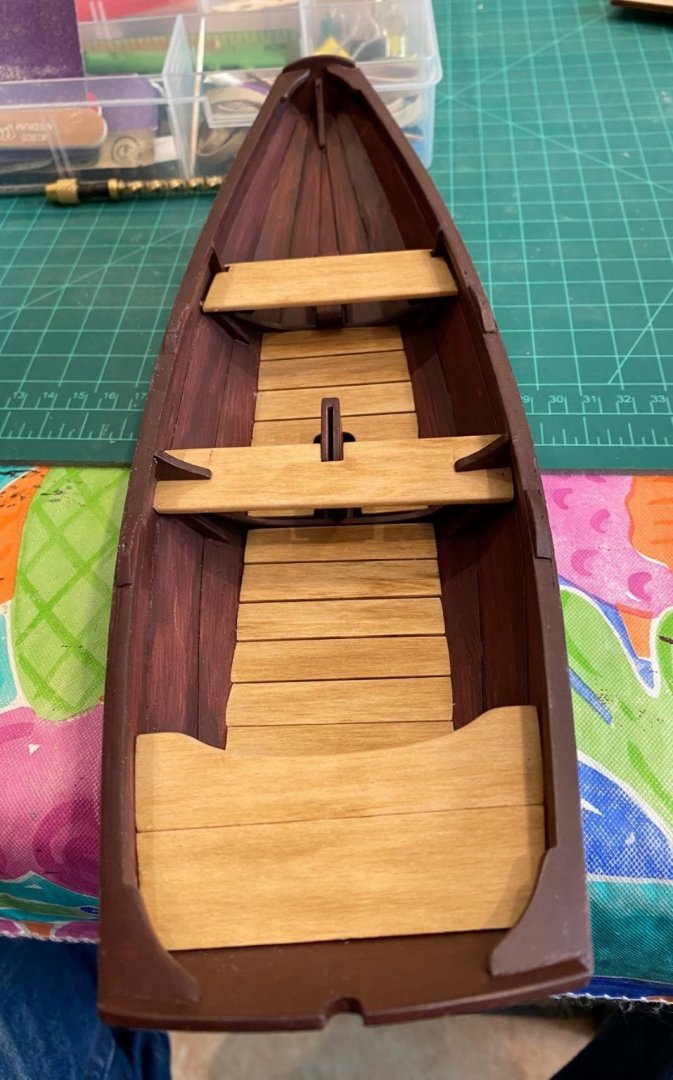
The installation of the rub rails was fairly straight forward as well as the sanding of the rudder and dagger board. I painted the hull with what I thought was off-white spray paint, but I found it to white and did not like it. Plus, I think I like the little texture that brushing paint on gives, as this is a wood hull not fiberglass. So, I found a creamer white that that my wife had, I was very happy with the results. I used Tamiya Red Hull acrylic paint to paint the inside of the boat. I found it a little to dark but stayed with it since I was using a light stain on the floor boards and thwarts. I also, noticed that after the first coat the paint looked a little streaked like the internal hull looked a little worn. Started the tiller and extension, I guess I need to buy a jeweler’s saw to cut the tube. Tried a Dremel but the small piece kept flying off and a file did not give a good result either.
- 54 replies
-
- norwegian sailing pram
- model shipways
-
(and 1 more)
Tagged with:
-
I’ve tried to refer to the actual boat schematic on page 3, but as a Novice, I do not find it very helpful as a to scale dwg of the actual Model boat. This Pram is designed to be the second build for a novice after the Grand Banks Dory, which I think is a tremendous idea to have a few models in a series to gain skills and confidence. I’ve read in numerous places in this web site of people who started and quit the hobby due to getting frustrated with a complicated build and don’t try again for years, myself include. Thus, the instructions should be written for the novice with no experience other than the Dory to facilitate that growth. I do find the instructions very helpful but as anything we should strive to make things better.
- 54 replies
-
- norwegian sailing pram
- model shipways
-
(and 1 more)
Tagged with:
-
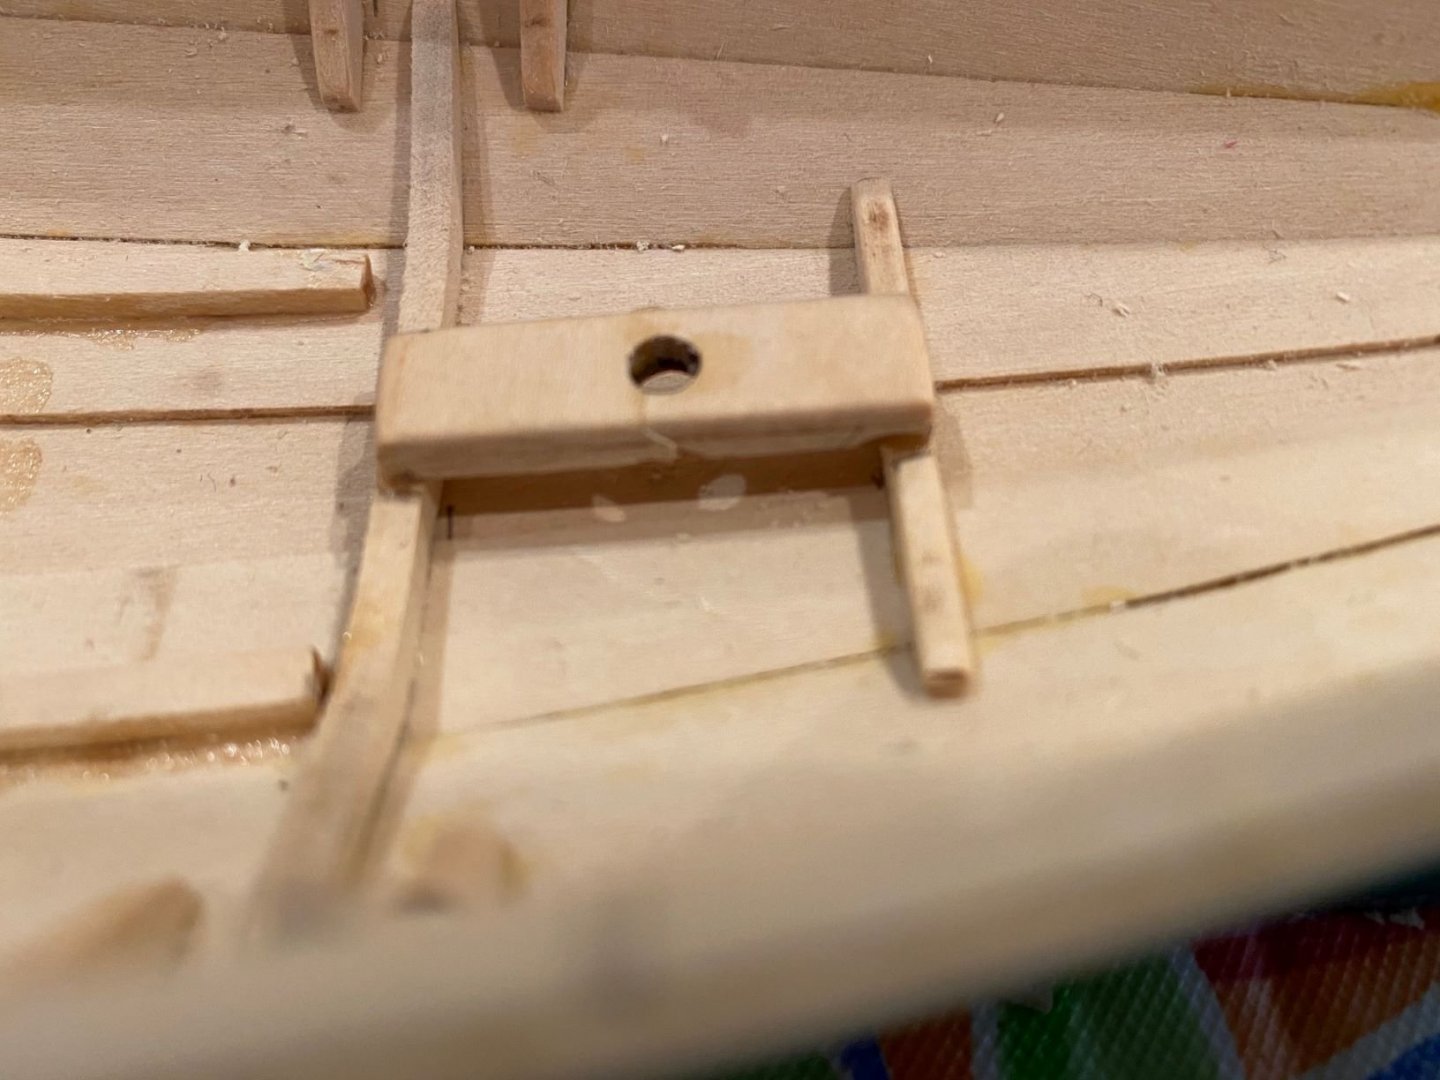
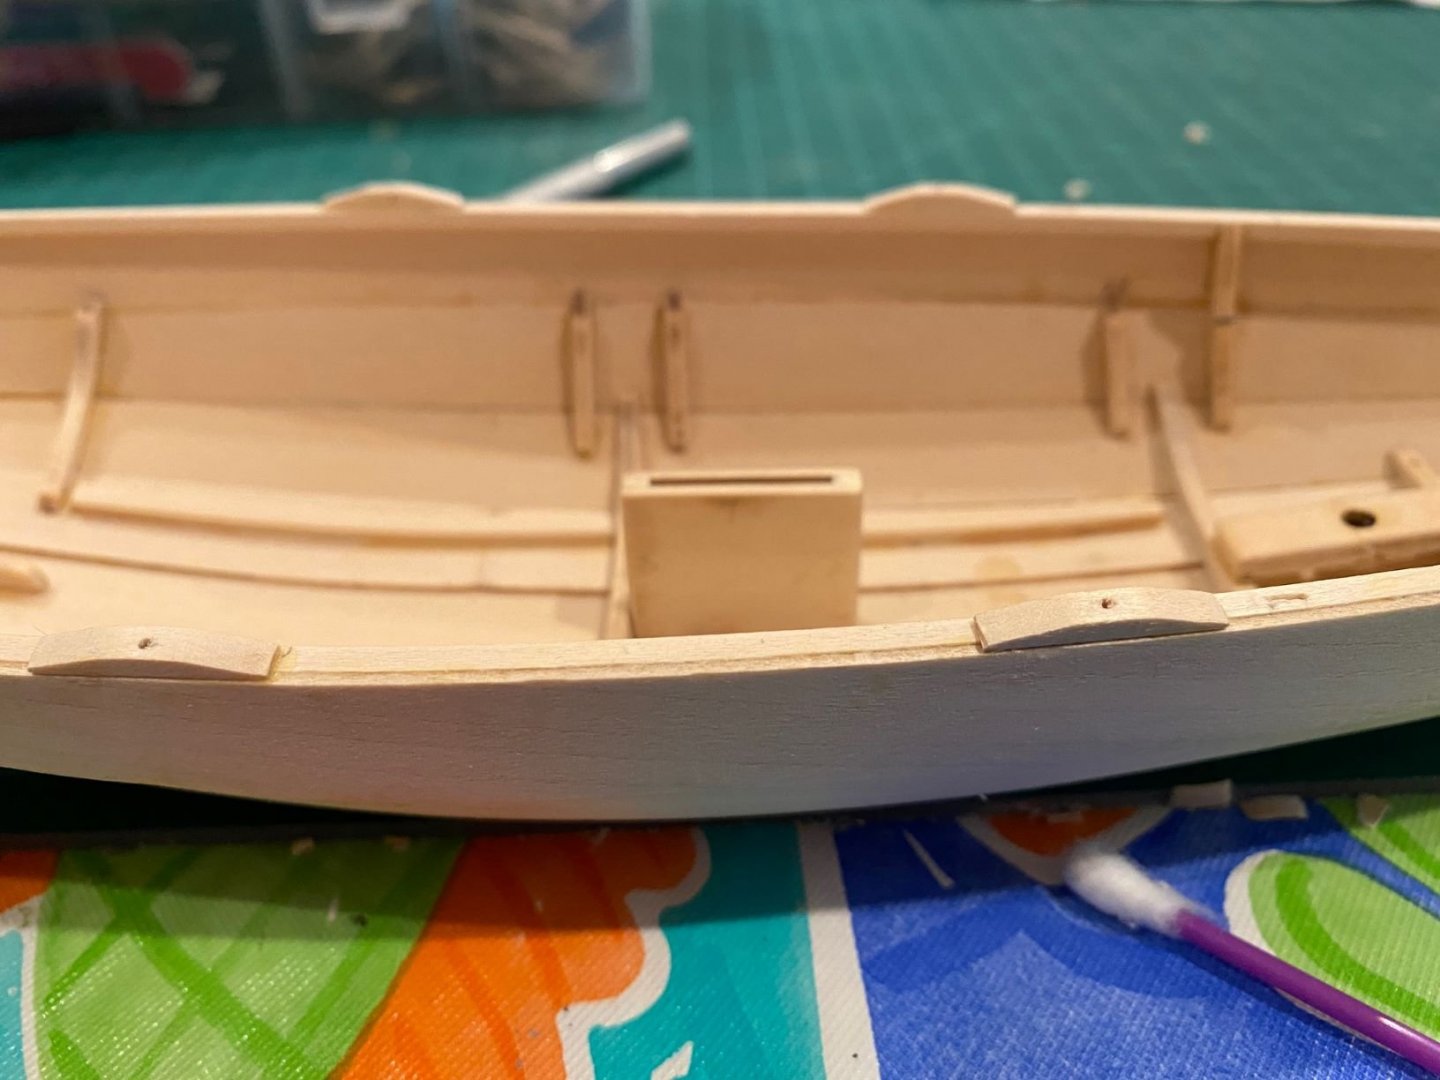
Mast Step, Chain Plate Slots & Rowlock Pads Installed the Mast Step and the only problem was I pushed a little to hard in the middle of the step to seat the glue and broke it at the mast hole, you can see the repair in the pic. For the Chain Plate Slot, I drilled two holes at either end of the slot then just used a model knife to cut a thin slot between them just by pushing the blade through the wood a few times. Rowlock Pads: Followed the instructions and used a chisel blade to shave off the ends on the pads a little at a time. The problem came when I went to install the aft pads, there were no instructions on where to install them. Looking at the pictures I could not tell exactly where they were to be glued but I made an assumption that they would be the same distance aft of the mid-thwarts as the fwd pads were from the fwd-thwarts. It seams to look similar to the small pictures in the instructions. Again, a scale drawing of the model would have answered the question and been very helpful. I know I’m a broken record about the scale drawing of the model, but I would be very helpful.
- 54 replies
-
- norwegian sailing pram
- model shipways
-
(and 1 more)
Tagged with:
-
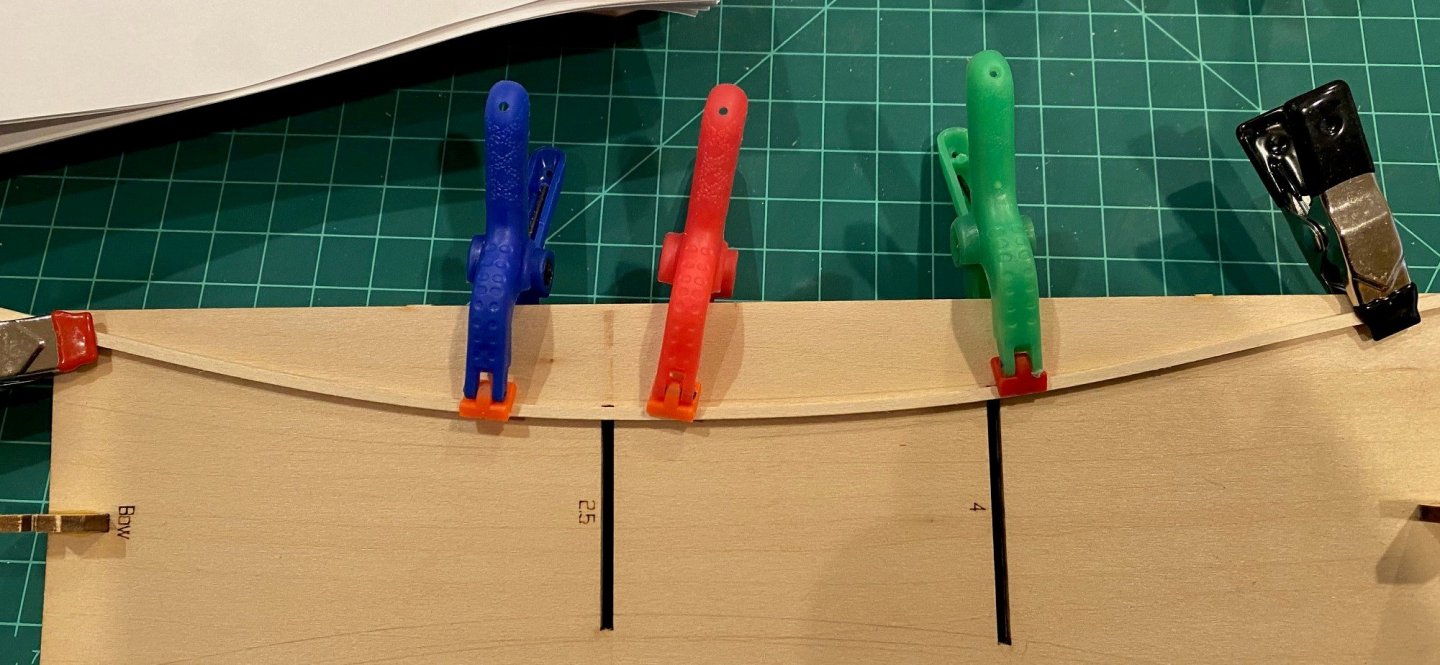
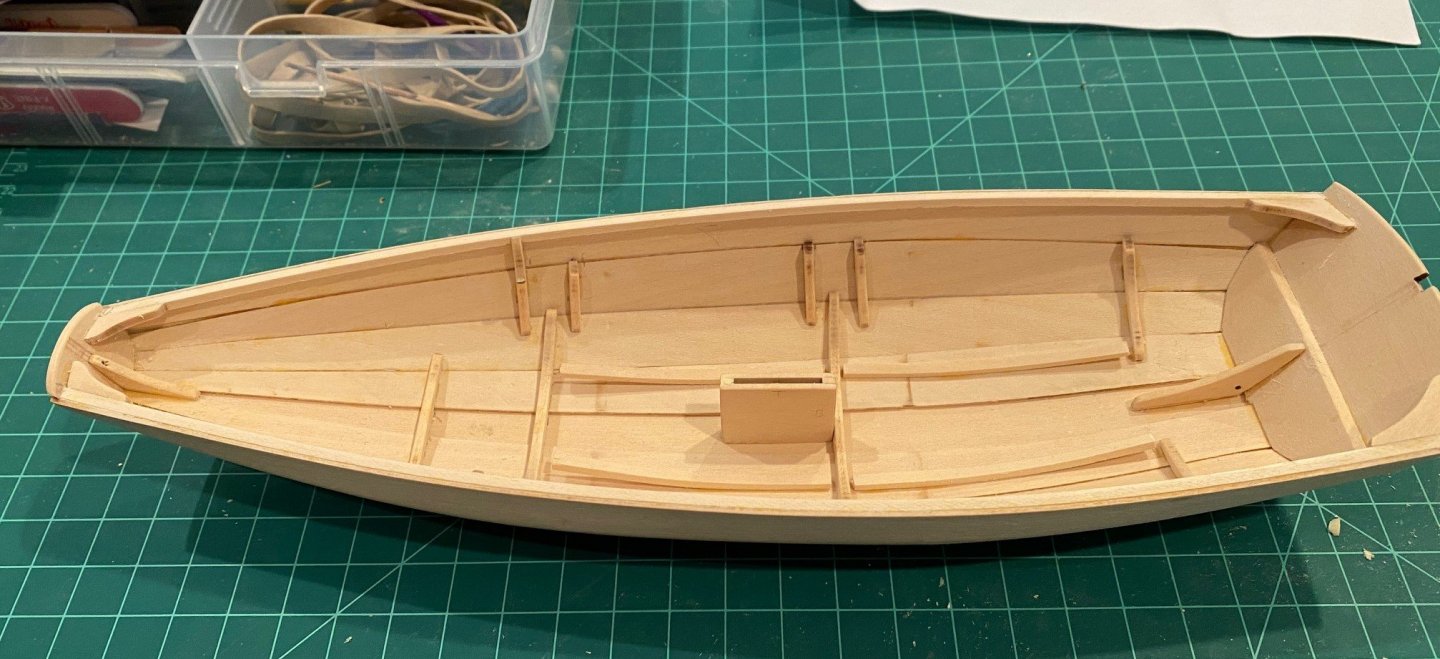
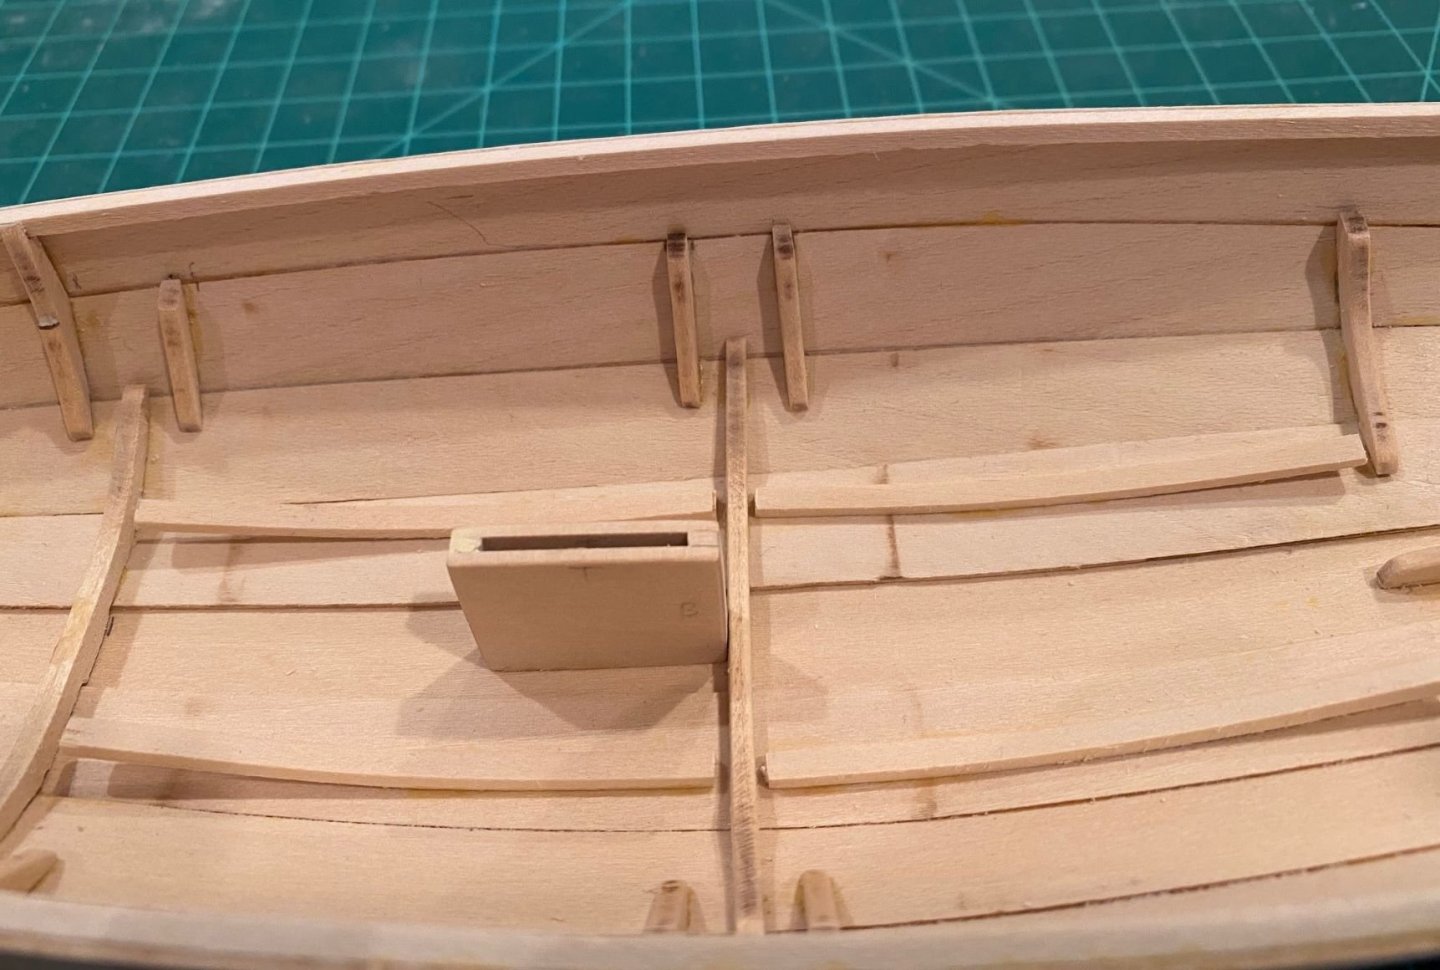
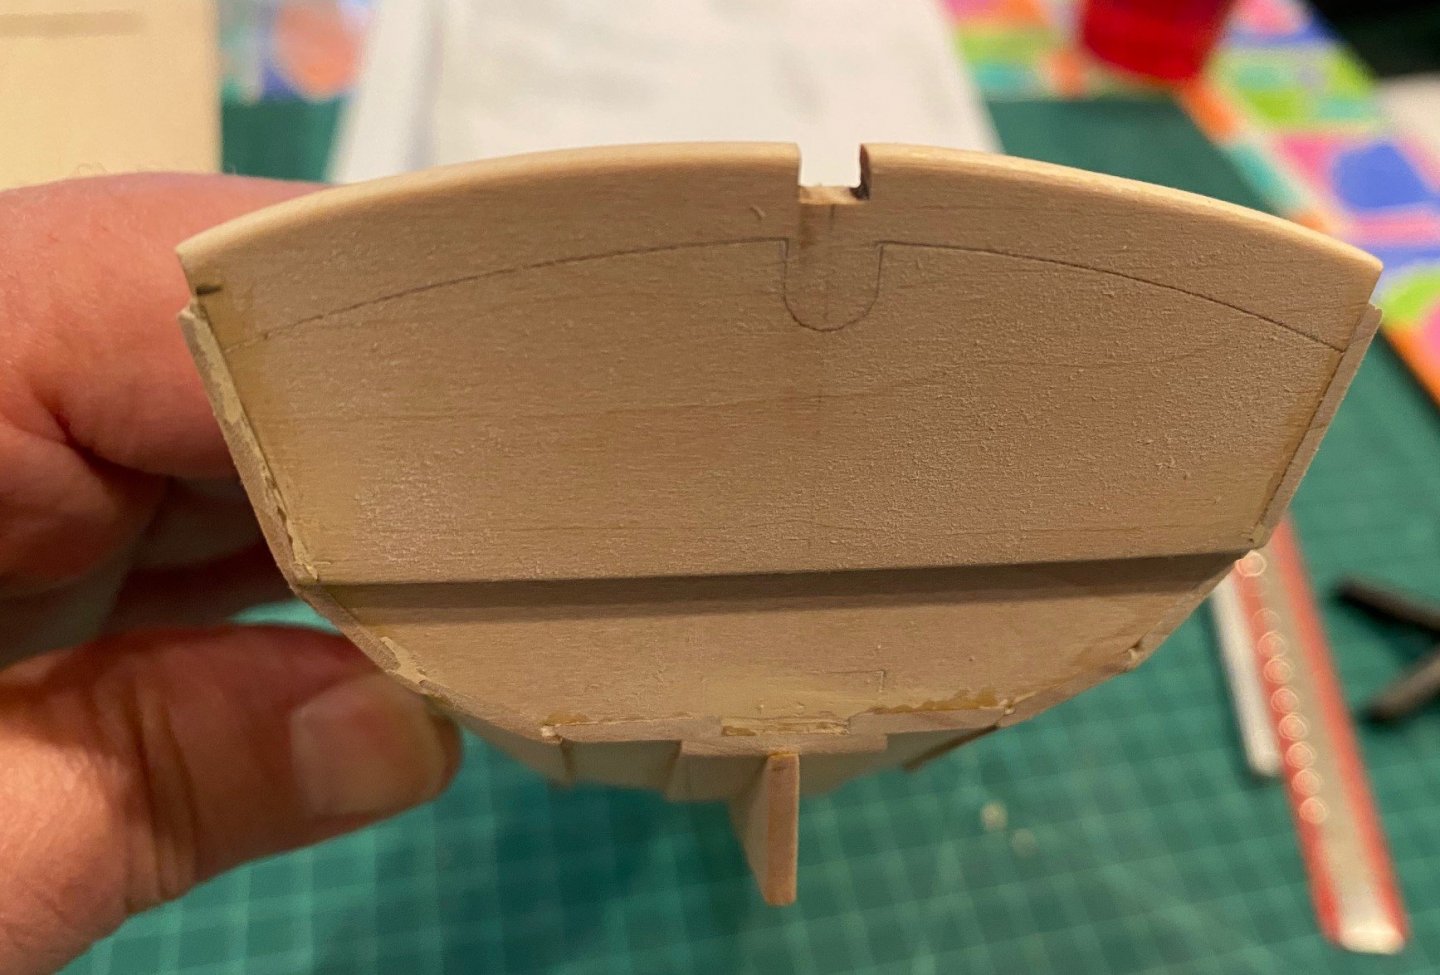
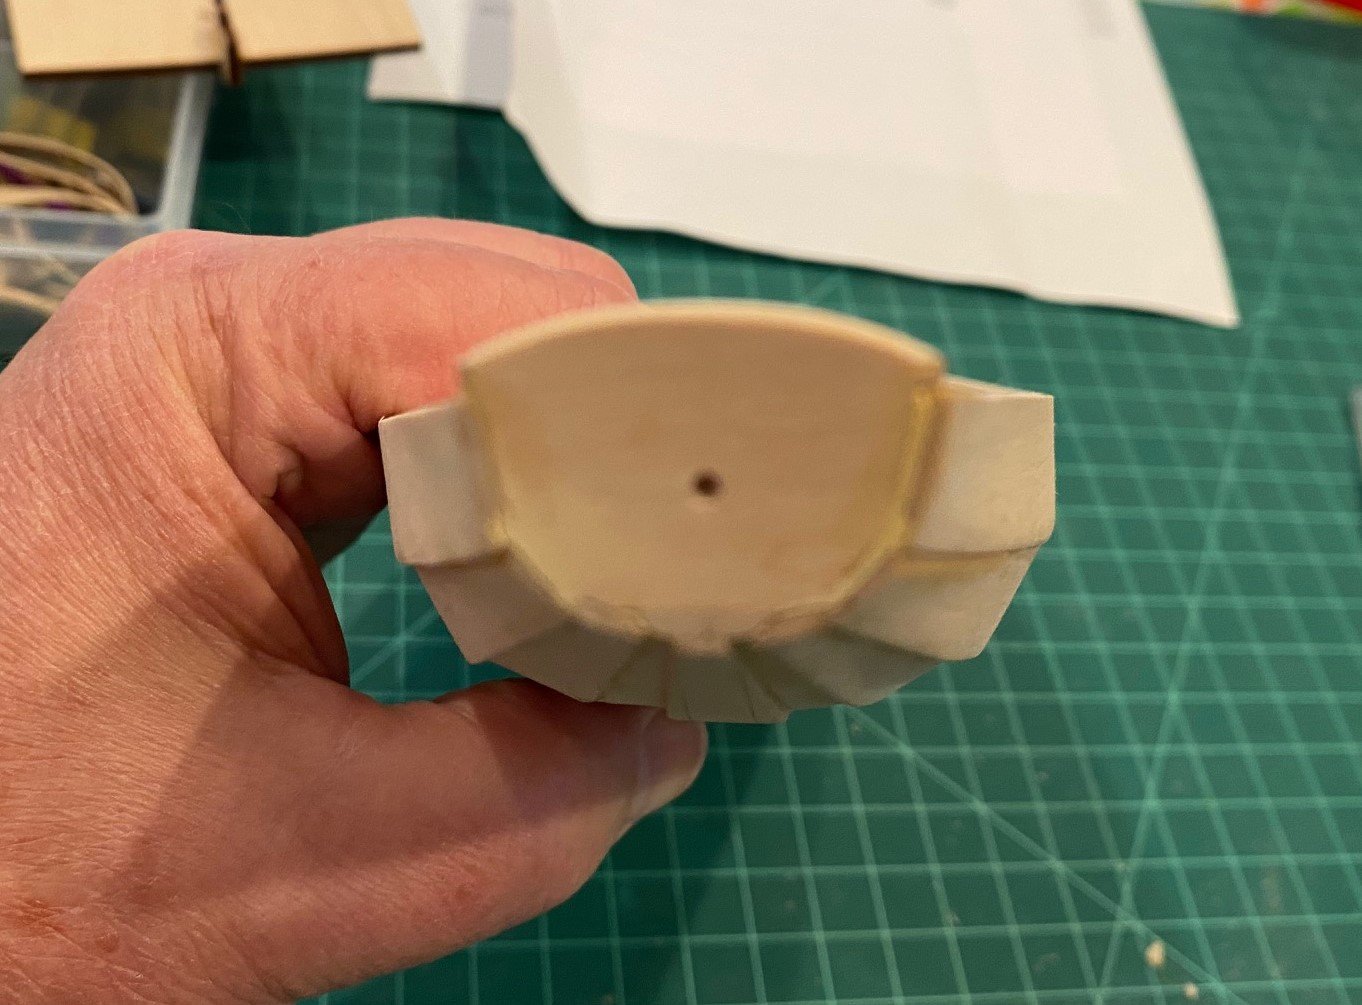
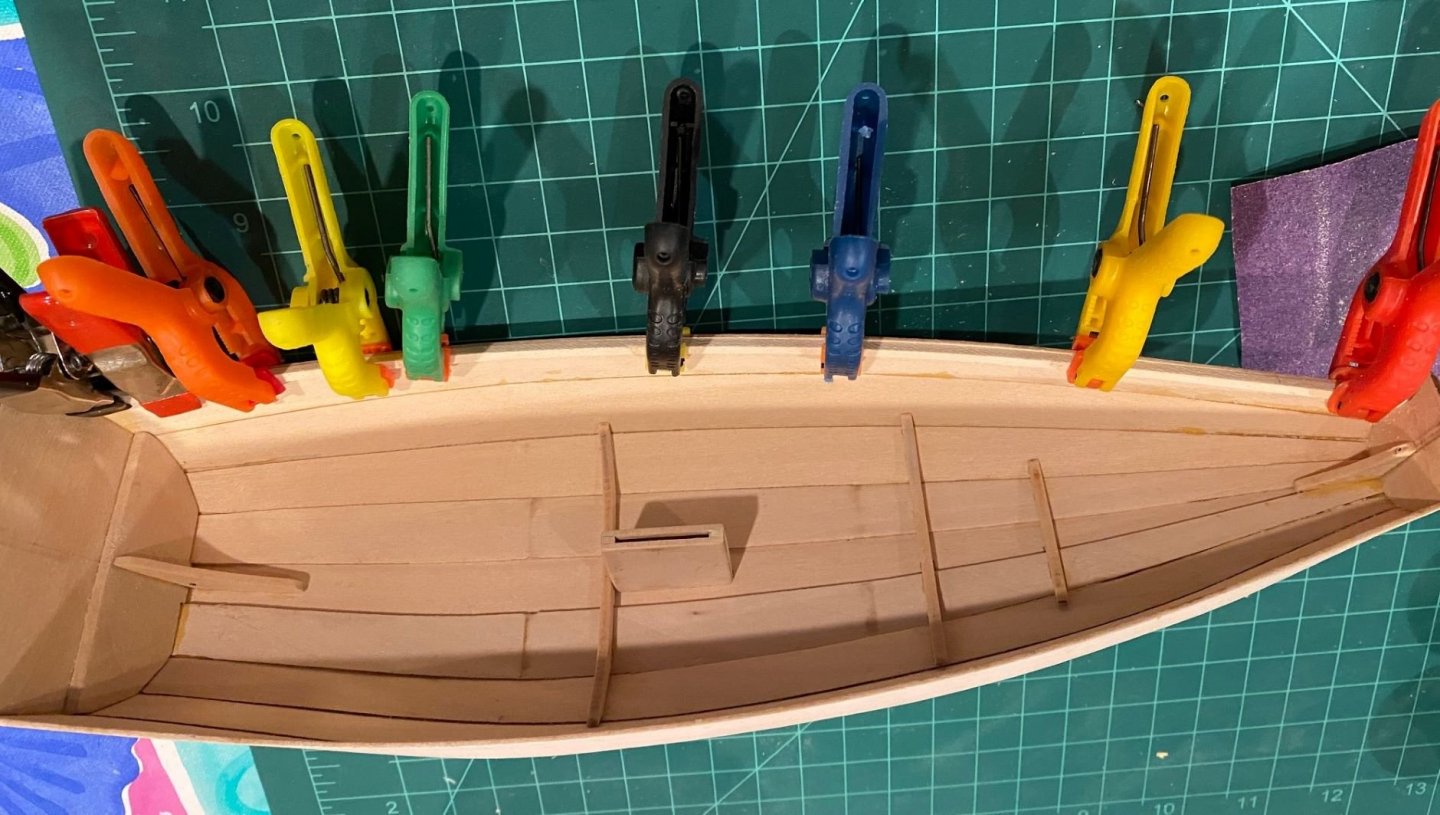
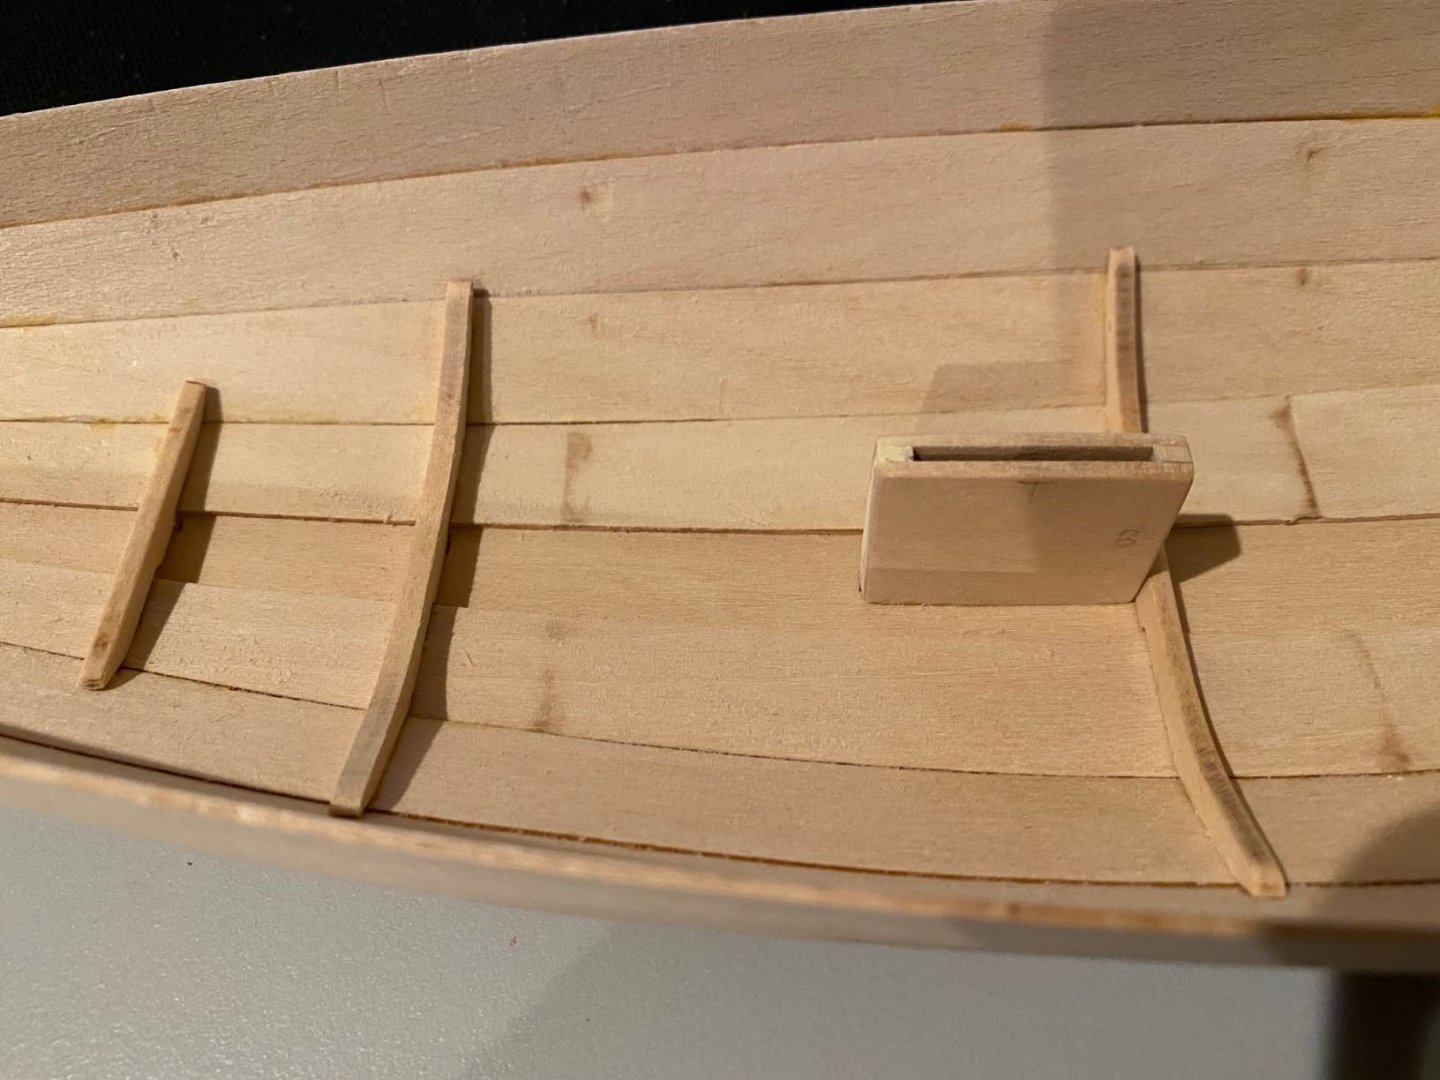
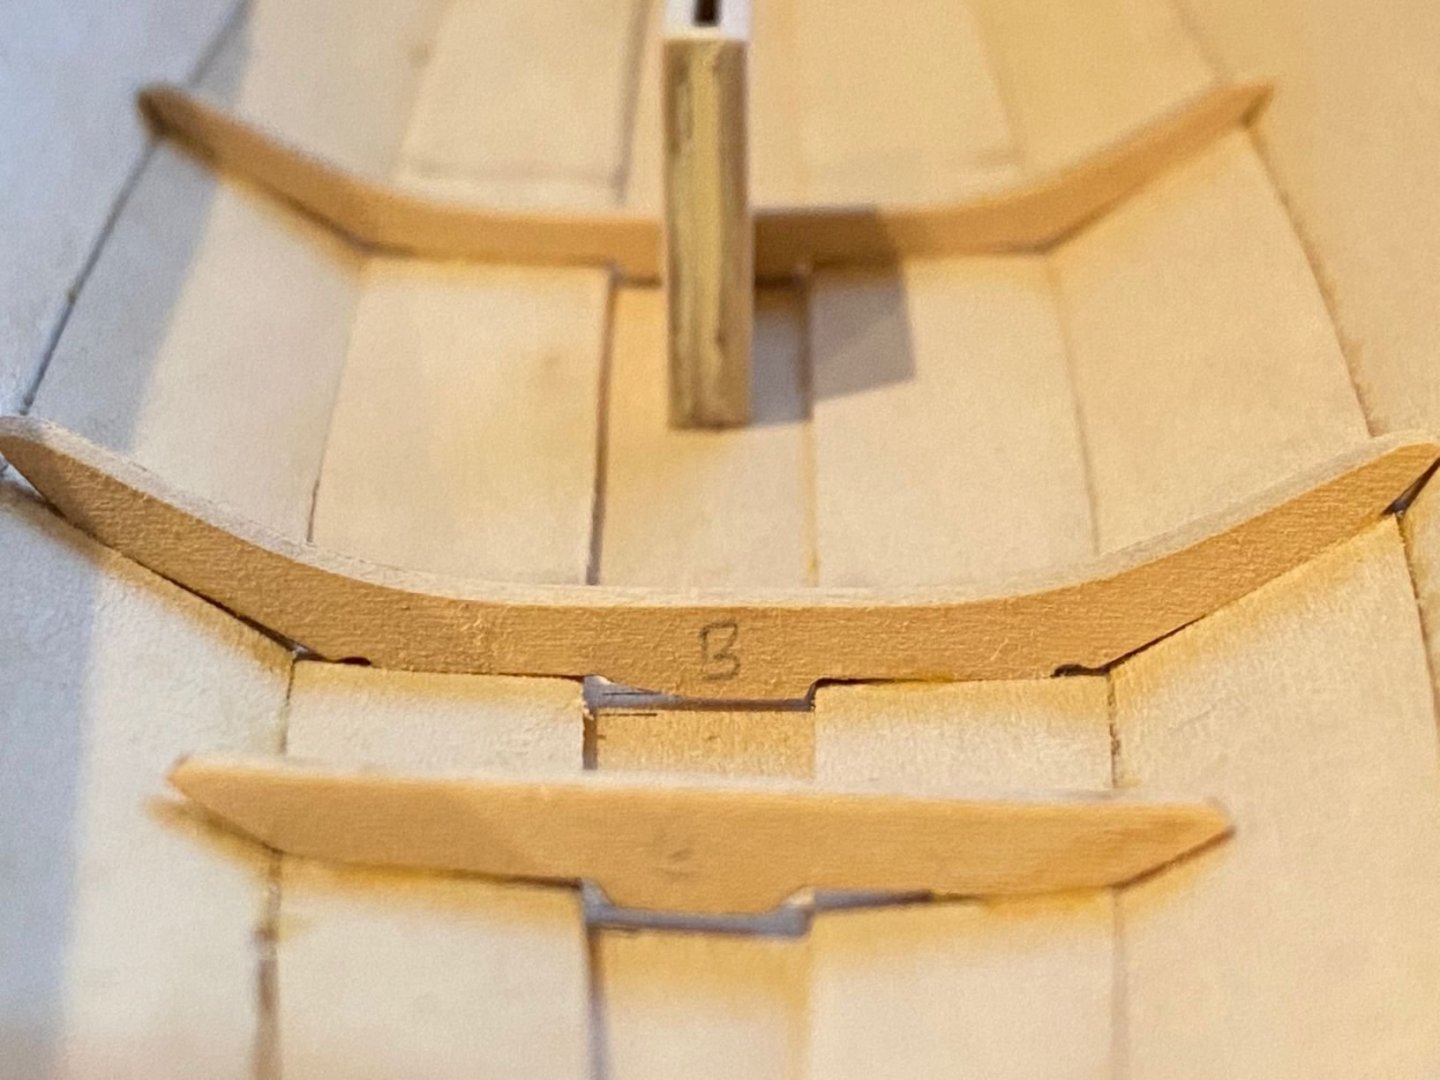
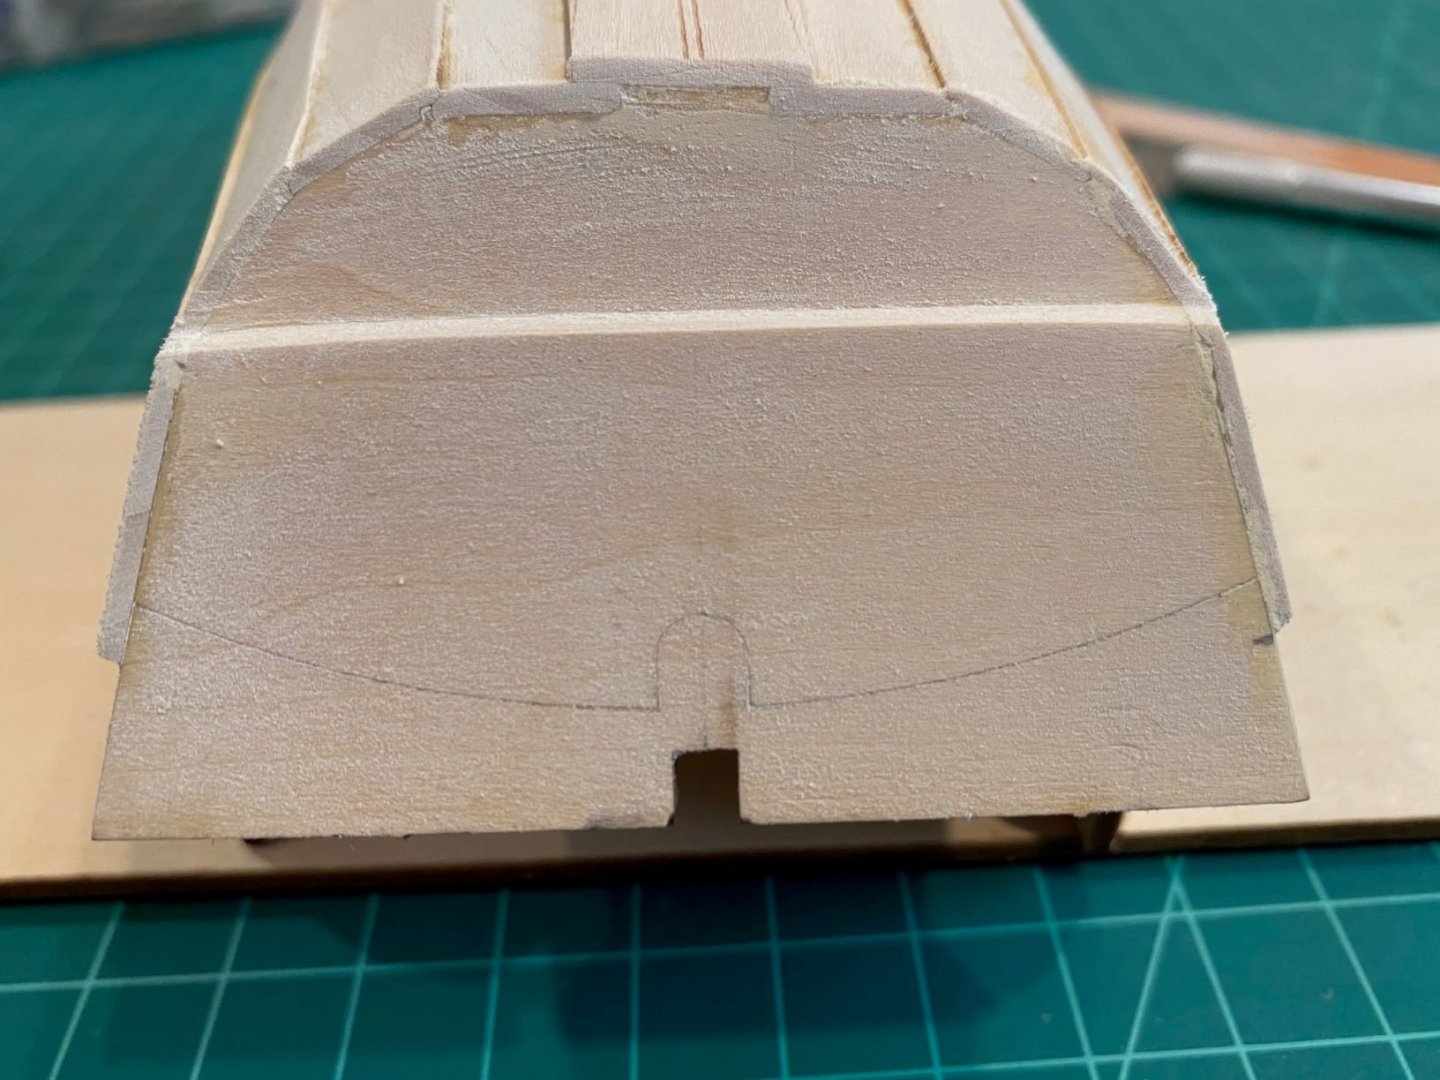
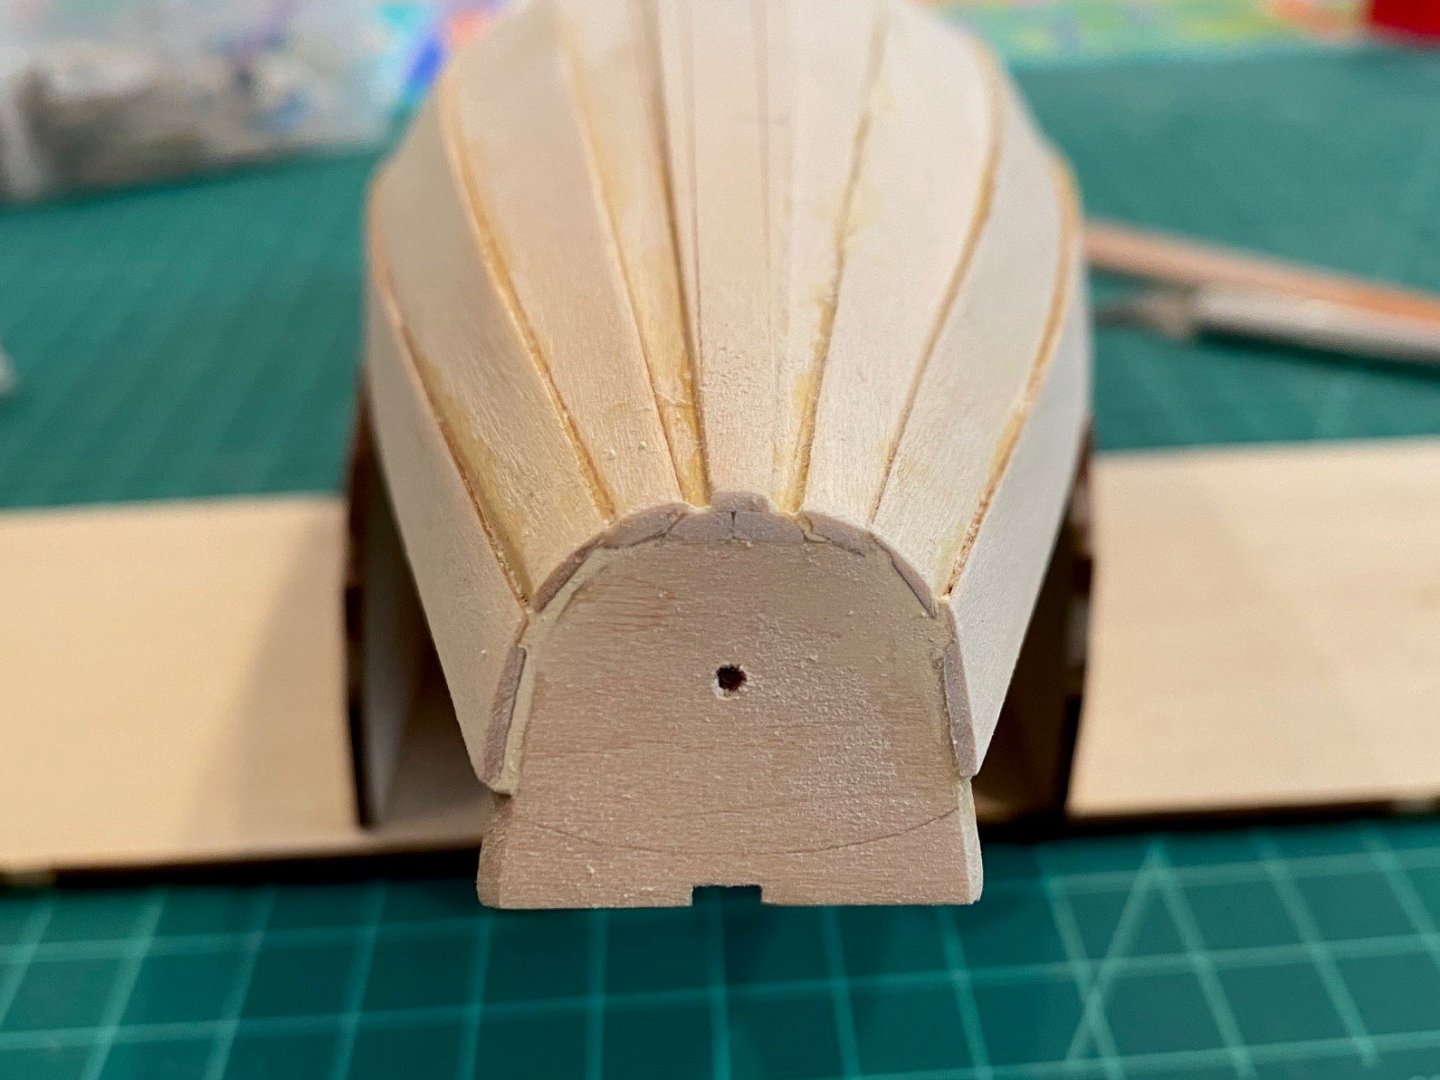
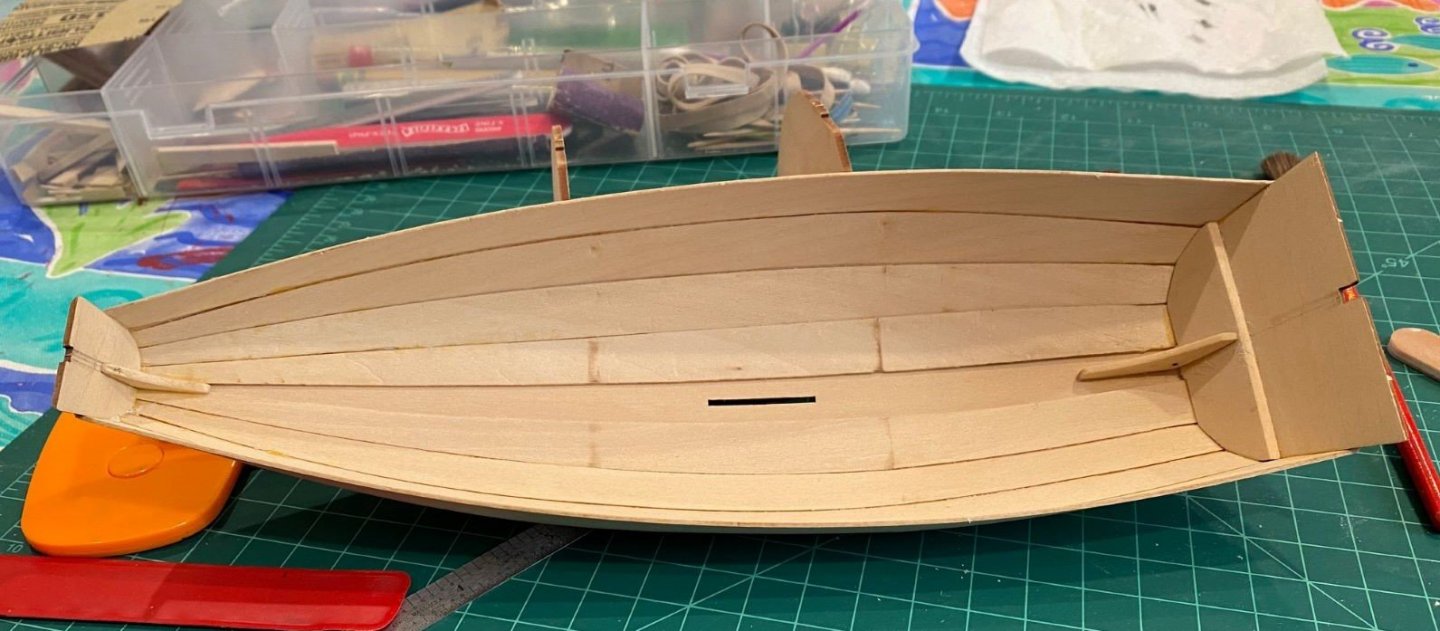
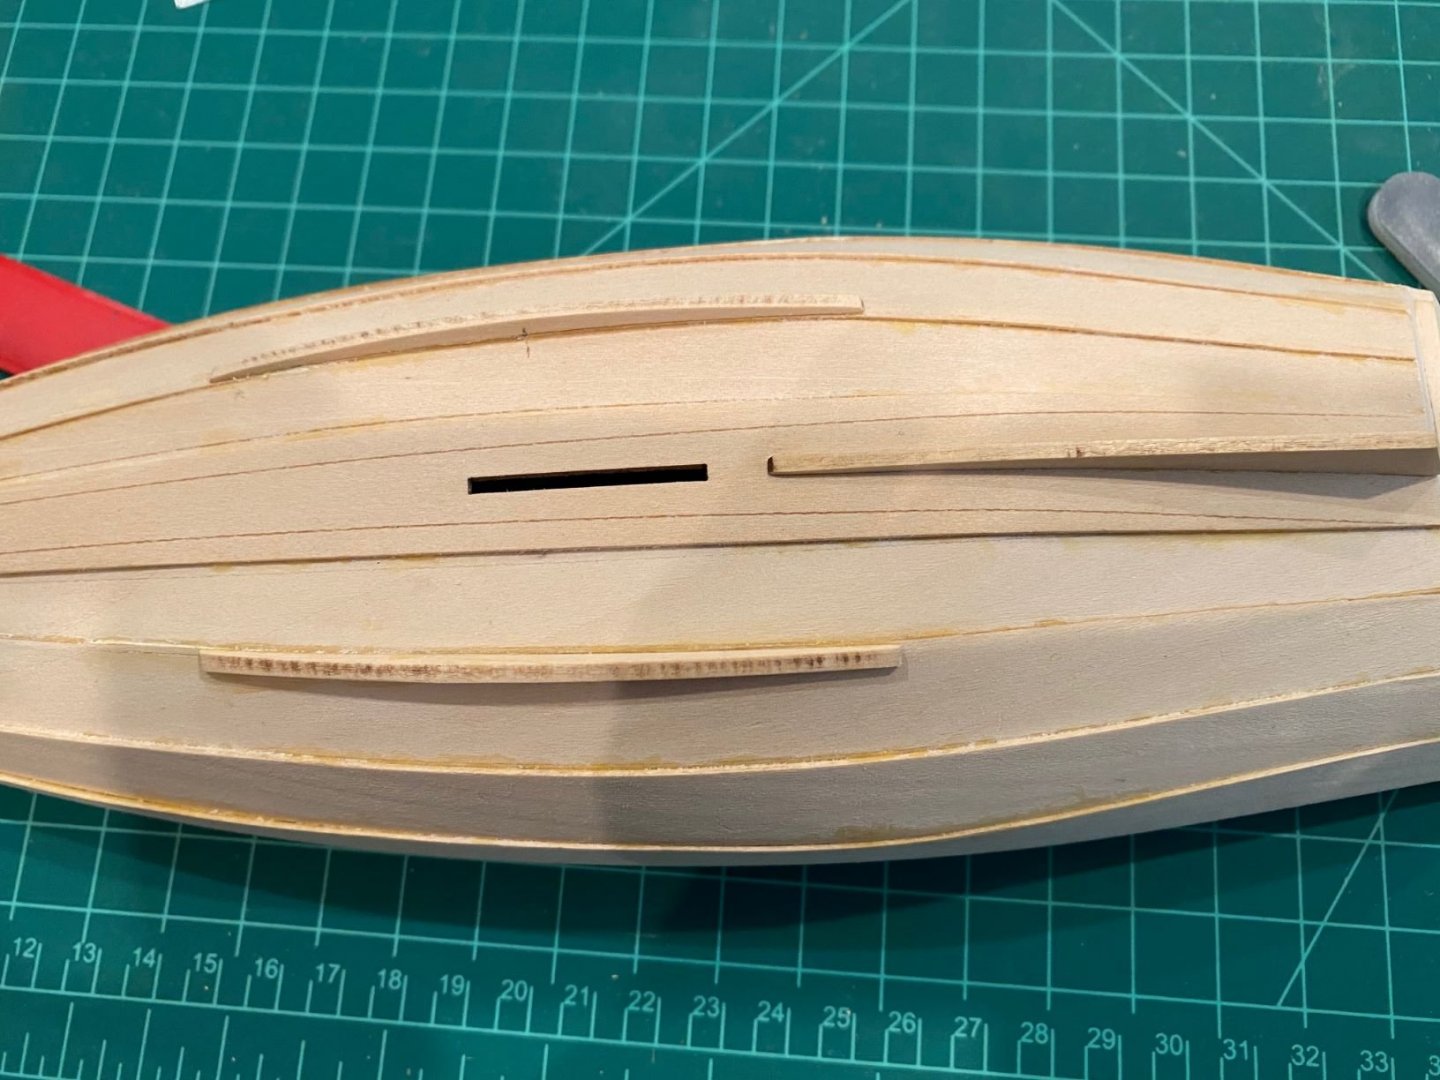
Inwales, Quarter Knees & Thwart frames To bend the Inwales, I turned the boat upside down and traced the curve of the sheer strake, then wetted the inwale and bent it to the traced curve. Then I glued them in per the instructions. I used both transoms to draw a line on the inwale to get both the vertical and horizontal angle that I need to cut the inwale to. This worked out very nicely and only required a small about of sanding to finish the fit to the transoms. Then I glued the forward and aft quarter knees, they required a little sanding to get a good fit to the transoms. I did try to get the same angle on both knees by measuring from the top of both transoms to the end of the knee, this worked well. The Seat and Thwart Frames did not work out as well, I had the same problem with them as I did the Bottom Frames, that is getting the right angle to fit my boat. I ended up with some gaps but I did not want to sand them two thin. Also, the vertical placement was a challenge. I was not sure where the top of the frames should be. Here again a scale drawing of the model would have been helpful. Also, not sure what the ‘bevel’ was being talked about for ‘A’ and ‘B’ frames, a picture or drawing would have been helpful. I bent the floor board cleats a little to much, so I just glued one half of the cleat to the haul and then I’ll glue the other side once the glue is set and I hope the bend relaxes a little. Since my planks ended higher on the aft transom then the model was designed for, I had to draw a new curved line on the aft to cut to. Then I whittled most the excess transom with a model knife and then finished up using sanding stick to get the final curve. Sorry the fwd transom pic is blurry.
- 54 replies
-
- norwegian sailing pram
- model shipways
-
(and 1 more)
Tagged with:
-
Received the missing parts from the kit today, so back to building.
- 54 replies
-
- norwegian sailing pram
- model shipways
-
(and 1 more)
Tagged with:
-
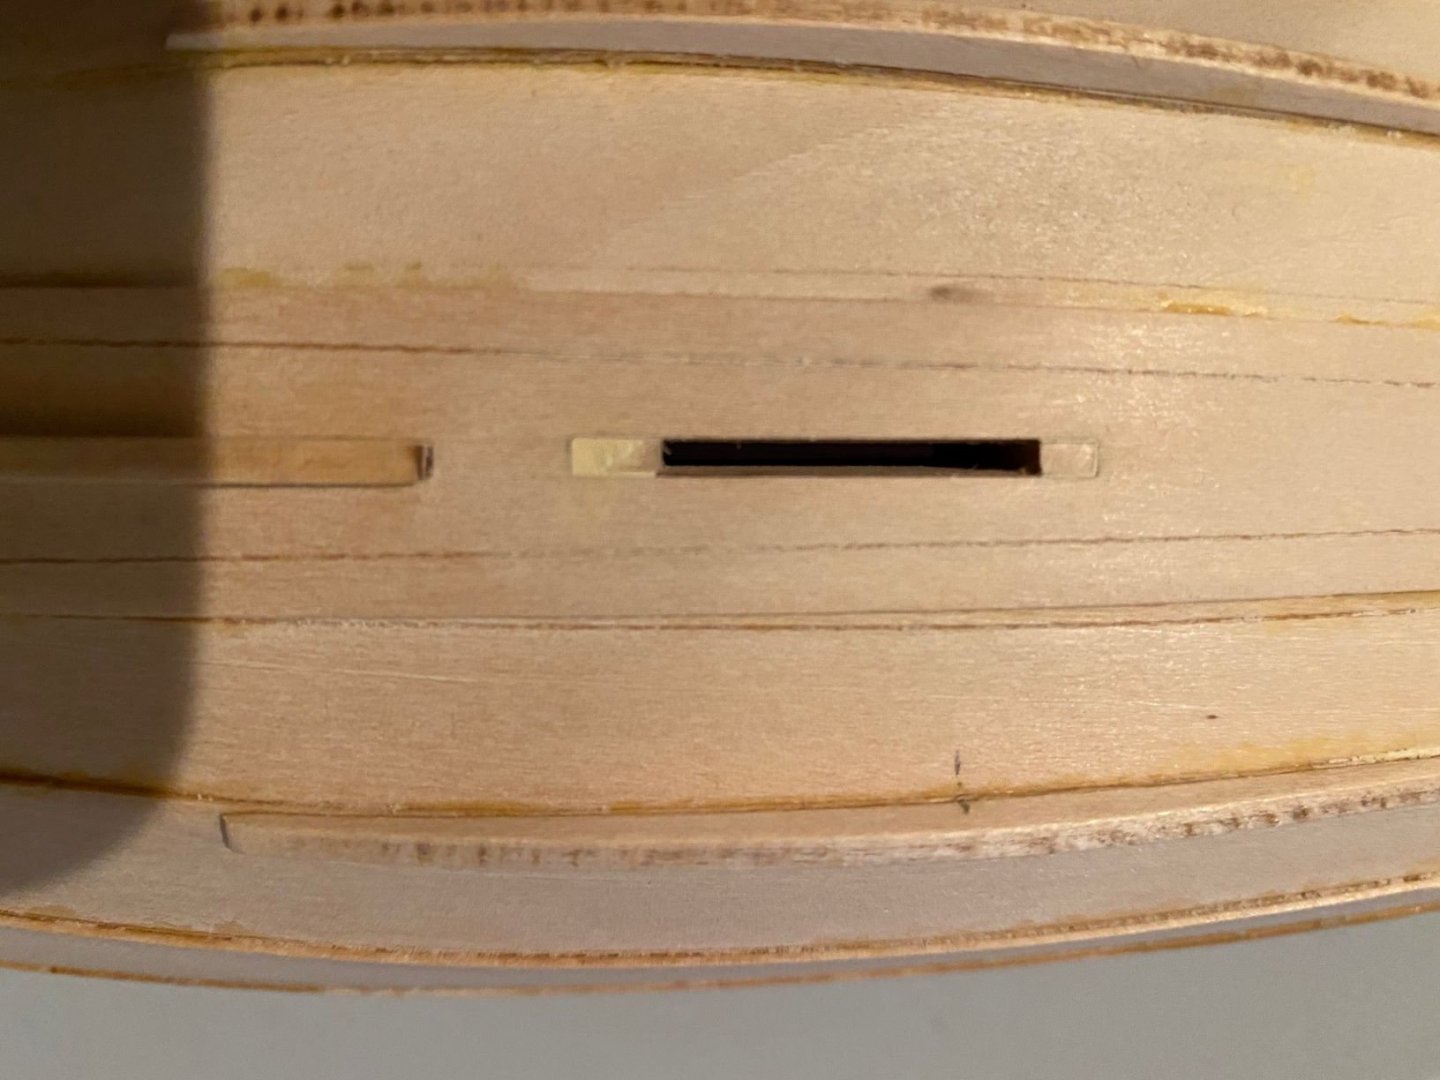
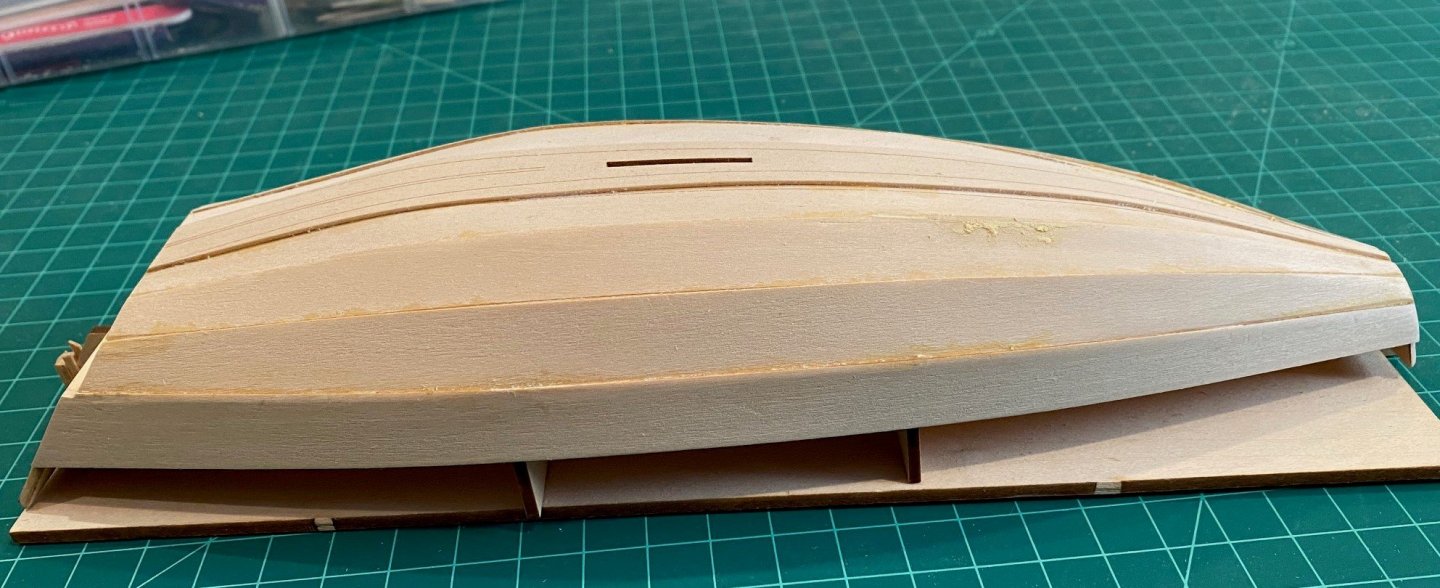
I spent some more time trying to clean up the excess glue on the planks and fine sand them. Also, I found that the Aft Transom Knee on the inside had pulled away from the keel plank, so I used alcohol to soften the glue where it was still glued to the aft transom and then re-glued so that it was in contact with both the transom and keel plank. Then I built and installed the Dagger Board Case, I ended up with about a 1/8 inch gap, fwd to aft, in the slot pre-cut in the keel plank. I double check the way I build the dagger board case and I think it was right, so I just used some wood filler in the gap. I do wish there were full size model plans to answer some of these questions. Also installed the bottom frames, starting with frame 3, aft frame, but had a hard time sanding and fitting my haul. I ended up leaving a small gap between the bottom side plank and the garboard plank and at the very top of the frame. I believe this is a result of my planking being off. I went to add the Inwales but I couldn’t find the wood, I had inventoried my kit when I received it to the inventory sheet in the kit and everything was there. I noticed that there was a different material take off on page two of the instruction manual. From this I determined that I was missing 9 pieces, the loose strips and dowels that are normally packaged together. I contacted Model Expo and they are sending the pieces. Please feel free to comment, critique and make recommendations; otherwise I won't learn.
- 54 replies
-
- norwegian sailing pram
- model shipways
-
(and 1 more)
Tagged with:
-
I'm a beginner too, I started with the Lowell Grand Banks Dory and then started the 18th Century Long Boat by Model Shipways. After I finished the planking and some interior work I noticed that the Norwegian Sailing Pram had just become available and ordered it. I stopped my build of the 18th Century Long Boat and started the Pram. I wish I would have build the Pram before starting the Long Boat, I might have not made some of the mistakes I did. Please see and comment to my build log and I hope it helps you in your build of the Pram. I do recommend that you start a build log too, it is a great place to ask questions and get very helpful input from others. Also, as the instructions and numerous places on the web site say, take your time it's not a race but a journey of learning by mistakes and accomplishments. I do recommend that you inventory your kit to insure you have everything, I inventoried my kit to the separate inventory list that was in the kit. But when I went to install the Inwales, I determined that I was missing all the loose lumber, the strips and dowels. As a novice model builder like myself, I recommend that you keep a separate log of recommendations to the kit and instructions and send to Model Expo. I look forward to following your build and have fun.
-
Had to take a few days off for other non-important life maters, now back to what is important The Build. The rest of the planks went better than the garboard planks, but when I got to the sheer planks I found it easier to glue the forward end to the transom off the work platform. That way I could hold it while the glue set. You can see some wood putty on the edges of the garboard plank where I cut a little to much and off the edge when I was cutting the rabbet. I also have to work on getting the excess glue wiped off better in the future. I did soften the lumps of glue with alcohol and used the tip of my knife blade to scrape it off. In my opinion there is too much excess left glue, would be a bigger problem if I was going to stain the hull. During the planking I was not thinking about having to plank to a specific spot on both transoms. Assuming that the lines that were etched on both transoms were a plank to line, I blew it. As you can see on the aft end, I was about a ¼ inch over the line and on the fwd end I was short about 1/8 inch. Looking at the instructions I’m not sure it will matter in the final build, except for not being exactly to scale. I believe a note should be added to the instructions to be aware of the final plank to line. The installation of the Skeg and Bilge Keels went well, I do believe a better picture or scale plans are need to show the placement of the Bilge Keels fwd/aft distances.
- 54 replies
-
- norwegian sailing pram
- model shipways
-
(and 1 more)
Tagged with:
-
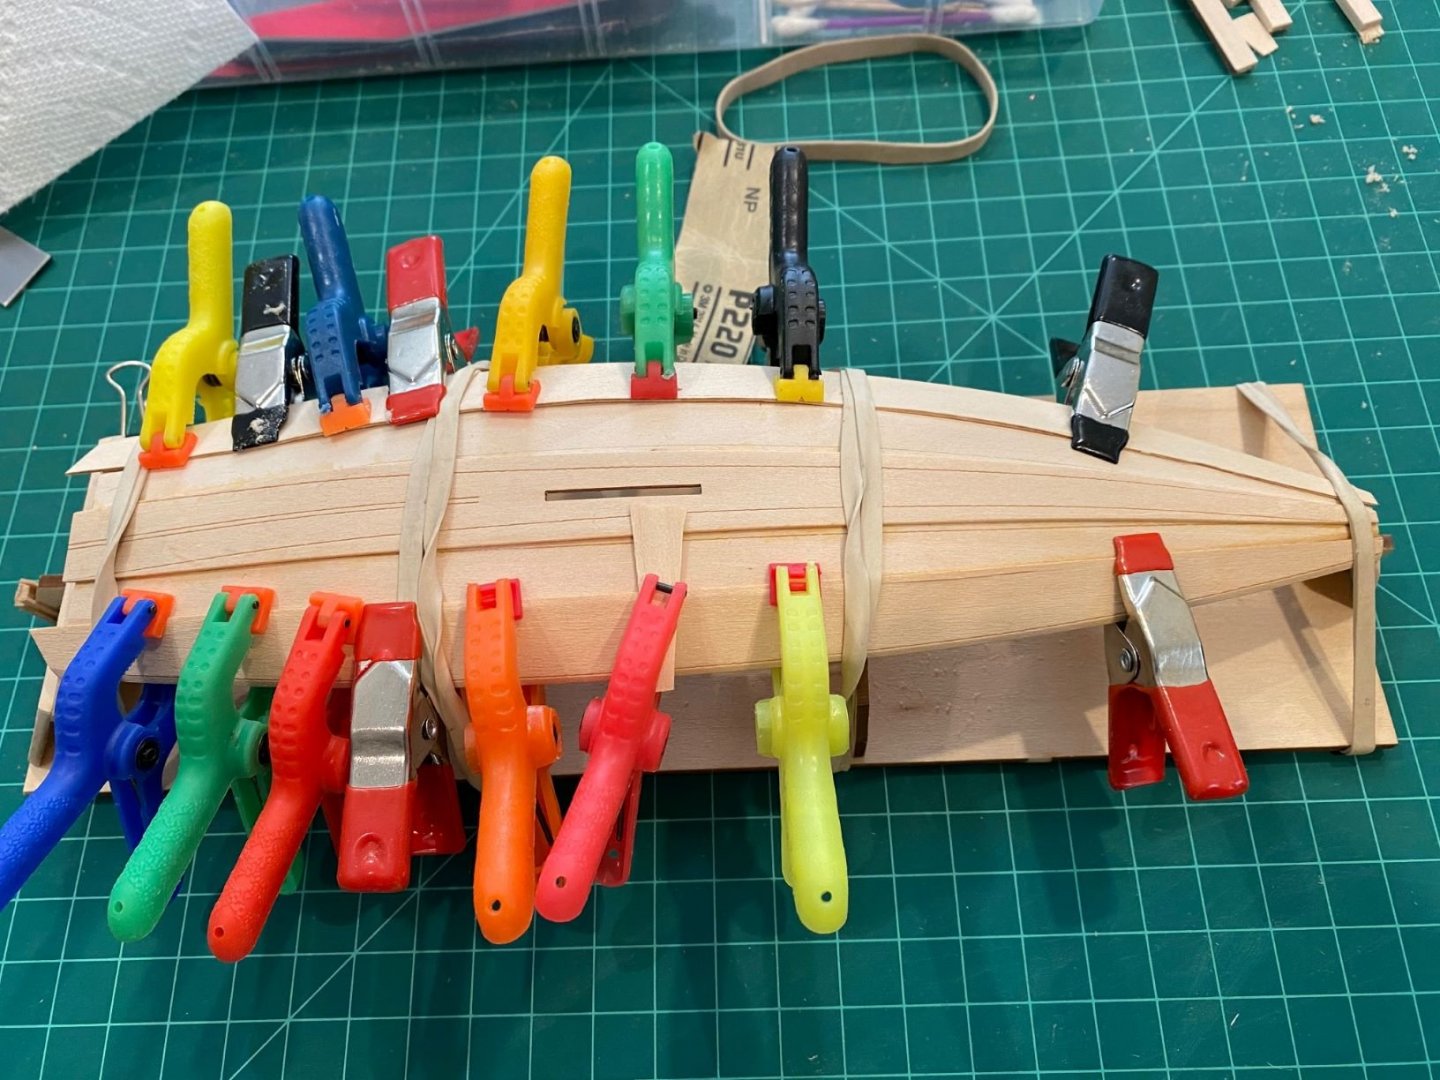
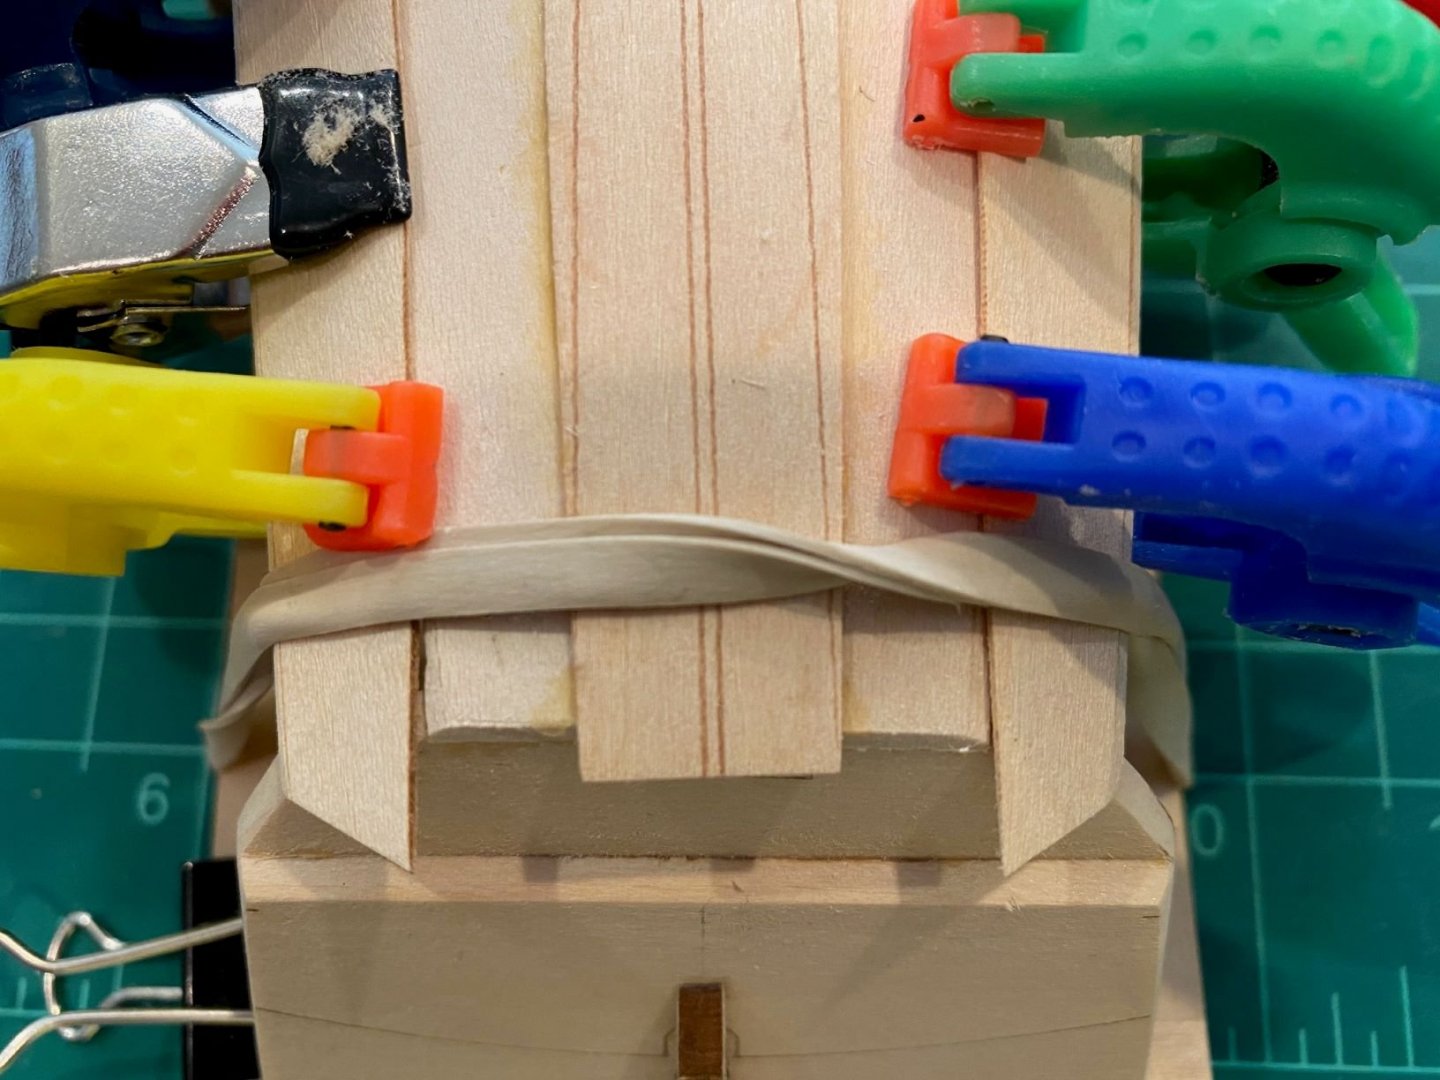
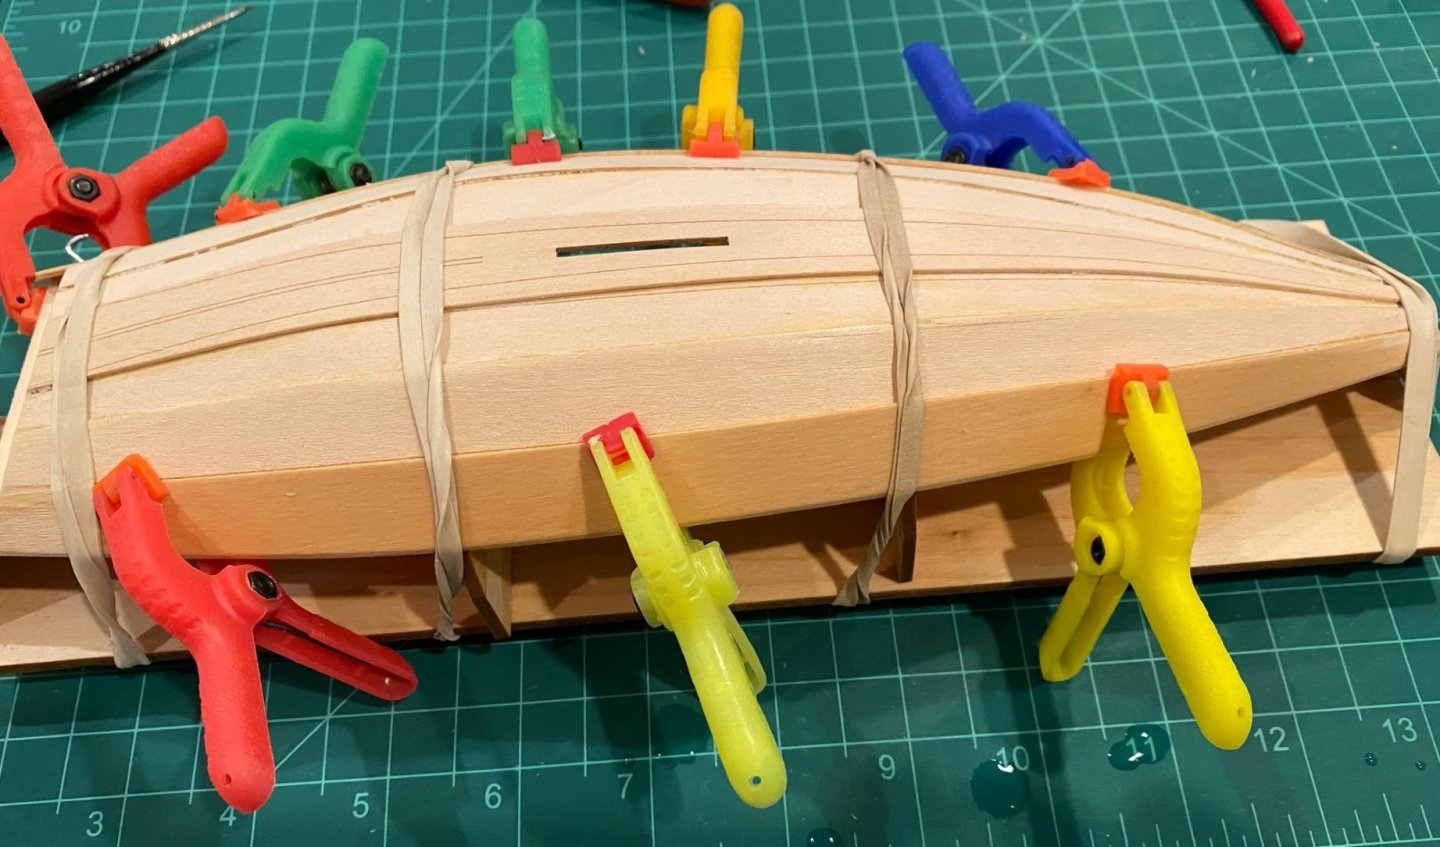
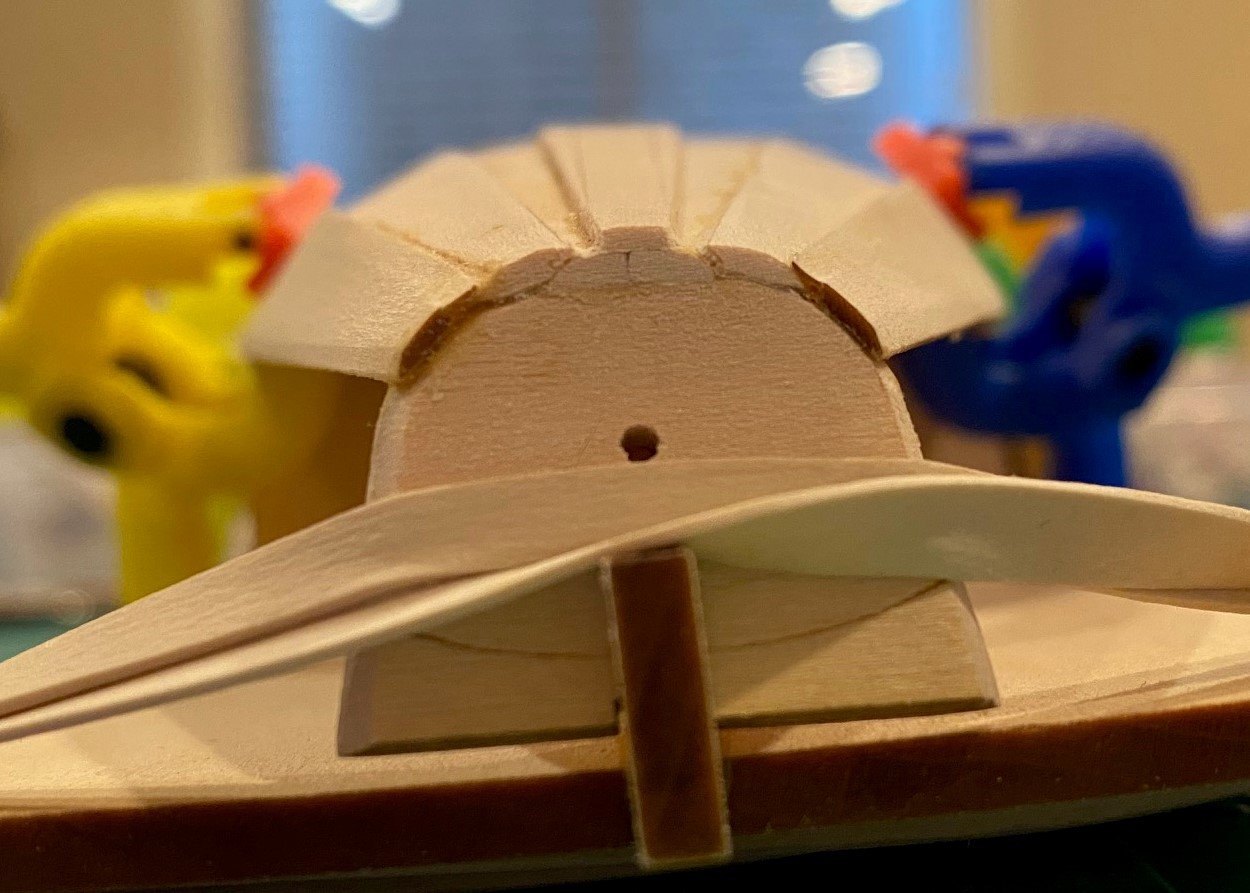
More mistakes on the Garboard planks, I could not dry fit the garboards prior to cutting the rabbet and beveling the other side of the plank. I was still waiting on the glue to set on the keel and bottom planks, to many clamps and rubber bands. This resulted in the error that I cut the rabbet and beveled the planks on the wrong side. I did not want to make new garboard planks and it appeared that the side plank fits nicely next to the garboard plank anyway. You can see that the angle on the end of the plank is going the wrong way to the transom. The good thing was the planks were long enough that this did not matter. I actually formed the curves in the side planks by dry fitting them to the mold/transom, then wetted them and used a hair drier to set the curve. It worked very nice. You can see that the forward end of the side planks fit better next to the garboard planks and fwd transom, much better then the garboards. It looks like I cut the rabbet on the wrong side, but I think that is due to the finger pressure I was pushing down on the plank why the glue set. I still feel that if there were full scale model plans with the kit or in the instructions, I would not made these errors. Still, I thank everyone that gave me input on were to cut the rabbet, THANKS
- 54 replies
-
- norwegian sailing pram
- model shipways
-
(and 1 more)
Tagged with:
About us
Modelshipworld - Advancing Ship Modeling through Research
SSL Secured
Your security is important for us so this Website is SSL-Secured
NRG Mailing Address
Nautical Research Guild
237 South Lincoln Street
Westmont IL, 60559-1917
Model Ship World ® and the MSW logo are Registered Trademarks, and belong to the Nautical Research Guild (United States Patent and Trademark Office: No. 6,929,264 & No. 6,929,274, registered Dec. 20, 2022)
Helpful Links
About the NRG
If you enjoy building ship models that are historically accurate as well as beautiful, then The Nautical Research Guild (NRG) is just right for you.
The Guild is a non-profit educational organization whose mission is to “Advance Ship Modeling Through Research”. We provide support to our members in their efforts to raise the quality of their model ships.
The Nautical Research Guild has published our world-renowned quarterly magazine, The Nautical Research Journal, since 1955. The pages of the Journal are full of articles by accomplished ship modelers who show you how they create those exquisite details on their models, and by maritime historians who show you the correct details to build. The Journal is available in both print and digital editions. Go to the NRG web site (www.thenrg.org) to download a complimentary digital copy of the Journal. The NRG also publishes plan sets, books and compilations of back issues of the Journal and the former Ships in Scale and Model Ship Builder magazines.


