SkiBee
-
Posts
181 -
Joined
-
Last visited
Content Type
Profiles
Forums
Gallery
Events
Everything posted by SkiBee
-
 I agree with you, the Pram and Dory were a little more enjoyable, but i did learn a lot building this one.
- 39 replies
-
- 1
-

-
- Model Shipways
- Muscongus Bay Lobster Smack
- (and 1 more)
-
The nice thing about the 3 kits in the starter set is that they teach you so much, along with fixing our goofs. I made a lot of them, and on the Moscongus I really had a hard time learning to bend planks in multiple directions, wood filler was my friend on this model. You're doing great, hang in there.
- 61 replies
-
- 4
-
-
- Muscongus Bay Lobster Smack
- Model Shipways
- (and 1 more)
-
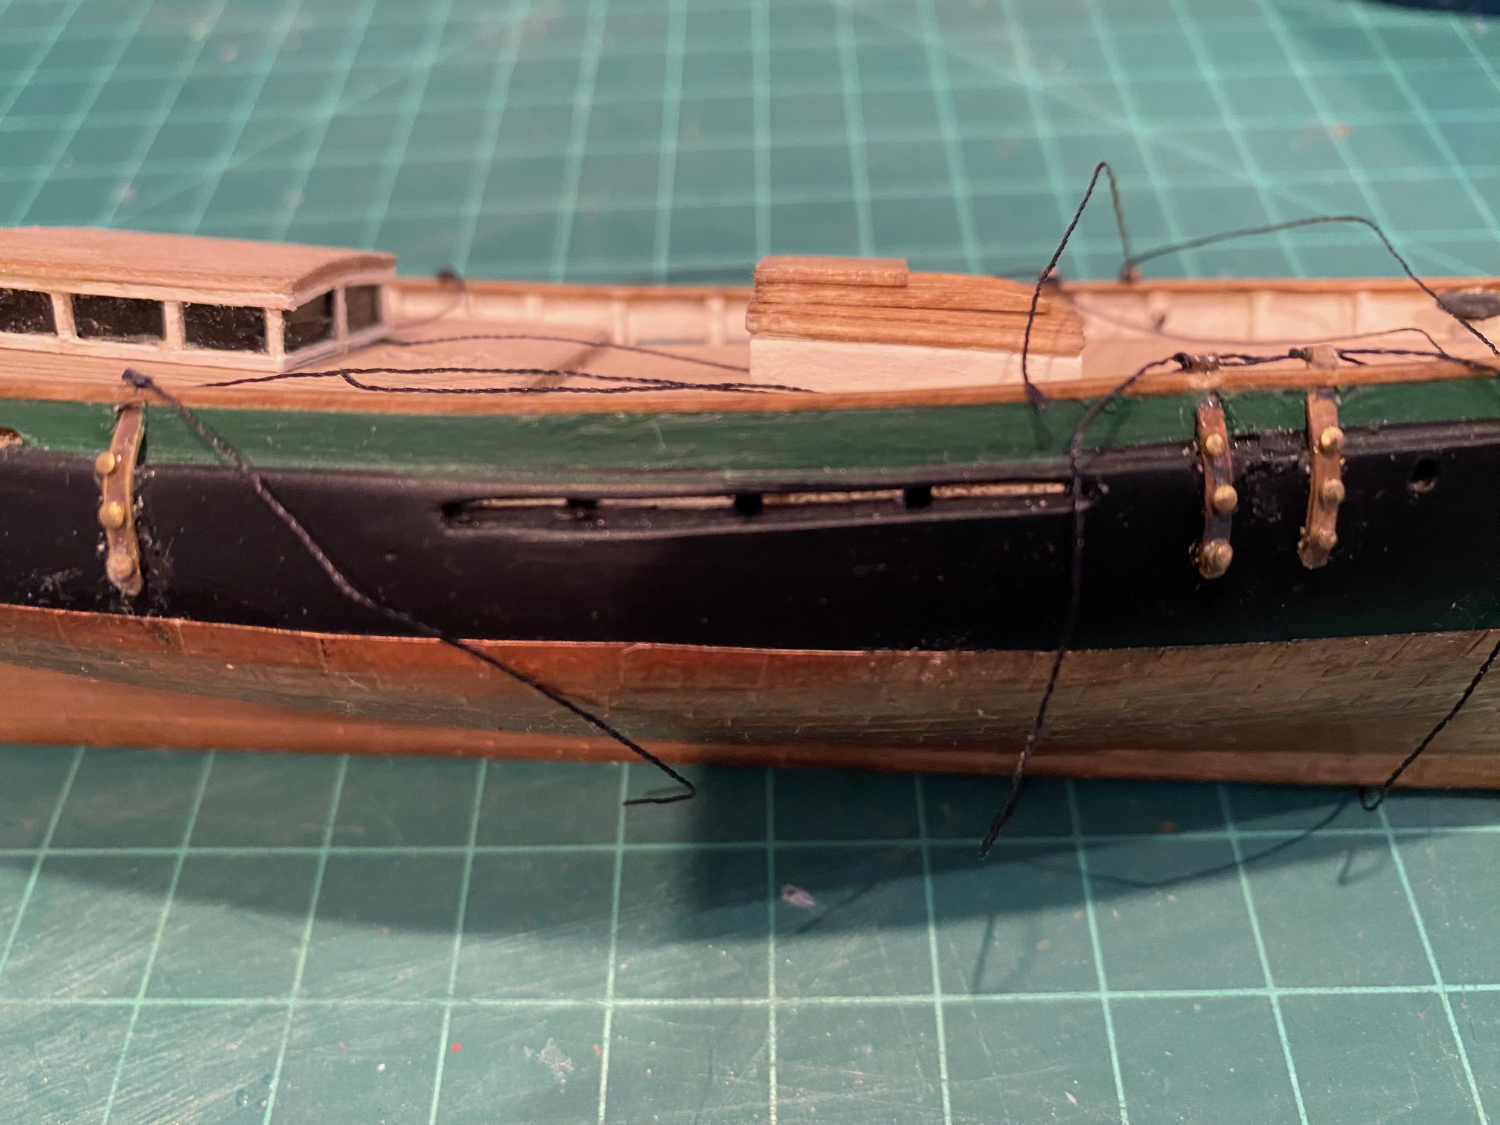
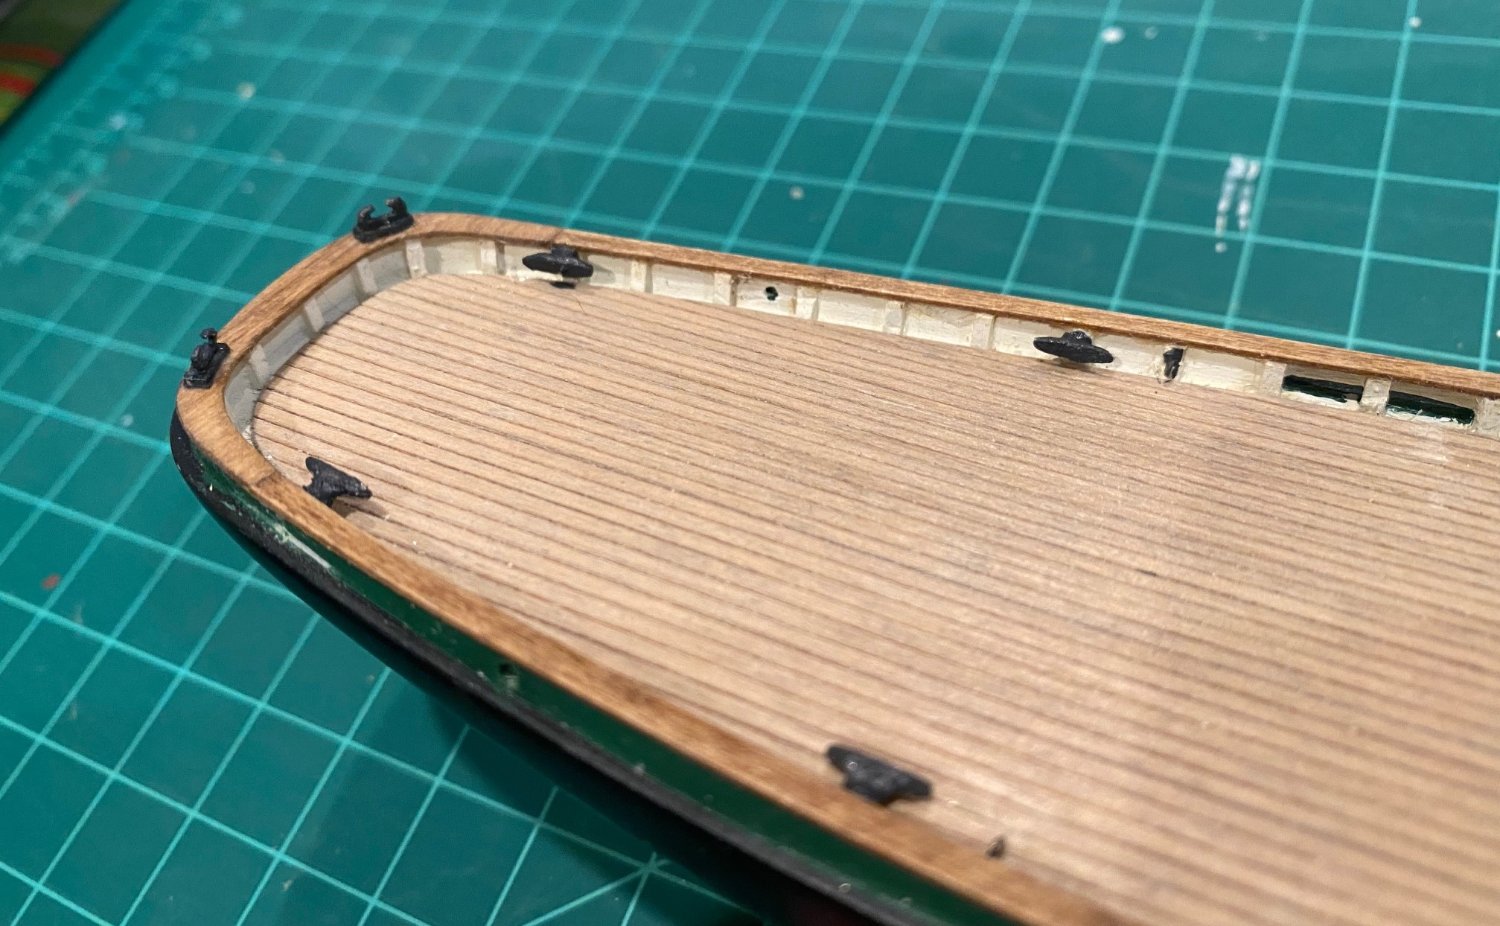
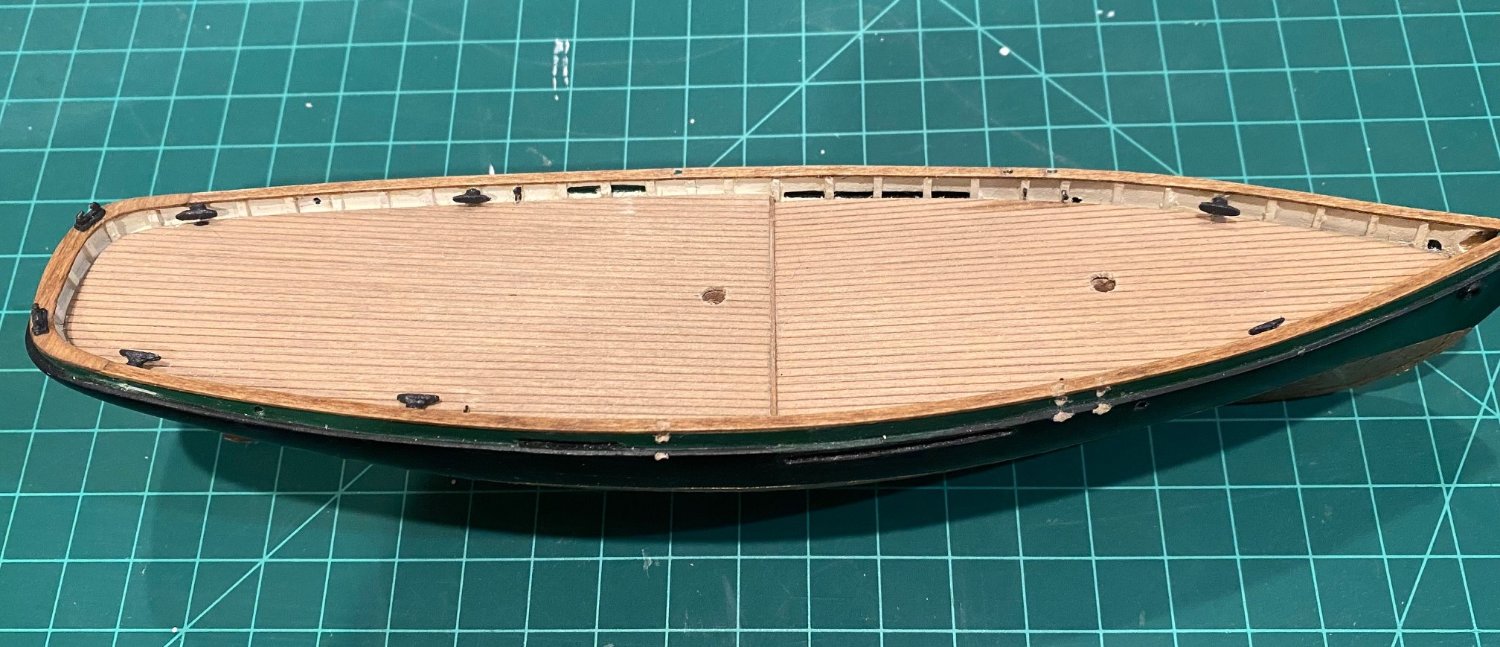
Well, another life got in the way of building. I glued the remaining fwd companionway to the deck. Now on to the chain plates. It was difficult to cut the holes into the railing but I only messed up one, but I need to move on. Not the happiest with them, if I was to do it over I would have the rail hang over the hull a little more.

-
Fix uneven paint area
SkiBee replied to DMM's topic in Painting, finishing and weathering products and techniques
Instead of stripping off the paint, why not just use some wet sandpaper and get it smooth then repaint the whole area again. -
Planking Book?
SkiBee replied to BWDChris's topic in Building, Framing, Planking and plating a ships hull and deck
I started the Long Boat and while I was waiting for a replacement piece, I changed my mind and built the Model Shipways Shipwright 3 Kit Combo Series. This series is a great way to learn some of the basic skills that you will need on future builds. -
Roger, Outstanding work for you second ship! Cisco is right, small does not equal easy. You might try the Model Shipways Muscongus Bay Lobster Smack as your second ship, it will give you some additional practice planking before the Armed Virginia Sloop. I started a solid hull as my follow-on to the Lobster Smack, a challenge in a different way then planking. Good luck in your next challenge.
- 18 replies
-
- 2
-
-
- 18th century longboat
- Model Shipways
- (and 1 more)
-
Planking Book?
SkiBee replied to BWDChris's topic in Building, Framing, Planking and plating a ships hull and deck
BWDChris, What ship are you starting with? -
I started with a long boat and then switched to the 3 Model Expo kits recommended above. I'm glad I did; I learned a lot of things that built upon what I had just learned. I went back and finished the Long Boat and didn't make as many mistakes and was much more relaxed. As mentioned above, patience is a must as well as starting a build log on this website where you can ask questions and get great advice.
-
I had the same experience, 40 years ago I started with a solid hull model and failed to get past step one. I've built a lot of plastic models but never went back to try a wood model, shaping a hull and the rigging intimidated me. A couple of years ago I decided to try my hand at wood models and saw an advertisement for Model Expo & Shipways models. I started with the Model Shipways 3 ship beginners set and they took me step by step and I learned a lot of skills and knowledge for a fair price. So much I tried my hand at a solid hull again and it's been successful so far. I highly recommend the Model Shipways Shipwright 3 Kit Series. By the time you finish the 3rd boat, the Muscongus Bay Lobster Smack, you will have the skills to take on anything.
-
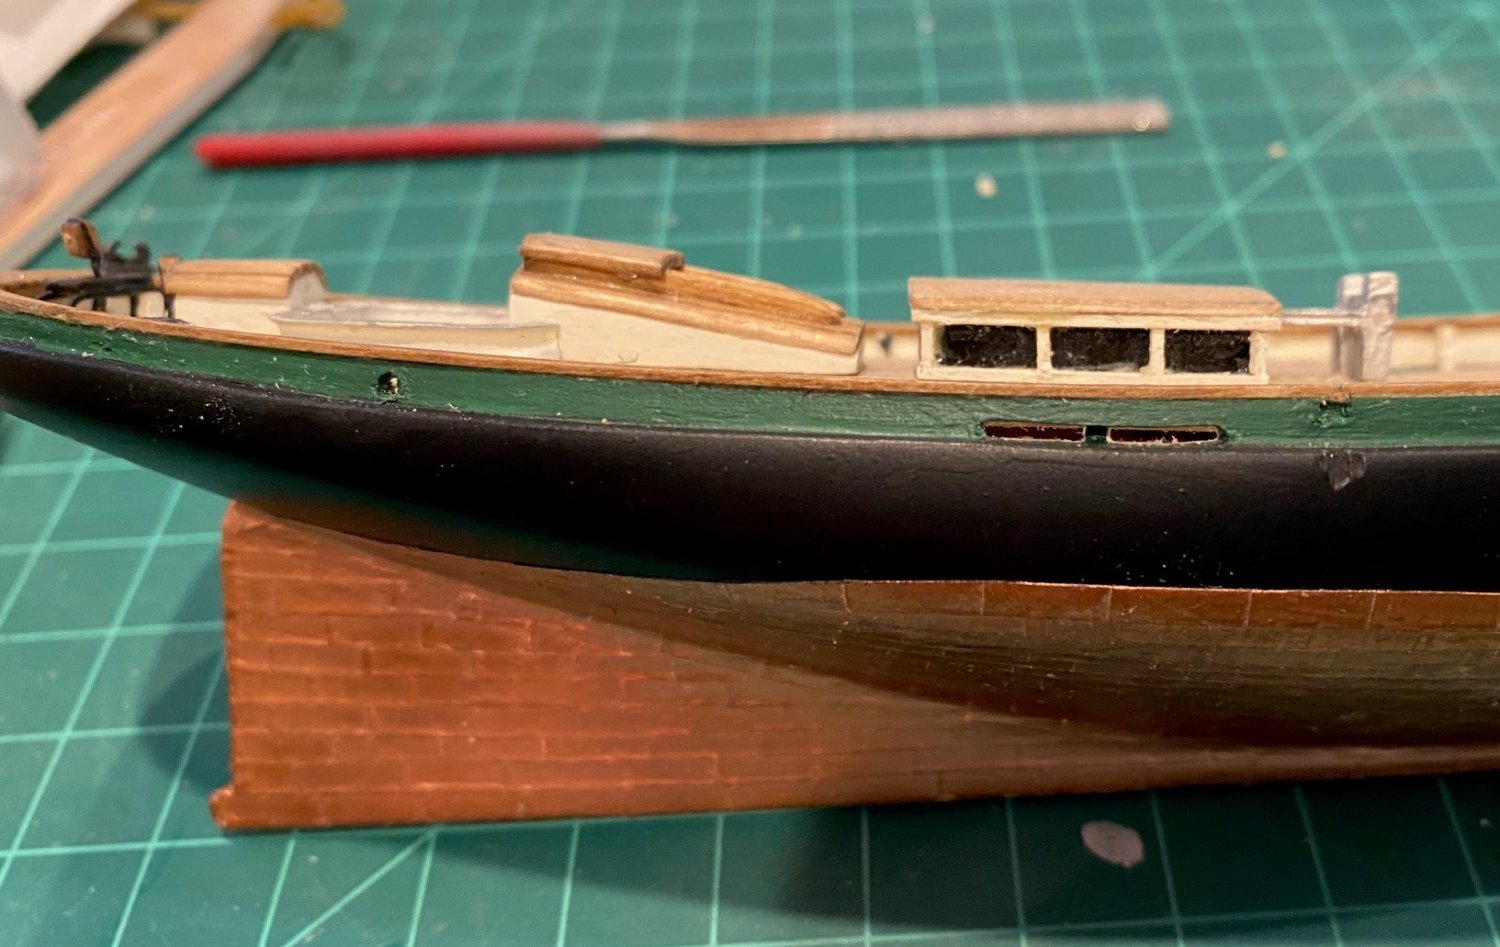
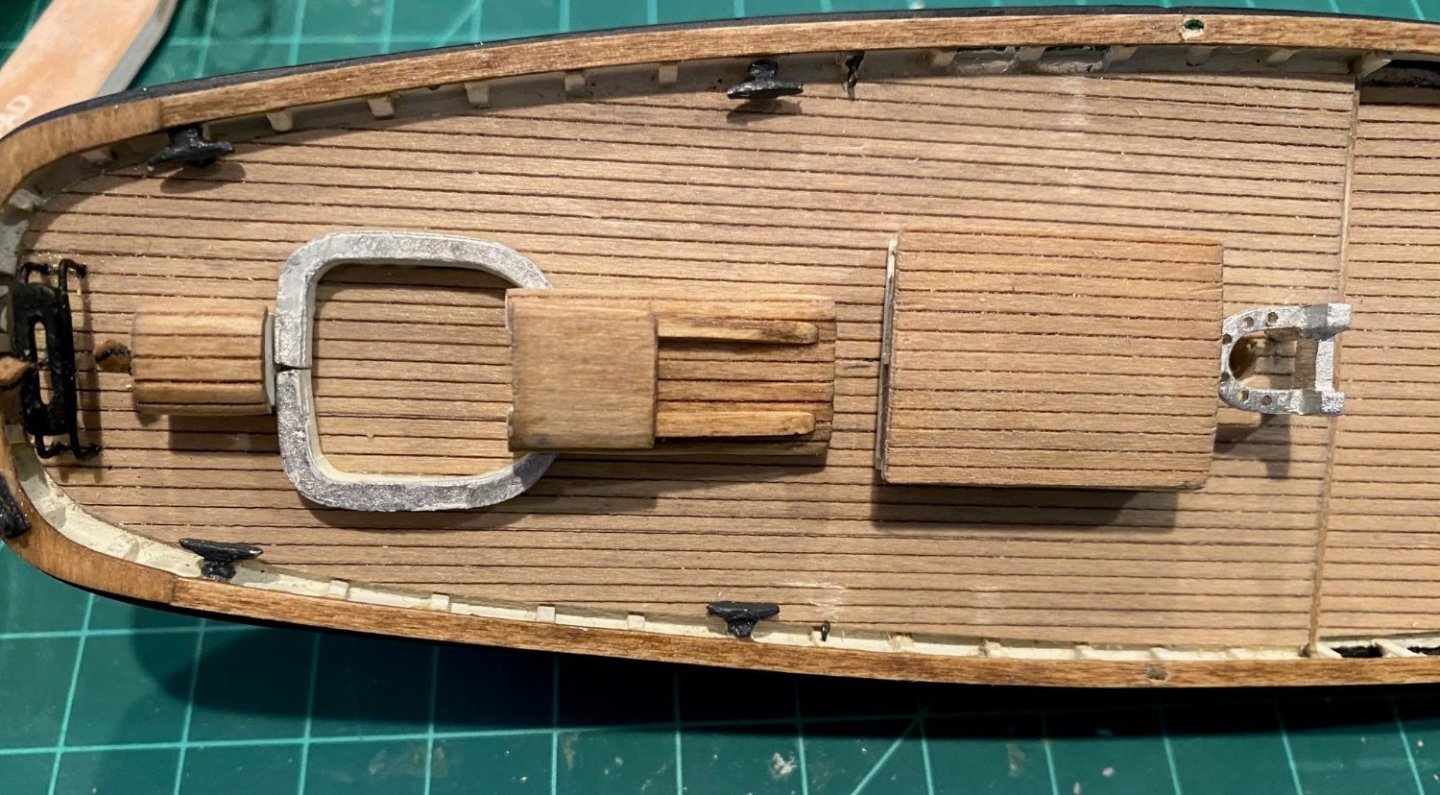
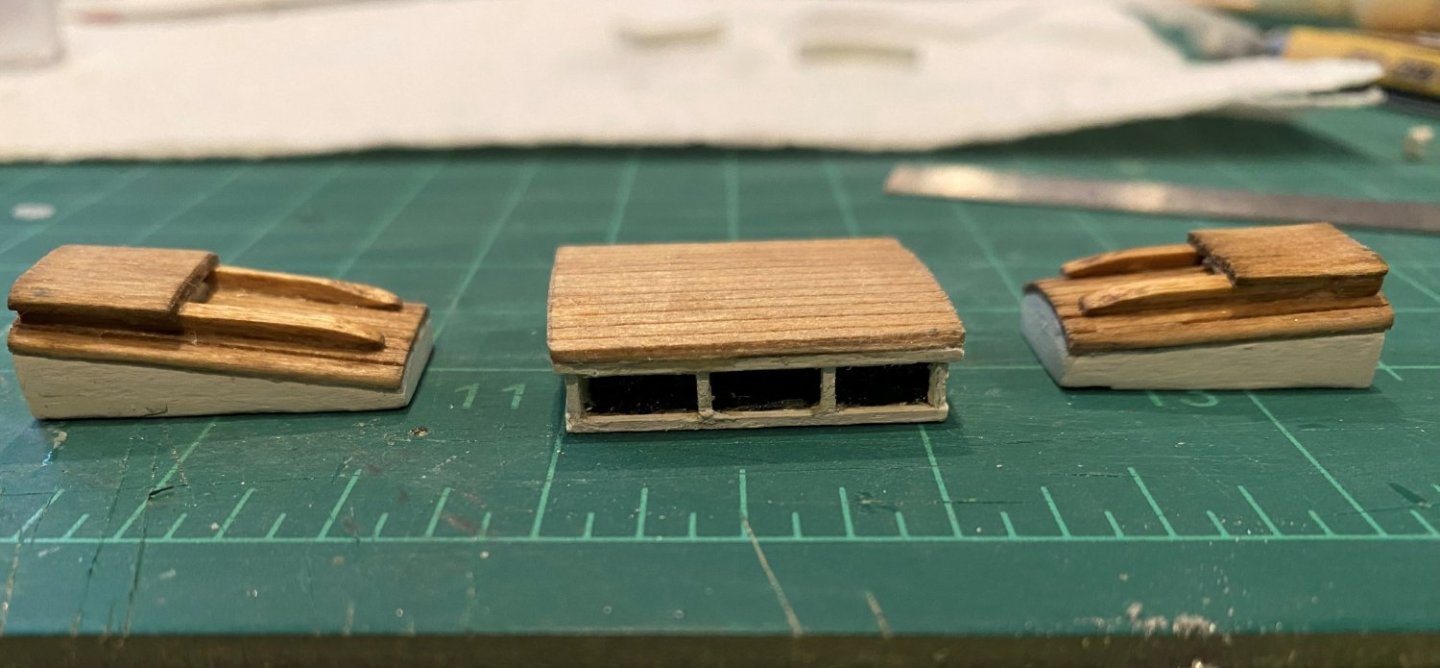
I laid some double-sided tape on the deck and placed everything on the deck including the fife rail so that I could determine the best way to fit everything on the deck. Reduced the gap between the fife rail and skylight, as well as the gap between the aft companionway and the skylight where the stove pipe goes. But I still had a miss fit with t cockpit coaming. I considered many options to fit the coaming and settled on letting the coaming interface with the companionway a little further down the side of the companionway. But I still had to cut off the end of the coaming so it would fit correctly. In hindsight if I had checked the layout with the pieces before finishing them, I would have shortened the companionway and skylight. I also forgot to trace the outline of the coaming to make the seat out of wood or manila folder, so I'm just going to paint it a wood brown.

-
Really nice work
-
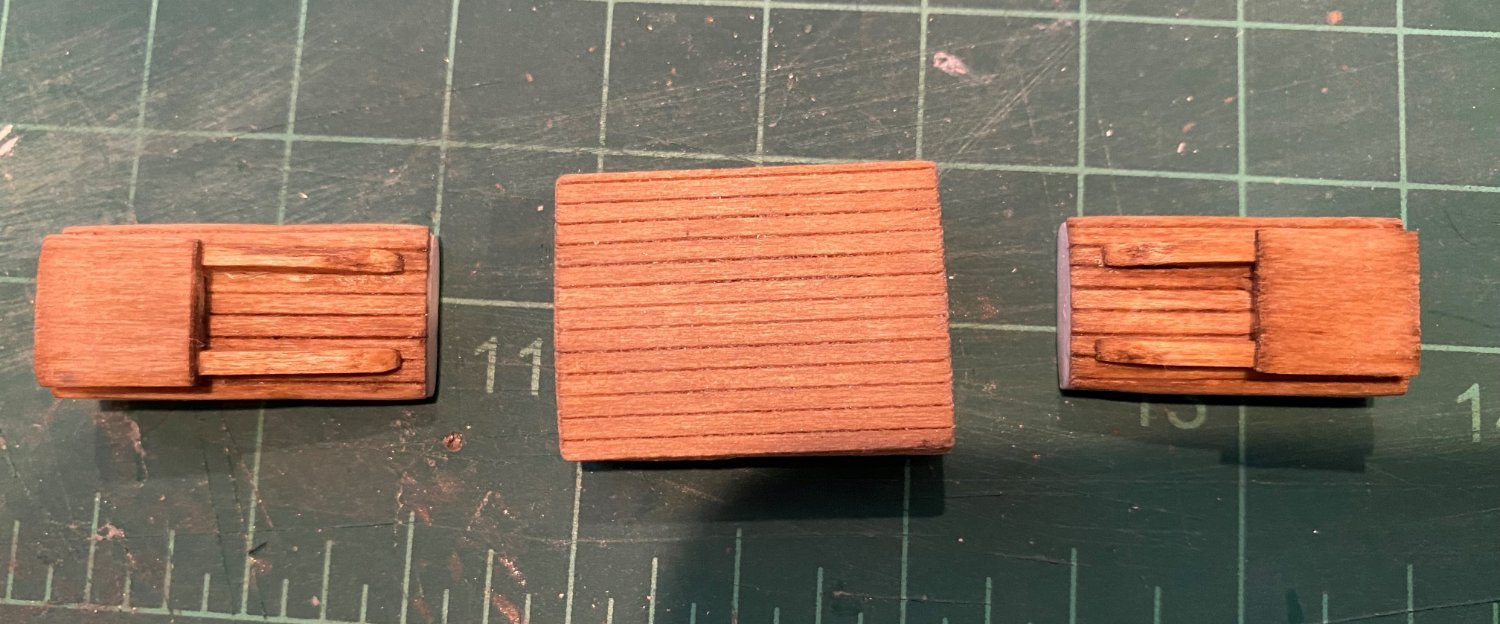
I cut the out the wood for the companionways, wheel house and skylight, a fair amount of sanding off the tip of my fingers getting the roofs curved. Then I painted them an off white (cream). To build the skylight, I glued two pieces together then I painted the windows gloss black before adding the white window trim, which was left over 1/16 inch square strip painted white. I wish I had used a 1/8 inch strip on the bottom. I tried using pieces of manila folders for the roofs but I didn’t like the looks when they were done, so I used some of the left-over decking. It might not be to scale but I liked the looks better. I wetted the wood and then formed them on the roofs, using rubber bands to hold them. I did stain them with a mixture of Minwax weathered oak and light oak. I placed the on the deck and it looks like I have a space issue, in that giving enough room for the stove pipe, fife rail and the cockpit coaming, I need to back off a minute and determine how I’m going to solve this.


-
Really nice work, keep it up and enjoy the journey.
- 38 replies
-
- 3
-
-
- Norwegian Sailing Pram
- Model Shipways
- (and 2 more)
-
I did the 3 Model Shipways kits since I had no experience with wooden models, built many plastic models but no wood. With each one I learned a lot and gained basic and mid modeling skills. I found the price very manageable. Recommend you look at a few build logs on this site for any model you might be interested in building before buying. Also, start a build log for anything you do, since you can ask others for help. The key is take your time, enjoy and realize that no one will notice any flaw but you, good modeling.
-
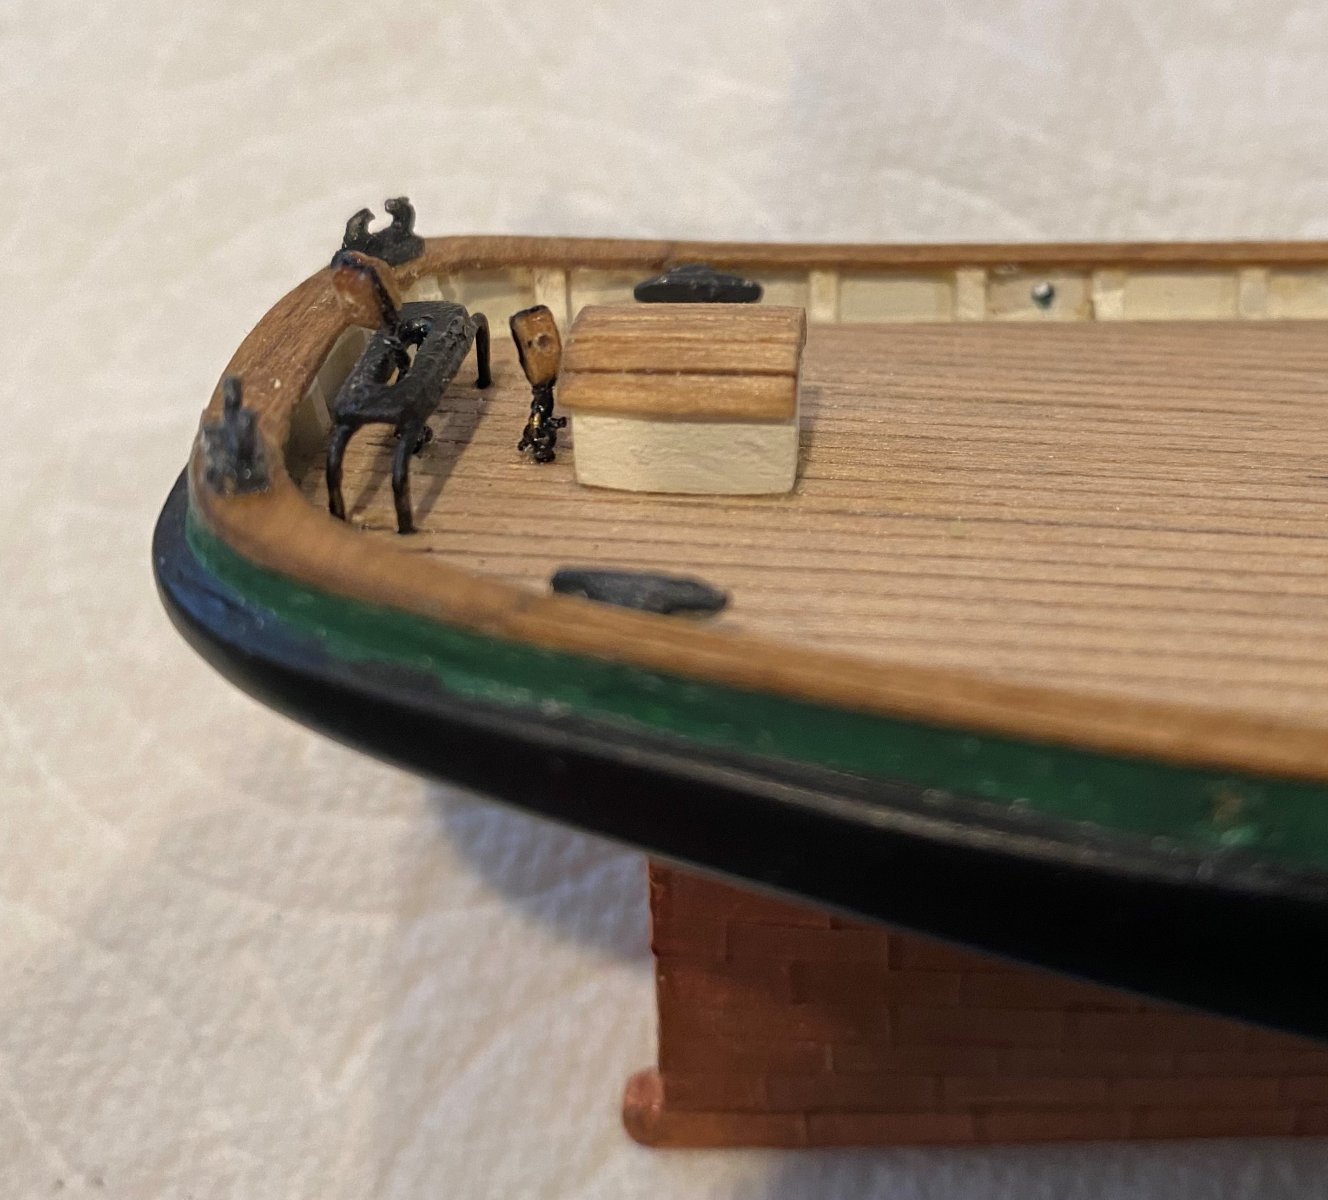
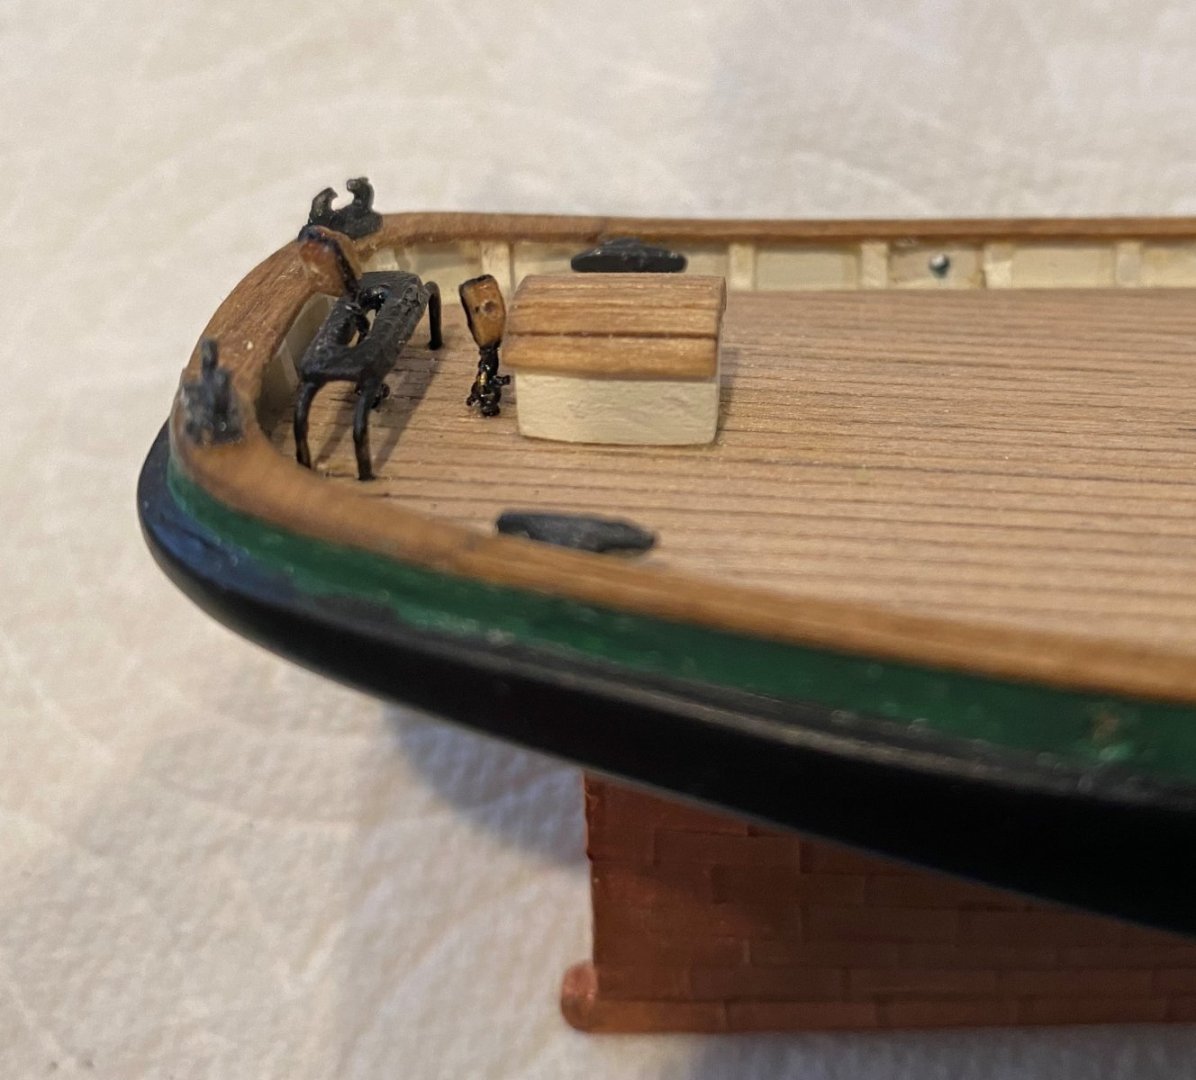
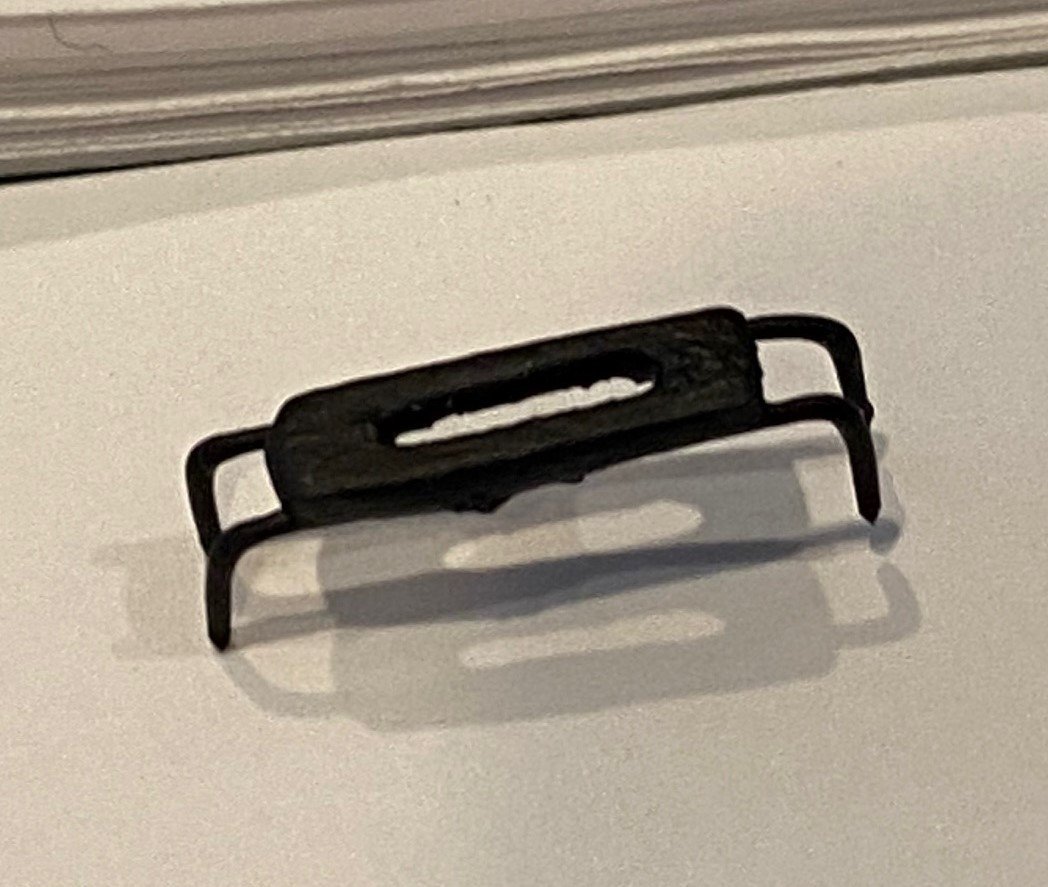
Had to take a couple of months off again for other things. I repainted the black and green on the hull to cover up all the marks and scratches, looks better. I’m not going to follow the sequence of the instructions but build/install the deck wooden structures like the wheelhouse, companionways and skylight, plus the centerline hardware like traveler, cockpit, stove pipe and such next. In other wards install deck hardware from centerline out, to avoid breaking off the belaying pins and eyebolts. For the traveler, I used the thick gage wire that came with the kit. I made the top of the traveler out of a thin strip of wood instead of brass for the ease. Then I spray painted the traveler and the eye bolts flat black. It was difficult to work with the very small single block. At first, I was going to use thin wire to affix the block to the eyebolt, but I went with thread in the kit. I supper glued the thread to the top of the eyebolt and then down the side of the block. I tied it to the eyebolt before gluing in the eyebolt and the traveler. Then the tied the single block to the eyebolt that goes in front of the traveler.
-
Introducing myself and already seeking advice
SkiBee replied to kdm's topic in New member Introductions
Keith Welcome, it's a lot of fun and there is a wealth of information and experience to draw from the folks here on MSW. A few recommendations to help you get started: > If you are interested in a model to build, look at some of the build logs for that ship here on MSW. > I'm in the middle of building the NY Phantom now, personally I would not recommend that you start with it. > I've built a number of plastic models in my life, some skills do translate to wood models, but there are a lot of new skills with wood. > I started to build the Long Boat, but halfway through I switched to the Model Shipways Lowell Grand Banks Dory to learn something about planking. Then I built the Norwegian Pram by MS to gain more basic skills and rigging. And finally built the Long Boat which was a lot of fun and a good challenge of my new skills. > Before I started the Phantom, I built the Lobster Smack by MS. All three; Grand Banks Dory, Norwegian Pram and the Lobster Smack are a great series to start with. Each build upon the skills learned in the previous one. > The key is to read some of the logs before you start a model, start it and start your own build log. You will get a LOT of GREAT help from others via your log. Have fun! -
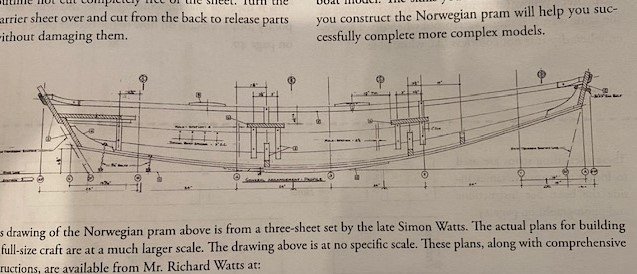
David A picture would help clarify your question on the hole, but below is a schematic from the instructions that show the hole. The first thing to do when you have a question is look at a few of the existing build logs on the site. Good luck and hang in there, this is a great boat to learn from especially your mistakes. You'll be the only one to notice your mistakes and fixes. Have FUN. Jim
- 1 reply
-
- 2
-
-
Your work looks great, I did enjoy building the Dory, learned a lot.
-
Welcome and have fun, I enjoyed building the Dory
-
Welcome, as Keith said your Grand Banks Dory is great, I like the enhancements you made to it. I hope you enjoy the Sailing Pram; it continues with new skills that you will need in the future. Just don't get frustrated if you hit a snag.
-
I was on a wooden mine sweeper in 1970 for a short while, all I remember was polishing brass (not painted), checking the bilge and chipping paint on everything else. Everything was painted but the deck, it was raw but well-aged wood.
-
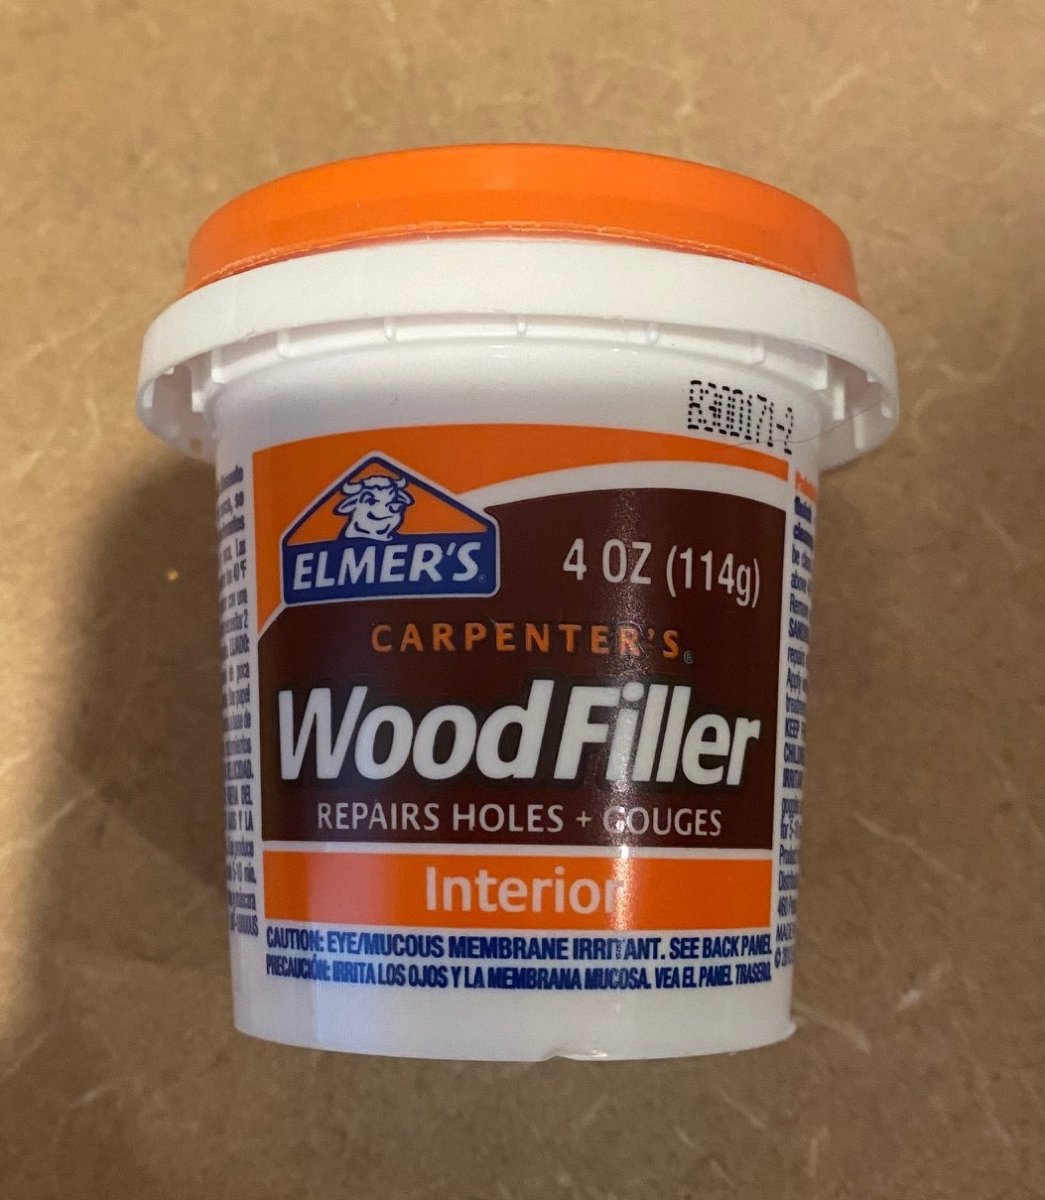
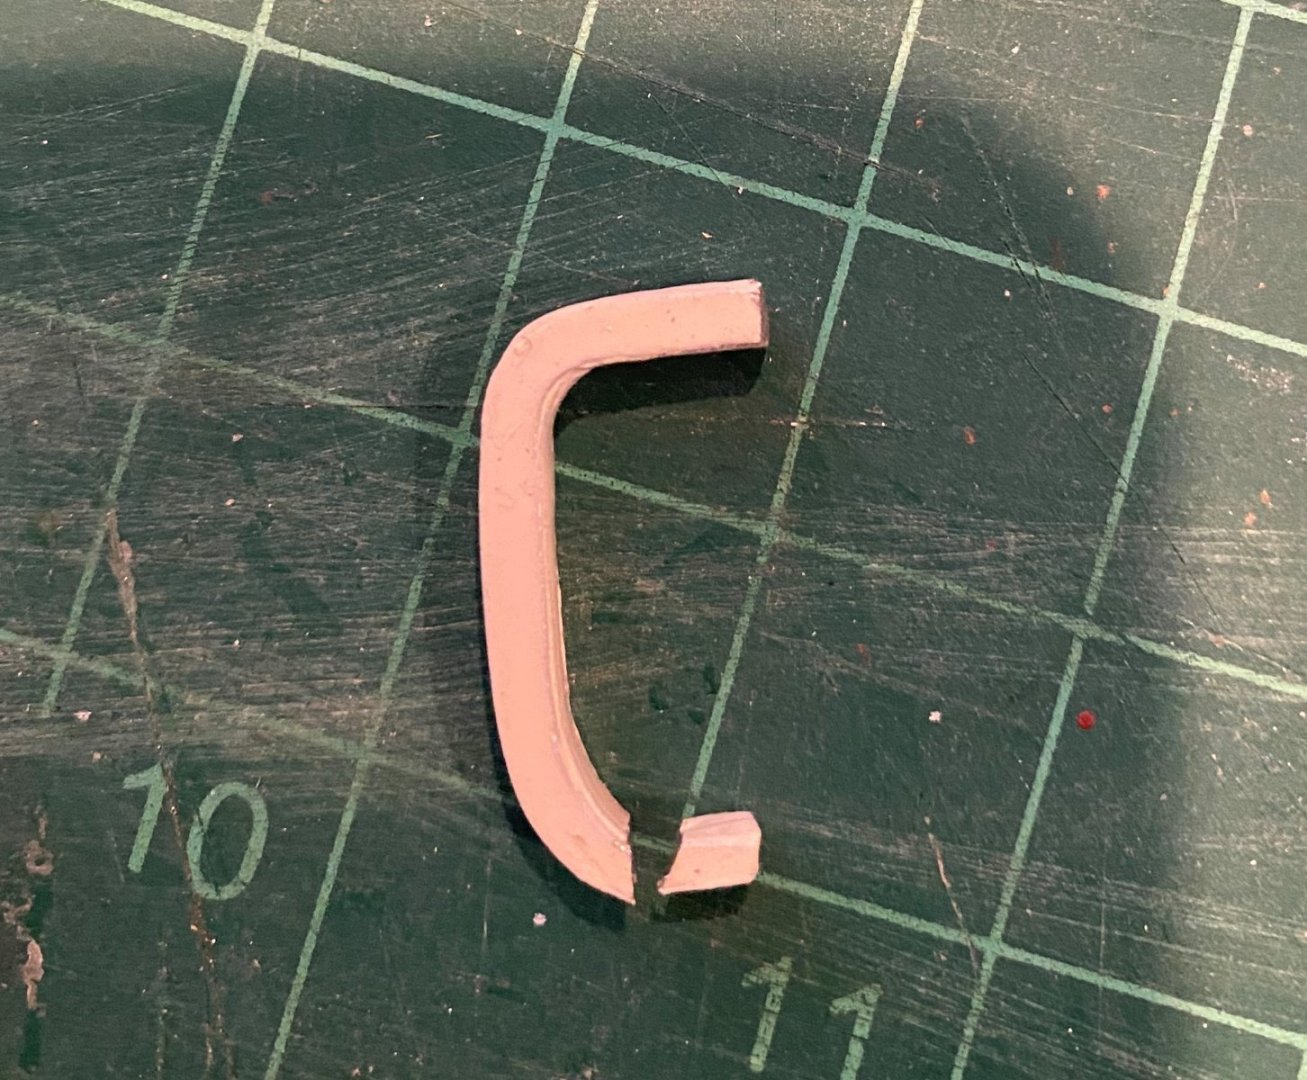
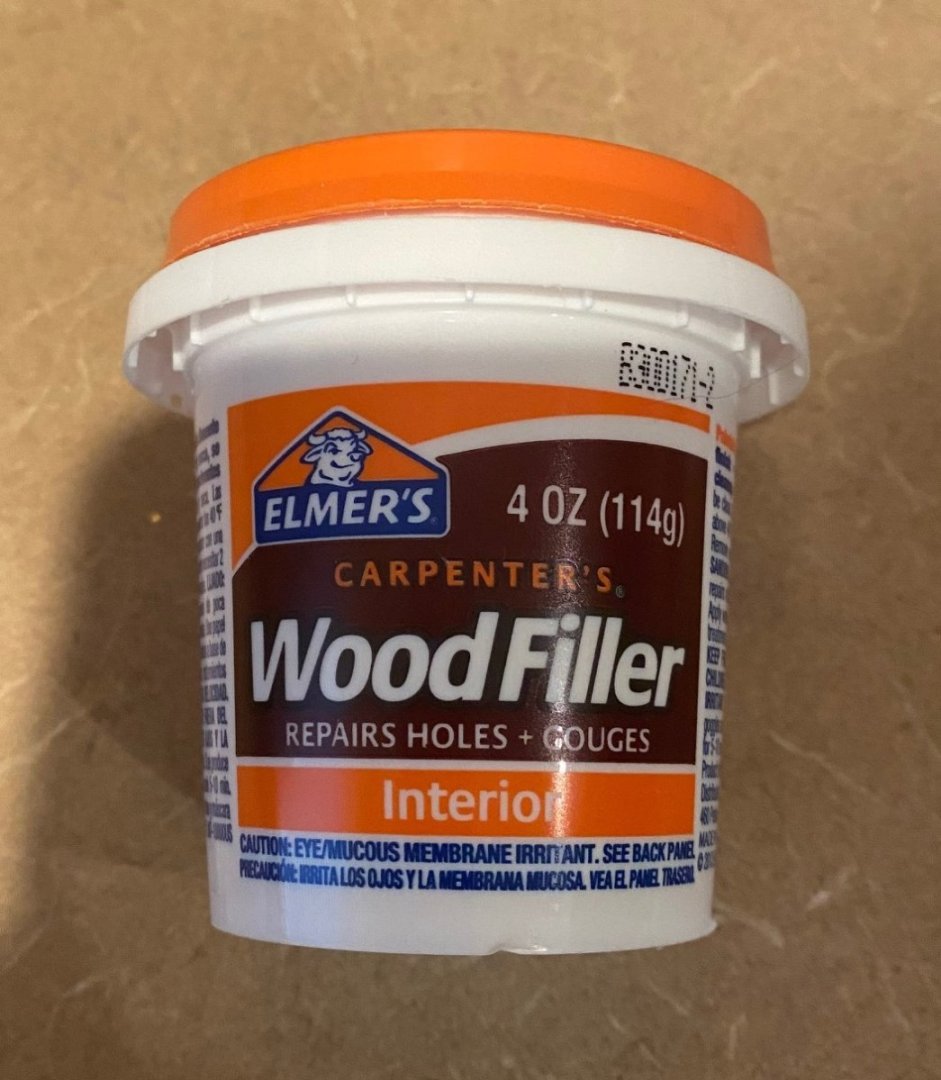
@gulfmedic1 Doc, yes I did, but I finally went with the imperfections once the hull was smooth and looked ok. My hull is also not symmetric when you look at it from the aft, but I'll display it, so you see the side. I'm the only one that will notice the imperfections in the hull. I used some Elmers wood filler; it stains ok when not a large area. Hope all is well with you and yours, the old Doc
-
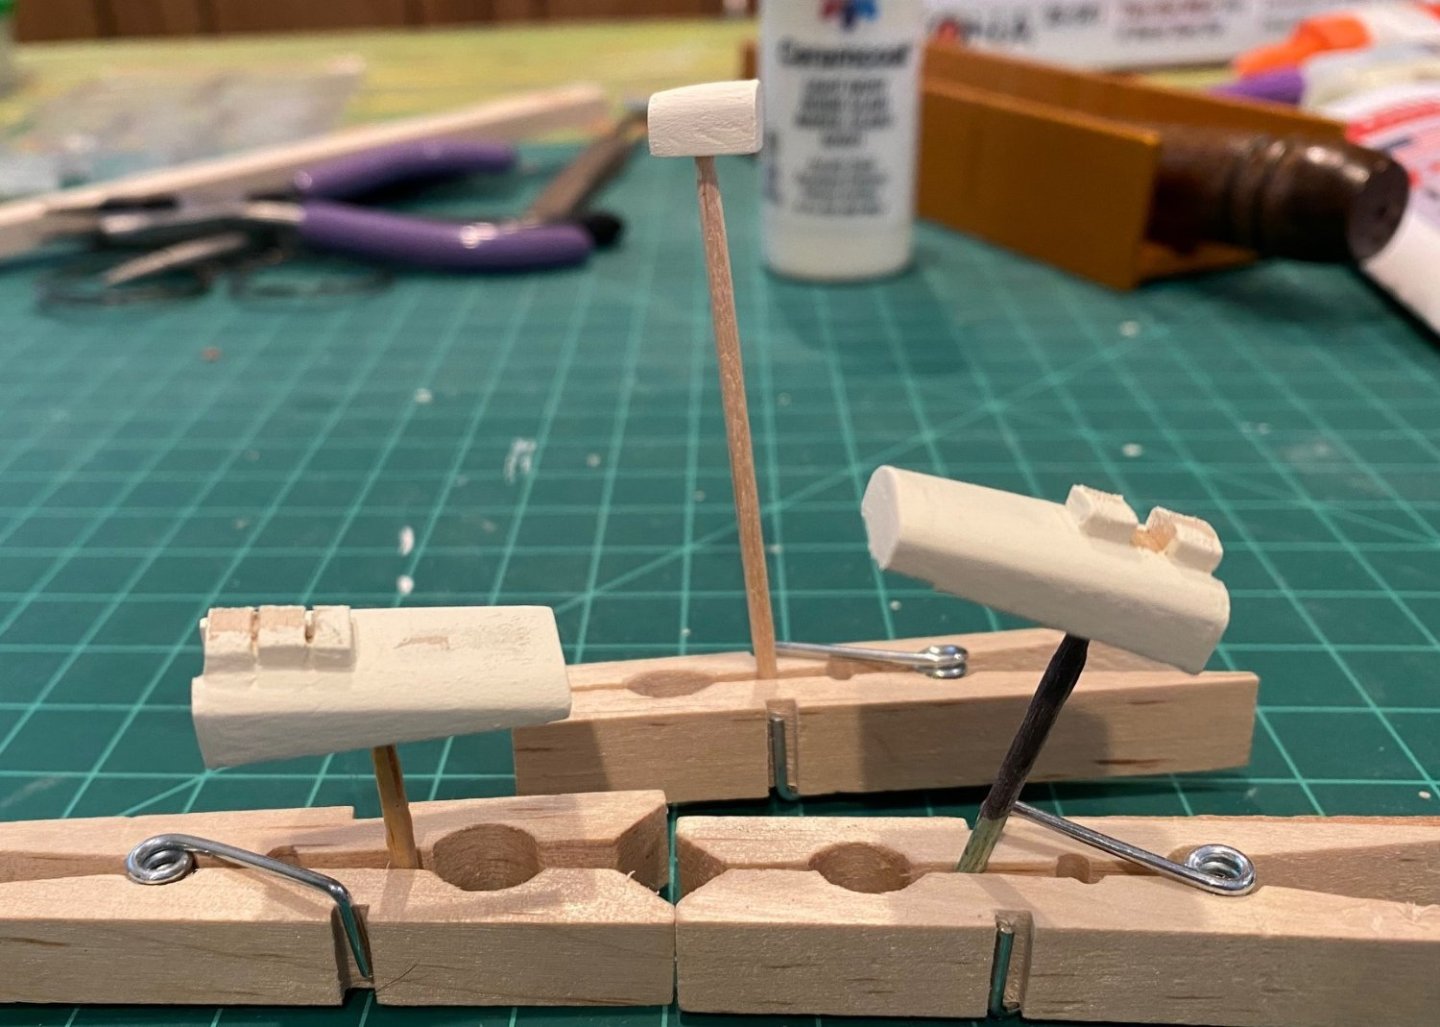
Like a lot of you, this past year had a lot of challenges and things that took up all my time. But thankfully things are calming down and I’m back to working on the Phantom. Installed the eye bolts and then filed down the cleats. The cleats that came with the kit looked oversized for their location and the scale of the ship, to me they would look better if they were 1/8 inch or less. So, I tried to file them down more to scale. I drilled pilot holes for the post on the end of the cleat, but I did drill through the hull a couple of times, so will have to do repair work later. Also, made the fairleads out of the thick wire and glued them on a thin piece of wood rather than manila folder material. Drilled the holes for the masts, started off with a small pilot hole then worked up to 11/32 in bit. I used a piece of cardboard to get the fore-aft angle on the mast, the angle was from the drawing. Started to drill/cut/file the holes in the cap rail for the chain plates. Since my cap rail barely hung over the edge, the hole came out about halfway down the step. In hindsight, I wish I would have seen what the chain plates look like on the outside of the cap rail. Started to make the chain plates but I’m going to order some carbide bits, even with annealing the brass I break regular steel bits and it takes forever. I might try using my Dremel after I buy a chuck that will hold a micro drill bit. Finished the chain plates since I received the new carbide bits and they did work much better, I did break one due to putting to much side pressure on it. What I really need is a good pair of small tip jewelers needle nose pilers to make things like the bend in the chain plates. I’m going to take a day or two to repaint the hull and the green strip since they are quite scratched up.