DONATION DRIVE - SUPPORT MSW - DO YOUR PART TO KEEP THIS GREAT FORUM GOING!
×


bigpetr
-
Posts
123 -
Joined
-
Last visited
Content Type
Profiles
Forums
Gallery
Events
Everything posted by bigpetr
-
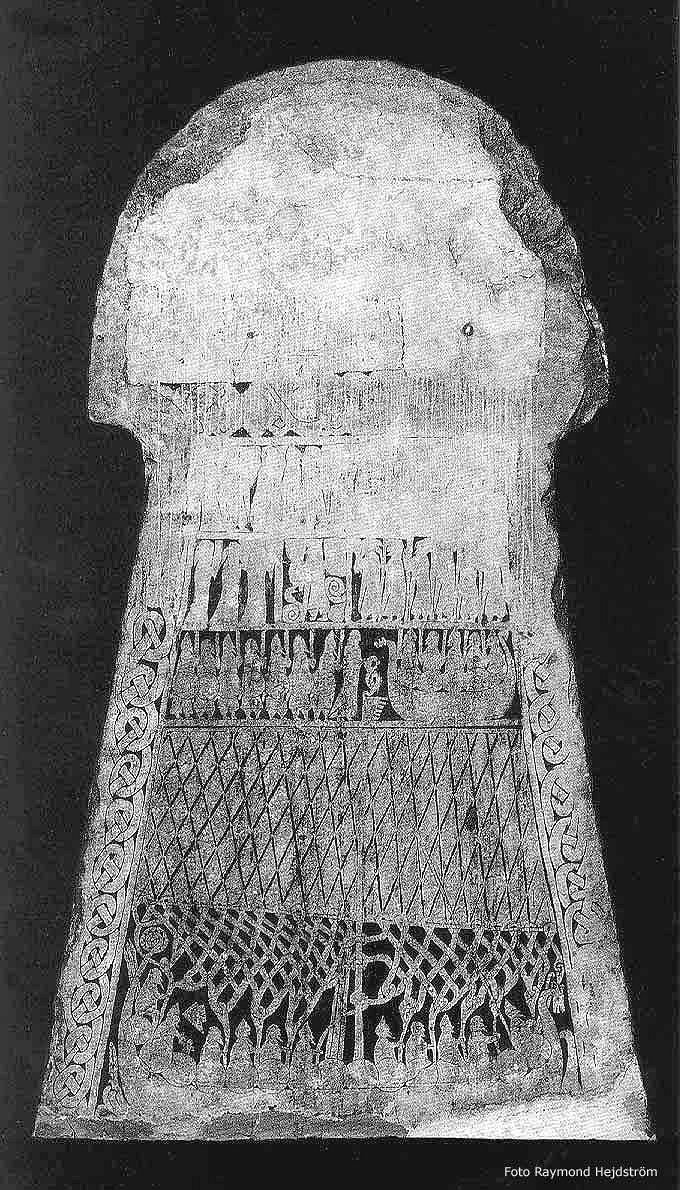
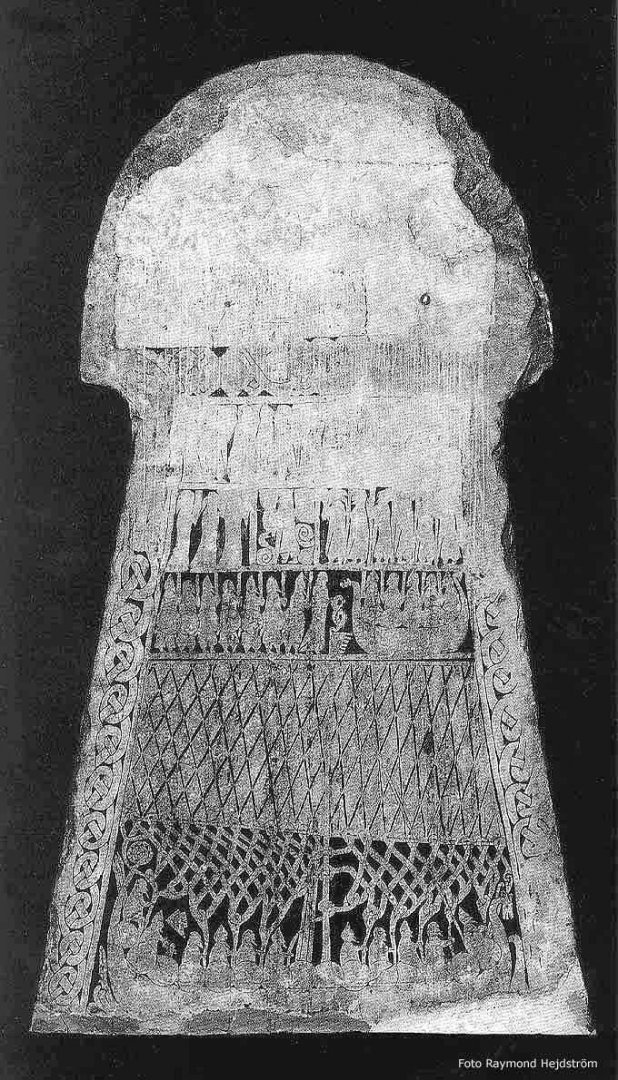
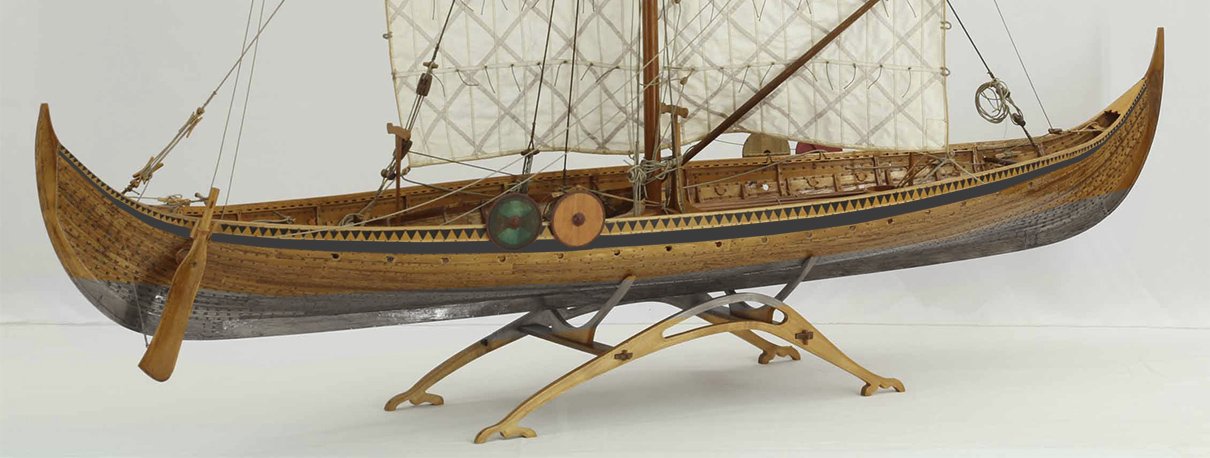
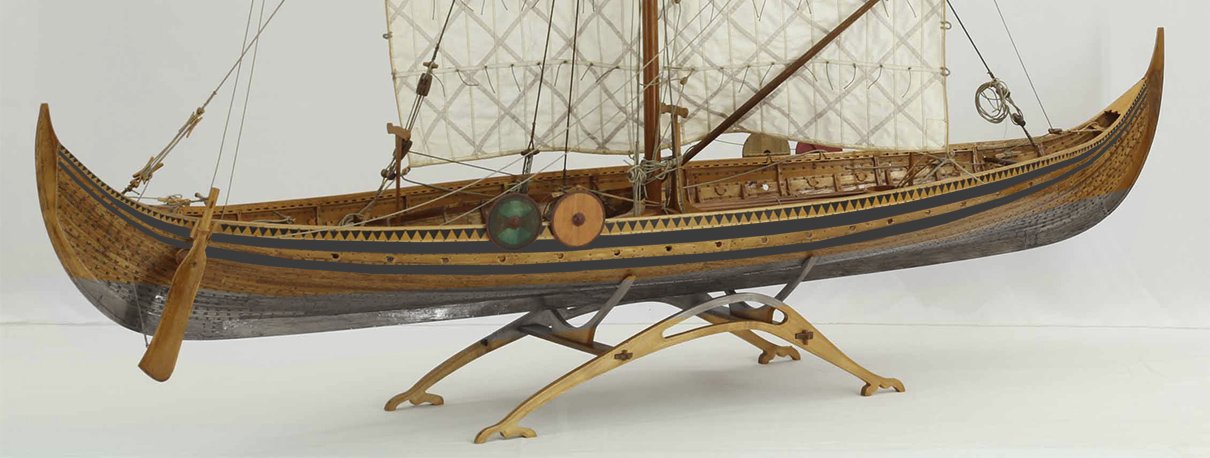
Hello friends, I have prolific discussion with realy knowleable men who sails and maintain viking ship replicas. He proposed to do shield rack on Gokstad. I will try to investigate this idea, because It would be practical to have one. But bigger news I am excited about is that if he will help me I will do this type of rigging: It is not the "official" rigging used on viking ship archeological replicas, but it was depicted on several pictures from that age. I am realy looking forward to try to interprete this drawings. Do you know some models with this rigging used?
-
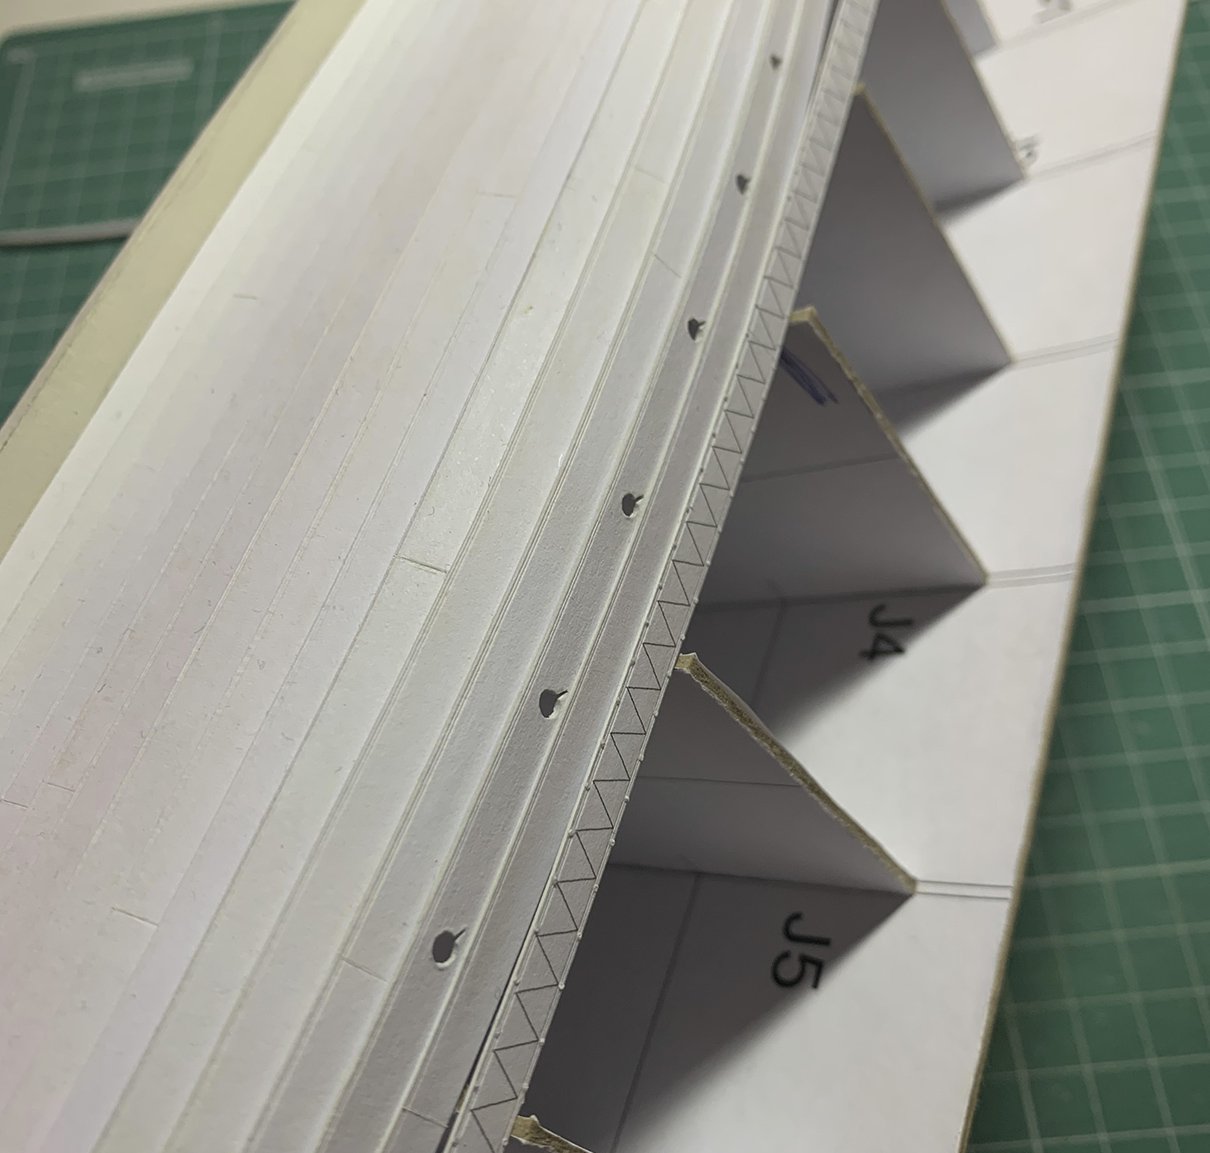
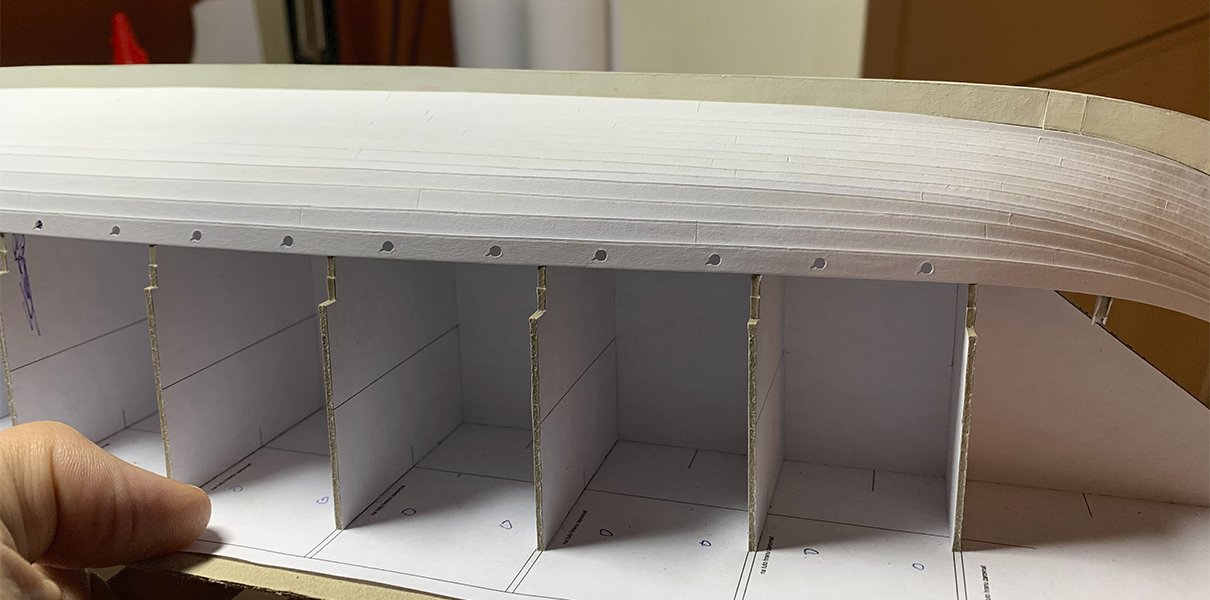
First stage of riveting is complete - tree nails attaching the ribs and square rivet plates on outer hull: Round rivet heads go next ...
-
Very interesting subject. Looking forward to your build, I will learn new thinks for sure.
-
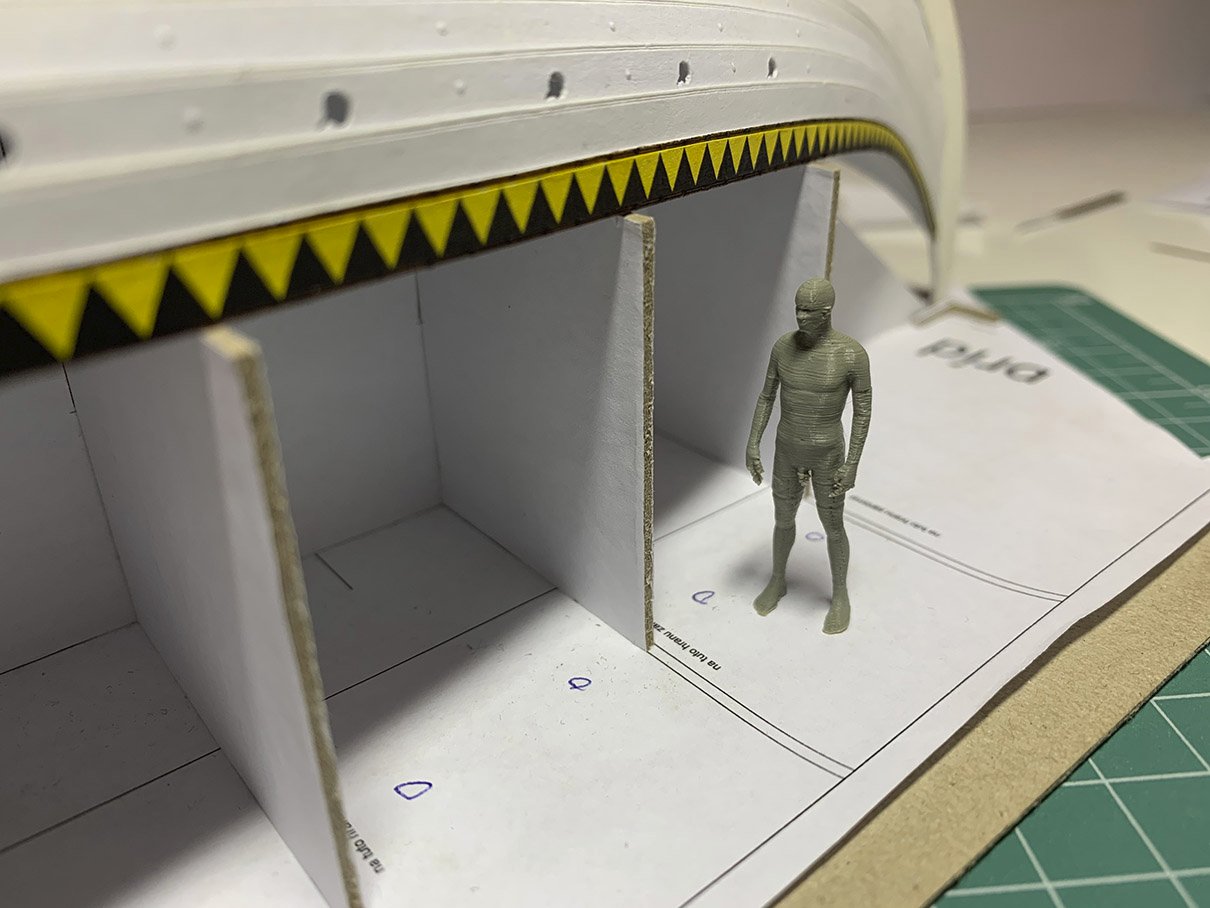
I am looking forward to see your figures. I want to do my figures basicly the same. I will do rought 3d scans of some protagonist (the most probably my brother) is desired poses and use it to pose naked figure, print it on FFD 3d printer and dress with paper cloth. I did some tests and it looks good, poses are realy lifelike. This is one of test figure printed in scale 1:48. Figure layers are exgerated here, they are only lightly visible upclose and are not noticeable from distance the model will be looked at. SLA printer would do better job but I have this printer at my hand and most of it will be under the cothes anyway. Maybe I should find someone to print hands and heads on SLA printer for me. I had the same dilema with 3d printed vs hand made the whole model. I feel it the same as you silverman. Hand made model has different feeling. 3d printed model feels like I did not realy buld it eventhou I designed it completly in 3d. It feels like bought one. It is somehow soulless. But to be able to 3d print some acessories or small parts can be great help.
-
It is looking nice Eric, it is absolutely worth the extra work. Why deckplanks were not protected with tar? It was disposable and easily replaceable so no need to protect it? Kit instructions says to do it this way, but does anymone know why? Was it common practice at times or it is just for visual richnes of the model?
-
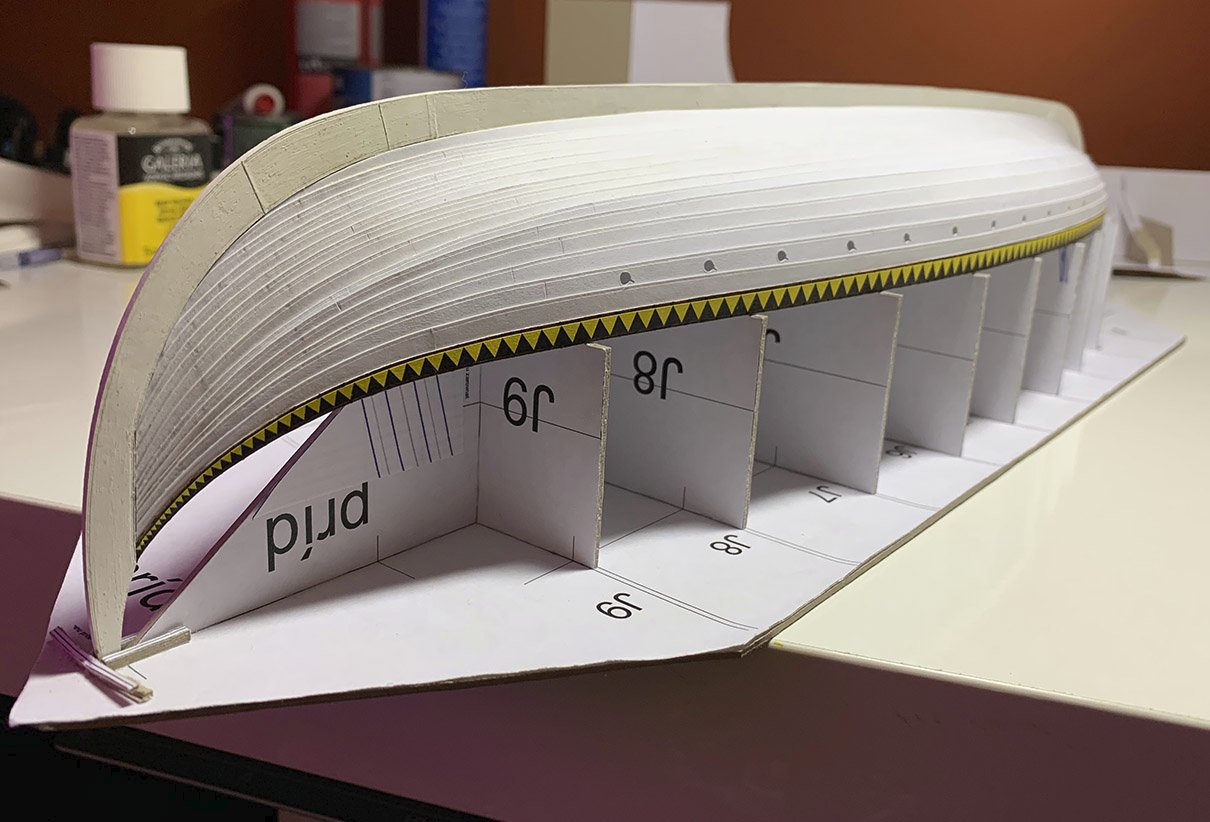
Last plank is finaly attached. Next step is riveting.
-
Beautiful.
-
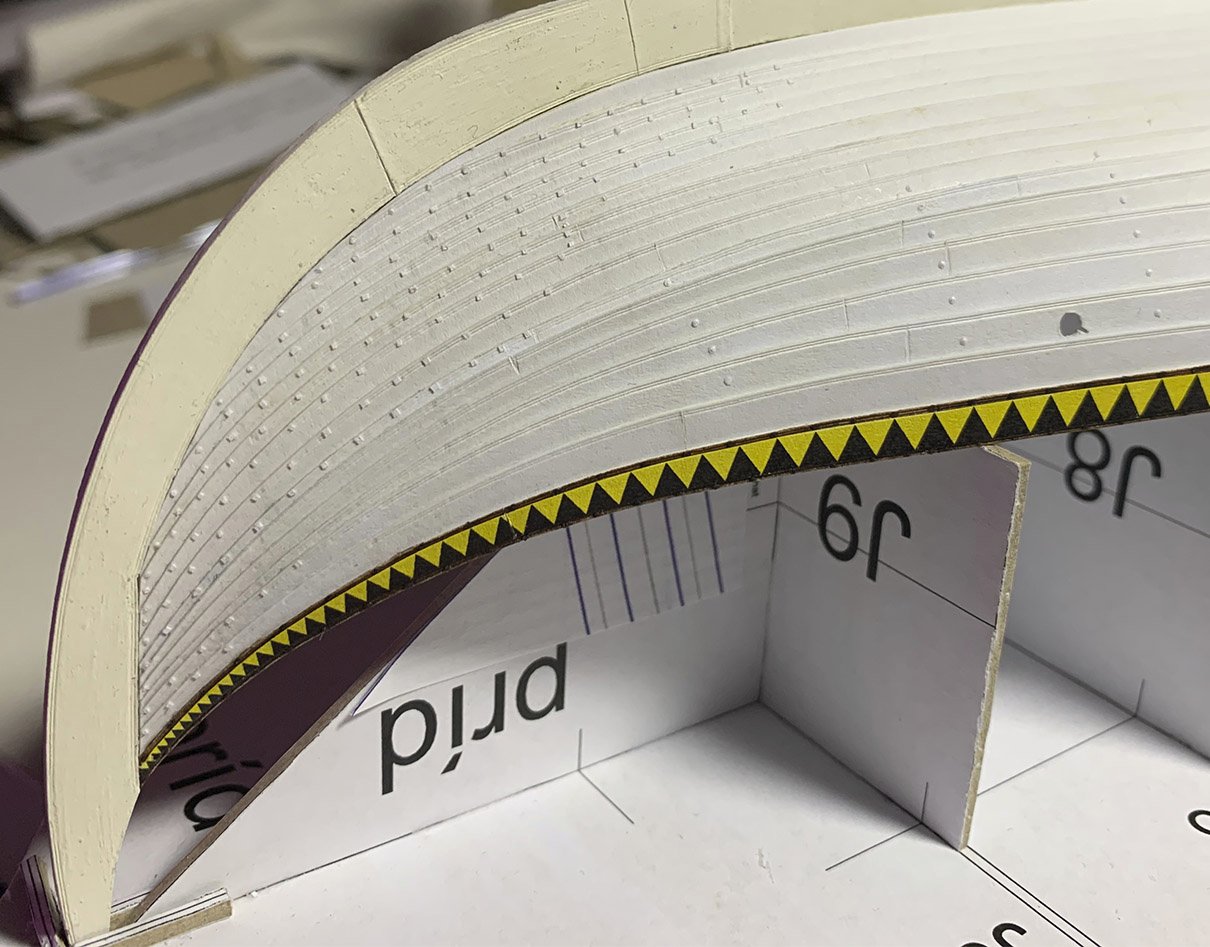
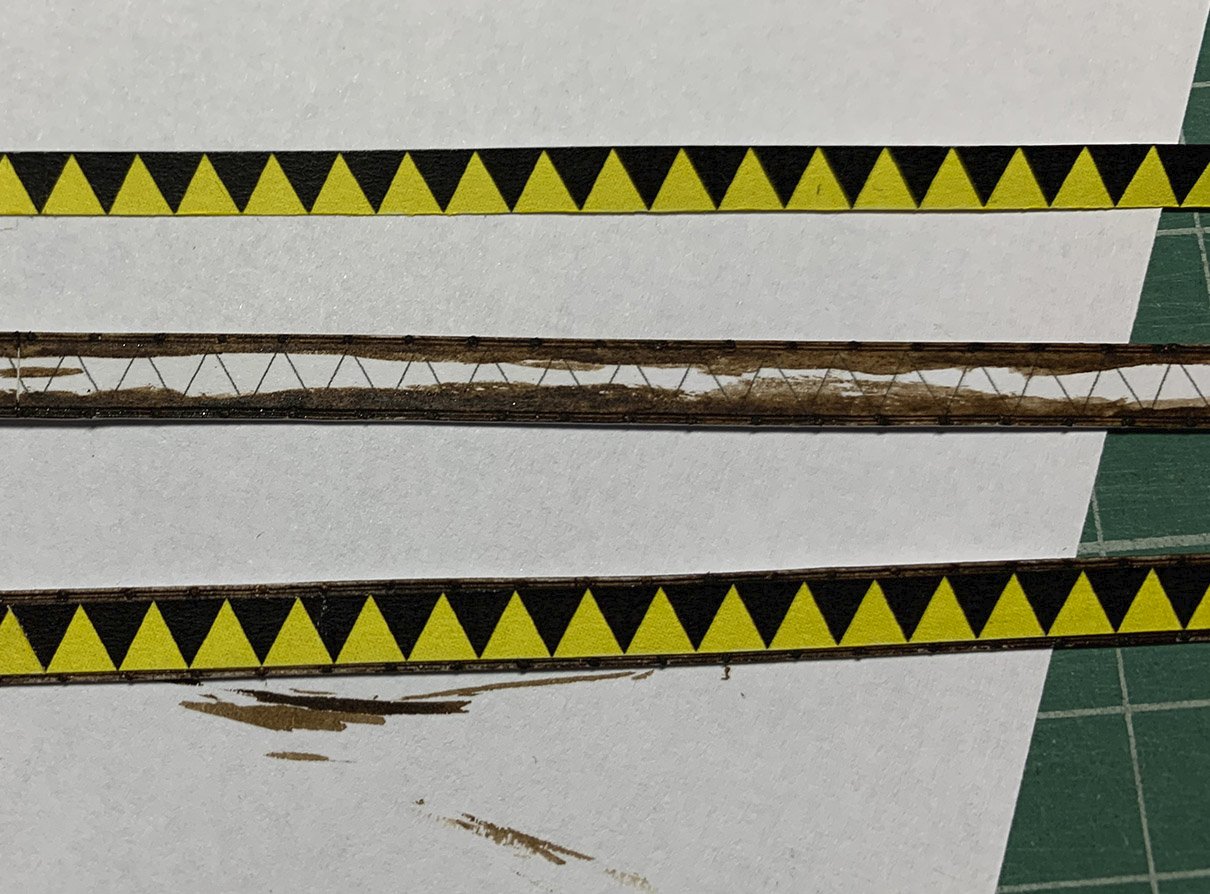
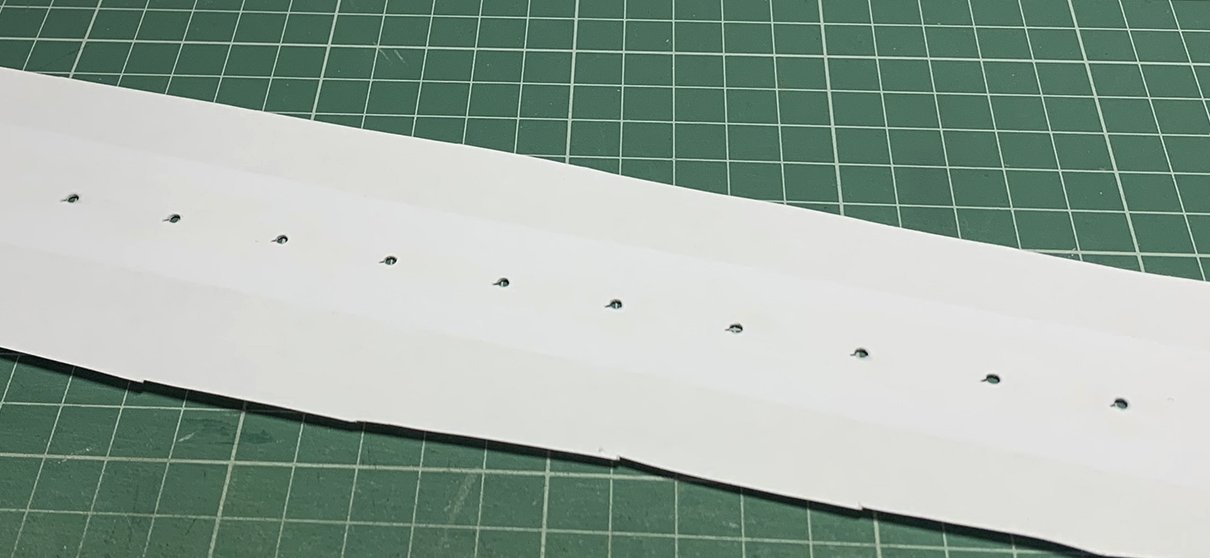
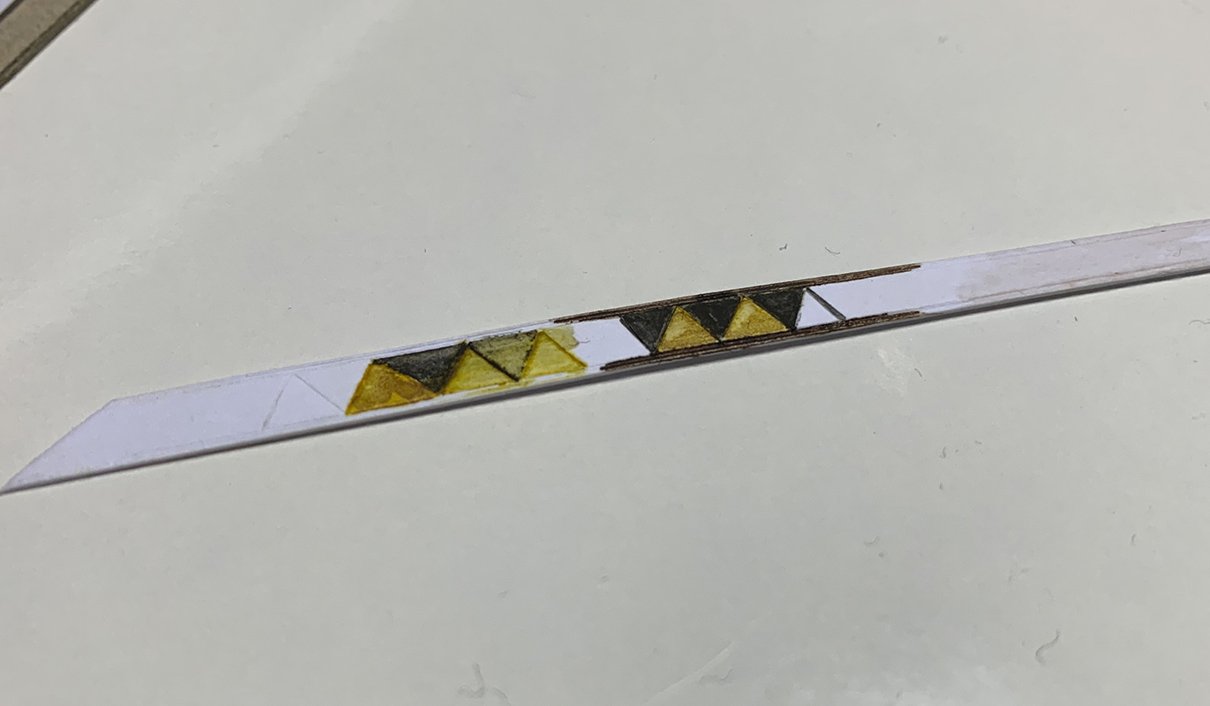
After a few tests painting triangles I decided to print whole strip of colored triangles and glue it to the plank. One strip prepared for triangles, other is finished. I will weather it and add litle imperfections here and there to break the uniformity:
-
Initialy I want to print the parts textured, but I feared that printer inks/toners fades in time. So I decided to paint it by hand. Maybe I will try to print textured parts for next ship project. It will be a chance to dive into Substance Painter. I want to learn it deeper for some time.
-
Card is worth the try. Chalenge (for me, since I did this first time) is that you have to imitate the materials with paint. With wooden model you have it for free. One row of rivets from fore to aft takes me about hour including punching them. So to rivet outer hull takes me 17*2= 34 hours. I will interlace it with other building task like CAD work on the ship, mastfish, rudder to rest from it
-
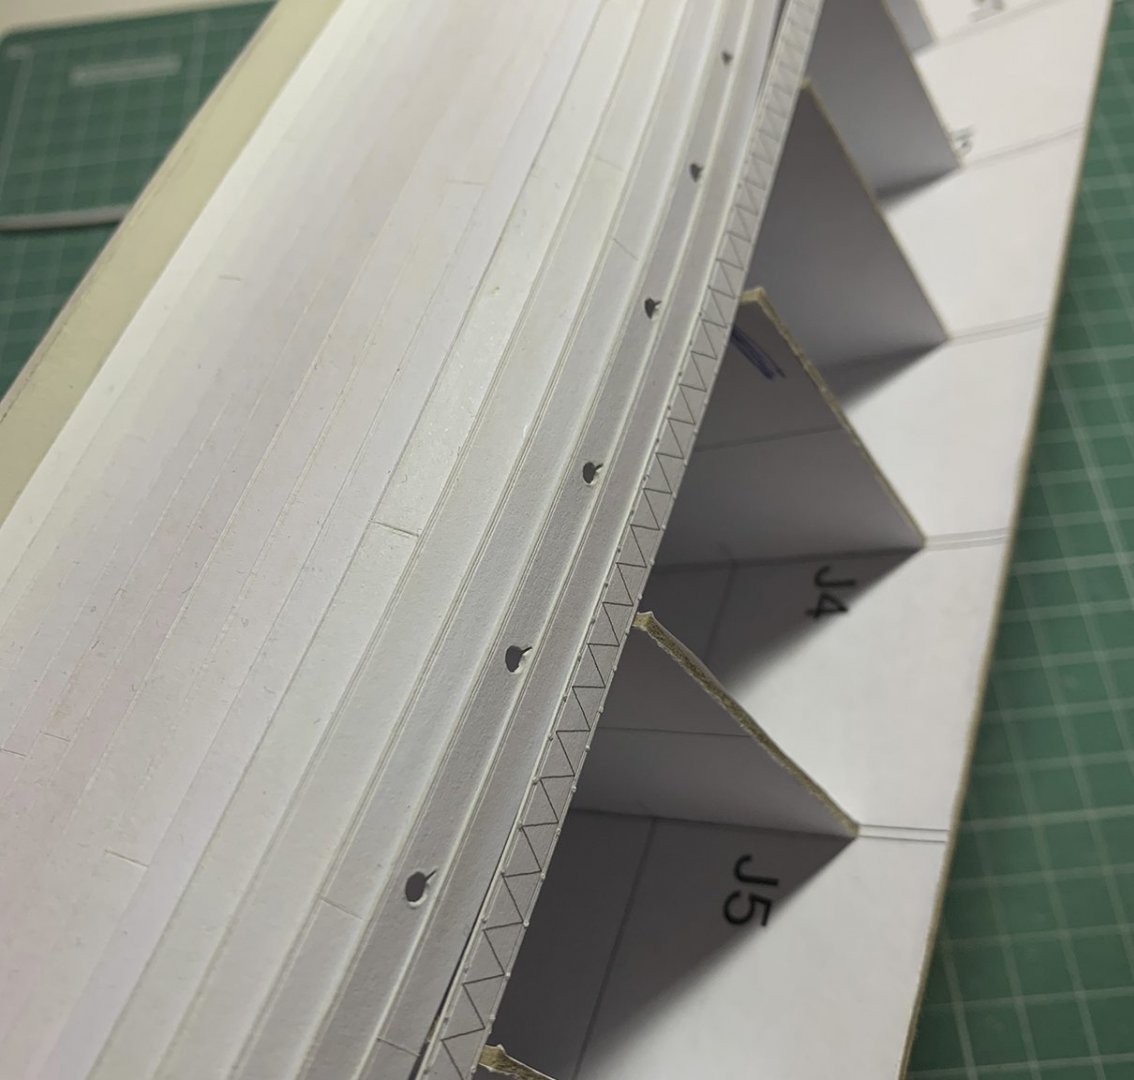
Thanky you Binho, . Rivets are punched with o,5mm diameter punch tool from the 0,1 mm thick paper to be in scale with real rivets and glued on the surface of the plank. I decided not to paint them with metalic color, because on ship reconstructions they are covered with protective paint and metal mostly do not shine throu. Rivets will be on the rest of the hull too. I will also do tree nails on outside hull, not inside where they were inline with the plank surface. I needed to rivet this planks first so I can paint them before instaling them. It will be easier to colour triangles before instaling the planks. Painting them is what I am working on now. Then I will do rest of rivets on outer hull and then finaly detach the ship from the jig. I almost detach the ship from the jig few times to see it without it, but I manage to supress my impatience. Riveting will be much easier with the jig attached
-
Great info on vanes. 👍
-
The progres was little slower lately. I had to figure out how to tackle color paint of the top plank. Top planks have rivets and are ready for paint:
-
As stated - no shortcuts here. Especialy if you want something precise and suitable for manufacturing based on these plans. Converters are good for graphic designers who needs fast results for their art. Unfortunately It is not one-click solution for industrial/manufacturing purposes, where converted files can only serve as starting point that needs to be heavily modyfied to meet the manufacturing demands. And so it is usualy better and easier to start from scratch. One time I did this work on regular basis so believe me I tried all tools I can get my hands on to simplify this task
-
Thank you Louie, that is the information I hoped for . My hands are free to do what I like
-
Definitely go for a vane, I love it . Do you, knowleable guys, know if vanes were used in the end of 9th century? I would love to do vane on Gokstad ship, but as far as I know vanes were probably not used yet in this period in Norway.
-
Thank you for link Binho, i know about it and use it a lot for planking details.
-
Beautifful barrels. From what material were hoops on real barrels? Because of my ignorance I thought only metal was used for that.
-
As already said, I would recomend to trace it by hand. To adjust automaticly converted curves to be useful, precise and suitable for lasercuter is usualy more work than to do it by hand. I did it many times.
-
Thank You Louie, I like the single black strip more too, it is decent and nicely highlits the triangle strip
-
I was thinking to make more planks with color, like this (images are ilustrational - model is from Jan van den Heuvel) or this: since there are no traces of colour pigments on the planks it could look anyhow.
-
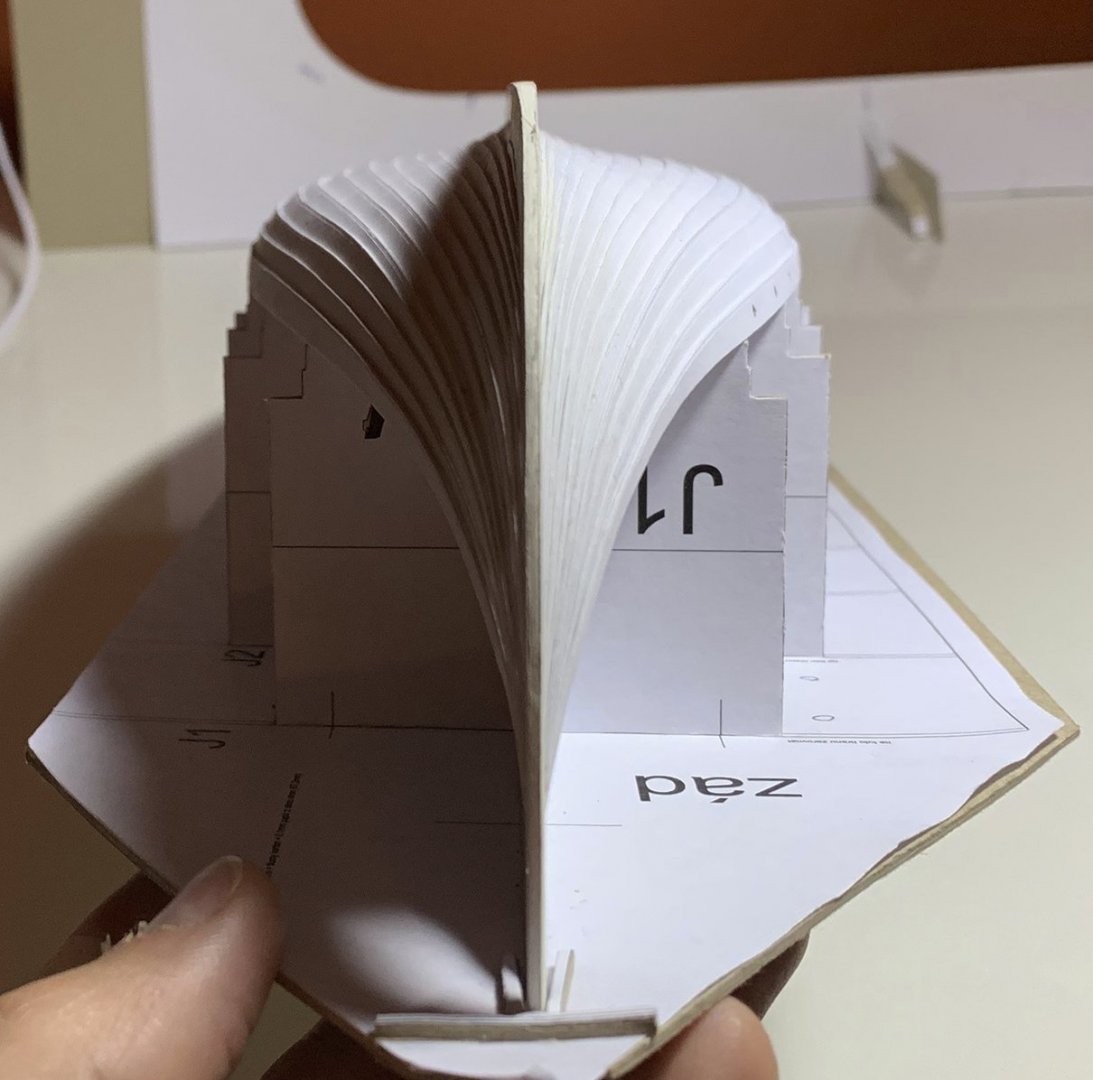
Firs I cut oar holes to the planks: then attach it to the hull: I did some tests how to paint the triangles: This is one posibility (score lines with blade so the paint will stop at it). Other idea is to cut individual triangles, paint them and glue them together. But maybe it will look too "precise". I need to test it.
-
It is possible not to drill and glue rivets just on the surface. I do not know if it is usable for your scale, but i punch rivets from paper of appropriate thickness (for my 1:48 scale) and glue them on the surface. They can be painted easily before gluing.