DONATION DRIVE - SUPPORT MSW - DO YOUR PART TO KEEP THIS GREAT FORUM GOING!
×


JKC27
-
Posts
323 -
Joined
-
Last visited
Content Type
Profiles
Forums
Gallery
Events
Everything posted by JKC27
-
 Sorry I didn't respond sooner........ The plans I got I found online on eBay, but DO NOT go this route, they were a bad scan are not actually to the scale I wanted........ If you want plans for the Edmund Fitzgerald, check out the Great Lakes Historical Collection at Bowling Green St University: https://greatlakes.bgsu.edu/item/435132 email Mark Peter Sprang - his email is in the link This a great source for a lot of older freighters that would have sailed the Great Lakes.
 -
I just stumbled upon this and it is absolutely fantastic!
-
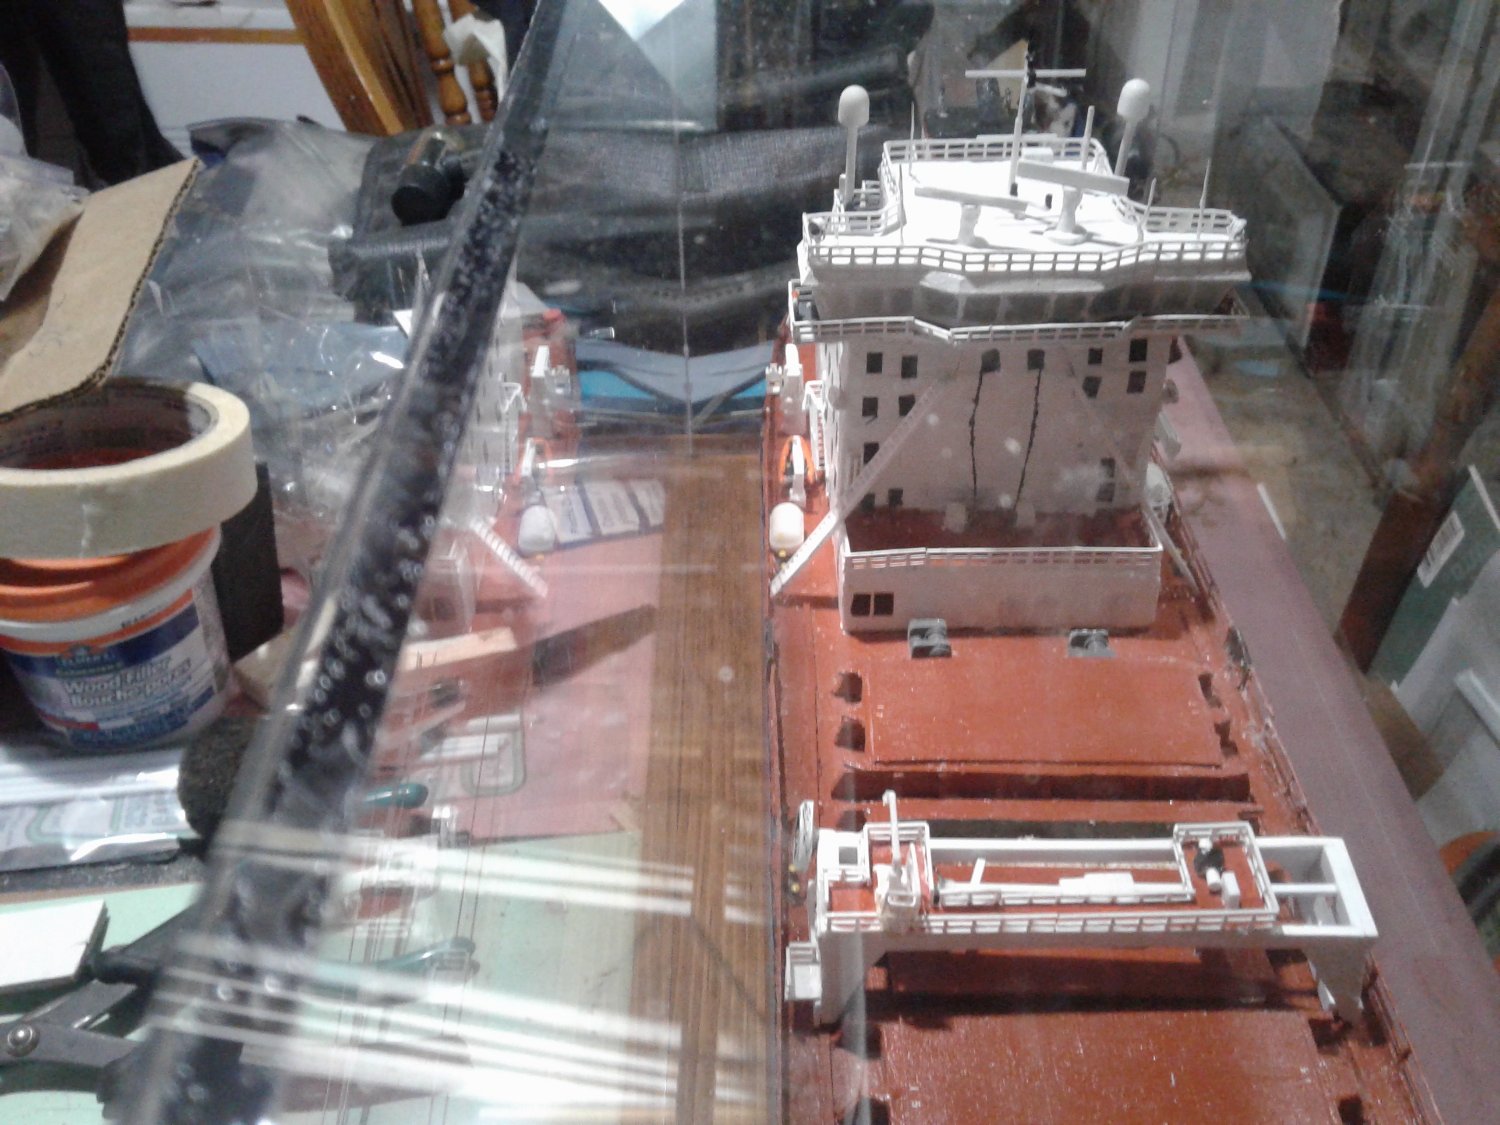
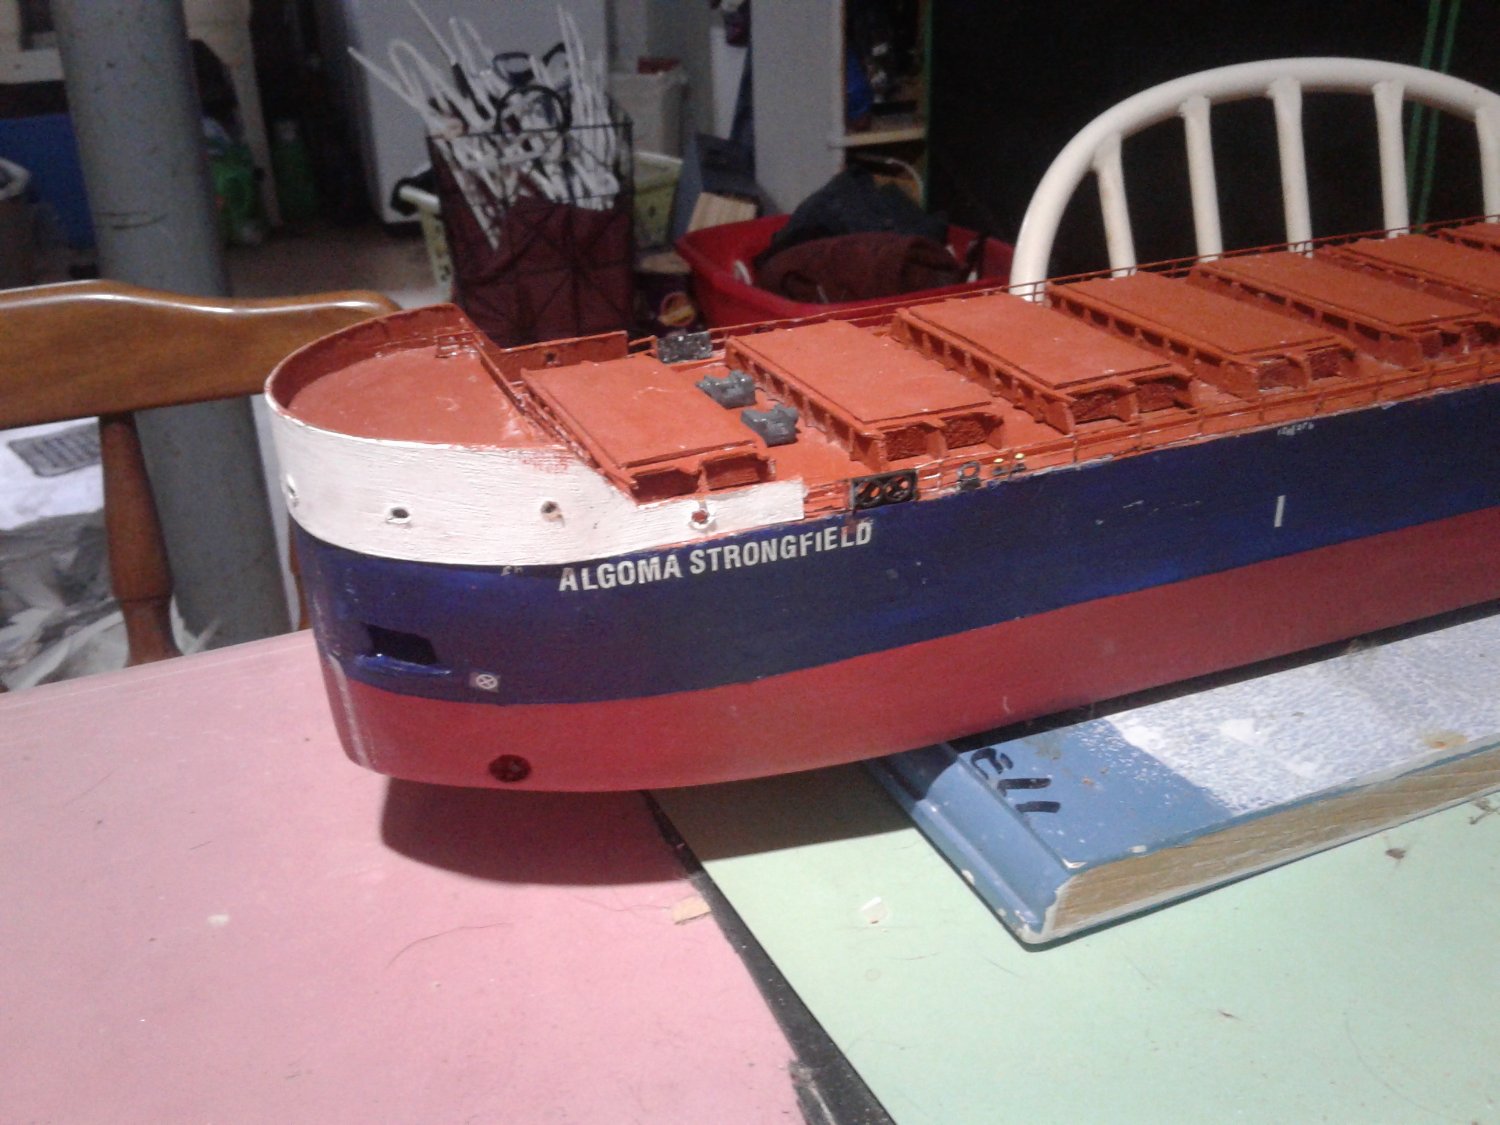
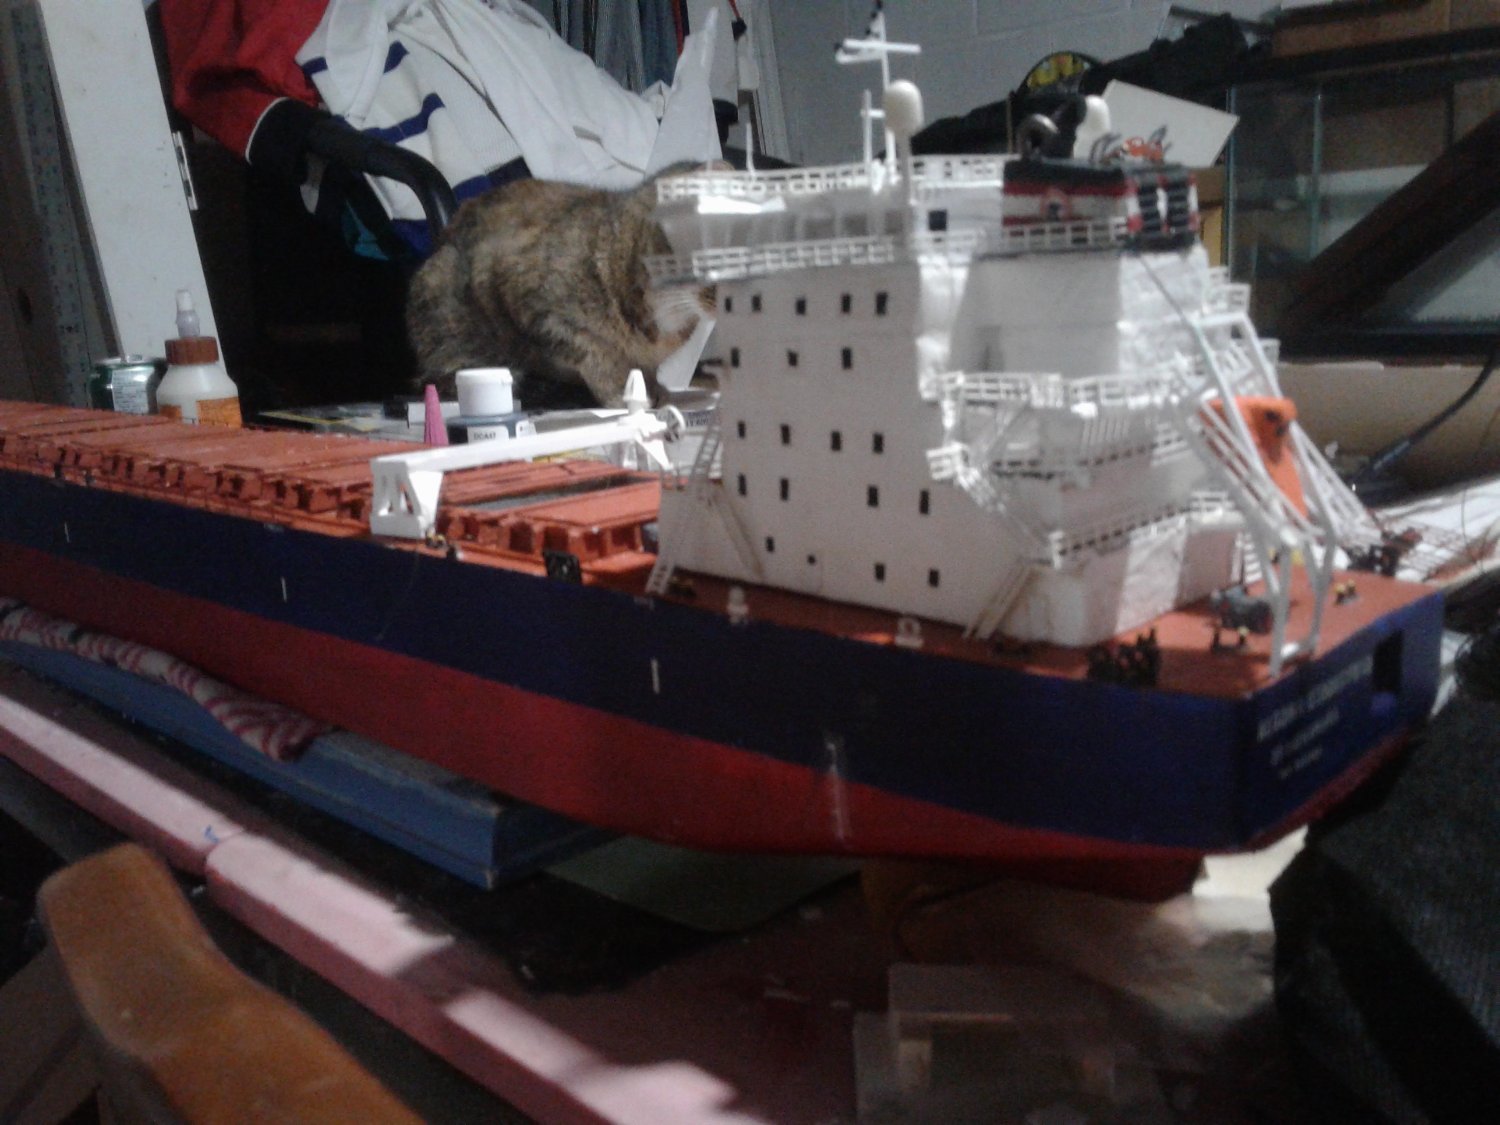
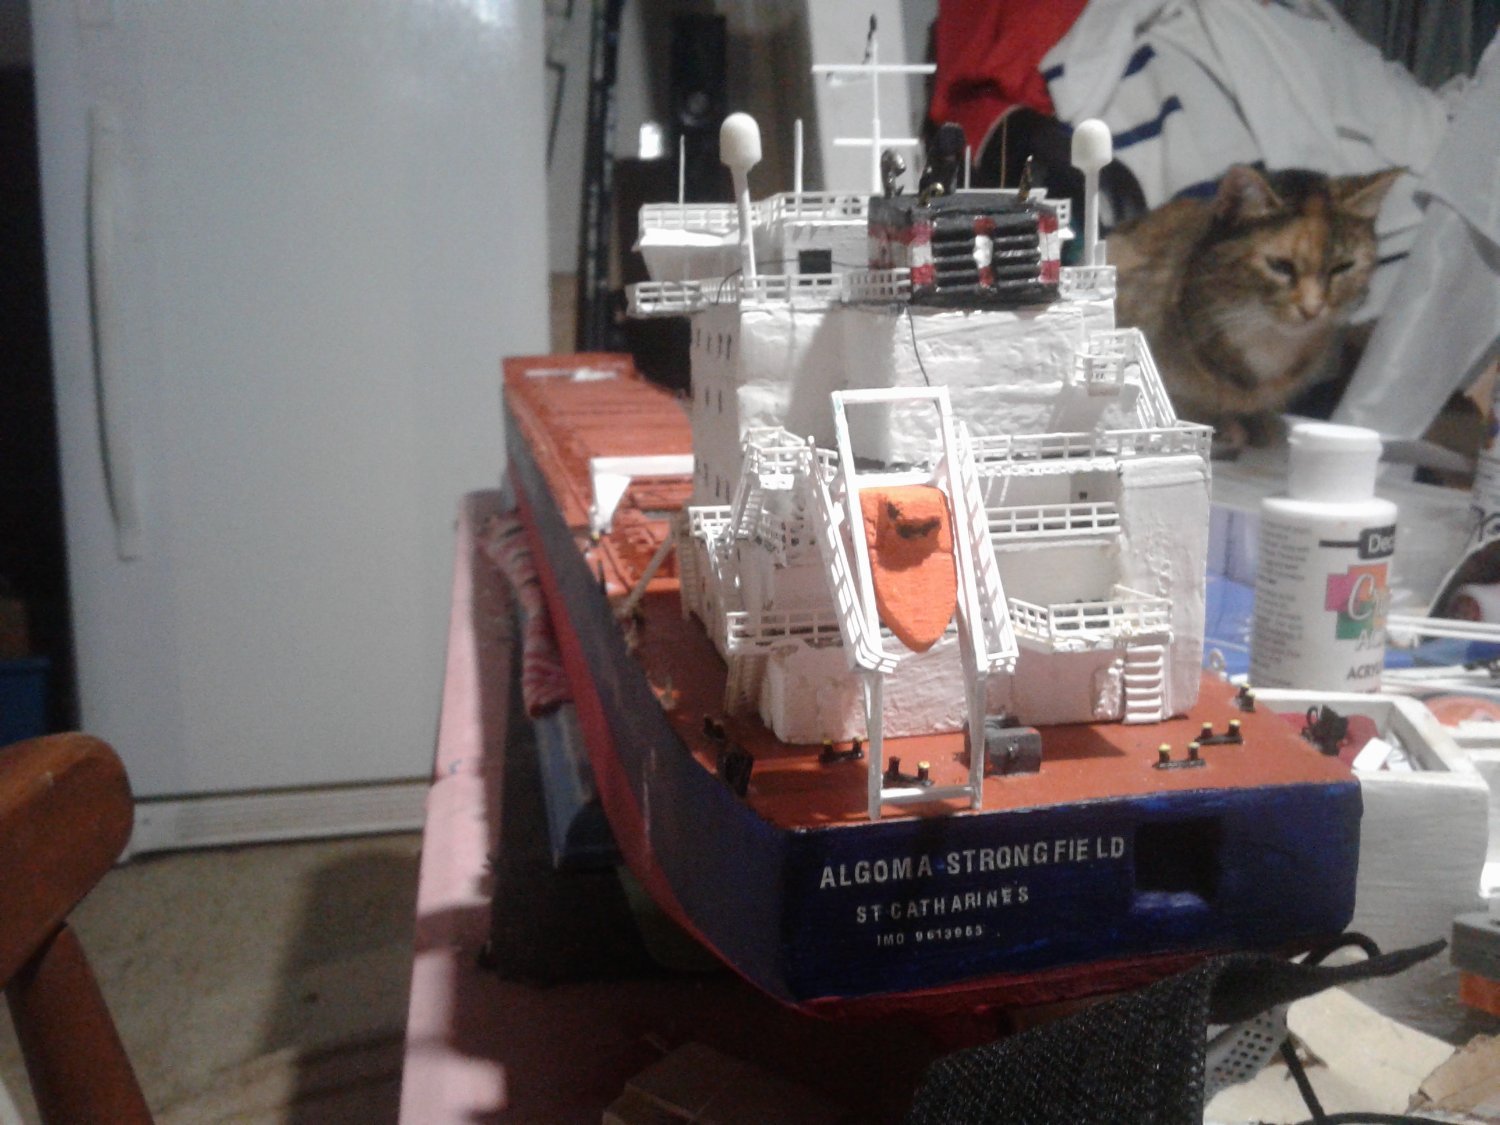
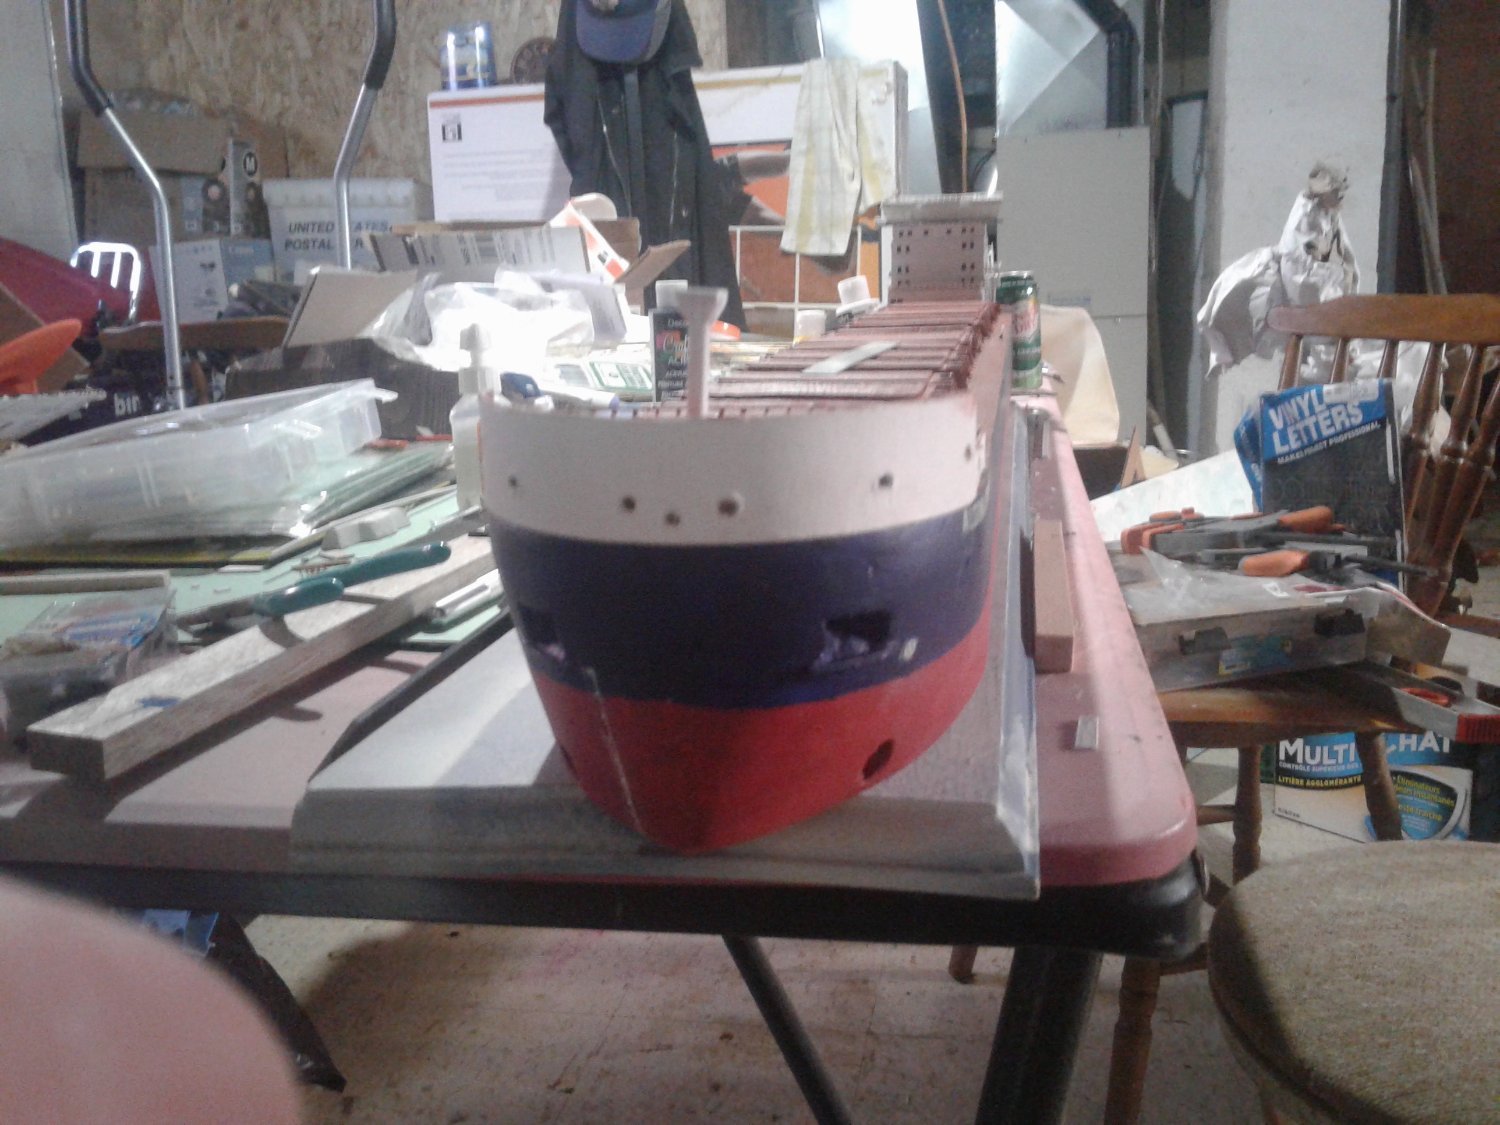
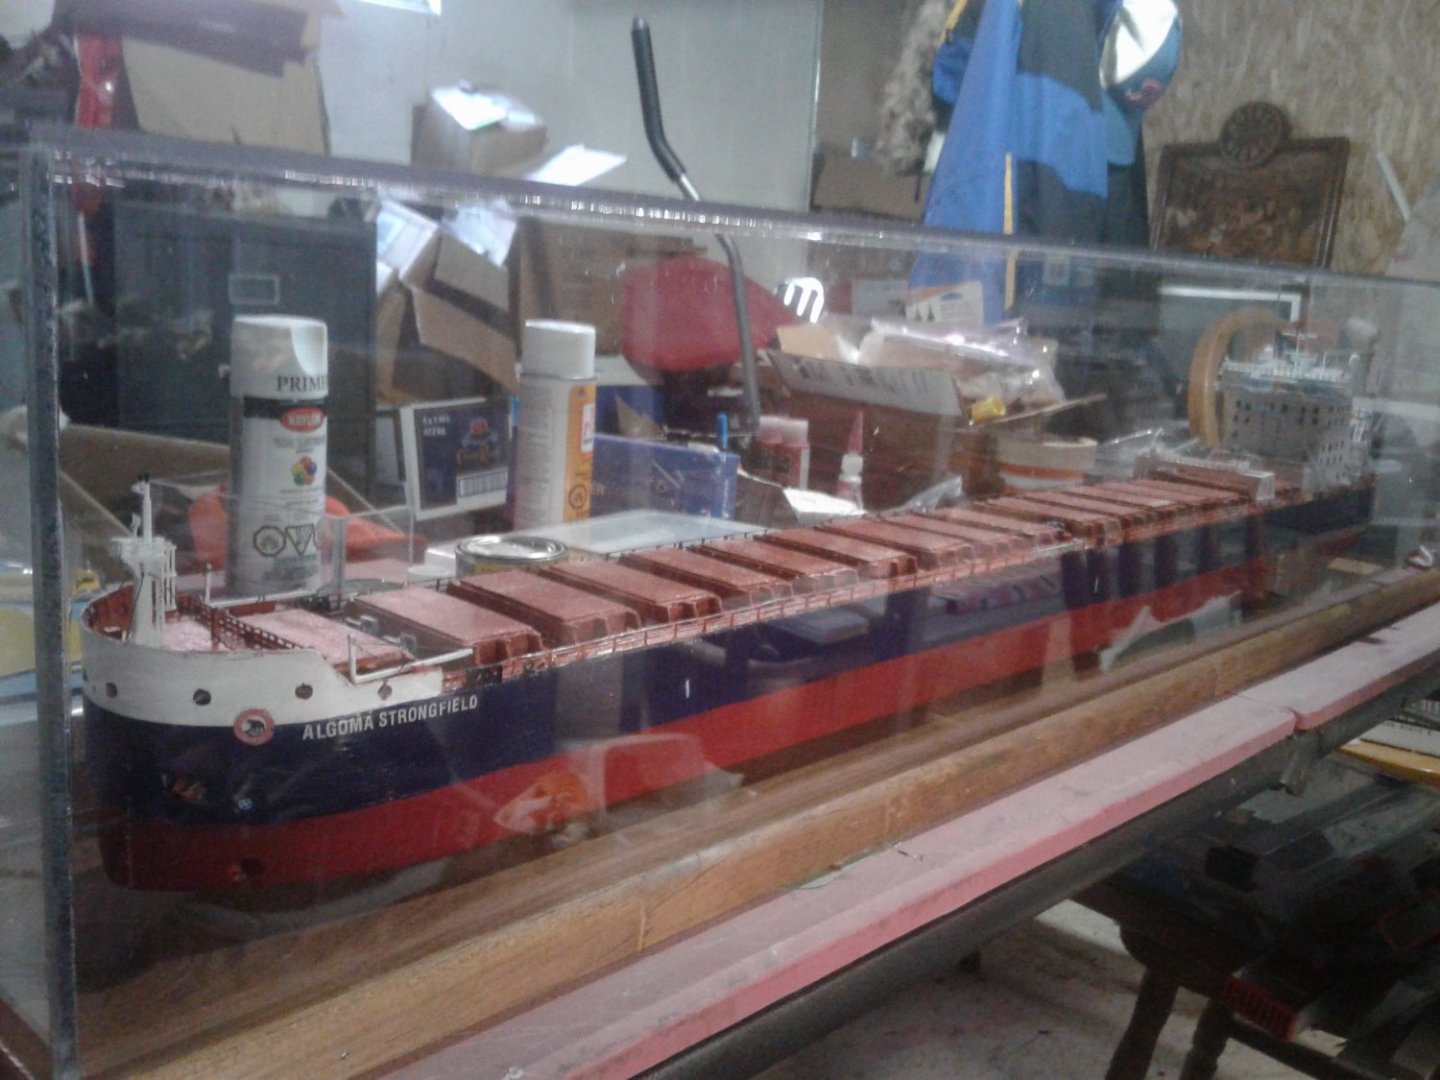
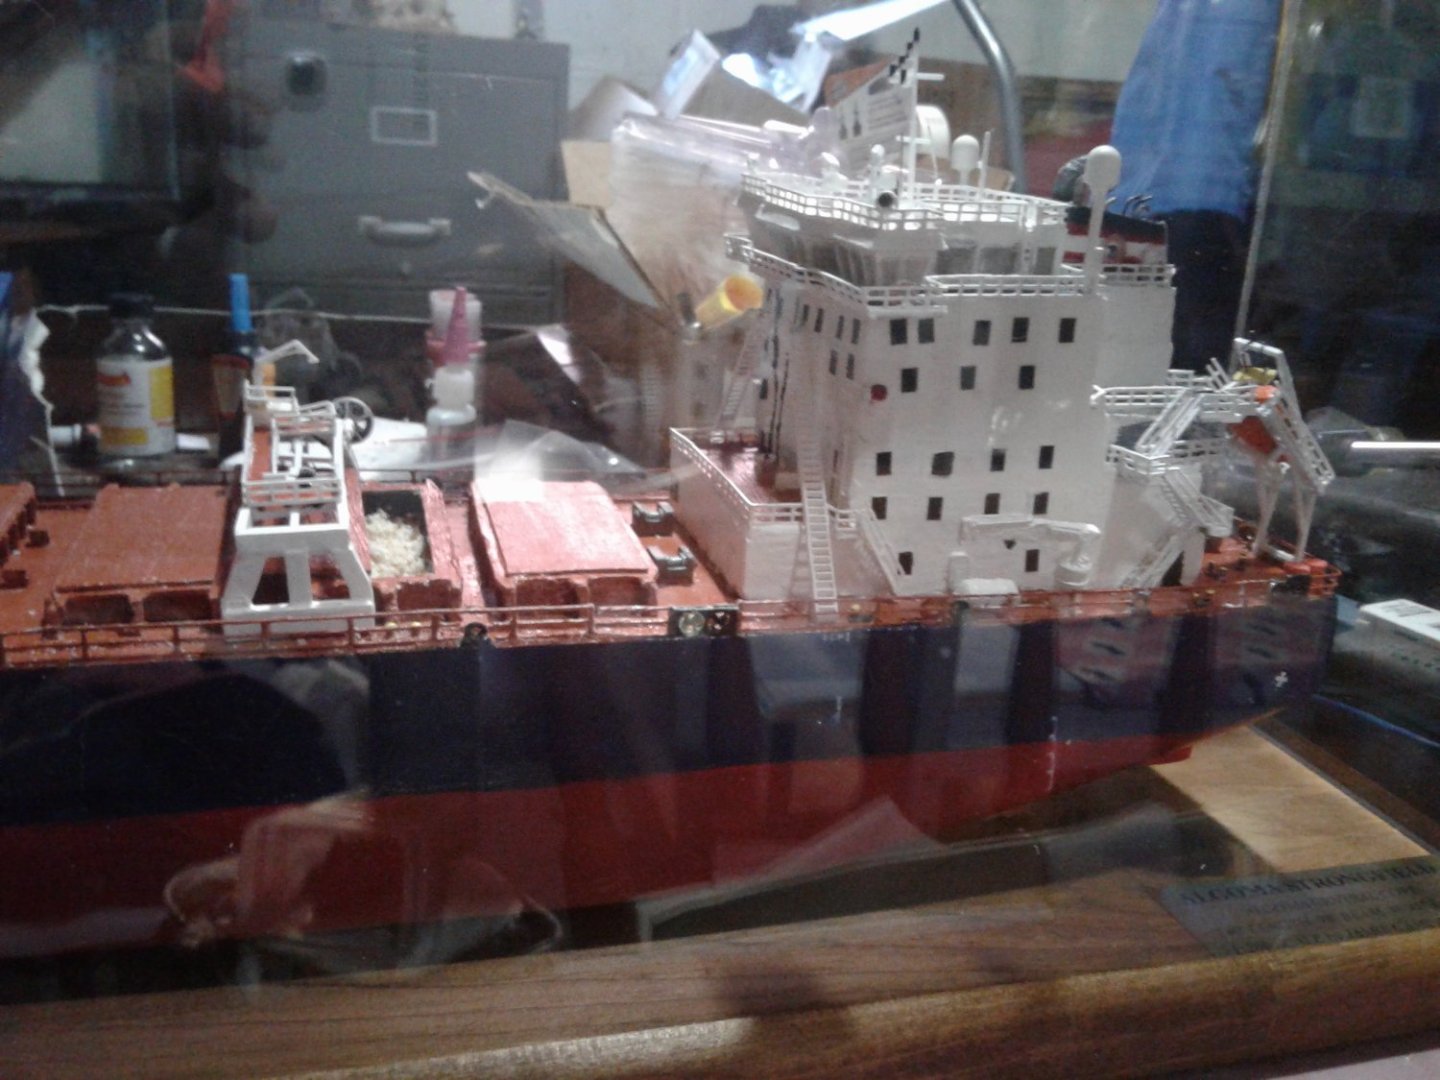
Well.....she's finished. Overall I am very happy with how it turned out, especially being my first truly to scale scratch build. Many modern freighter fittings are either hard to find or just not made so I had to compromise or modify to make it work. I really want to thank everyone on here for the advice, suggestions, etc. and special thanks to @henrythestaffy for help with the bridge deck and @realworkingsailor for his help and input having worked on these boats. As it turns out I will be entering this model in a local scale model show this coming Saturday. If anybody wants to check out the show in Windsor, Ontario. First time doing the show thing.


-
Glad I found this build log. Fantastic! One question on the details..... you said you are using the handrails, steps, etc from the Gold Medal Models 1:192 photoetched. How sturdy are the railings on this? I got some 1:200 scale brass photoetched handrails from Tom's Modelworks (I think), and they were so fragile......easy to crush. I have used HO scale handrails (photoetched) for my current freighter(1:200) build, and once I cut off the bottom row it comes very close to what I need, and they are very rigid, easy to bend and hold shape and not hair thin like the one I experimented with. I'll be following this closely as it's close to the type of ships that I will be building, and also good luck and best wishes on everything on the health front as well!
-
I just noticed that the scale in the title should be read 1/16" - 1ft, not 1/6". Although.....as noted above, it is actually about 3/4 of the stated size due to whoever scanned the drawings, so it's actually quite a bit smaller than it should be. I actually started lettering on this recently, but this project was sidelined by other laker build. Once the lettering is done and I finish up the hatch crane and hooks on the hatches she will be complete and I will post pics.
-
Where did you purchase it from?
-
@Roger Pellett Ah yes...forgot about the Sherwin. She's been sitting a long time. Always seems there is a flicker of good news for getting her sailing again, but then that fades. I know a lot of us "boatnerd"s would love to see the Ryerson sail again, even though up until the last years, their ships did not frequent Detroit often. As an aside Roger - any news up there on the "Great Lakes Fleet" old US Steel fleet (now owned by CN)? I heard they were looking to sell the ships, but just recently got the Philip R Clarke sailing again.
-
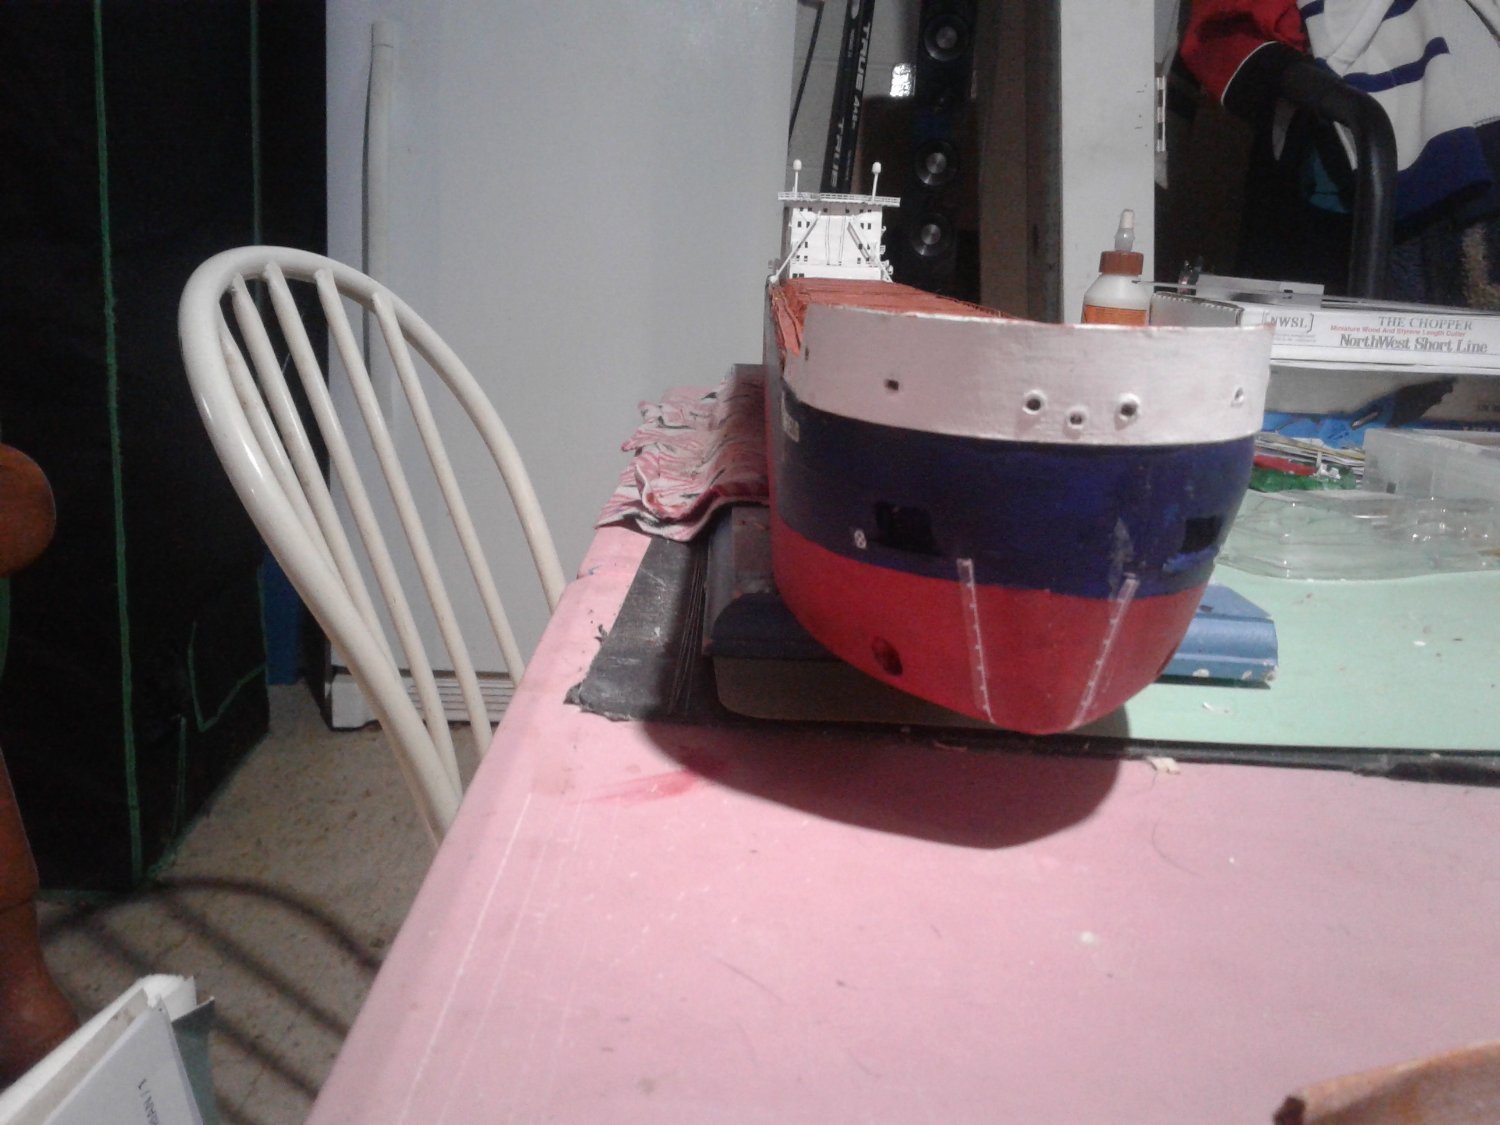
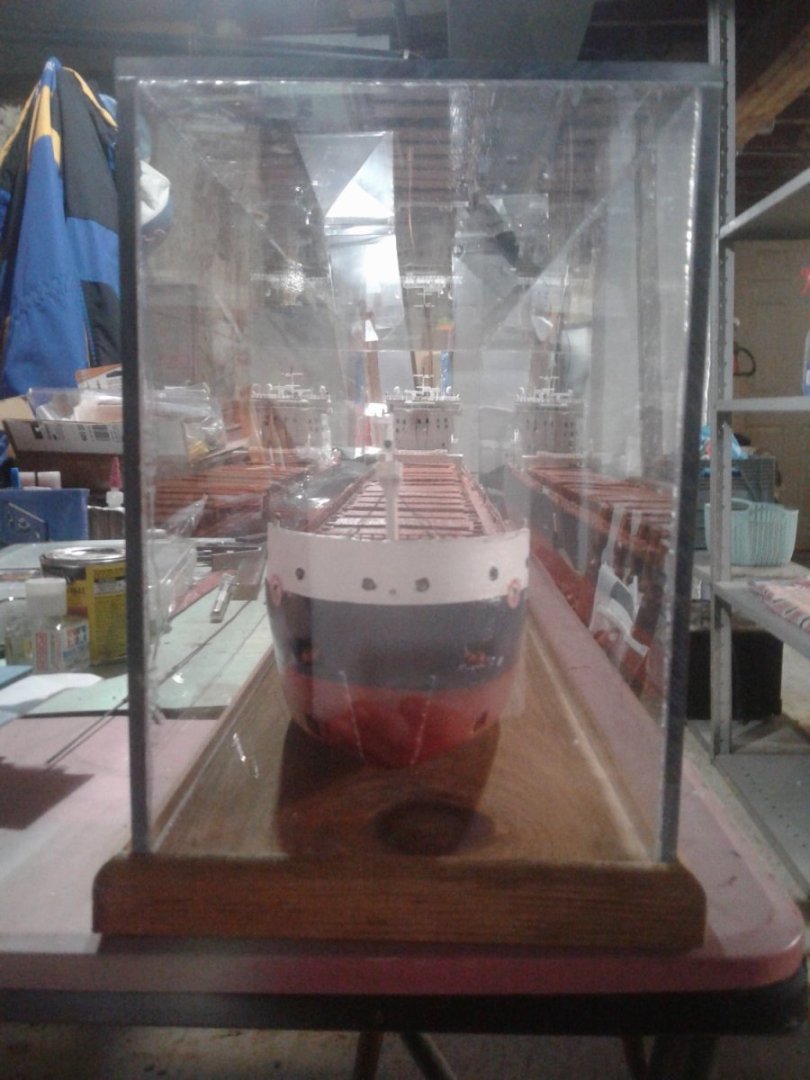
I was looking for a display case for my current build. Want to protect it from dust, and my very curious cats. Did some shopping locally (Windsor, Ontario) and was shocked at the prices for clear acrylic - chain craft store was going to charge upwards of $600 CDN for just the acrylic, then it was on me to build it, etc. My case is going to be about 48" X 8" X 12" with a wood base, which I made with spare lumber I had around the garage. Apparently glass is cheaper, but still a couple hundred, and then again...i would have assemble it. BlueJacket has some really nice display cases they can build, but again the cost is high and then you have to factor in shipping. Yes the need is there. After talking to my favourite local hobby shop, they directed me to a local industrial supply company that sells acrylic sheets or varying thicknesses. Well, just like a carpet/flooring store....they have a cut remnants bin. I was able to source 1/4" shatter proof, super clear acrylic in 4 pieces for $30.00 - all I had to do is put it on my table saw and cut to desired sizes (this stuff cuts great with a standard blade). I have the adhesive I need and now just have to stick them together. Hopefully it won't look too messy, but this glue is really thin and apparently fills any gaps easily. I think the main issue is shipping costs.
-
The Ryerson might be the only straight deck boat in the entire US fleet actually. Almost all have been converted to self unloaders. Canadian ships though, still have a decent number in use.
-
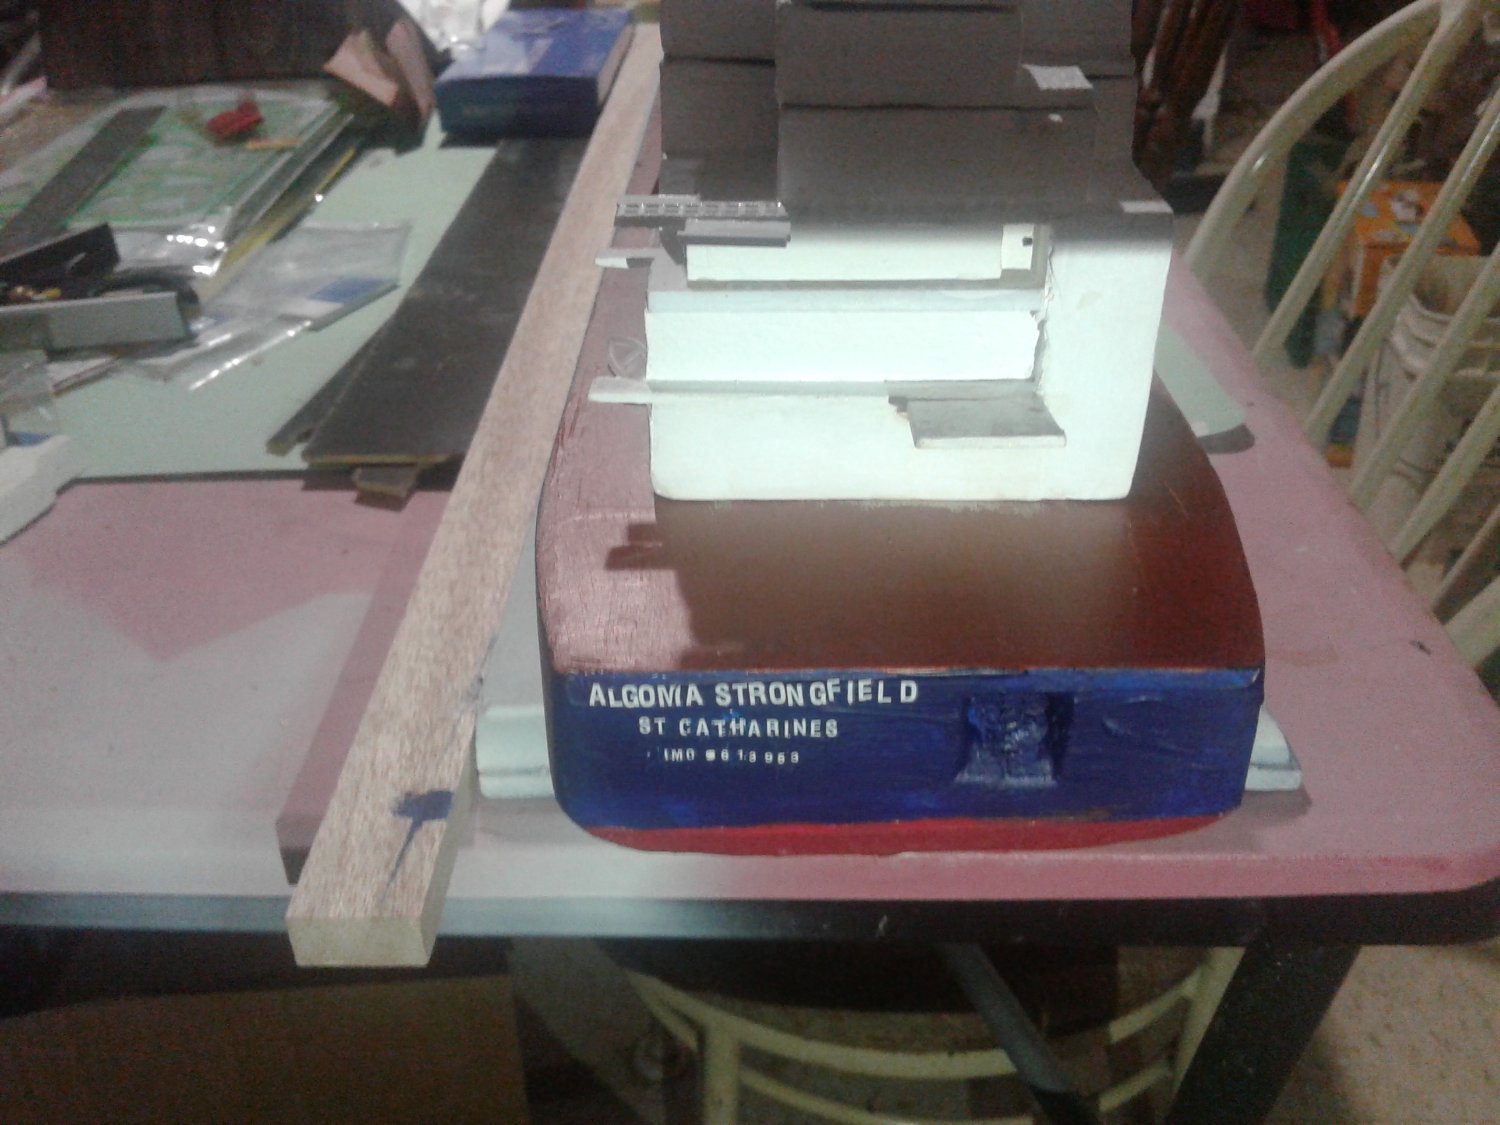
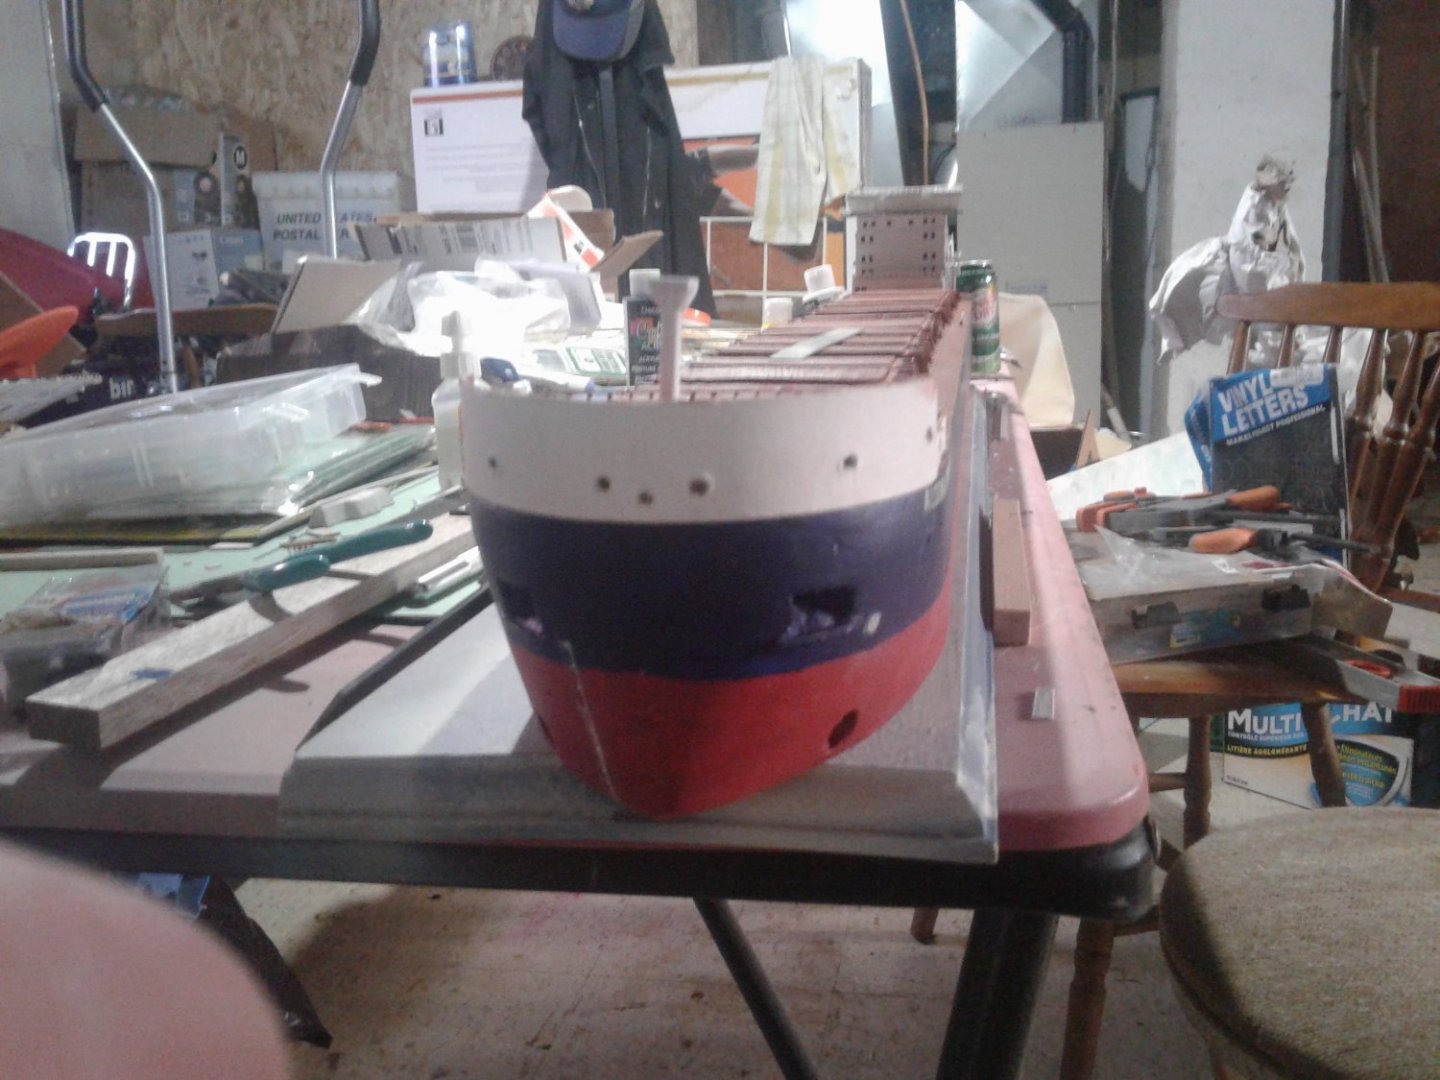
So...I found some wood in my garage that makes for a perfect base to display this one. Also have some trim! Have to figure what colour to stain it. I happened to find a local industrial supply house that has sheet acrylic (shatter proof) remnants for super cheap, so this will allow me to build my display case to protect my model. 1/4" thick, so it's going to be heavy, but that is fine. Won't be easy to knock around and keep my cats from trying to sleep on it. I did buy a sheet of much thinner plexiglass to fool around with, but that didn't work out too good. Thought my table saw would destroy it, so tried using a cutting tool and when I tried to bend it on the scoring it didn't break clean, but that gave me scrap pieces to experiment with. My one local hobby shop suggested I enter this in a scale model contest that will be taking place locally this fall - I did show the owner some pics, and he thought I should go for it. We will see..... they do have a ship category! This was never the intention.
-
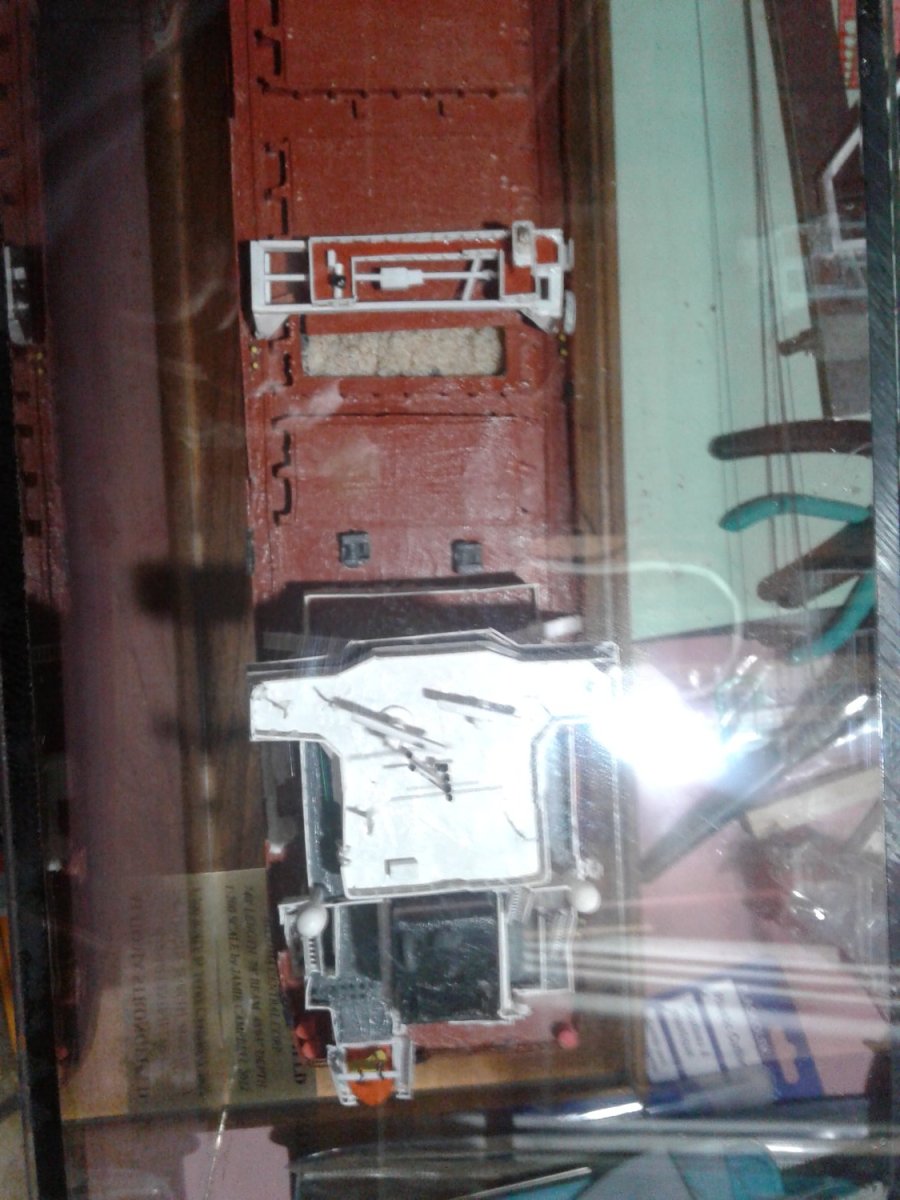
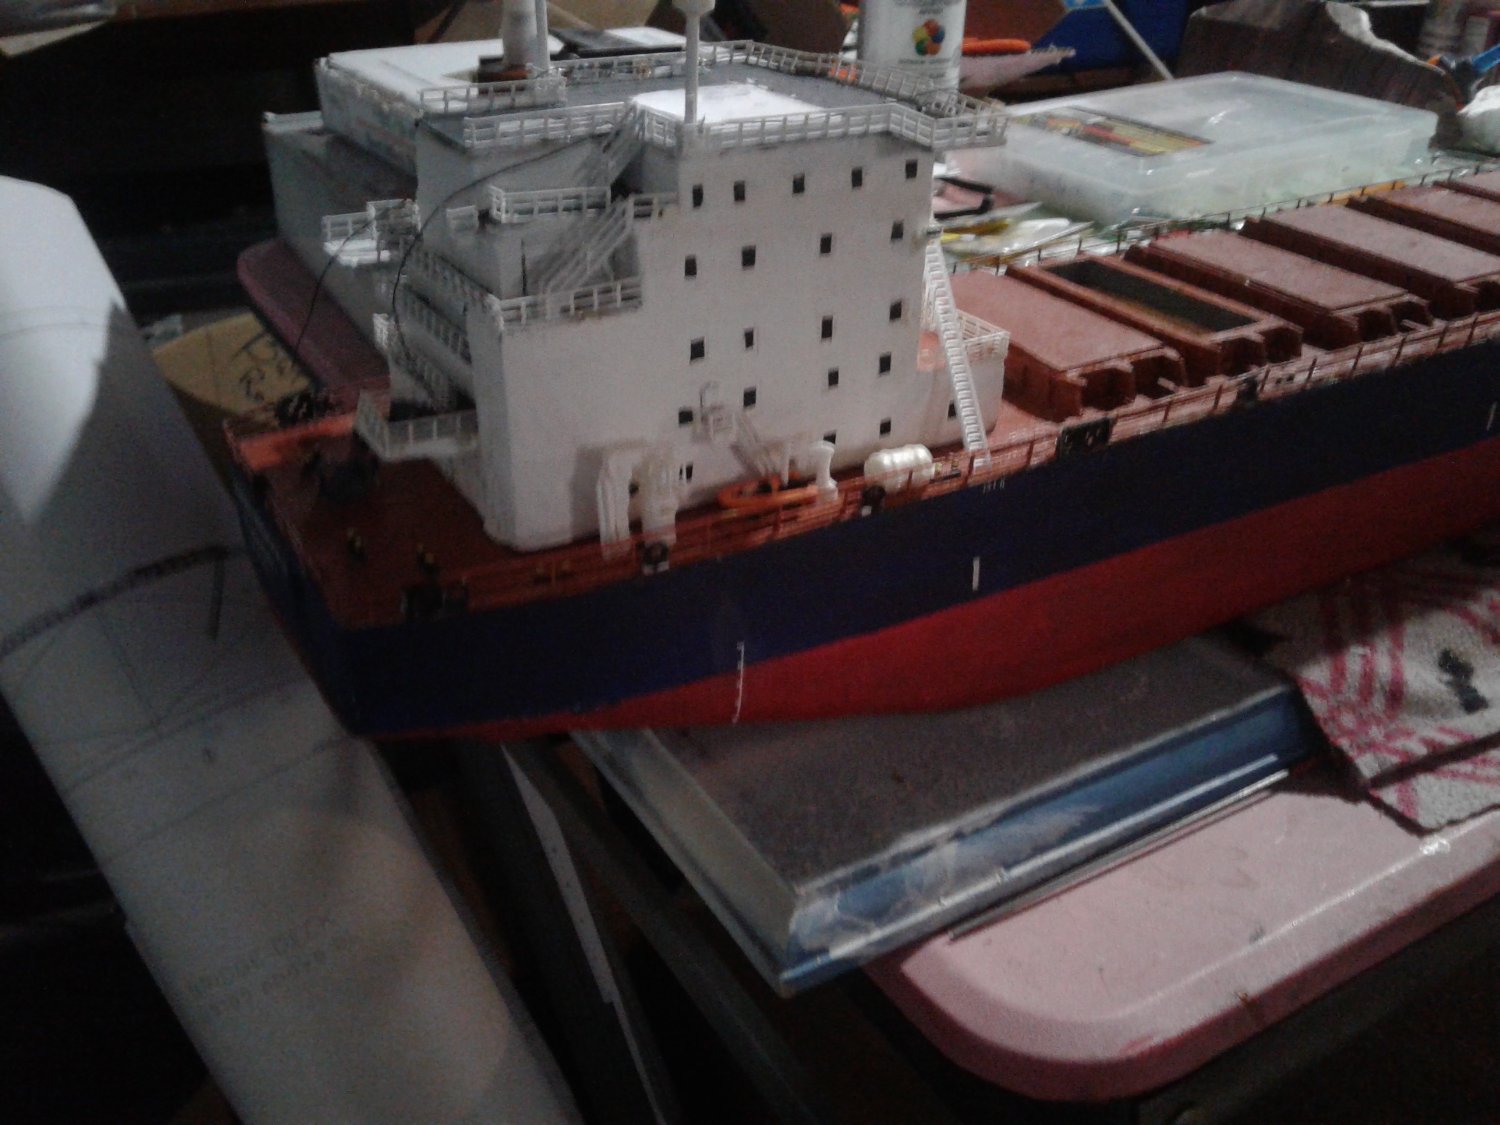
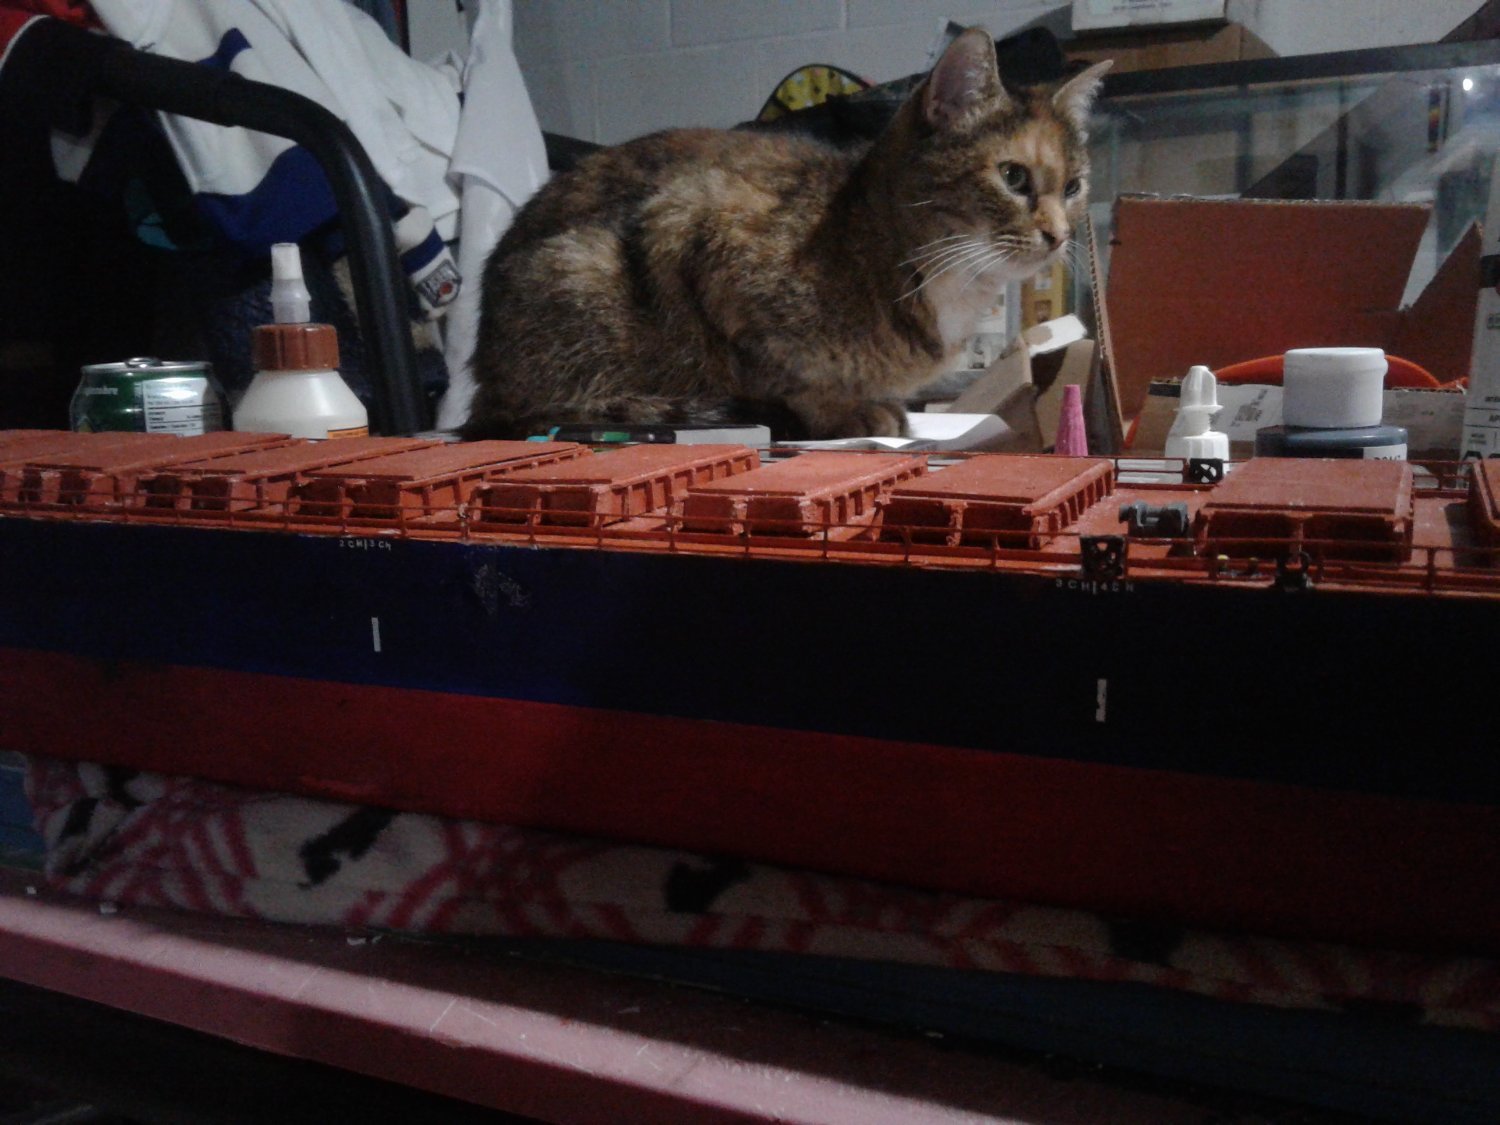
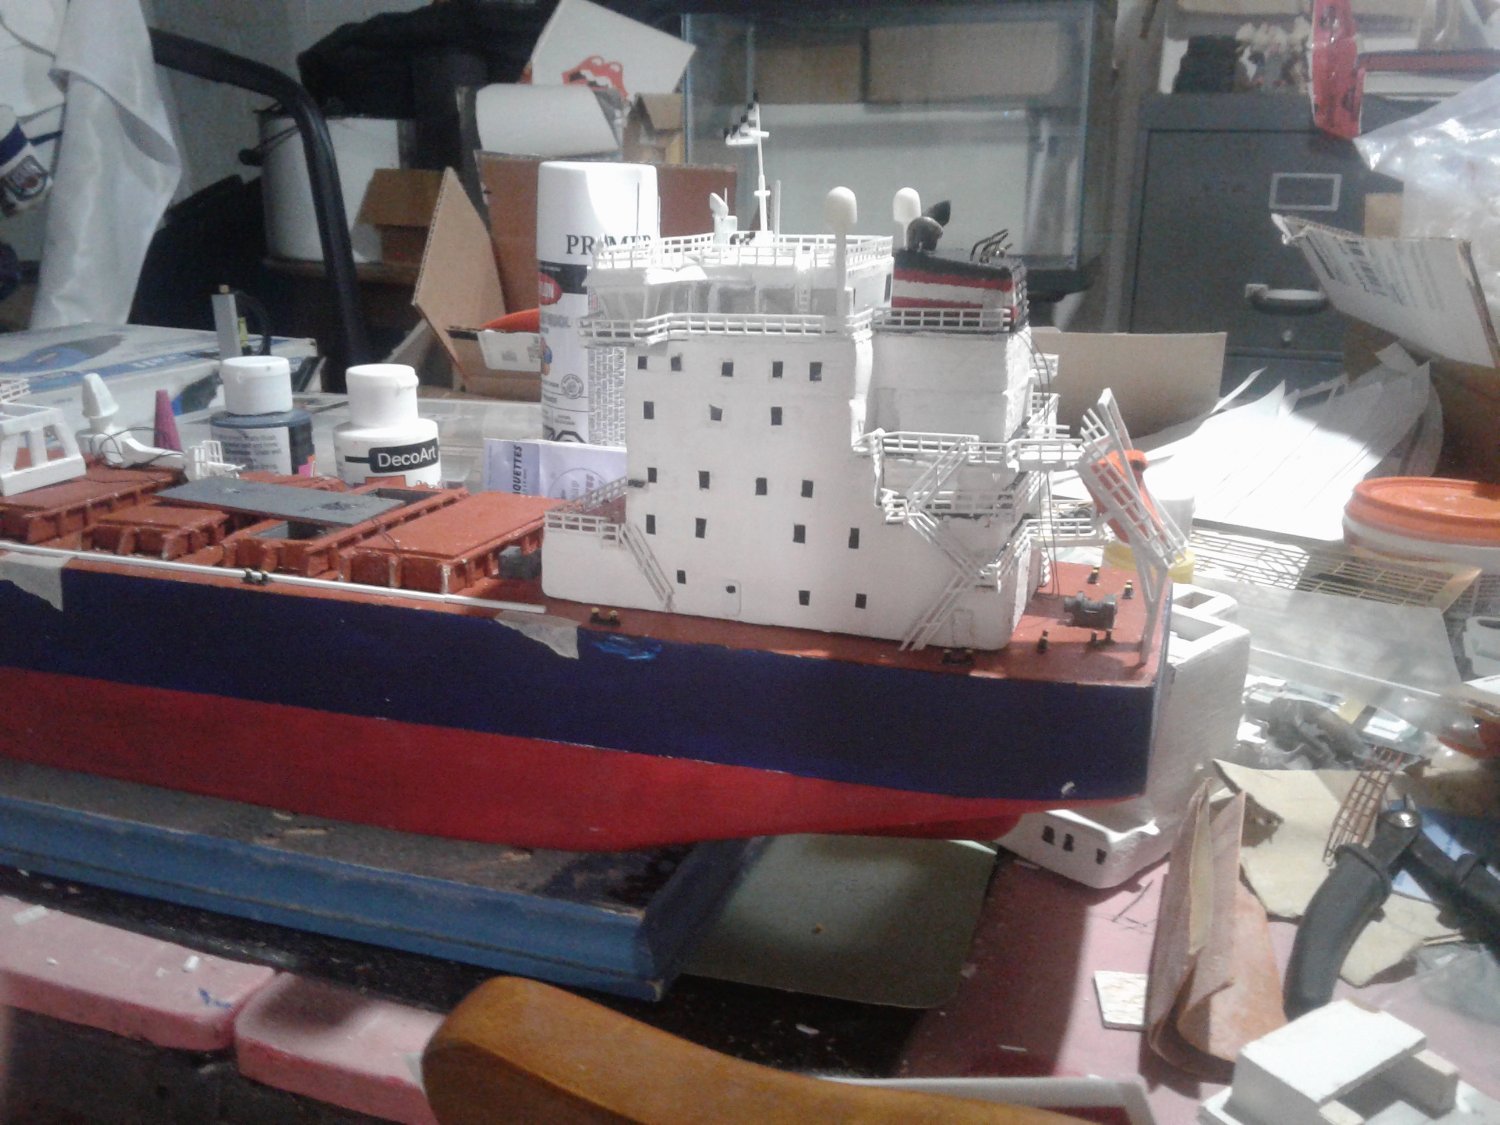
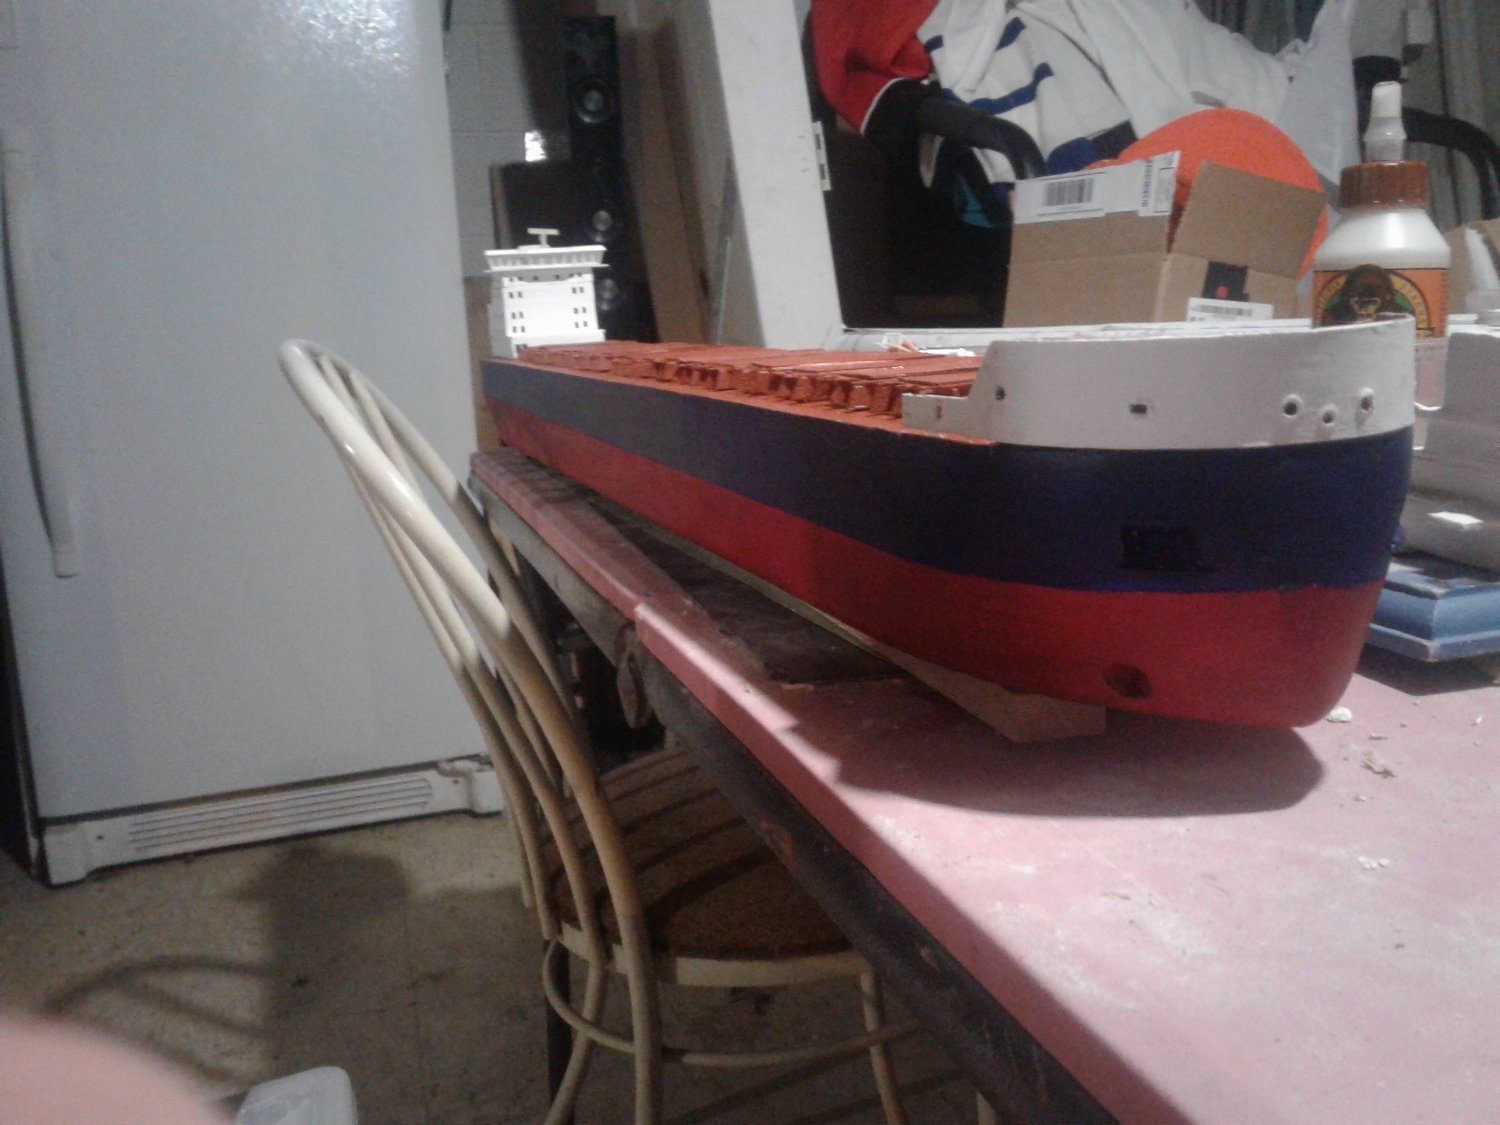
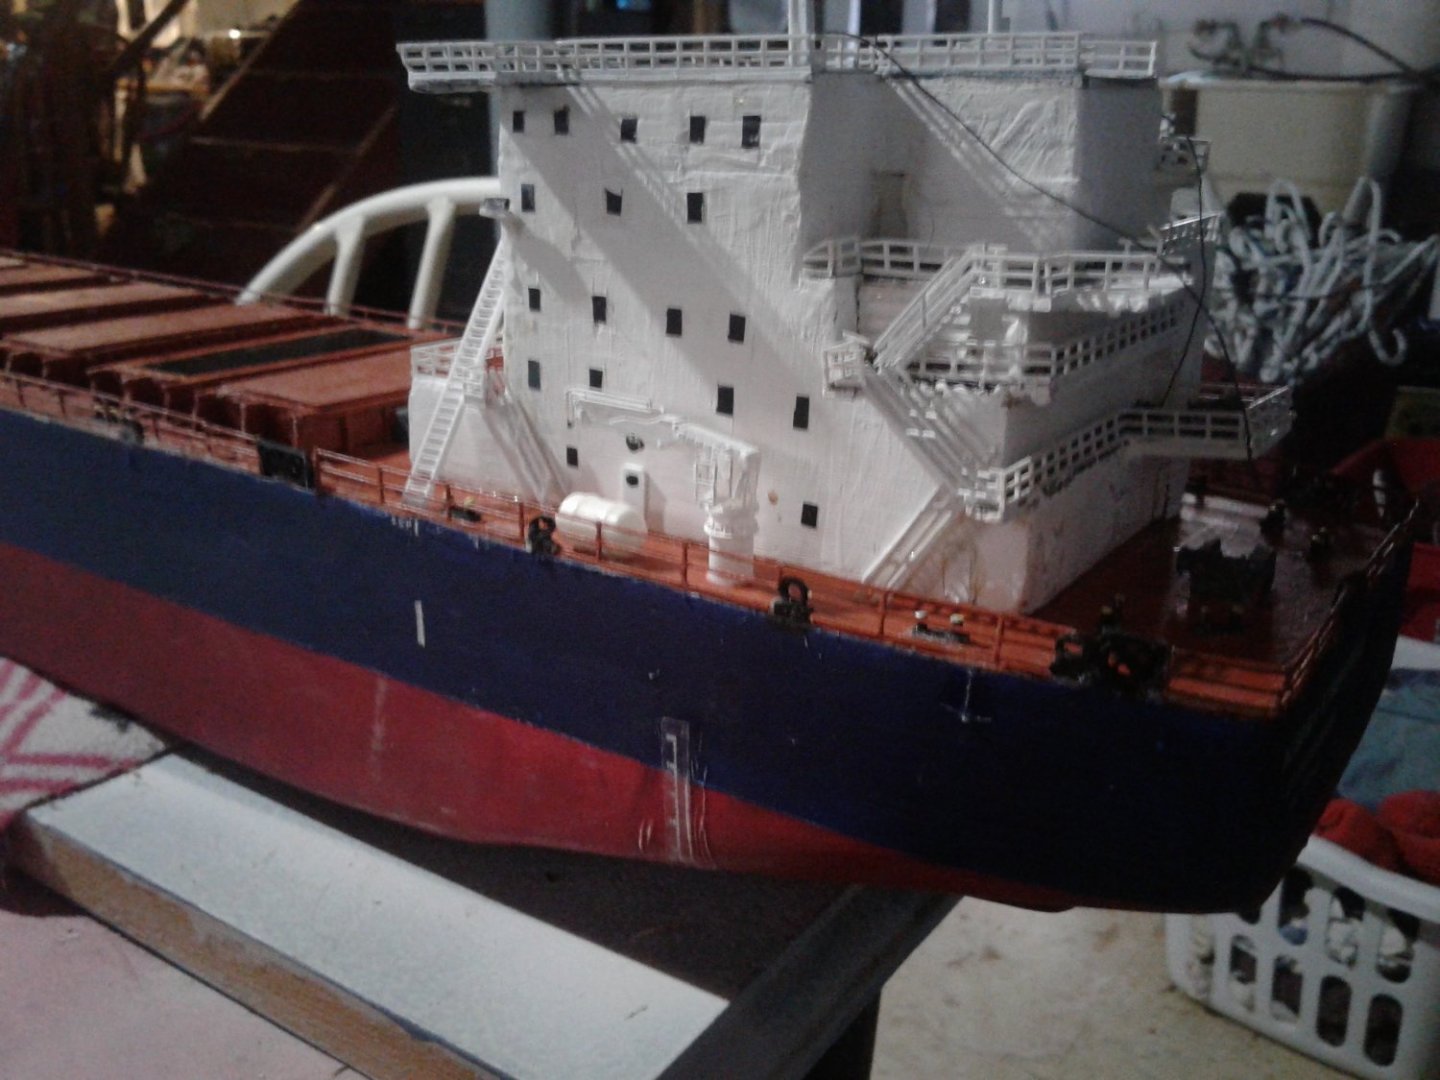
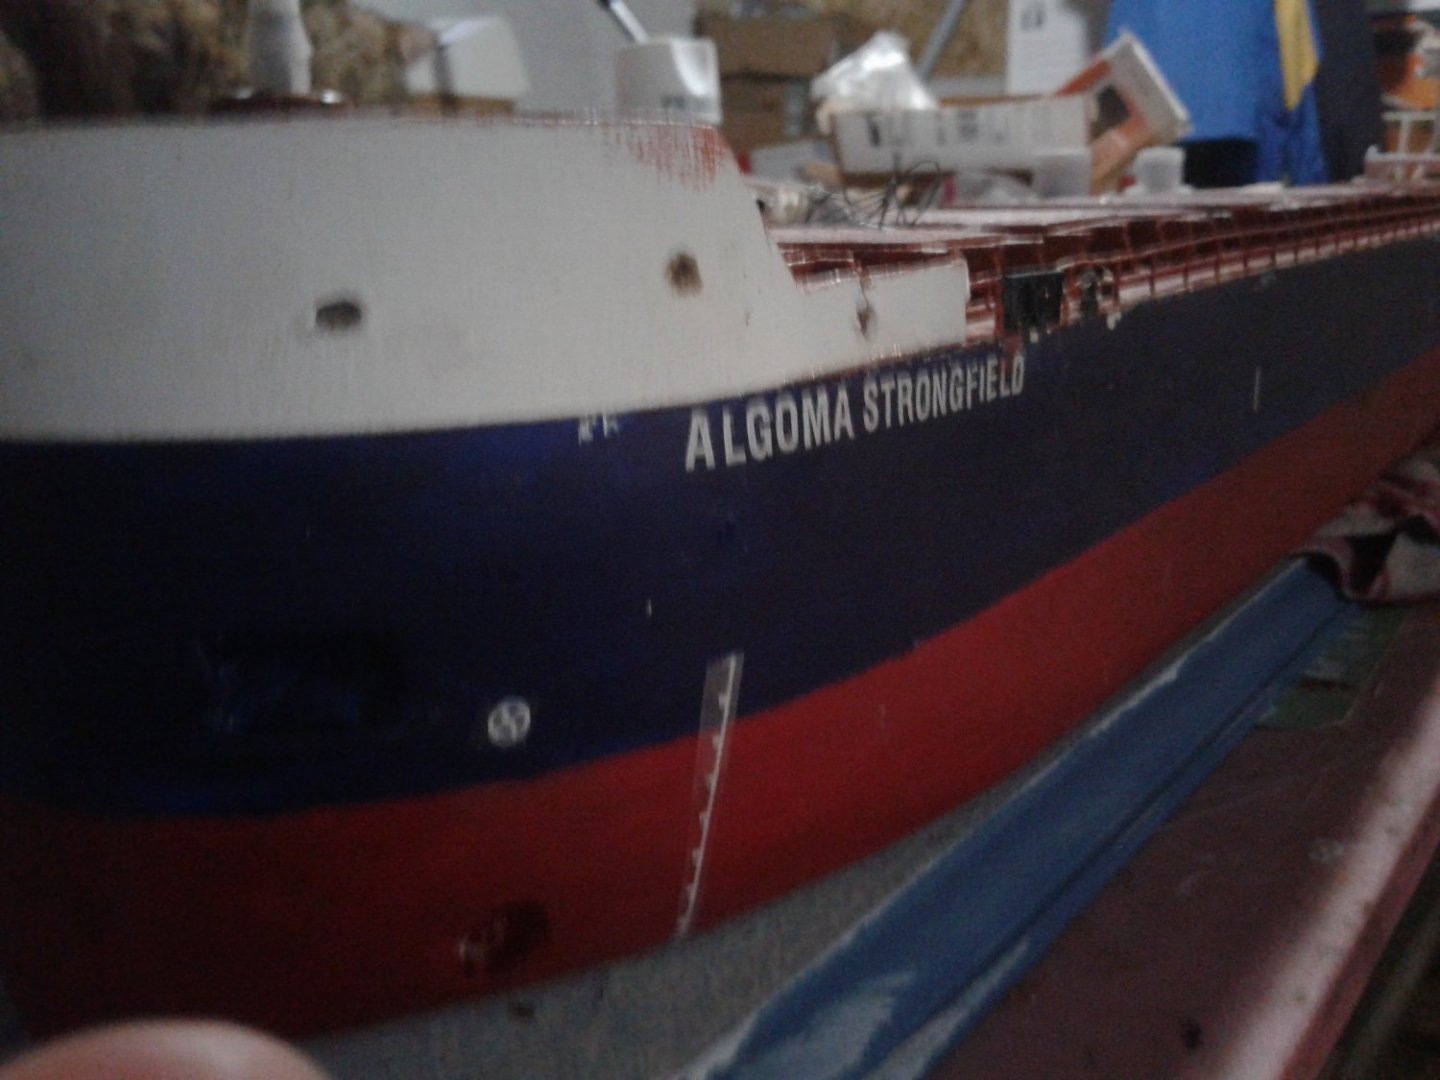
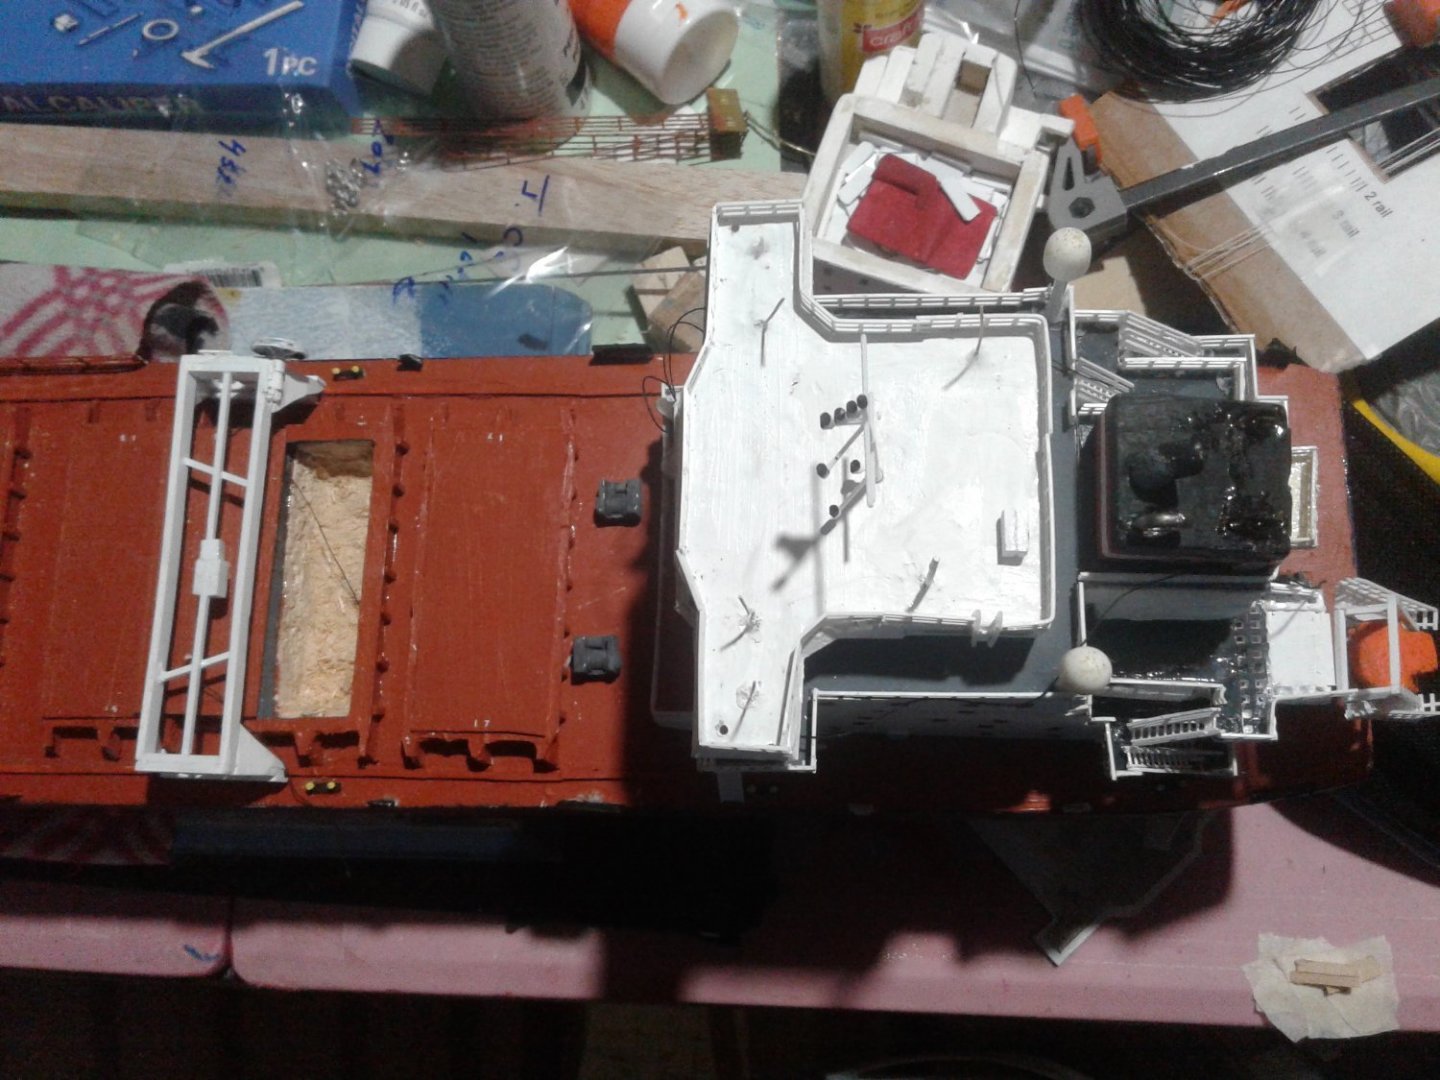
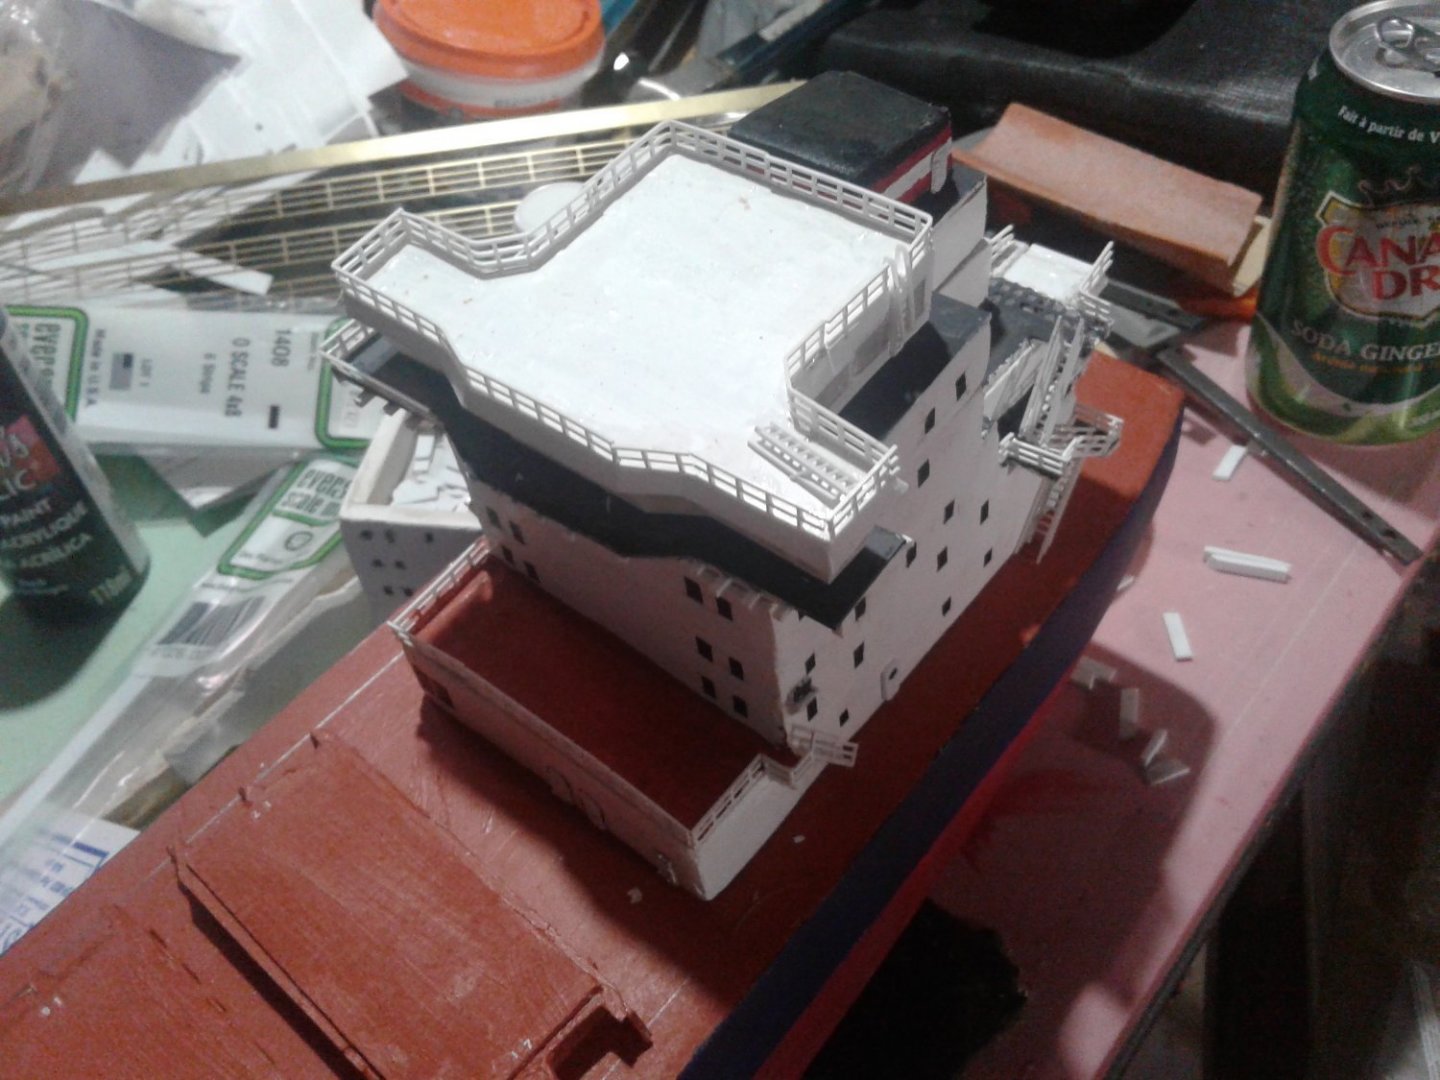
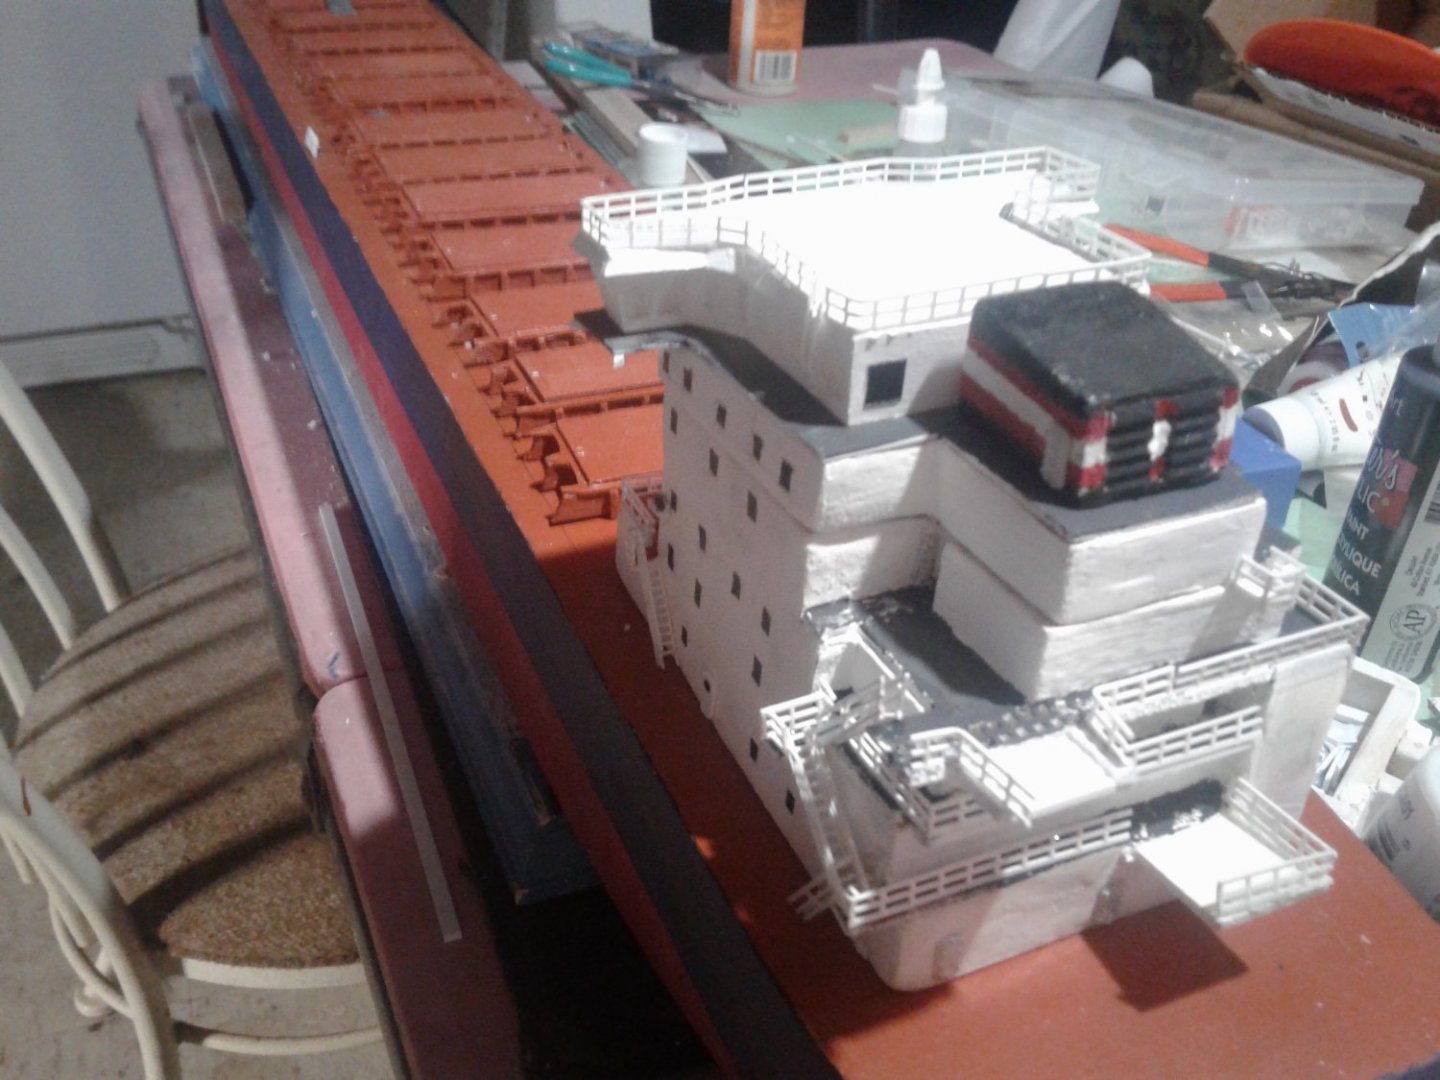
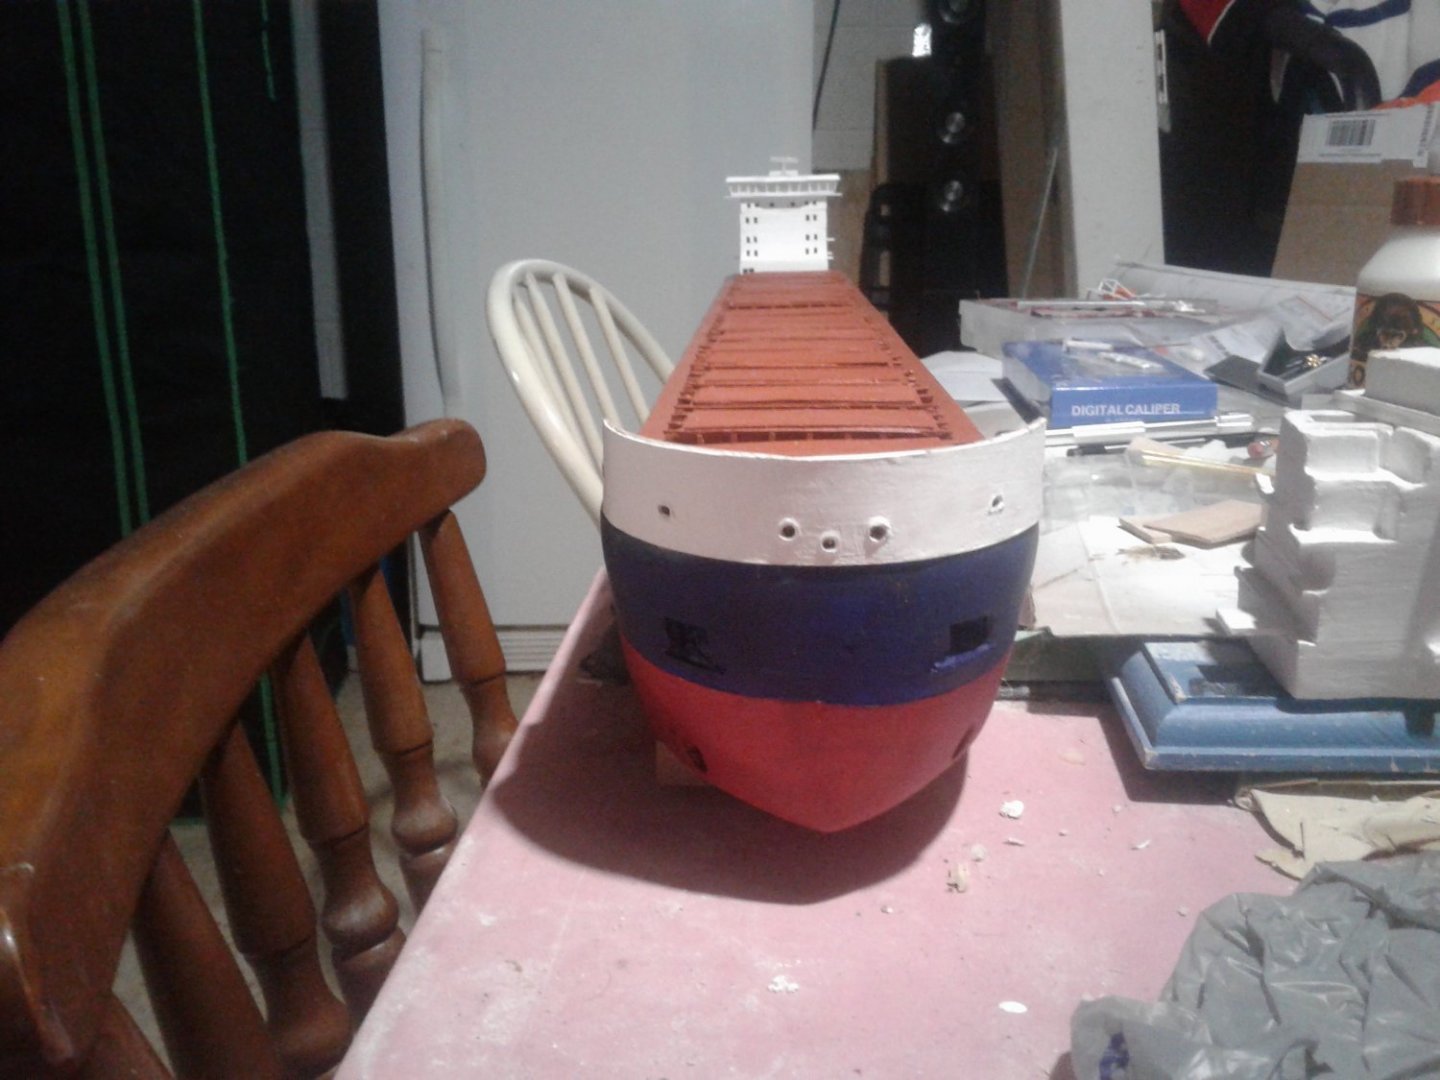
Adding the finishing details. The adorable little cat in previous photos decided she'd like to sleep on the deck one night and load a cargo of hairball. Needless to say I had to repair handrails and clean up a small mess. Liferaft containers are installed as well as the RHIB rescue boat and a couple cranes. Most of the accomodation decks are secured in place. Have to keep it stored in a closet when I'm not working on it until I can either build or purchase a display case. Hope to get it finished this week. Have to do paint touch ups as well. Was considering giving the hull a weathered look.....some scrapes, etc. as @realworkingsailorcan surely attest to how much of a beating these seawaymax ships take from certain docks and of course the locks strip their fair share of paint I'd imagine....tight squeeze.


-
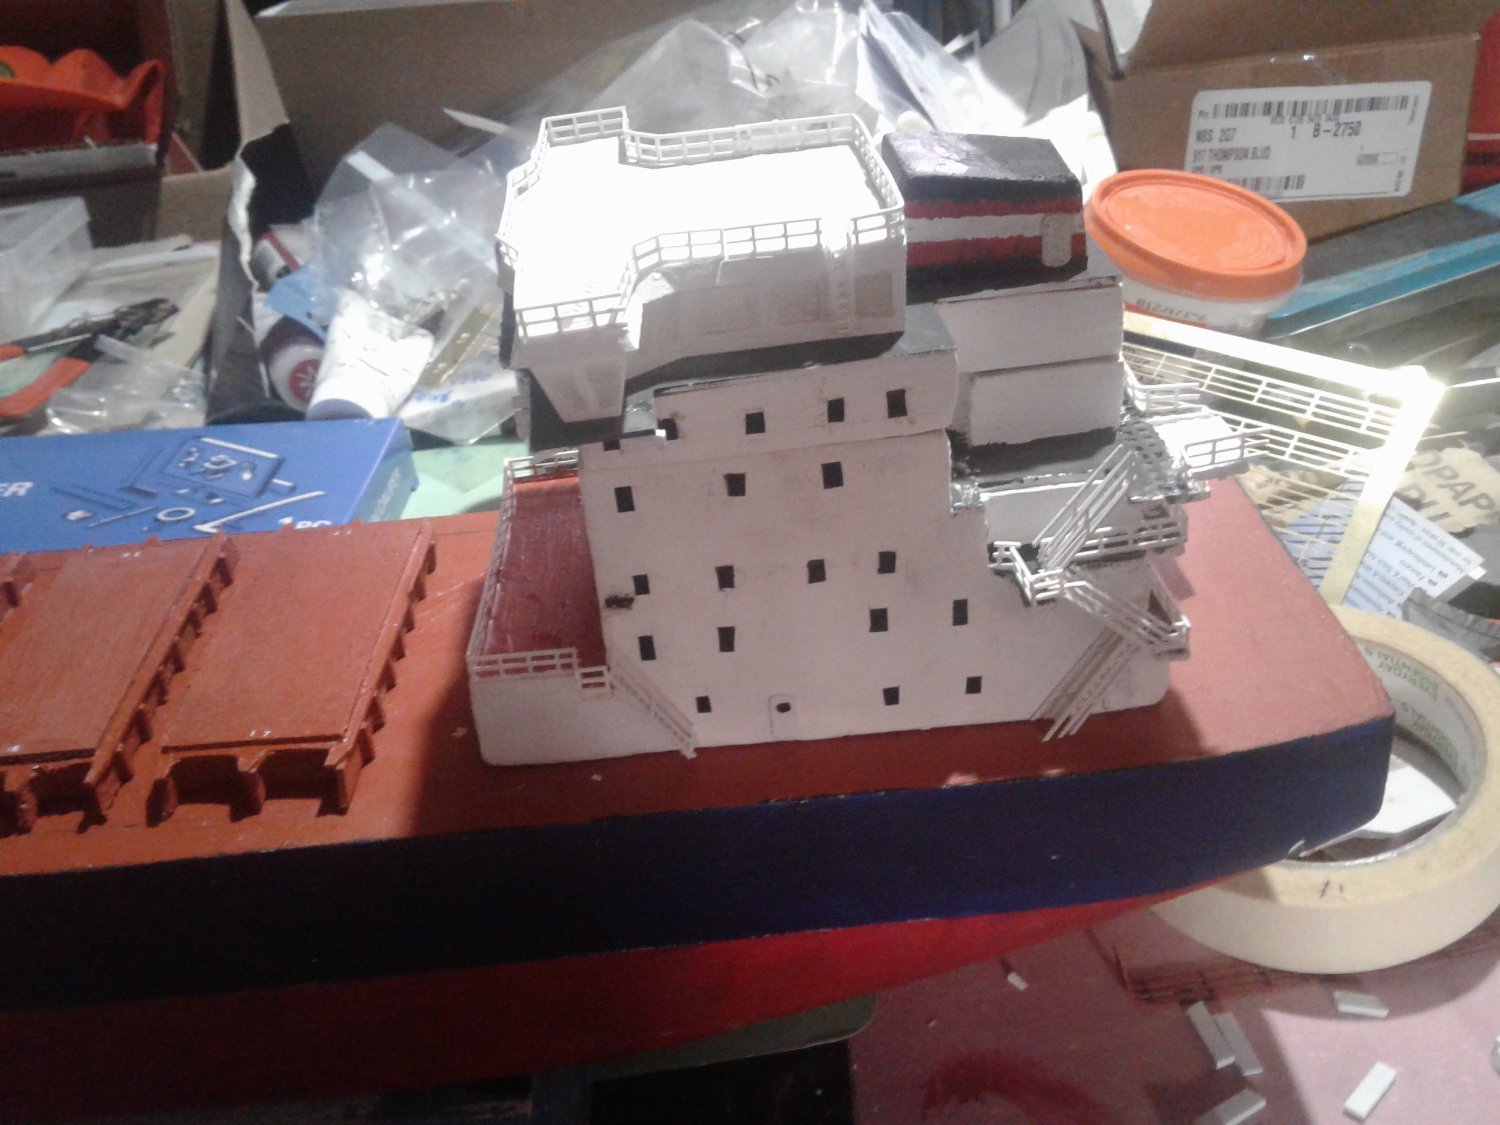
Build is taking longer than i wanted but such is life. I'll be off a few days with covid so wI'll have time to work on it as its not hitting me hard at all. Just hope my wife, kid, and FIL don't get it too. Finally installing railings which are photo etched brass as well as my hawse lips and Port Colborne fairleads. It's really down to fine details like logos and some hull markings. Front mast and radars etc on superstructure will done last so one of my cats doesn't turn my table into the set of Catzilla.


-
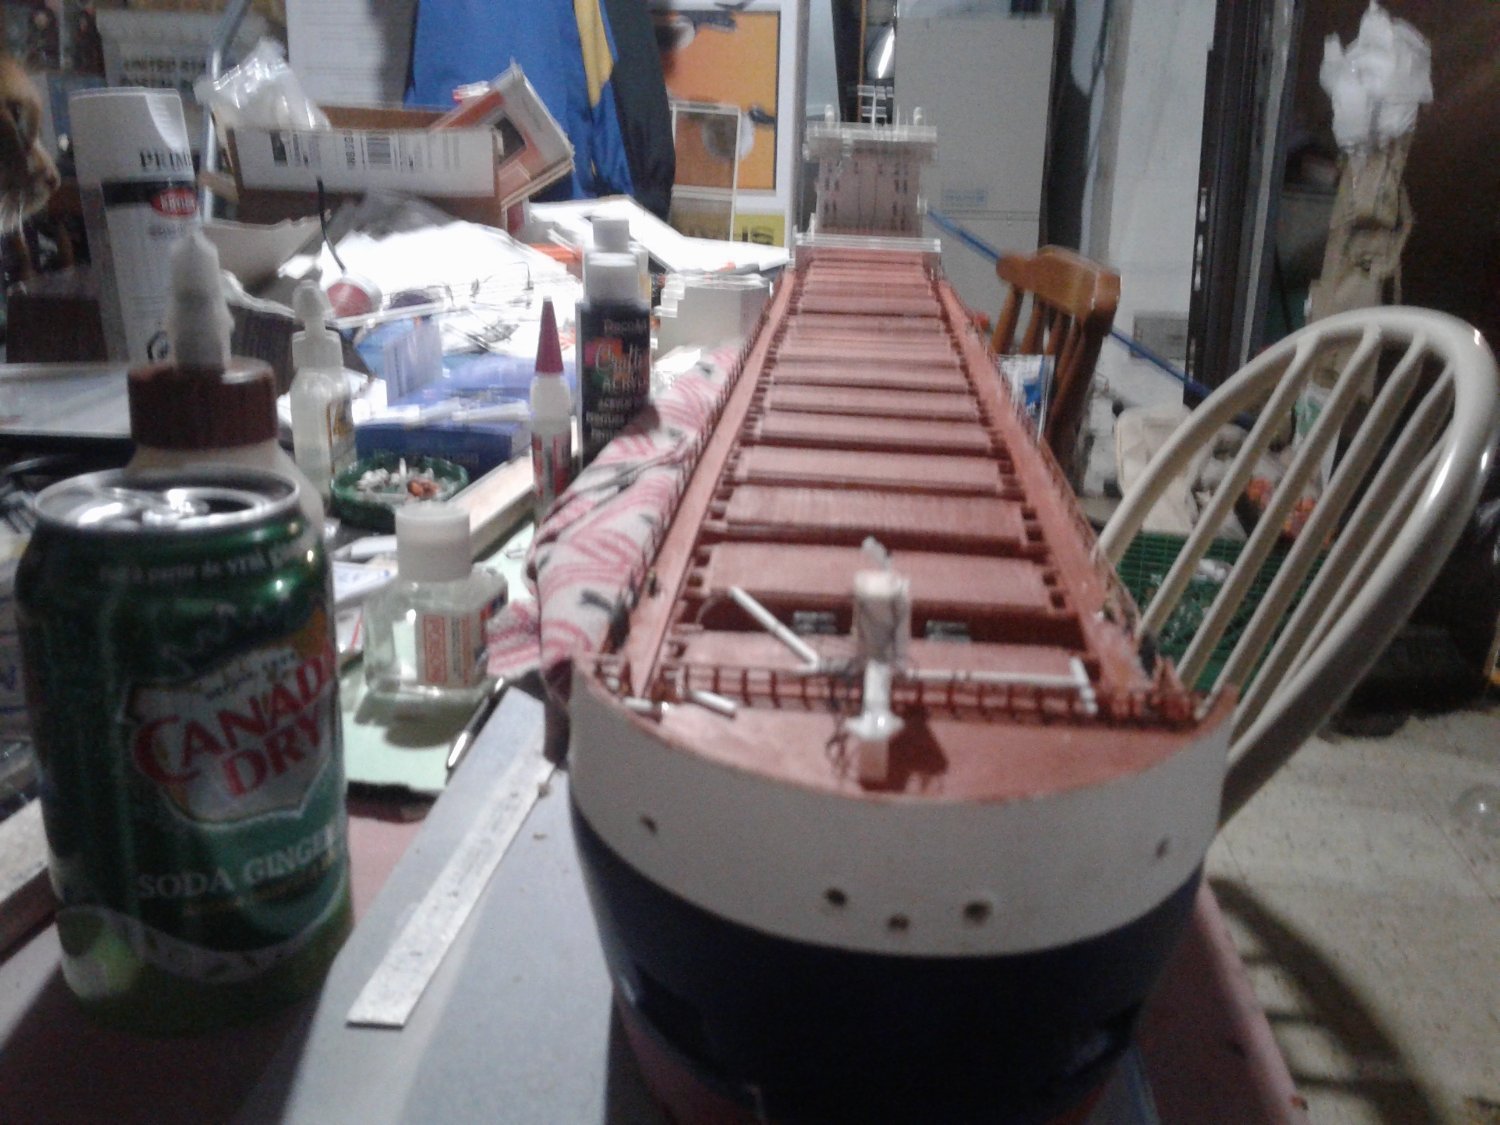
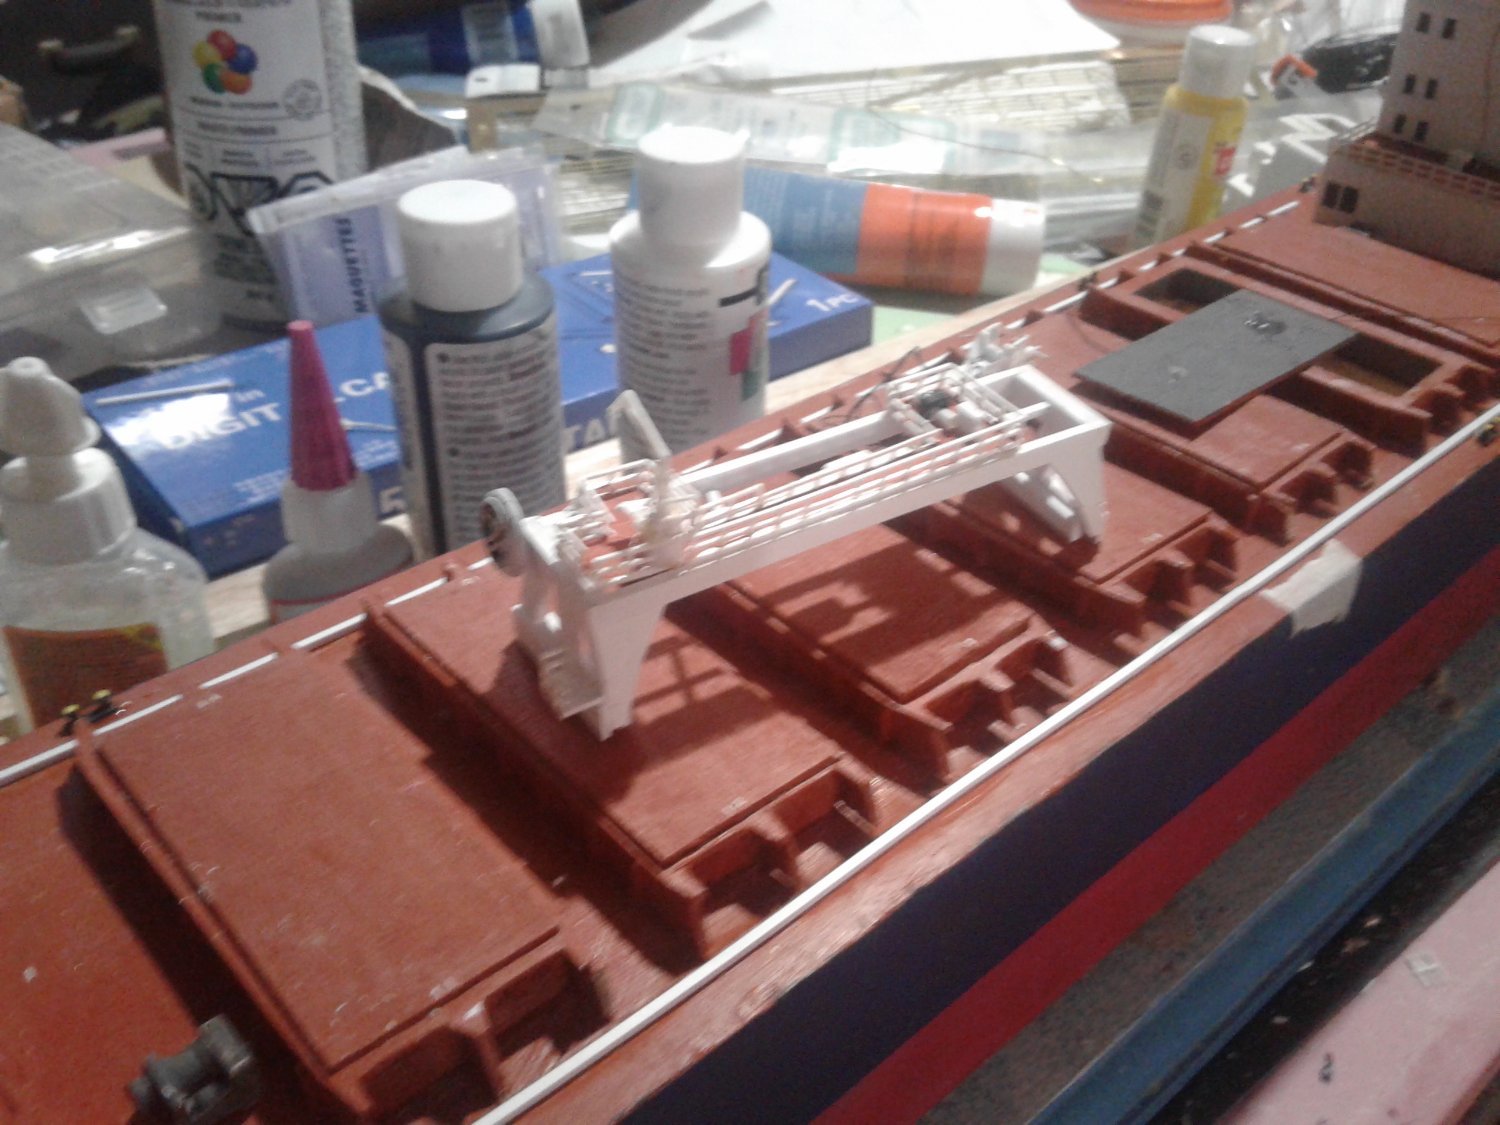
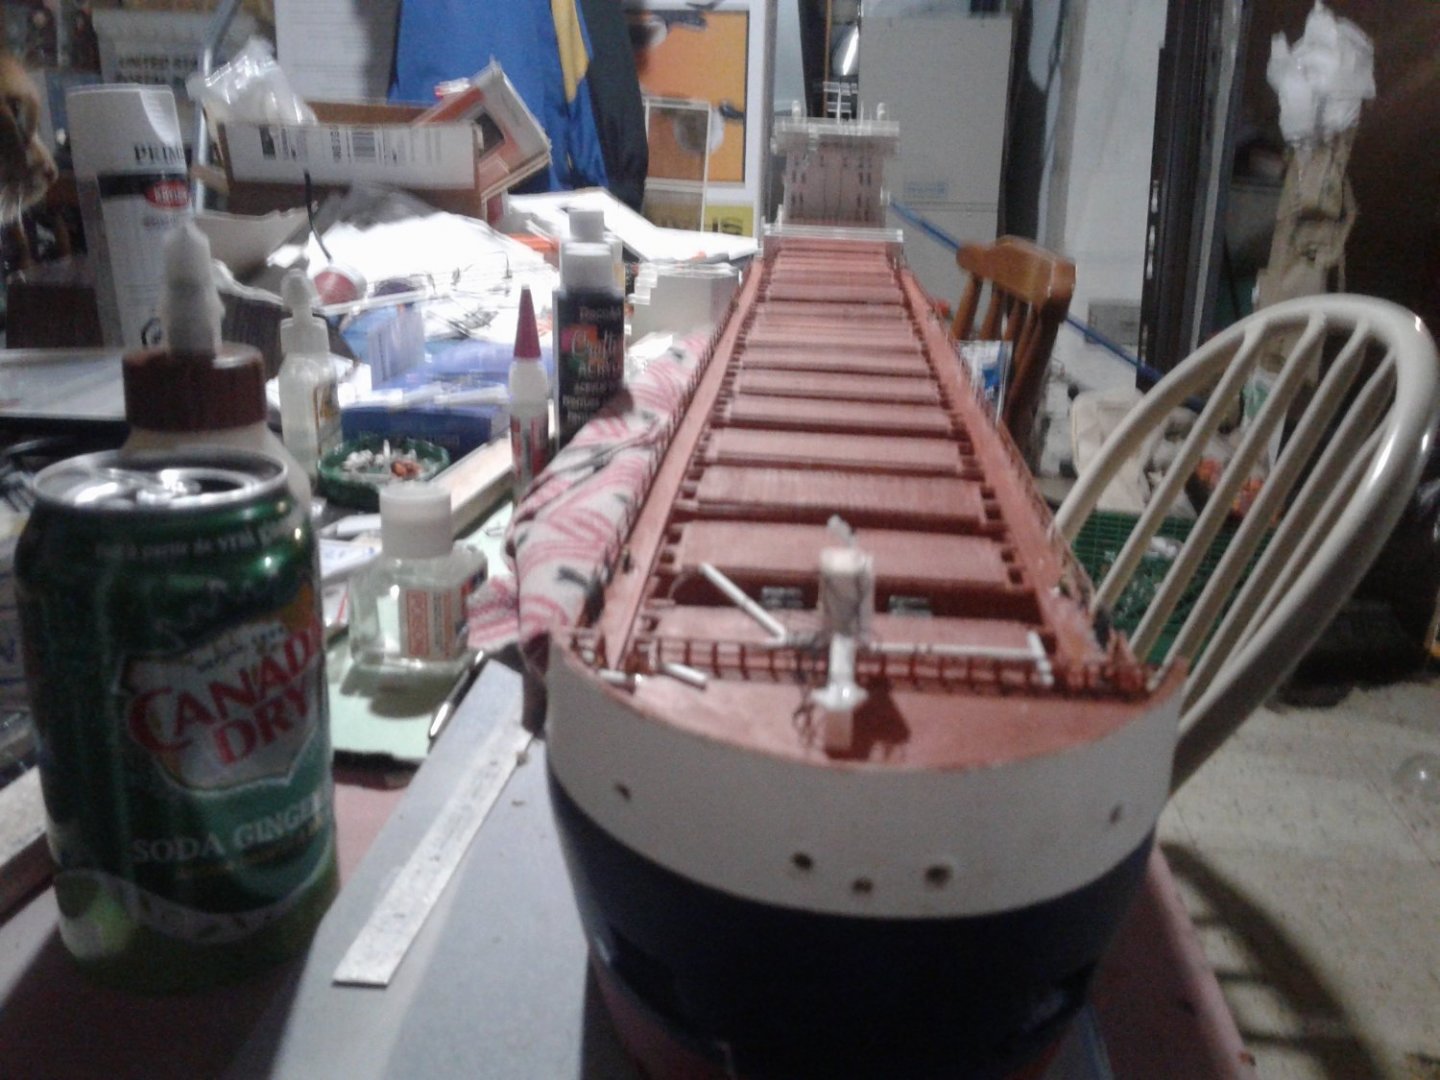
Thanks Andy! I put a lot of work into that. Planning on having the hatch hang from the crane and having some sort of grain (likely sand....it looks like grain) filling up the hatch that is open. She is a grain boat afterall. That leaves me the option of having some sort of future set up showing it tied up taking on a load possibly. I really like how things look with the bollards on the deck. All its really going to be missing is the piping that runs along the length on both sides through the hatch fins plus other small features (small hatches mostly). Not bad for first real build I think
-
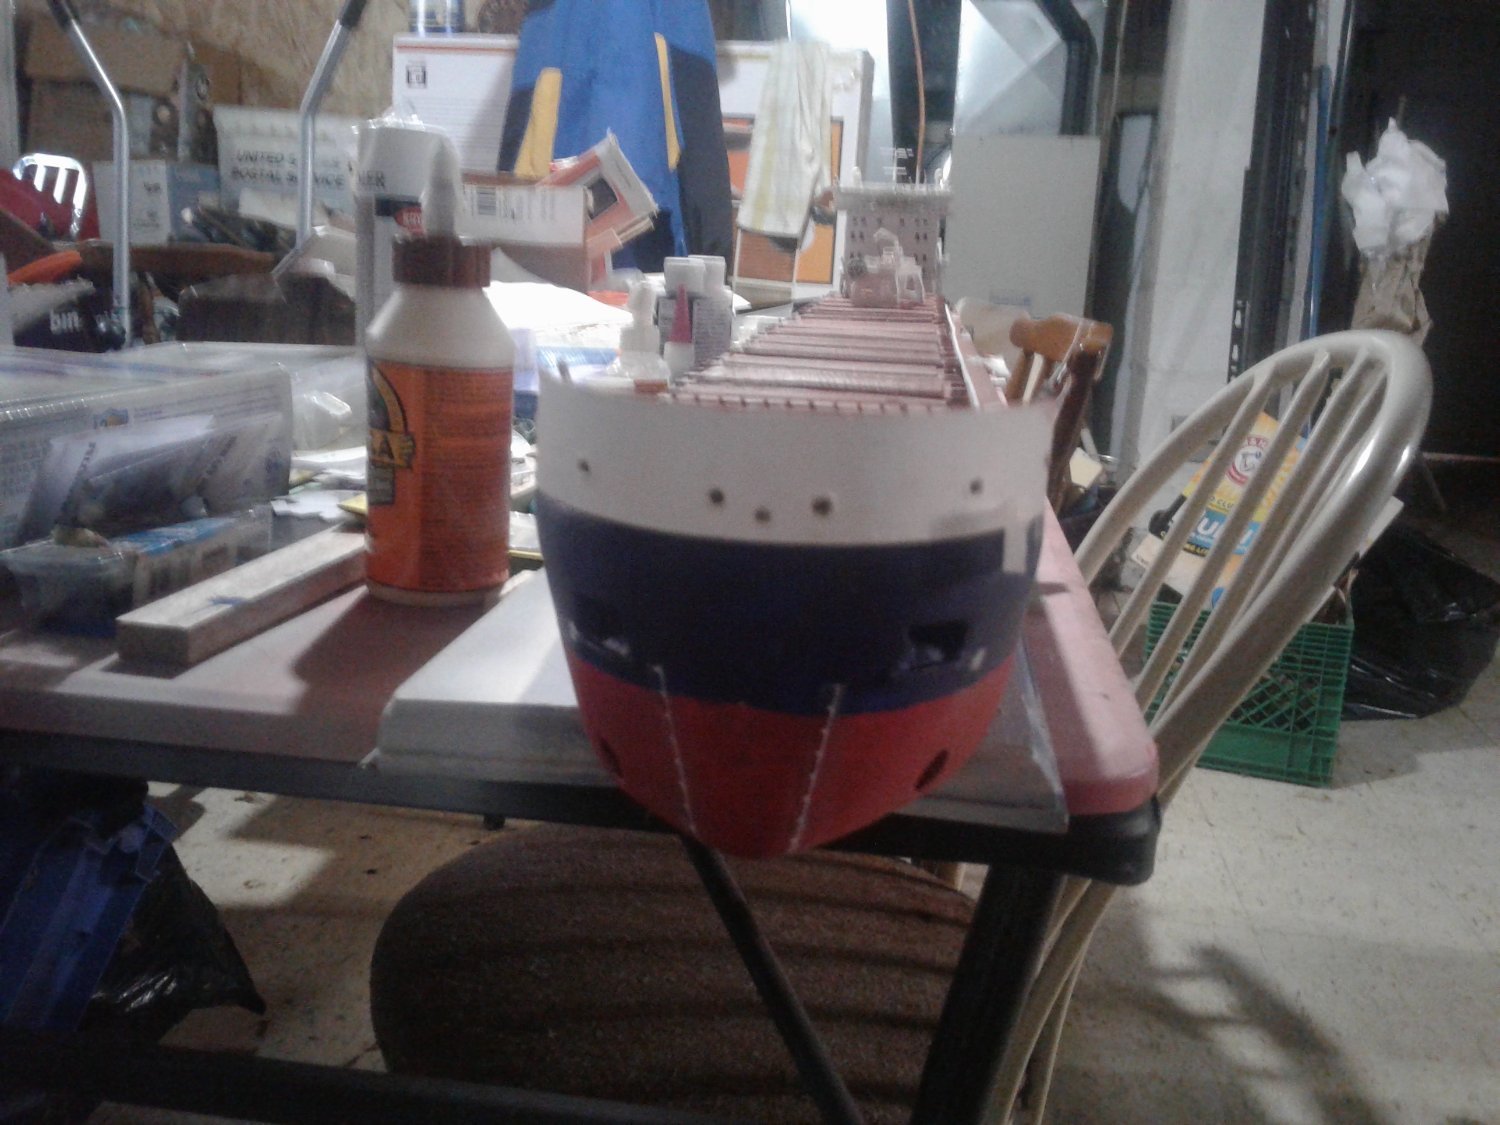
More fine details completed. Hatch crane pretty much complete. Front last is mostly done. Tried to roughly placed it for these pics and it fell over and off my table......had to repair it. 😣 Concrete floors and tiny plastic parts don't mix.


-
Welcome Slugger! I too wish I would've found this wonderful site way before I actually did.
-
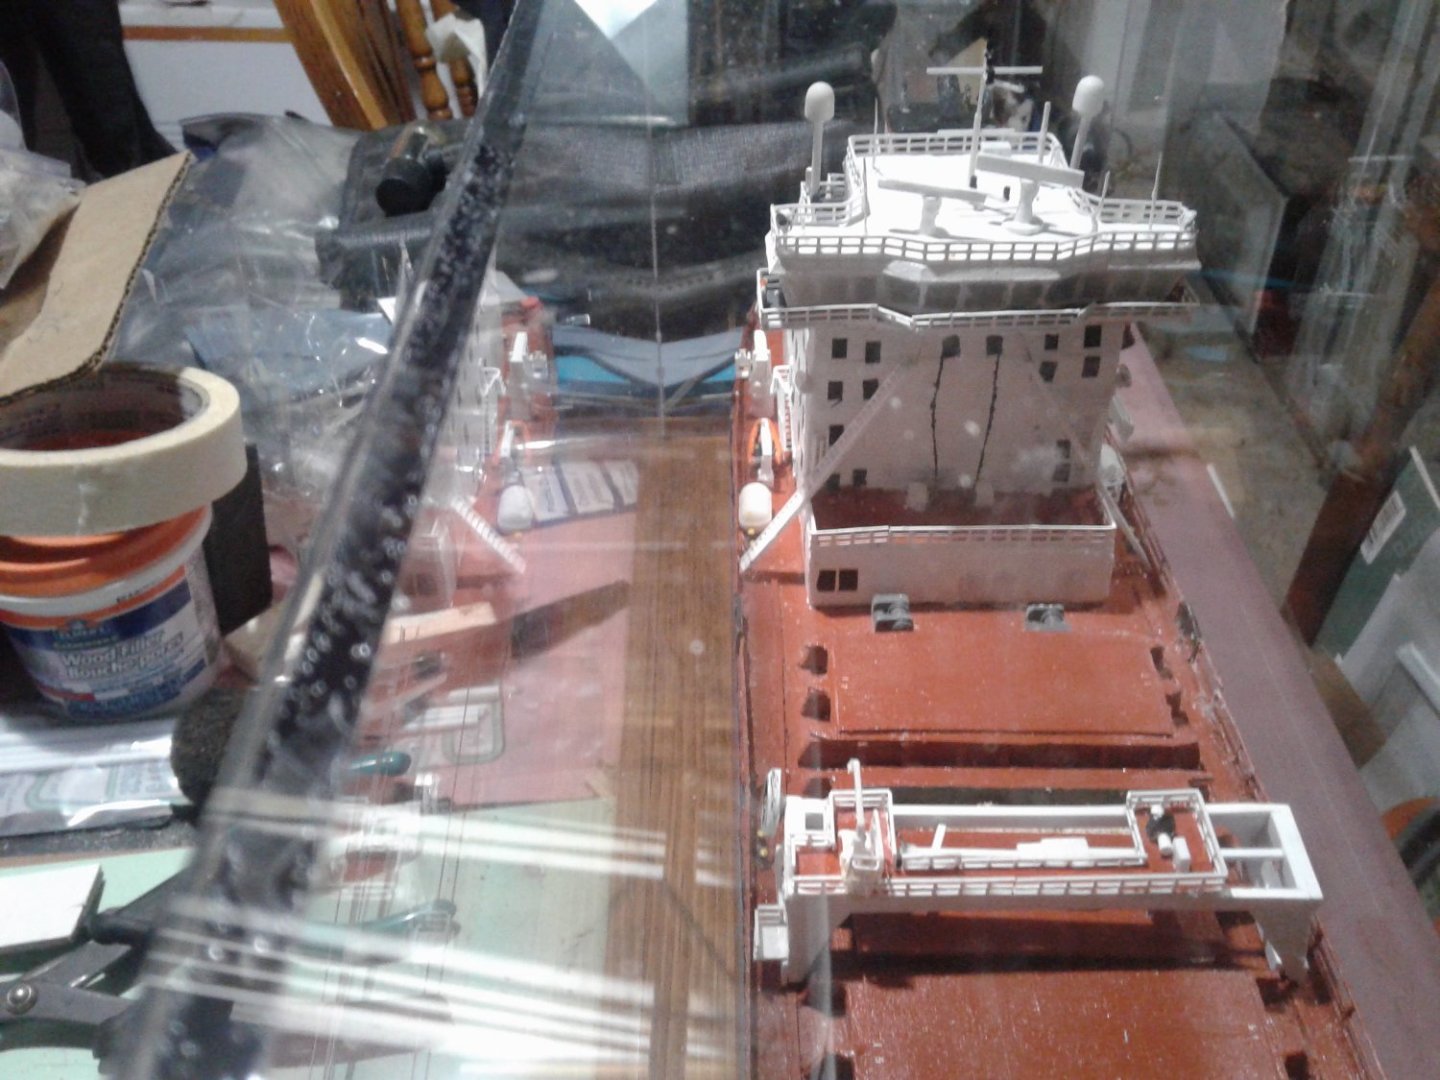
Good catch. I dont have those secured down....just placed them for roughing in. I think those winches are the closest I'd find to the real ones and the spacing between hatches is to the drawings. I think the actual modern hydraulic winches would a smaller footprint. I was thinking about the running of the wires the way it is on my model......great if you only use one winch to the up or if you're running your lines one on each side. 🙂
-
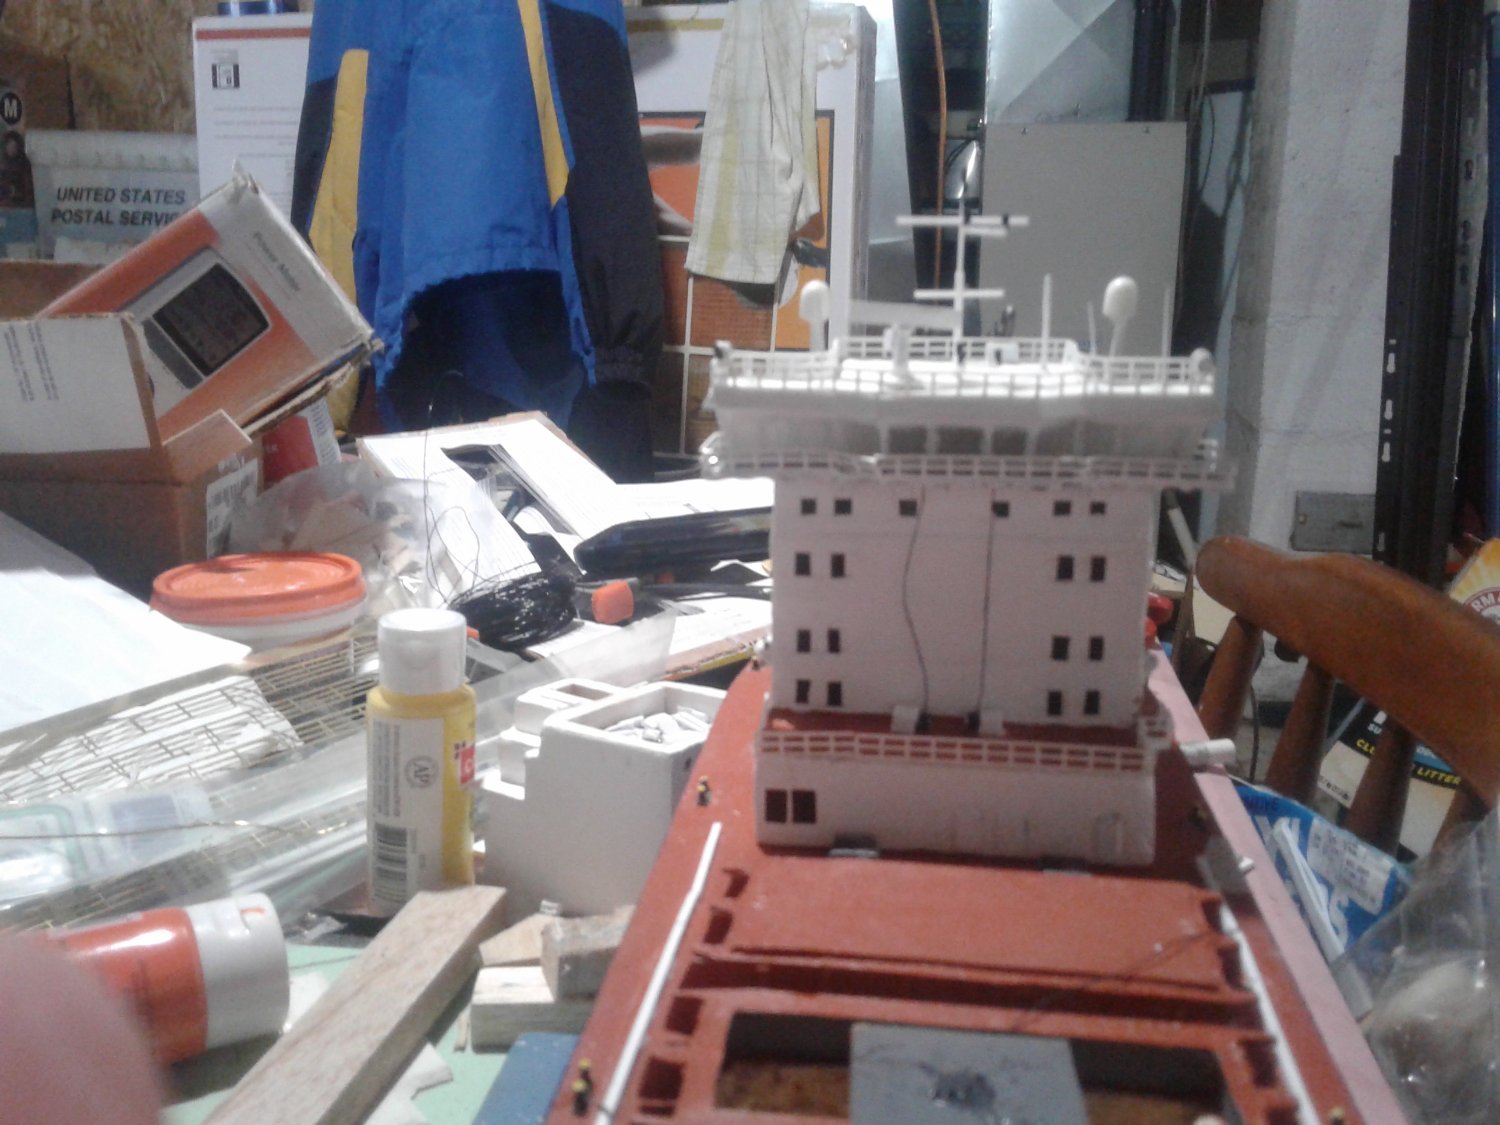
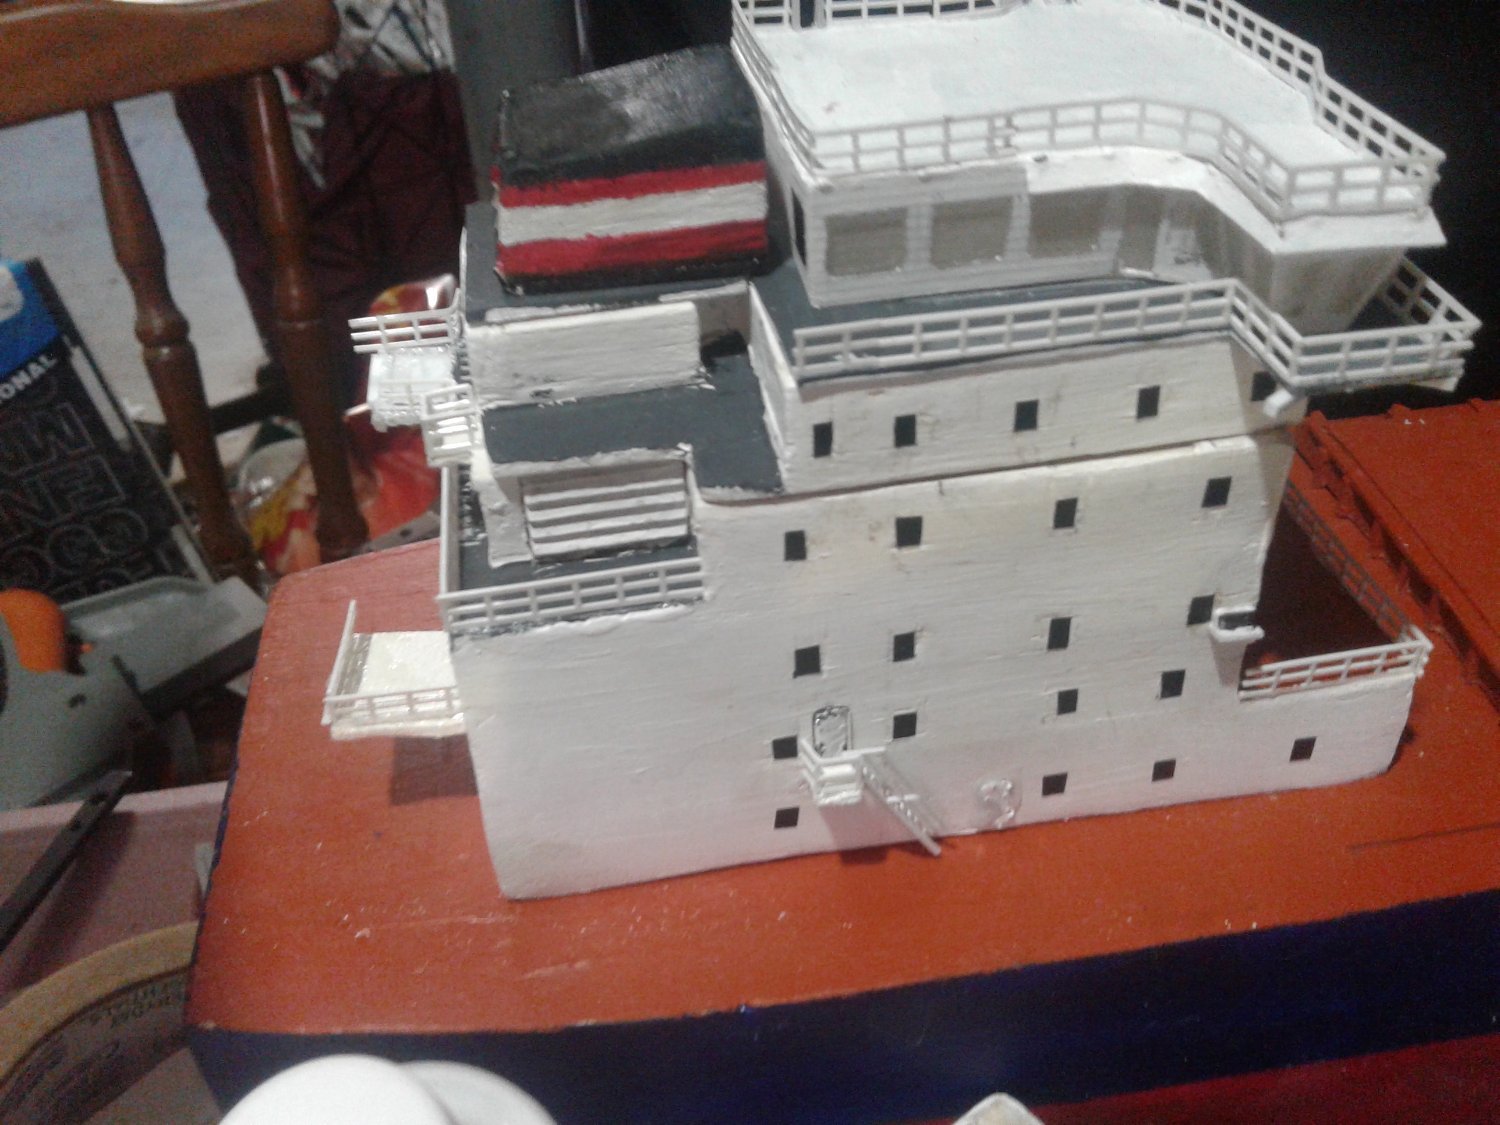
Had to order more railings, so waiting for those to arrive. One thing that is kind of wearing on my mind, and purely for the pursuit of excellence/perfection/accuracy is thinking how I am going to create all the appropriate radars, masts, antennae that are both on top of the wheelhouse and also at the front mast. Lots of really small (at this scale) lights, and probably 2 smaller radars along with the main one, and then the different radio antennae....... trying to keep in mind that this is my first true, hardcore build, and those little nuances will come with experience.

-
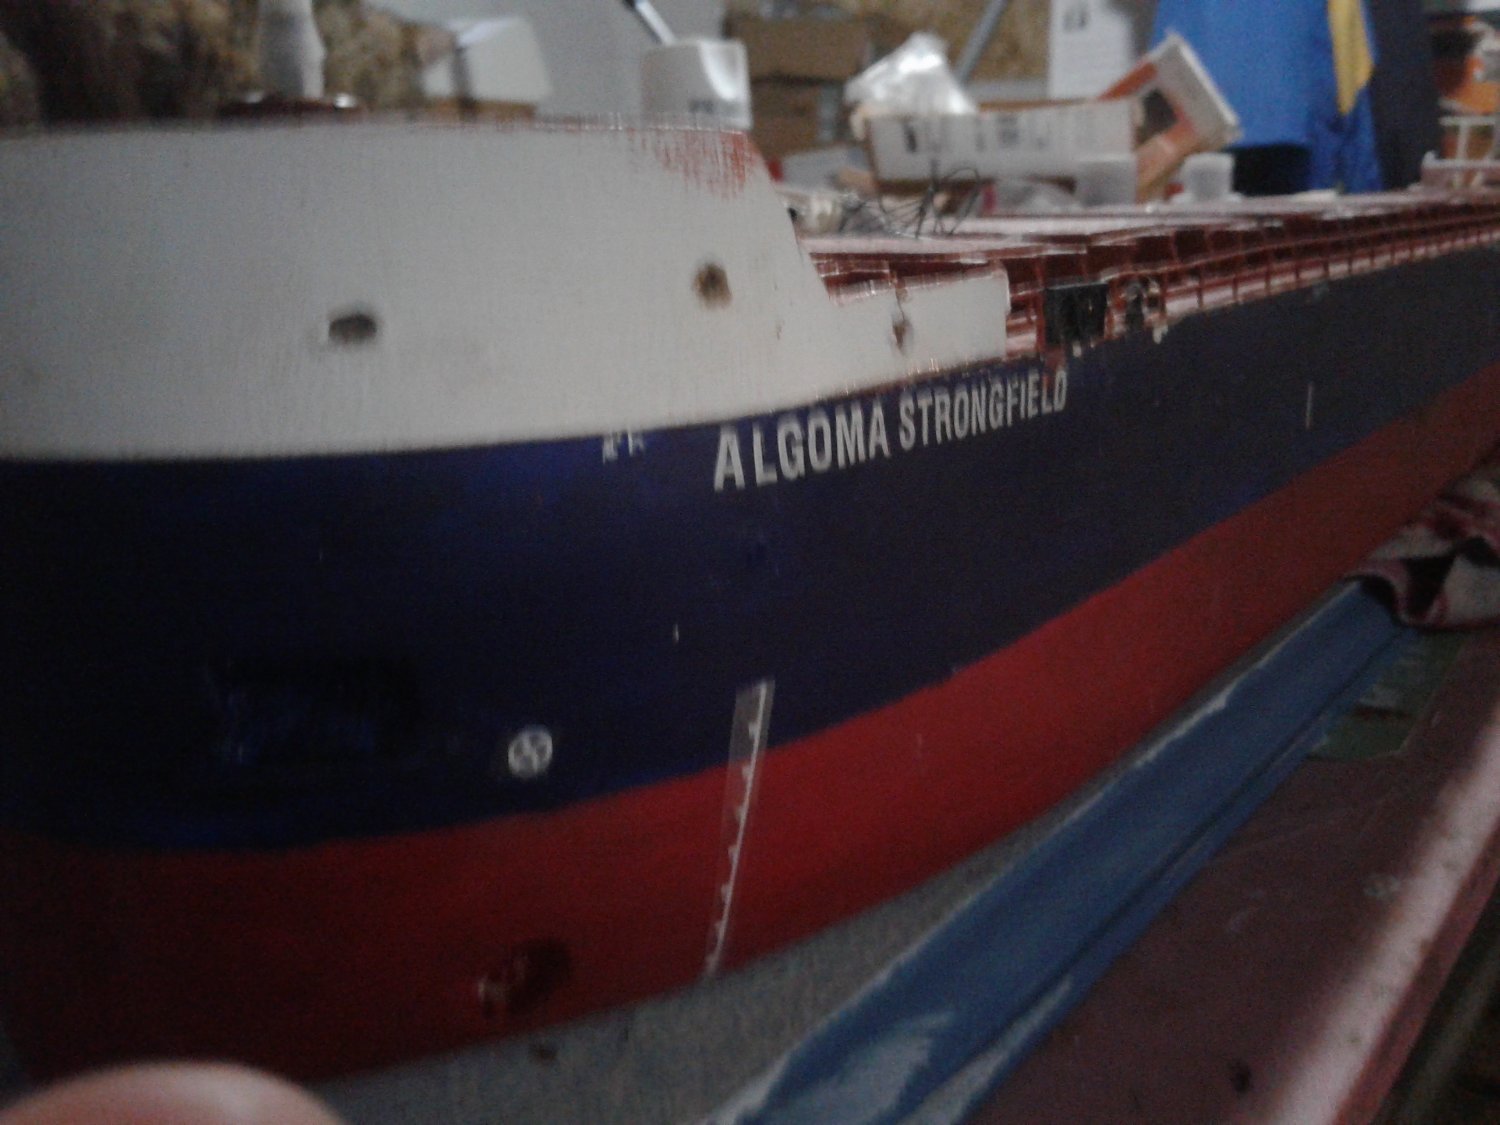
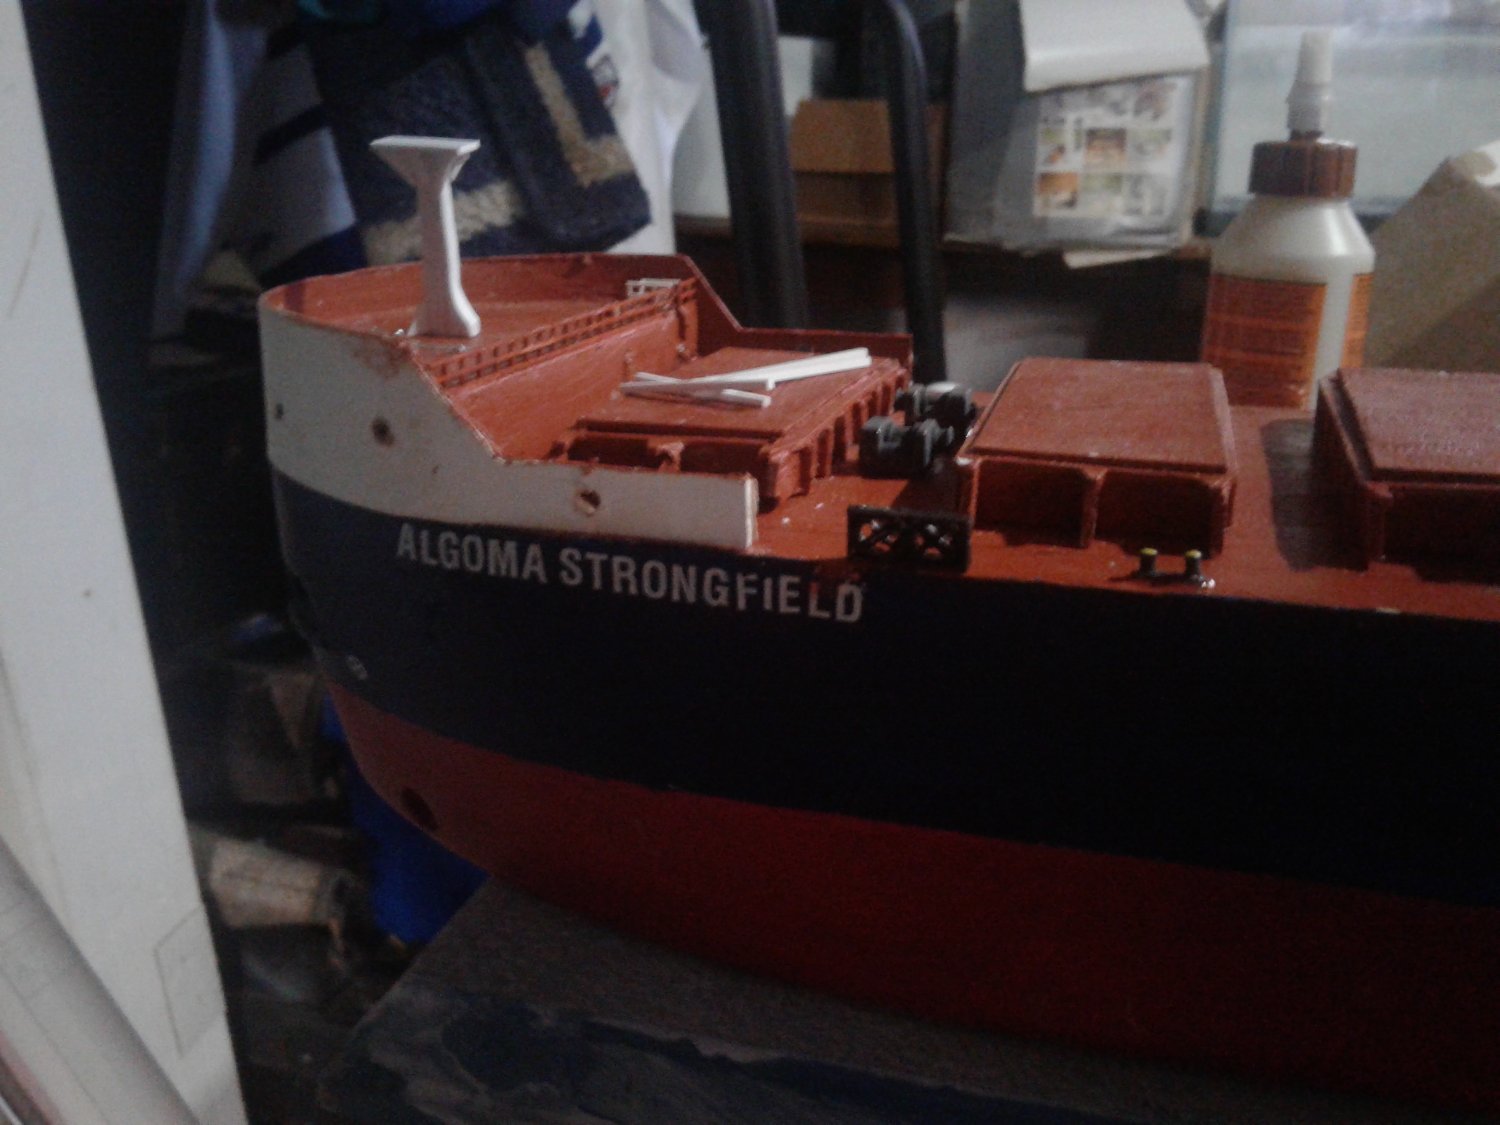
I redid some of the lettering..... The final small details are tedious but coming along. Hatch crane is half done I'd guess....probably 3rd trybatbit to make it look right. Finishing up ladders and handrails as well as front mast and small parts like winches and fairleads. Still a bit to go but overall I'm happy. I am sourcing parts as much as I can and other parts are handmade.


-
This makes me think of the 1:400 scale Edmund Fitzgerald paper model I bought an eBay a couple years ago. Still haven't built it, but I know it was from China. I think I only paid like $10.00. Now I see it is likely a copy of the JSC model. Damn..... wish I would have come across this post back then!
- 27 replies
-
- 5
-

-
- eBay
- kit piracy
- (and 1 more)
-
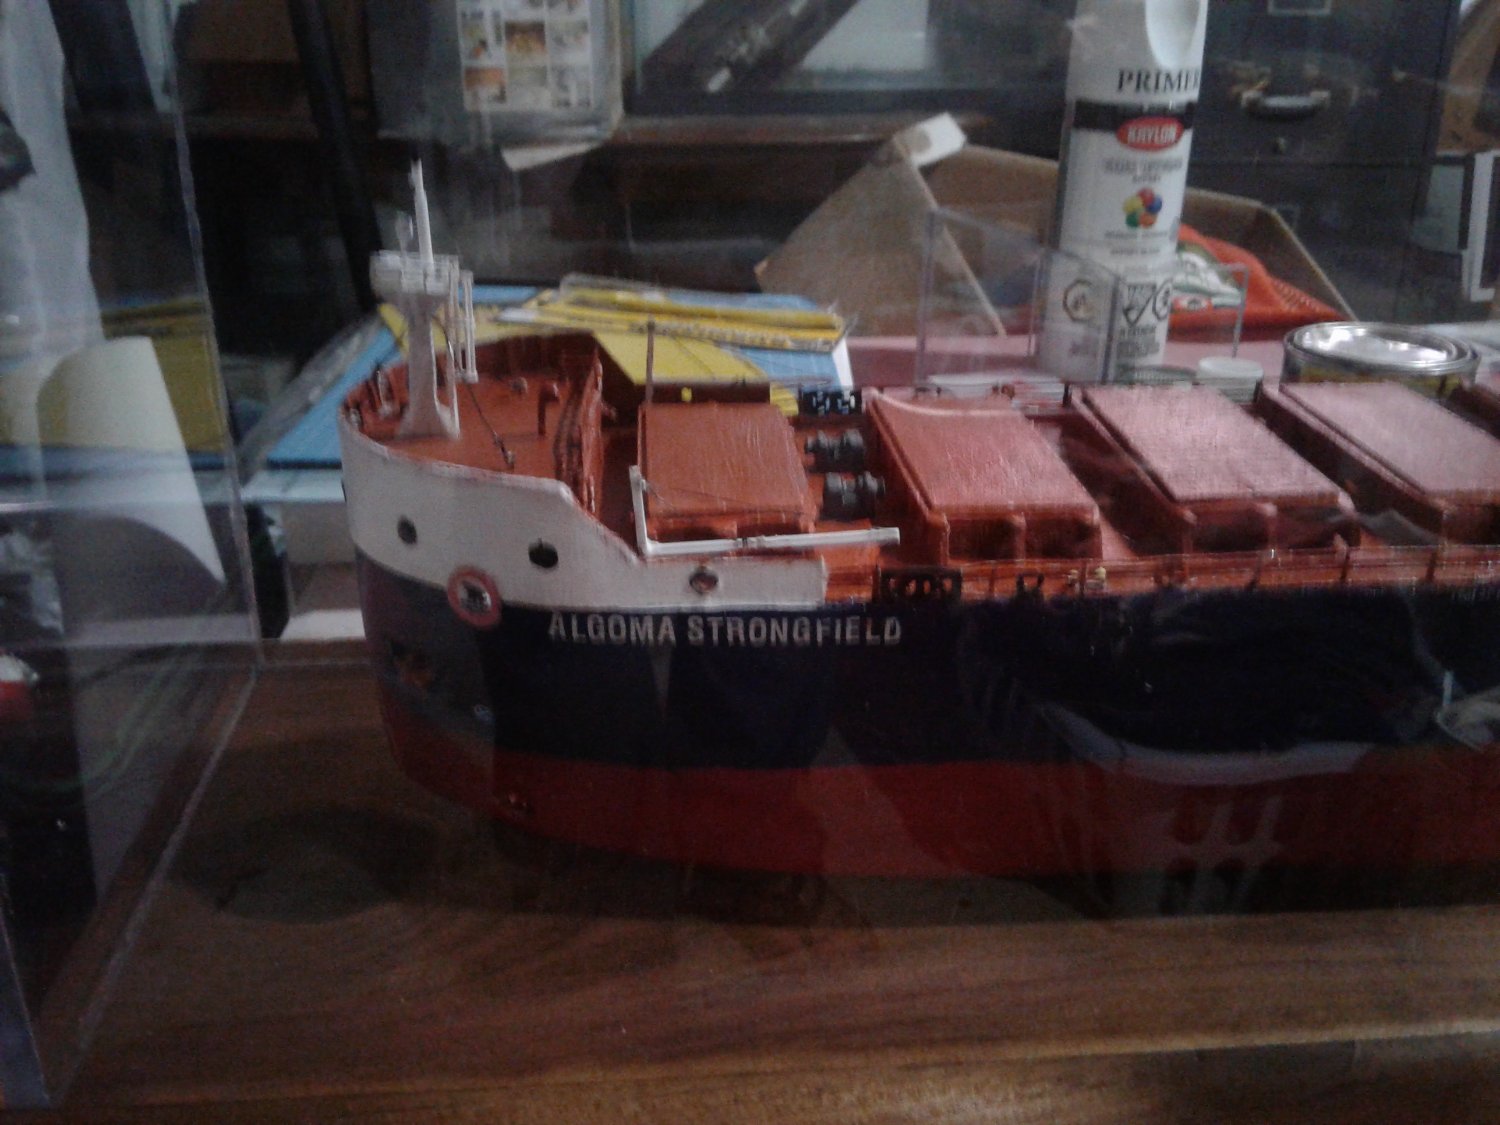
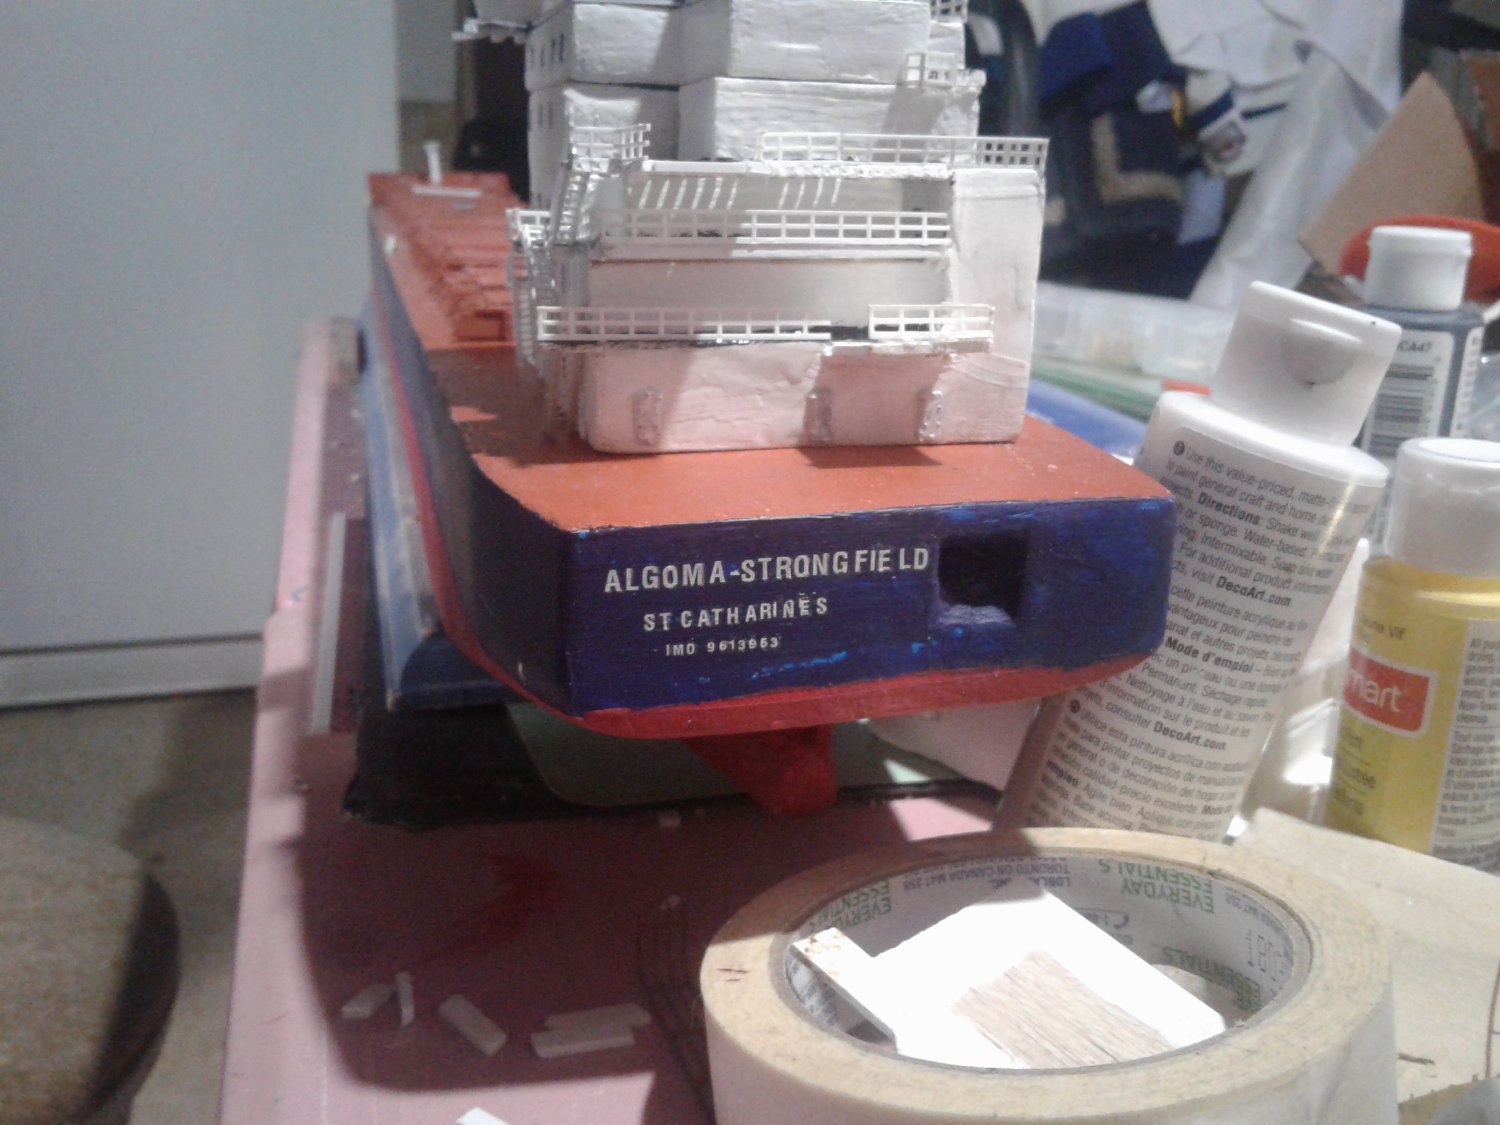
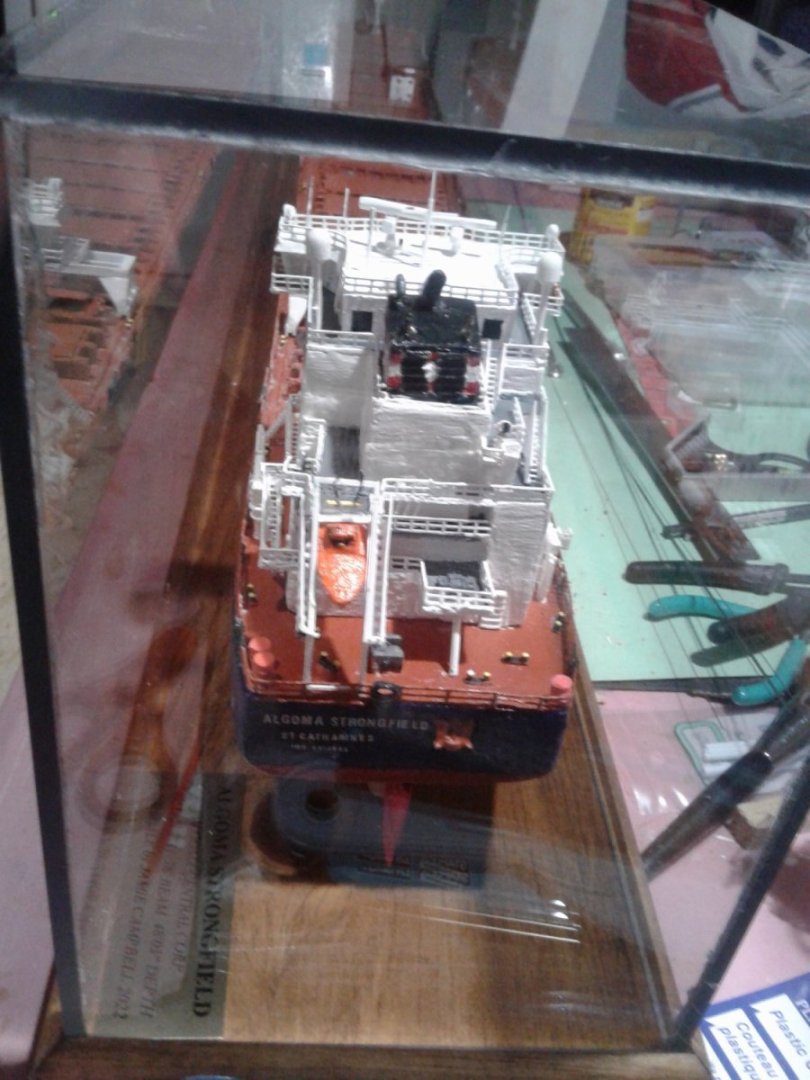
I might redo the lettering, especially on the back...looks too messy. The dry transfer is quite easy, however....... the really small ones were pretty hard to do, and keep straight - the white letters on an almost clear transfer sheet made the alignment difficult, hence the result. Might investigate the blank decal paper though..... never used it before. I suppose there is the traditional wet slide option with individual letters, but I think that would be hard to isolate each letter especially with them being quite small. My eyes were hurting looking at it after a while. Also......I will for sure check out the flex track. I have not got around to the hatch crane and track. I don't have specs/dims for the hatch crane other than the basic views on the general arrangement. Of course, the Strongfield's hatch crane seems pretty complex on it's own, with a small crane on top of it (which I do have already that I purchased on Shapeways). I assume you've done one of these before....... I'm open for tips/suggestions on how to tackle this. Overall I am happy with how this has turned out. I consider it my first true build. I did a not to true scale Edmund Fitzgerald, which I still have to letter and finish that hatch crane too.
-
Thank you! The dry transfer lettering process kind of led me in that direction!
-
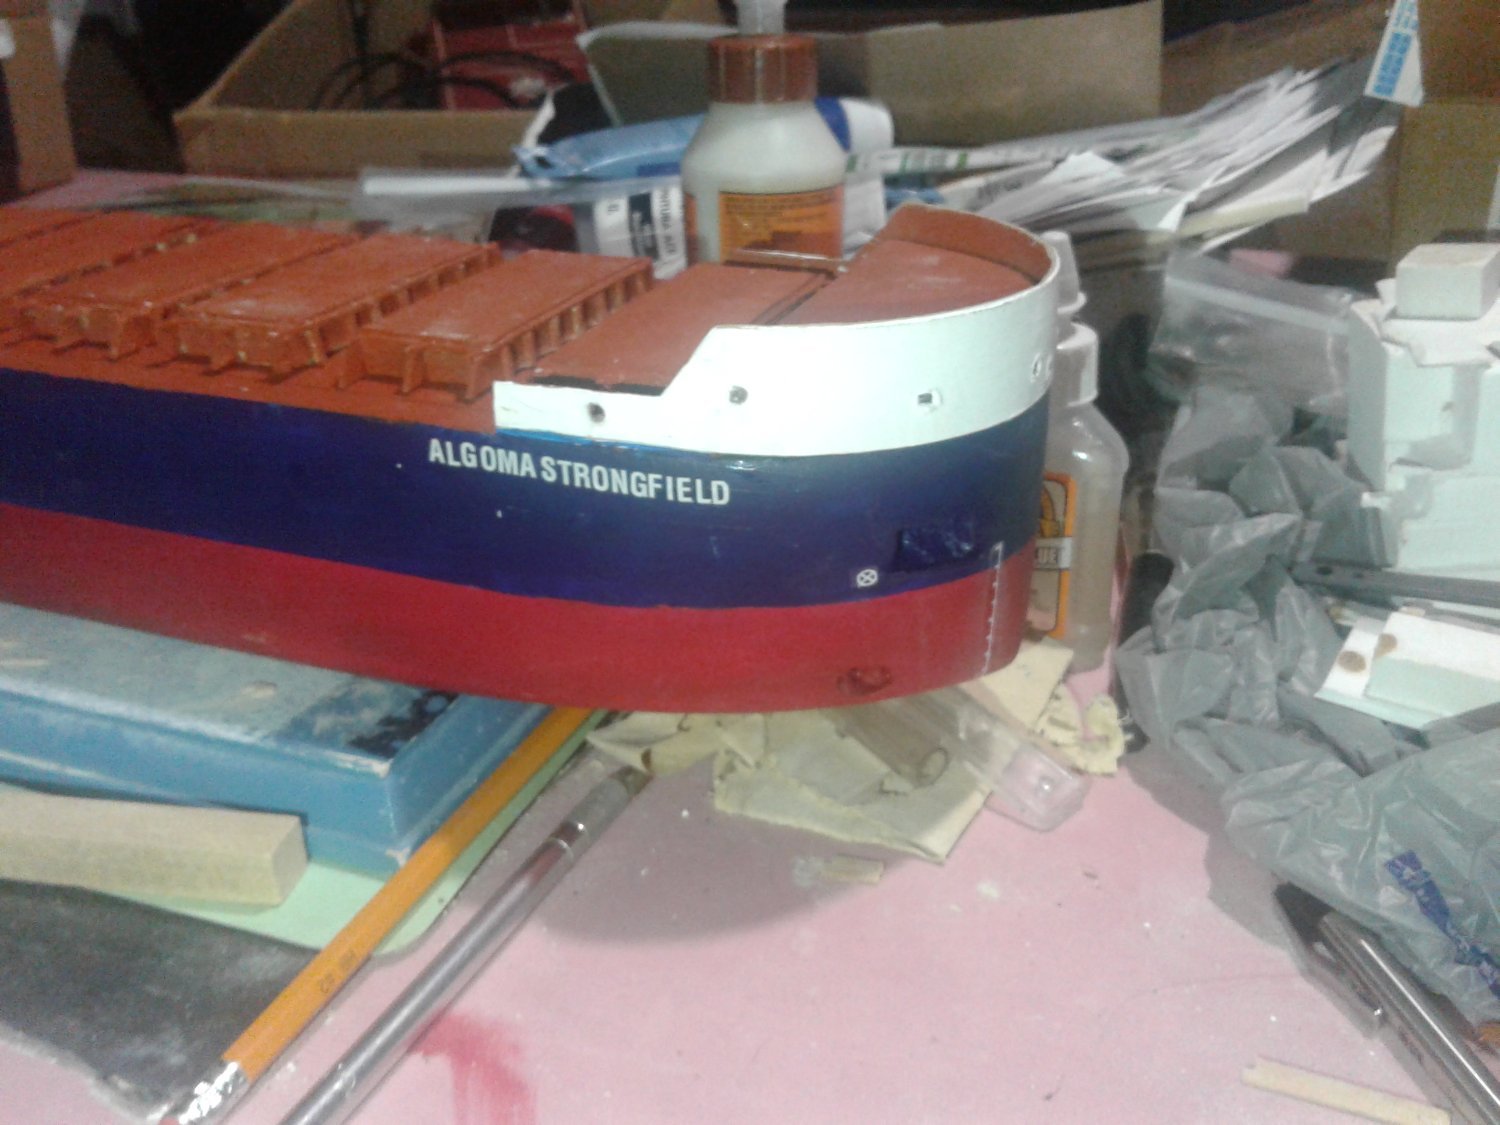
Last day off before I go back to work so tried my hand at some dry transfer lettering..... Also going with different ship name but identical otherwise. Will have to change title of thread


-
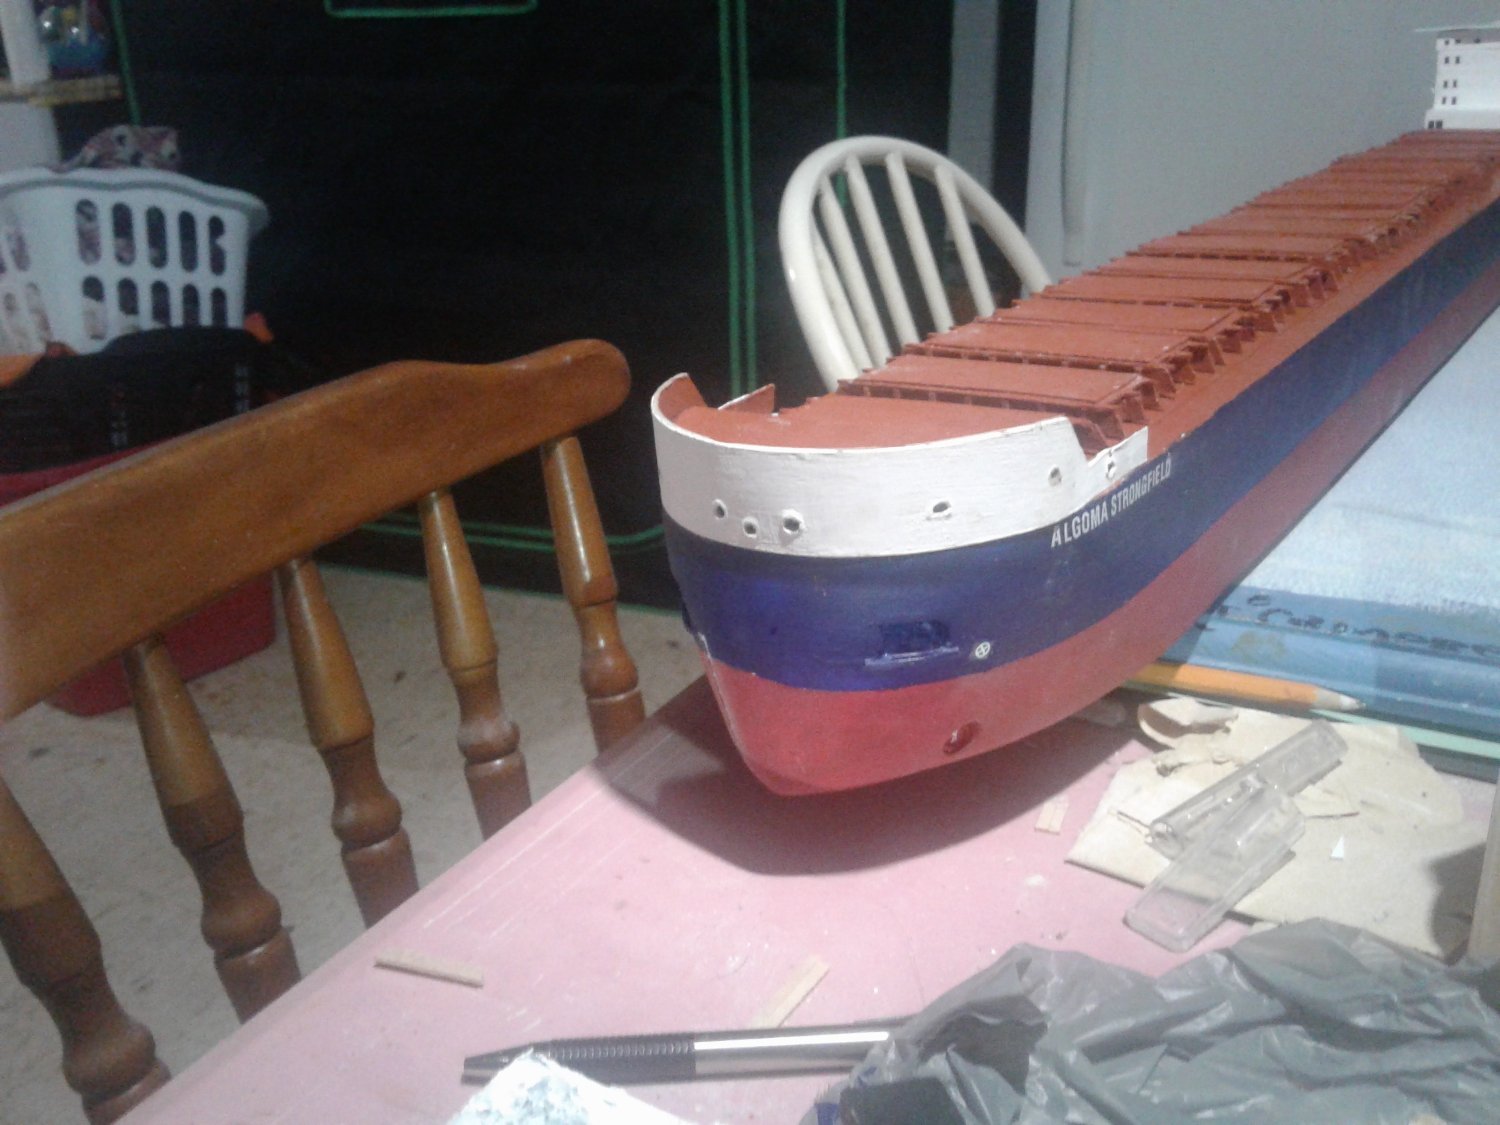
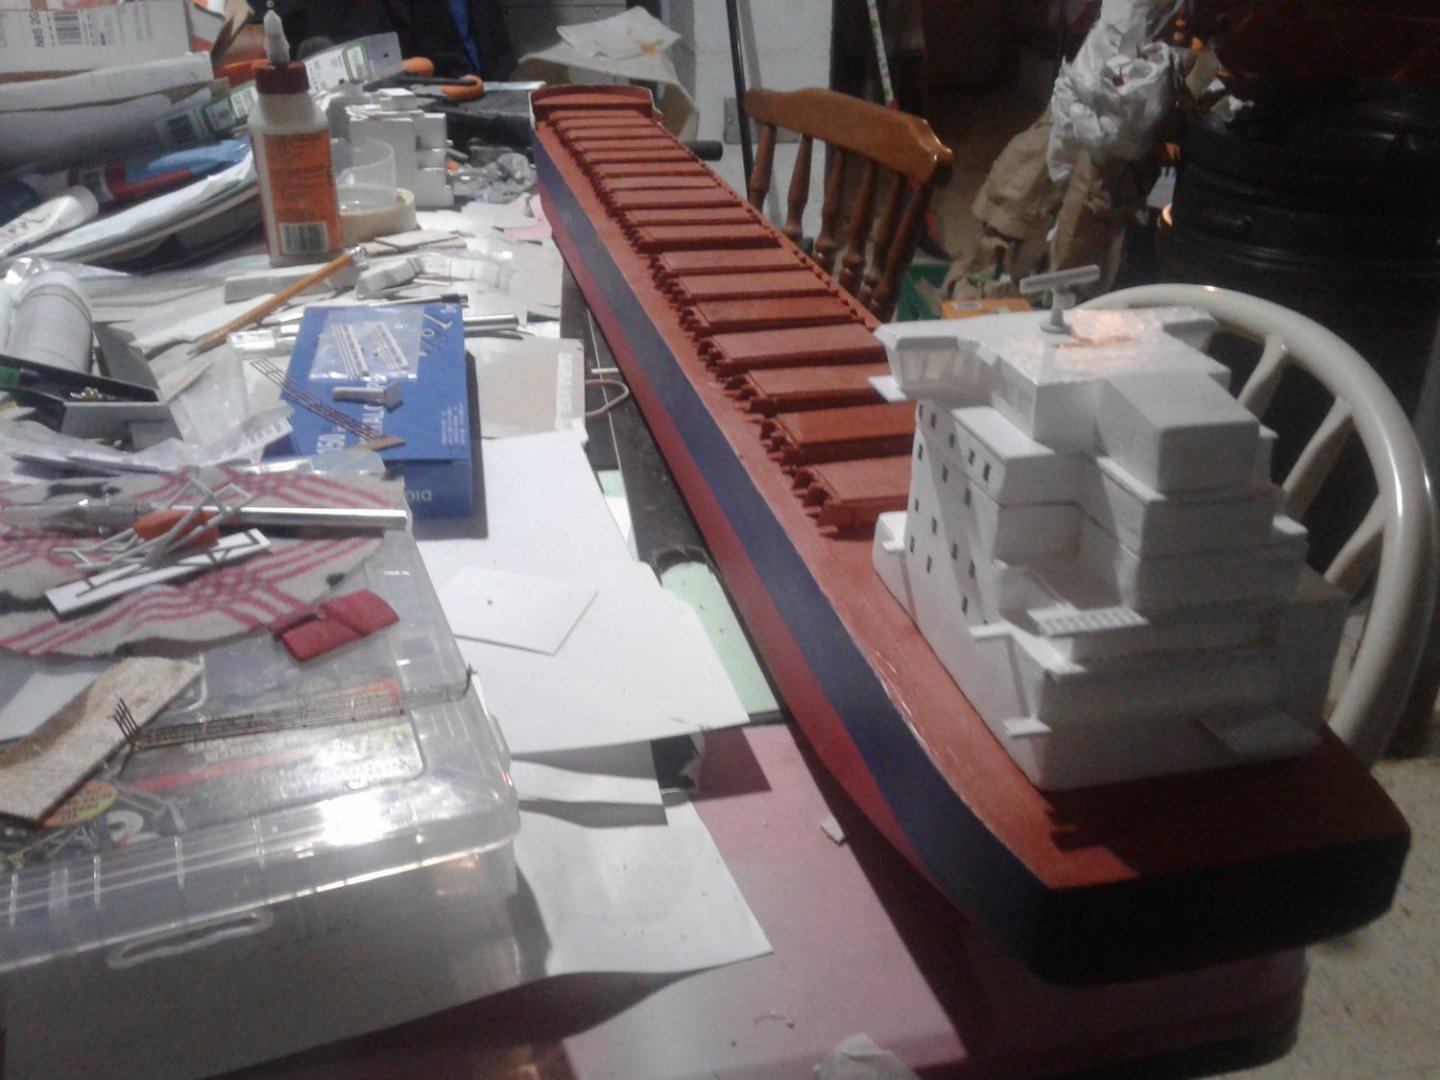
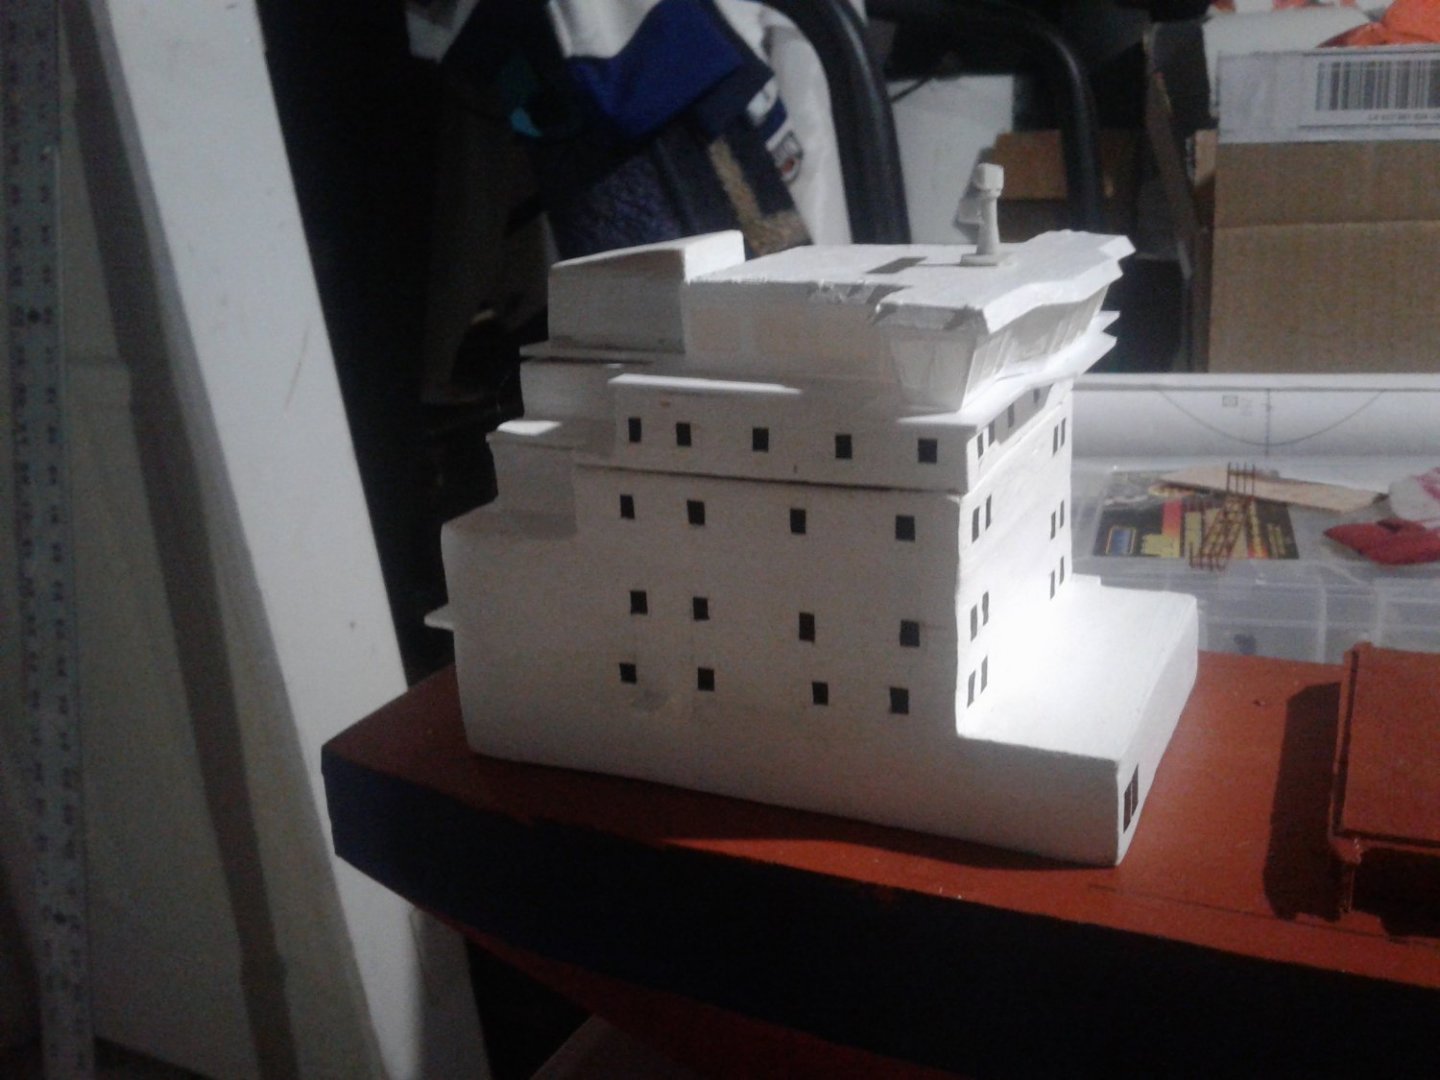
About 44 inches long
-
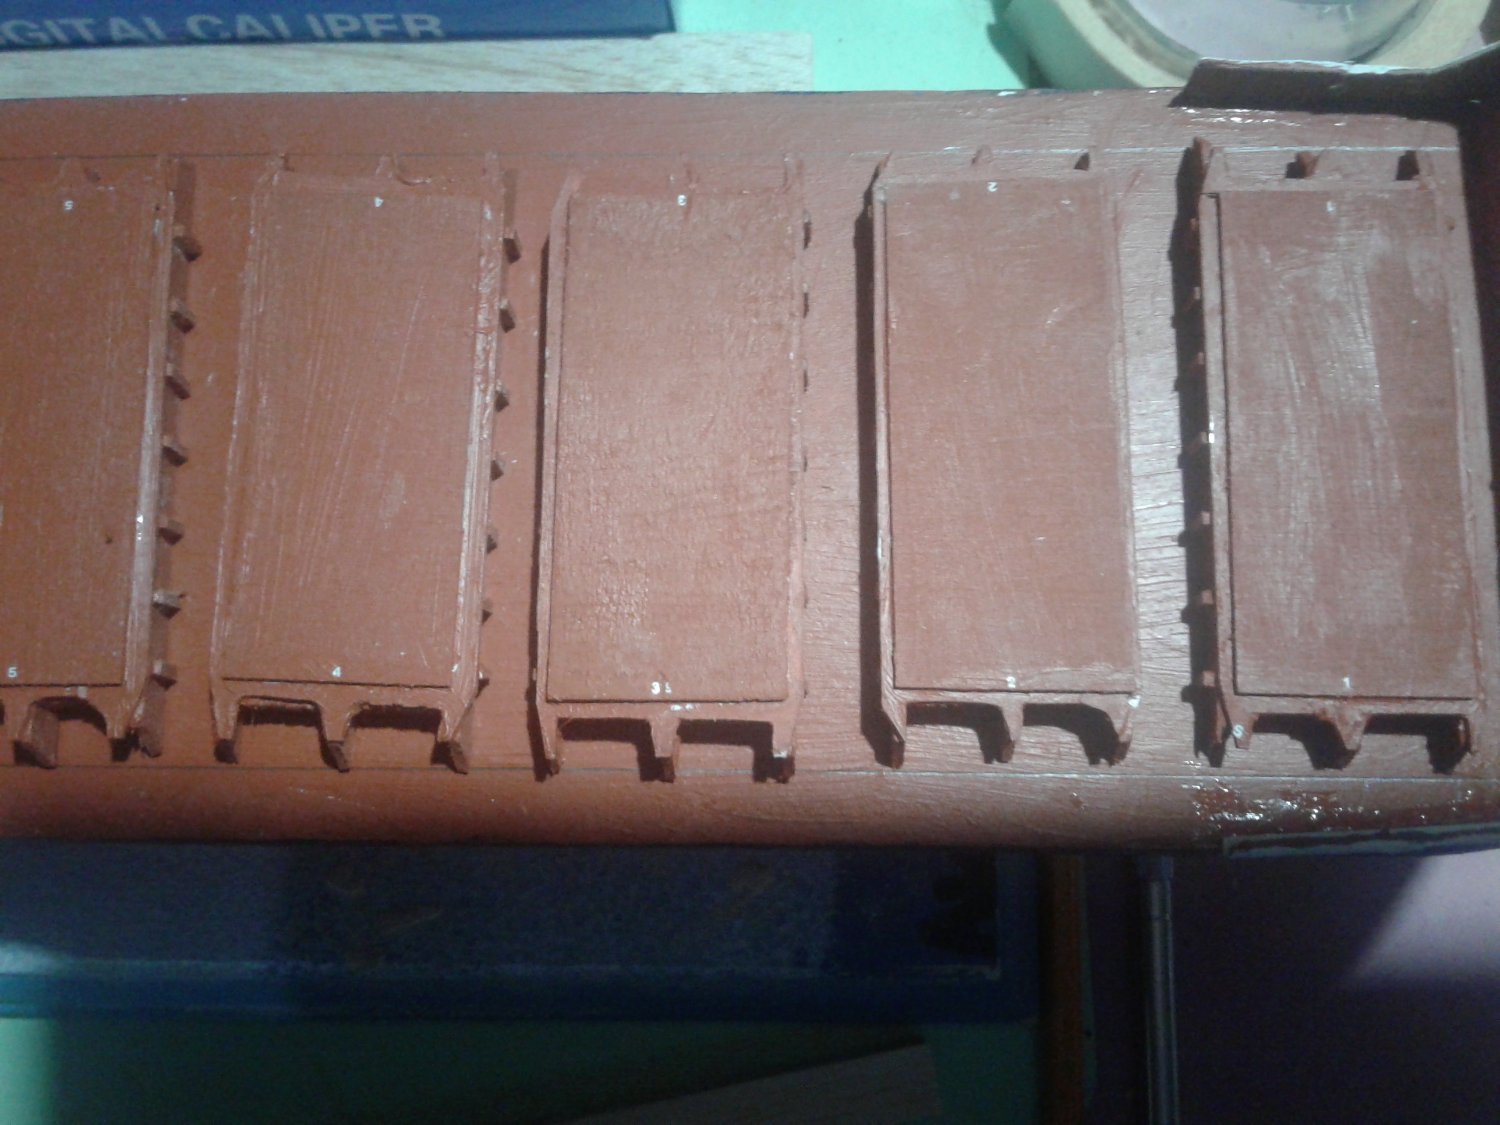
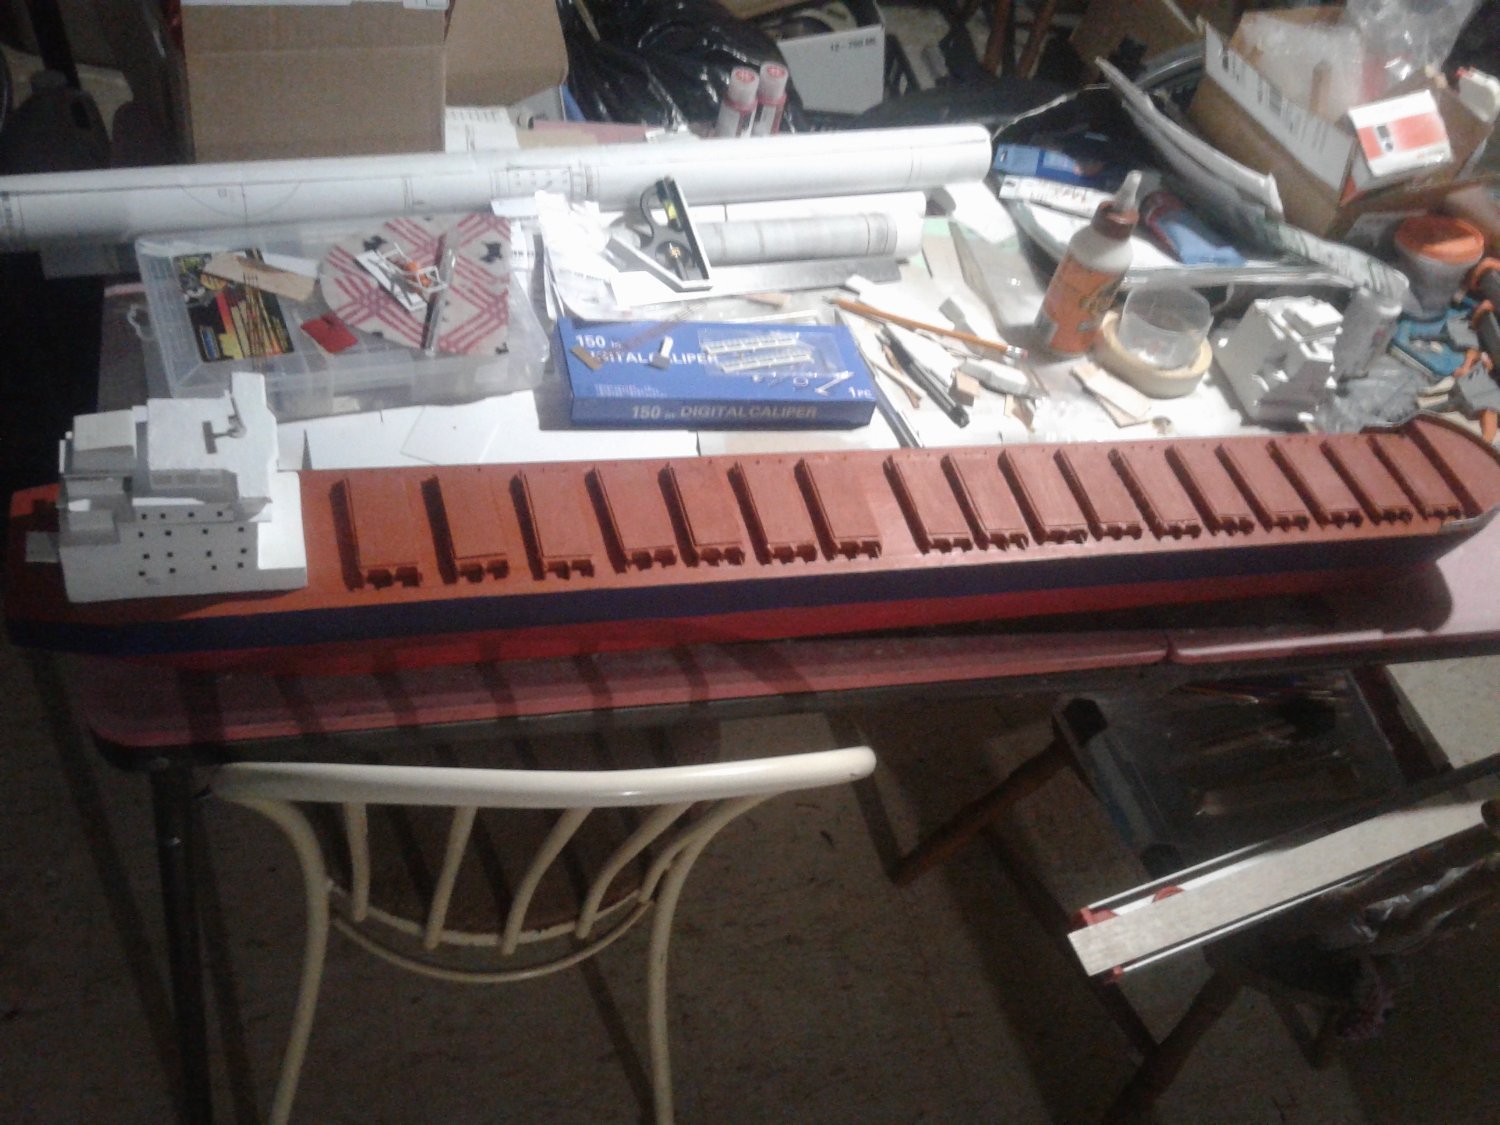
Holiday break is great for progress on projects like this...... Each hatch consisting of 21 pieces each is painted and roughly placed. I think I'm OK with my windows - they are vinyl decals cut to size but still something inthink I can do better with considering this is my second build I've attempted. Have the position of the hatch crane rails laid out. Building the hatch crane should be interesting as I don't have drawings for that. I am overall pretty happy so far.


-
One of the proposed alternatives to the Panama Canal
JKC27 replied to bruce d's topic in Nautical/Naval History
I watched a show a couple weeks back on History channel on the planning and building of the Panama Canal. The obstacles (physical/economic/political) they had to overcome to get this kind of project built was amazing.