DONATION DRIVE - SUPPORT MSW - DO YOUR PART TO KEEP THIS GREAT FORUM GOING!
×

JKC27
-
Posts
323 -
Joined
-
Last visited
Content Type
Profiles
Forums
Gallery
Events
Everything posted by JKC27
-
 Just started a thread on the Lanc - will post some pics tonight or in the next day or so. Here's hoping someone (likely Kinetic) comes out with a qualify Avro Arrow kit - they just released the Tutor trainer (Snowbirds) kit.
 -
This model is being built, not by me, but as a group build by the scale model club I belong too, which is part of the Canadian Aviation Museum here in Windsor, Ontario. The museum is also restoring a Lancaster bomber that was on display at a city park here, and it should be complete in time for the 100th anniversary of the Royal Canadian Air Force in 2024. The kit we are doing is a 1/32 scale kit from Border Model, but we will be modifying it to coincide with the real plane at the hanger. One of our members knows someone who is donating their basement space for us to work on it, as well as members taking certain parts home to work on them at their convenience as well. I will be posting updates with pictures as the build progresses, as well as any information that may be interesting in regards to the build. Here is a short new article talking about the actual plane.... Lancaster bomber restoration nearing completion in Windsor, Ont. I will do my best to answer any questions anyone may have. First set of pics to follow soon!
- 15 replies
-
- 18
-

-
Gotta love these difficult decisions! Personal preference for me is the left side........the right seems almost too blue. That being said, will be following this build for sure. I've gone down a rabbit hole of model plane kits while I decide what freighter to do next (although I did get slightly started on the Robert S Pierson and Tim S Dool - Andy will know these). I'm starting to wonder if maybe my impression that there is not a lot of WWII Canadian aircraft models is false....not a lot of RCAF markings are offered, yet our pilots mostly flew under RAF colours, if I a not mistaken, as I am certainly not up my Canadian military history. I will get a thread started on our club Lanc build in the next day or so.
-
Value-for-Money Airbrush
JKC27 replied to BANYAN's topic in Painting, finishing and weathering products and techniques
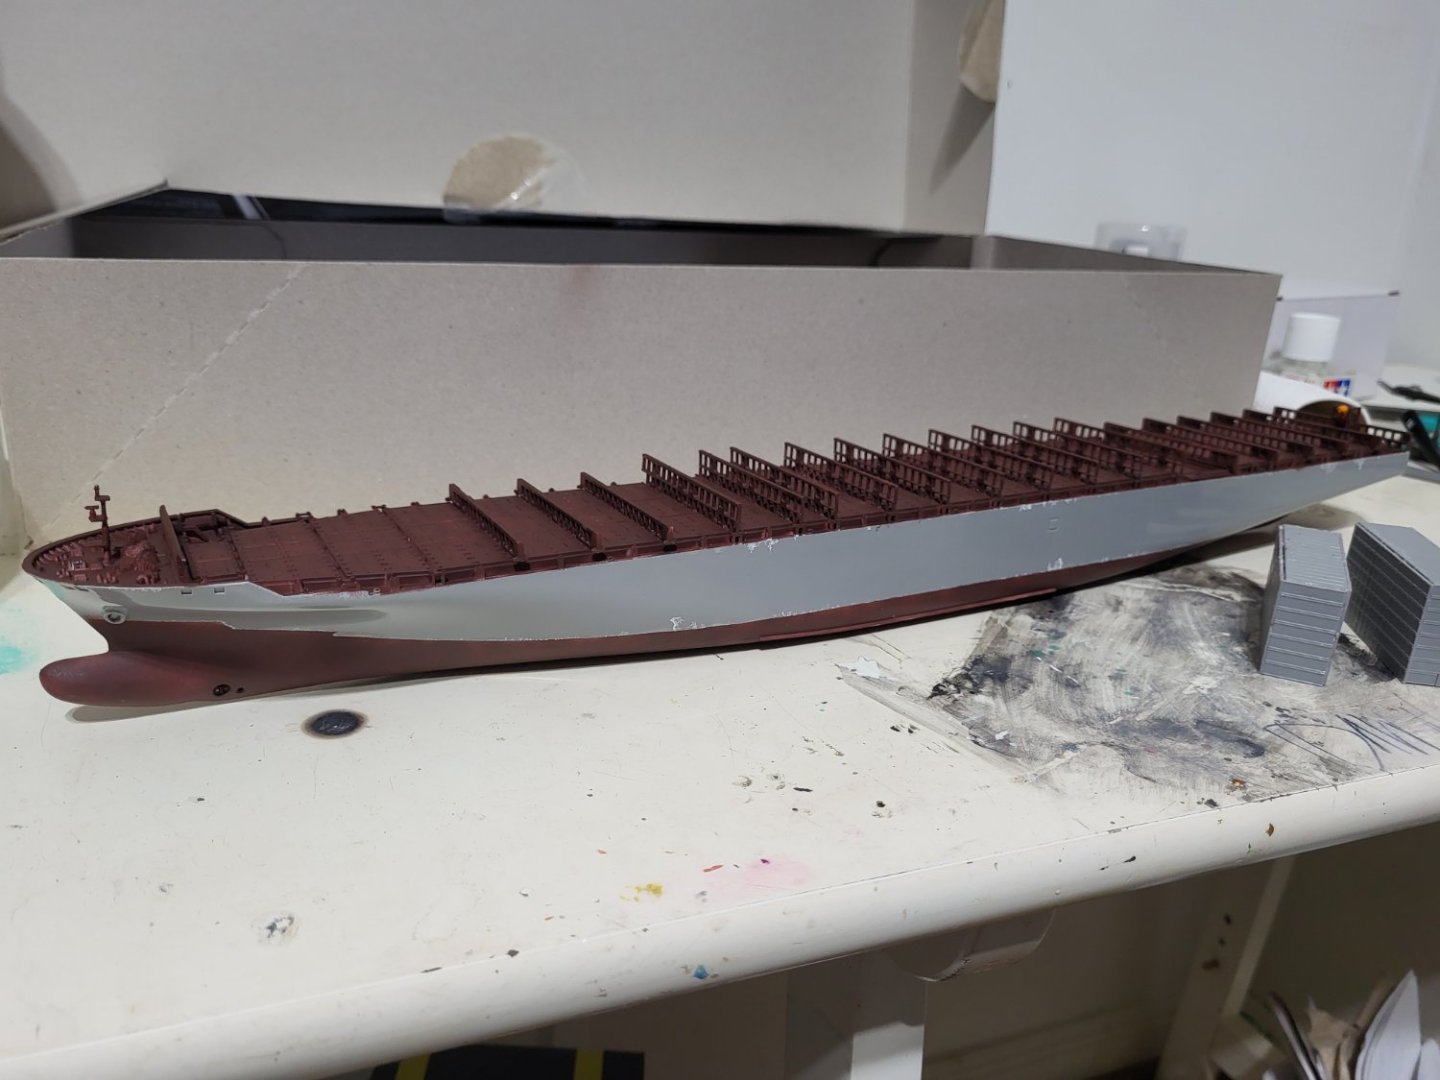
Well, sure enough, it appears that my barely used Amazon special has broken. I cleaned it up good each time with airbrush cleaner, and made sure to take care of it. I went to use it the other day, and when I attempted to spray my parts I was painting it kept wanting to back up out of the tiny hole in the tap of the cap for the paint reservoir (I guess you can call it), or try to push the cap off and paint sprayed everywhere but out the tip of the nozzle. After cleaning up my mess and taking the airbrush apart, it looks like the threads on the small part that tip of the needle goes into where the paint comes out are stripped, and the nip of the needle would push this out essentially blocking the nozzle. This is my best guess as far as diagnosing the problem goes. I can screw the tip back in, but it just pulls out, so I think it is done. Goes to show you.....if the price looks too good to be true, it almost certainly is. Some things it's worth spending the little bit extra on. Good thing it's my 50th birthday coming up! -
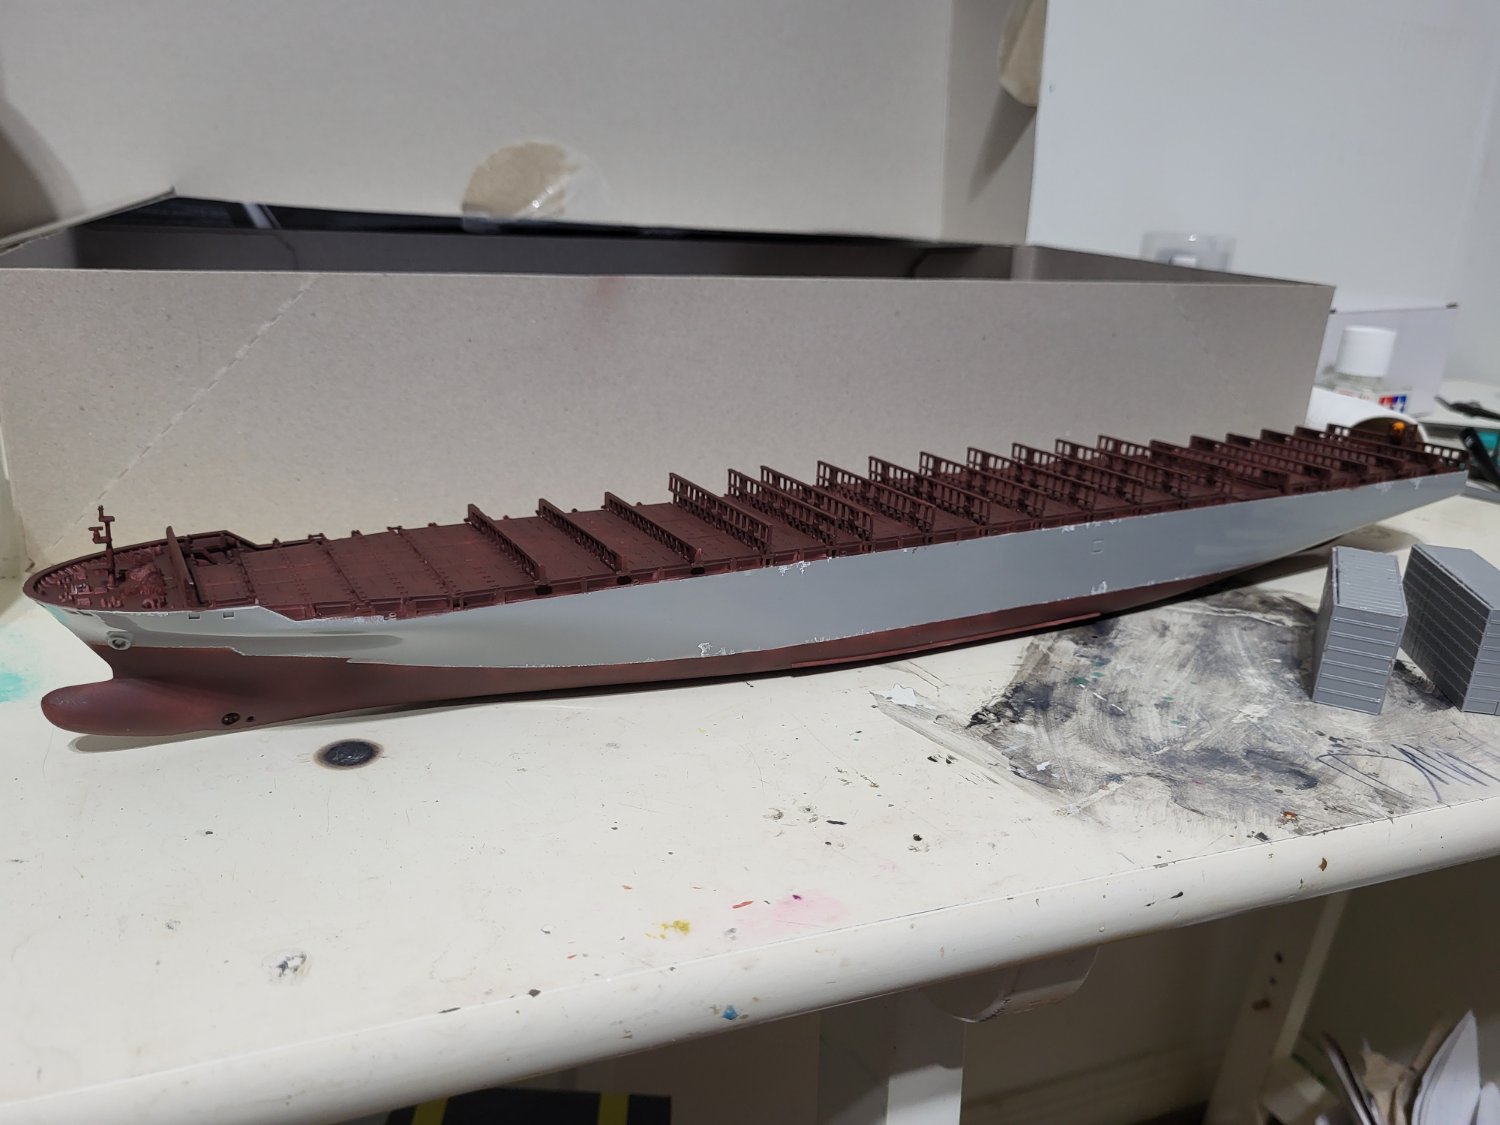
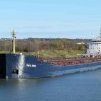
Looks like the airbrush is all good. Painted the deck and quickly the bottom of the hull. This paint is Tamiyas hull red but it is quite brown...but close enough. Slowly putting the container stacks together as well as the pilot house and decks.
- 13 replies
-
- 7
-
-
- Colombo Express
- Revell
- (and 1 more)
-
I built this kit a couple years back. The guy who makes these has them pretty detailed. I don't think they are to a specific scale, but they do have a decent offering of Great Lakes freighters. I might check out some of their other models one day. Too bad they don't have any Canadian fleet boats. Have fun with this though....looks like you are making good progress!
- 17 replies
-
- 5
-
-
- Edmund Fitzgerald
- Lake Freighter Minis
- (and 2 more)
-
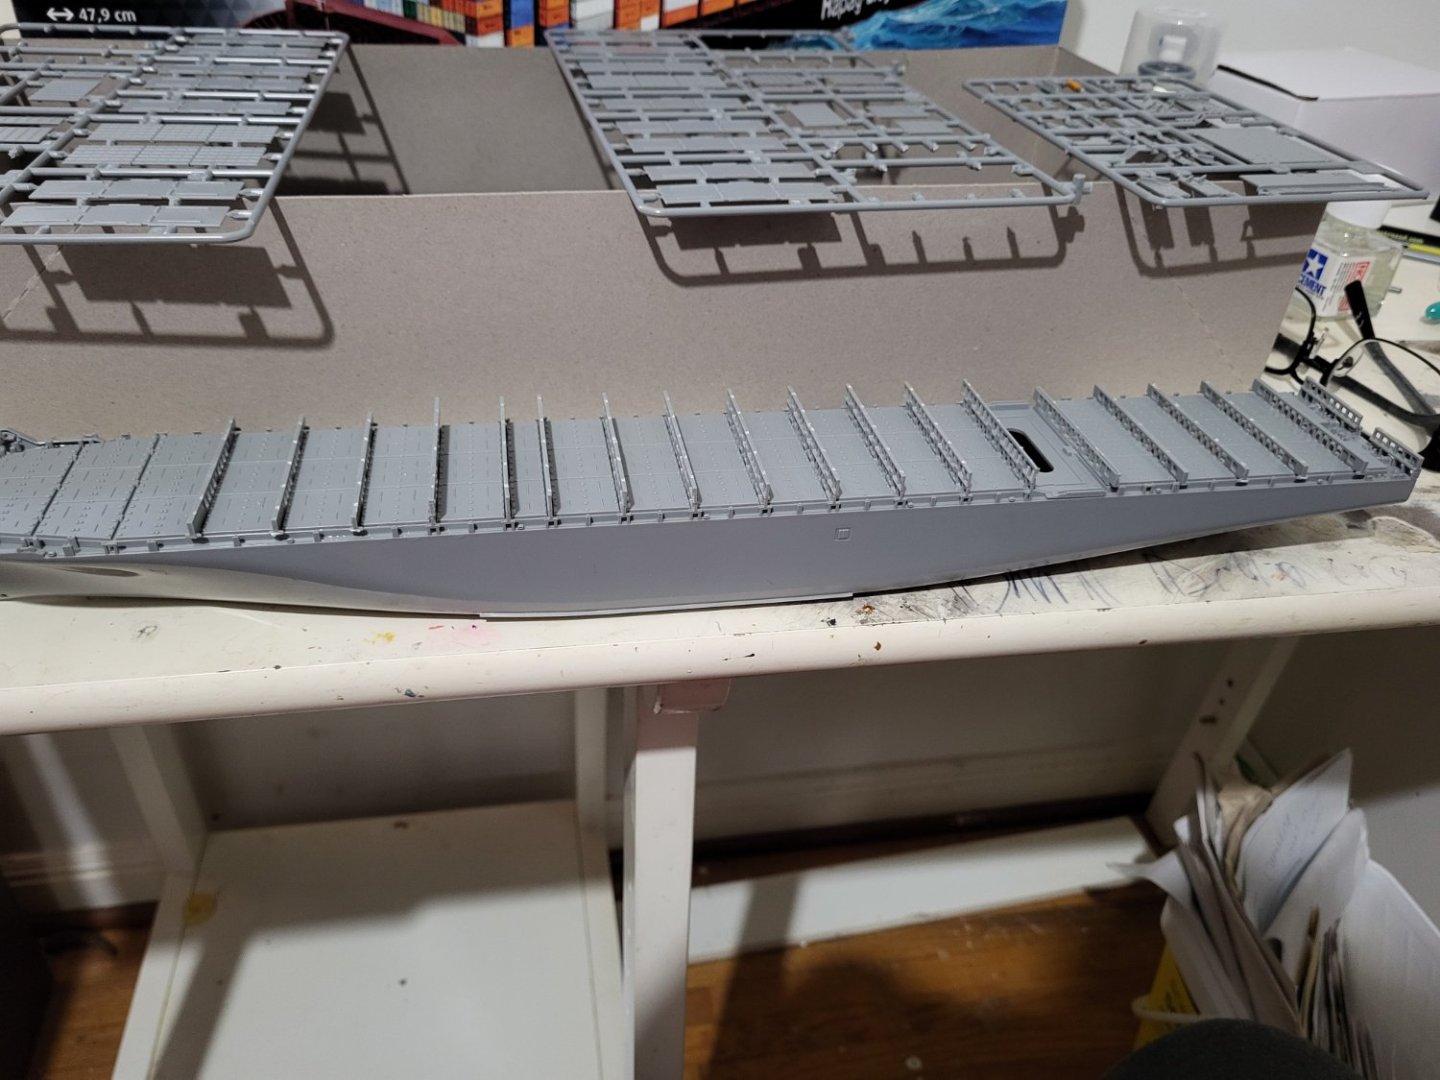
May have an issue with my airbrush. Maybe a small clog? Took it apart and tried to clean it up.....will see what happens. Primed the main deck and tried to start painting but it didn't seem to be flowing right.
-
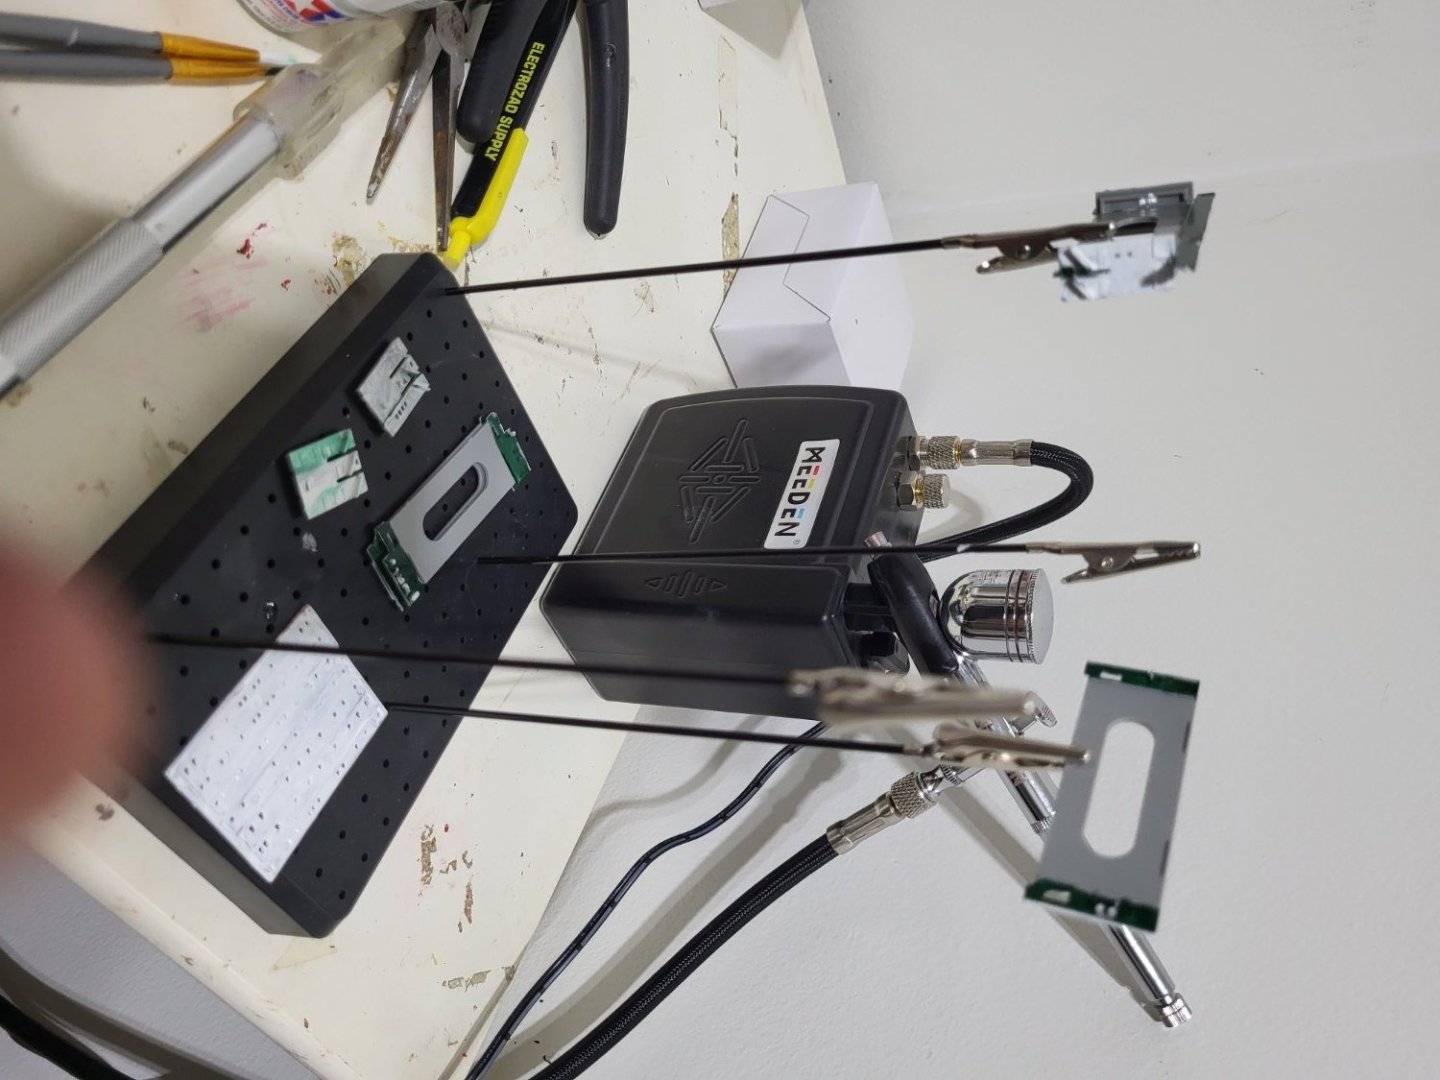
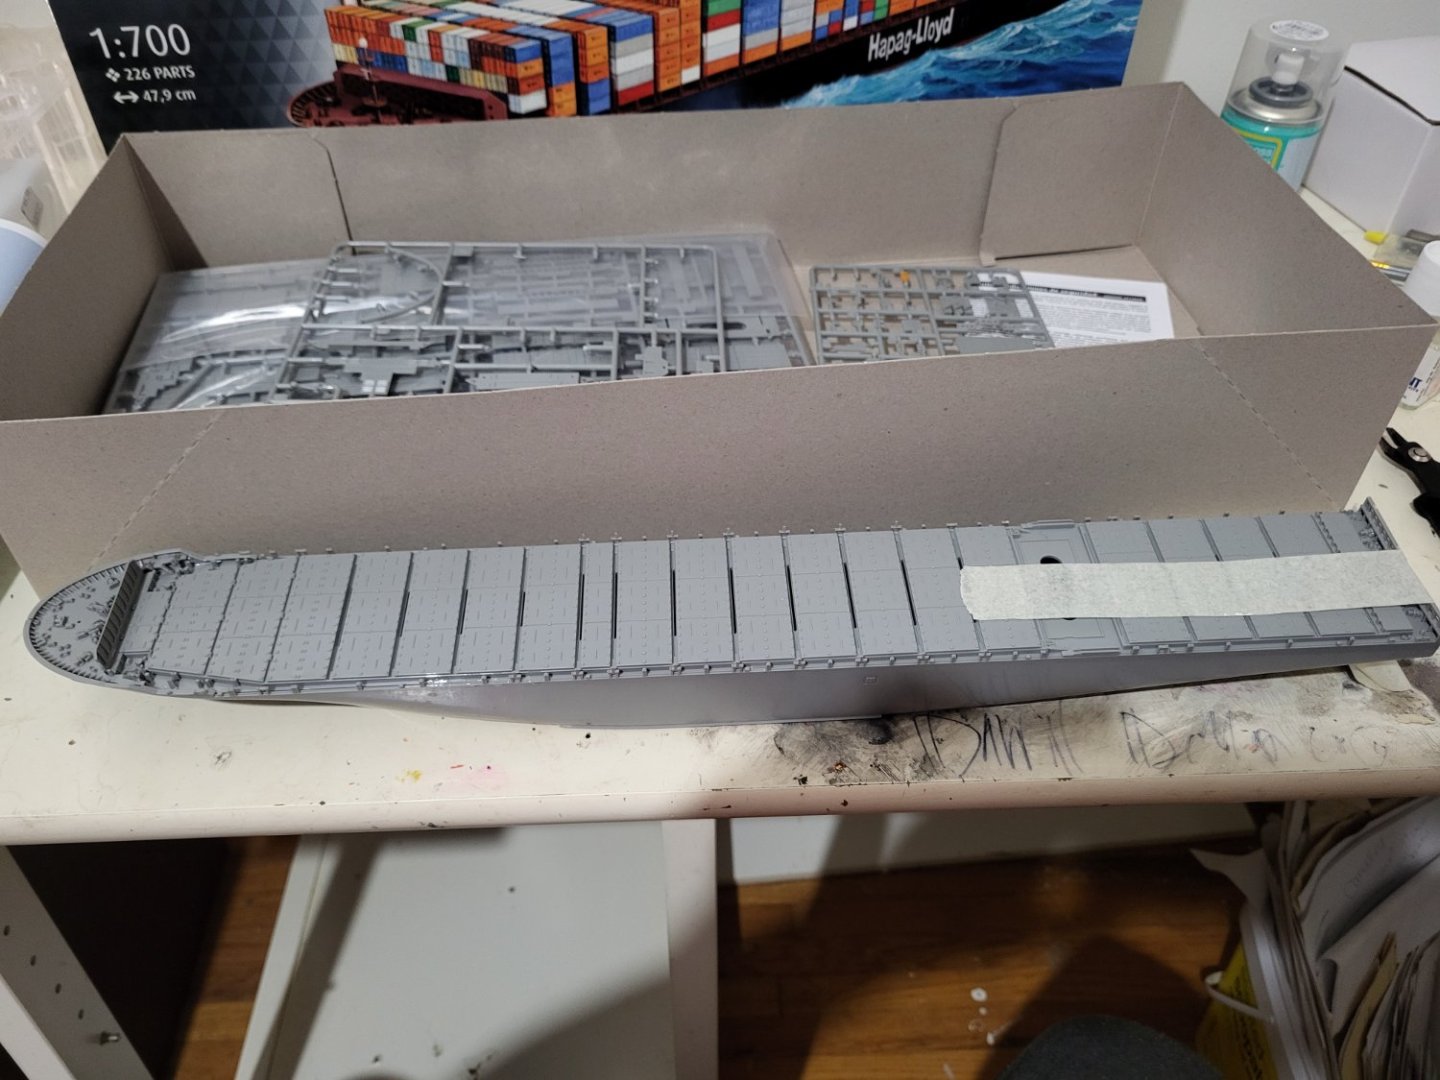
Main deck is essentially complete aside from.paint. Fairly easy build so far.
- 13 replies
-
- 6
-
-
- Colombo Express
- Revell
- (and 1 more)
-
Well we are steaming along with this.....the 2 hull halves are attached with 2 bulkheads providing strength. The main deck is full piece so that went easy with the f'csle deck and the transom (I believe it's called) at stern all coming together. It does call for some parts to be painted in between but I am going to do that in different steps as I see fit.
- 13 replies
-
- 5
-
-
- Colombo Express
- Revell
- (and 1 more)
-
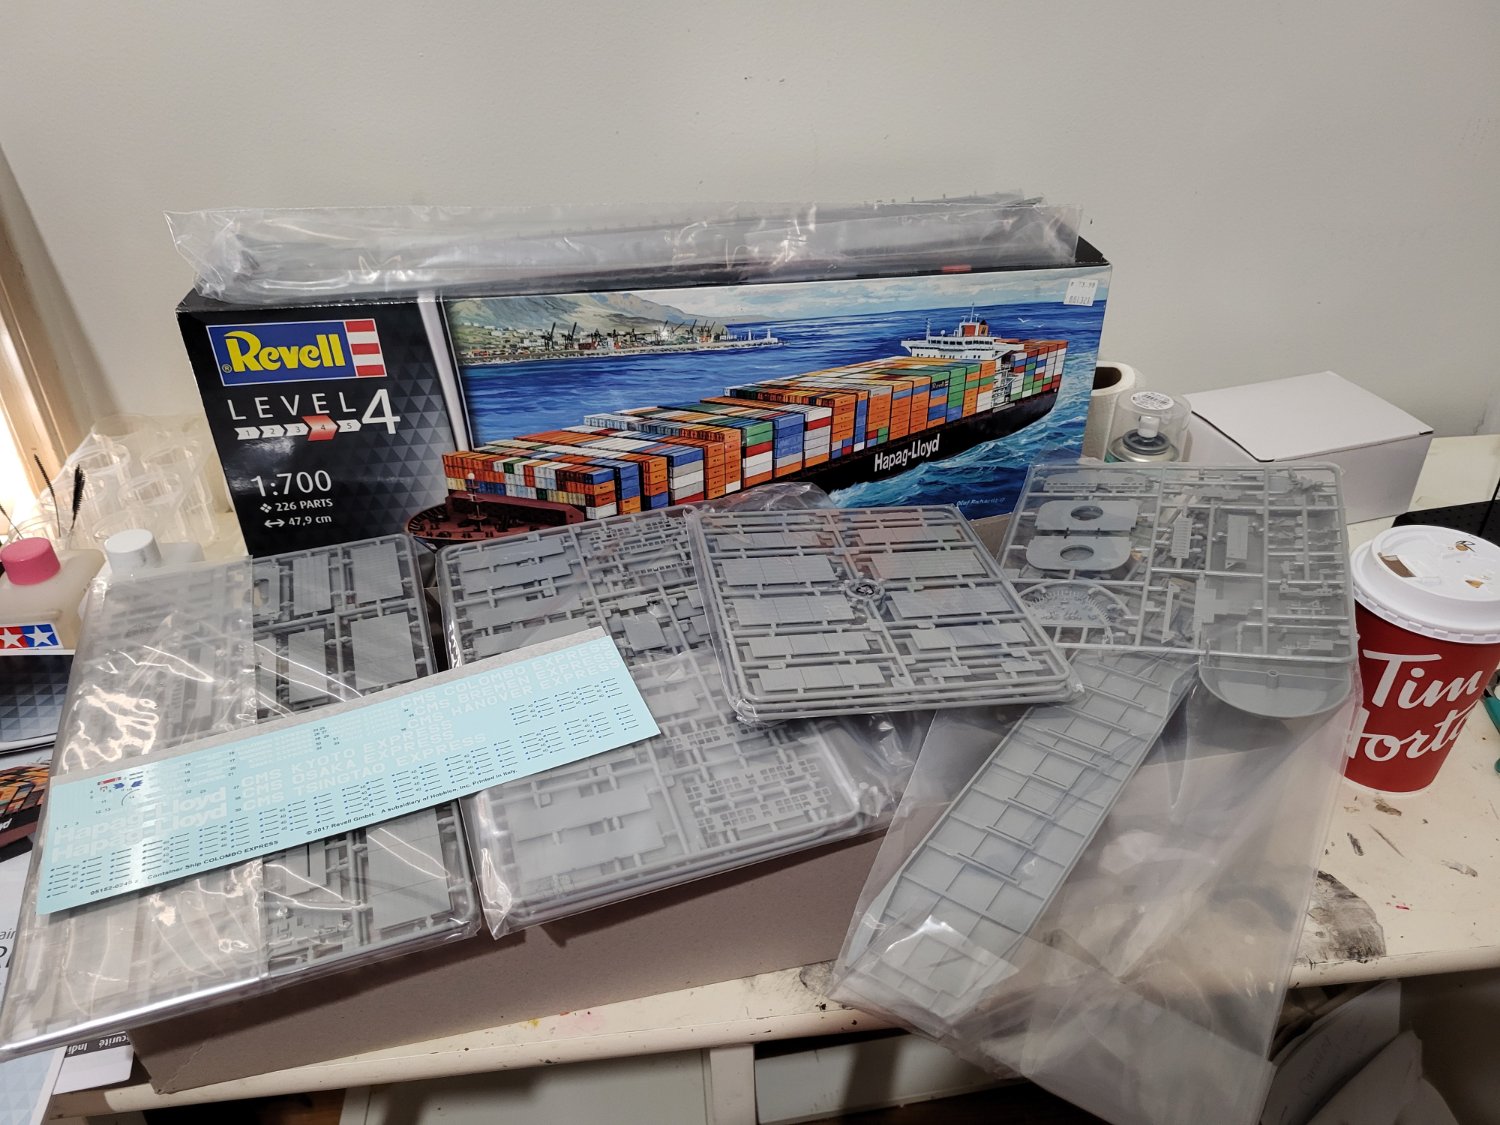
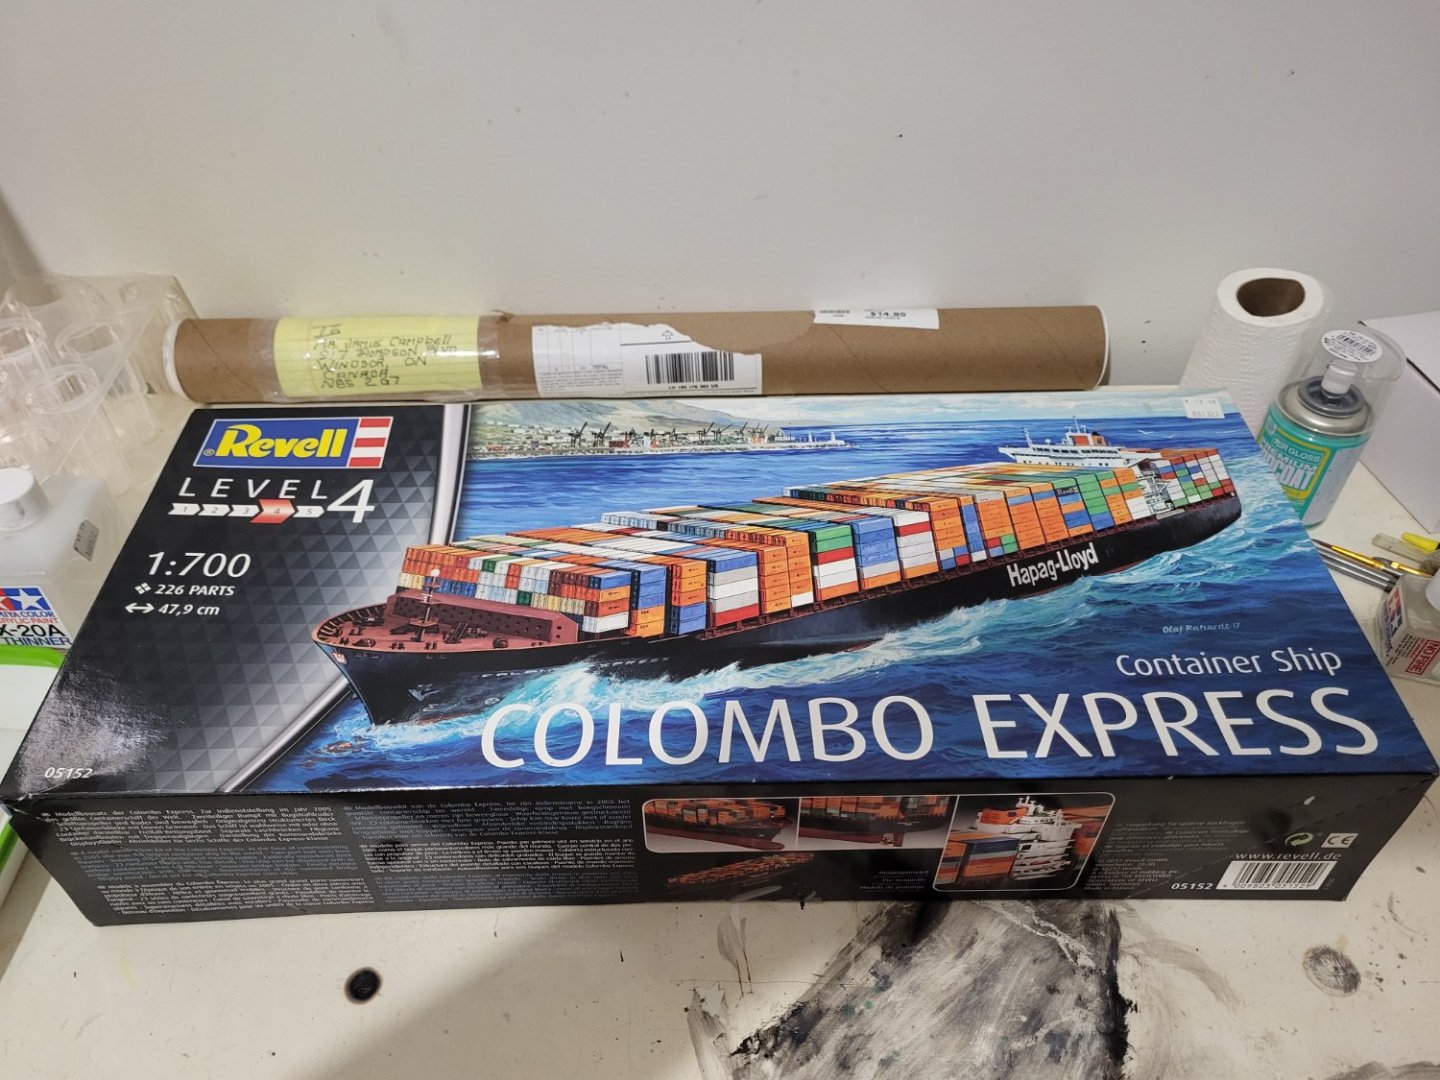
The kit has 5 bags of parts as well as a fairly decent sized instruction kit and decals which allow you to use 6 different names. You could very easily looks at vessels specs and name the shop whatever you wanted and under any of the many shipping companies that are out there. Plus...these ships change names often.

- 13 replies
-
- 4
-
-
- Colombo Express
- Revell
- (and 1 more)
-
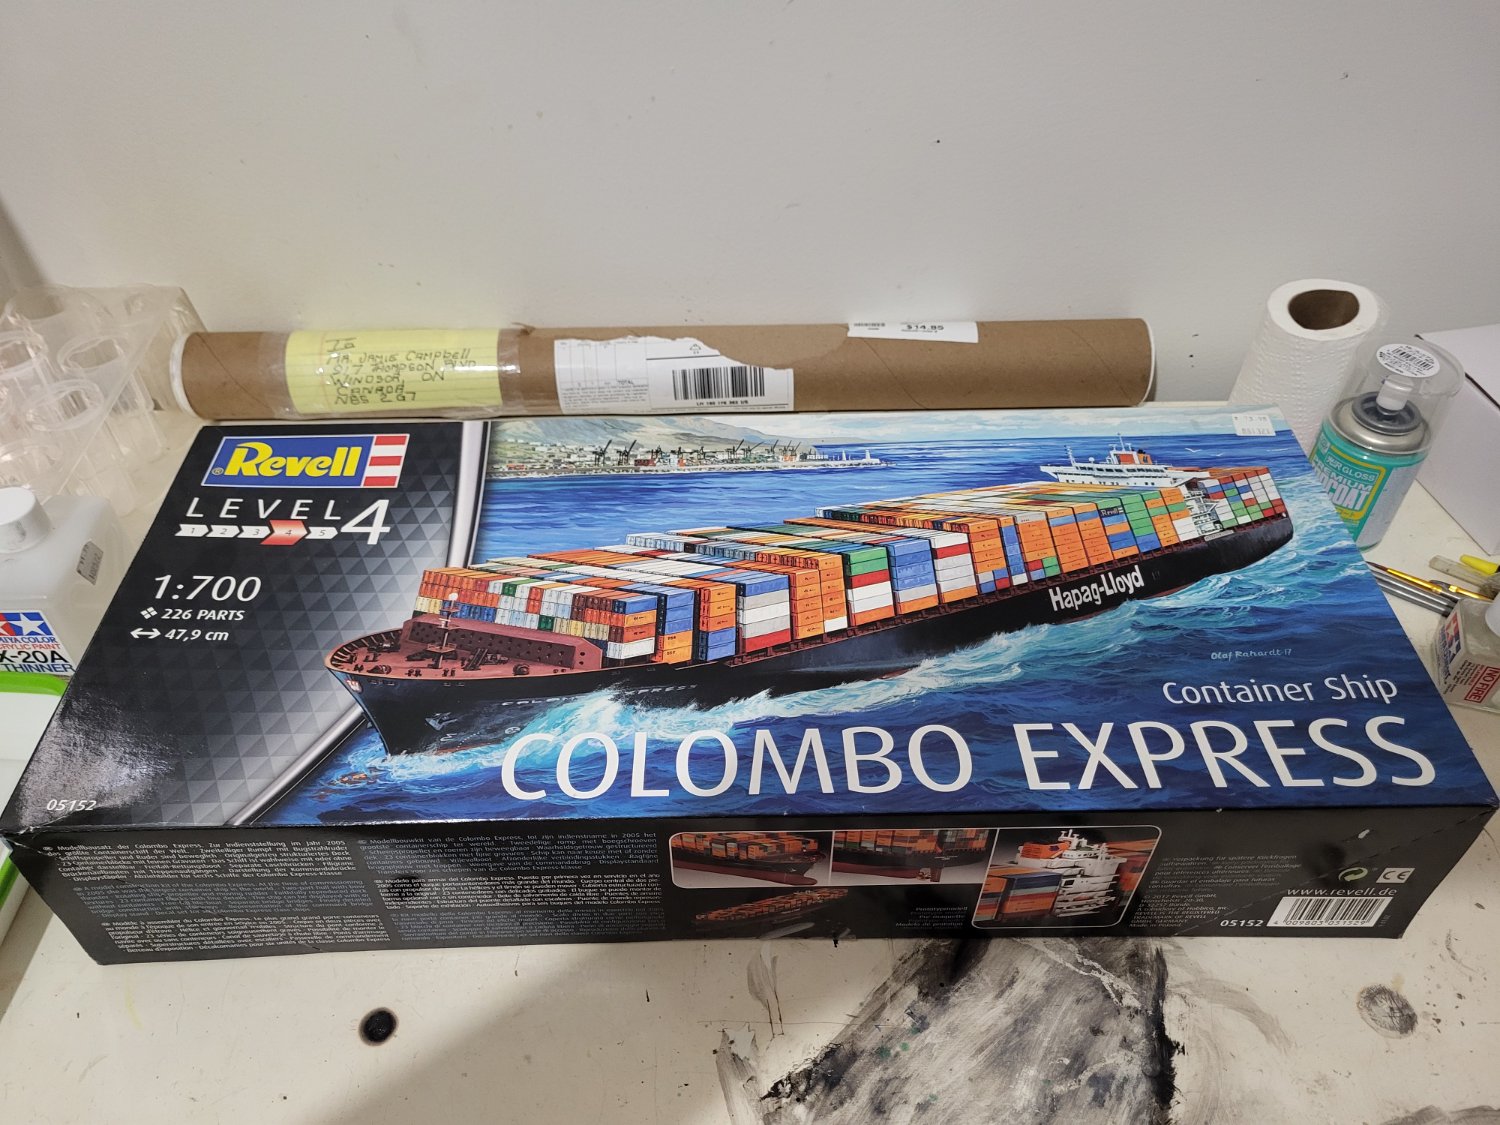
One of the few kits that are available that are close to my main interest These ships are the backbone of our supply chain for pretty much everything in our daily lives. This is a level 4 kit but I don't foresee many potential issues. Hoping this will kill some time until warmer weather sets in for spring here in Southern Ontario so I can get to my next laker.
- 13 replies
-
- 4
-
-
- Colombo Express
- Revell
- (and 1 more)
-
Value-for-Money Airbrush
JKC27 replied to BANYAN's topic in Painting, finishing and weathering products and techniques
My wife got me a lower end airbrush for Christmas from Amazon this past Christmas. It's my first one, and am quite happy with it. I took it my local hobby shop and talked to owner about it, and he thought it looked like an AK knockoff. It's super basic, but for me it seems like a good introduction into the airbrush world. It came with a small compressor even. Brand is MEEDEN. https://www.amazon.ca/dp/B09MHBB1FZ?psc=1&ref=ppx_yo2ov_dt_b_product_details Looks like a basic, all-purpose low end product. As my hobby shop guy told me...once I get used to this one, as it should get me started, and I want to upgrade, come see him and he will hook me up - he carries a lot of the major manufacturers and different models of each. I've used it a couple times, once just to toy with it and get the feel for it, but I've done 2 painting sessions on a cheaper model kit I got for Christmas as well, and it is pretty cool what you can do, and so much faster, and neater than using a brush. Not sure how this brush is for doing really fine details or lines yet, but again......I will monkey around with it and see what it can do. -
Cap San Diego by mikegr - 1/160
JKC27 replied to mikegr's topic in - Build logs for subjects built 1901 - Present Day
Glad I found this build log. As I mentioned before in this log, this is going to be very helpful for my future builds. Now...if I can only get started on my next scratch build.......these darn kits I recently receive/purchased have taken over my model building....... -
Good luck on the recovery Andy! The next model club meeting will give me an idea of how the build will progress. Our club is trying to do a forced perspective display for the museum too featuring a scene with Spitfires.......calling it Windsor's Spitfires I believe, and of course, we are trying to get our local OHL team (Windsor Spitfires) to be a part of it. The Lanc group build will be fun, and the restored full size Lanc should be ready to be on full display for 2024 for 100th anniversary of the Canadian Air Force.
- 92 replies
-
- 10
-
-
for the 1/32 scale Lancaster build we are going to do, I can start a thread and keep it up to date. For the actual plane itself....... it's been a long haul. Check out https://canadianaviationmuseum.ca/
-
There are couple guys in the club that swear by Tamiya, but as with anything in life everyone has their preference for whatever reasons. Scalemates has been a great resource, but that rabbit hole you mentioned keep getting bigger. Not to hijack this thread, but club I am in, just acquired, as is going to doing a big group build on a 1/32 scale Lancaster bomber that we trying to make as close as possible to the one that is being restored here in Windsor that used to be on display in a city park. https://canadianaviationmuseum.ca/
-
Spitfire MK I by Danstream - Tamiya - 1/48 - PLASTIC
JKC27 replied to Danstream's topic in Completed non-ship models
Great job on this build. I have a 1/48 Eduard kit for the Mk IXc version. Of the 6 colour schemes available in the kit, 2 were flown by a Canadian pilot who is from my area, and was a renowned Spitfire pilot. In fact our local hockey team (OHL, Jr A) is named the Windsor Spitfires! -
Just picked up this thread.....good luck on the surgery and recovery Andy! I have surprisingly never broke anything all these years playing hockey and even embarrassingly trying my hand at skiing a couple times even. I have not worked with an Airfix kit yet, but my local hobby shop does stock them. I find the 1/72 very small. I have been tinkering with a Tamiya Spitfire kit, but don't think I'll ever go that small again. Lots of small parts that I find I break off inadvertently with my carelessness. I somehow got sidetracked from scratch building lake freighters ( was getting started on the Tim S Dool ), and am now on a kit building kick. Trying to focus on RAF (or RCAF) planes. The model club I belong too is part of the Canadian Aviation Museum here in Windsor, so that is becoming a focus for my hobby time. Plus Santa brought me a couple kits and a low end airbrush too. Love the way this Hurricane is coming along.
-
One of the kits I got for Christmas. Not an overly complex kit aside from the few small parts. Instructions are easy to follow. However.....there are no instructions at all regarding the paint scheme. Academy's webpage has nothing either. Any suggestions on where to look for this information?
-
Hello from Southeast Michigan, USA
JKC27 replied to DonBMichigan's topic in New member Introductions
Hi Don and welcome aboard from across the river in Windsor -
Welcome to the forum! I'll be following this build. I too spent my whole life as a boatnerd watching the ships on the Detroit River from the Windsor side. You're not the first to modify this kit on here. Good luck and enjoy the journey! I wish someone made the hullet unloader pictured on the box in smaller scale close to 1:200....N scale?
-
New book investigating the sinking of the Edmund Fitzgerald. My copy just arrived so will be interesting to see what new information is presented. Here is the description from the author's site. http://www.lakefury.com/store/tattletale-sounds Ric’s new book on the Edmund Fitzgerald! based on 25 years of research and exclusive personal interviews with the men who built, sailed and investigated the most famous shipwreck in the Great Lakes. 300 pages with full index- based on his new PBS documentary Tattletale Sounds!
-
- 3
-
-
A late hello and welcome to a fellow Ontarioan!
-
What are the chances of finding 2004ish kits still? I was looking at 2 different kits, but even my local hobby shop was thinking it would be hard to find, unless at a swap meet or something..... Anyone build or have knowledge of either of these 2 Revell kits.... 05236 (2005) C3 freighter Hawaiian Pilot, or 05221 (2004) T2 tanker Glasgow?
-
Thank you. Now, on to the next.