


PeterB010
-
Posts
80 -
Joined
-
Last visited
Content Type
Profiles
Forums
Gallery
Events
Posts posted by PeterB010
-
-
Hi all, back on the boat slip after a long period and it’s time for some updates. I had the opportunity to collect scrap wood to build a sturdy workbench from scratch. Because of my work I only had time in the weekend to work on my workbench.
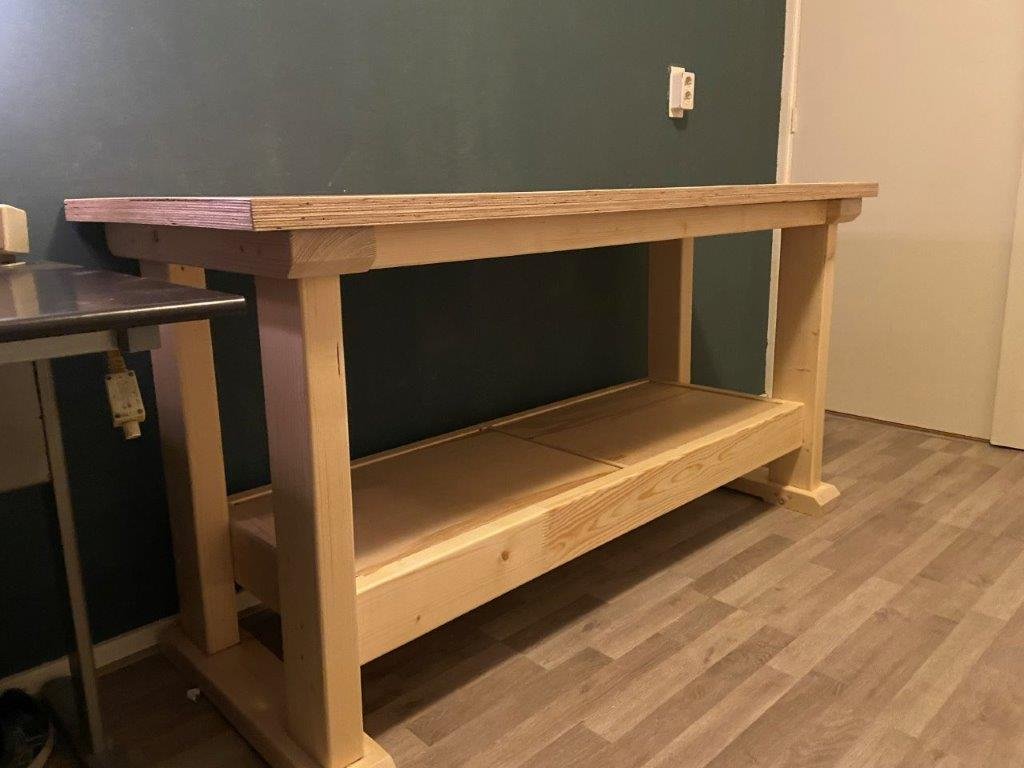
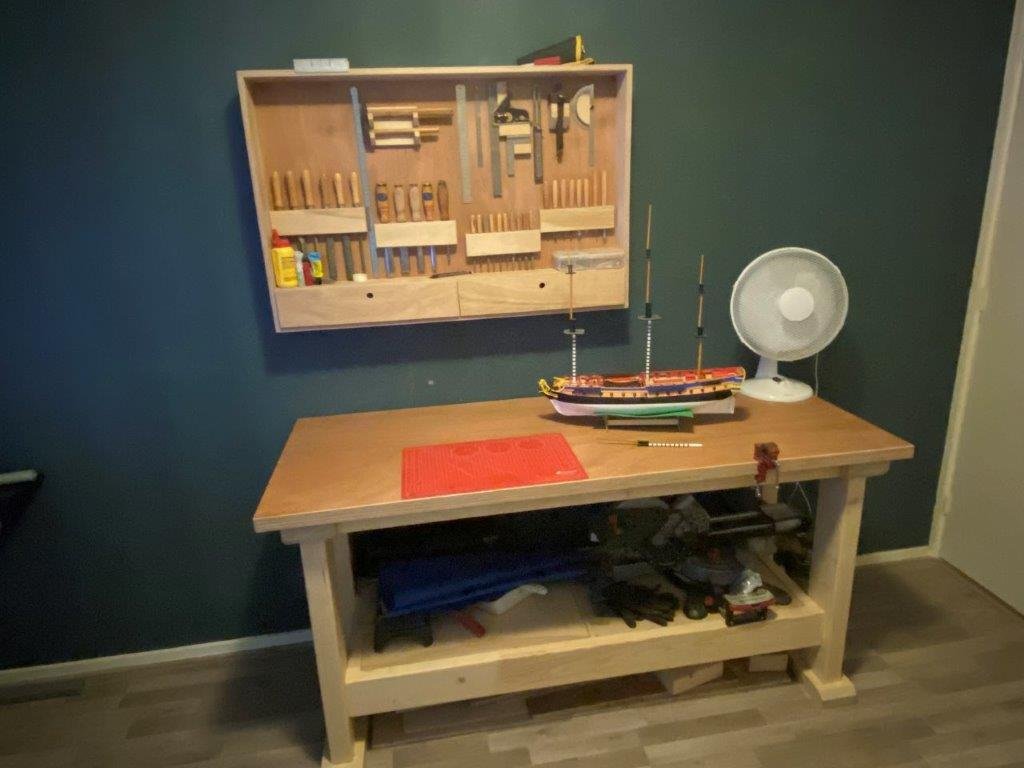
The workbench is made with mortise and tenon joints, secured with wooden dowels. Only for the mounting the top and bottom shelf I used screws. Despite the fact that this was a time-consuming job, I am very satisfied with the end result. I also made a cabinet to store my tools and keep the worktop clean and tidy when I'm working on the boat slip.
Although I am almost done with the hull, I still had a few tasks to finish before I could start on the rigging.
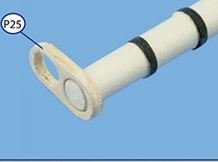
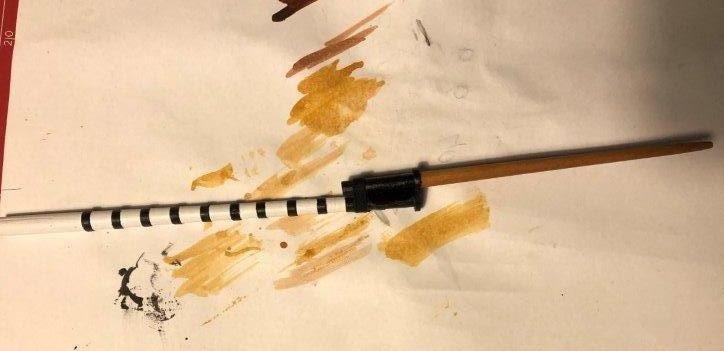
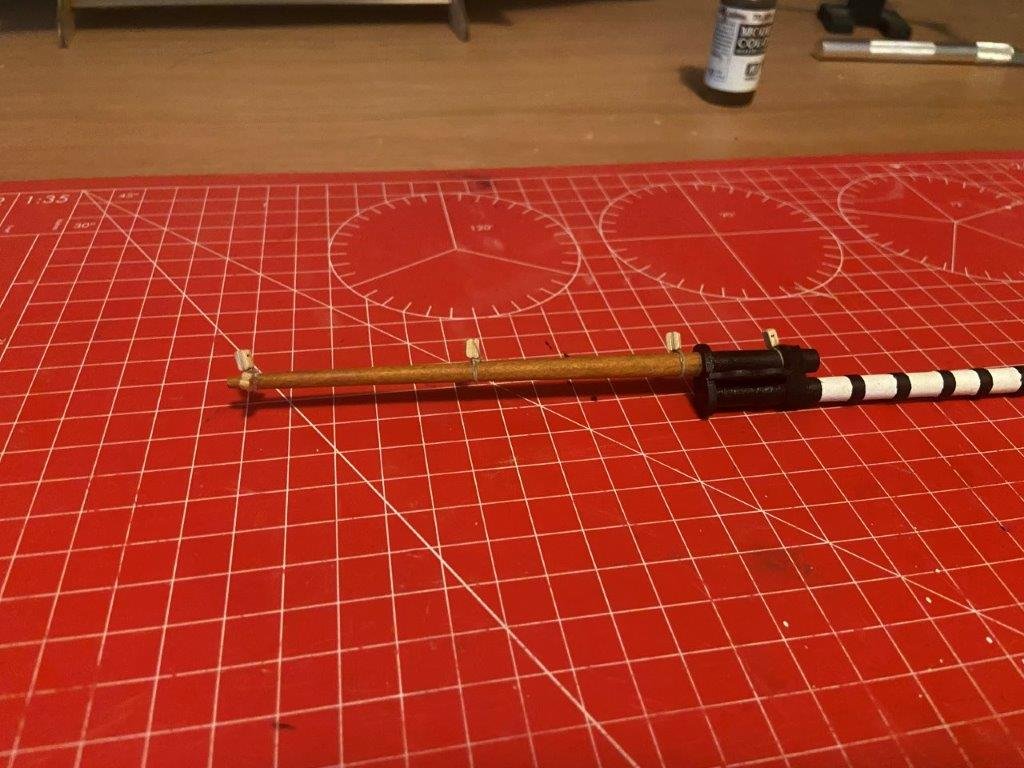
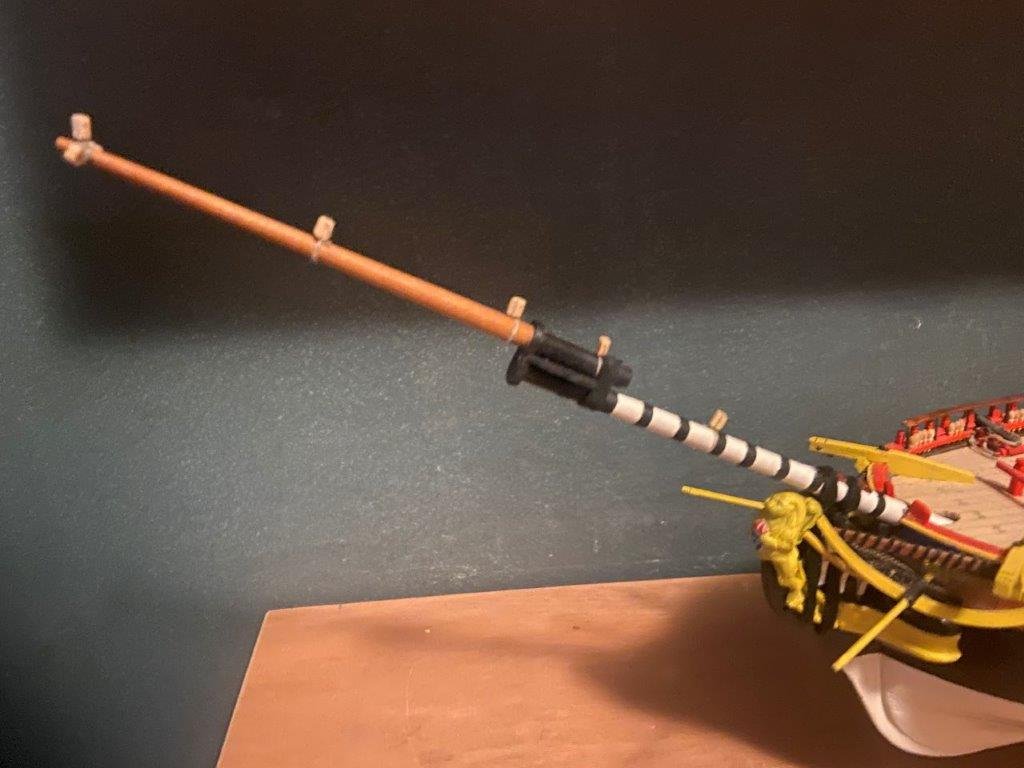
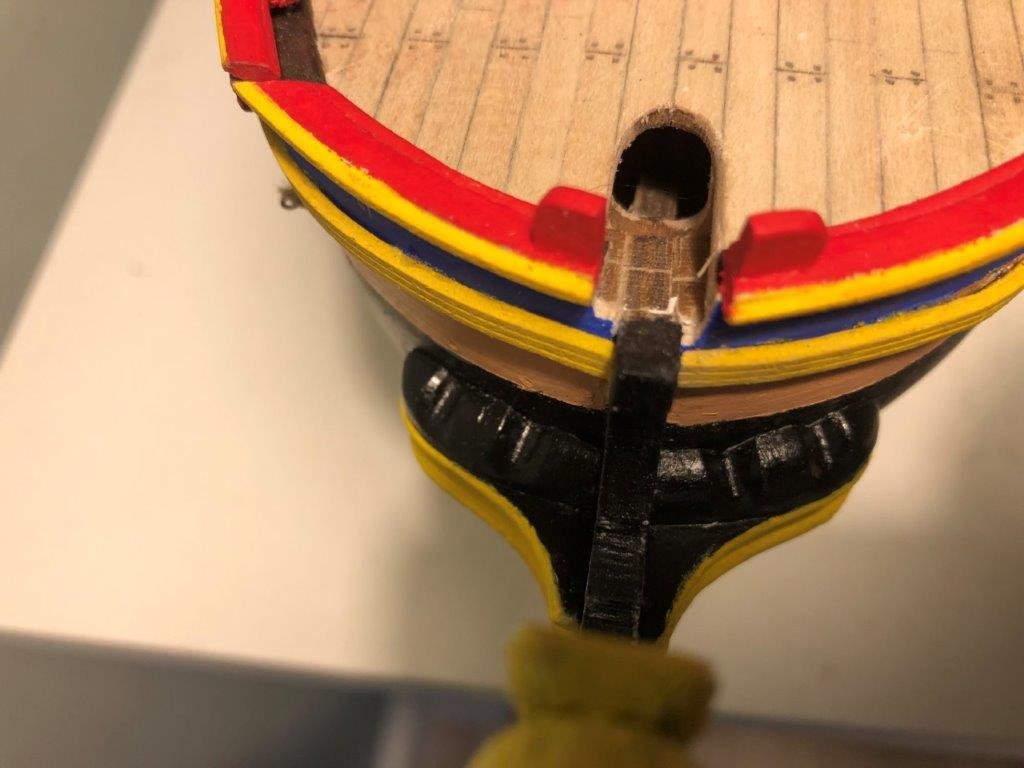
I started with the bowsprit, of which the jib boom ran at an angle in relation to the bowsprit. The that’s connect the jib boom to the bowsprit.
The inner diameter of the cap was larger than that of the jib boom causing the jib boom to be angled upwards. After some trial and error I finally succeeded.
Before
After

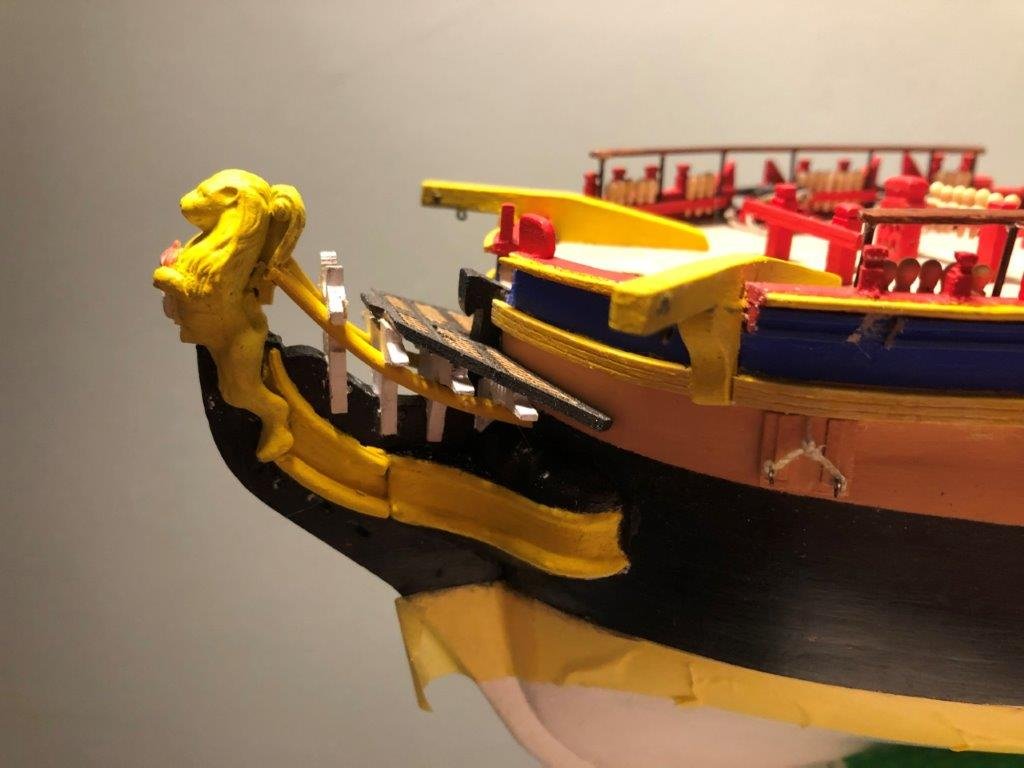
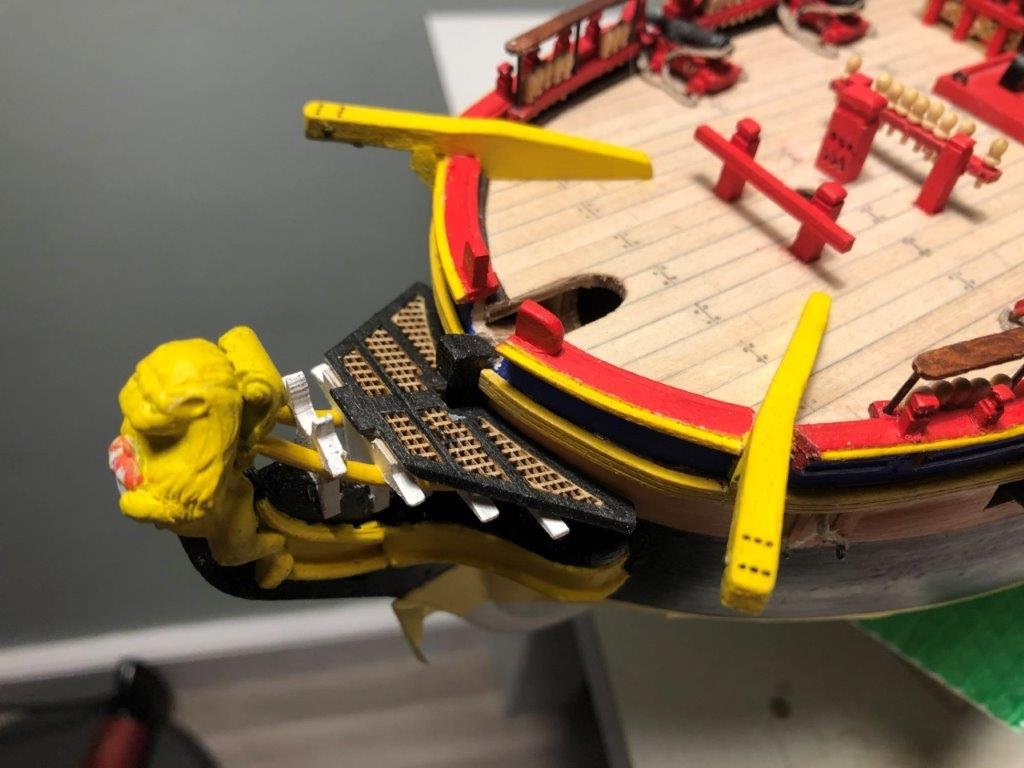
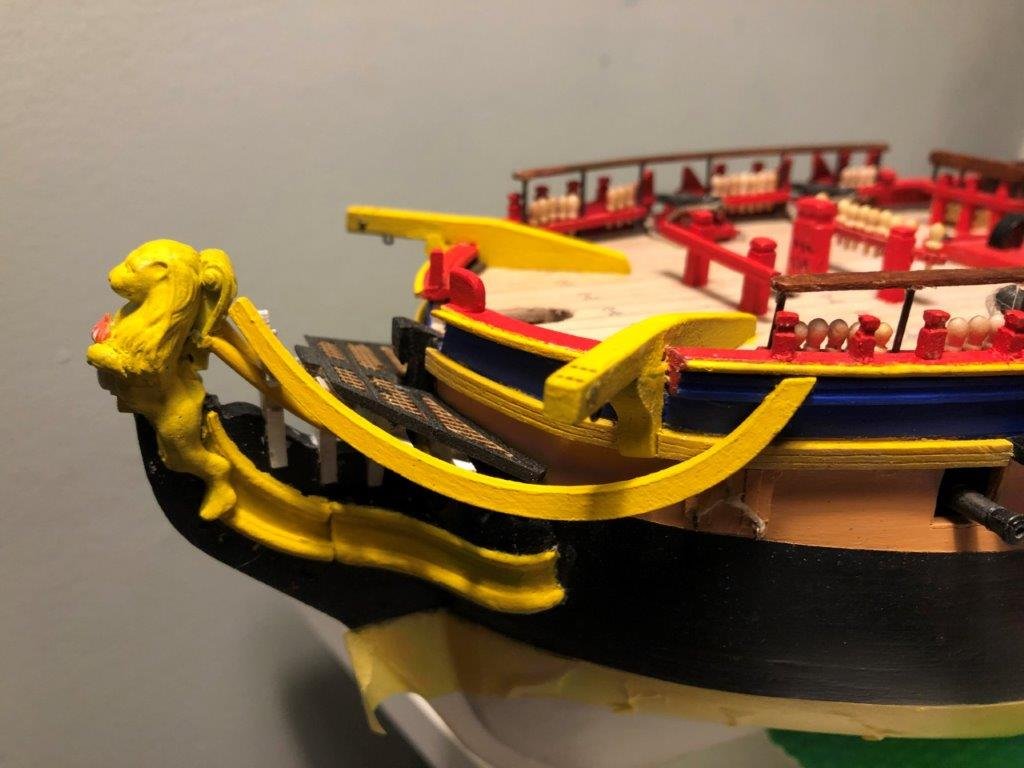
With rigging blocks
Installed at the bow and rope gammoning in place
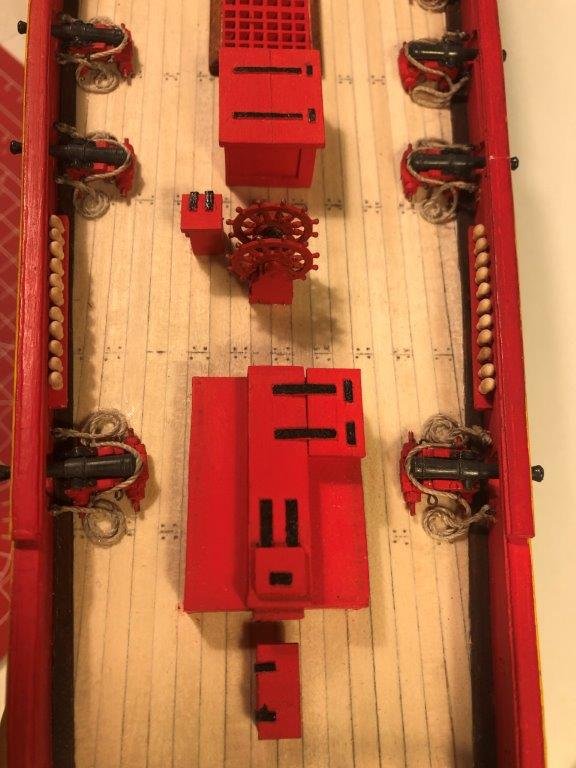
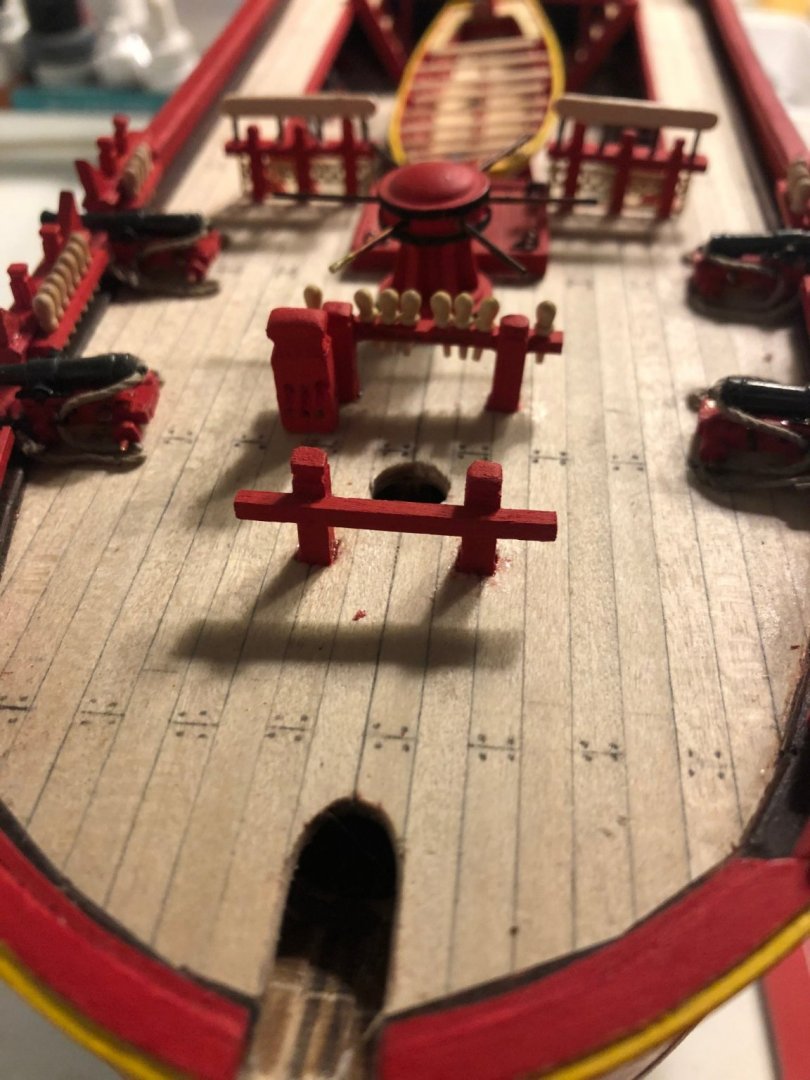
The pumps in place after painting
And the Fi-fi rail
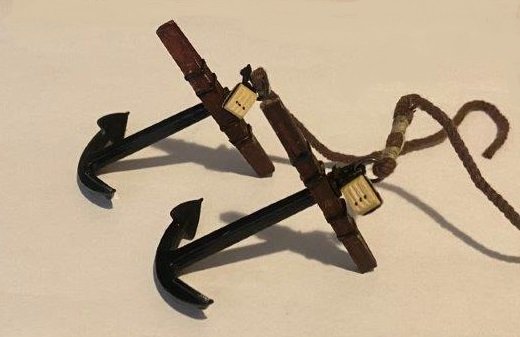
I glued the part of the stock together before mounting them to the shank, which was a mistake. I didn’t succeed in separate the parts without damaging so I had to start again from scratch, the result was better than I hoped.
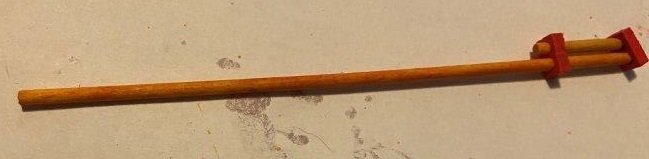
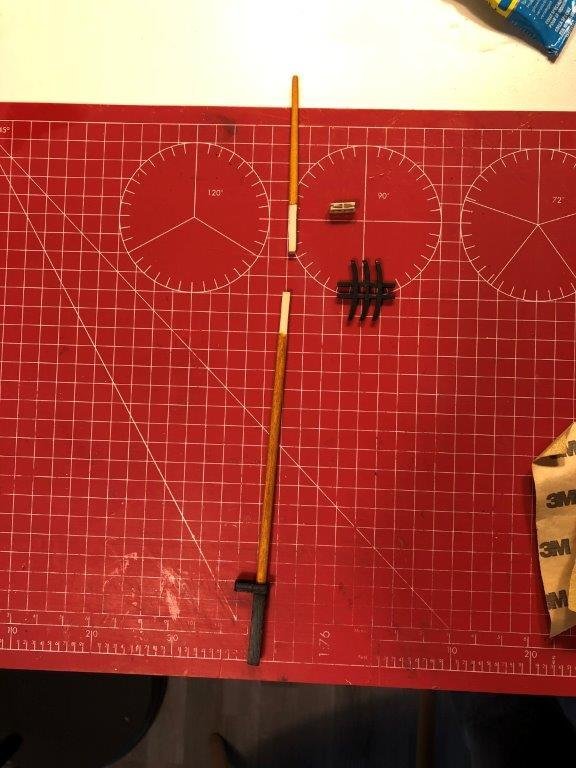
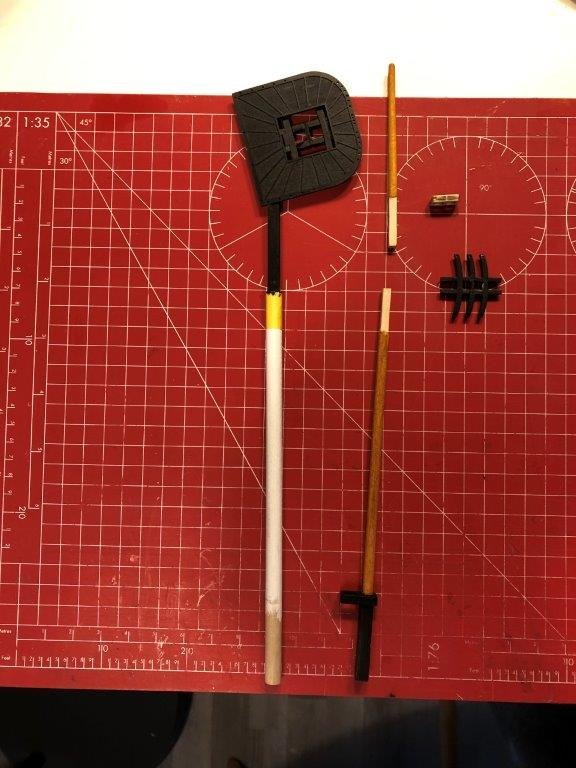
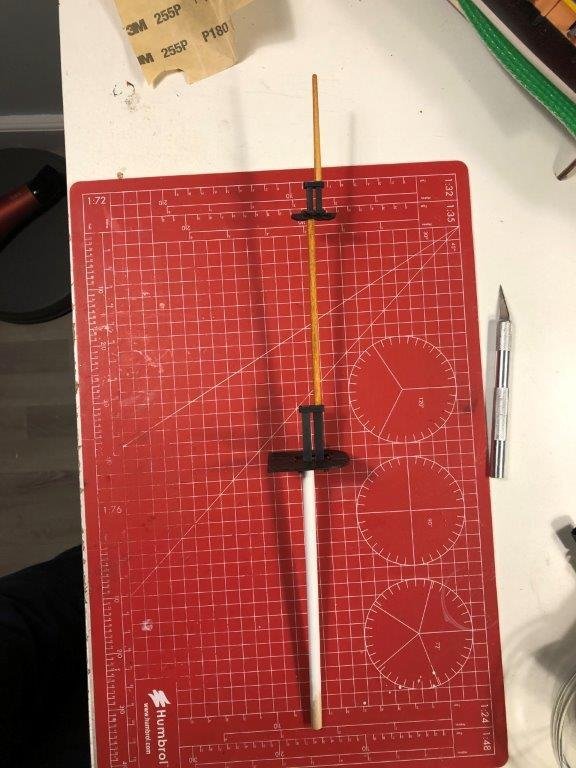
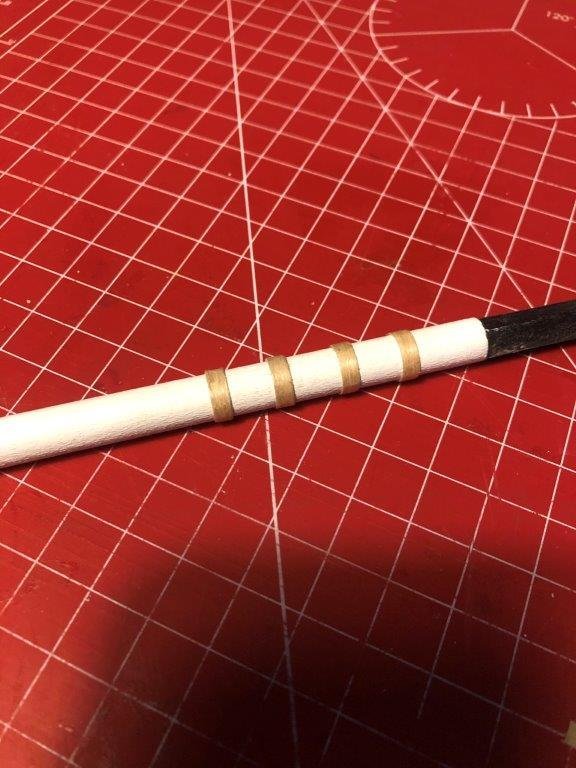
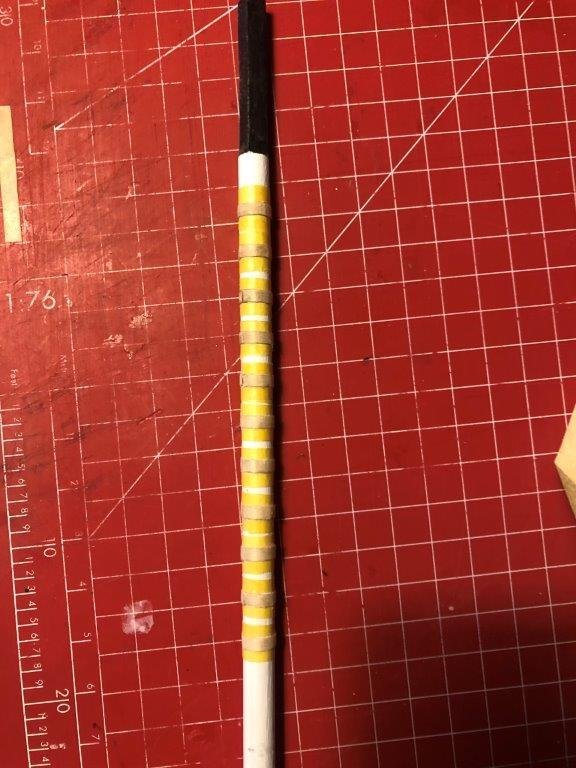
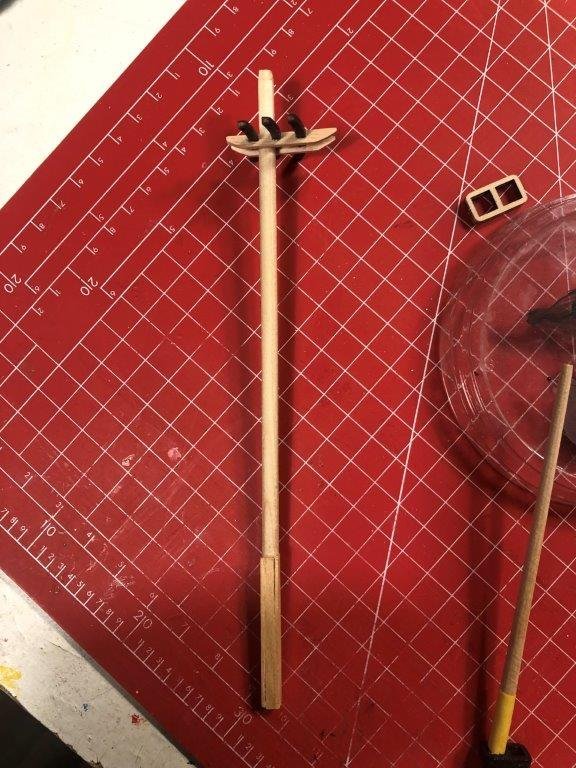
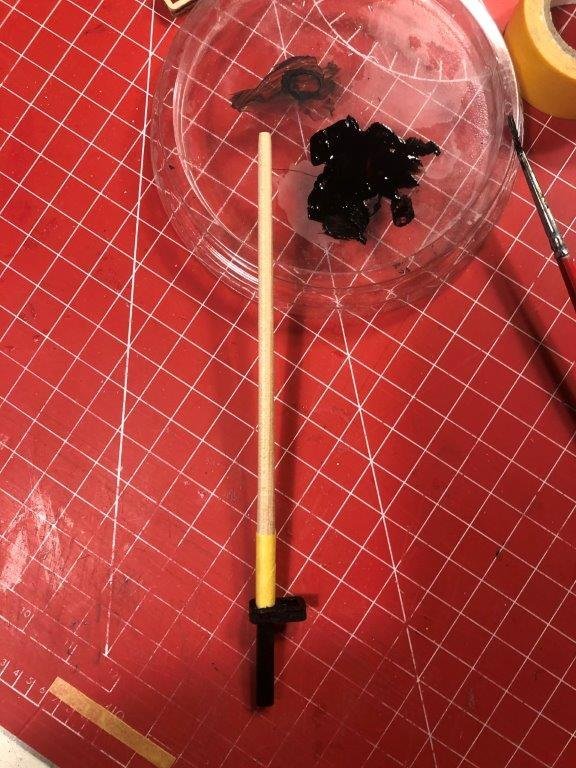
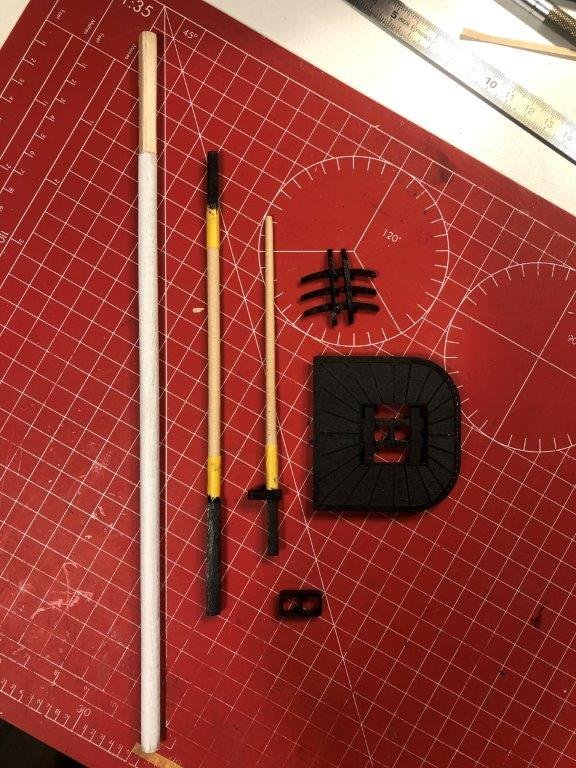
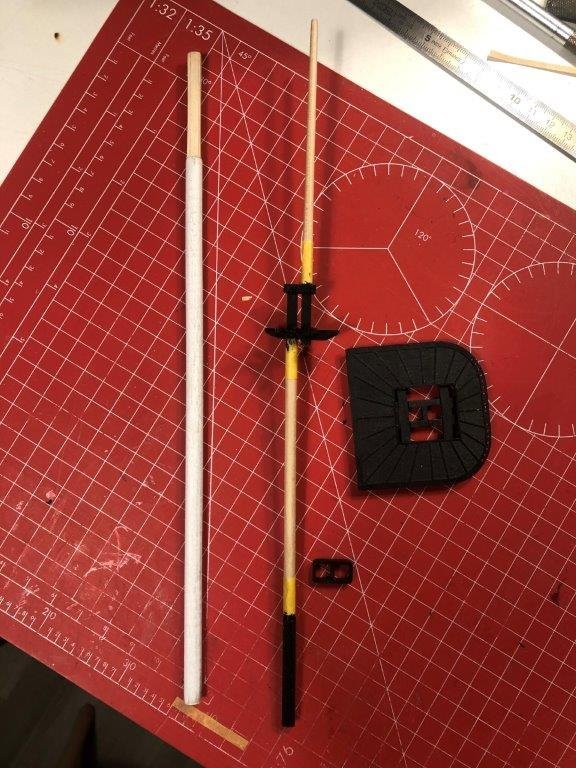
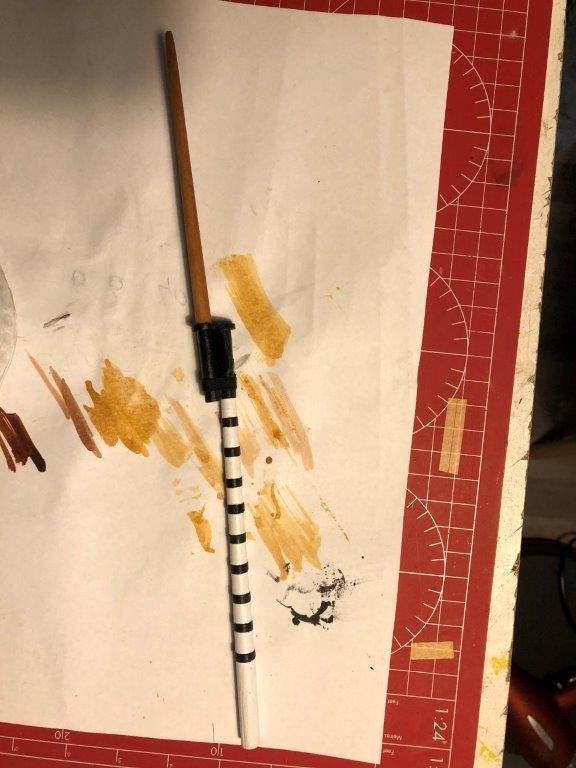
The flagpole
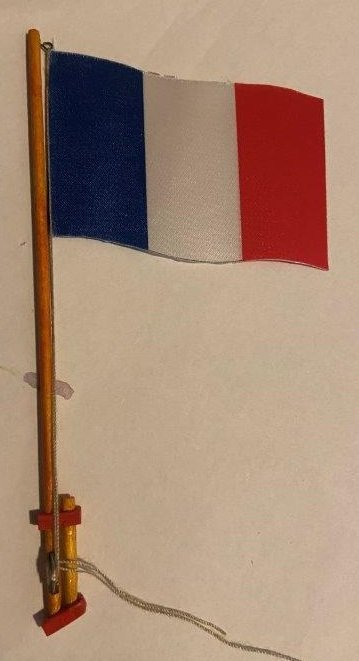
With cleat and flag installed, the flag pole is ready to mount at the aft
The derrick
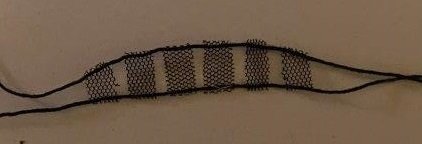
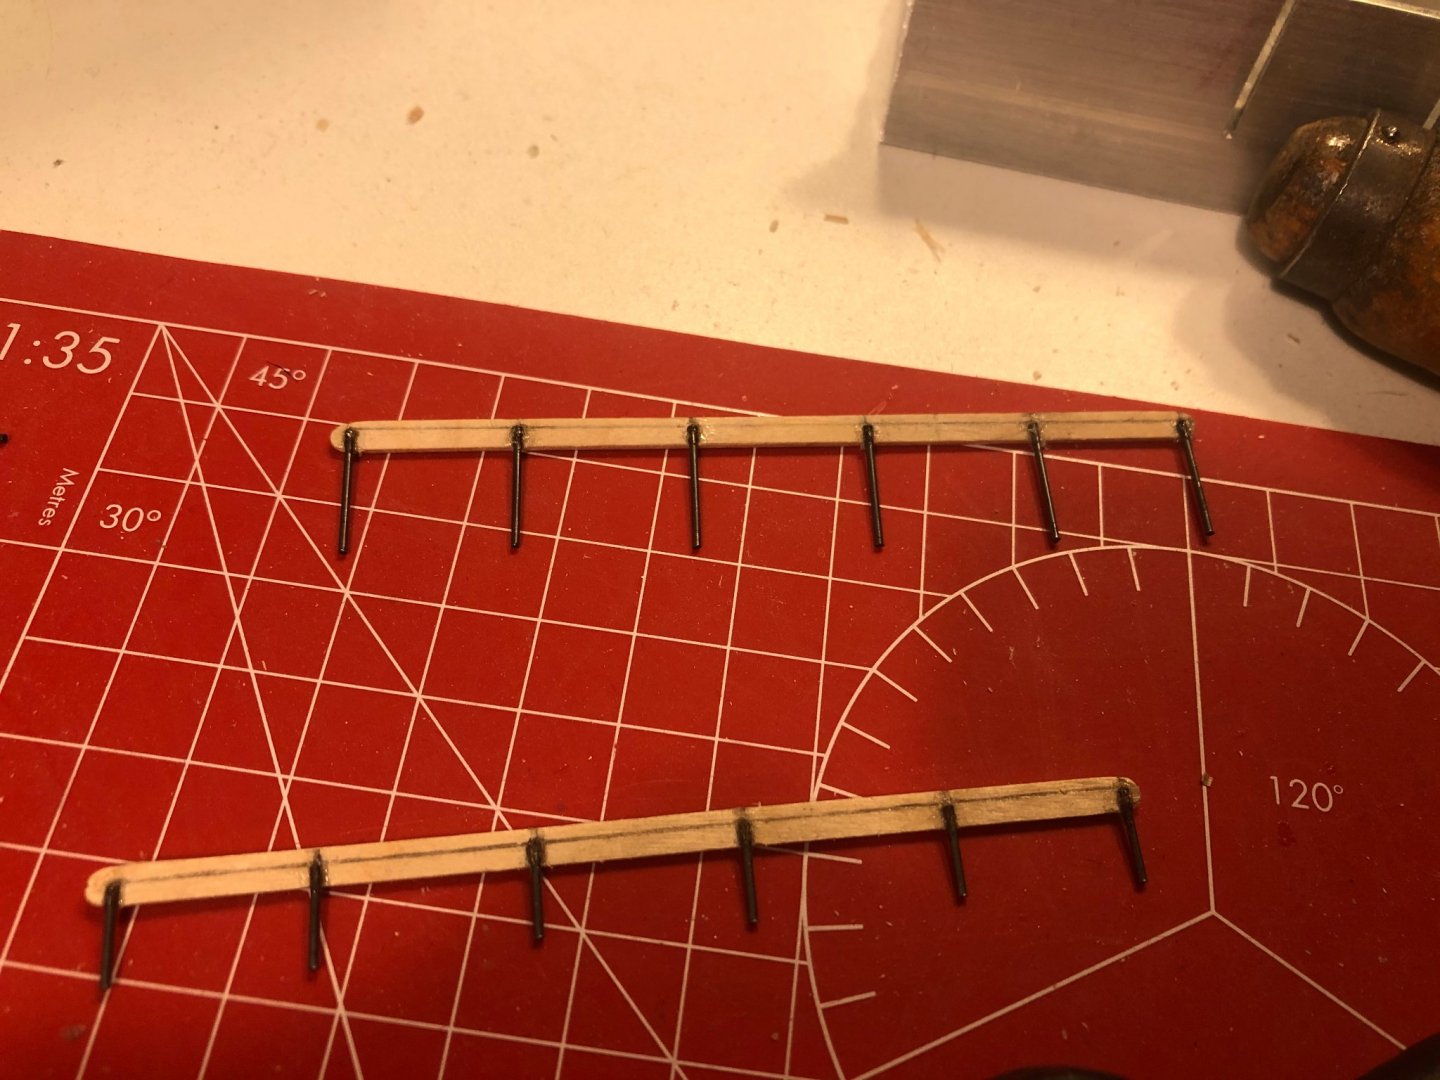
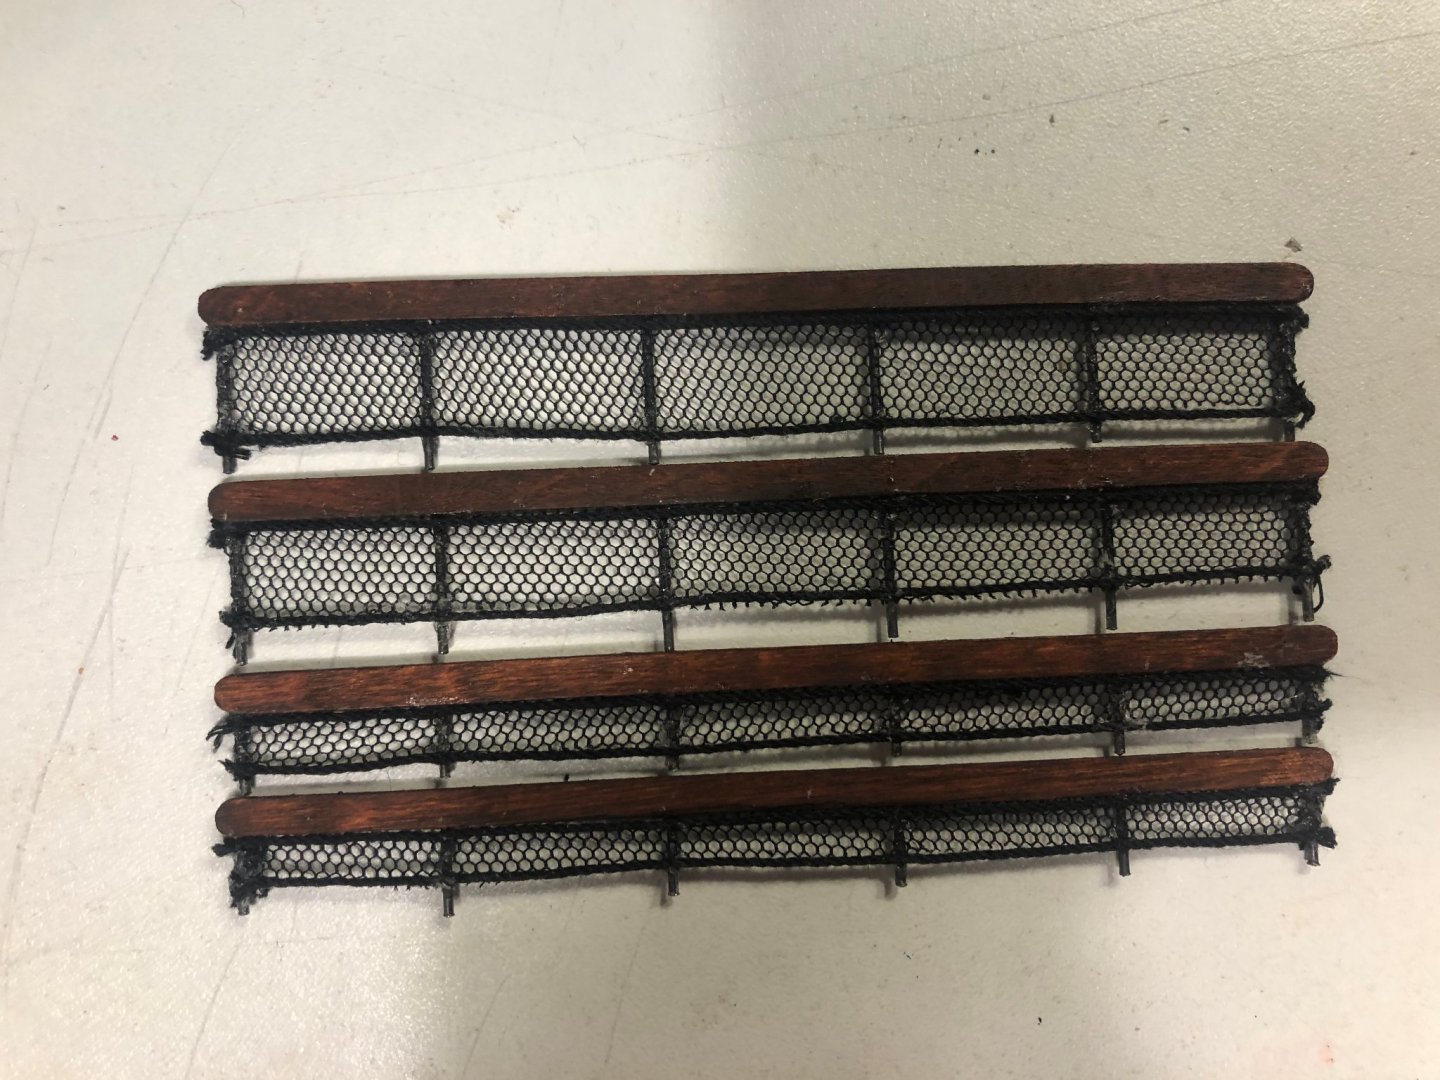
The stern safety net

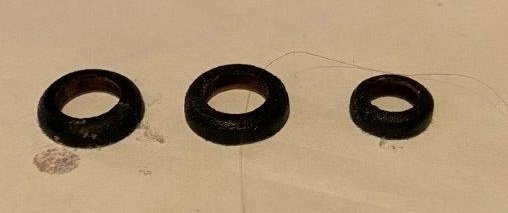
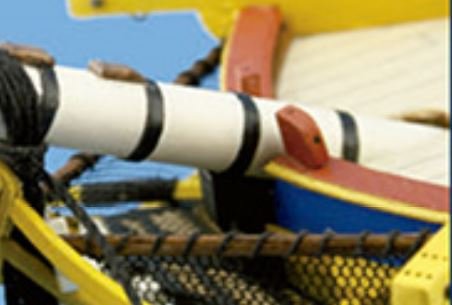
Mast boots
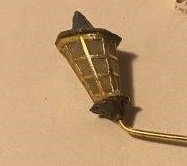
The lantern
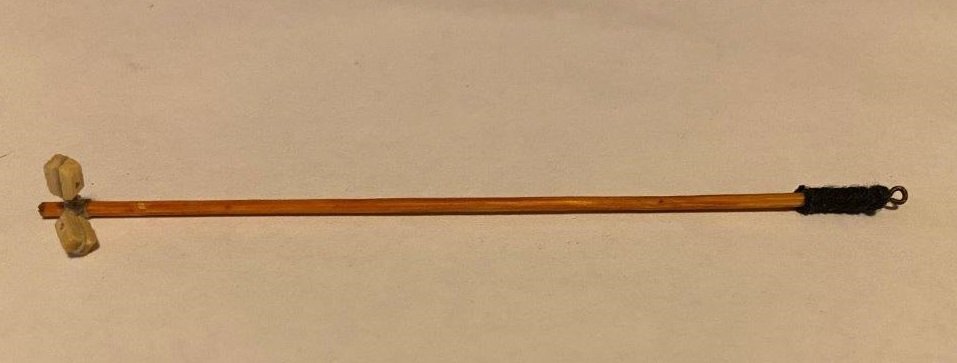
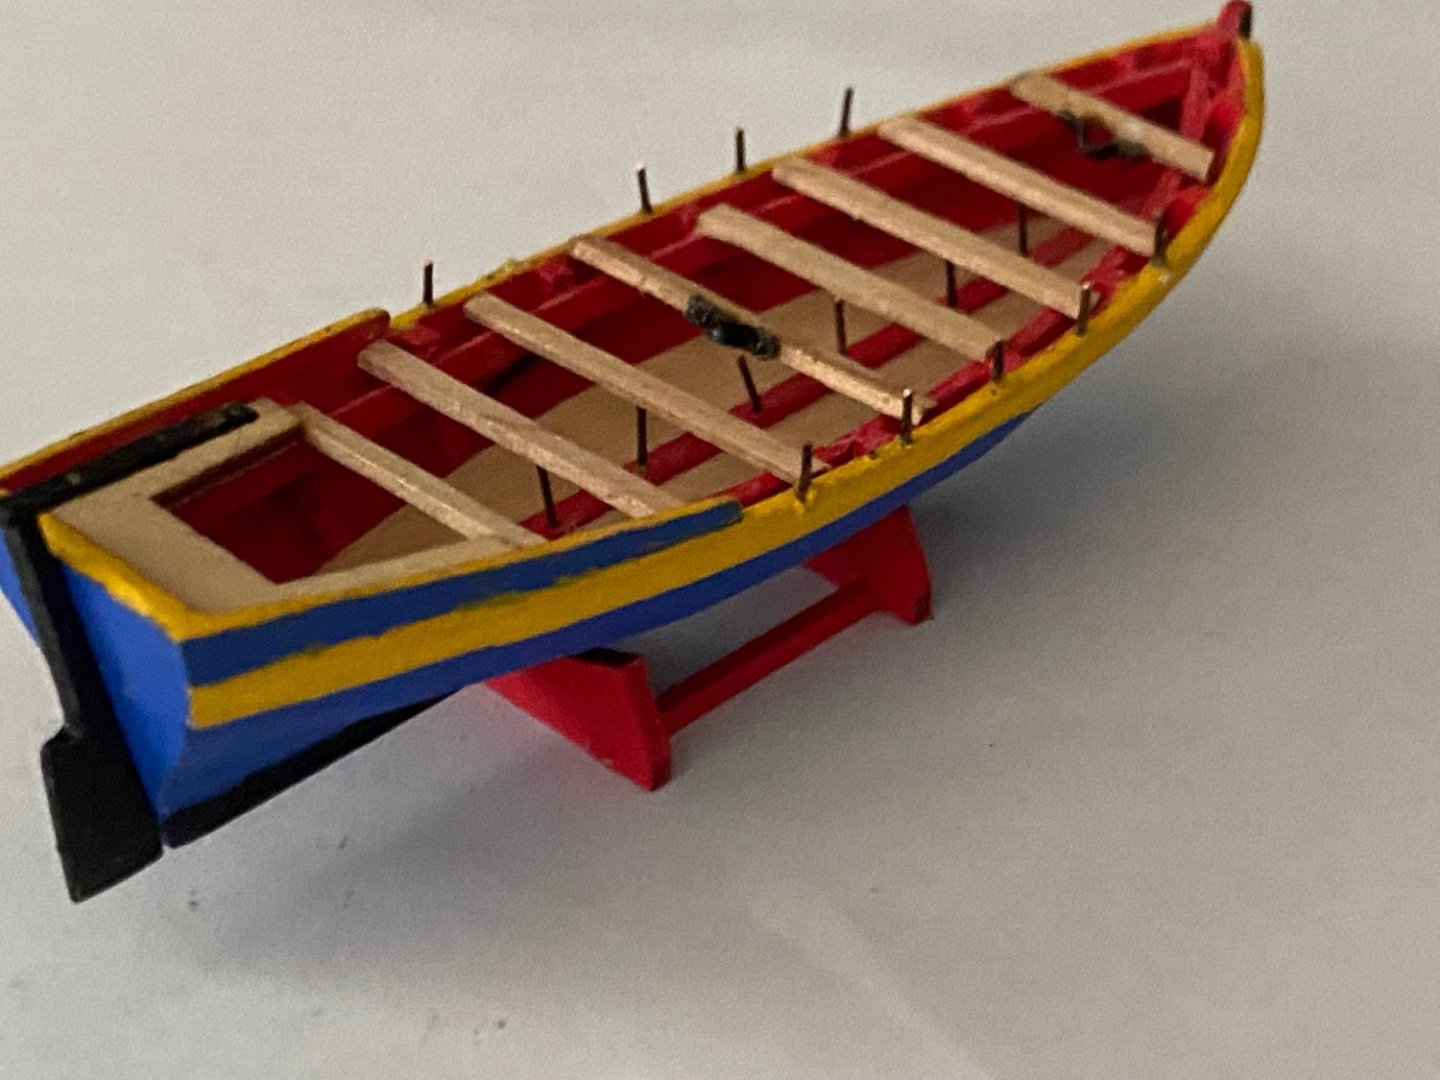
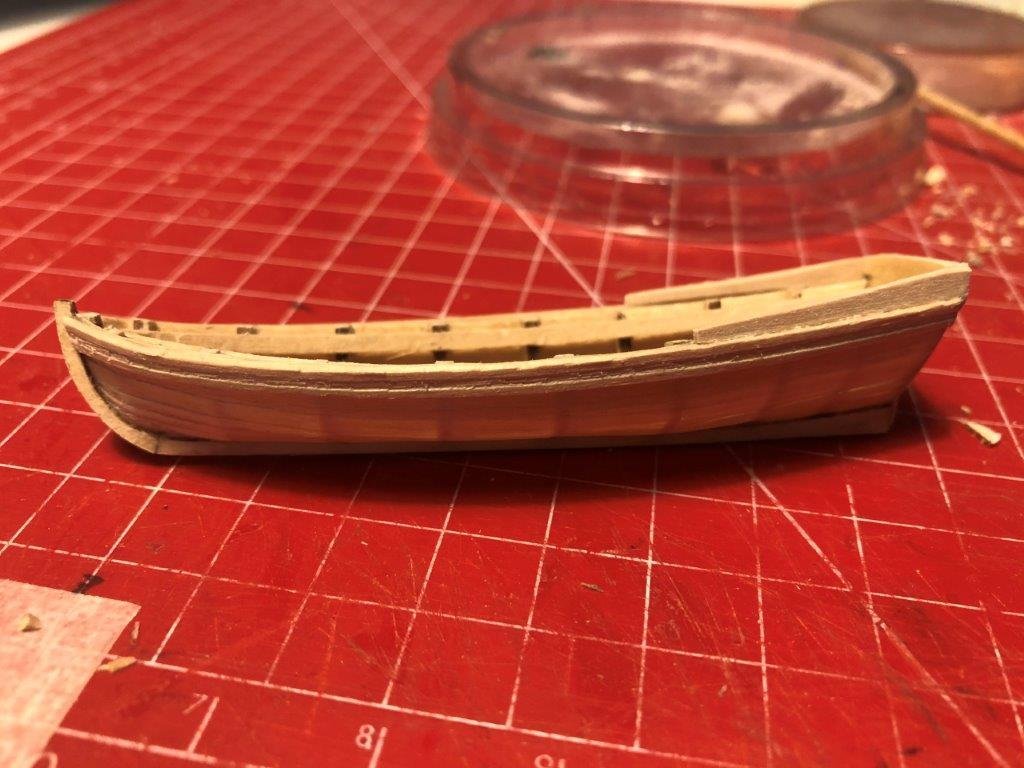
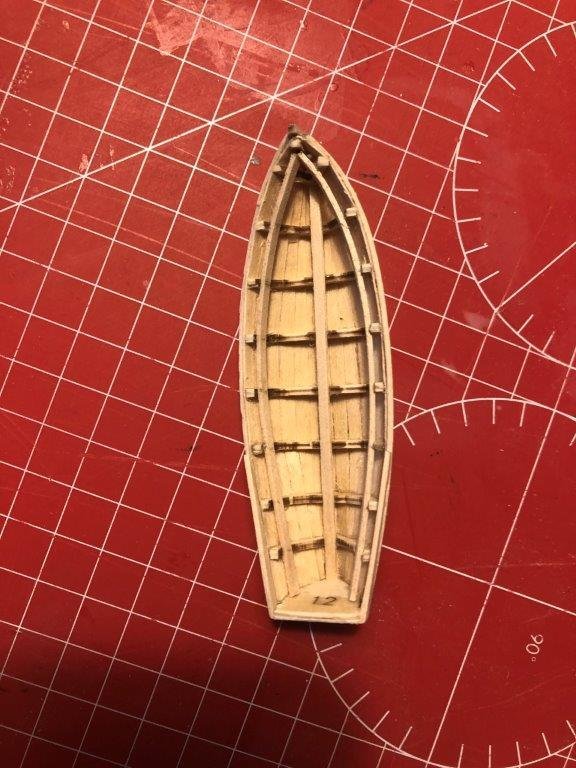
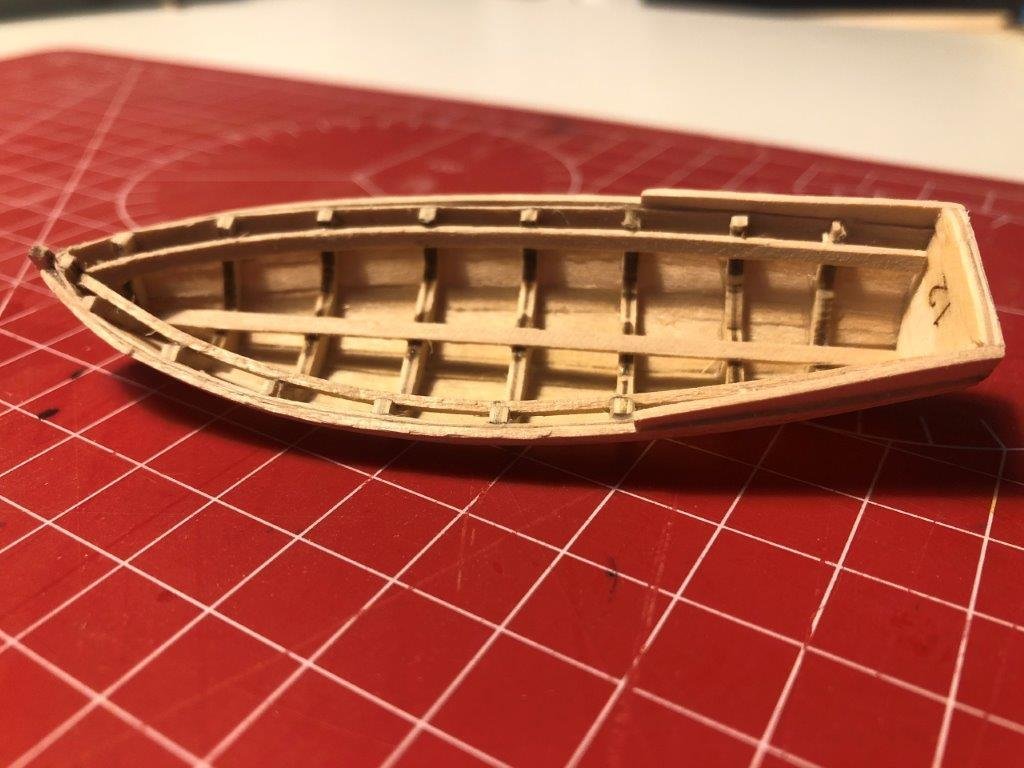
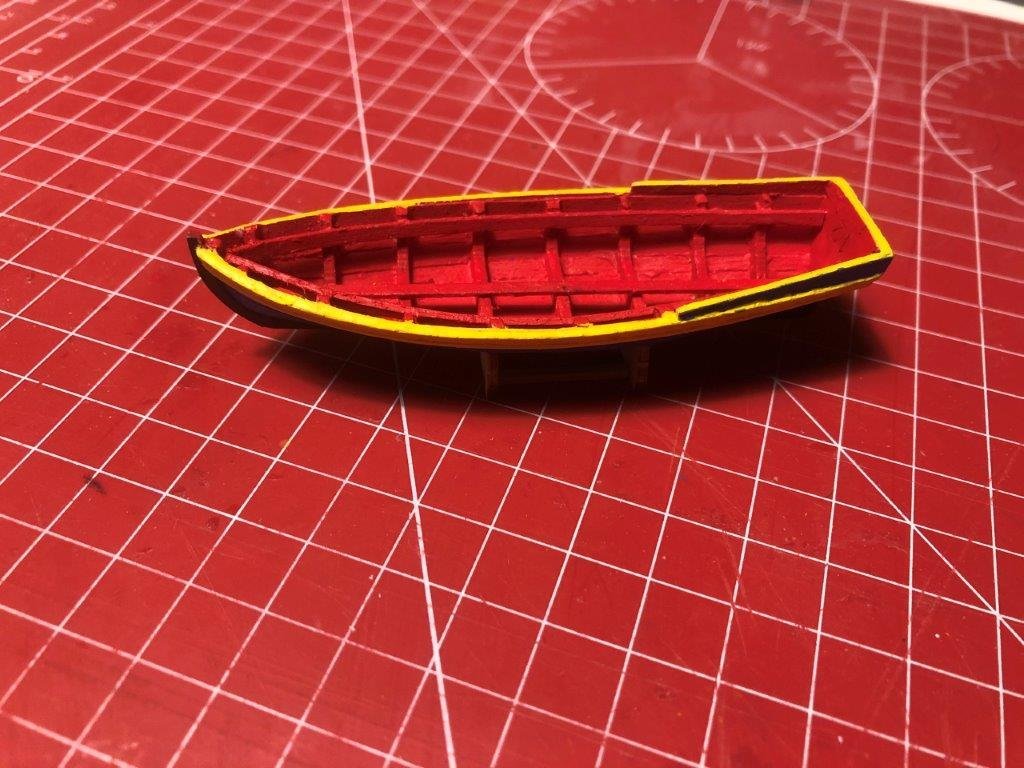
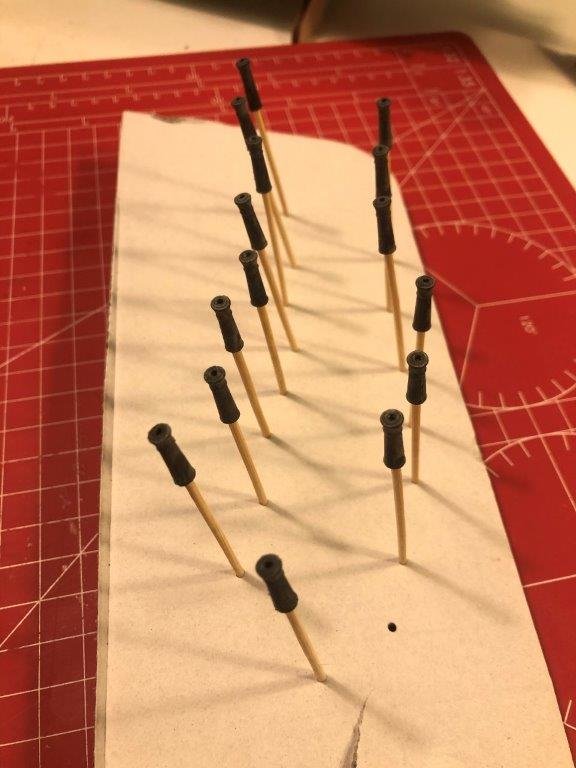
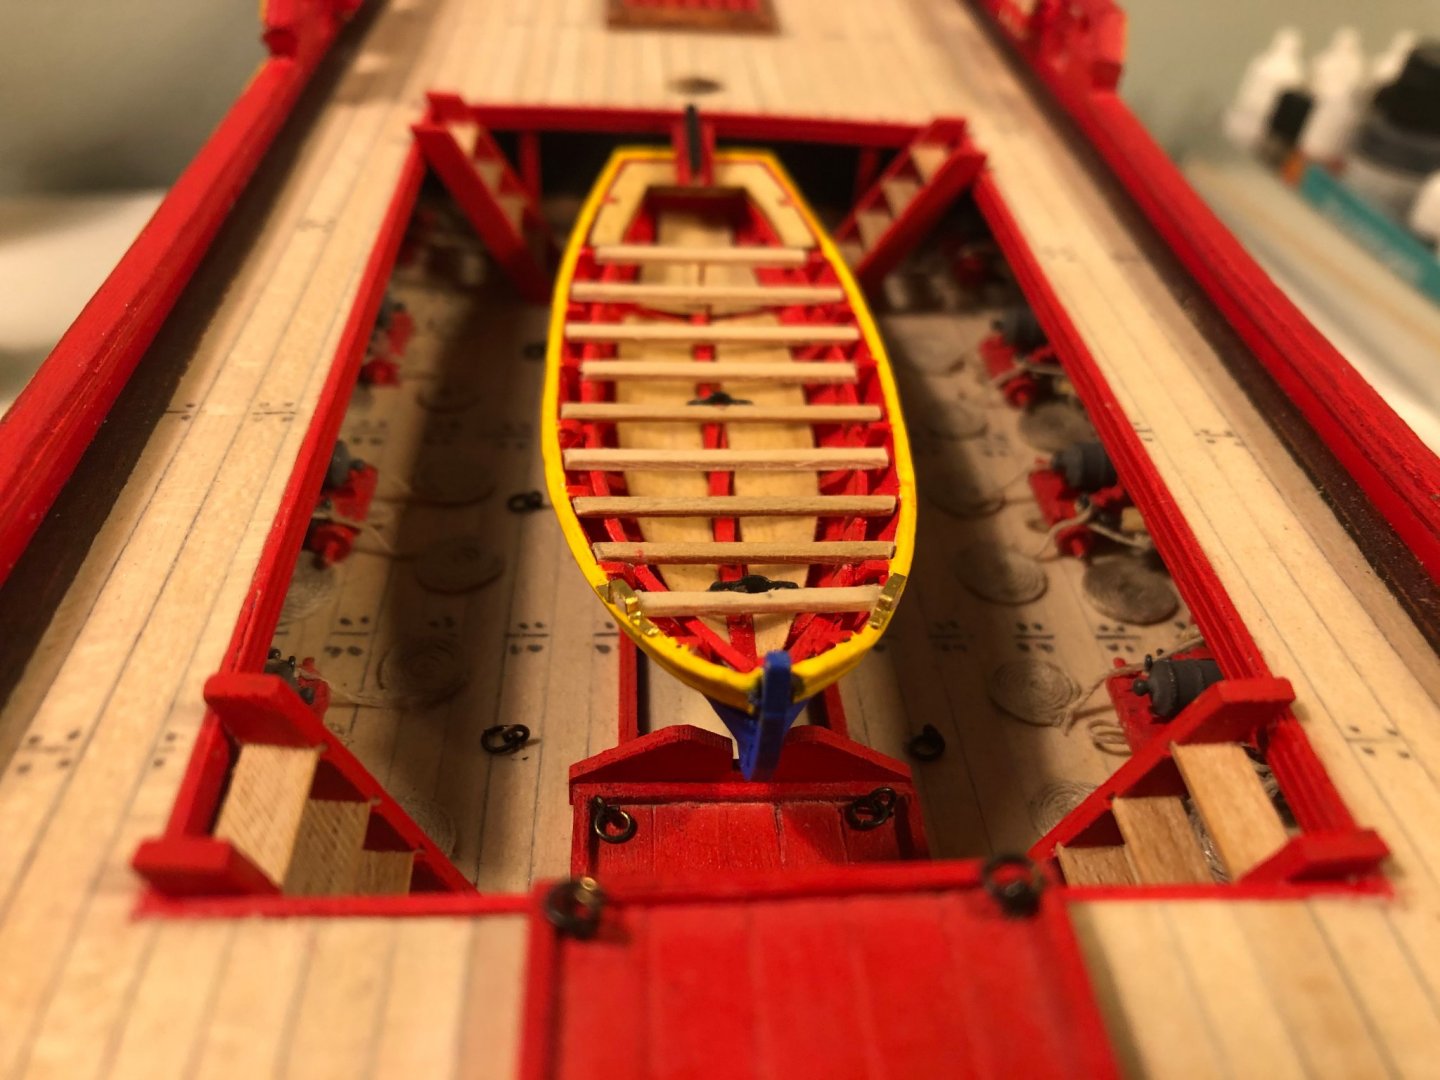
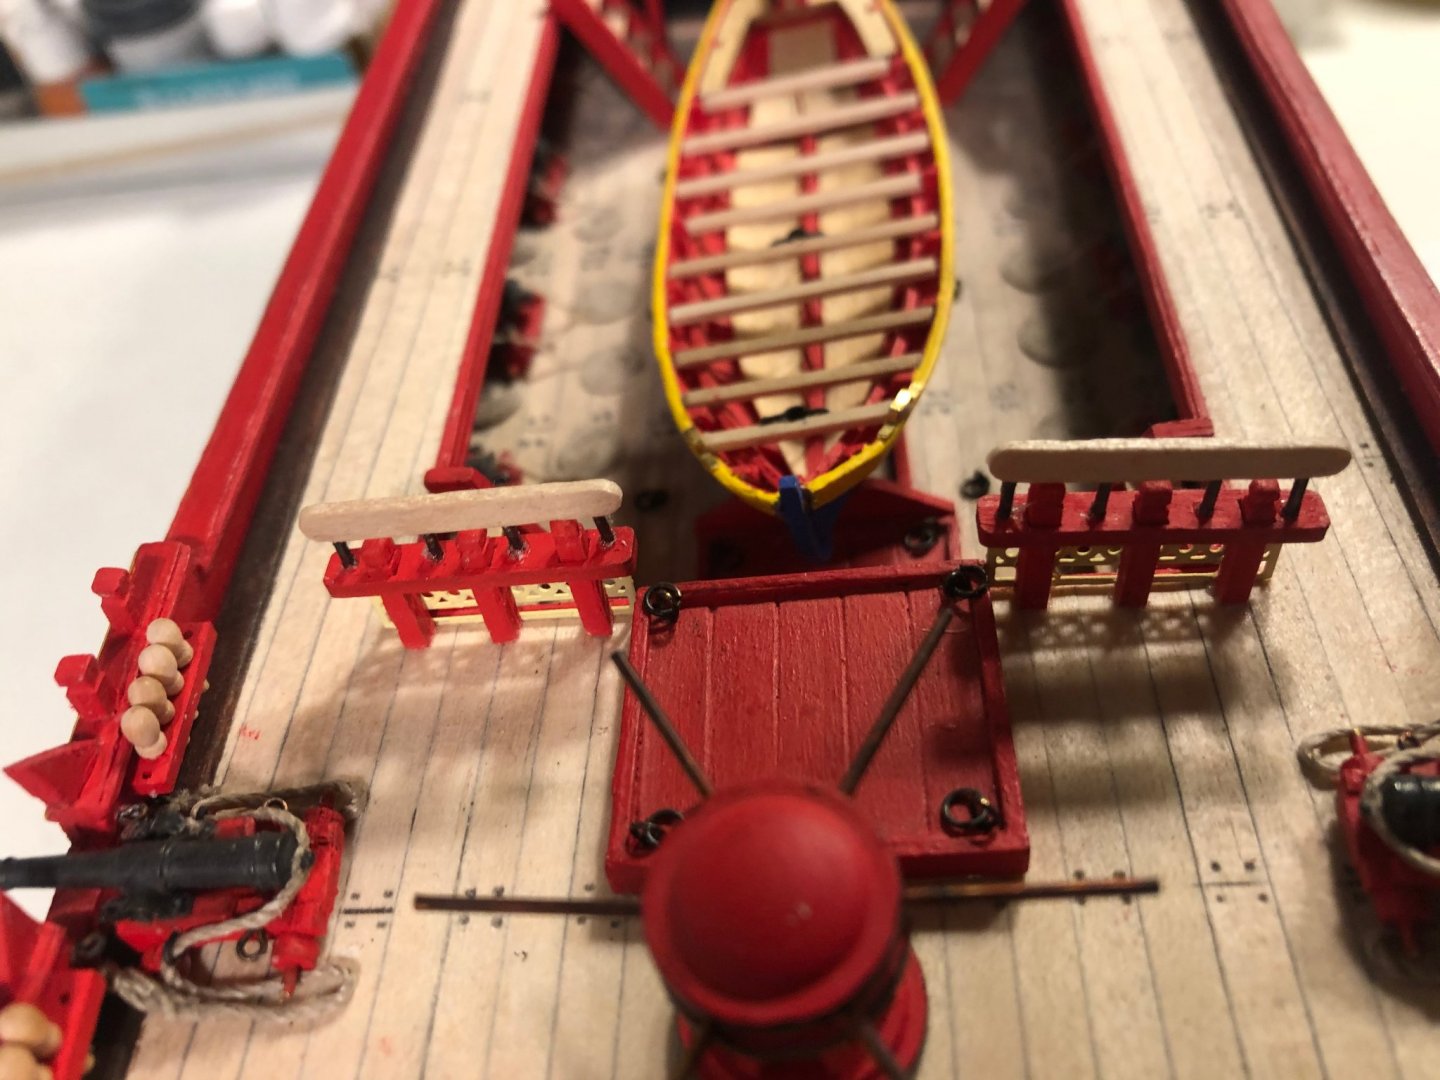
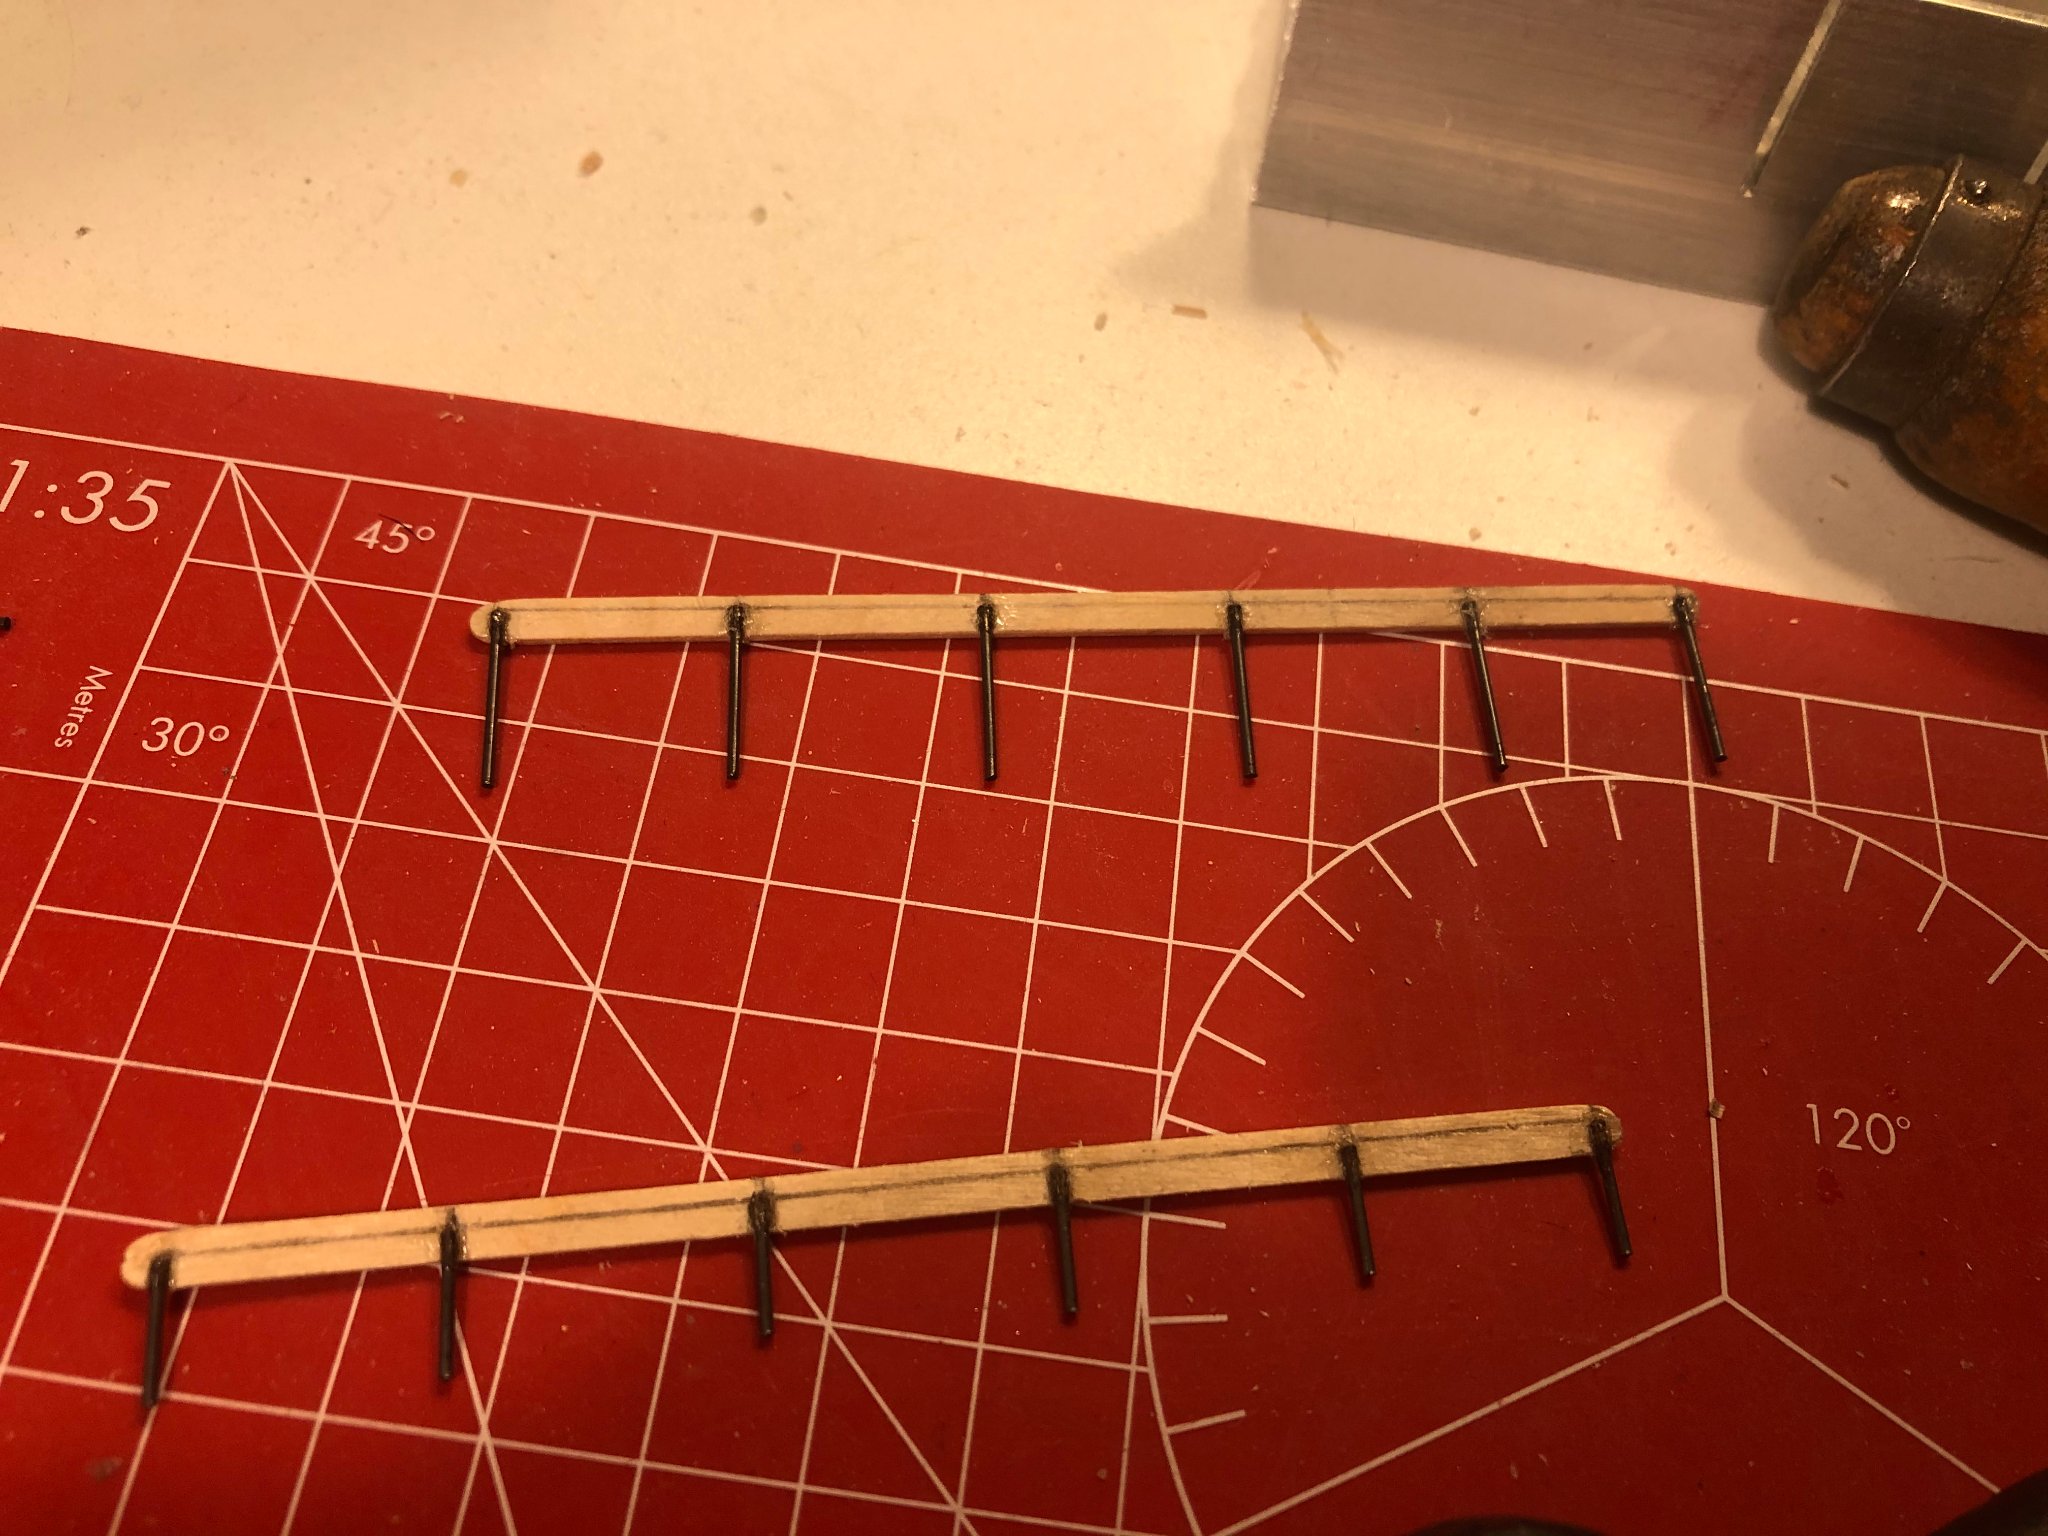
Finishing the life boats (mounting the oar pins)
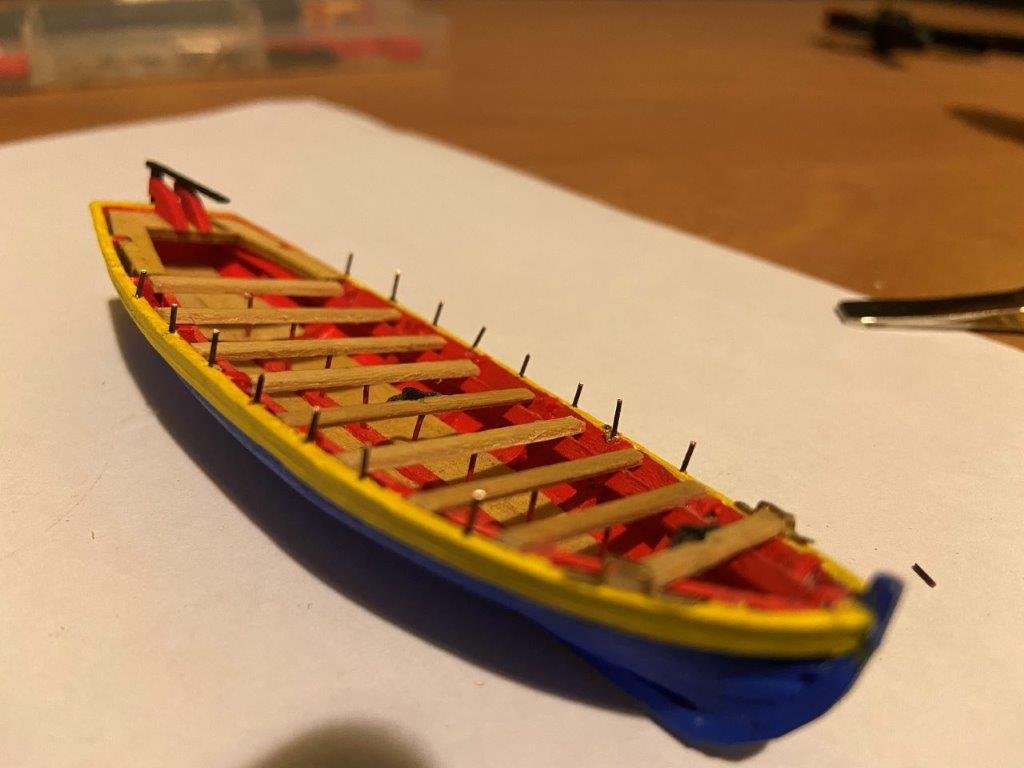
Finishing the second lifeboat
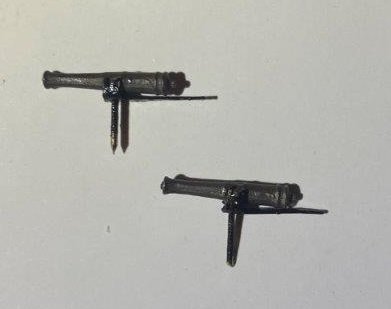
And the culverins
Finally in finished the hull. Soon i will start with the rigging.
Regards
-
-
Hi all,
It's been a while since the last update and there's not much movement at the boat slip at the moment. But I have my reasons for that. After recovering from surgery, it was time to get back to work. Now about 3 months ago I found a new challenge with a company that builds luxury yachts up to 140 meters. In addition to my new job, both of my sons have left the parental home so I have spent many hours doing odd jobs and moving.
Now that we have more space, I have started to set up a hobby room and hope to start on the boat slip again soon to finish the Hermione.
In the meantime, I do have an update on my progress that I had not yet posted due to all the changes over the past few months.
I started to build up the masts


I'm not fully satisfied with the bowsprit, the tip of the bowsprit is not in line with the rear of the bowsprit. I will redo this part.
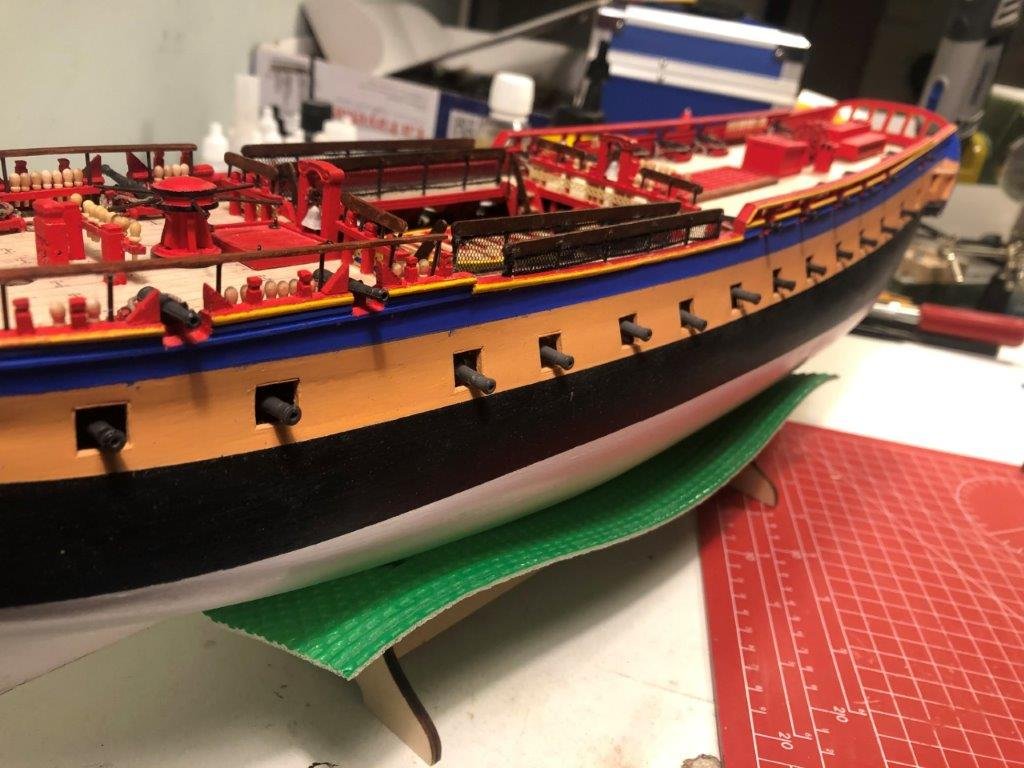
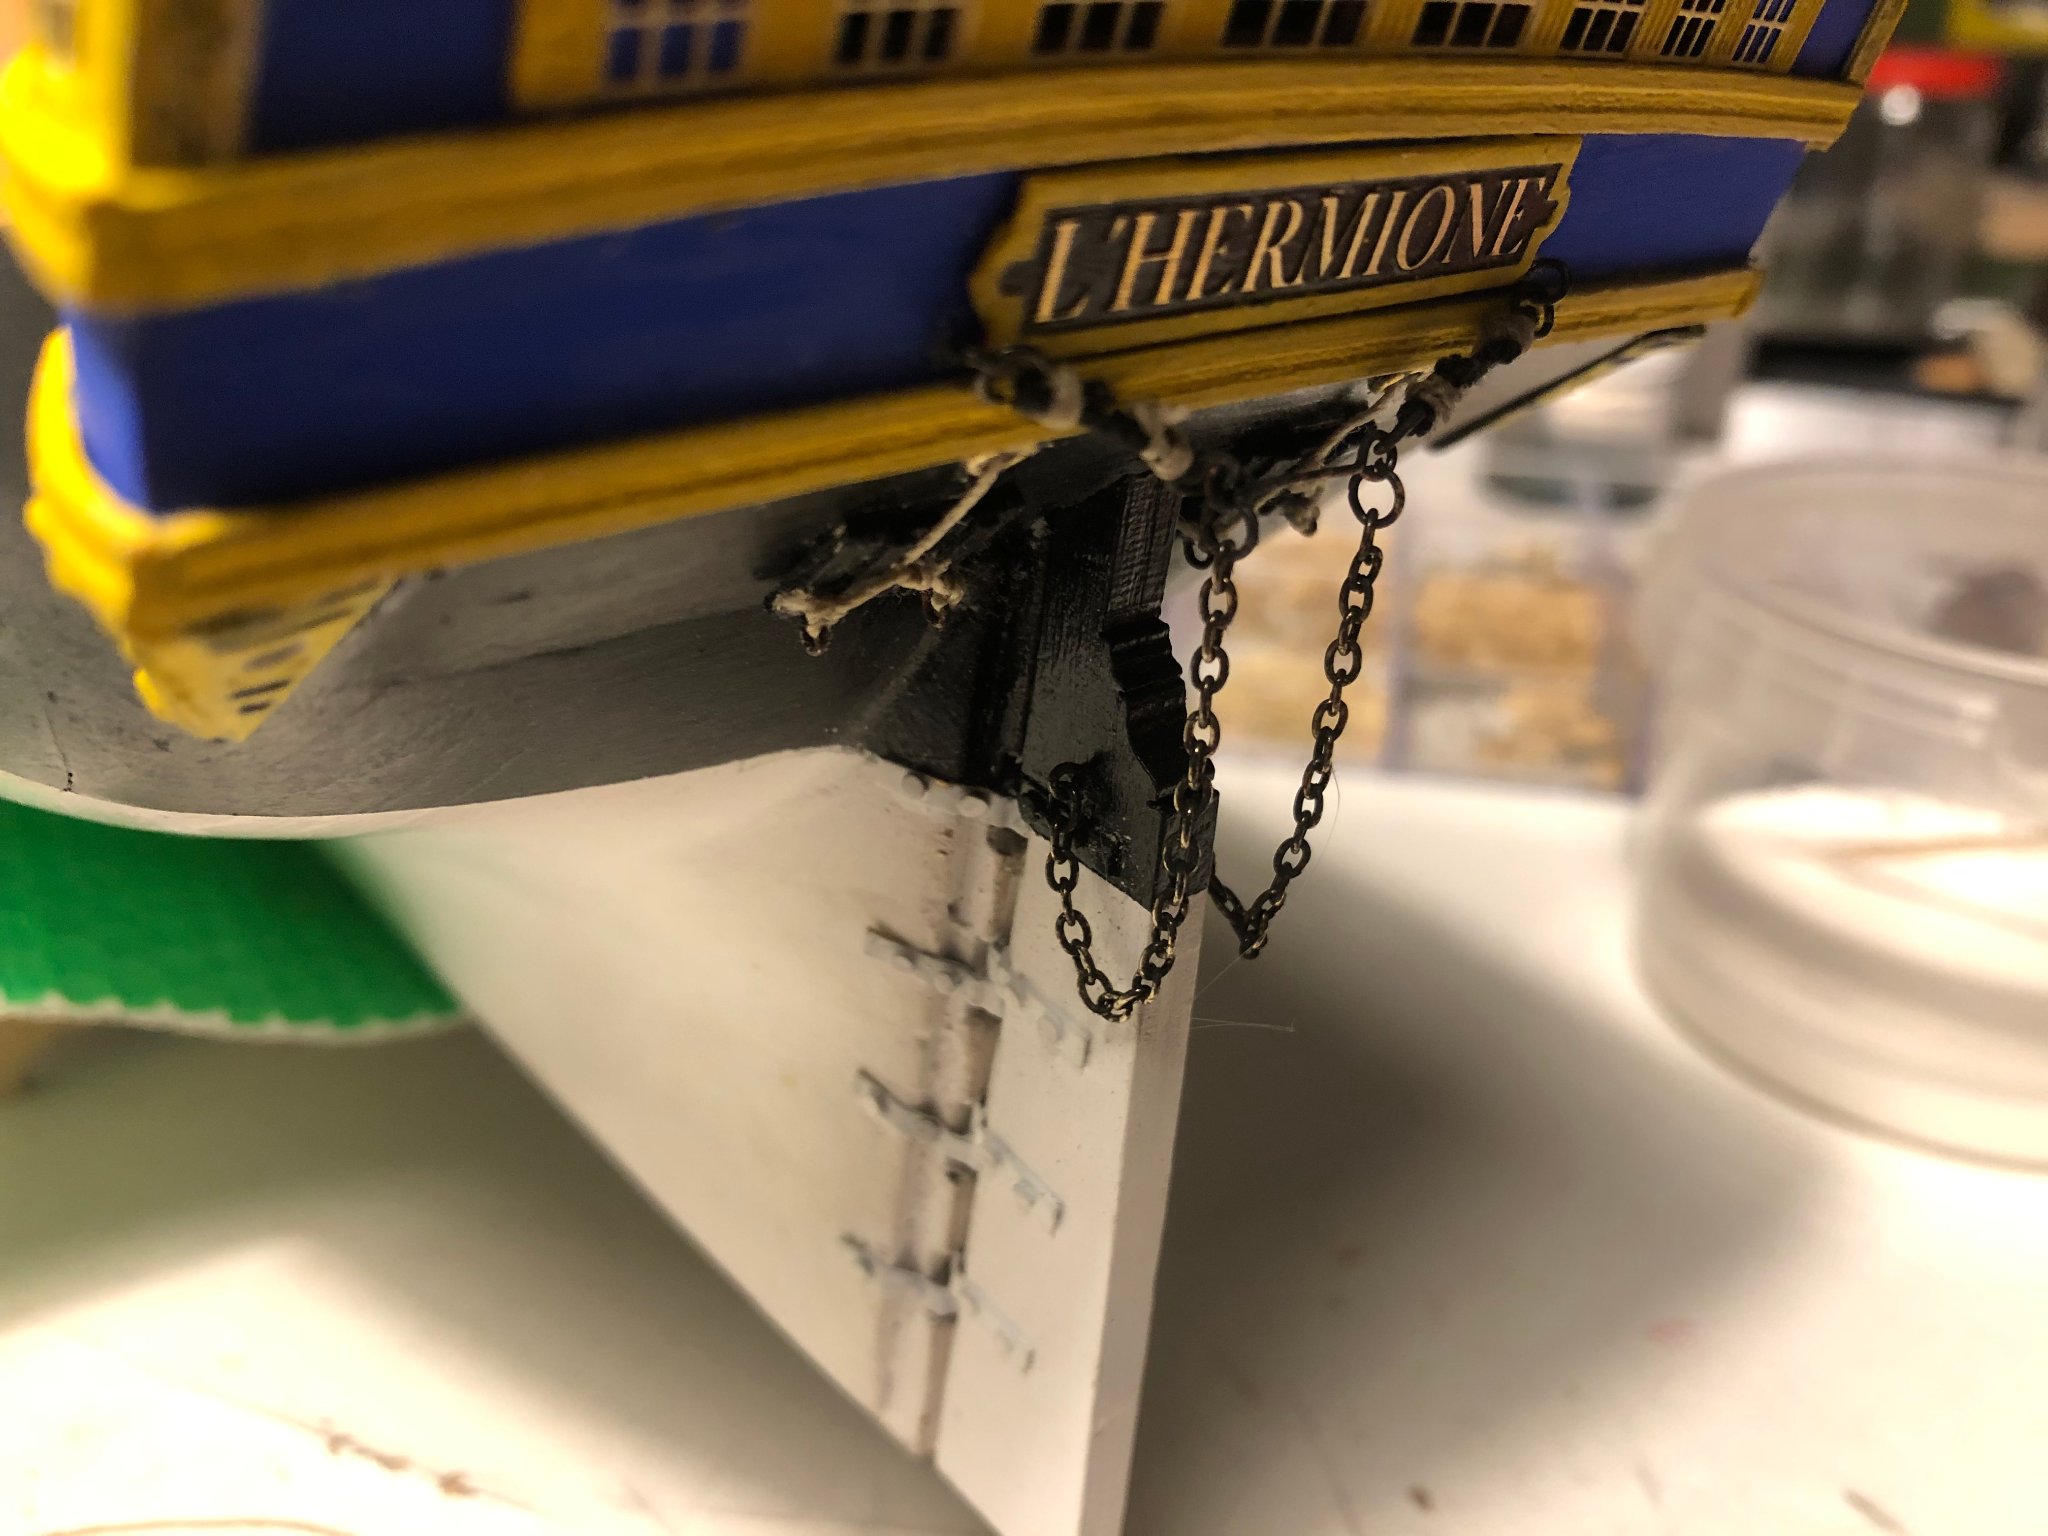
After bending, soldering and painting the chain-plates is installed mounted them into place at the channels.
I also started with the last ships boat.
That's all for now folks.
Up to the next update😀
Peter
- jks1981, Mr Whippy, ObviousNewbie and 1 other
-
 4
4
-
Hi Sjors,
Superb work
Building with the speed of light. That must be something for the Guinness book of records.
My regards to Anja and stay well
-
-
Hi Sjors,
That's a real big box full of goodies. 😁 Enjoy your build.
Regards Peter
- Sjors and FrankWouts
-
2
-
Hi all,
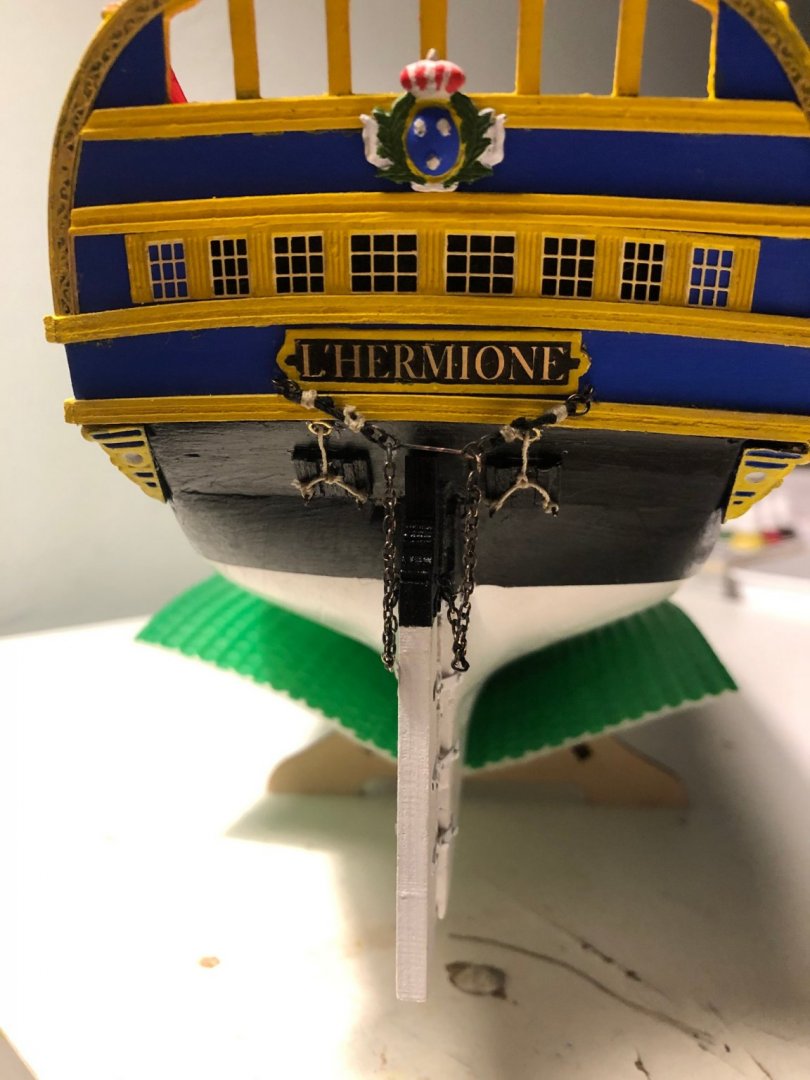
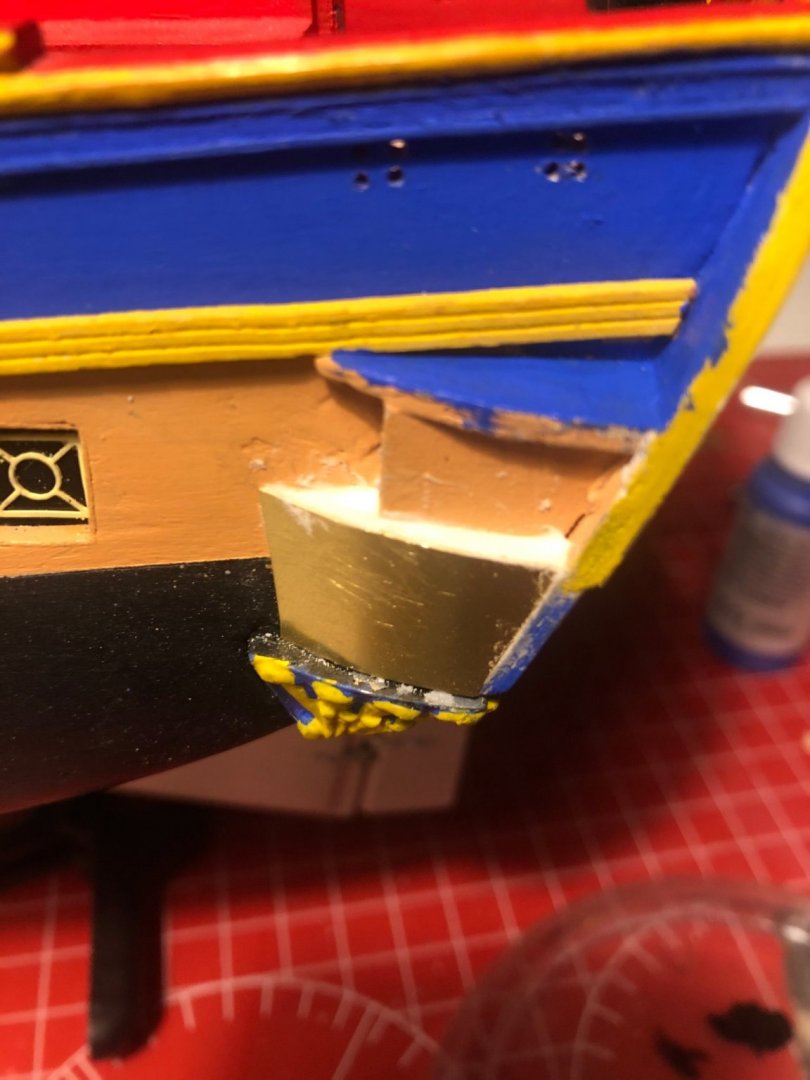
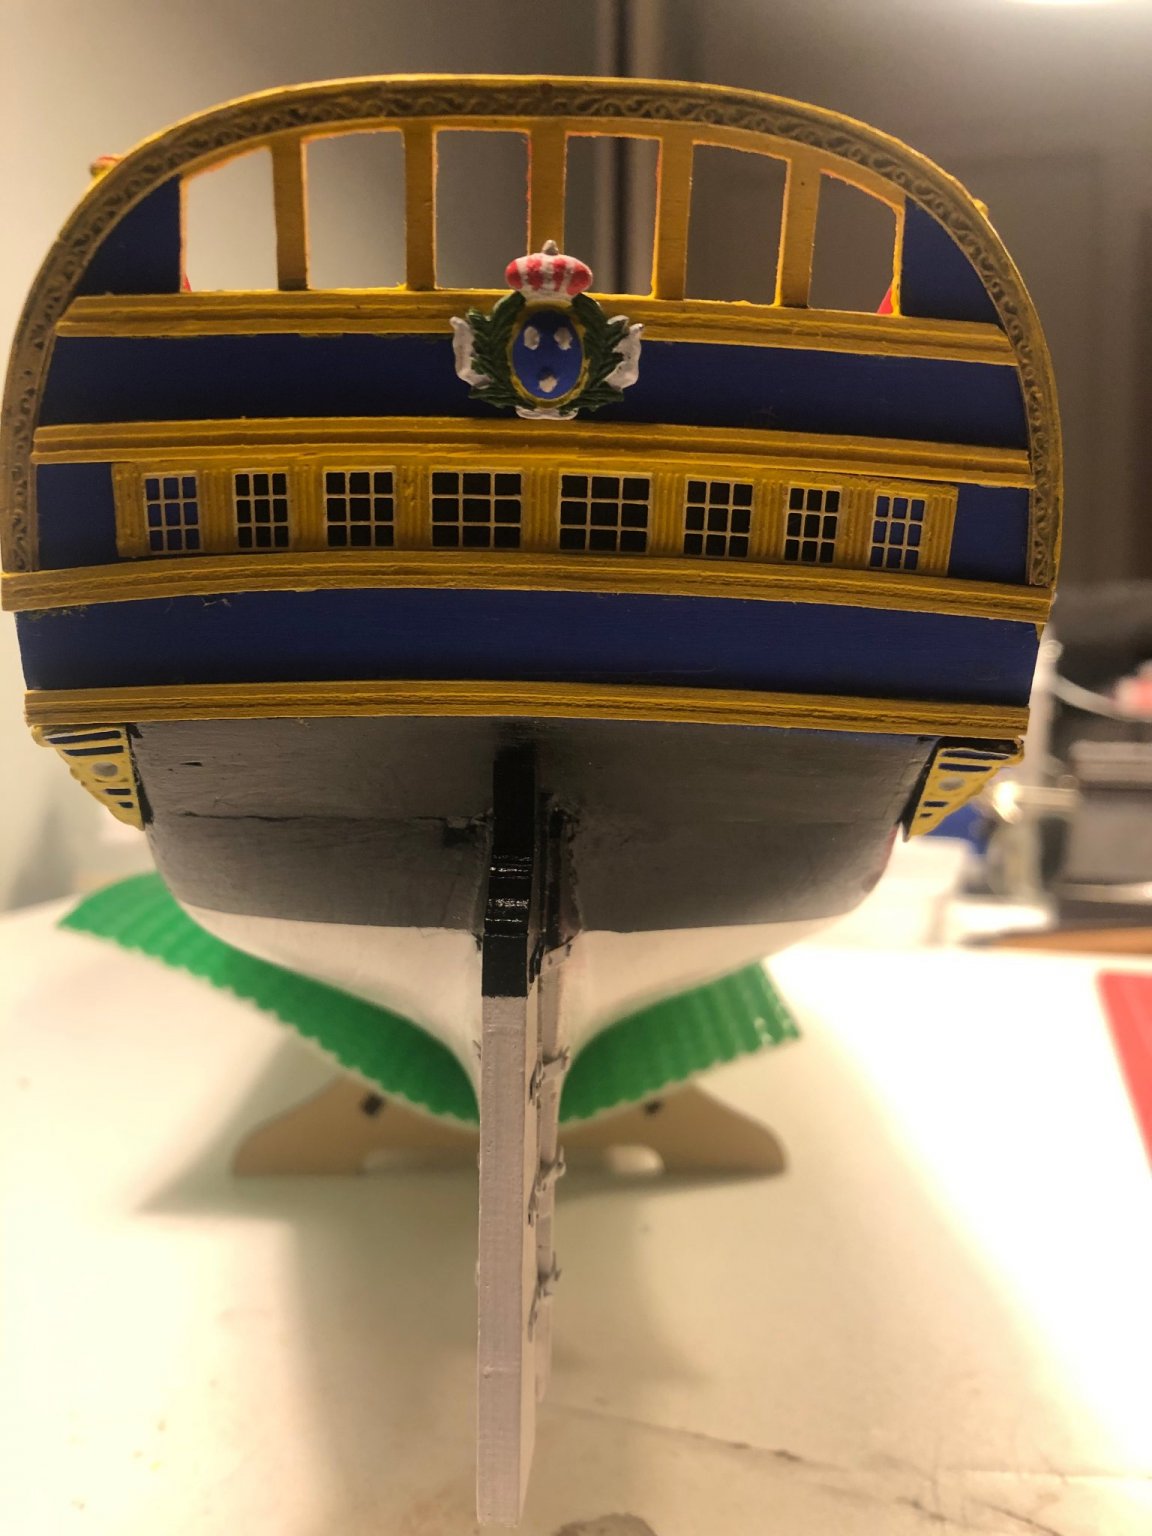
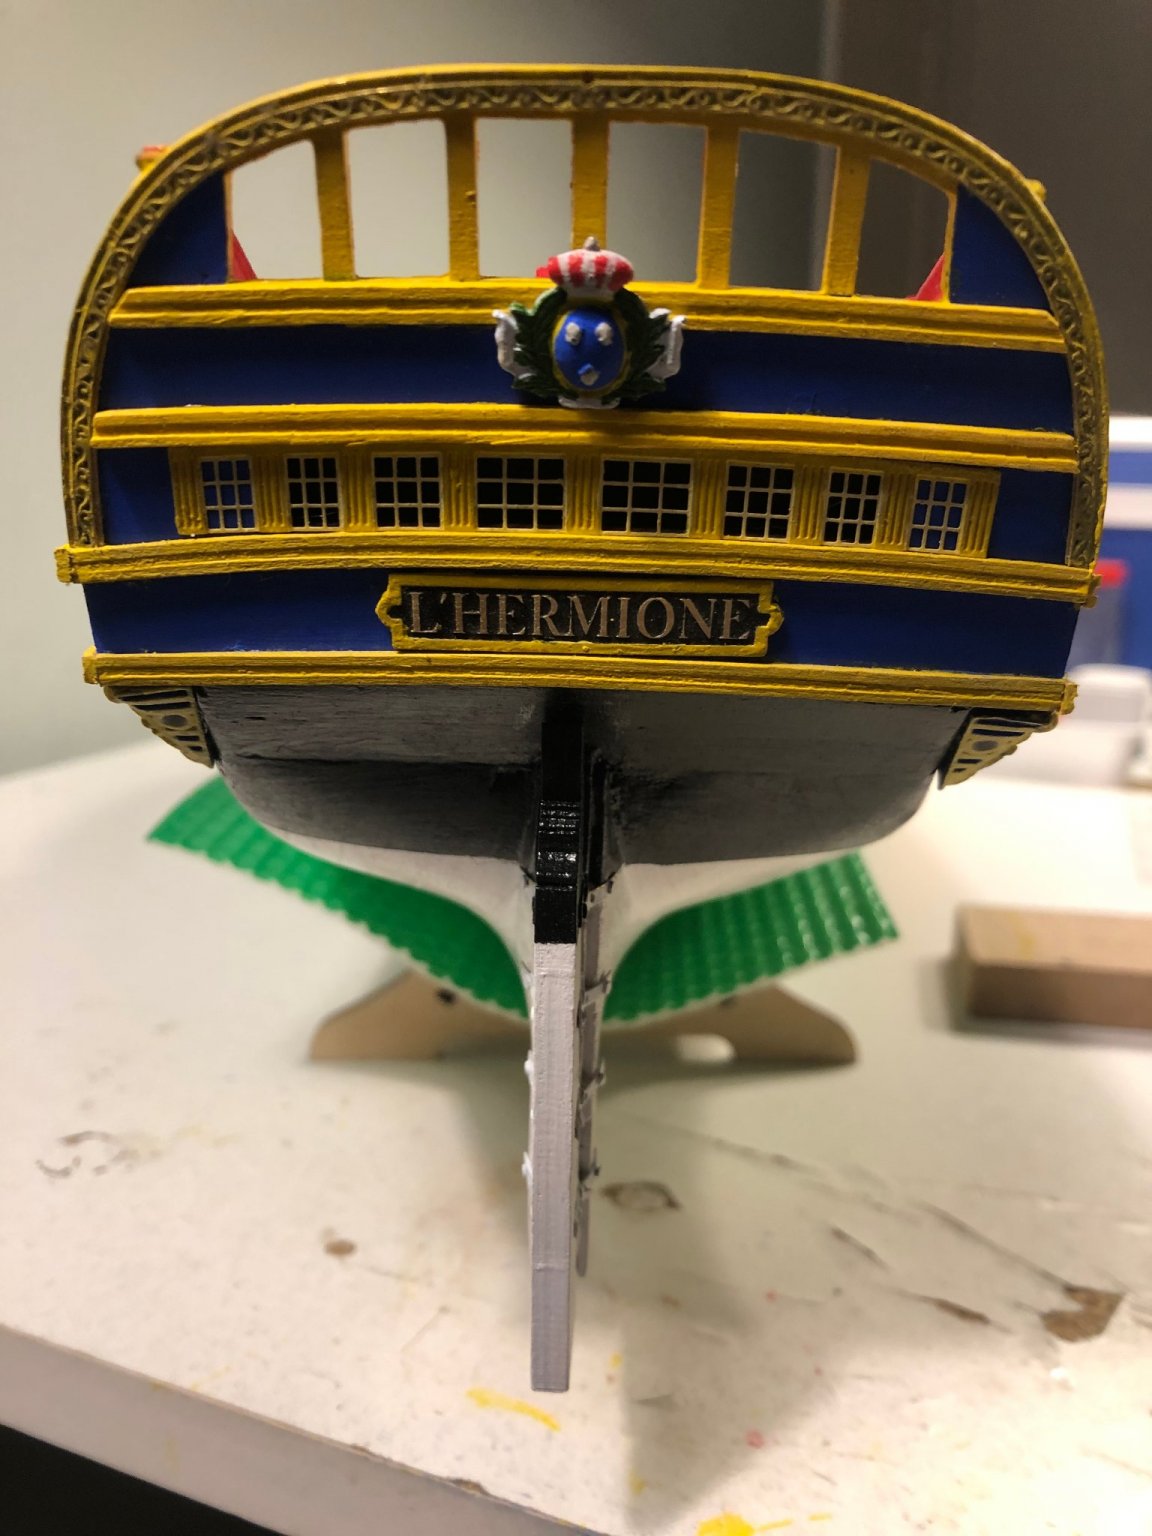
it's been a while but I finished the transom and the QG.


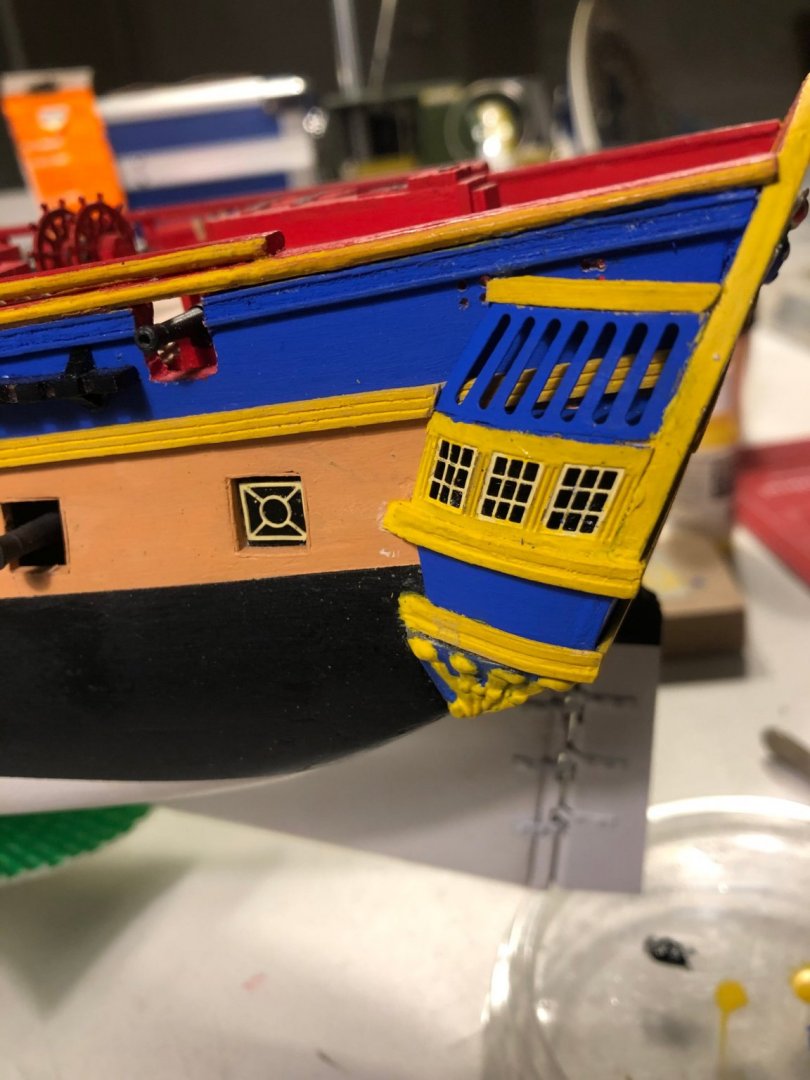
Regards Peter
- GrandpaPhil, chris watton, BenD and 1 other
-
4
-
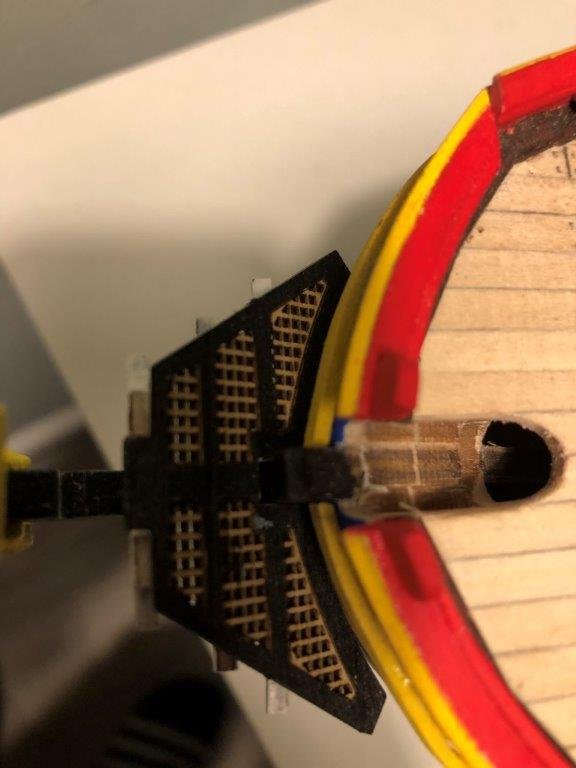
Hi all,
Nice that you are following this build and visit from time to time.
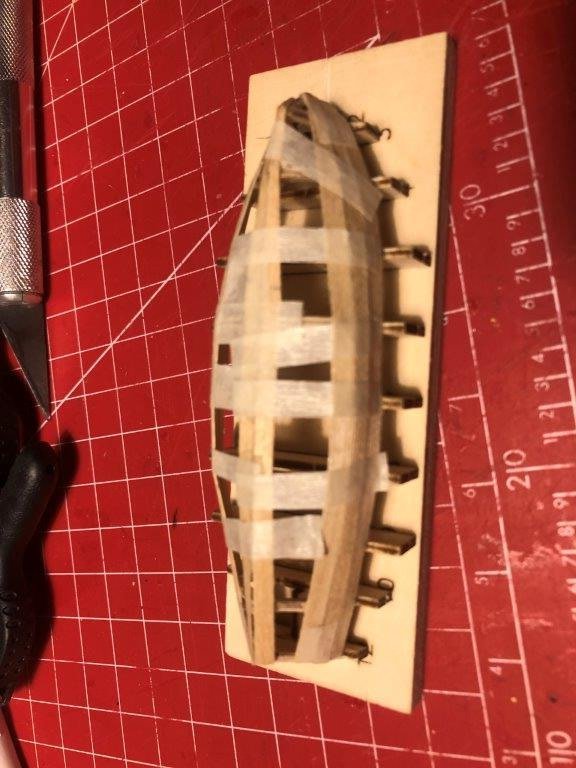
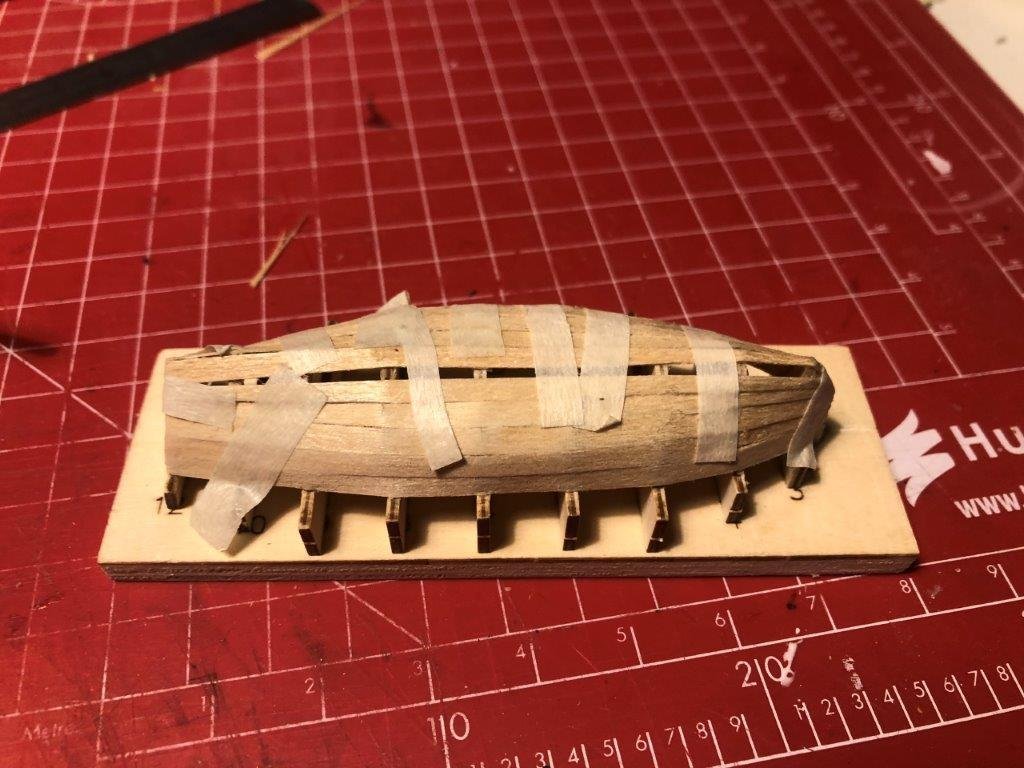
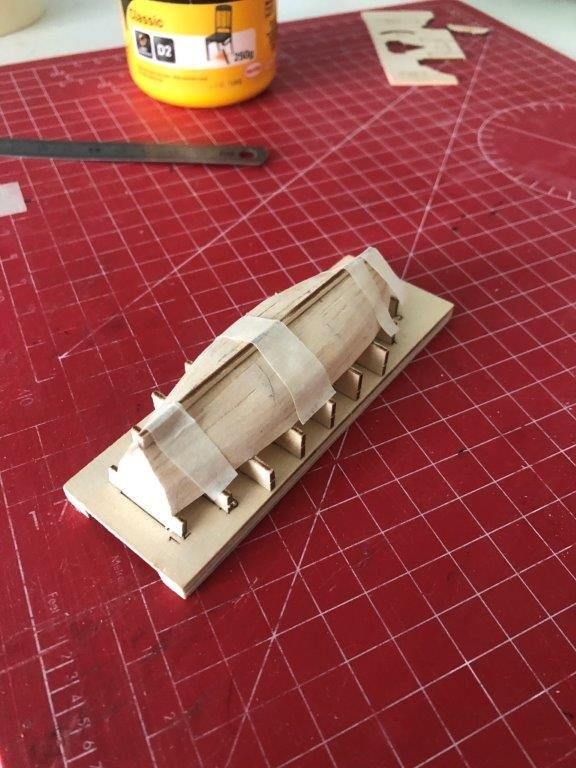
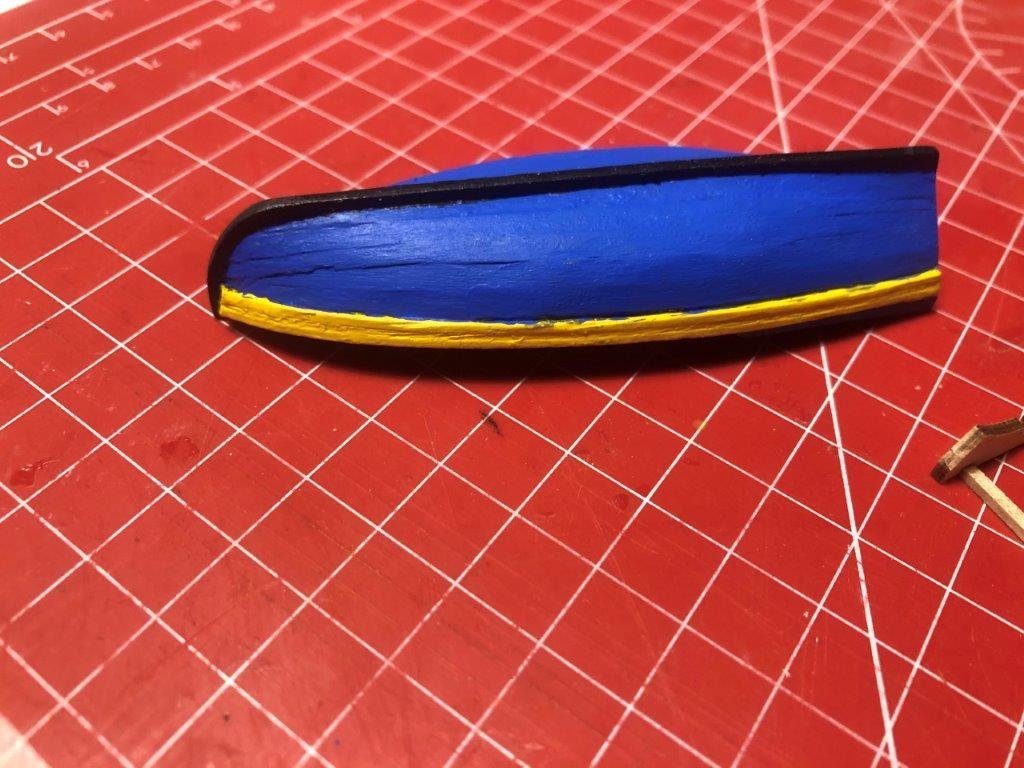
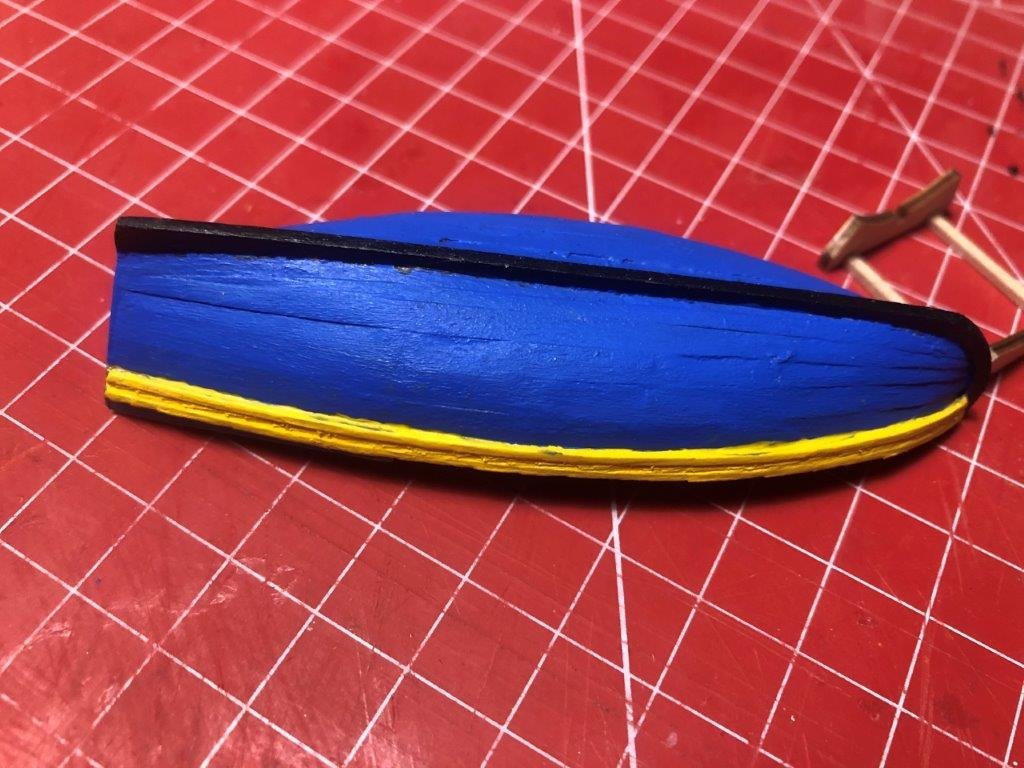
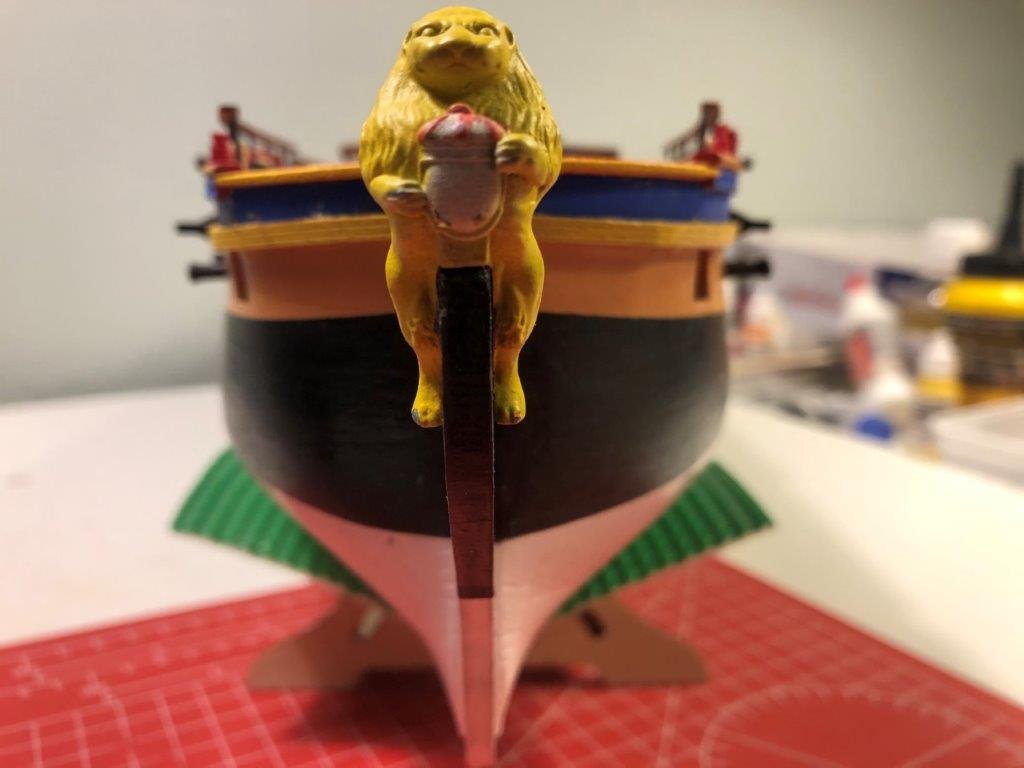
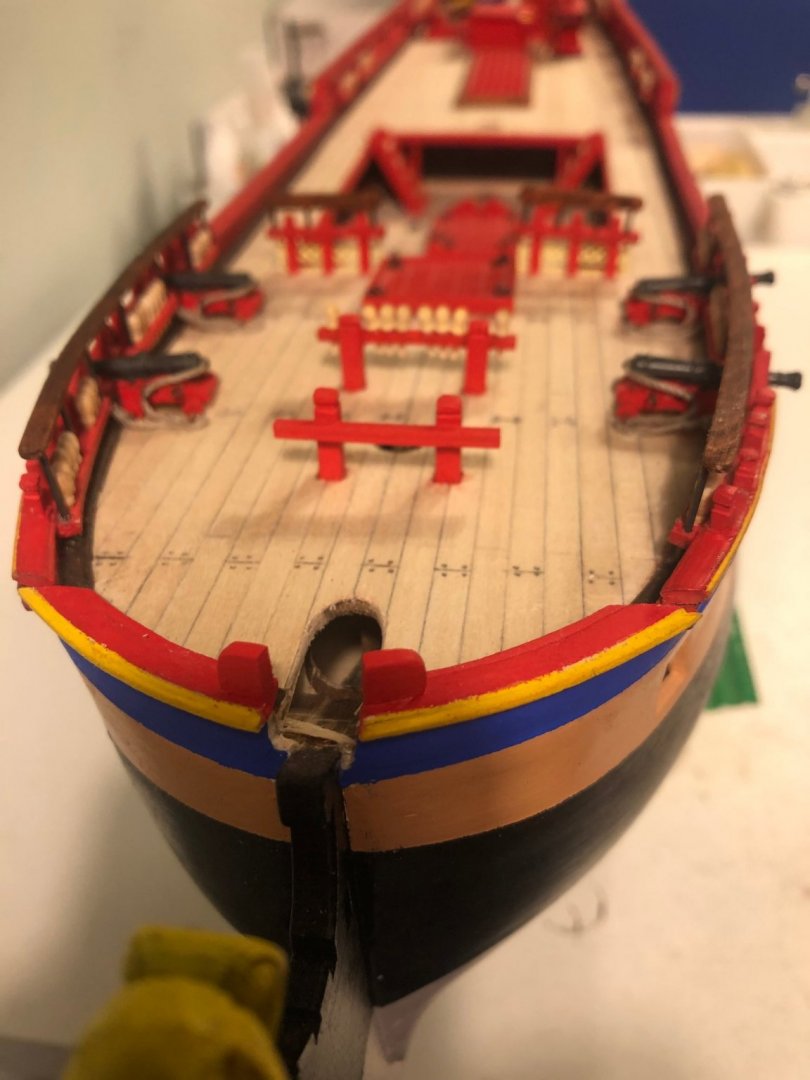
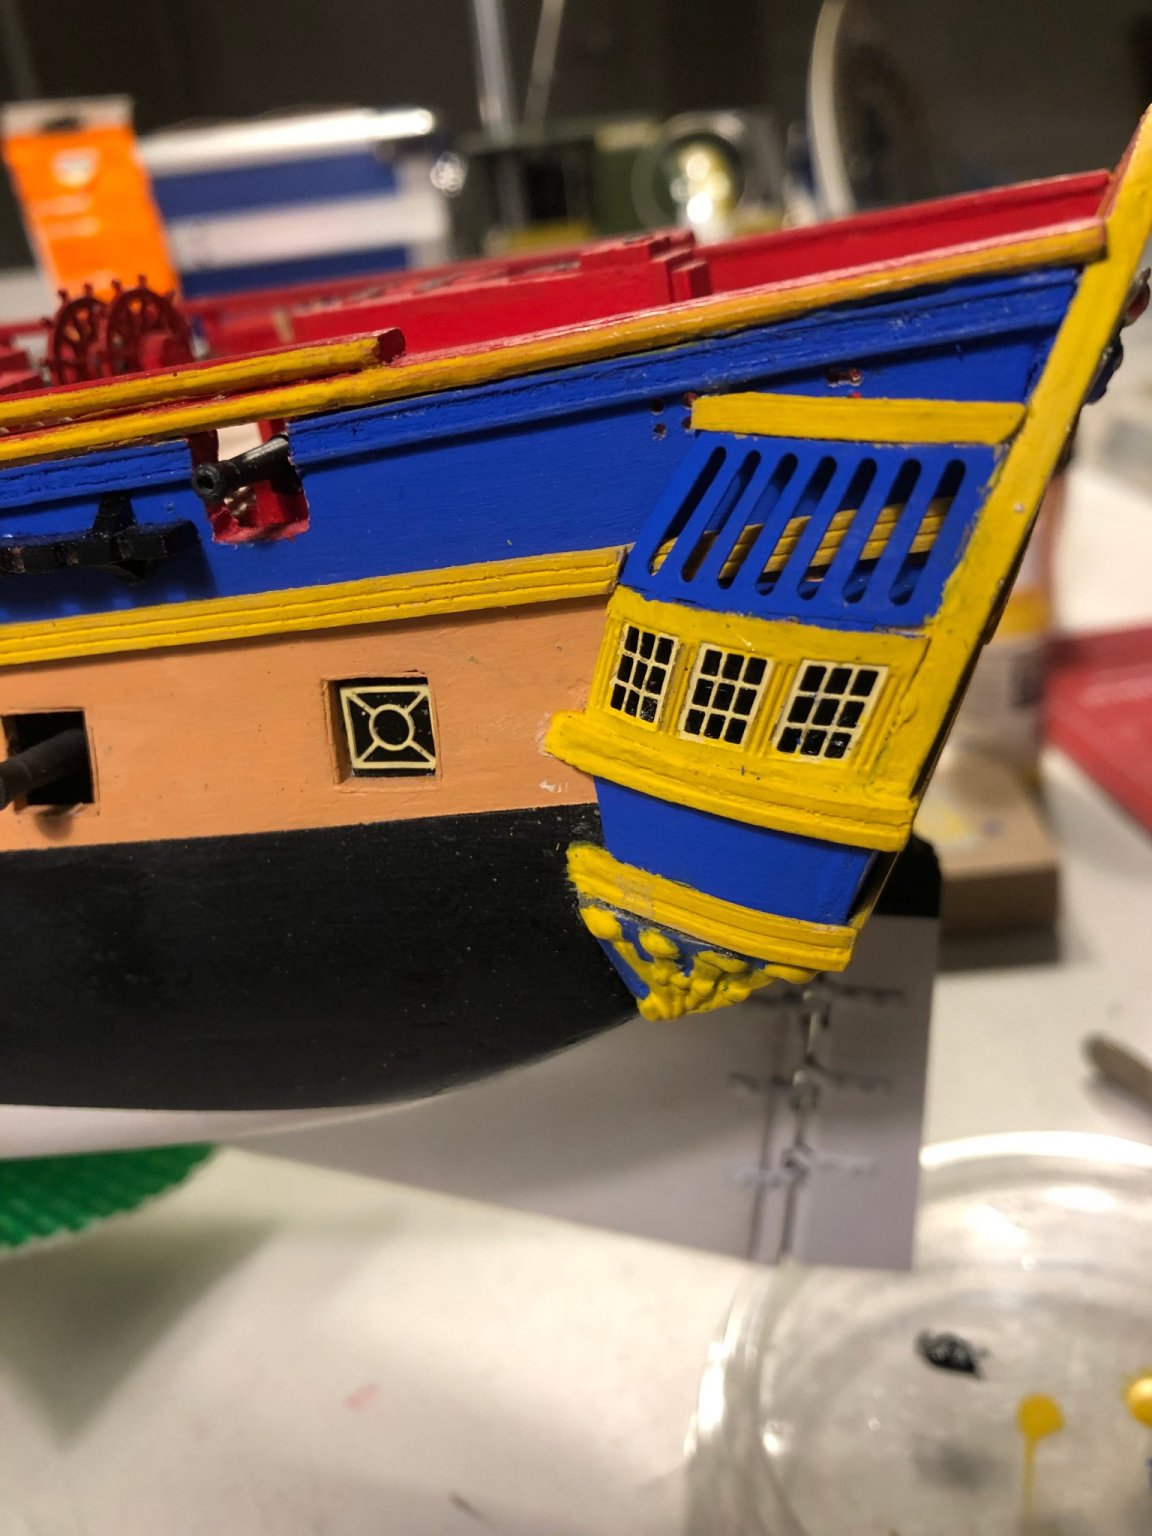
I finally finished the bow section. it took some time and effort to get all the parts of the hull to fit, but now it's done I'm very satisfied with the result.
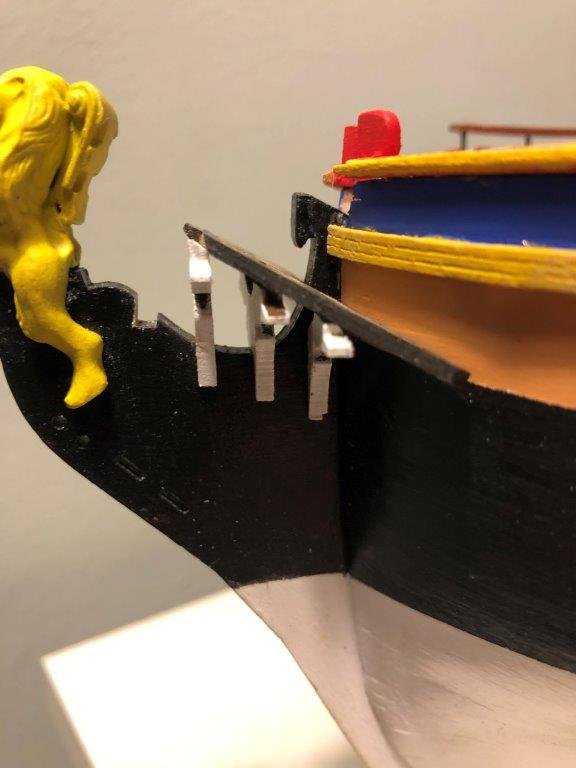
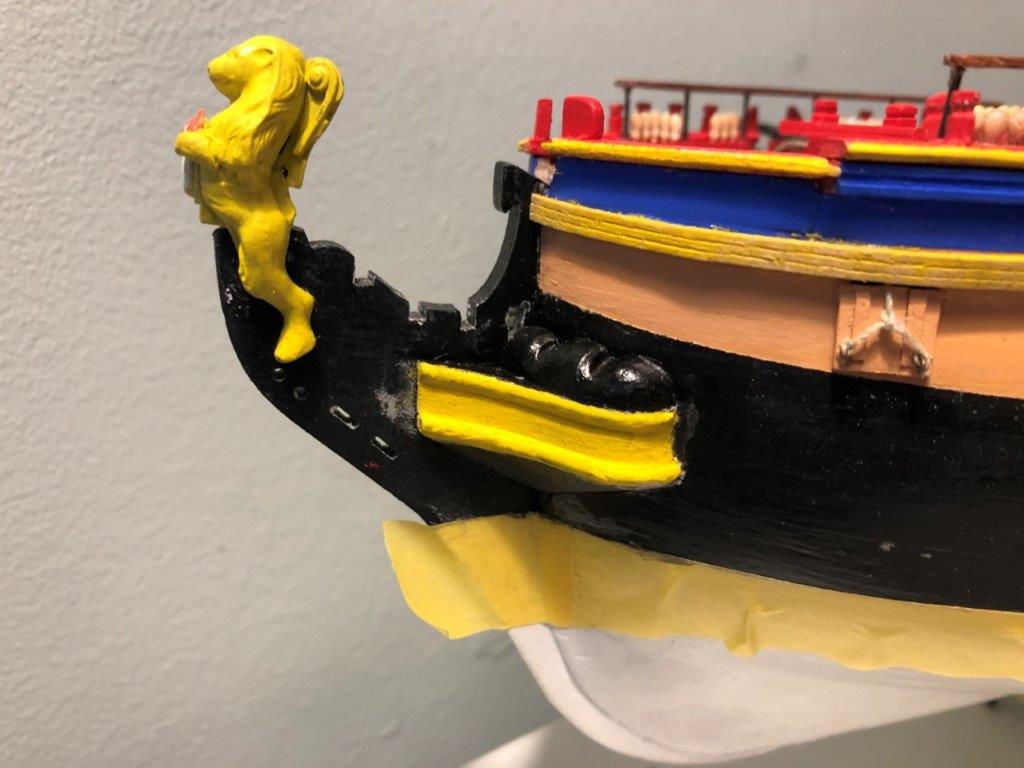
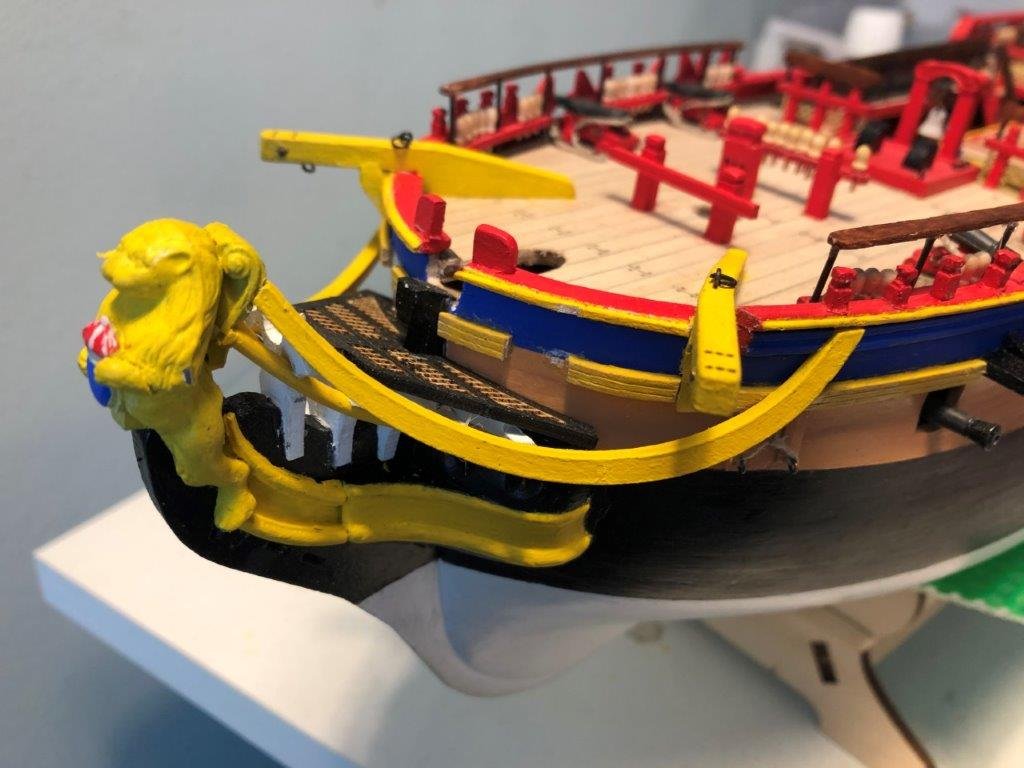
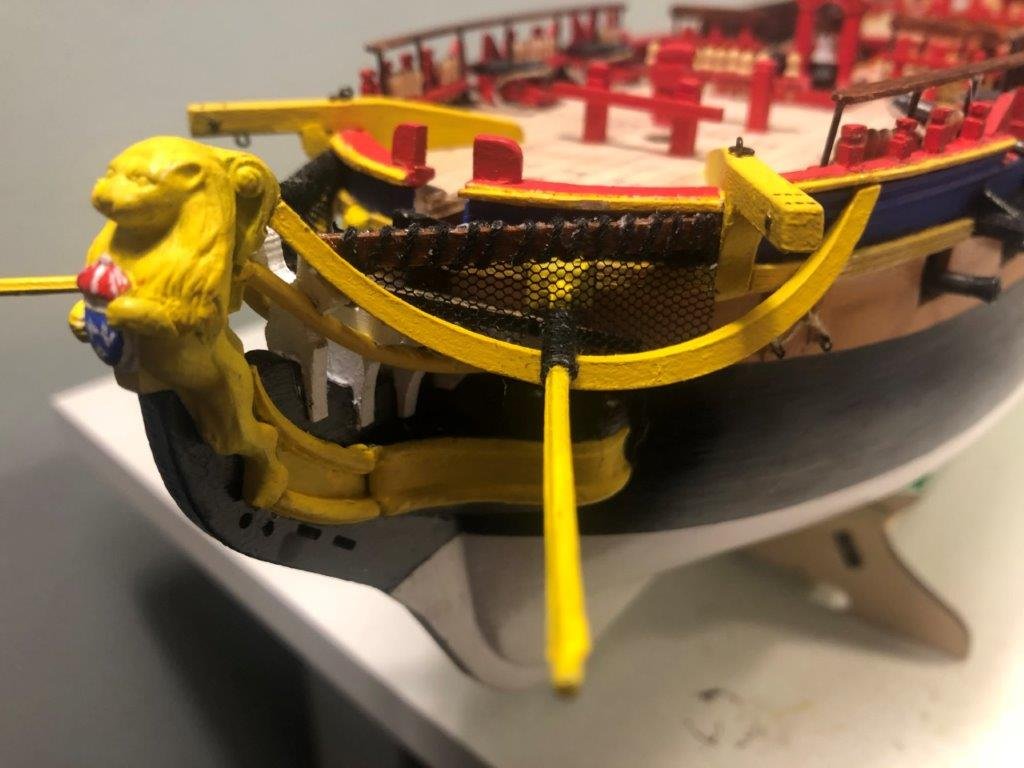
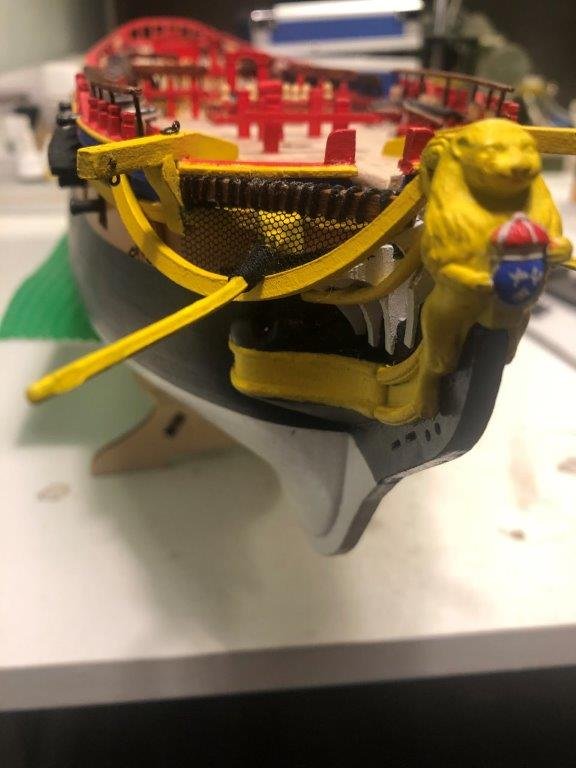

Time to move on to the stern
Peter
- GrandpaPhil and jks1981
-
2
-
-
Apparently my eyes are failing me.😁Fooled by the angle of the picture. From this side it's looks great.
-
Hi James,
This looks great, but is the cap rail on starboard side not a little bit to short? When assembling the bowsprit, the cap rail should almost connect to it.
Peter
-
Hi James,
The cap rails I made from scrap are following the curve of the bow much better then the cap rails that came with the kit. There a lot of flaws in the design of the Hermione that can be very frustrating. But, if you can solve them the result will be rewarding.
Peter
-
Hi Sjors,
Thank you for the nice words and comment.
Your right,
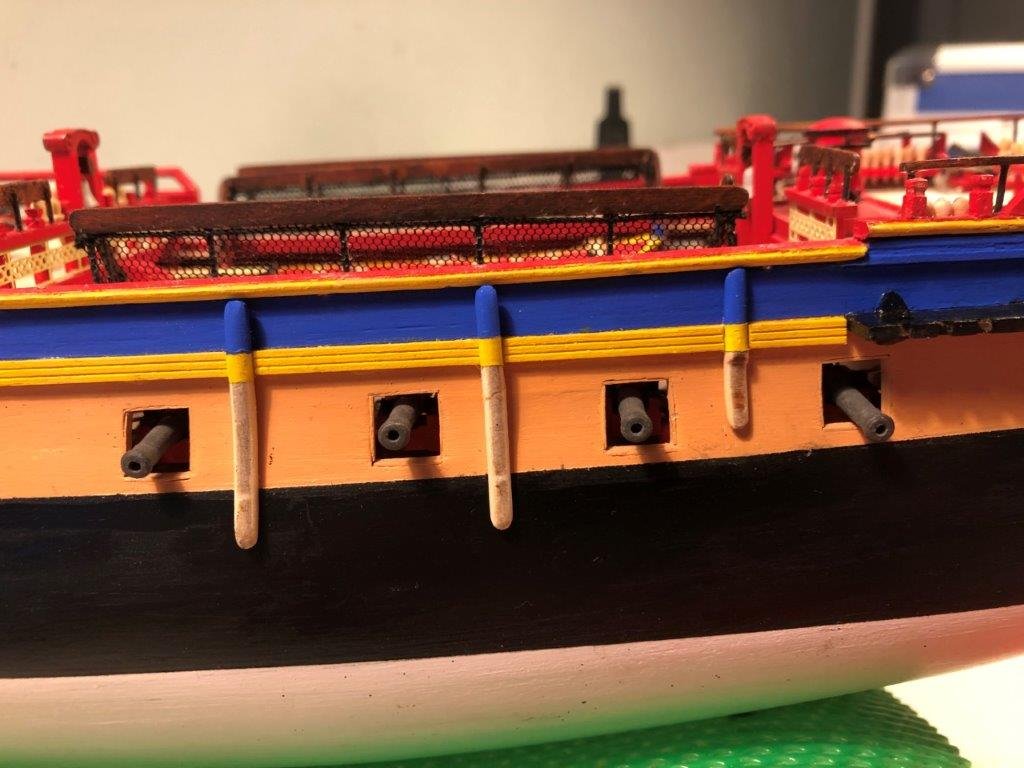
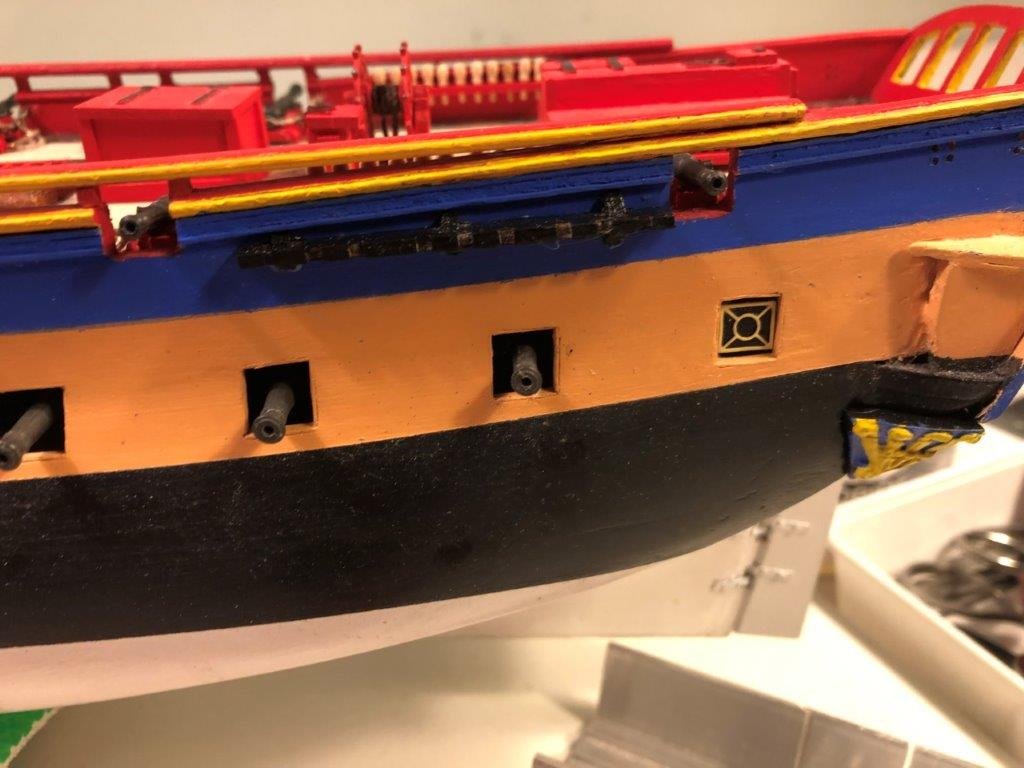
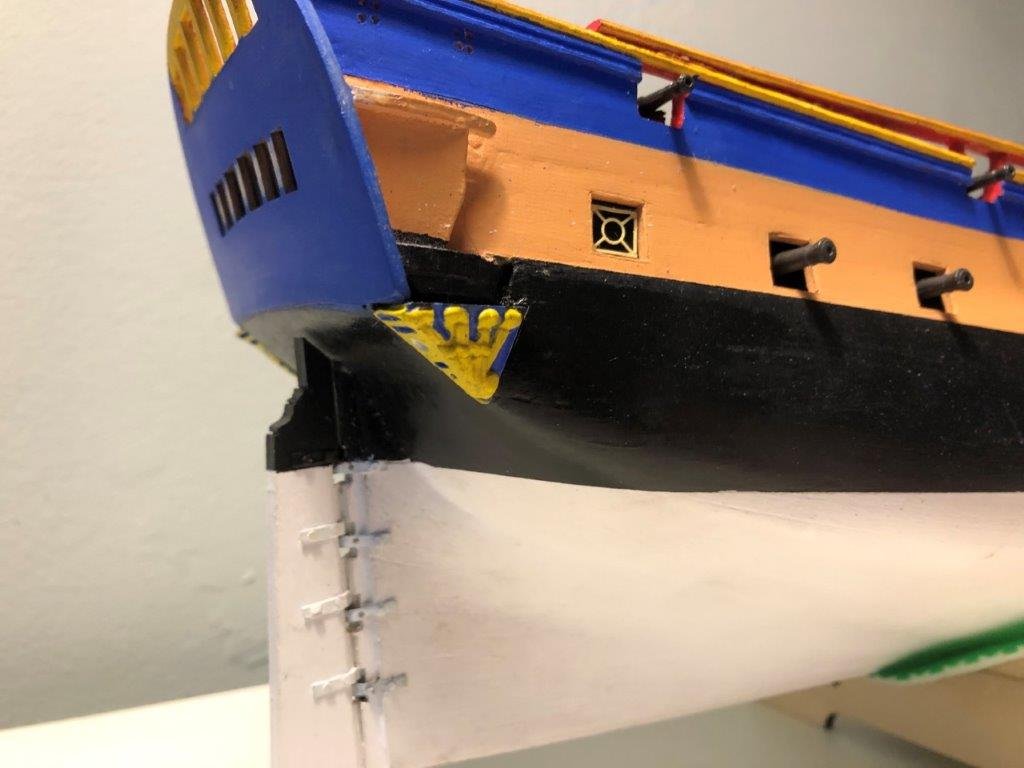
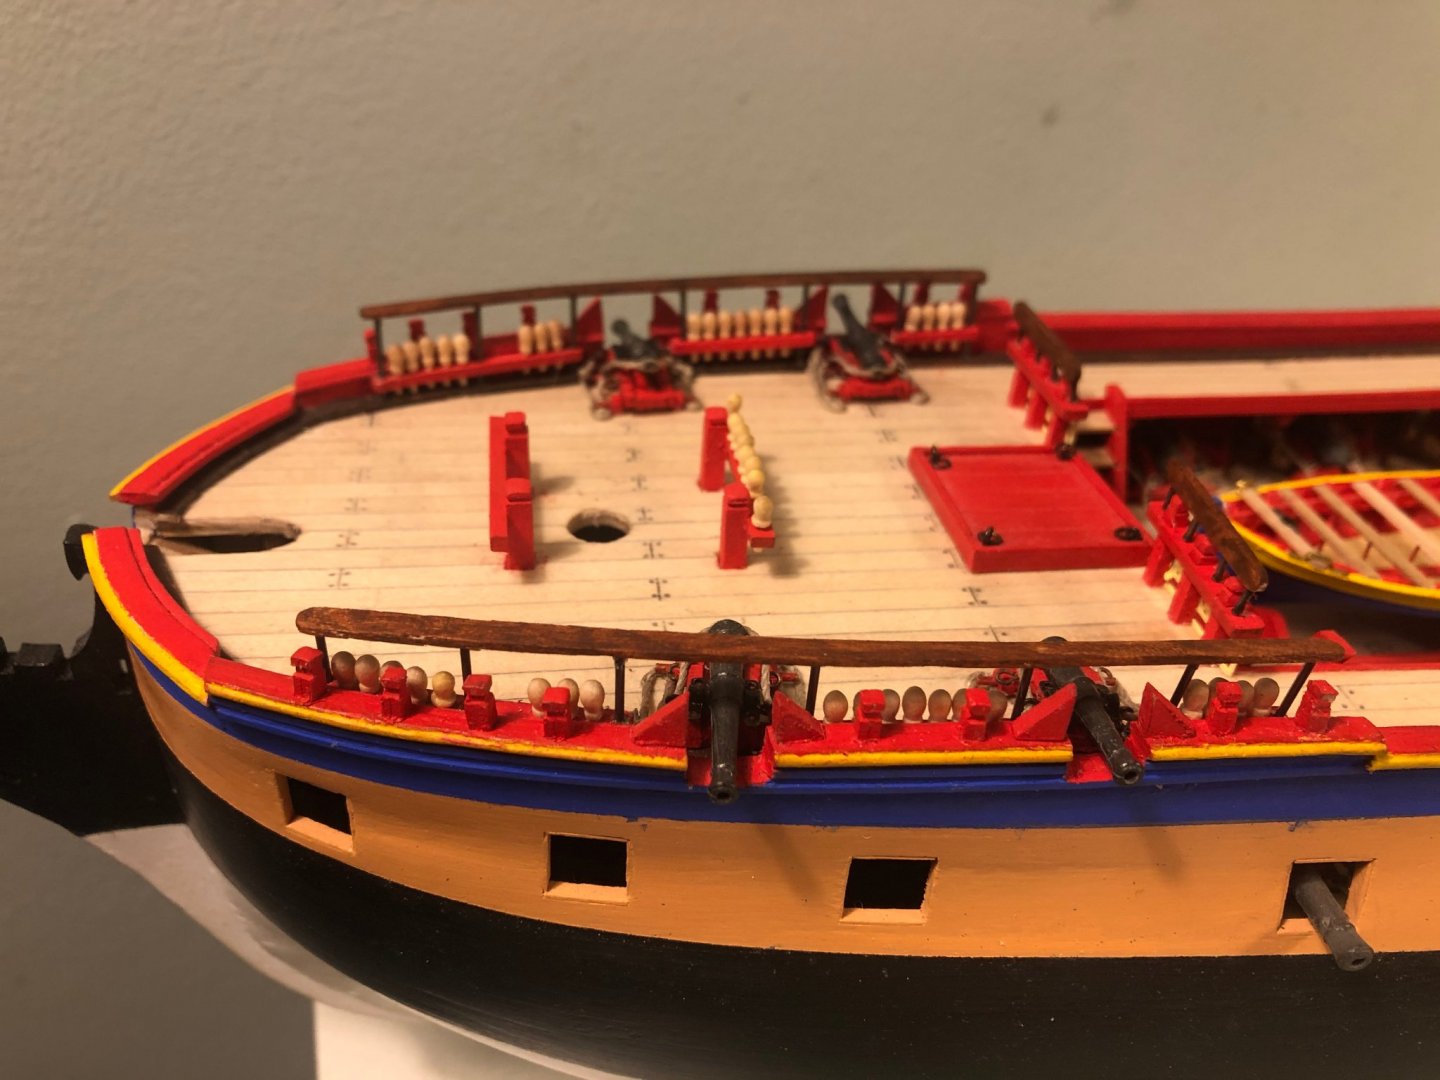
I took of one channel to see if i could solve the problem by moving the channel a bit more to the bow, or to the stern. I also thought that I had made a mistake and mounted the channel upside down. But no matter what i do, there will always be a shroud blocking the firing line of a cannon.
I also checked the instructions and found out that the curse of AL strikes again.

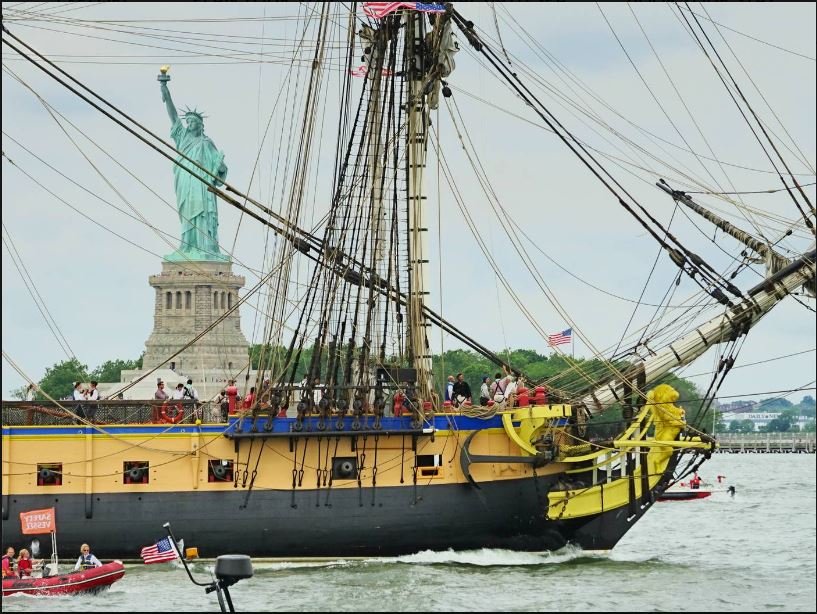
This is not the case on the replica of the Hermione
Moving the second gun port (and cannon) a bit more to the aft seems solve the problem. But moving the gun port affects the location of the pin rail and the railing on top of the cap rail, and so on.

I think that i will glue back the channel and leave it as it is. Most people looking at it will not notice this flaw.
Peter
- jks1981, GrandpaPhil and Matt D
-
3
-
Hi all, a little bit of progress.
Made the channels and sheer strake (don't know if this is the right name) and glued them to the hull.
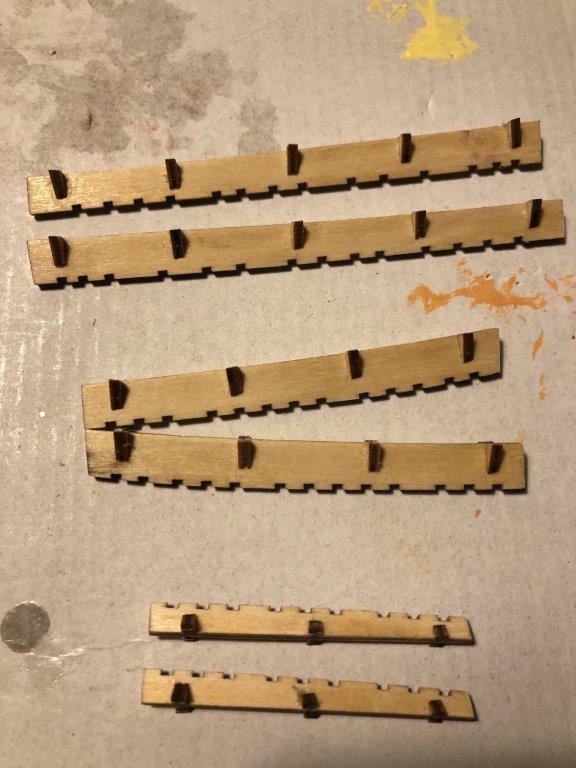
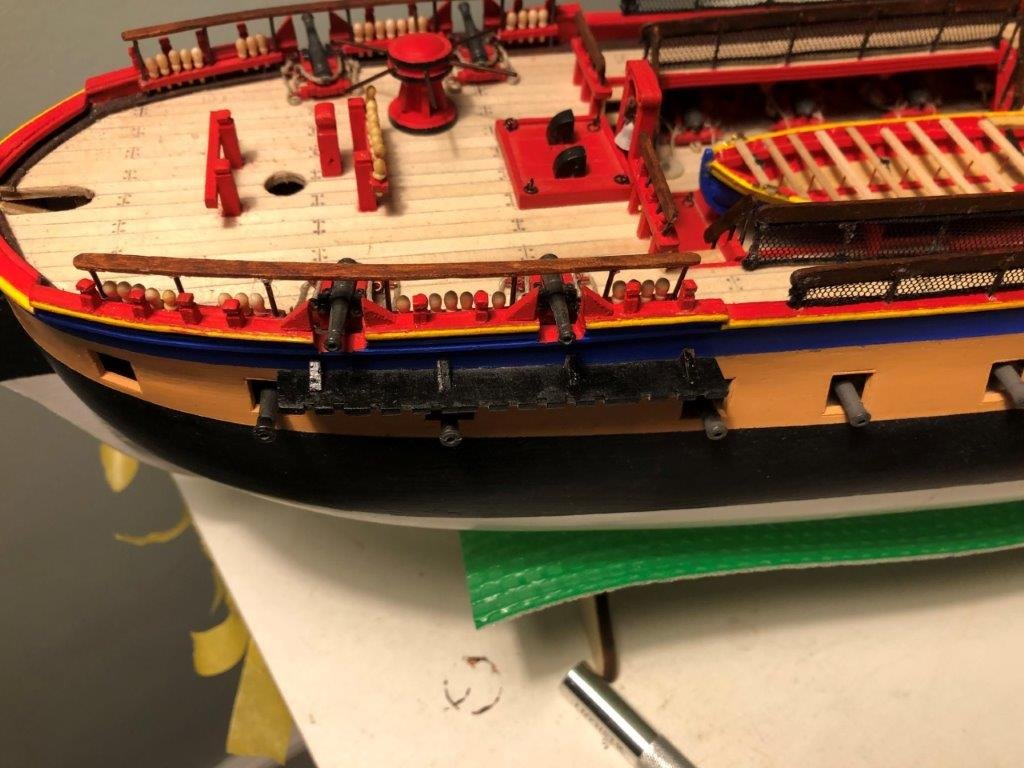
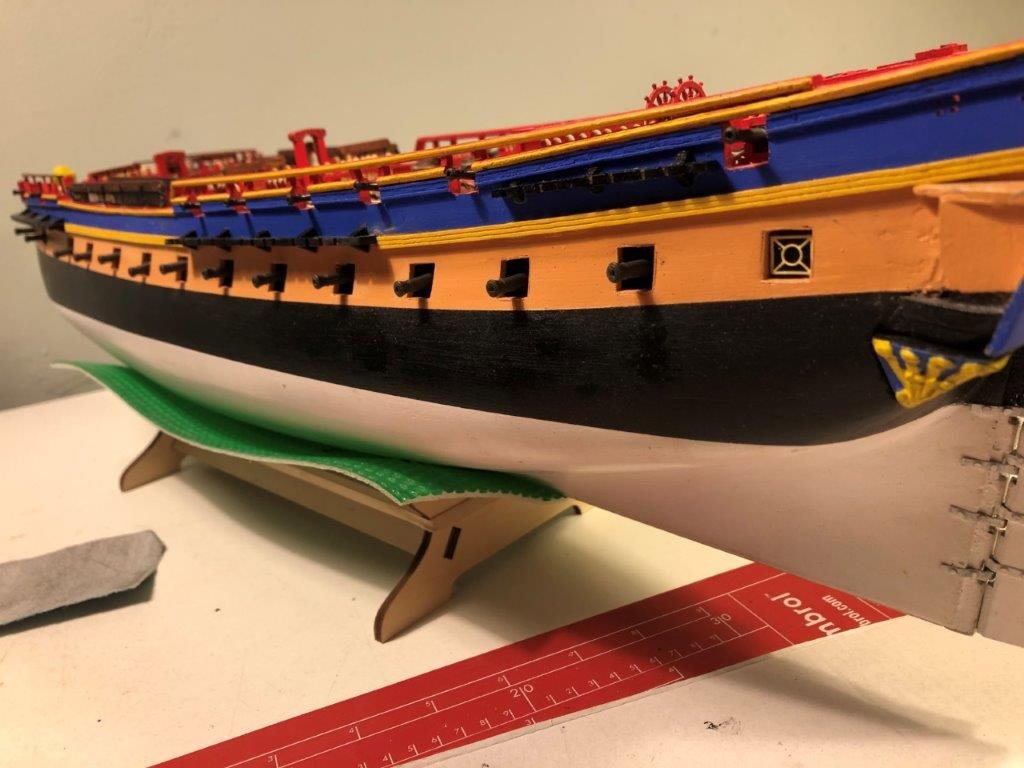
I have to touch up the paint work here and there because the glue I use dissolves the paint.
Regards
Peter
- jks1981, GrandpaPhil and Sjors
-
3
-
Hi James,
Great job. I can see you have a steady hand with painting cap rails.
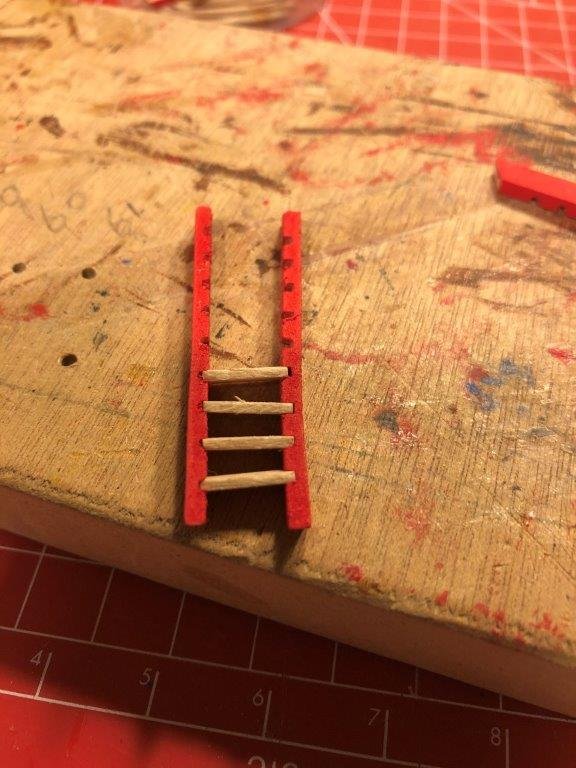
Tip, Check the set of stairs that came with the AL kit. When I wanted to assemble my stairs I found that the stringers had uneven saw cuts. This resulted in a spiral staircase that just didn't look right. I ordered a set of stairs from Amati, which were really a lot nicer than the ones from Artesania Latina.
Regards
Peter
-
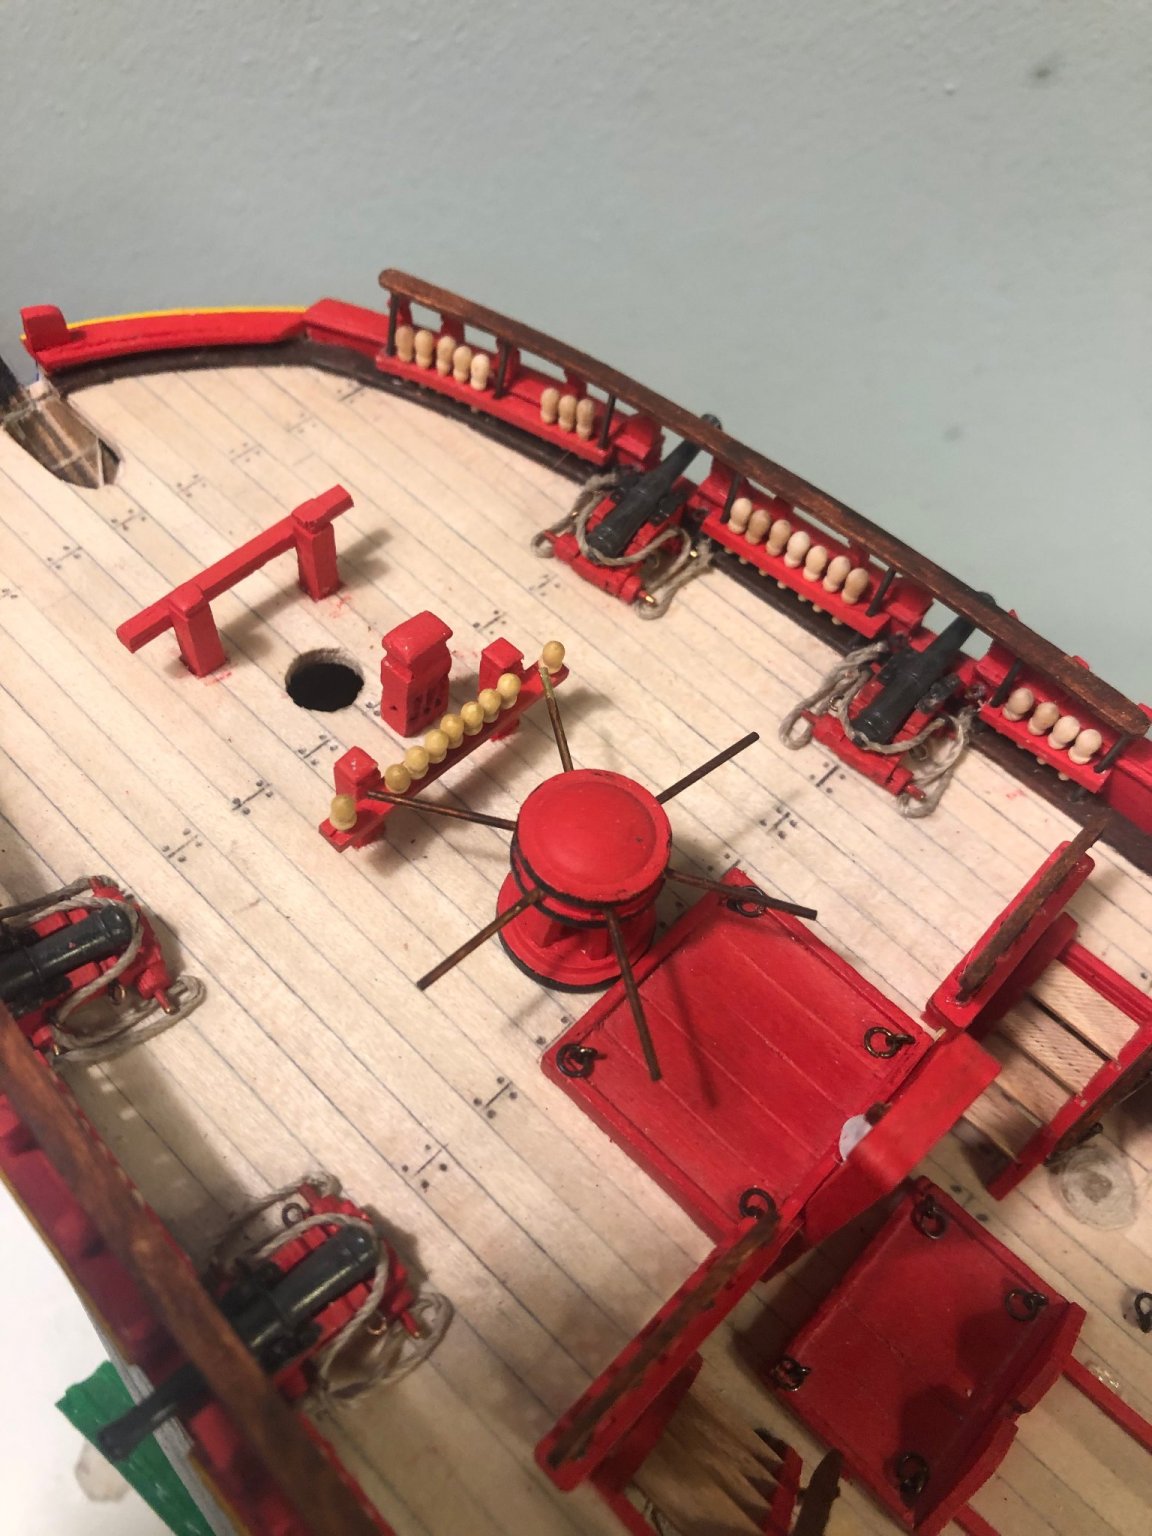
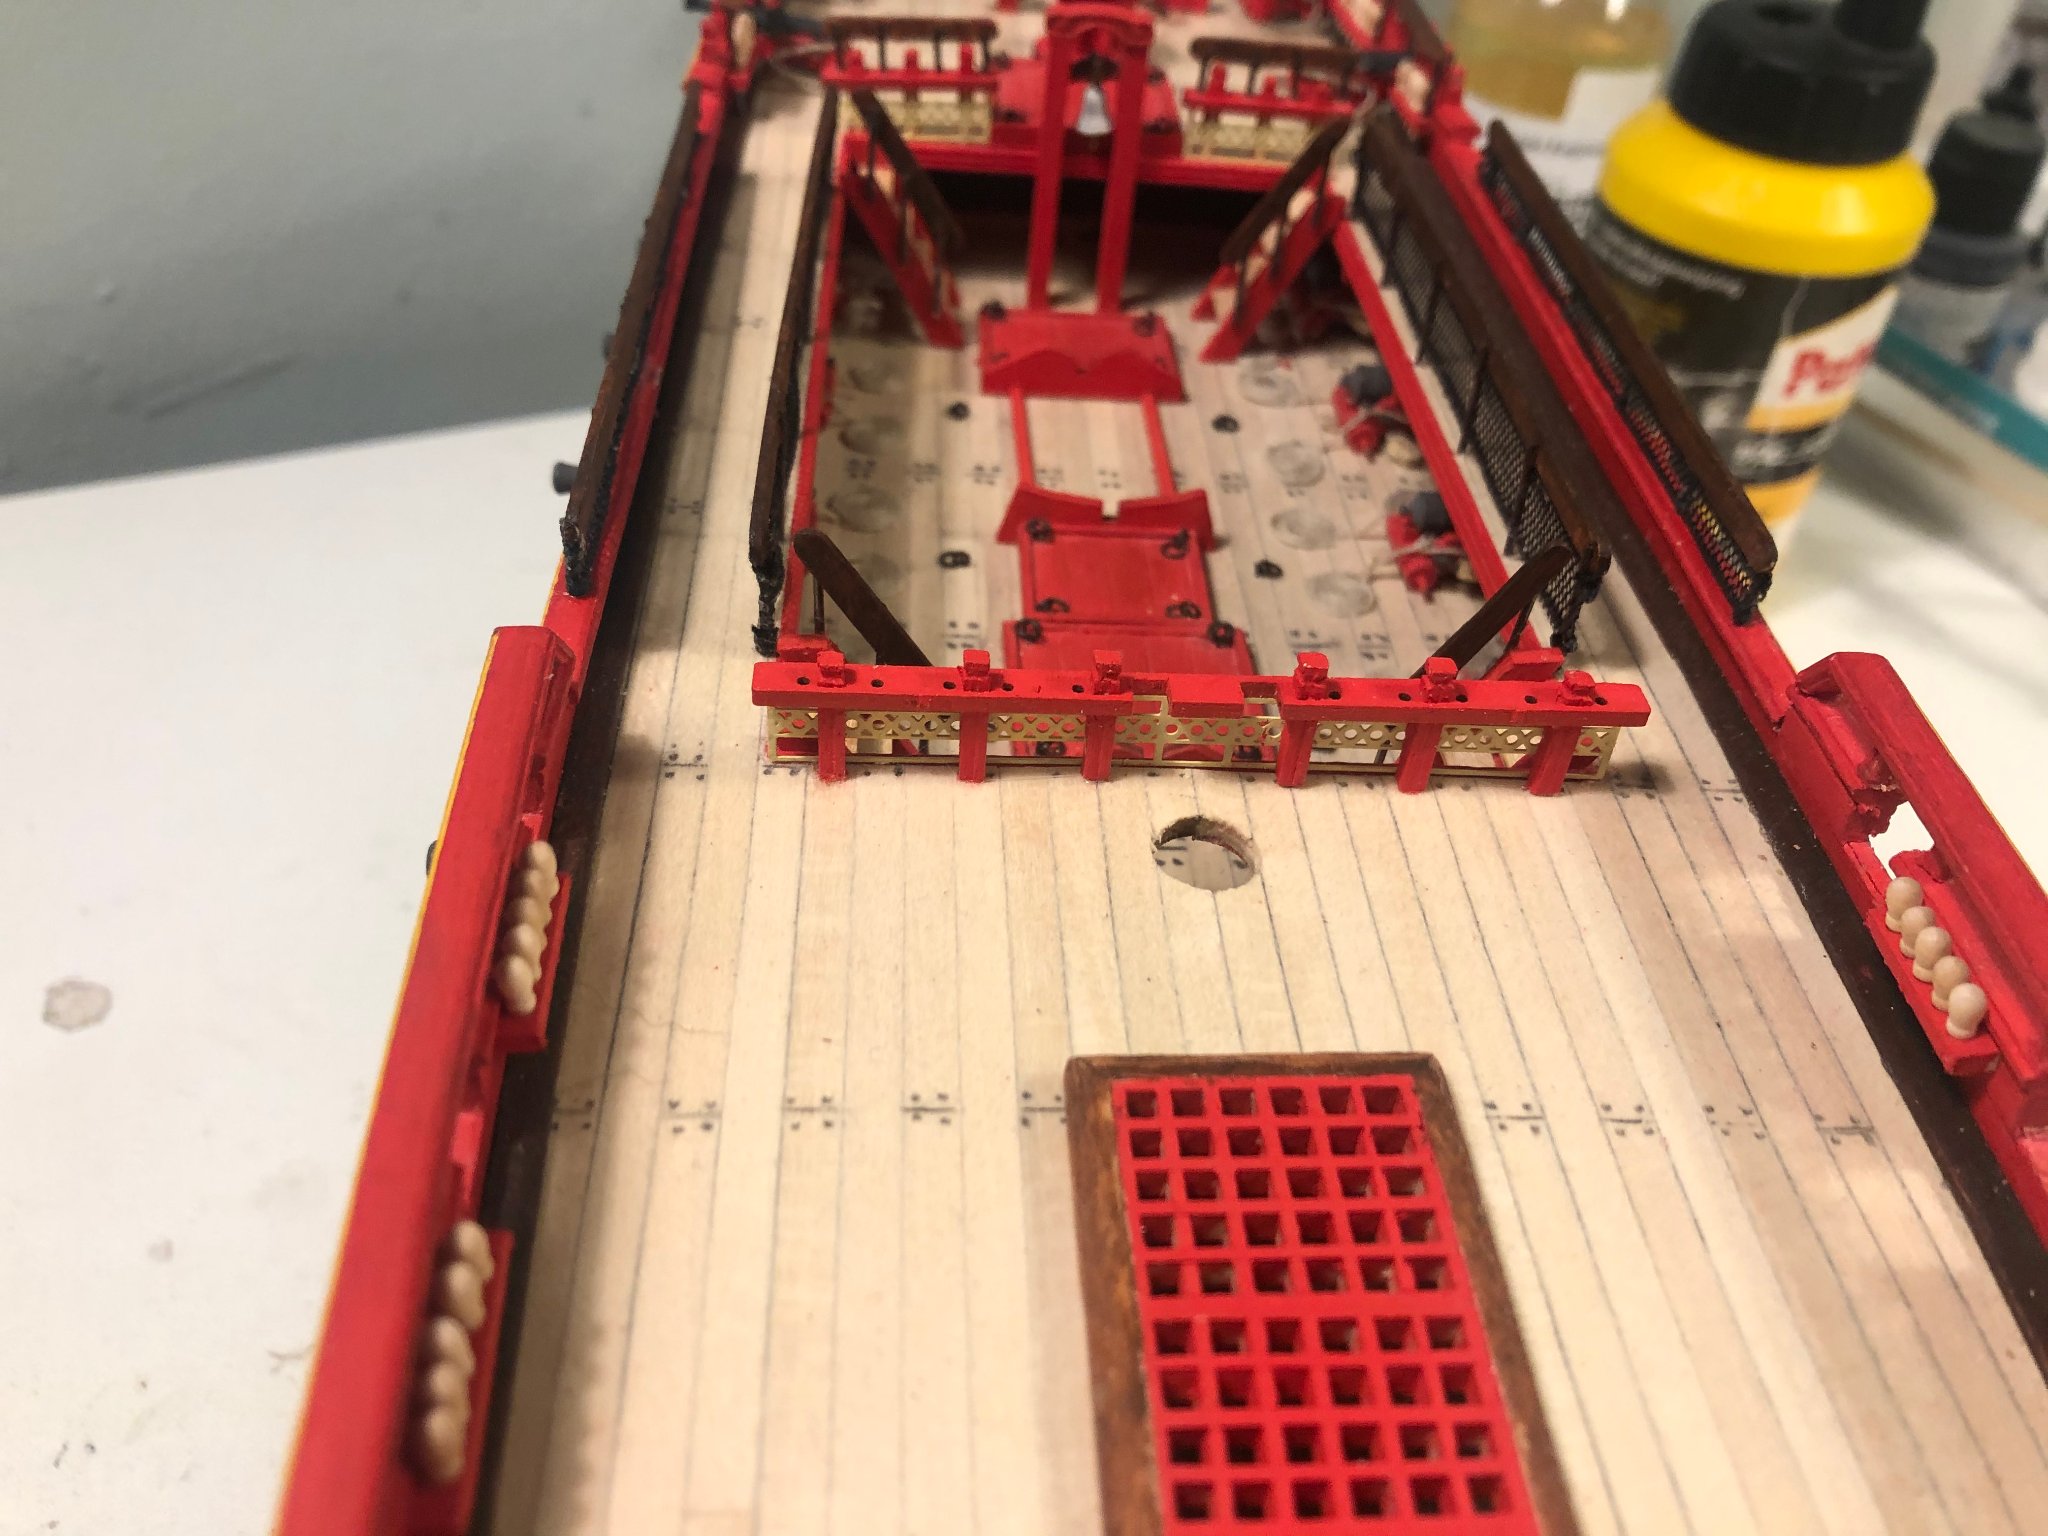
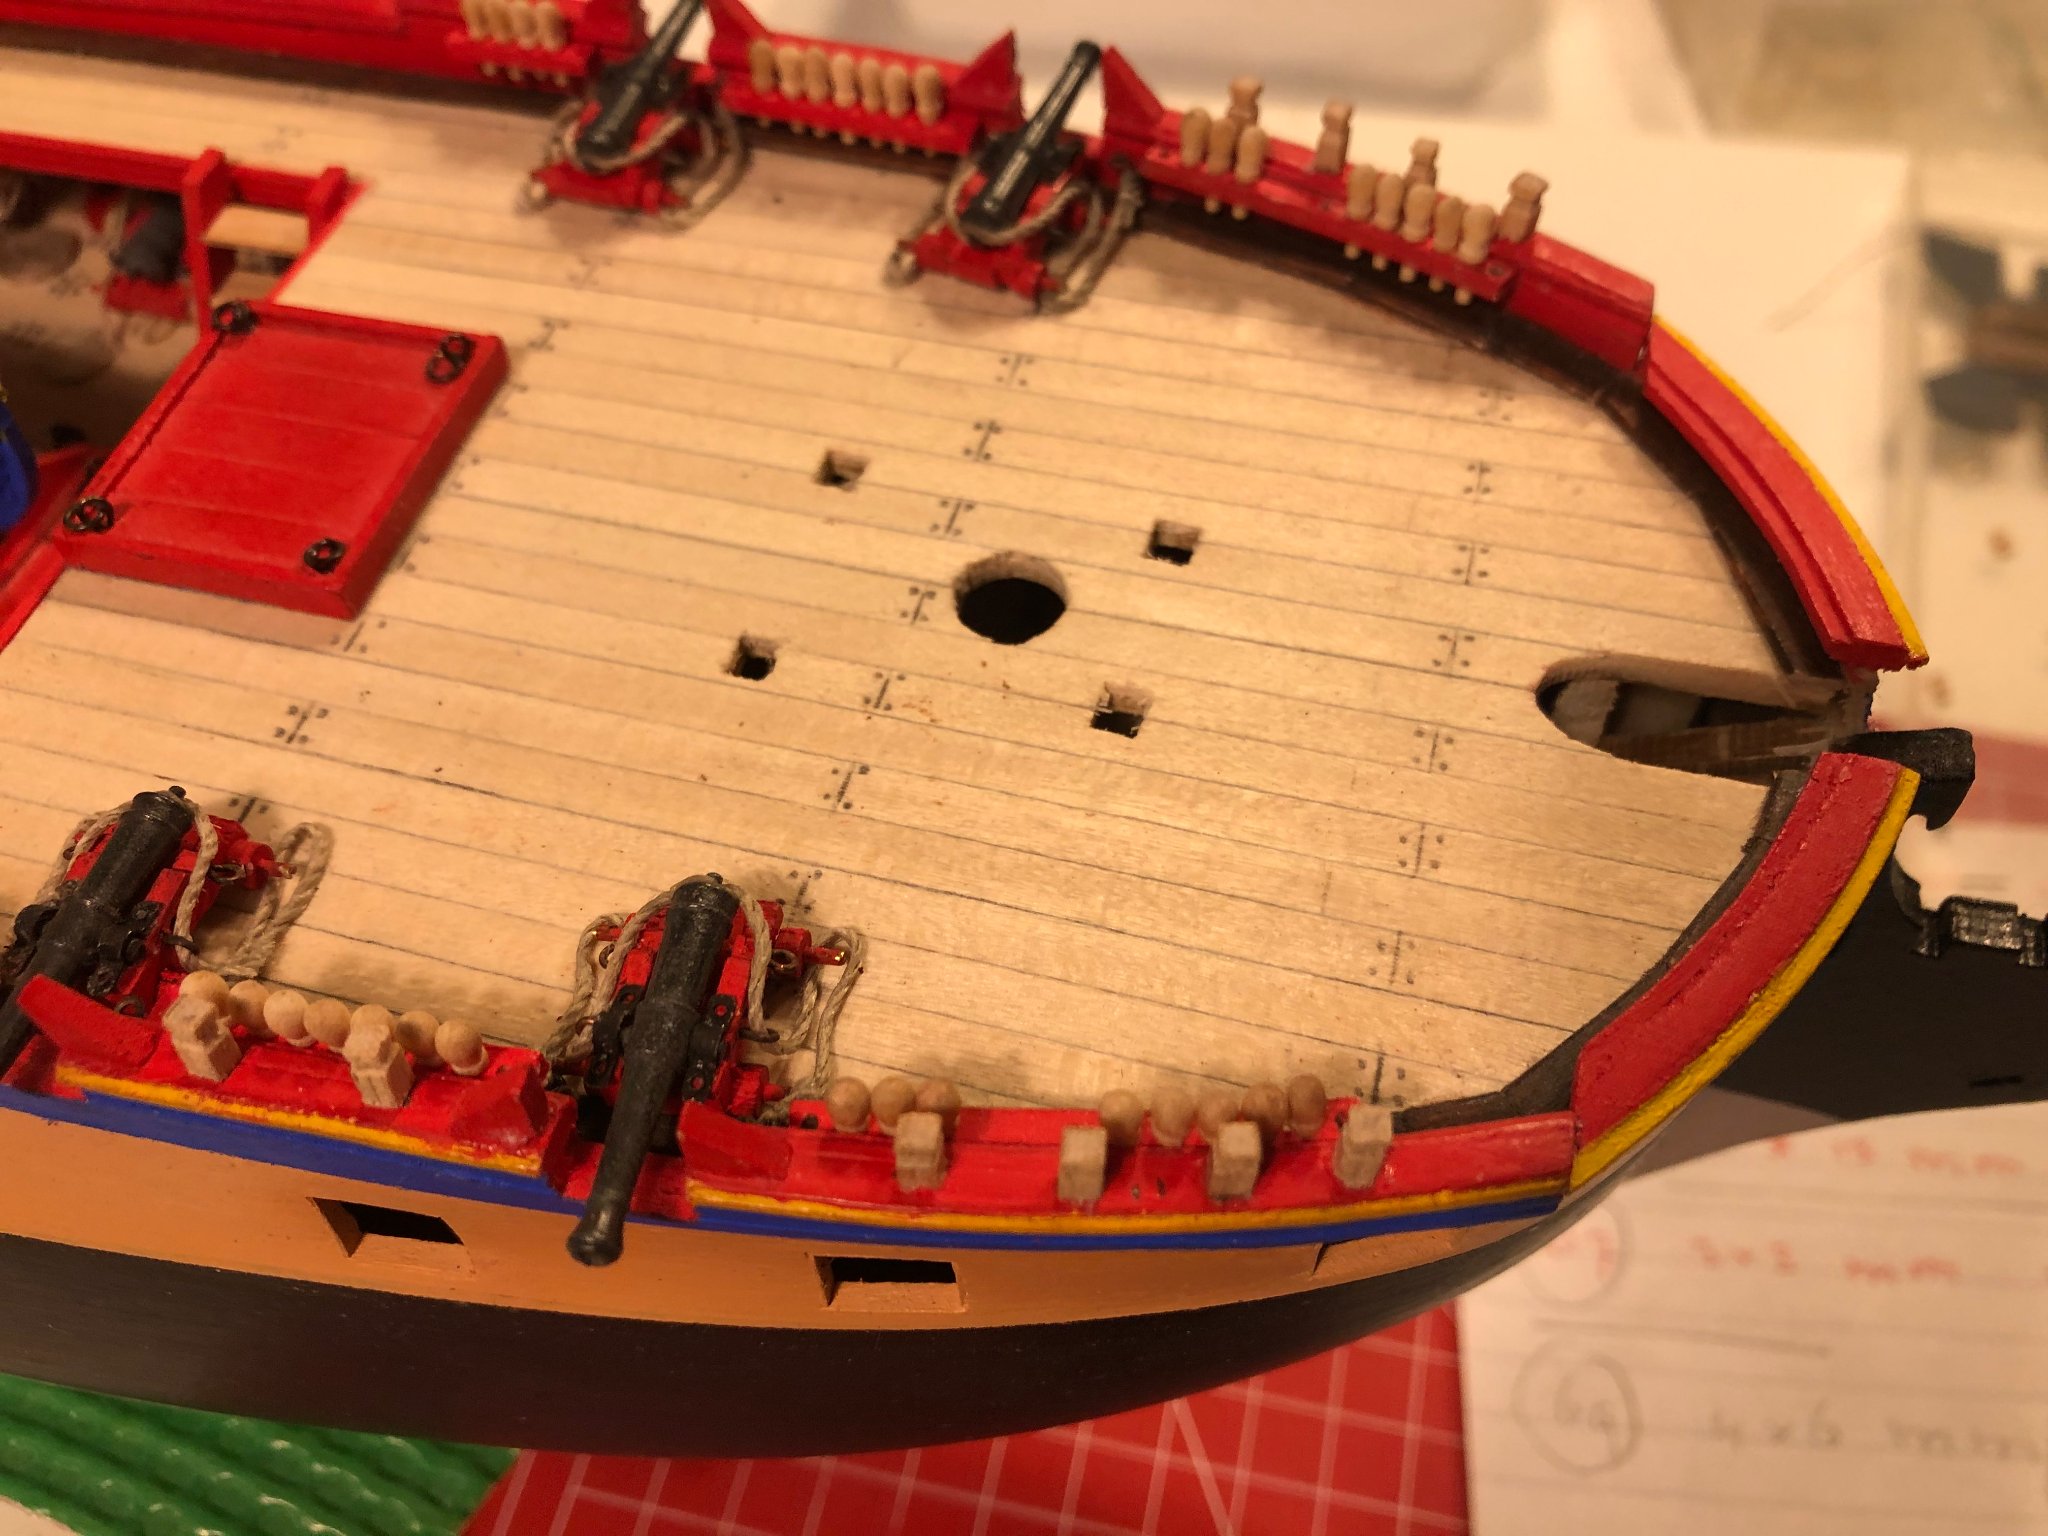
Hi all it's time for a update!
Before placing the Fife rail at the main mast, I looked at the instructions and saw that I had placed the wrong Fife rail at the foremast. With a little prying, the Fife rail came loose and I was able to glue the correct fife rail in place


Had to glue the 2 missing railings on the banister.
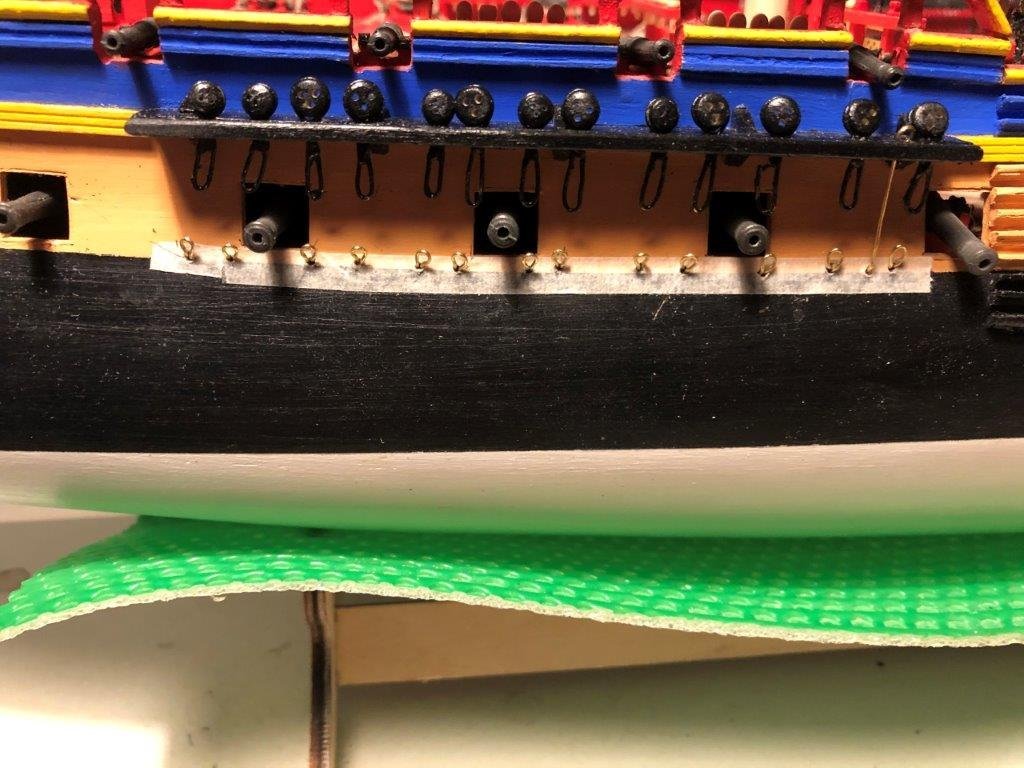
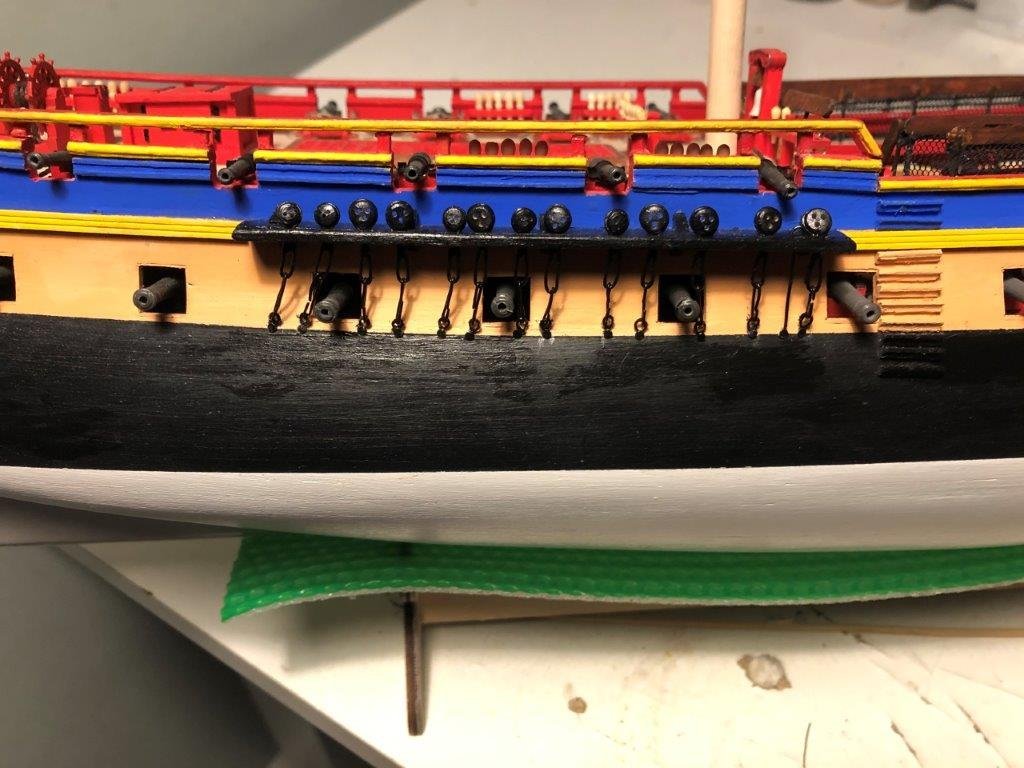
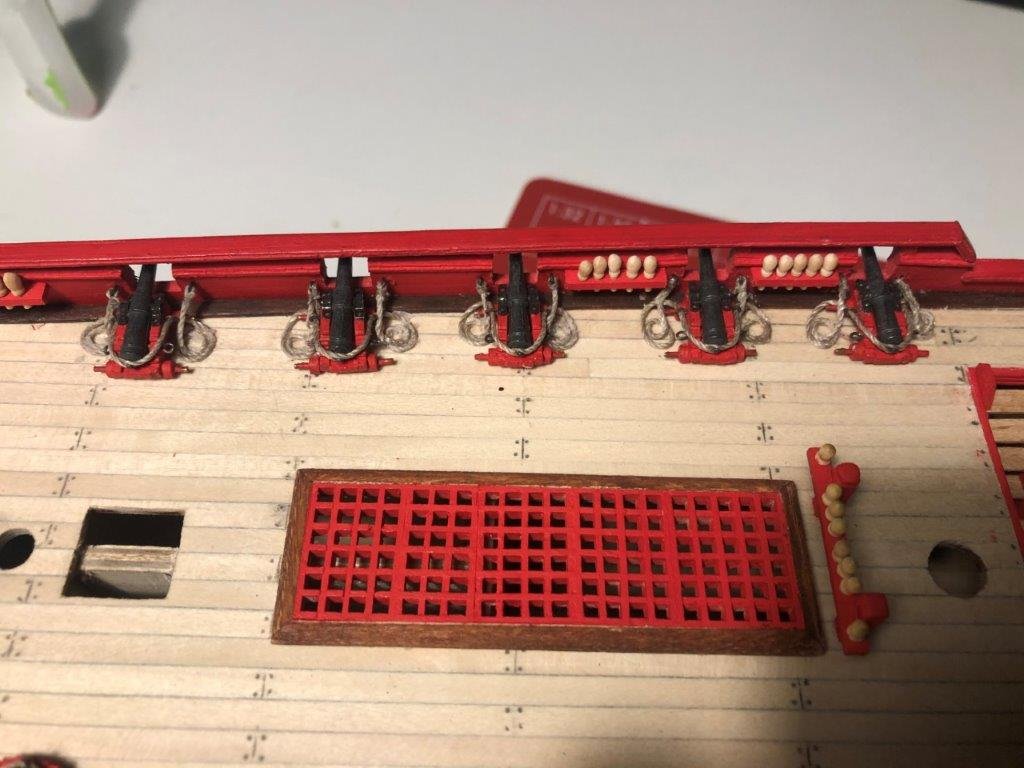
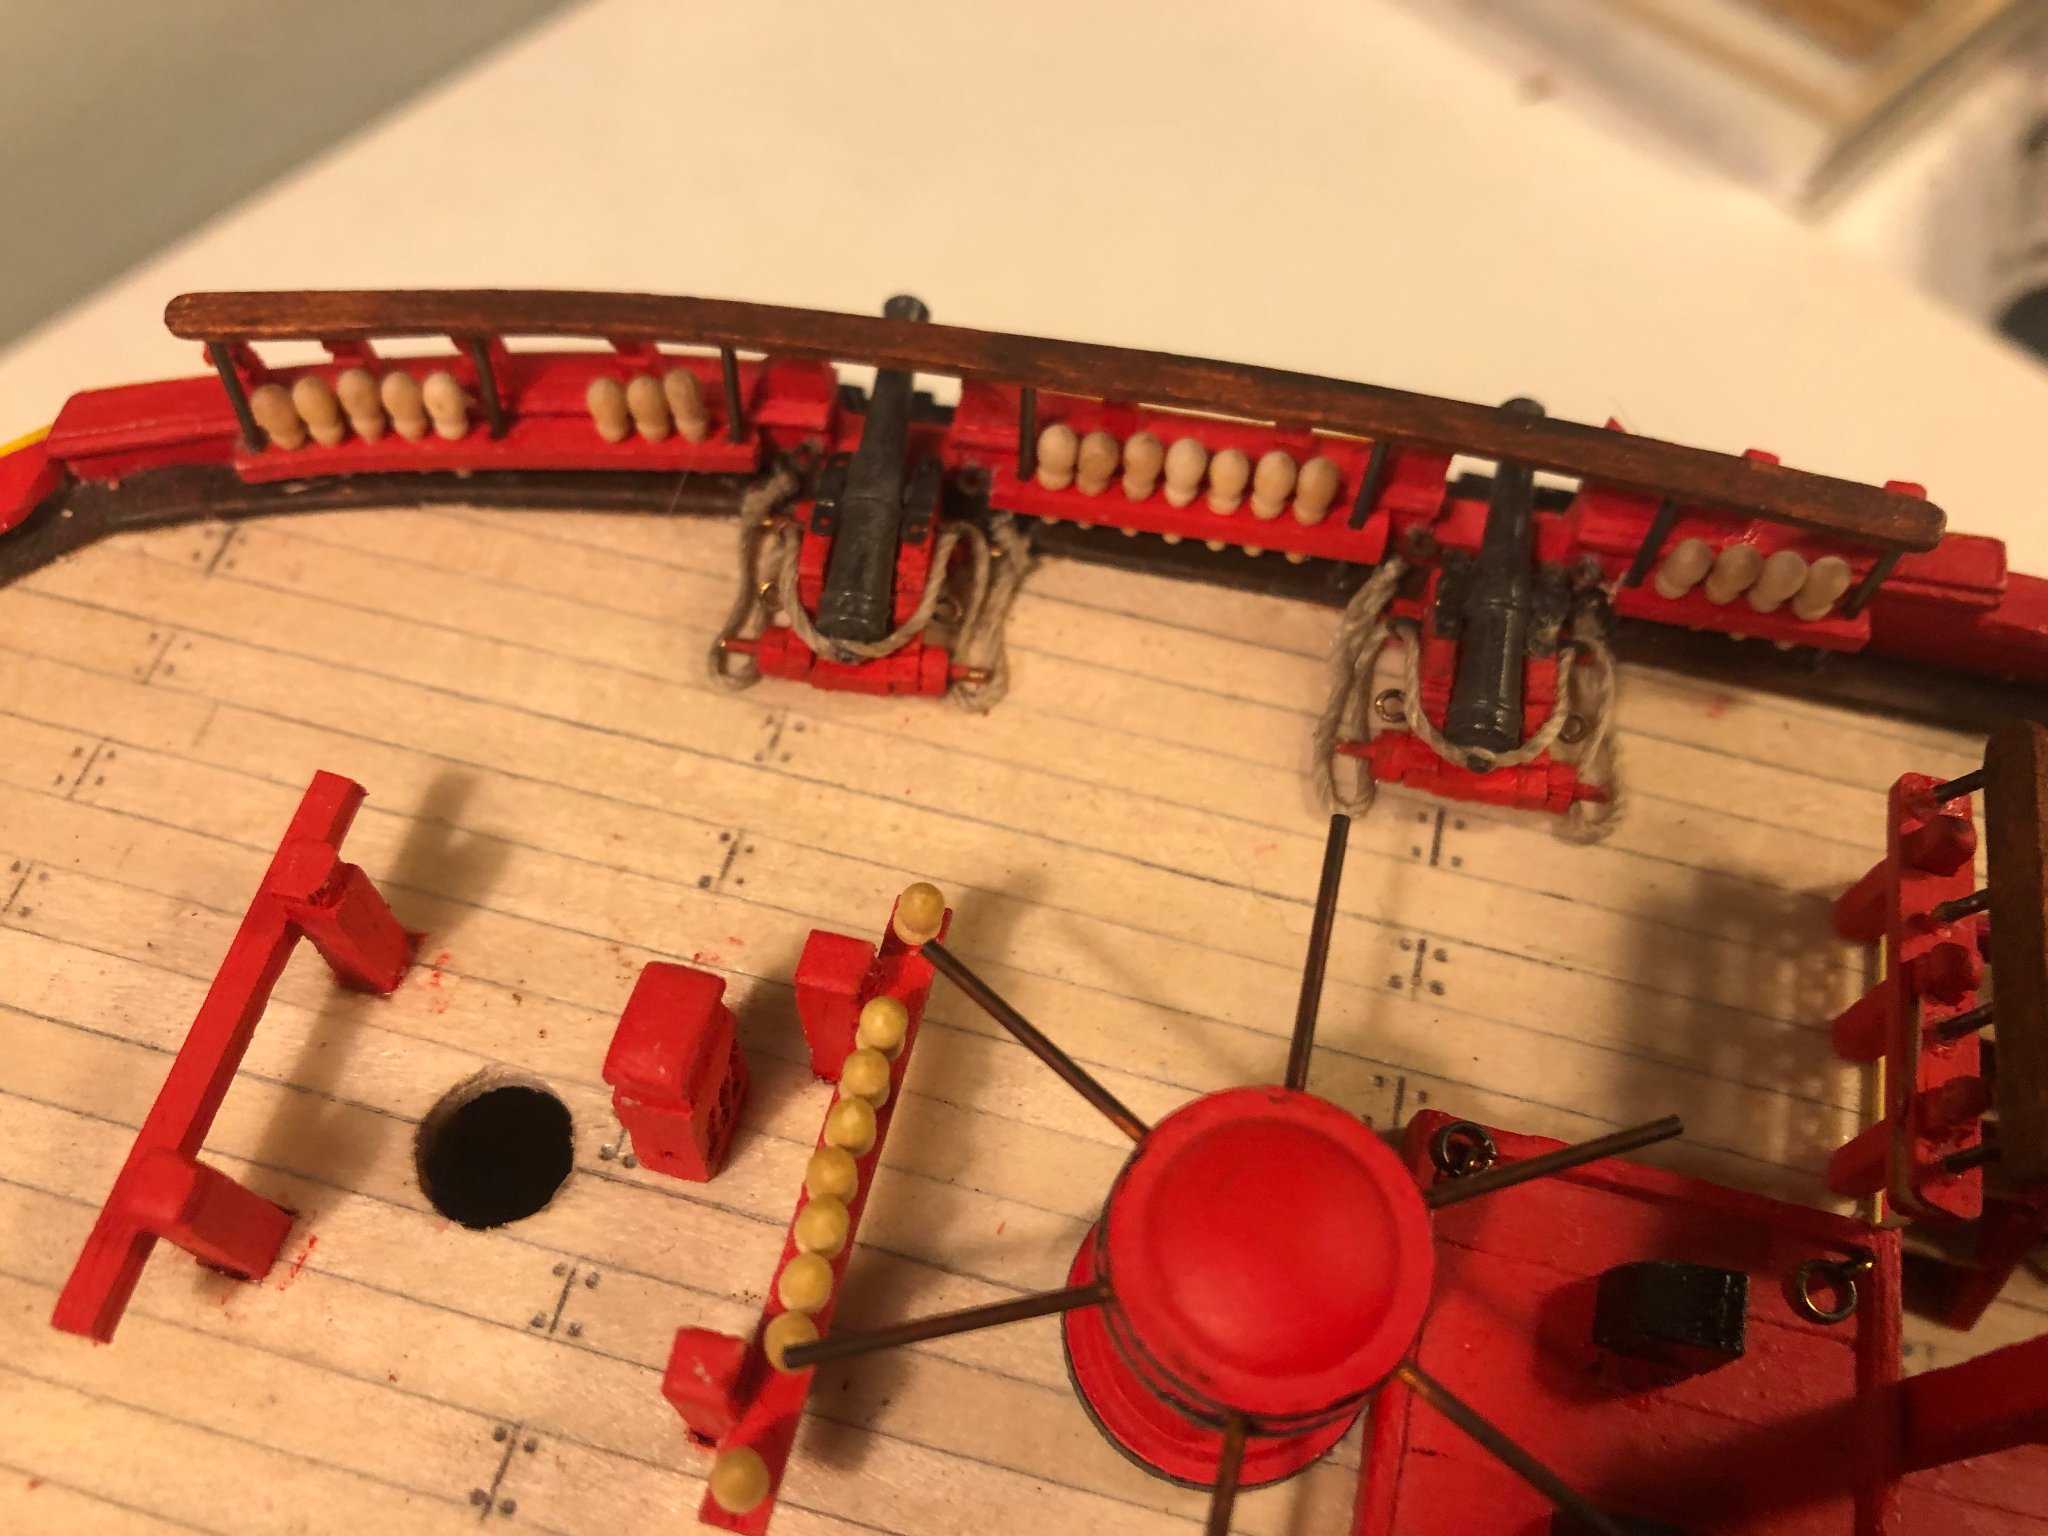
Finally I started with the rigging of the cannons on the aft deck

And it was time to glue them in place
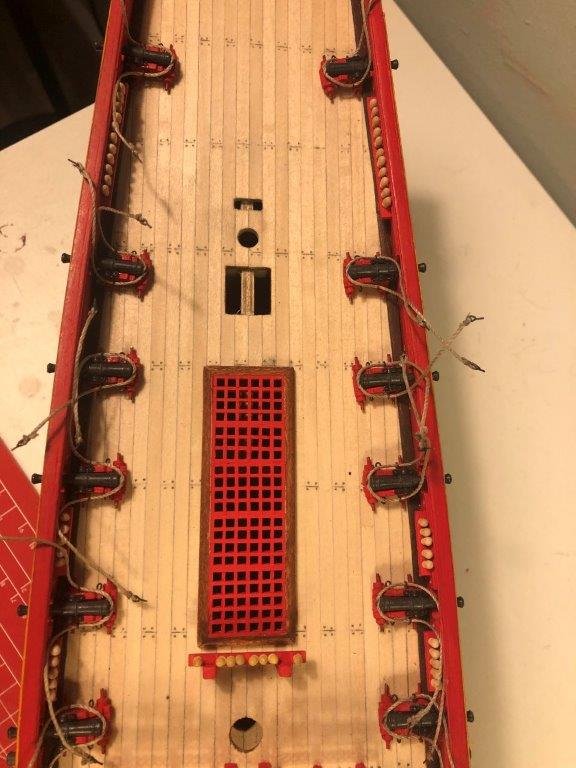
This one is finished, 15 more to go
Ports side is ready, time to do starboard
Done
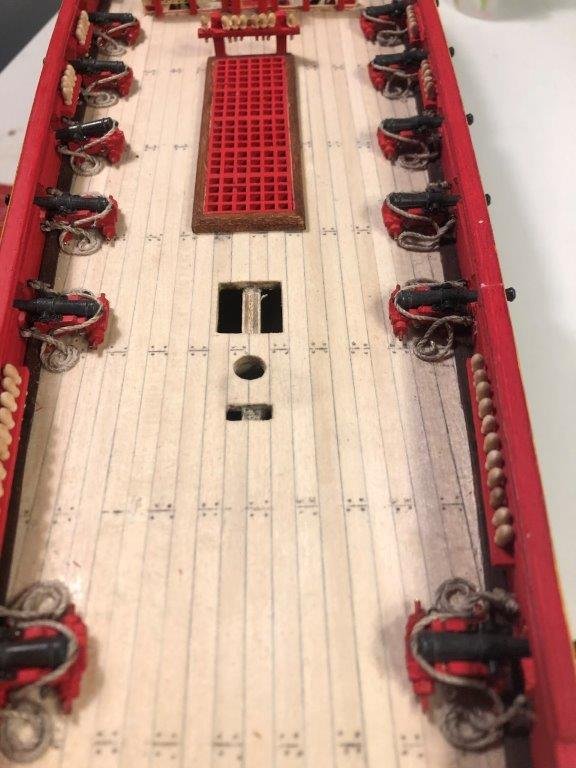
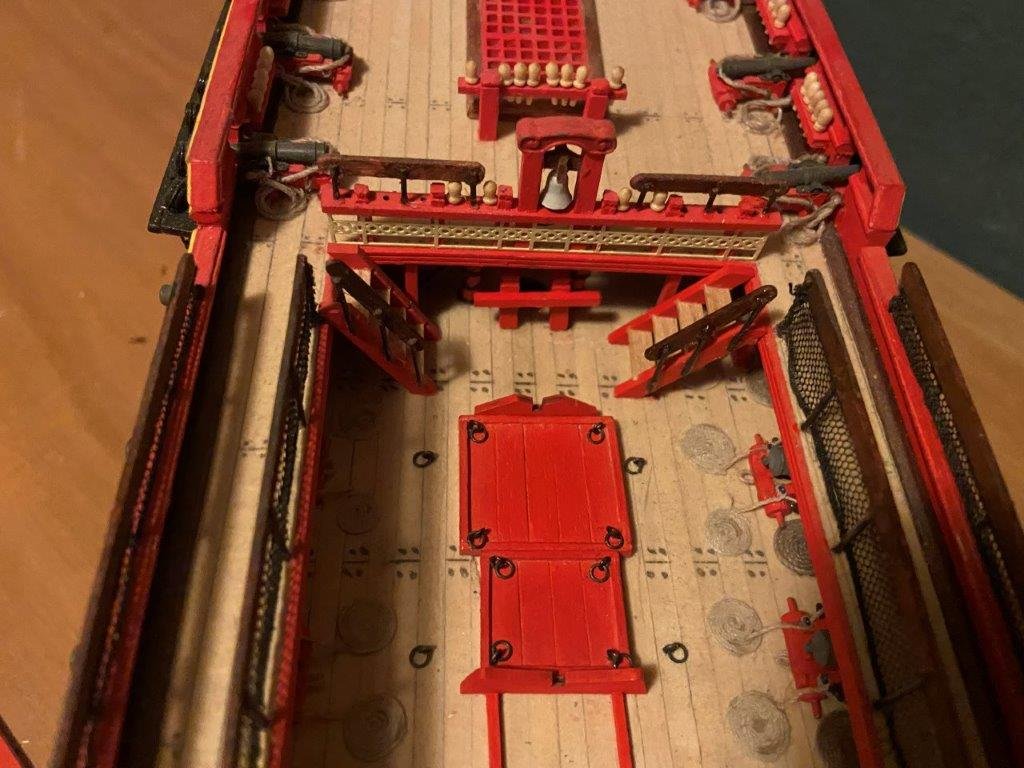
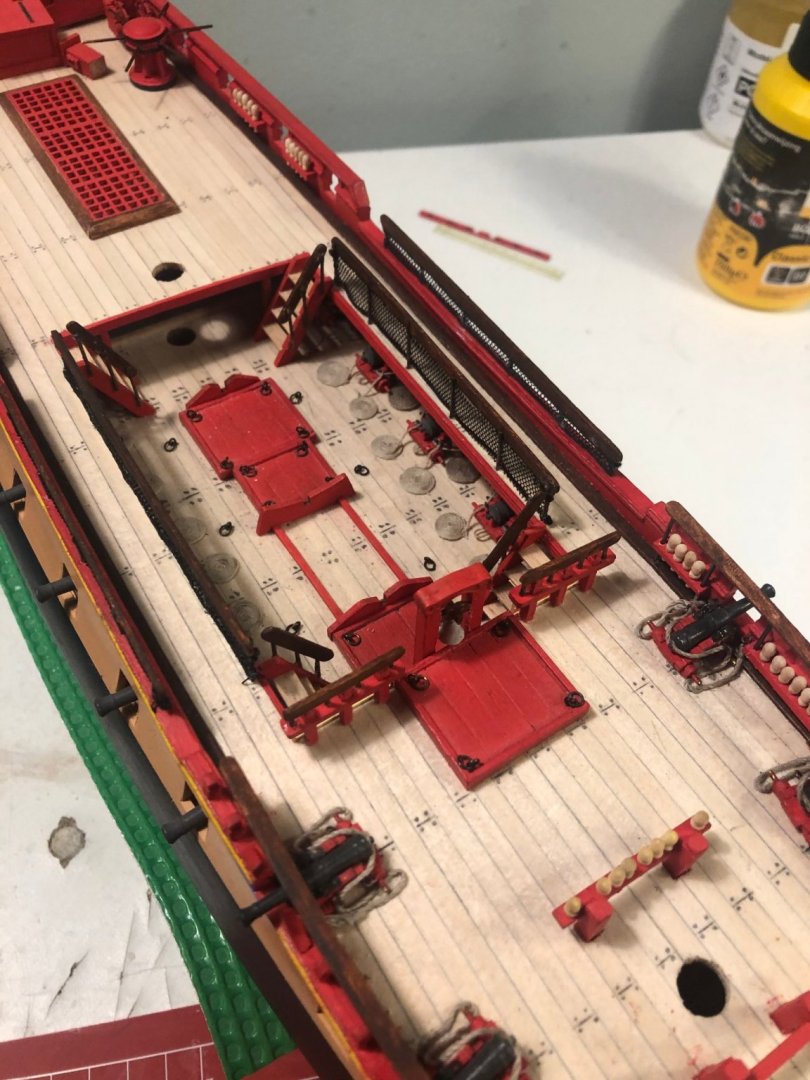
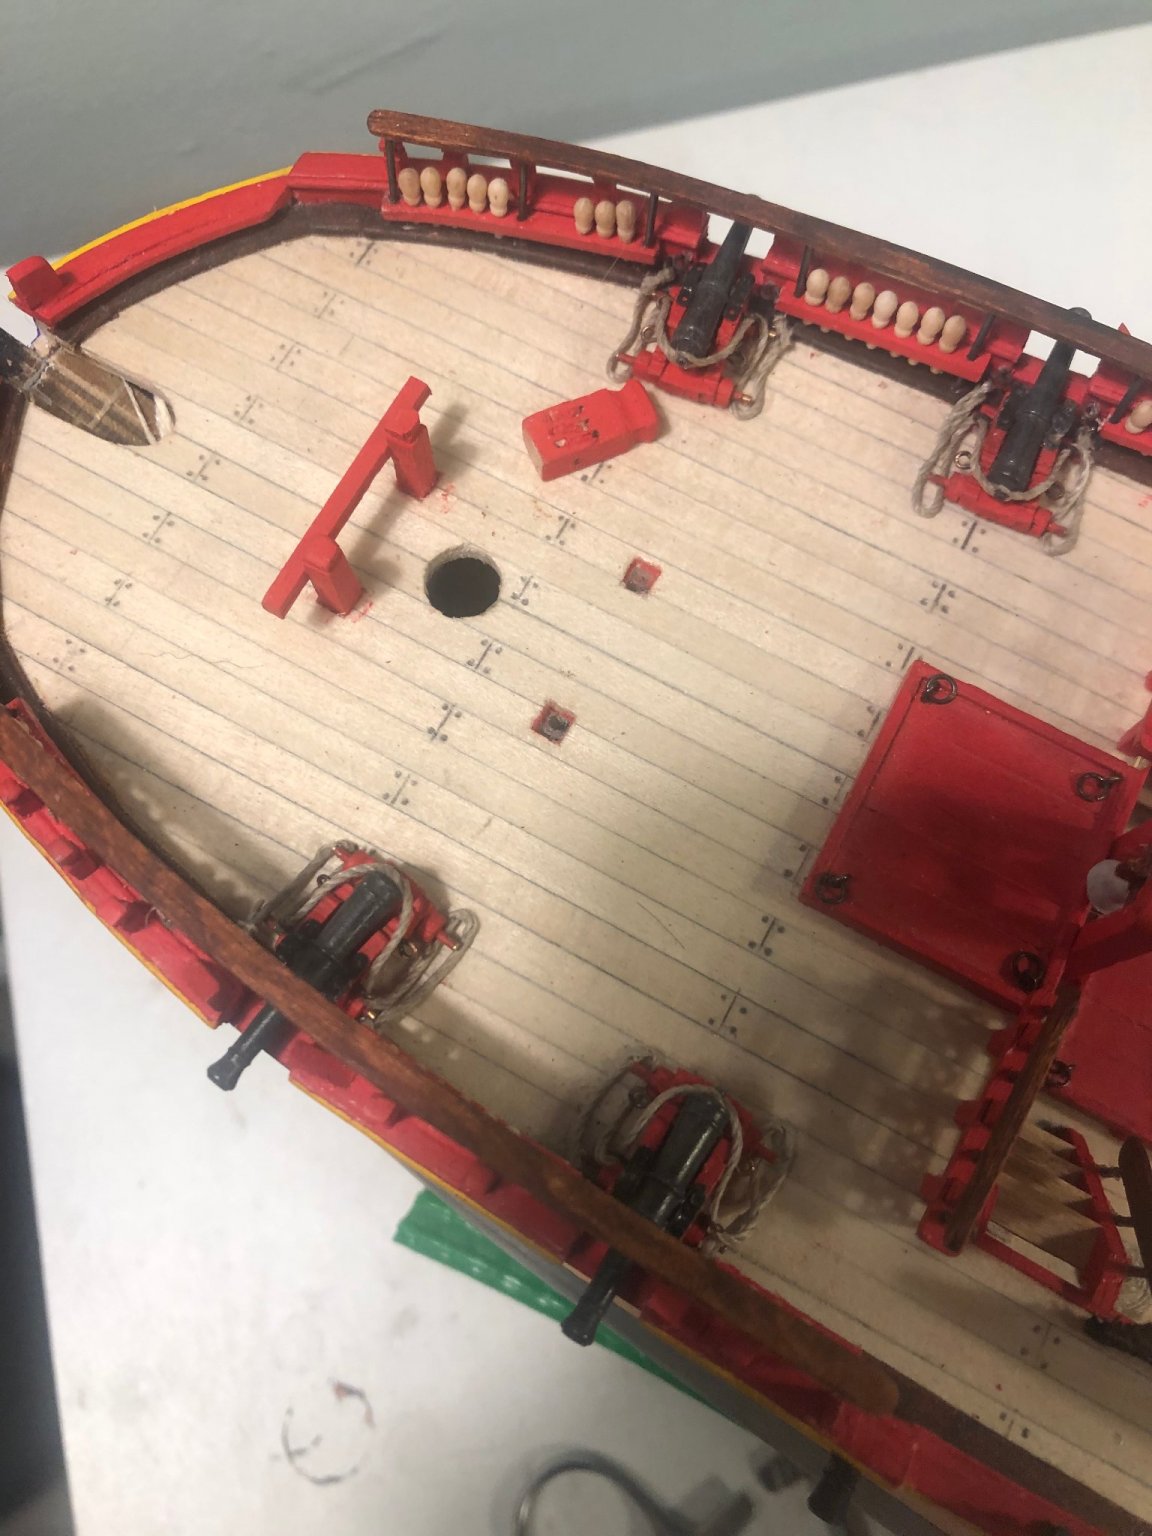
I'm also glued the rudder, companionway, boxes and the hen house in place.
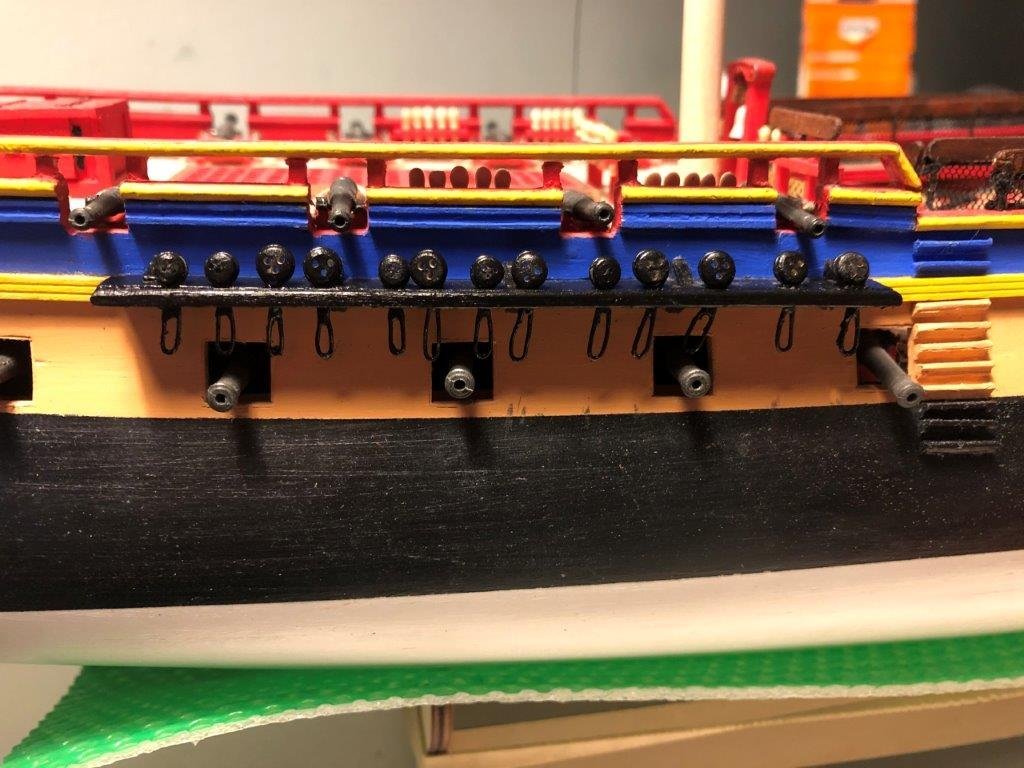
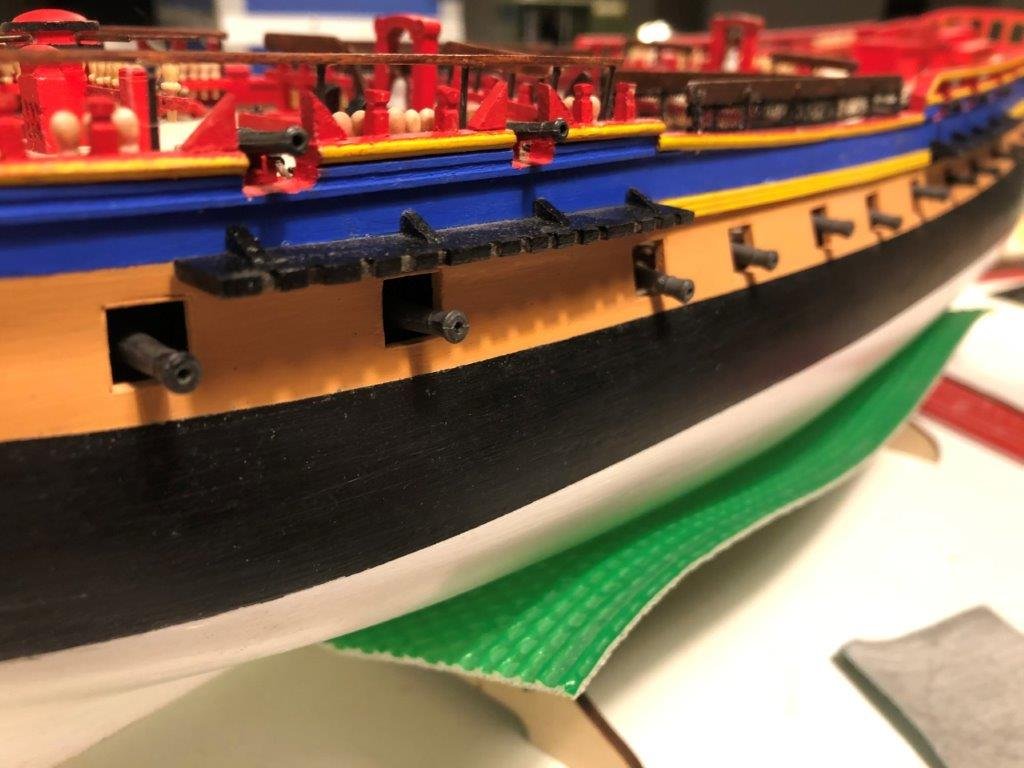
Now all the deck furniture is in place I started to blackening the false canons.
After some brushing I drilled the holes and dry fitted the false canons
Will be continued
Regards
Peter
- GrandpaPhil, Sjors and jks1981
-
3
-
Thank you for the nice words James.
I'm also happy with the result so far. 😀 I follow your build and think your Hermione will be at least as beautiful. 😀
Regards
Peter
-
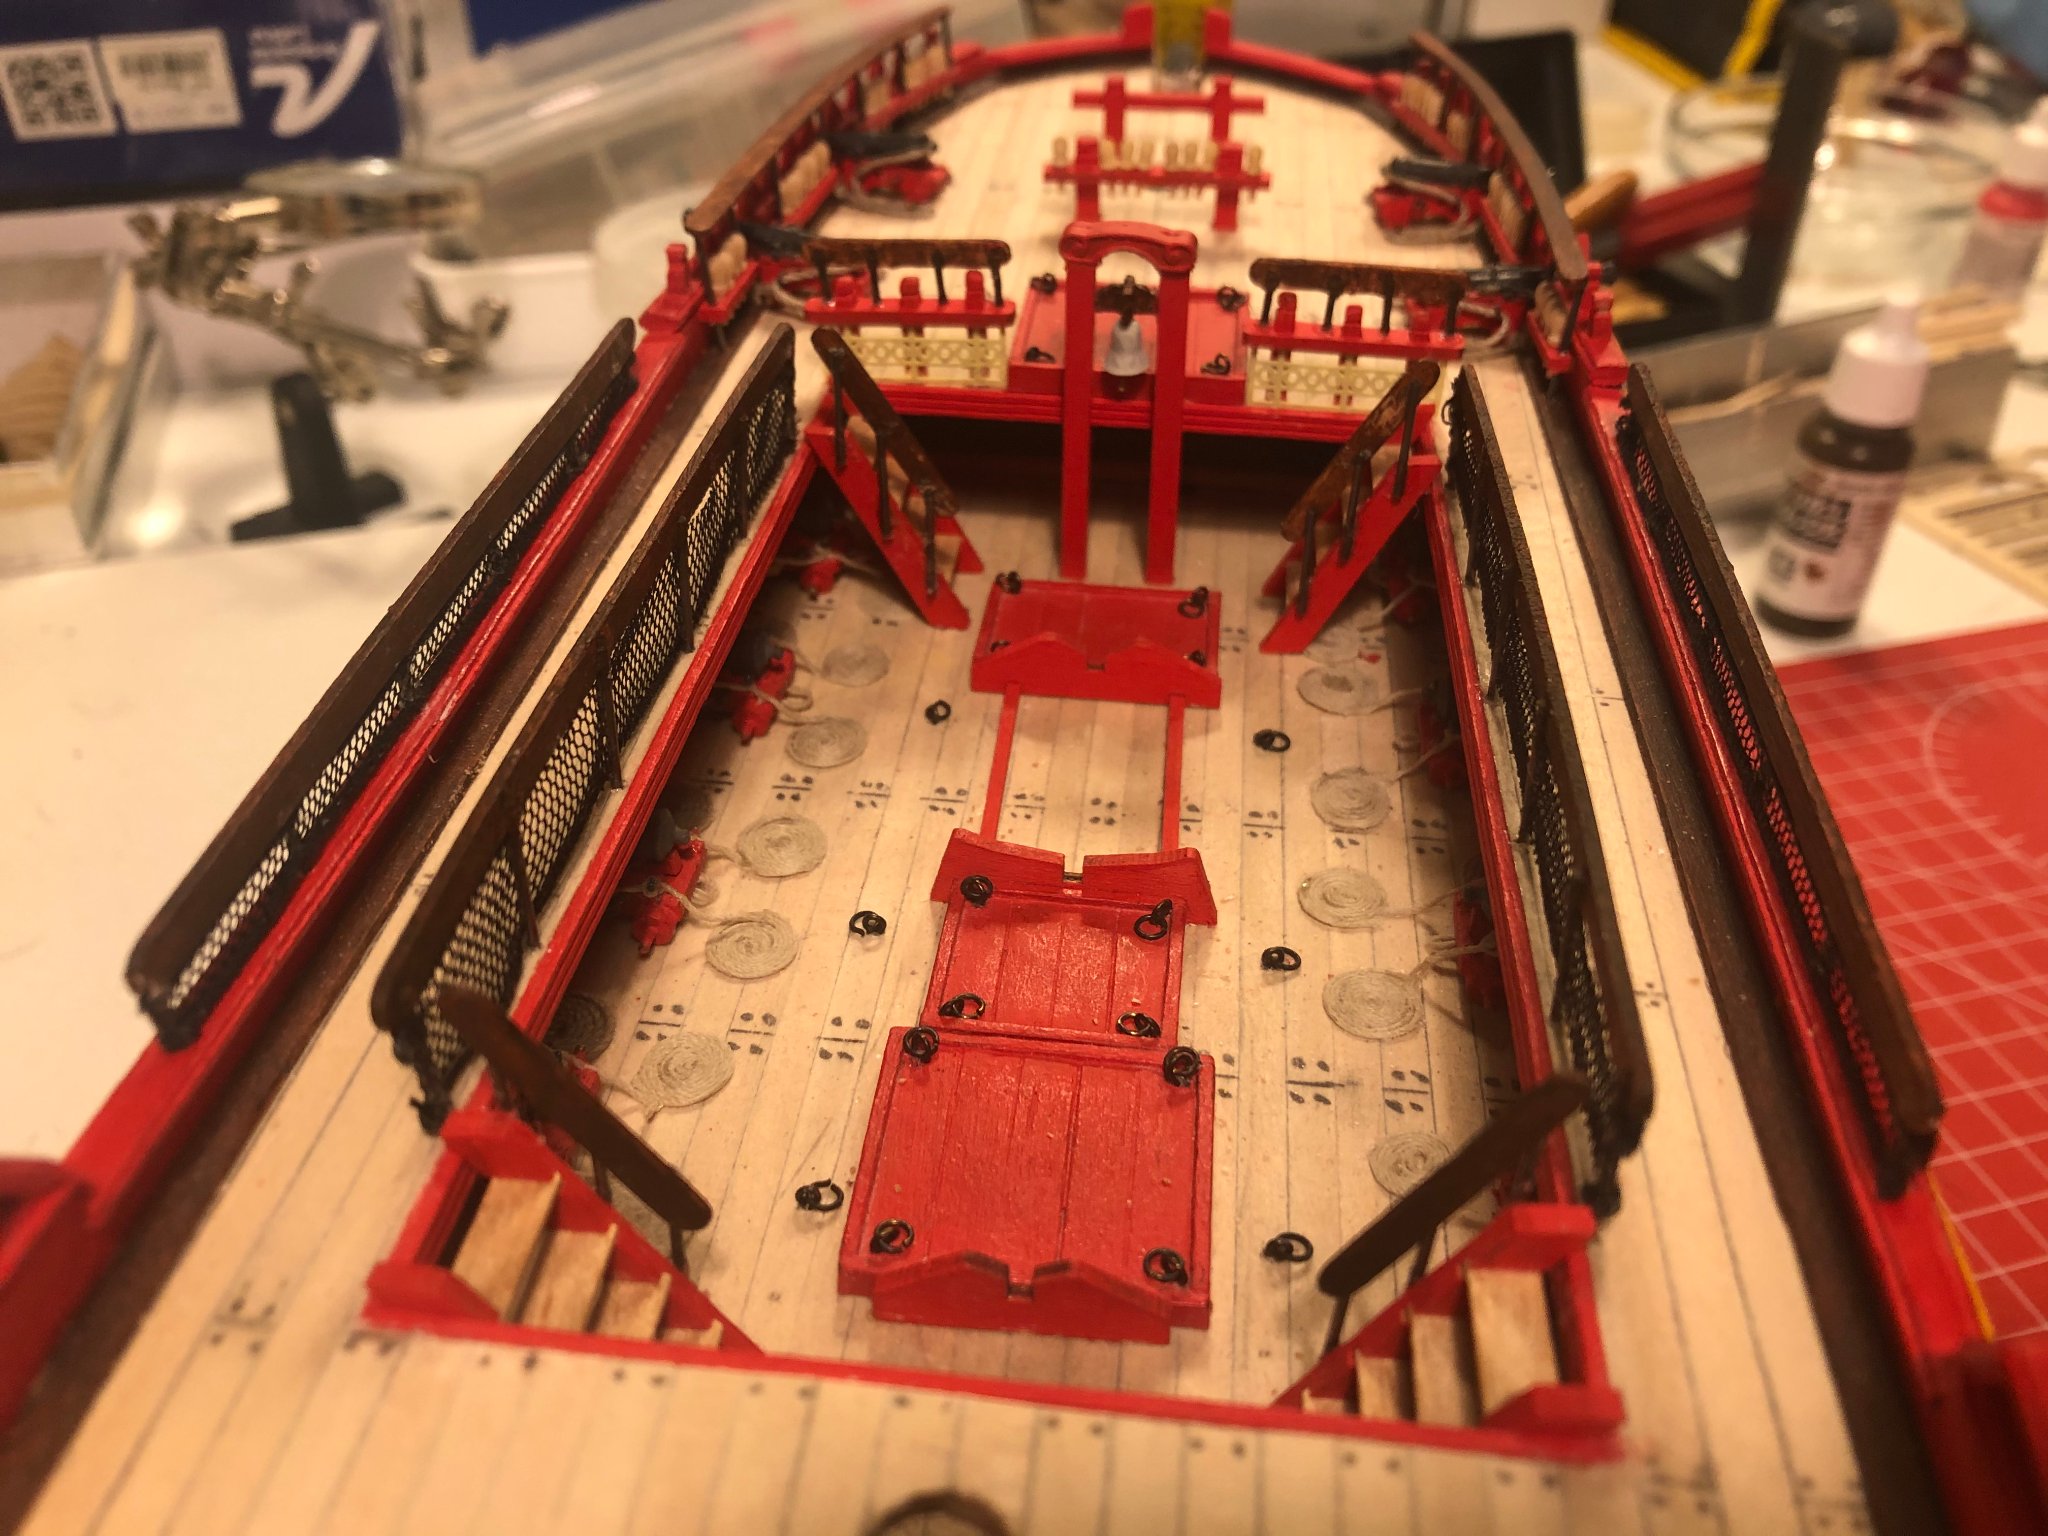
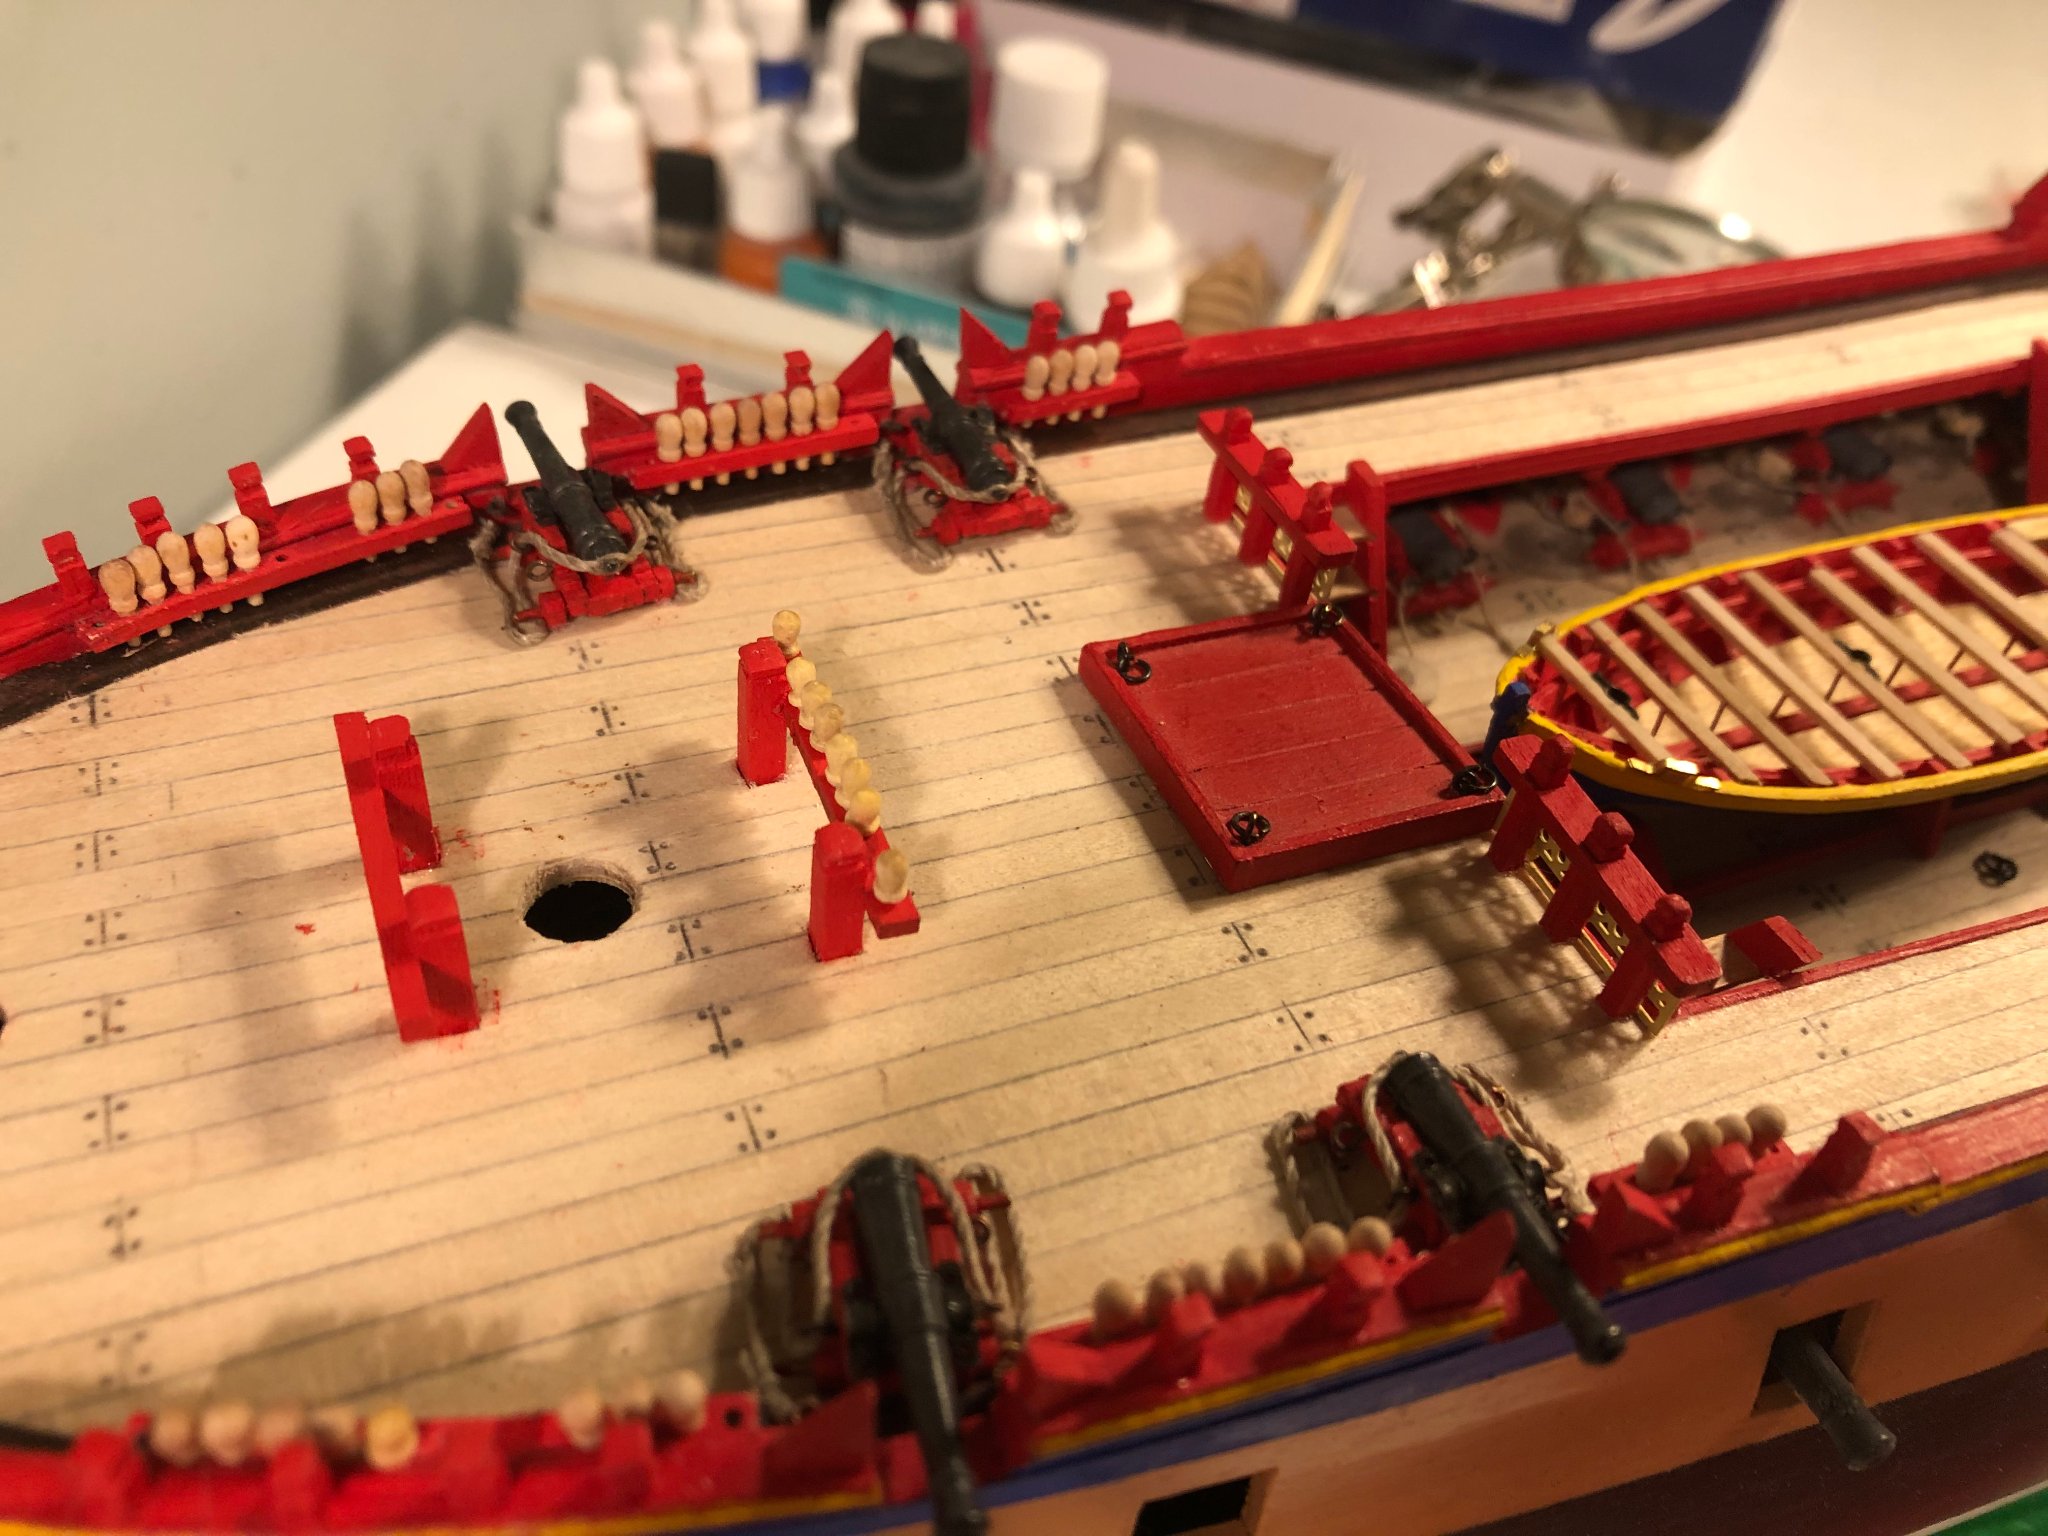
Hi All,
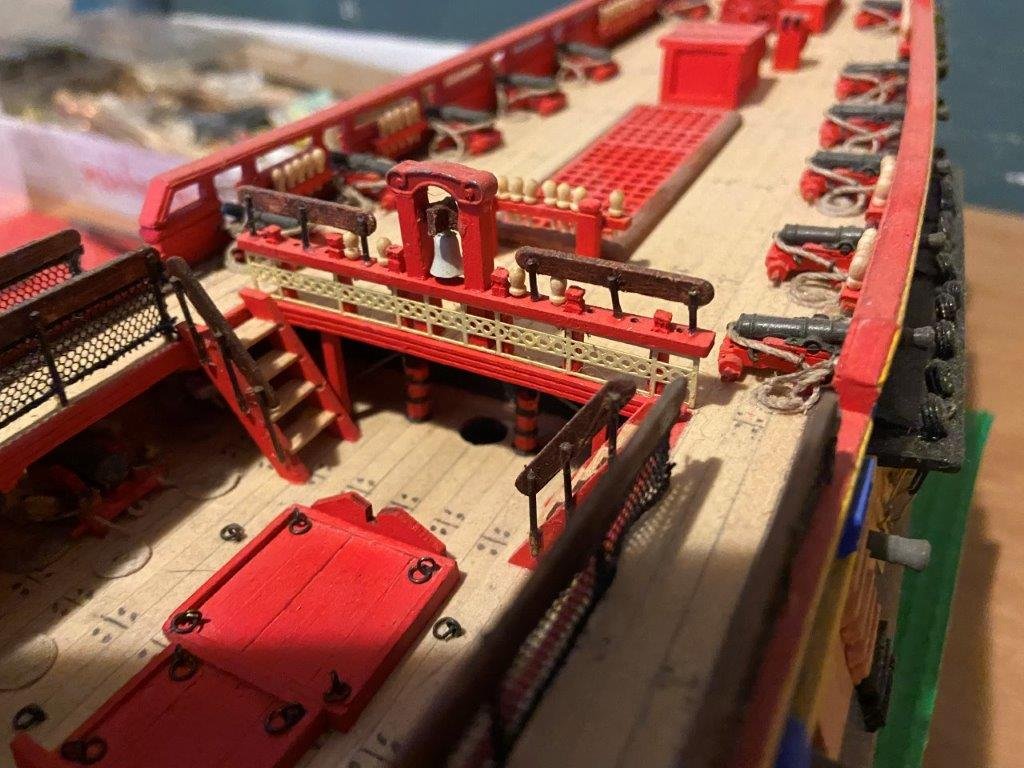
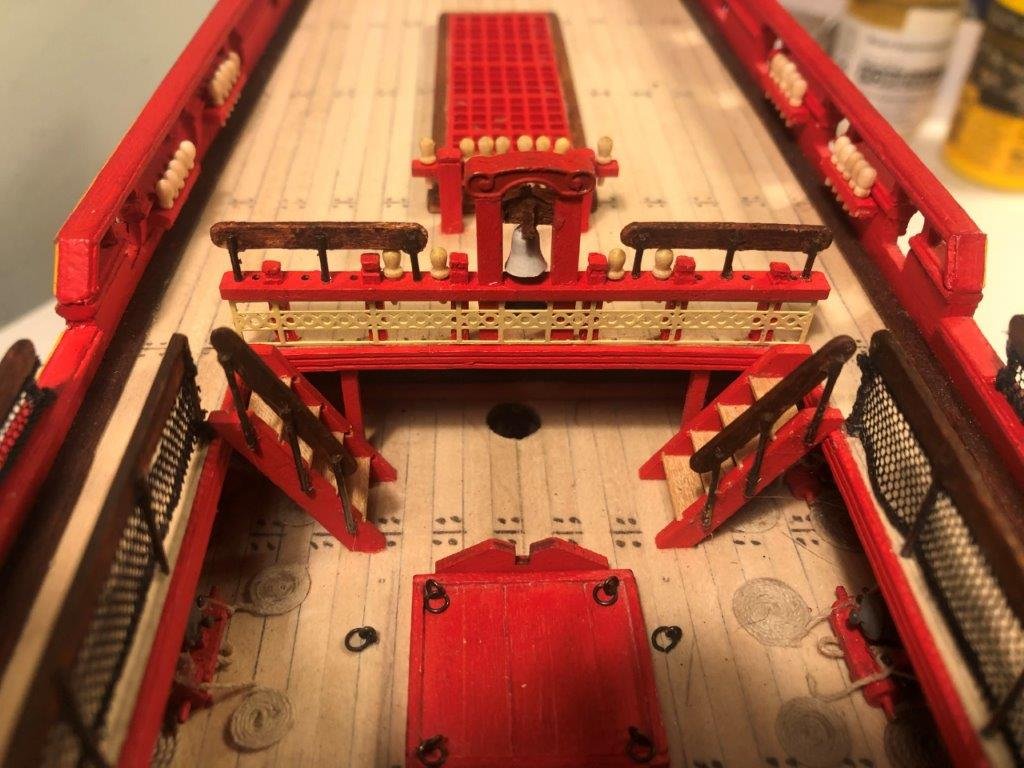
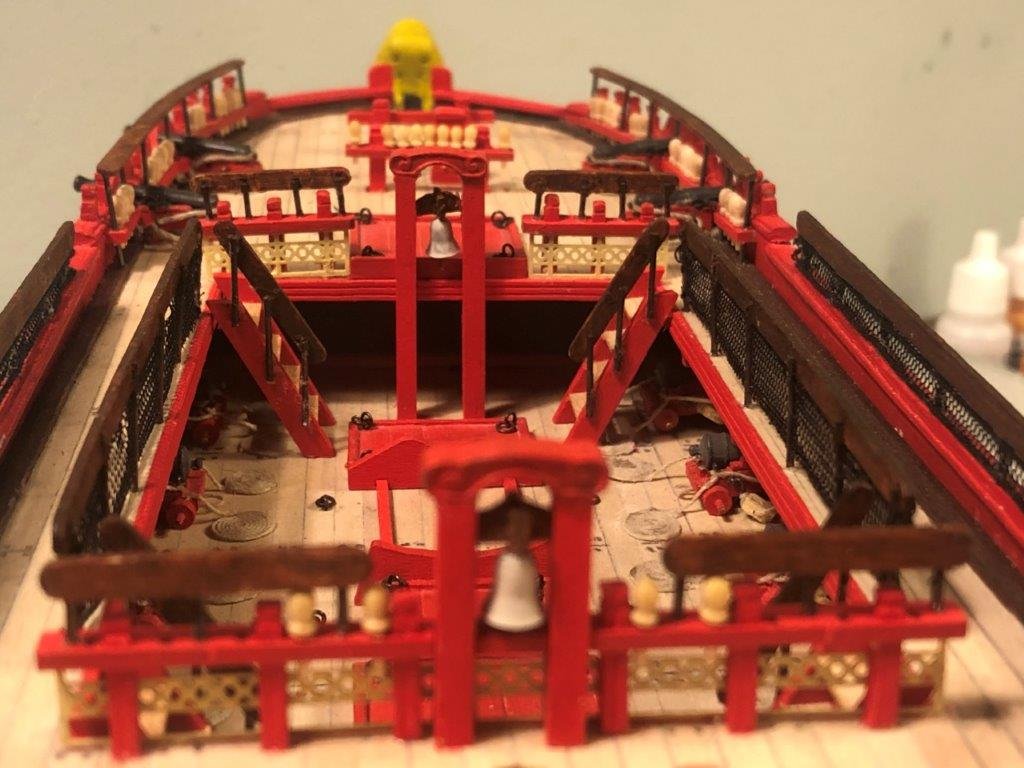
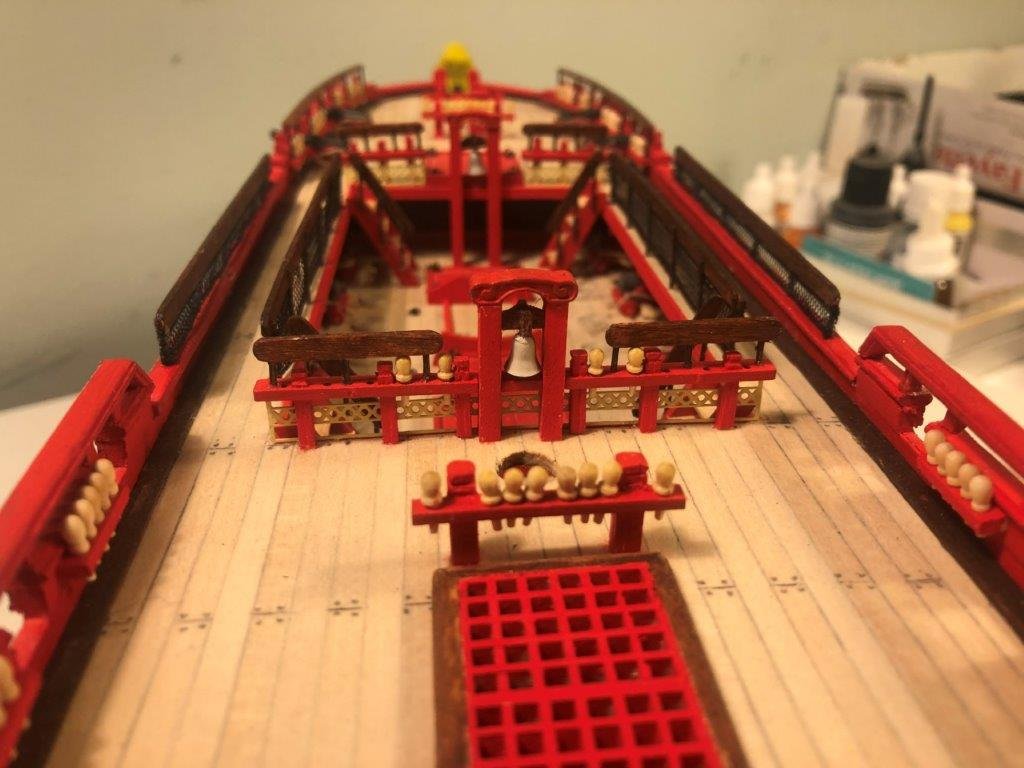
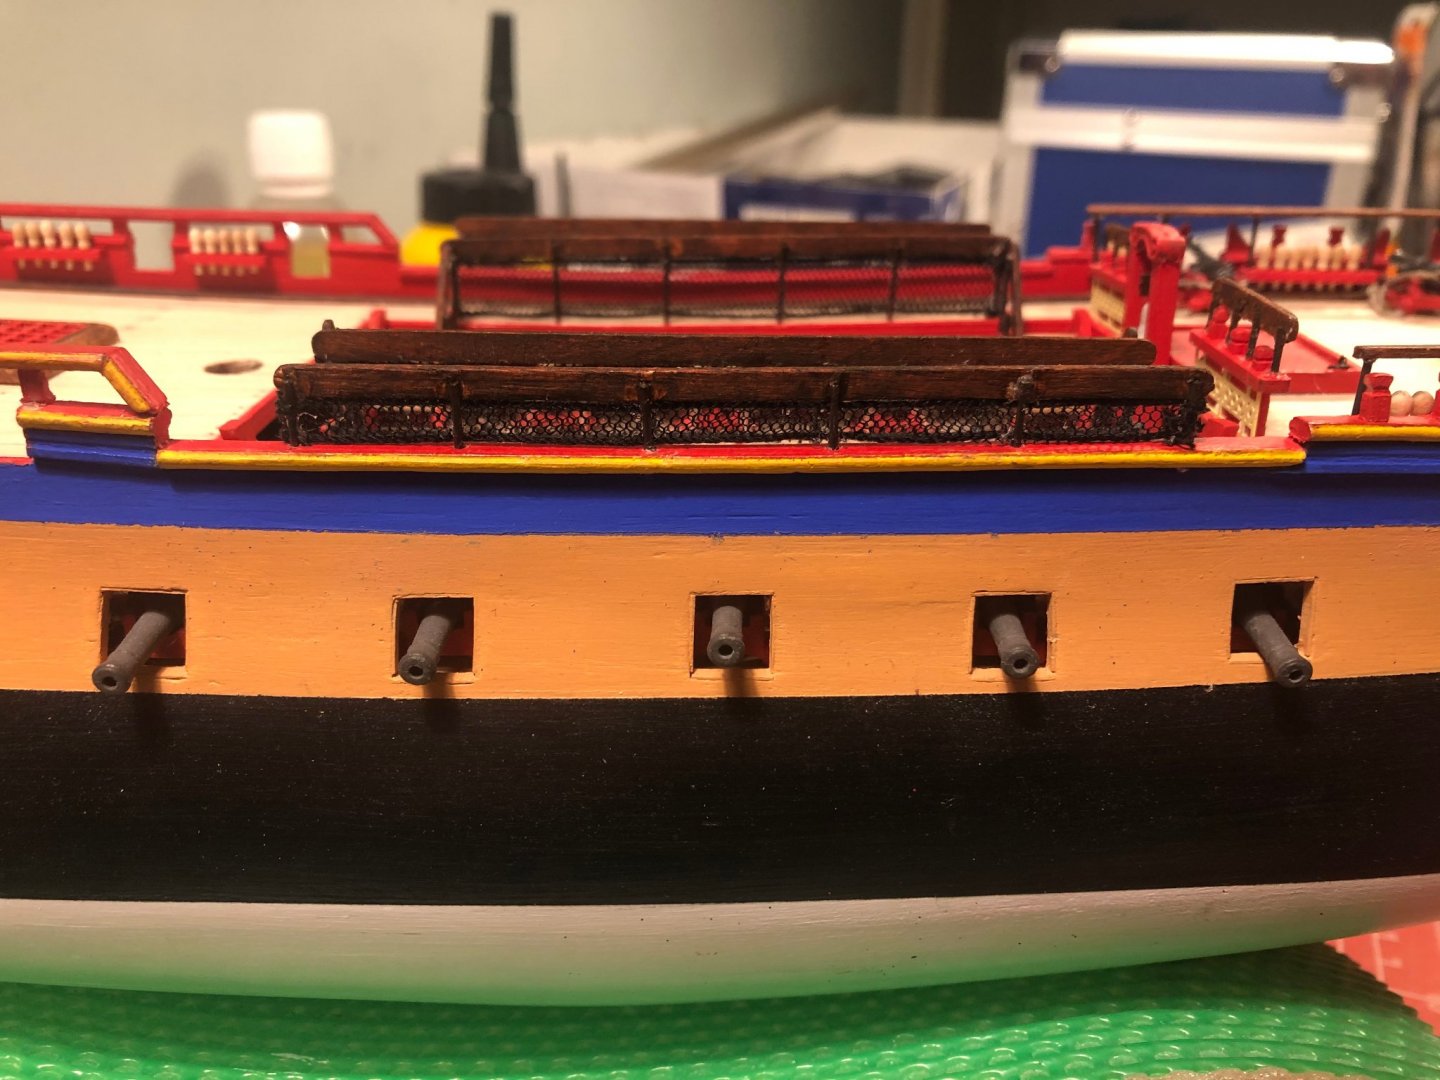
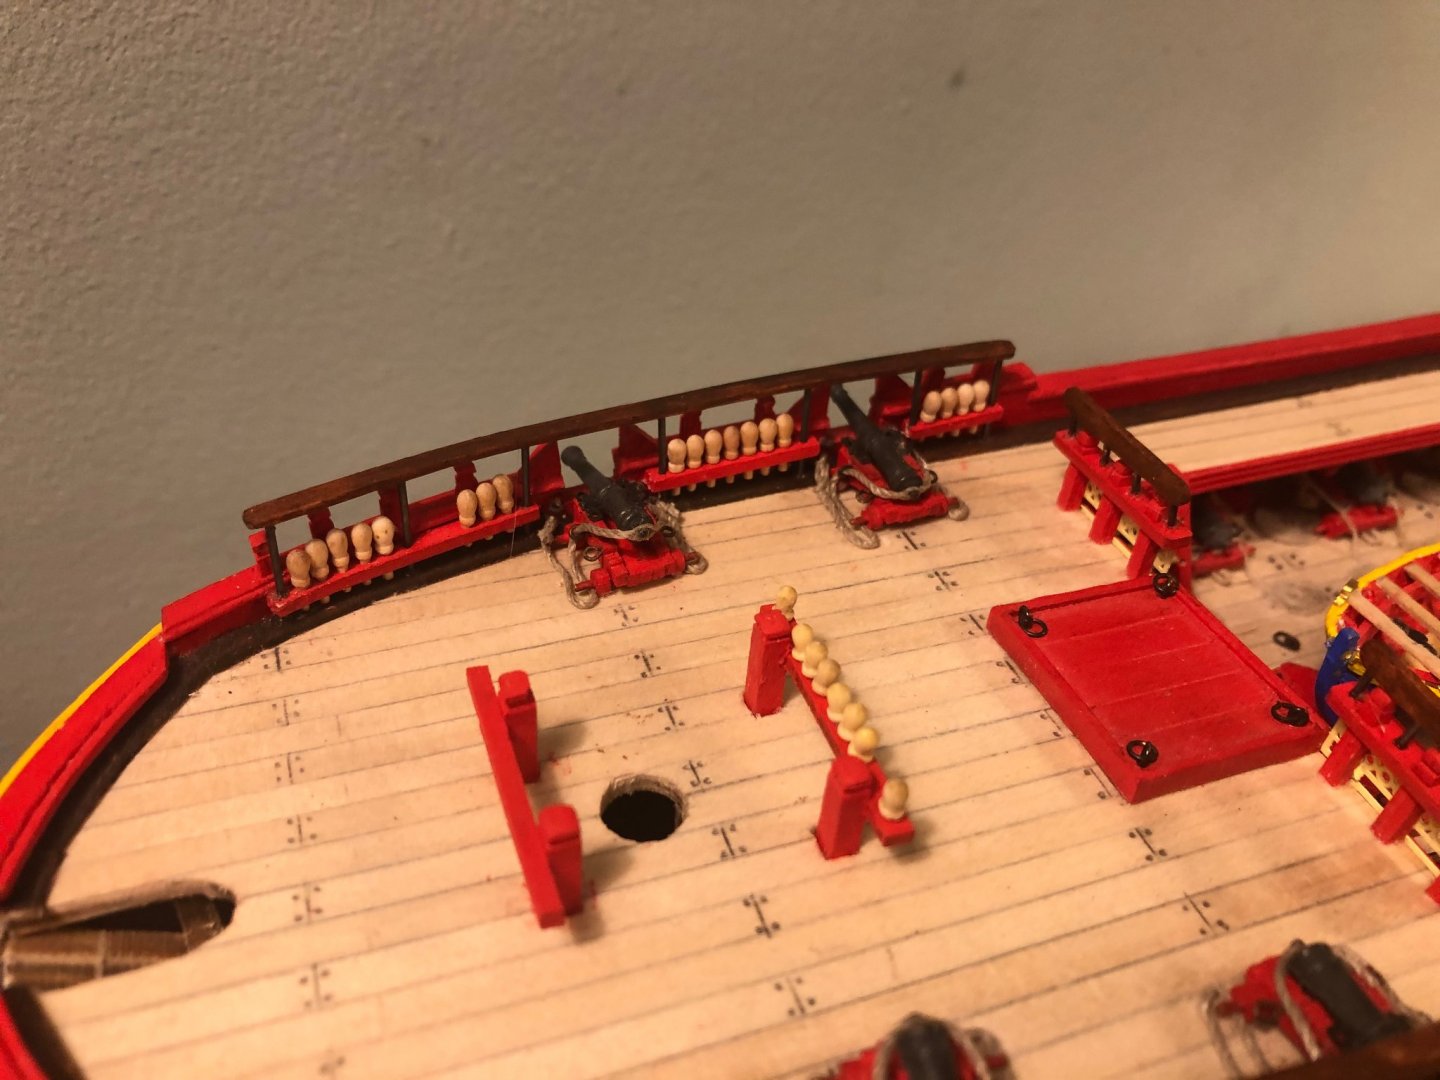
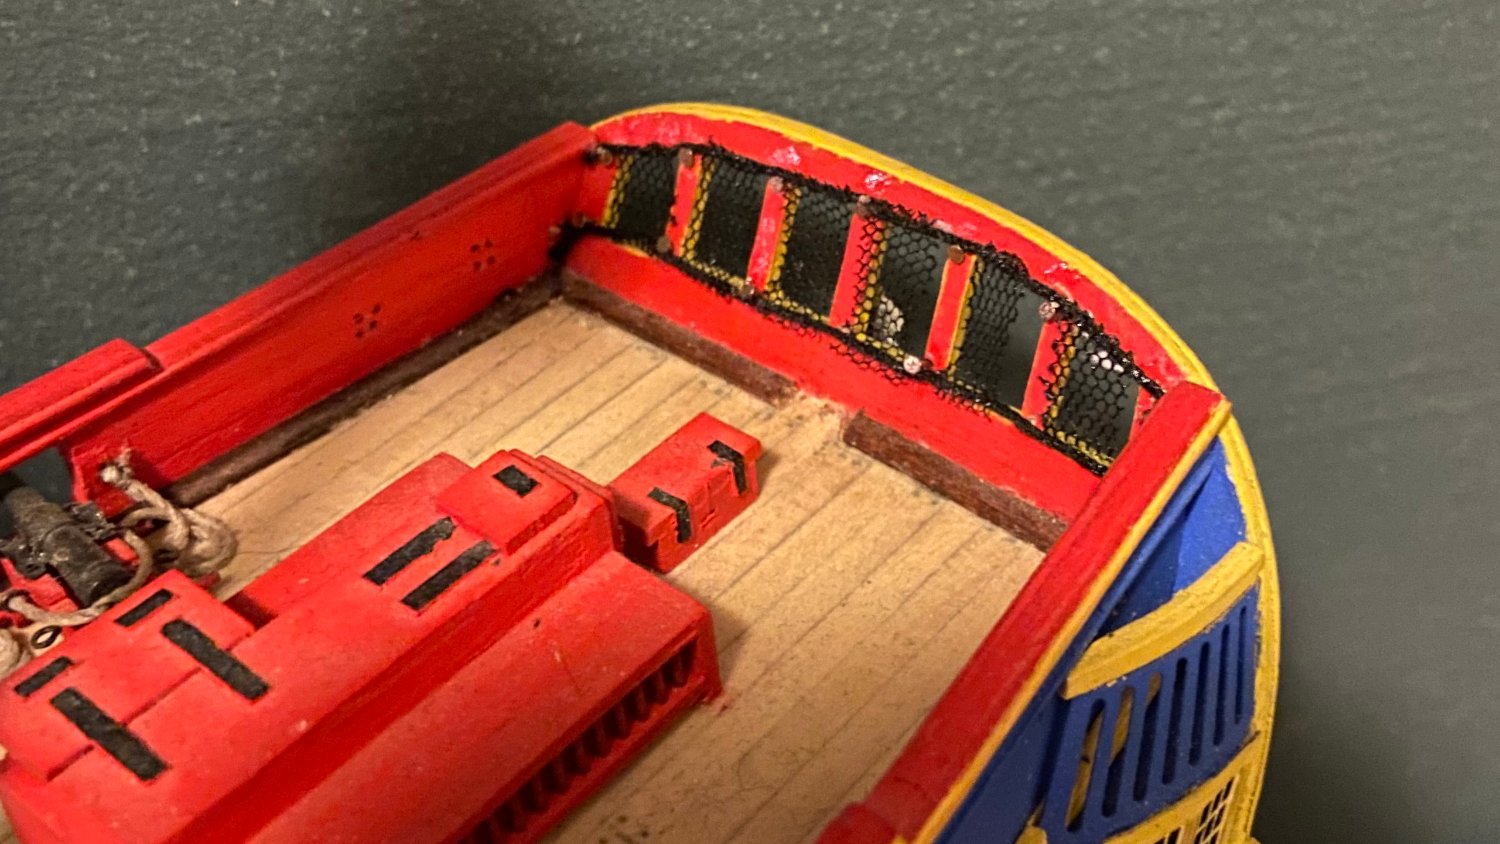
After a few attempts, i succeeded to install the banisters.
With textile glue I was able to glue the nets around the railing.
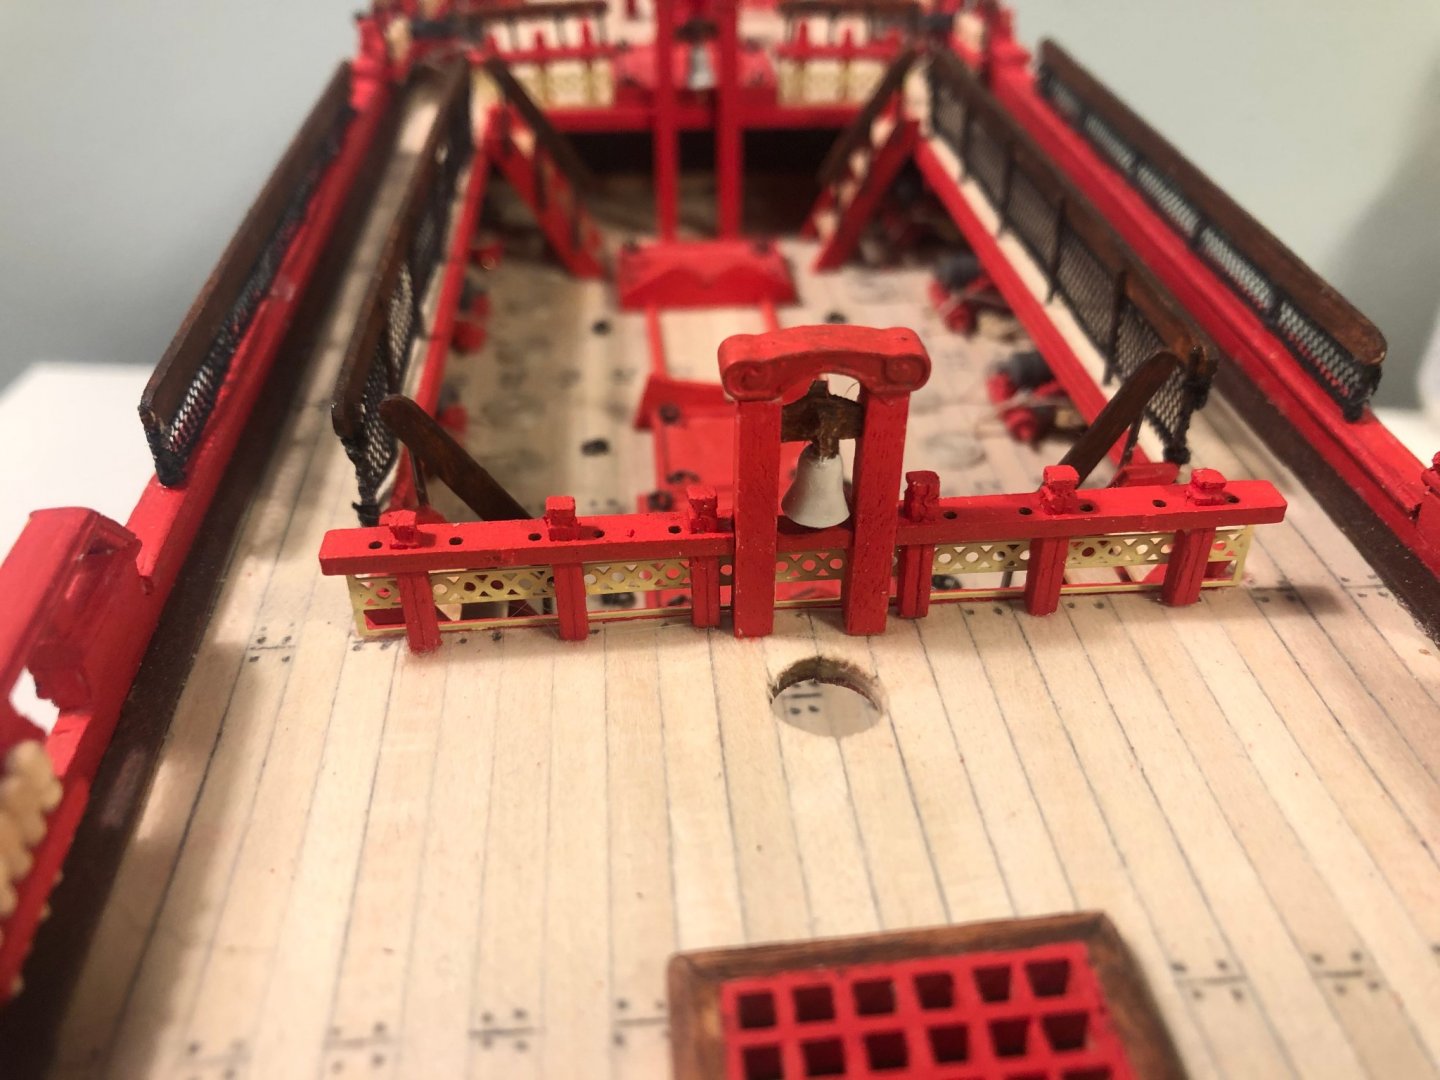
For installing the railing I have drilled holes in the deck and cap rail. (which is a lot firmer than just a glue joint)

Also placed the last hand railing and ship bell.

Will be continued.
Thanks for the views and thumbs up.
Regards
Peter
- Matt D, GrandpaPhil and jks1981
-
3
-
-
Hi all,
I'm back from a little break. The last weeks I spent a bit more time on my condition rather than building the Hermione.
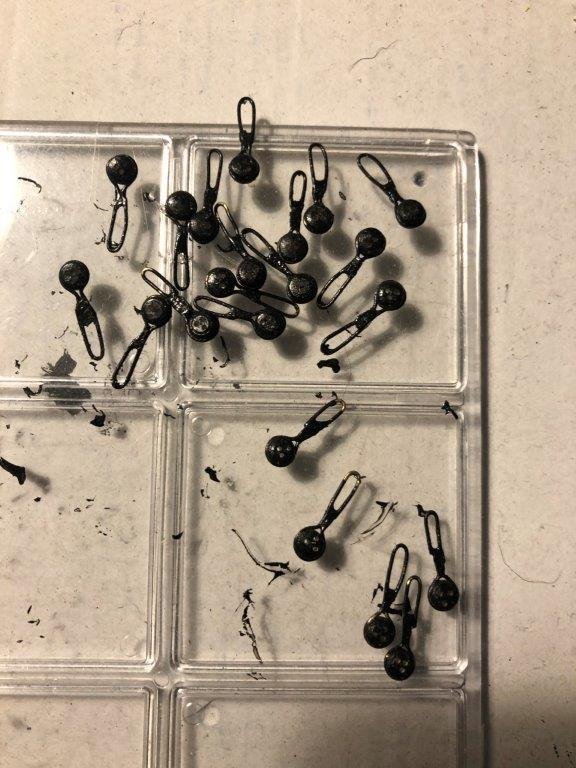
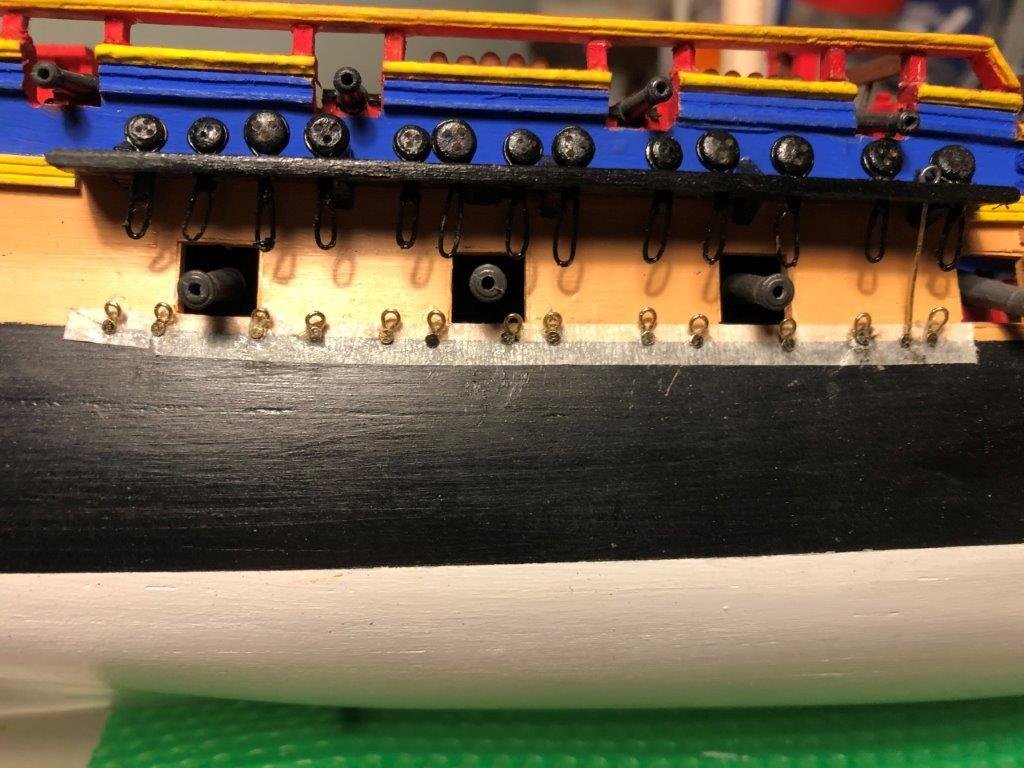
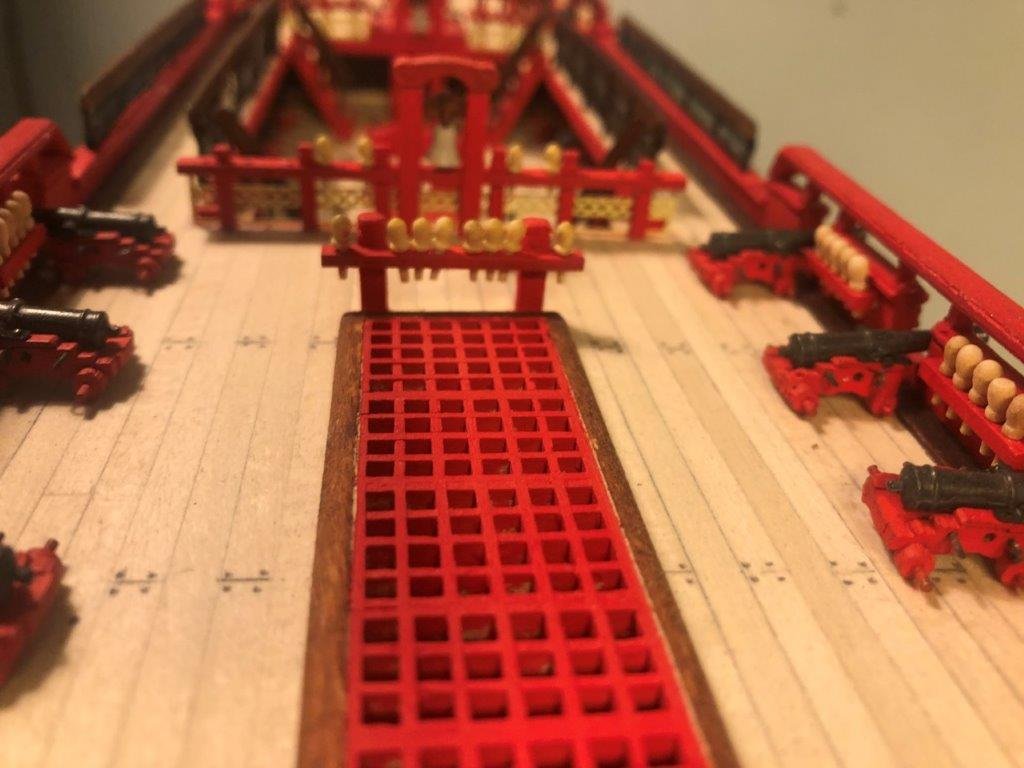
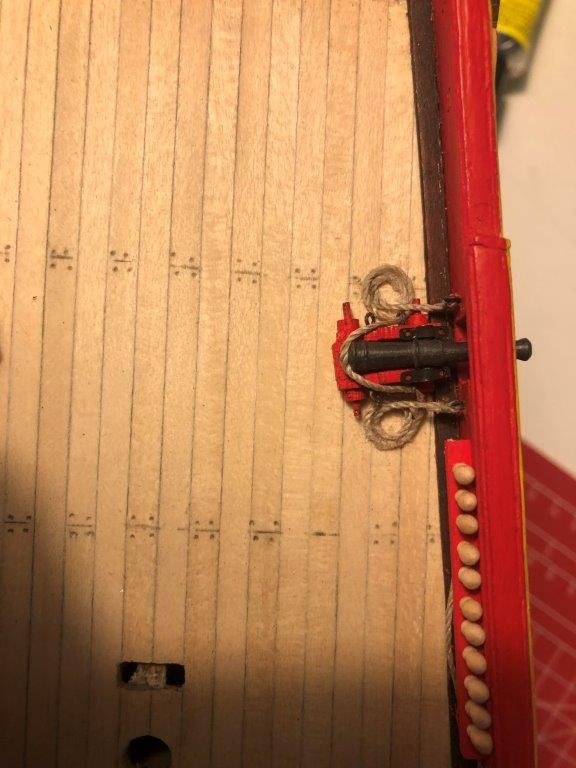
Last week i started to rig the guns, which is not finished. The guns are so small that the rigging blocks seem to be out of proportion. (The result looked a bit silly) So I have to think for another way to rig the guns.
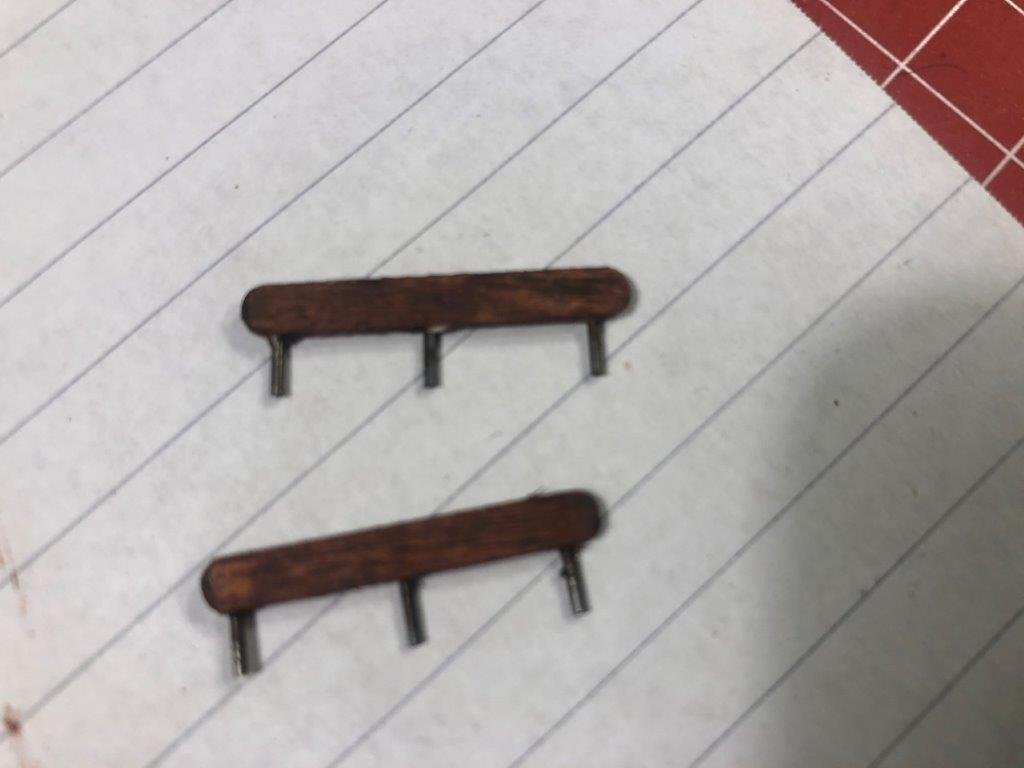
I have installed the fife rails, mounted the stairs, railing and fitted the belaying pins . I will work my way down to the aft.


Stay safe and well
Peter
- GrandpaPhil, Barbossa, Sjors and 1 other
-
4
-
Hi Sjors,
Nice rigging so far😀
Regards Peter
- SIDEWAYS SAM and Sjors
-
2
-
I hope you feel soon better Sjors.
Kind regards,
Peter
-
Hello Sjors,
Yes, I know it was a joke but I like to play along with it.
I have seen your ships and tools and know that with your experience you will finish these ship boats faster than me, and possibly a bit neater. But that is the advantage of experience and knowledge.
You funny guy😁
My regards to Anja,
Peter
-


HMS Victory by Sjors - Caldercraft - 1:72
in - Kit build logs for subjects built from 1751 - 1800
Posted
Hi Sjors, the stern-face looks amazing!