-
Posts
80 -
Joined
-
Last visited
Content Type
Profiles
Forums
Gallery
Events
Posts posted by PeterB010
-
-
Sjors,
I understand your worries, your budget will be considerably less if you go against the admiral.
I'm experiencing the same problems
Regards
Peter
- Sjors, mtaylor and popeye the sailor
-
 3
3
-
Hi Drazen,
While going through your build log I immediately thought of an old beer advertisement and the sweet sounds of Clous van Mechechelen (composer) "Craftsmanship is mastery".
What a beautiful build!
Regards
Peter
- FrankWouts and mtaylor
-
 2
2
-
Hi Matt,
Thanks for the nice words. Yes, I'm going to make the ladder stringers out of scrap. Yes, the cannons came with the kid. After I removed the casting seams with a Dremel, I polished the cannons and then blackened them with Ballistol.
Great stuff and easy to use. Within 3 to 5 minutes the guns are deeply black.
Kind regards
Peter
- GrandpaPhil and Matt D
-
 2
2
-
Hi Sjors,
Just found your build log and picked up a chair to follow your progression.
I can not wait for the result of the paint job with a spray can.
Regards Peter
- Sjors, mtaylor and popeye the sailor
-
 3
3
-
Hi all,
Time for a little update:
As I mentioned before in my previous post, the ladder trees are completely unusable.
Placed the columns under the first deck.
Painted the pin rails
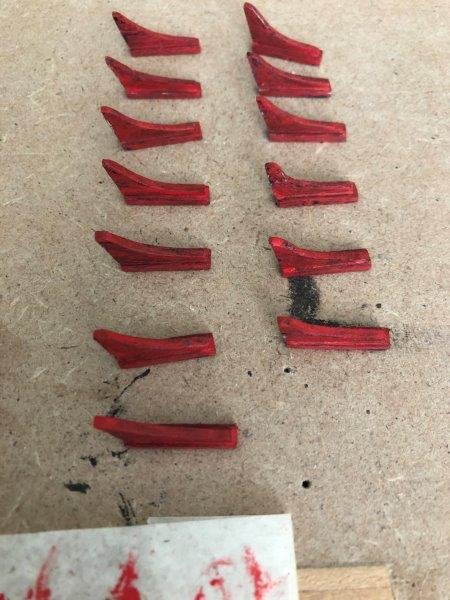
Don't know the name of the triangular pieces on either side of the gun ports at the bow.
I started to build the second group of guns.
The blackening liquid work amazingly fast.
No problems with the angle of the masts. the spar of the bowsprit is slightly bent.
Thanks for the views and likes
Peter
-
Moulded the baseboards for the first deck with a scarf joint. After applying a layer of Sapele wood stain, the scarf joints were hardly visible. (Pretty annoying and a waste of time)
Call it the learning curve of ship modelling 😁
The cap-rails (for the bow) that came with the kit didn't fit, so I made them out of scrap.
Also moulded and trimmed the cover boards for side of the first deck.
After painting the ladder booms I found out that de ladder booms are not identical sawn. (distance between the steps) There's No way to fit them properly together. I will build them out of Scrap wood.
Peter
- Dutchman, Sjors, chris watton and 1 other
-
 4
4
-
Hi Sjors, thanks for the compliment.
I'm still here, but due to the heat wave of the past few weeks I lost my motivation to continue building on the Hermione Lafayette. You could say that I have had a close relationship with the fan during these days. 🥵
I recently got an air conditioner that makes the heat a lot more bearable.🥶

Peter
-
Hi All,
It's time for an update.
As I said before, I would have the deck follow the contour of the hull. But after two attempts, I got to the point where I had to decide to continue or lay the deck straight out as instructed by AL. The aft deck didn't have the right curve and wasn't what I had in mind.
To prevent my stock from running out of wood, I carefully removed the curved deck, repaired the falls deck and laid the deck straight.
I trimmed the deck at the stem and had to raise the planks at the bow to fit the rail-cap.
Regards Peter
- Ciciak35, Dutchman, Edwardkenway and 3 others
-
 6
6
-
Hello Sjors and Dutchman,
Neighbour sounds good to me🙃 and thanks for the compliments.
There'll be a lot of updates before I finish Hermione. And that day will come, that's for sure.. While following my progression, feel free to ask or give comments.
@ Sjors, The hull is hand painted. Paintbrush is something on my wish list.
BTW, the build slows down during Formula 1 week-ends 😁
Kind regards
Peter
-
Hi al,
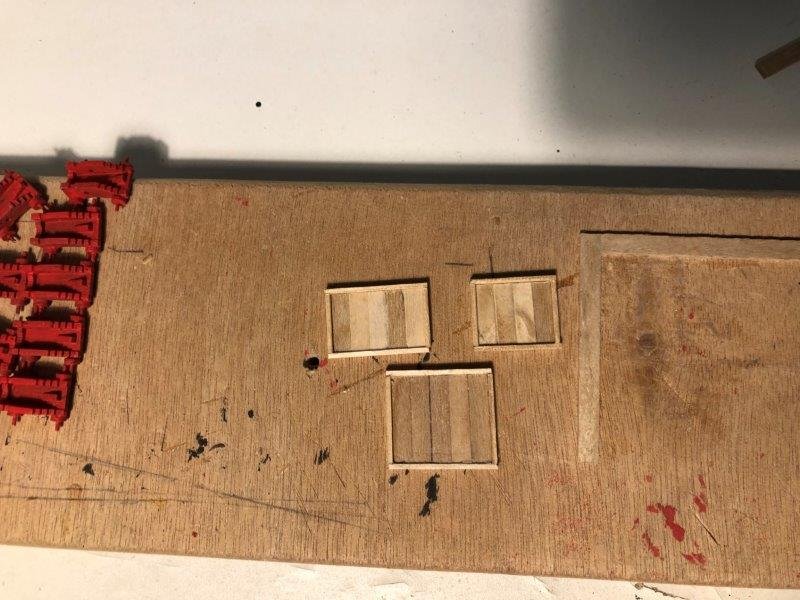
I made the ammo boxes and painted them red.
For the chemical blackening of the cannonballs I used a tea filter too blacken all the bullets at the same time and not have to fish every bullet one by one out of the chemical liquid. (which would be a time consuming process) The advantage of this is that the liquid becomes less polluted by the corroded metal and the corrosion remains in the tea bag.
Time to align the false main deck and glue it in place.
The next step will be the curved deck planking.
Regards
Peter
-
-
Hi all,
After hours of puzzling and preparation I managed to rig the cannons. On the starboard side I had some trouble keeping the rigging in place and I used a little too much CA-glue. On the port side everything went a lot better and I managed to make the rope coils without too much glue. Which indeed look a lot better than the ones on the starboard side.
The first deck can almost be glued in place, but first I have to make the ammo boxes and then I can finally start with the deck planking.
Regards Peter
- ObviousNewbie, Sjors, Ciciak35 and 1 other
-
 4
4
-
Hi all, back again for an update!
Installed the ornamental mouldings and cap rails
After i received the materials for rigging the guns, i started by trial and error attempts to get the rigging in proportion. Which was very quit frustrating.
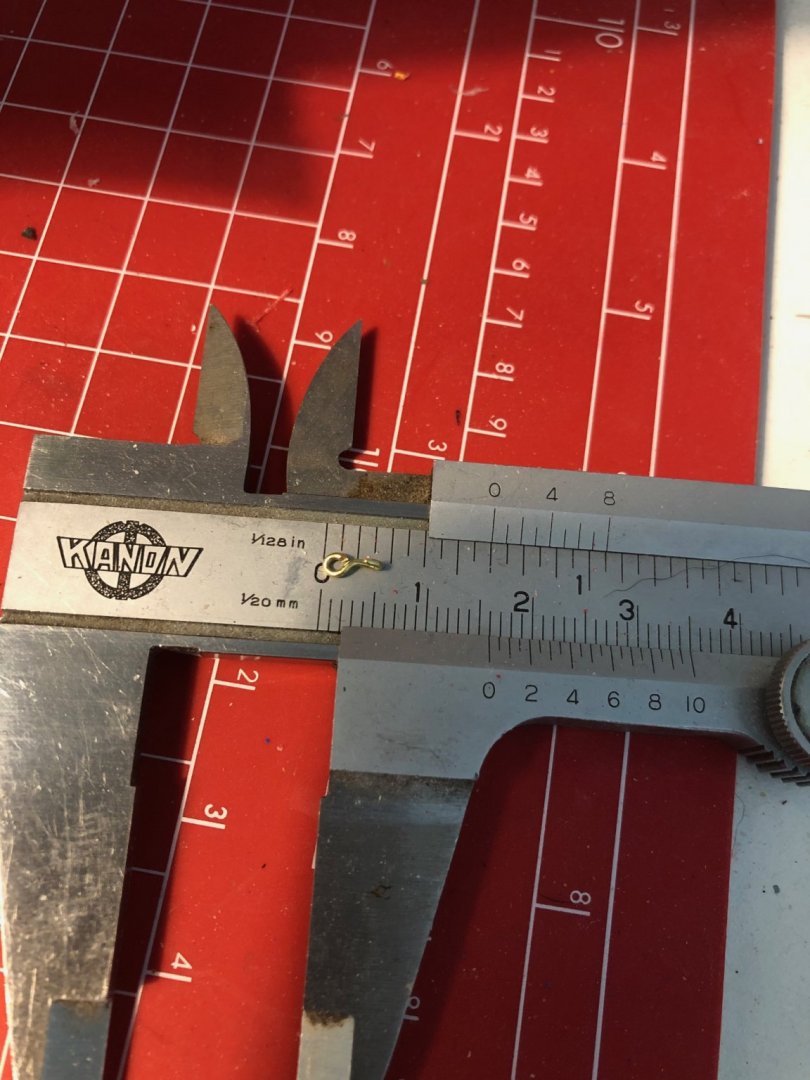
By cutting the ring off the hook and gluing it into a pre-drilled hole in the block, I finally got it so small that I could continue to rig the guns.
The rigging will be continued!
Regards, Peter
- Dutchman, jeff shreve, Sjors and 4 others
-
 7
7
-
Hi all.
Still waiting for the materials to be delivered but in the meanwhile i have a minor update.
The bending of the eye bolts and eye-bolts with rings wasn't entirely for nothing! I've drilled the holes to attach the hooks and eye-bolts on the inner hull and the planking on the second deck.
On the upcoming photo of the Hermione you can see that the number of deck planks is the same everywhere and follows the contours of the hull. (Sb/Ps) This means that the planks from mid-ships are tapered towards the stem and the stern. Again, I will deviate from Artesania's instructions.
Correct my if I'm wrong, but, by dividing the deck into strips, I will use the planking fan to determine the degree of tapering. I'm now working on a 1:1 drawing of the deck.
Until the ordered materials are delivered I can't rig the guns and have to wait before I can plank the deck.
Luckily I can still go ahead with making guns, (main deck) longboats, capstan, cap rails etc.
BTW, Thanks for the likes and views!
Cheers from the sunny Netherlands,
Peter
- Tom E, Edwardkenway, Dutchman and 3 others
-
 6
6
-
Hi all, welcome back to my build log,
It’s been more than a week since the last update, but I made some progression.
I made a jig to drill holes for the eye bolts that will be used for rigging the guns at the cannon deck.
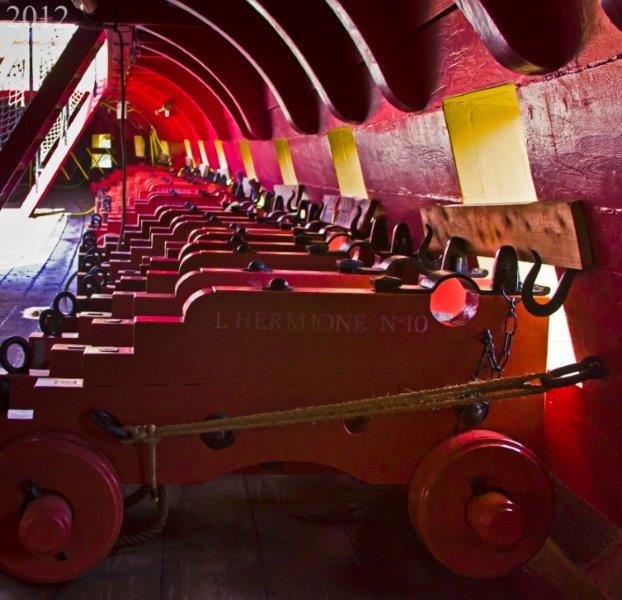
Although from above there won't be much to see how the guns are rigged, I think the rigging according to Artesania's instructions is just a bit too simple. On the internet I found a picture of how the guns of the Hermione are rigged. For me the choice was quickly made, now I had to find the right materials to make the rigging from waste.
To bend eyebolts and hooks I used the core of a signal cable (0.8 mm). After bending the eye bolts and the hooks, I checked whether the proportions corresponded to the size of the guns. to my horror, I saw that I could start bending again. with a smaller inner diameter the hooks and eye bolt's looked a little better but still not in proportion.
Meanwhile I have been bending for about 1.5 days for nothing. So I ordered eye bolts of 0.5 mm thick and 3 mm rigging block via the internet. Which will be delivered next Thursday.
I glued wooden strips to the inner side of the gun ports and prepared the hull for the final layer of paint.
I glued the aft main deck in place.
Near the bow and mid-ship I raised the railing
Planked the bulwark and cut out the gun ports.
The blue strake just needs to be coated with a final layer.
The bulwark is painted red.
On the second deck the deck hatches are glued in place.
At main deck the inner sides of the gun ports are painted red.
Cheers,
Peter
-
Hi all,
Made some progression with the second deck.
I made a jig for gluing all the hanging knees at the same height and glued them to the inner hull. After this the hull could be painted red. Also the skirting boards are now in place.
Tuesday I received the chemicals for the blackening the iron and brass parts by mail. I removed the casting seams from the guns with a file, degreased and blackened the cannons and brass parts and fitted them finally together on the gun carriage. Also the deck hatches are fitted with blackened brass rings and temporary dry-fit on the second deck.
Despite some small mistakes, I am very satisfied with the result. Fortunately, the mistakes are easy to correct.
Regards,
Peter
- Tom E, Ciciak35, Edwardkenway and 5 others
-
 8
8
-
On 5/29/2020 at 2:12 PM, drobinson02199 said:
Finished the cabin bulkhead at Frame 16 as well as all of the spars on both sides leading back from the main deck.
Also painted the unfinished part of the planking a nice green.
I should mention that Hans gave me a Dutch build log that's an excellent source of pictures. I don't try to translate the Dutch -- I have just copied down all the pics so I have something to reference, as the ones in the manual don't show everything. That log was, for example, my source for the red deck at the rear. It can be found at https://www.modelbouwforum.nl/threads/bouwverslag-kolderstok-voc-retourschip-batavia-1628.234841/
Regards,
David
As I'm Dutch, if you need some translation from this build log, I can translate the important phrases.
B.t.w. your build of the Batavia looks great so far.
Regards,
Peter
-
Gorgeous deck planking, Ilhan!
Peter
- Ilhan Gokcay, mtaylor and Keith Black
-
 3
3
-
- Tom E, Lt. Biggles, Dutchman and 6 others
-
 9
9
-
Hi David,
The paint in combination with the colour of the walnut gives the Batavia just that little bit extra.
Regards,
Peter
-
Hi David,
Because the Batavia is on my wish list, I've grabbed a chair to follow your progress, and from your speed of building, I understand that you have fun building the Batavia.😀
Excellent job for so far
Regards,
Peter
-
Hi all,
A small update
At second deck, the inside of the hull is planked now. The hull is coated with one layer of white paint, another layer of white paint and then I can apply the other colours. While drying I had the time to make and paint the guns and hatches for the second deck.
The liquid for blackening the guns and copper parts on the hatches has been ordered but not yet delivered. Though patience is not my strongest point, for the time being I can still manage.
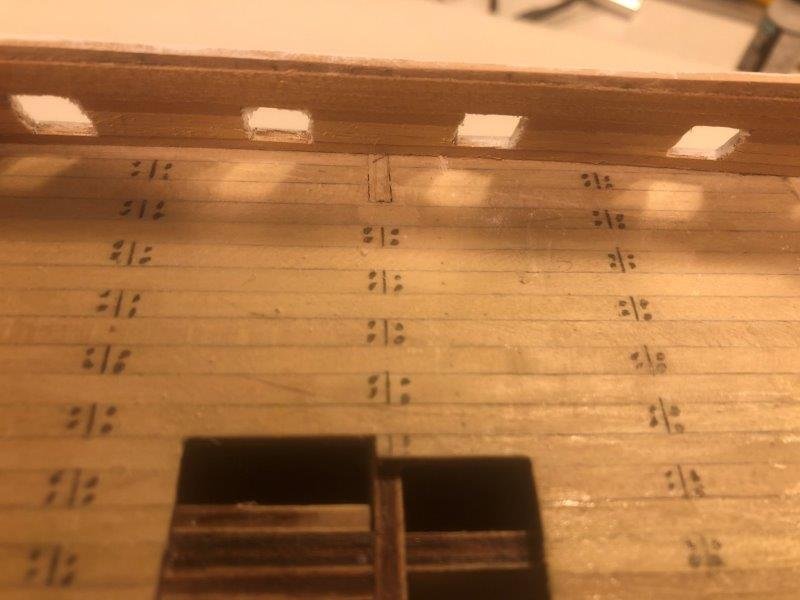
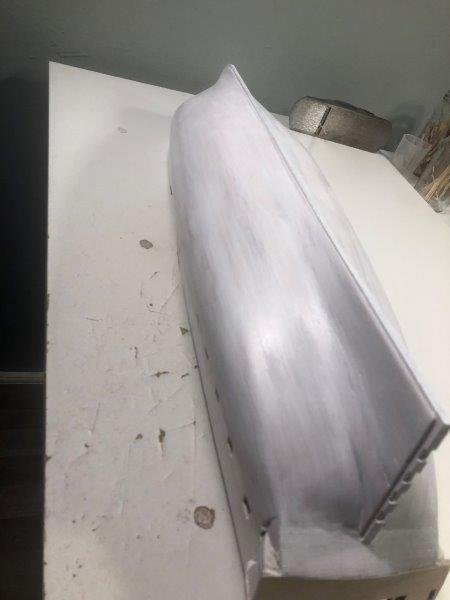
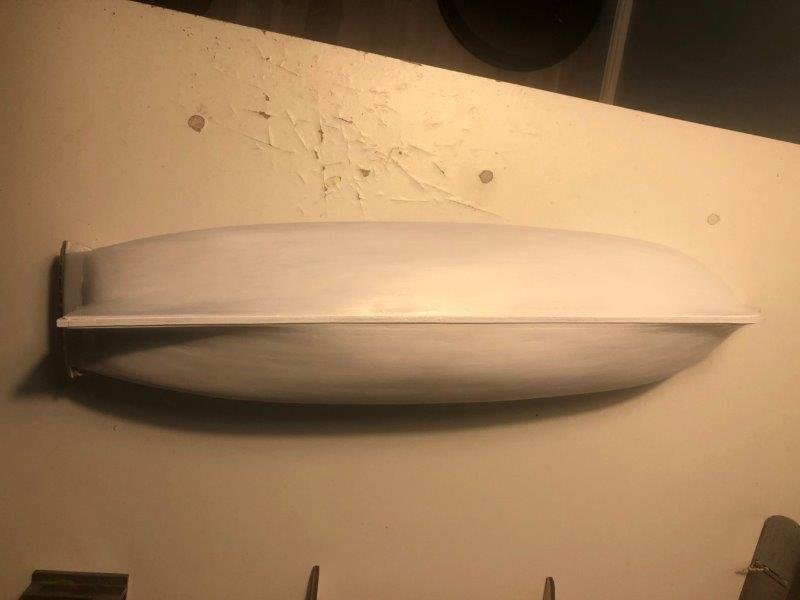
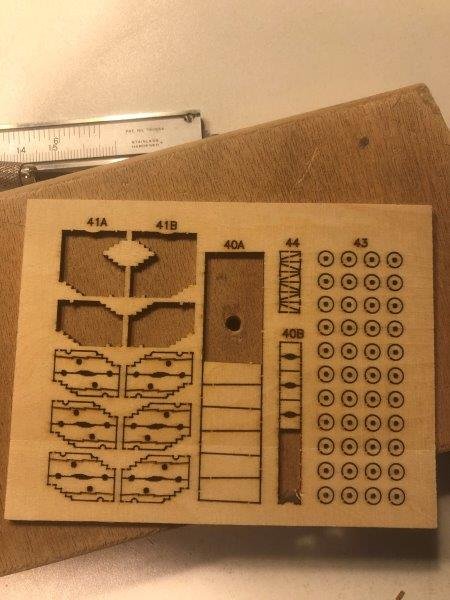
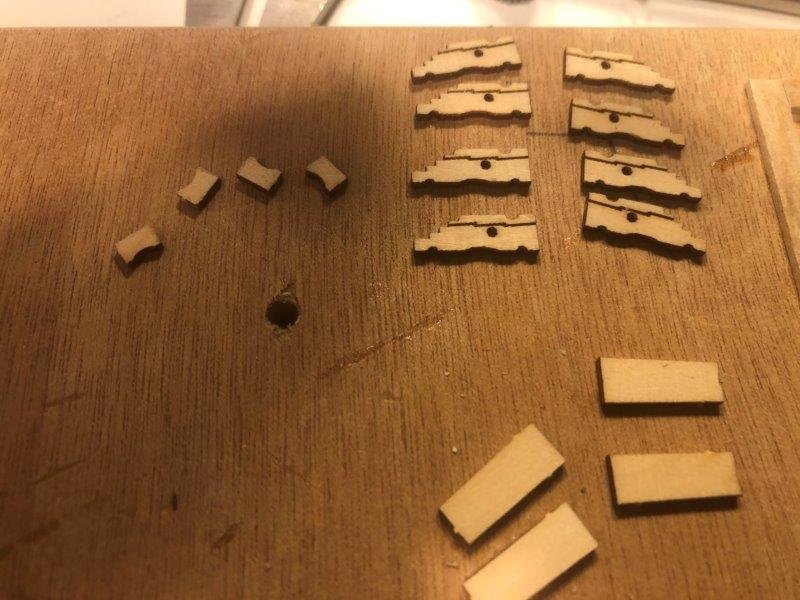
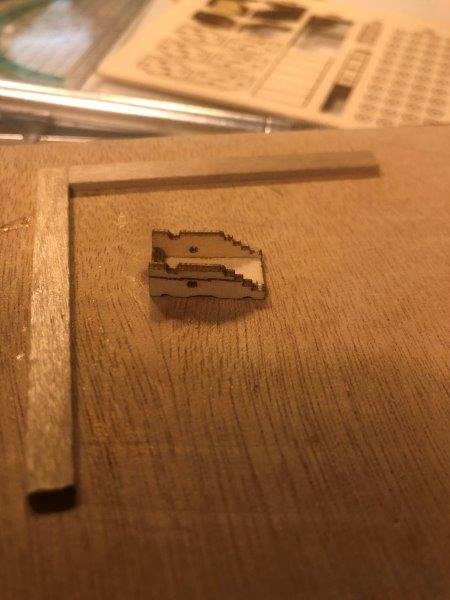

The 3 mm. plywood crumbles during the assembly of the wheels on the axels of the guns. After treatment of the plywood with a filling liquid the problem was solved.
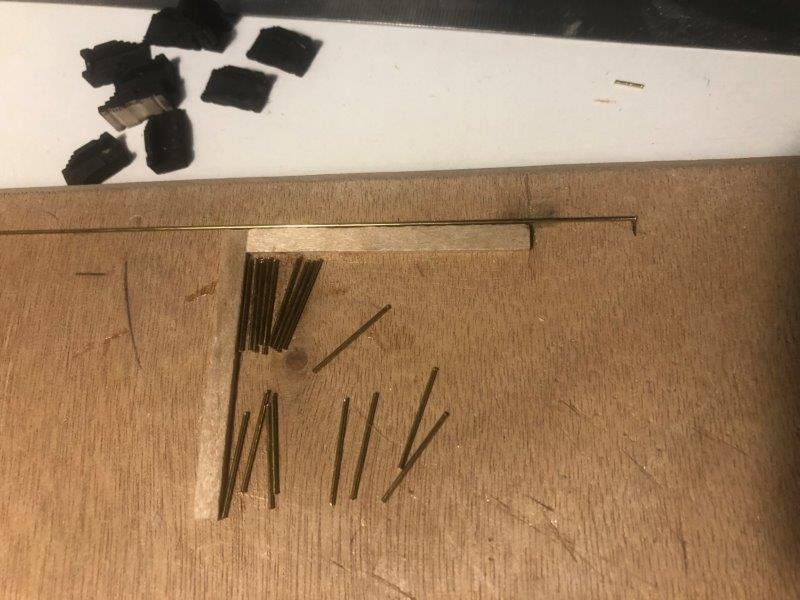
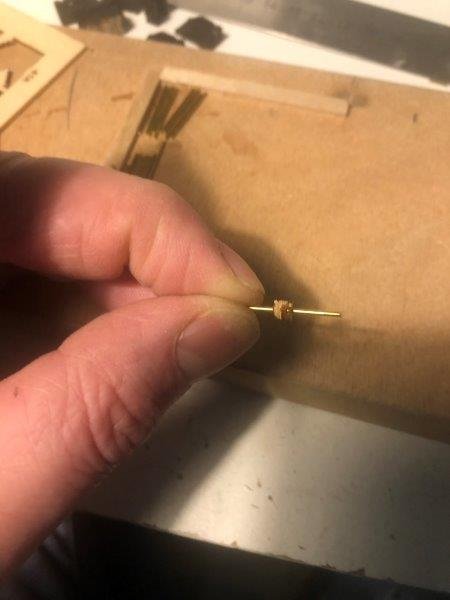
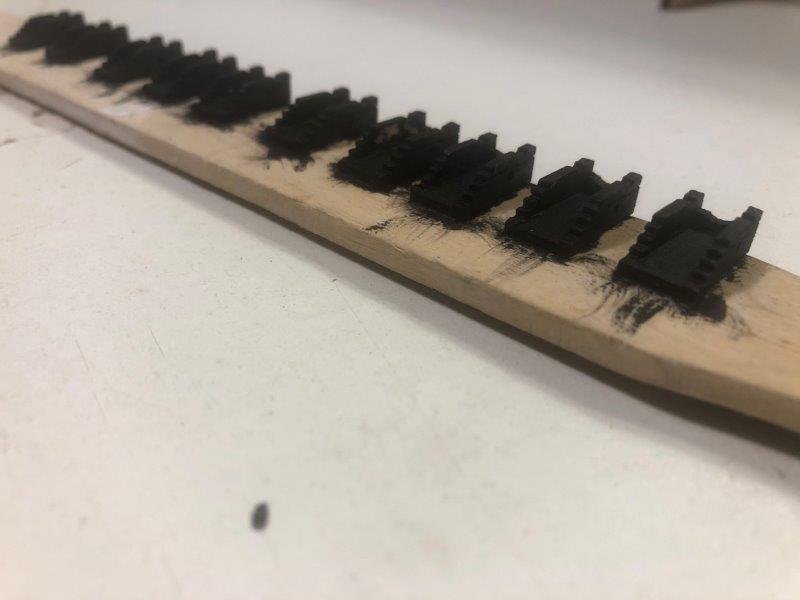
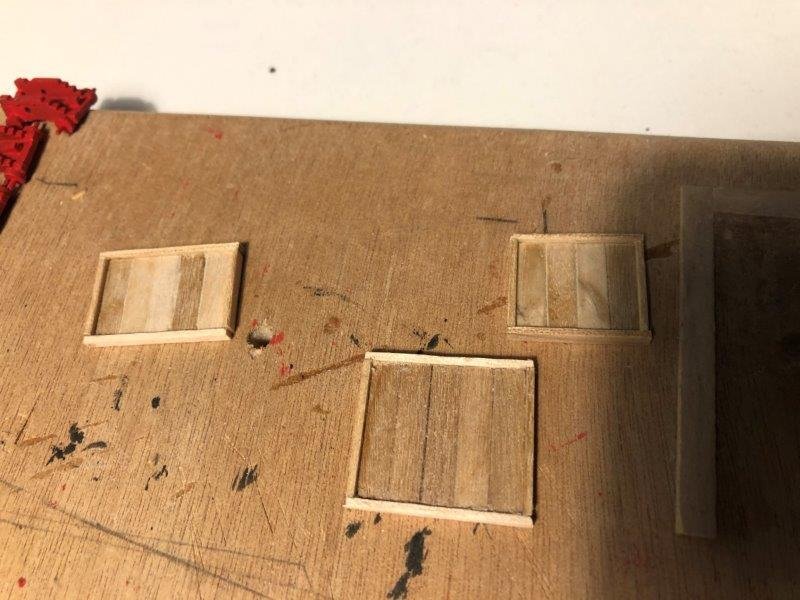
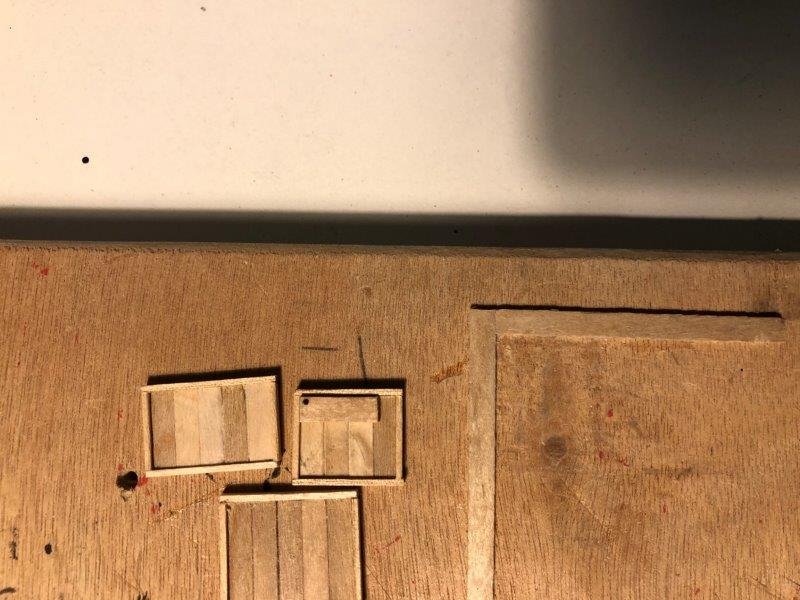
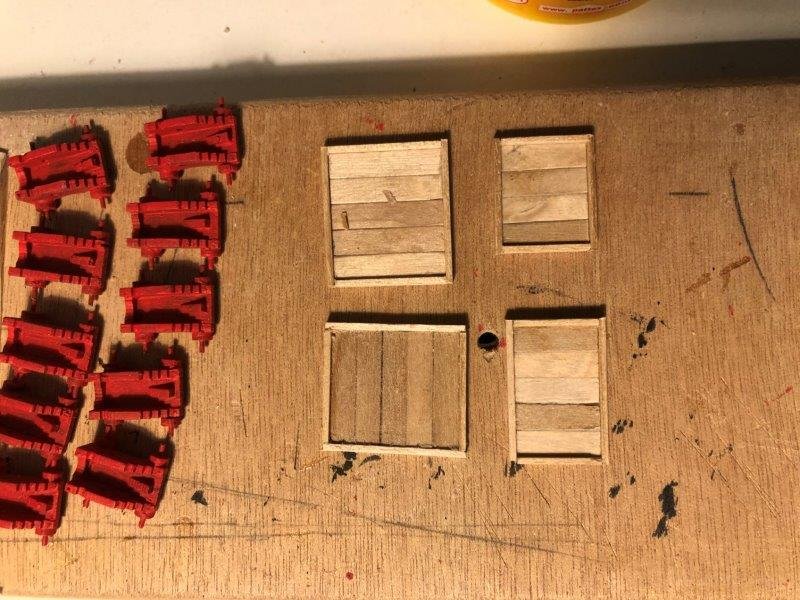
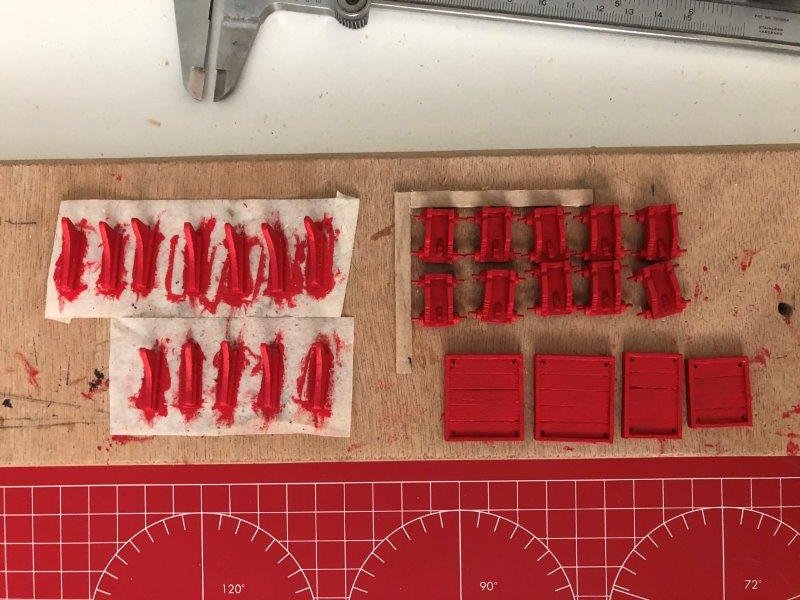
That’s all for now!
Regards from a sunny Netherlands,
Peter
-
@ Tom E, thanks for your compliment.
@Dutchman, also thanks for your compliment.
But to be honest, I must confess that the planking of the hull wasn't without a struggle. (indeed single planking) If you follow Artesania Latina's instruction, which I did, you'll soon get into trouble. To be able to follow the strokes that already glued on the hull you have to bend the wood on a certain point into an unnatural shape. The amount of planking (134 pcs. 2x5x300 mm) for the hull is minimal and leaves no room for error. It is almost impossible to plank the entire hull with 2 planks in one stroke. (600 mm) To plank the hull in an acceptable way I threw away the Artesania instructions and continued according to the tutorials I found here on MSW.
I would like to thank the authors of these tutorials for the work they have put into this. 😀
Through the use of drop planks, stealers and a lot of tapering I managed to finish the hull. The fillers, sanding and paint will cover the rest of the mistakes i made as beginner.
Guess that i still have to learn a lot. 🙂
Peter
-
Hi all,
A small update on the construction of the Hermione. While measuring the gun ports I found out that I've been a bit too enthusiastic about cutting out the gun ports. I had to repair 2 gun ports on the port side.
Fortunately, you won't see anything here once the hull is painted.
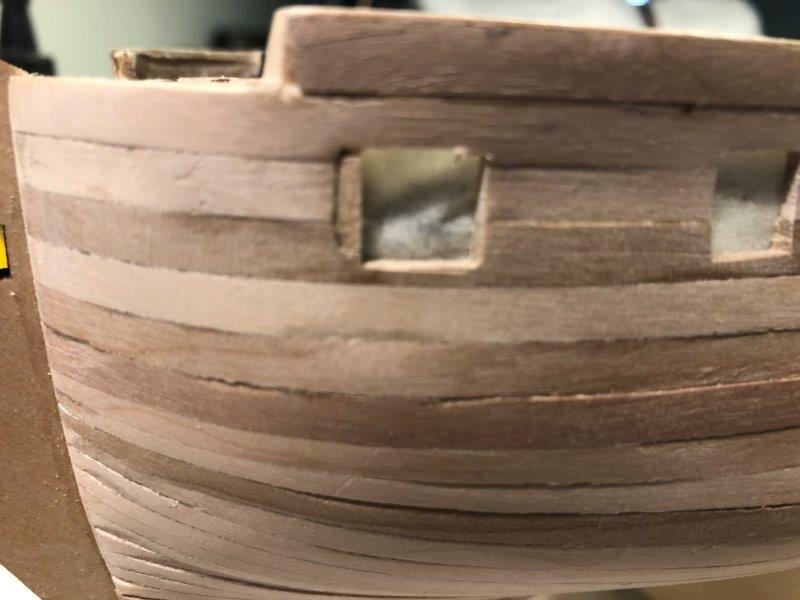
After some sanding, the hull looks a lot better
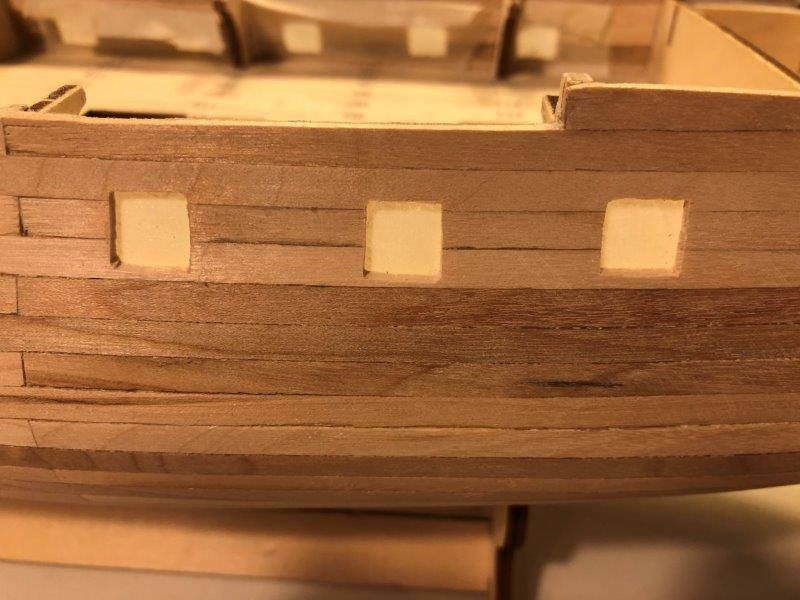
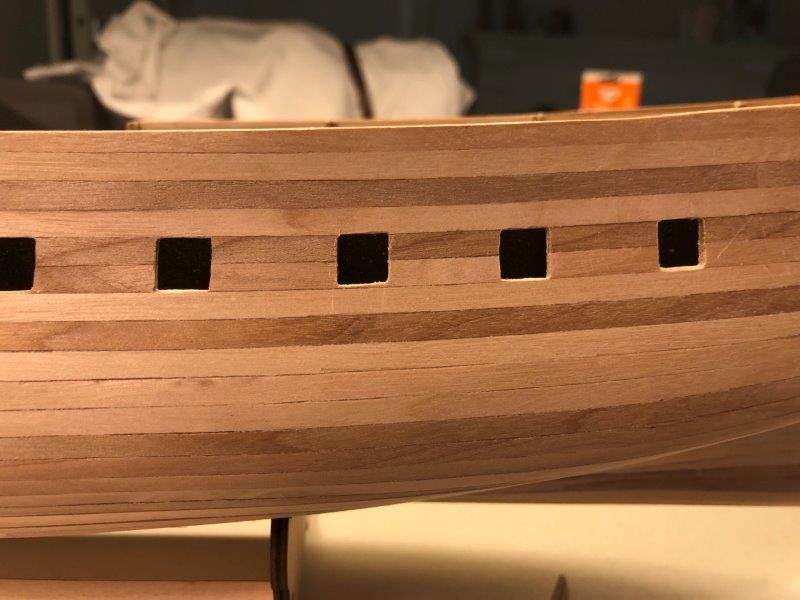
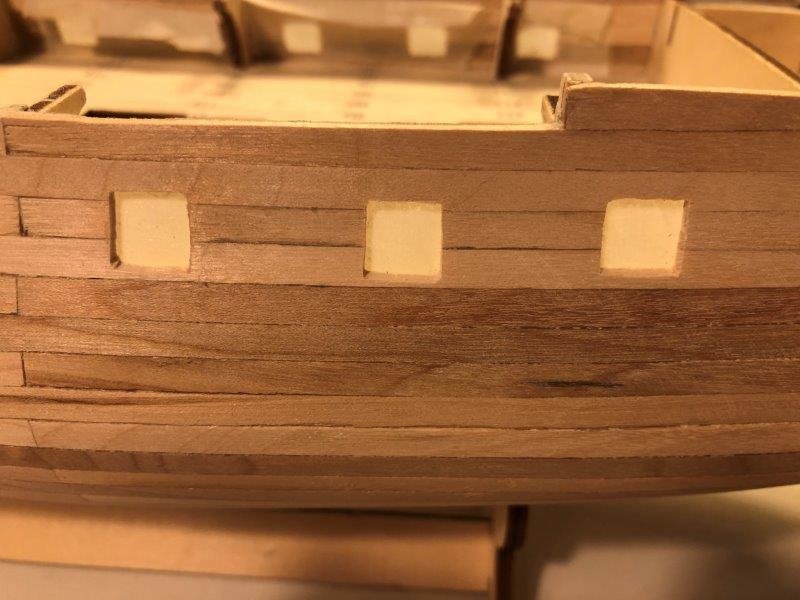
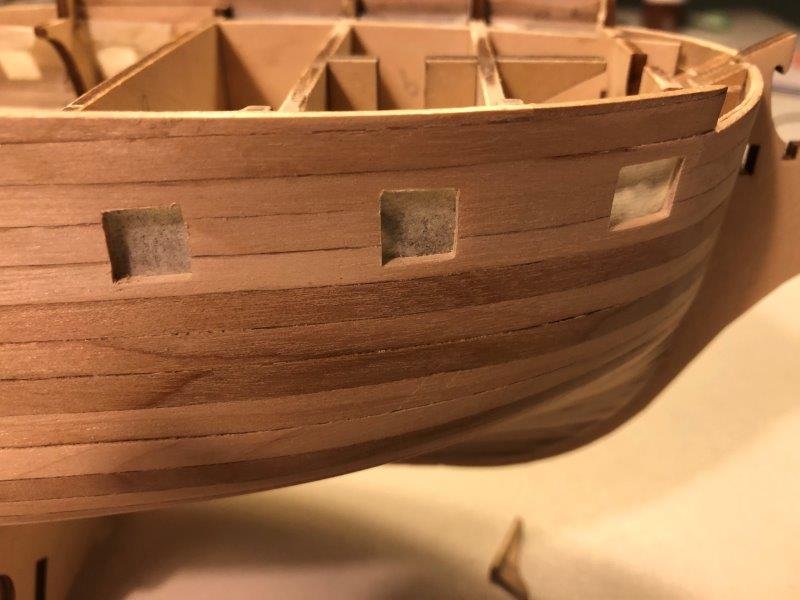
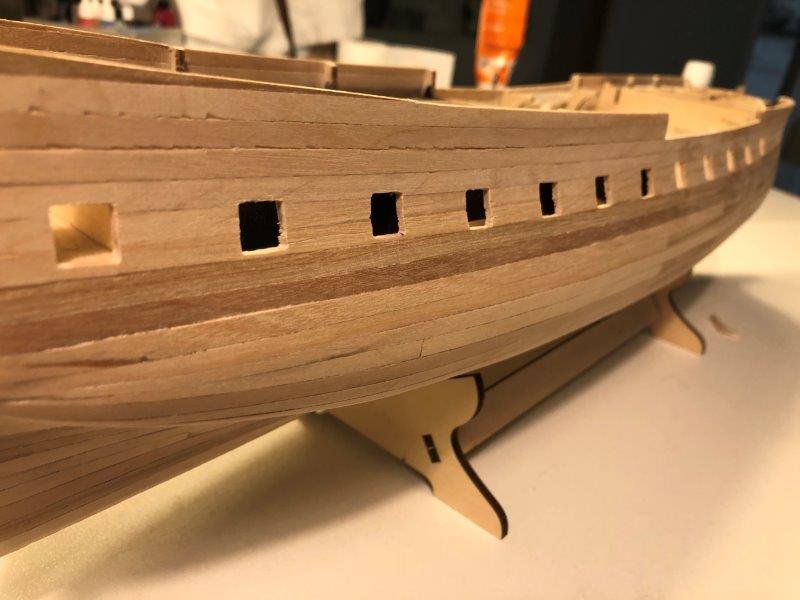
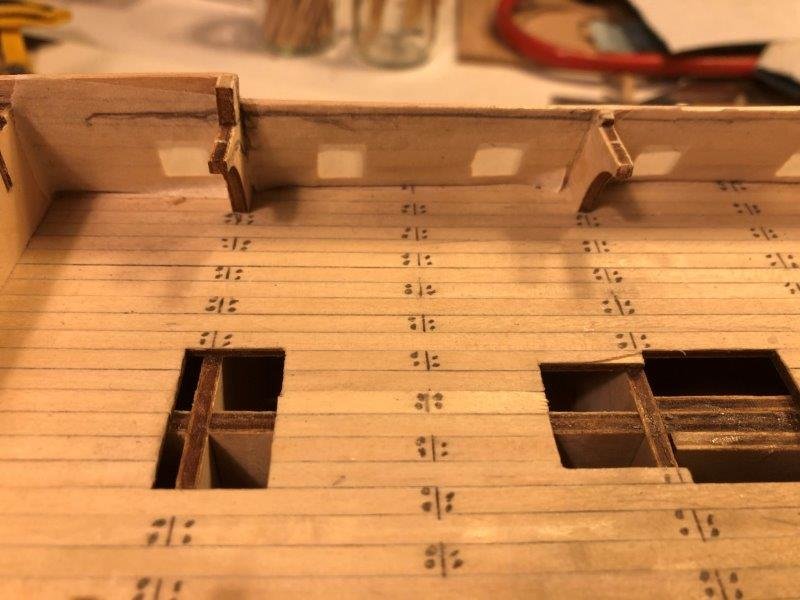
On pictures of Hermione I saw that the first deck is supported by hanging knees, which looks a lot more realistic.
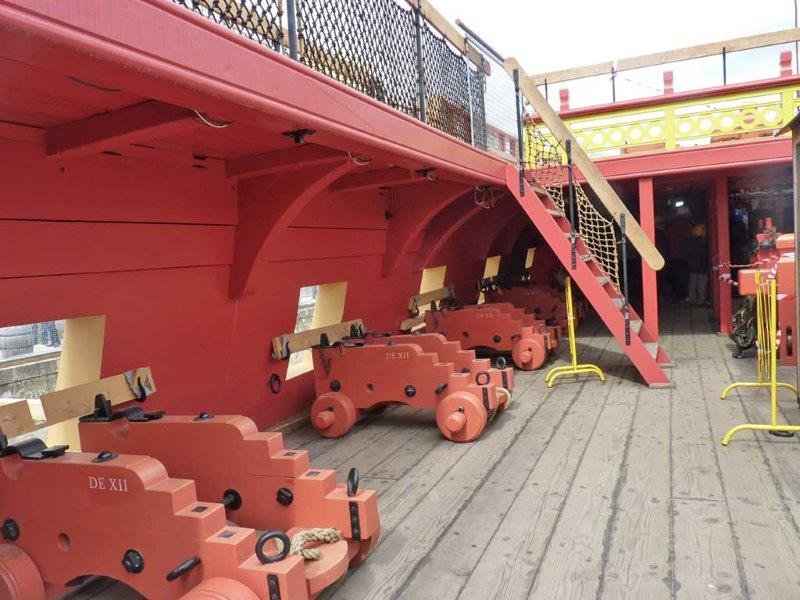
Decided to remove the bulk heads and replace them for hanging knee pieces.
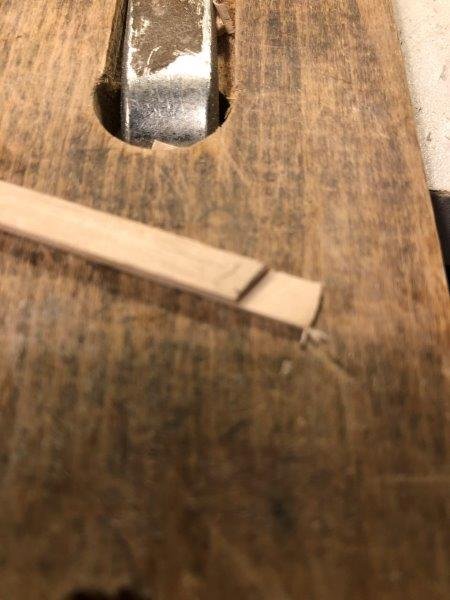
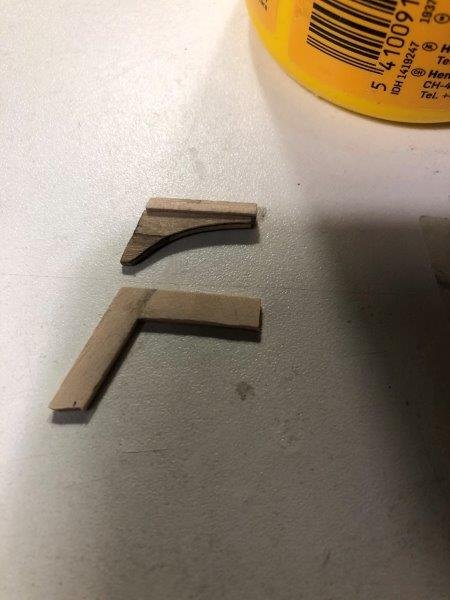
With a half-wood L joint I can cut out the hanging knees properly.
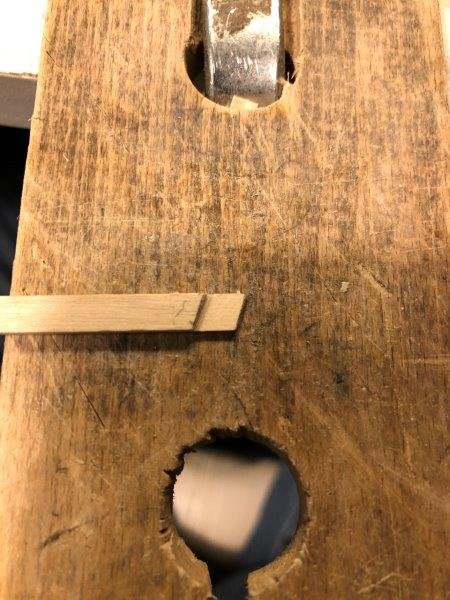
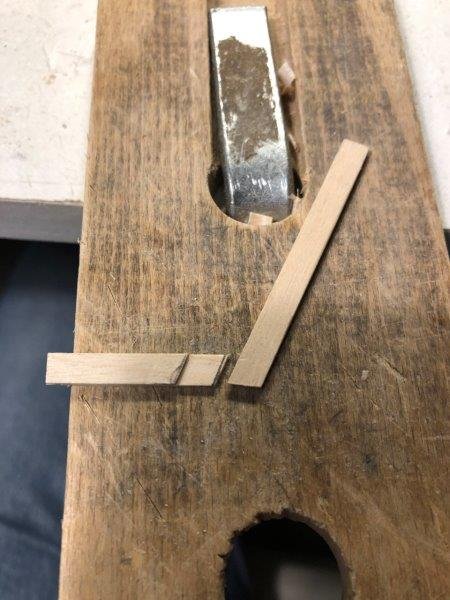
Now that I've finished the template for the hanging knee I can do all the knee pieces at once.
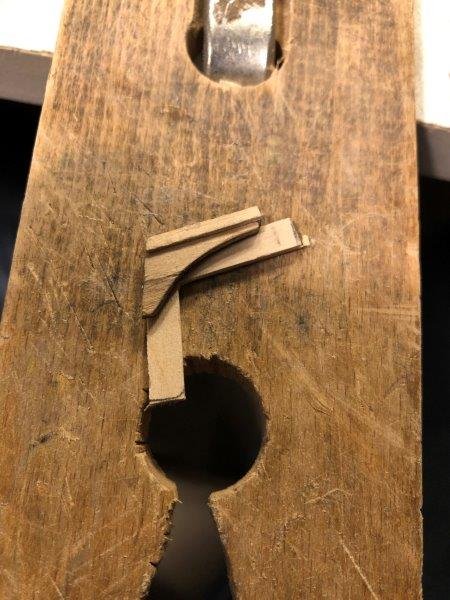
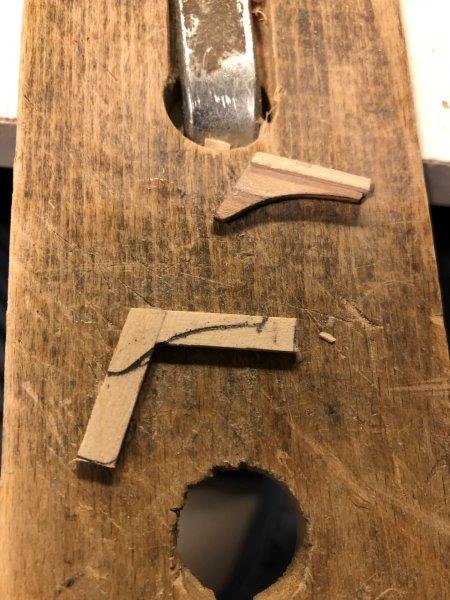
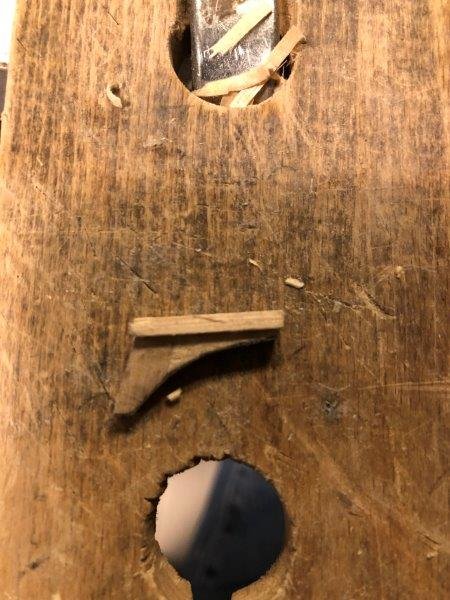
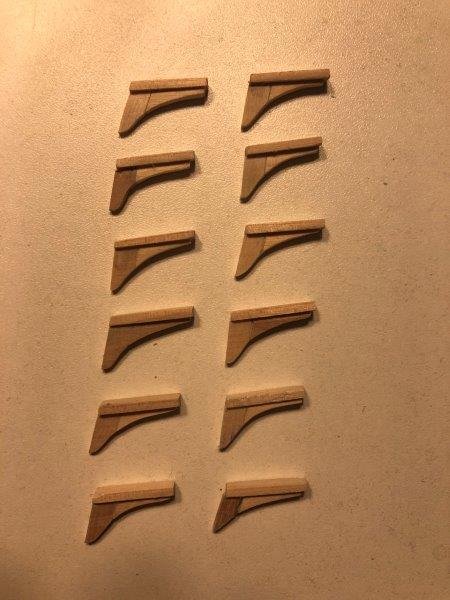
After applying a layer of black primer and the first layer of red paint.
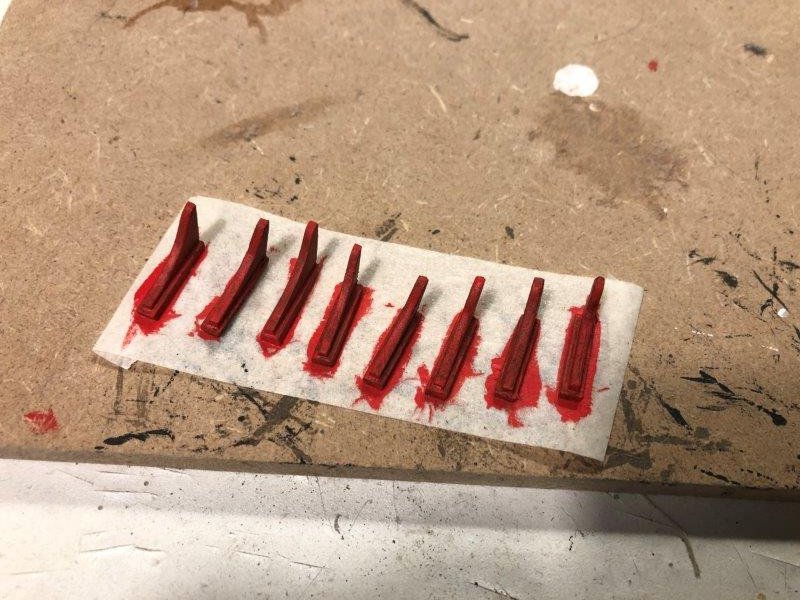
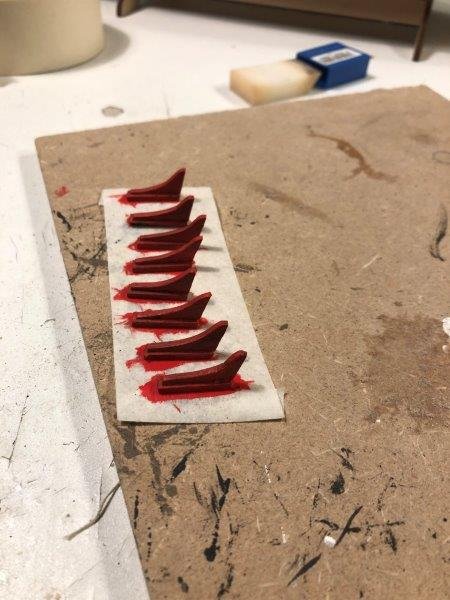
In the meantime, I applied a layer of filler to the hull and sanded it.
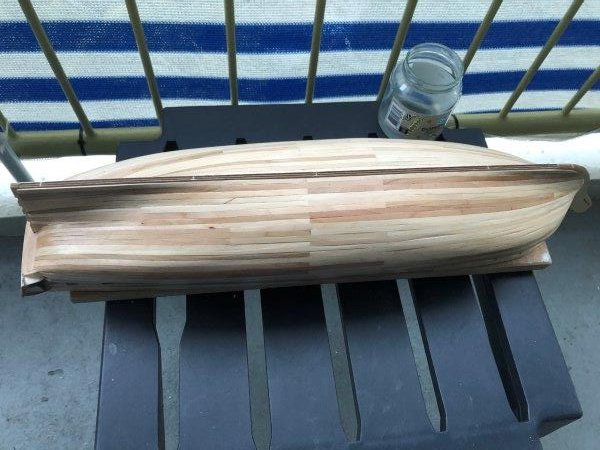
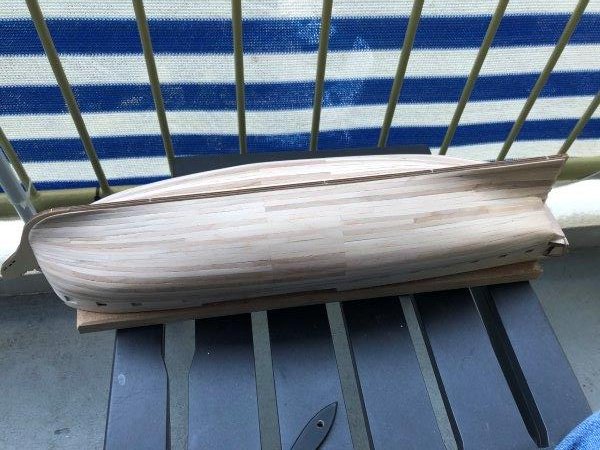
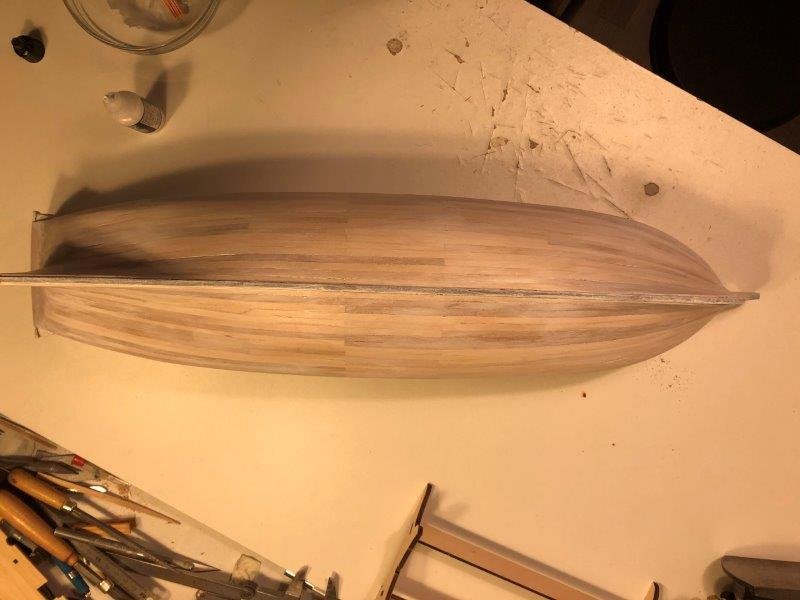
More filler and sanding
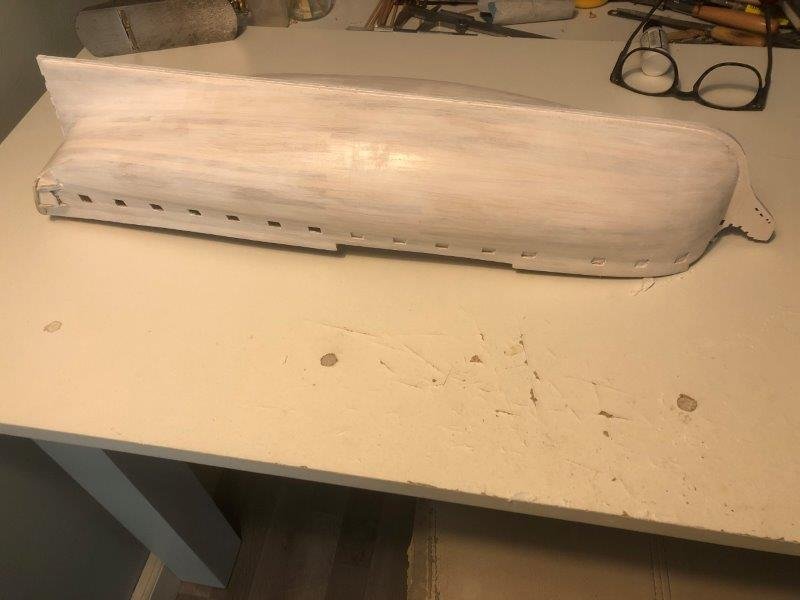
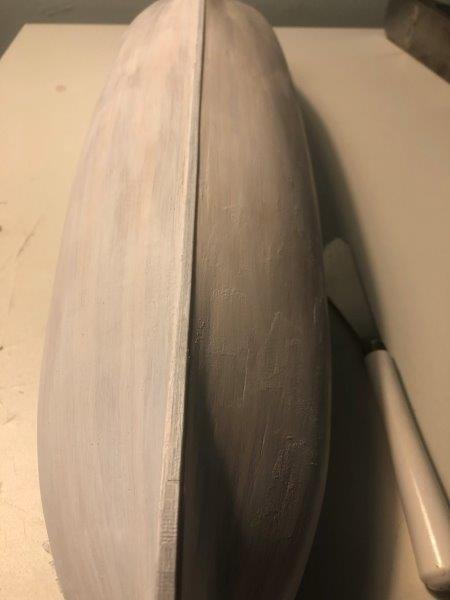
The sanding dust has yet to be removed but the hull is ready to be painted.
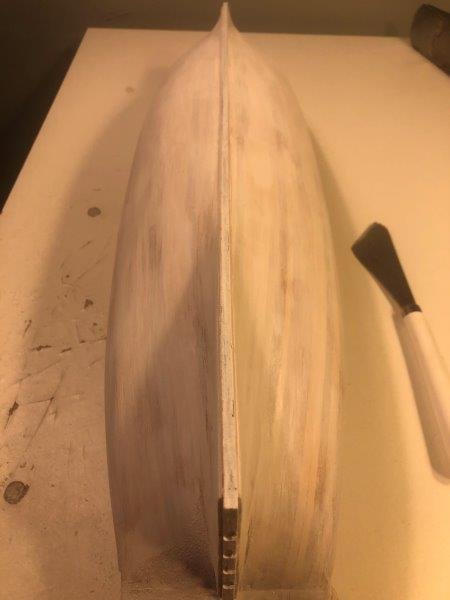
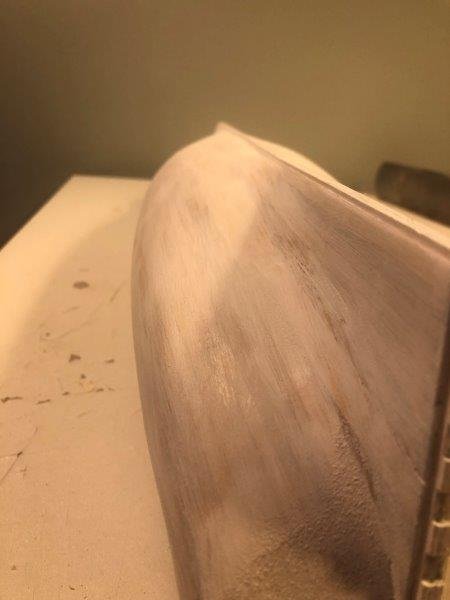
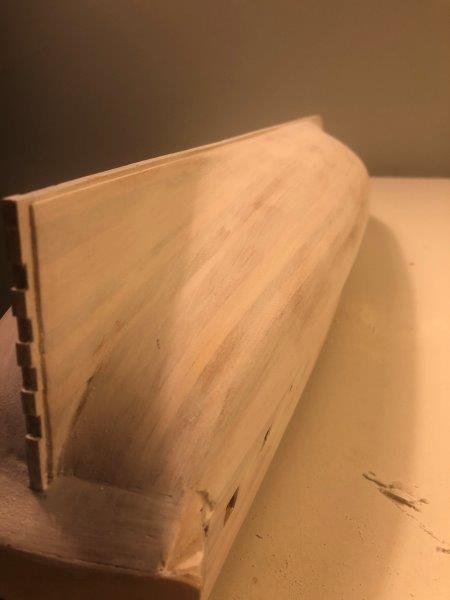
That's all for now.
Stay safe and well,
Peter



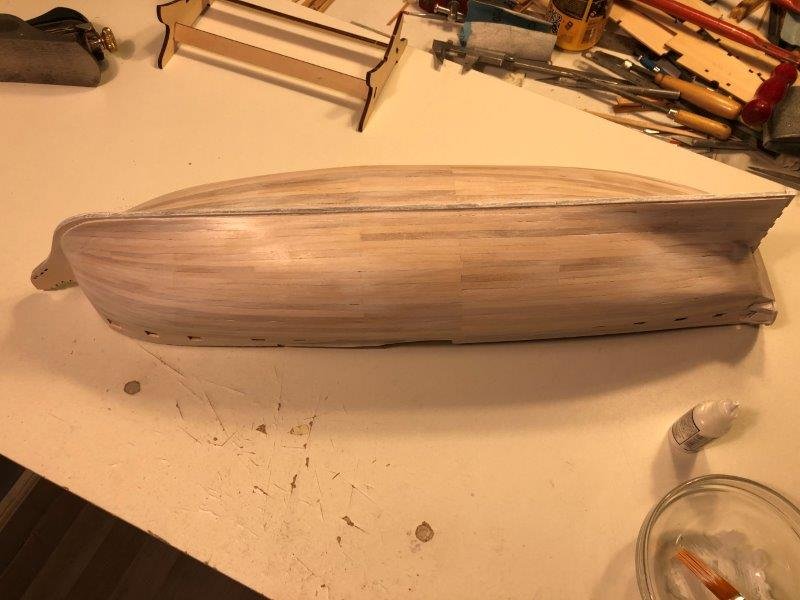
De Zeven Provinciën 1665 by Dražen - Scale 1:45
in - Build logs for subjects built 1501 - 1750
Posted
Hi Drazen,
Clous van Mechechelen is a Dutch caberetier, composer, musician and songwriter.He studied clarinet at the conservatory with piano as a minor, and toured Europe with jazz and Latin groups.
From 1965 Van Mechelen worked with Paul Huf on commercials for Peter Stuyvesant- , Pall Mall sigarettes and Grolsch beer, among others.
Van Mechelen wrote the music for these, and especially the Grolsch music has become very well known. Paul Huf: "Everyone thought that was Vivaldi, but it was Van Mechelen.
And I will certainly enjoy my beer, take one from me.
Proost!
Peter