Bill97
-
Posts
2,731 -
Joined
-
Last visited
Content Type
Profiles
Forums
Gallery
Events
Everything posted by Bill97
-
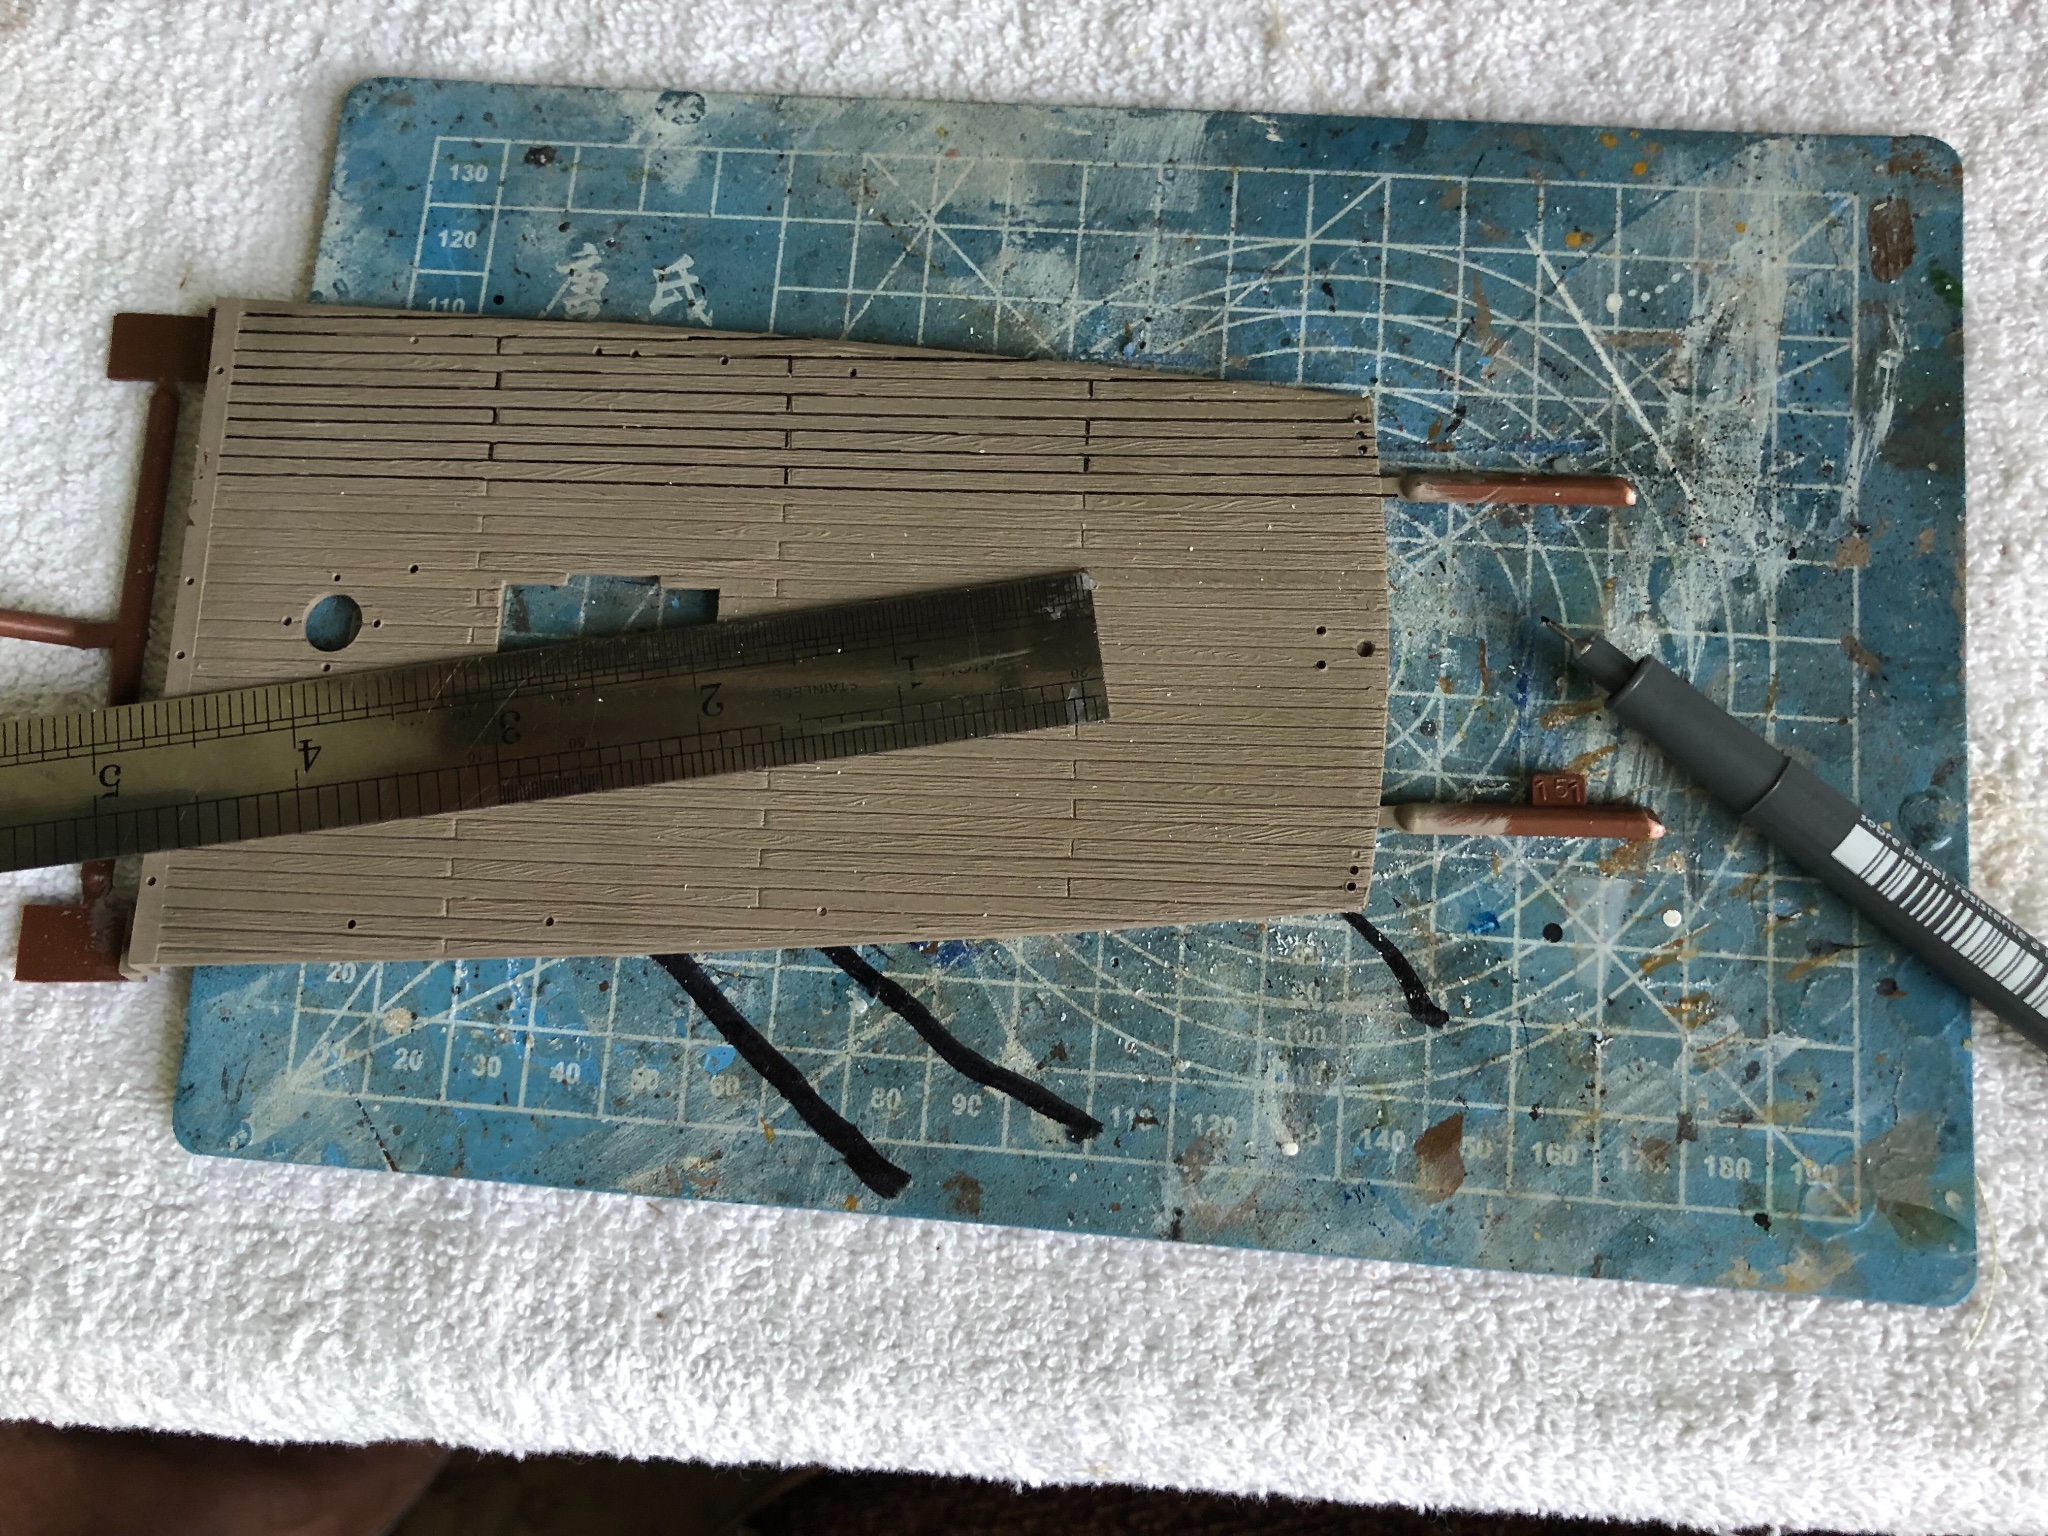
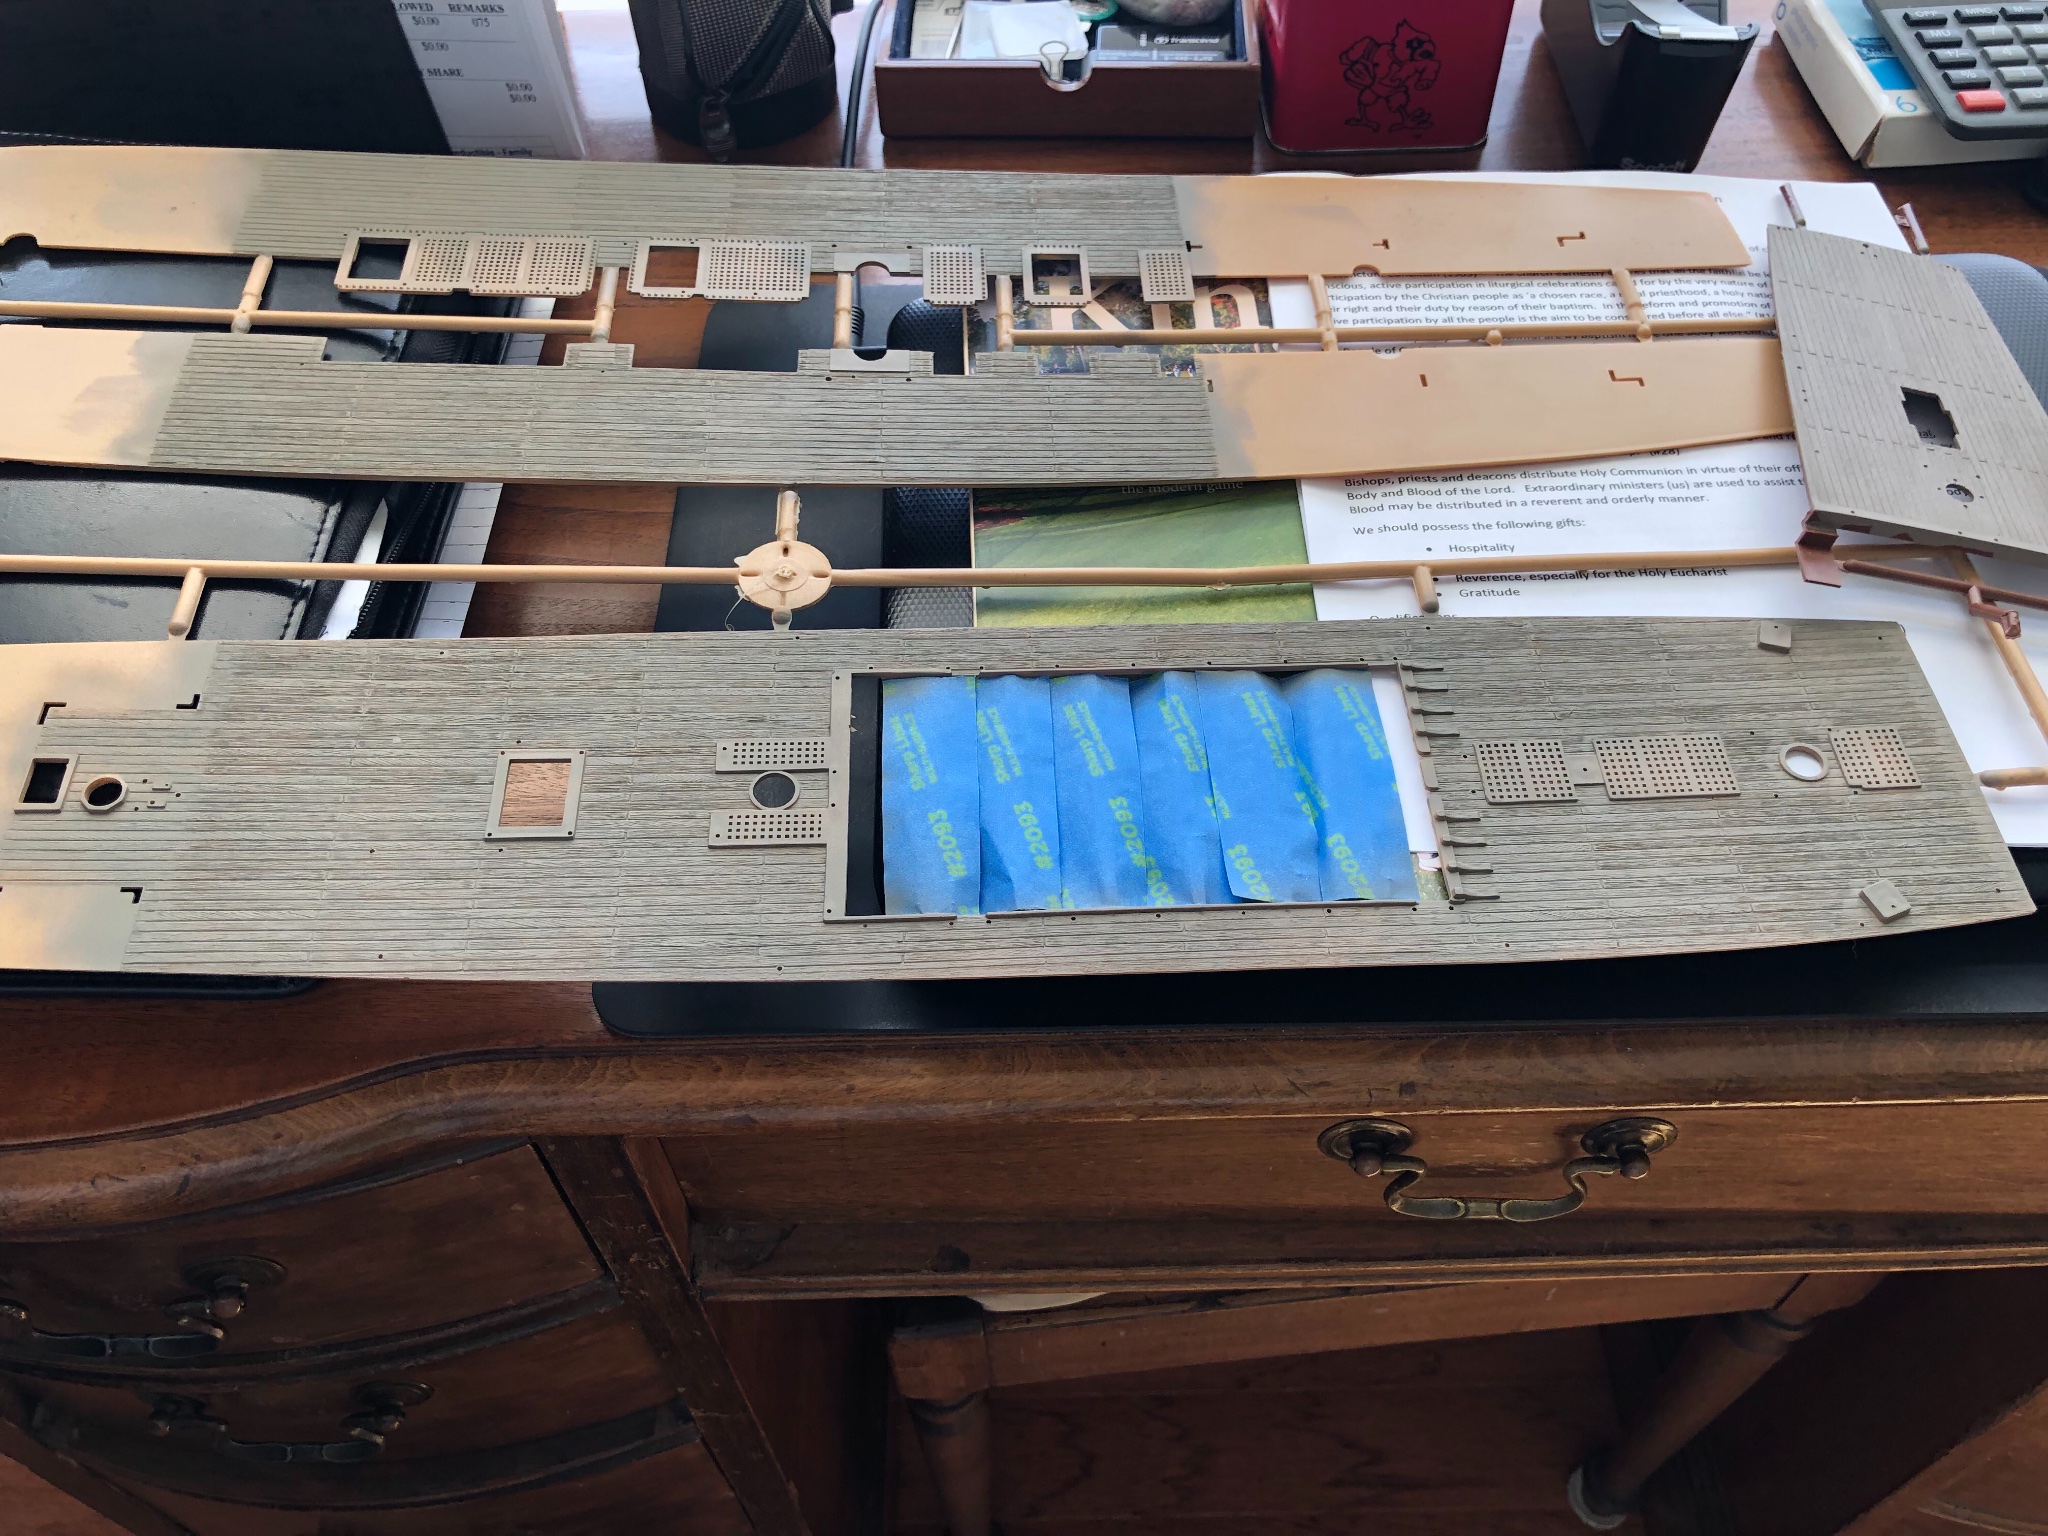
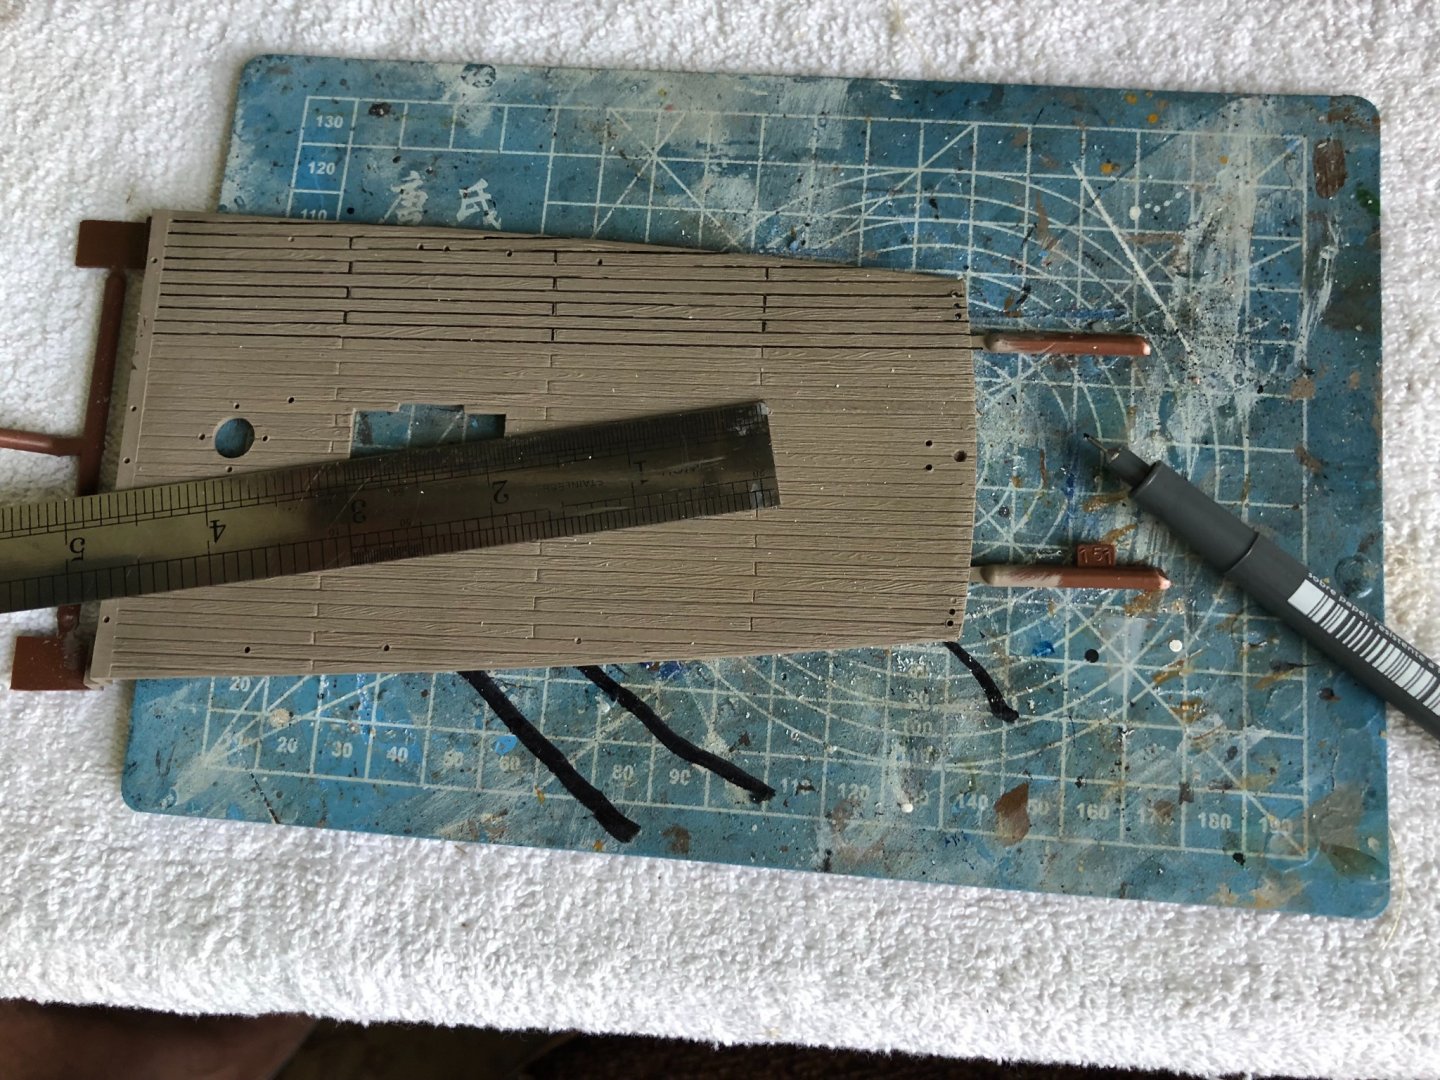
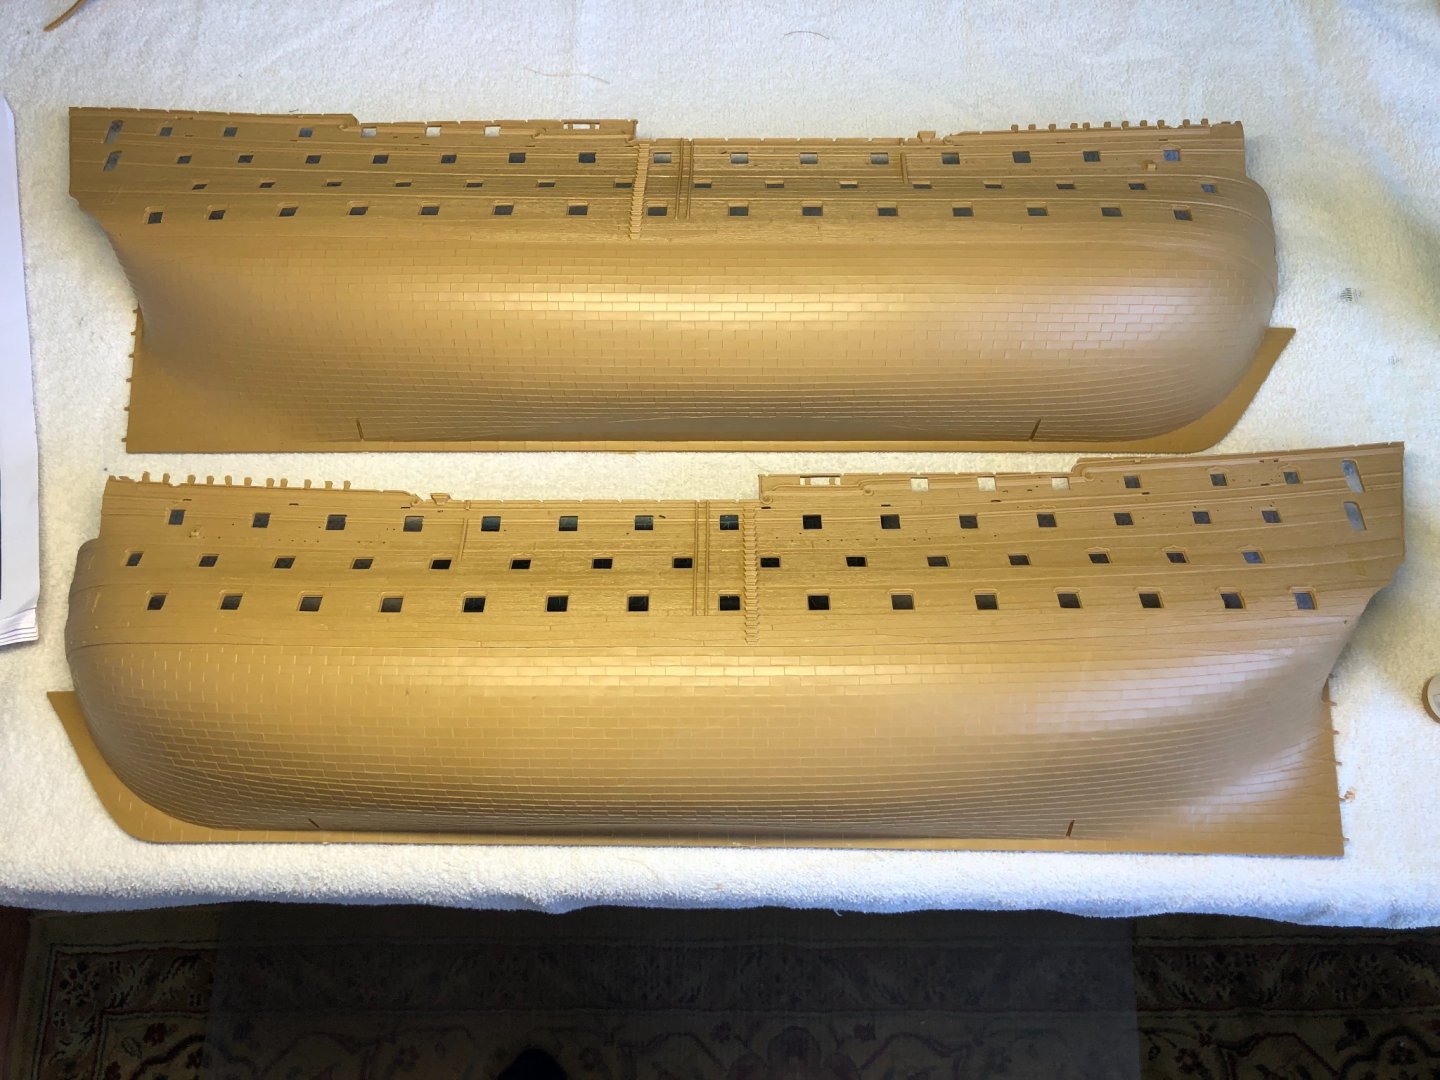
Good morning Ian and Marc. Based on your advice I am going to have Daniel send me sheets 3 and 4. Working on a couple things today. Continuing to add the Evergreen to your he cannon ports and using a 0.1 pigment liner to highlight the molded deck board lines. A little monotonous but worth it when finished. Once I get each board identified with lines I will use a few different old wood colors to apply a bit of definition to each. After which I will blend it all with a nice wash and then a matt varnish.

-
Thanks guys. Exact information I needed to make my decision. It is actually an improvement of the part! That is very helpful and convincing.
-
OK my friends I need to pick your brains. Ever since I got this model about a year ago I have read others build log. Many speak of Daniel’s (Dafi) etched sheets. I have emailed with Daniel about possibly purchasing sheets 3 and 4. I don’t want to use the sheet parts that would require me to sand or scrape molded areas off the hull and other pieces. I have only seen the etched sheets in these pictures, not in person. I originally thought one would purchase these sheets to add the special touch of shinny brass to the model. I understood them to be the exact piece as out of box plastic, just brass. The purpose of using them would be to add that extra visual stunning appearance. After further discussion on MSW I now understand I would still need to paint or treat the brass pieces just as I would the plastic. So that leads me to wonder what is the advantage of using them? The cost is not really an issue but I do wonder what will I gain if I use the etched sheets and my finished Victory will not look any different than if I use the included plastic pieces? If you have used the etched sheets what do you feel you gained that would cause you to encourage me to purchase them. I am honestly confused as to what I will gain using them. Your thoughts are greatly appreciated.
-
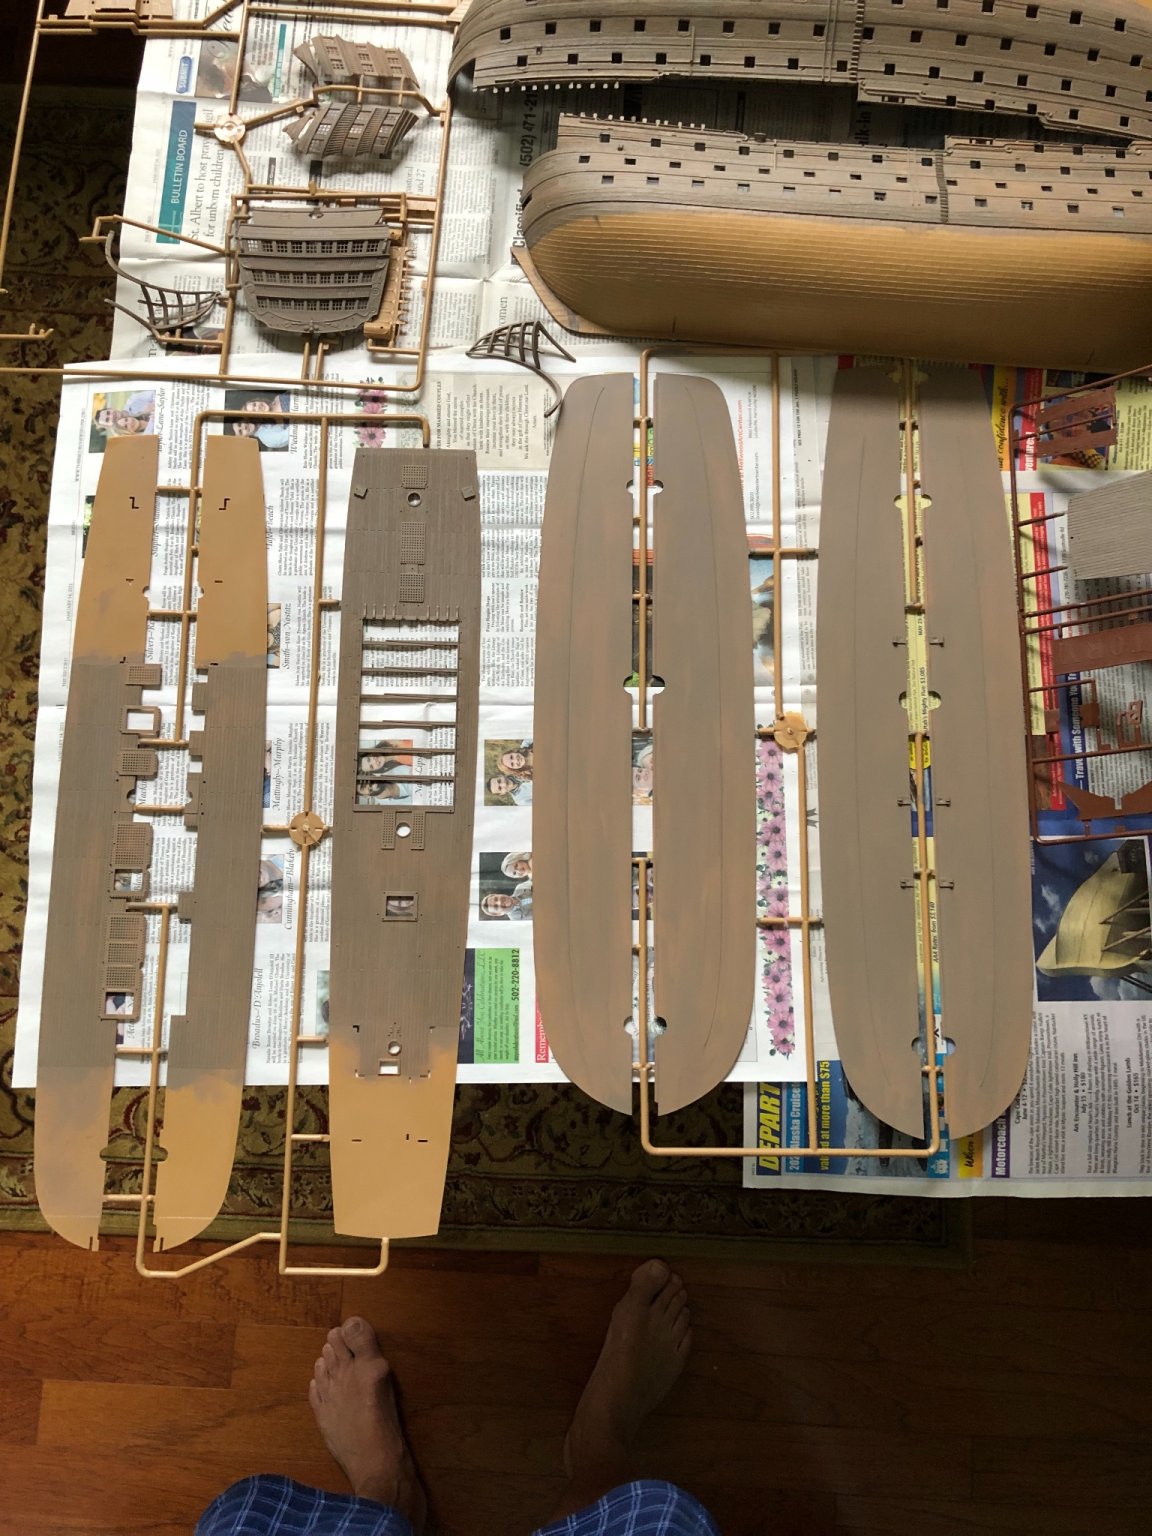
Also got a little painting done on weathering my two upper deck sections. Still a long way to go on them!

-
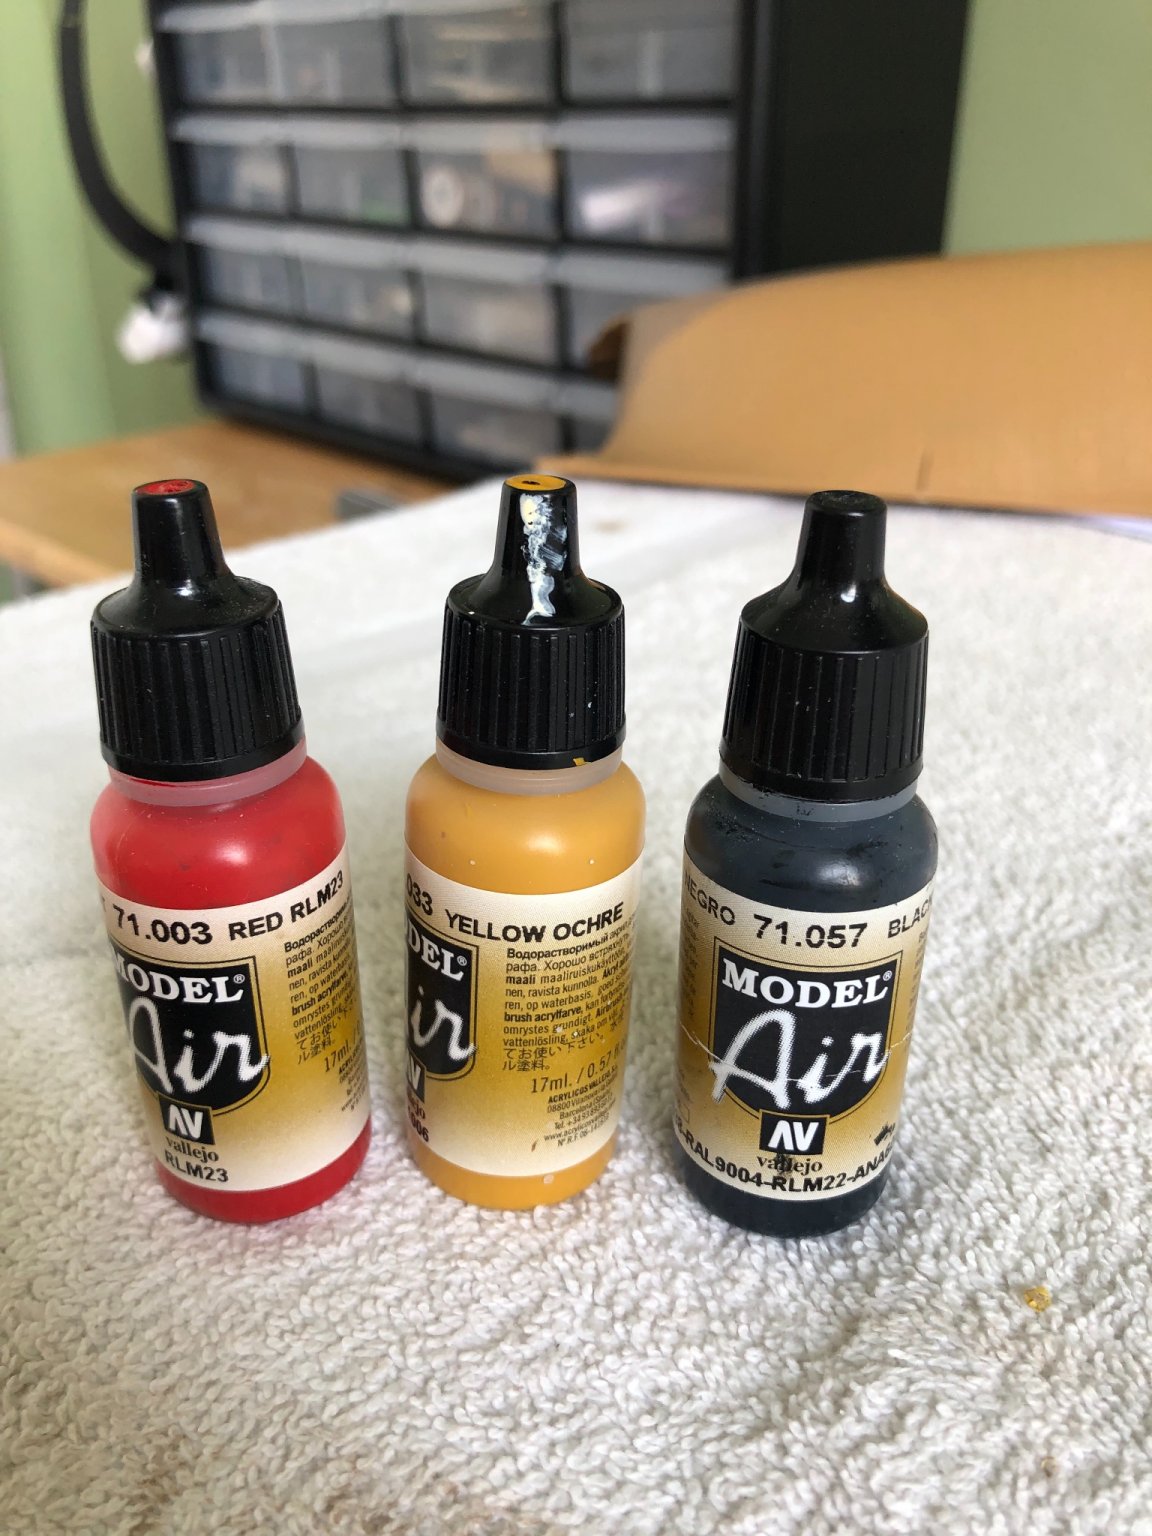
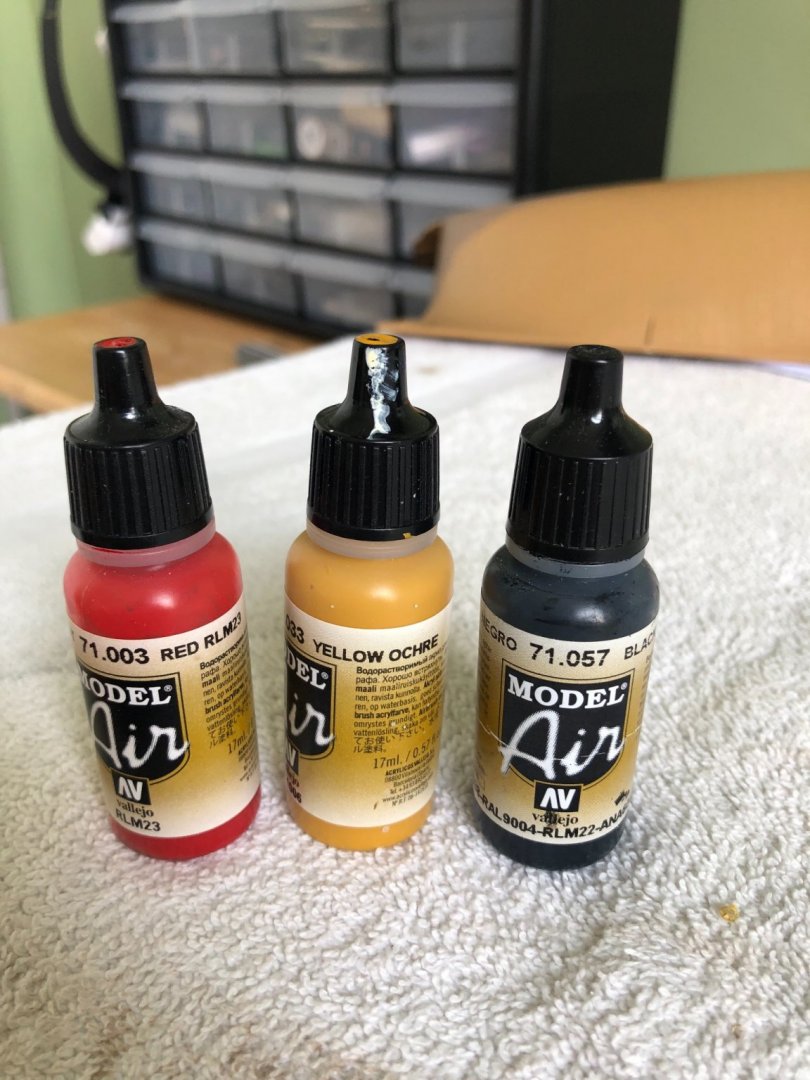
That is my thought as well on painting the decks that don’t show. Waste of paint. Finished the frames for lower deck gun ports on the port side. Really like you you’alls (Kentucky slang) recommendation. I like yellow ochre and plan to use that along with the black and red for gun ports.

-
That is interesting Hubac about your mom and family. Who knows, you may have extended family still here. I was born in Louisville in August of ‘52 and except for some years in the Army have lived here all my life. Have visited Manhattan a few times over the years and really enjoyed it. From now on I will think of our city’s connection during the horse racing Triple Crown. I attached a progress picture of my Evergreen. Hope I am doing it correctly! Hubac I do have another quick question. The instructions say to paint the top surface of the two bottom decks red and the bottom service white. Is this correct? In all the pictures I have seen of the Victory none of them show the floor of the lower decks painted red. I have seen the underside white representing the ceiling of the deck.
-
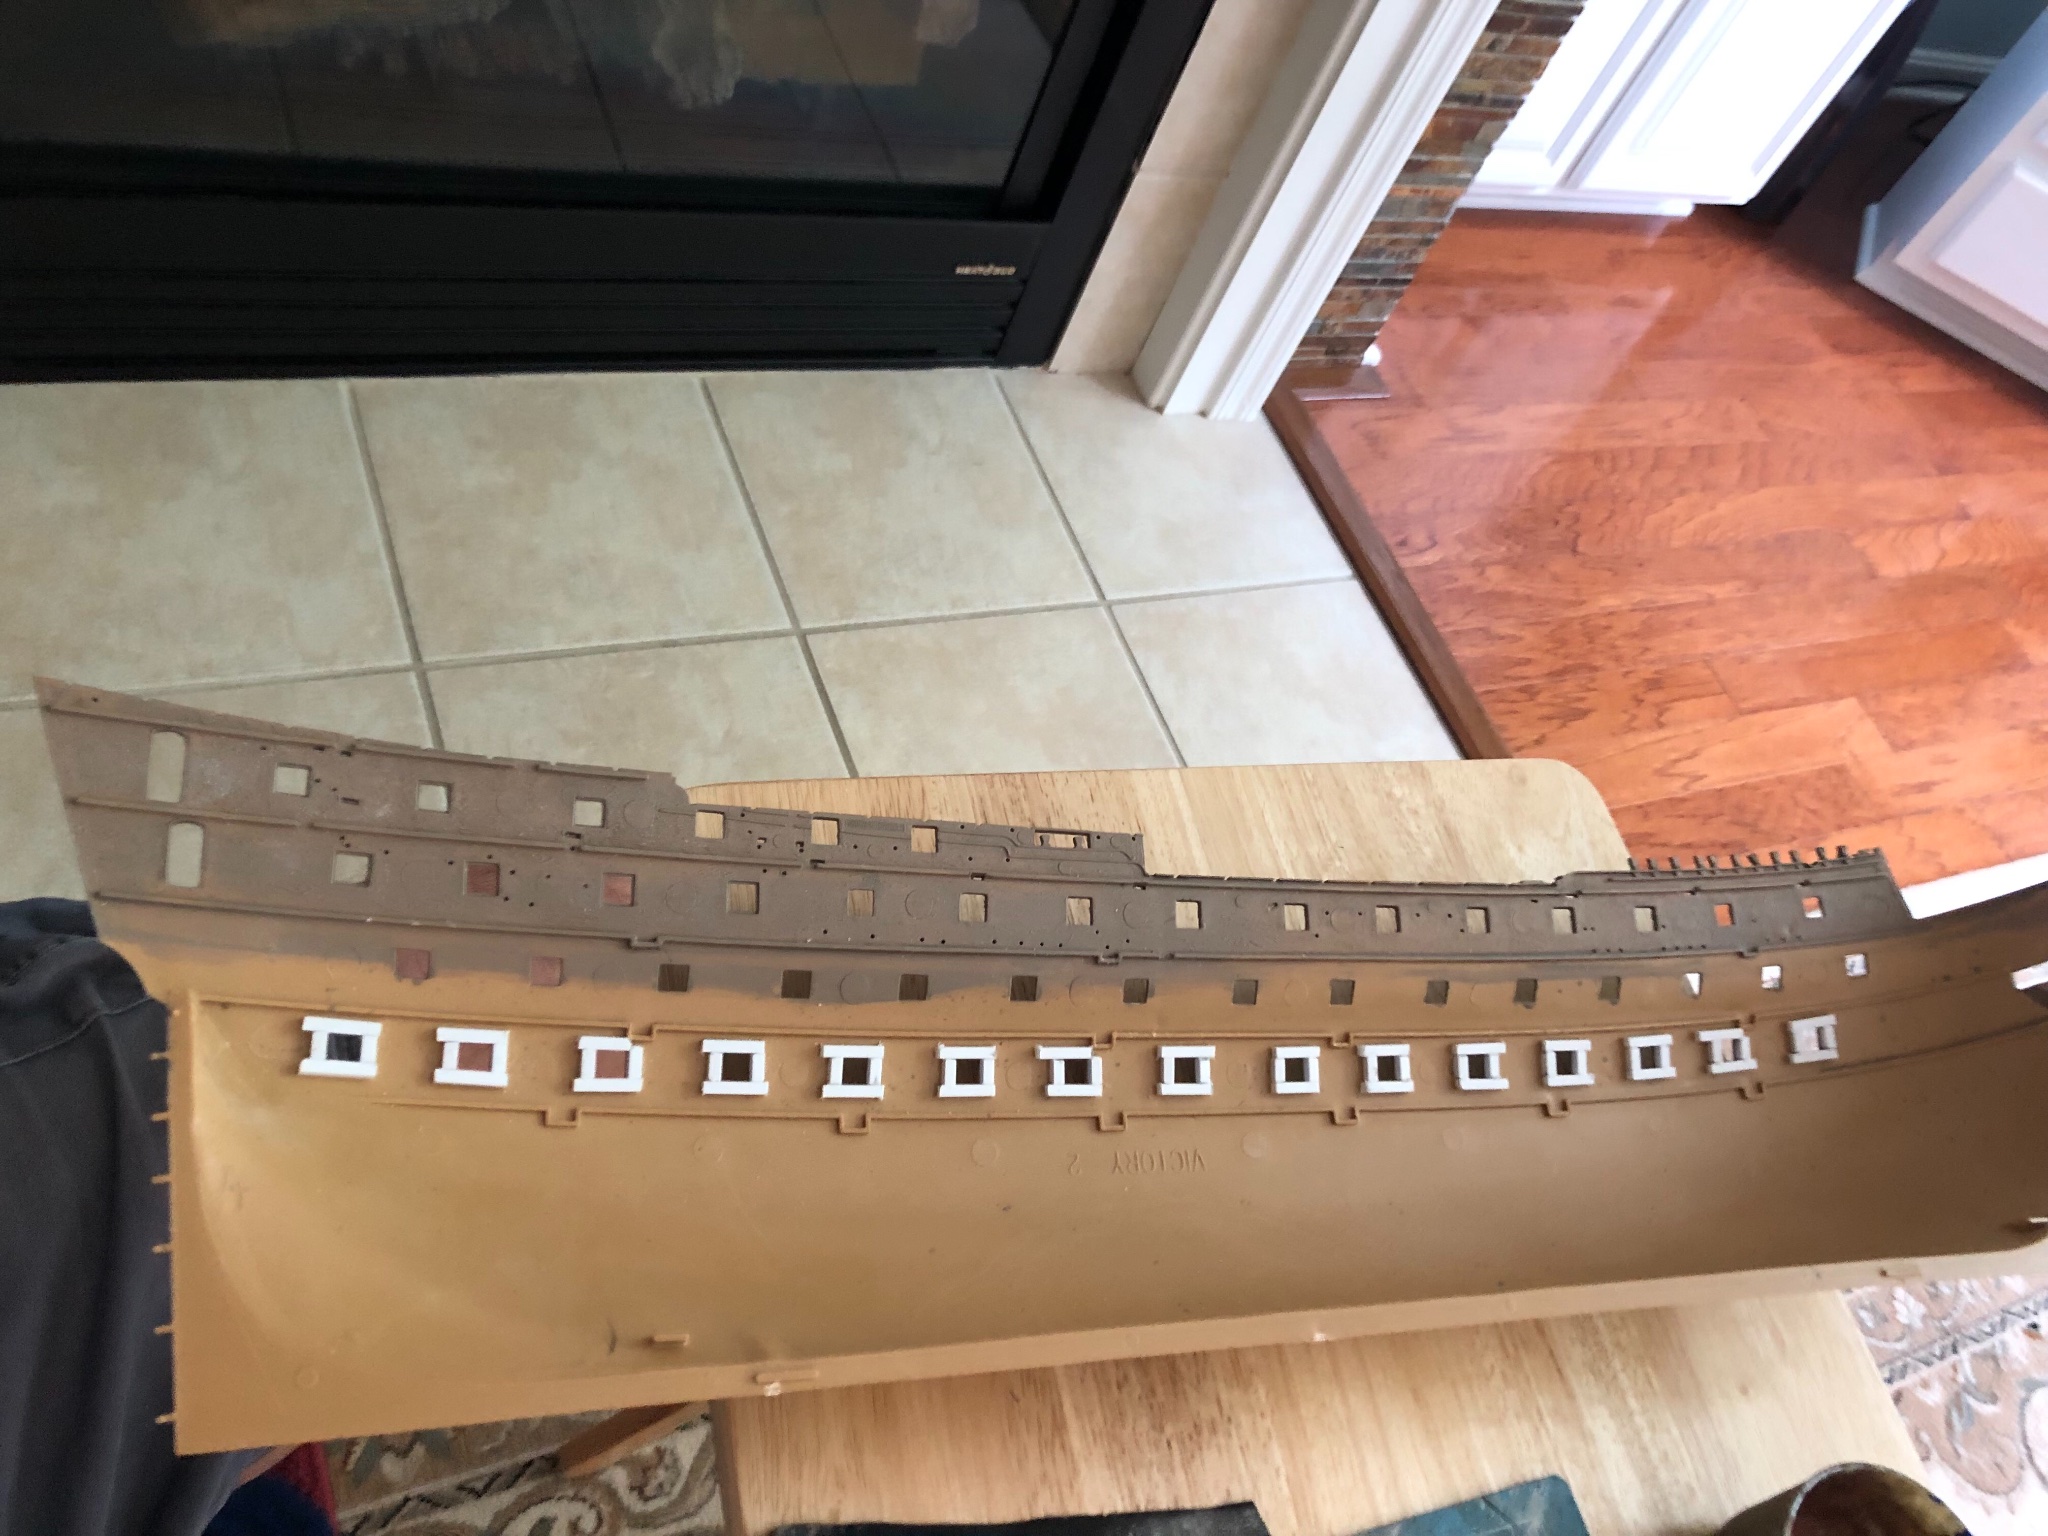
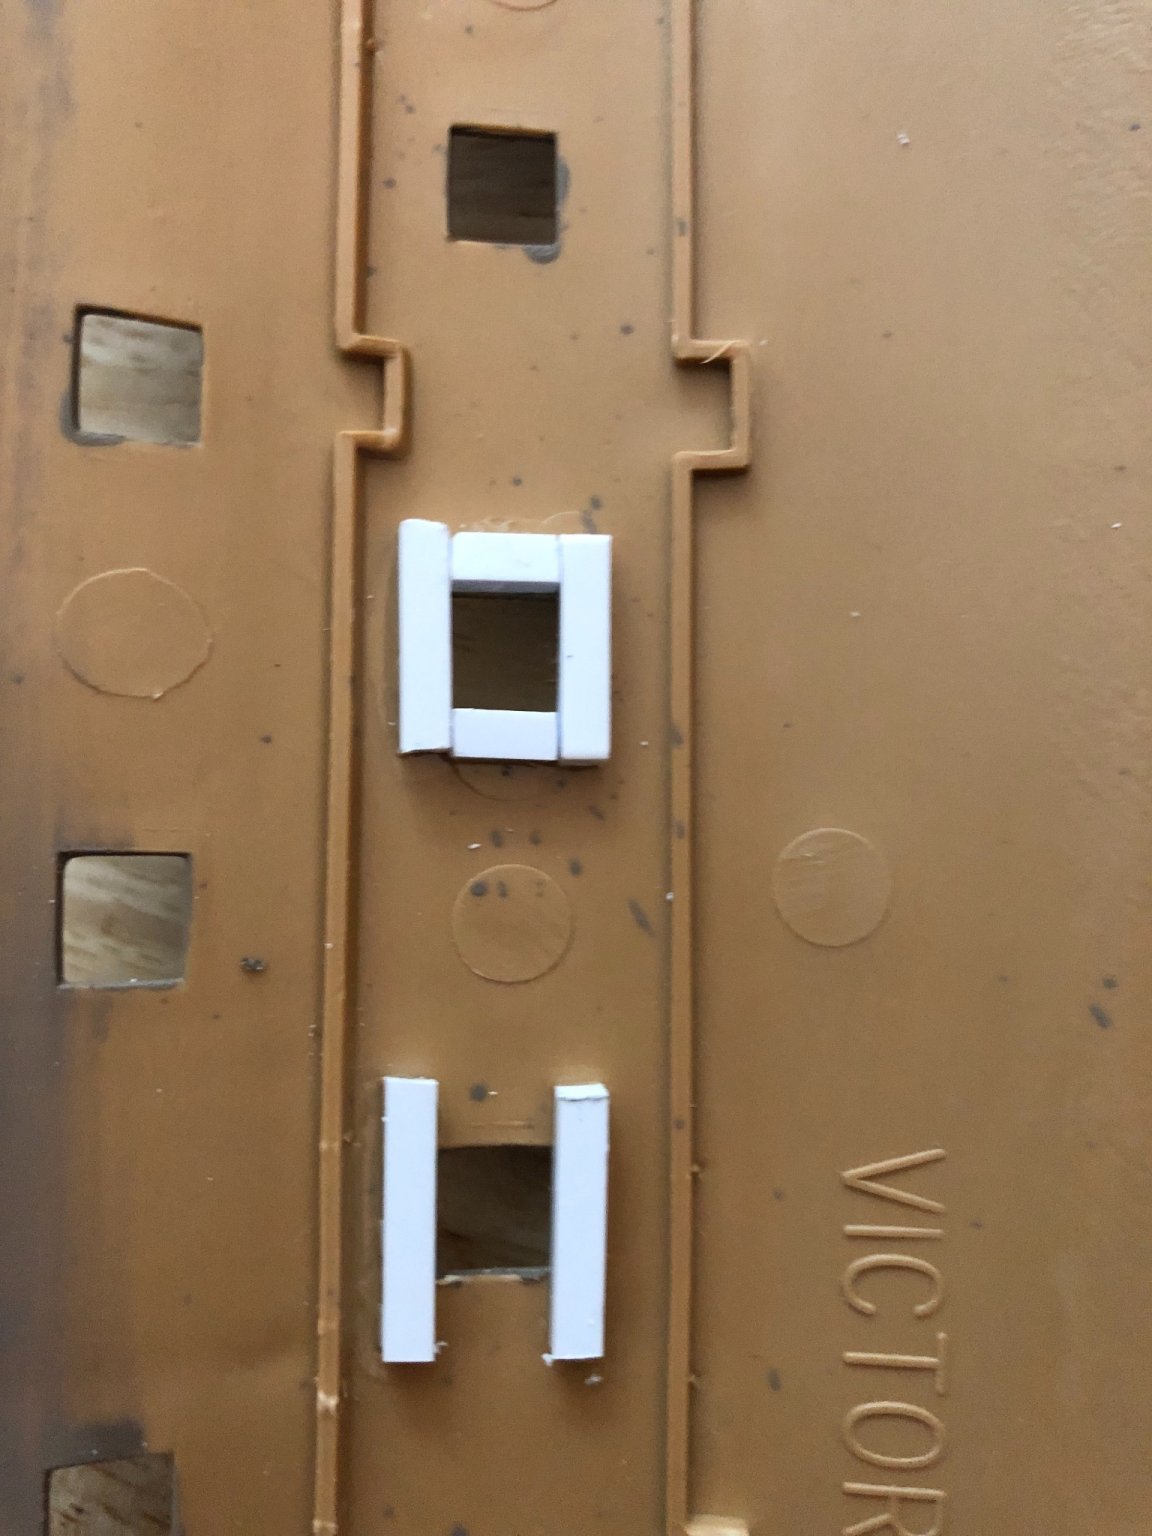
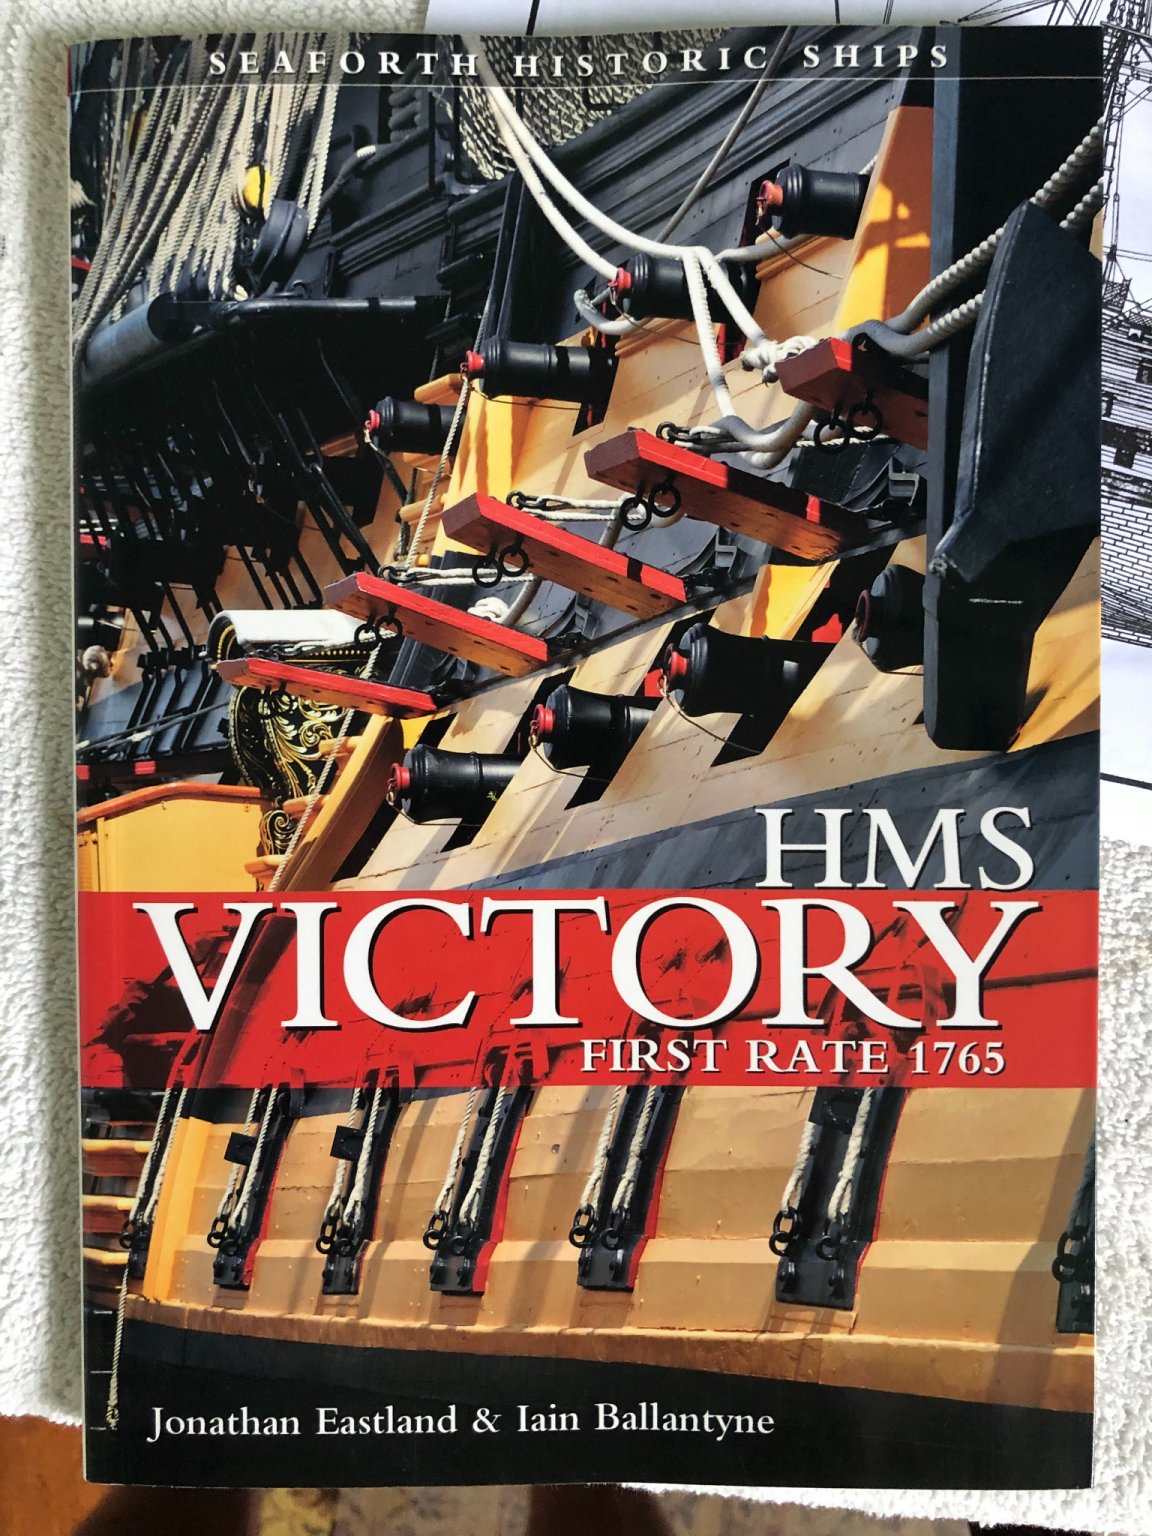
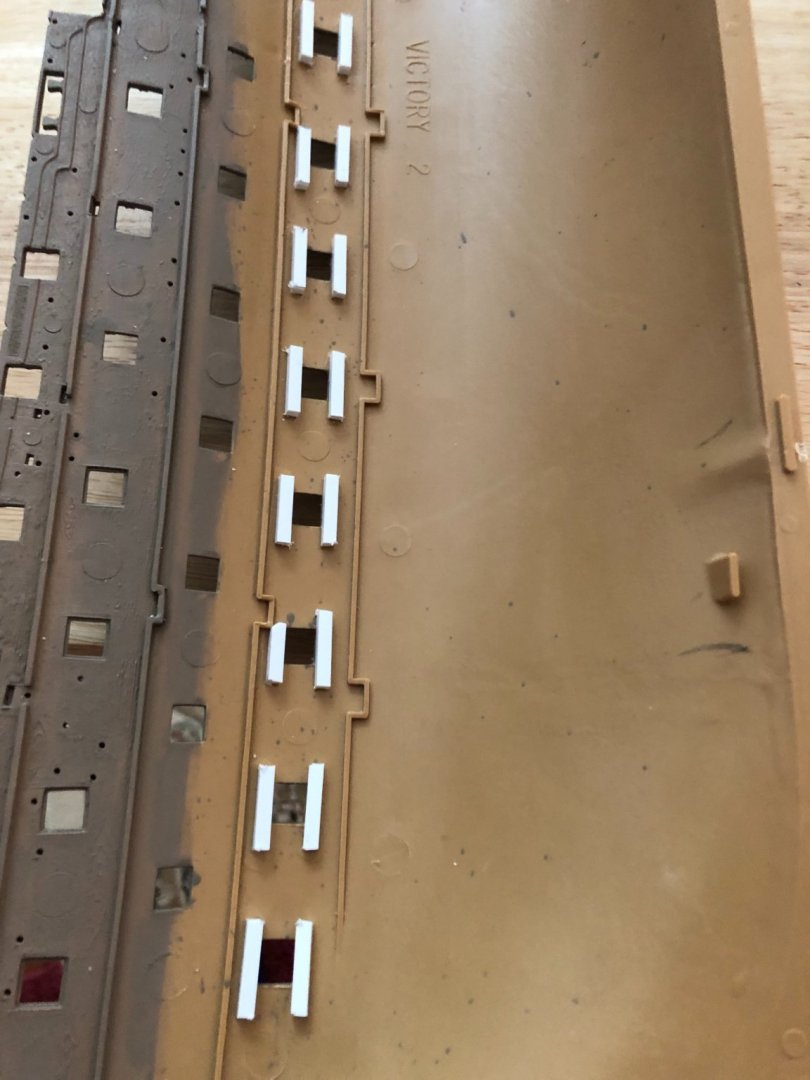
Hubac I love the old French lady at the hobby shop! Miss those kinds of stores. We used to have several here in Louisville but now just Hobby Lobby and Michaels. Going to Hobby Libby to see what I can find and pick up some new brushes. My skills on modifying the out of box kit has increased over time as well. My first build after retirement and getting back into model ships was the Revell 1/96 USS Constitution. Since I was pretty much a novice being I had not built a model since teen years, I built it strictly out of box. Thankfully Revell provided excellent and very detailed instructions manuals. My second ship was the Revell 1/96 Cutty Sark. That was also when I discovered Model Ship World. With guidance from MSW members I learned there was a problem in the model design, and how to fix it, reference the route and mechanics of the anchor chains on upper deck. This was my first modification and feeling the freedom of “thinking outside the box”. Since then I have made modifications to the instructions where it appeared something was missing, or just did not address it. “Based on my other build experience, there should be a (whatever) here are or there” type situation, and I would fabricate it. Other times (I think it was my Trumpeter Mayflower) the assembly had the bowsprit going out at nearly 45 degrees so I modified that to look better. I also learned and honed new skills like hand tying my own shrouds and ratlines, seizing a line, etc. (I have yet to use one of those plastic frames to make the shroud/ratlines). All this comes from learning and guidance from you guys on MSW. If I had not found this site and built all my models out of box strictly according to the instructions, I am not sure what my displays would look like. The HMS Victory I am starting now will be my 7th build. With each I have learned a new skill or technique. I told someone the other day this will be my PhD dissertation that will take me quite awhile to complete! However I know I will continue to learn as I build it. This process of thickening the hull around the gun ports might me my first strictly for appearance but I really like it. I know it would be tedious but would you also thicken the gun port lids so they appear to be as thick as the hull? Got a bunch of my large pieces primed yesterday and now ready for some first light coats of paint. Also picked up this book with some great pictures that will be helpful in the painting. Again thanks for you encouragement and advice b


-
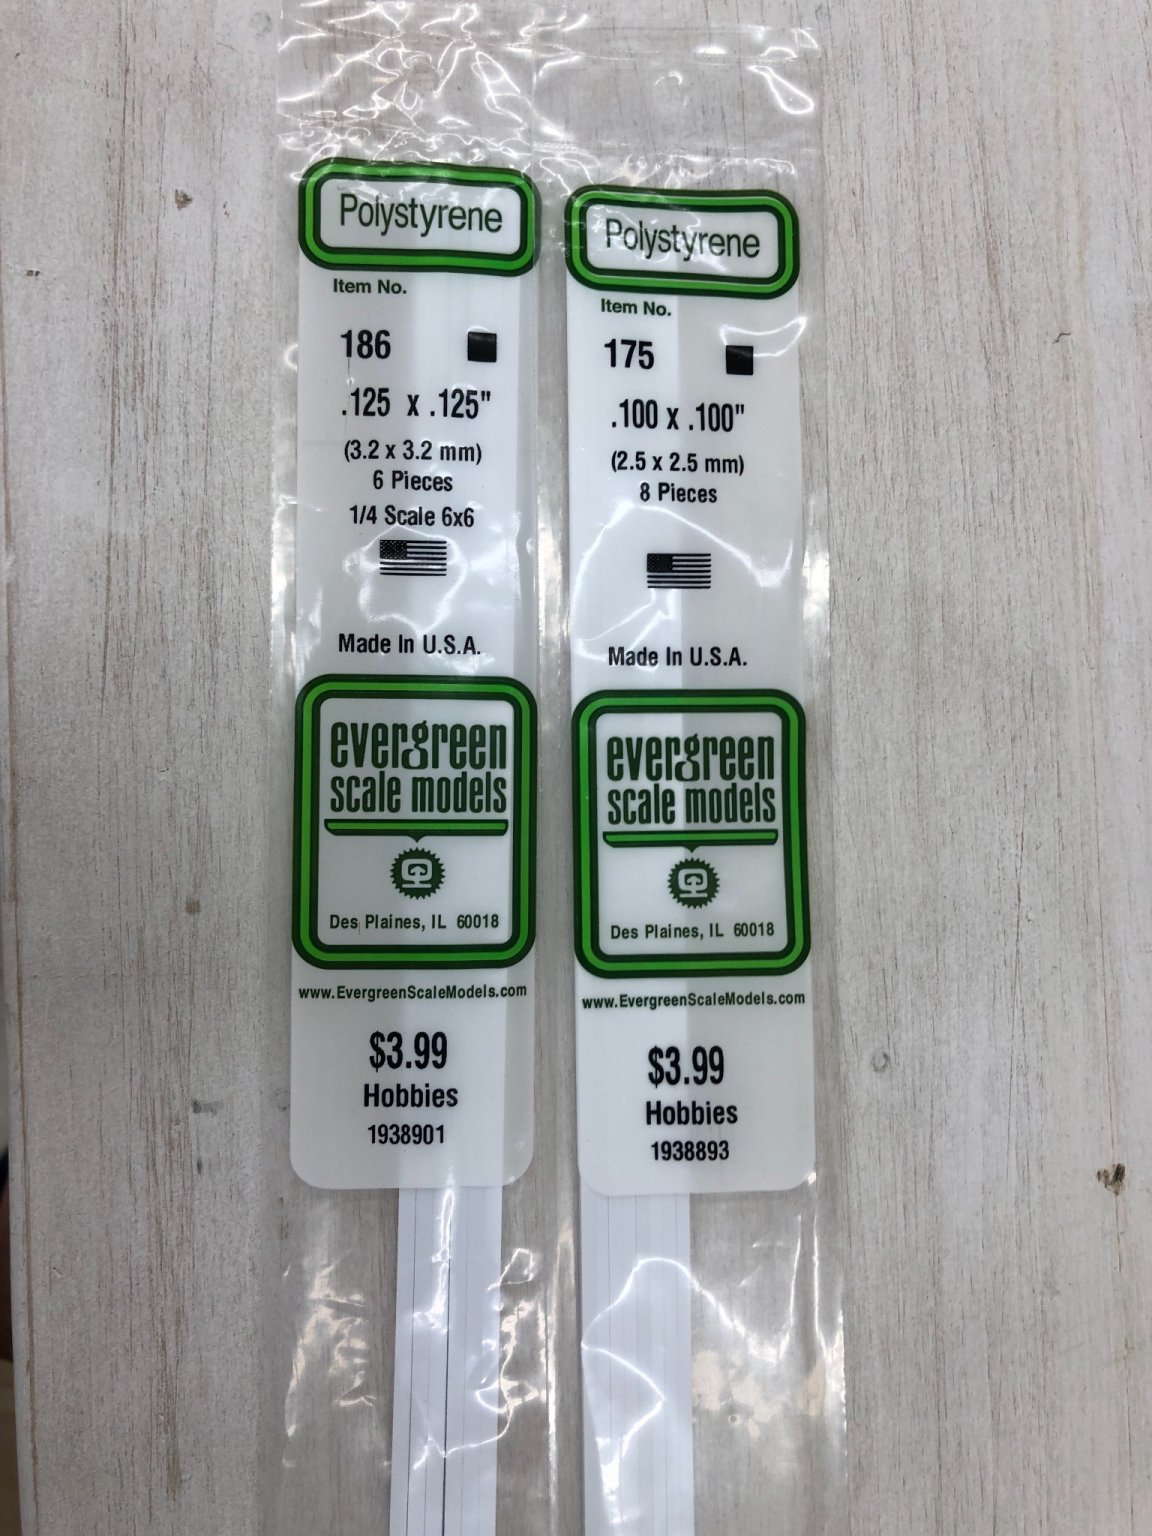
Jeff I checked and my Hobby Lobby does have Evergreen. Their website says 2mm, 1.5mm, 1mm, .75mm, and .5mm. Which thickness(s) do you recommend?
-
Thanks Hubac and Jeff. MSW strikes again. Never heard of Evergreen. Hopefully my Hobby Lobby will have it.
-
Thanks everyone for your advice. I am planning to thicken the gunports on the lower decks. I won’t do the top deck ports because I think it would be to obvious without being by a deck above it. But may widen the cap rail as you suggested Hubac. What is evergreen you guys reference for this process? Jeff my supply store is Hobby Lobby as well. Did not know if it was OK to identify store. Just yesterday I was looking at their brush options. One brand but multiple options. Where possible I also like a thicker handle.
-
Thanks guys. Will pick up some new brushes.
-
Thanks Veszett. I started out using Tester enamels but switched to Vallejo acrylics about 6 ship build back. Vallejo has a line of paints specifically for air brush and a line for brush and I can get the same color in both. That way I can airbrush some and hand paint some areas with no change in color. I do like my airbrush and cleaning enamel out of it was a real task. As you said about enamels, I also thin my acrylics and apply several thin coats. I seem to remember reading somewhere that synthetic brushes are better with acrylics than natural hair. Don’t know if that is true or not. I just want to find a good set of brushes in the sizes you show above. I have a local hobby shop I use and the obvious mail order suppliers. Don’t know if price is a good bench mark or brand name.
-
Hubac since you do so much of your painting by brush do you have a favorite fine tip brush? I understand acrylics can be rough on paint brushes even if they are cleaned well after use. My fine tip brushes that I use for small detail only last a short while before they begin to curl a little or lose their fine tip, and then I buy more. The stern of the Wasa I just finished really put my fine tip brushes to a test. Needing to restock for this project and looking for a recommendation of a high quality fine detail brush.
-
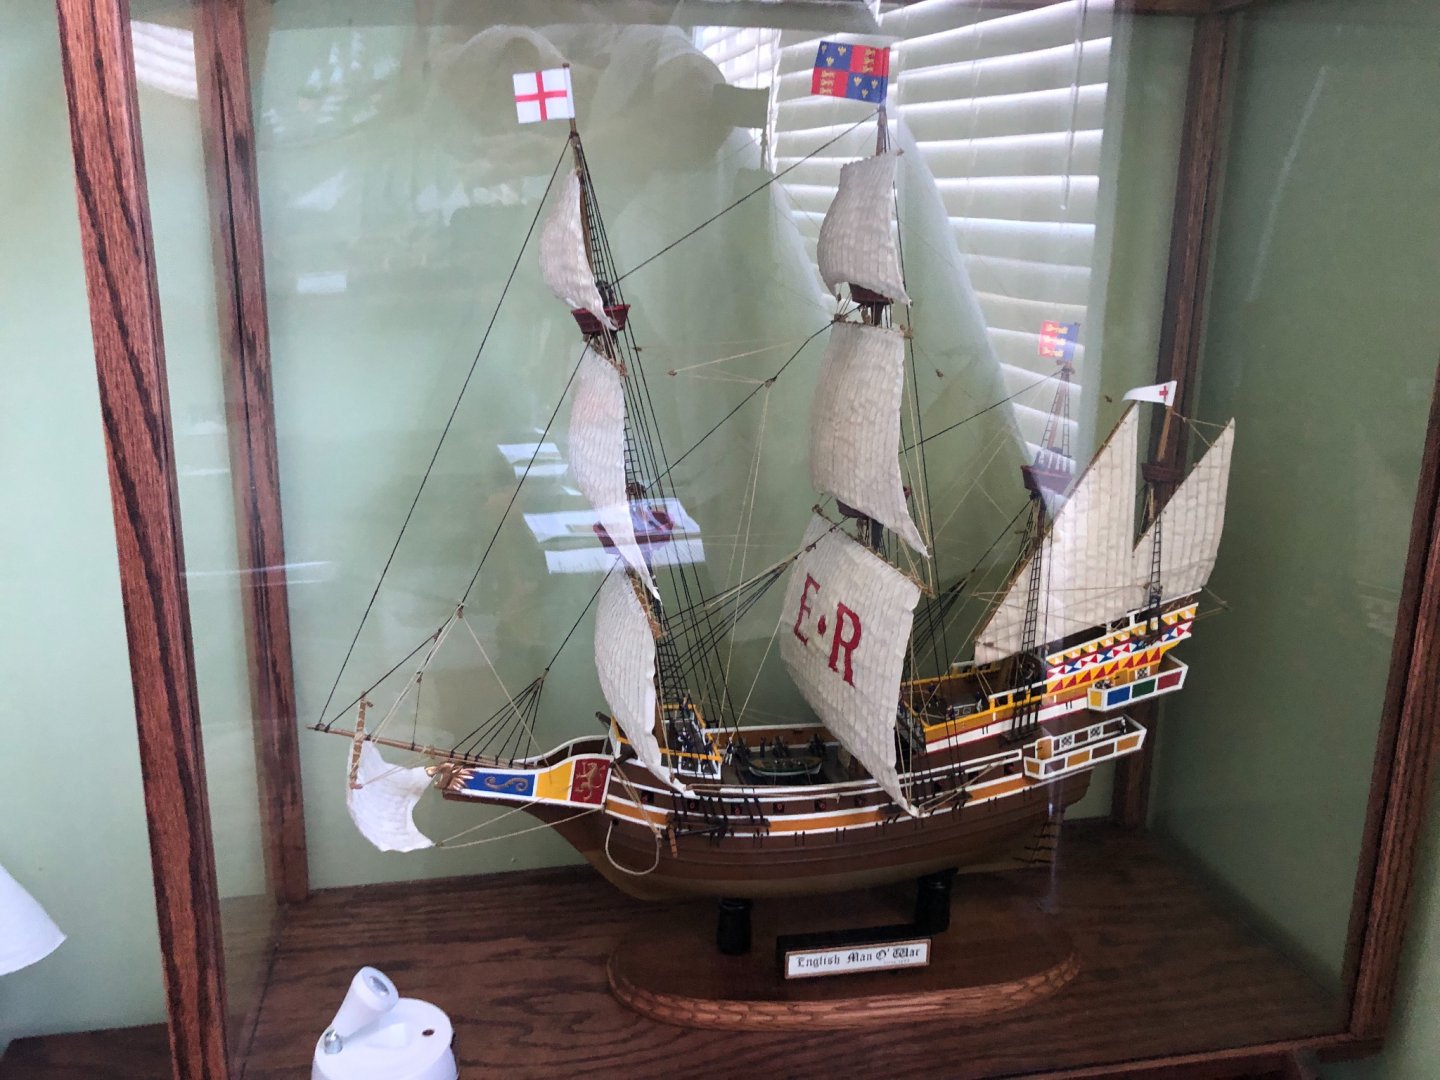
Thanks again Hubac’s. Appreciate the compliment on my Man O War. My wife hand stitches all my sails for me. You may have seen my process on other build logs. Your thoughts about the galleon models is what I gathered when I started the Man O War. I considered doing a Spanish galleon but realized it would be so similar I decided against it. I do see what I believe to be the fine molded lines for the ochre. Will let you know how this go.
-
Ok I am ready to roll and start some serious painting. I will of course prime everything first. Studying the hull for reference points where the ochre stripes divide up the black I find raised areas that run the length of the hull. In some places it is at the bottom of a cannon port. As you move along it drops below the port and then ends up actually almost to the top. Looking at pictures I am thinking this would be correct for the top and bottom of the ochre stripes.
-
Hubac I am impressed with your knowledge of ships of the era. Very interesting read. I really enjoy it. A while back I built the Revell English Man O’ War. Which I believe is the only one of my six builds I have displayed in my home that is not a replica of an actual ship you could visit today in a museum setting. Correct me if I am wrong, but I understand the model is simply a creation of the design/concept of these type ships of the period. Glad you told me the difference in the Victory and the Soleli Royal. I checked your build-log for the Soleli. Beautiful job. And you said you did all the painting by brush? No use of airbrush. Very nice.
-
Oh great. I will check it out. I actually debated which ship to get, Victory or Soleli Royal.
-
Are you working on the Soleli Royal now? If so, what scale? I have looked at that ship plenty and will be curious of your thoughts. Beautiful ship, especially the stern.
-
Yes. That is Alex Modeling. I am watching his complete series. Watched a number of his other builds as well. Interesting the way he went back and modified his Victory build to except the Dafi parts. I noticed in his painting the hull that he does it as two separate pieces. My process is to paint my deck sections, then paint the necessary portions of the inside of the hull, then put it together. After letting it dry I then putty and sand along the seam and anywhere else that needs fine tuning. At that point is when I start painting the hull as one piece. What process do you follow?
-
Great Hubac May friend. I have spent the day just reading through the instructions and identifying the specific pieces referenced in each step. This is complex but will be so enjoyable to build. I will definitely watch a lot of YouTube videos, especially for painting. Wish someone published a more detailed step by step instructions manual.
-
Thanks Jeff
-
Thanks Hubac’s. As with my just finished Wasa, I hope you don’t mind my frequent questions. Always helpful. By the way, I find it interesting and fun to see how far around the world MSW members extend so I like to check the profile of those I communicate with. I saw on your’s that you are also a furniture builder. I to am a furniture builder and have been for many years. Love doing that as well!
-
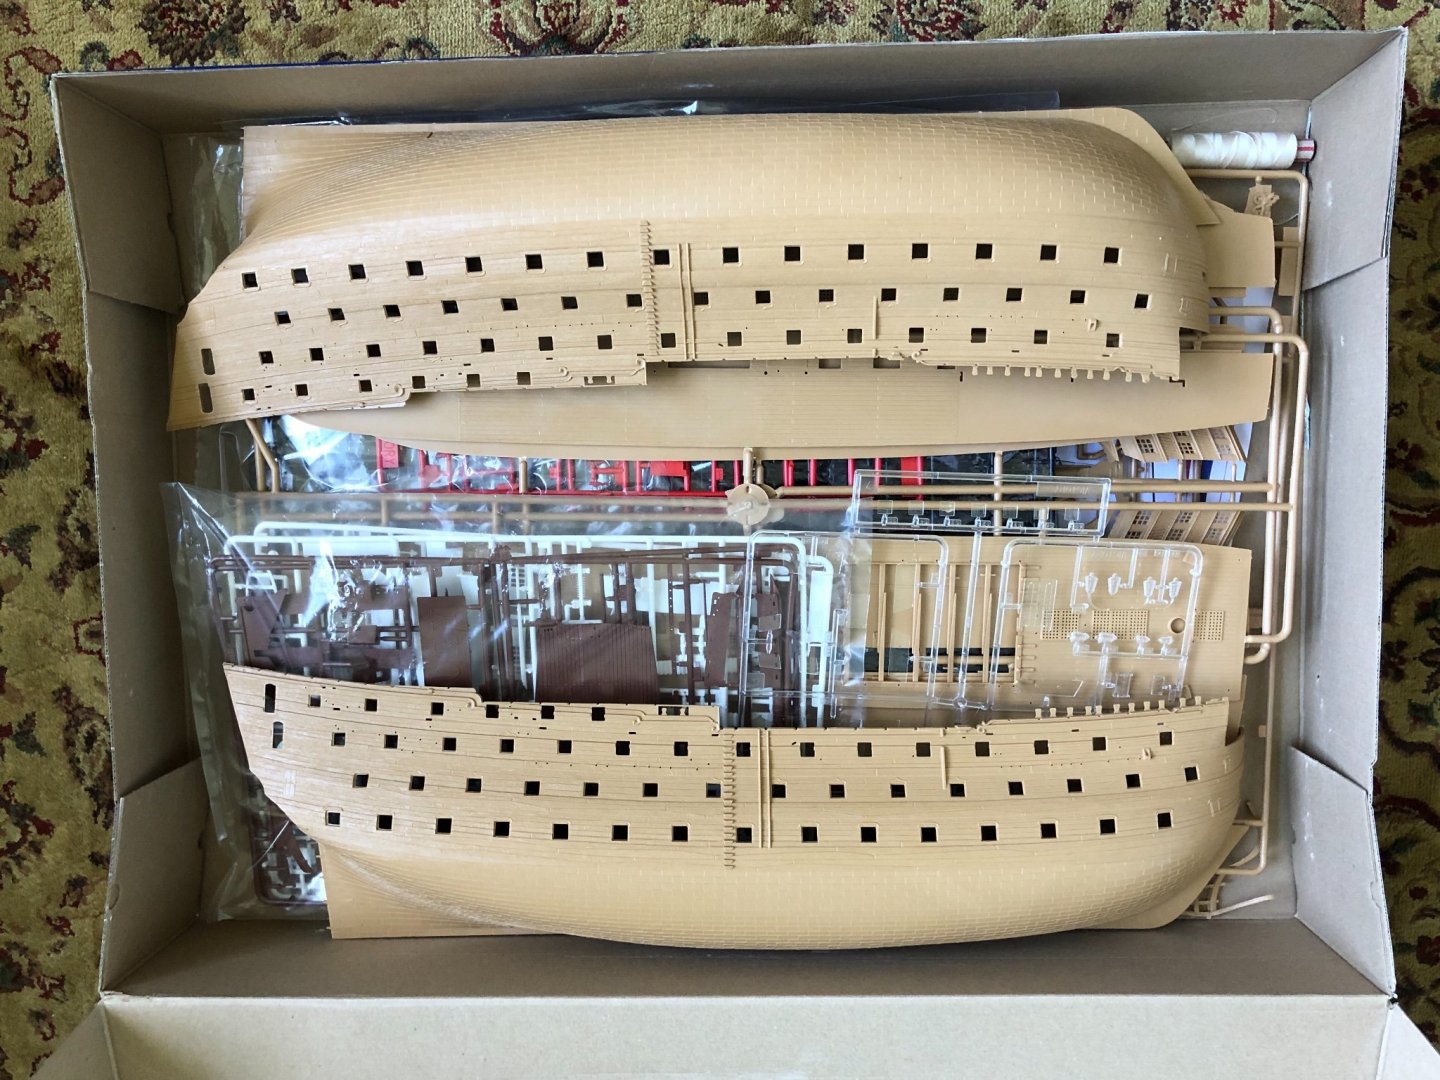
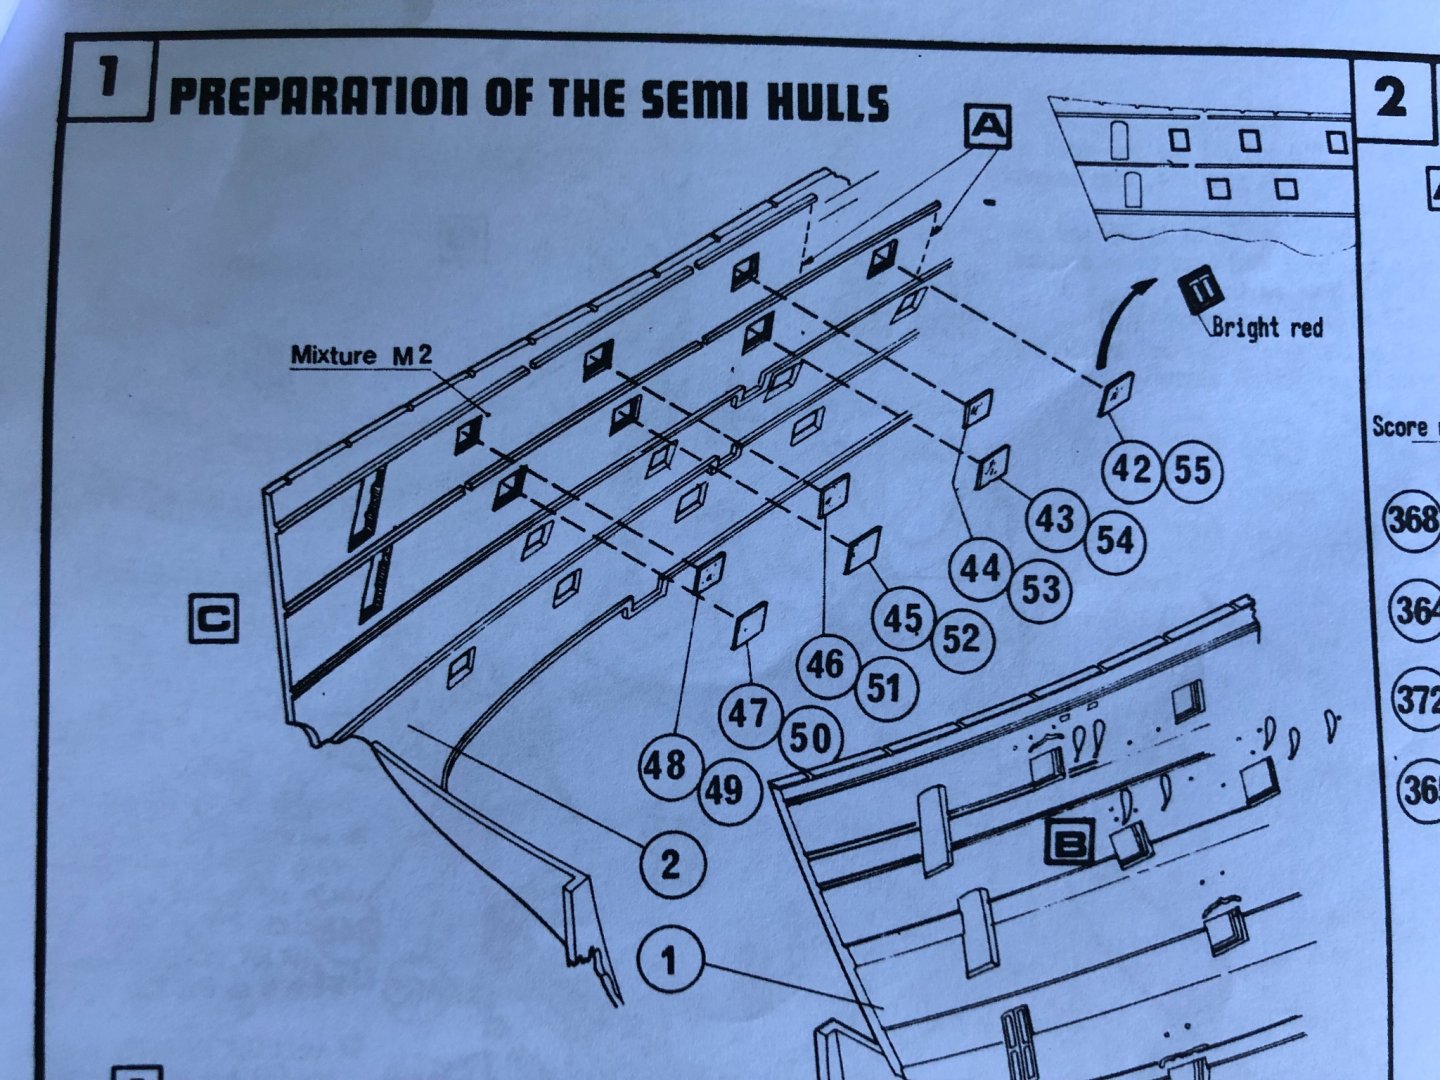
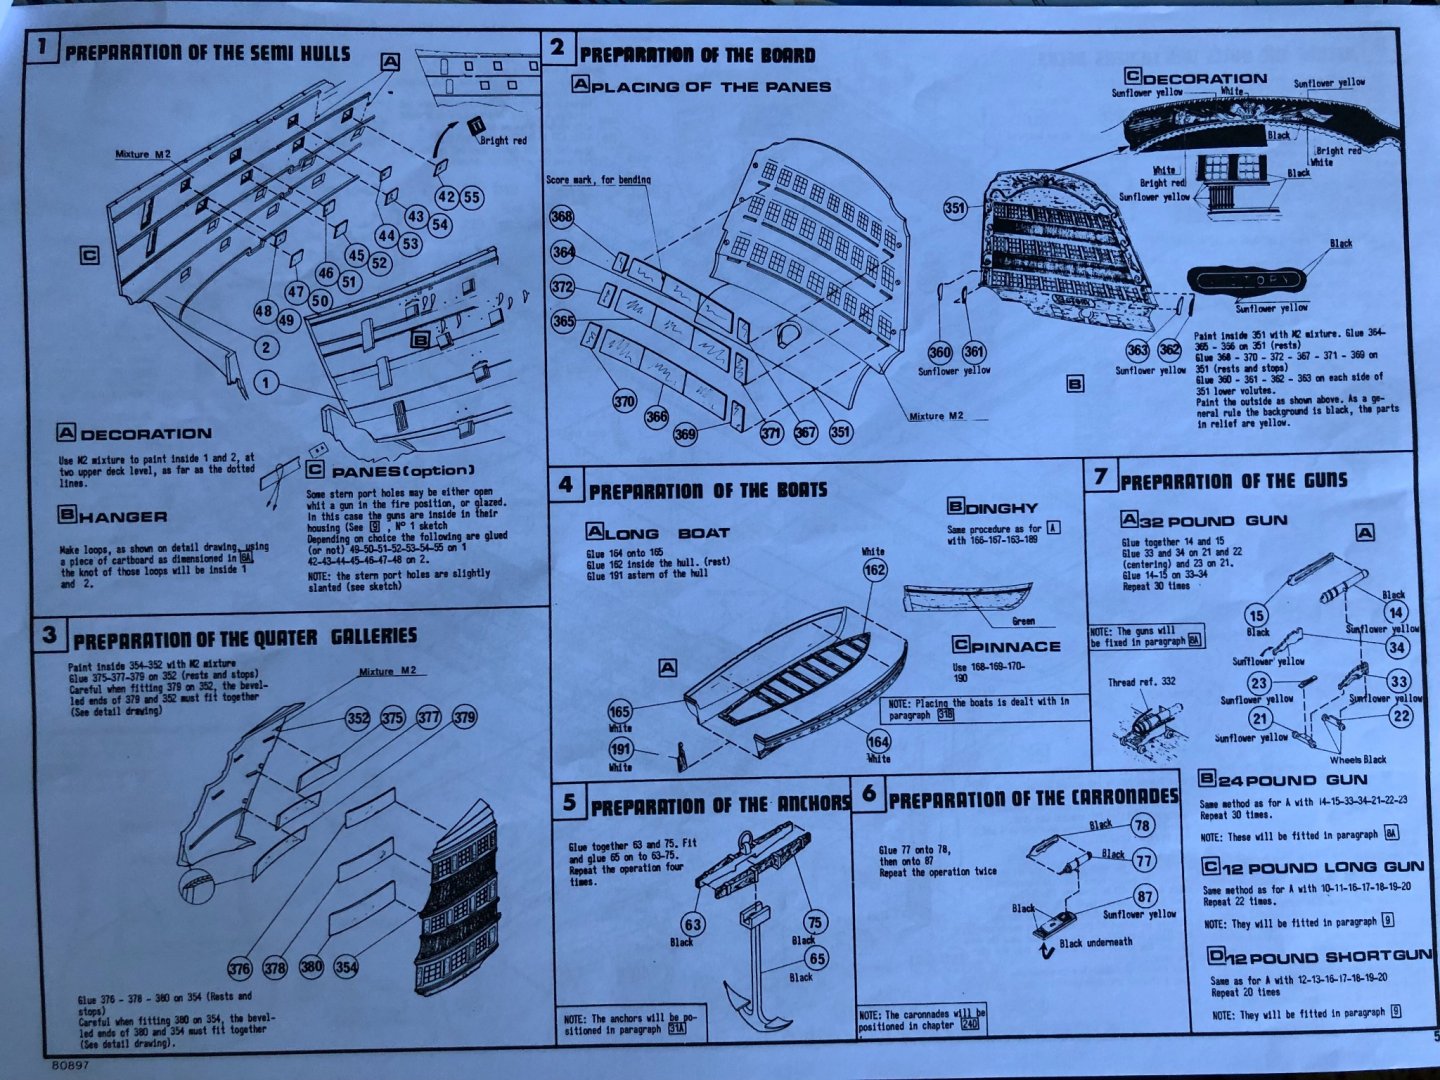
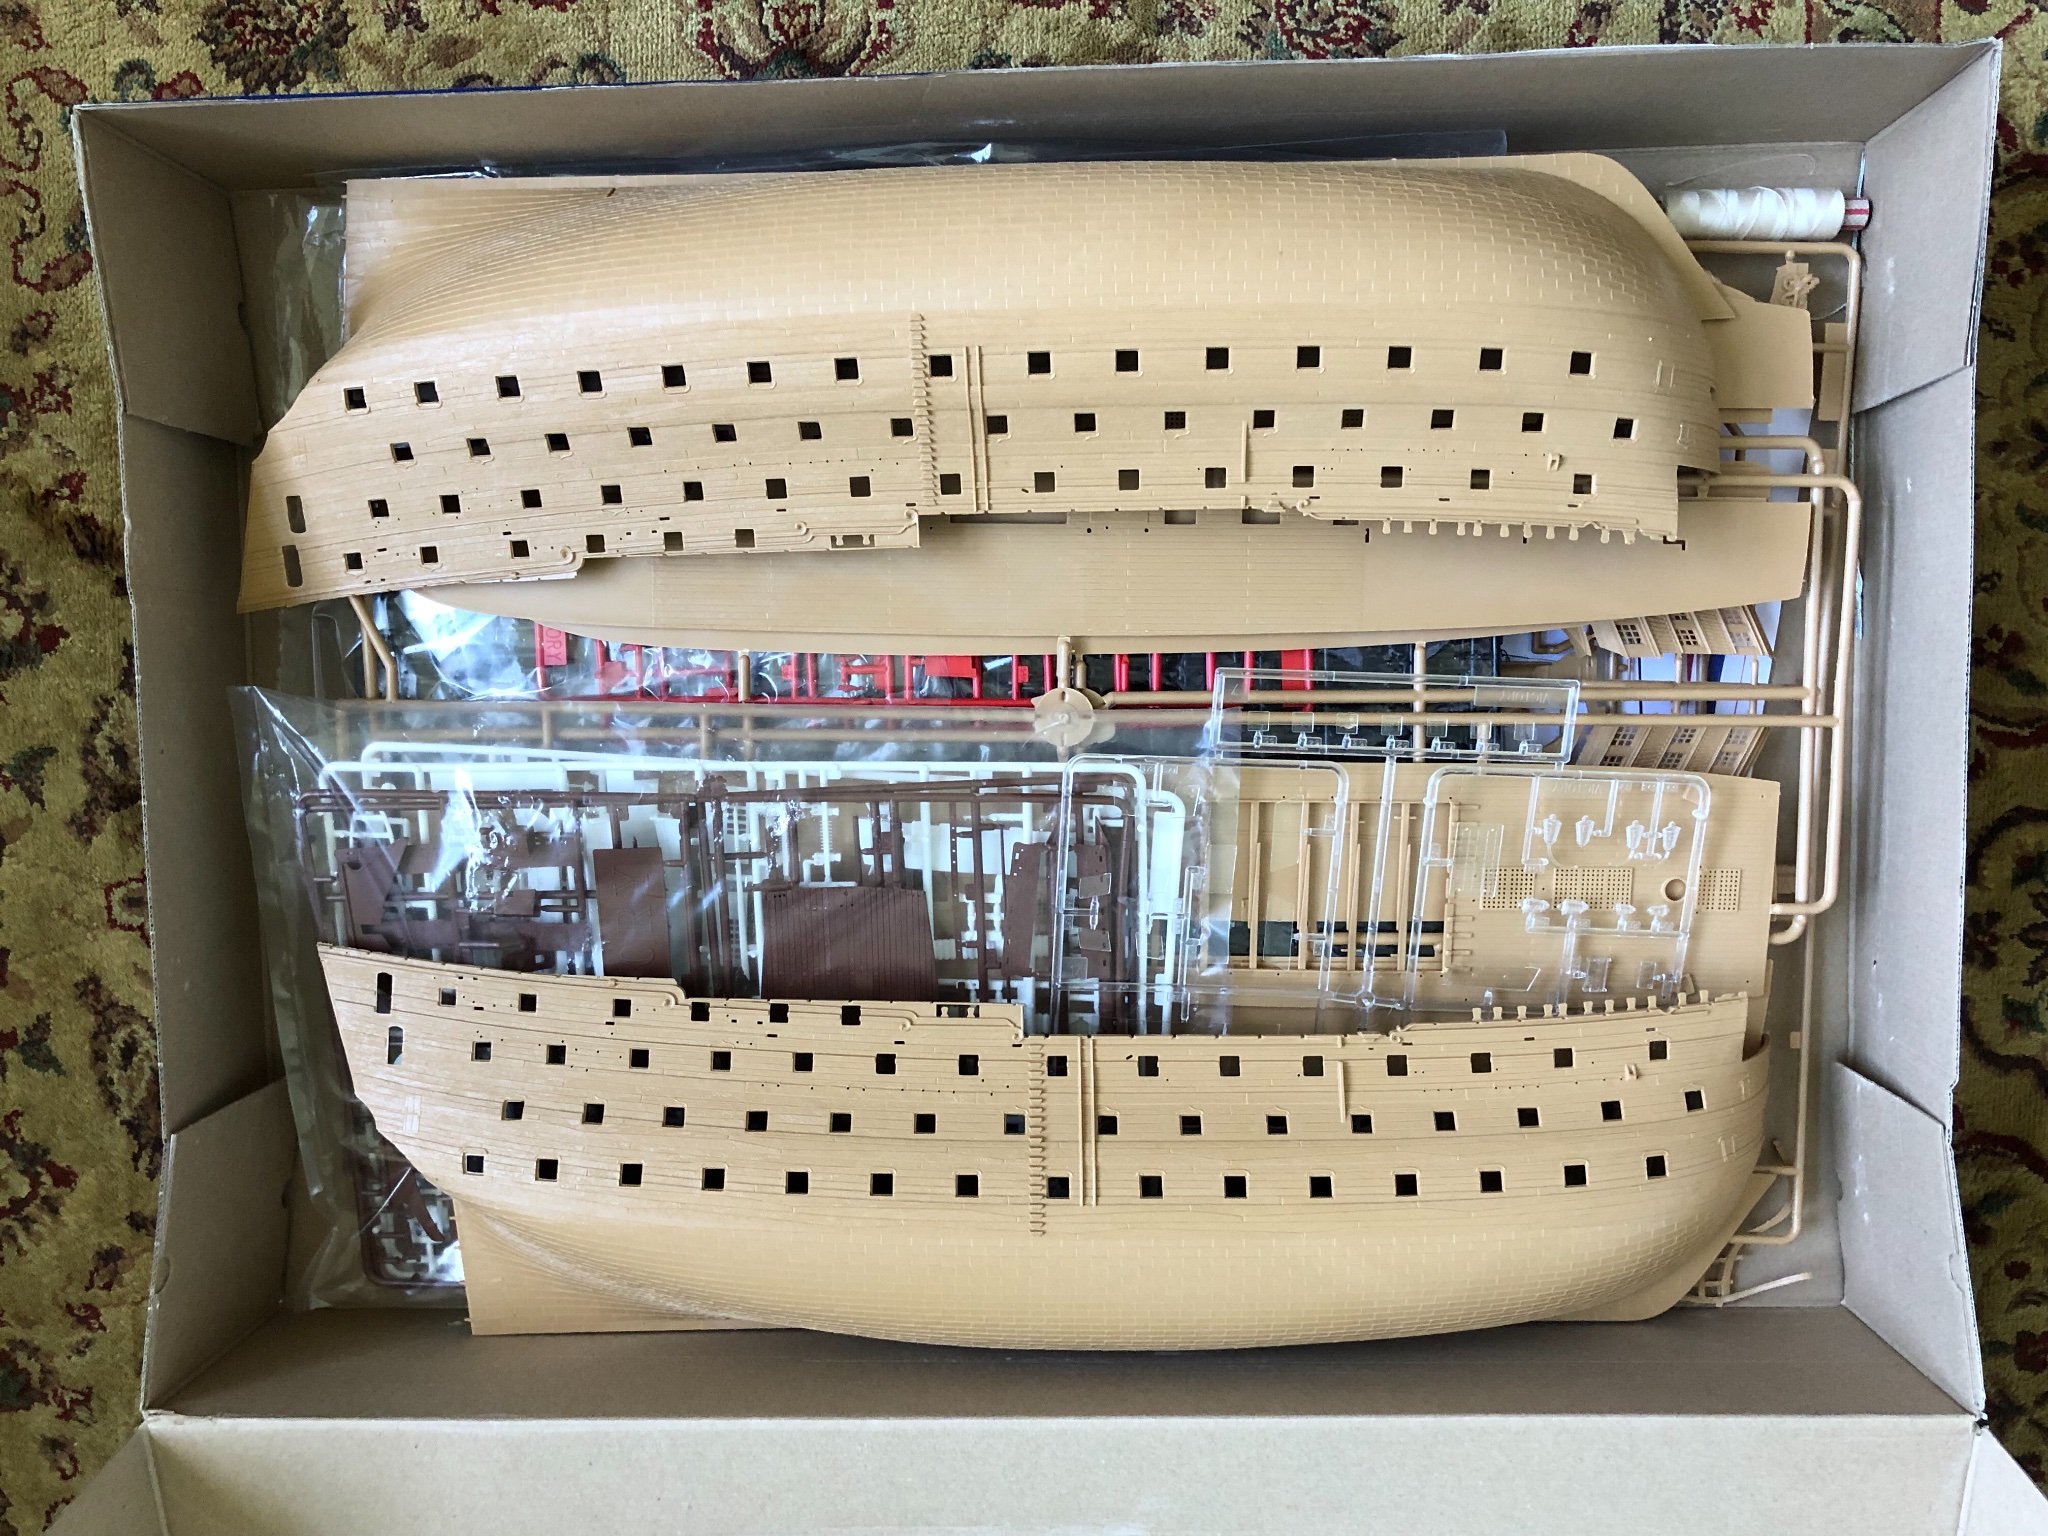
Tuesday, June 15, 2021, 9:00 AM. Today I officially opened the box to my Heller 1/100 HMS Victory to begin construction. Prior to this it was just to peek inside to marvel at the contents while working on another ship. Now I will begin the quest! No idea what the date will be when I post FINISHED. From what I read it will surly be quite some time from now. WOW! What have I willingly and excitedly got myself into? No doubt I will refer to MSW to find guidance and encouragement. Looking so forward to this build. As others who have built the Heller model will attest to, the instructions are complex to say the least? Hoping it is not a sign of what is to come, I already have a question in step 1. Parts 42-55 (Port and Starboard glazing) are instructed to be painted bright red. See the 3rd picture. They are clear plastic like windows. Why would you paint them red?