MikaH
-
Posts
11 -
Joined
-
Last visited
-
 GrandpaPhil reacted to a post in a topic:
Z30 by MikaH - Trumpeter - 1:350 - PLASTIC
GrandpaPhil reacted to a post in a topic:
Z30 by MikaH - Trumpeter - 1:350 - PLASTIC
-
king derelict reacted to a post in a topic:
Z30 by MikaH - Trumpeter - 1:350 - PLASTIC
-
king derelict reacted to a post in a topic:
Z30 by MikaH - Trumpeter - 1:350 - PLASTIC
-
ccoyle reacted to a post in a topic:
Z30 by MikaH - Trumpeter - 1:350 - PLASTIC
-
LED reacted to a post in a topic:
Z30 by MikaH - Trumpeter - 1:350 - PLASTIC
-
hollowneck reacted to a post in a topic:
Mogami 1944 by Azzoun - FINISHED - Tamiya - 1/350 - PLASTIC - IJN heavy cruiser
-
Old Collingwood reacted to a post in a topic:
Mogami 1944 by Azzoun - FINISHED - Tamiya - 1/350 - PLASTIC - IJN heavy cruiser
-
king derelict reacted to a post in a topic:
Z30 by MikaH - Trumpeter - 1:350 - PLASTIC
-
Canute reacted to a post in a topic:
Z30 by MikaH - Trumpeter - 1:350 - PLASTIC
-
RGL reacted to a post in a topic:
Z30 by MikaH - Trumpeter - 1:350 - PLASTIC
-
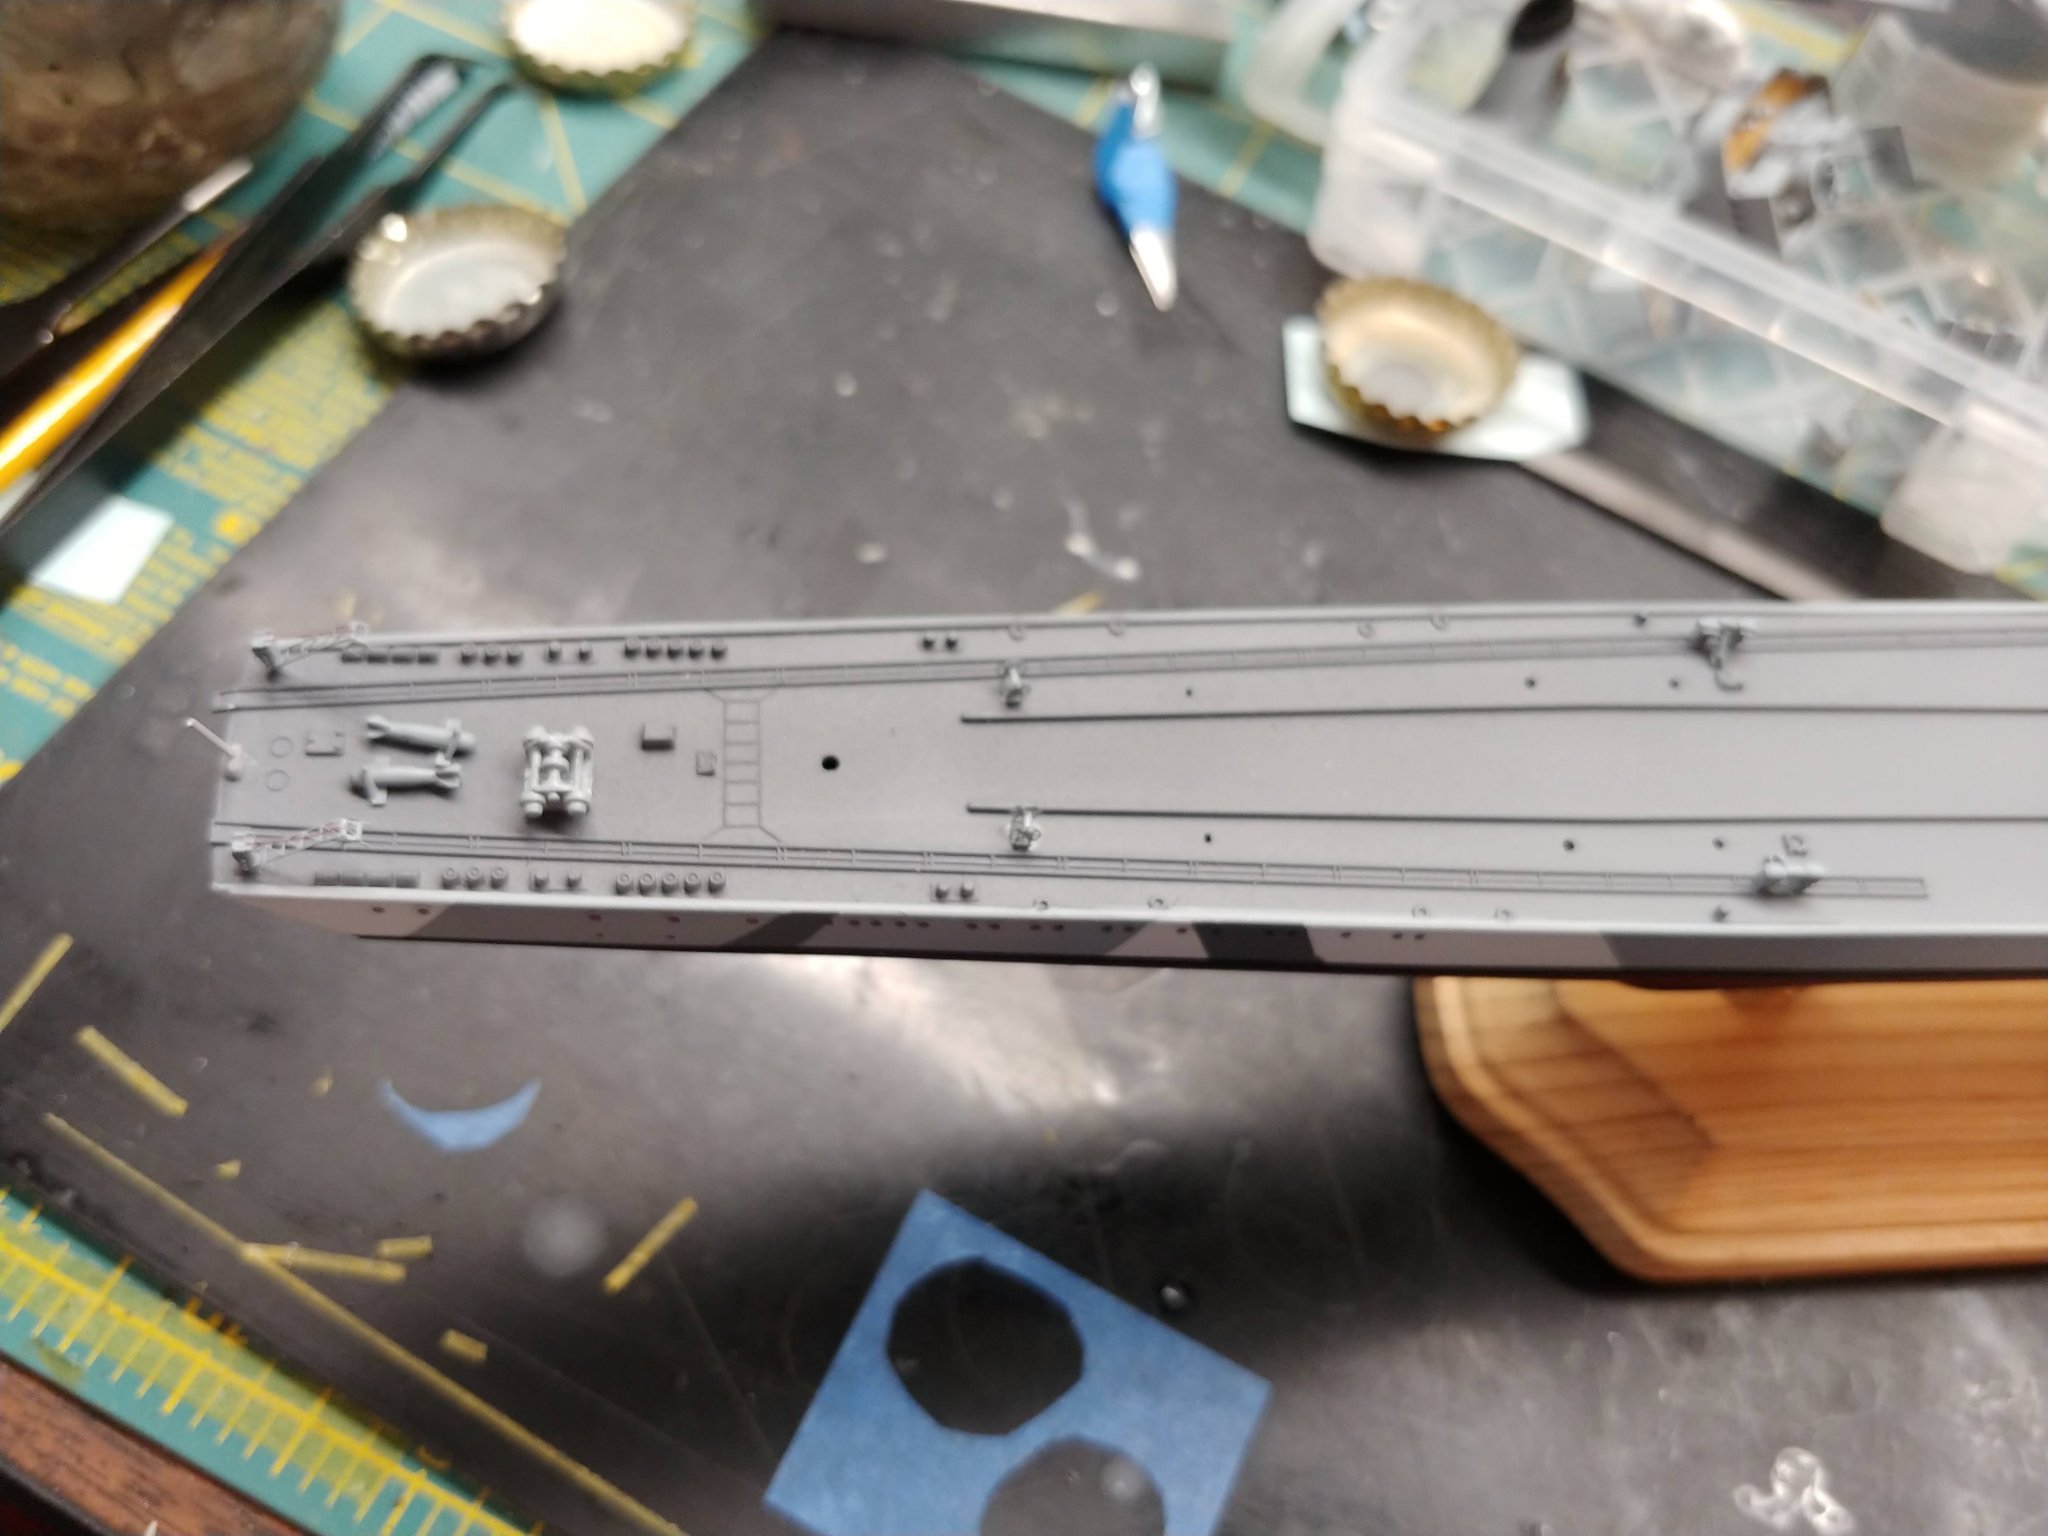
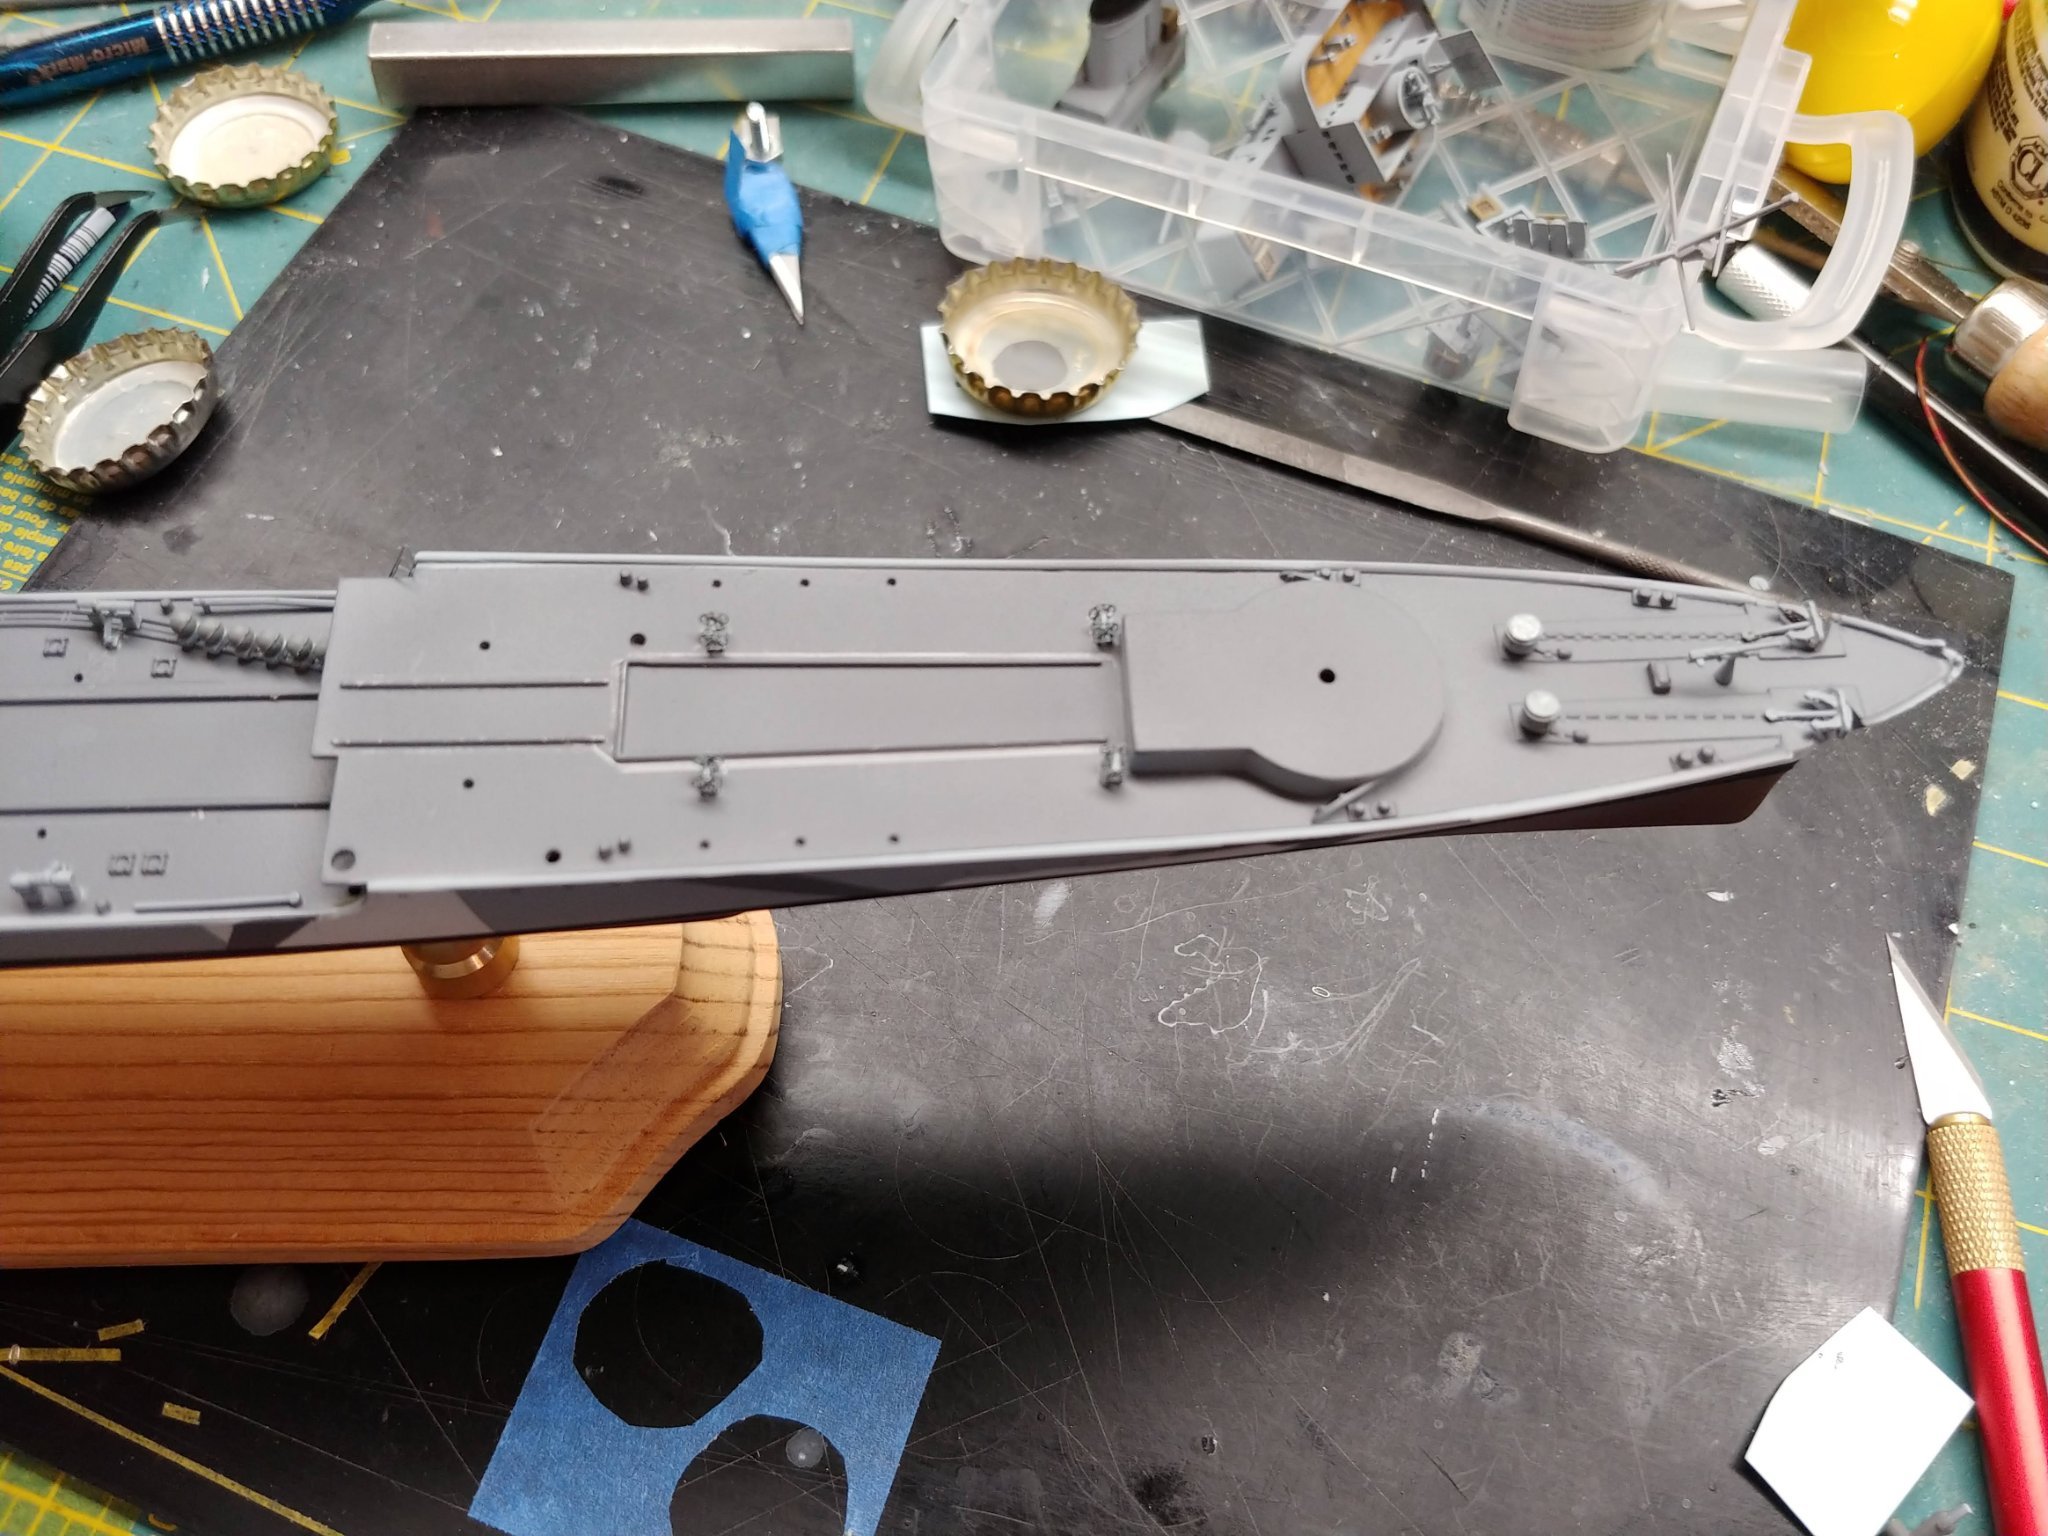
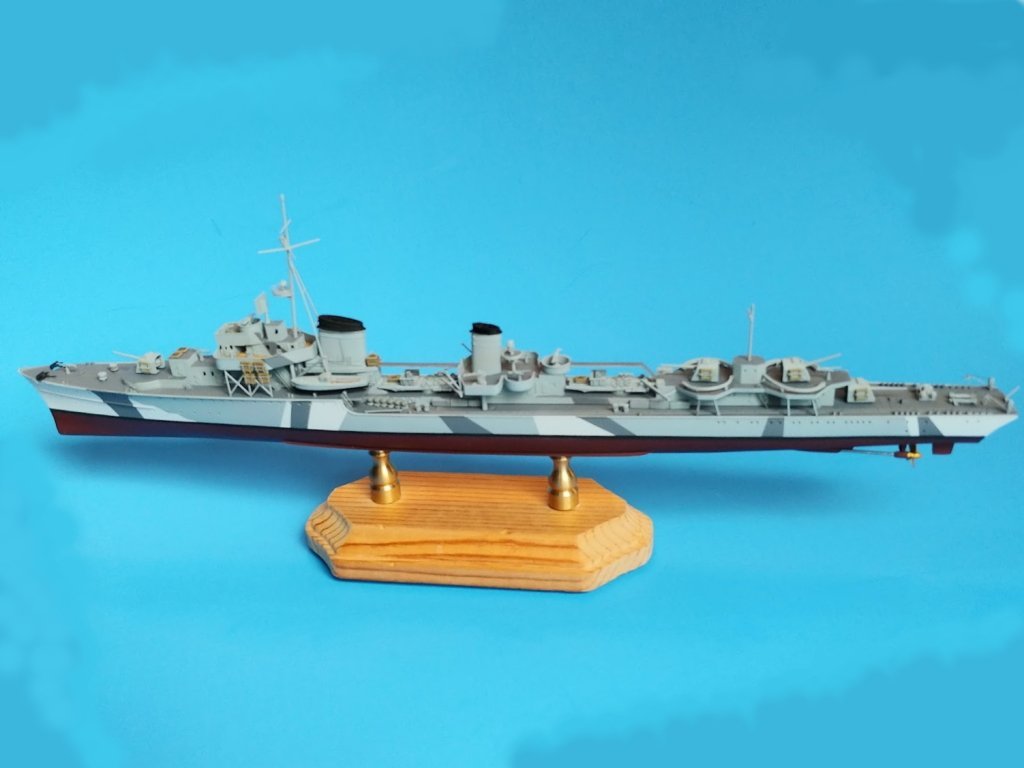
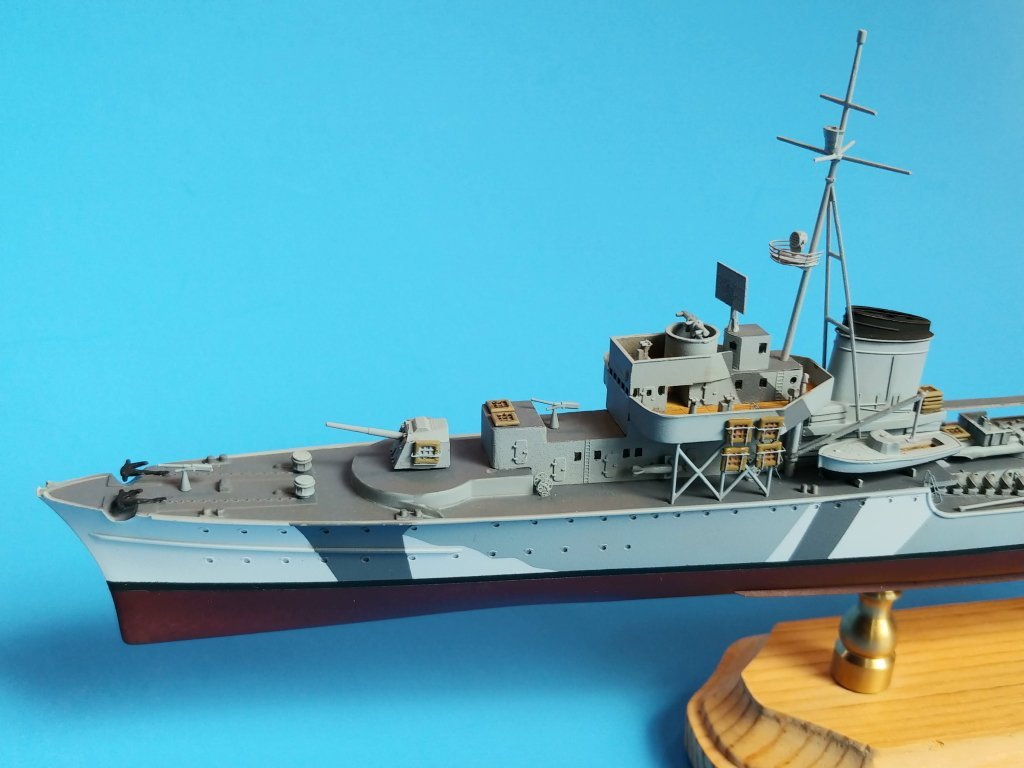
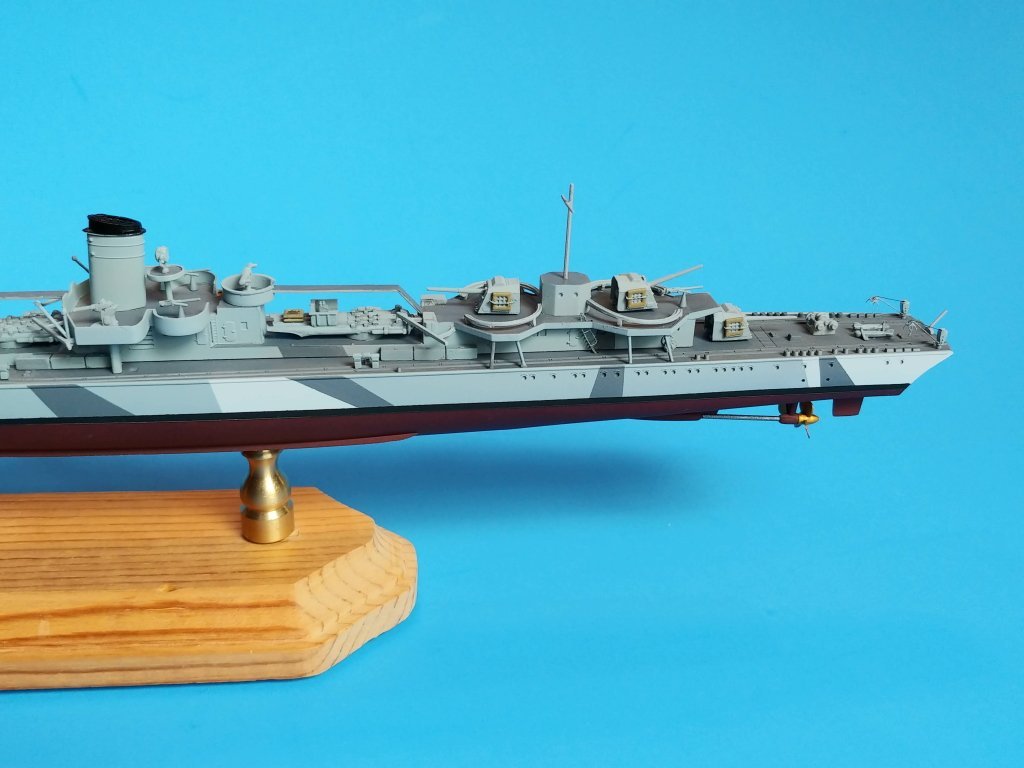
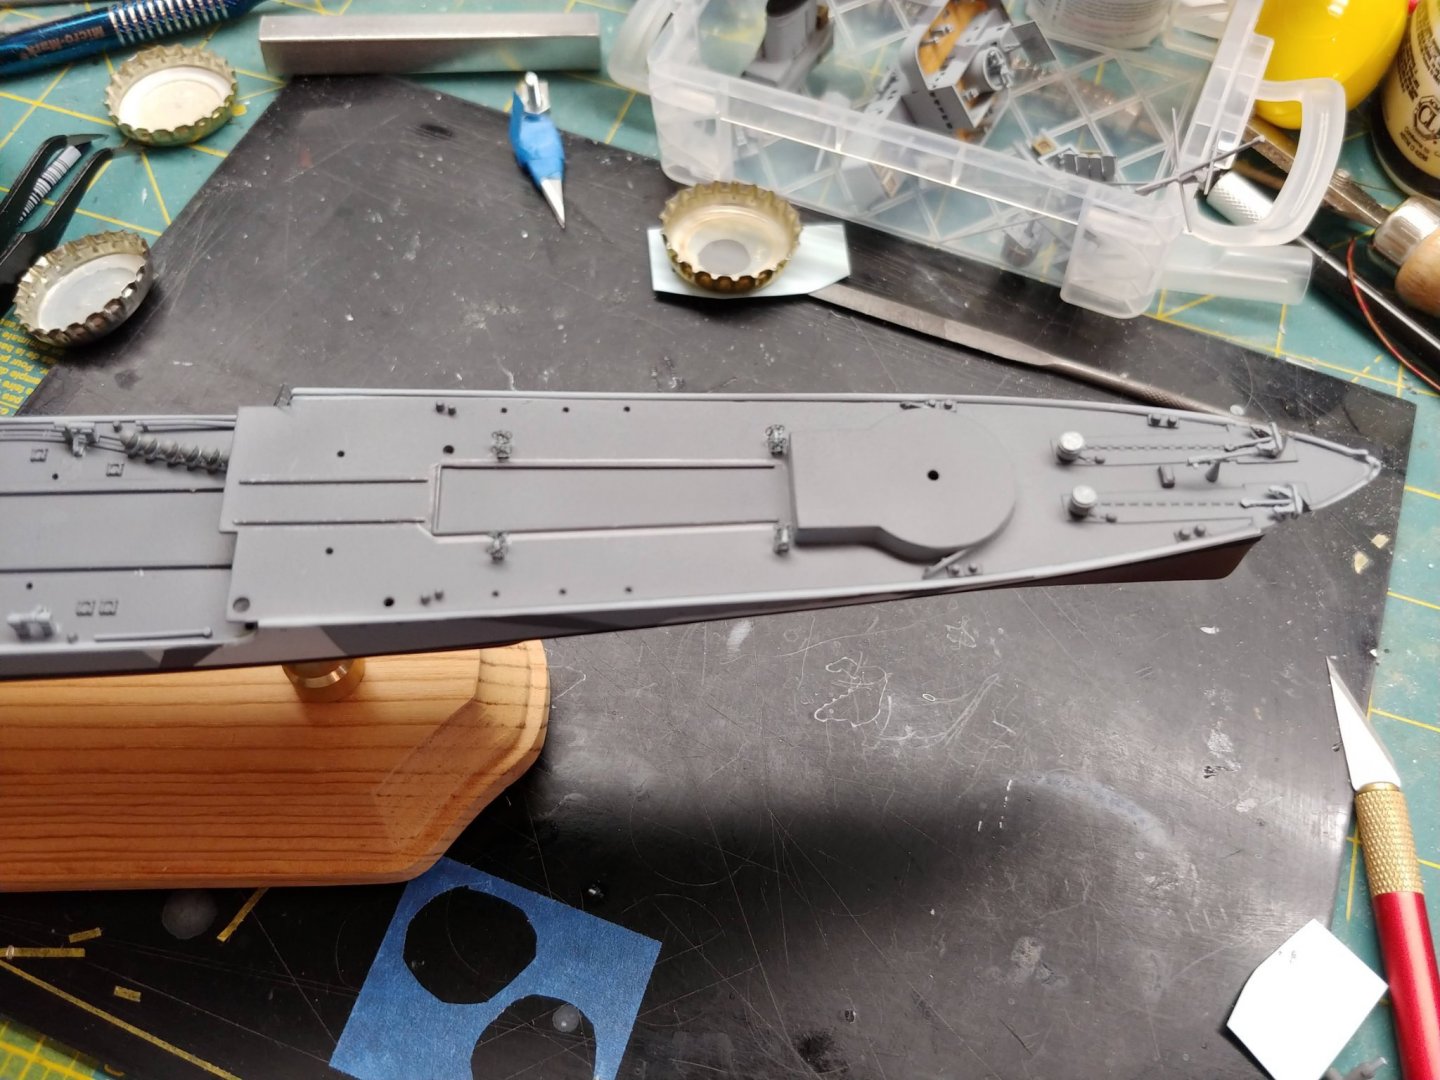
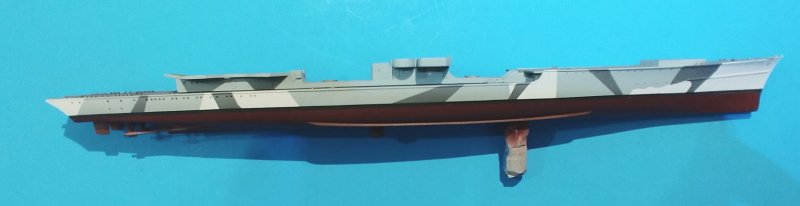
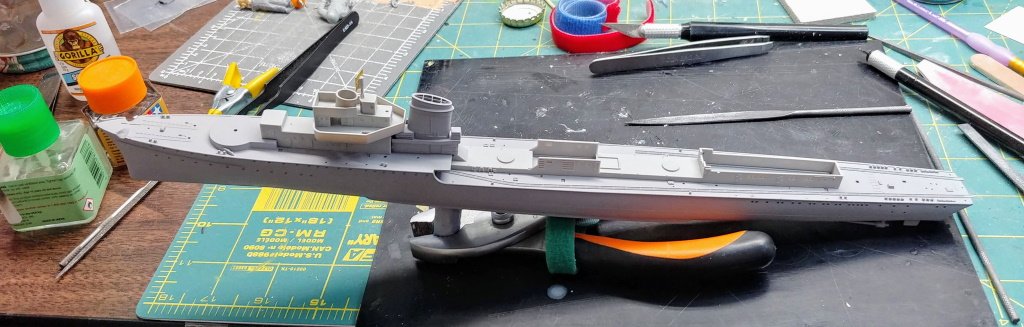
Alright, all doohickeys, whatchamacallits, and even a couple of thingamajigs that were rolling around in the box have been attached. I was looking at the supplied railing etch sheet, and while I suppose nice enough in a generic sort of way, I really couldn't figure out how to do a decent job of dealing with the rising bow, nor with splicing two pieces together for the aft, as the supplied runs are too short for the main deck. I ended up ordering the etch set for Dragon's rendition of Z-32, hoping it'll give me some railings that are more usable. In short, next steps are the railings, and then the dirtying-up of a ship hiding in a fjord. Until then, here's how she looks right now:
- 20 replies
-
- 10
-
-
MikaH reacted to a post in a topic:
Z30 by MikaH - Trumpeter - 1:350 - PLASTIC
-
MikaH reacted to a post in a topic:
Z30 by MikaH - Trumpeter - 1:350 - PLASTIC
-
MikaH reacted to a post in a topic:
Z30 by MikaH - Trumpeter - 1:350 - PLASTIC
-
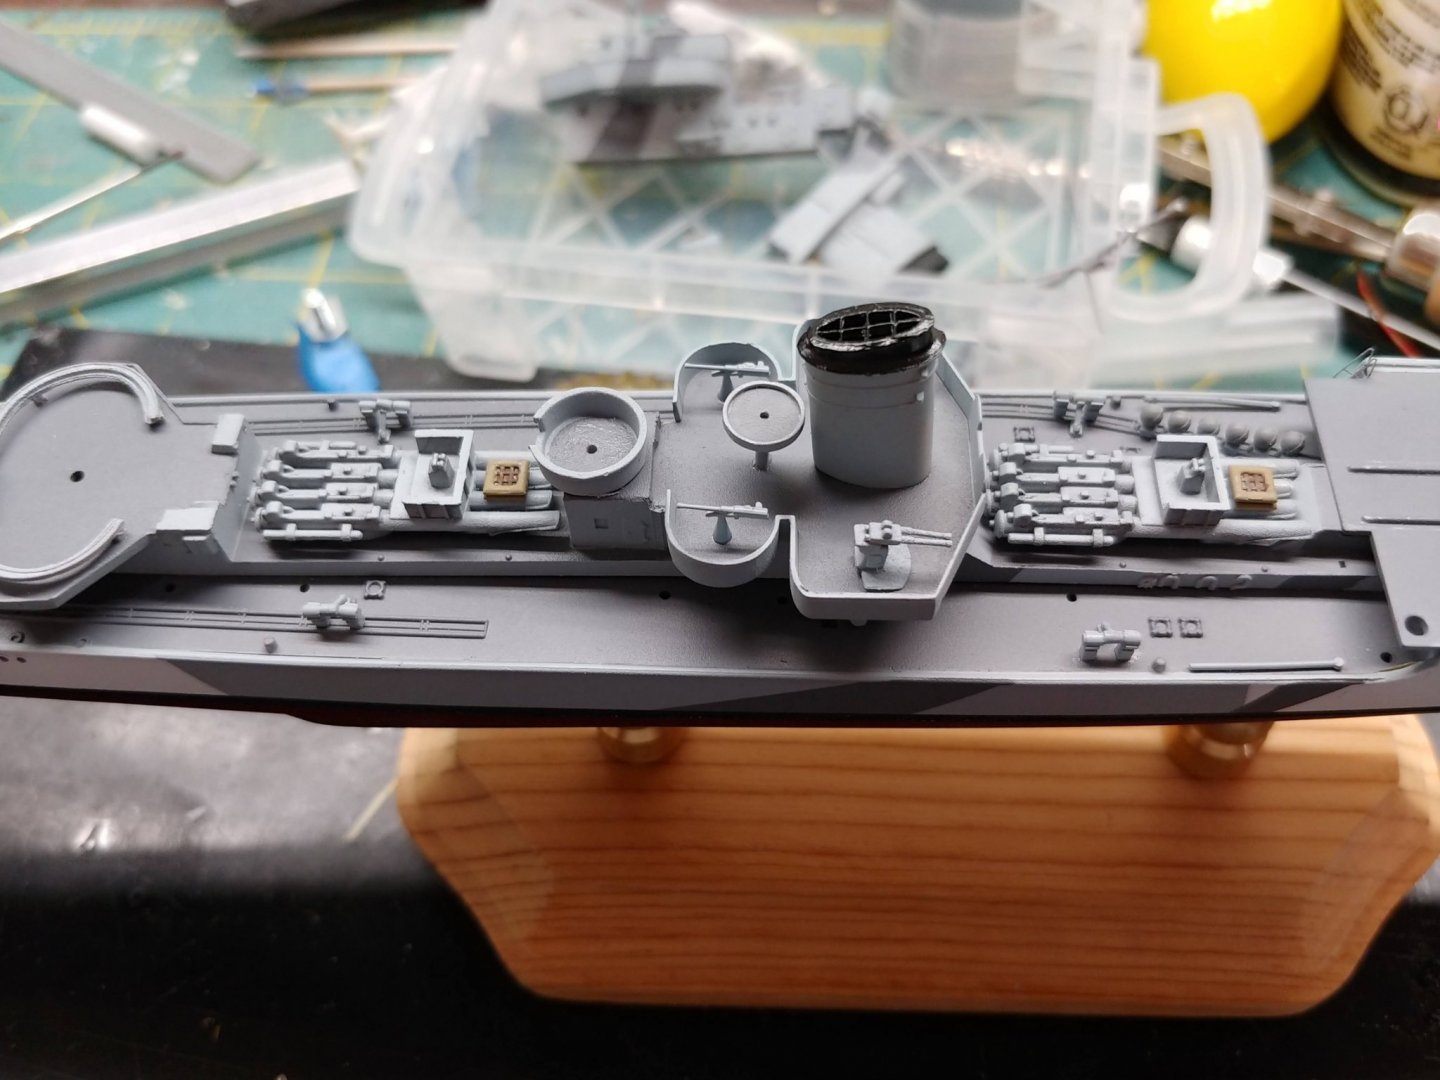
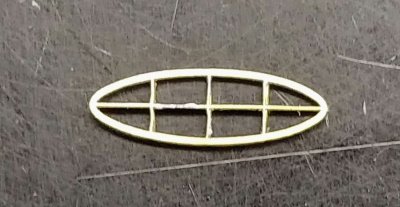
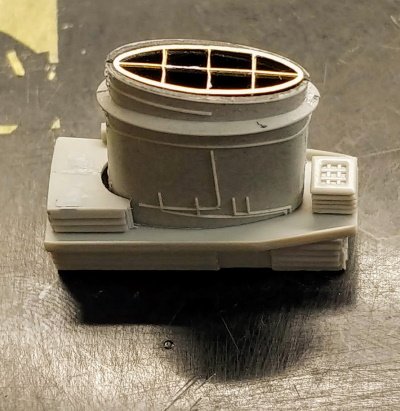
Yes, and a couple of etch crane thingies. In the top photo you can see the mines that are supposed to travel down the rails to be heave-hoed off the stern, but the directions have you install what look like depth-charge launchers right on the rails. Don't know how they resolve that traffic jam in the heat of combat. I also used the provided etched reels to replace the molded chunky things. Trumpy provides the reel sides, but have you believe that the reel ends are all there is so I put some plastic rod in the middle. Maybe there should be hose reeled in there or something, but not going to worry about it.
-
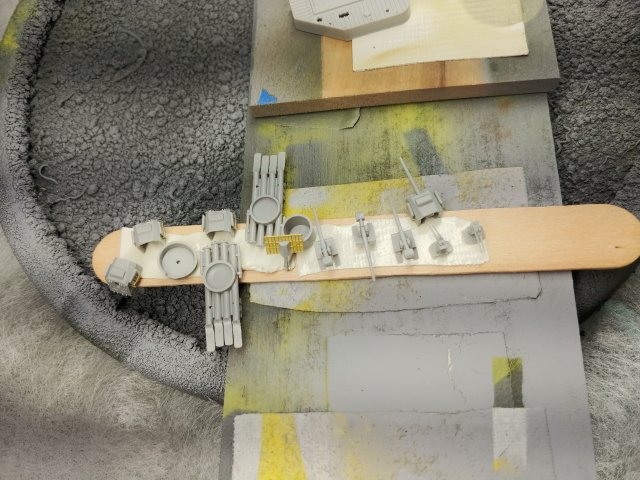
Can't believe it's been a year since my last update. Been busy, some good, lots not so good. The Z30 is back on the bench now. Added some doohickeys (yes, I believe that's an official naval term) to the bow and stern (see? I know my naval terms). Next steps are to complete the middle superstructure. Everything is out of the box. I decided against the aftermarket 20mm guns after weighing the benefits of detail vs loss in sanity to fold the little freaking things.

-
Here we go. It's been a super busy fall, and the mojo has been lacking. I've managed to do some painting on the hull, which will hopefully allow this build to get going again. So yeah - hull and lower superstructure are pretty well done. Next up are the fore structures.

- 20 replies
-
- 10
-
-
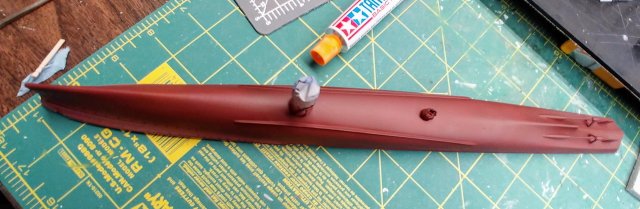
Some more progress! Various bits and bobs assembled and primed: And also put the first color coat on the bottom of the hull. It's a 6:1 mix of Gunze Hull Red and Madder Red: Next steps are to keep assembling the multi-piece bits & bobs. I have some mottle masks on order, which I'll use to spray a slight color variation on the hull to break up the monotonous red.
-
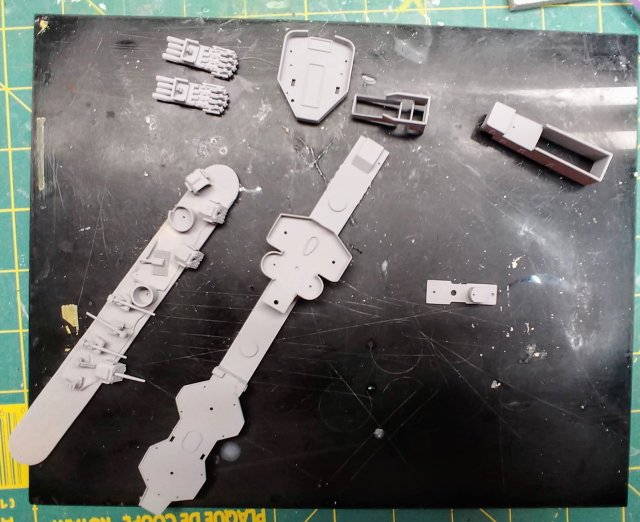
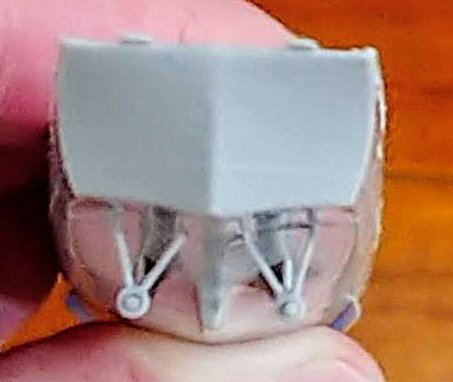
Alright, some more progress. This is the insert into the larger stack. Got to practice my solder skills ... looks like the skills need some more practice. Fits pretty nicely. All the separate bits still need to be glued together. The fore structure. The kit comes with all the etch used so far. So, hull and the stack structure have been primed. None of the structures have been glued on, I'm going to paint them separately and add them as completed subassemblies. Next steps are to paint the hull, and continue gluing bits together.

- 20 replies
-
- 11
-
-
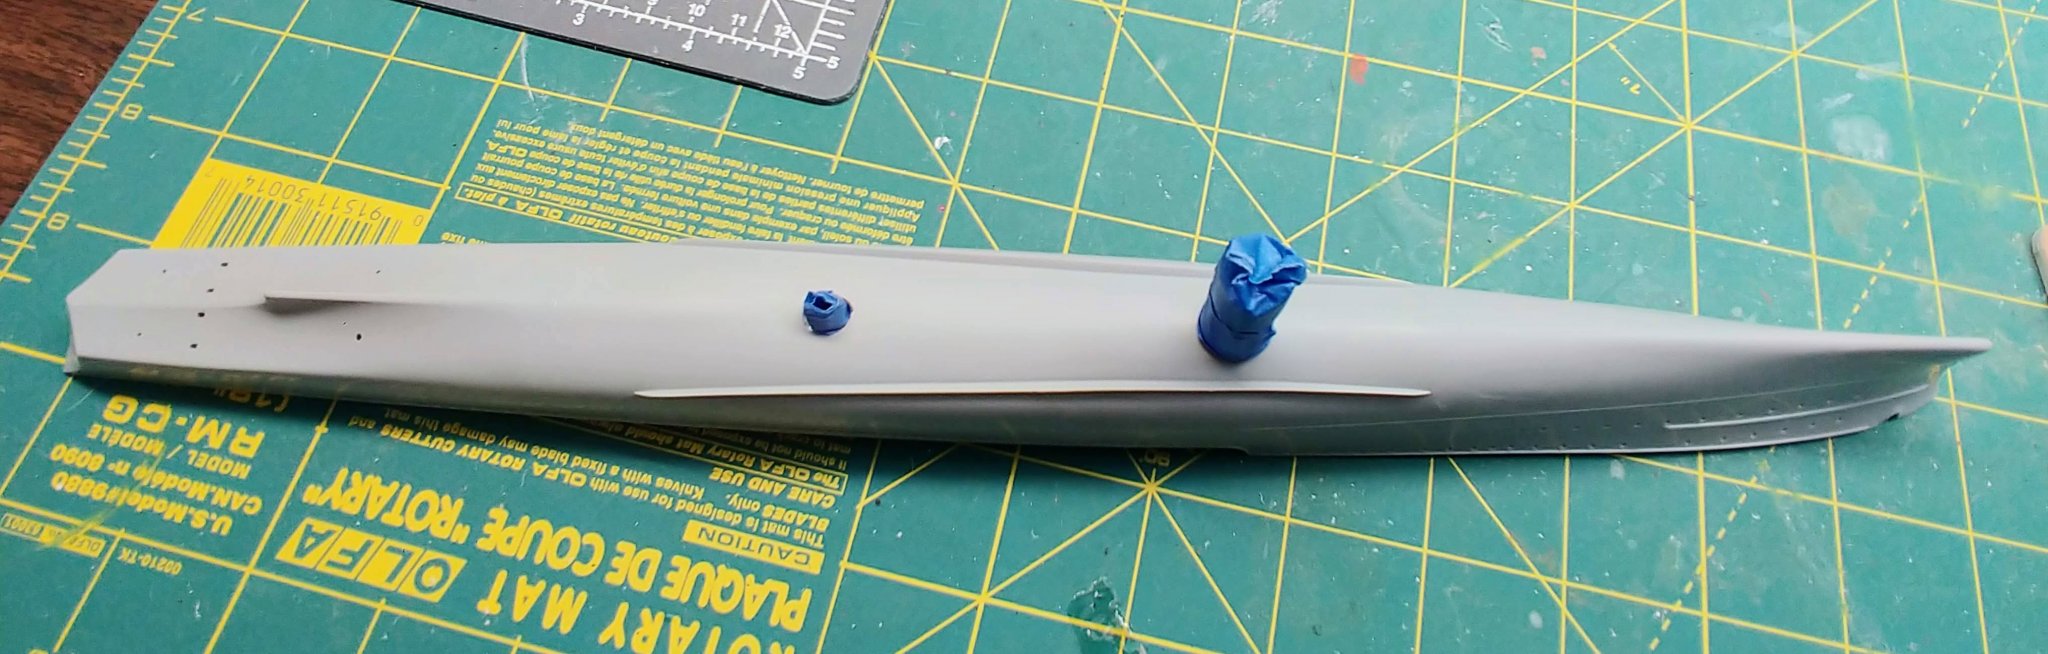
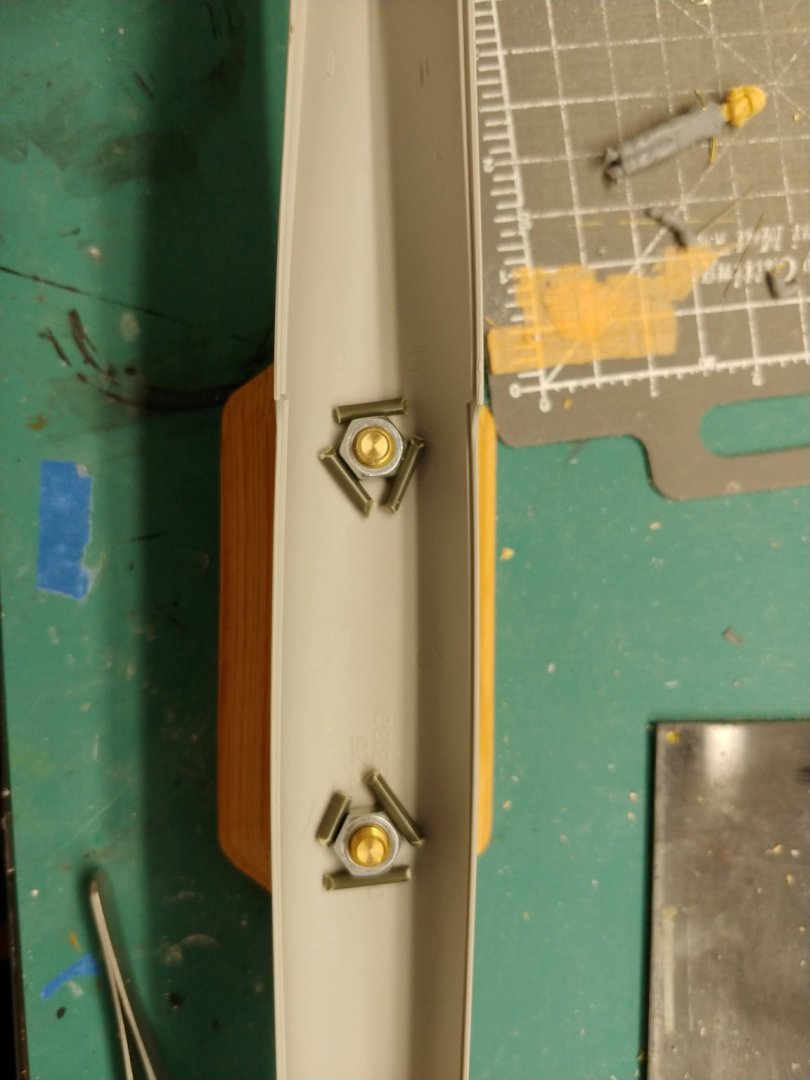
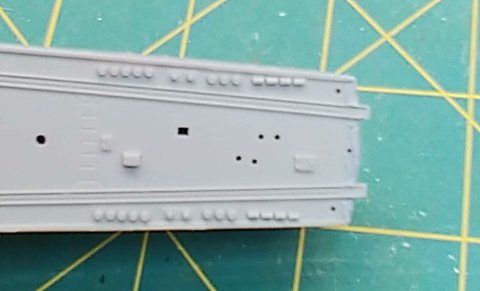
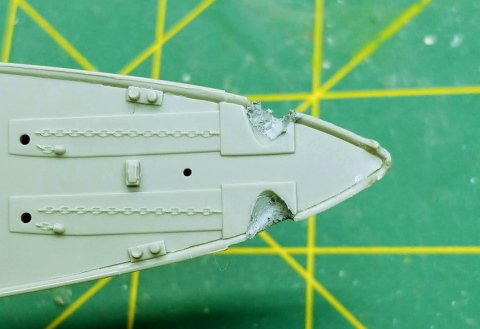
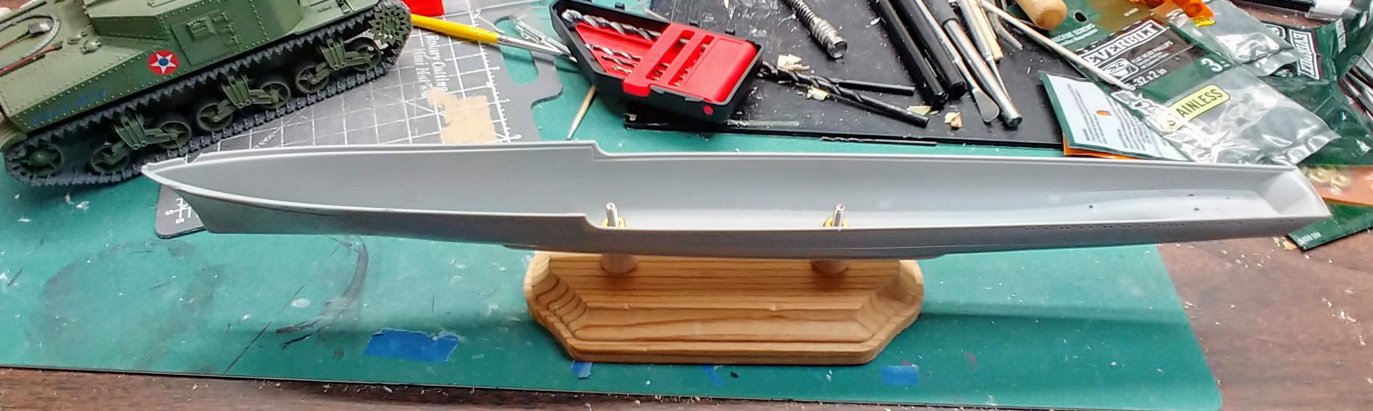
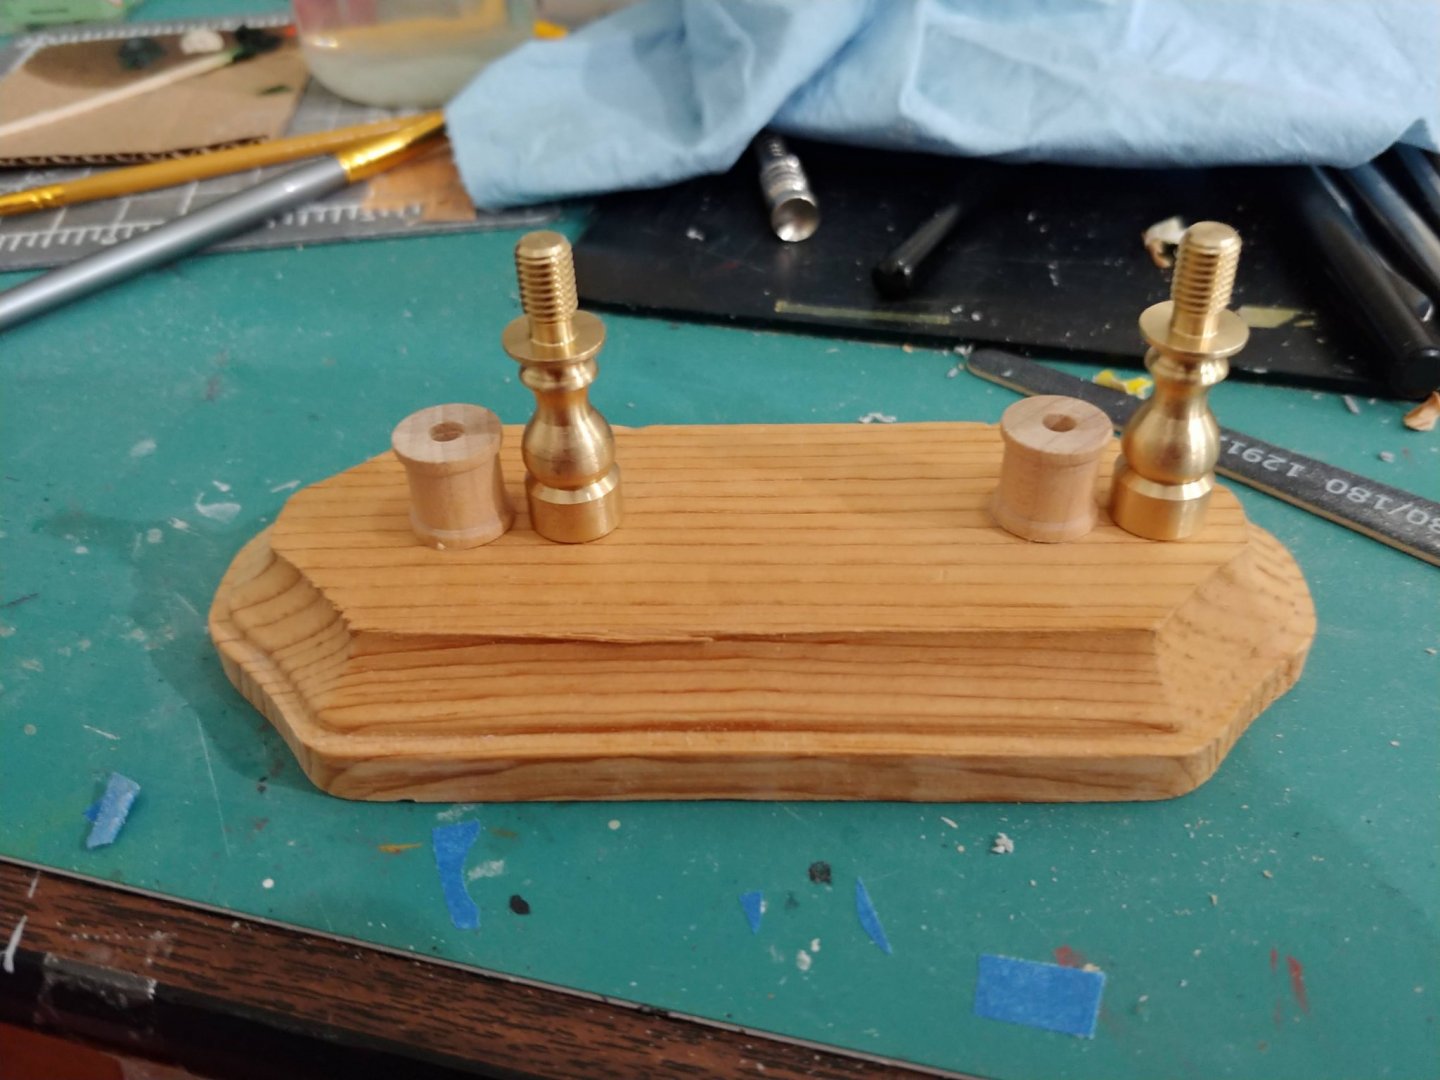
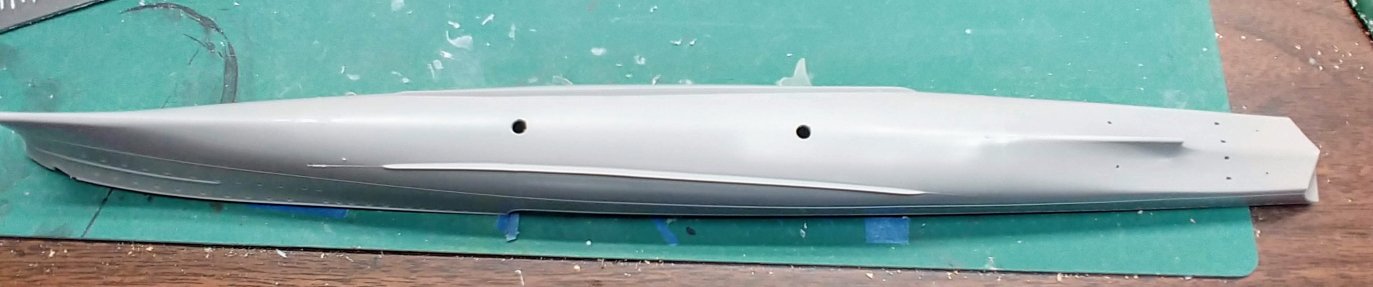
Good information, Baskerbosse, thanks for including! Having been away from the workbench for two weeks, it was nice to be able to get in a little bit of build time. Nothing dramatic, but next steps. So first, I had to expand the holes in the hull to get the risers to fit. With holes in place, and risers screwed temporarily in place, I epoxied the nuts inside the hull so I can remove the risers for painting. My favorite epoxy - so much easier to measure and use than those messy plunger types Once that was attached, I used a bit of superglue to add adhesion. In spite of trying to be careful, a bit of superglue slipped into one of the risers, making it a permanent attachment to the hull. No worries, a bit of masking tape and I can carry on with a convenient handle With everything I needed to do for the base complete, I could attach the deck. It's a pretty good fit, with just some putty needed in the stern where the mine rails project over the hull, and the bow, where you actually have gap letting you peek into the hull at the hawsers (do excuse if my terminology is off - the holes where the anchors go over). Putty work started: Regarding prop placement (excuse the poor photo), it looks like port is slightly lower, as measured by the Mk.1 eyeball. Next up: Completing putty, and priming hull


-
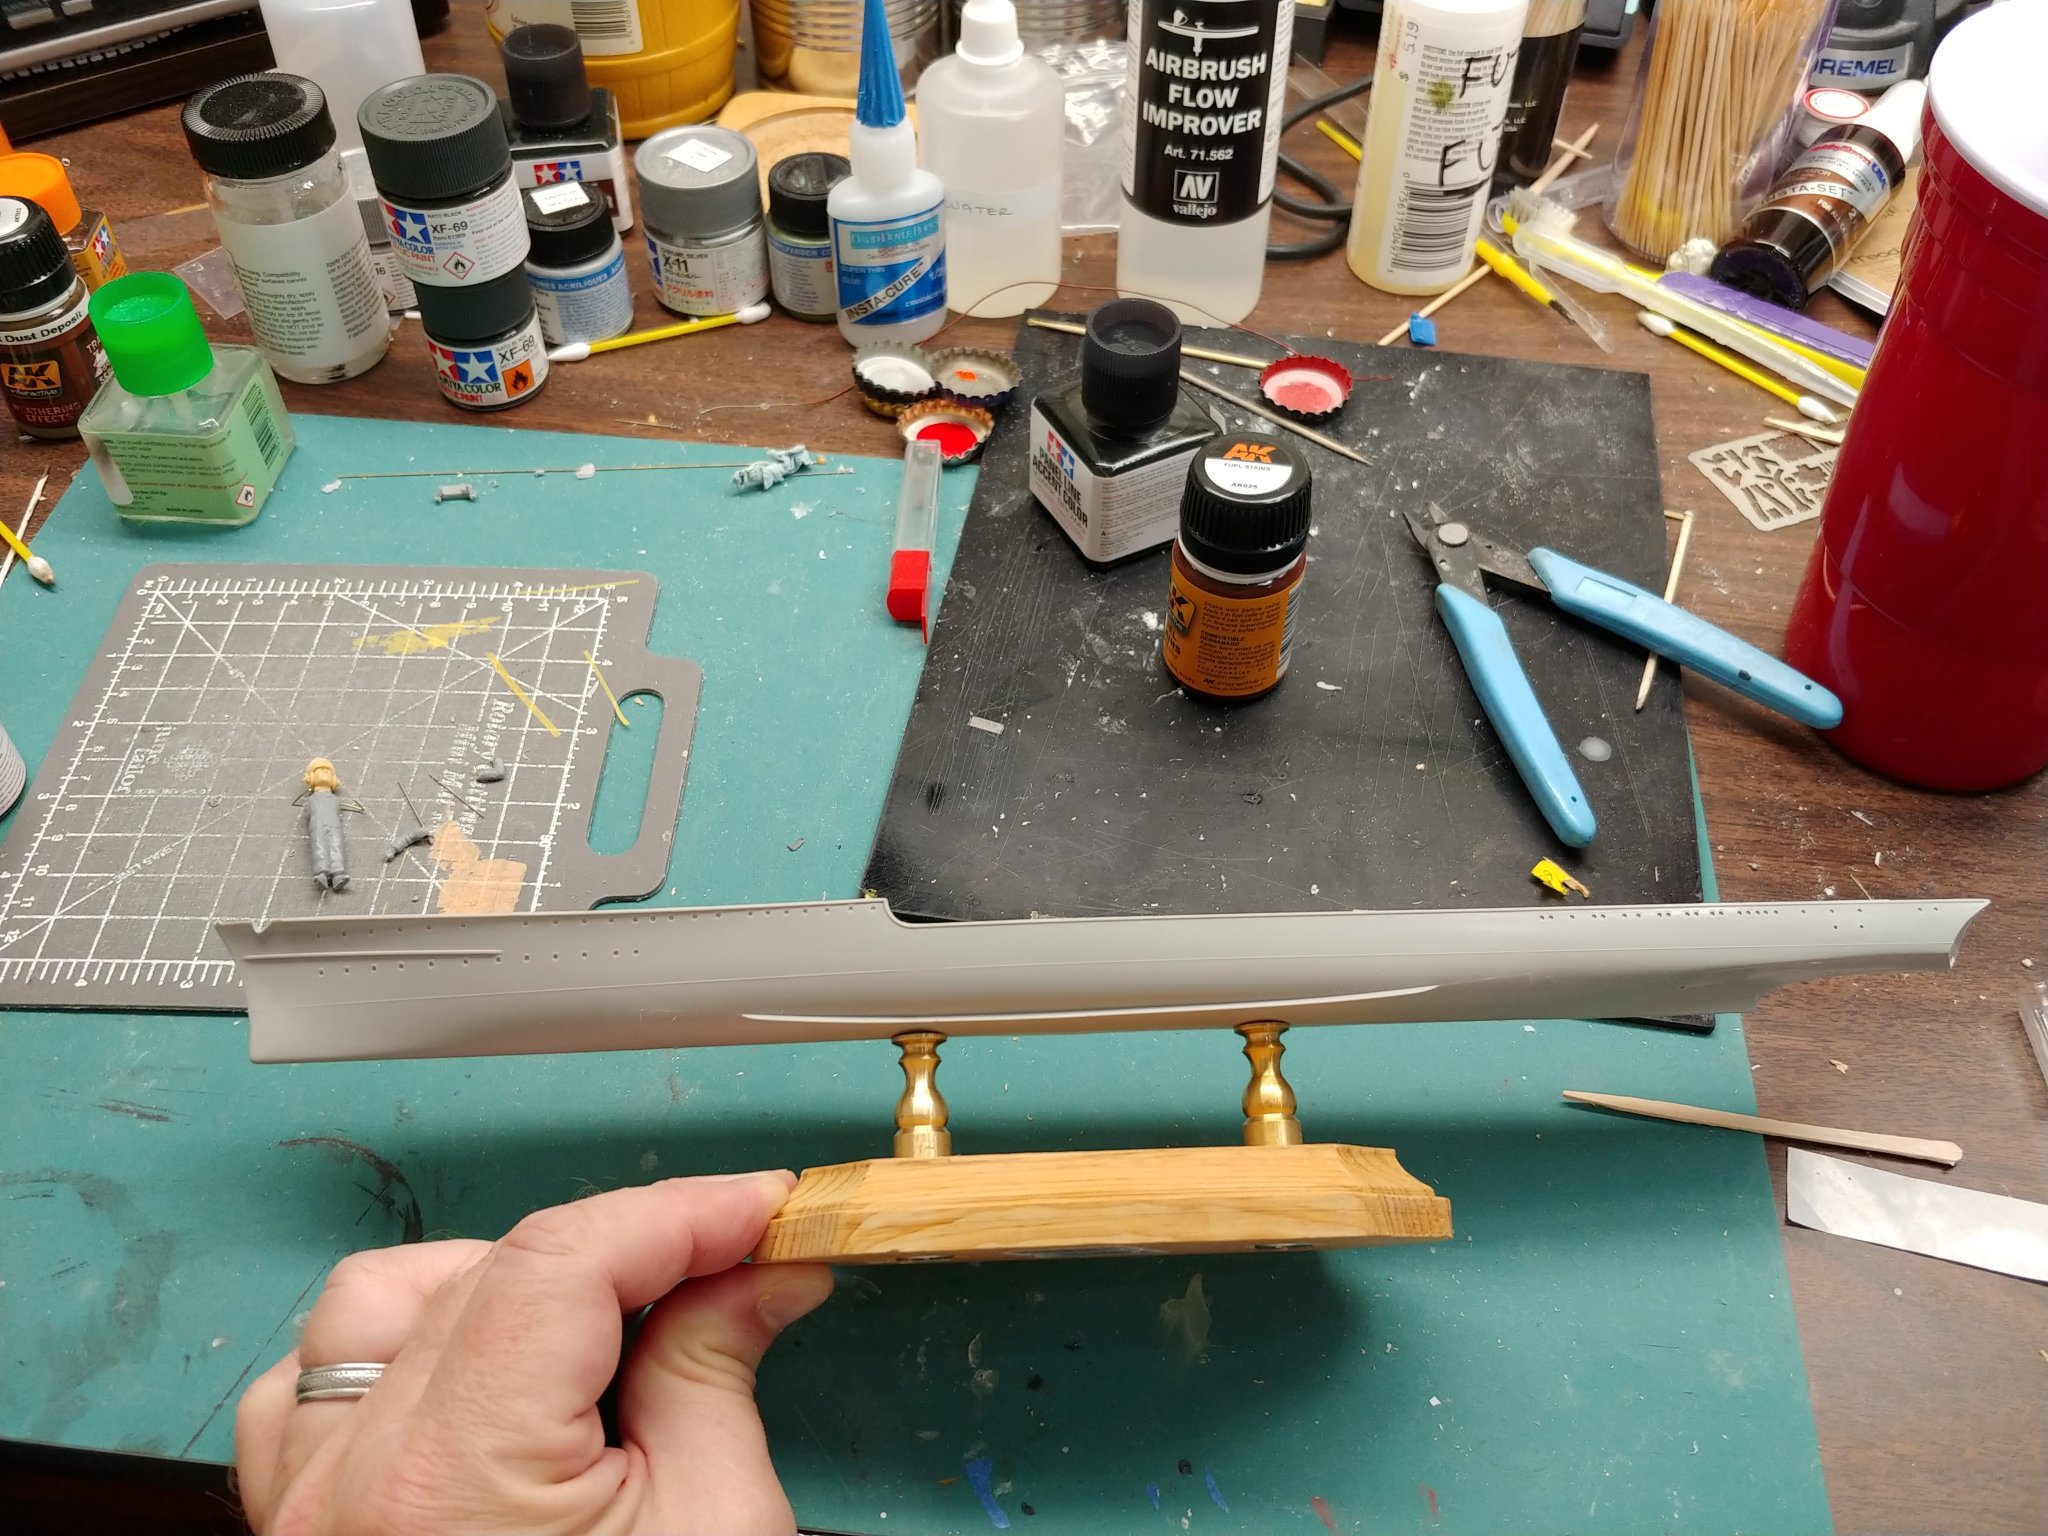
Weathering is a must, especially as the boxtop shows it so nicely! Step 1 of the instructions shows some guns and other accessories being assembled, so I skipped to the next step to assemble the hull. Well, even that's kind of skipping ahead, as I wanted to put together a proper pedestal base for the finished product. At first I was going to do some little wooden spindles I found in the "never throw anything away box", along with a cheap wooden plaque. I measured and glued the spindles to the base, and drilled holes into the hull to mount it. It looked ... cheap ... and not in the good, frugal way. A bit of browsing on Amazon and I found these fairly inexpensive ($12 for four) brass lamp risers that will do the trick nicely to upgrade the visual. I need to locate some appropriately sized screws and bolts to make it all come together, but it's in the right direction. Stay tuned!
-
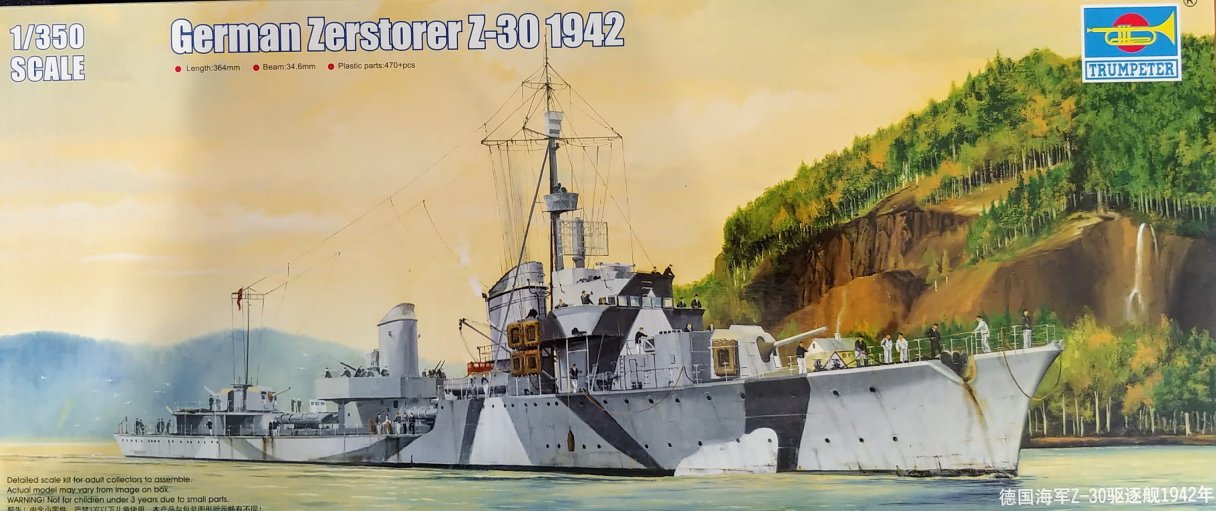
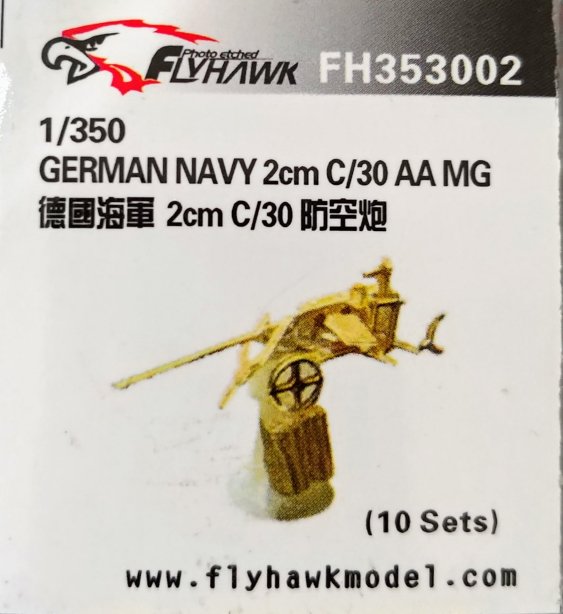
Wanting to start another ship kit, I dug this one out of the plastic stash. For those interested, the historical information of the ship can be found here: https://en.wikipedia.org/wiki/German_destroyer_Z30 This kit is produced by Trumpeter, looks alright in terms of part quality, and looking for something a bit less intense than the semi-brass builds I see others doing I figured I'll do this one mostly-out-of-the-box. The only edits I'll do are to swap out the 20mm AA gun positions with these etch folded ones that I'd acquired from some long-forgotten sale. The ship needs five, the set comes with ten ... with my patented ten-thumb etch skills, the ratio sounds about right.
- 20 replies
-
- 11
-