HOLIDAY DONATION DRIVE - SUPPORT MSW - DO YOUR PART TO KEEP THIS GREAT FORUM GOING! (Only 20 donations so far - C'mon guys!)
×

yamsterman
-
Posts
550 -
Joined
-
Last visited
Content Type
Profiles
Forums
Gallery
Events
Everything posted by yamsterman
-
Hi Alexander Thanks for the links.I will be studying these very carefully.hopefully I can learn something! Cheers....mick
-
Hi Alexander Just found your thread.WOW!!!!!!! absolutely fantastic quality work. You should write a book on how you do this!!! Words fail me...simply stunning work.congratulations on some fine carving. Regards....mick
-
Hi Pete,Michael,omega? Thanks for the support. The riggings always the tricky part! Have enjoyed my first sort of scratch build,not a totally true scratch build as some components are commercial items,just a few items left......guess who's run out of rope again! Looks like chucks going to get another order. Looking forward to carrying on with the tritoncross section,and using my new Byrne's saw! Guess progress on the sloop will stall for a while whilst I order some more rope and do the work thing! Cheers.......mick
- 83 replies
-
- 2
-

-
- sloop of war
- sloop
- (and 1 more)
-
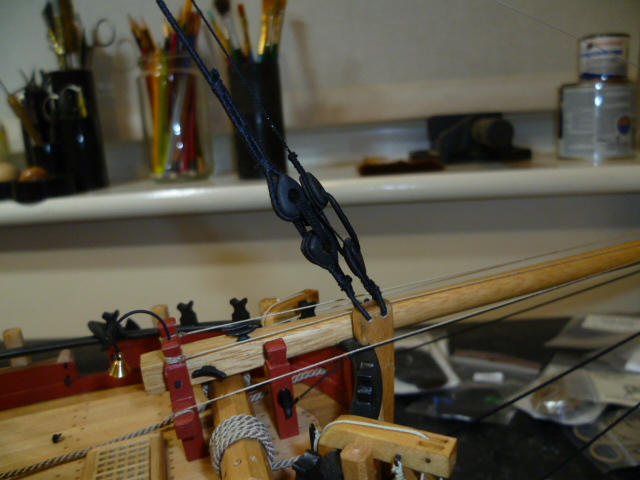
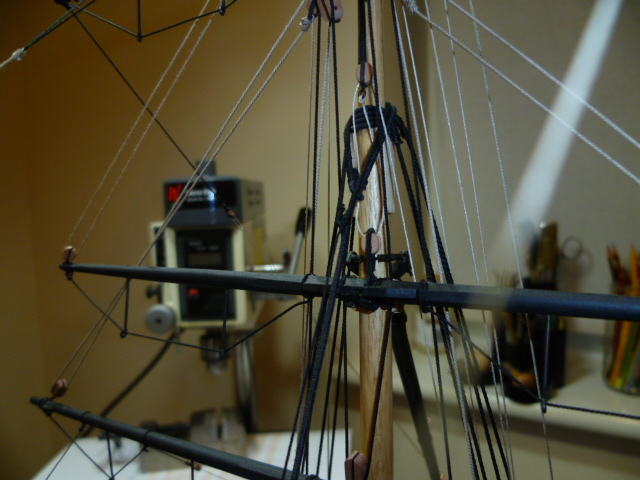
hi david b i think the flash on the camera makes it appear lighter than it actually is.all rigging rope is from chuck passaro. prior to finding chucks offerings i was using morope? which is great looking rope but a bugger to work with if you forget to seal the ends prior to cutting, but either are infinitely better than any kit supplied rope.i will have another look at the rigging in natural daylight and see if it would benefit from darkening. cheers.......mick
-
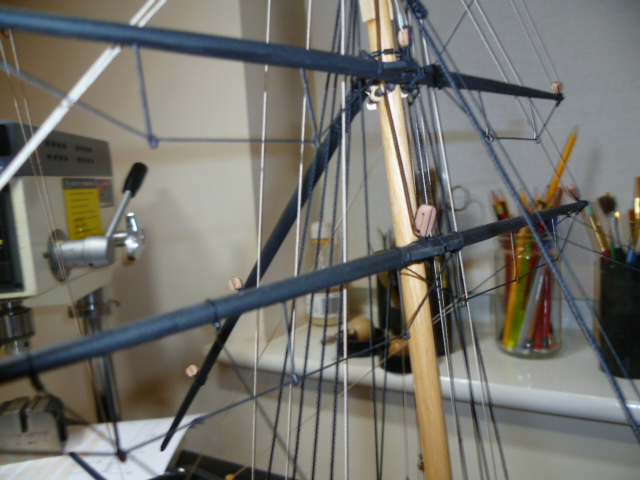
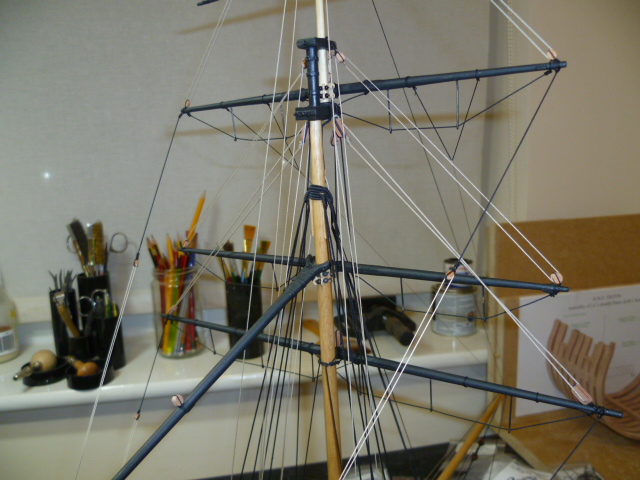
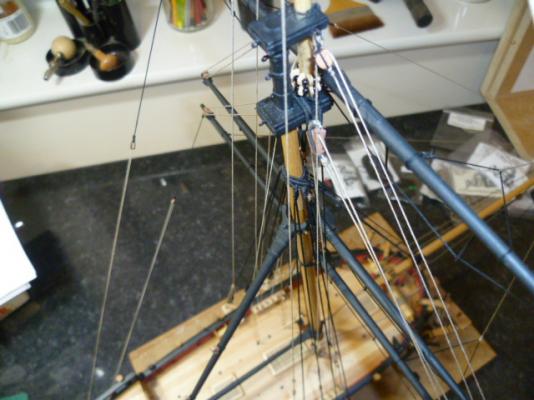
hi robert youre not the only one!! spreading yard ,crossjack yard,topsail yard and topgallant.the first three all have lifts halliards and braces etc makes for a busy little ship and i havnt started the booms with all there tackles yet.getting to the end now cant wait to transfer over to my triton cross section. cheers....mick
-
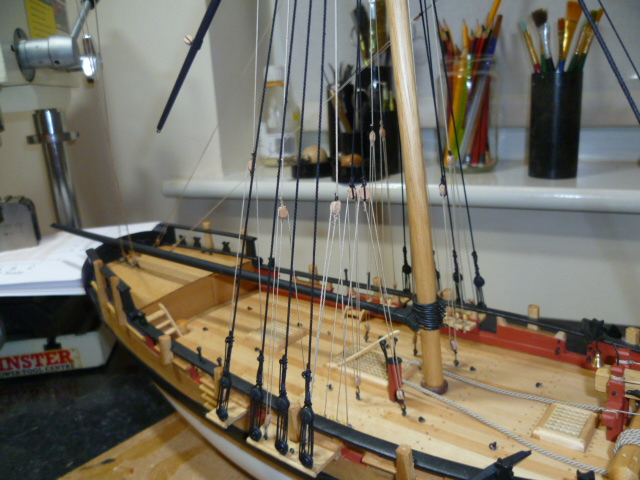
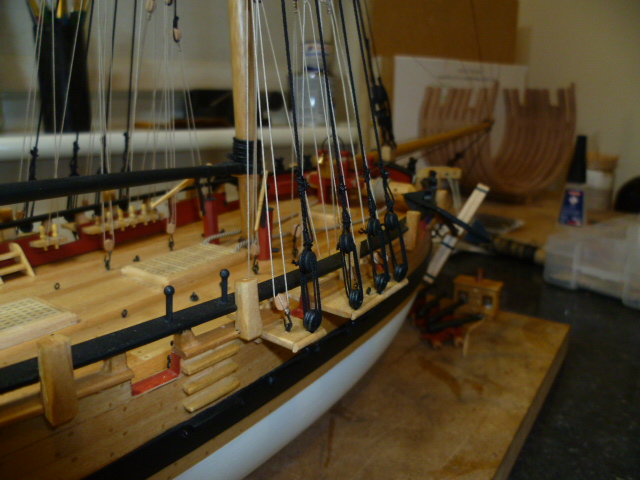
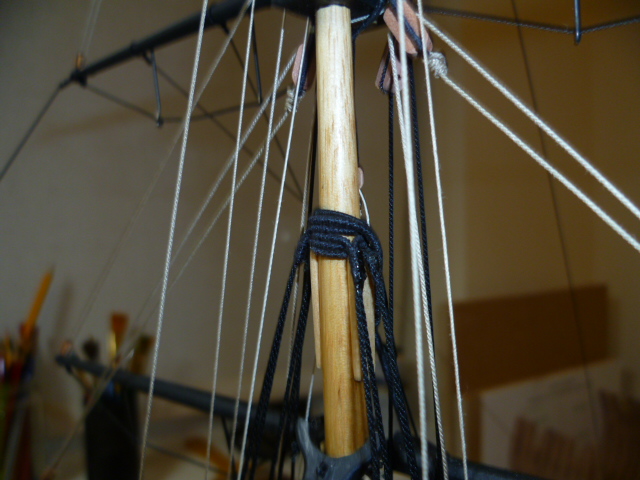
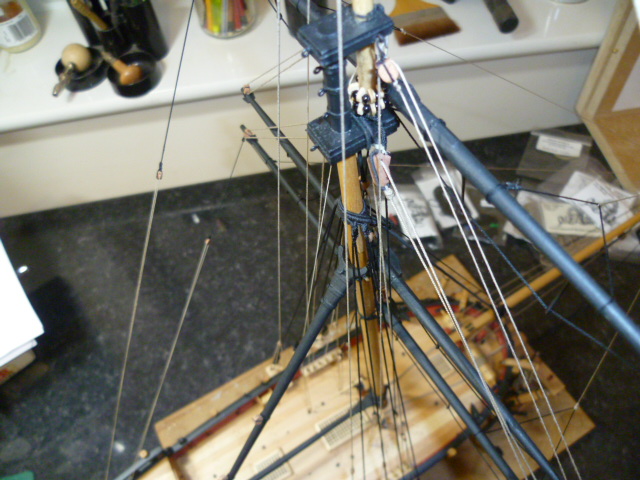
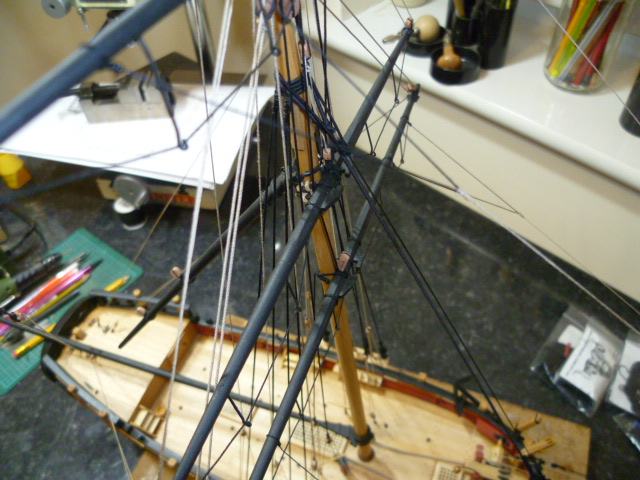
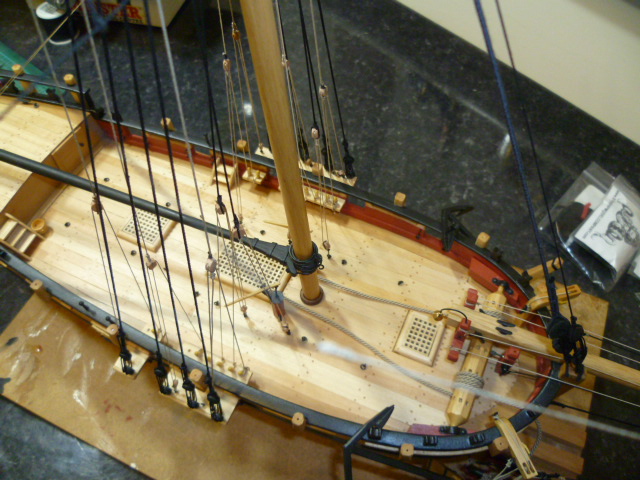
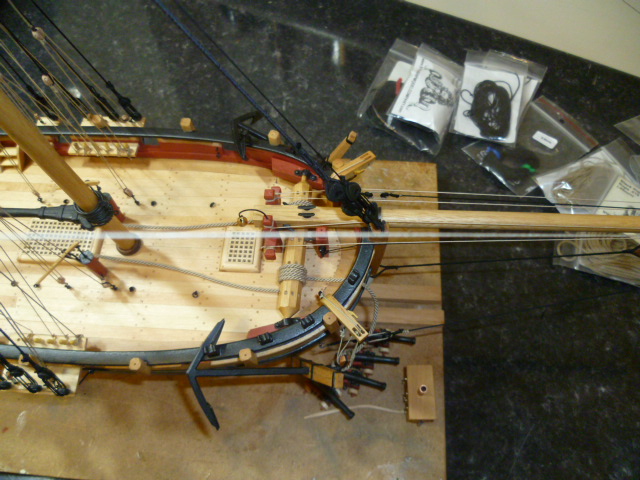
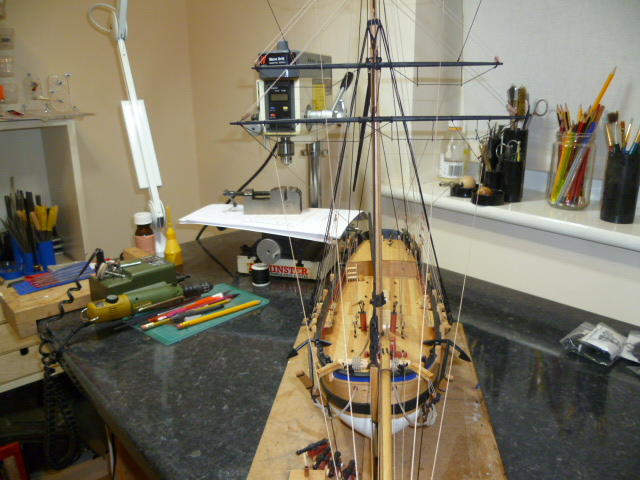
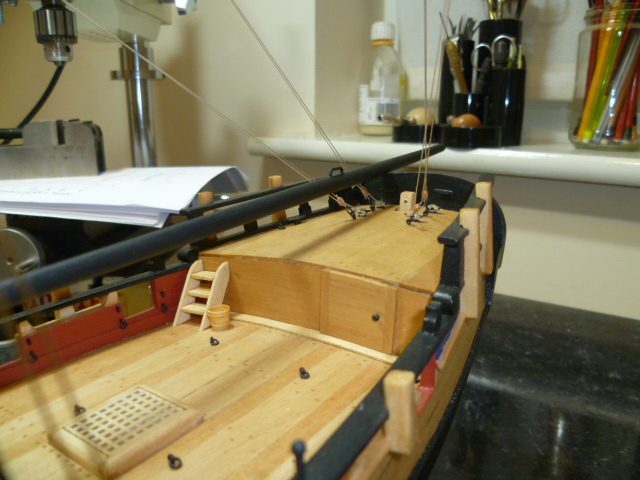
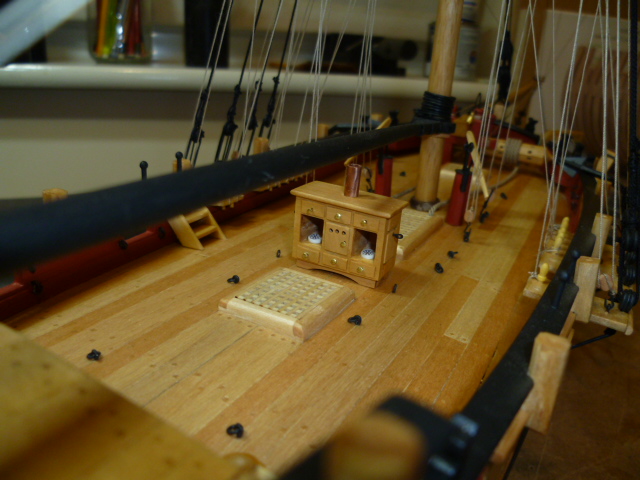
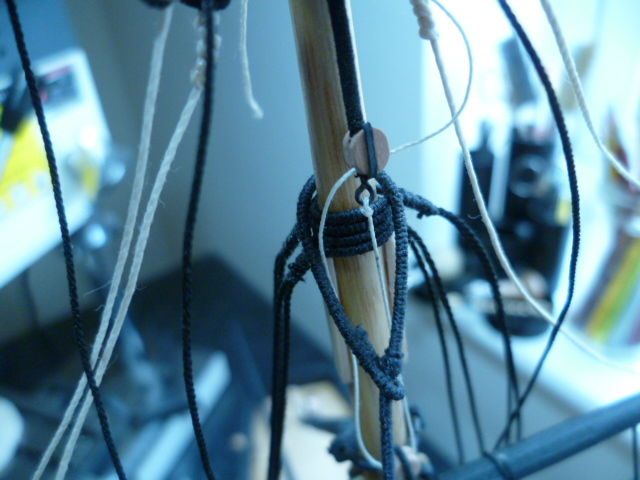
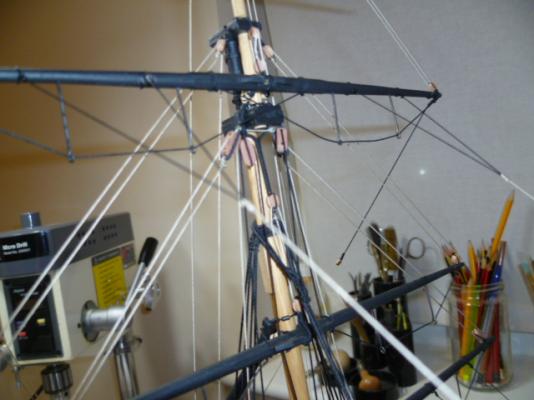
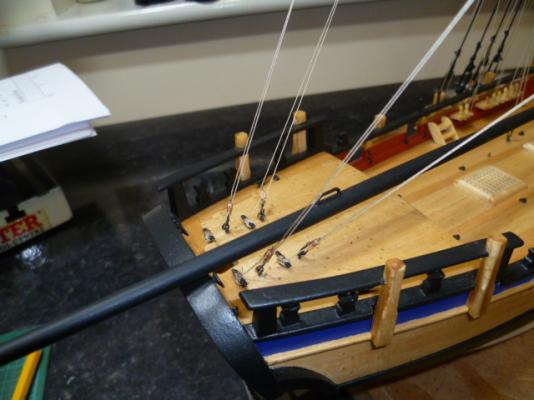
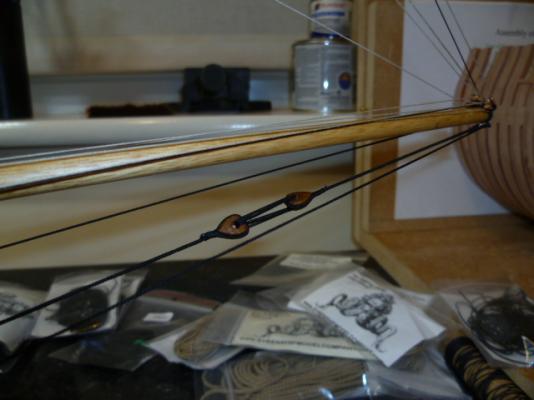
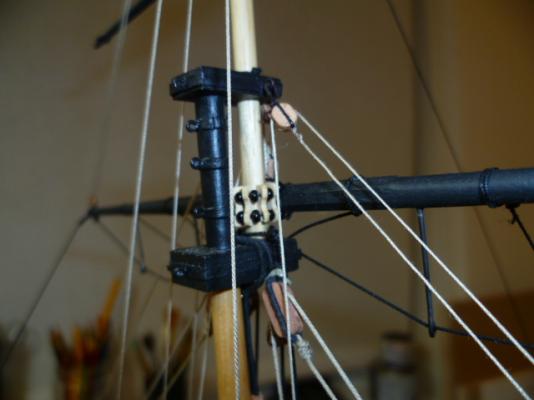
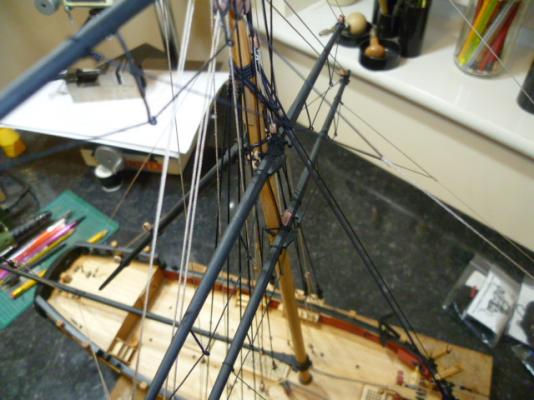
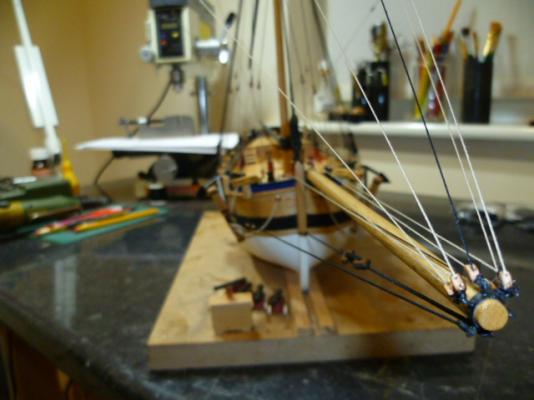
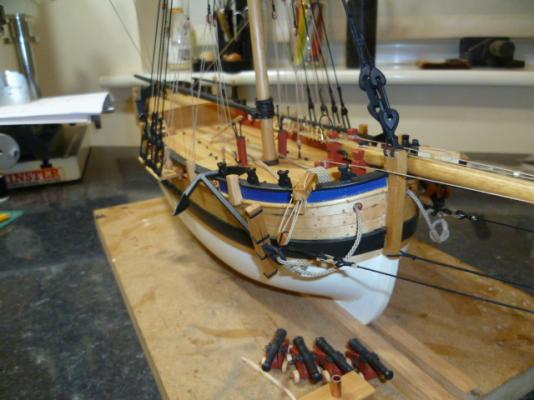
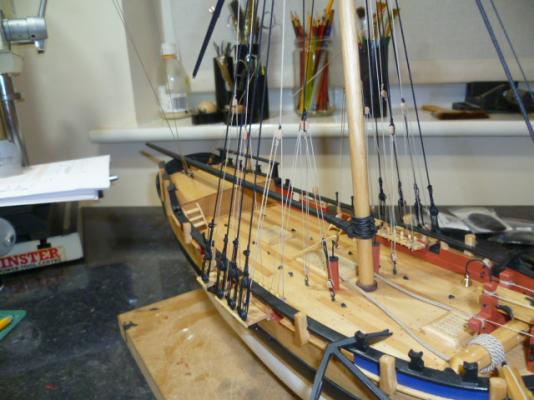
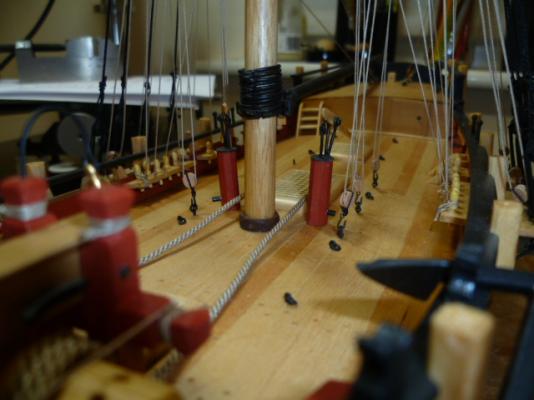
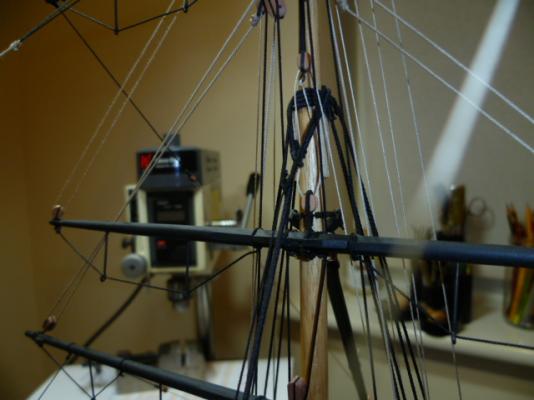
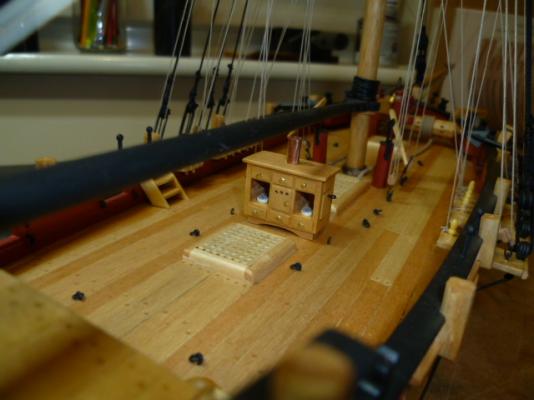
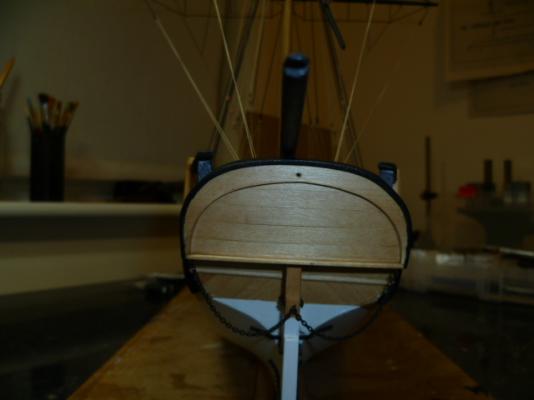
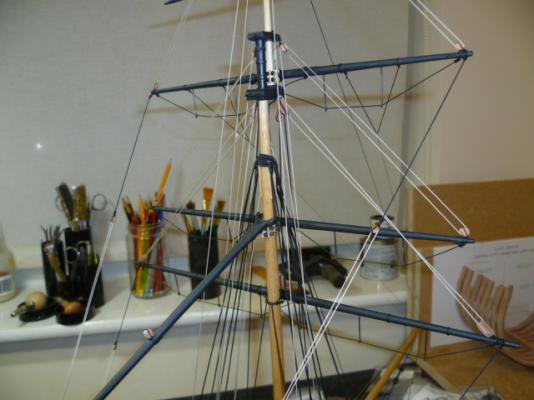
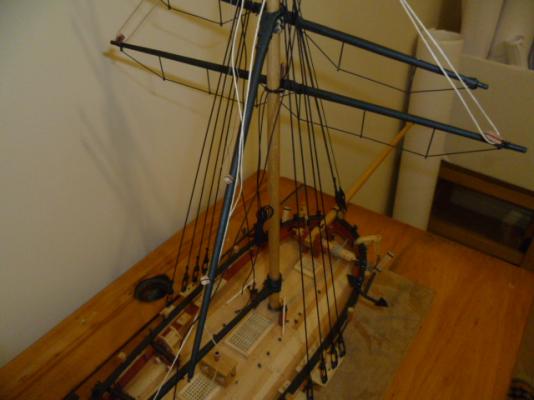
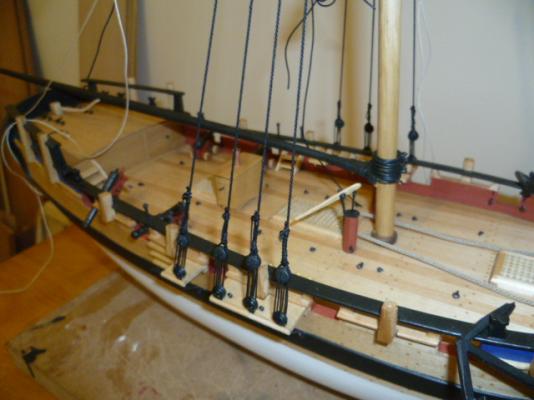
hi all some progress has been made with the rigging.just got the boom and driver to rig,ratlines( left these almost till last),cannons to rig , falconets to install and a few other bits and pieces.final item will be one of chucks lanterns for the transom. upto date photos enclosed. cheers.....mick


- 83 replies
-
- 6
-
-
- sloop of war
- sloop
- (and 1 more)
-
Hi all Today mick is a very happy bunny!!!!!! The Byrne's saw was delivered this morning!!! And what a cracking bit of kit it is too! Top marks to Jim and Donna. Time to make some sawdust this afternoon! Almost a shame to get it dusty. Too anybody humming and arring about getting one......DONT!!!! Despite the added costs of importing to the UK its well worth it, far superior machine to anything we can buy in Europe. Now too save some more pennies for some extras and the next machine. Cheers.....mick
-
Hi Steve Thanks for the interest. Been drooling over Jim's tools for a while now. Just sold three horse drawn carriage models in order to help finance the purchase. Expensive game to import to dear old blighty....$195 in shipping and then another $120 in fees for her Majesty's customs and excise. OUCH!!!!! but if you want the best you have to be prepared to pay for it....should last a lifetime though. Now to start saving somemore pennies for a thickness sander!!! I must admit I tend to do everything else by hand myself,I don't have a scroll saw so use a jewelers saw for cutting out the frames,various planes for thicknessing timber and the inevitable sandpaper! Thanks for the interest in my humble offerings.....more soon. Cheers.....mick
-
Hi Yuri Thanks for the info.just having some of the larger plans printed up in preparation. Will have to finish the cross section and finish rigging the slloop model before I can start on the full build. I shall be following your build closely !!!! Keep up the good work Cheers....mick
-
Hi mark Thanks for the answer. Yes you did interpret it correctly.having never used this arrangement before I was just wondering whether this former(?) Was of a criticalthickness .if not I shall probably use ply or MDF 9 to 12 mm thick.thanks for taking the time to answer. Cheers mick
-
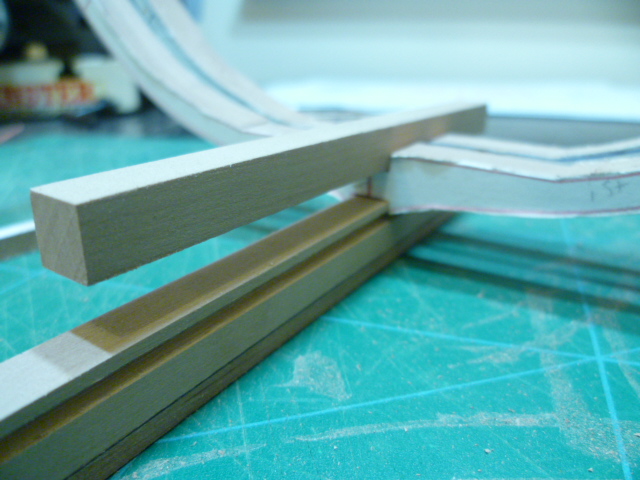
Hi Yuri Been following your build. Great work so far.can youanswer a question if possible with regards to setting up the building board and especially the second higher part of the jig. Is the thickness of the higher part critical? It looks like you've made yours from 1/2 inch ply? I then presume the spacer blocks have to be reduced by this amount to bring this second part of the jig to the correct height?currently building the cross section but will be moving to the full build afterwards in 1/48 scale. Looking forward to the rest of your build Cheers...mick
-
Hi all Good news is that my Byrne's saw is on its way!I can start cutting some planking for the cross section. I've also downloaded some of the PDFs for the triton full build. I think the dark side comment! I'm going to have to change my name to Darth yamster! I do however have a question about the building board. I've had the frame jig printed out, I presume we use this on the baseboard to line up the keel and the square frames, also the cant frames. The spacer strip controls the distance of the second guide? For the frames. Is there a recommended thickness for this second jig? I would appreciate if anybody can help Cheers....mick
-
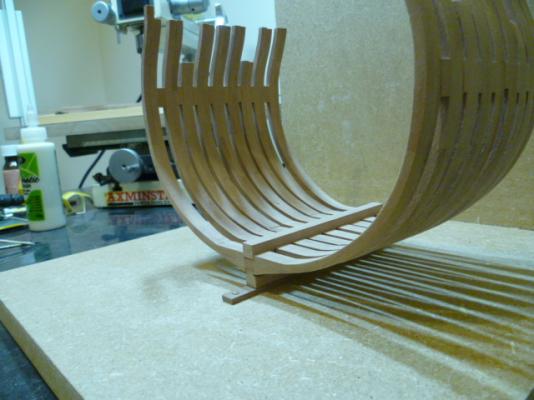
Hi Pete Yep frames are up. Couldn't resist doing some sanding...four hours later!!! Started with some 80 grit will now work down to some finer grits as the basic shape has been achieved.just got to wait for my new brynes saw to turn up and I can then start to cut some planking. I've always been somewhat daunted by this method of building so thanks to everybody involved in designing the project and drawing up the plans, makes life easier for my part. Looking forward to the rest of the build. Cheers...mick
-
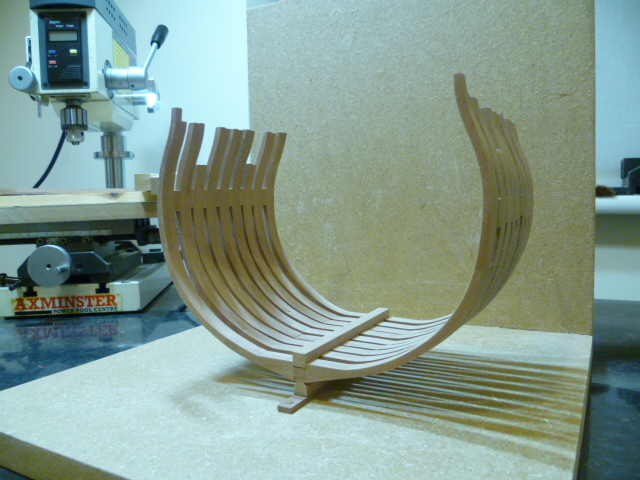
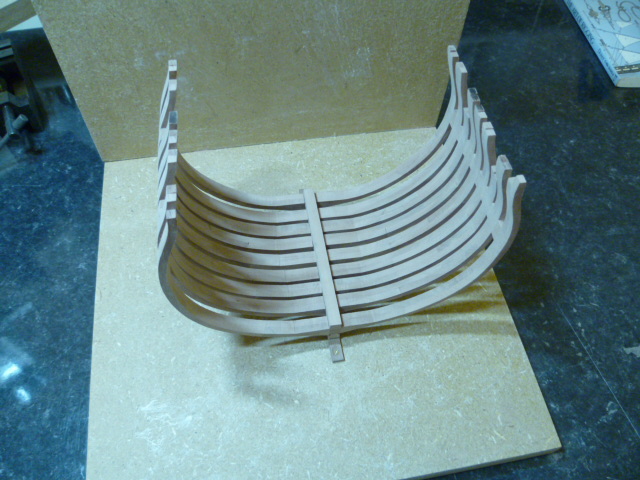
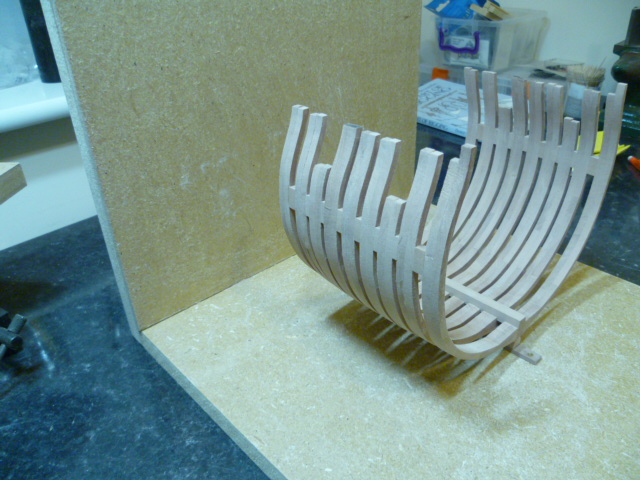
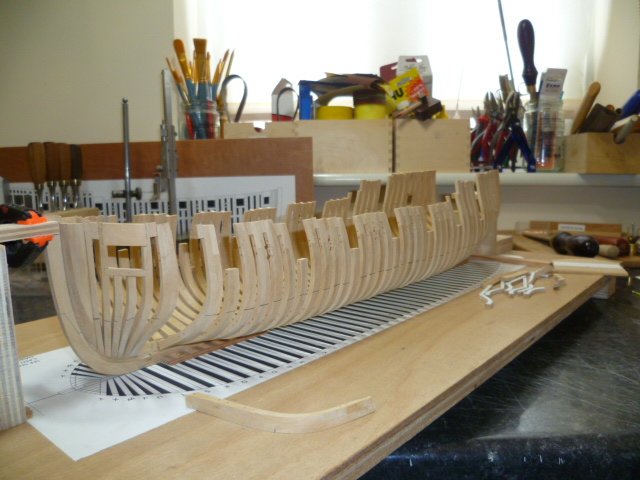
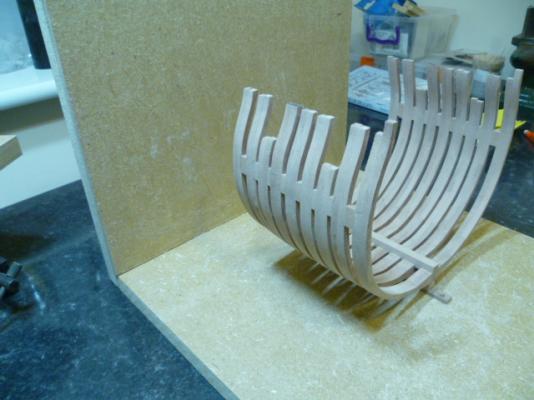
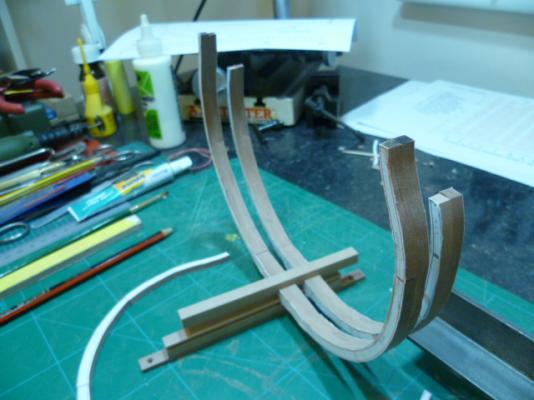
hi all just a quick update.frames are now done and raised on the keel.ive used some fillers to brace the frames. these will be covered by the planking at a later date.the one thing i forgot to do was take some photos of the frames in the jig. i didnt make anything special as far as the jig was concerned just asimple right angle arrangement with frame c as a reference point.all frames aligned with frame c and braced and glued one at a time. all held together with a heath robinson contraption of clamps and elastic bands. this will probably be the last post for a couple of weeks or so as im waiting for my new brynes saw to arrive.exciting!!! i will need this to cut the planking and decking accurately. cheers....mick


-
Jim Byrnes Model Machines
yamsterman replied to Mahuna's topic in Modeling tools and Workshop Equipment
Thanks Richard I will have a look at the hobbymill site. The gift was fro m me to me!!! Being a singleton I don't have to get the admirals permission. Looking forward to cutting some wood!!! Already brought Jim's draw plate some time ago. Will be saving some pennies for his thicknesses at some point. Cheers.....mick -
Jim Byrnes Model Machines
yamsterman replied to Mahuna's topic in Modeling tools and Workshop Equipment
Hi all Just ordered my table saw from Jim and Donna.belated birthday present to me!!! Any advice on initial set up would be greatly appreciated. Should arrive in dear old blighty in the next week or so. Can't wait....better than Christmas!!! I would love Jim to market an oscilating spindle sander.standard commercial stuff is too big and noisy. Cheers...mick -
Hi Daniel Thanks for the advice. I think there should be enough meat for the fairing.we shall see . if not looks like I will be makingsome new frames!! This is a learning curve so well see how we go! Cheers.....mick
-
Hi joss Yes I will be making a jig,but wanted to get the frames done first.I think itwill be a requirement in order to ensure squareness to the keel and to achieve symmetry about the vertical axis. Cheers.....mick
-
Thanks mark Saw cuts are about 1/32inch outside the line ish.should be enough for fairing. Acid test will be when all the frames are up and I start sanding!!! Cheers....mick
-
hi all today is a day of firsts.the first frames have been made. yipee!!!!!! bit rough at the moment but we will sort the fiddly stuff out once all the frames are made. more frames tomorrow. cheers....mick


-
Thanks Donny Gotta luv this hobby! Never stop learning and great guys and gals on this forum with a wealth of knowledge and experience which they are only too willing to share. Cheers....mick
- 83 replies
-
- 1
-
-
- sloop of war
- sloop
- (and 1 more)
-
Thanks Pete She's getting there!quite pleased for a first attemptat scratch building. Cheers....mick
- 83 replies
-
- 1
-
-
- sloop of war
- sloop
- (and 1 more)
-
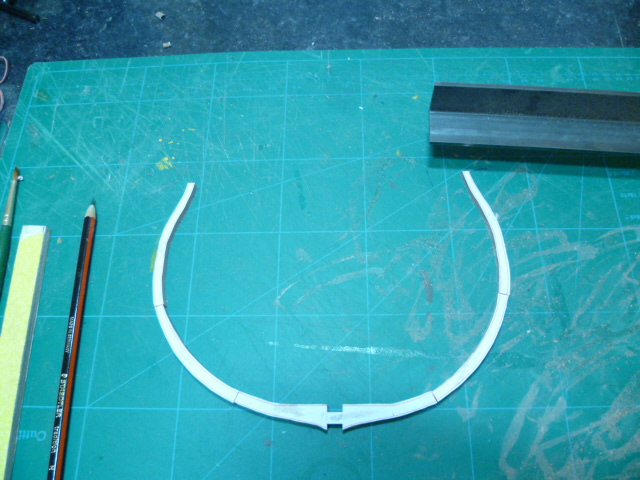
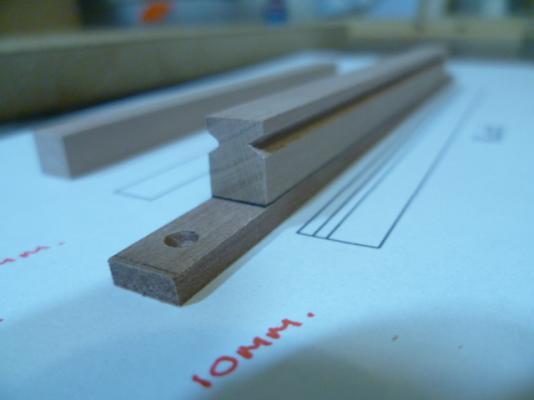
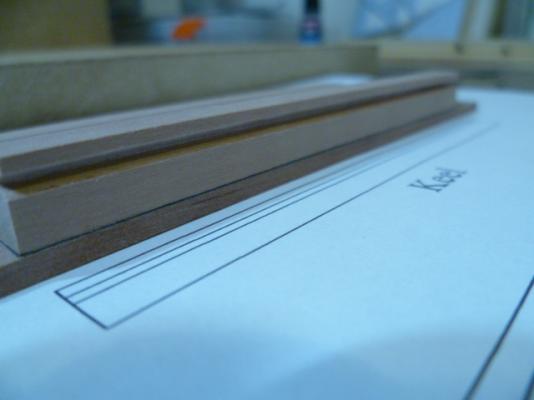
Hi Pete Used the same technique as I did for the boxwood keel. I have a miniature version of a carpenters cutting gauge.use this to delineate the upper and lower edges of the rebate.these lines then act as a groove for the point of a 1\2inch butt chisel and I carefully remove the waste in a roughly triangular section. I then turn the cutting iron to act as a scrapper or scratch stock. The profile of the blade is not quite correct but it will establish a uniform depth,via the drawings. The groove is then finished of with a triangular file.seems to have worked both times!!! Cheers....mick
-
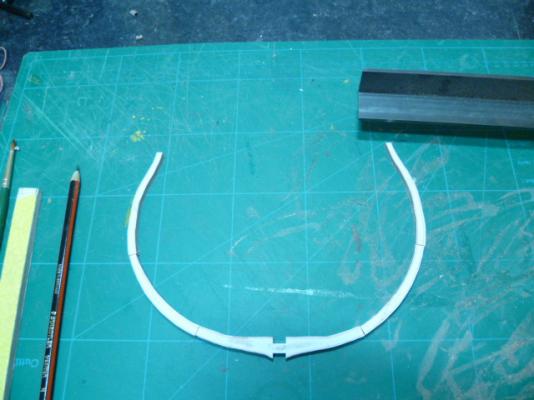
hi all photos of keel assembly now reworked in pear.will start making frames tomorrow. cheers....mick

-
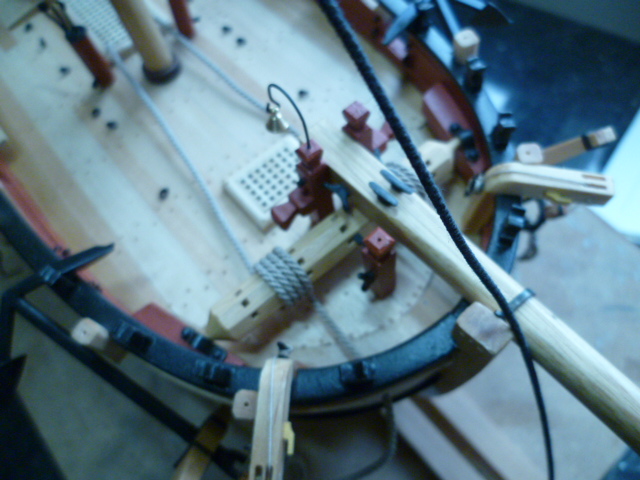
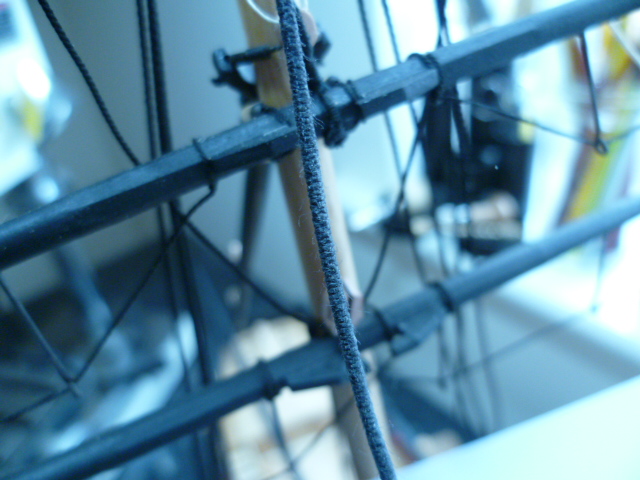
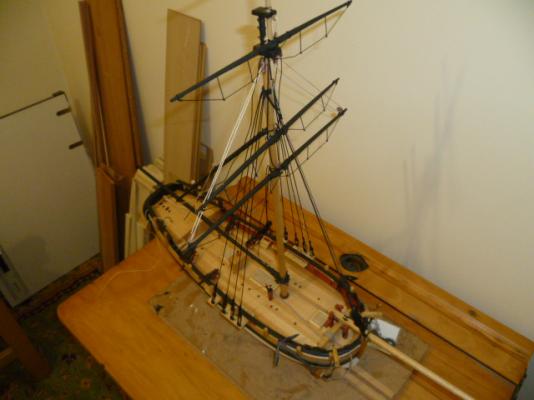
hi all recent photos of rigging under way.on hold for the moment run out of rope! need to order some more from chuck. cheers.....mick


- 83 replies
-
- 12
-
-
- sloop of war
- sloop
- (and 1 more)