DaveBaxt
-
Posts
1,324 -
Joined
-
Last visited
Content Type
Profiles
Forums
Gallery
Events
Everything posted by DaveBaxt
-
Alan I have only just seen this.For some reason I am not recieving notifications on of any updates, so I was just looking back to read again and noticed a lot of activity on this thread so thank you. I have just had a look at the spread sheet as I am trying to find the rope size for the crows feet but for some reason I am unable to find the start button. I have also downloaded the file but can,t find where it is on my chromebook. So back to the drawing board for me. I have tried adding the scale in 1 :64 but then nothing happens so I am clearly doing something wrong. Perhaps I need windows?
-
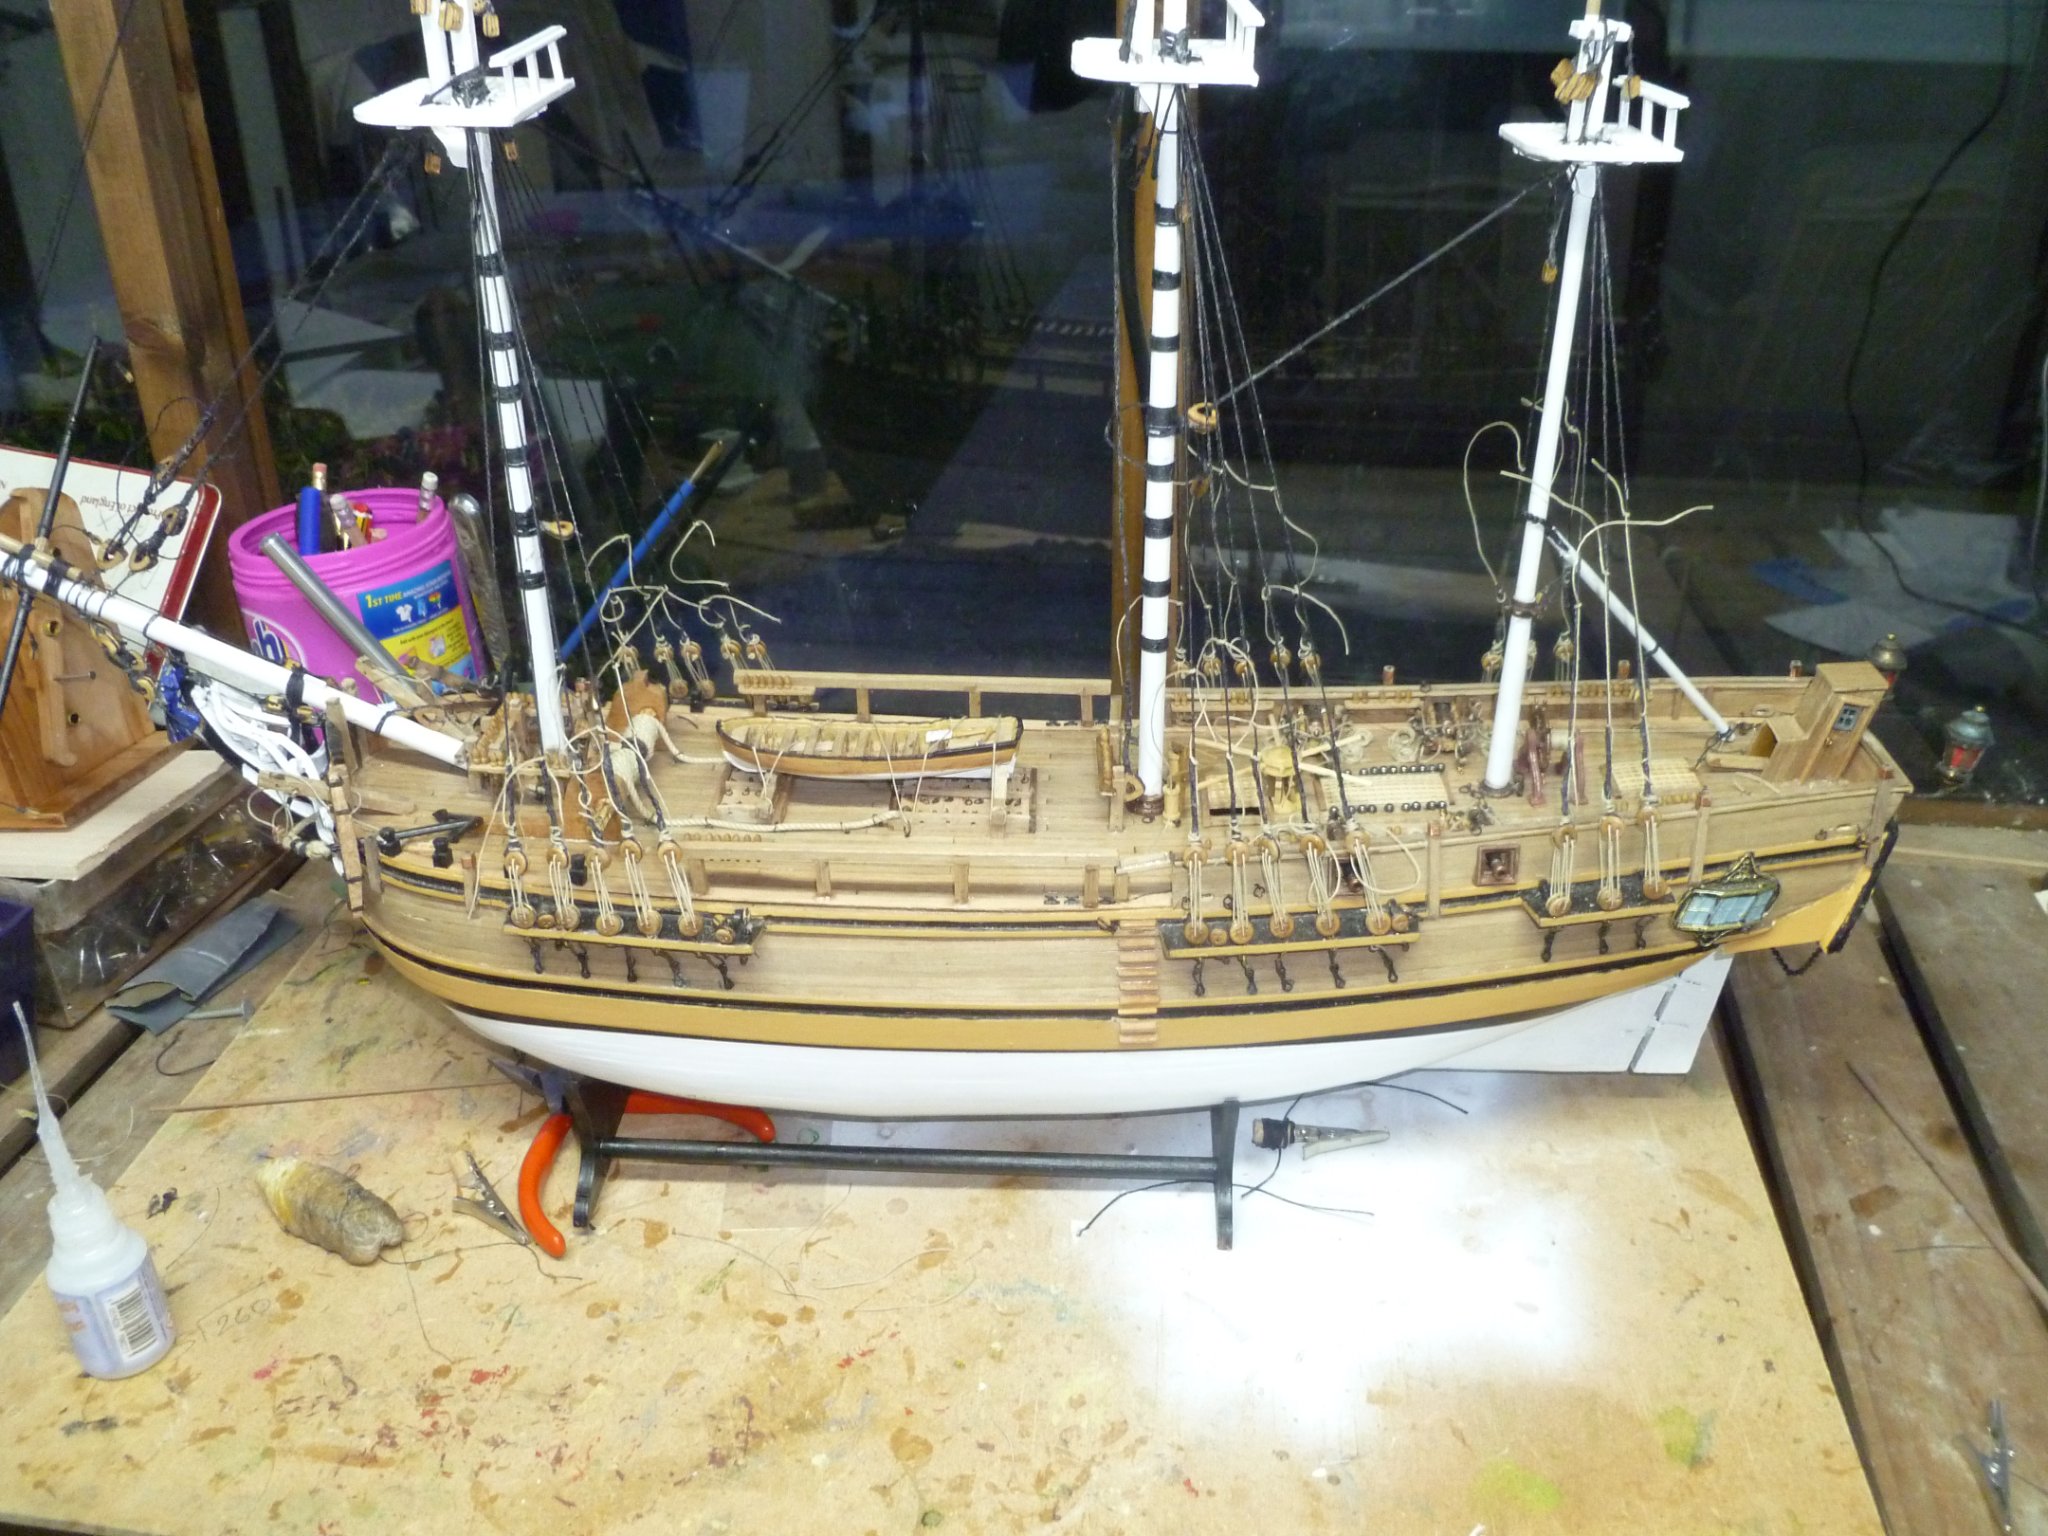
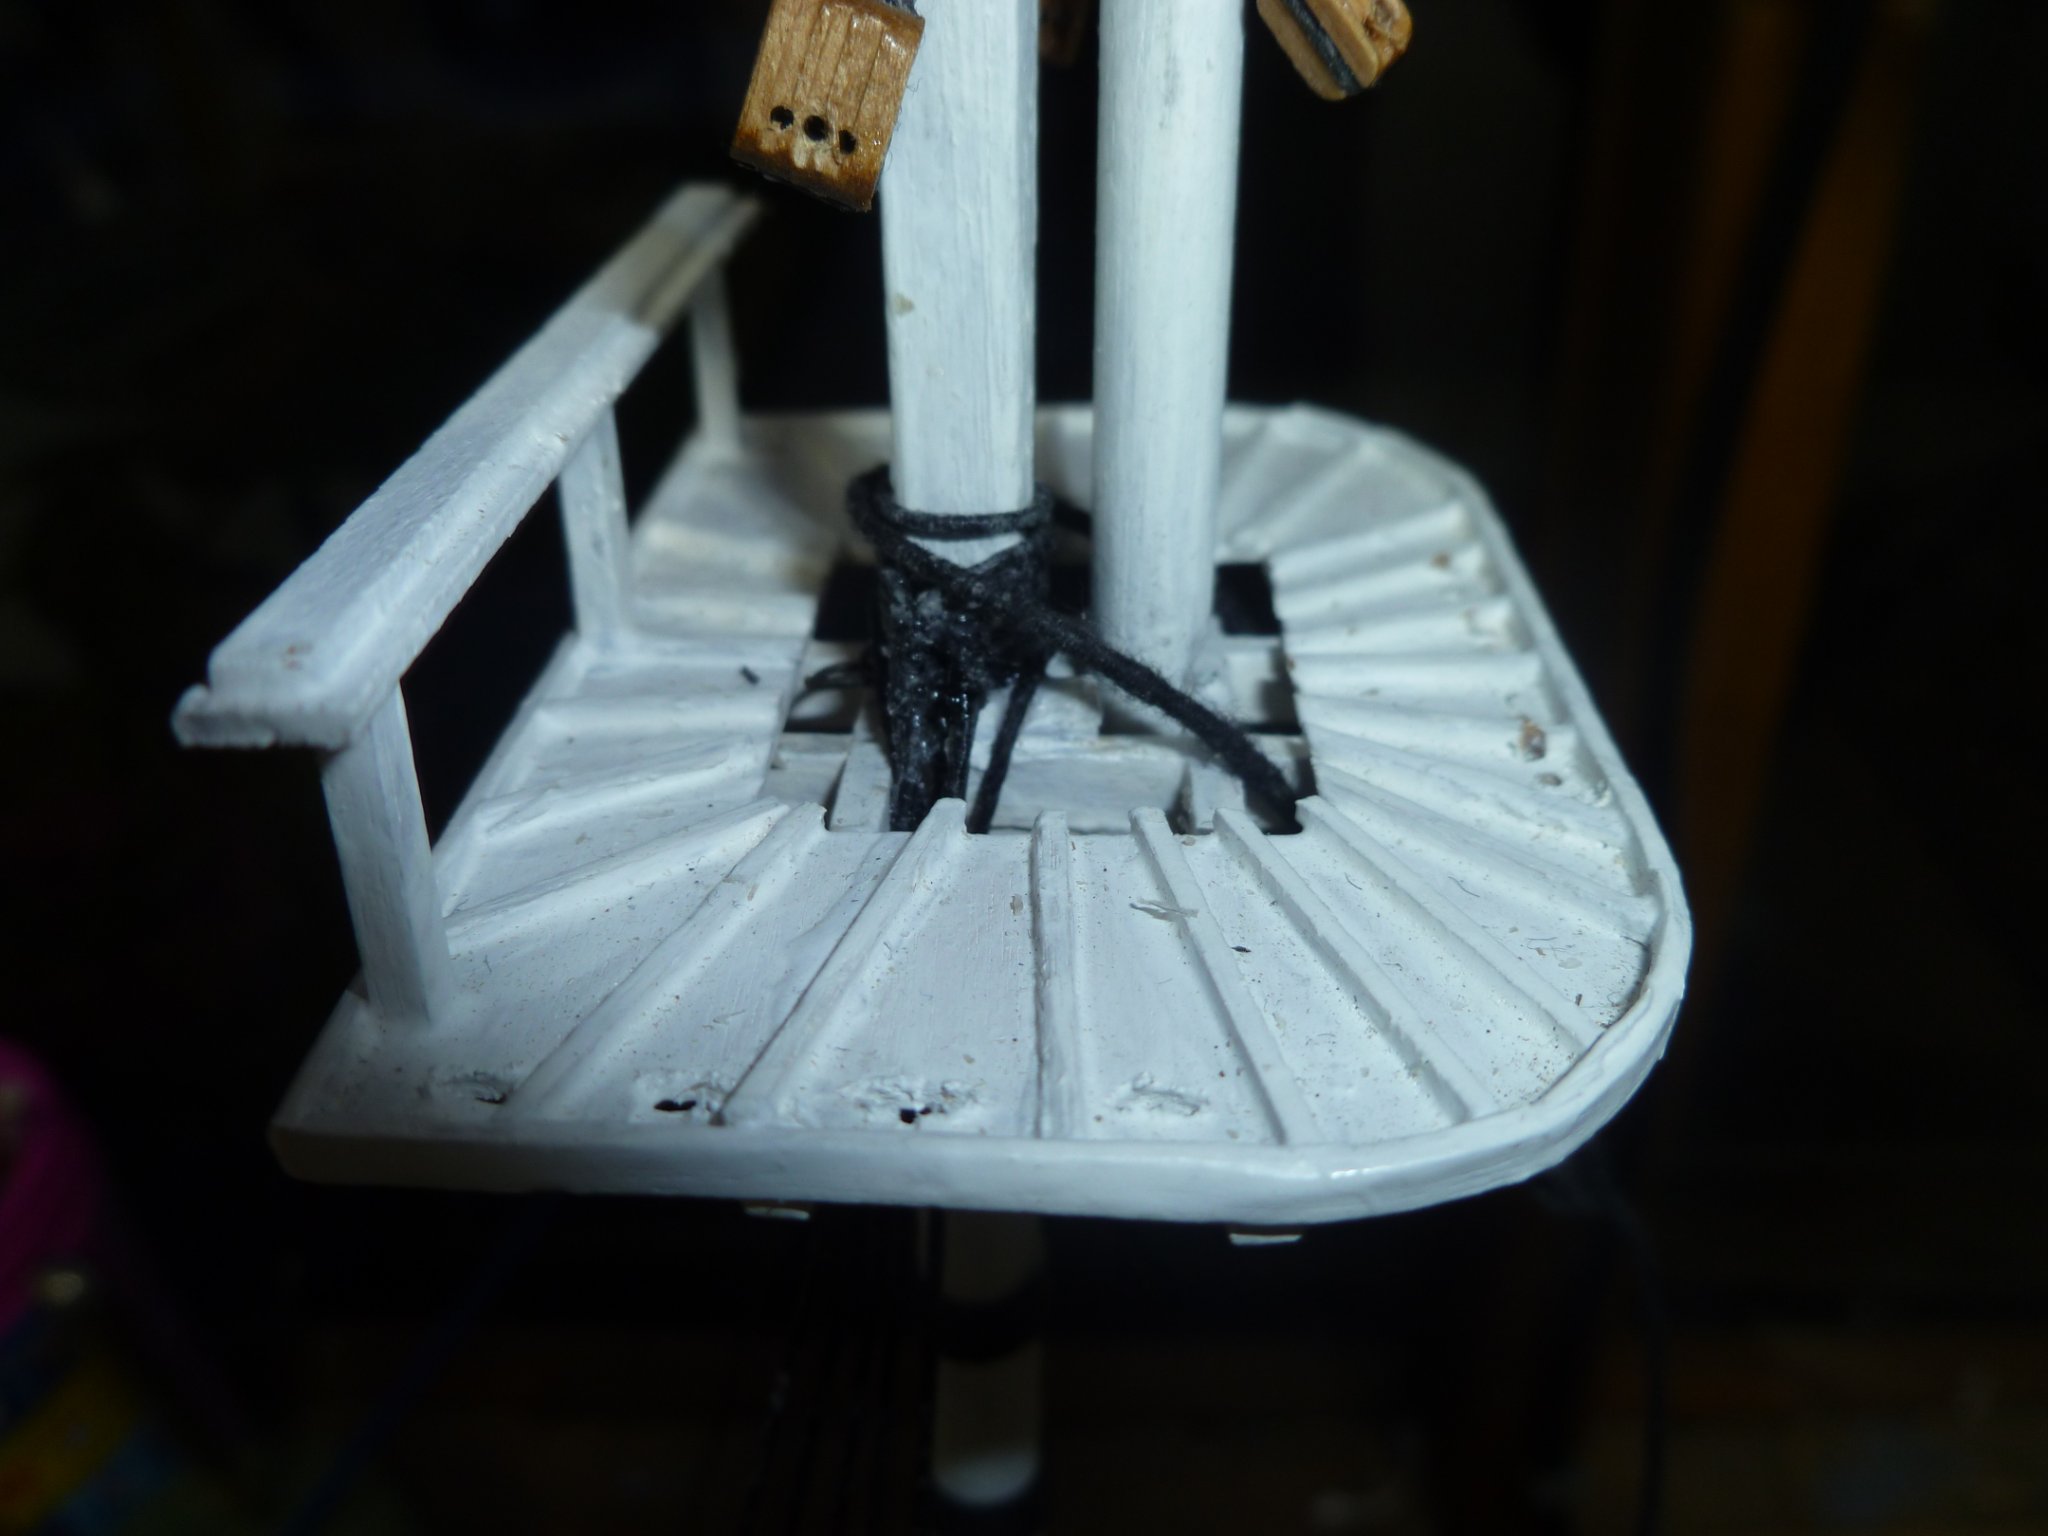
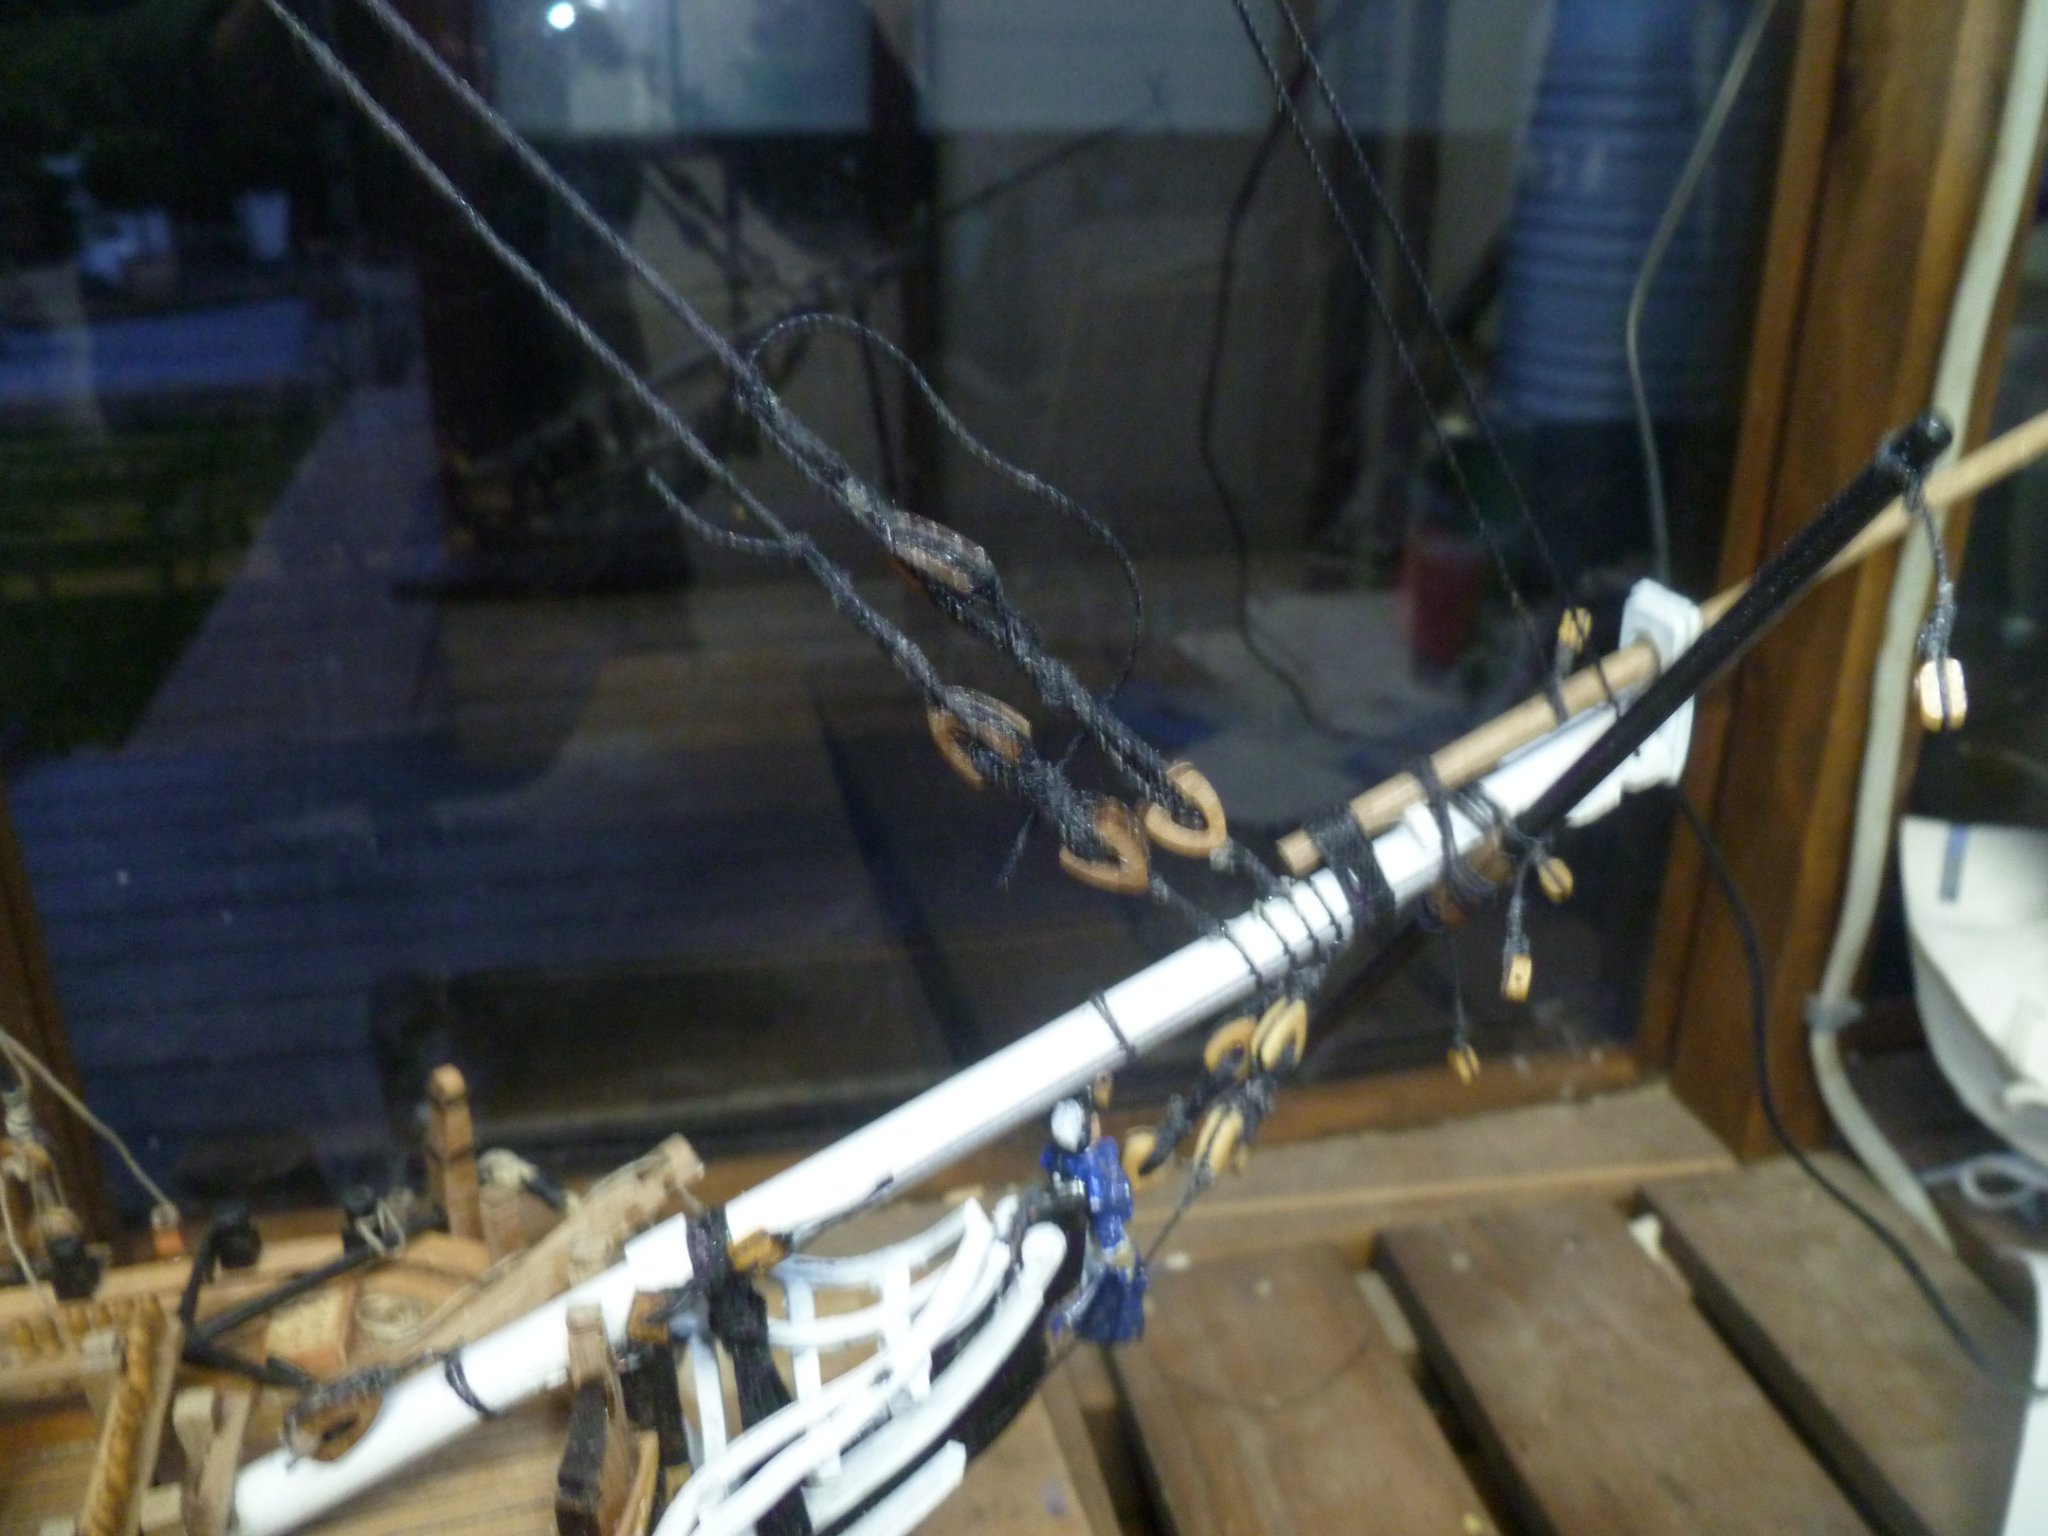
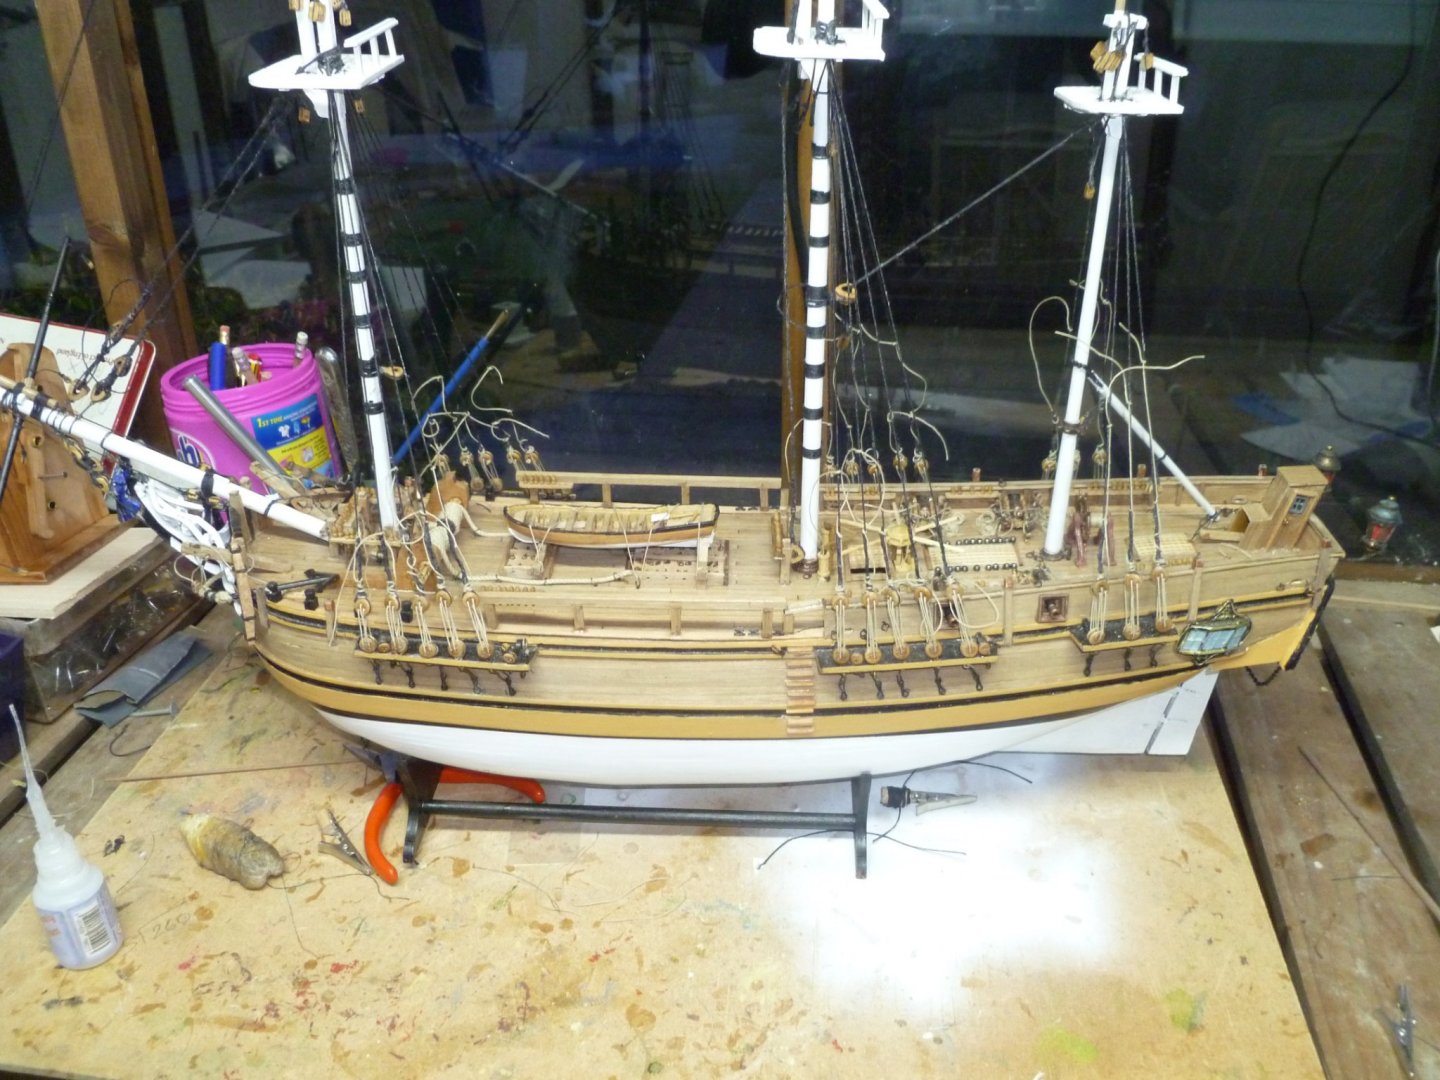
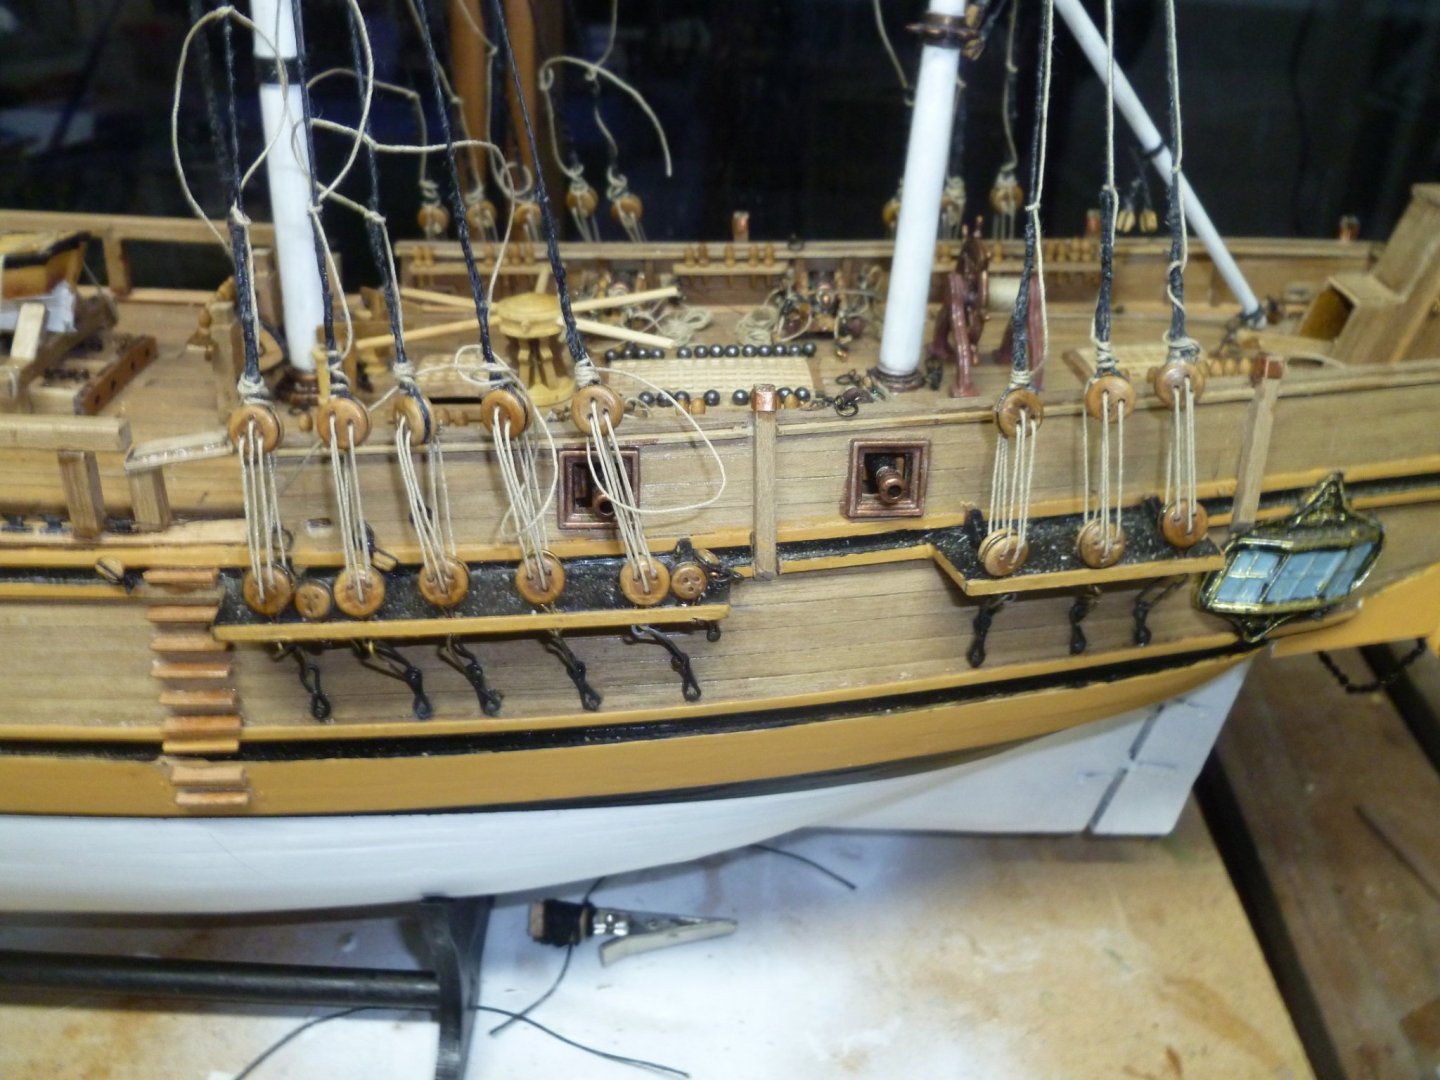
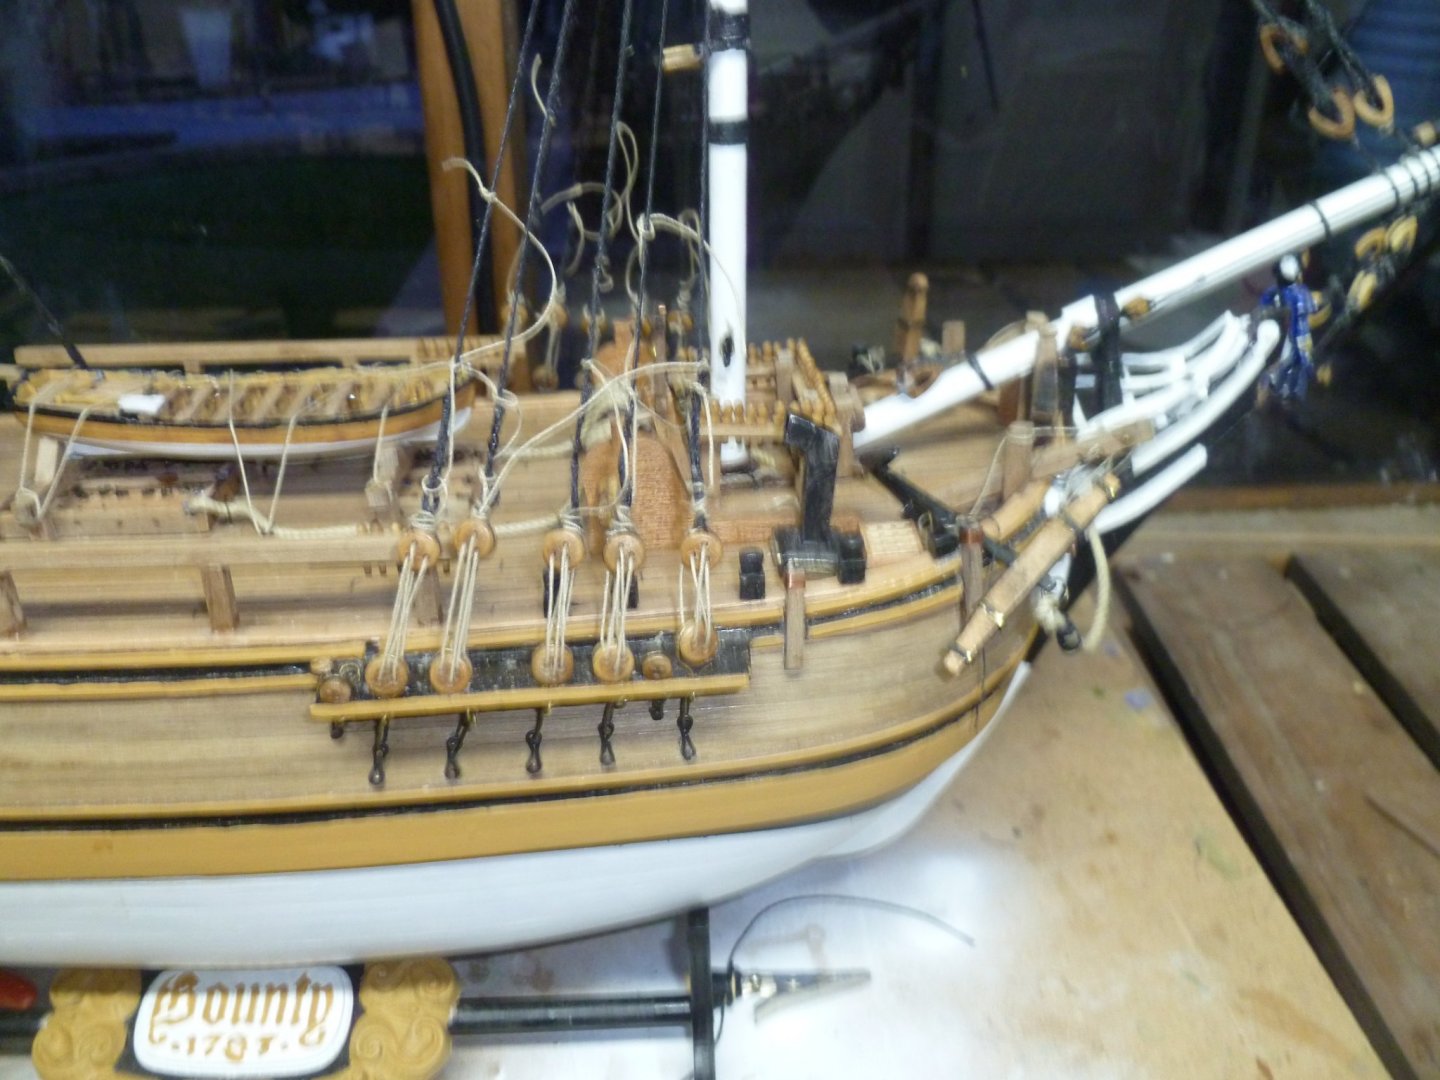
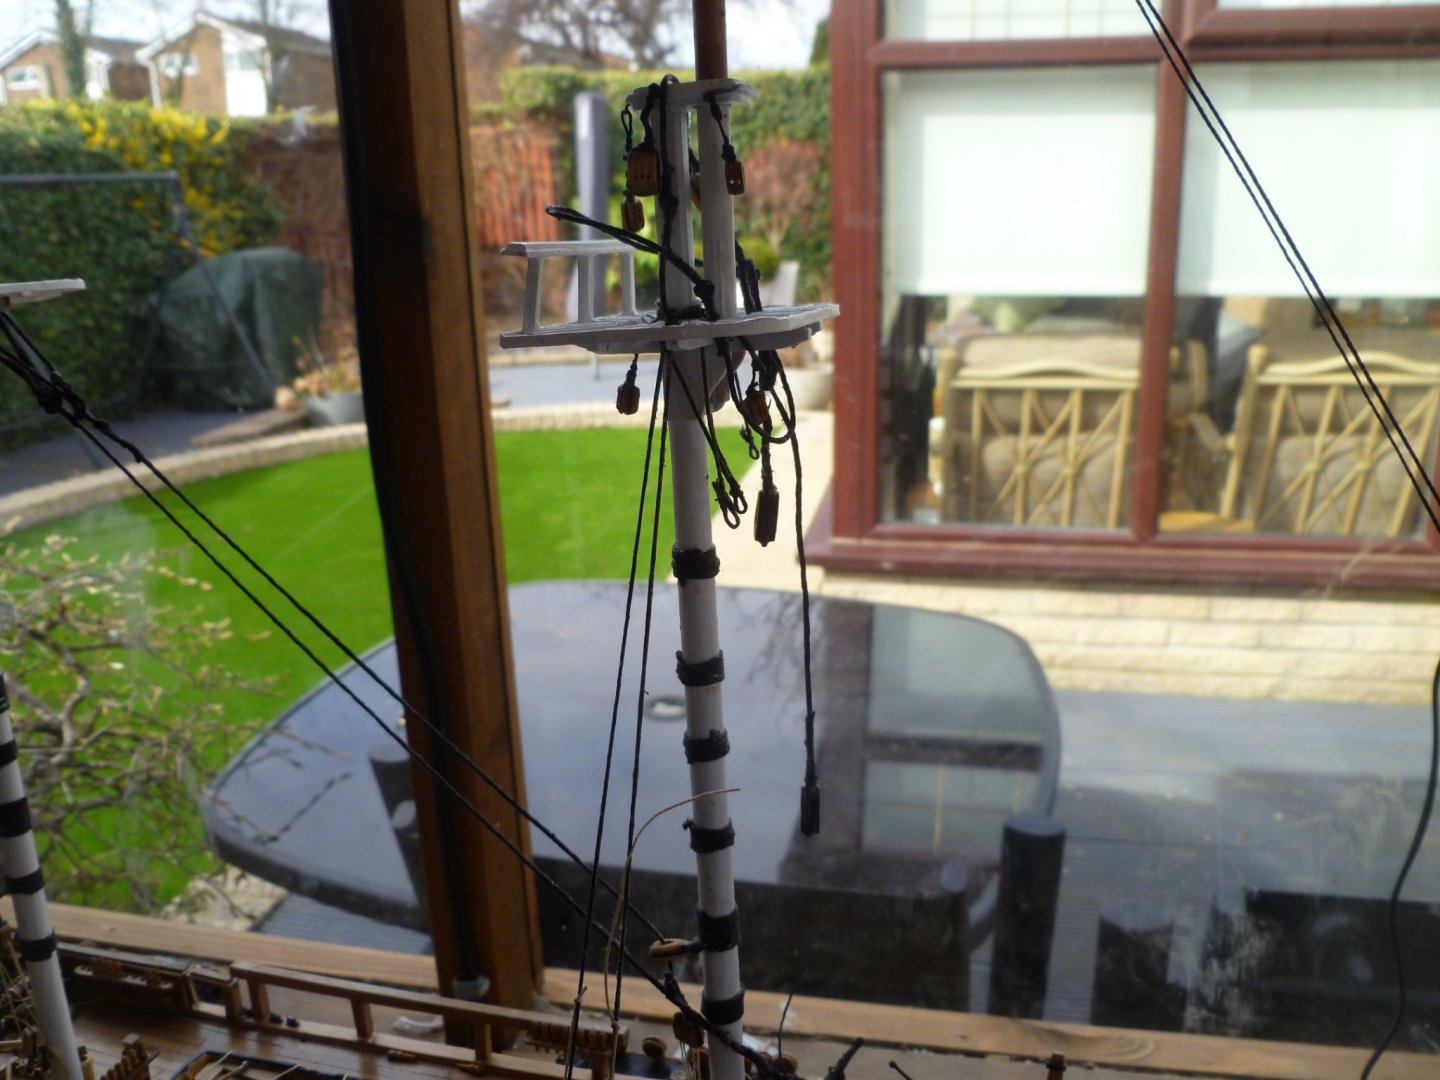
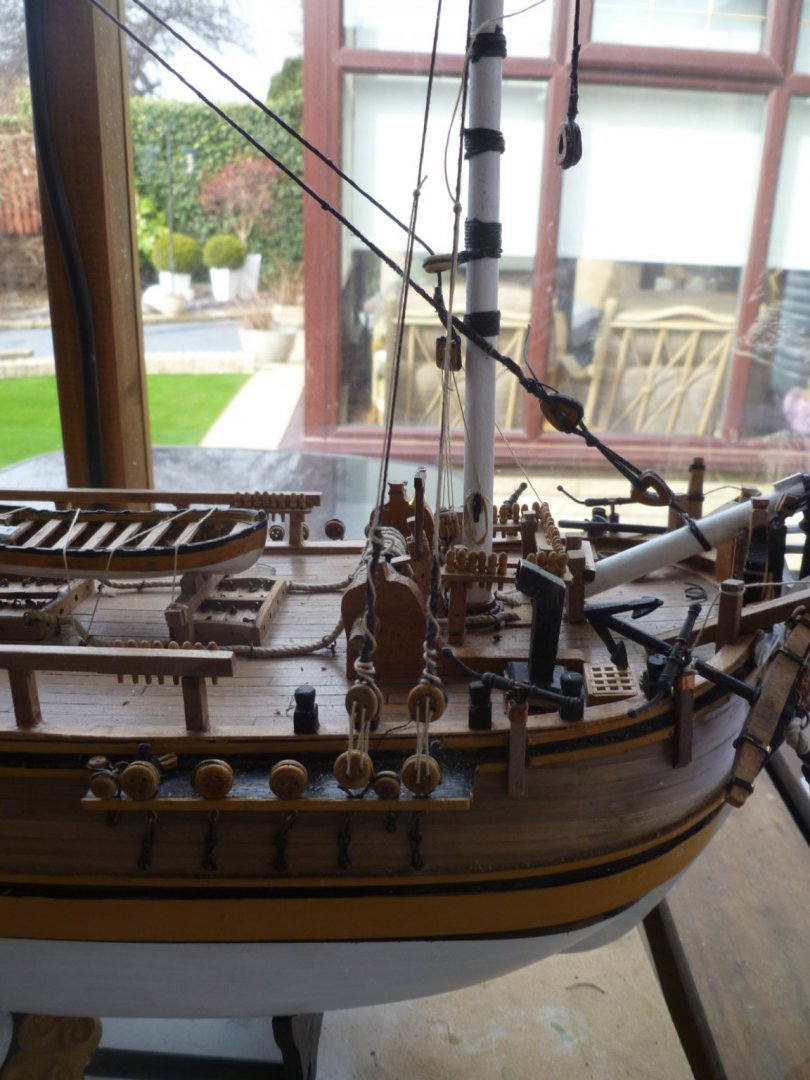
After many weeks and several attempts at the main shrouds this is my best attempt at what I thought would be a very enjoyable part of the build, however In terms of difficulty, it was up there with the securing the cannons. However I did discover what the main issue were and I am pleased that I have learned a valuable lesson . I definately should have taken more care when securing the lower pad eyes and perhaps I should have gone back and soldered the chain plates and upper link which surrounds the lower pad eye, One problem being, is. Every time I put any tension on the shrouds the gap in the upper link would come apart and although the distance between the upper and lower pad eyes were the same ( due to using a jig) the upper pad eyes were not in the same plane. I also had issues with trying different jigs most of which caused me other problems but eventually I made one which did a pretty good job and I was able to secure the upper pad eye with the correct siezing. here is a photo of the link I had problems with and of the different number of jigs I used and the final one which eventually was fine with. Also here is my final attempt at the lower shrouds . You can also see from the photos that I also have some of the Stays in place, I have since learned form the guys on this forum what the different sizes of the rigging rope is and not what is in the instructions indicate.So I have decided to do them again. I am definately learning as I am going along and although I am not at the stage of making my own ropes yet. I will make an attempt at roughly use the ropes somewhere near as what is available to purchase. At this stage the Lanyards will need a final adjustment once all the standing rigging is completed. I would once again like to take this opertunity to thank everyone who has helped me with all the questions I have asked on the MSW forums . Best regards Dave


-
Rigging sizes in relation to scale of model
DaveBaxt replied to HKC's topic in Masting, rigging and sails
I have only just found this which will be good enough for my means. Best regards and thank you for posting this information. Dave -
Thanks again Popeye for your advice and hopefully I can get the correct information on line somewhere but if not perhaps you could be kind enough to point me in the right direction. I have just put a search into this web site and came across your reply regarding a similar question asked by another modeler and you have given me the information I require .Again I would like to say thank you for helping me out with what is turning out to be a very complex hobby. The more I learn the more I realize what I don,t know, However I am finding it more and more rewarding and interesting too but also very challenging, at least it is for me. Best regards Dave
-
Yes this is very much the case with this forum. I have had a lot of help from a number of these people including yourself on a number of occations.Once again I thank you for your input.
-
Thank you Pop eye for taking the time to explain this to me. Your patience holds no bounds. Now that I know what a purchase is I get what you are saying regards the halyards. I also get what you are saying regarding the pendent and have already fitted a number of them to the masts and yards, although I wasn,t so critical regarding the correct thickness of rope then and just went thicker as I knew they pendents received all of the load. Now the book I am referring to 'Historic Ships models' by Mondfield is saying the Braces are 32 % and pendants are 23% of the main stay. This is for ships built during the eighteen century, this is why I am querying what pendants are. I know these differences are not great and as I am not making my own rope will just make do with the next size smaller or bigger, where am I going wrong?
-
Thank you for your reply and I am sorry if I was unclear . I appreciate your reference to the rigging but what I suppose I really wanted to know is , what is the purchase and pendant ,if not what I suggested, as these have different sizes as you have kindly stated. Also according to my source ( Historic ship models) the thickness of the Braces are thicker than the pendents ( 35% and 25% respectively) which does not make sense to me , thats why I am querying about pendents .Also the Tye is 50% and the purchase is 30% . The halyard is not mentioned. I assumed that the purchase is where the halyard is secured to the deck .Again if this is correct I cannot understand why the purchase would be smaller than the Tye. These percentages are of the main stay which is 100% .Best regards Dave
-
Just looking at the different rope sizes for running rigging and noticed several references to rope sizes for purchase and pendants. For example Main mast Tye and purchase and Braces and pendant. I am assuming that the purchase is for the halyard and the Brace pendant is the pendant block attached to the yard. I might be wrong but if my thinking is correct The pendant on the braces is larger than the lifts which seems a bit odd to me. I am just trying to work out what threads will be needed for the running rigging as the Kit only supplies three different sizes of natural thread. I now see why you guys make a lot of you own rope. Best regards Dave
-
I have just received my 1 mm black thread made by Caldercraft , together with some aluminium tubing. Sent by first class and it has taken a week to get here so not too bad! There are faster options which in the pas have been exceptional but a tad expensive, especially if you are only ordering a few things. I would imagine they have hada big increase in demand due to Covid 19 and the increase in the uptake of the hobby. No complaints from my end.
-
Yes. I noticed that too. I am still waiting for the black 1 mm thread from them which I ordered about a week ago. They are normally first class. No pun intended.
-
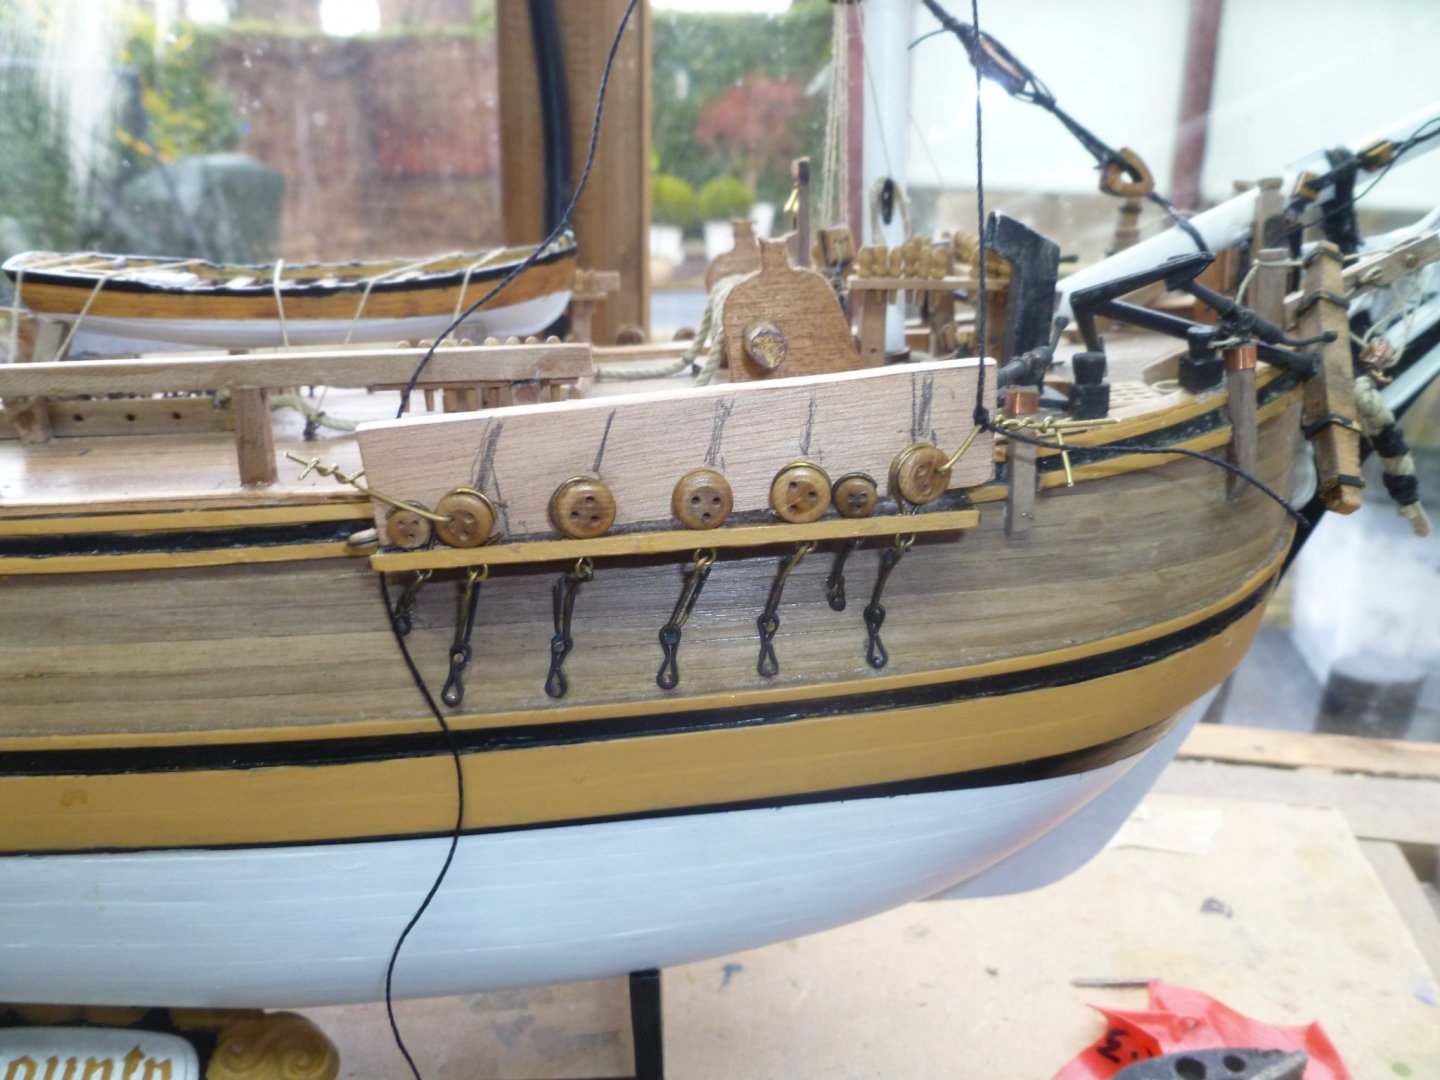
I have just noticed for some reason in the HMS Bount kit by Amati that there are no clips for the upper deadeyes supplied and states that there are 5 mm dead eys only. I have also noticed that one of our well known model shops supply spares for Amati and lucky for me they supply 5 mm clips for around the dead eye which looks exactly the same as the Caldercraft upper chain clip. together with hooks for the Futtock shrouds so I have ordered enough plus a few spare to complete my Bounty. I am not sure if I will be able to drill a hole fore the two prongs to fit so will have a go at soldering and see how I get on . Thanks once again for all your replies. Best regards Dave
-
Thanks again Roger. Sounds easy enough and definately something to think about . I still have the top and topgallant dead eyes to do, so I might try and find these pliers as I have come to a bit of a stand still as I have ran out of 1 mm black thread and I am sure I ordered extra. I have lots of black thread but no 1mm.
-
The Caldercraft Dead eyes sound to be much better thought out and hopefully my next model the Endeavour also by Caldercraft will have the same upper links as the one shown in the photo. Makes much more sense when you think about it. Once again I thank you for your input. Best regards dave
-
Thanks Kevin ?Best regards Dave
-
After posting a question on Masting and rigging to get a wider view of peoples ideas. I have now decided to redo the fore mast lower shrouds in the hope of better securing the lower dead eyes into the Channels. Next time I will definately consider soldering the upper link around the deadeye and perhaps consider having the gap lower down instead of actually around the dead eye and see if this makes a difference. What is strange is this is not happening on all of the dead eyes and requires further investigation. Oh well I need the practice in re doing all that nice serving again. Ha ha. I would like to mention a special thanks to all the people who answered my question regarding this issue. Best regards Dave
-
Kevin thanks again for your input. I have just been Just taking another look at the Caldercraft upper chain link. Are the two prongs that form the gap for soldering purposes or do they actually help to secure the chain plate to the channel in someway? I am concidering the Caldercraft Endeavour for my next model. If I ever finish this one. Only joking Haha. So it would be nice for future reference. Best regards Dvae
-
Roger,thank you for your input and what looks to be an excellent idea.Did you use an epoxy resin glue or could you get away with just using CA and did you have any difficulty finding the right kind of pliers or just about any would do.? Best regards Dave
-
No problems. I will keep you posted . Good luck with your Bounty
-
Just Had a double check regarding the deadeyes and noticed not all of them are giving me problems so I think further investigation may resolve this. I have desided to stip off the shrouds I have done and start again. I have some copper and solder which seem to work fine ( I made a jig using this and a standard electric soldering Iron so with a bit of practice I should be fine) I think I will remove the links which are giving me problems and see if there is any difference between them and another new one. Perhaps I am not fitting the dead eys properly. I did get better at it as I went along and perhaps these ones were the first of the ones I fitted. Thanks for the kind offer for the Caldercraft links but I could not accept due to being over the pond as it were. Once again I thank everyone for there kind help and hopefully I can continue now that I have a better understanding of what might be happening. Best regards Dave
-
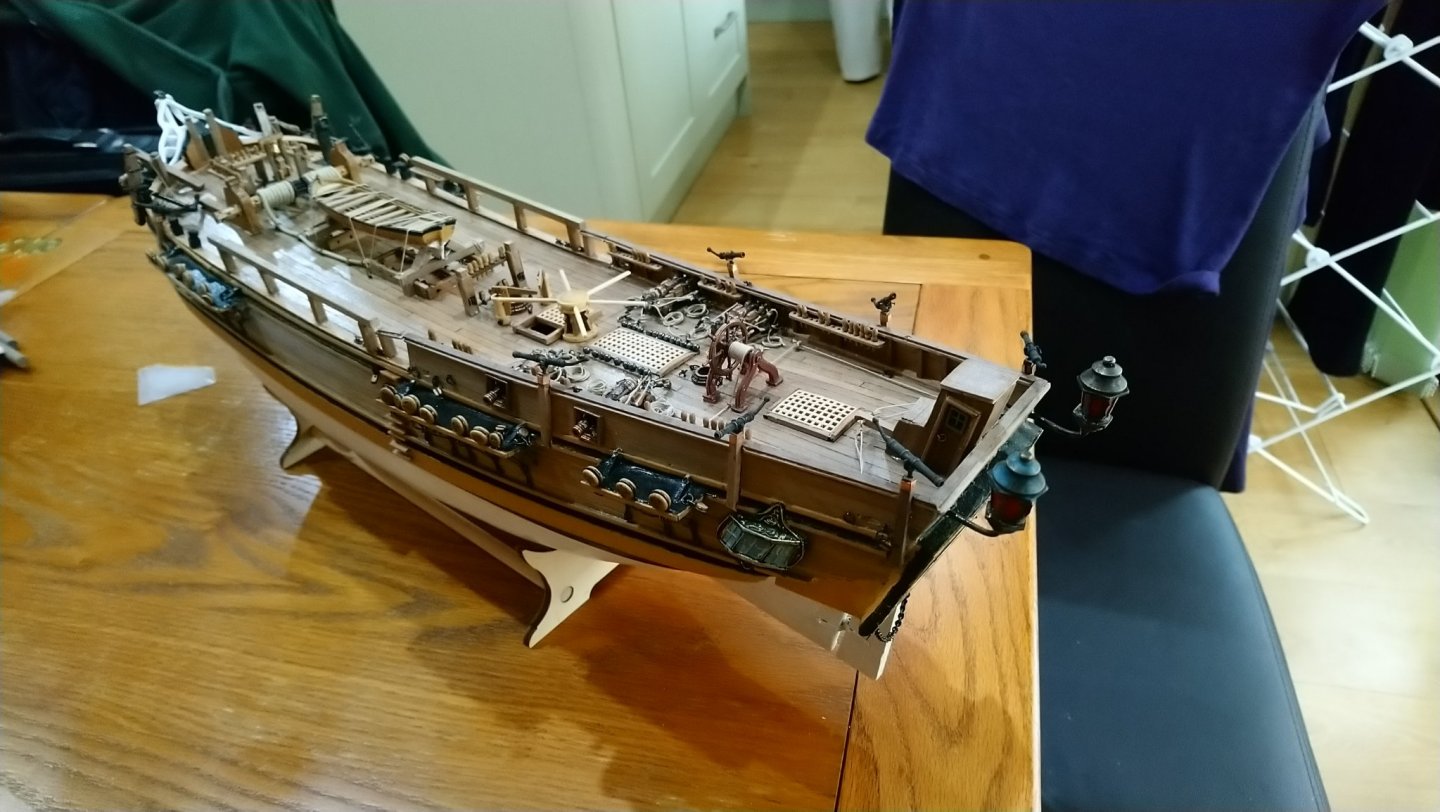
I agree that using the Caldercraft fittings is probably a better way to go. Thanks for the kind words regarding my Bounty. Best regards Dave
-
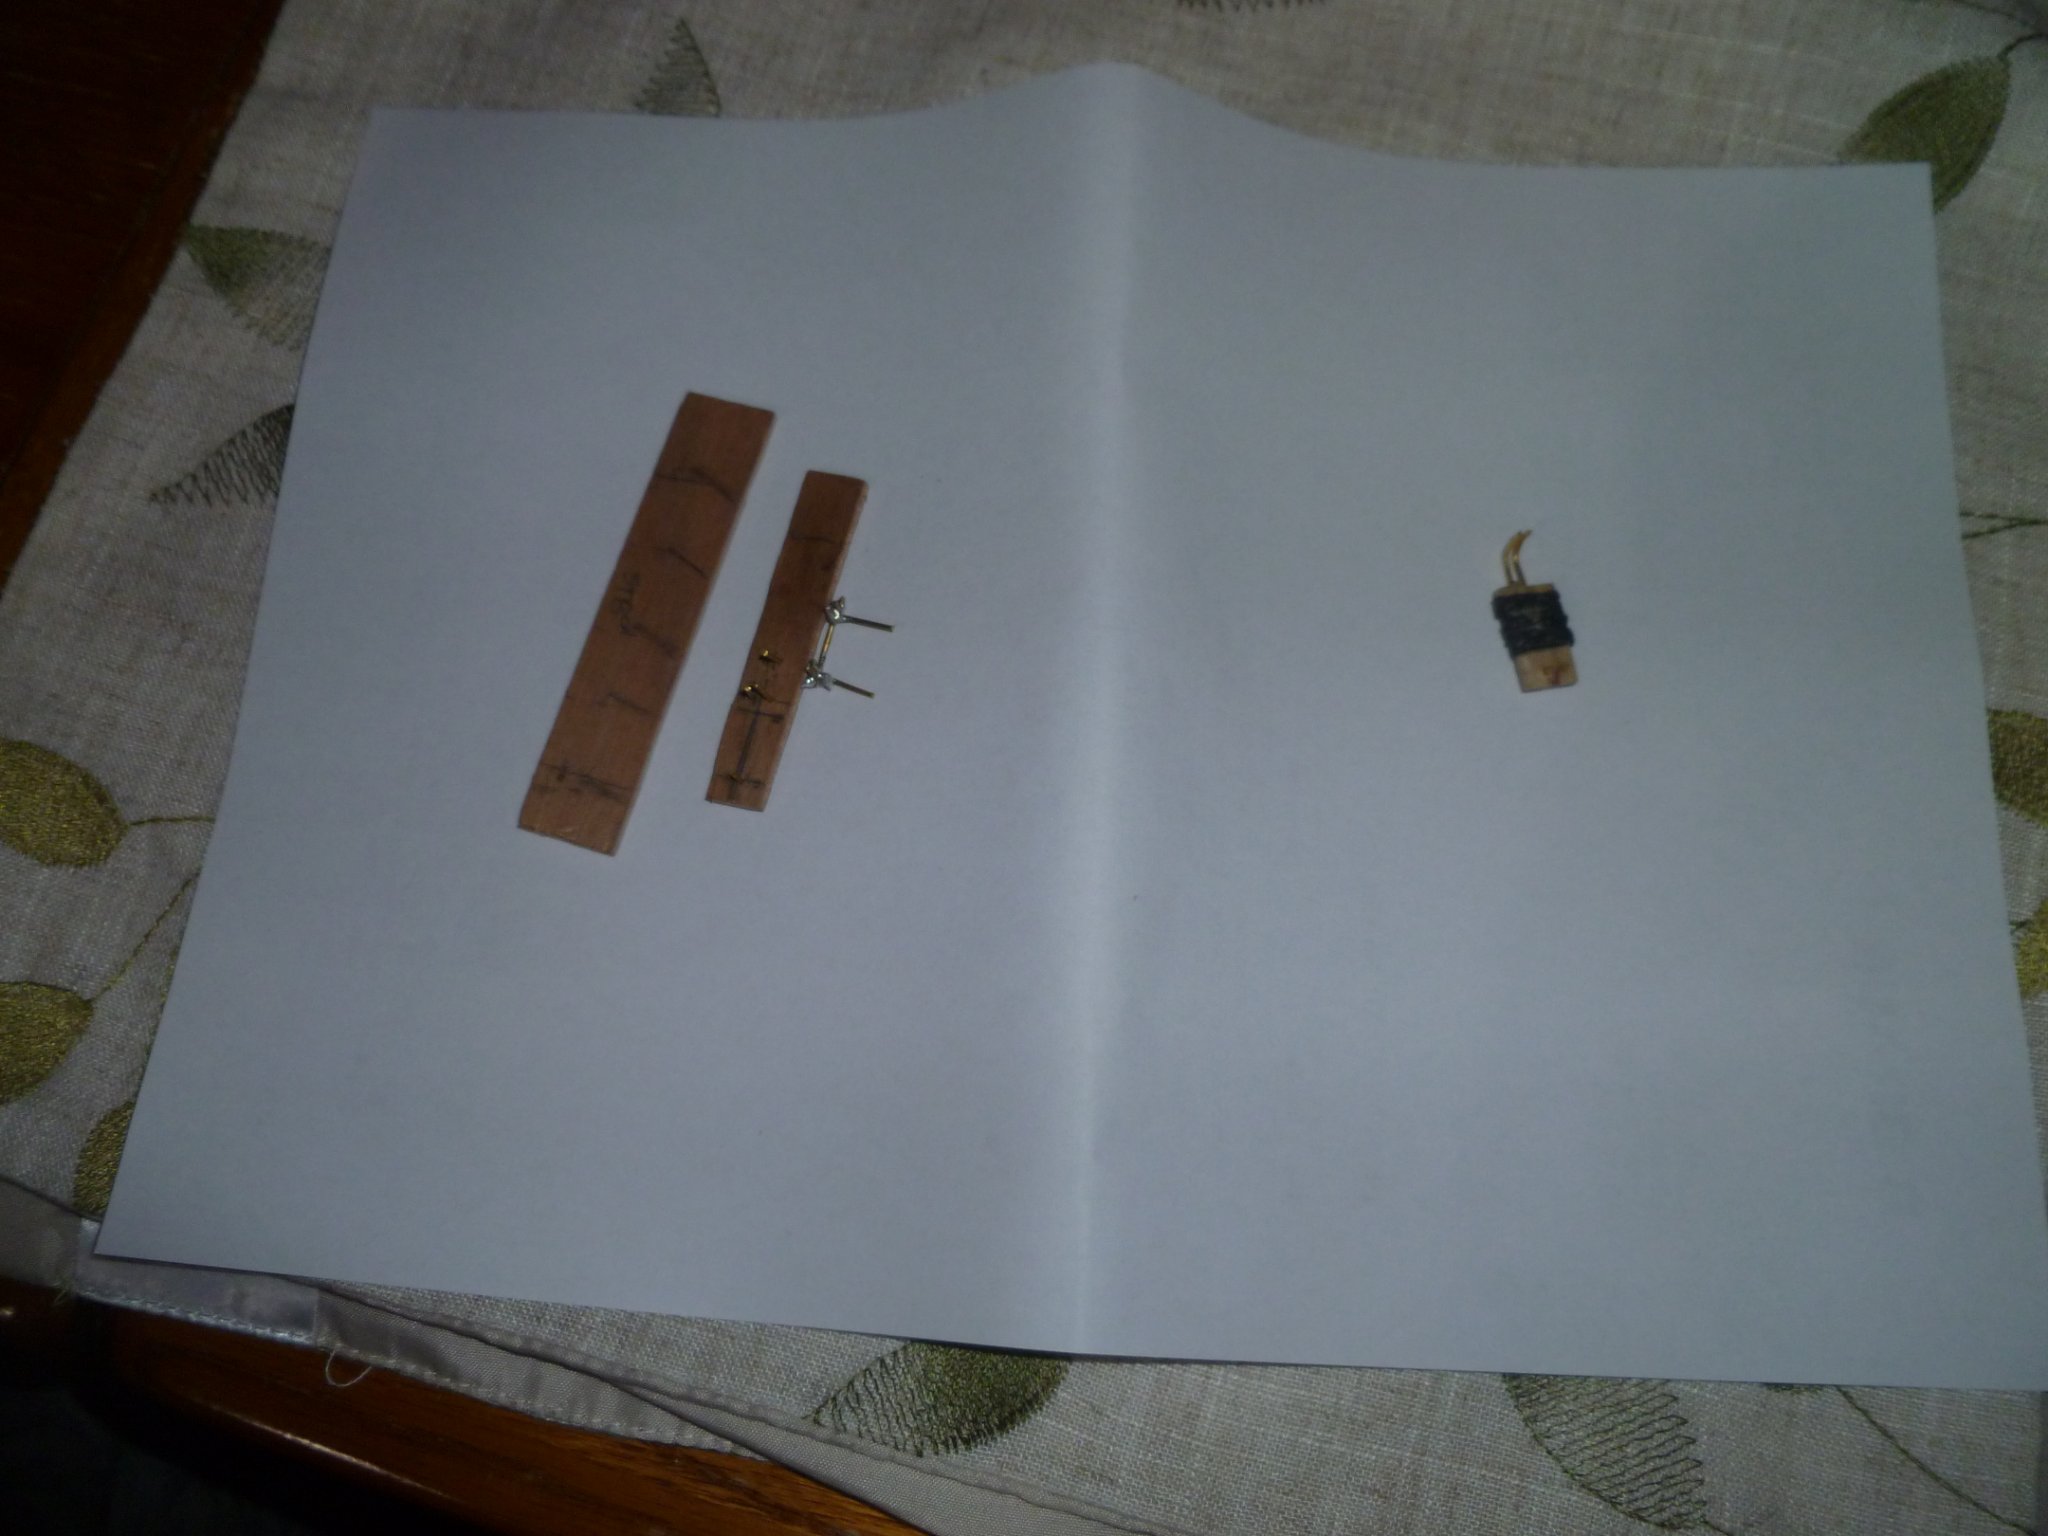
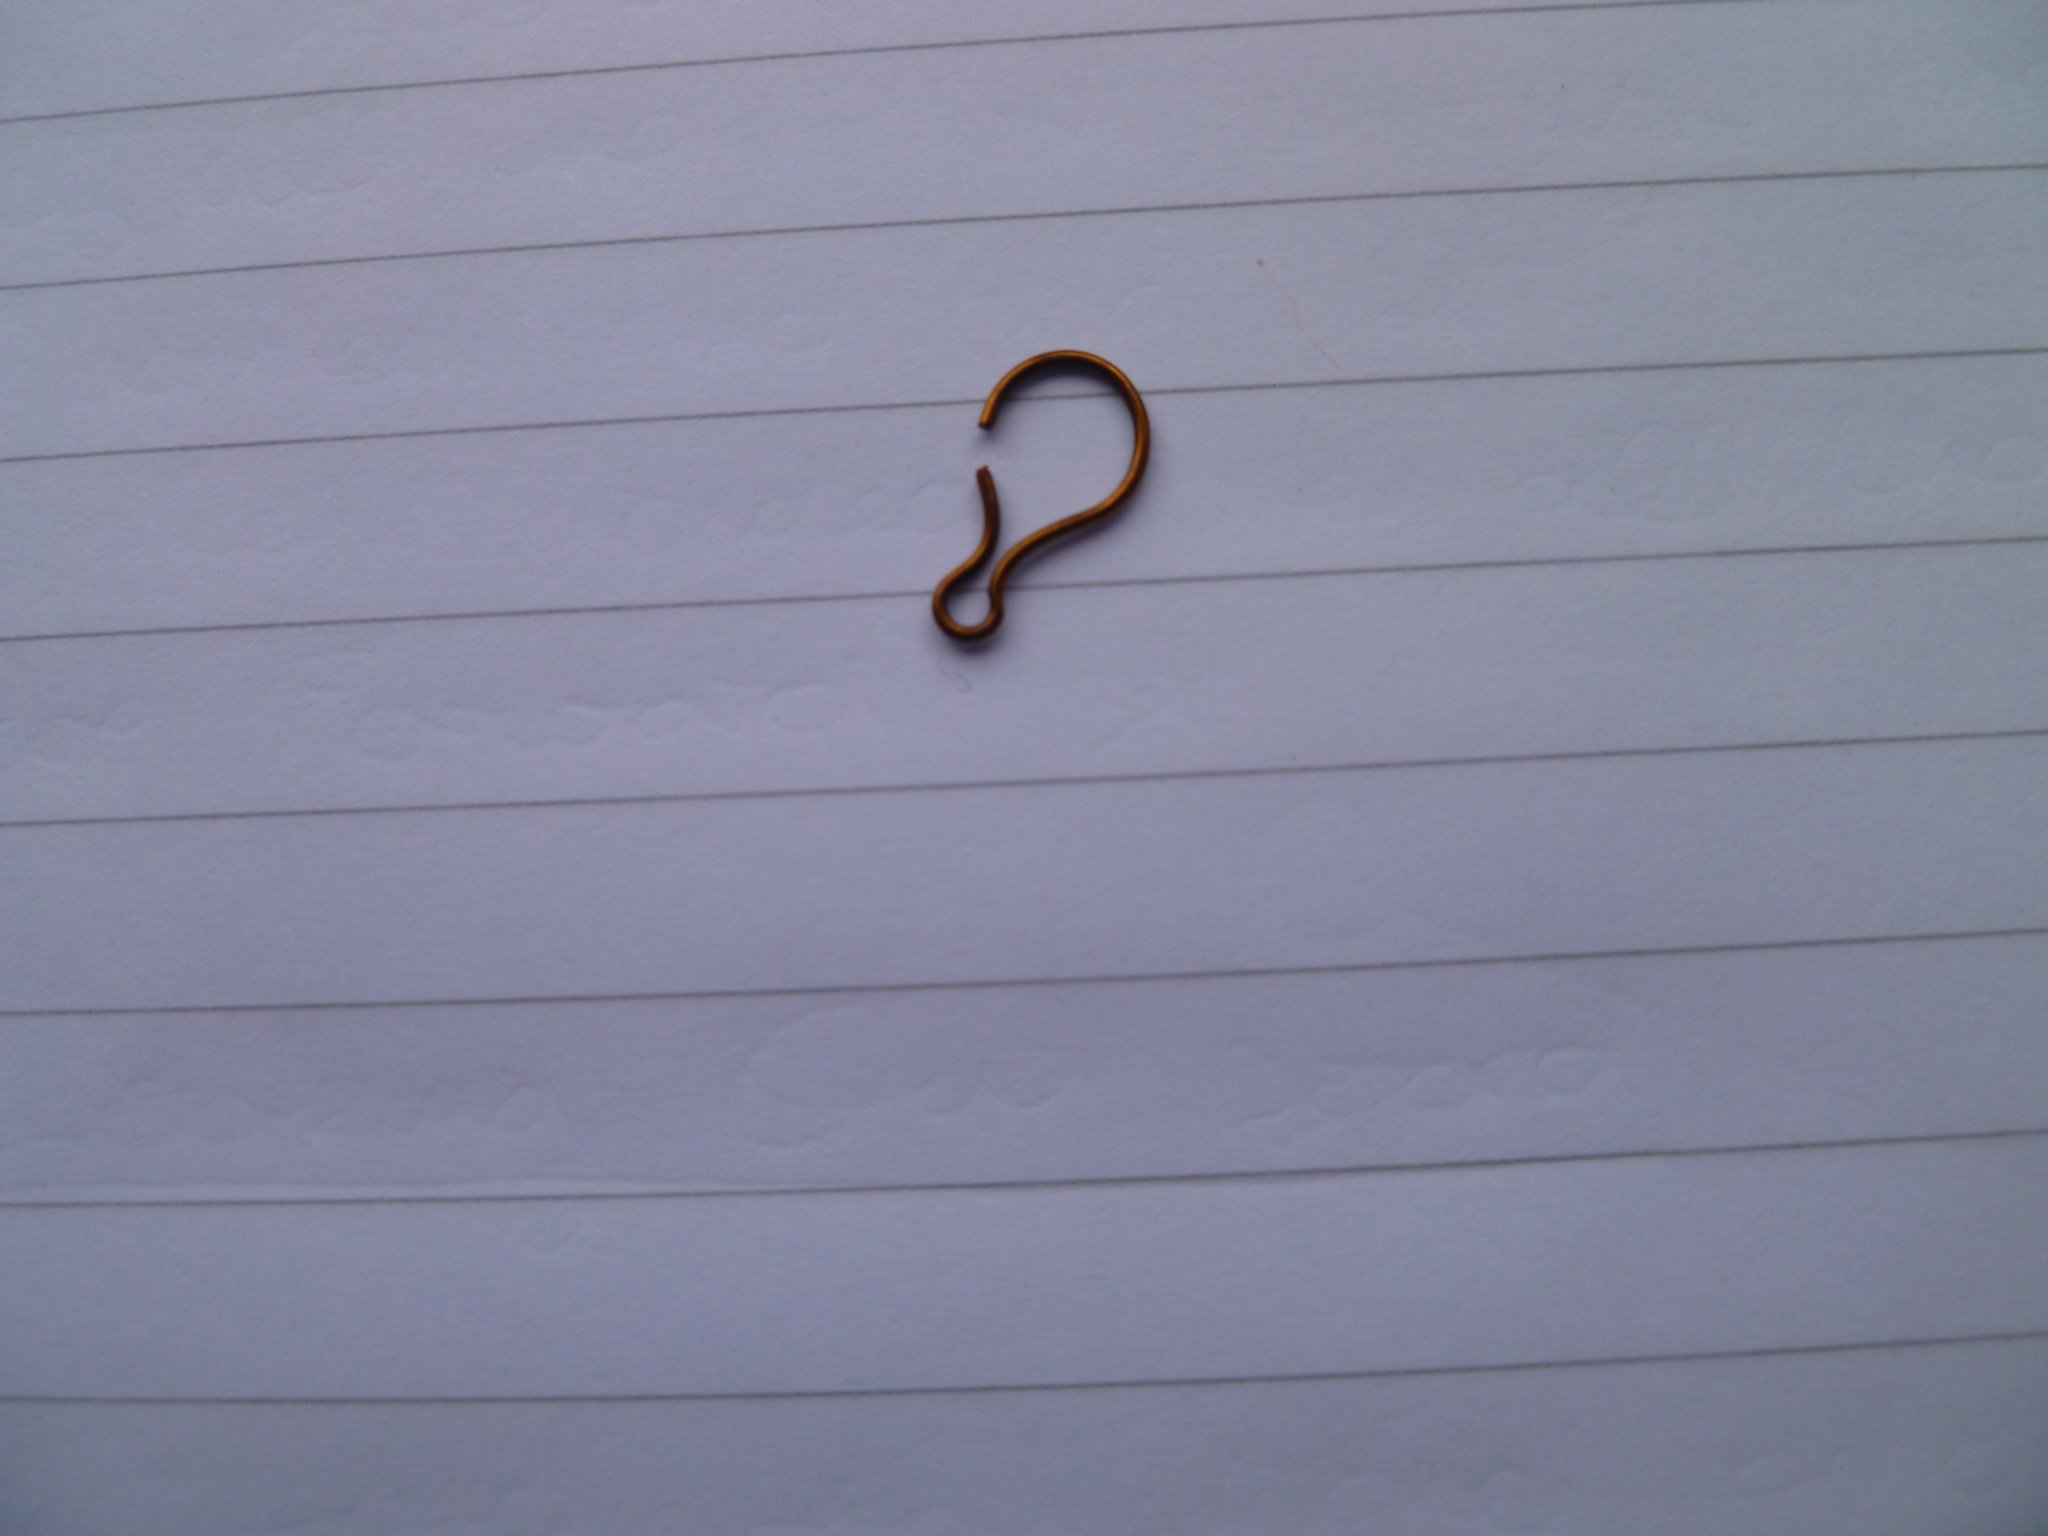
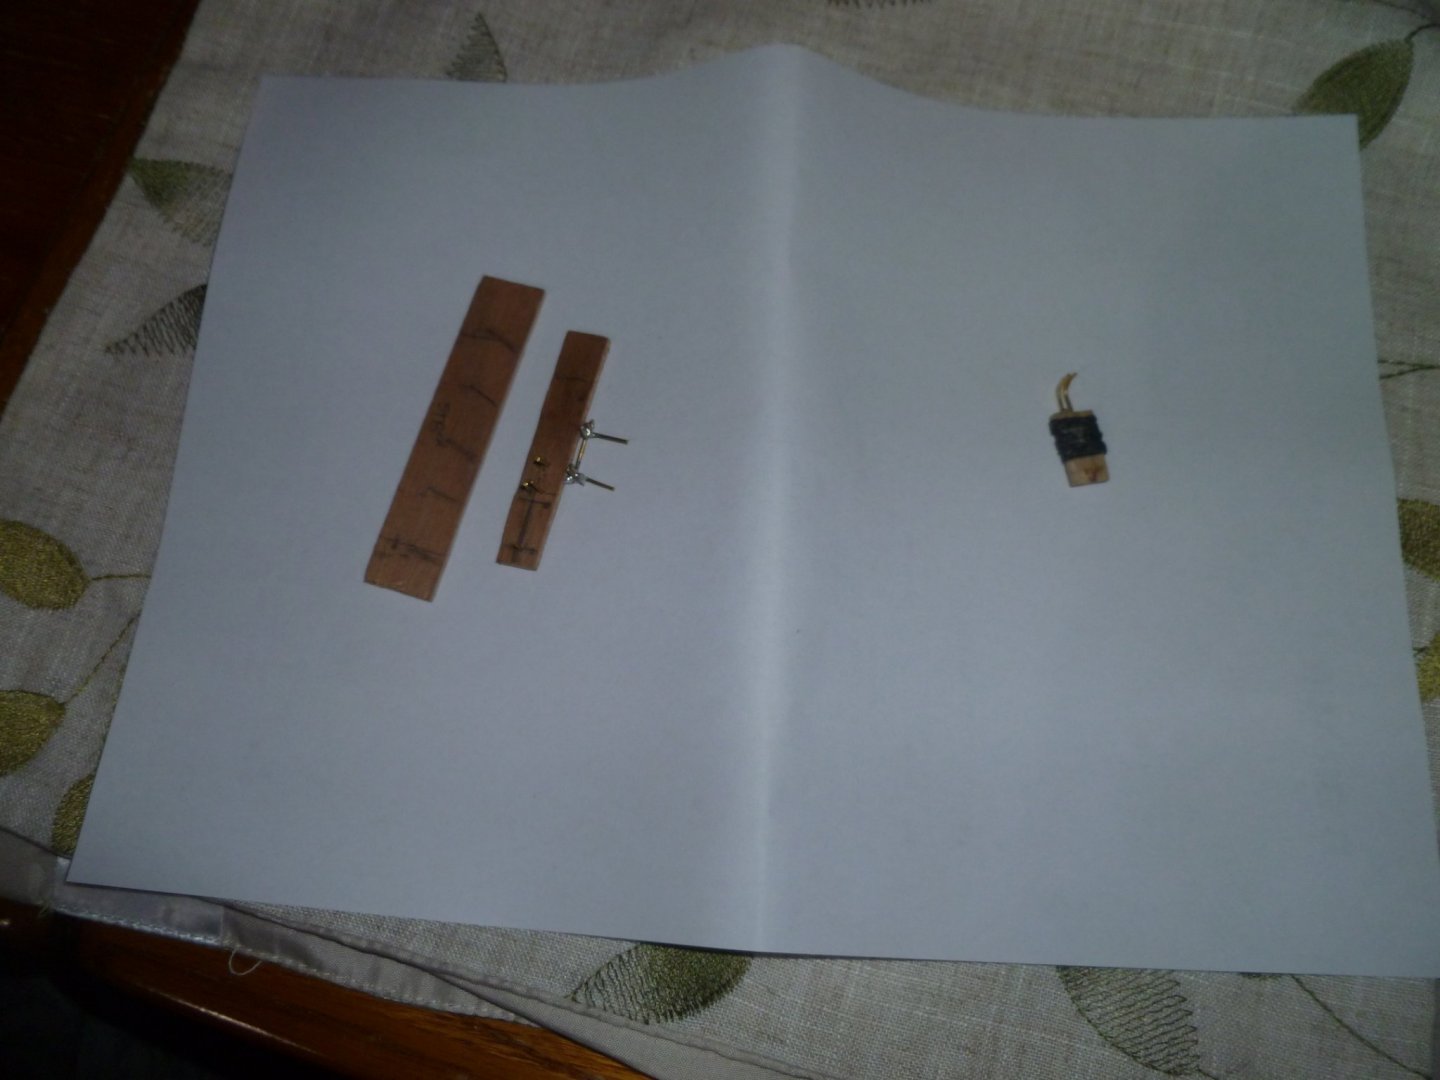
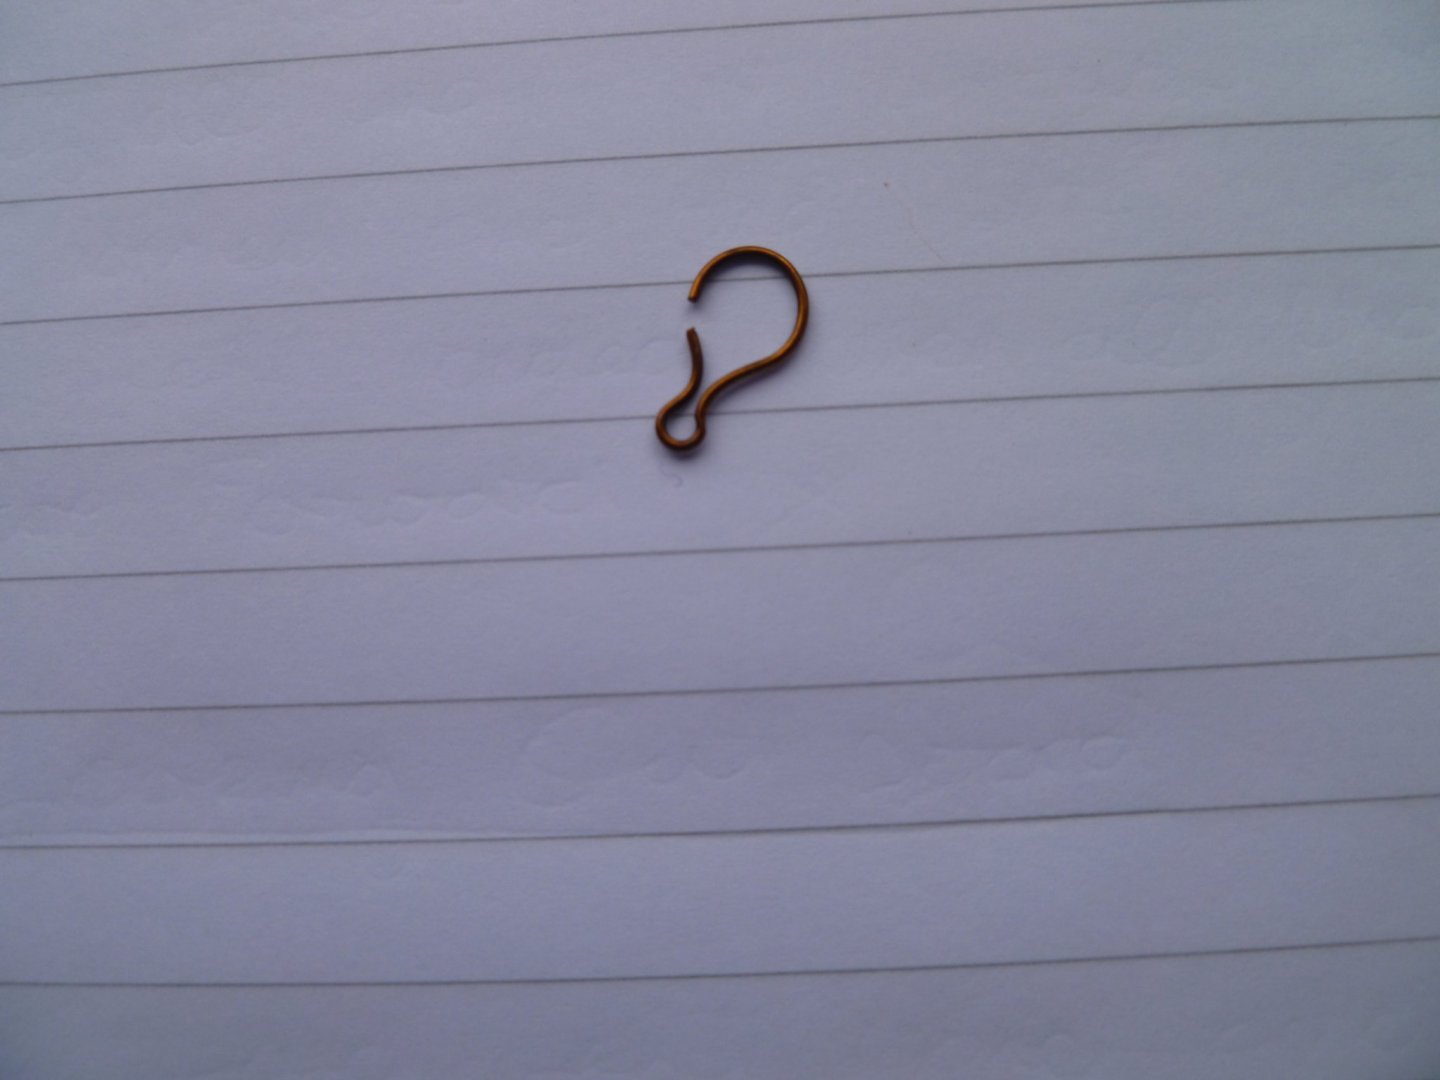
Thank you once again Allan for your guidence. I now think the problem lies with the Amati link. Here is a photo of the link in question. I have opened it up a bit so you can see where the gap is. This is what happens when I push it over the deadeye. I never seem to get it to close again properly. Even so I don,t understand why I am the only person to have this problem with the amati links. I have a number of spares and so perhaps I could experiment with a bit of solder. I have been reluctant to try this with the dead eye in situ but perhaps I could try this before fitting onto the deadeye. So to cut a long story short .I should have soldered the gap to stop it opening up again.Best regards Dave

-
I have thought about both of these and the CA glue might work but there is a gap in between the ends so doubt soldering would work. CA might work but not without getting some on the deadeye itself. I think I will perservere with these for now but as my next model is probably going to be the Endeavour by Caldercraft I will see how I get on with the one you have shown in the photo. I might end up makeing my own so there is no gap and soldering them once they have been fitted over the dead eye. Hope this makes sense. Best regards Dave
-
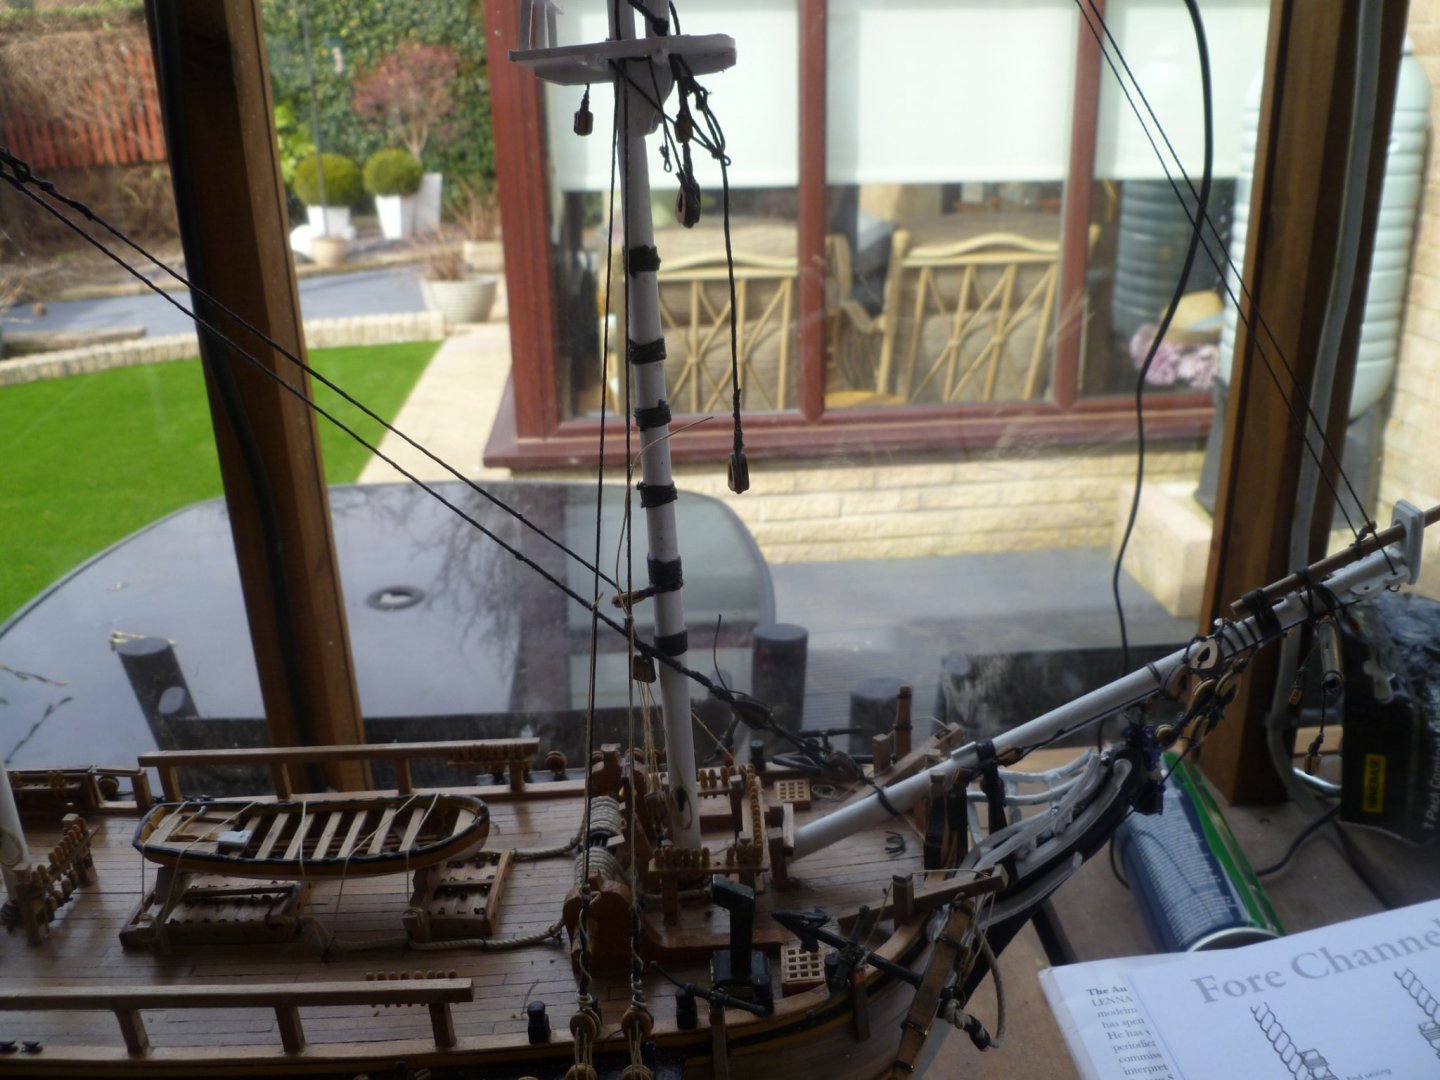
I am currently attaching the shrouds to the upper deadeyes and although I am finding this difficult I am slowly getting there . The problems I seem to be having is the lower deadeyes becoming loose and dislodged from the brass wire circling the deadeye which secures it to the chain plate . I have no real tension on the lanyards so why is this happening? It sometimes occurrs on the deadeye next to the one I am working on. I have also noticed that the when the slightest bit of tension is put on the shrouds and the brass surrounding the lower deadeye begins to come apart. allowing the lower deadeye to pop out. I am just wondering if the brass is too soft, or am I not being gentle enough. Just a thought and wondering if I would be better of making my own out of steel wire and have a twist in the wire so it cannot come off the deadeye easily. Am I the only person to have this problem then I am clearly doing something wrong? Best regards Dave
-
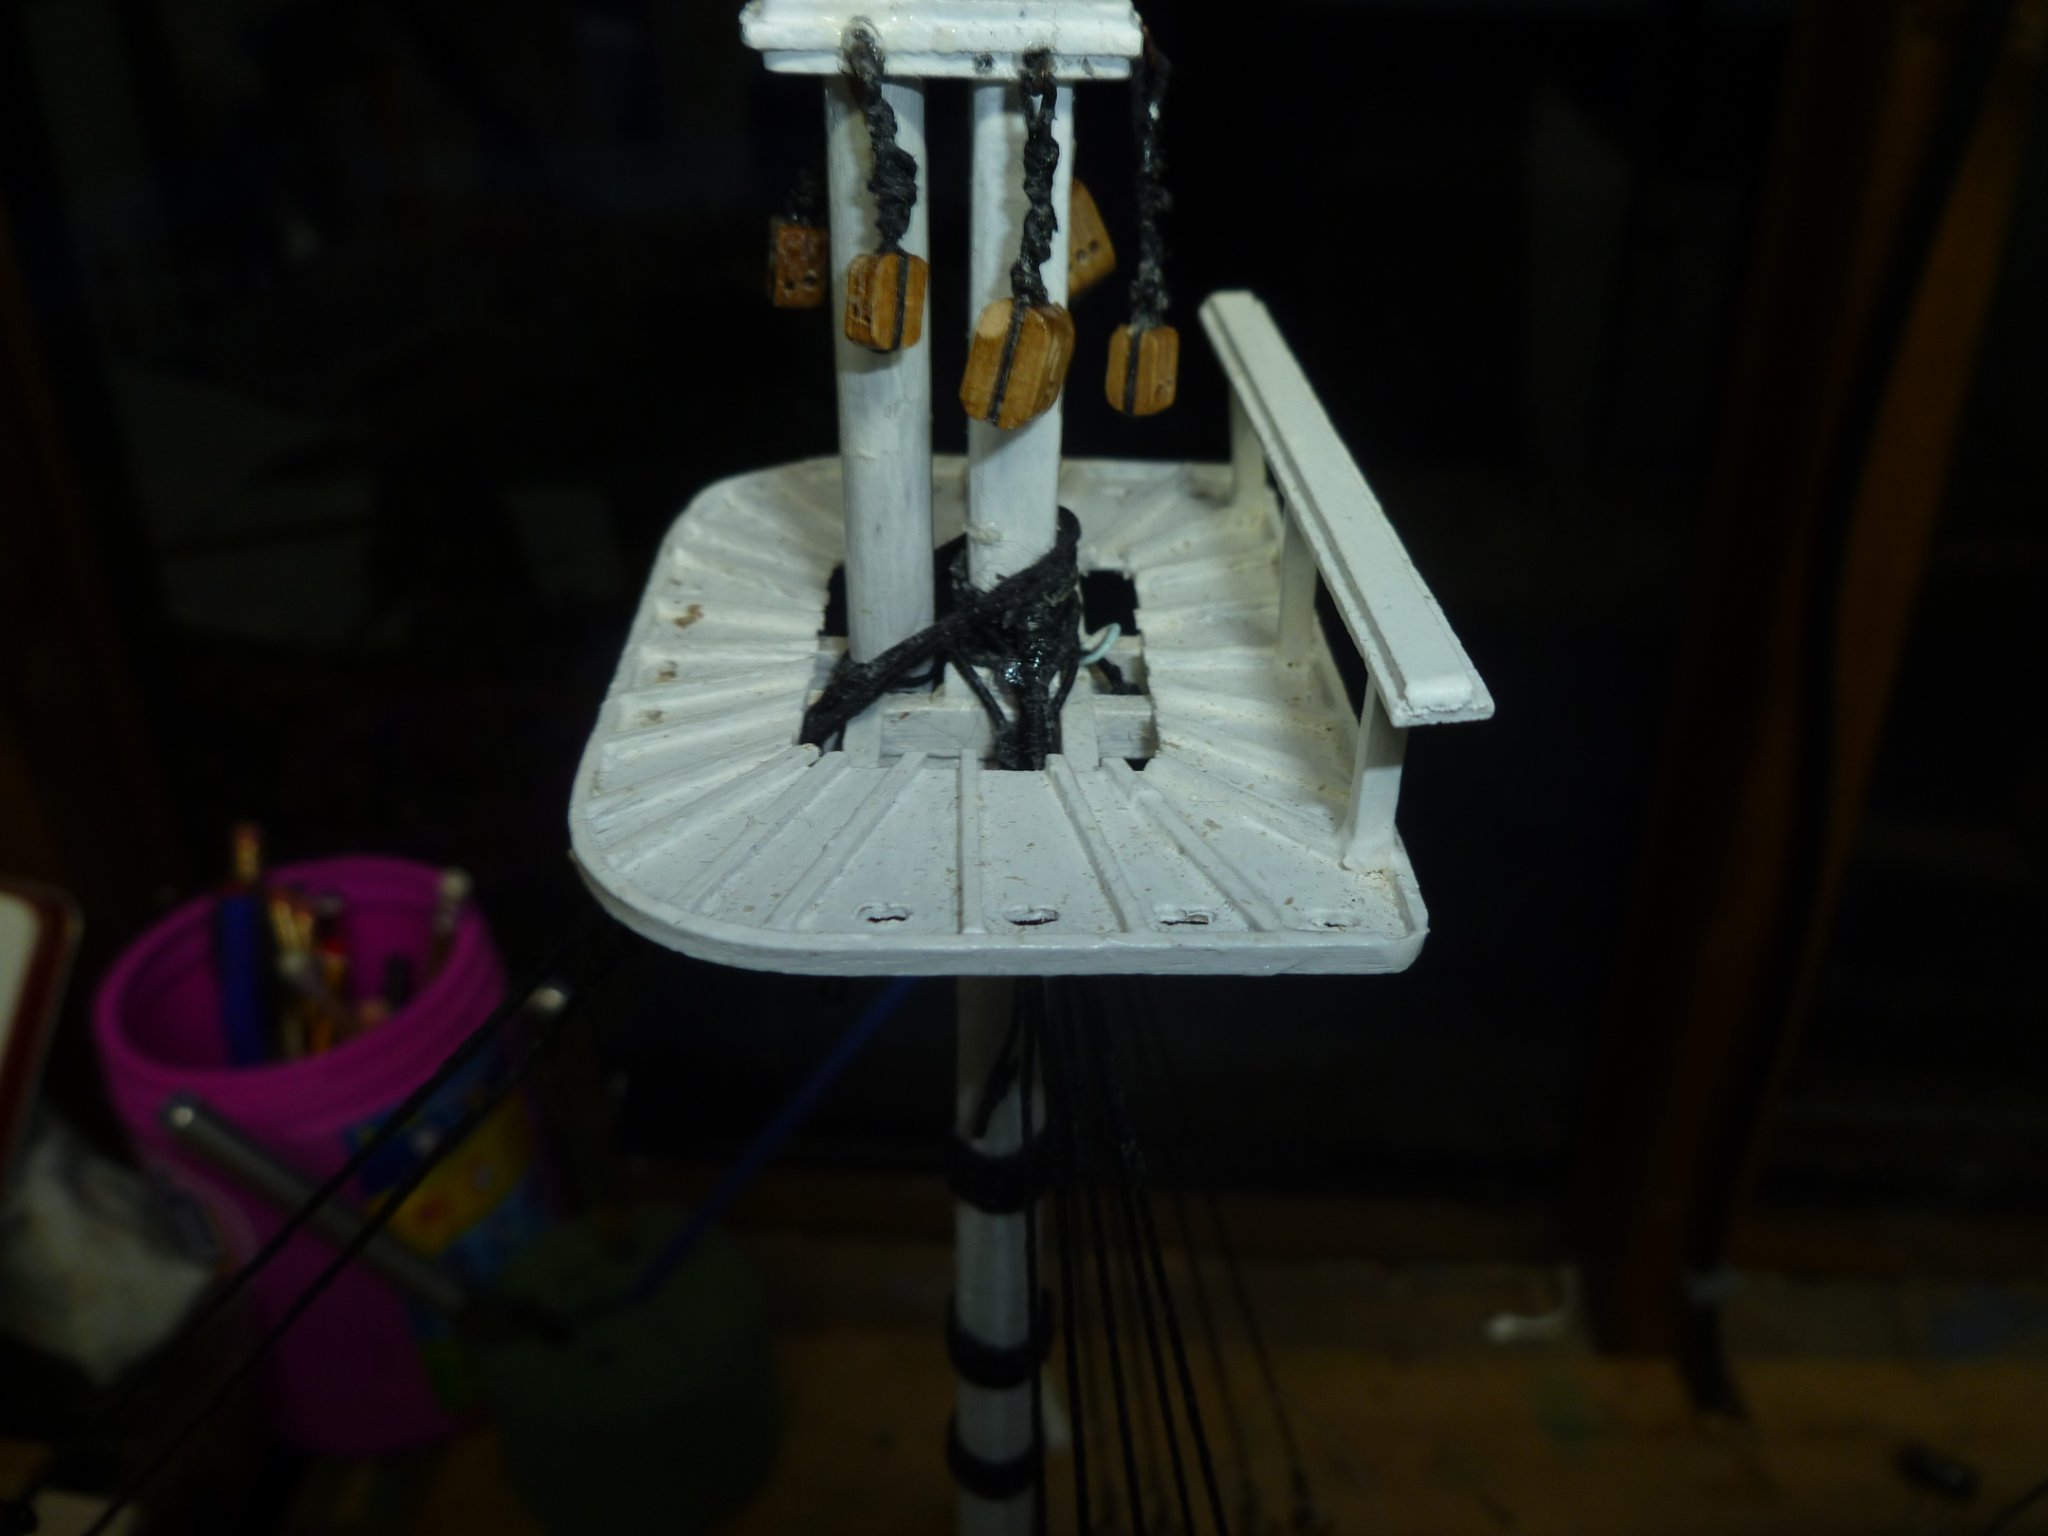
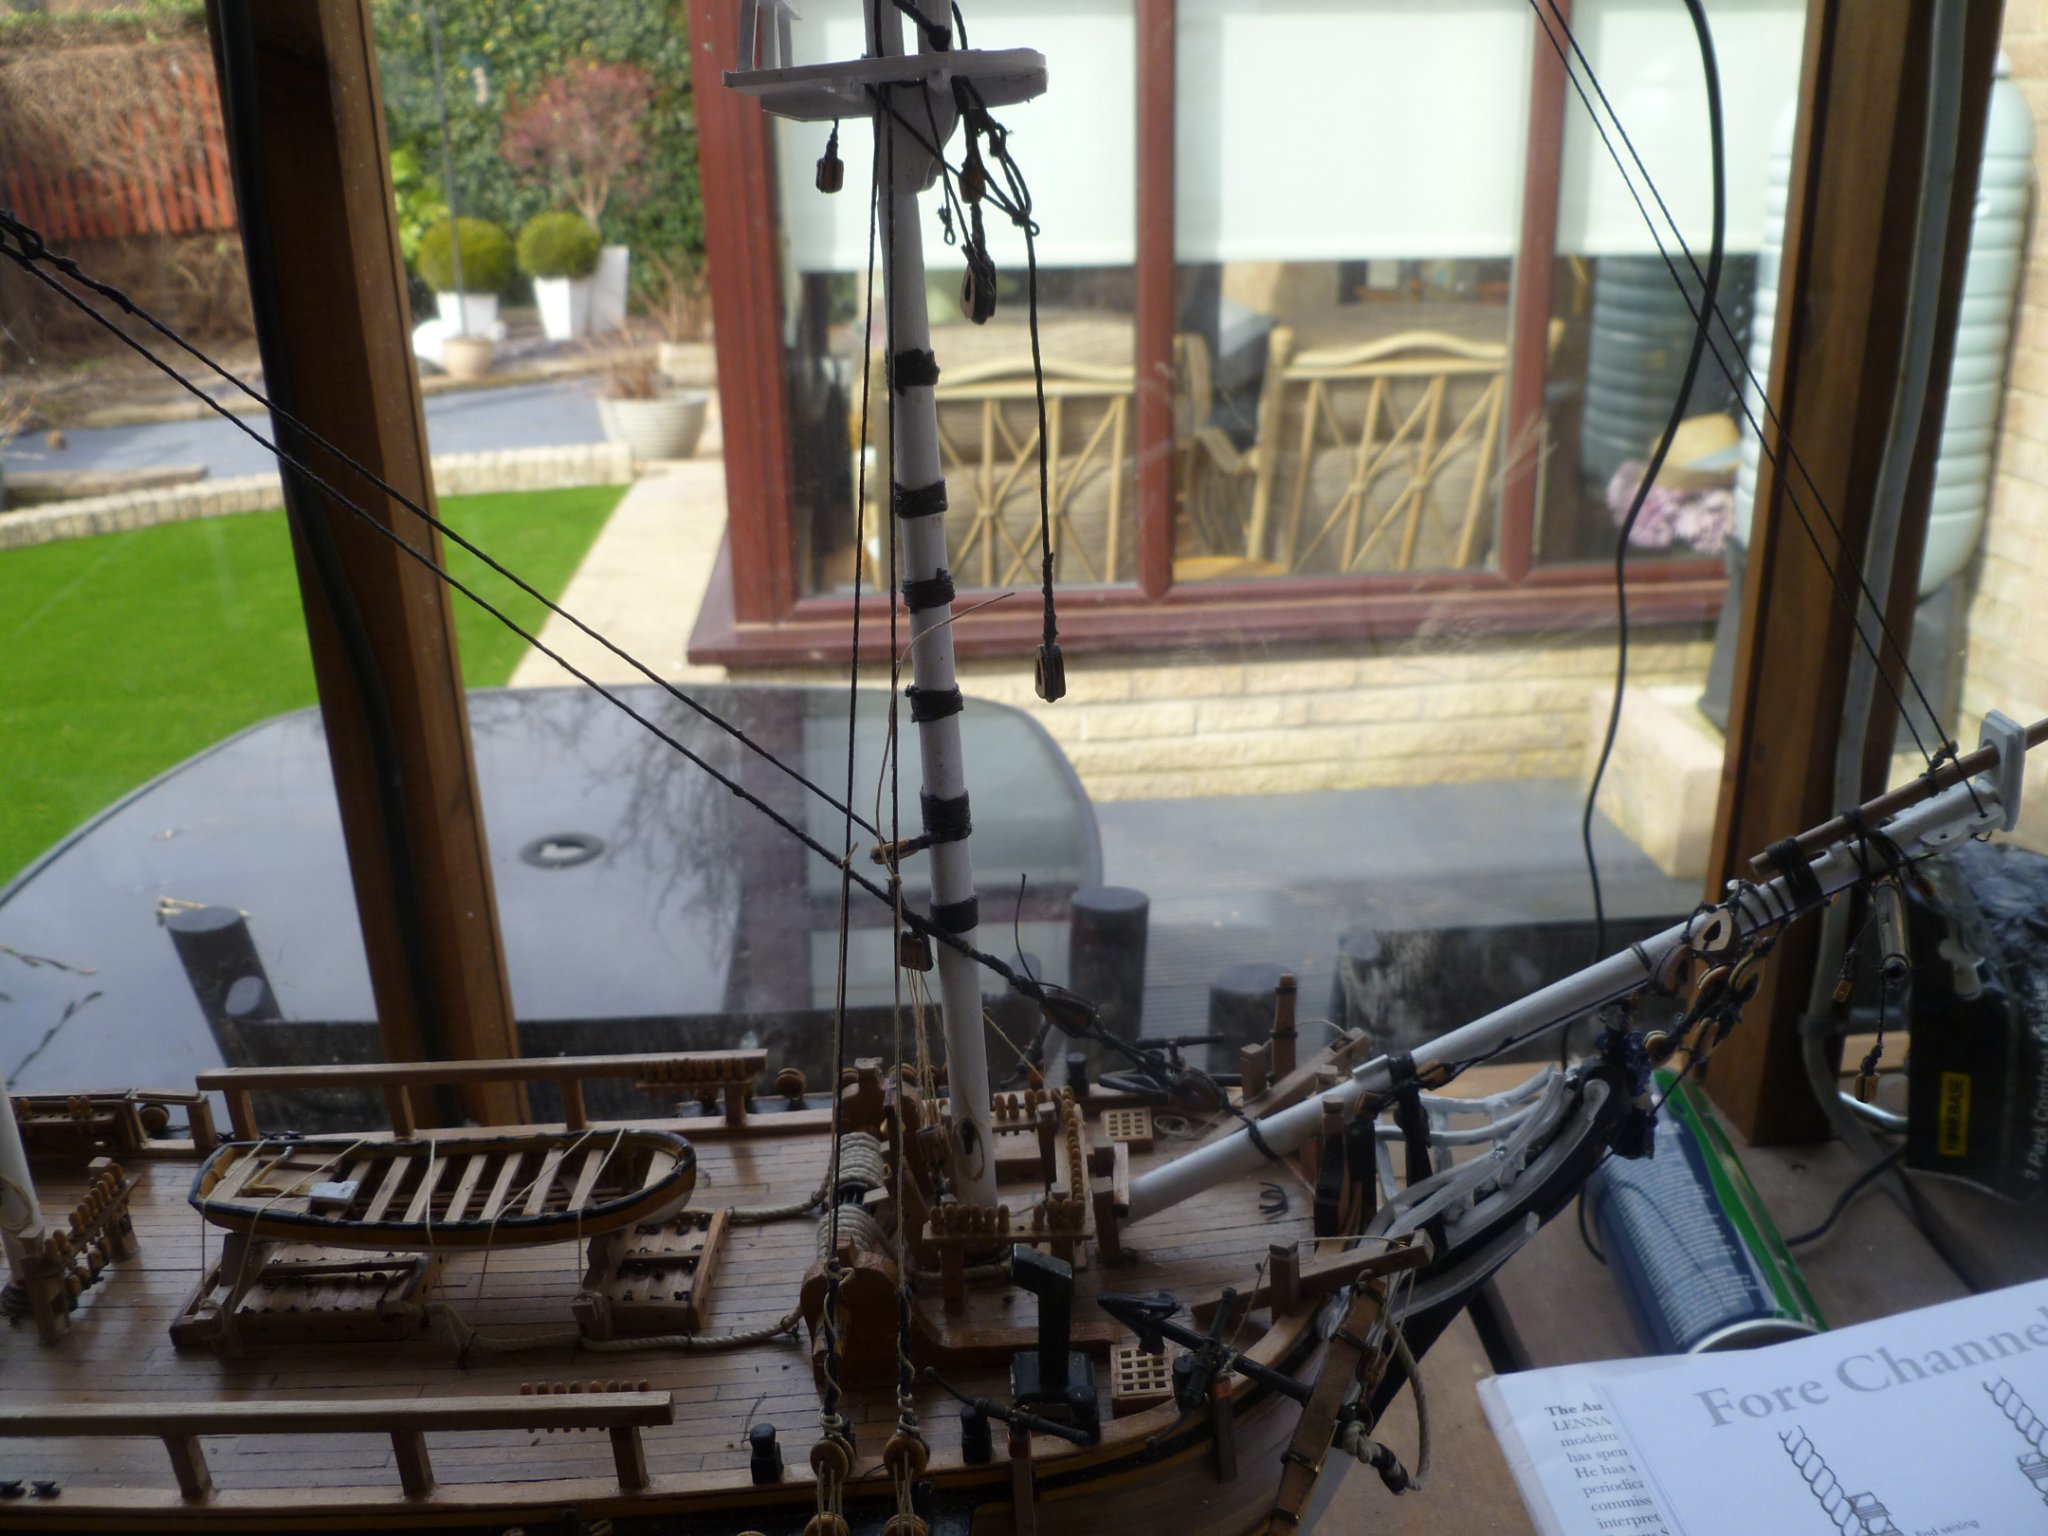
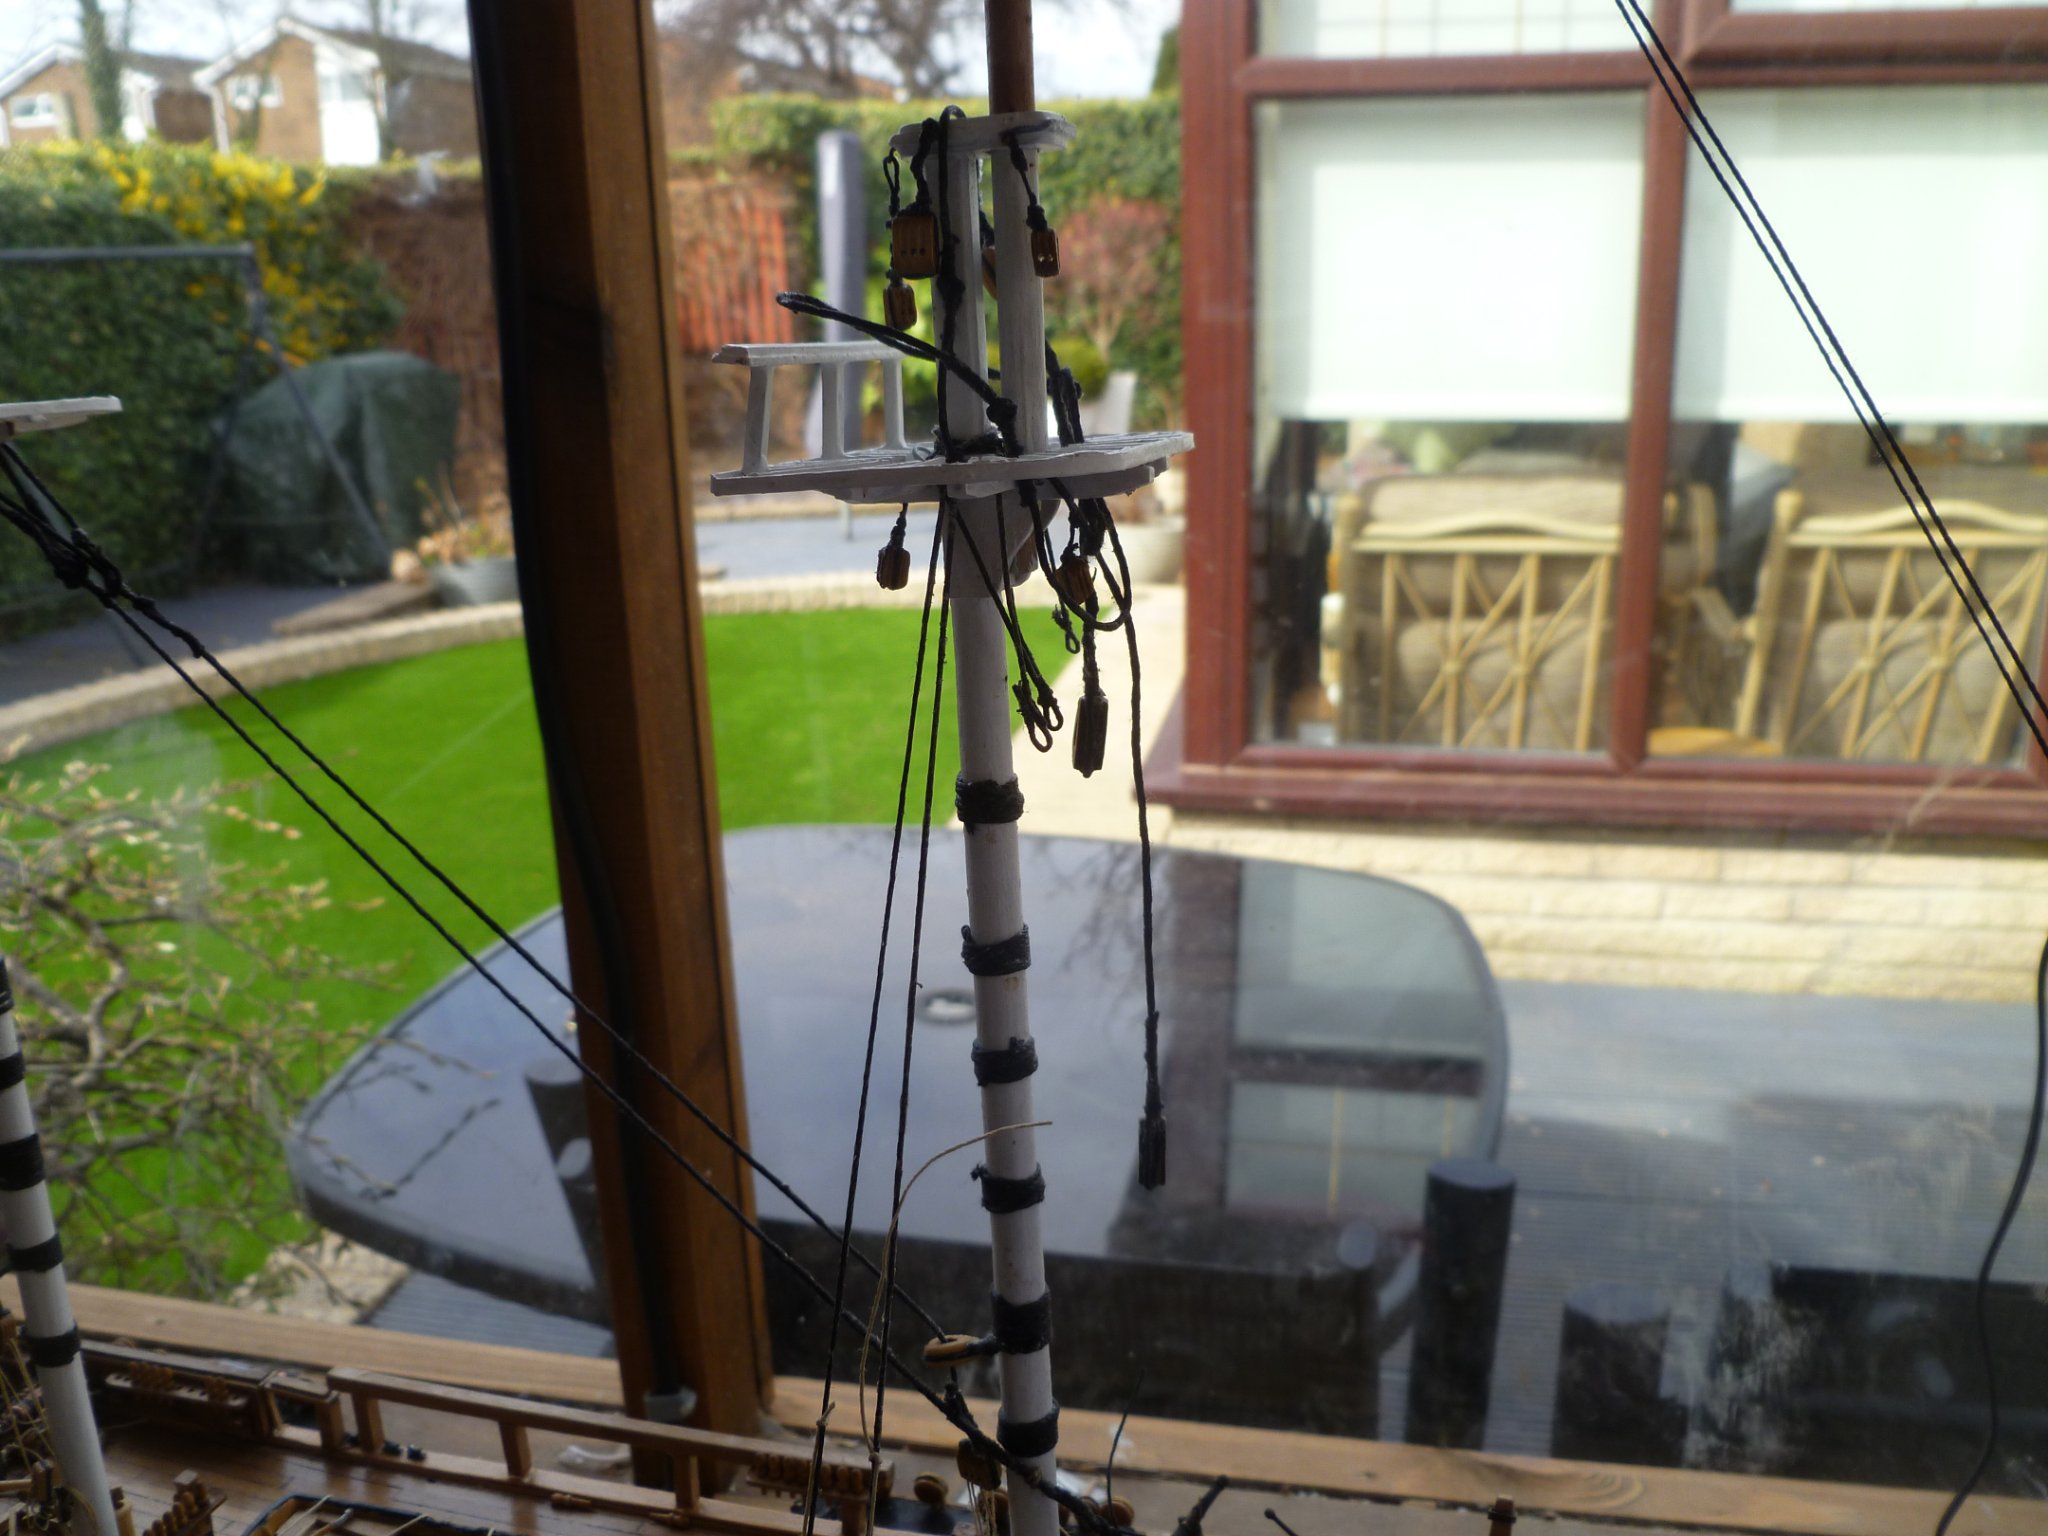
Update . After adding the the lower Stays I then found it difficult to attach the fore mast shrouds at the top of the mast and therefore decided to remove the lanyards from the Stays, which enabled me to lift the stays out of the way rather than try and get the shrouds to fit under the stays. It was also much easier to fit the Burton pendants before fitting the shrouds. Also I don,t know how I would have managed with out Chucks serving machine when it came to the first of the shrouds, I also tried a few ways regards the fitting of the upper dead eyes and found just having a board without pegs shown in one of the photos not sufficient as really could have done with an extra per of hands. Eventually I have managed to have a combination of pegs and a board seemed to work best for me, although I am still having some difficulty with the throat seizing where the shrouds cross over. I have managed to fit the first of the stbd shrouds but have not secured the lanyards.
-
Thats great and well done for sticking with it. So writing to them looks to be the only way forward in the short term. I have only just started the hobby and have bought many items including a serving machine ( which is brilliant by the way) So up to now I have bought more than twice what it anitially cost for my model ship. So I am in two minds whether to go for this as I have a limted budget and could really do with a pedalstal drill too. Hopefullly I will be needing a new model ship soon and that slipway will definately be handy. Best regards Dave