HOLIDAY DONATION DRIVE - SUPPORT MSW - DO YOUR PART TO KEEP THIS GREAT FORUM GOING! (Only 72 donations so far out of 49,000 members - Can we at least get 100? C'mon guys!)
×


Freebird
-
Posts
334 -
Joined
-
Last visited
Content Type
Profiles
Forums
Gallery
Events
Everything posted by Freebird
-
Chuck, you make this look so very easy, but I know that’s not the case. I just love the intricacies of this endeavor and I’ve been studying the Speedwell books. I’m so looking forward to this project! Best Regards …. Rick
-
Fabulous work Chuck! Best Regards .... Rick
-
Totally awesome Erik! Rick
-
Beautiful Erik, just beautiful and inspiring! Best Regards …. Rick
-
Excellent! Very nicely executed! Question - where did the longboat come from? Best Regards …. Rick
- 389 replies
-
- 2
-

-
- winchelsea
- Syren Ship Model Company
- (and 1 more)
-
Very, very nice Erik! Rick
-
Wonderful! Best Regards …. Rick
-
Great advice Chuck, to start a build log. I found it very helpful when I built my Medway and for Cheerful, with what I’ve accomplished so far. With winter coming Cheerful will back on deck. Best Regards …. Rick
-
Hello Tom! I just found your Morgan build, and after having seen it in person I’m even more amazed at your skills! Hope you and your family have an wonderful and blessed Thanksgiving! Best Regards …. Rick
- 200 replies
-
- 3
-
-
- Whaling Bark
- Charles W Morgan
- (and 1 more)
-
Incredible! Best Regards …. Rick
-
Very nice and congrats! I felt the same, never thought I’d get to the finish line. Best Regards …. Rick
- 217 replies
-
- 2
-
-
- medway longboat
- Syren Ship Model Company
- (and 1 more)
-
Looks very nice John! Best Regards … Rick
-
Erik, Welcome back! Been waiting for you to get back on board as your build is extremely nice. I too have Cheerful on the docks and now that building season is upon us, I’ll be back at it as well. Keep up the great work! Rick
-
Outstanding! Rick
-
Kit review 1:25 Drakkar ‘Oseberg’ - Ships of Pavel Nikitin
Freebird replied to James H's topic in REVIEWS: Model kits
In case anyone is interested, Olha Batchvarov has started building one of these, look her up on YouTube. There’s a lot of prep work in the frames and such, but looks like a good build. Her kit has the short planks and she made her own replacement parts. I’ve ordered a kit and should be here next Thursday. R -
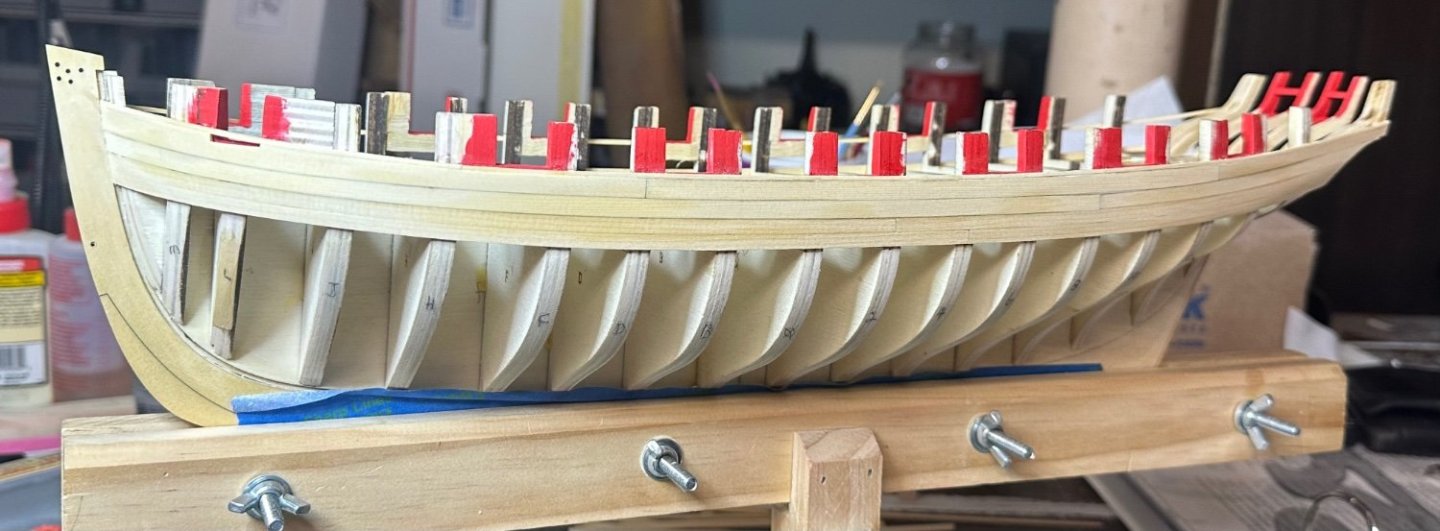
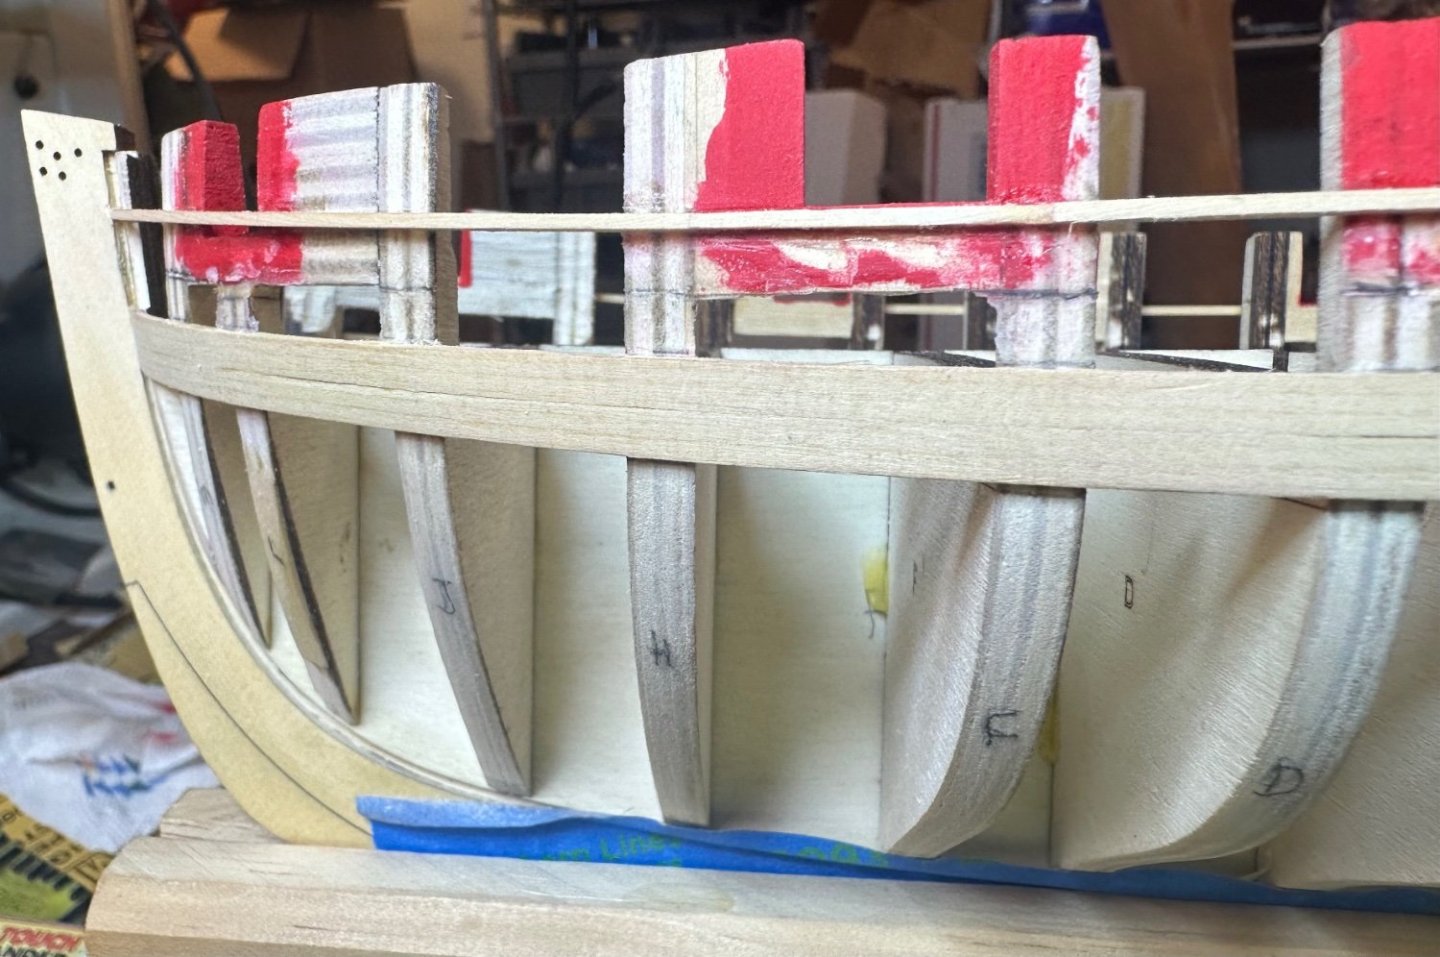
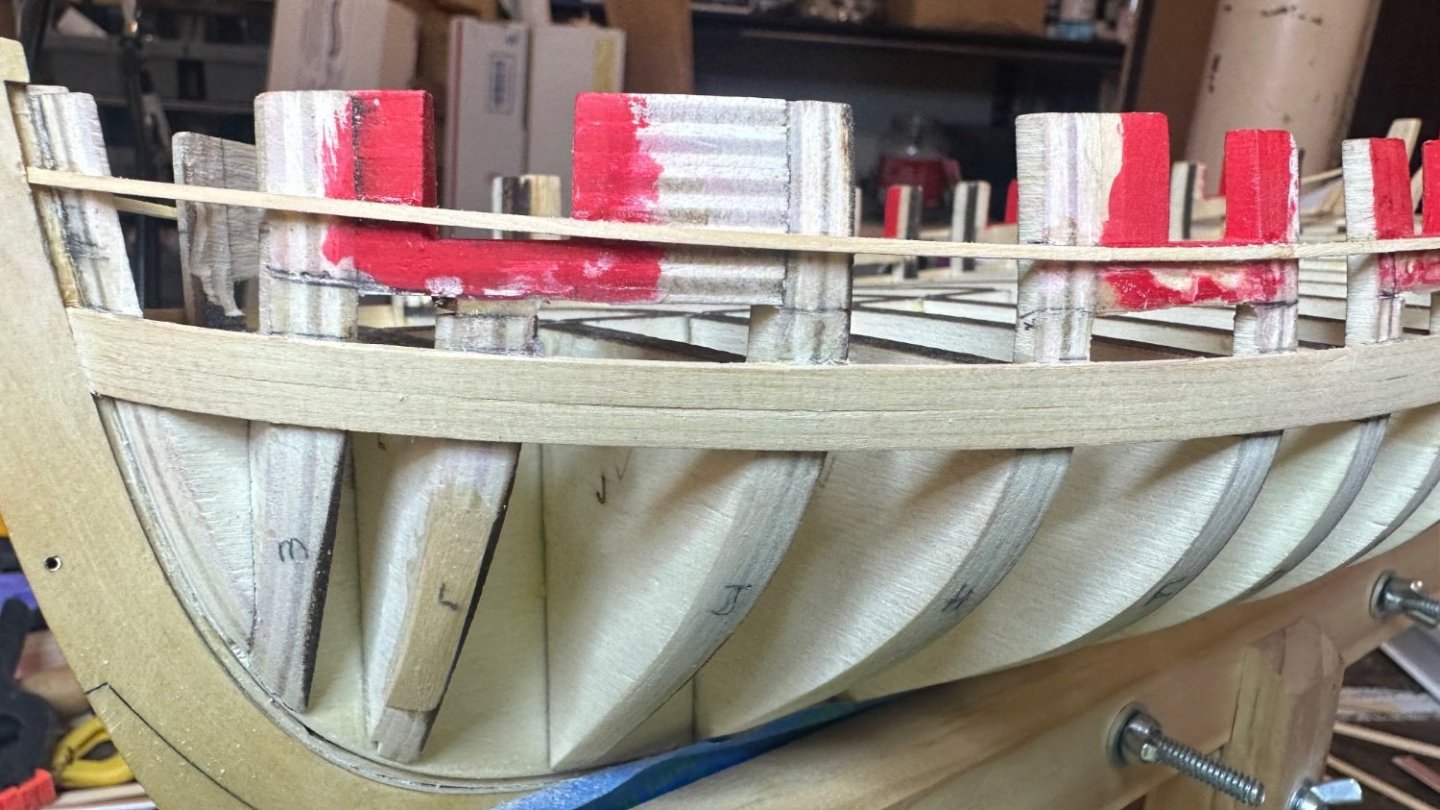
Have completed the port strakes from the wales to the molding. Certainly not perfect, but better. I can really see how fairing and having all of your planks the same thickness is a requirement. I’ve done a light sanding and can see mostly dips where the planks are a little thinner, it really stands out and makes a huge difference. Good thing I like to sand. 😏 Best Regards …. Rick
-
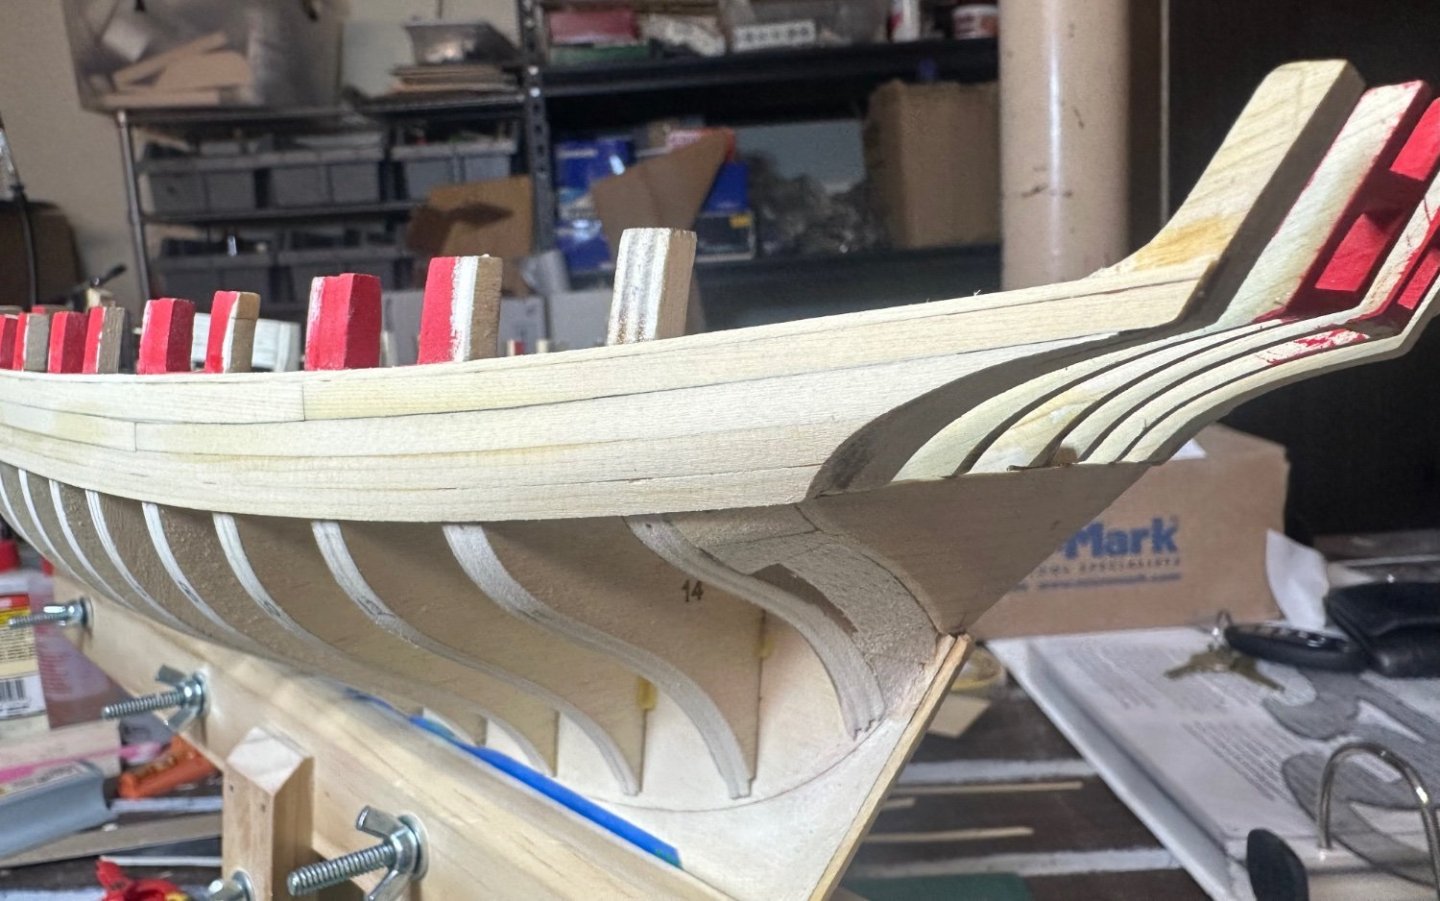
Glen - what pain, hardest part was making the decision and making the first cut. After that, business as usual. Already completed the lower strake and working on the upper strake. Looks better than before, but we’ll see when the strakes are completed. These are lessons learned and probably like your Cheerful, I’ll have 3 sides before I’m done. Best Regards …. Rick
-
I found this build log a few days ago and I’m totally in awe of you workmanship! Just beautiful! Best Regards …. Rick
-
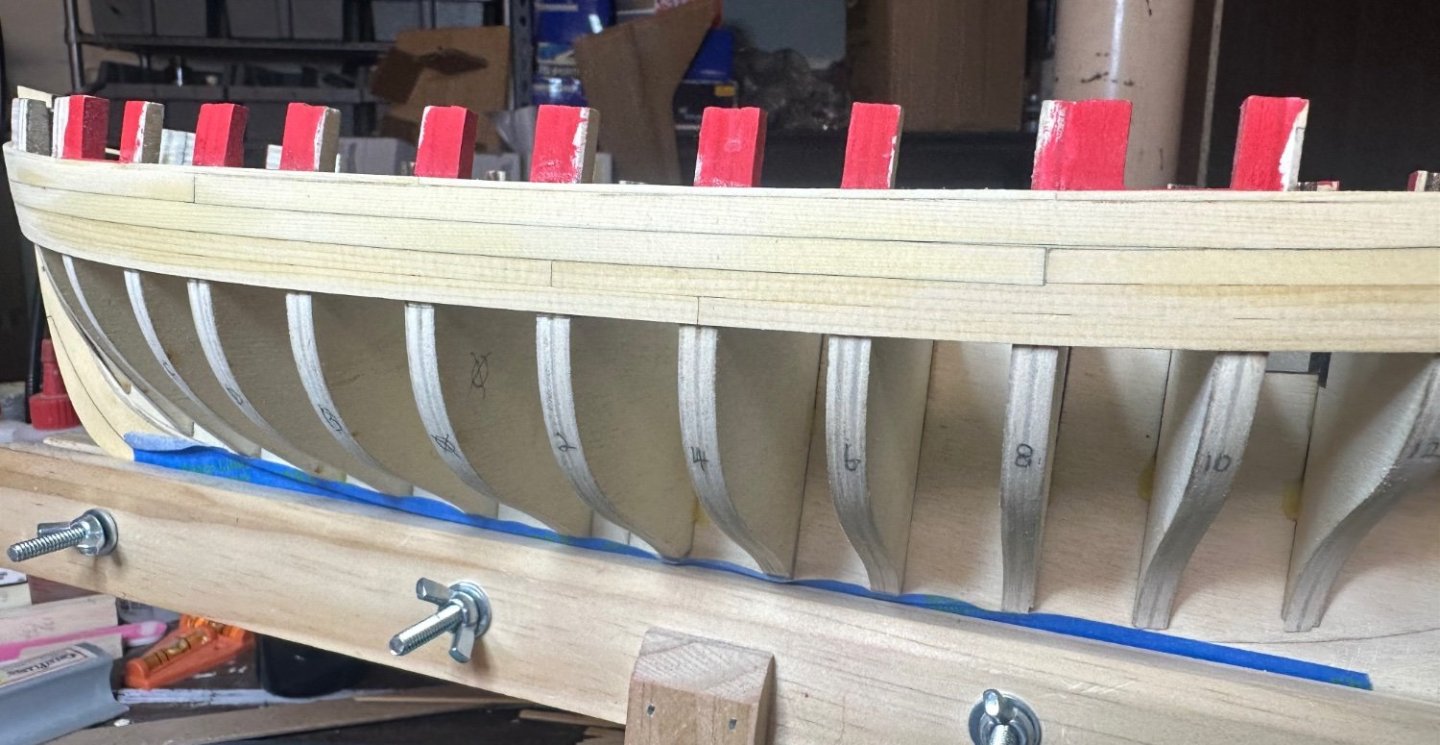
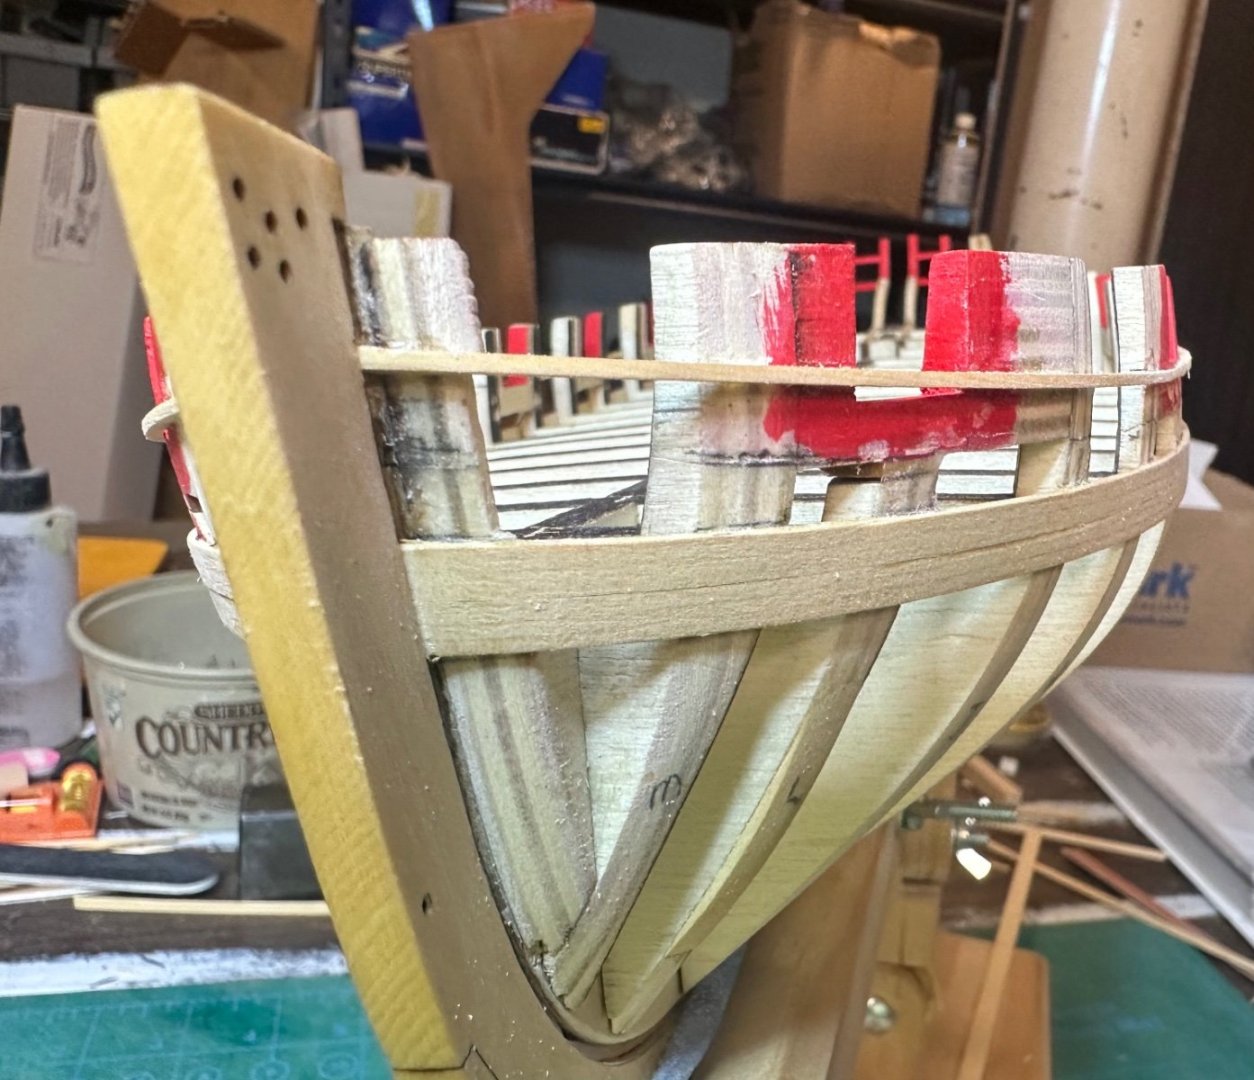
Deconstructing complete. Offending planks removed, half of the molding strip removed and replaced, not because it got damaged, but to correct its run. Bulkheads have been cleaned up and marks made splitting the bulkheads in half. All looks ready to start again. Best Regards …. Rick

-
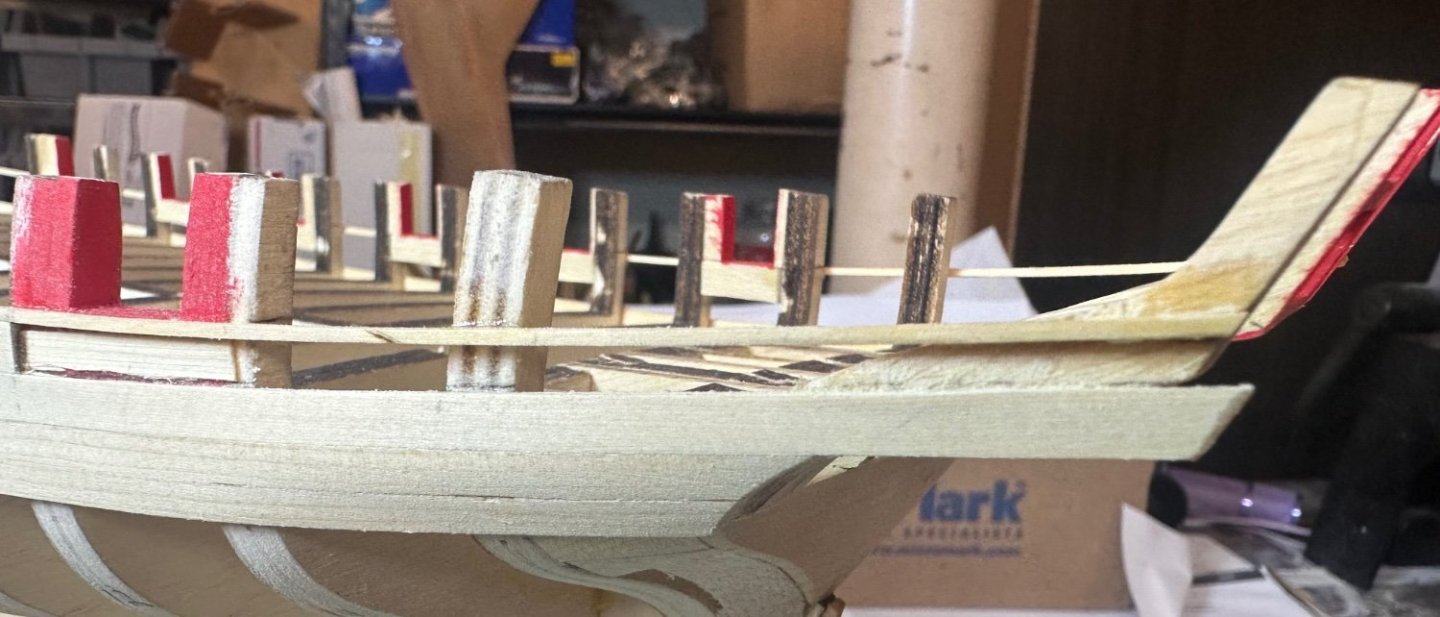
Guys, thanks for the encouragement and the ideas. Also to all of you guys for the likes, much appreciated! Glenn - I have read your Cheerful log many times, and with this in mind, I ripped off the offending planks. Like Chuck does (BTW Chuck, I hope you’re getting better quickly!), I use CA and only glue the plank to the bulkhead, much easier to remove. Paul - thanks for pointing out the molding on the aft side on the gun port is too high. It was located correctly before I removed the scrap from the opening. Another error to fix. Best Regards …. Rick
-
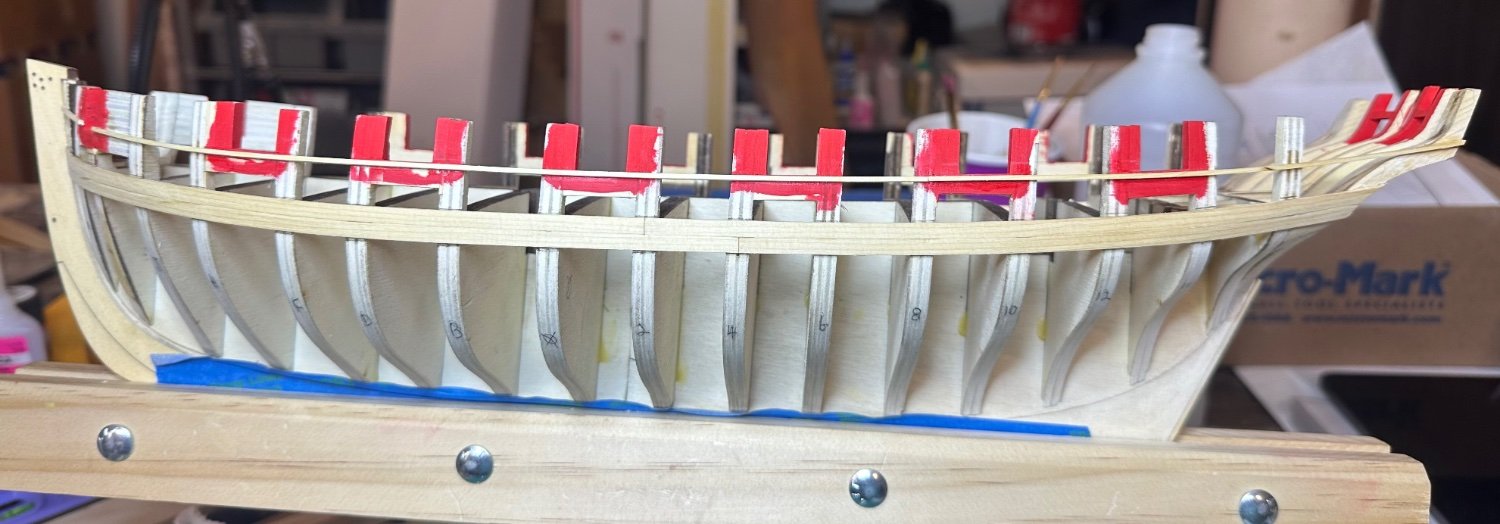
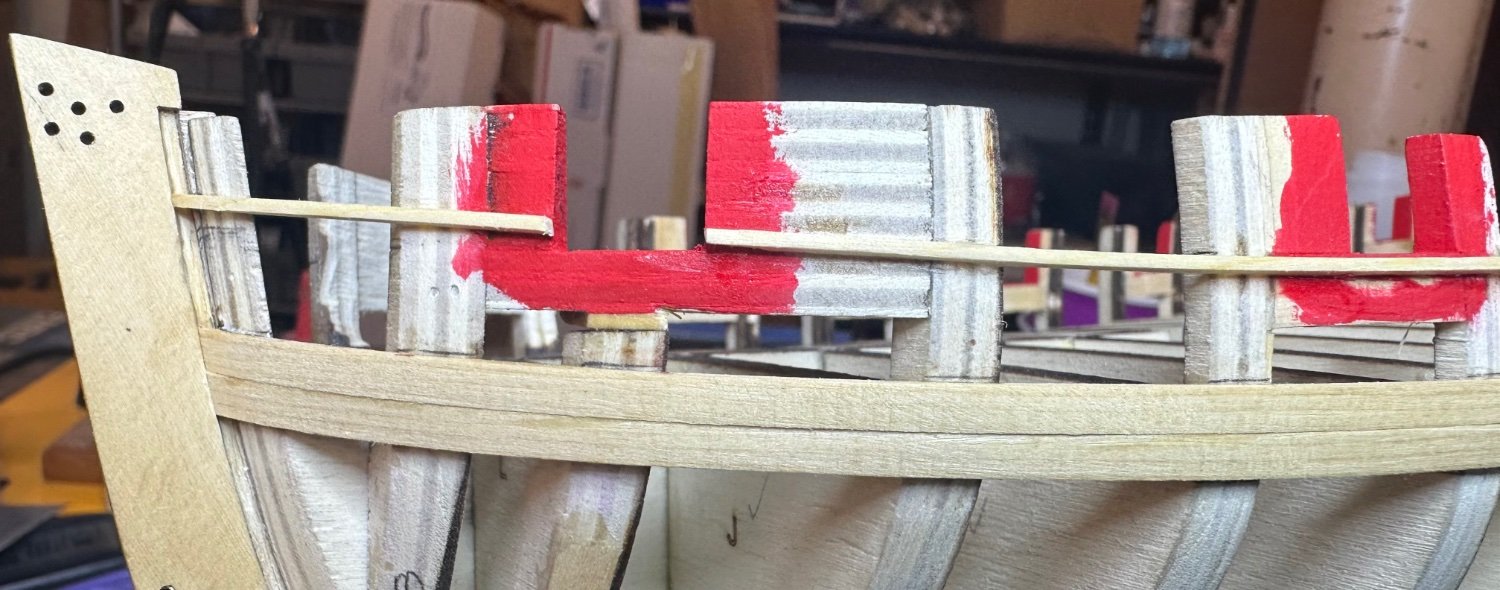
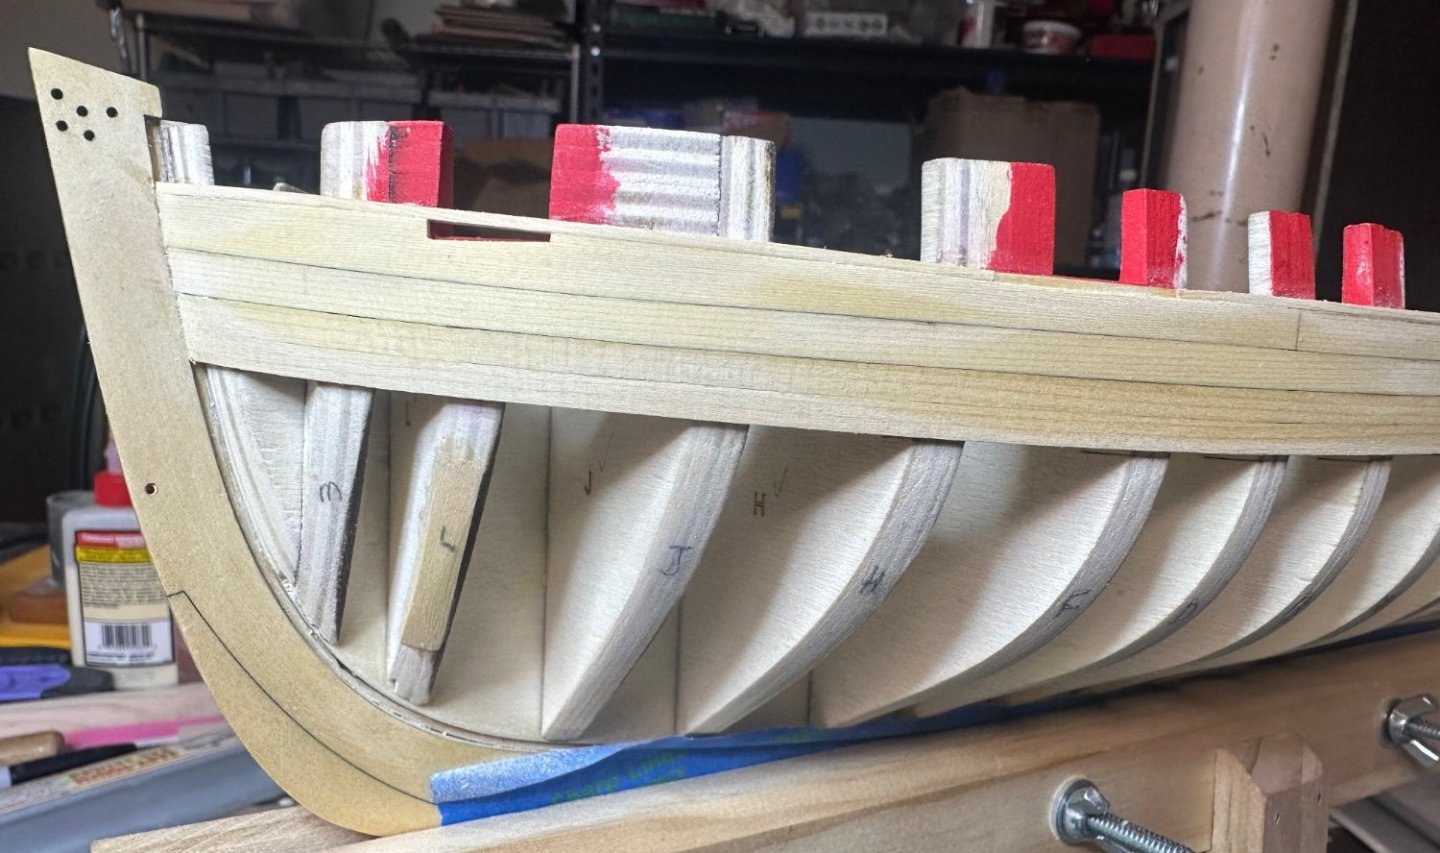
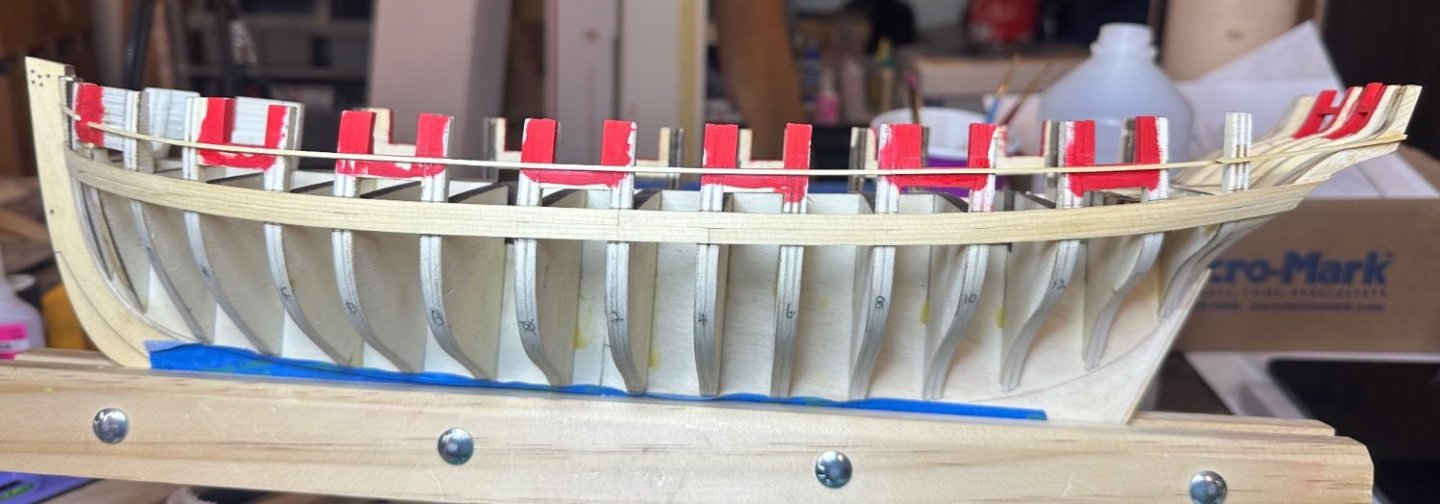
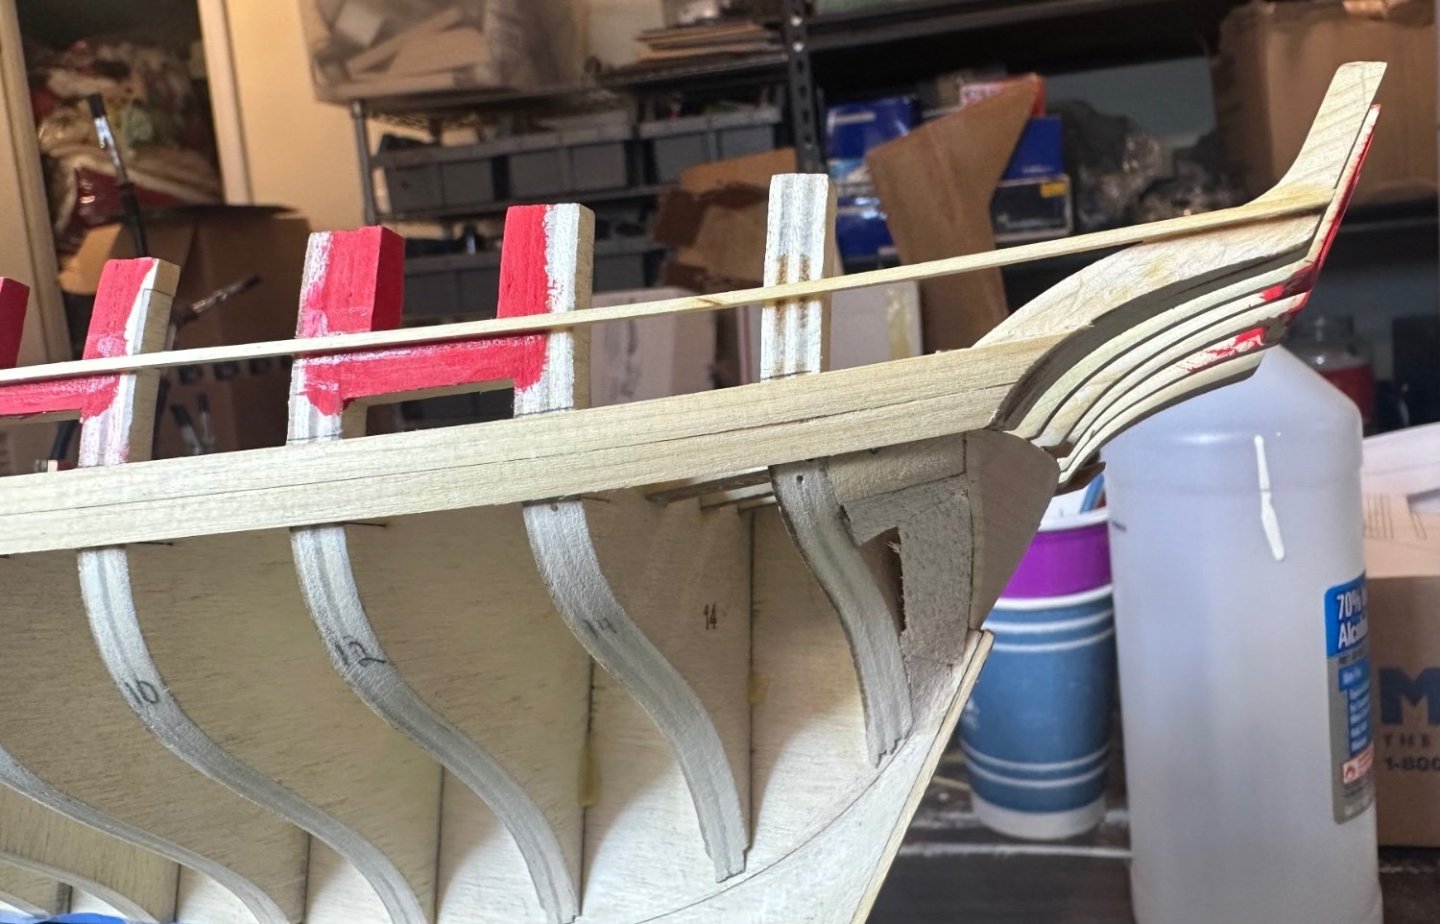
I took some time off to do some much needed yard work. Now I’m back and added the 2 strakes between the molding strip and the wales. Without referencing the practicum I slapped them in. While they look good, it didn’t look “right”. So, I went back and read the practicum and see where my mistake is. My dilemma is rip do I them off and start over, or leave as is? I’ve only done the port side and is most obvious at the stem. Deep down I know what the answer is, but wanted some feedback. Best Regards …. Rick

-
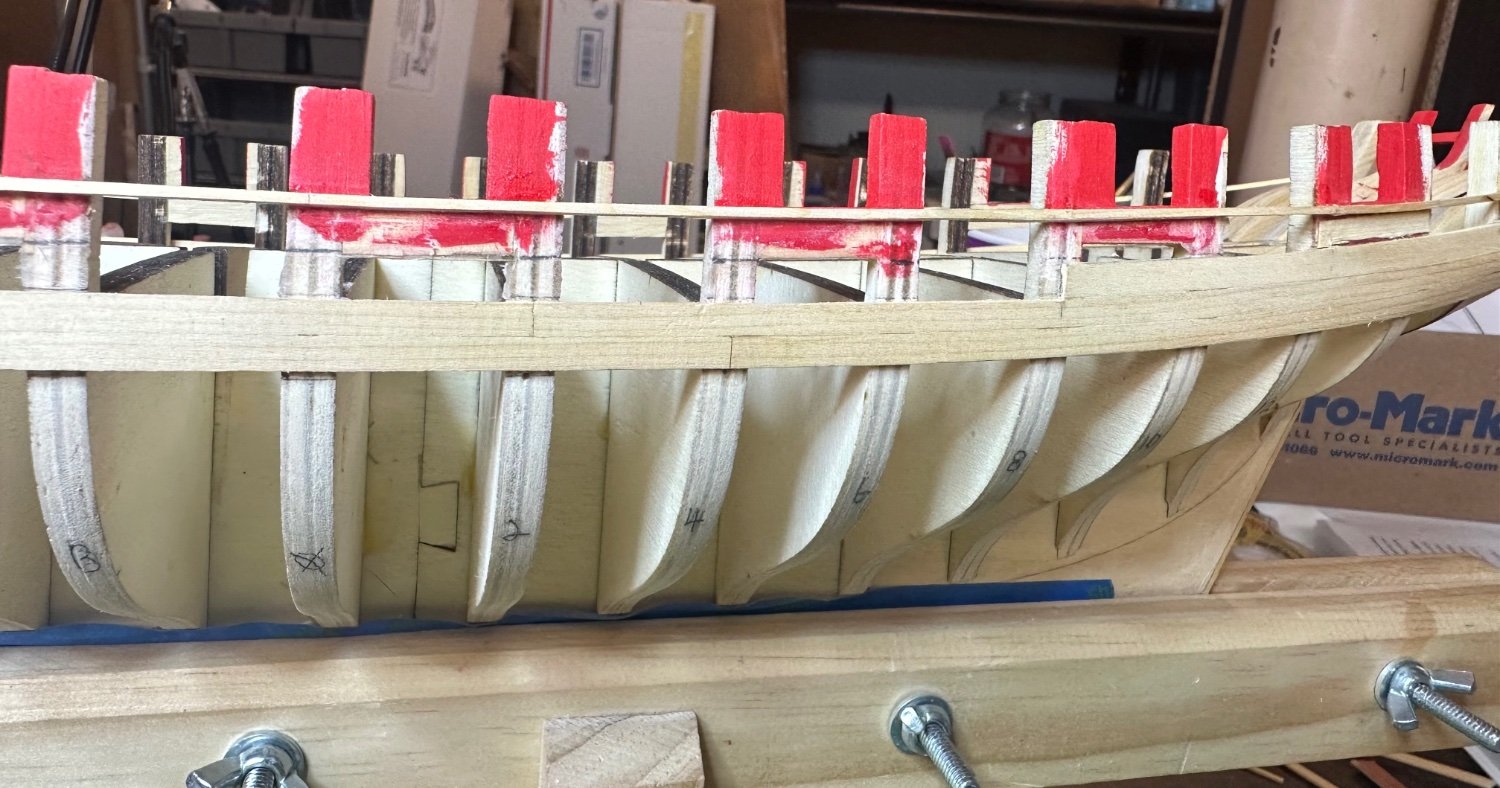
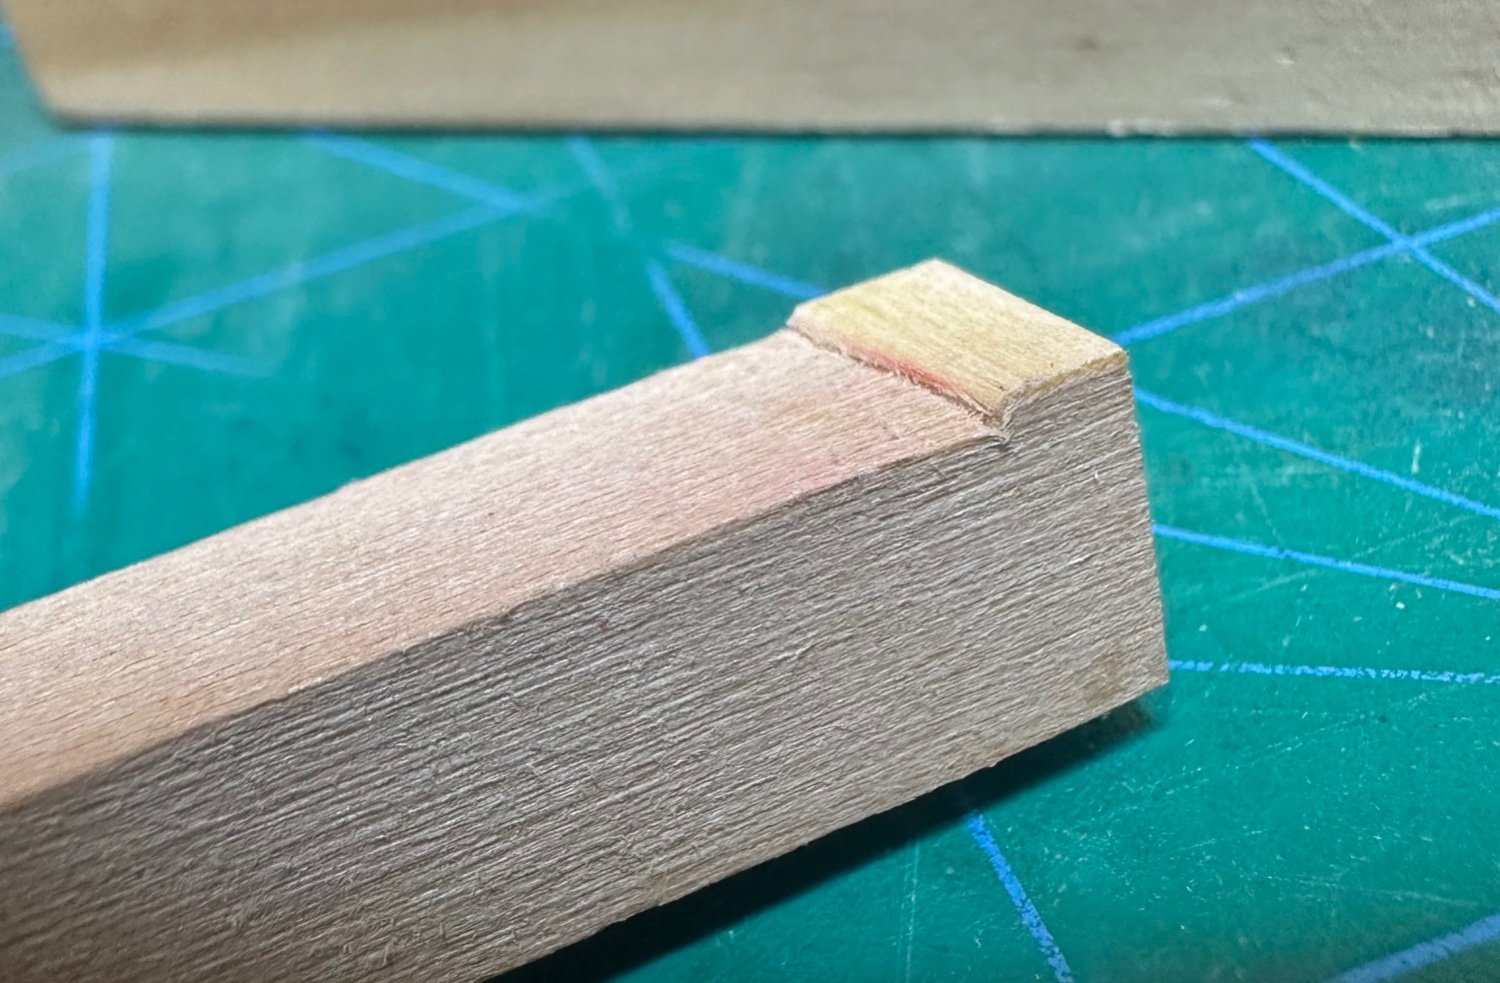
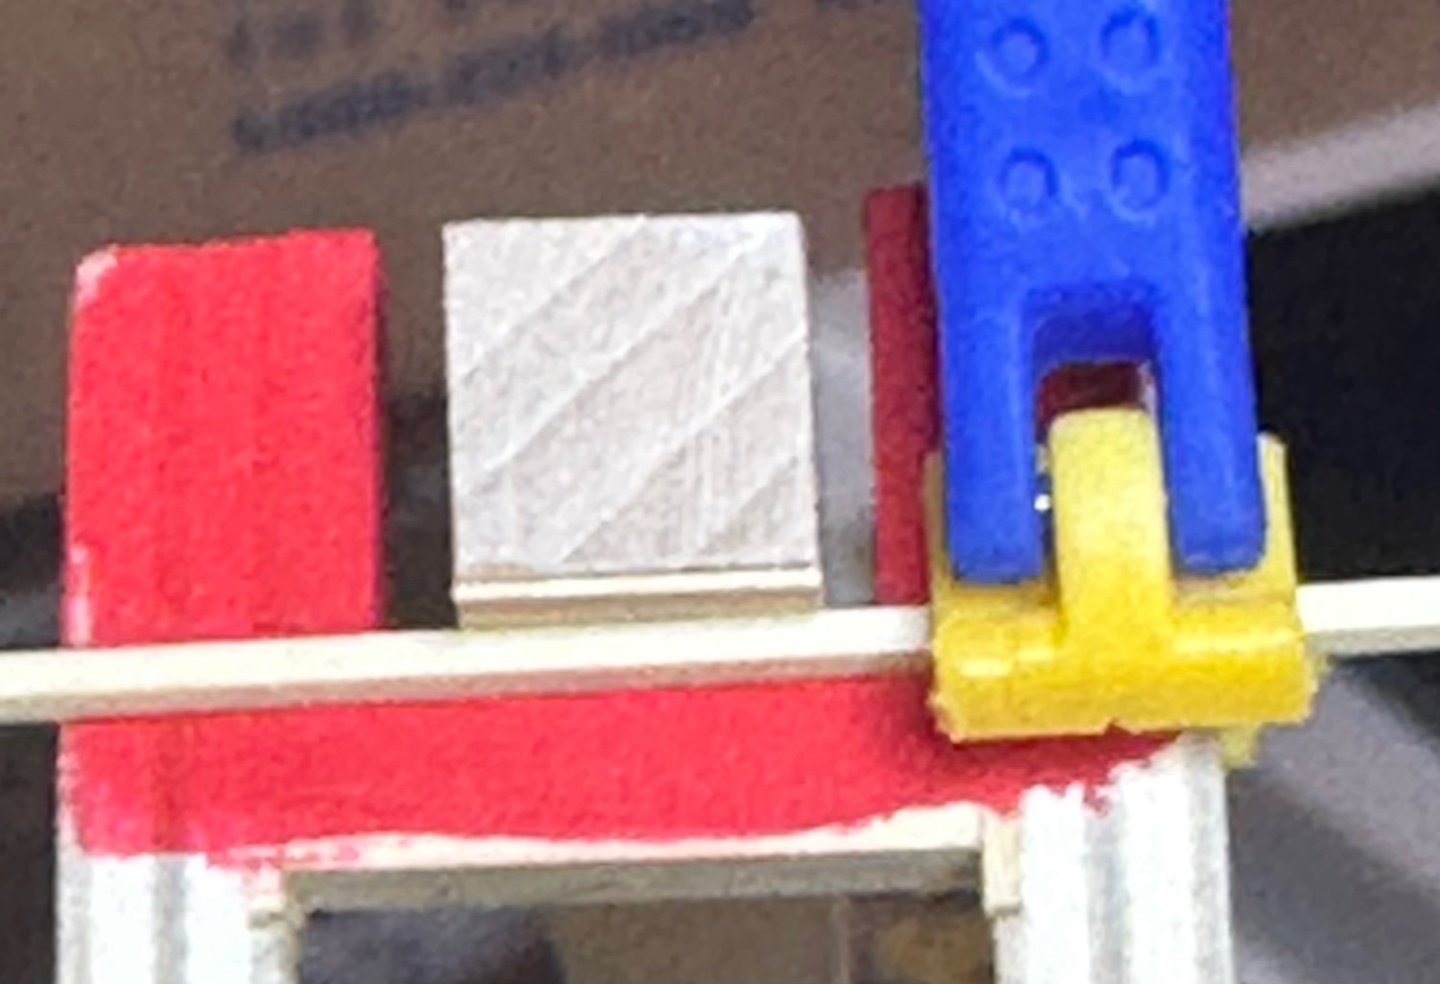
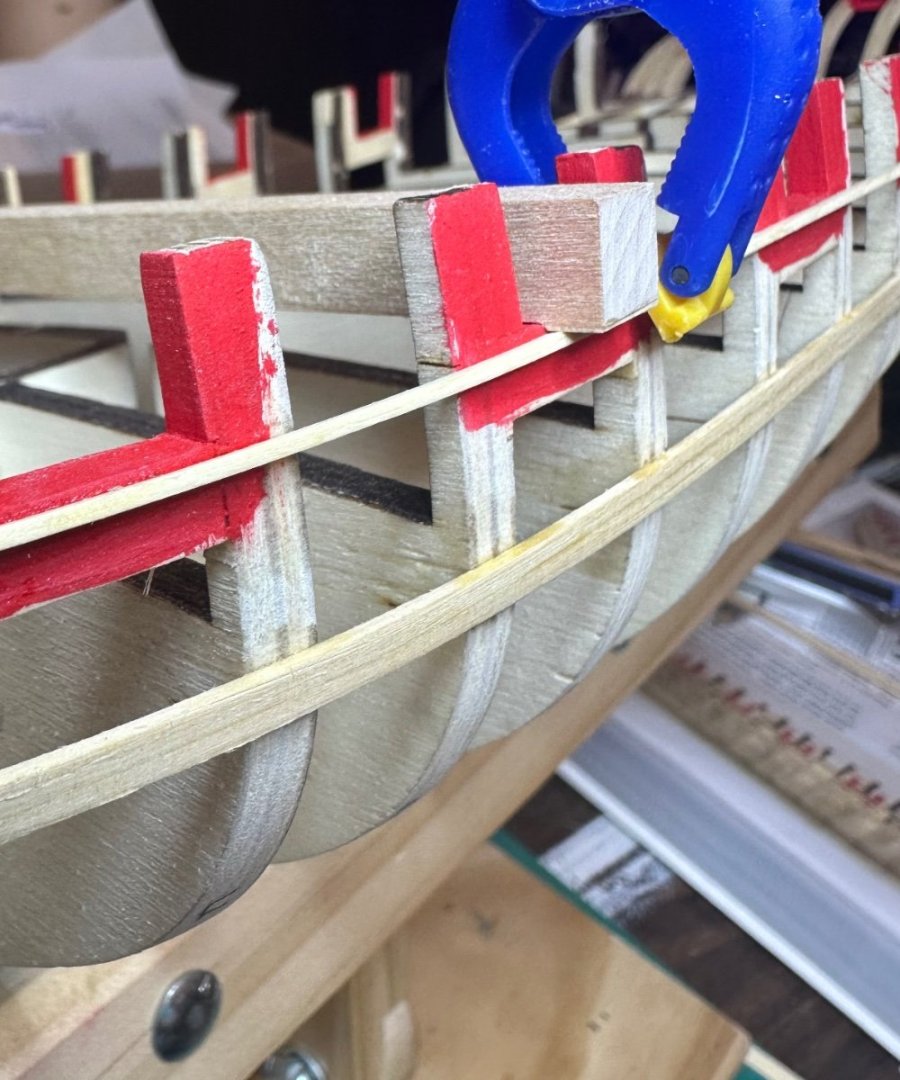
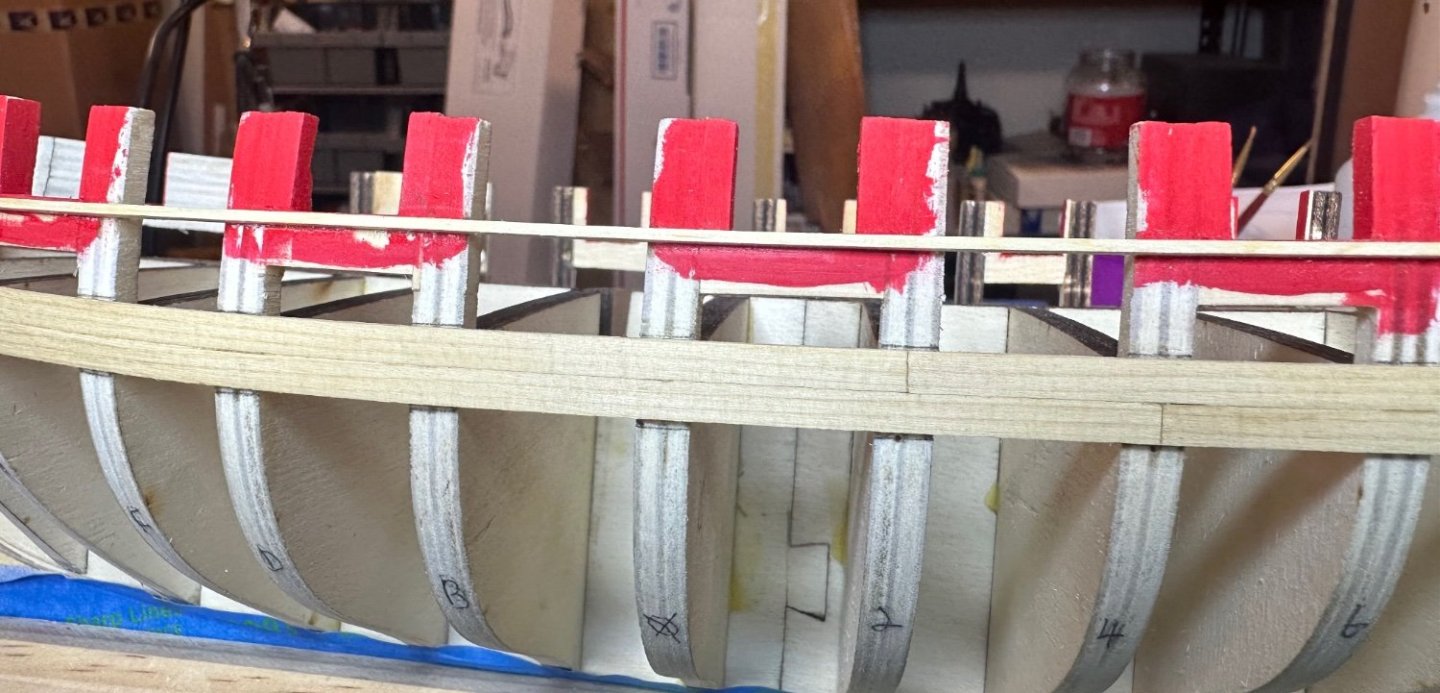
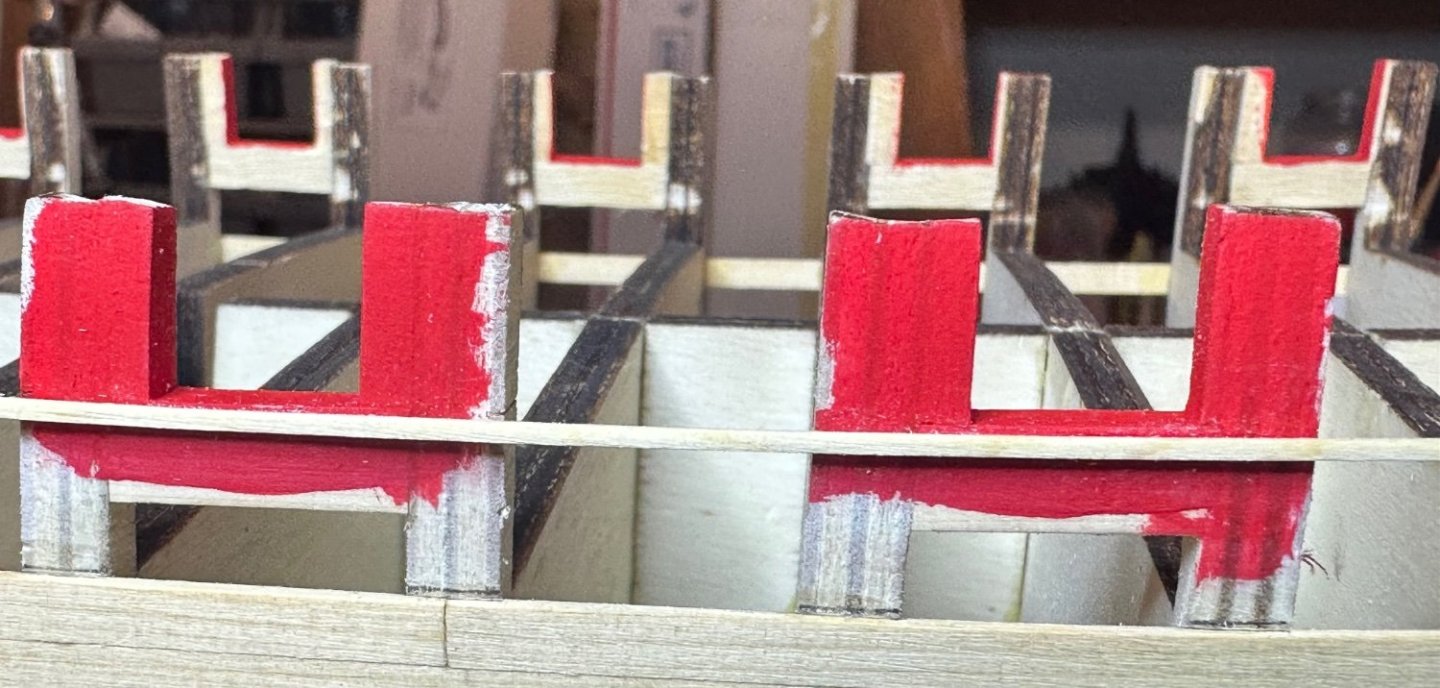
Here’s todays progress, the wales and molding strip have been installed on the port side and the lower wale is installed on the starboard side. I’m amazed by the amount of work necessary to get this far, I’m mentally fatigued for sure. For the molding strip, I made a jig that worked pretty good at making a 1/64” rabbet on the bottom of the gun ports. The jig pictures are self explanatory. I’d like to thank everyone for the likes and to Chuck for pointing the wale run was a little off. Best Regards …. Rick


-
Thank you Chuck! Best Regards …. Rick
-
I’ve never used Corel and wouldn’t know where to begin. I’ll play around with Word. I’ve made adjustments and it looks better. Does the rest look ok? If you need more pictures, let me know. Thanks! Best Regards …. Rick