HOLIDAY DONATION DRIVE - SUPPORT MSW - DO YOUR PART TO KEEP THIS GREAT FORUM GOING! (Only 72 donations so far out of 49,000 members - Can we at least get 100? C'mon guys!)
×


Freebird
-
Posts
334 -
Joined
-
Last visited
Content Type
Profiles
Forums
Gallery
Events
Everything posted by Freebird
-
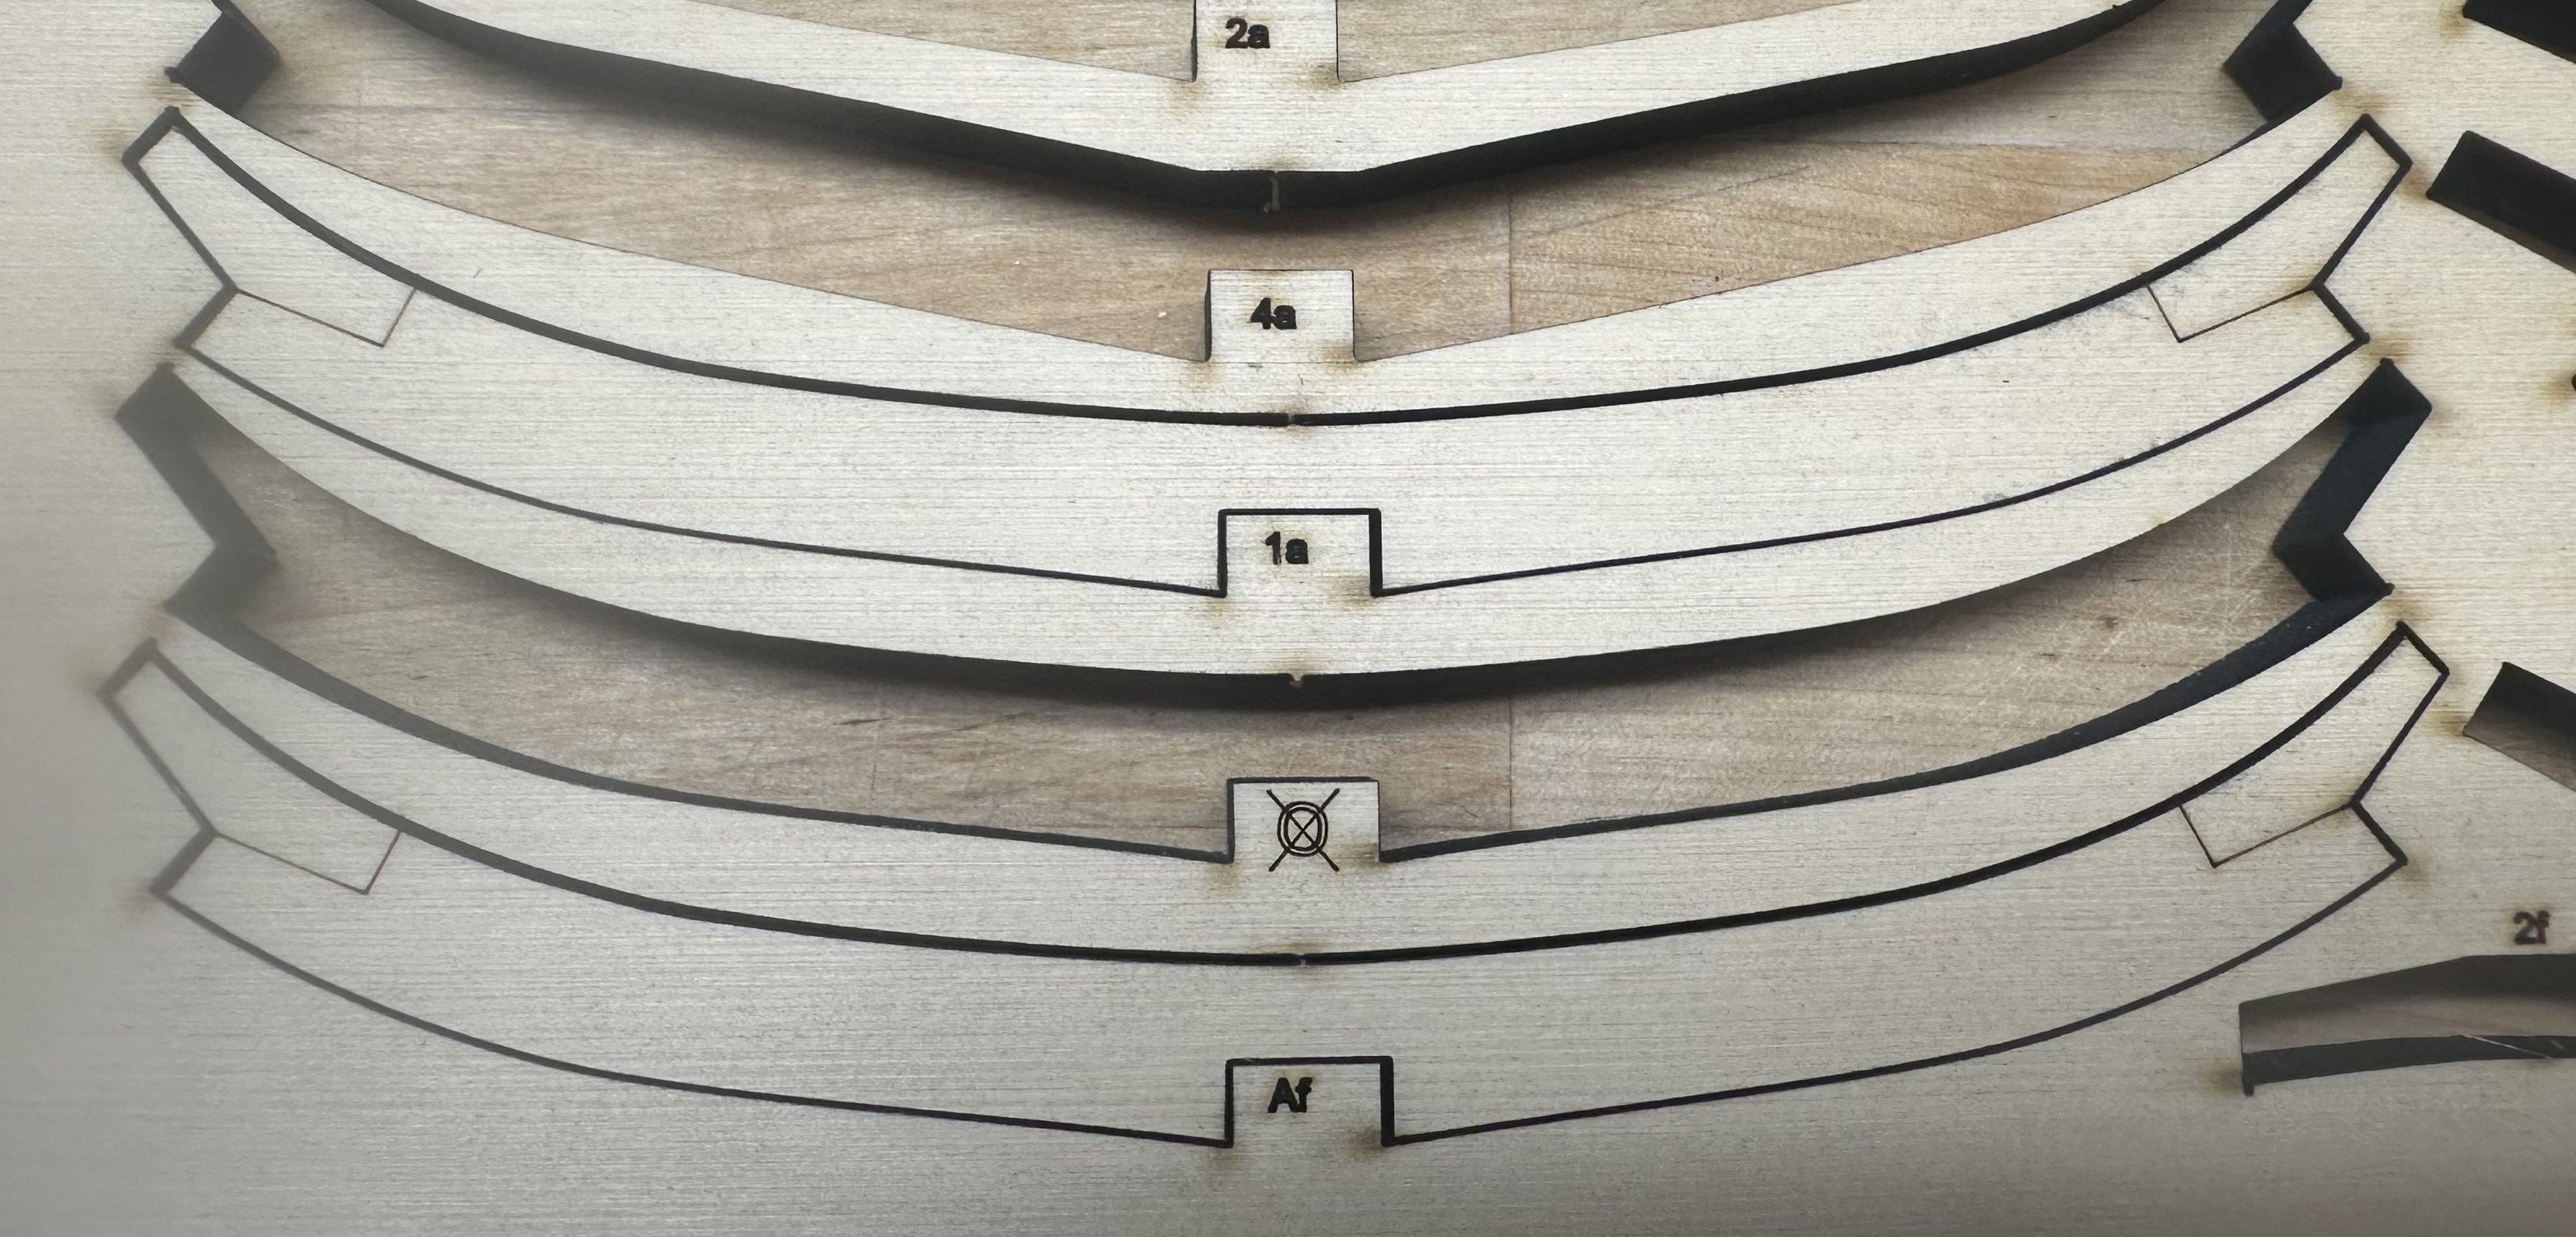
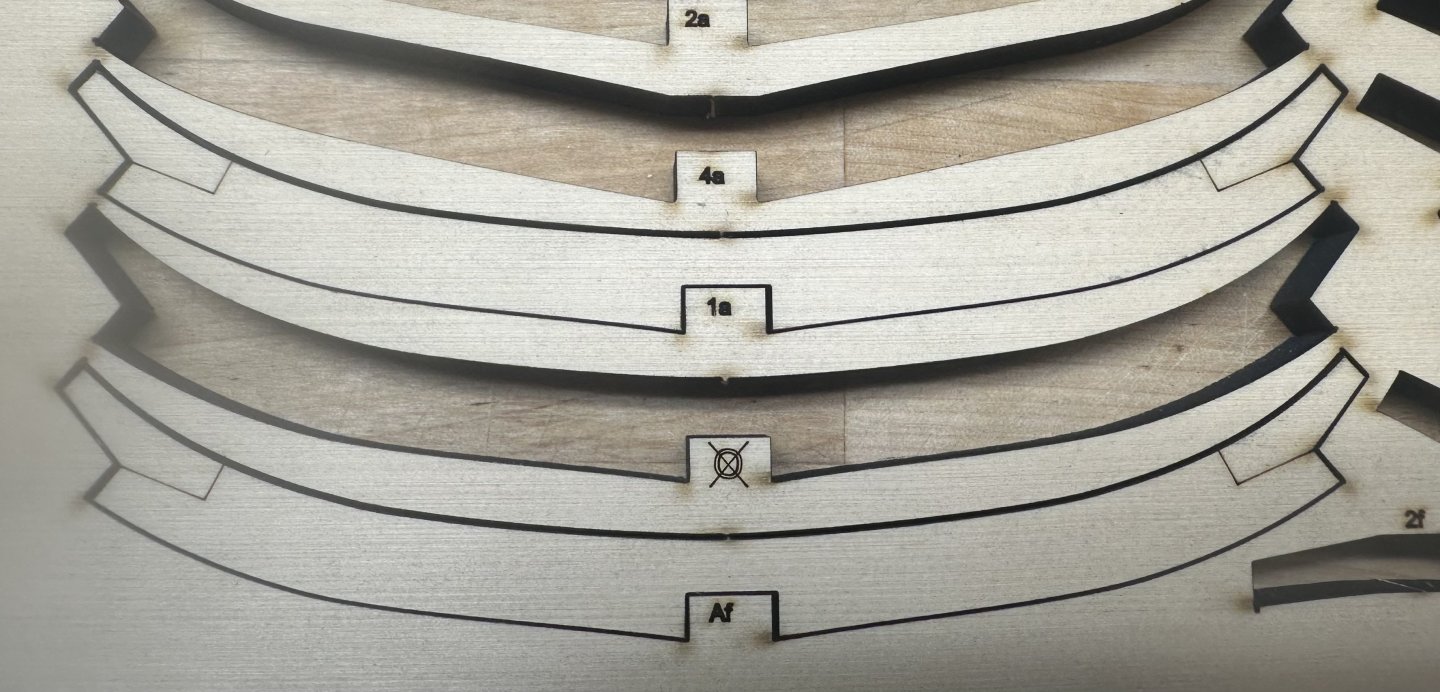
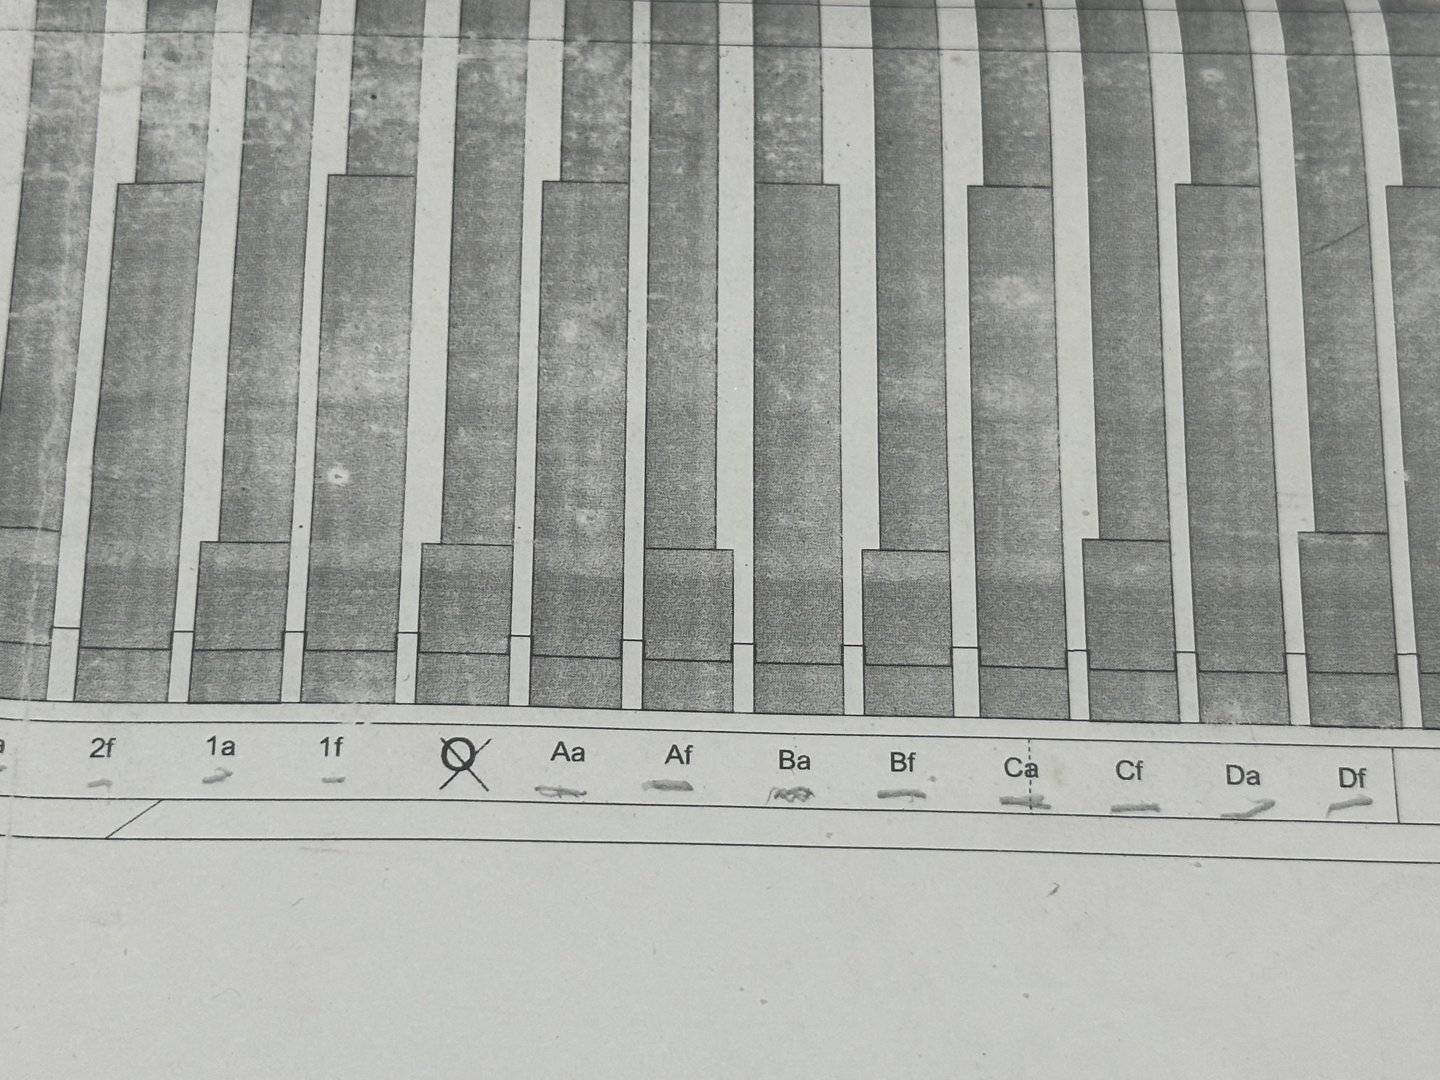
Chuck had me second guessing myself if I used the correct floor for frame OX. Because I never break up or throw away the billets, I was able to put floors 1a and Af back into the billet and confirmed I used the correct floor. Best Regards …. Rick
-
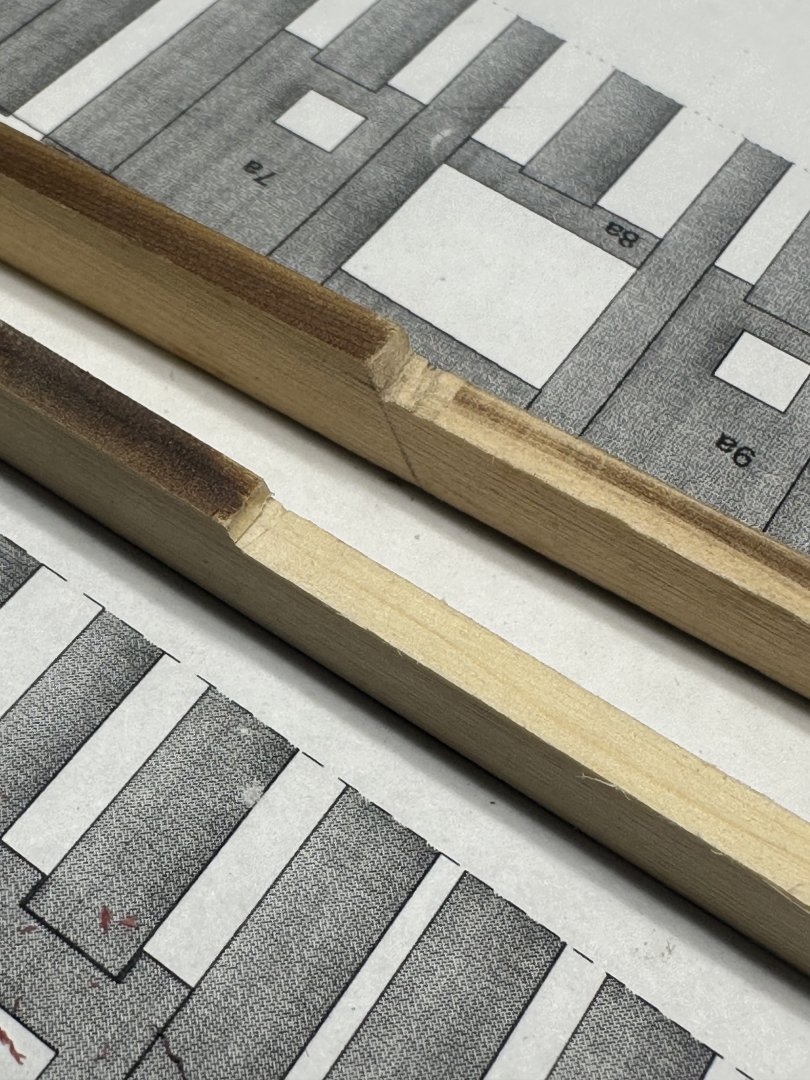
The parts are the correct parts, must be camera angle. I did like Jean-Marie and placed each of the frames into its own separate baggie so there wouldn’t be any mixup of the parts. That was a great idea. I’ll add a few more frames and see how they seat before making a decision. If I do trim, it’ll be from the floor. Thanks for chiming in, Chuck. Best Regards …. Rick
-
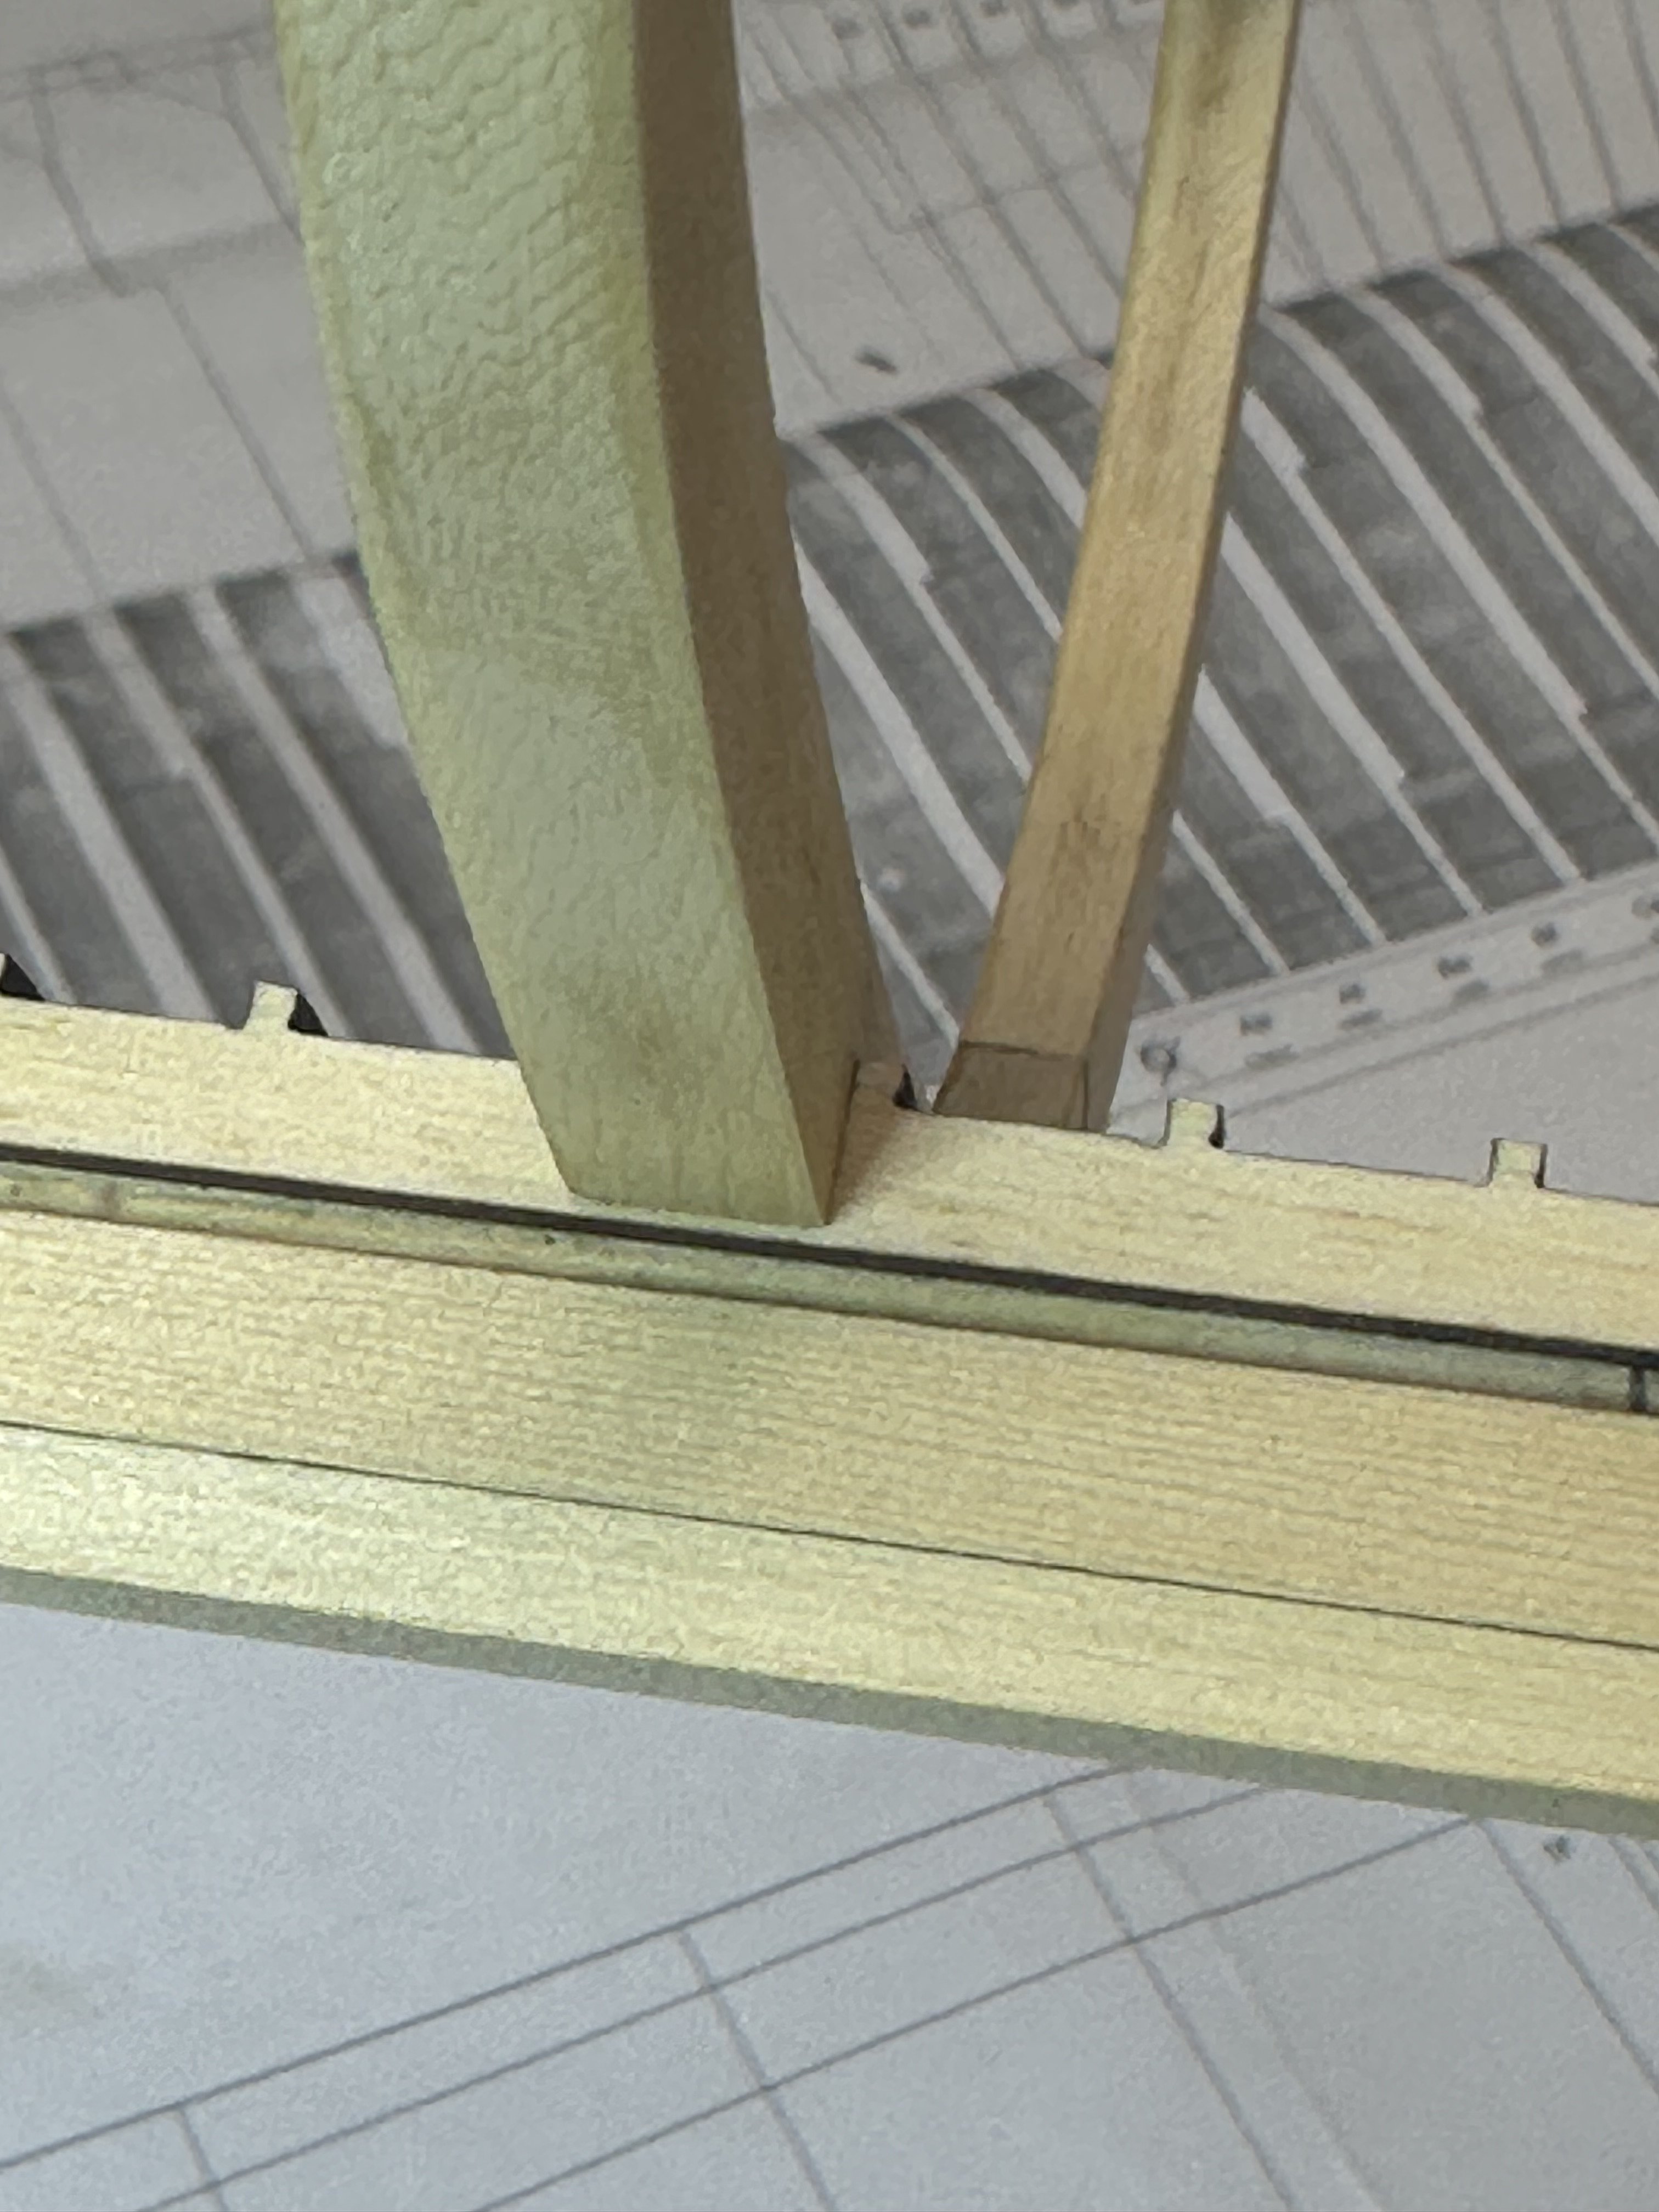
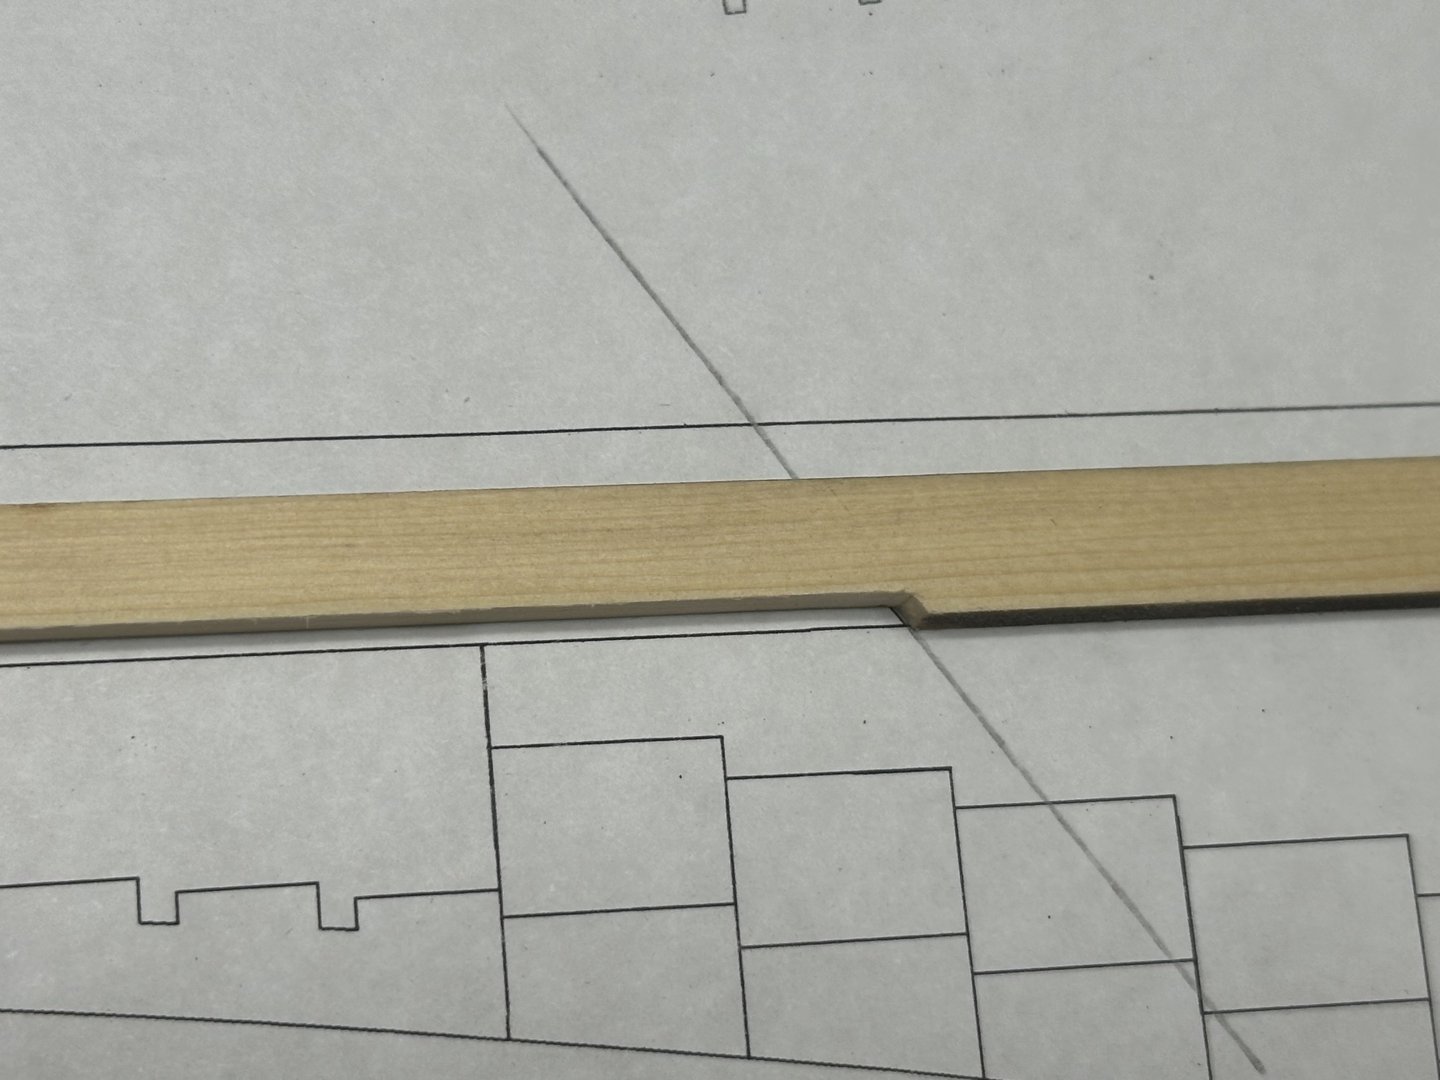
Question: I had a little time this morning to mess around and decide to assemble the frame with the O and X thru it. Assembly was easy and gave me an idea of how much sanding is in front of me. But me being me, I had to fit the frame on the keel. Small adjustments were needed as it was a very tight fit. Once fitted, I noticed the bottom of the frame didn’t quite seat to the top of the rabbet, in other words, flush with the rabbet. Is this an issue? The plans clearly no space from the bottom of the frame to the top of the rabbet. So, question is, if the frame is to be flush with the top of the rabbet, do yo adjust the notch in the frame, or the notch in the rising wood? Best Regards …. Rick
-
Jeff, that’s what I did. I just cleaned up both ends to remove char and squared them up. Once you have glued them to the lower apron, you’ll want to reduce their height. It’s all in the practicum. Best Regards …. Rick
-
Rusty, Your work looks awesome! I'm at the stage of sanding the deadwood down and adding the wedges. I hope whatever was keeping you down is in the rearview mirror. Getting old isn't for the faint of heart. Two days before the Conference, I had some minor surgery and certainly wasn't going to miss that day! Keep up the good work! Best Regards .... Rick
-
Very, very nice Mike! Best Regards .... Rick
-
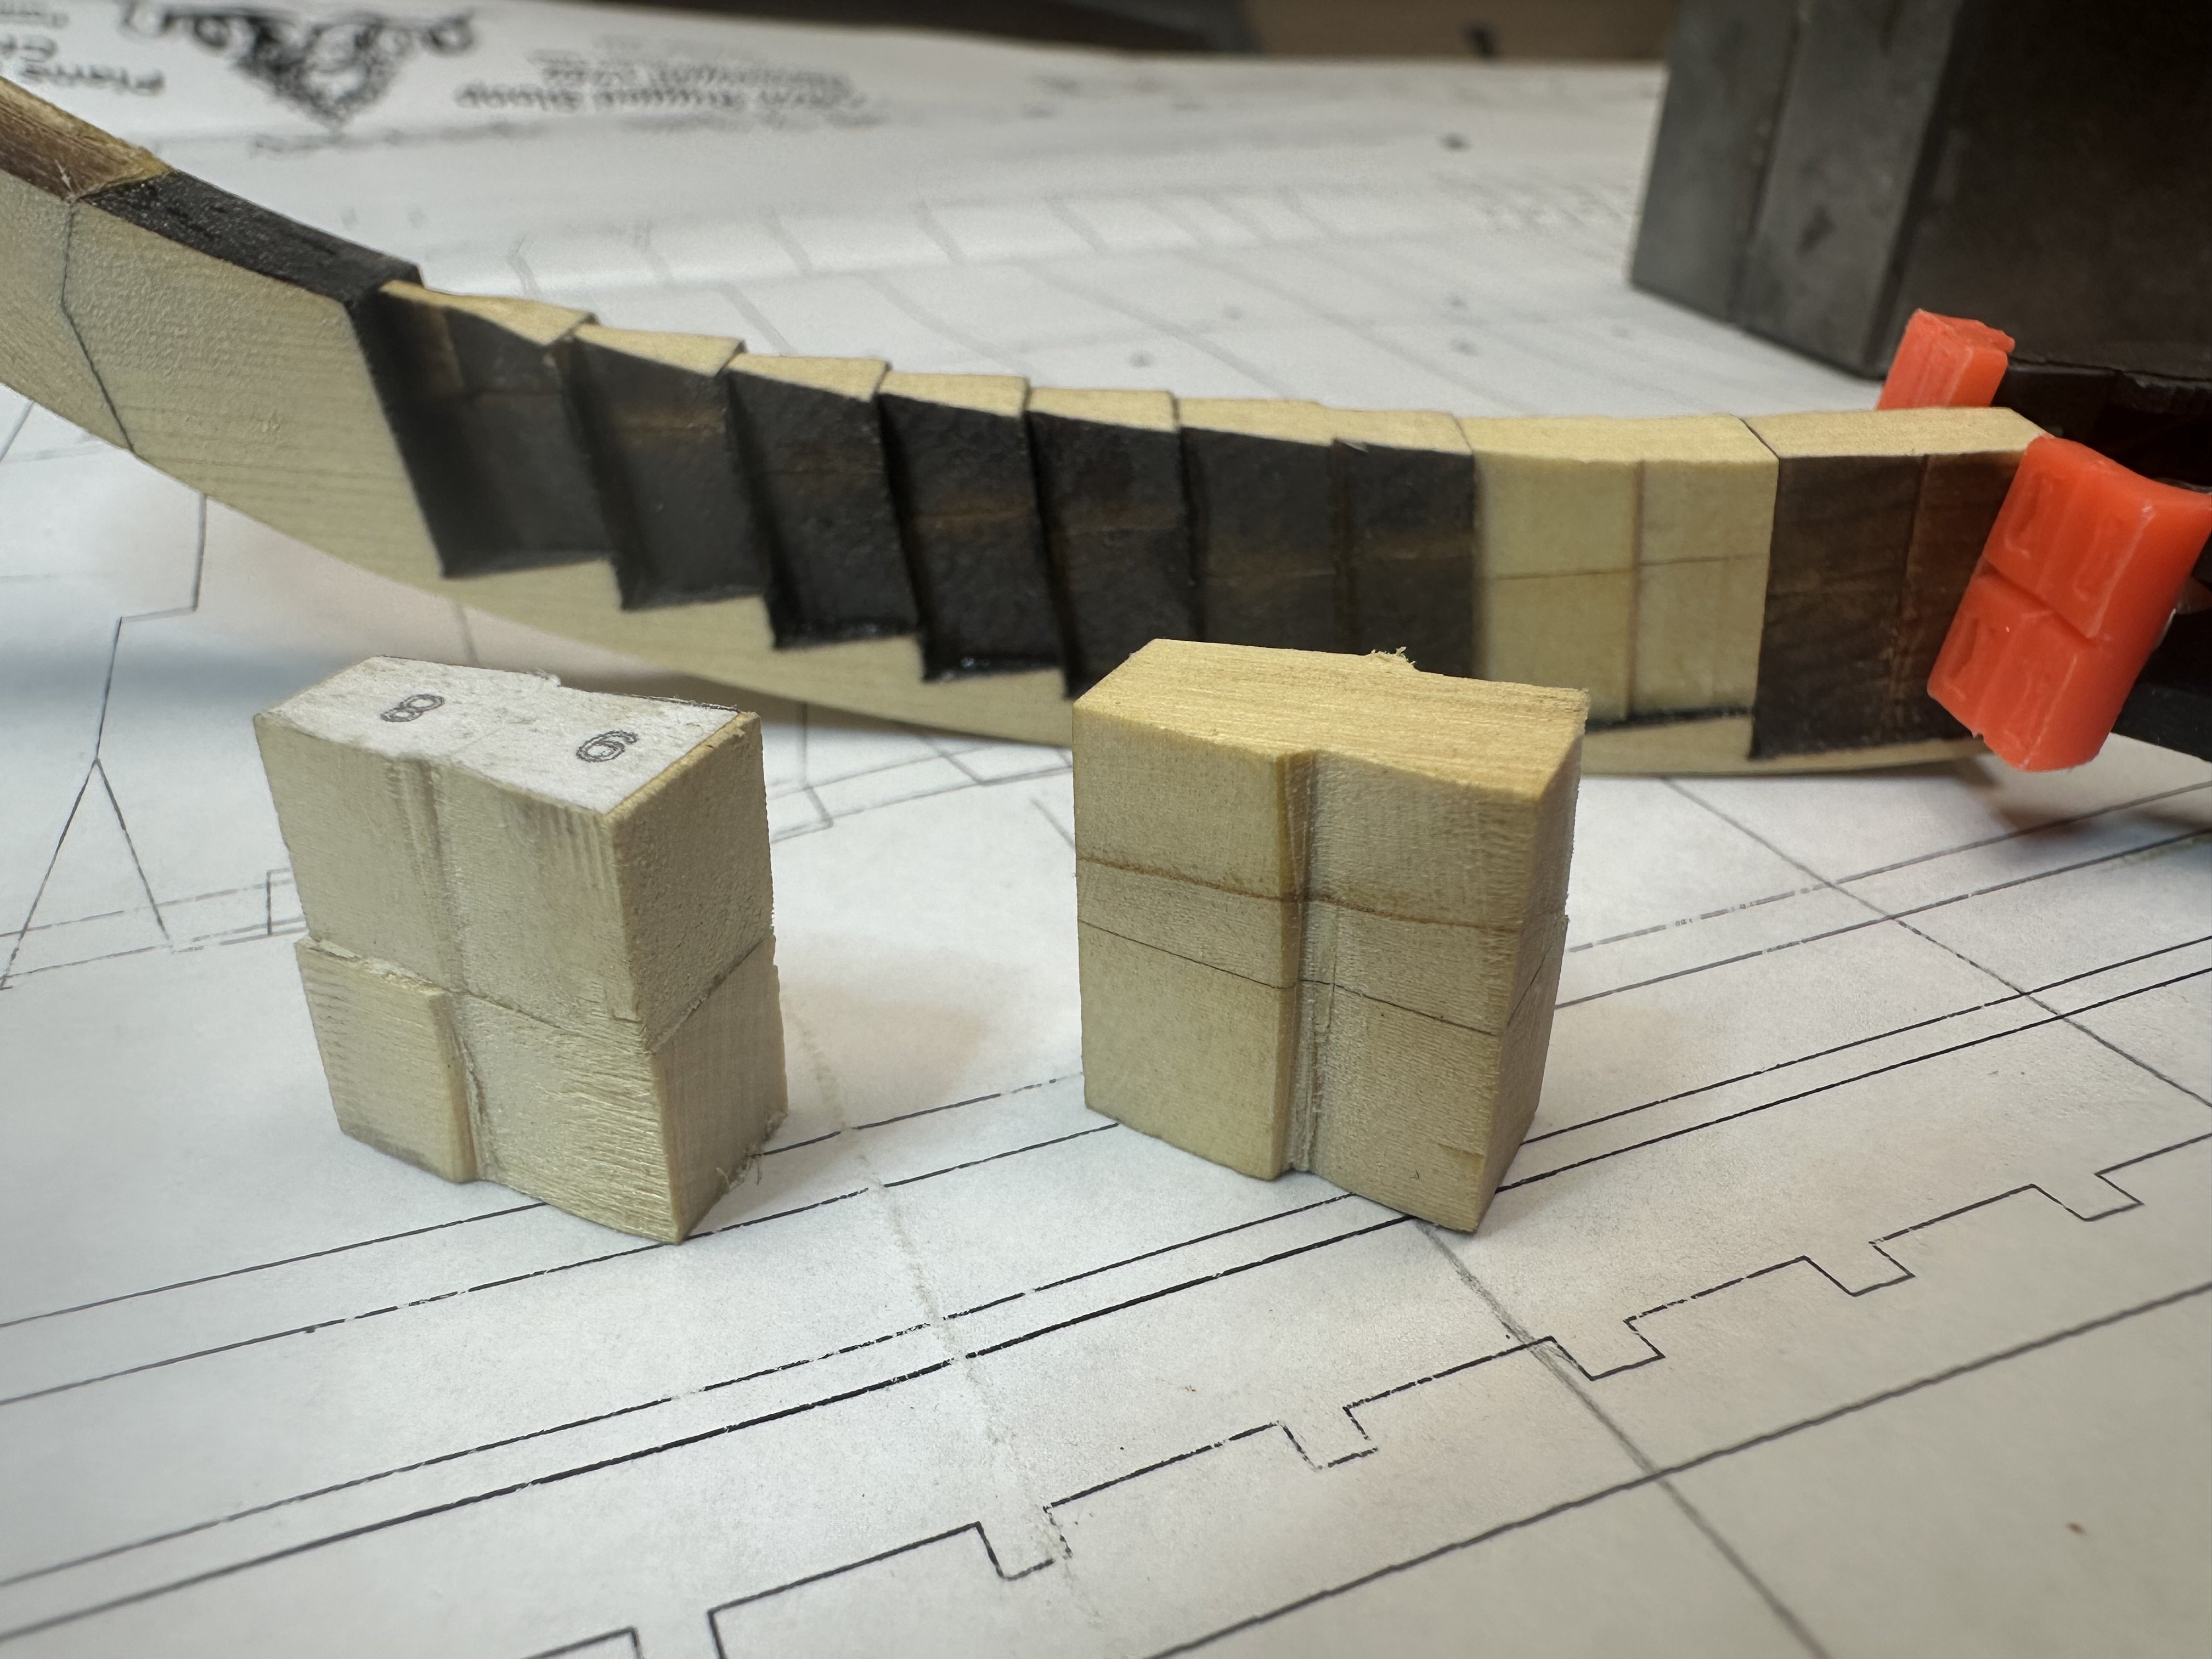
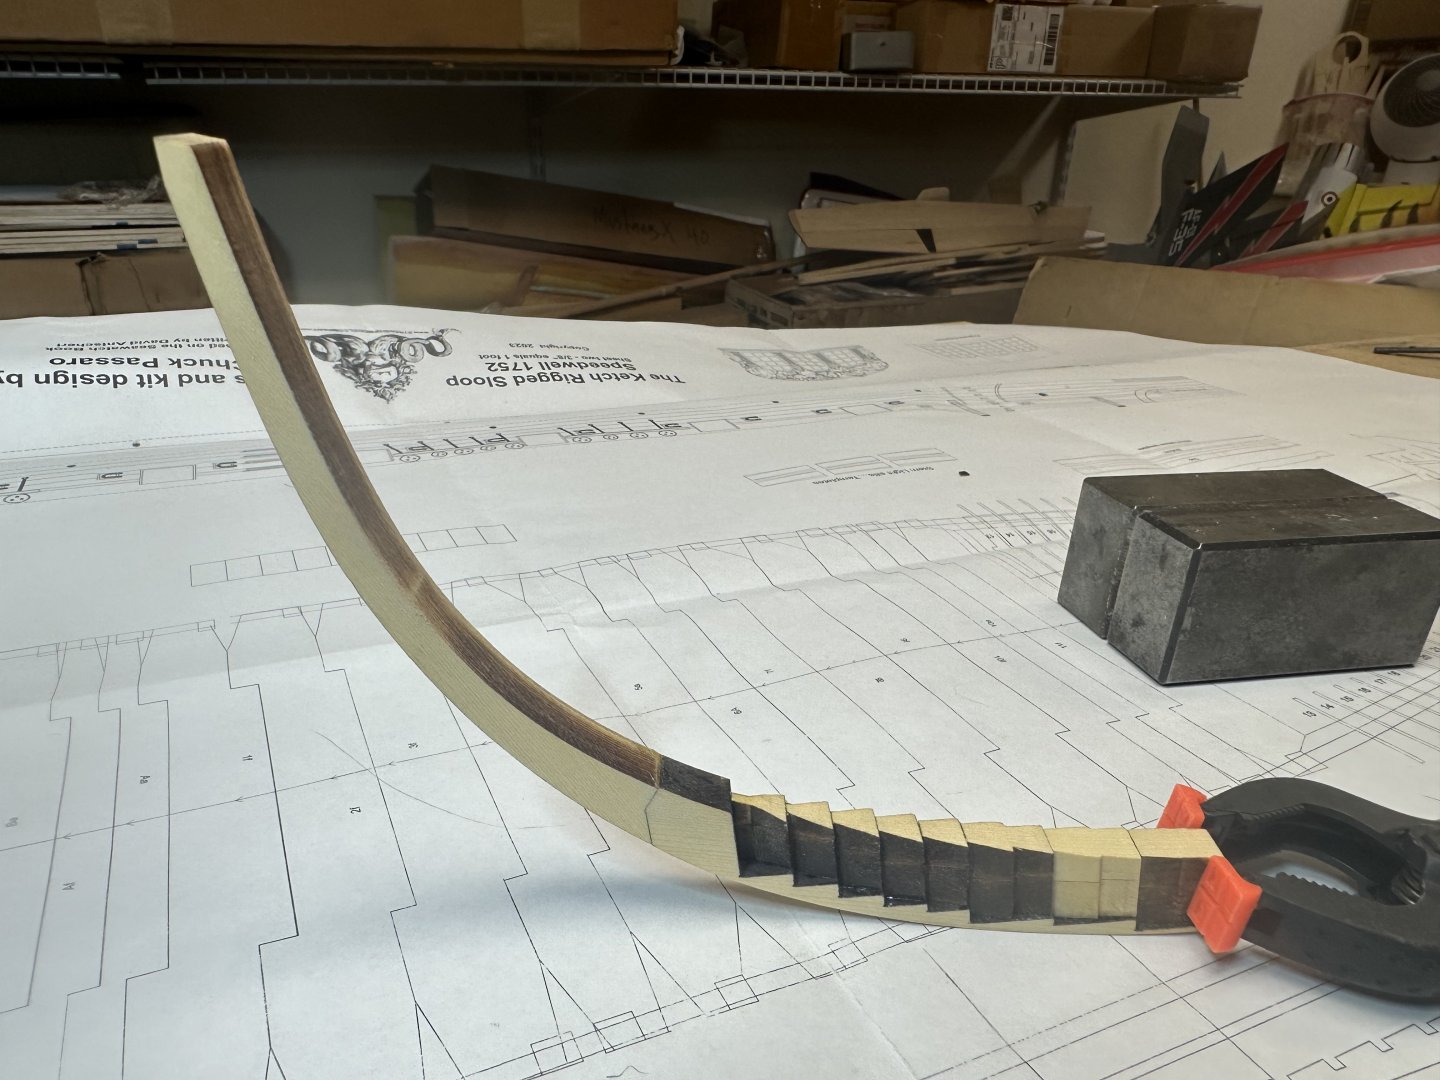
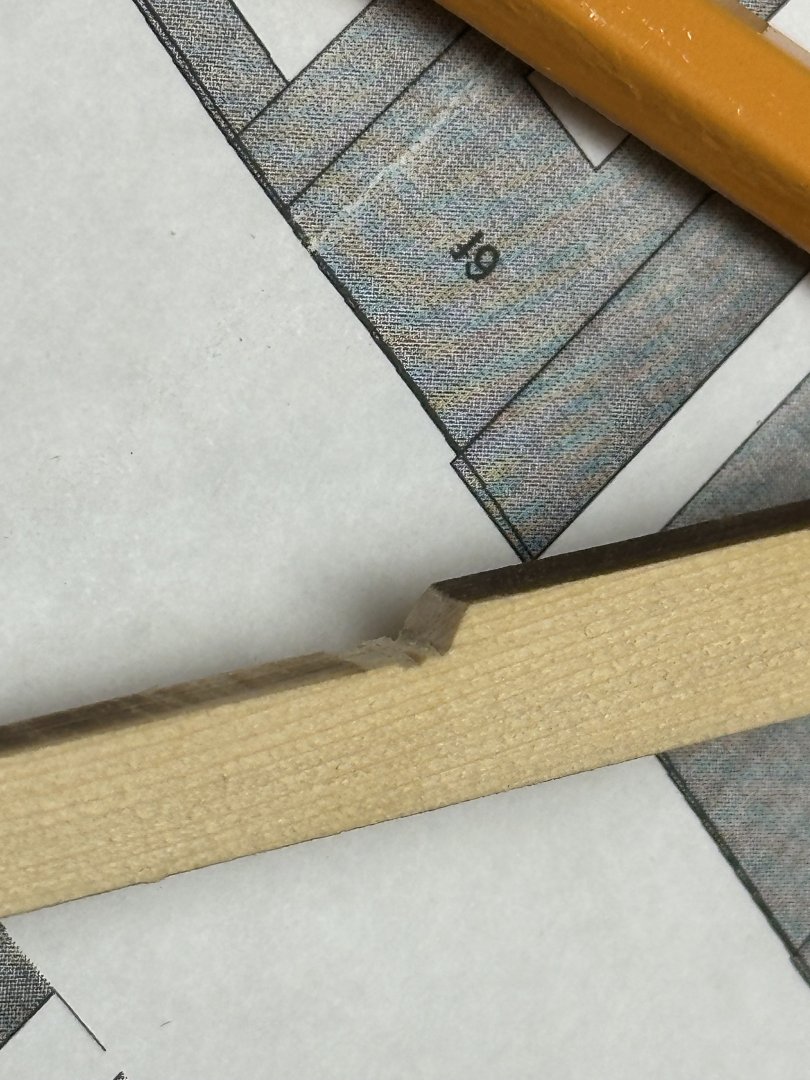
Yesterday, I tackled the upper/lower apron. I had glued the wedge halves together a few days ago and had them lined up in the proper order on my workbench. However, I noticed that 8/9 wedge was missing! What the heck! Over an hour of searching produced negative results, swear jar was very happy. Only thing I could think of was the family cat took it as she likes to spend time with me. So, do I get a hold of Chuck and wait for replacement, or forge ahead. I really didn’t want to contact Chuck as he’s headed out for some R&R. I decided to make a replacement. I first tried the make the wedge by hand, I mean it’s all straight lines, right? Well I forgot that I can’t draw a straight line using a ruler. The results were very pathetic and not worthy. Well I forgot that I have a Proxxon mill, perfect! After about 1/2 hour of milling I dropped the part into the appropriate hole in the billet and it was a perfect fit. Yea! Sorry, but in my haste to move on, I forgot to take pictures. As you can see, the replacement really stands out on the apron. Best Regards …. Rick

-
Wasn't planning on drilling through the keel, mostly wondering if the bolt pattern was the same on both sides. On Medway, I did shallow for the bolts and will be doing the same on Speedwell. Thanks for the reply. Enjoy your time off! Best Regards .... Rick
-
Chuck, quick question before you head out. The bolts for the box joints, are they in the same position on port/starboard of the keel? In other words, would drilling the holes completely through the keel and inserting the bolts be accurate? Or should the bolt pattern be shifted to match the joints on each side? TIA! Best Regards .... Rick
-
Chuck, have a great time, lord only knows that you need the time off! Best Regards .... Rick
-
Awesome! it's nice to have a few others building at the same stage. Best Regards .... Rick
-
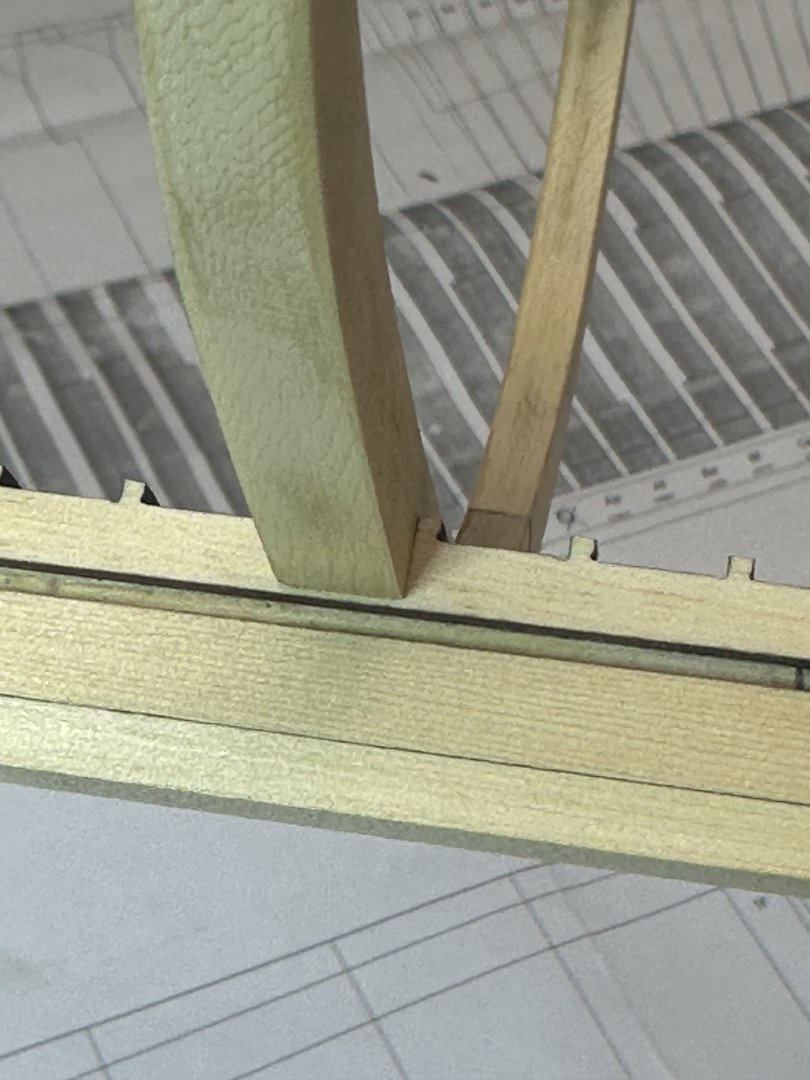
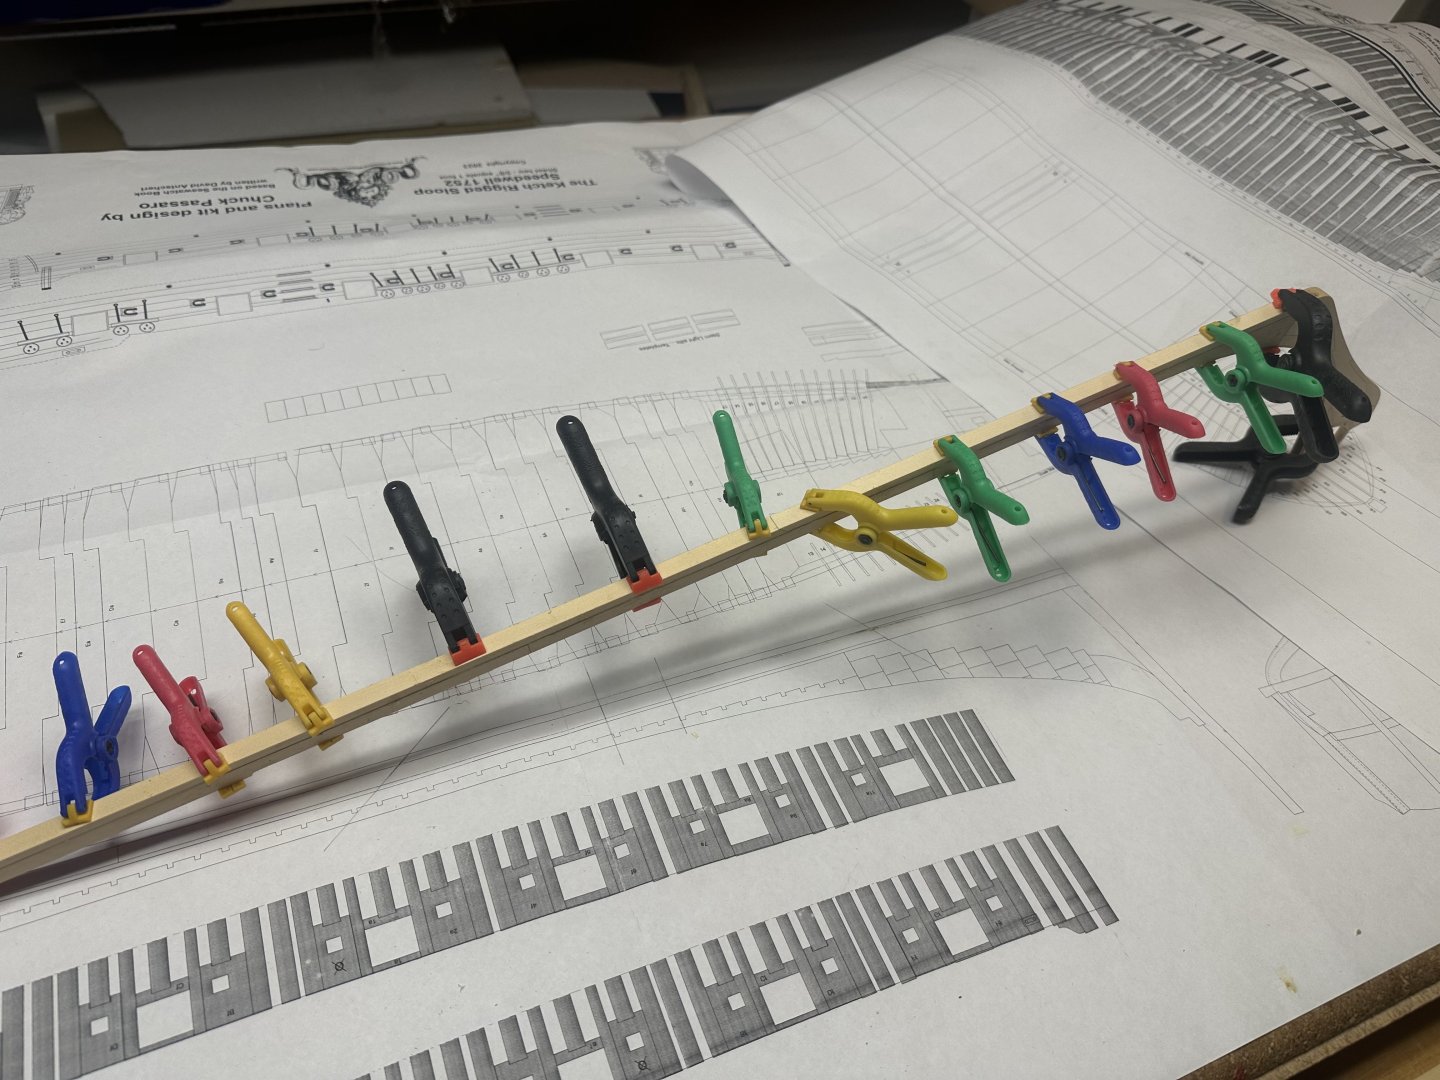
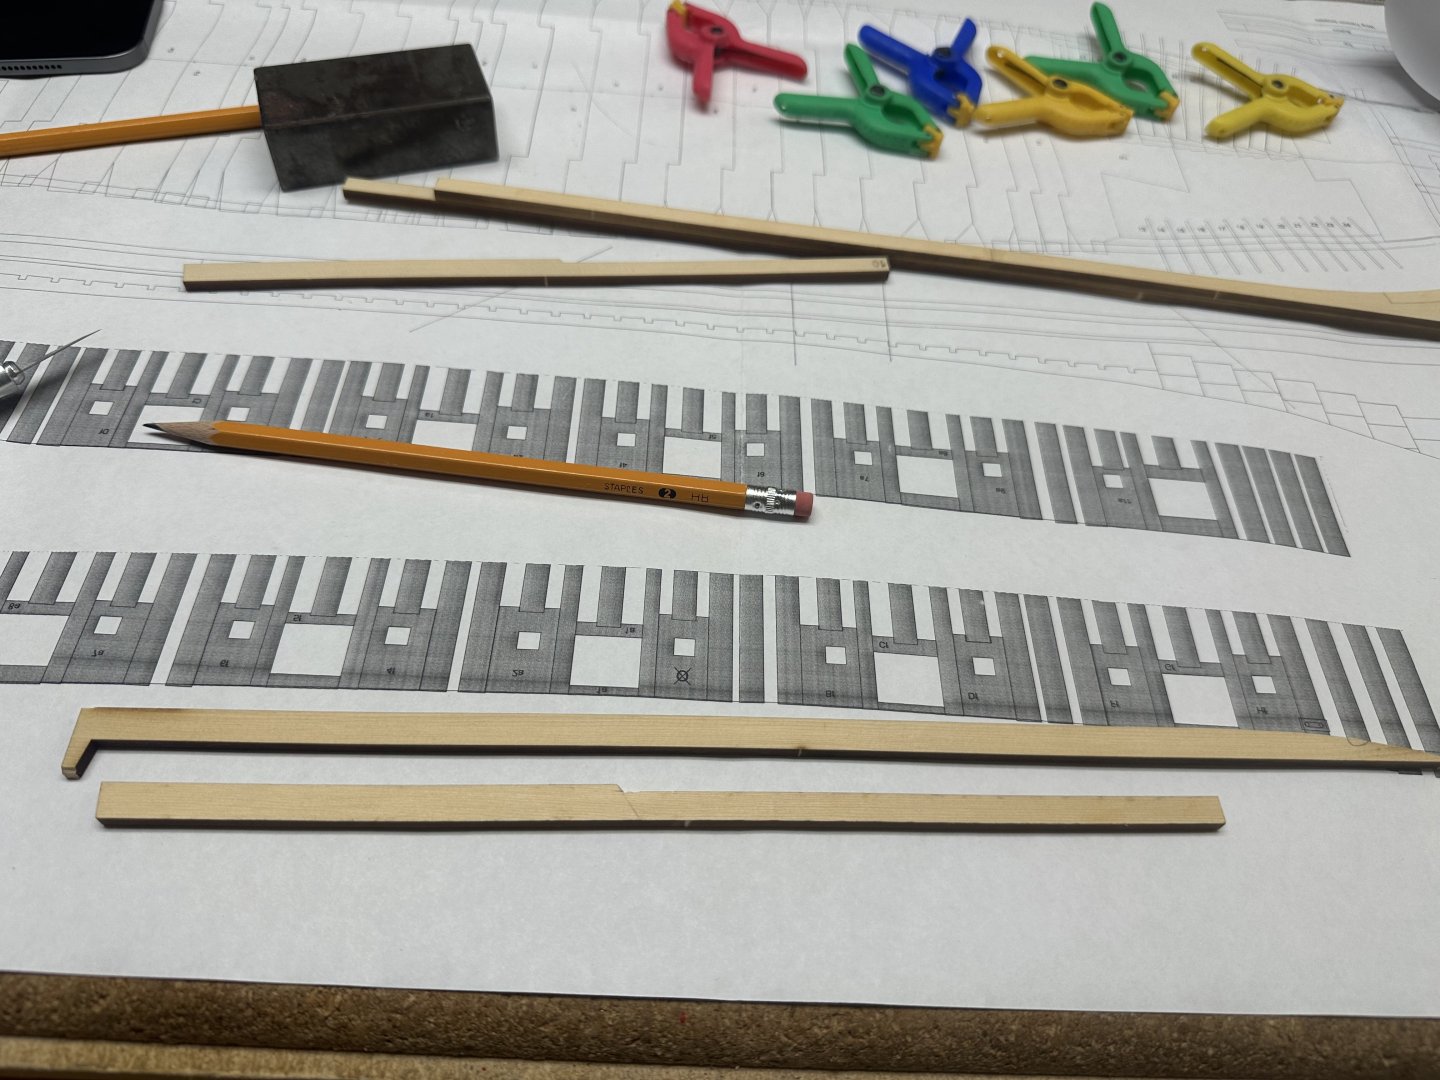
Thank you everyone for the likes, much appreciated and it keeps me motivated! Here’s the completed keel, being on the long side, it’s hard to get decent pictures. I’ve also started on the forward apron, the wedges are glued together and ready to start fitting them. Best Regards …. Rick

-
Any more progress,Jeff? Best Regards …. Rick
-
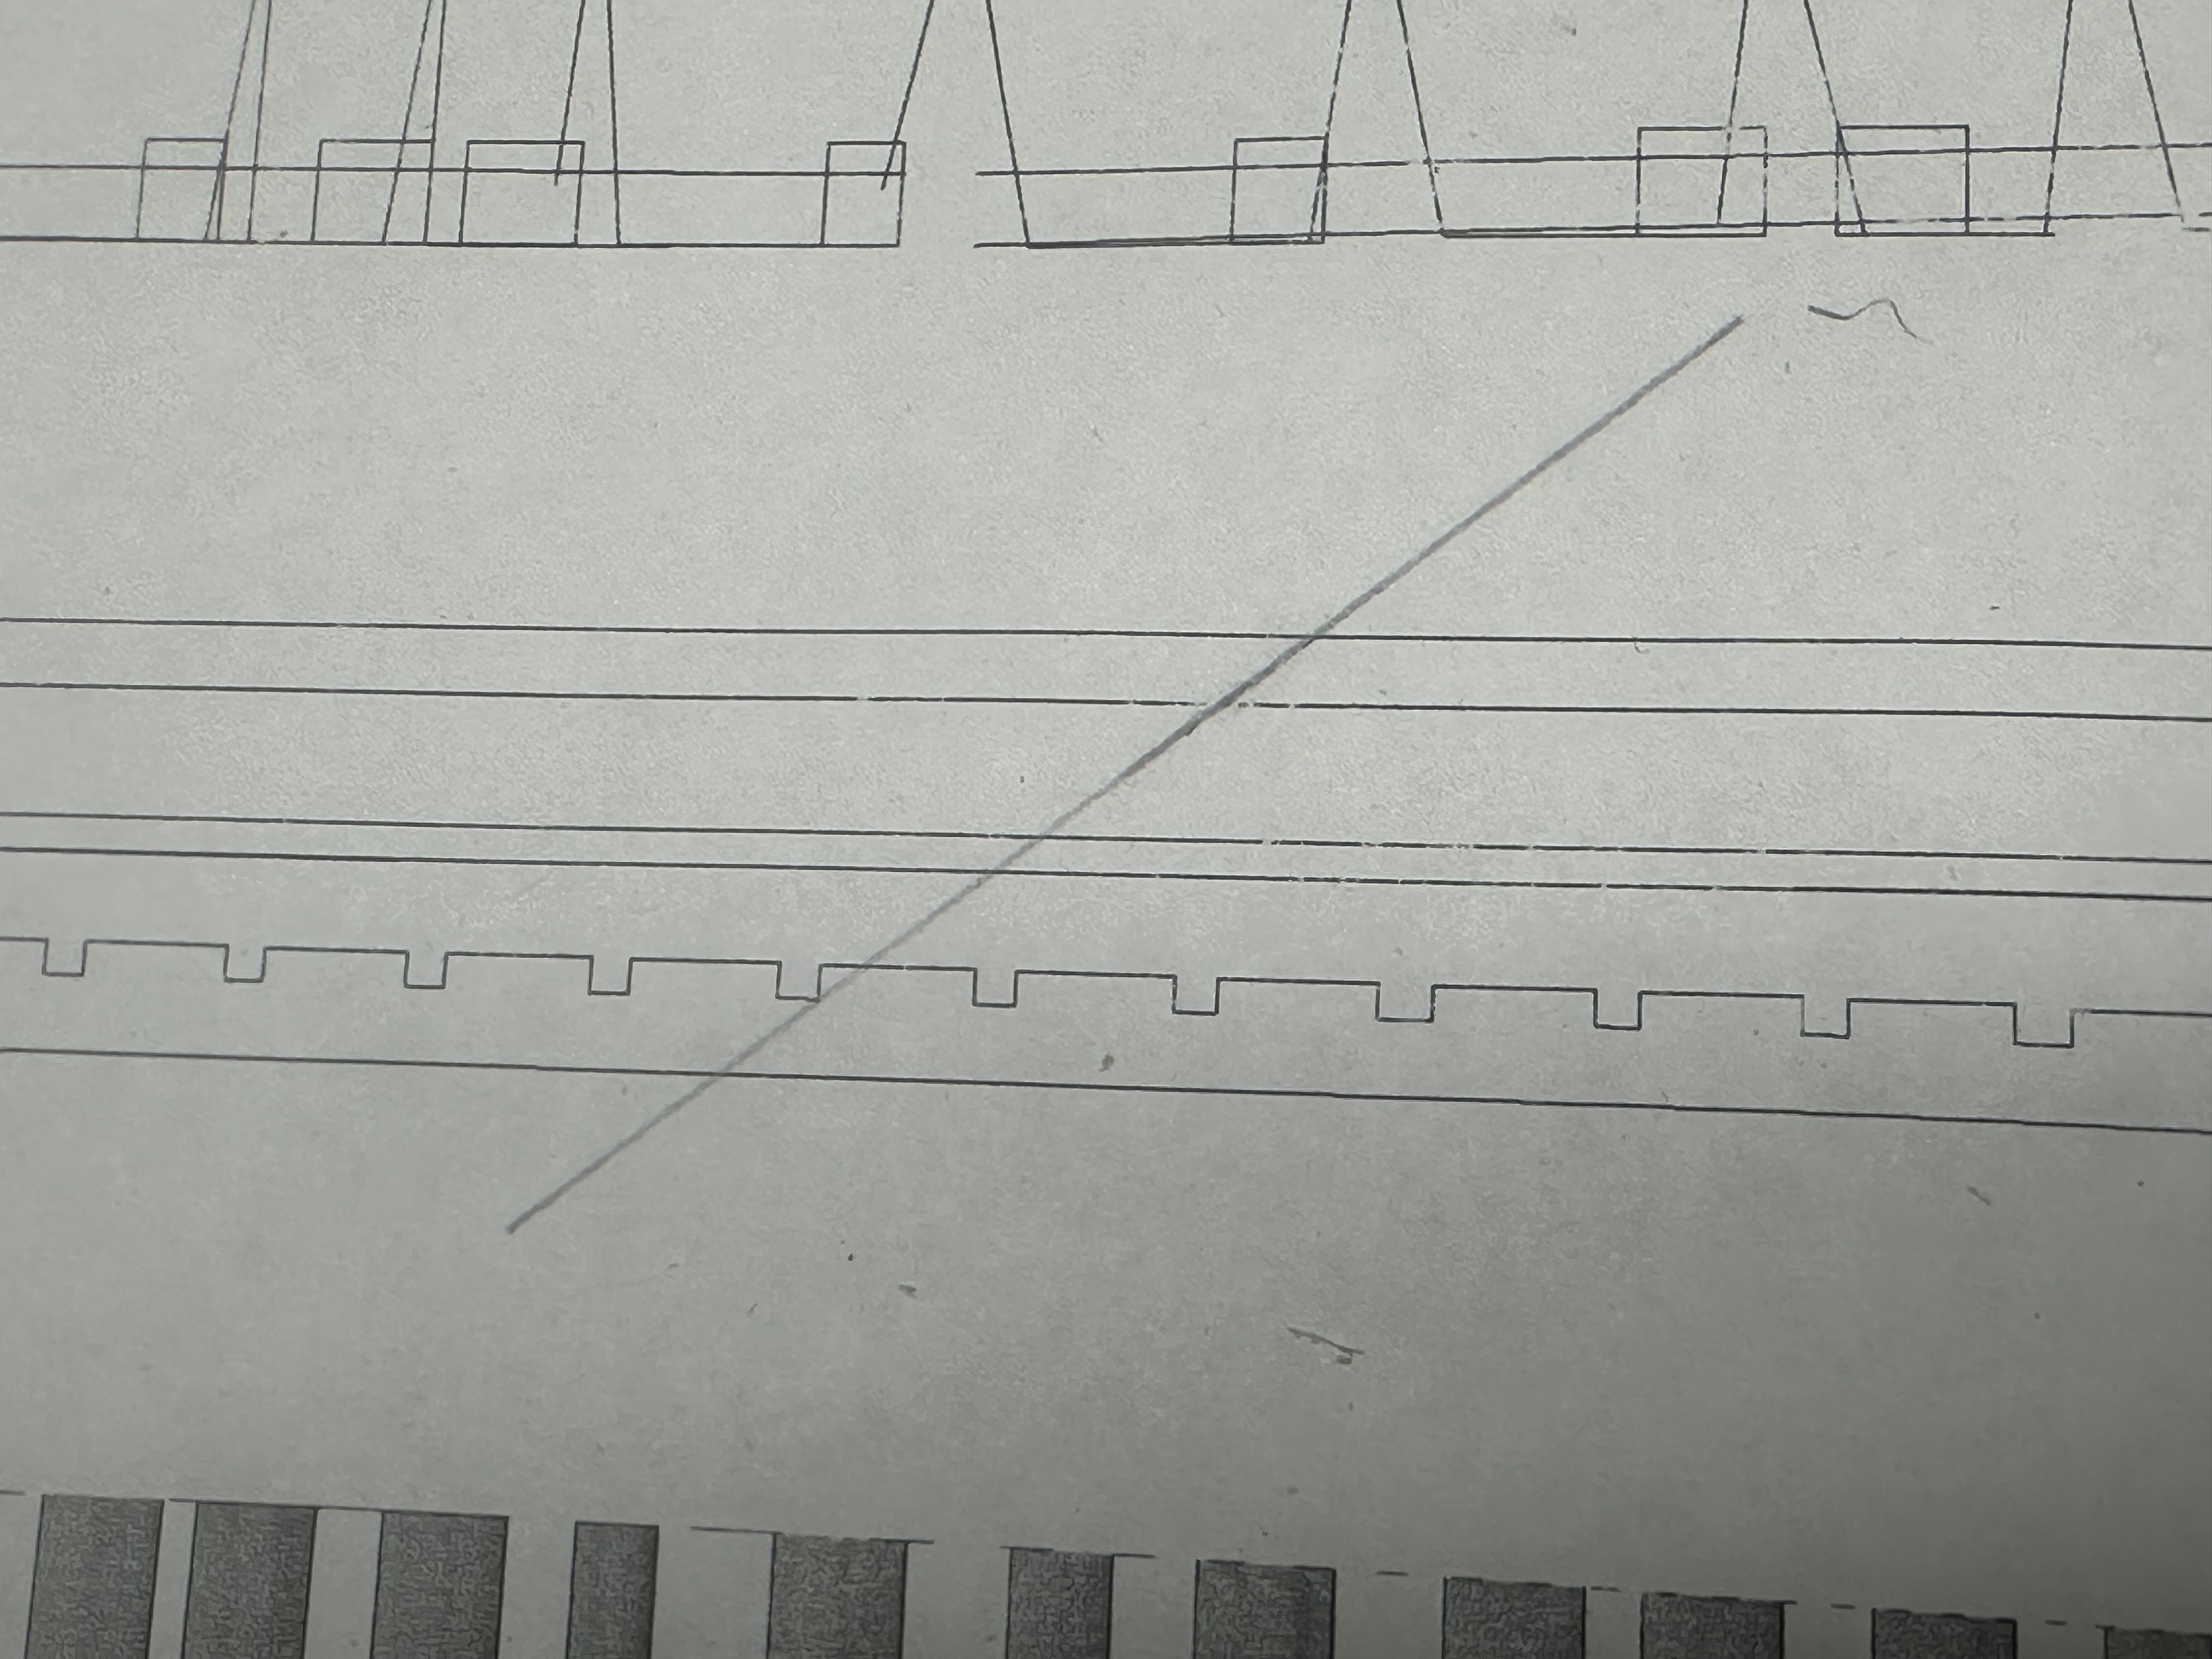
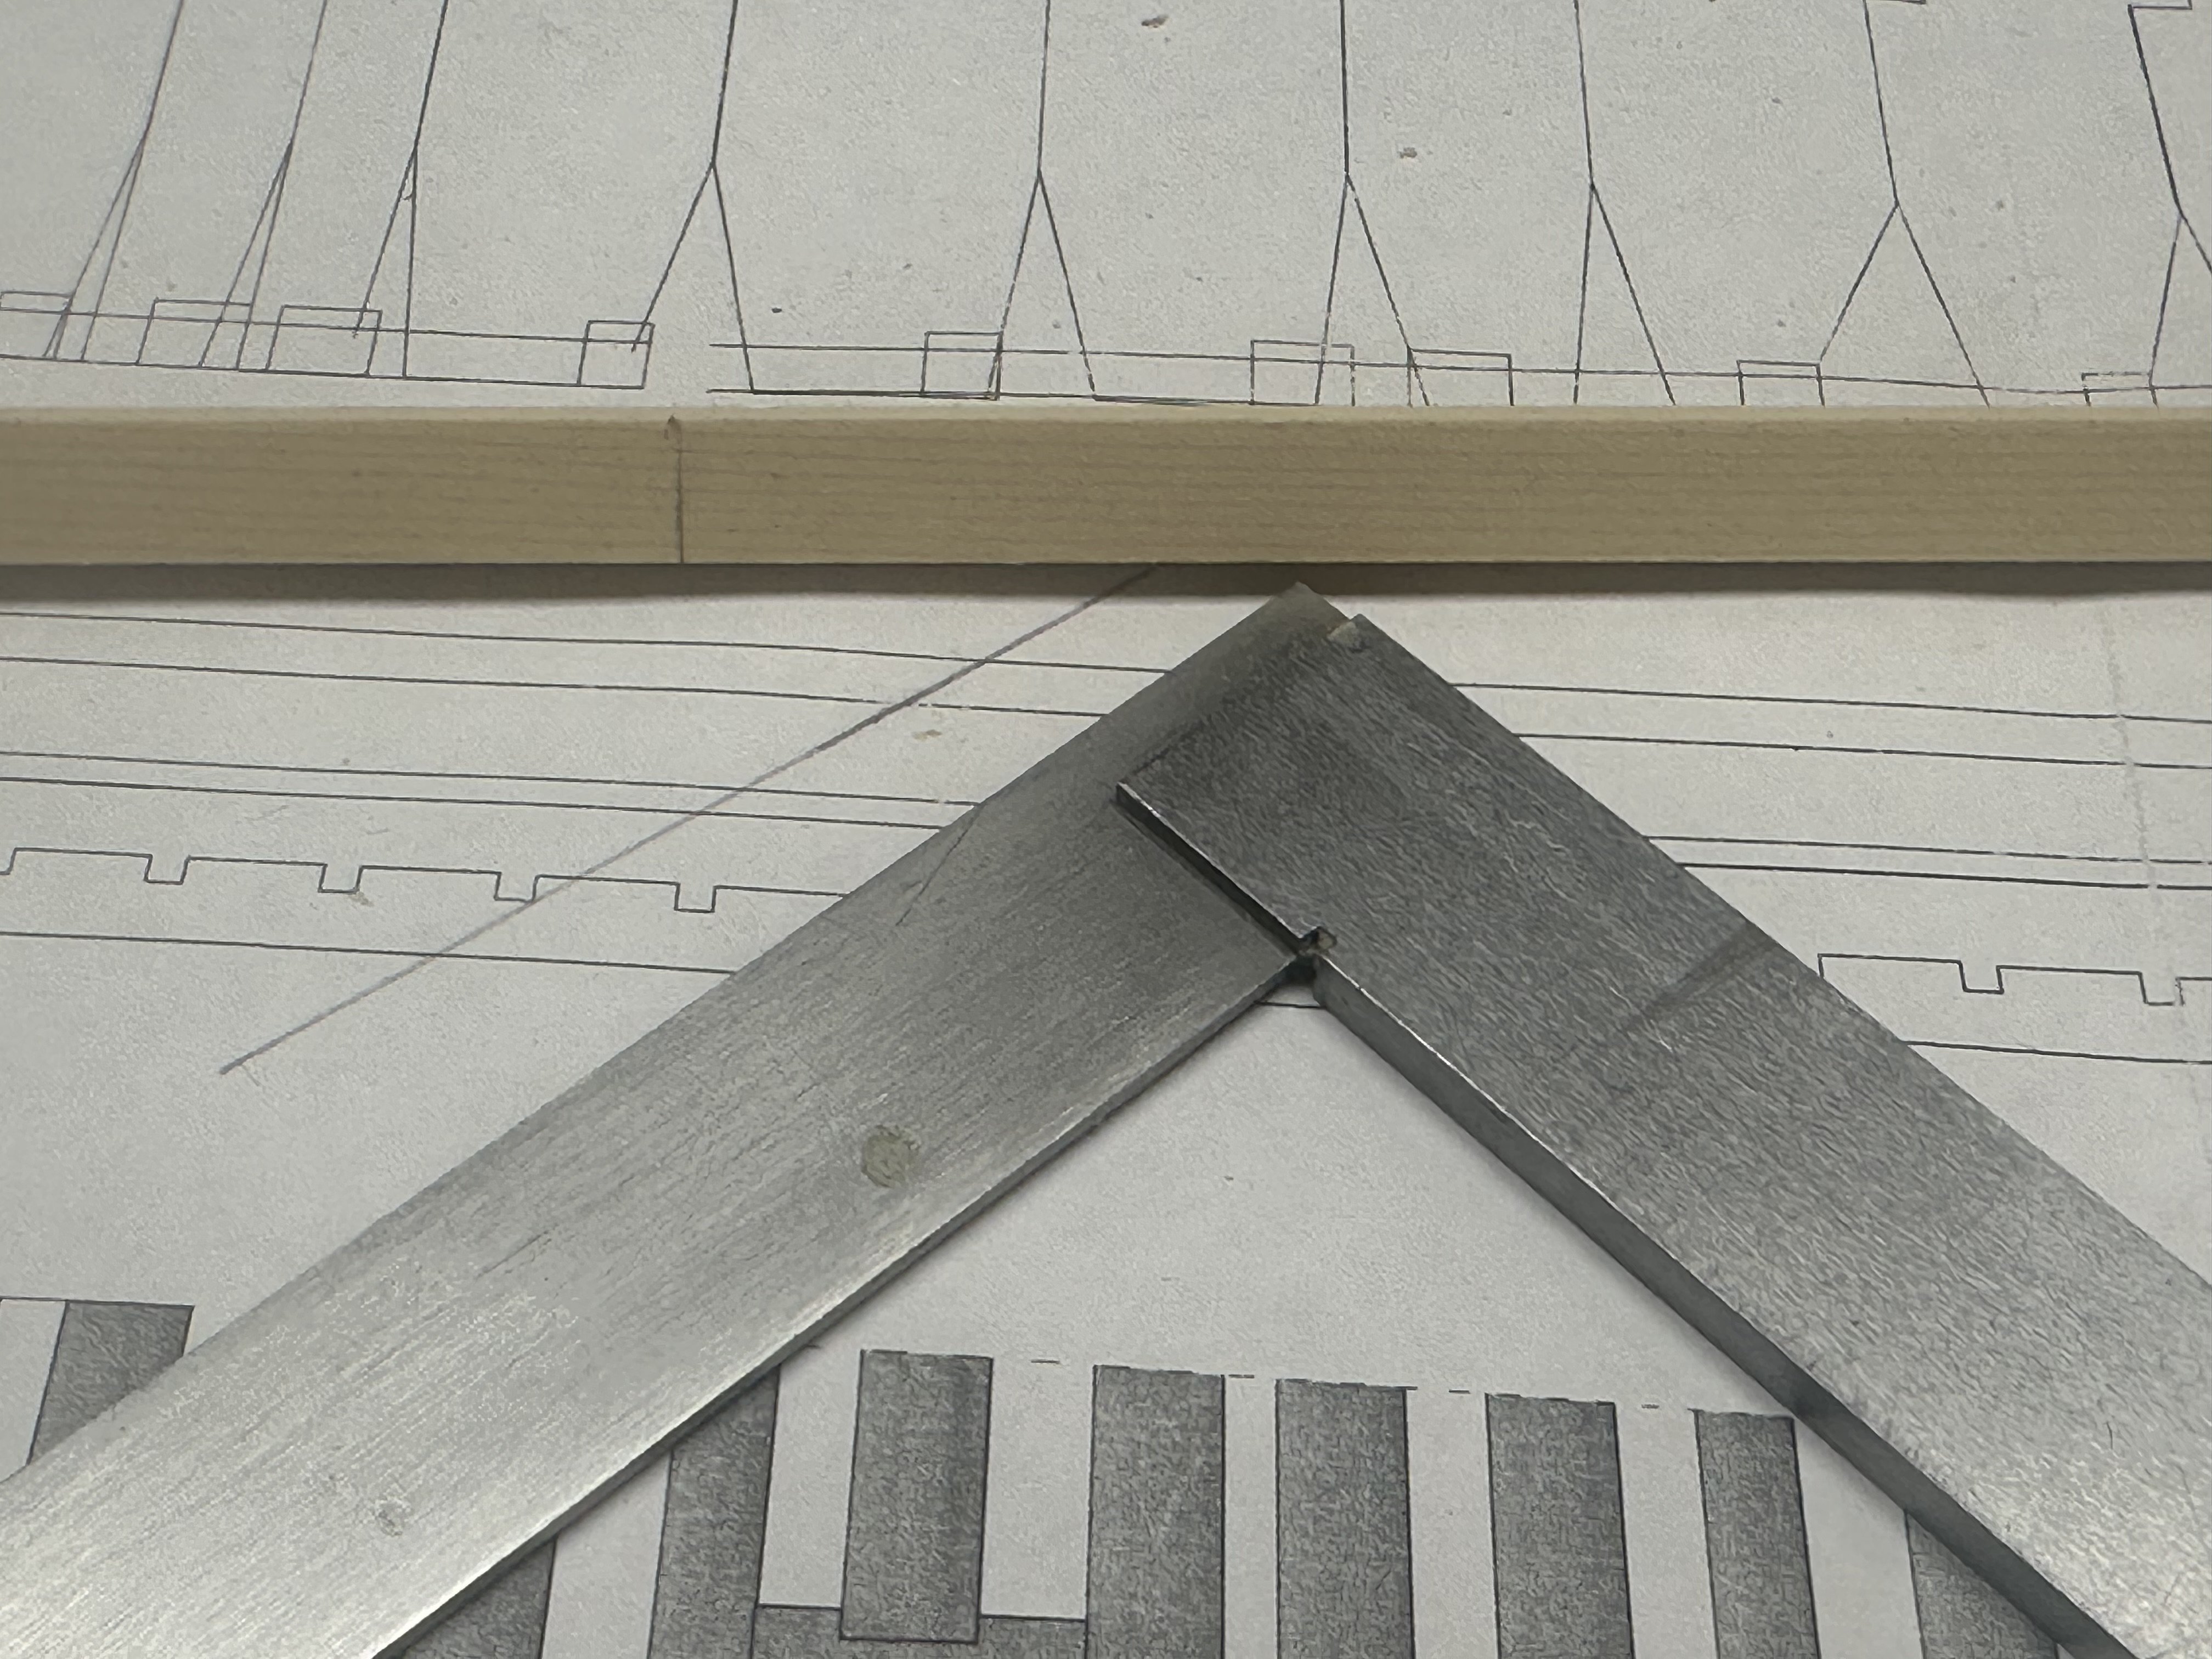
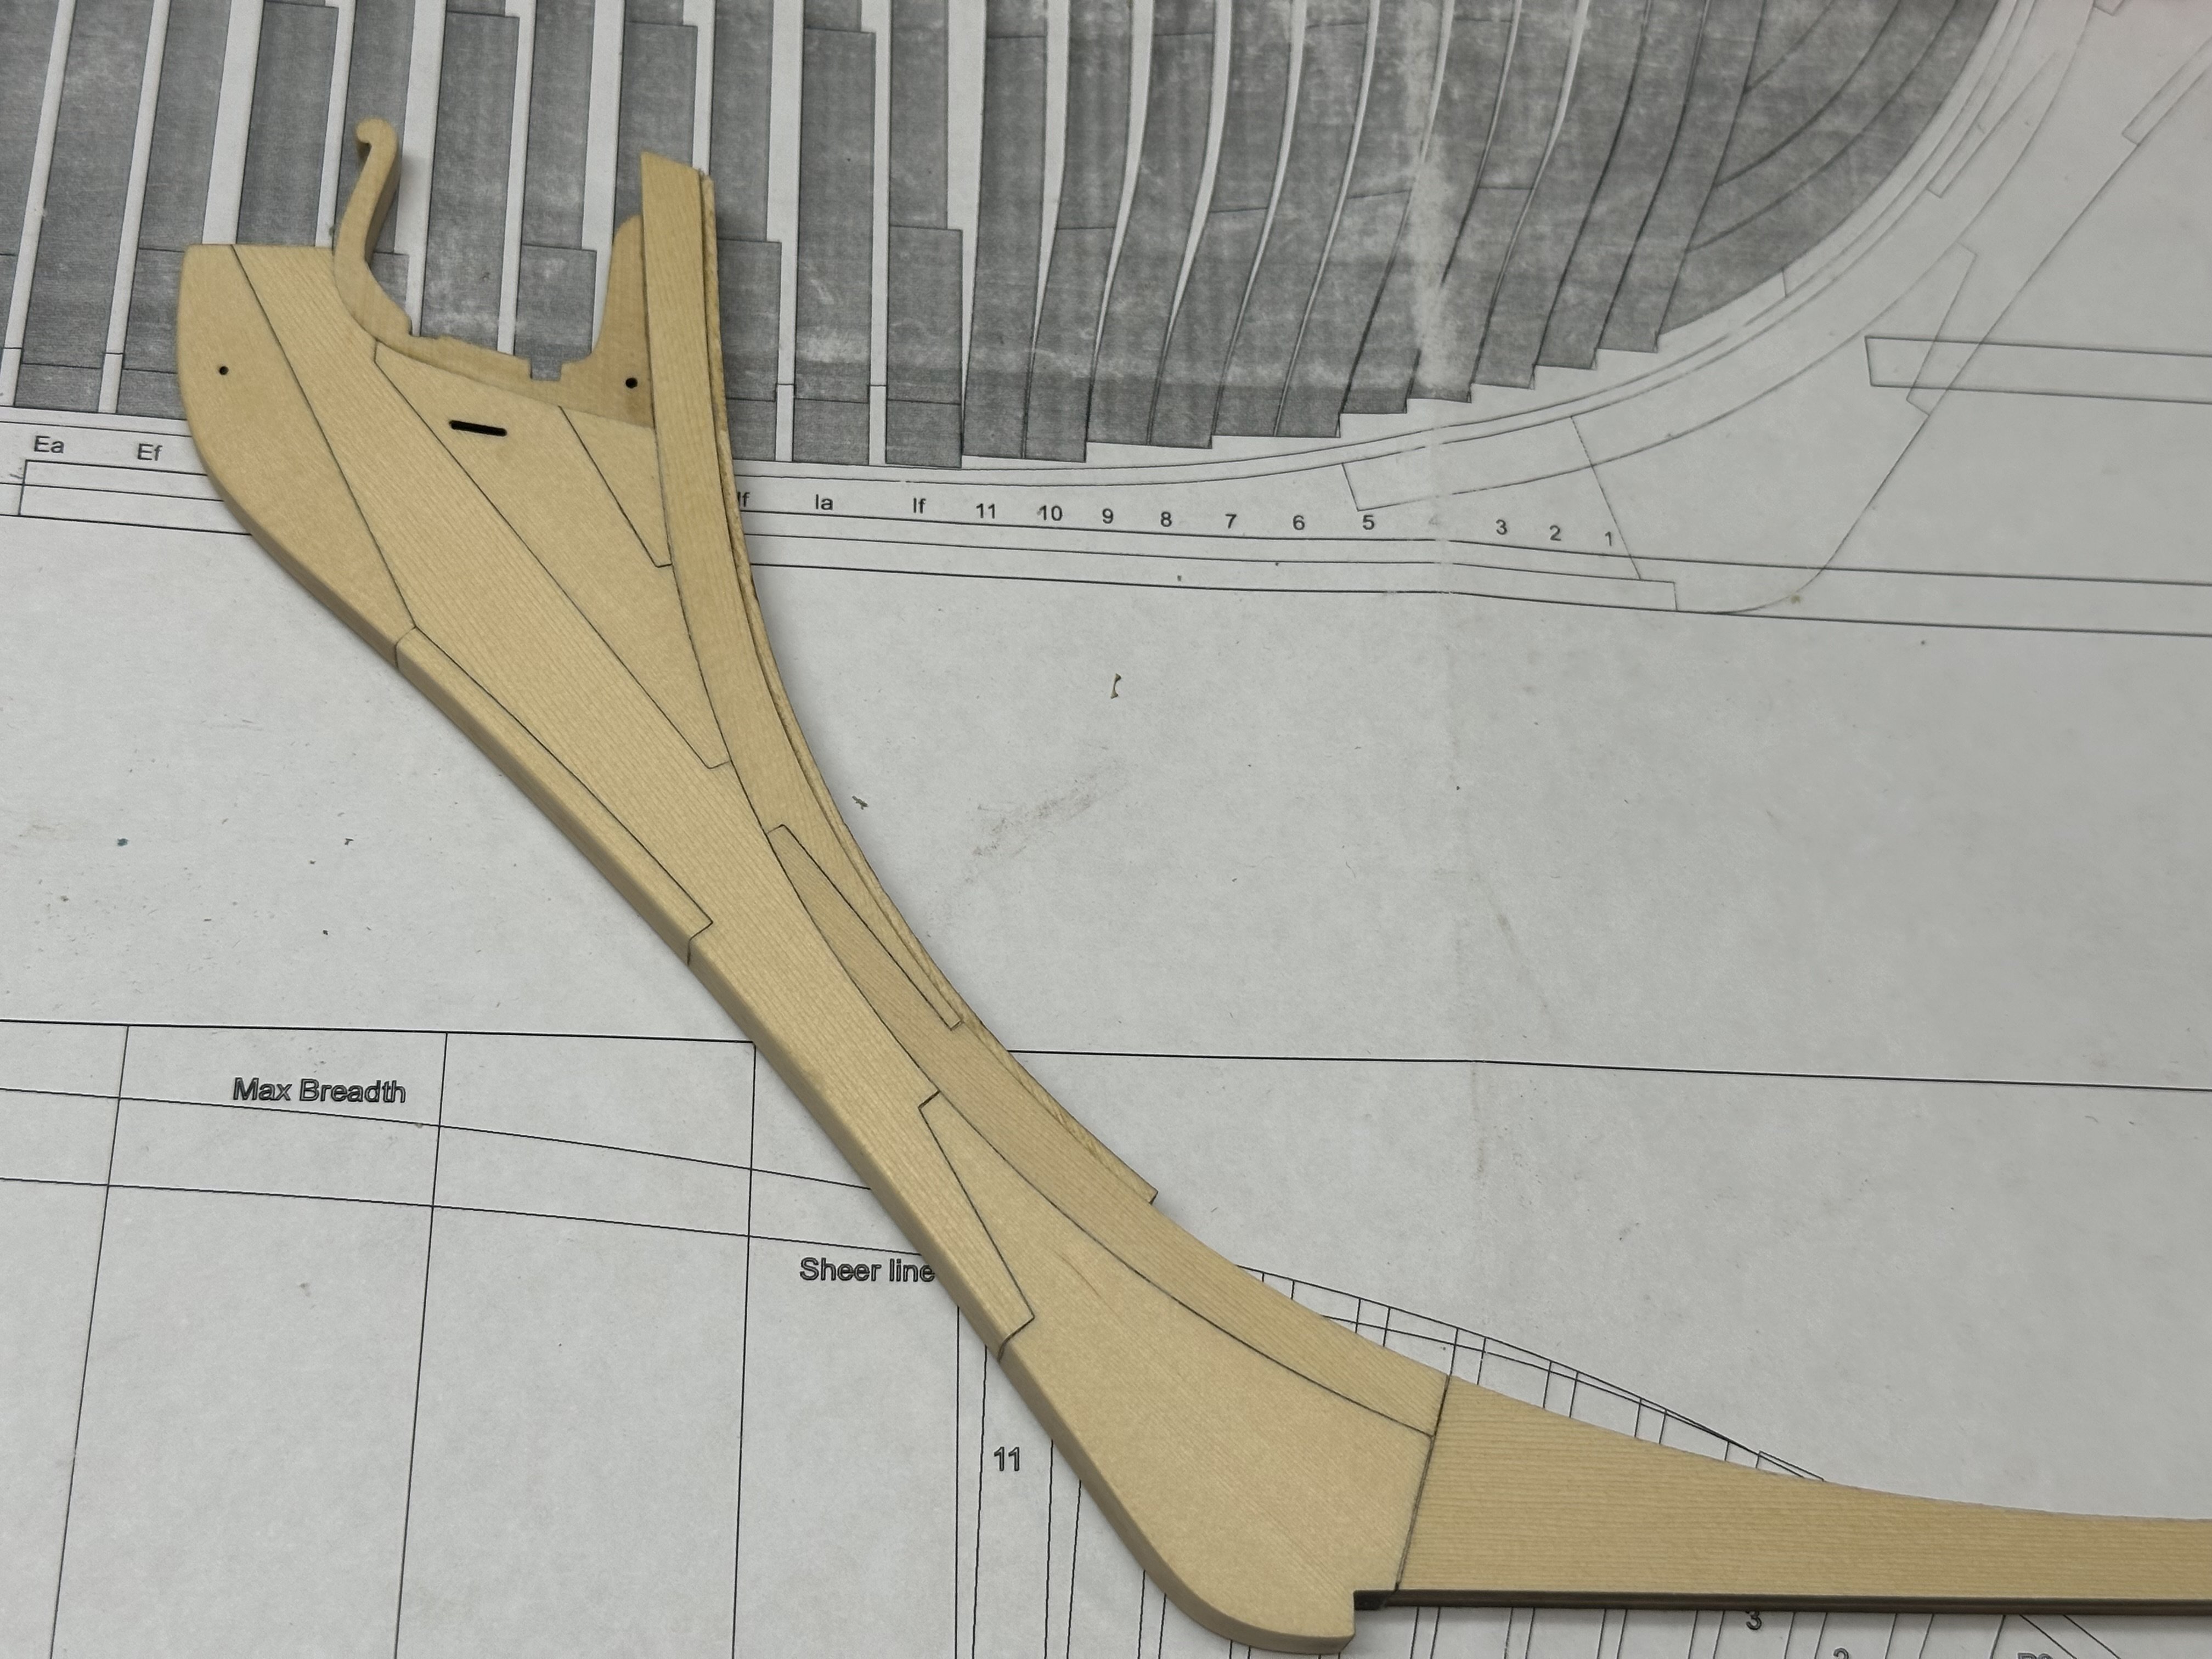
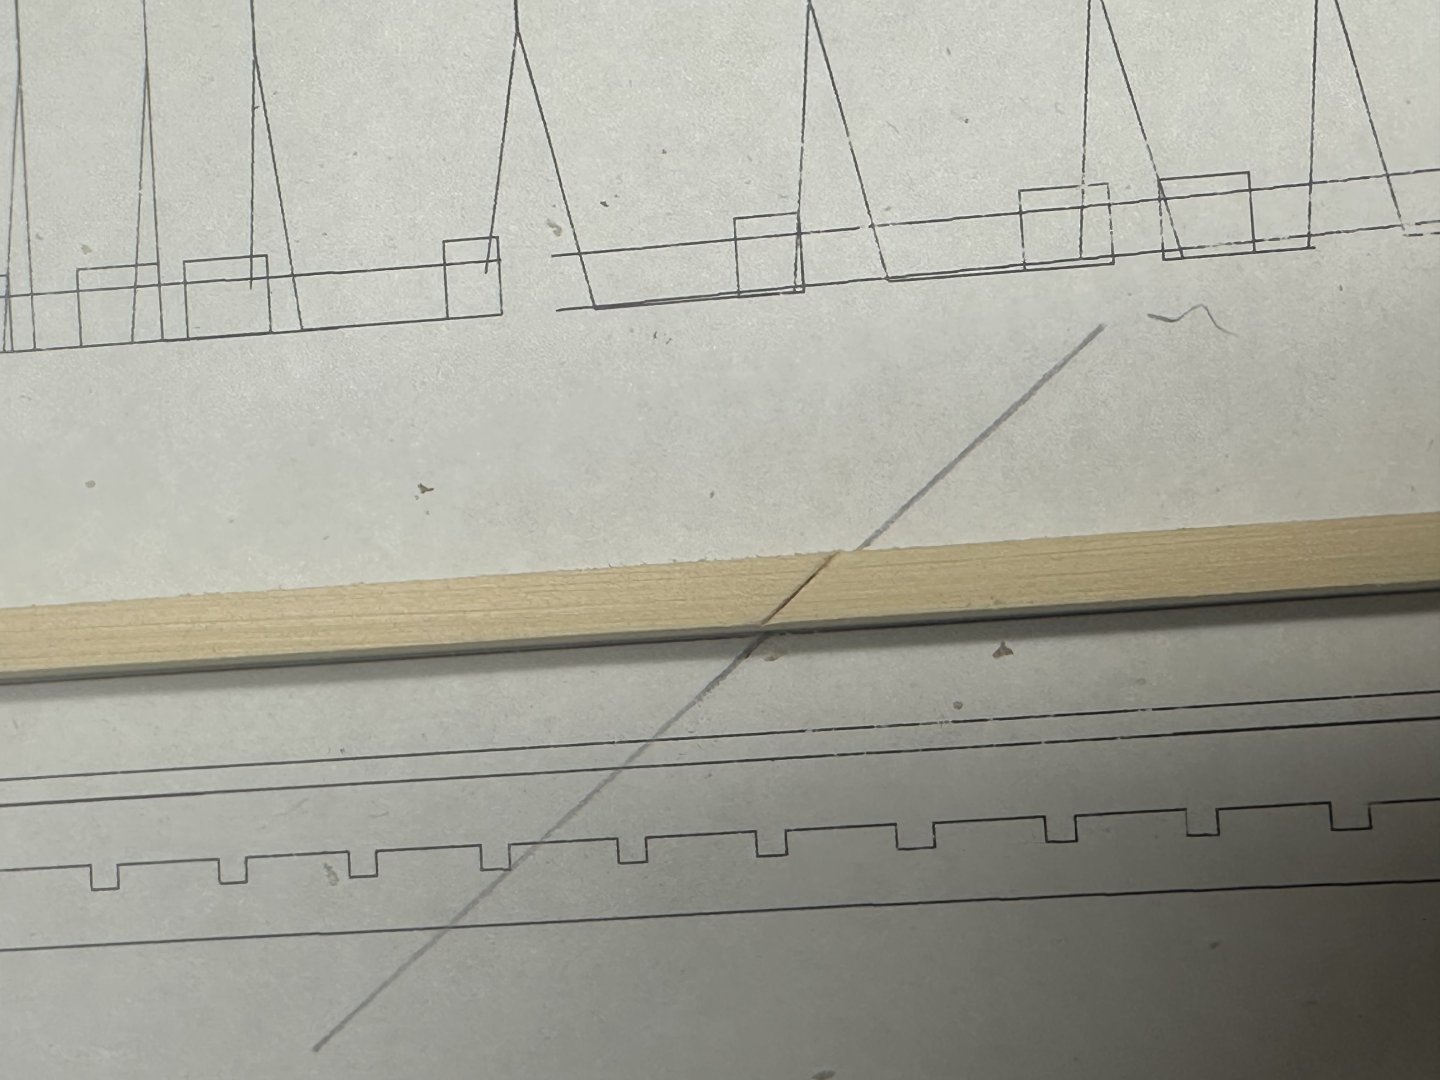
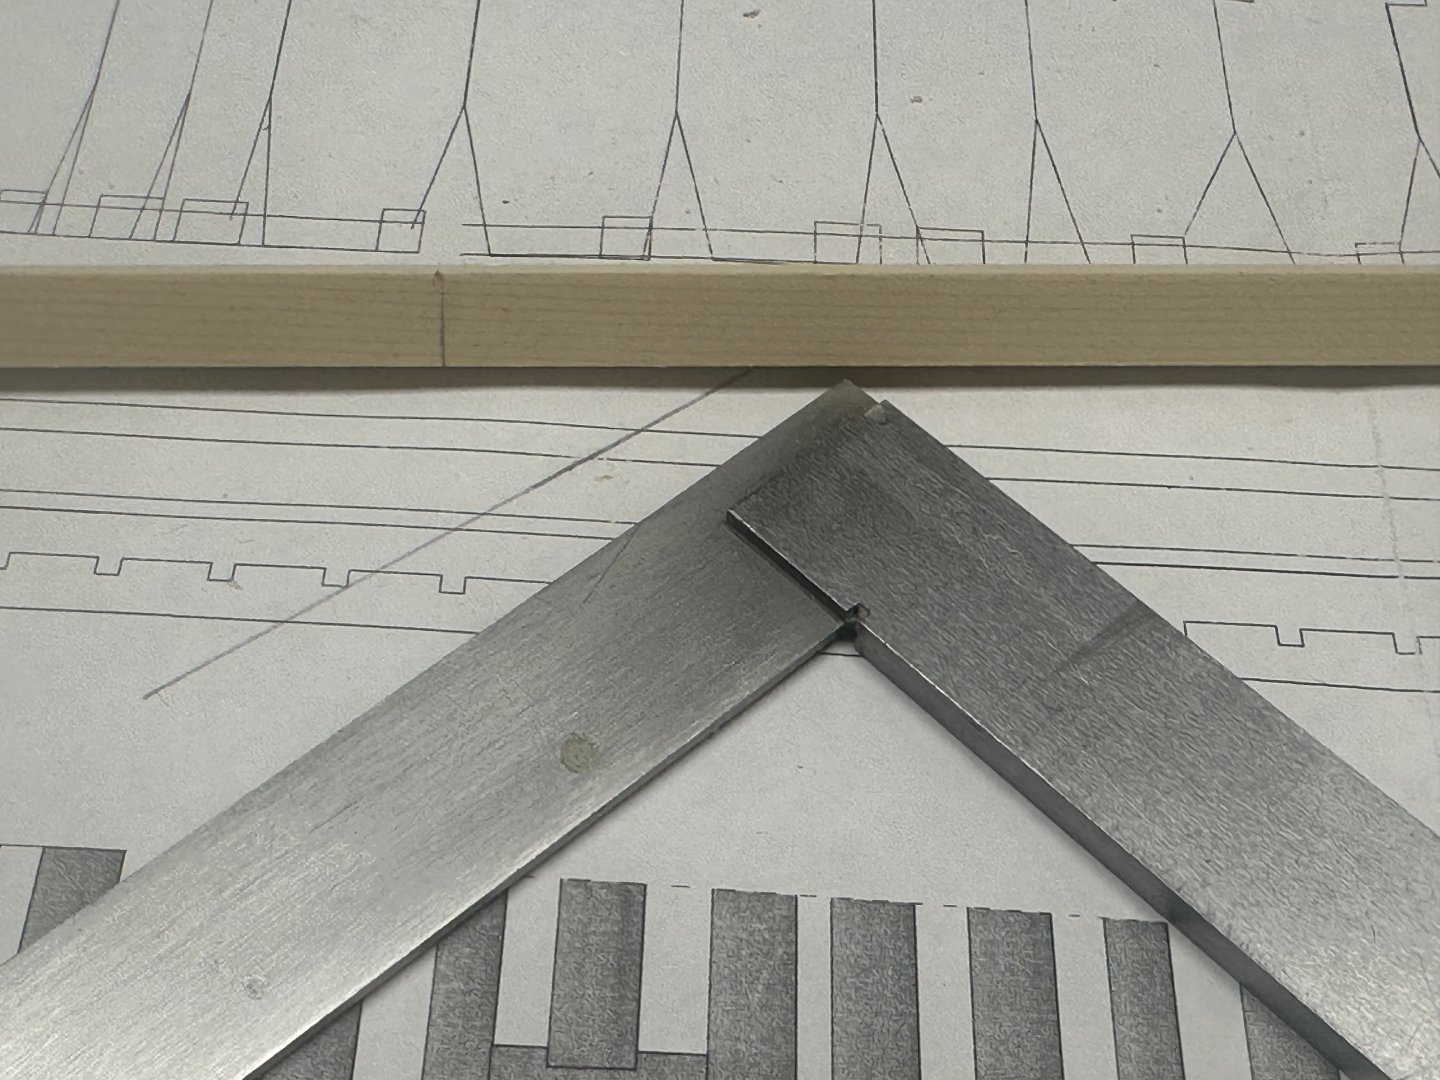
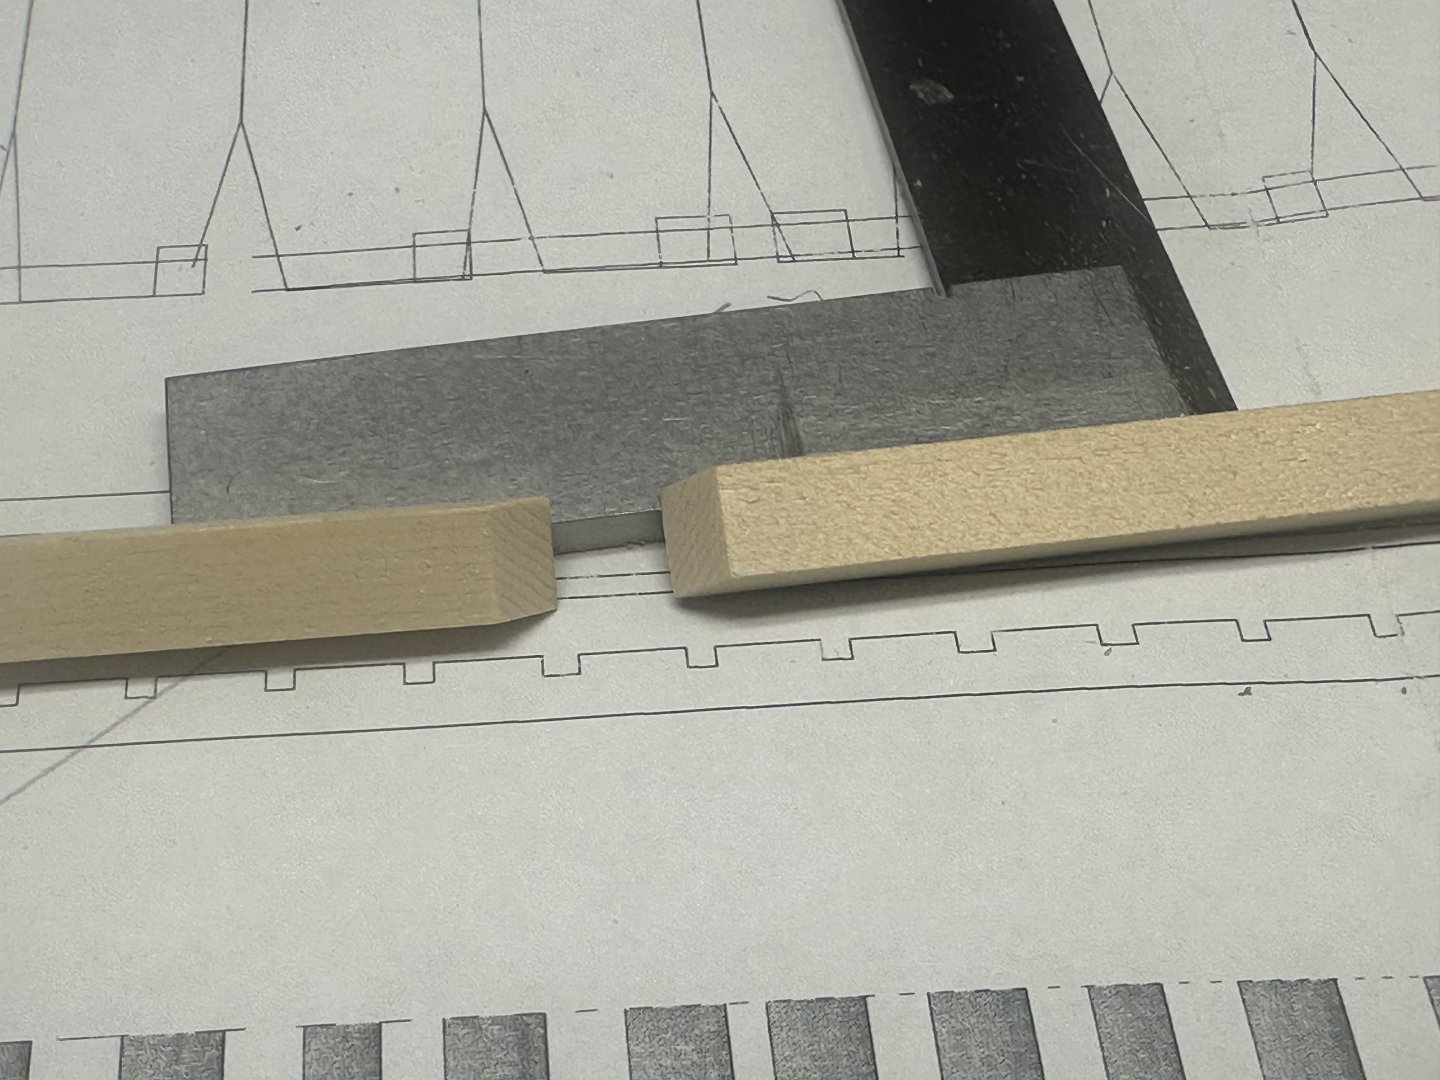
Here’s this morning’s efforts. I added the bottom of the keel, but first had to make the angle cut. To make the cut more accurate, I drew a line on the plan extending the required angle. Then placed the wood over the line. Next, using your favorite cutting utensil score the wood using the lines on each side as a guide. After that, use a machinist square to draw a line across the wood. Now you have a guide for a straight cut. I used a new razor blade to make the cut and only needed a quick touch with sandpaper to make a perfect cut. Next, I used that cut to set the angle on my Byrnes disk sander for the mating part. All parts lined up perfectly for gluing in place. Best Regards …. Rick


-
Outstanding Nic! Building something that has special meaning for someone is very heartwarming! Best Regards …. Rick
- 121 replies
-
- 2
-

-
- Newsboy
- Model Shipways
- (and 2 more)
-
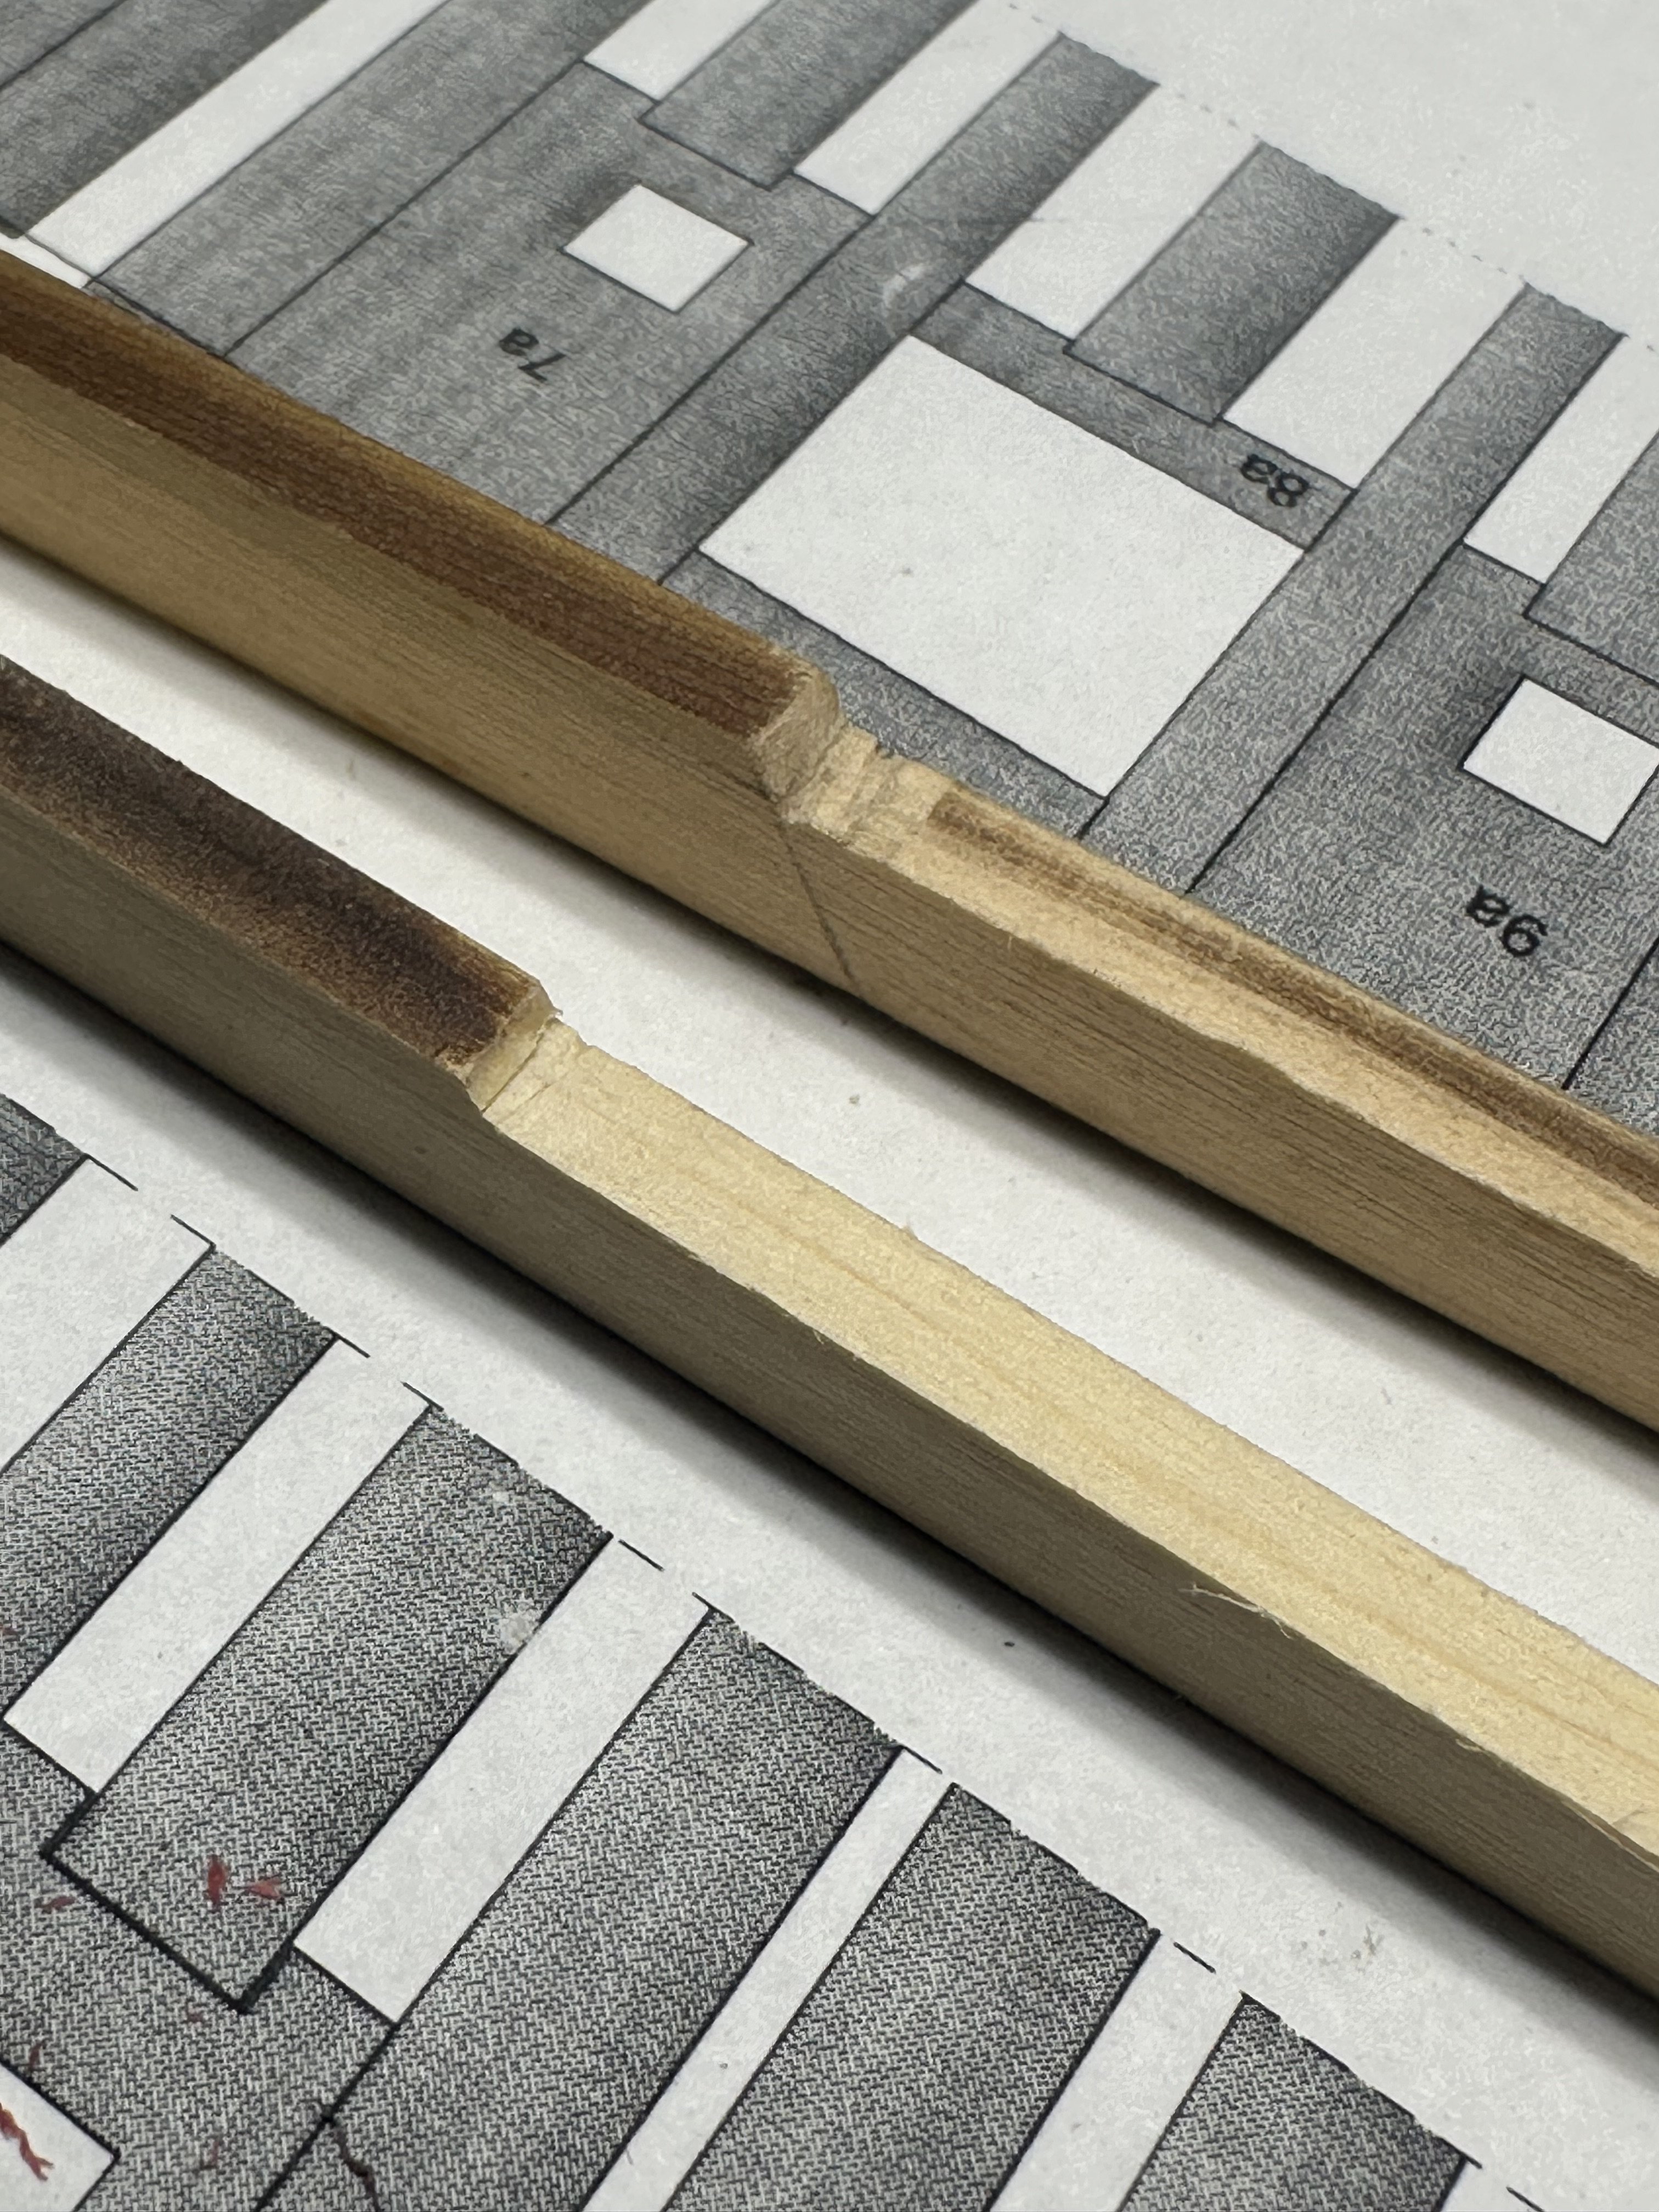
When it comes to scrap wood, I very rarely throw it away, especially AYC. Digging around in the scrap box I found a perfect piece. It only took about 1/2 hour to make a replacement, now to continue with the build. The swear jar is happy as is the scrap bin, it got the messed up part. Best Regards …. Rick
-
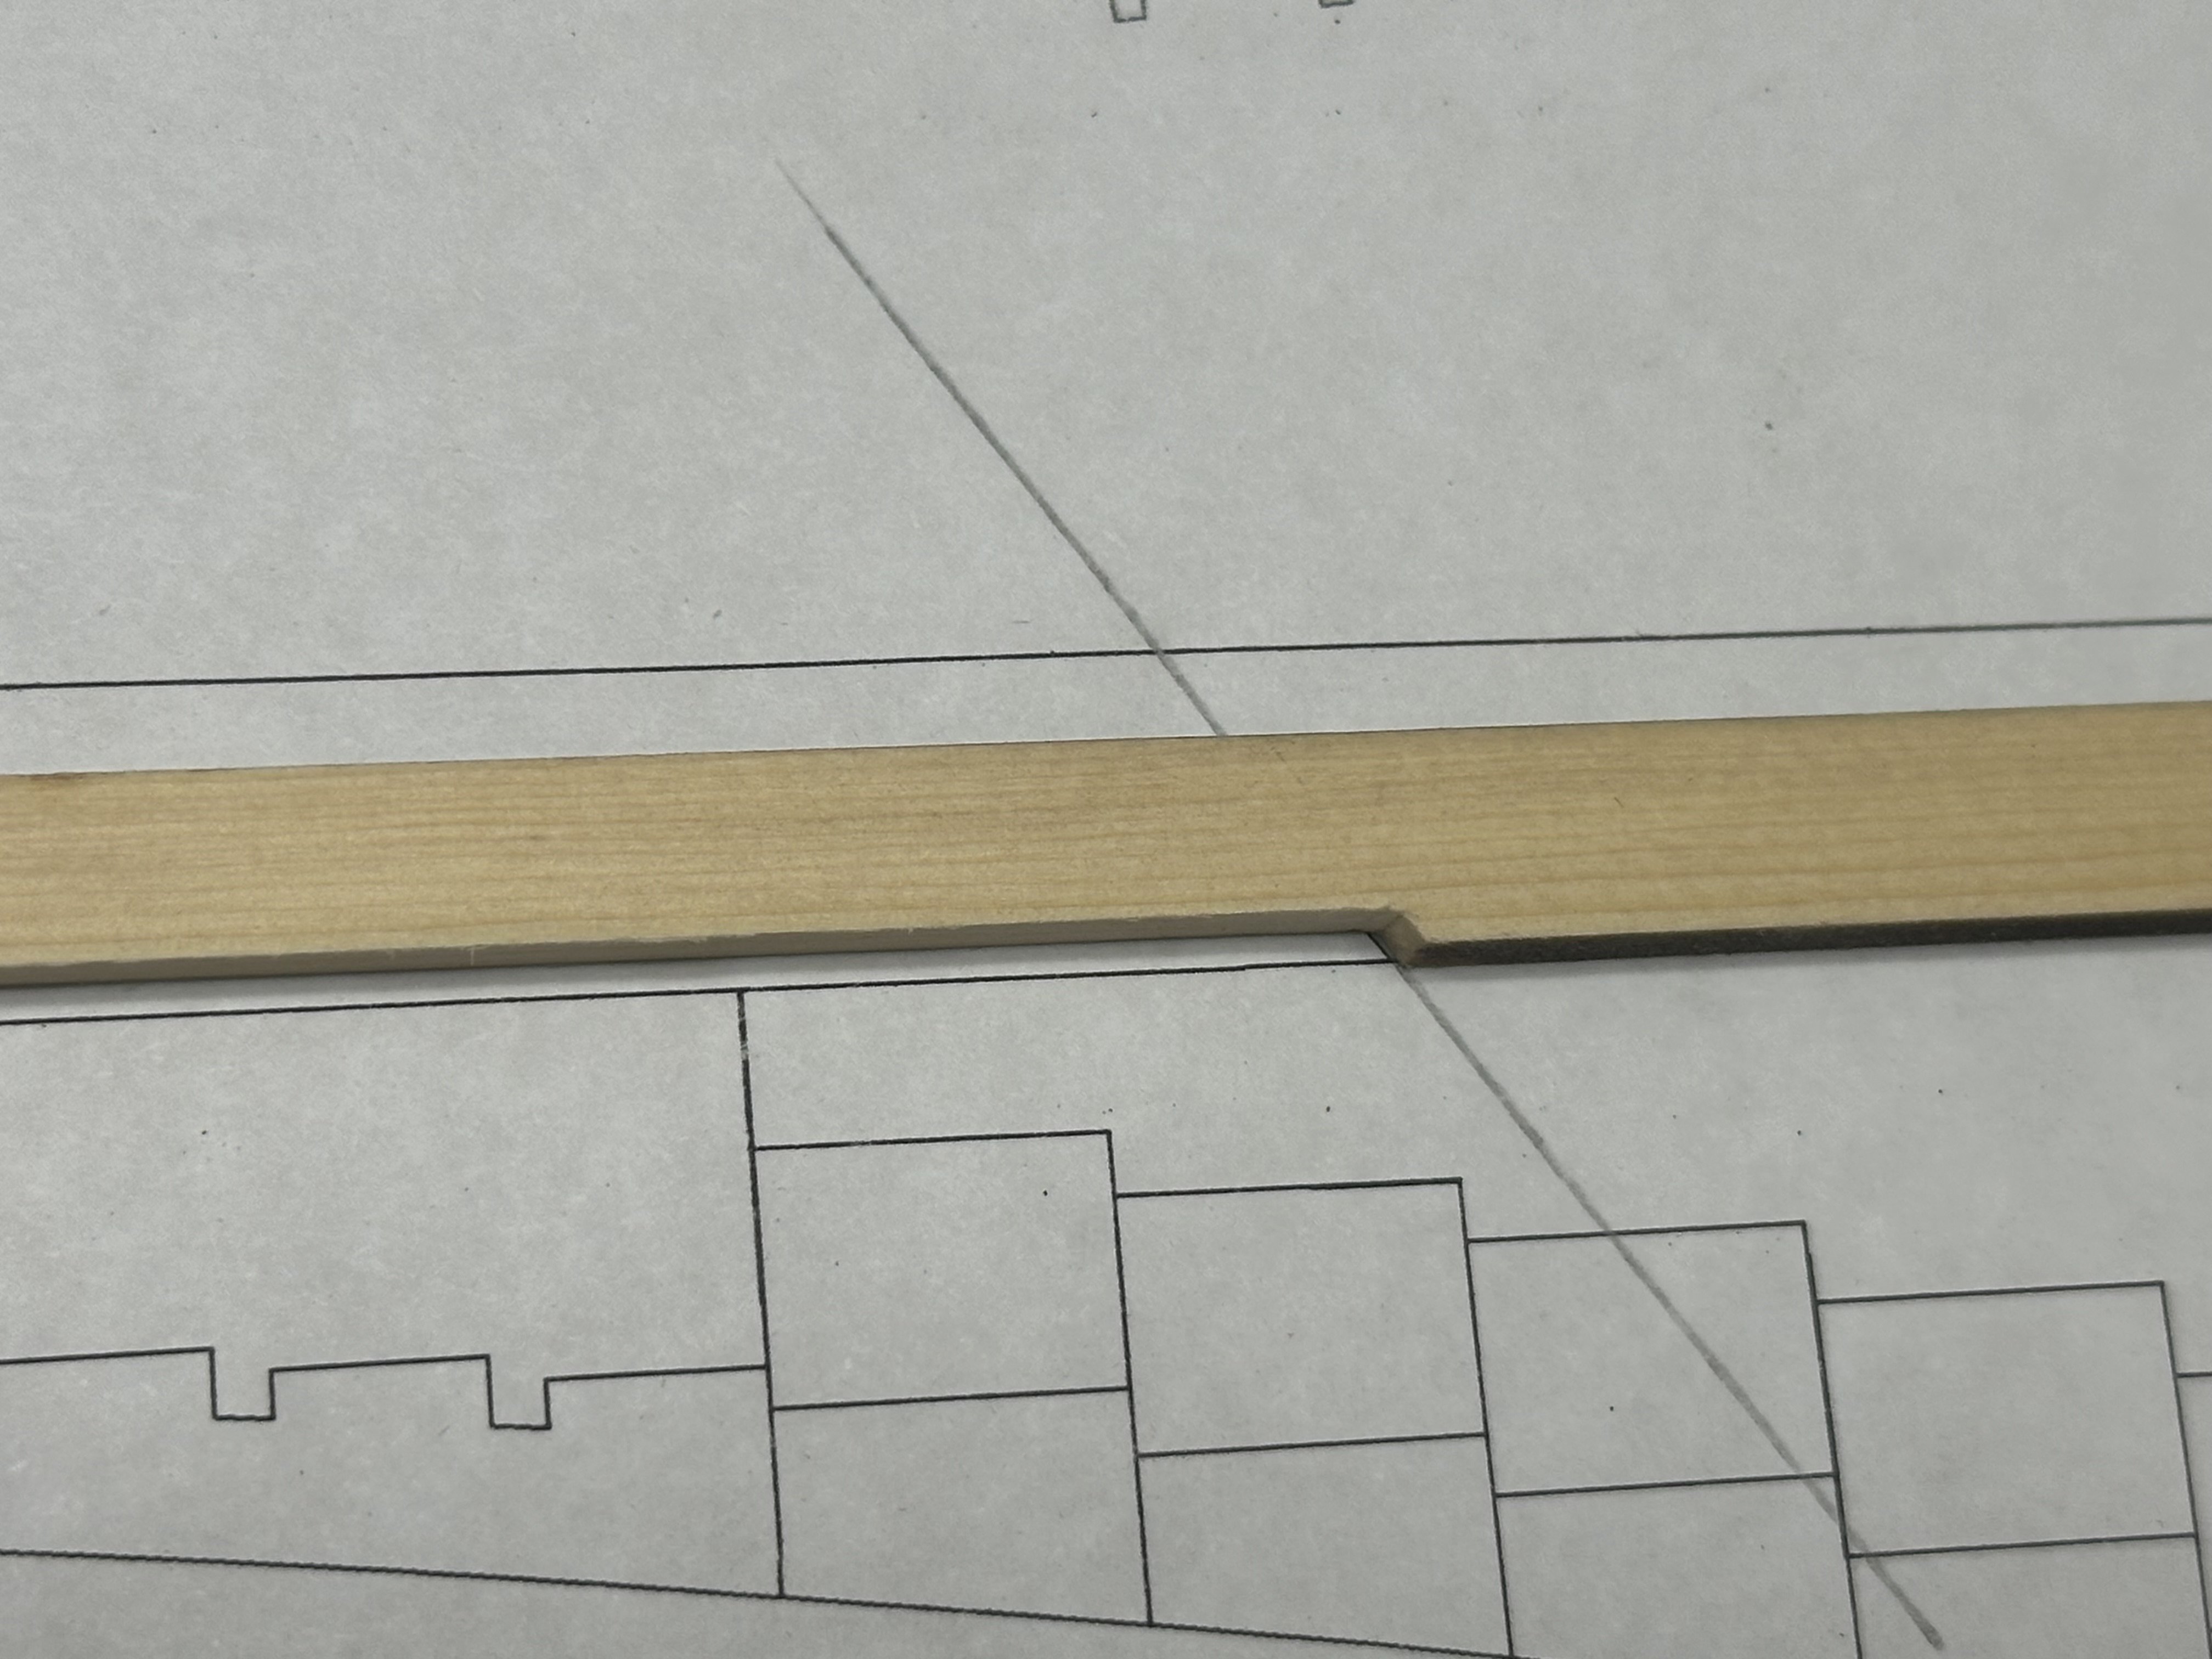
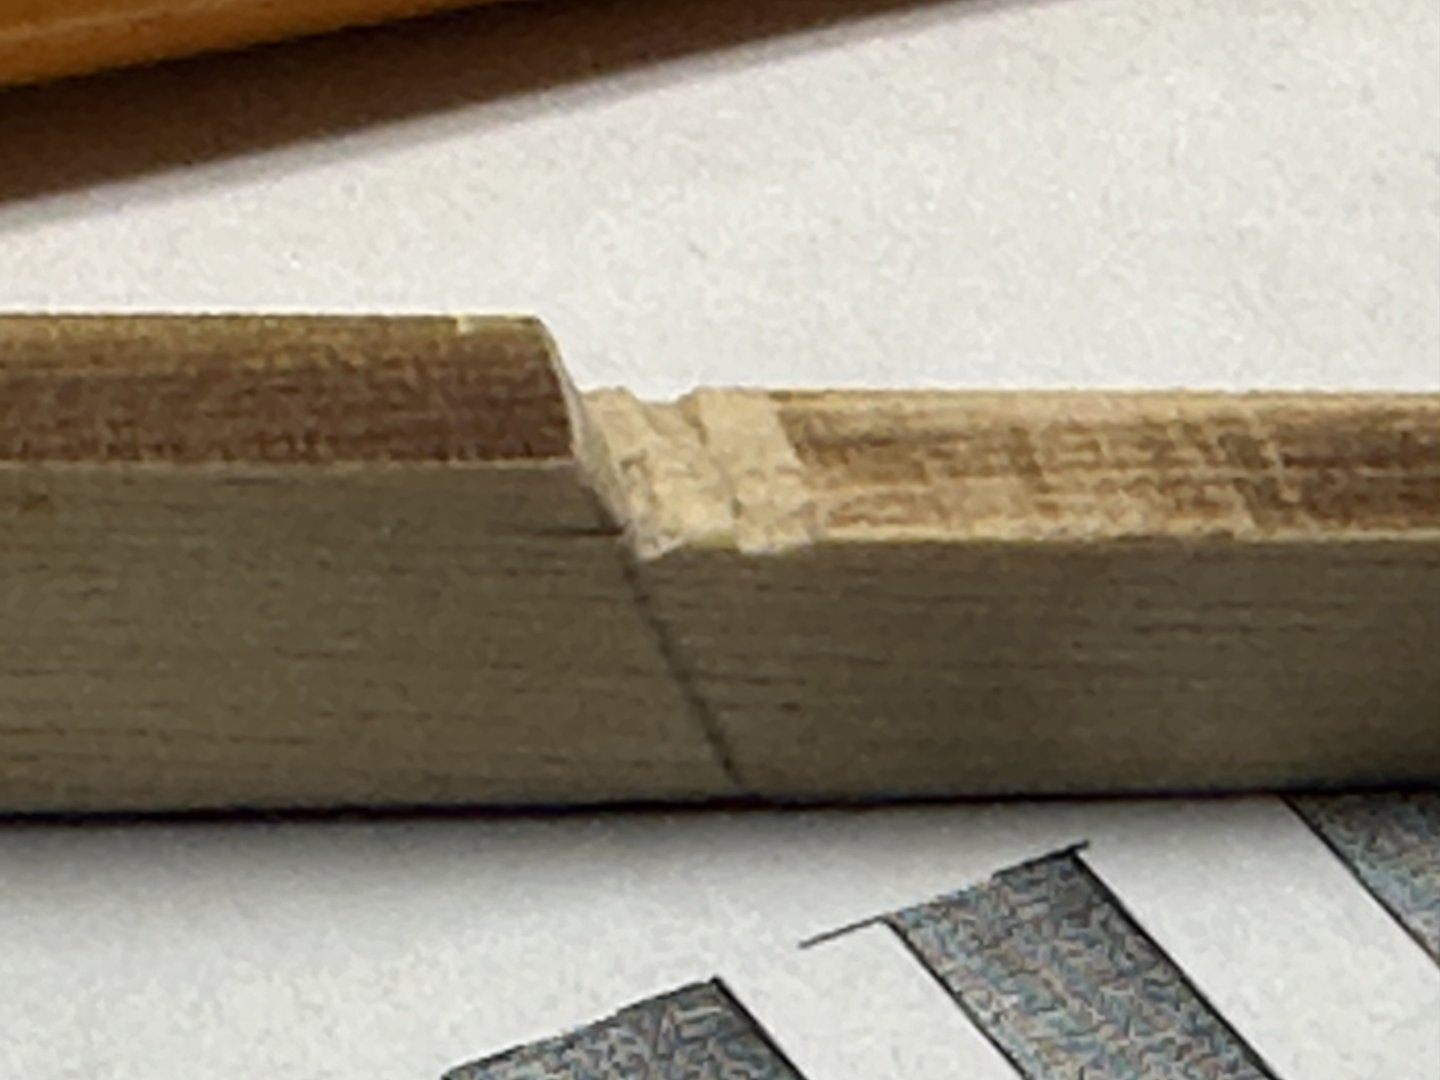
This morning marks my first contribution to the swear jar. I was trying to fit the stepped part of the keel and guess I didn’t have enough coffee or sleep and really butchered the part. Being this joint is visible, a new part will need to be made. Best Regards …. Rick

-
Ryland, thank you for the kind words! It was a pleasure for me meeting you as I've been a big fan of your builds. I just hope that I can do Speedwell justice! Best Regards .... Rick
-
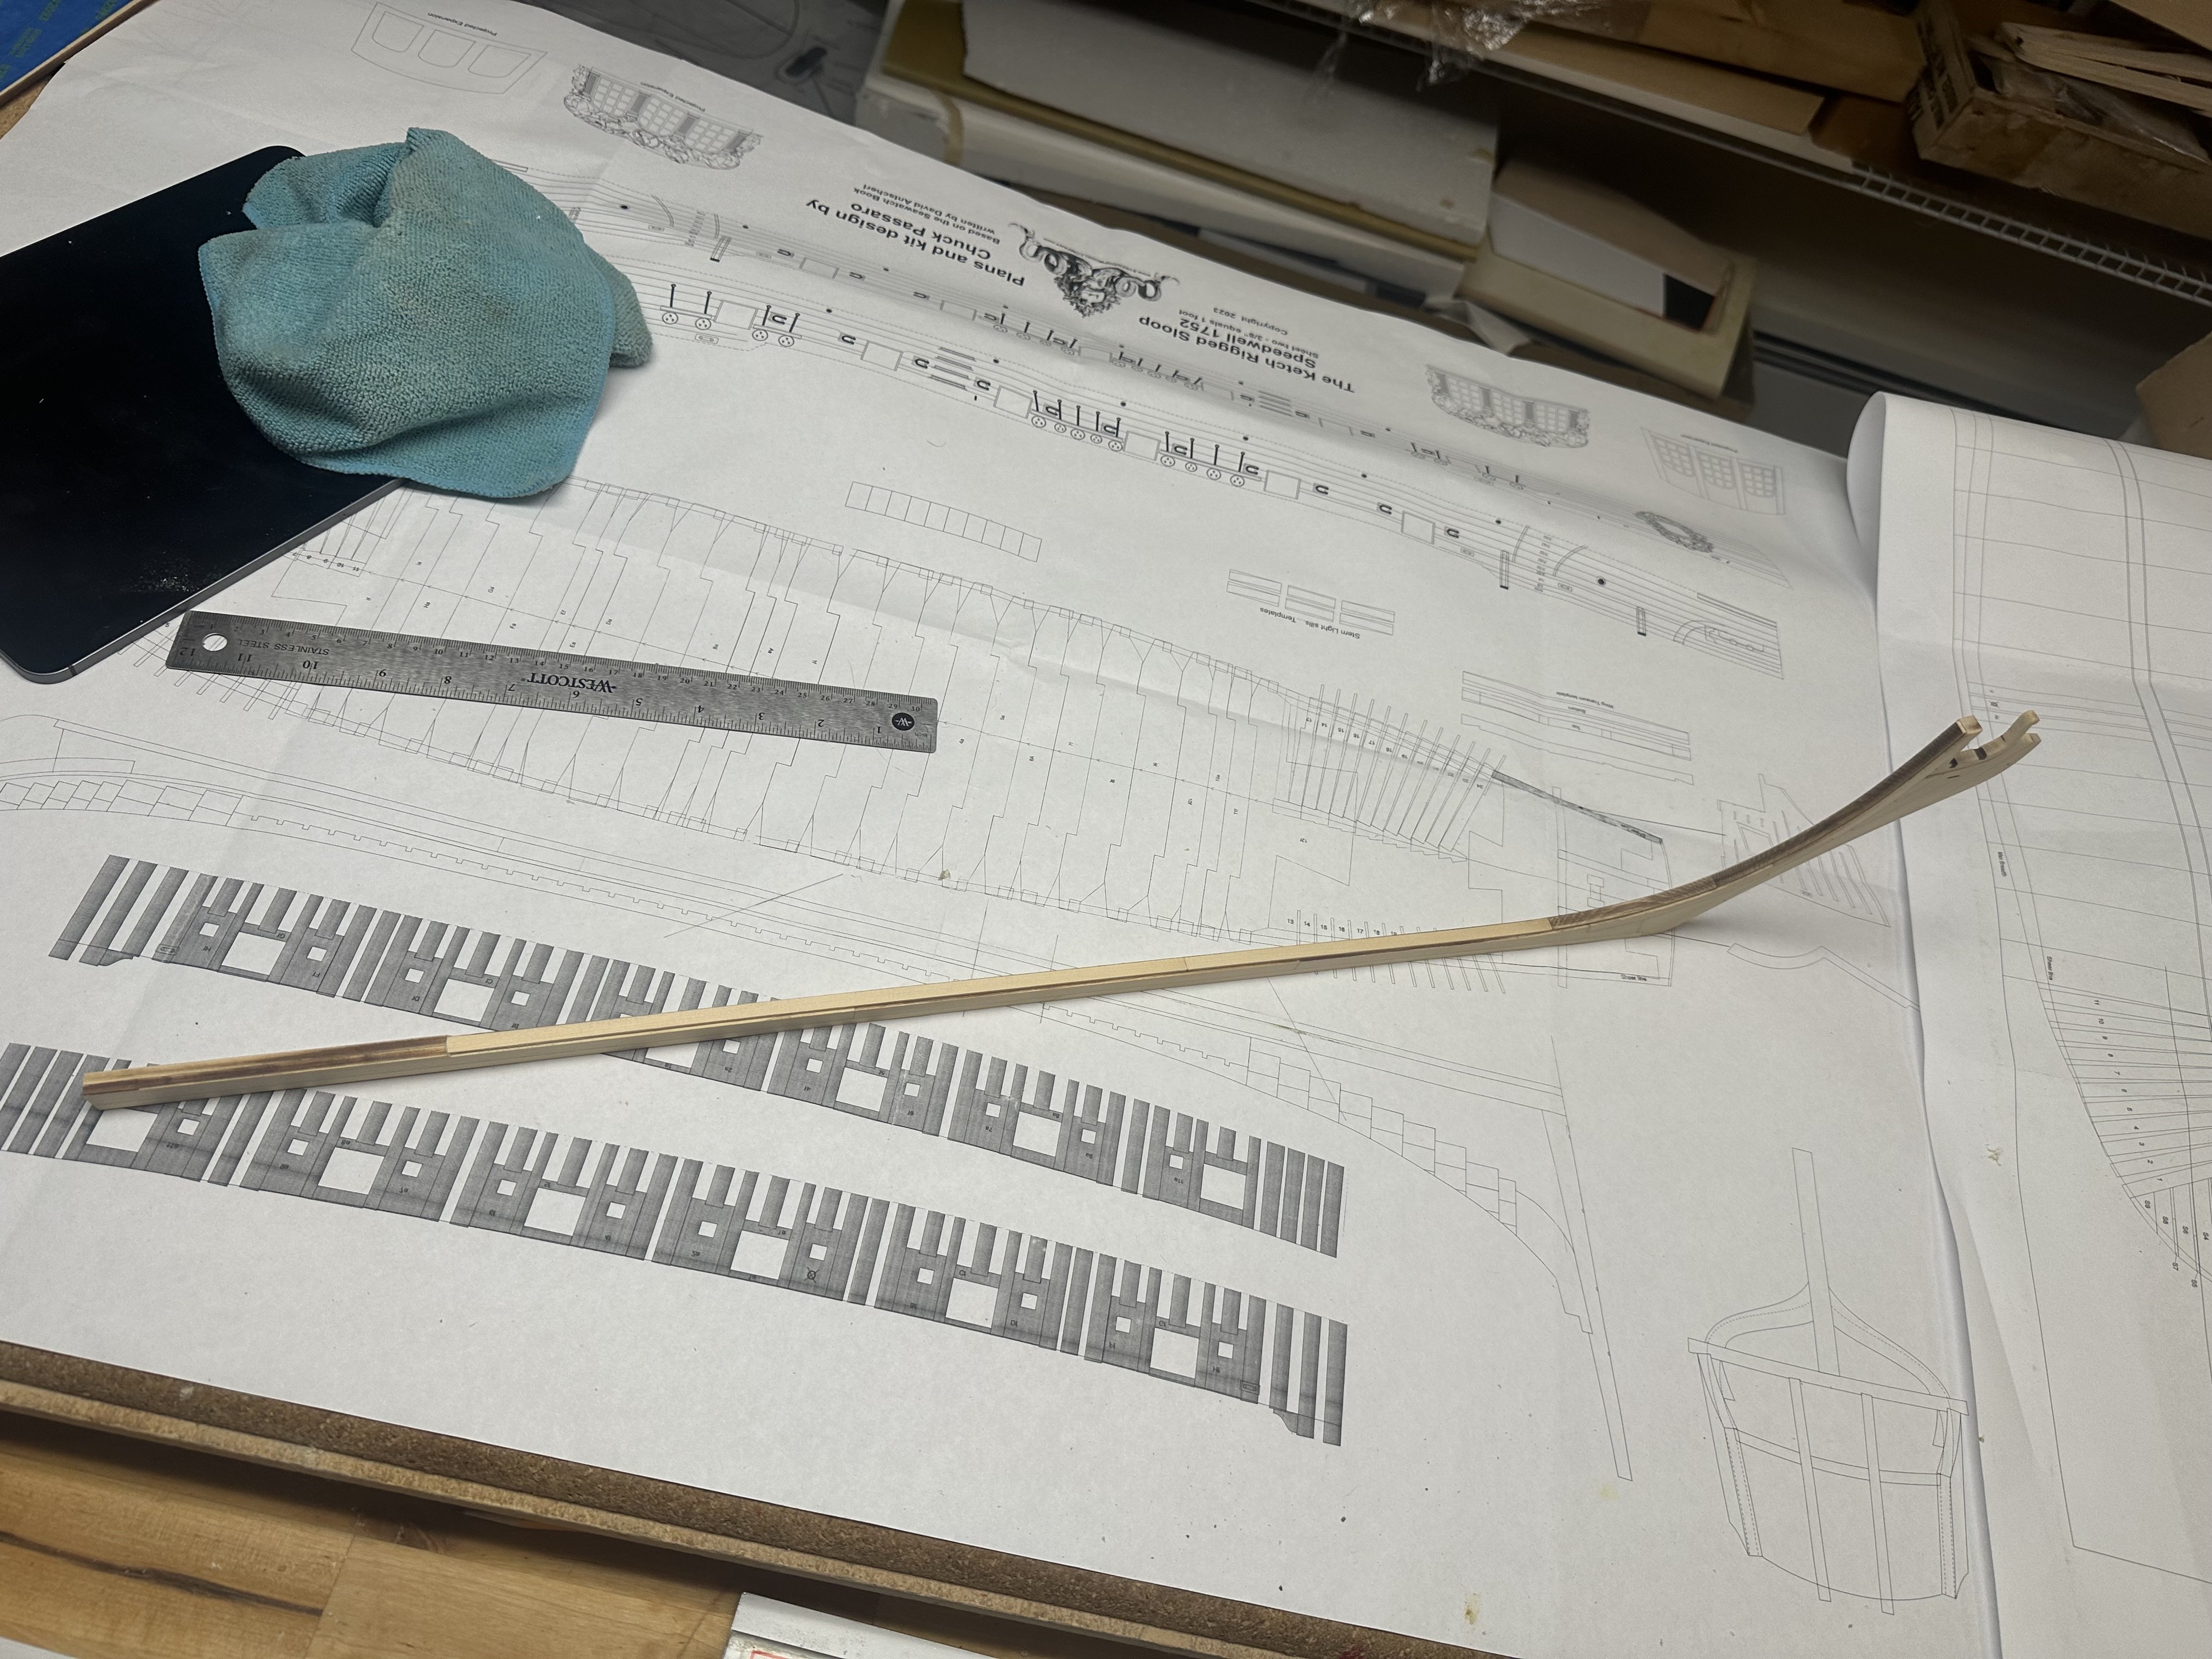
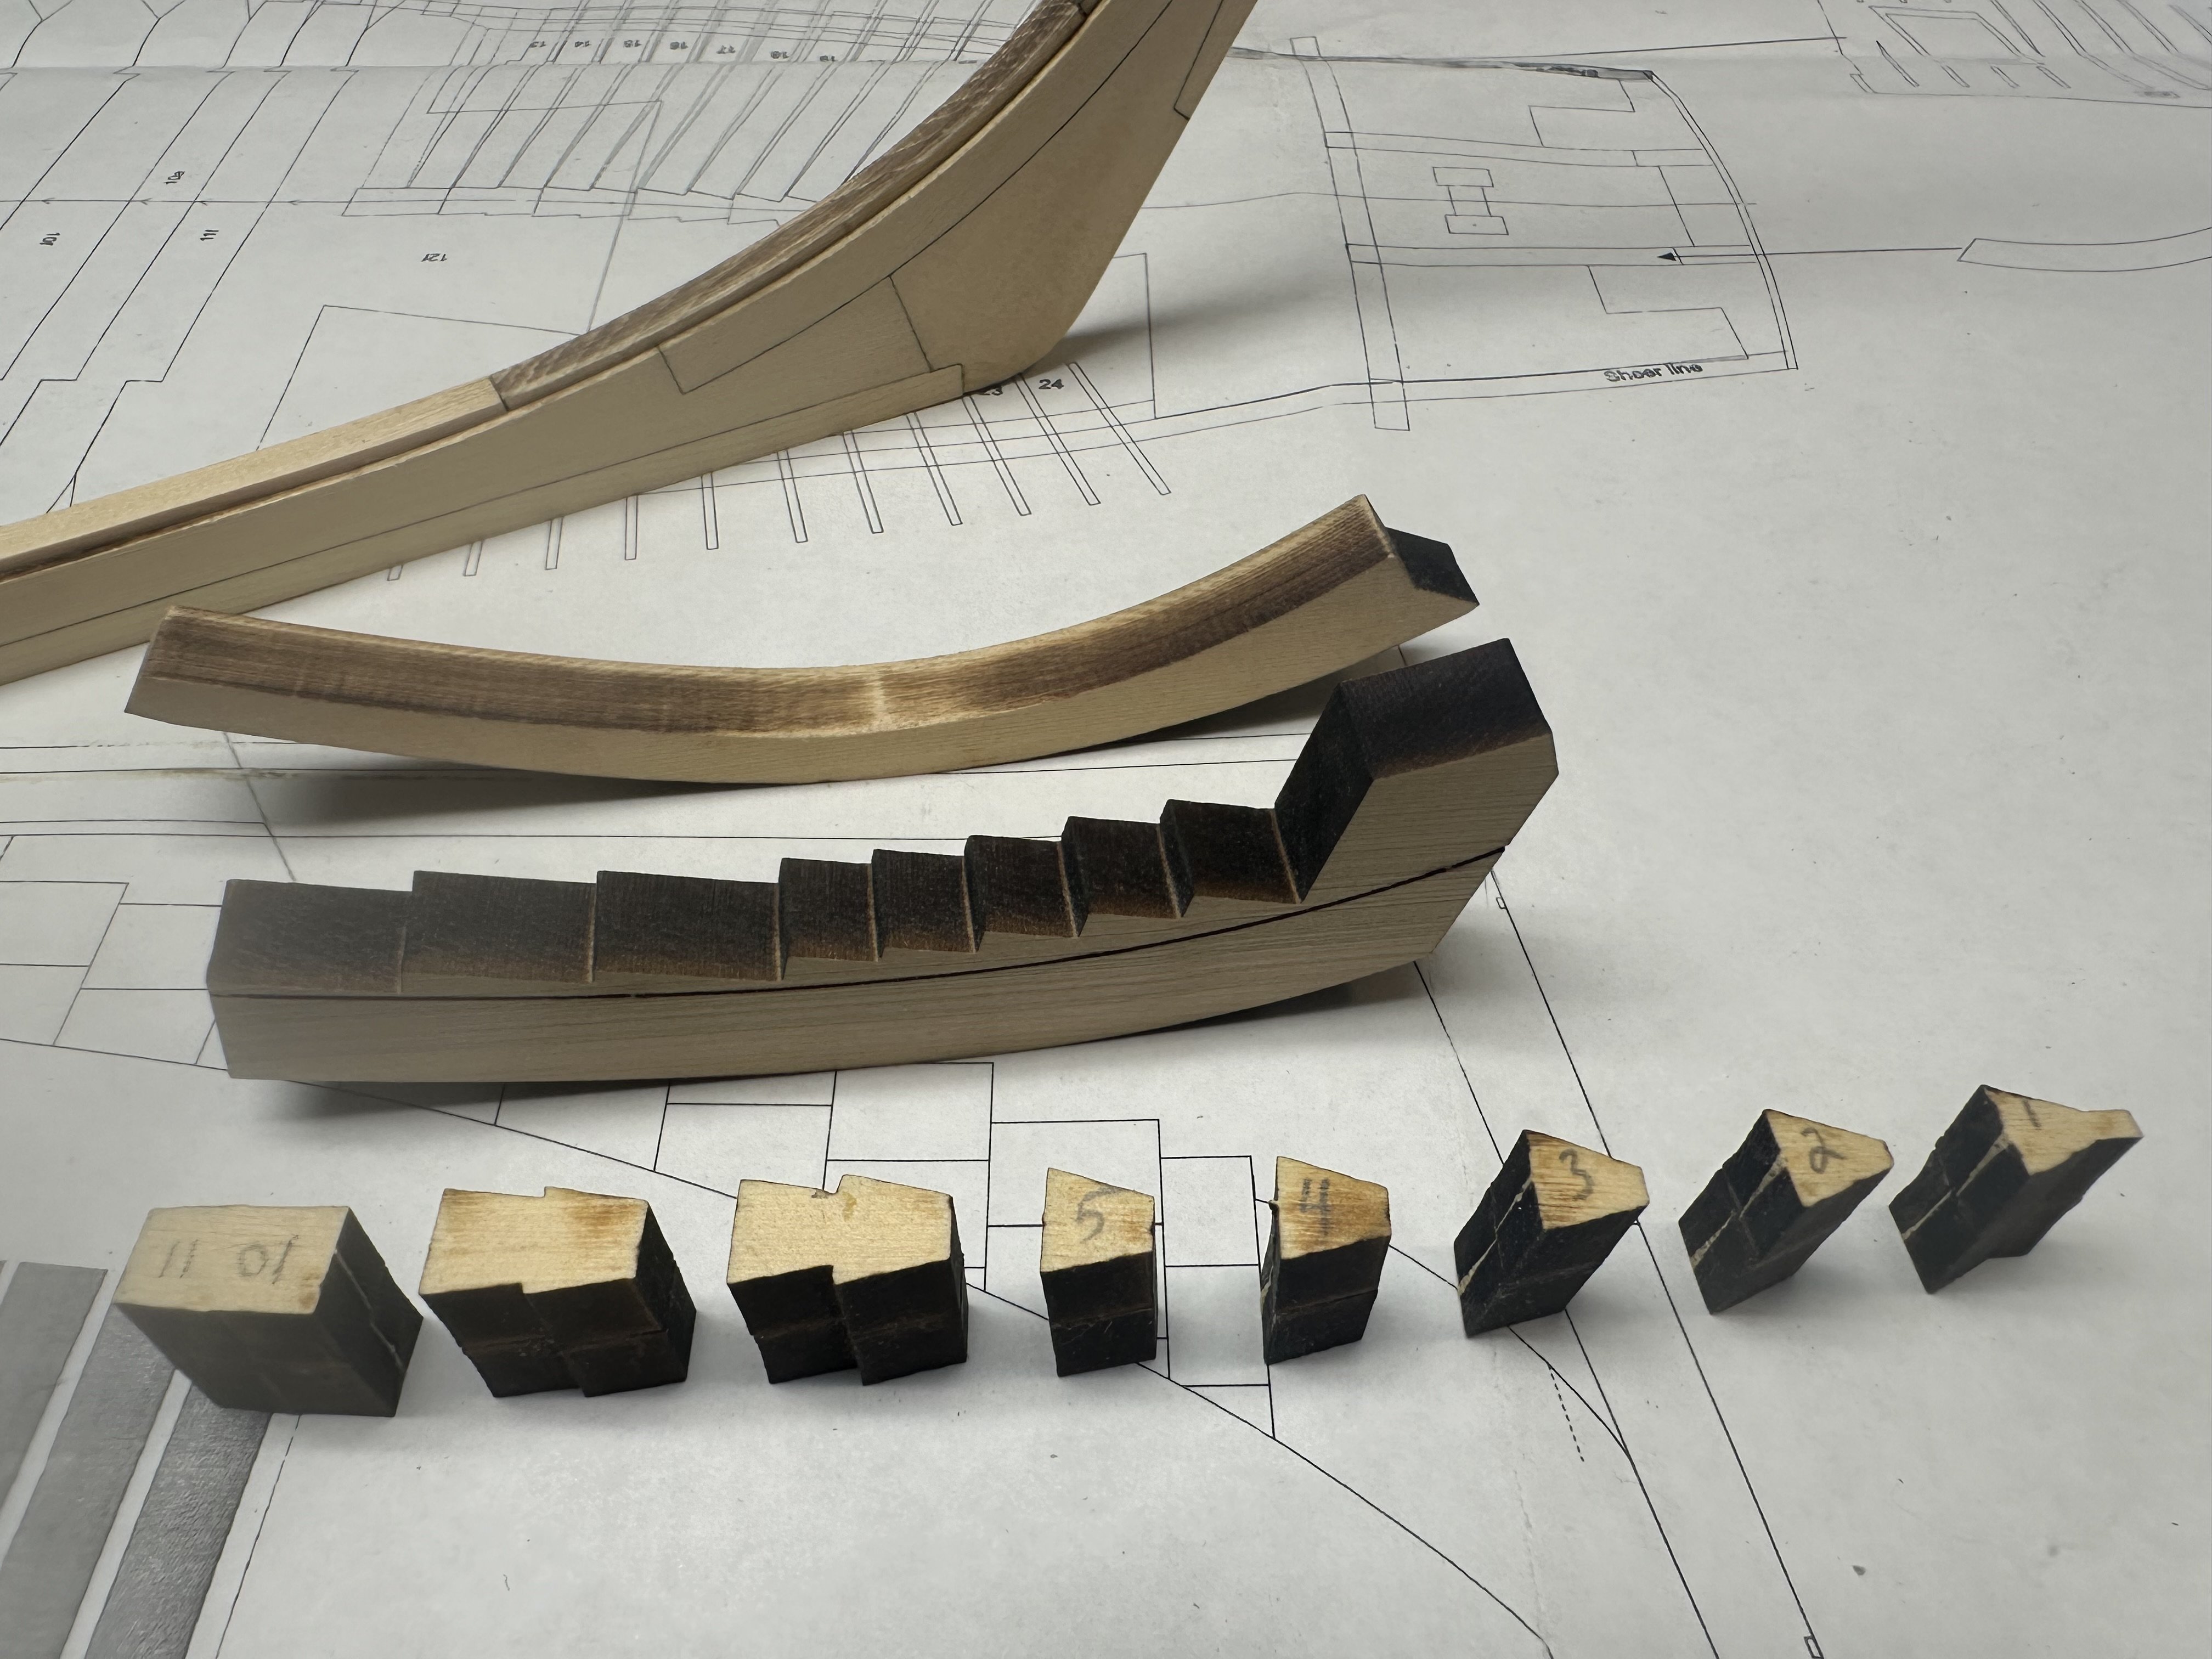
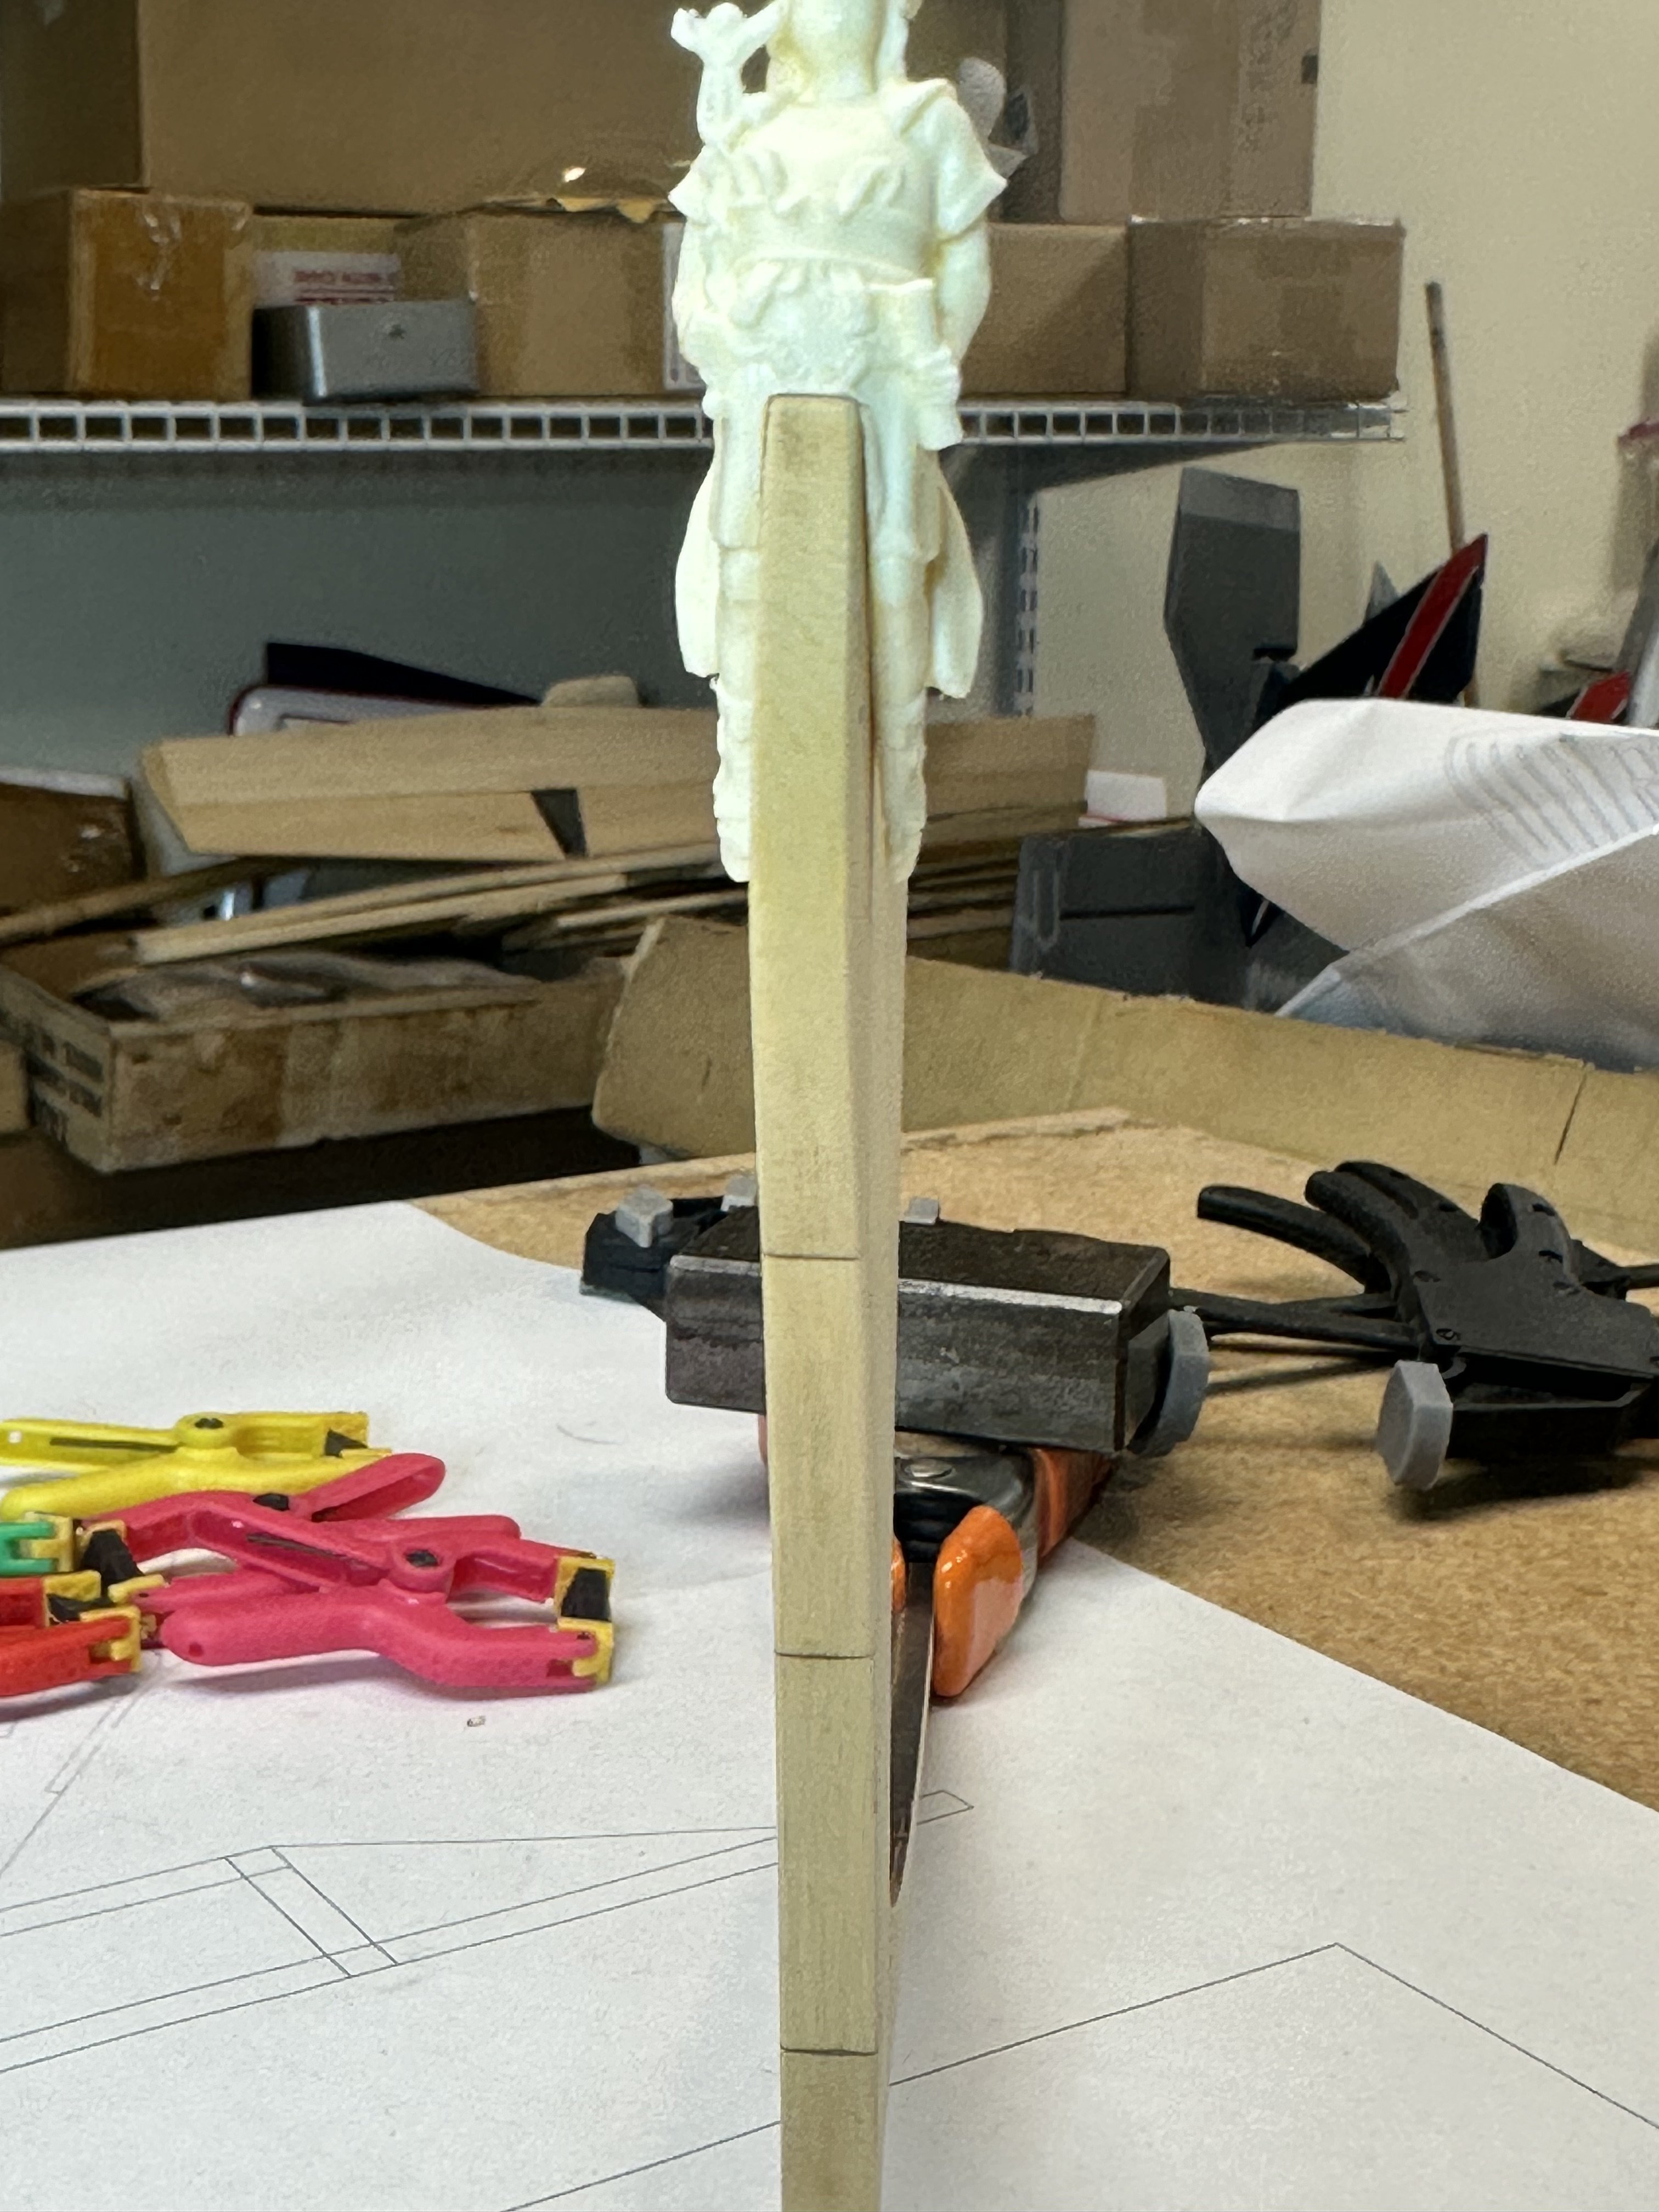
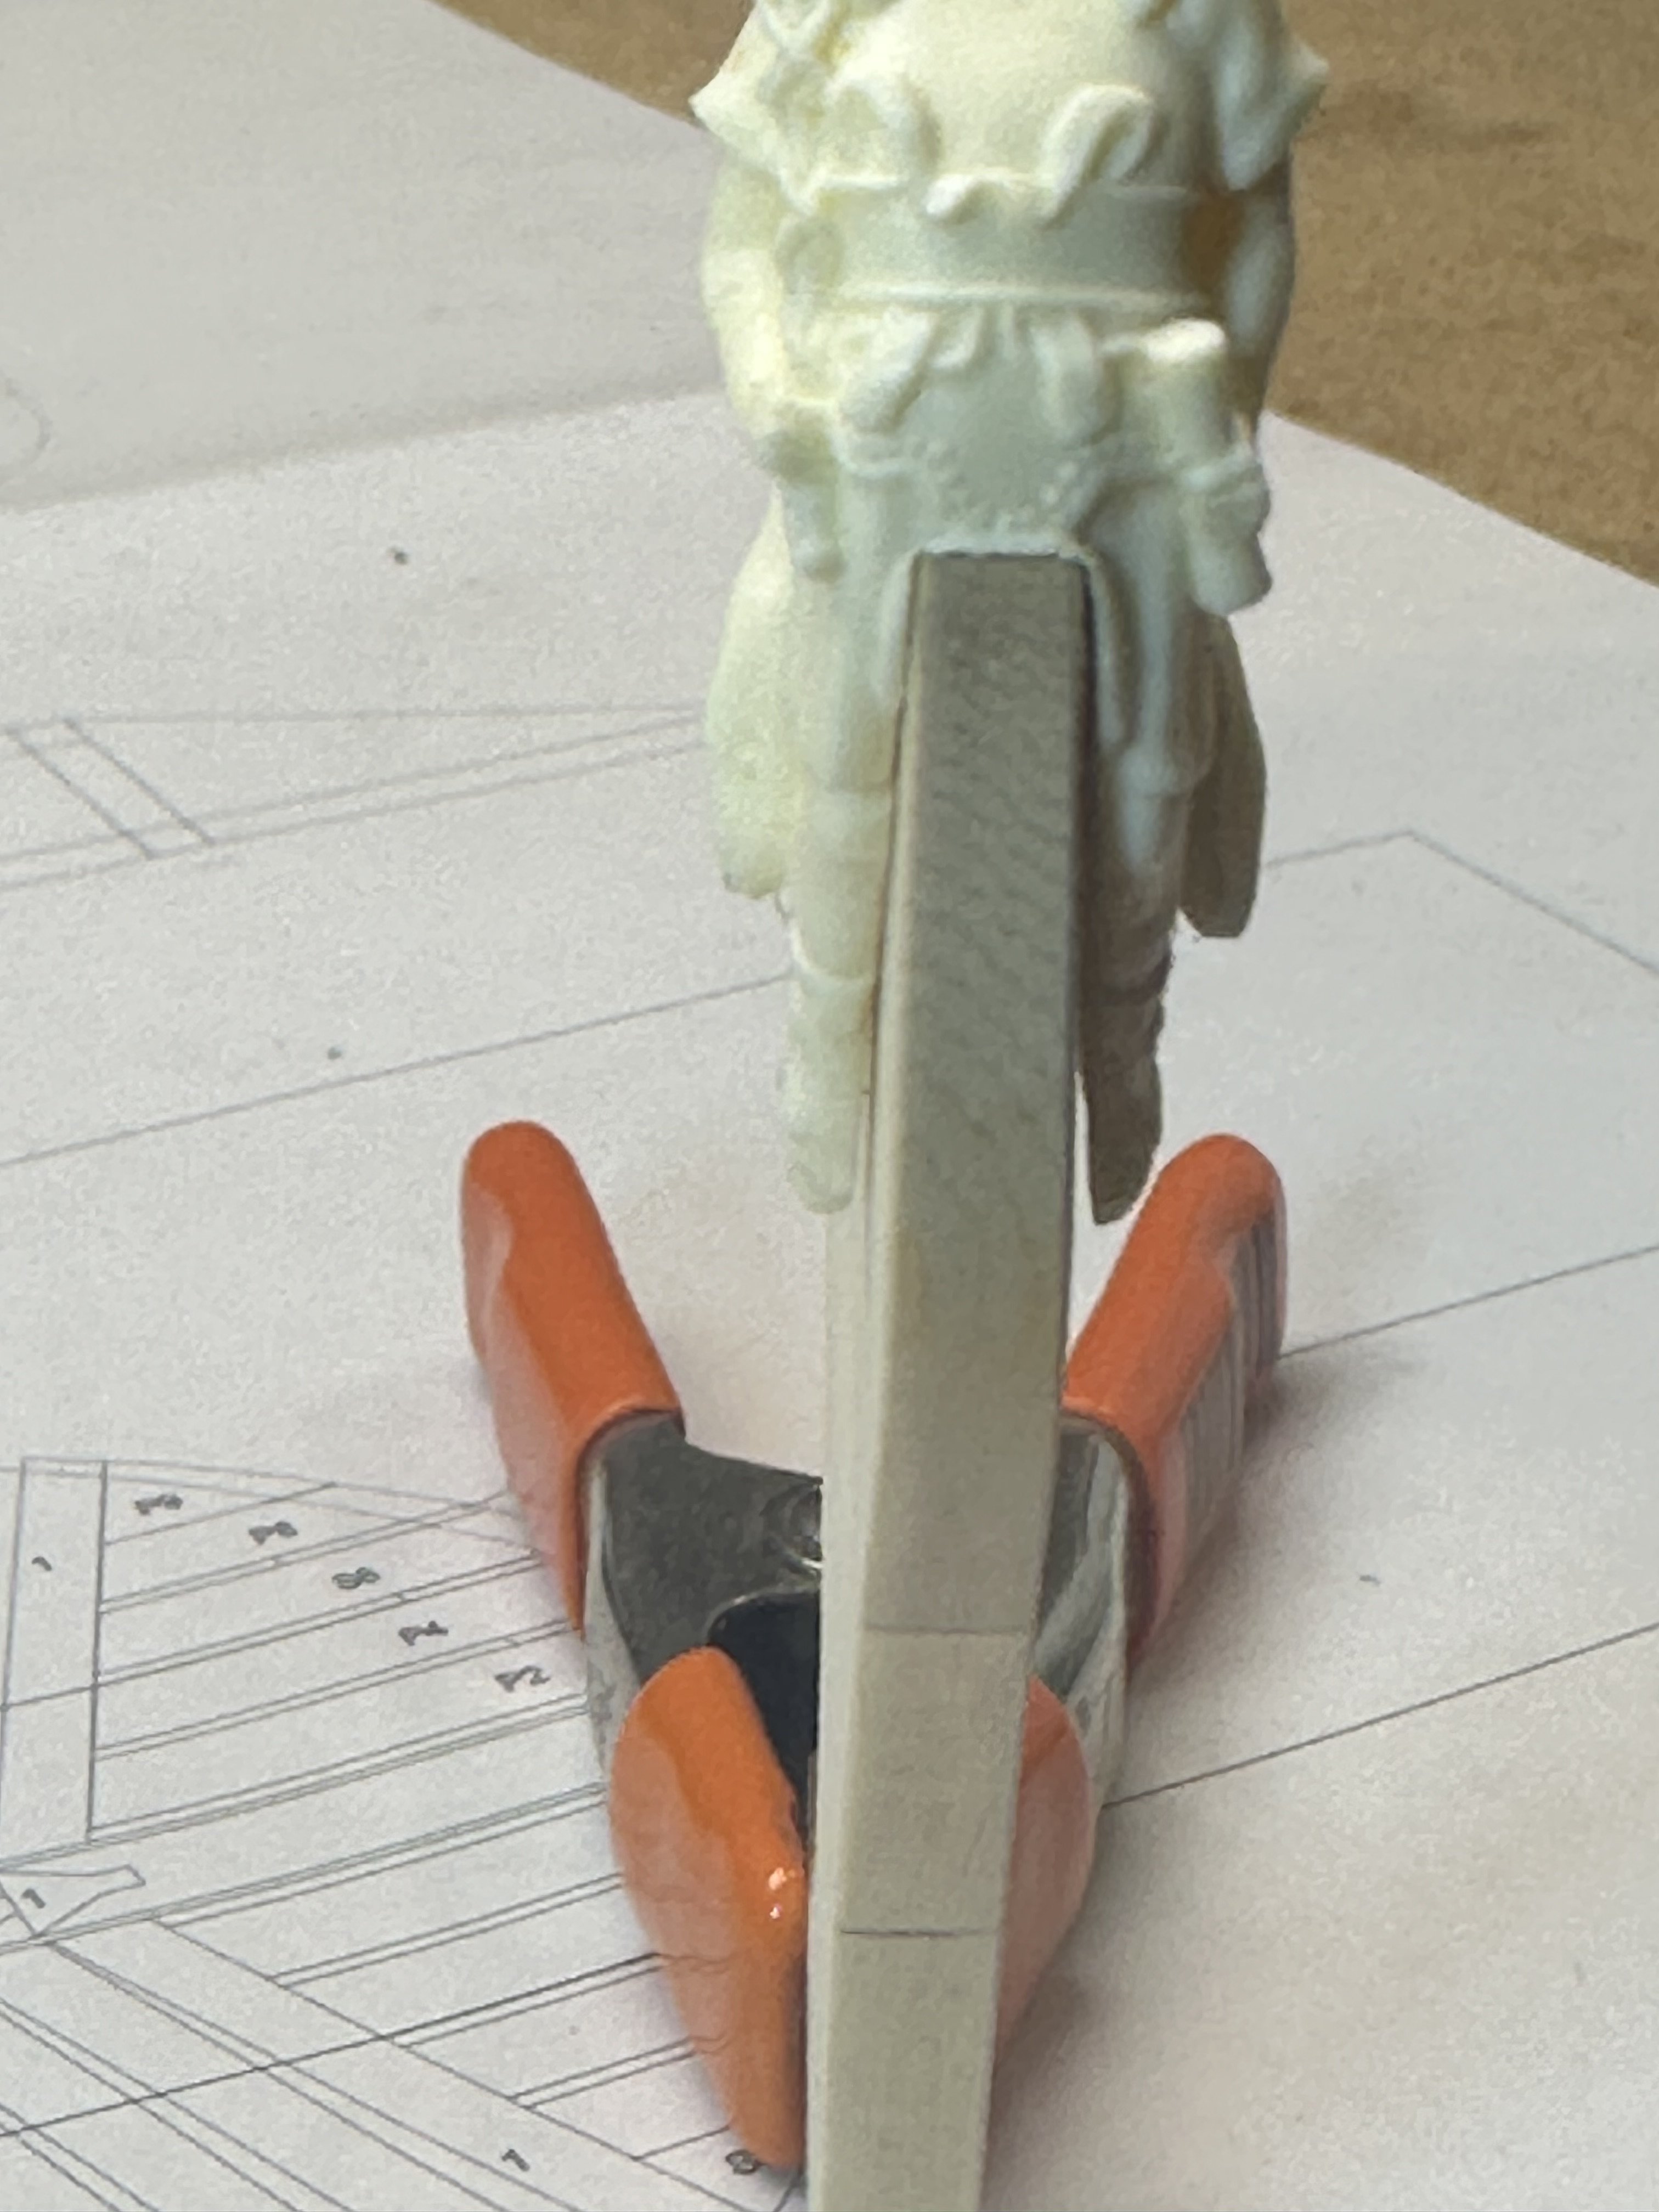
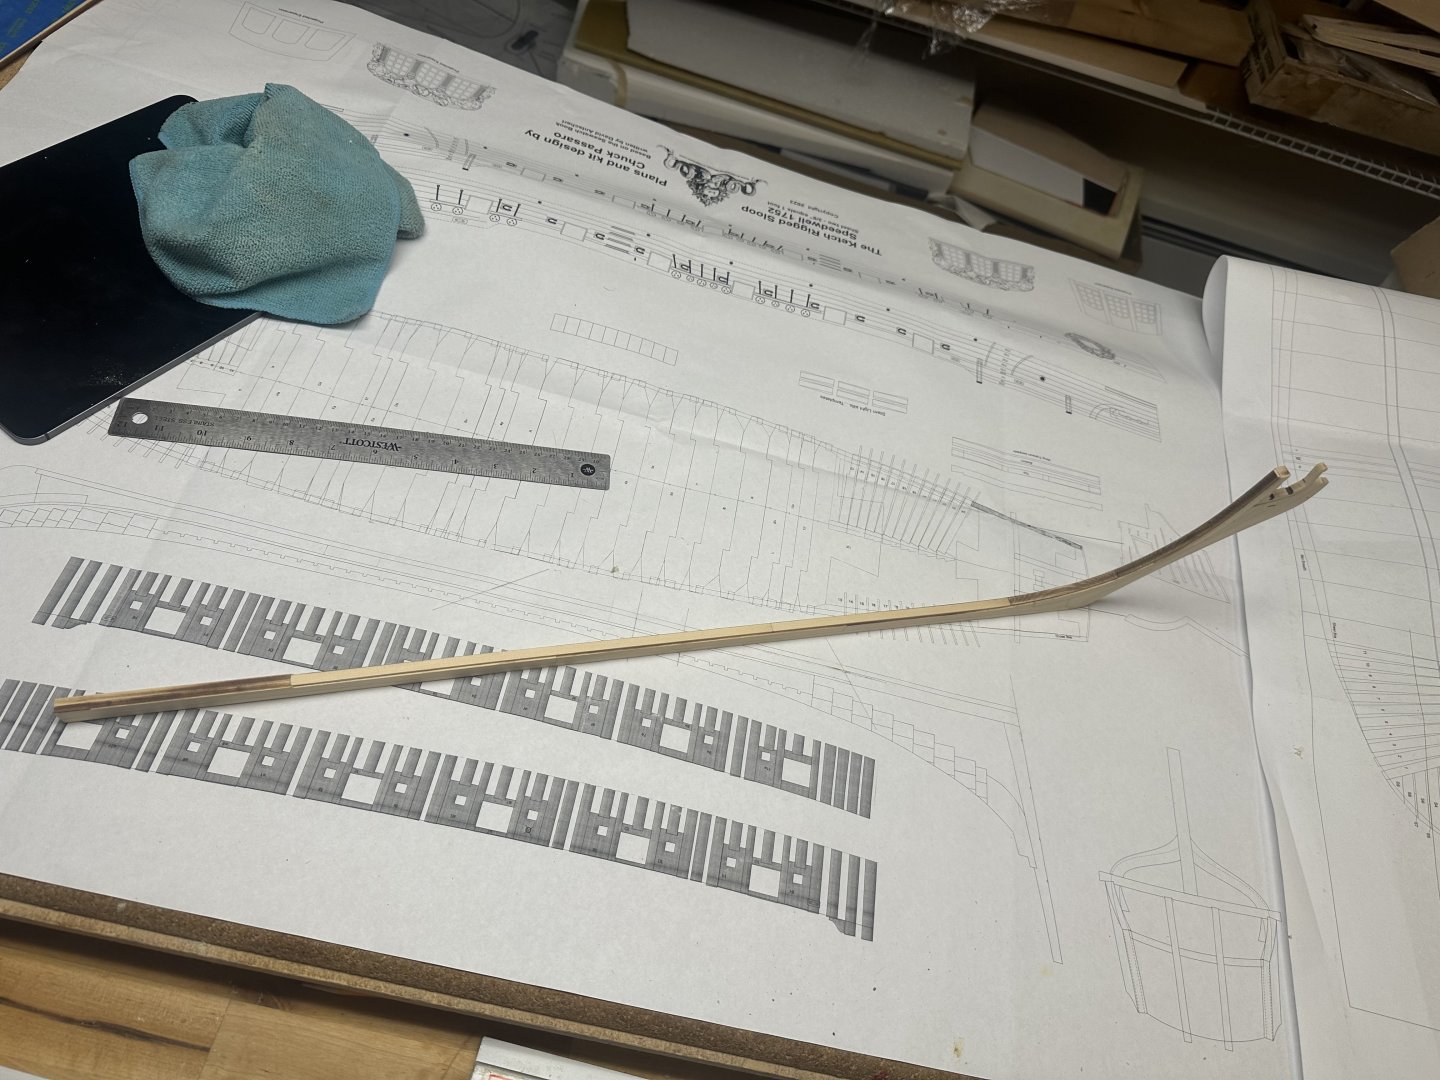
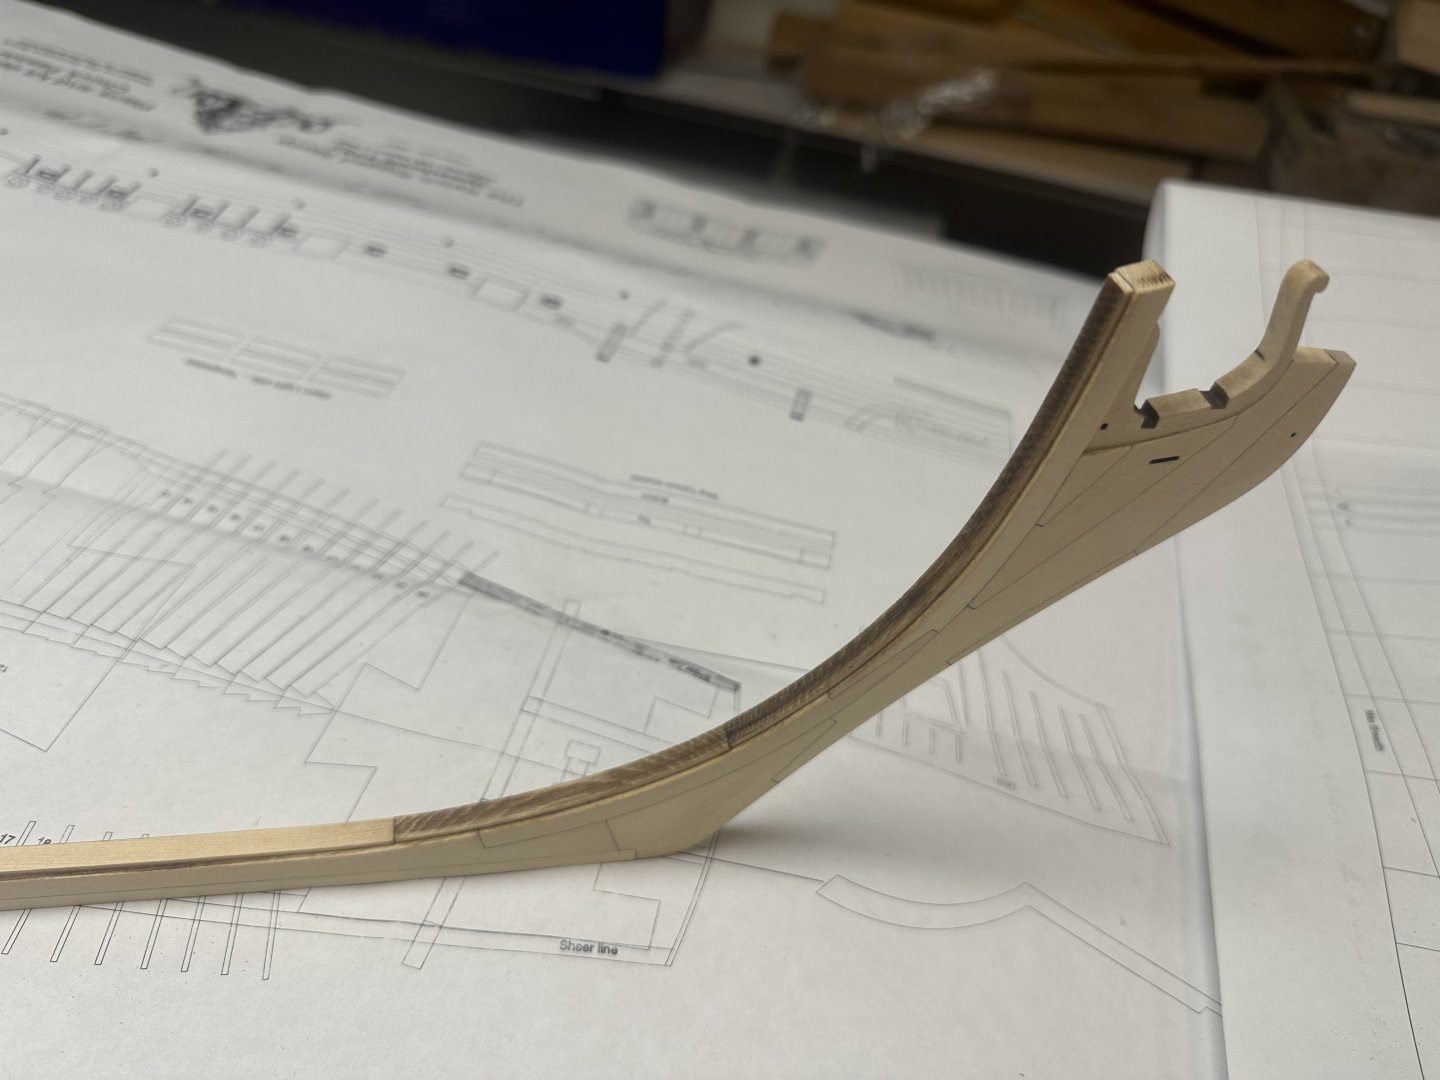
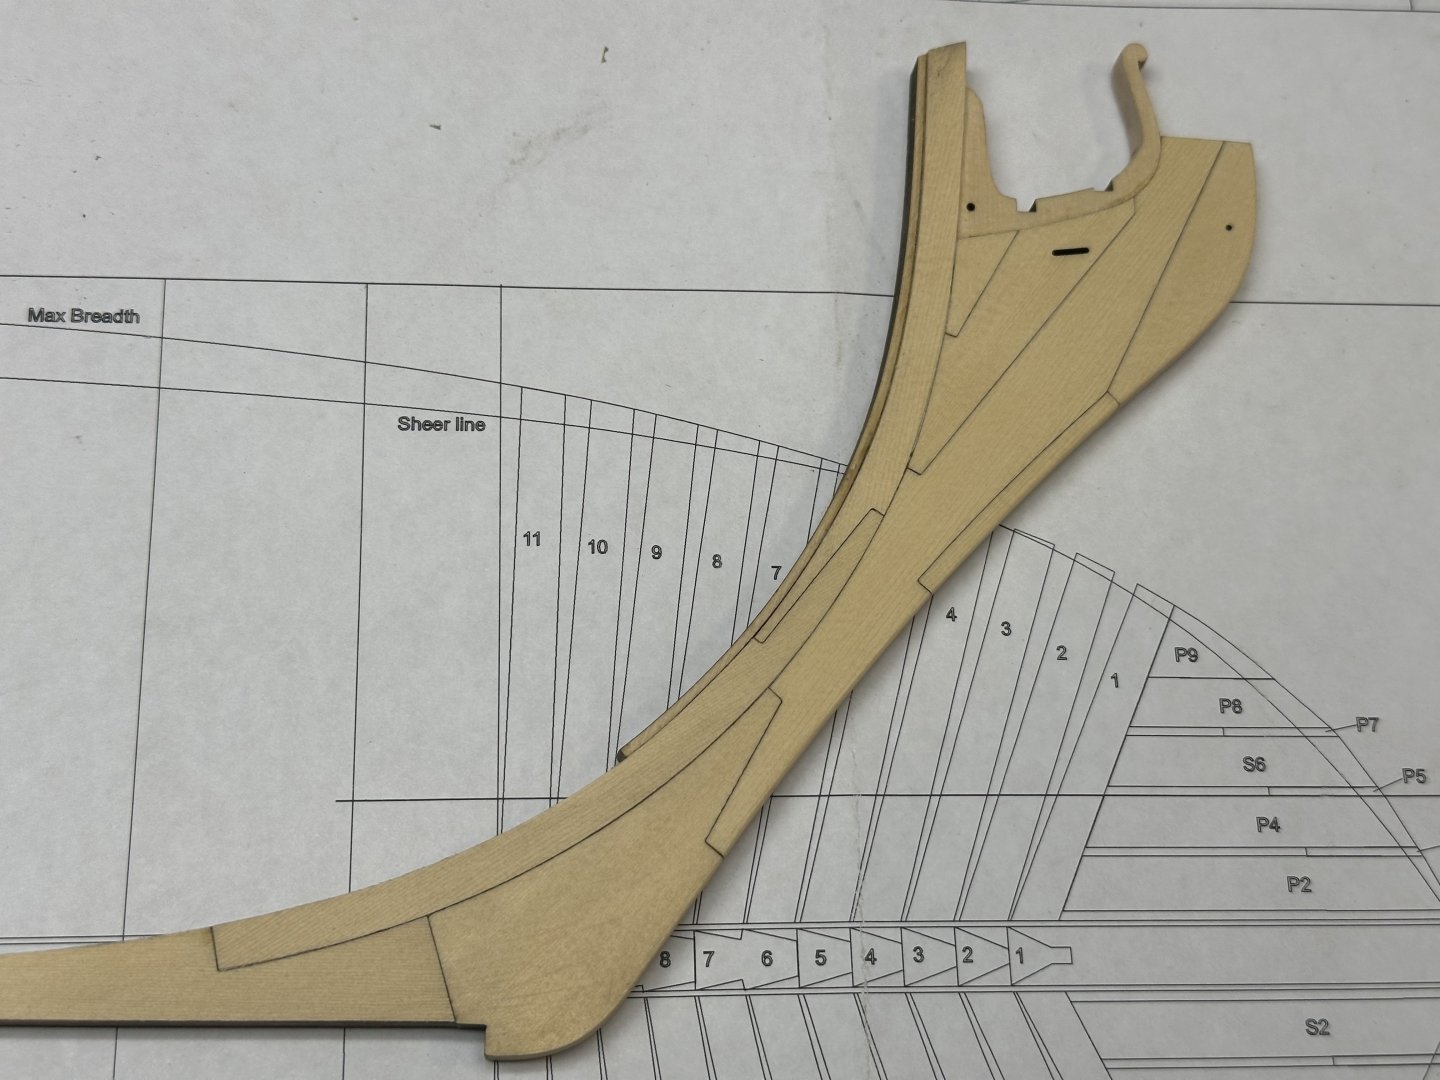
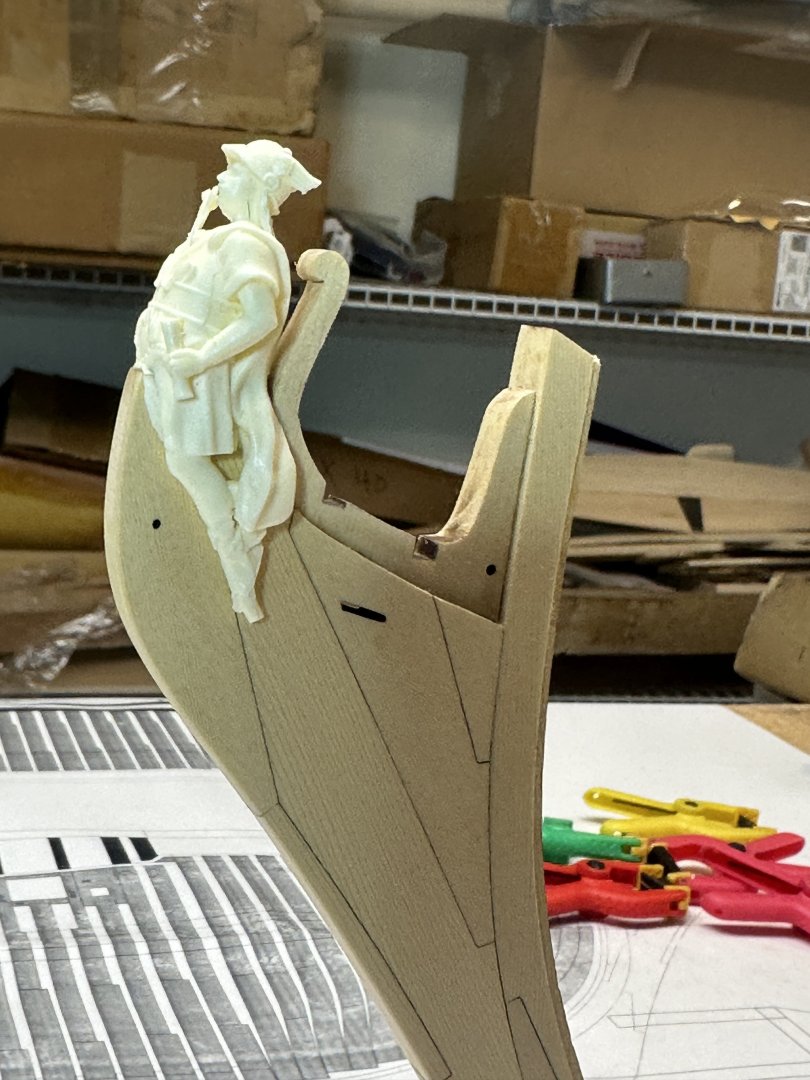
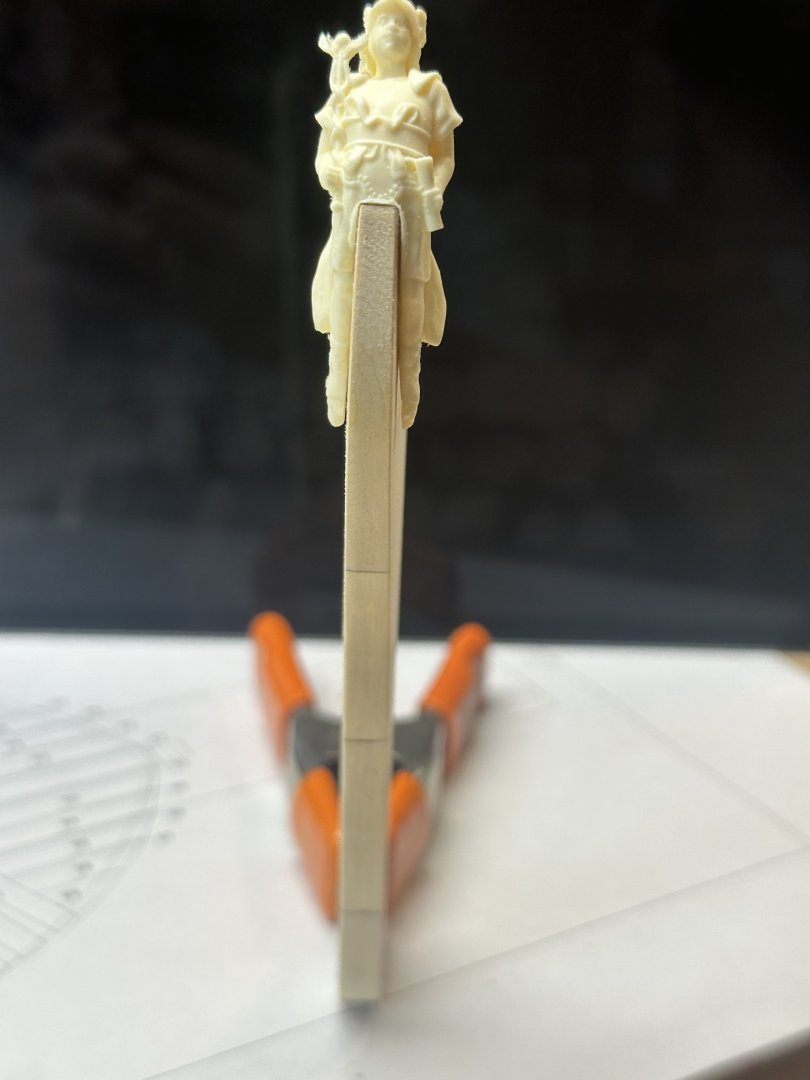
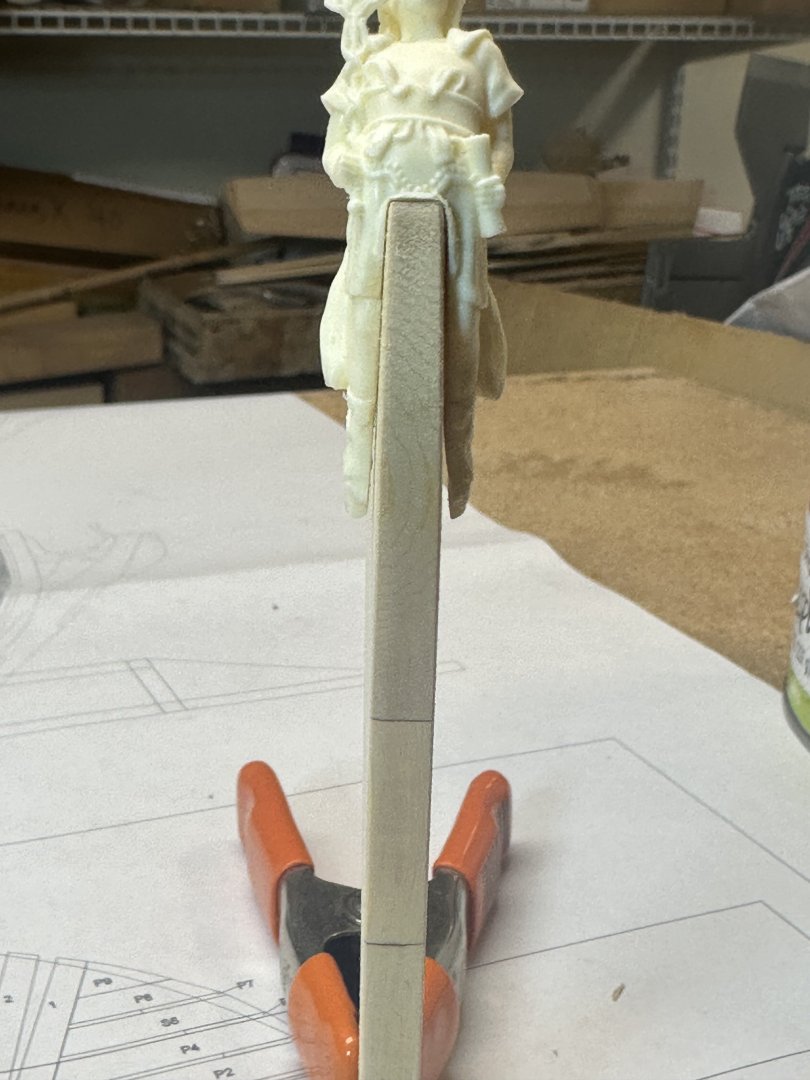
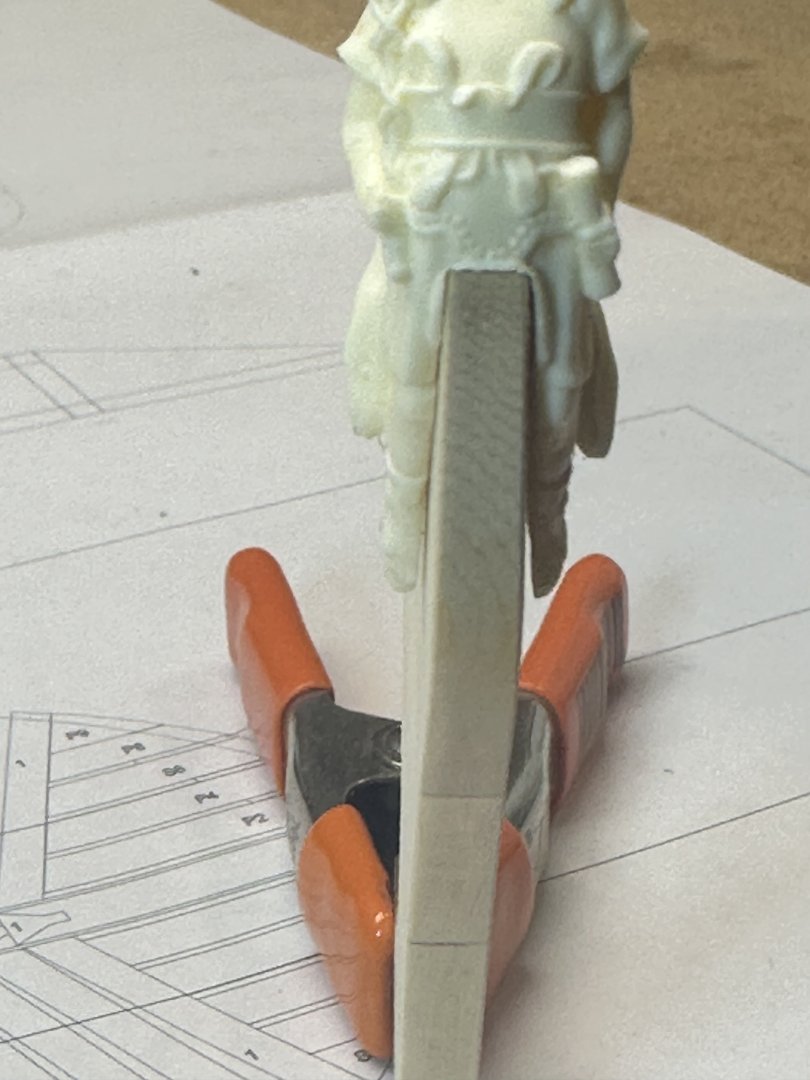
Here’s the final version of the stem. Still looking a little porky, Chuck? Best Regards …. Rick

-
I thought it was still a little fat, but didn’t know how far down to go. Thanks for the eyeball Chuck! Best Regards …. Rick
-
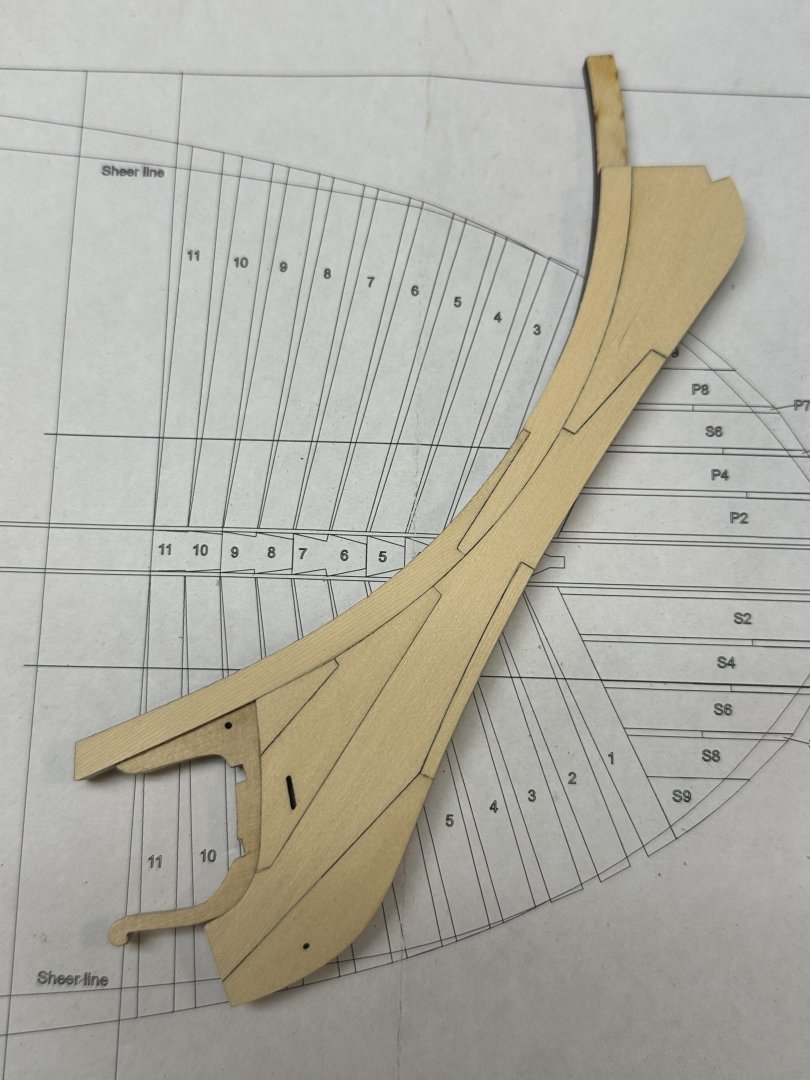
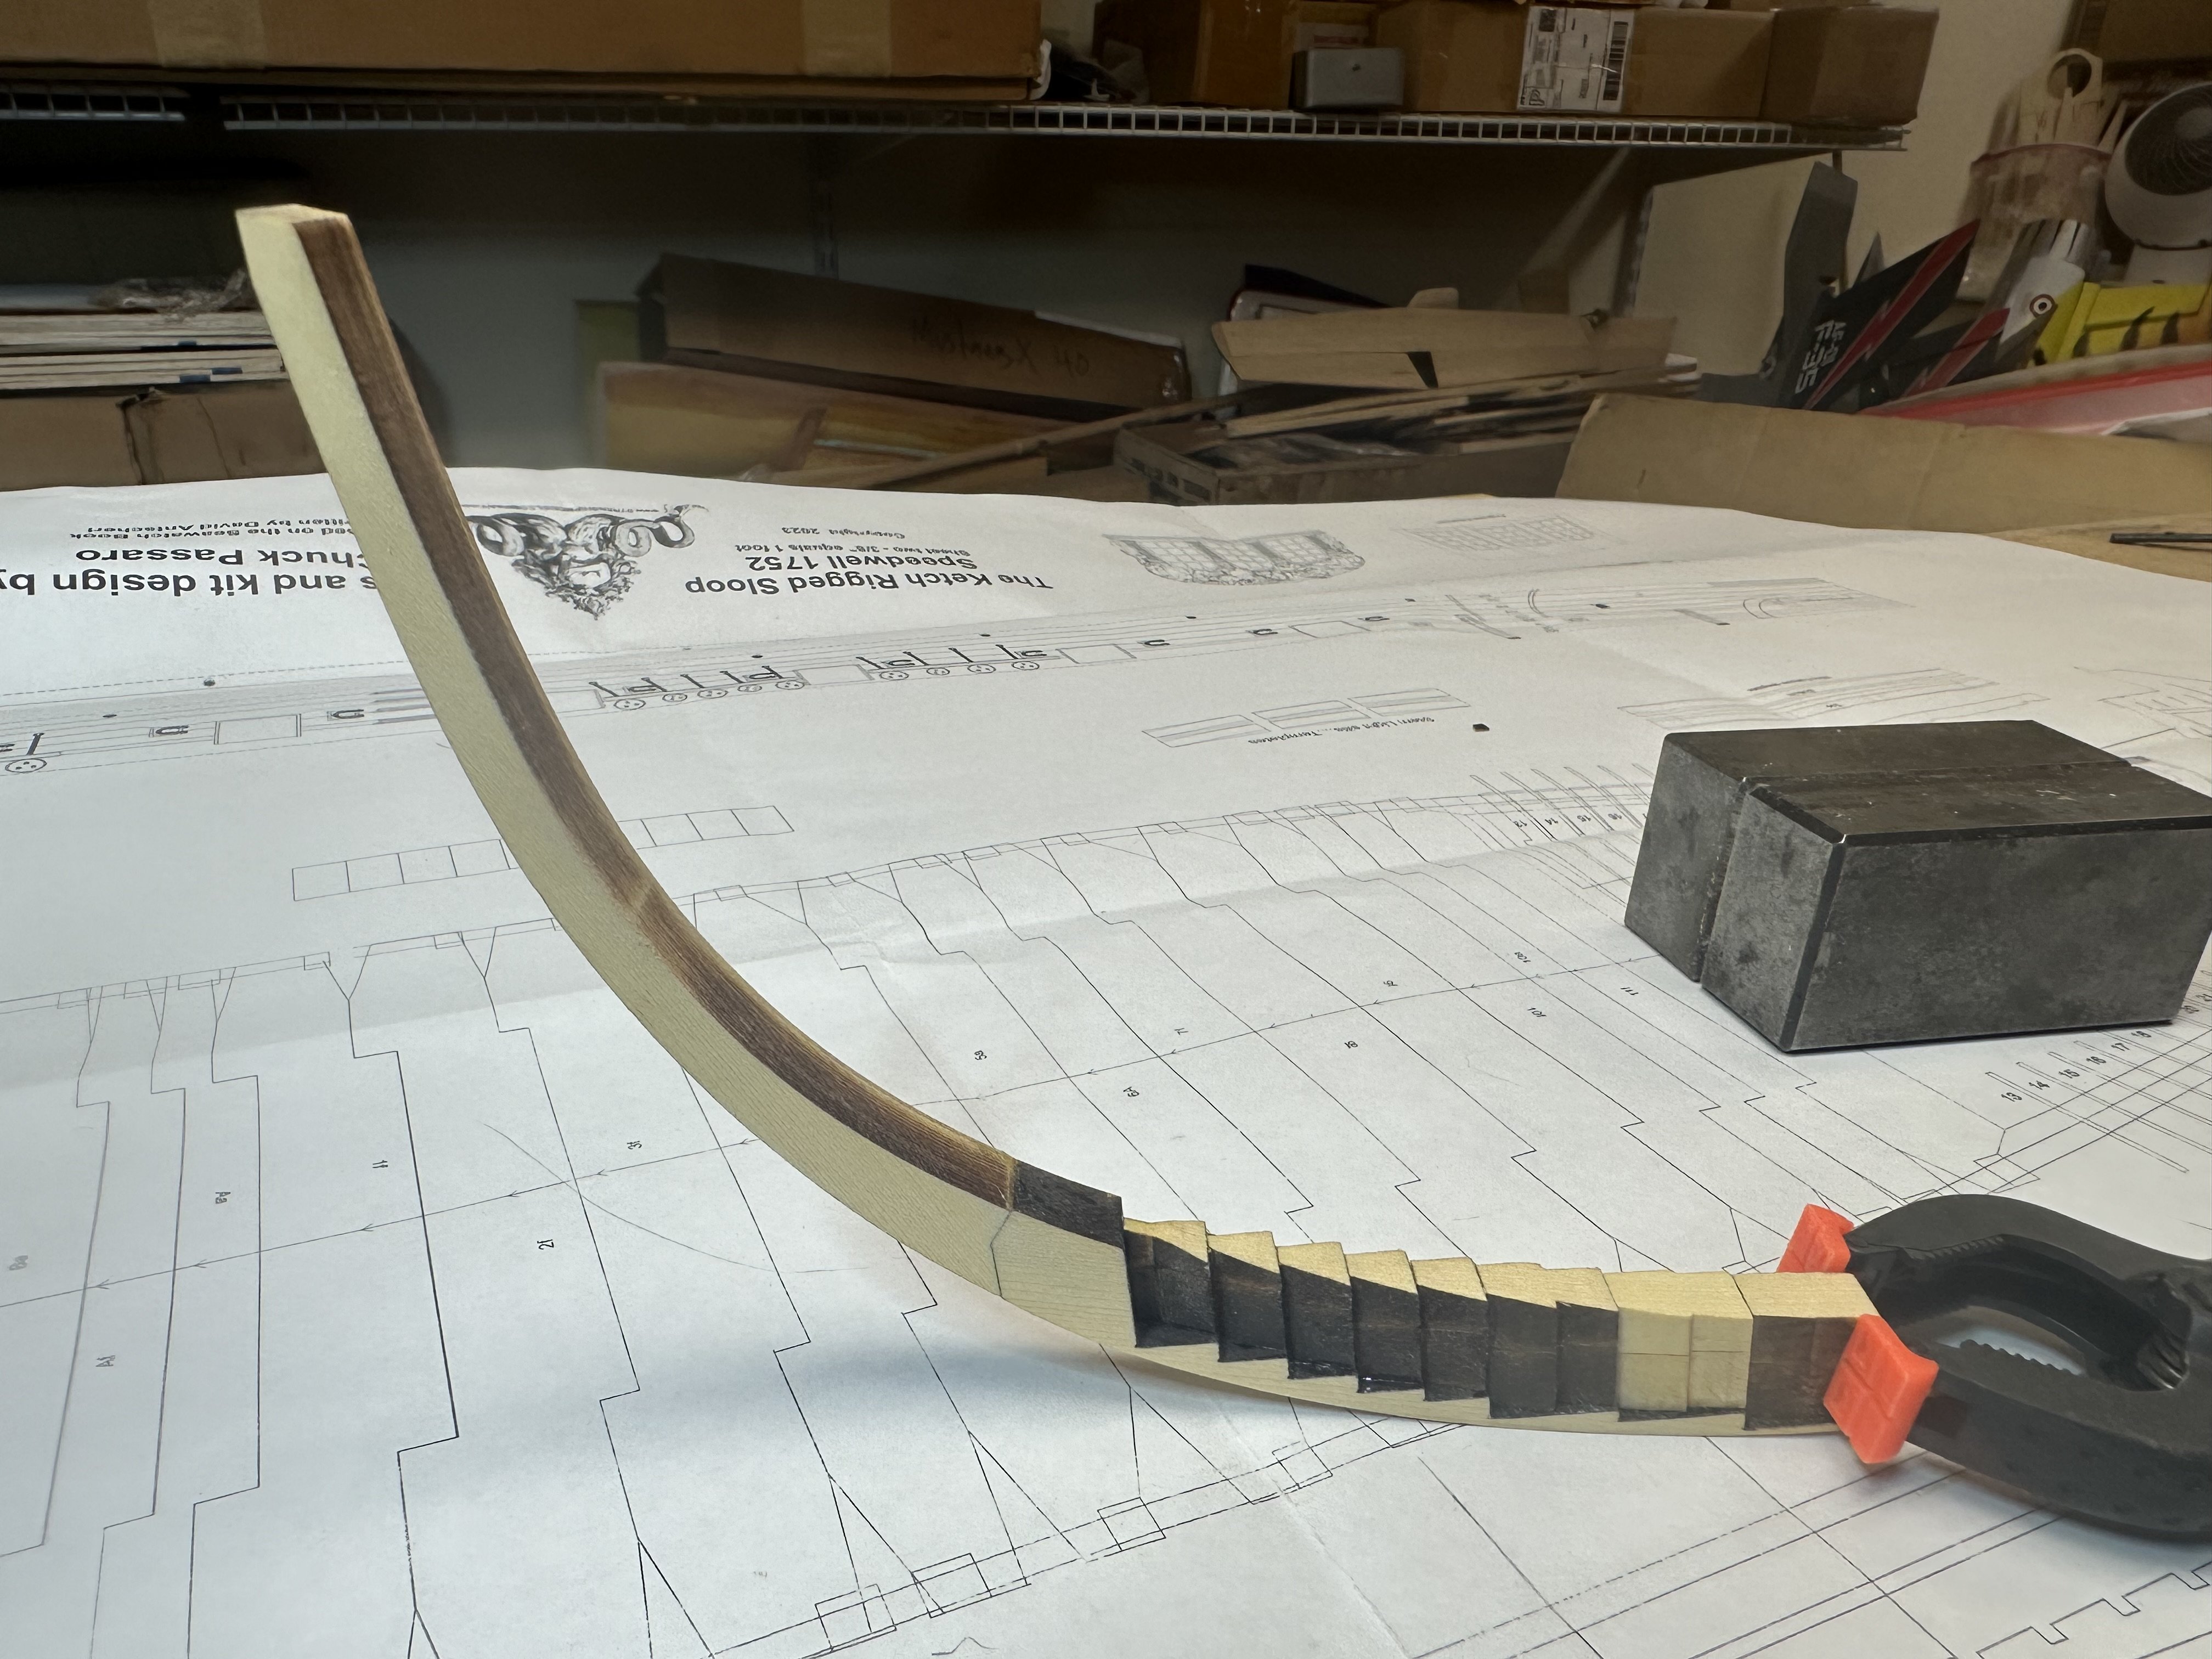
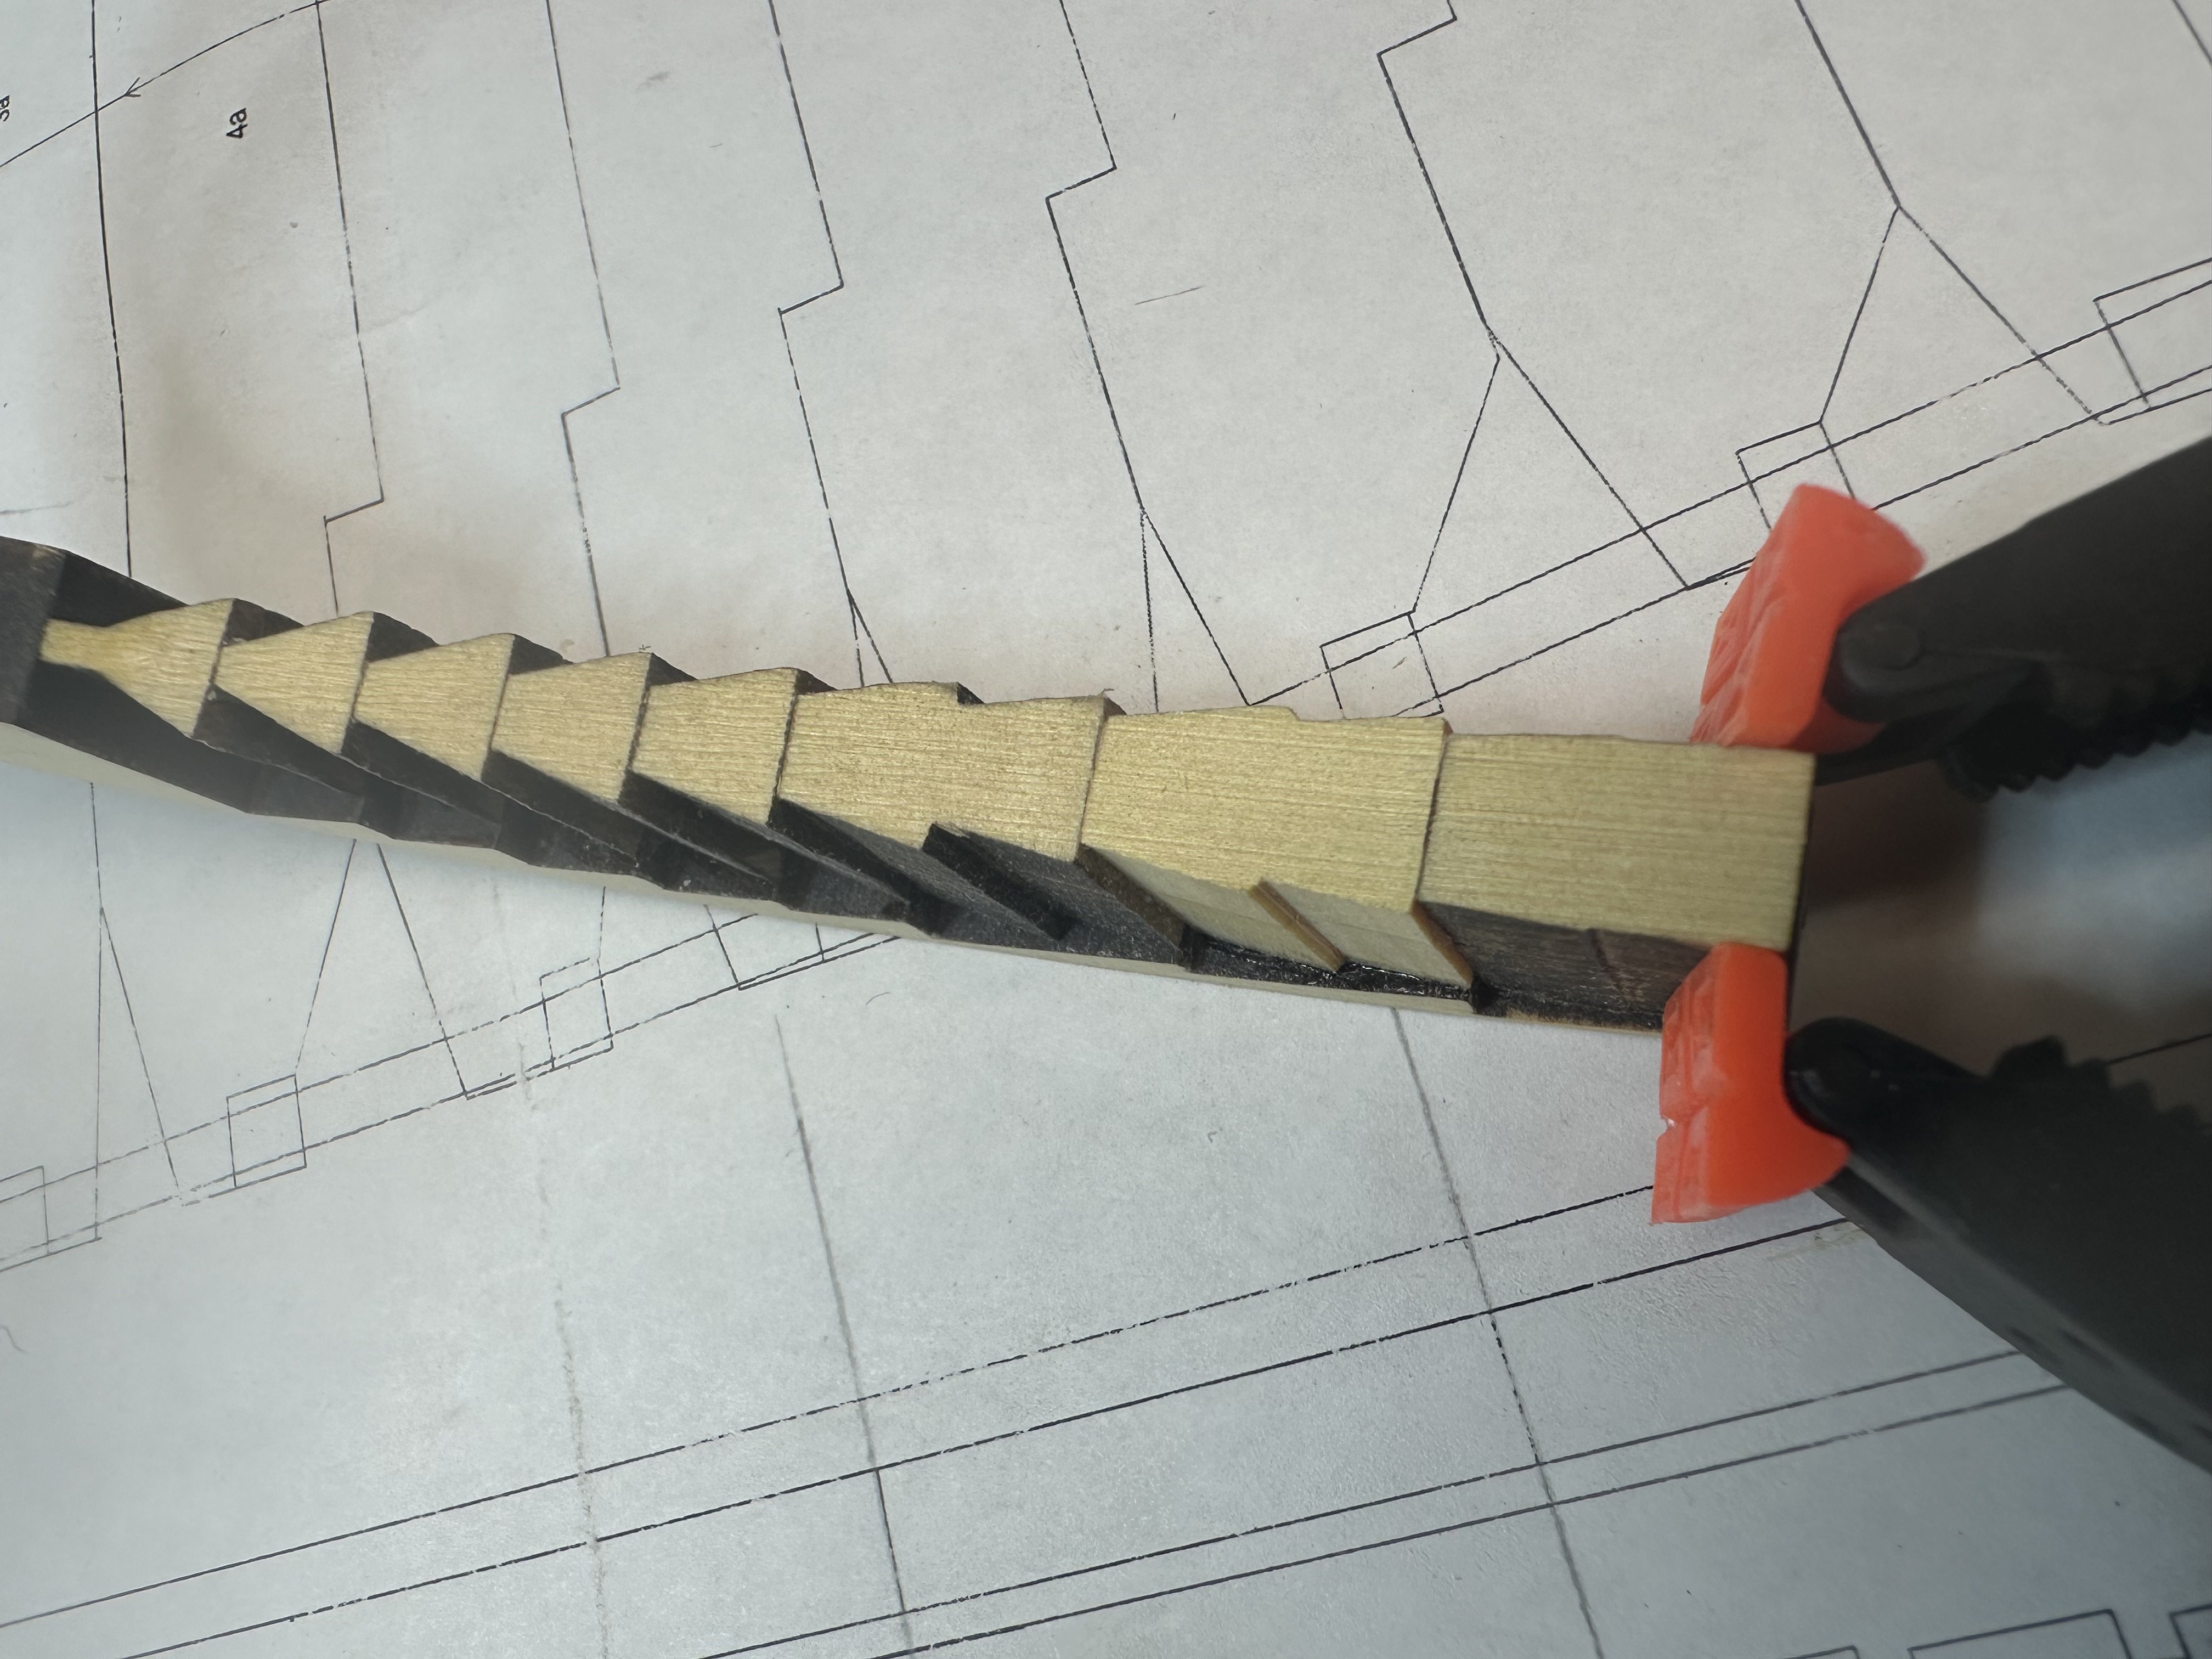
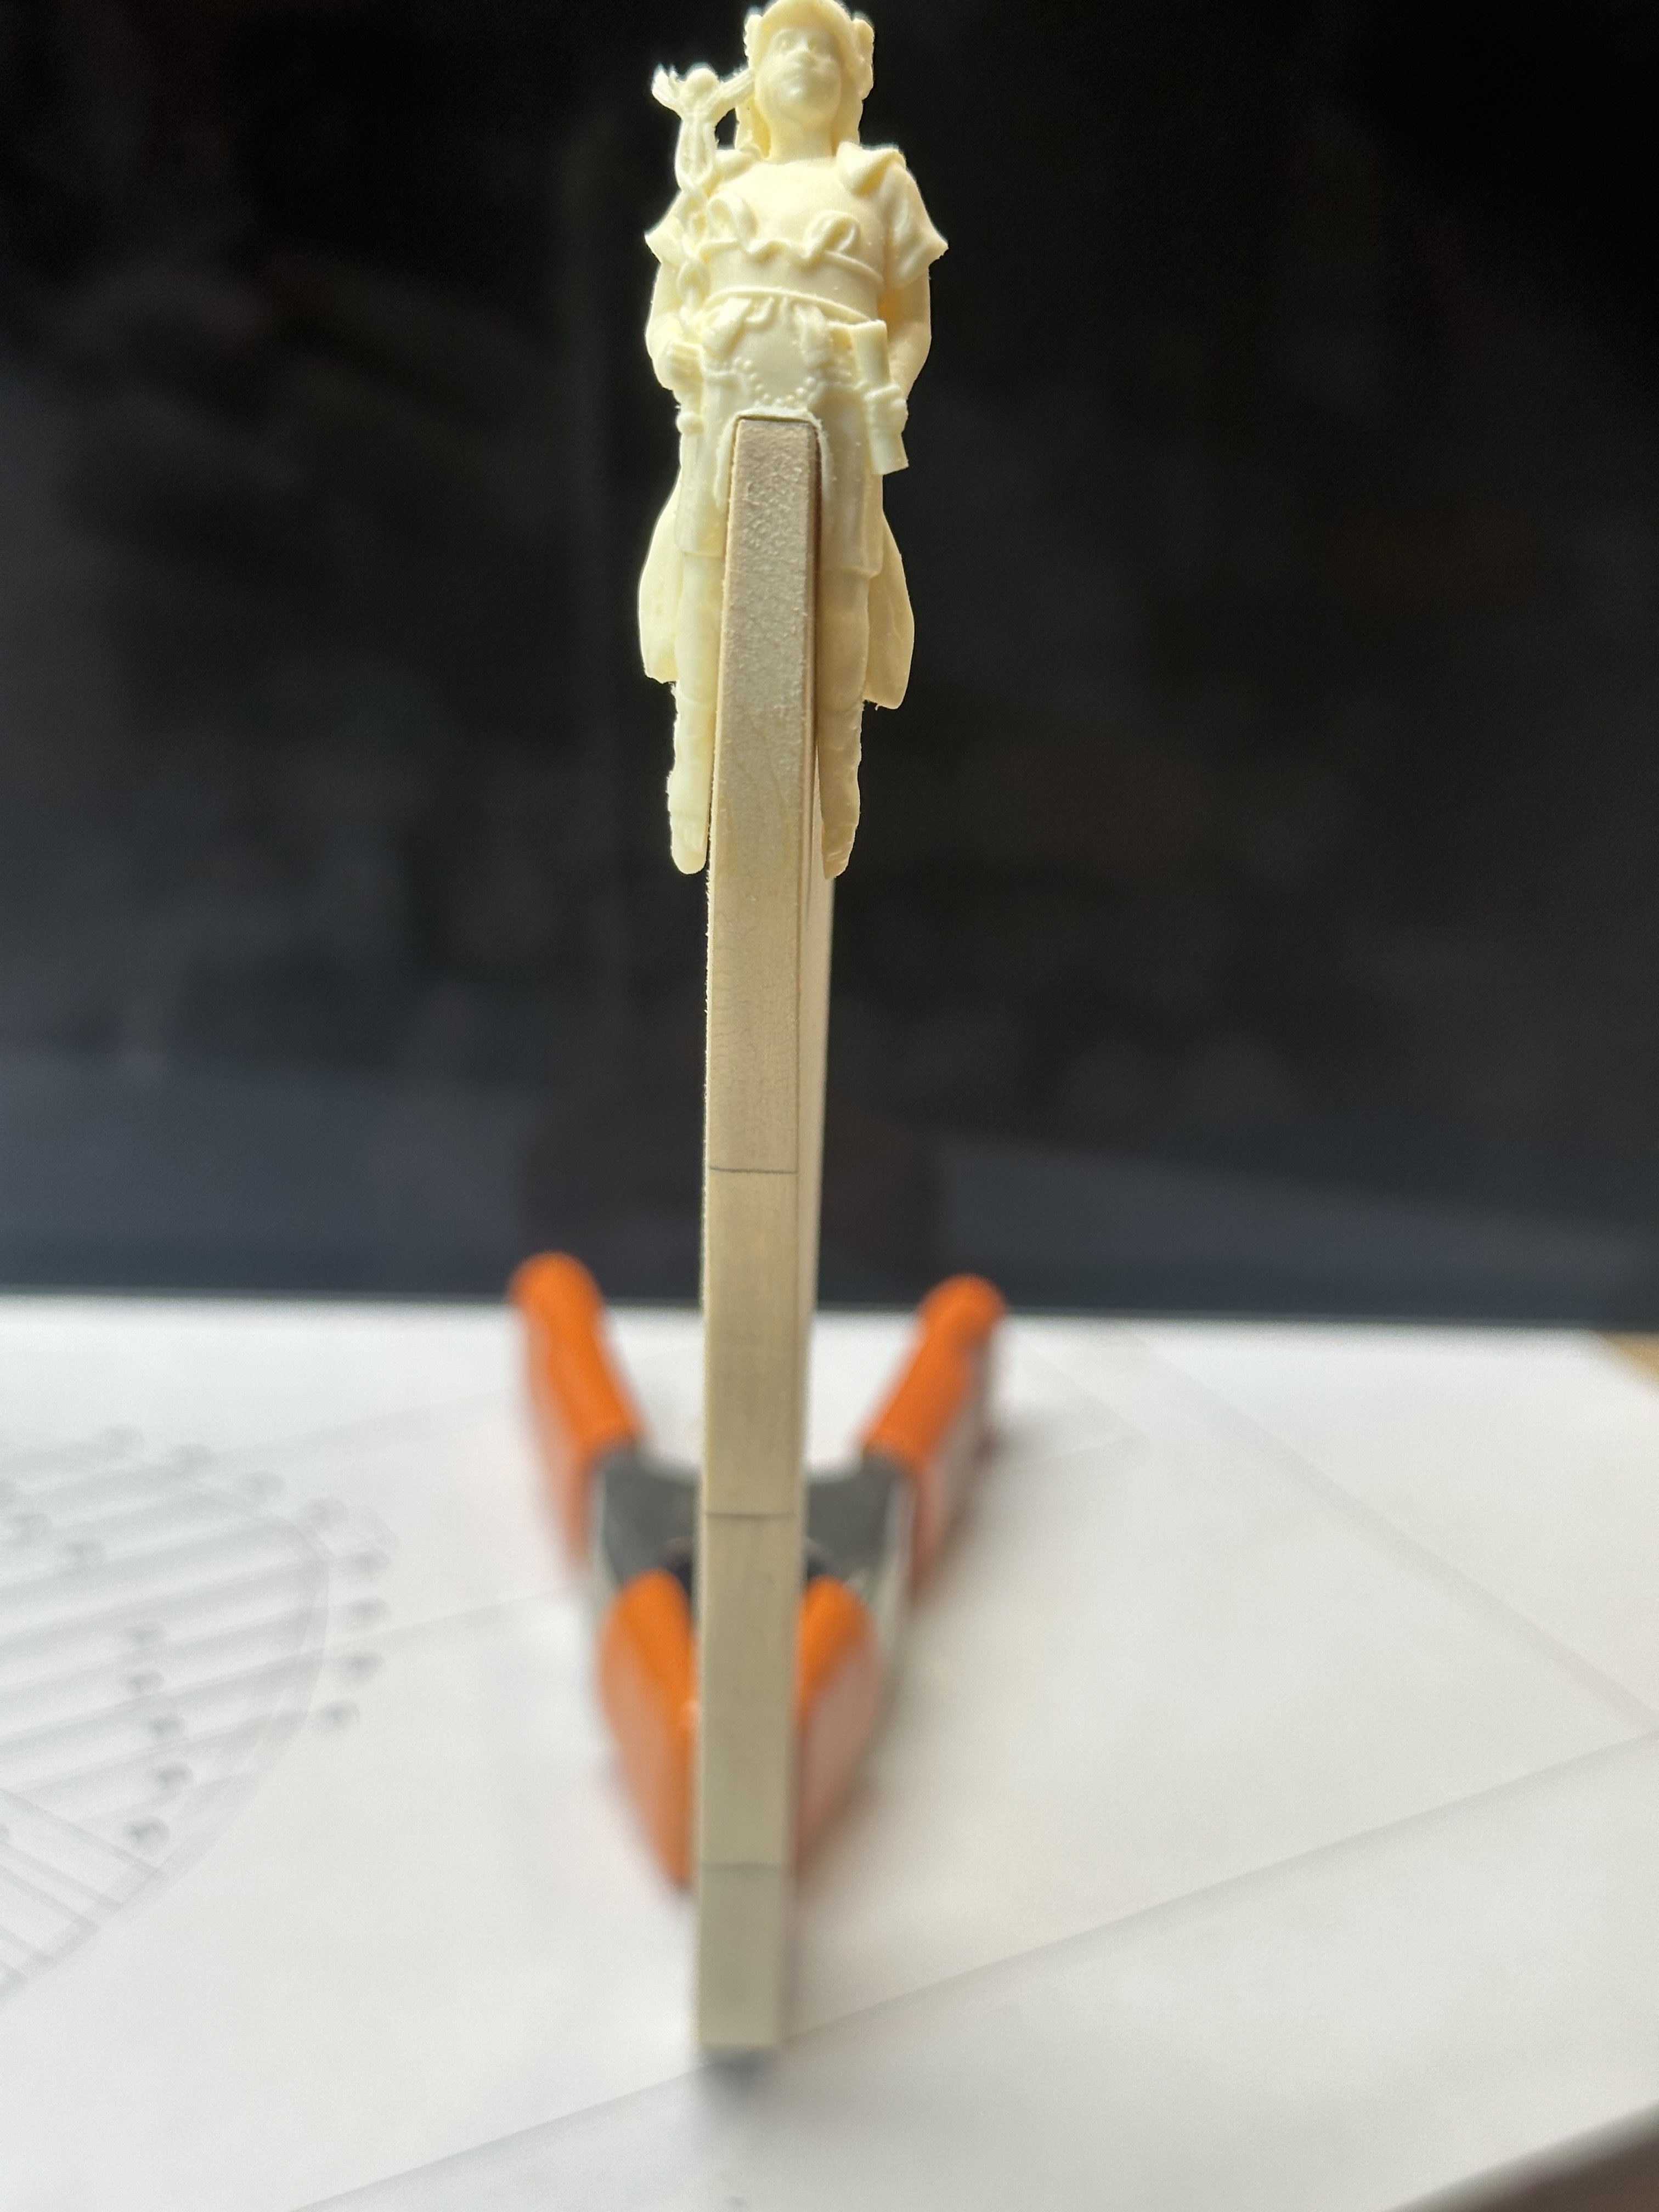
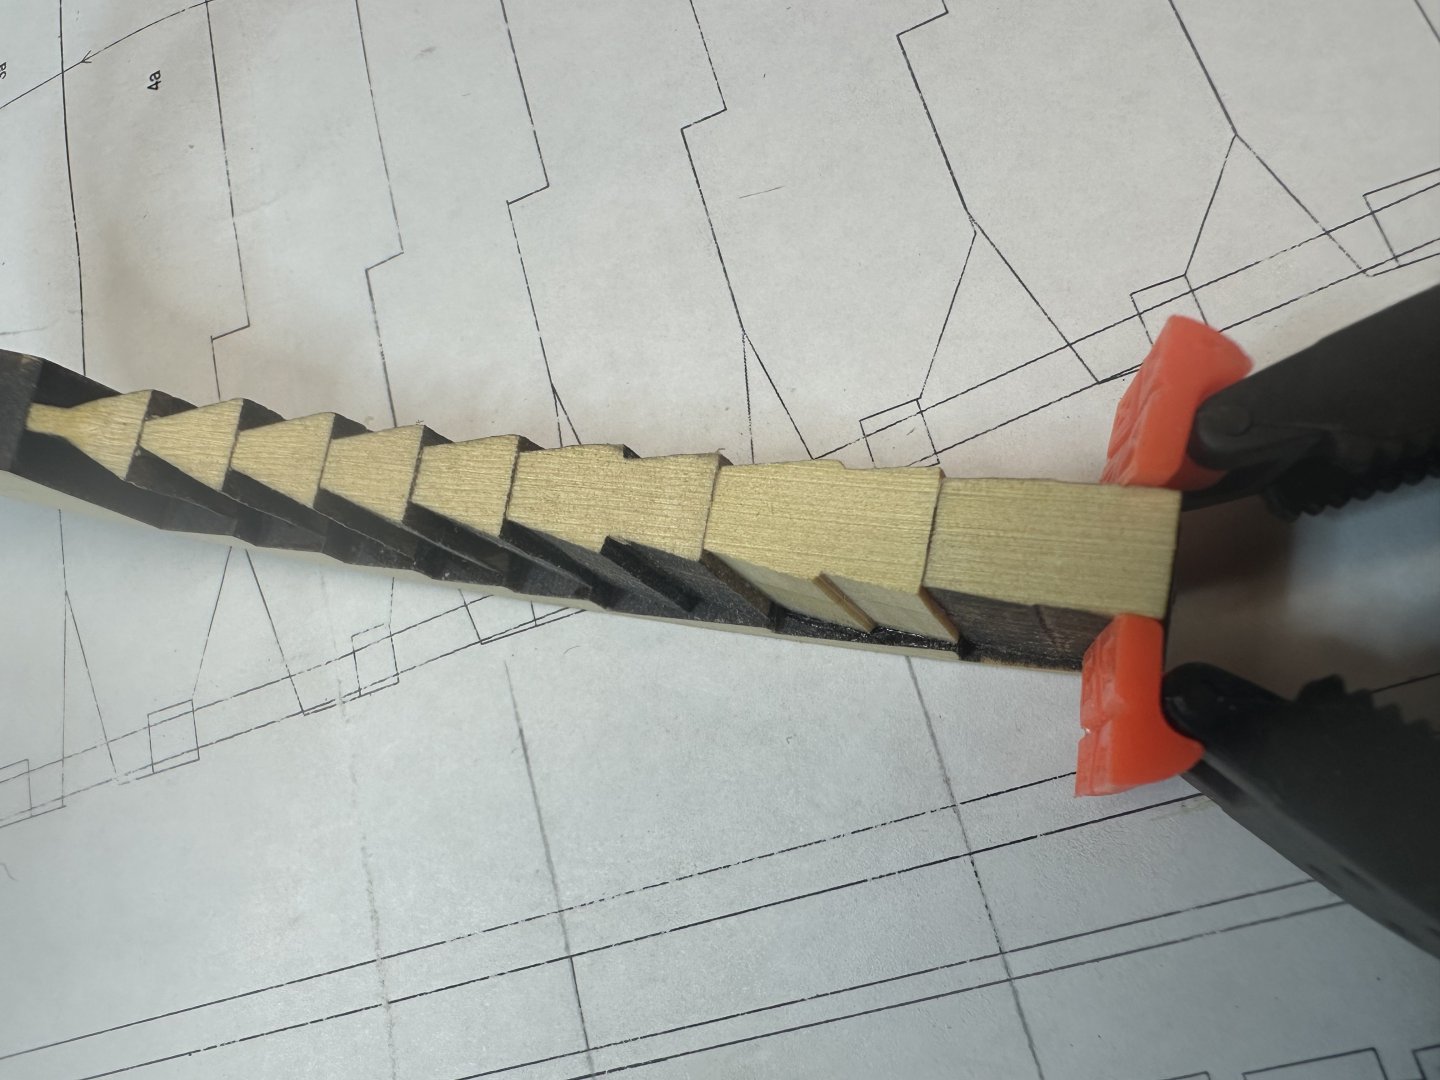
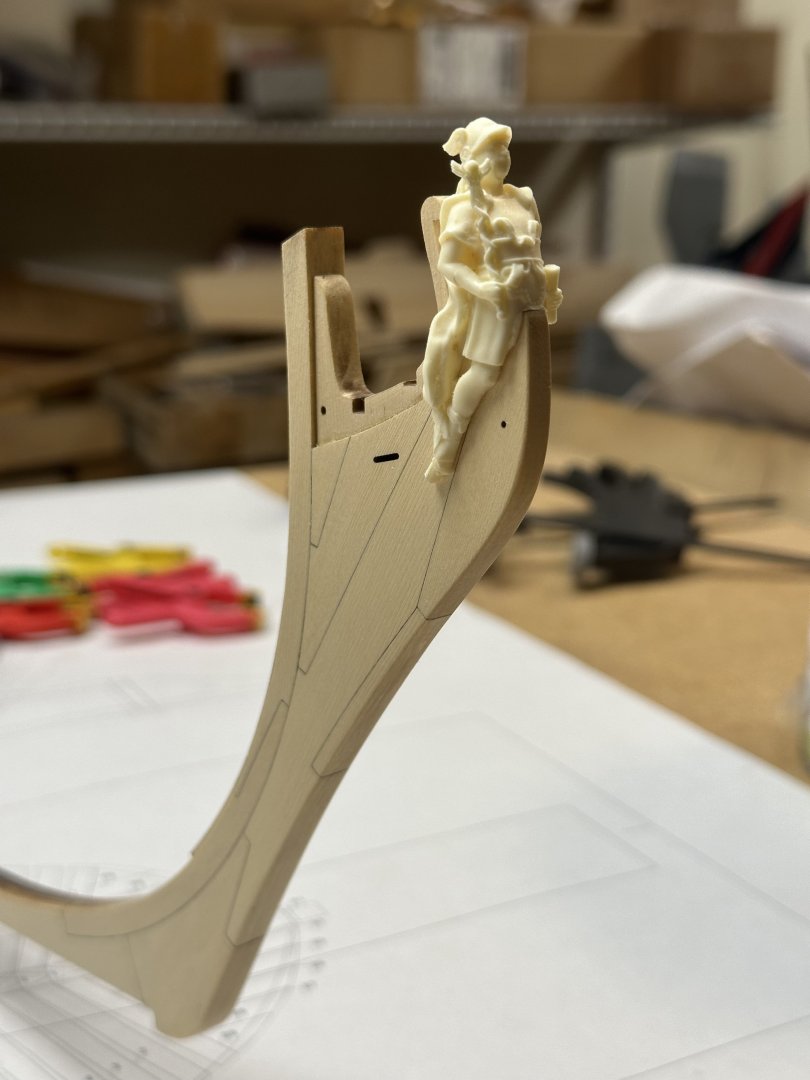
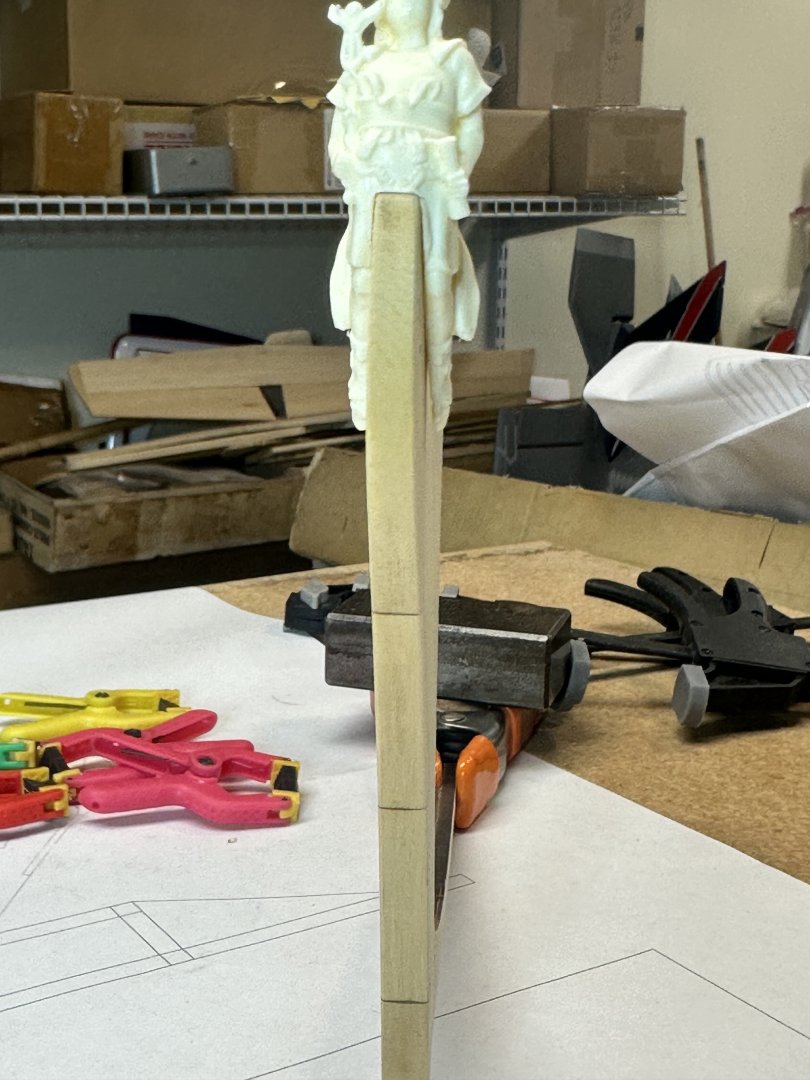
My first stem tapering with a figurehead. Thoughts? Also, how much of a radius should the stem have? I just knocked the corner off for now. Best Regards …. Rick
-
Very nice Rusty! Best Regards …. Rick
-
Very clean and neat! Best Regards …. Rick
-
Thank you Rusty, it's been fun so far. Thanks to All for the Likes, much appreciated! Best Regards .... Rick
-
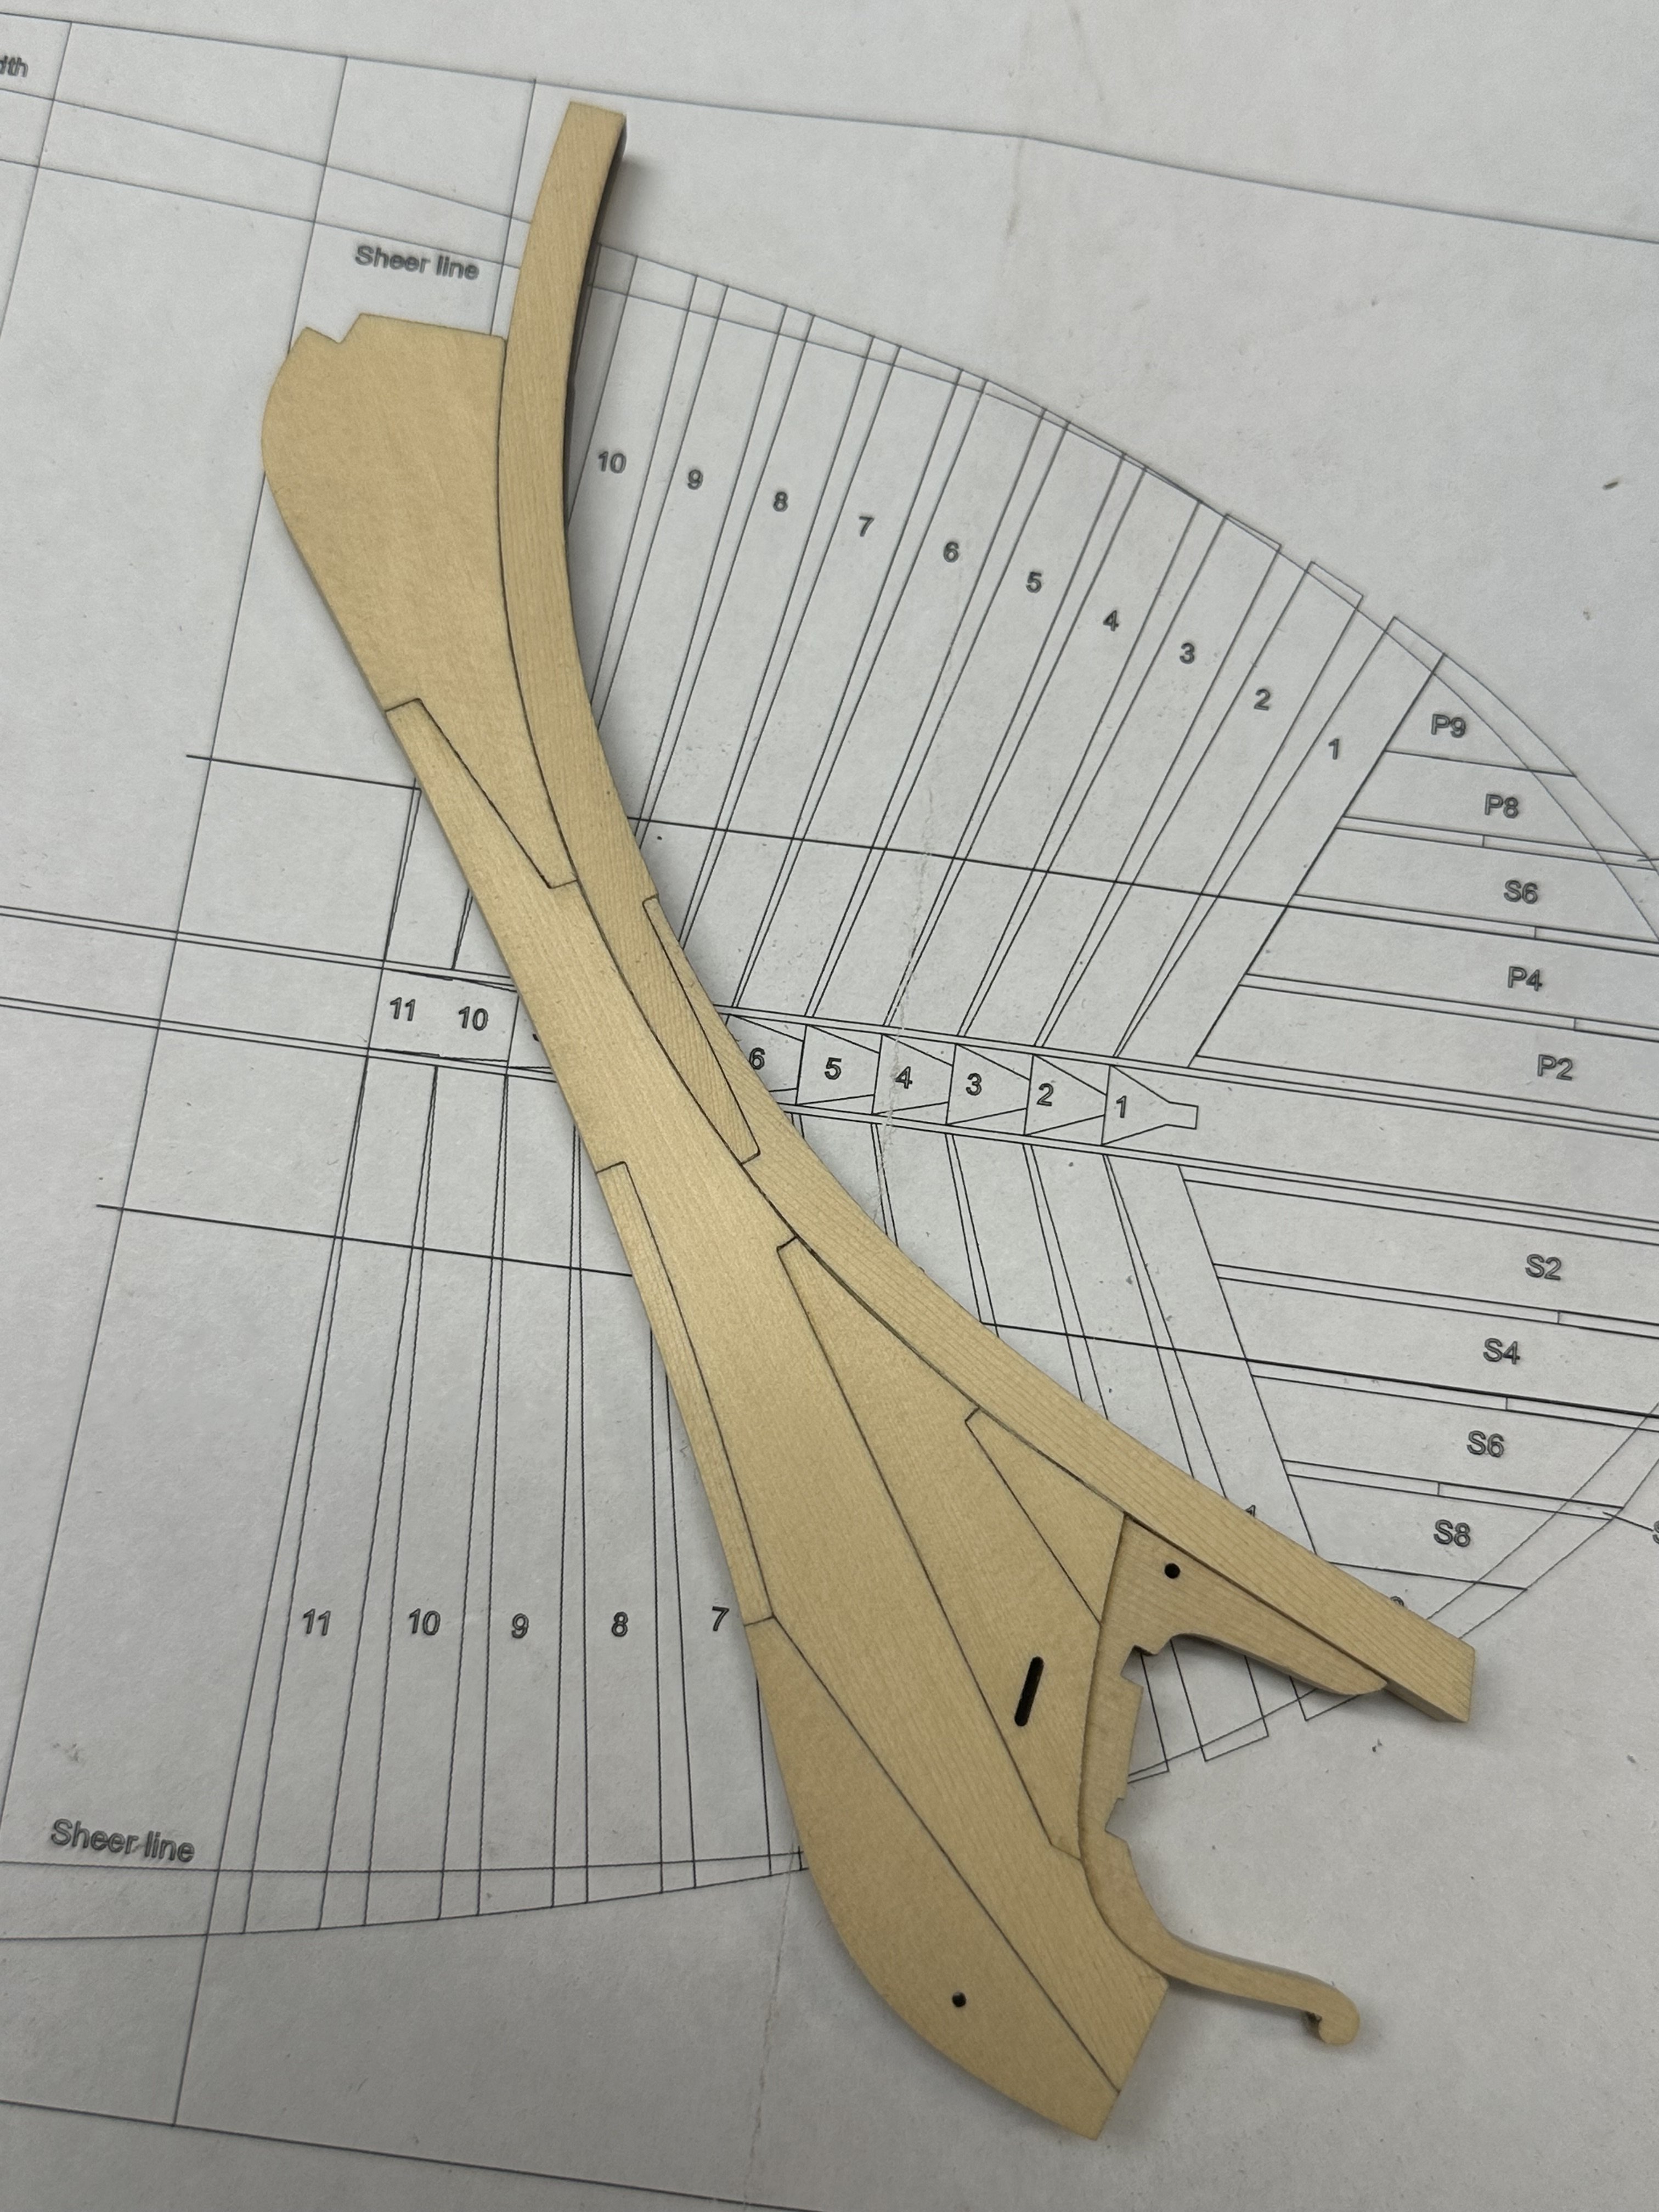
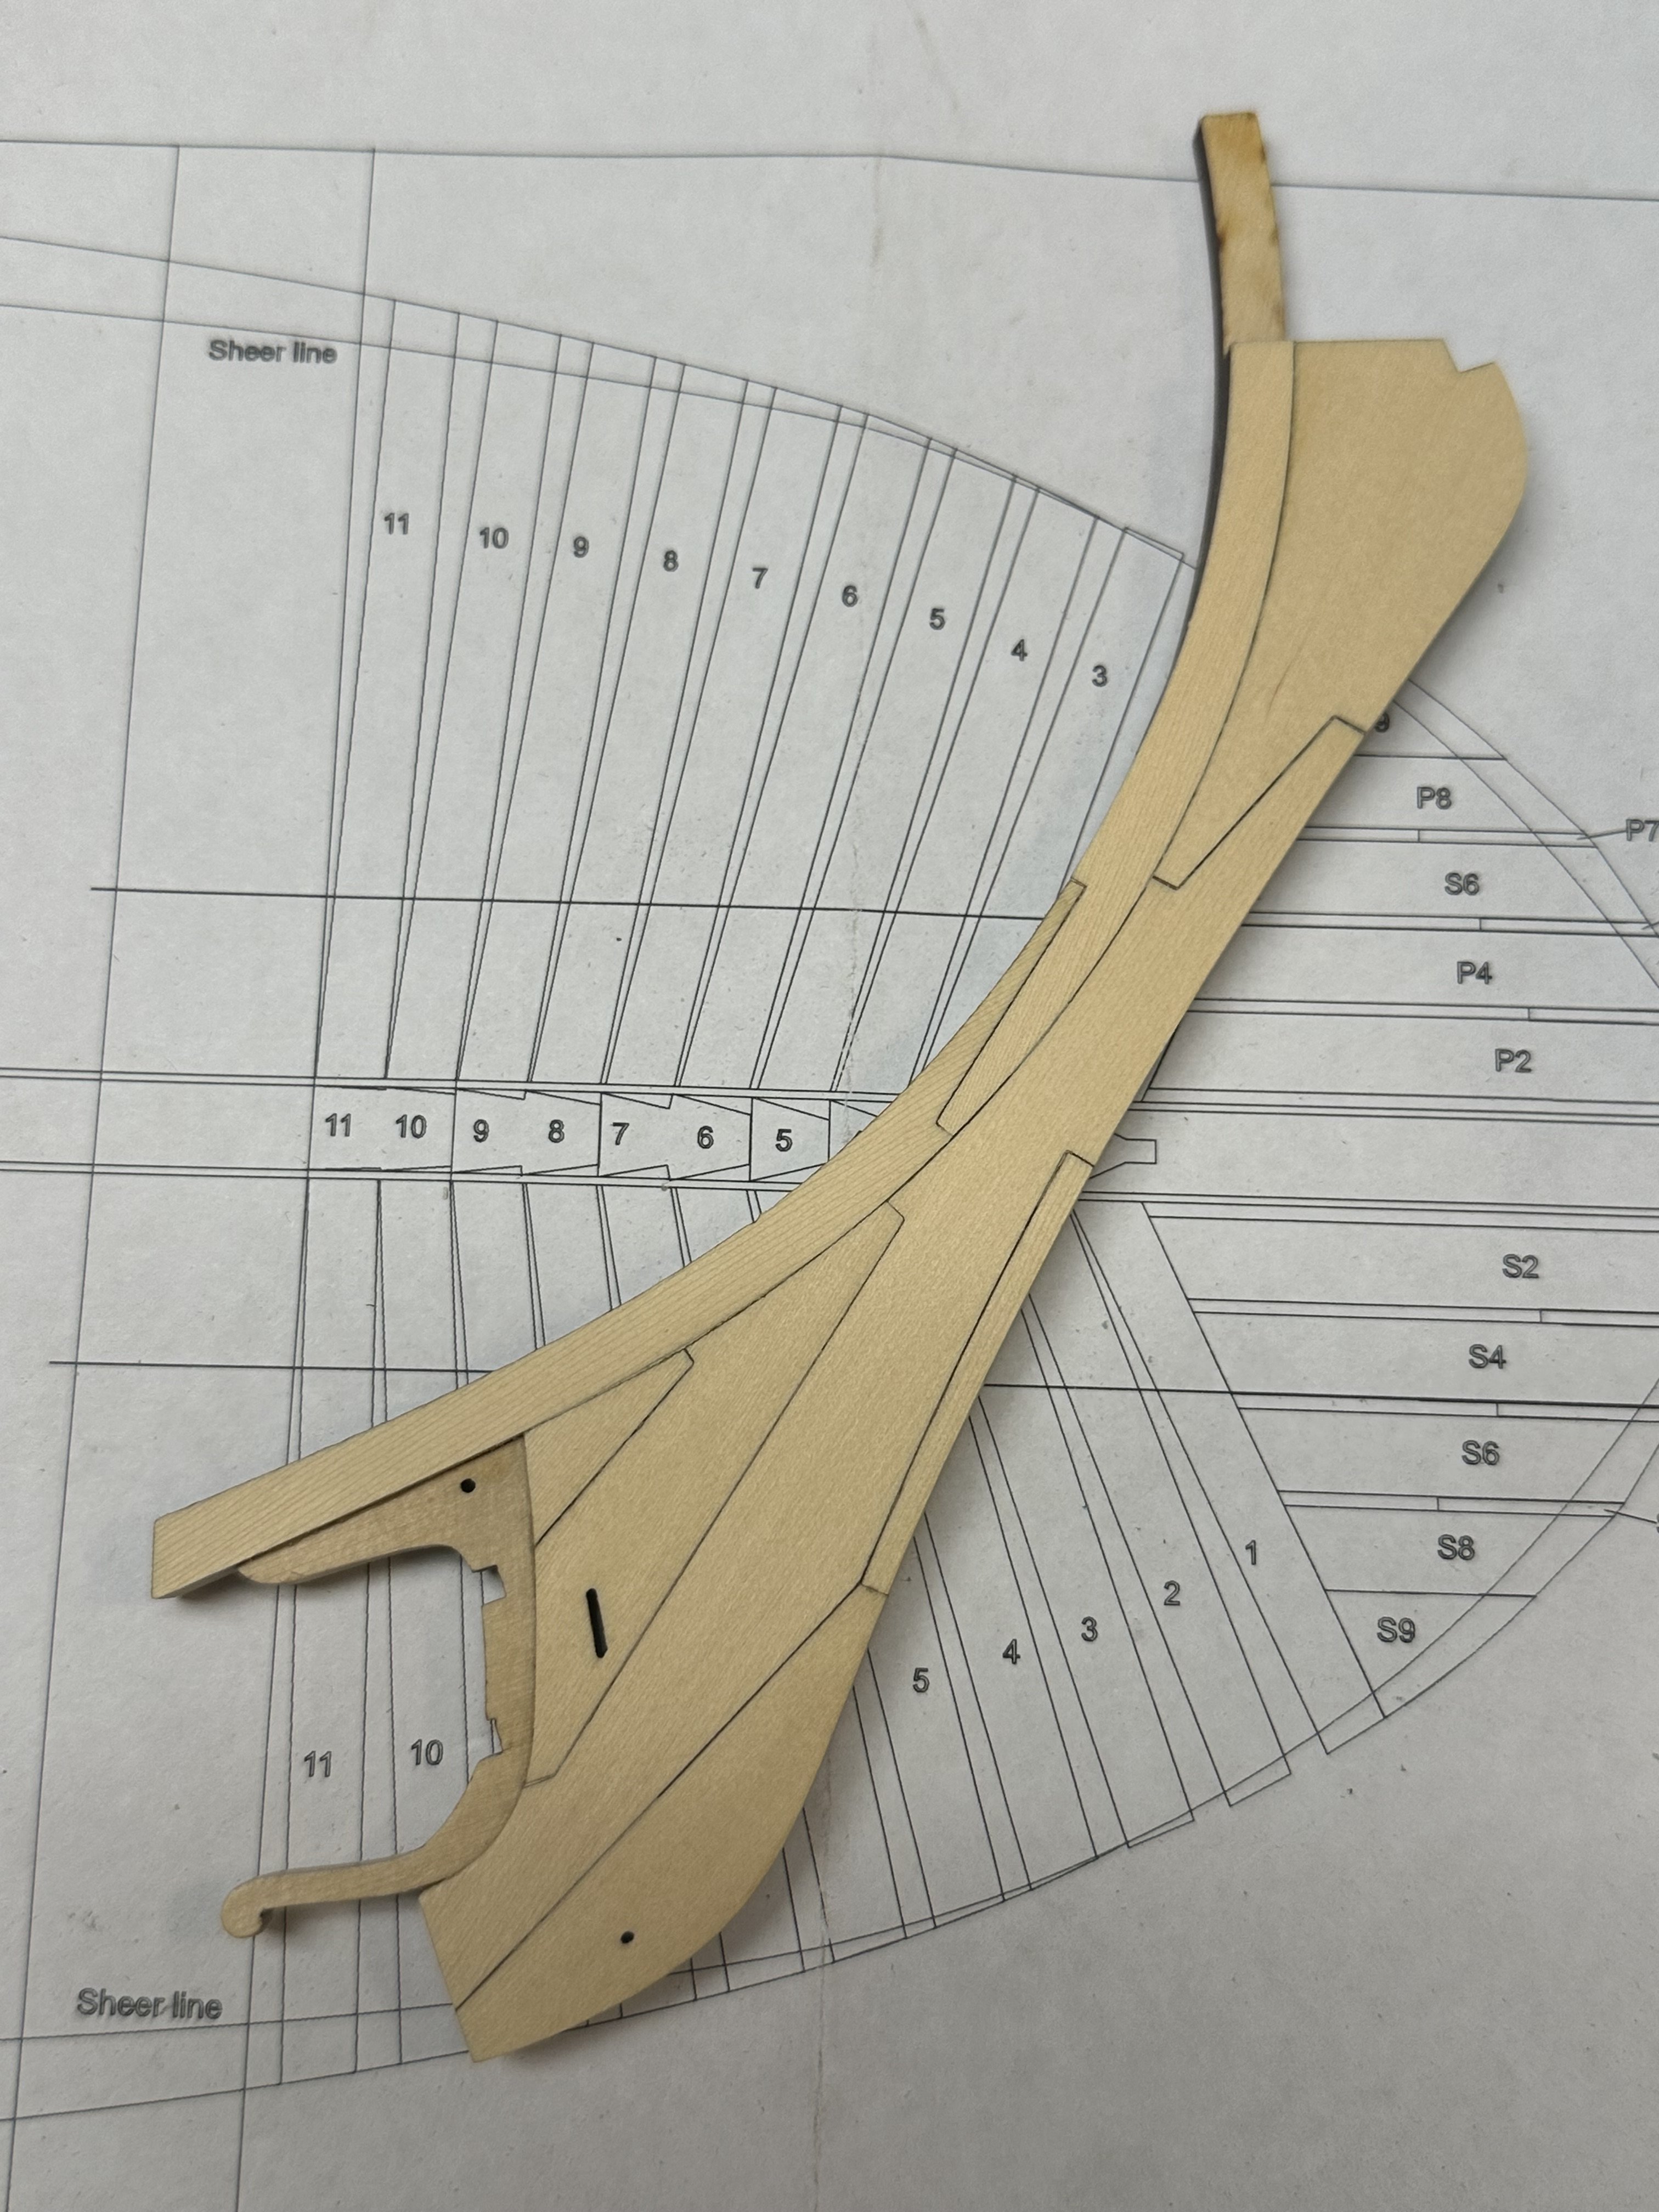
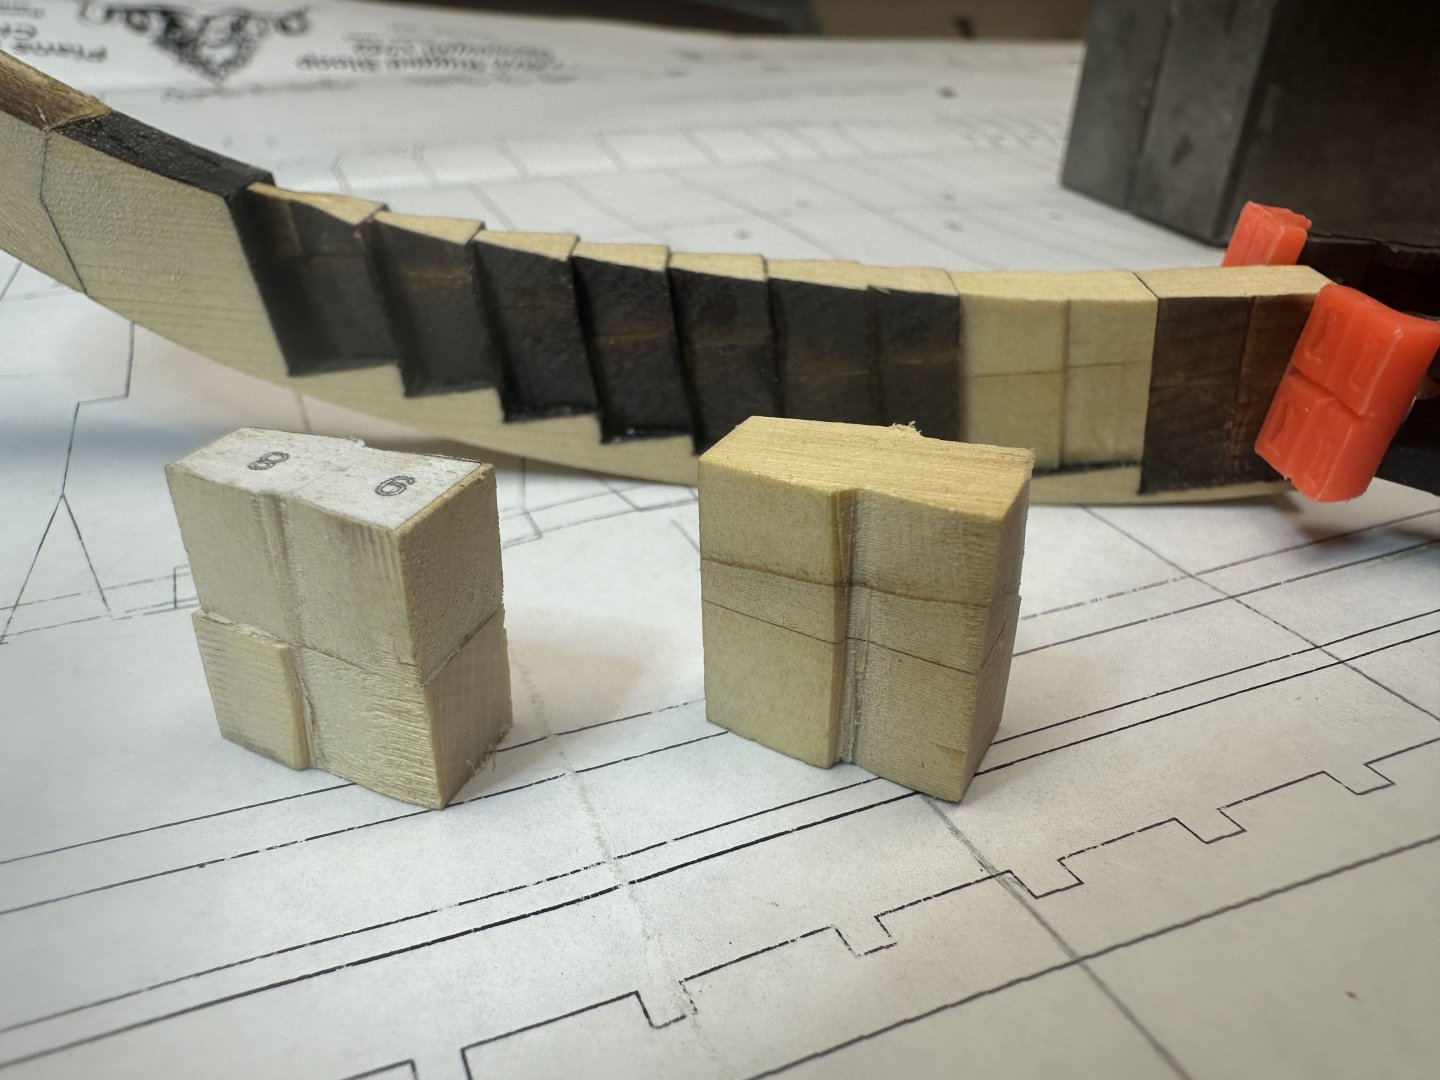
Here’s last night’s effort, the stem. It took a fair amount of time to get the parts to fit well, the angle cut of the laser is a bugger and careful sanding is required to get gap free joints. I mostly used a file and sanding sticks, I also used with excellent results my Byrnes 4” sander (RIP Jim, we miss you) for trimming down the joints that Chuck points out is his build. Overall it was a pleasant experience. Now to start the taper... Best Regards …. Rick