Freebird
Members-
Posts
334 -
Joined
-
Last visited
Content Type
Profiles
Forums
Gallery
Events
Everything posted by Freebird
-
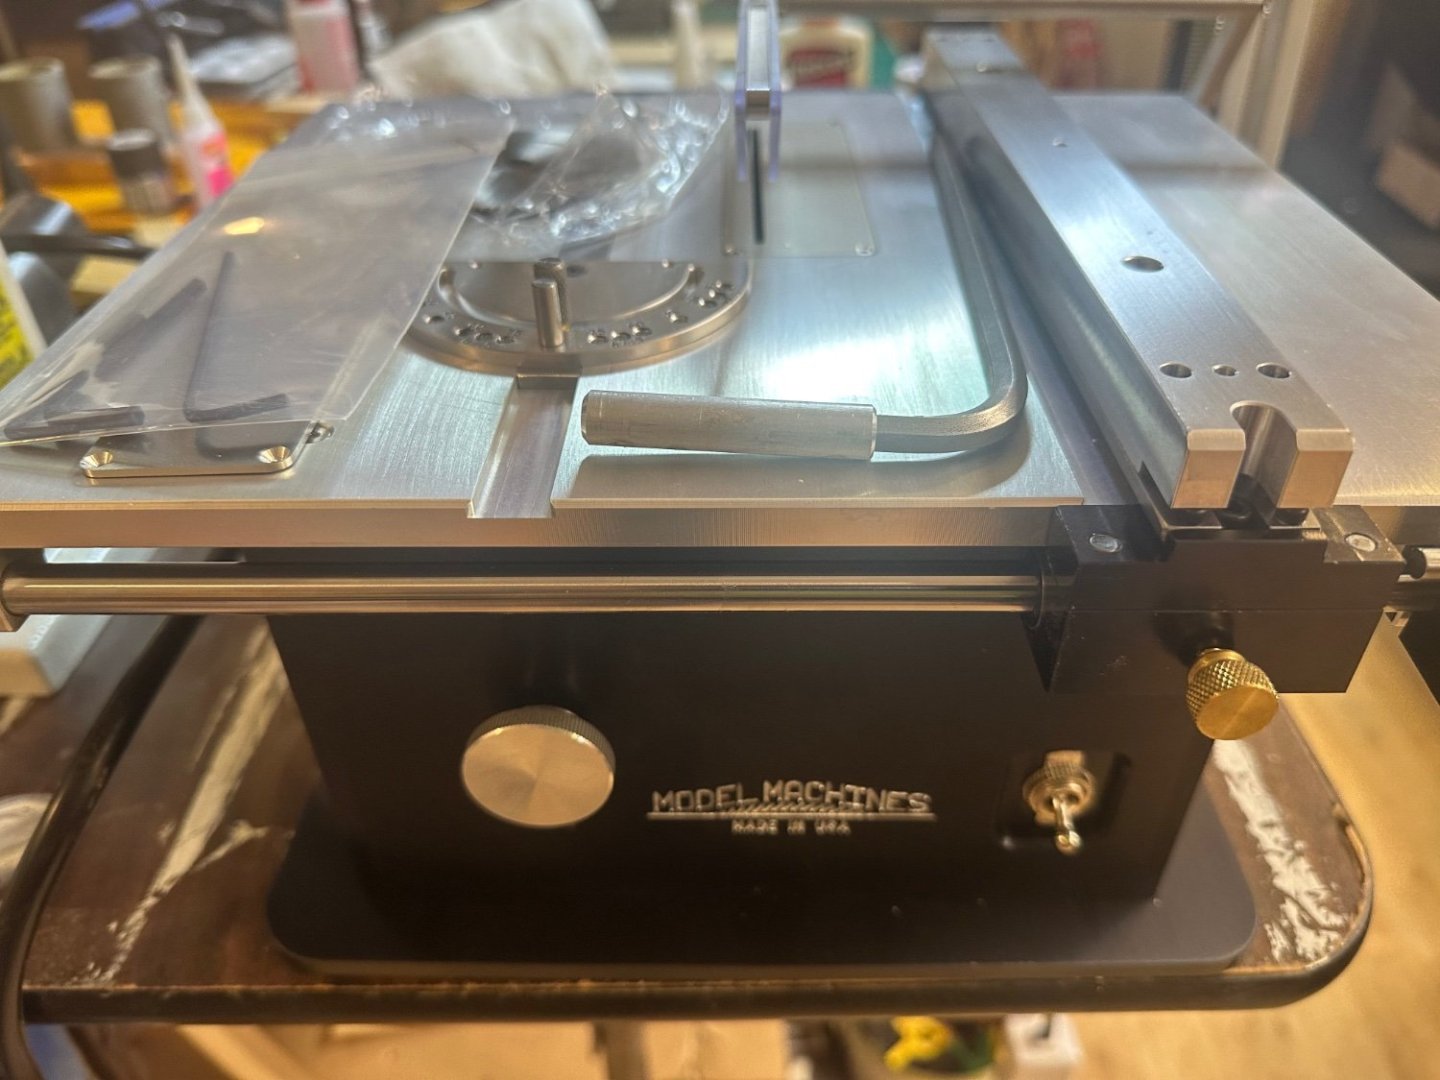
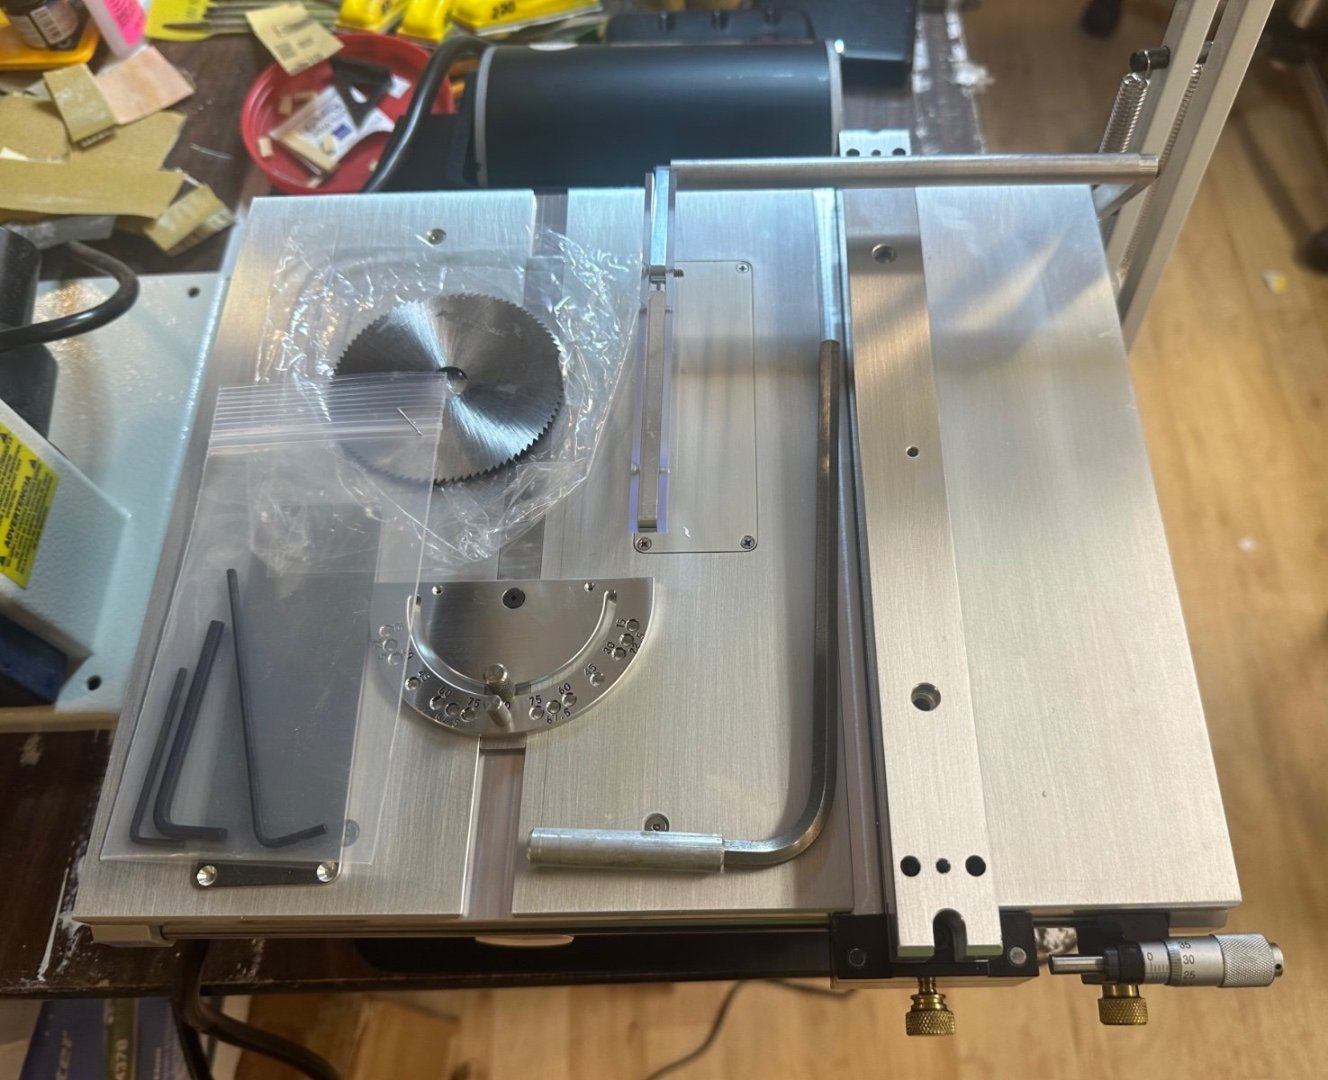
Well, UPS just dropped off a fairly large and heavy box. I forgot that my birthday is a week away and my Admiral surprised me with a fantastic and unexpected gift, a Byrnes table saw and some accessories! Holy sawdust Batman! She knows that I’ve really gotten into ship modeling and how much I’m enjoying building. She also knows the value of quality tools. She’s a keeper! Best Regards …. Rick
-
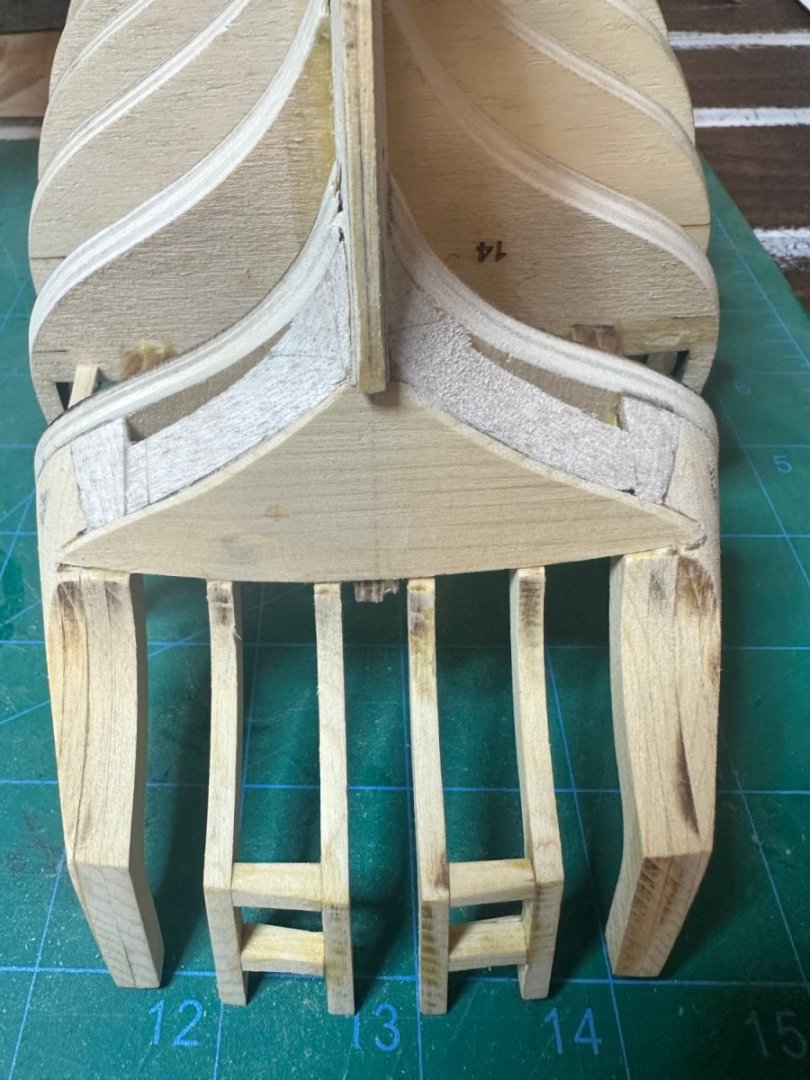
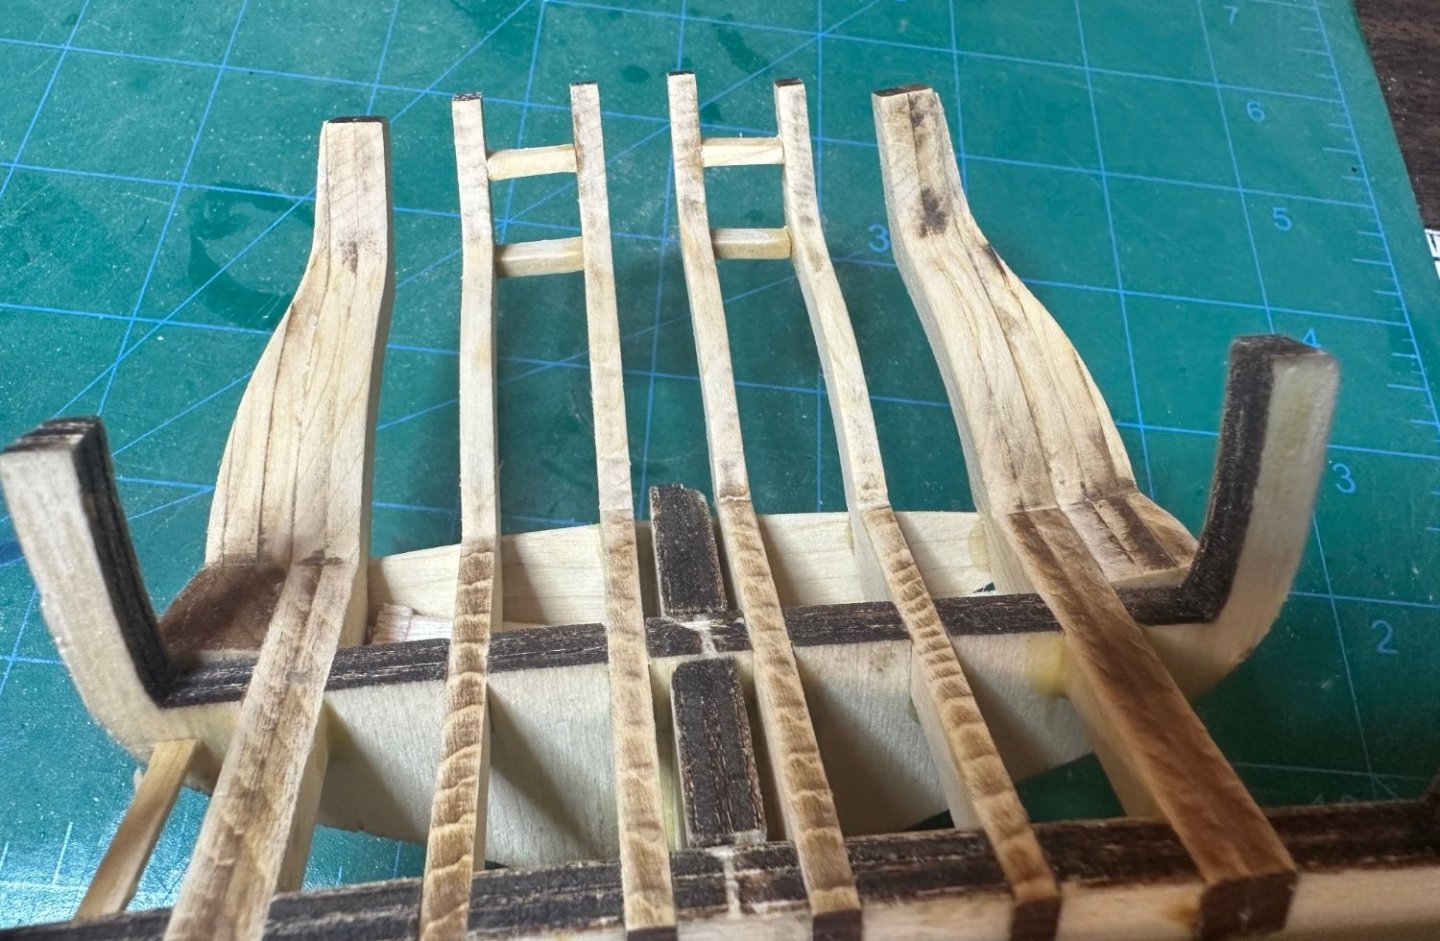
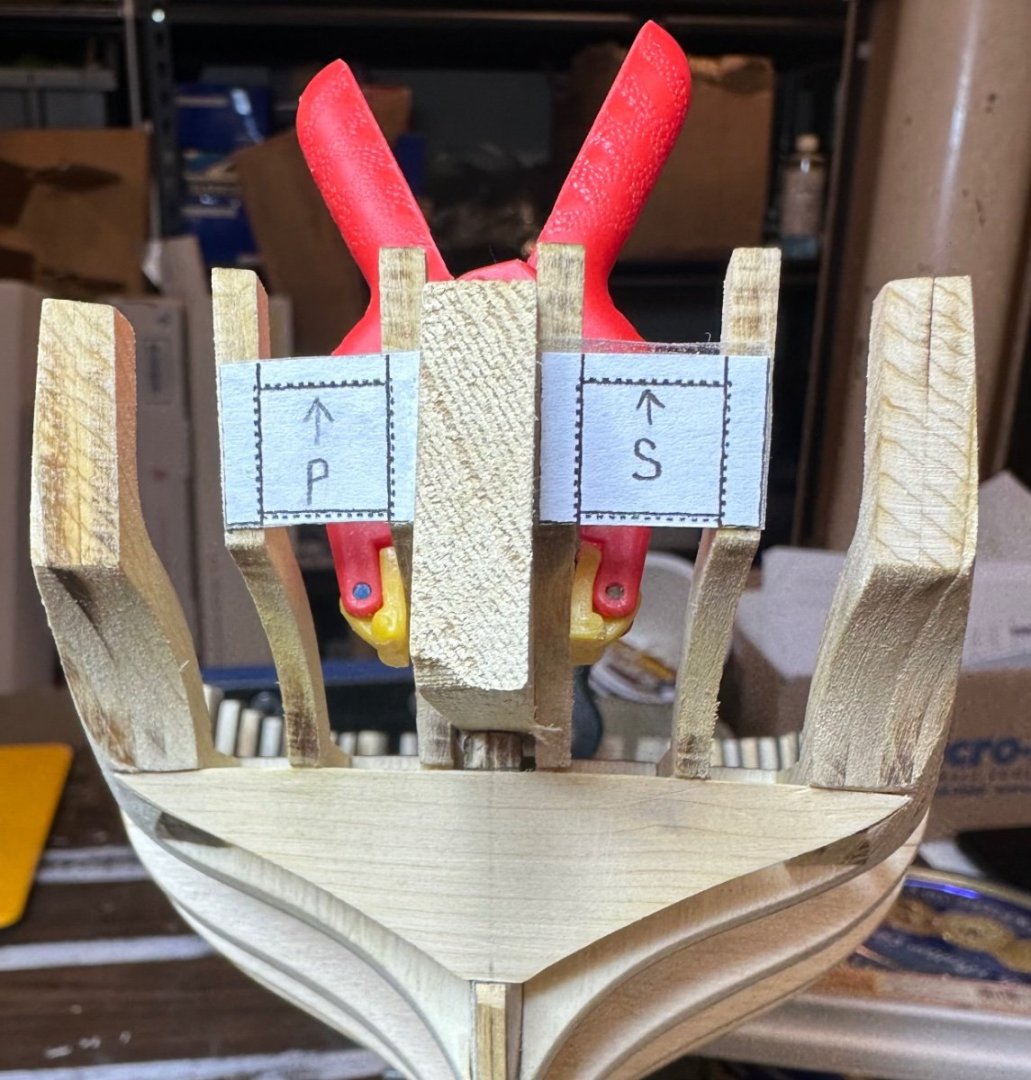
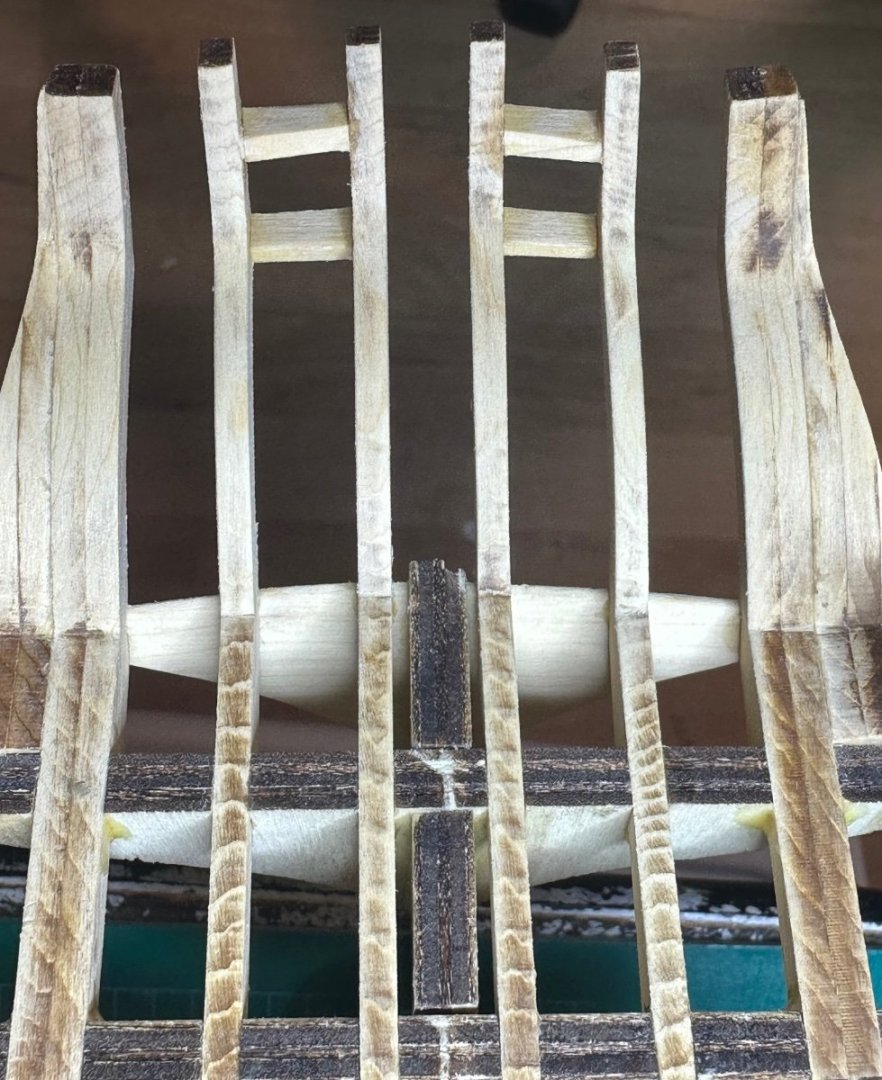
First, let me say that I’m enjoying this build immensely! Next, I thought the gun ports were a pain, they ain’t got anything on the 2 ports in the transom, but I got’er done. I cut the ports from the stern template and used double-sided tape to position them on the frames. I also clamped a 5/16” board in between the 2 X frames to stabilize them. Four hours later, the ports are framed, lots of measurements taken to ensure they were equally positioned in relation to each other. The Byrnes disc sander is a huge asset for this type of work. This is my first time building a stern like this and I’m really pleased at the results. I’m really enjoying this build! Wait, I think I already said that, but it bears repeating. Best Regards …. Rick
-
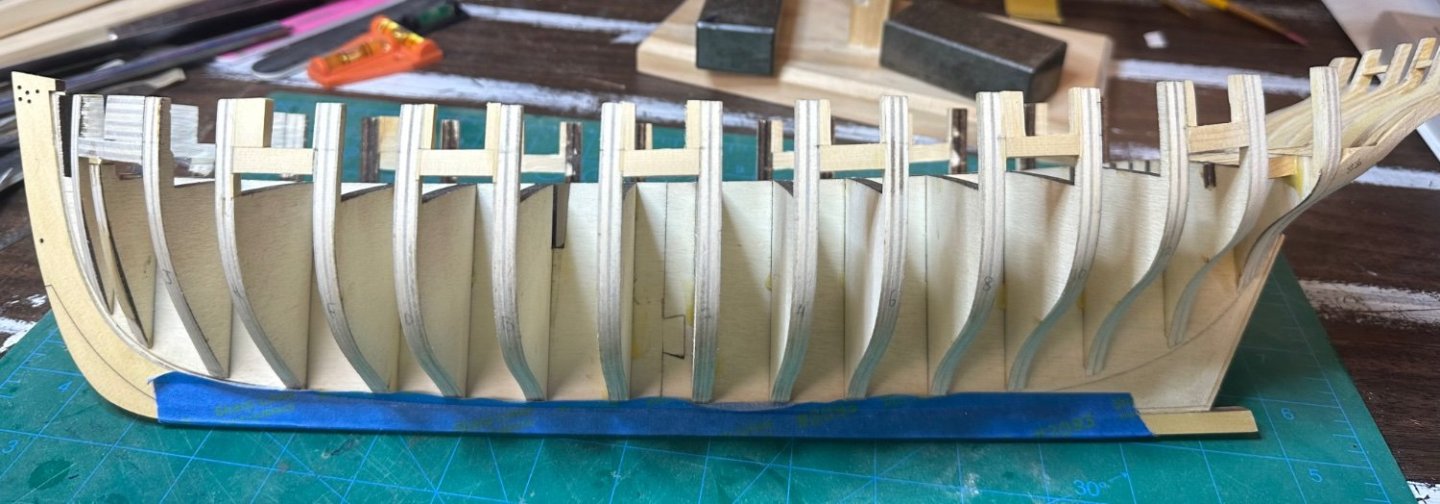
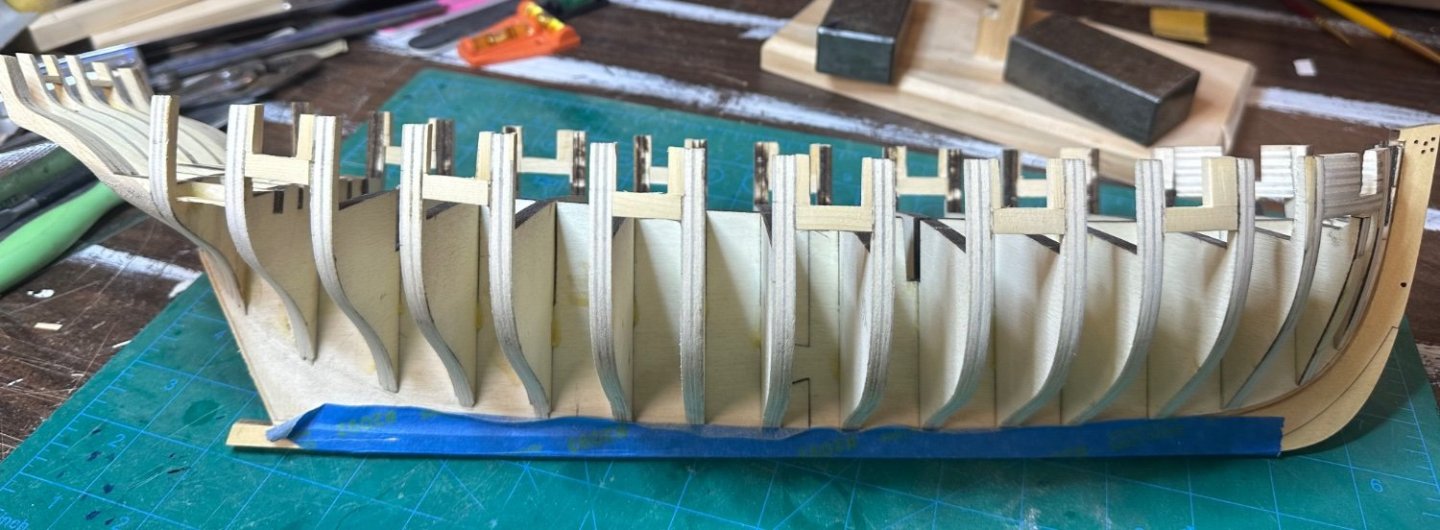
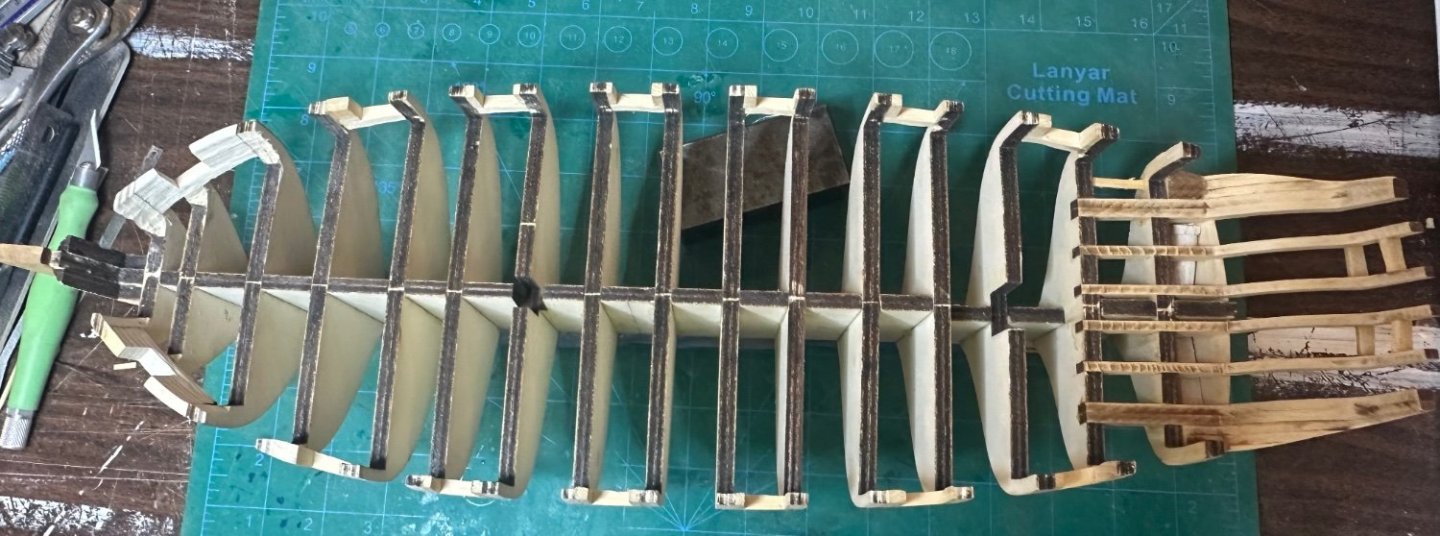
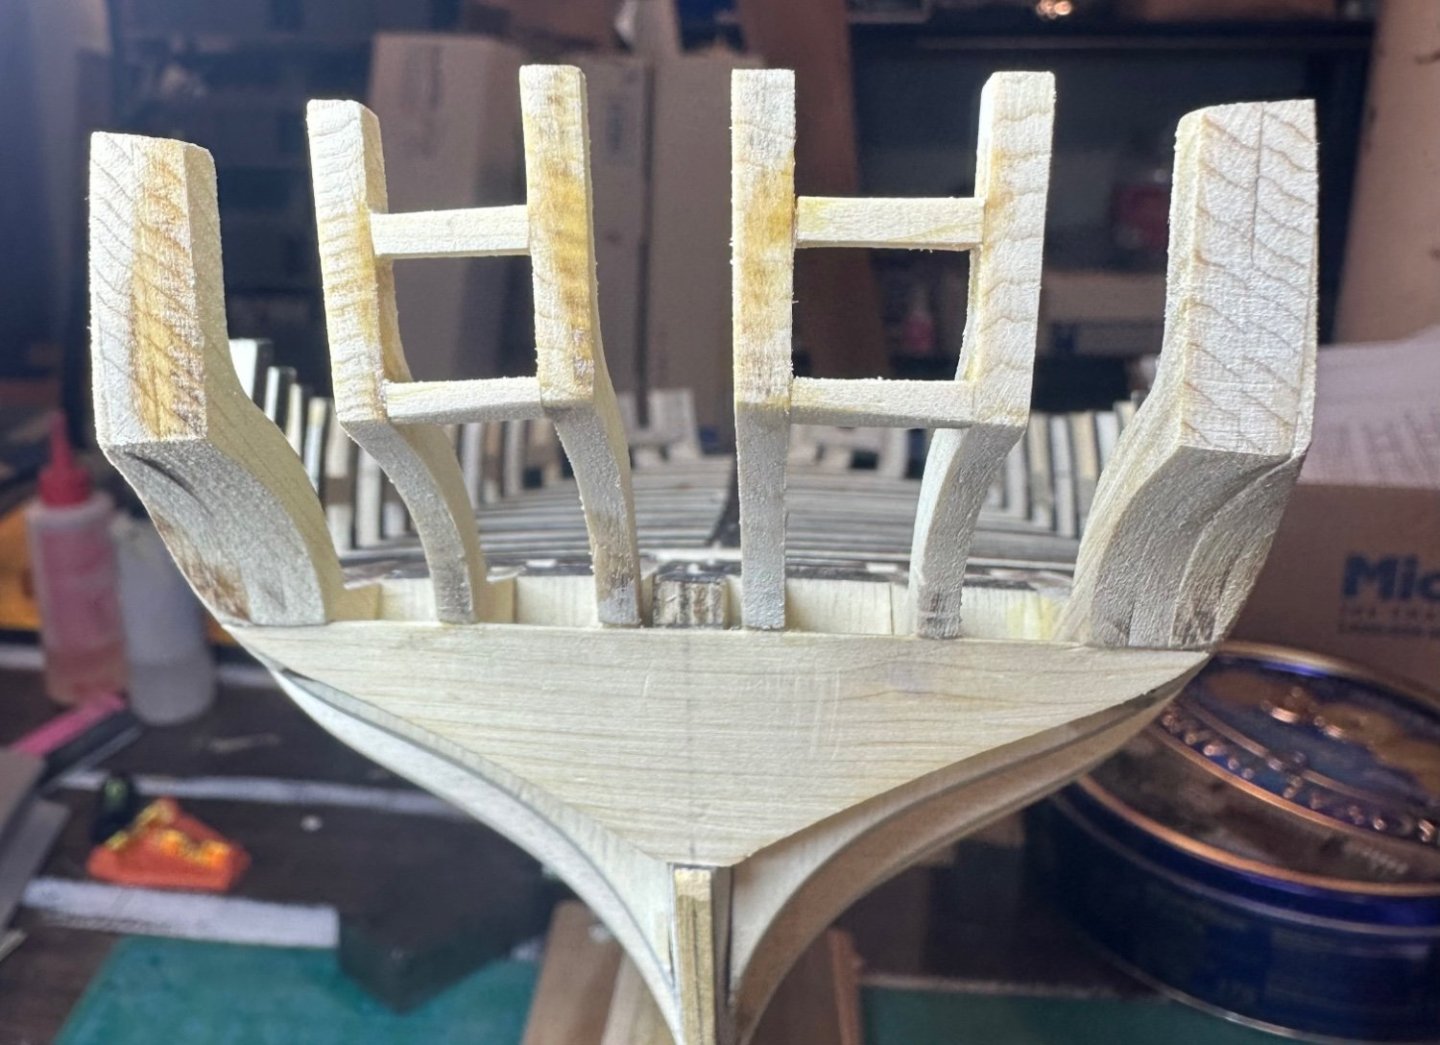
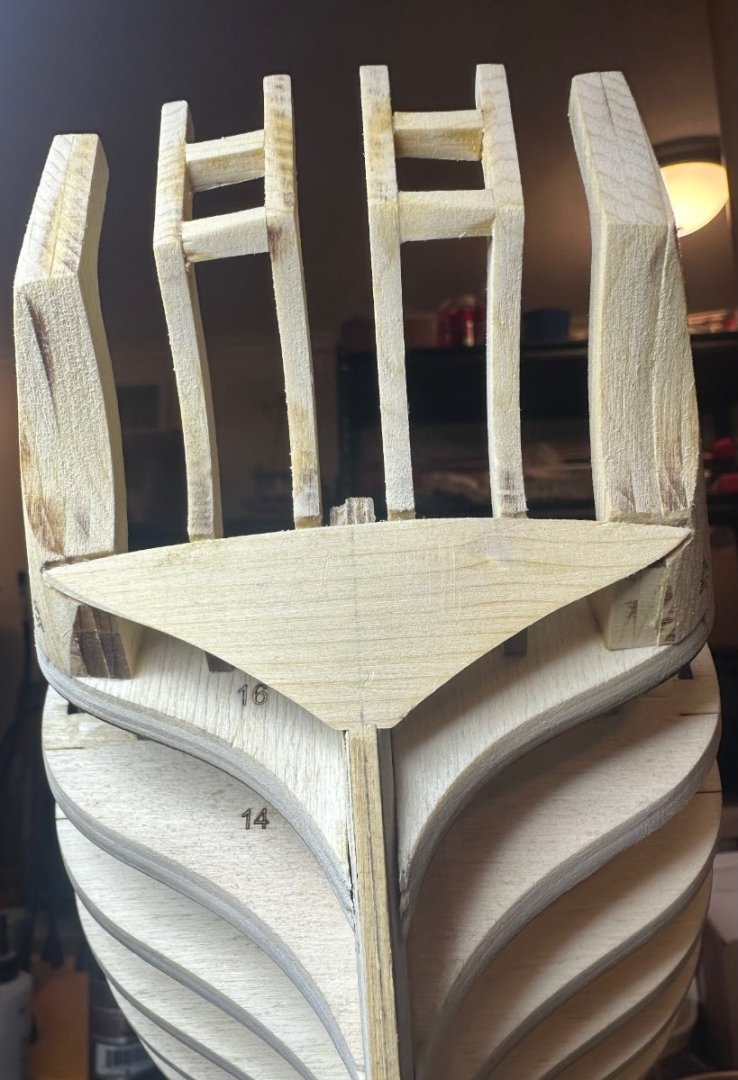
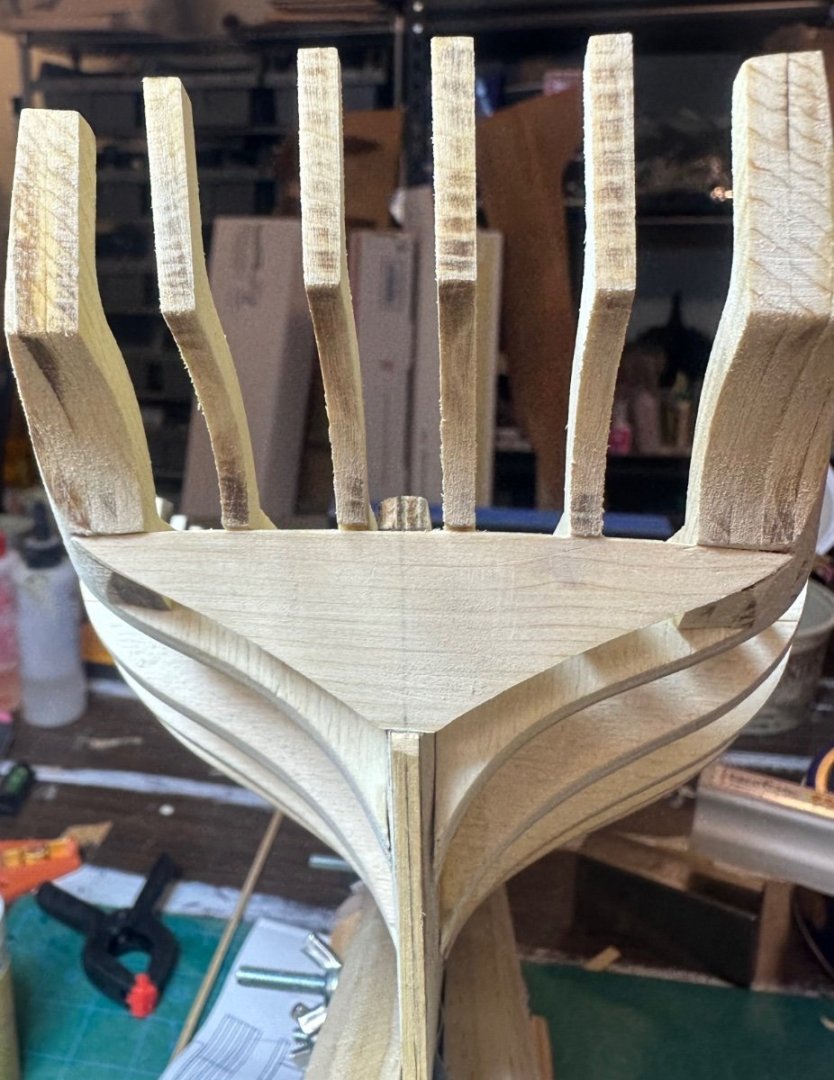
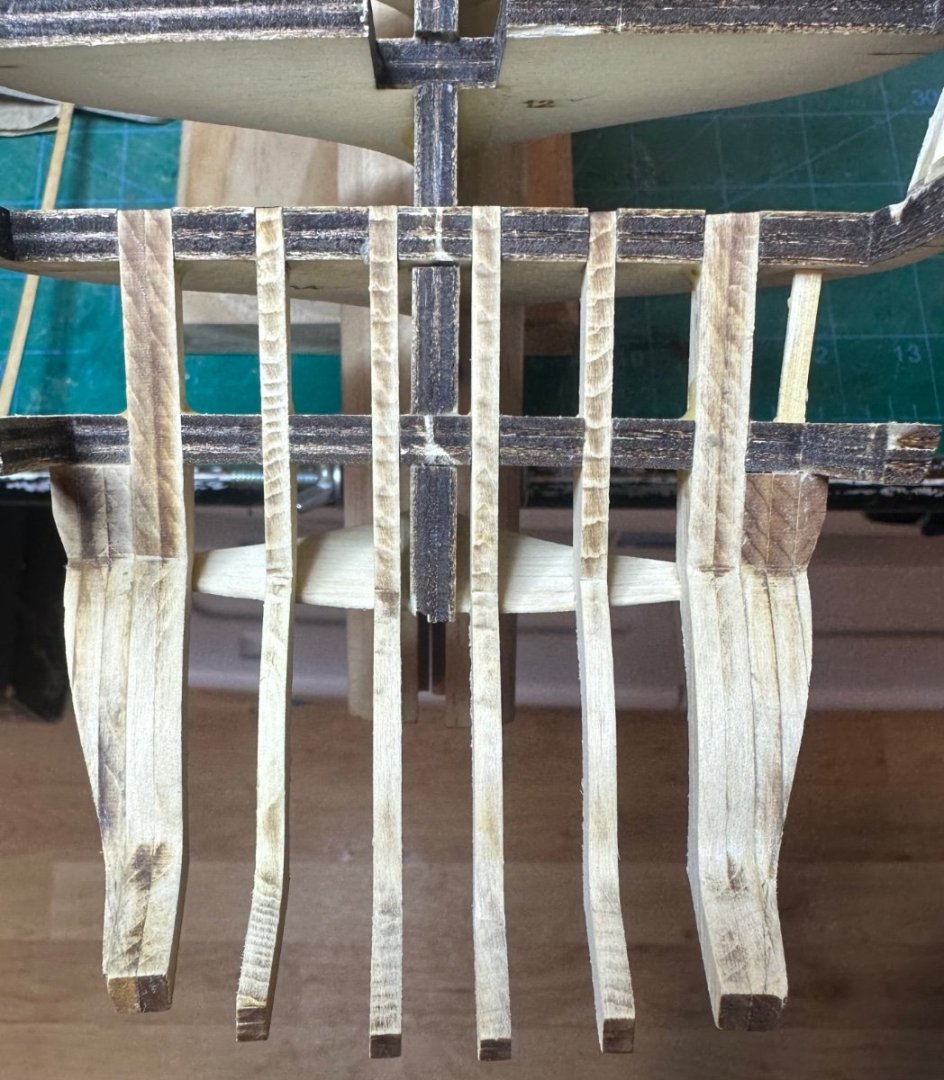
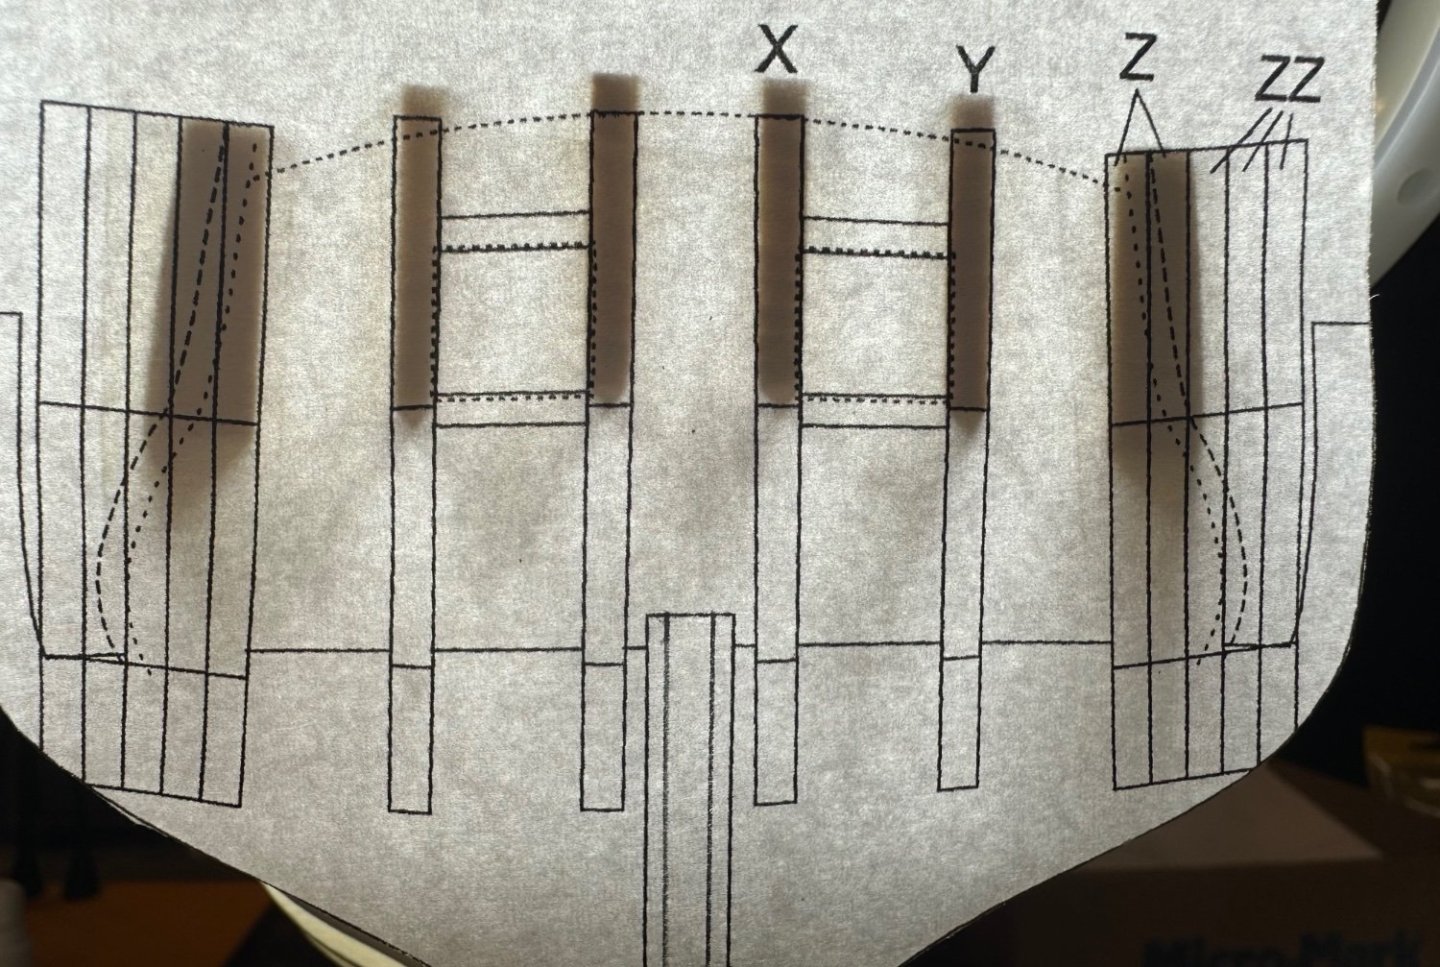
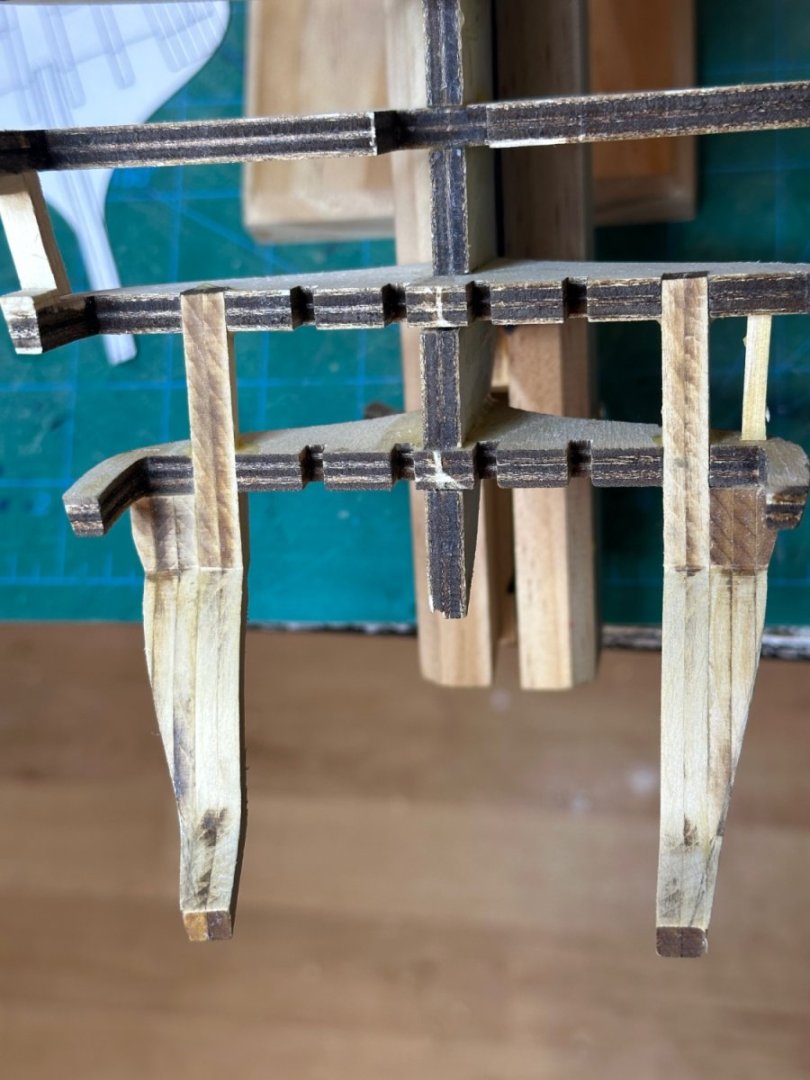
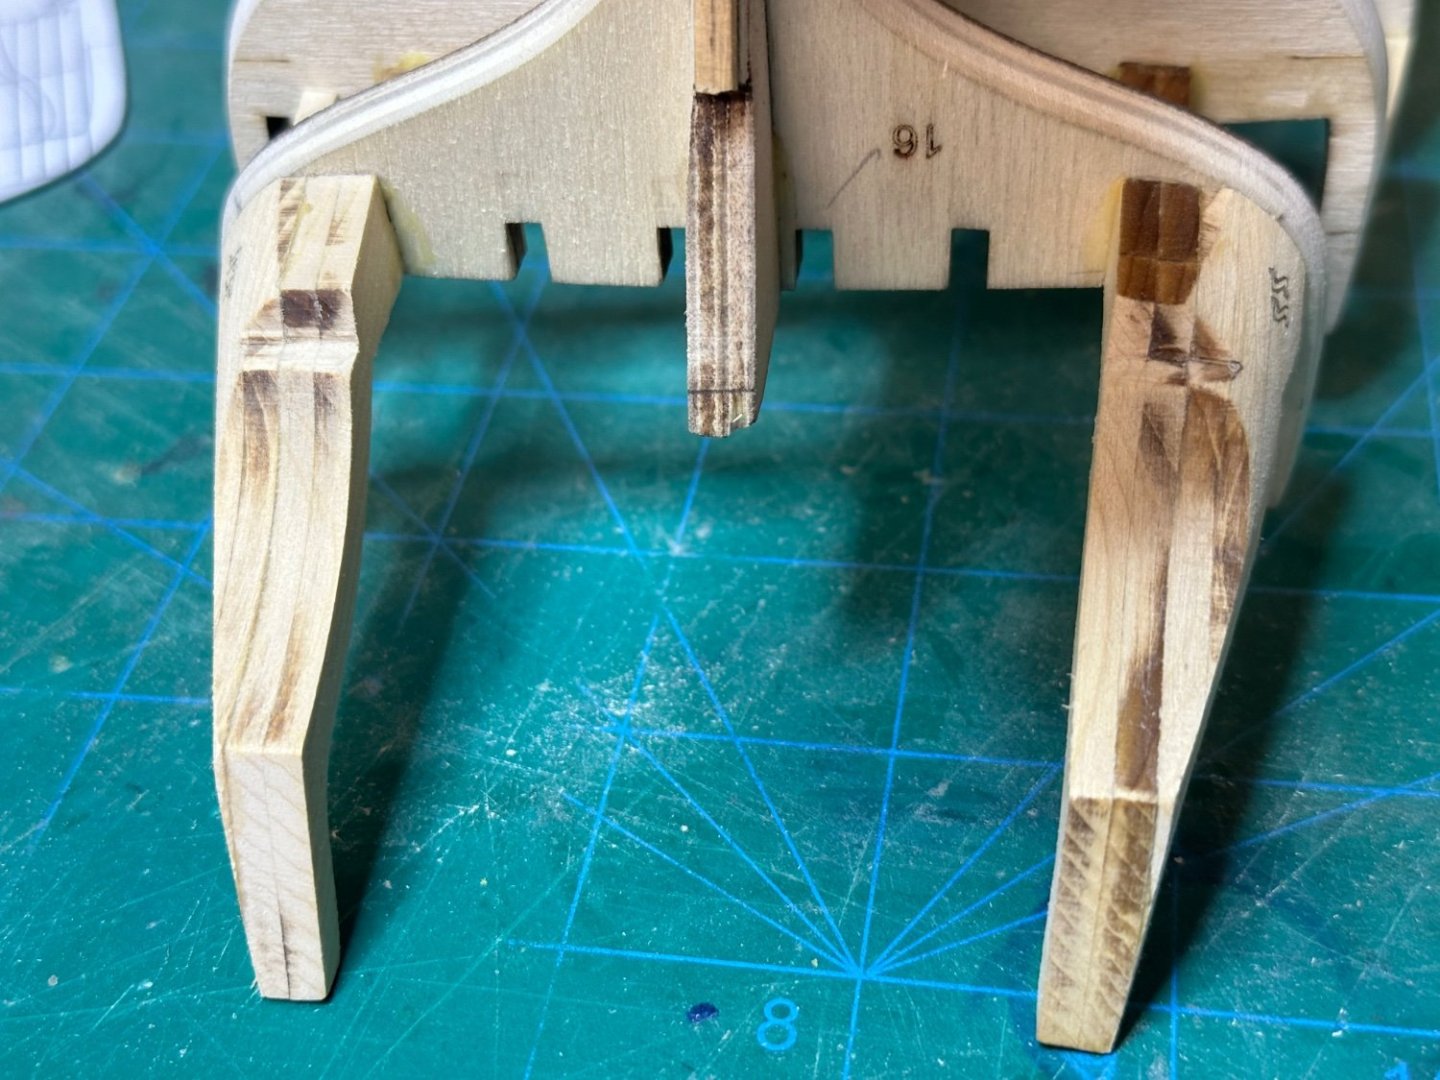
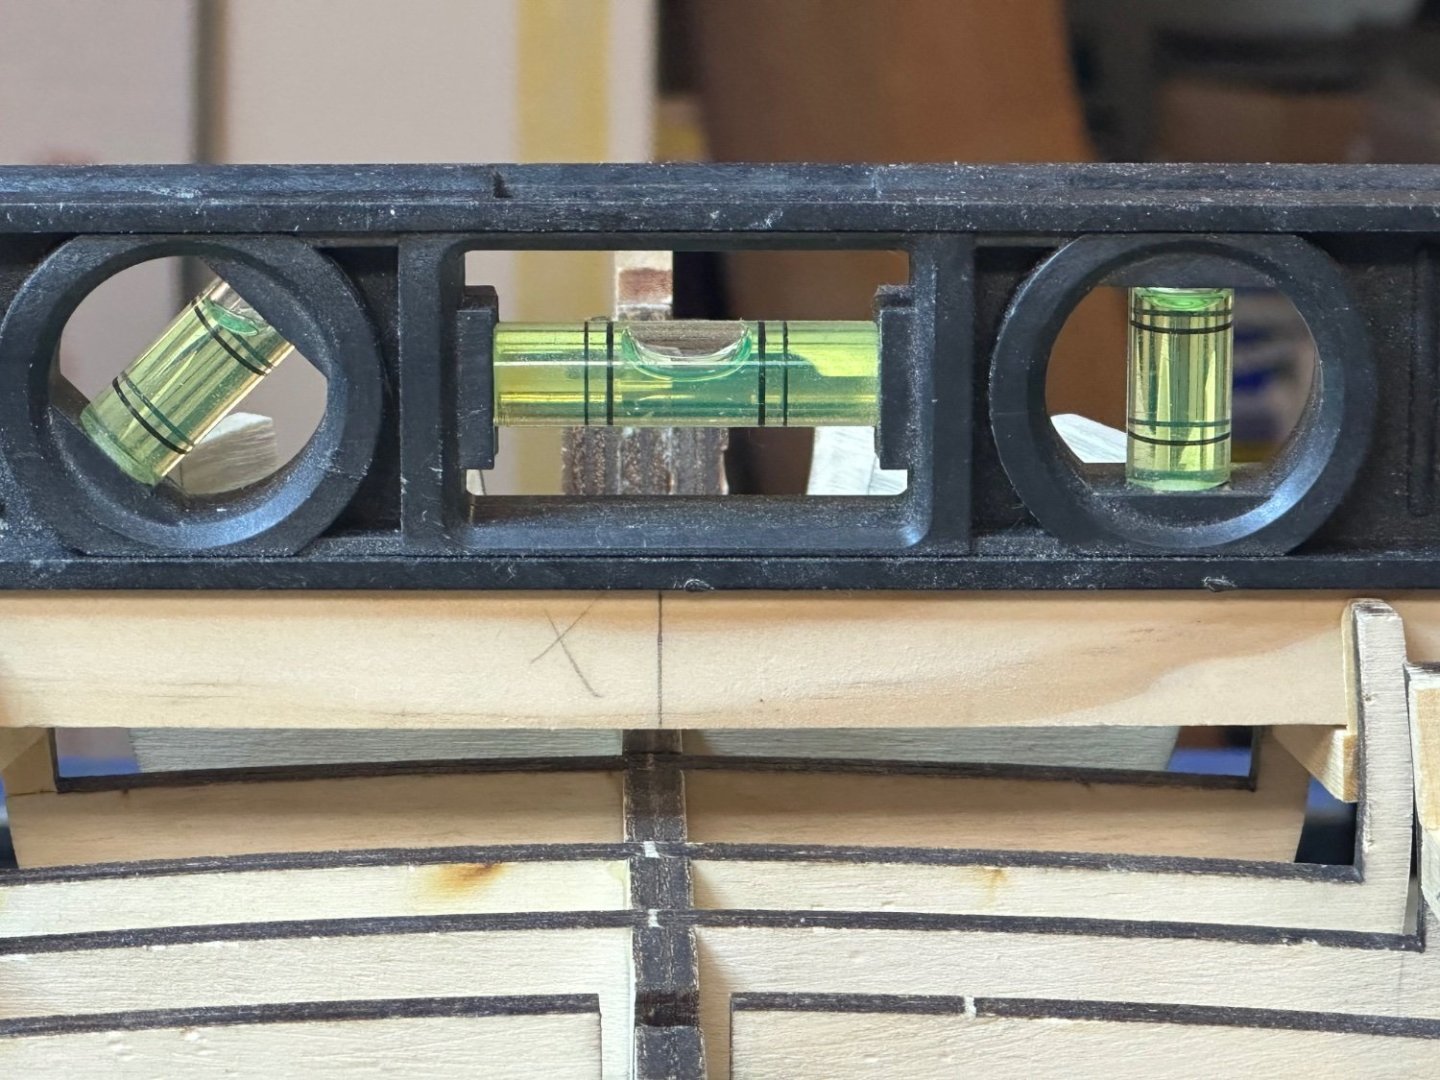
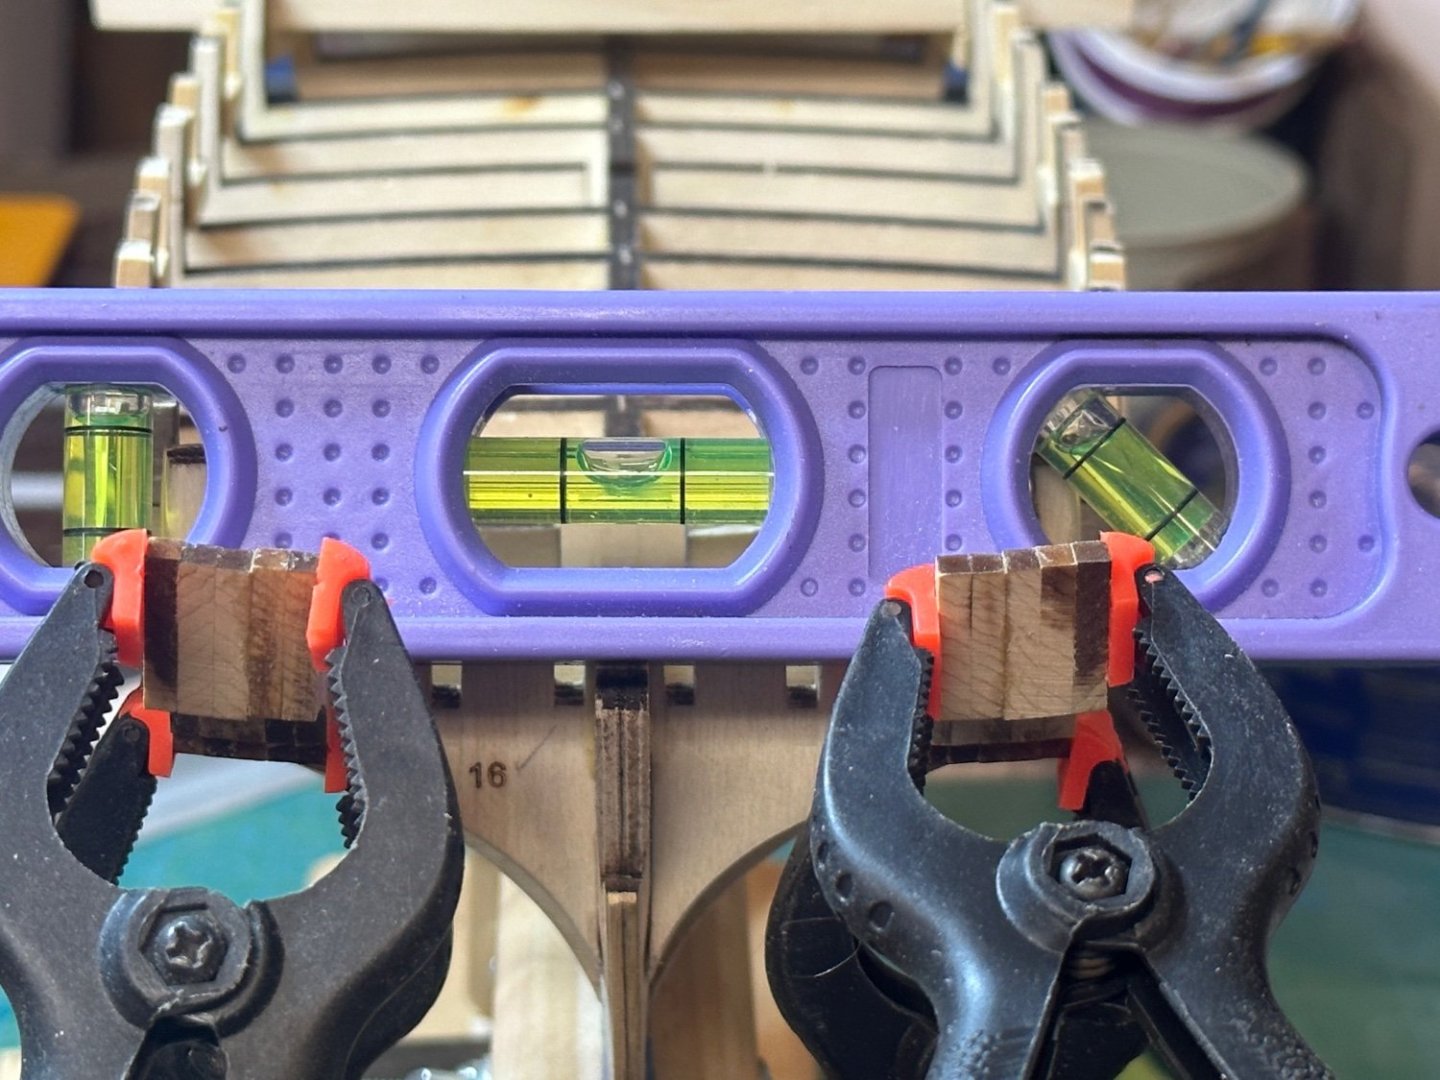
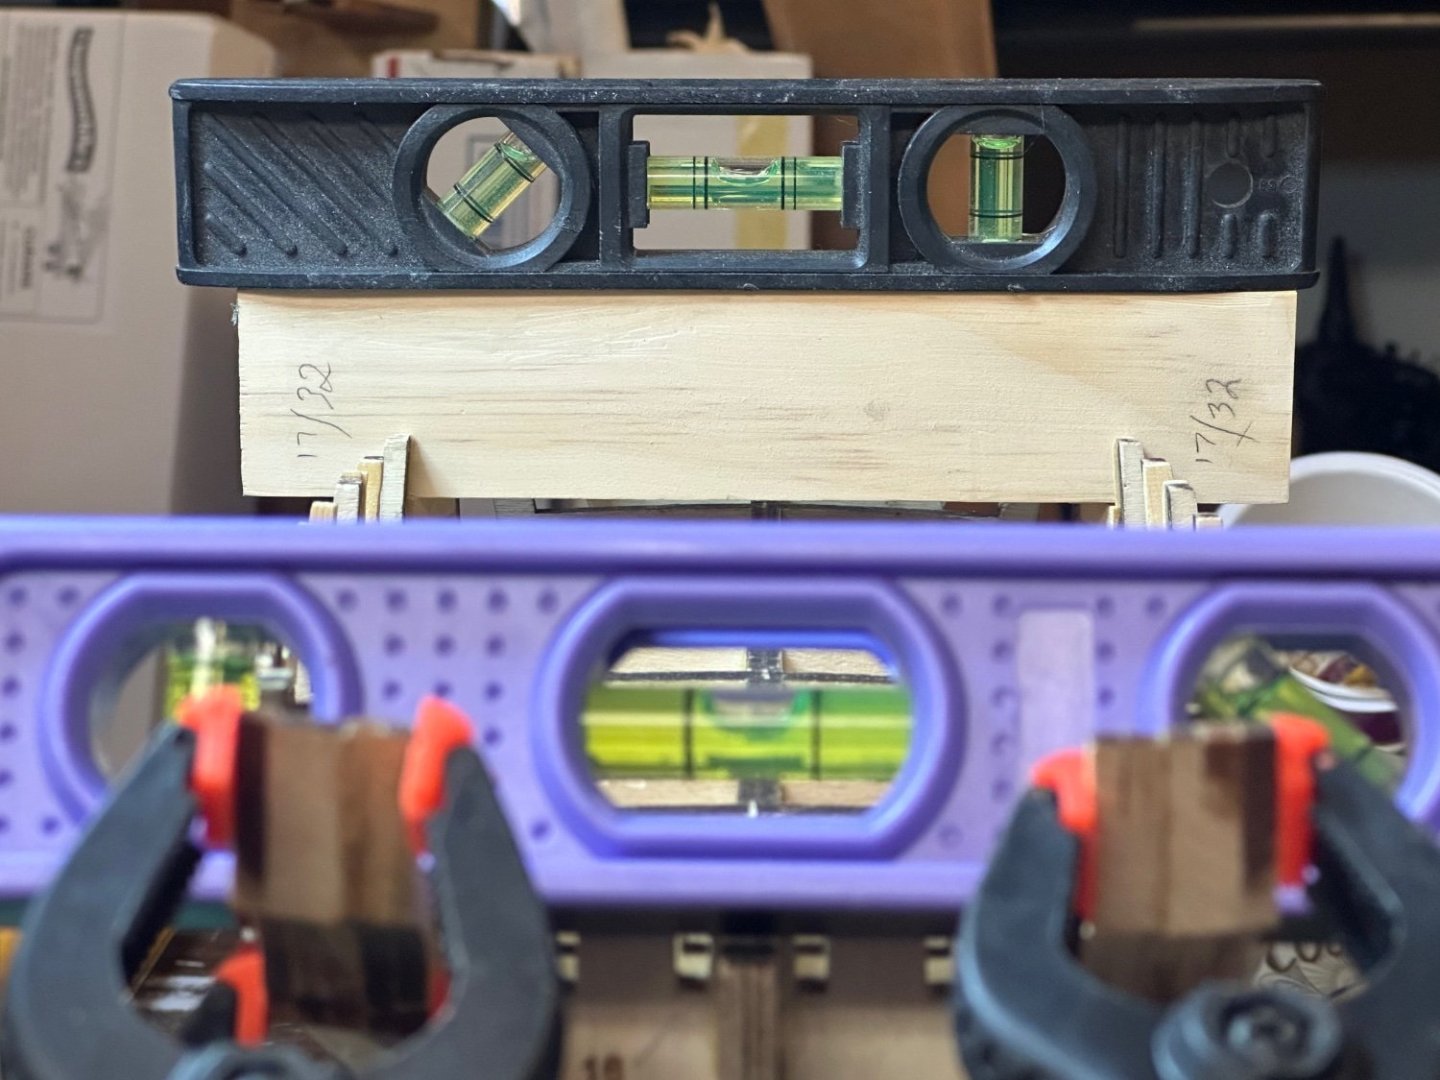
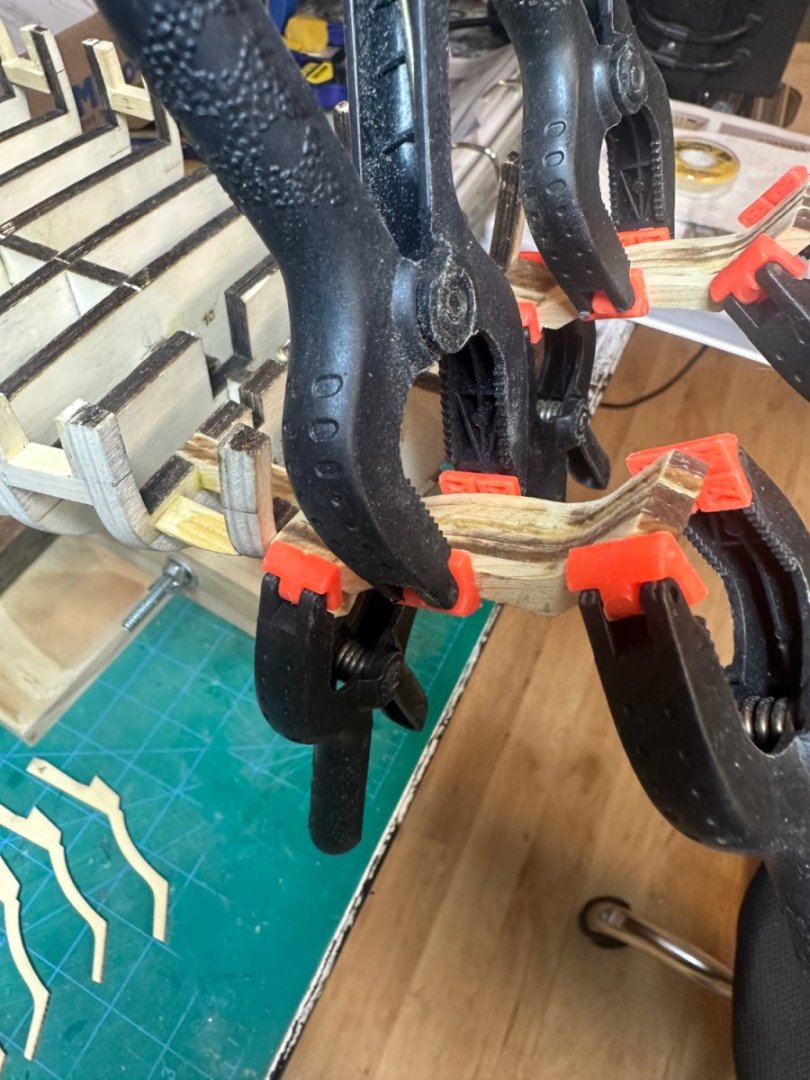
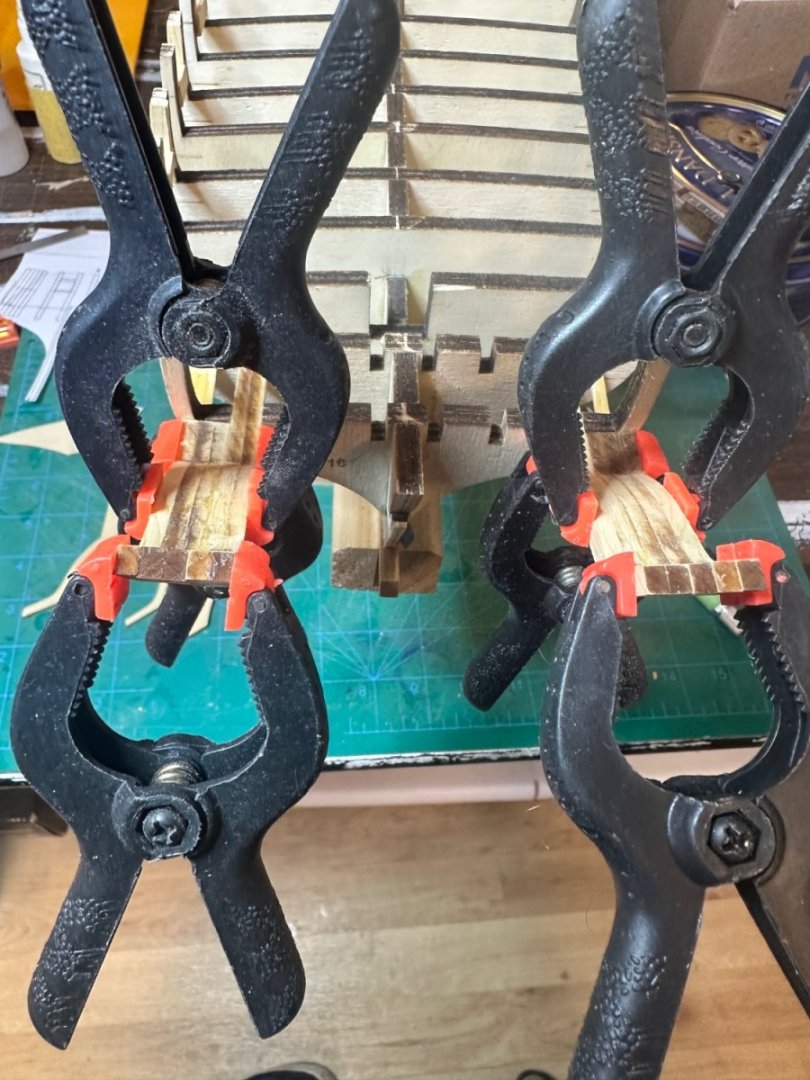
Started framing the stern. Z frames are laminated and glued into place. I used some bubble levels to make sure the frames were level with the bow and no adjustments were needed. Hard to see in the pictures, but all is level. I’ve also made the square tuck piece. Just need to fair the outer frames first and then glue the X & Y frames in place. Best Regards …. Rick
-
Thanks Diver, I think you’re more advanced than I am. This is my second build, first was Chuck’s Medway longboat, this is far more advanced than I thought. Thanks Captain, you’re more than welcomed to pull up a chair and follow along, I enjoy the company! There’s a lot of Cheerful logs with lots of great ideas to steal, err…..I mean to use. You’re going to love this build, such a pretty vessel with nice lines. Best Regards …. Rick
-
This marks the completion of chapter 1. Lots of rework required and a lot of measurements taken. Gun ports are a lot more complicated than anticipated. A few I messed up by over sanding (a bad habit of mine), and some were improperly installed. What ever didn’t measure up was removed and replaced. The sills have a nice flow and the battens sit snug on the bulkheads from stem to stern, no humps or bumps. I thinned the bulwarks to 1/8” before cutting the forward chase posts. All of this work is a new frontier for me and I’ve really enjoyed it! It took 30 days to complete this chapter, just some time here and there, no hurry needed here! Thanks to everyone for the likes and to those that have offered advise, much appreciated! Now onto another first, the stern. Best Regards …. Rick
-
Thanks Glenn for the sage advice. Gun ports is something I’ve never done before, and it’s quite a challenge. I’ve been looking at build logs, including yours, for ways to get them ship shape. I’m having a lot of fun with this build and it’s teaching me a lot for when I get to my Winnie. One thing I really like about Cheerful, is the amount of bulkheads, I think it made fairing easier to get a nice flow. Also, just for giggles I put the stern parts on the hull to see what’s it going to entail. I can already see that there’s a lot of room to mess things up. Again, this is a first for me. Best Regards …. Rick
-
Ok, who ever thought that gun ports on model ships was a good idea should be hanged from a yardarm! I’m a pretty good modeler, but gun ports have brought me to my knees. They’re a whole lot more work than I anticipated. I had to tear out some sills (only 2) and several port uprights. Lots of lessons learned! Stay tuned! Best Regards …. Rick
-
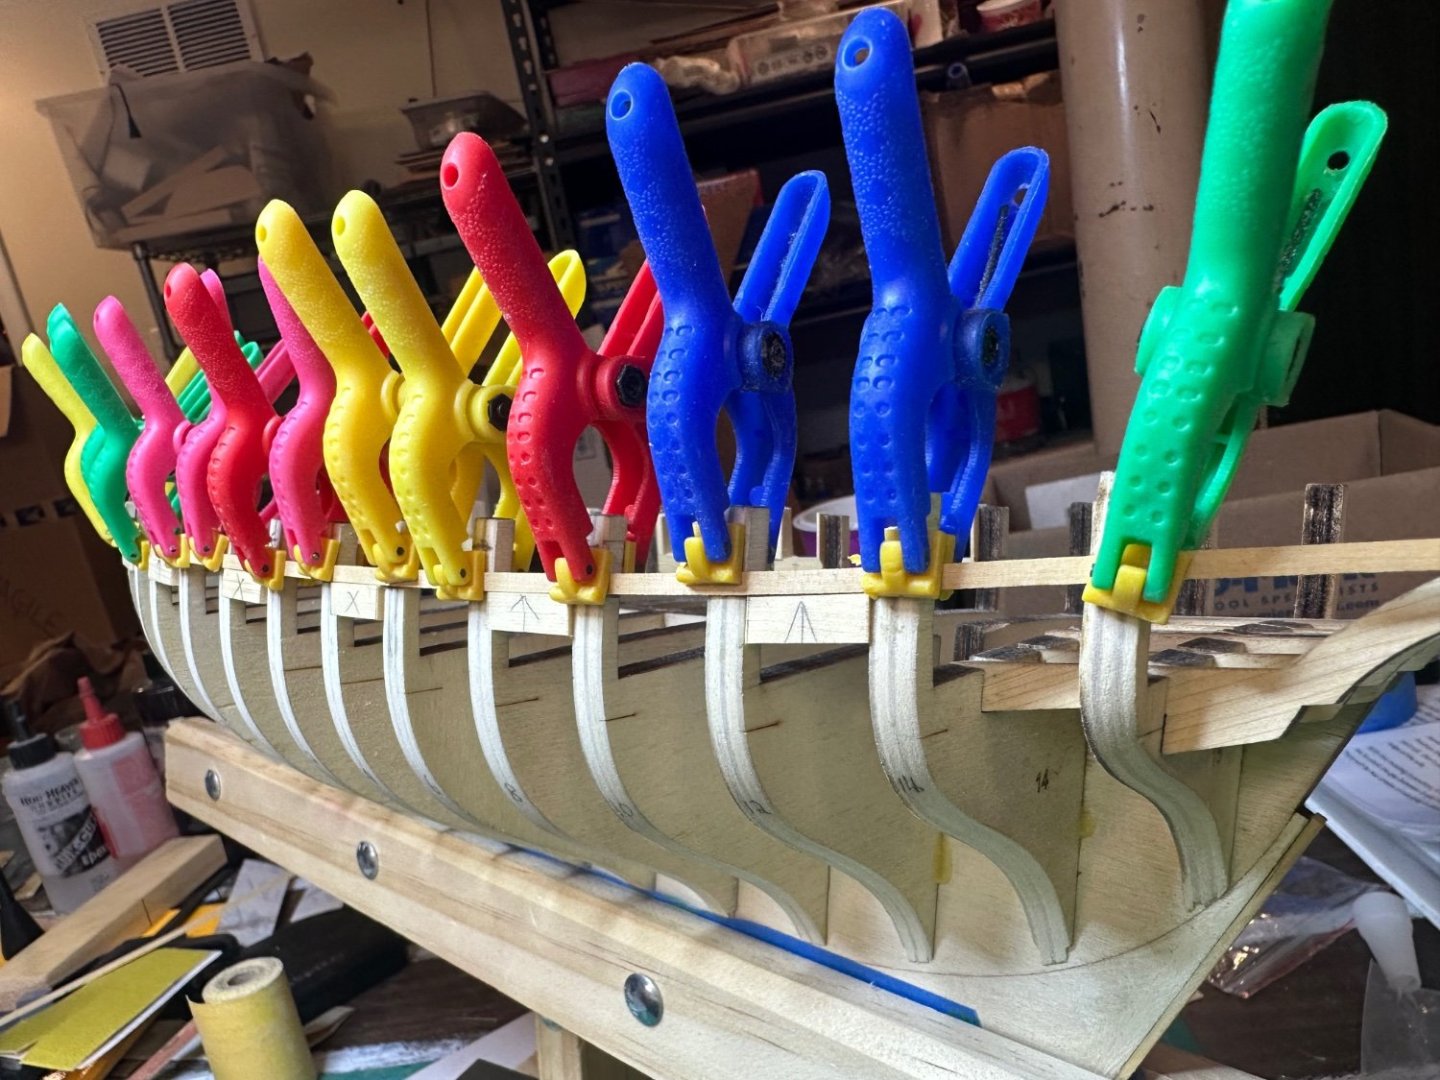
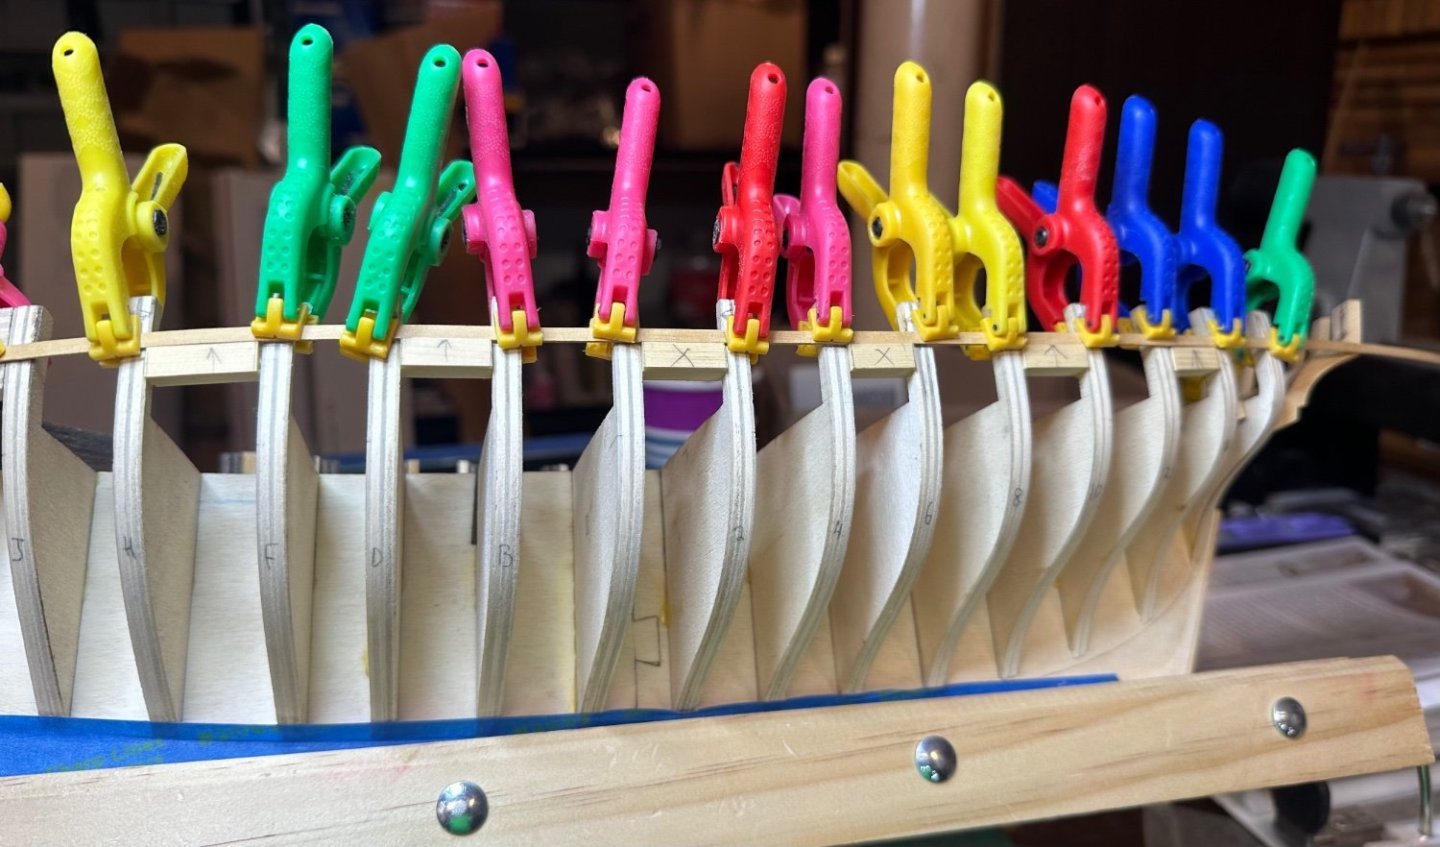
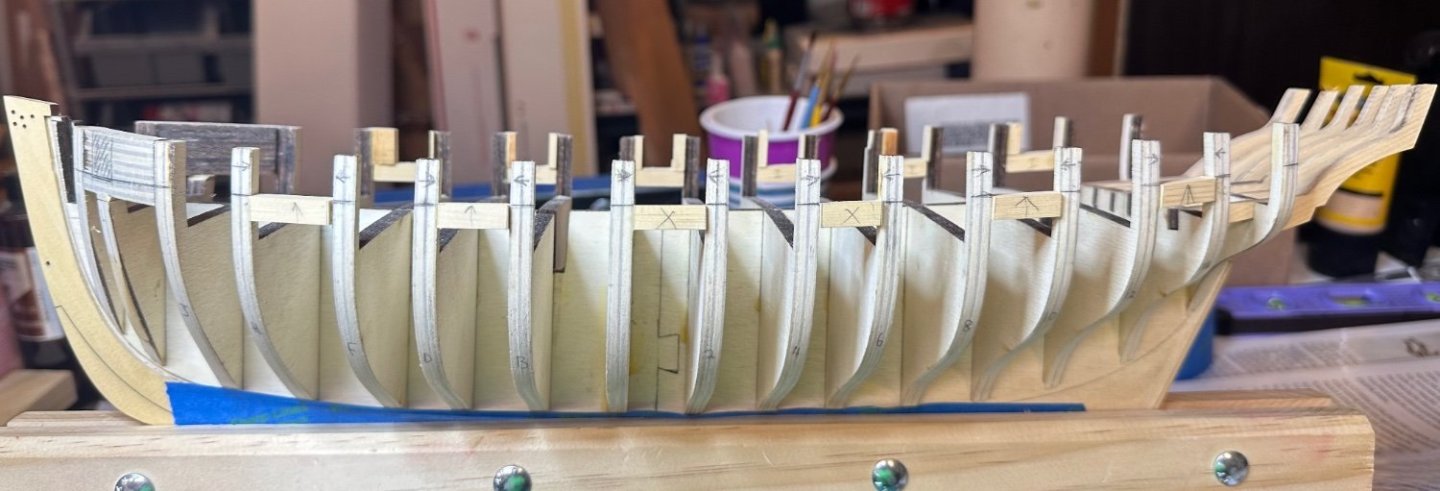
Slow progress, I completed the starboard ports and then checked the alignment with a batten, all looked good. Then I thought for the port side why not use the batten to align the sills. So I placed the batten just touching marks. I made the sills and alignment was quick and easy. Now to add the port uprights. Best Regards …. Rick
-
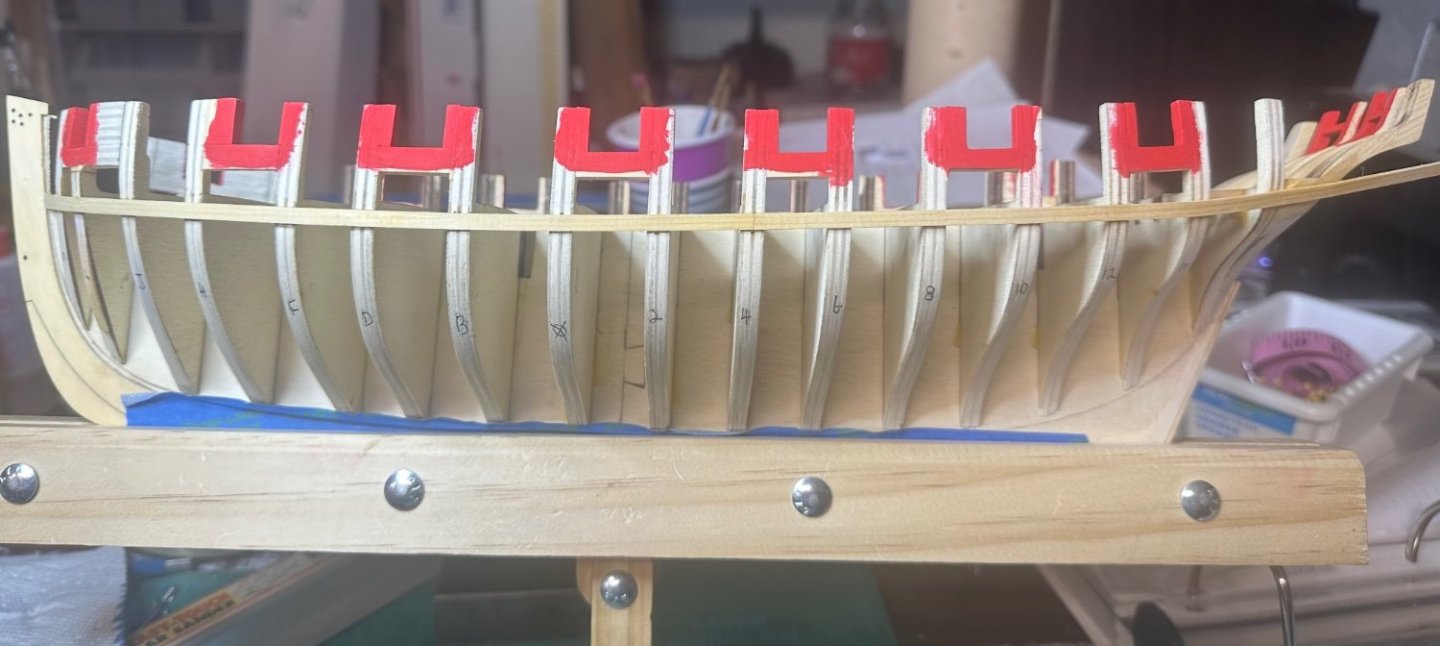
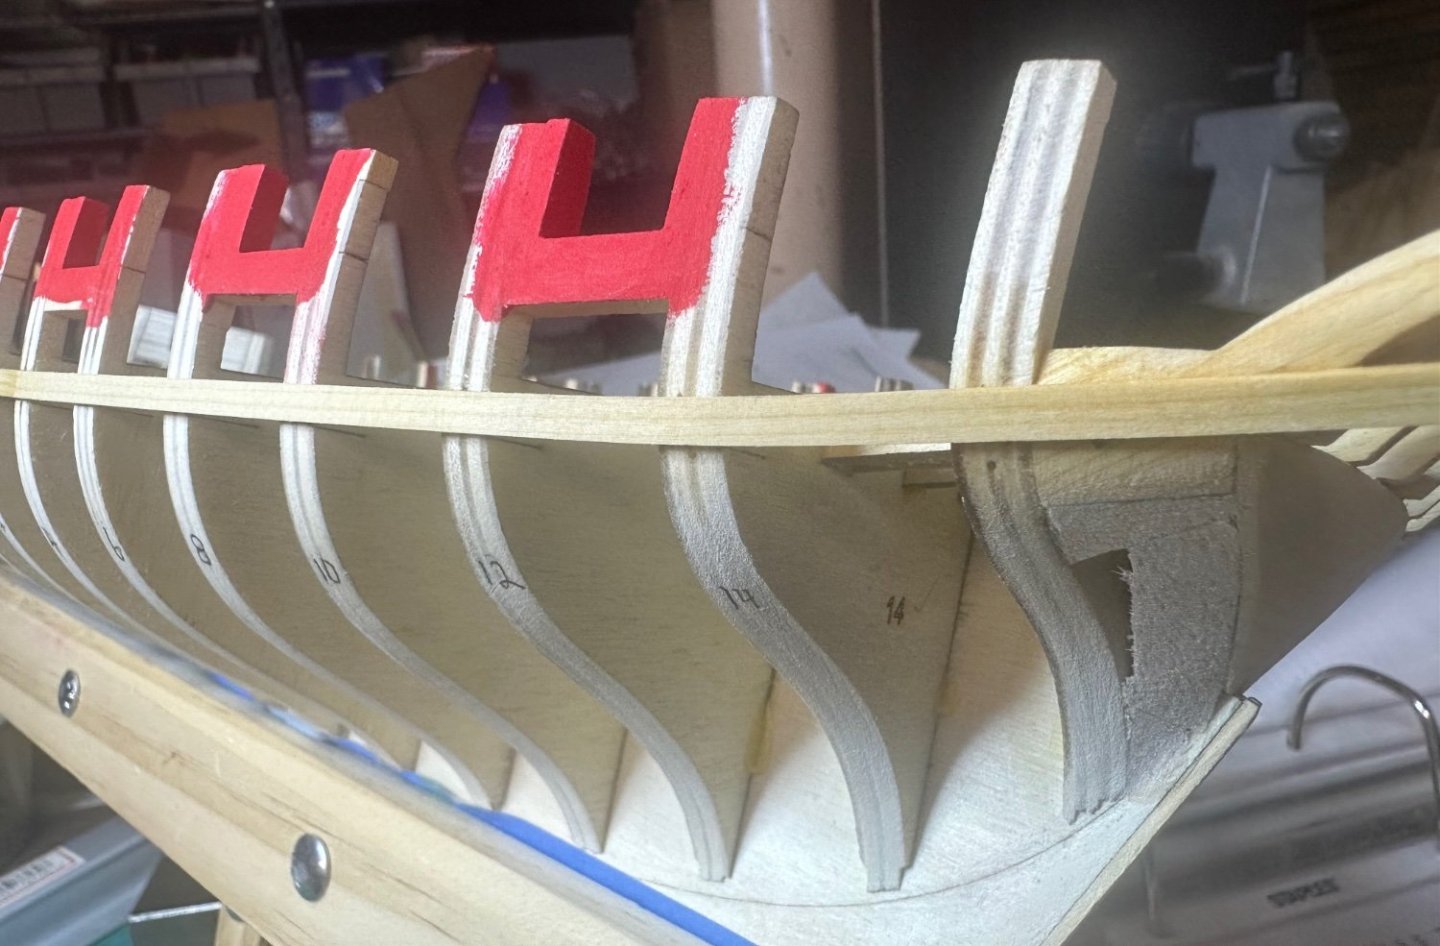
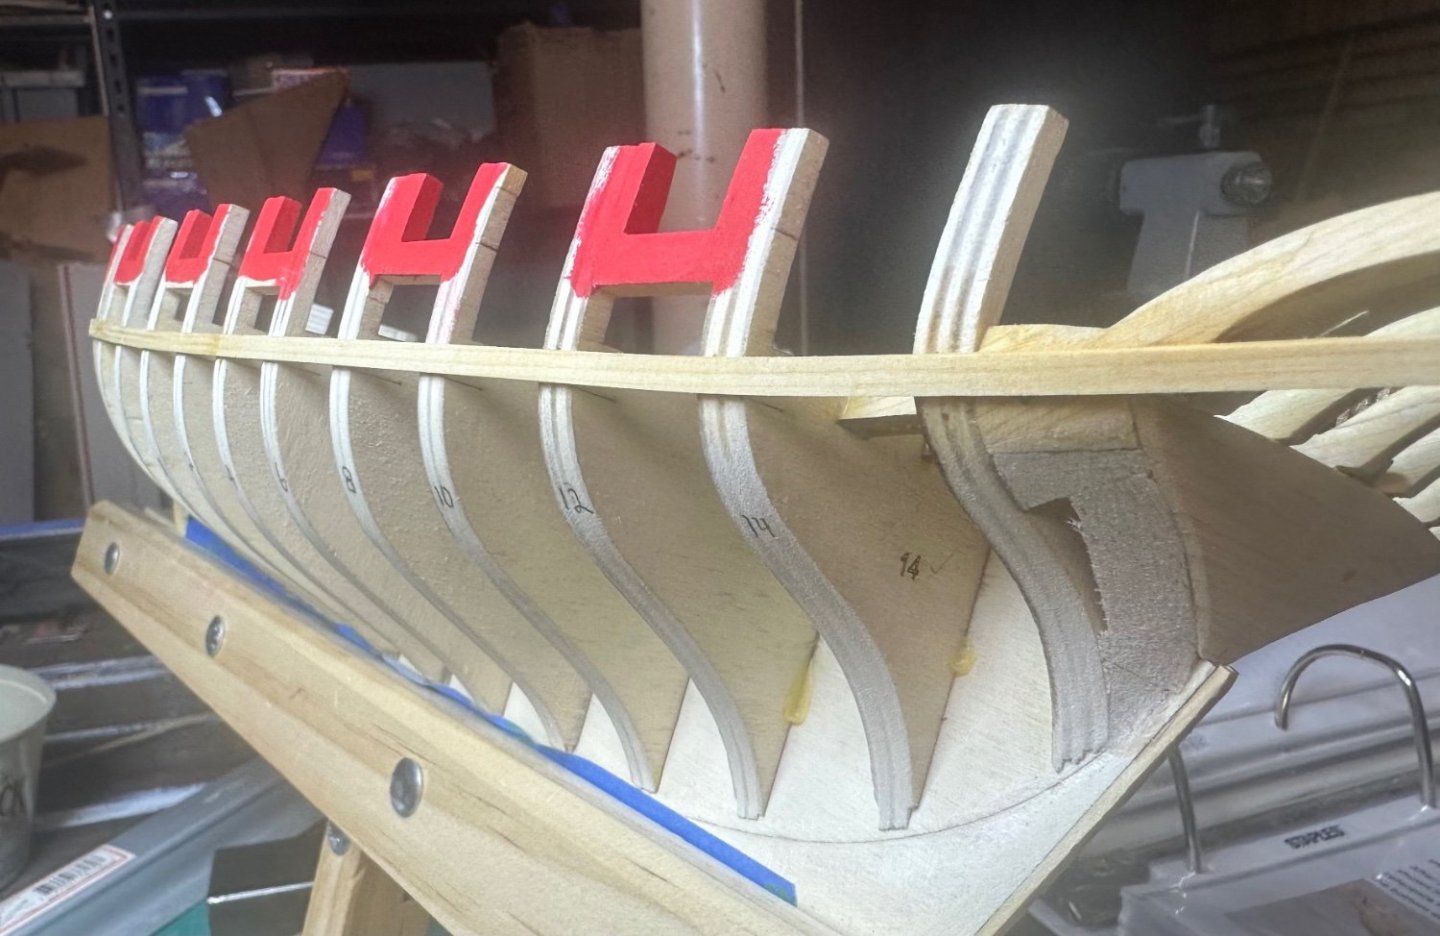
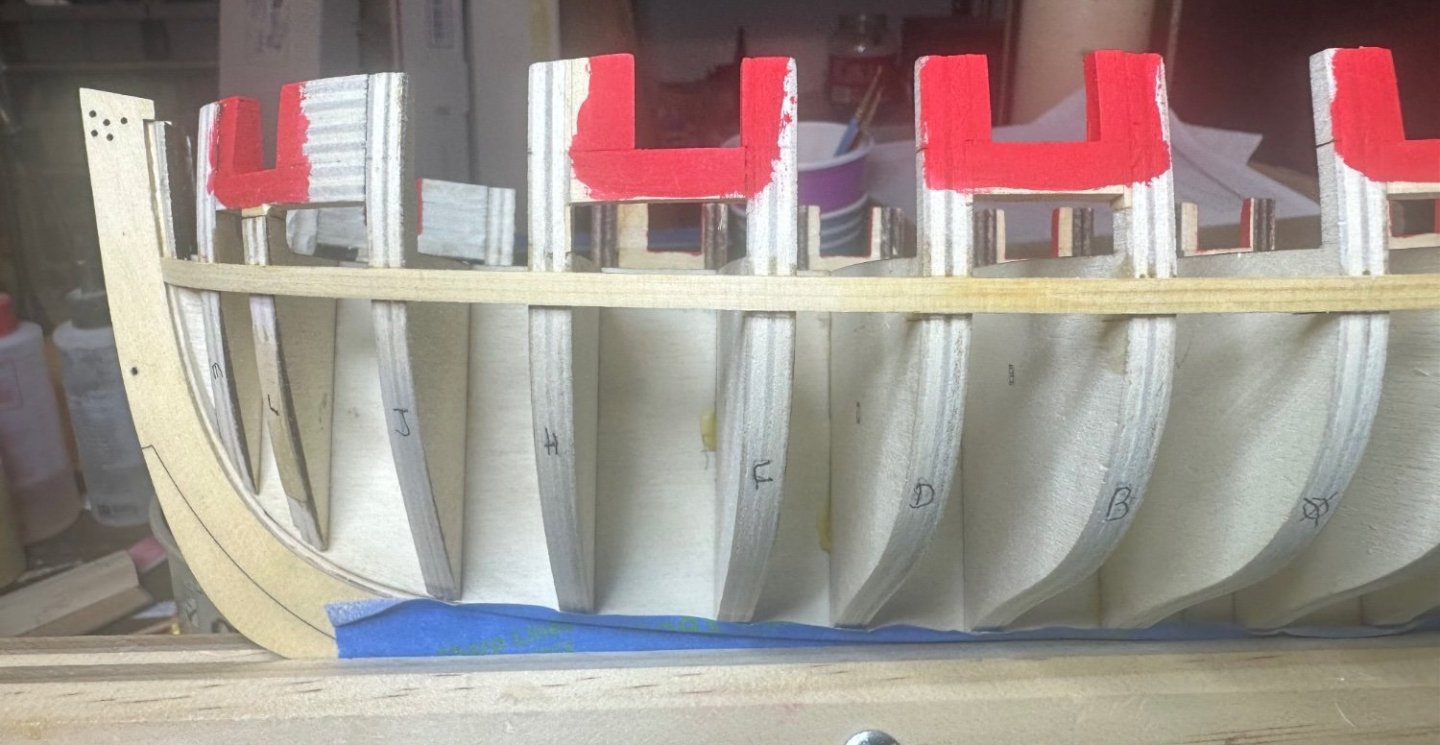
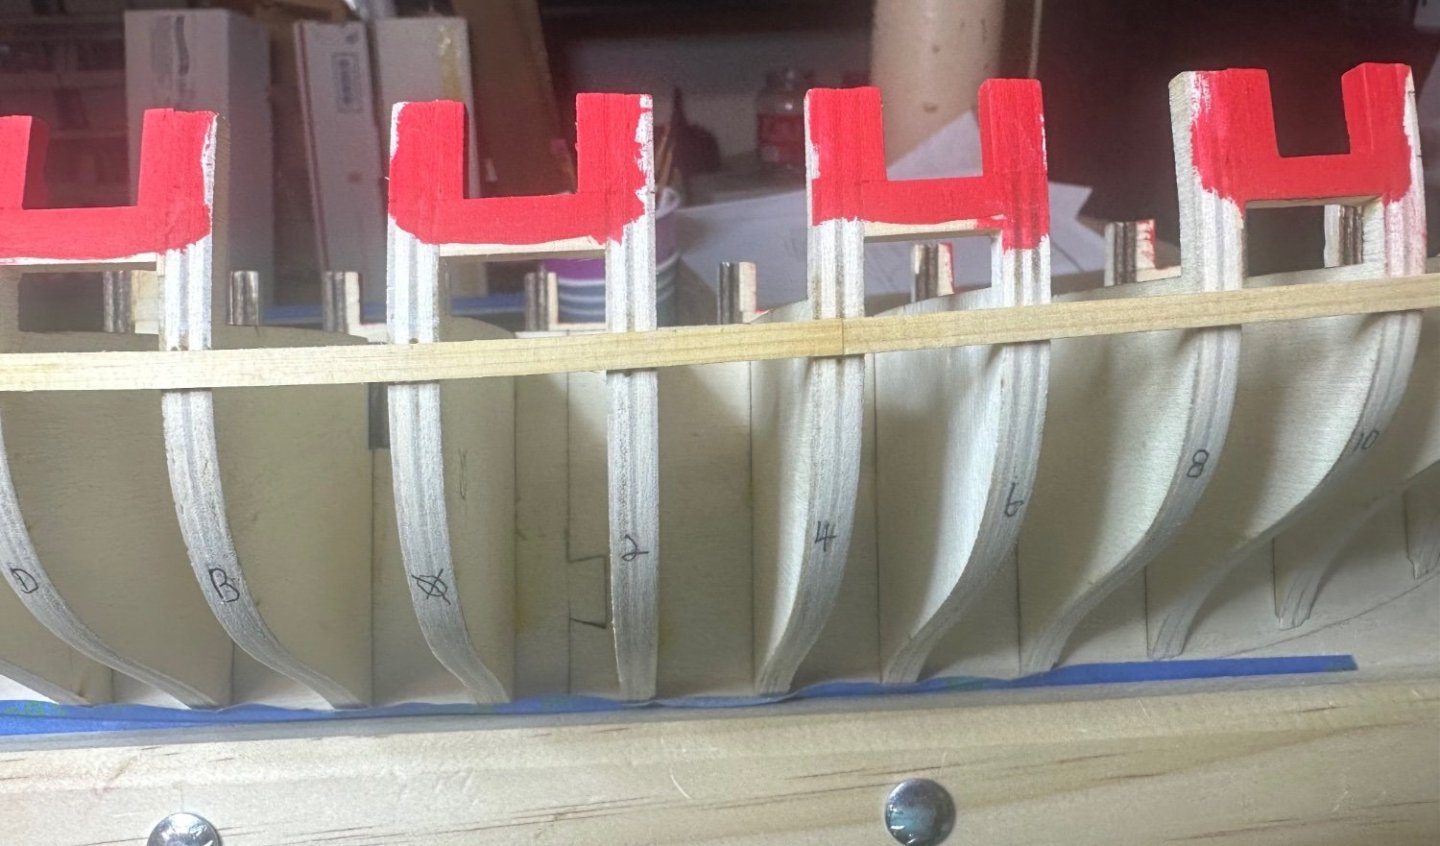
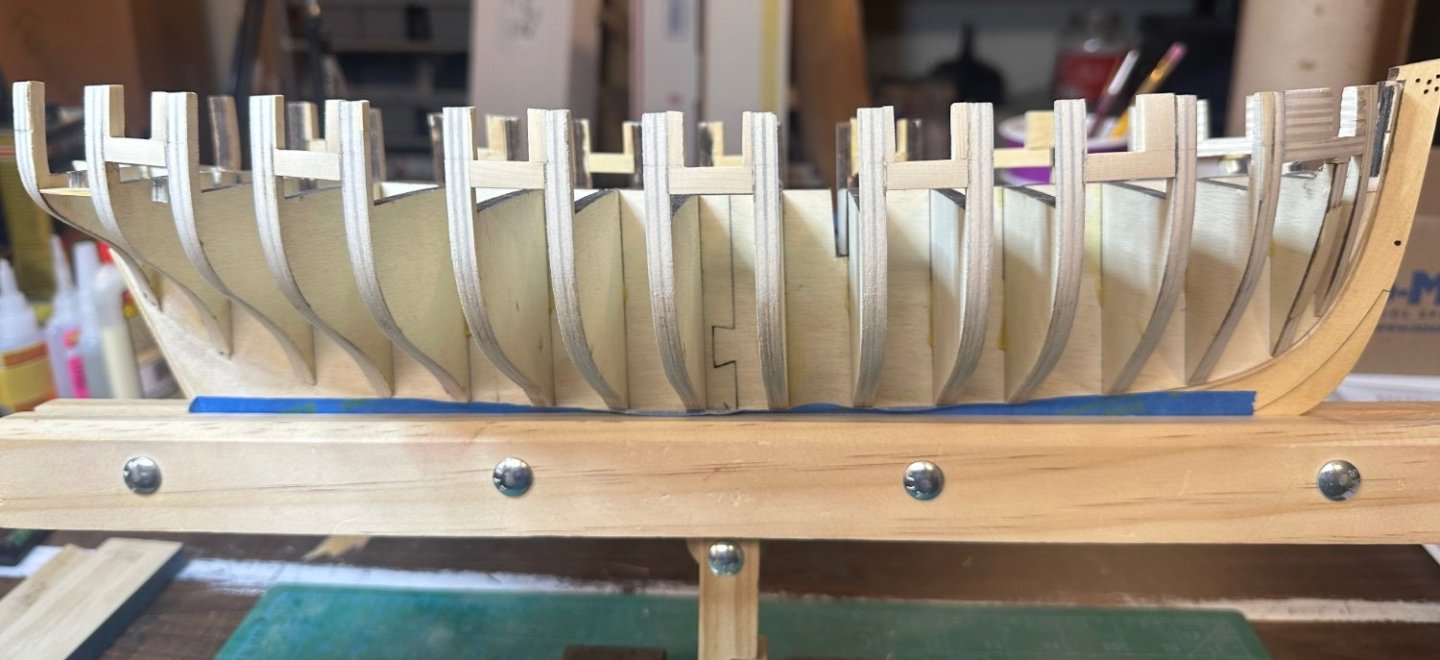
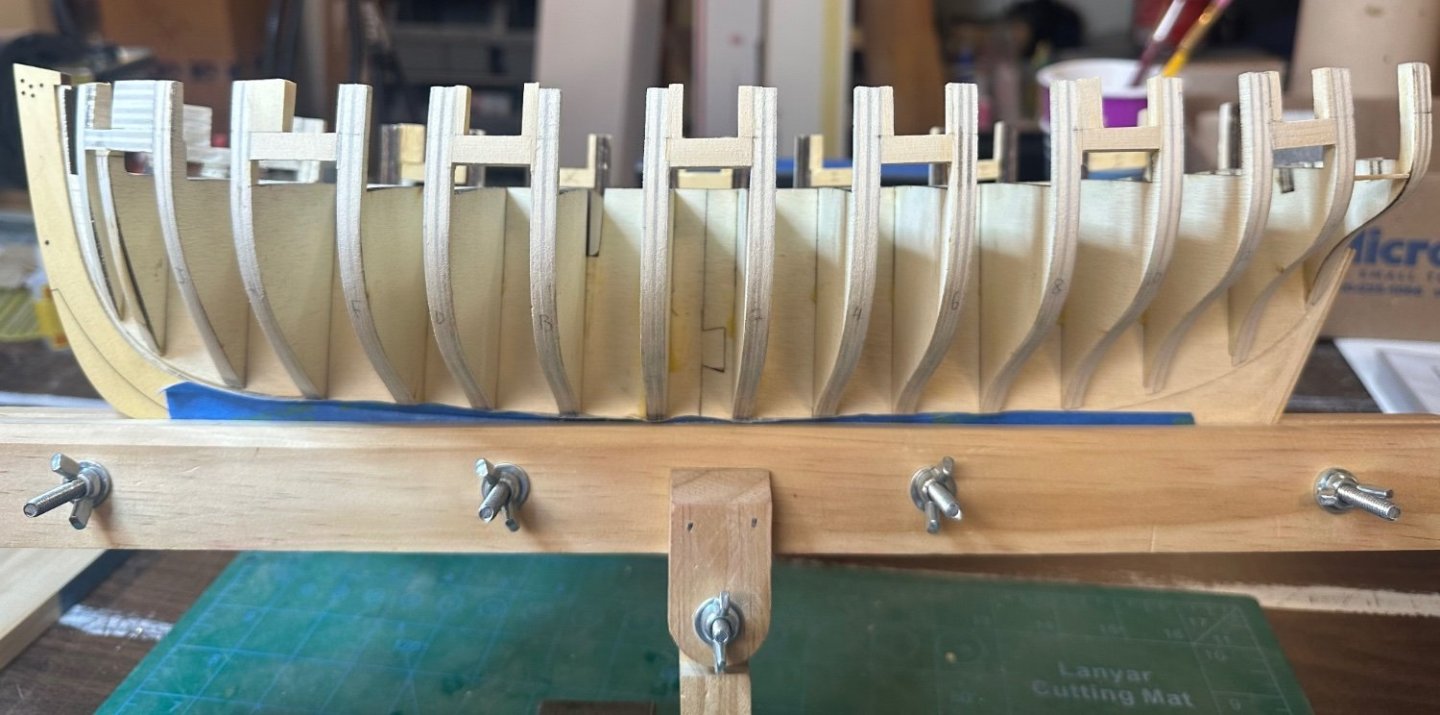
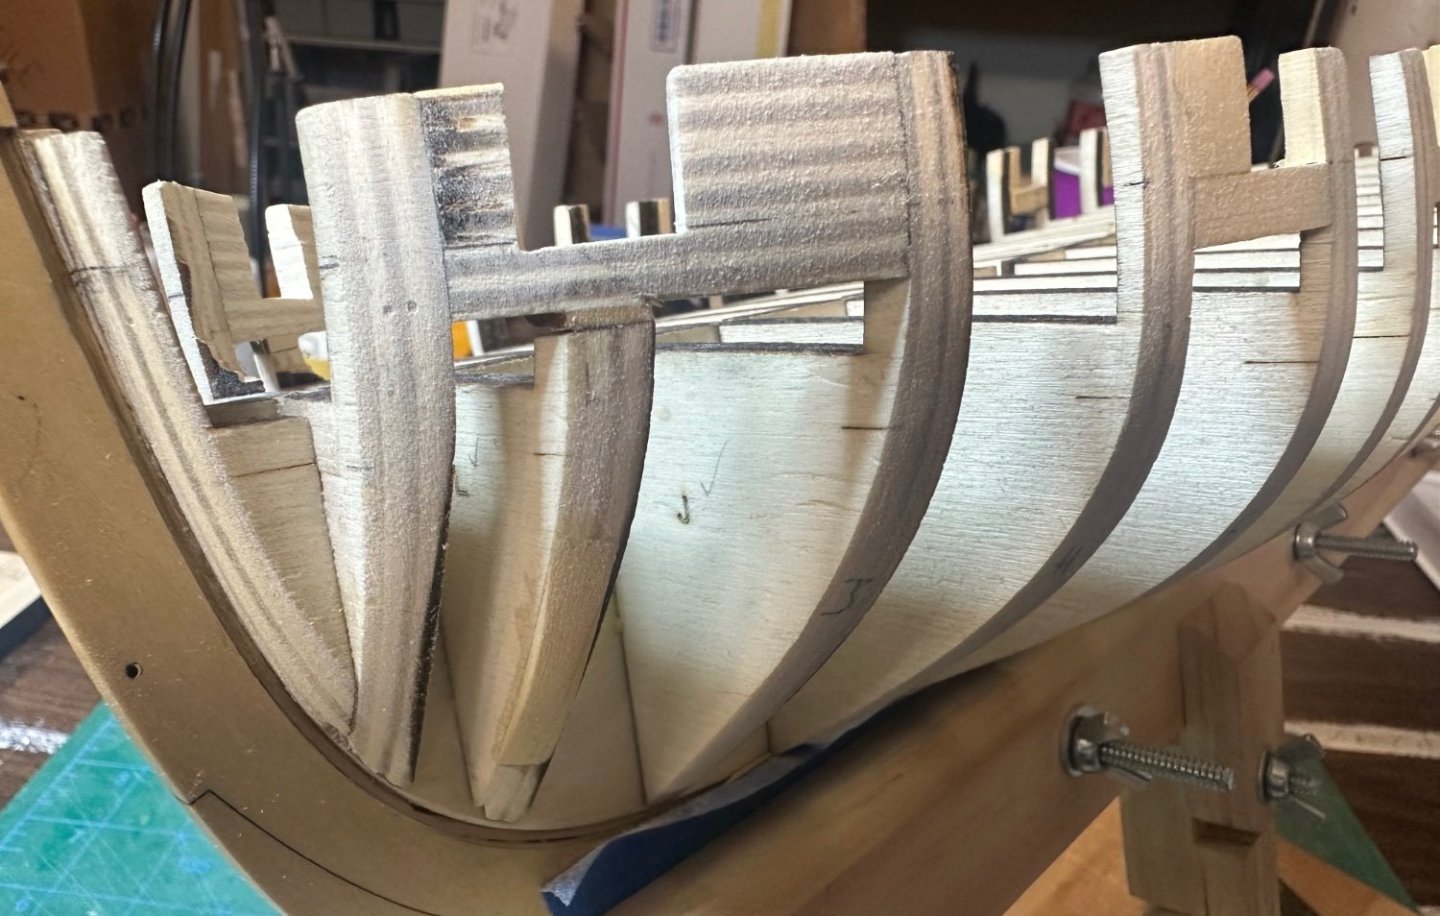
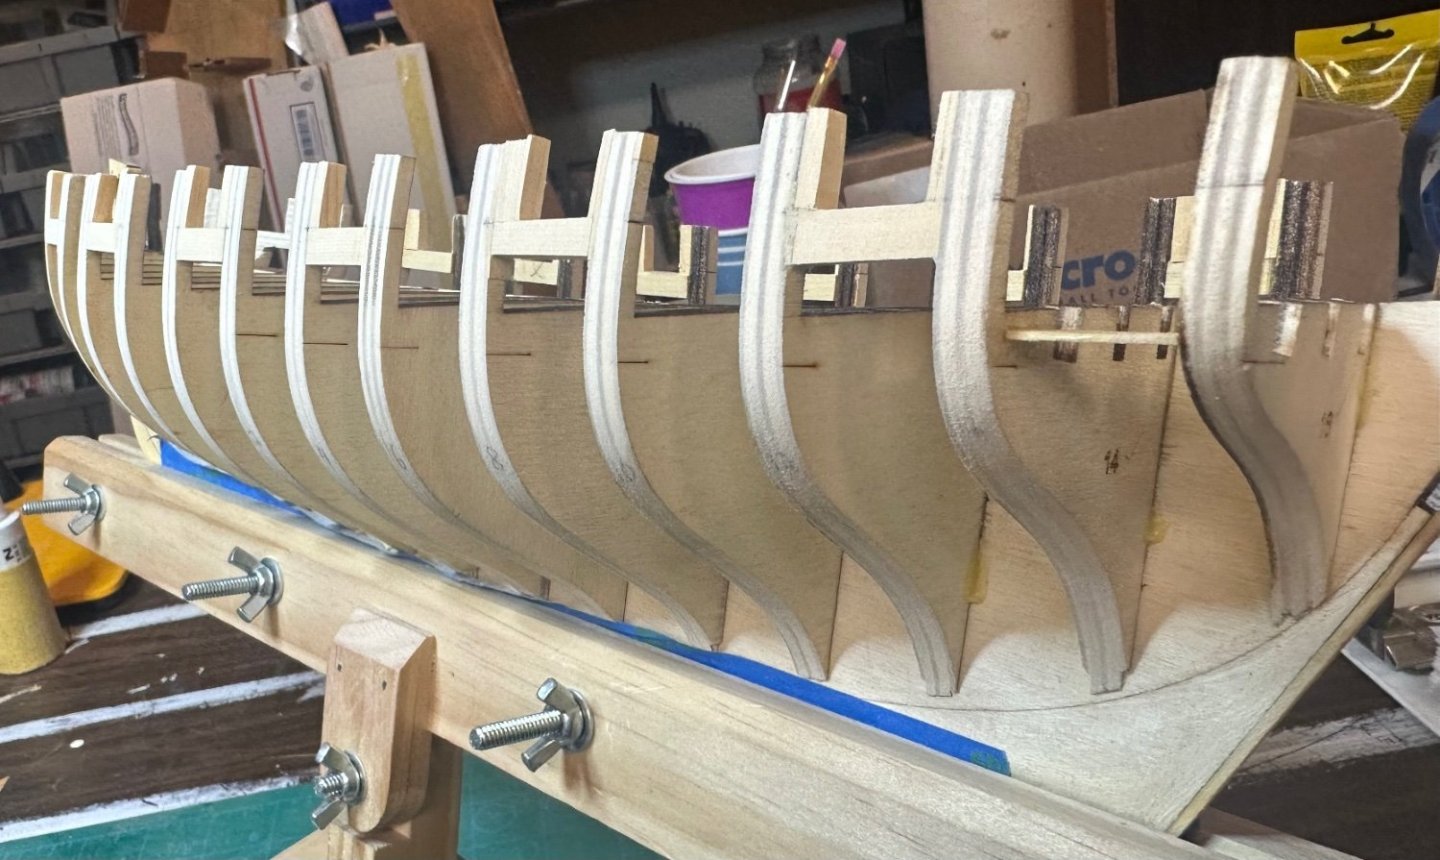
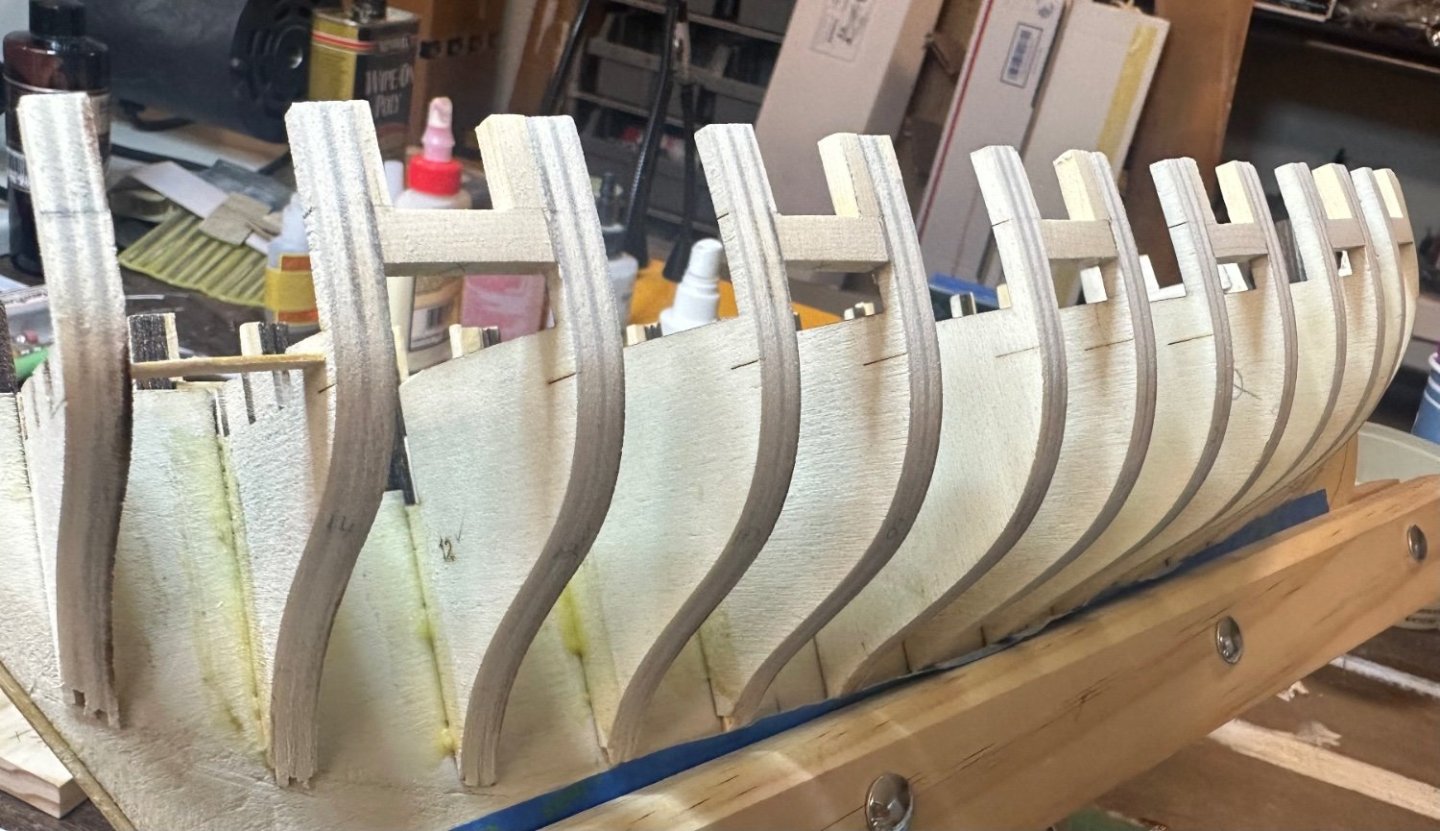
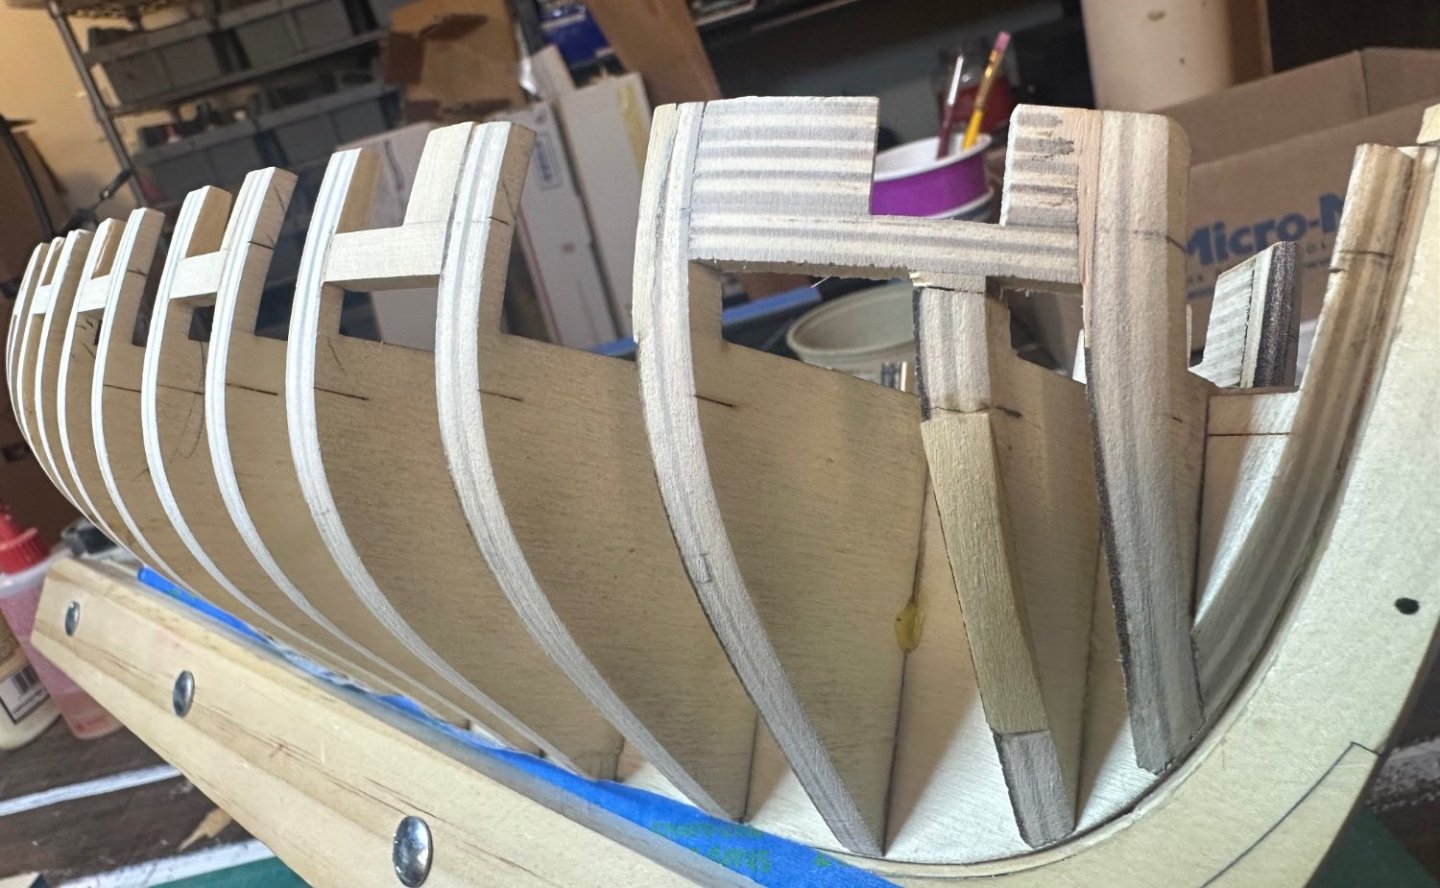
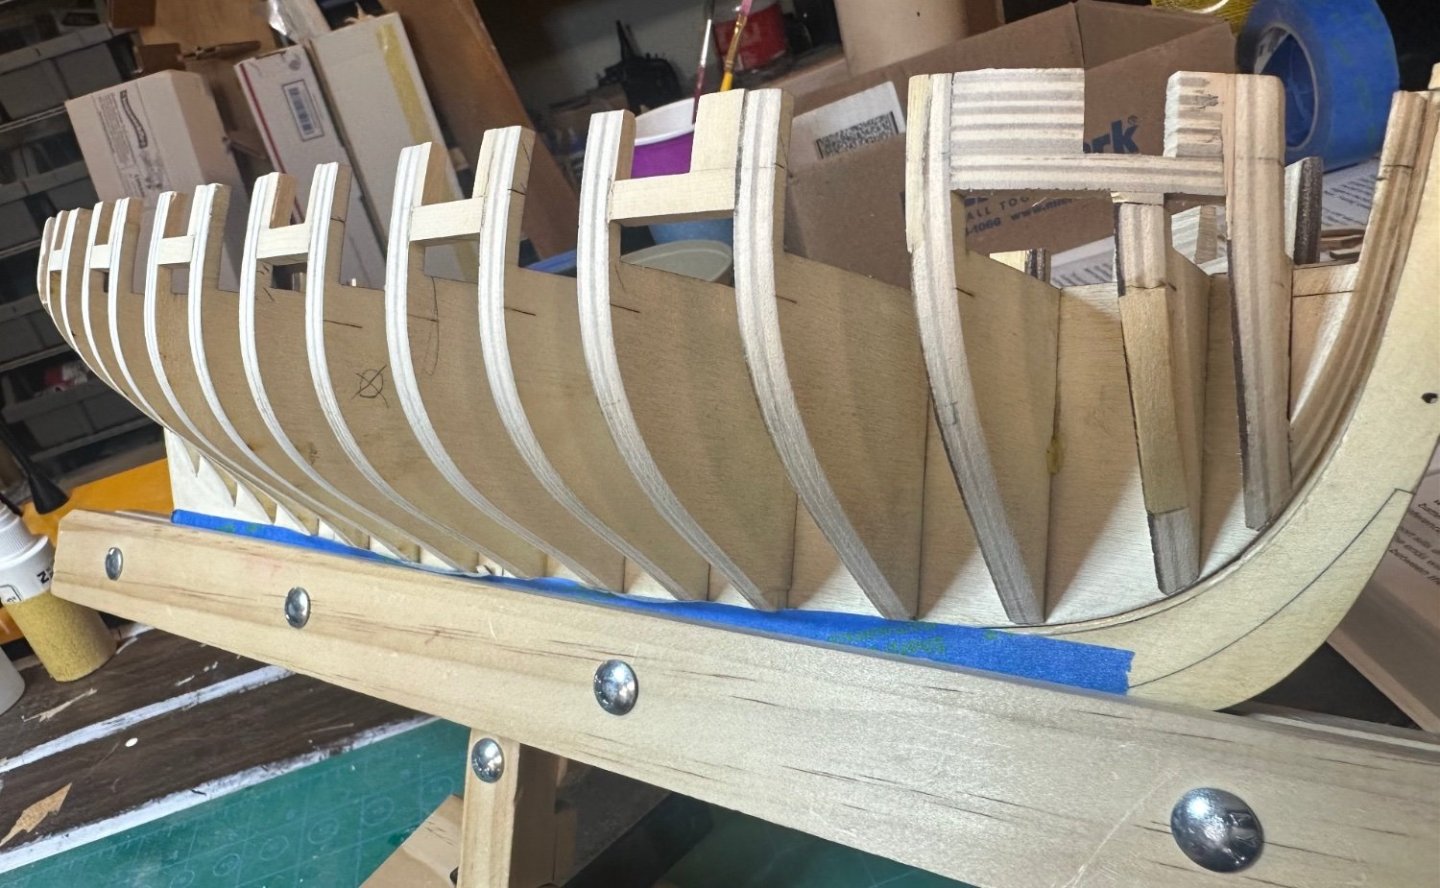
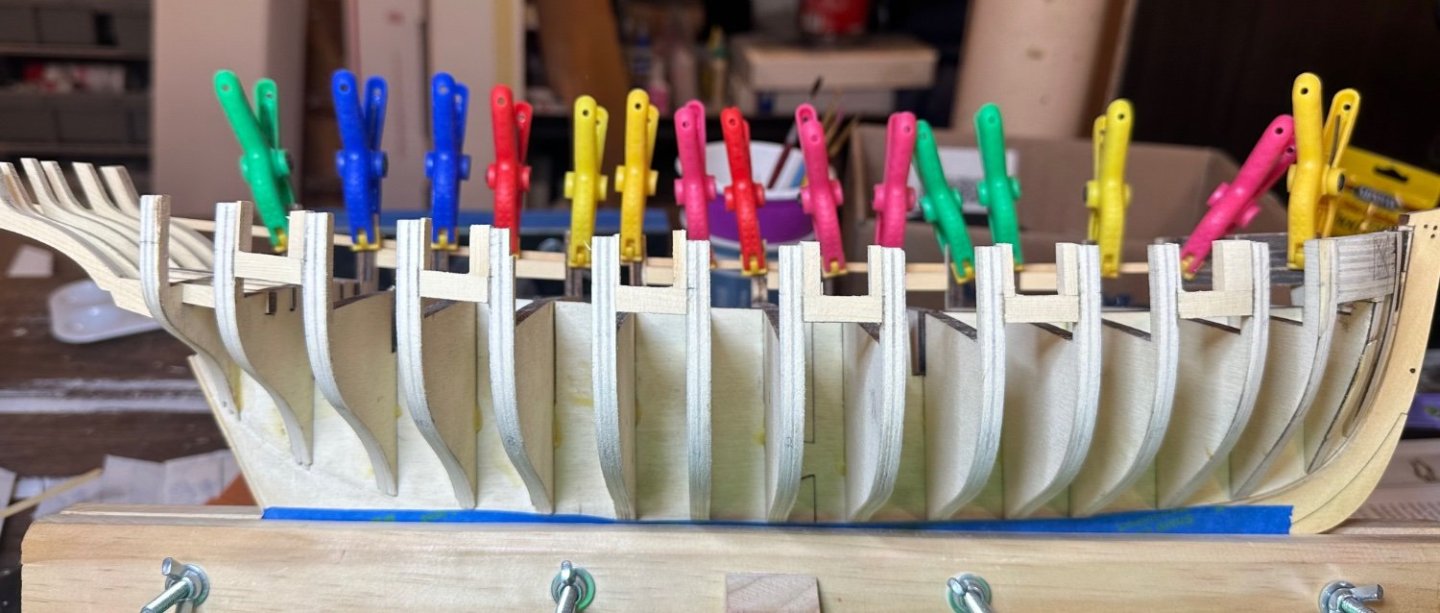
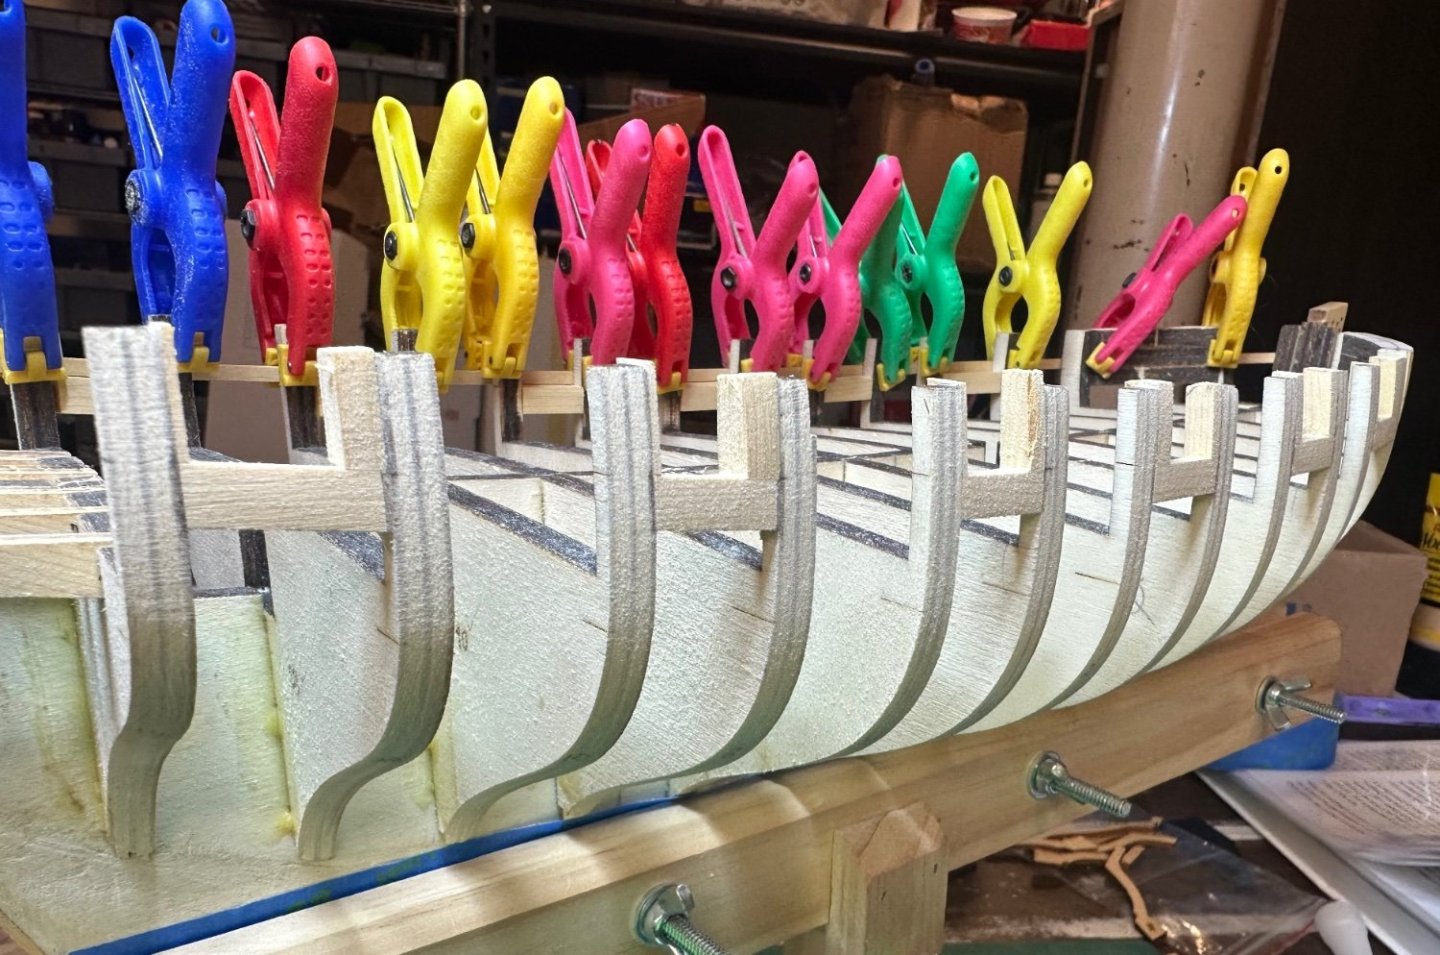
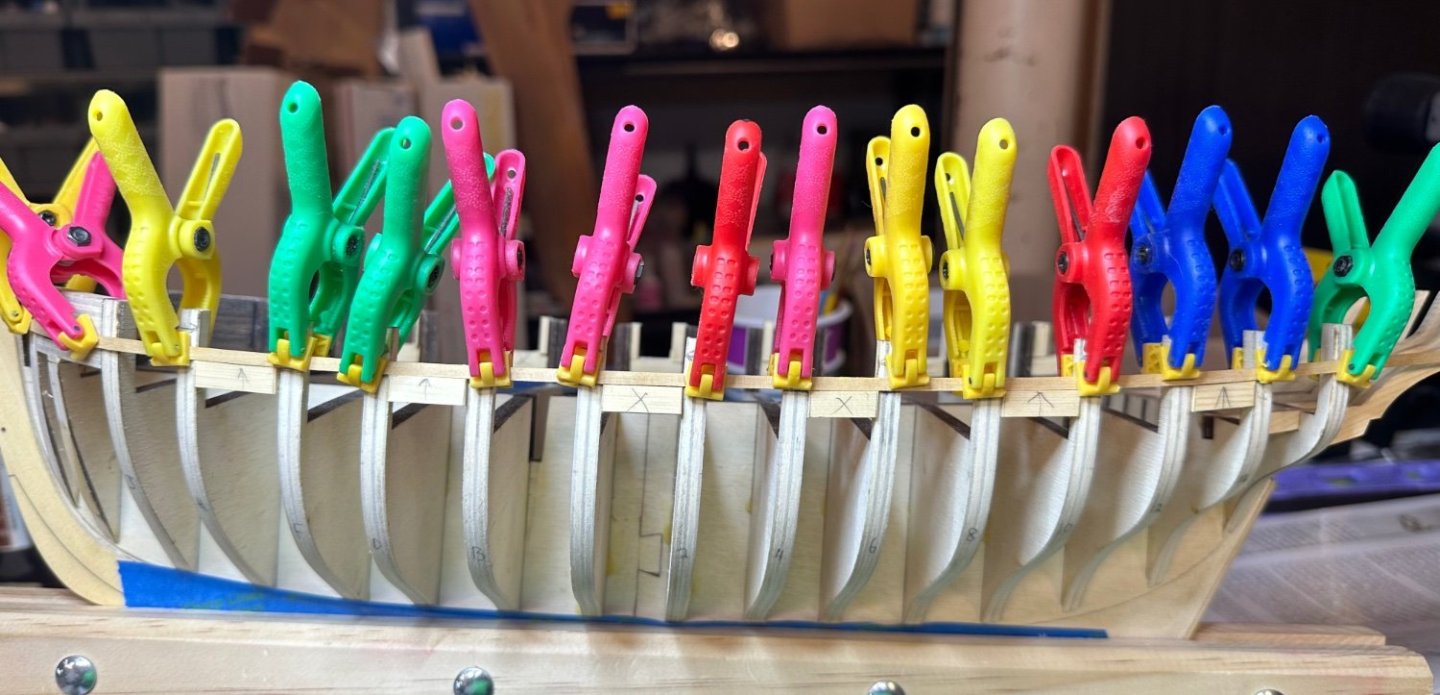
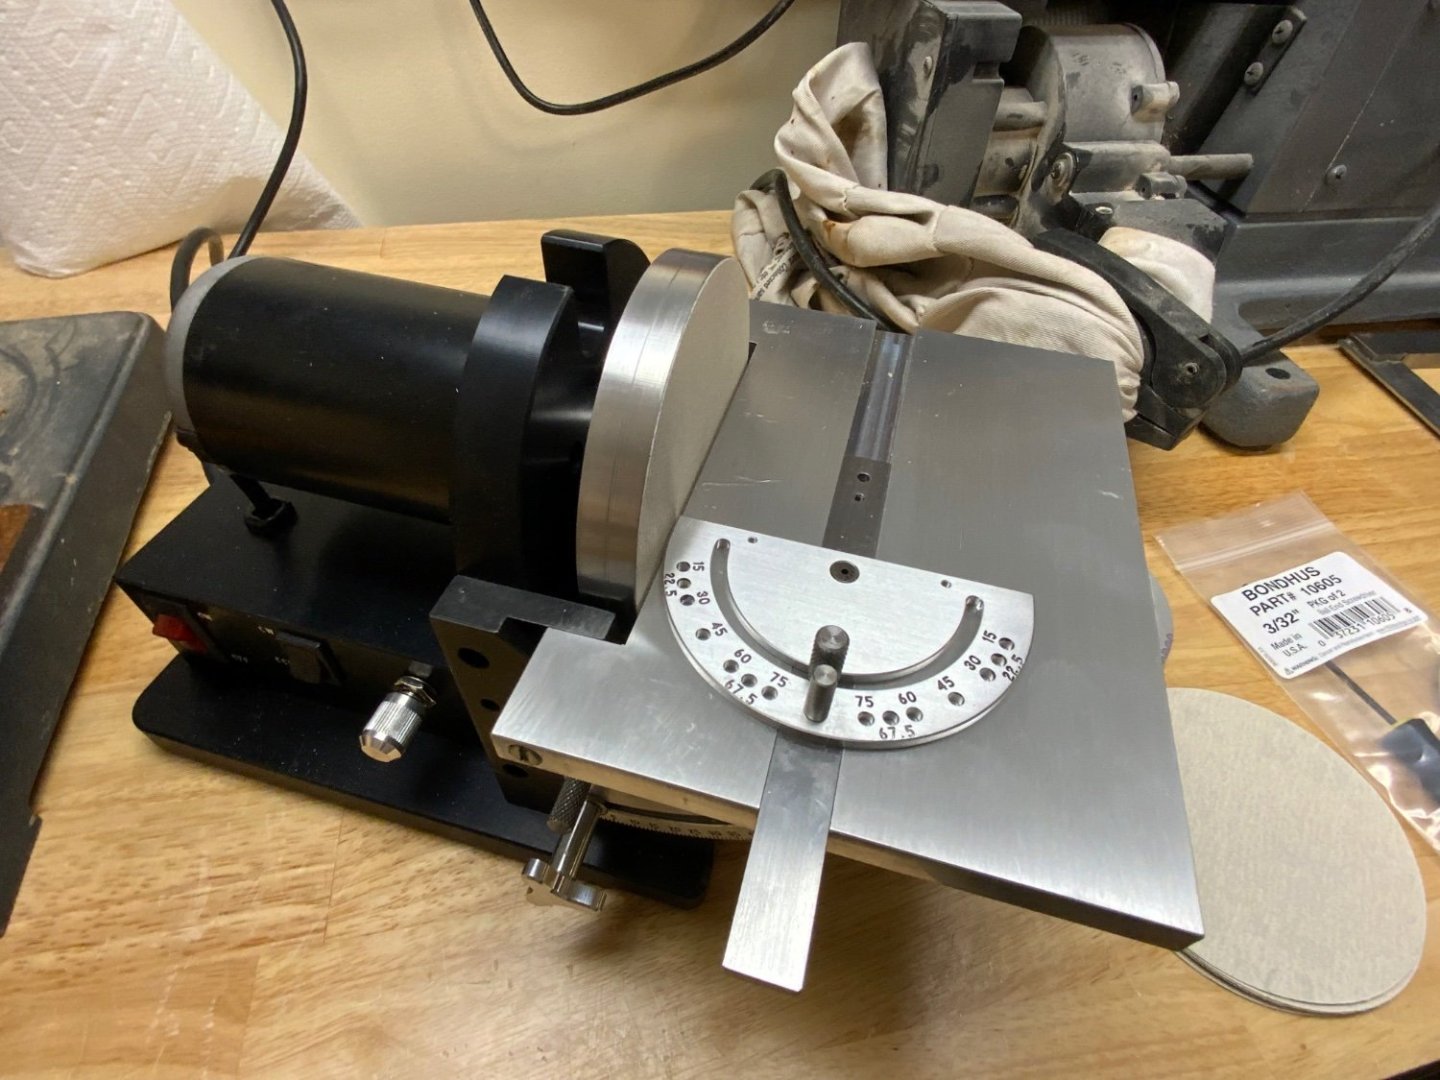
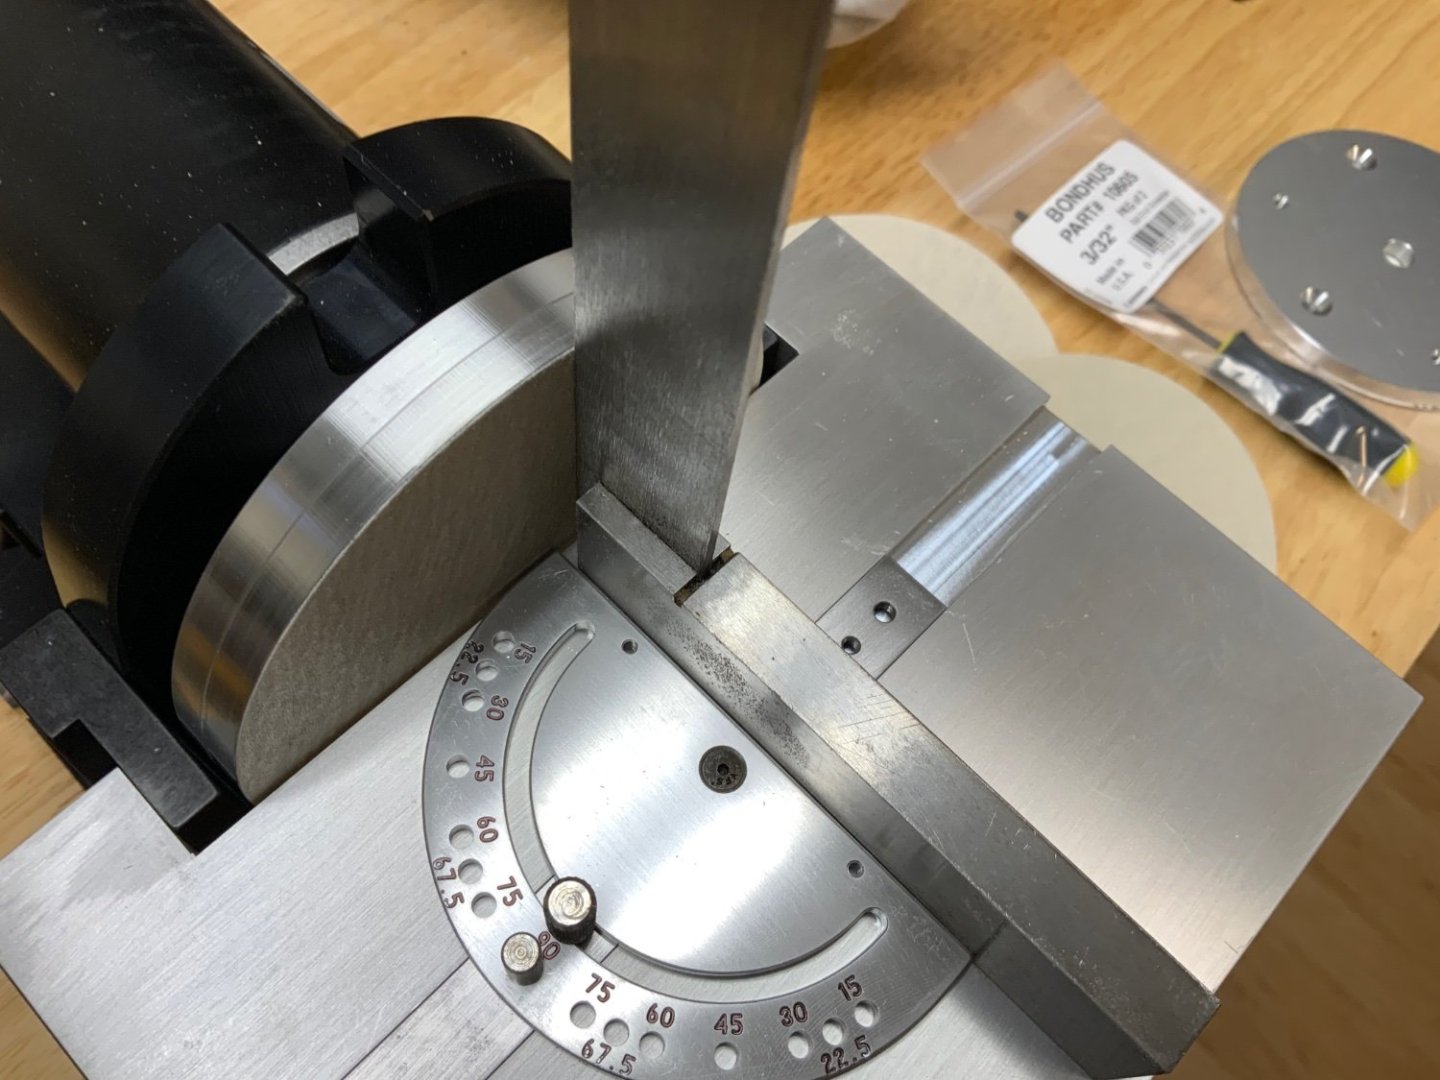
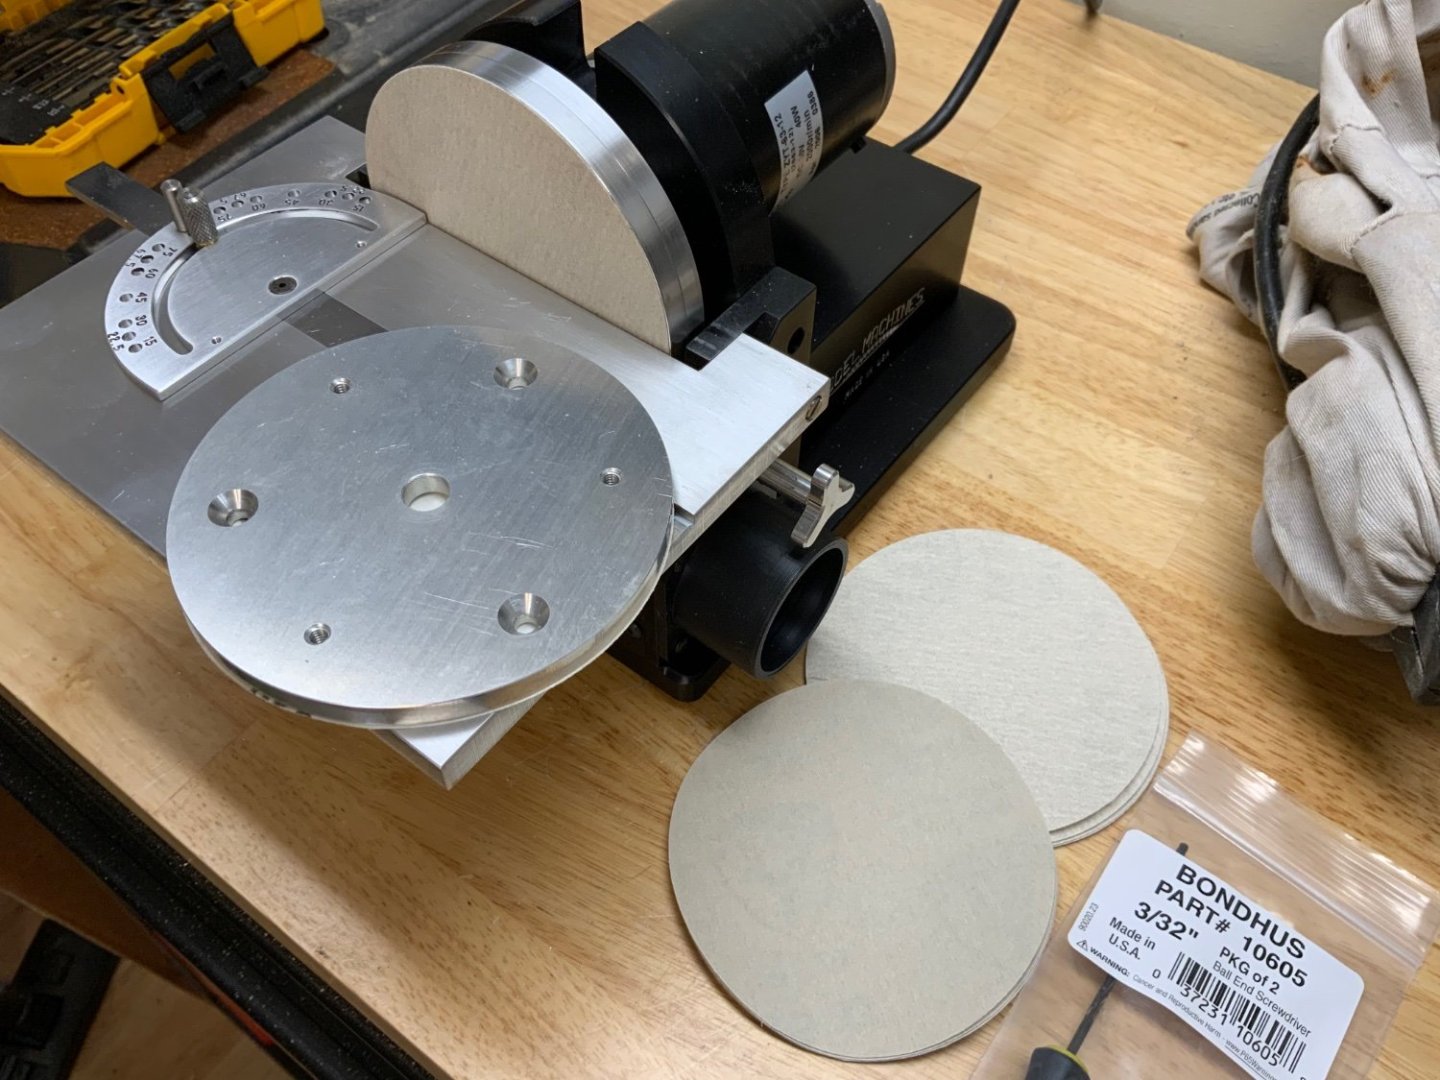
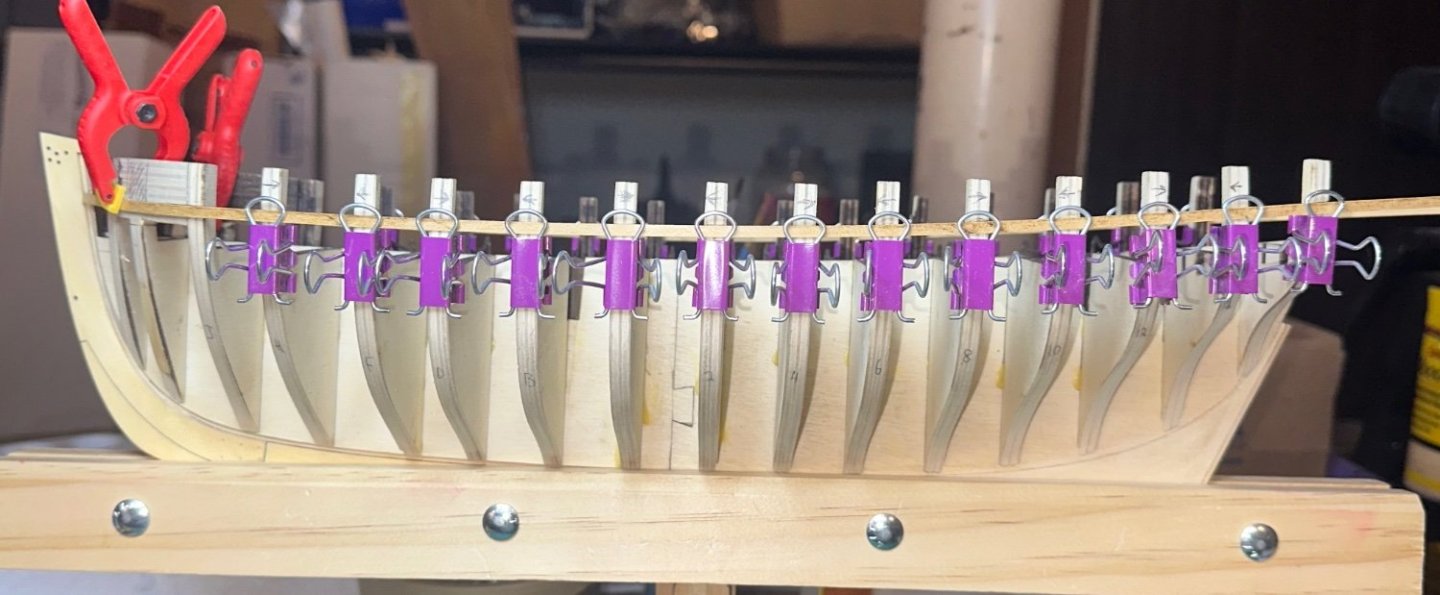
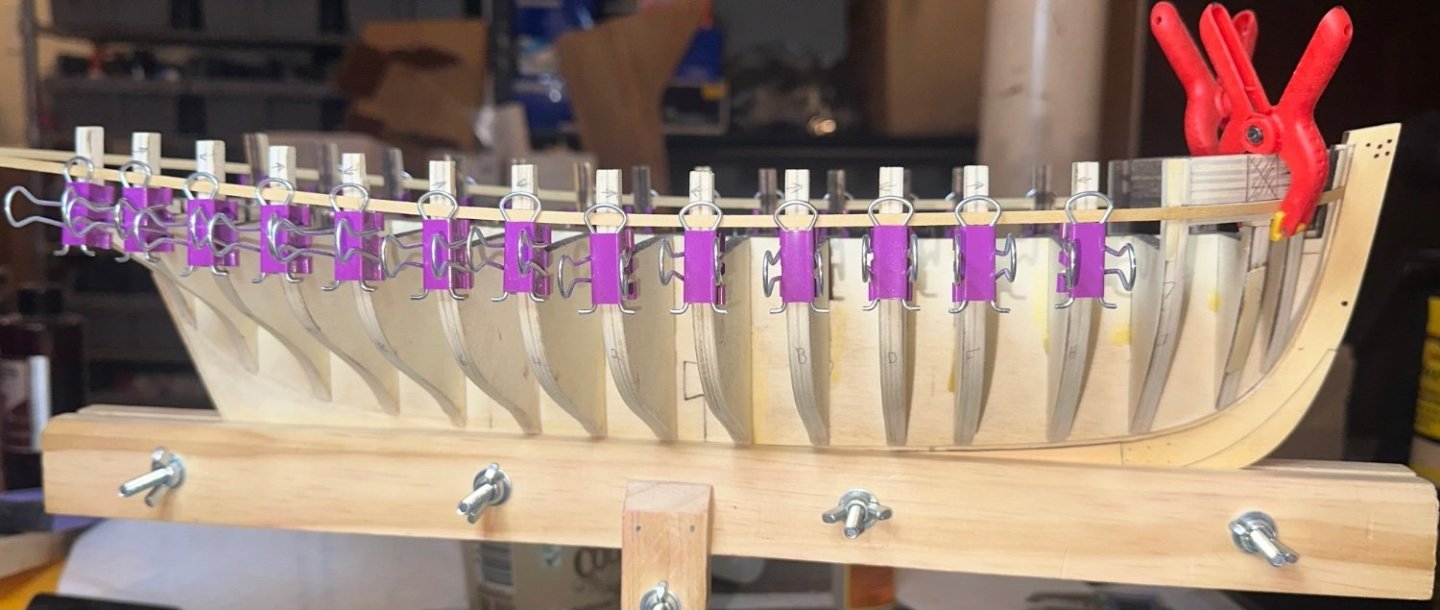
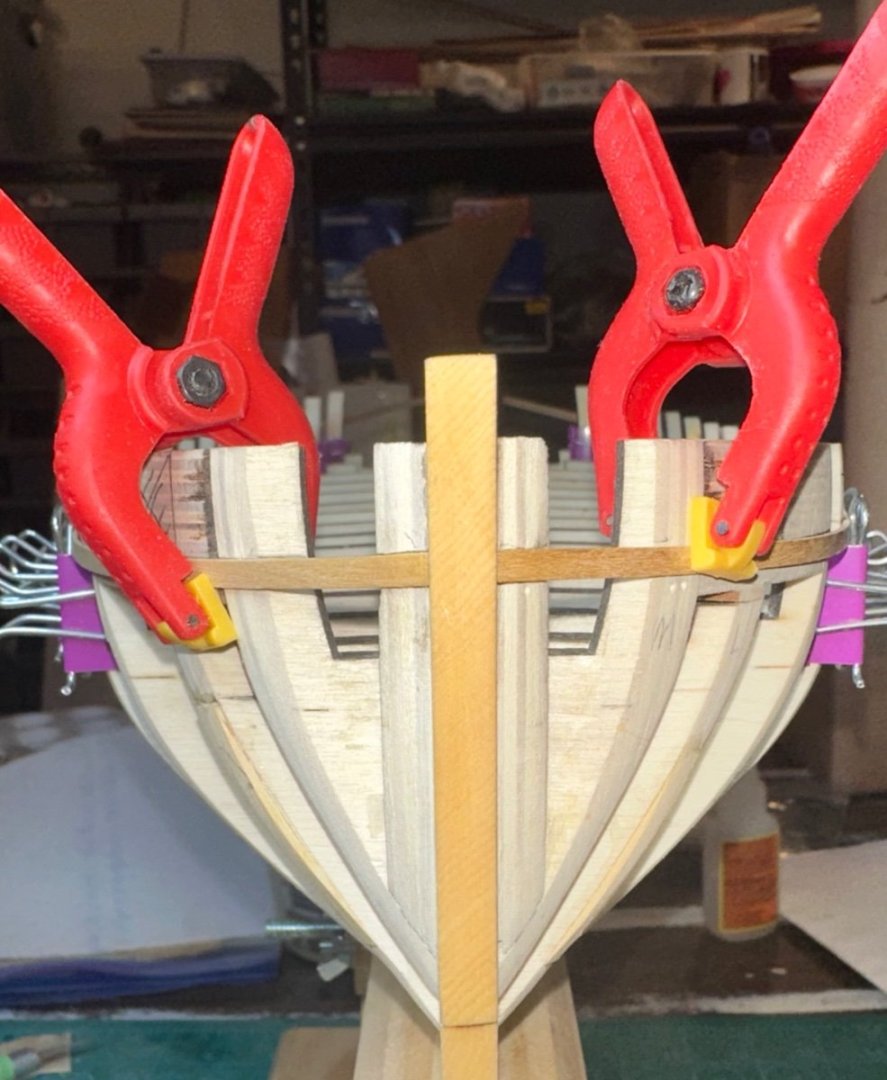
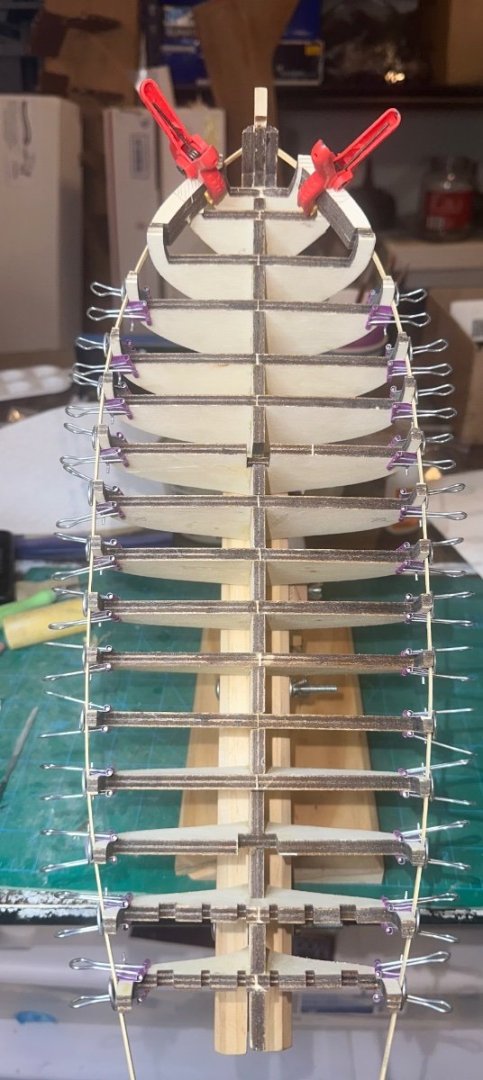
Looking good and I think I’m ready to start the sills. The batten has a nice flow from stem to stern. What I found remarkable was that each laser mark was .470” from the top of each bulkhead extension. Also, when fairing the starboard side, I made the exact same mistake on bulkhead L and it too needed a shim. At least I’m consistent. I have a Byrnes 4” disk sander on order that should be here in a day or so. I’m going to wait on doing the sills until the sander arrives so I can give it a test drive. Here’s a few pictures. Best Regards …. Rick
About us
Modelshipworld - Advancing Ship Modeling through Research
SSL Secured
Your security is important for us so this Website is SSL-Secured
NRG Mailing Address
Nautical Research Guild
237 South Lincoln Street
Westmont IL, 60559-1917
Model Ship World ® and the MSW logo are Registered Trademarks, and belong to the Nautical Research Guild (United States Patent and Trademark Office: No. 6,929,264 & No. 6,929,274, registered Dec. 20, 2022)
Helpful Links
About the NRG
If you enjoy building ship models that are historically accurate as well as beautiful, then The Nautical Research Guild (NRG) is just right for you.
The Guild is a non-profit educational organization whose mission is to “Advance Ship Modeling Through Research”. We provide support to our members in their efforts to raise the quality of their model ships.
The Nautical Research Guild has published our world-renowned quarterly magazine, The Nautical Research Journal, since 1955. The pages of the Journal are full of articles by accomplished ship modelers who show you how they create those exquisite details on their models, and by maritime historians who show you the correct details to build. The Journal is available in both print and digital editions. Go to the NRG web site (www.thenrg.org) to download a complimentary digital copy of the Journal. The NRG also publishes plan sets, books and compilations of back issues of the Journal and the former Ships in Scale and Model Ship Builder magazines.


