bobandlucy
-
Posts
512 -
Joined
-
Last visited
Content Type
Profiles
Forums
Gallery
Events
Everything posted by bobandlucy
-

Proud owner of a Dremmel drill stand
bobandlucy replied to DaveBaxt's topic in Modeling tools and Workshop Equipment
This is the method given in the MS Norwegian Sailing Pram kit by David Antscherl. As a matter of fact I am going to shape my mast today. I used the same method on the gaff and boom. -
Thanks, G I will be looking to your log when I get back to work on the hull, as you did a great job! b
-
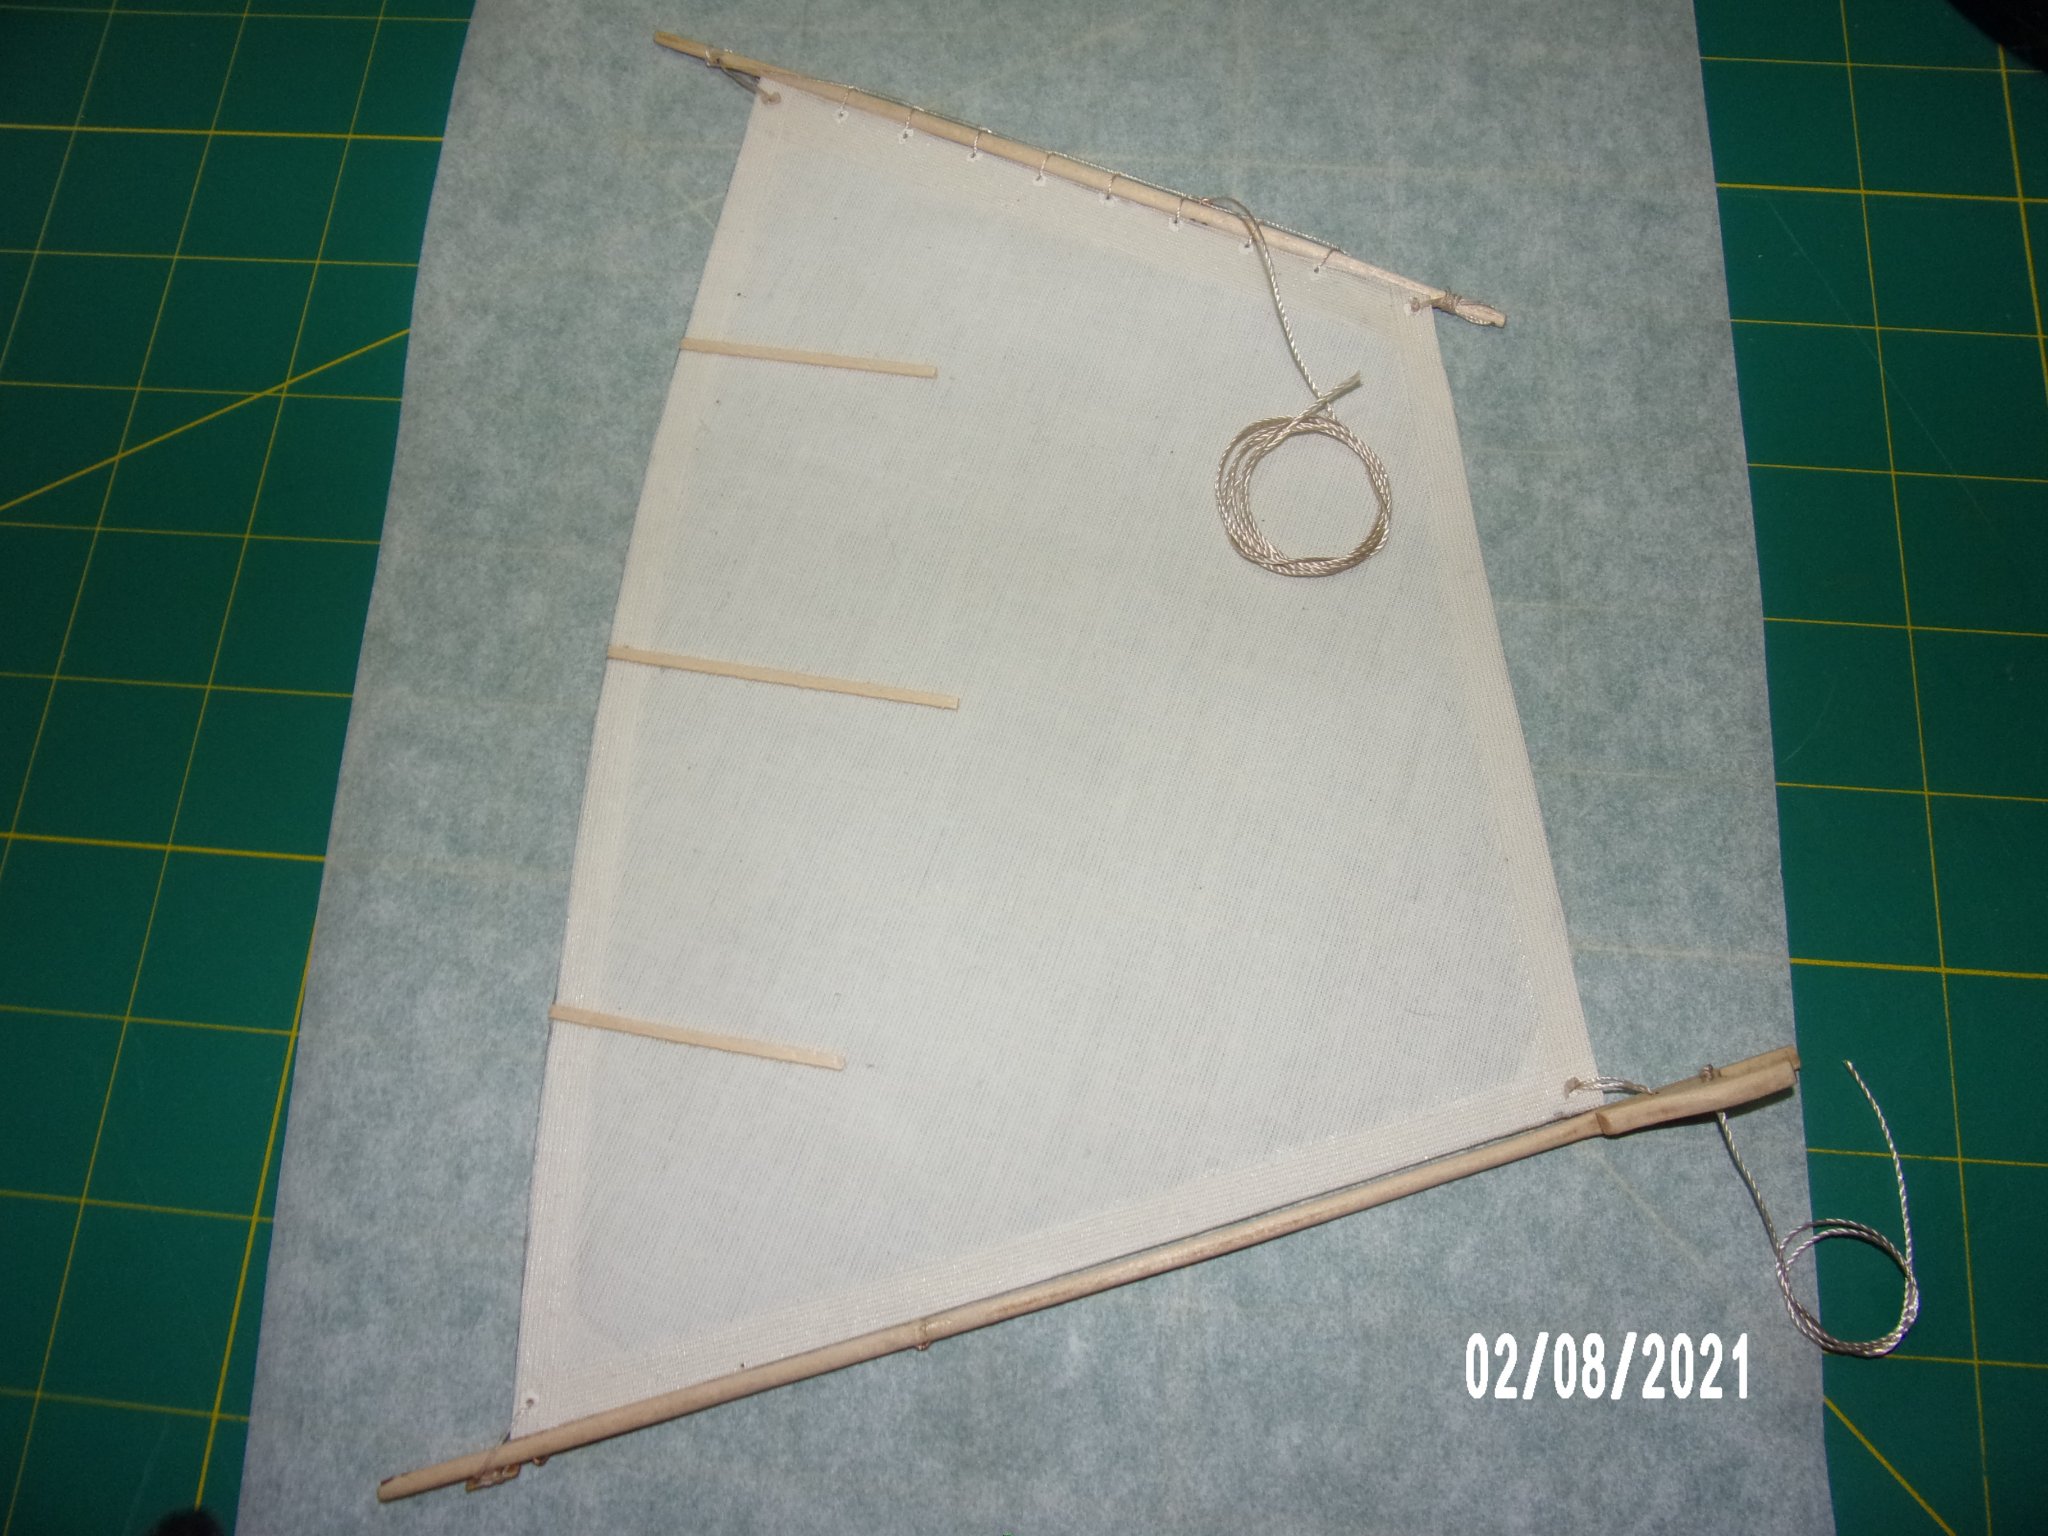
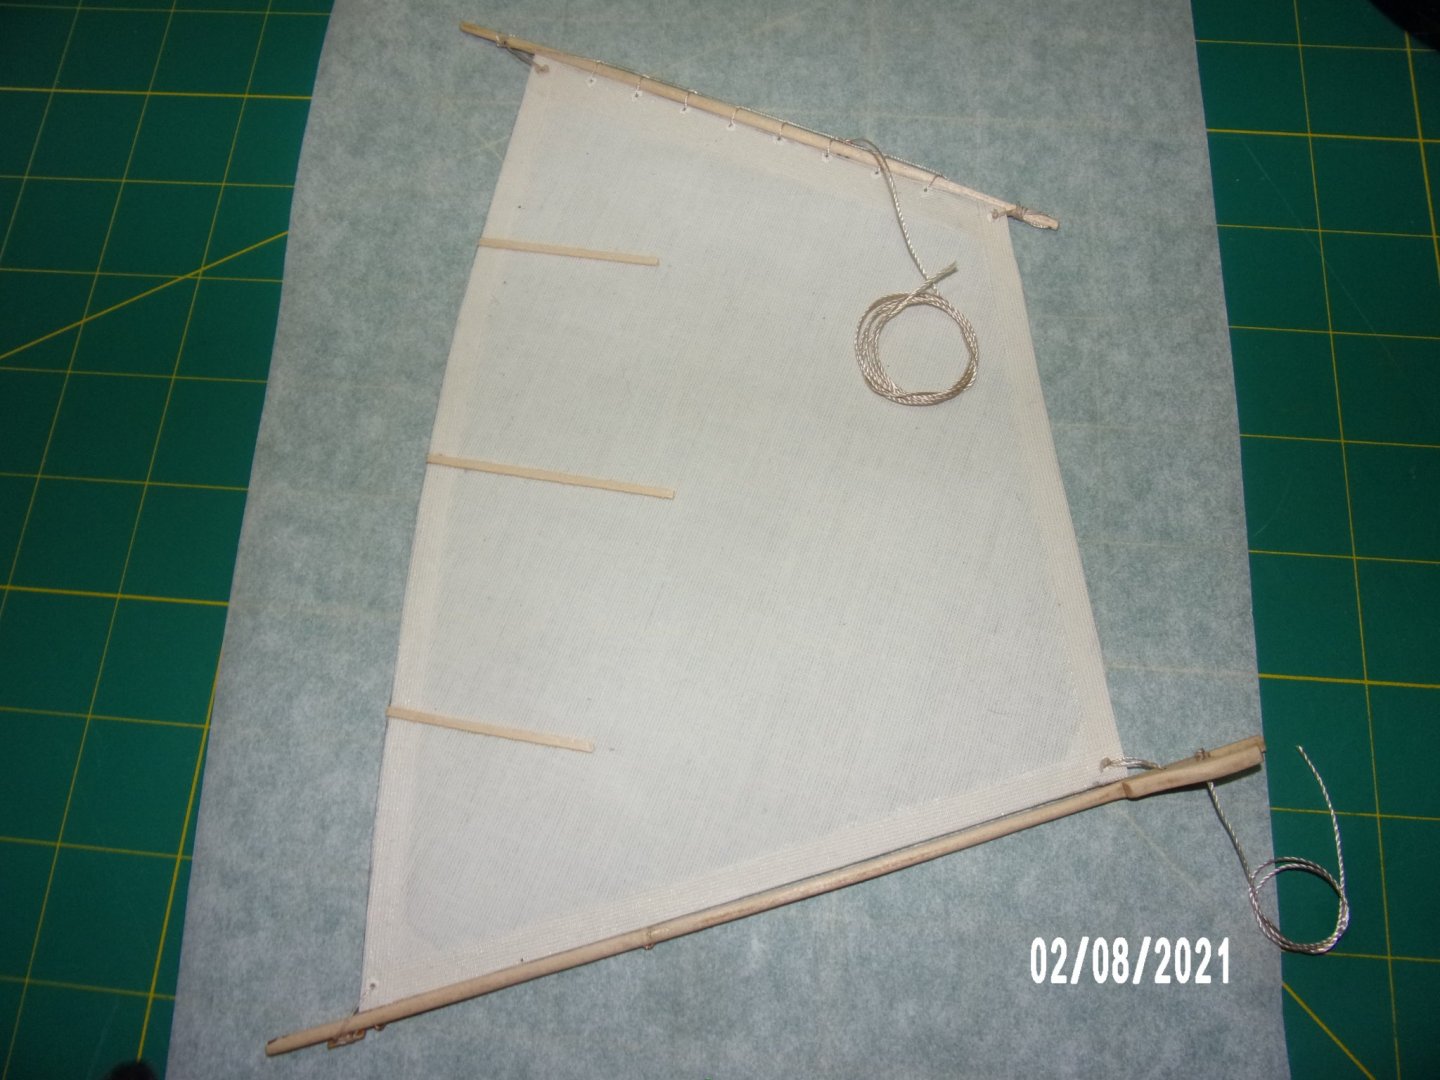
Assembled the sail. I thought I'd never get it right, but am happy with the results. I had broken the boom at the eye towards the center during shaping, and the break is visible, but I can live with that. Definitely going to order a headband magnifier today as the tabletop model I've been using was in the way throughout the lashing/lacing operation.
- 45 replies
-
- 5
-

-
- norwegian sailing pram
- Model Shipways
- (and 1 more)
-
I'd like to give credit to John and Ed at Model Expo. They have been very responsive in providing the replacement part, listening to feedback, etc. Ed indicated that there is no errata sheet for this model at this time, but he was open to the idea of producing one. This attitude will weigh in my decision to order the lobster smack model next or just plunge into one of the more advanced models which I have.
- 45 replies
-
- 2
-
-
- norwegian sailing pram
- Model Shipways
- (and 1 more)
-
My kit also had only 4 supports for the jig. I made the 5th from the leftover sheet stock. Your model looks great! Bob
-
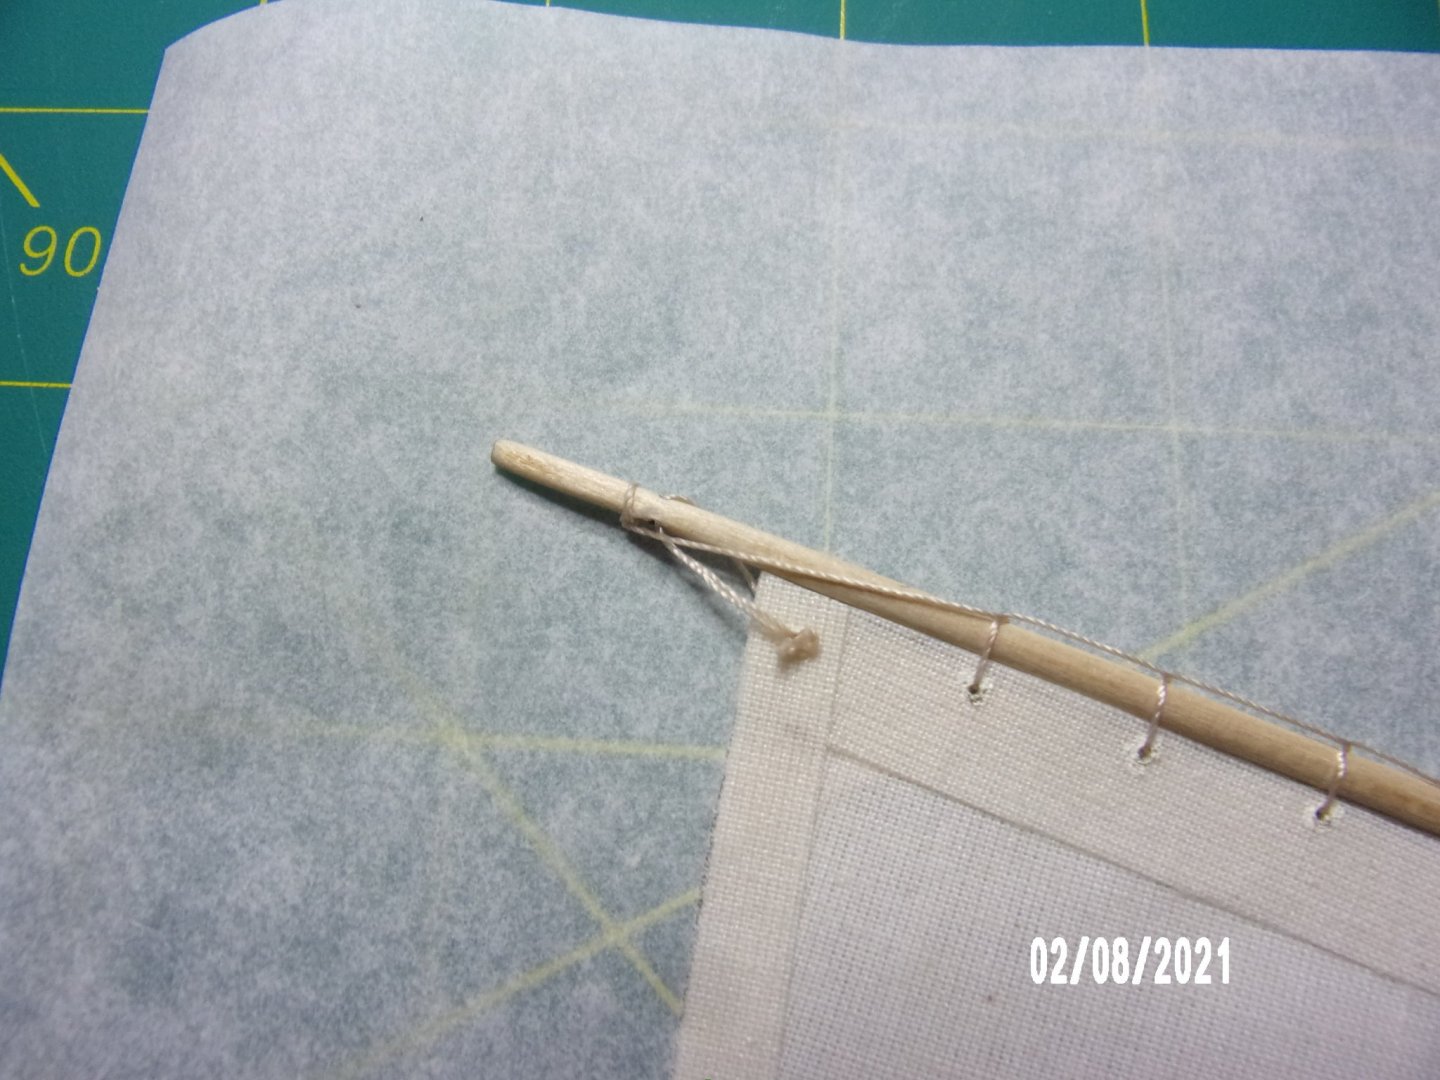
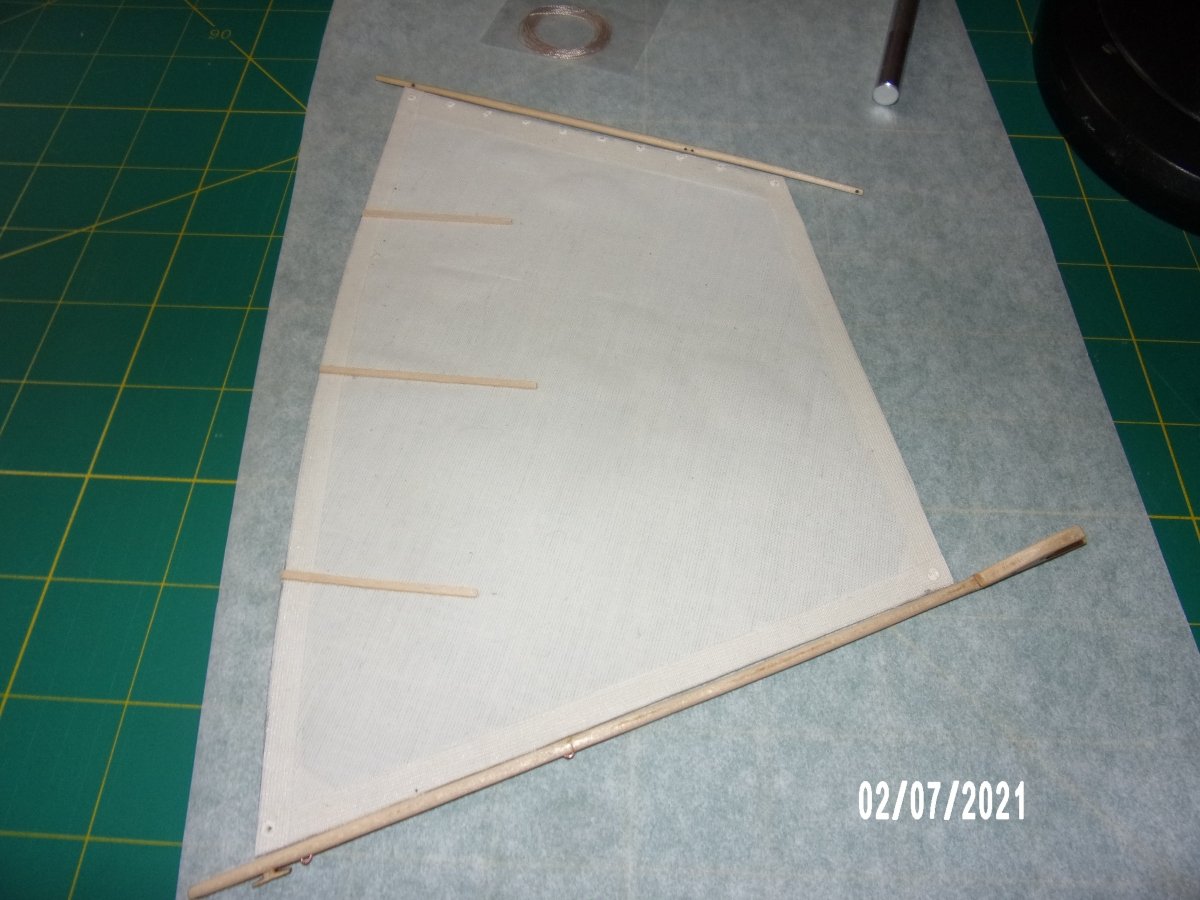
I botched a part and am waiting for it's replacement. Therefore the hull construction is on hold. I decided to build the sail. Another problem arose as I used the sail pattern as supplied assuming it was to scale. It was not, and the sail is somewhat undersized. Looking at another log for this model, I see the same results, and it still looks OK, so I will proceed. The photos show the holes/cleats on the upper and lower spars more or less lining up with the sail corner holes. Since the sail is undersized, the choices are to align one end or the other, and "reach" with the lashing to the hole or cleat on the spar, or split the difference and "reach" on both ends of the sail. I am leaning towards centering the sail. I am quite happy with the teaching David A. does in this kit. Shaping tips, use of jigs, etc. First pic is my sail, second is from the instruction booklet. Apologies for my long-windedness.

- 45 replies
-
- 3
-
-
- norwegian sailing pram
- Model Shipways
- (and 1 more)
-
I love the details! Very nice model. Bob
-
Hello from Northern California Foothills
bobandlucy replied to bobandlucy's topic in New member Introductions
Hi, Pete. I've never been to Rohnert Park, but it looks very nice up there, especially on you like wine, beer, and food! B -
Thanks, Ryland. I'm learning quite a bit on this model, which is the point. I do wish that the instructions were consistent throughout. But I'm confident that I can overcome these problems. . . Bob
- 45 replies
-
- 2
-
-
- norwegian sailing pram
- Model Shipways
- (and 1 more)
-
Hello from Northern California Foothills
bobandlucy replied to bobandlucy's topic in New member Introductions
Thank you, Mike! -
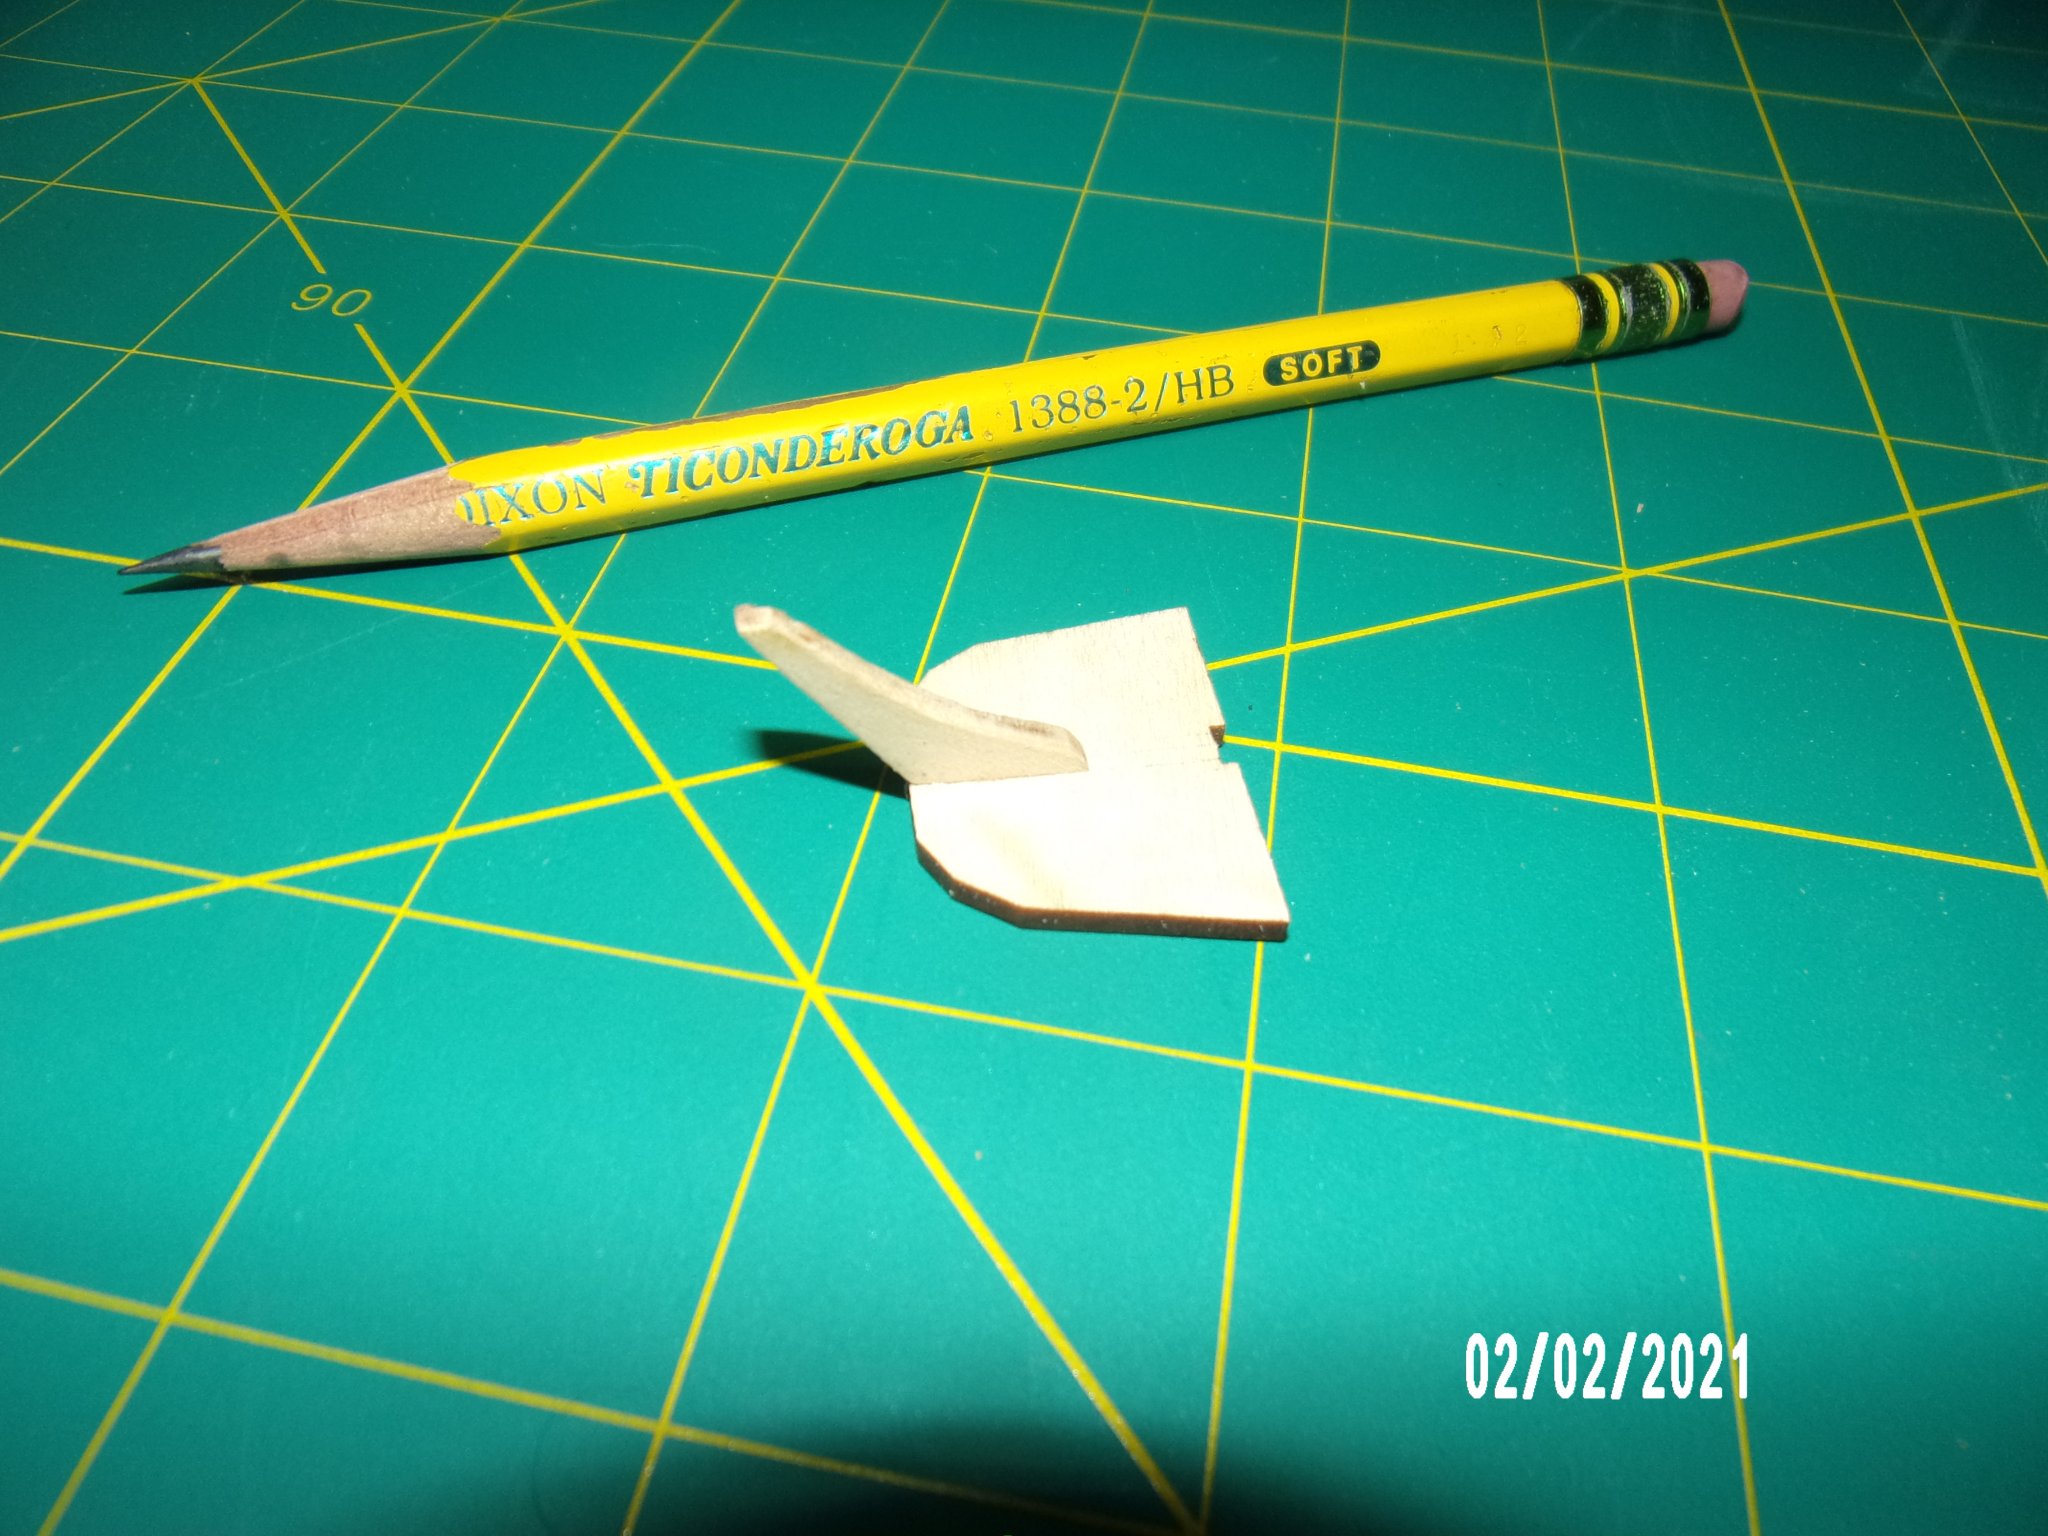
I assembled the bow transom per the instructions. No problem there. When I began on the stern transom - different story. The instructions called for the use of a sanding bevel included with the kit. Cool idea, and one I will remember for the future. The problem arose when the printed instructions read "Turn the [lower] transom so that the bevel marks are facing away from you." If I had my wits about me I would have noticed that the accompanying photo shows the bevel marks facing the camera. I did as the written instructions indicated, because it seemed to jive with the instructions given for beveling the upper stern transom, and after all why would one write such an explicit instruction if wrong? Wrong! (2nd pic below, with pieces held together as they will be glued). As you can see, if assembled this way, it would not result in good joint, and besides would collect and hold water. I think this will be remedied by transferring the bevel marks on the lower stern transom to the other side, and flipping it. I noticed that the majority of people logging this build did not do this beveling? Hard to tell from the pictures, and even harder from the pic in the supplied instruction booklet. . . This hurt my brain cell, but after all this is partly the reason to take up a new hobby- to keep the cell alive and keep it company, since all his buddies have died. Lessons learned: 1. Understand what I'm doing at all times. If the result can't be envisioned, DO NOT PROCEED. 2. Look at the instructions in PDF format as the pics can be zoomed. 3. Do not be dismayed, as almost everything is fixable.


-
I have begun work on the pram, the second in the progressive learning series by Model Shipways.

-
Thank you, Bradley!
-
Thanks much, John!
-
Thanks Moab. I really feel a sense of elation at the moment! Ain't perfect, but better than I expected. b
-
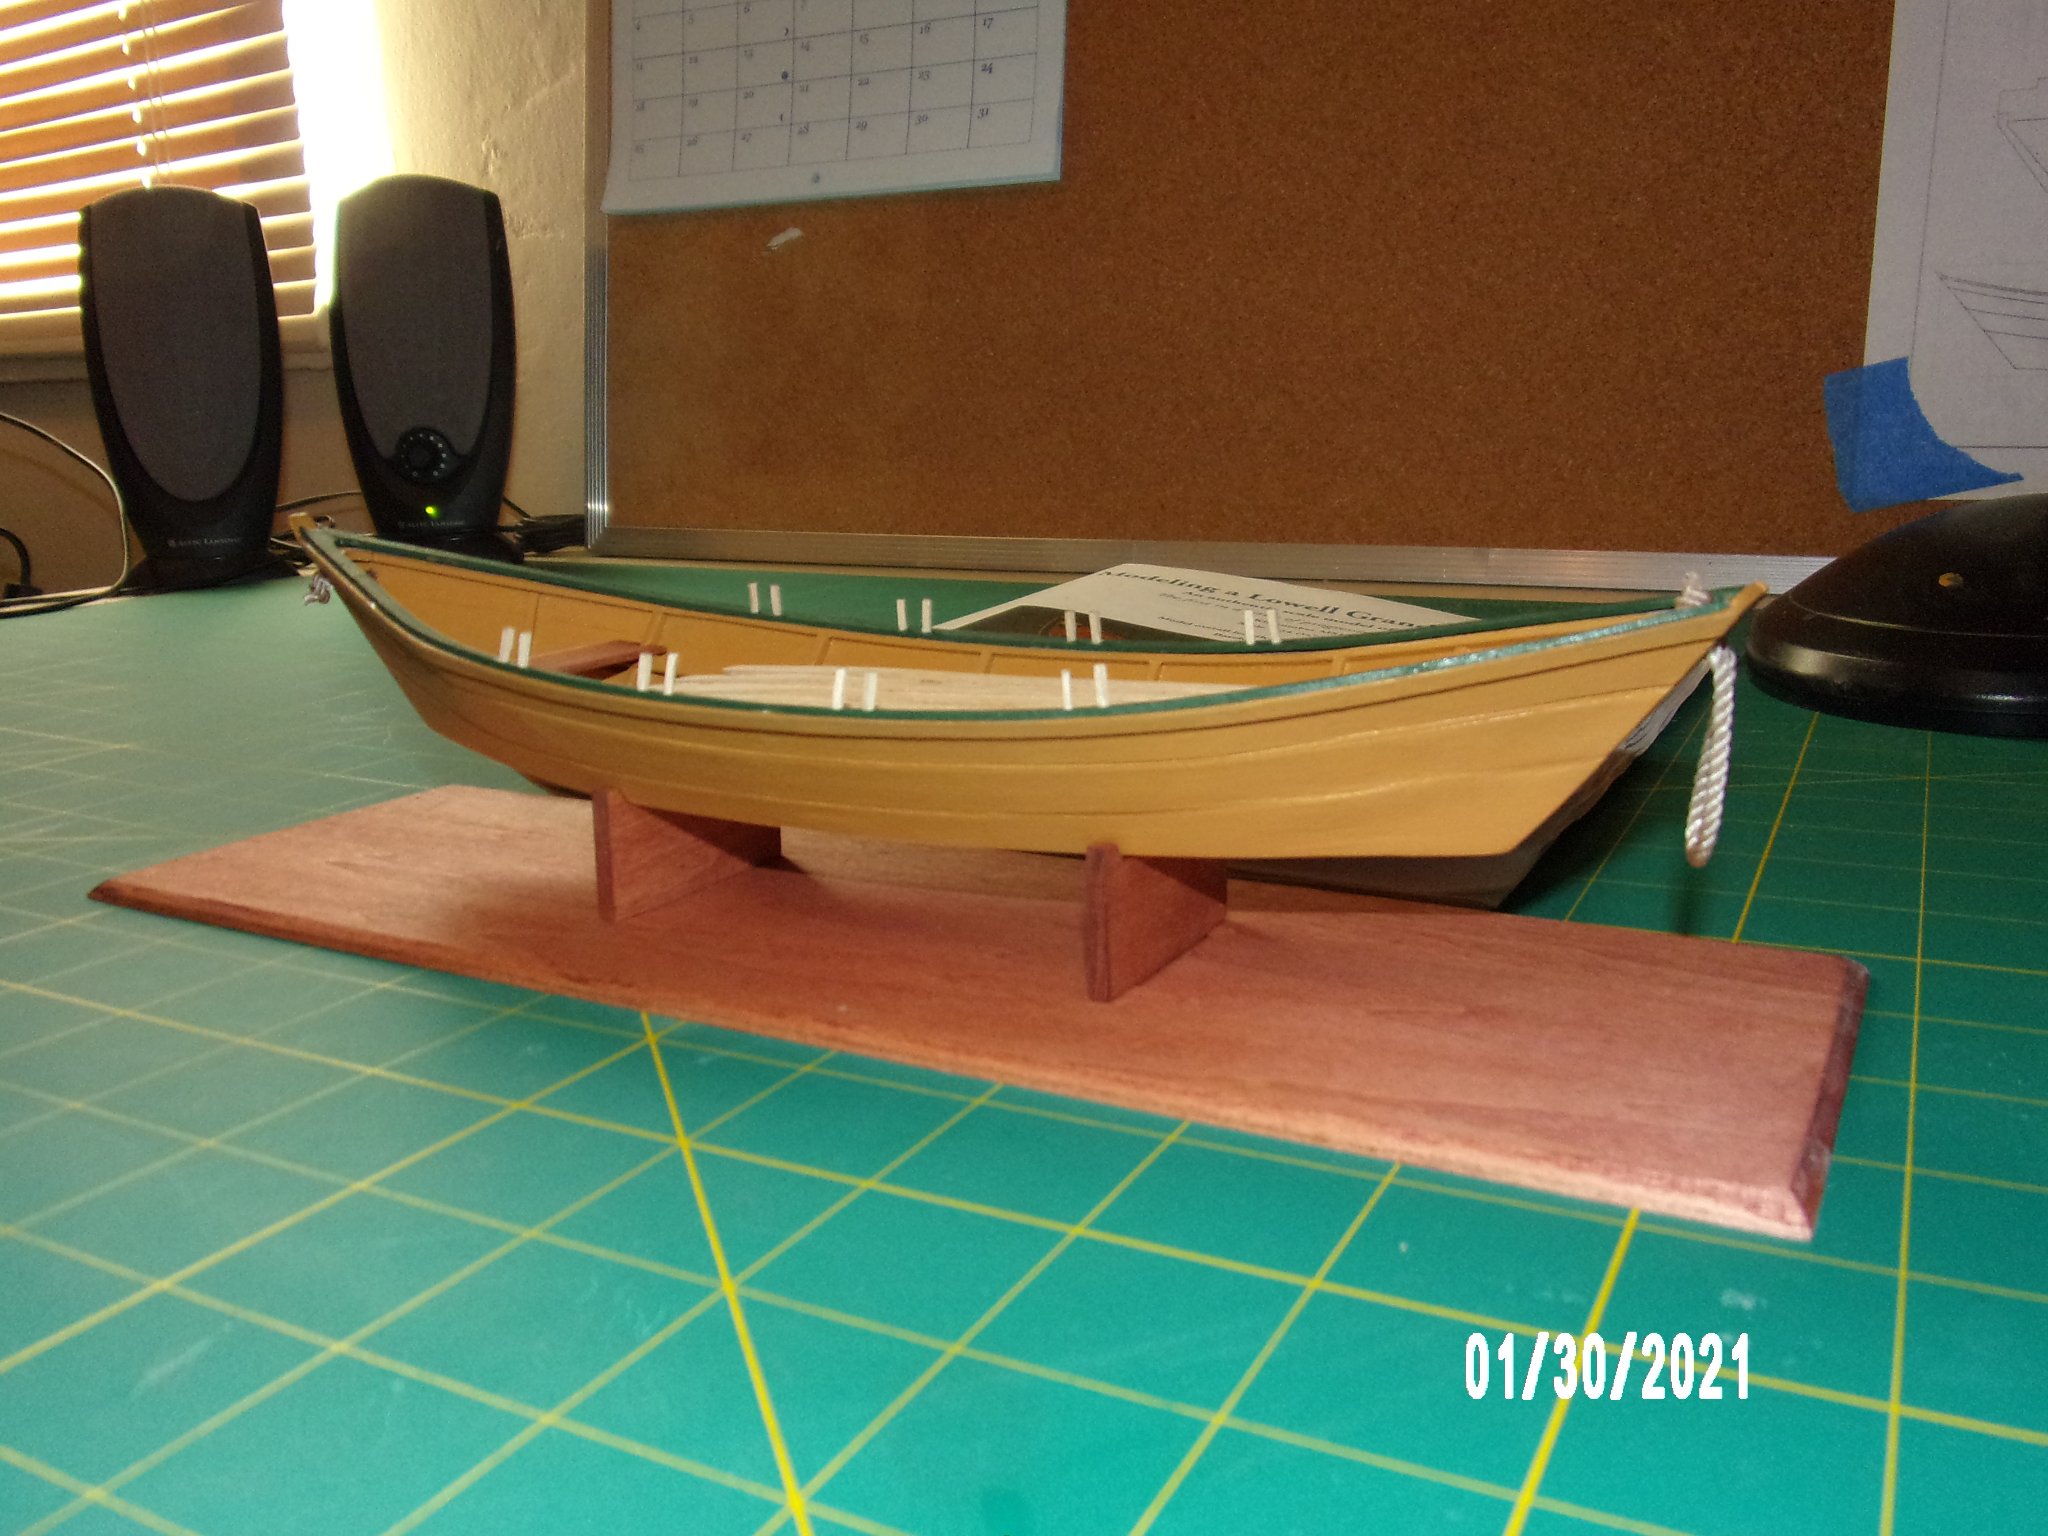
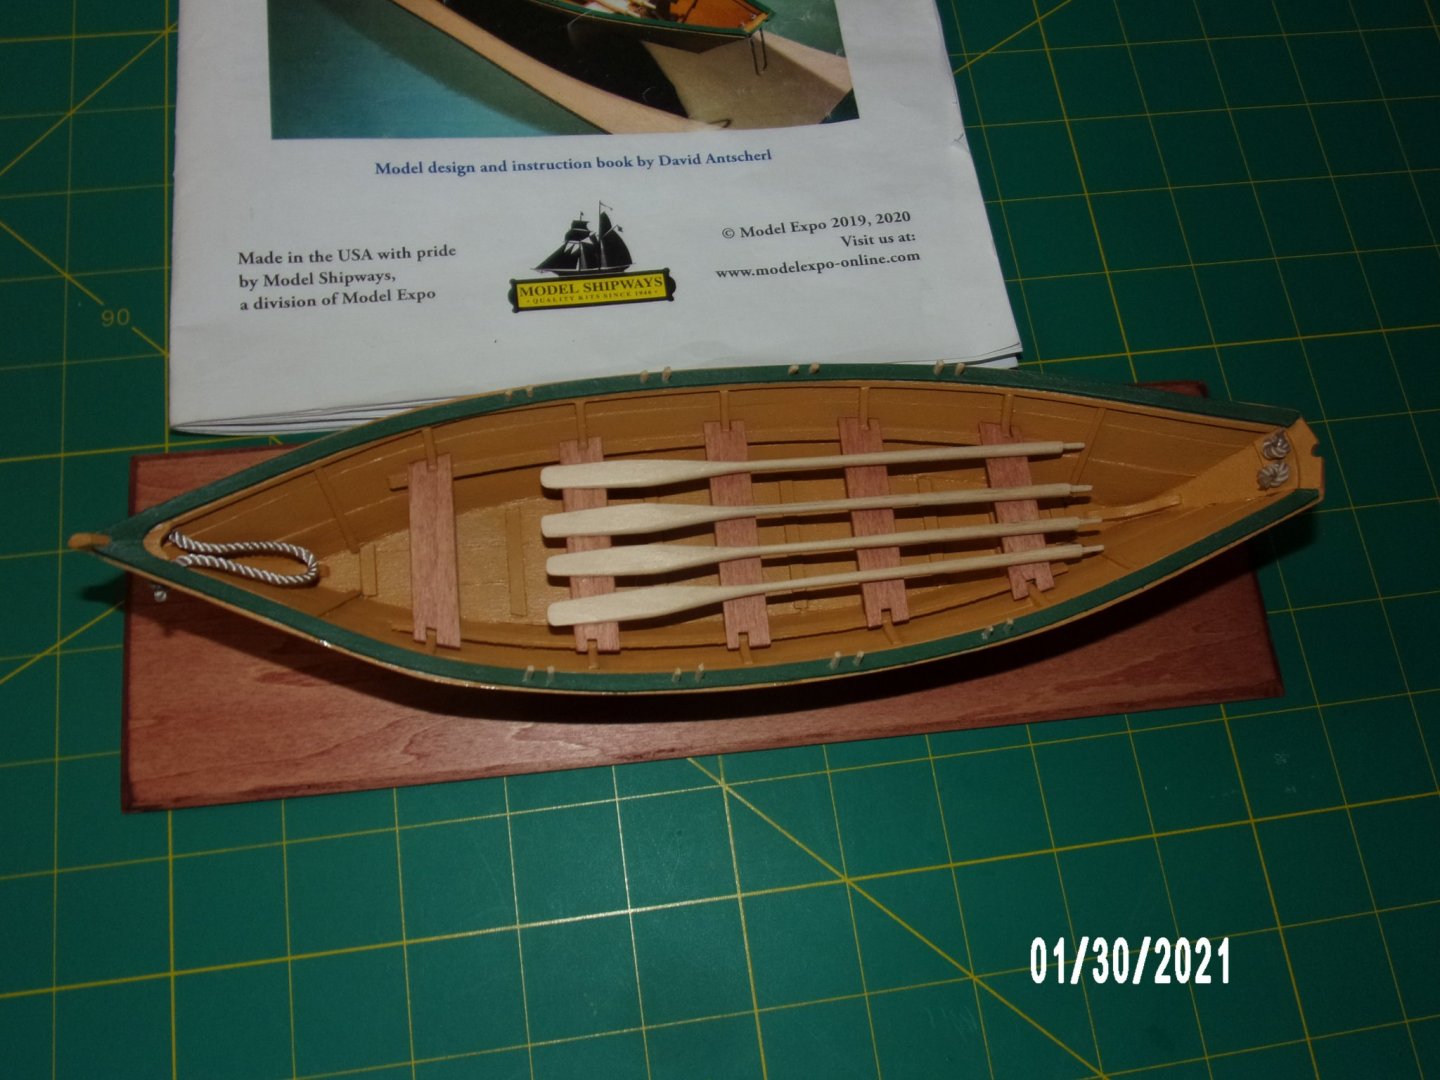
The first model of any kind I actually finished! I really am enjoying this. Roughly a month in construction. Next!
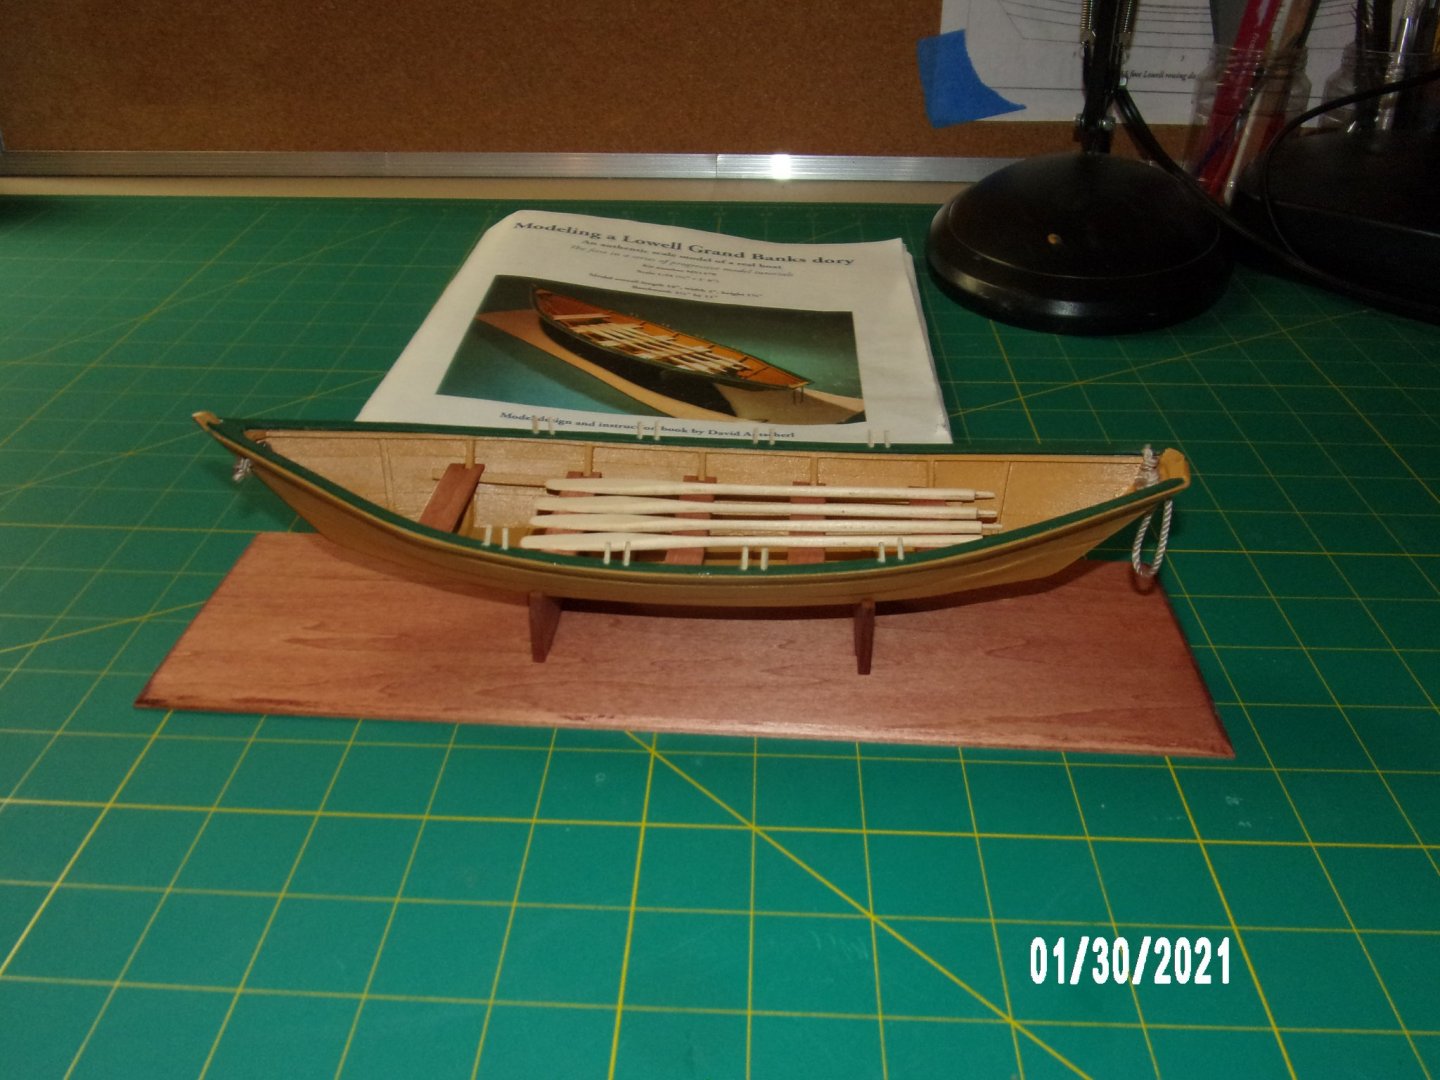


- 38 replies
-
- 14
-
-
- First Build
- Model Shipways
- (and 2 more)
-
This log is going to be invaluable to me as I begin this model in a while. Thanks Skibee! bob
- 62 replies
-
- 1
-
-
- muscongus bay lobster smack
- Finished
- (and 1 more)
-
Thanks, Bob!
-
Thanks very much, Druxey! I did get better results than I had rights to expect. I'm so glad I did not build the model I bought first, AL's King of the Mississippi. b
- 38 replies
-
- 4
-
-
- First Build
- Model Shipways
- (and 2 more)
-
Thanks, Bradley! I am always in danger of succumbing to perfectionism, which is not realistic in my case. I seem to have overcome this disease! I bought the Norwegian Sailing Pram, that's next. Bob
- 38 replies
-
- 2
-
-
- First Build
- Model Shipways
- (and 2 more)
-
Hello from Northern California Foothills
bobandlucy replied to bobandlucy's topic in New member Introductions
I added a build Log: