bobandlucy
-
Posts
512 -
Joined
-
Last visited
Content Type
Profiles
Forums
Gallery
Events
Everything posted by bobandlucy
-
 Oops, I see the exhaust is not that high. . .
 -
Thank you. Just take your time and it will be fine!
-
Ras, in central plants I've seen pipes insulated up to the 10 foot level, so a man with upraised arm could not contact the hot pipe. Bob
-
Thanks, Gregg. Was wondering about you. . .
-
Very nice, Jeff!
-
The bottom is still flat this morning! I have a question for those who have built similar models. The instructions call for attaching bulkheads to frames with "white glue and pins." Am I right that these pins are temporary? Seems like they'd need to be removed before laying the finish veneer planks on the bulkheads. . . Thanks Bob
- 109 replies
-
- 2
-

-
- Finished
- Artesania Latina
- (and 1 more)
-
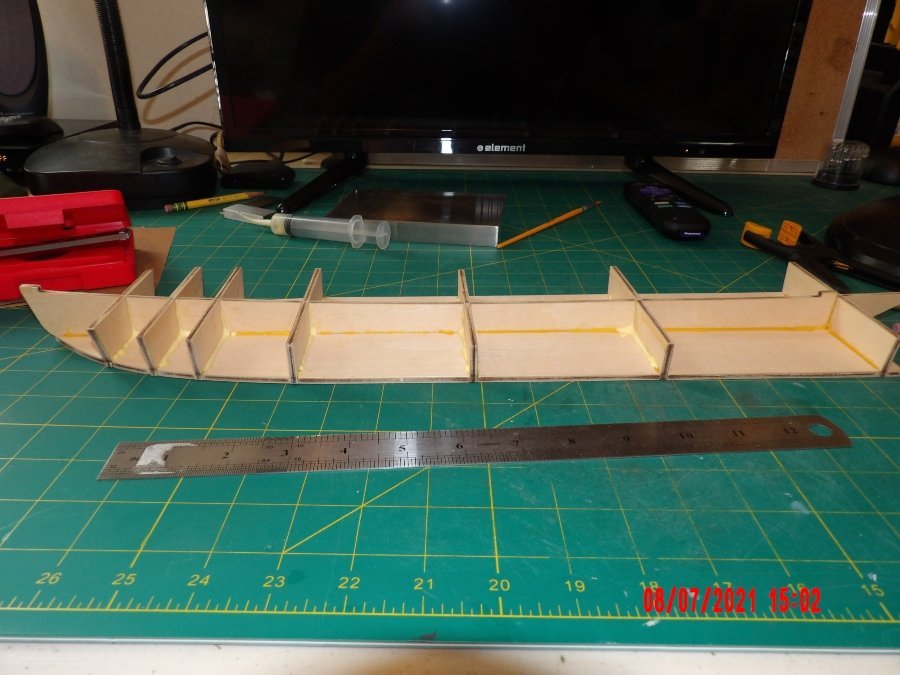
Well, after I released the bottom and keel from clamping, the warping appeared to be corrected. After a couple of hours the warping was worse than before. After a period of despair, and looking at the construction, I hit upon a plan. I glued the false keel to the bottom at the ends only. in the following pic you can see the warping of both pieces: Then I added the frames without gluing, thus straightening the keel, injected glue into the gap between the keel and the bottom between the frames, and with hands gave pressure downward until set. Then one by one glued in the frames with pressure downward until set. I then applied fillets of glue on all joints for insurance. I used Yellow Titebond for this phase. End result is the warping is gone. I believe in ending the day on a high note if possible, so. . .

- 109 replies
-
- 7
-
-
- Finished
- Artesania Latina
- (and 1 more)
-
Hello all. I was able to get most of the warp out of the bottom and false keel. I think what is left is negligible, we'll see. Paul, I had read through your log, it will be a good resource. Although it will pain me to paint the walnut hull, I probably will as it is more authentic. If you could tell me the specific paint colors you used, it might help with my terminal indecision! Bob
- 109 replies
-
- 1
-
-
- Finished
- Artesania Latina
- (and 1 more)
-
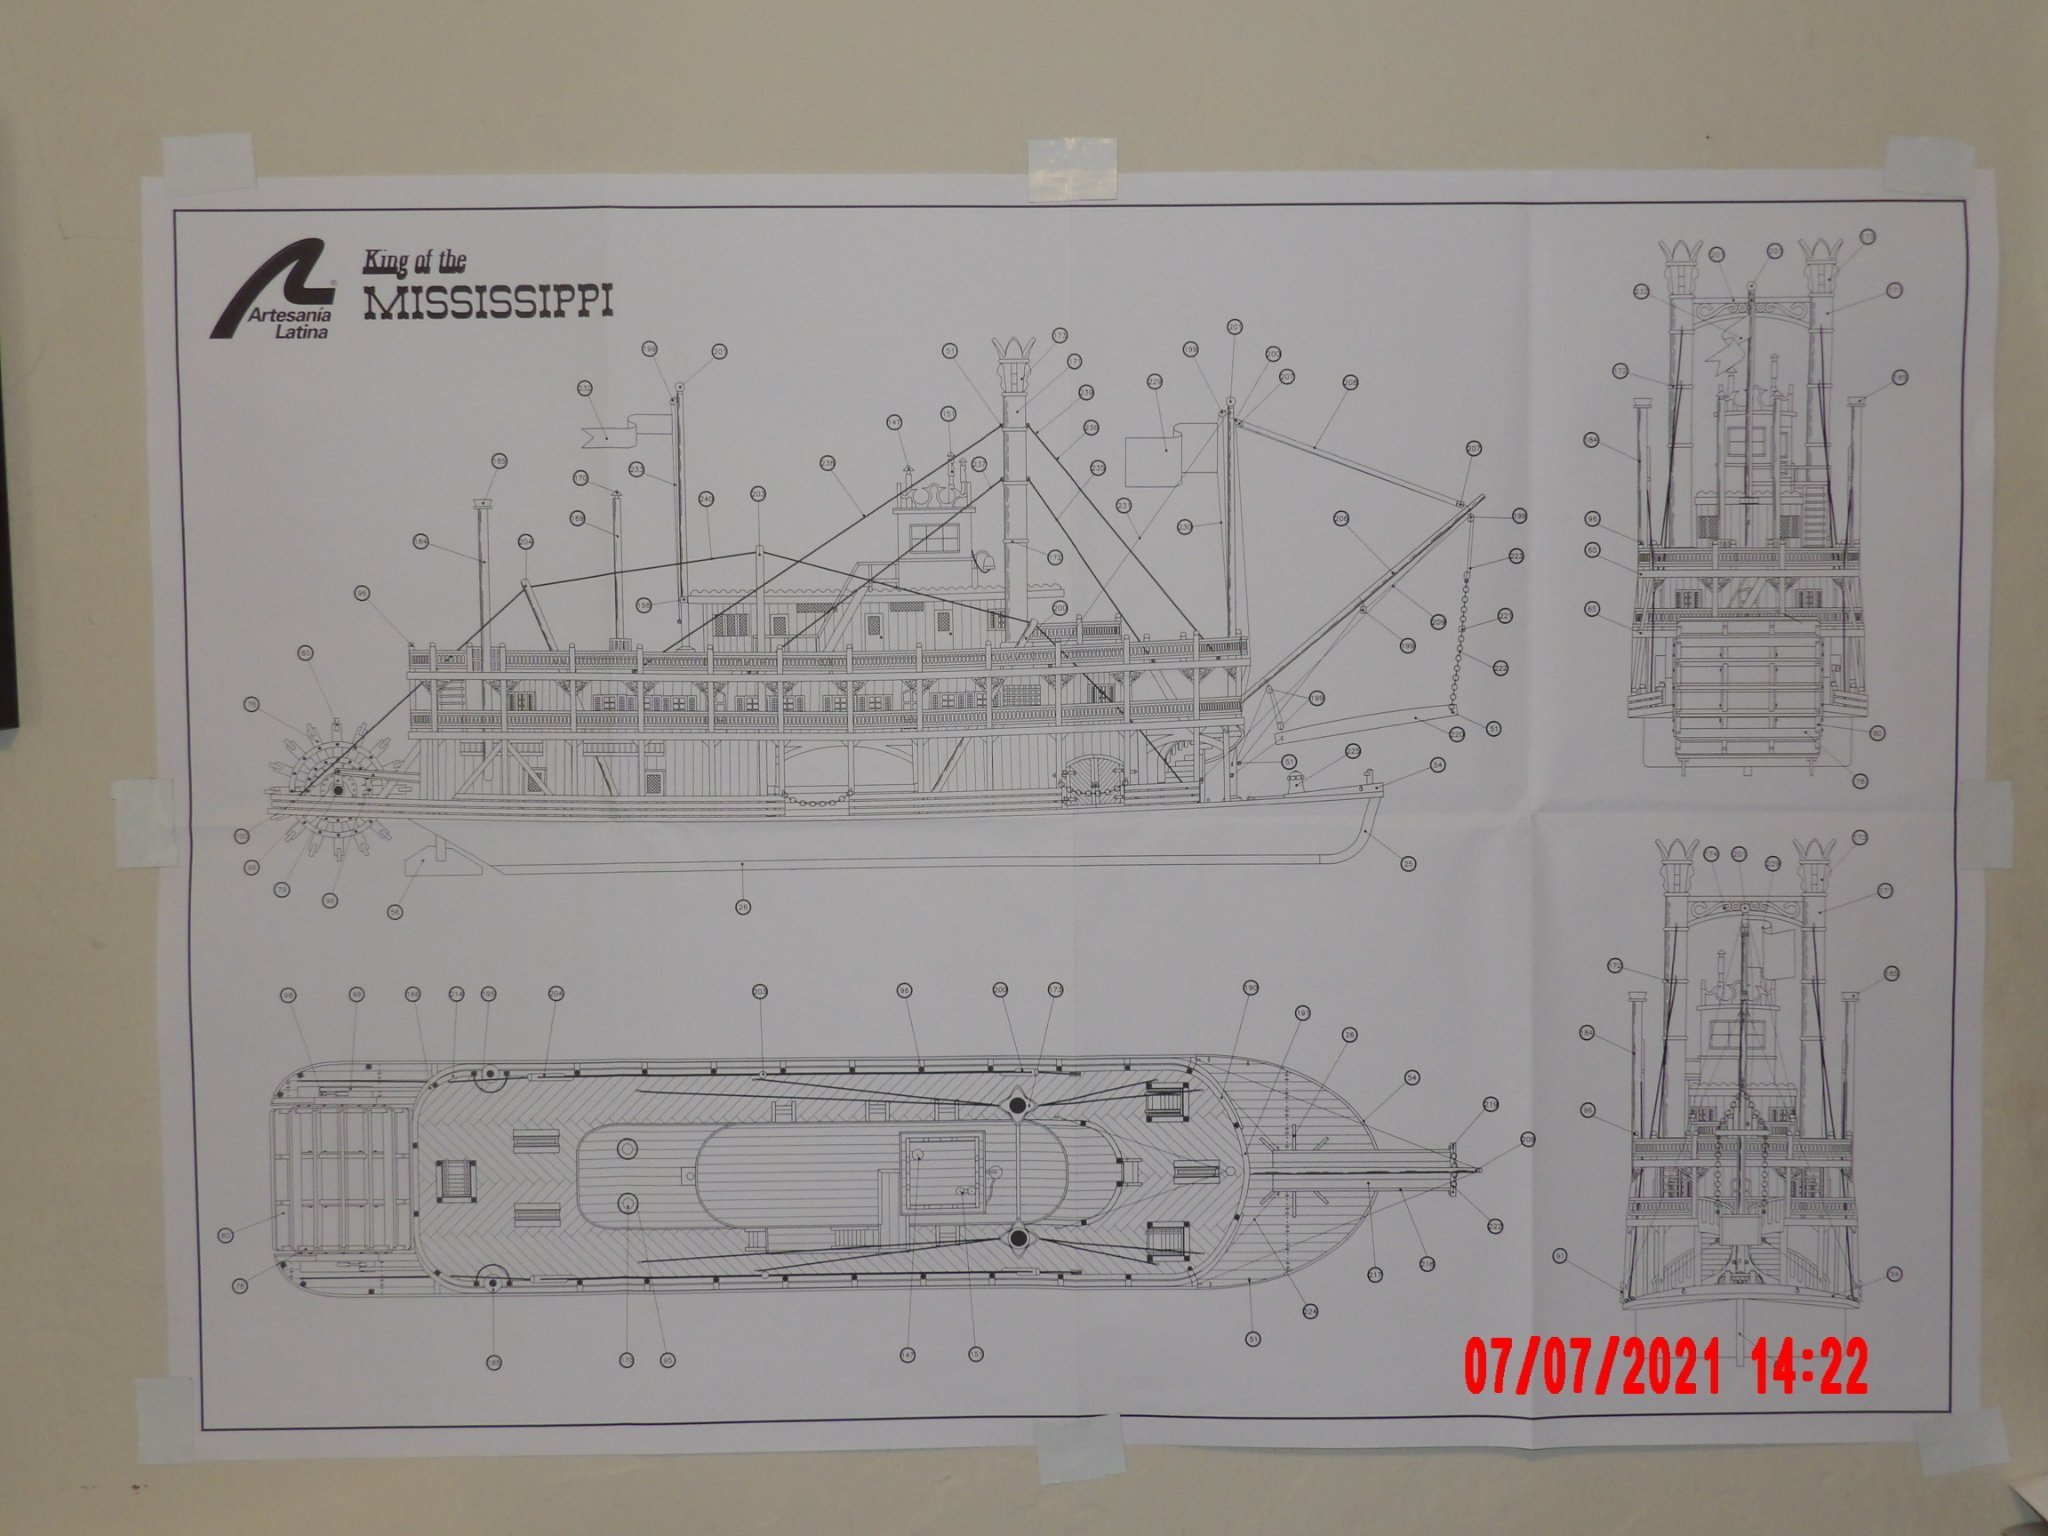
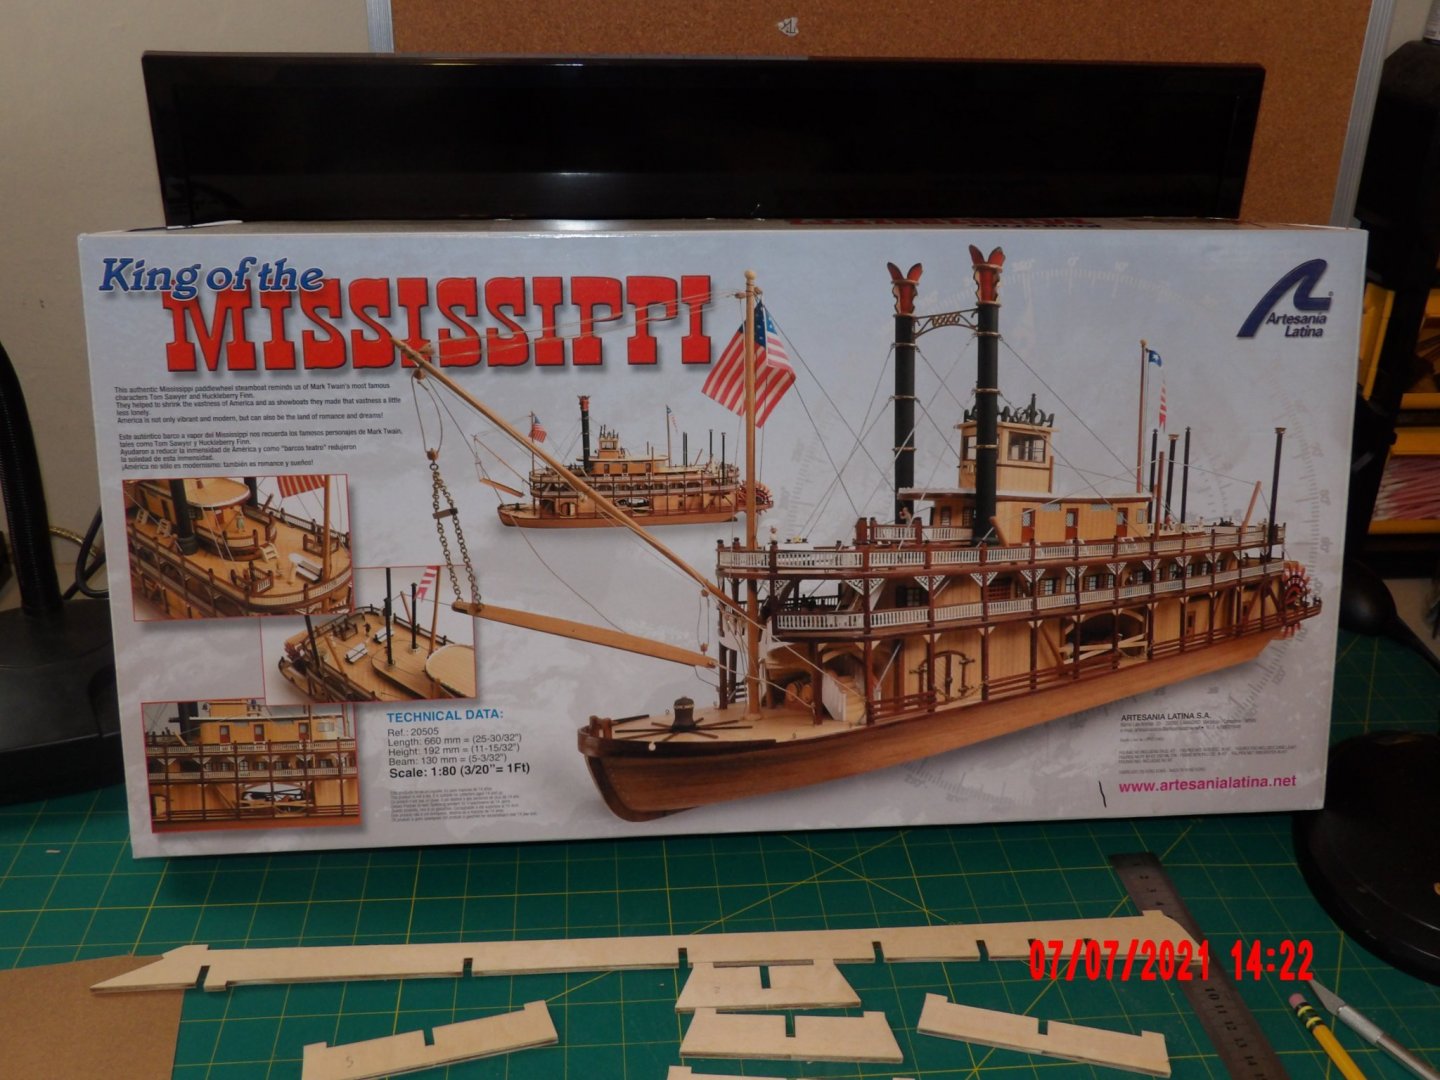
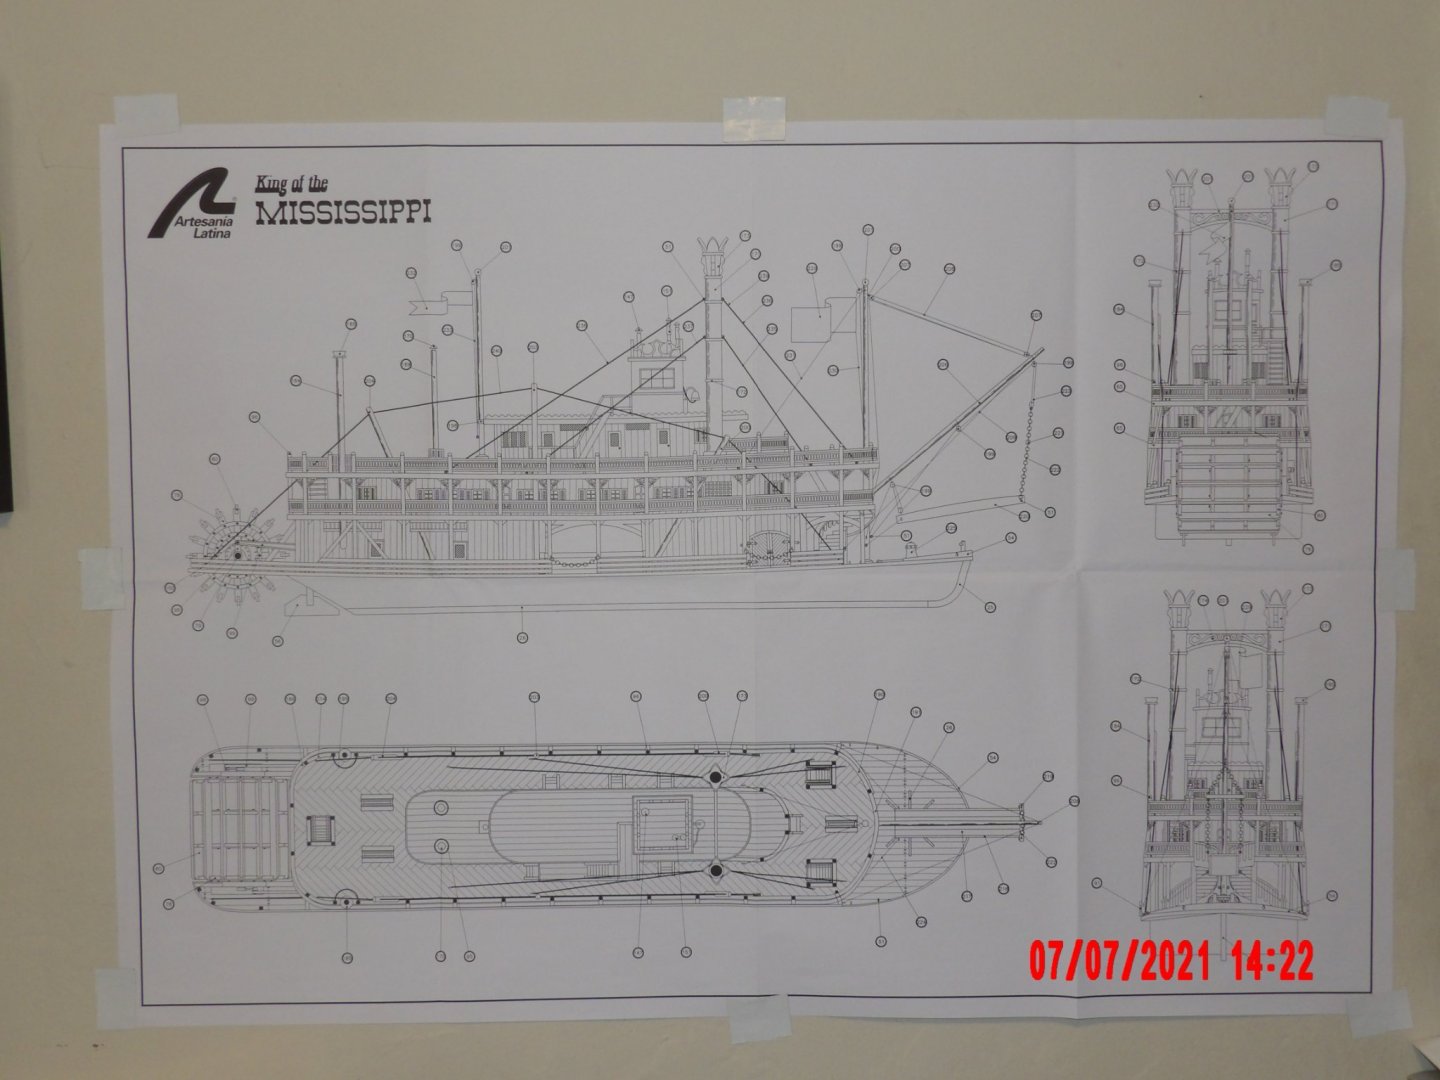
This was my first purchase. After reading the instructions I realized that I did not have the skills necessary. So I built Model Shipways Shipwright series of three models, the last being the Muscongus Bay Lobster Smack. As a lifelong fan of Mark Twain, I found this model appealing. I found the false keel and bottom warped, and am attempting to straighten before starting assembly. In the meantime, I spent some time removing char from the plywood bulkheads. There are a quite a few logs on MSW for this kit, so I won't repeat posting more than the box cover and overall plan to start:
- 109 replies
-
- 4
-
-
- Finished
- Artesania Latina
- (and 1 more)
-
Thanks, SkiBee!
-
I think it looks great! Look at Model Shipyards Norwegian Sailing Pram. I did that one as my second model. It has a single sail and a simple clinker planking, which is really forgiving. There are several builds here, and all got pretty good results. Bob
- 129 replies
-
- 1
-

-
- Bounty Jolly Boat
- Artesania Latina
- (and 1 more)
-
Thanks, David. I couldn't be happier. Yes, resolving the problems is the best feeling. This totally replaces the challenges I had while working! I've done the instructional series (as it exists as of now). I have AL's King of the Mississippi, I think I'll jump into that one next. Quite different. . . b
- 52 replies
-
- 2
-
-
- Model Shipways
- muscongus bay lobster smack
- (and 1 more)
-
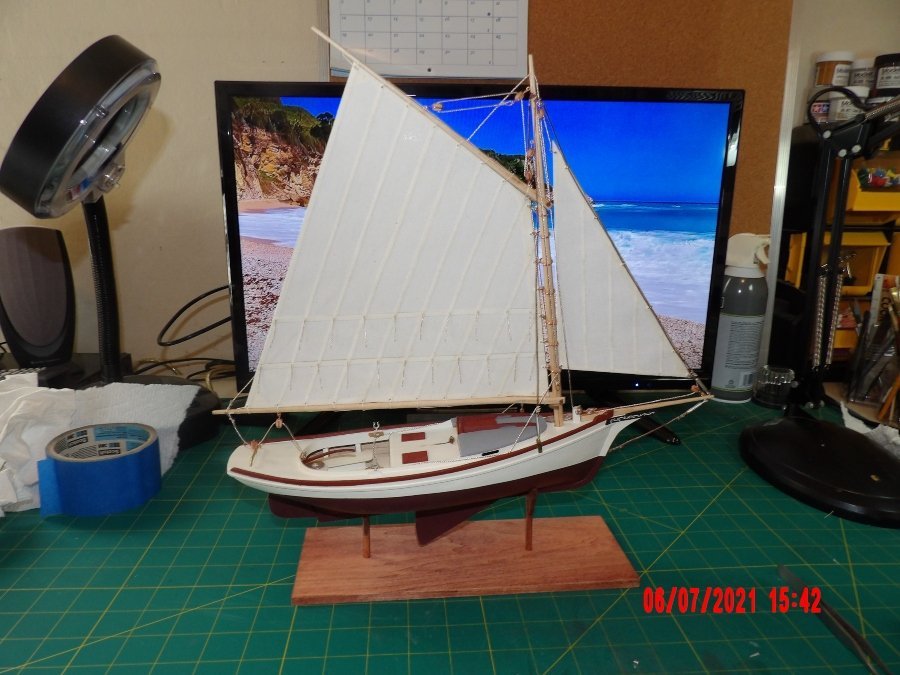
Calling this model done! 13 weeks +/-, not that it matters. . . I like doing the rigging. One really has to watch position of body parts. . . it's like playing a musical instrument, total concentration. Oddly, although the instructions call for brown 0.7 mm rope for the standing rigging, it is not included (same for beige 0.3 mm.) I bought these online advertised as being intended for this purpose. It is good looking but really stiff. I boiled in water to try and remove wax, but no improvement. I really couldn't pull off a decent false glued splice for attachment to eyebolts, but will keep trying in the future. In most cases I used 0.3 mm beige line ties. I can do this. Where the ties are used on brown rope the contrast in color is noticeable. I did not think to order the brown. . . and was ready to finish, and like I said before, there are no inspectors here. Learning techniques was my goal for this series. I feel satisfied in that. As an aside, I will be looking for cotton threads in the future. The nylon has way too much memory. Started cleaning up and found I have lost the surgical scalpel. First I checked my pockets and beneath my bottom on the chair. Then the trash can. Never found it. Big cleaning tomorrow. Glued in the row locks (final step) and poured a bourbon. Took these pictures. Thanks to those who followed, and gave advice. b

- 52 replies
-
- 6
-
-
- Model Shipways
- muscongus bay lobster smack
- (and 1 more)
-
Happy July 4th to you too! Details on your ship are amazing! Model Shipways does have great service and guarantee. They might do themselves a favor with enhanced QC, though. Bob
-
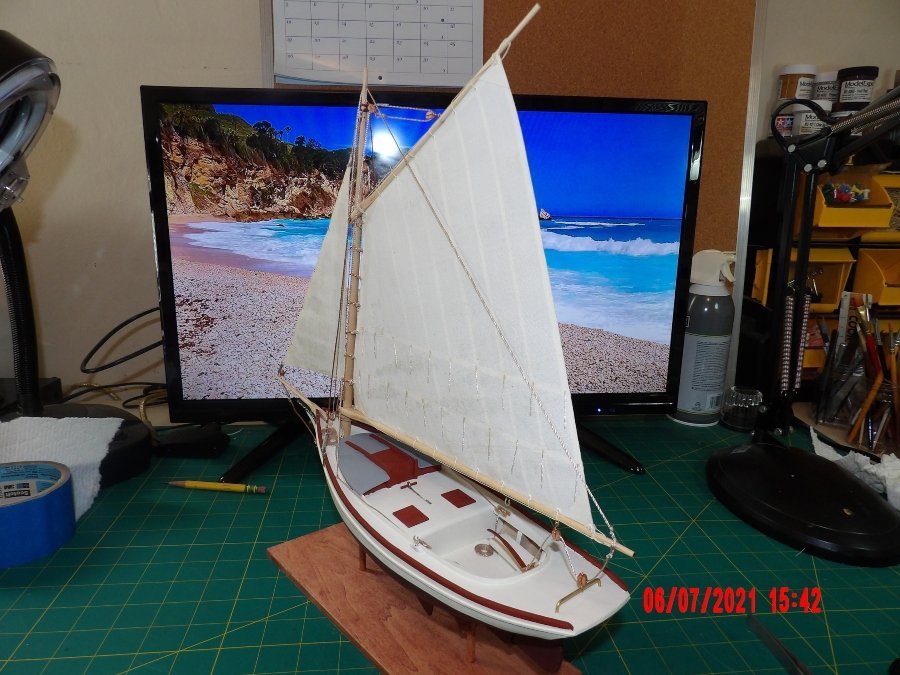
Just as I did on the Pram, I broke the gaff at the central eye, during shaping and again while lacing the sail. The repair looks a little better this time. Somehow, my measurement was off and I ended up with 7 mast hoops instead of 6, and had to add a hoop while tying to the sail, but I don't have a problem with that. It looks OK to me. Next is the jib sail, rope coils, and a little touch-up paint. . . a day or two and one more post, and I'll call it done! Happy 4th of July to all! Bob
- 52 replies
-
- 6
-
-
- Model Shipways
- muscongus bay lobster smack
- (and 1 more)
-
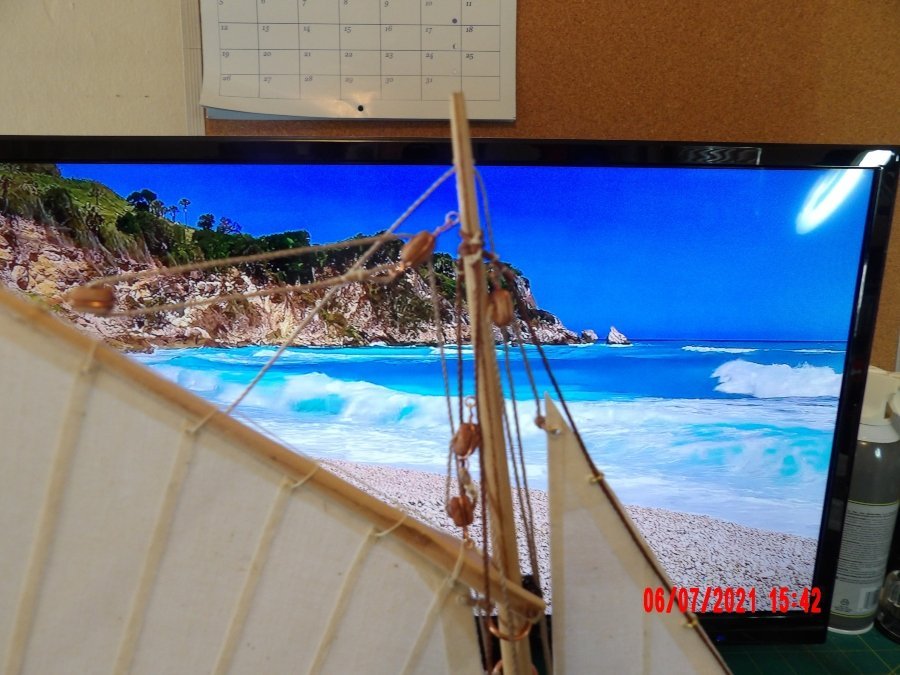
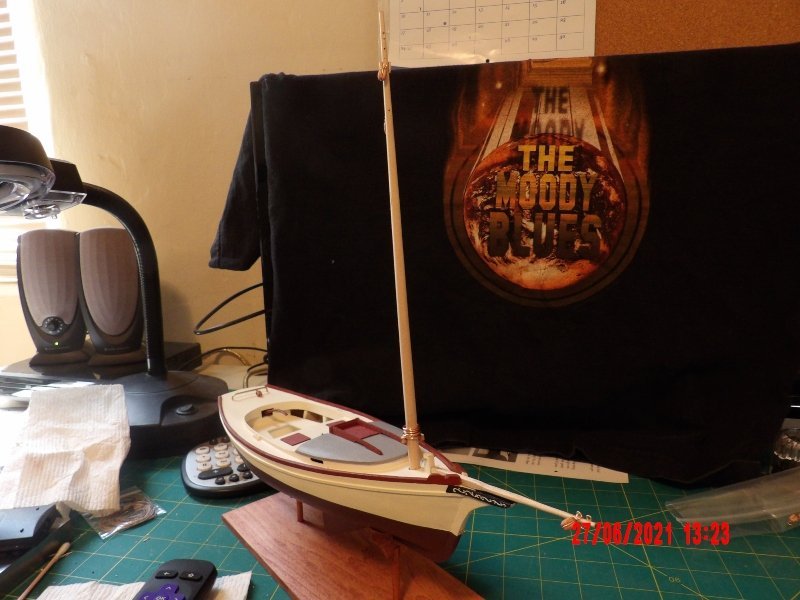
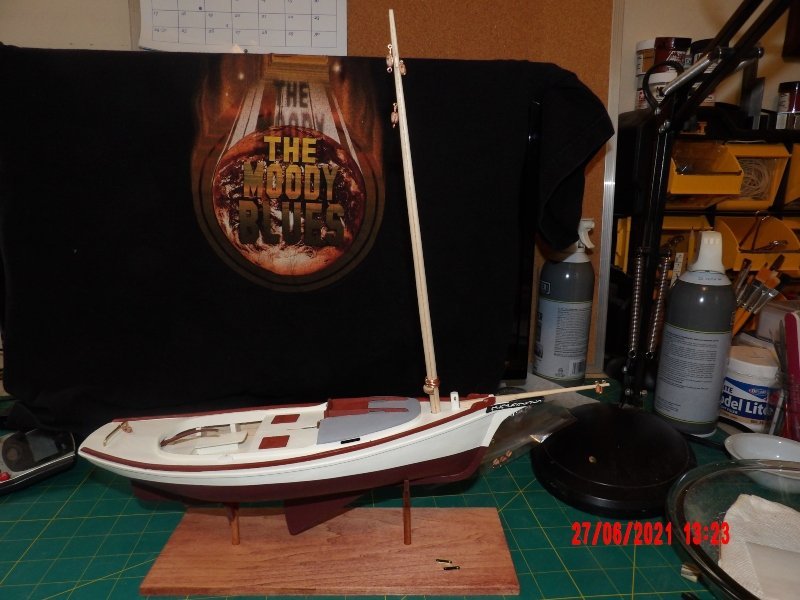
Thanks so much, druxey! Yeah, I'm a Moodies fan, and a bad photographer. Needed something to block the reflection from the screen. I have learned so much from assembling this model! I was happy with the results on the pram, but this kit has really challenged and increased my skills. The end is in sight, and I am resisting the urge to rush. . . On to the boom and gaff, sail-making and rigging! I'm sure I need more cool tools. . . b
- 52 replies
-
- 1
-
-
- Model Shipways
- muscongus bay lobster smack
- (and 1 more)
-
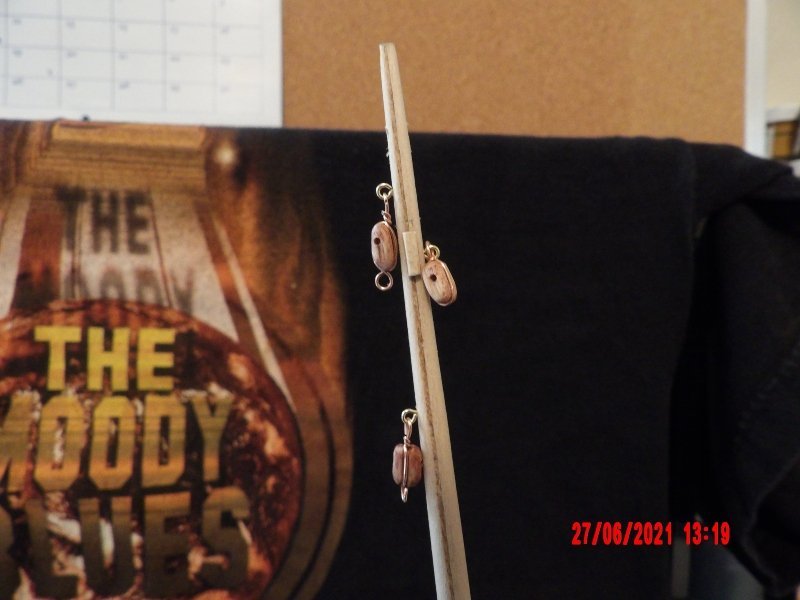
I shaped the remaining 7 blocks, and installed four of them. Pic of the top of the mast (the mast has a visible line where the halves join, but I did not wish to sand more, as the shape was true. I imagine that in real construction, the builders would have done the same?):
- 52 replies
-
- 2
-
-
- Model Shipways
- muscongus bay lobster smack
- (and 1 more)
-
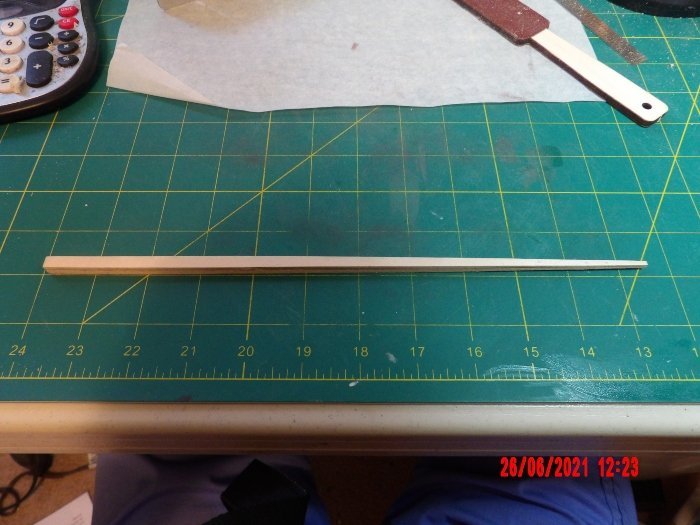
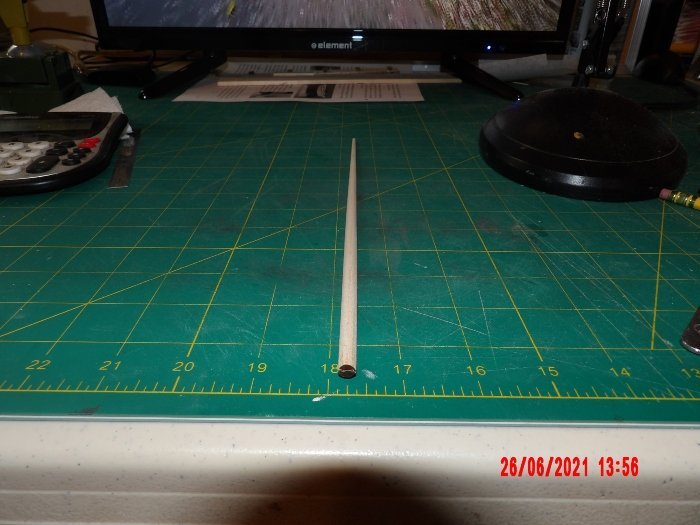
I began shaping the mast. I finally came to an understanding of the process (I'm slow)! I did not follow all steps on the Sailing Pram, and my spars were not as round. For the first time, I braved the block plane. This speeded up things considerably. I cannot stress enough the need to measure and line both the four square and the eight square out. It takes some time. Four square: Did not take picture of the eight square, but here is the round. I did not worry much about the length buried below deck as it fit in the hole in the deck as it was and did not want to make the fit too loose: For those that follow, I want to note that there are three provided holes near the top of the mast, to install eye-rings for attachment to blocks. I studied this for a long time. There should have been four holes, the additional one (or two) at the top, for the sheave/topping lift line. It would have been easier to drill this hole prior to rounding the mast, but I was able to do so (by drilling an undersized hole and enlarging with broach) - in the end I am very pleased with the methods and instruction, and am confident that I could reproduce the same or better results again. From the manual:

- 52 replies
-
- 5
-
-
- Model Shipways
- muscongus bay lobster smack
- (and 1 more)
-
To clarify, I am using the pin insertion pliers with pre-drilled holes. Keith is right, I can't see doing otherwise. I have used both CA and epoxy. With CA, you have to be really quick. . . b
- 160 replies
-
- 2
-
-
- Model Shipways
- norwegian sailing pram
- (and 1 more)
-
Just found your log. Looks good! I found that a small vise is very useful in rounding the oars. Clamp the piece in the vise, extending the end an inch or so at a time, working your way down towards the blade. Hold a small, thin strip of the sandpaper by the ends and loop it around the oar shaft in a "C" shape to that it is in contact with the wood on the top and sides. Move your hands in opposition to one another to sand. Do this with the loop at the top, bottom, sides. Don't try to reach the final shape in one pass. . . Bob
- 12 replies
-
- 3
-
-
- Model Shipways
- Lowell Grand Banks Dory
- (and 1 more)
-
Lynn, I bought these pin insertion pliers from MicroMark. They work great! https://www.micromark.com/Pin-Insertion-Plier Your model is looking good! Bob
- 160 replies
-
- 2
-
-
- Model Shipways
- norwegian sailing pram
- (and 1 more)