
HOLIDAY DONATION DRIVE - SUPPORT MSW - DO YOUR PART TO KEEP THIS GREAT FORUM GOING! (89 donations so far out of 49,000 members - C'mon guys!)
×


Avi
-
Posts
323 -
Joined
-
Last visited
Content Type
Profiles
Forums
Gallery
Events
Everything posted by Avi
-
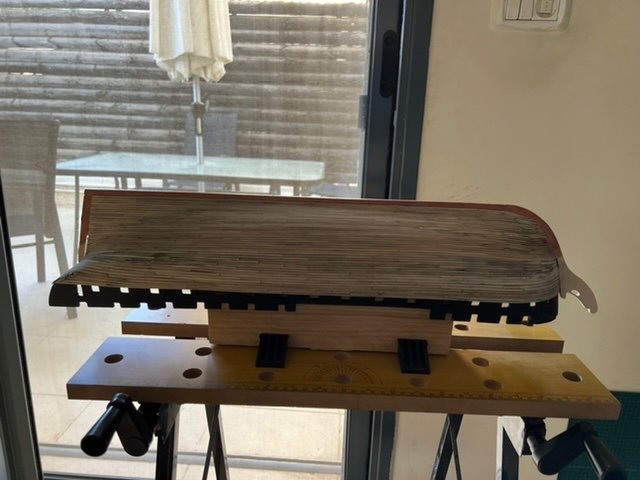
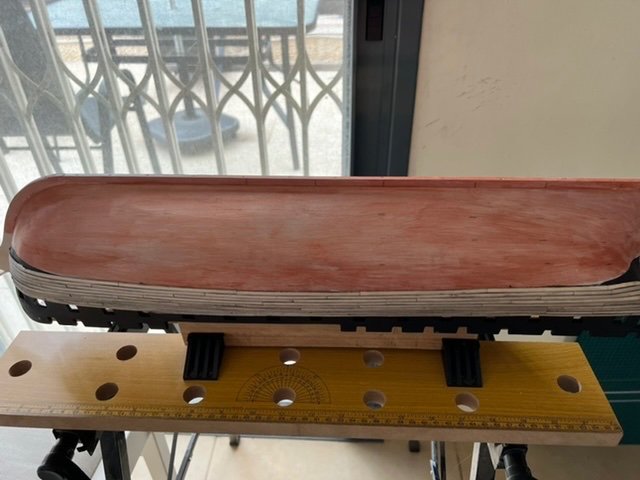
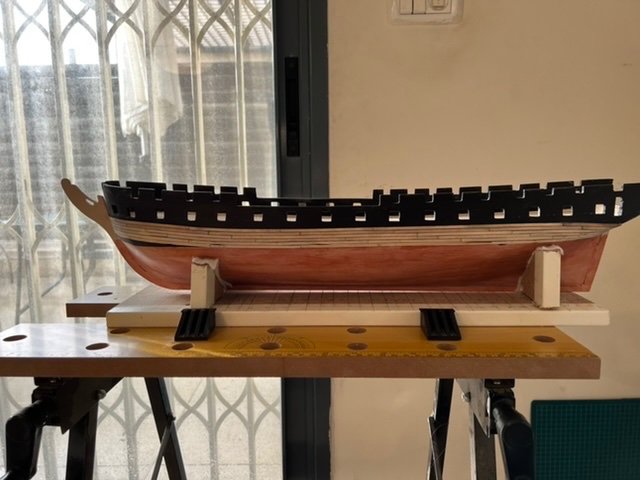
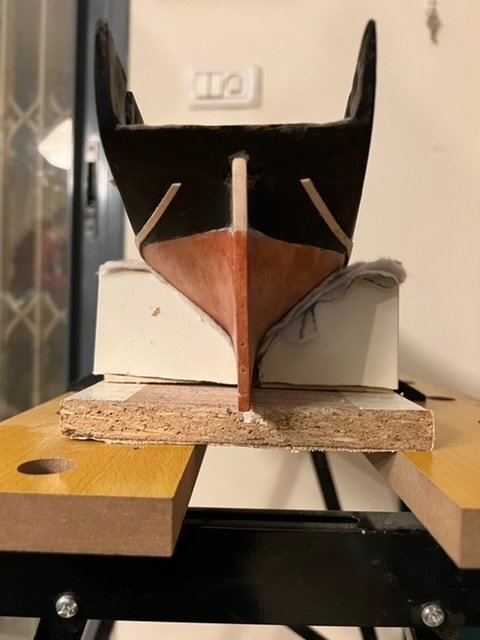
Finished planking the exterior of the ship, from caprail to keel (well, from wales to thick stuff above, then down all the way to the keel, then up to the caprail, but same result 😃). still need to cut out the gunports properly, and the slot for the bowsprit, and sand down a bit on top to make it even with the top of the hull, and especially the sides to make it smooth. But still it’s really nice to get here. After all of that, I’ll turn my attention to planking the interior bulwarks, which really means from deck of gundeck all the way up, including the waterways. Plenty to measure and cut and do there. I ended up having to adjust both the height of the hull - it didn’t match where the planking was going to be and was a bit uneven between the two sides - but easily handled by the micro planes I have. Also ended up needing to adjust the gunports. The theoretical measured shapes and locations ran headfirst into the real world of planks in place. Fine now though. I’ll get some pictures up after cutting the ports.
-
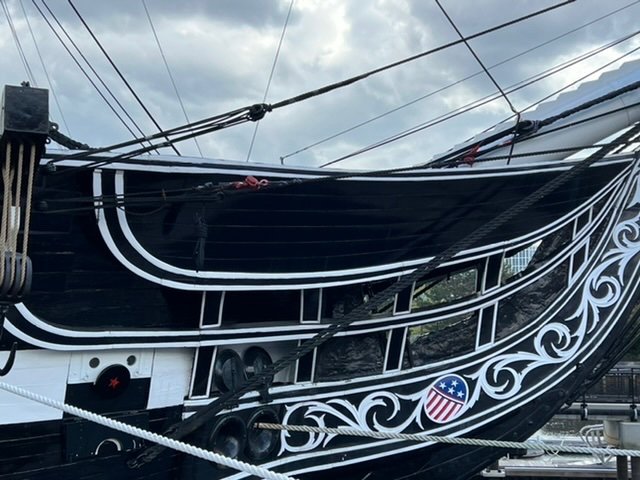
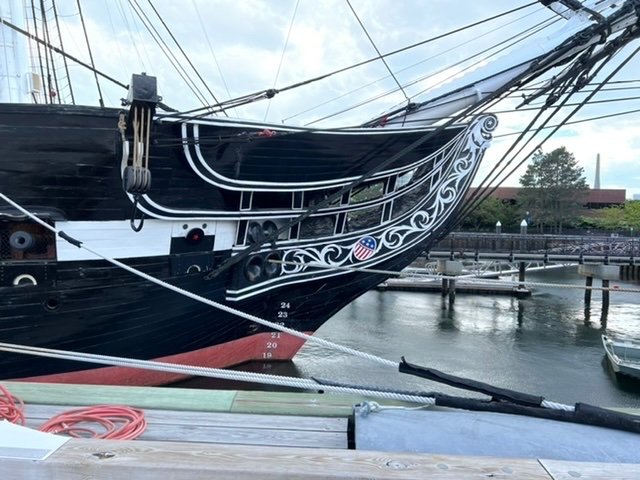
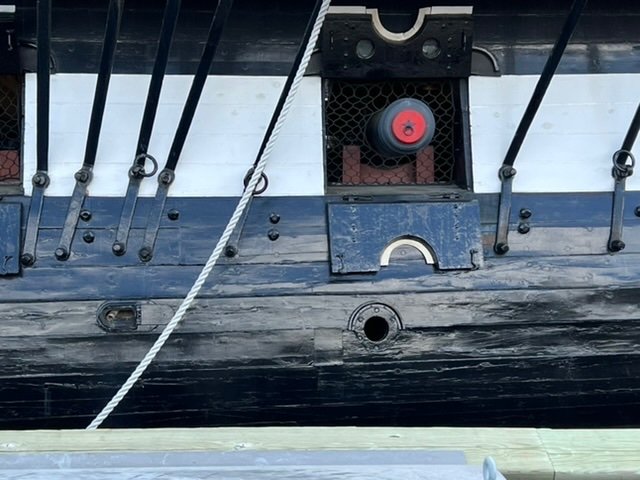
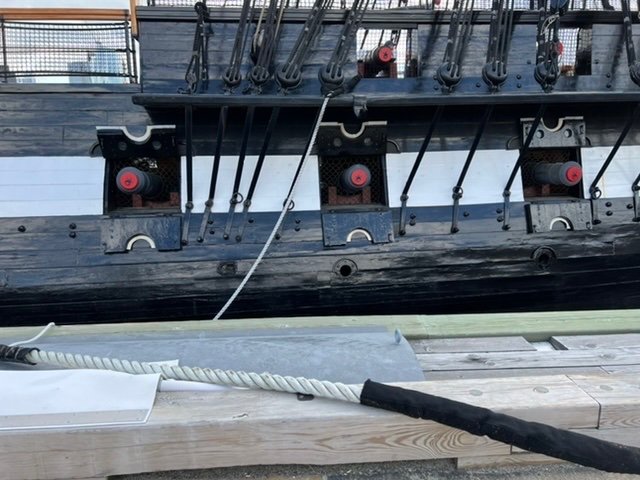
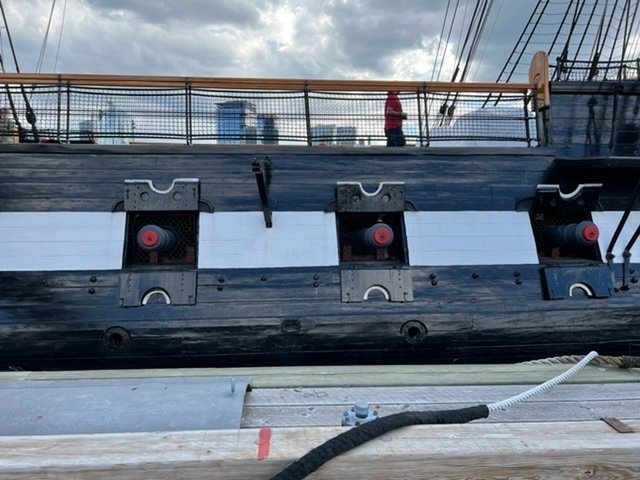
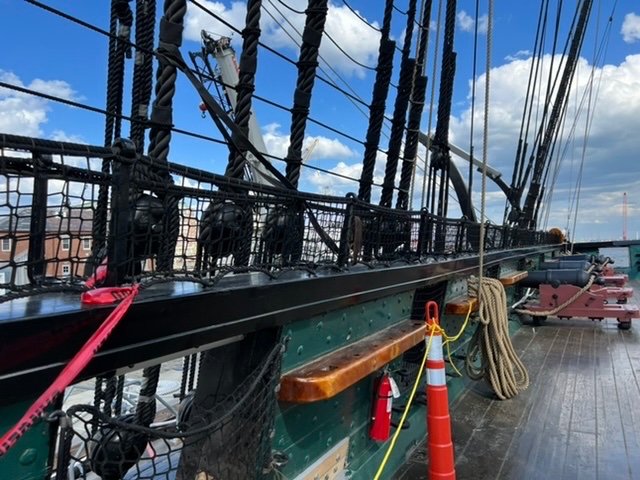
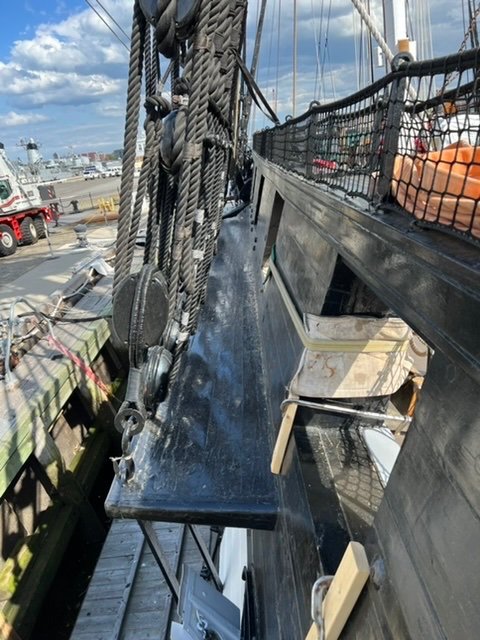
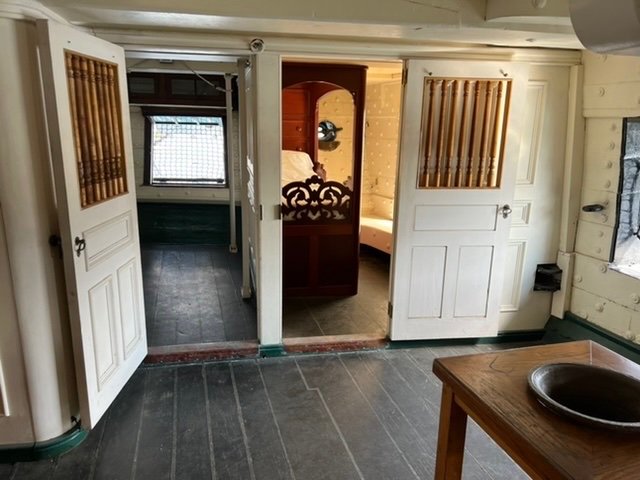
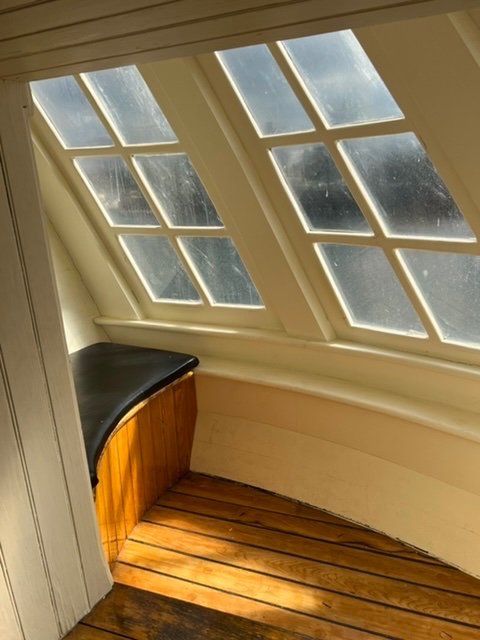
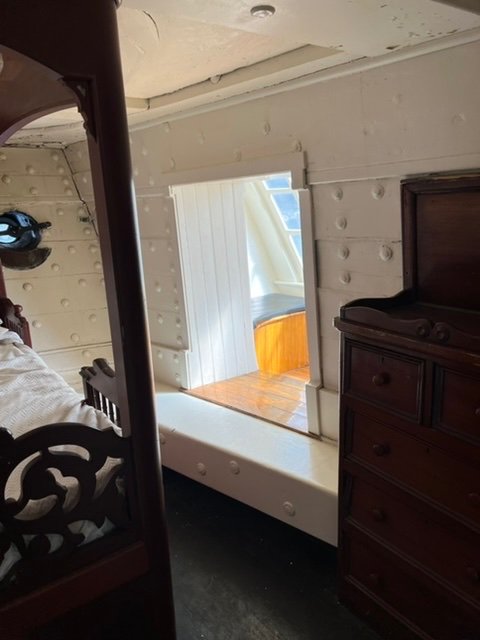
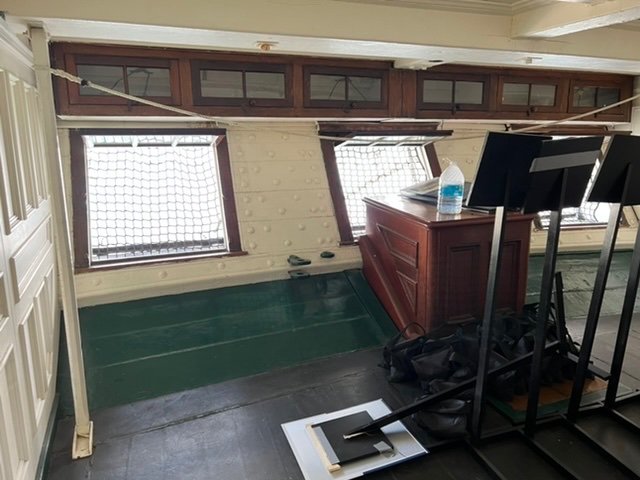
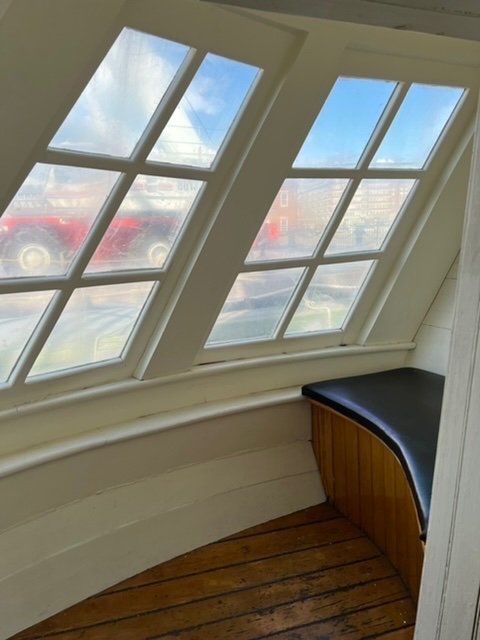
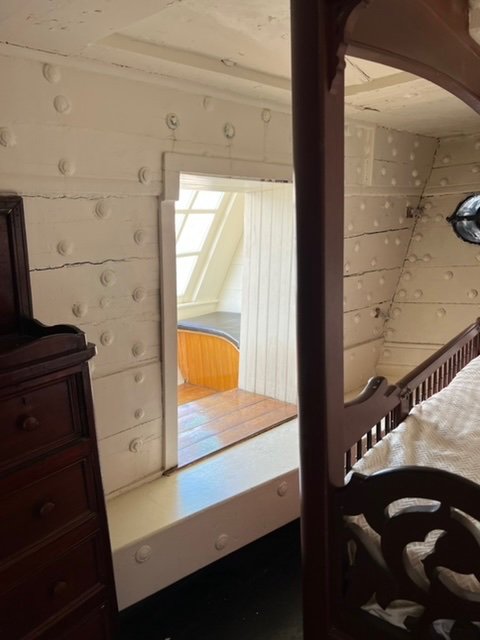
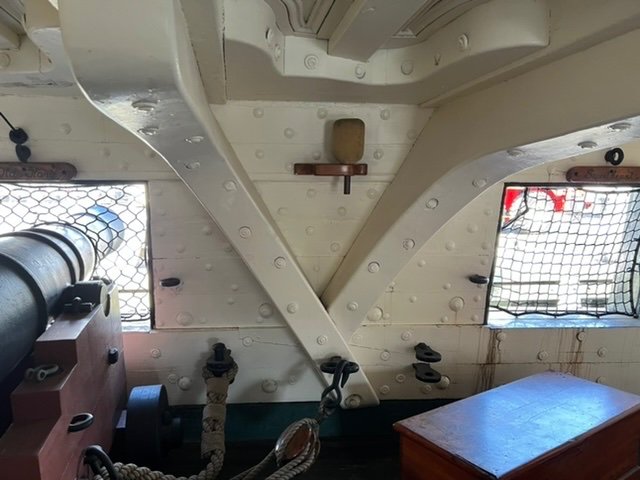
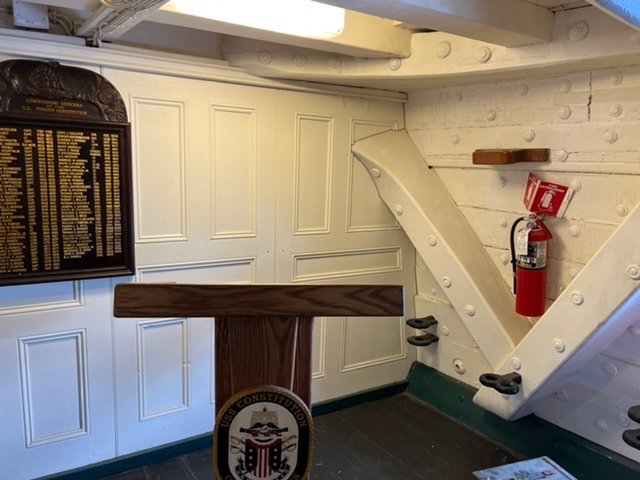
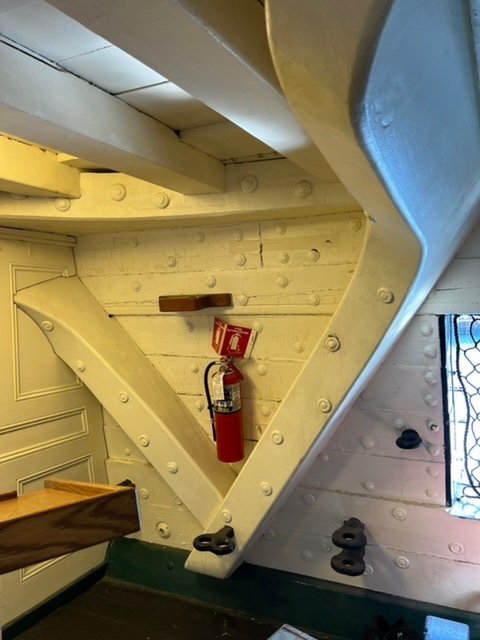
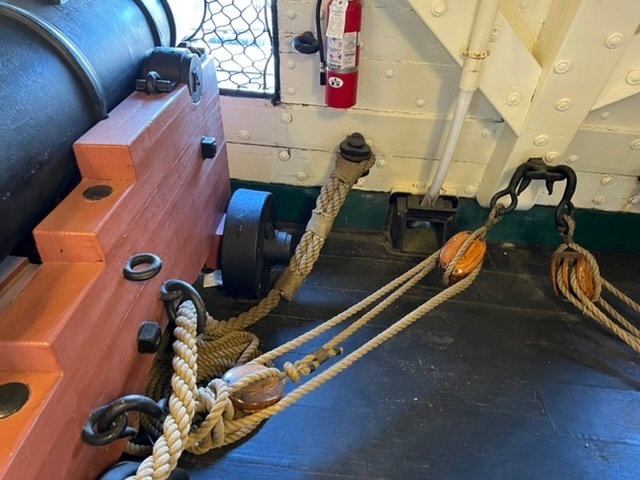
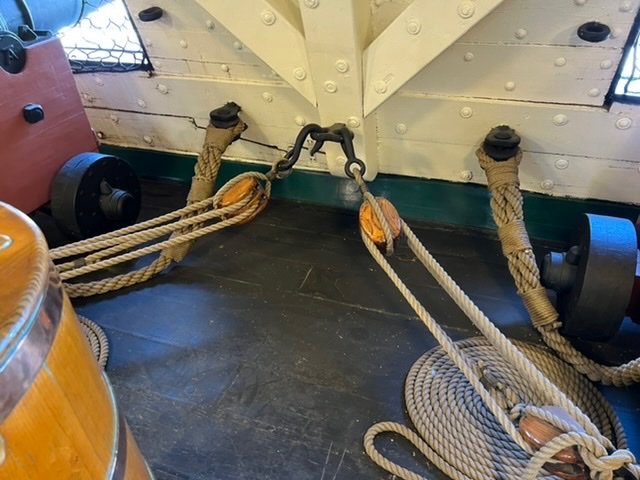
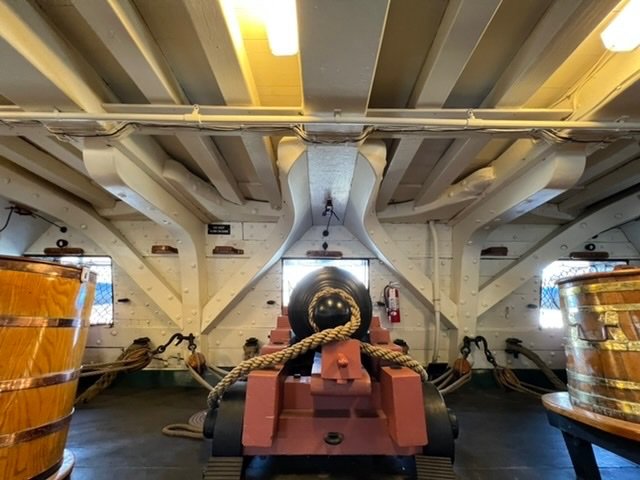
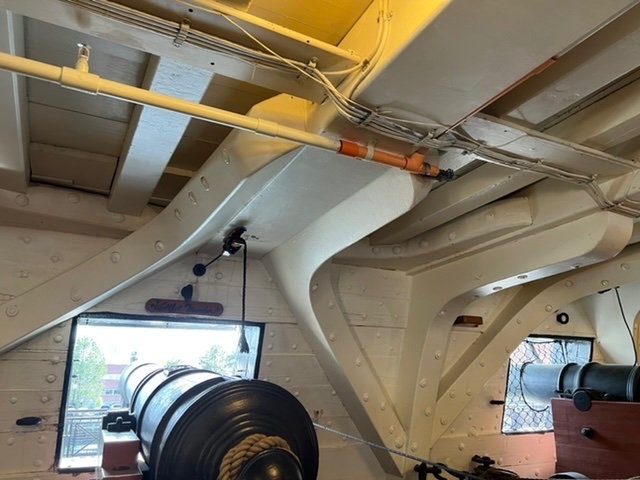
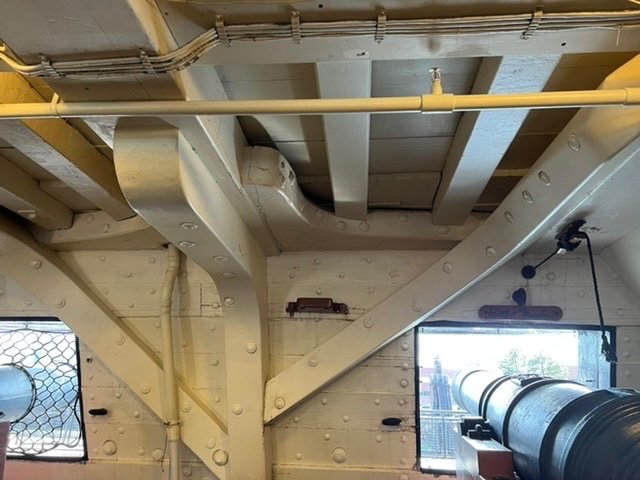
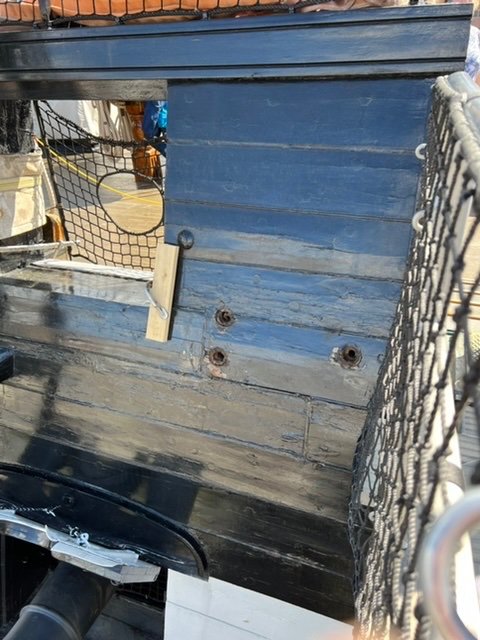
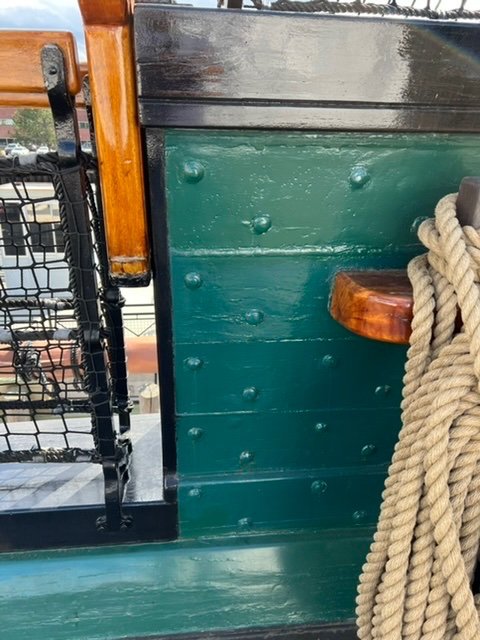
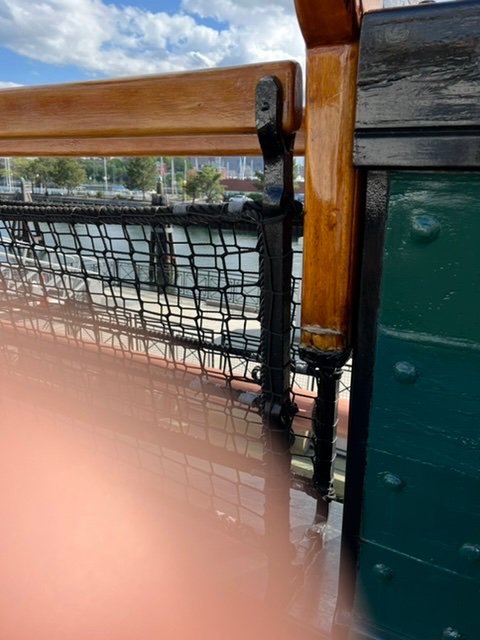
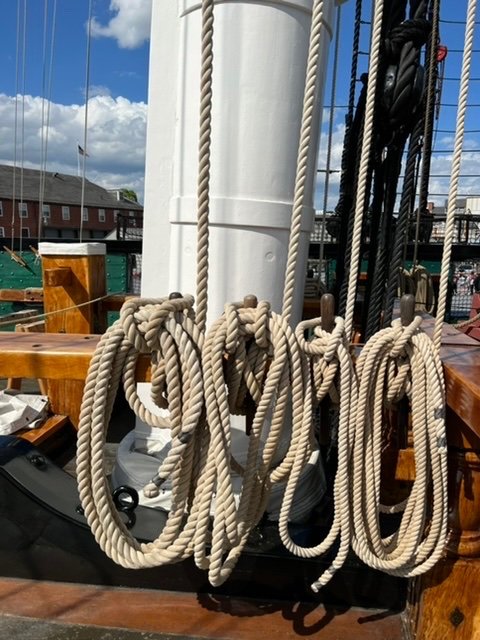
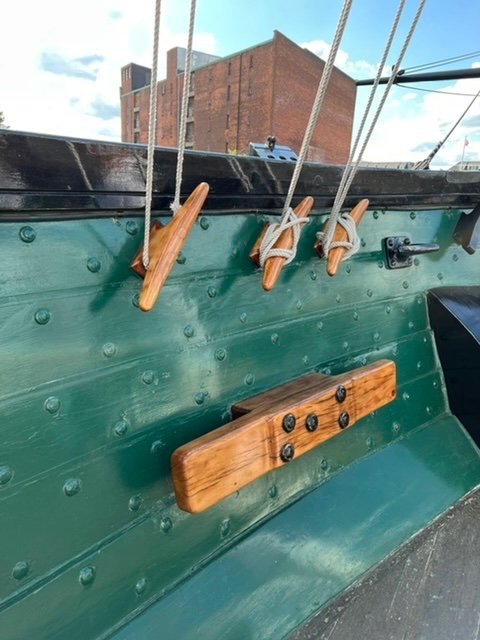
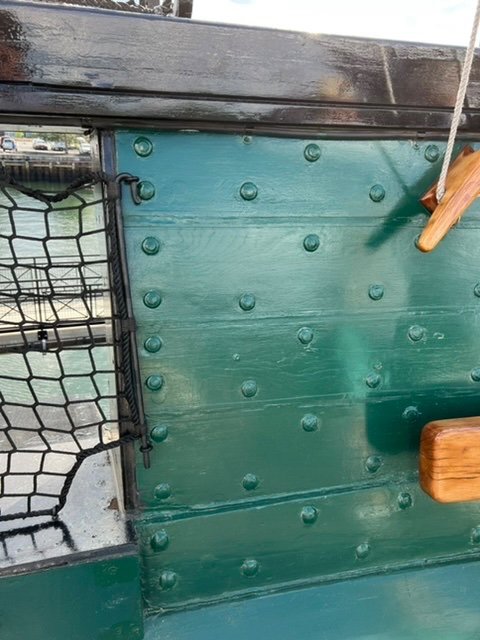
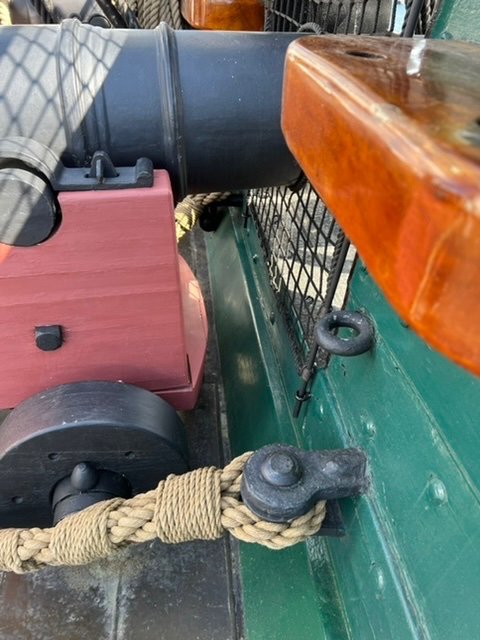
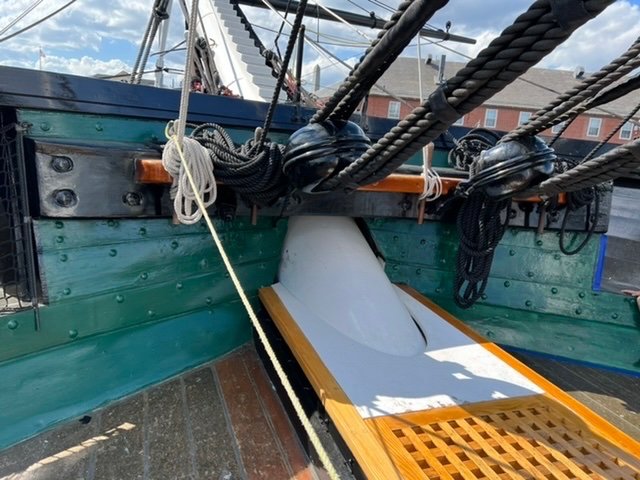
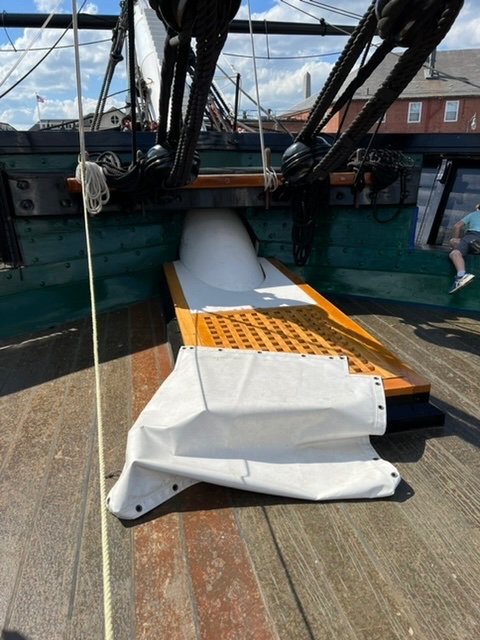
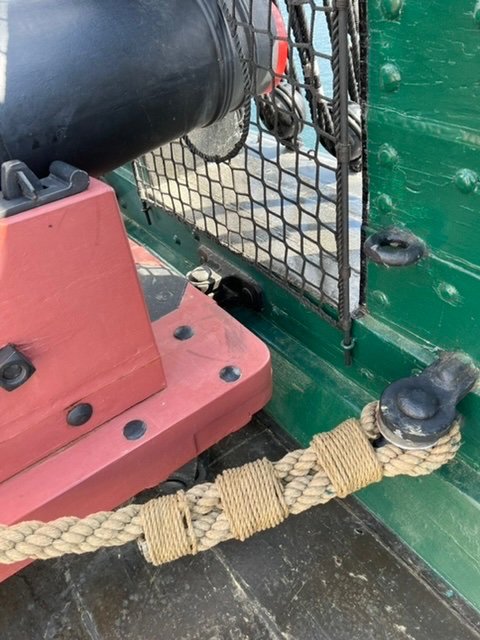
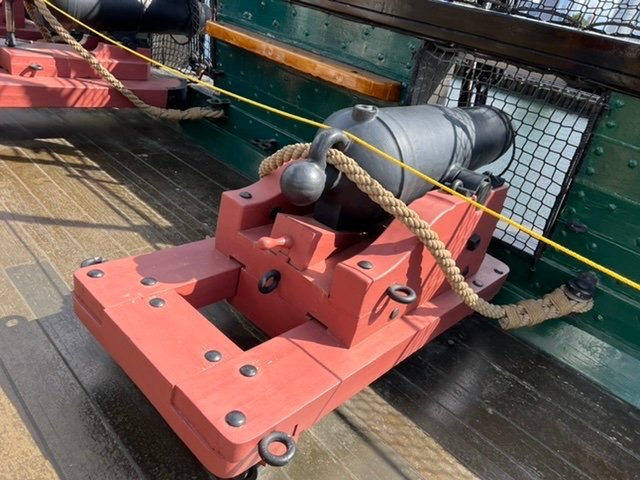
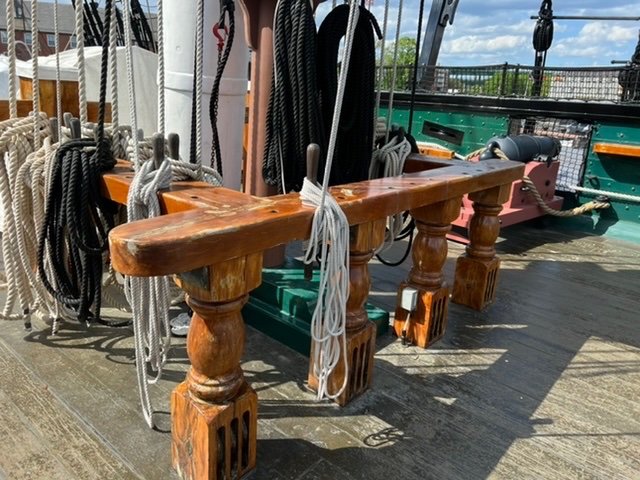
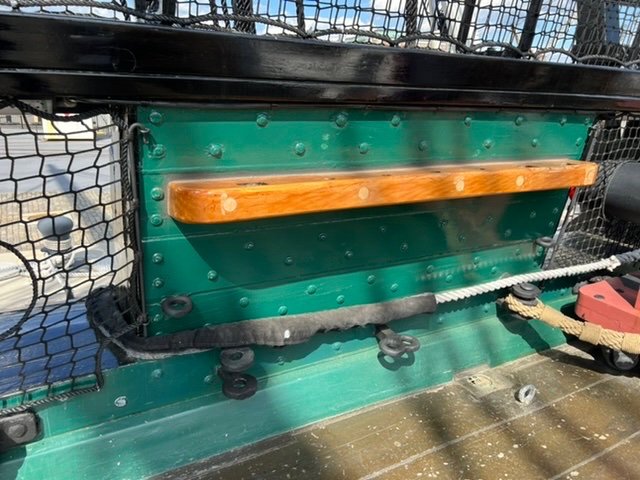
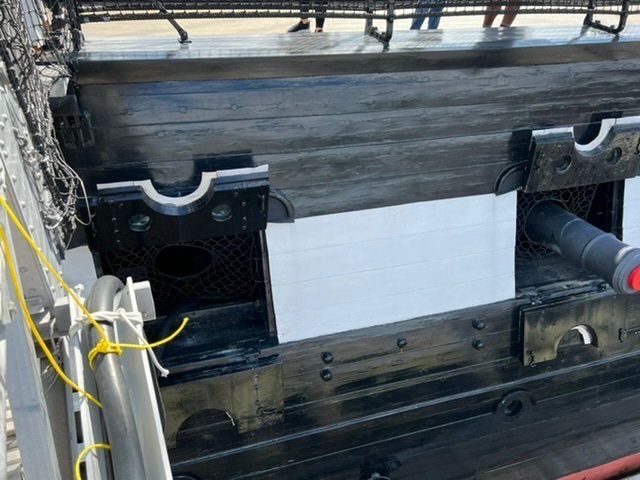
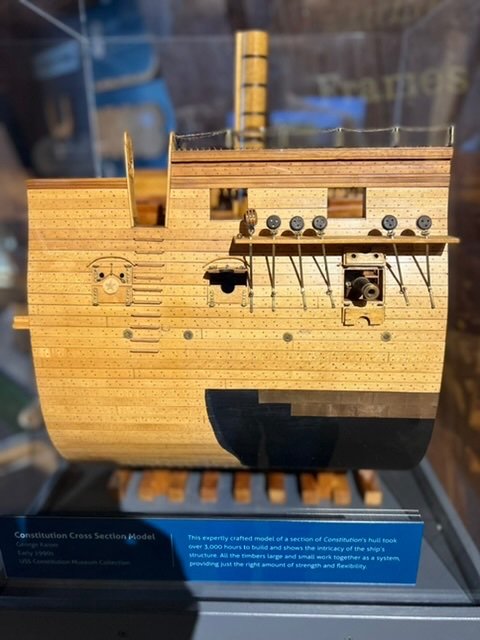
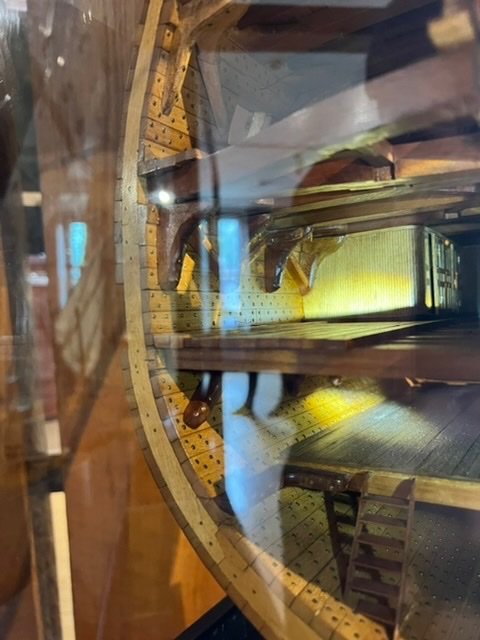
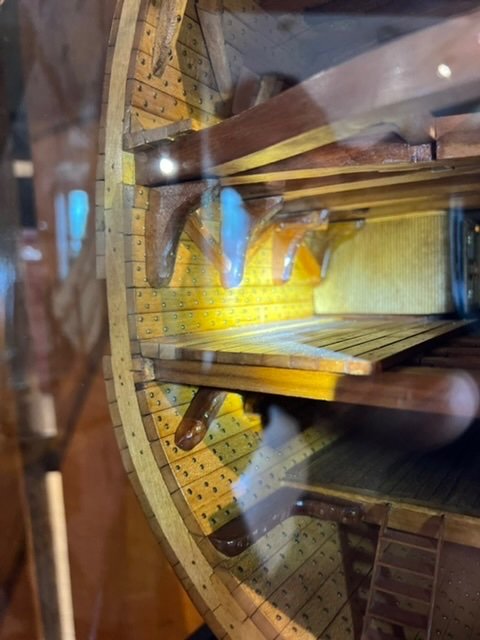
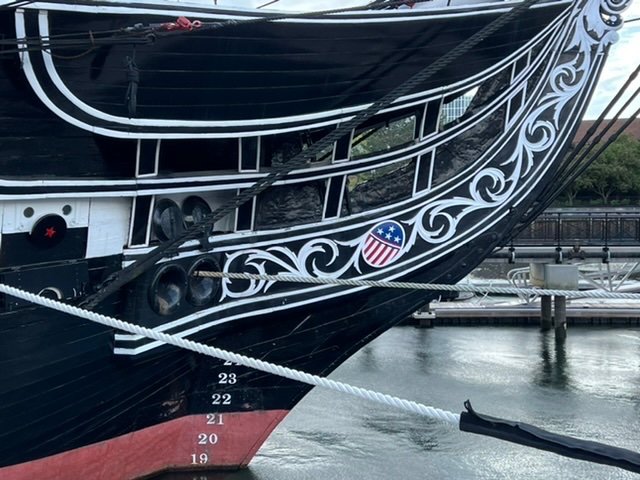
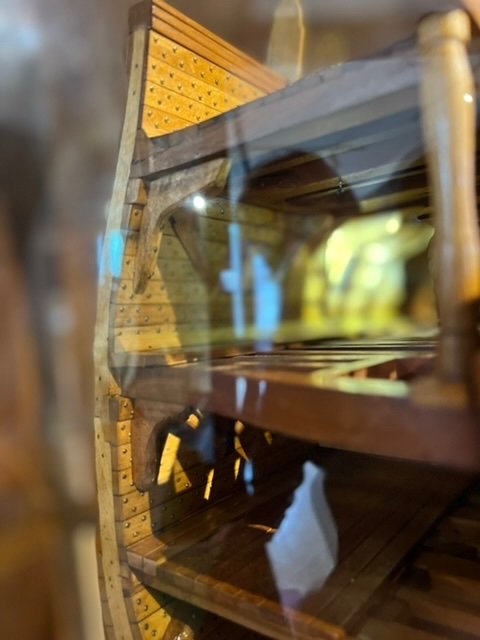
Pics from two weeks ago at the constitution. Sorry for the weird orientations. It would take me forever to rotate all of those. Update: I must be too nice. Or maybe I just appreciate the people here. I spent the last 15 mins tediously rotating each one. I hope everyone enjoys! I uploaded medium size to save on space. If anyone wants an original full size, just DM me.


-
Ah I missed that @JSGerson thanks. guess I will post here.
-
Thanks. There appear to be only three categories: gallery of completed kit built models, gallery of completed scratch built models, gallery of contemporary models from museums. Can someone suggest an admin to flash so we can have a gallery category for real ship pictures?
-
Sure. Mind sharing a link?
-
I’d be happy to. I don’t think this build log is the right place for it. Is there a better thread, or some good place to upload them?
-
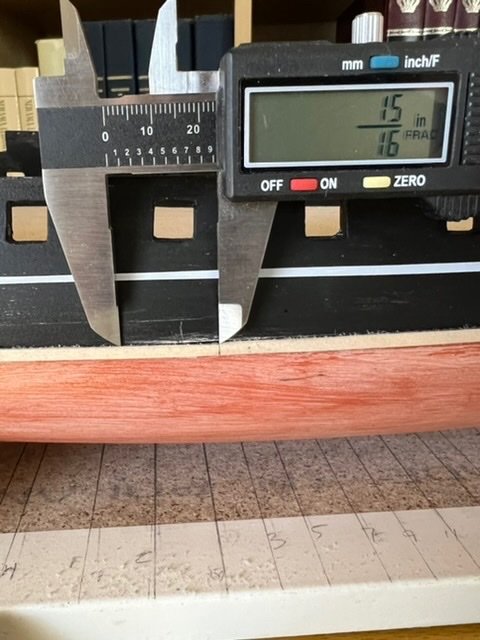
Actually I think my gunports are a bit out of shape. The cool thing about the planking is that it doesn’t matter. I can cut exactly four planks out, and set the width by a gunport lid.
-
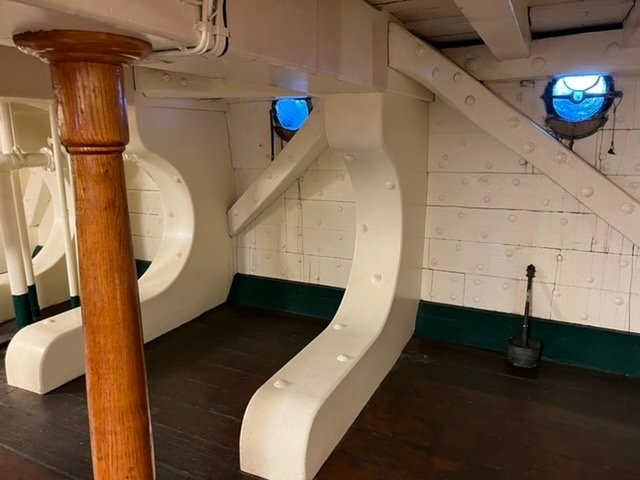
I was in Boston for a brief visit last week, and just sort of happened to have selected the hotel right near the ship. Pure chance! I spent a great 45 mins kindly with @Tim Murphy, who shared lots of great insight, and then an equal amount of time onboard the ship. It’s pretty clear what I need to do for the waterways now, as well as how the various knees and deck beams interconnect. I took dozens of pictures.
-
You raise several good points @Brian Falke I definitely would have to complete the gundeck before doing the spardeck or I’ll have no way to do the gundeck. The deck planks themselves, it looks like, sit on the “horizontal knees” (I forgot what they’re called at the moment, book not in front of me), which make a T shape lying down, top of the T against the bulwarks, standing part on top of the hanging knees. Both of those, in turn are on top of the bulwark planks that form the walls or hull of the ship. So I definitely can plank that before dealing with the knees. which, in theory, means I can plank the entire inboard “walls”, bottom of the gundeck all the way to the caprail, without worrying about the knees or deck planking, all of which comes later. Except for the waterways. those clearly are *not* on top of the planks, but are part of the planking itself. How to get that shaped and properly positioned and installed and integrated with the hull planks is my current challenge. It’s not an issue for the gundeck, as that’s the bottom of the interior that I have. So I probably will do the gundeck waterway, mark where the spardeck one should be, plank up to there, install that one, and then plank up.
-
As I start to plan the next phase, I’m not quite sure how to do it. Planking topsides is straightforward. Planking inboard is less so. I’ve got to think about two decks (gundeck and spardeck), and especially about how the planks and knees and decks meet. I’m also thinking about how to do the waterways.
-
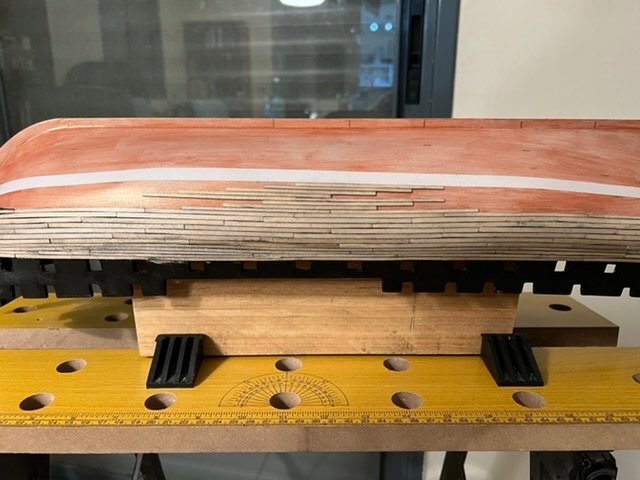
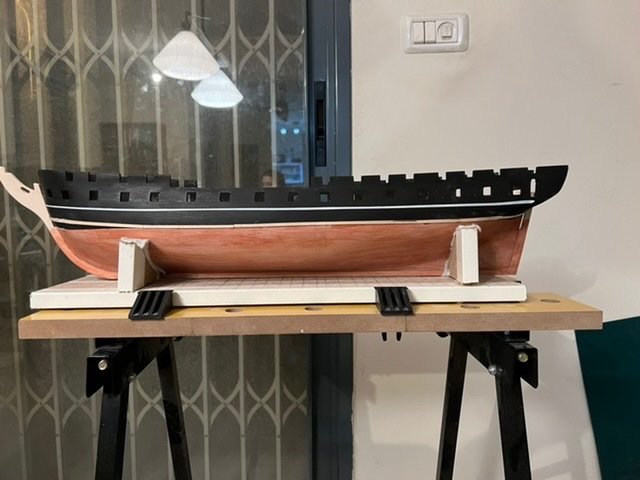
I haven’t posted in a while. It’s been busy in life. But I’ve gotten a lot done. Finished not only the wales and the thick stuff above the wales and thick stuff below the wales (band A), but also the three other bands below: B, C, D. Also did the stern, below the counter. All of the planks need some proper and gentle sanding to smooth them out, remove the marks, and taper from the thick stuff below into the regular planks. I’ll post pics of those once I’ve done those, but in the meantime, here’s the planking. next up is planking topsides from the bottom of the gunports (top of the thick stuff above the wales), up to the caprail, as well as interior. I might not have enough planks left for that, but an order from bluejacket is on its way. Then I can sand, add the bolts (lots of those little tacks in the order), then painting and coppering.

-
Three bands of planking done: wales, thick stuff above, thick stuff below. Will post a picture when I get a chance. Next will be the band below. Even though it will almost totally be covered with copper, I really do want to plank the whole thing. I have enough planks, or will have, once the next shipment of materiel arrives.
-
The promised pic. After using the wales planks for the first strake of the thick stuff below the wales - which required quite a bit of careful sanding in both width and thickness - I decided to build up (technically down, but the ship is inverted for this part), to get to the bottom of the belt. Since I did it all amidships, these planks required no tapering, which made it easy. next I’ll extend the strake at the bottom of the belt (top in the picture) to the bow and stern, tapering as I go, so I can remove the tape. After that, it’s just a question of filling in the strakes in the middle. Hopefully it will be all tapering with minimal usage of stealers.
-
Well, I may not have enough planks. Having calculated the width of the belts, I get 6-9 strakes in the thick stuff below the wales (belt A) and a similar number in belts B & C. "6-9" because it narrows from the middle to the extremities at bow and stern, so it really is "9 strakes that will taper, possibly leading to fewer if it tapers too much." The bottom belt "D" is 9-12 strakes. That actually sounds like a large number, but a quick placement test by hand showed that it is correct. These are all 3/32" wide (except for the wales, but those also are thicker), which, at 96:1 scale, is 9" width; the Museum website says planks are 5-7" wide, so that really is within reason. 🤷♂️ I will work with what I have. The standard planking set I got from BlueJacket is ~100 planks at 0.020" thickness, which is a bit less than 3/128". My best estimate is that the inner bulwarks will be 24 planks to a side: 4 at the level of the gundeck gunports, 4 between them and the spardeck gunports, 4 for the spardeck gunports, repeat for the inner bulwarks. Total: 12*4 = 48, about half of the planks I have. Allow for some mistake and some slack. Now calculating the planks I would need to plank the whole ship. Thick stuff: I need 9 to a side, but only have 16 full-length (24") "thick stuff" planks left, or 8 to a side. That isn't too bad, as I have lots of wales planks left, and those can sand in smoothly (actually, they are supposed to). I was hoping to use the thick stuff planks to plank below the counter at the stern, so may need to adjust. Regular planks: I need for each side belts B (9), C (9), D(12) = 30 to a side, or 60 total. I have 100, take away the 48 (minimum) I will need for the upper section, and I will be short at least 10 planks. I probably can get away with using some wales planks at the very bottom near the keel and sanding them down, but I still will be short. Of course, I might forgo planking belts "B", "C", "D" entirely, but once I am here, well, I want to do it. I might have to pick up some more. Nothing like that near me, but both BlueJacket and Model Shipways sells them, and I have found MS to be super quick about shipping. To be continued.
-
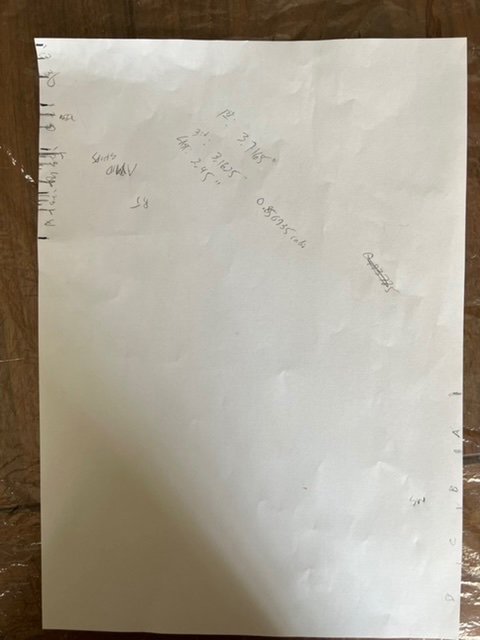
While I am not likely to plank the entire hull - but I might - I still wanted to mark all of the belts properly. This makes it easier to do the thick stuff below the wales, and gives me the option in the future to actually plank everything pre coppering, should I so decide. My next challenge, then, is marking out the belts. Everyone has their own technique, here is what I did. First, I took the model shipways plans, which include a cross section at G, right amidships in their plans. I transferred the belt markings to a sheet of paper crosswise, meaning I used a length of string laid in a curve along the plans and marked the limits of the belts. I then took the marked string, straightened it out and laid it along the edge of a piece of paper, where I transferred the markings. This would let me lie the paper curved along the hull,‘with the top of the paper at the top of the keel, the upper edge marking for belt A at the bottom of the wales. I then could just transfer the tick marks to the hull. of course, model shipways is 1:76.8, while bluejacket is 1:96, so I had to translate the whole thing by multiplying my (96/76.8), or just 0.8 = 4/5. much to my surprise, the markings were accurate to the ship! This left me with pencil markings on port and starboard side amidships, but nowhere else. I slid the marking paper further astern some reasonable distance, placed the upper edge of A at the bottom of the wales and marked where on the paper (offset from the bottom edge of the paper), the top of the keel is. if I divide the original “edge-to-top-of-A” by new “bottom-mark-to-top-of-A”, I have the ratio between the original tick marks and the new one. I multiplied each belt by that ratio (calculator with memory is very useful here), marked it on the paper, then laid the paper on the hull and transferred the ticks. Before moving to the next section and repeating, I placed the tick paper on the other side of the ship (I worked starboard and then bow, but it doesn’t matter), found exactly where “bottom-mark-to-top-of-A” aligned with top of keel to bottom of wales, and transferred the tick marks. To save further work, I slide the tick paper forward to the bows until I found a good “wales to keel” match and repeated. using this process, I was able to get away with only 4 tick mark sets. The paper (messy now that it’s been used) and hull pictures are attached.
-
Thick stuff above the wales done. It was not quite as smooth as I wanted. There were differences between the port and starboard sides in terms of height, and I had to adjust to having stealers in some places. Still and all, I think it came out well. I will try to get a picture up later. Going to move on to thick stuff below the wales now, which requires finding the bottom of the belt (technically, belt "A"), and then placing the strake immediately below the wales, the strake at the very bottom of belt "A", and then filling the ones in between.
-
Moving on to the thick stuff above the wales. Some interesting notations. first, the slightly thinner planking is materially easier to shape than the wales were, and I haven’t gotten to the regular planks yet. This is nice. second, soak planks for as long as possible in as hot water as possible. It makes a big difference. In terms of the strakes themselves. Marquardt seems to show 4 planks amidships and 3 at the extremities (bow and stern). This more or less aligns with what I have on my ship. It also is relieving, as I had remembered 3, and and amidships 3 planks did not come up to the gunports. I’m doing the bottom strake, right above the wales, straight across, although tapering at the bow. Then I will build up three planks just amidships to get to 4, and then move stern and aft from there. I’ll do the topmost strake first, and then the 2 becoming one in between the top and bottom strakes. I plan to taper in both directions, and at some point end up tapering the 2 middle planks becoming 1, giving me the 4 amidships and 2 bow/stern that I am looking for.
-
Excellent @Jerry Berenson going over to check it out. actually, I would like to, but cannot find it. Neither search nor under the activity in your profile page. Do you mind linking to it here?
-
Wales are pretty much done. Six strakes, tapering towards the bows, rising up as well as curving in at the stern. You can still see a little discoloration and texture, mainly from my fingers as I pressed the planks in. I’ll be painting them in any case, but I’ll be sanding them a bit first, which will even them out, and remove the smudges. It just needs to wait for the last planks to dry fully. Thick stuff above the wales is next, although it likely will need to wait a week.
-
Having actually measured it, of course, I realize that the “three planks between butts” means vertically. Horizontally it would give a tiny distance between them, which makes no sense. to get 3 strakes vertically between butts, I would need to stagger 3 butts in between, or 4 sections. A 30’ plank in 4 sections is 7.5’ per; at scale, that’s 3.75” for the plank and 0.9375” (15/16”) staggering. Second strake is done. Even though the wales are about as straight and level as we get, even on the second strake I am seeing some of the curving issues that come from both bending and twisting the planks. Sanding sticks are helpful, and I am sure when the entire belt of wales is done, I will need to run sandpaper of the whole belt to smooth it out. Still, loving seeing the planks on the hull!
-
@Jerry Berenson your ship is stunning. I had thought I was following your build, but I haven’t gotten any notifications about it. Have you posted to your log? Or is it just my follow is broken?
-
To add some details that might help the next lost soul (next after me, of course). I marked the midship line just above the tape marking the bottom of the wales on each side. I then planked going forward to the stem, and then aft to the stern. Each plank in the first strake is 3.75” long, scale equivalent of 30’. The exceptions are first and last, which need to be cut down to fit the bows and stern respectively. I sanded the width of the foremost plank to allow a taper and more to fit in. Each plank was soaked in steamed water until it softened, the gently bent into curve shape, held to the hull, and then heated with a dry iron. Most of the planks needed two runs, as the ironing removed some of the curve. For the stern, I measured out where the planks running athwartships (that is the term?) would be, and then, after curving the aftmost plank on each side, cut to match up. Picture is attached. For the next strake, I intend to start three plank widths forward. Since each plank is ⅛” wide, that is 3/8”. This should give the correct staggered butts for the ship.
-
First strake of wales done, both port and starboard. It will need a tad more sanding to even them out, partially due to the wood not being 100% even, partially due to my own uneven hand, but that’s easy enough. I used a graphite stick to add some dark colour on all four edges of each, in case anything peeks through, it’ll look like tar. my copy of the model shipways plans came on Friday. Those are really nice plans. Interestingly, they have seven strakes for the wales, instead of six. They also have the width narrowing much more towards the stem. I’ll stick with Marquardt and my prior calculations.
-
Yeah I guess the downside to scale is that slight variances show up more. With a 30’ plank, offset by 0.25” is barely there; with a 3.75” plank, it’s super visible. thanks for the suggestion @Brian Falke
-
Marked off nicely. Next step is to decide if I try to shape a single long plank for each strake, or cut them down and do multiple. The planks are a little longer than 24”, which just makes it. On the one hand, it seems less effort. On the other, that’s a lot of shaping a single plank, and more of a risk of breakage. Besides, the real ship uses about 30’ long planks, which, at 96:1 scale, is 3.75”. It would be nice to have it similar to the real ship, 30’ long (scaled) planks, and staggered butt ends. going to mull that one over, but leaning towards 3.75” cut planks.

