Theodosius
-
Posts
345 -
Joined
-
Last visited
-
 Taken Aback reacted to a post in a topic:
HMS Sphinx 1775 by Ronald-V - Vanguard Models - 1:64
Taken Aback reacted to a post in a topic:
HMS Sphinx 1775 by Ronald-V - Vanguard Models - 1:64
-
FrankWouts reacted to a post in a topic:
HMS Sphinx 1775 by Ronald-V - Vanguard Models - 1:64
-
FrankWouts reacted to a post in a topic:
HMS Sphinx 1775 by Ronald-V - Vanguard Models - 1:64
-
FrankWouts reacted to a post in a topic:
HMS Sphinx 1775 by Ronald-V - Vanguard Models - 1:64
-
hollowneck reacted to a post in a topic:
HMS Sphinx 1775 by Ronald-V - Vanguard Models - 1:64
-
Mr Whippy reacted to a post in a topic:
HMS Sphinx 1775 by Ronald-V - Vanguard Models - 1:64
-
AJohnson reacted to a post in a topic:
HMS Harpy 1796 by Richard44 - Vanguard Models - 1:64 - FINISHED
-
 TBlack reacted to a post in a topic:
HMS Sophie by TBlack - kit-bashing Jack Aubrey's first command from the Vanguard Models HMS Speedy
TBlack reacted to a post in a topic:
HMS Sophie by TBlack - kit-bashing Jack Aubrey's first command from the Vanguard Models HMS Speedy
-
FrankWouts reacted to a post in a topic:
HMS Portland 1770 by scrubbyj427 - 1:48 - 4th rate 50-gun ship
-
Richard44 reacted to a post in a topic:
HMS Harpy 1796 by Richard44 - Vanguard Models - 1:64 - FINISHED
-
I like your sharp and clean work! And the small boats turn out very well.
-
Theodosius reacted to a post in a topic:
HMS Harpy 1796 by Richard44 - Vanguard Models - 1:64 - FINISHED
-
Theodosius reacted to a post in a topic:
HMS Harpy 1796 by Richard44 - Vanguard Models - 1:64 - FINISHED
-
Theodosius reacted to a post in a topic:
HMS Harpy 1796 by Richard44 - Vanguard Models - 1:64 - FINISHED
-
Theodosius reacted to a post in a topic:
HMS Harpy 1796 by Richard44 - Vanguard Models - 1:64 - FINISHED
-
Theodosius reacted to a post in a topic:
HMS Harpy 1796 by Richard44 - Vanguard Models - 1:64 - FINISHED
-
Theodosius reacted to a post in a topic:
HMS Harpy 1796 by Richard44 - Vanguard Models - 1:64 - FINISHED
-
Theodosius reacted to a post in a topic:
HMS Harpy 1796 by Richard44 - Vanguard Models - 1:64 - FINISHED
-
Theodosius reacted to a post in a topic:
HMS Harpy 1796 by Richard44 - Vanguard Models - 1:64 - FINISHED
-
Theodosius reacted to a post in a topic:
HMS Harpy 1796 by Richard44 - Vanguard Models - 1:64 - FINISHED
-
Theodosius reacted to a post in a topic:
HMS Harpy 1796 by Richard44 - Vanguard Models - 1:64 - FINISHED
-
Great idear of how to save line during the serving processes. That'l help, I produce a ton of waste 🙂
- 346 replies
-
- 2
-
-
-
- Sophie
- Vanguard Models
- (and 1 more)
-
Interesting Ship and you made it look quite cool! I like the colours.
-
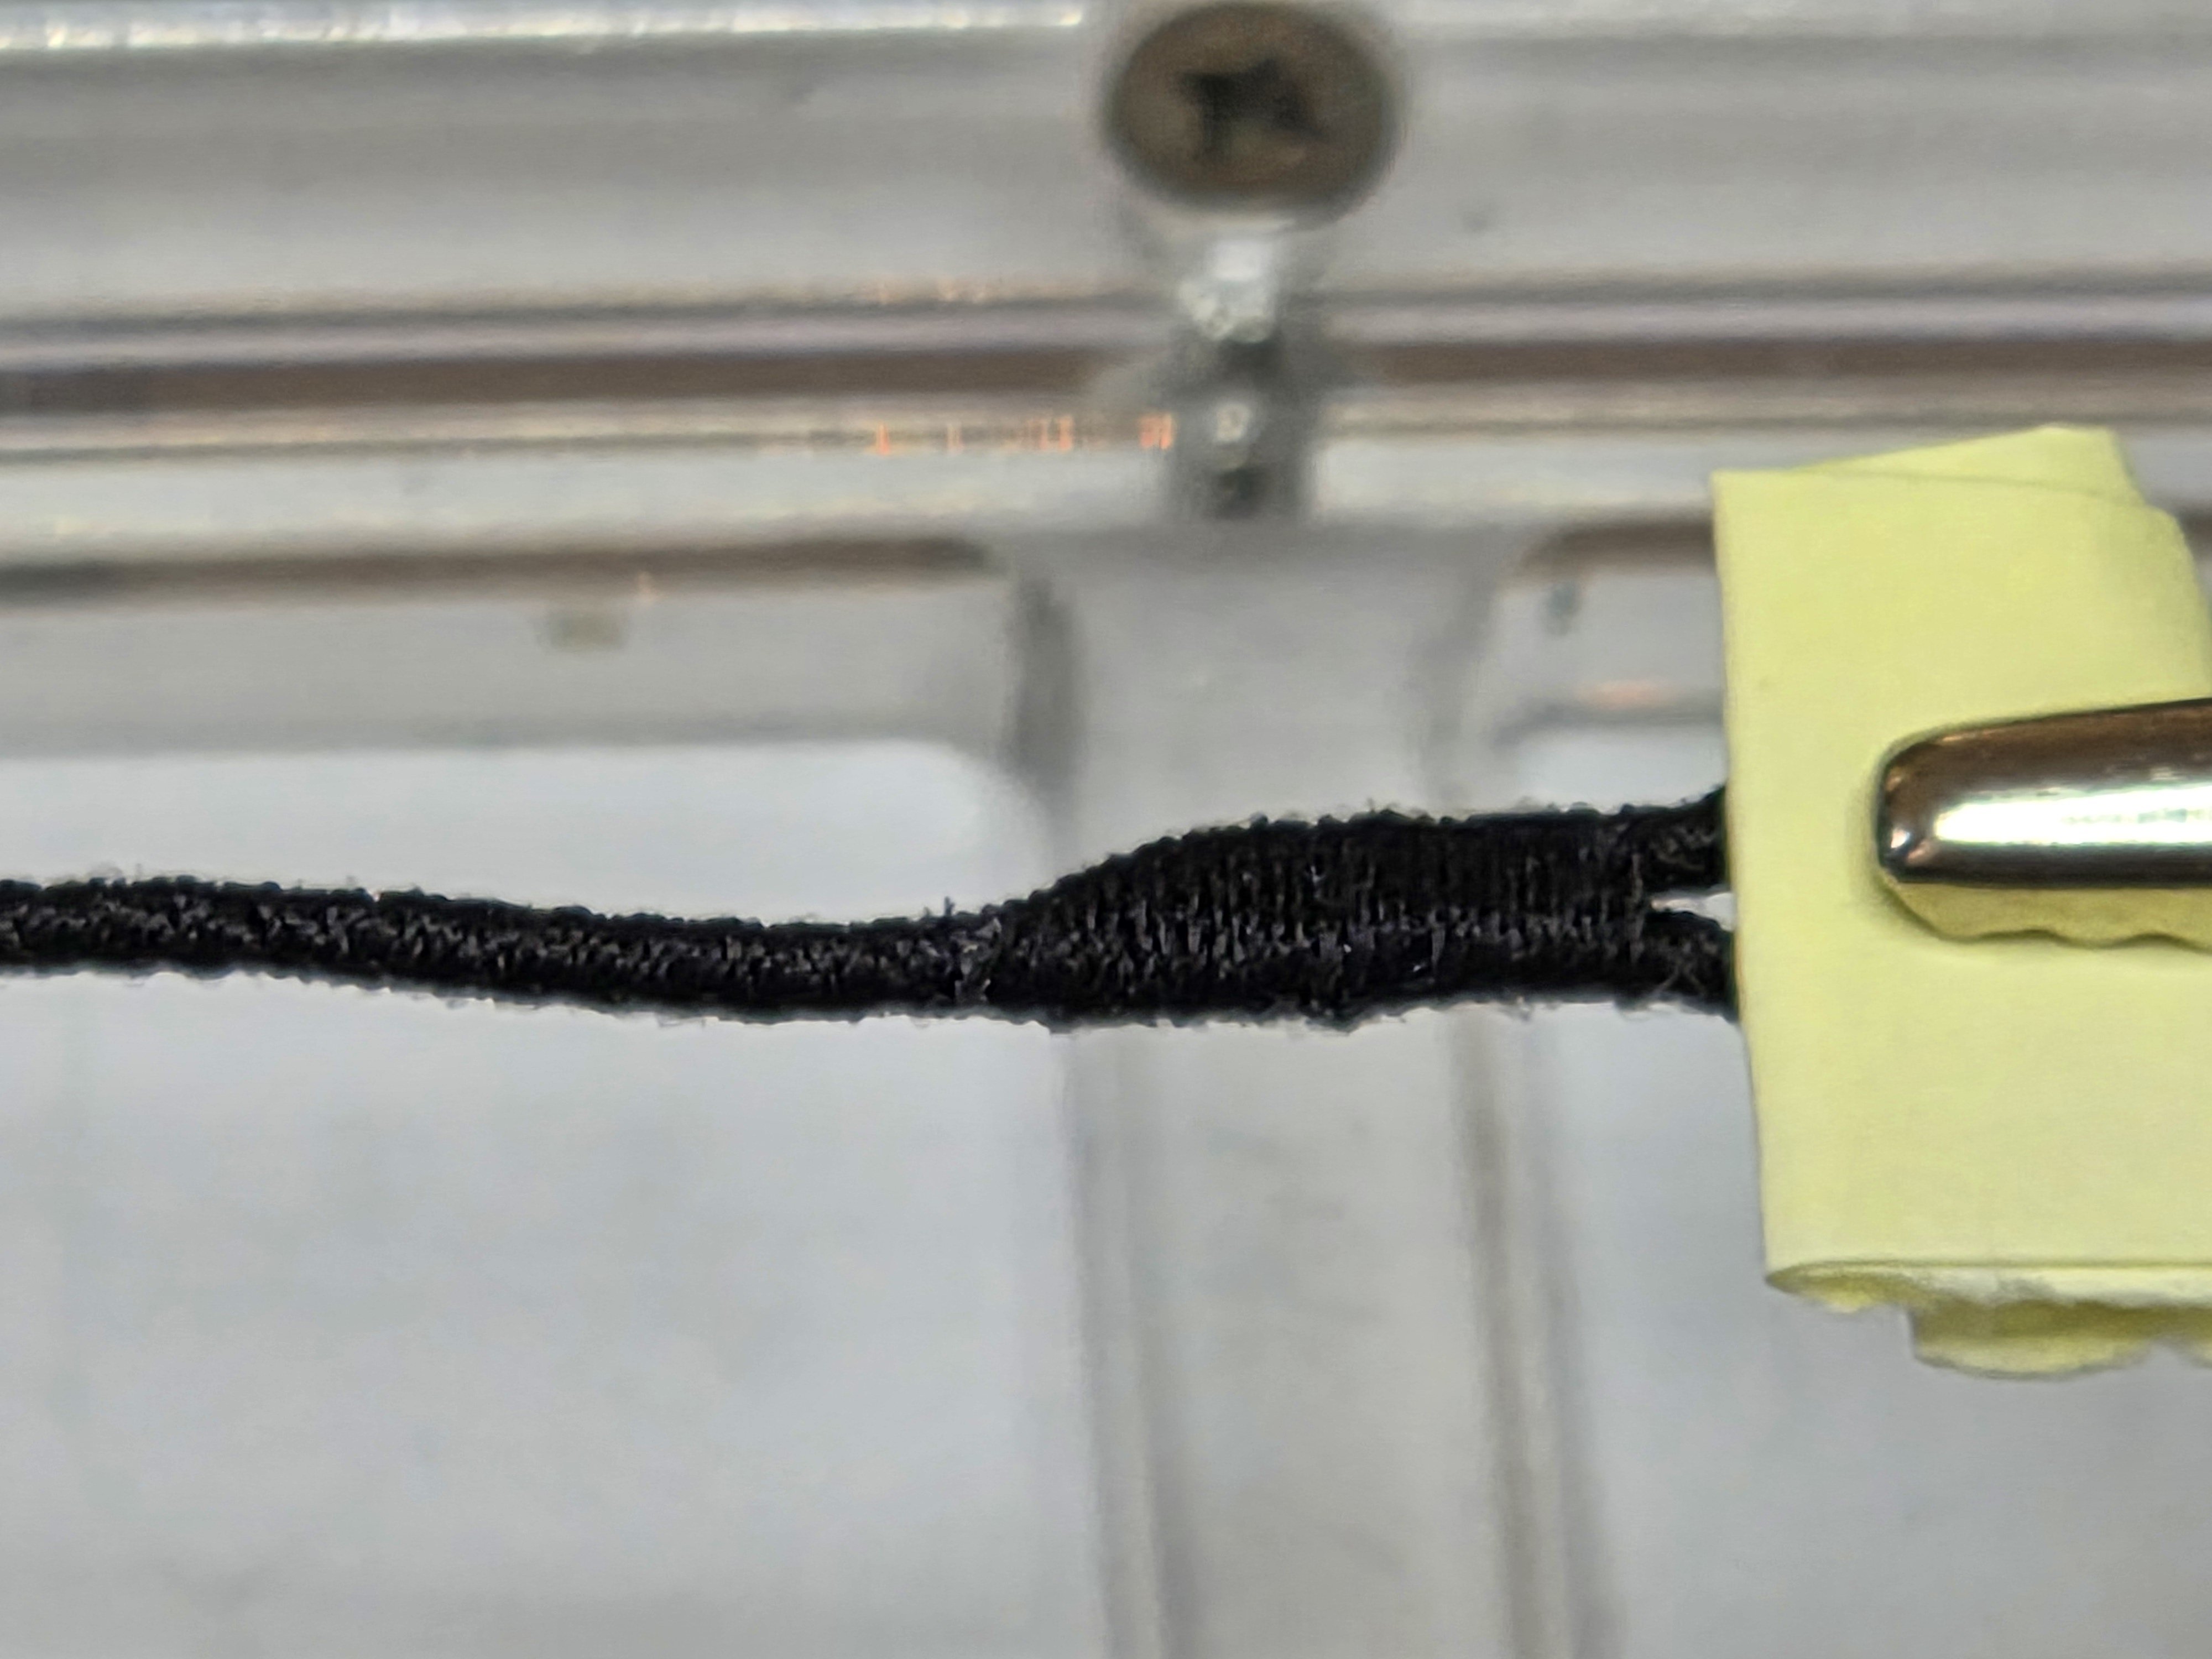
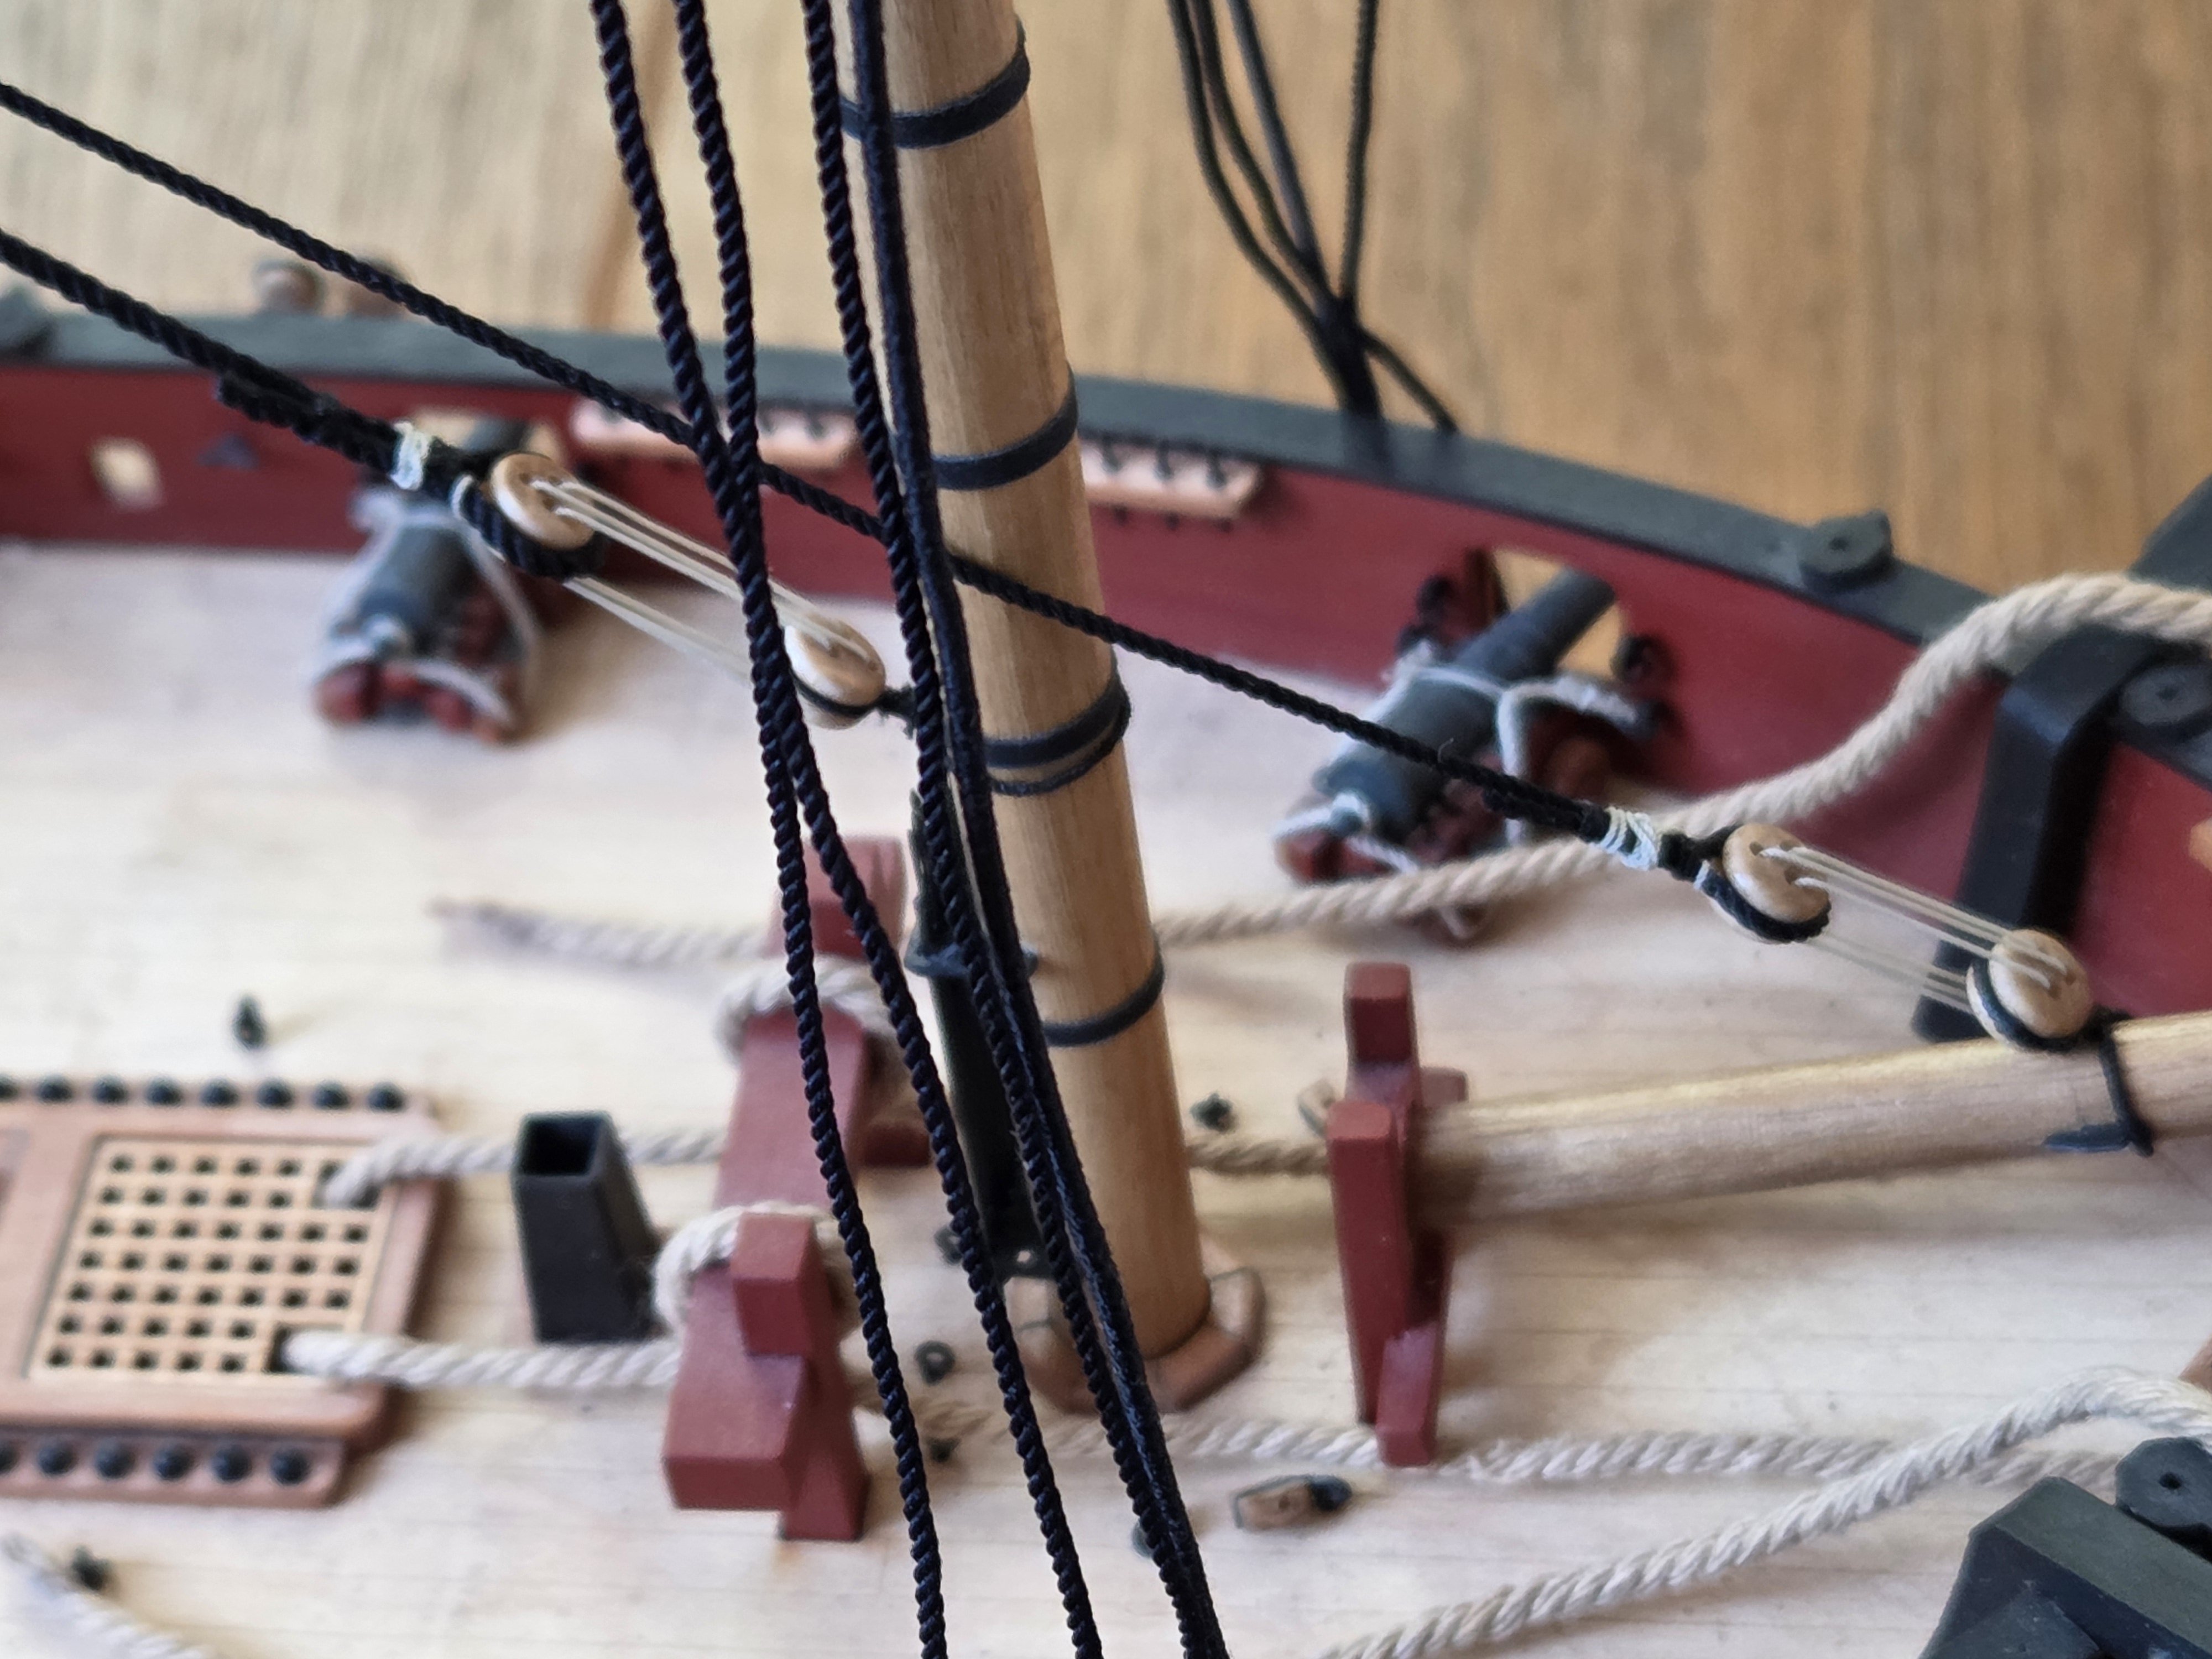
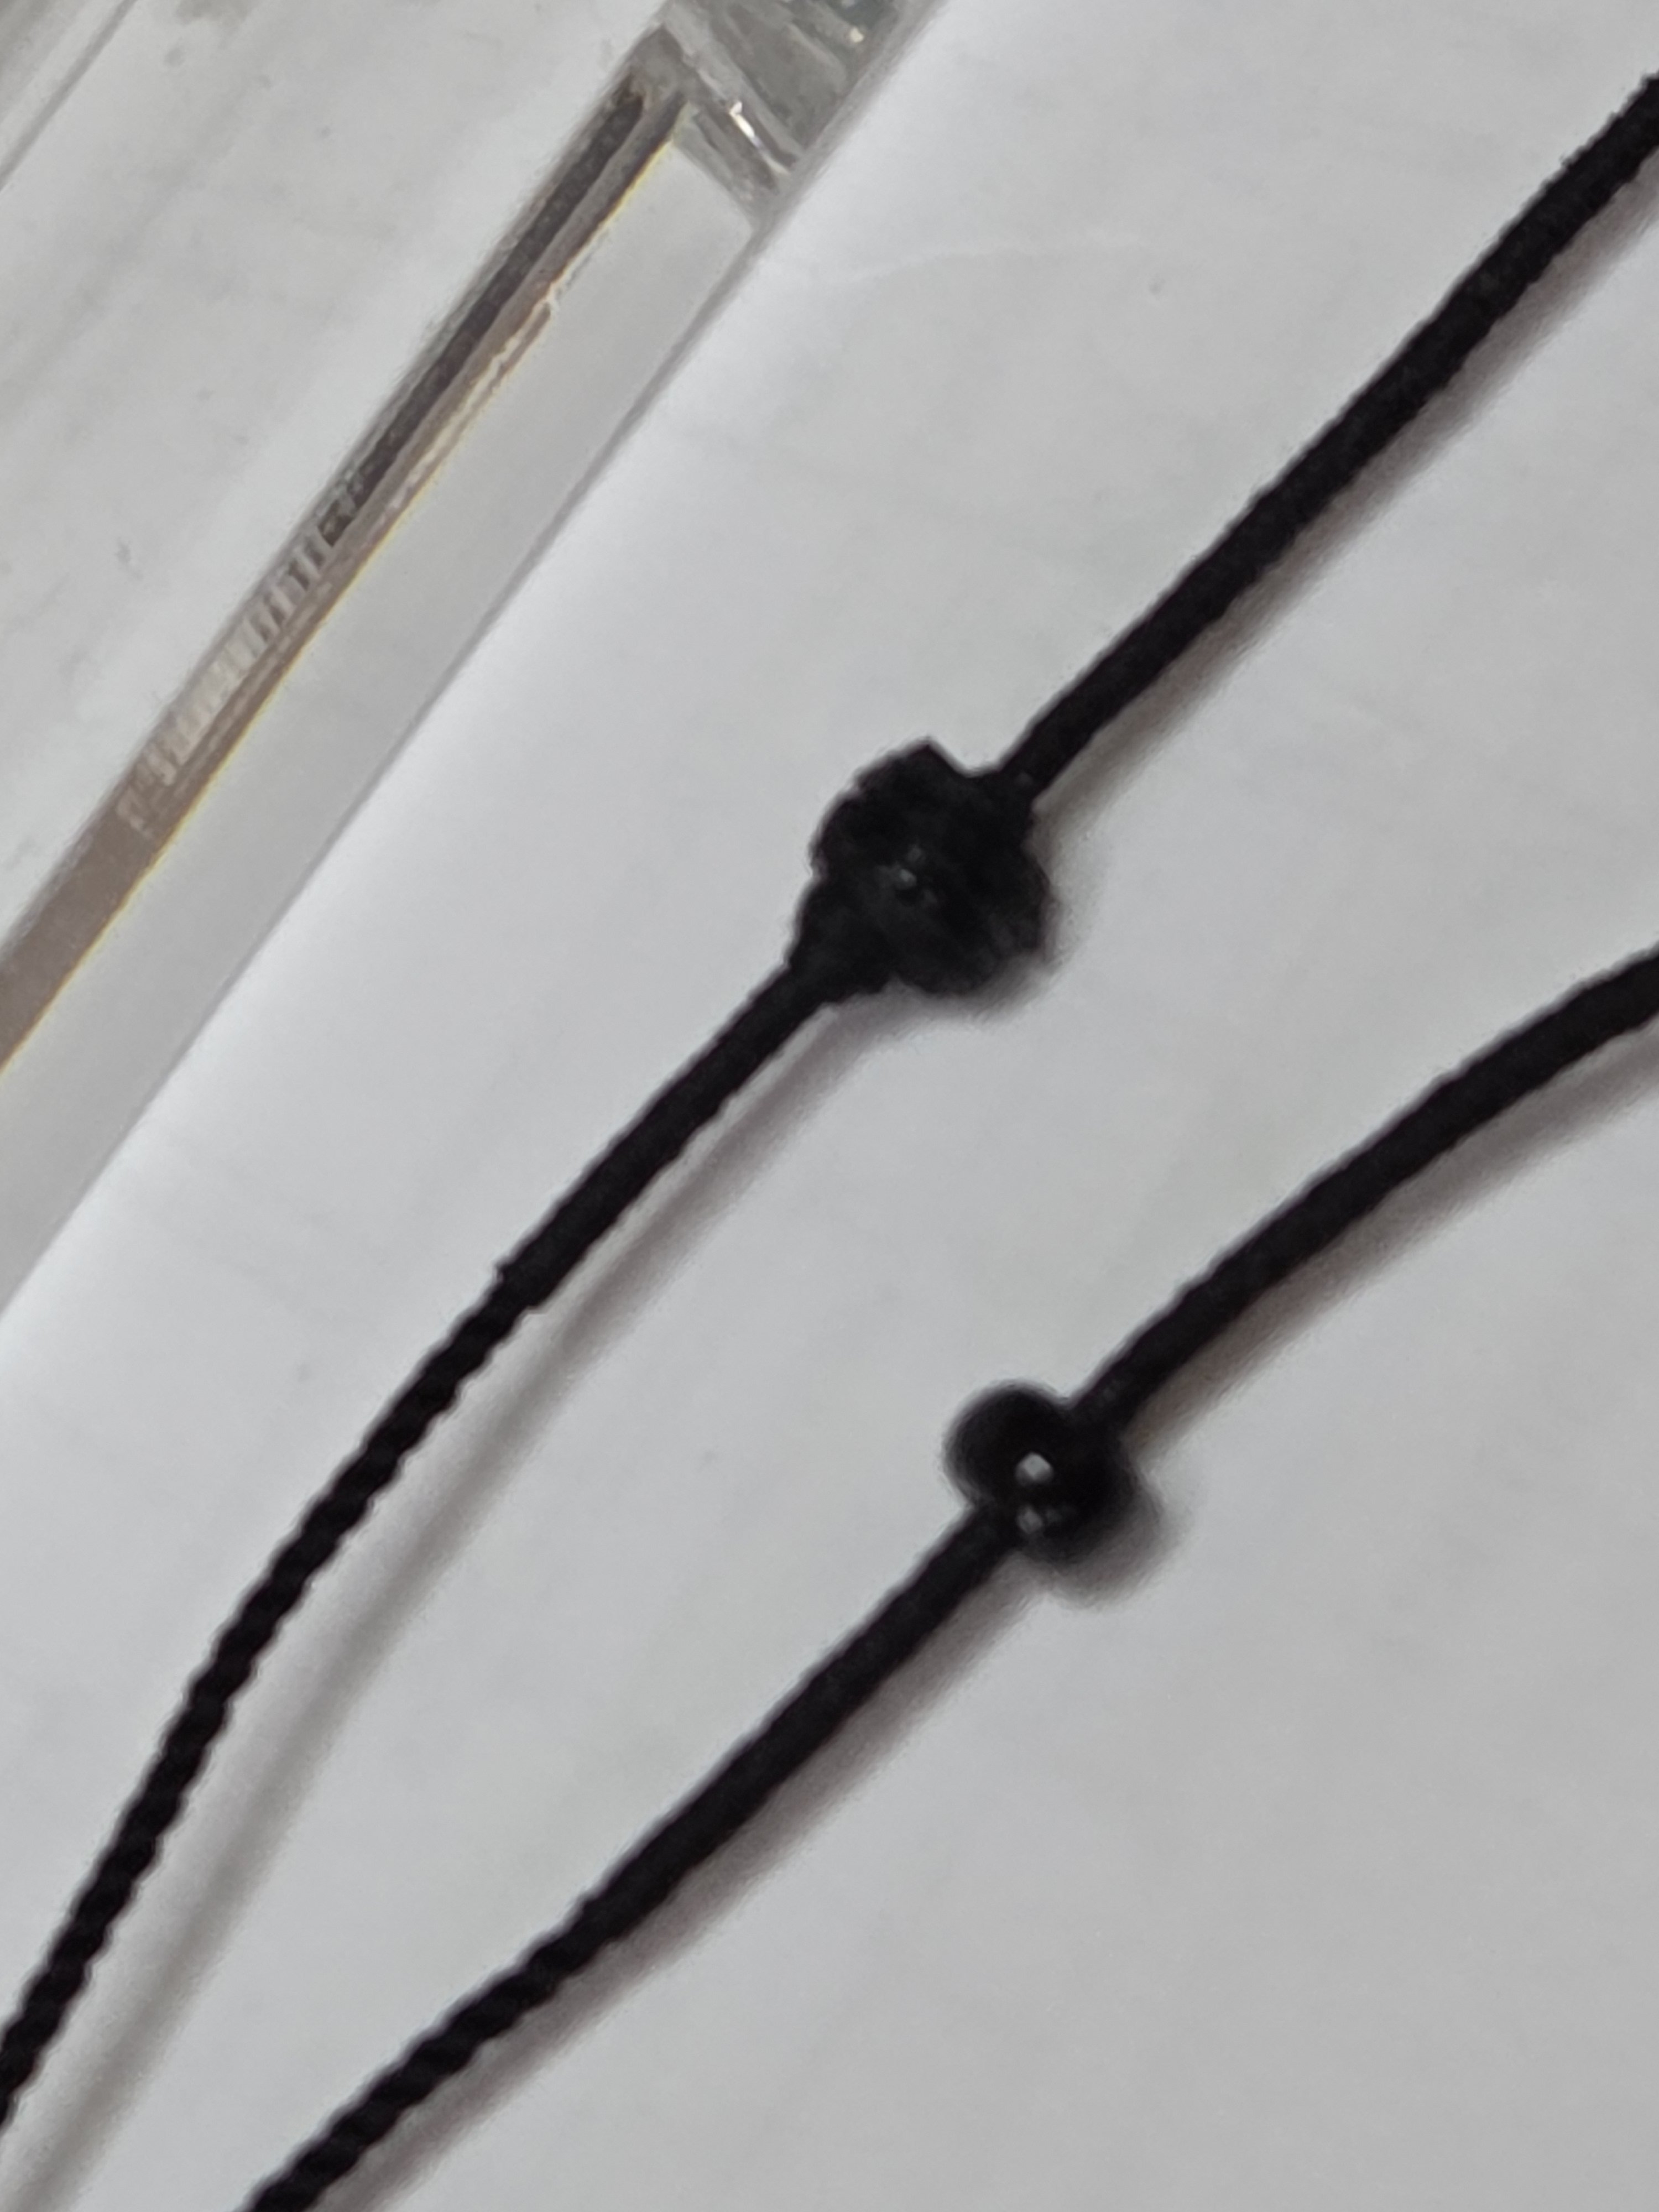
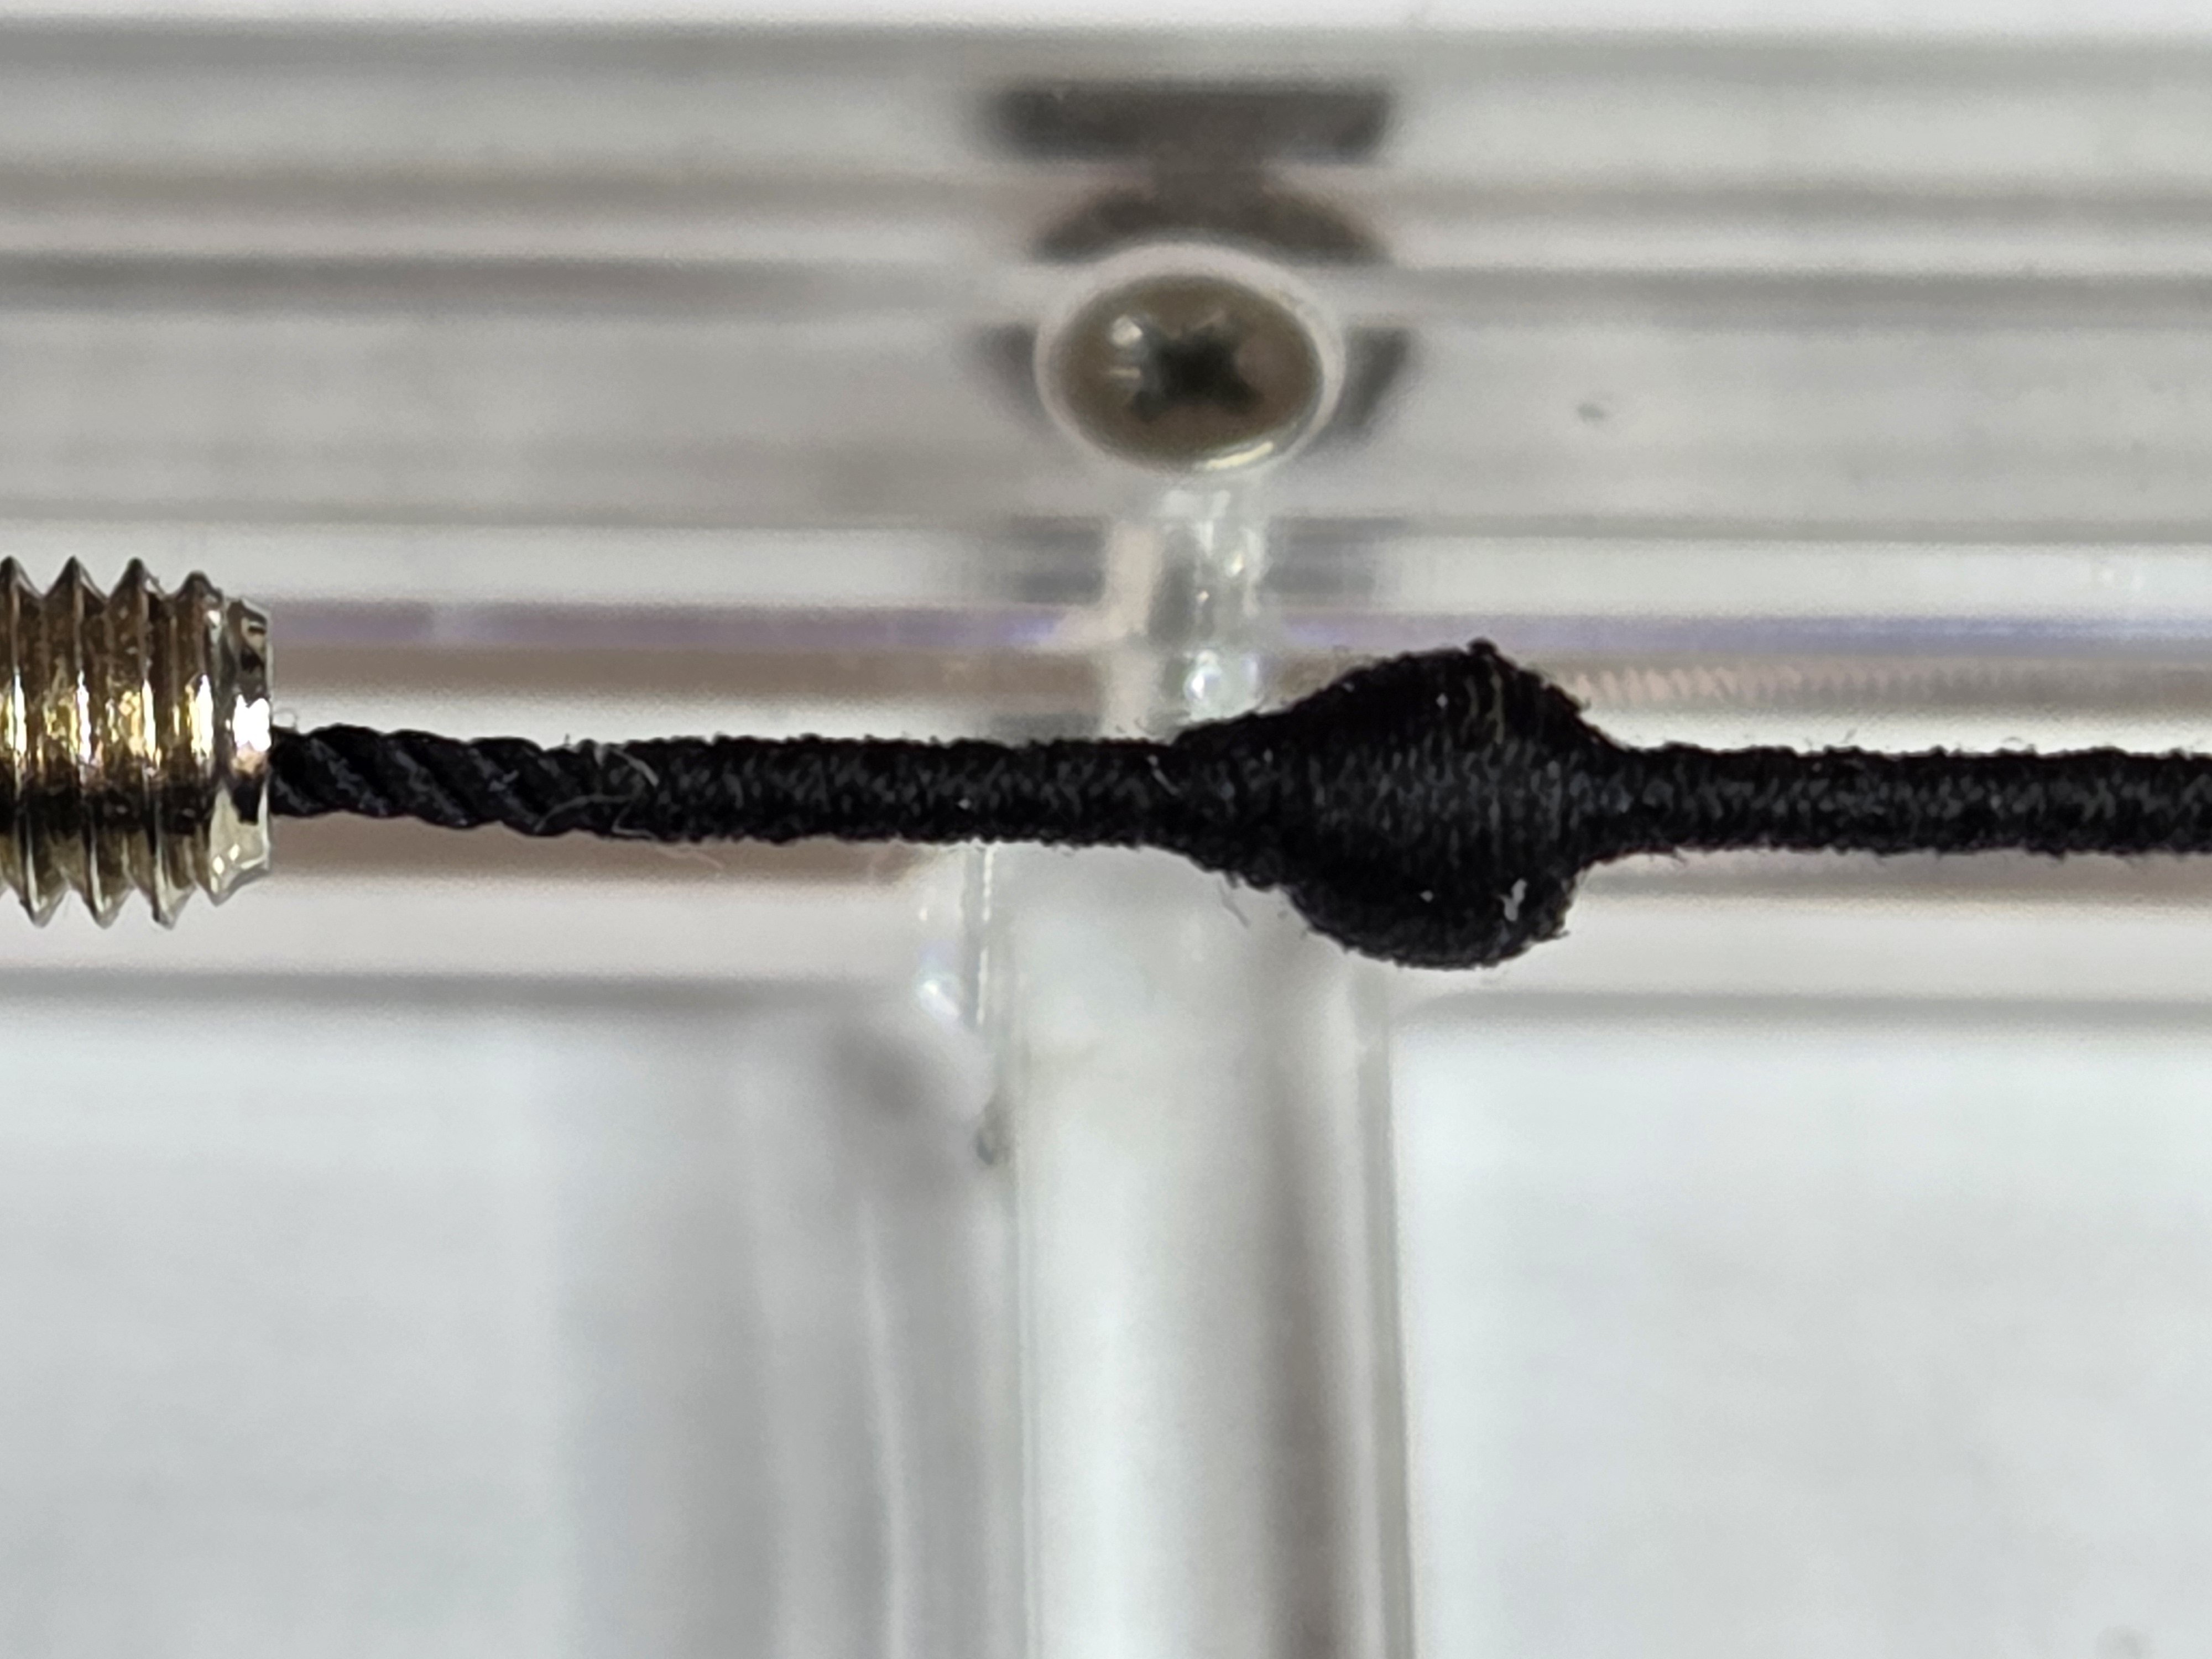
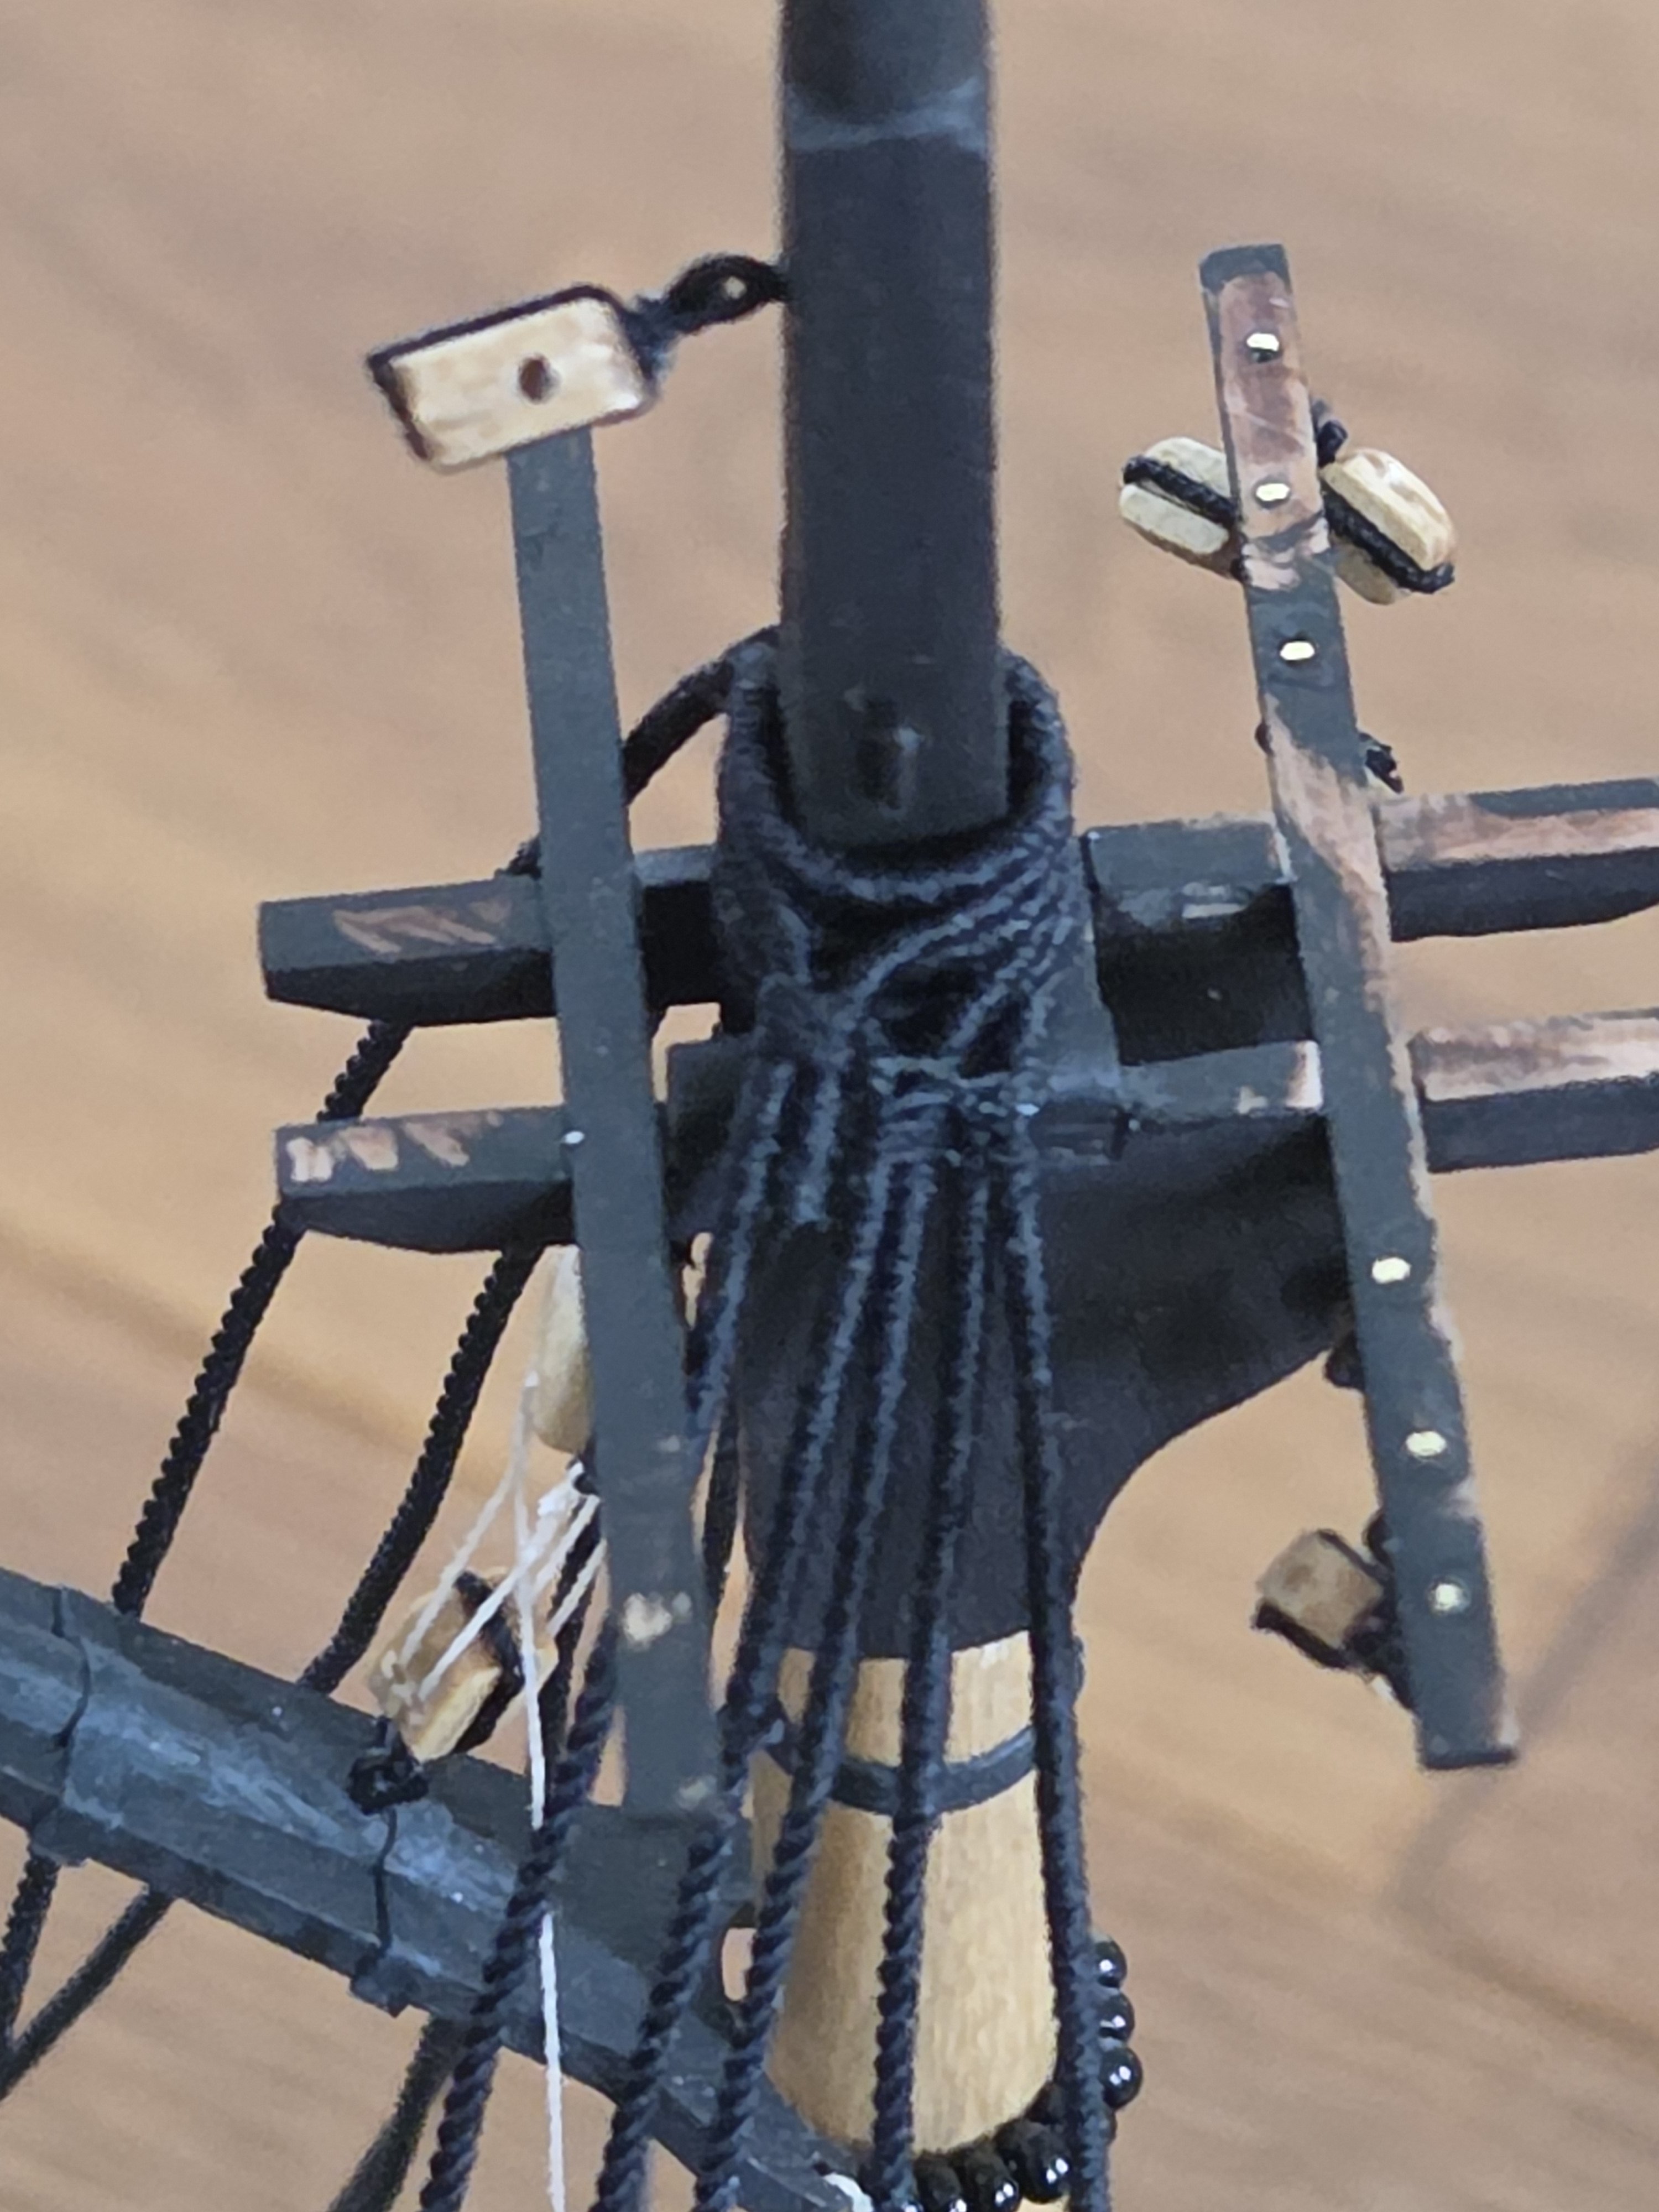
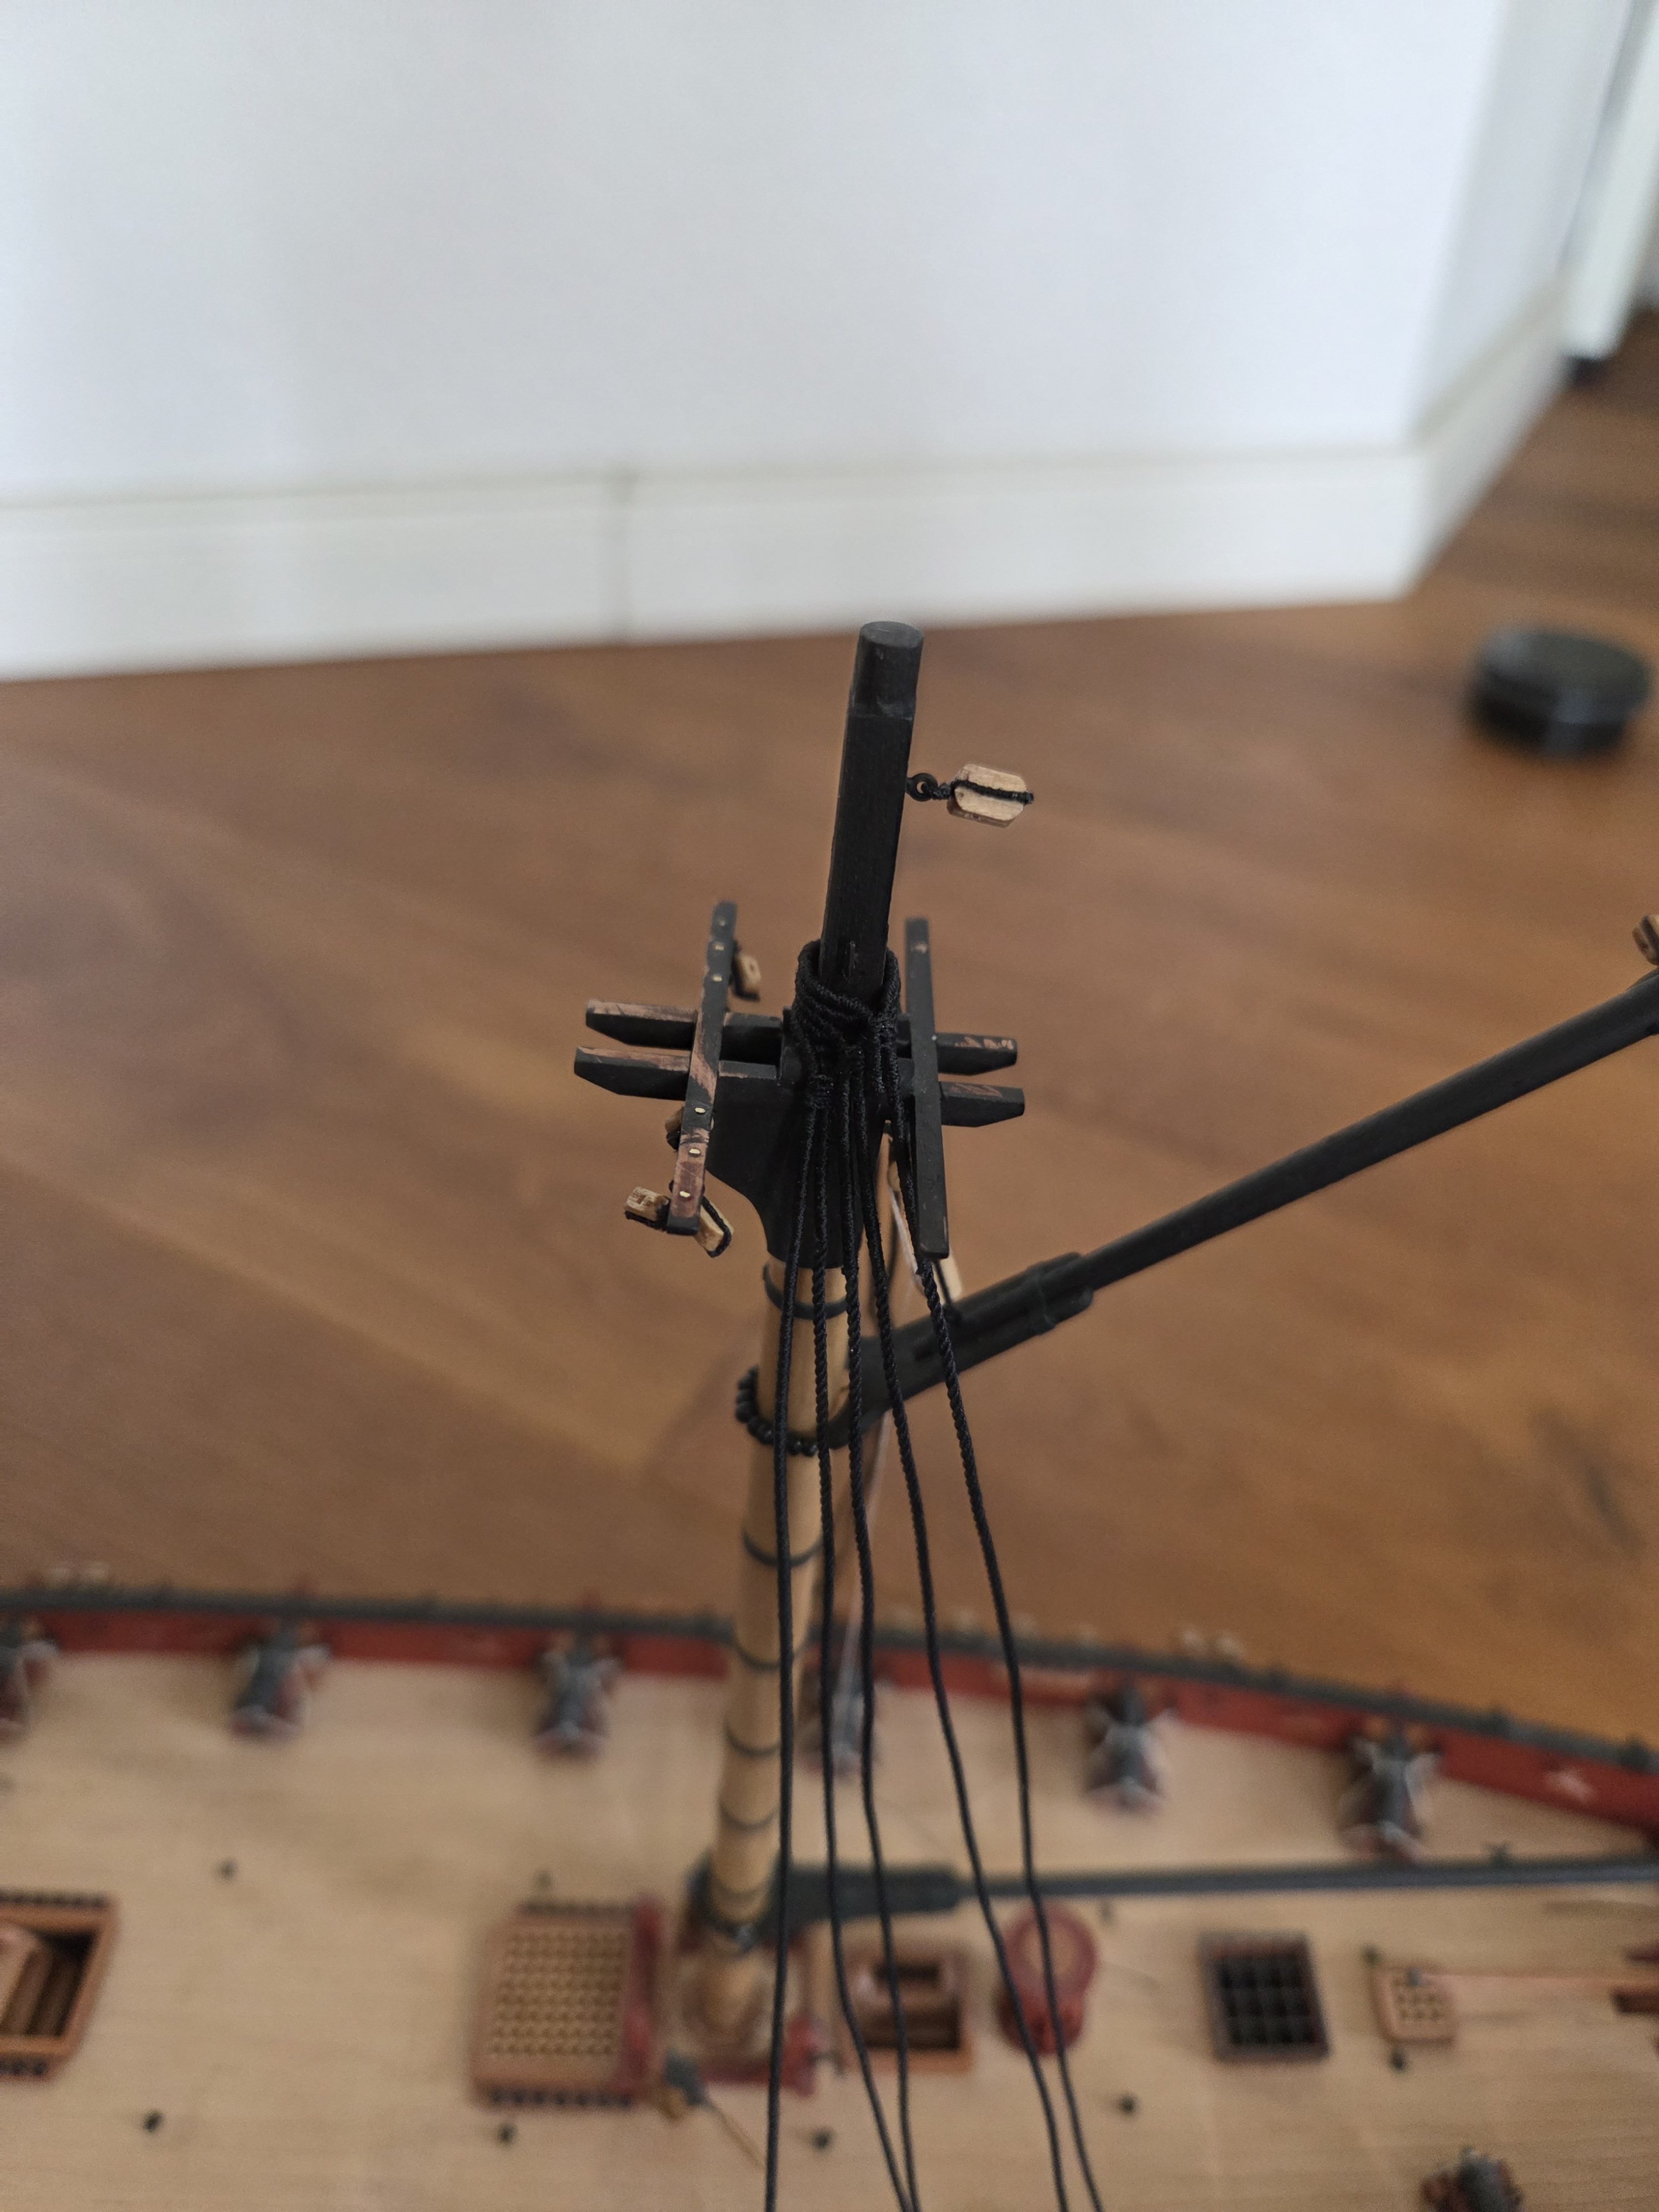
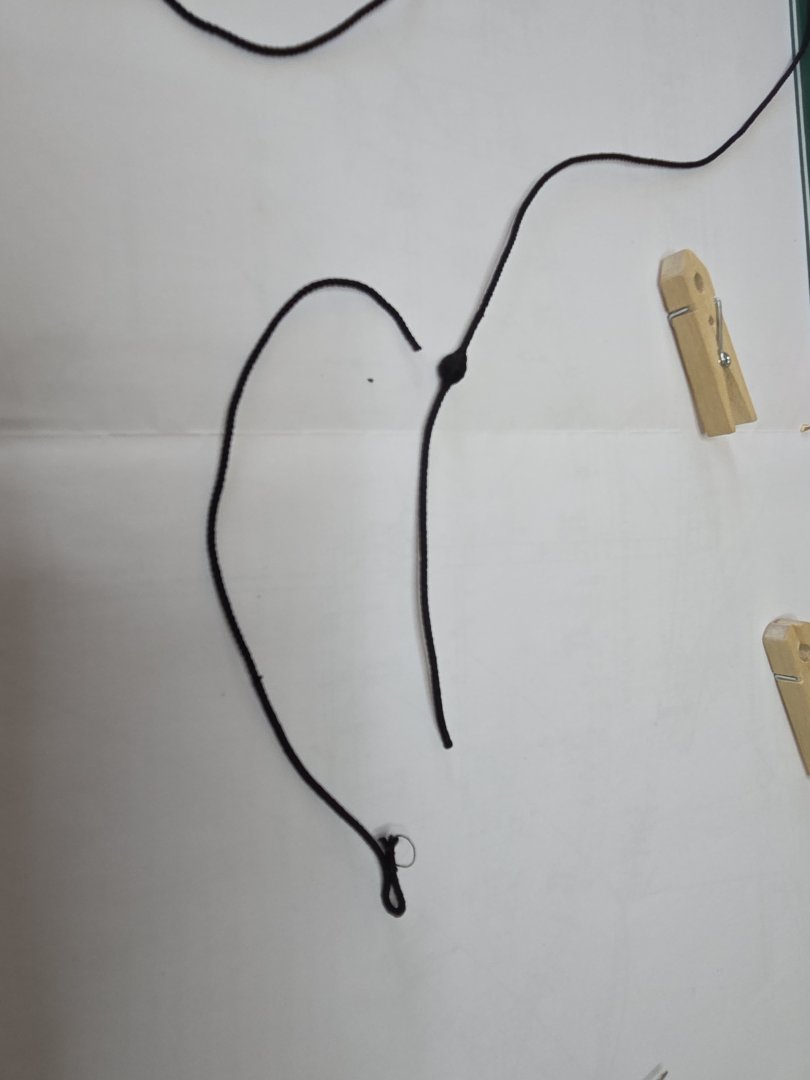
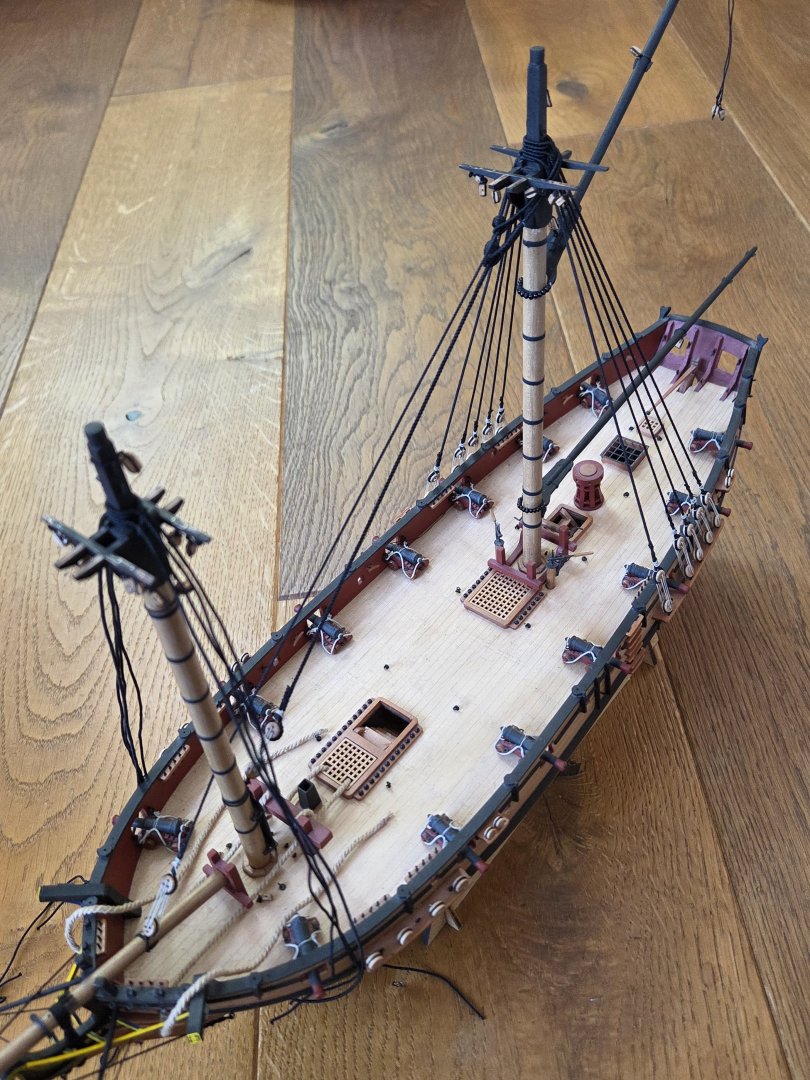
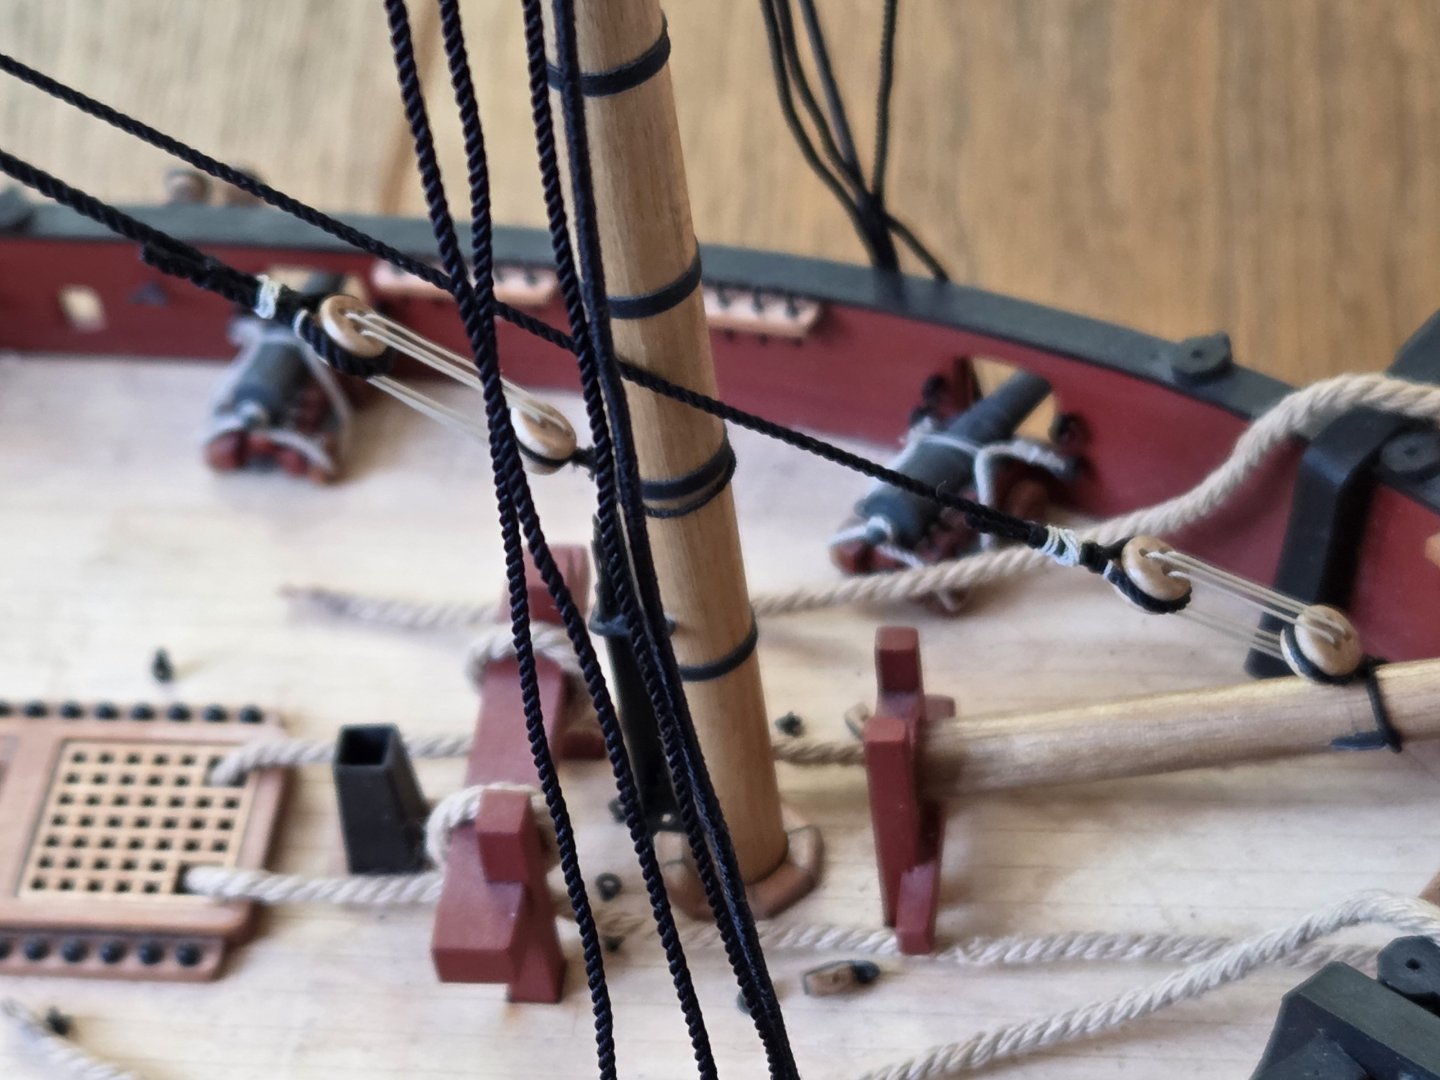
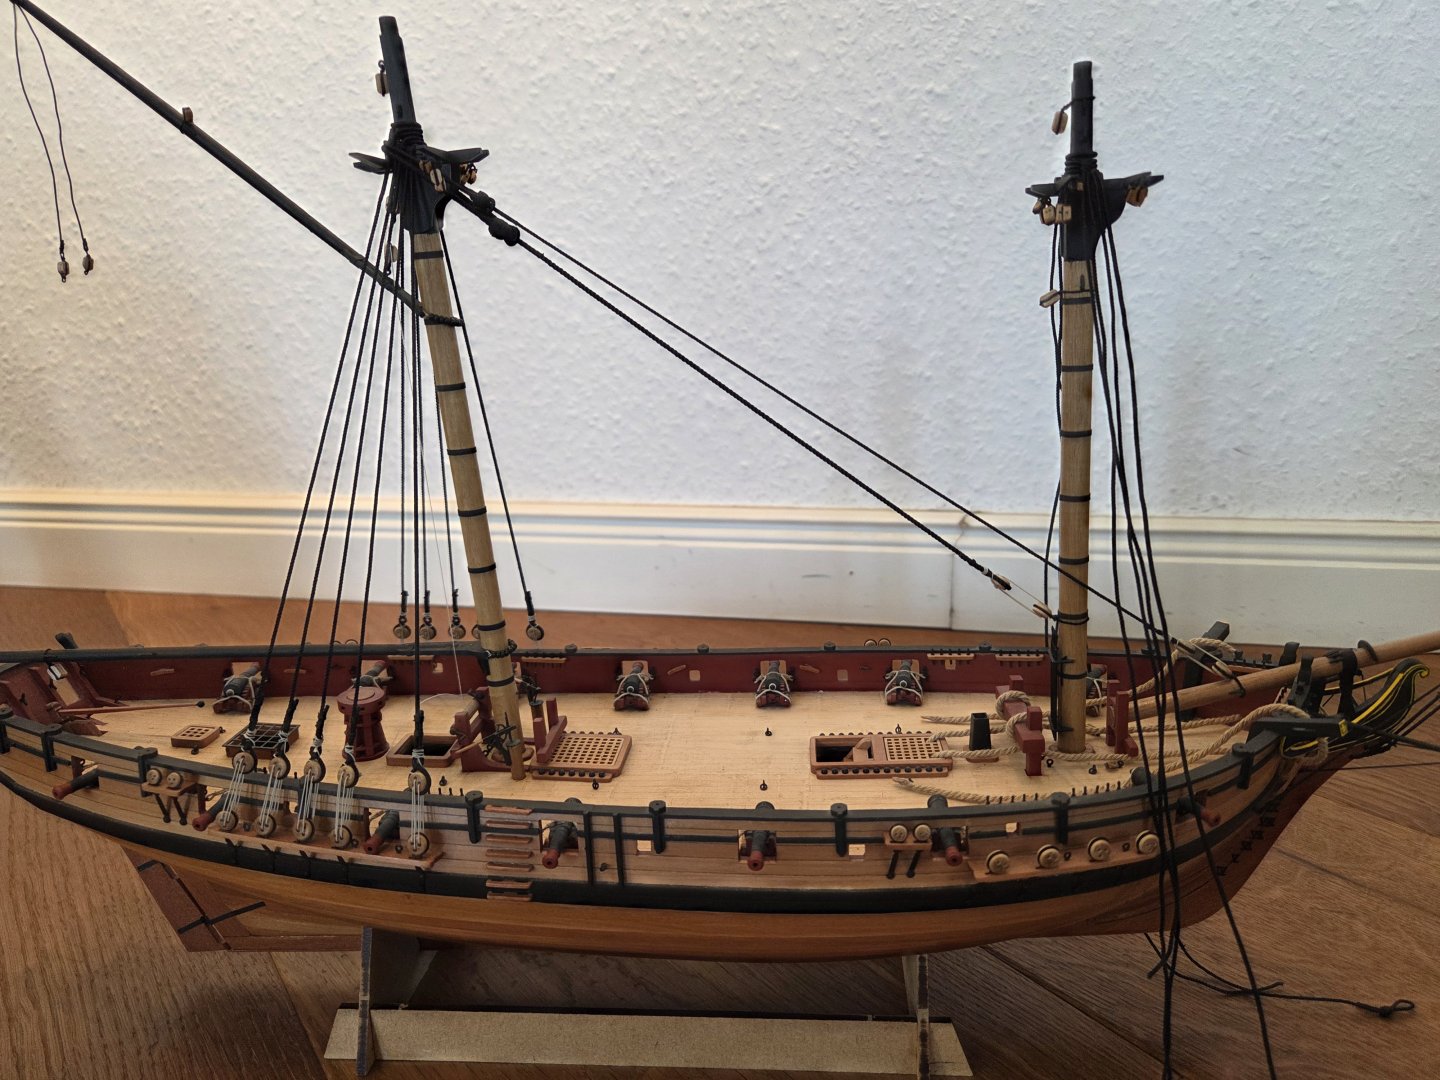
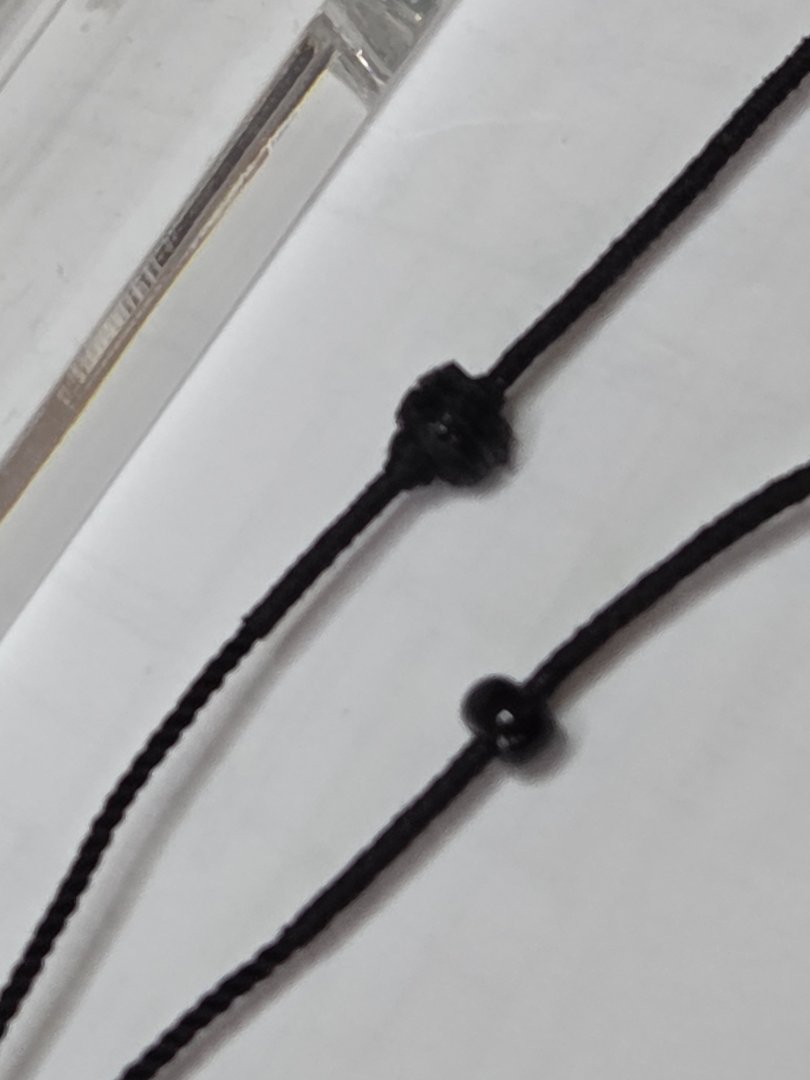
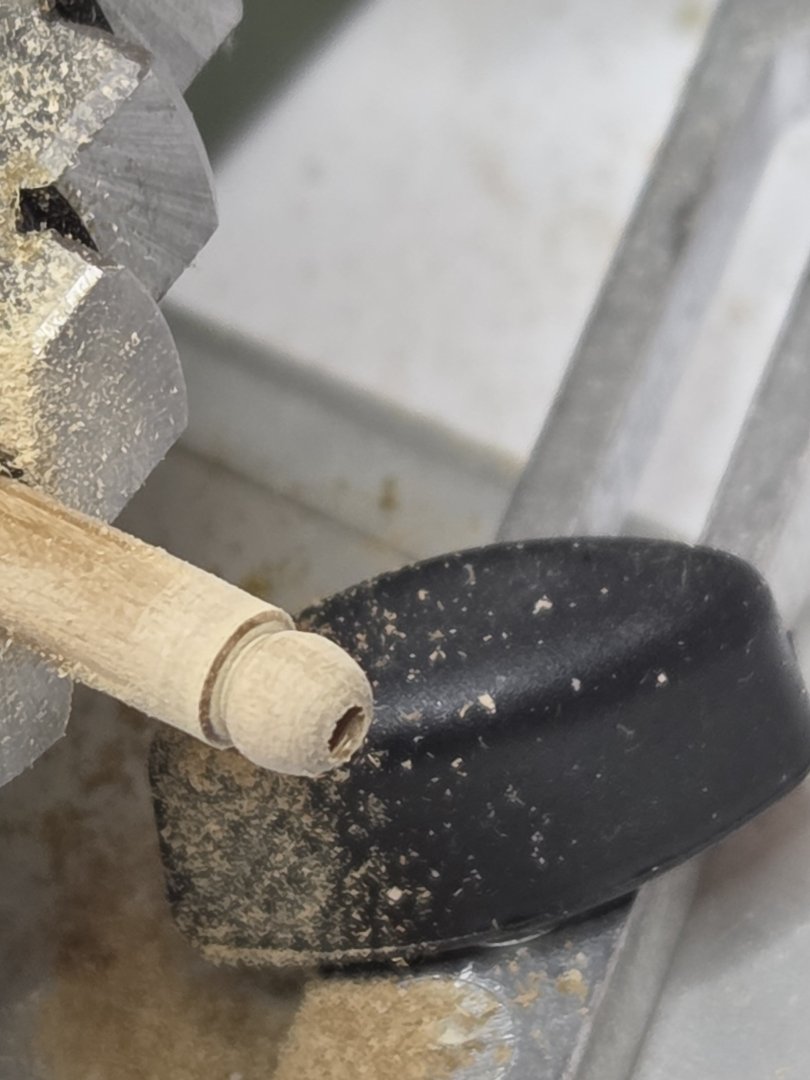
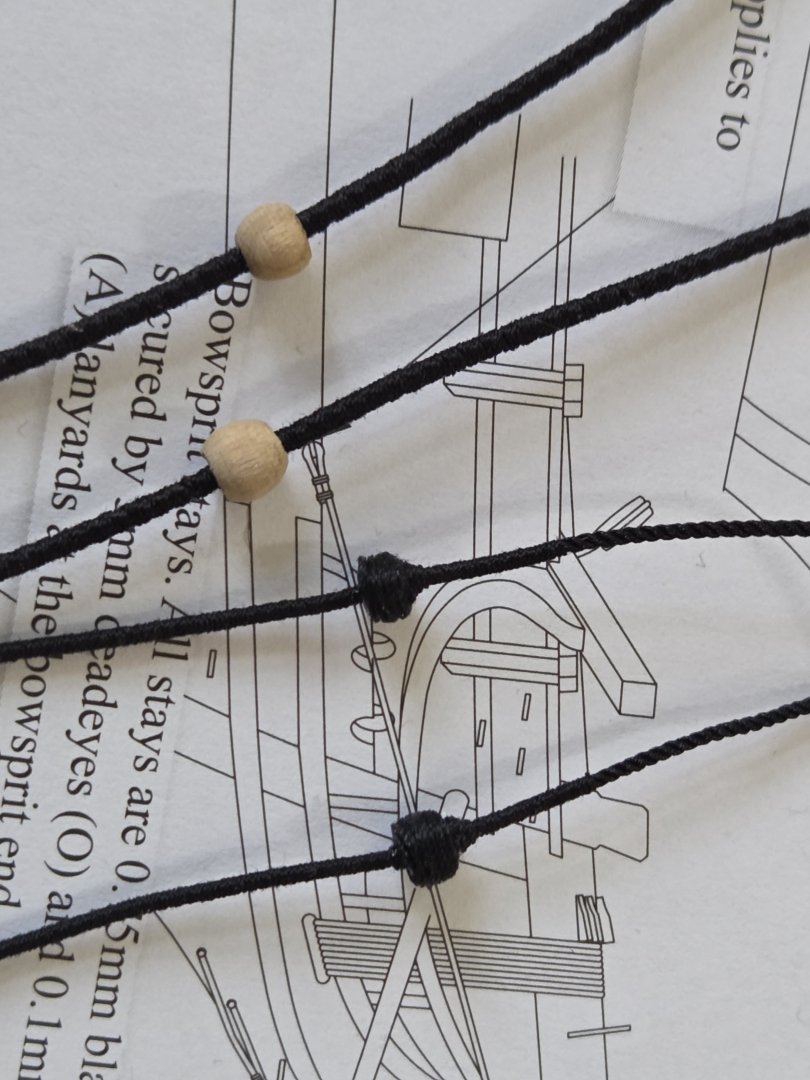
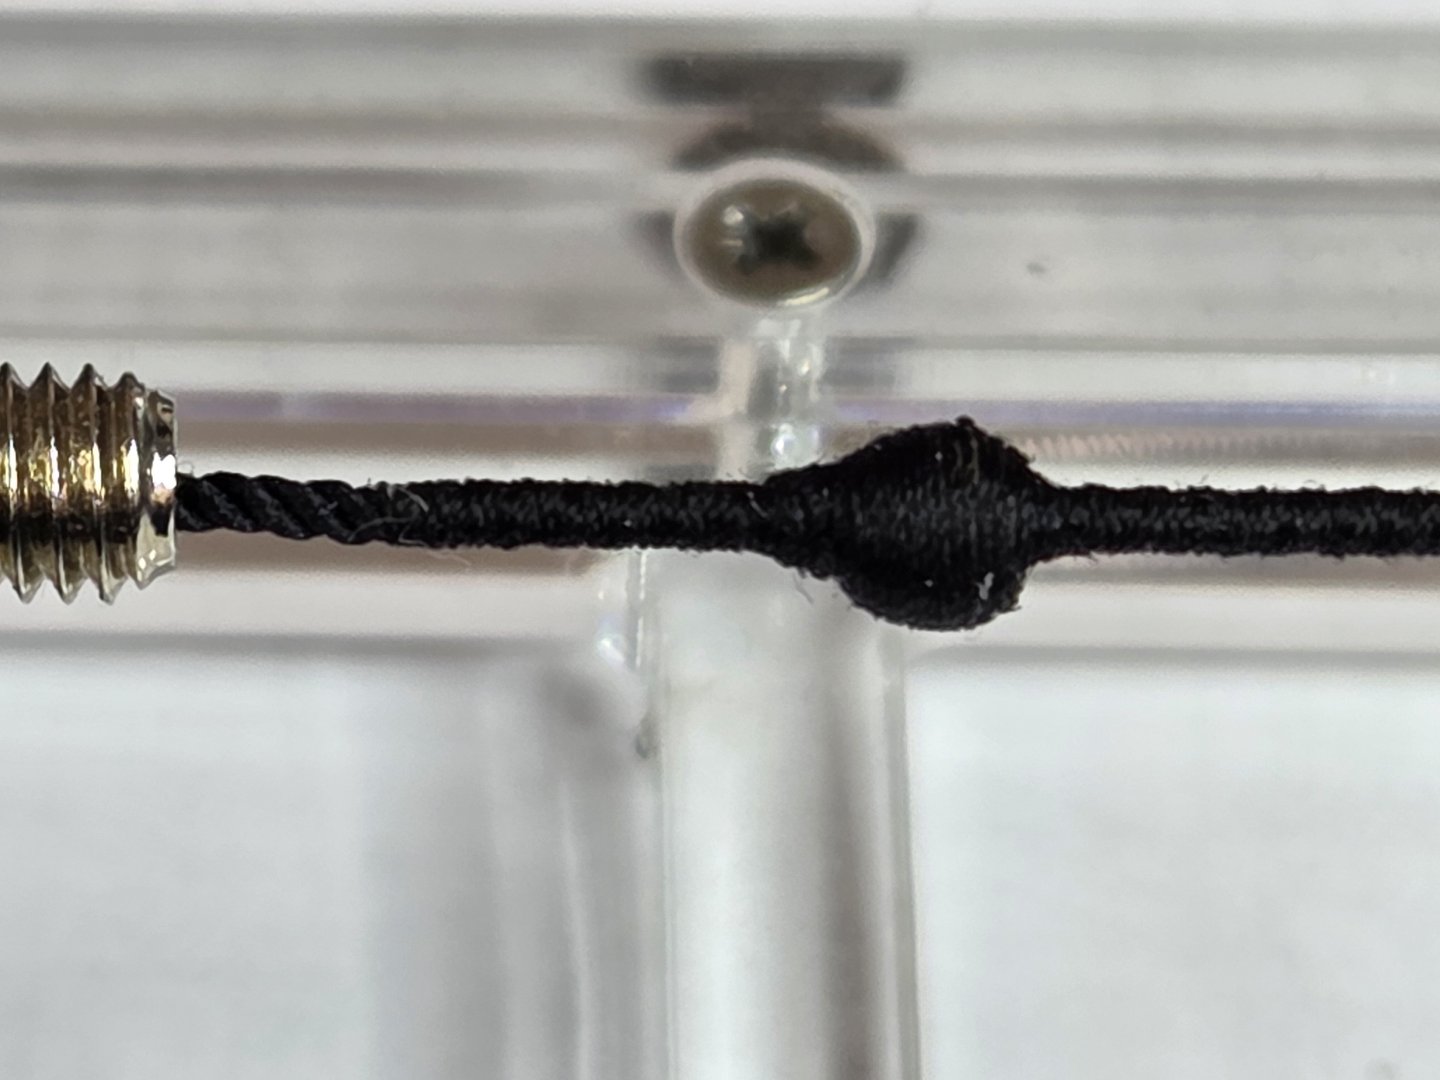
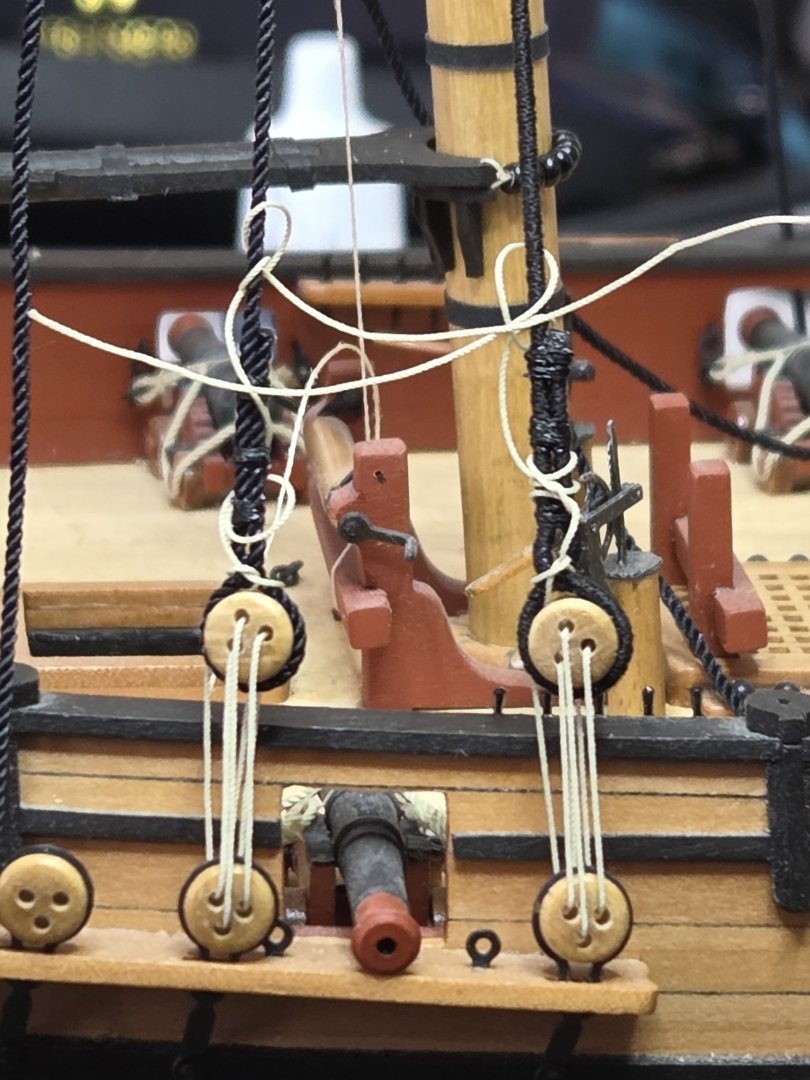
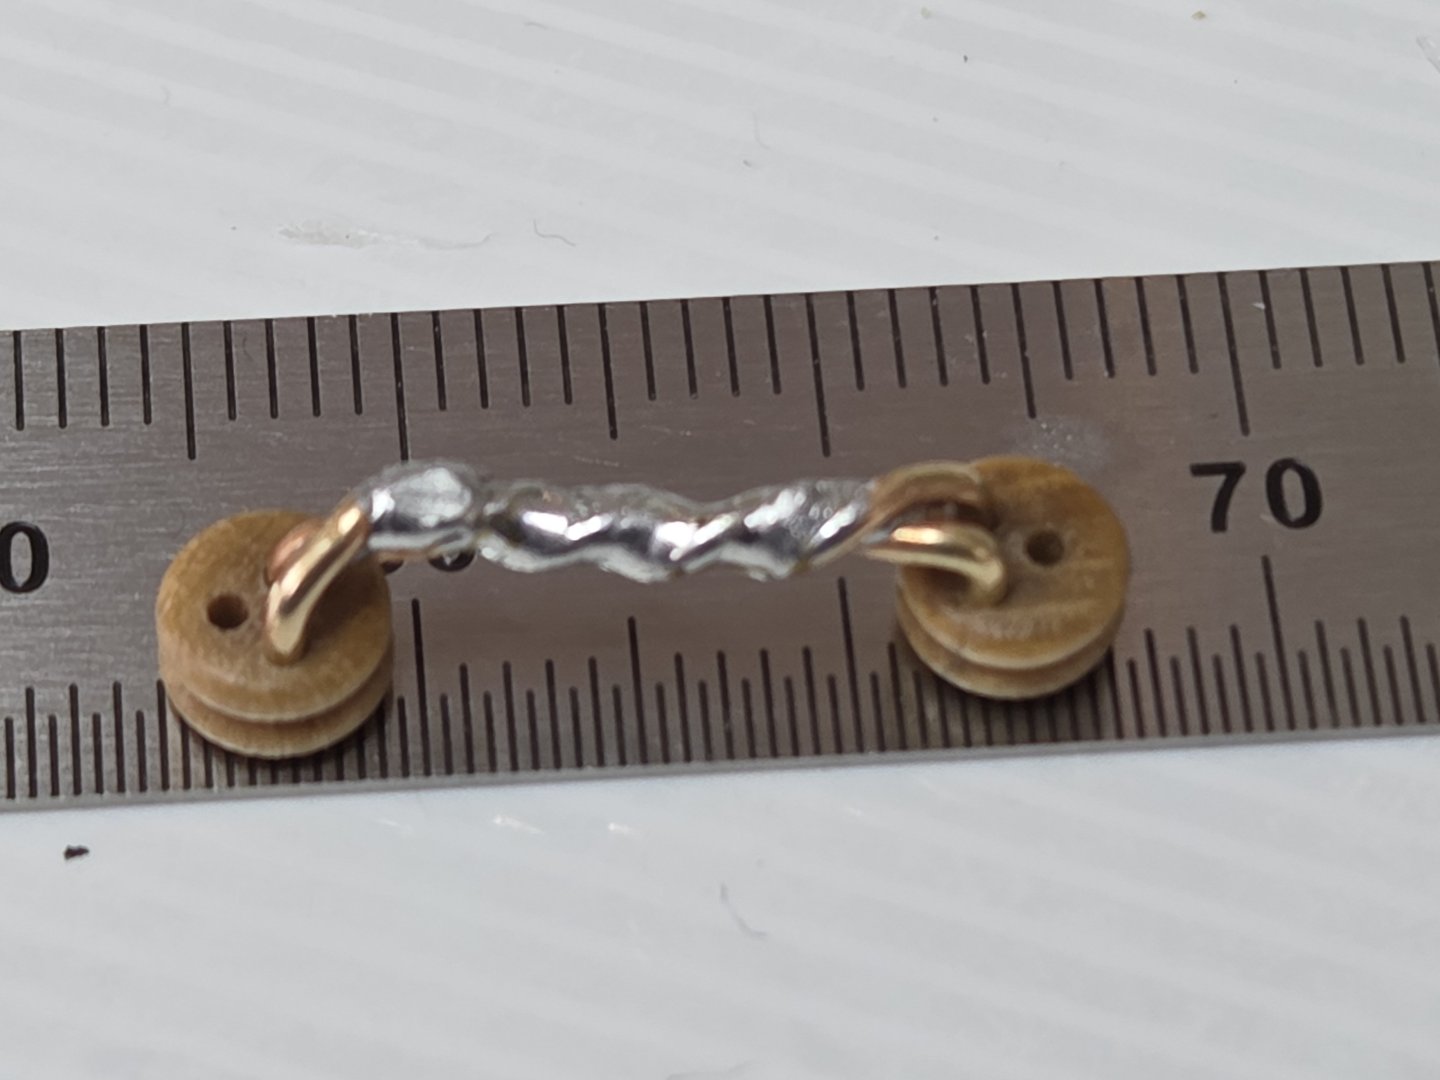
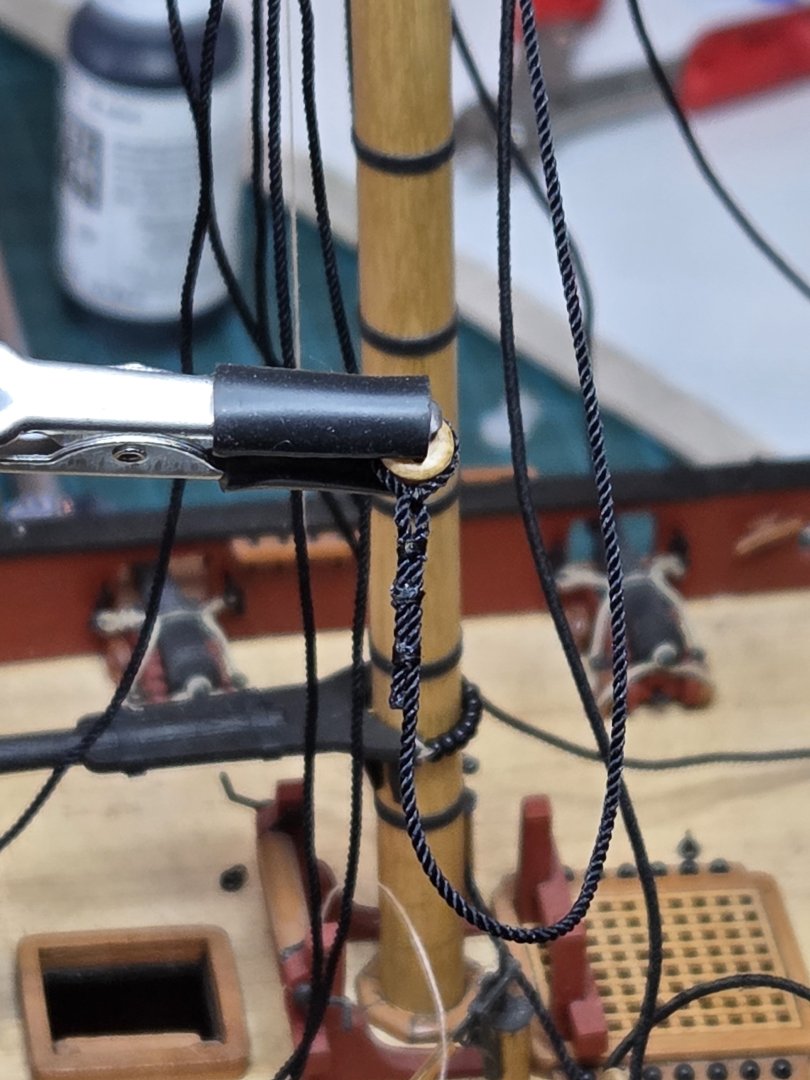
Thanks for the likes, much appreciated 🙂 Main and main preventer stay next then. I served all four, even though the ones for the foremast have to wait for they're installing. The kit includes some kind of pearls with holes in them as mouse(s, 's, mice? 🙂 ). I tried to serve them, but was not that successfull, I could not get the serving line to hold good on it: The Picture Shows the preventer ones. I had a problem with my main stay: I could not get the served rope through the hole of the pearls. I then tried to enlarge the hole with a drillbit and failed: it crumbled in countless parts… Ok, I have this proxon tool I used for the tapering of the spars, why not try and make bigger ones with matching holes out of some spare wood dowels?: fits nicly: serving the wood also works a Little bit better, even thogh there is much room for improvement, but it works for the time beeing, I think: And then I had an epic fail! I measured it all up, put the eye together, all looked nice and fair, and then I cut the overhang. Noooo, I cut the needed part of it: Damn, make a new one? I think u would have too, but I was to frustrated to make a new one, I just glued it together for a fix, served it a lot, so the damage would not be so prominent: Of Course, that has made it quite big... The other one went quite boring in comparision. Both installed on the ship: Well, I managed to let my mice become some big fat cats, lol :-). Last, some shots of the build so far:


-
She comes together very nicely 🙂
-
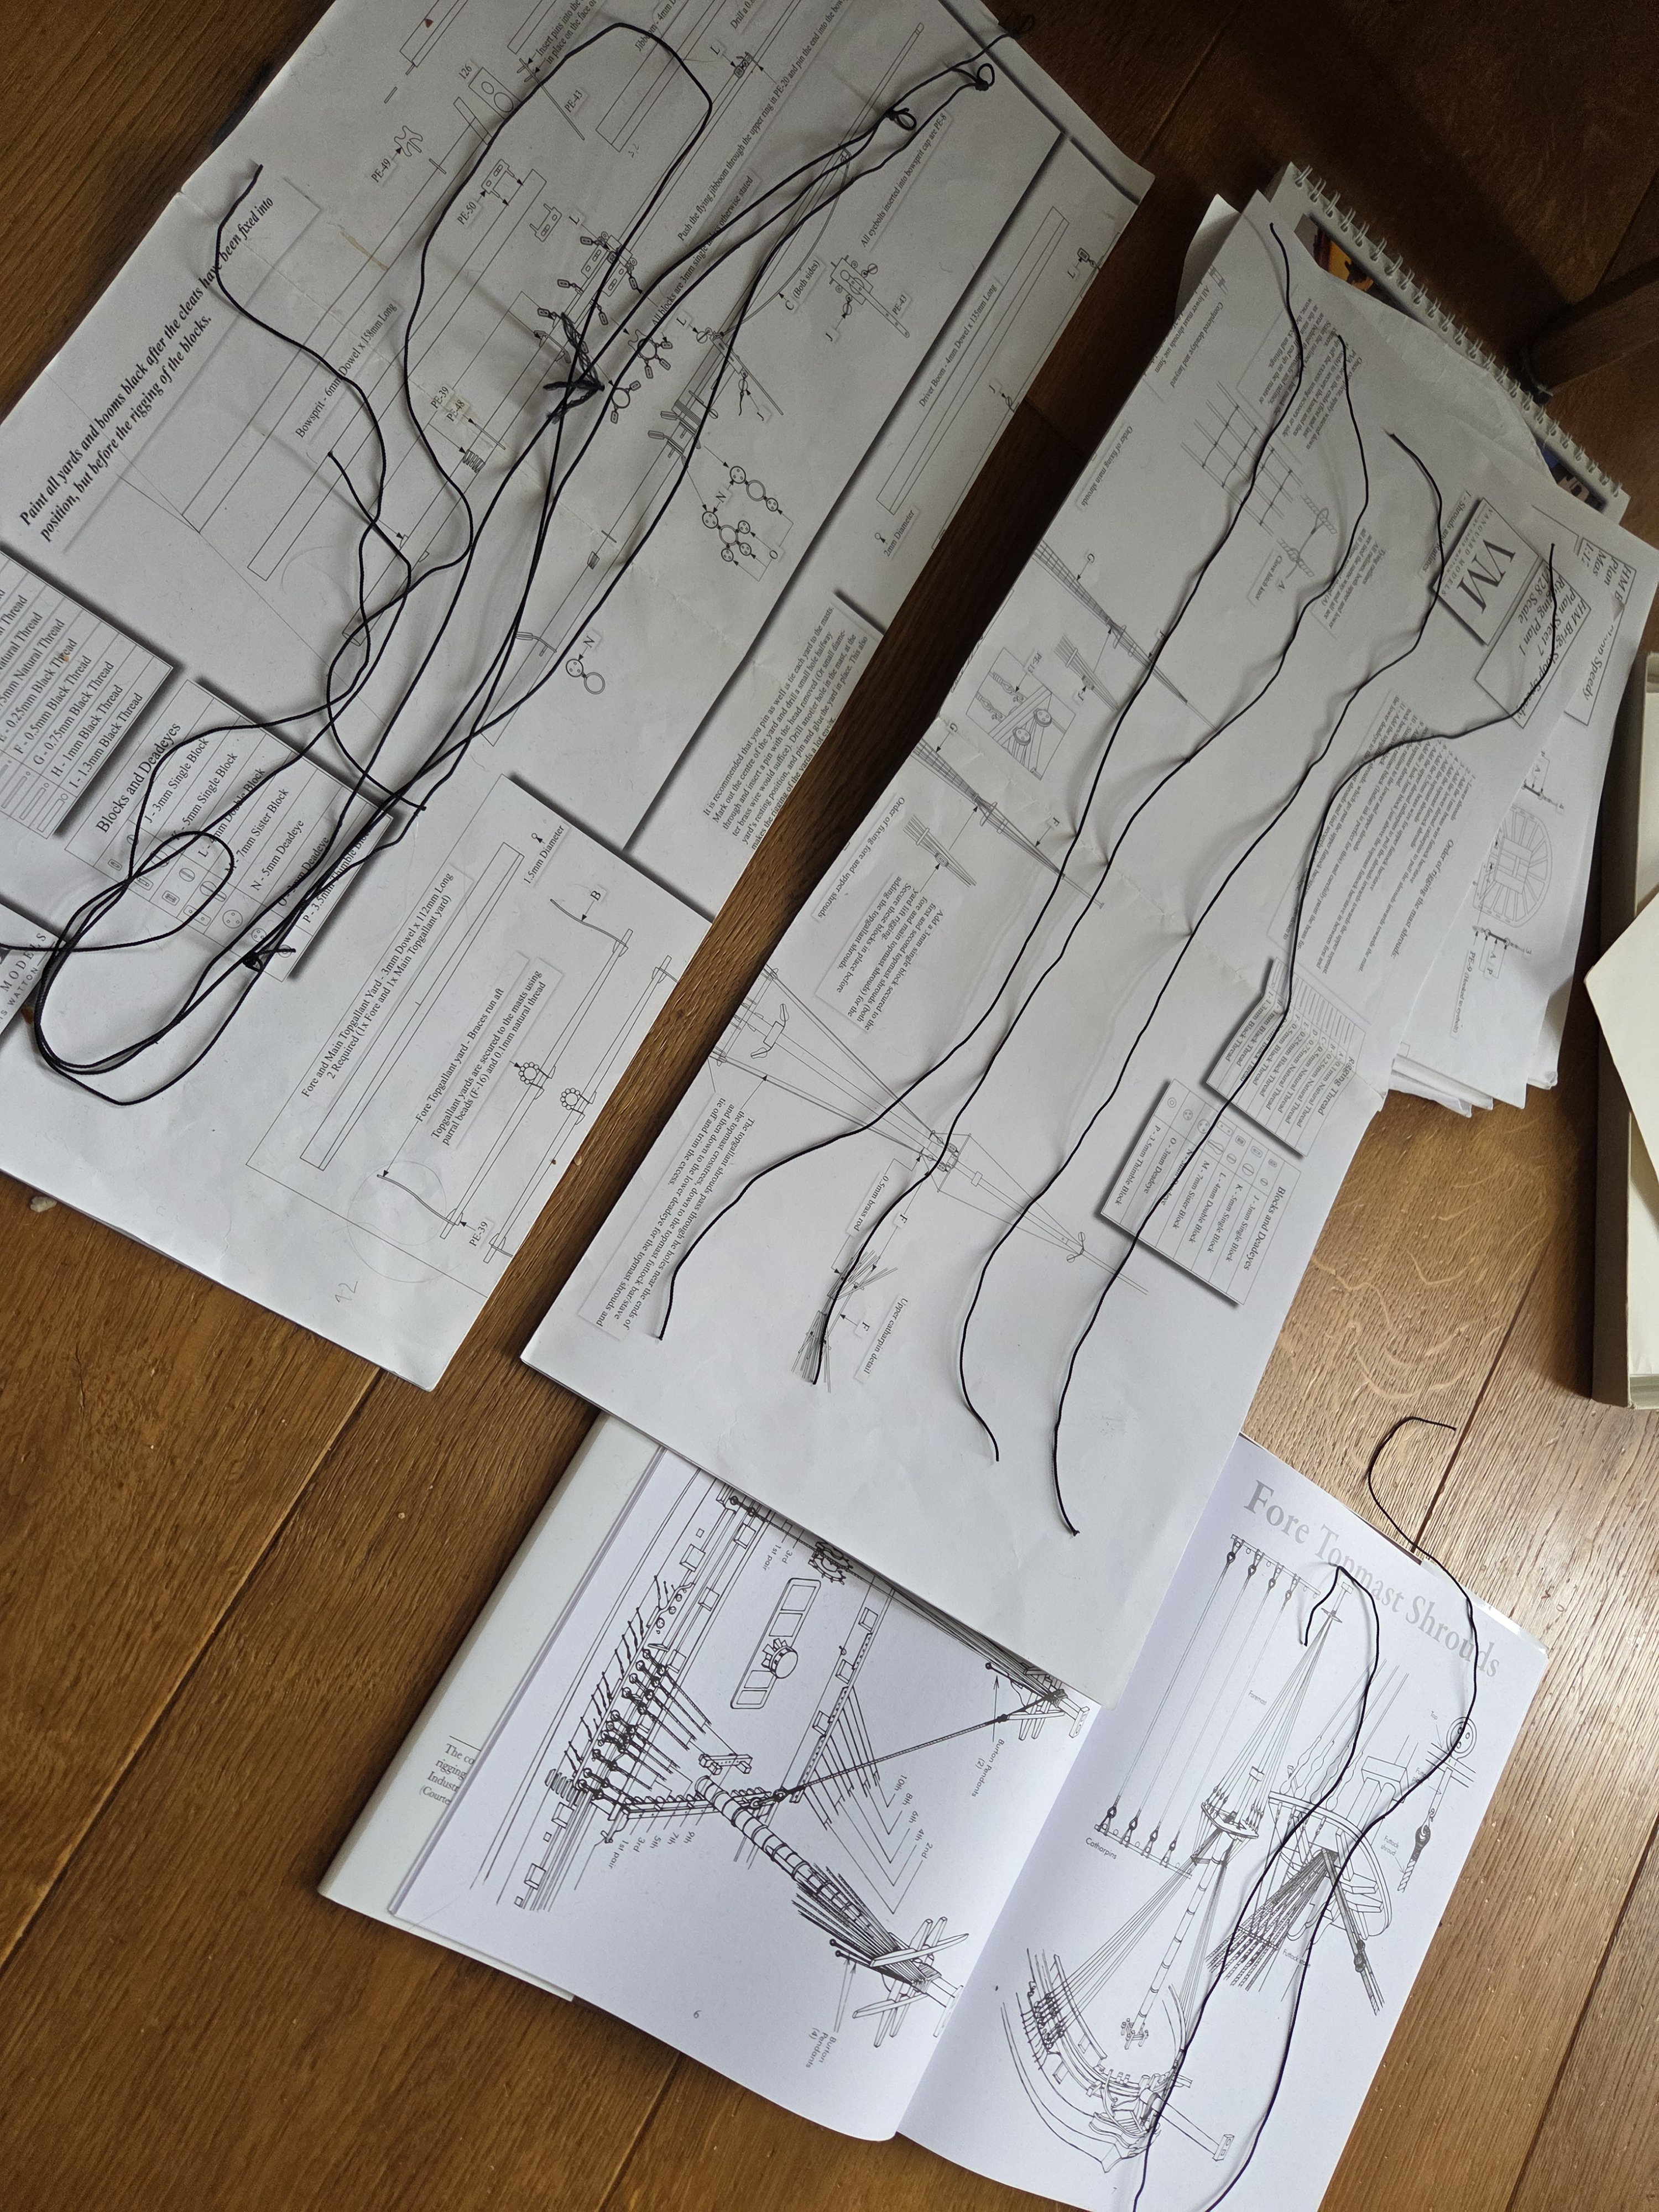
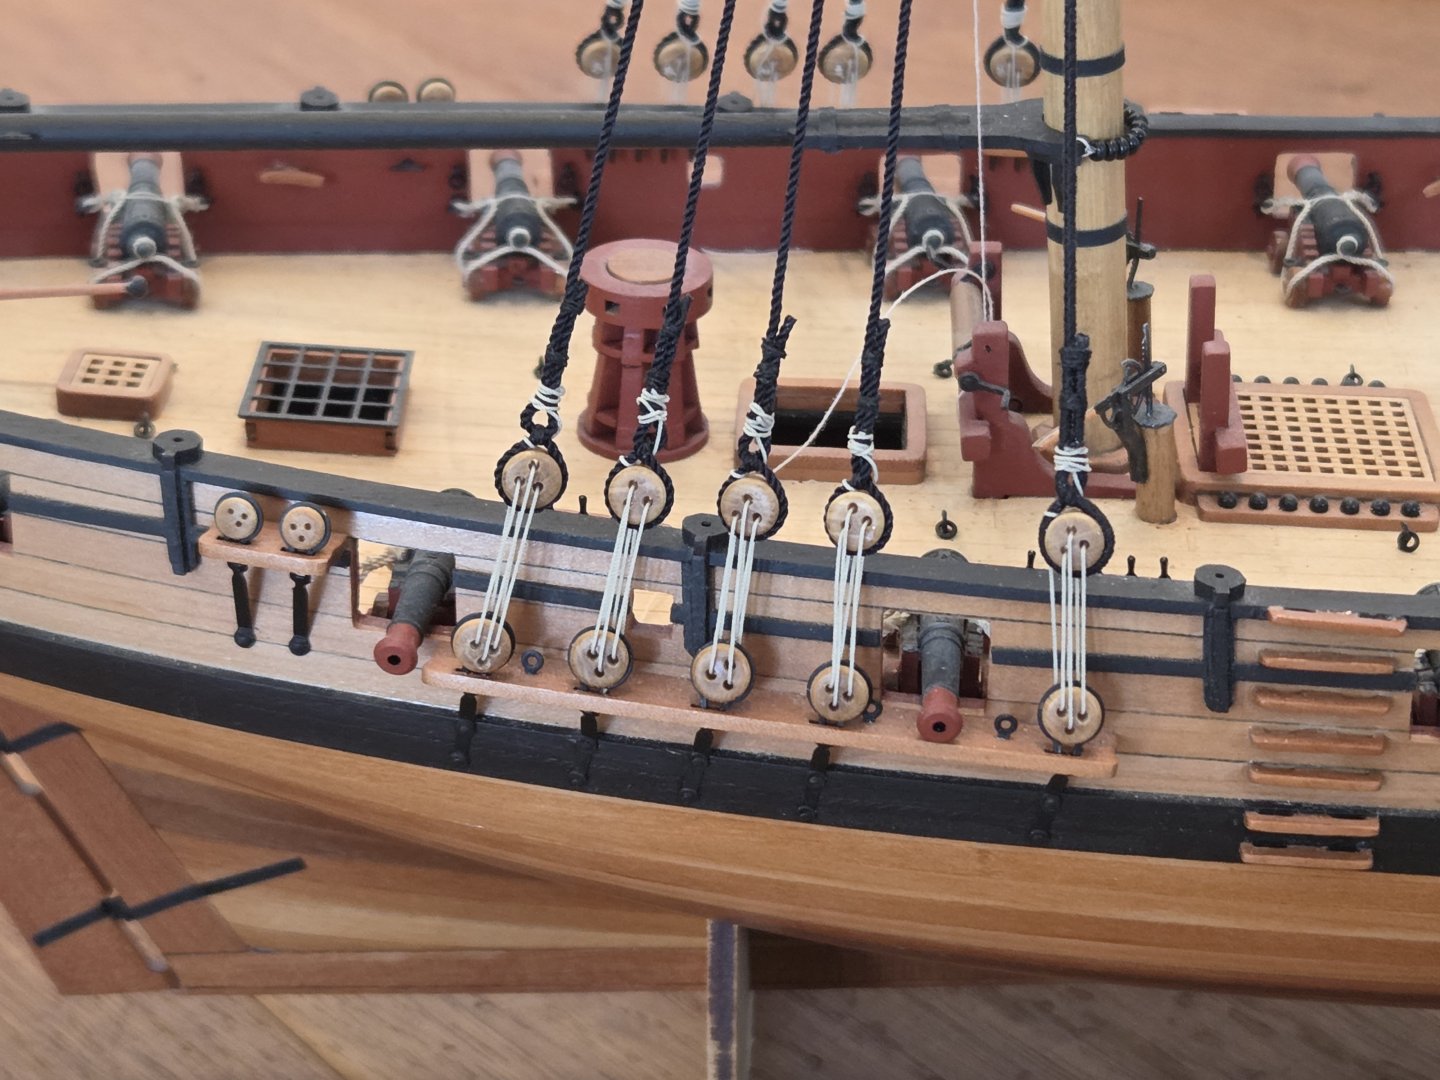
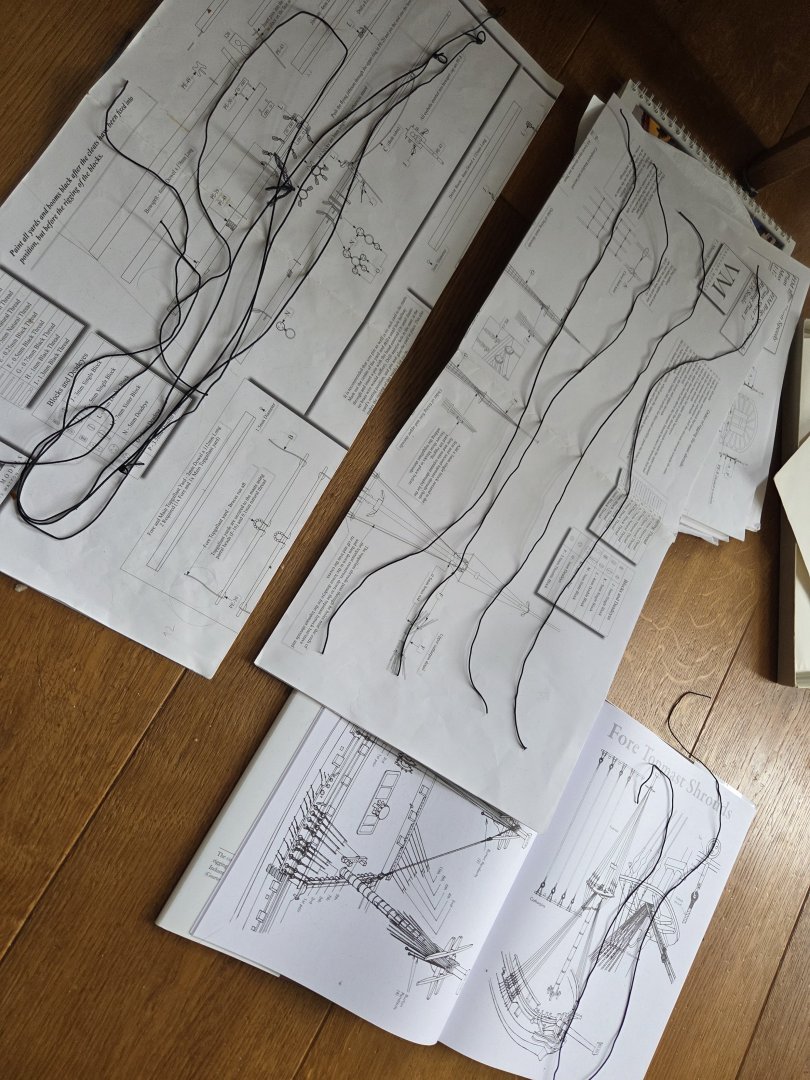
Thx for the likes, much appreciated 🙂 I made a jig according to plans: Used this to find the needet length of the shrouds, and tie em up using the quad Hands: Was difficult with the served first shroud, because the serving starts to become uneven when I tried to push or pull some sizing loops. I wanted to see how this will turn out in the end, so I temporarily tied the first pair of shrouds on one side: The distance between the blocks could be a Little bit smaler, but then I could put more Tension on the lines when finaly get finished. So lets wait and hope, lol.
-
Thx for the likes 🙂 Shrouds next then. I prepared, read: served all 10 lines for the lower ones, but install them only on the main mast. Fore mast will follow after the main stays.


-
Wow, IMO, that was very worth it!
-
That's a very smooth copper layer, I like it! 🙂
-
Beautiful work! I'm every time surprised how smal theses ships had been in comparison to the Lieutenat 🙂
-
If you like it the way it is, then it is fine. On the other hand, if you arn't totaly happy with it, change it :-). Only one suggestion: 1/2 a mm is not much, but relative to the 1mm, that it should be, thats 50% more 😉 .
-
Great project! And thank's a lot for your detailed explanations!
-
I think your Sphinx has become the gold standard! Just perfect in my eyes!
-
Gratz! Beautiful model!