End Of The Line
-
Posts
35 -
Joined
-
Last visited
Content Type
Profiles
Forums
Gallery
Events
Everything posted by End Of The Line
-
 She is looking great! I love the rigging. The sail colors compliment the hull well. I'm looking forward to seeing what you come up with for the figurehead.
 -
Thanks for the kind words. For the deck, I mixed the stain with some clear flat acrylic, so the stain and finish went on as one. For the hull planking, the water based stain Seemed to have pretty strong binder, so I didn't. If I had used an oil based stain, then I would have topcoat with polyurethane or another comparable clear coat.
-
You’re making great progress. The planking looks good, and the stain does a good job of capturing the color of surviving examples.
- 6 replies
-
- 1
-

-
- Dusek
- Viking Longship
- (and 1 more)
-
As I recall, the Gokstad ship was buried with the stems exposed, so any evidence of figure head or attachment method would have rotted away, or been removed, long in the past
-
Wow! The longship is looking great and your fresh approach to displaying the shields really elevates things. The added detail of the barrels and bundles contributes to an interesting snapshot in time.
-
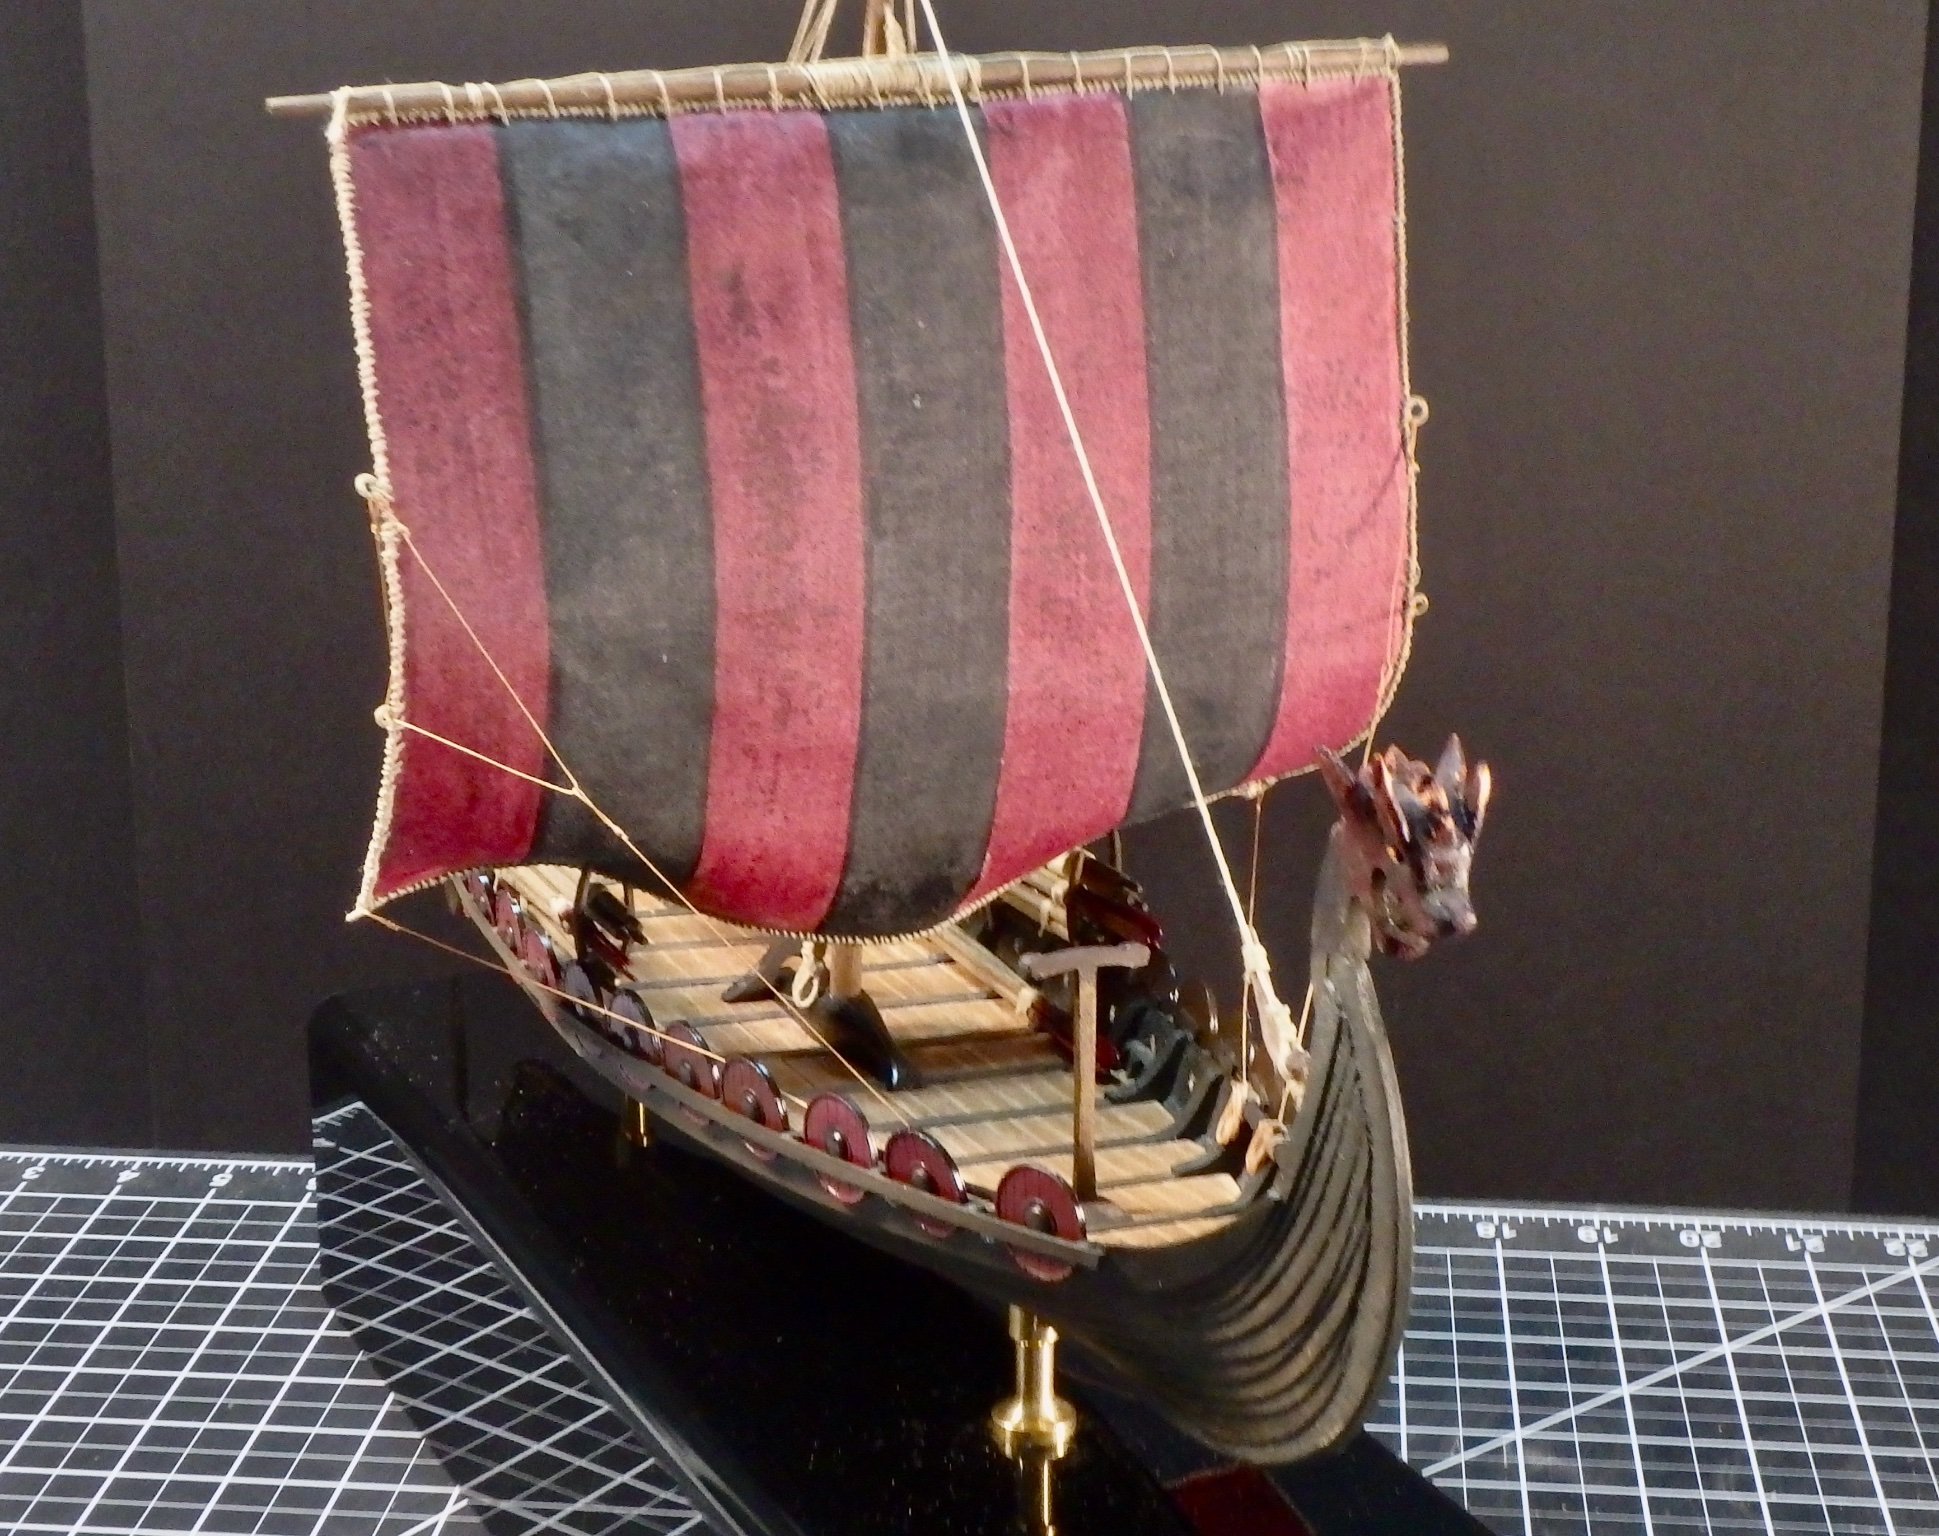
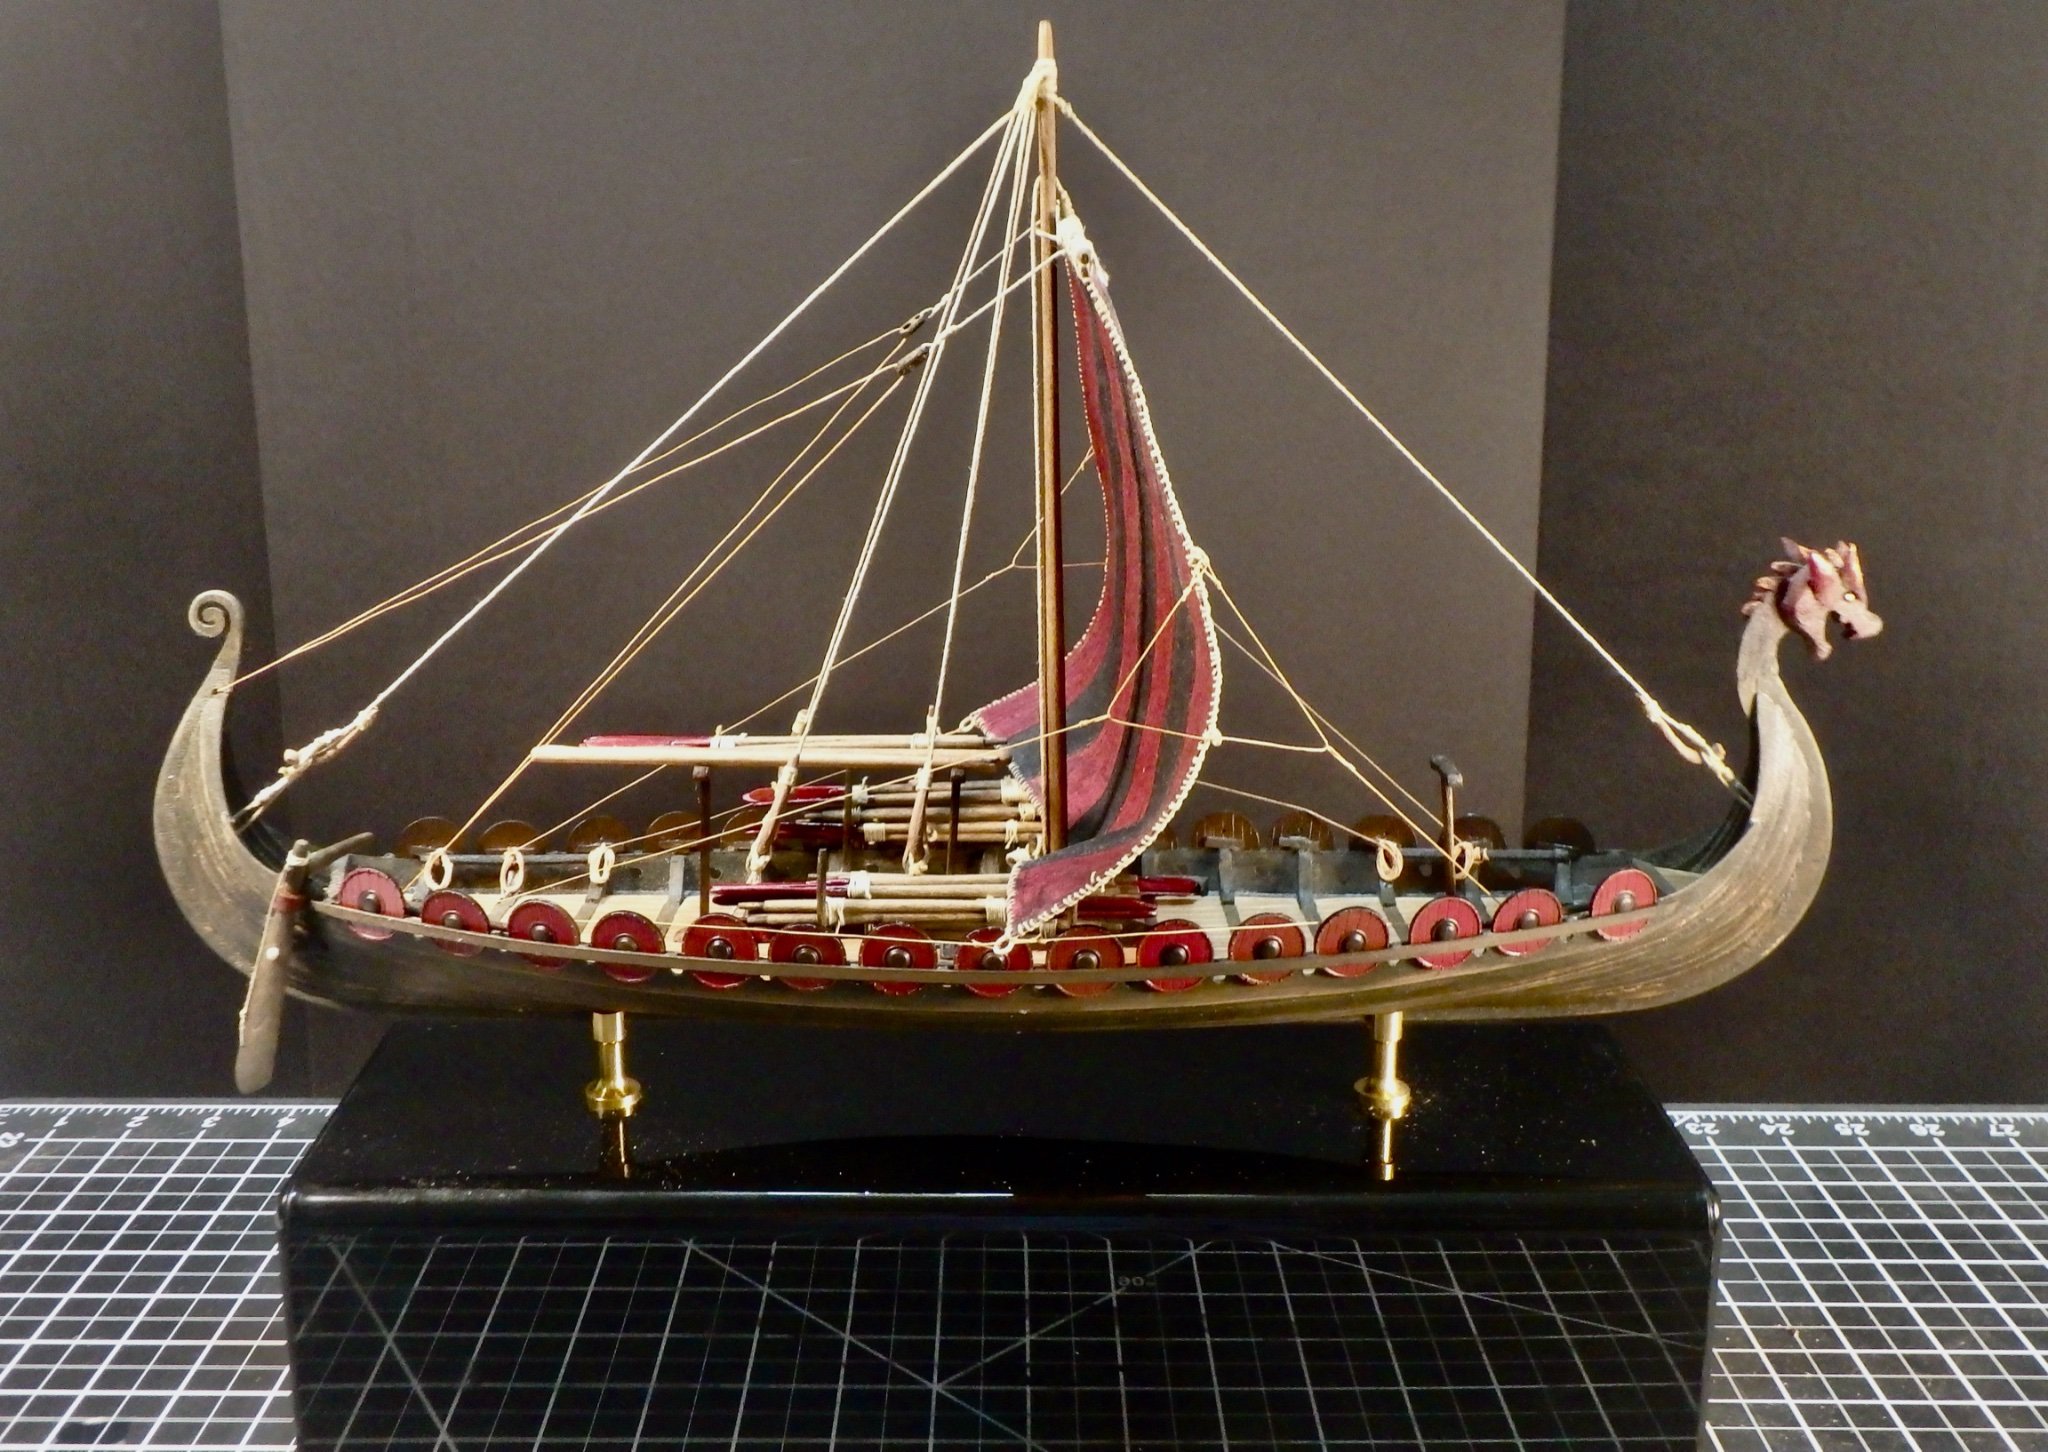
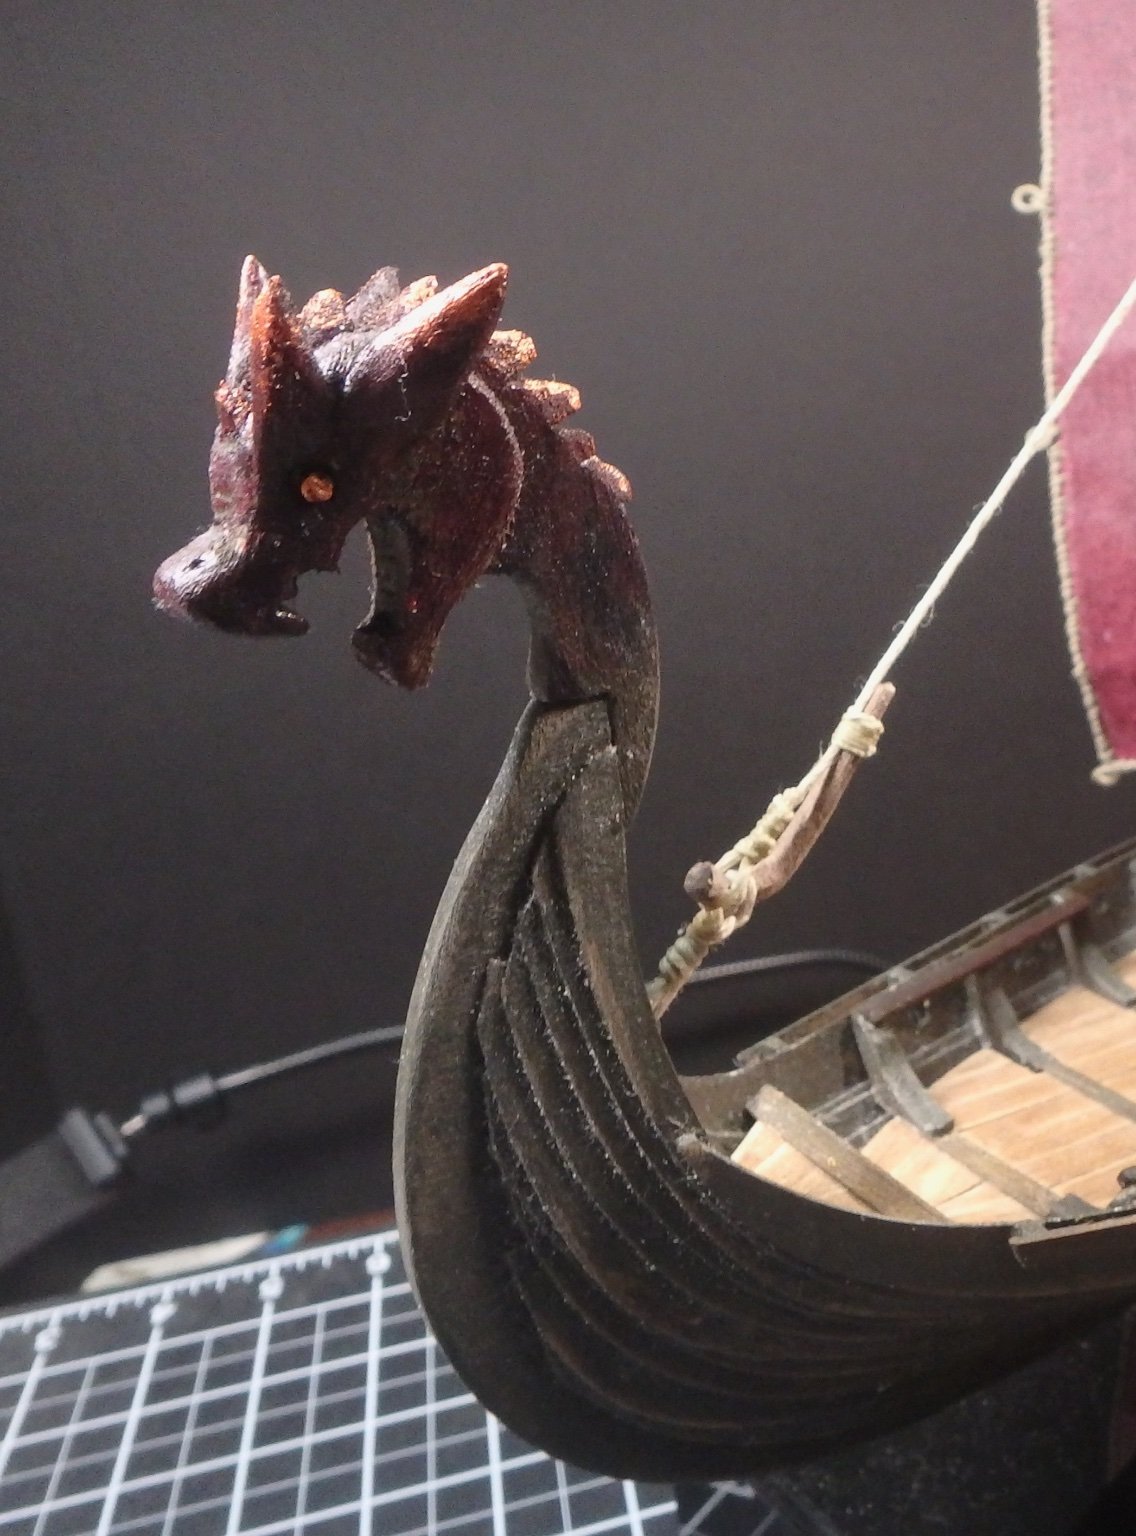
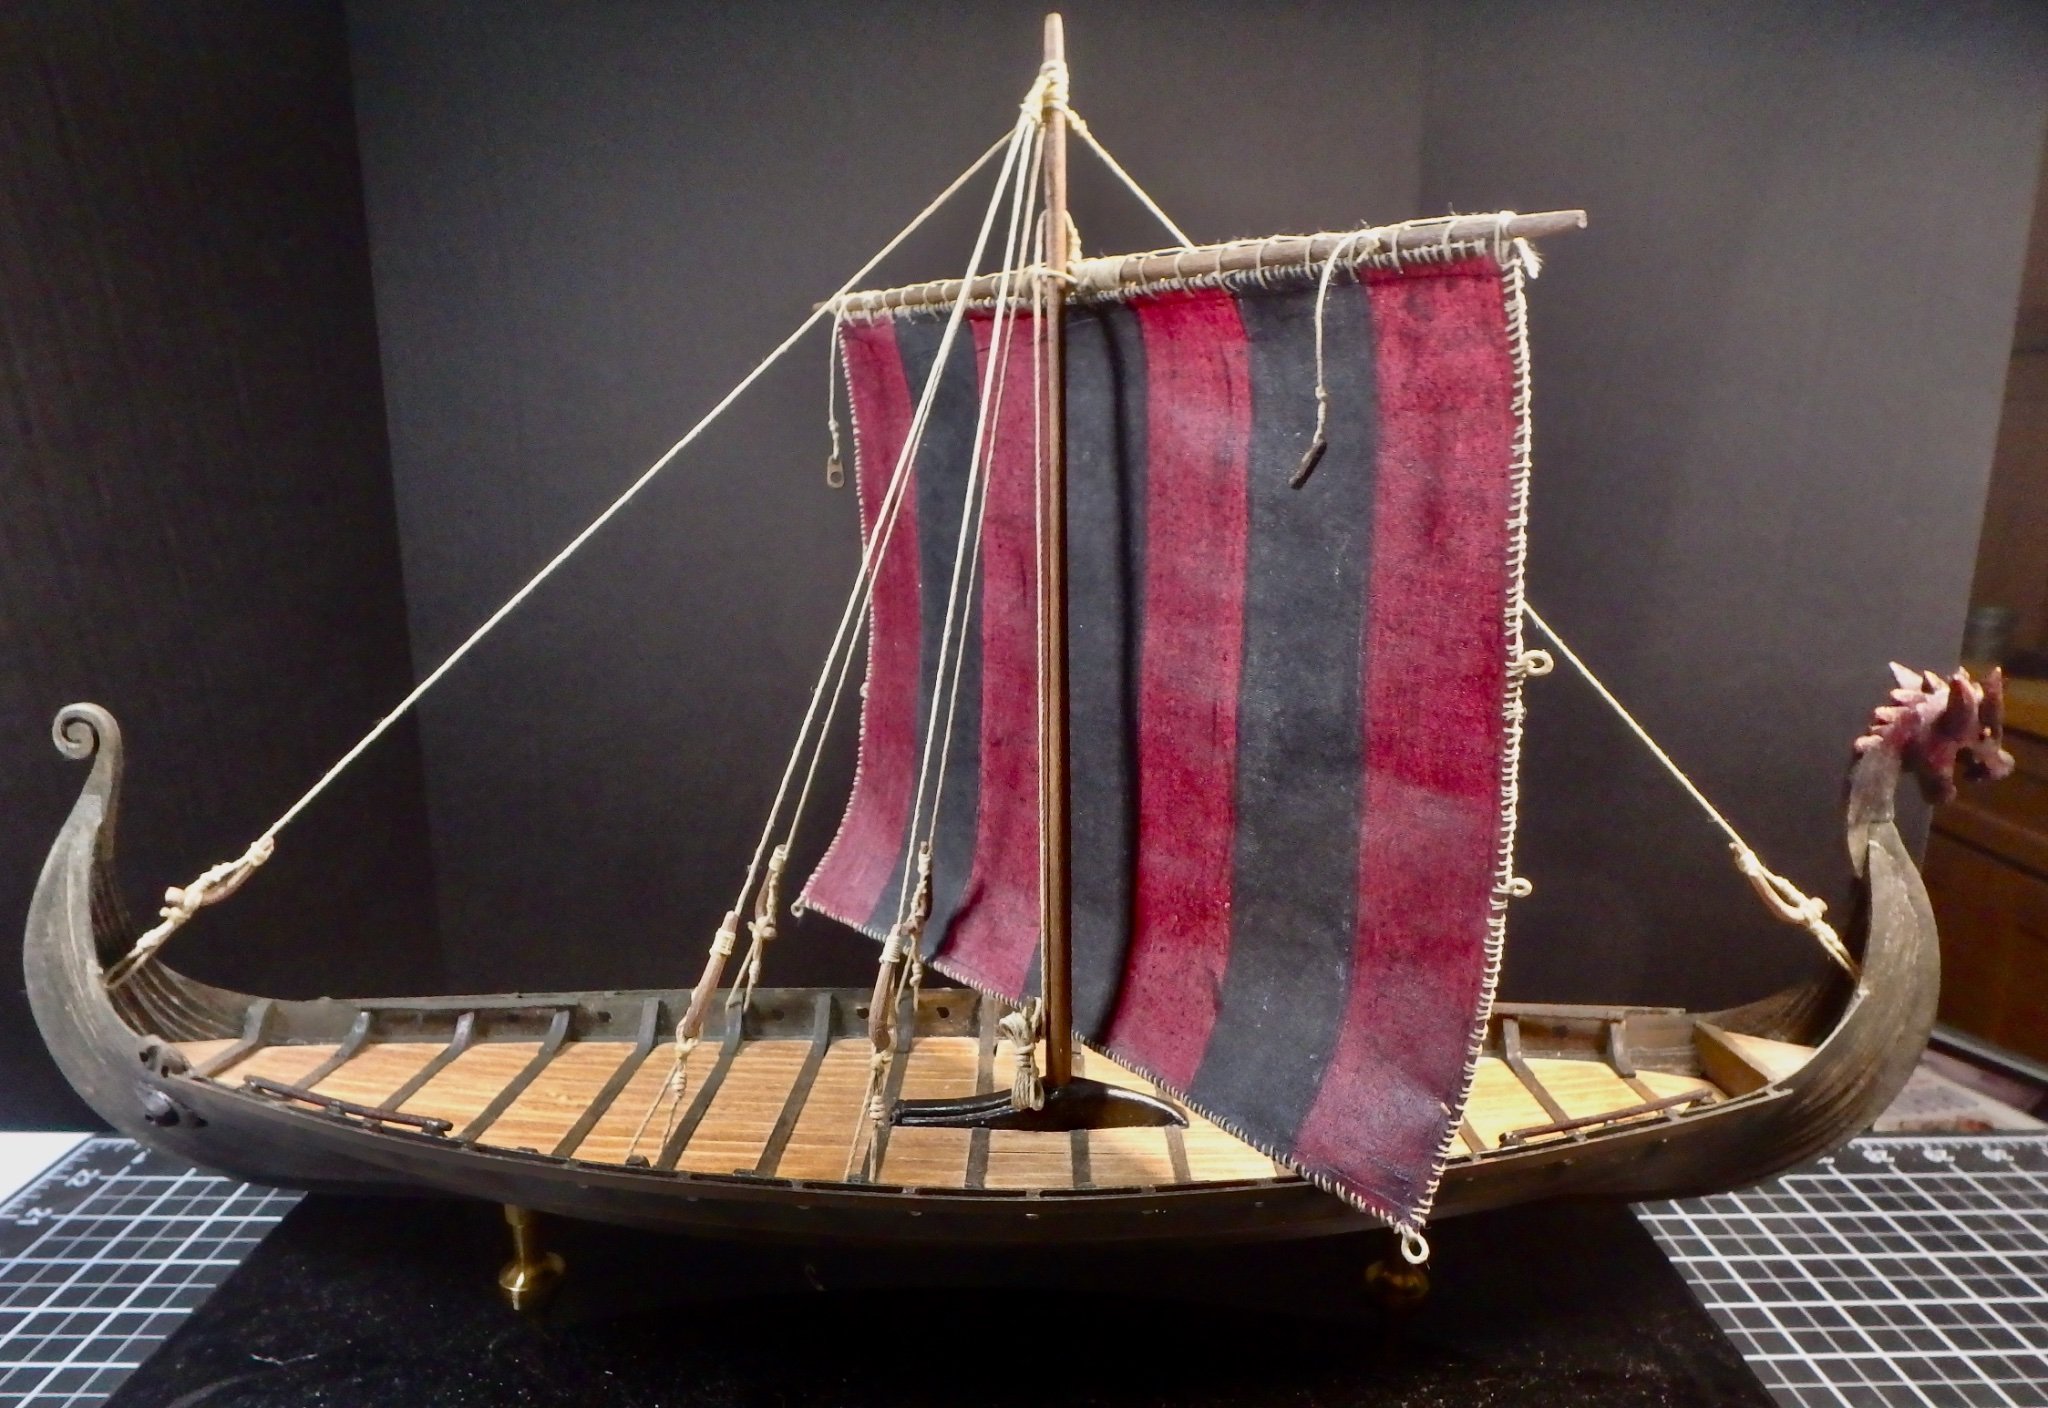
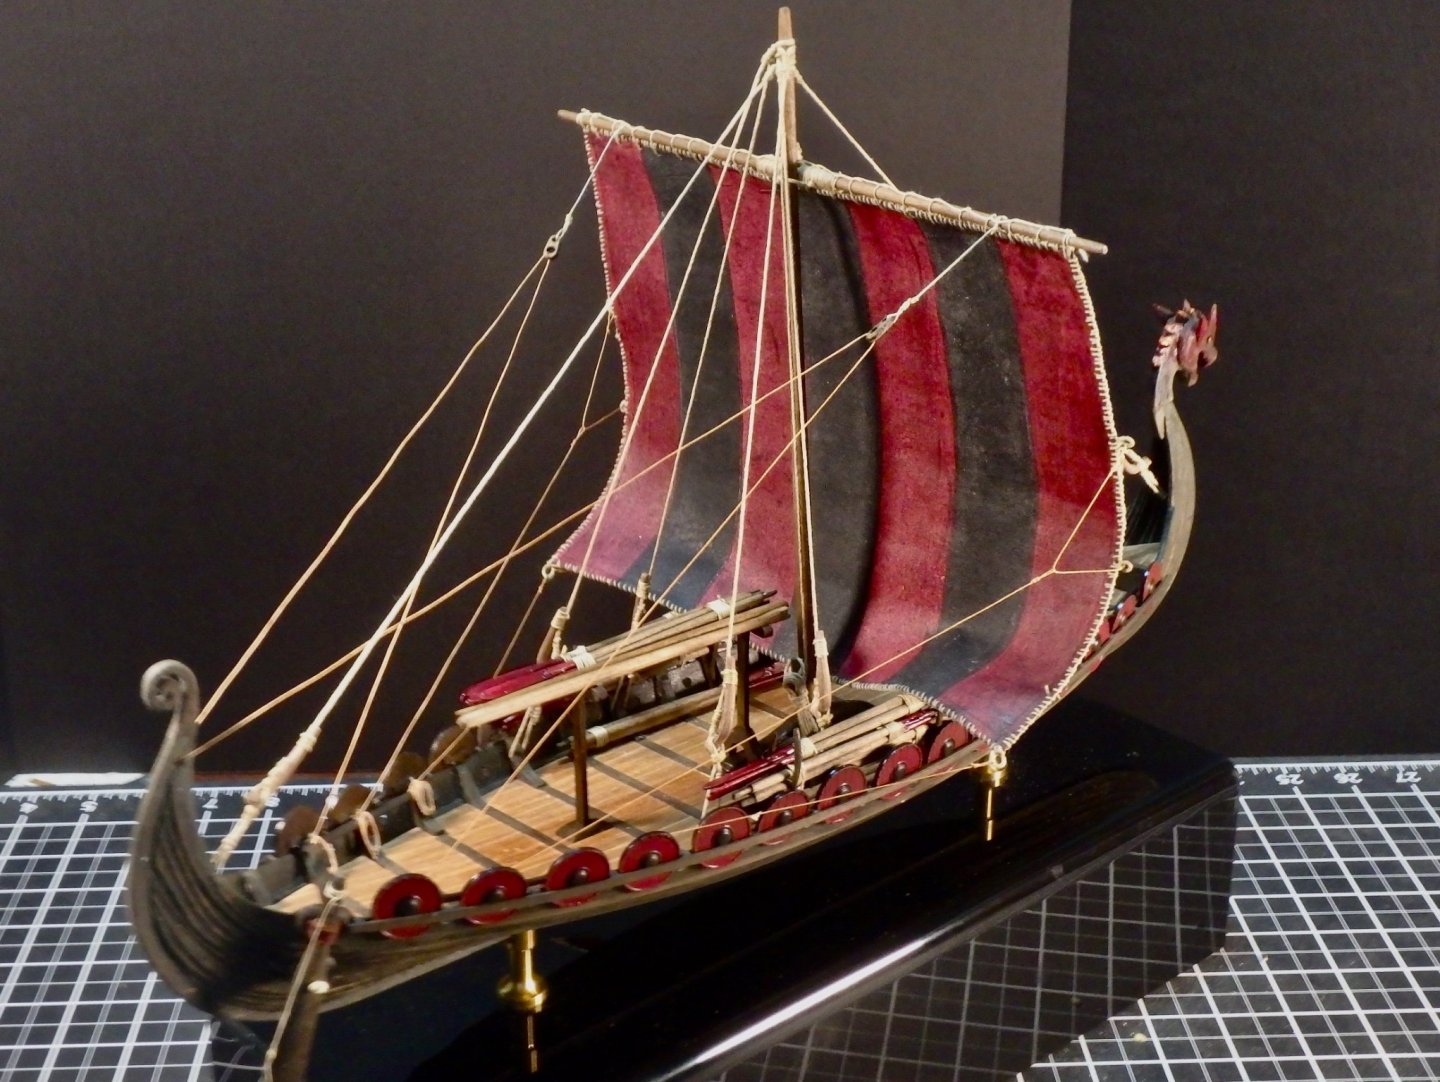
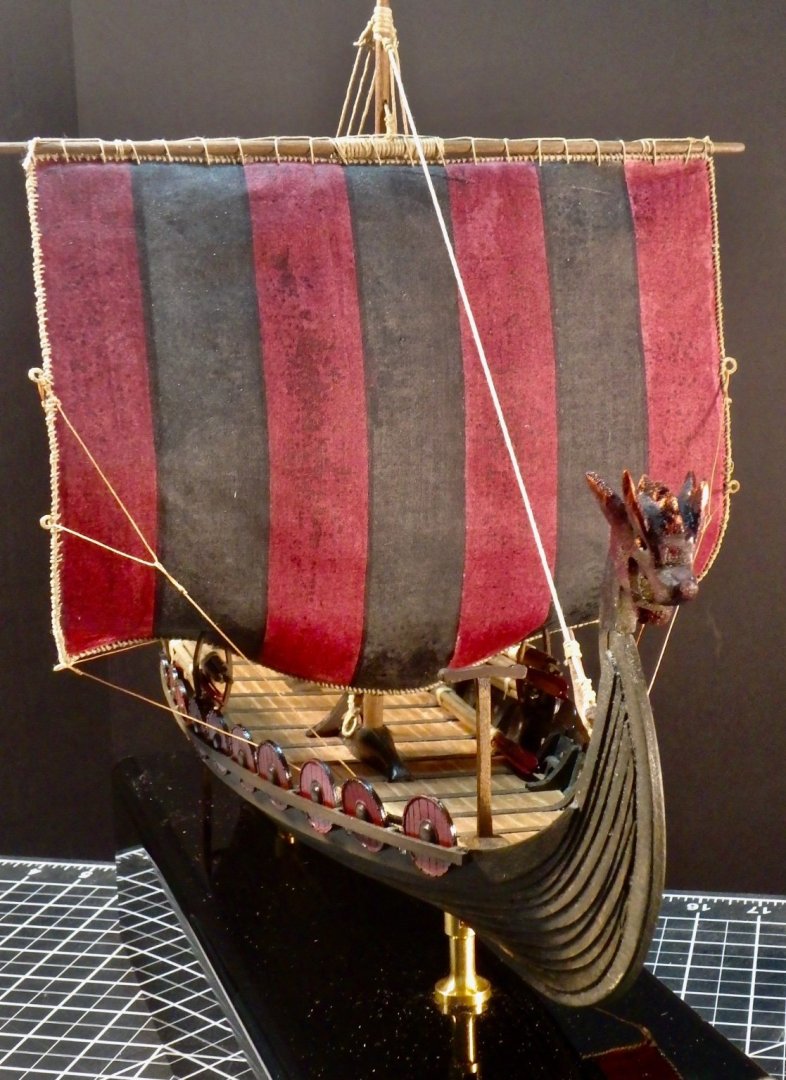
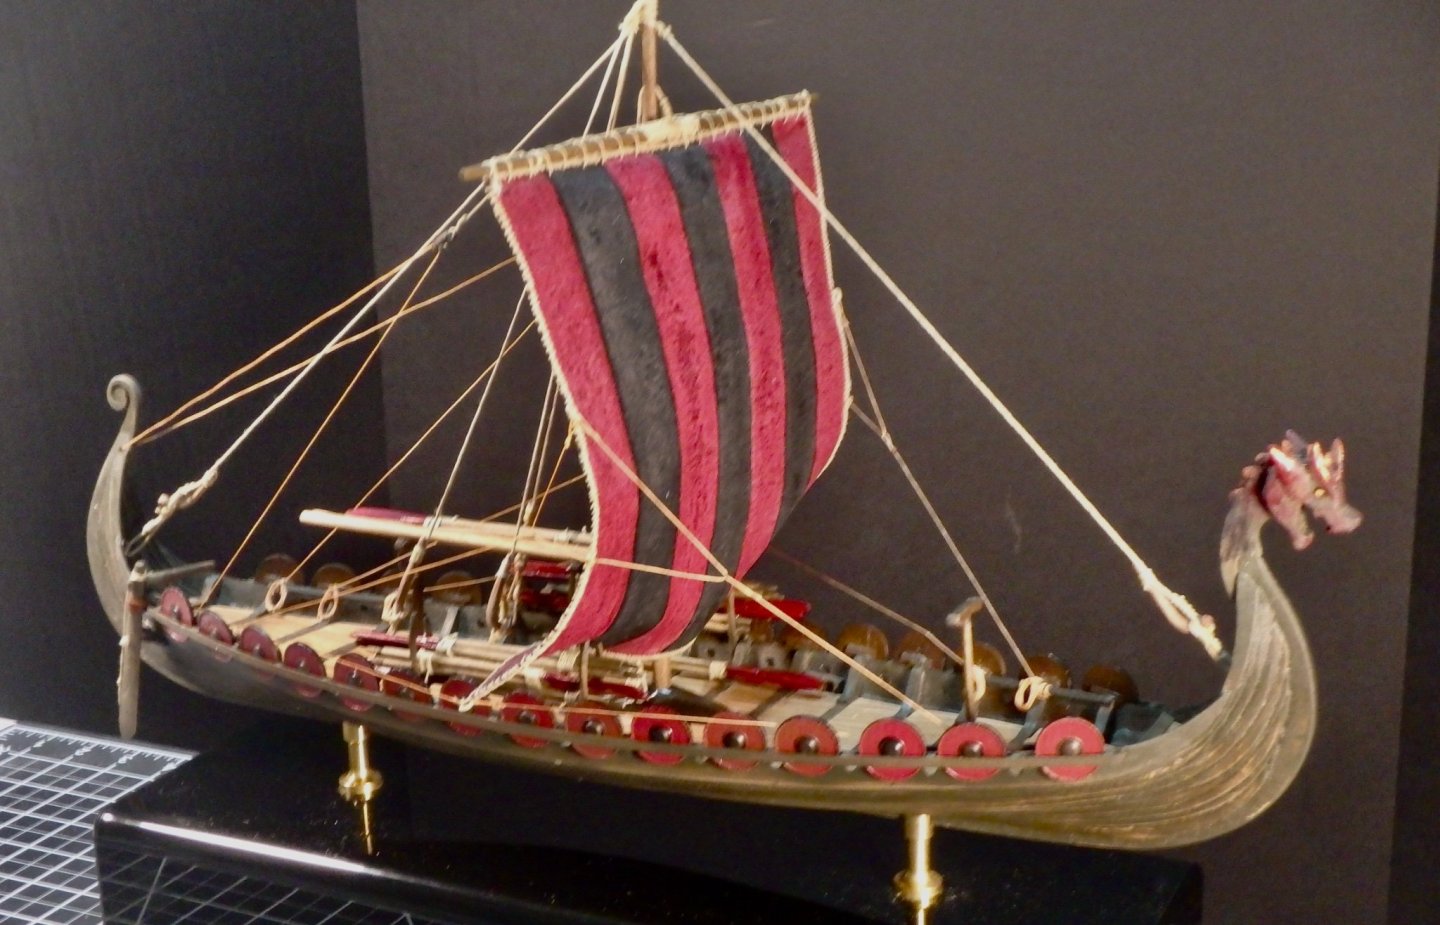
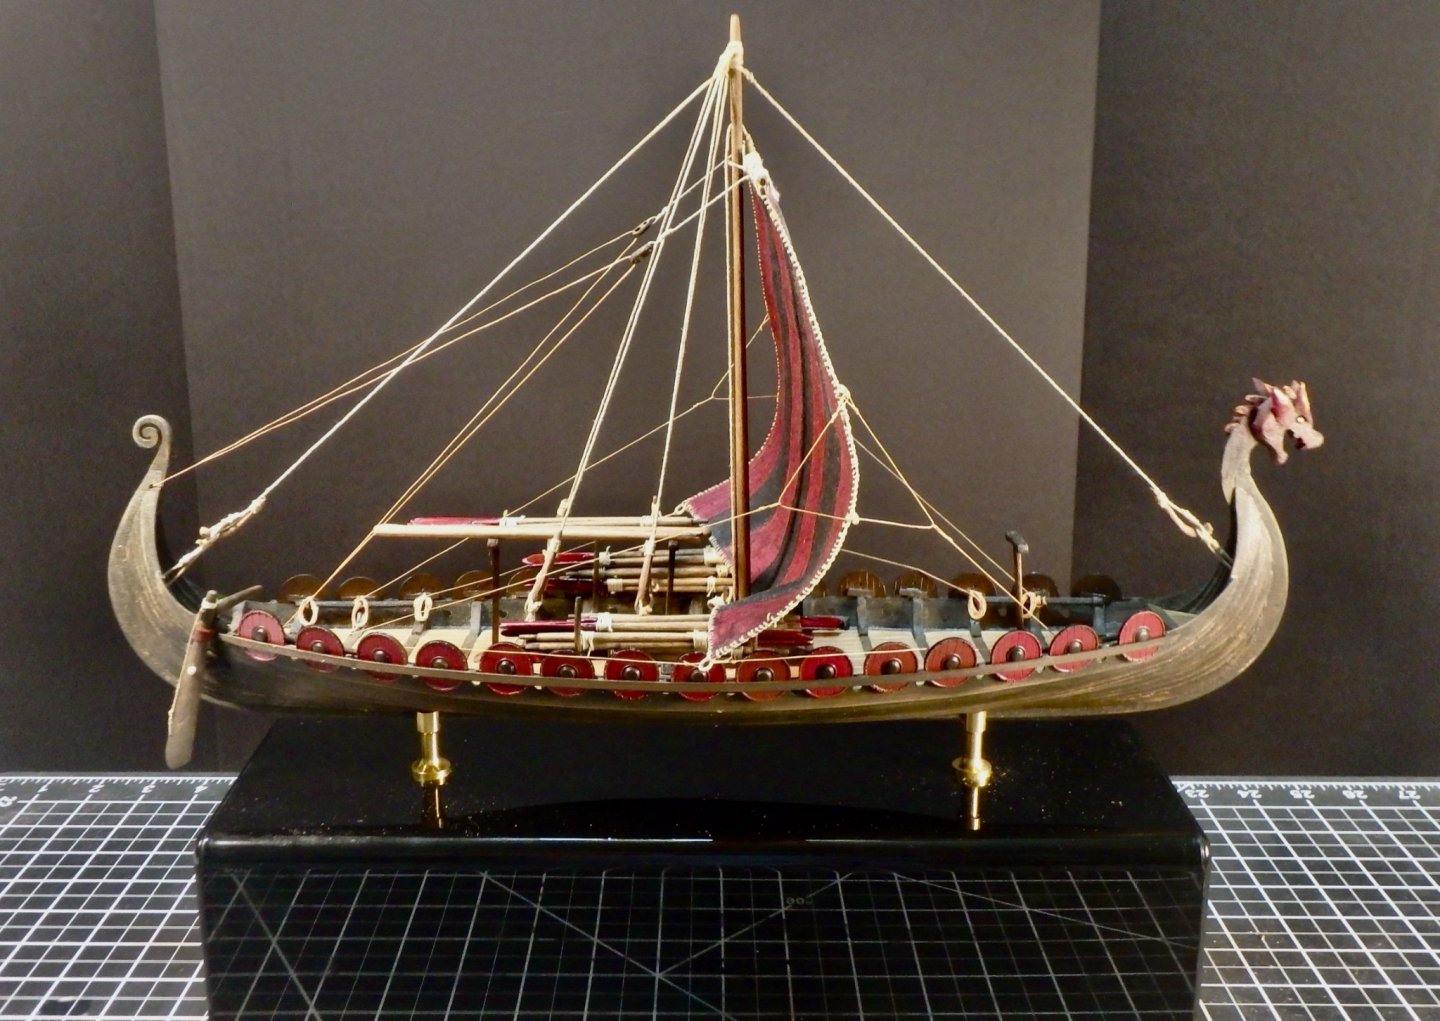
She's rigged and ready for her maiden voyage. Overall, I'm pleased with the way she turned out. I think the choice to go with closer rib spacing and the carved figurehead help the look of the kit a lot. The rigging changes make sense to me, and I hope are consistent with both historical authenticity and practice engineering.


-
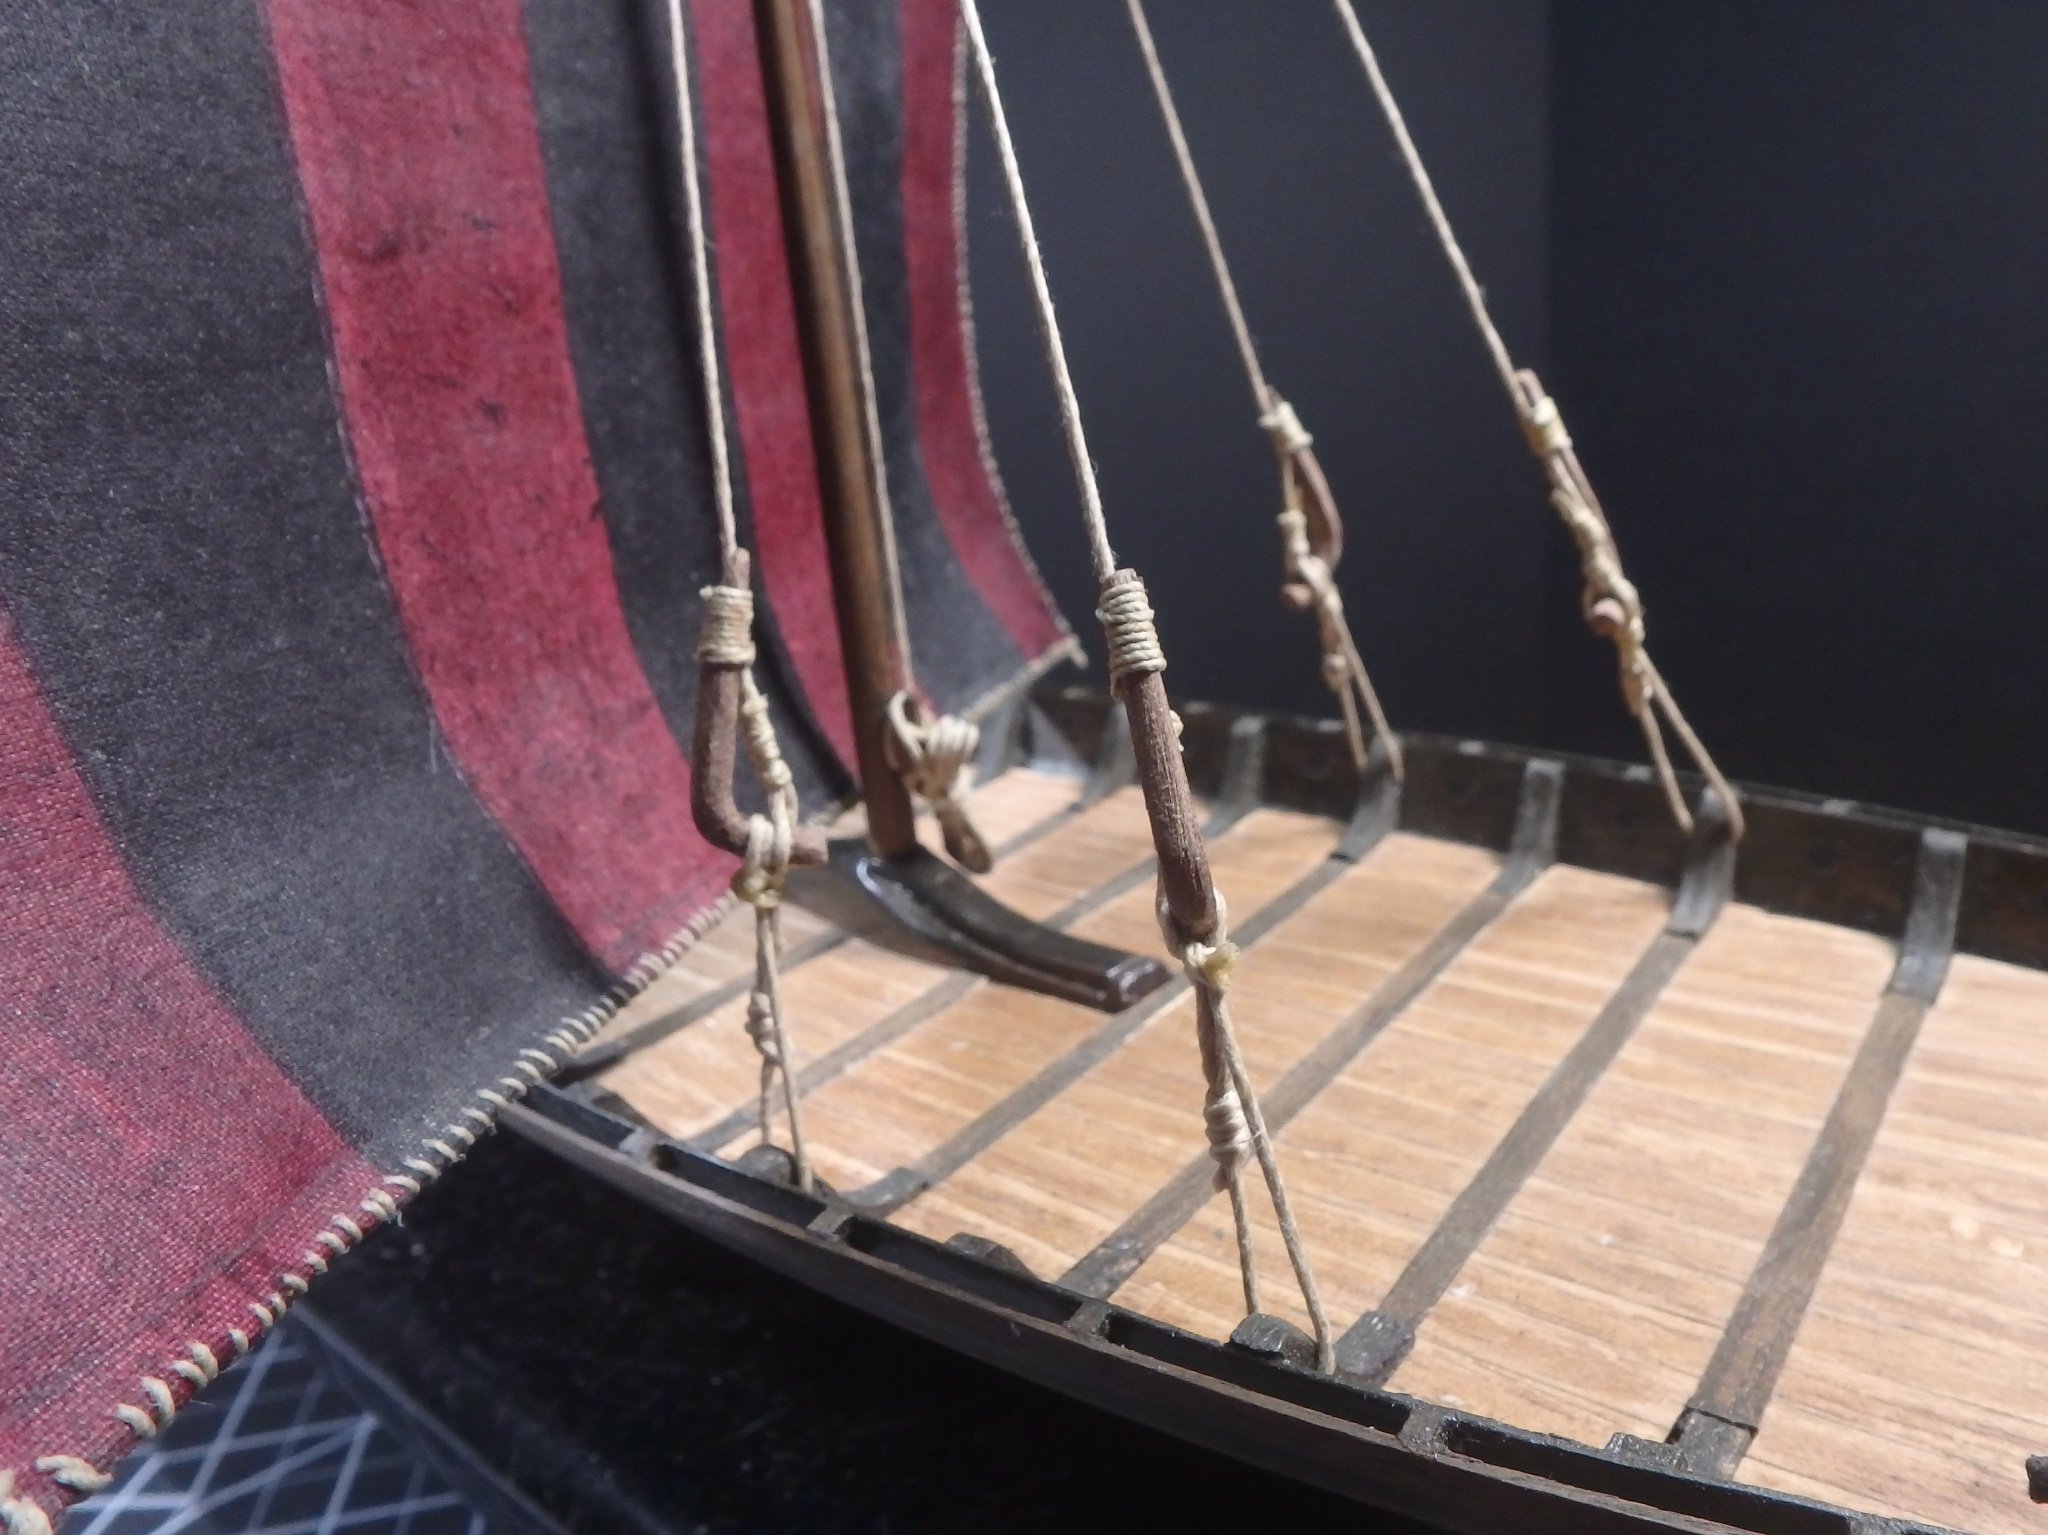
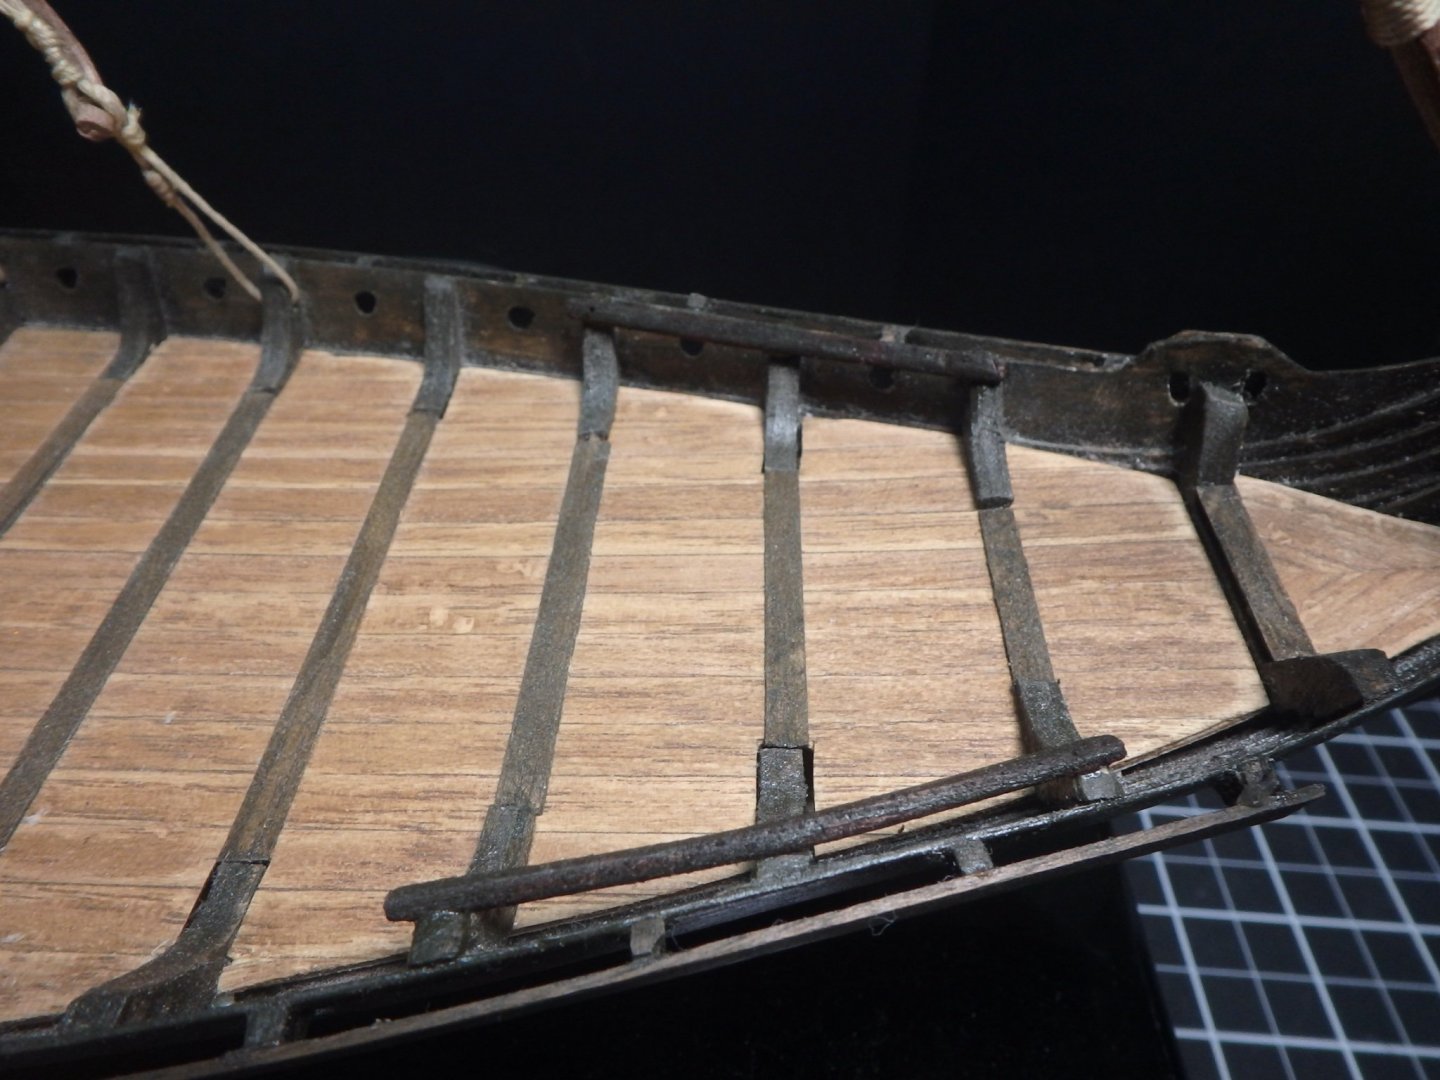
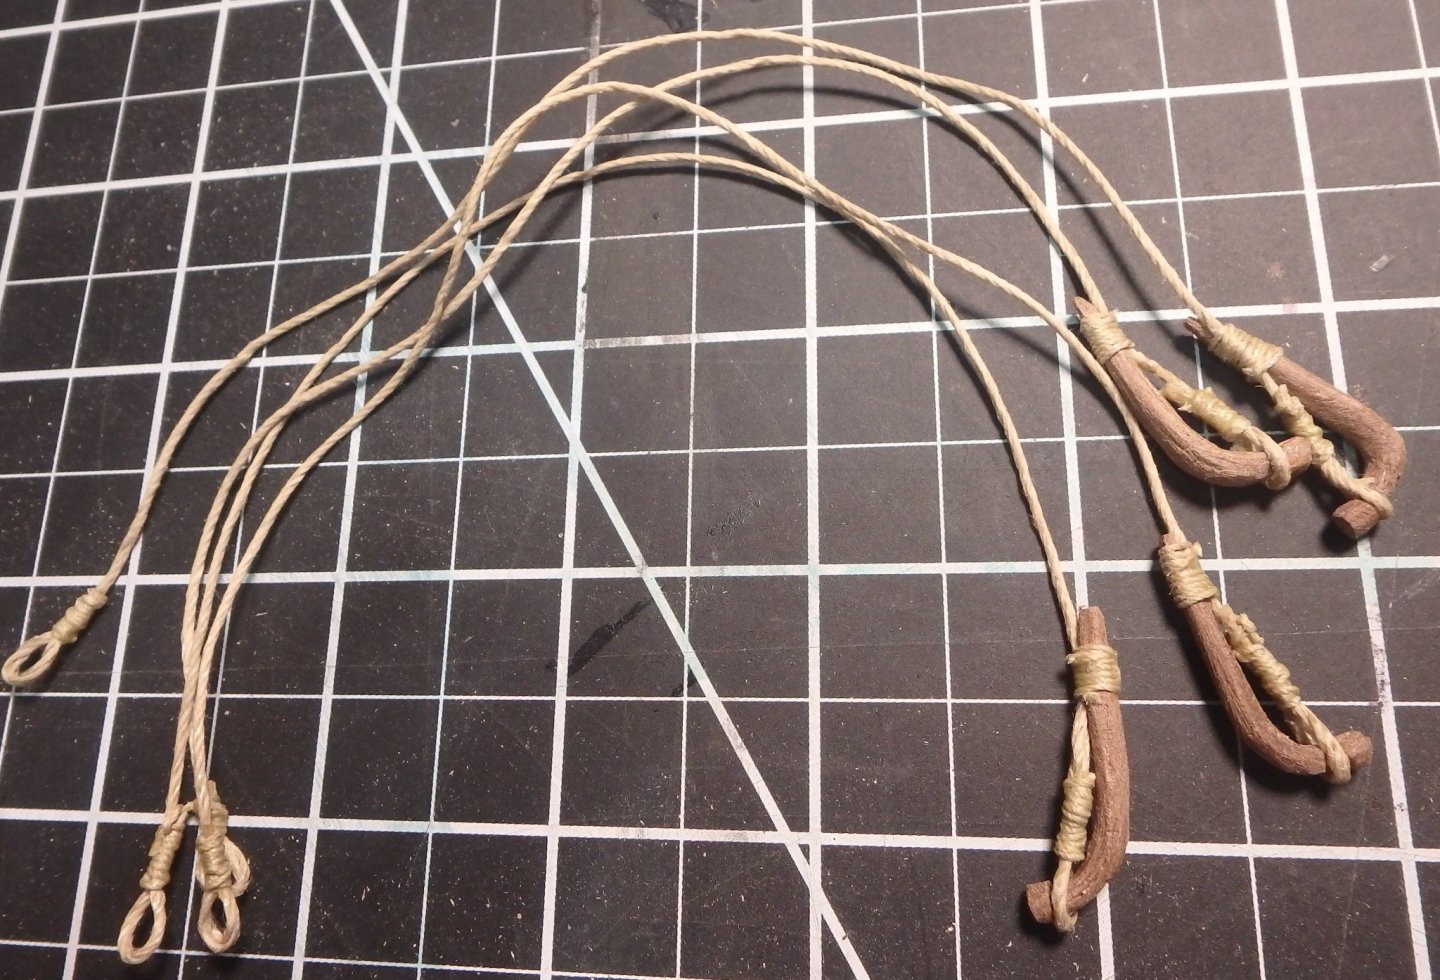
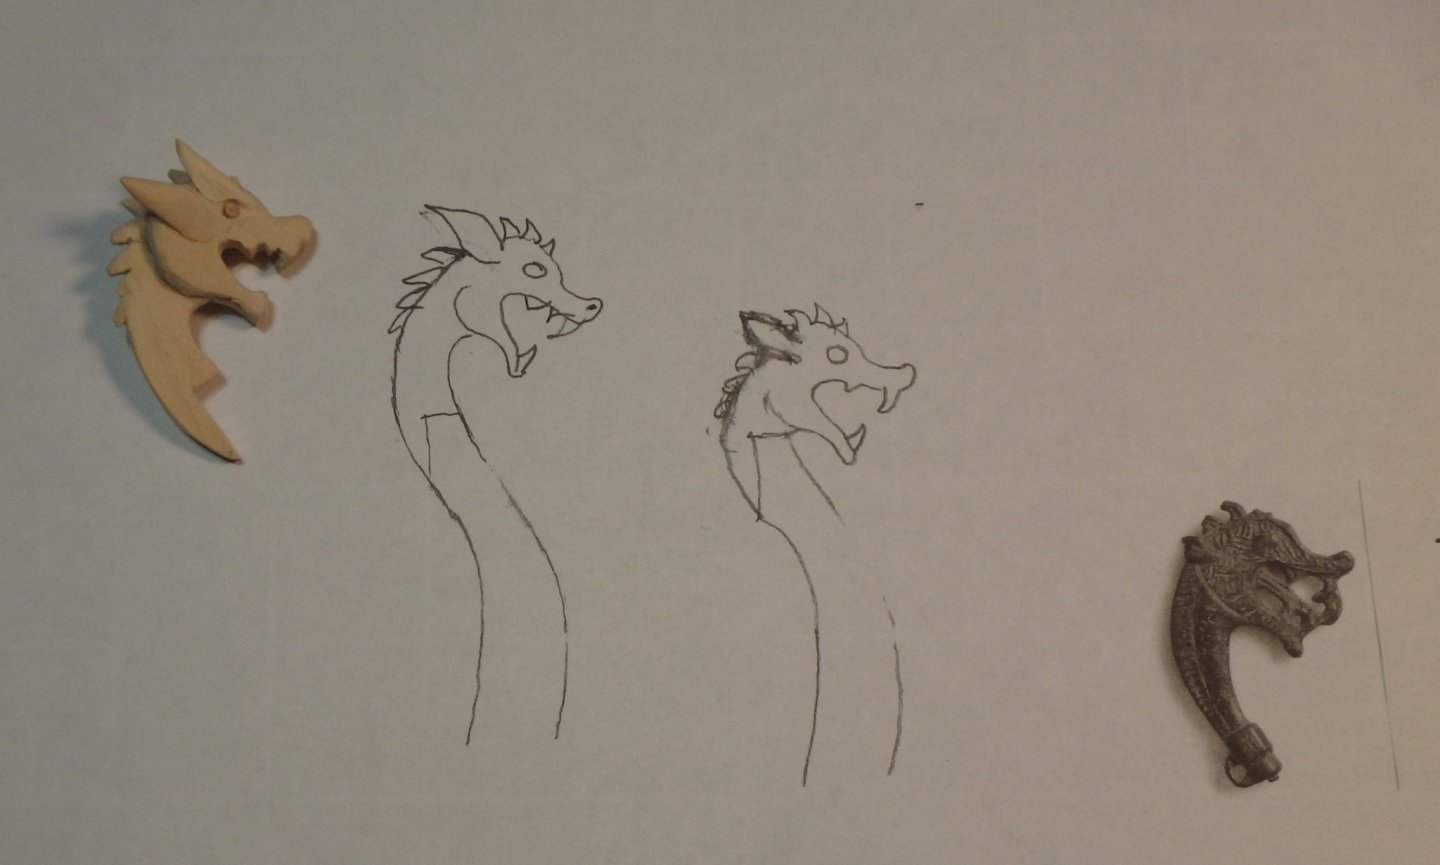
Who knew fingers were so complicated? Anyway, I still have 6 weeks of PT to go, but I've regained most of the use of my finger. So, I'm back to the standing rigging. The shrouds are tied with the shroud pins lashed into place. The shrouds installed. It took a little trial and error, but I figured out an approach that looks clean and allows for tension adjustment. It kind of functions like a trucker's hitch with the shroud pin acting as a quick release. I can't speak for the historical authenticity, but it's how I'd want things rigged if I was sailing her. Here's a longer view of the aft rigging. Though the plans didn't call for one, I added an aft stay. It just made sense to me, and I like the look. Here's the rigging for the forward stay. I decided to go with my first carved figure head. My initial reaction was that it looked a bit too much like a fantasy dragon, but it kind of grew on me. I have a Gokstad model on the shelf, and I'll go more primitive and stylized on that figure head, probably based on the Gotland stone. The standing rigging is complete. Next I'll move on to the running rigging and stage the oars, rudder and deck details. On to the running rigging! As I mentioned earlier in this thread, I didn't really care for the cleats provided in the kit. I did use one at the base of the mast, because that application made sense to me. Cleats riveted to the hull planking did not make sense to me though. Contemporary reconstructions appeared, at least in the ones I looked through, to take 4 approaches: tying the lines to thwarts, tying to holes in the ribs, tying to an inwale or tying to a partial rail attached to the ribs for and aft. There are no thwarts on this kit. It's really difficult to drill holes in the ribs of the assembled hull. A full inwale seemed to be overkill. So, I went with the latter approach. I shaped and bent rails securing them where they would provide secure tying points but not interfere with deployment of the oars.


-
Grain is everything when working in wood. The grain running across the length of the end panel makes the legs vulnerable to splitting off. I did a quick search of Viking trunks, and though I haven’t looked into it enough to speak about authenticity, it appears as if many are crafted with the grain in the end panels running vertically. That would strengthen the legs.
-
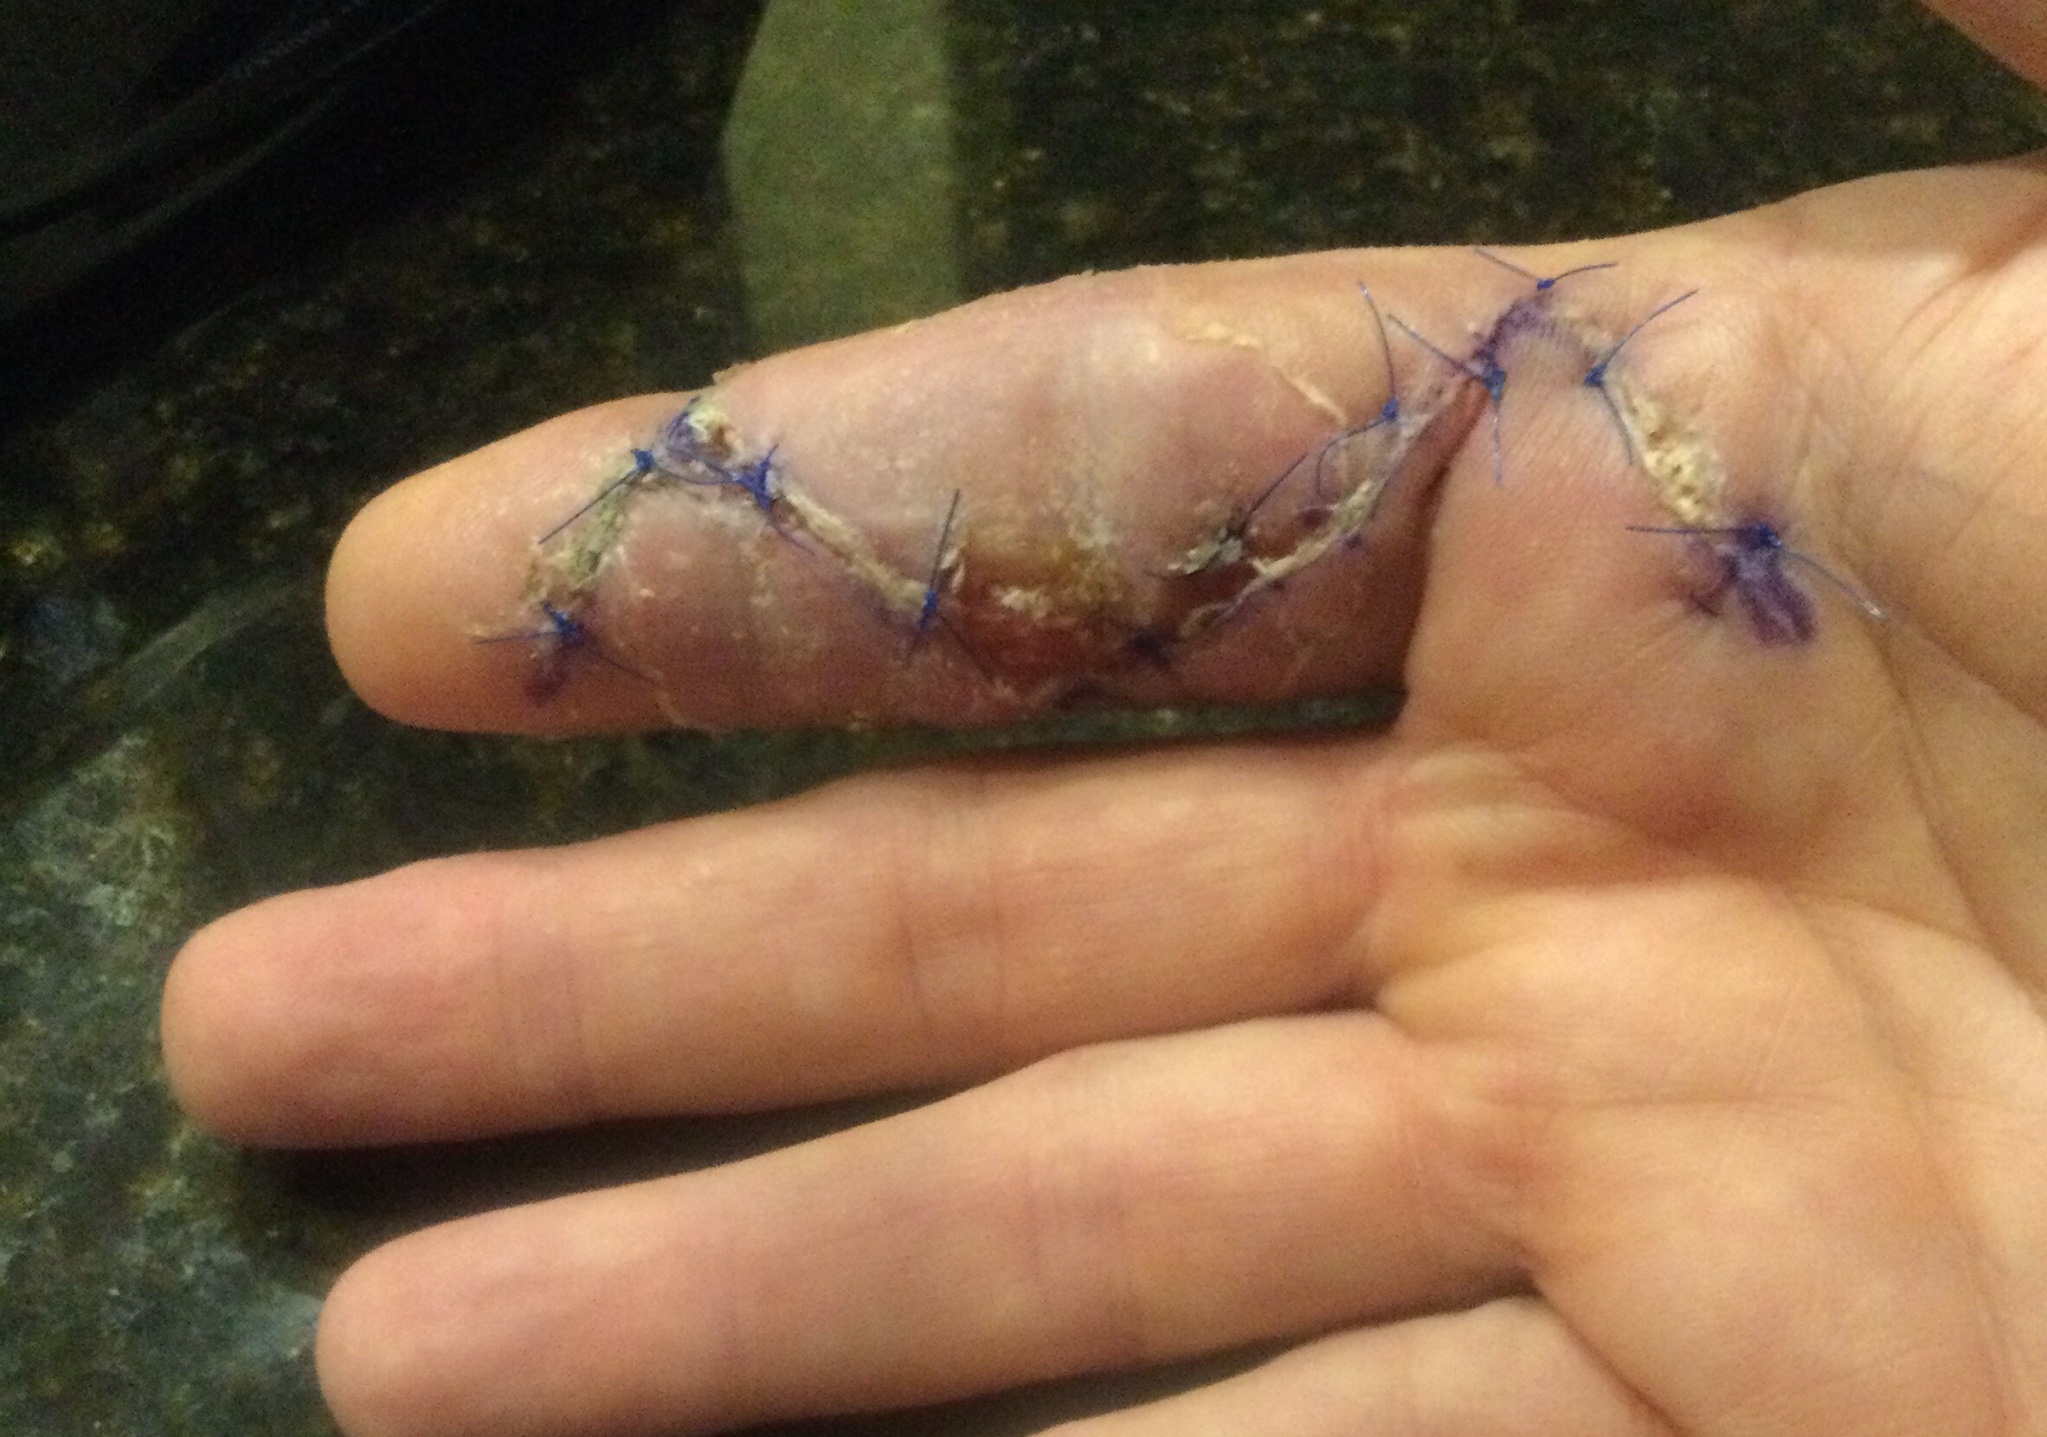
Funny story, I thought that I’d be able to bang out the rigging in a week or two, but the universe has a way of slapping you down. While trying to put our cat in a crate for a vet visit, I was on the receiving end of her displeasure. Though I cleaned everything well, the bites on my right index finger became infected. After a few days of worsening infection, I sought medical help. Long story short, after two rounds of antibiotics, a trip to the ER, and a surgery, the wound has been drained, and I’m on my way to recovery. Unfortunately, it is likely to be a while before I’ll have the dexterity required for rigging. I do have two kits on the shelf, Gokstad and Hemingway’s Pilar, so I may get a start on one of them while I work the finger back into shape. Warning, the following image is not for the feint of heart.

-
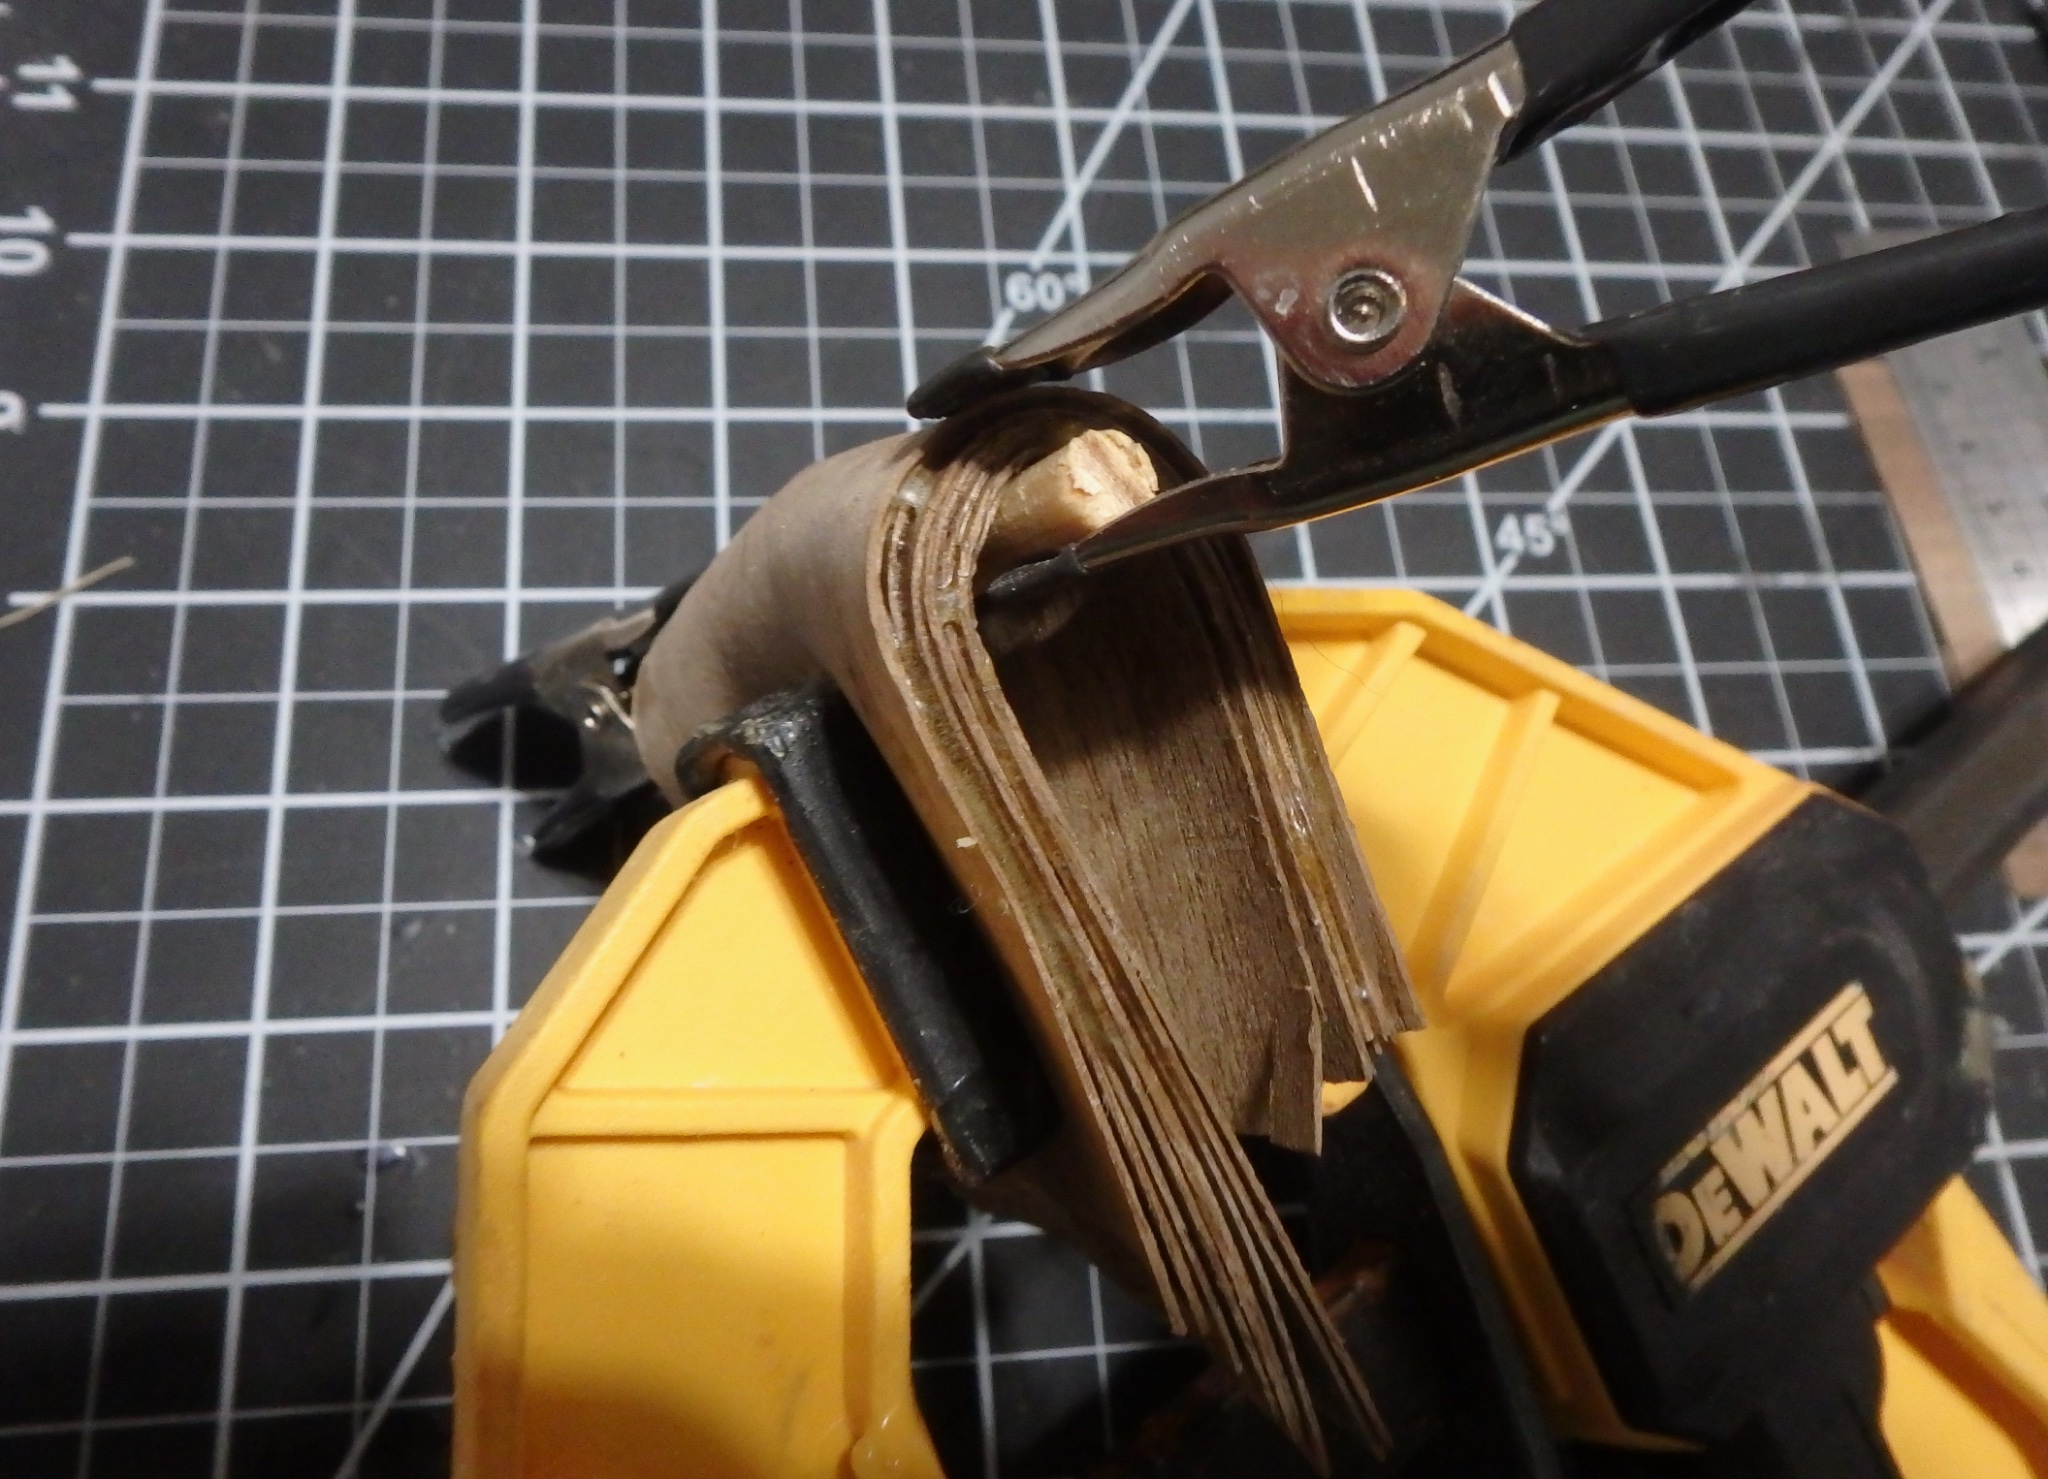
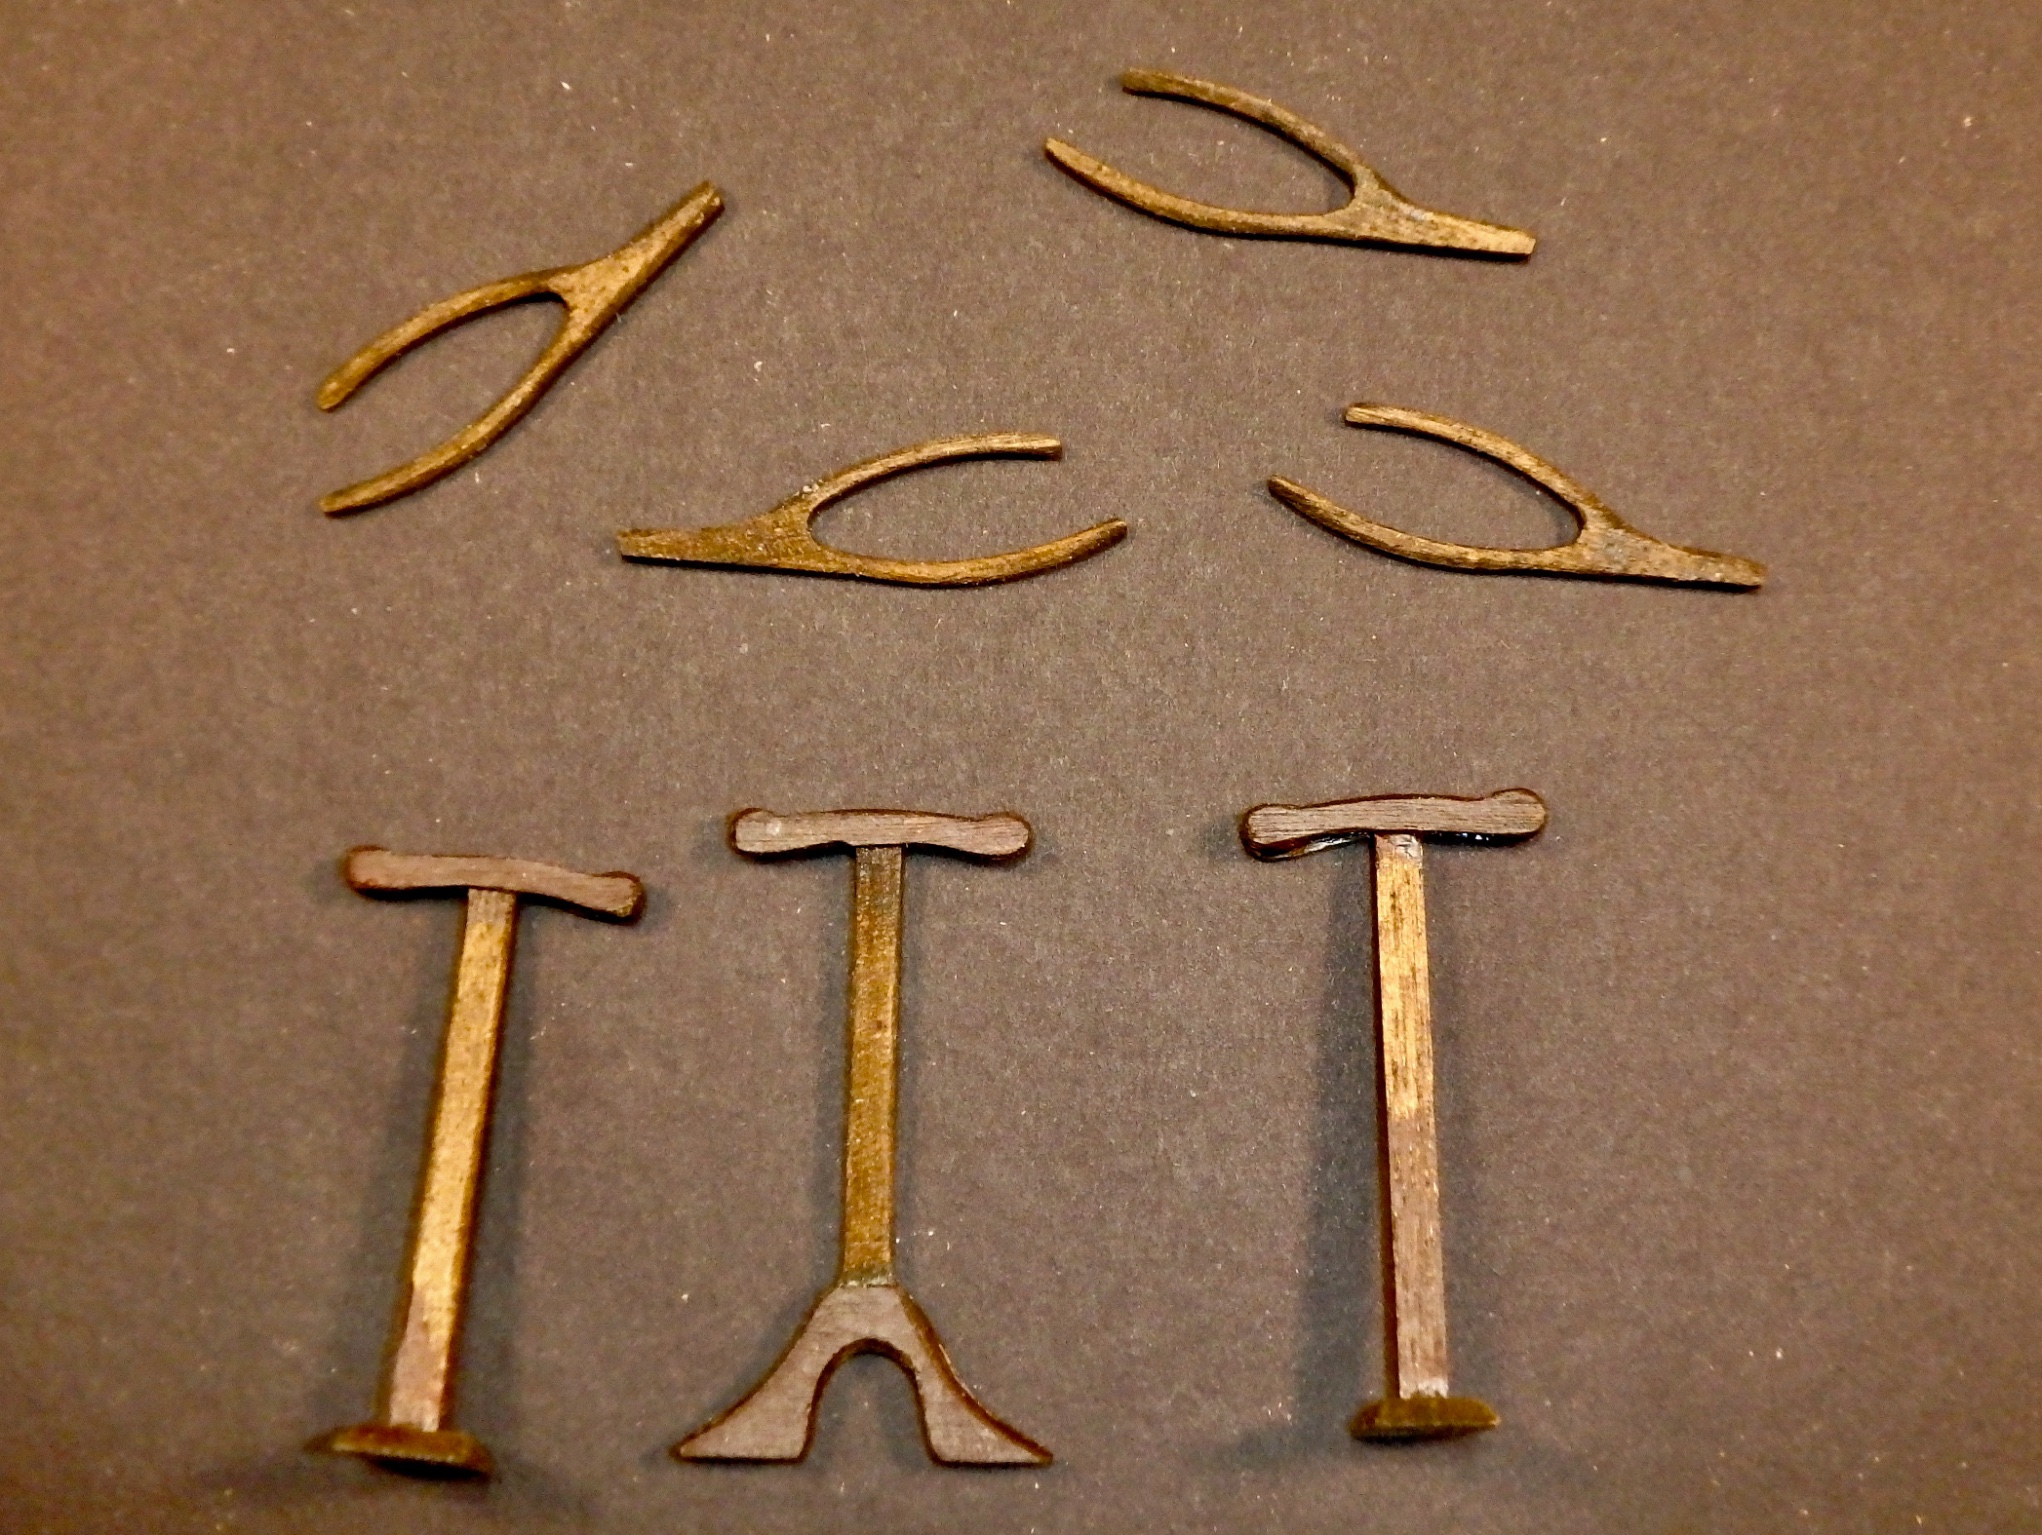
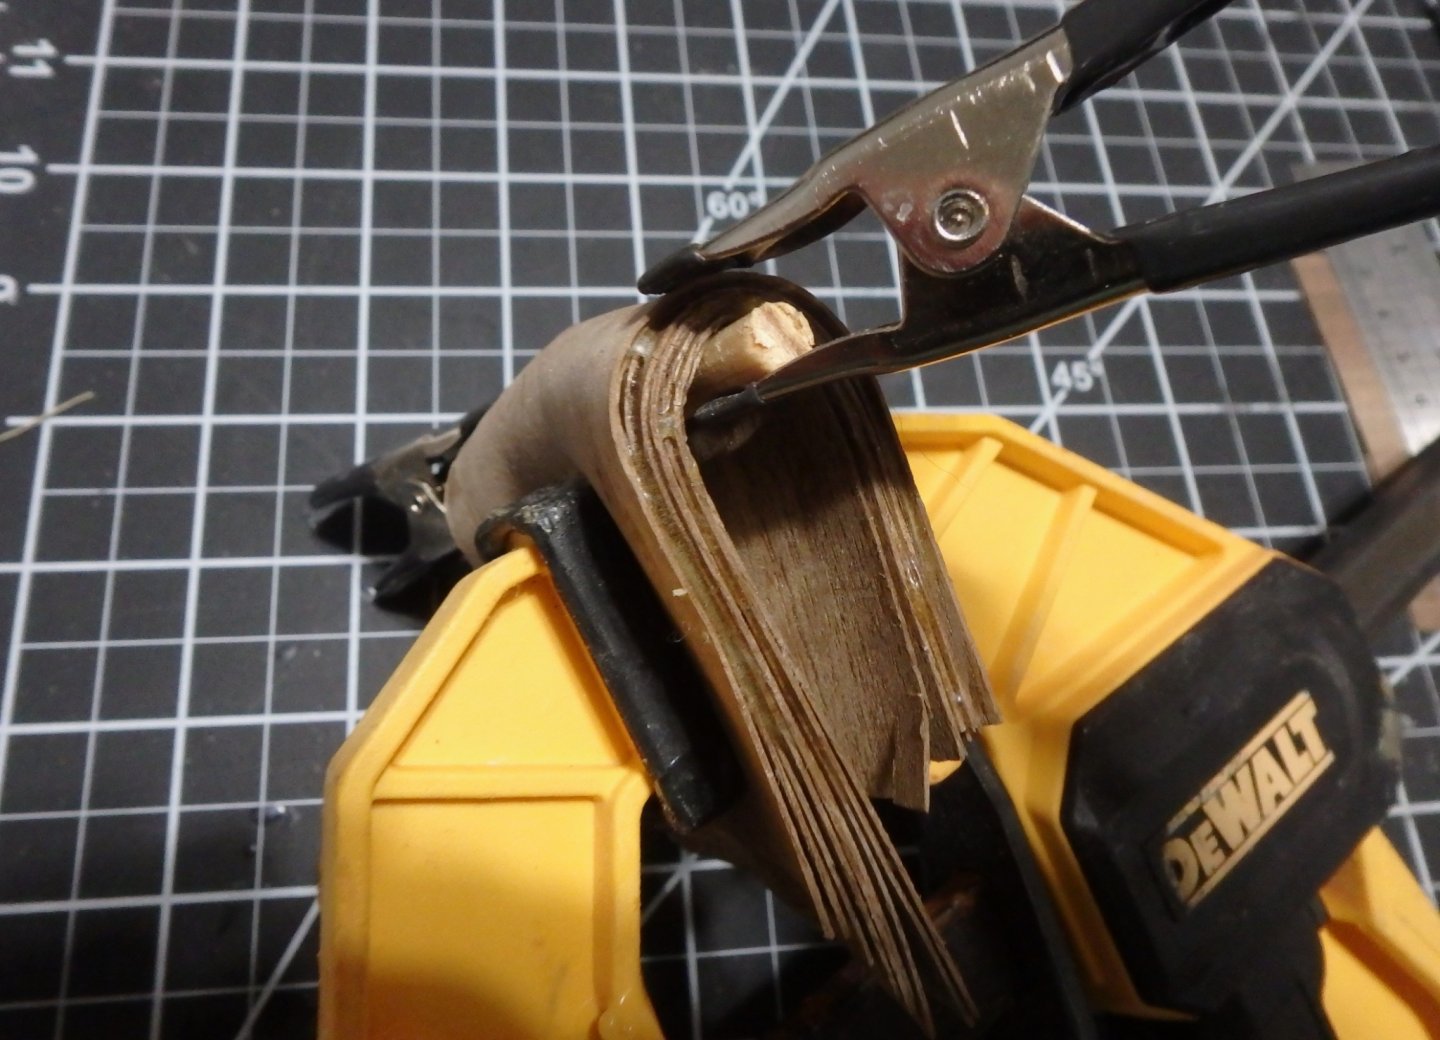
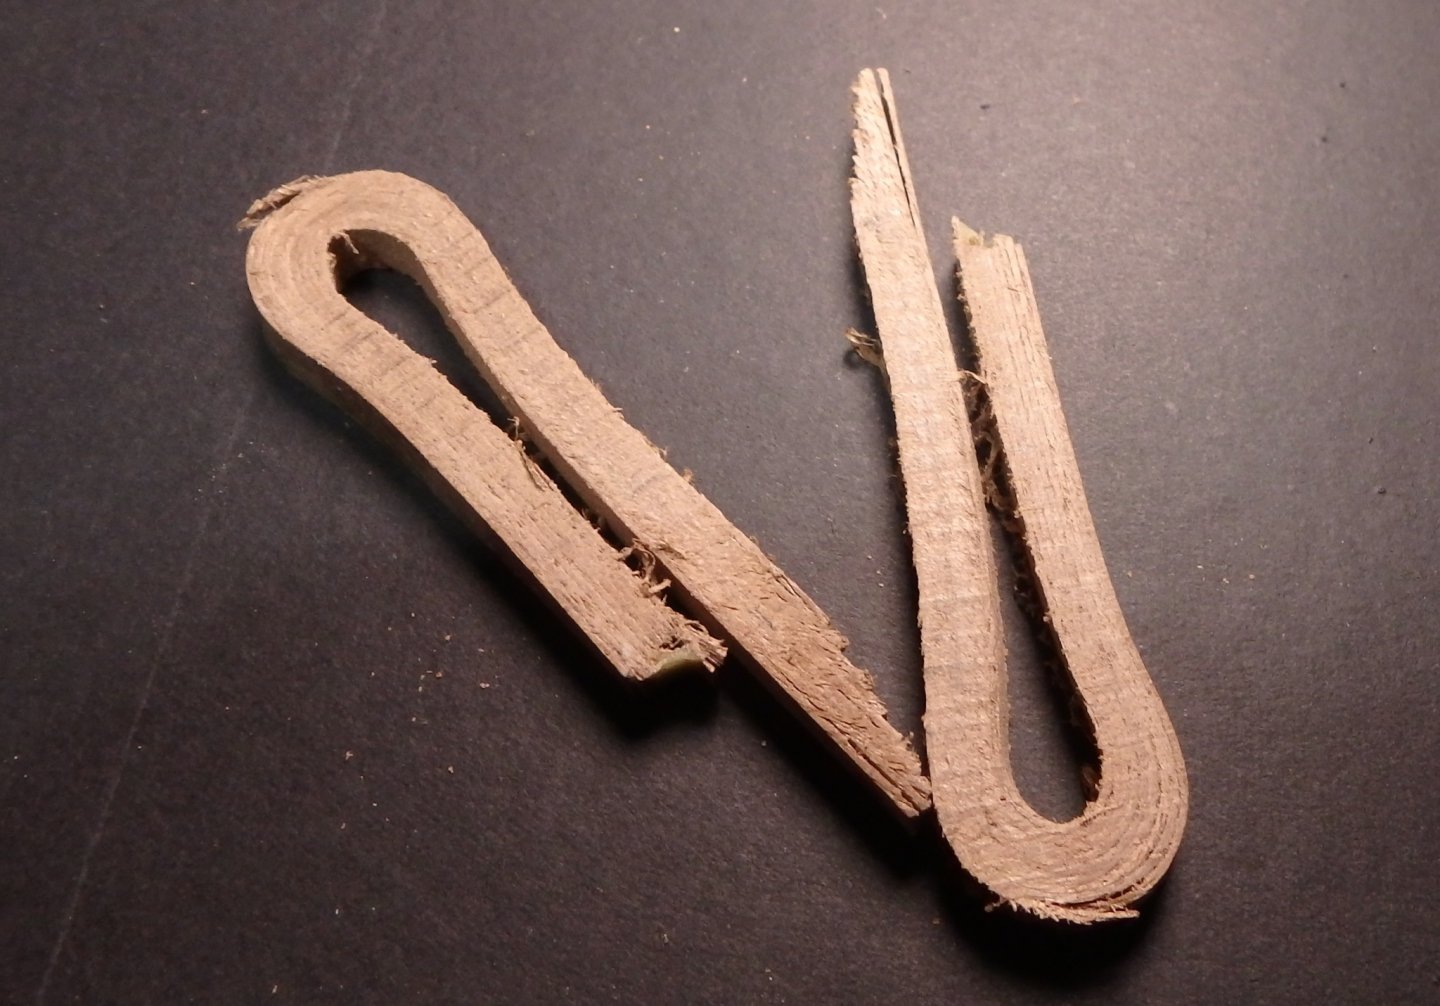
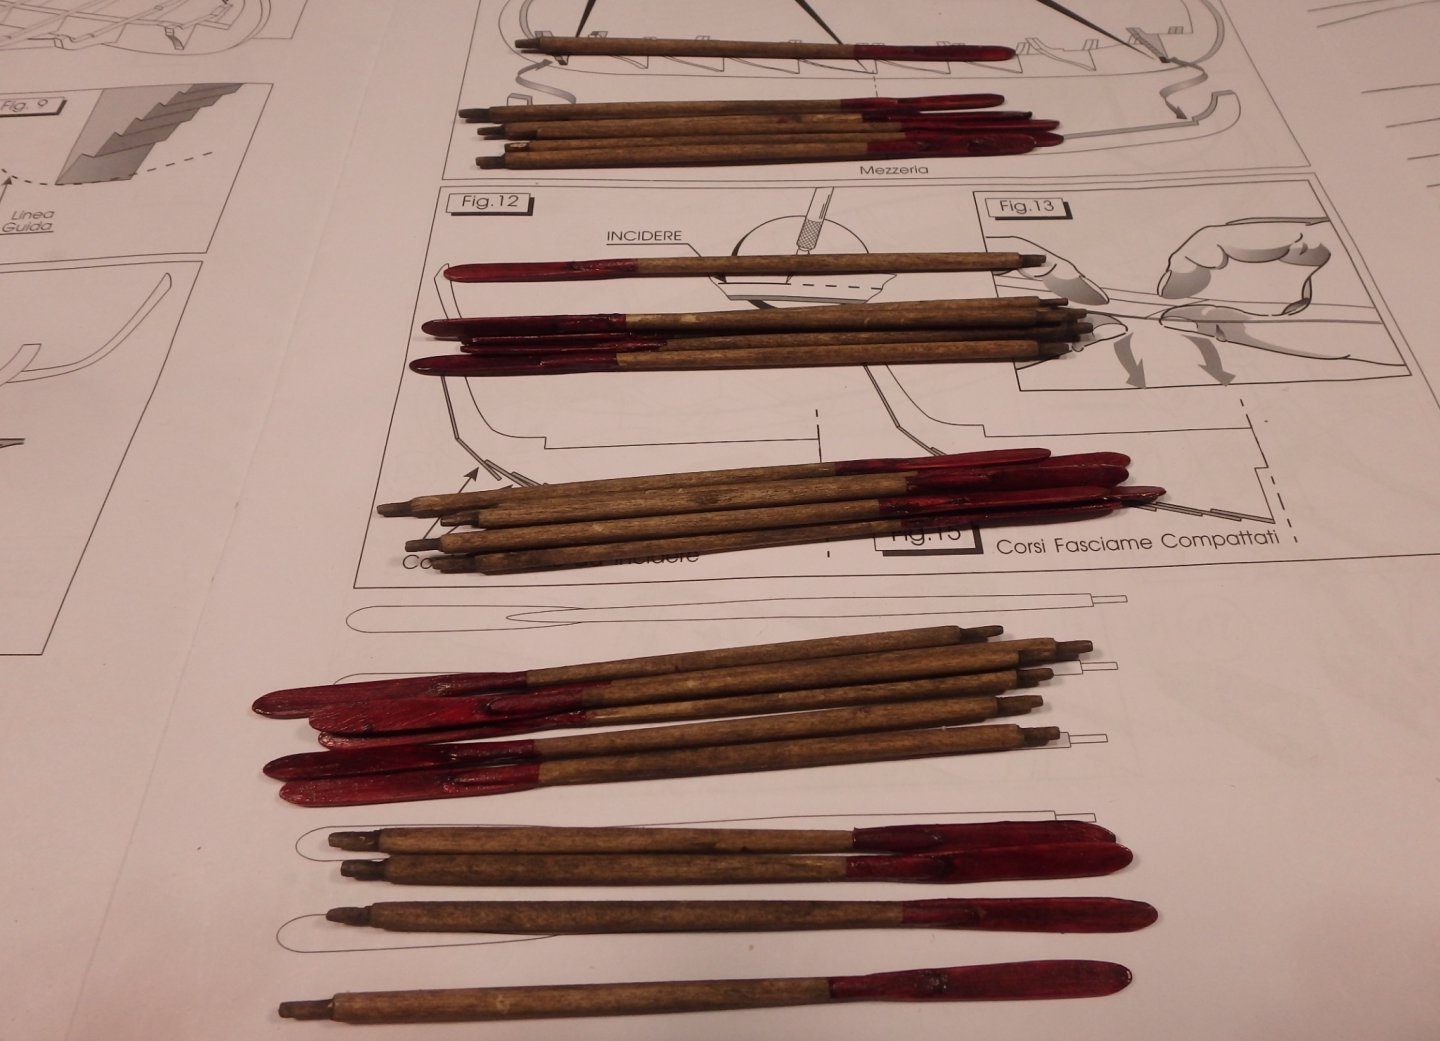
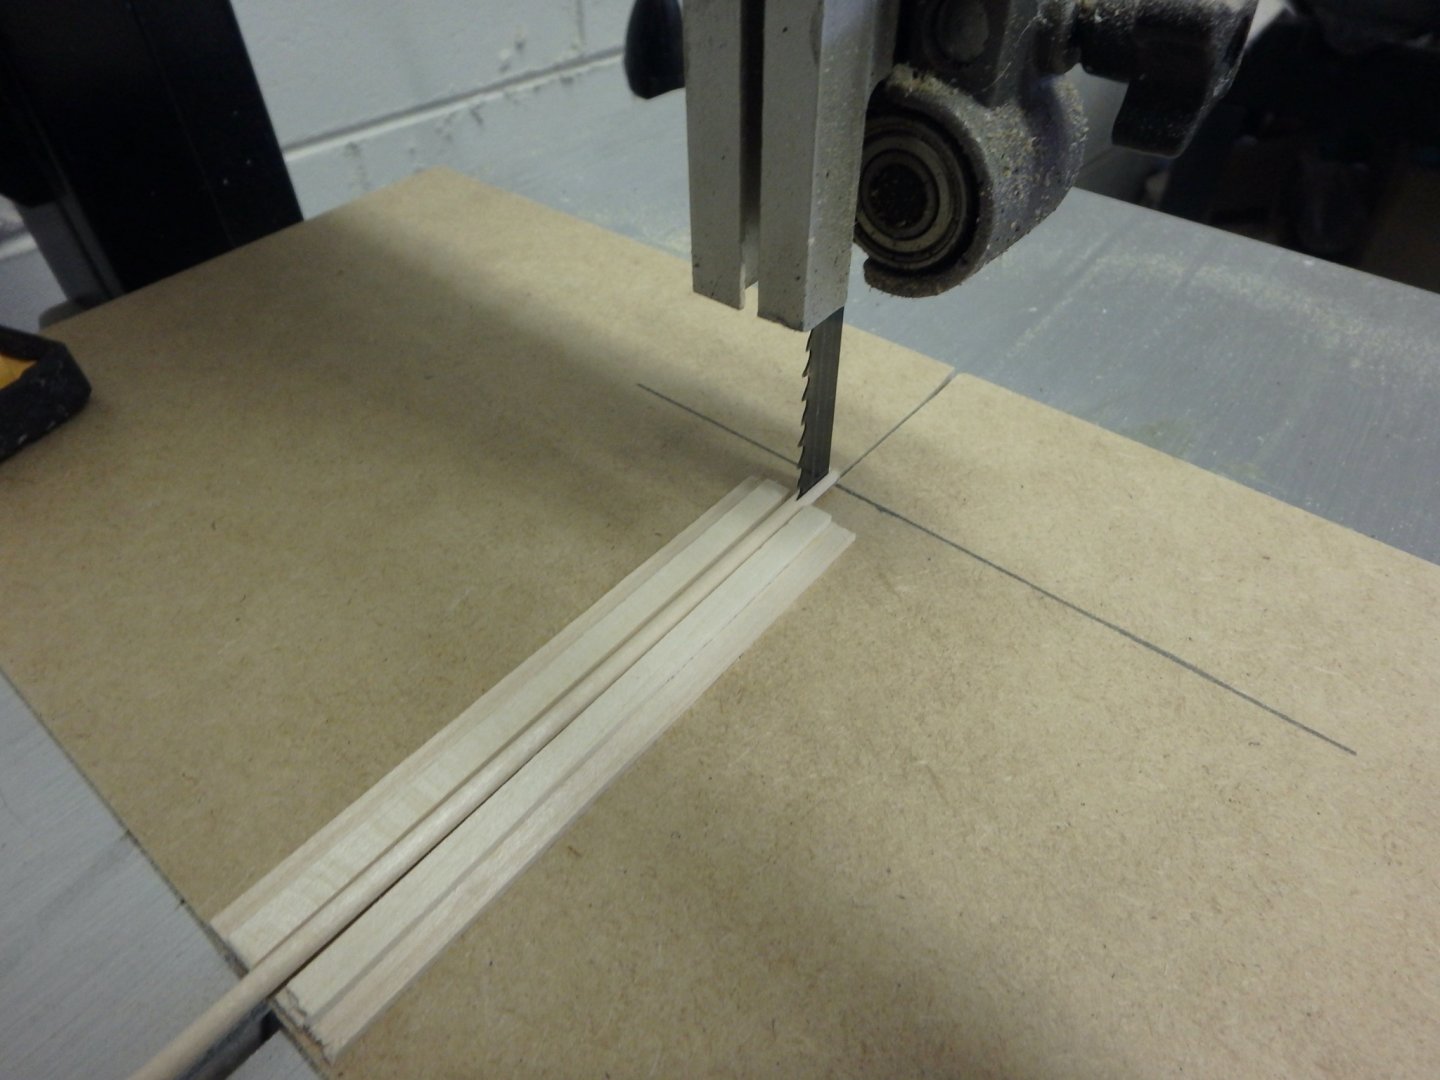
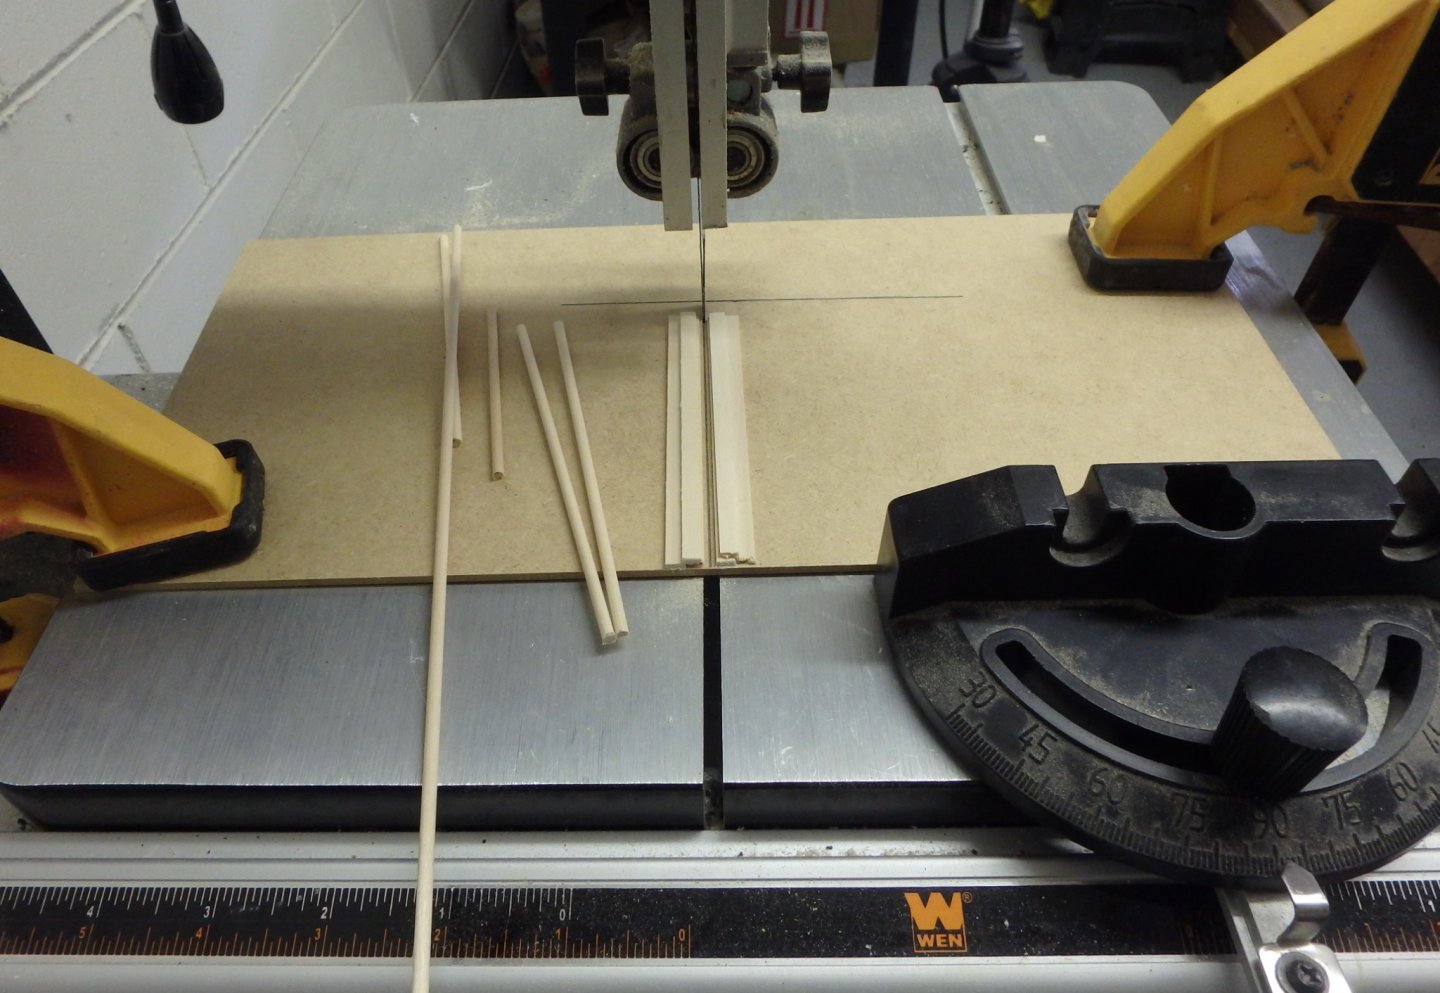
I lost a week traveling, but I'm back to the Drakar. I'm going with shroud pins instead of the flying cleats, or whatever they're called, that came with the kit. I decided to laminate up some blanks, so the grain would follow the curve of the pins. My original plan was to build a mold for the curve, but it would have been time consuming to cut and mate such a tight curve for male and female halves. I decided to go the quick and dirty rout and it worked out. I steamed thin walnut veneer and clamped it into a tight U. After the curve was set, I applied glue and clamped everything together. Things dried up into a u shaped walnut block. The block was ripped into individual blanks. A little carving and sanding, and this is how they turned out. Hopefully this week, I'll make some good progress on the rigging. I'm looking forward to seeing her finished.


-
I’m in awe at the level of detail you are achieving at such a small scale. It is equally impressive that you built the original model as a teen, and now get a chance to restore and improve by applying all you’ve learned since then.
- 739 replies
-
- 5
-
-
- Tudor
- restoration
- (and 4 more)
-
Cold blustery rainy days are perfect for some mead. Skoll! Your sail is looking great! Colors are striking. All anyone can do on the sails is gather the best information they can and make educated suppositions. Your reasoning g is sound and the results look good. I'm interested in seeing what you do with the diagonals.
-
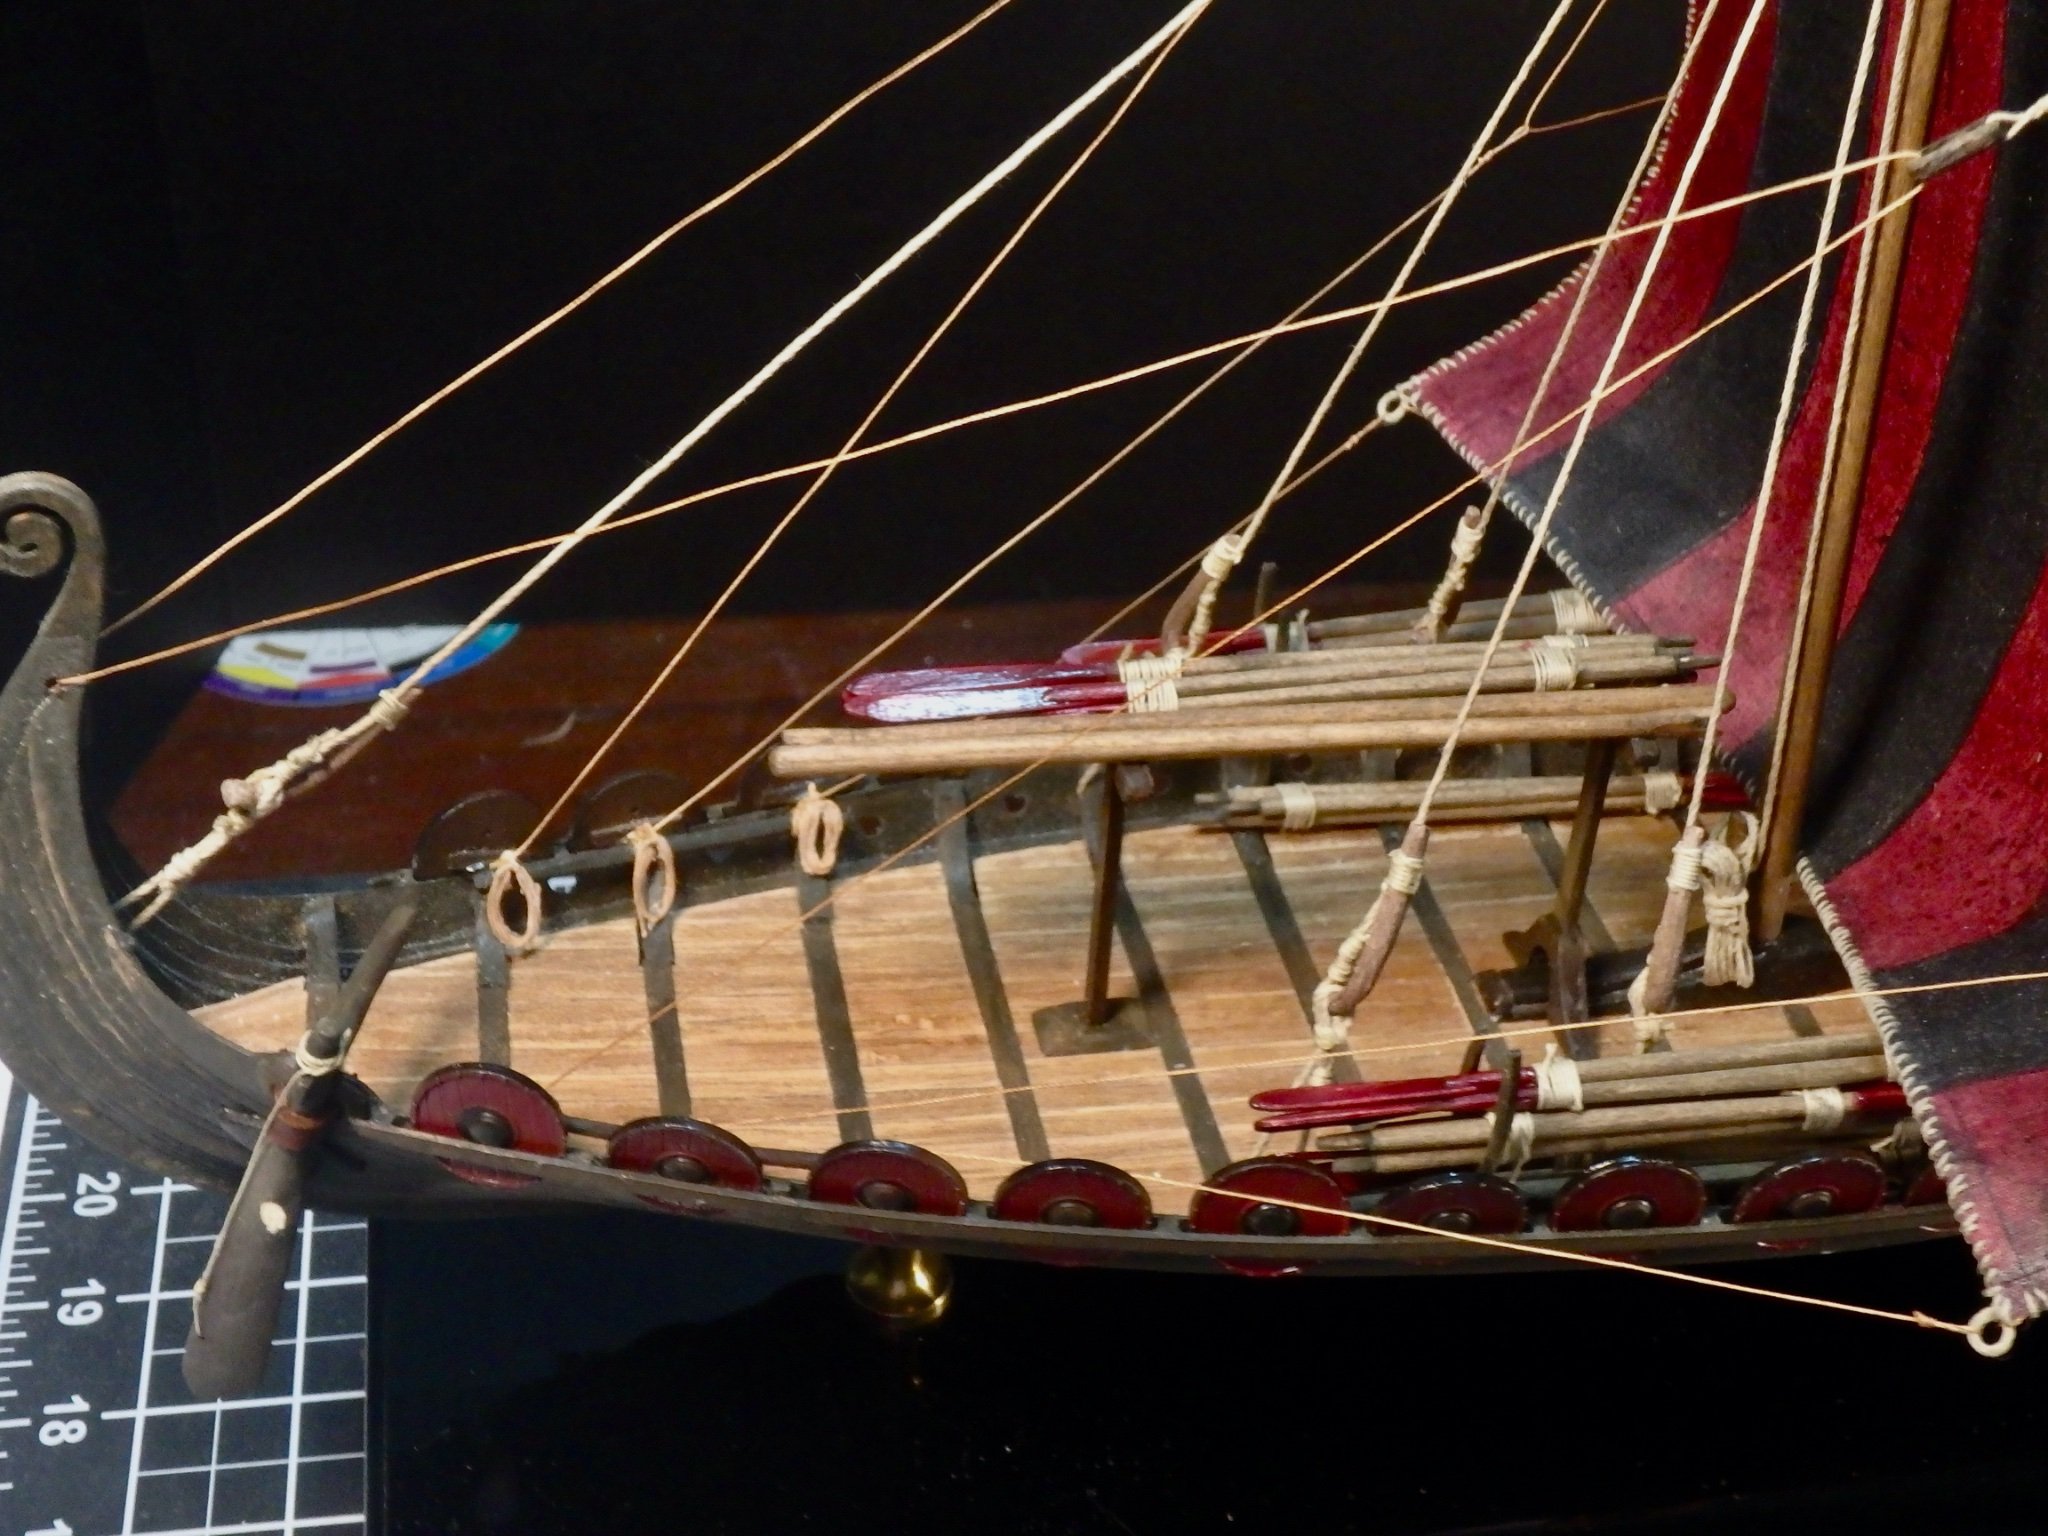
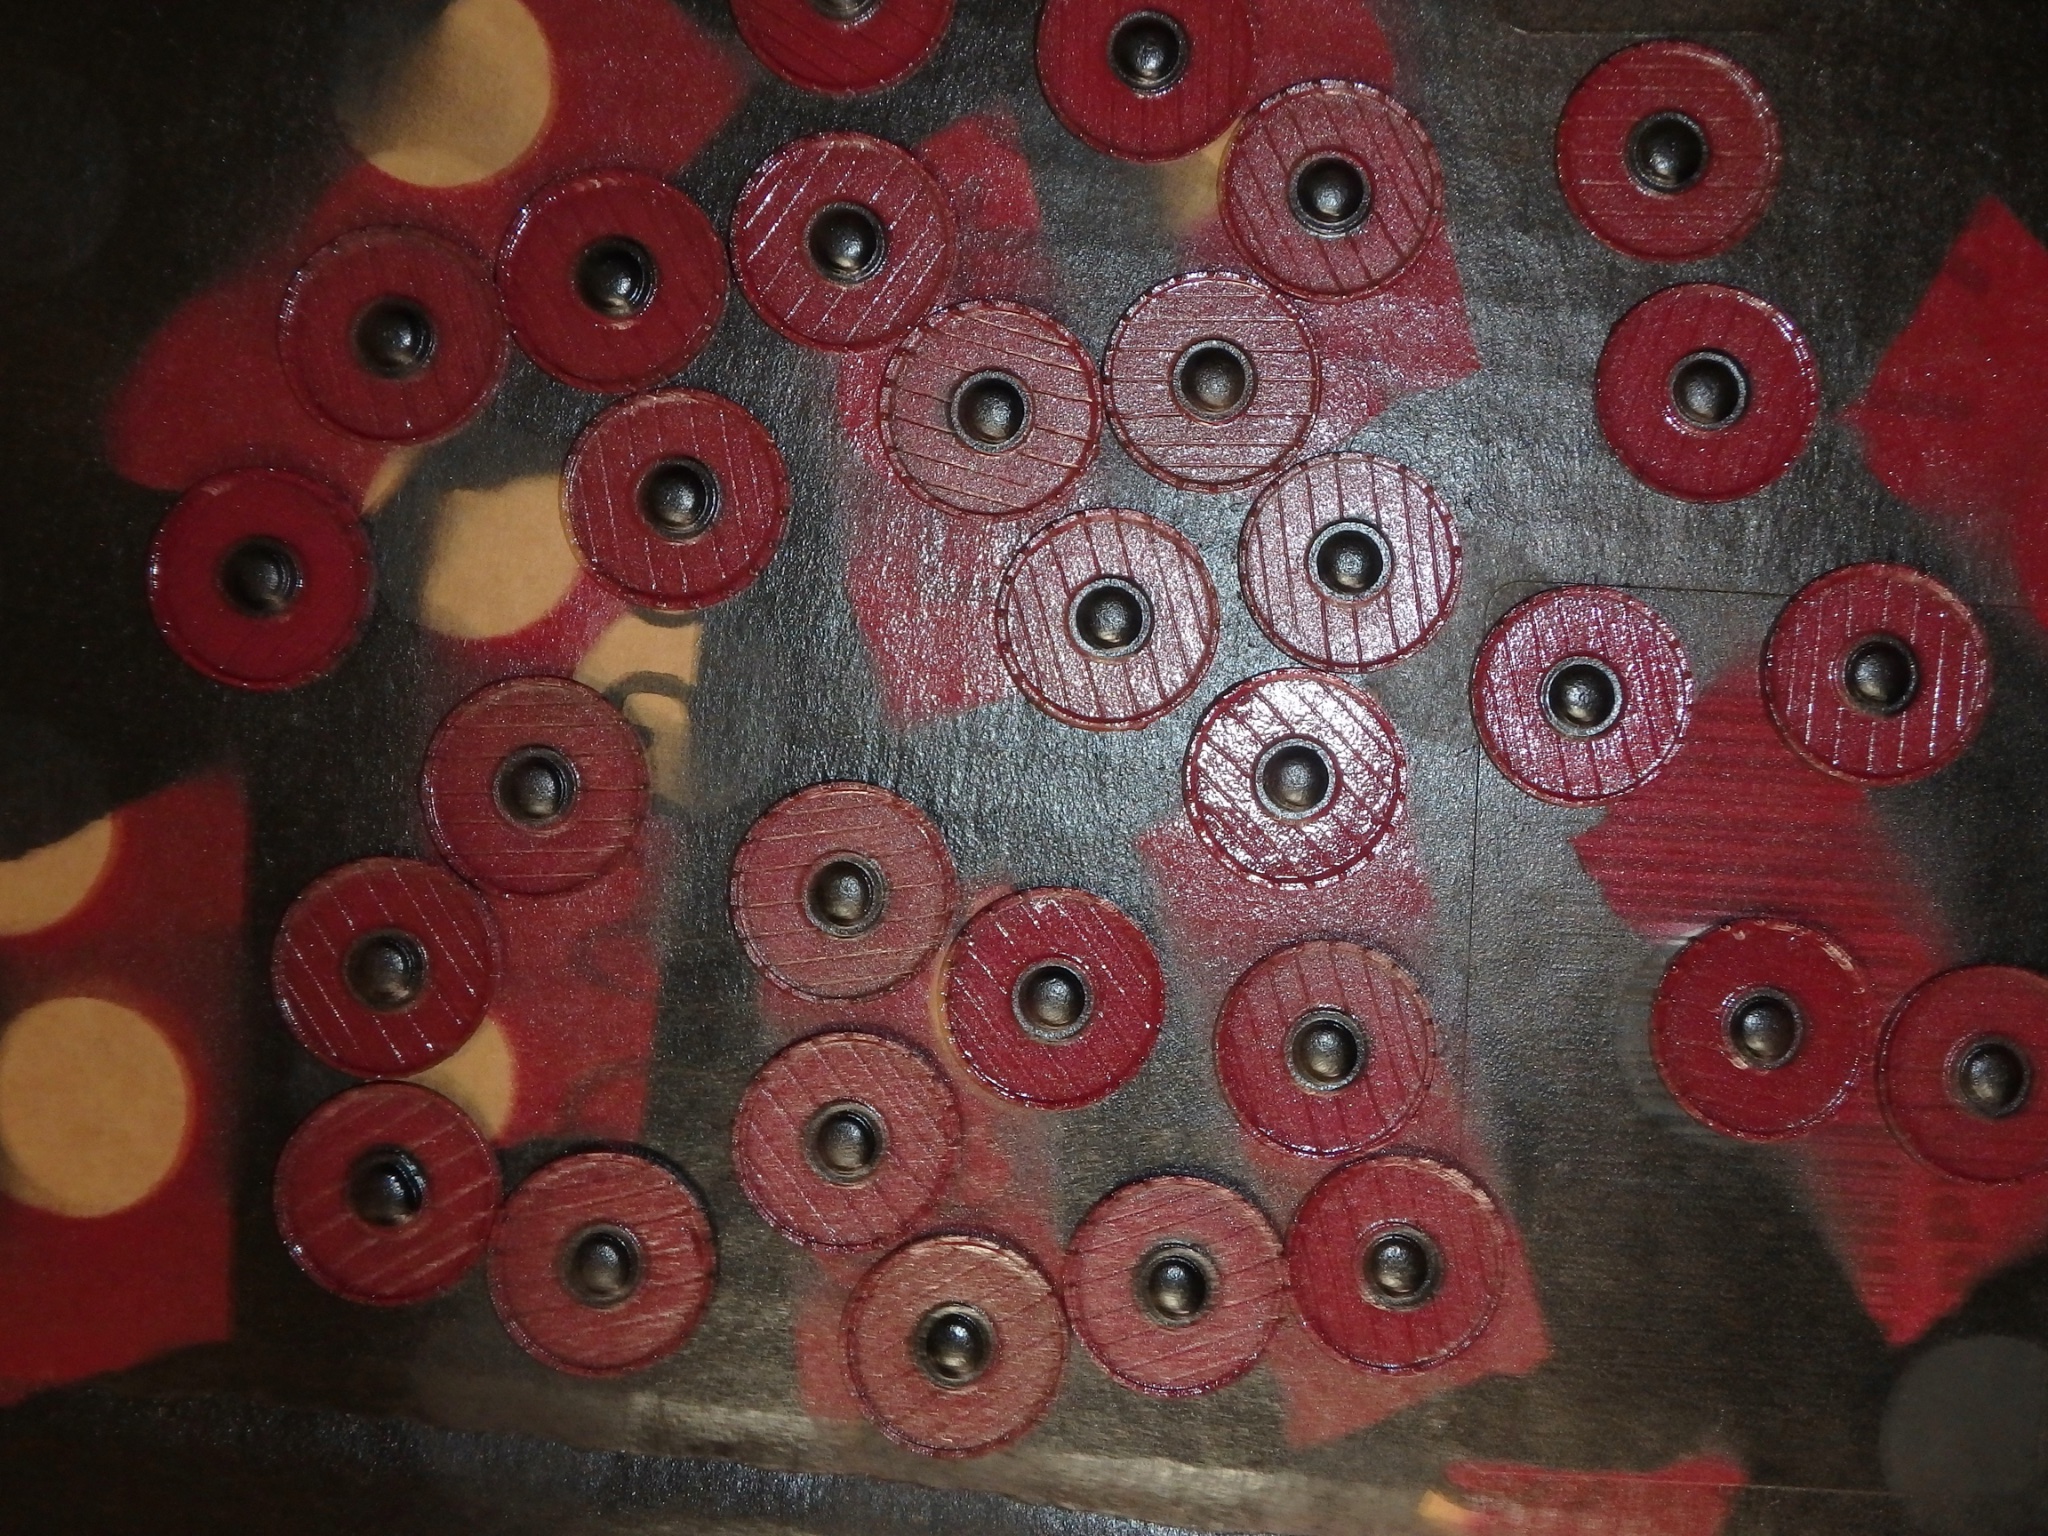
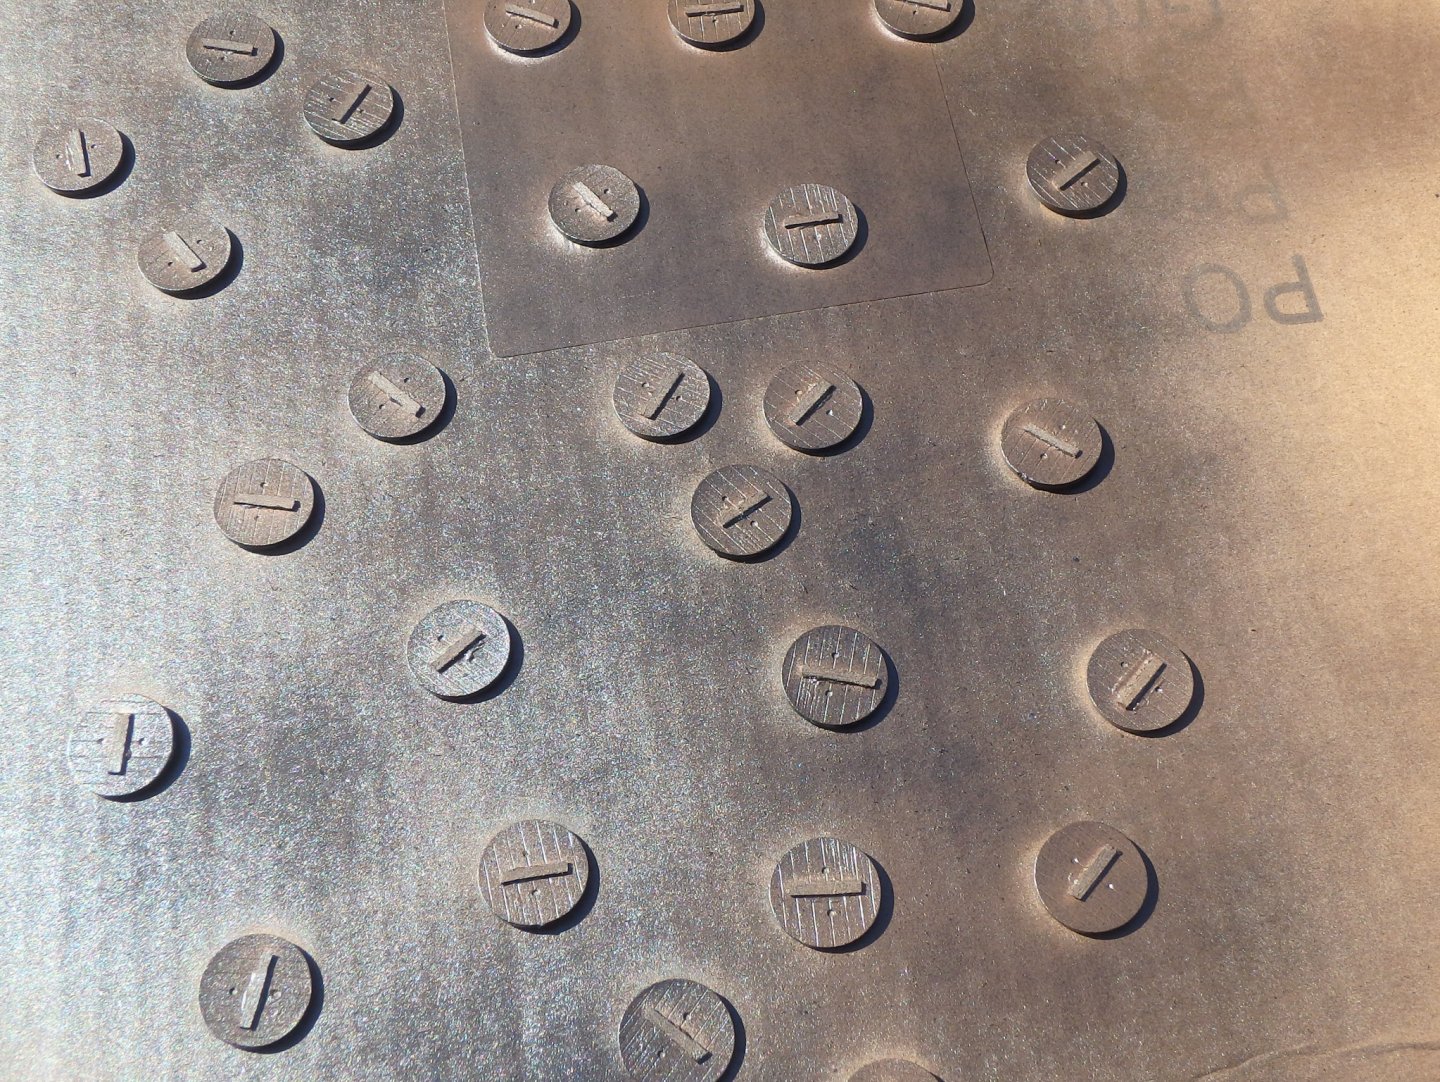
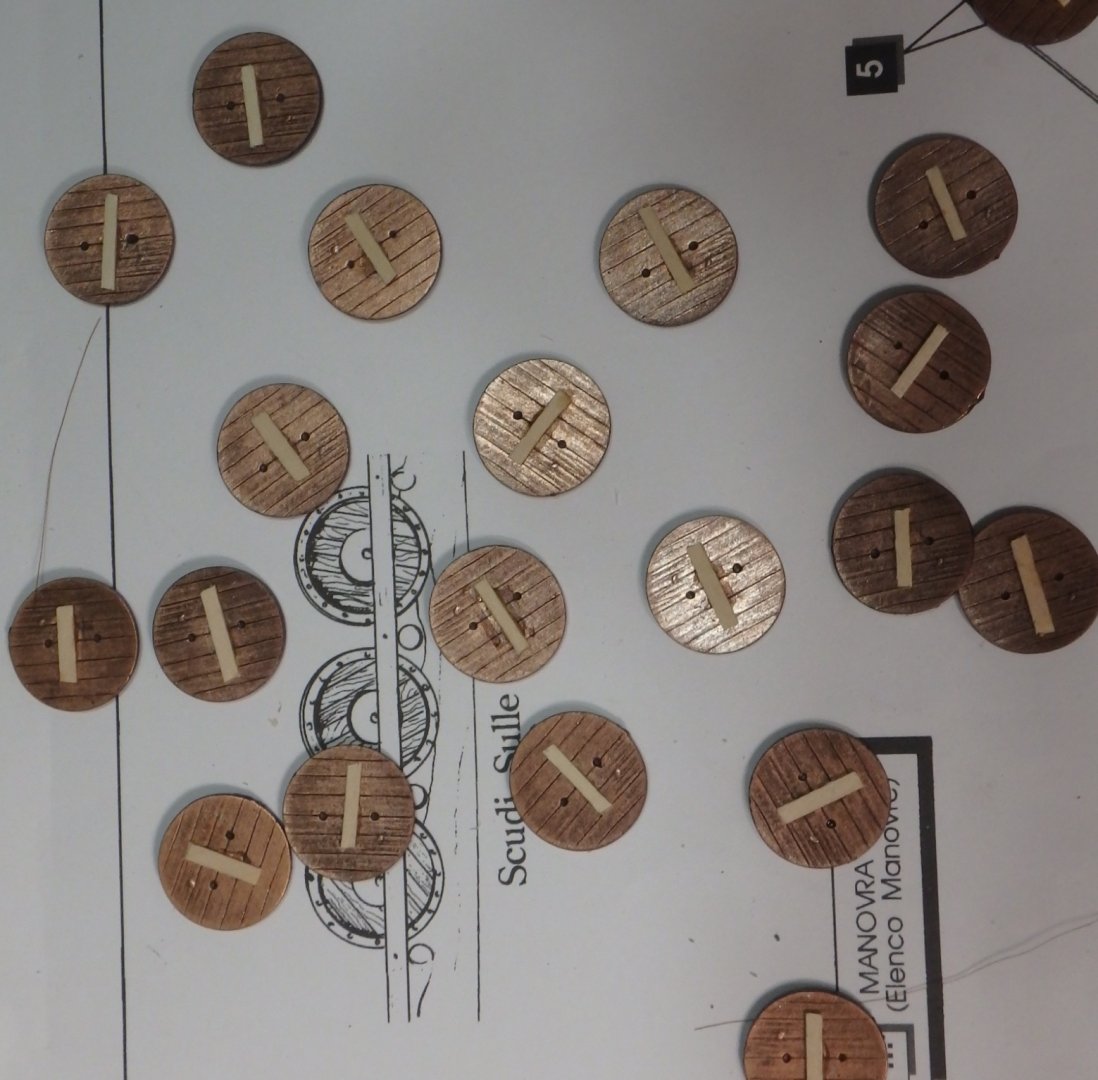
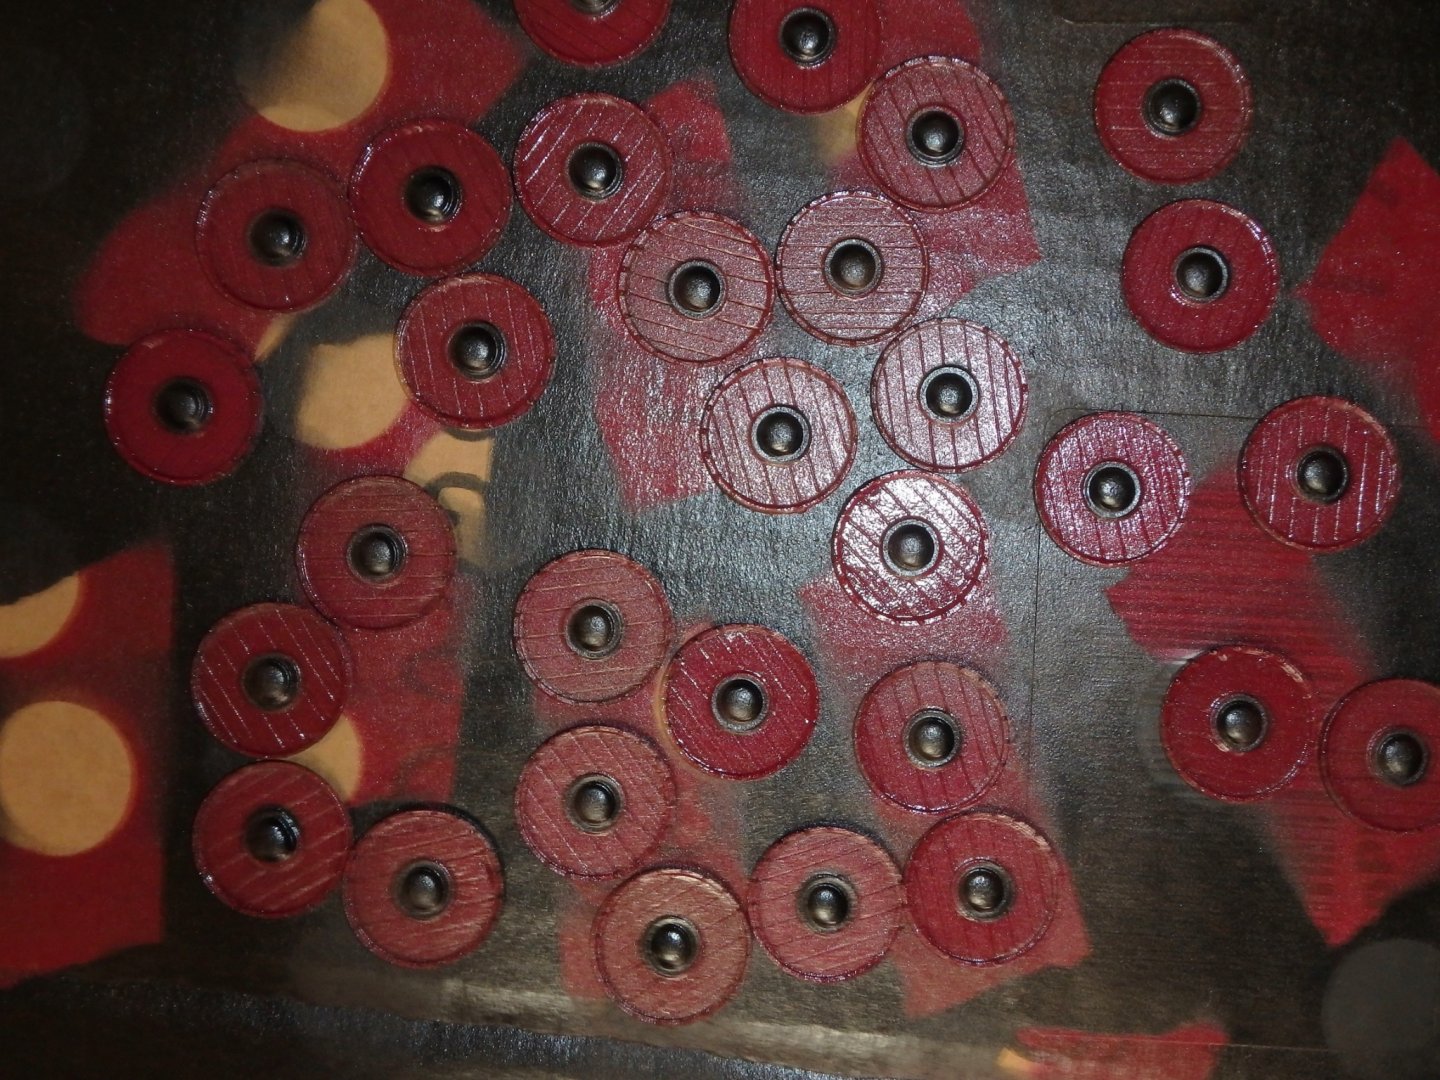
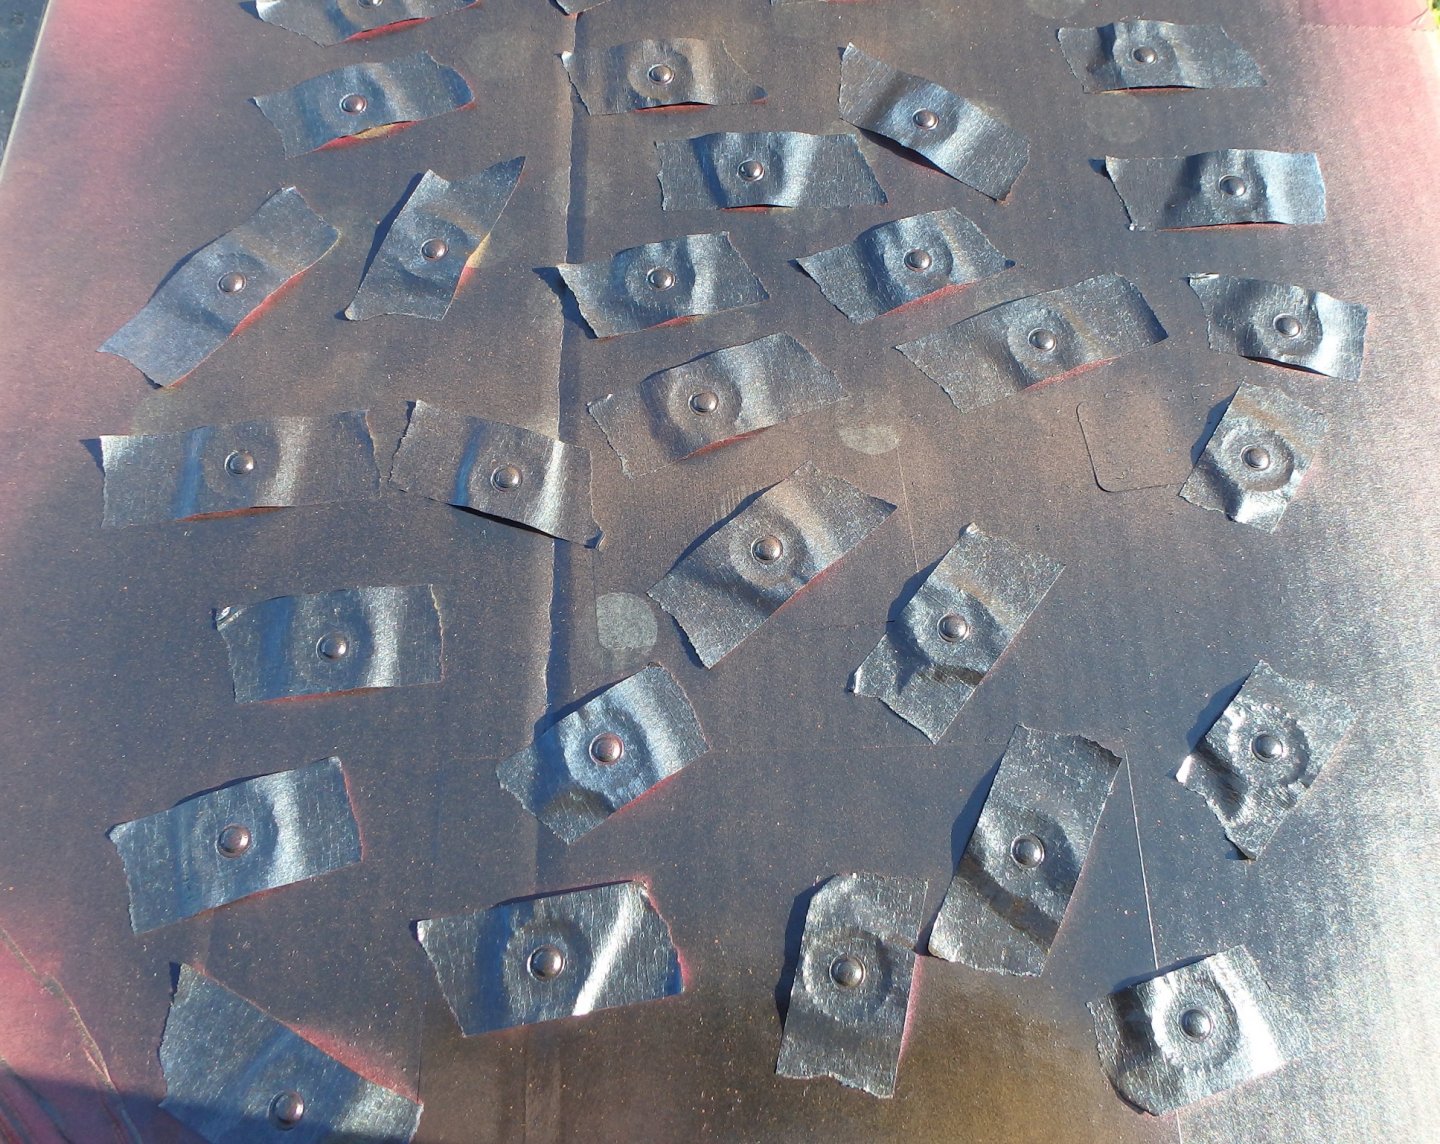
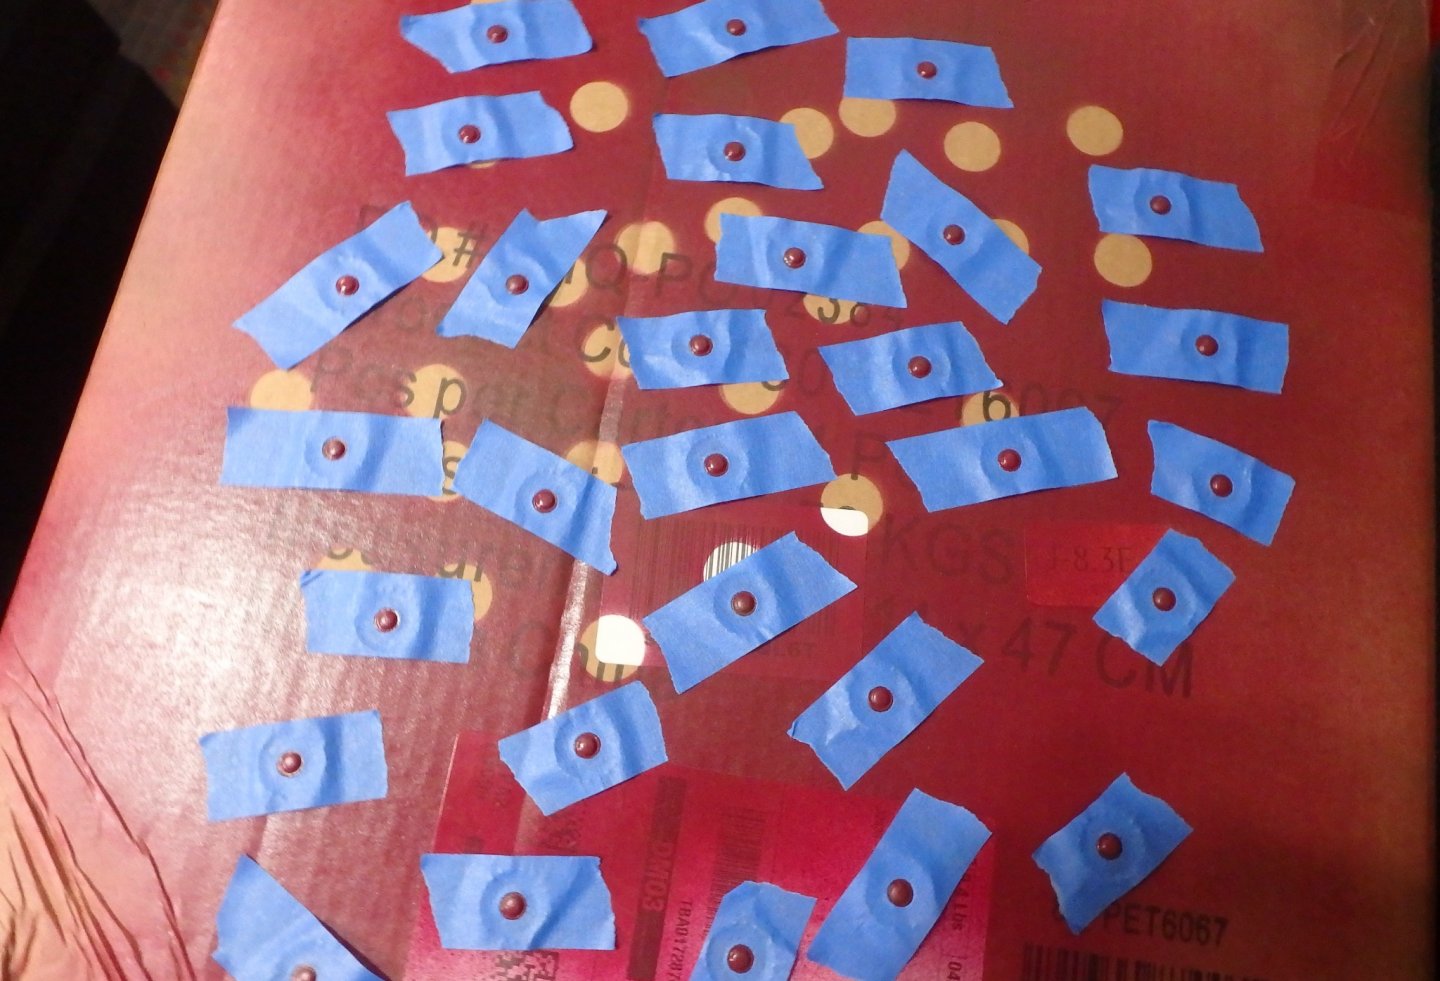
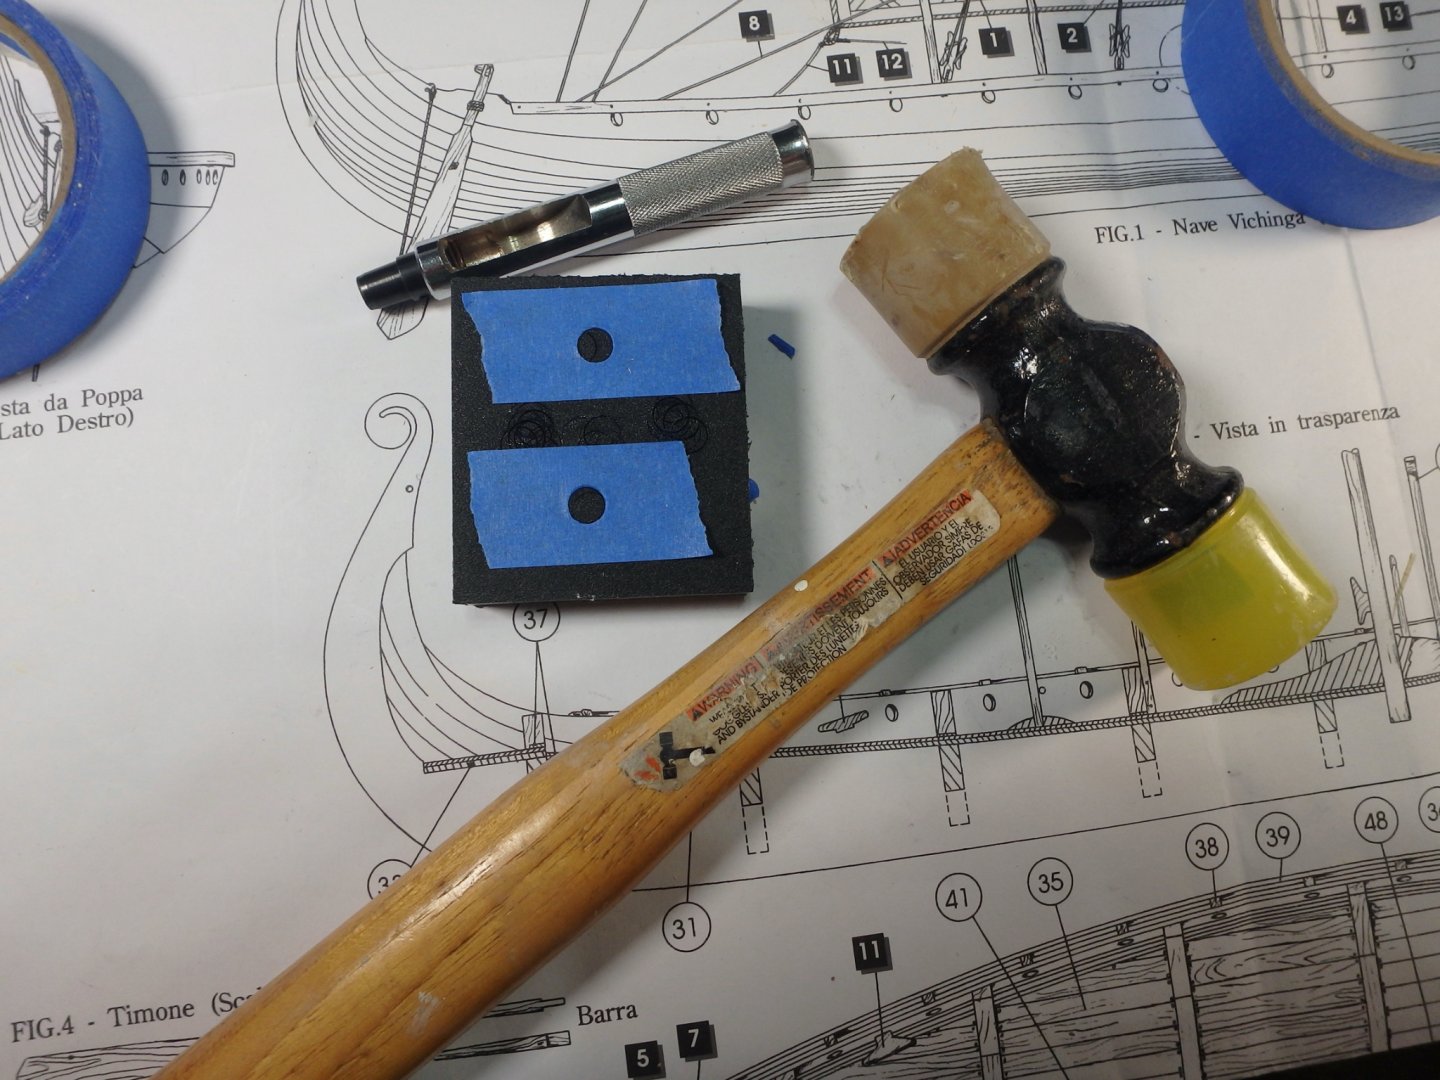
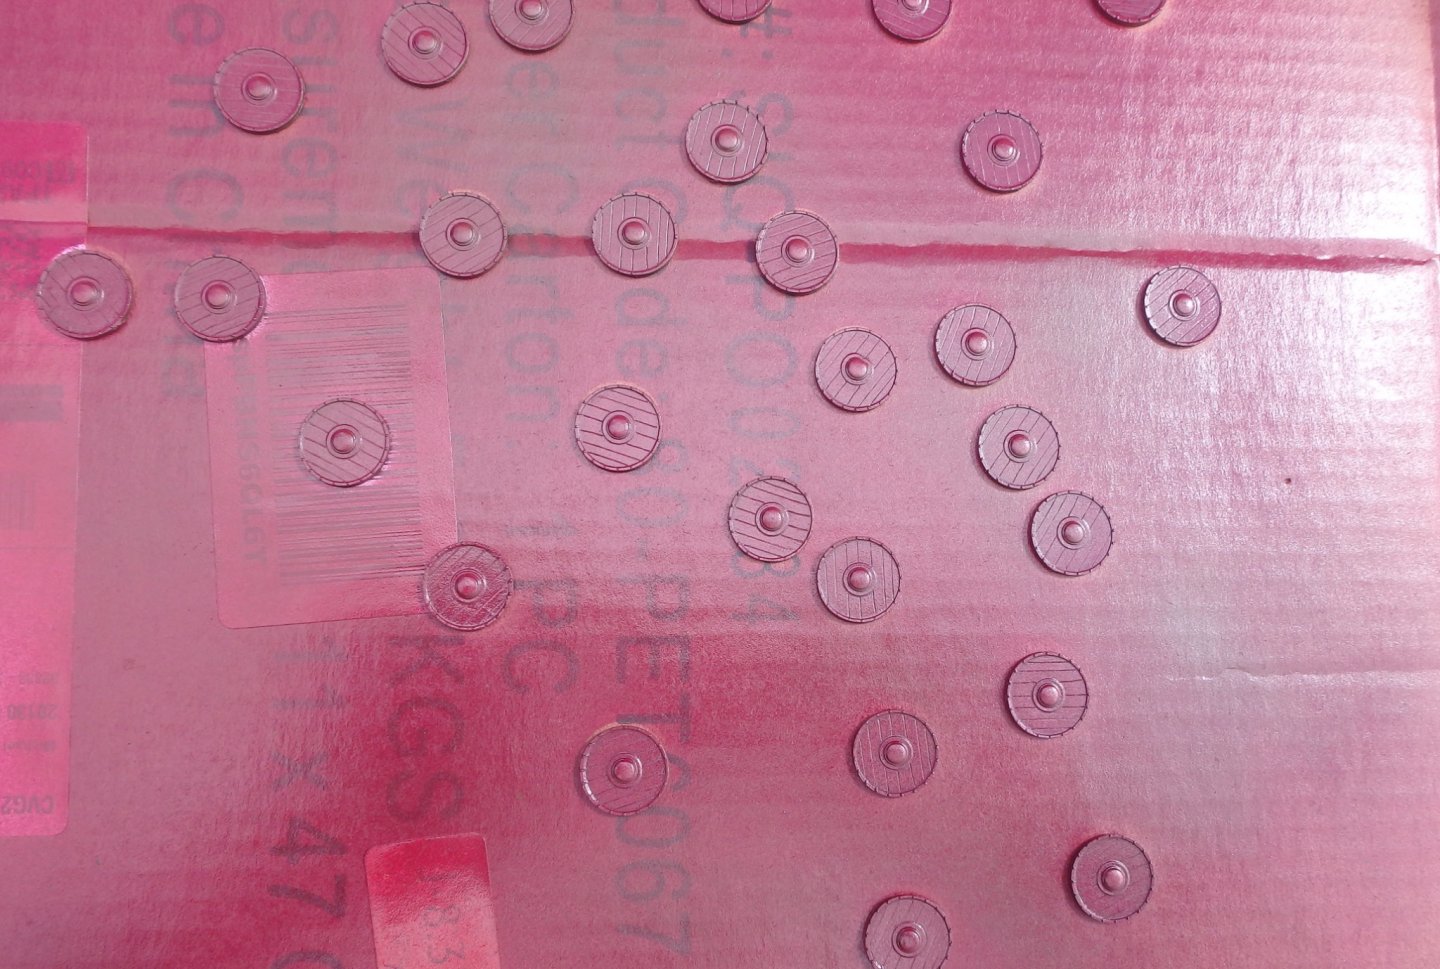
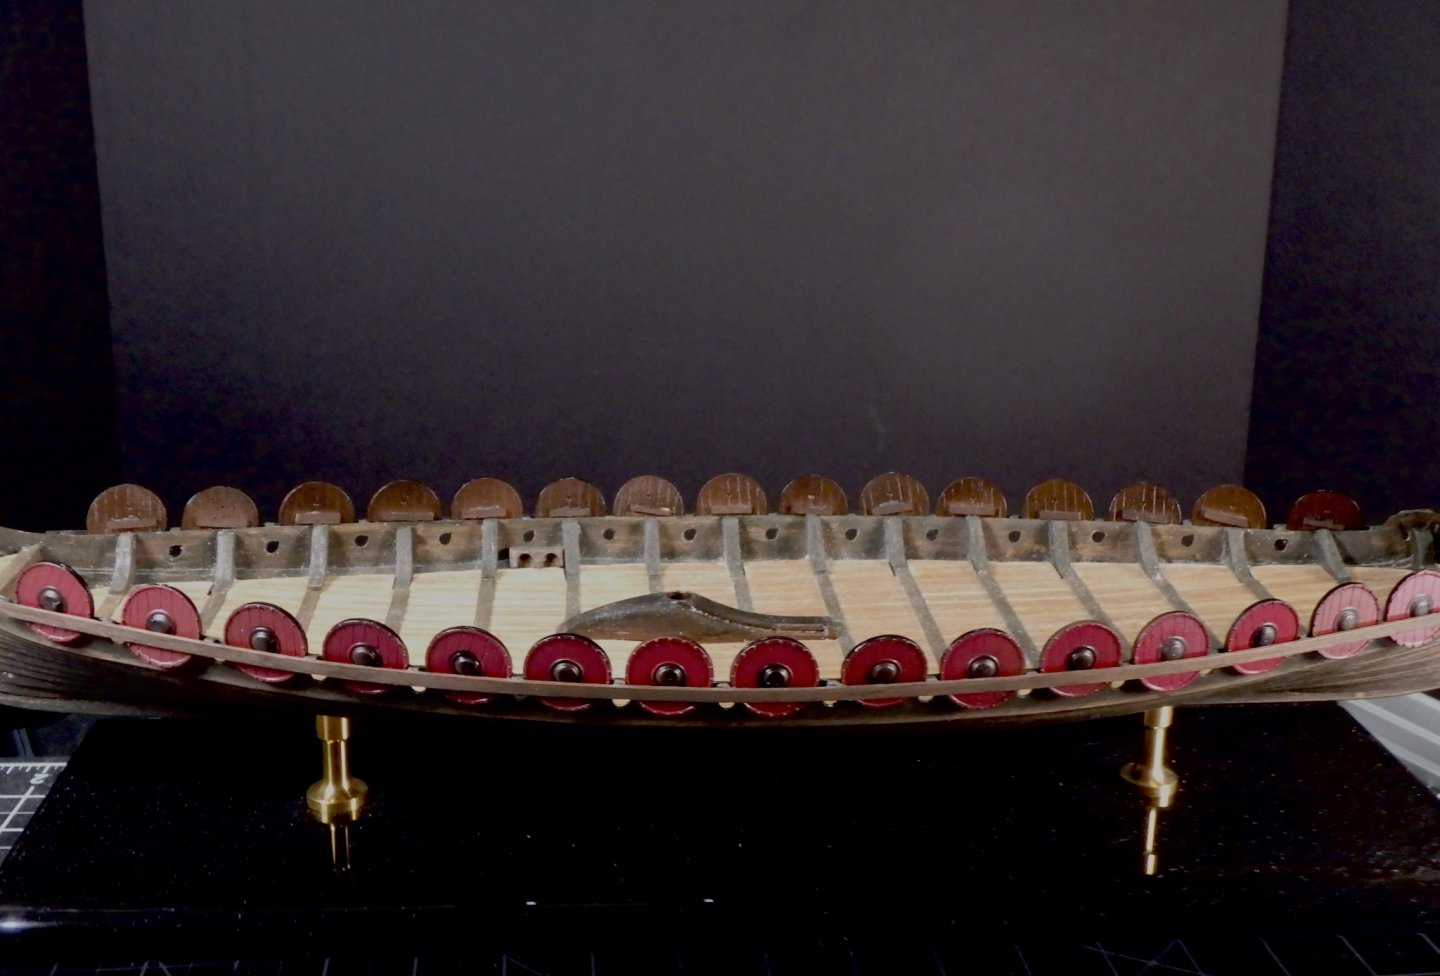
Made a bit of progress on the shields. Again, I'm keeping things simple, to keep the focus on the ship's lines. I sprayed the shield faces in a deep red. Then I used a leather punch to cut some boss sized holes in masking tape. Then I masked off the shield faces and sprayed the bosses black with a mist of brown to suggest rusted iron. The shields turned out pretty good. I still plan on dry brushing the rim to suggest leather binding. Some of the shield slipped through the openings in the shield racks, so I decided to glue on strips of basswood to suggest handles on the backs. The shield packs and outer rims were sprayed Brown with a mist of black to tome them down a bit. I may dry brush in some woodgrain, but I doubt it will matter given the small scale of the model. And here they are displayed in the shield rack.
-
The glue and water sizing helps. Plus, you want to make sure you press the edges of the tape down well, and peel it off immediately.
-
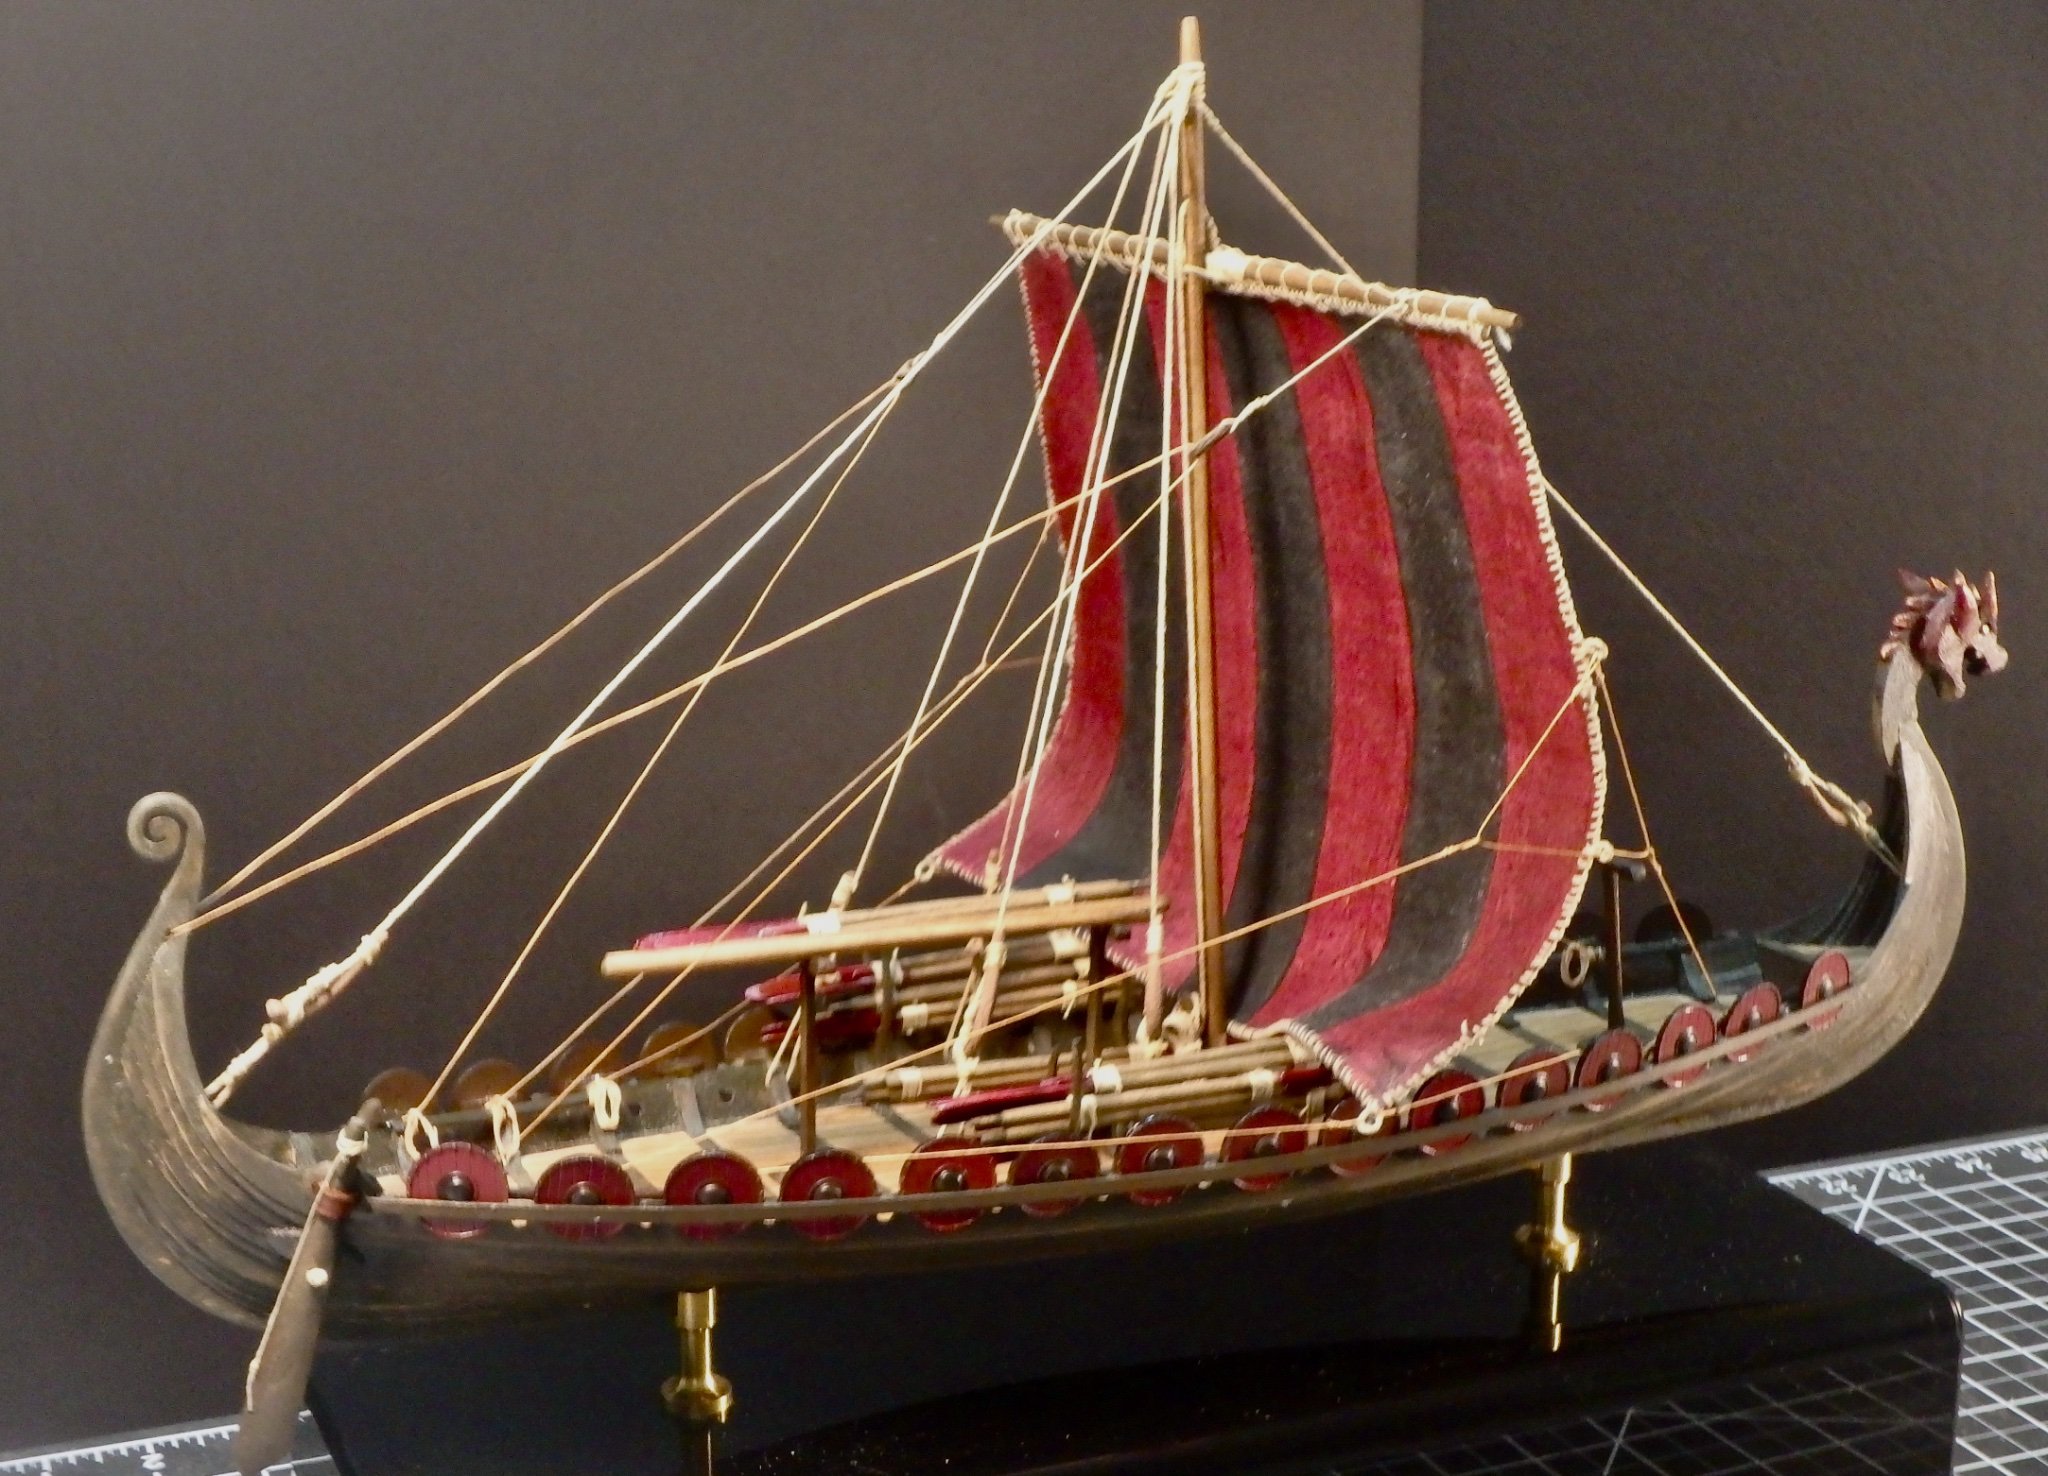
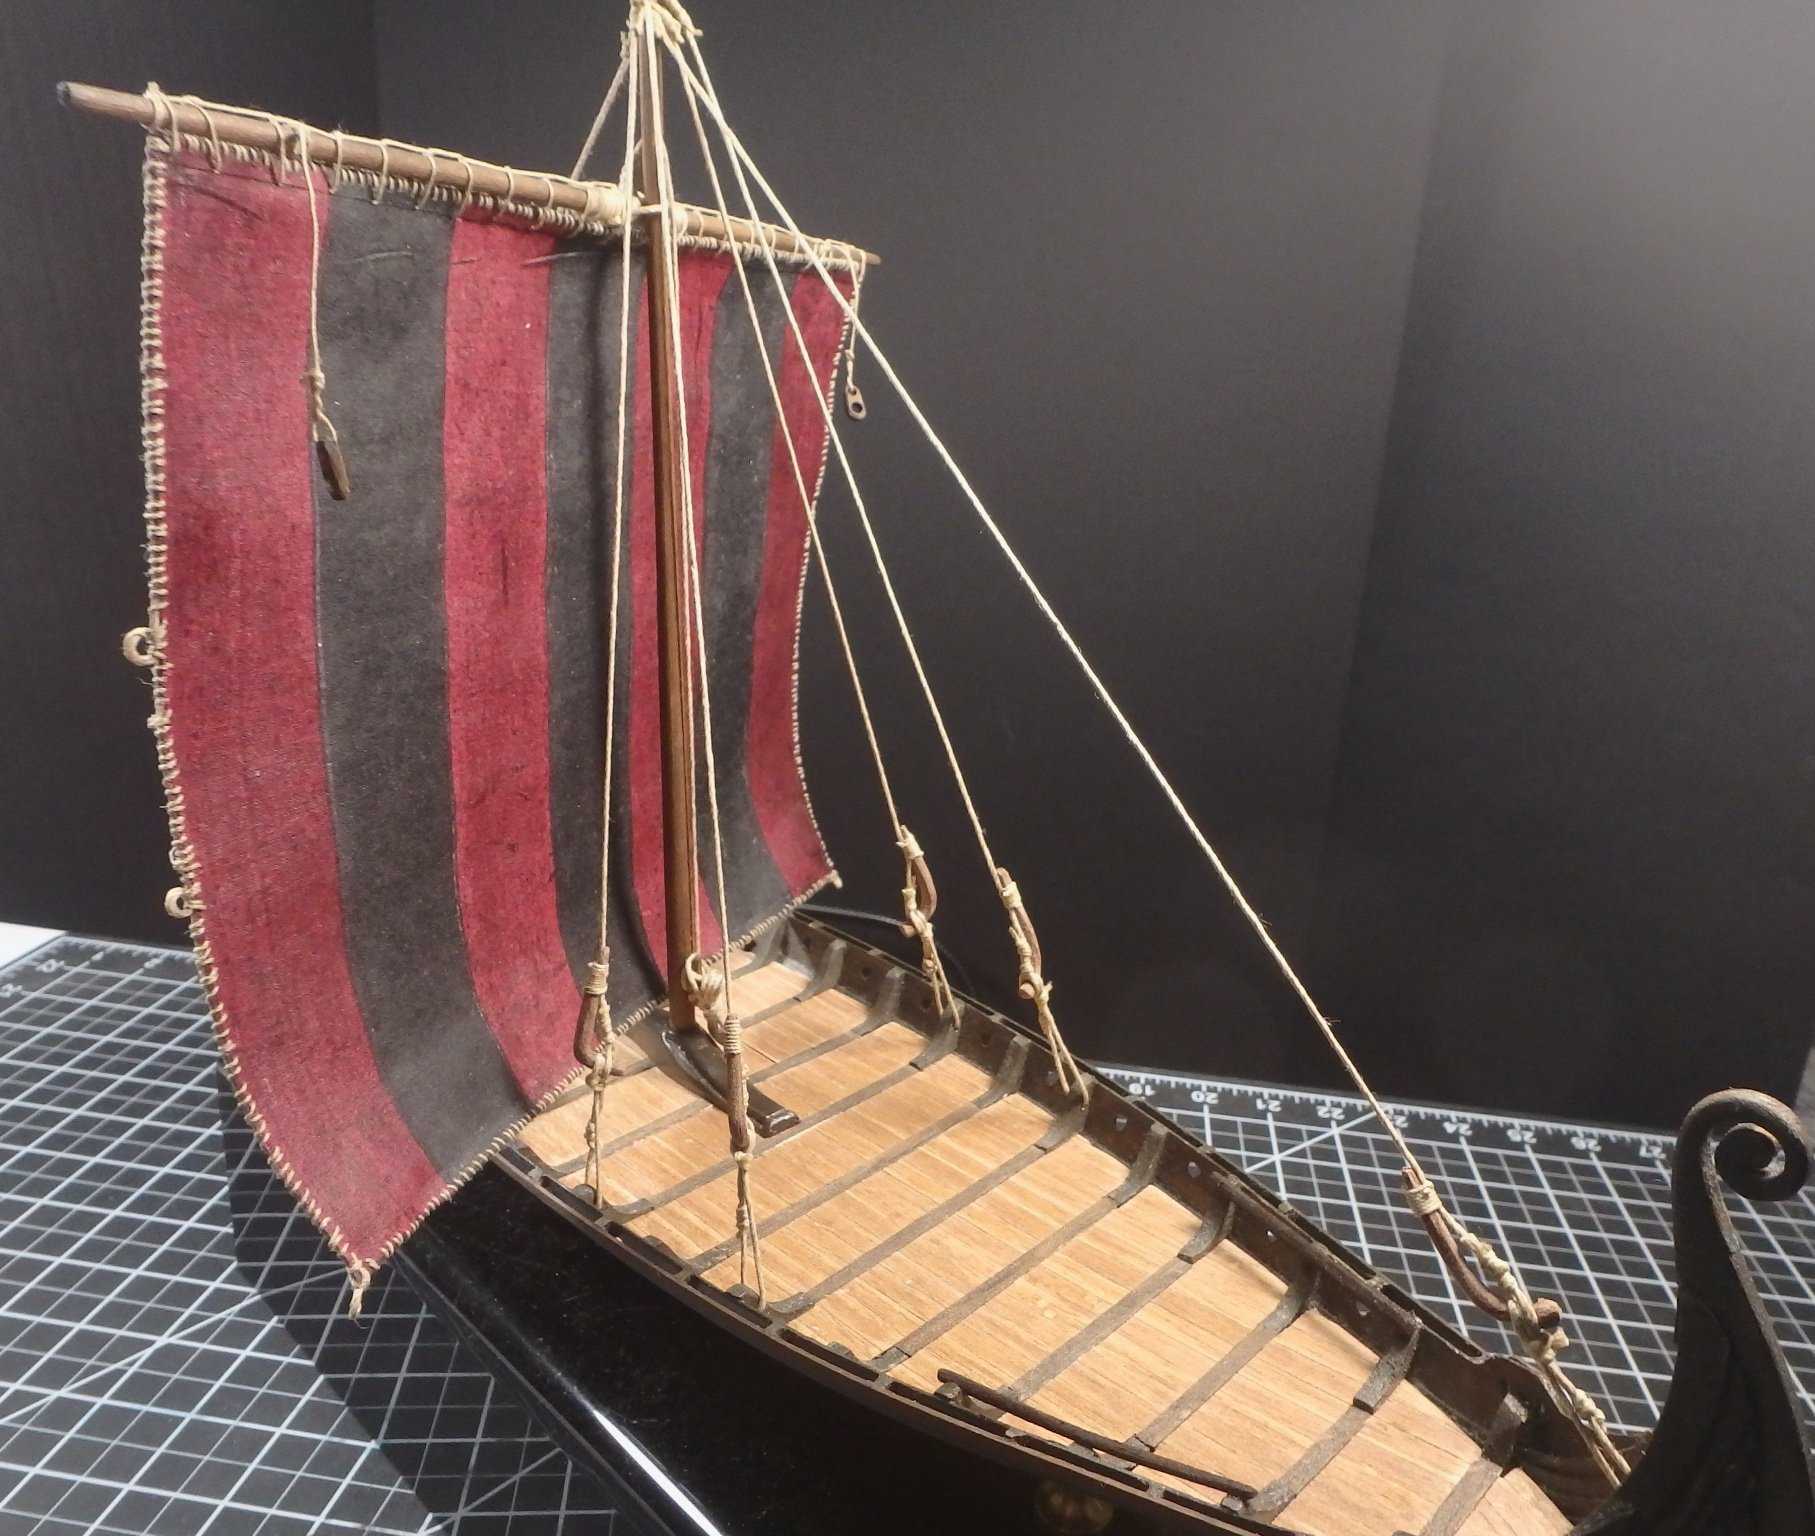
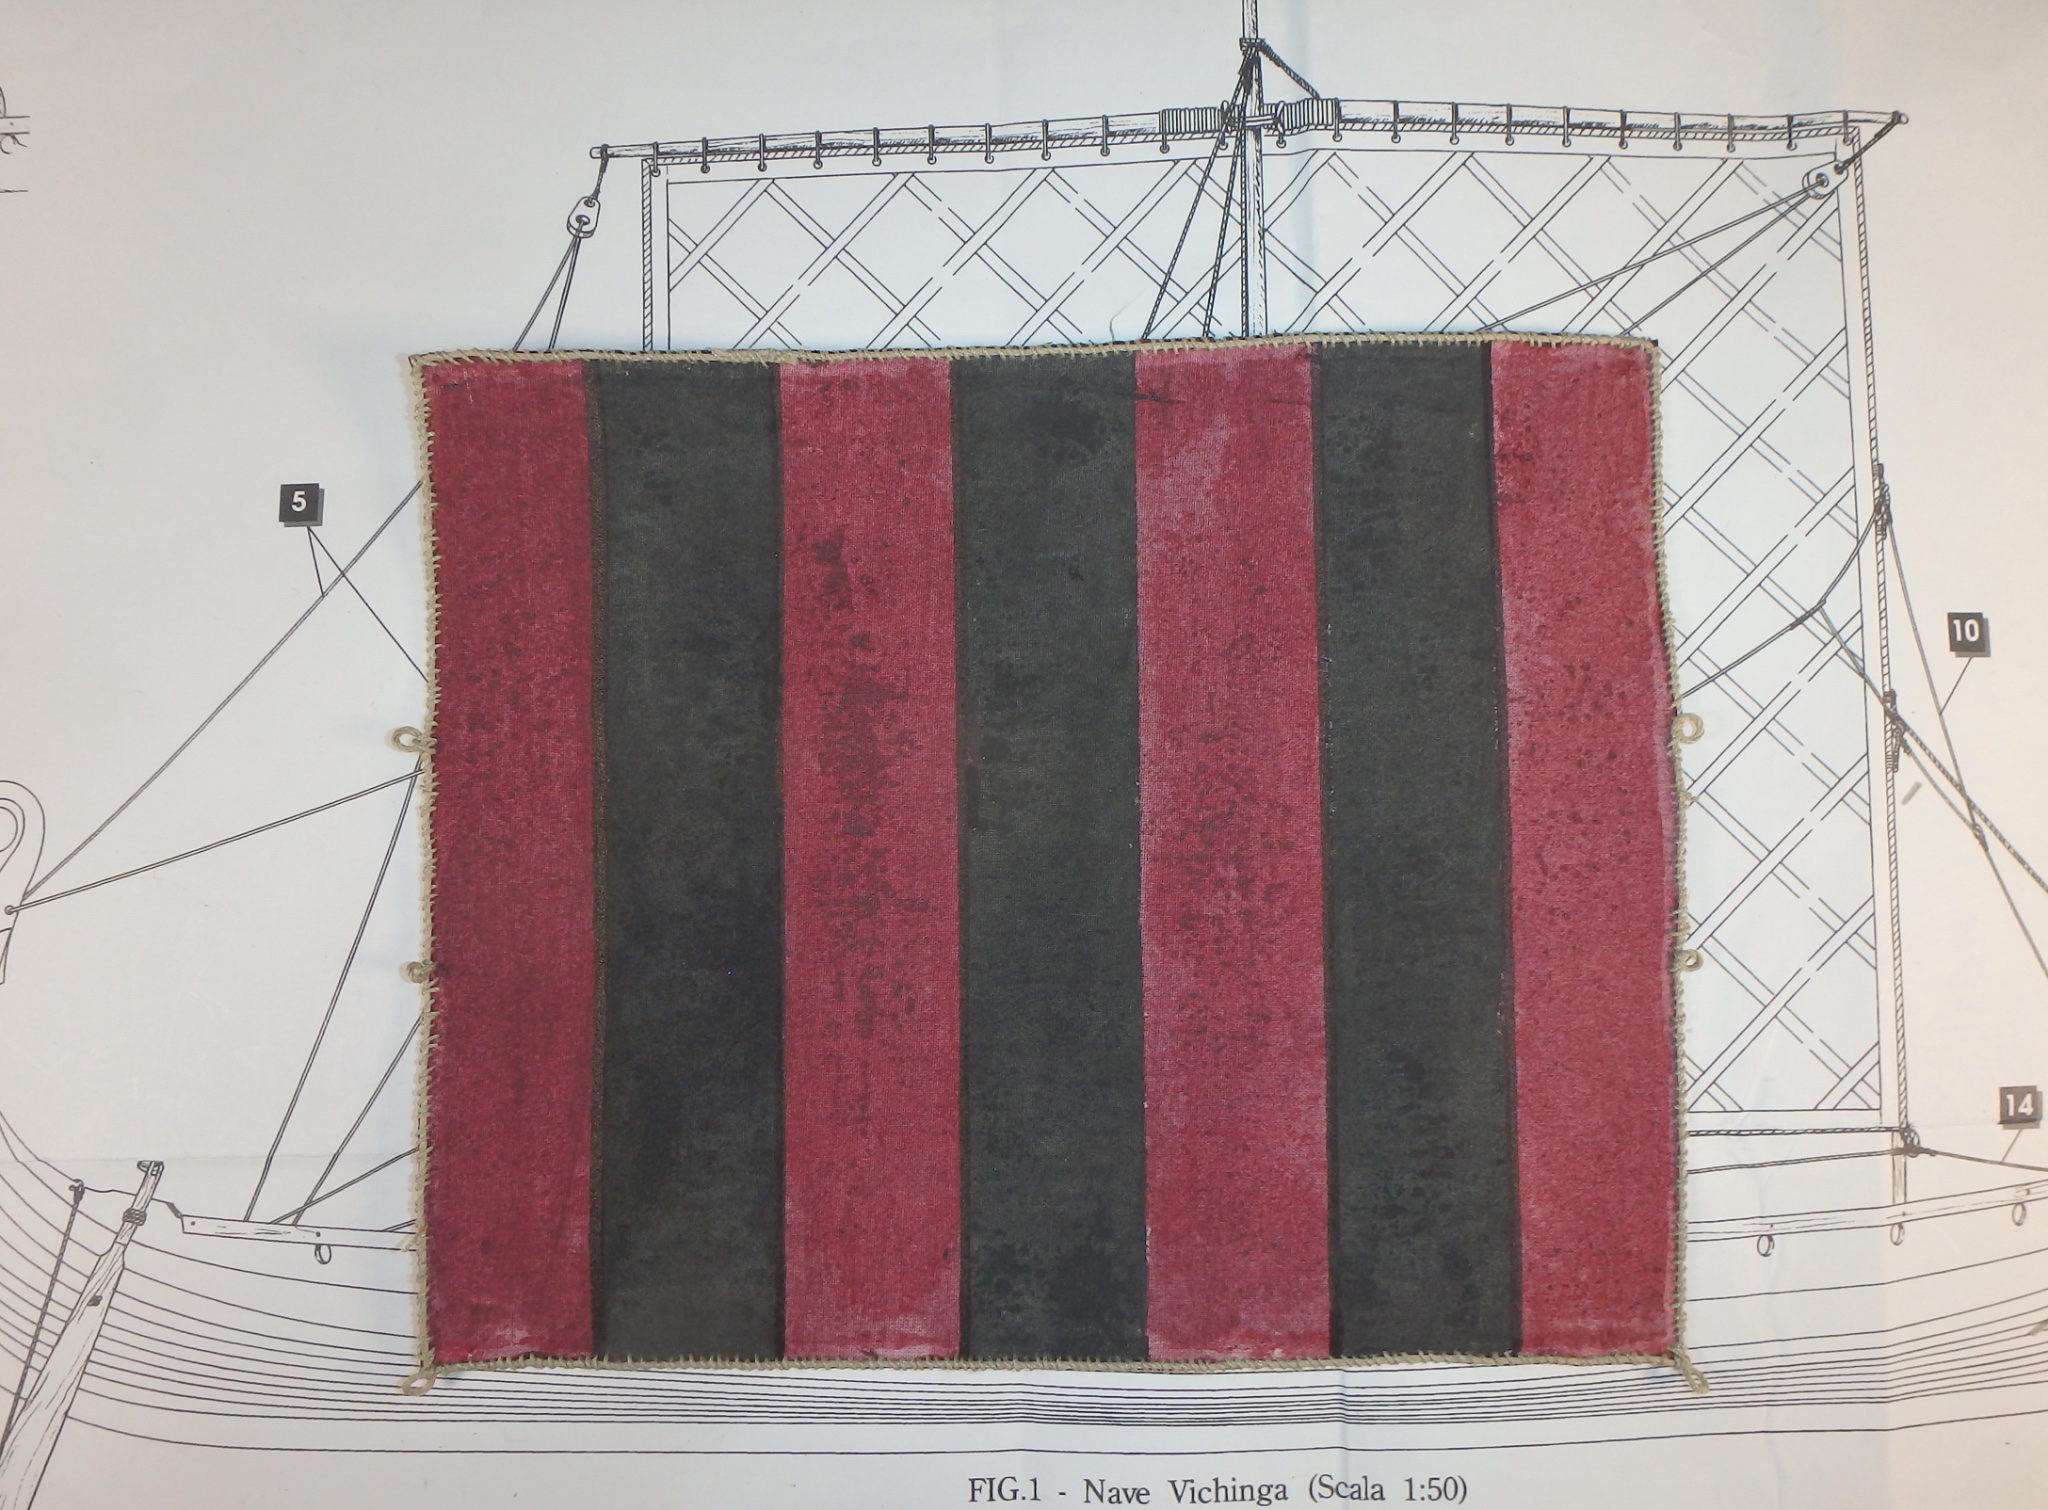
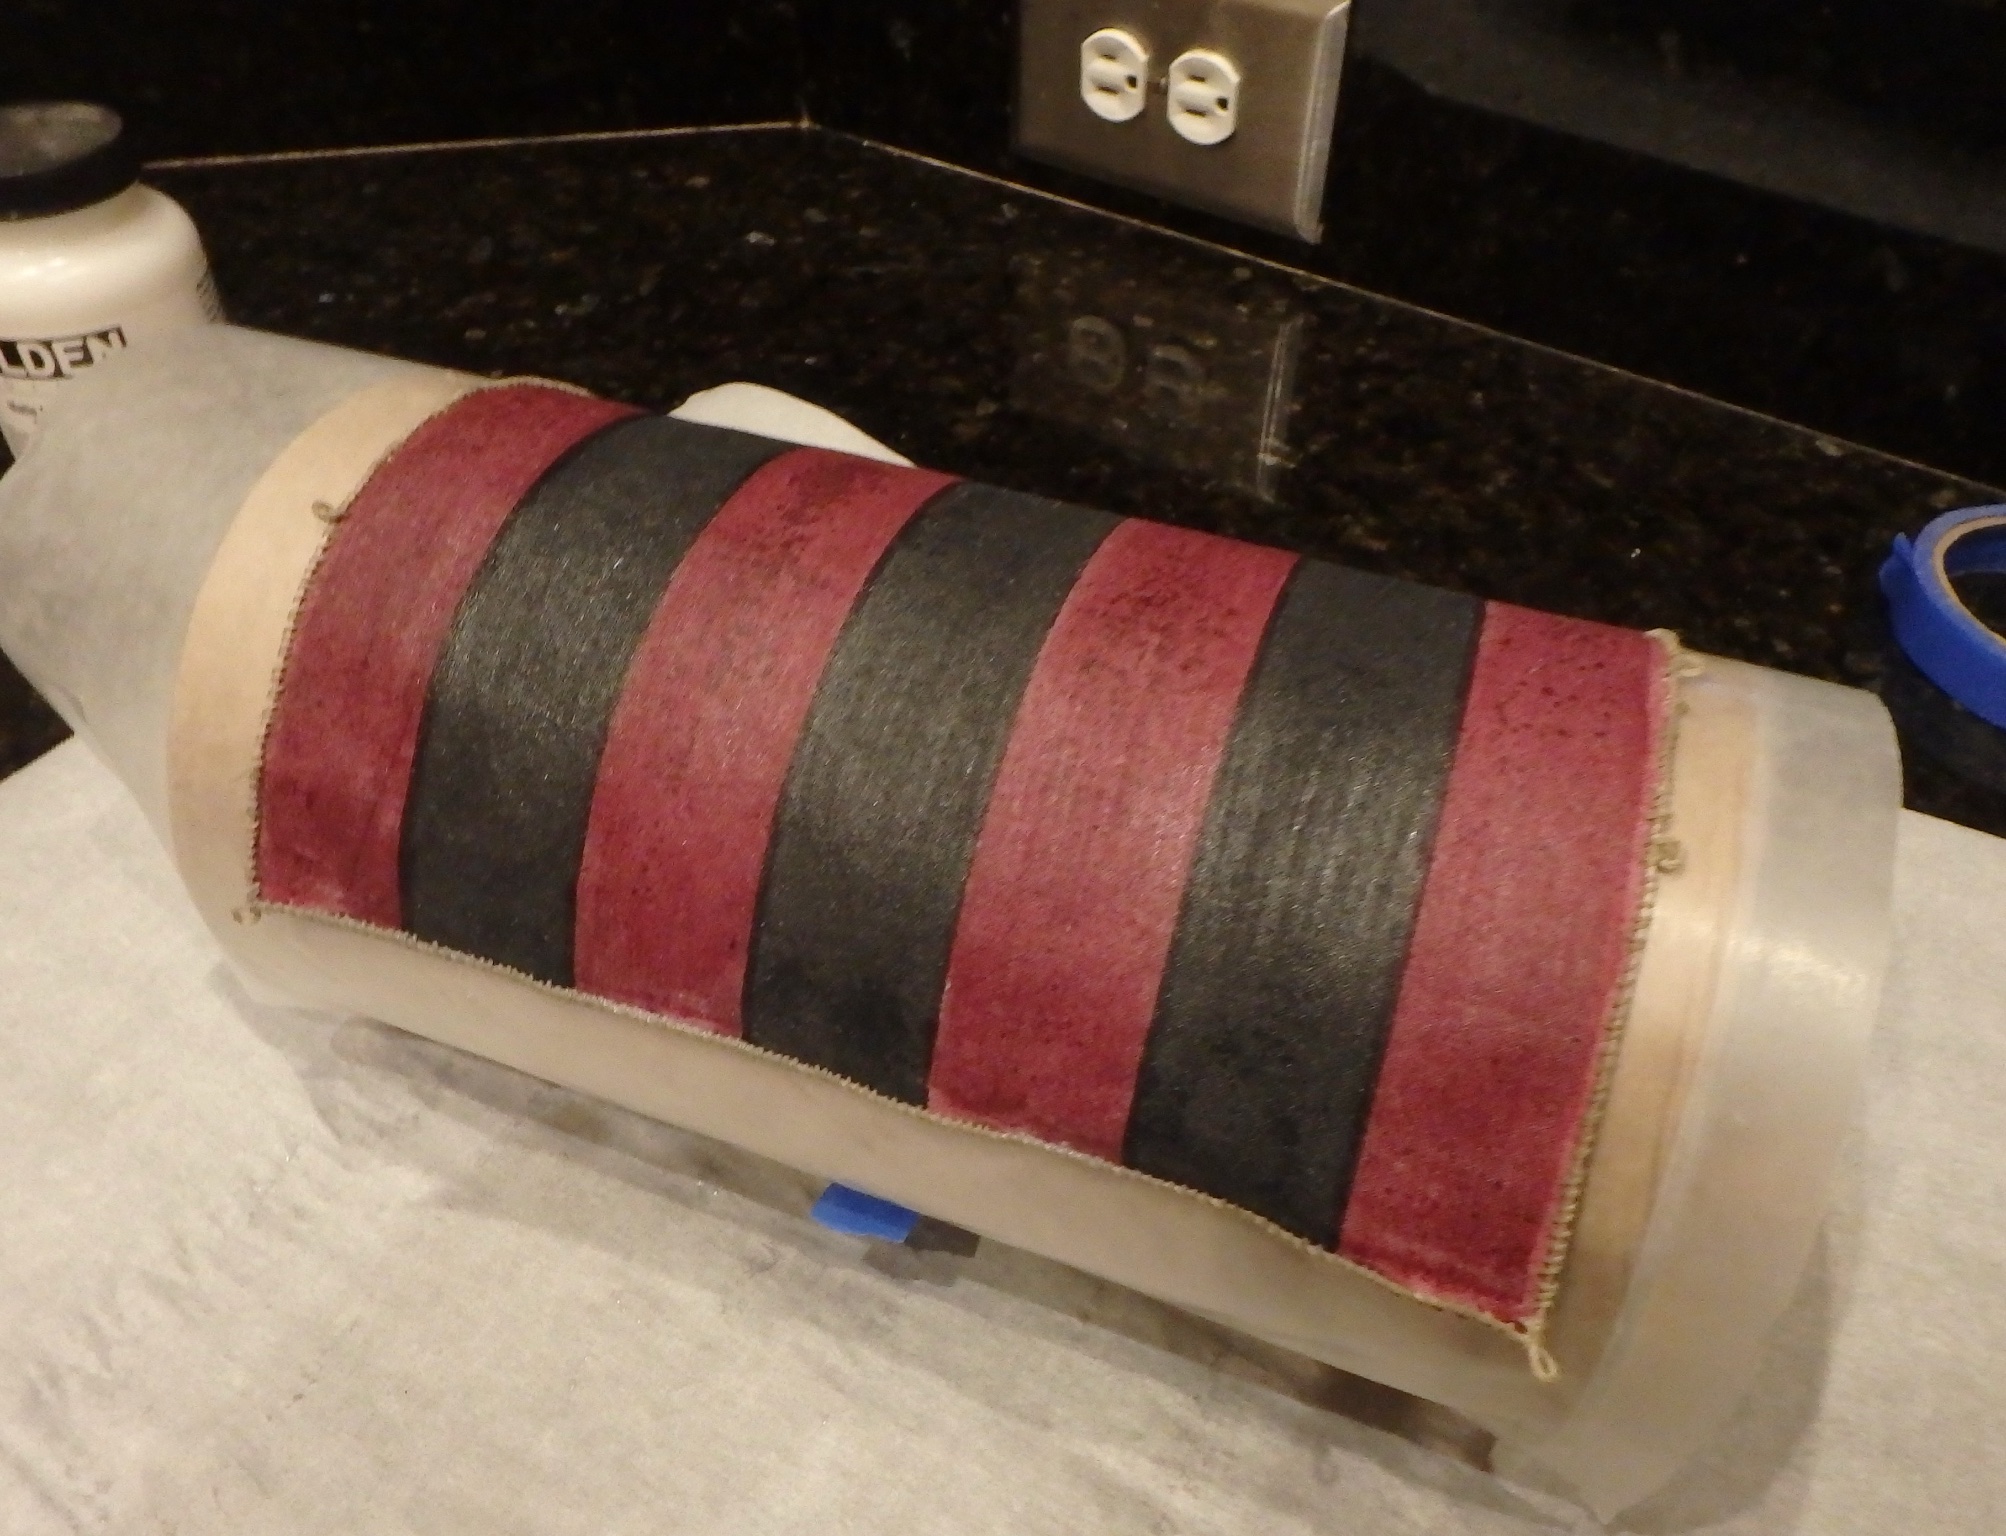
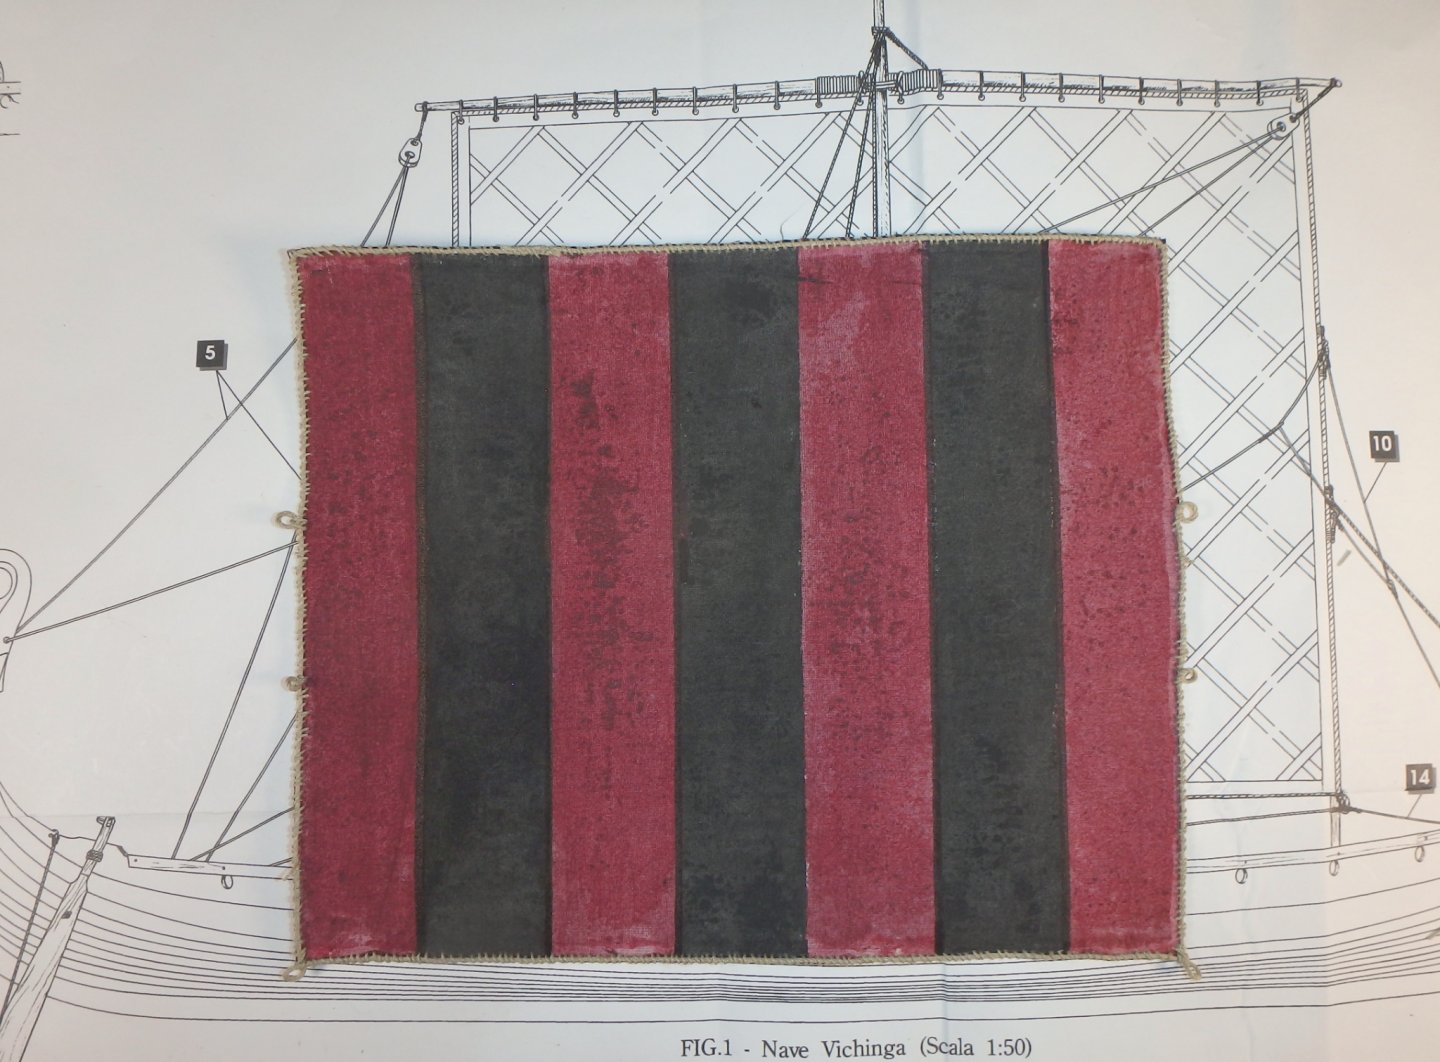
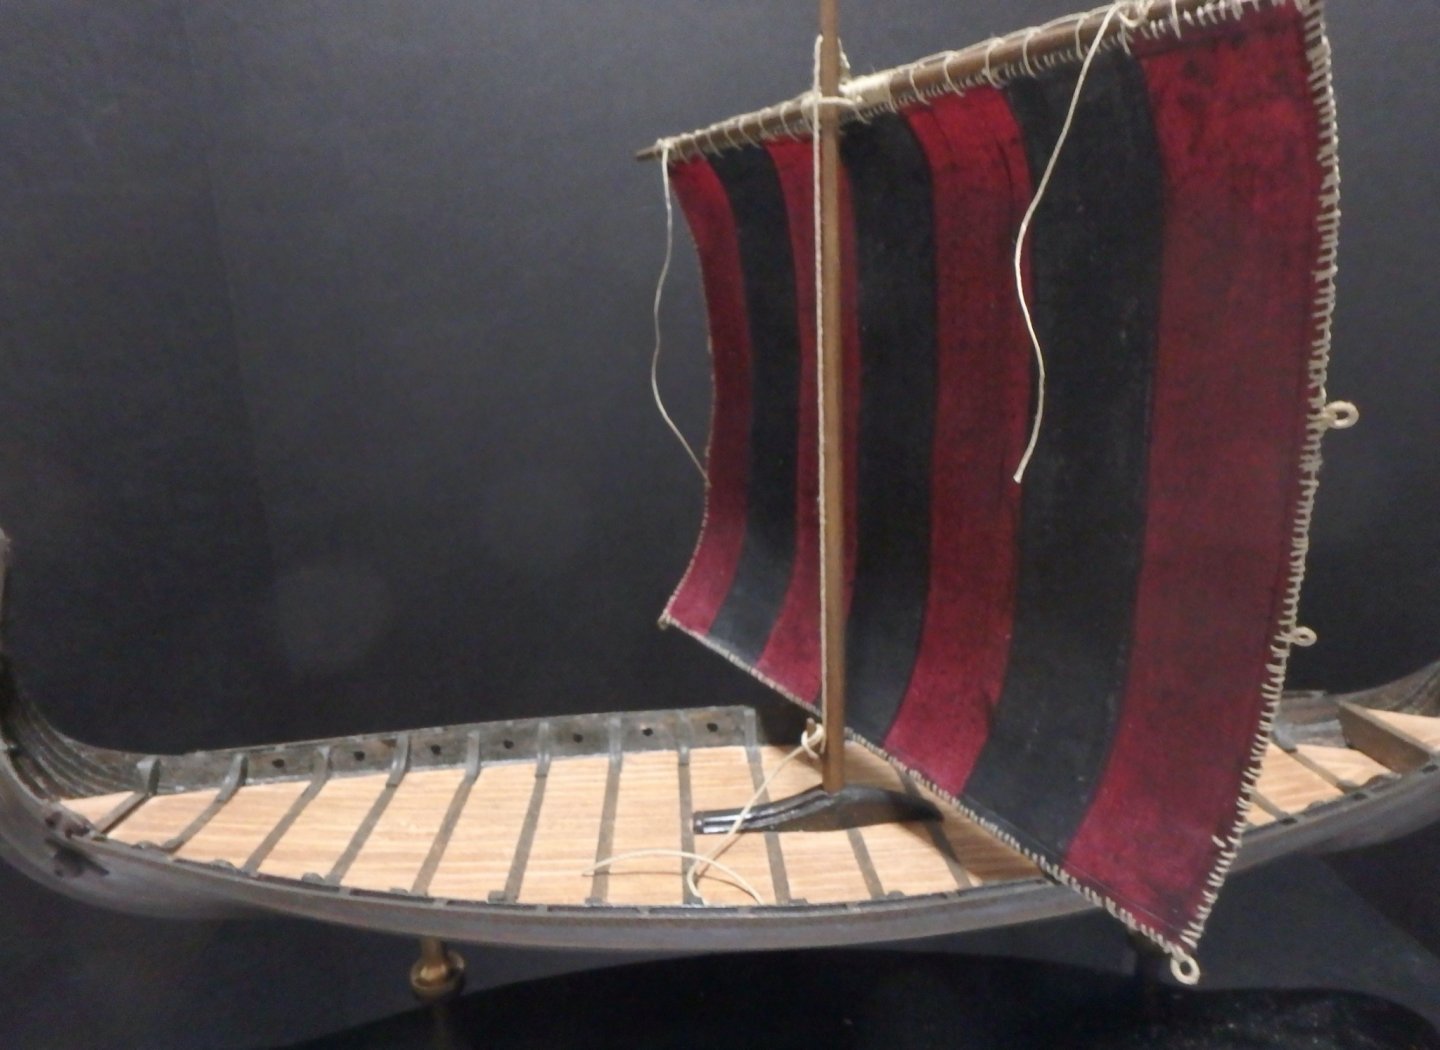
I've been working on the sail, yard and mast. I sized the fabric with 50-50 white glue and water as the plans directed. then I glued the outside hems. I decided to keep things simple and went with a red and black sail striped as if sewn with vertical seams. The paint is thinned acrylic. I masked the verticals and painted both sides. The mottled appearance is a result of the paint soaking through the fabric. It does not look as pronounced to the eye as in the photo and adds a bit of texture that I like. I gave serious thought to adding strips for the diagonal reinforcements, but opted out. I have a Gokstad kit for my next project, so I'll likely include the diagonals on that one. After paint, I used acrylic mat medium and allowed to to dry on a curved tube, so hopefully, when rigged, it will look a like a full sail . Here's the sail mounted on the yard and mast. I plan on laminating some curved stock for the shroud pins, so the grain will follow the curve. I've ordered some thin veneer for them, so the standing rigging will need to wait until it arrives. Next, I'll turn my attention to painting the shields.

-
Here's a quick update. I've been focusing on some of the small parts. For the oars, I built a jig to allow me to cut blade slots on my bandsaw. Then I sanded the profile in the shafts and got the oars stained and painted. The model will be displayed as if under sail, so the oars will be in the oar racks. I assume that on a ship at sea, they would have been secured, yet ready for quick deployment. My thoughts are port and starboard oars in their respective racks and bundled by length secure, but it would be fast to open a bundle and pass the oars to the correct station.
-
Those lines running from blocks at the end of the yard appear to be rigged double-purchase. The line runs from an attachment point high on the stern, through the block and the control end would be cleated off, or something analogous, at the operating end. They would introduce a 2-1 mechanical advantage, so pulling the control line would require half the force over two times the distance which might be required to swing the yard for running closer to the wind.
-
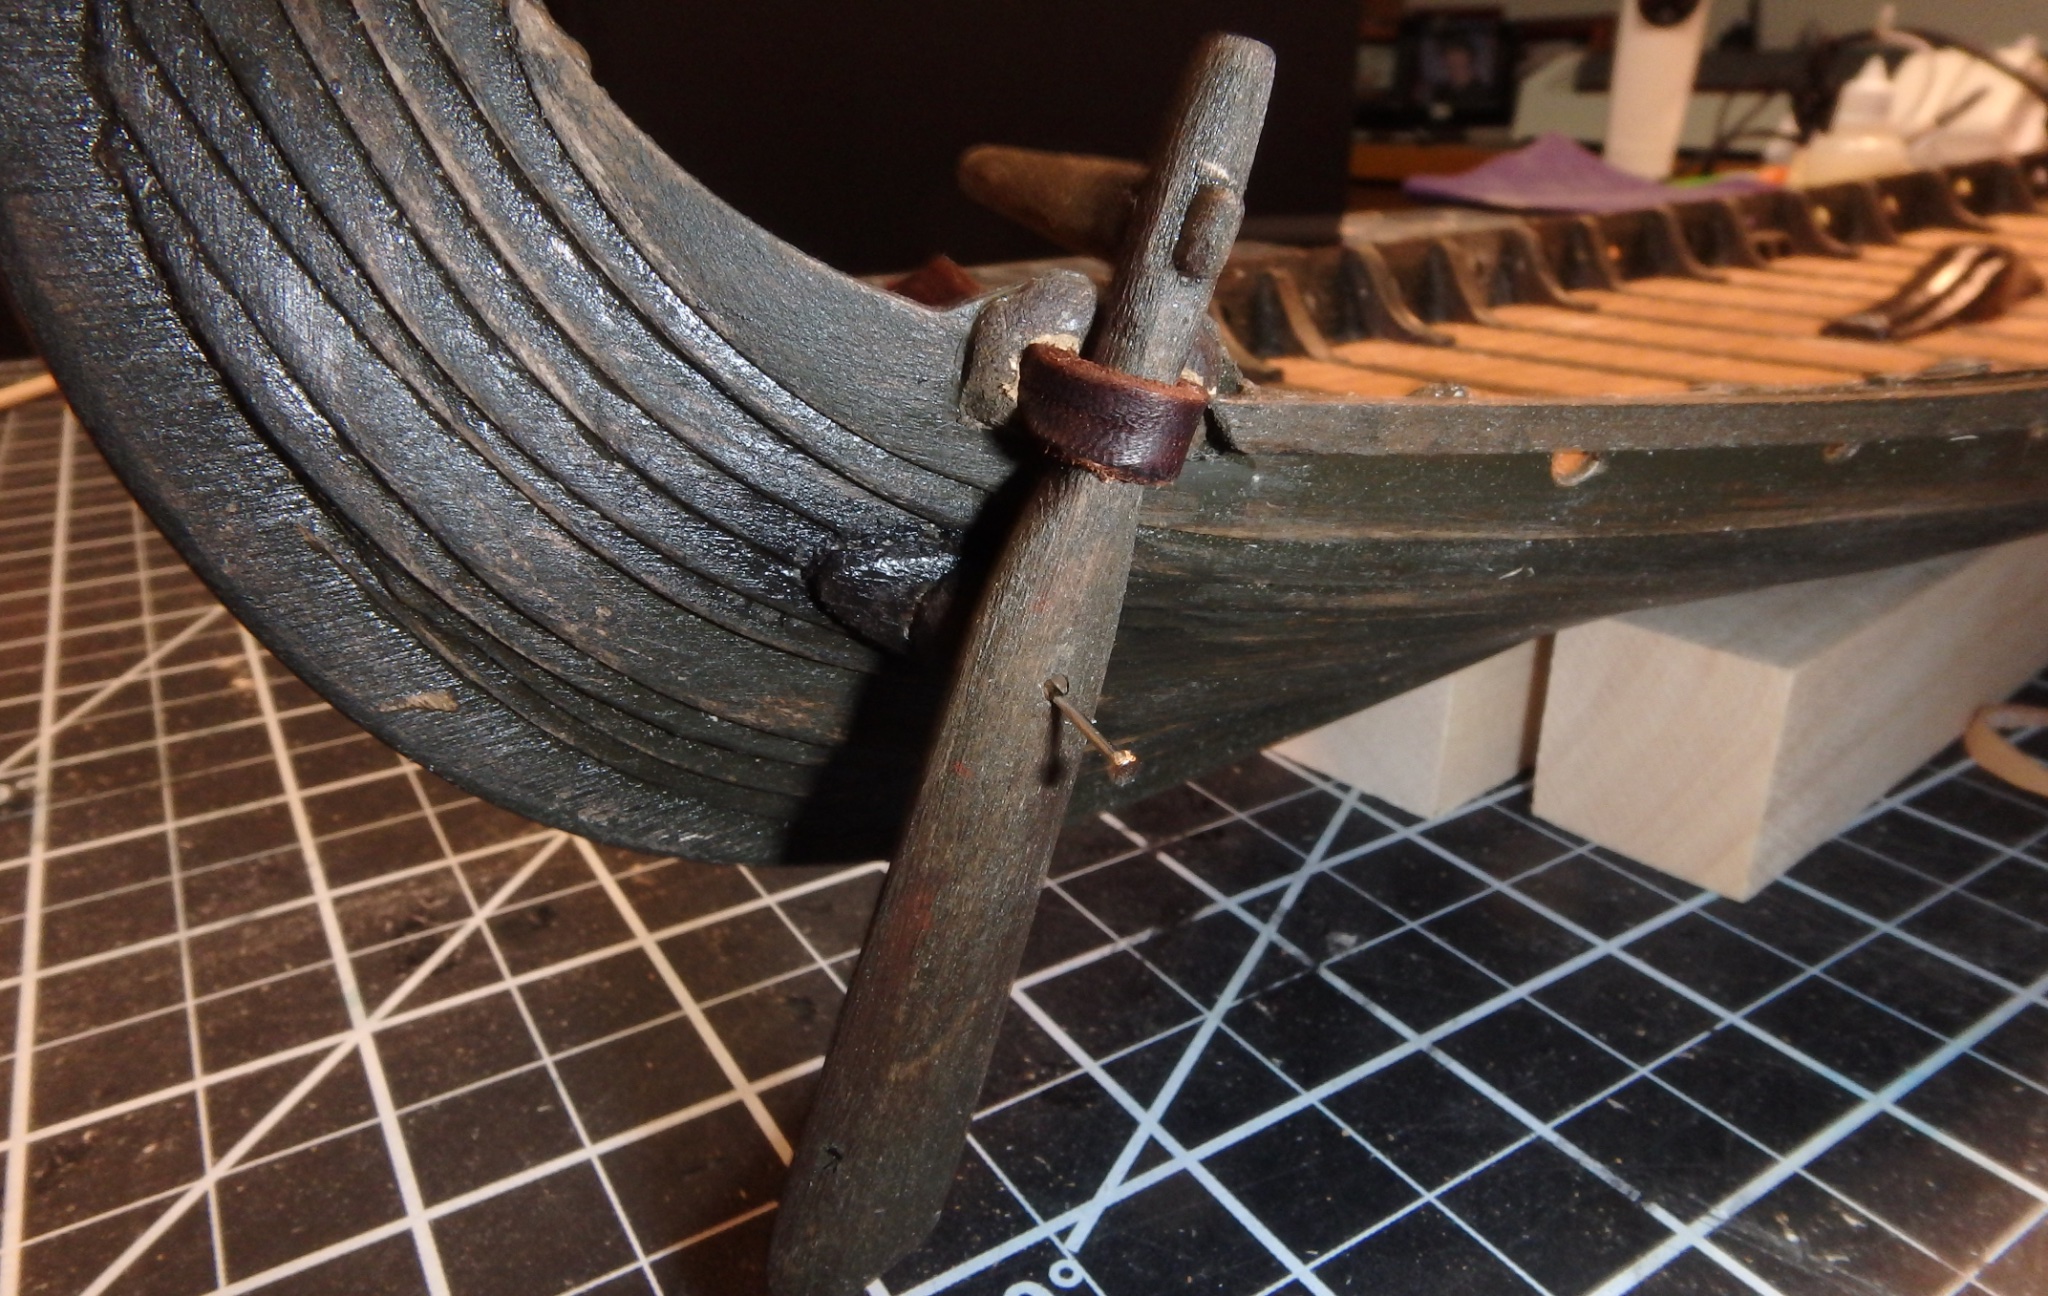
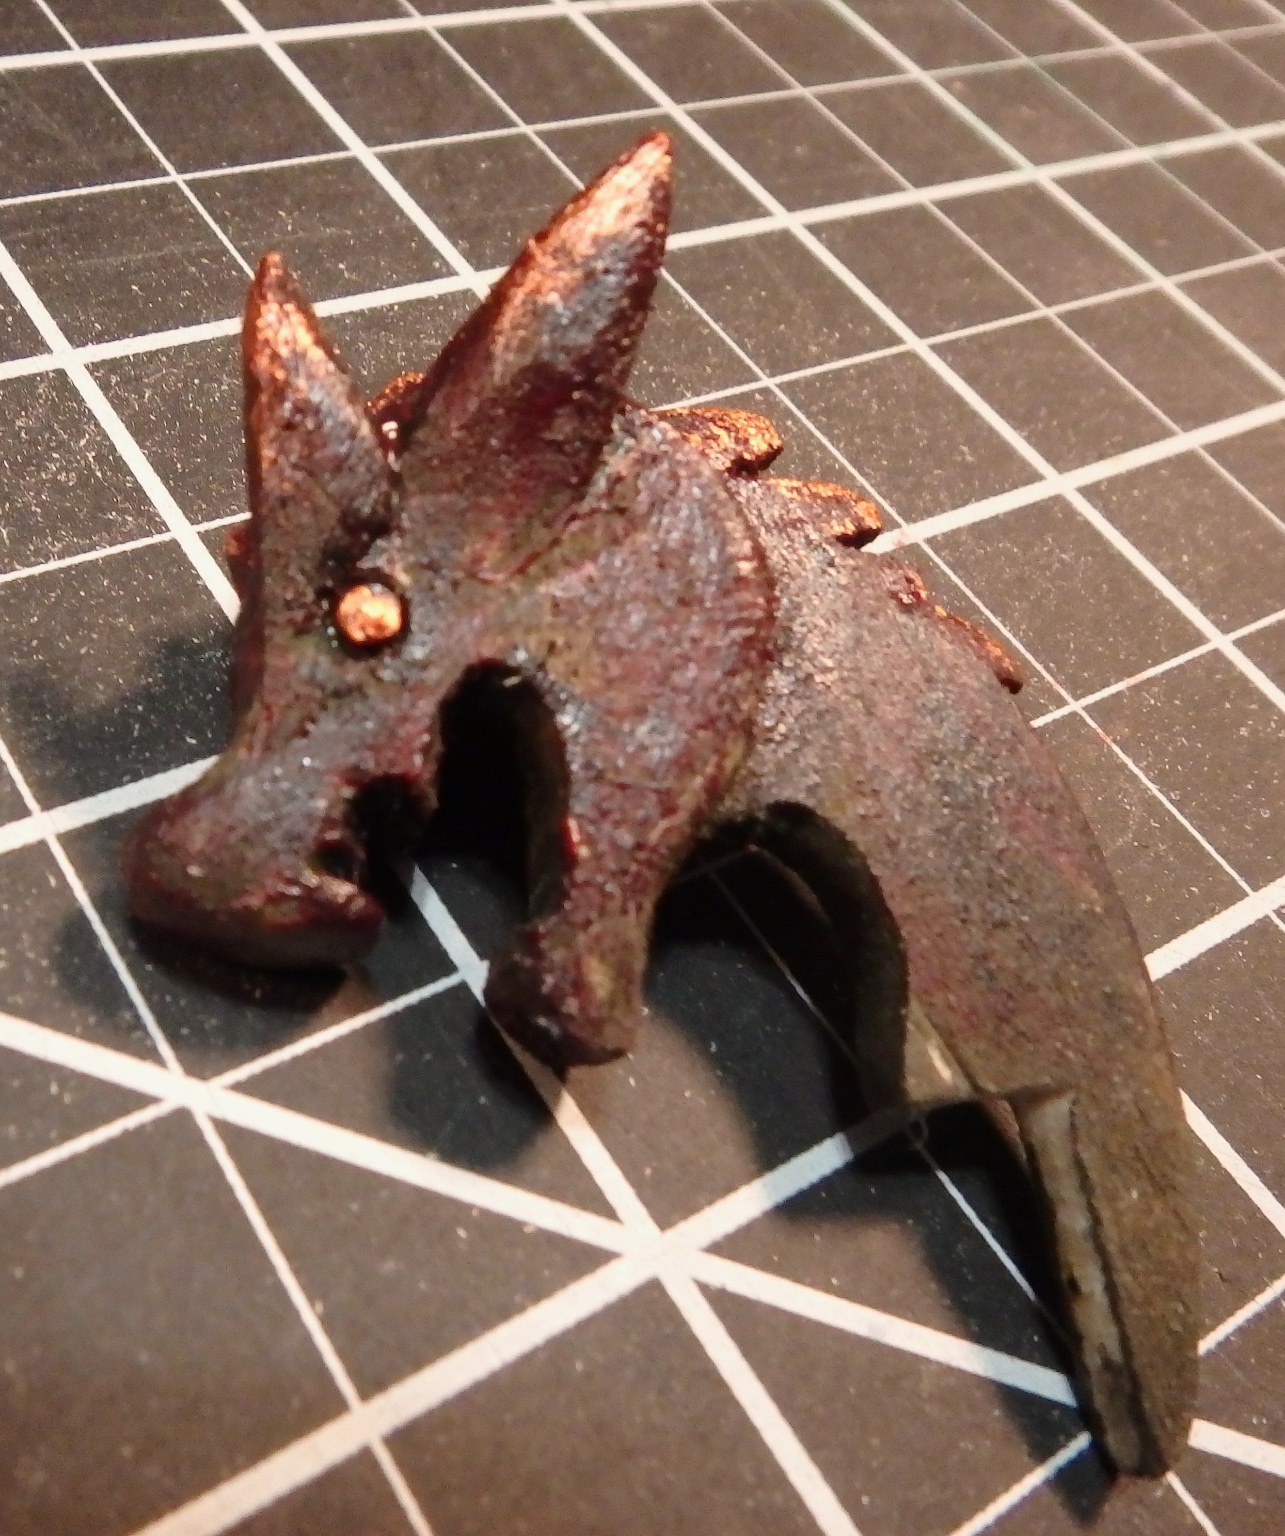
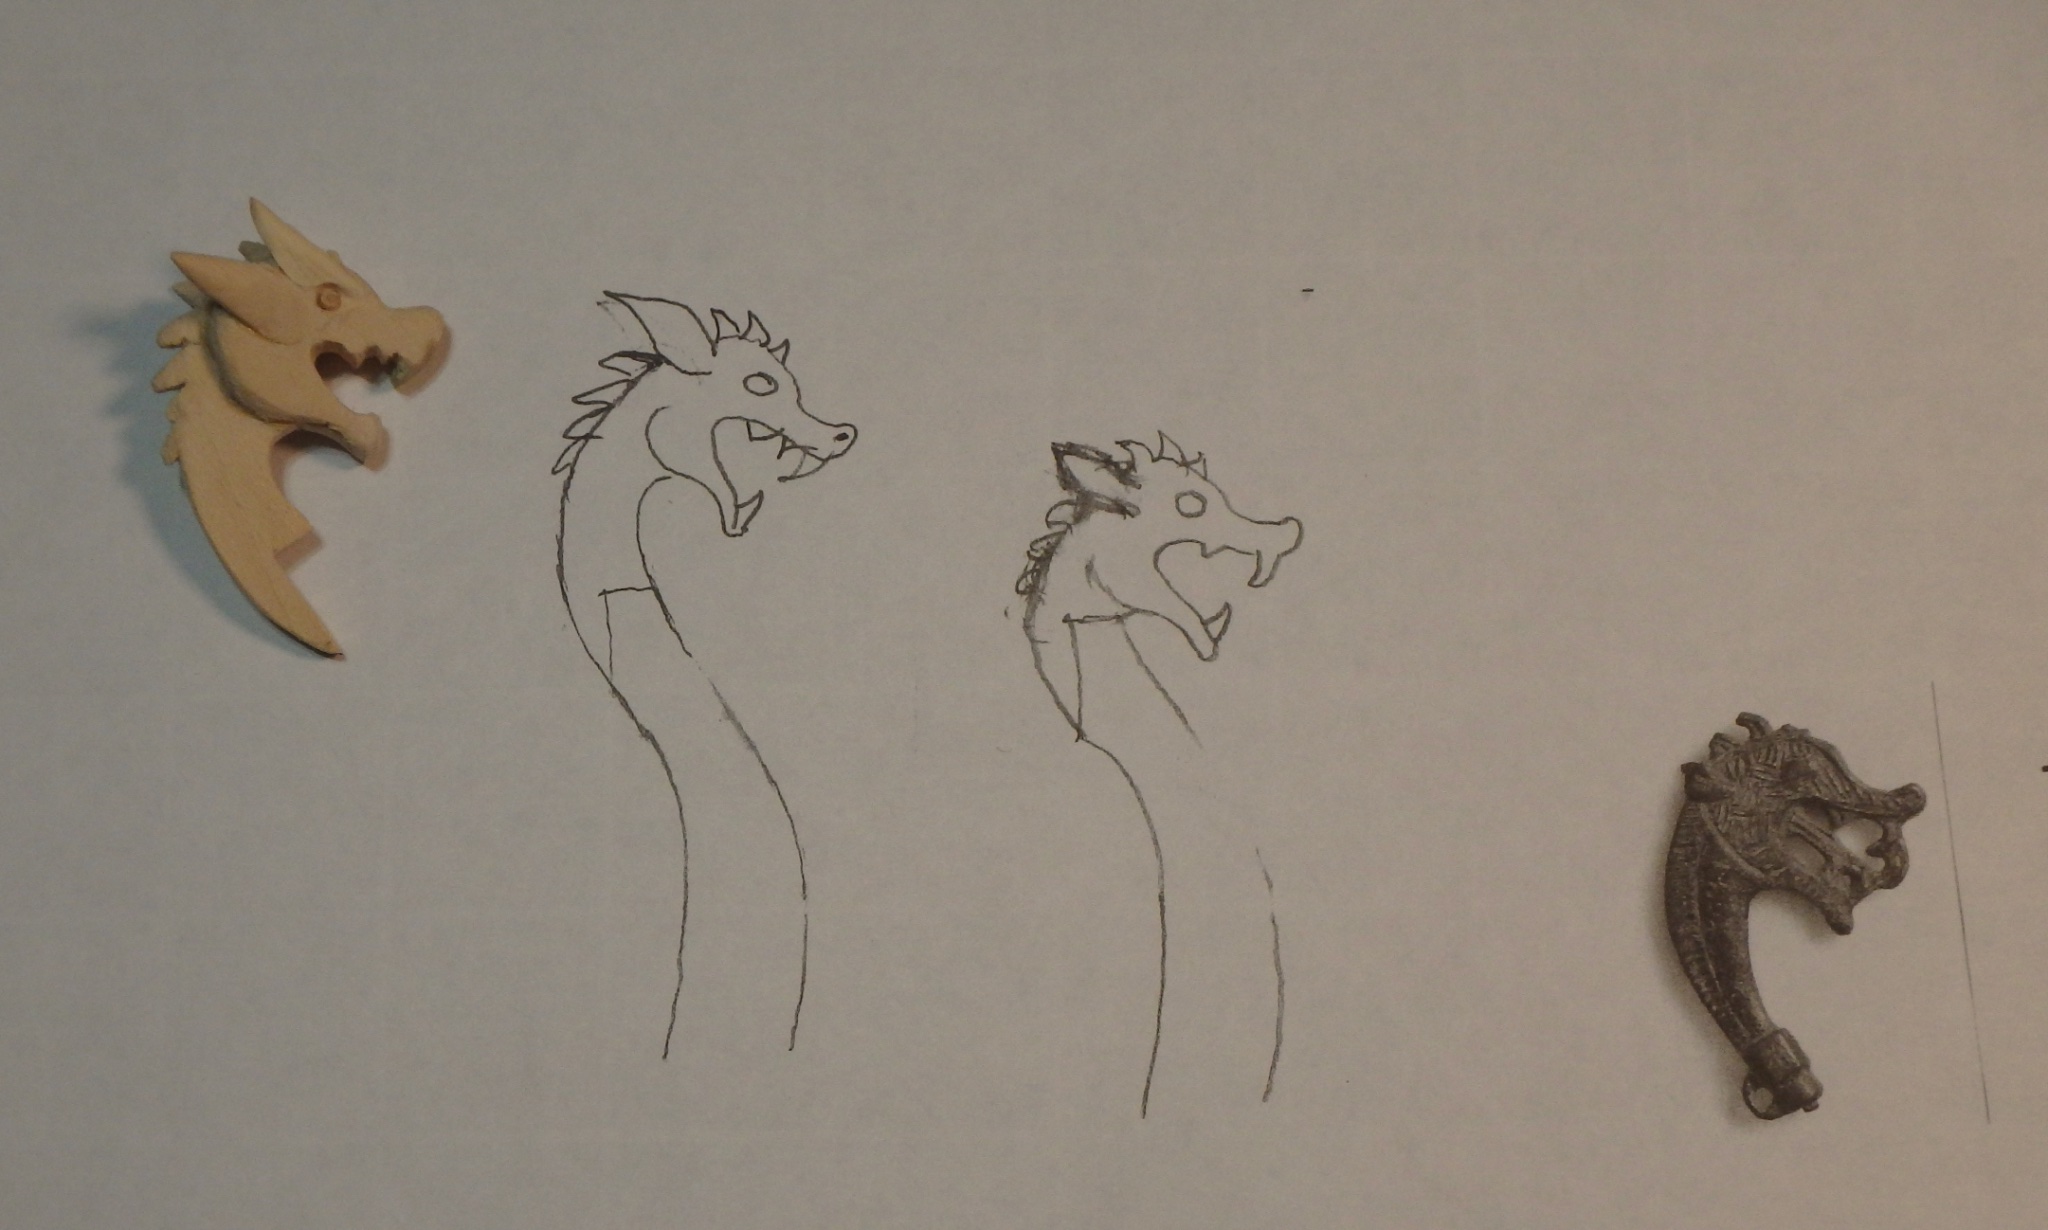
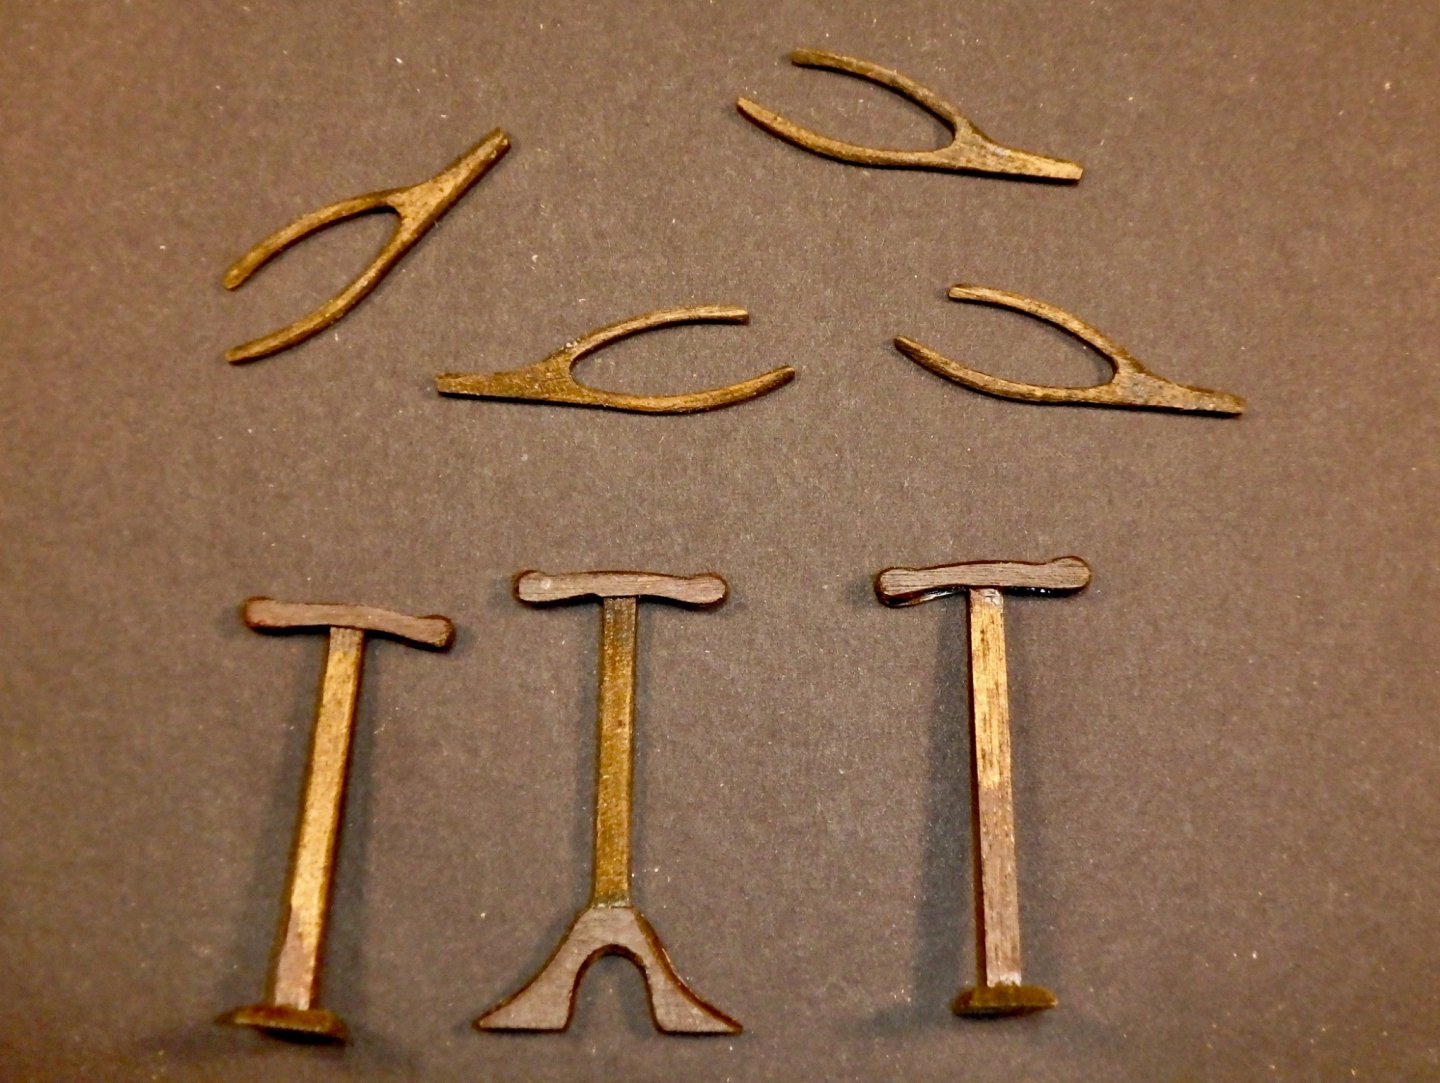
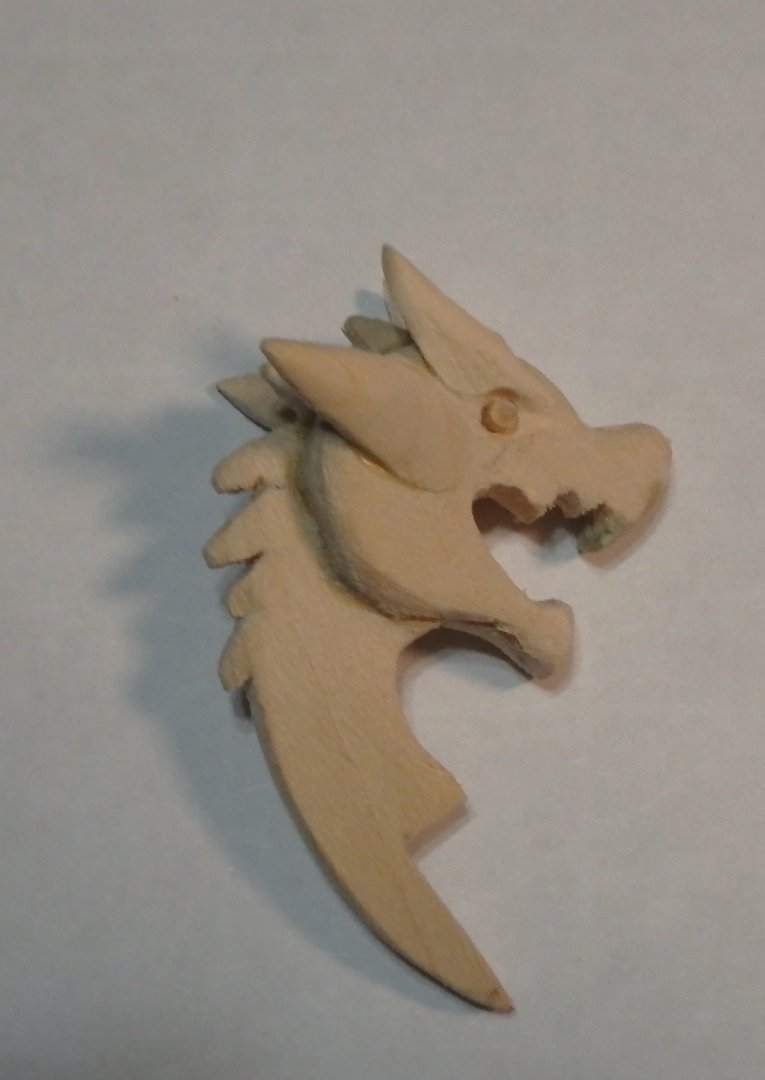
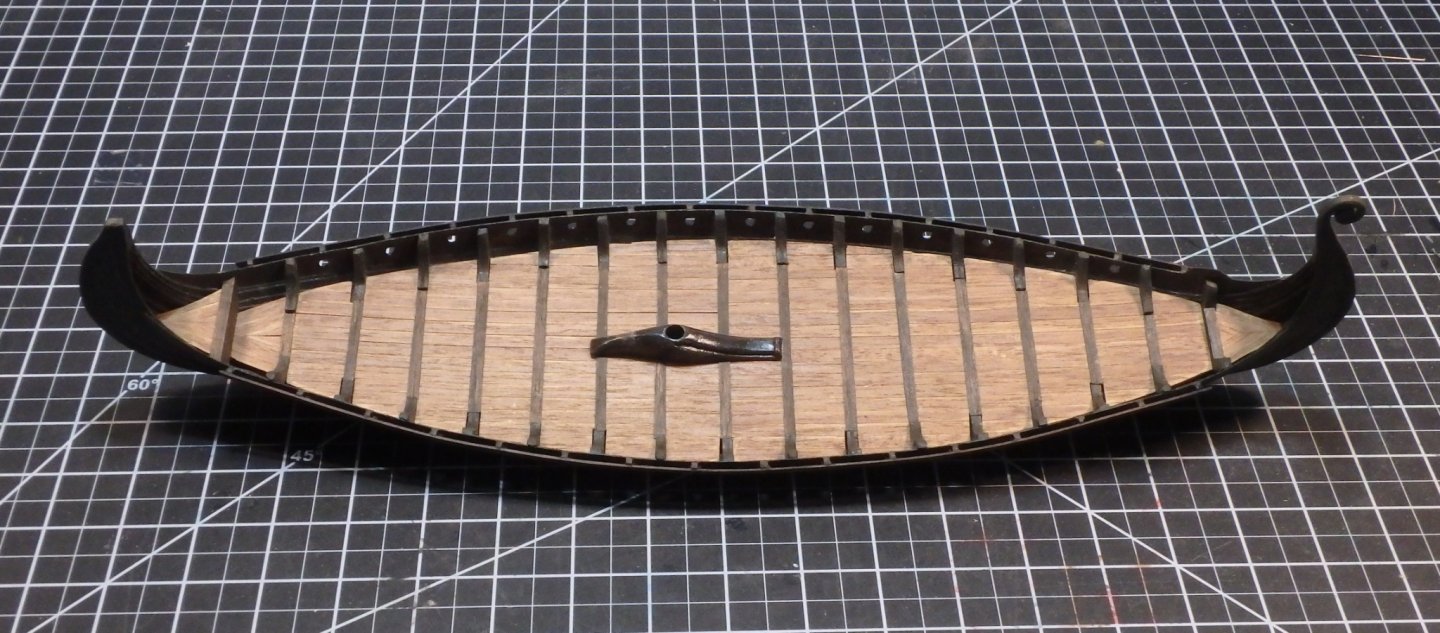
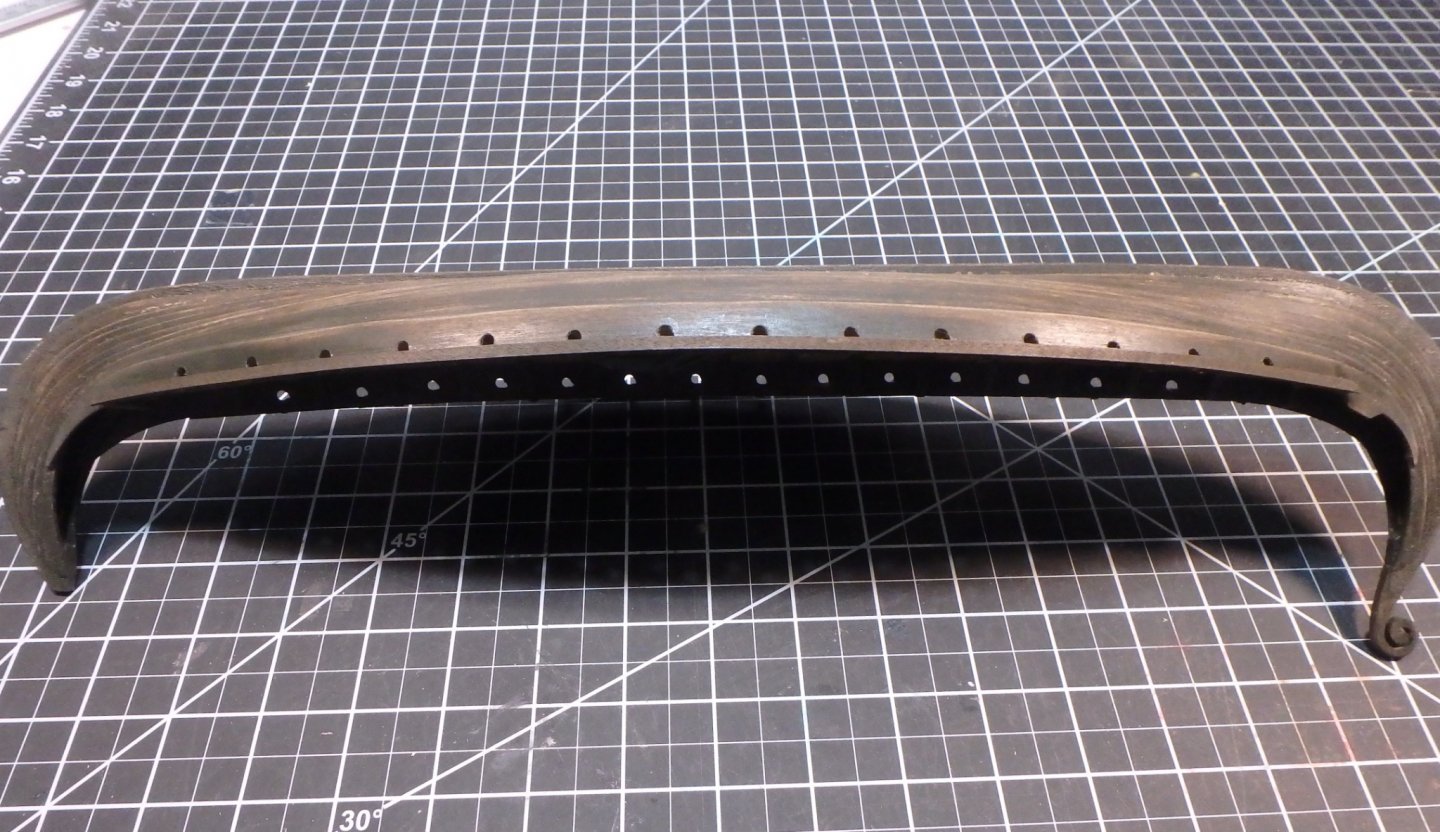
I started working on the small part shaping the oar racks and assembling the trestles. The trestles were cut with the wood grain going across the upper arms. It would only be a matter be a matter of time before they broke, so I used some of the scrap planking plywood to provide linear reenforcement along the length of the arms. The additional thickness looks right to me, because they would have been constructed with a mortice and tenon joint to the top arms. The base of the trestle that straddles the mast fish was treated the same. I looked over the parts supplied for the steering oar and decided that I could do better. I carved the rudder from basswood and cut a mortice to receive the steering arm. The bead provided for the lower attachment point was a little insubstantial, so I added an oval lozenge to make it look more like some reconstructions. I added a reenforcement pad for the upper mount and will use some thin leather instead of the cord recommended in the kit. If course the pin will be replaced with knotted cord when I rig. I took a stab at carving the figure head too. I like it, but the horns make it look more like a fantasy dragon than I intended. I may use it or make something a bit more stylized.


-
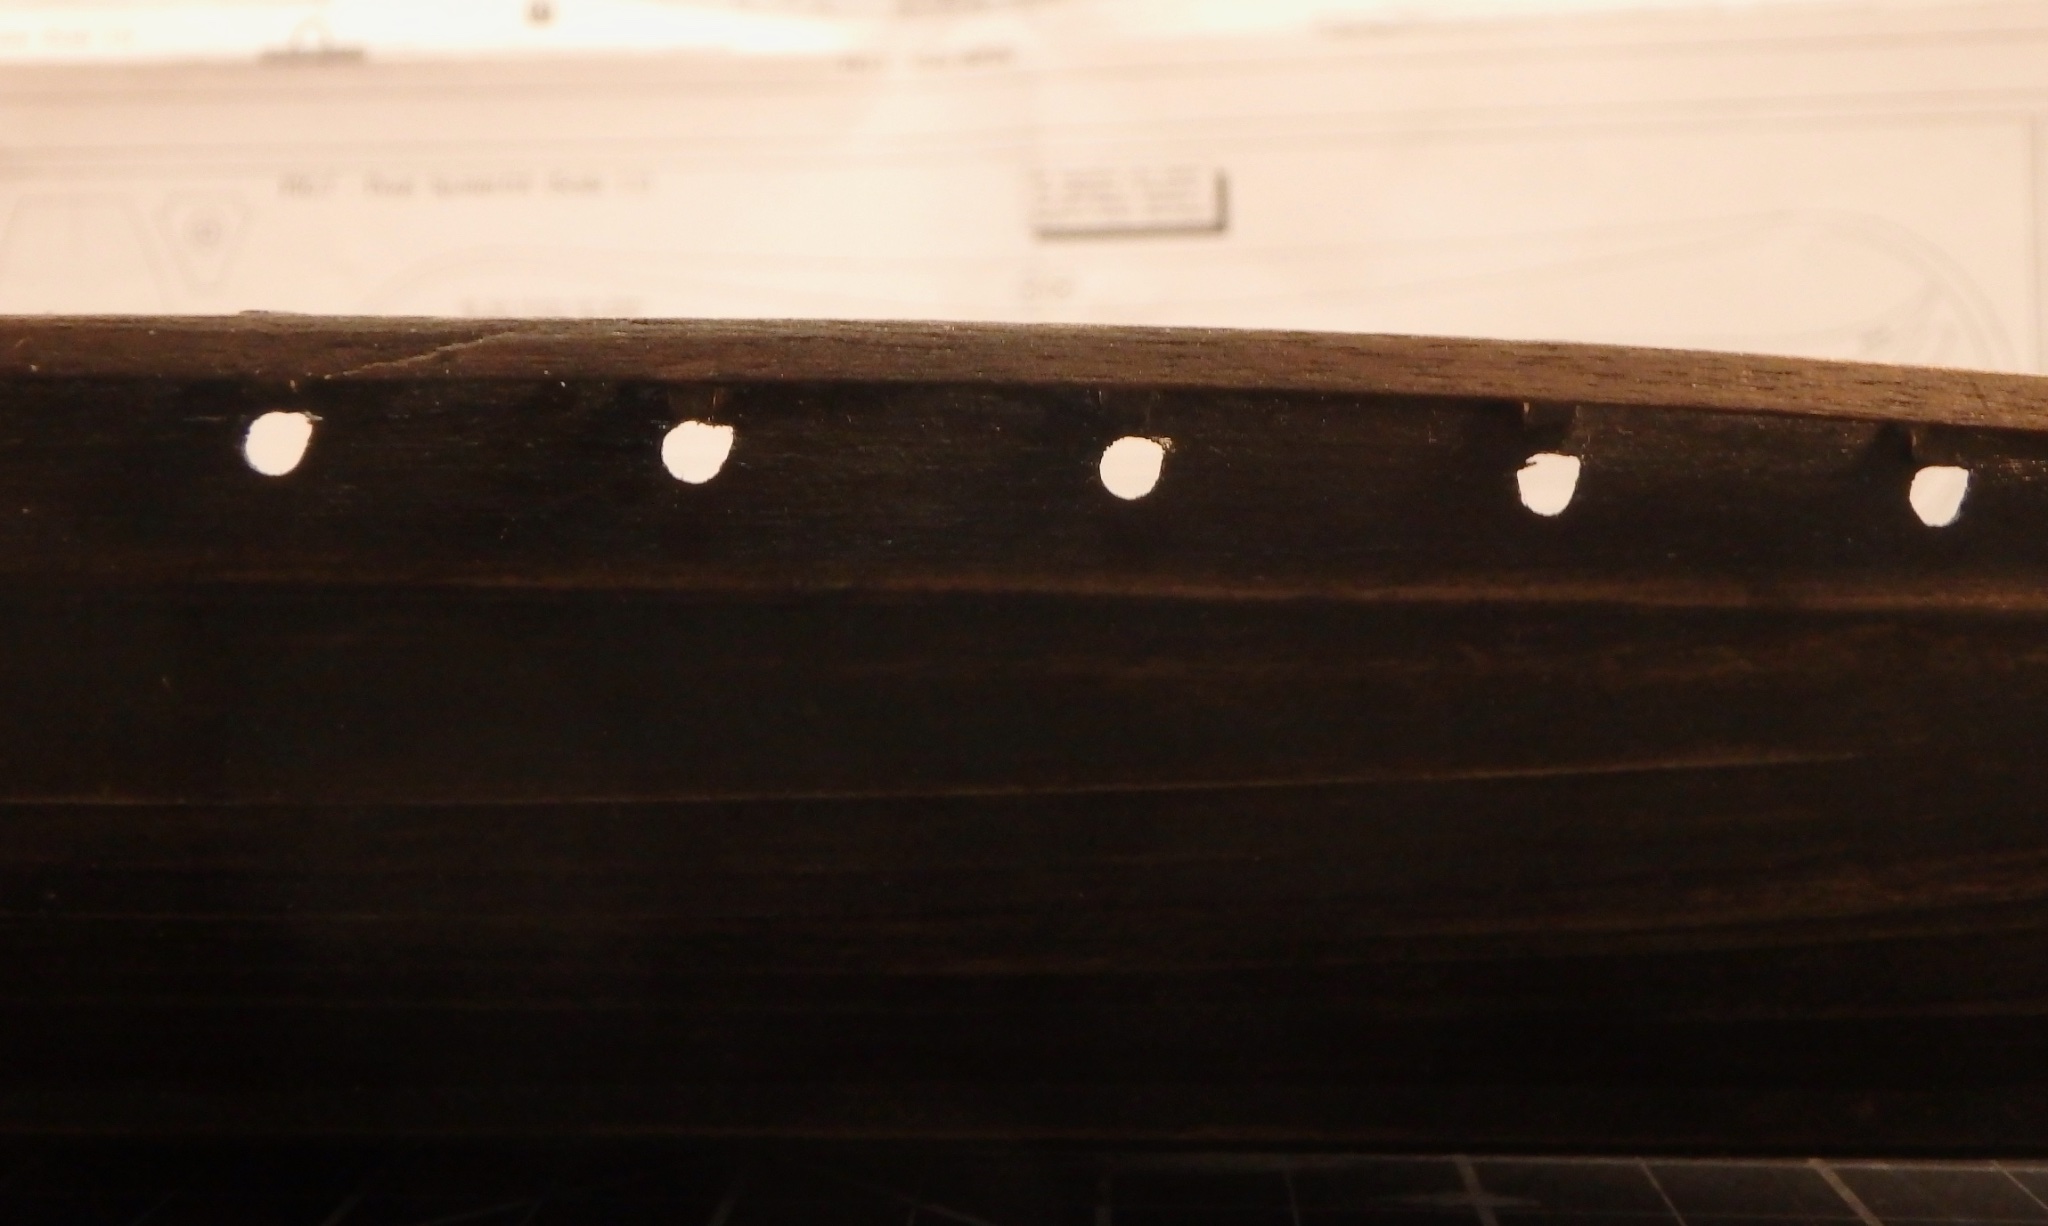
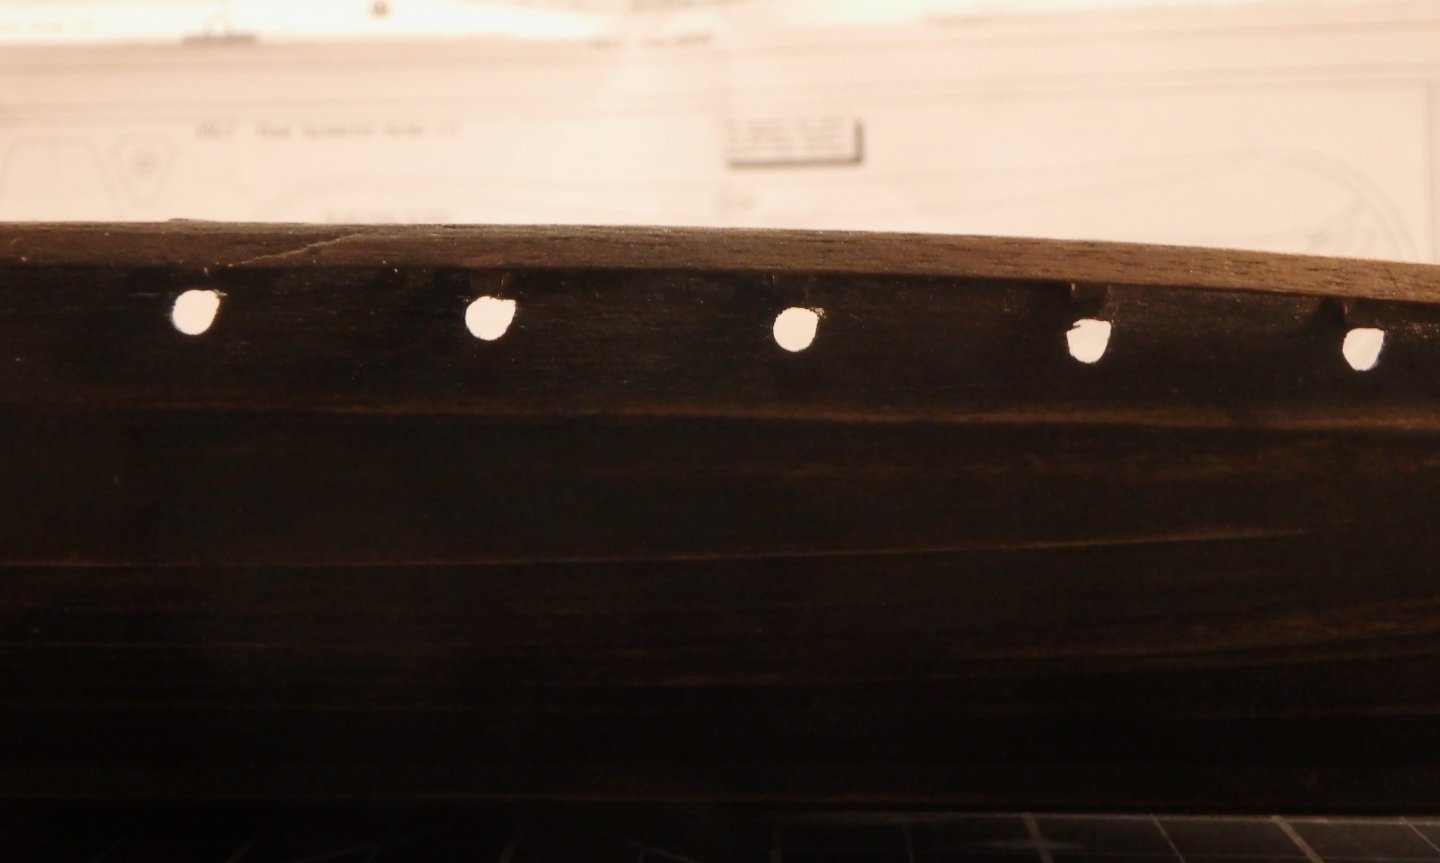
Got my shield rails installed and drilled the oar ports. One small detail. I used a riflers file to cut the small keyway that allows the oars to be shipped from inboard. It's a small detail but it makes me happy. Does anyone have any insights into the sails on these ships? I'm thinking ahead to that step, and this model confuses me a bit. The plans shows simulated diagonal seams. These diagonal seams appear to be represented on a number of the Gotland picture stones. I like the look, but I'm having a difficult time figuring out exactly what they represent. Here's an interesting article: Viking Age Wool Sailcloth . Are there any other sources? What are the current thoughts?
-
Shields are looking great! do you plan to coatrack them with a varnish or something to fix the colored pencils and pastels to the surface? Fun you mentioned sail stitching, I'm trying to figure out the best way to proceed with my Drakkar.
-
Nice! Thanks for posting your research. I had the same set of questions. I'm reluctant to put something on the model that I don't understand. I did notice that the english language build notes refer to the poles as swinging booms and the socket as swinging boom steps. Your research puts a lot of flesh on those bones.