ECK
-
Posts
646 -
Joined
-
Last visited
2 Followers


About ECK

- Birthday 10/08/1963
Recent Profile Visitors


-
 Scott Crouse reacted to a post in a topic:
HMS Victory by ECK - OcCre - 1/87
Scott Crouse reacted to a post in a topic:
HMS Victory by ECK - OcCre - 1/87
-
 Ryland Craze reacted to a post in a topic:
HMS Victory by ECK - OcCre - 1/87
Ryland Craze reacted to a post in a topic:
HMS Victory by ECK - OcCre - 1/87
-
brunnels reacted to a post in a topic:
HMS Victory by ECK - OcCre - 1/87
-
Ronald-V reacted to a post in a topic:
HMS Victory by ECK - OcCre - 1/87
-
Ian_Grant reacted to a post in a topic:
HMS Victory by ECK - OcCre - 1/87
-
RossR reacted to a post in a topic:
HMS Victory by ECK - OcCre - 1/87
-
HMS Victory by ECK - OcCre - 1/87
ECK replied to ECK's topic in - Kit build logs for subjects built from 1751 - 1800
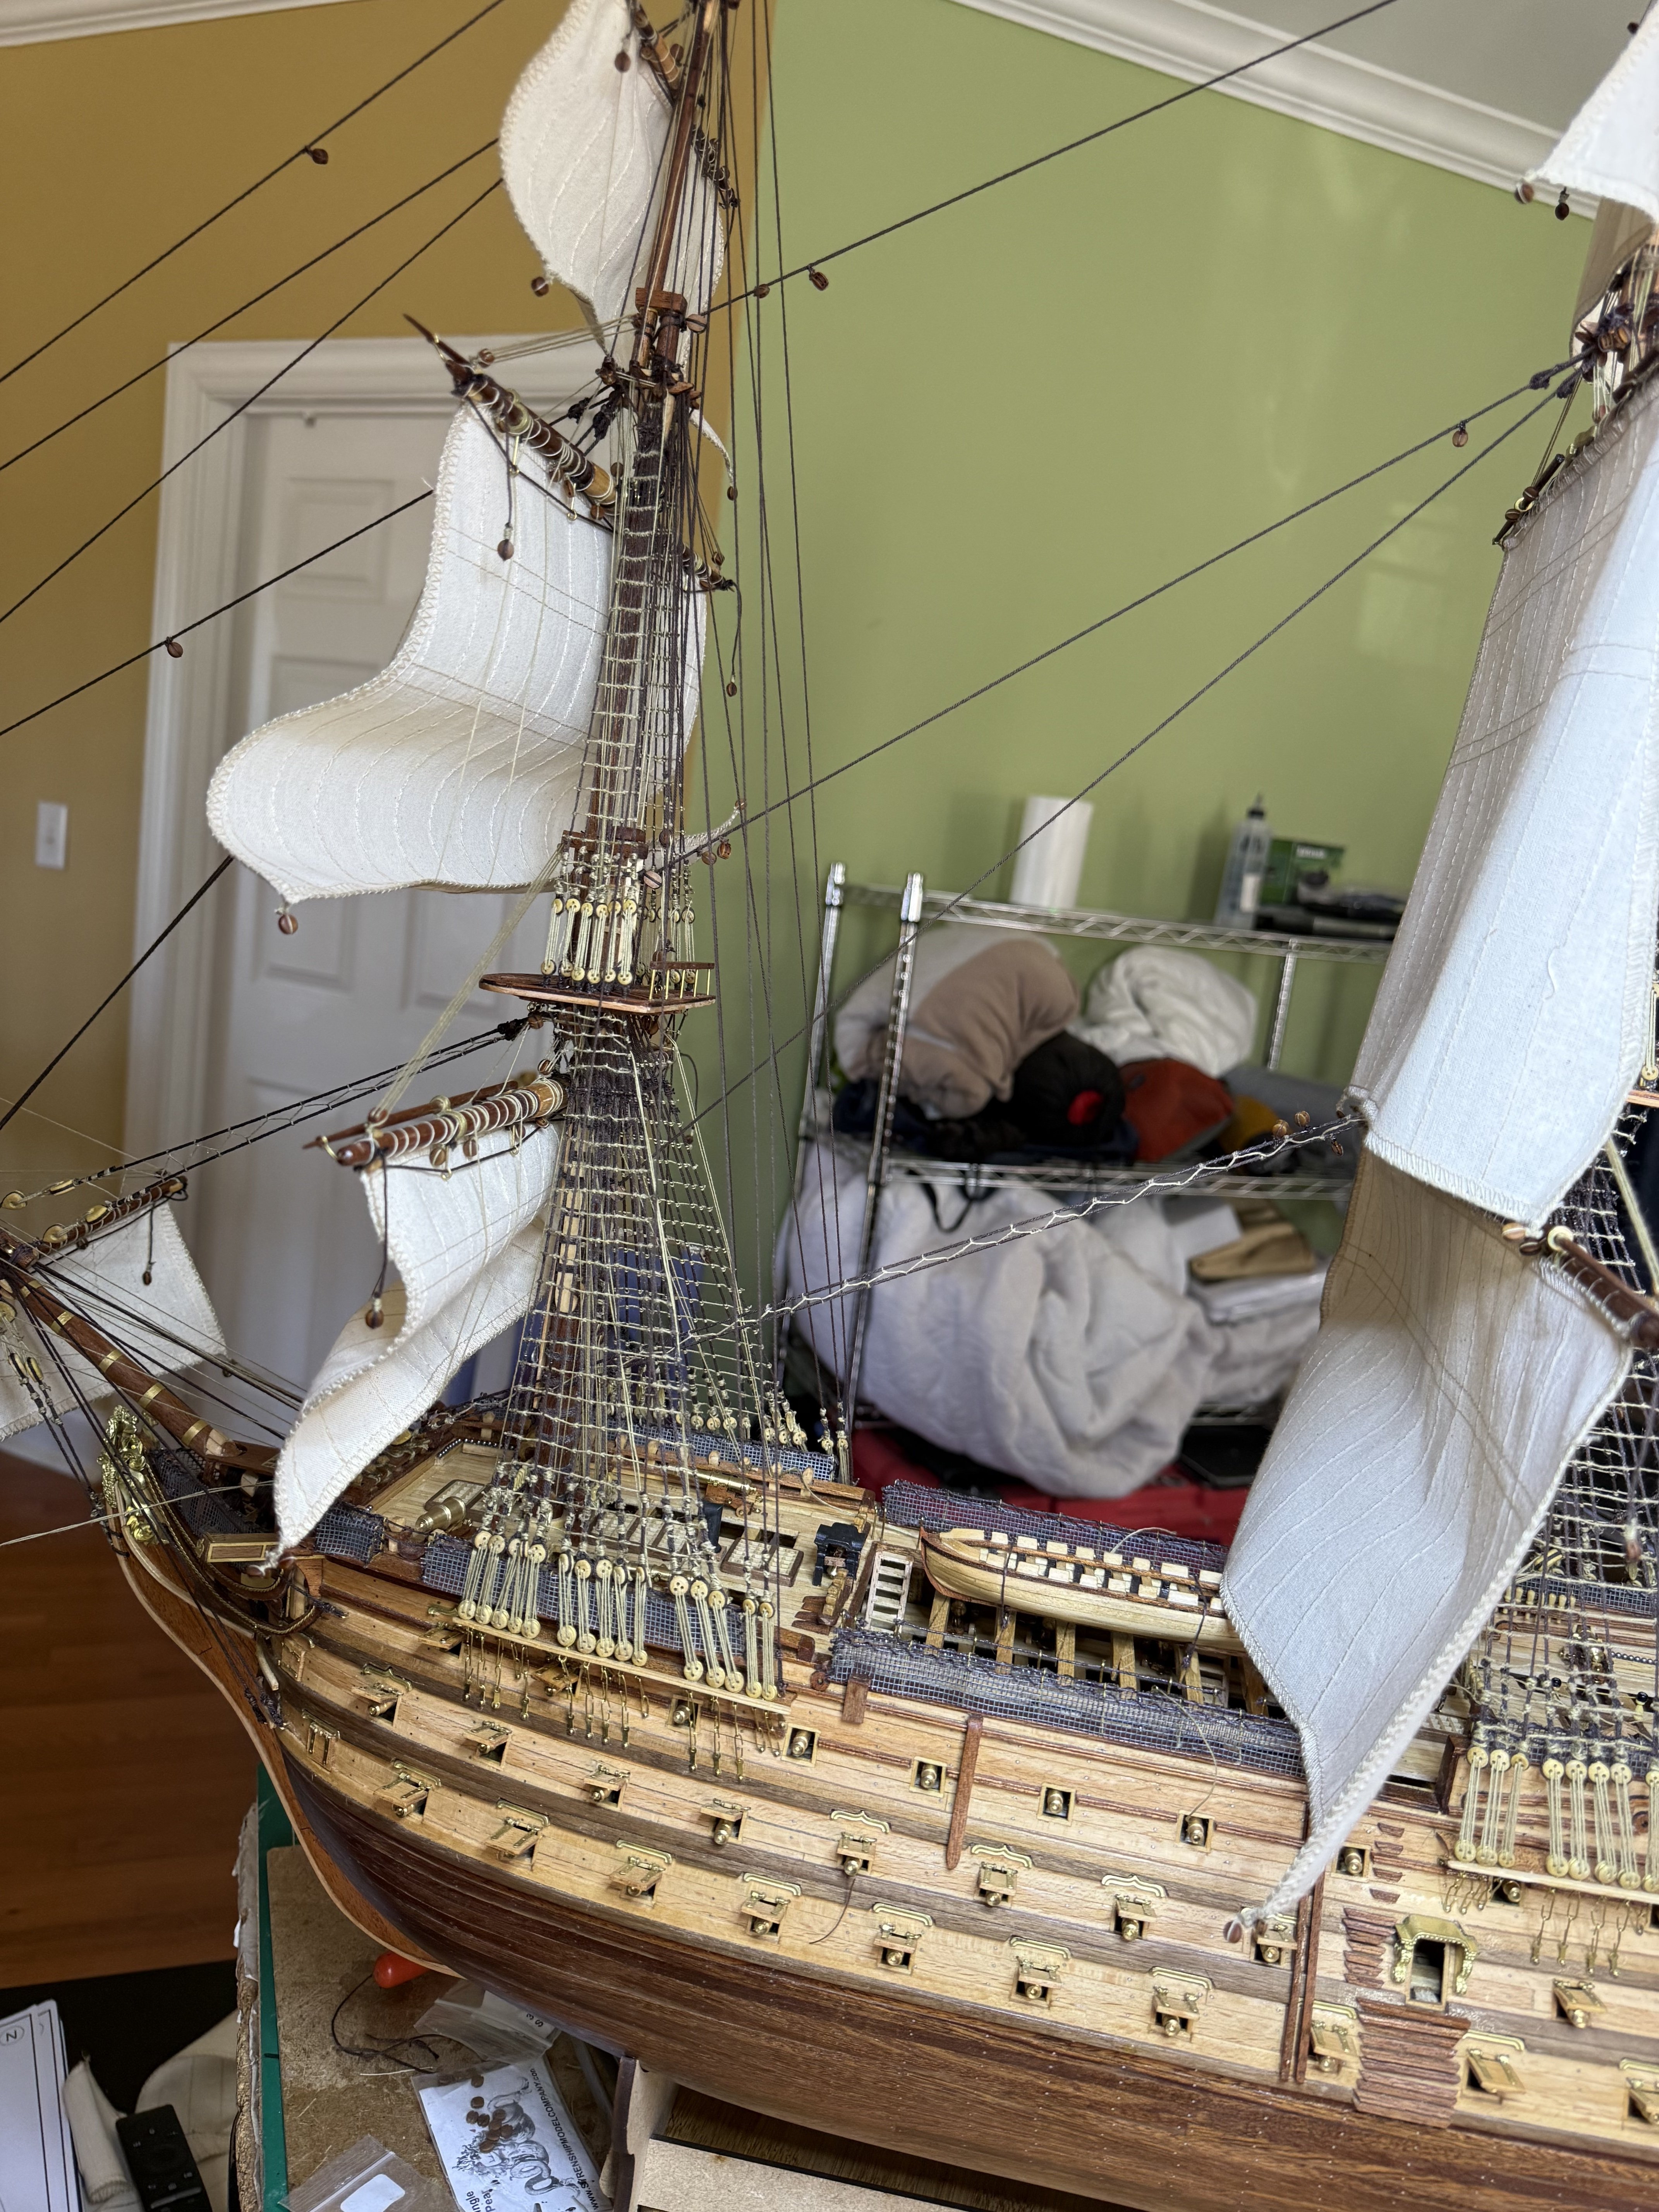
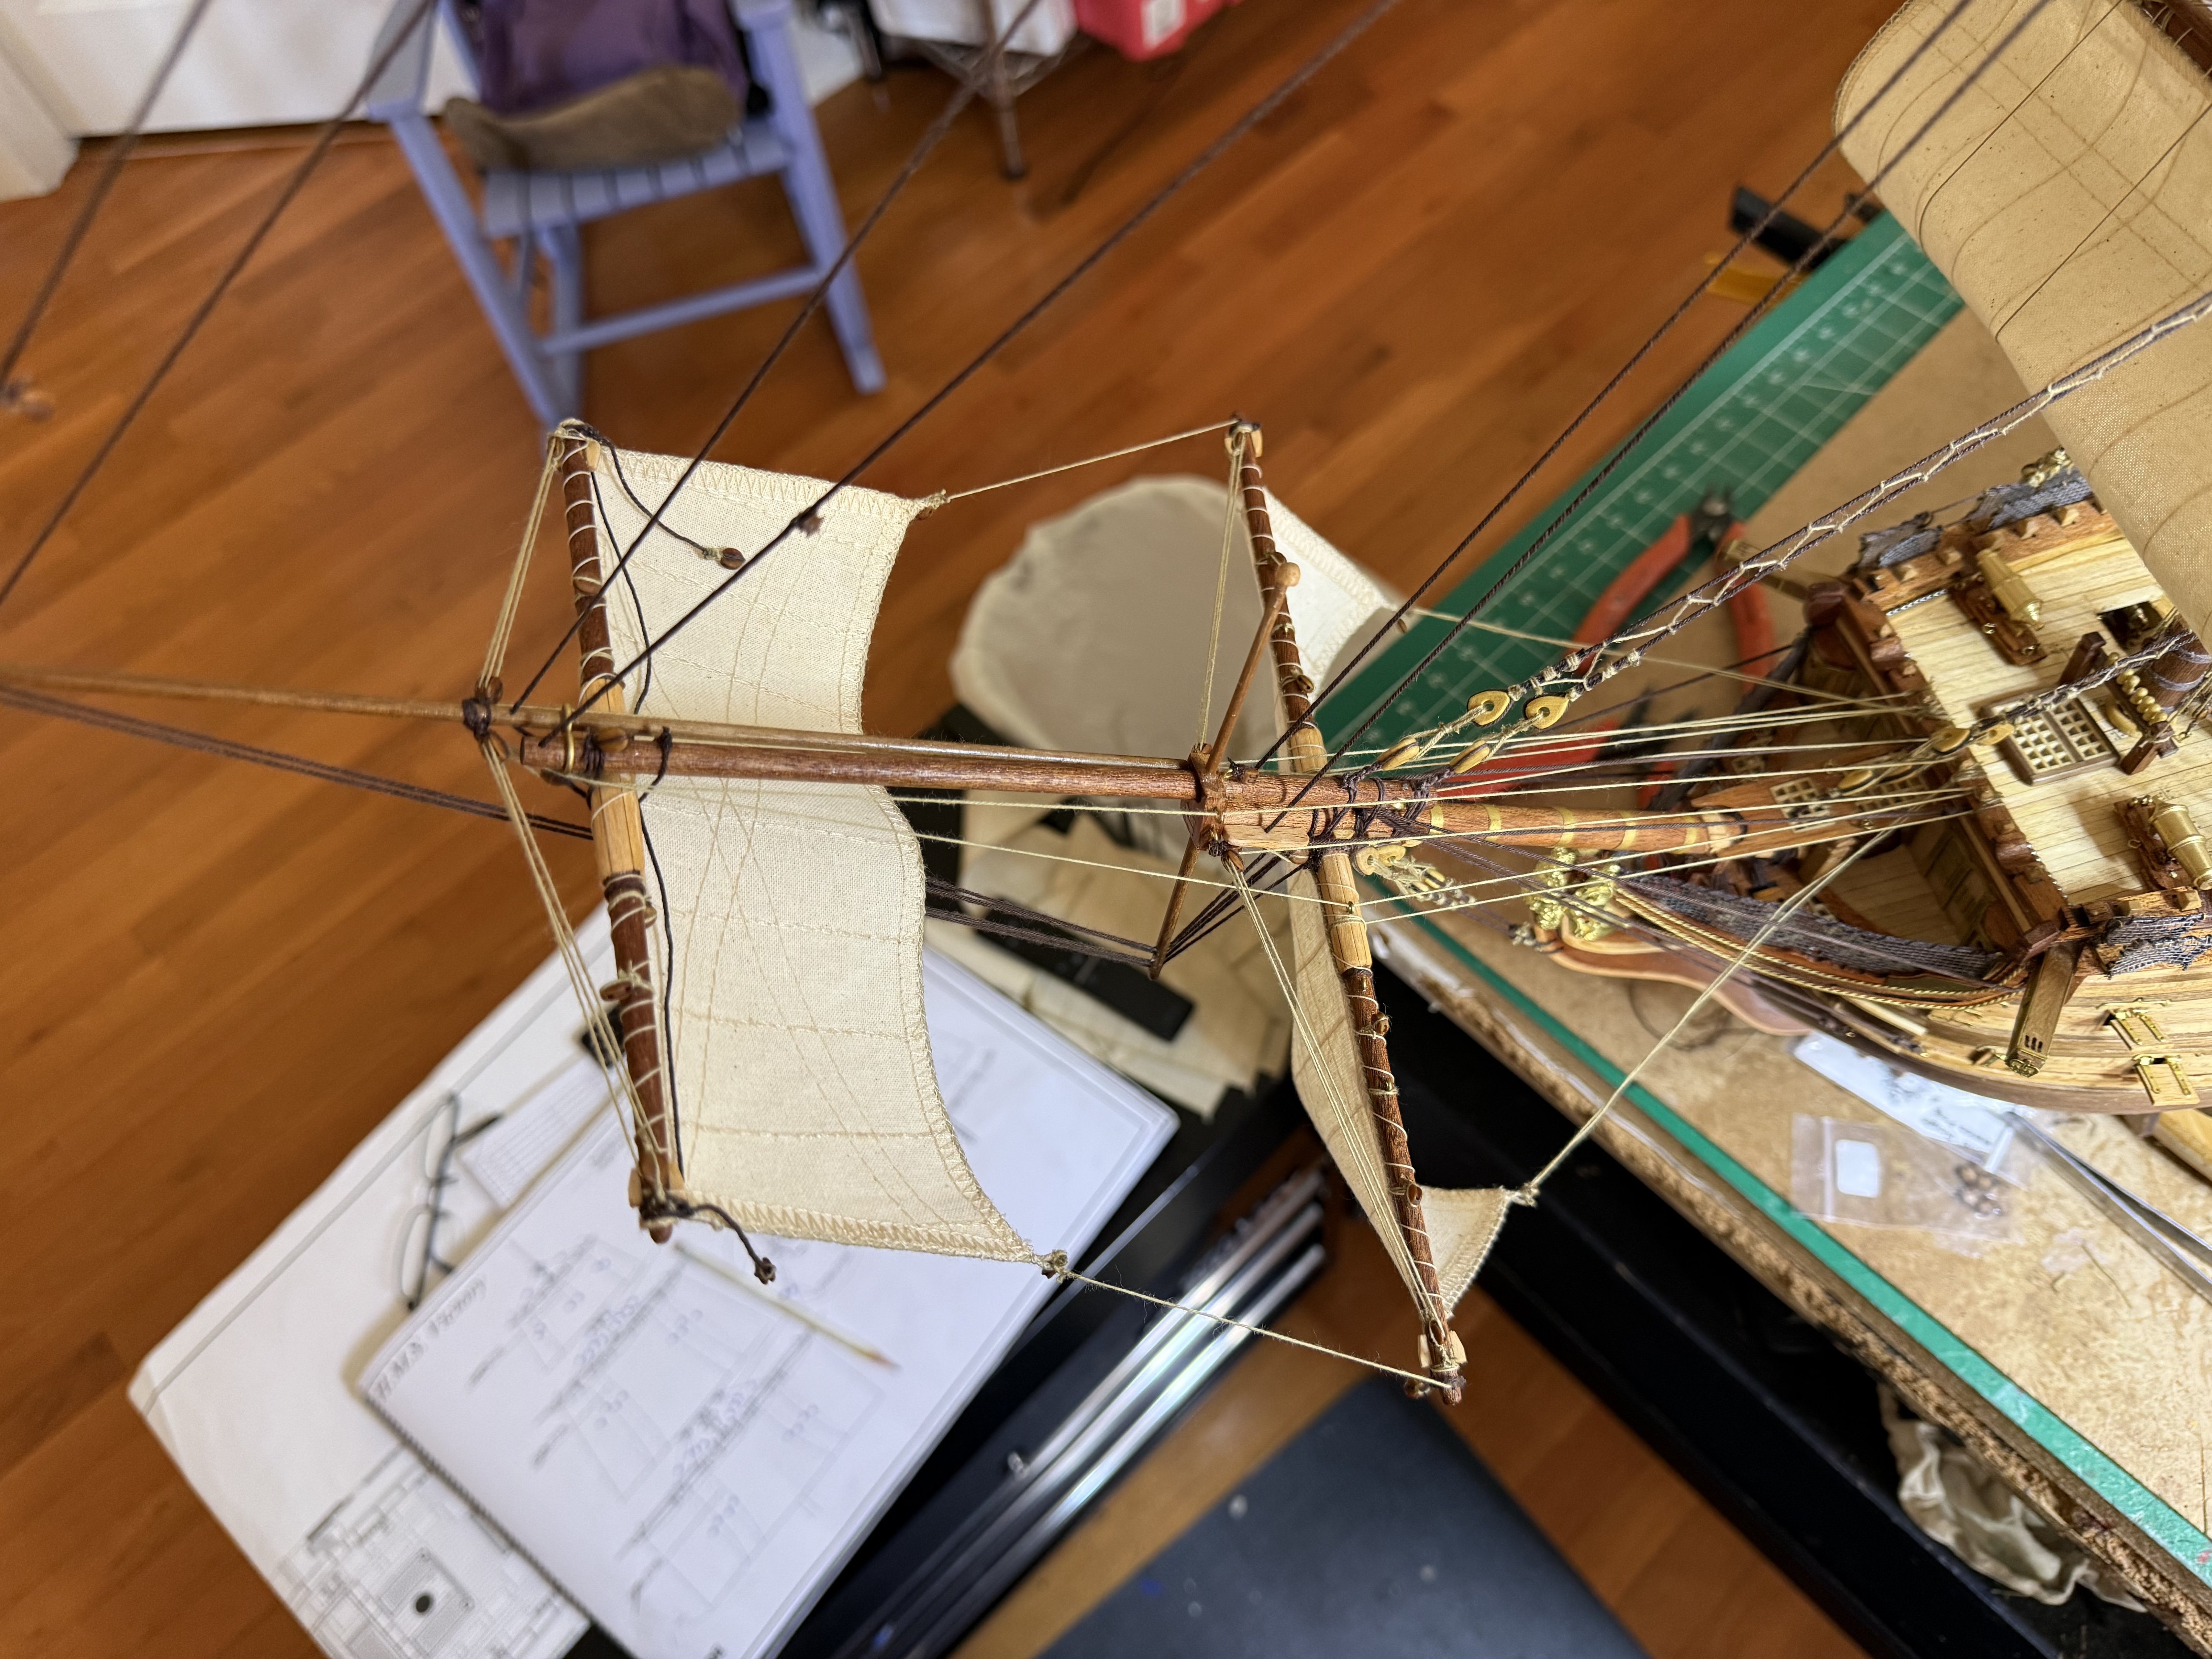
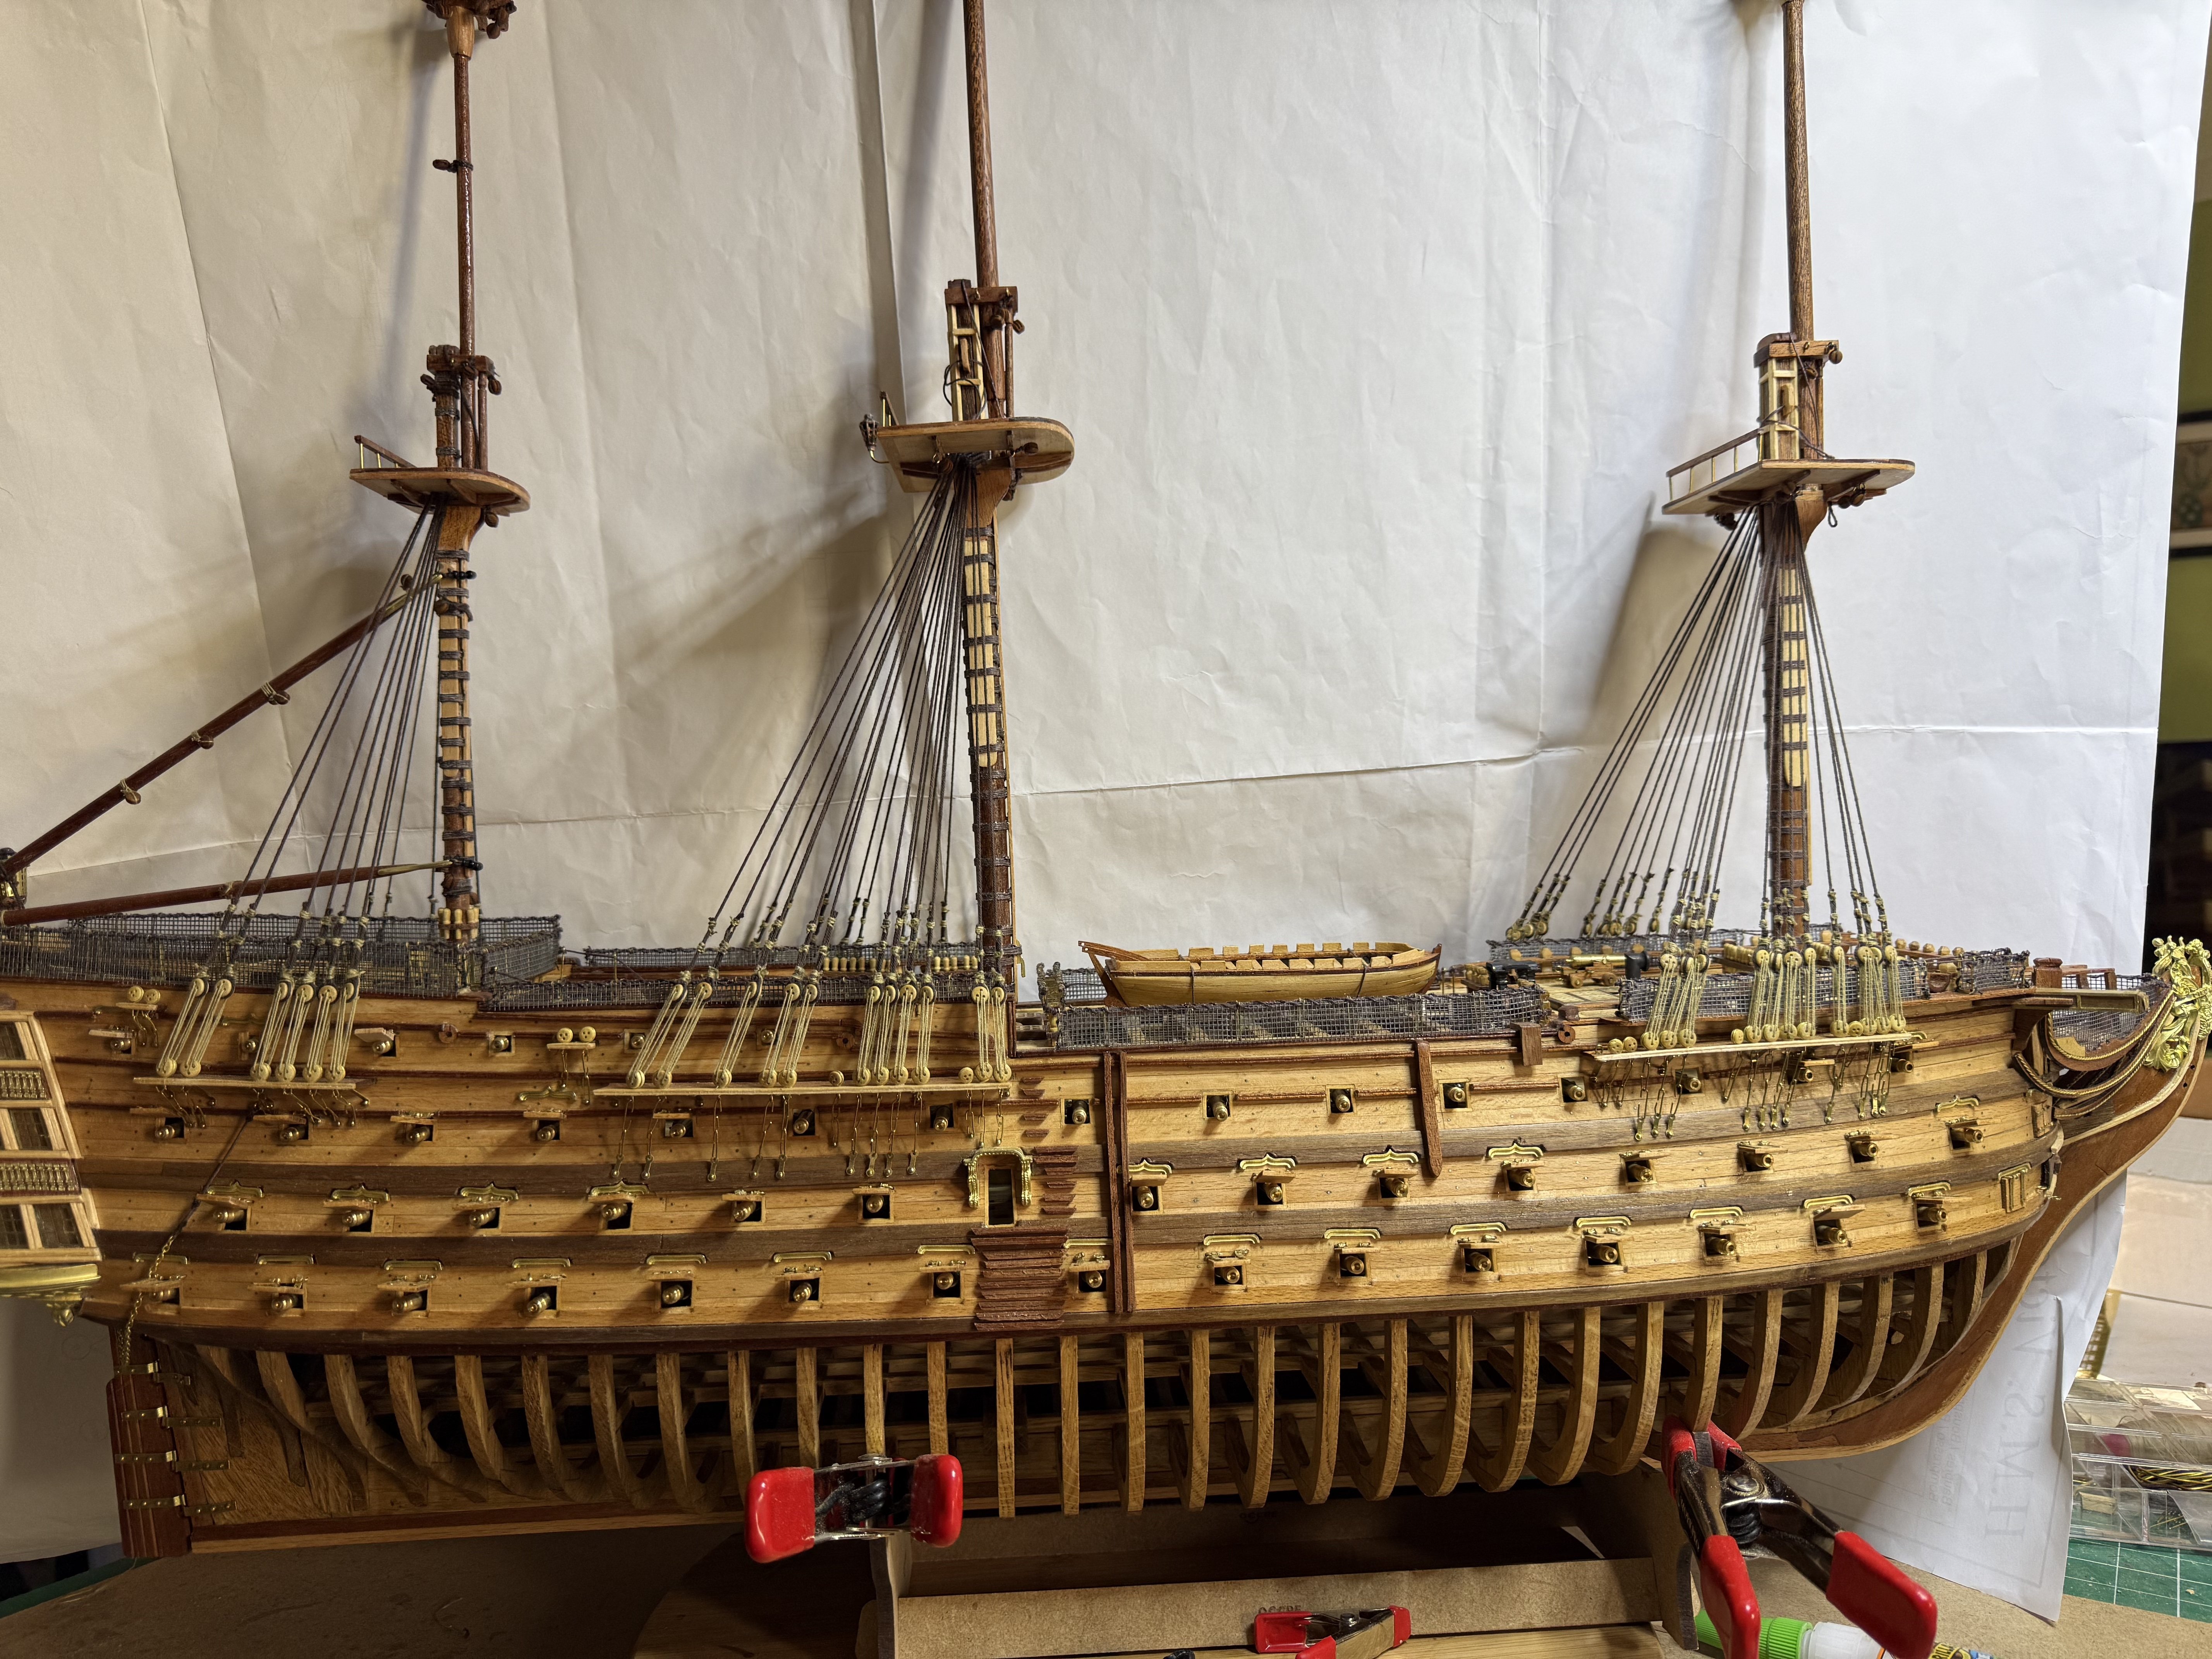
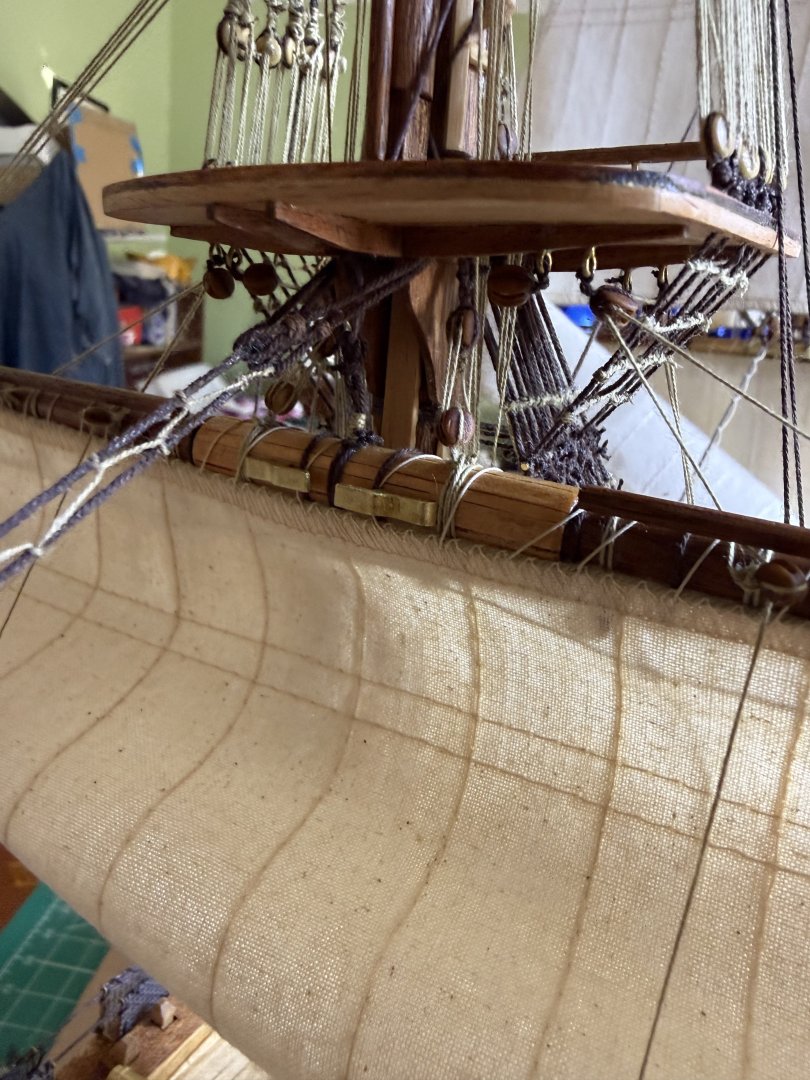
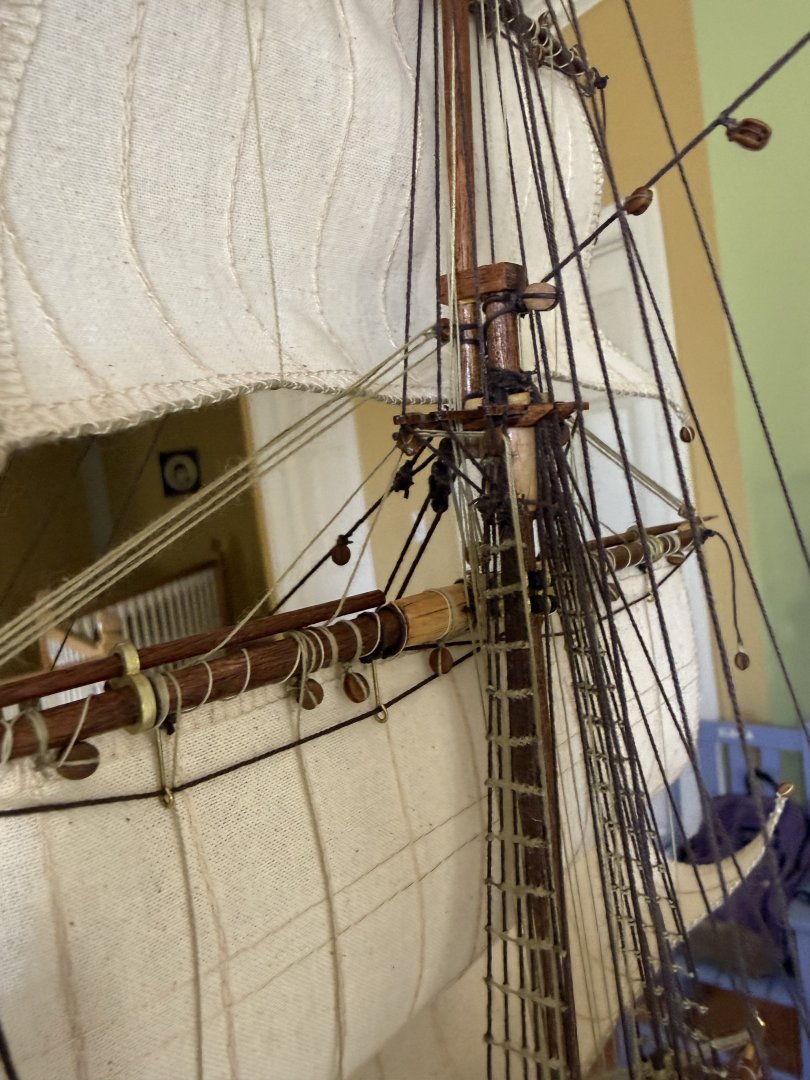
Work over the last week include completing the foremast backstays, yard lifts and starting the sail rigging.


-
Geordie Tyne reacted to a post in a topic:
HMS Victory by ECK - OcCre - 1/87
-
ECK reacted to a post in a topic:
Chris Watton and Vanguard Models news and updates Volume 2
-
RossR reacted to a post in a topic:
HMS Victory by ECK - OcCre - 1/87
-
vvvjames reacted to a post in a topic:
HMS Victory by ECK - OcCre - 1/87
-
HMS Victory by ECK - OcCre - 1/87
ECK replied to ECK's topic in - Kit build logs for subjects built from 1751 - 1800
Meant to say weekend work. Foremast work today, main yards and back stays friday afternoon and saturday. Spent ab out 6 hrs on it today, very relaxing for me. -
Scott Crouse reacted to a post in a topic:
HMS Victory by ECK - OcCre - 1/87
-
HMS Victory by ECK - OcCre - 1/87
ECK replied to ECK's topic in - Kit build logs for subjects built from 1751 - 1800
For Maid of the Mist: Sorry, did not see your note until now. Occre has 3 threads here, 0.8 and 0.5 brown and o.15 natural which is the one for ratlines and running rigging. -
HMS Victory by ECK - OcCre - 1/87
ECK replied to ECK's topic in - Kit build logs for subjects built from 1751 - 1800
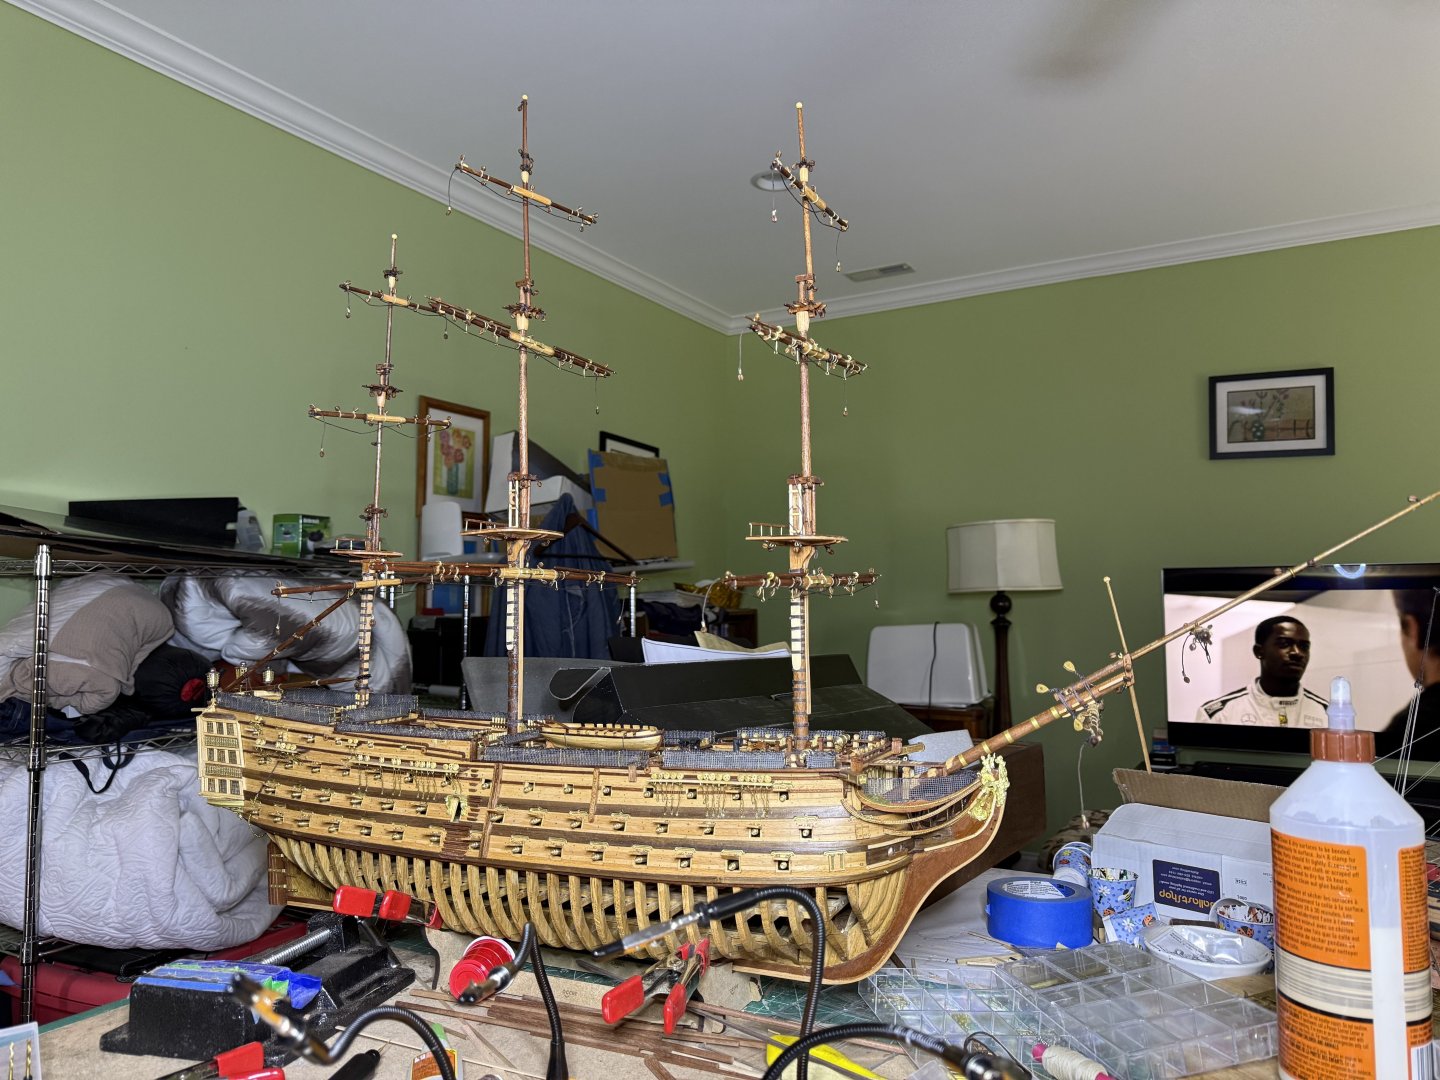
Work to day includes mounting the main yards, backstays, foremast forestays and yards


-
ECK reacted to a post in a topic:
HM Gun Brig Adder 1797 by Geordie Tyne - Vanguard Models - 1:64
-
 ECK reacted to a post in a topic:
HMS Victory by ECK - OcCre - 1/87
ECK reacted to a post in a topic:
HMS Victory by ECK - OcCre - 1/87
-
HMS Victory by ECK - OcCre - 1/87
ECK replied to ECK's topic in - Kit build logs for subjects built from 1751 - 1800
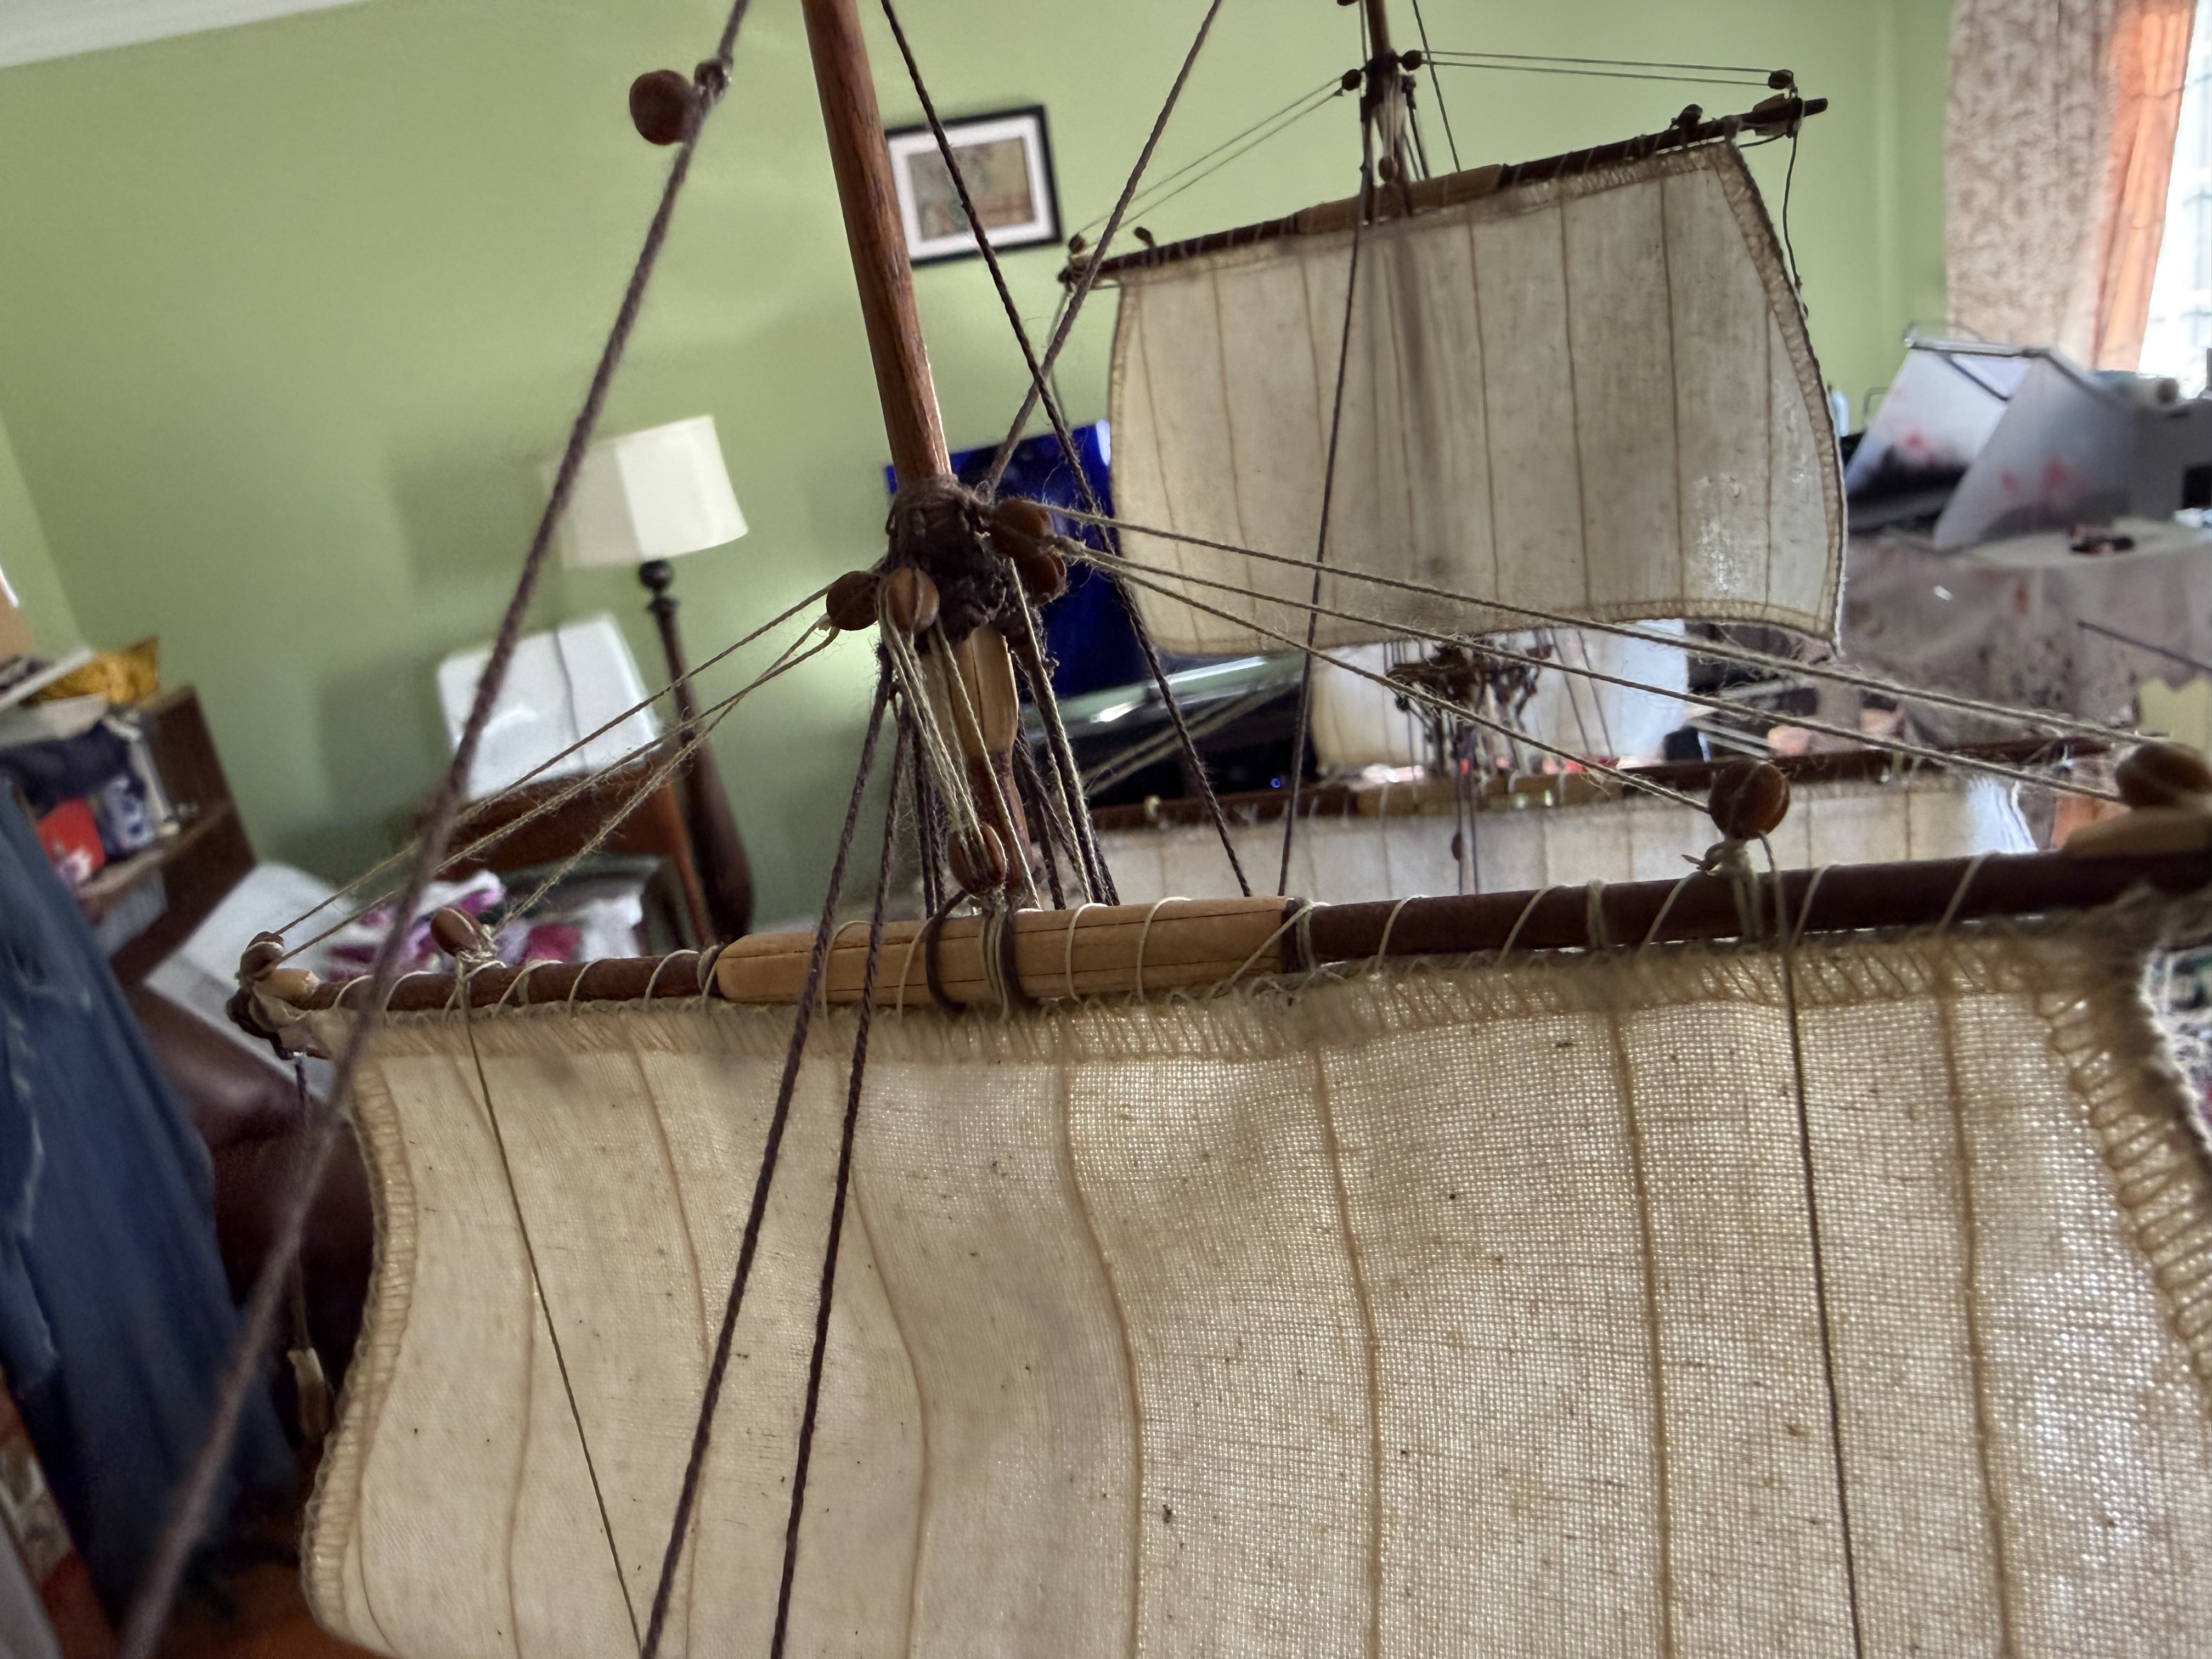
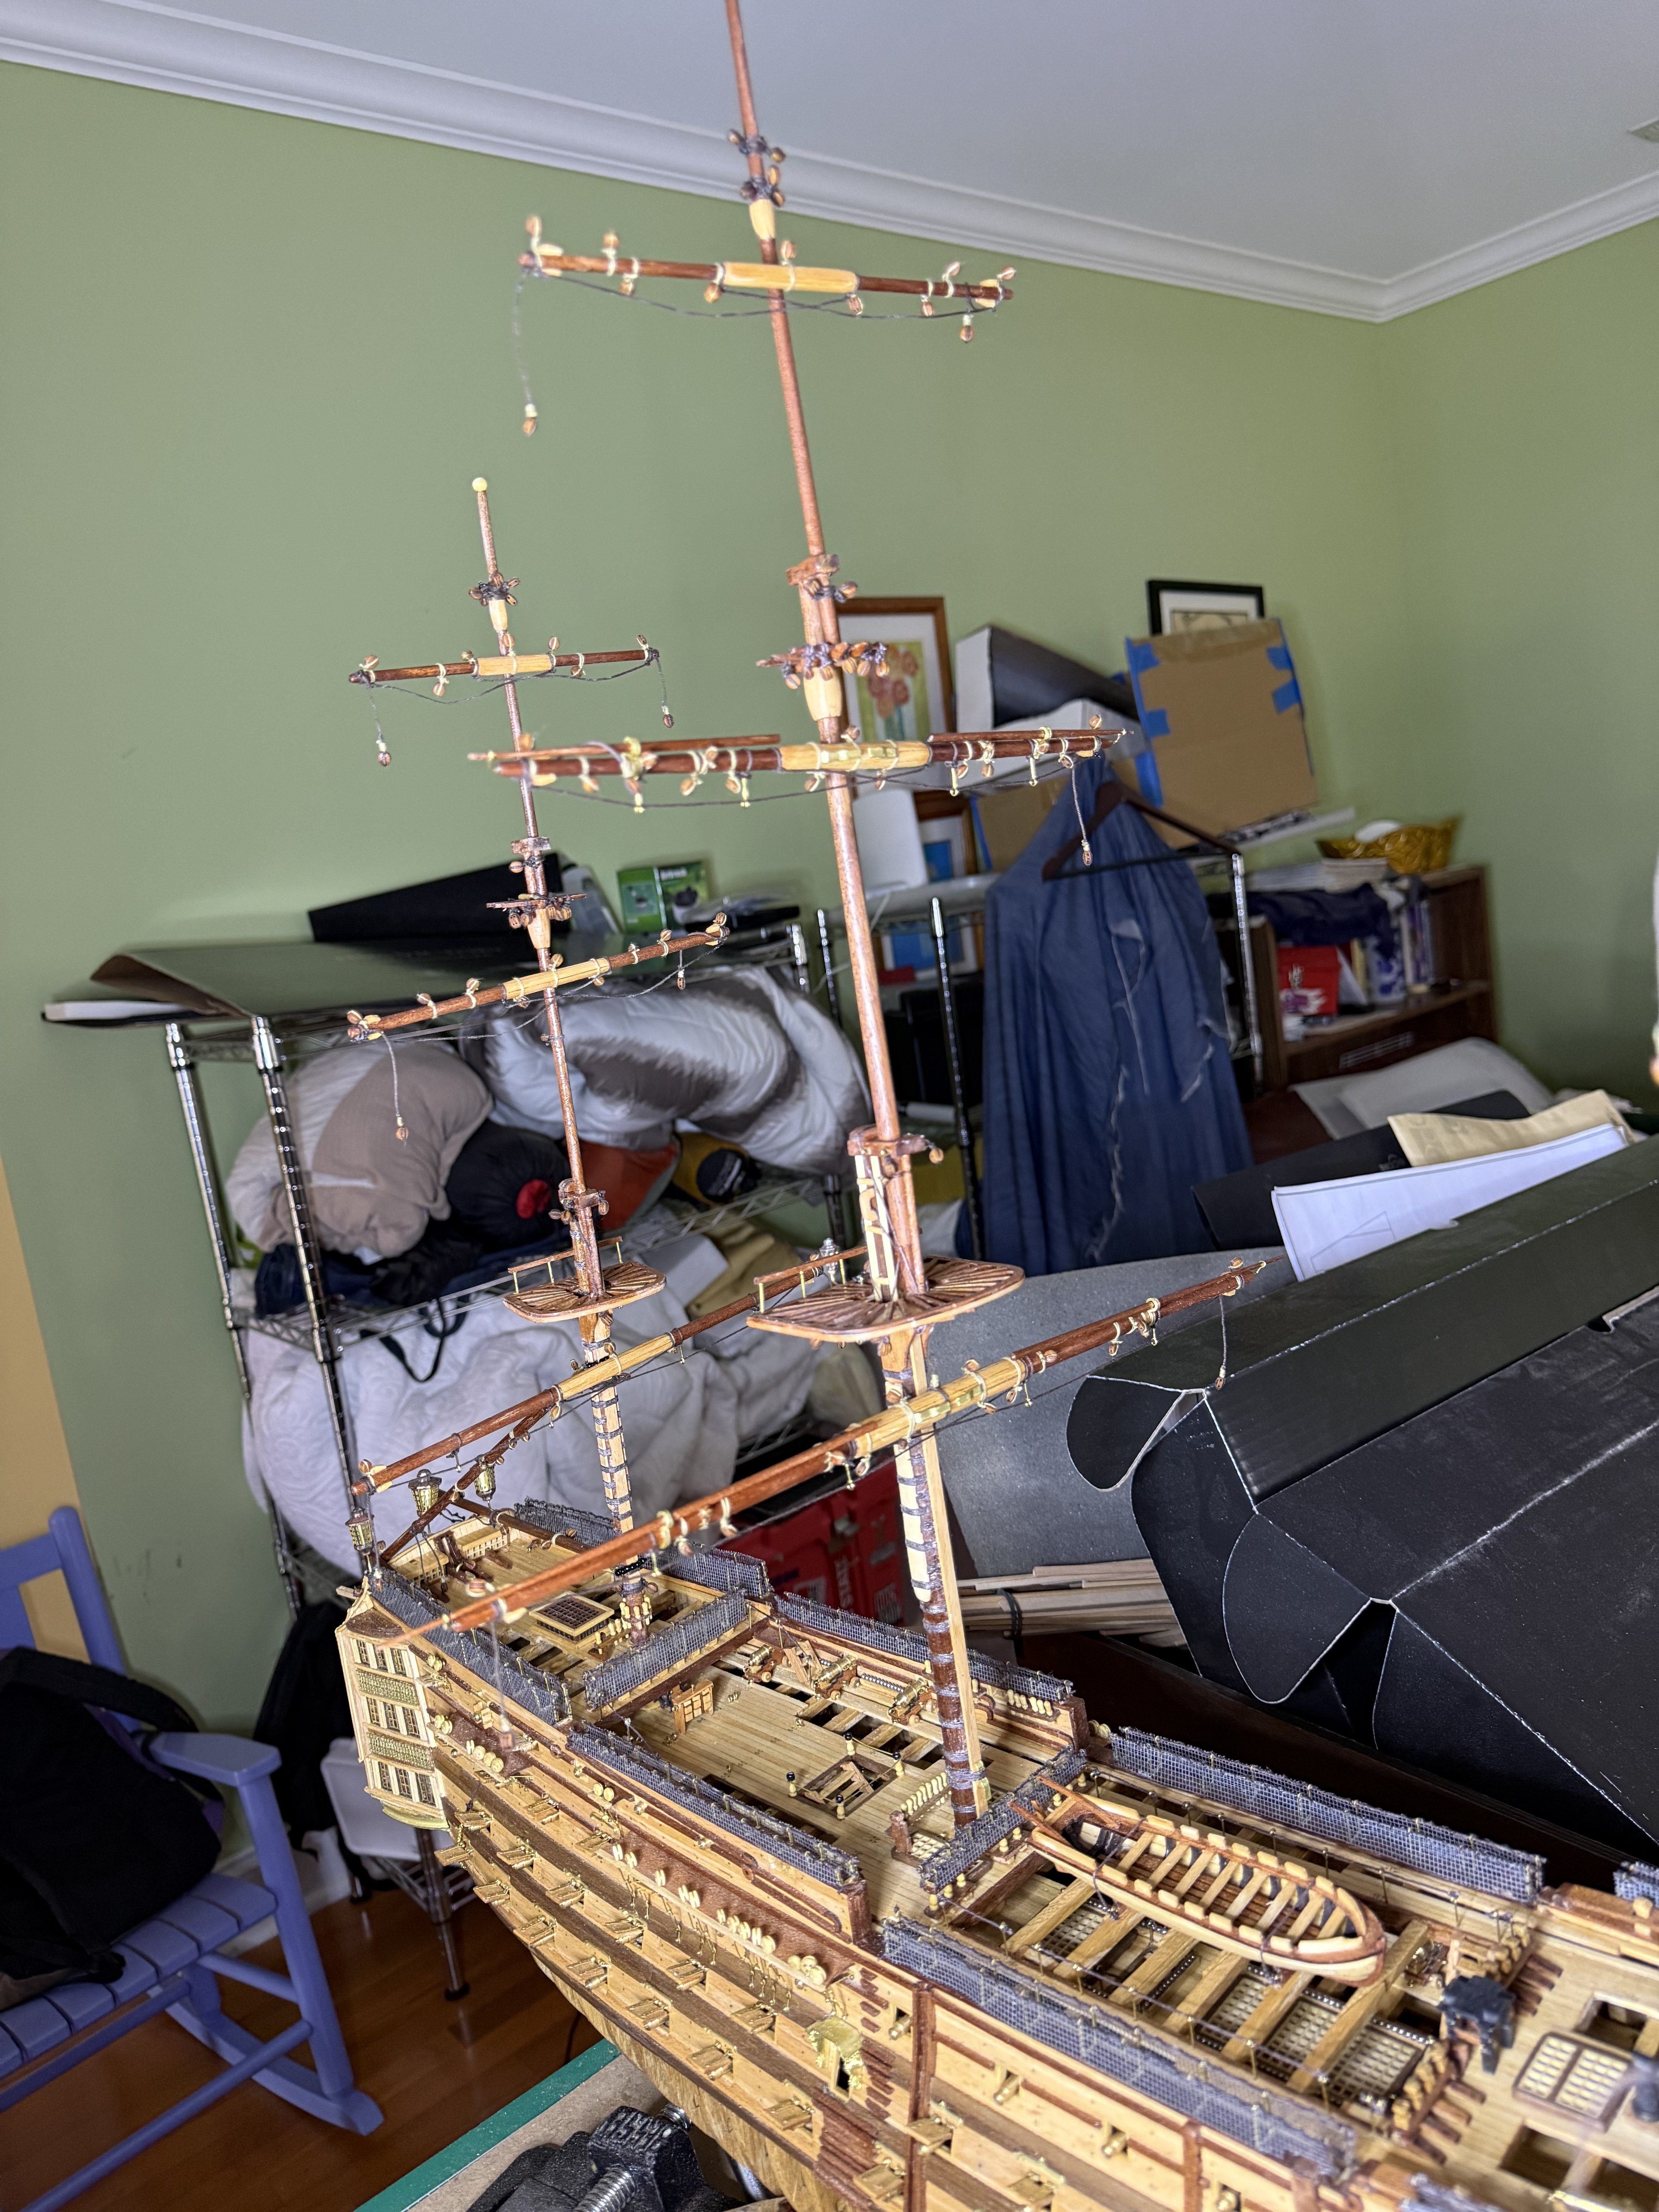
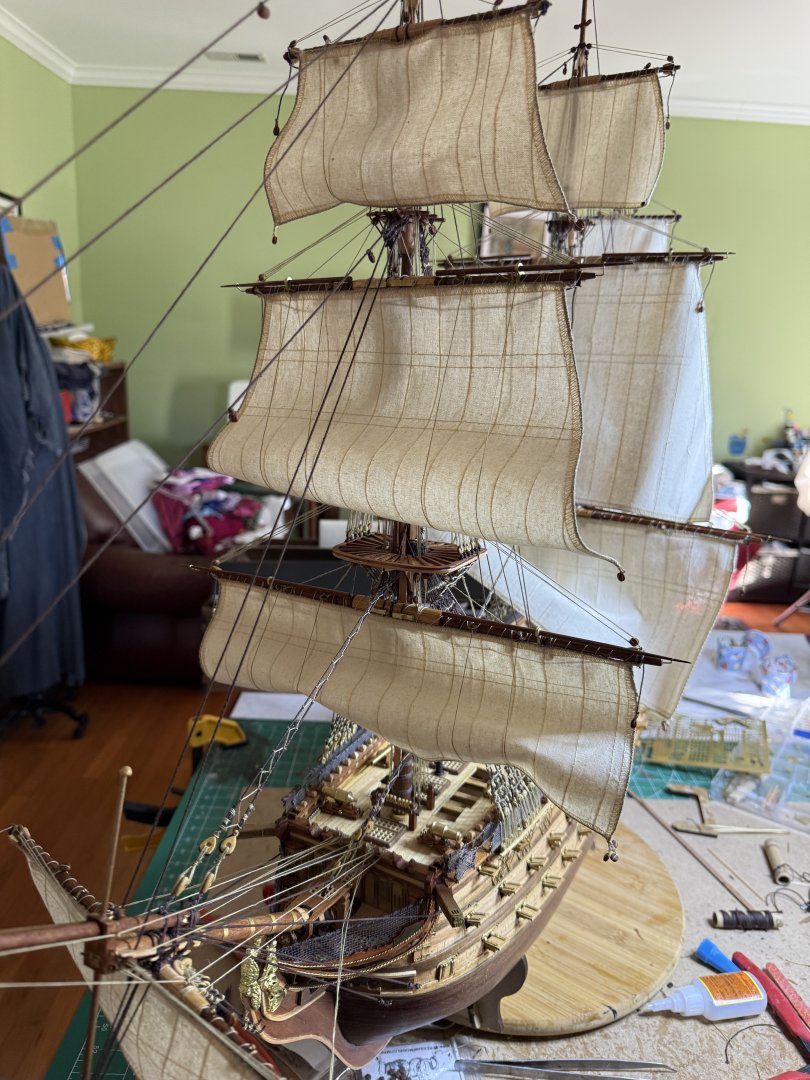
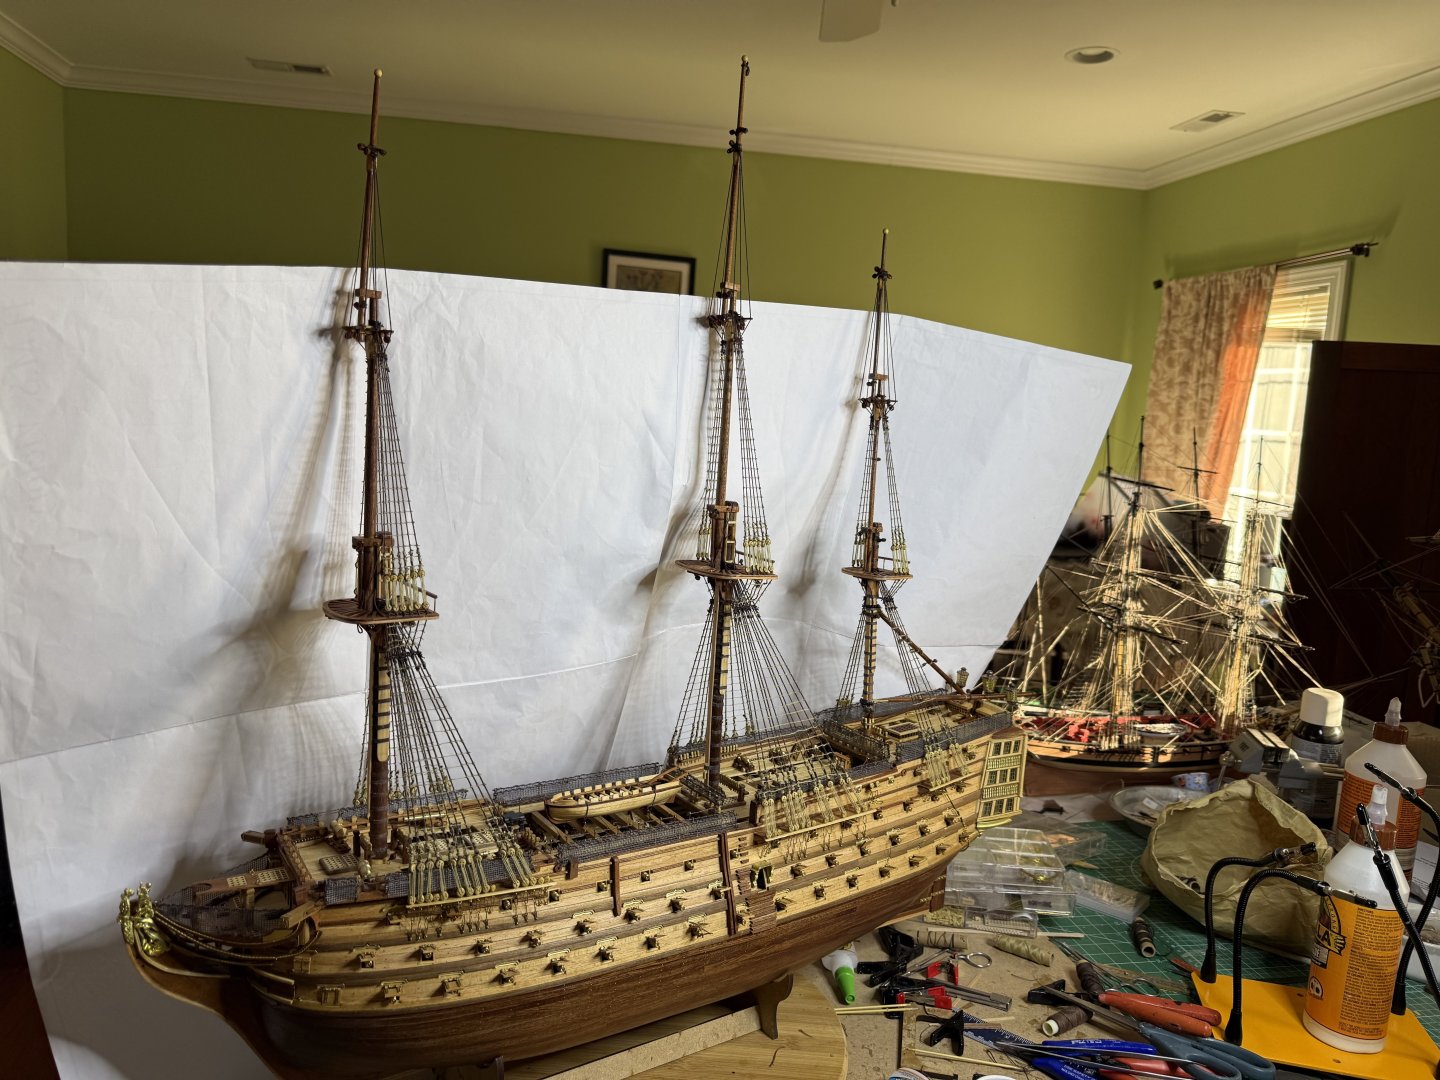
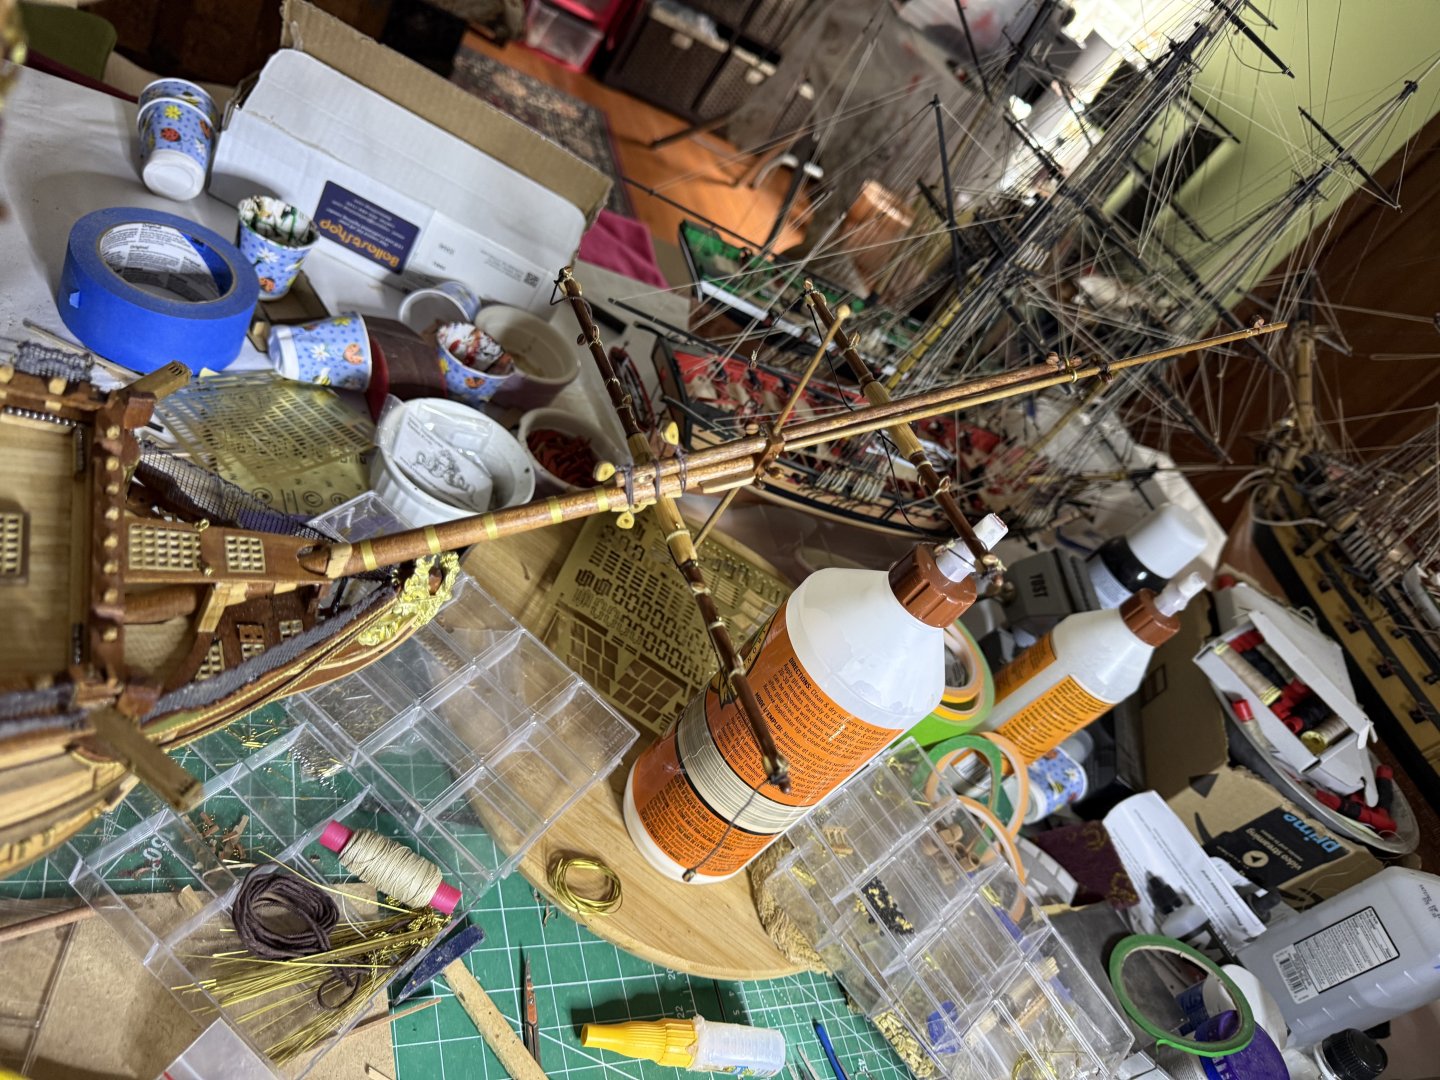
Weekend work involved attaching the mizzen yards with sails then adding the mizzen fore and back stays. Next will be the spanker rigging before finally adding the bowsprit to complete the other stays. I try to wait as long as possible before adding the spritsail yard as it sticks out so far.


-
ECK reacted to a post in a topic:
HMS Victory by ECK - OcCre - 1/87
-
ECK reacted to a post in a topic:
HMS Victory by ECK - OcCre - 1/87
-
ECK reacted to a post in a topic:
Chris Watton and Vanguard Models news and updates Volume 2
-
HMS Victory by ECK - OcCre - 1/87
ECK replied to ECK's topic in - Kit build logs for subjects built from 1751 - 1800
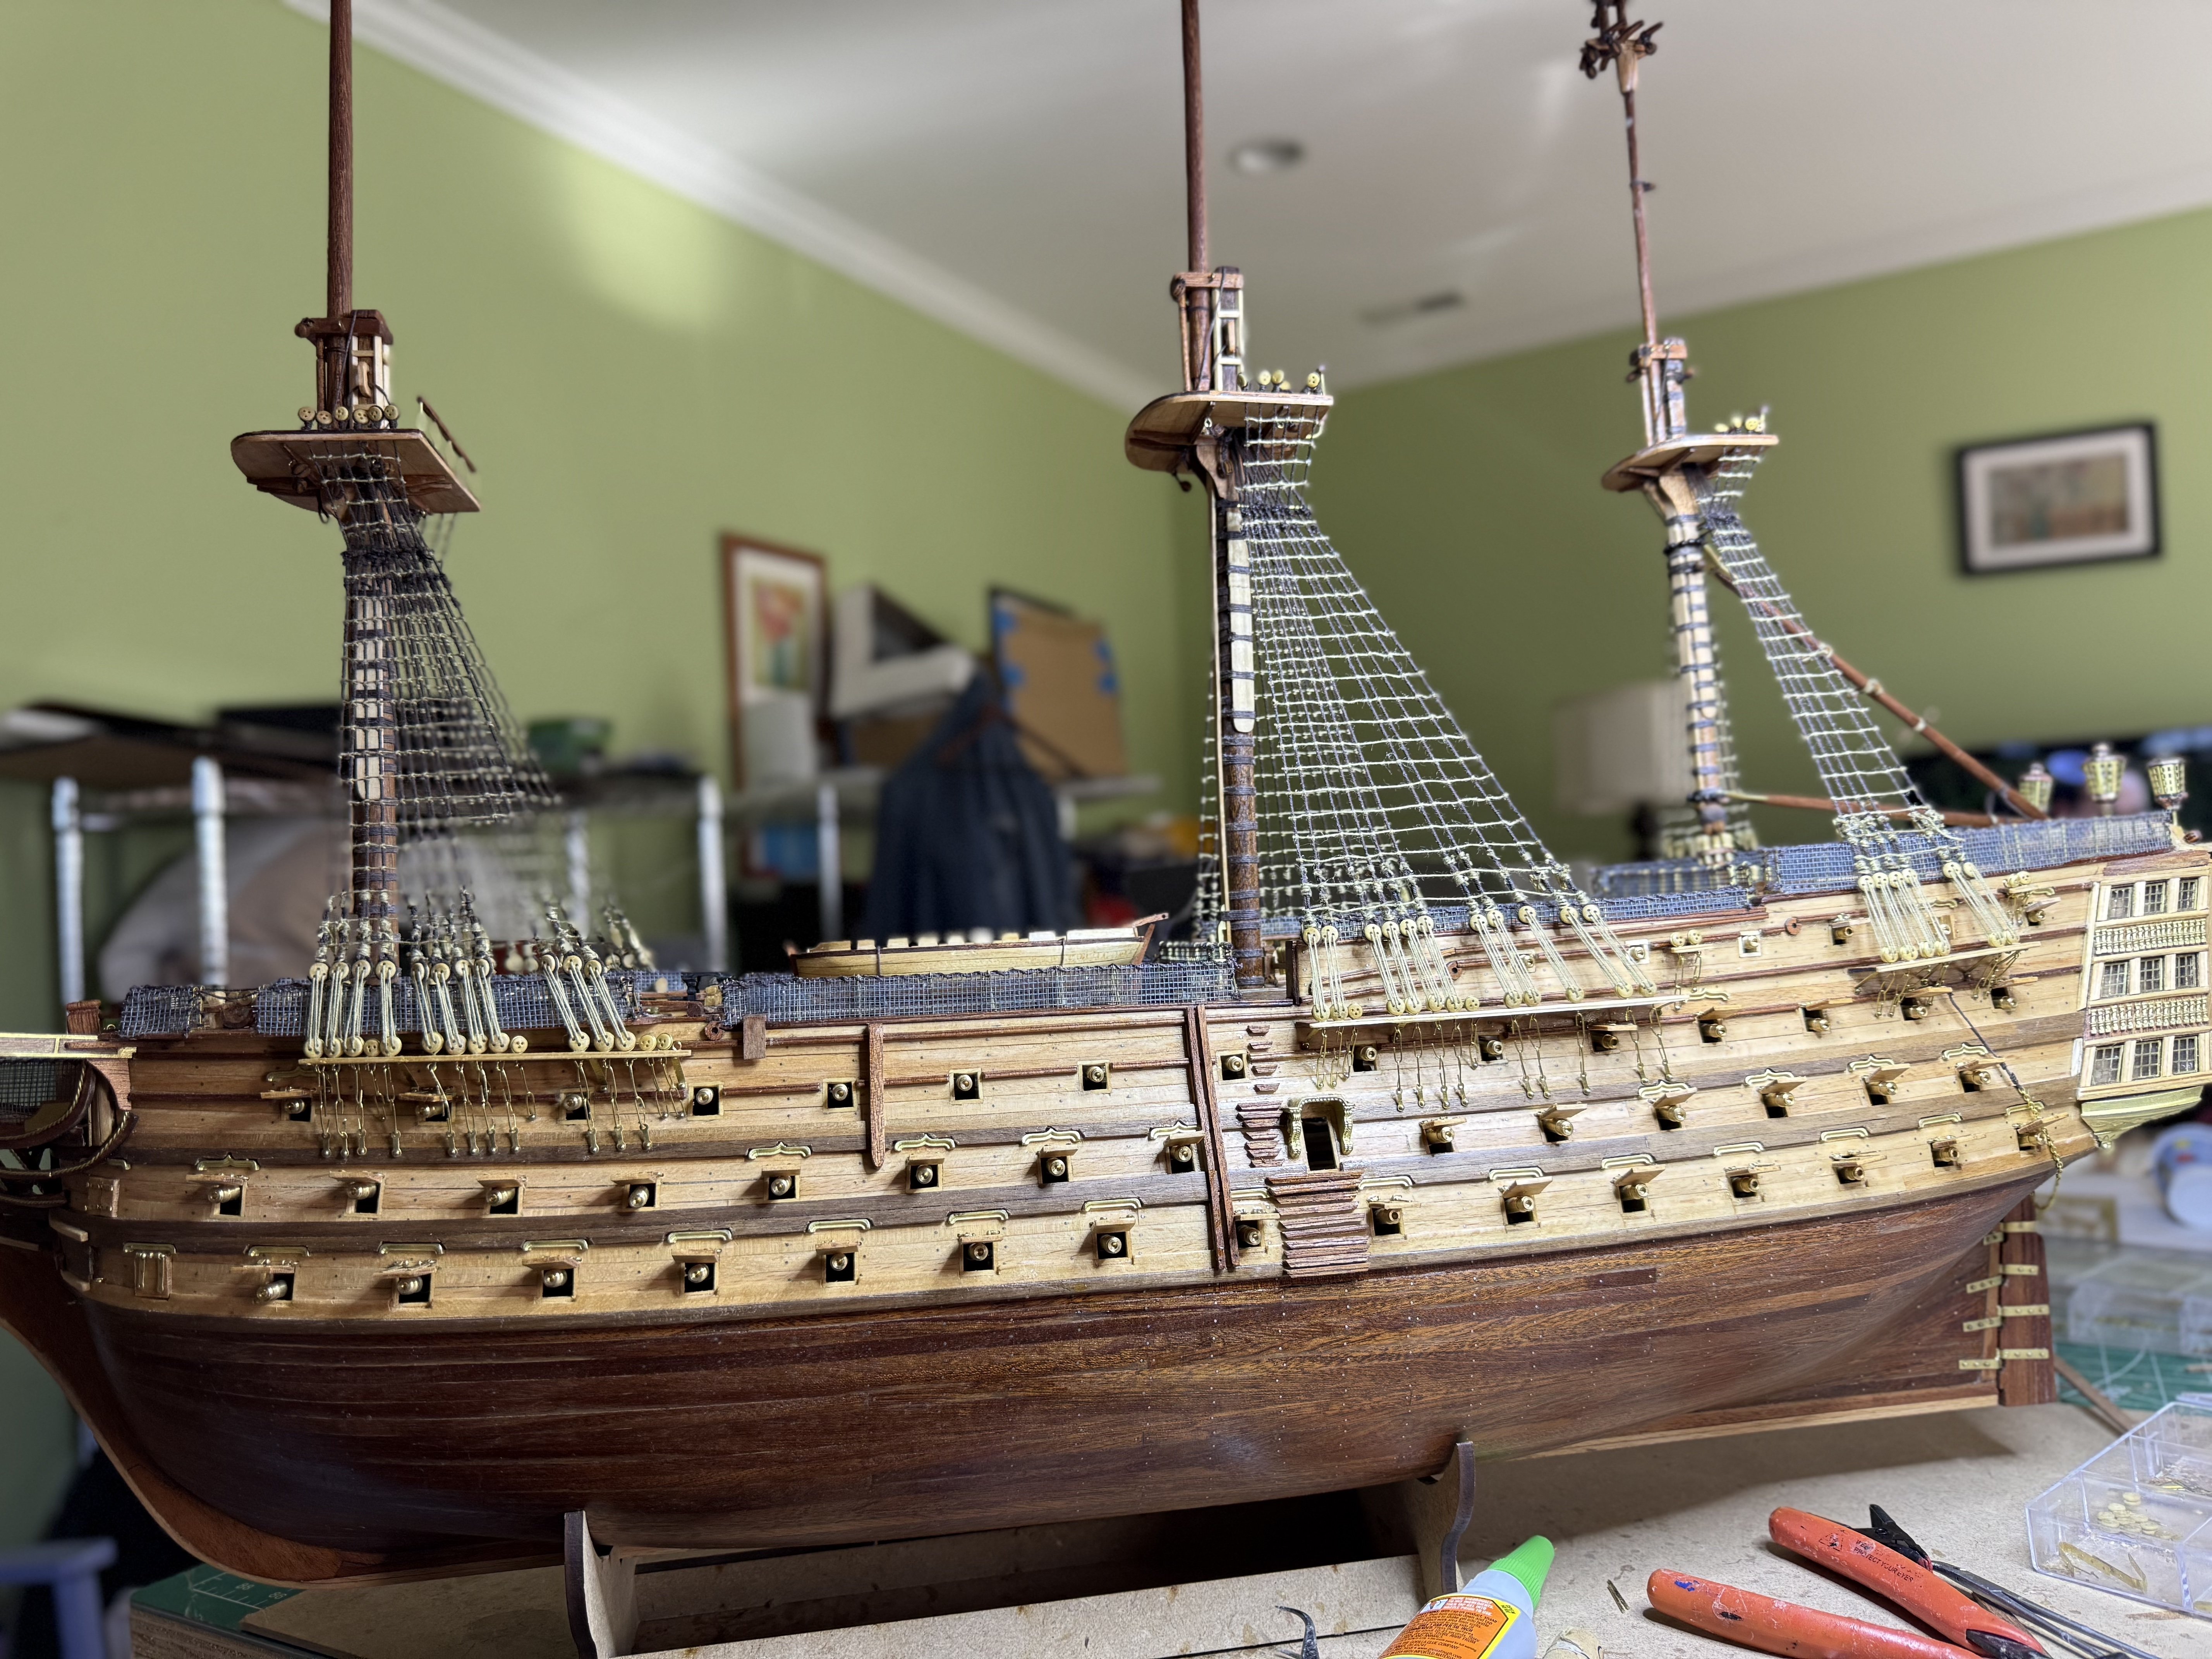
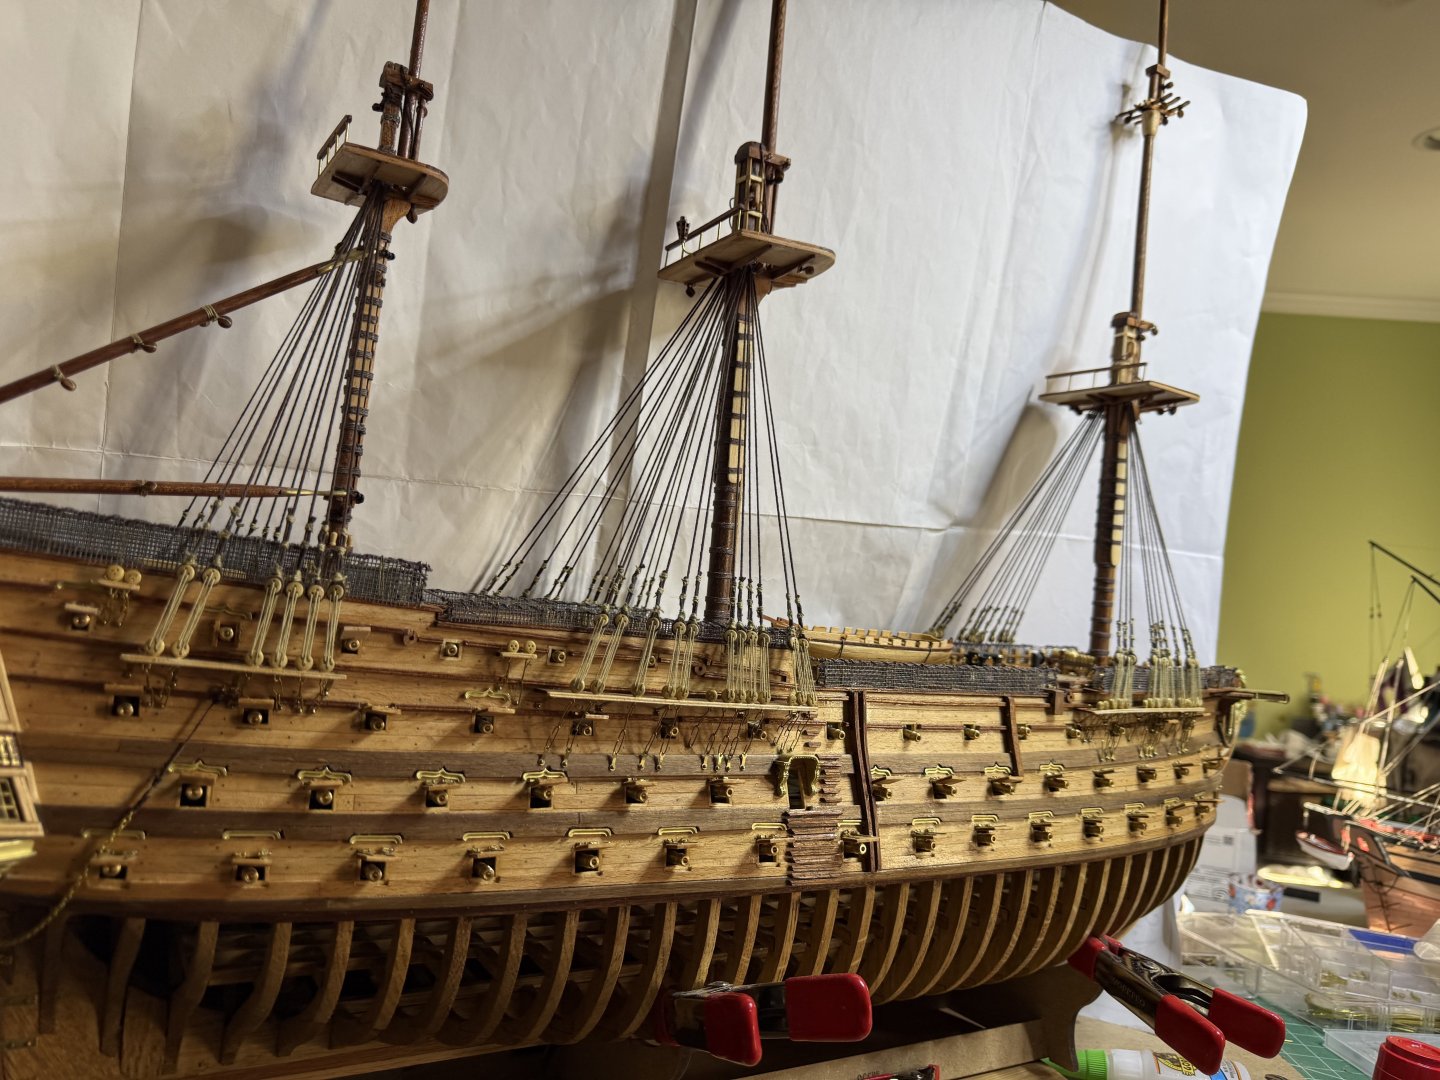
Shrouds all done. Next bending the sails onto the yards then mounting the yards to the masts.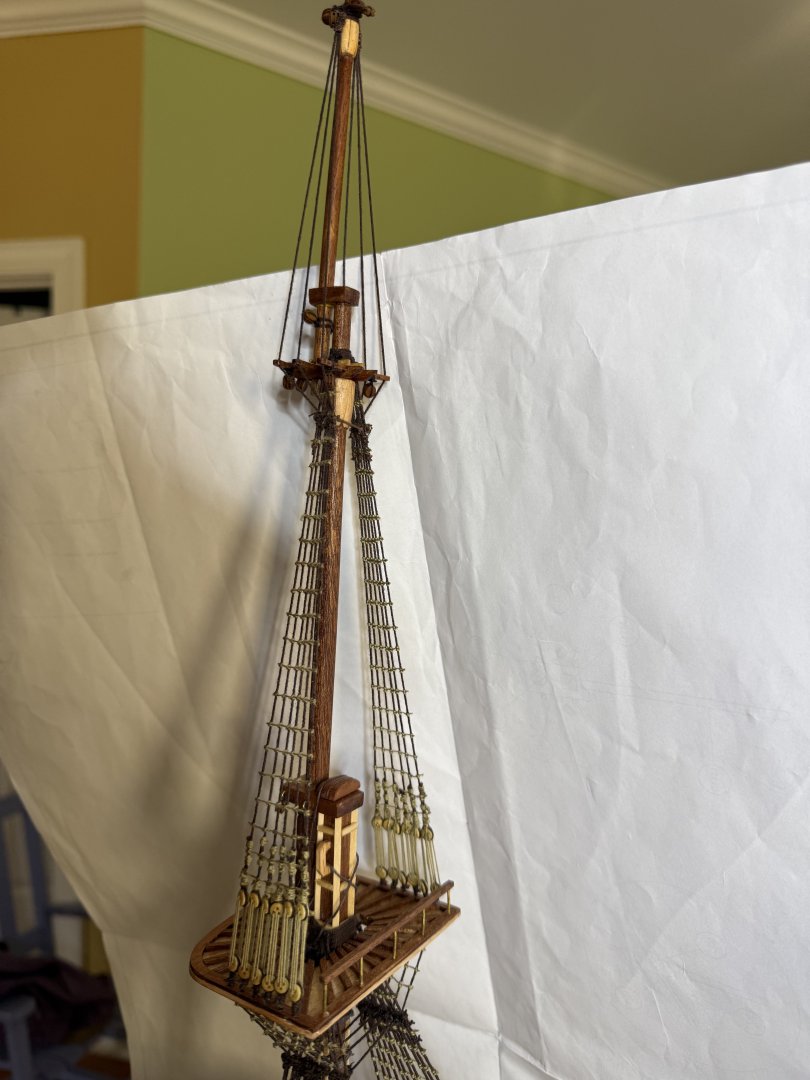


-
ECK reacted to a post in a topic:
Chris Watton and Vanguard Models news and updates Volume 2
-
ECK reacted to a post in a topic:
Chris Watton and Vanguard Models news and updates Volume 2
-
HMS Victory by ECK - OcCre - 1/87
ECK replied to ECK's topic in - Kit build logs for subjects built from 1751 - 1800
Thanks but unfortunately the plans show them going all the way across. -
ECK reacted to a post in a topic:
HMS Victory by ECK - OcCre - 1/87
-
ECK reacted to a post in a topic:
Chris Watton and Vanguard Models news and updates Volume 2
-
HMS Victory by ECK - OcCre - 1/87
ECK replied to ECK's topic in - Kit build logs for subjects built from 1751 - 1800
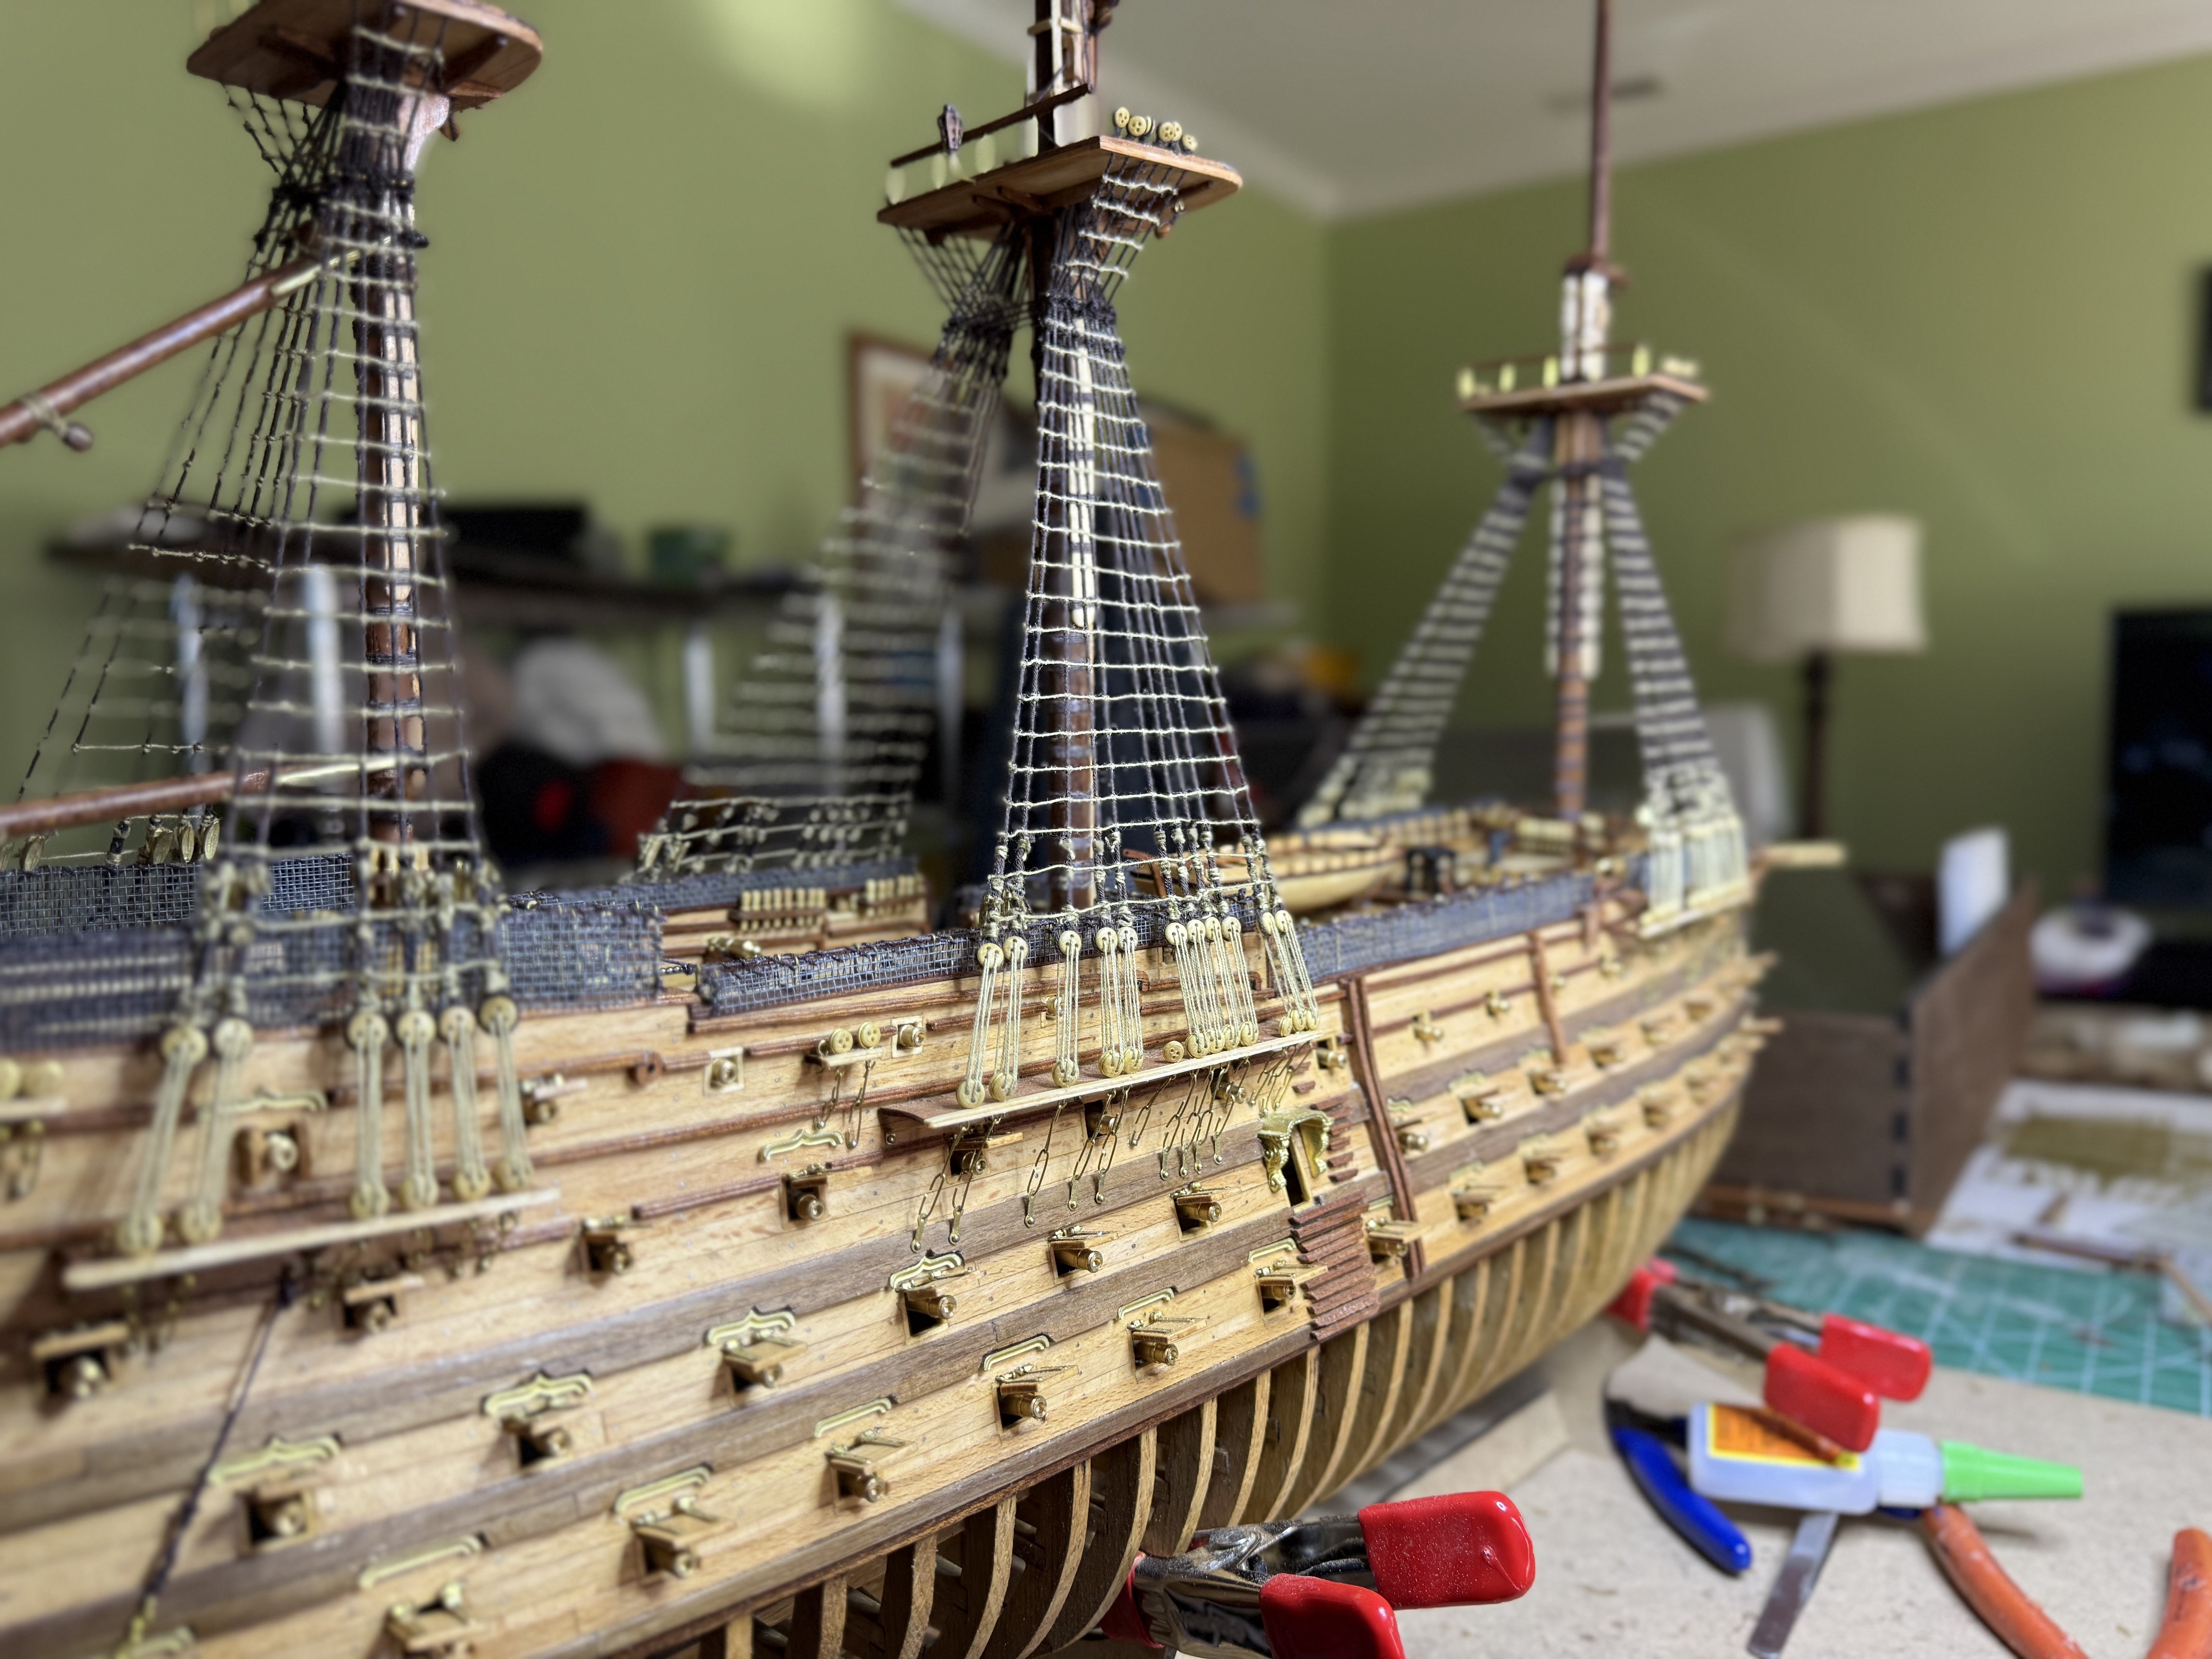
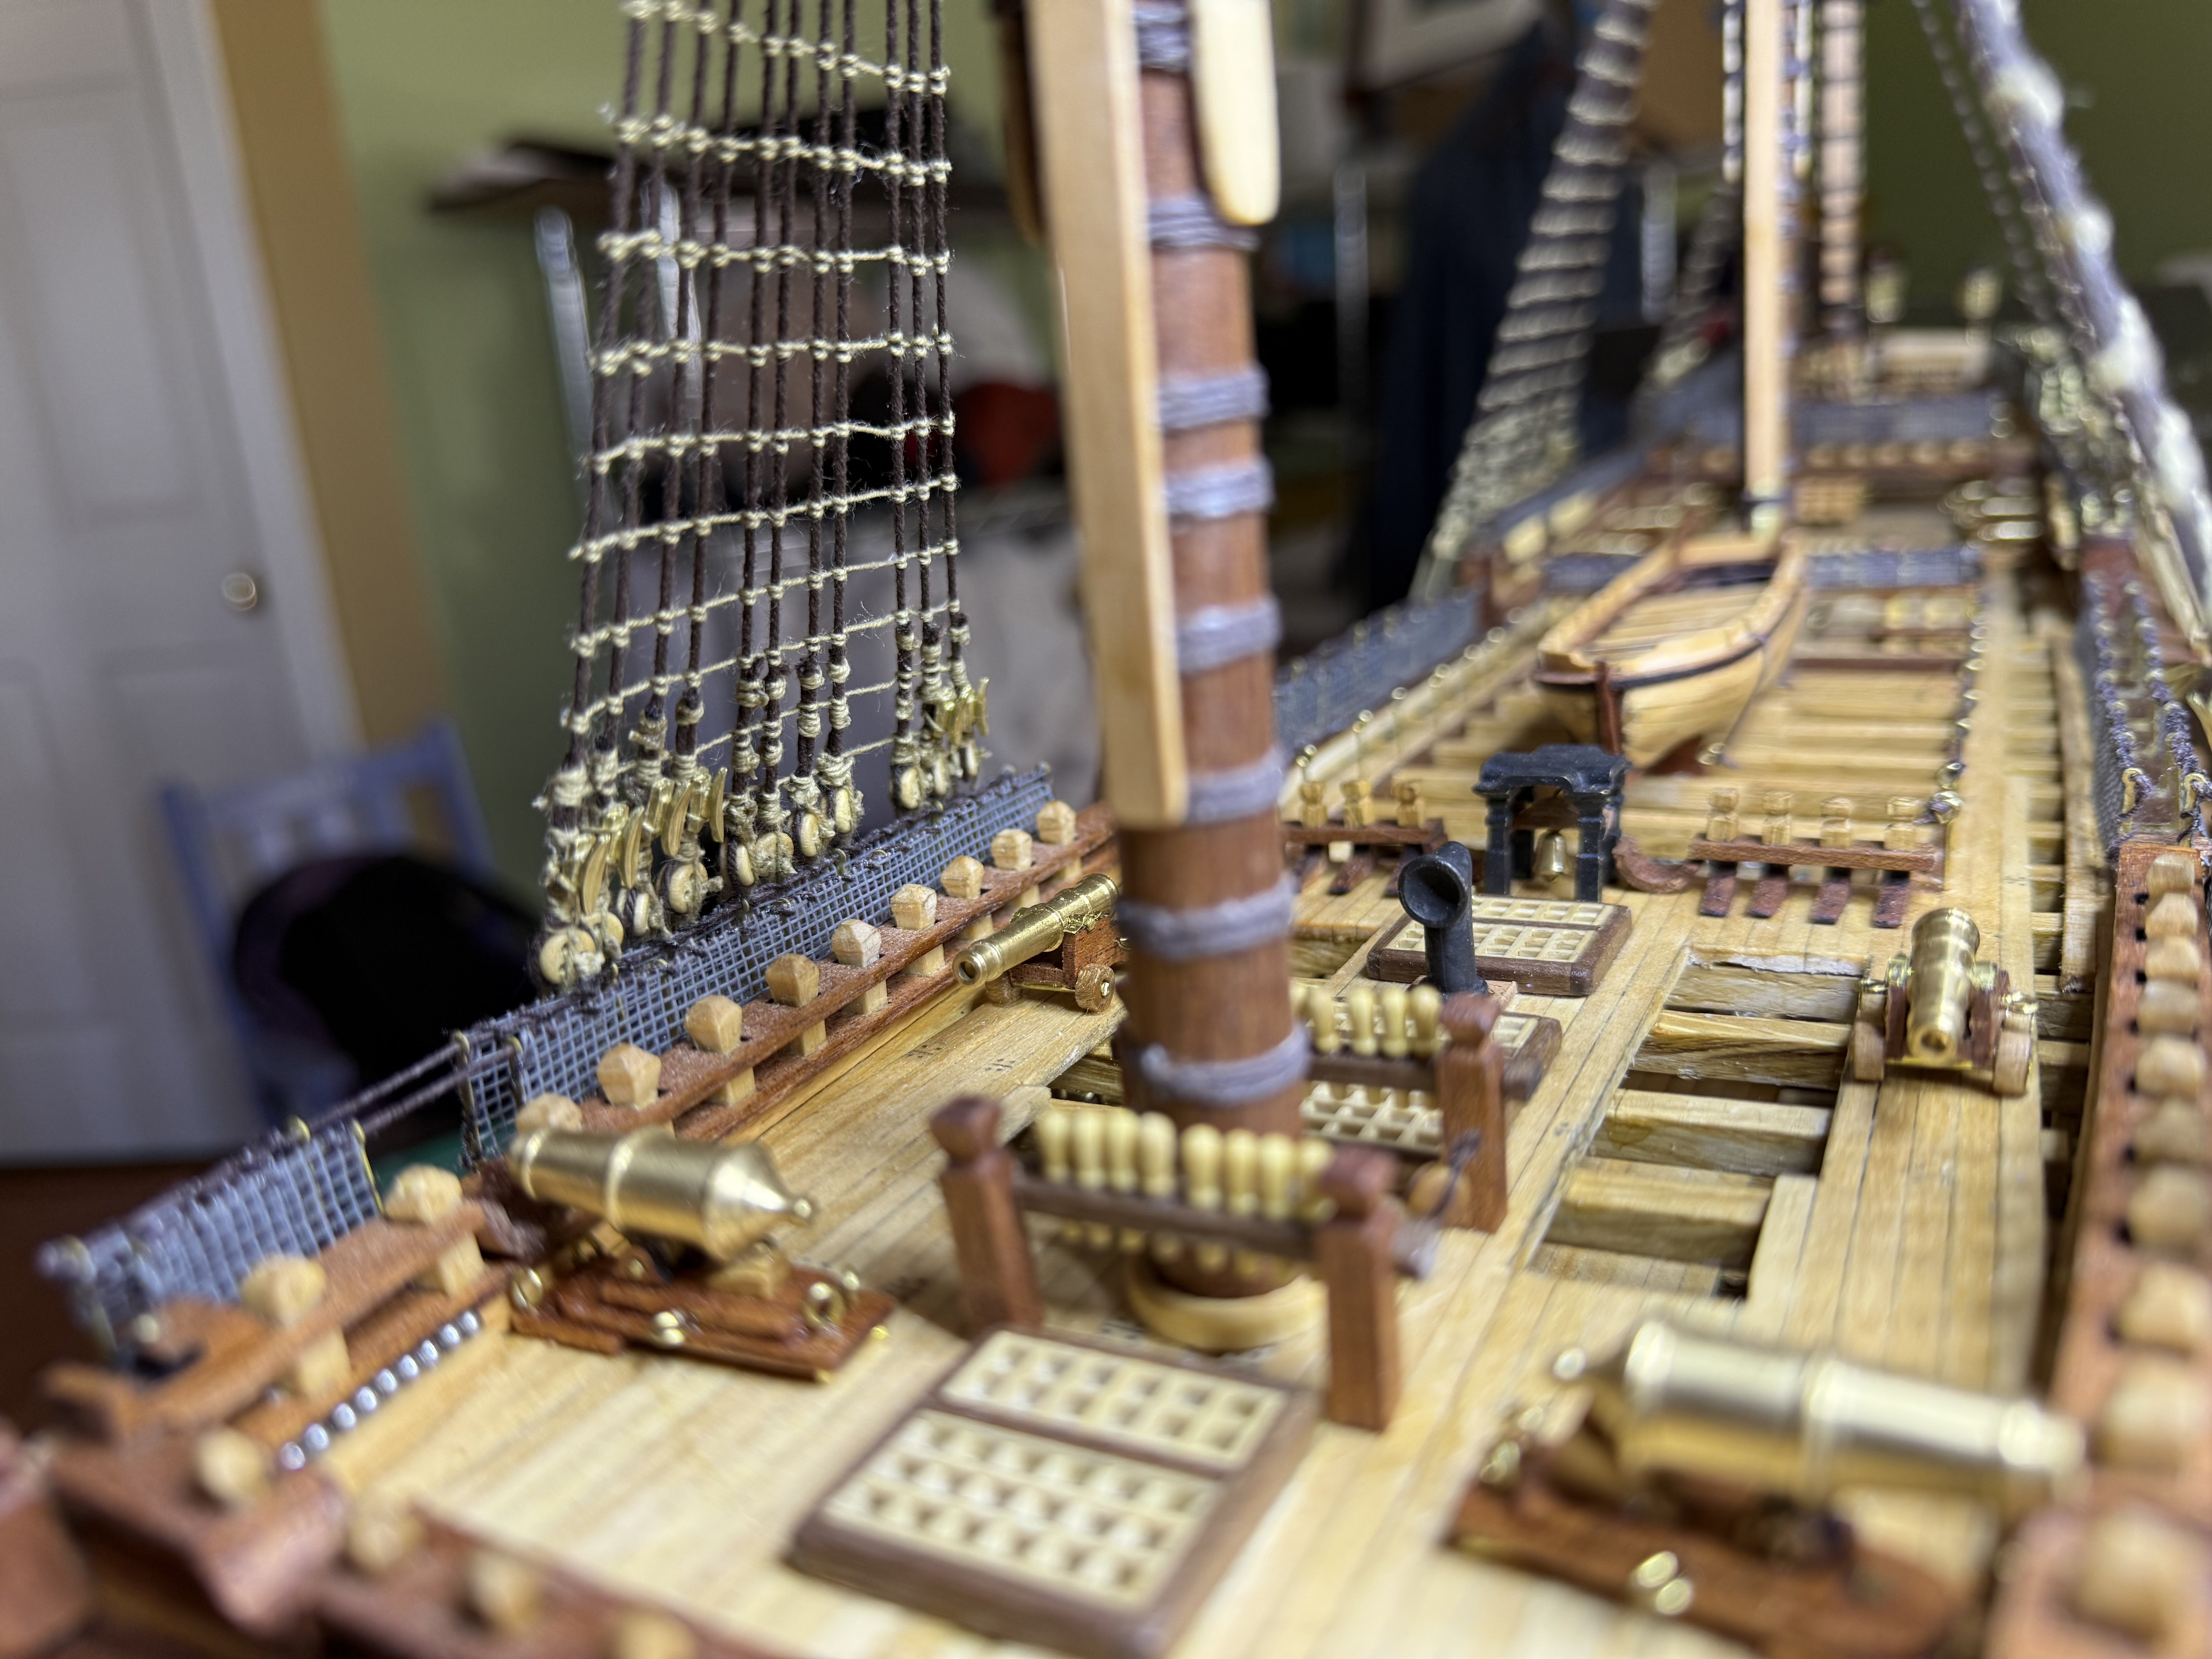
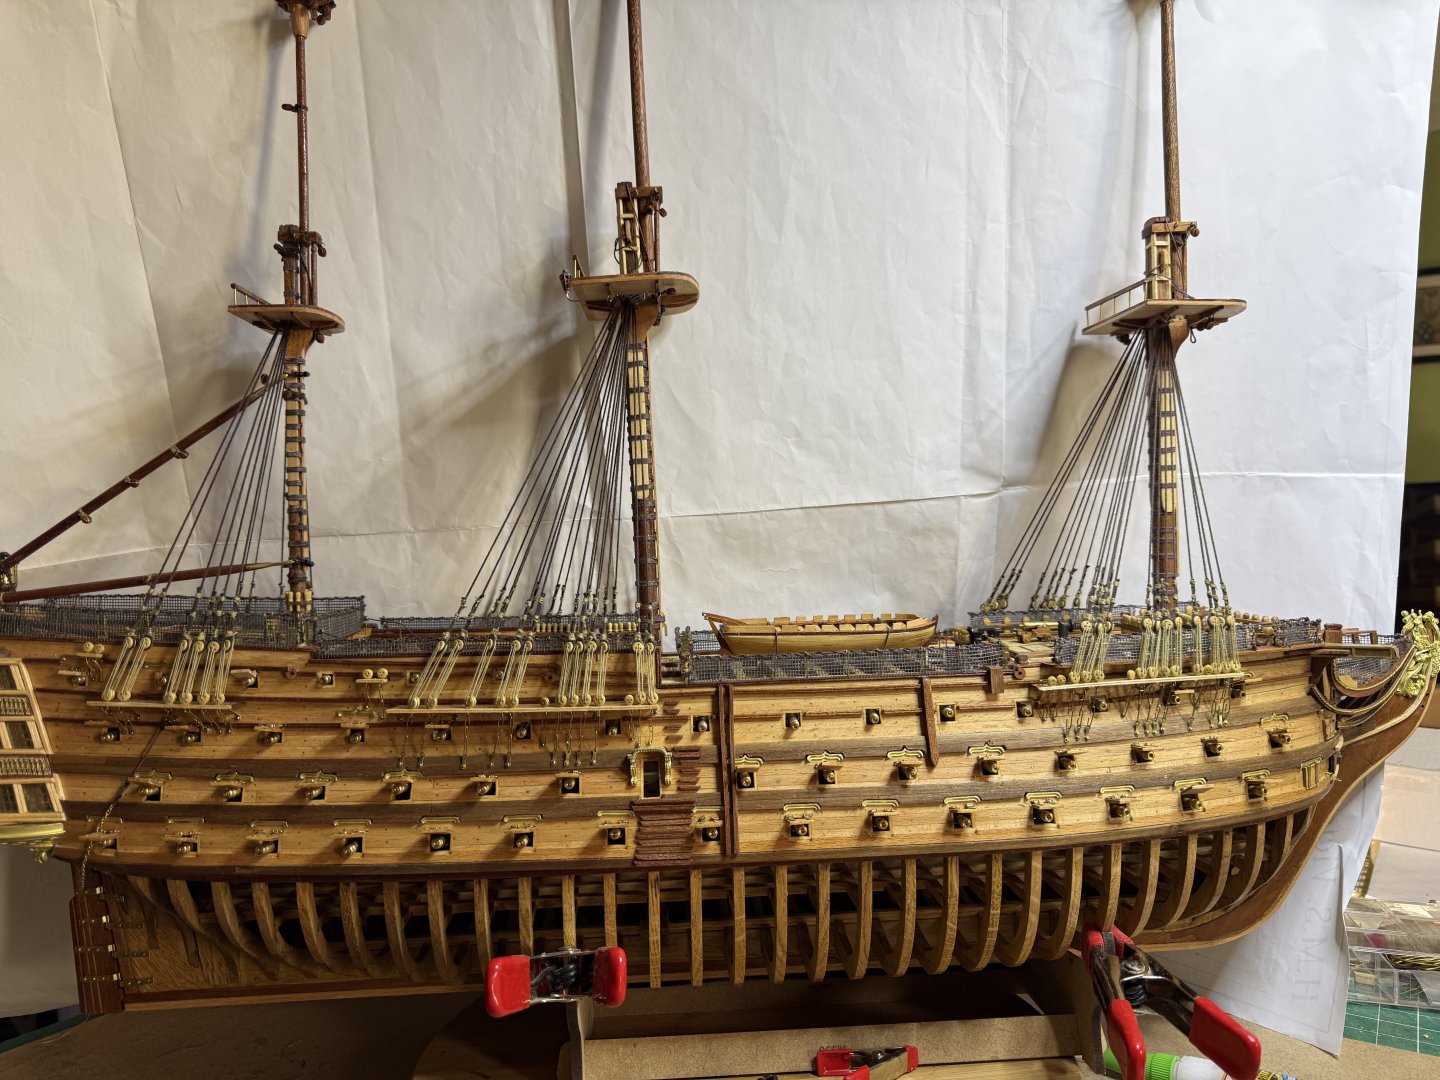
Merry Christmas! Sooooo some 1300 knots later the lower shrouds are done. Also attached cleats to the appropriate shrouds.


-
Looking excellent !
-
HMS Victory by ECK - OcCre - 1/87
ECK replied to ECK's topic in - Kit build logs for subjects built from 1751 - 1800
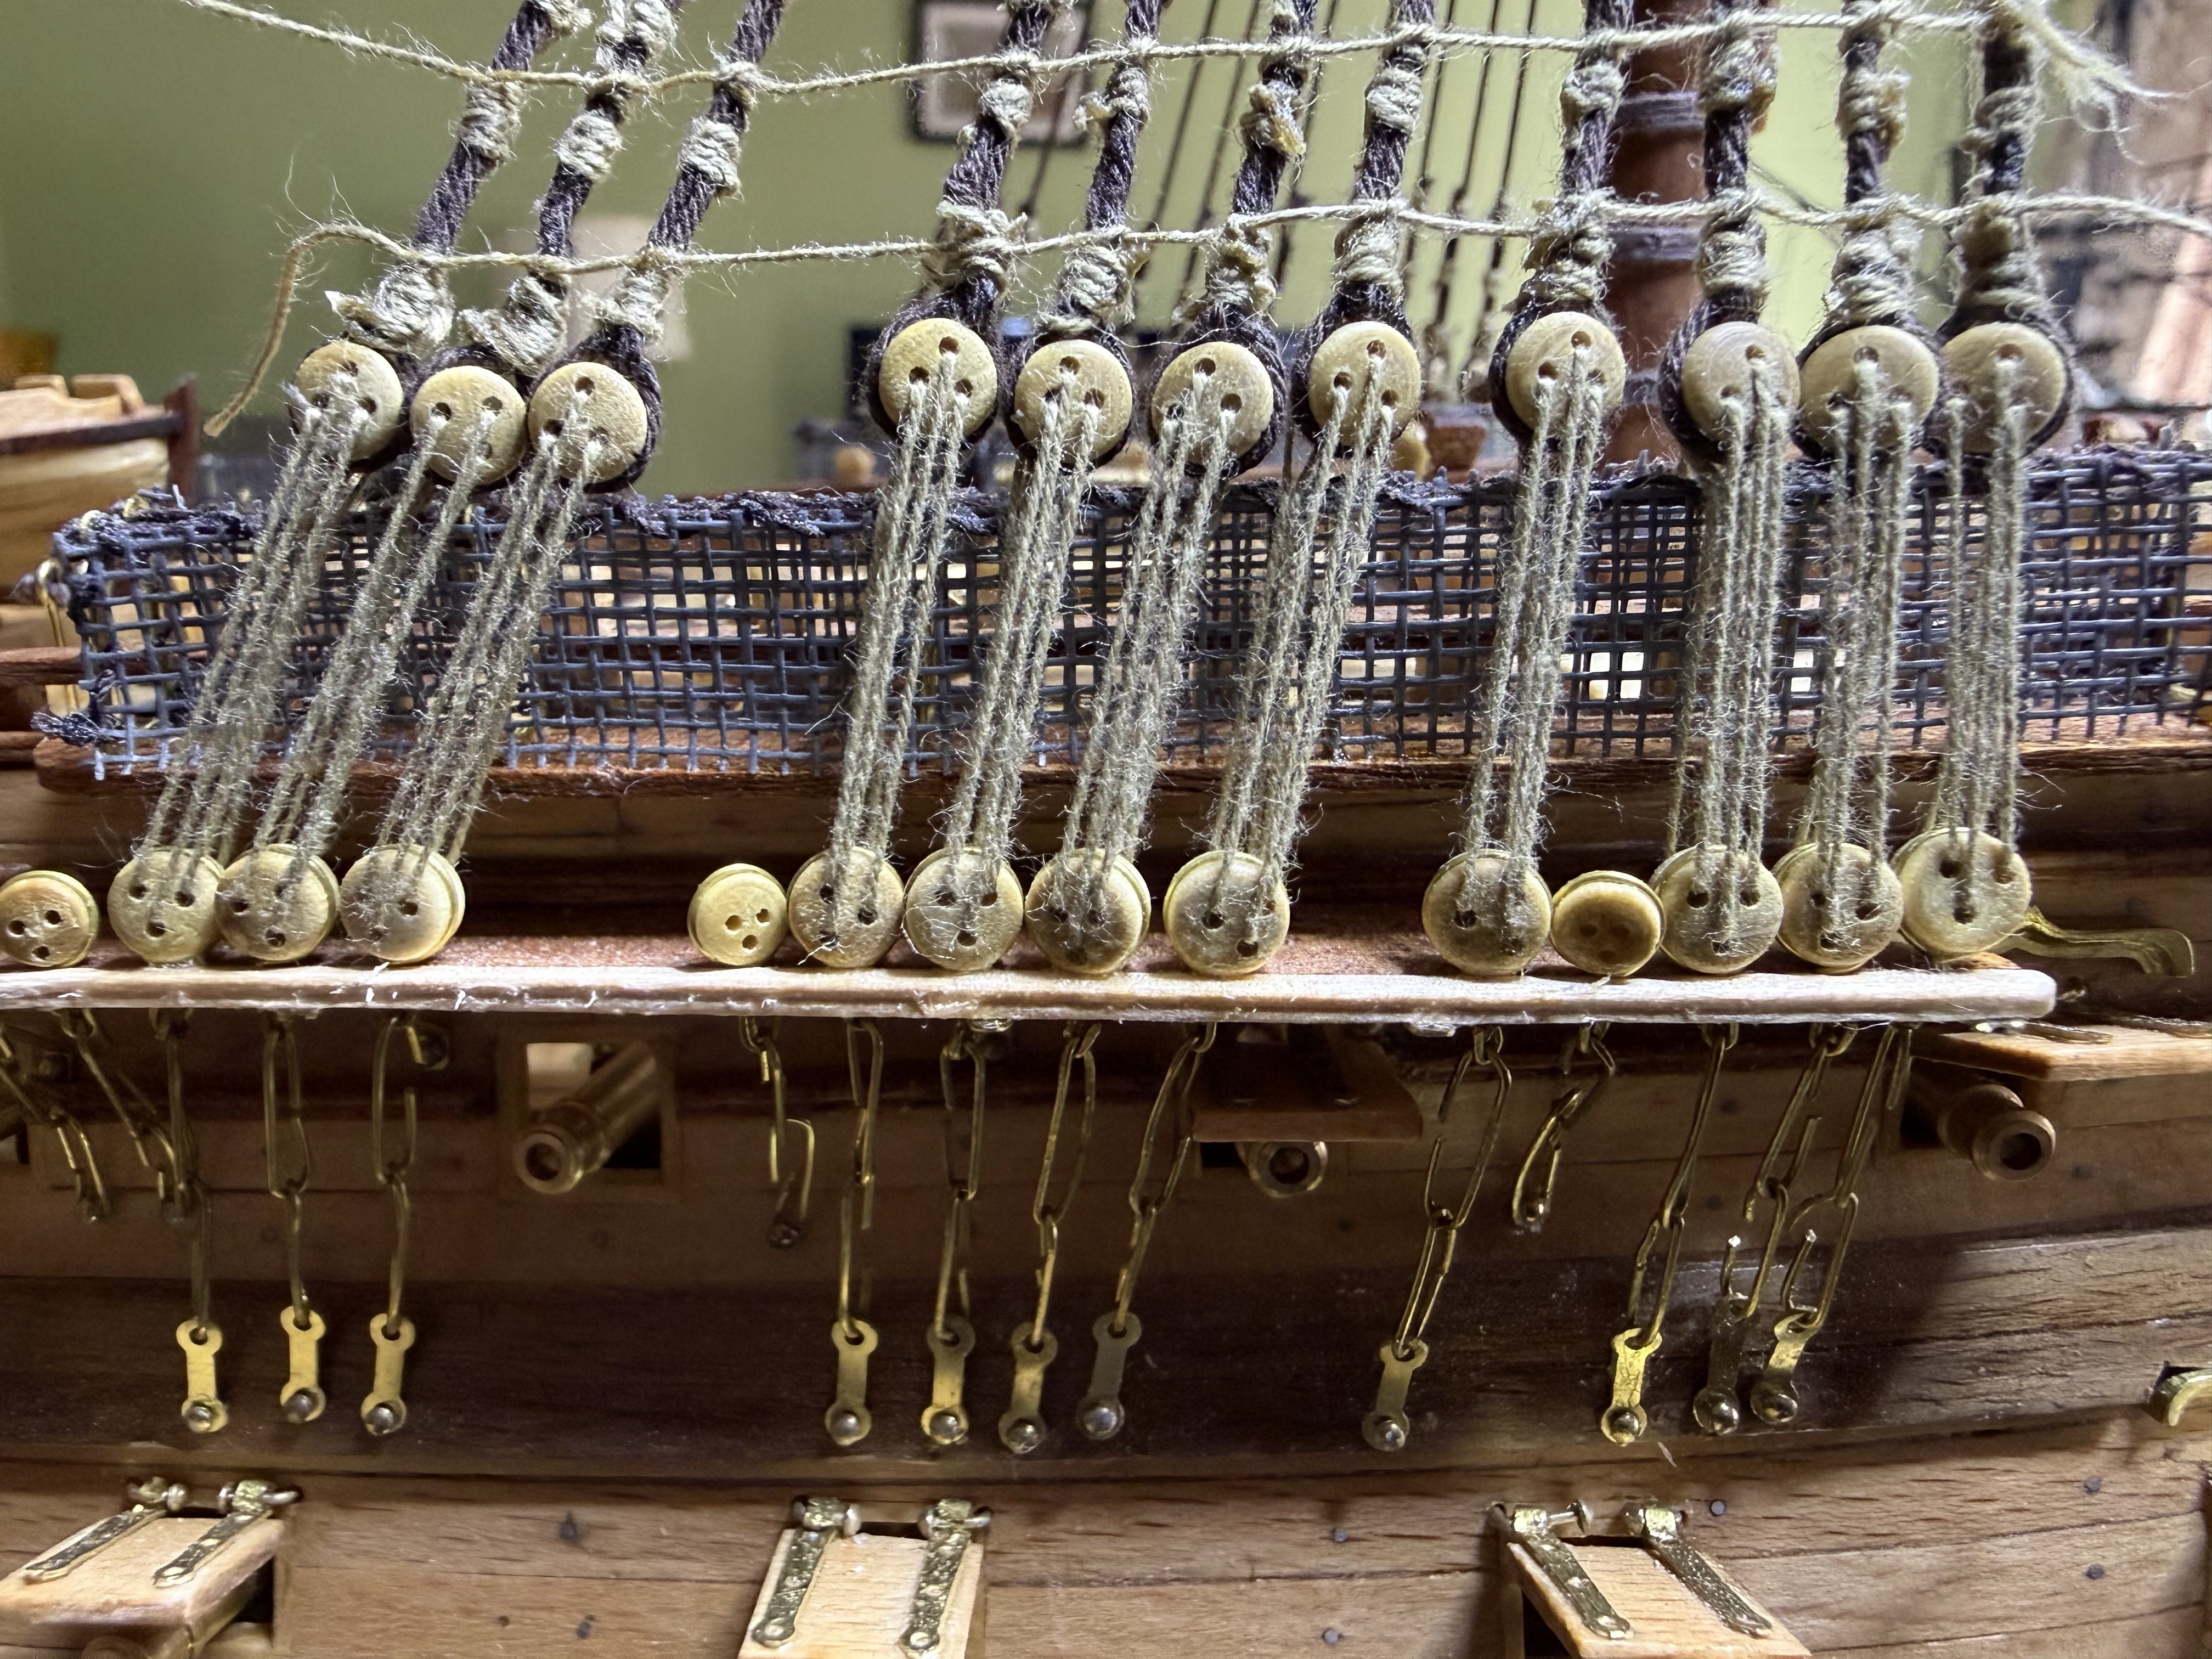
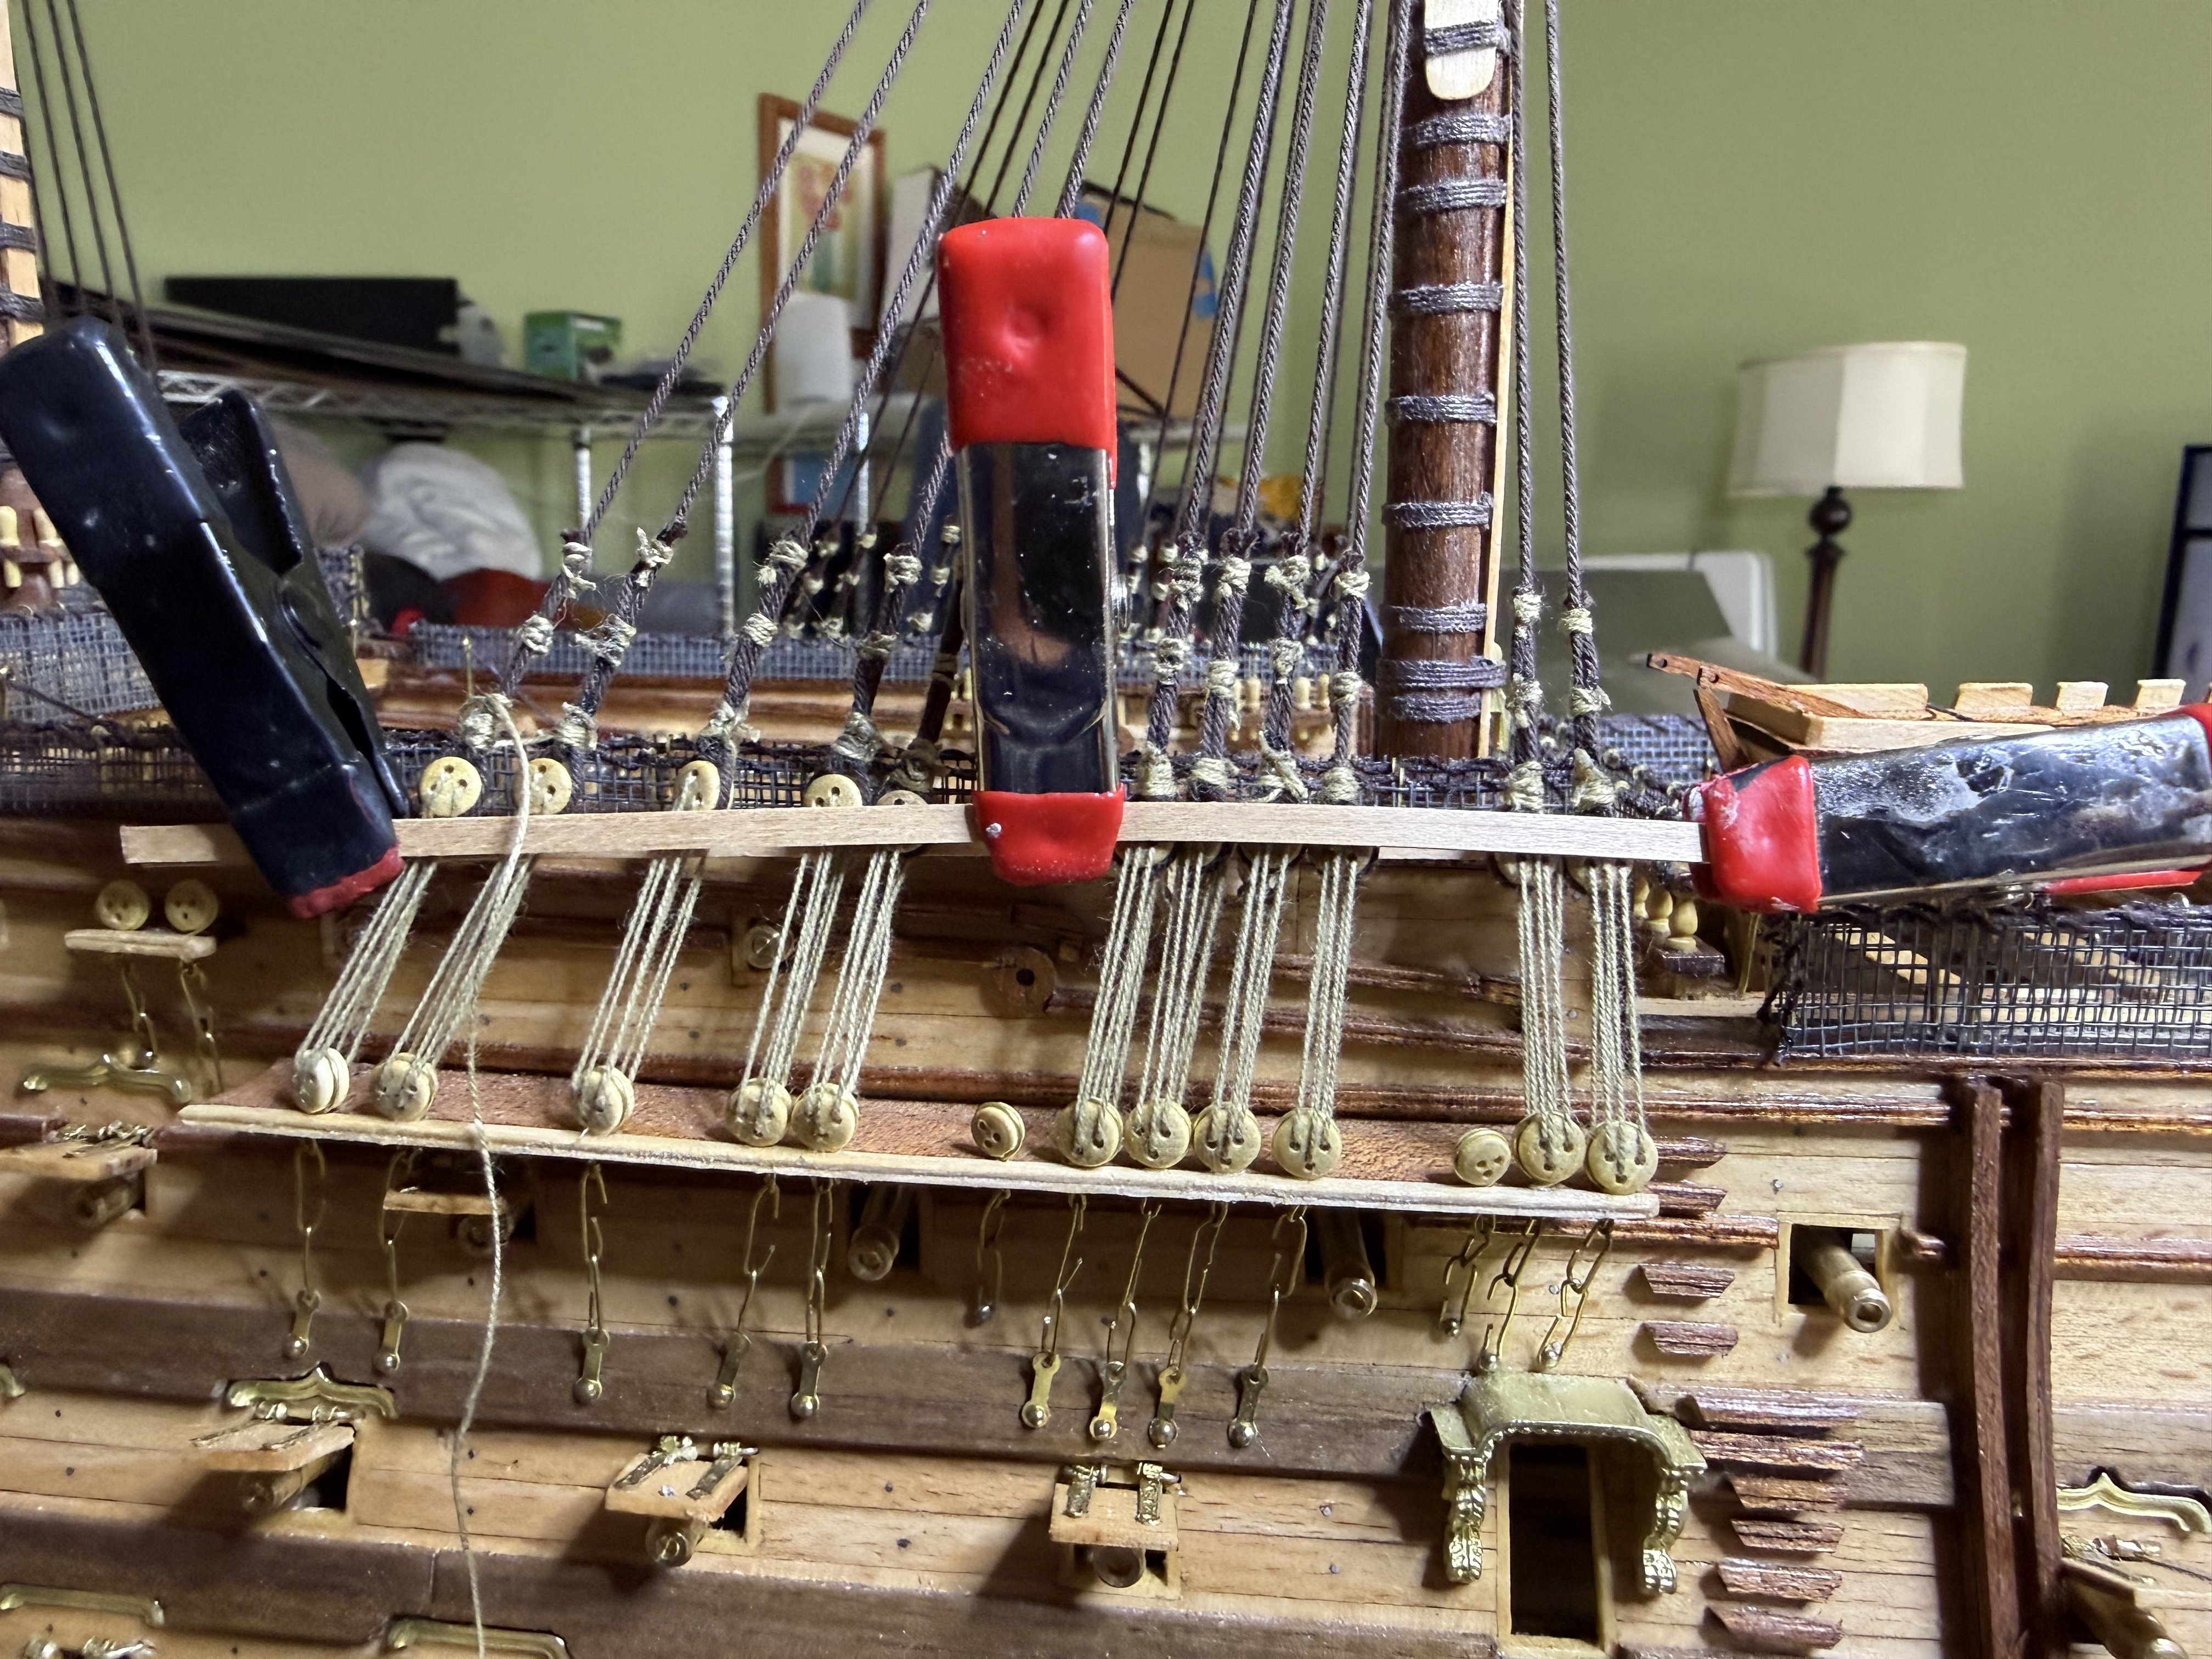
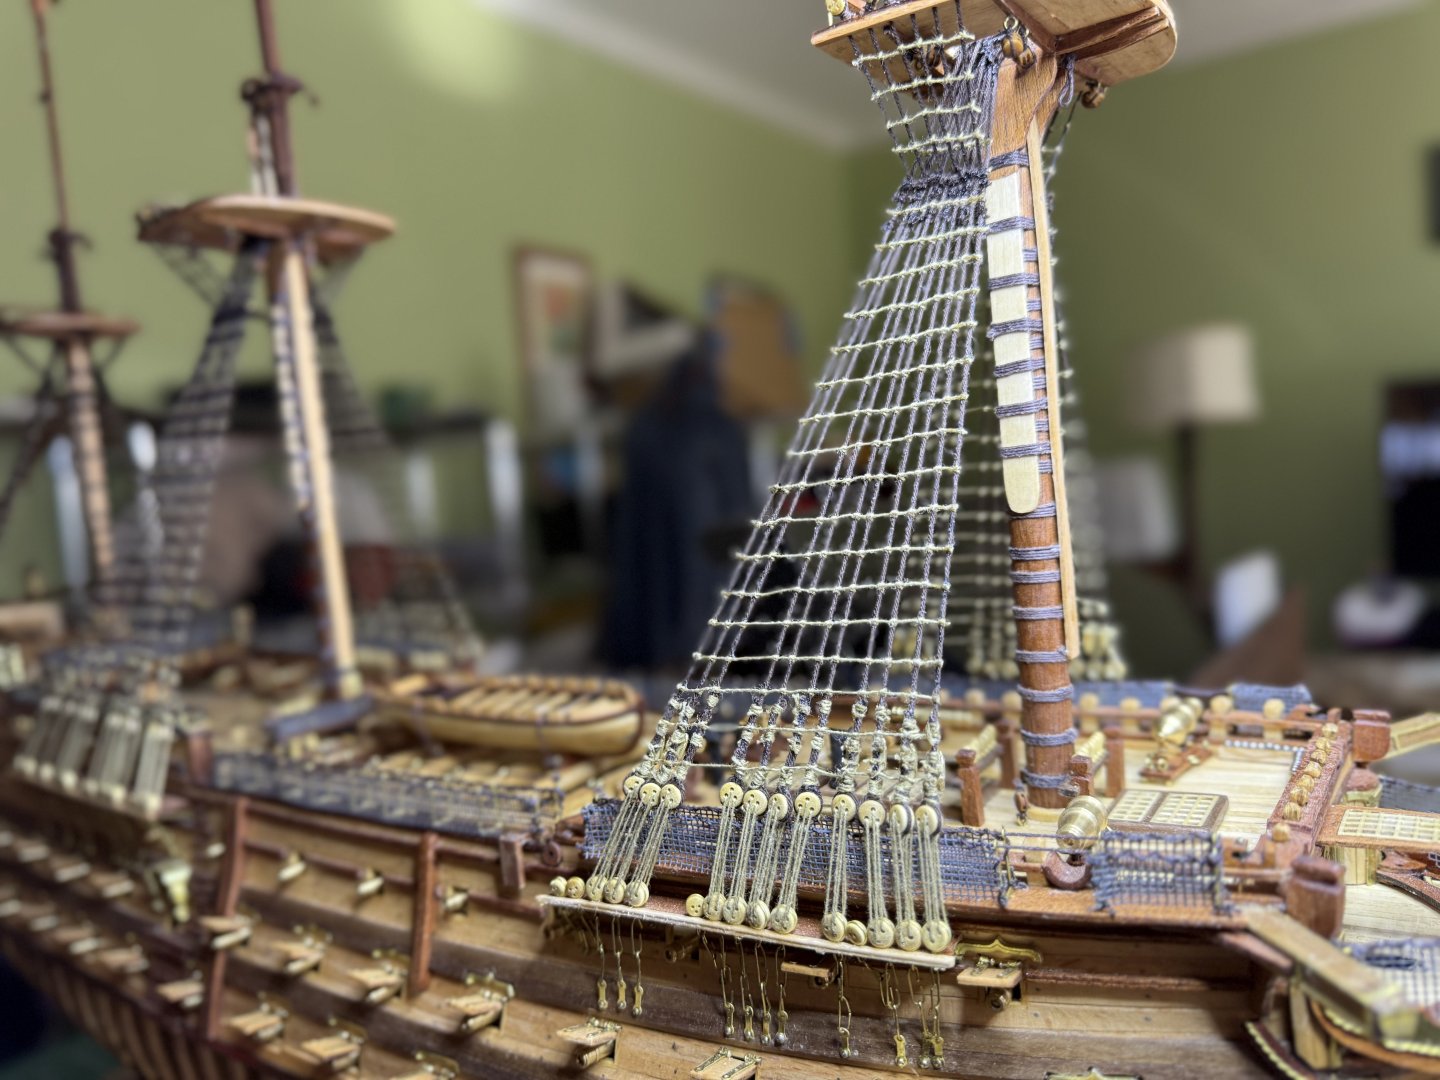
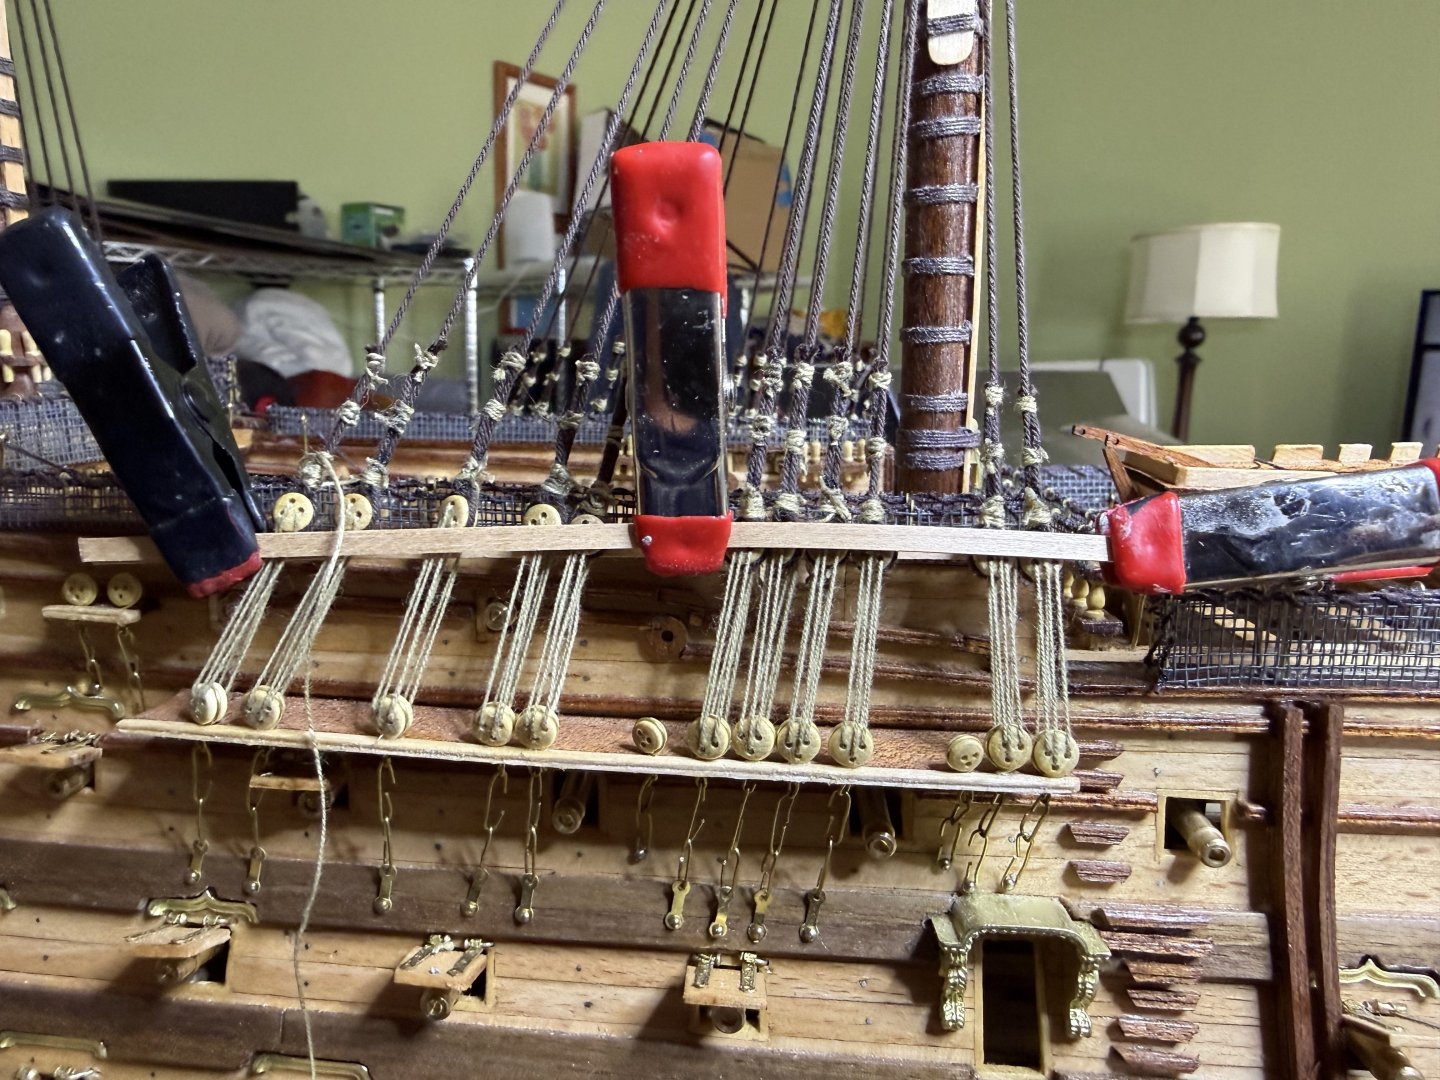
First job with the lower shrouds is to straighten the deadeyes as they tend to twist given how close they are. Next 2 rows of ratlines to lock into place Now to straighten out the upper part of the shrouds by adding the clatharins which also align bring in the back part of the shrouds which tend to flare outward.


-
HMS Victory by ECK - OcCre - 1/87
ECK replied to ECK's topic in - Kit build logs for subjects built from 1751 - 1800
Lower shrouds done. Occre need to switch to a better way to attach the lower deadeyes like Vanguard several other manufacturers. The instruction do not mention or show the clatharpins. Only shows the upper deadeyes attached to a ratline. I will add the appropriate clatharpins.
-
Part of the satisfaction is fixing mistakes so things still look good.
-
HMS Victory by ECK - OcCre - 1/87
ECK replied to ECK's topic in - Kit build logs for subjects built from 1751 - 1800
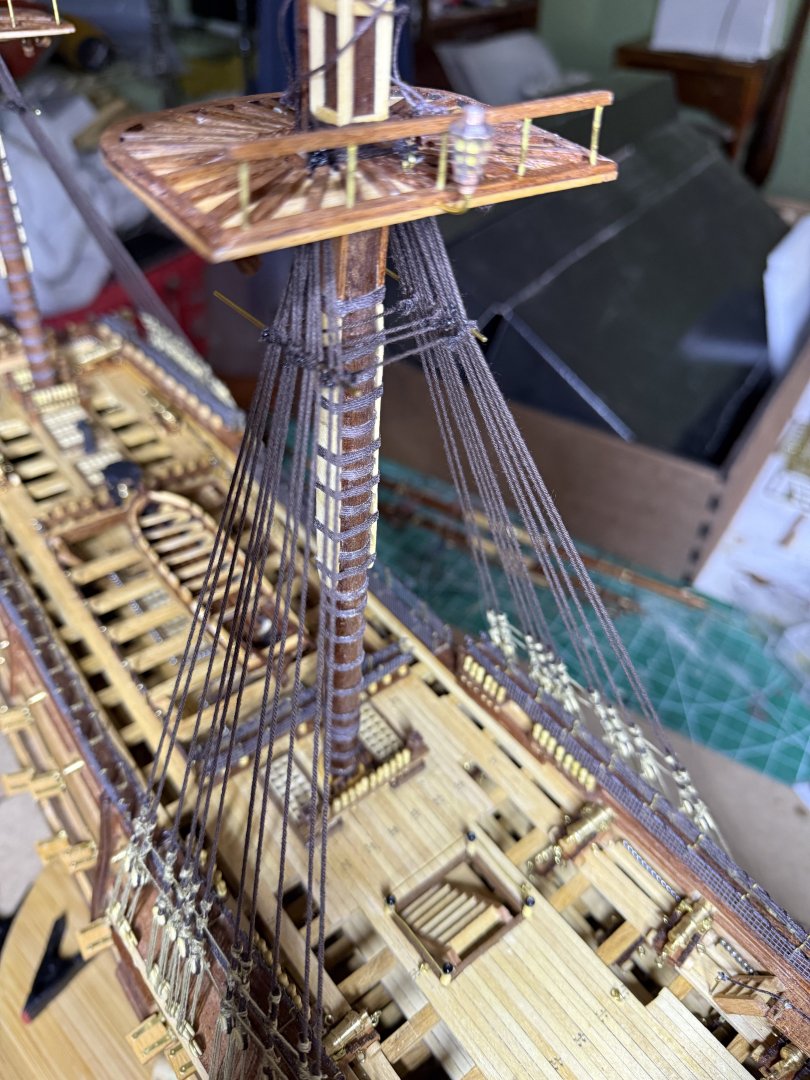
82 cm or 32 1/4 inches keel to main top -
HMS Victory by ECK - OcCre - 1/87
ECK replied to ECK's topic in - Kit build logs for subjects built from 1751 - 1800
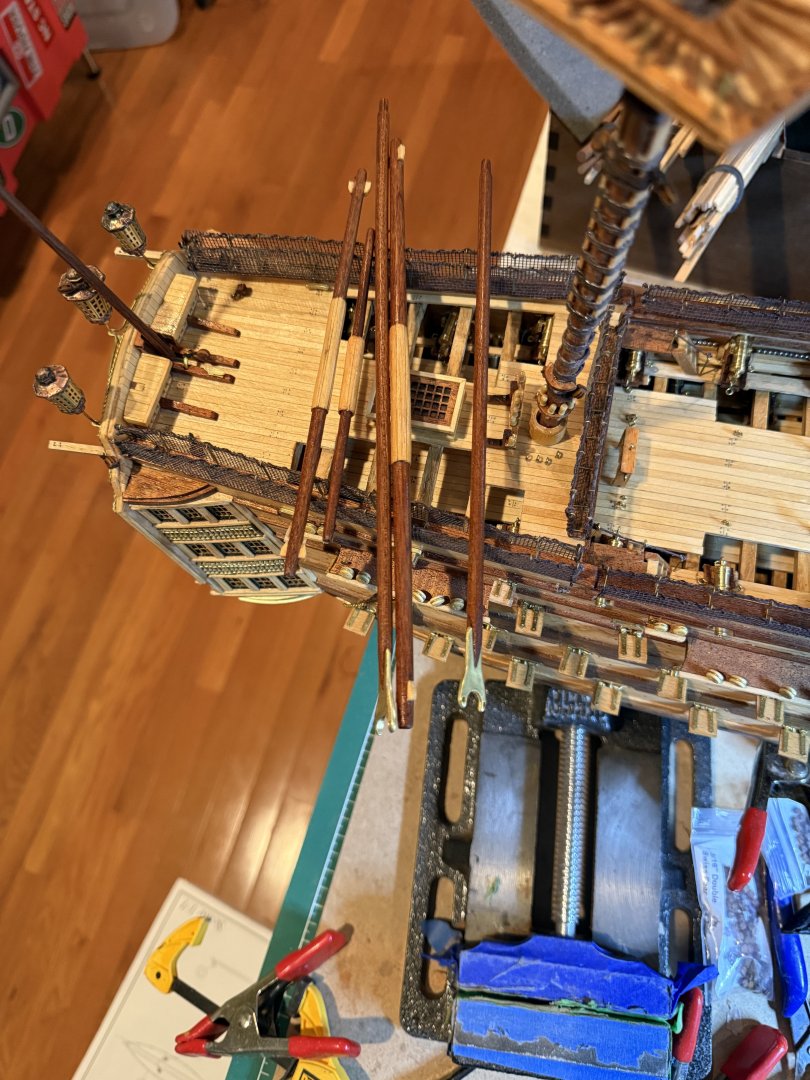
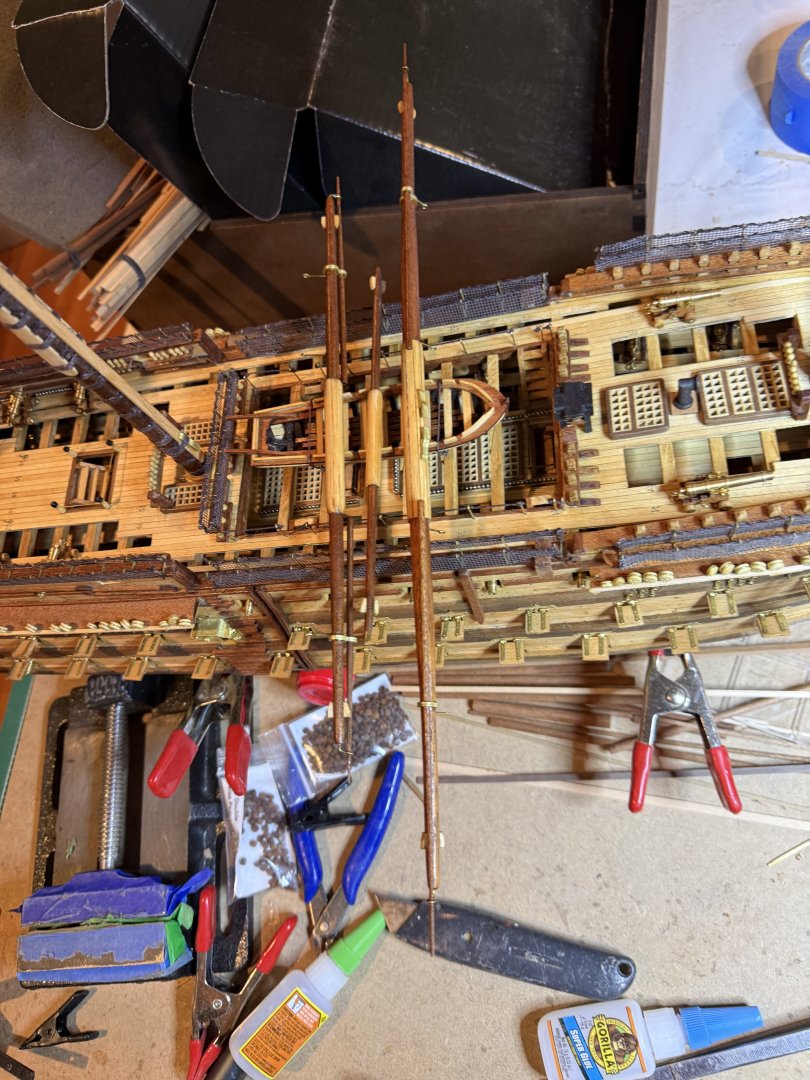
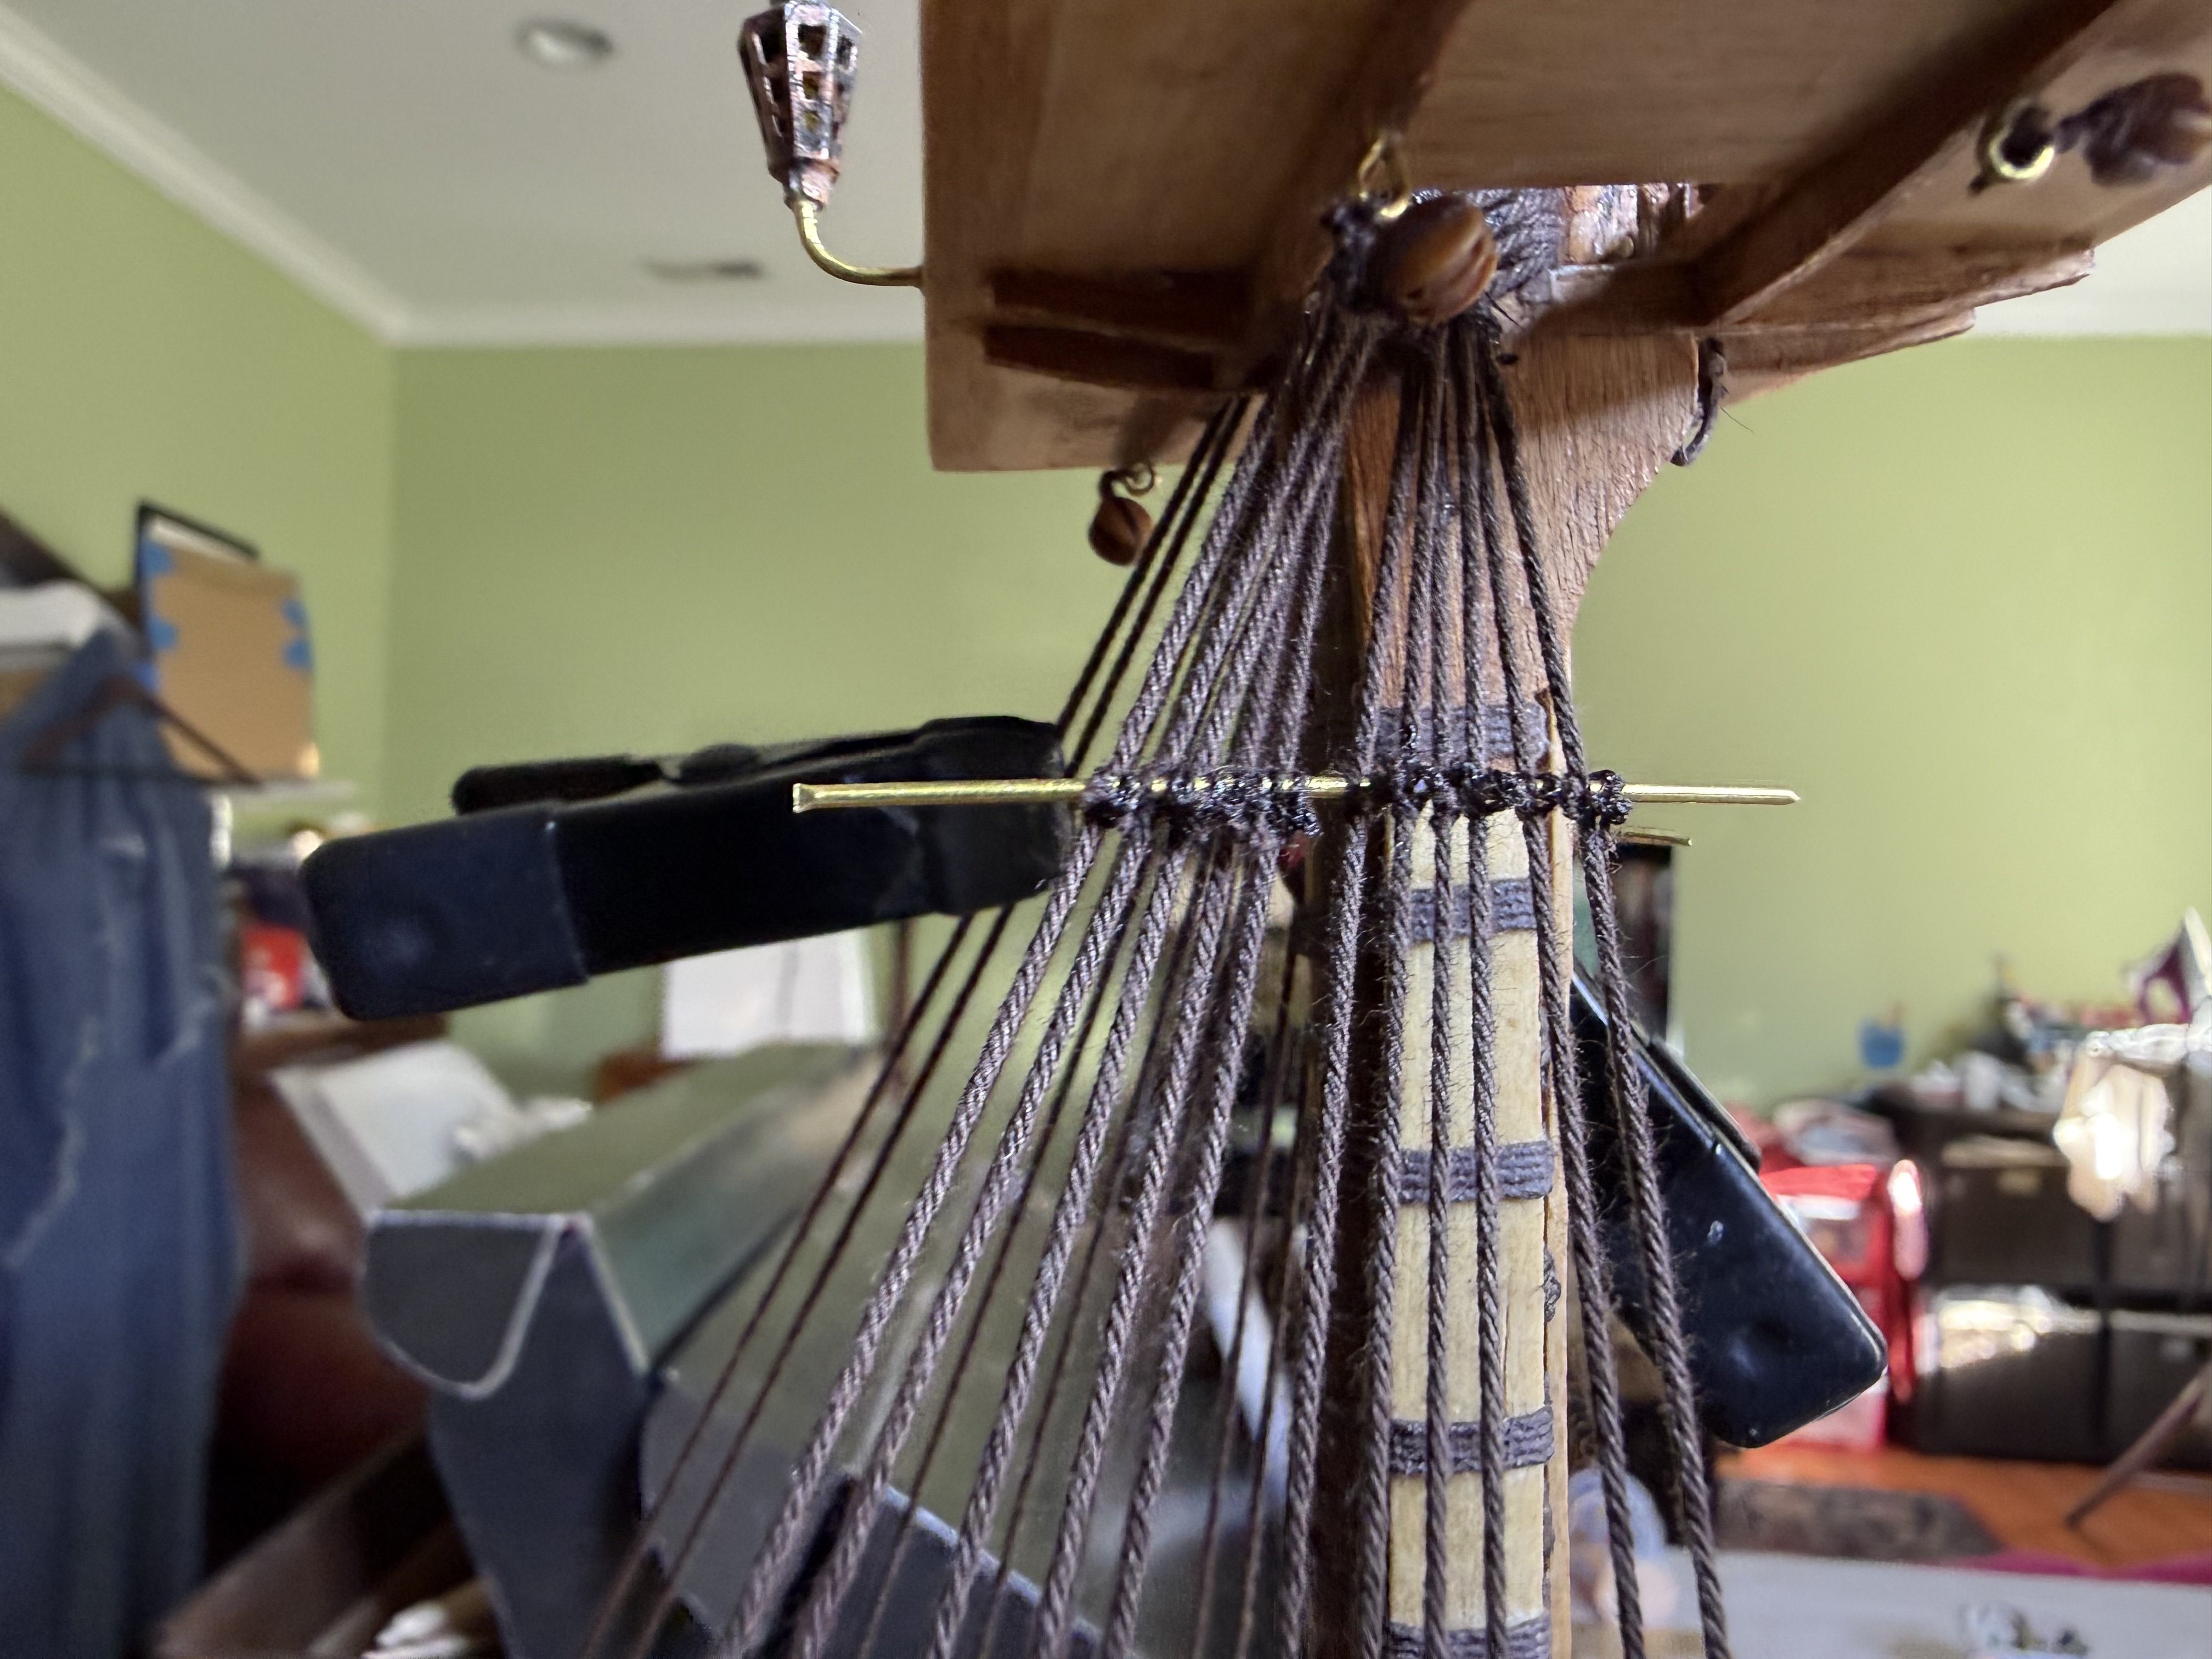
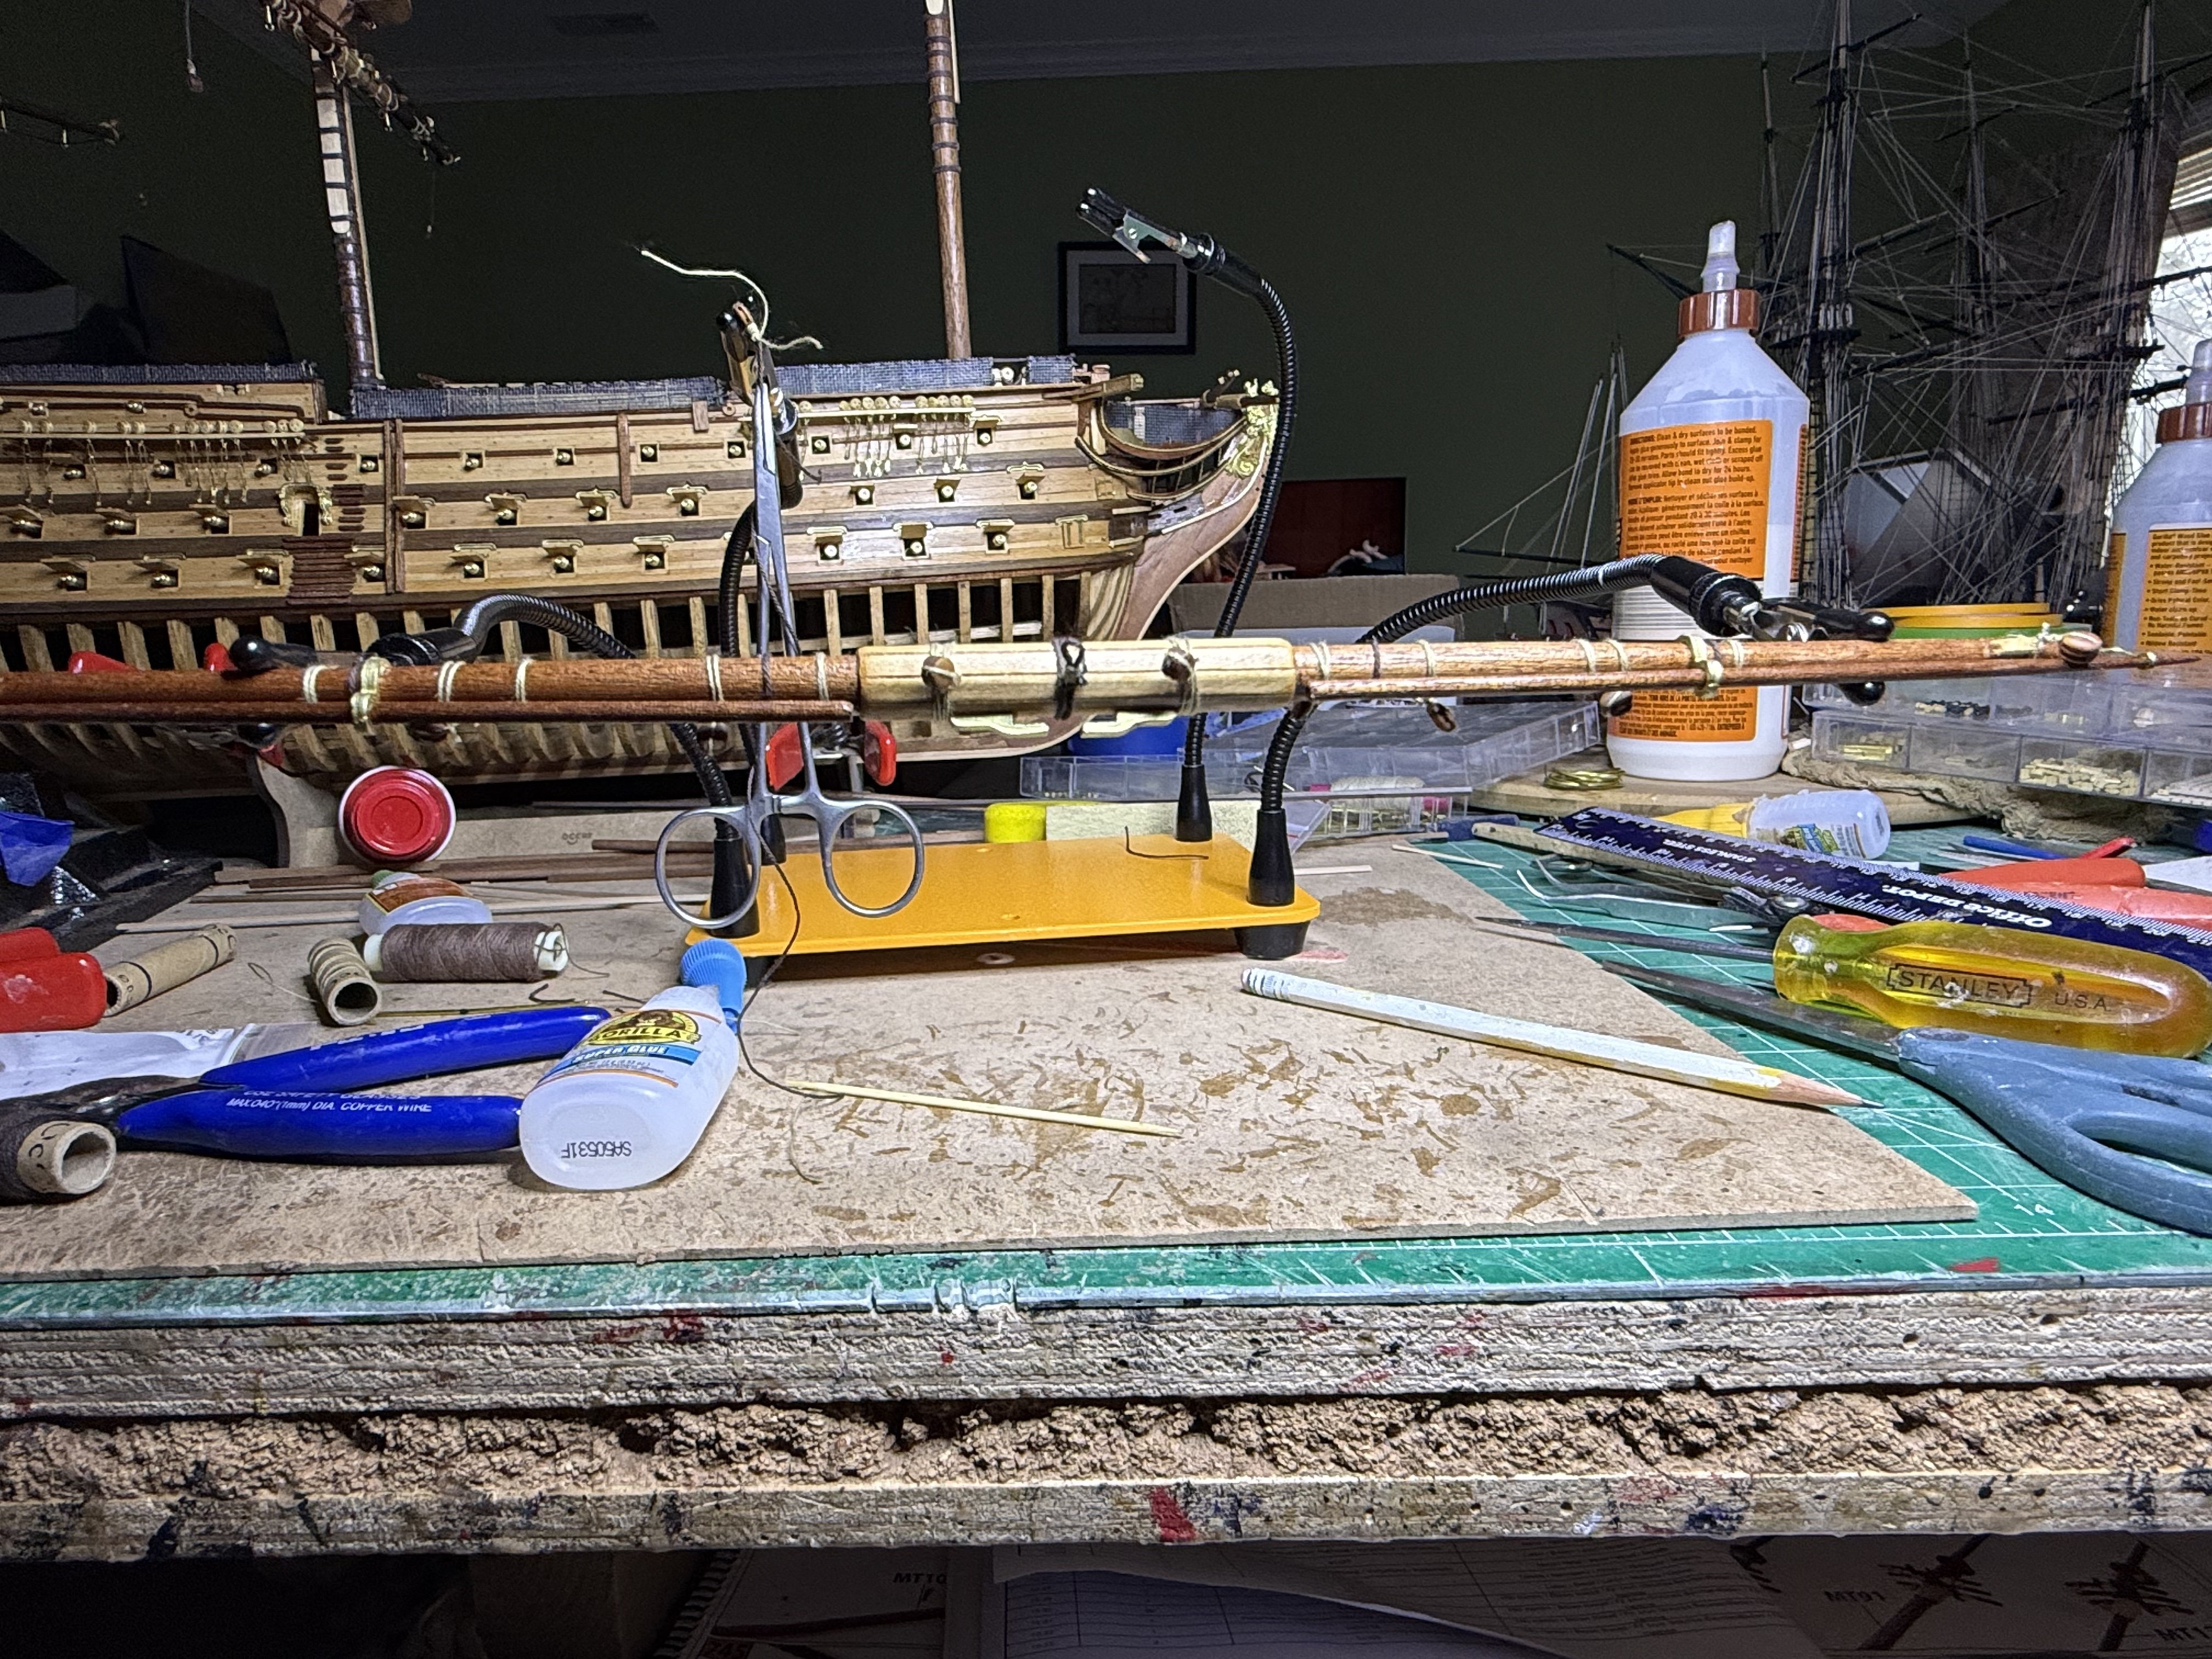
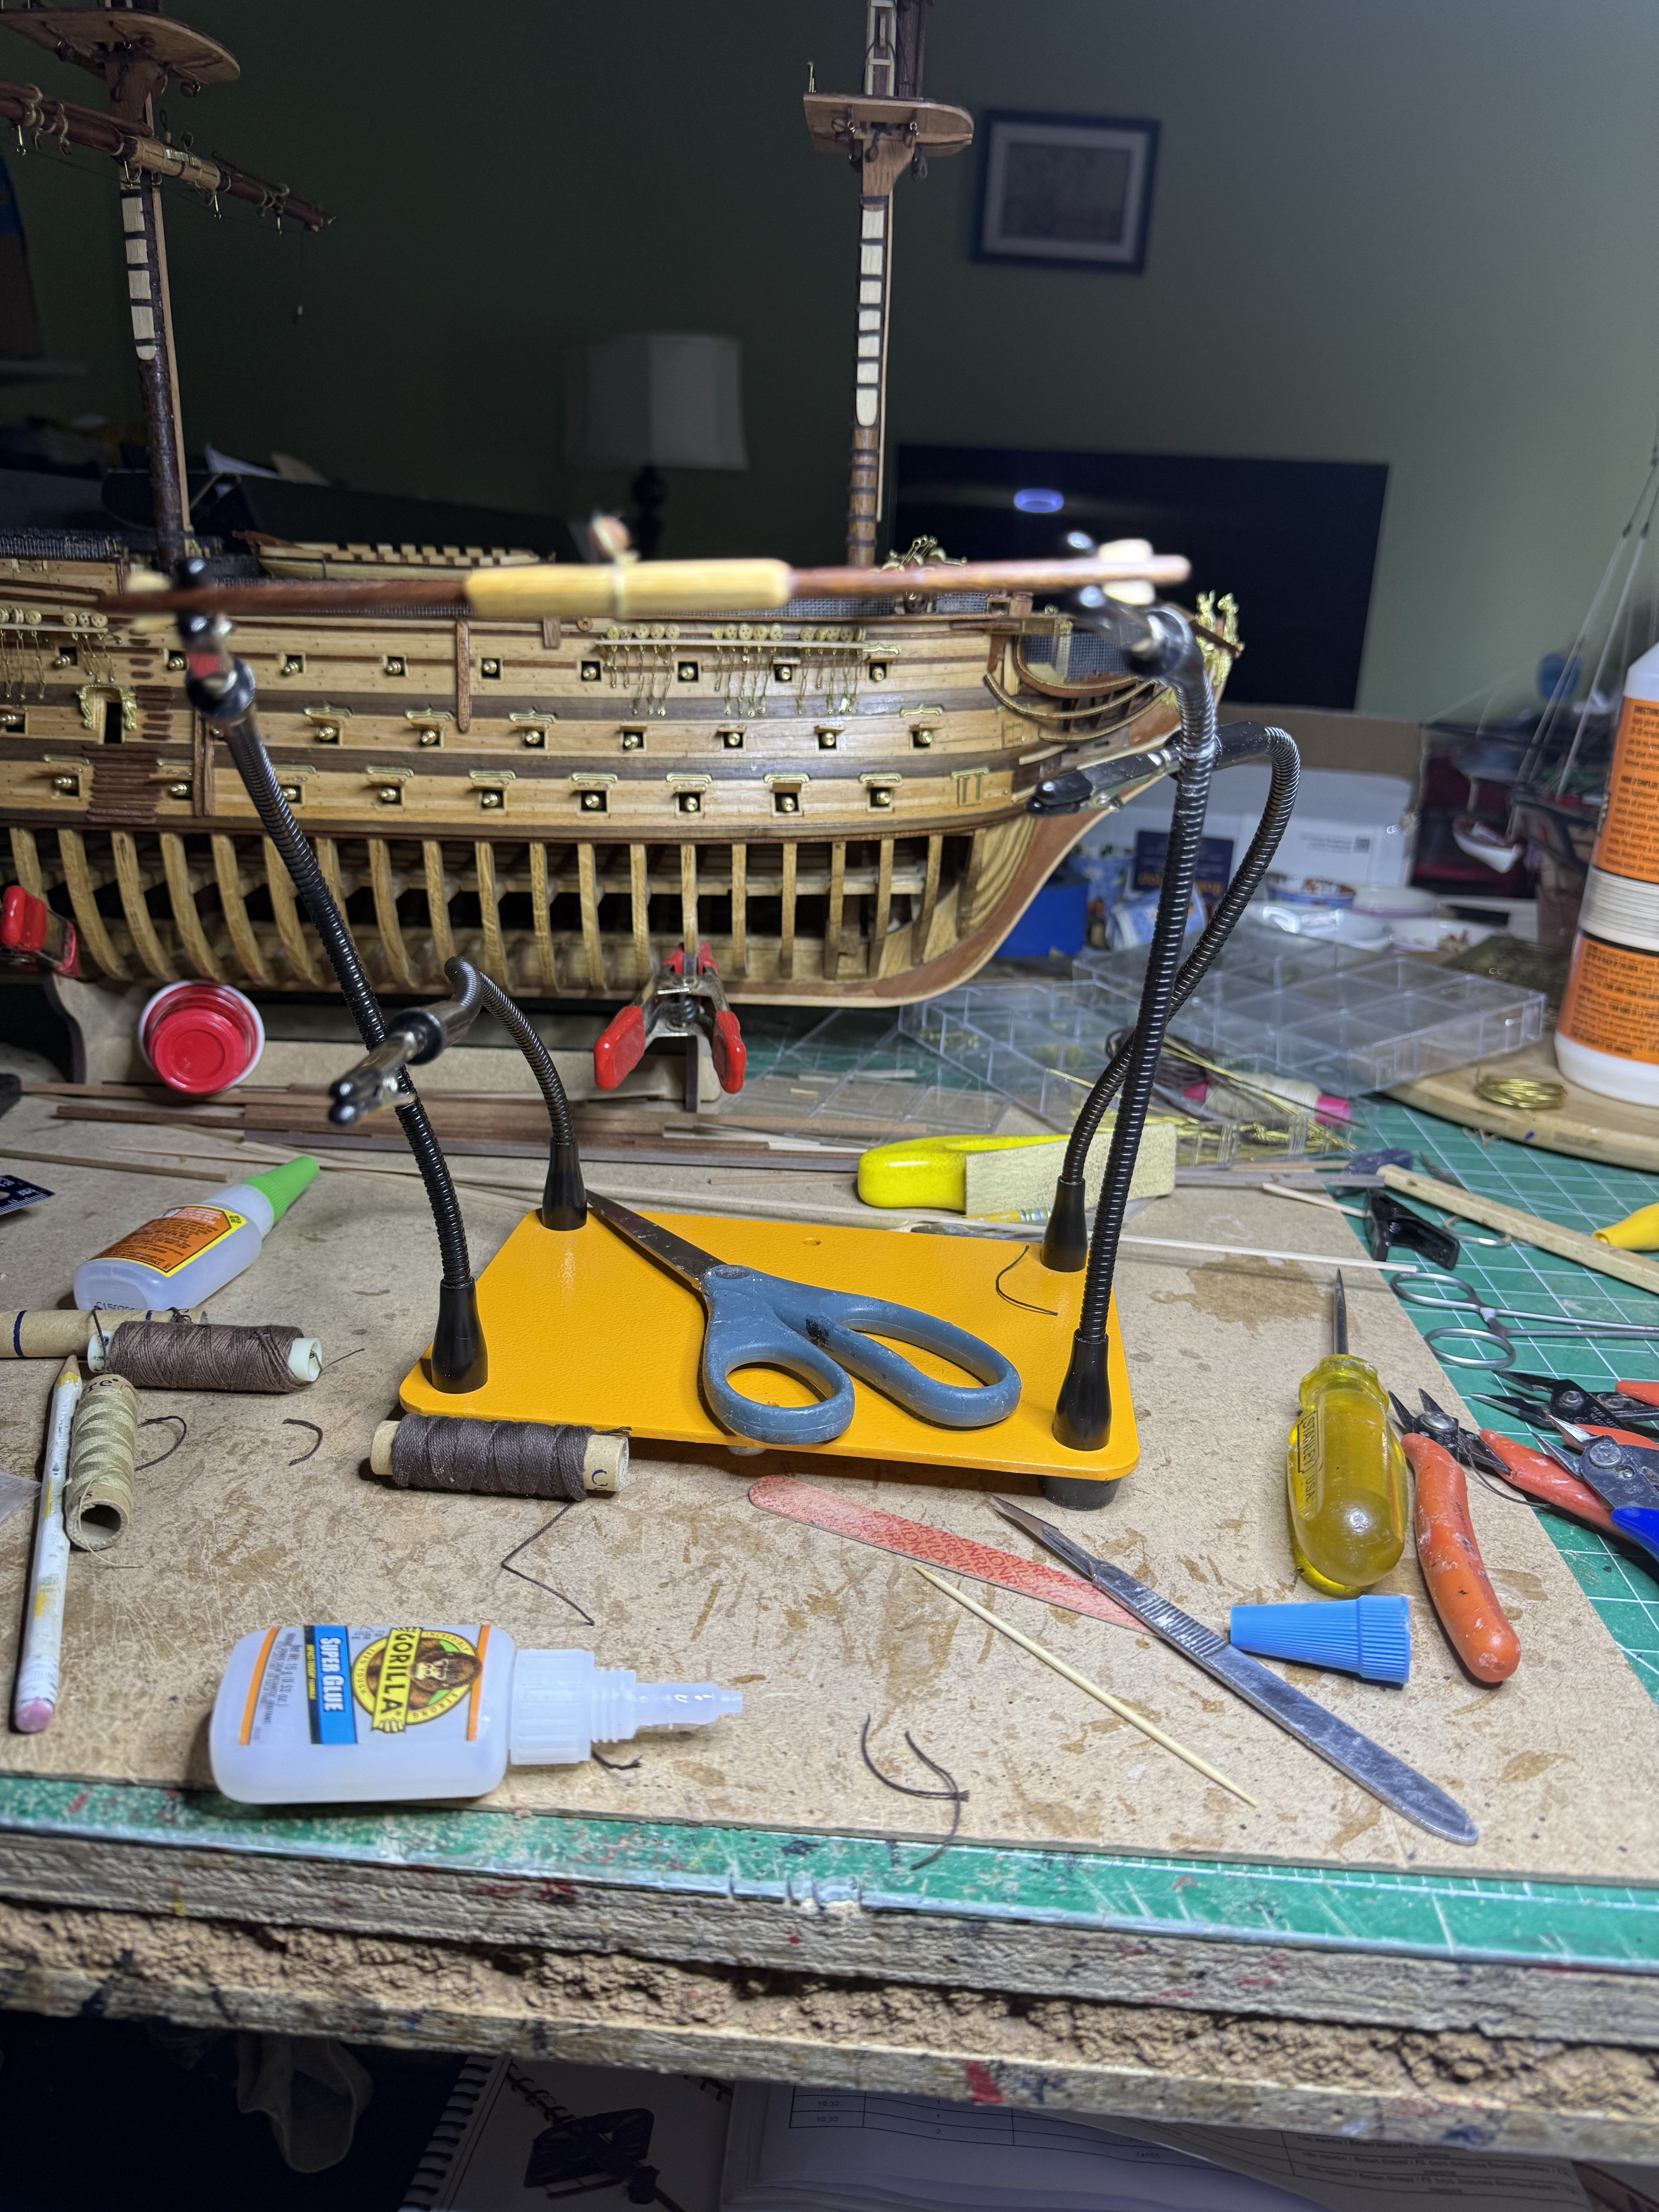
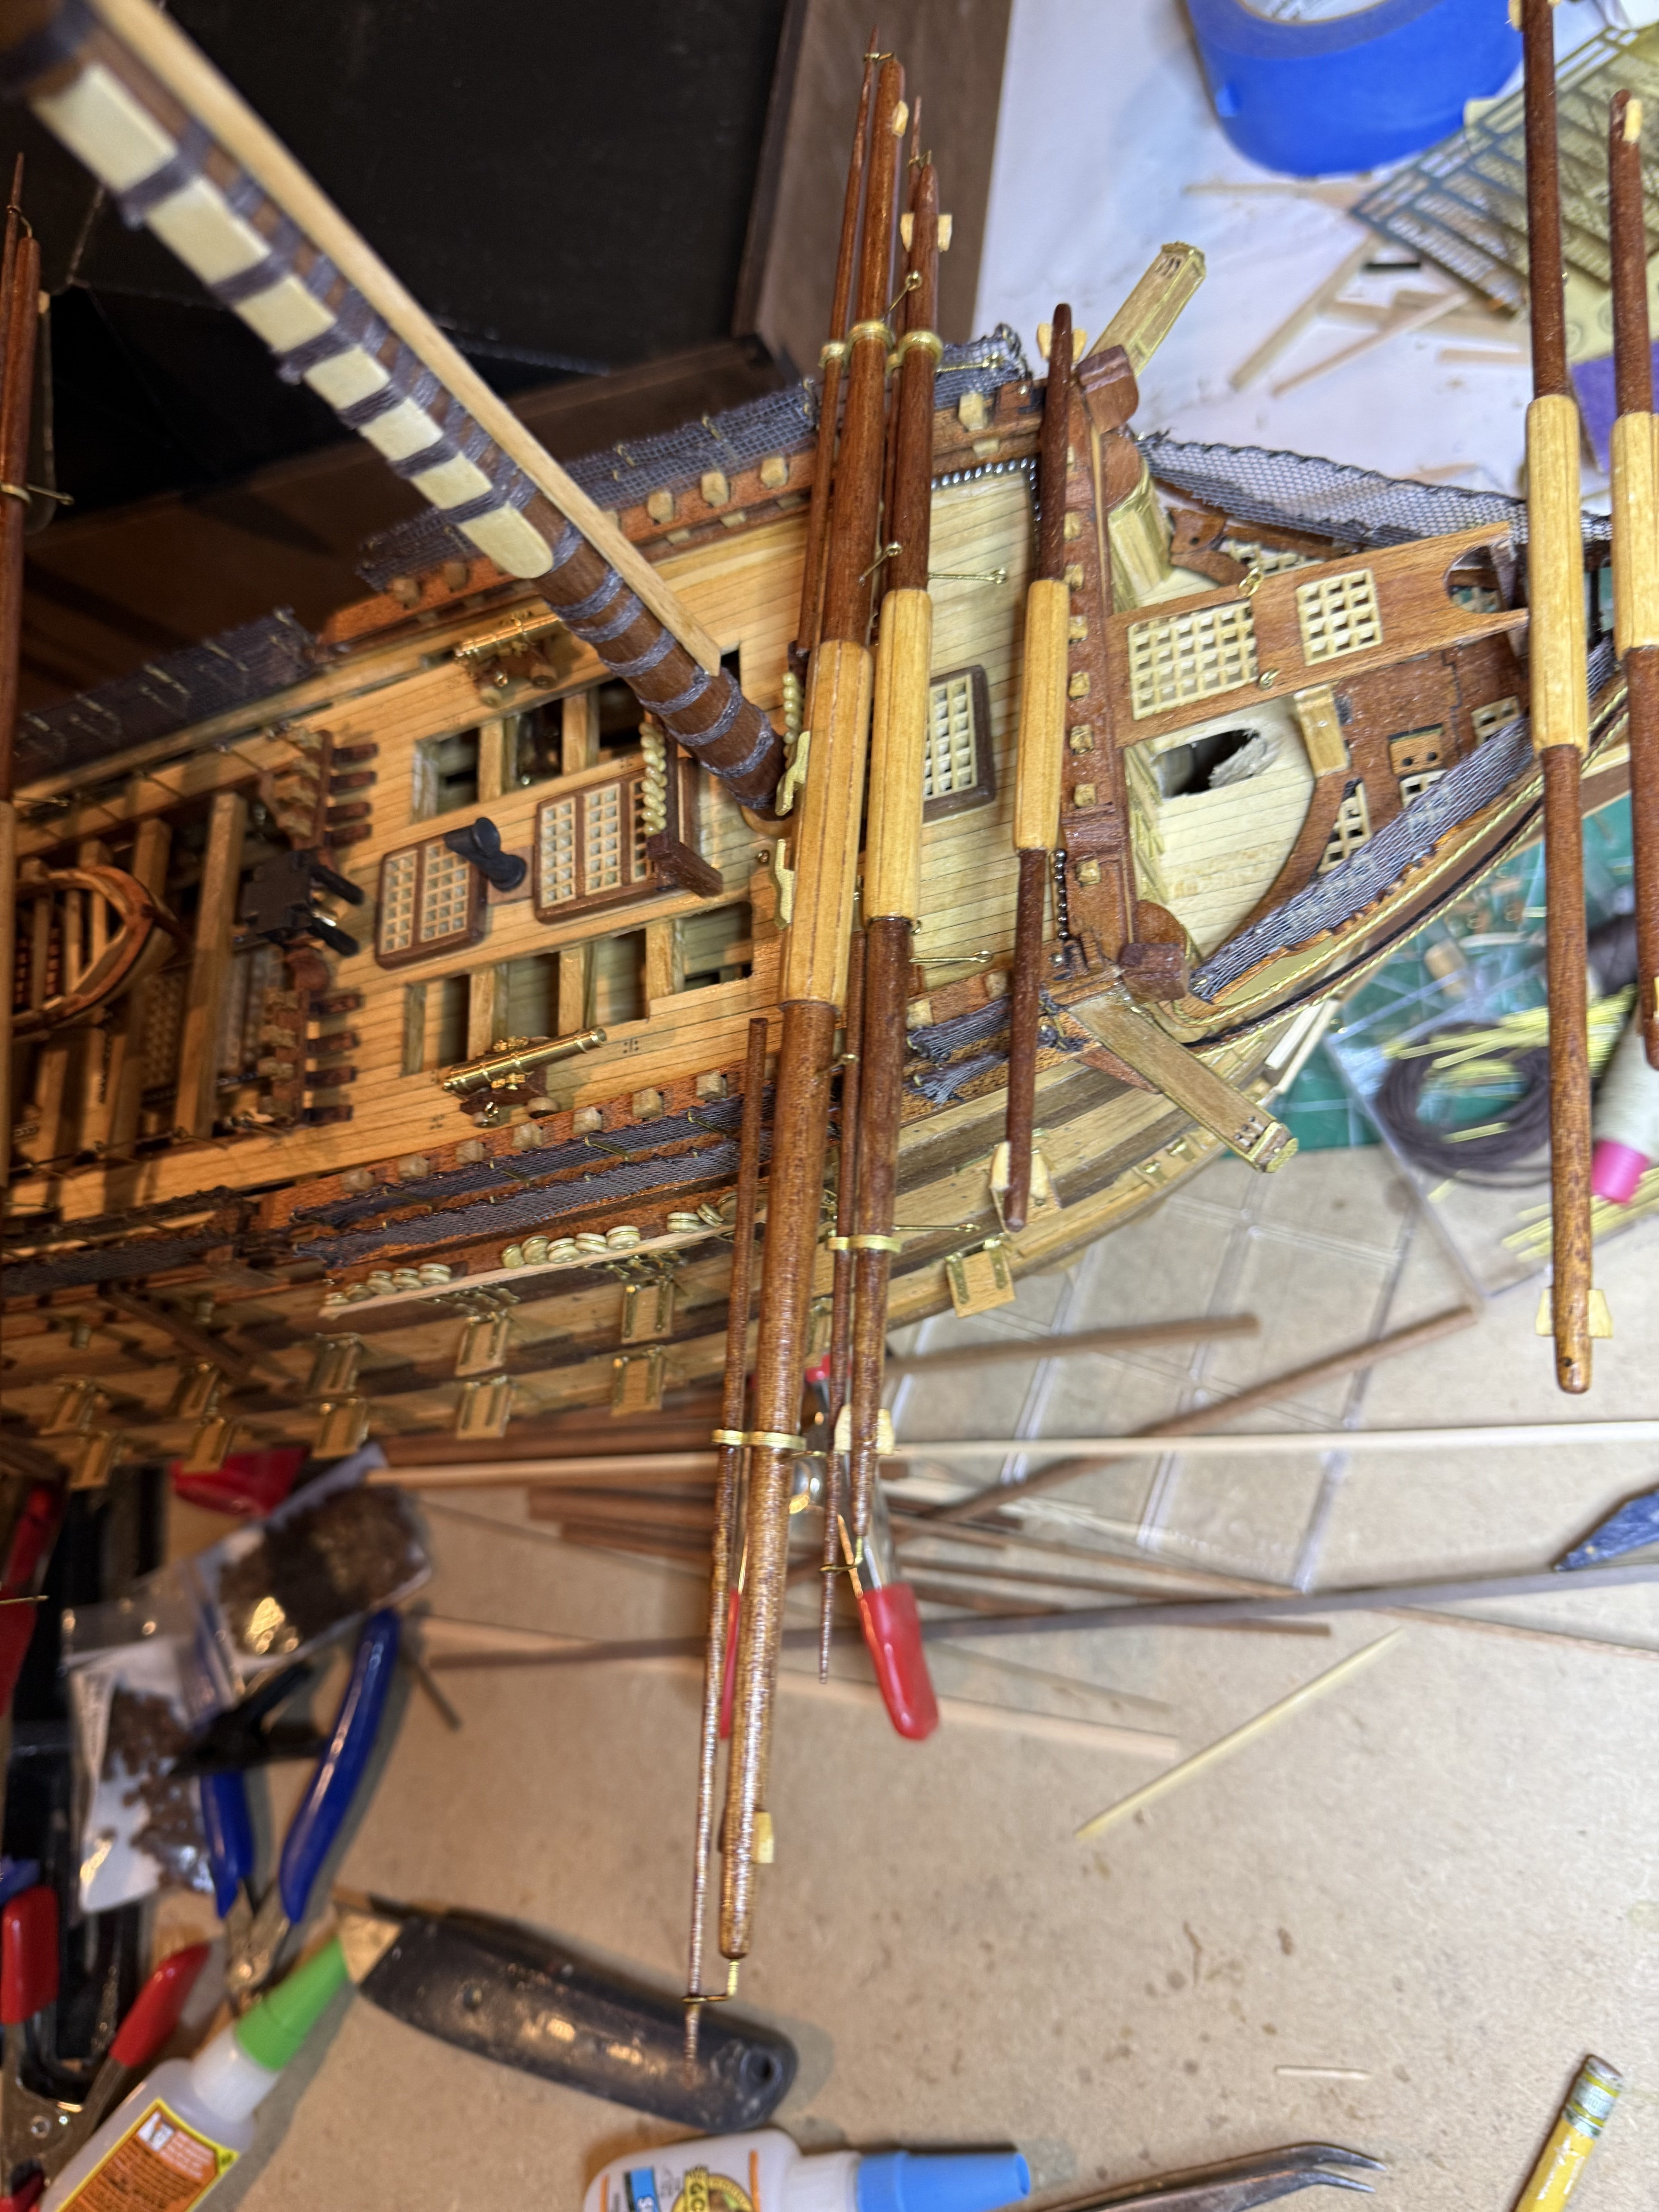
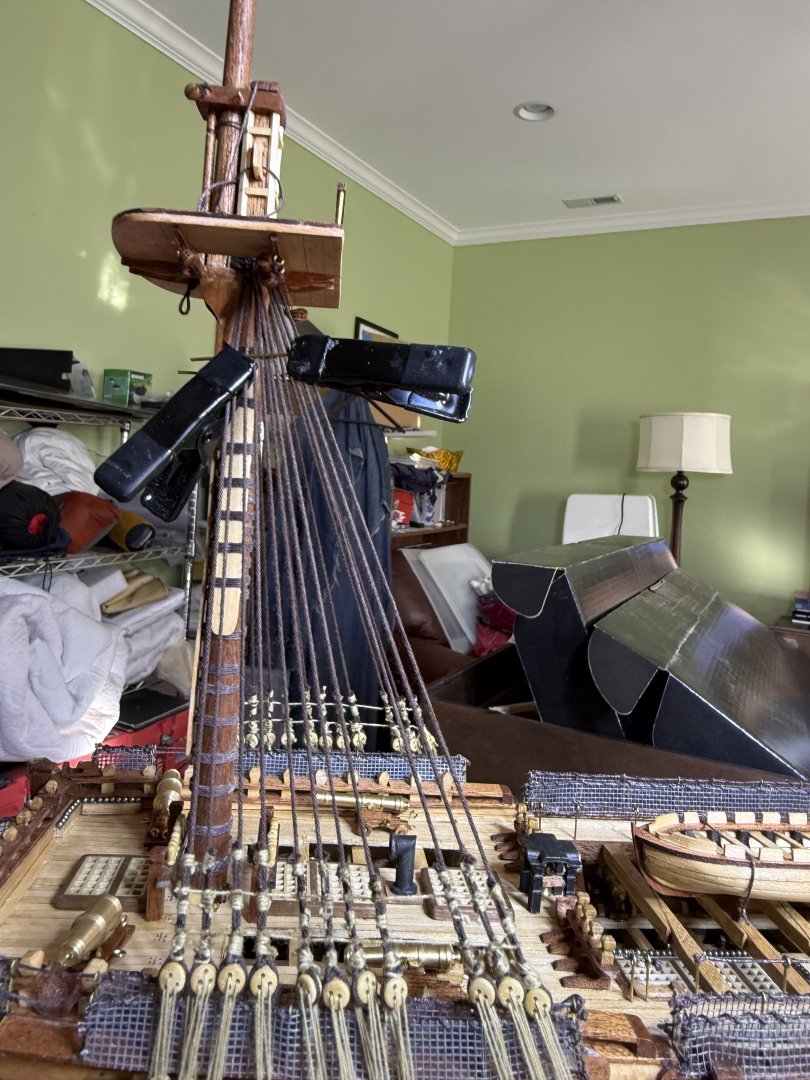
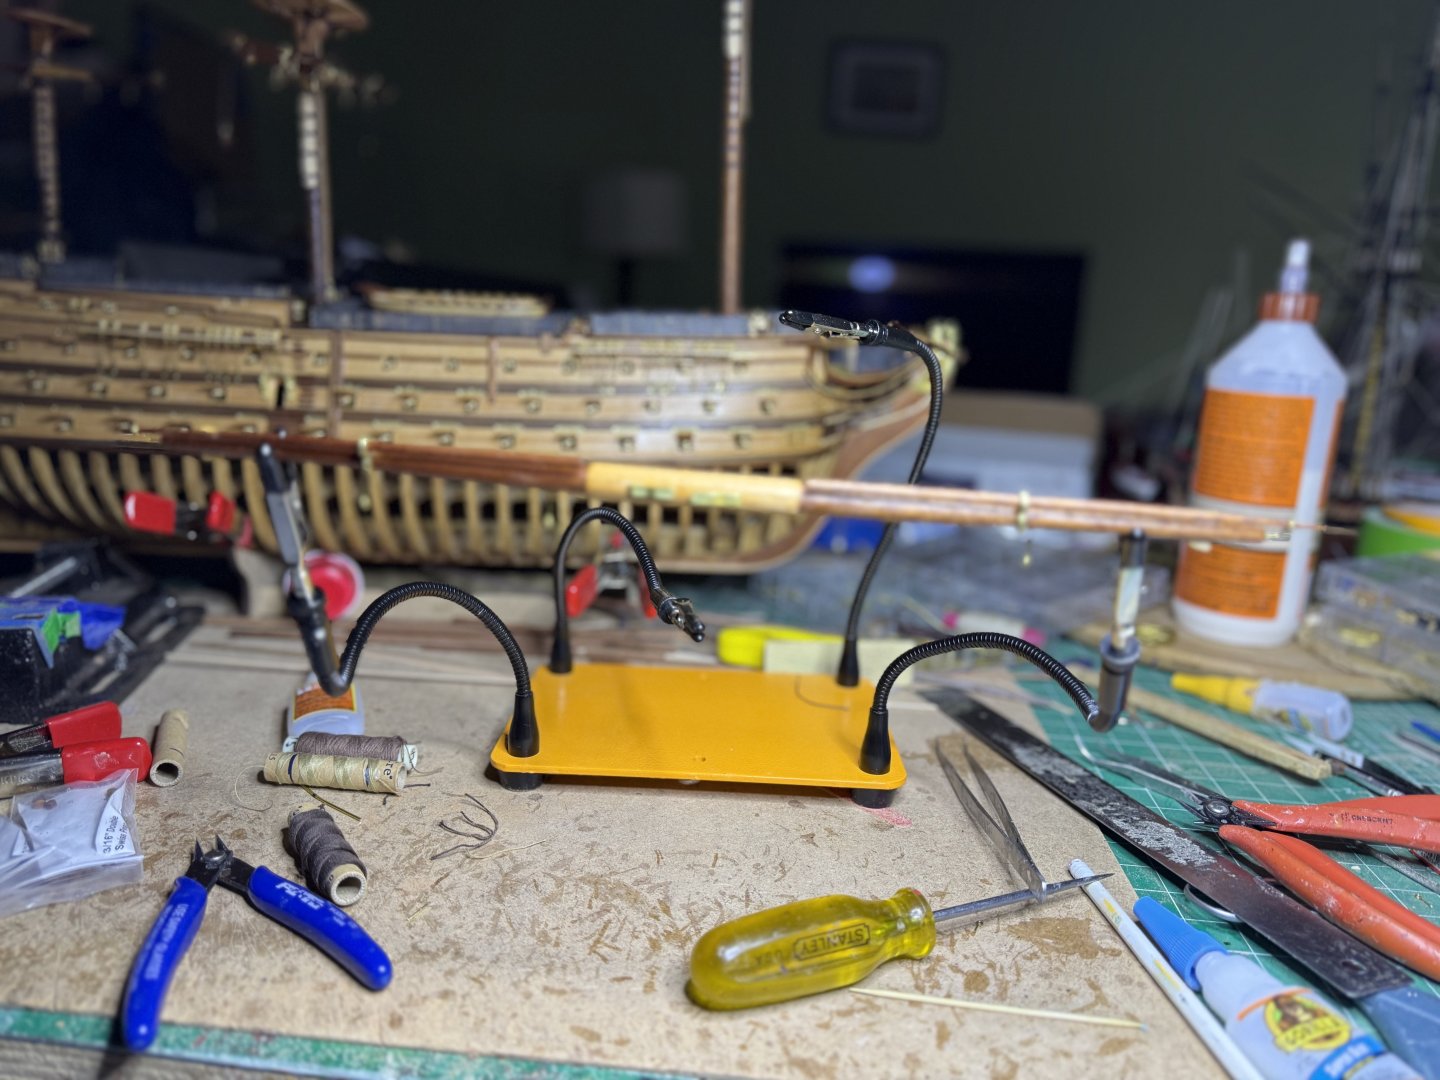
Spent the week rigging all the various blocks to the yards. Finally got to use my new gadget, a quad hands,making the whole process easier Here with yard in place Also used third clamp to hold blocks for tying Sorry for the focus. Finally pinned the yards temporarily in place. Usually at this point I like to attach the yards then do the shrouds but as this model will have sails, I will do the shrouds first as it is easier to bend the sails onto the yards with the yards off the mast and the sails would get in the way of setting up the shrouds.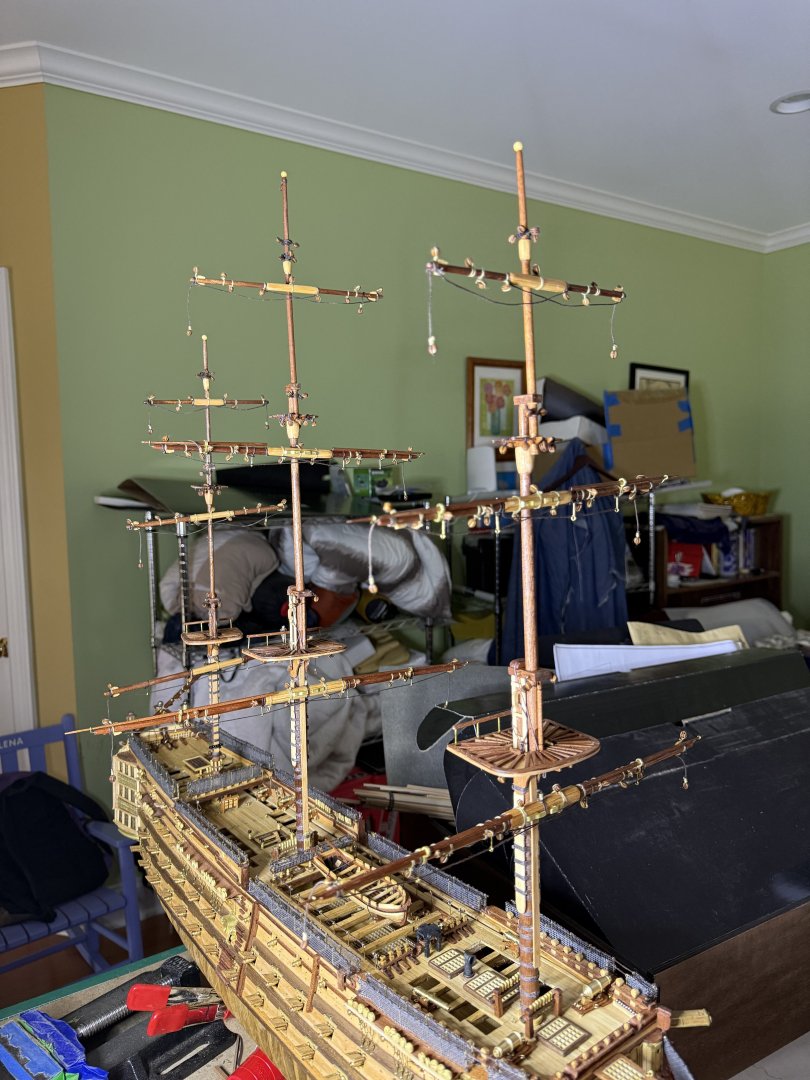


-
HMS Victory by ECK - OcCre - 1/87
ECK replied to ECK's topic in - Kit build logs for subjects built from 1751 - 1800
For the weeks work, Masts rigged, example below Yards all made , sealed and poly'd. Next will be putting all the blocks on. In this model there are only 2 kinds of blocks 4mm single and 4 mm double. i opted to buy realistic ones from Syren as once I got used to using them on my Vanguard builds I just could not go back to the cheap single holed ones as the ships look much better in the end.