ECK
-
Posts
640 -
Joined
-
Last visited
Content Type
Profiles
Forums
Gallery
Events
Everything posted by ECK
-
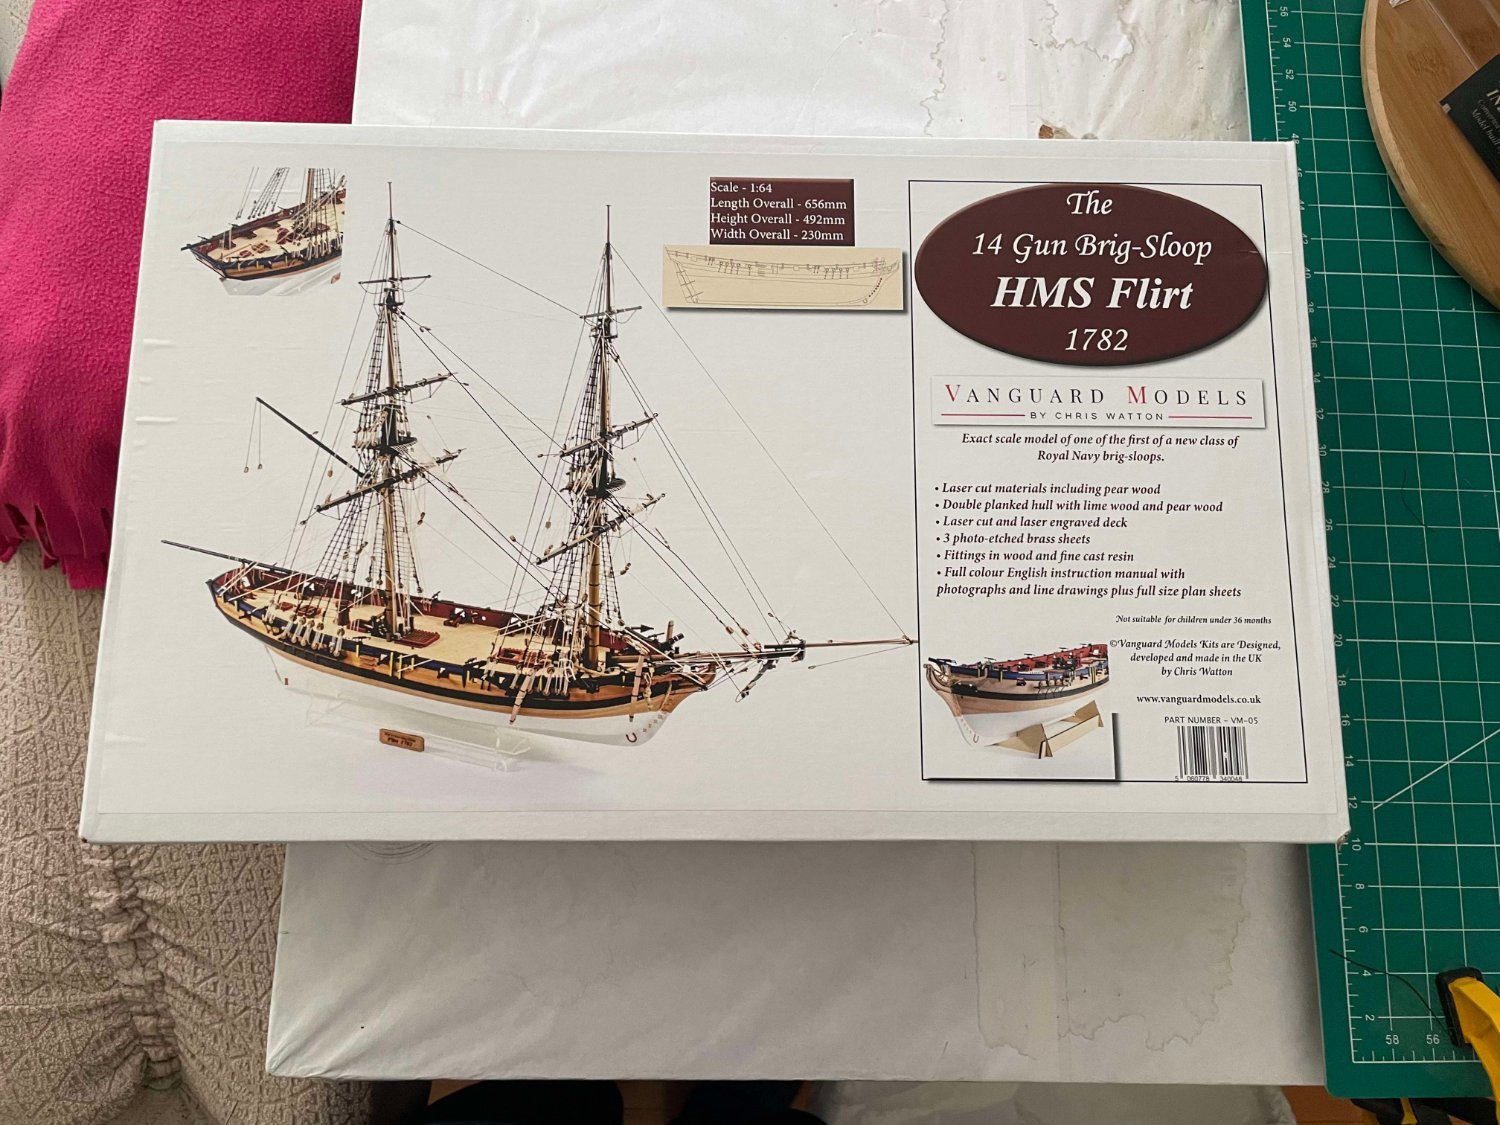
HMS Flirt by ECK - Vanguard Models - 1:64
ECK replied to ECK's topic in - Kit build logs for subjects built from 1751 - 1800
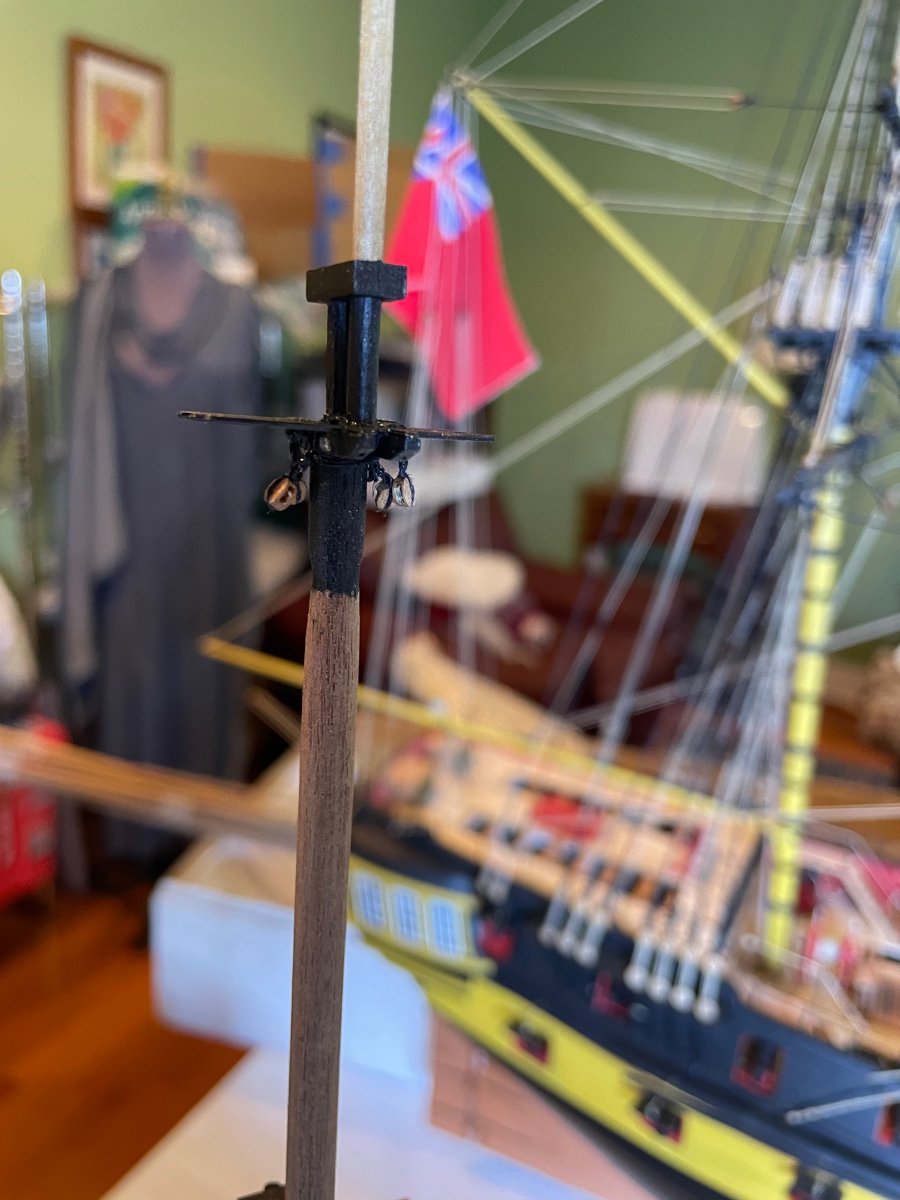
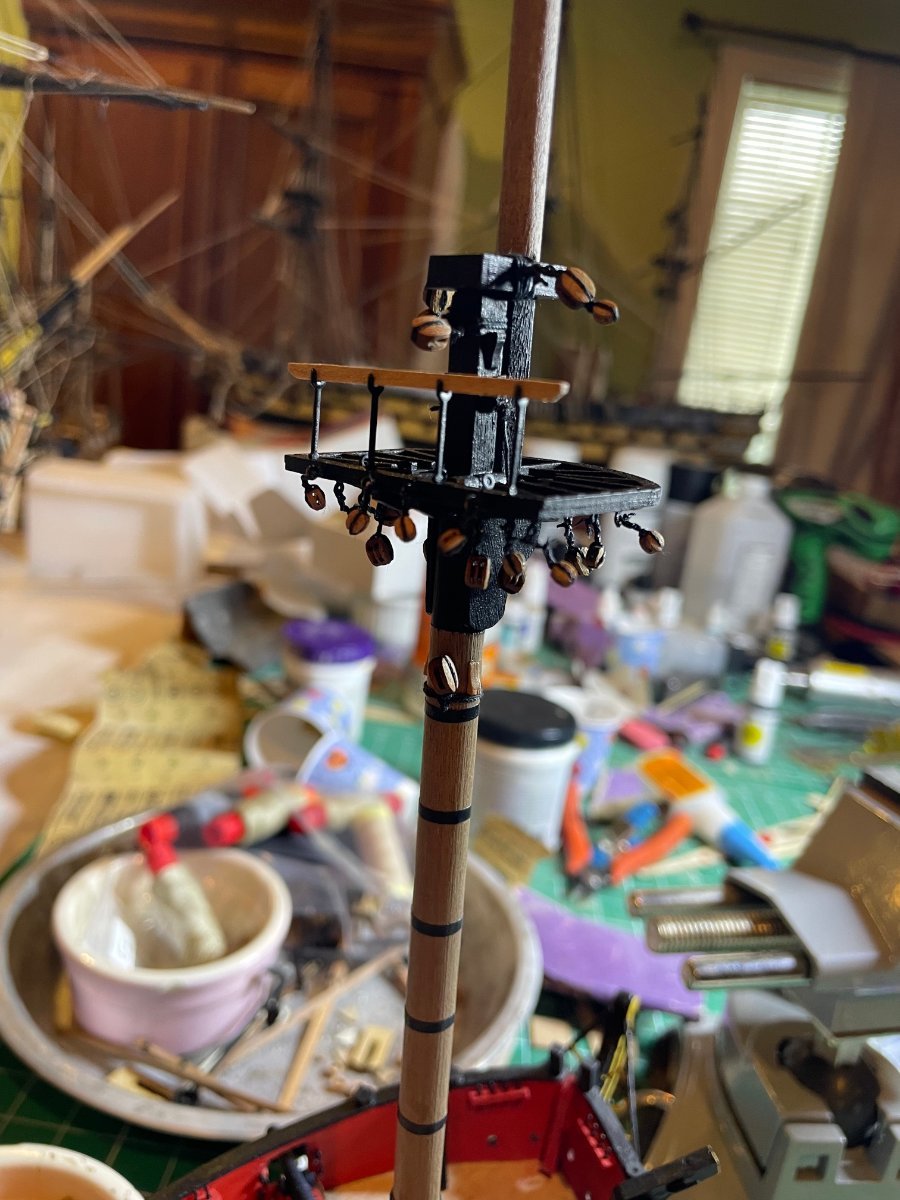
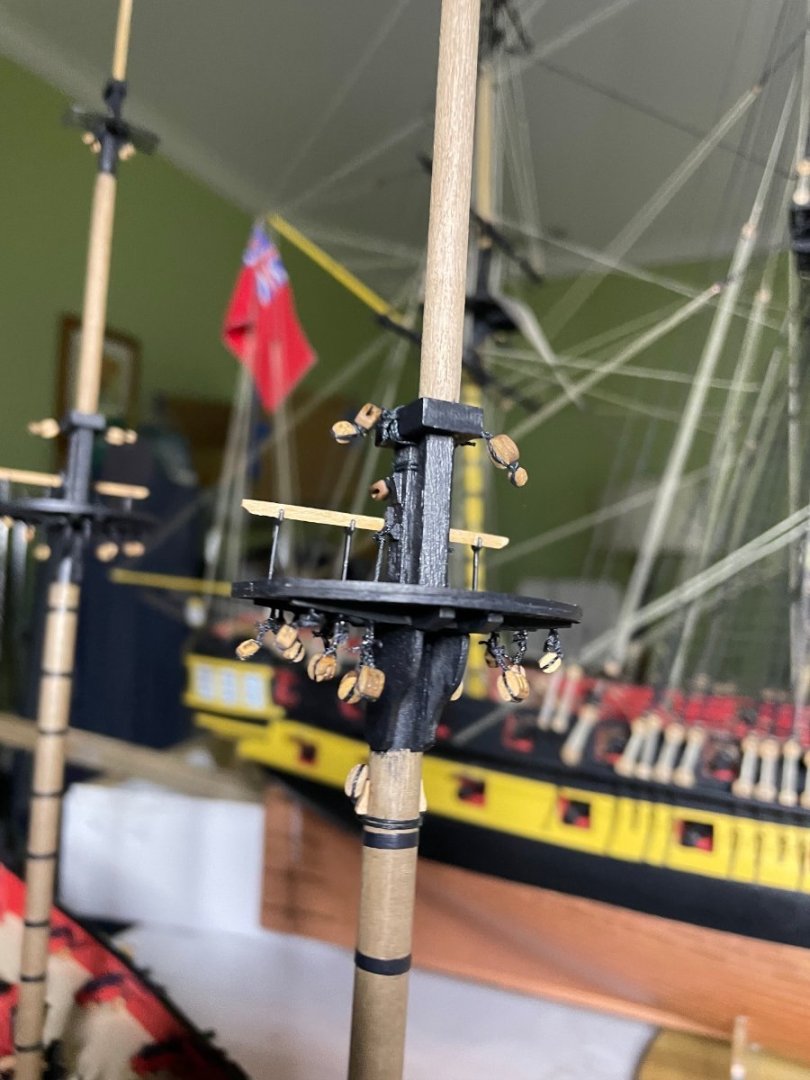
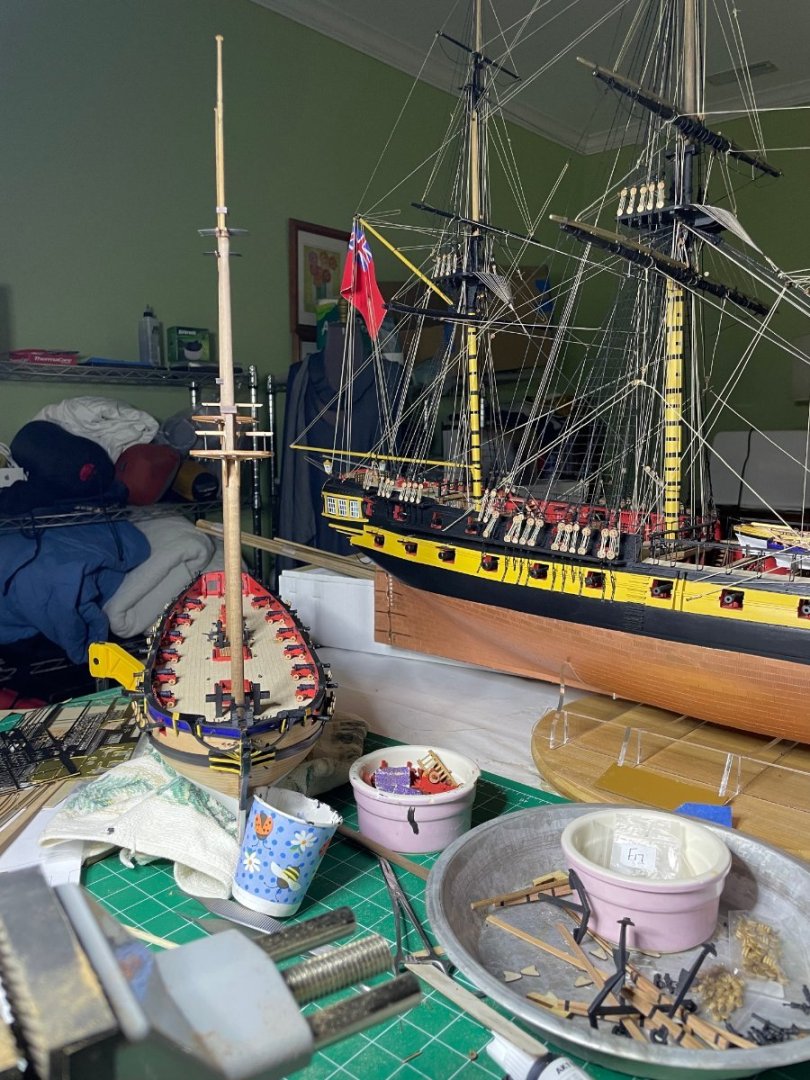
Yards done and painted. This next week will be spent attaching the various blocks.


-
HMS Flirt by ECK - Vanguard Models - 1:64
ECK replied to ECK's topic in - Kit build logs for subjects built from 1751 - 1800
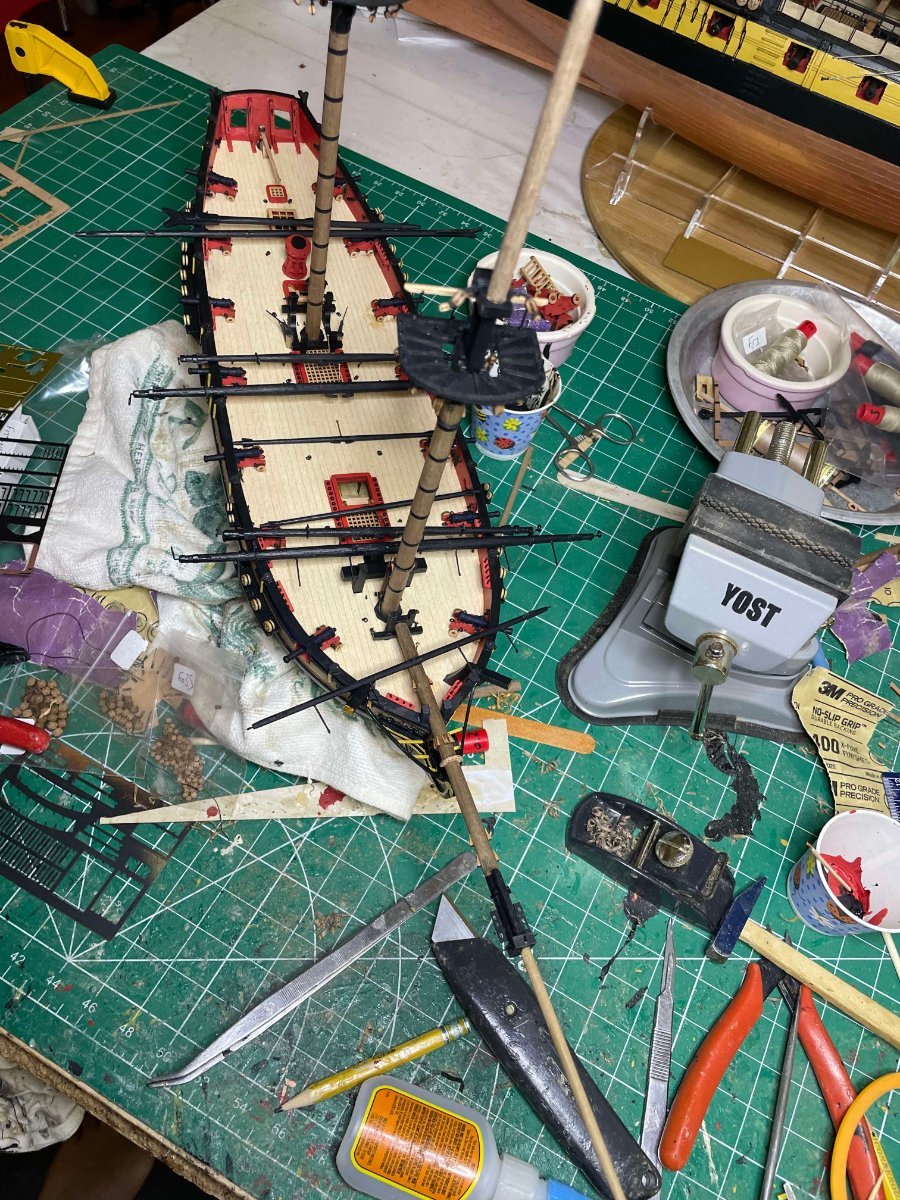
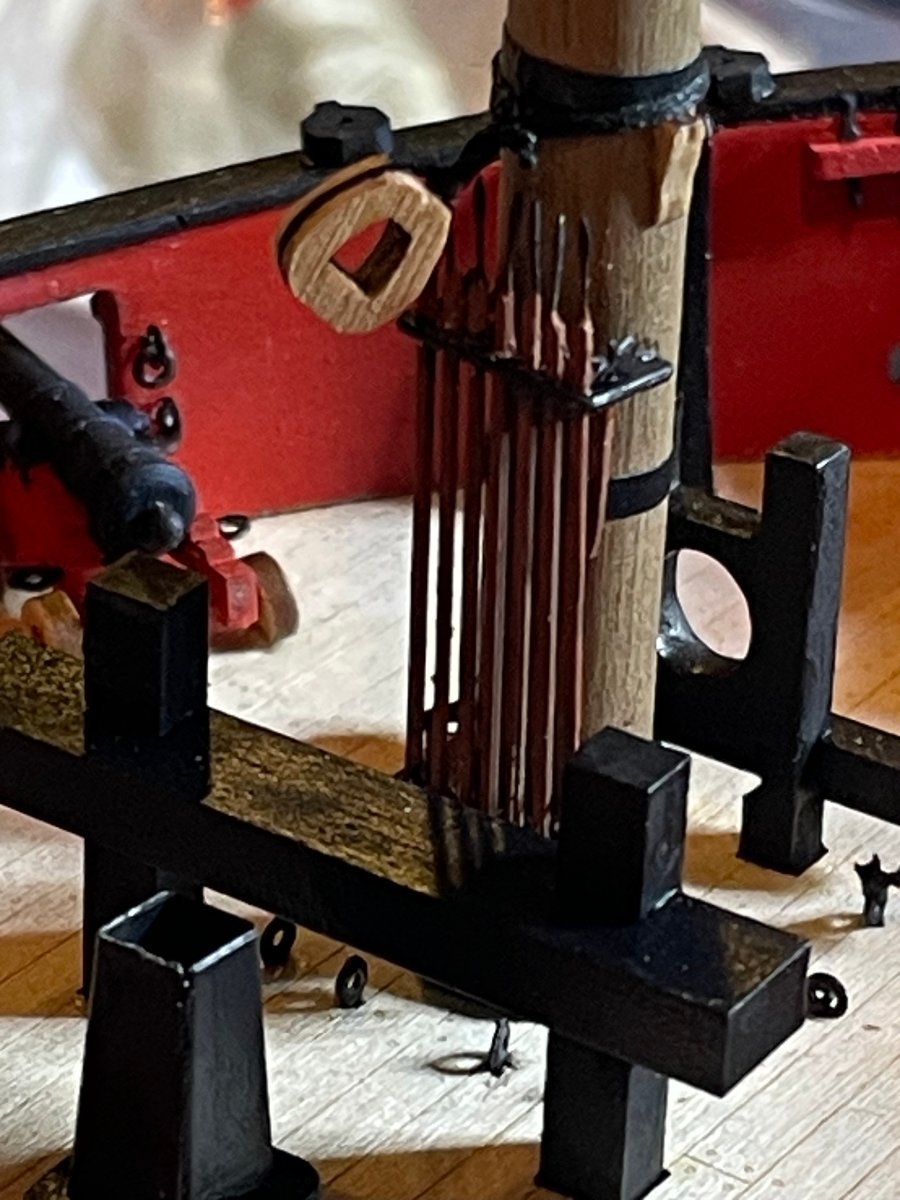
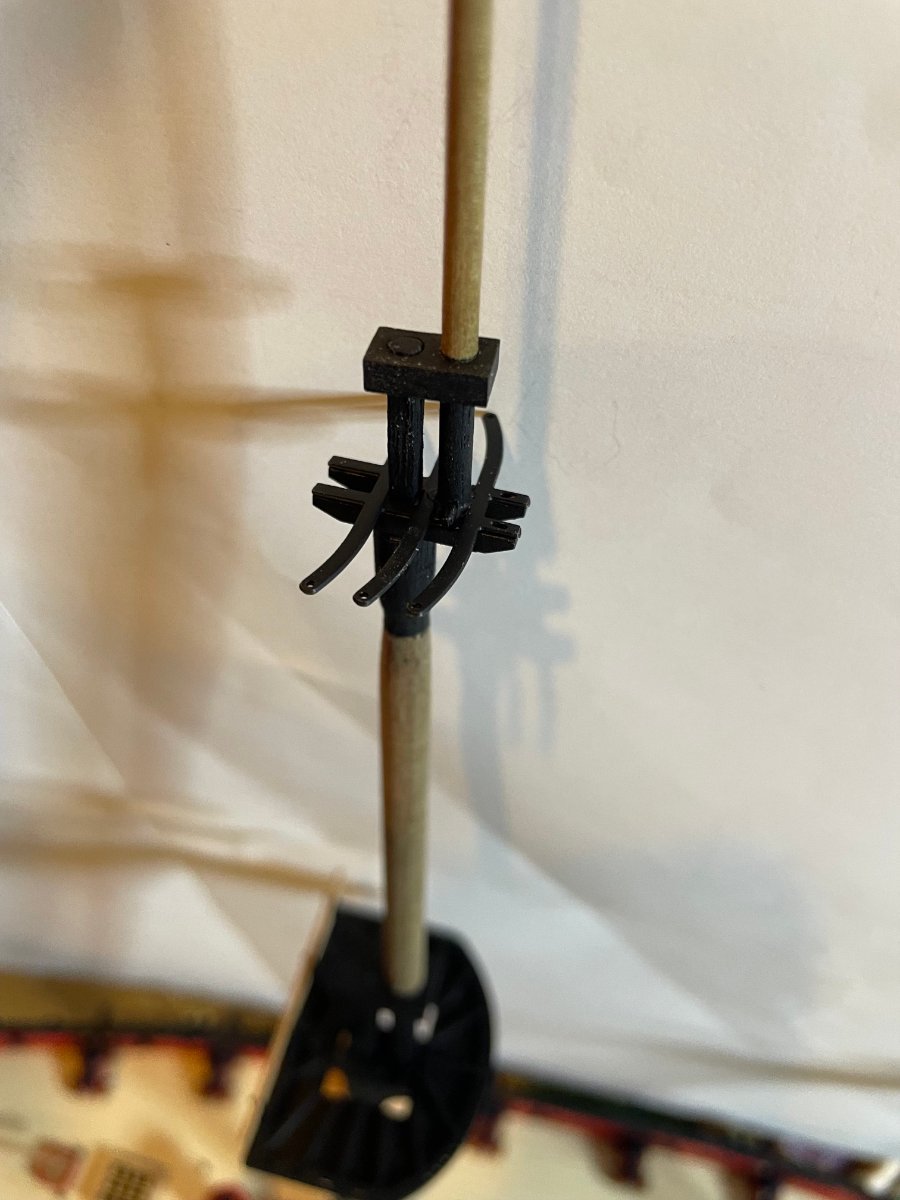
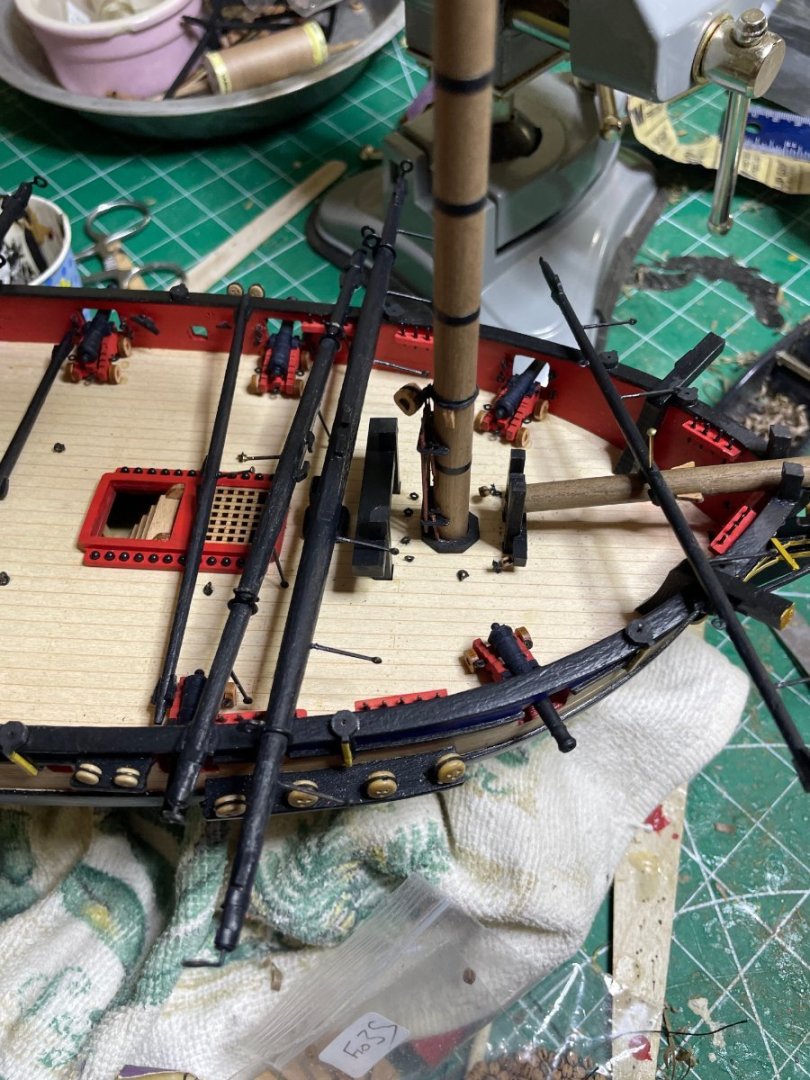
Mast rigged with the various blocks Pikes and axes at the ready


-
HMS Flirt by ECK - Vanguard Models - 1:64
ECK replied to ECK's topic in - Kit build logs for subjects built from 1751 - 1800
Mast done then painted. Next job is finishing attaching the various blocks and racks.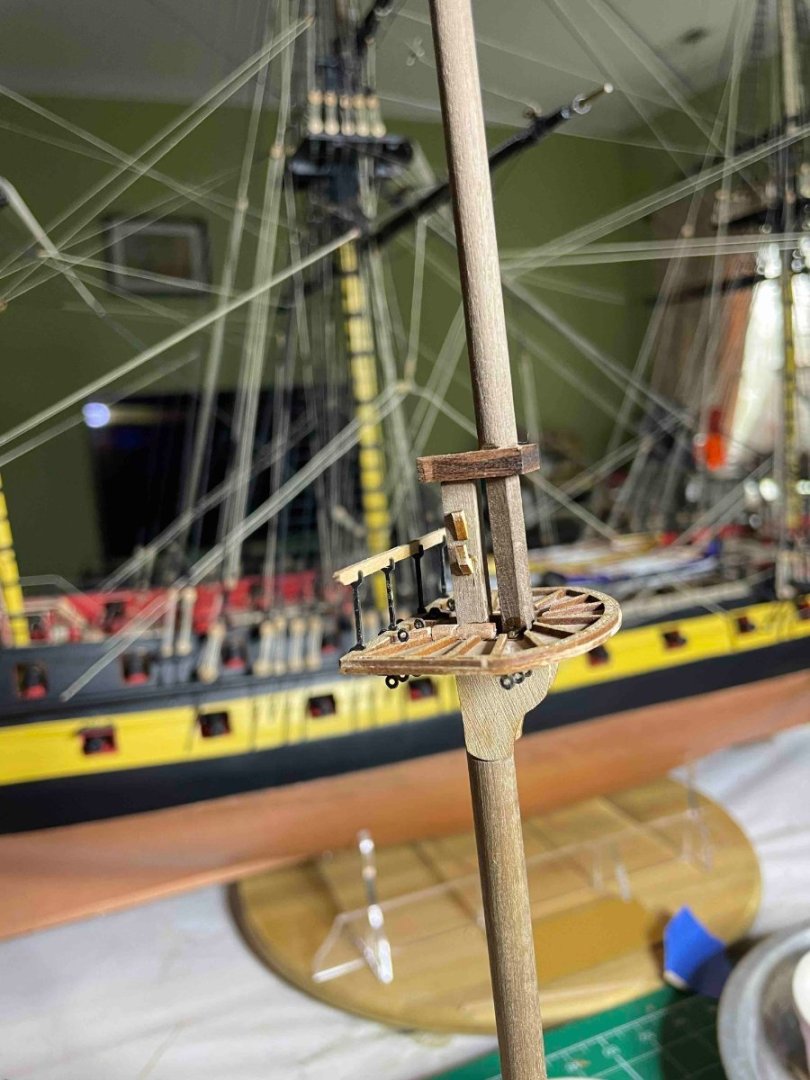


-
HMS Flirt by ECK - Vanguard Models - 1:64
ECK replied to ECK's topic in - Kit build logs for subjects built from 1751 - 1800
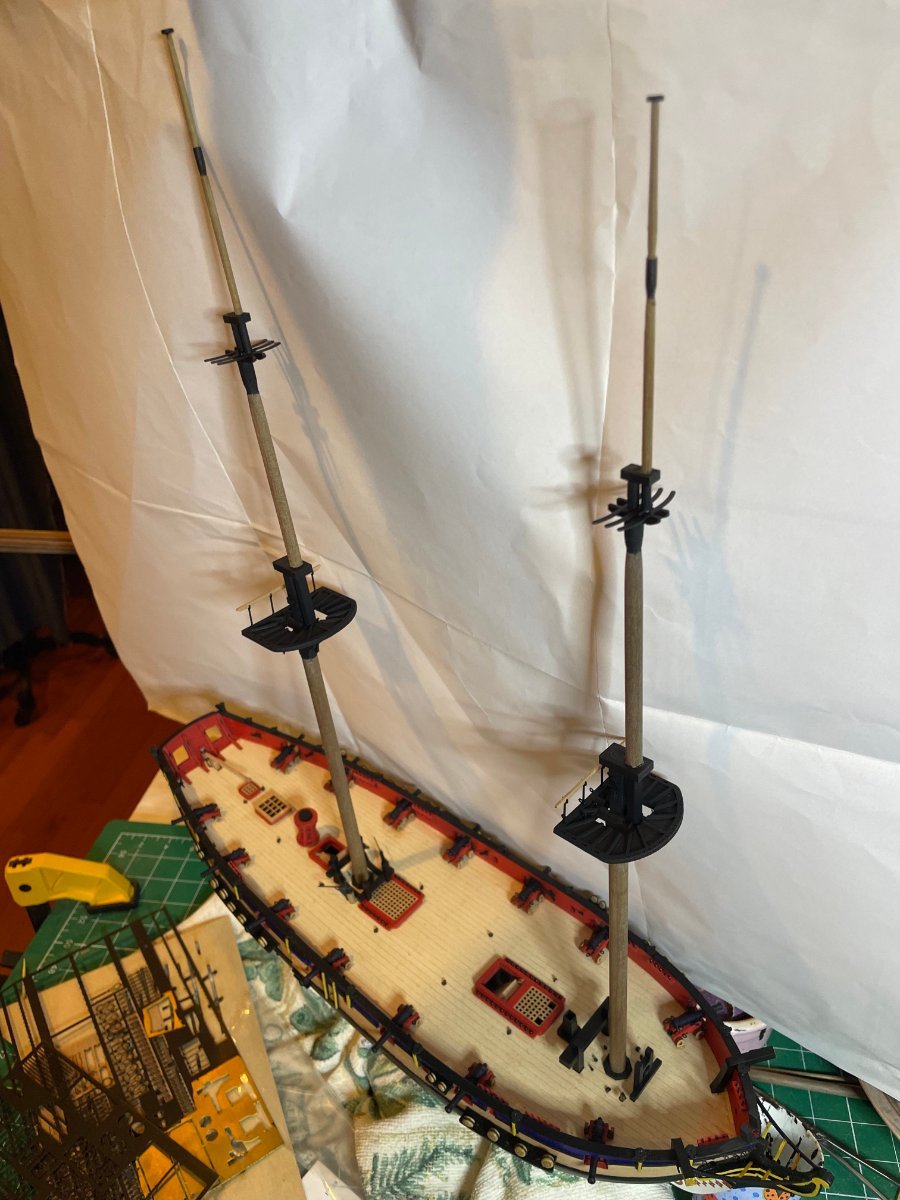
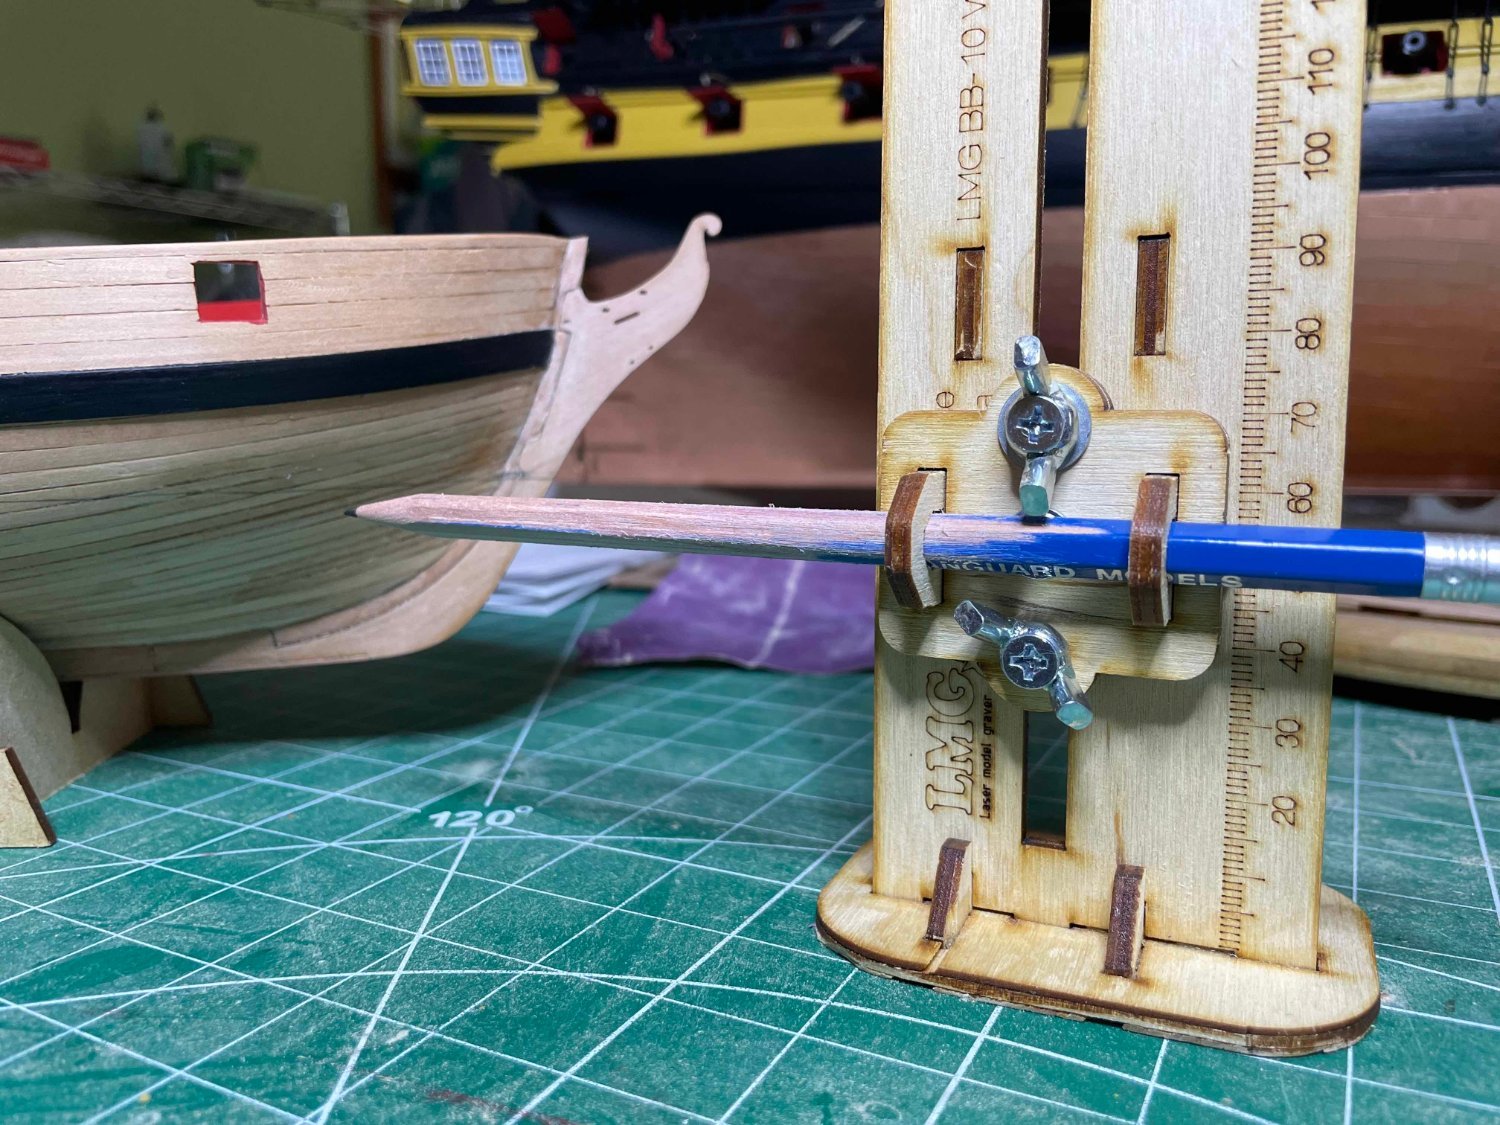
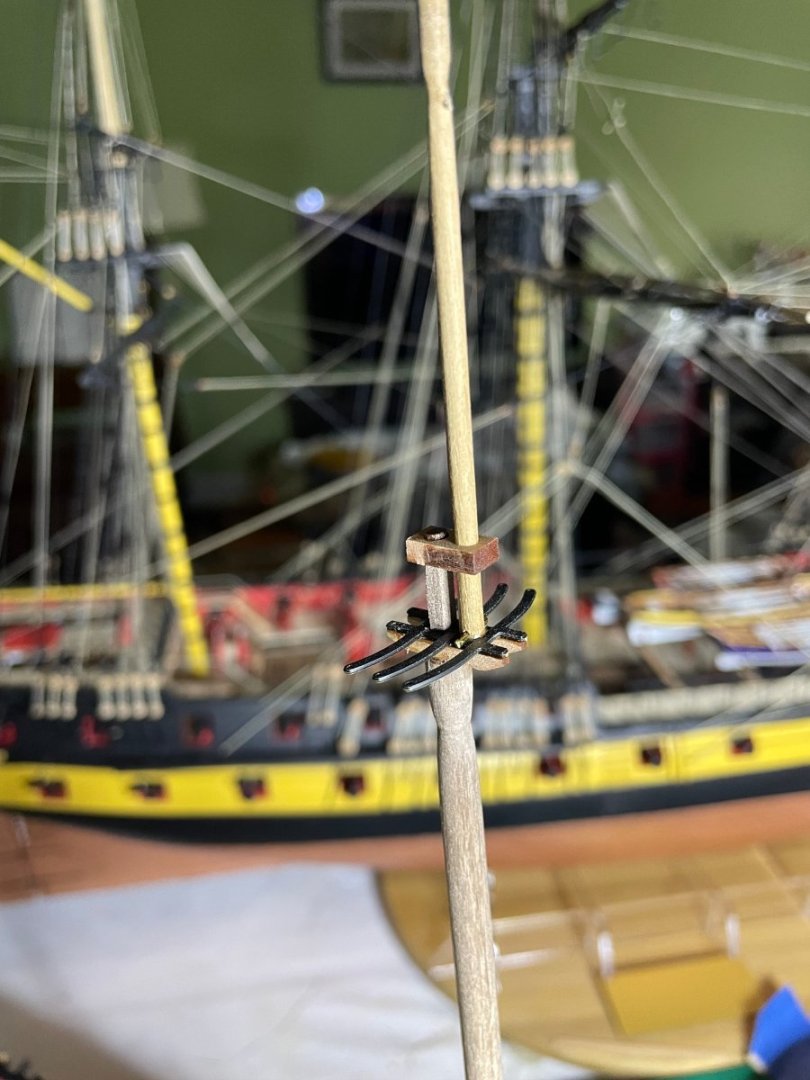
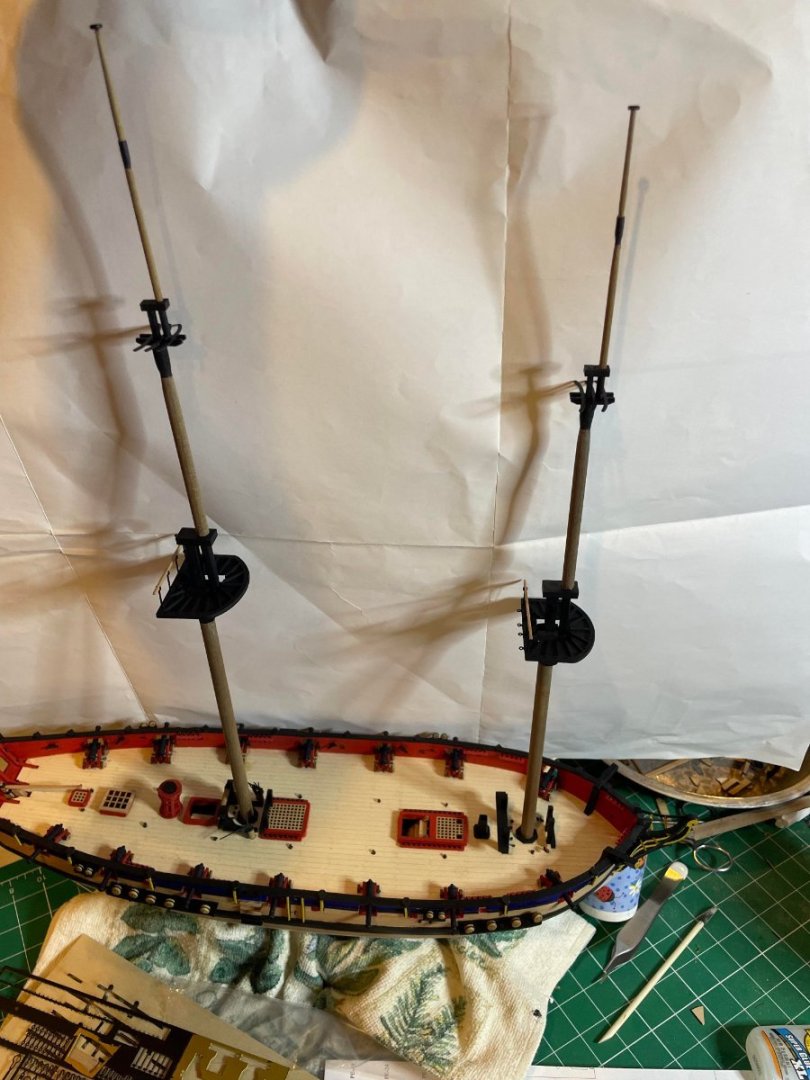
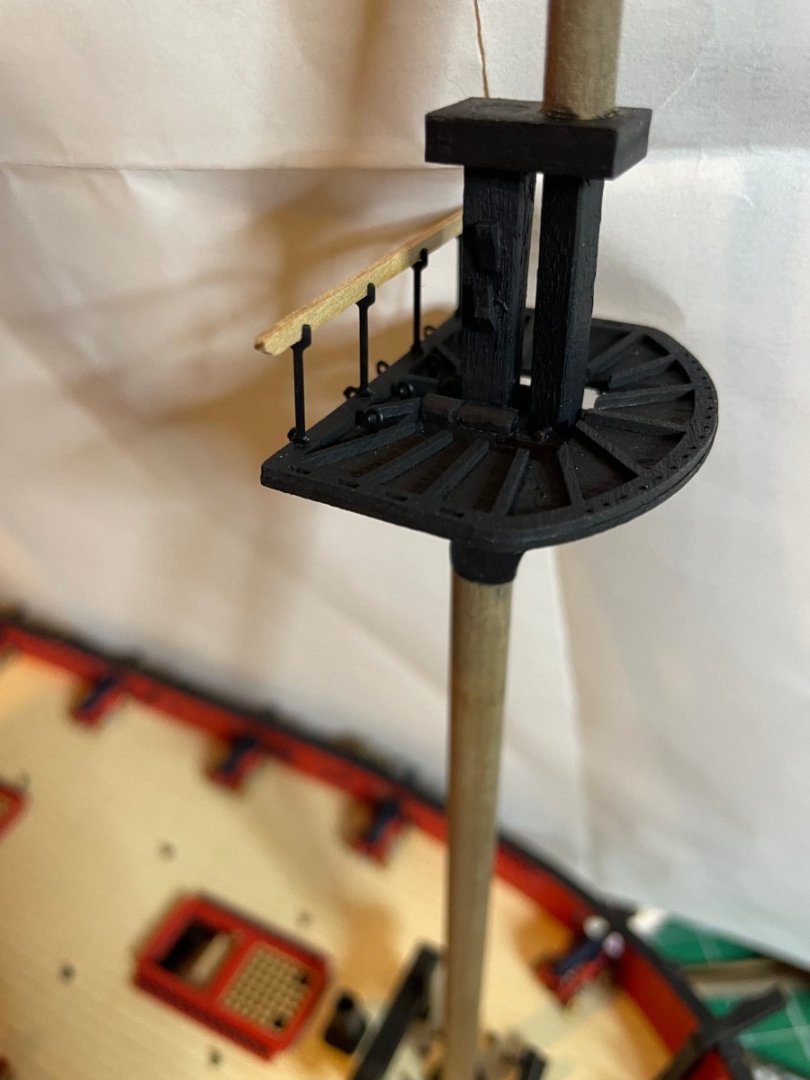
Work of the day. Lower mast sections done. The only difference between the fore and main masts is the lower section is a bit longer. The topmast and topgallants are the same length.
-
HMS Flirt by ECK - Vanguard Models - 1:64
ECK replied to ECK's topic in - Kit build logs for subjects built from 1751 - 1800
Thanks all for the support ! -
HMS Flirt by ECK - Vanguard Models - 1:64
ECK replied to ECK's topic in - Kit build logs for subjects built from 1751 - 1800
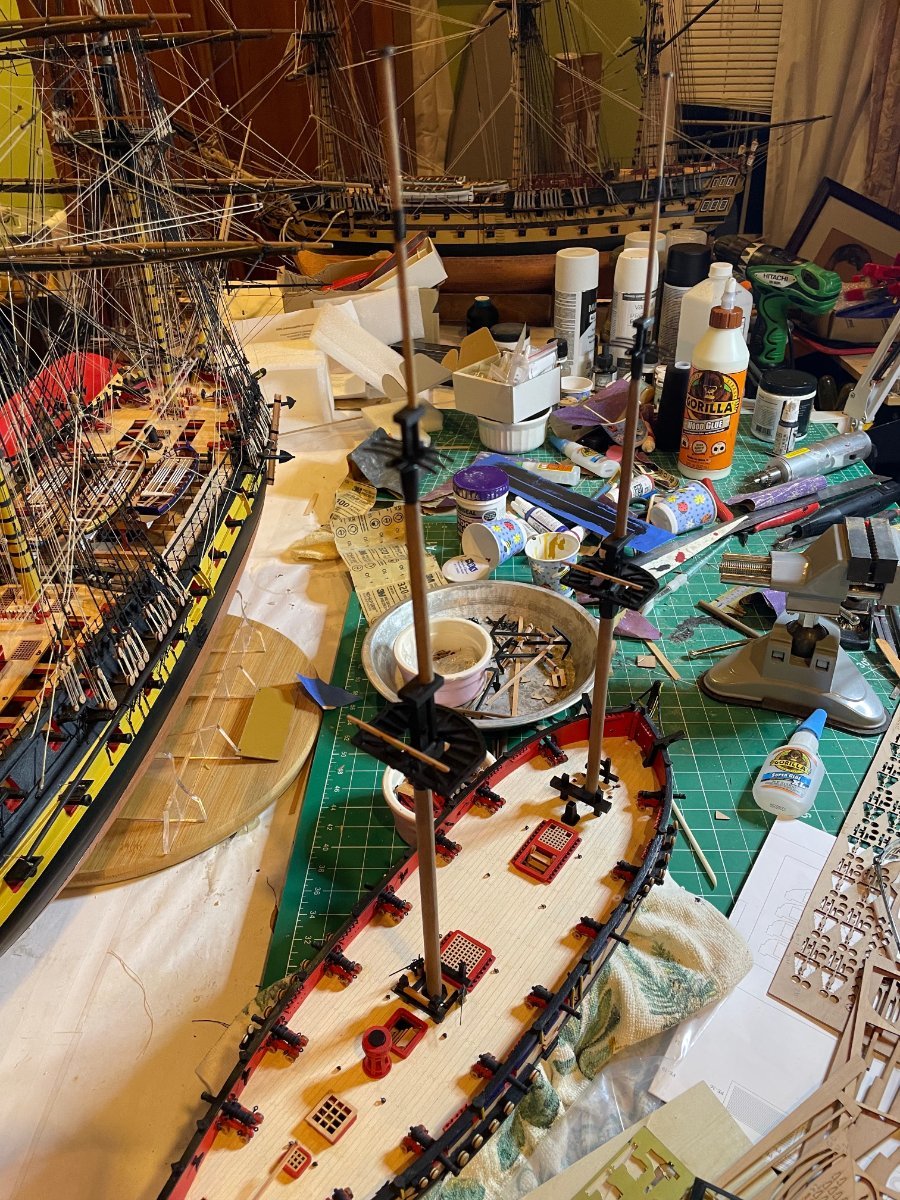
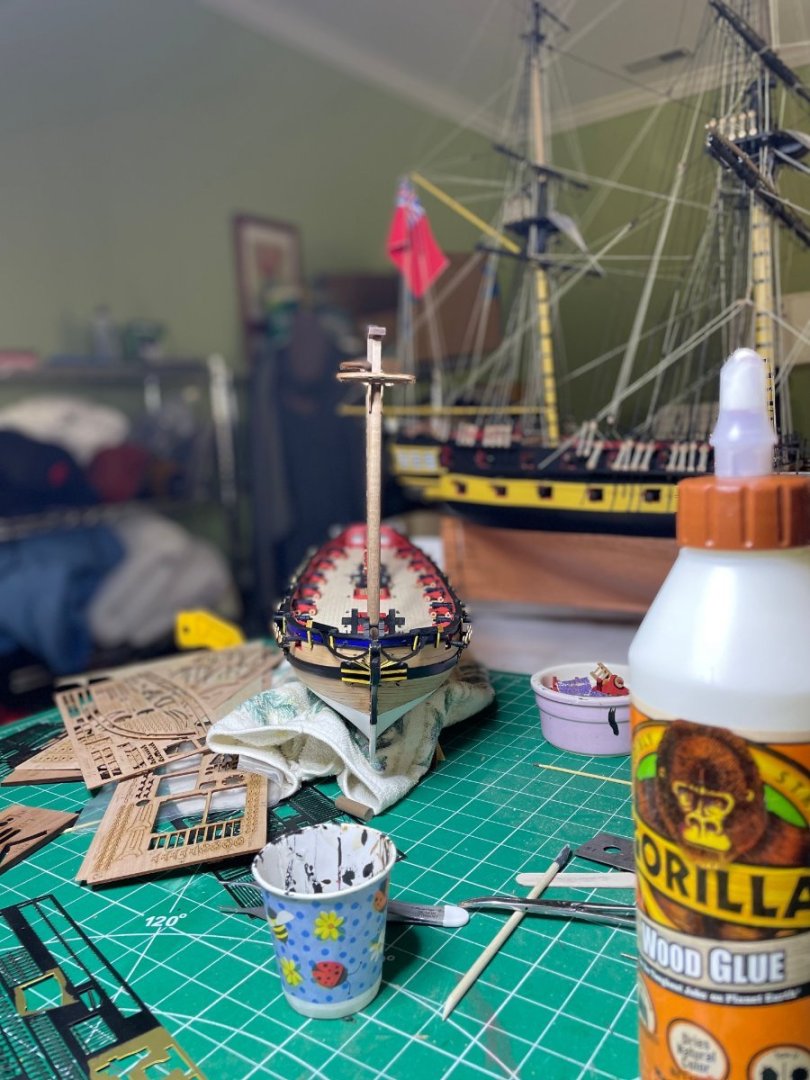
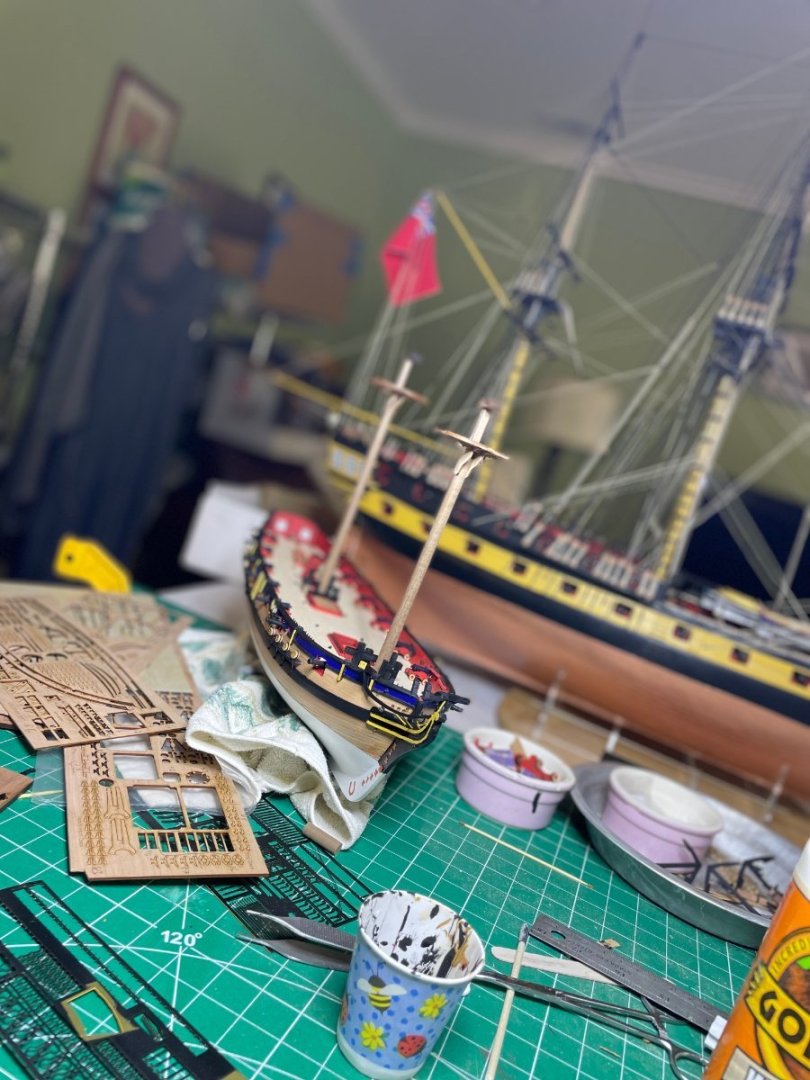
Finished the hull today. Masts tomorrow.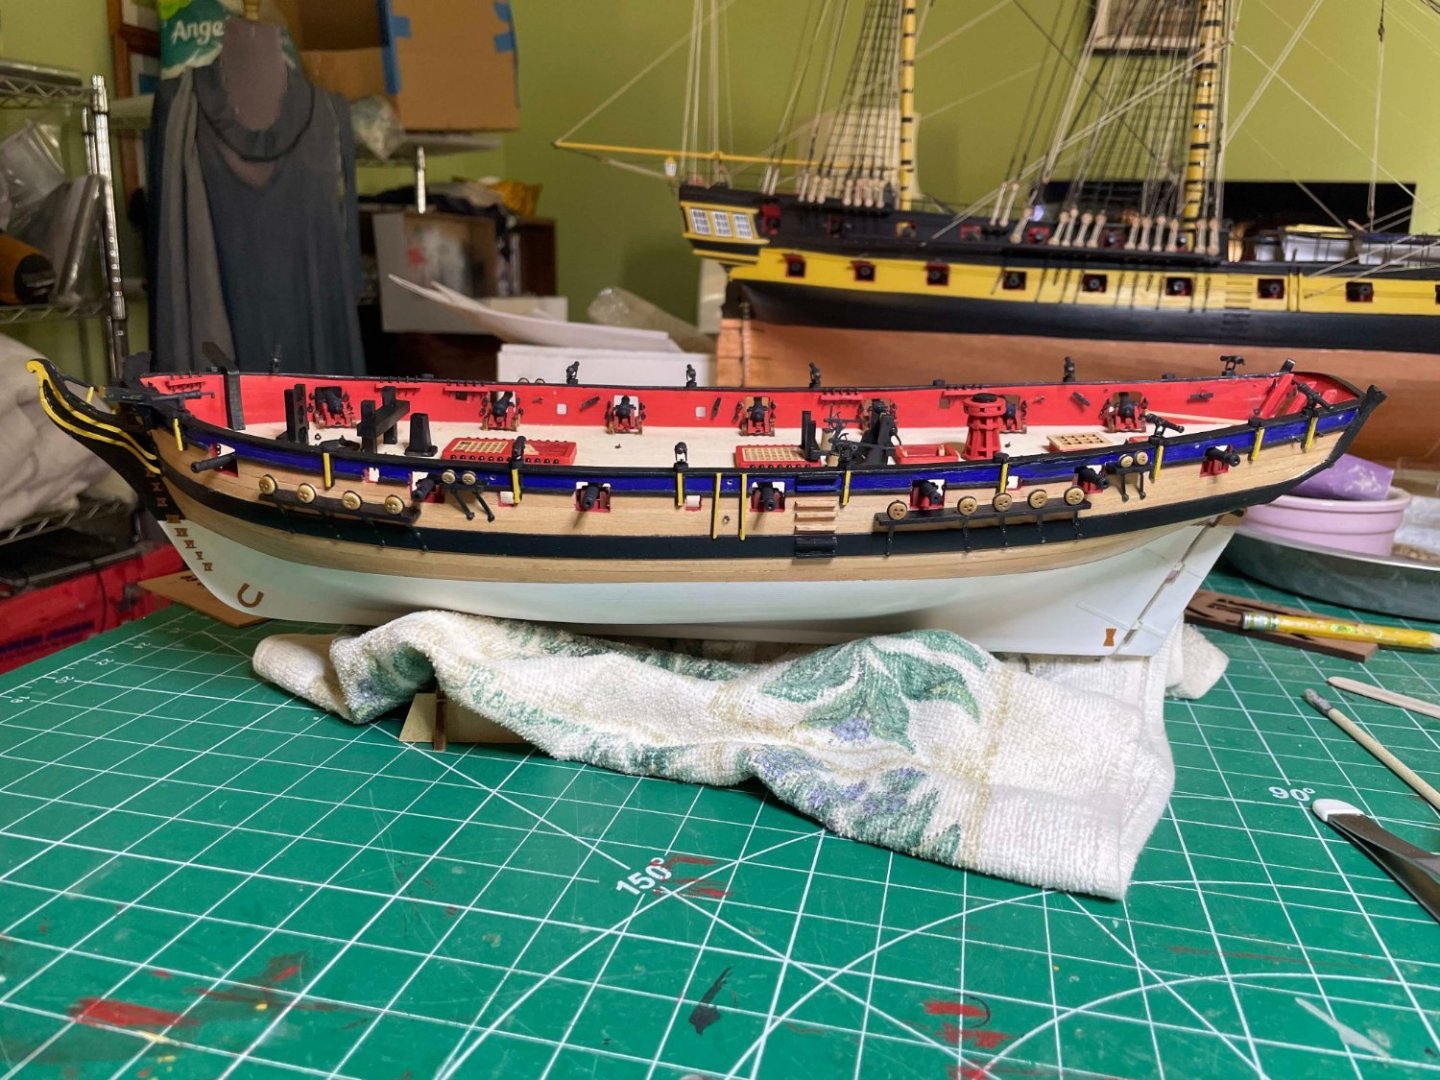


-
HMS Flirt by ECK - Vanguard Models - 1:64
ECK replied to ECK's topic in - Kit build logs for subjects built from 1751 - 1800
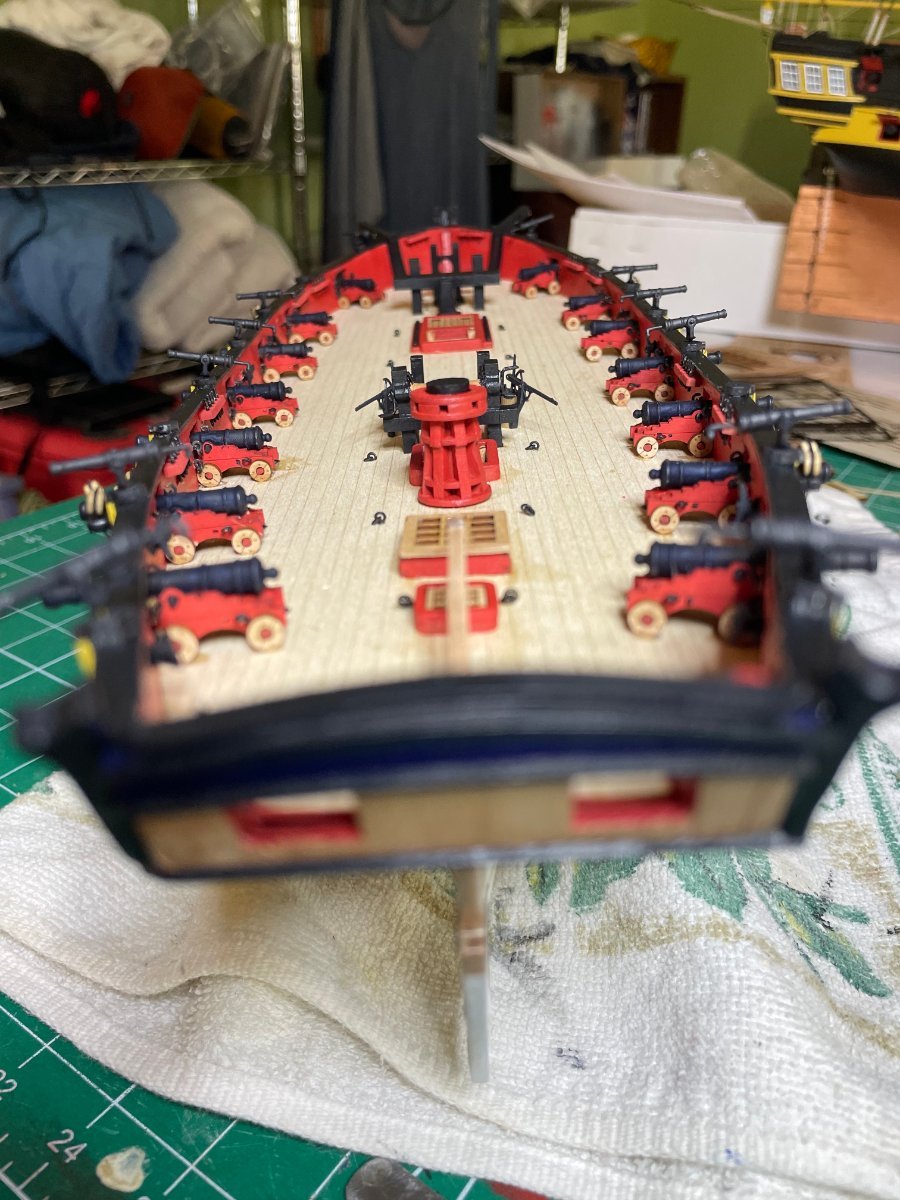
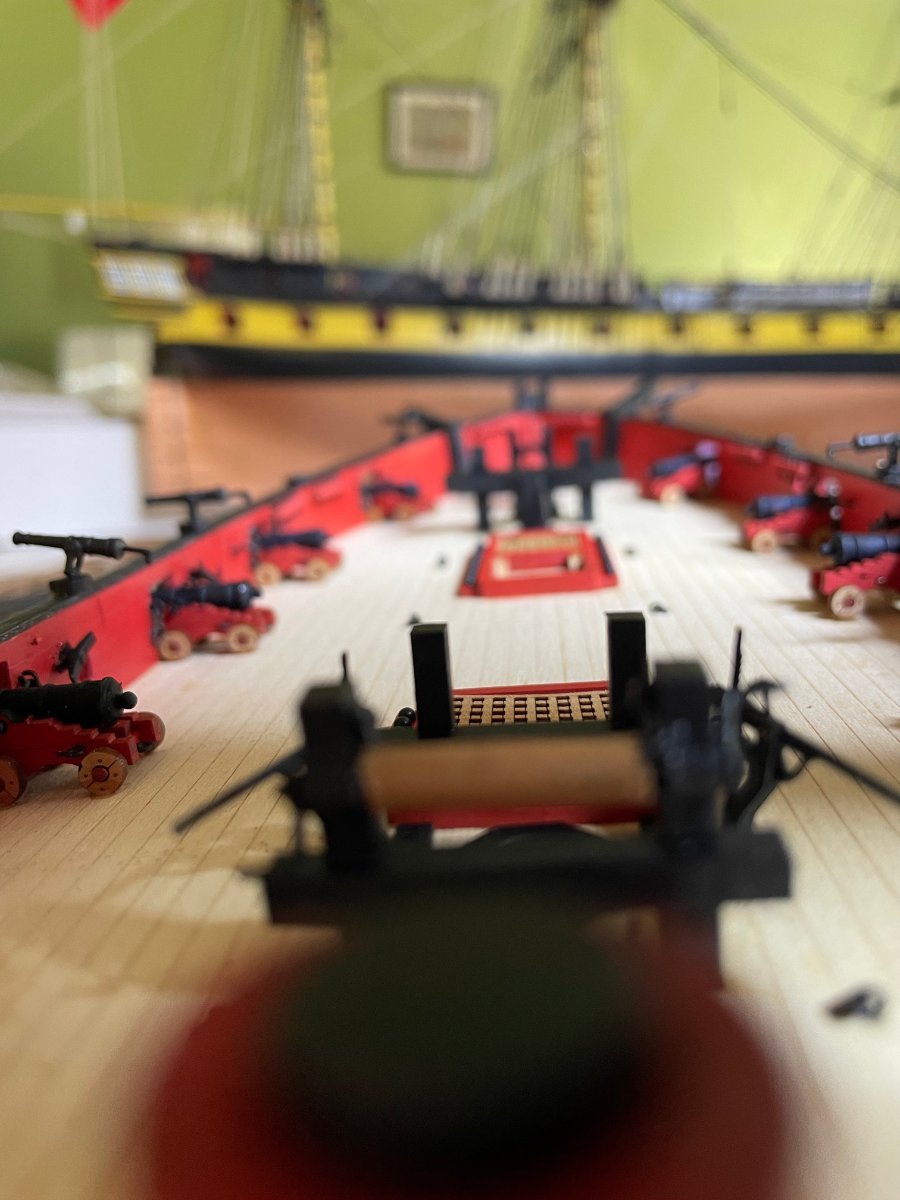
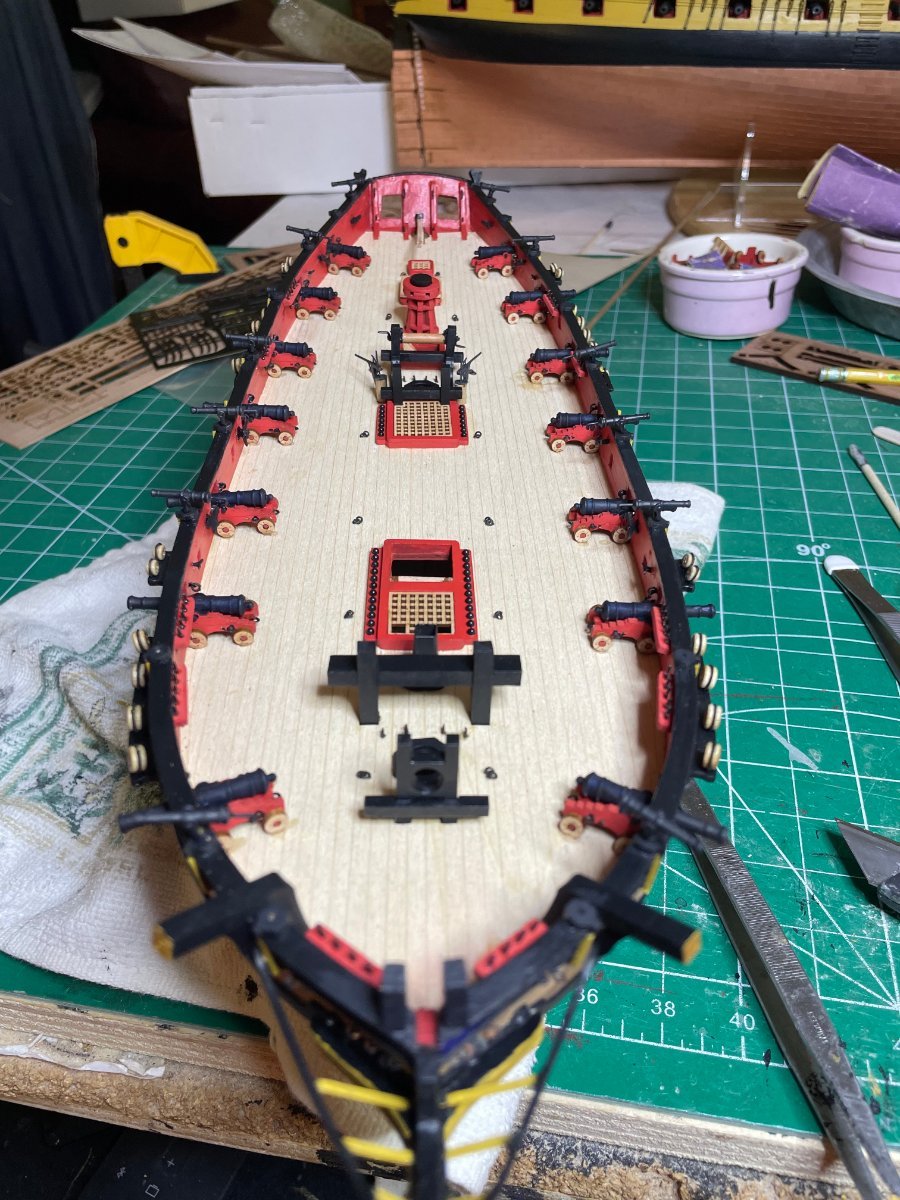
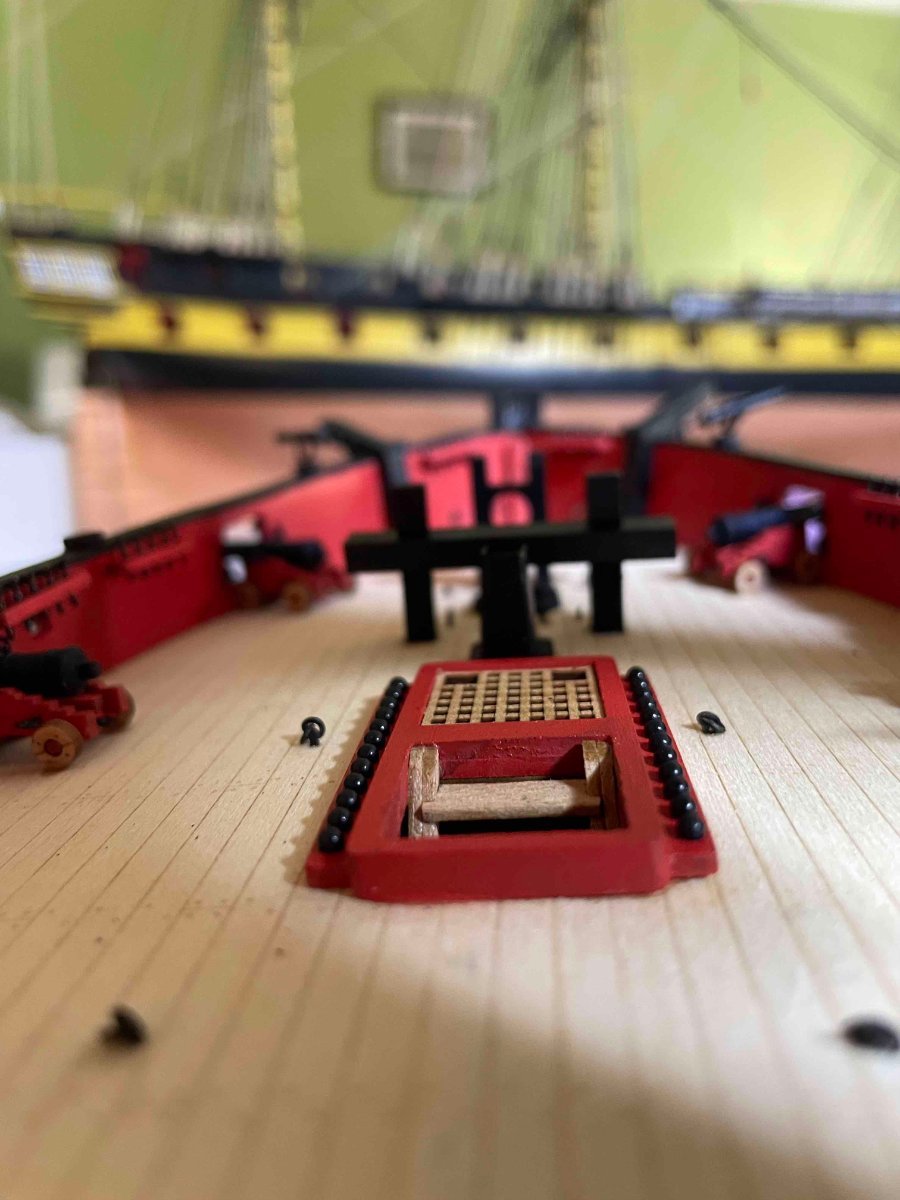
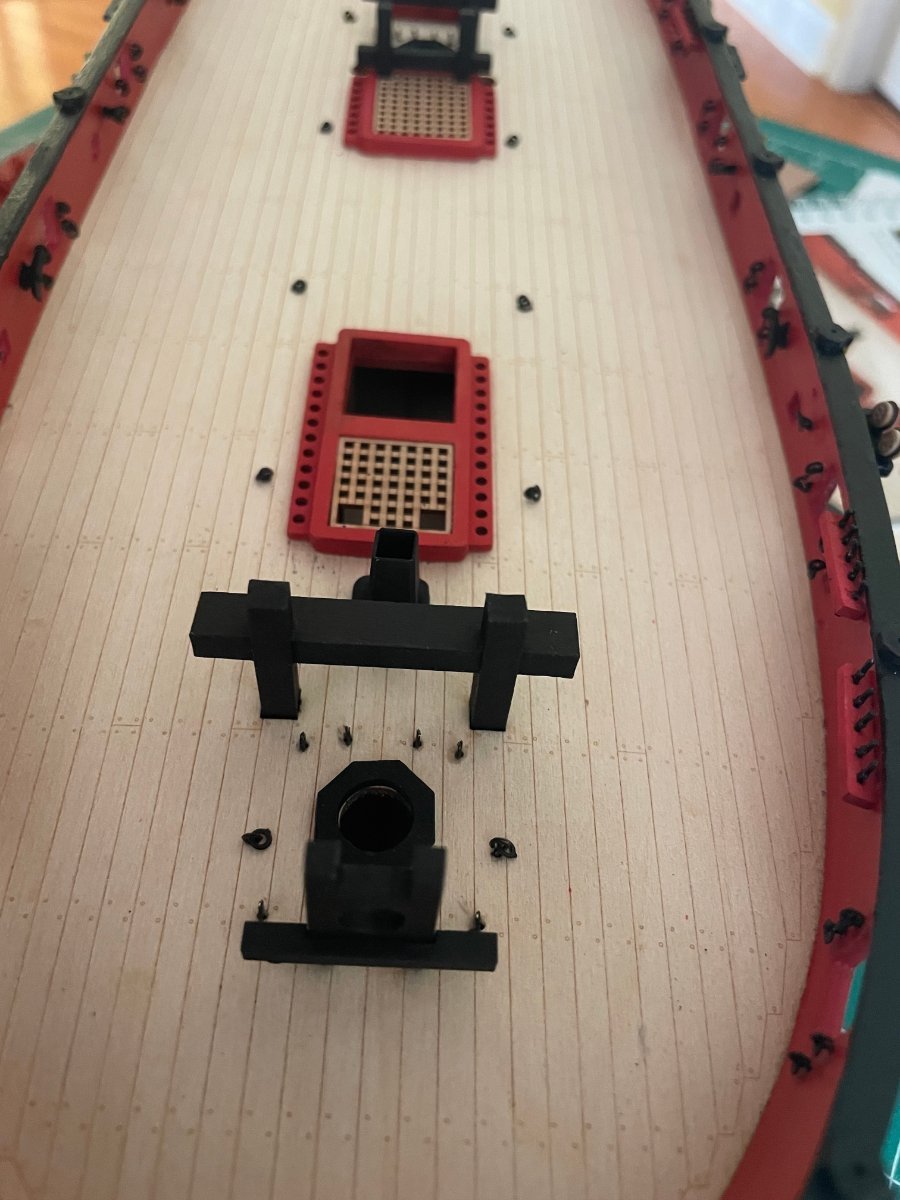
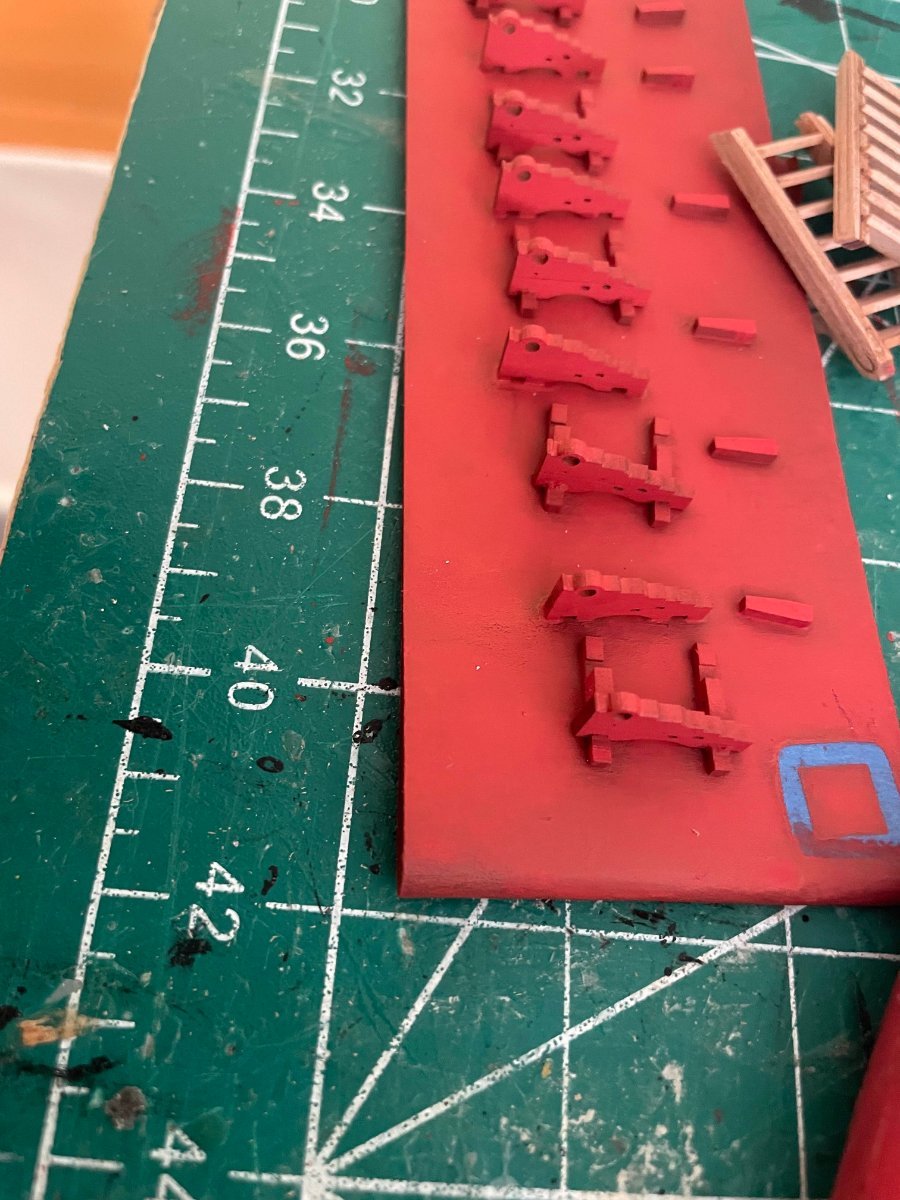
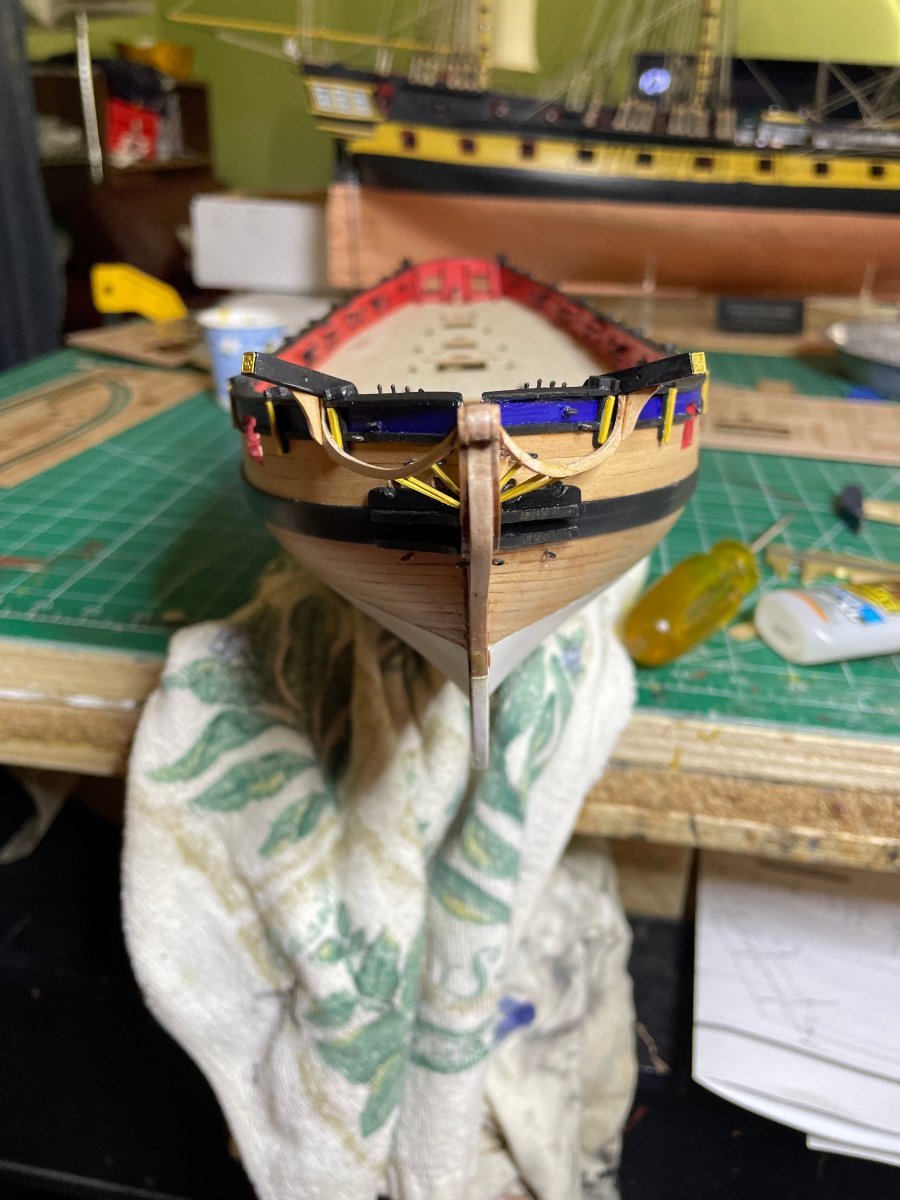
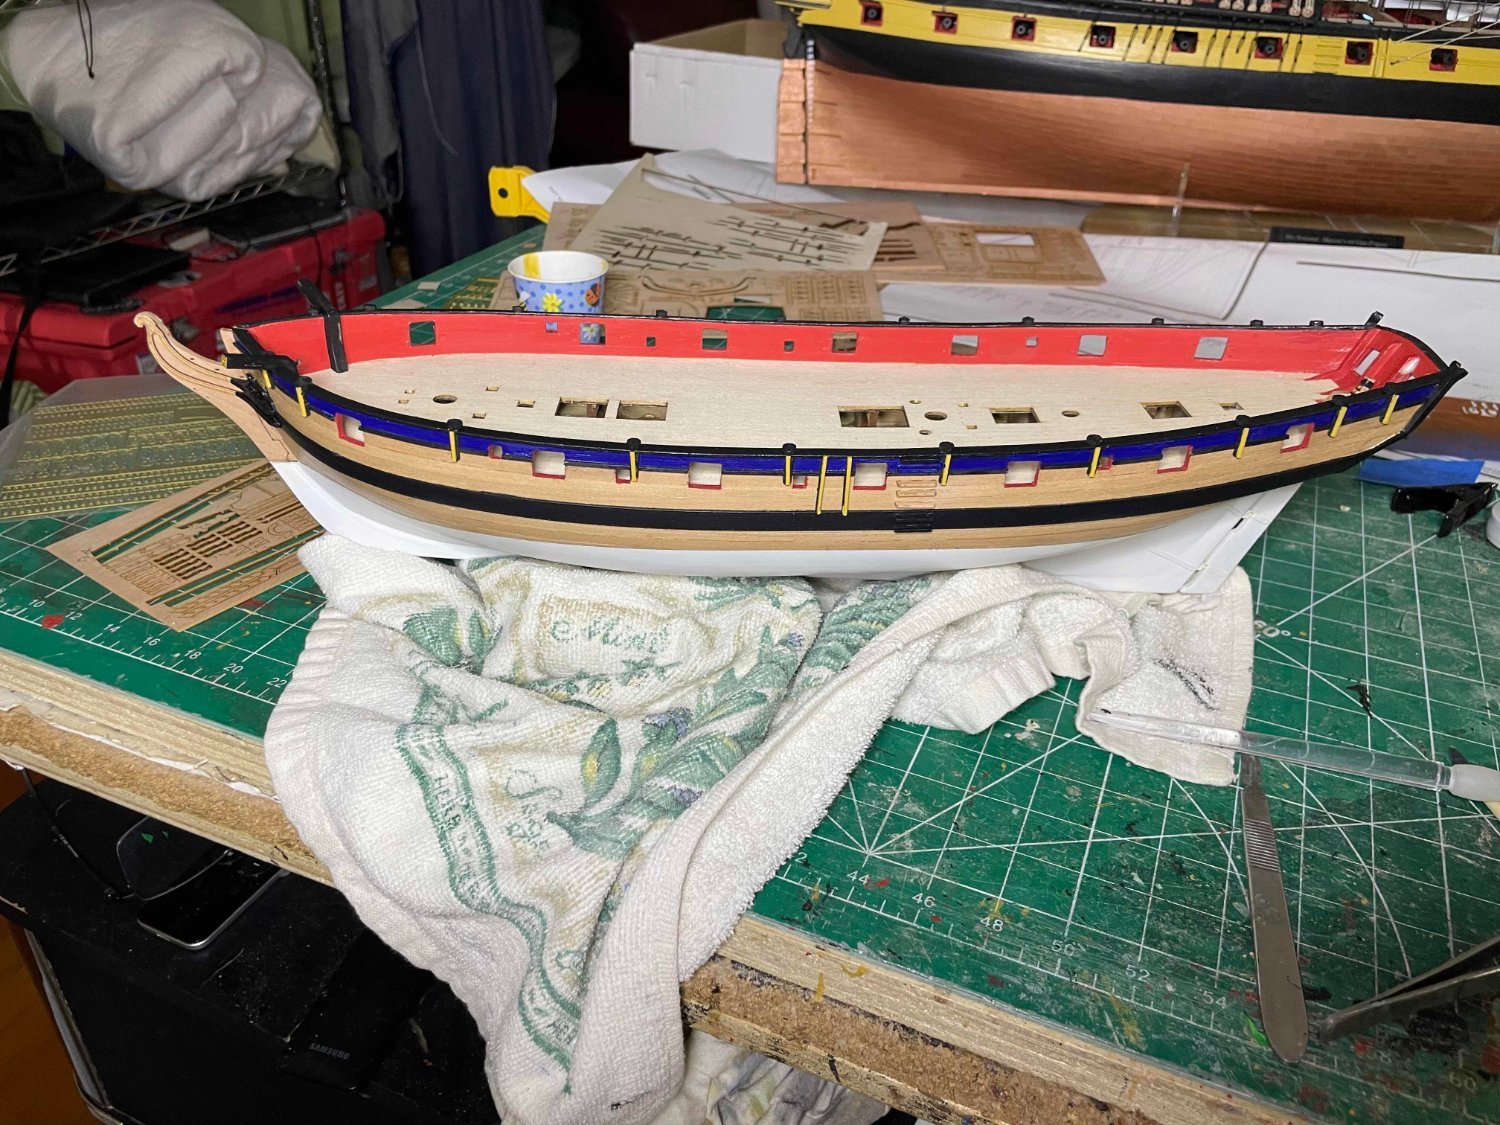
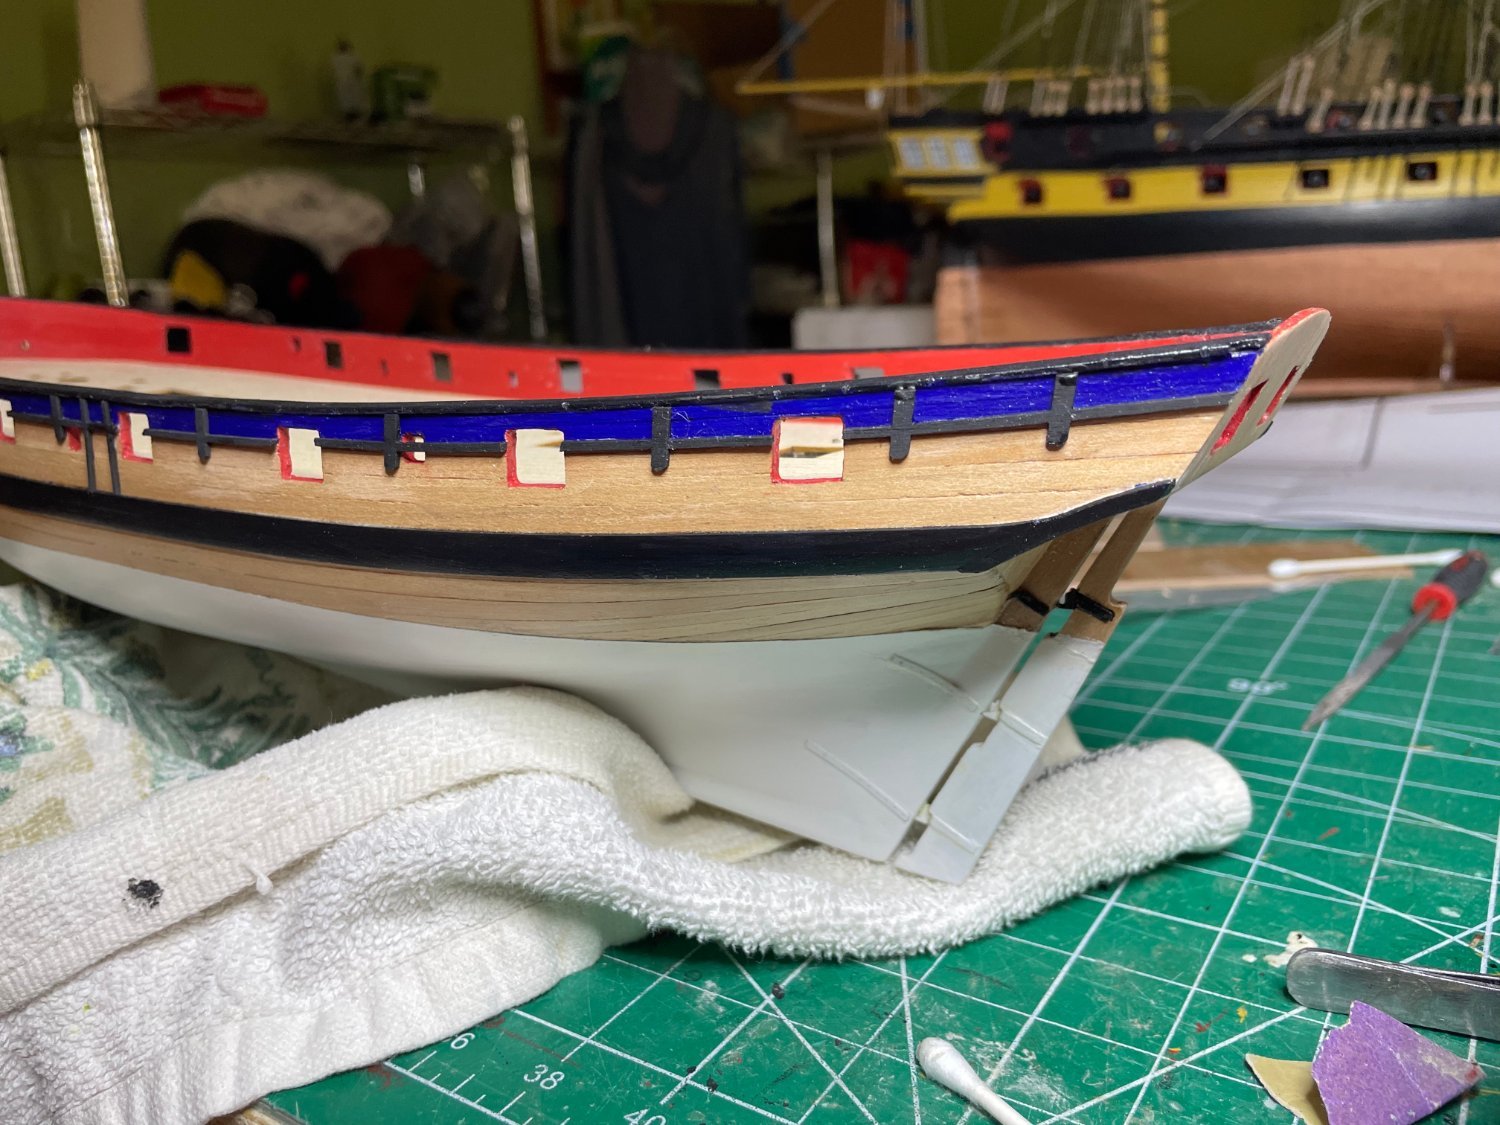
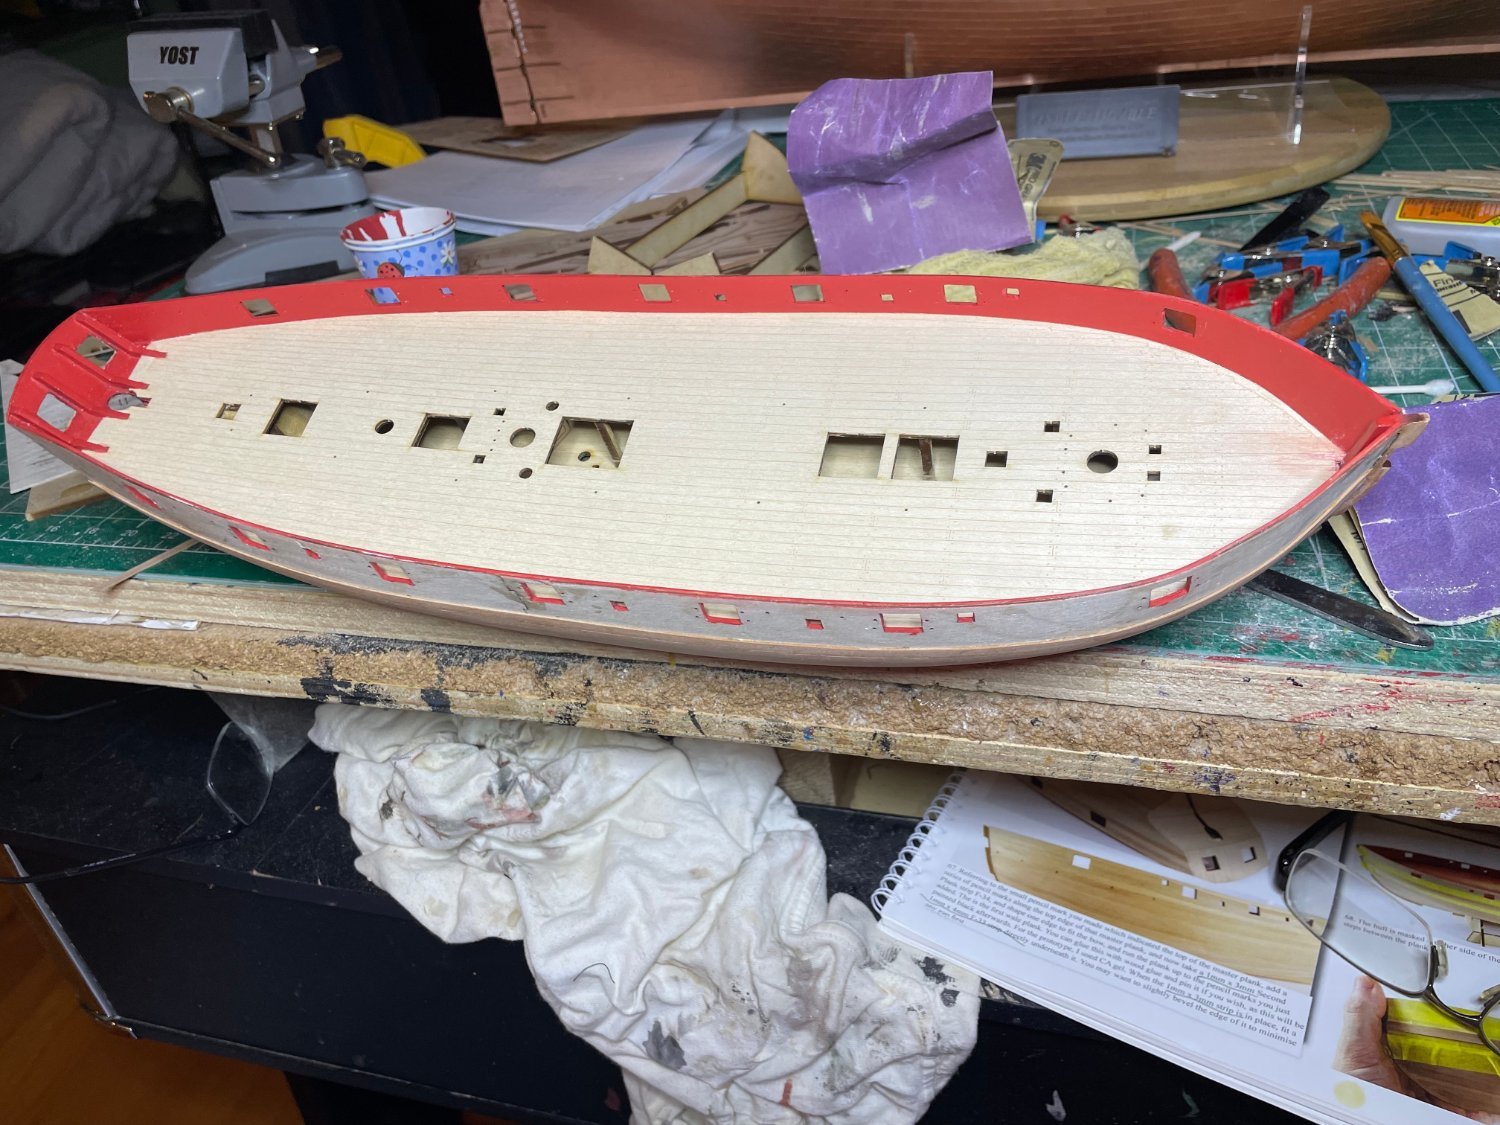
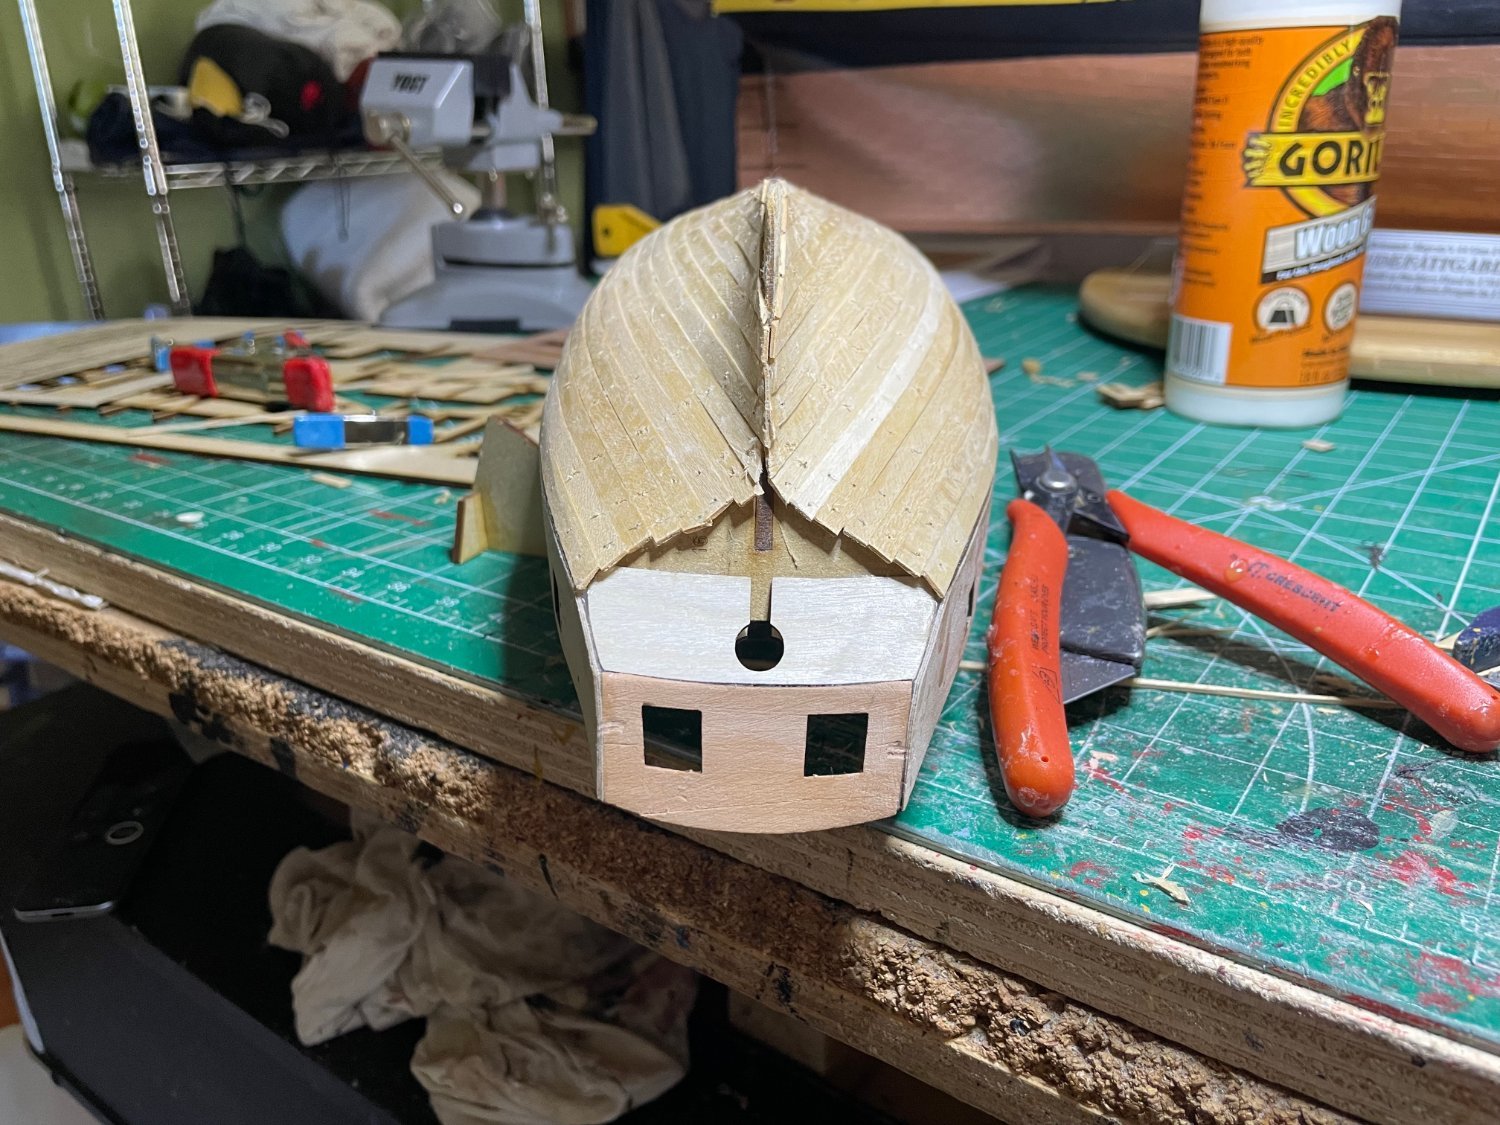
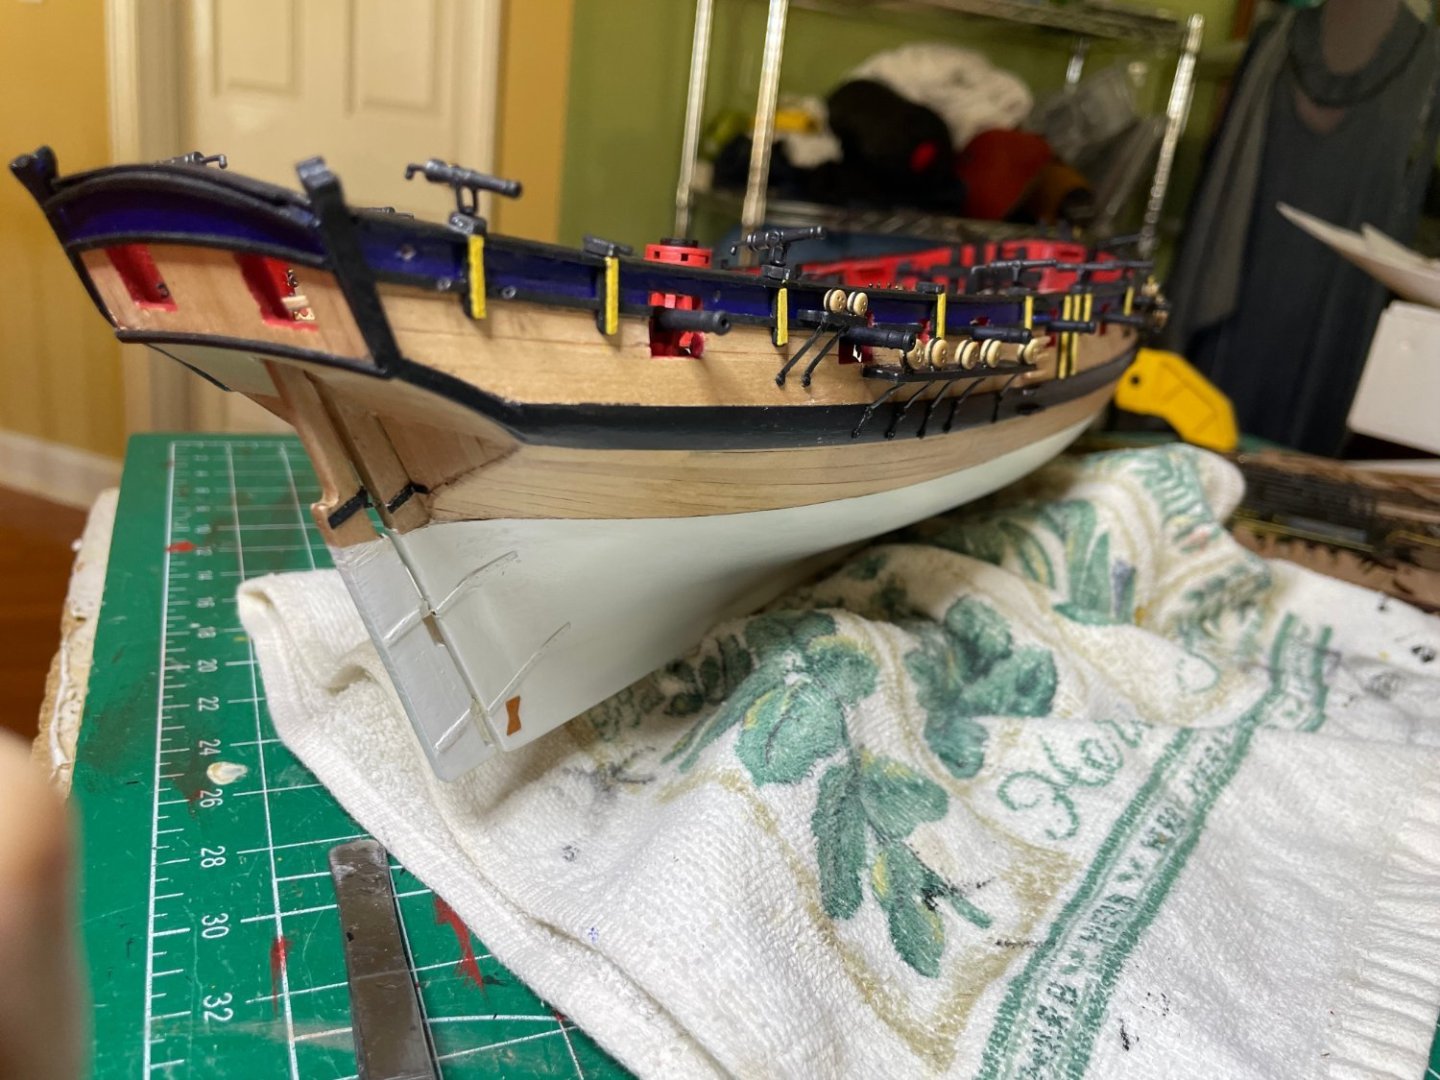
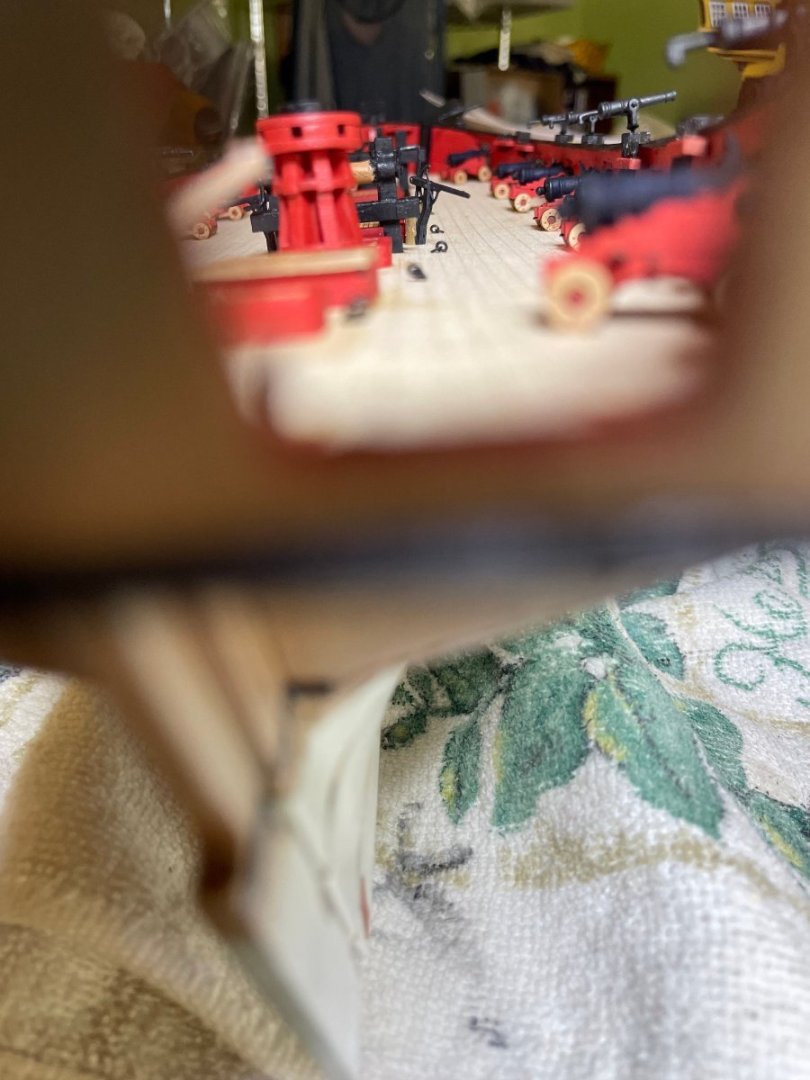
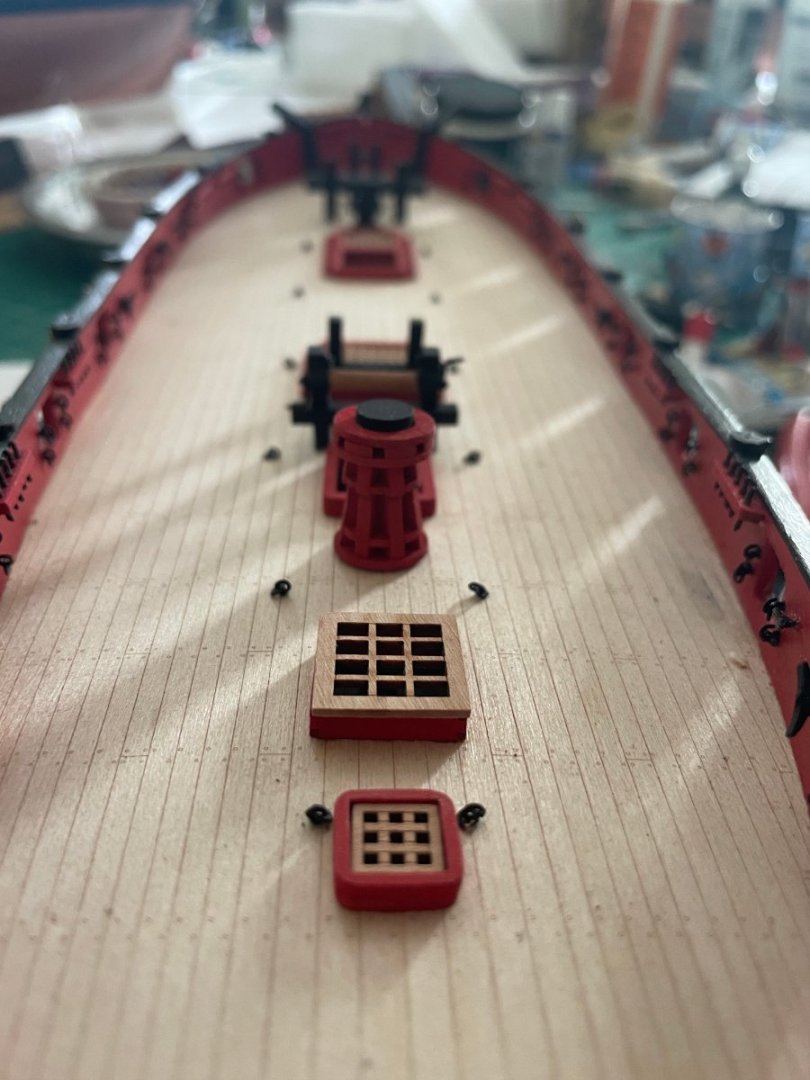
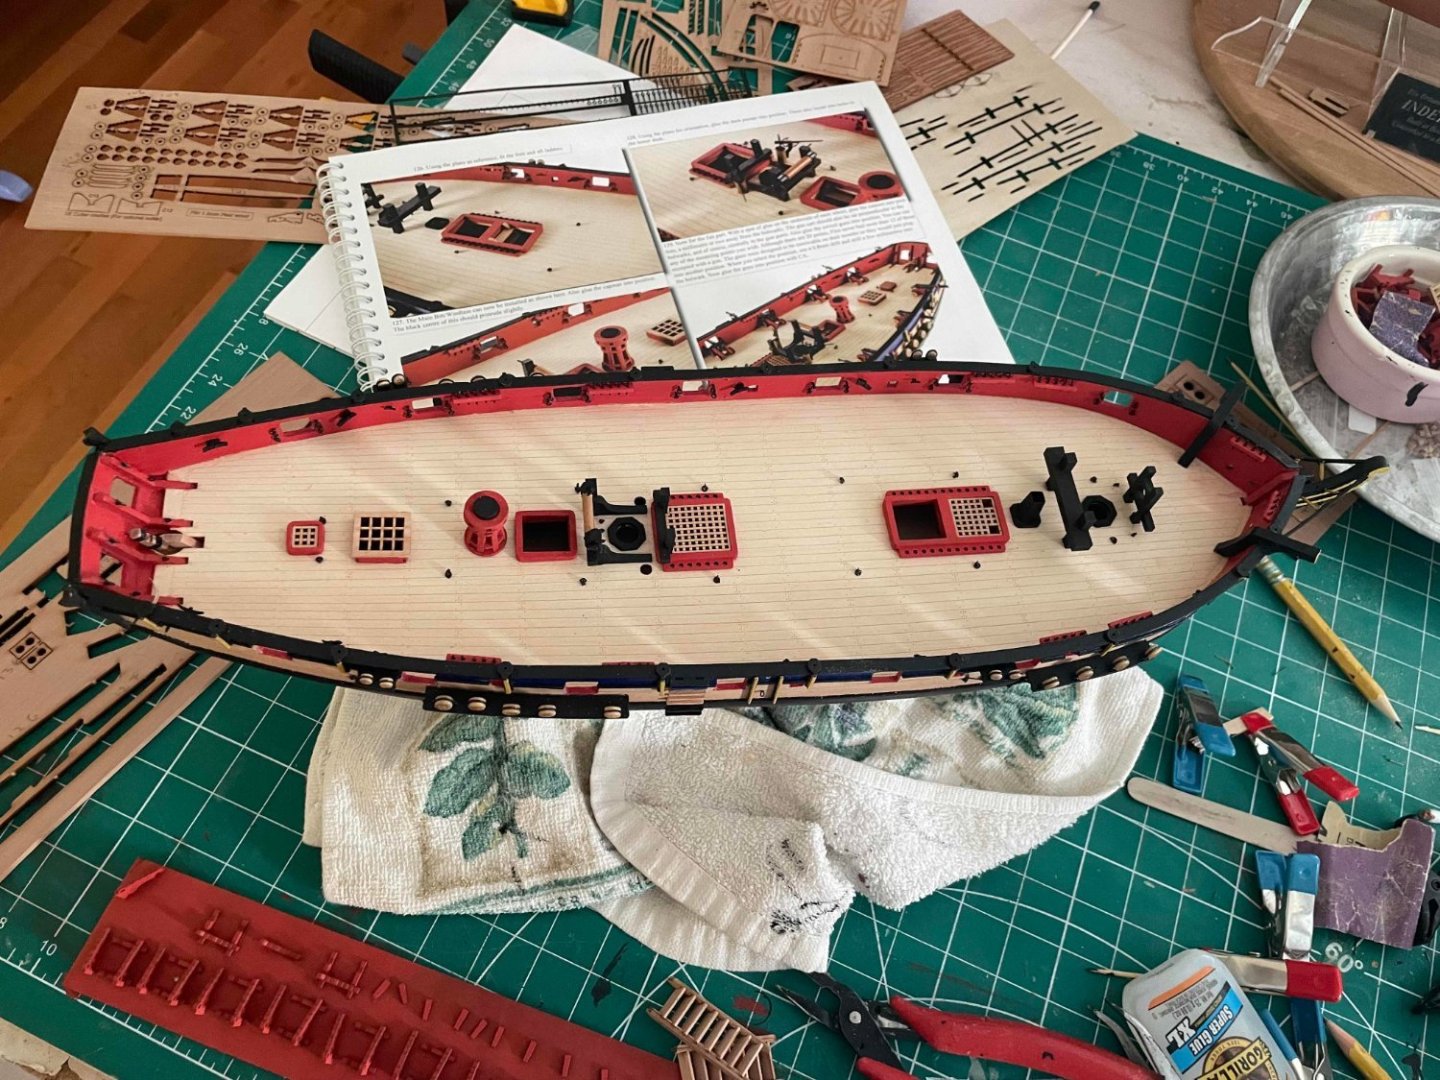
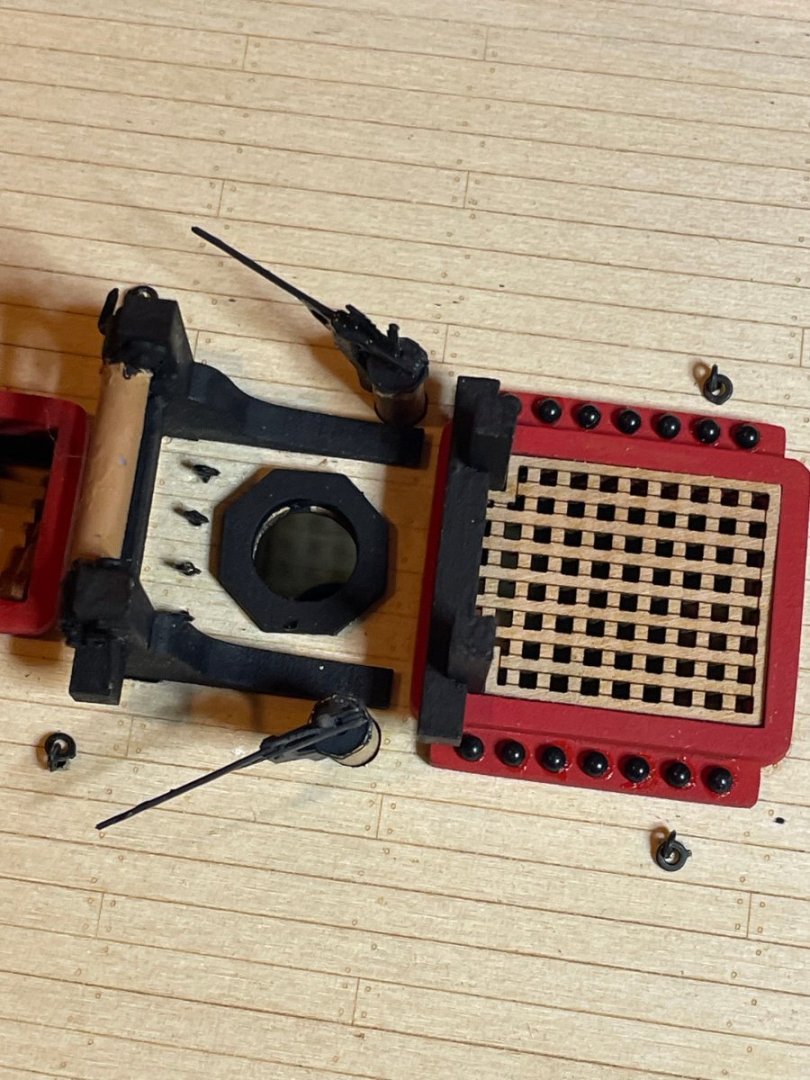
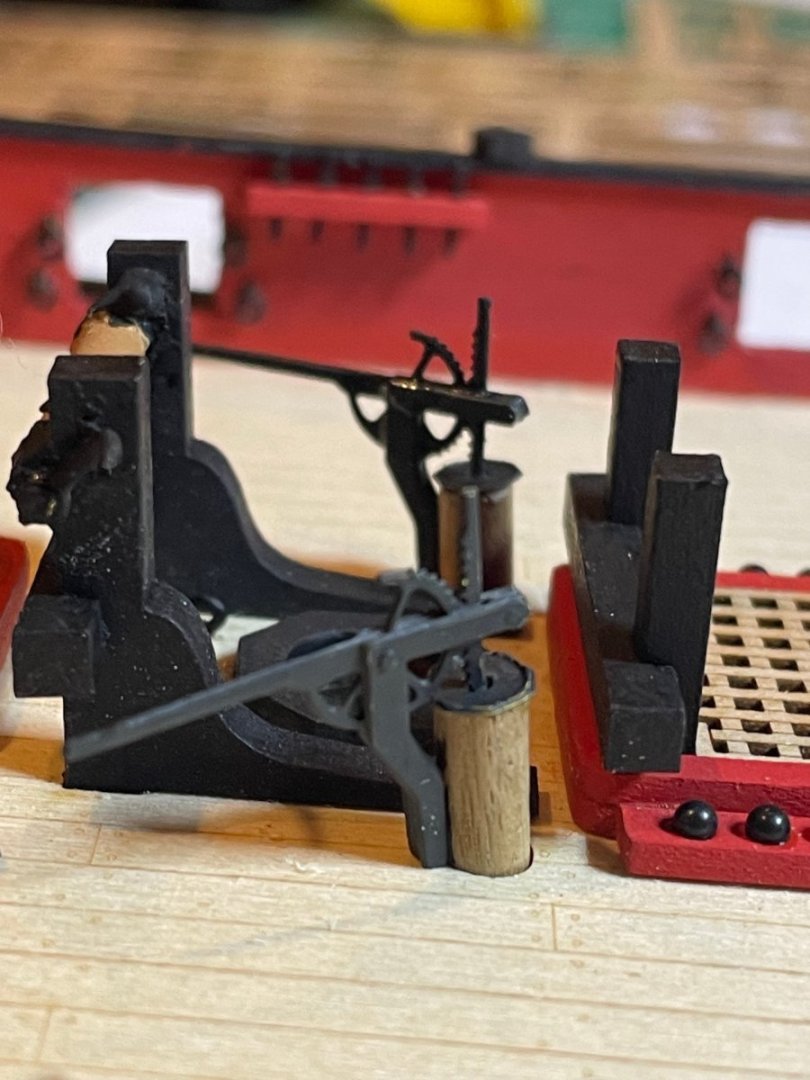
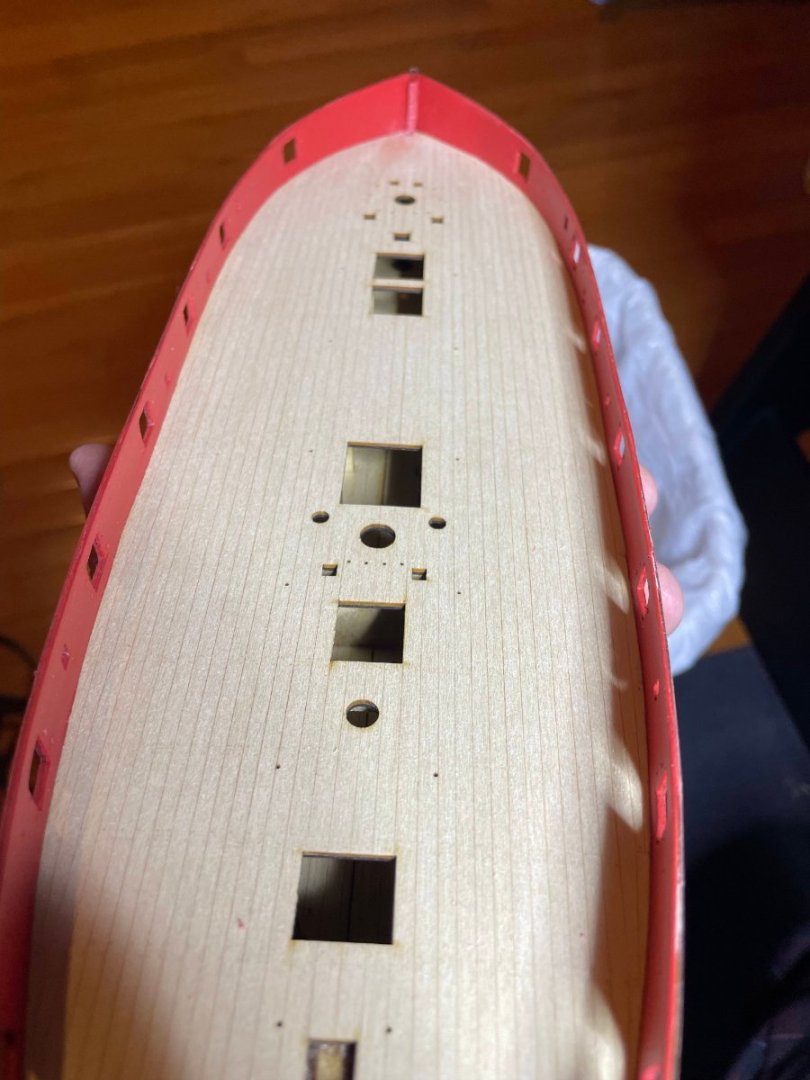
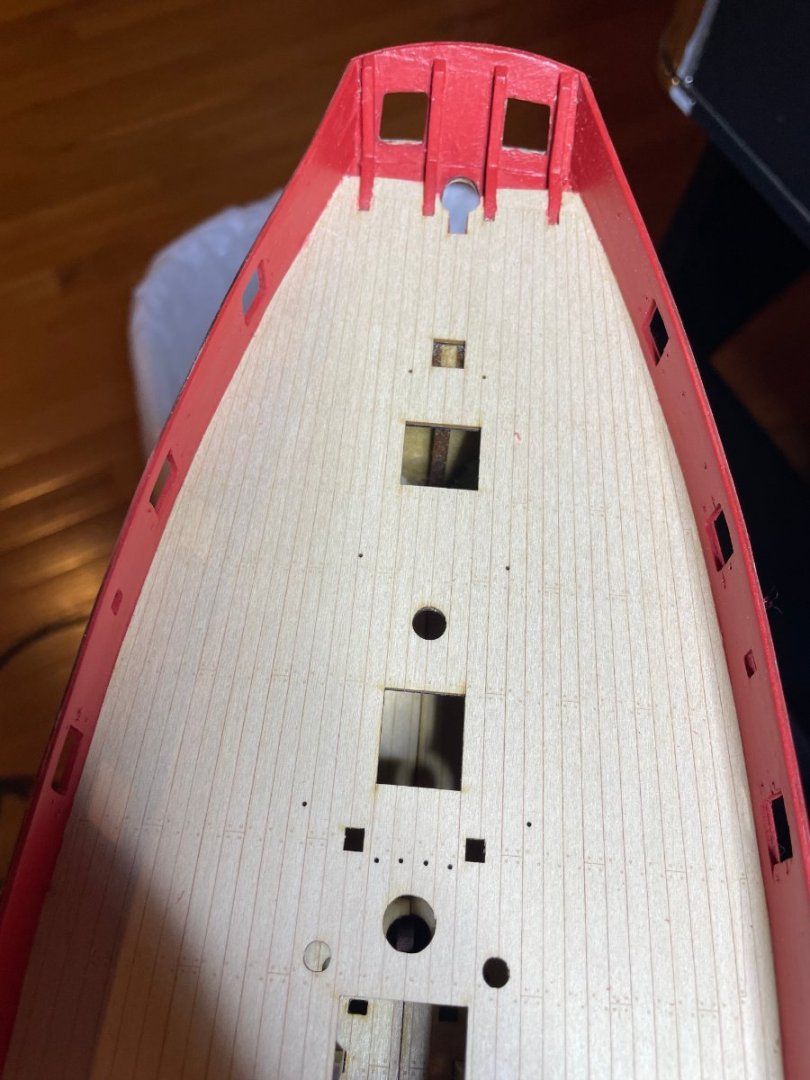
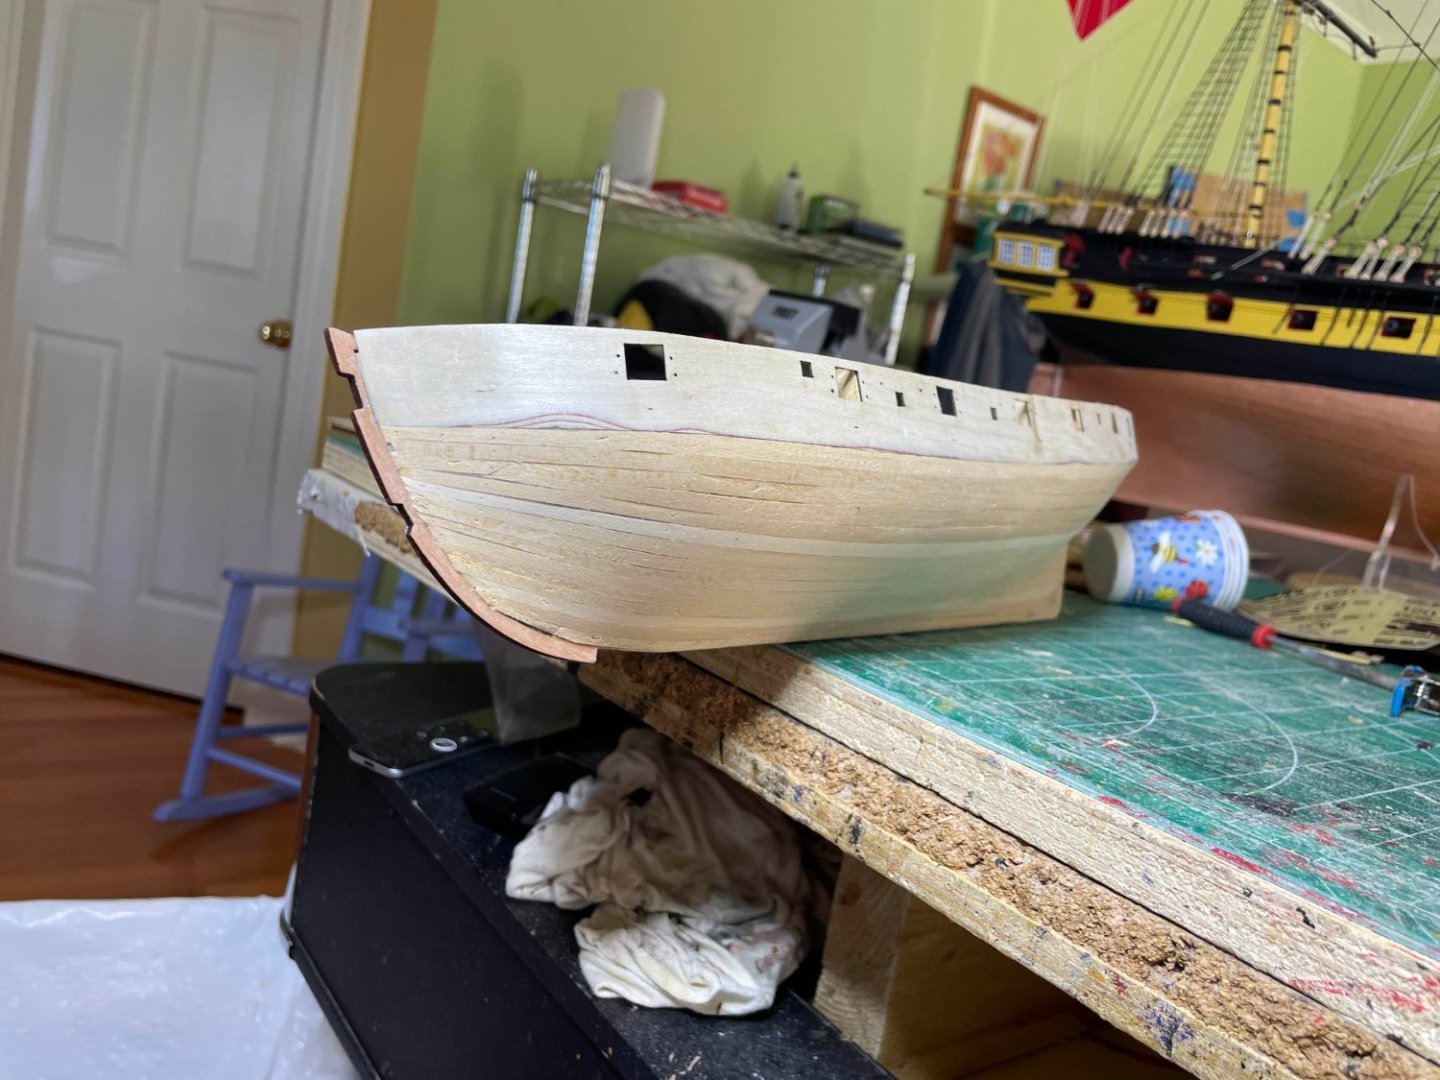
The instructions show the old gun carriage style. But Chris now includes the newer version of them where you half assemble then place the gun and then complete. You can see the new pieces Various hatches in, pumps installed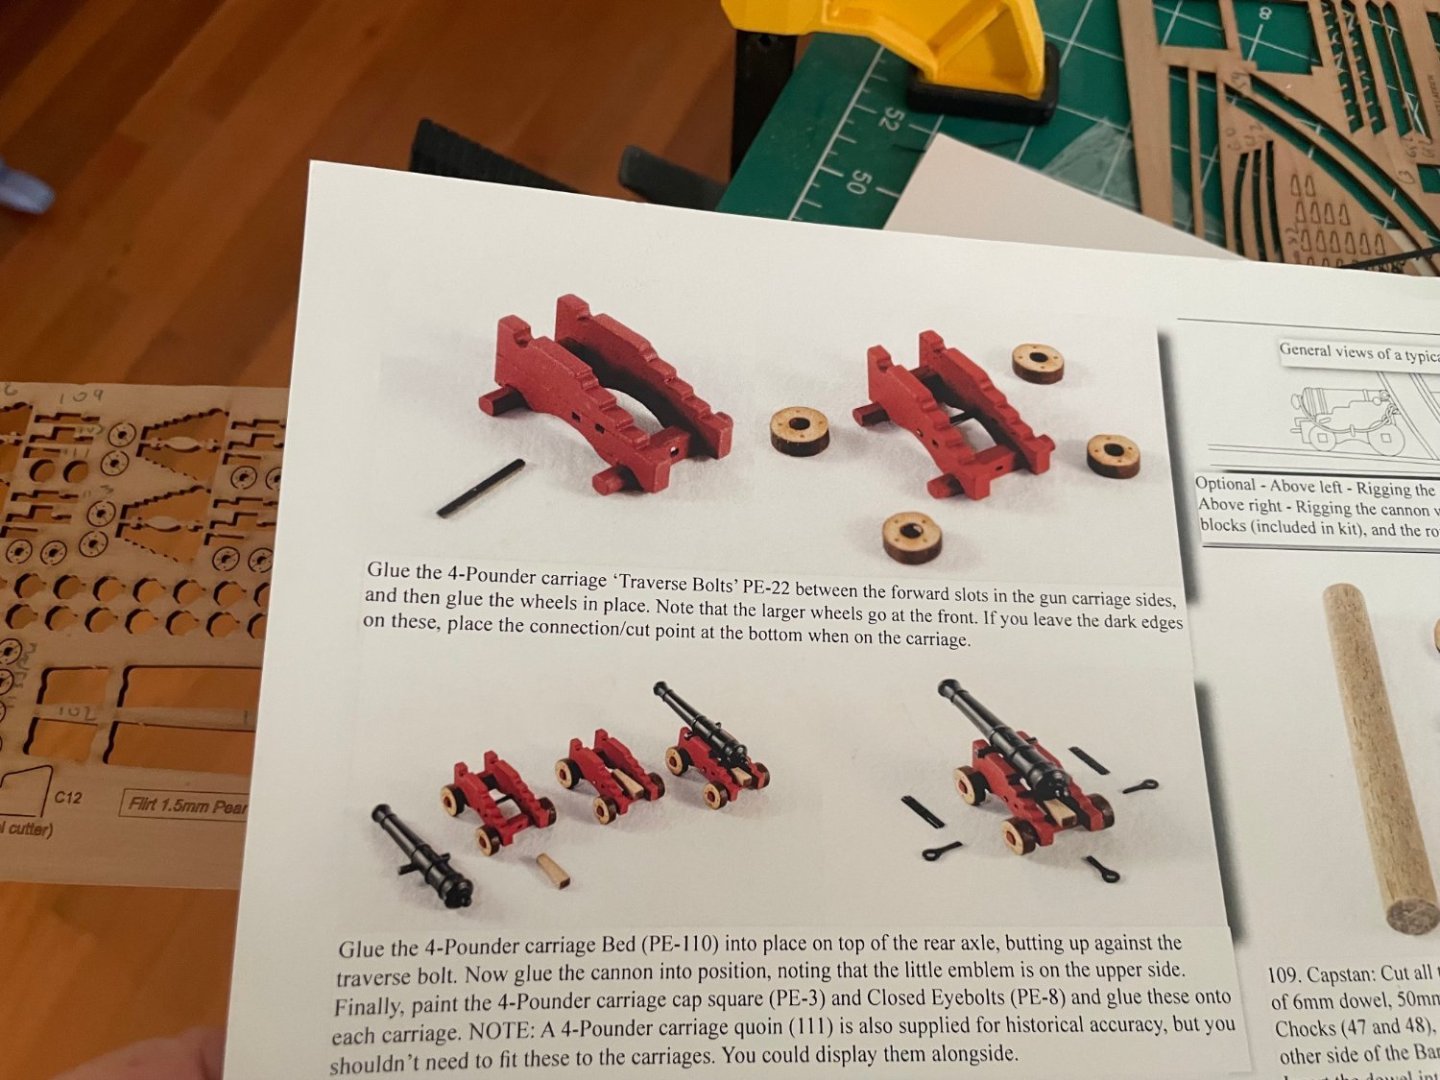


-
HMS Flirt by ECK - Vanguard Models - 1:64
ECK replied to ECK's topic in - Kit build logs for subjects built from 1751 - 1800
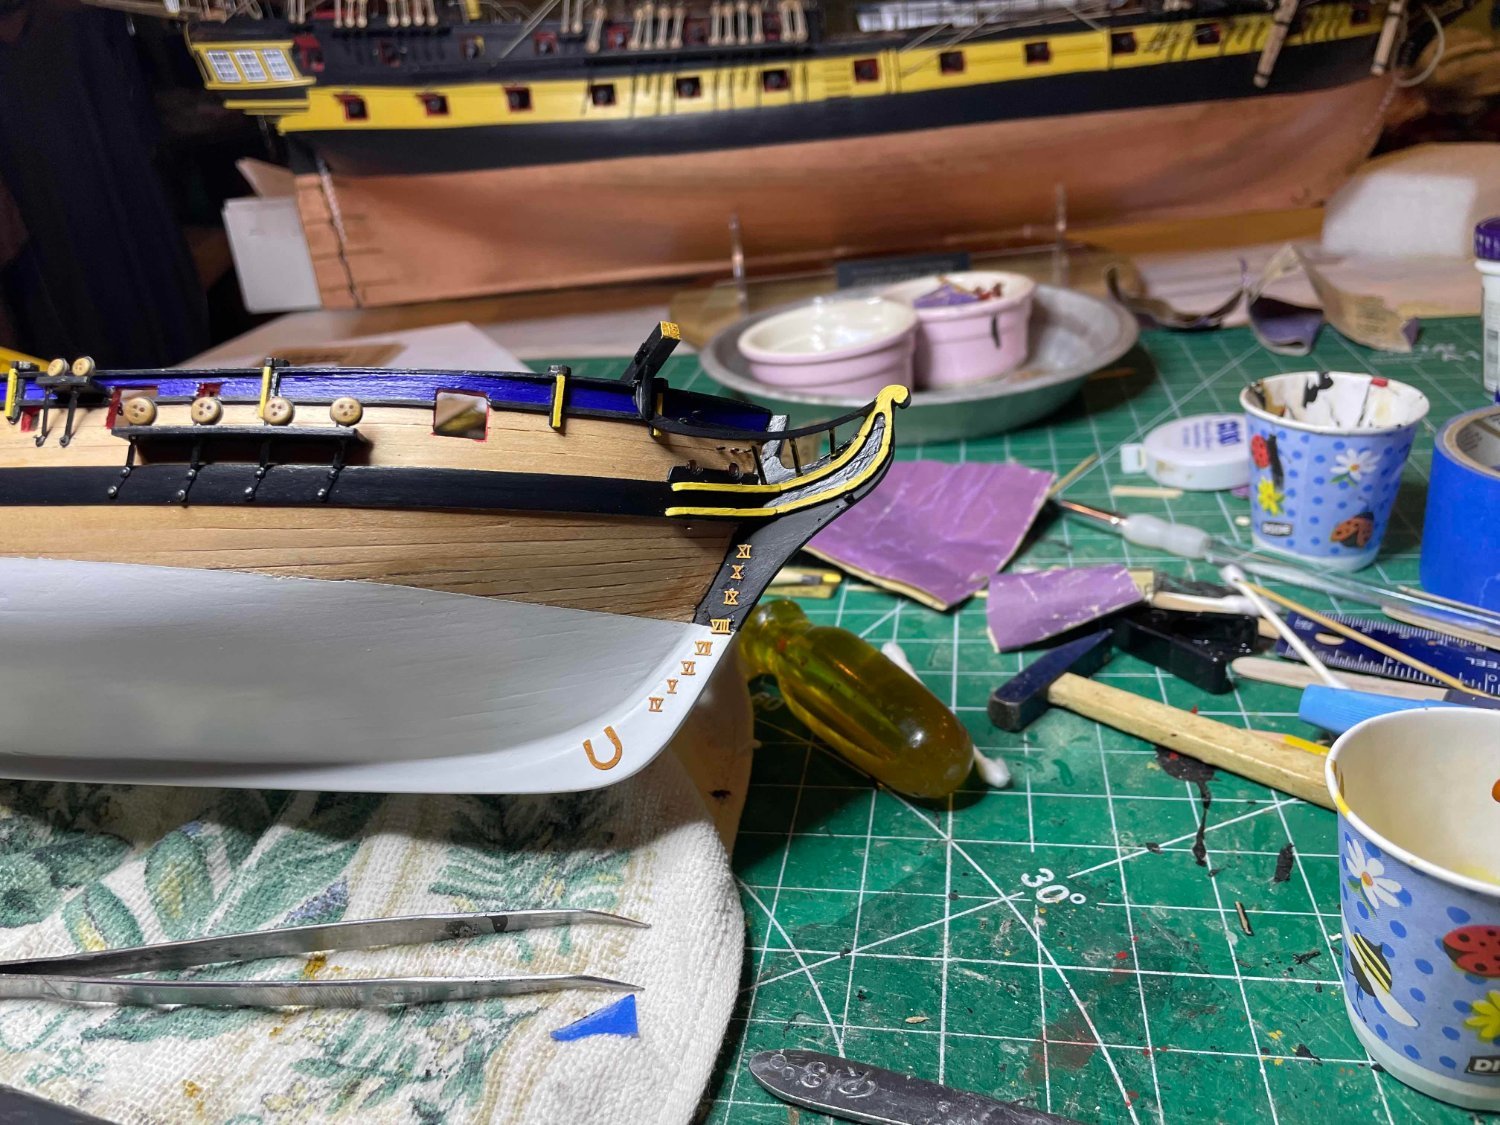
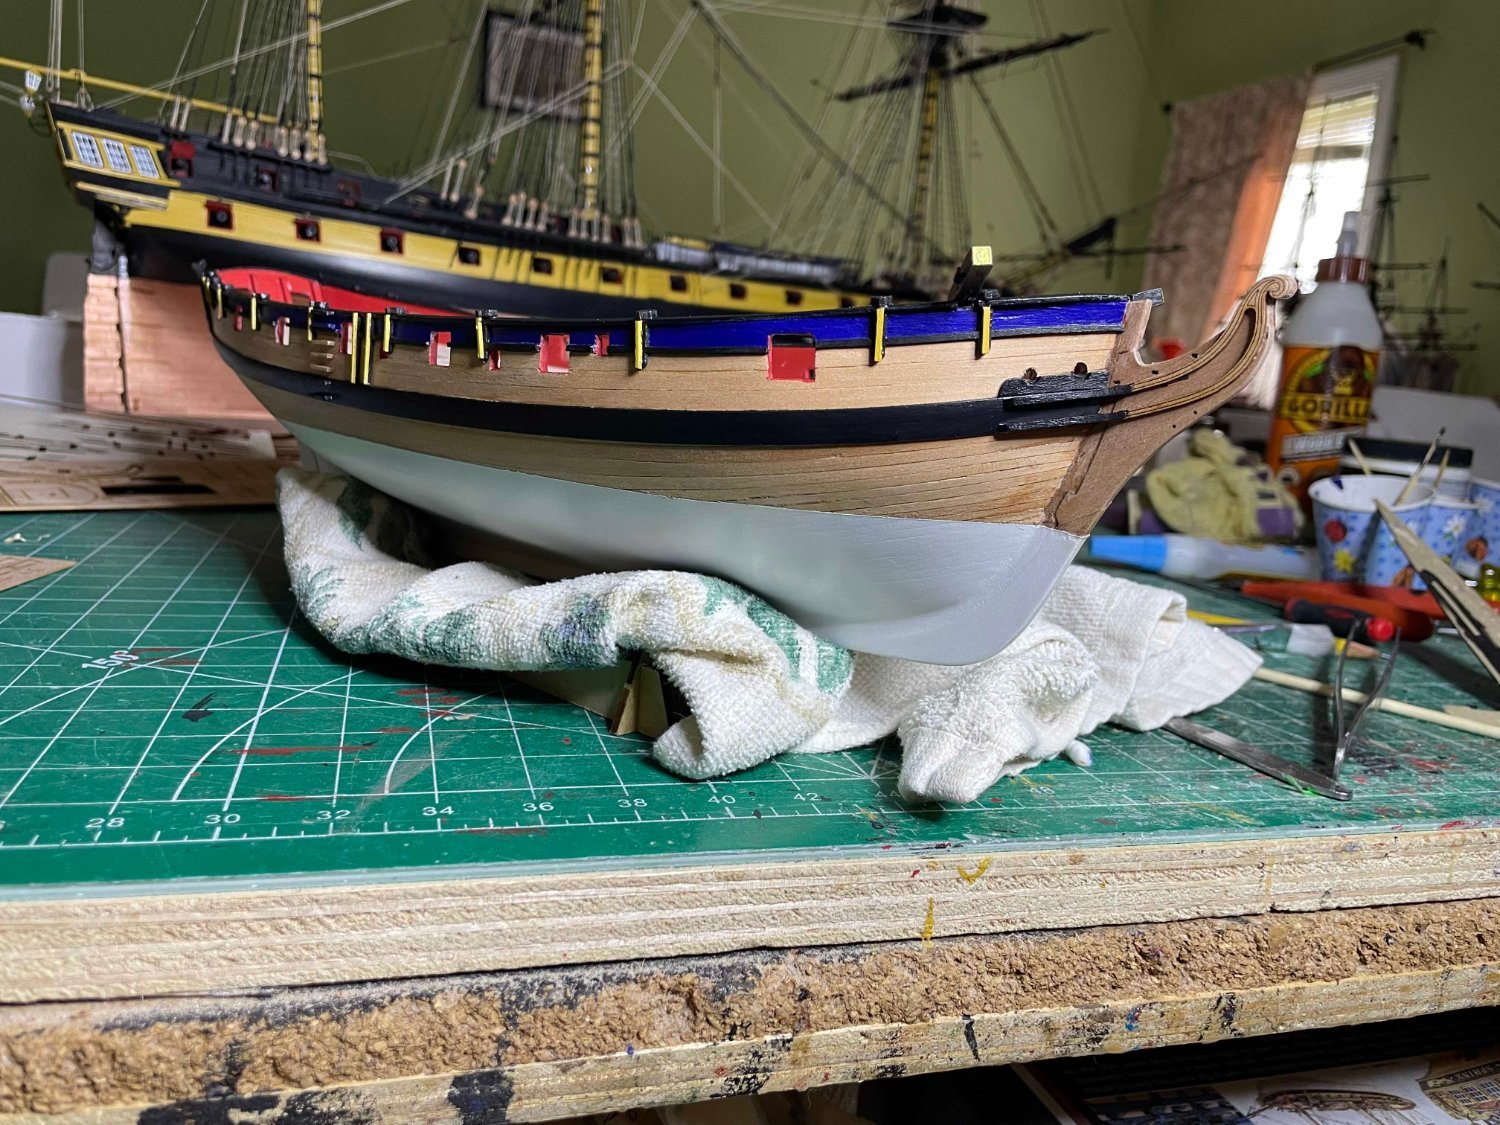
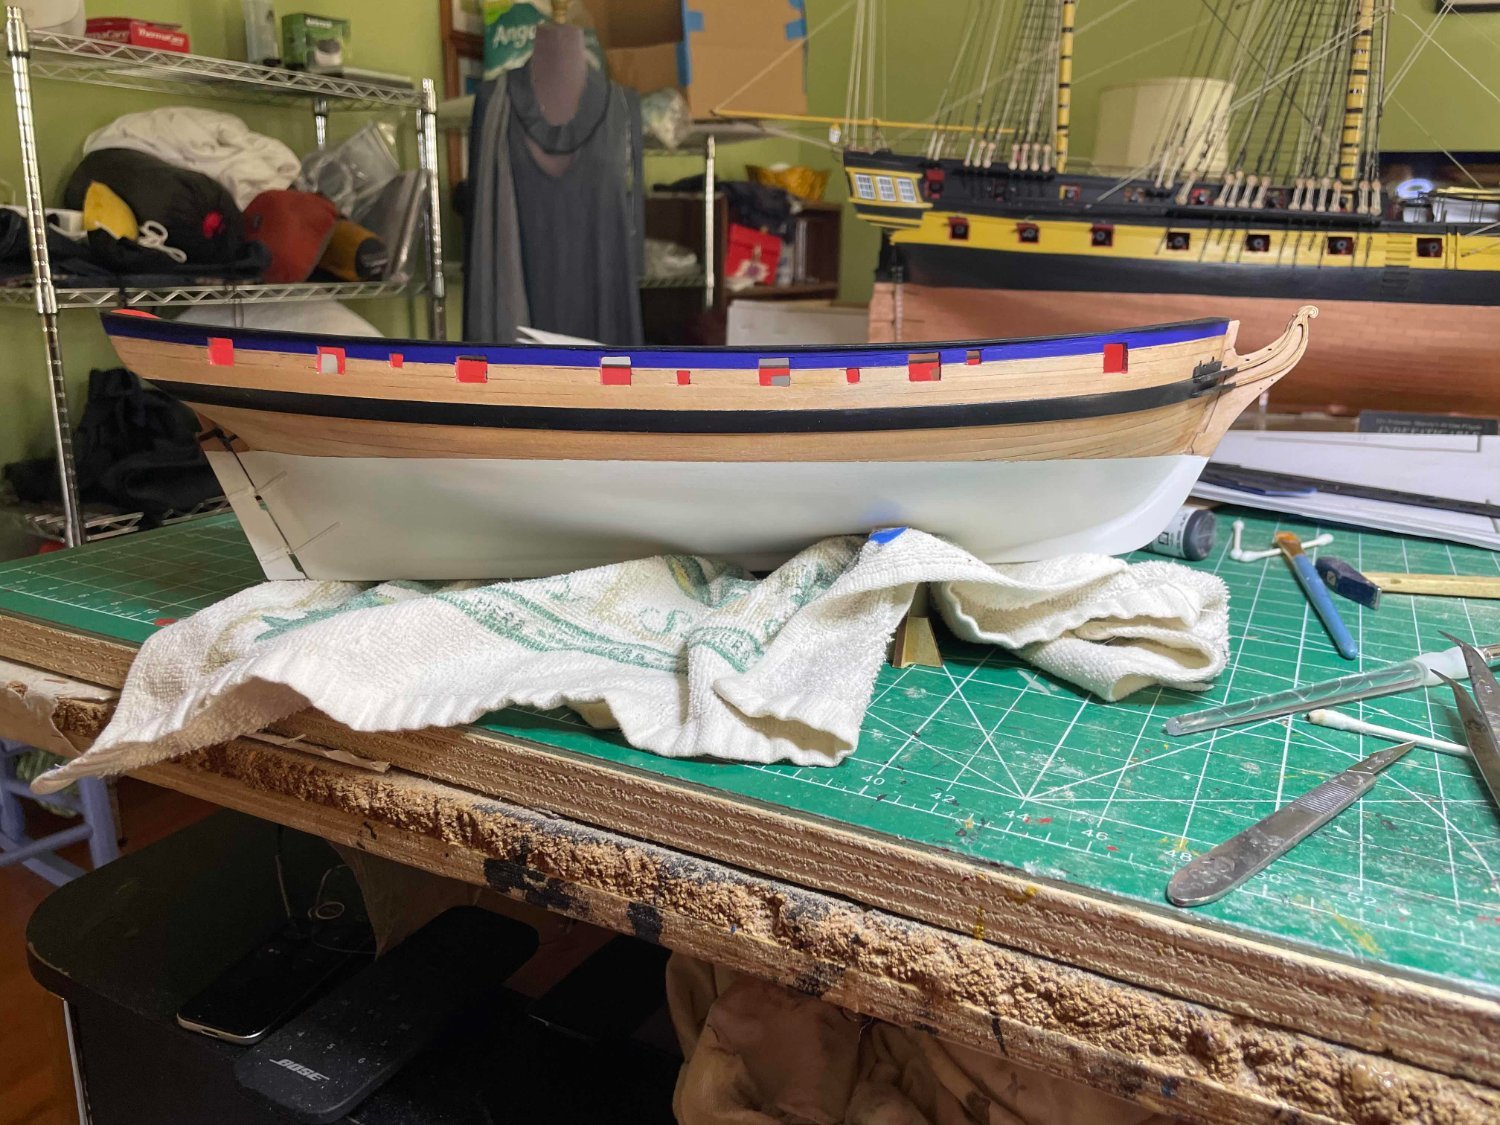
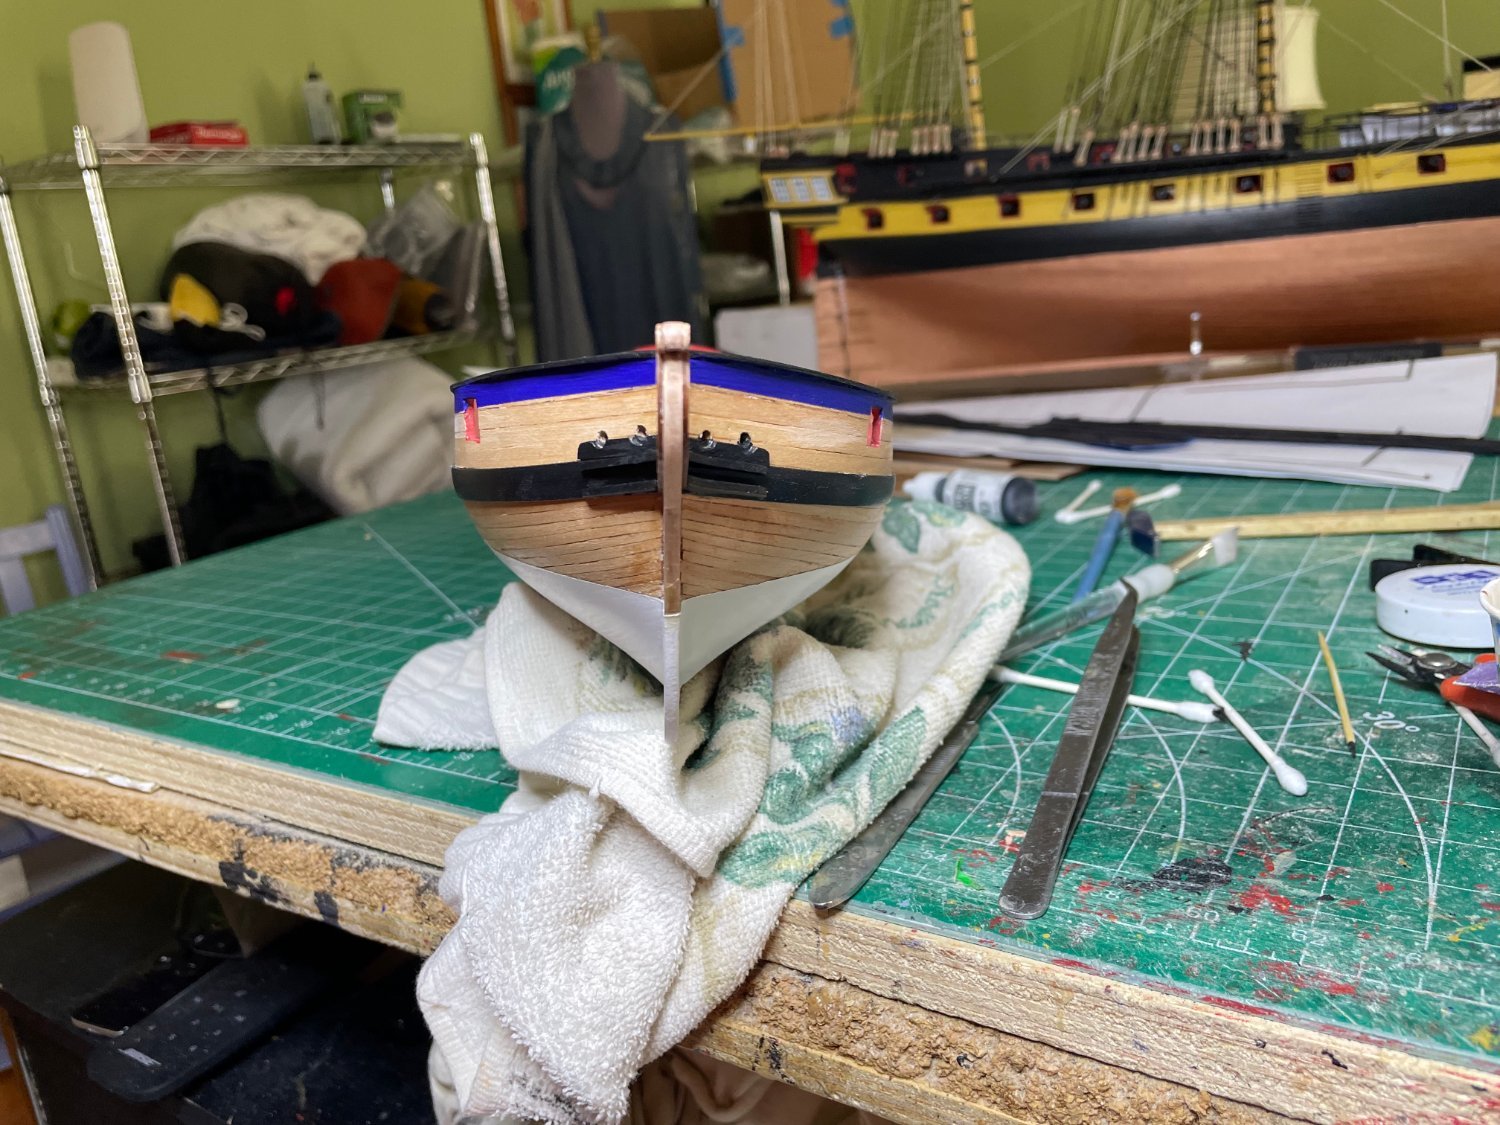
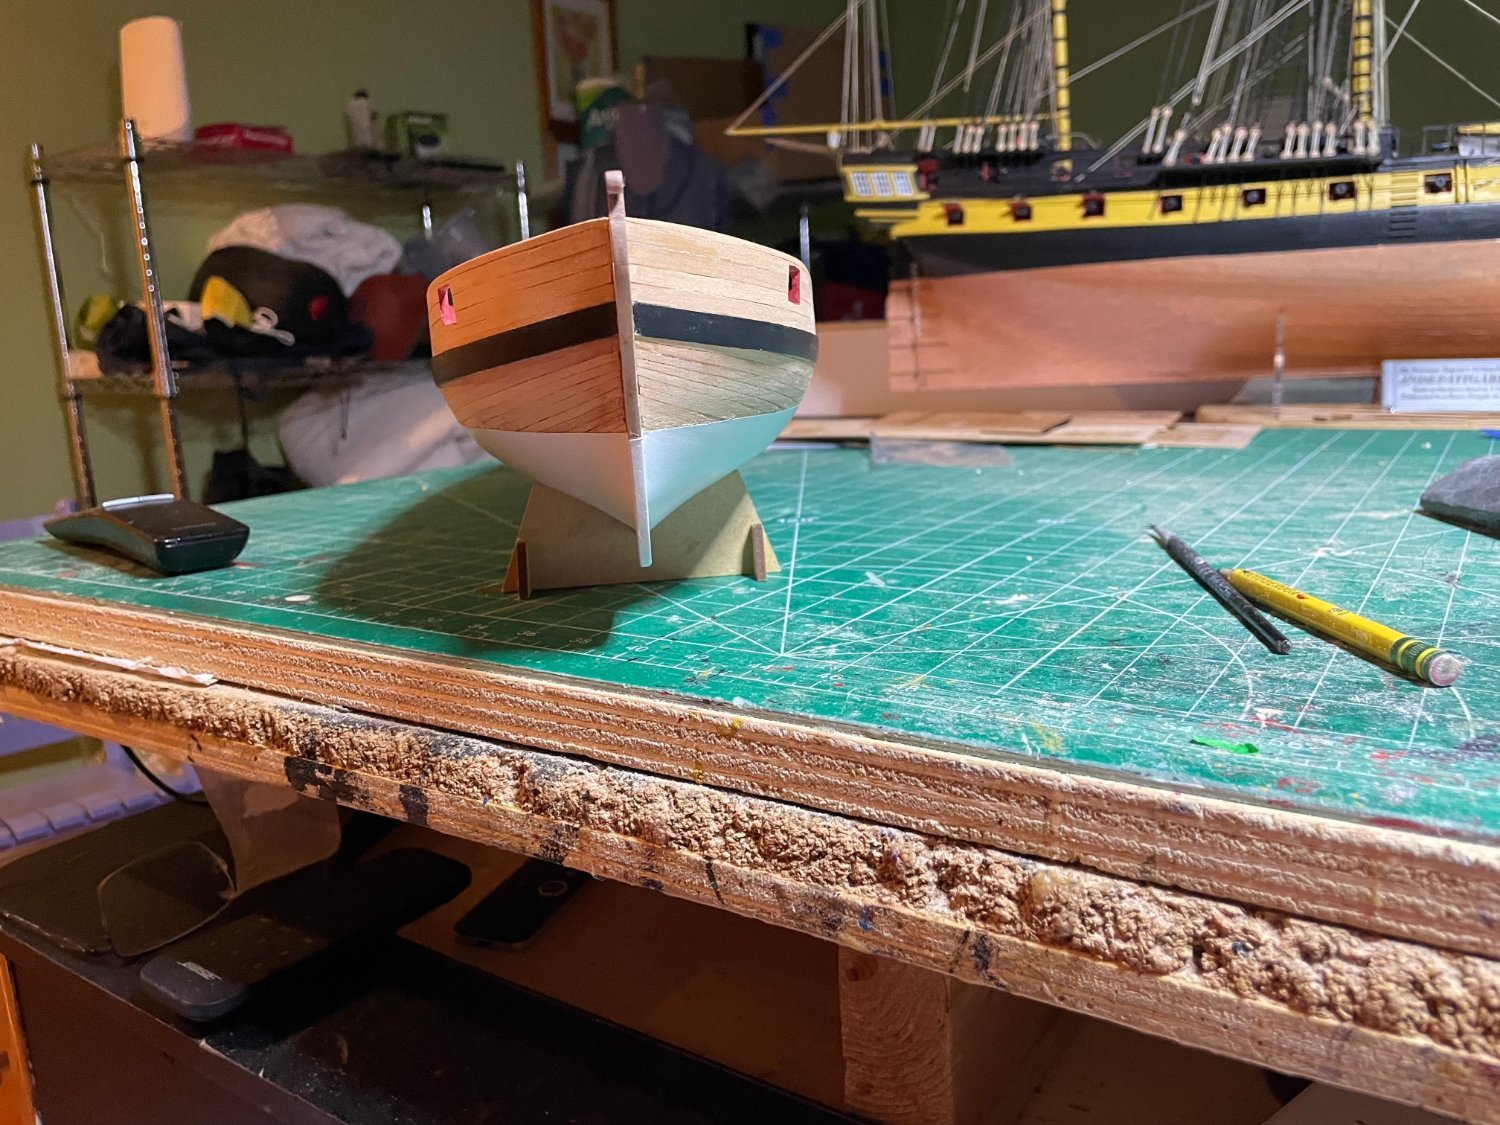
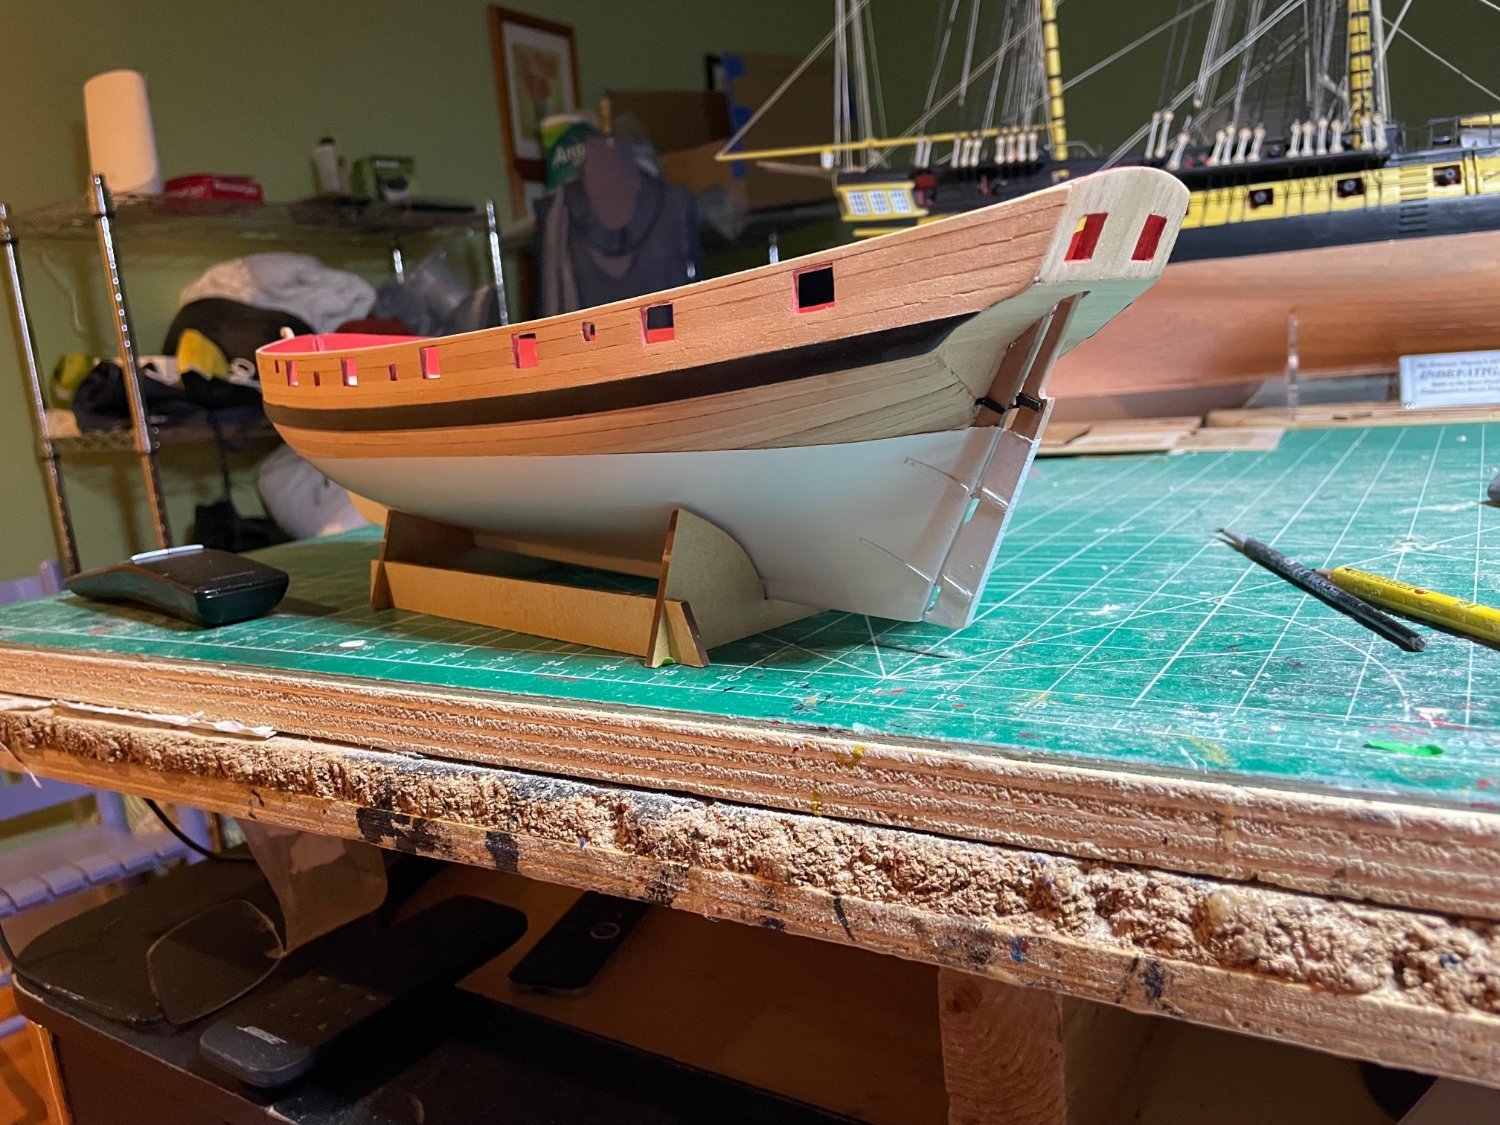
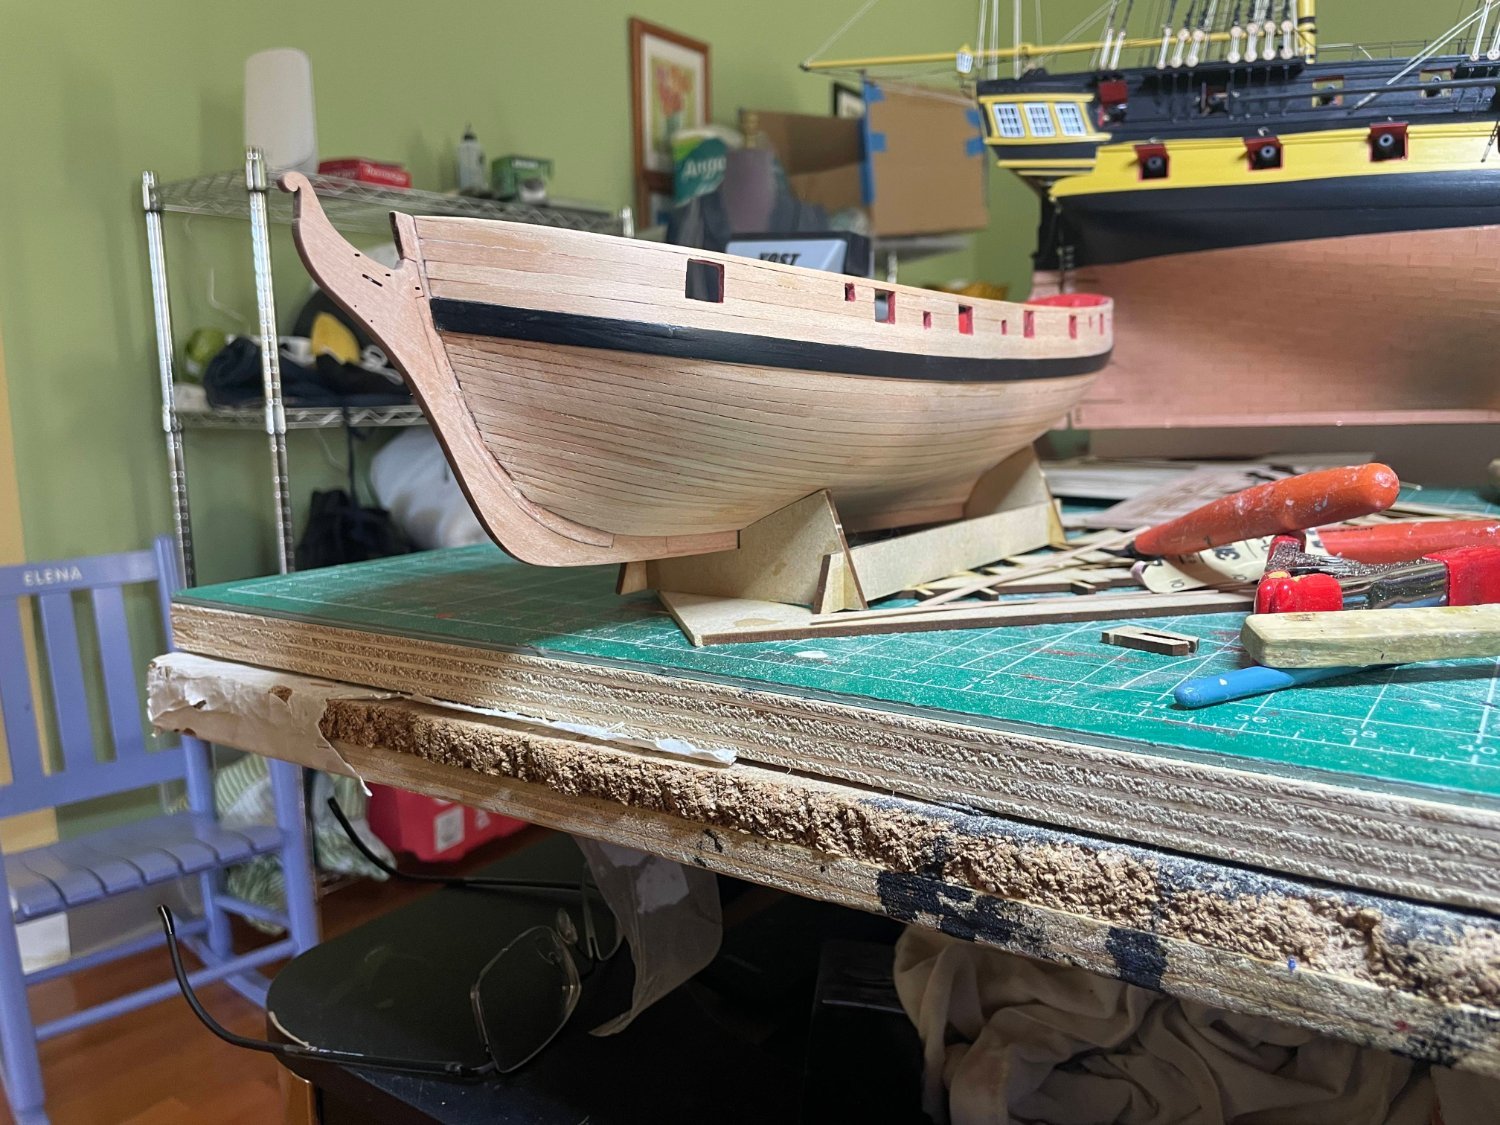
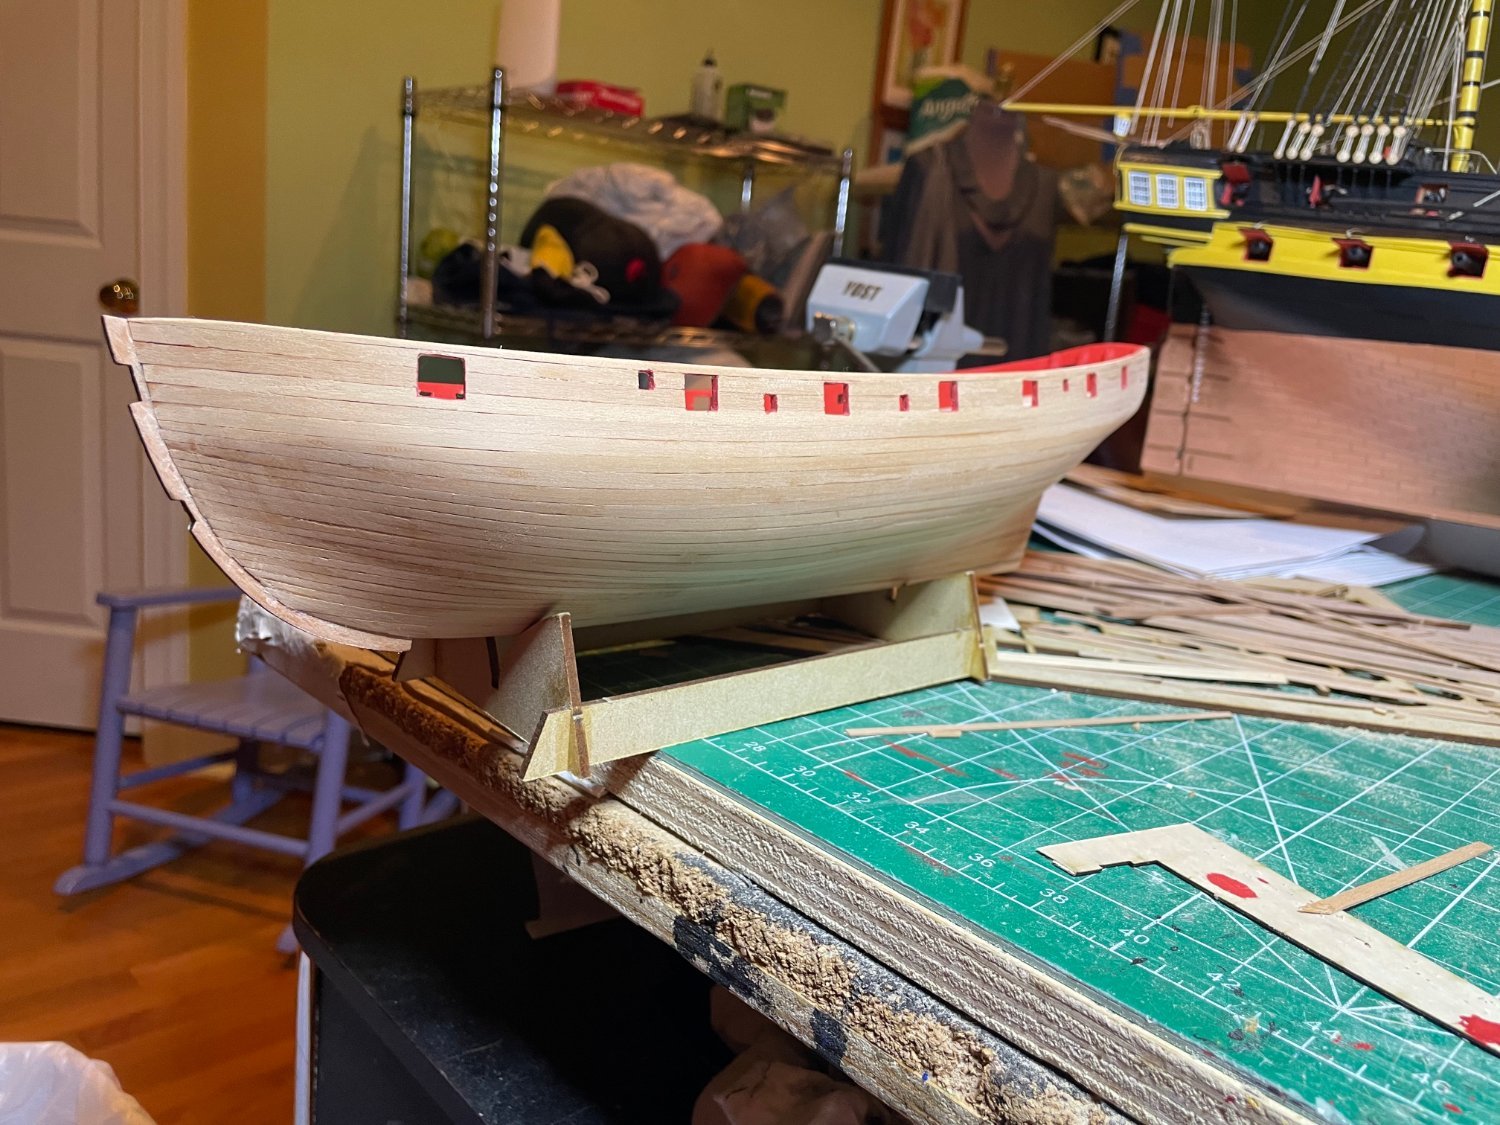
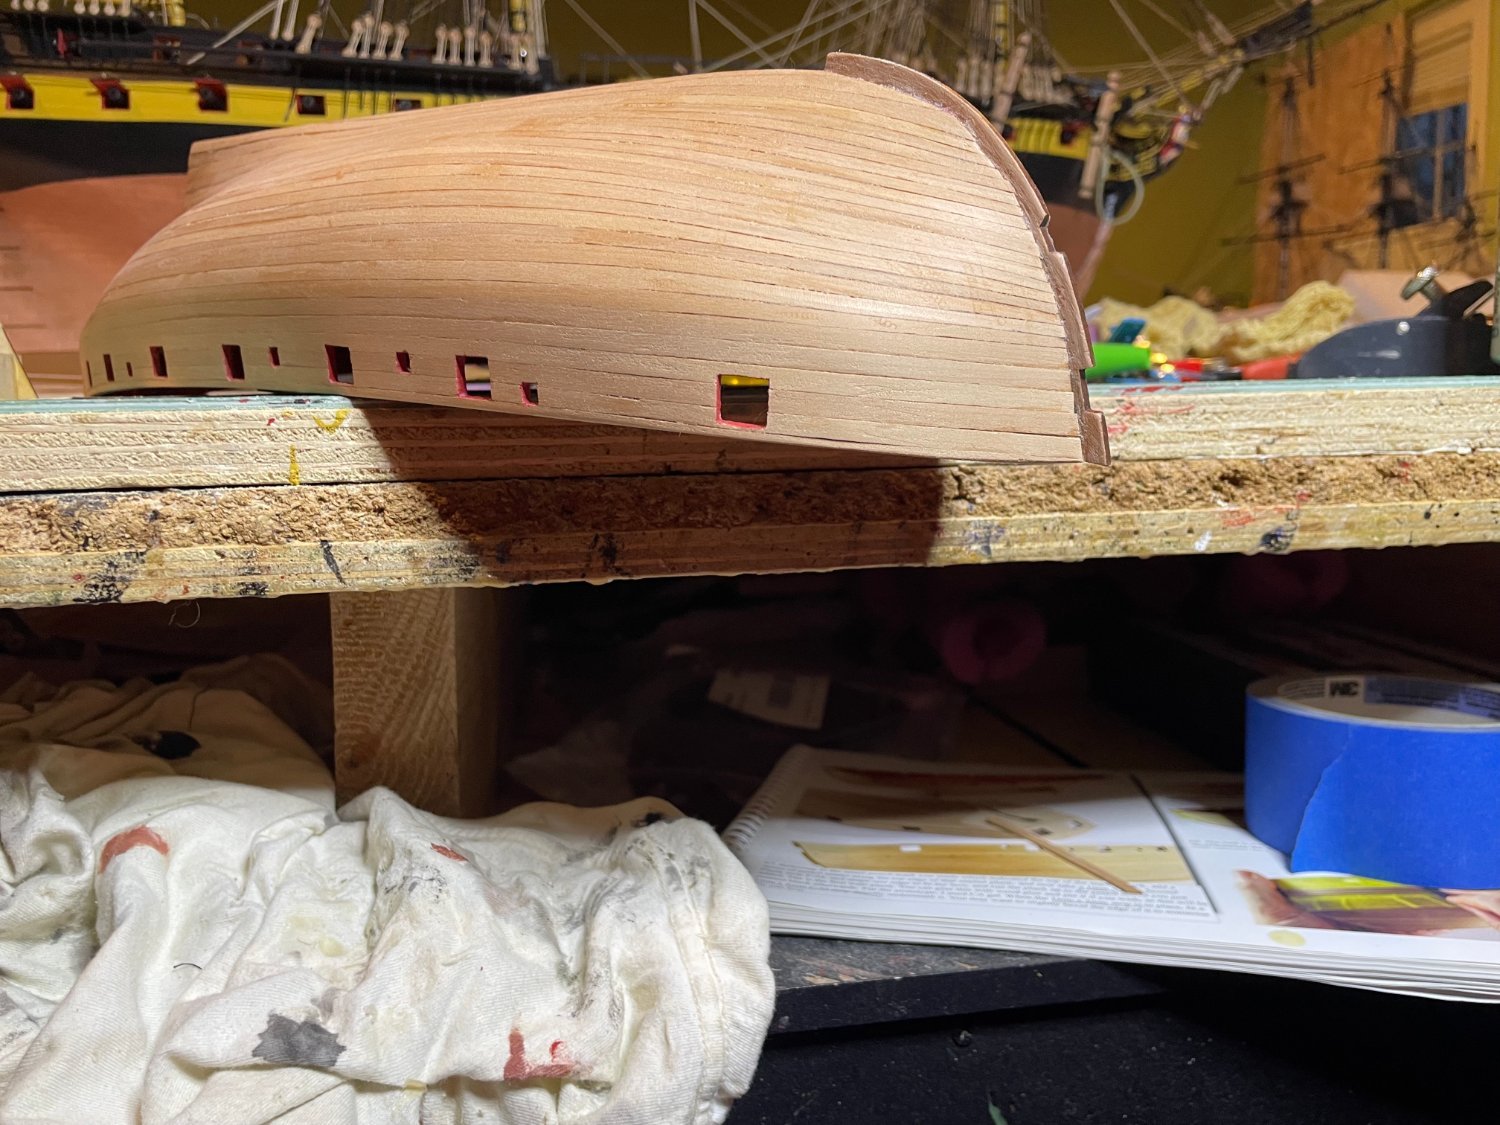
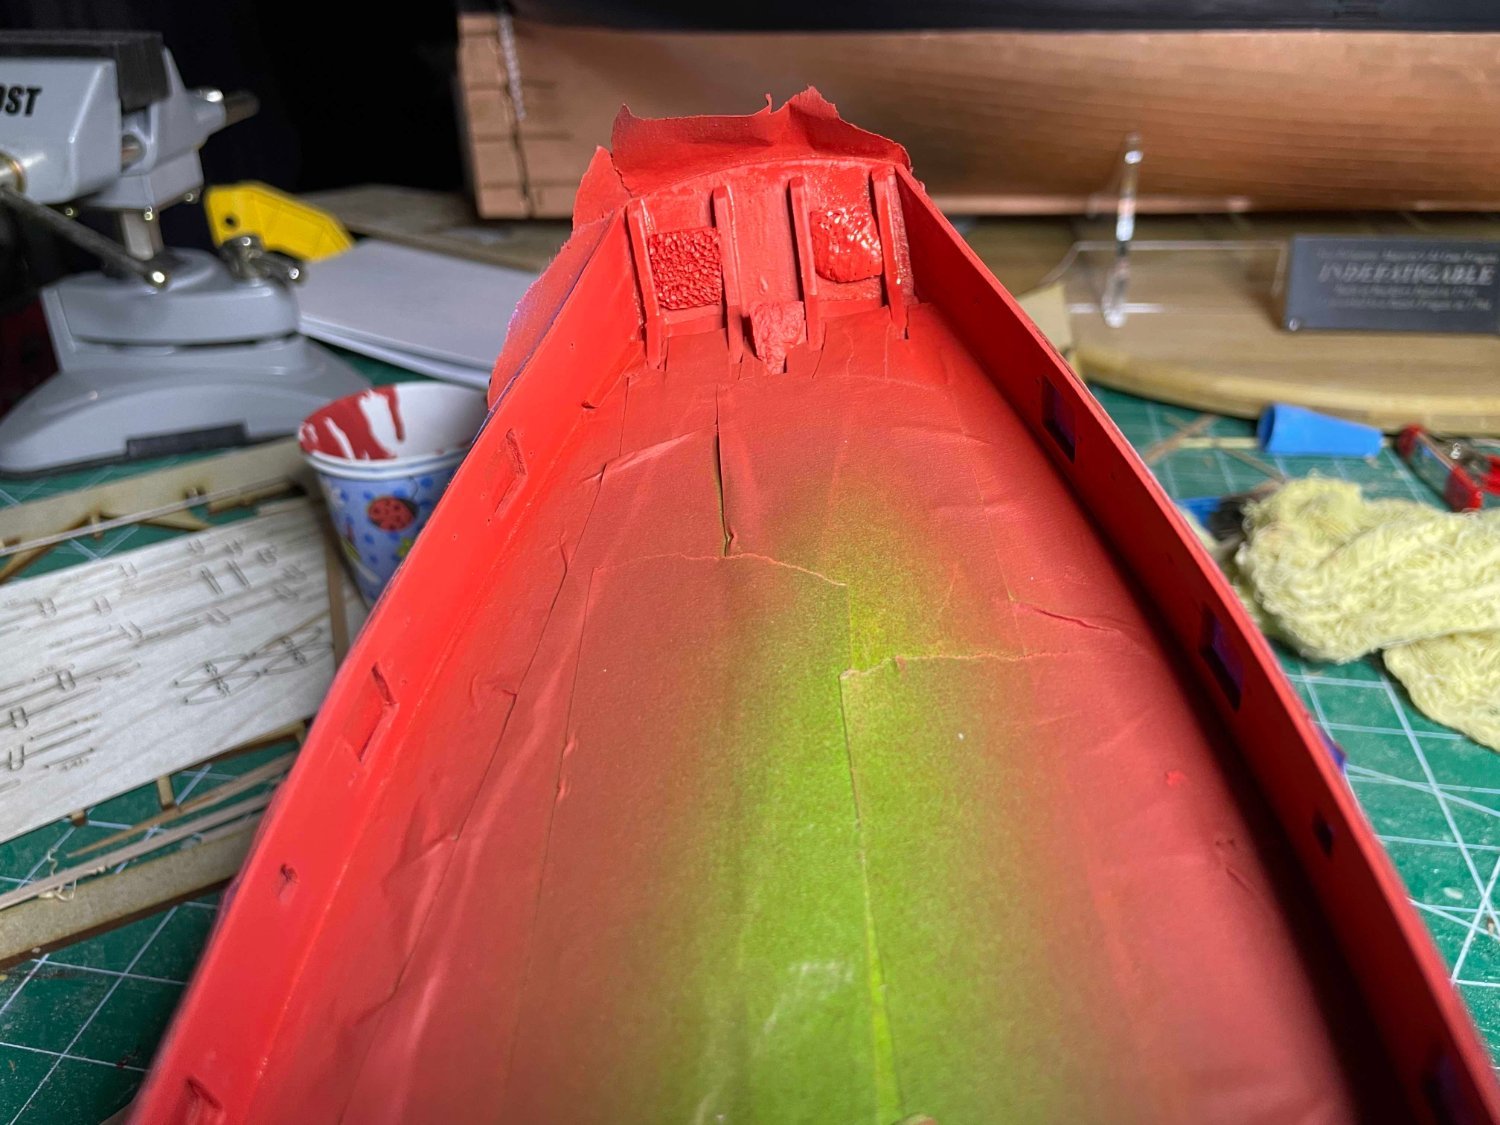
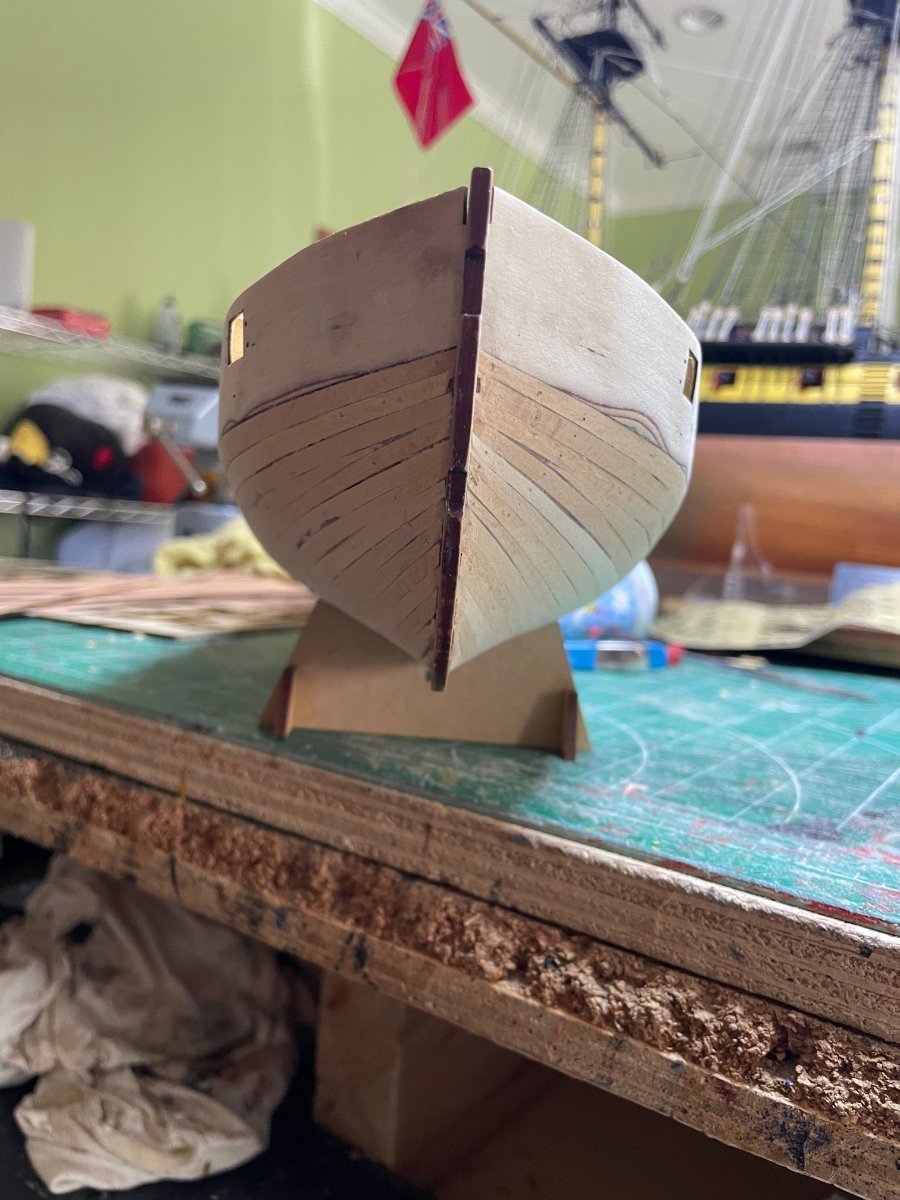
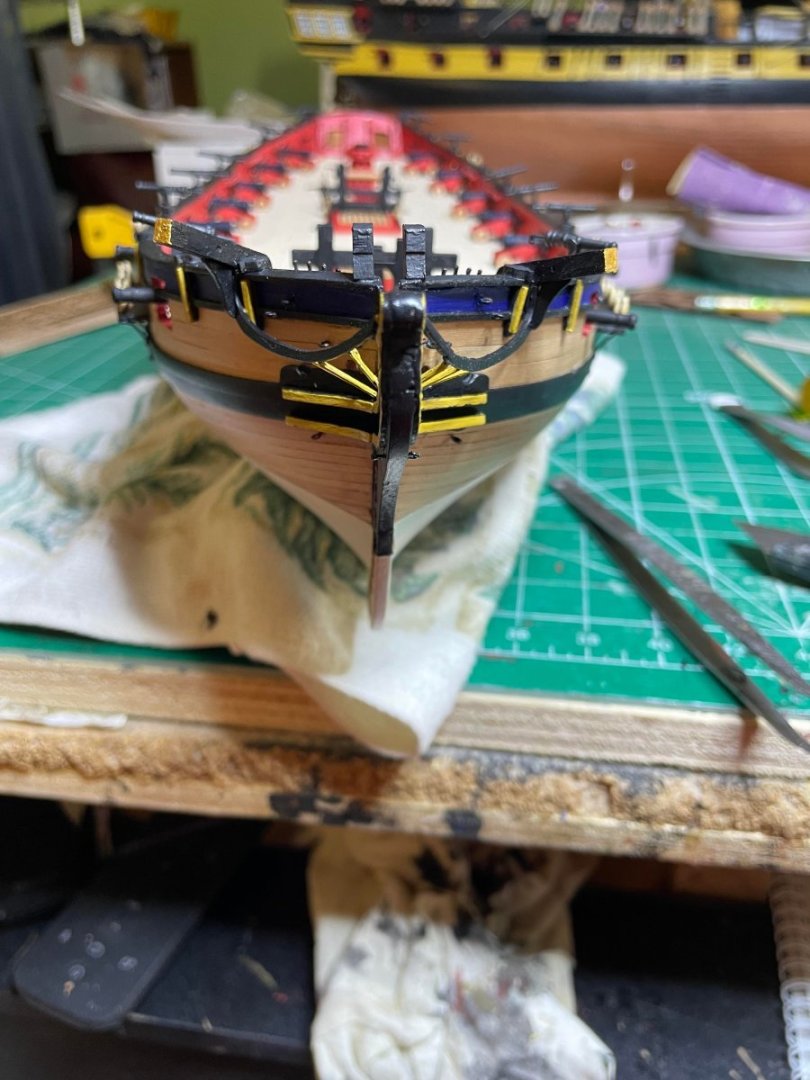
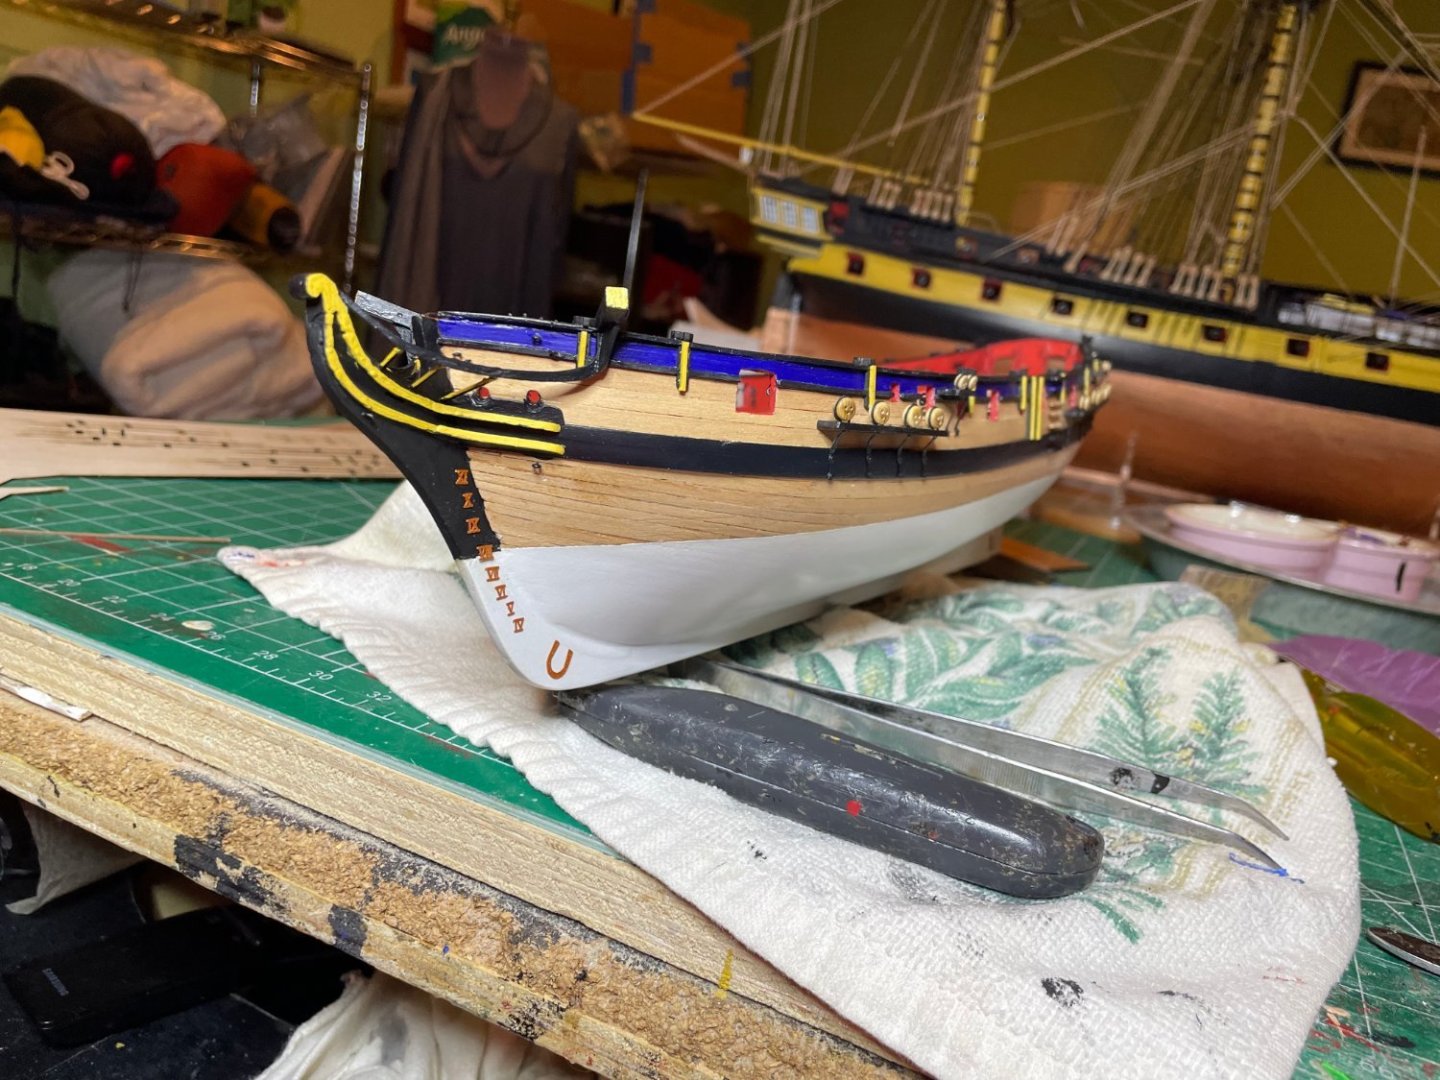
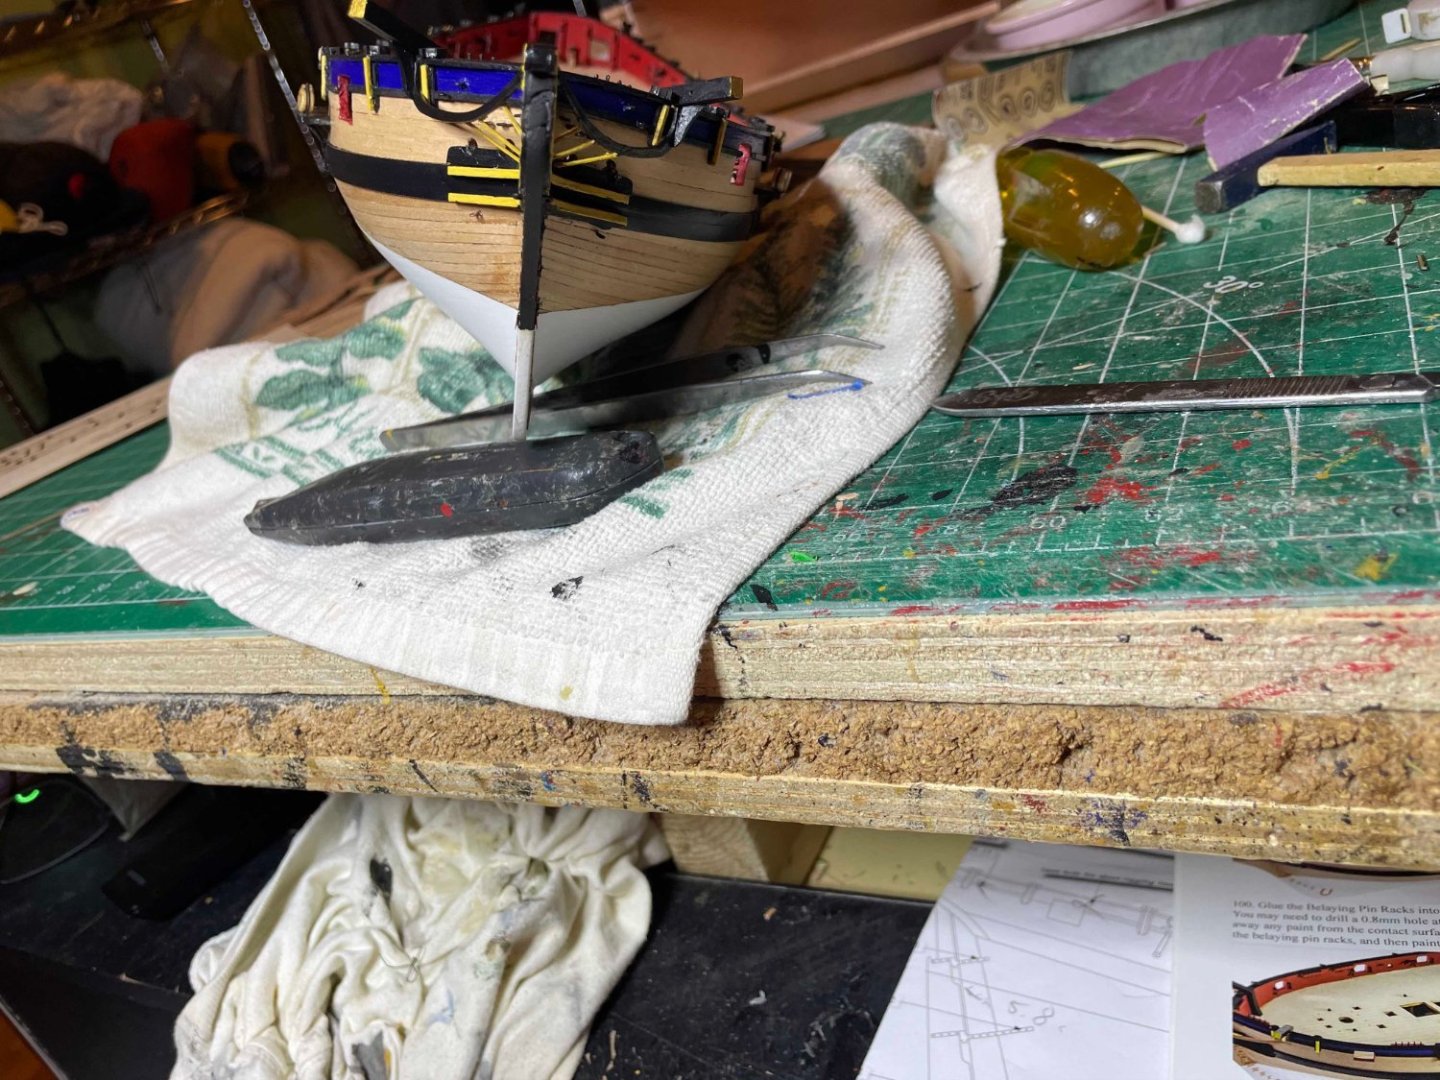
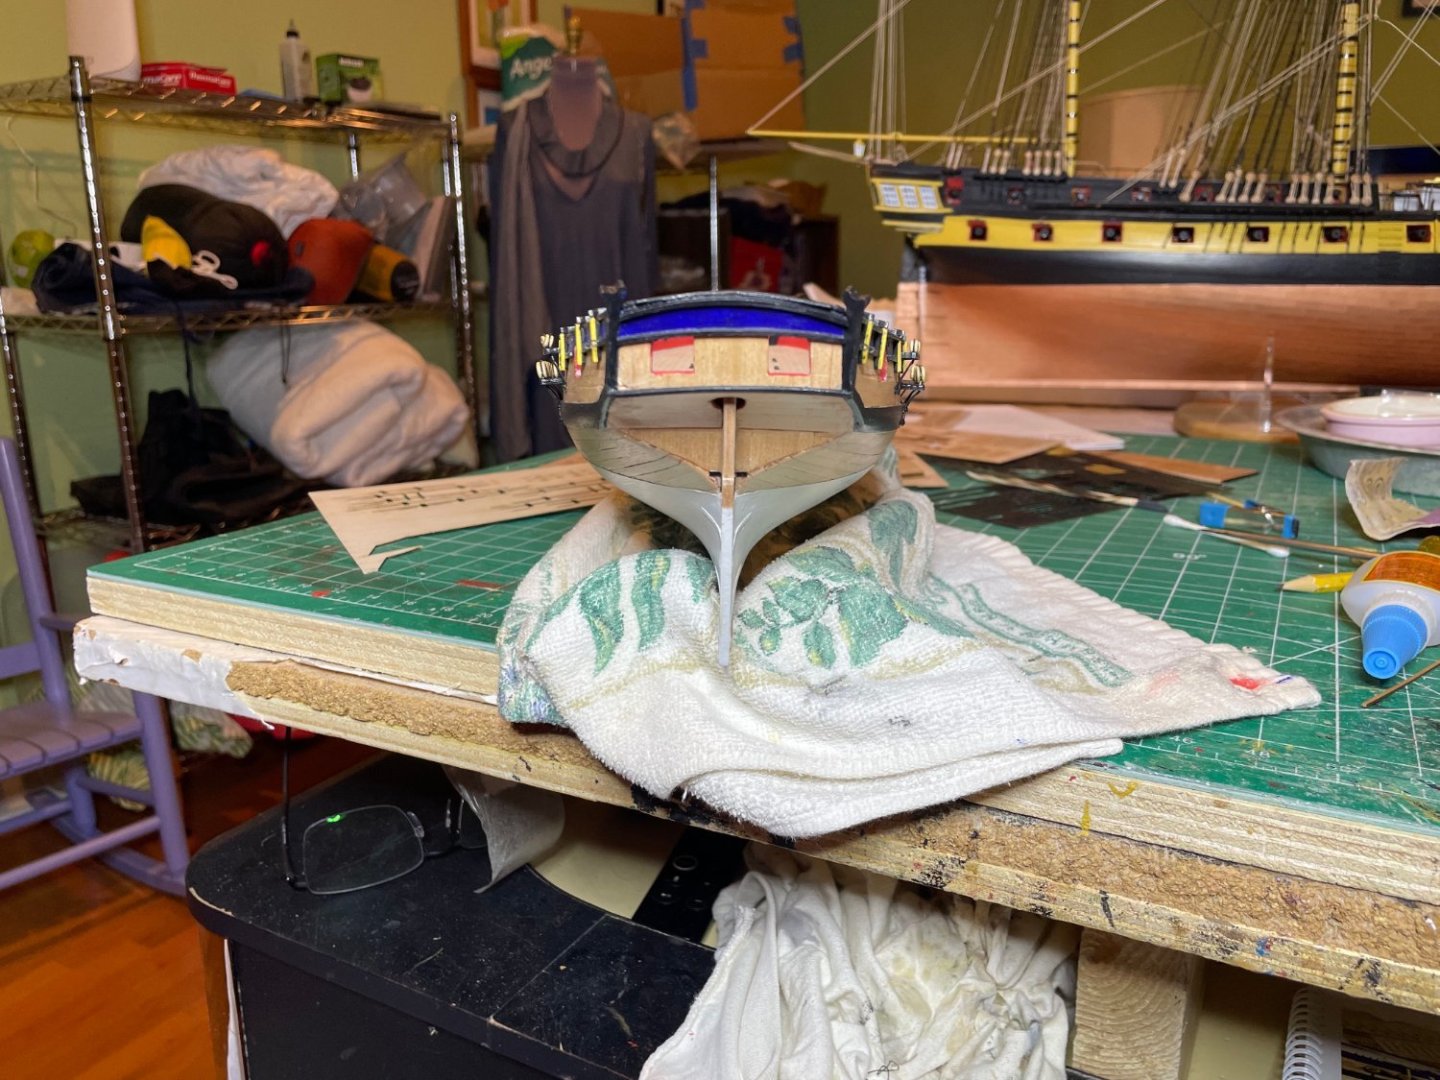
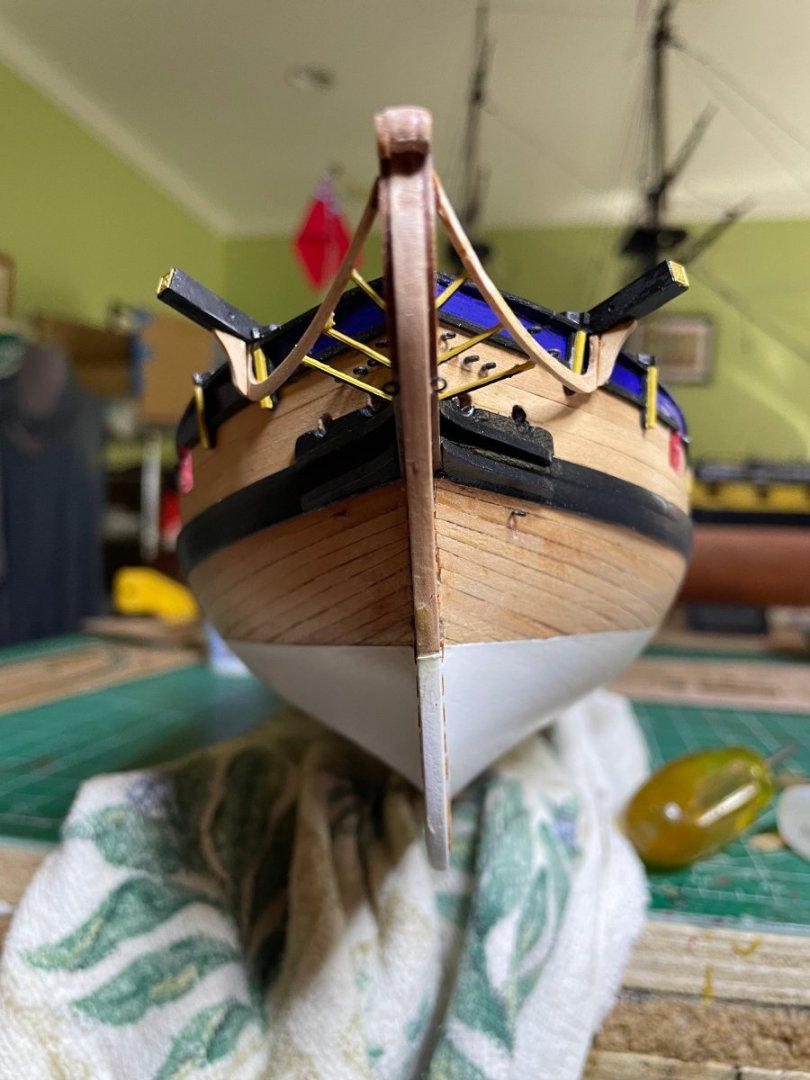
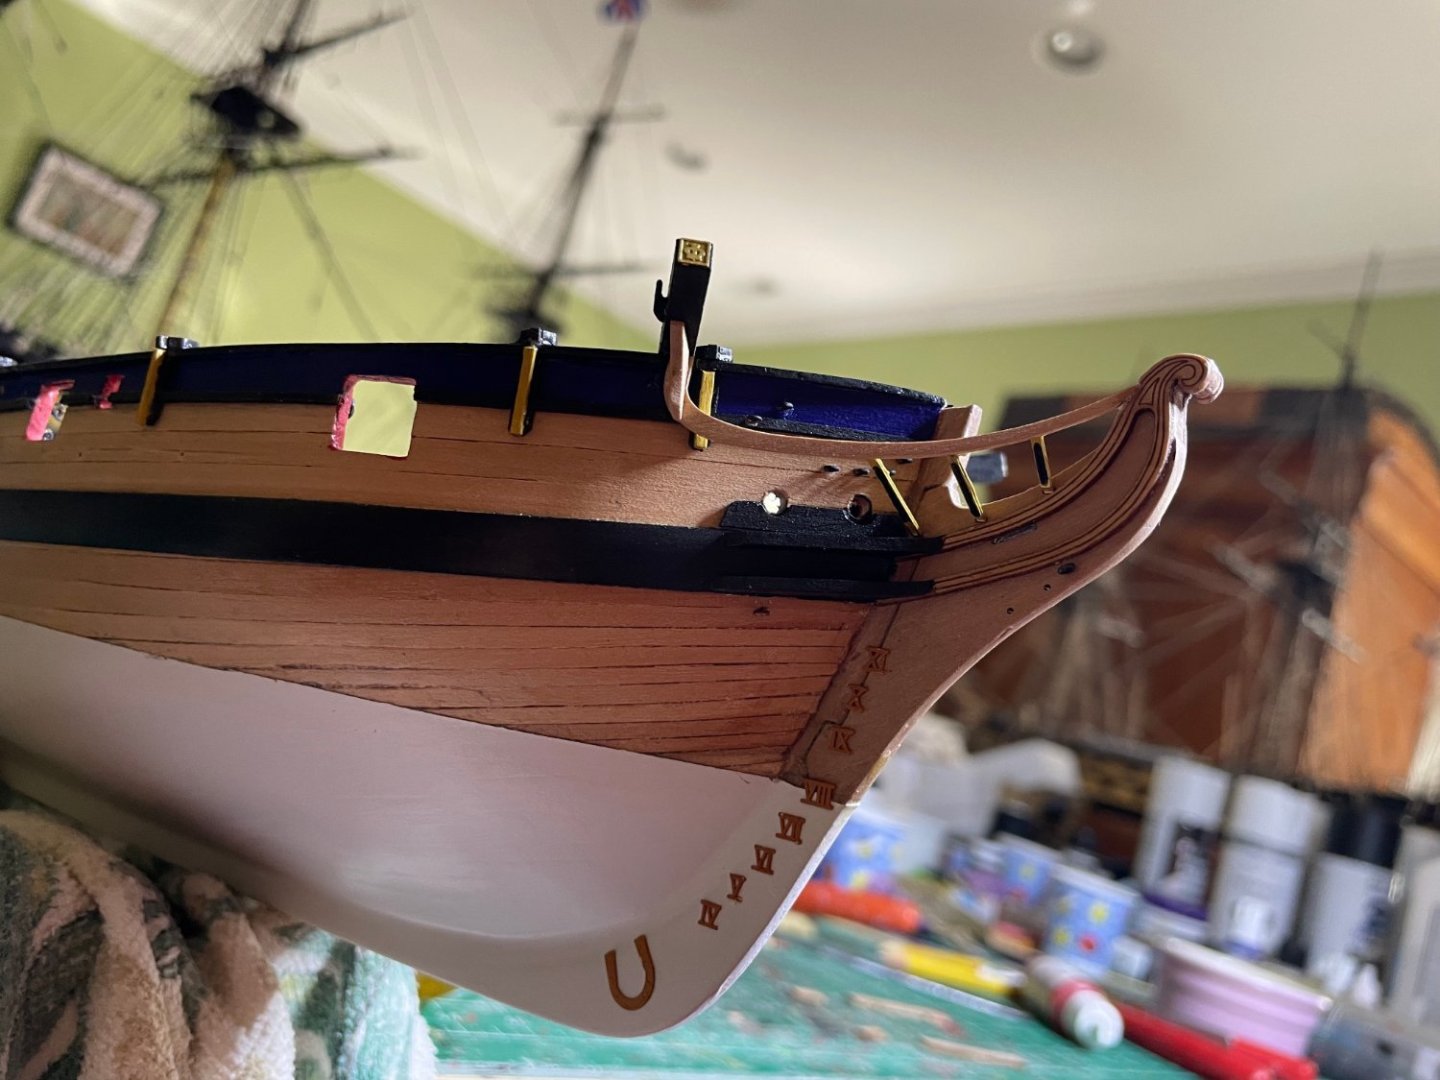
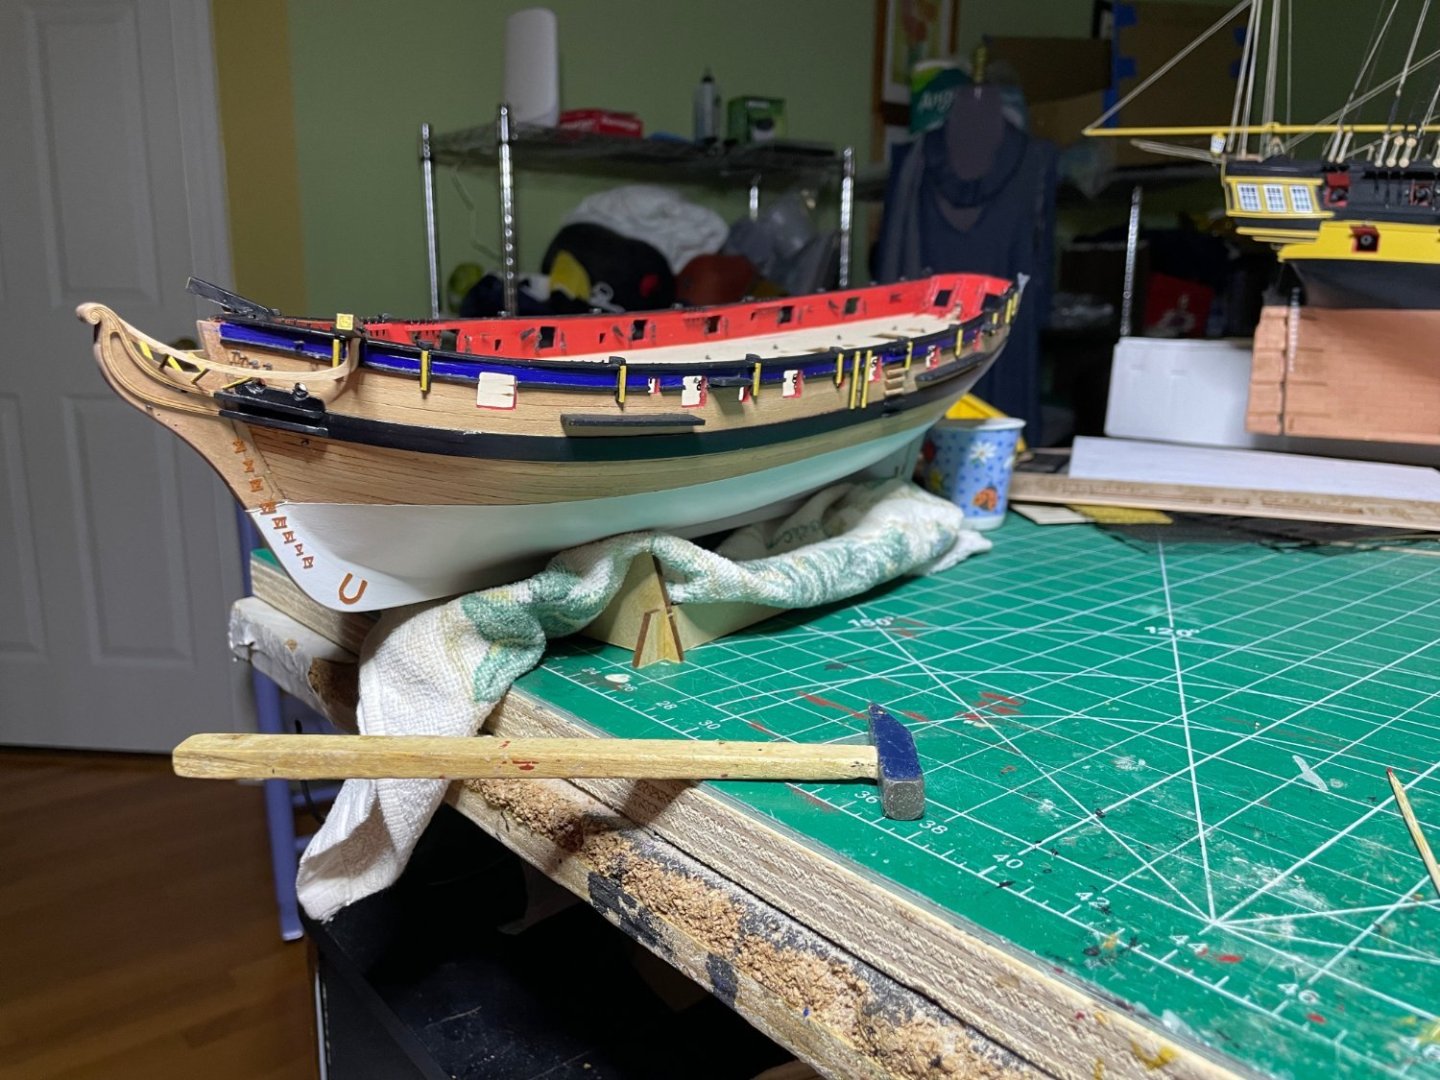
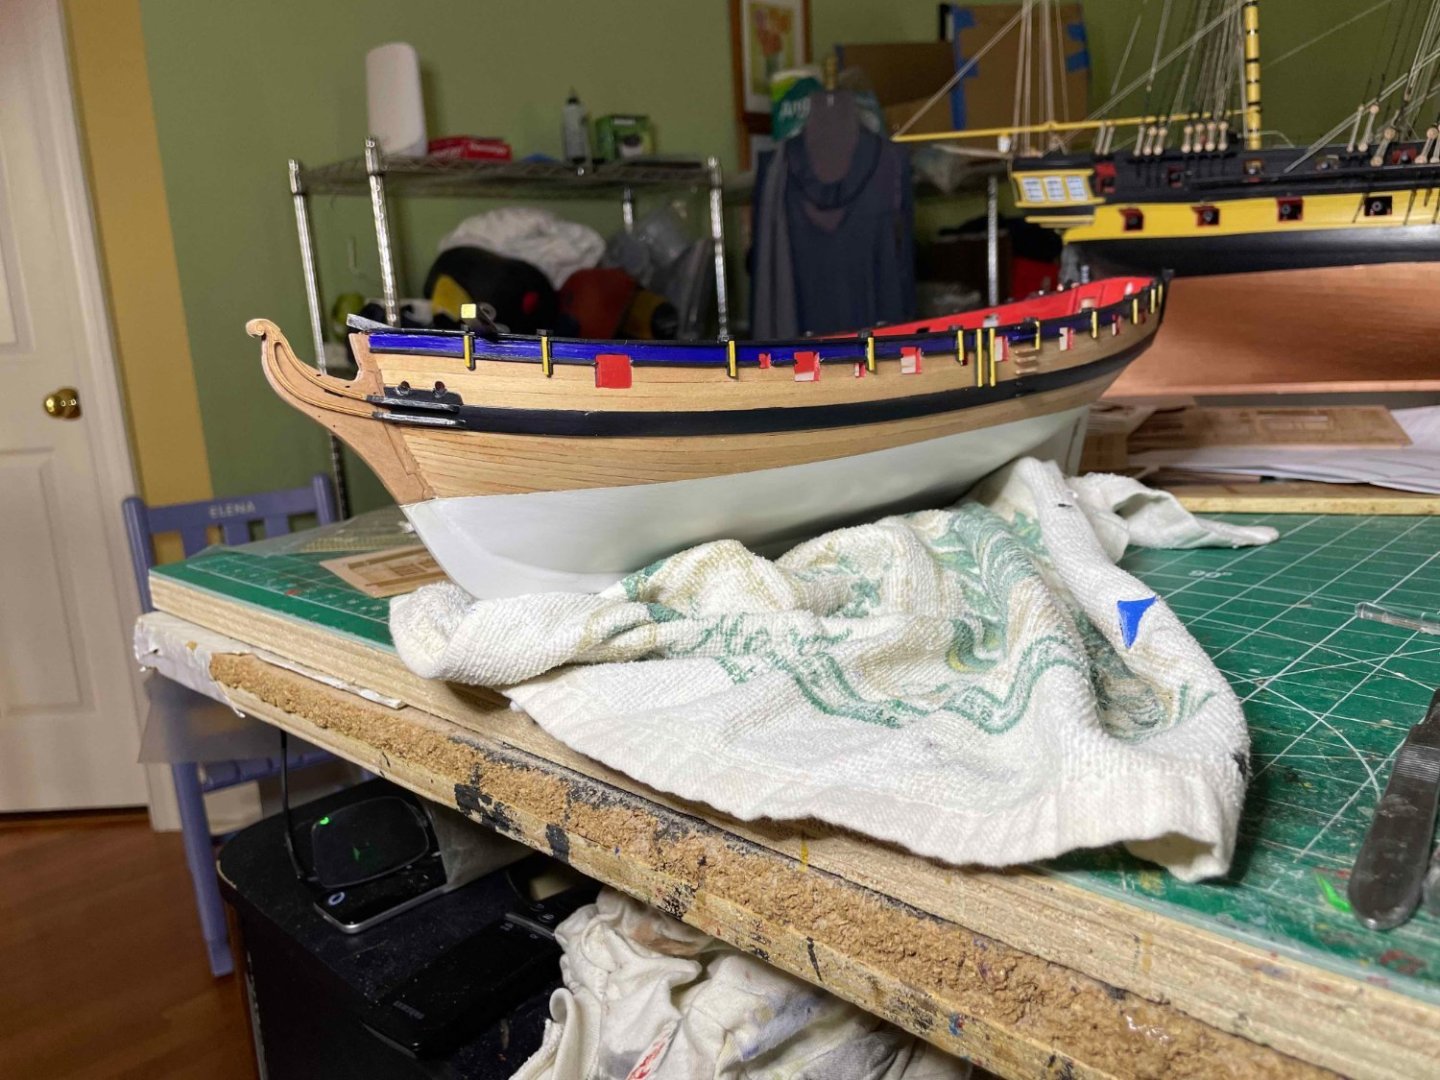
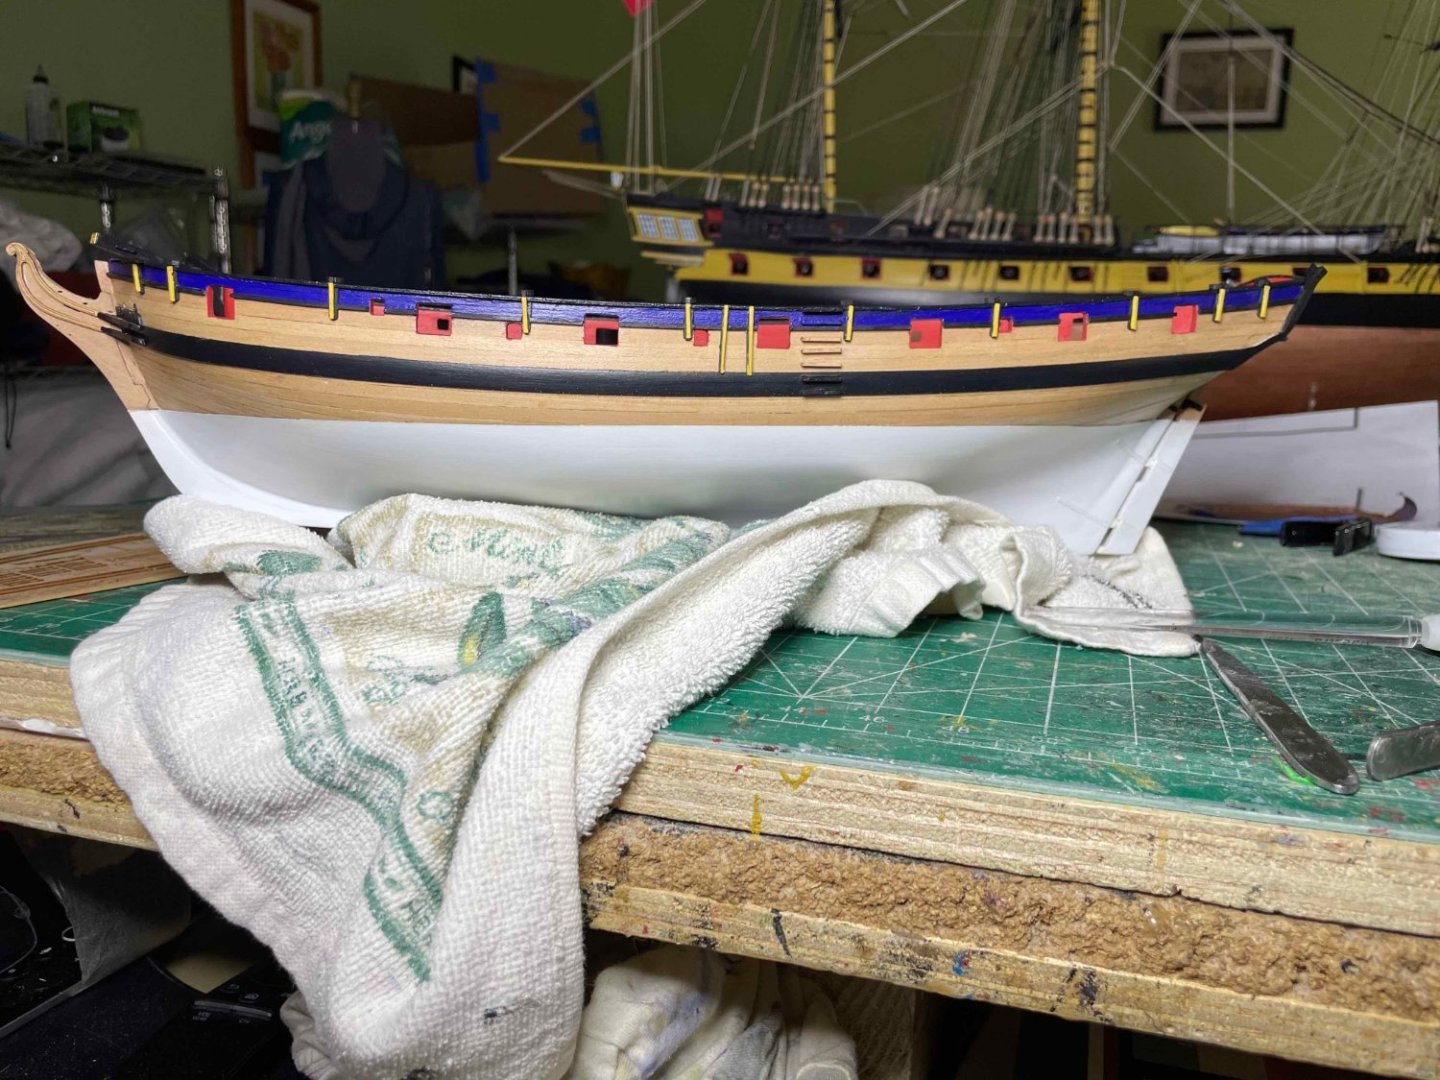
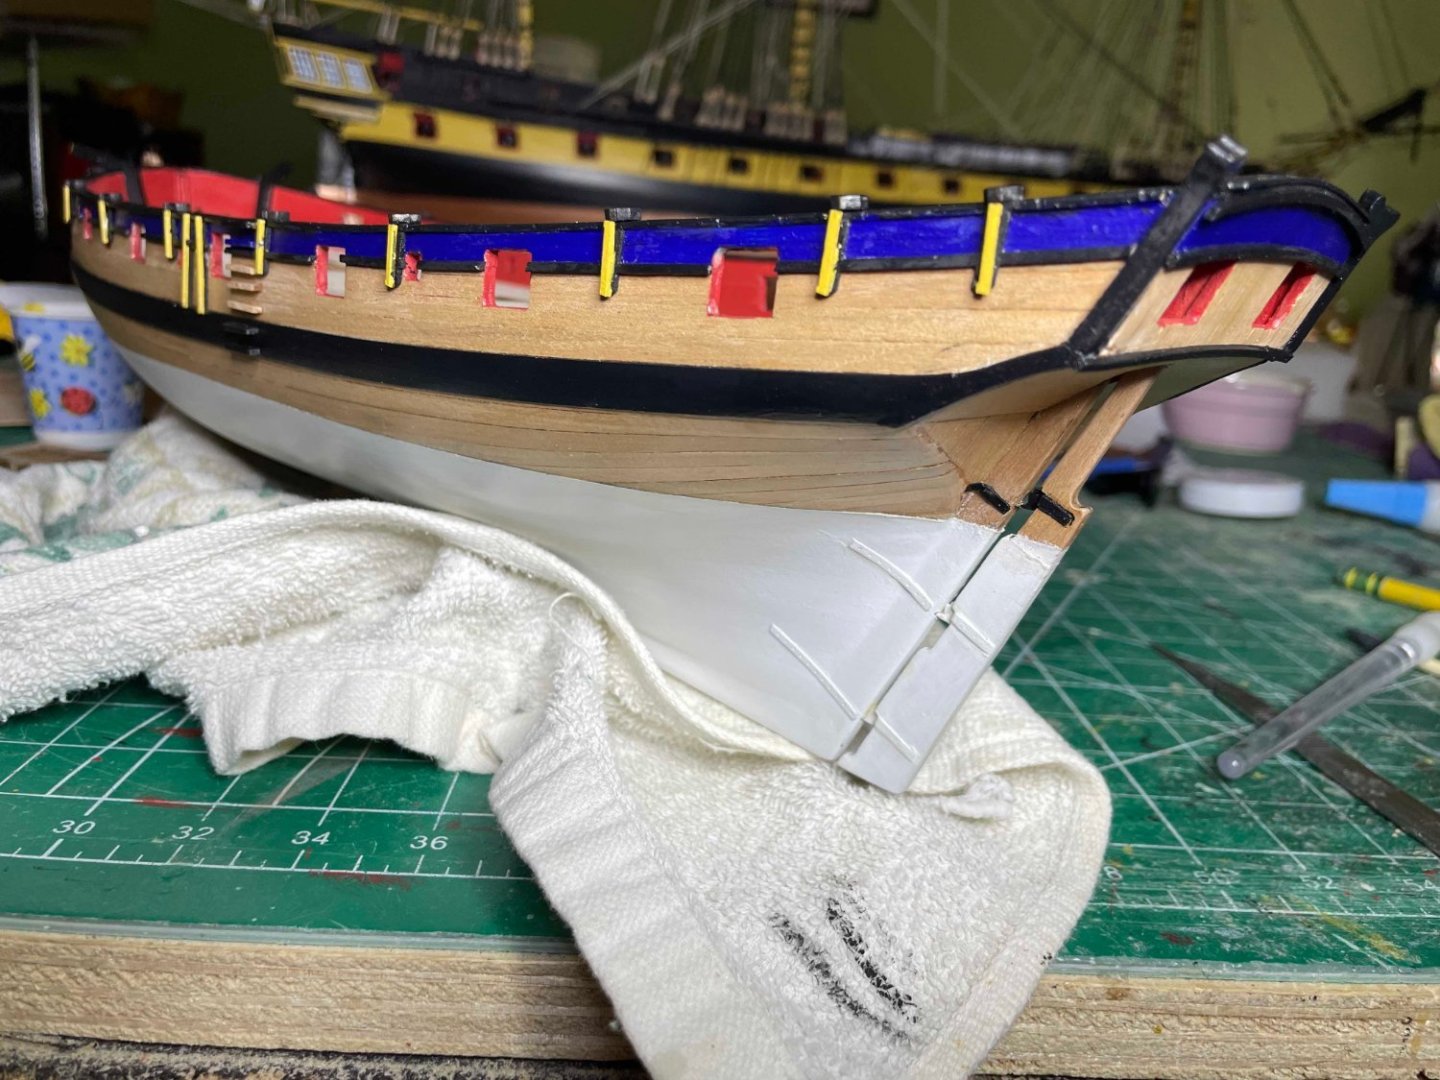
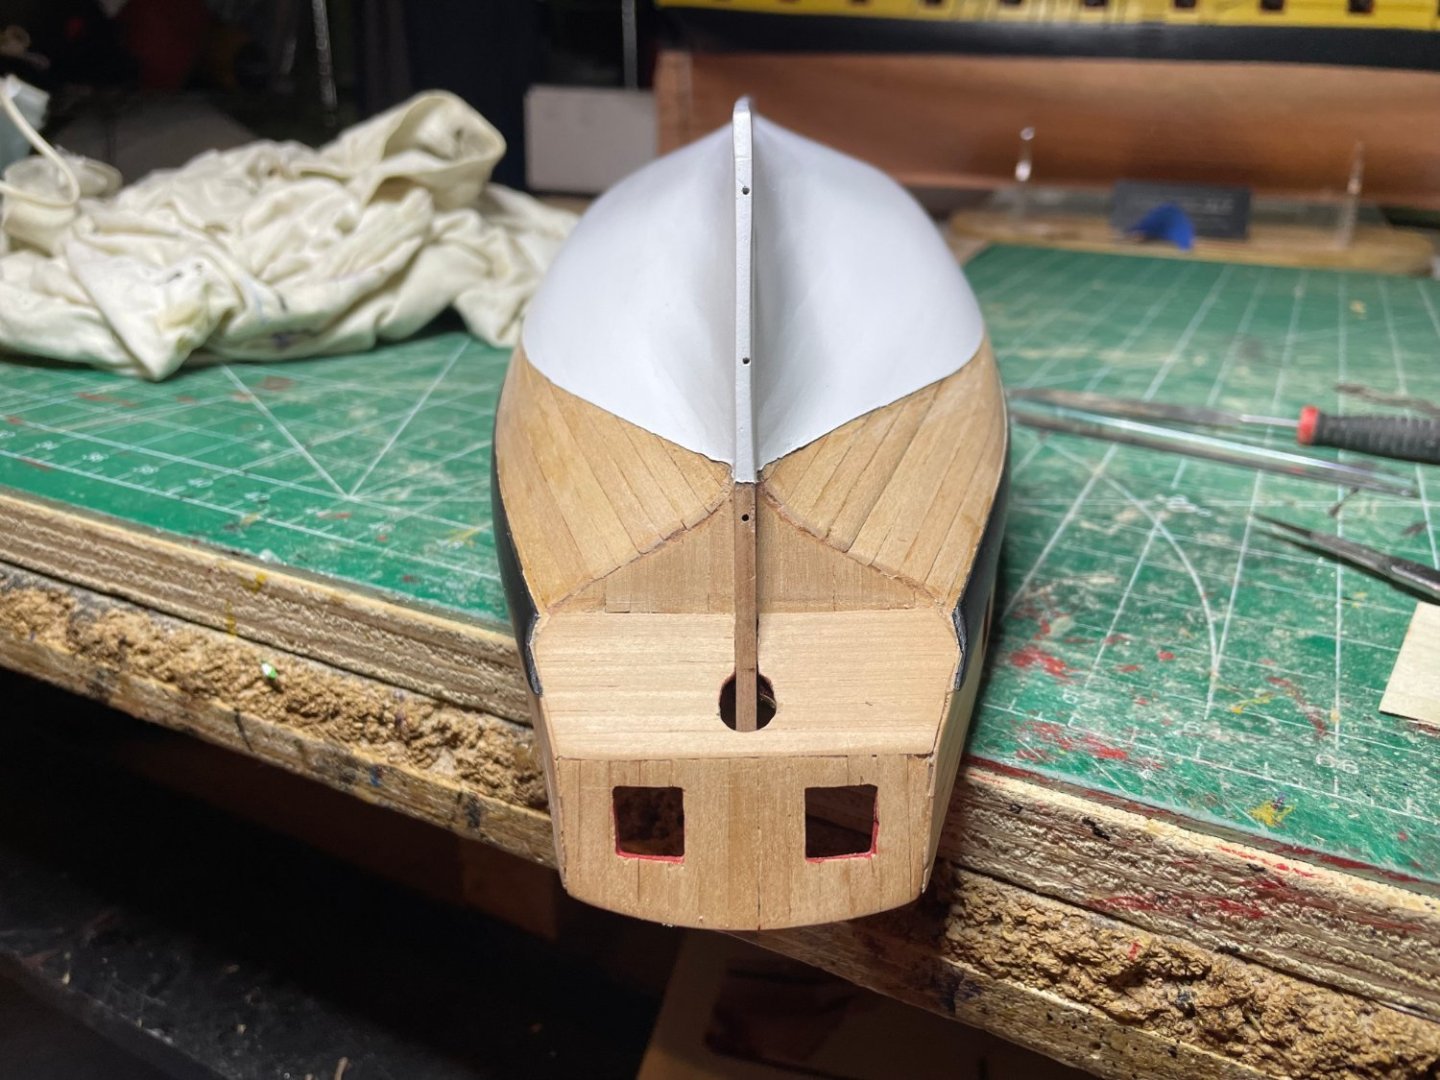
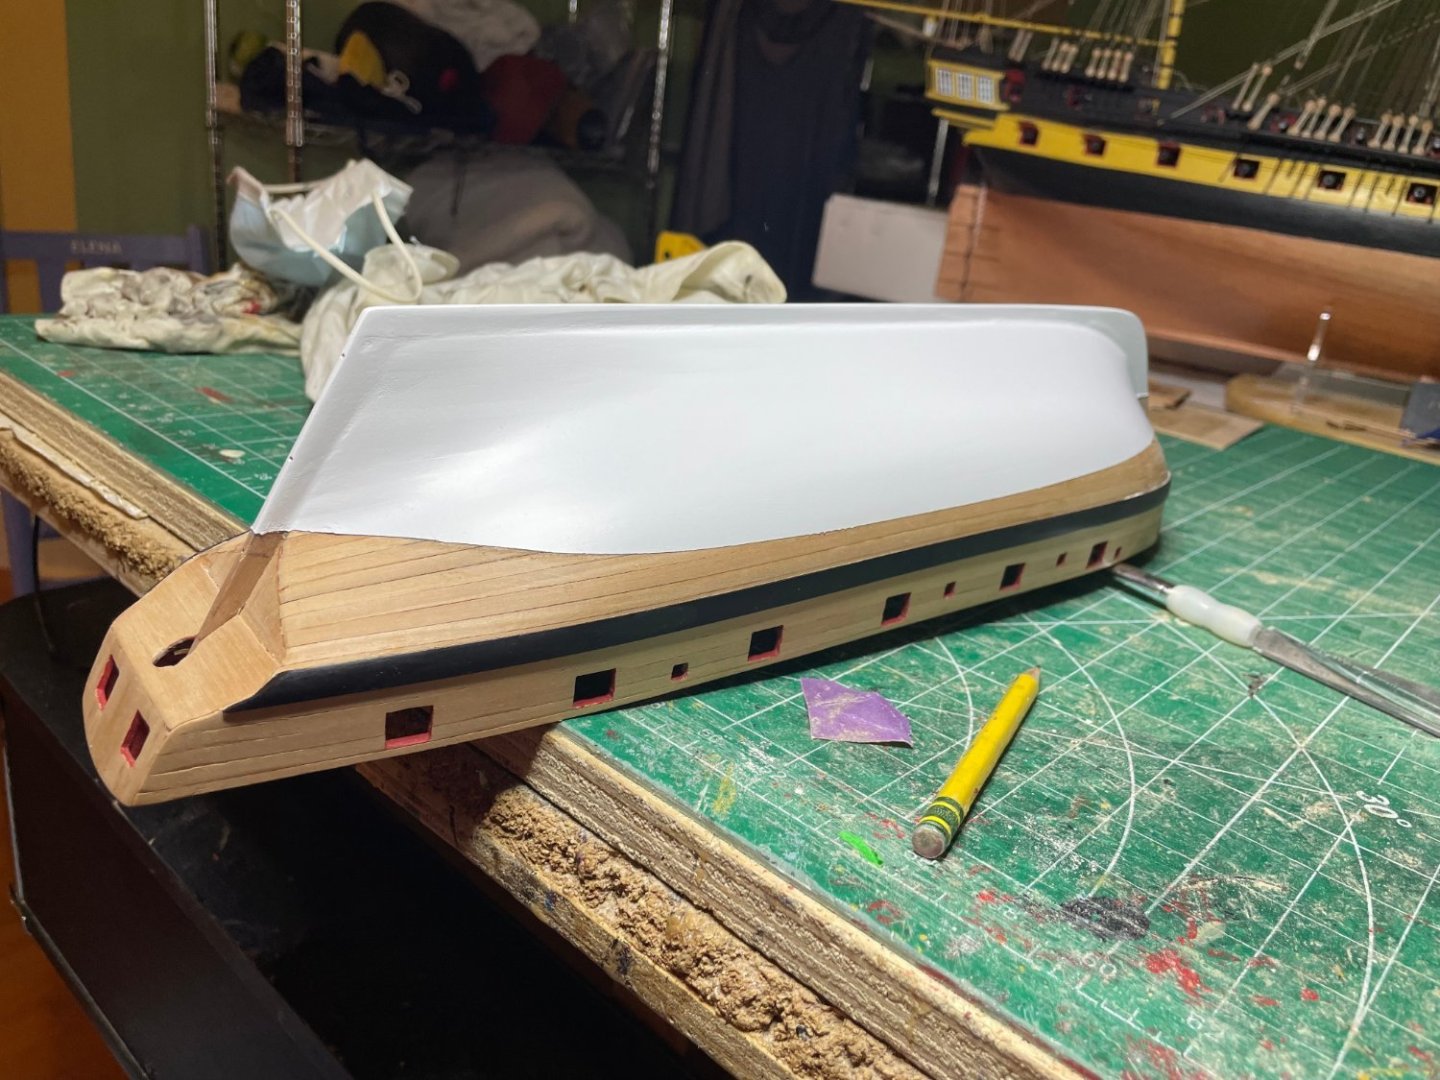
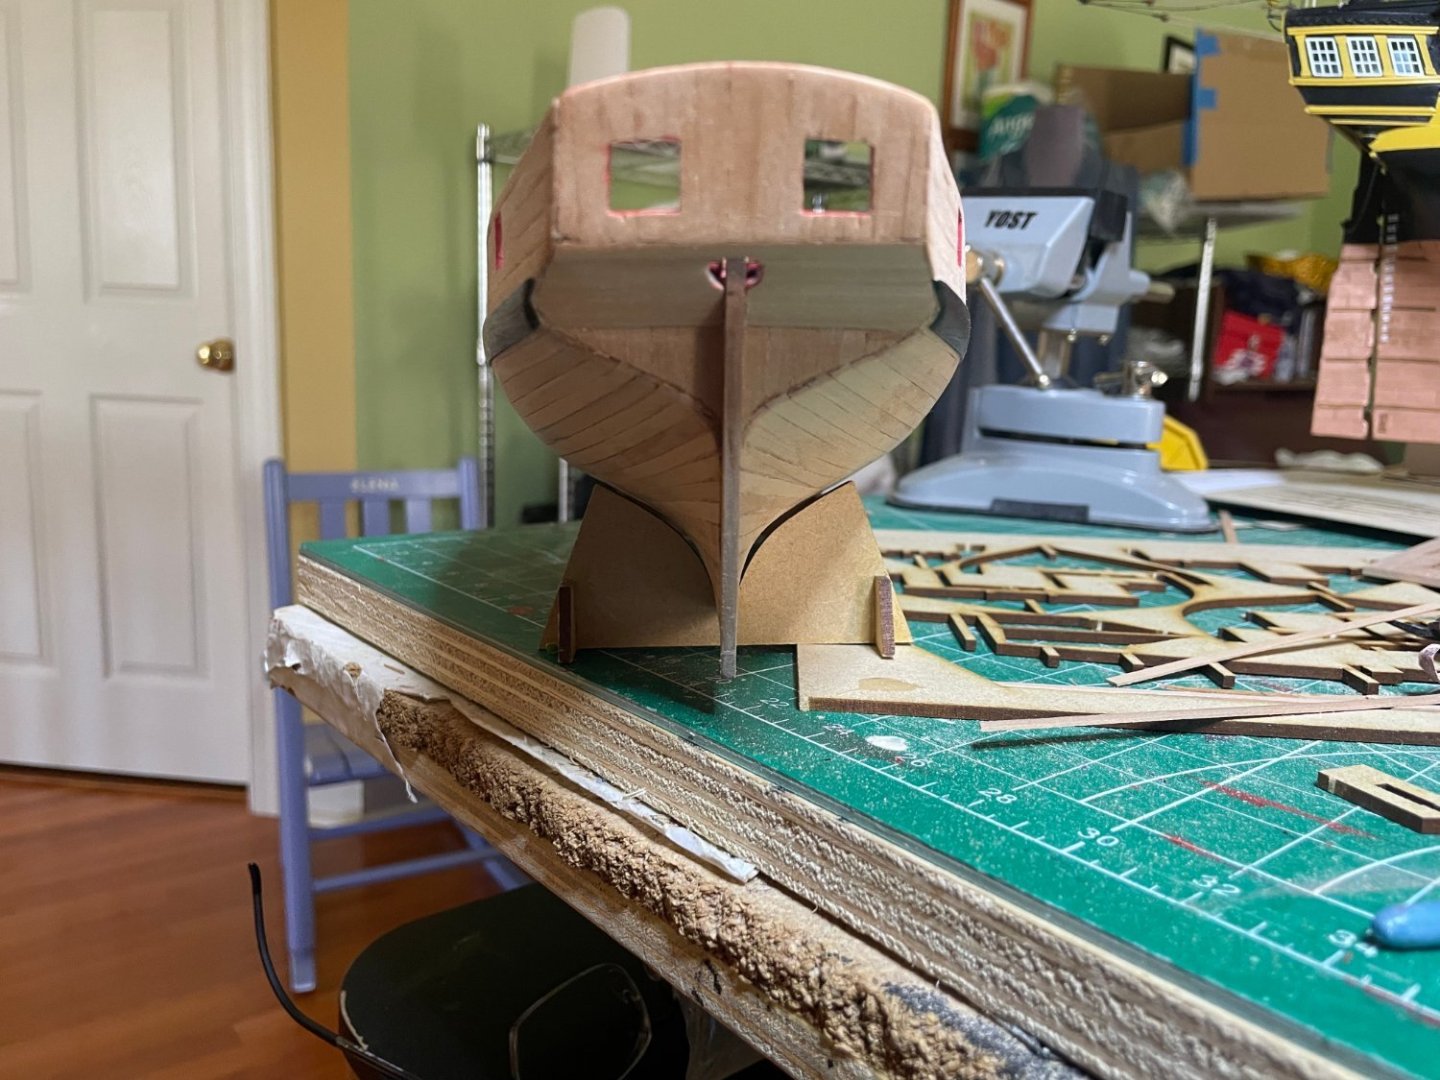
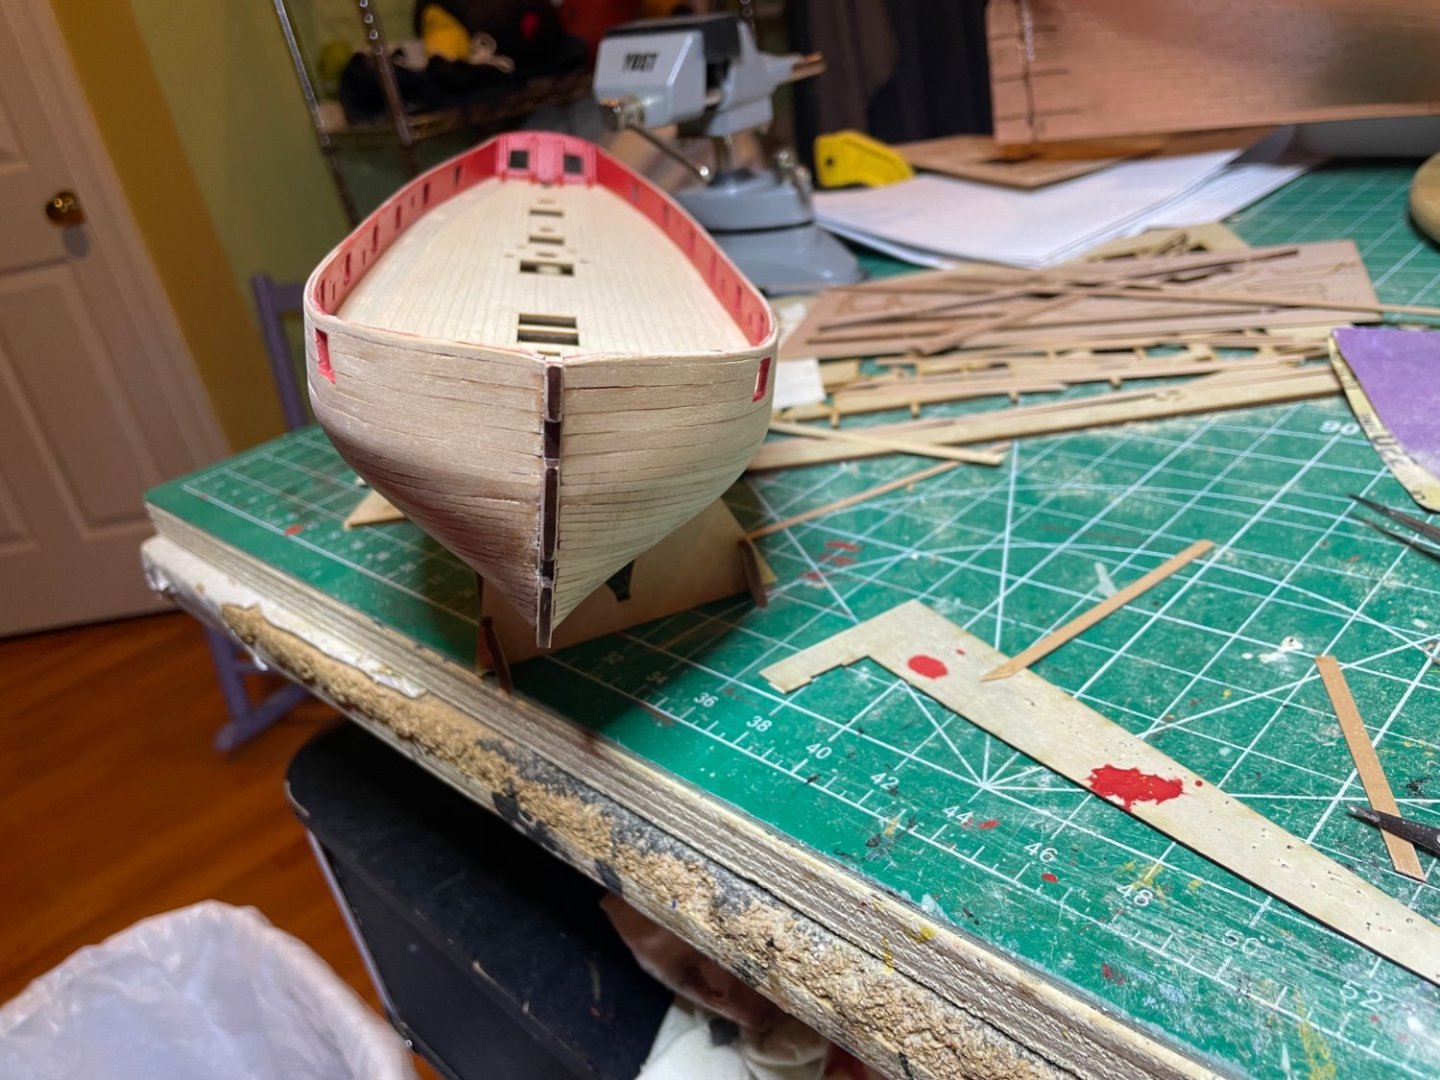
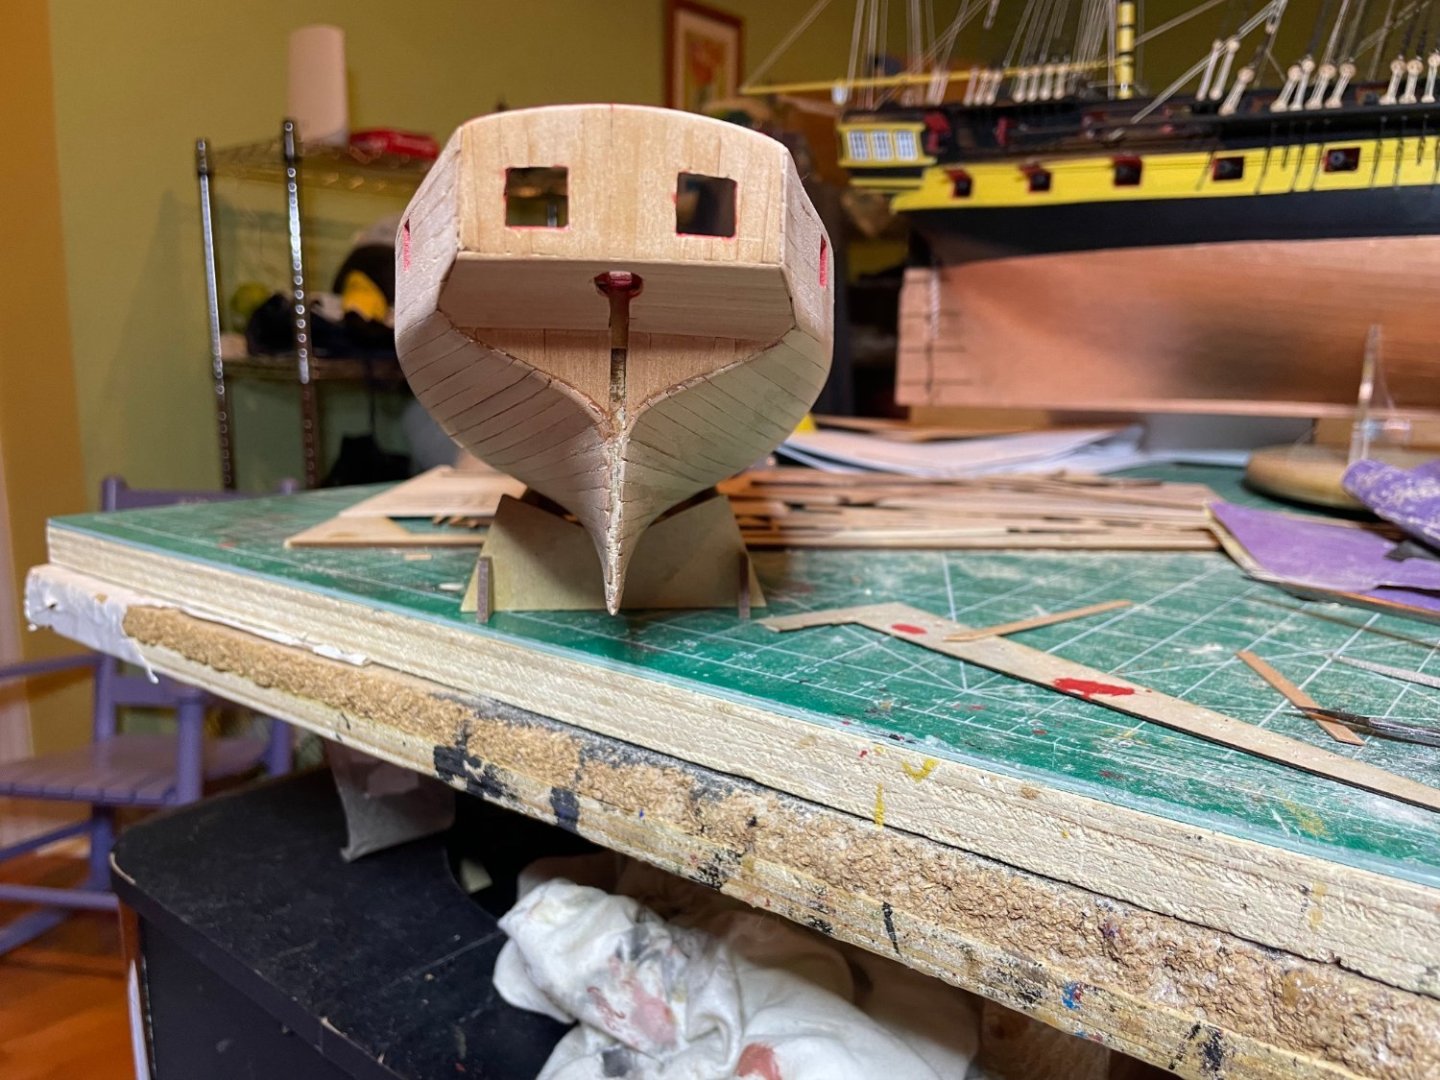
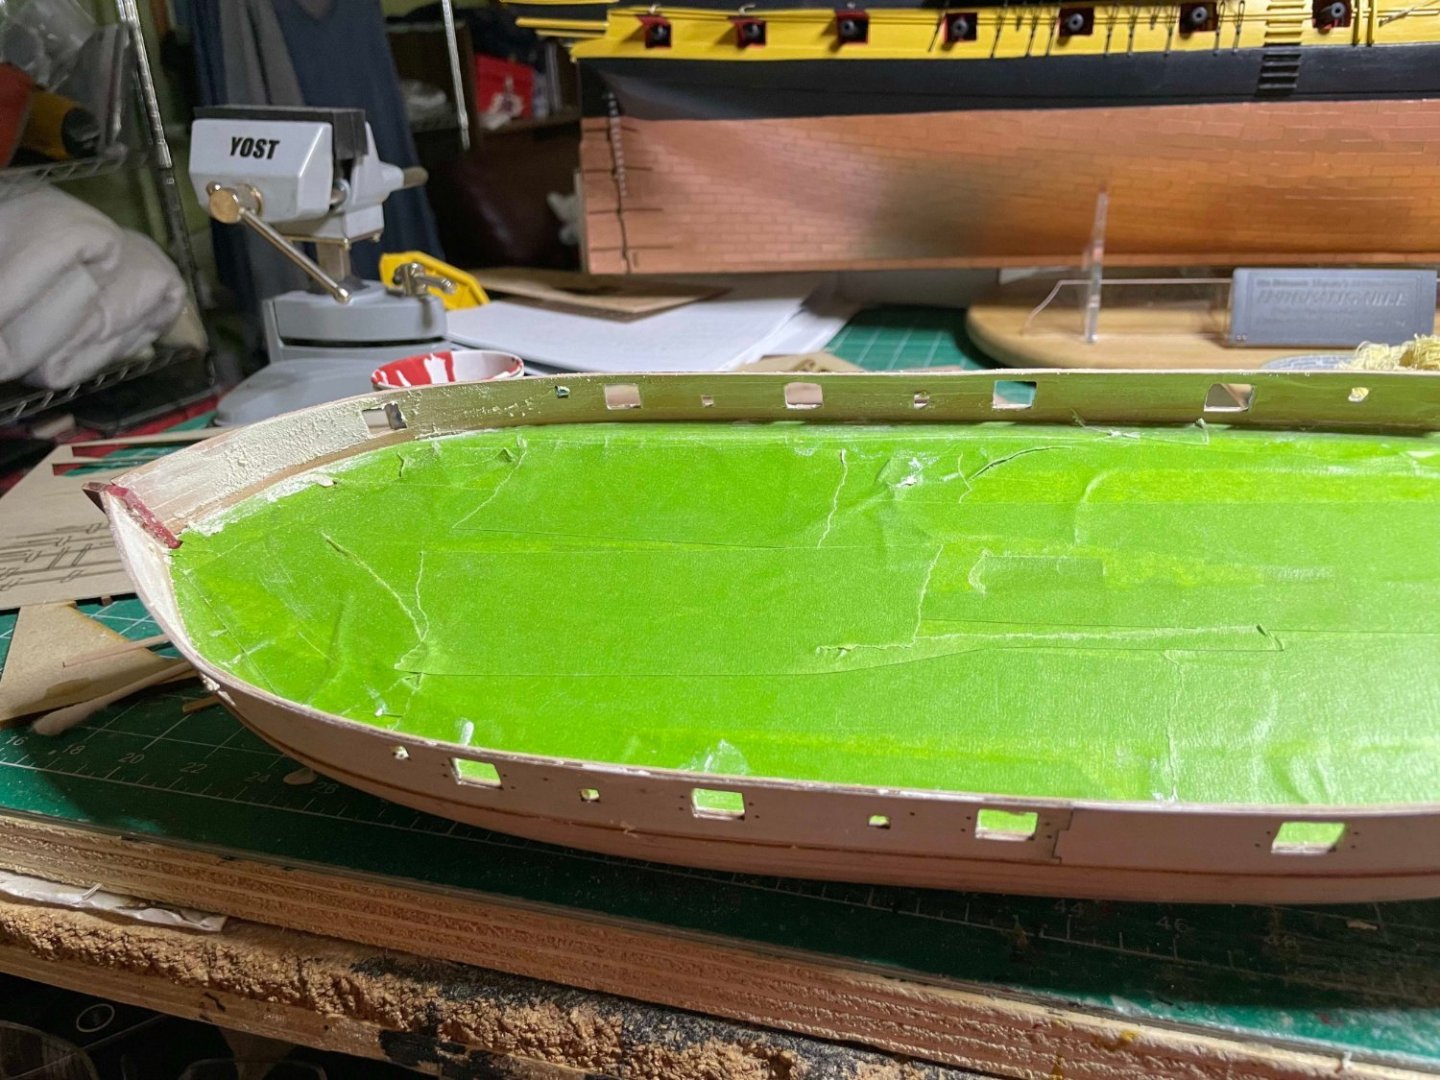
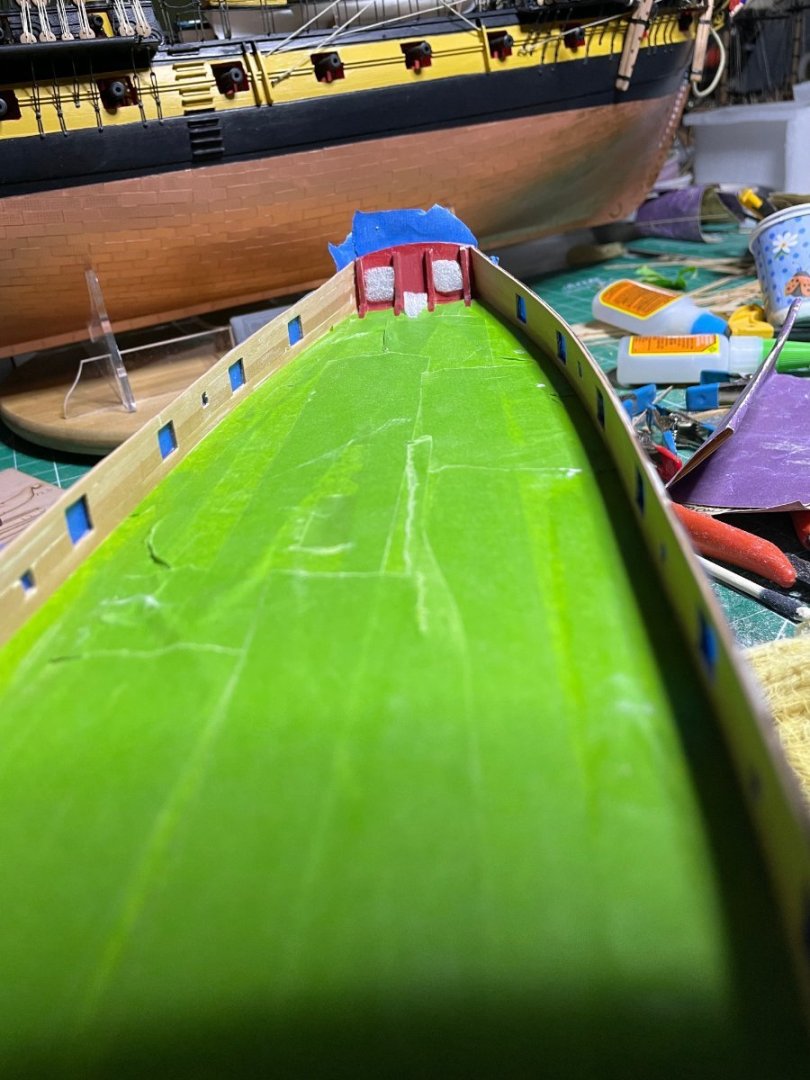
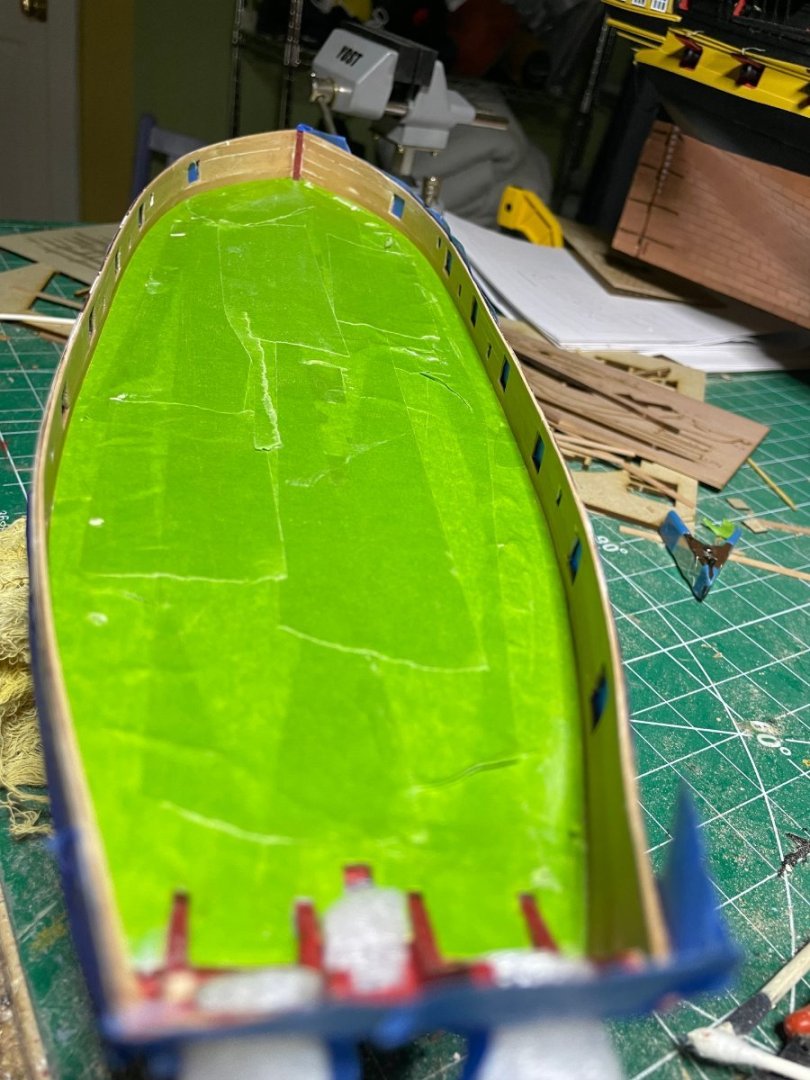
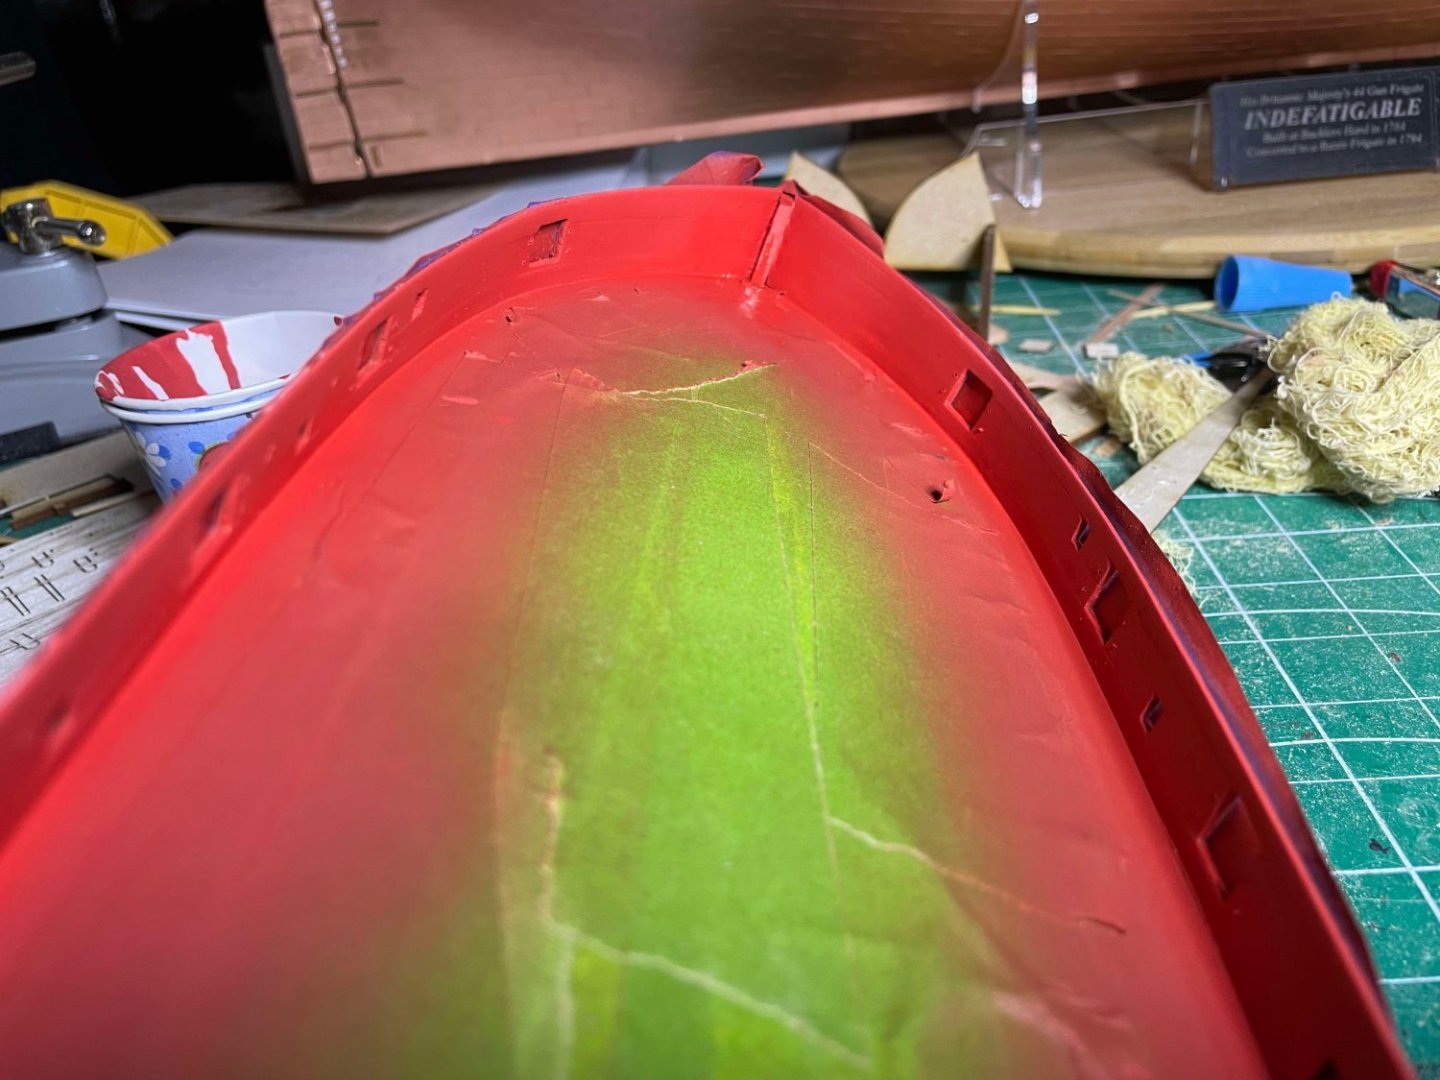
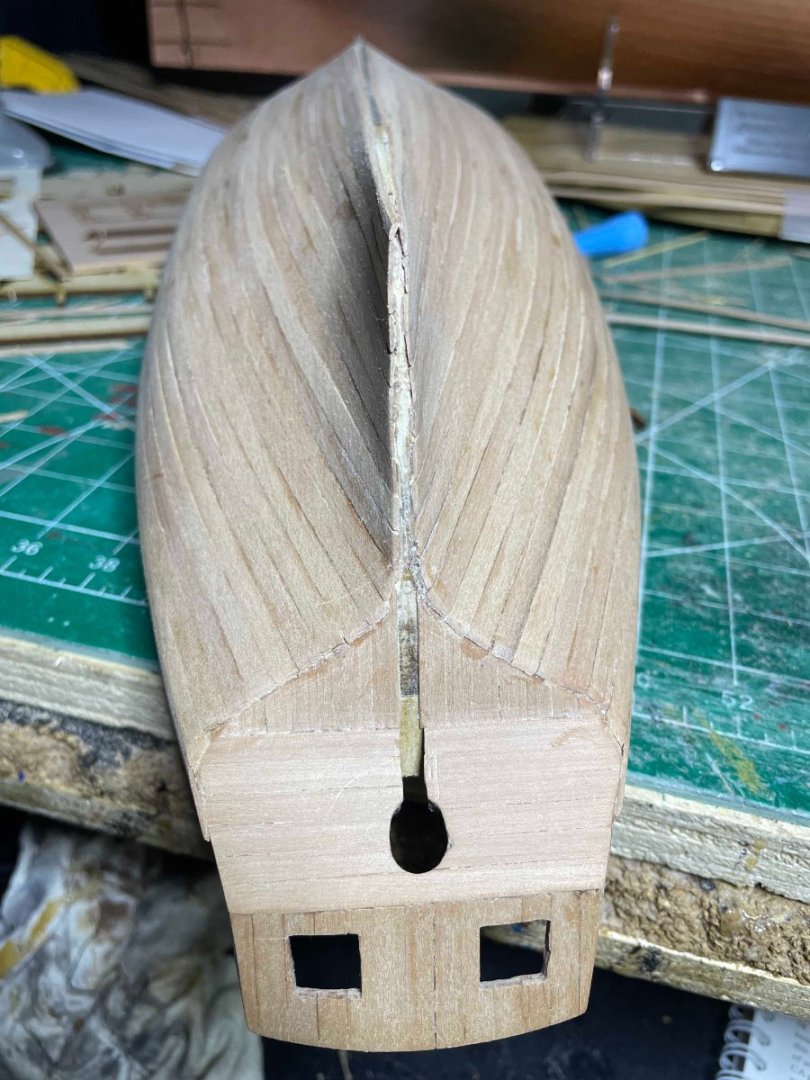
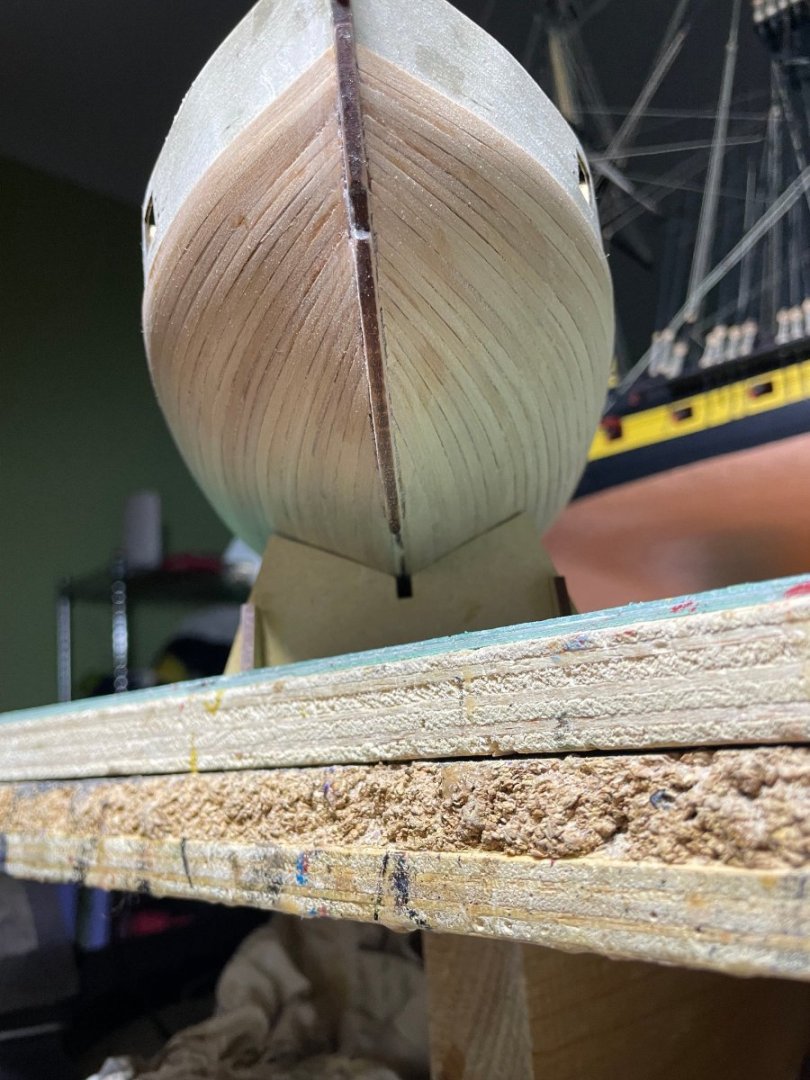
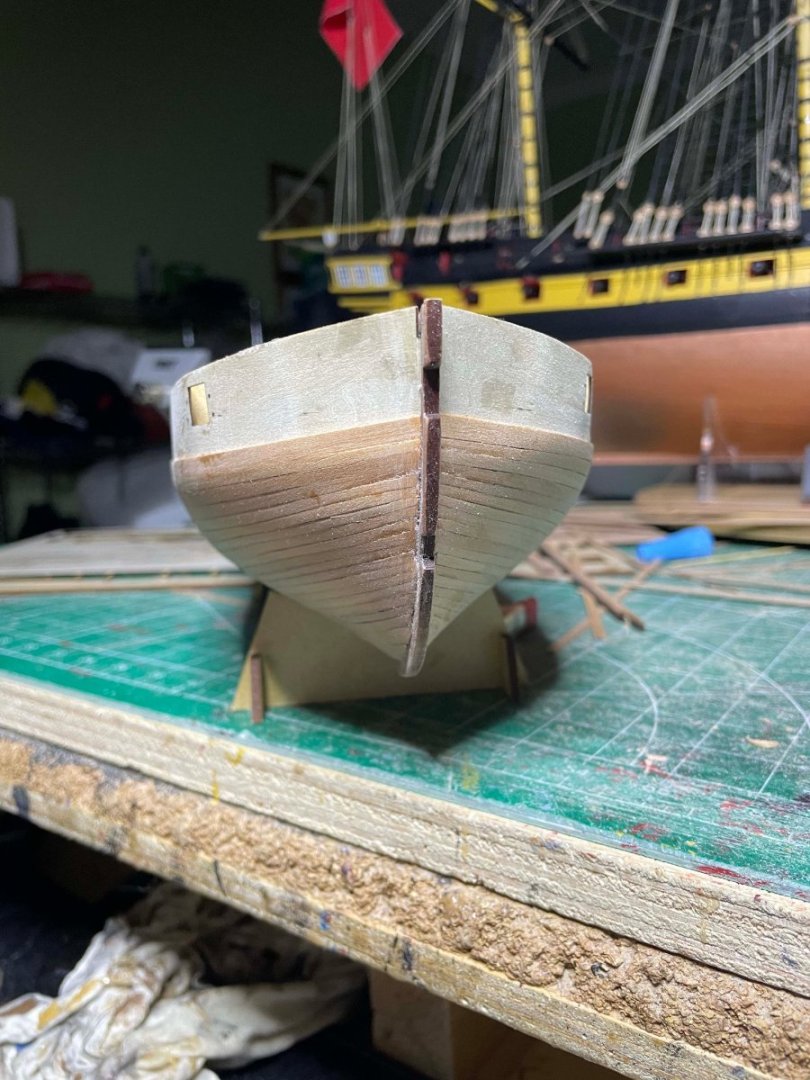
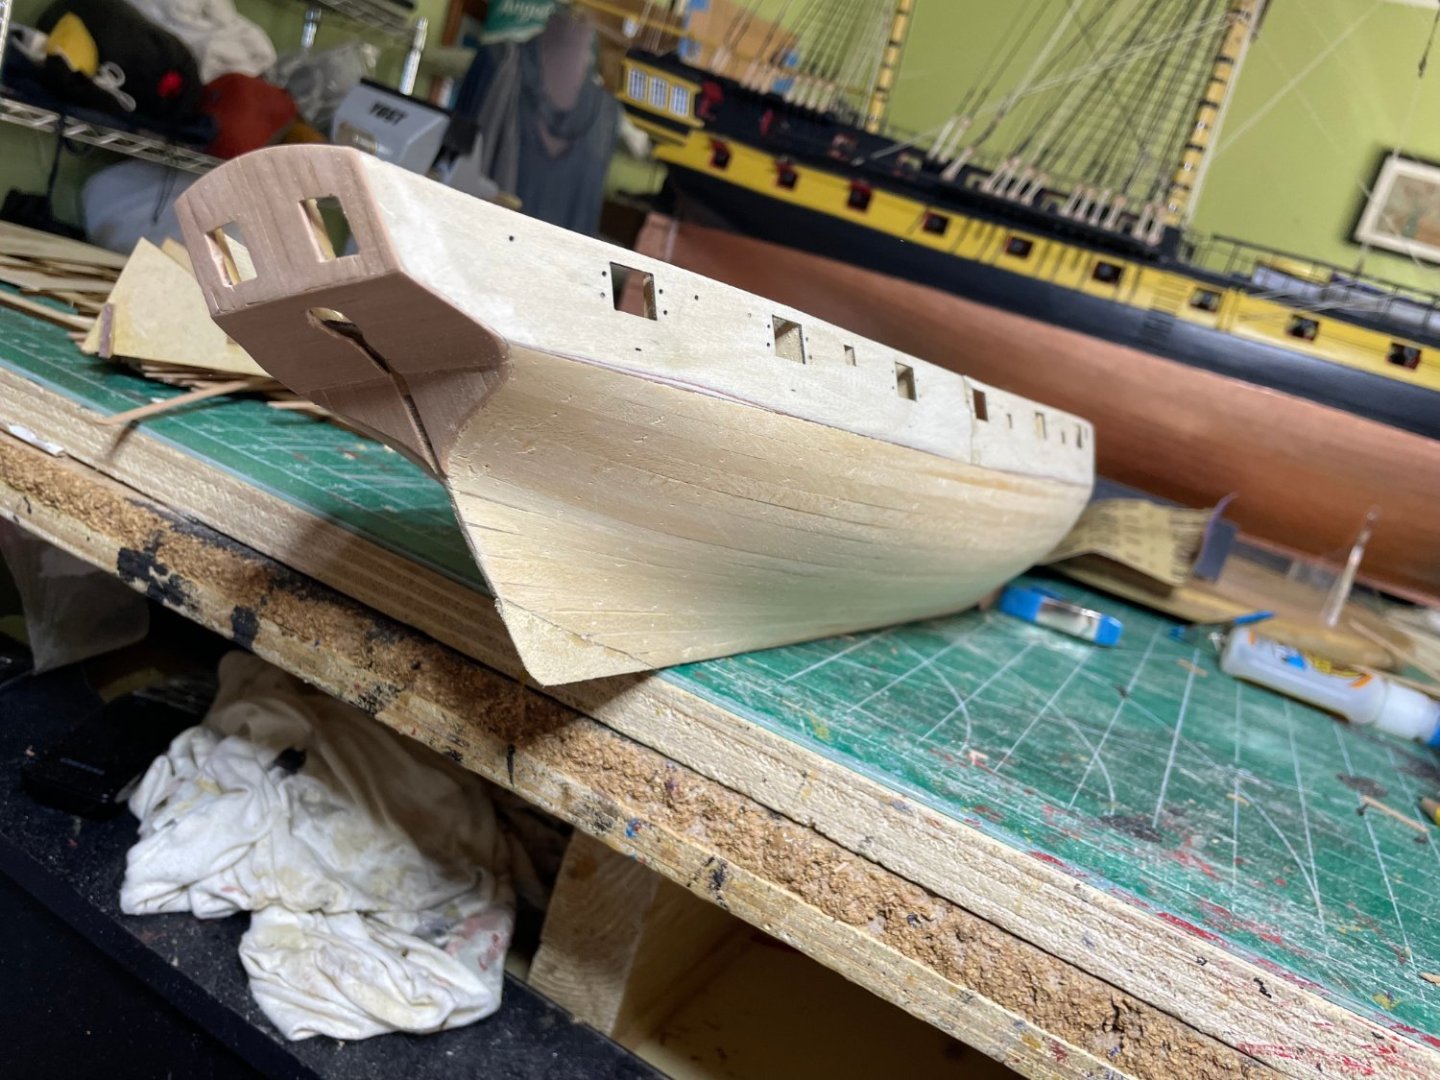
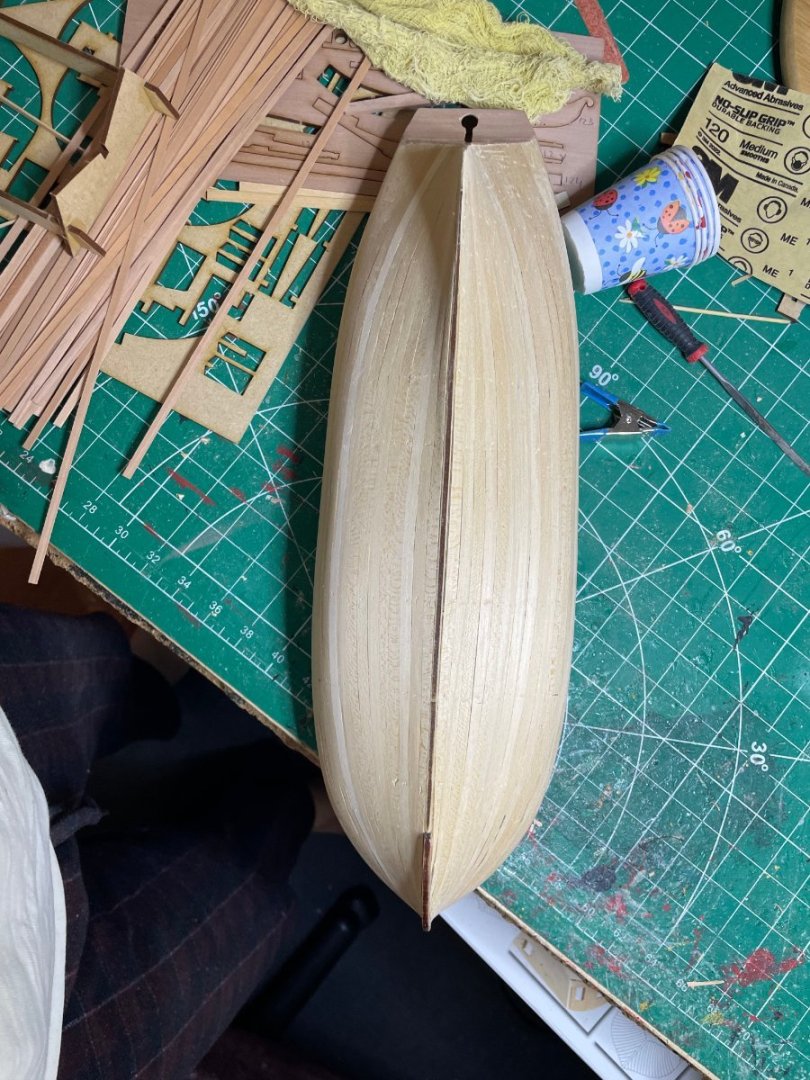
Deadeyes in. Unfortunately had an accident where I dropped the model . There was damage to the prow. I was able to fix it (but had to sculp a few pieces. Because of the fracture lines I decided to paint the bow as in other ships to hide the repairs instead of leaving clear wood.

-
HMS Flirt by ECK - Vanguard Models - 1:64
ECK replied to ECK's topic in - Kit build logs for subjects built from 1751 - 1800
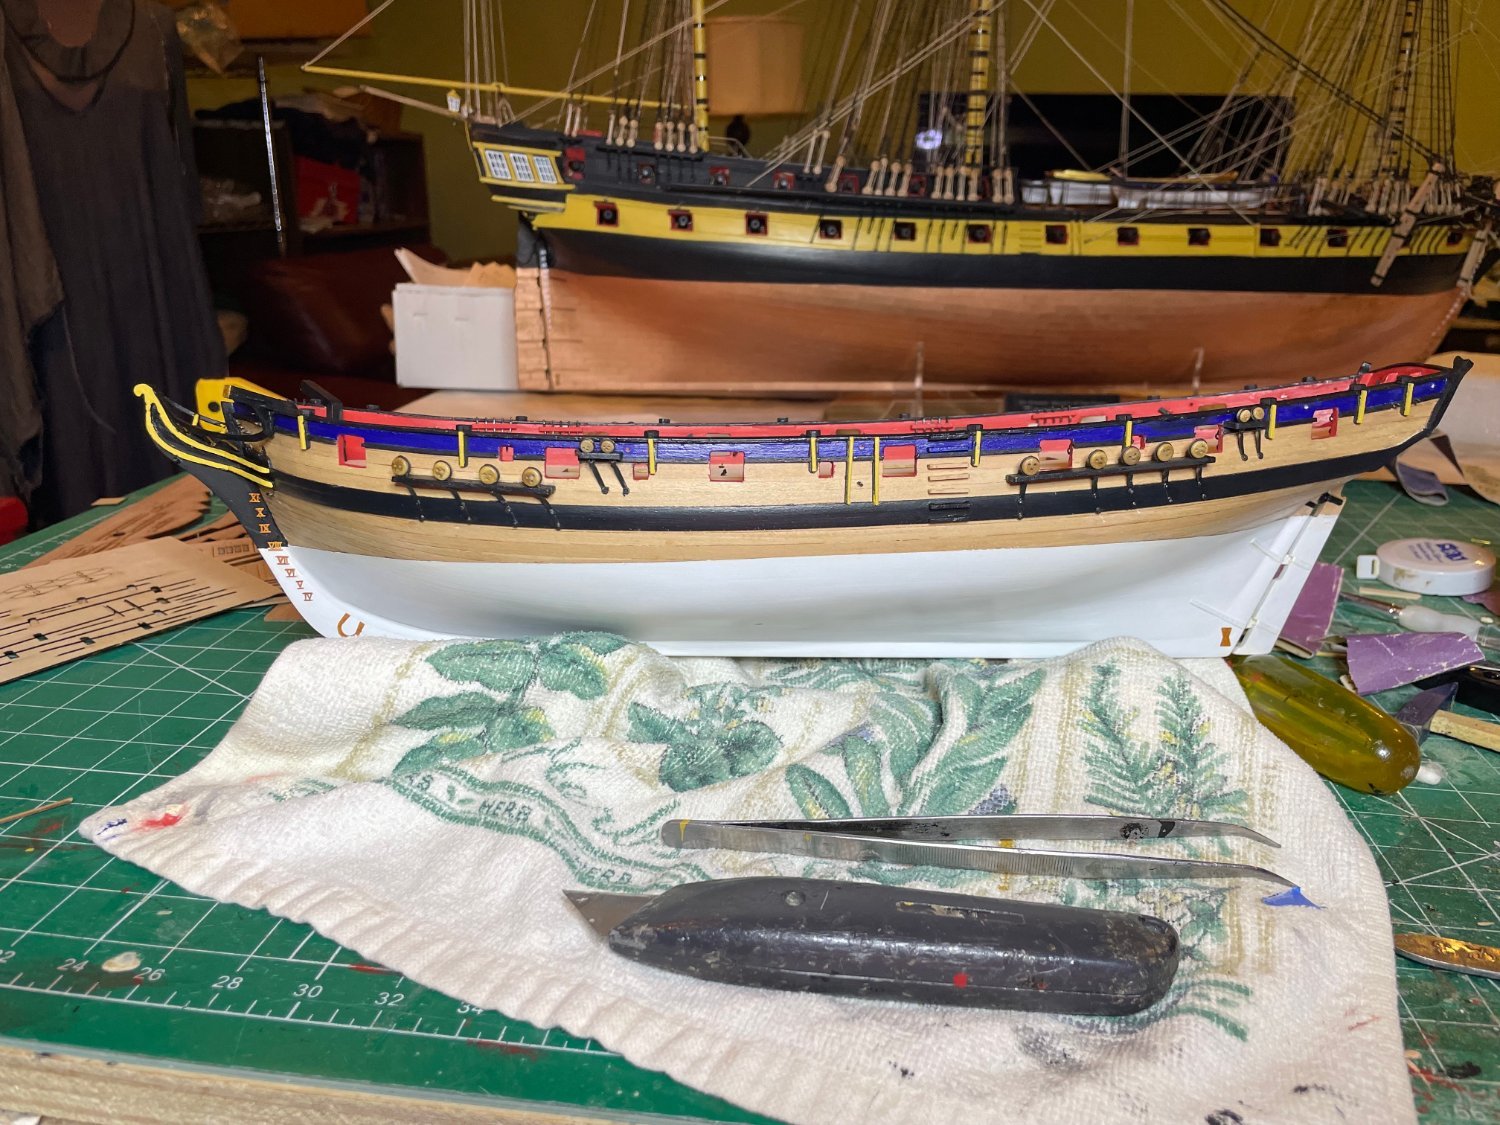
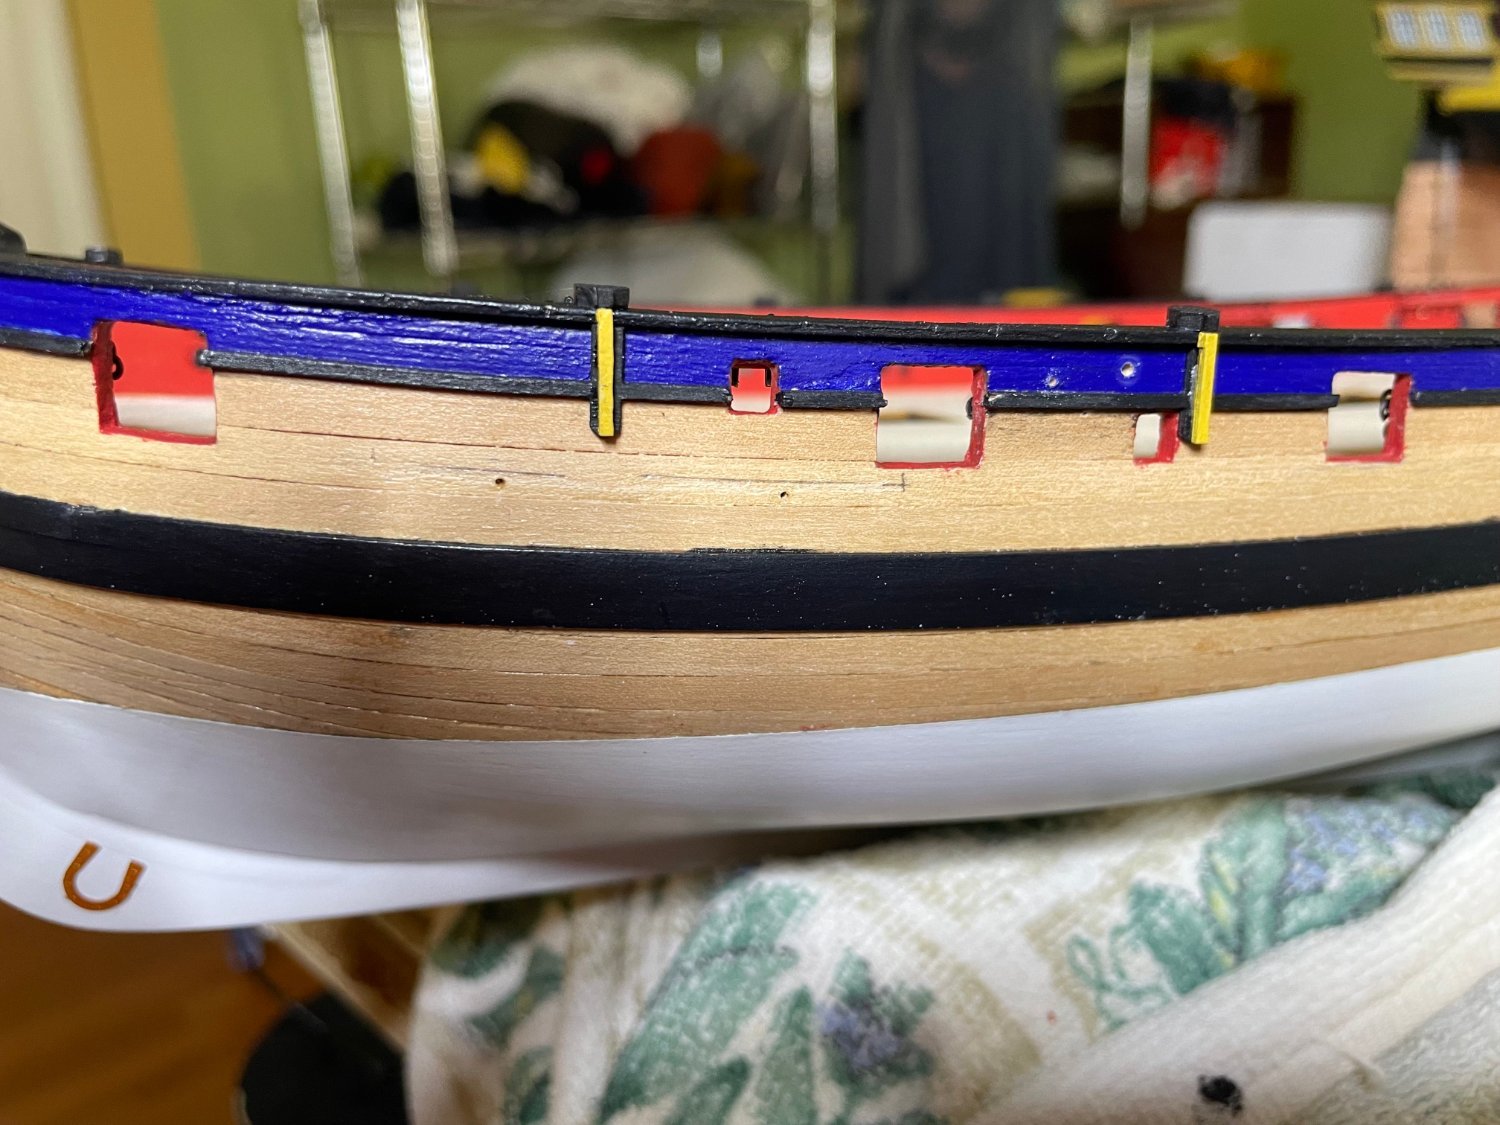
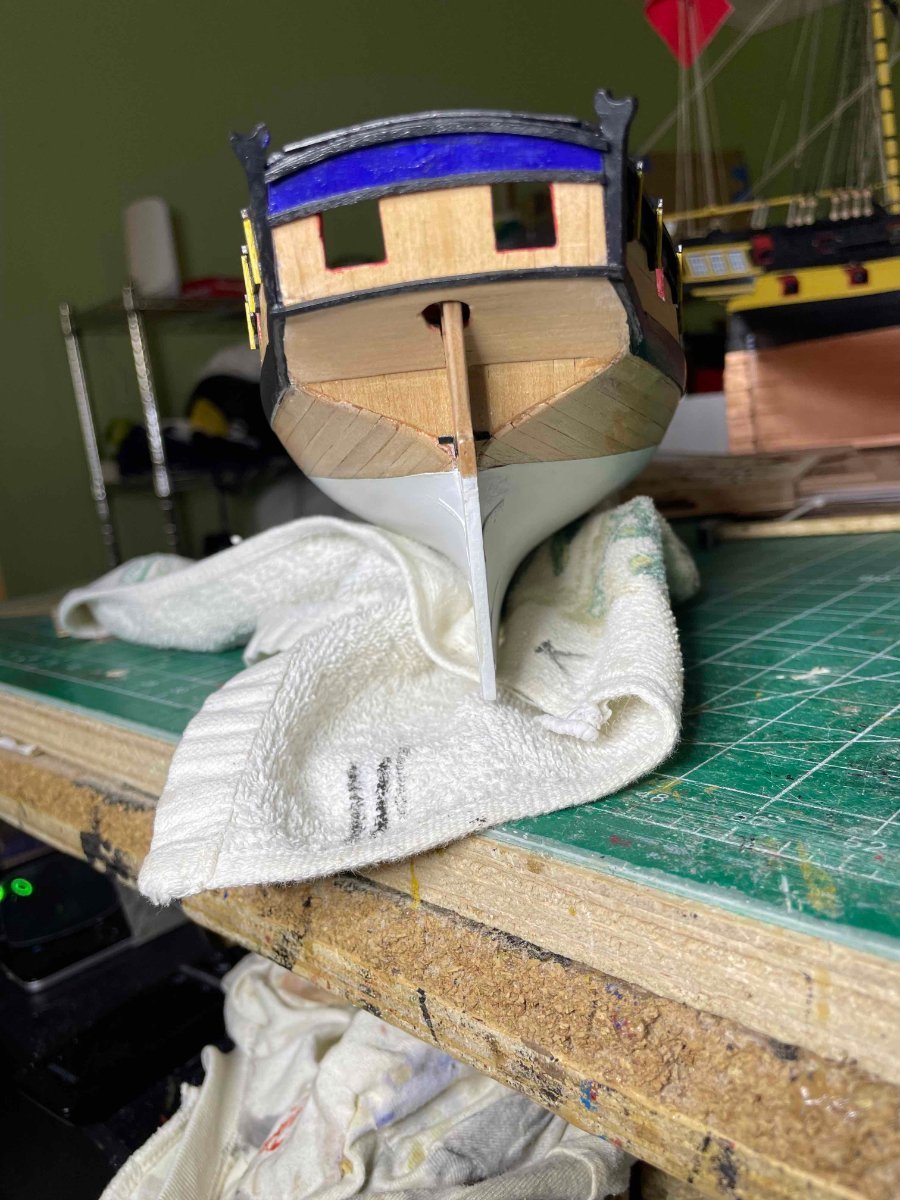
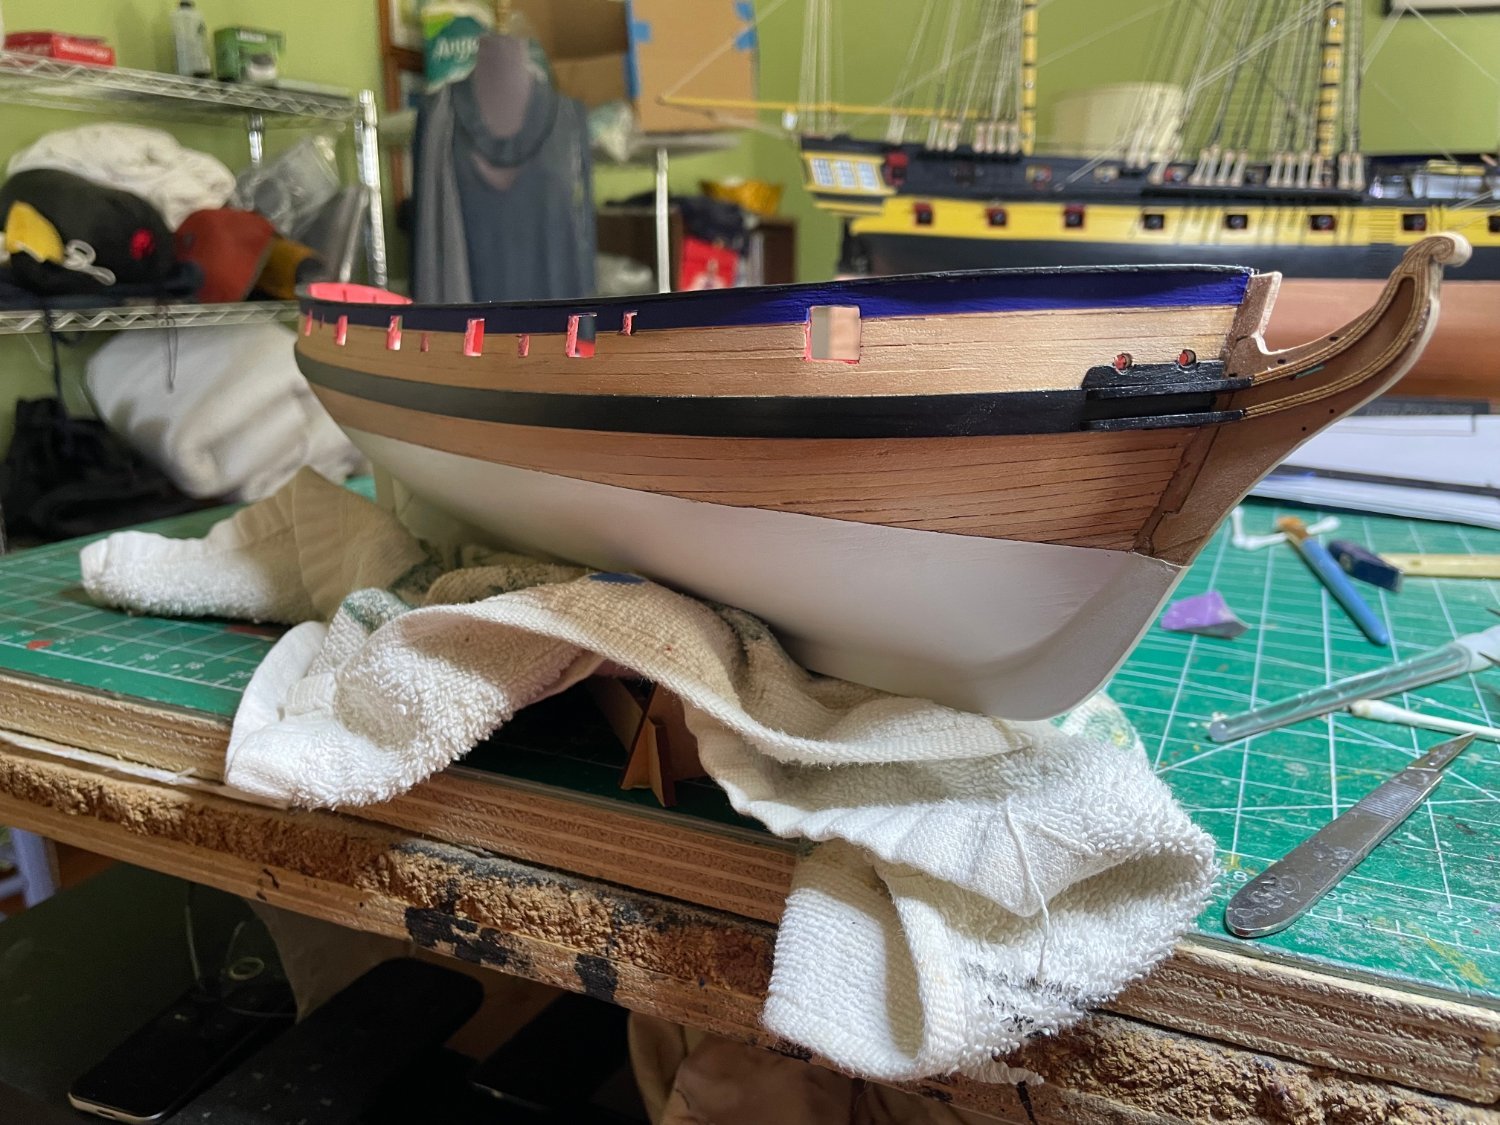
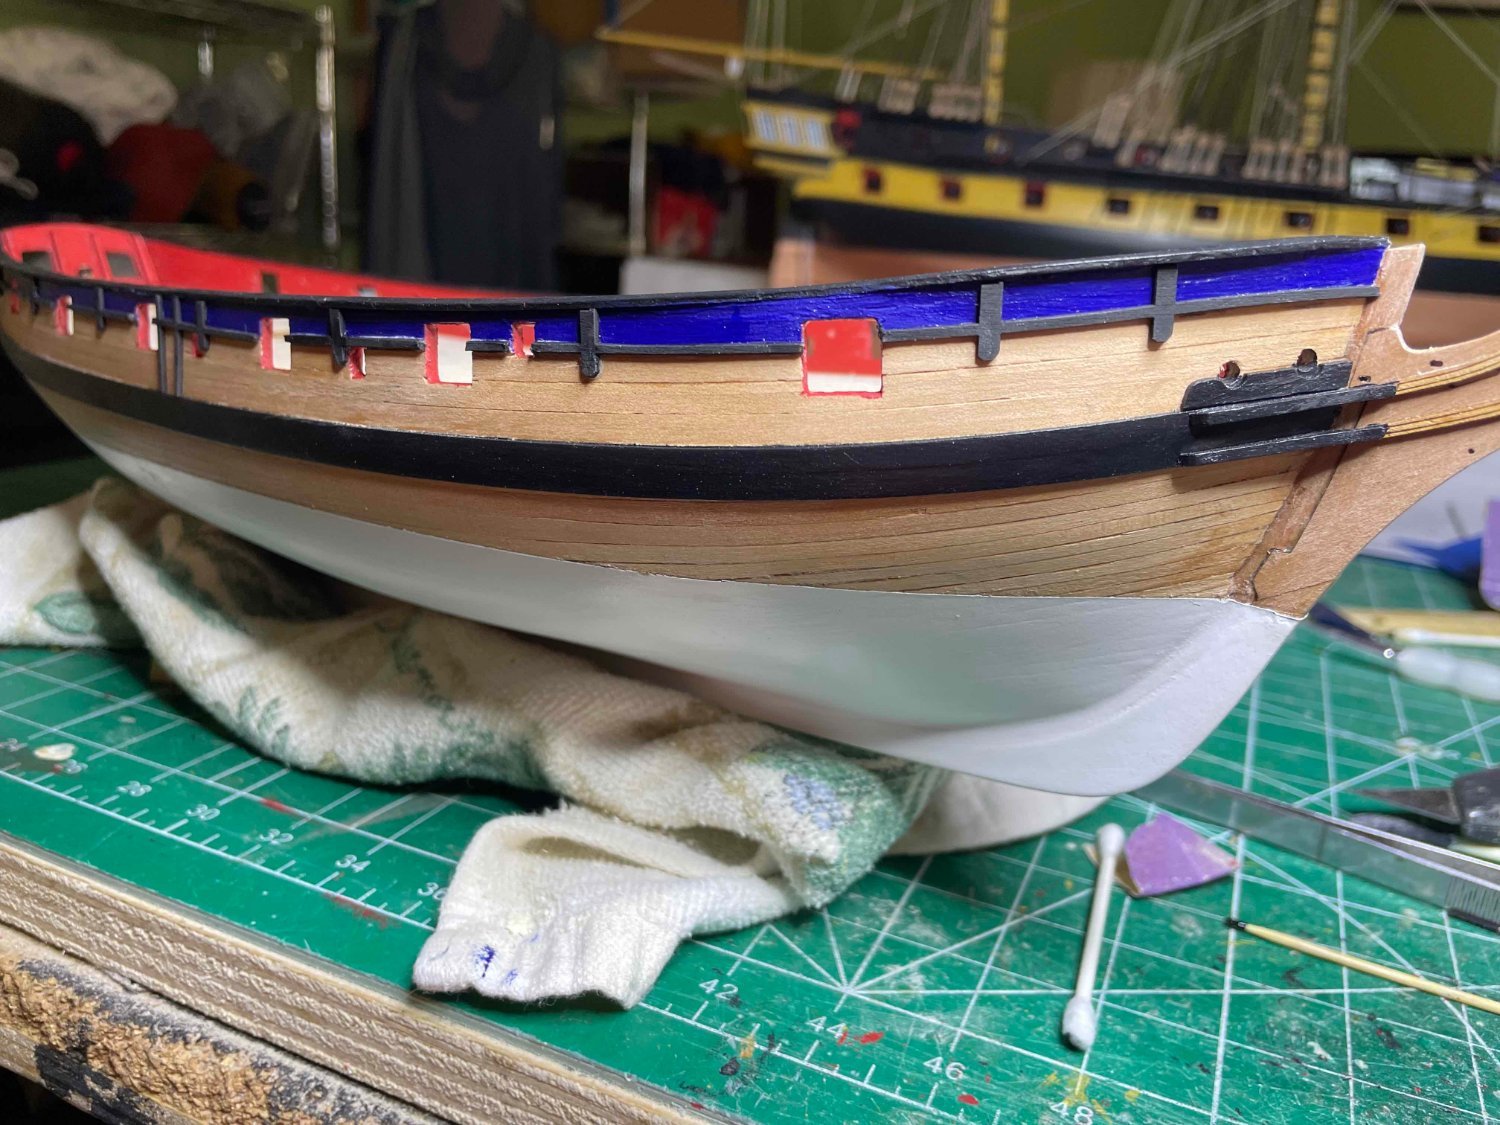
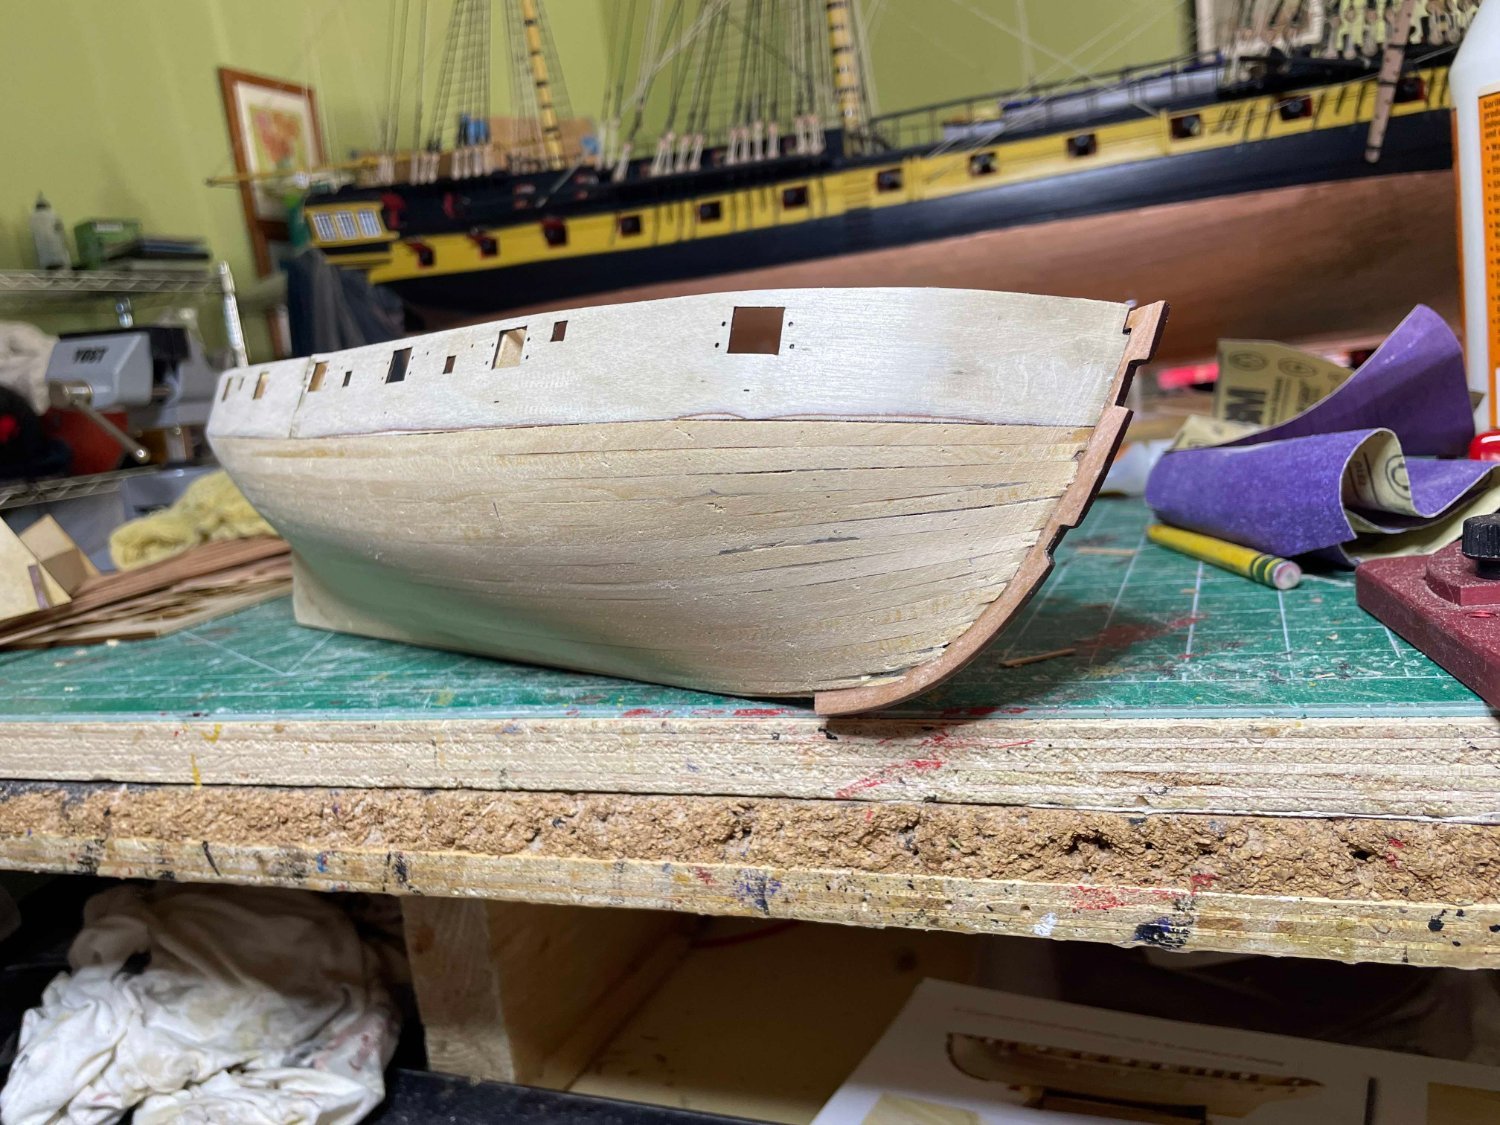
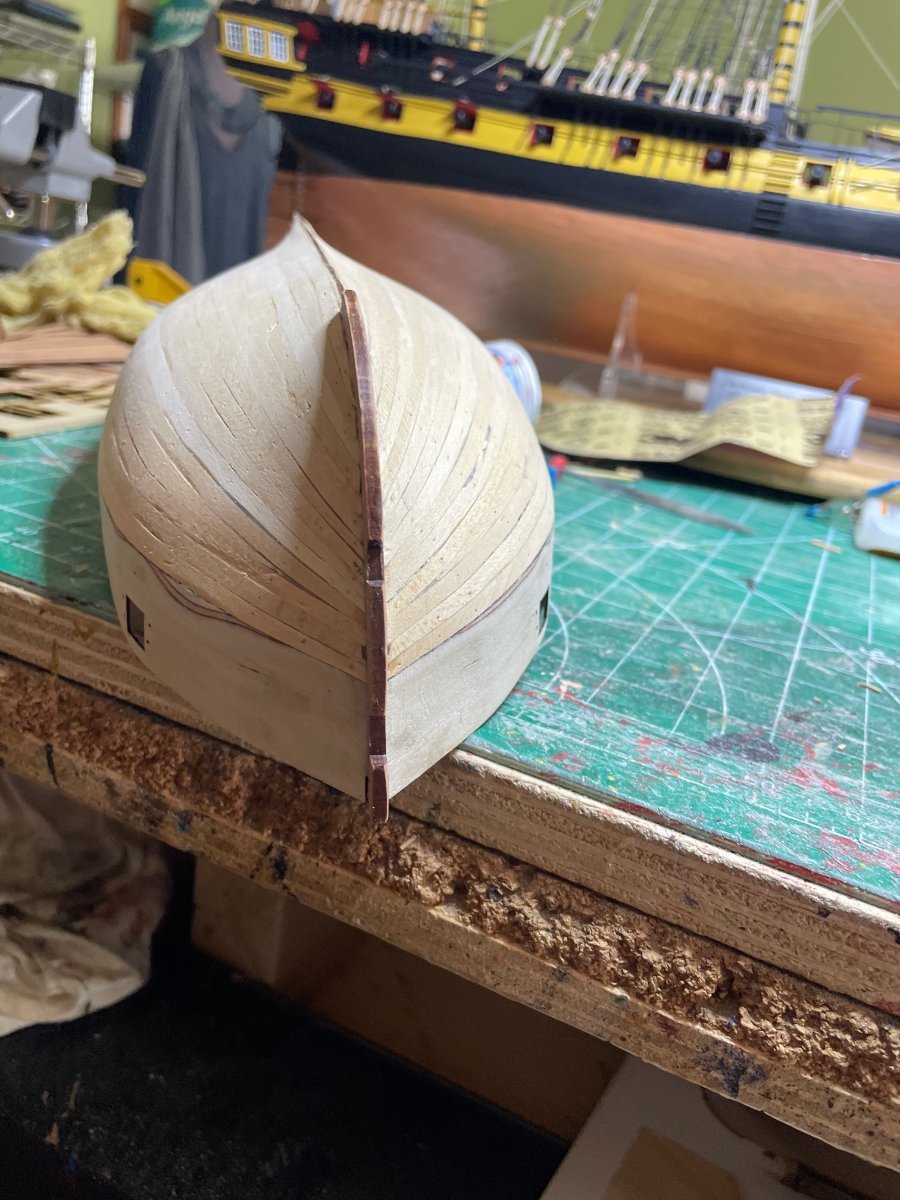
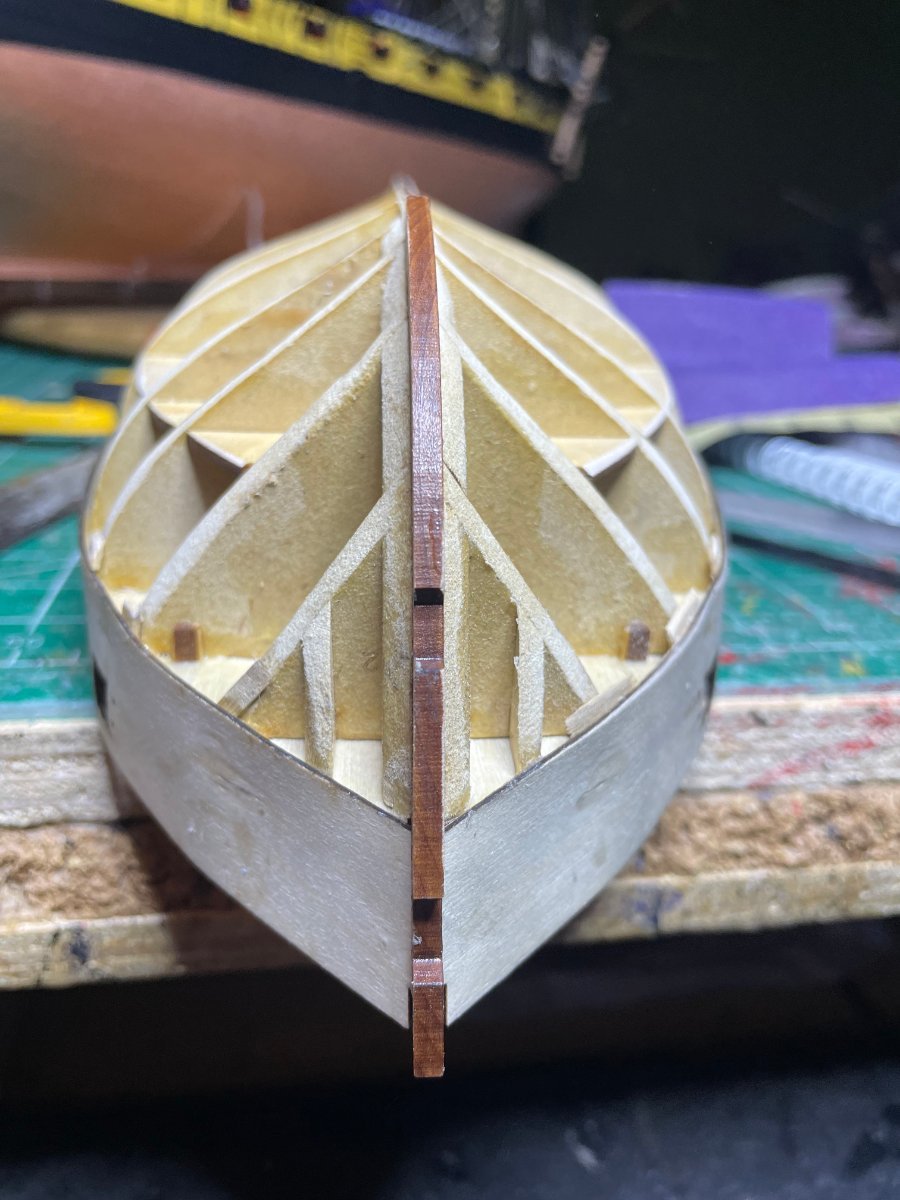
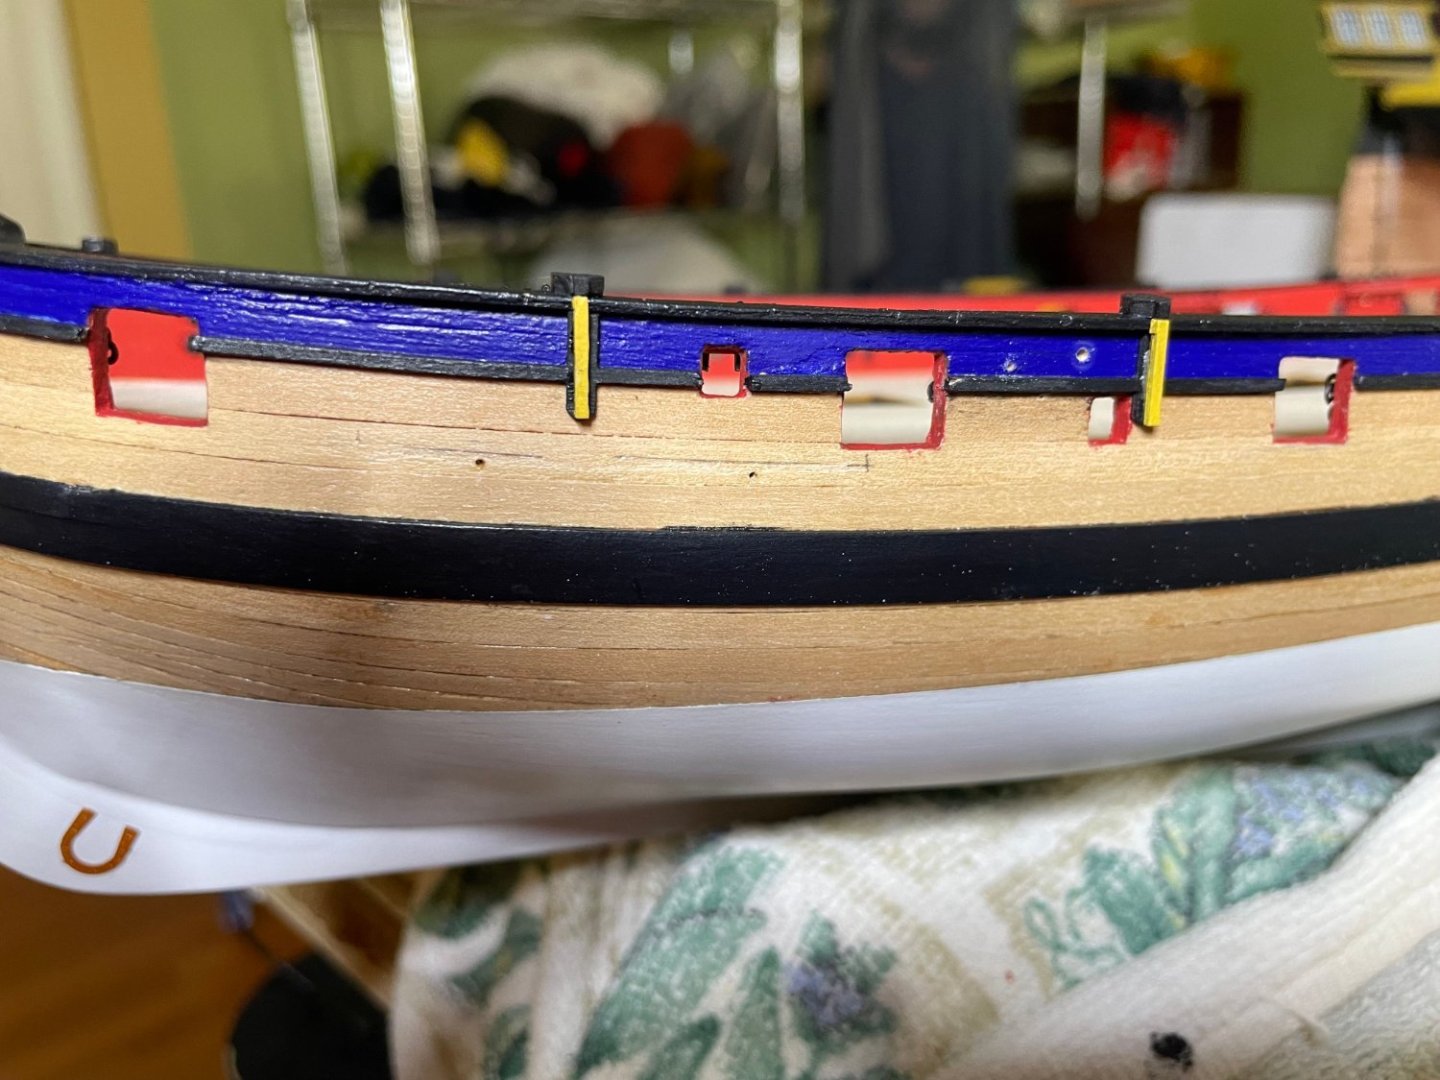
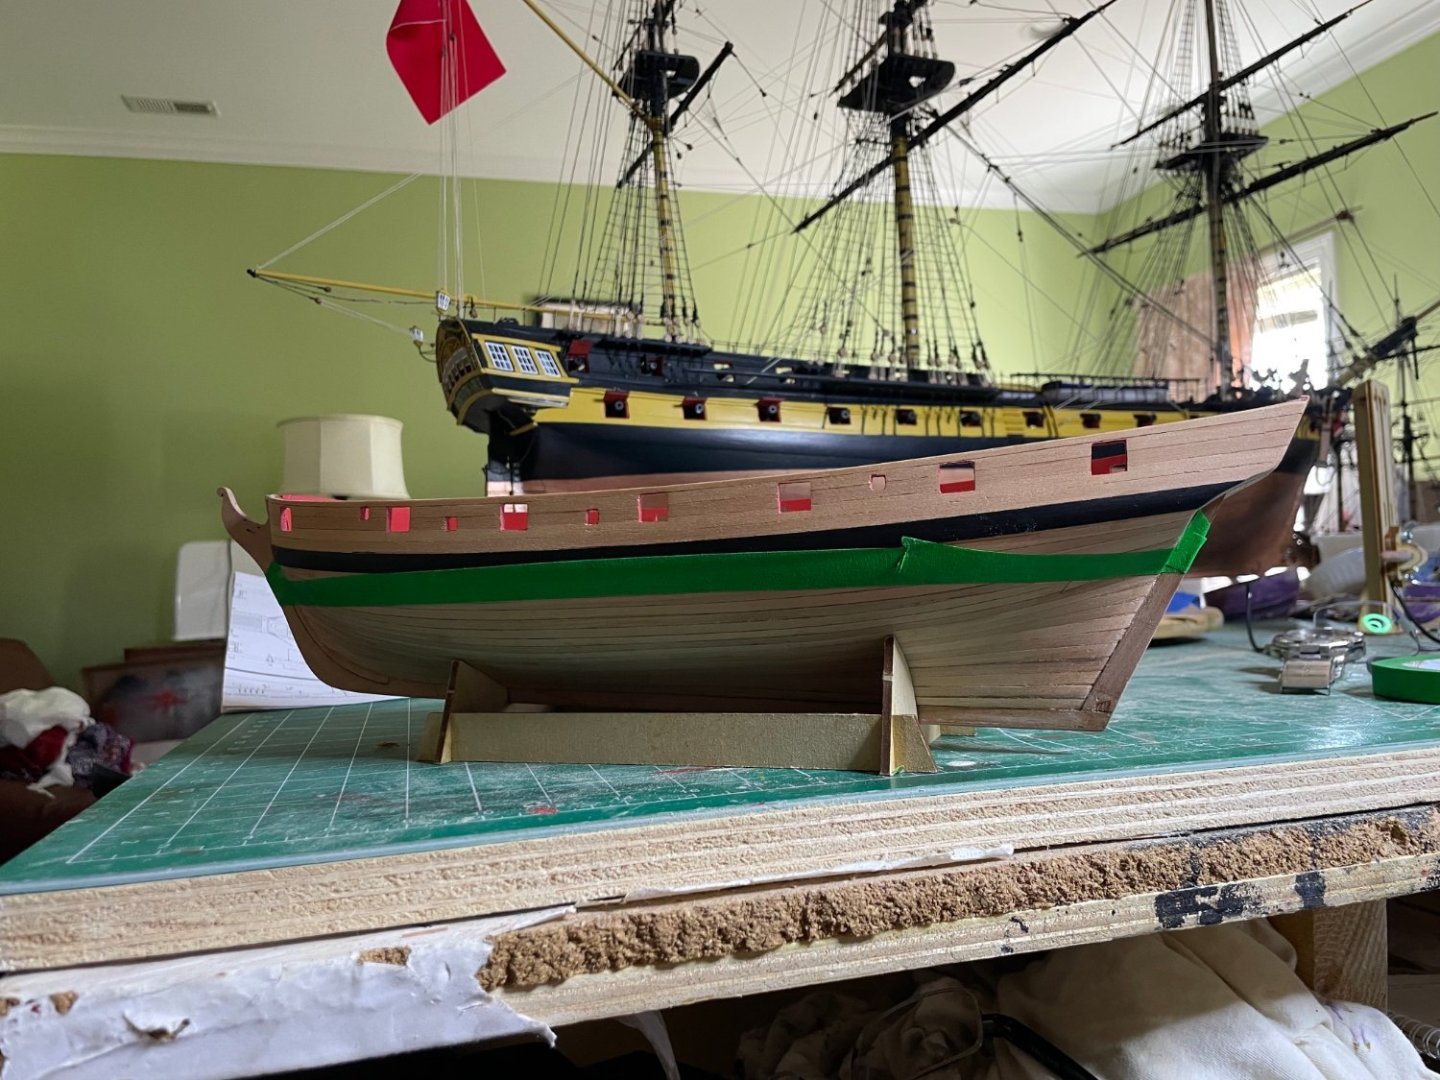
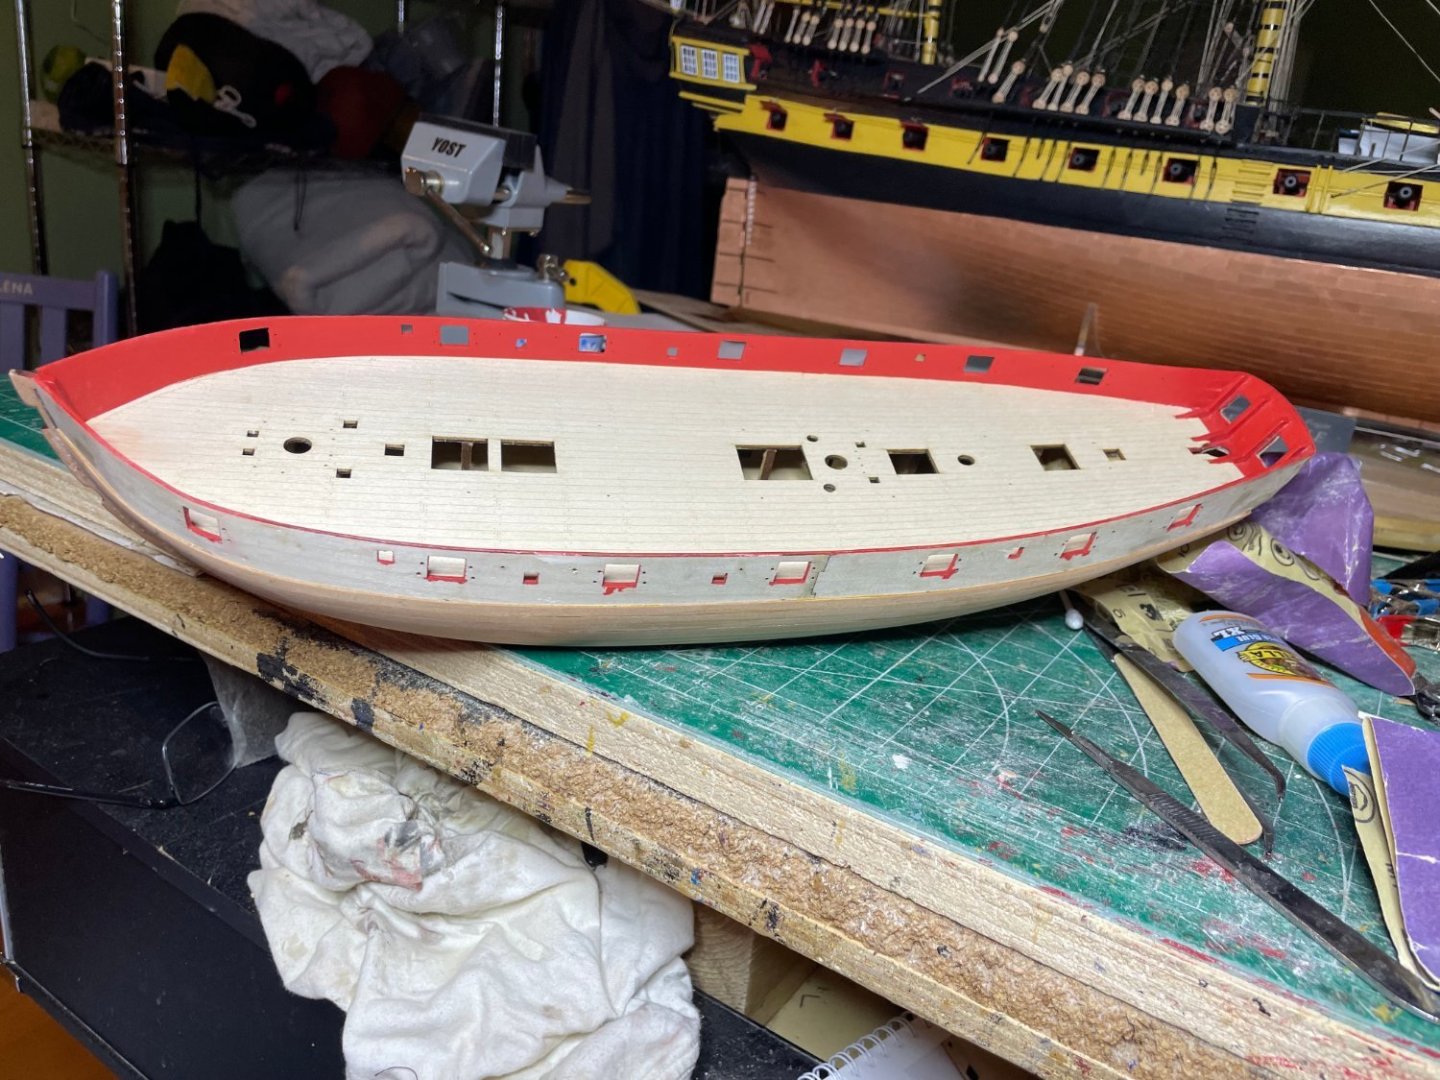
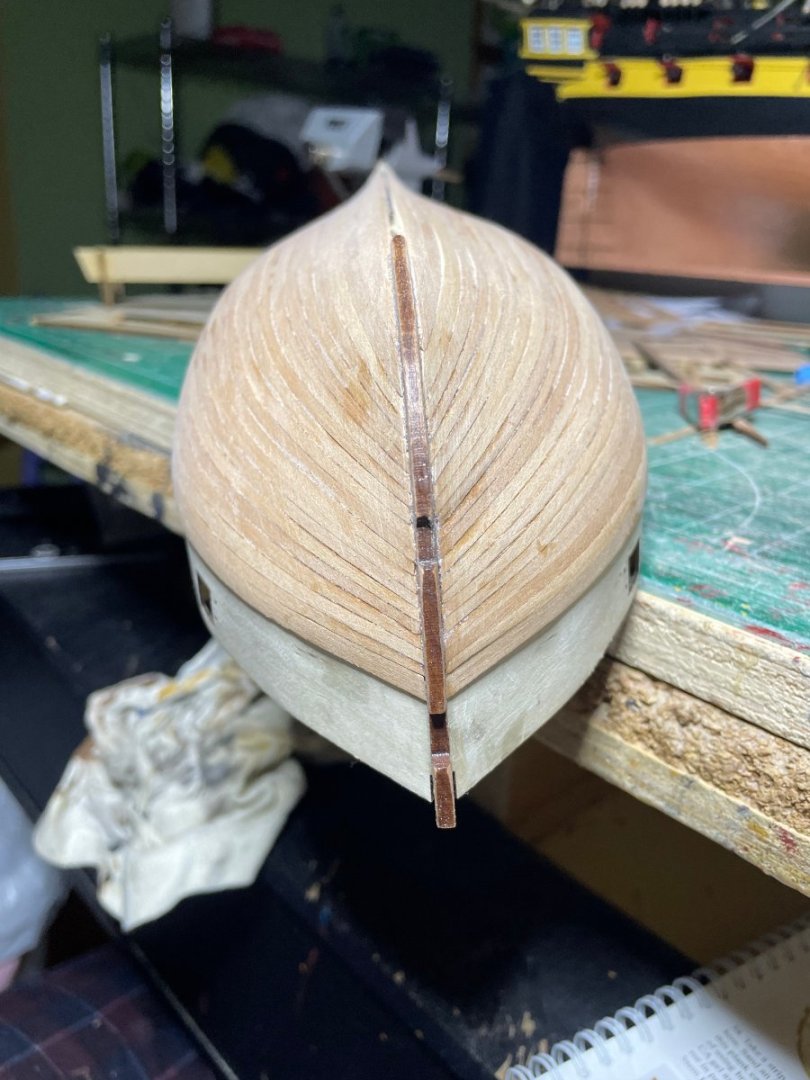
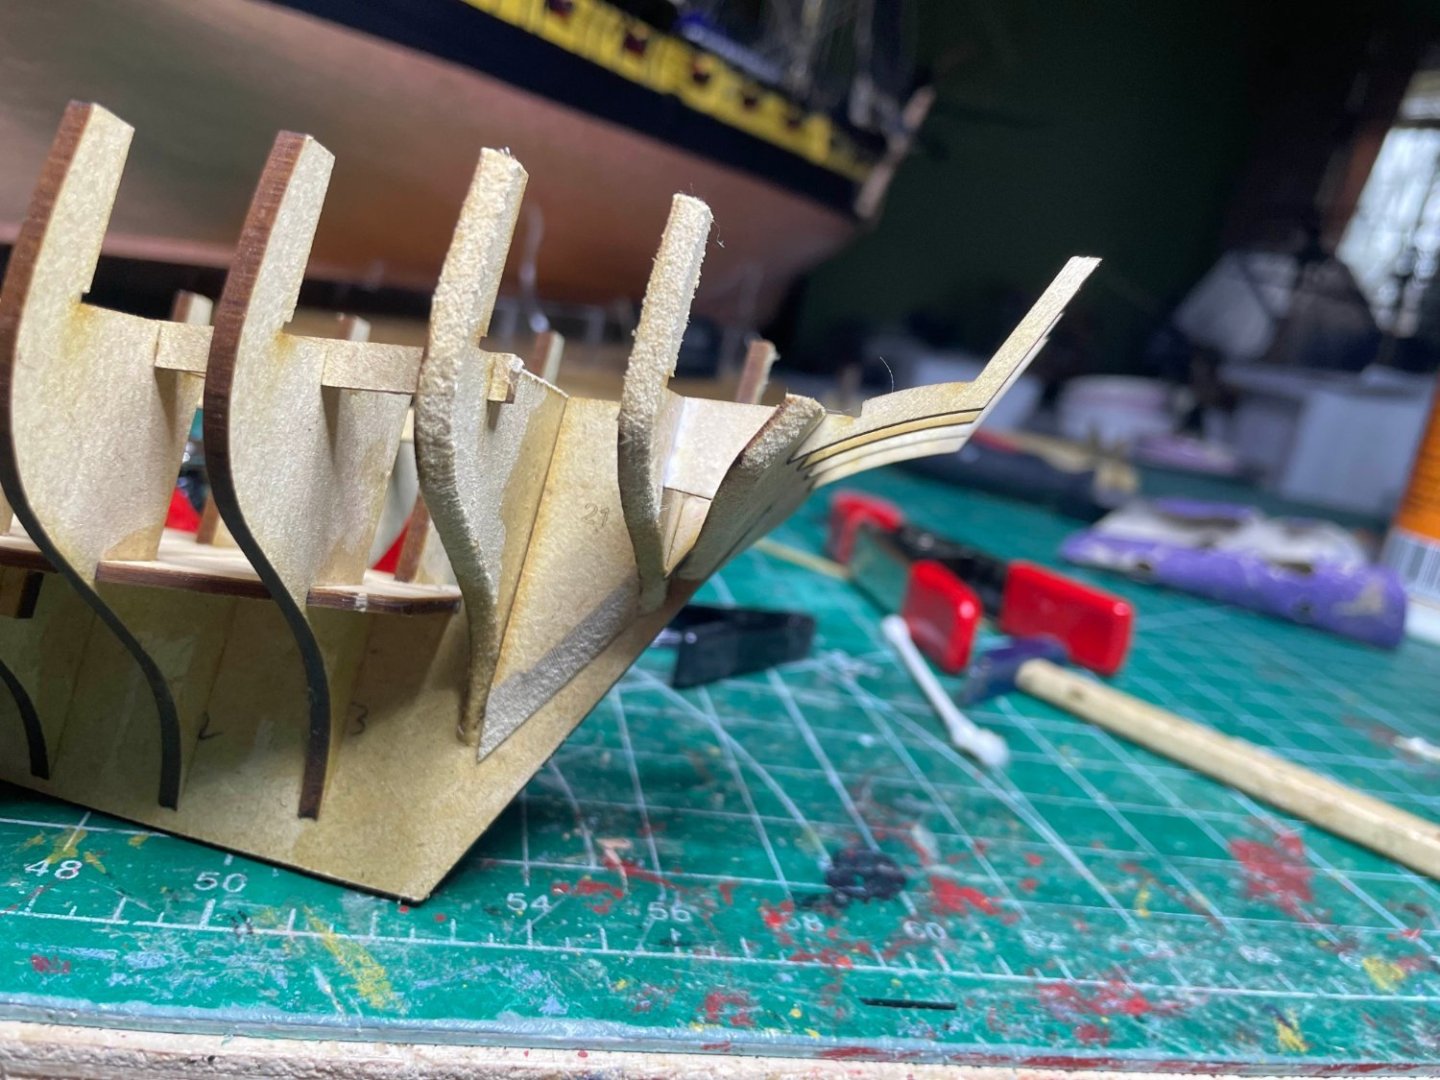
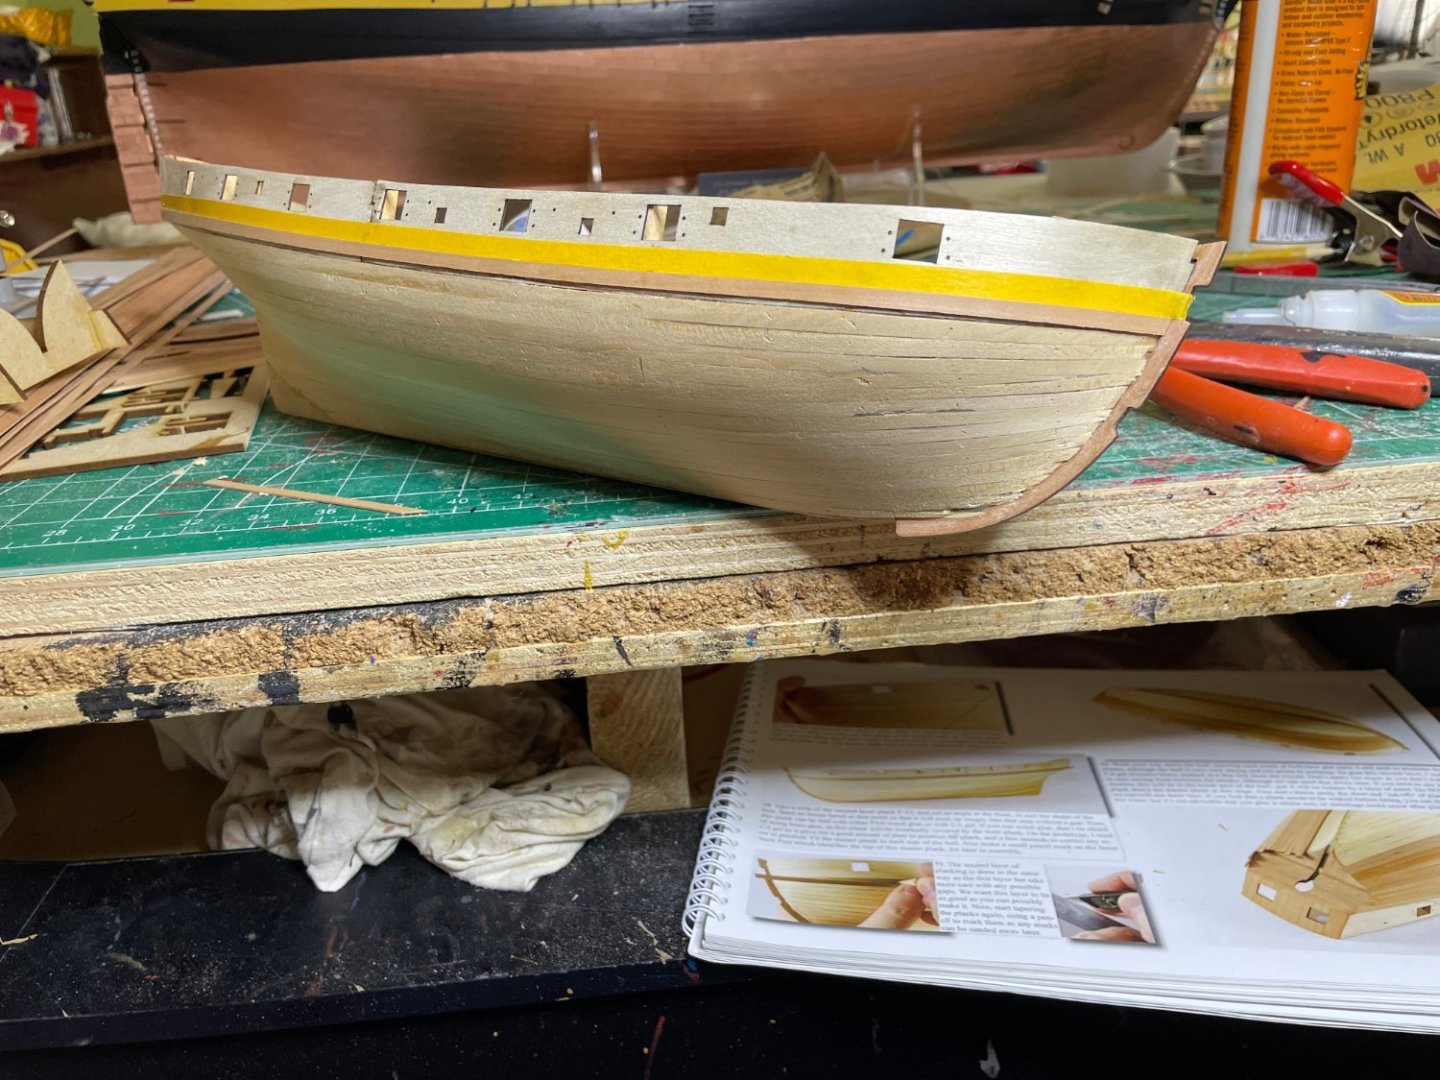
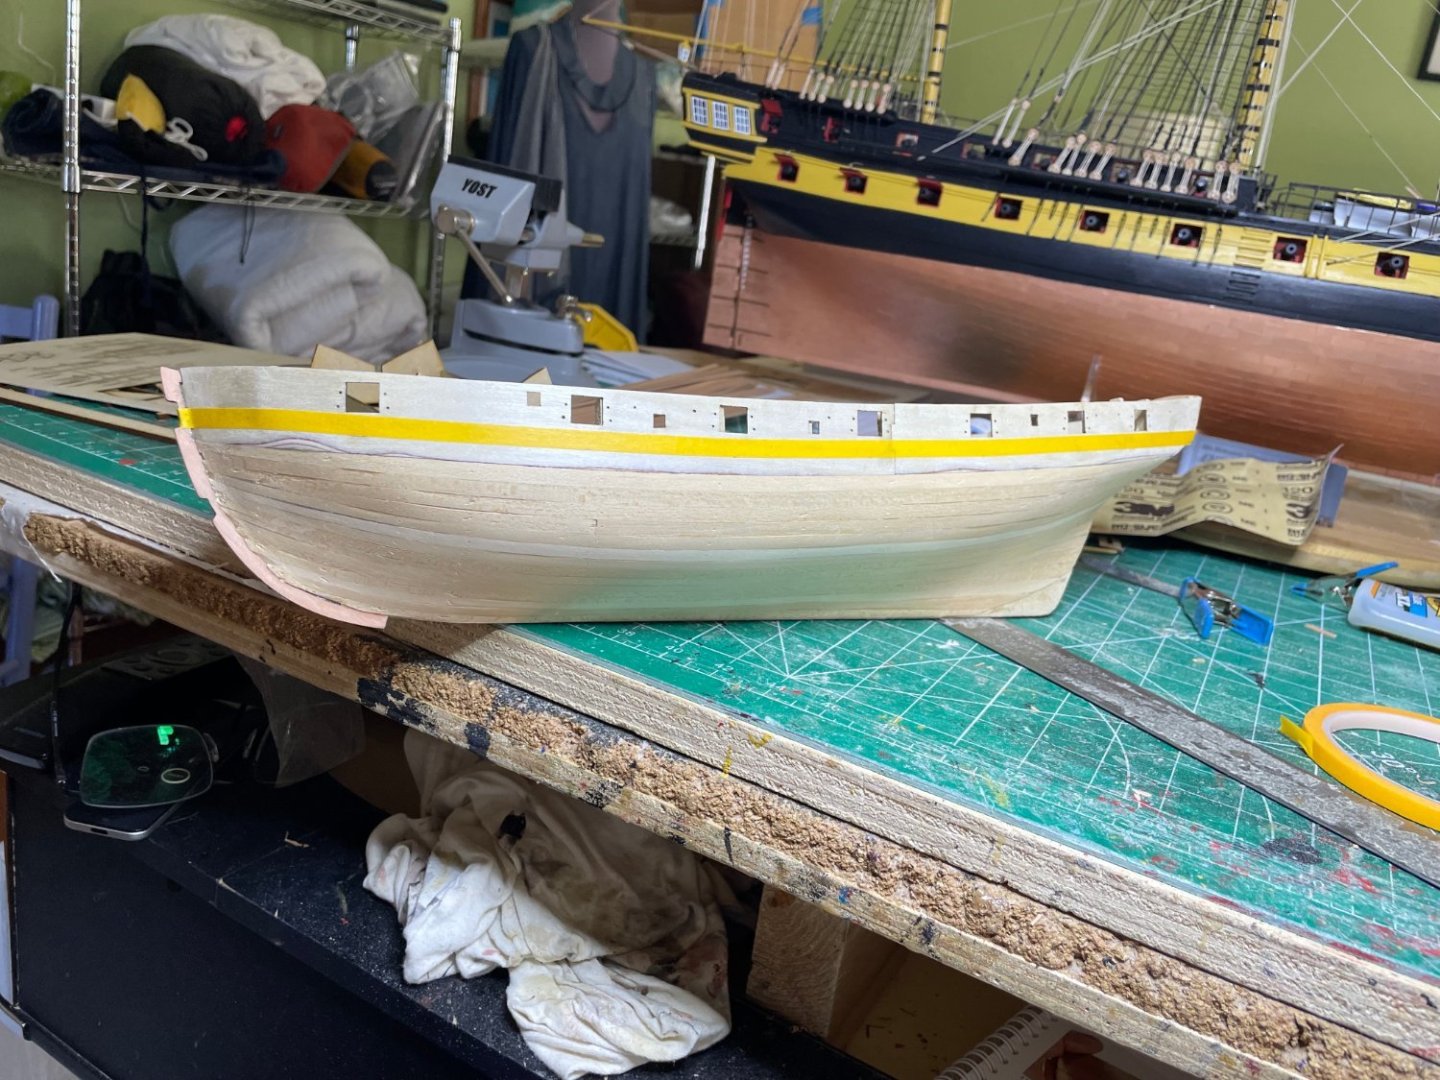
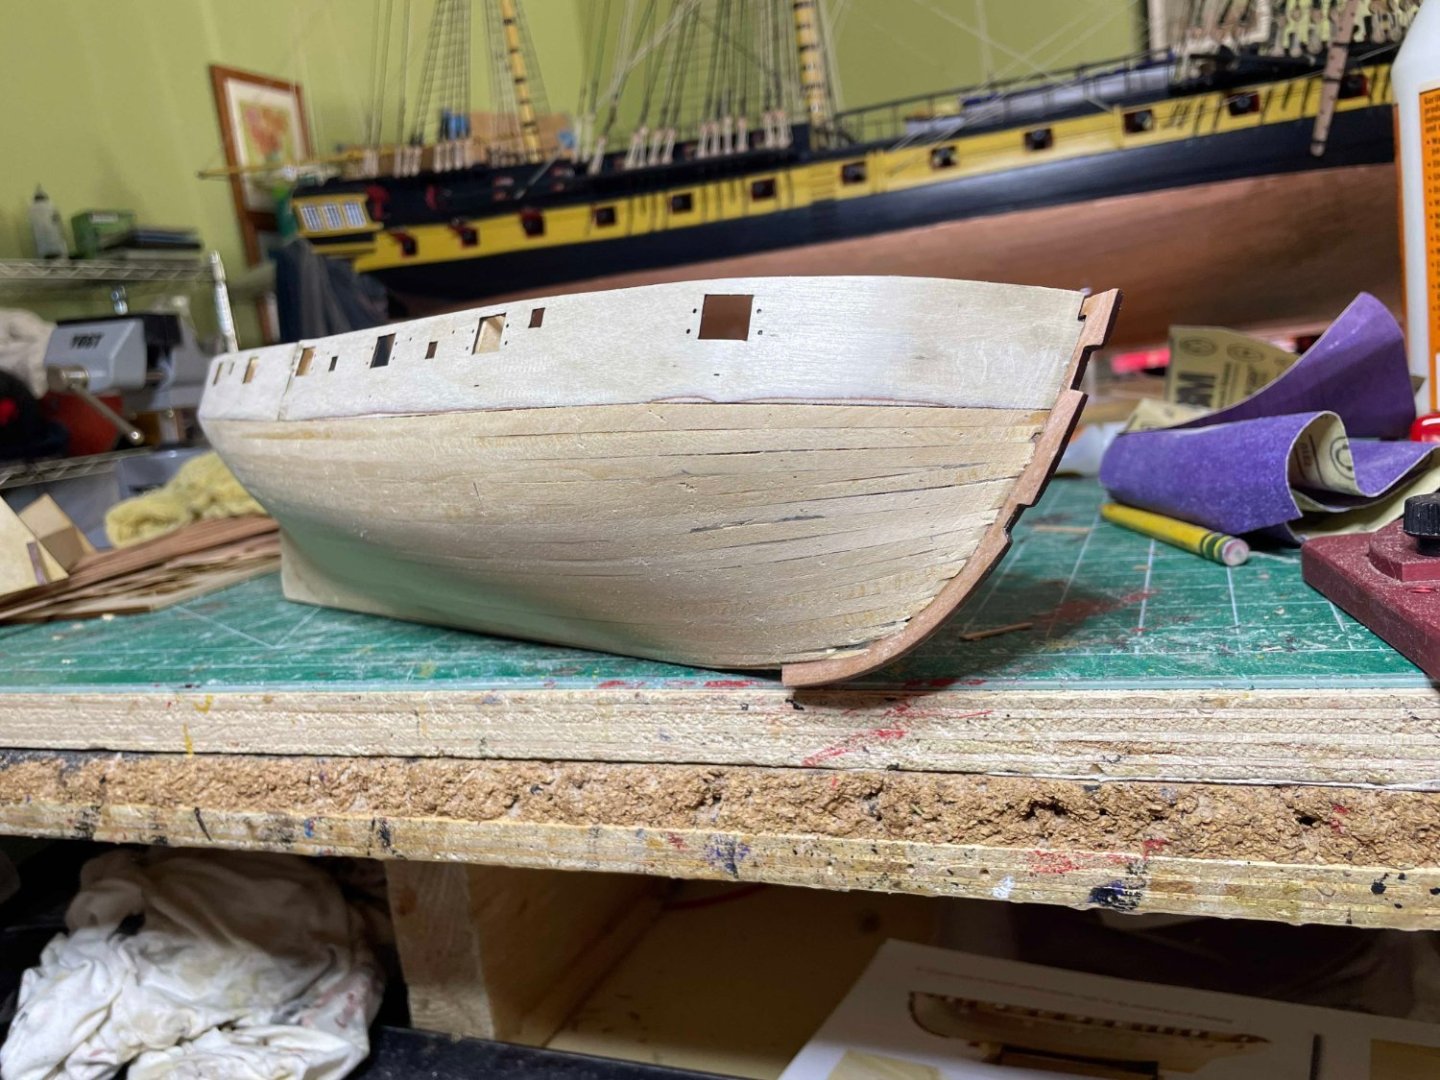
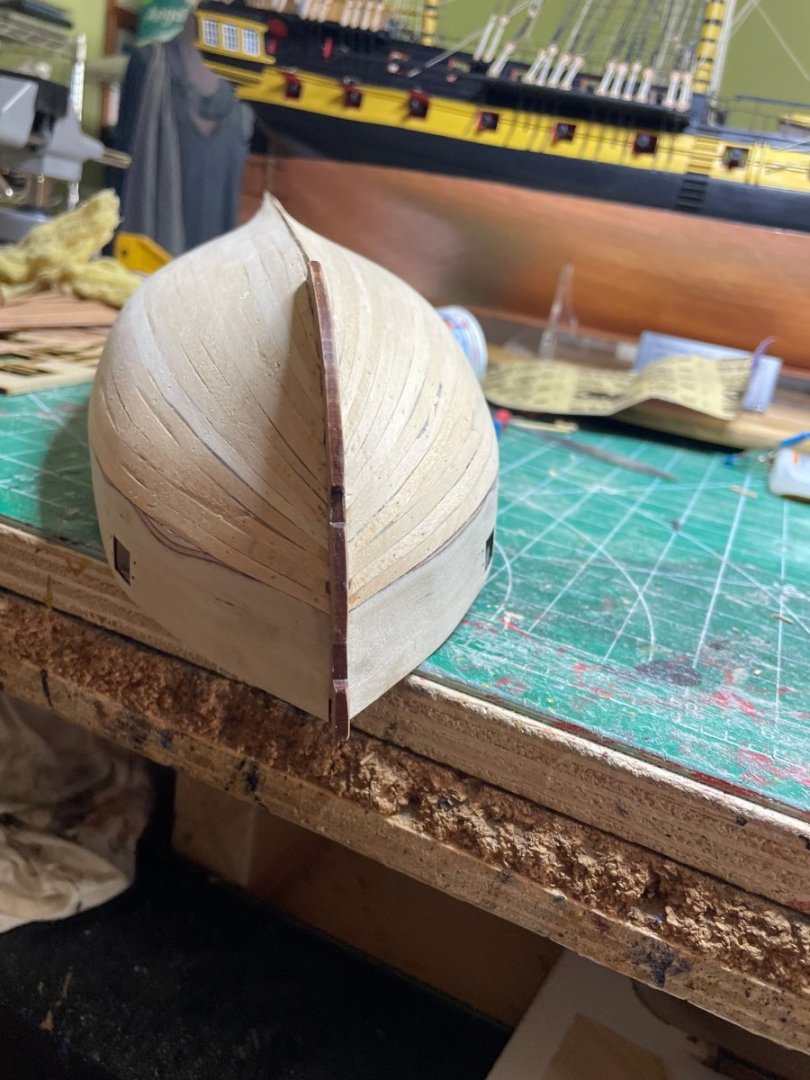
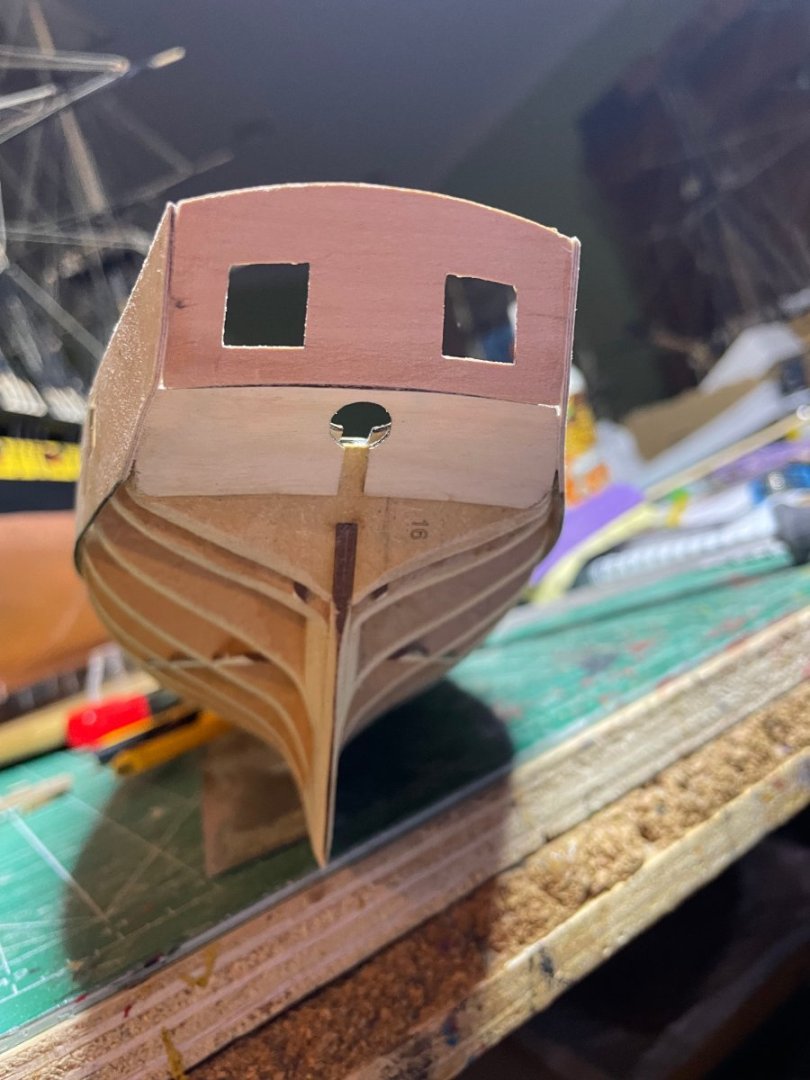
Continuing on, various hull and bulwark bolts etc. placed. Prow also done. Whales marked and fitted.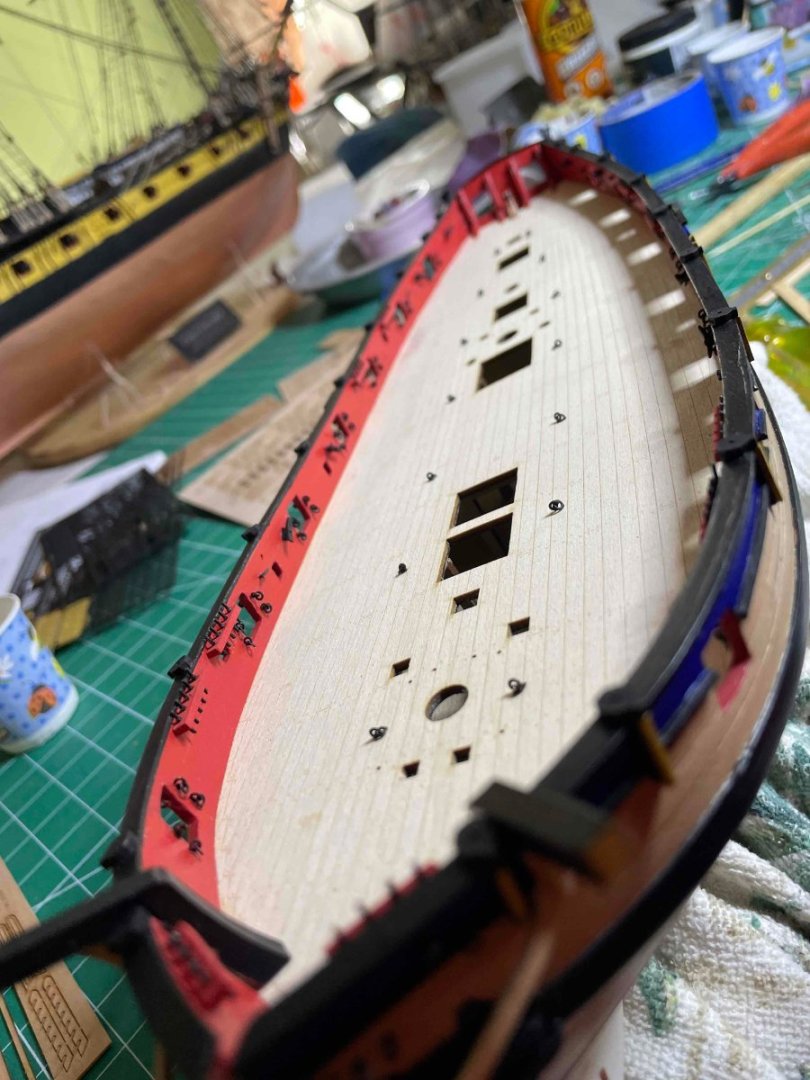


-
HMS Flirt by ECK - Vanguard Models - 1:64
ECK replied to ECK's topic in - Kit build logs for subjects built from 1751 - 1800
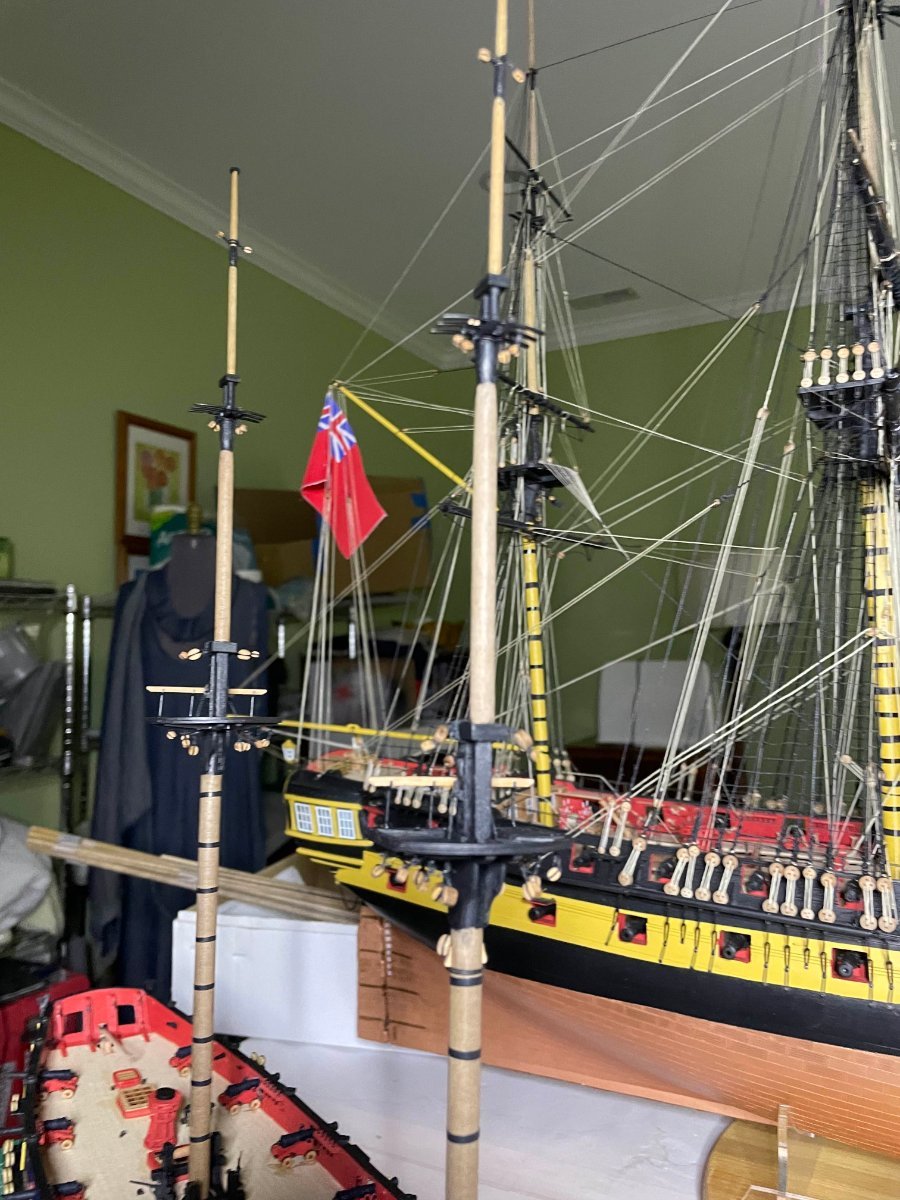
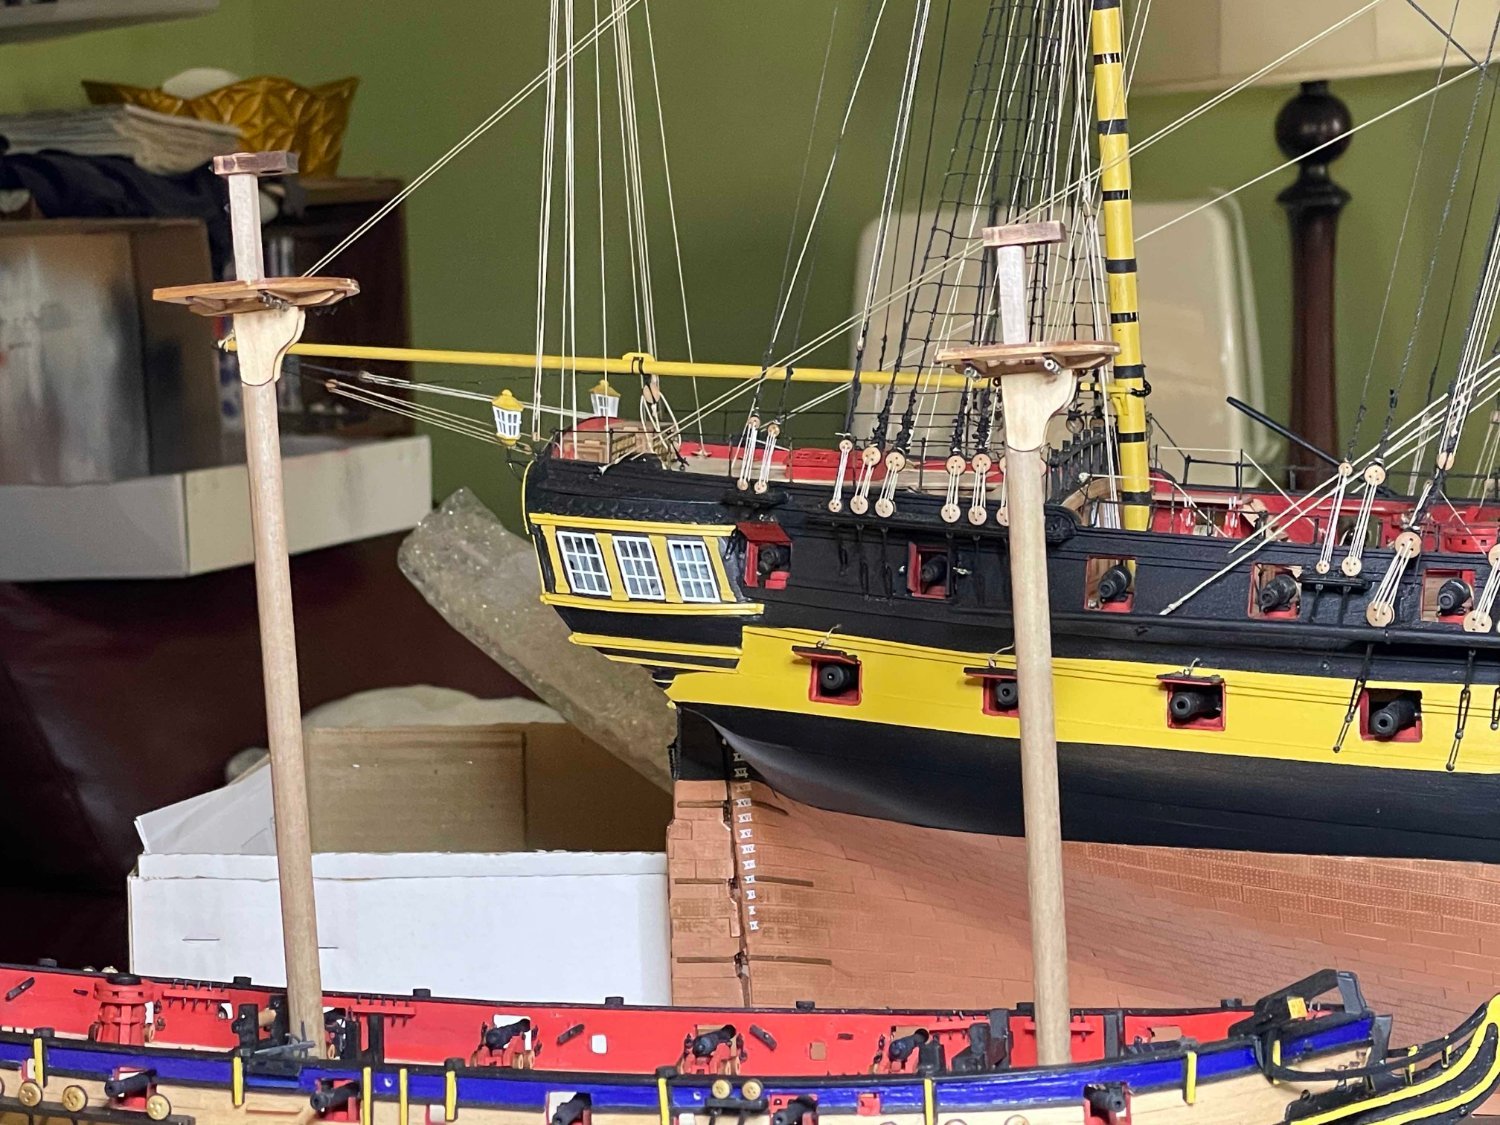
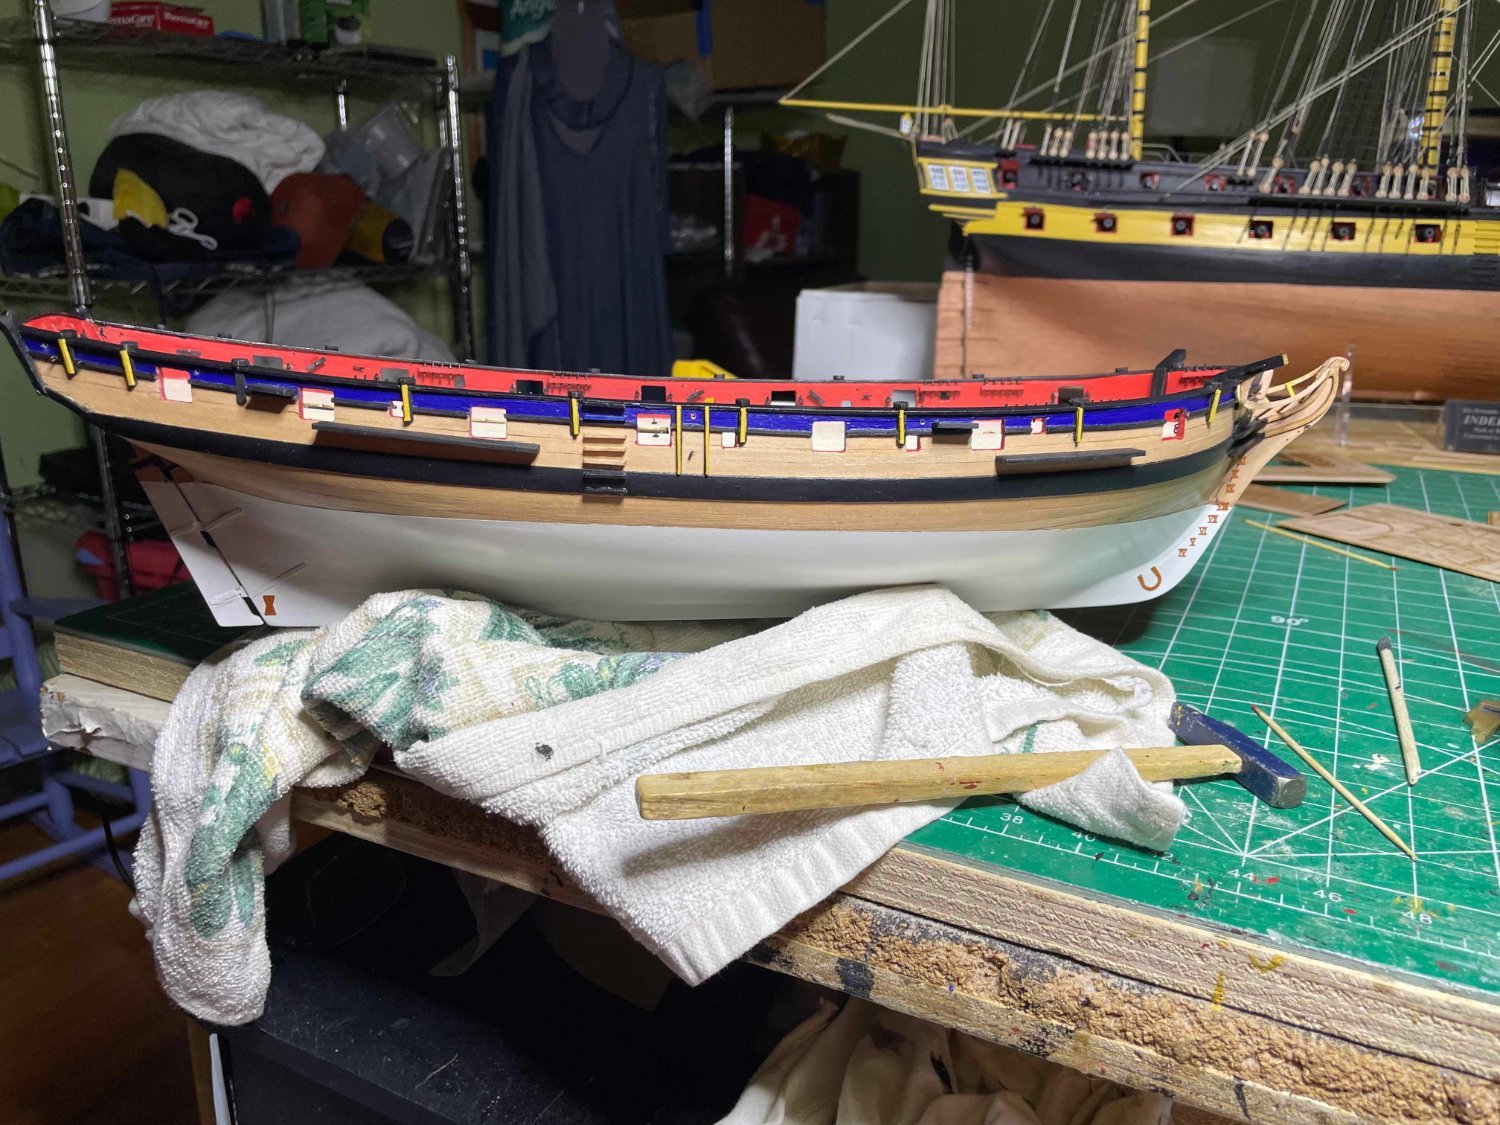
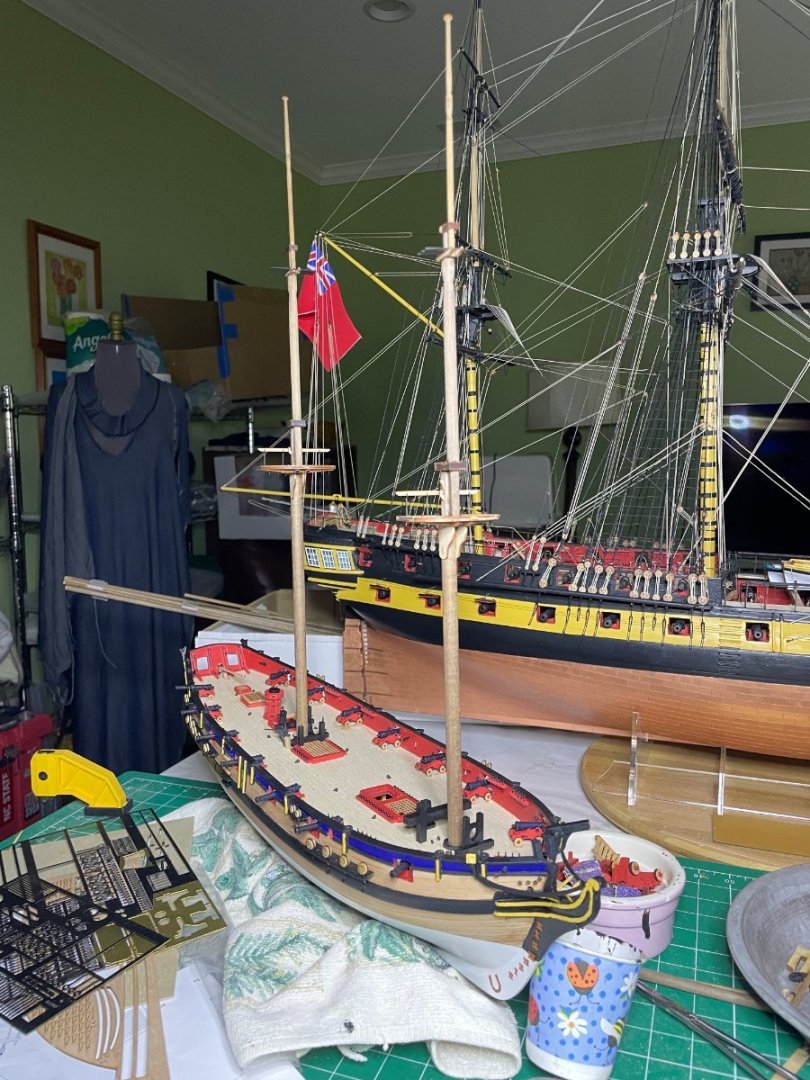
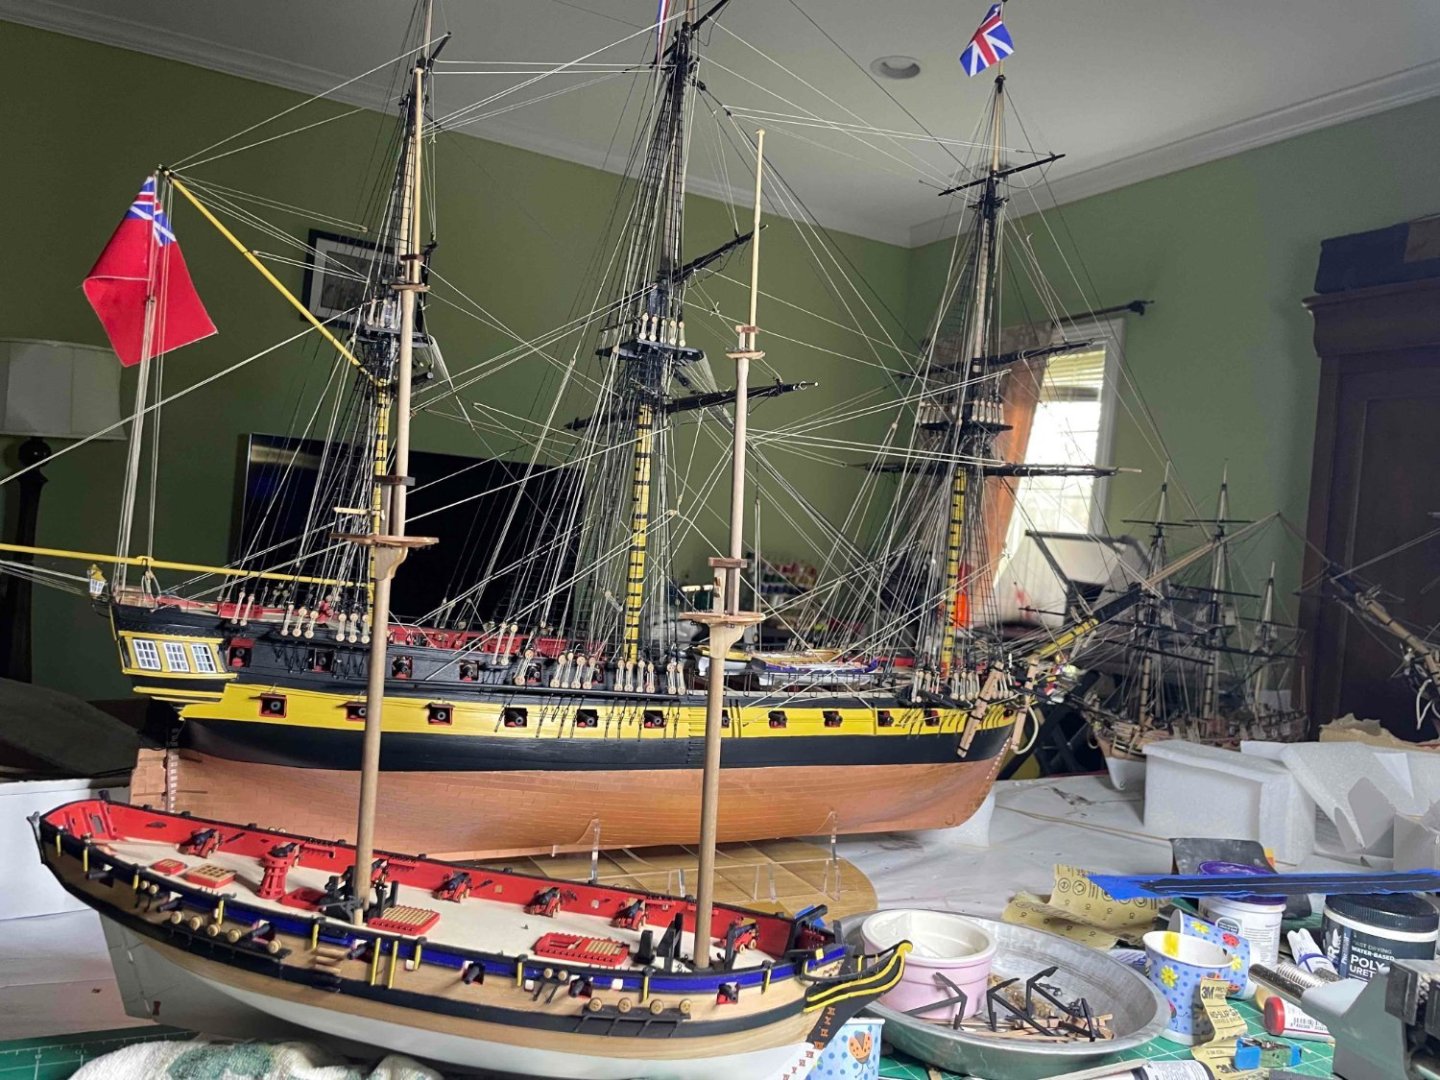
Thanks ! She is so small next to Indy i n the background, can almost fit her inside. -
HMS Flirt by ECK - Vanguard Models - 1:64
ECK replied to ECK's topic in - Kit build logs for subjects built from 1751 - 1800
Work done for the day. IMG_7923.heic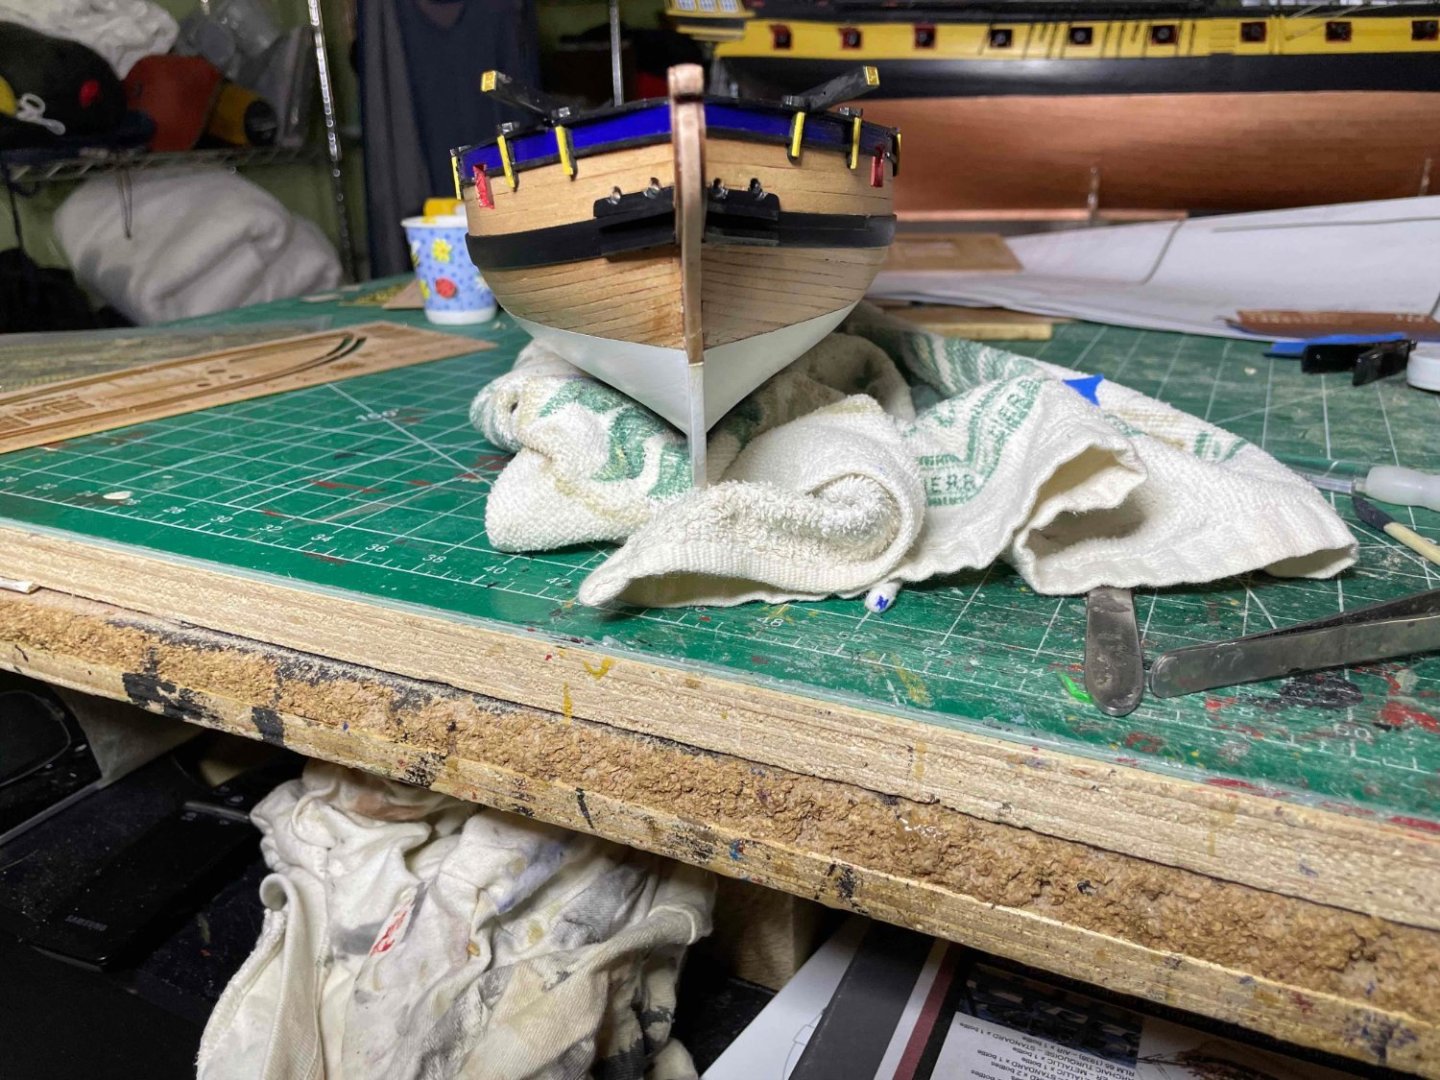


-
HMS Flirt by ECK - Vanguard Models - 1:64
ECK replied to ECK's topic in - Kit build logs for subjects built from 1751 - 1800
IMG_7913.heicA little more hull progress today.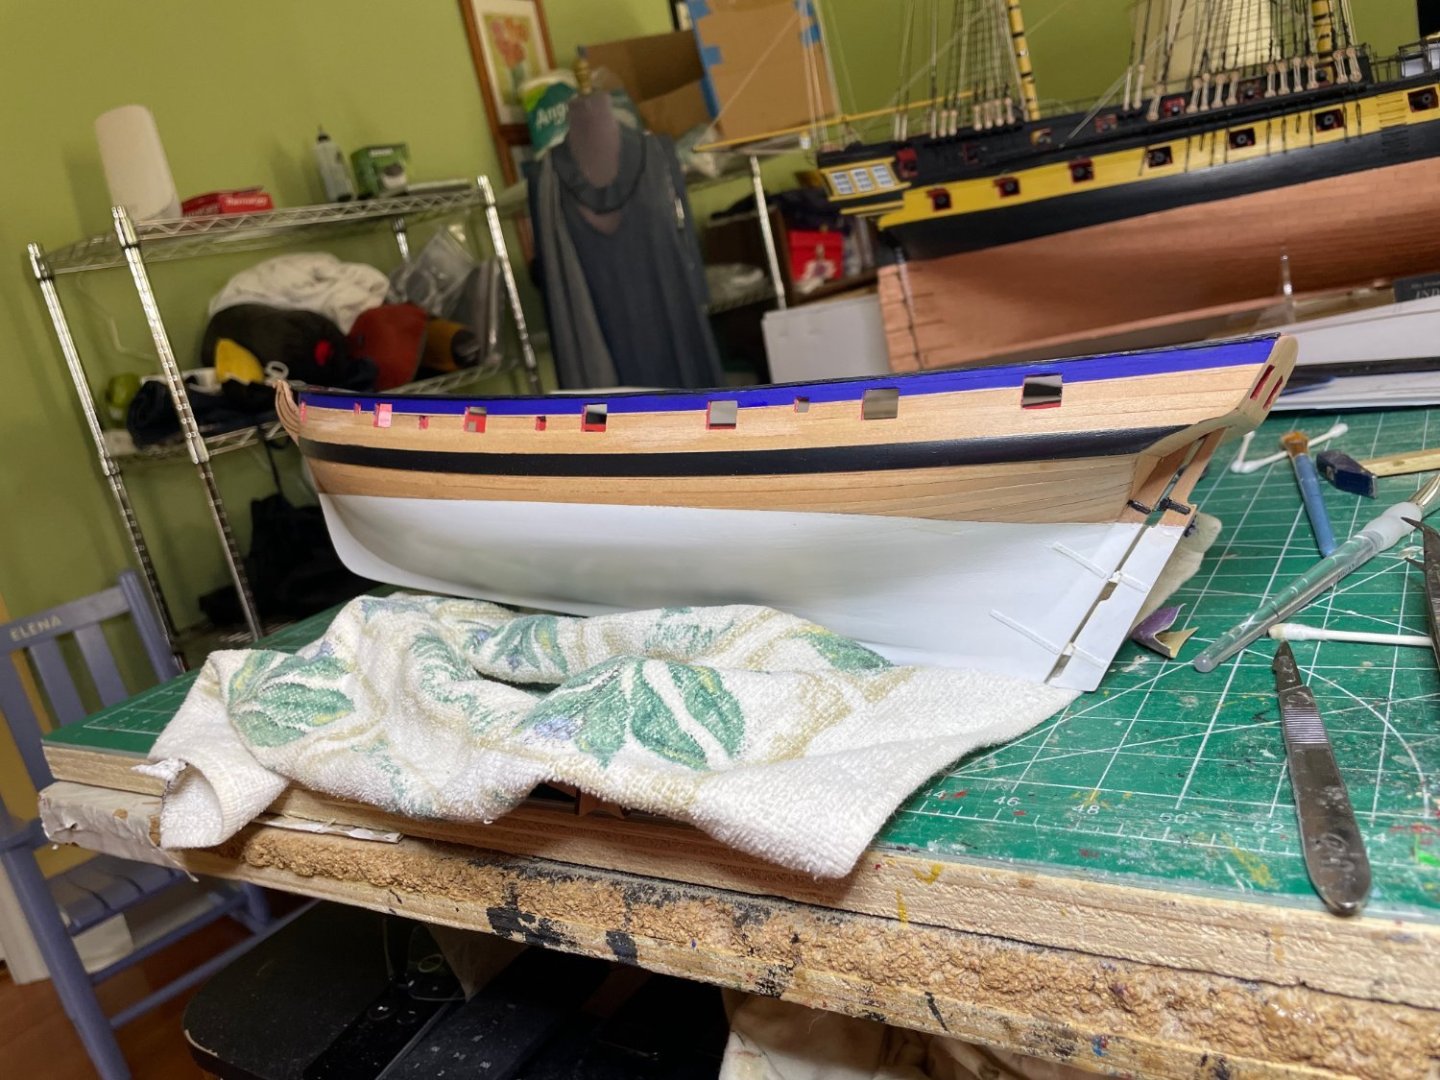


-
HMS Flirt by ECK - Vanguard Models - 1:64
ECK replied to ECK's topic in - Kit build logs for subjects built from 1751 - 1800
Spent the afternoon, prepping and doing multiple paint/sanding repeat. Can see initial filler then progress over the afternoon. Was also able to fit the rudder in.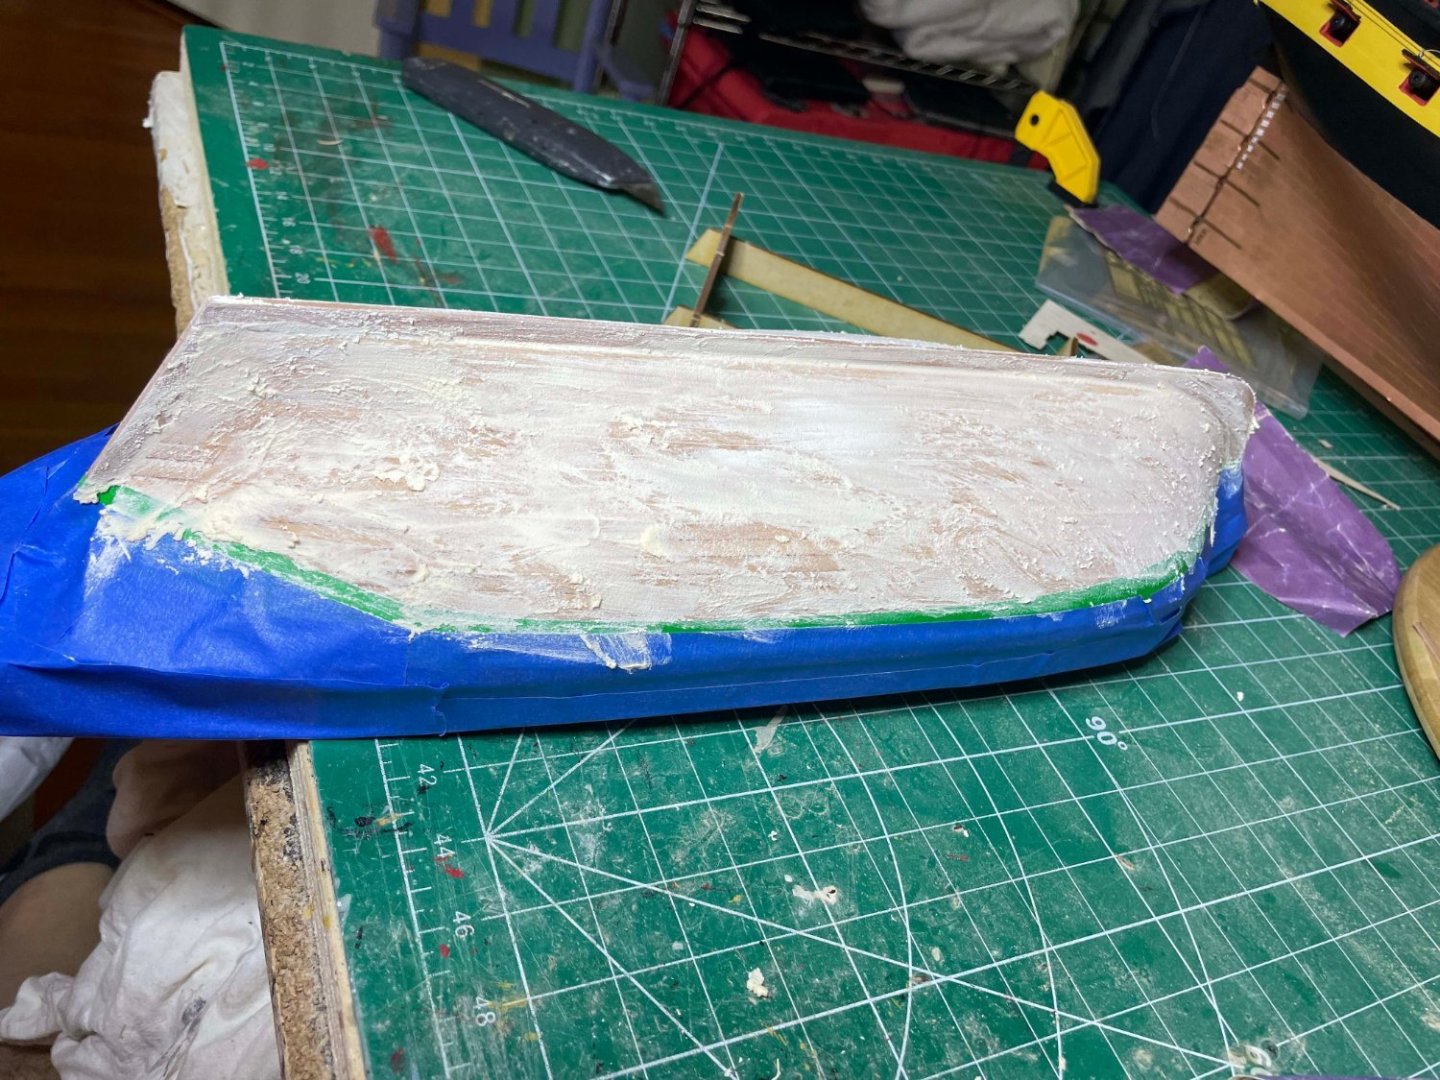


-
HMS Flirt by ECK - Vanguard Models - 1:64
ECK replied to ECK's topic in - Kit build logs for subjects built from 1751 - 1800
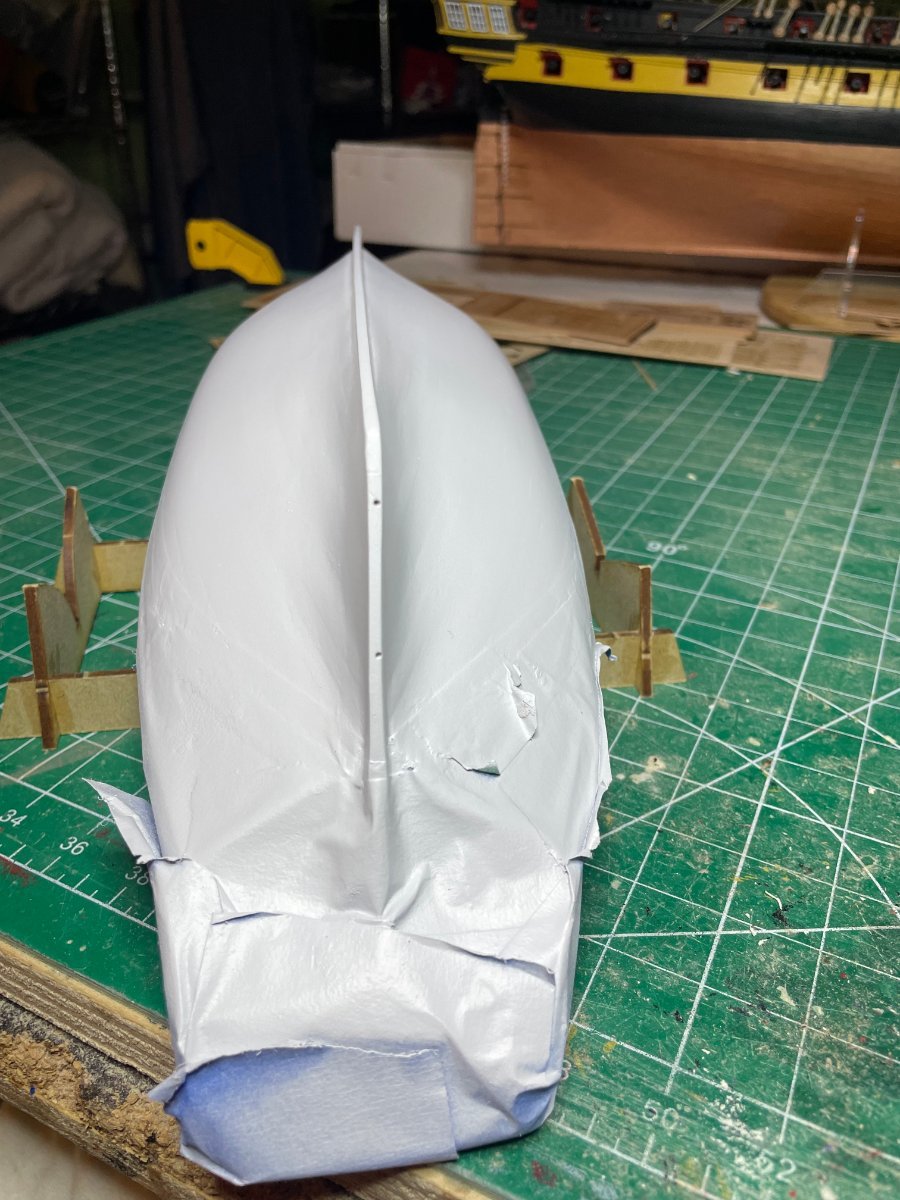
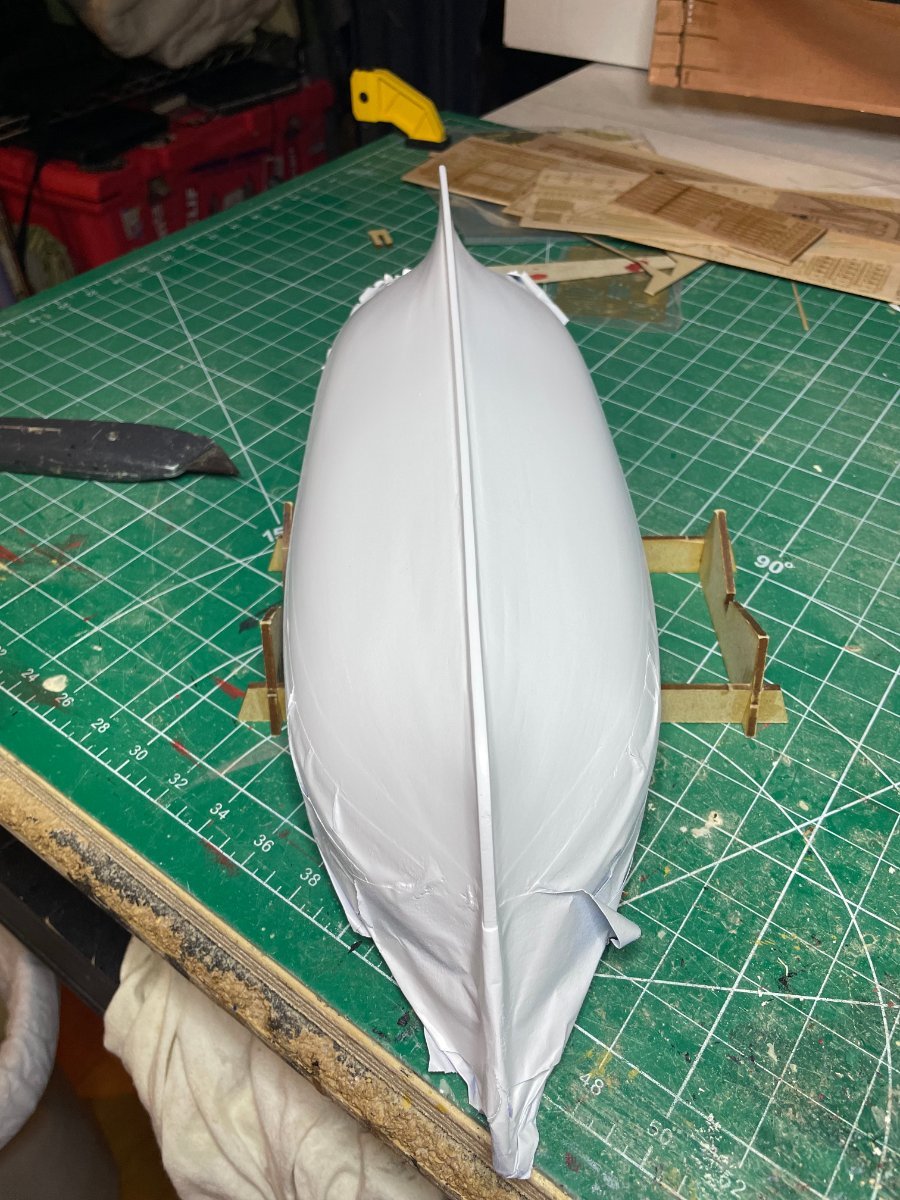
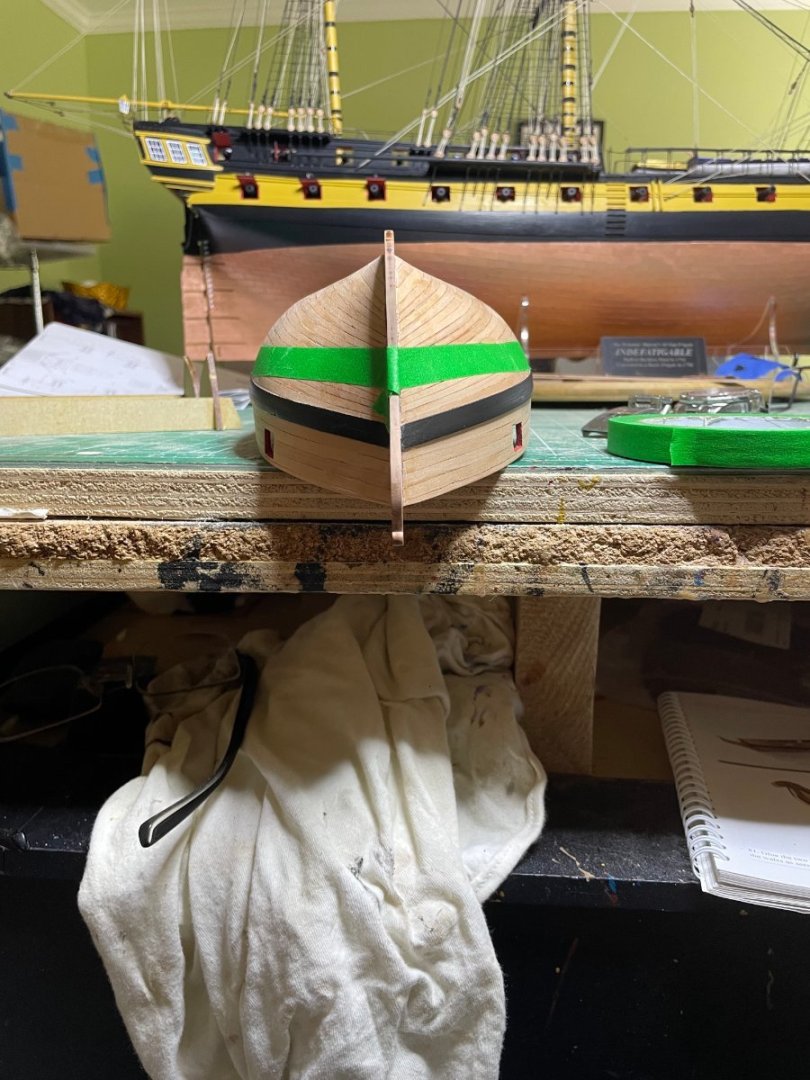
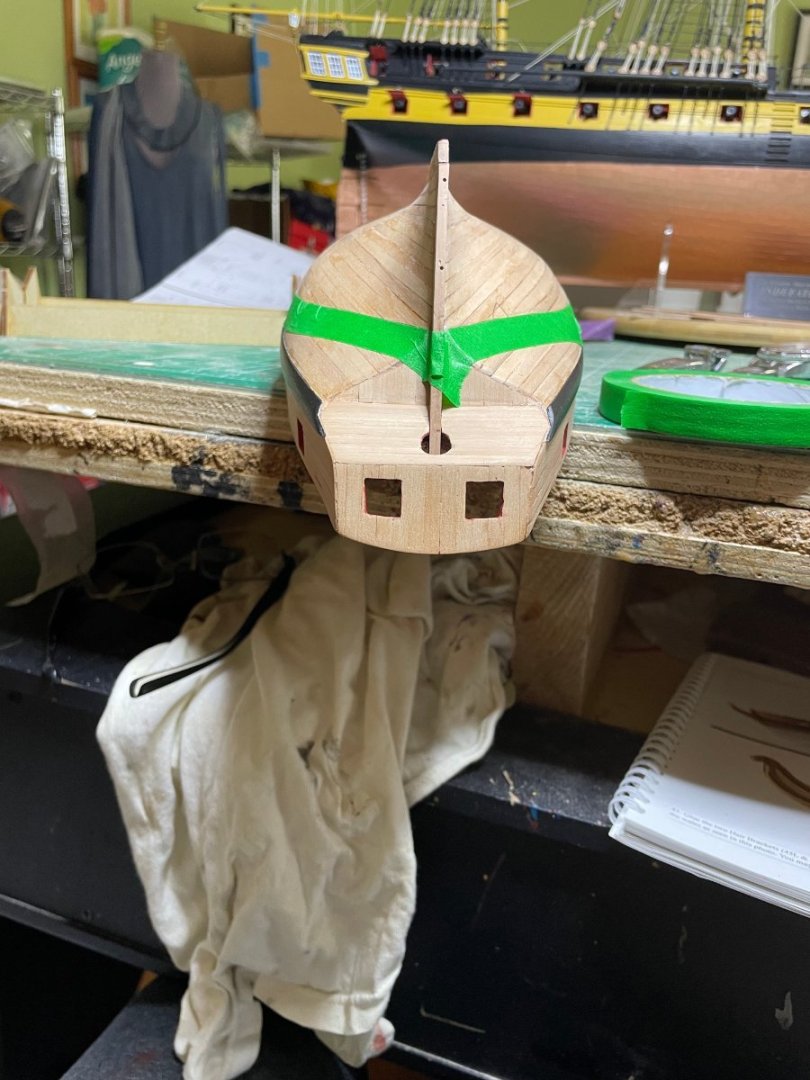
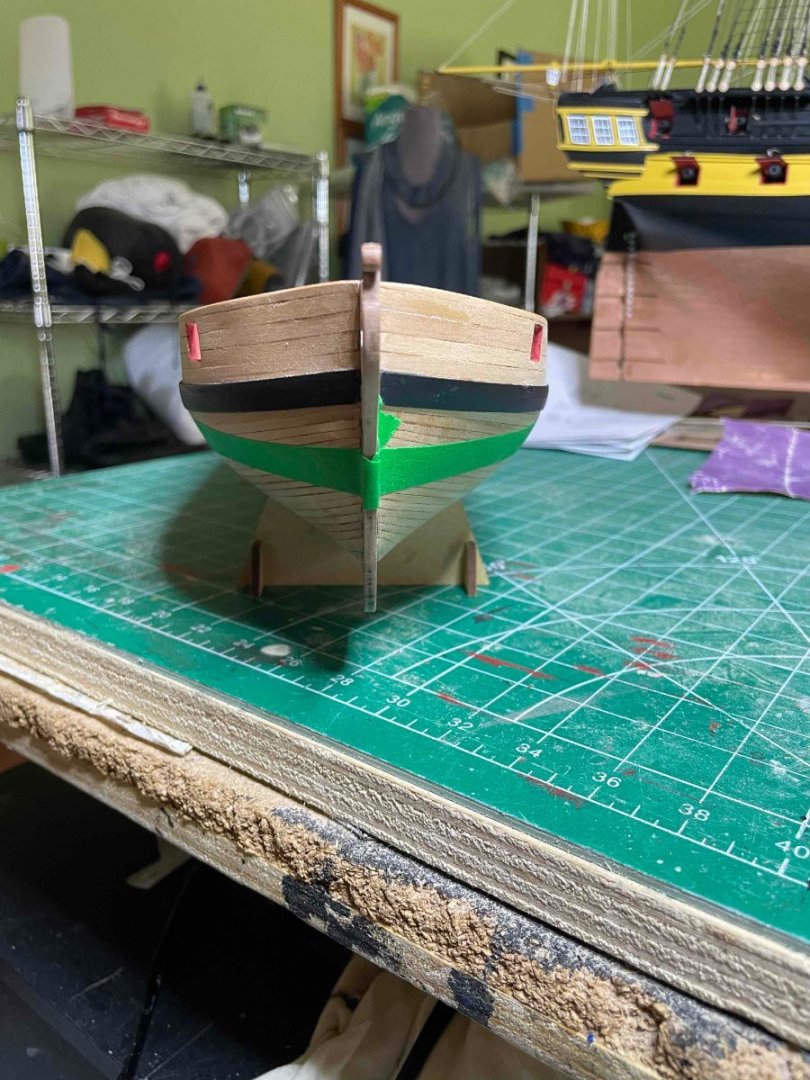
Lined things up. I find the waterline device from Vanguard works the best of the ones I have tried. Very stable Now taped I haves covered the rest of the hull and painted the edge of the waterline with poly ( trick of one of members) to try and keep seepage to a minimum. Will likely apply again just before spraying.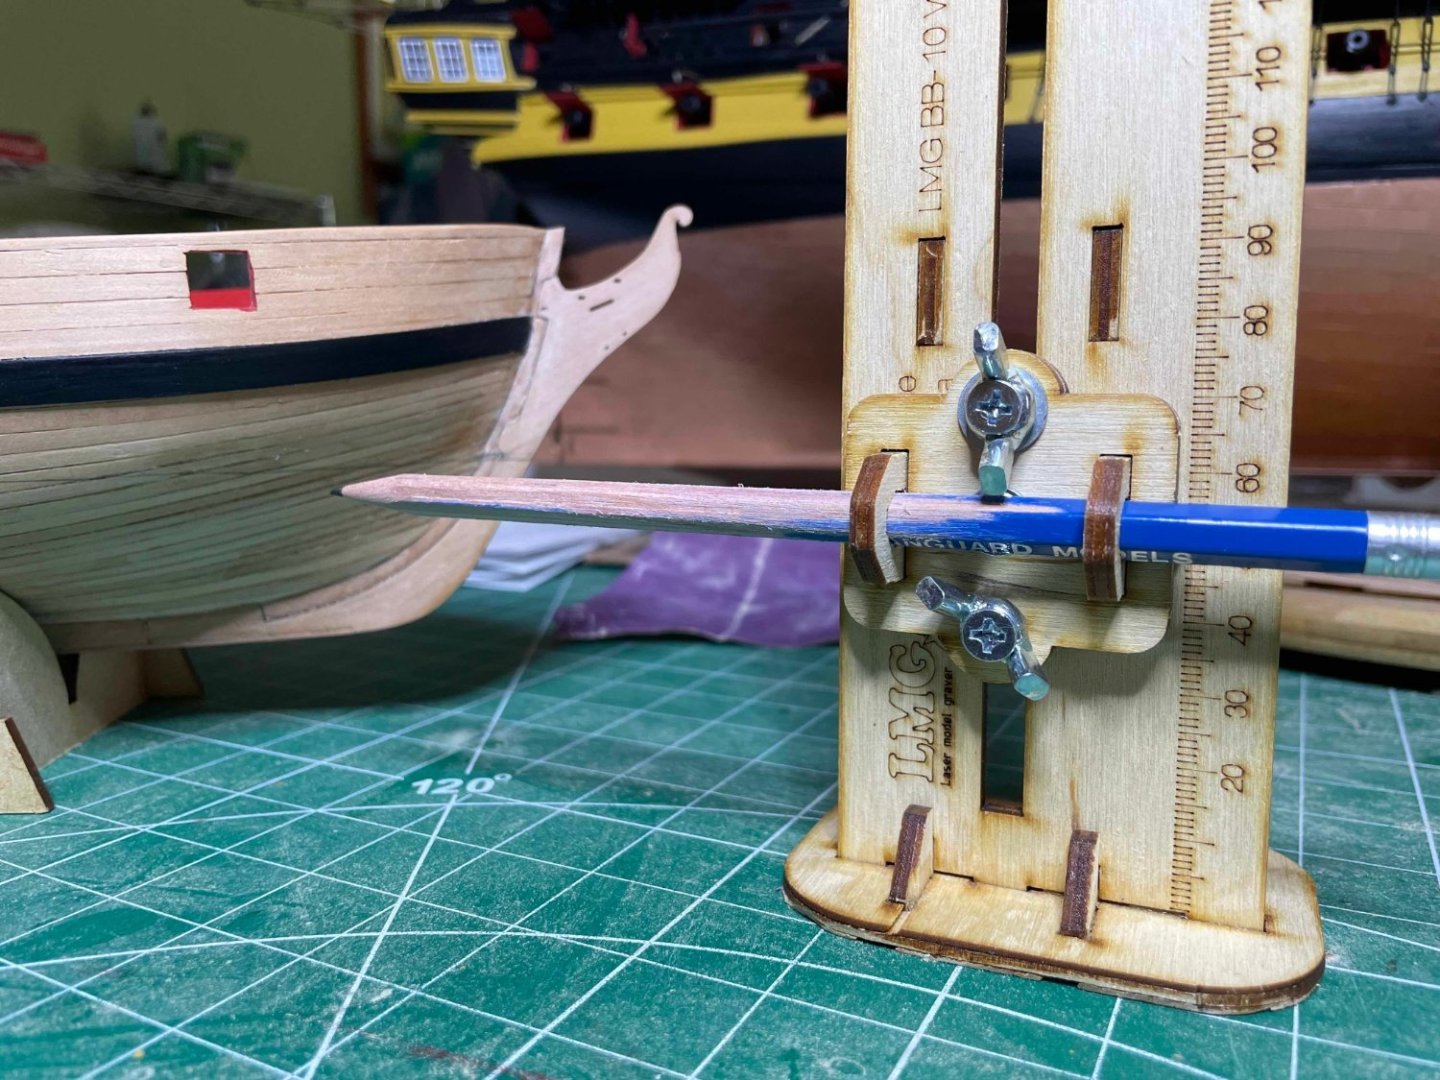


-
HMS Flirt by ECK - Vanguard Models - 1:64
ECK replied to ECK's topic in - Kit build logs for subjects built from 1751 - 1800
I'll be painting it. Unfortunately I do not have a nice laser level as in your build but will draw the waterline later today and then fill/sand and paint over the next couple of days. Must add you do nice work! -
HMS Flirt by ECK - Vanguard Models - 1:64
ECK replied to ECK's topic in - Kit build logs for subjects built from 1751 - 1800
Work progresses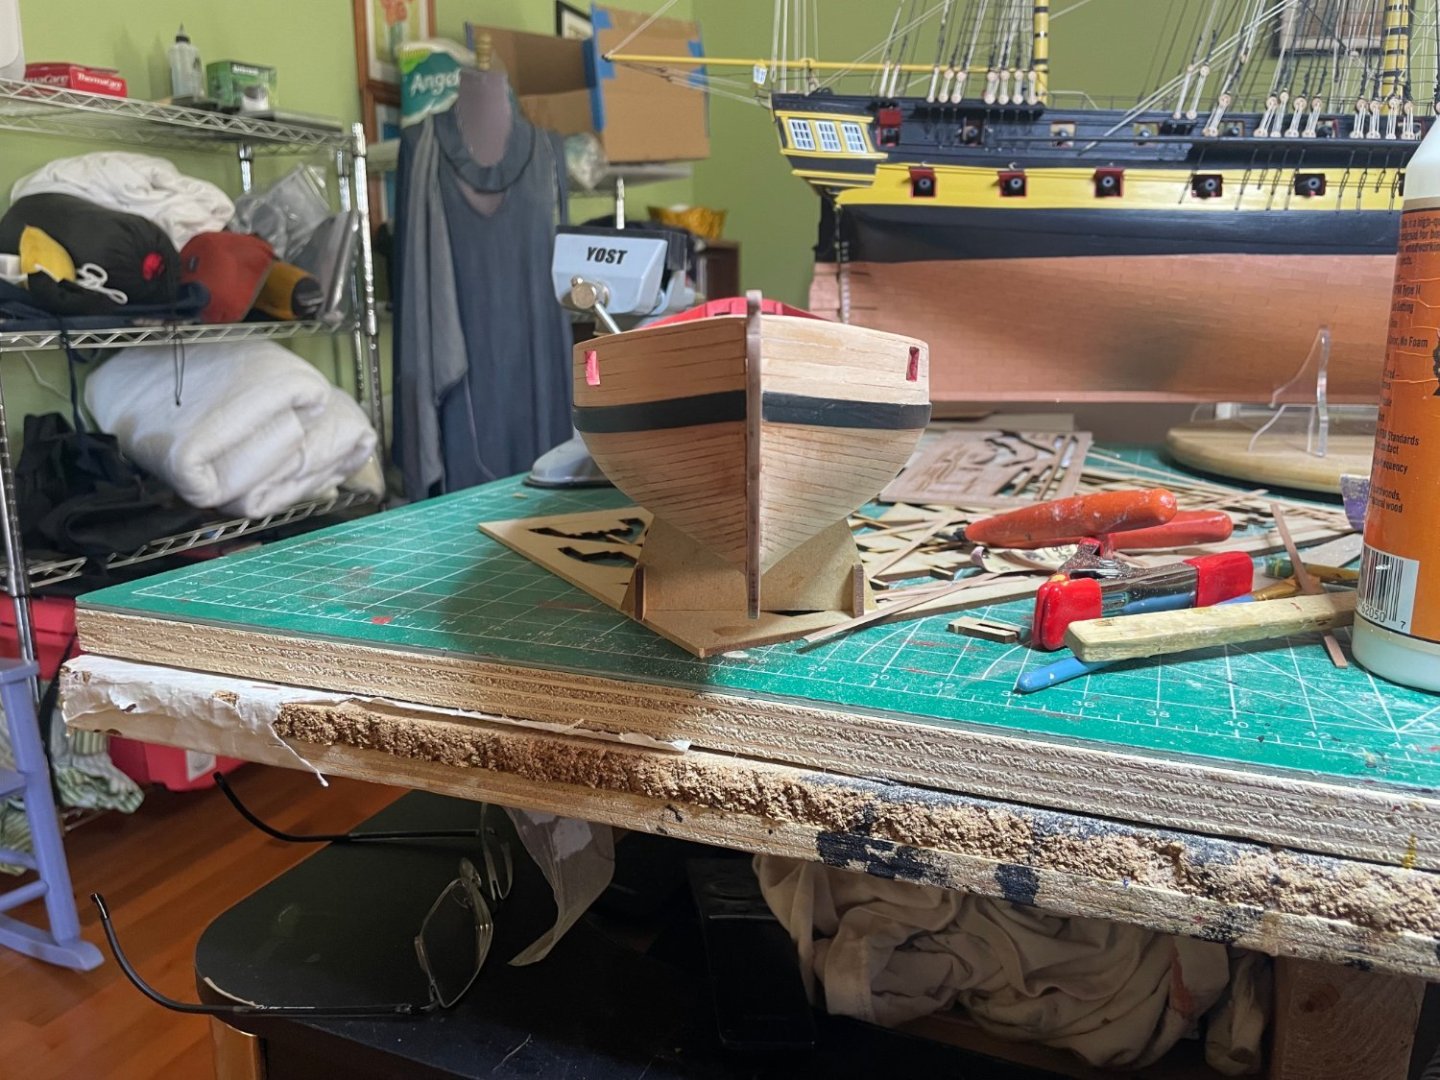


-
HMS Flirt by ECK - Vanguard Models - 1:64
ECK replied to ECK's topic in - Kit build logs for subjects built from 1751 - 1800
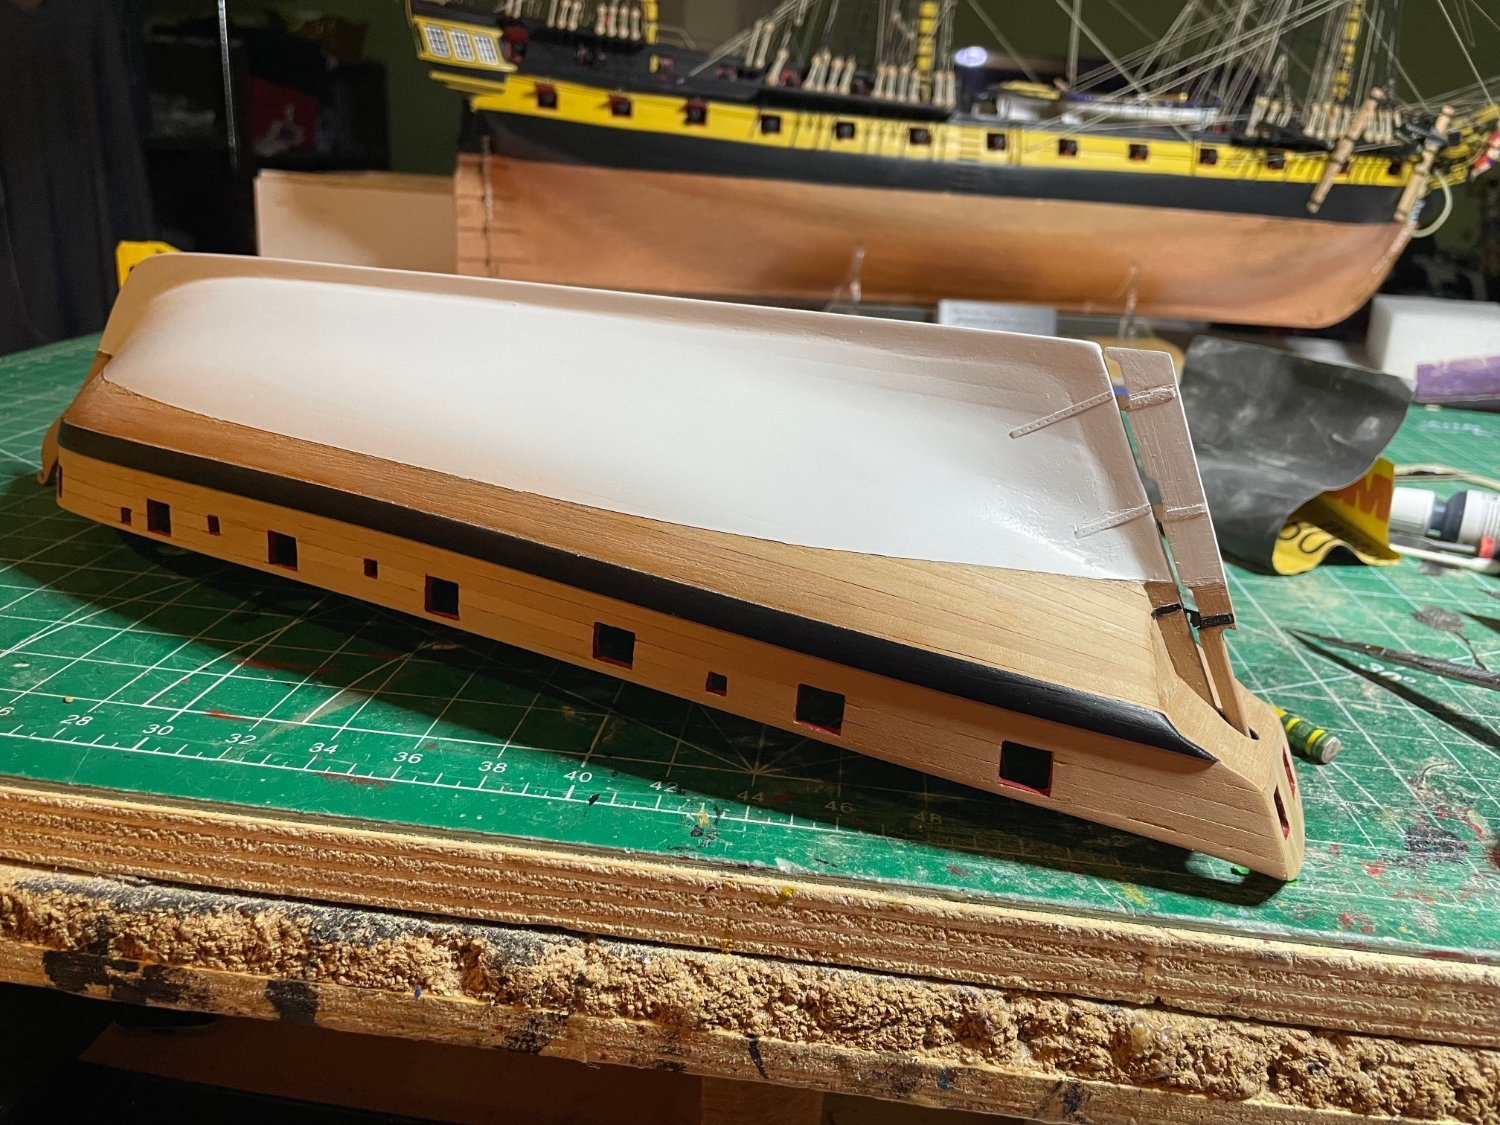
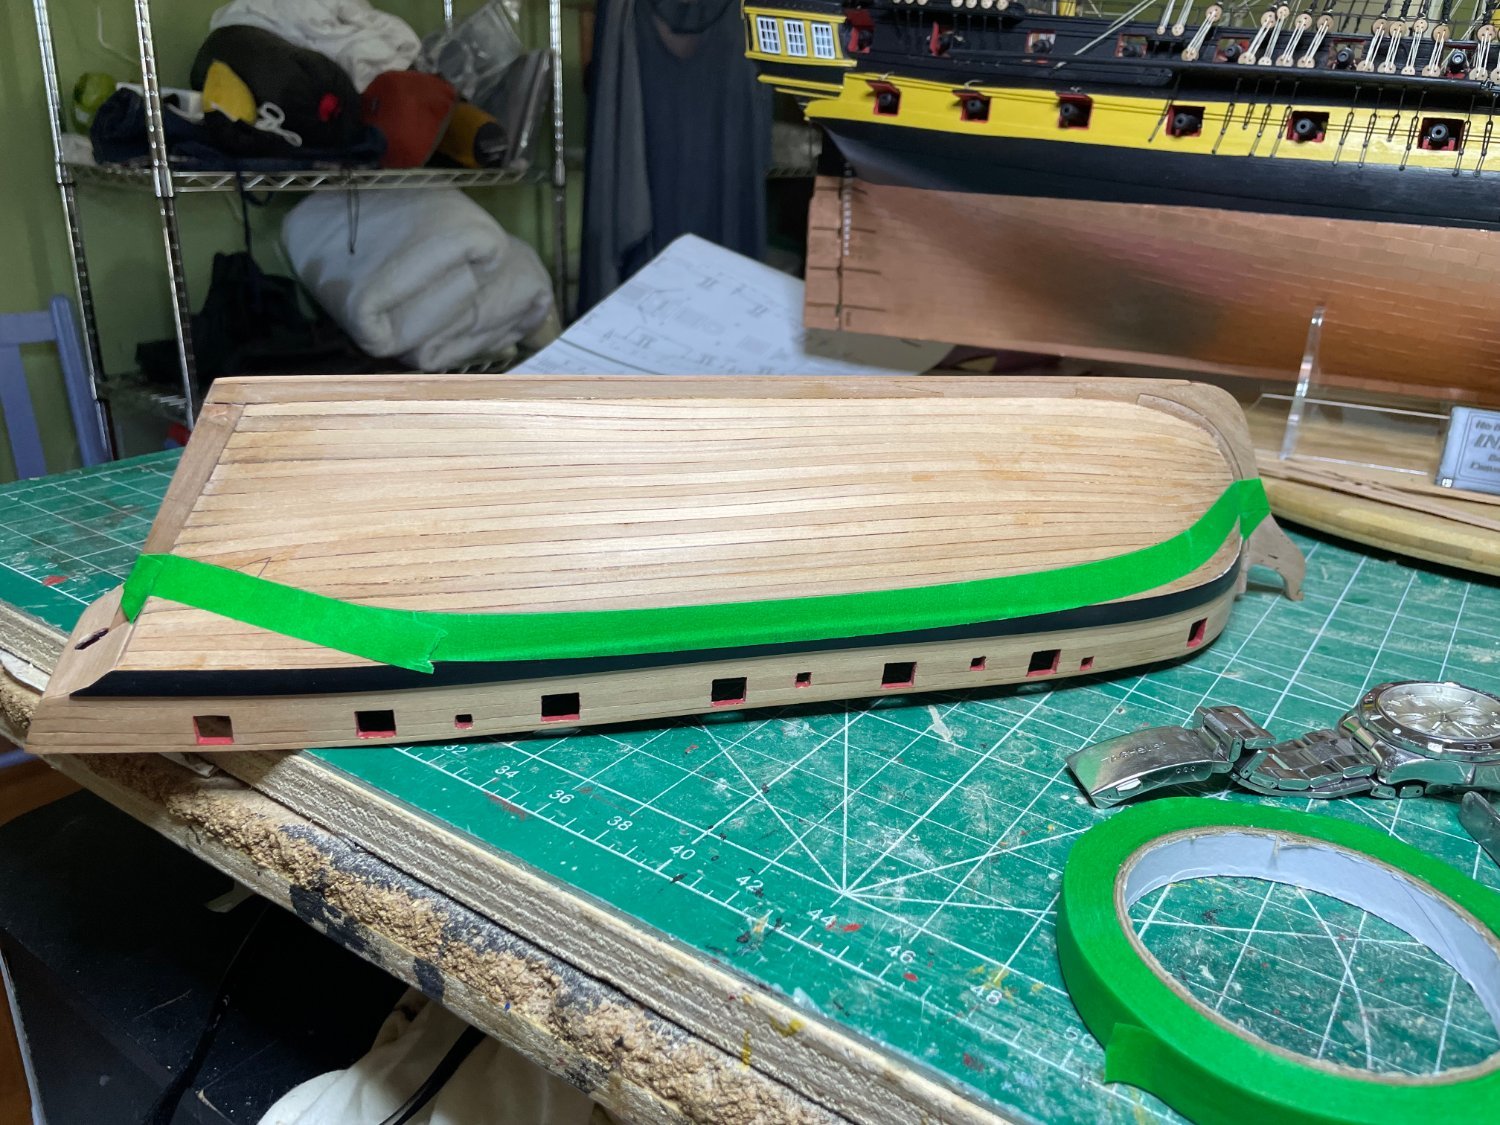
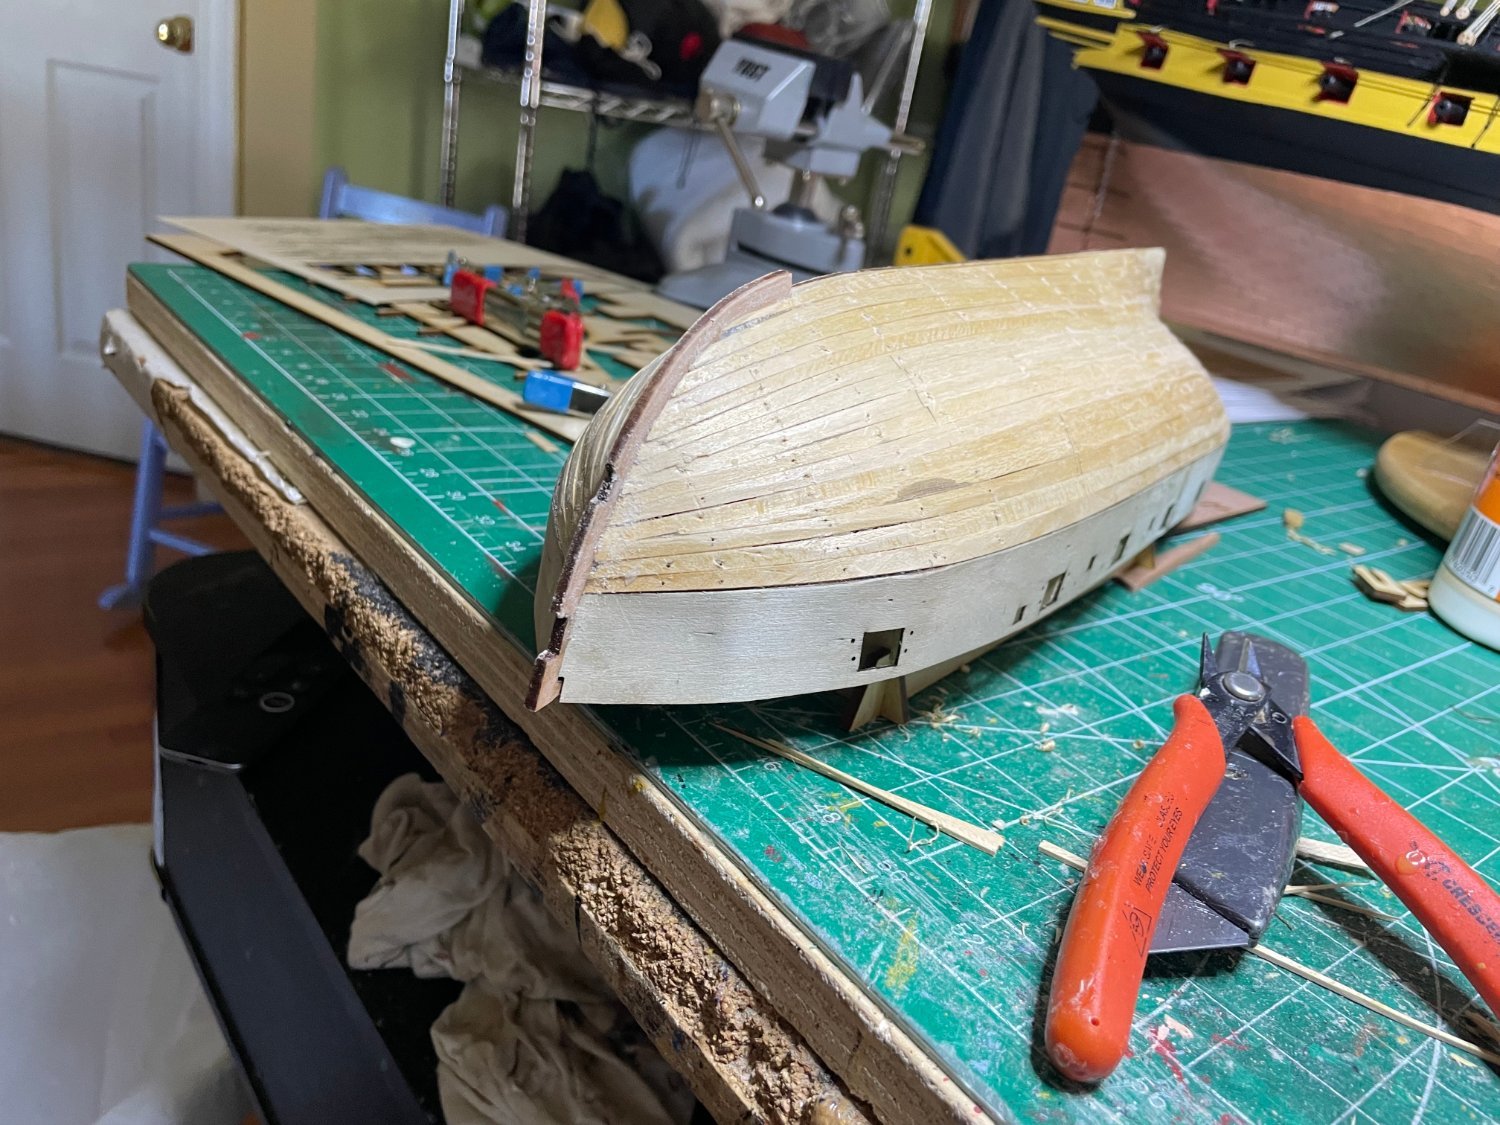
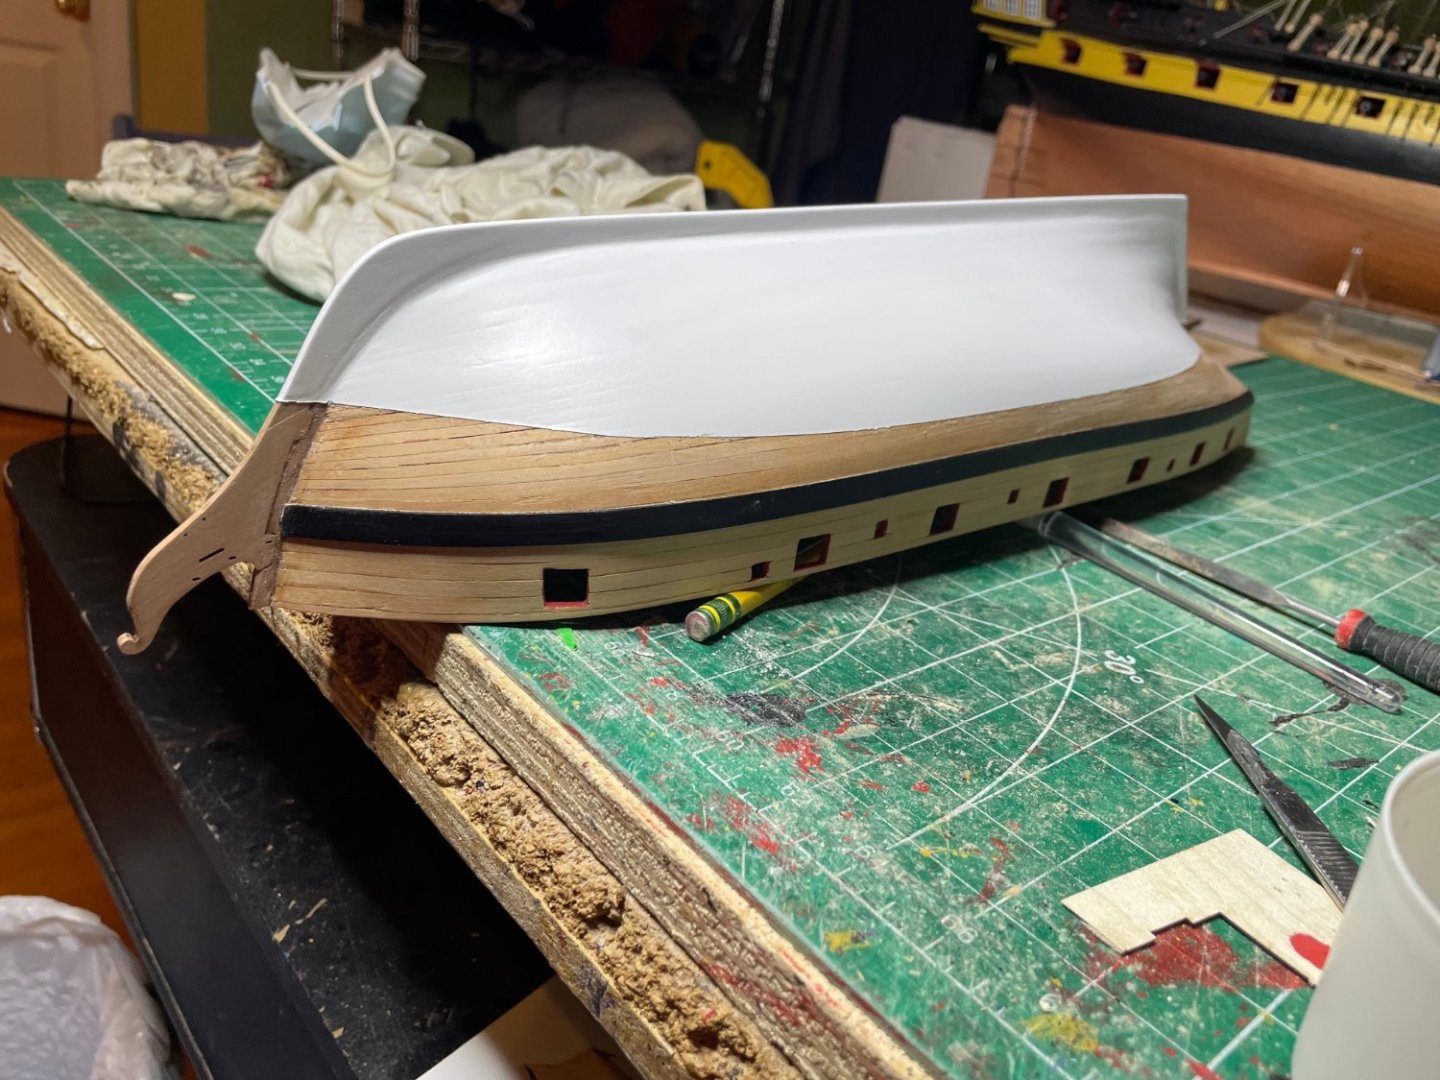
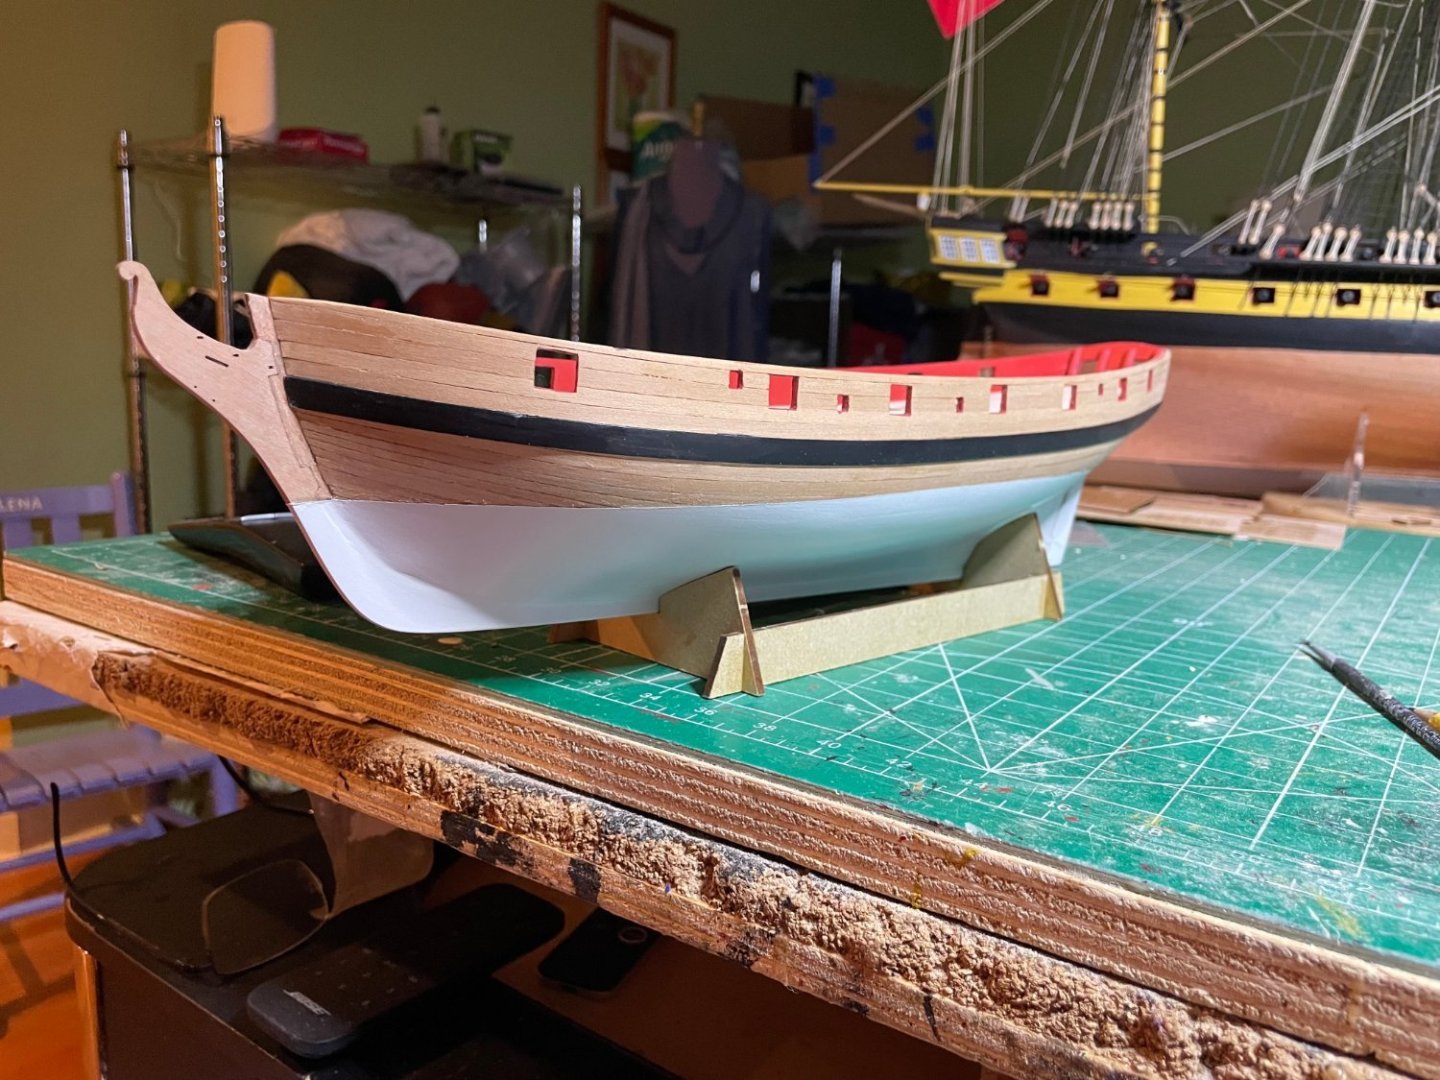
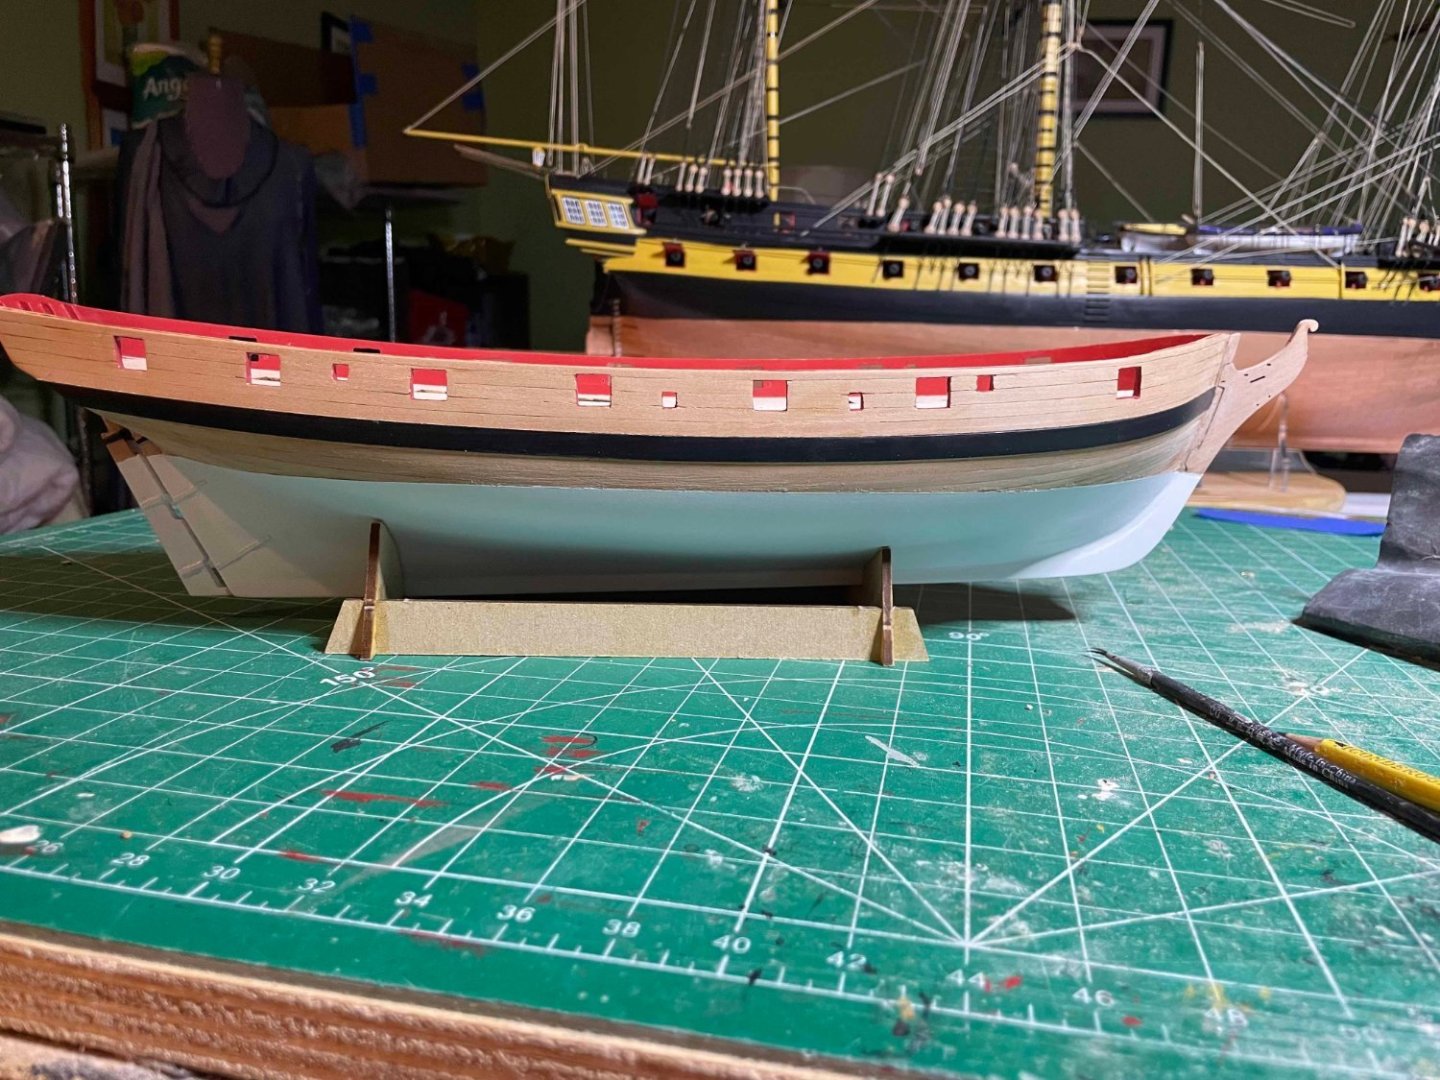
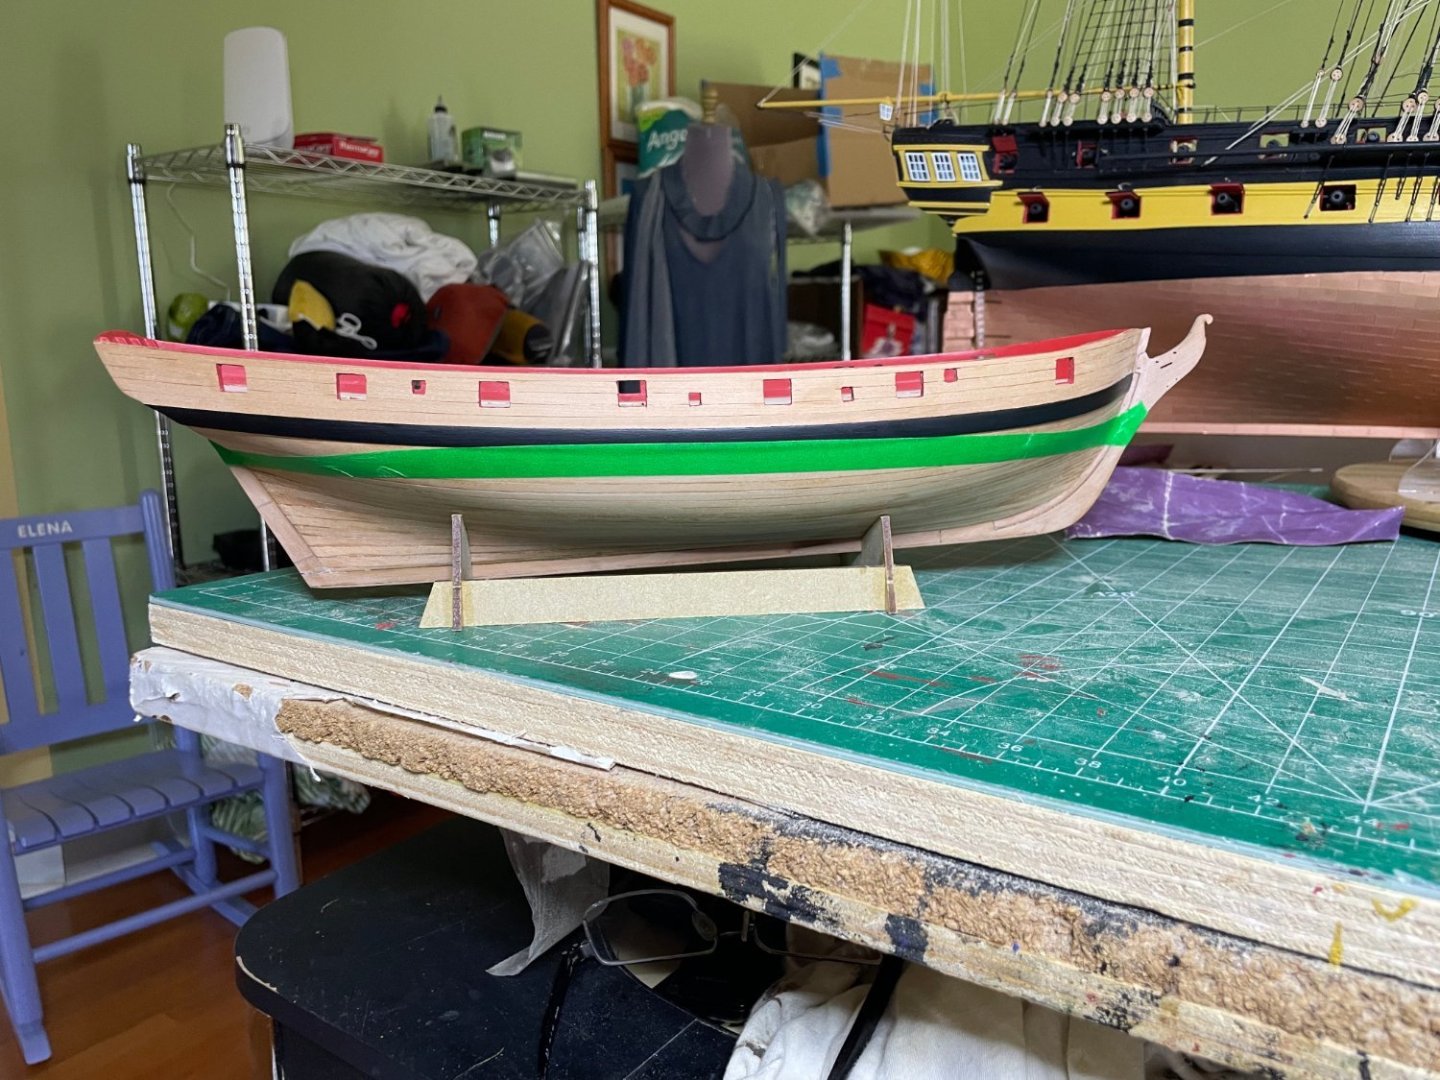
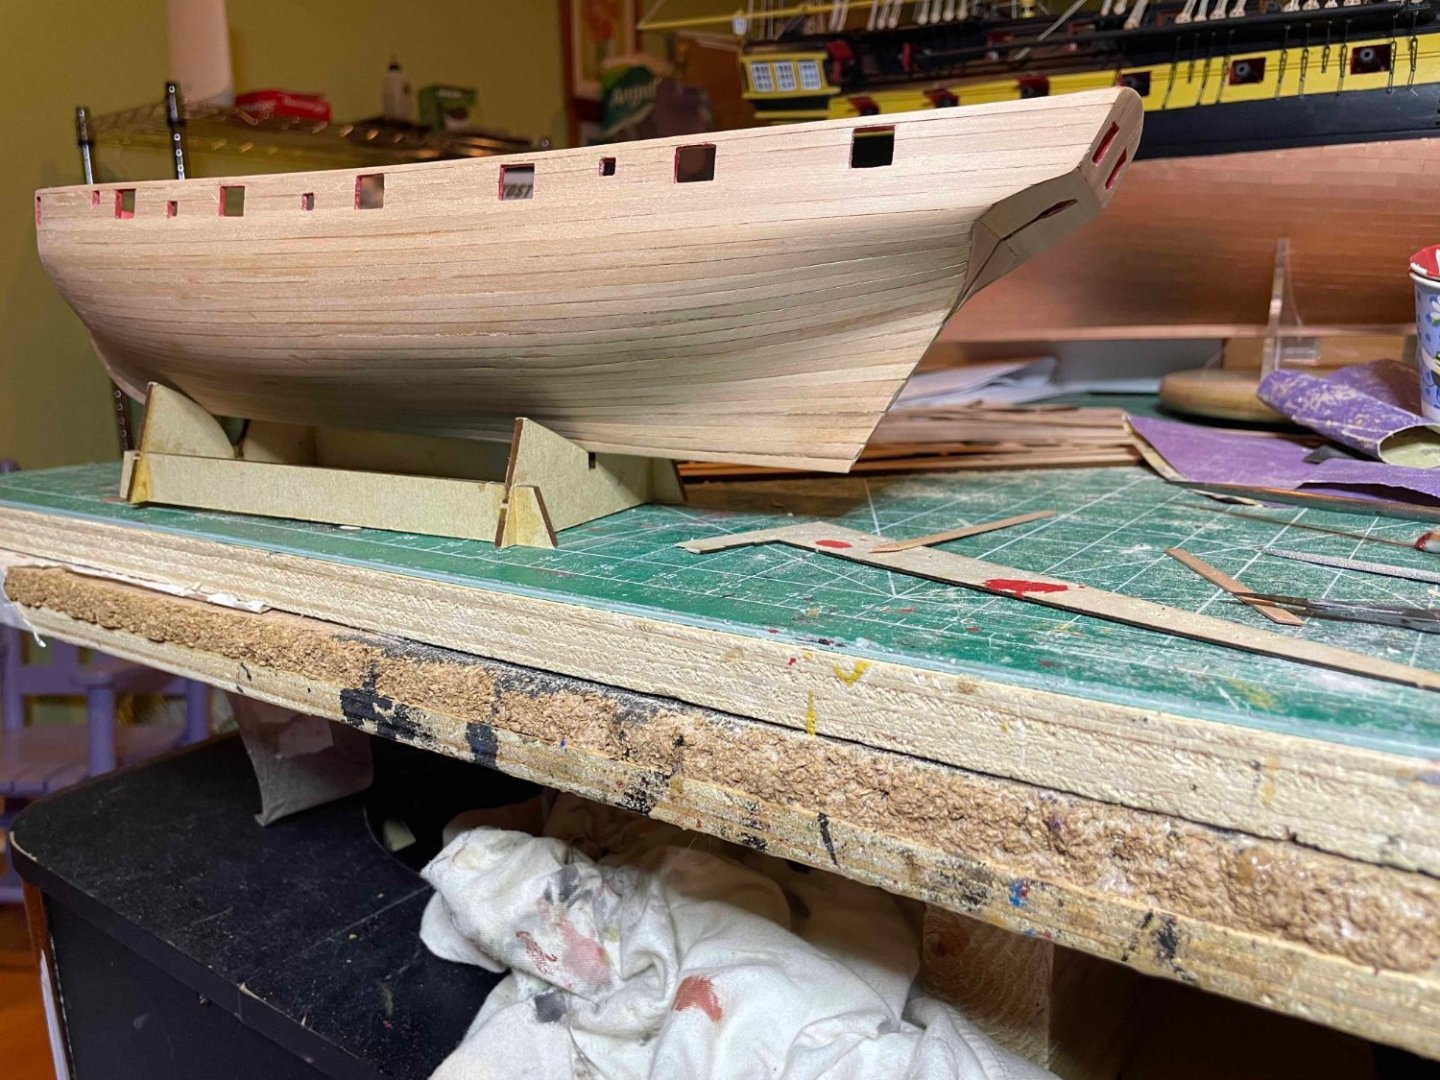
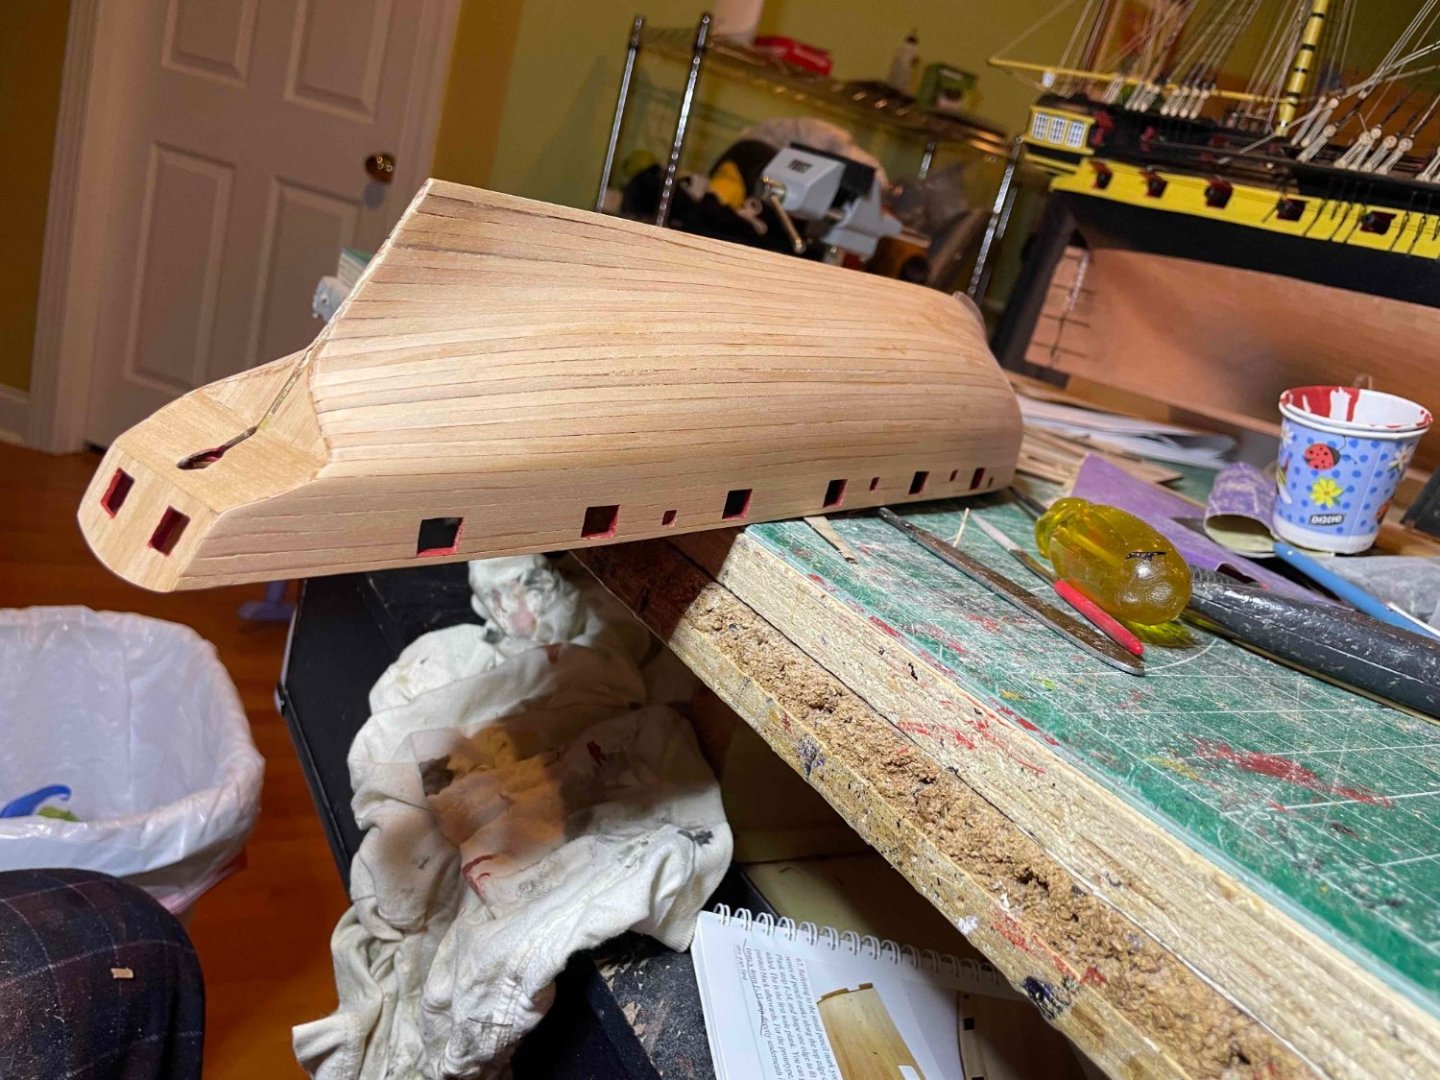
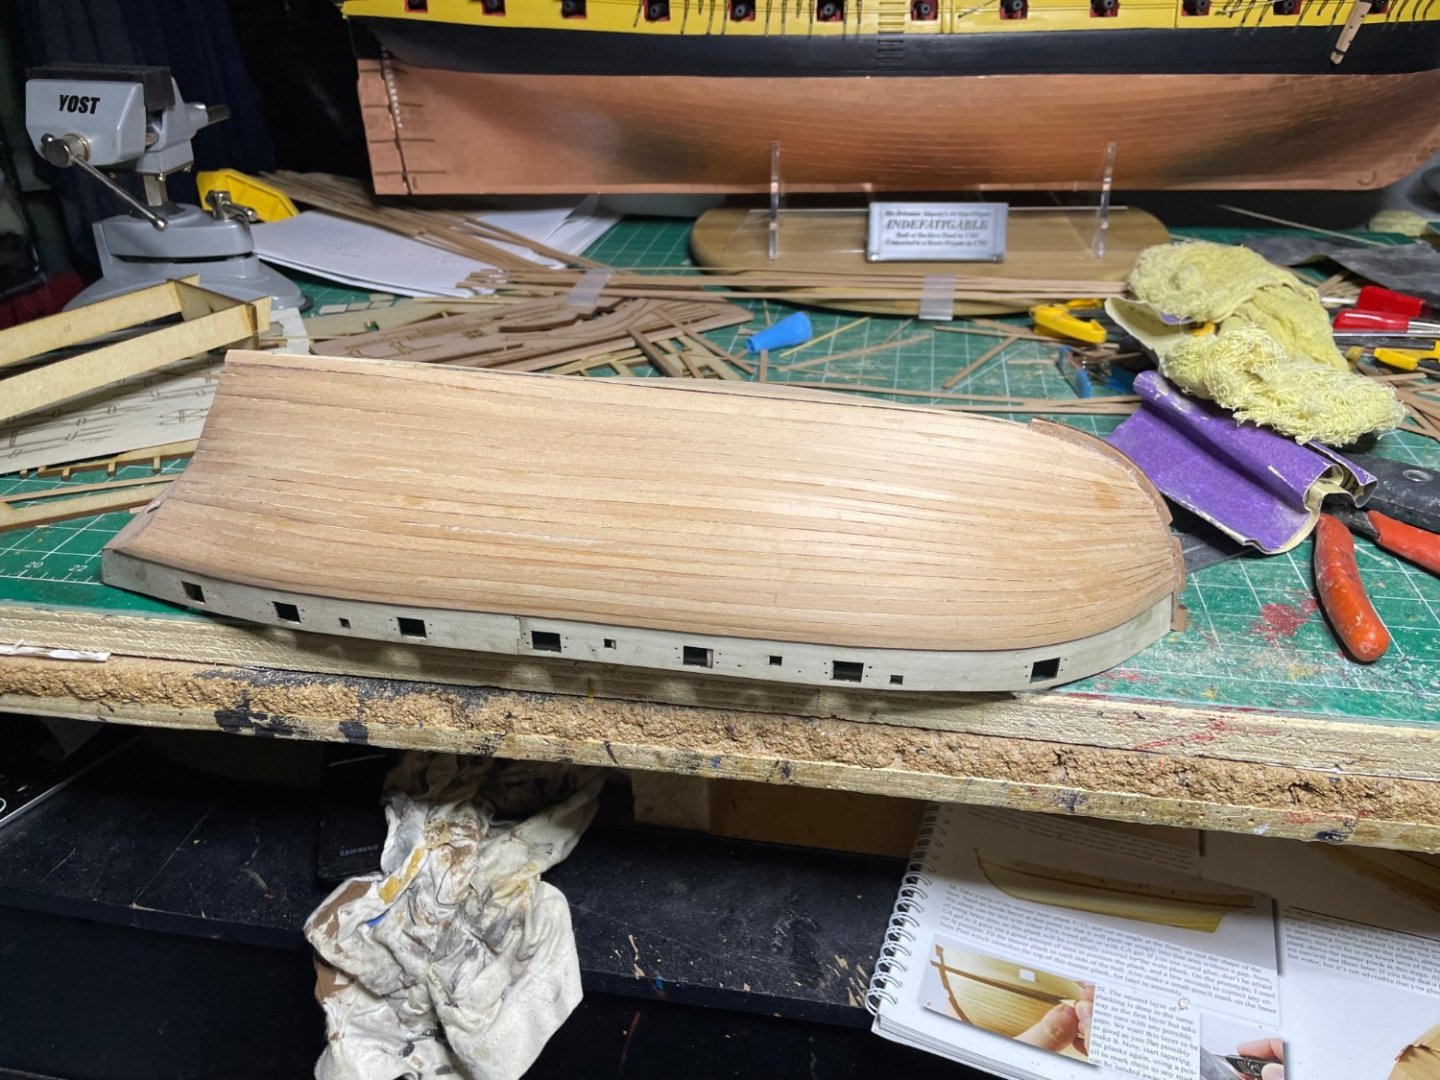
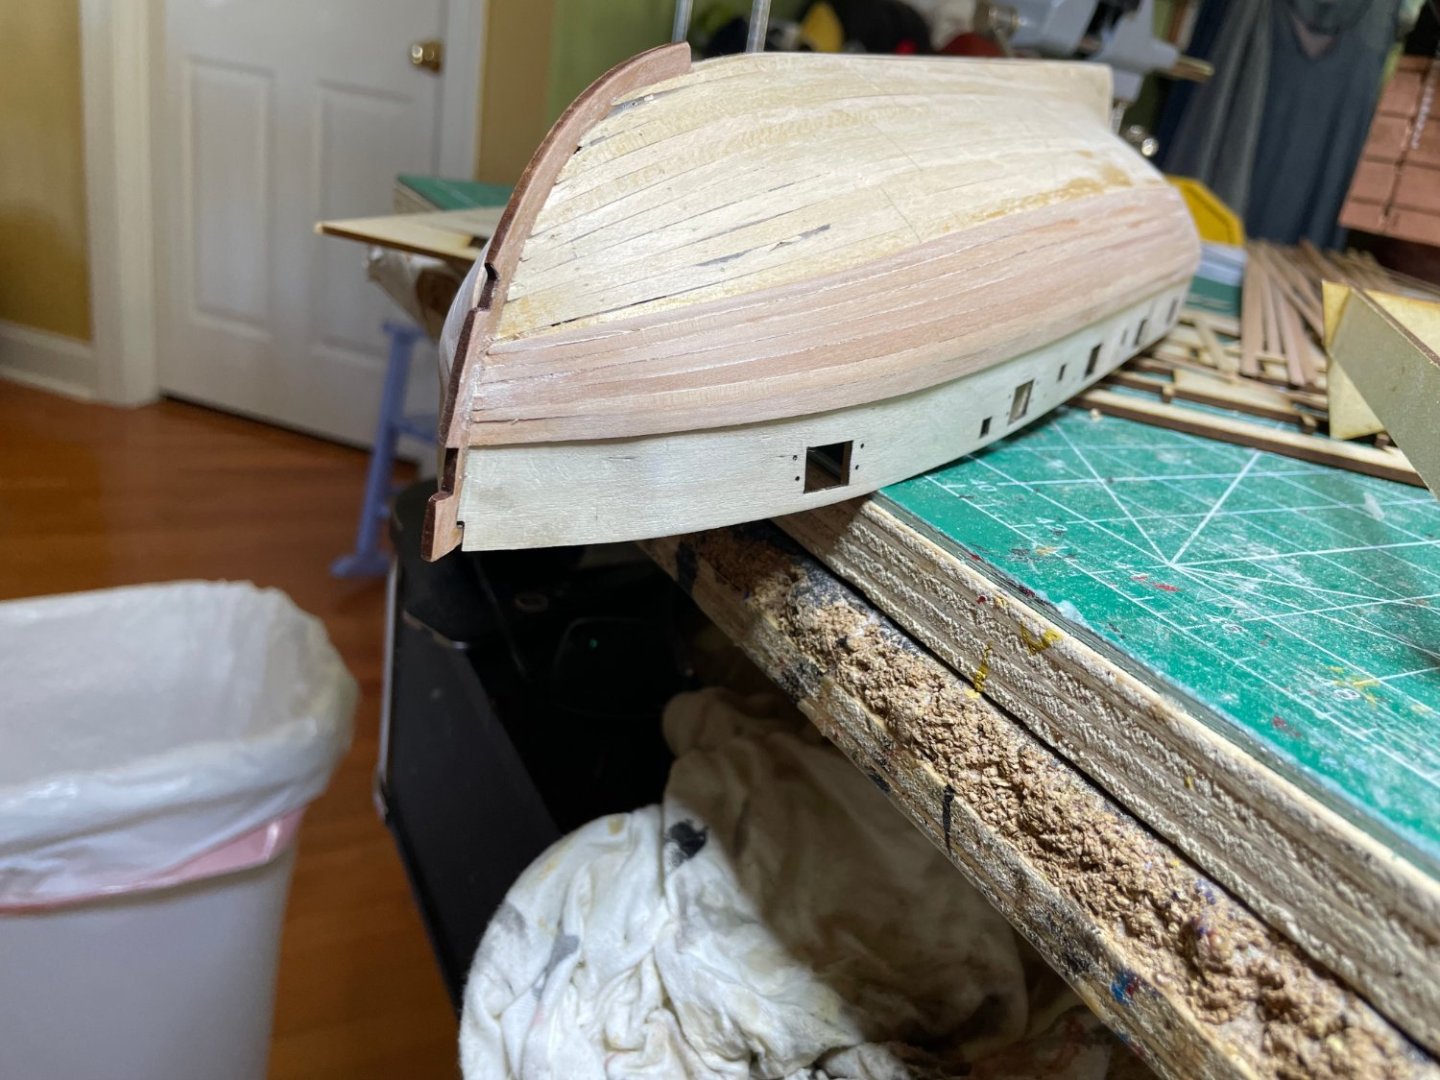
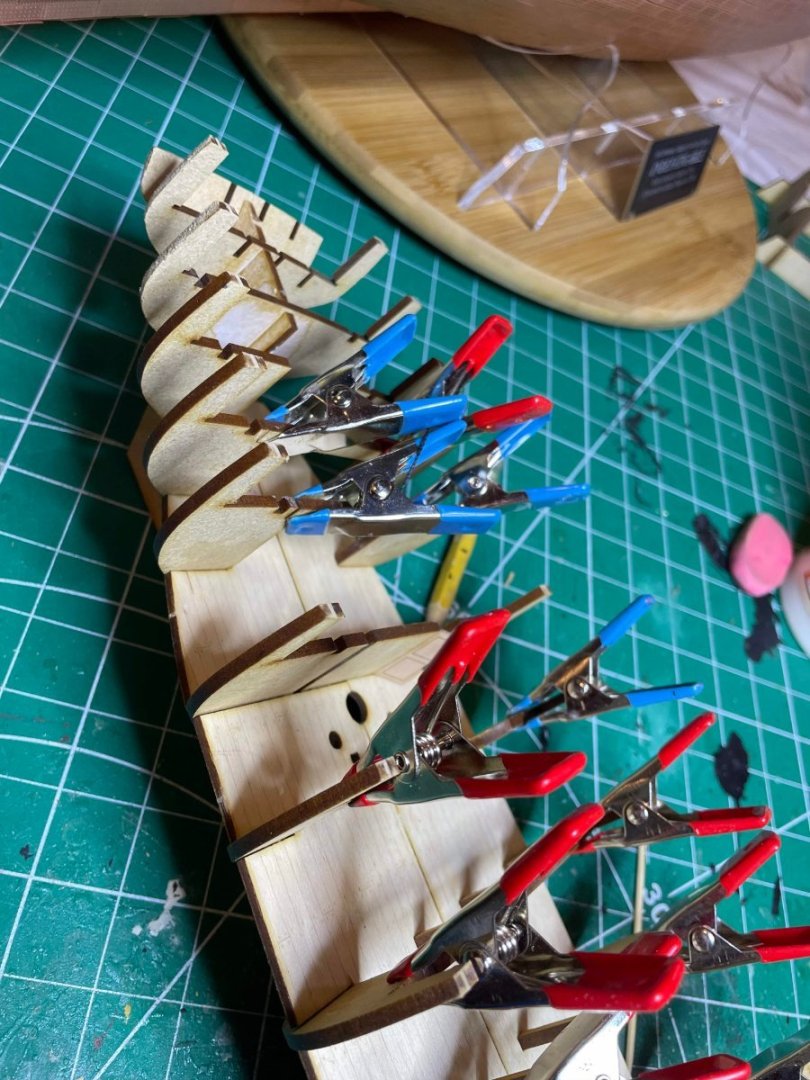
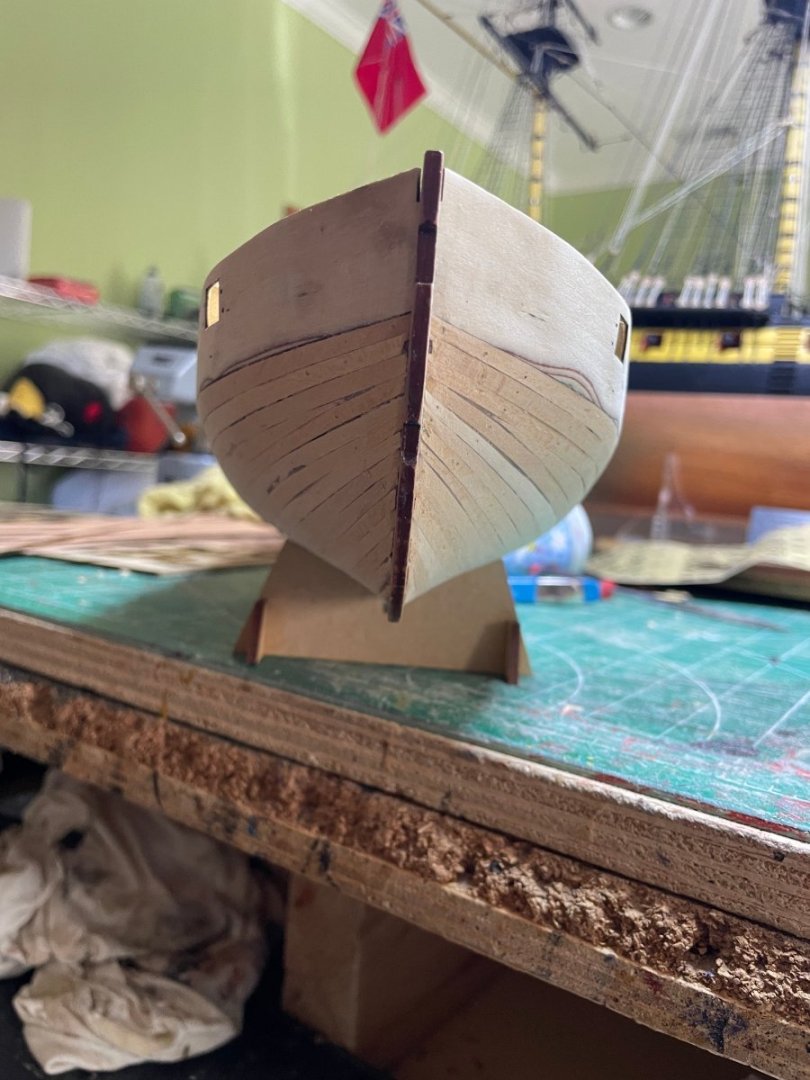
Hull planking complete !


-
HMS Flirt by ECK - Vanguard Models - 1:64
ECK replied to ECK's topic in - Kit build logs for subjects built from 1751 - 1800
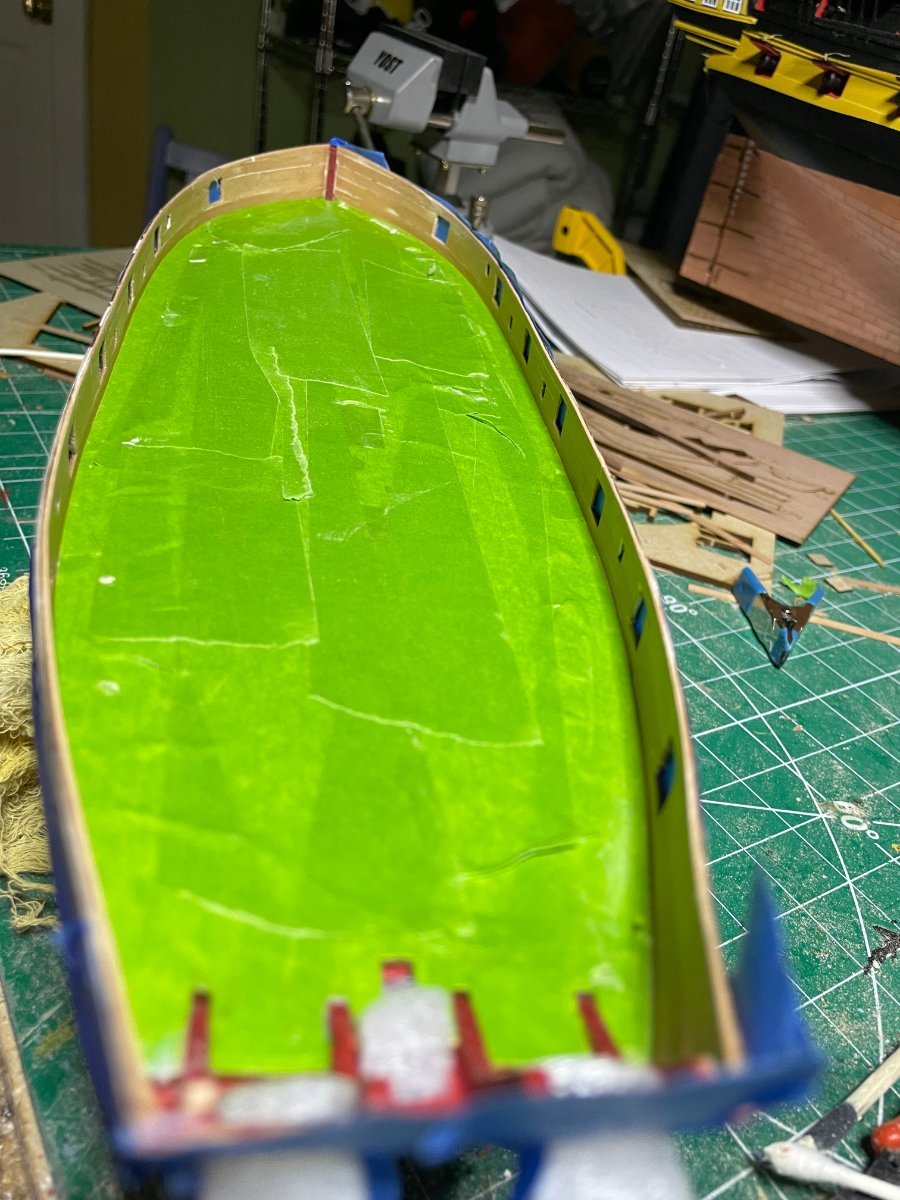
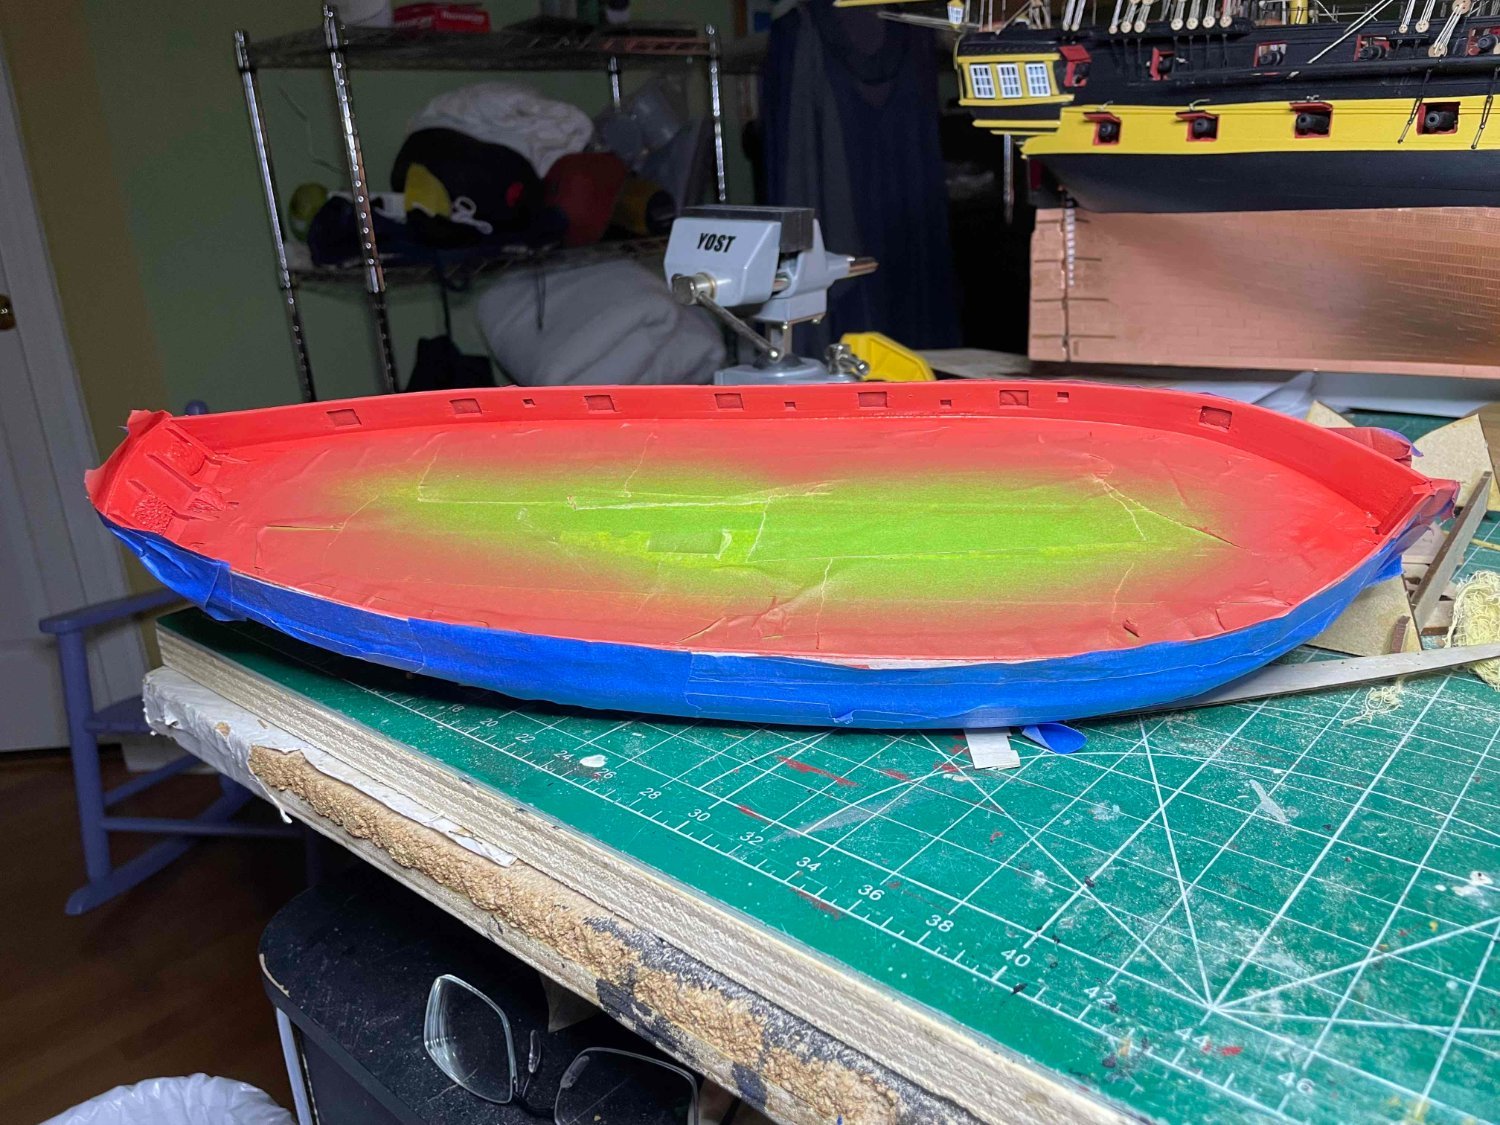
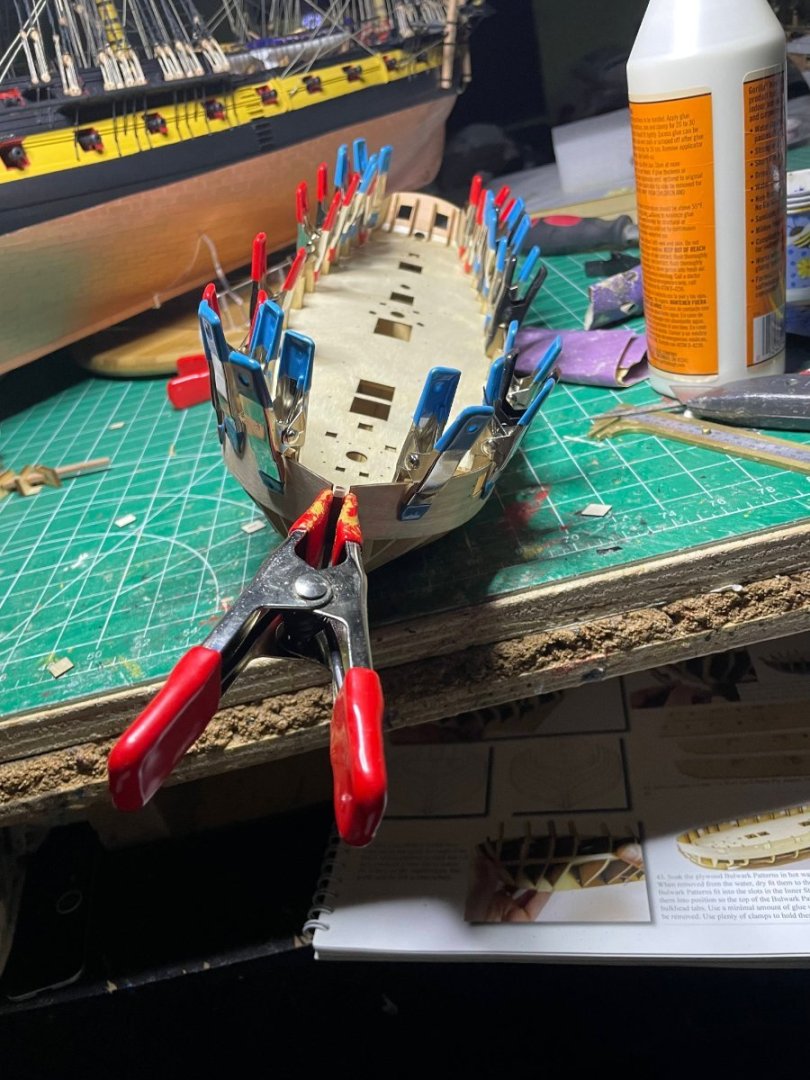
Work continues. Inner bulwarks done, sanded, filled, tapped off then spray painted. Love that spray painter.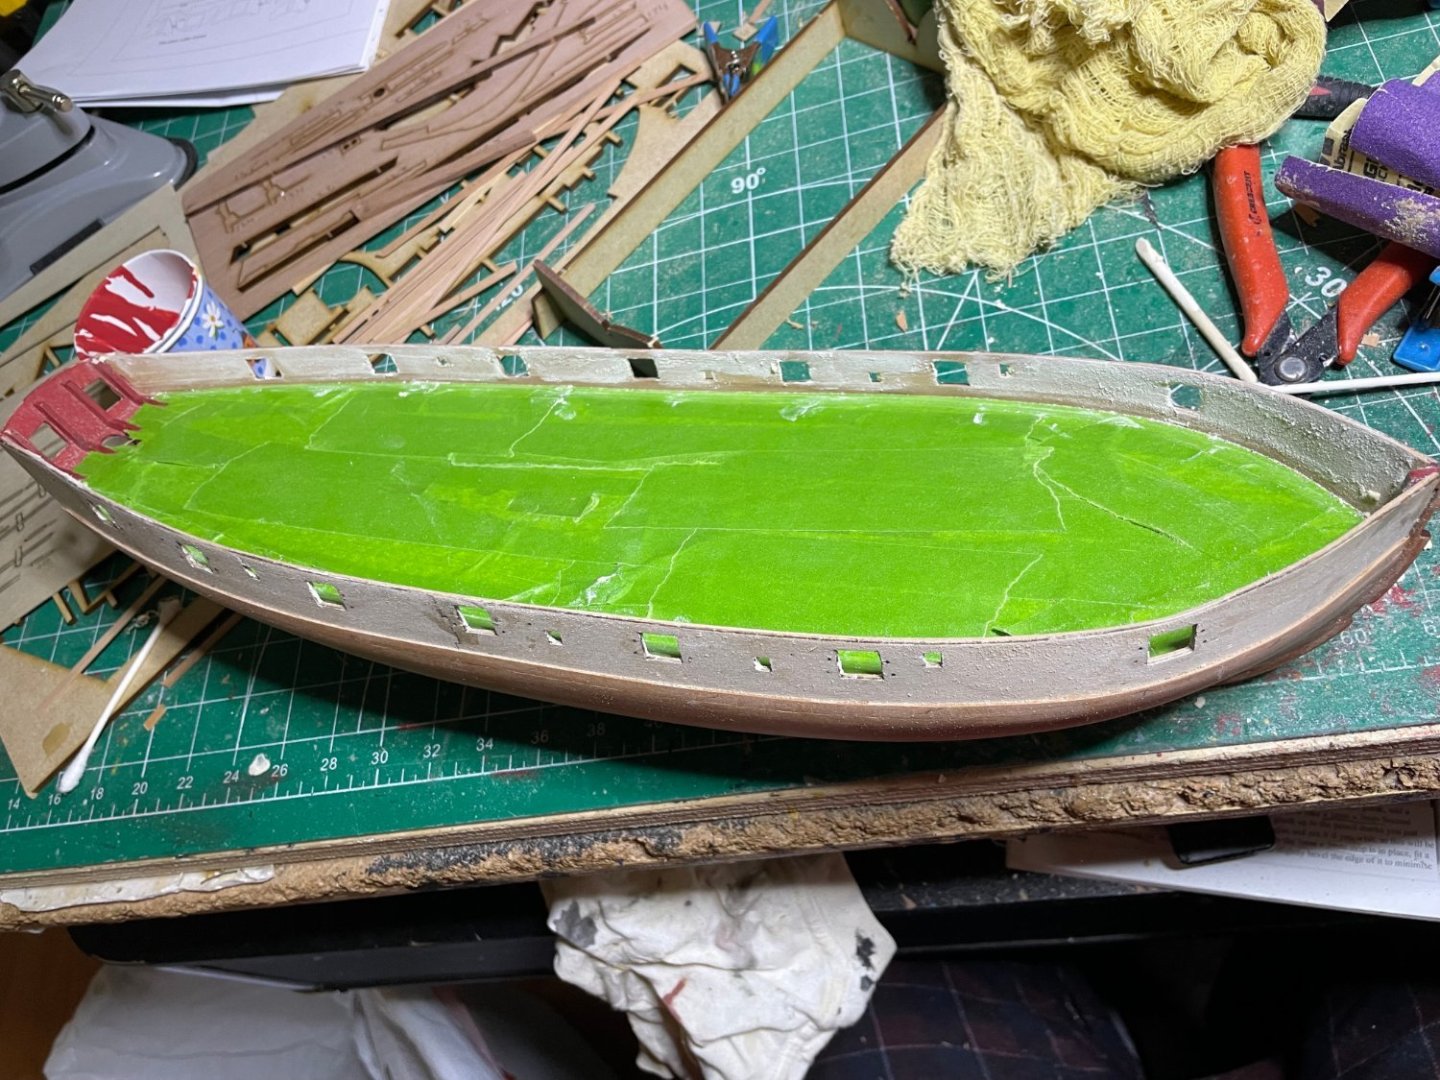


-
HMS Flirt by ECK - Vanguard Models - 1:64
ECK replied to ECK's topic in - Kit build logs for subjects built from 1751 - 1800
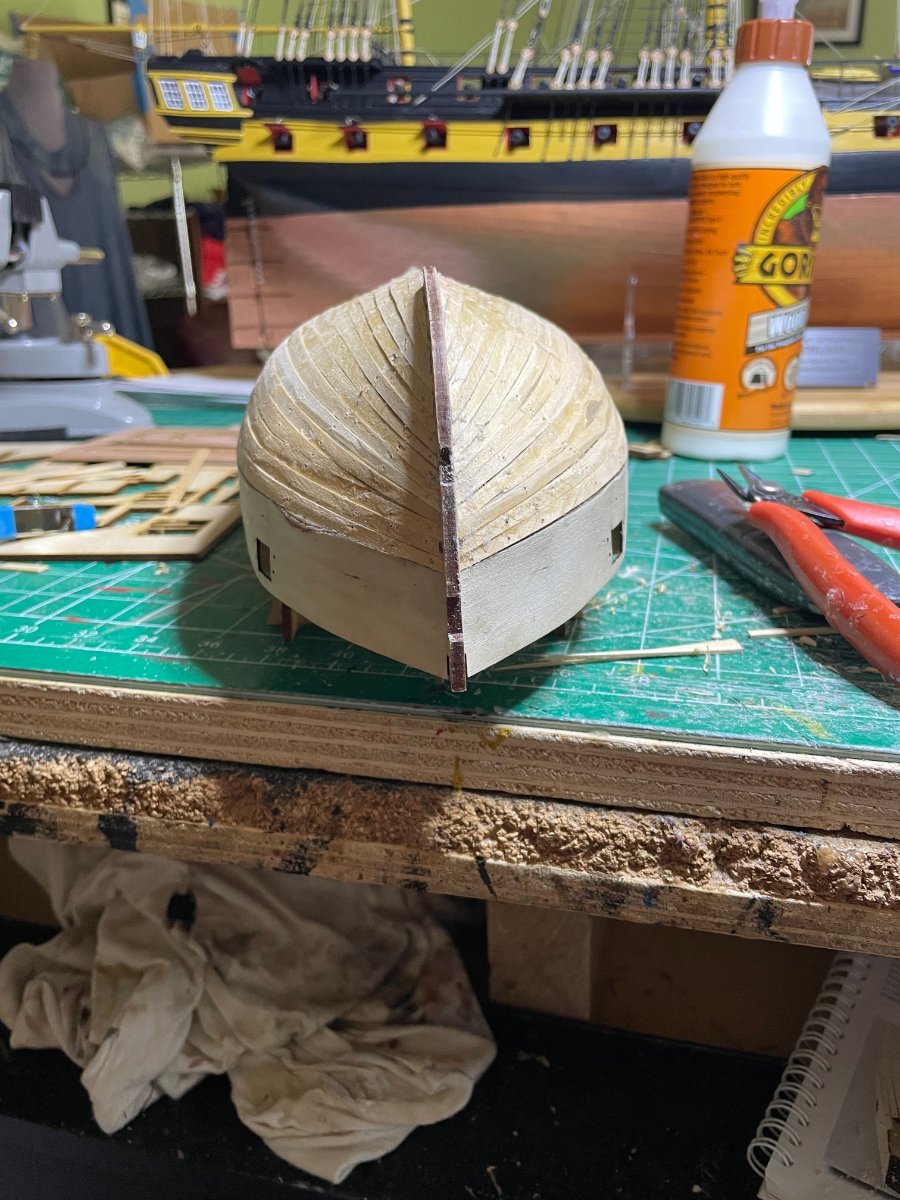
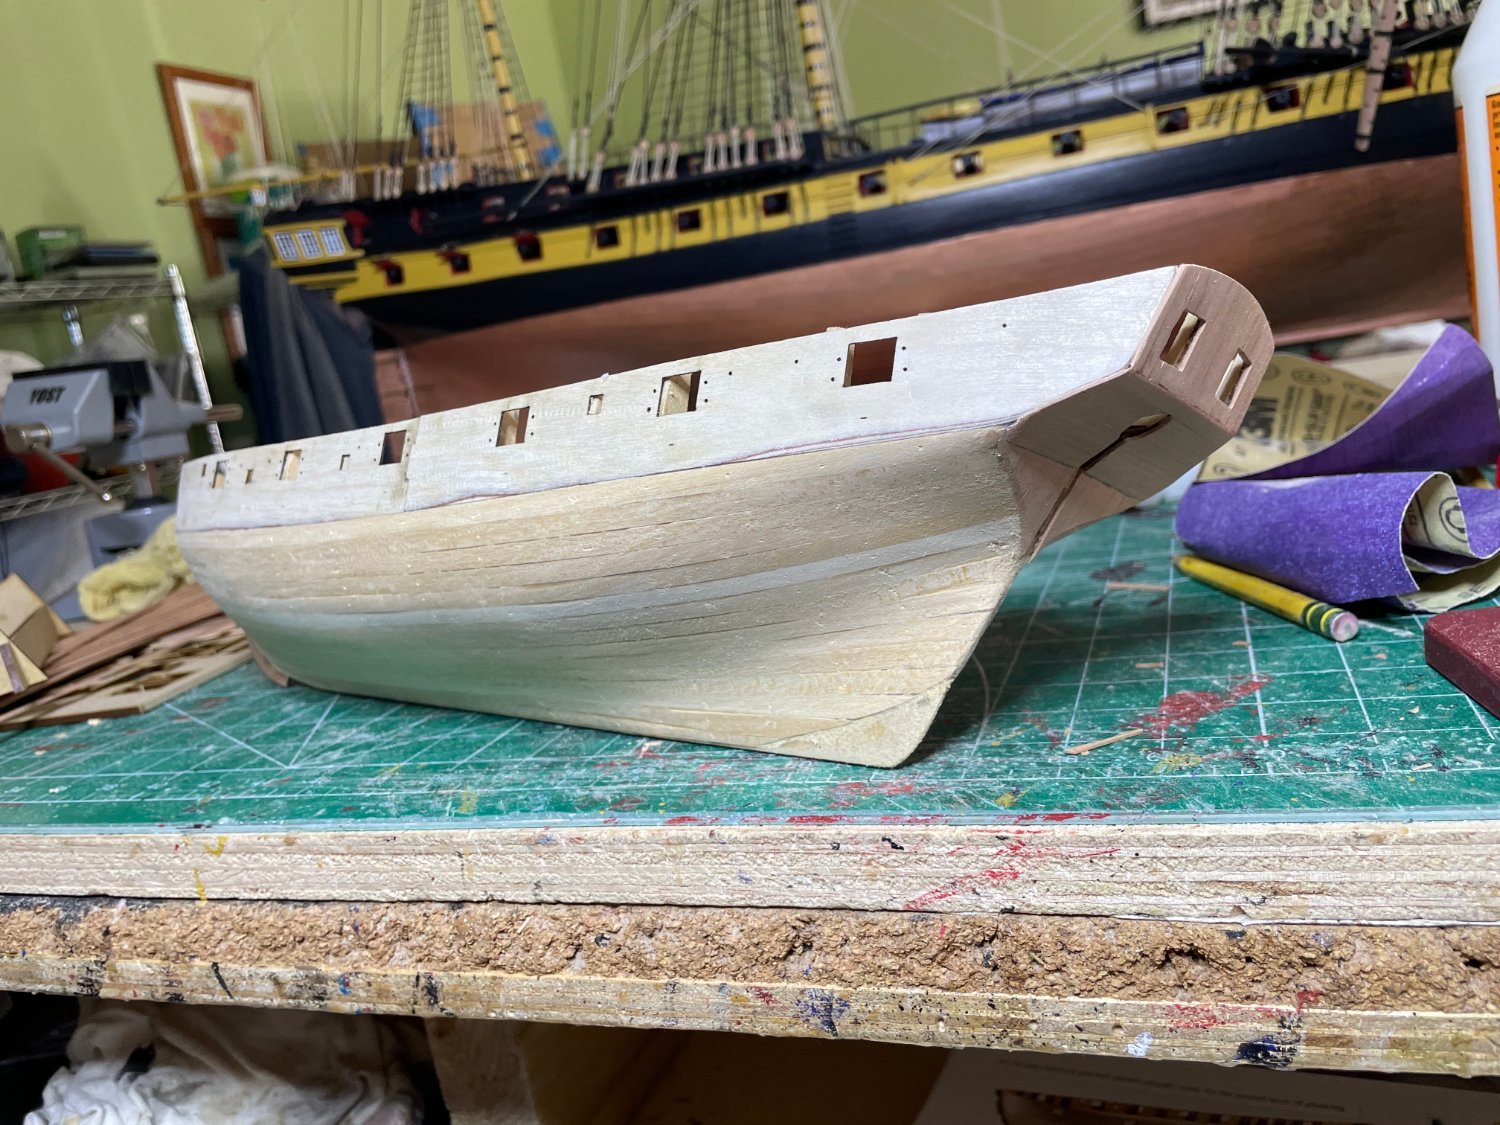
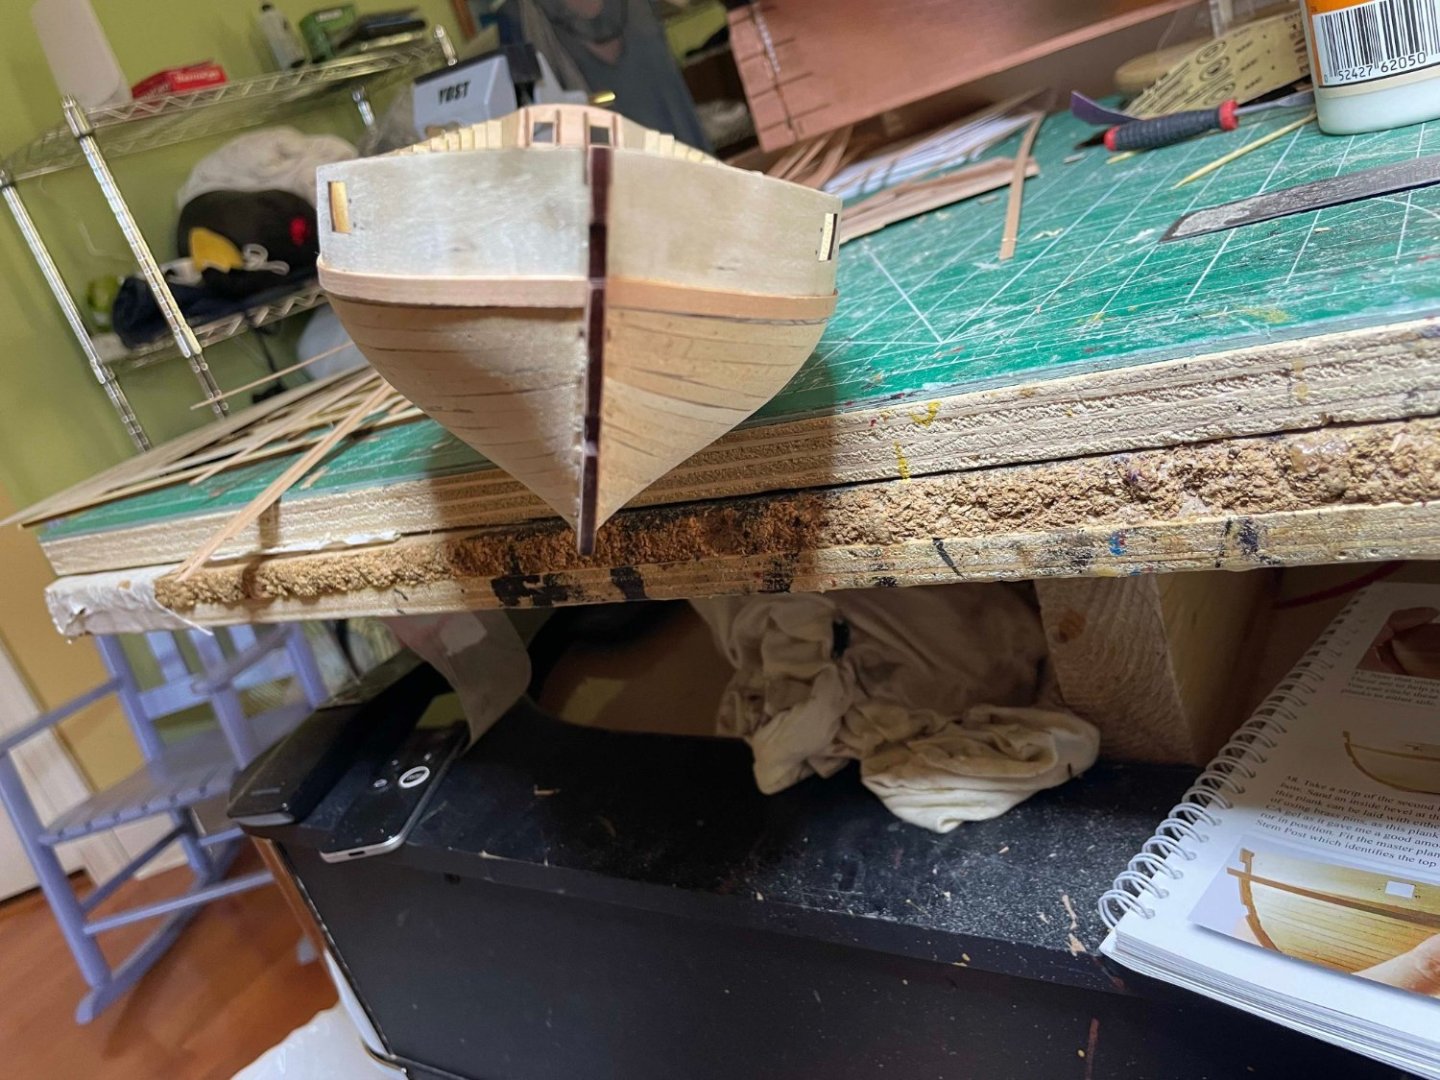
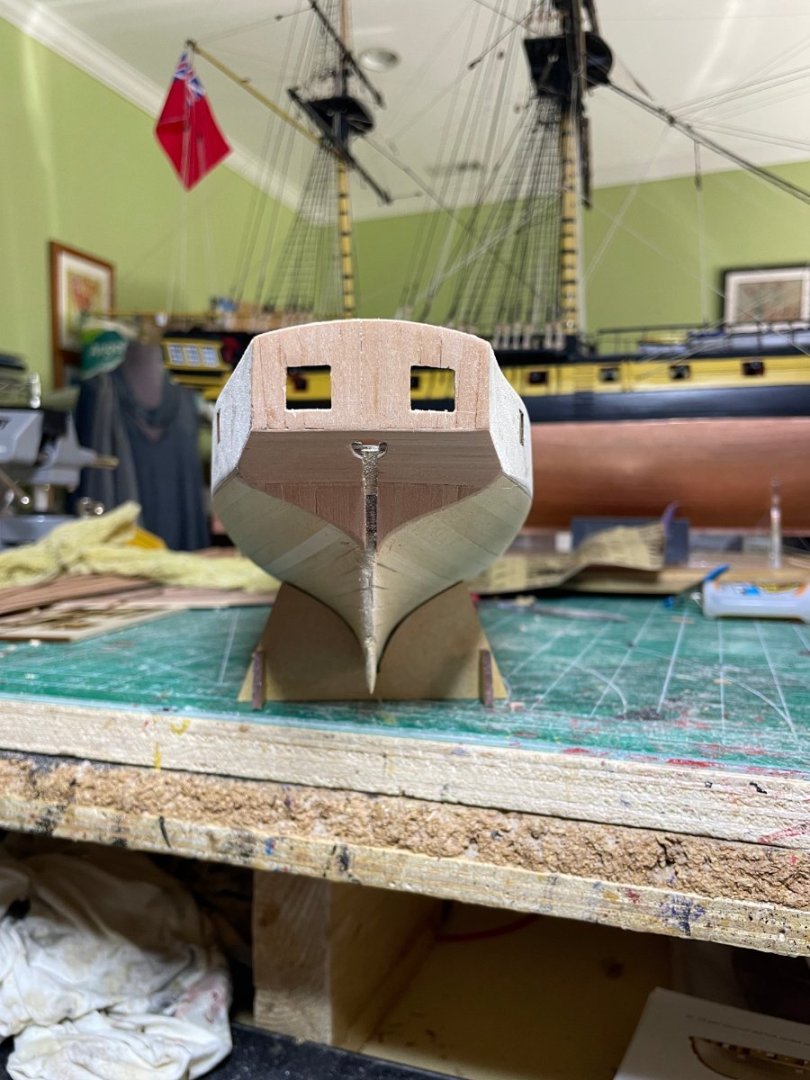
Finished second plank of the lower hull. Able to avoid using stealers. This is the pre-sanding appearance.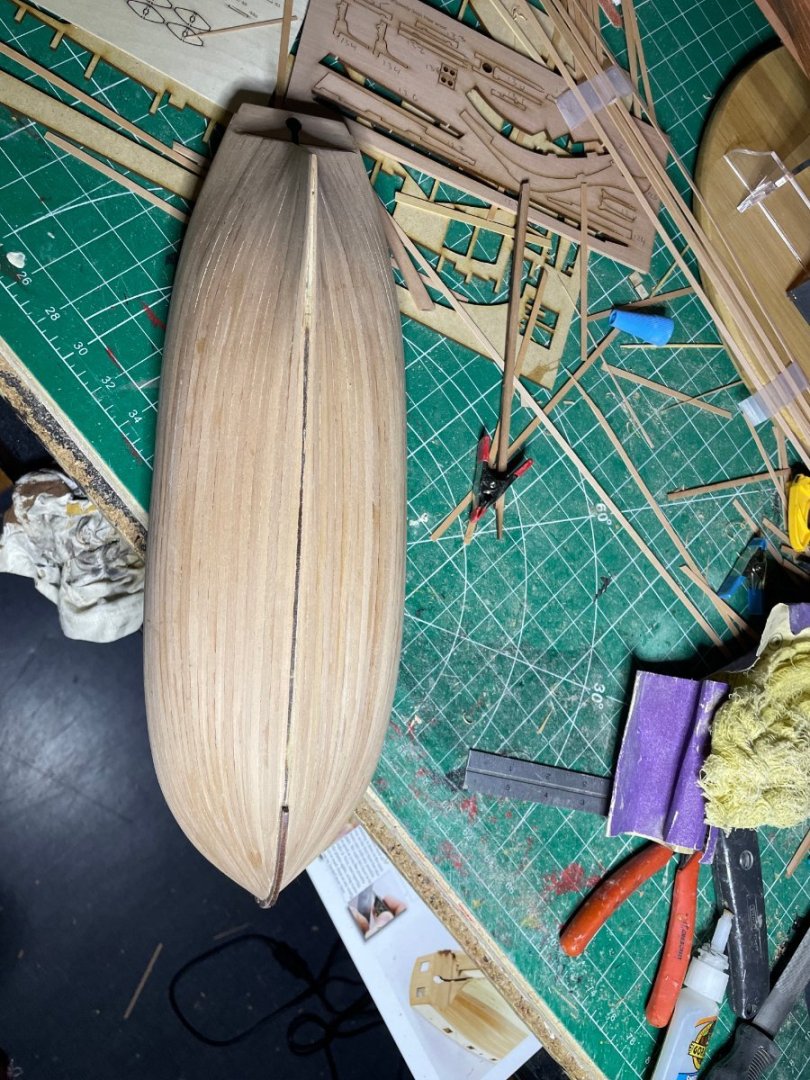
-
HMS Flirt by ECK - Vanguard Models - 1:64
ECK replied to ECK's topic in - Kit build logs for subjects built from 1751 - 1800
Started second planking. Doing a bit os sanding as I go along as the sanding dust tends to fill any tiny gaps that have a bit of glue and conceals them.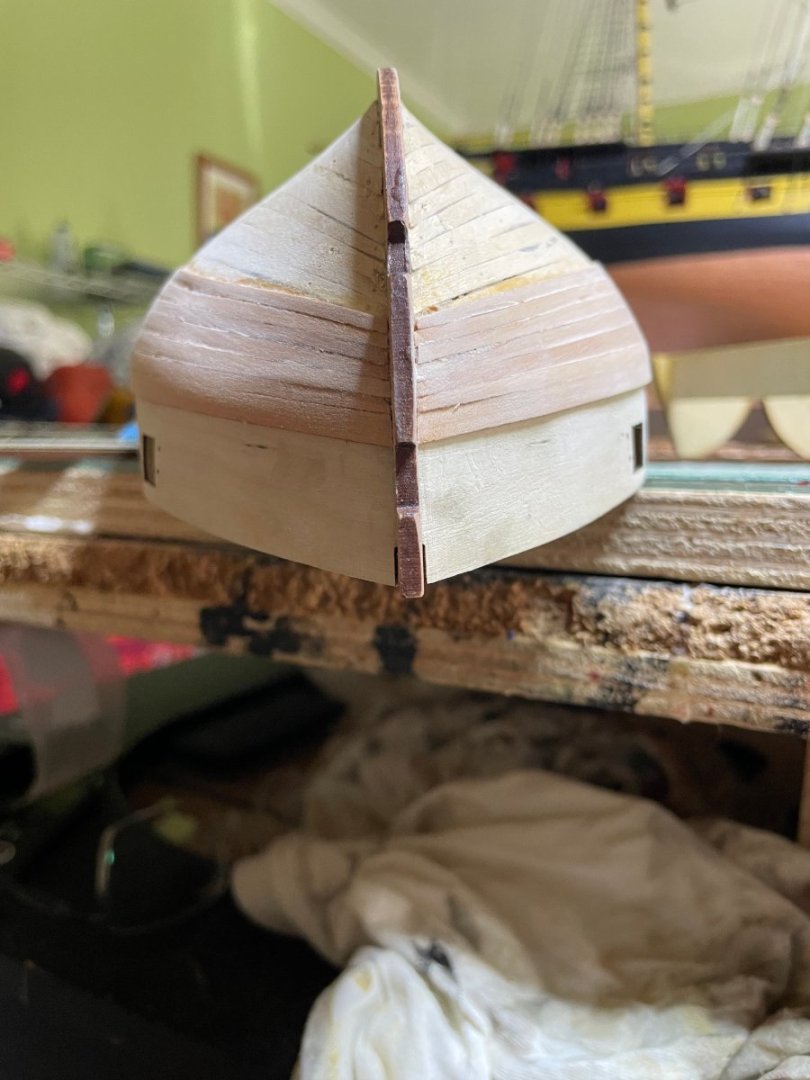

-
HMS Flirt by ECK - Vanguard Models - 1:64
ECK replied to ECK's topic in - Kit build logs for subjects built from 1751 - 1800
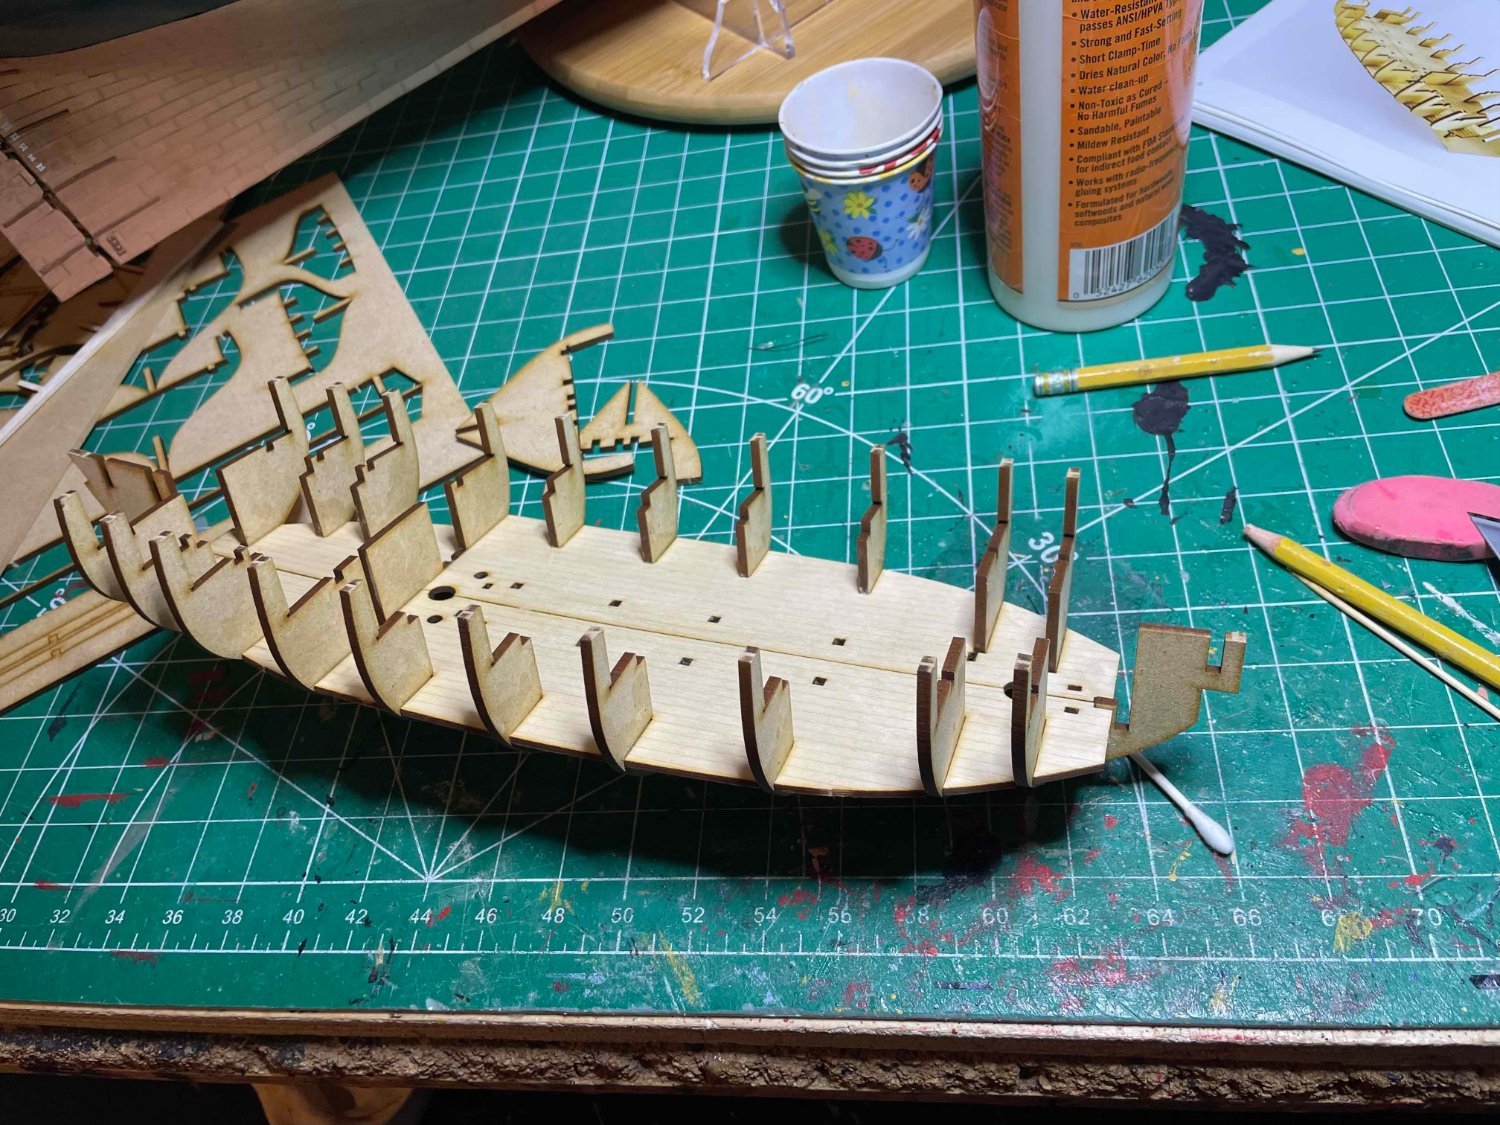
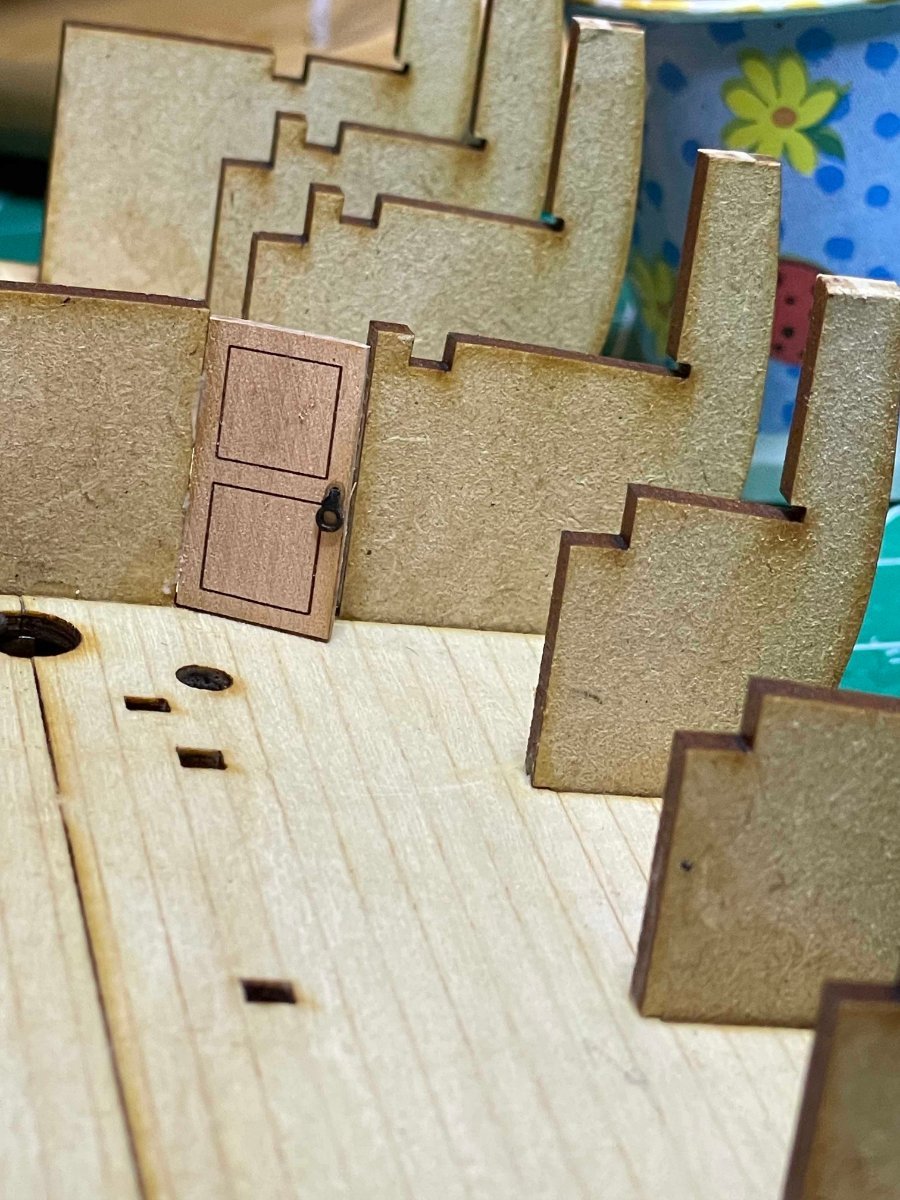
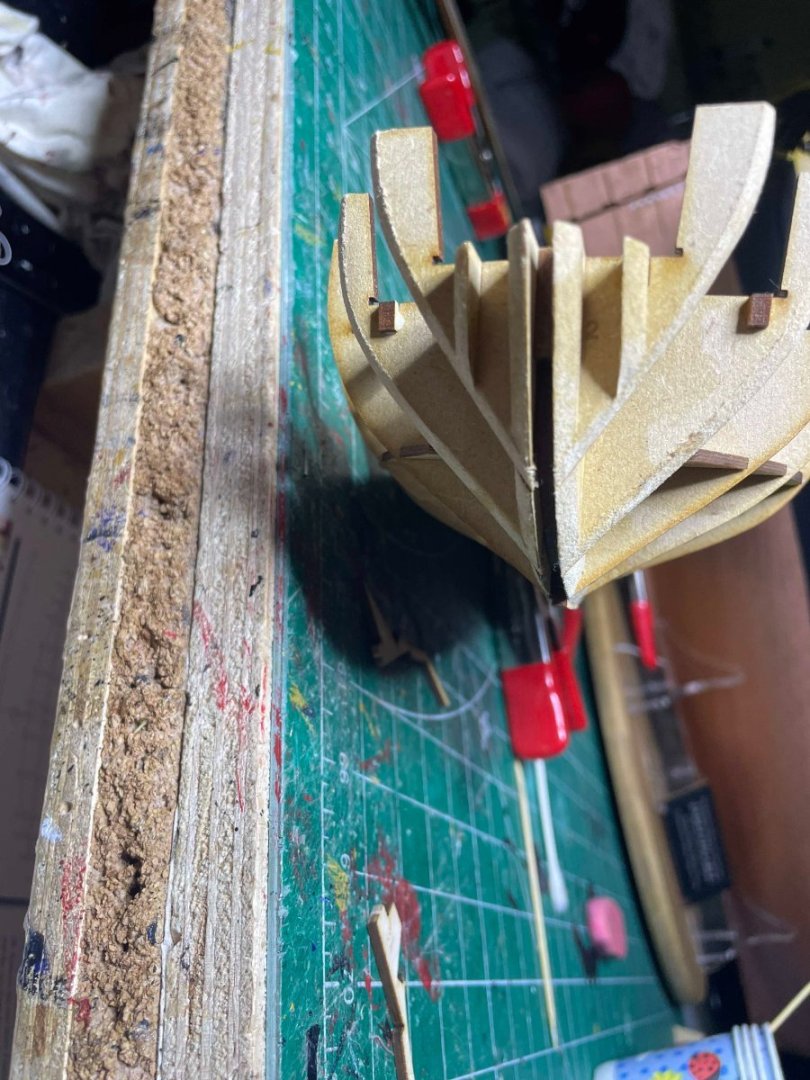
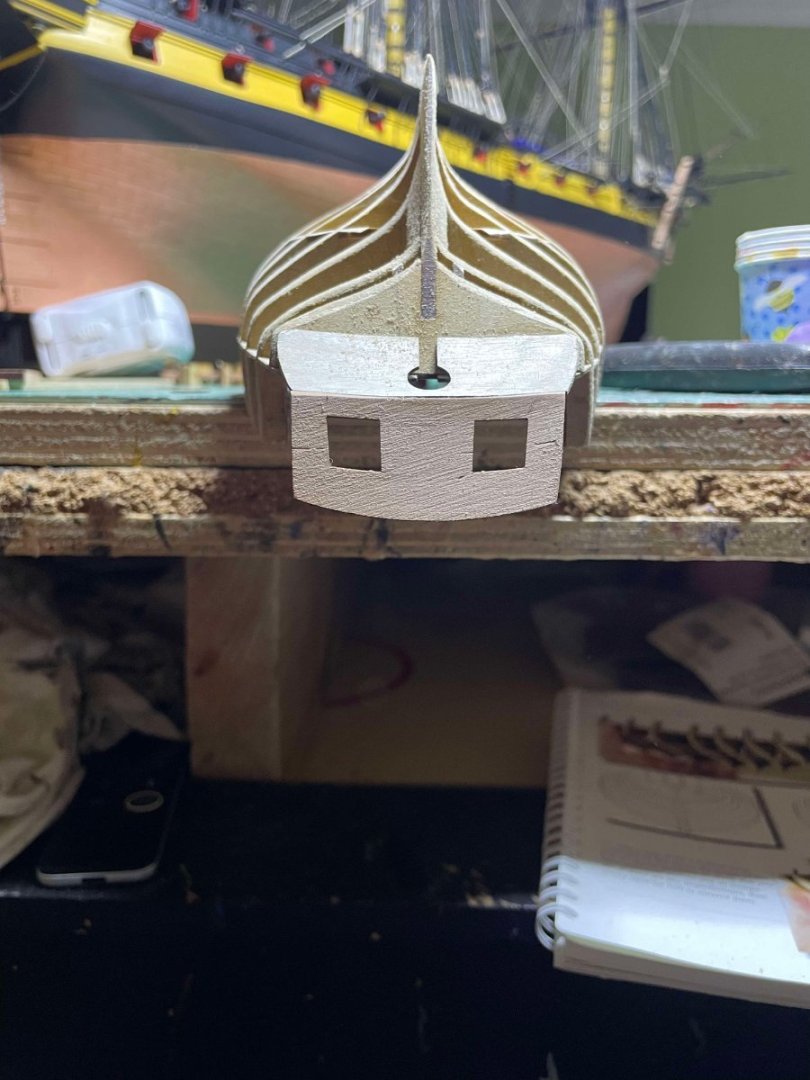
I also figured out why my first pictures of the project would not load so here they are Captain's Cabin door IMG_7786.heic


-
HMS Flirt by ECK - Vanguard Models - 1:64
ECK replied to ECK's topic in - Kit build logs for subjects built from 1751 - 1800
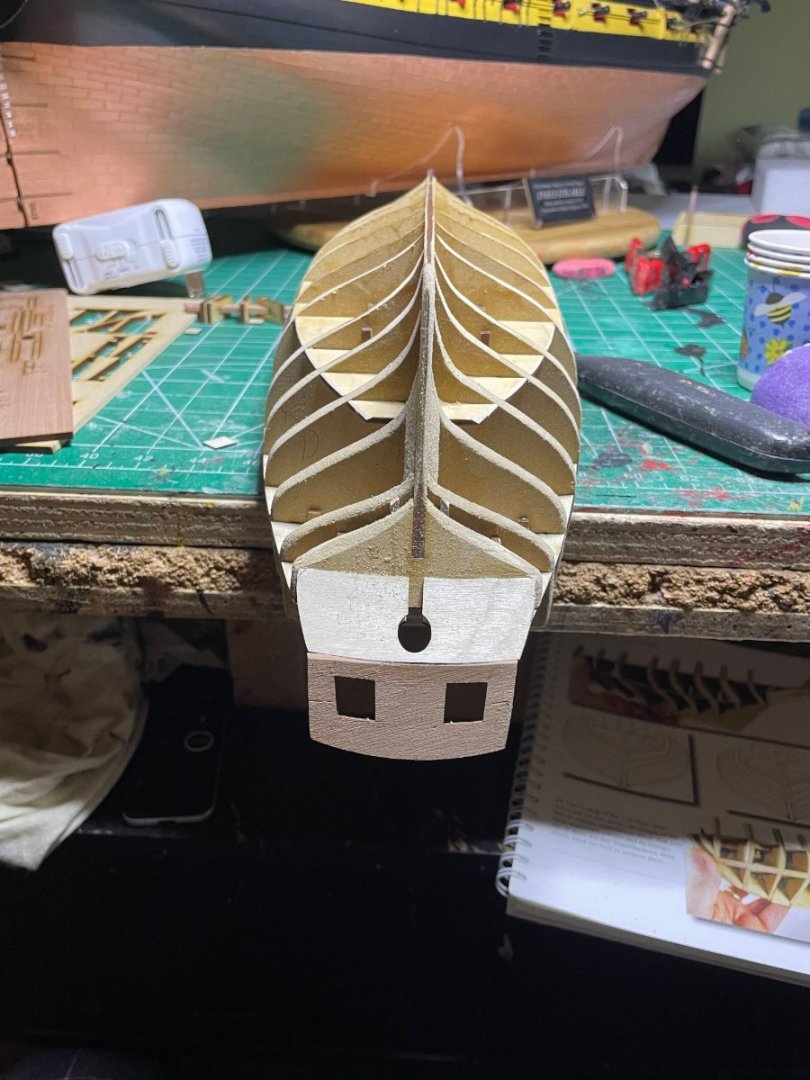
To place the master second plank, Chris lasered small holes under which the plank will rub. I used tape to make a better line to follow.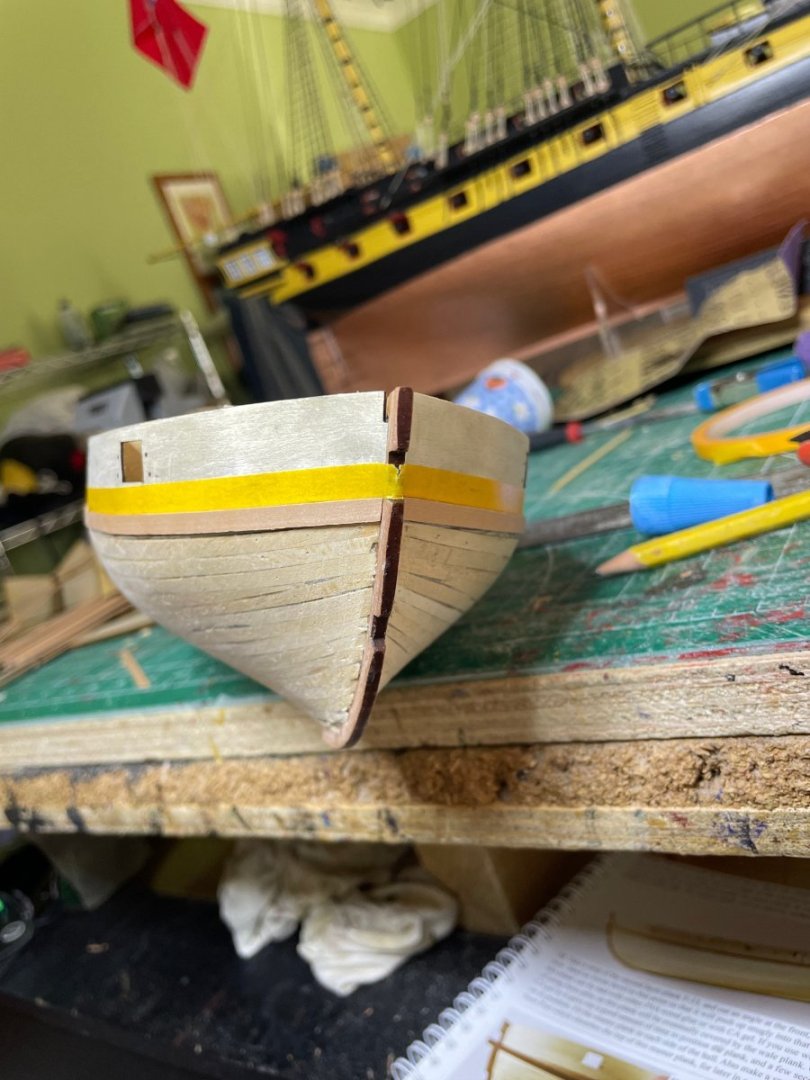

-
HMS Flirt by ECK - Vanguard Models - 1:64
ECK replied to ECK's topic in - Kit build logs for subjects built from 1751 - 1800
First plank done. This is before sanding Then after sanding and planing the stern area


-
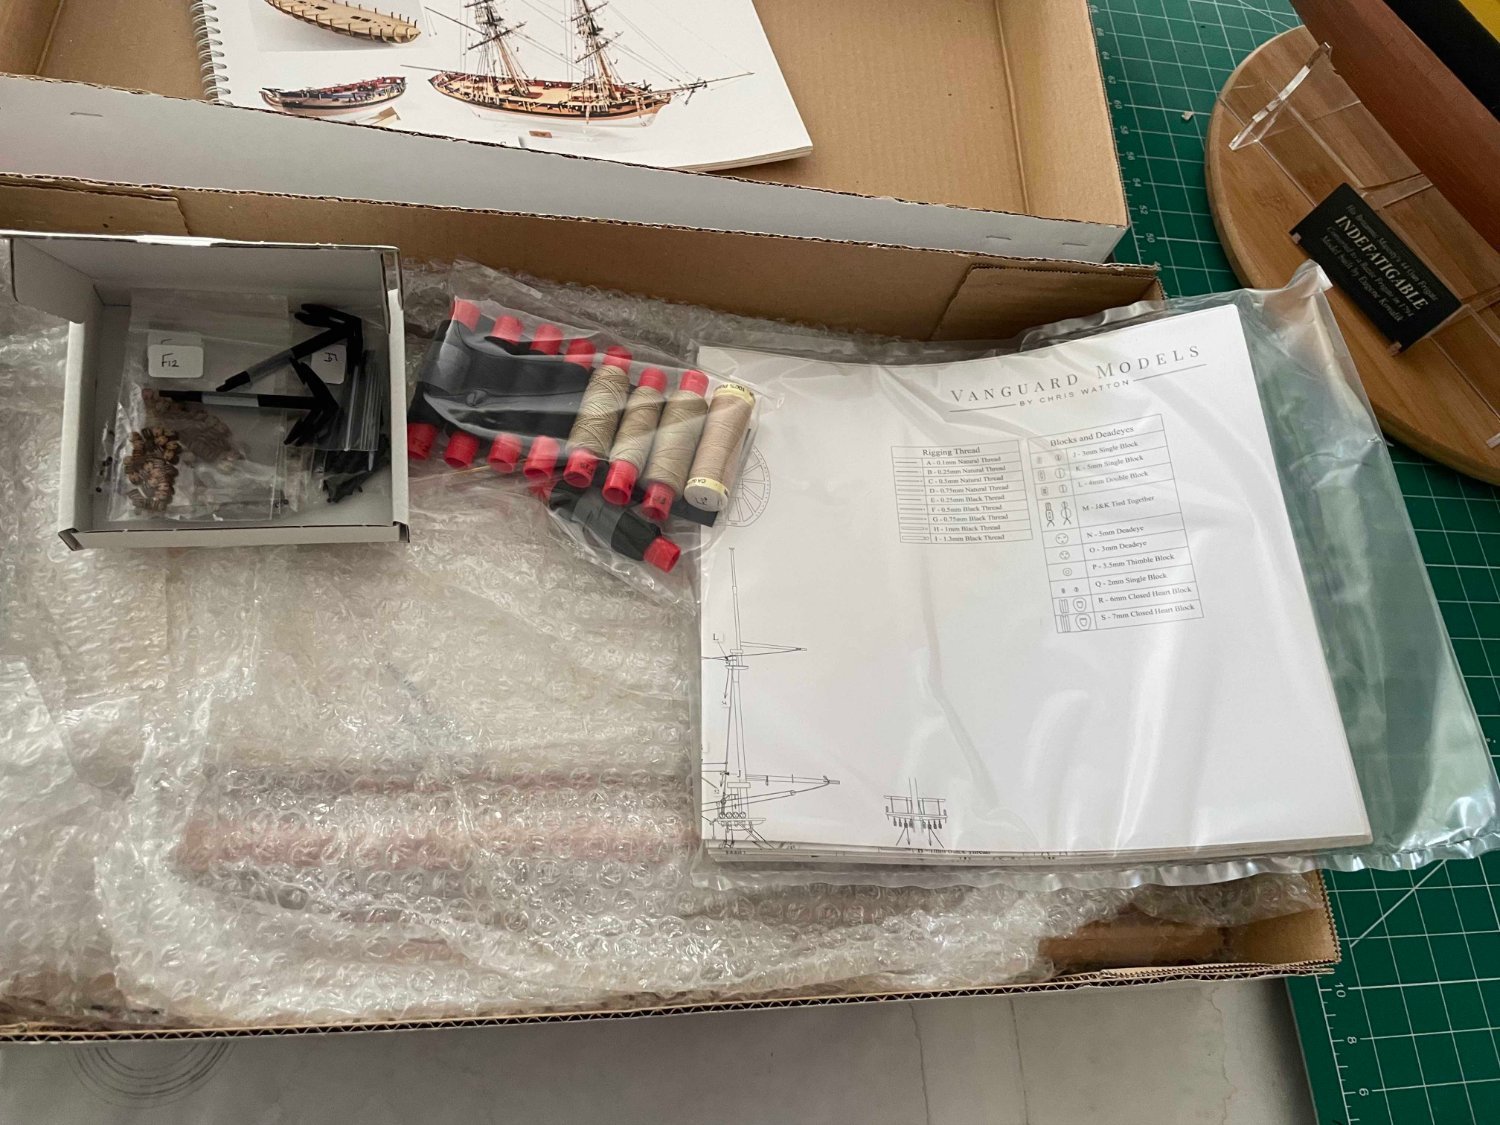
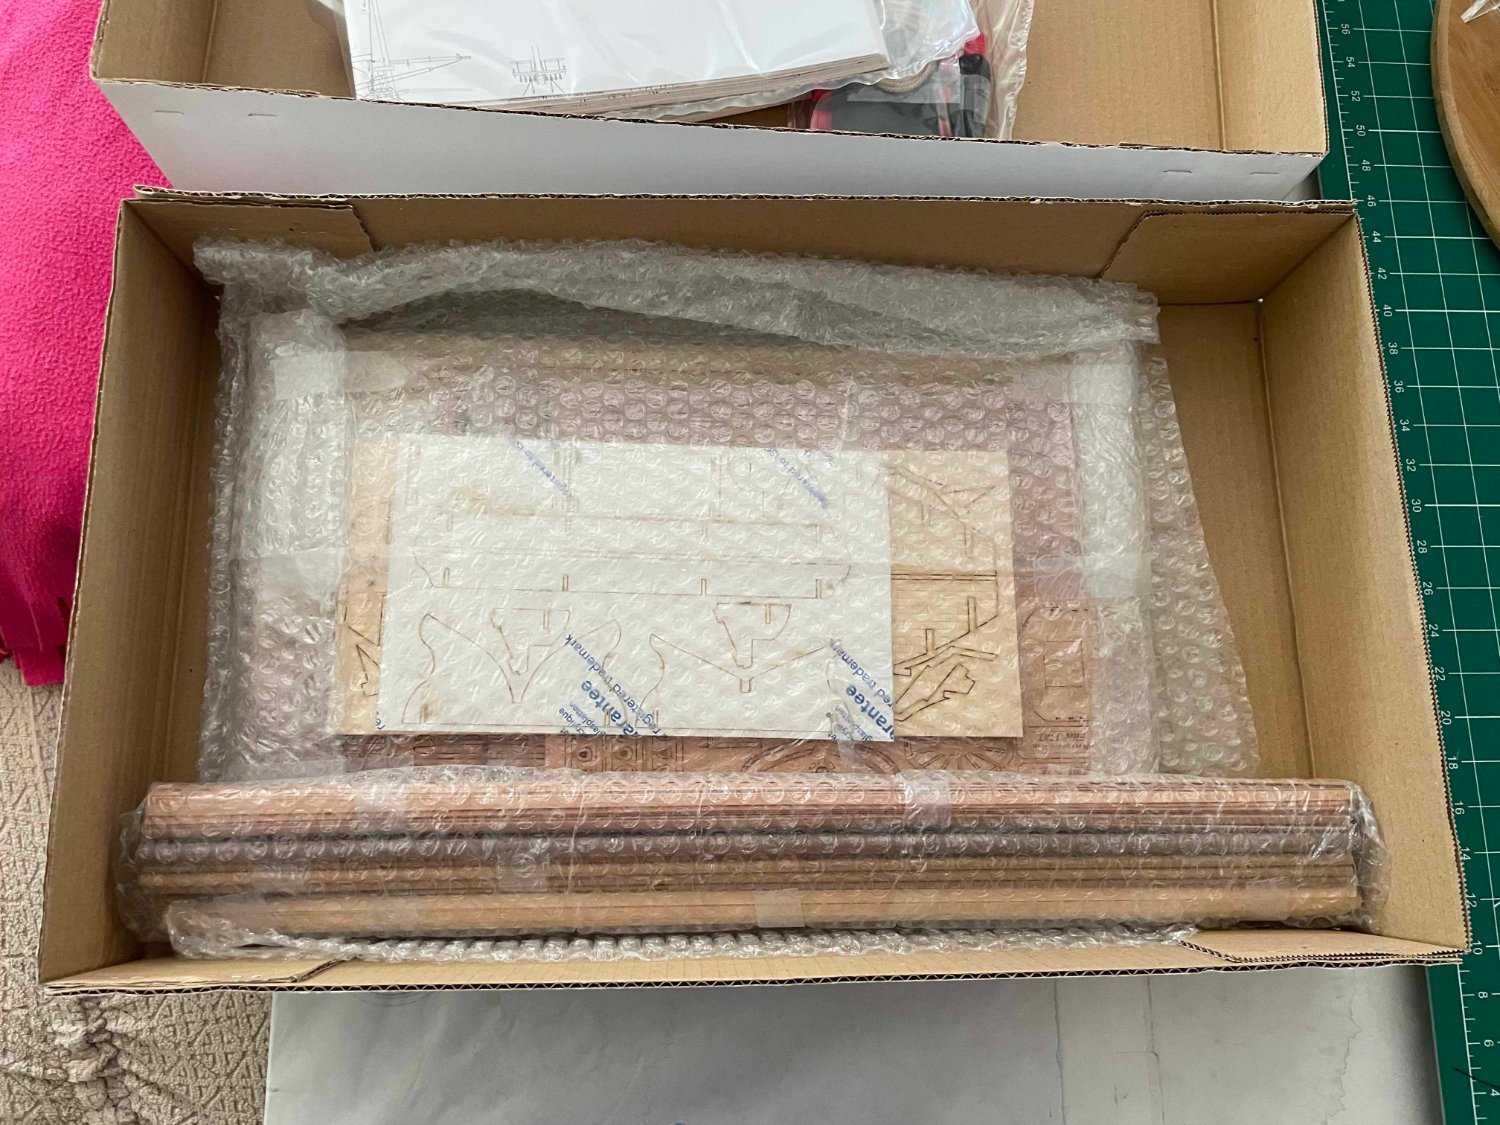
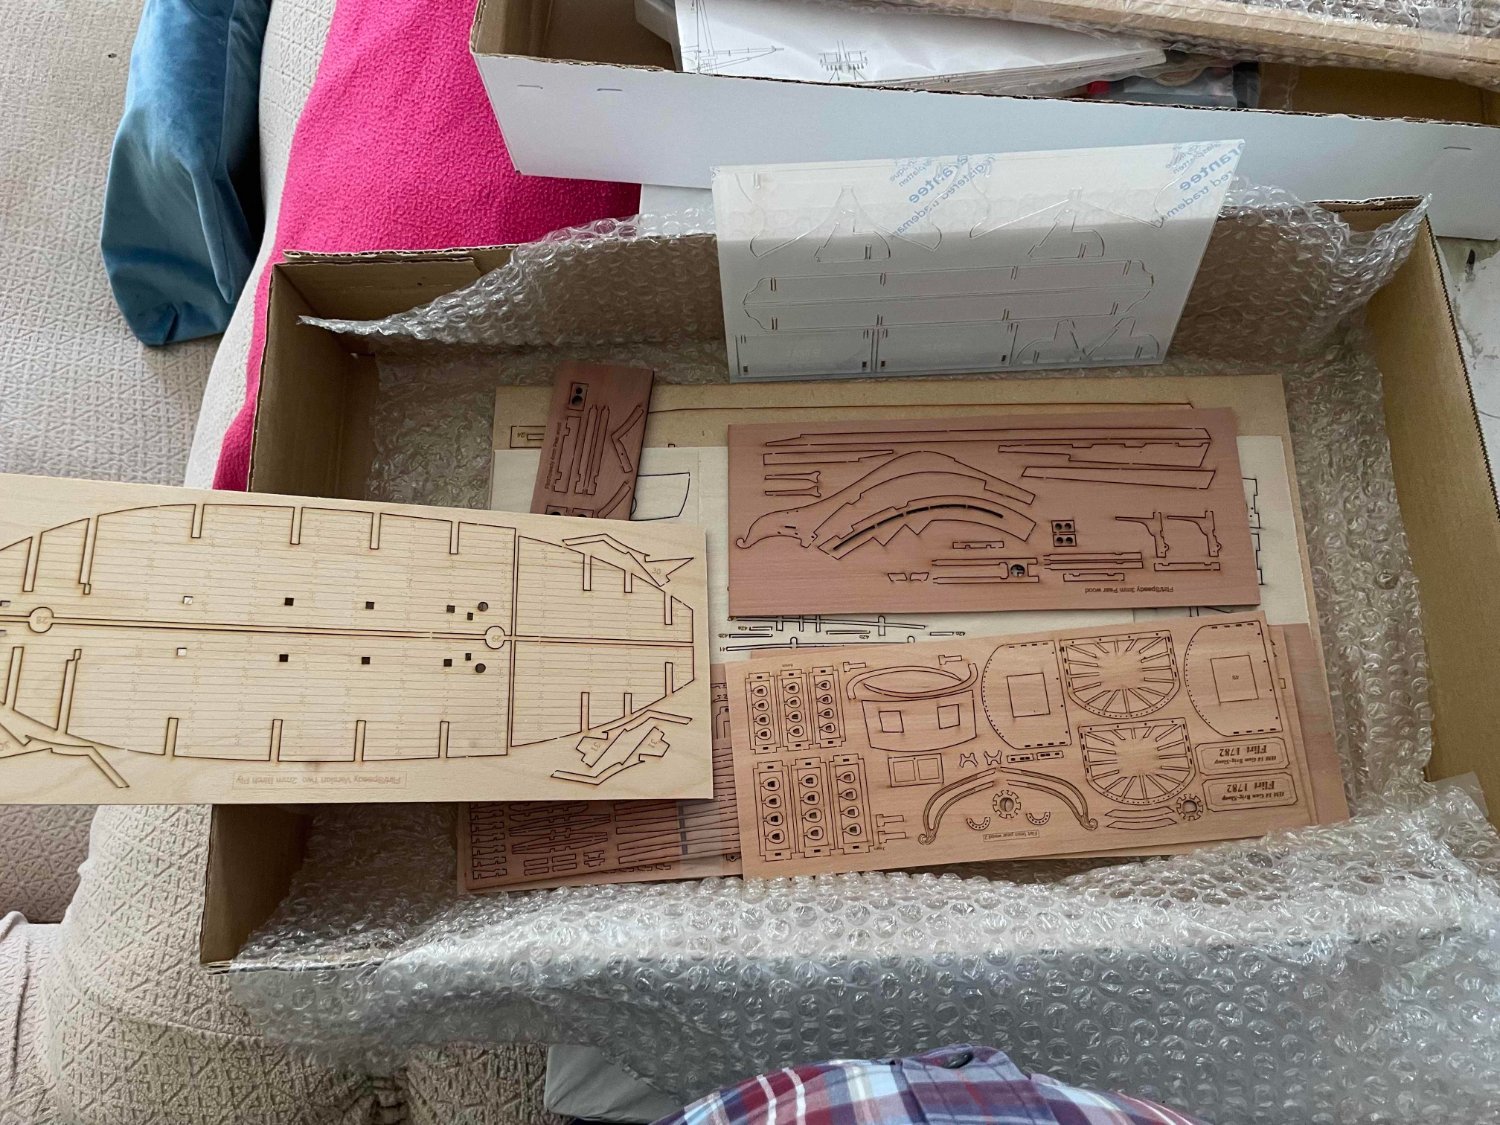
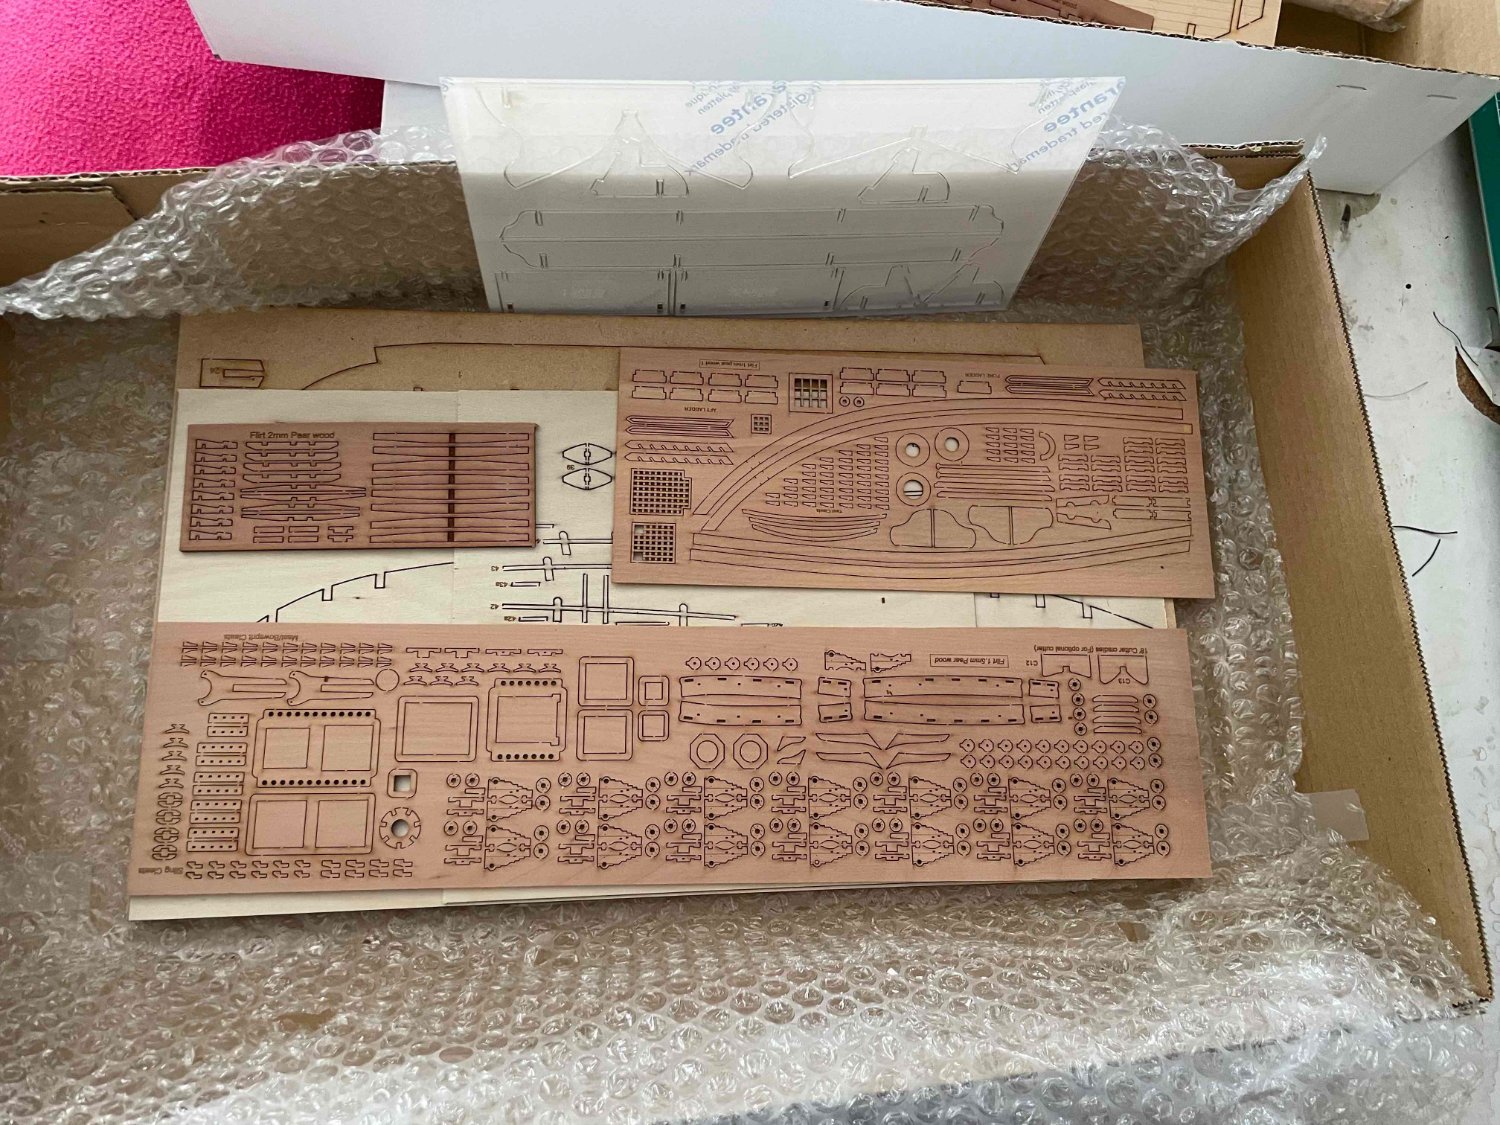
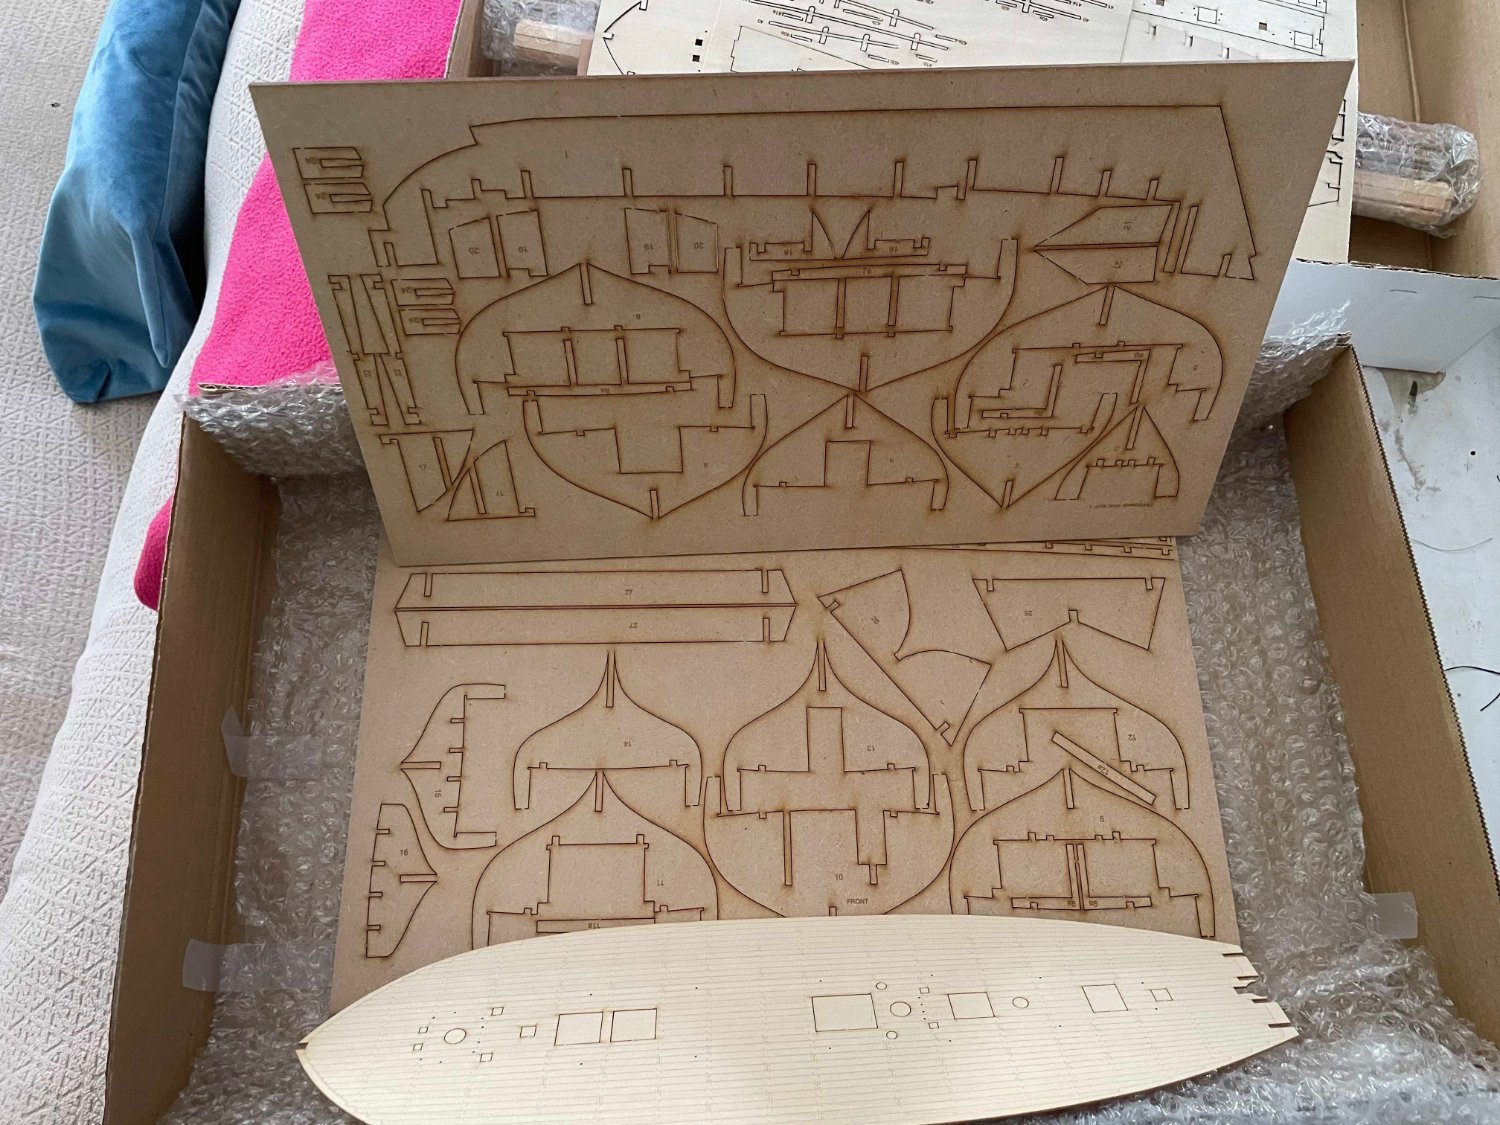
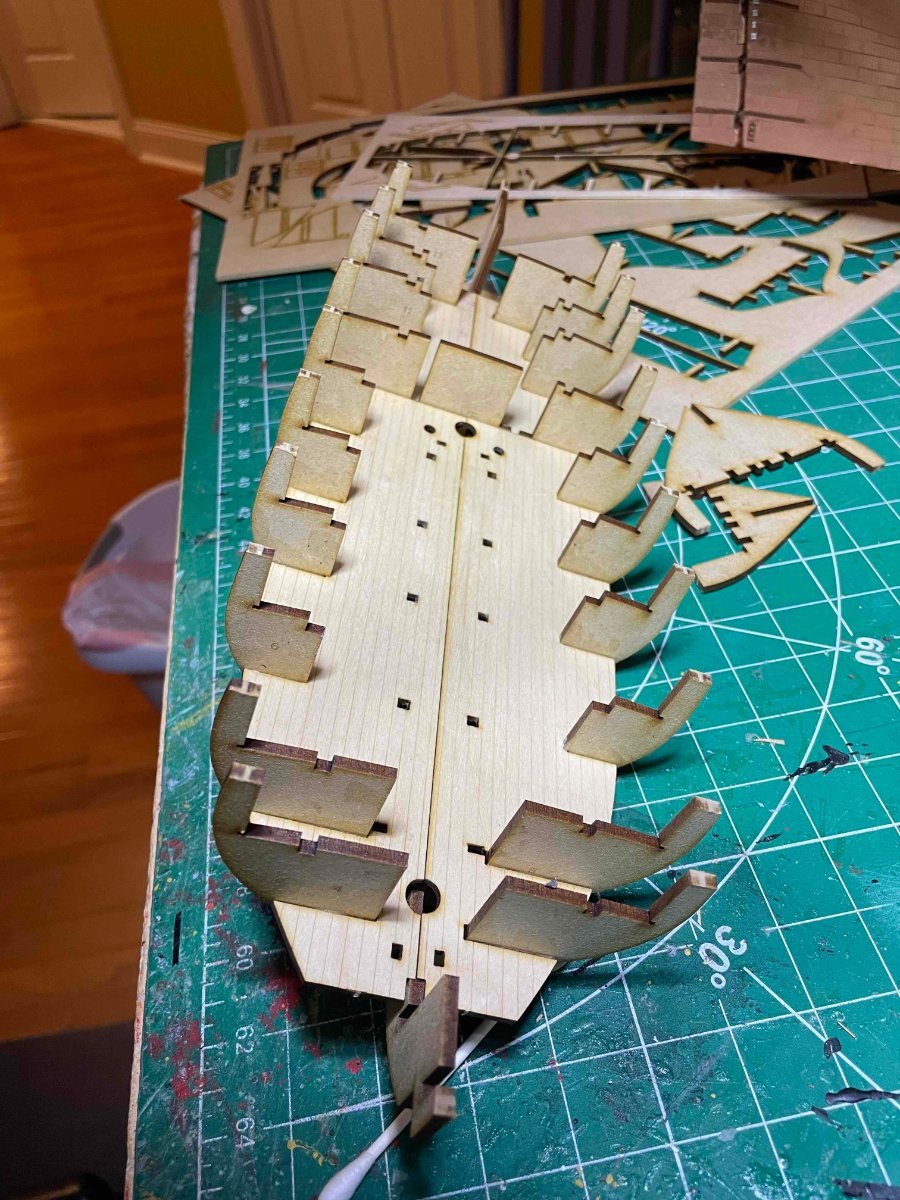
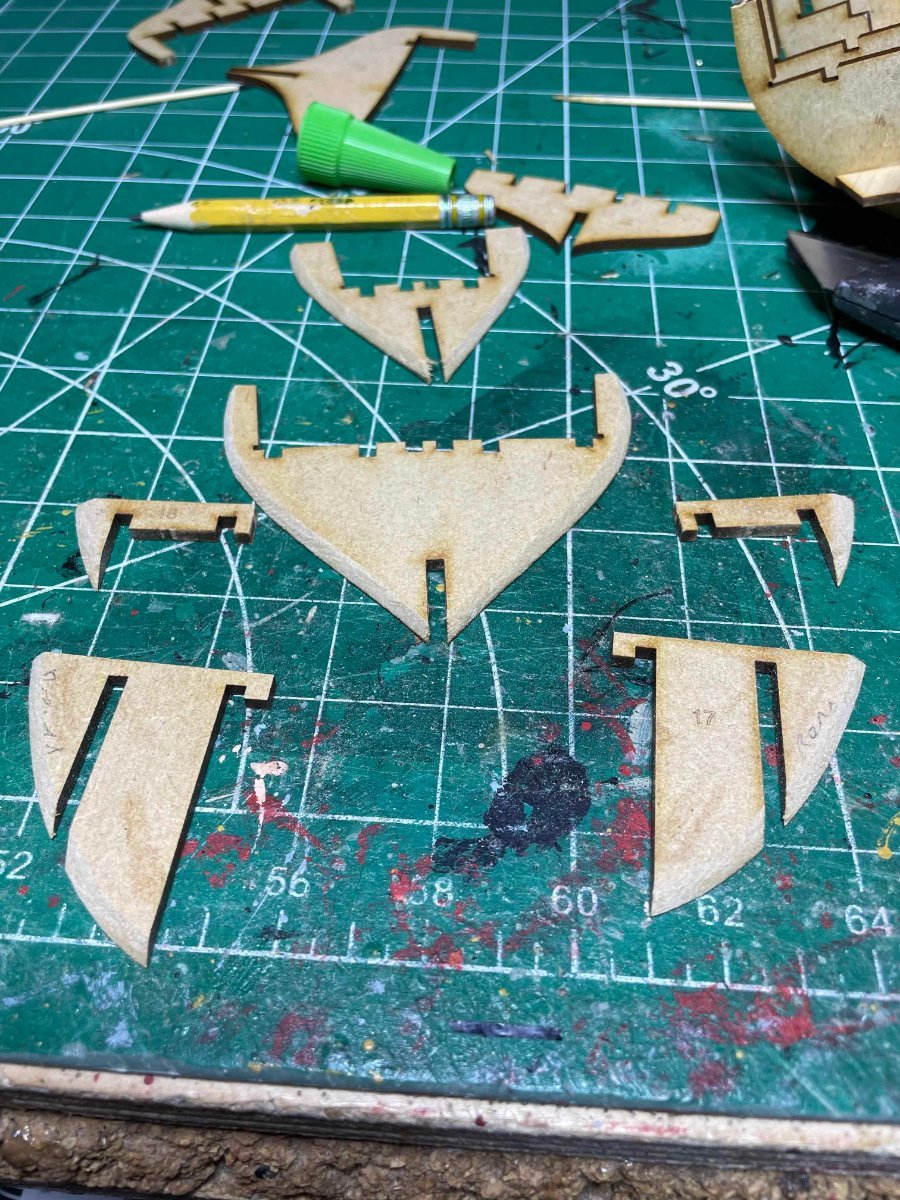
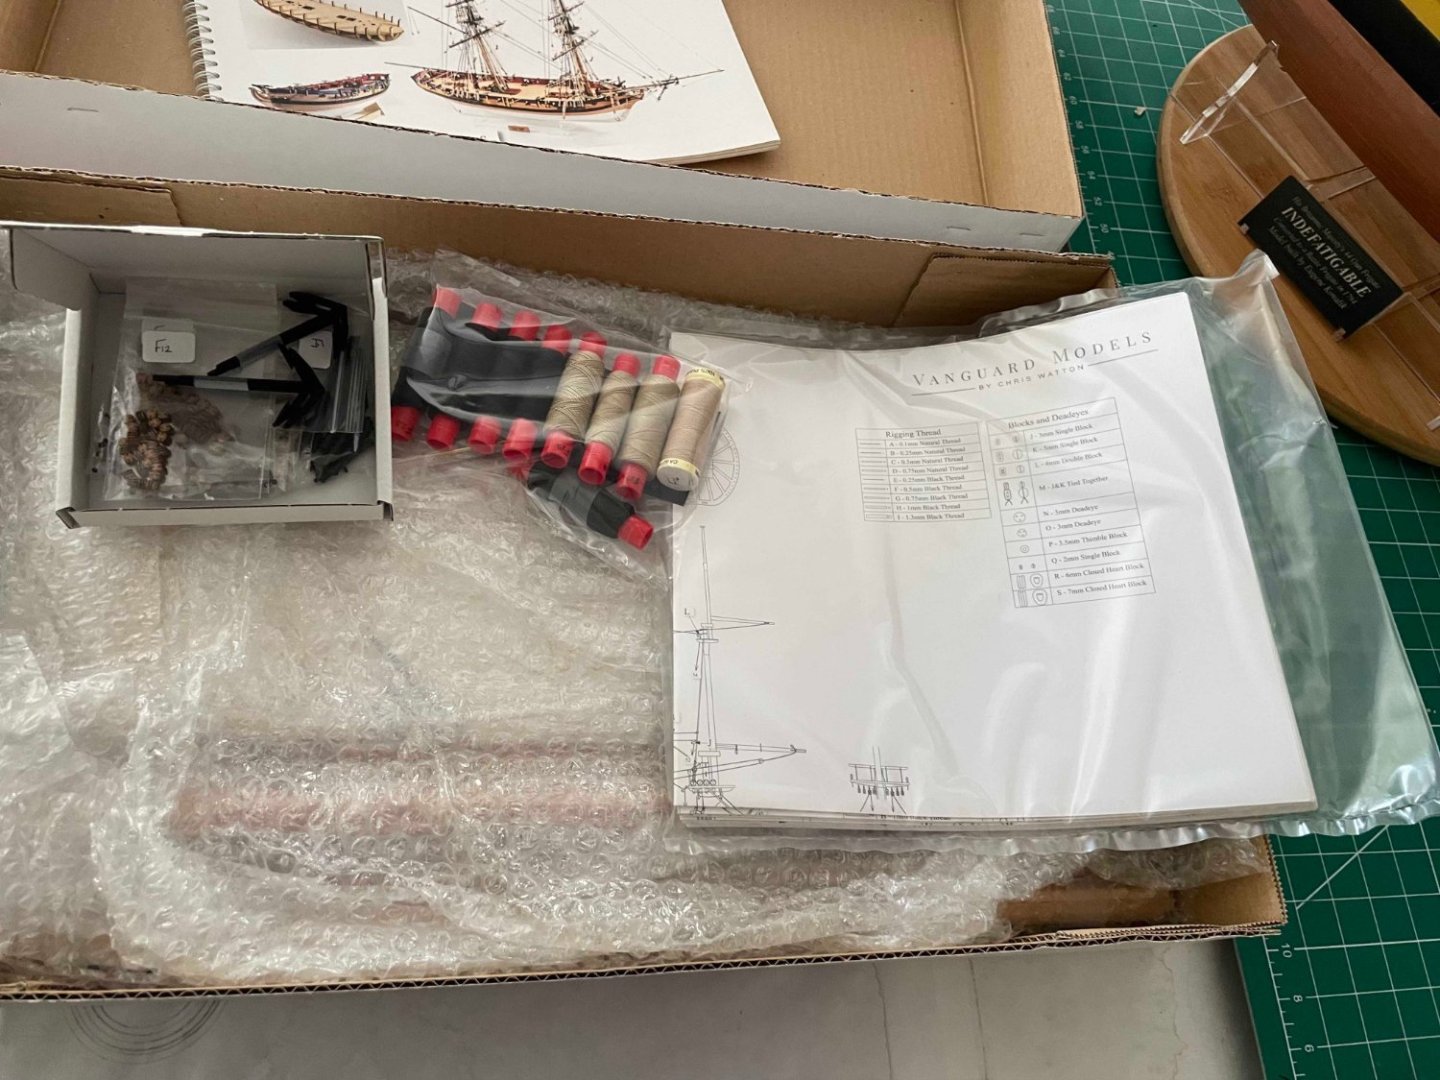
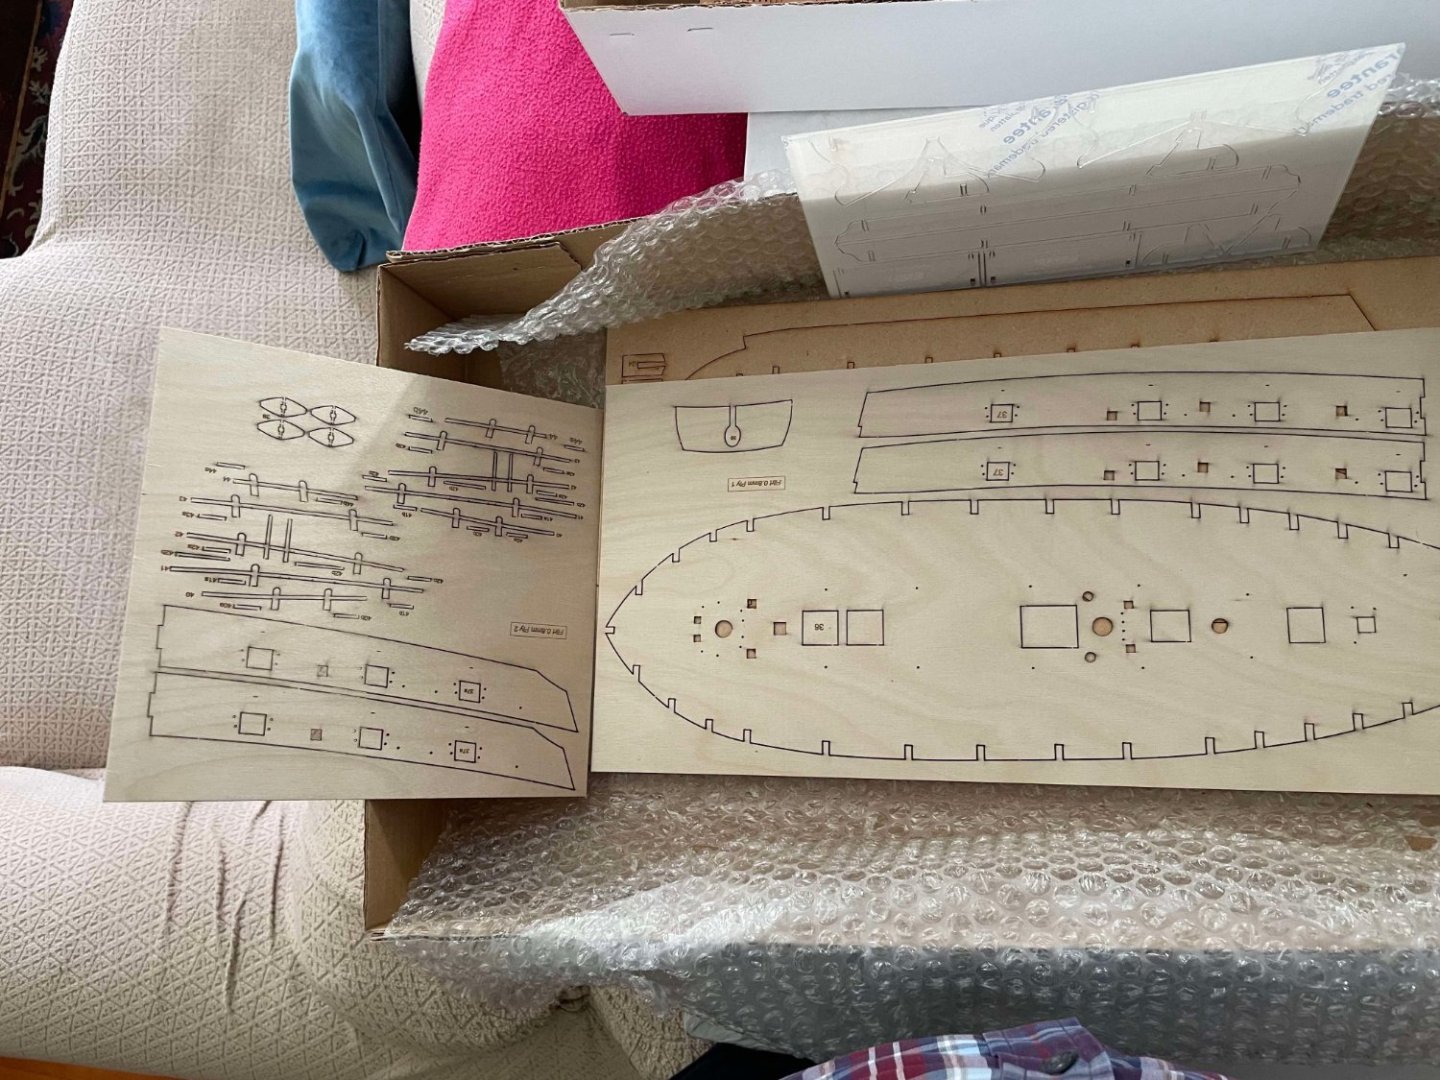
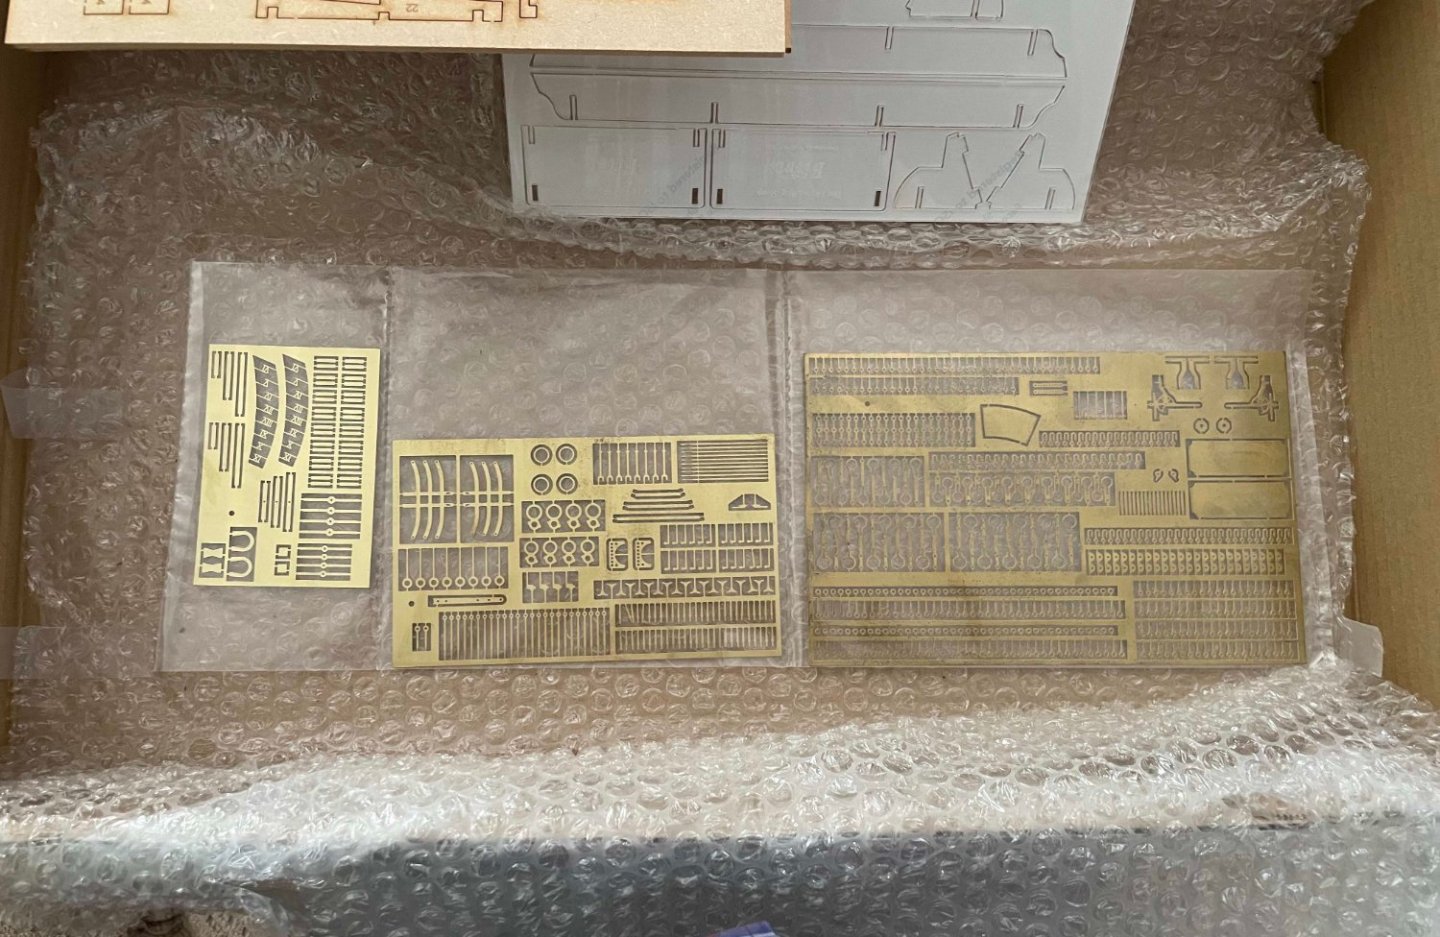
Having finished HMS Indefatigable several weeks ago, I decided to do a smaller project this time. Unfortunately the unboxing and initial framing pictures were messed up as the "Live" function on the iphone was on and I can't upload these picture


-
As I am done here I will now start my next ship, HMS Flirt.
- 233 replies
-
- 2
-

-
- Indefatigable
- Vanguard Models
- (and 1 more)