HOLIDAY DONATION DRIVE - SUPPORT MSW - DO YOUR PART TO KEEP THIS GREAT FORUM GOING! (Only 75 donations so far out of 49,000 members - C'mon guys!)
×


ECK
-
Posts
640 -
Joined
-
Last visited
Content Type
Profiles
Forums
Gallery
Events
Everything posted by ECK
-
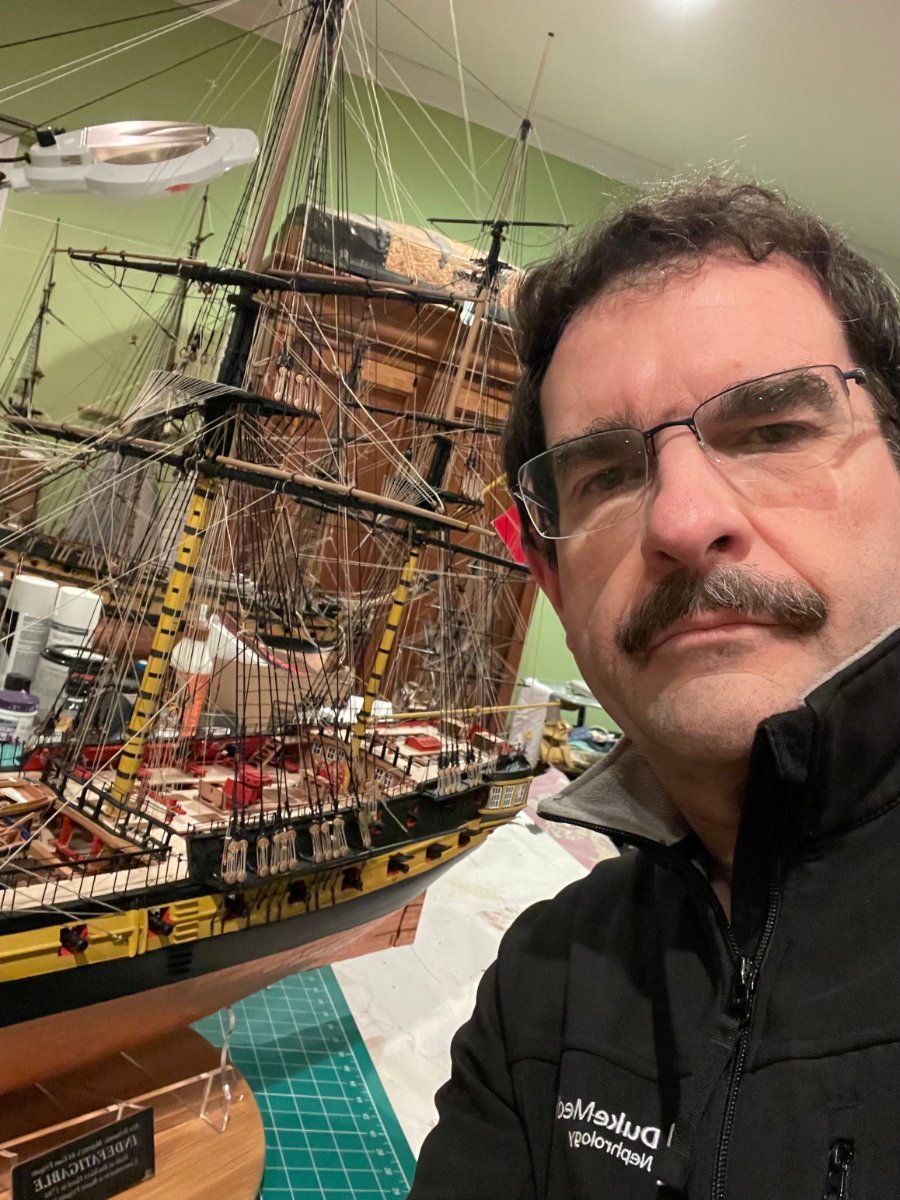
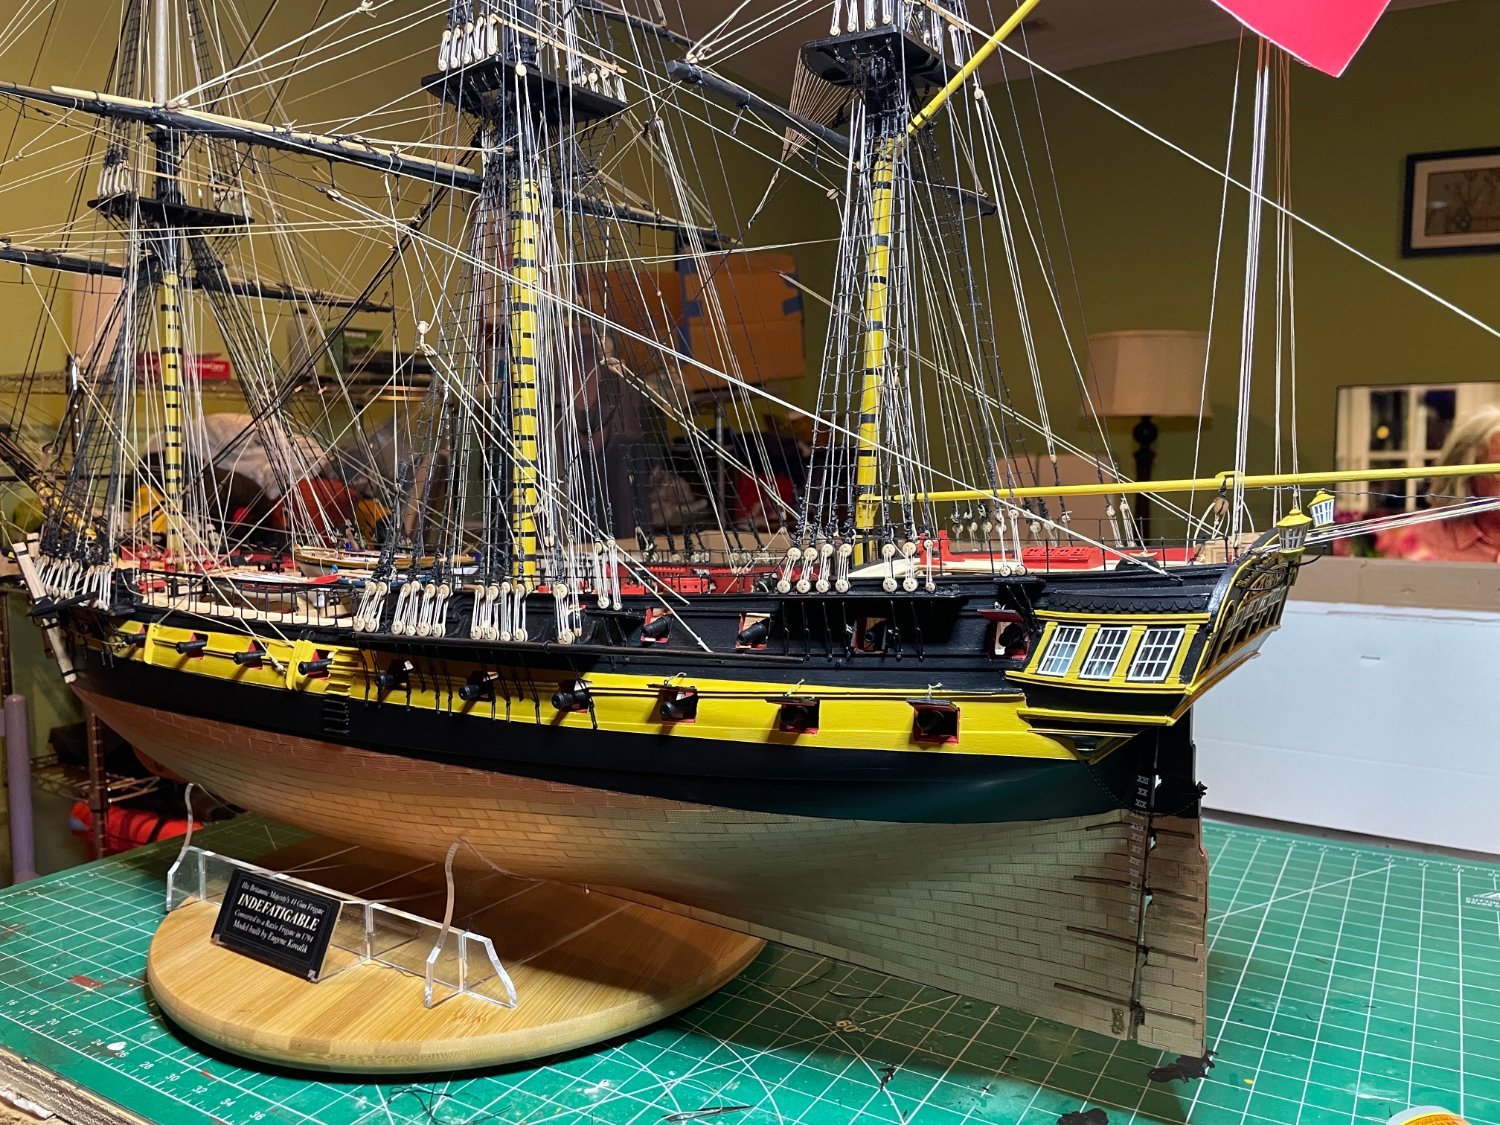
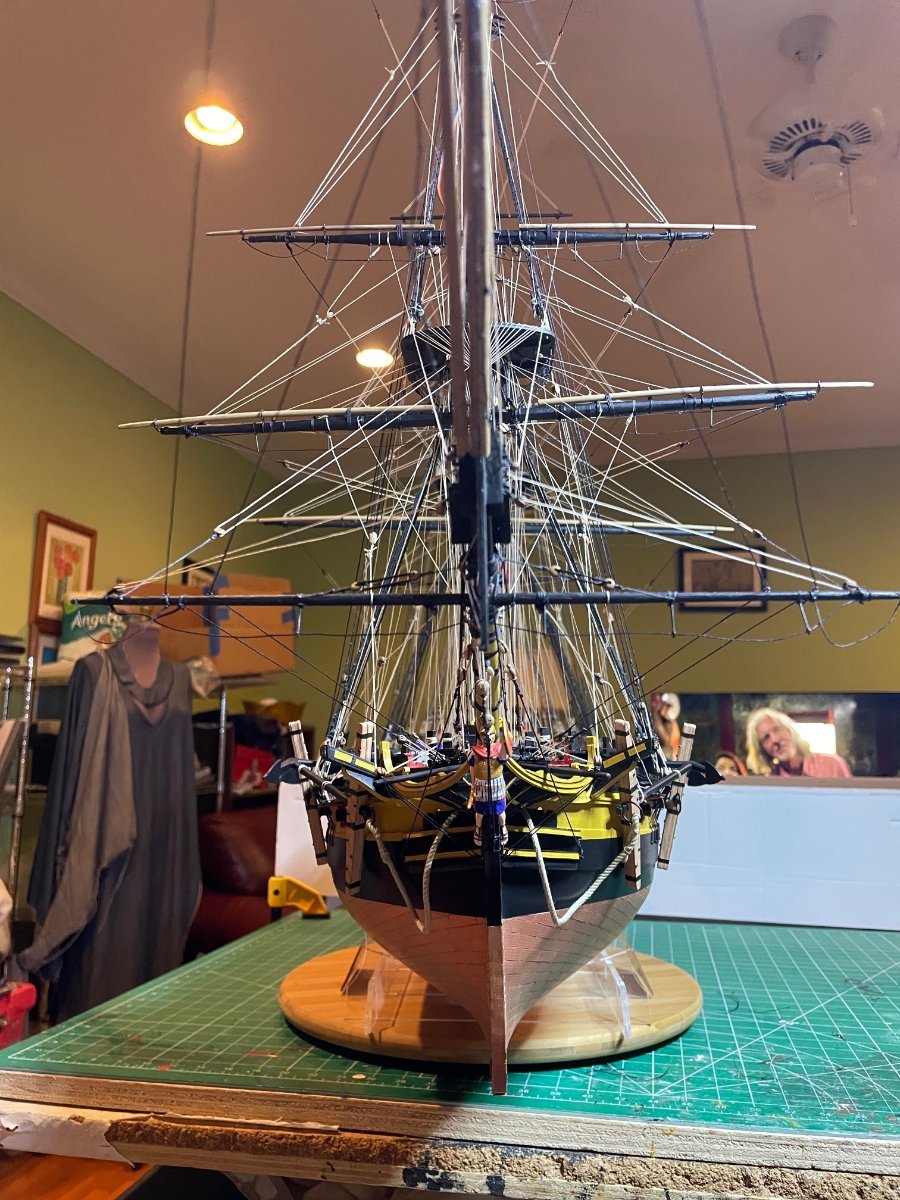
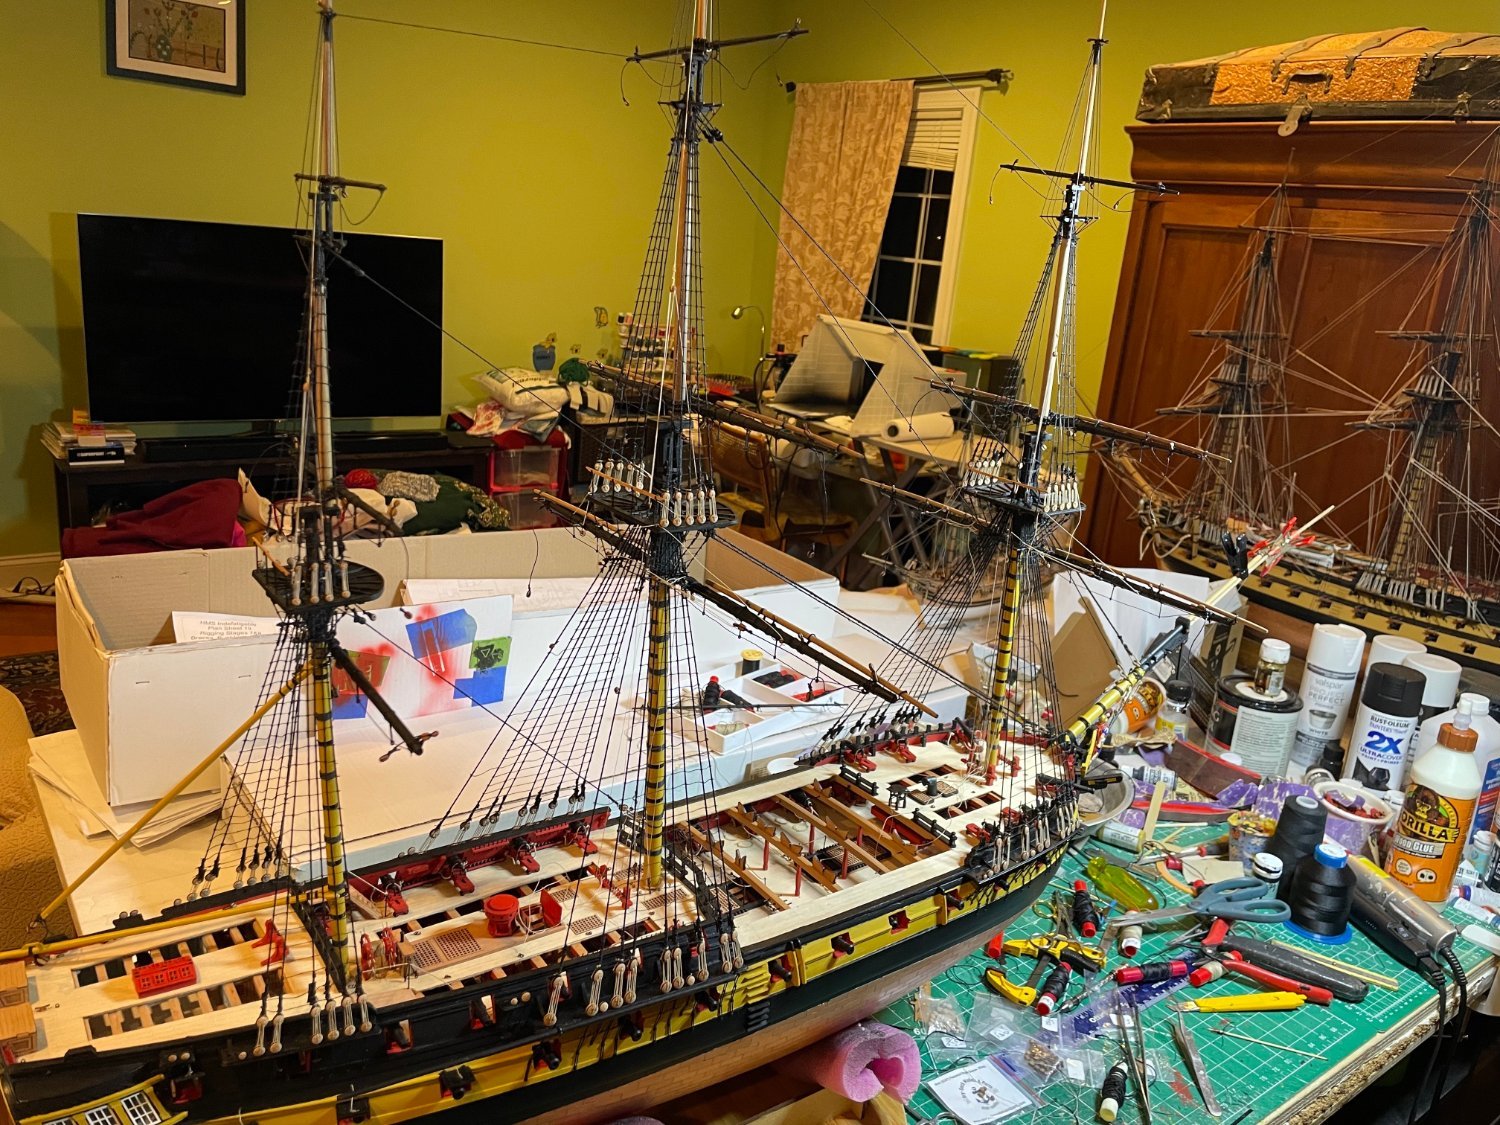
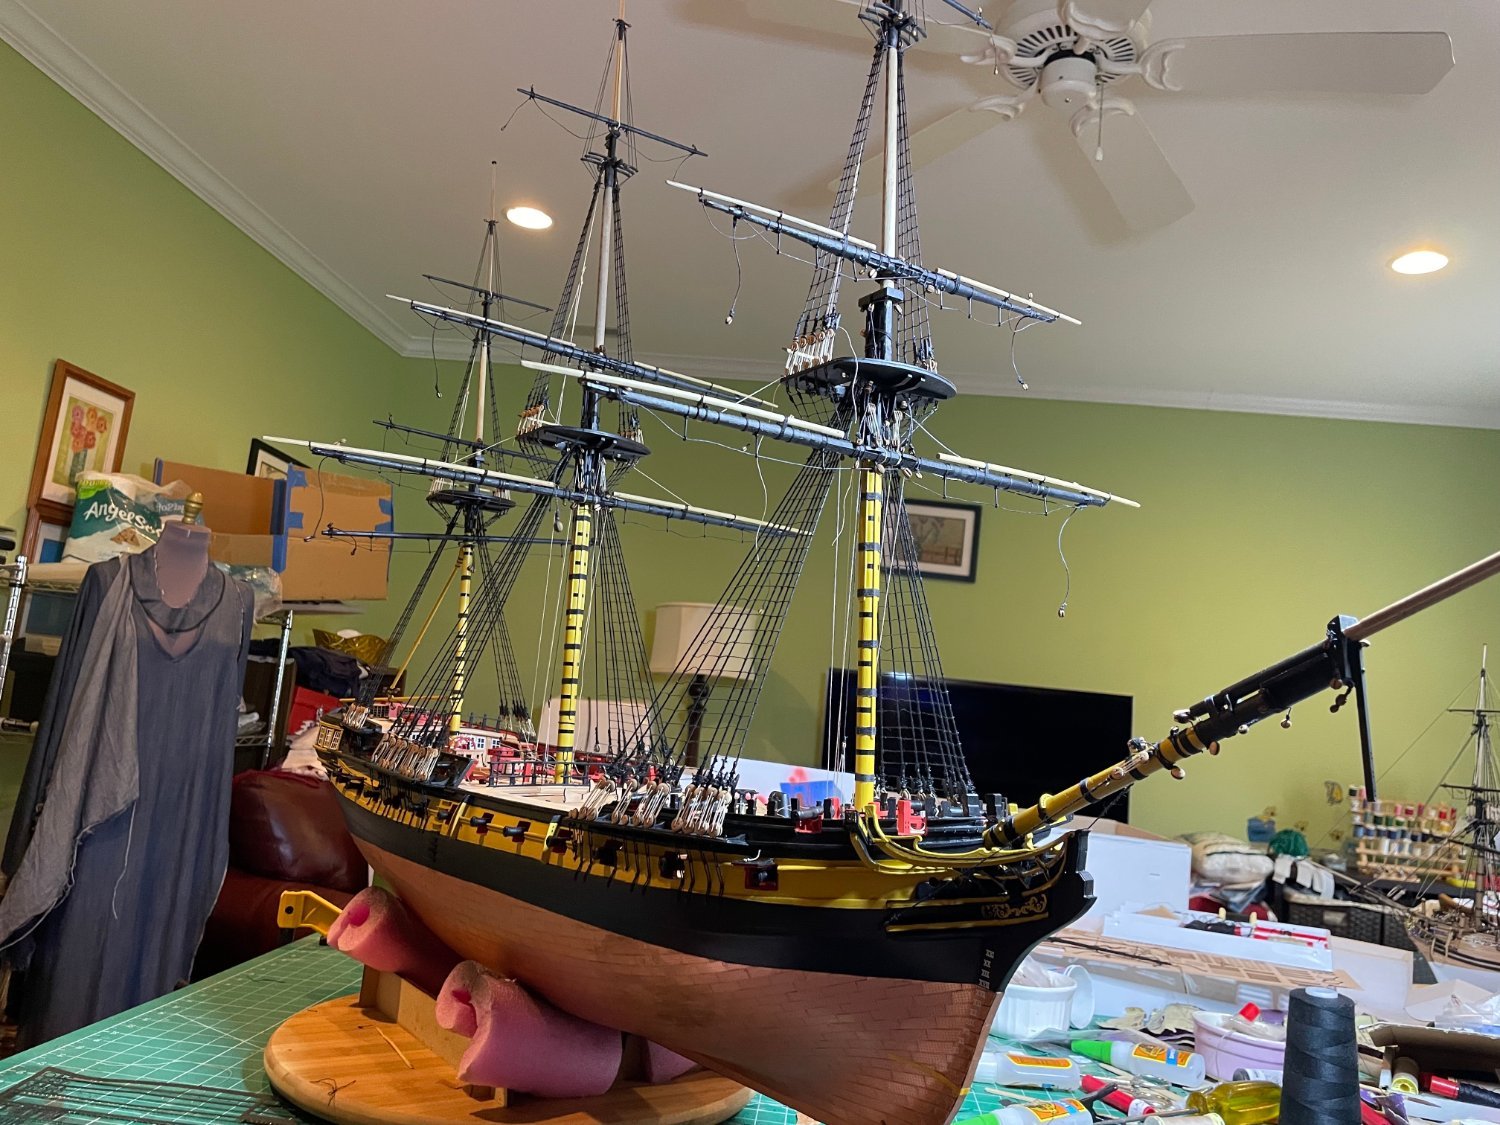
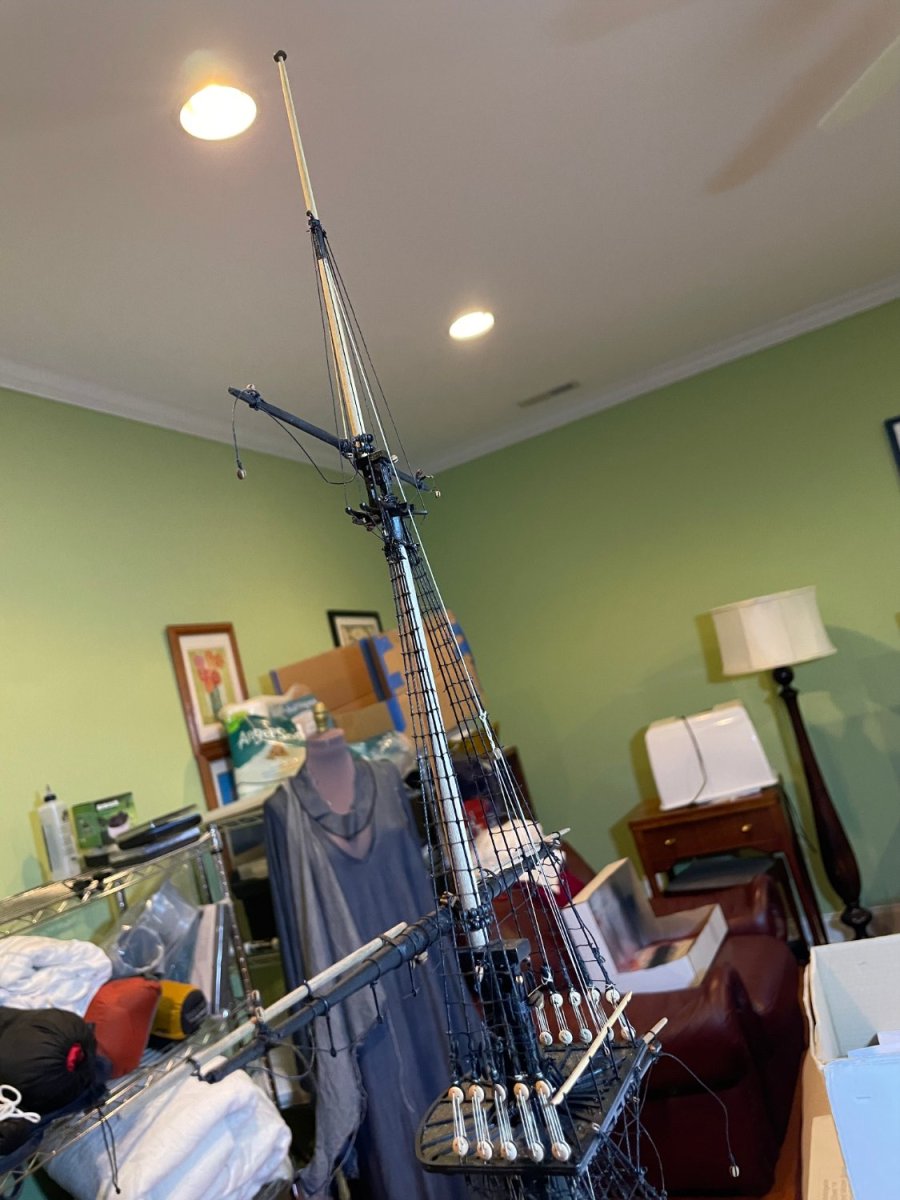
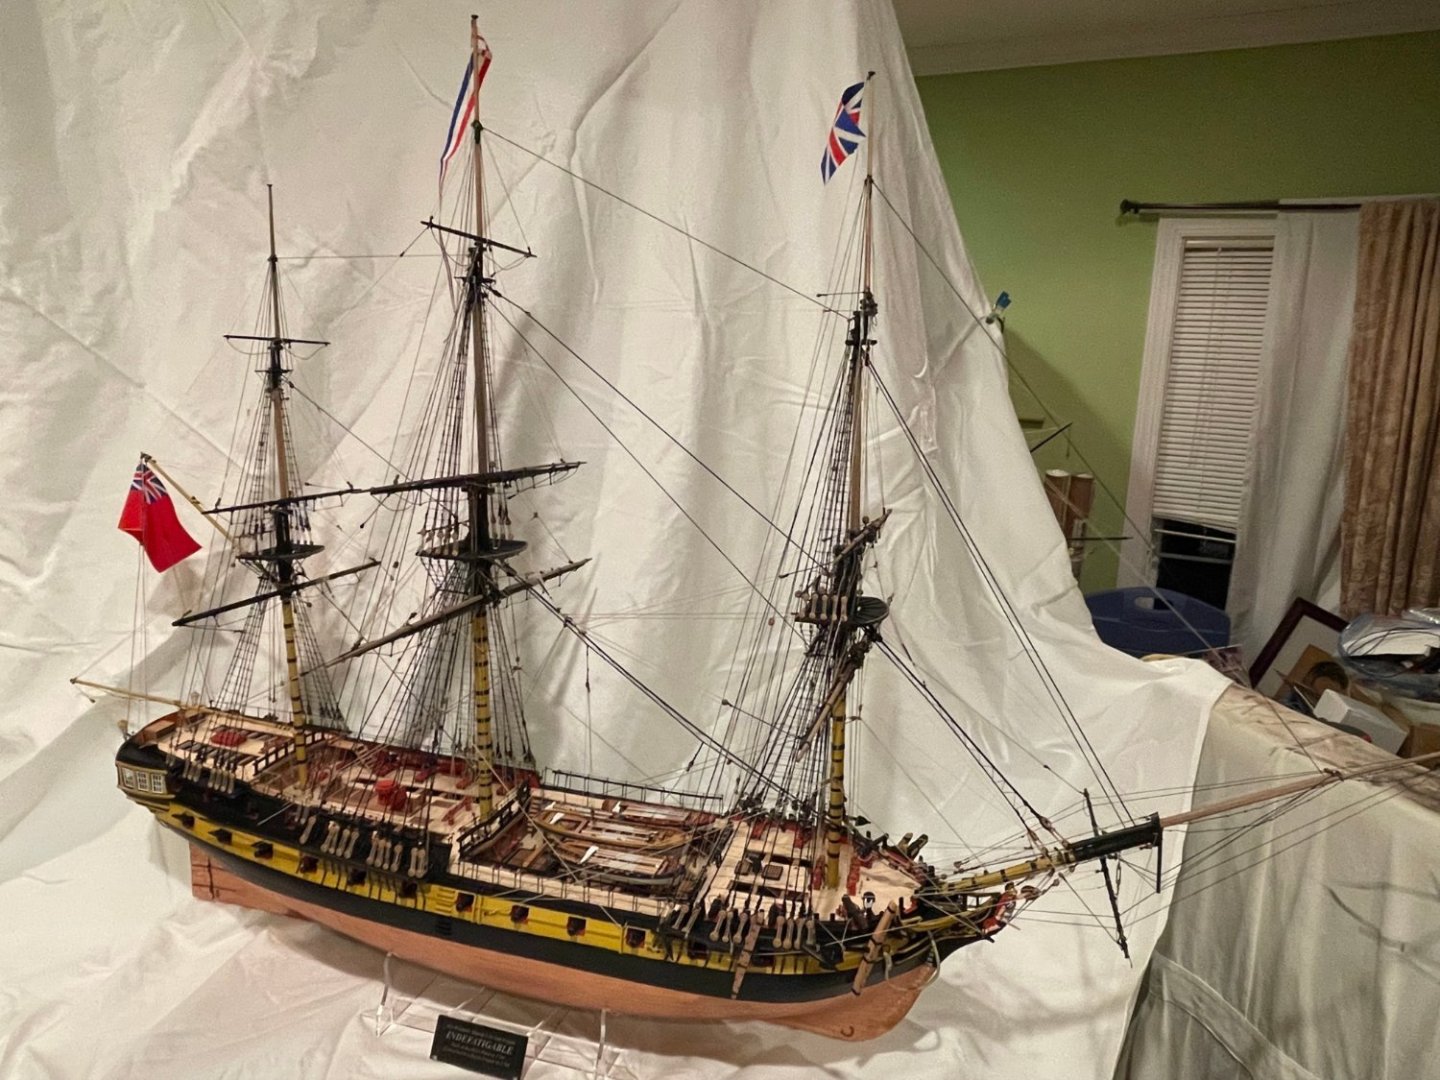
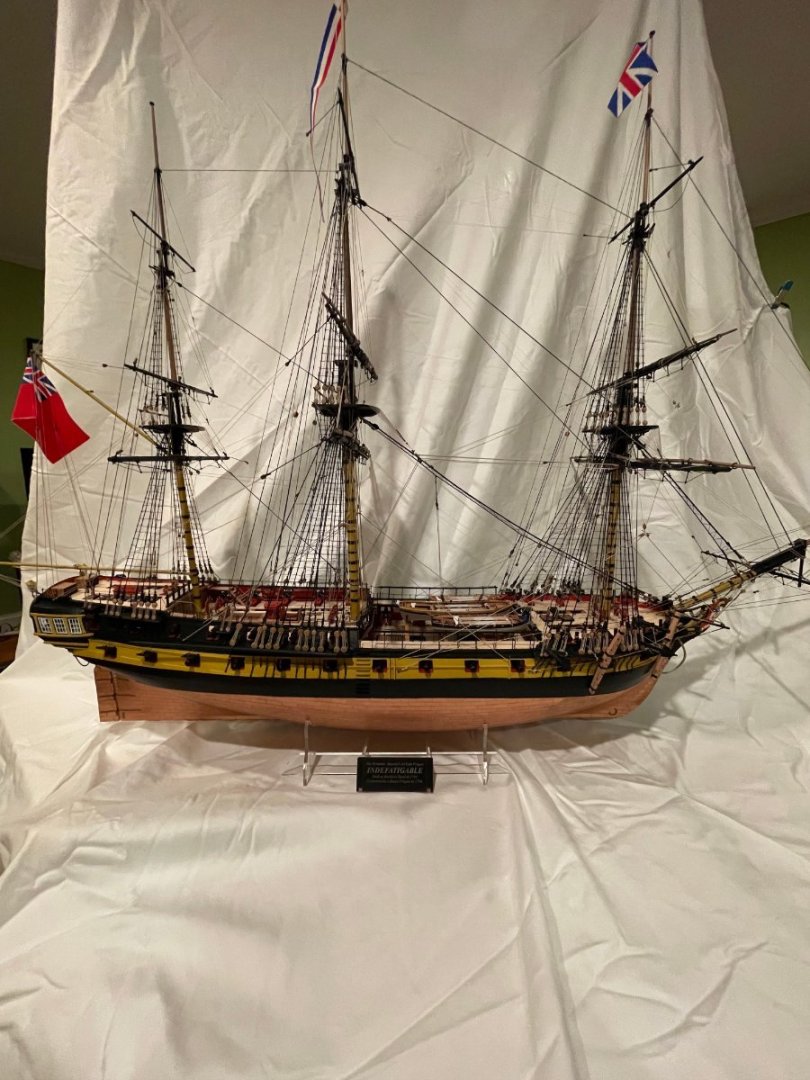
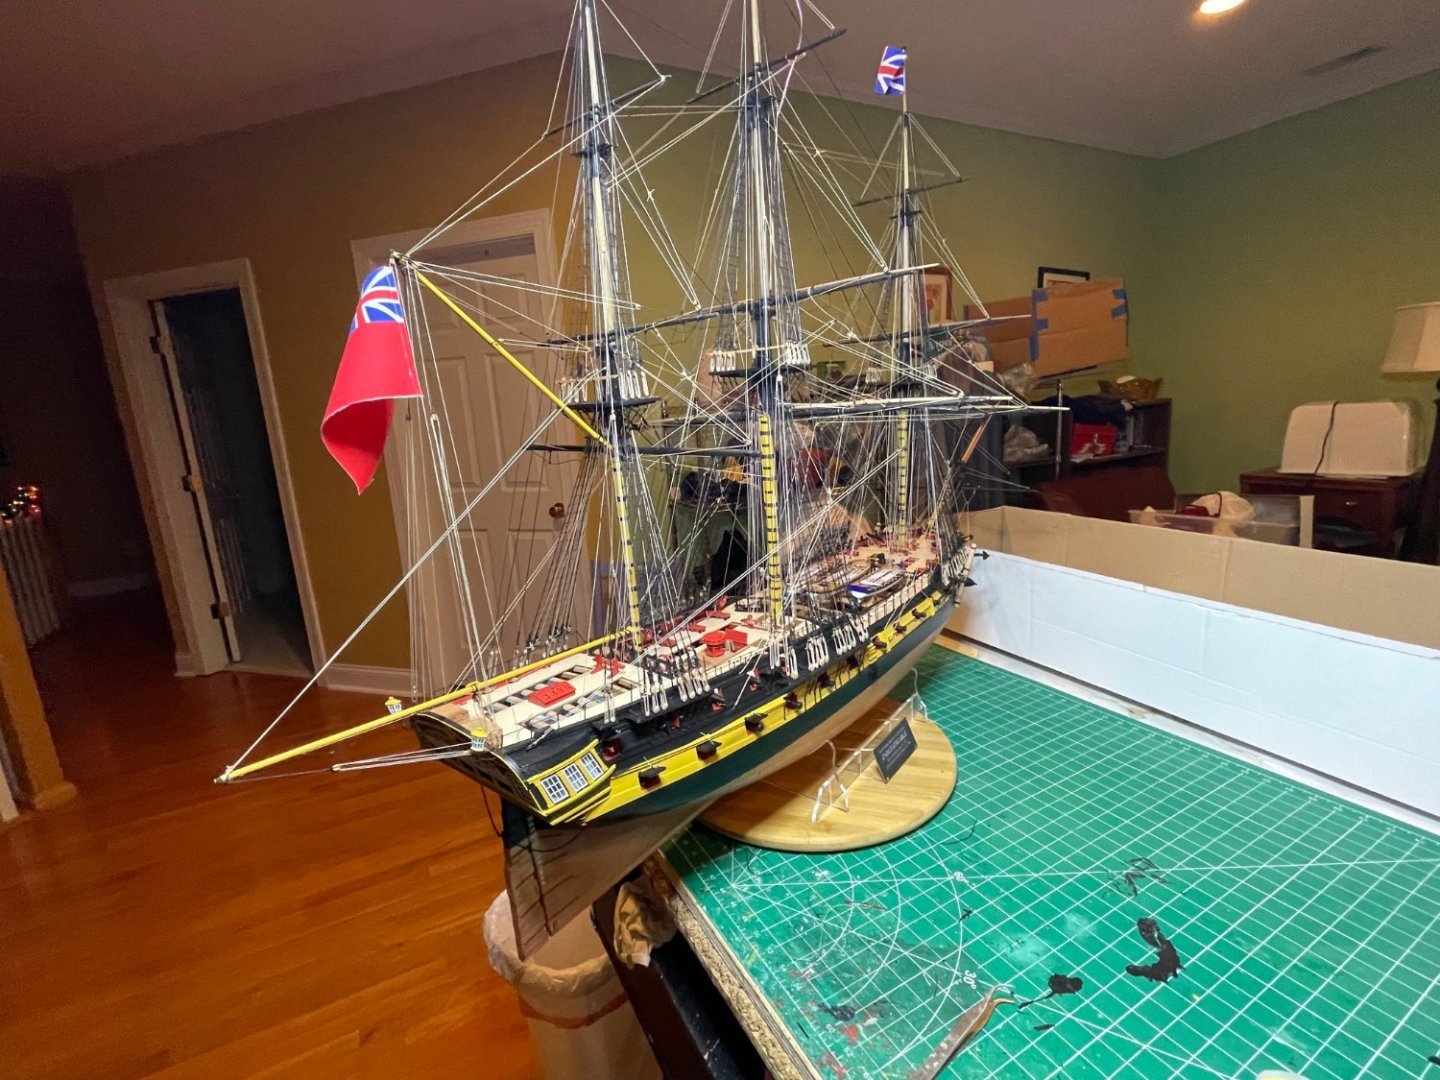
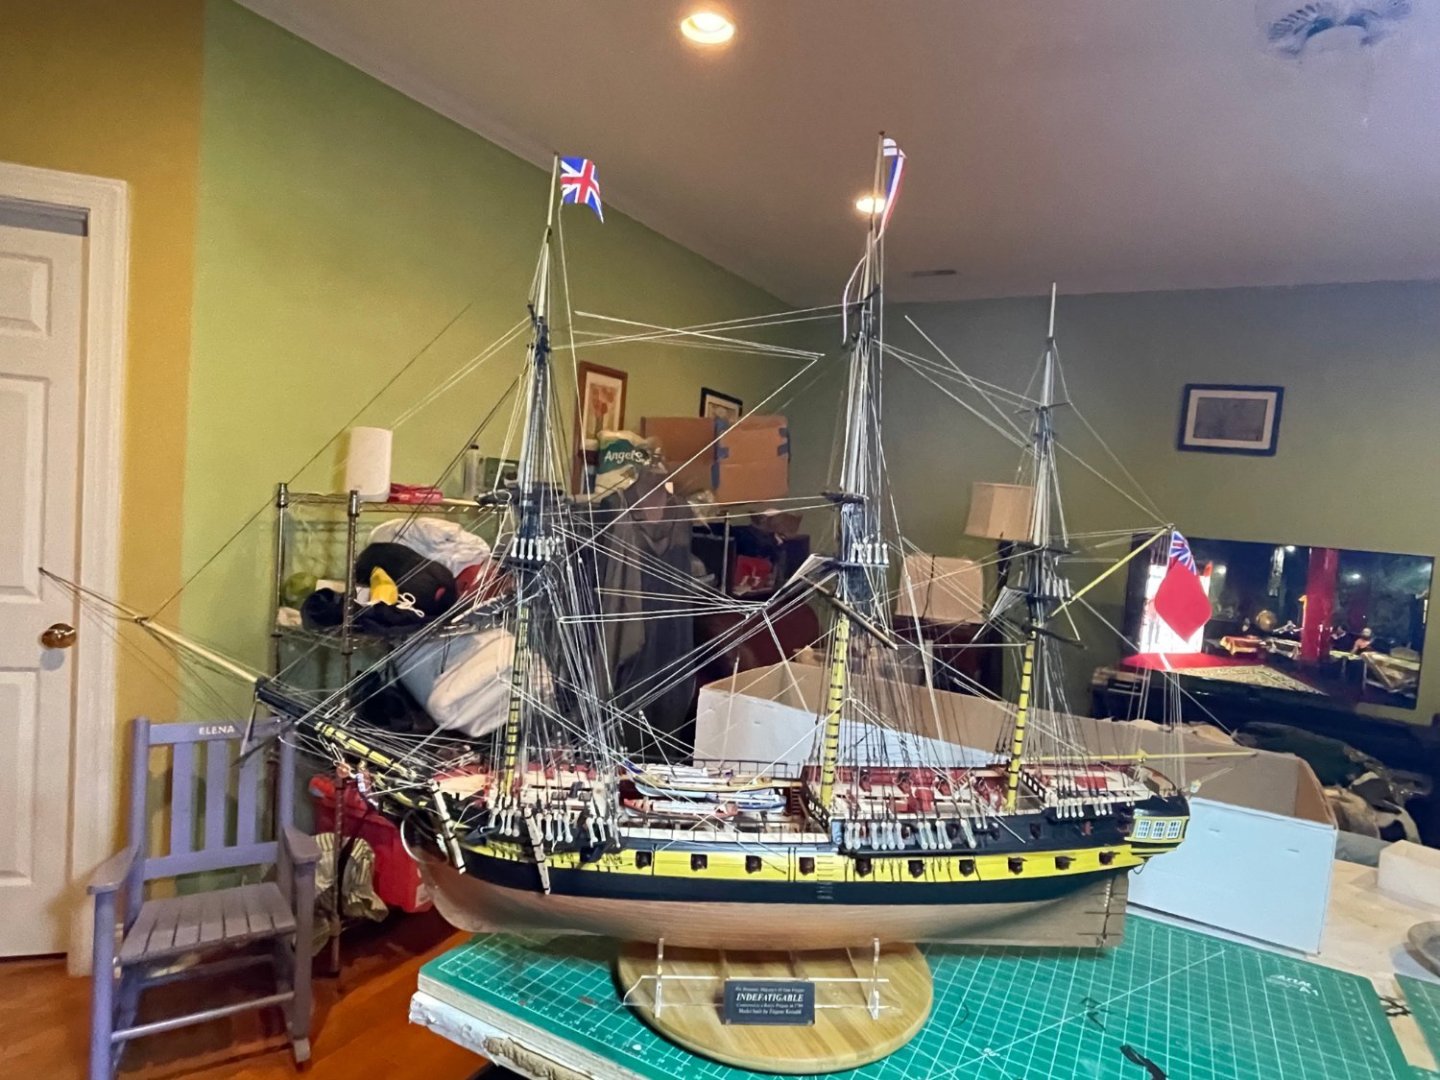
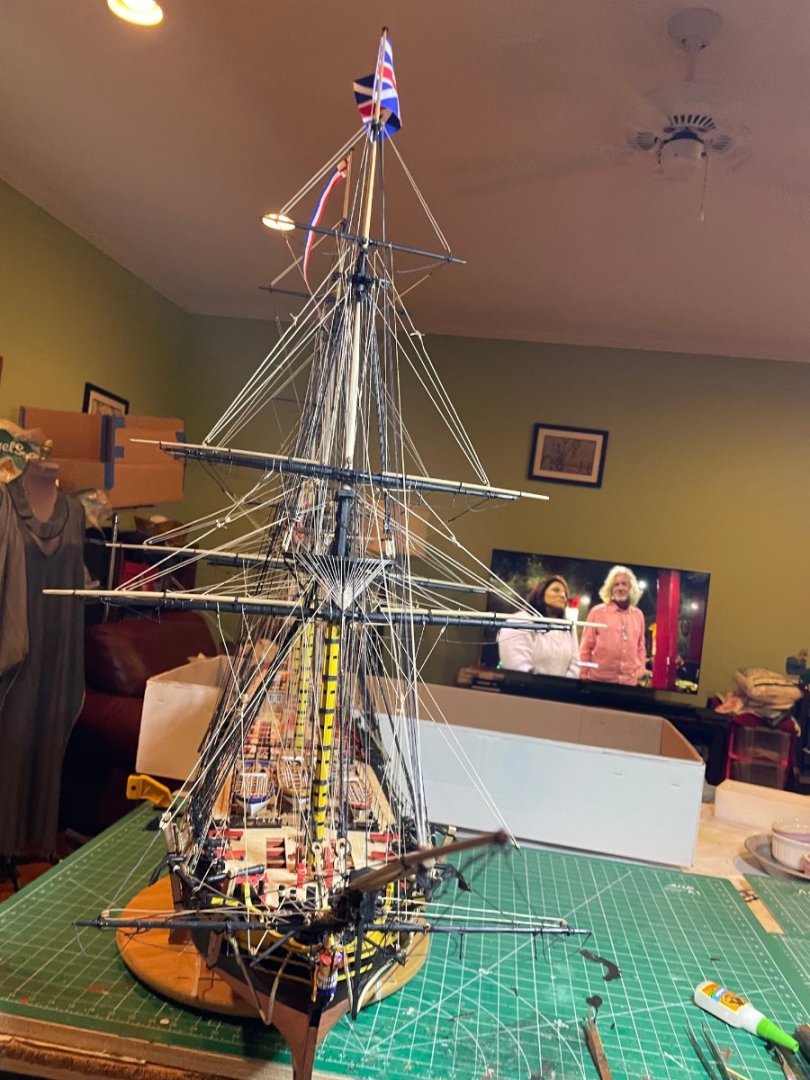
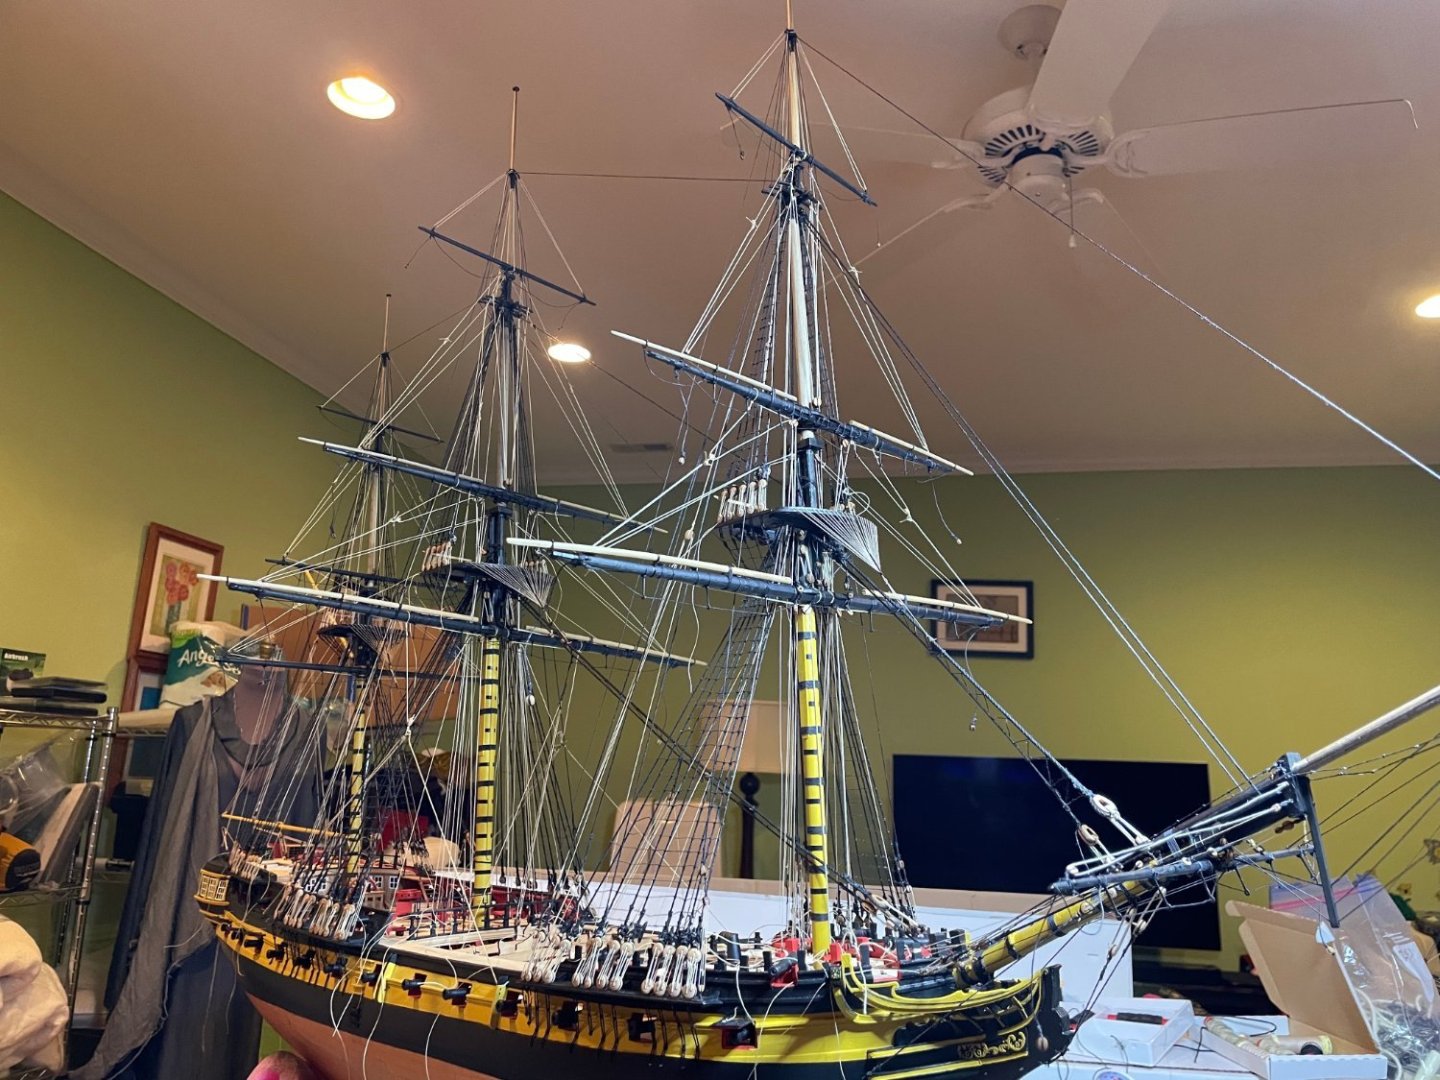
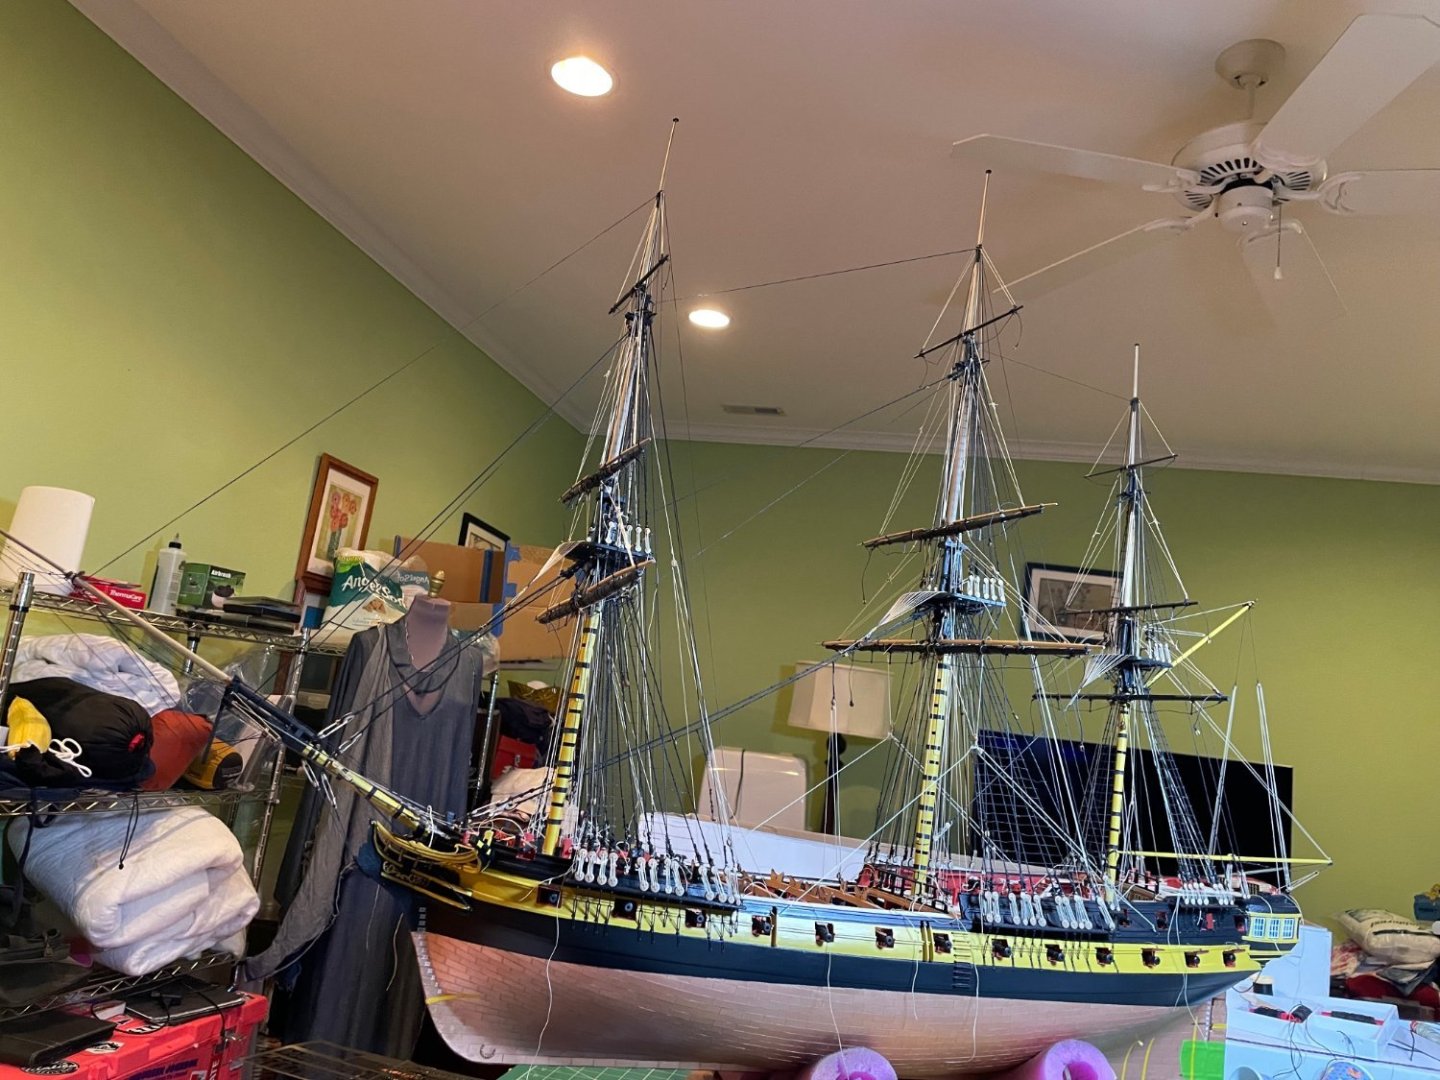
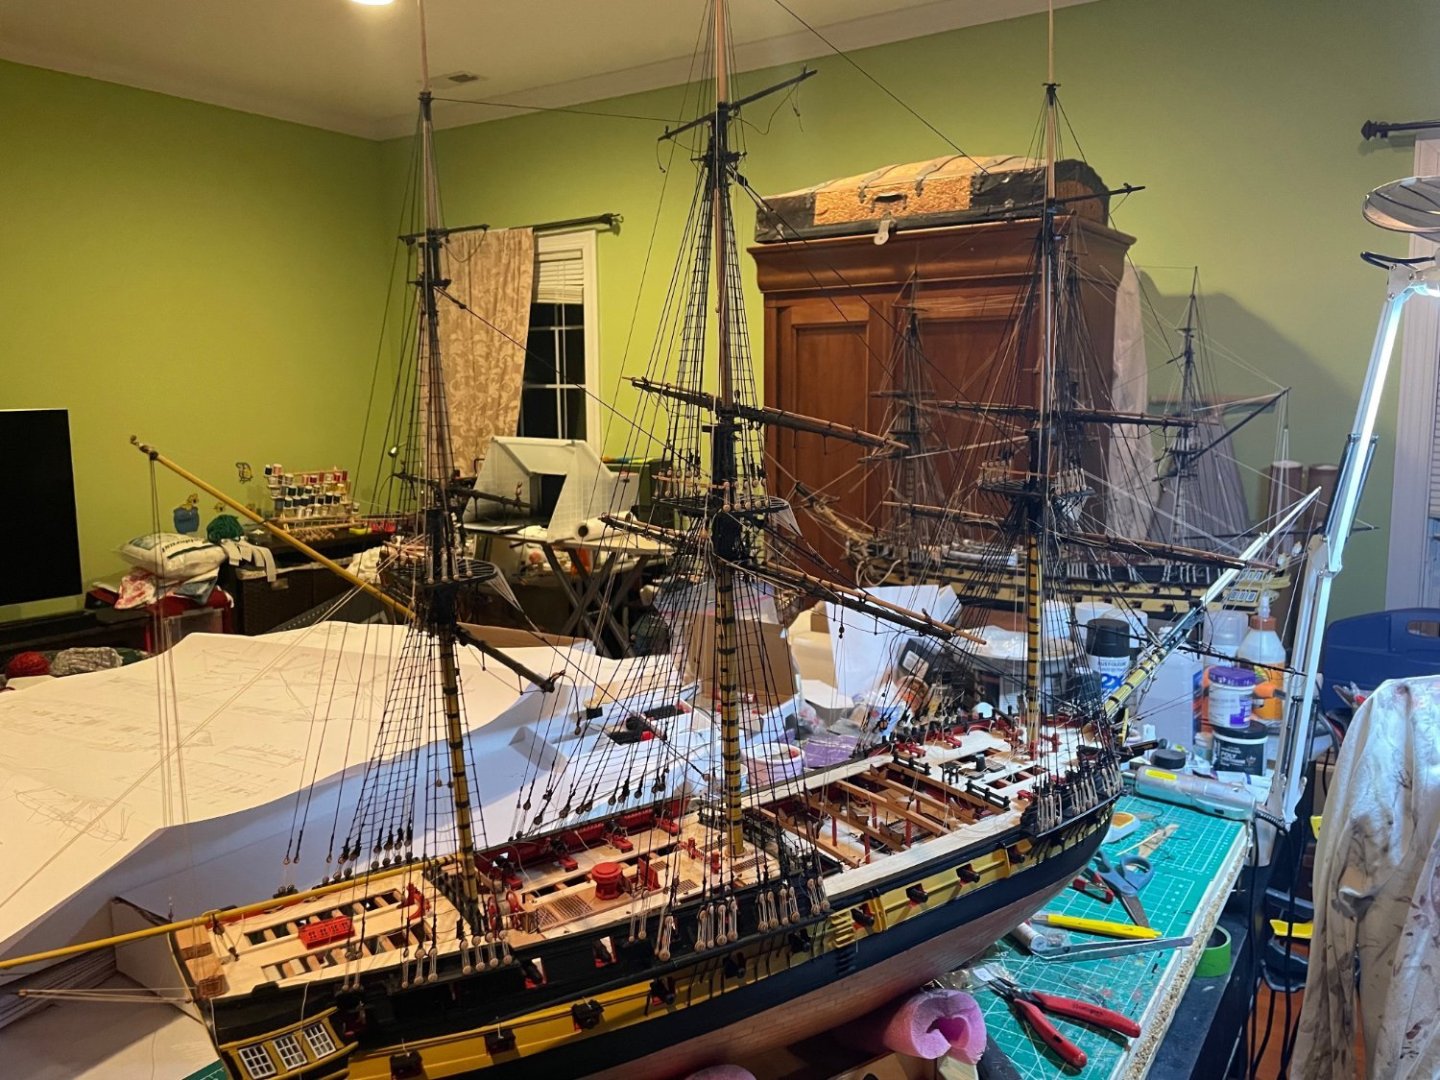
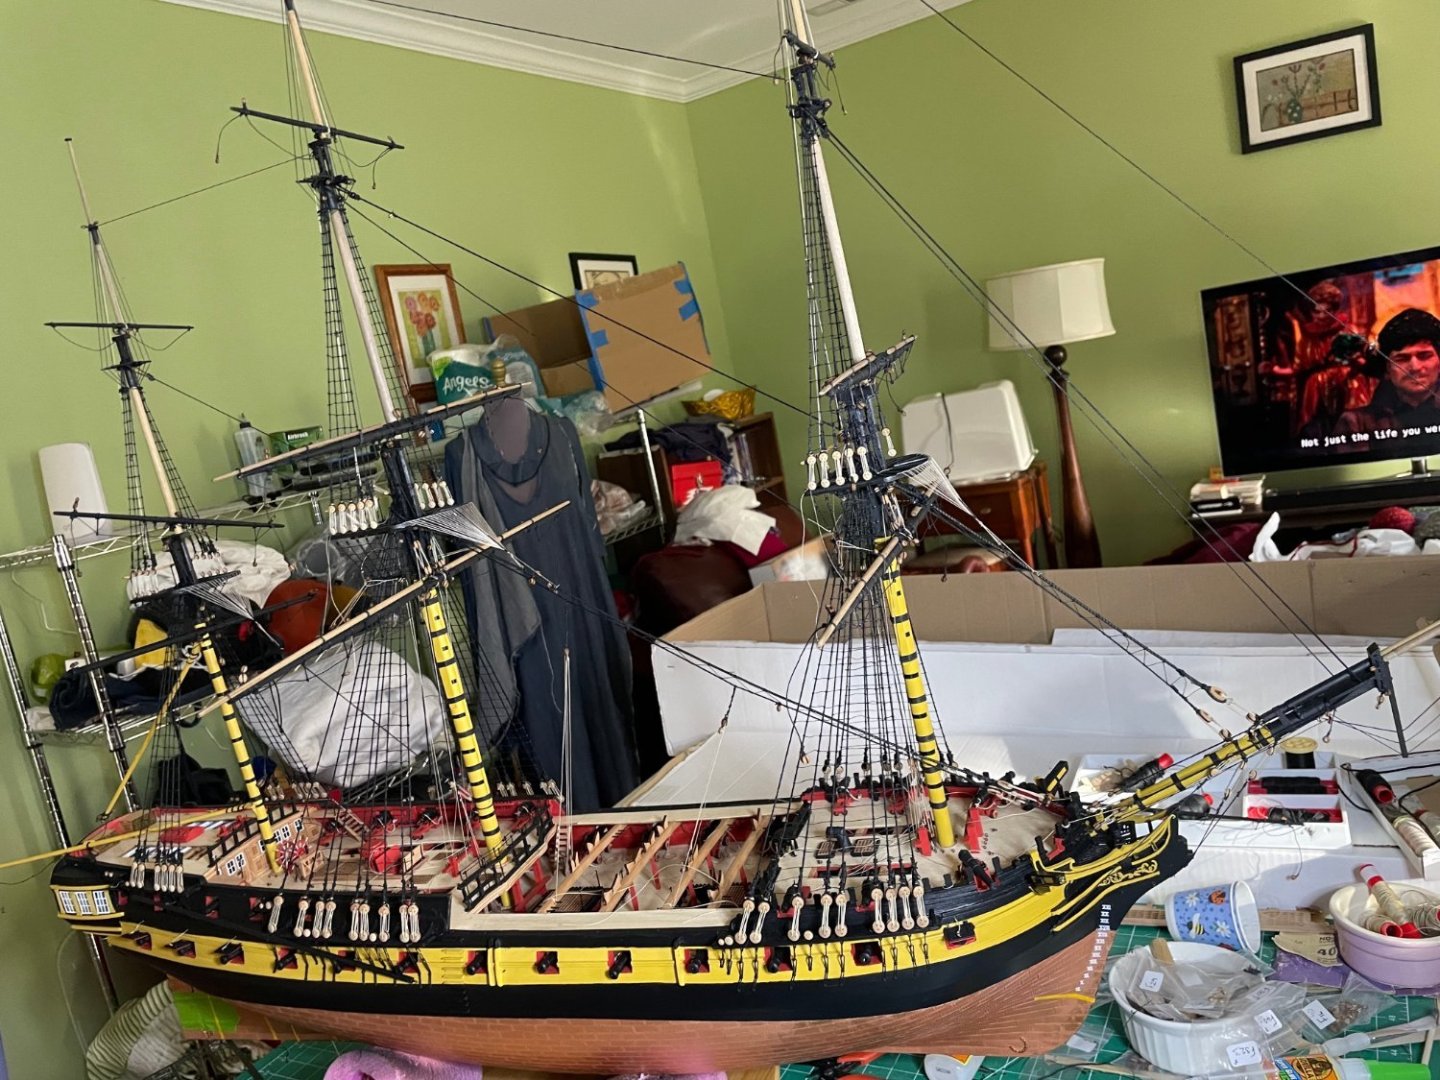
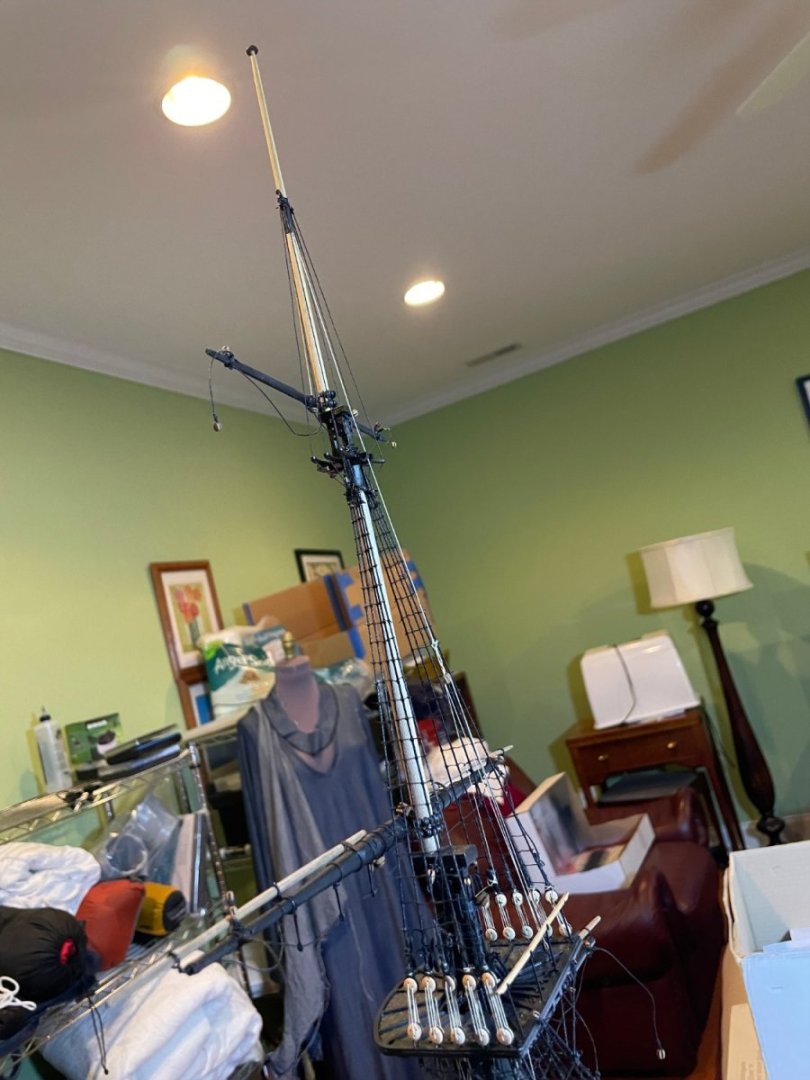
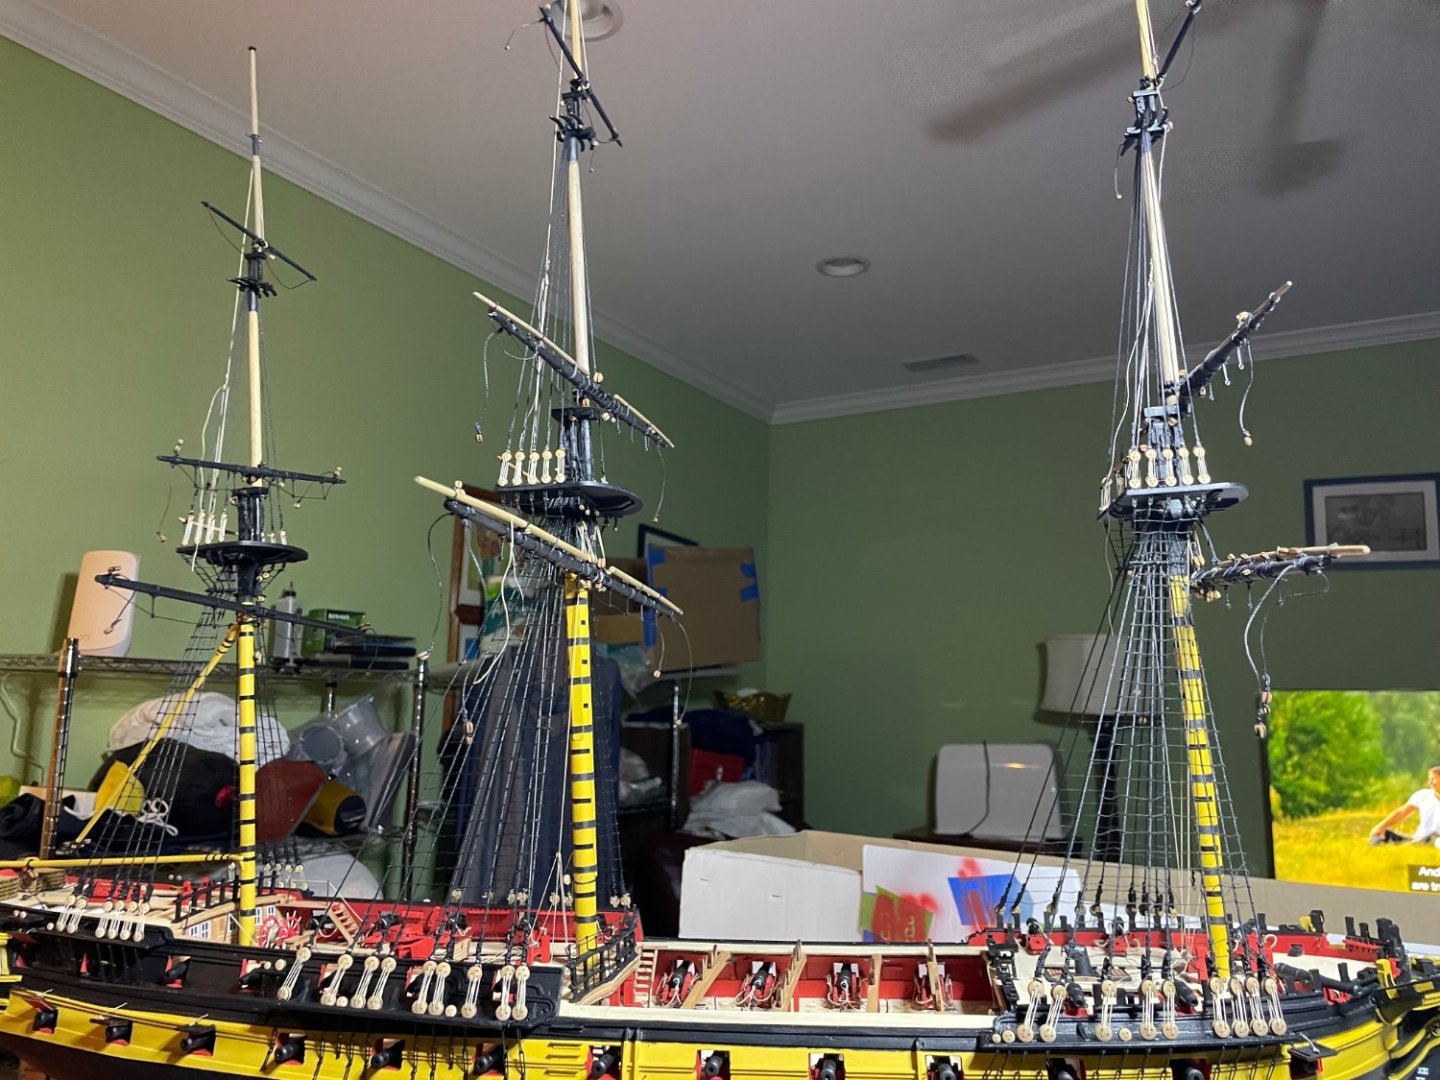
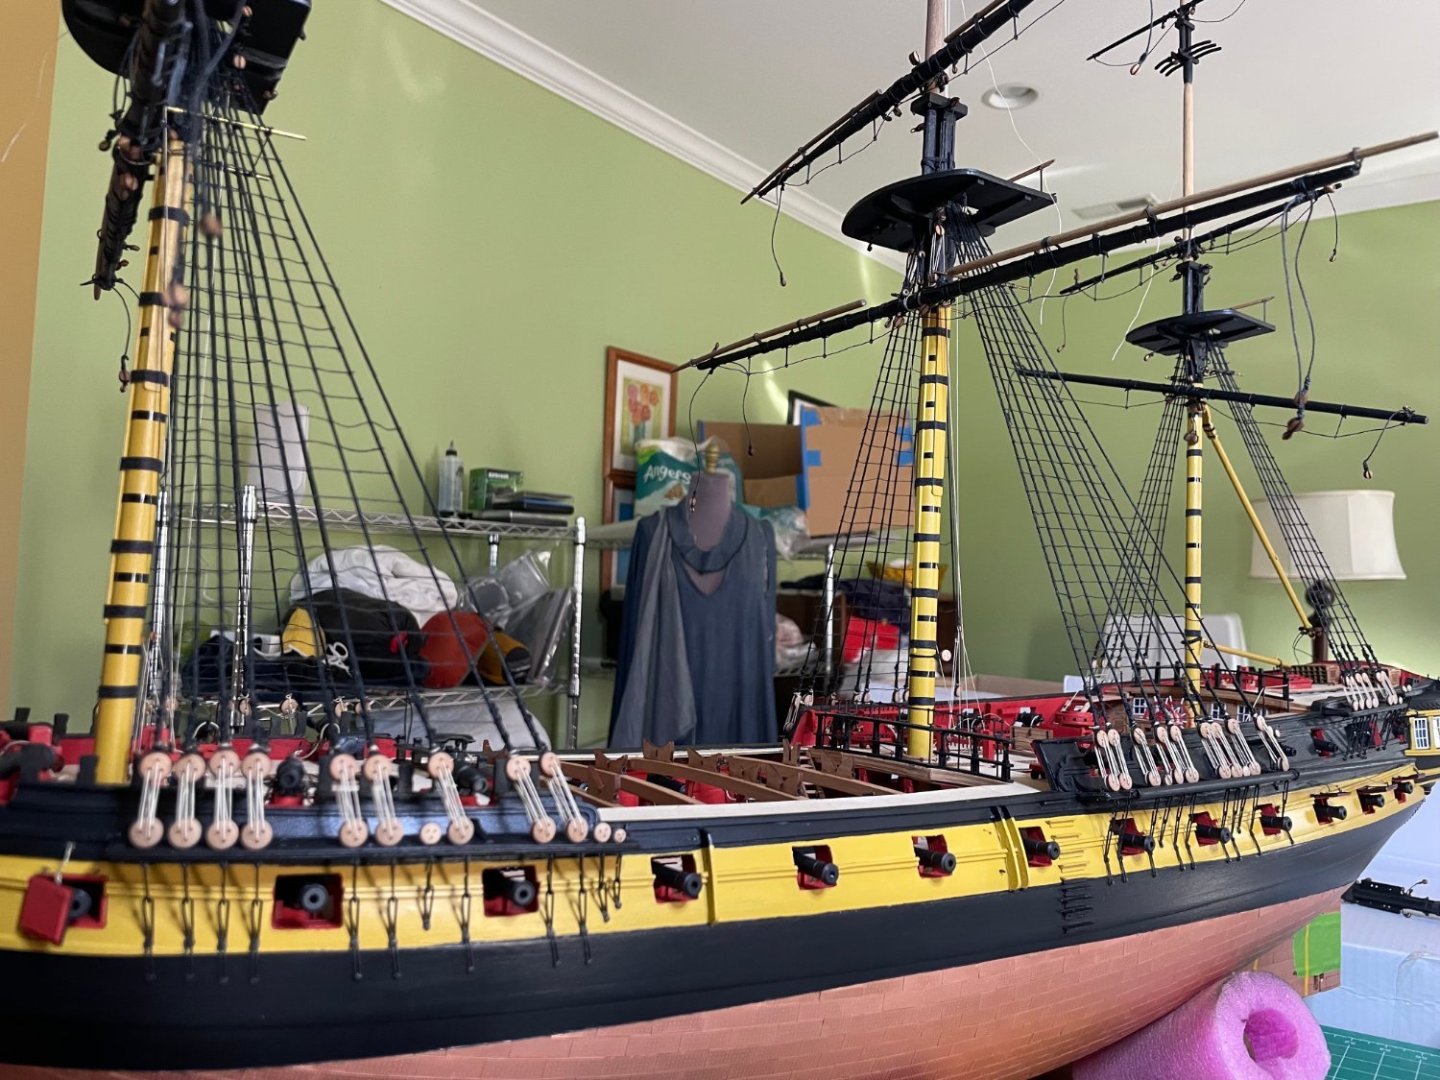
Here I am next to it. The sheet on the previous picture was a Queen size with my wife holding it up .

- 233 replies
-
- 11
-

-
- Indefatigable
- Vanguard Models
- (and 1 more)
-
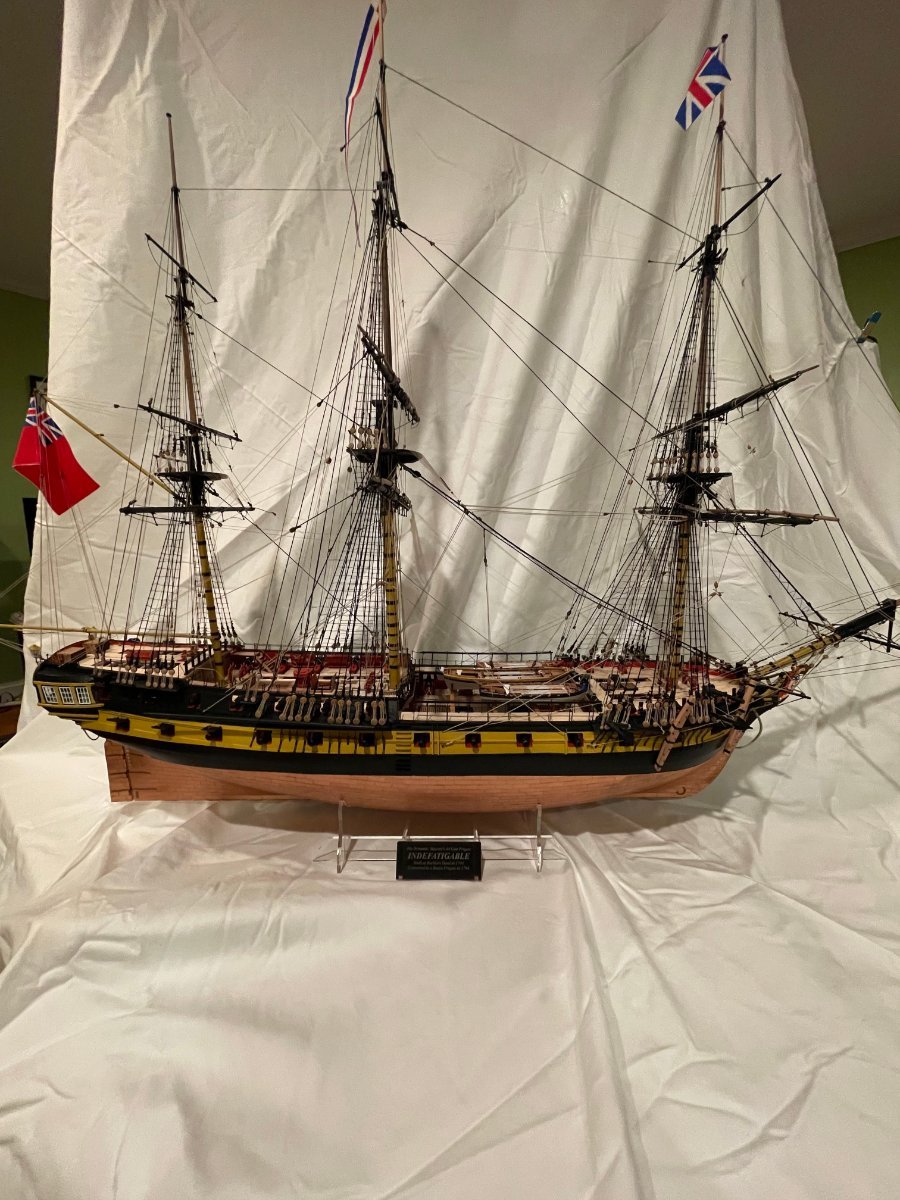
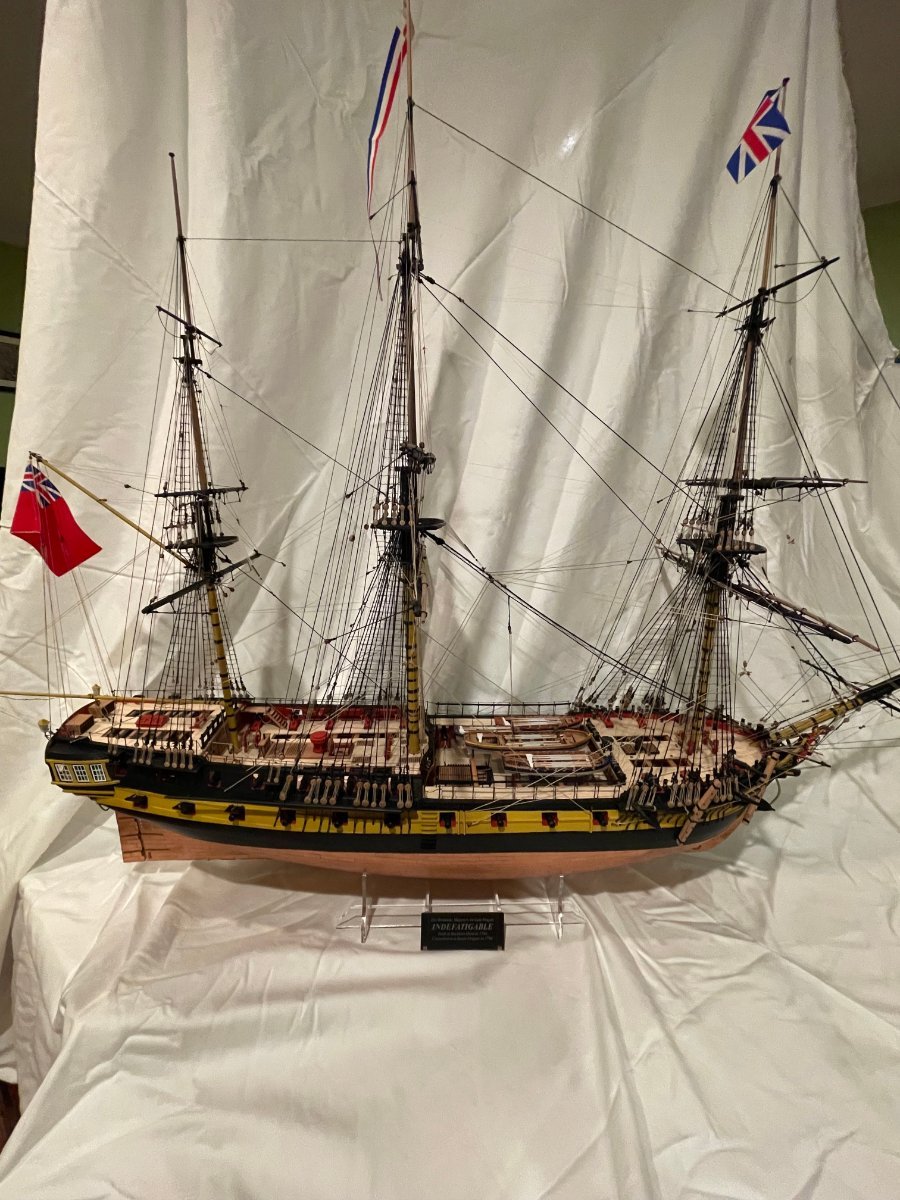
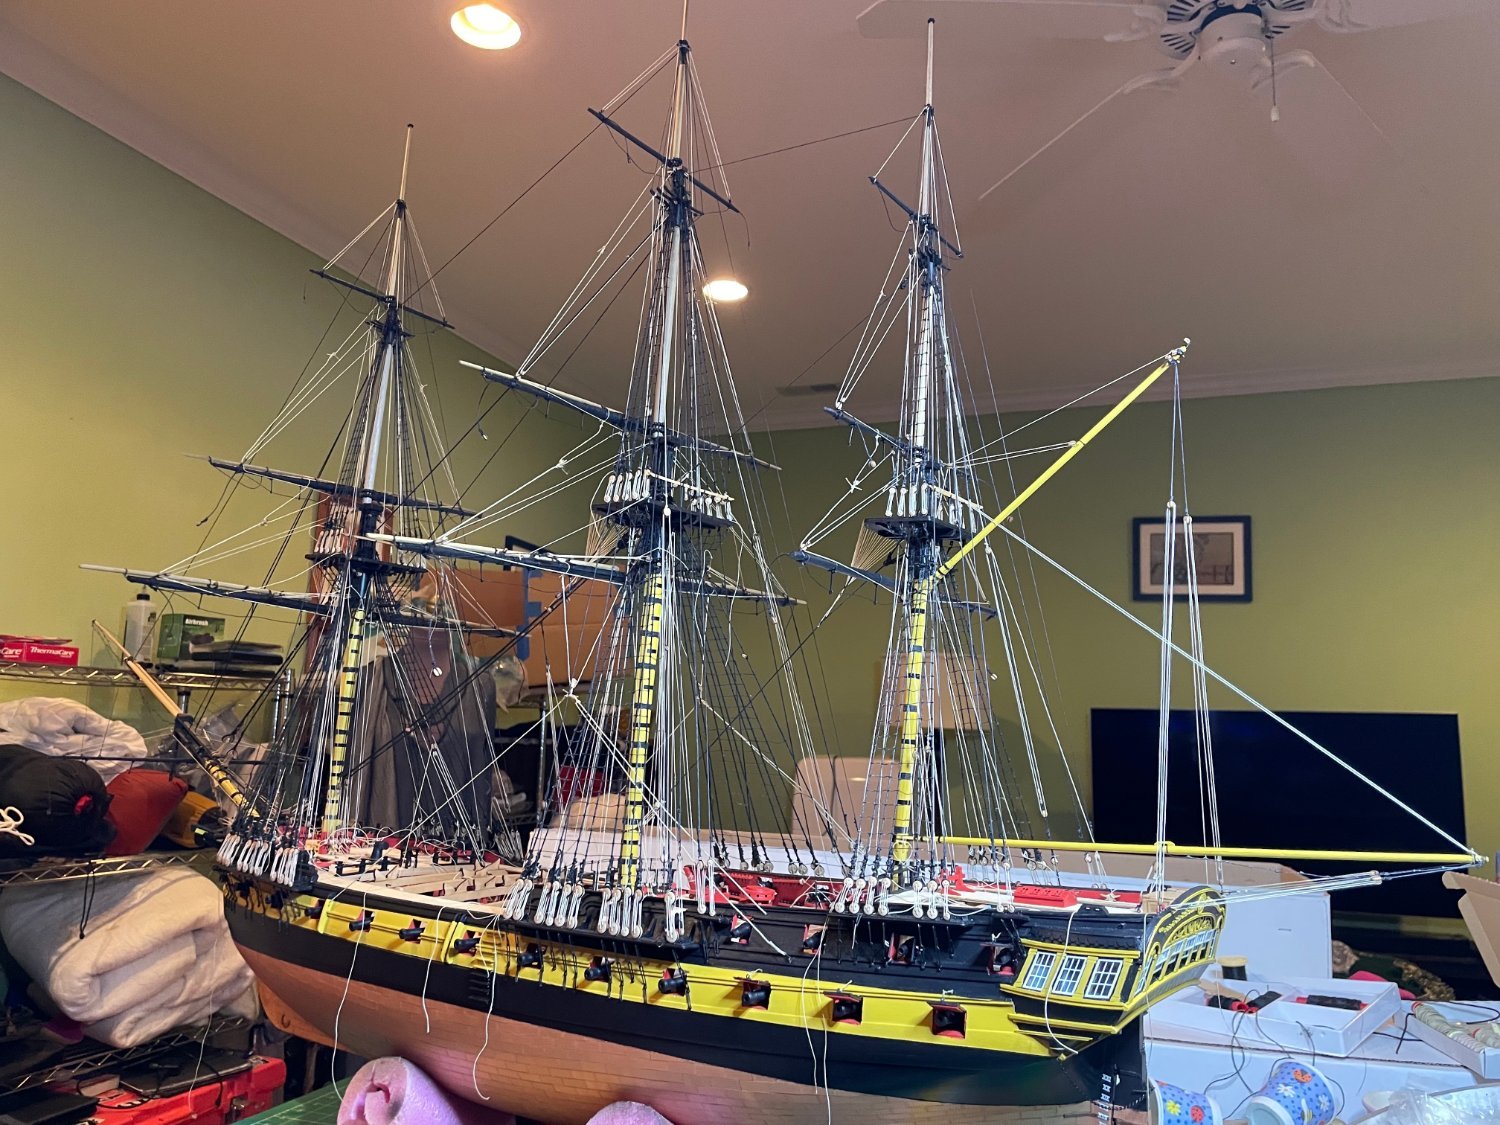
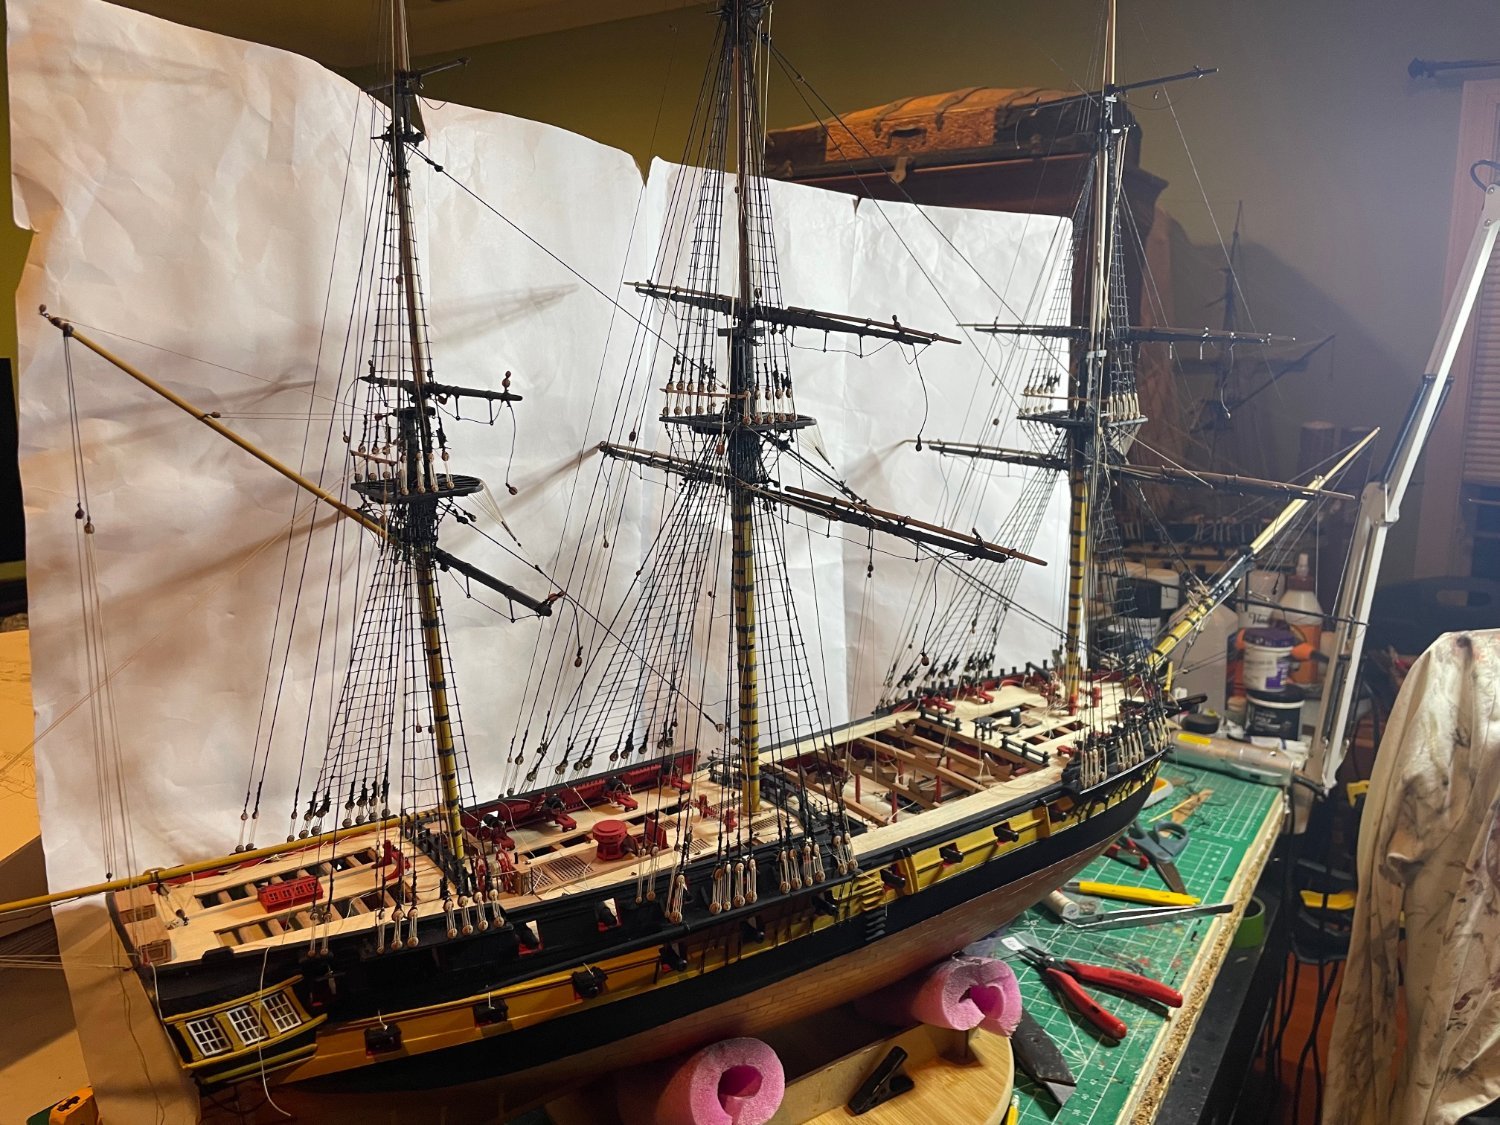
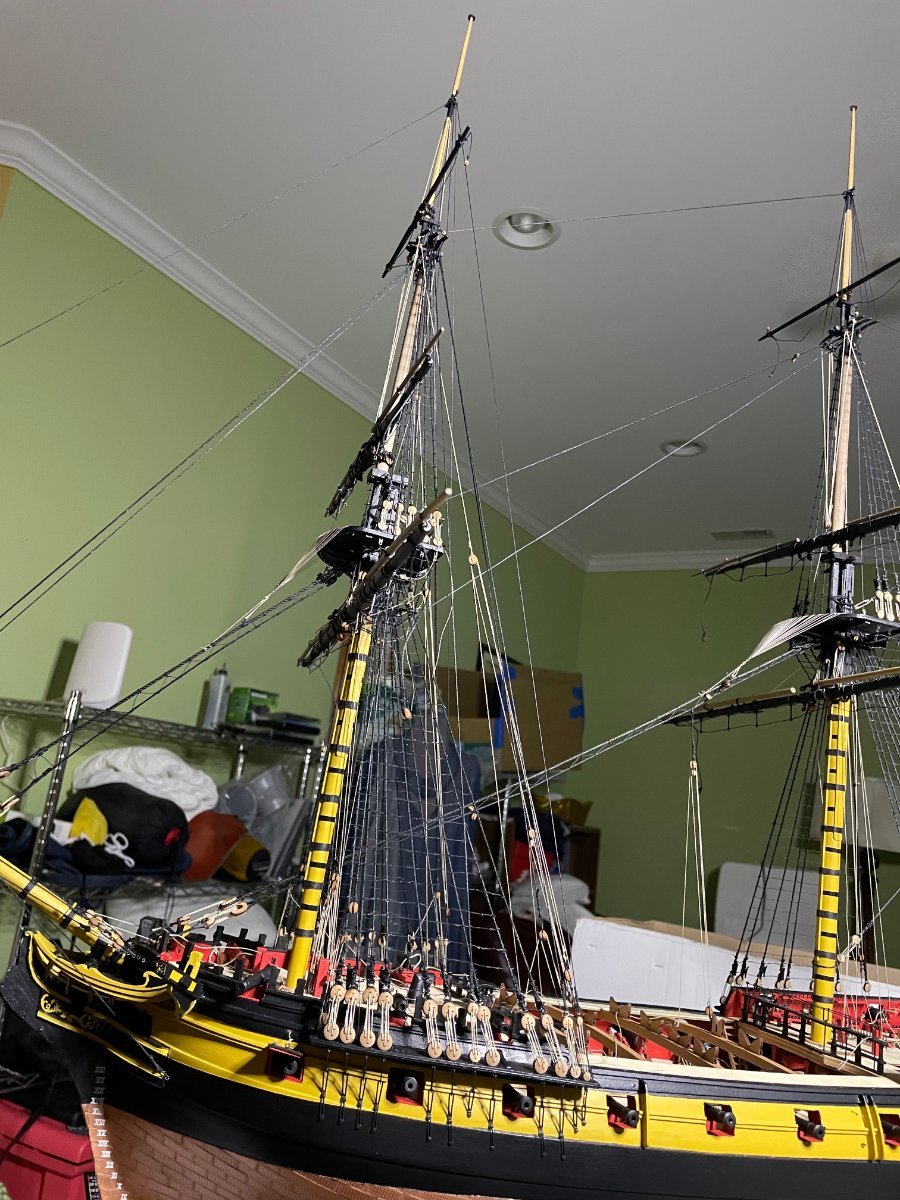
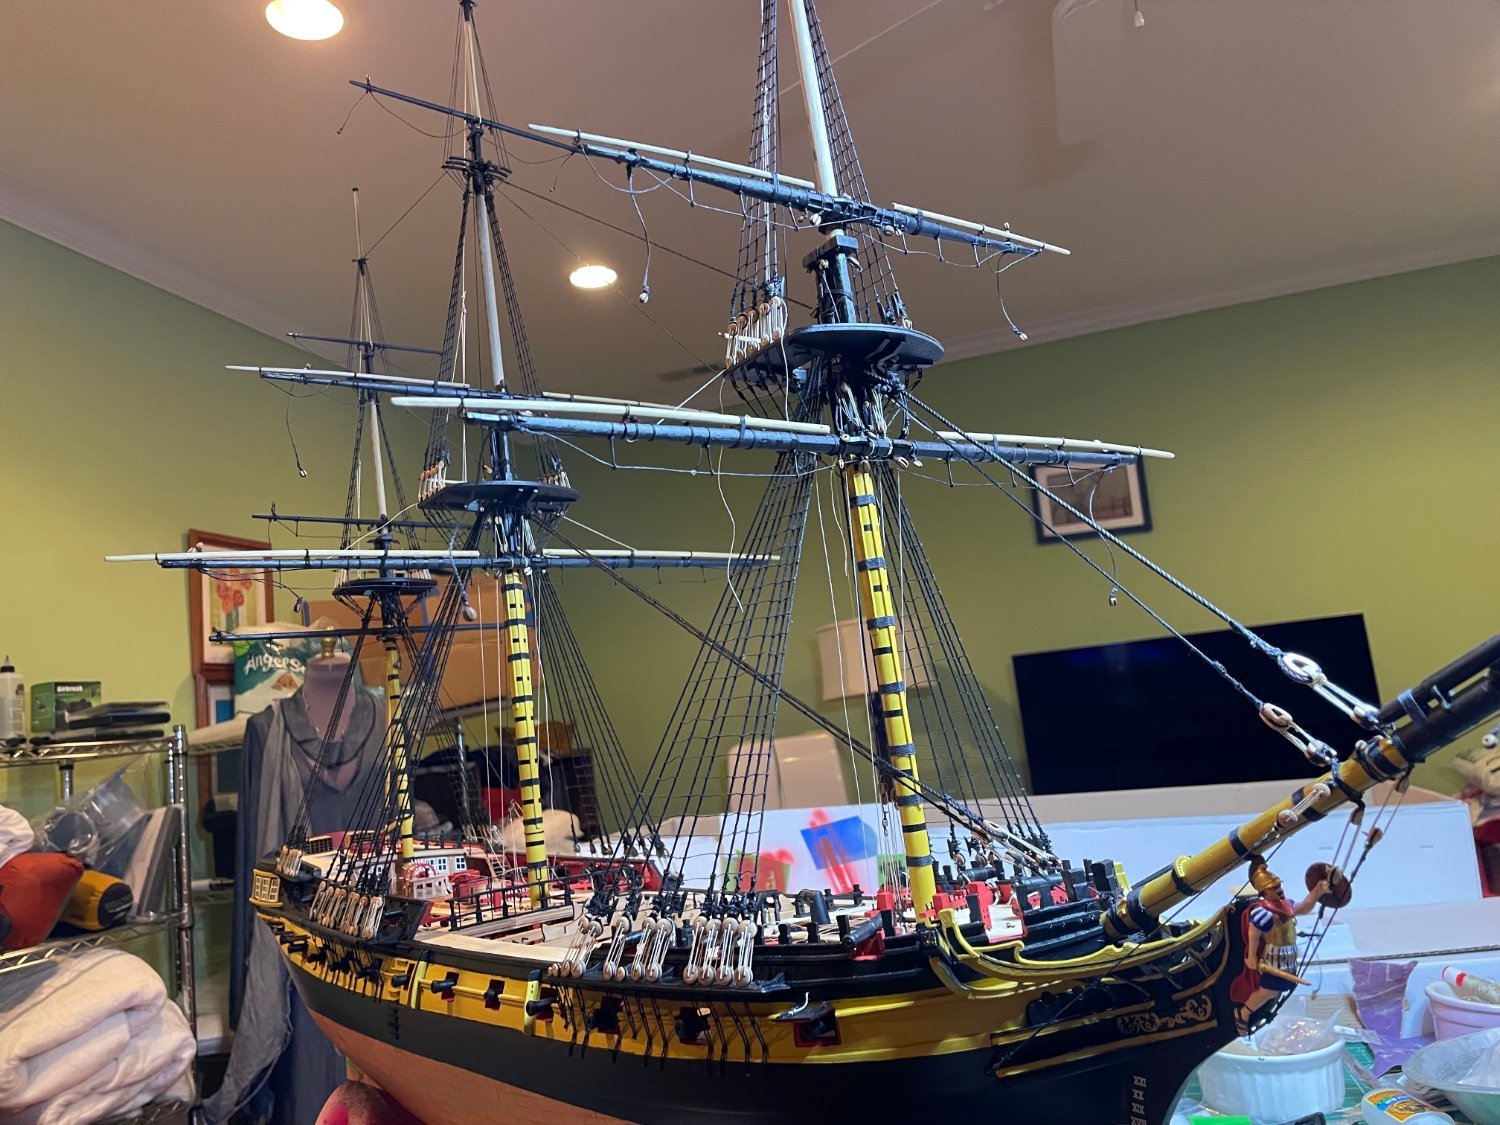
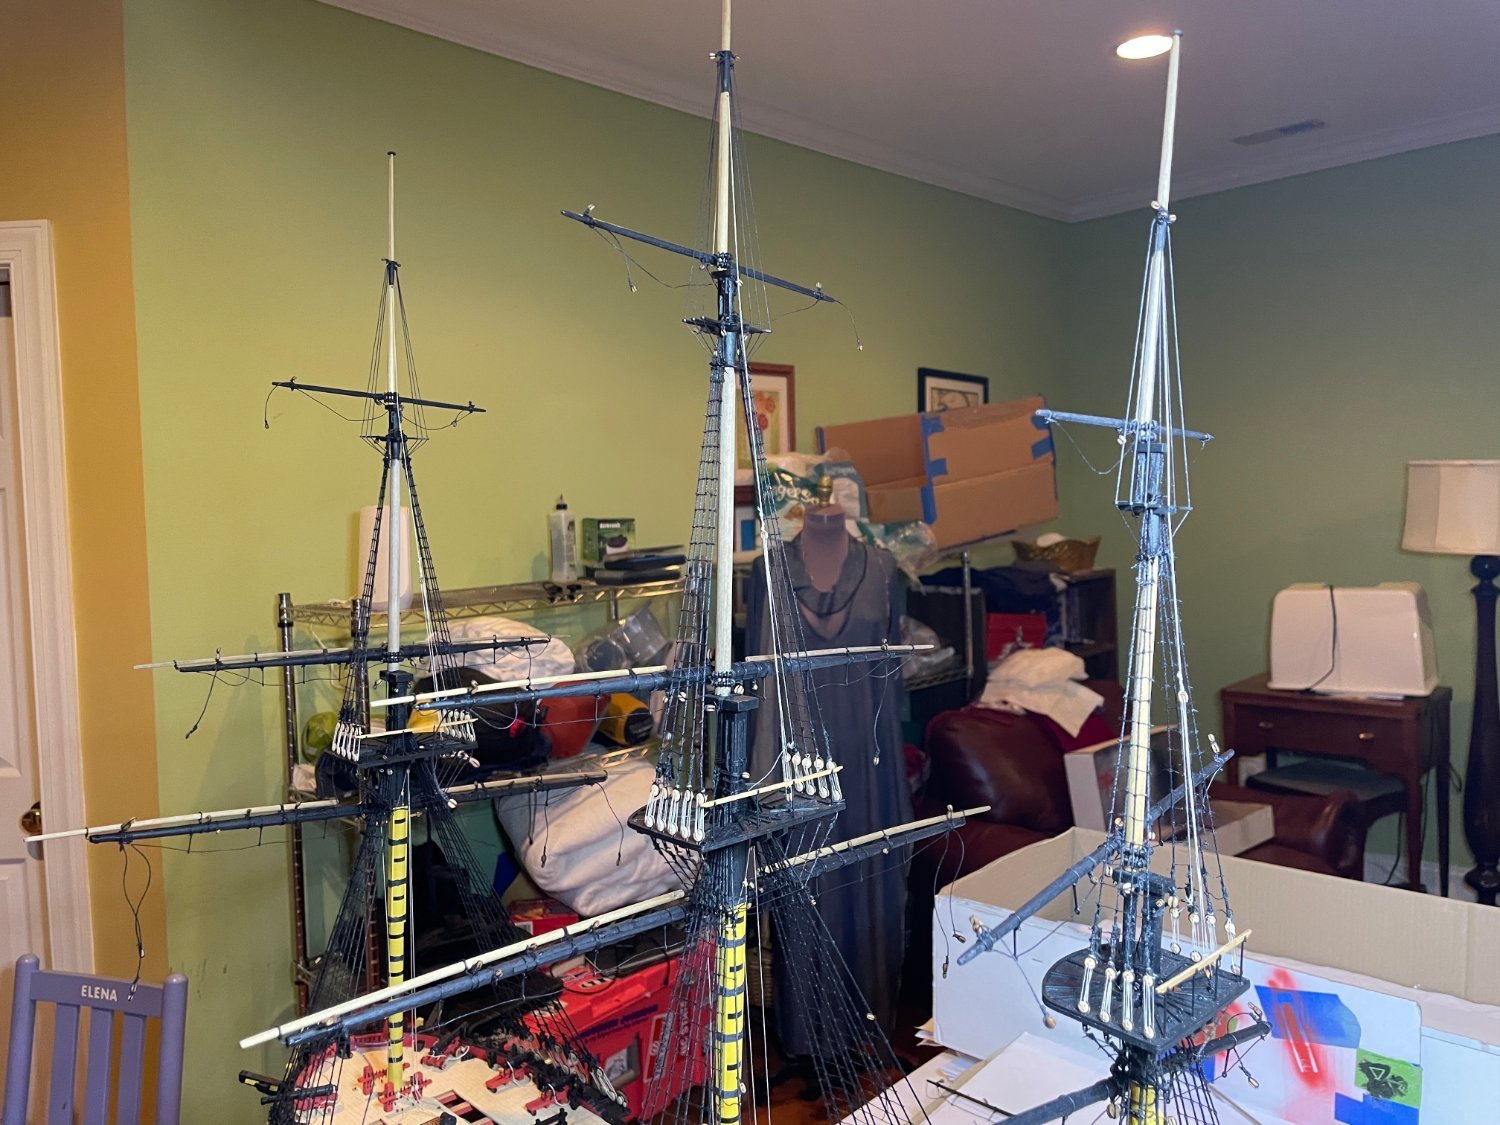
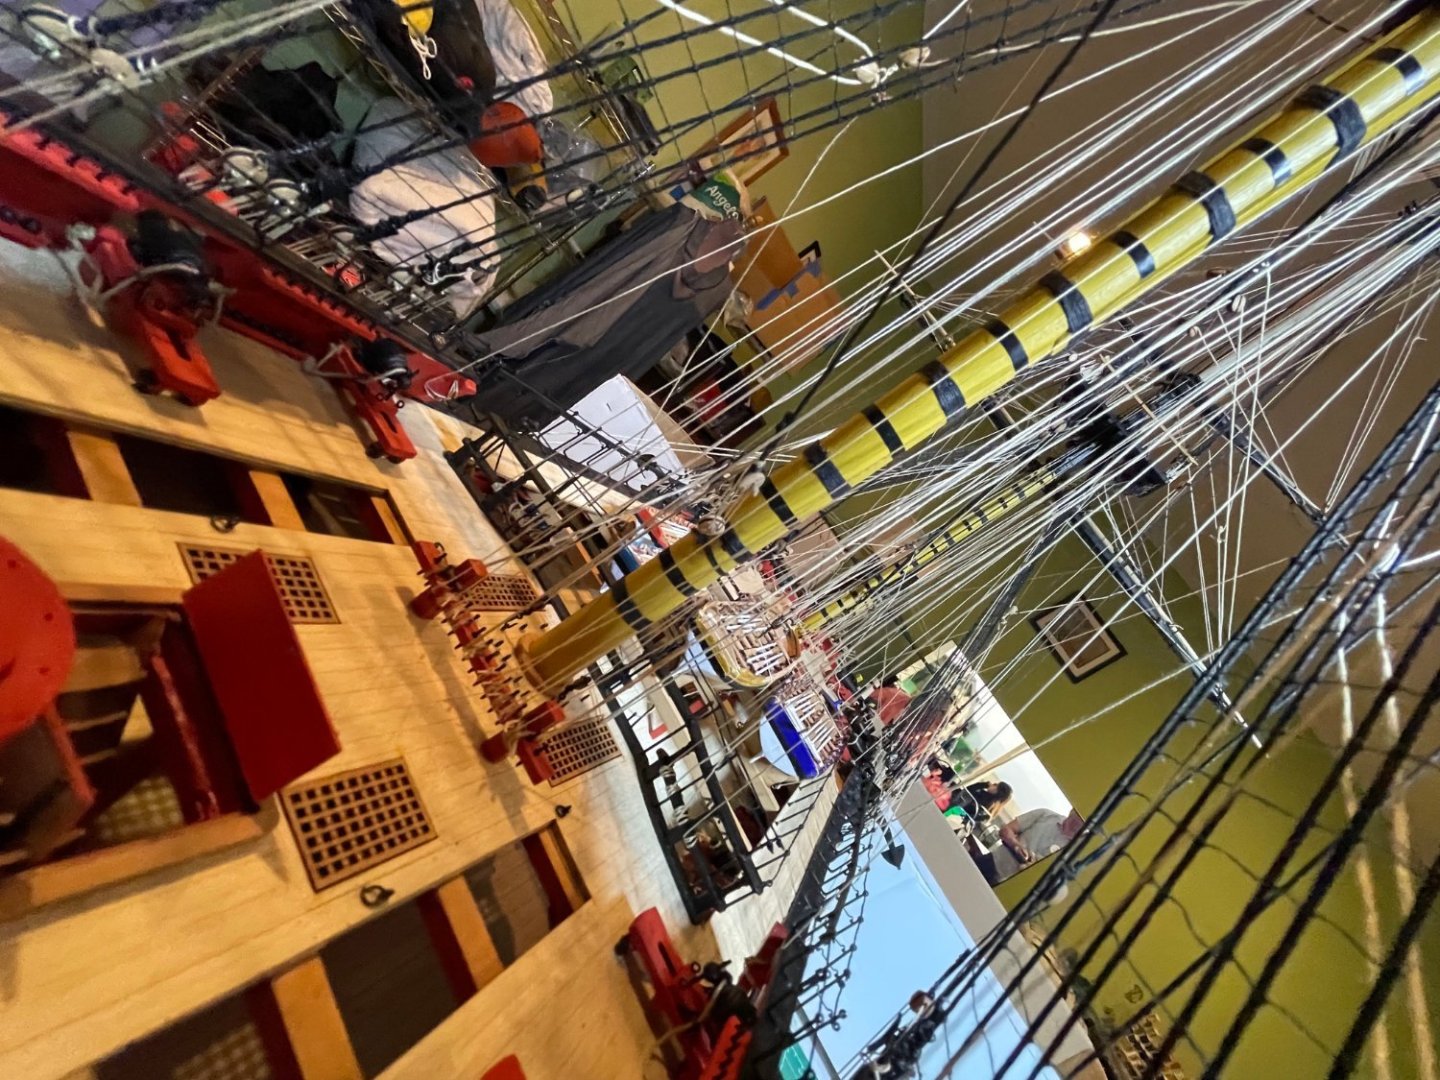
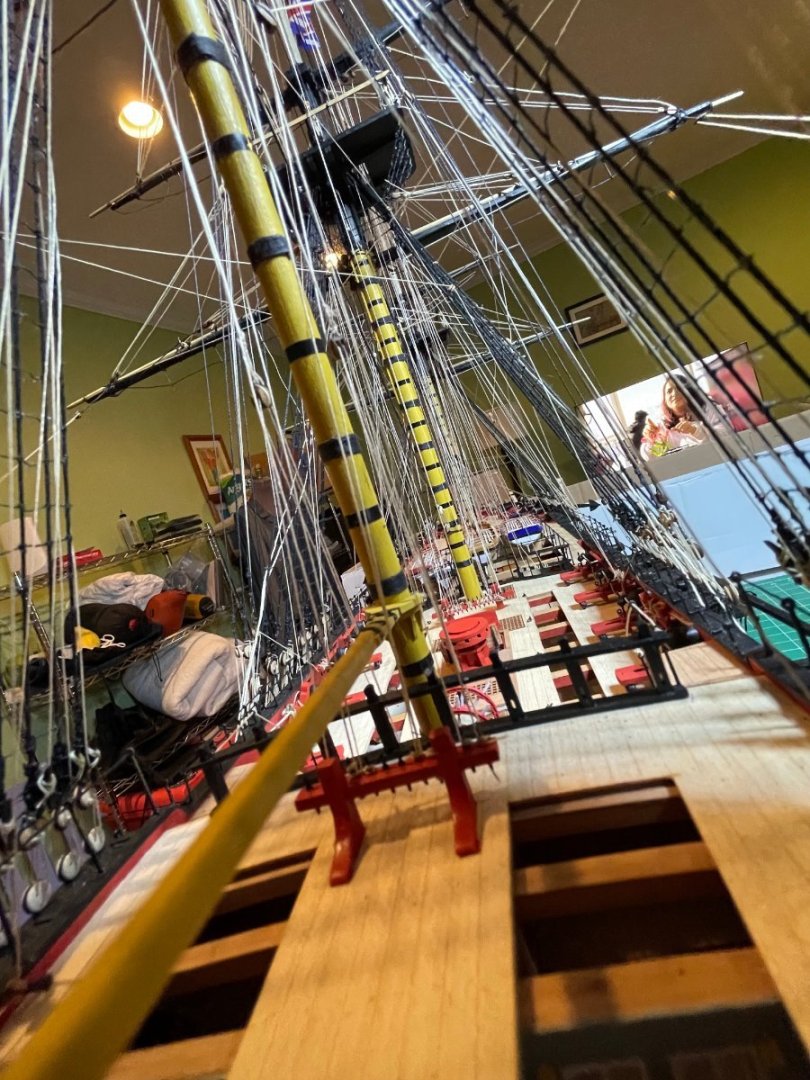
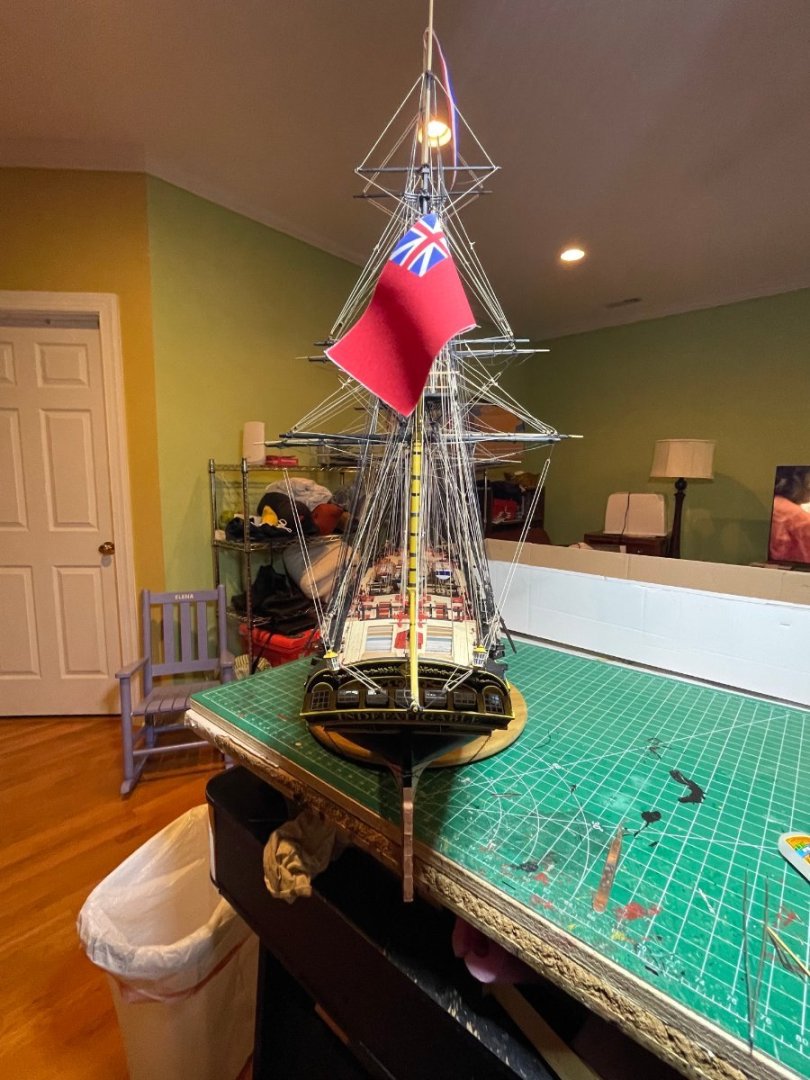
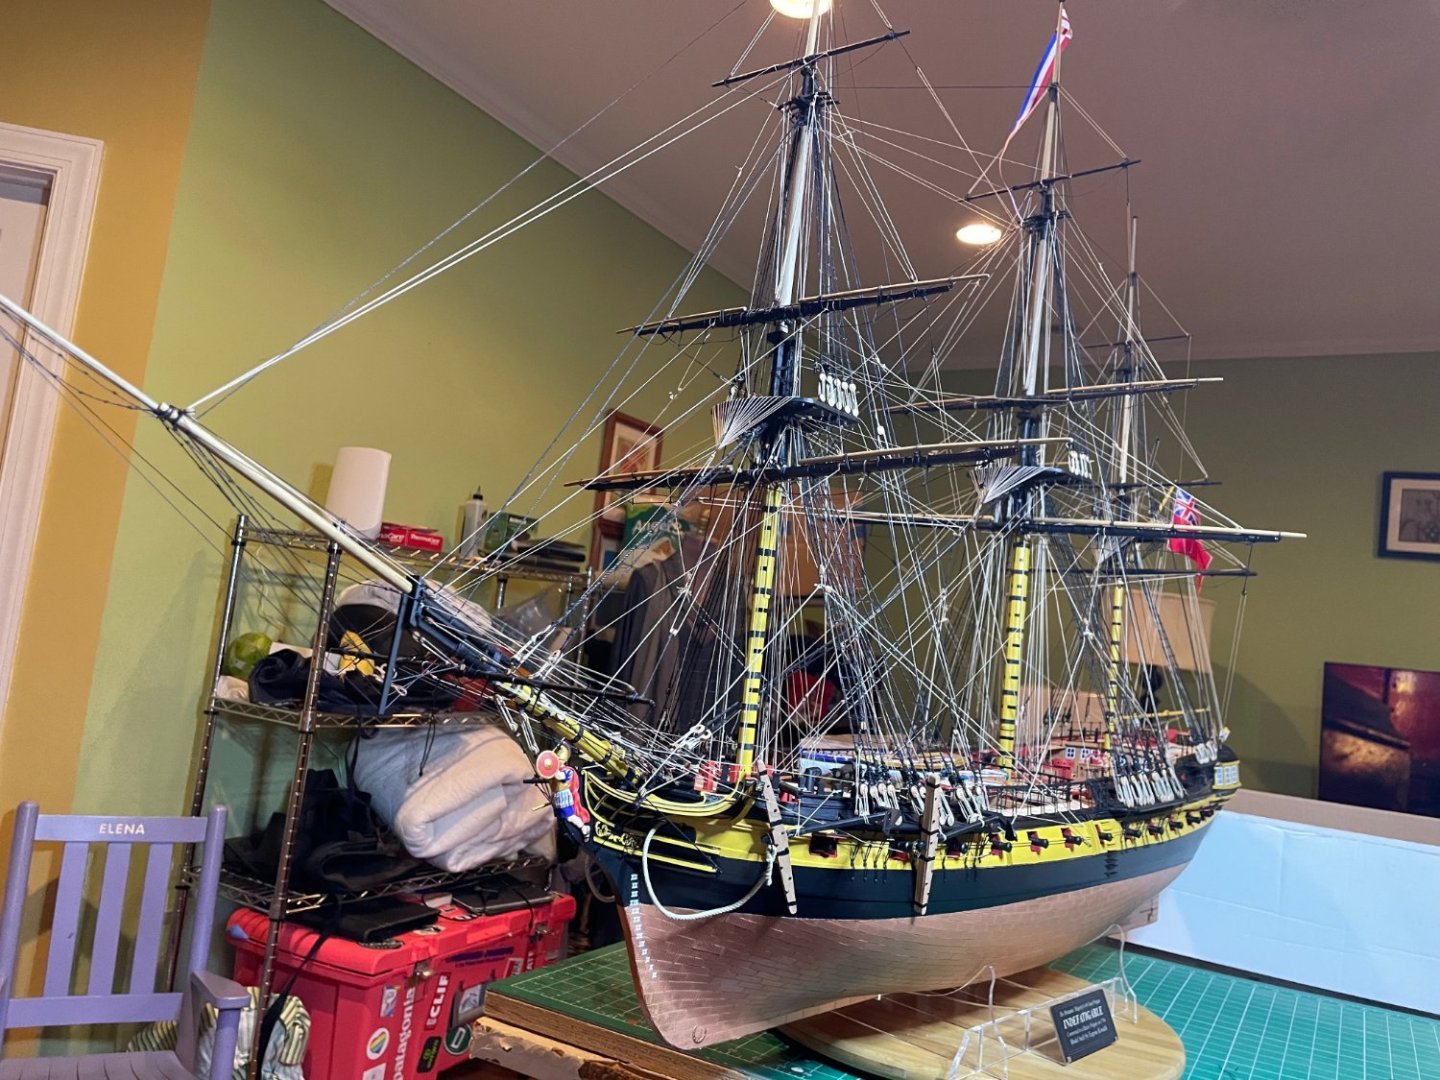
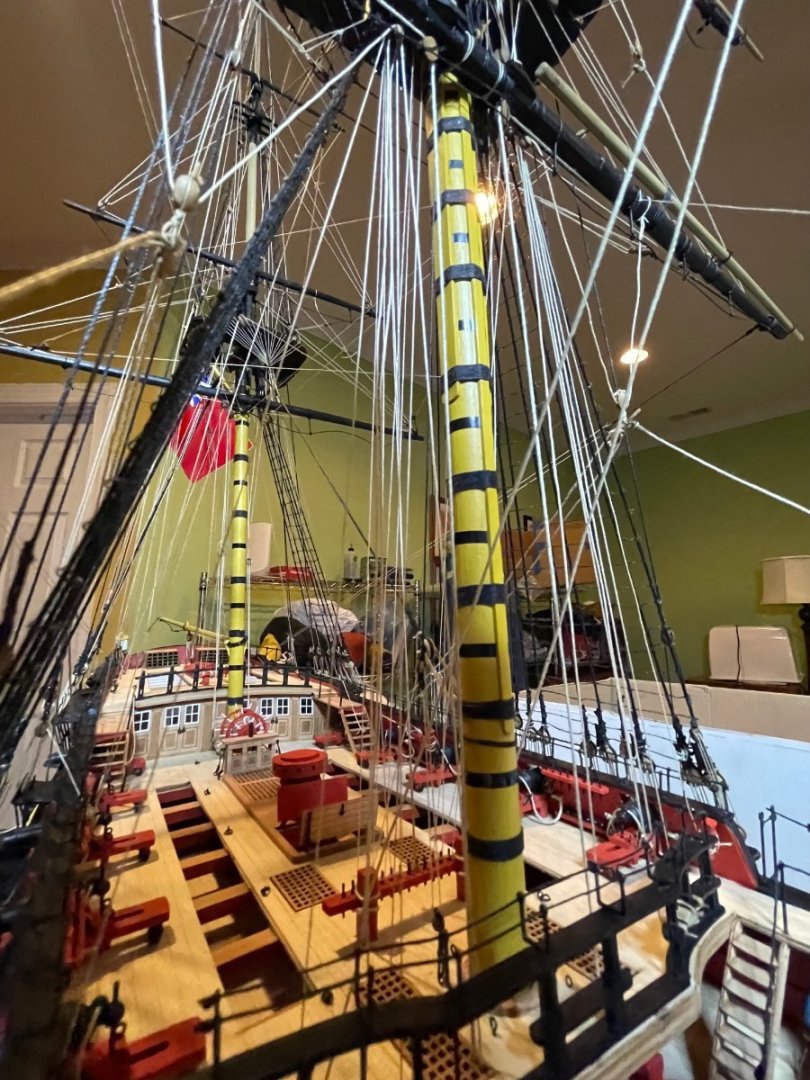
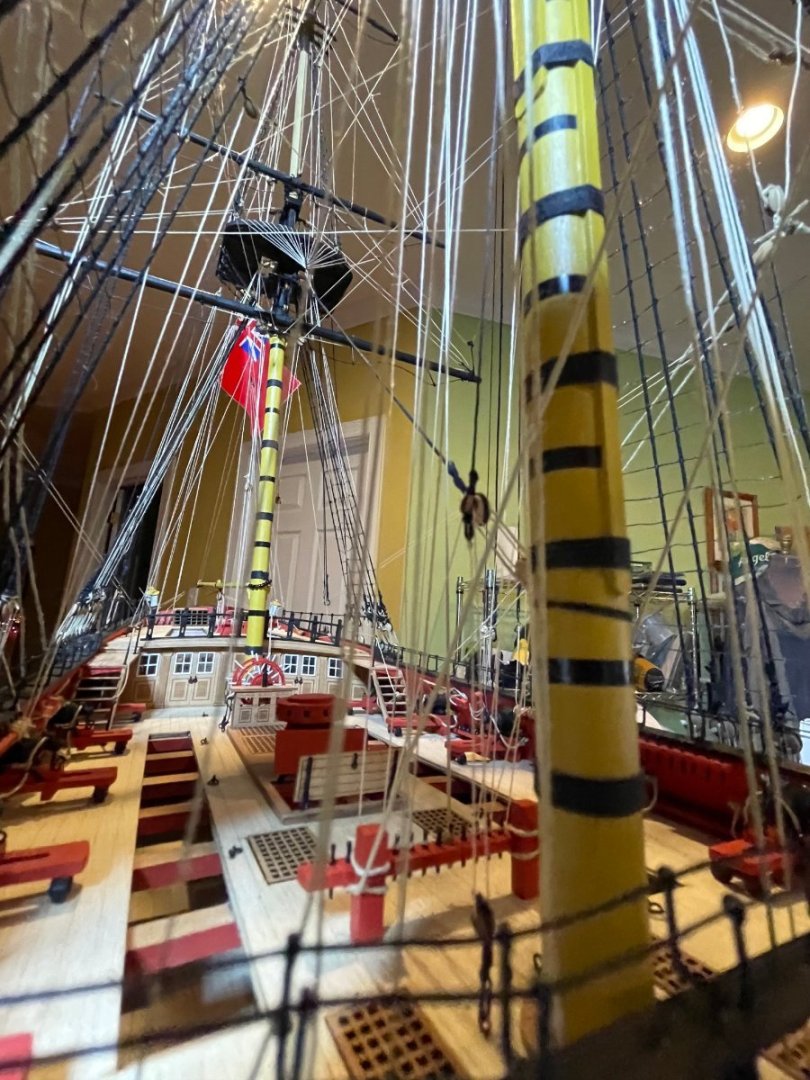
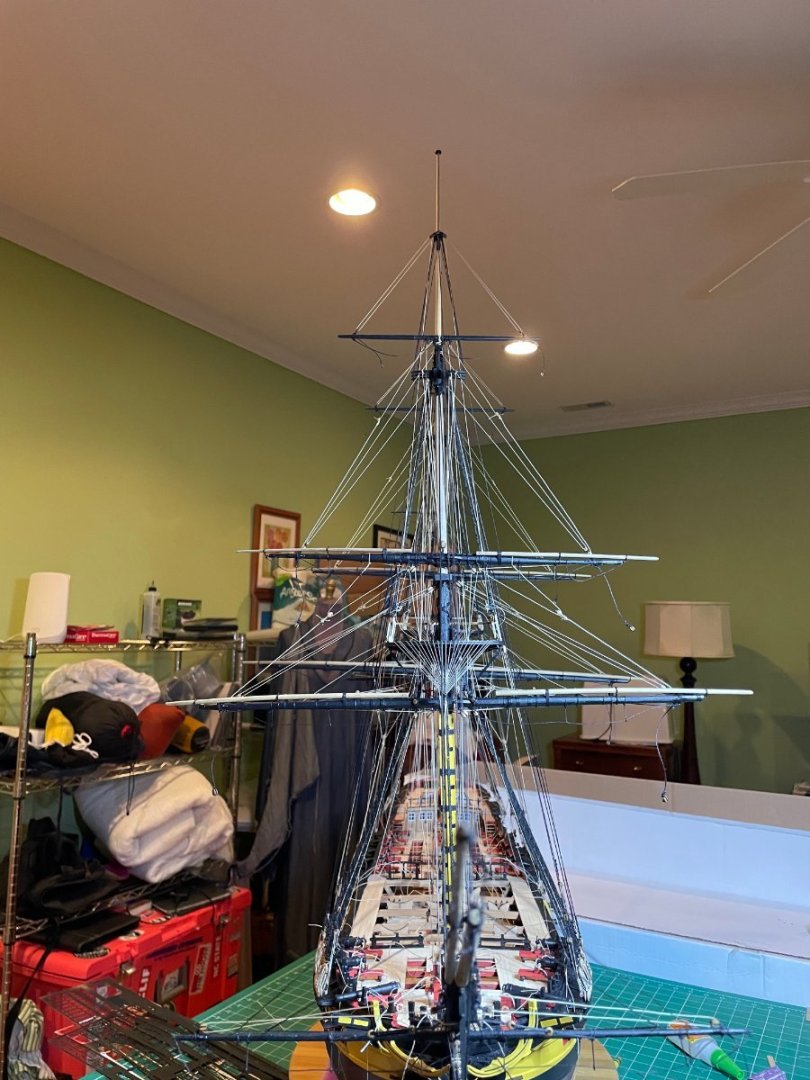
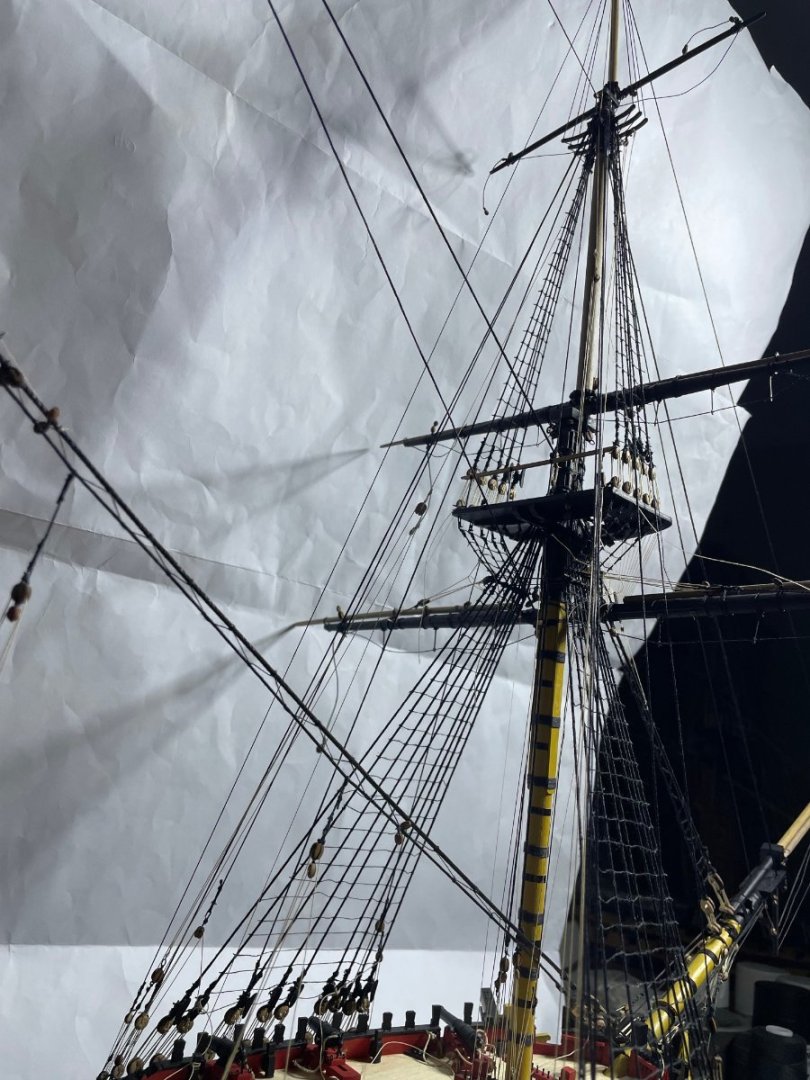
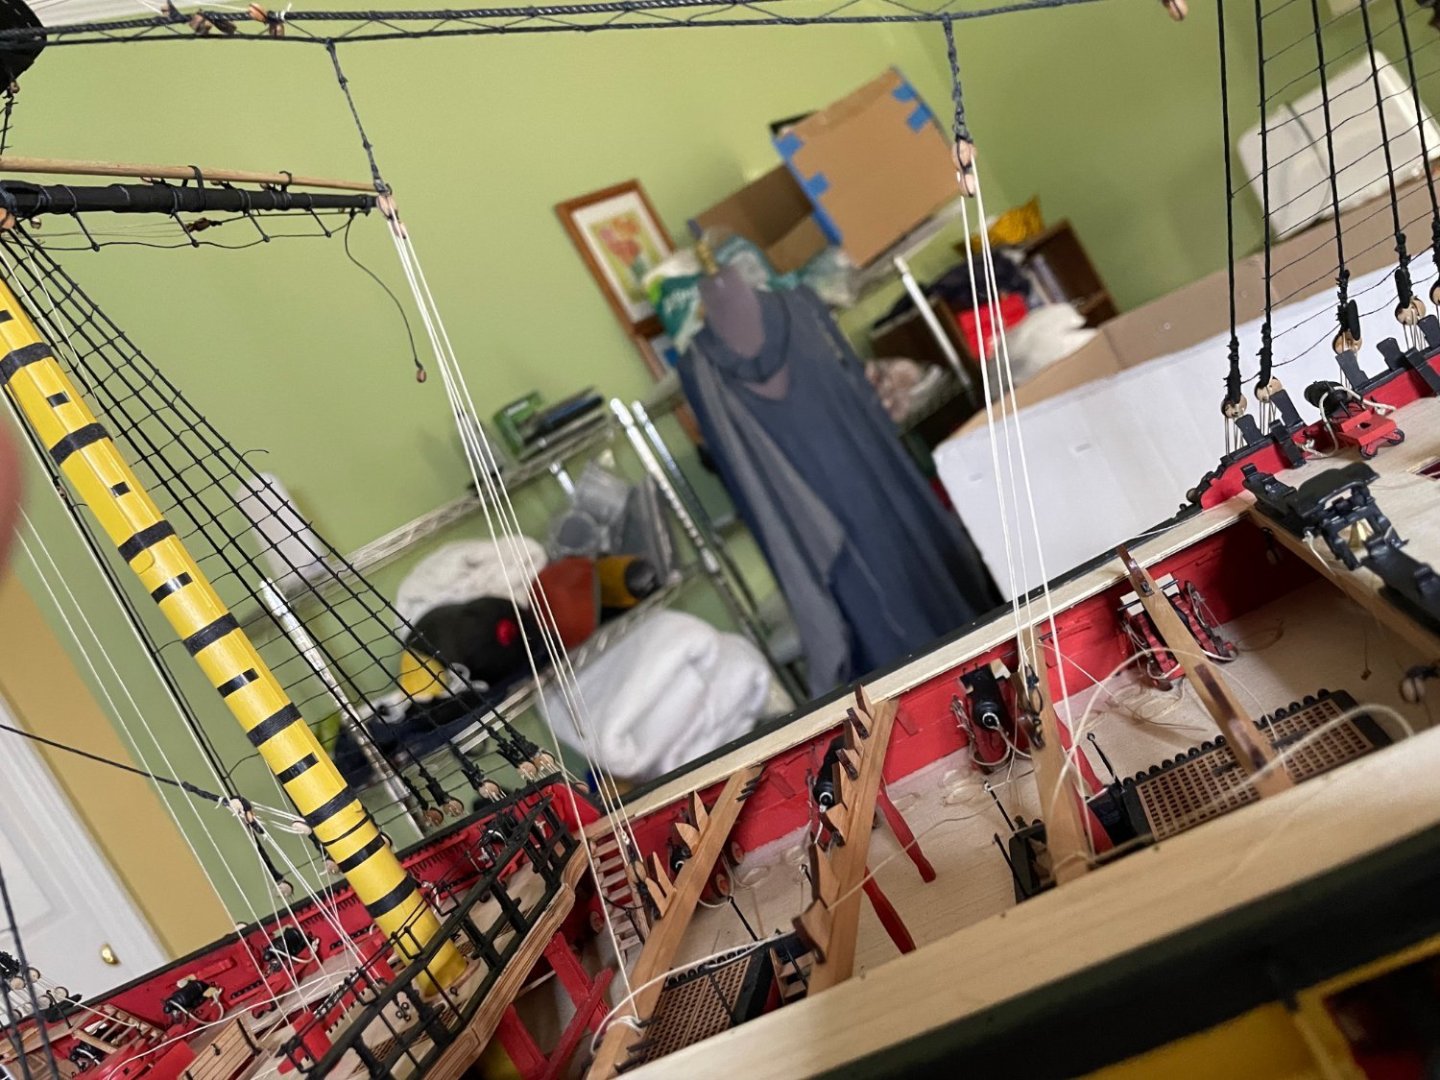
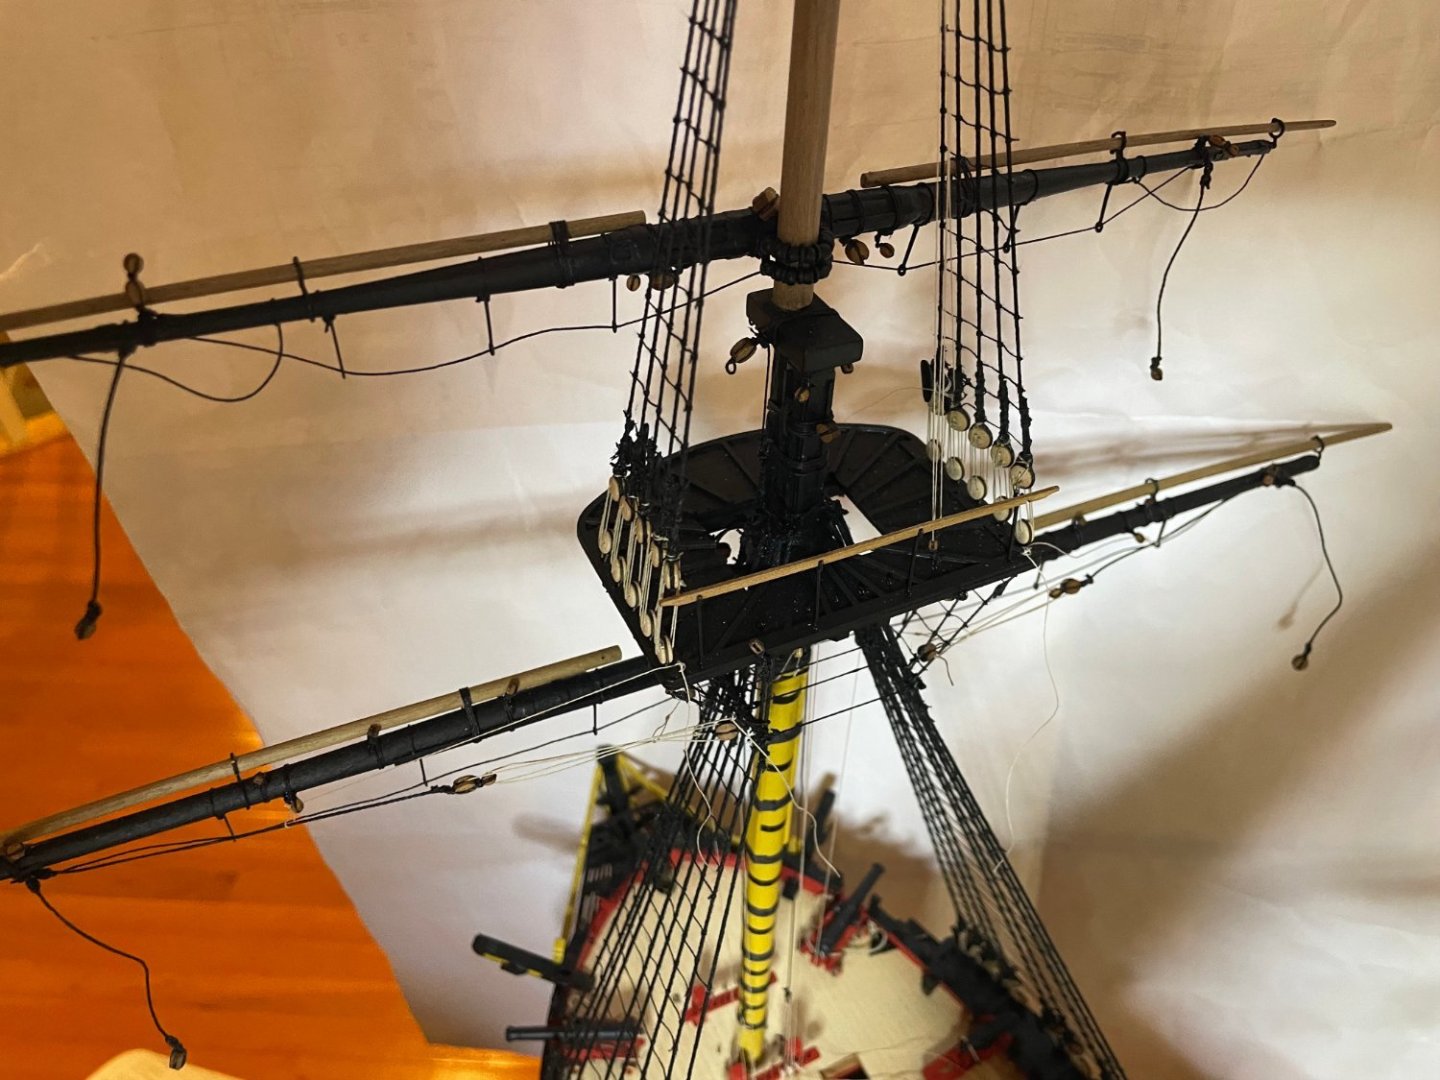
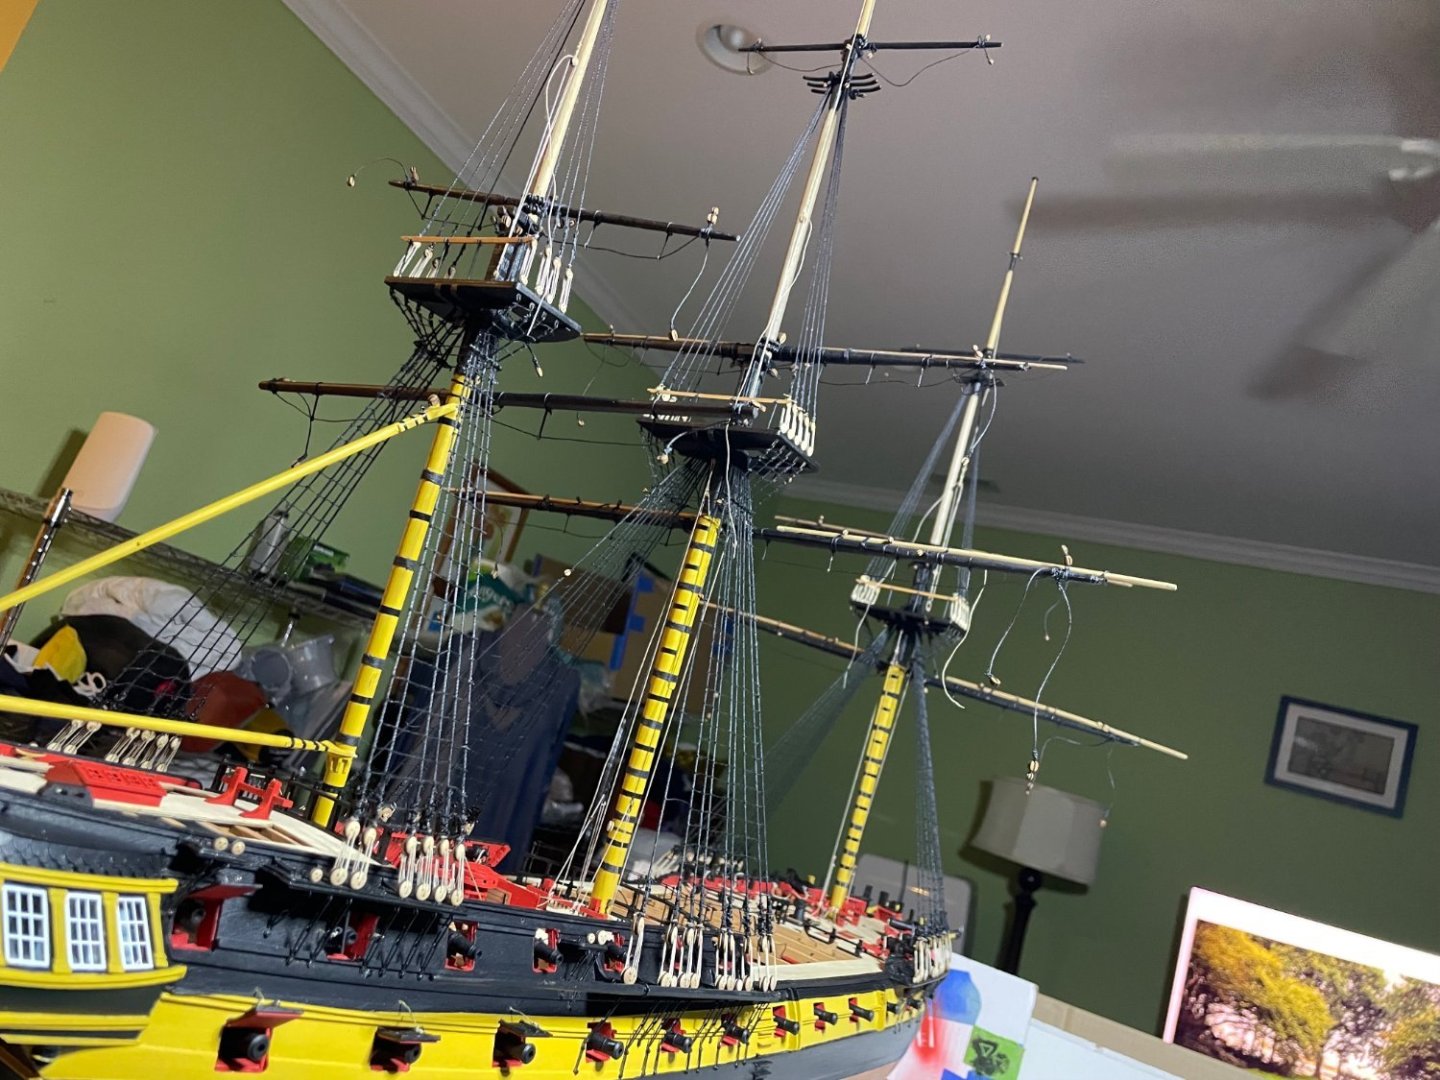
Did a bit of a back drop to see more of the detail


- 233 replies
-
- 11
-
-
- Indefatigable
- Vanguard Models
- (and 1 more)
-
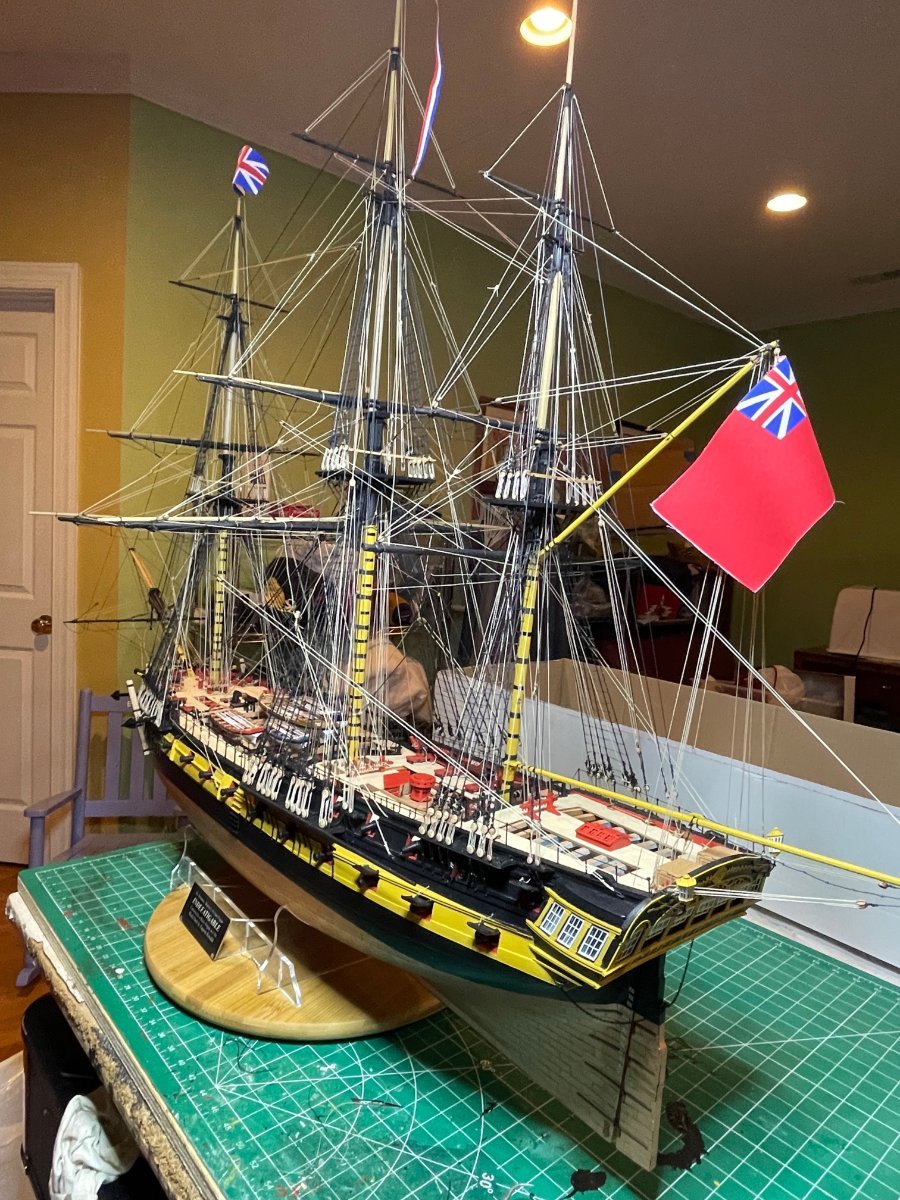
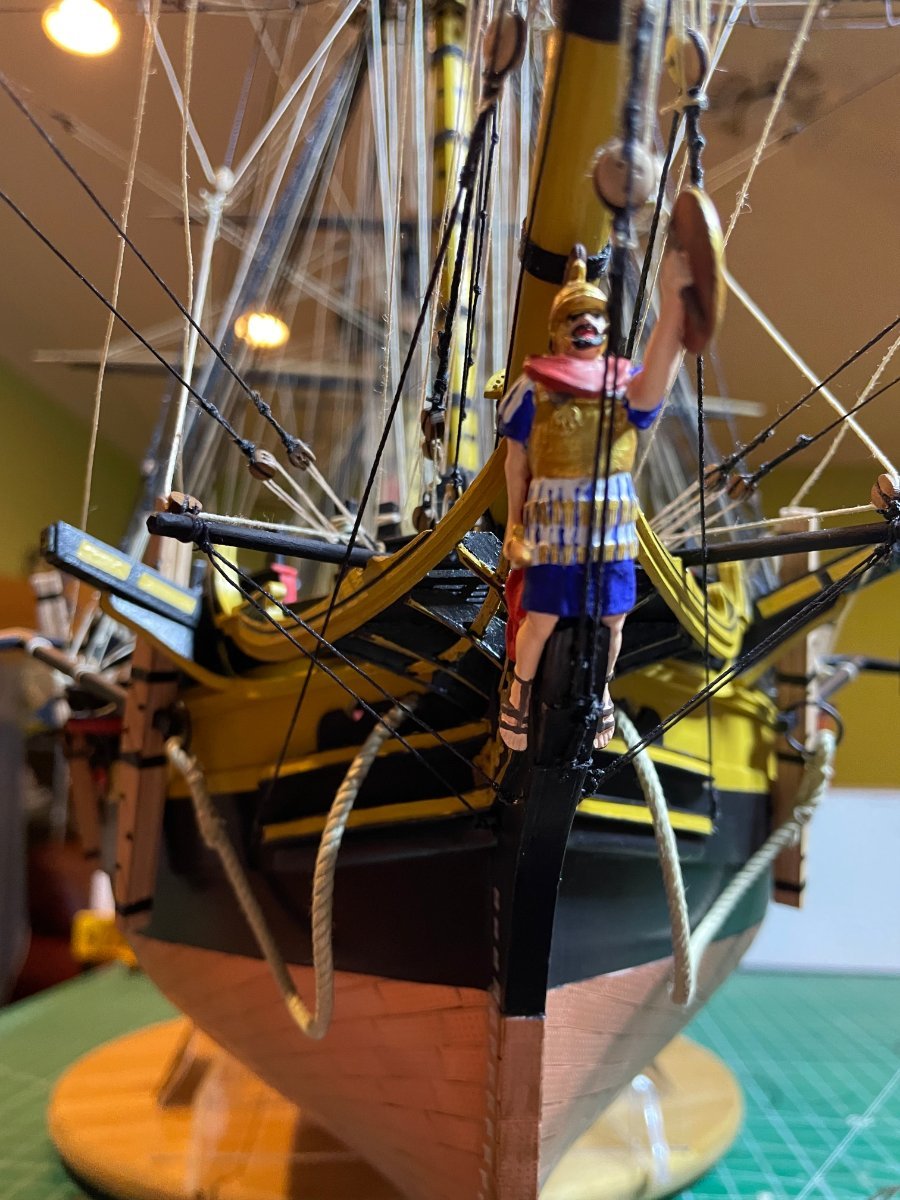
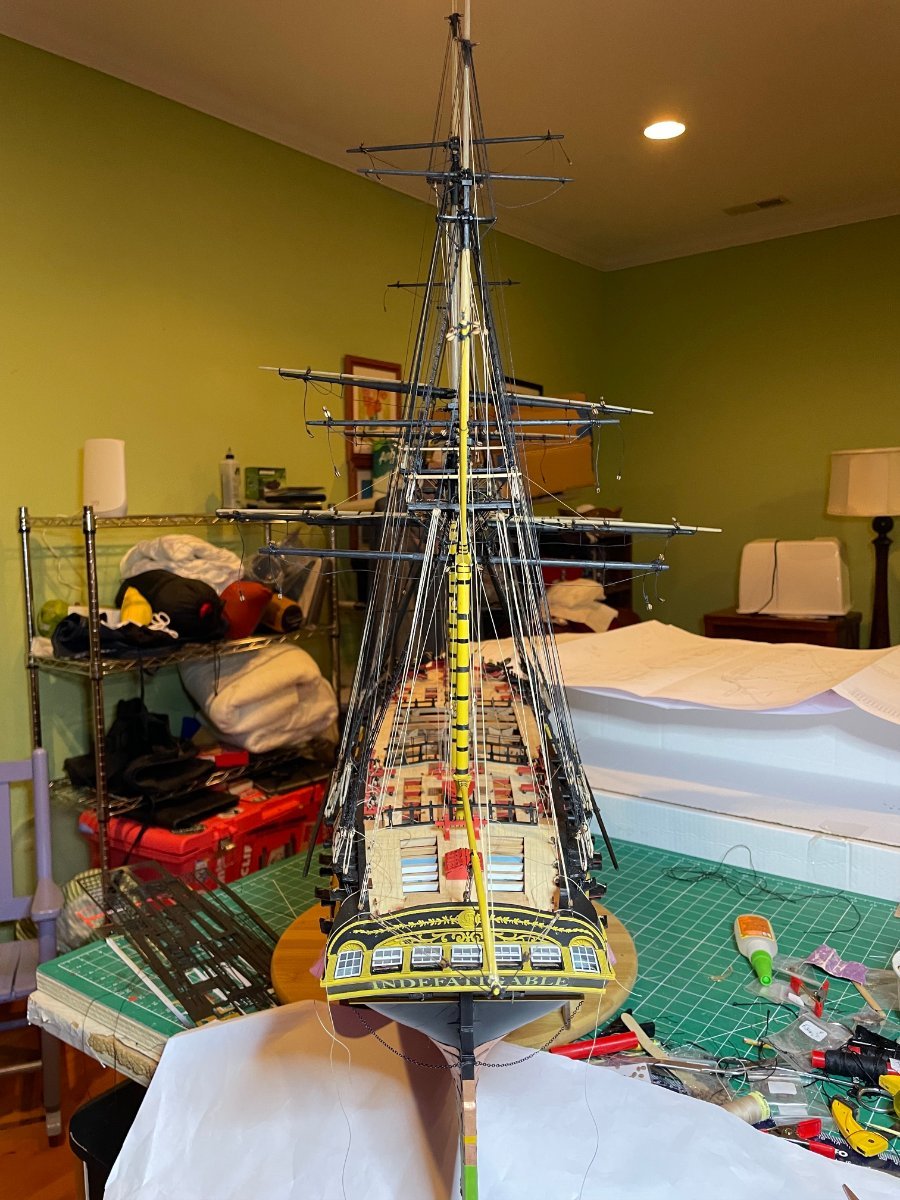
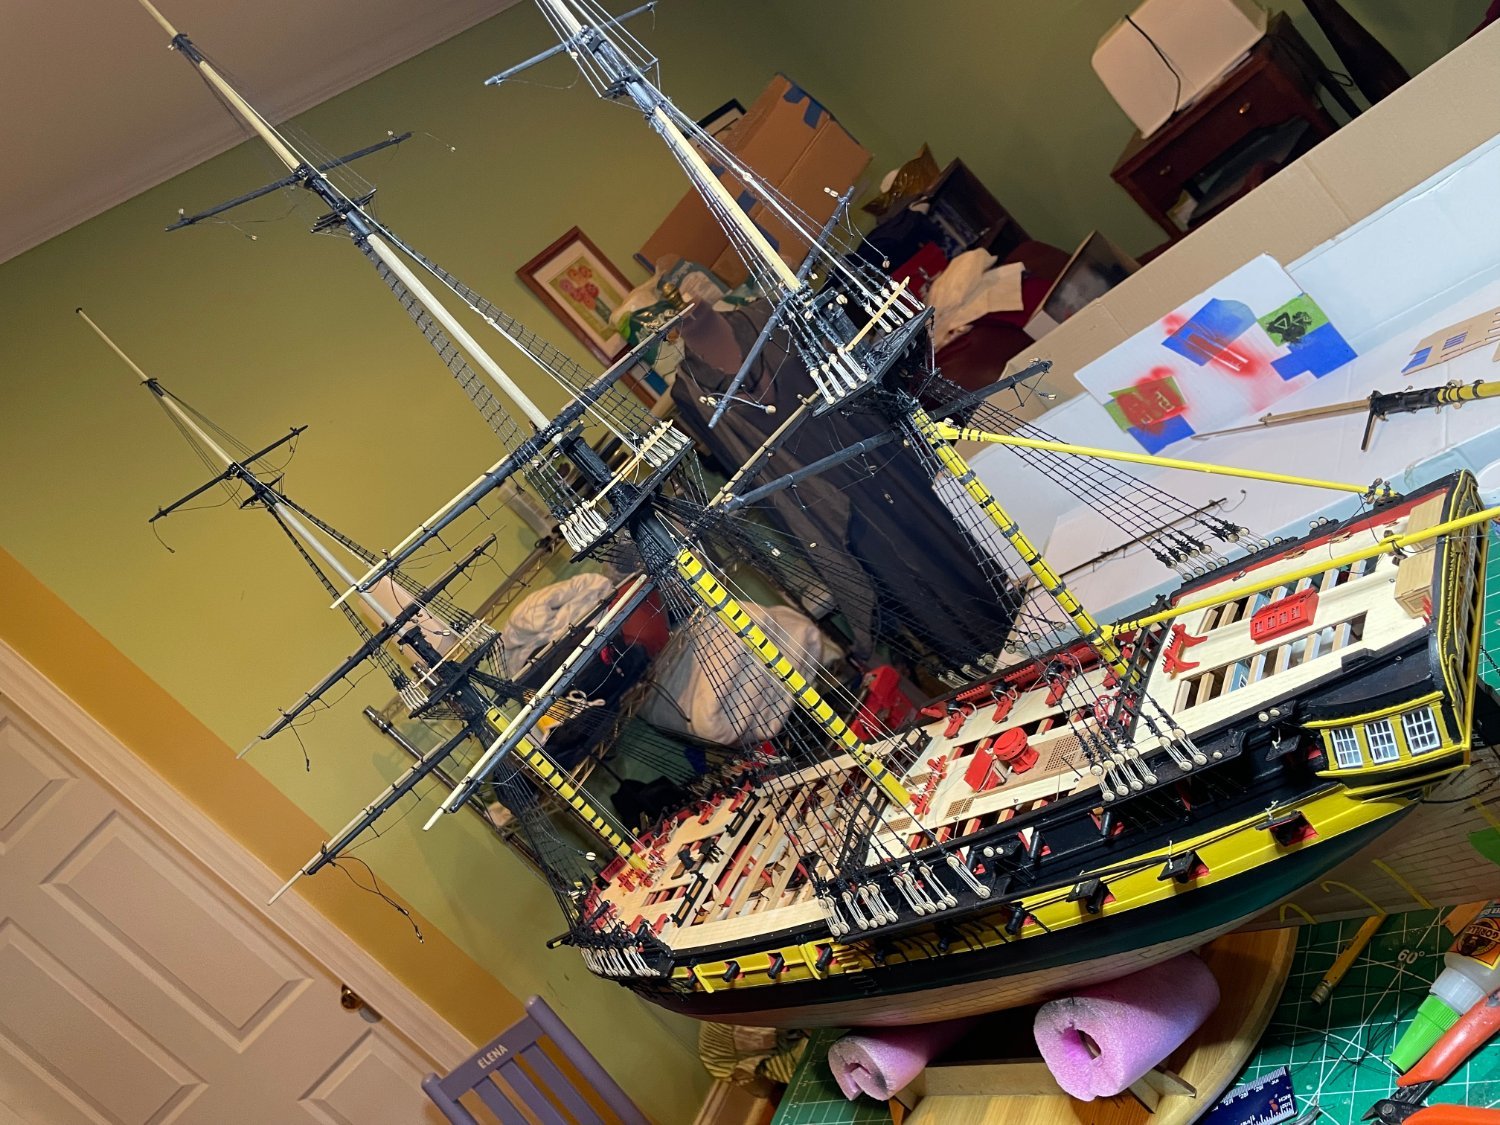
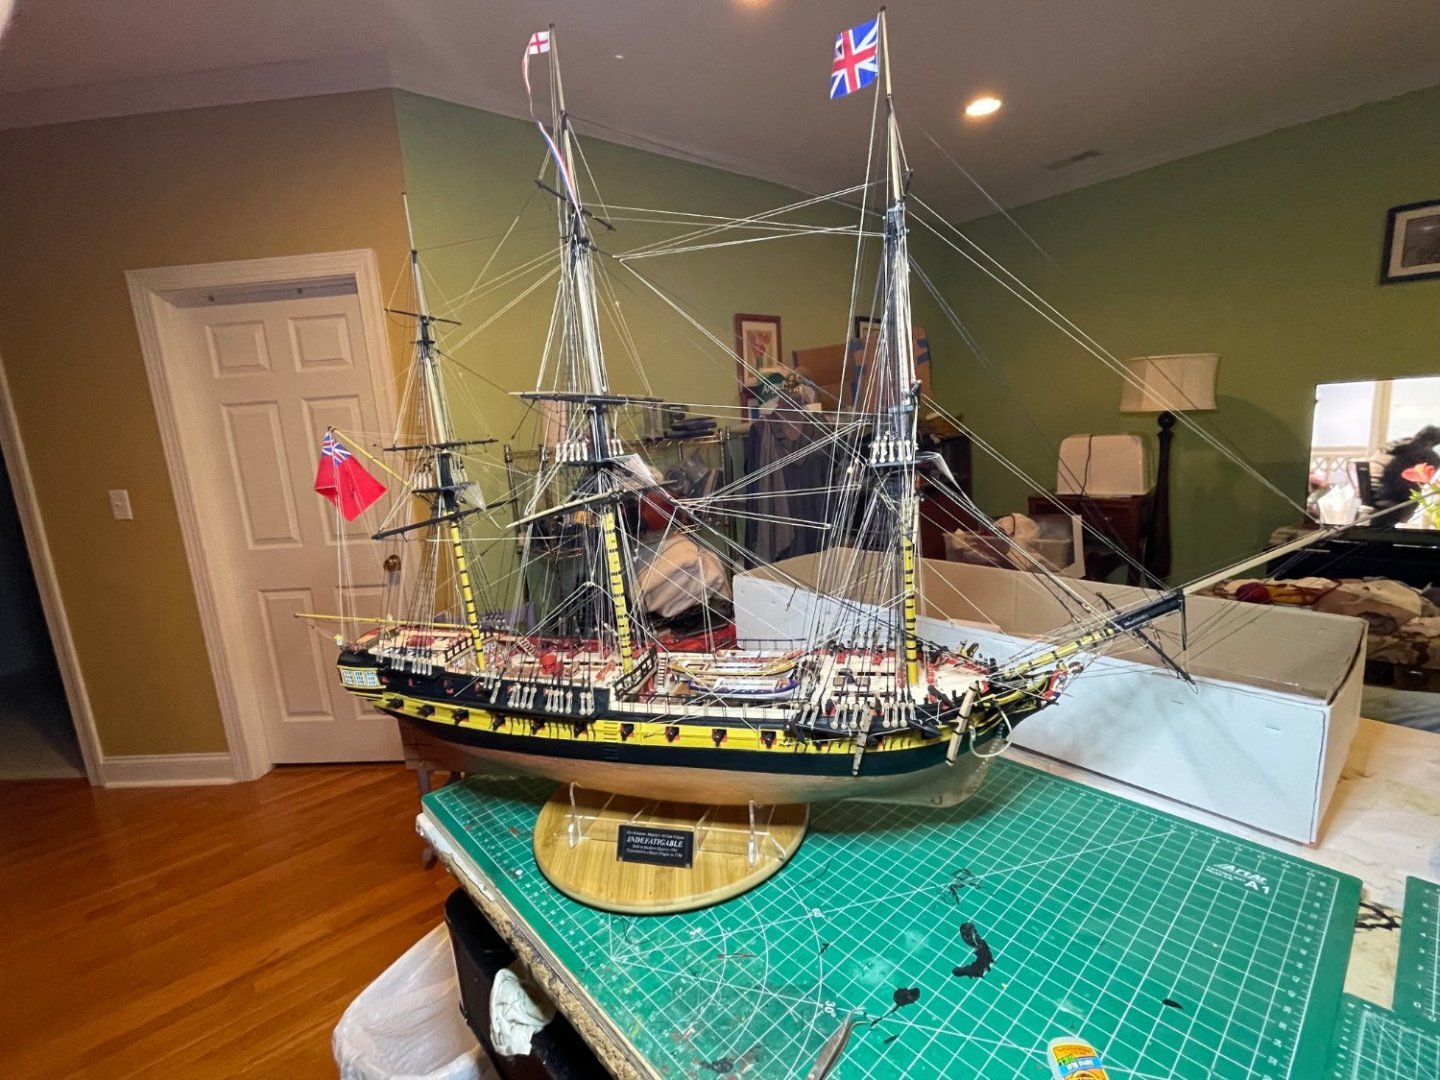
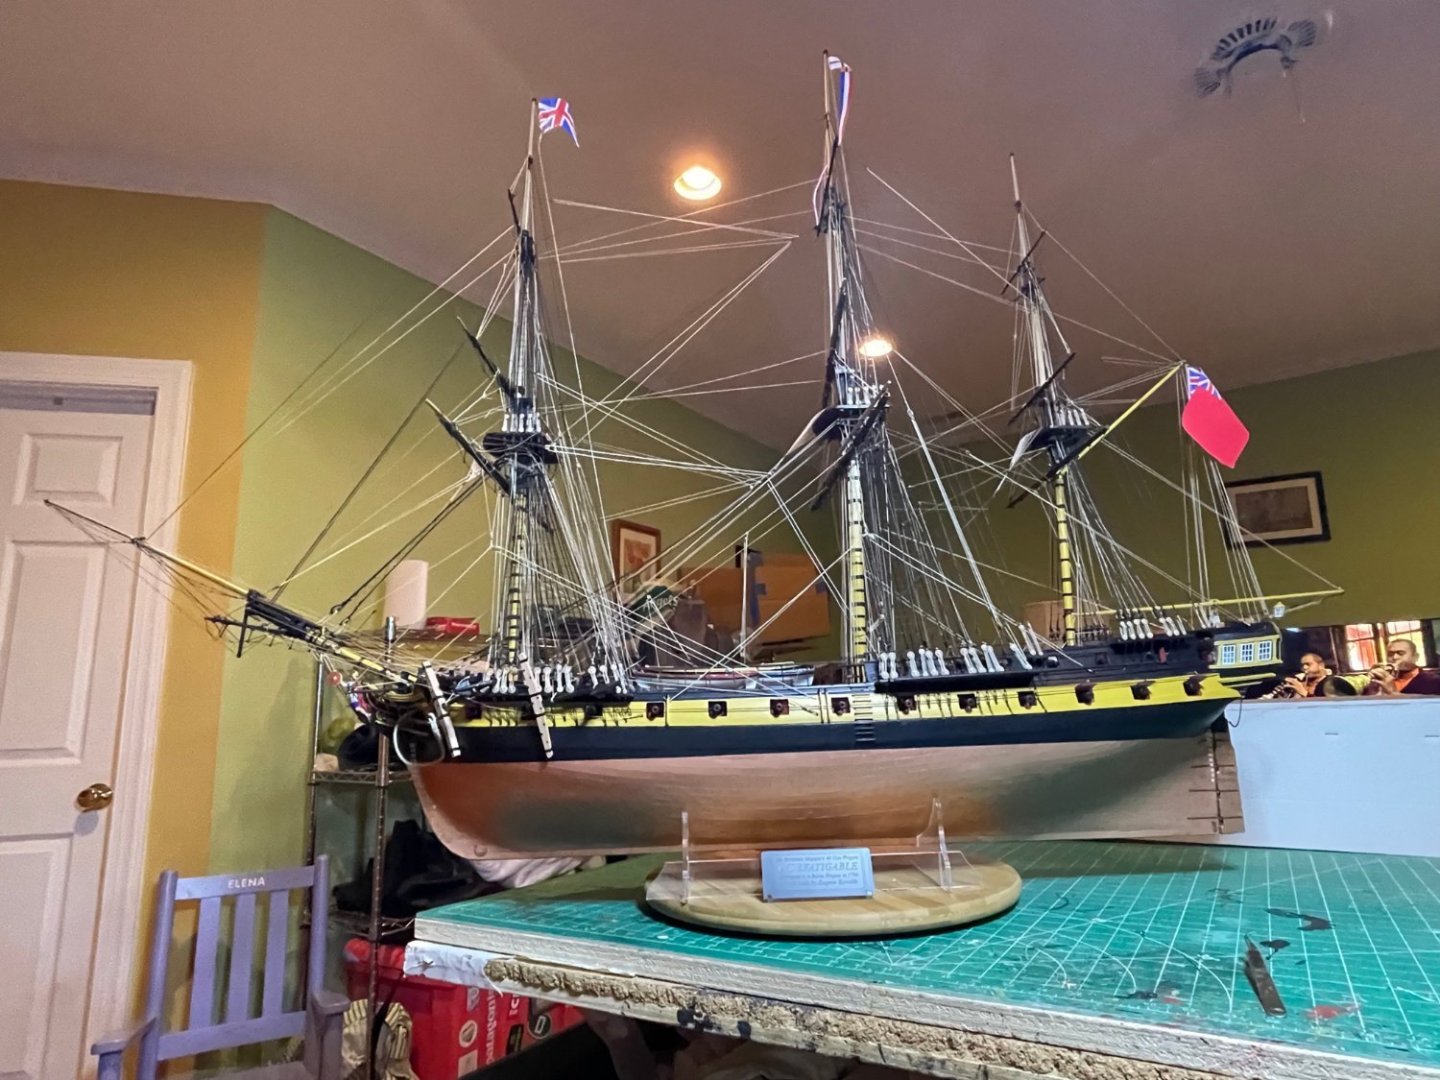
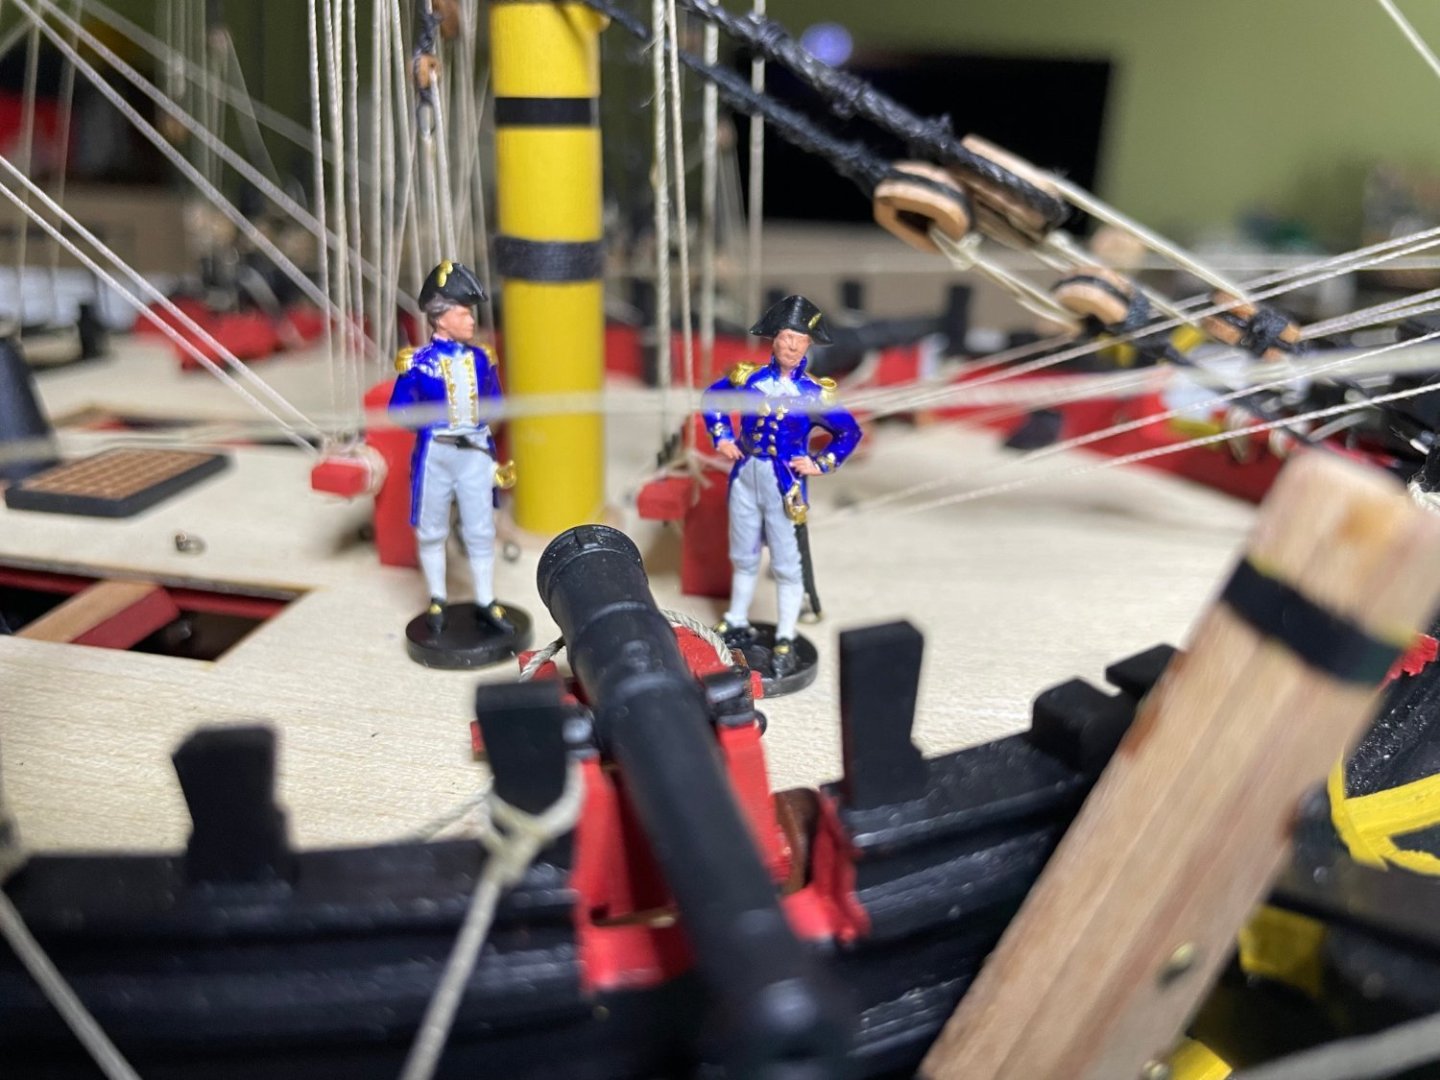
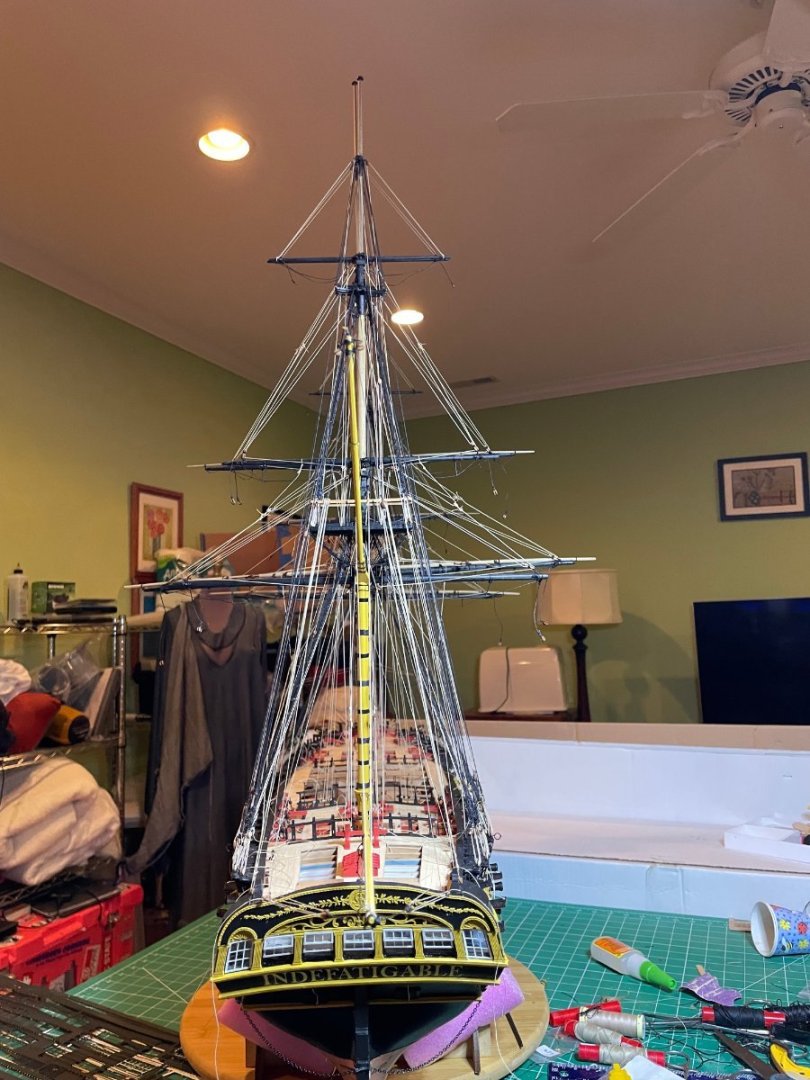
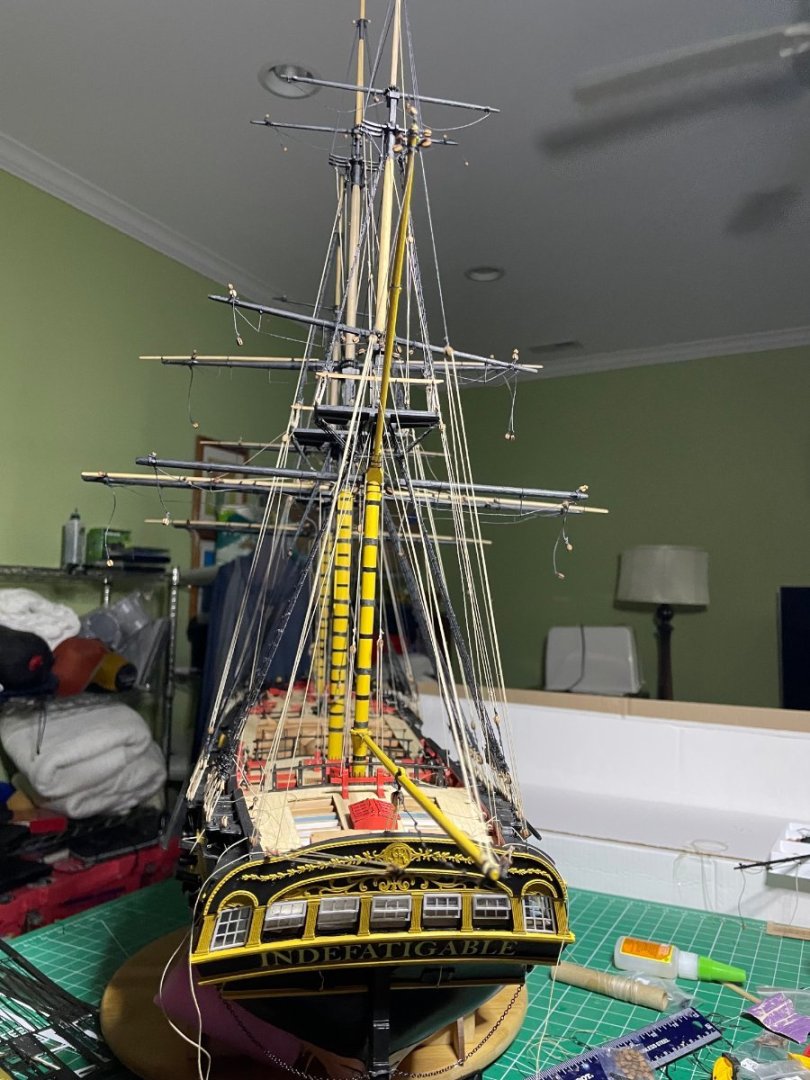
So the voyage is done. Best build I have done in terms of fun and quality of the kit. Unsure what to do next. Will need to look around. And finally Pellow and Hornblower discussing the state of the build Thanks for all the comments and support.


- 233 replies
-
- 21
-

-
-
- Indefatigable
- Vanguard Models
- (and 1 more)
-
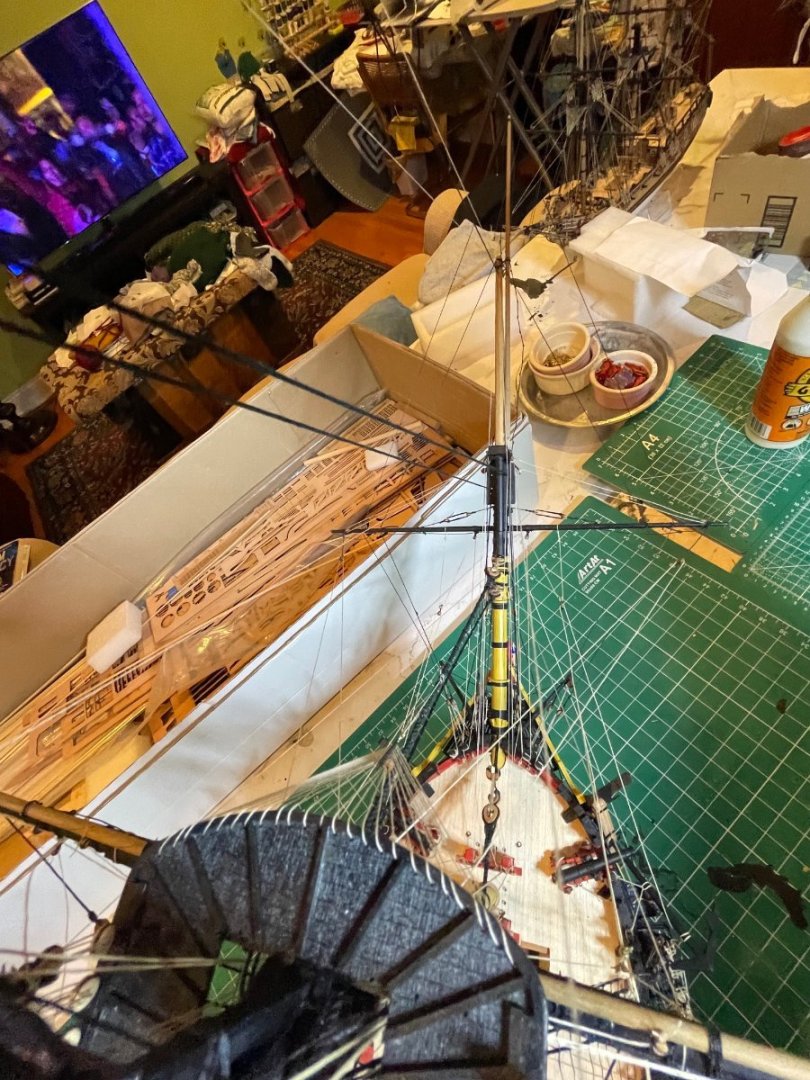
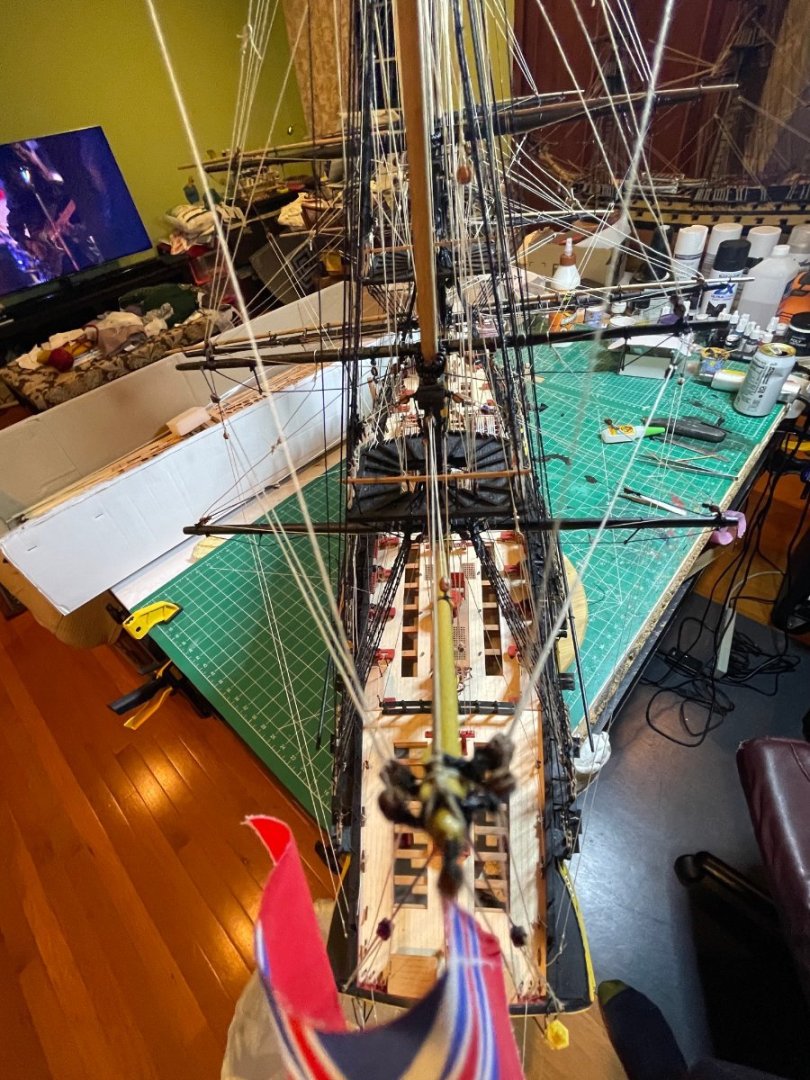
Getting there bit by bit. Lifts and sheets going in.


- 233 replies
-
- 16
-
-
-
- Indefatigable
- Vanguard Models
- (and 1 more)
-
It is one of the trickier parts to make but looks good. Merry Chrismas
- 587 replies
-
- 1
-
-
- Indefatigable
- Vanguard Models
- (and 1 more)
-
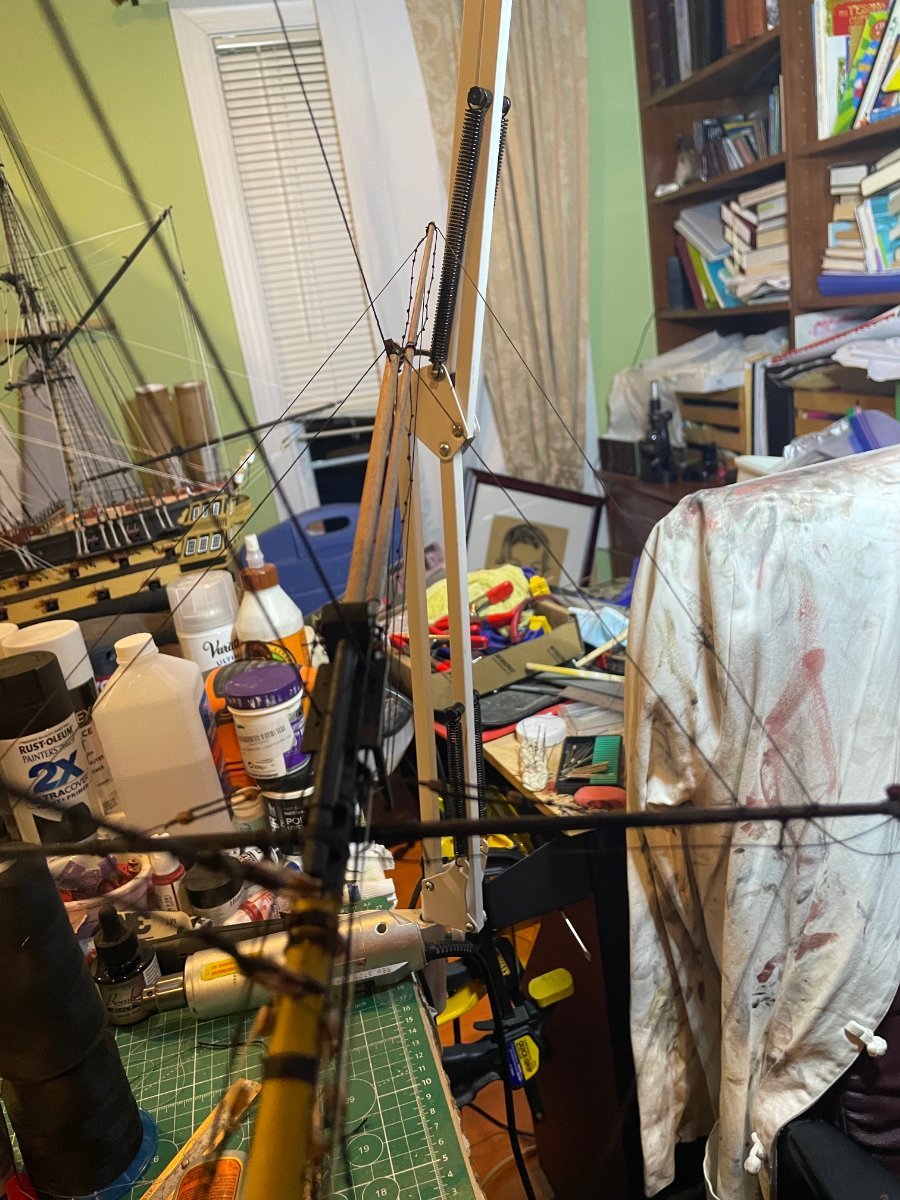
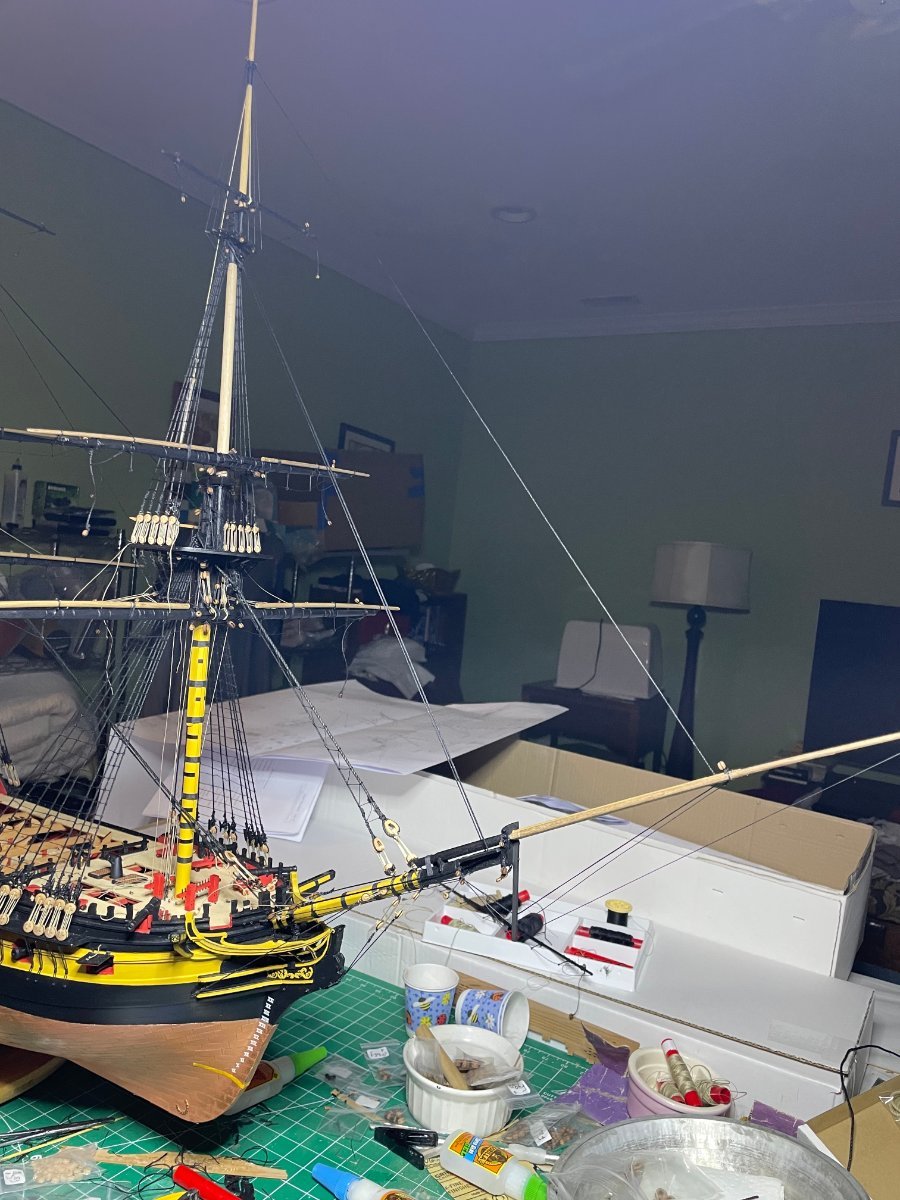
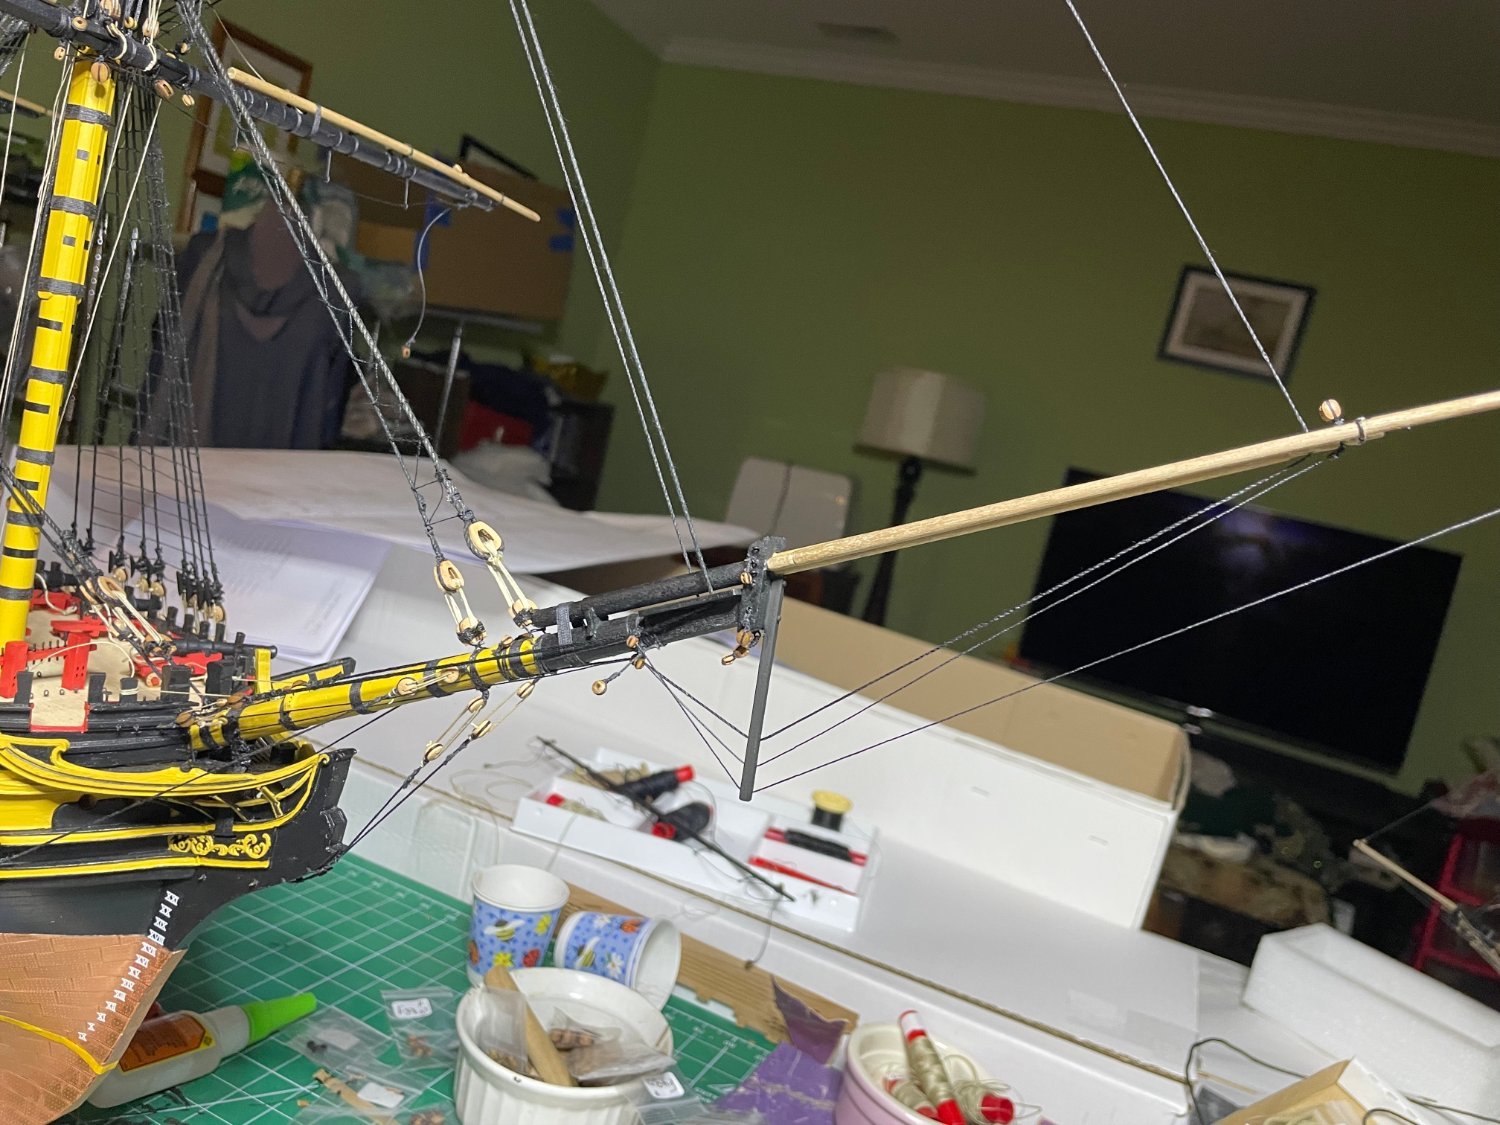
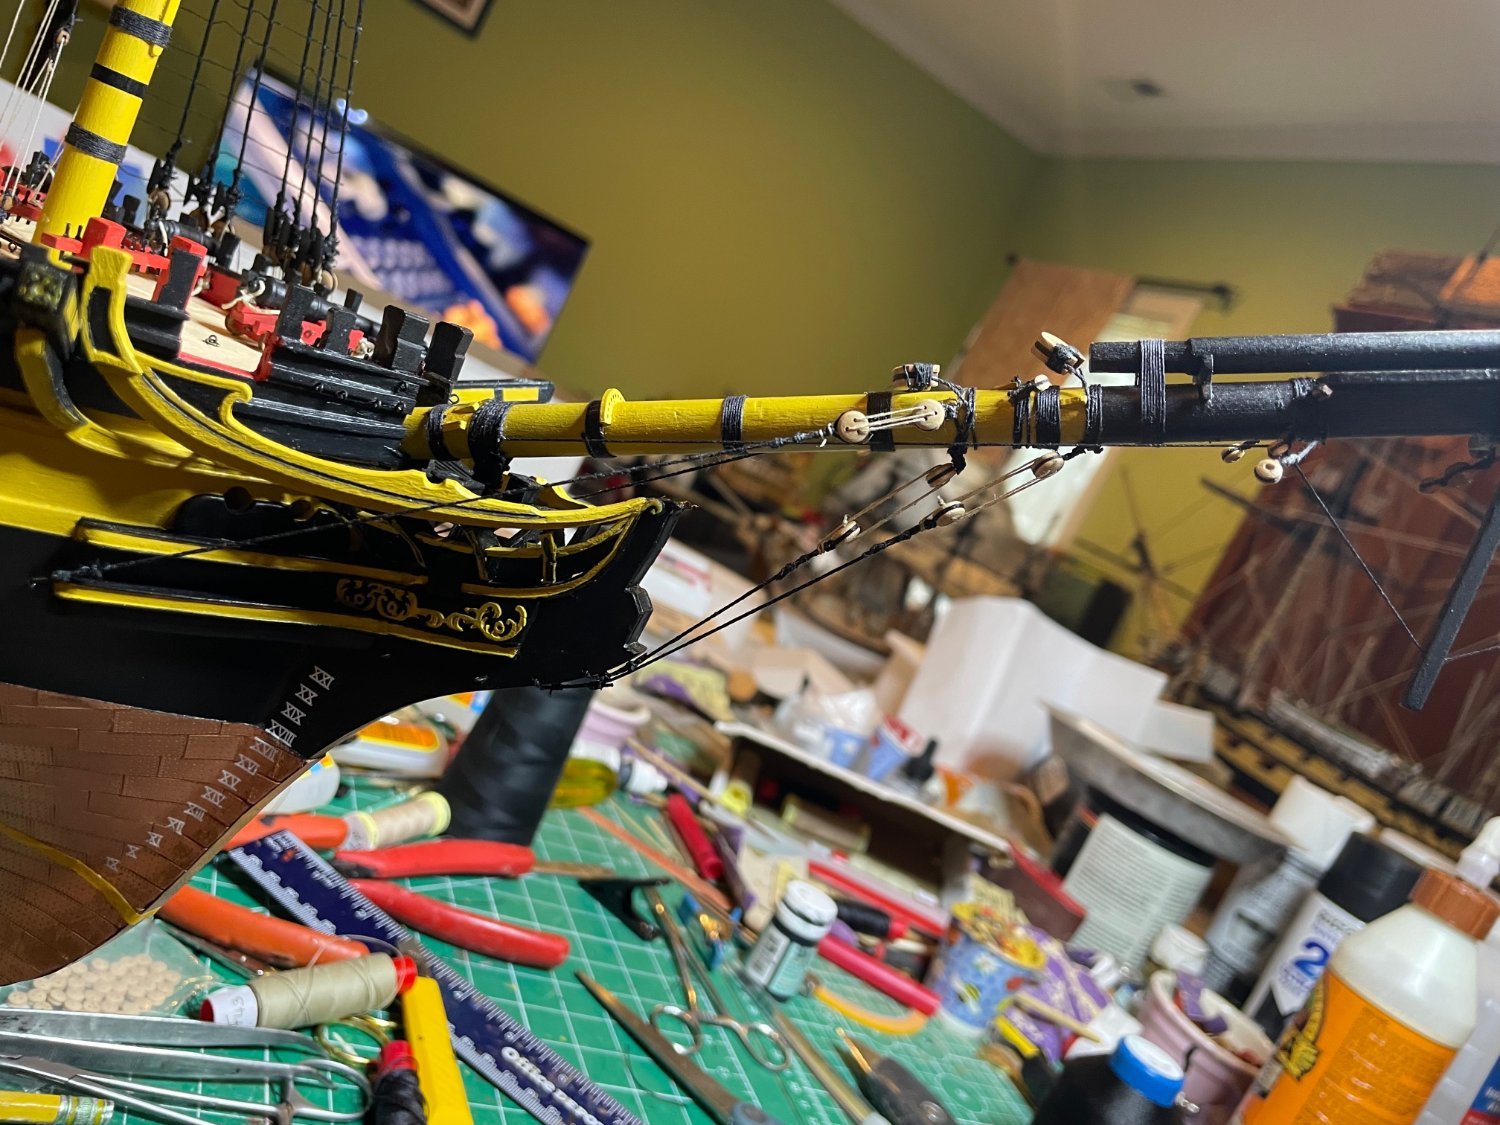
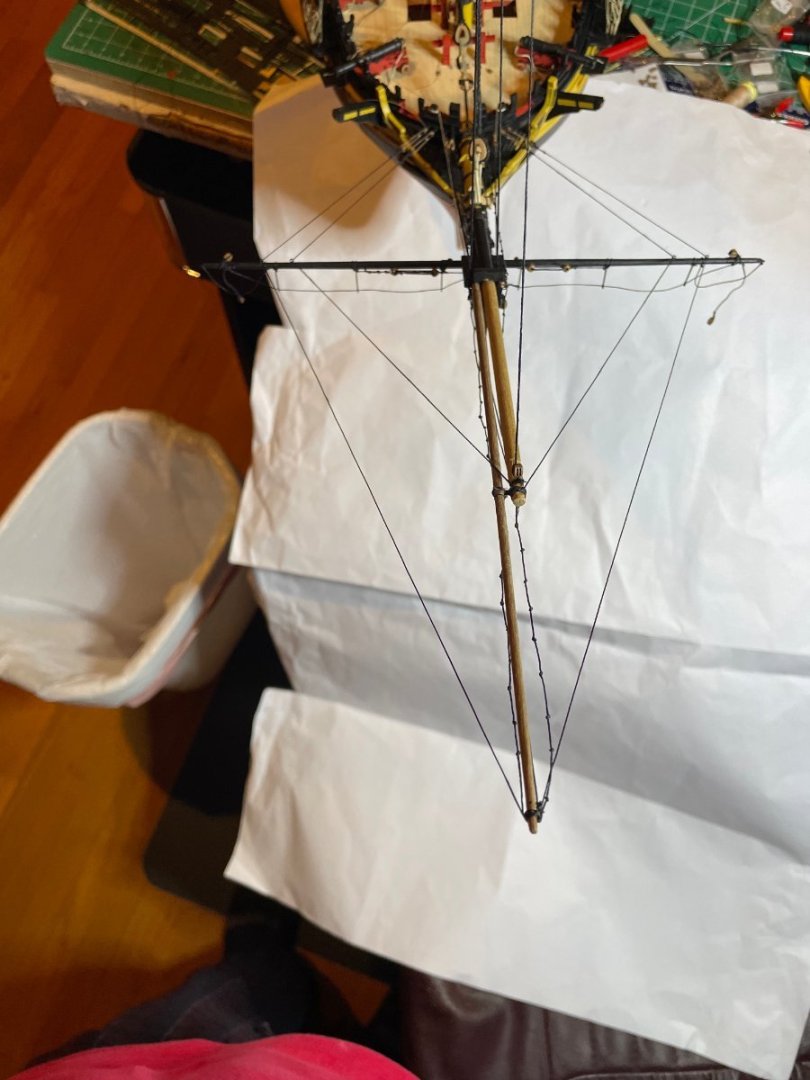
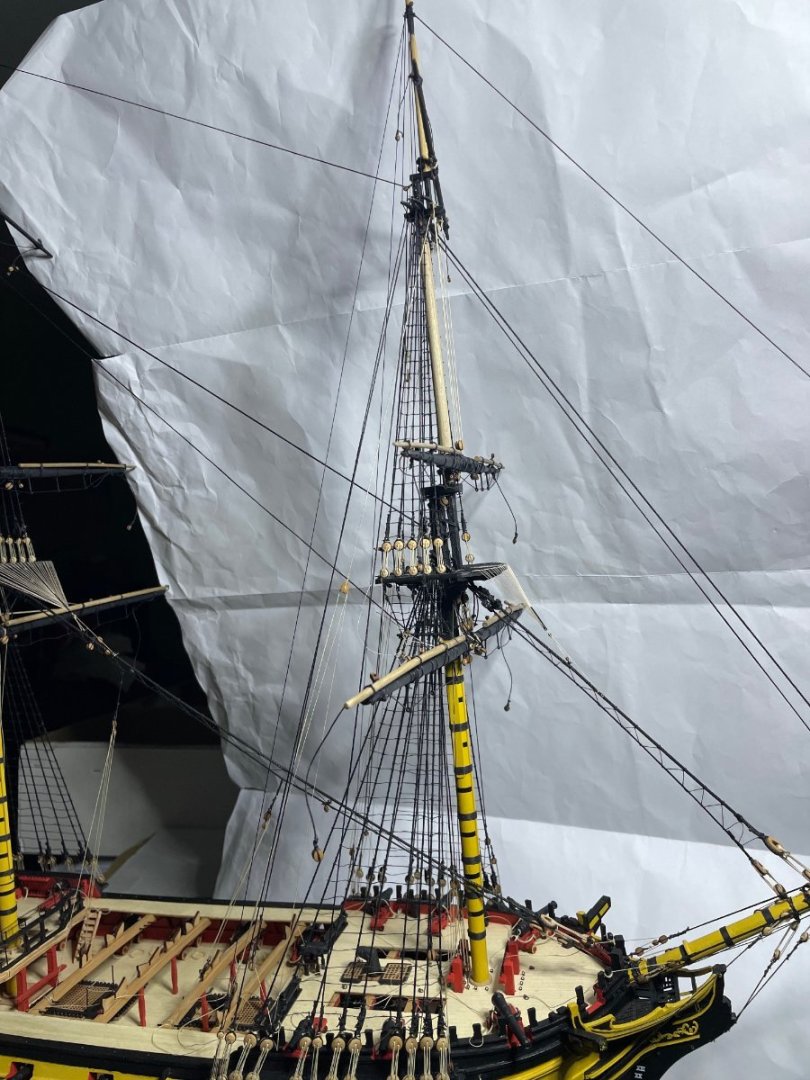
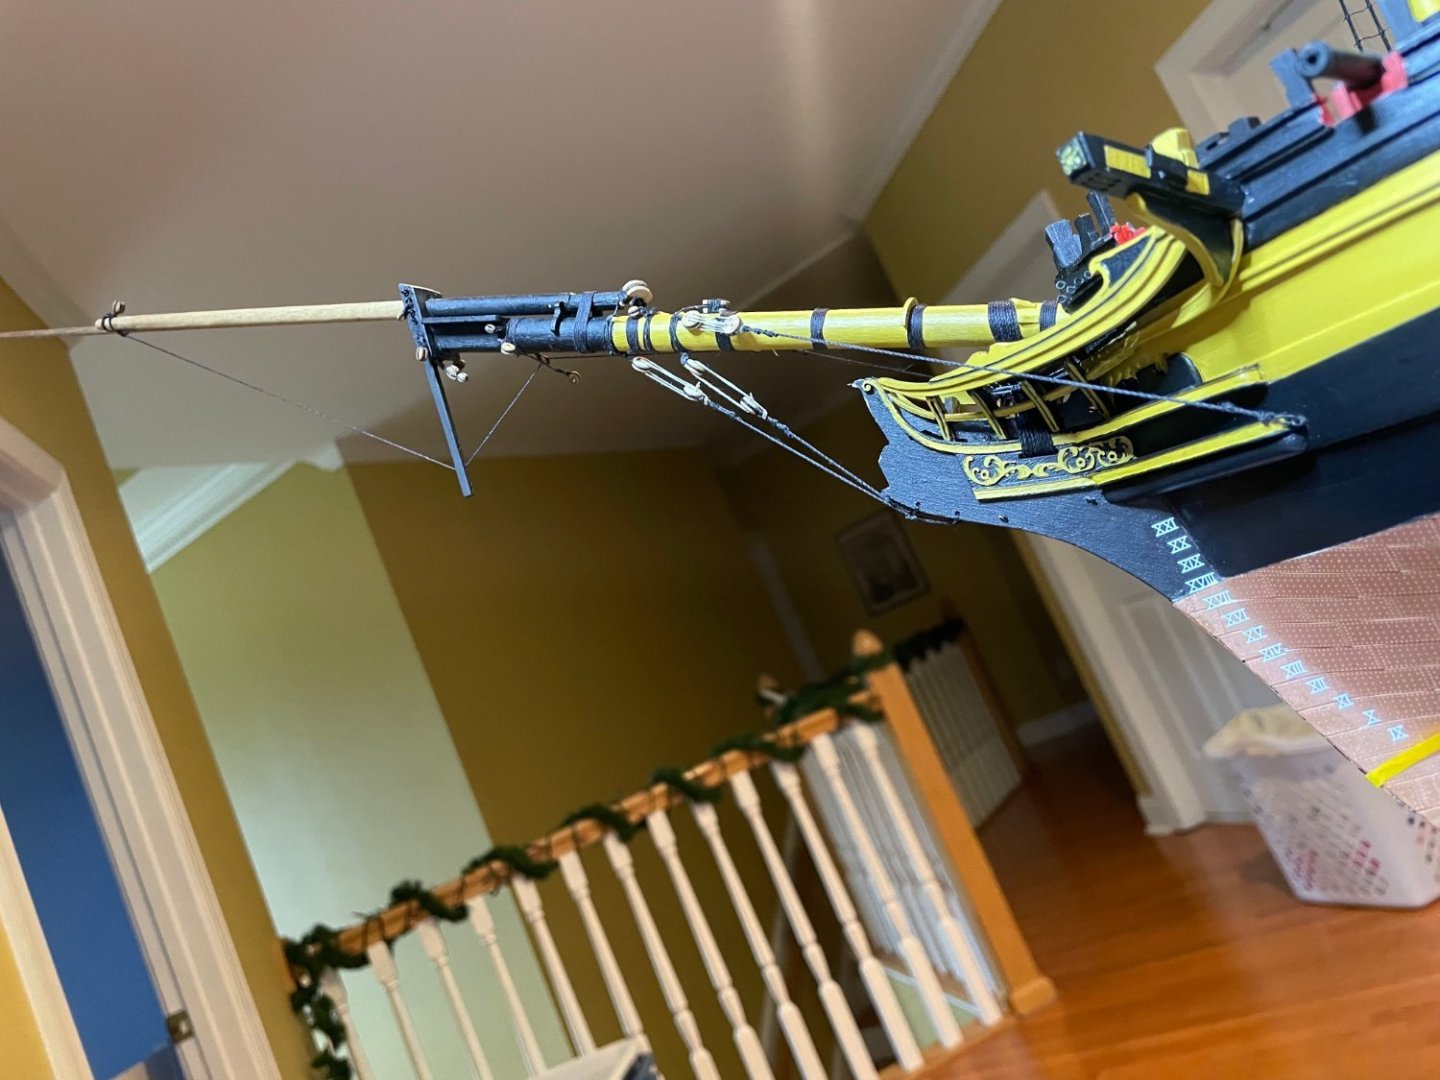
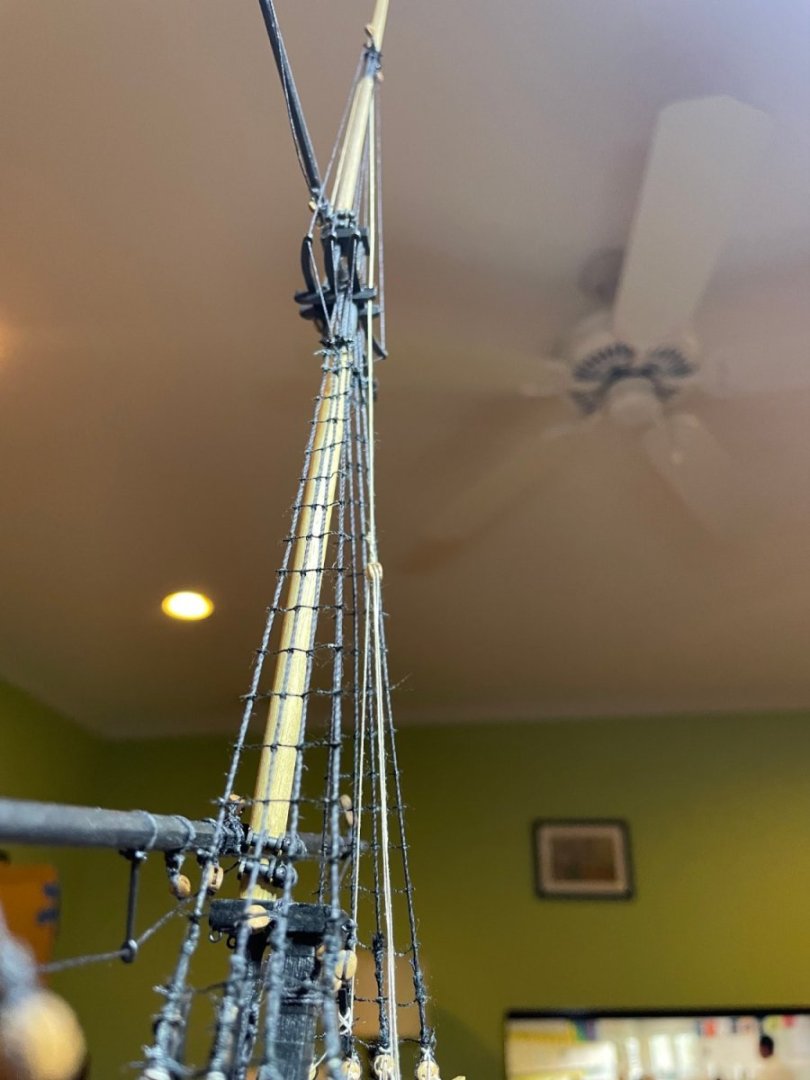
Finished Plan Sheet 17. Backstays done and bowsprit on with some of the lines.


- 233 replies
-
- 12
-
-
- Indefatigable
- Vanguard Models
- (and 1 more)
-
Thanks. You are also progressing well. Once the shrouds done things speed up
- 233 replies
-
- 3
-
-

-
- Indefatigable
- Vanguard Models
- (and 1 more)
-
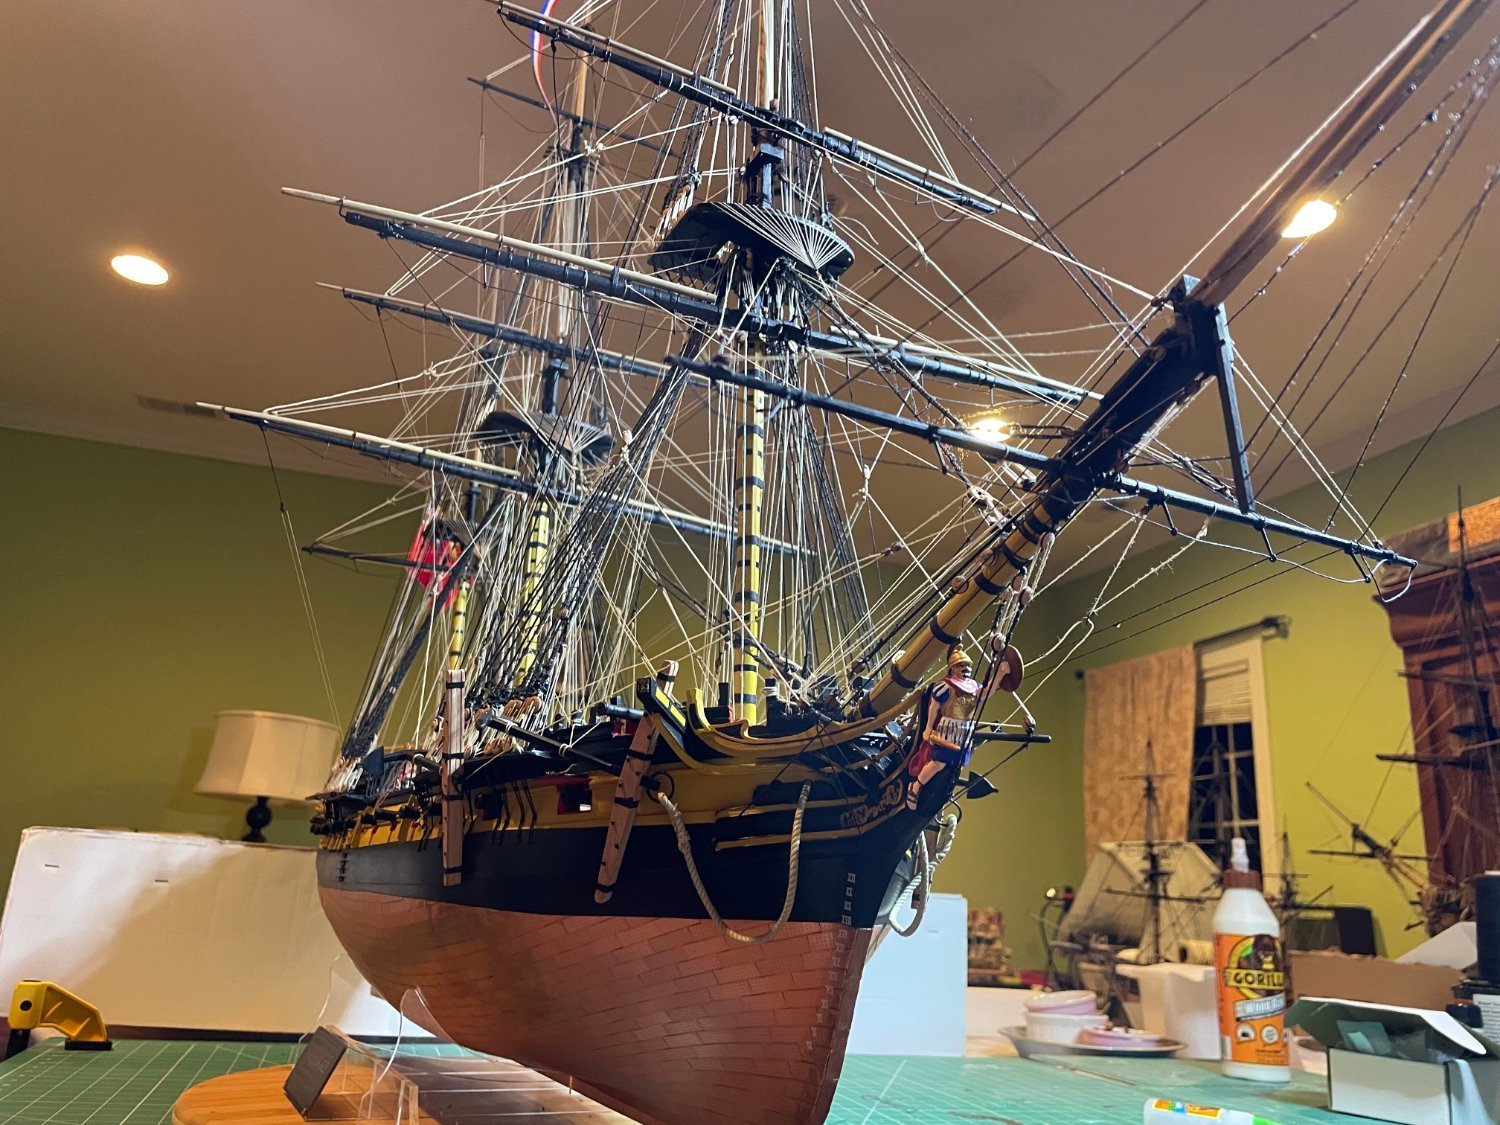
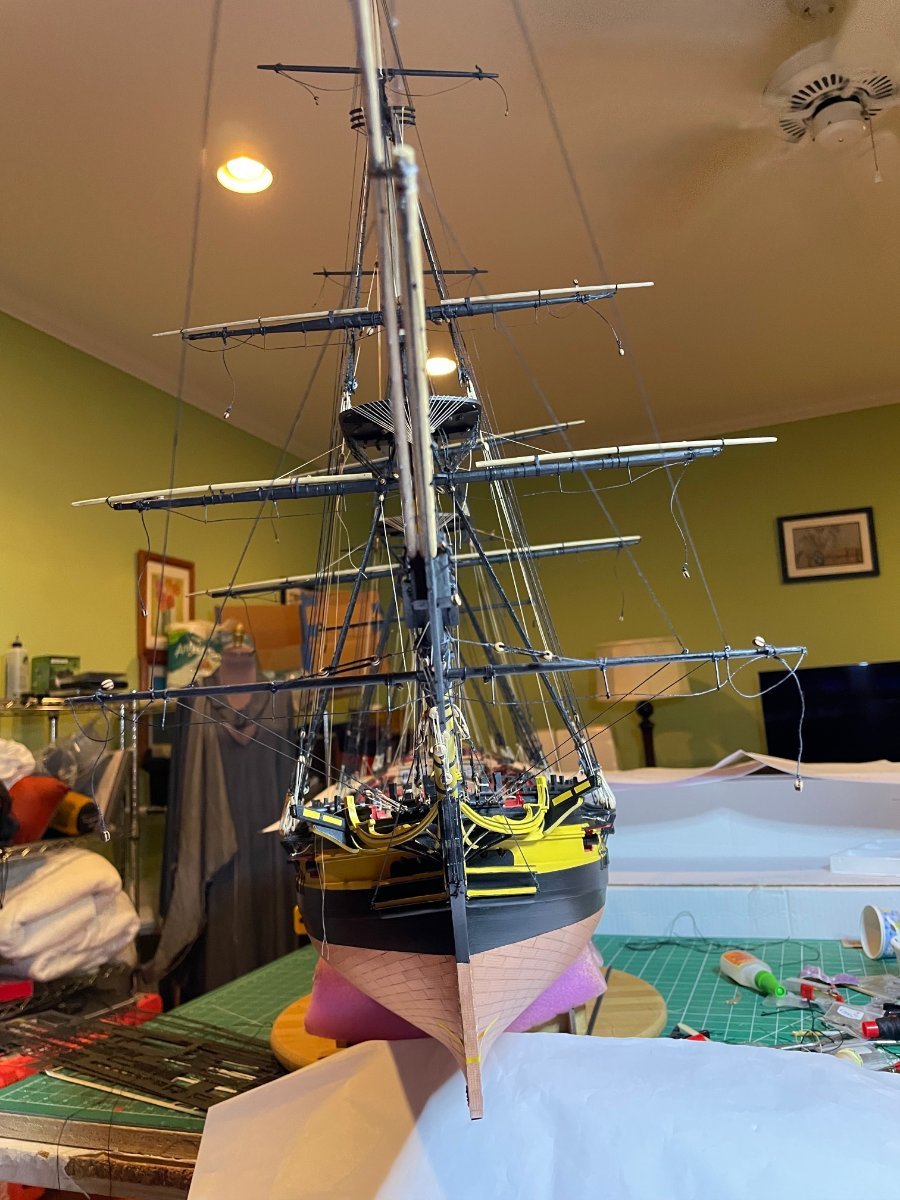
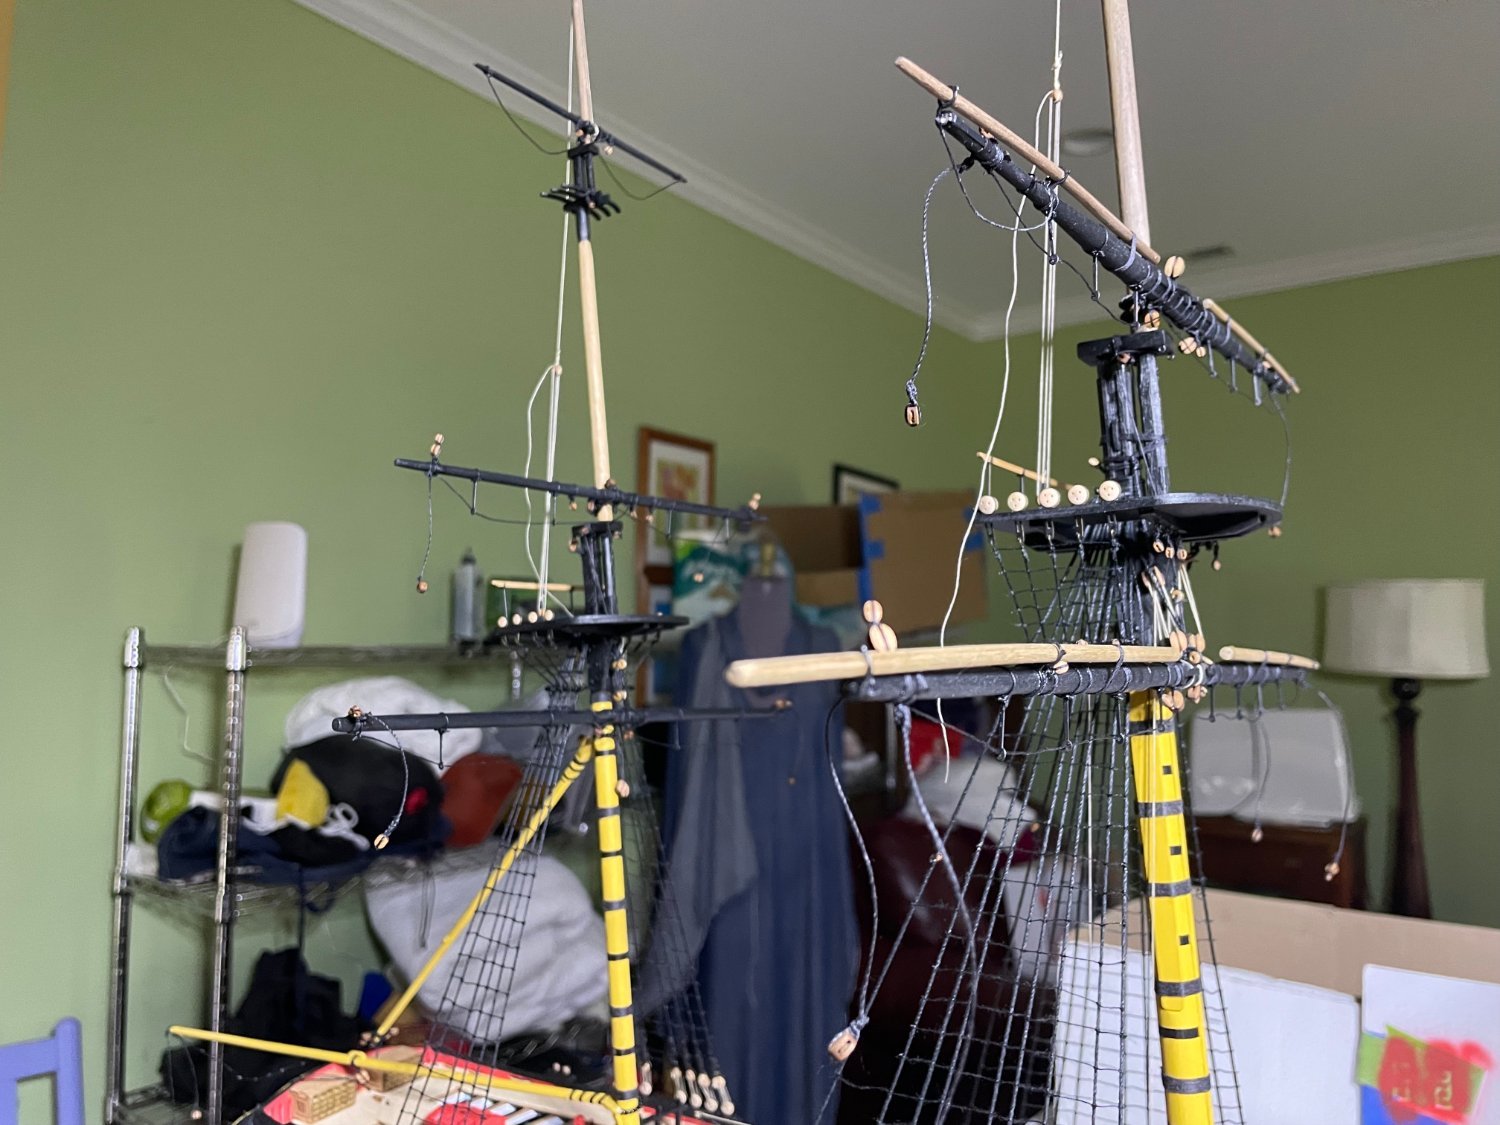
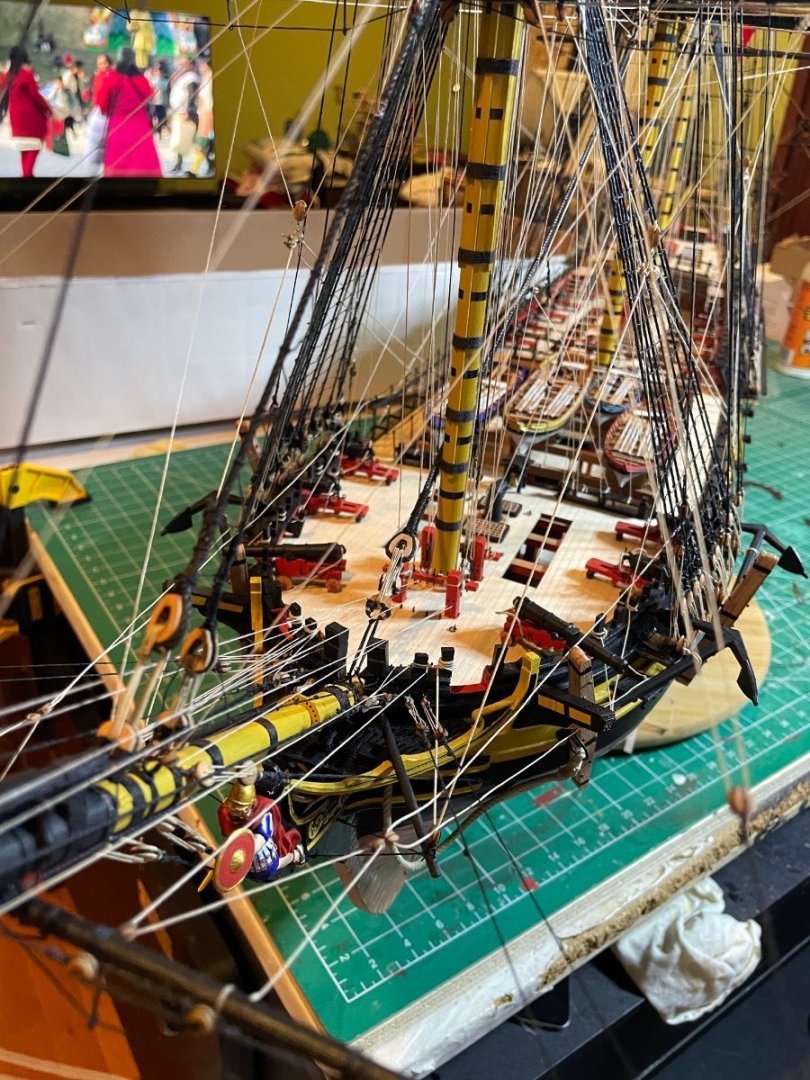
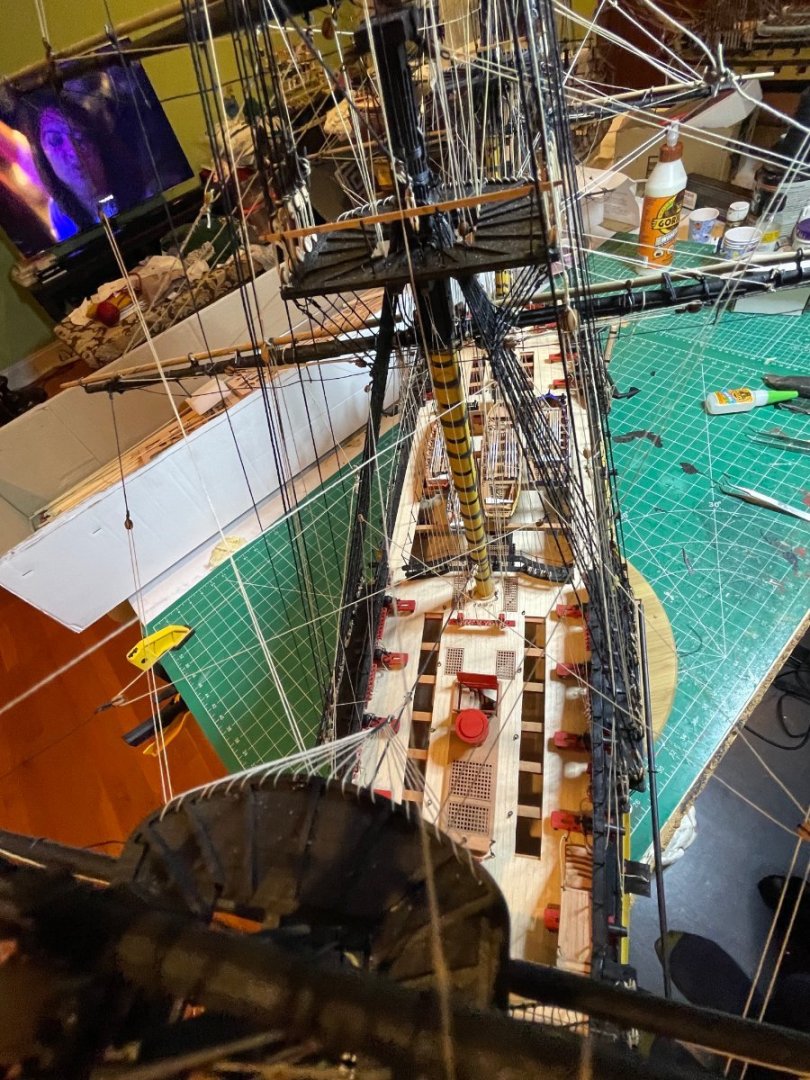
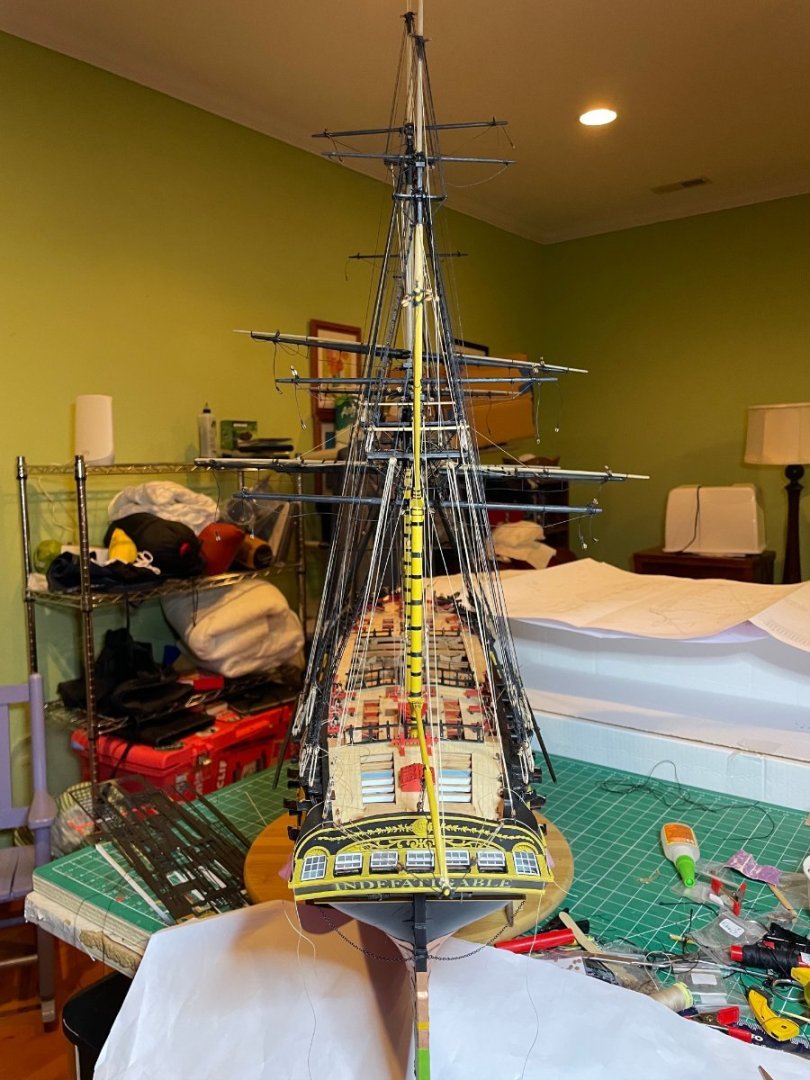
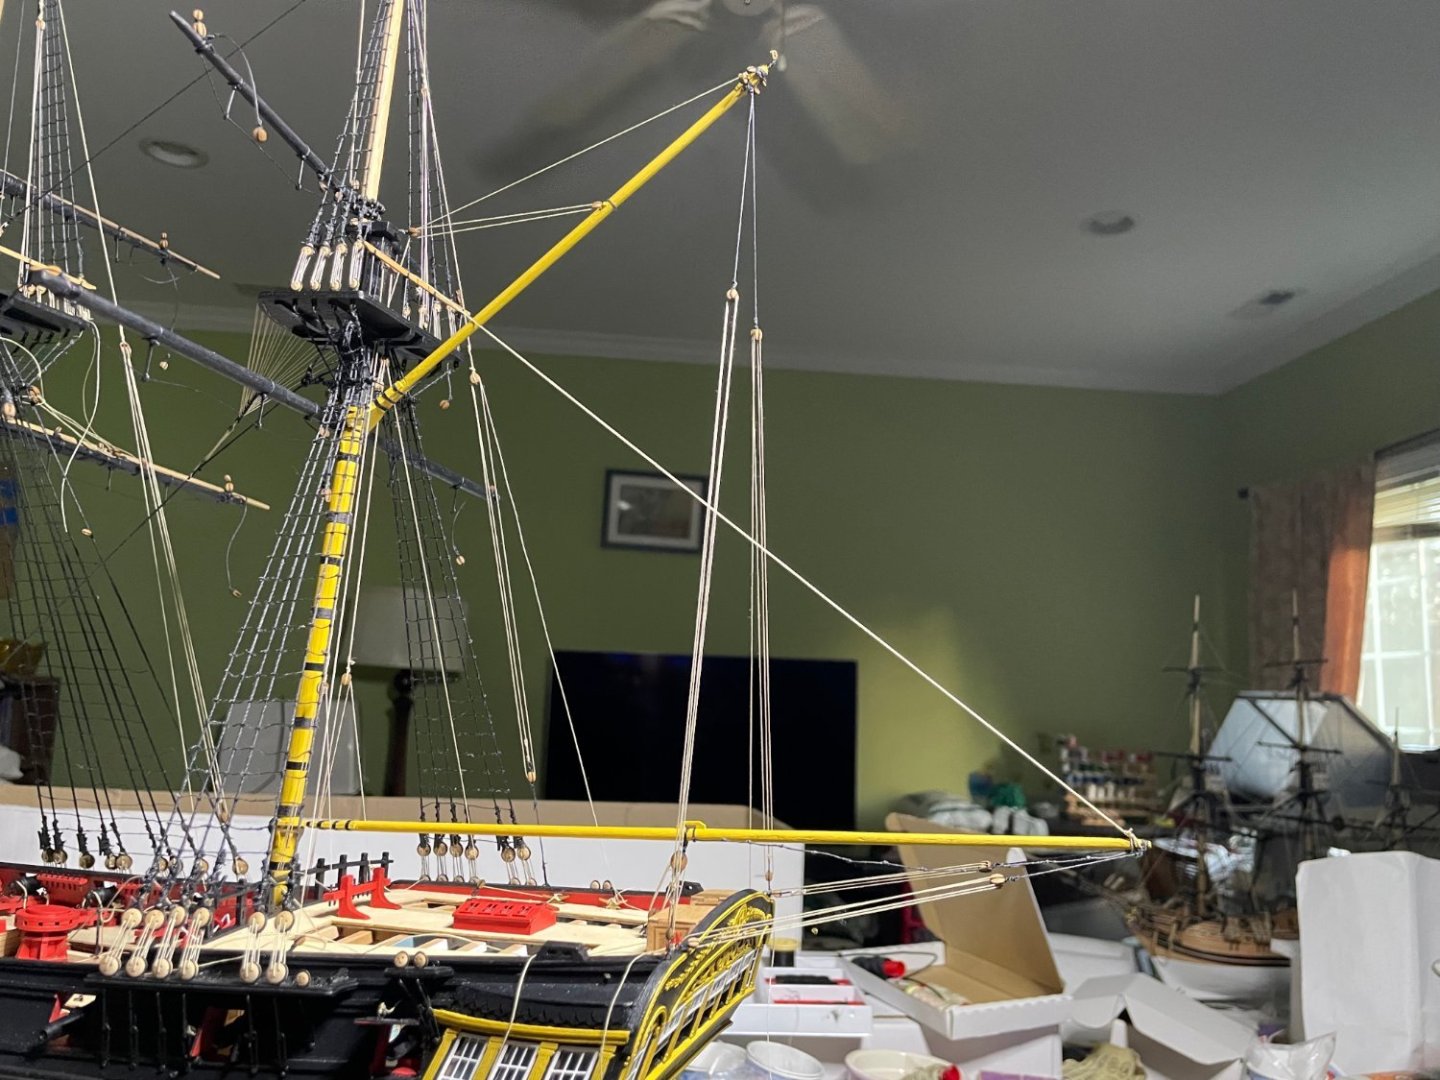
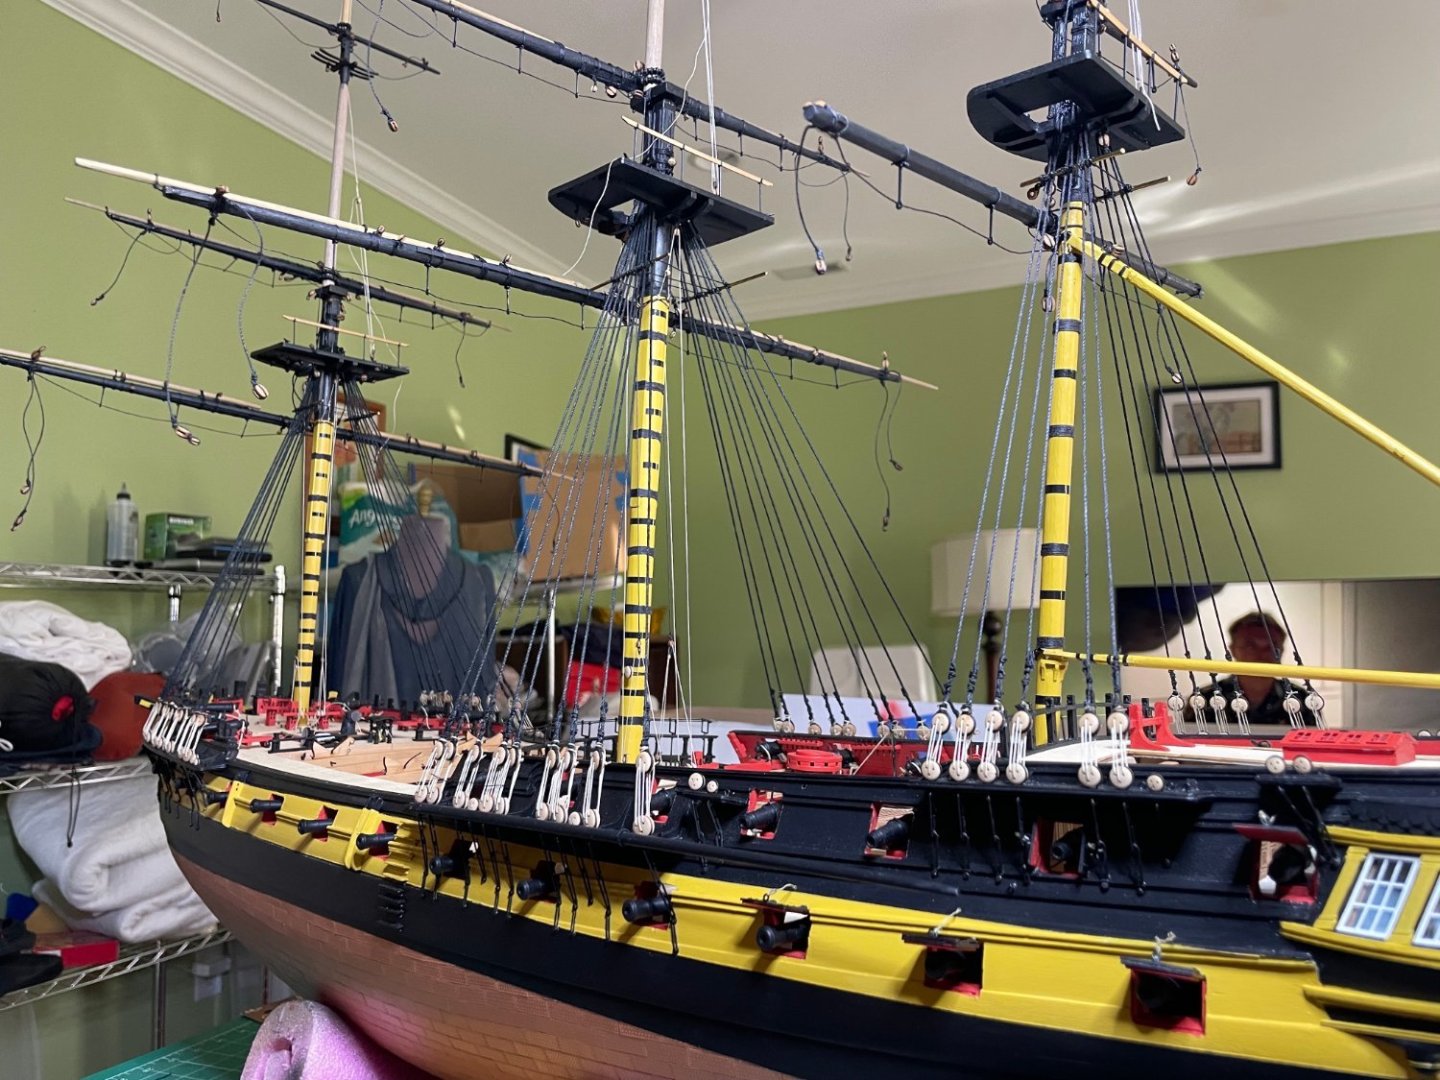
Boom and gaff rigged. Foremast backstays rigged W With some contrasting background


- 233 replies
-
- 12
-
-
- Indefatigable
- Vanguard Models
- (and 1 more)
-
Trying to figure that out. As the 1:64 victory has been stuck in limbo, may try the new occre Victory. Also looked at Speedy or Flirt, Vanguard, Revenge, Granado
- 233 replies
-
- 2
-
-
- Indefatigable
- Vanguard Models
- (and 1 more)
-
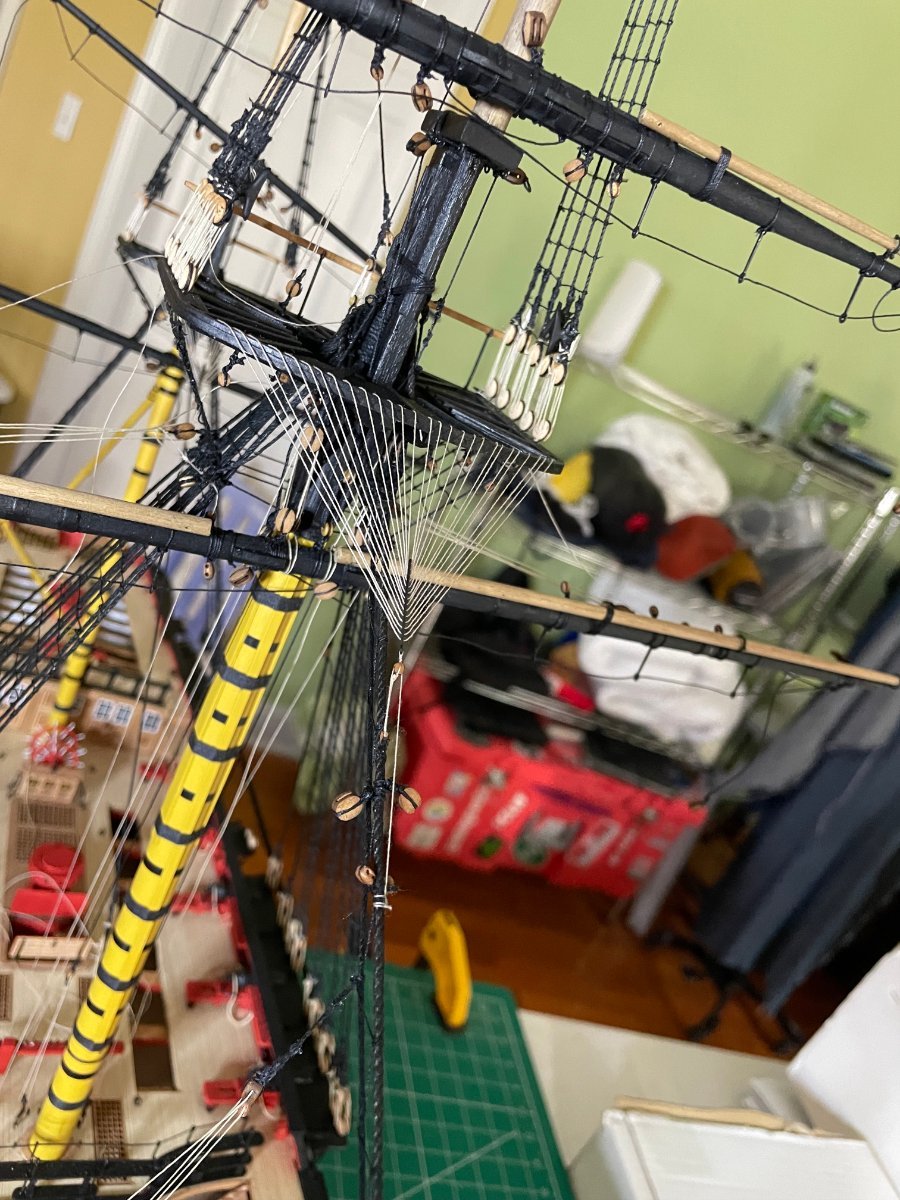
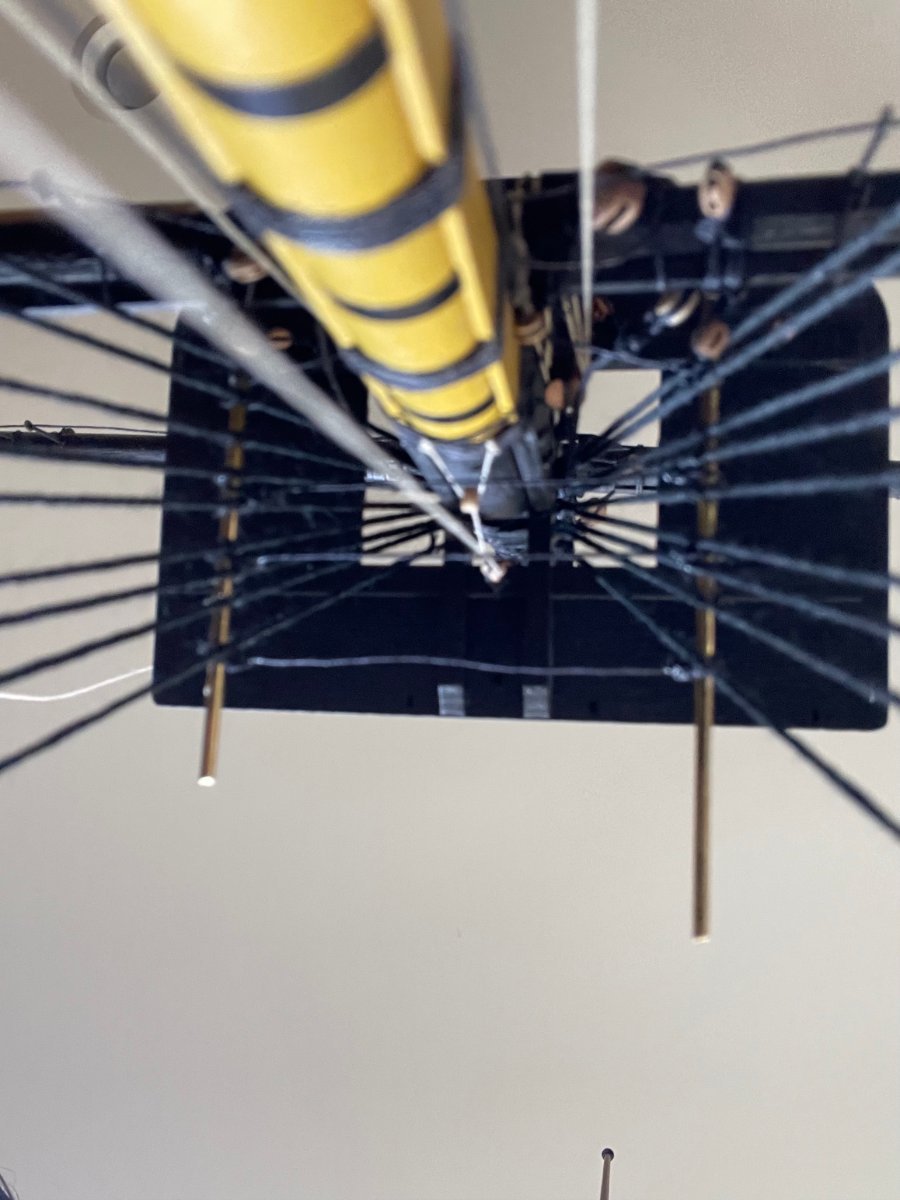
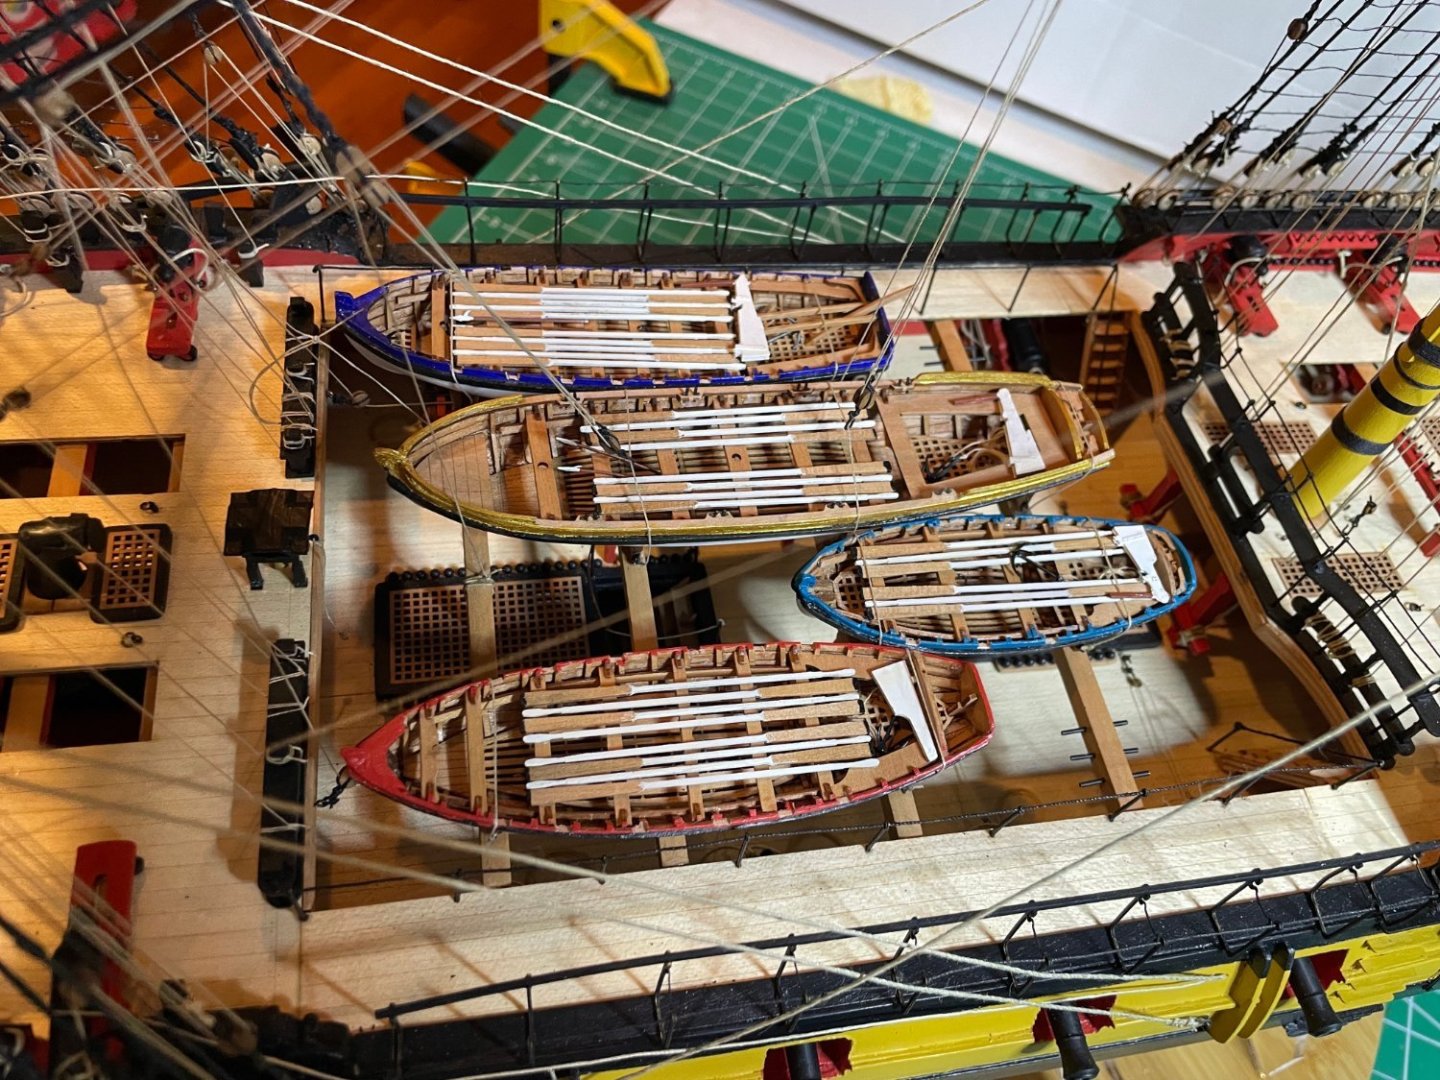
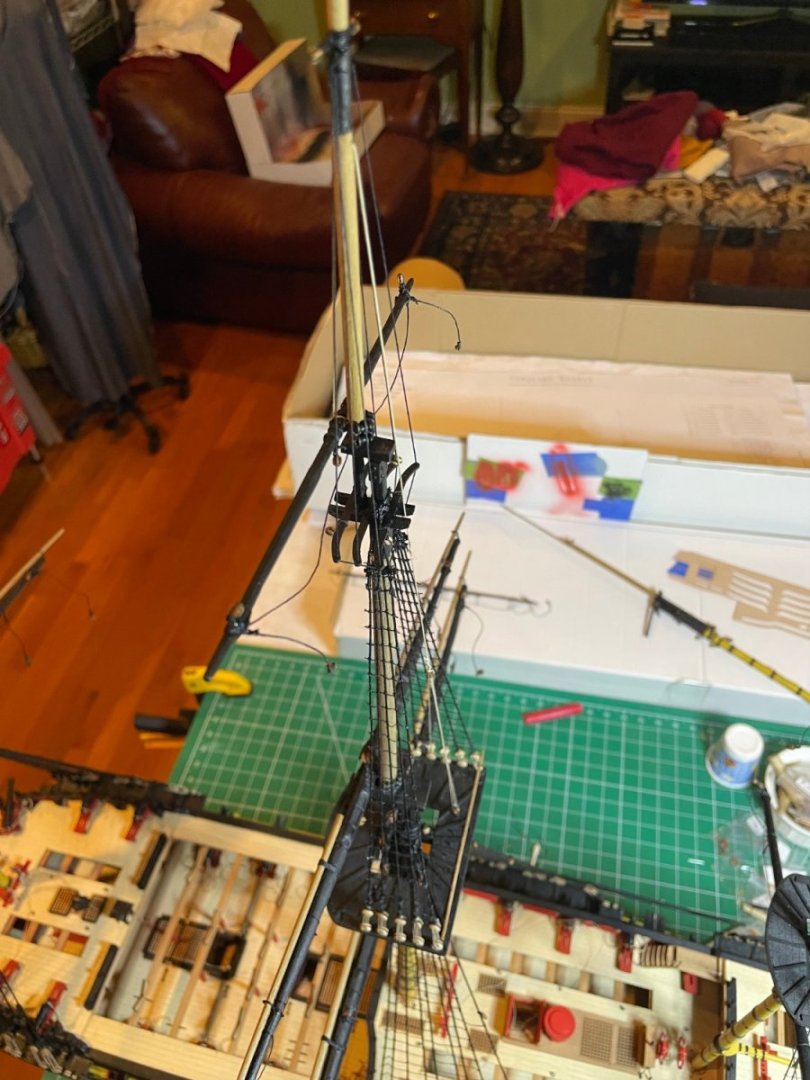
Finally done with sheet plan #16 after finishing the crow's feet and boat blocks. Next stage will be the backstays and topsail yard lifts.

- 233 replies
-
- 8
-
-
- Indefatigable
- Vanguard Models
- (and 1 more)
-
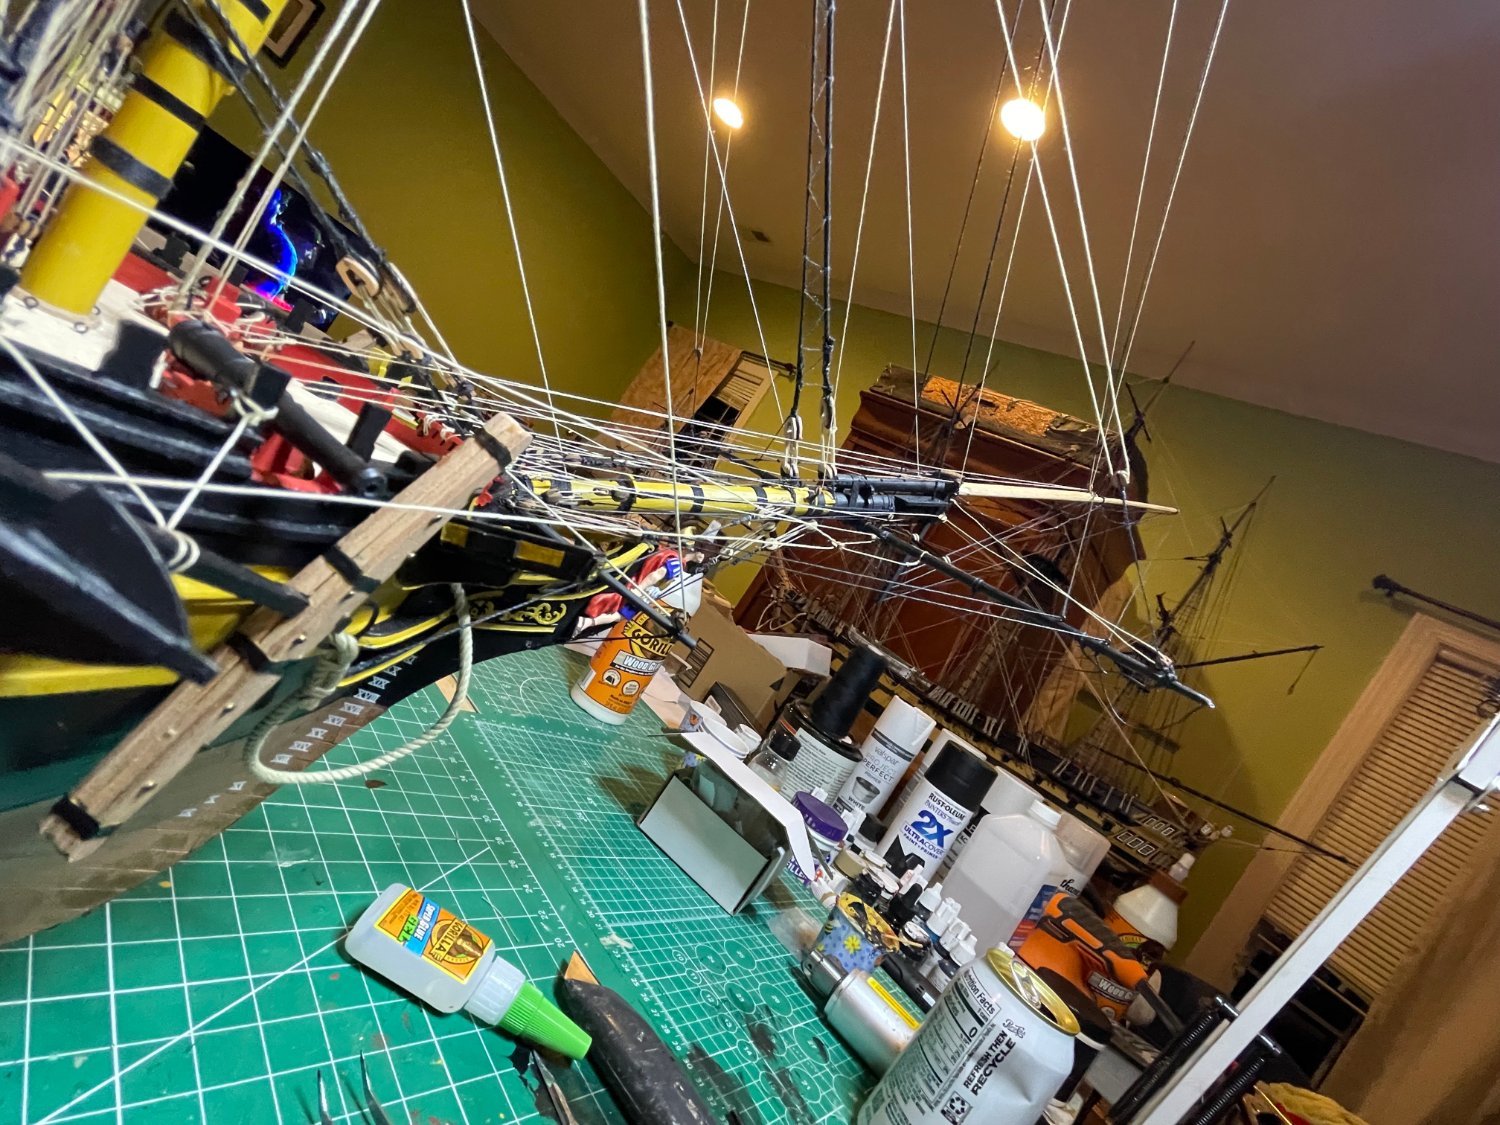
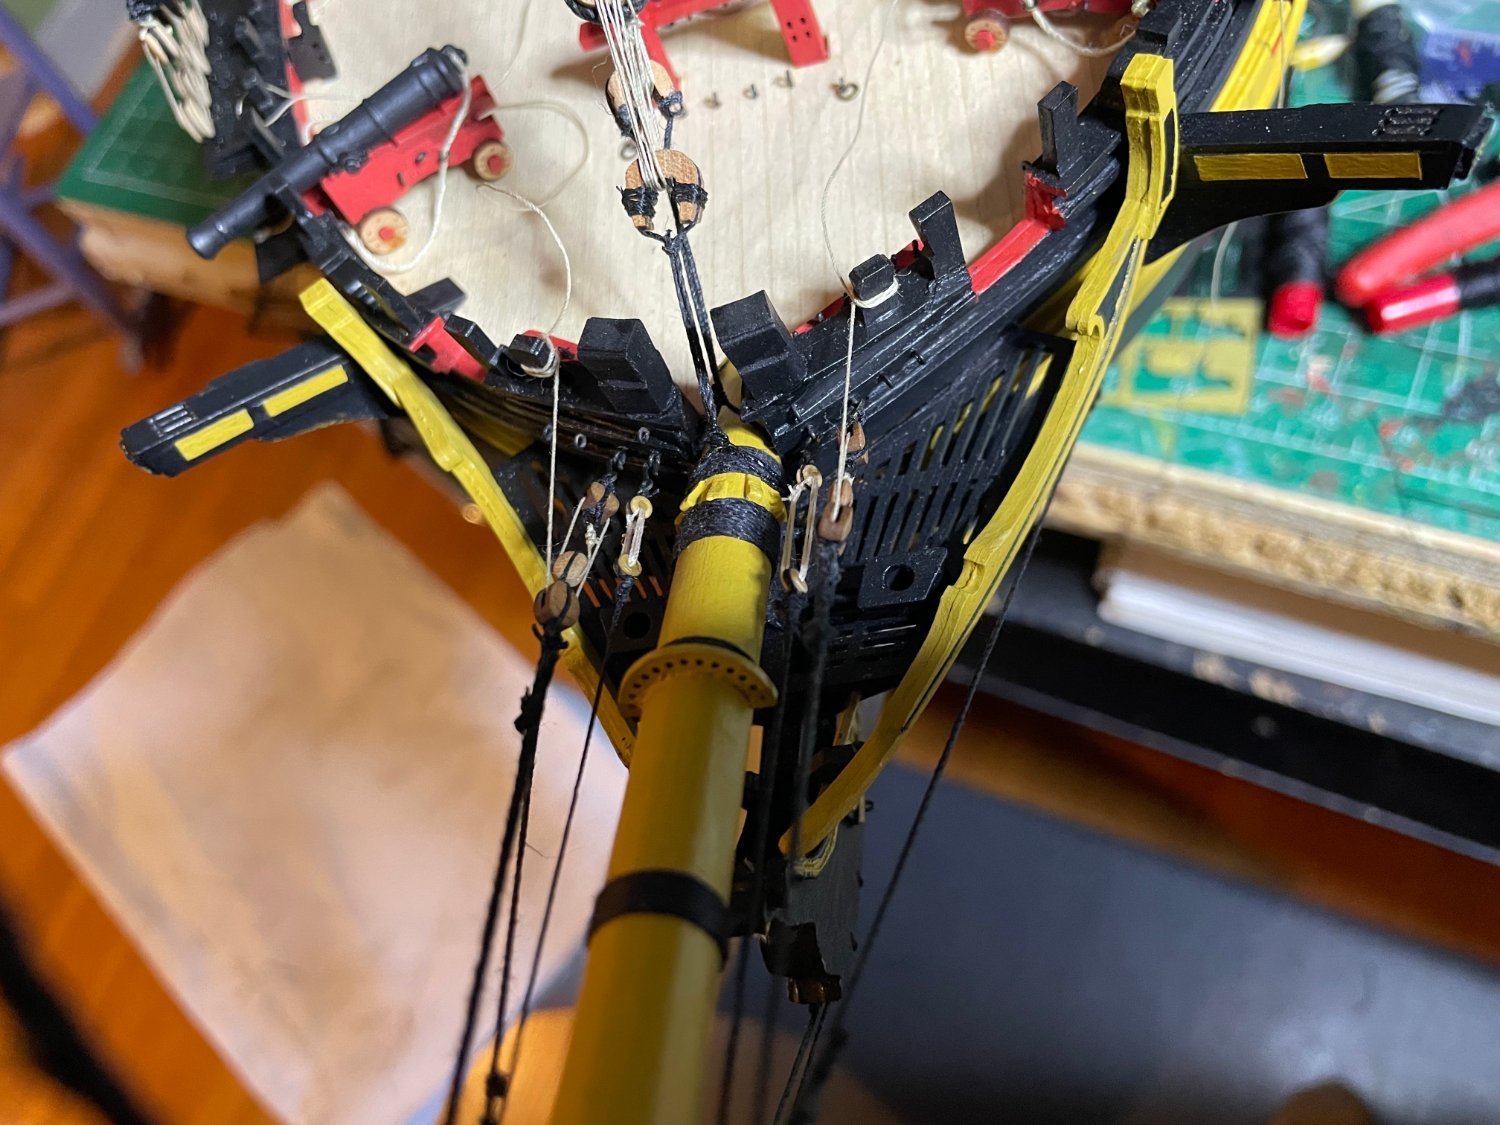
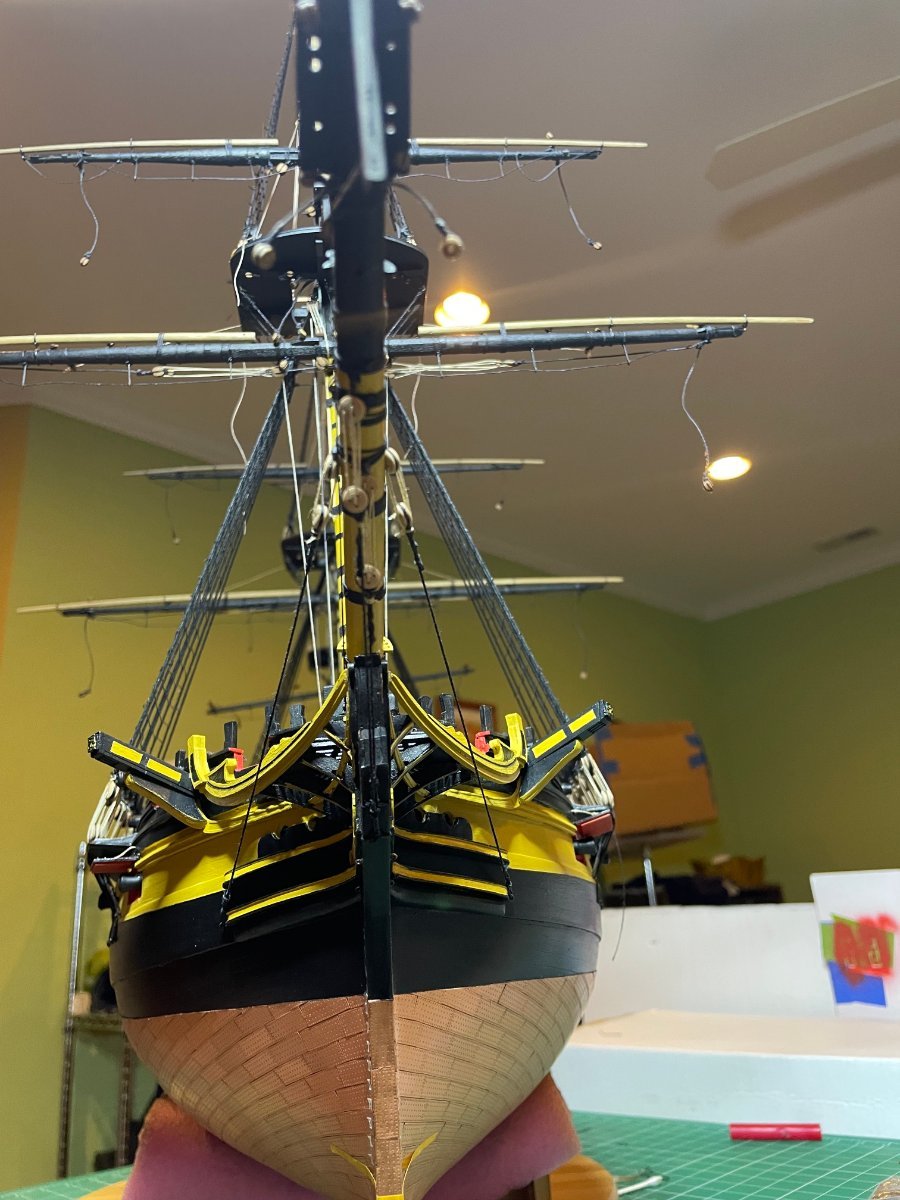
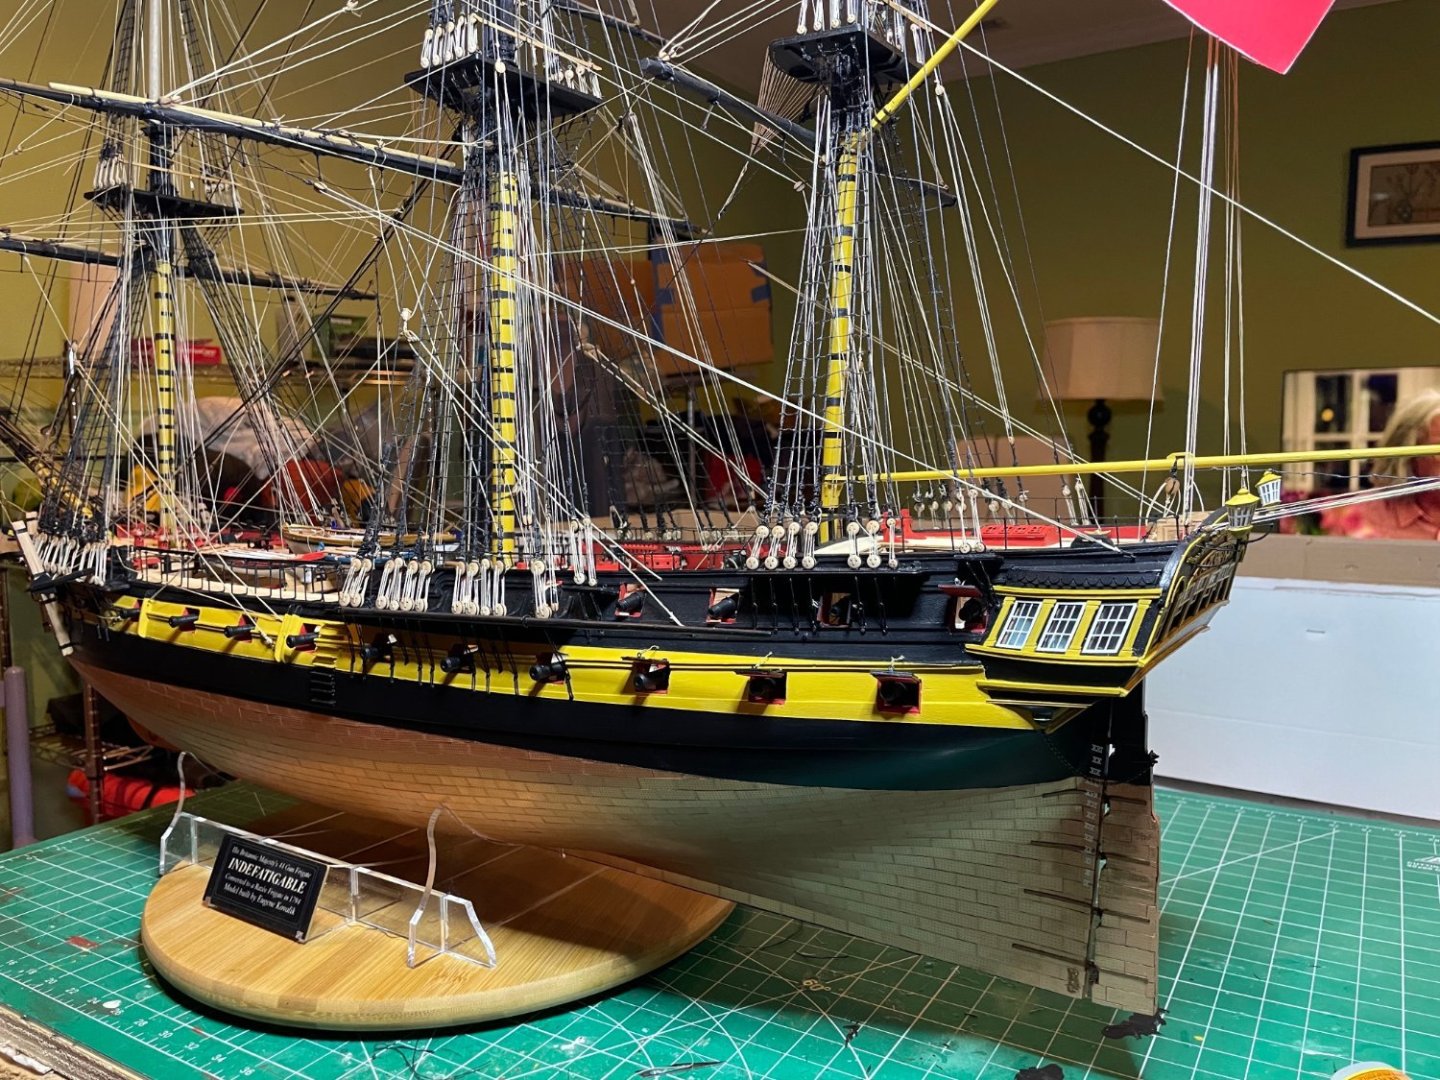
I should have said Chris includes lots of rigging not usually found in other kits. Bow now attached.


- 233 replies
-
- 11
-
-
-
- Indefatigable
- Vanguard Models
- (and 1 more)
-
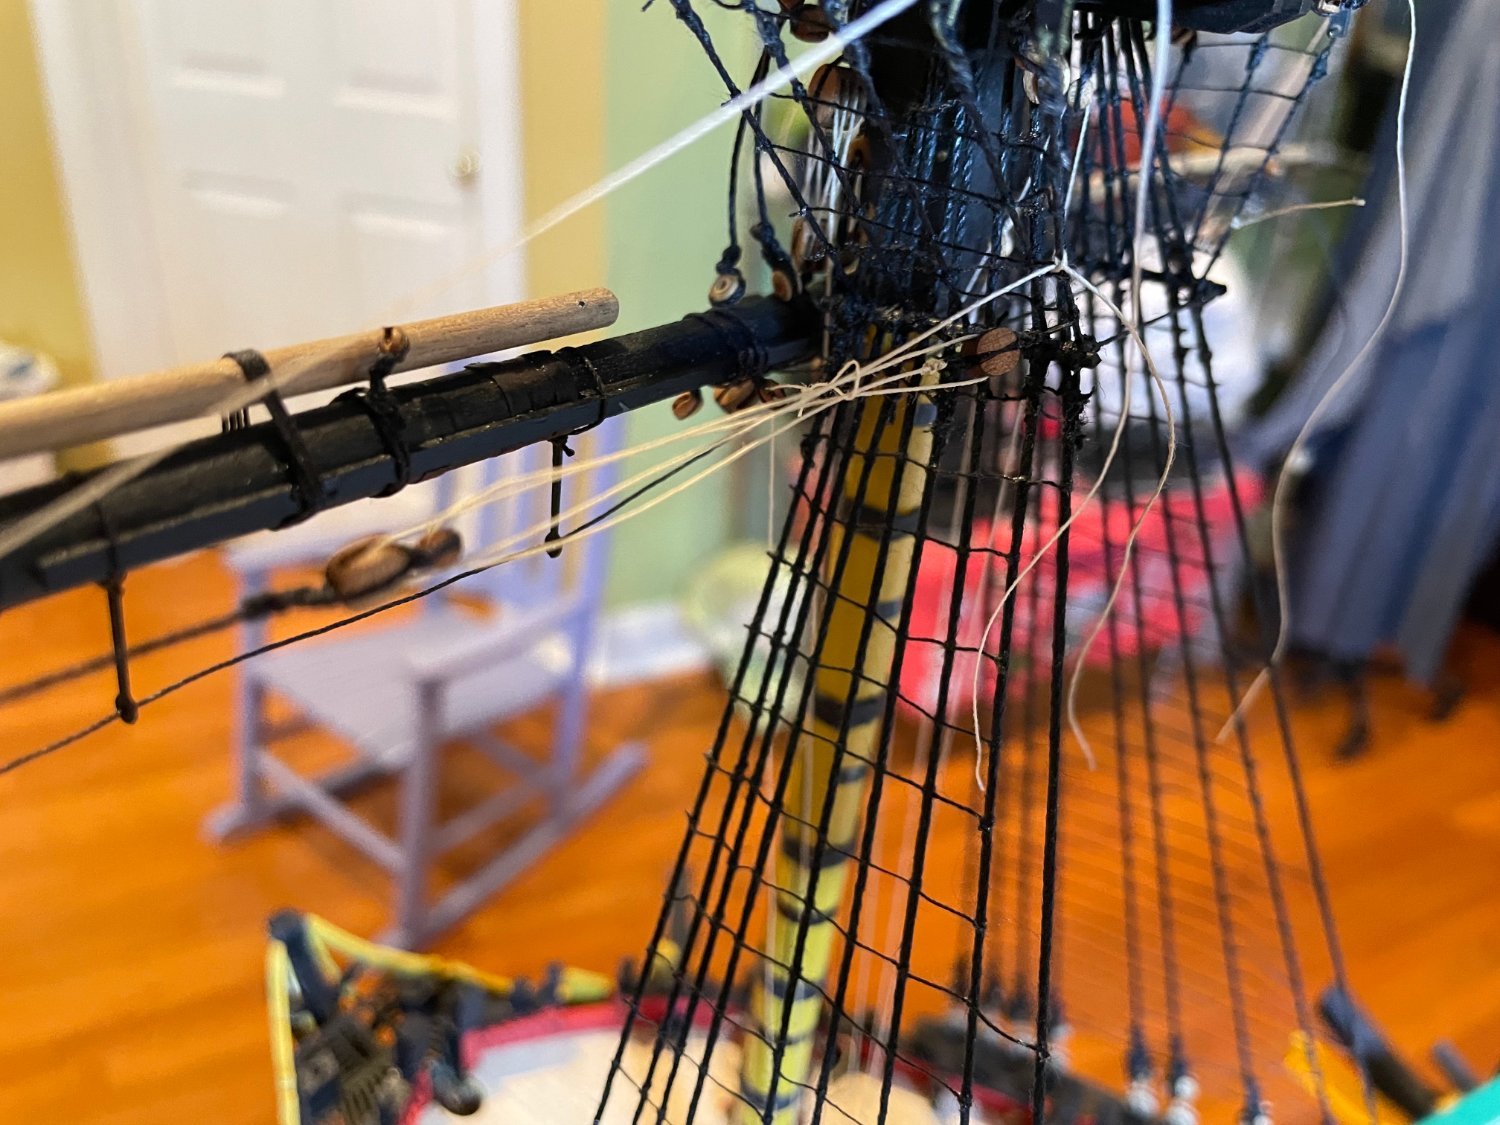
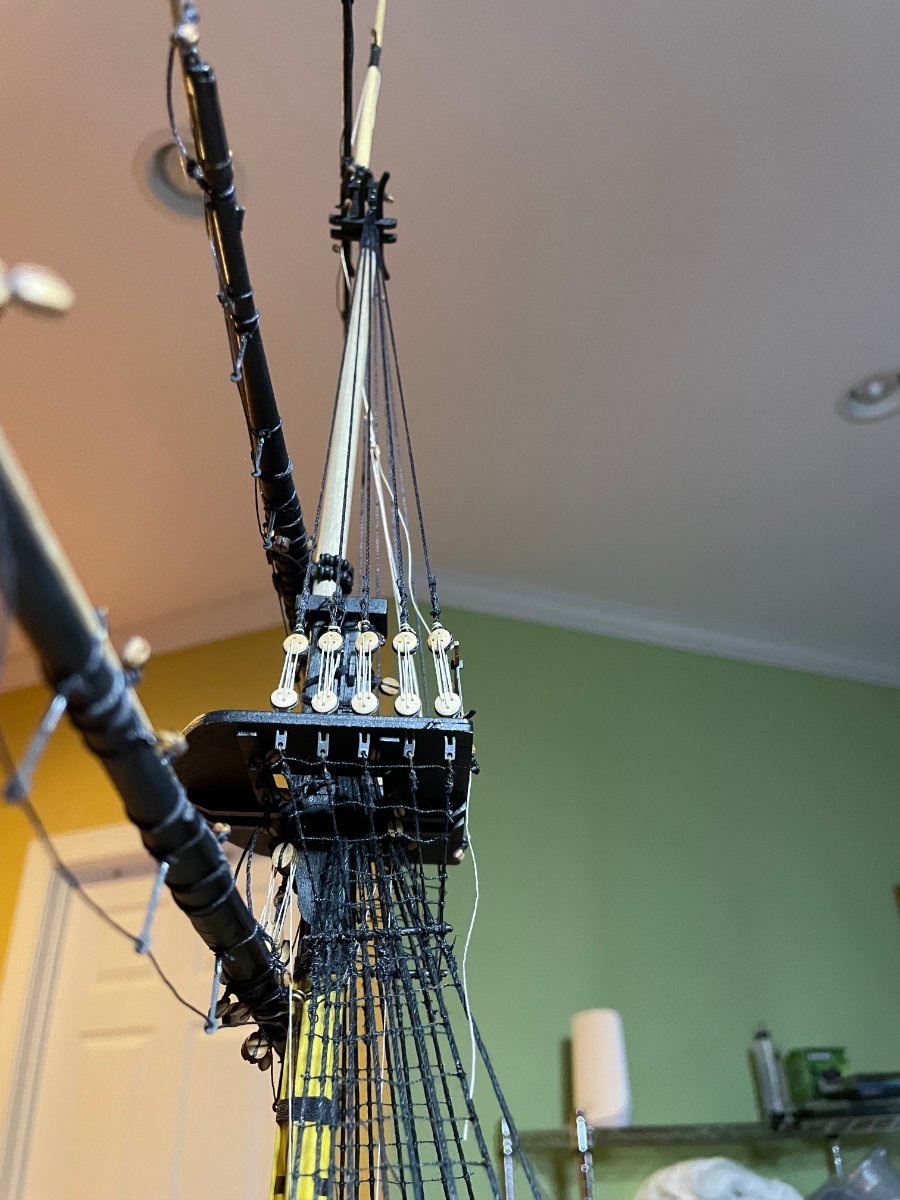
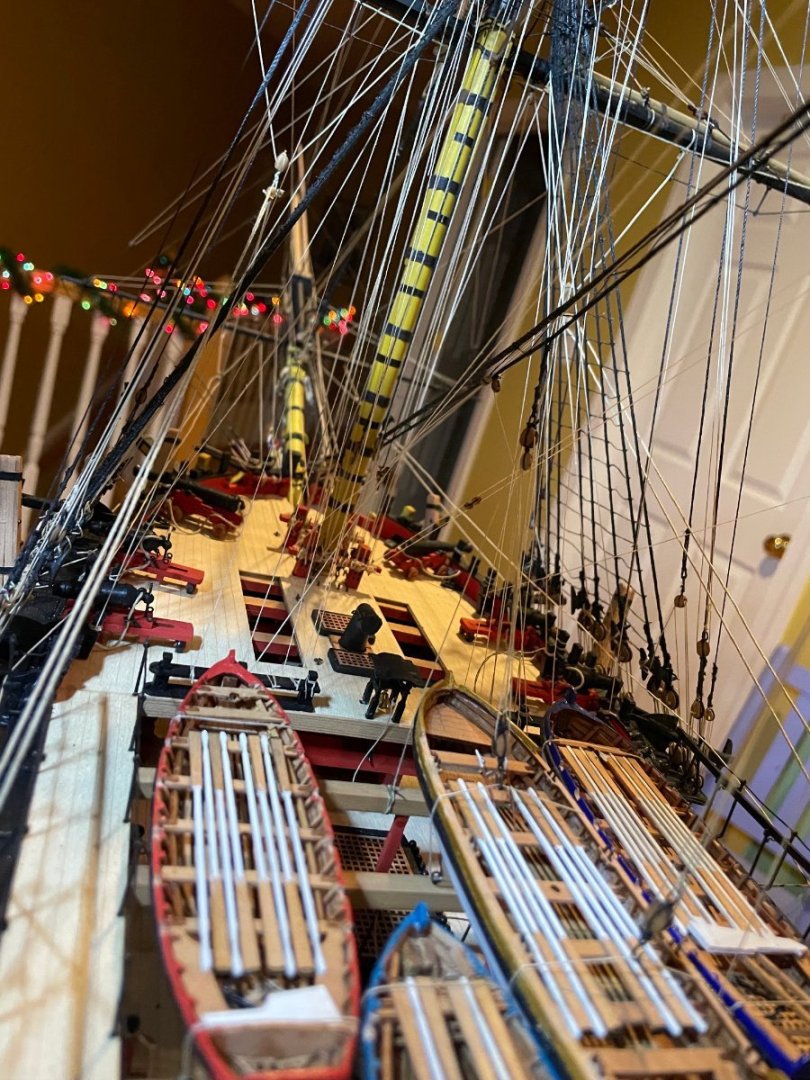
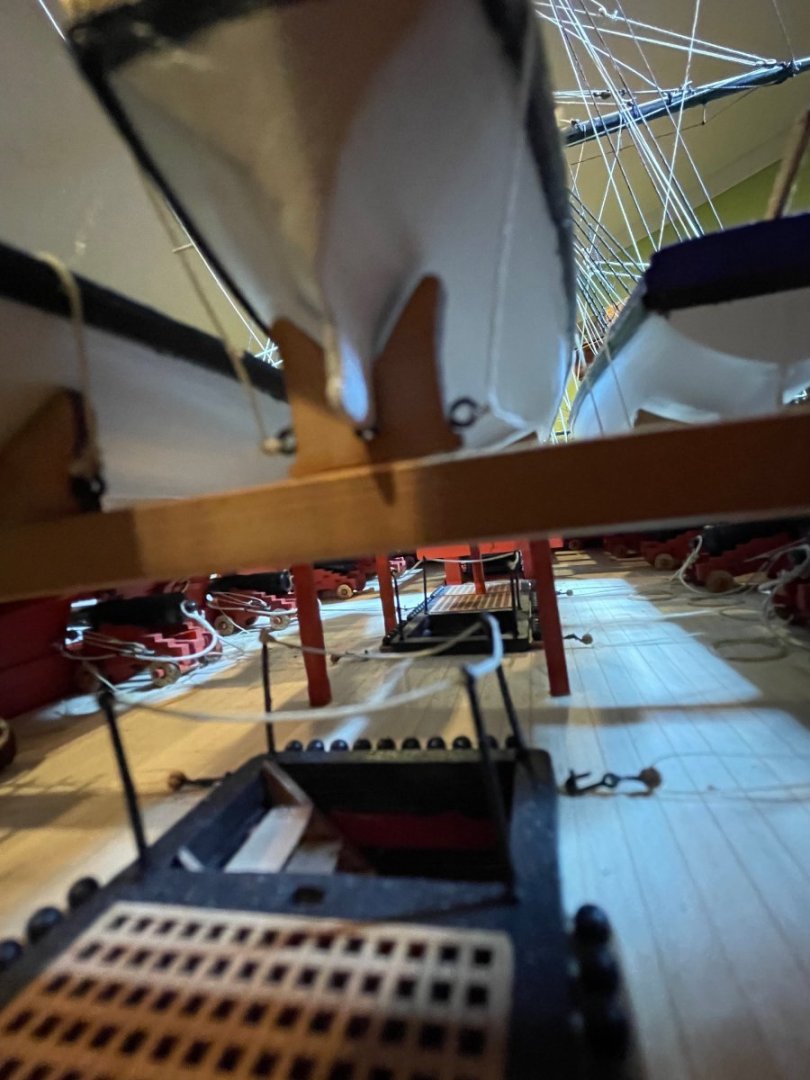
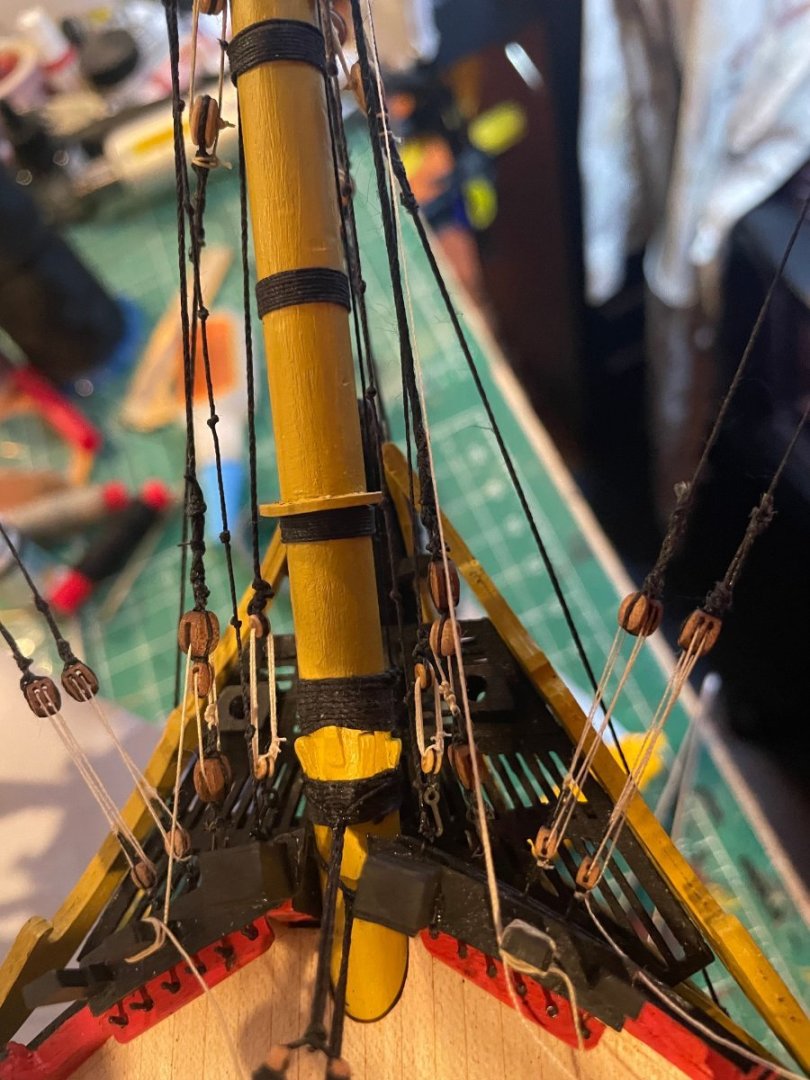
Tricing lines done. First time I have done this on a model. Chris includes lots of rigging that are normally found on other models. I can finally retire plan sheet #15. Time to attach the bowsprit so I can do the forestays.

- 233 replies
-
- 8
-
-
- Indefatigable
- Vanguard Models
- (and 1 more)
-
I usually do not fit the boomkins until the end when I have to rig them as more often than not I accidentally break them off.
- 648 replies
-
- 1
-
-
- Indefatigable
- Vanguard Models
- (and 1 more)
-
The several ships of this era I have built have had both. The metal banding a touch wide as I used tape that was a bit wider than per plan.
- 233 replies
-
- 3
-
-
- Indefatigable
- Vanguard Models
- (and 1 more)
-
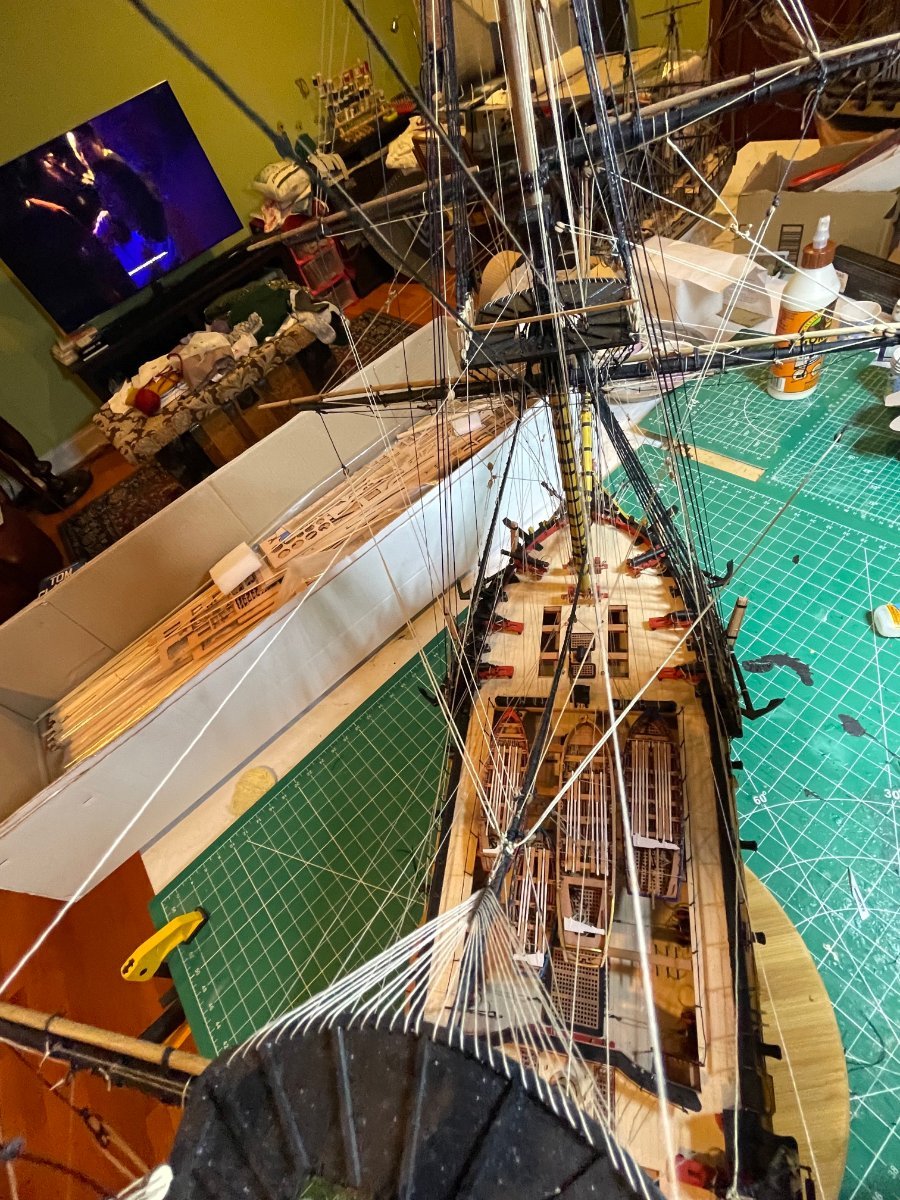
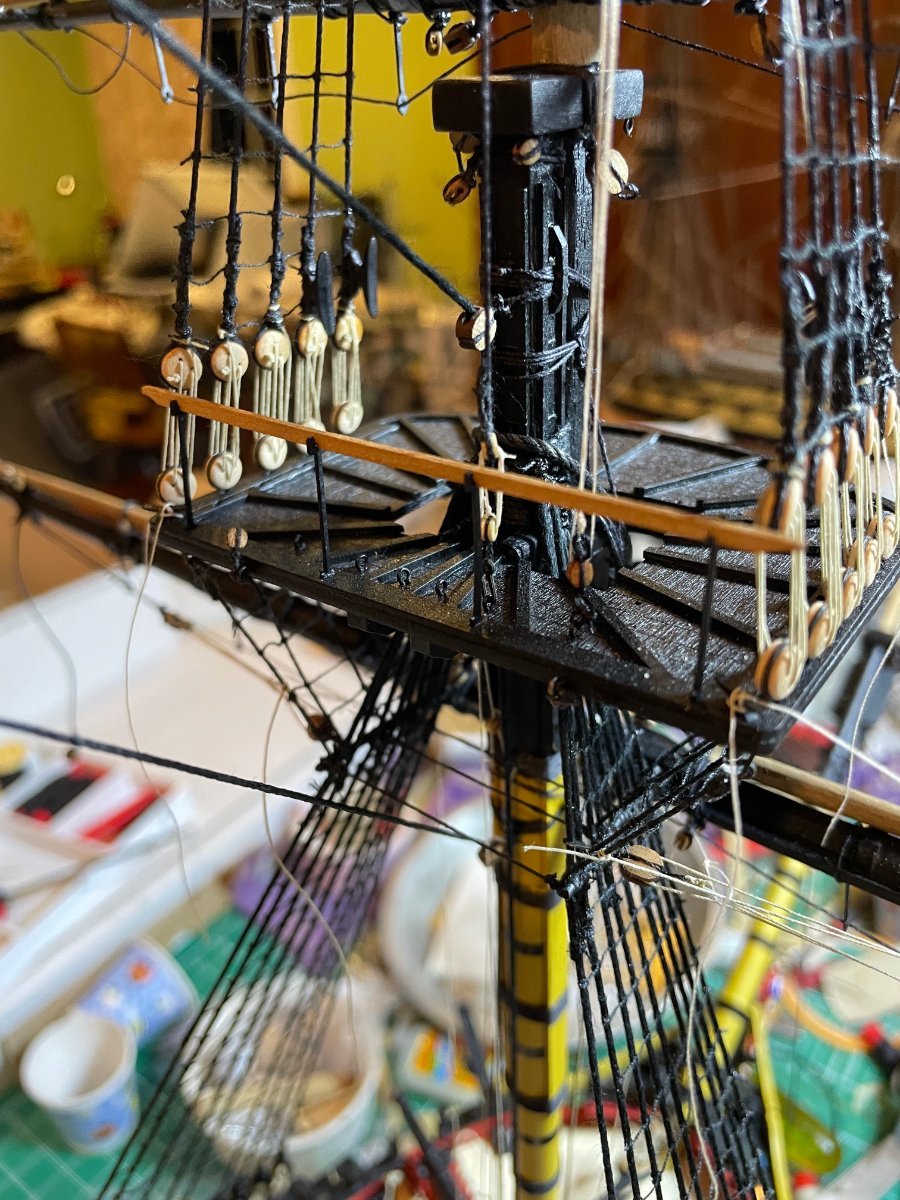
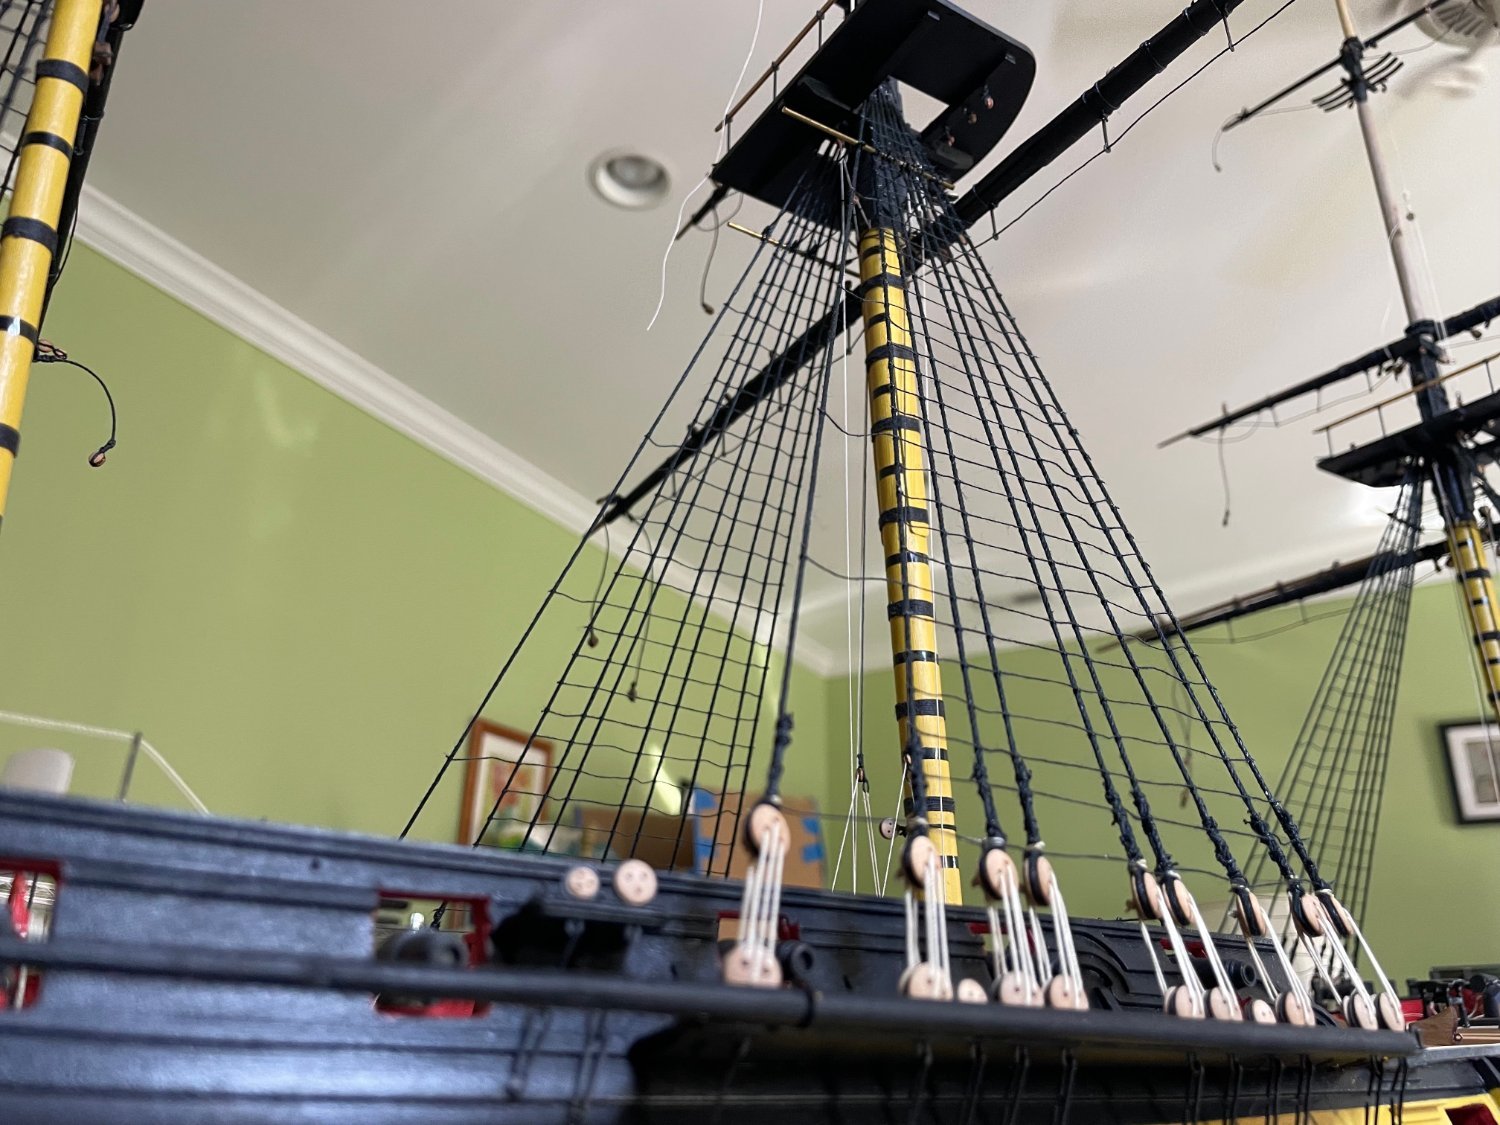
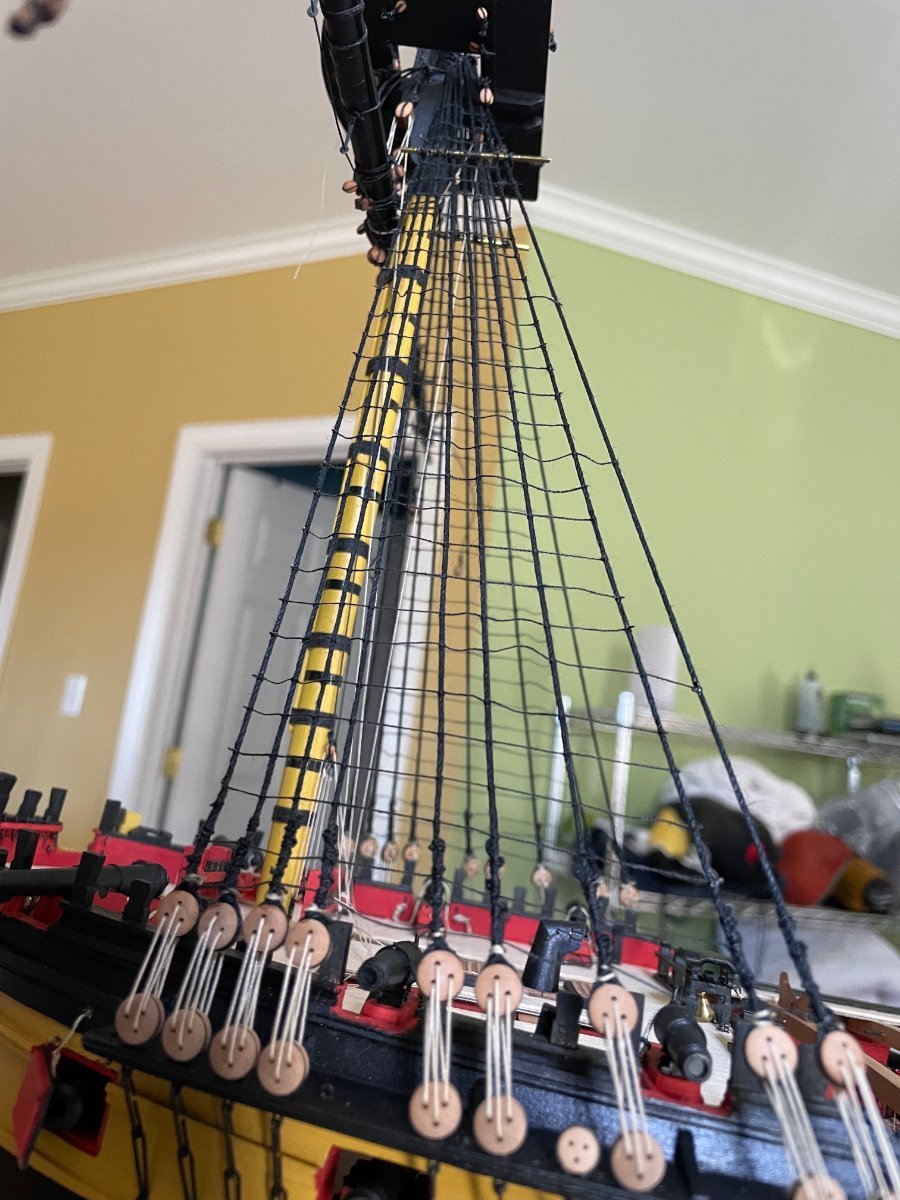
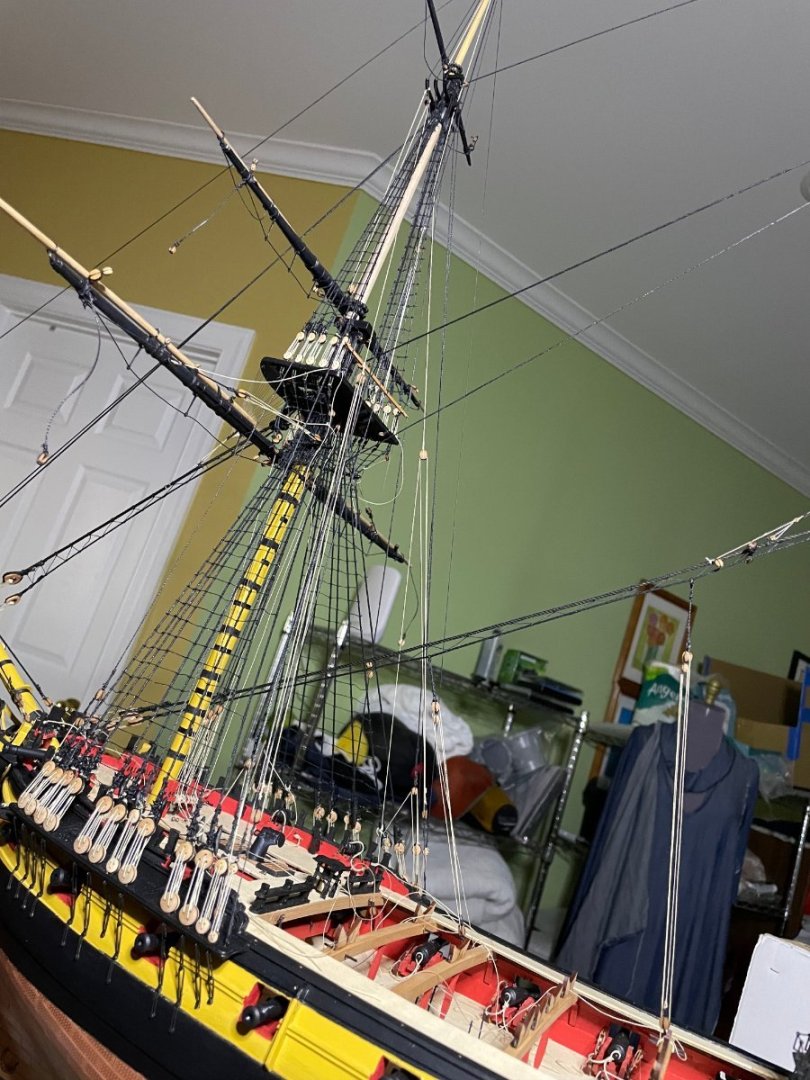
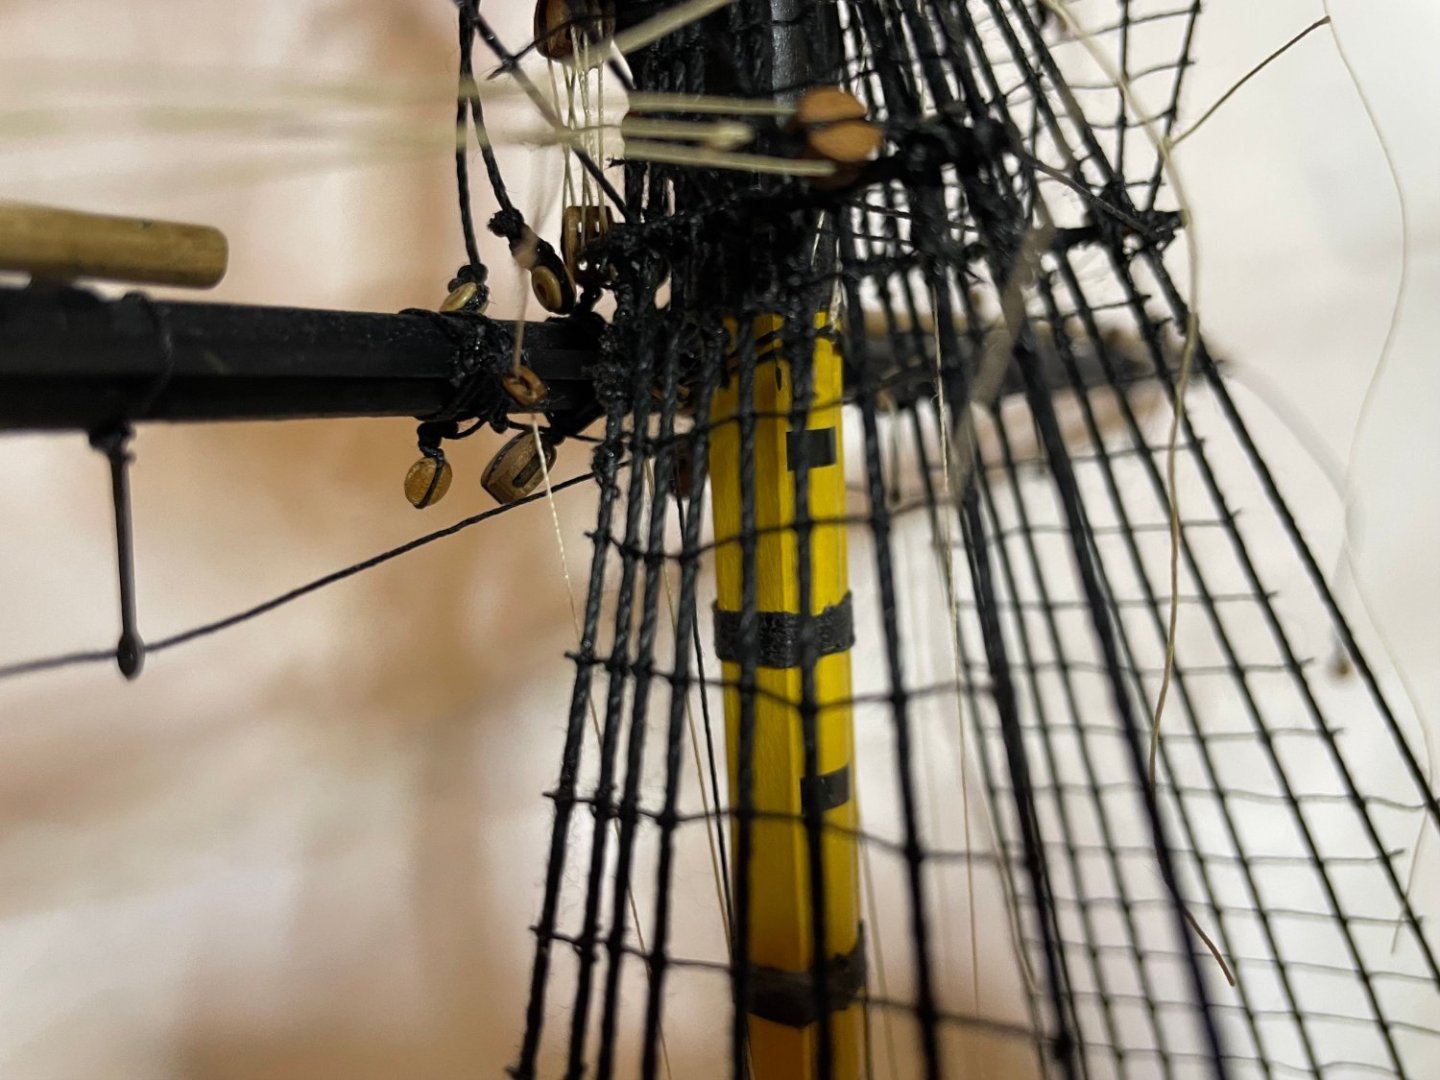
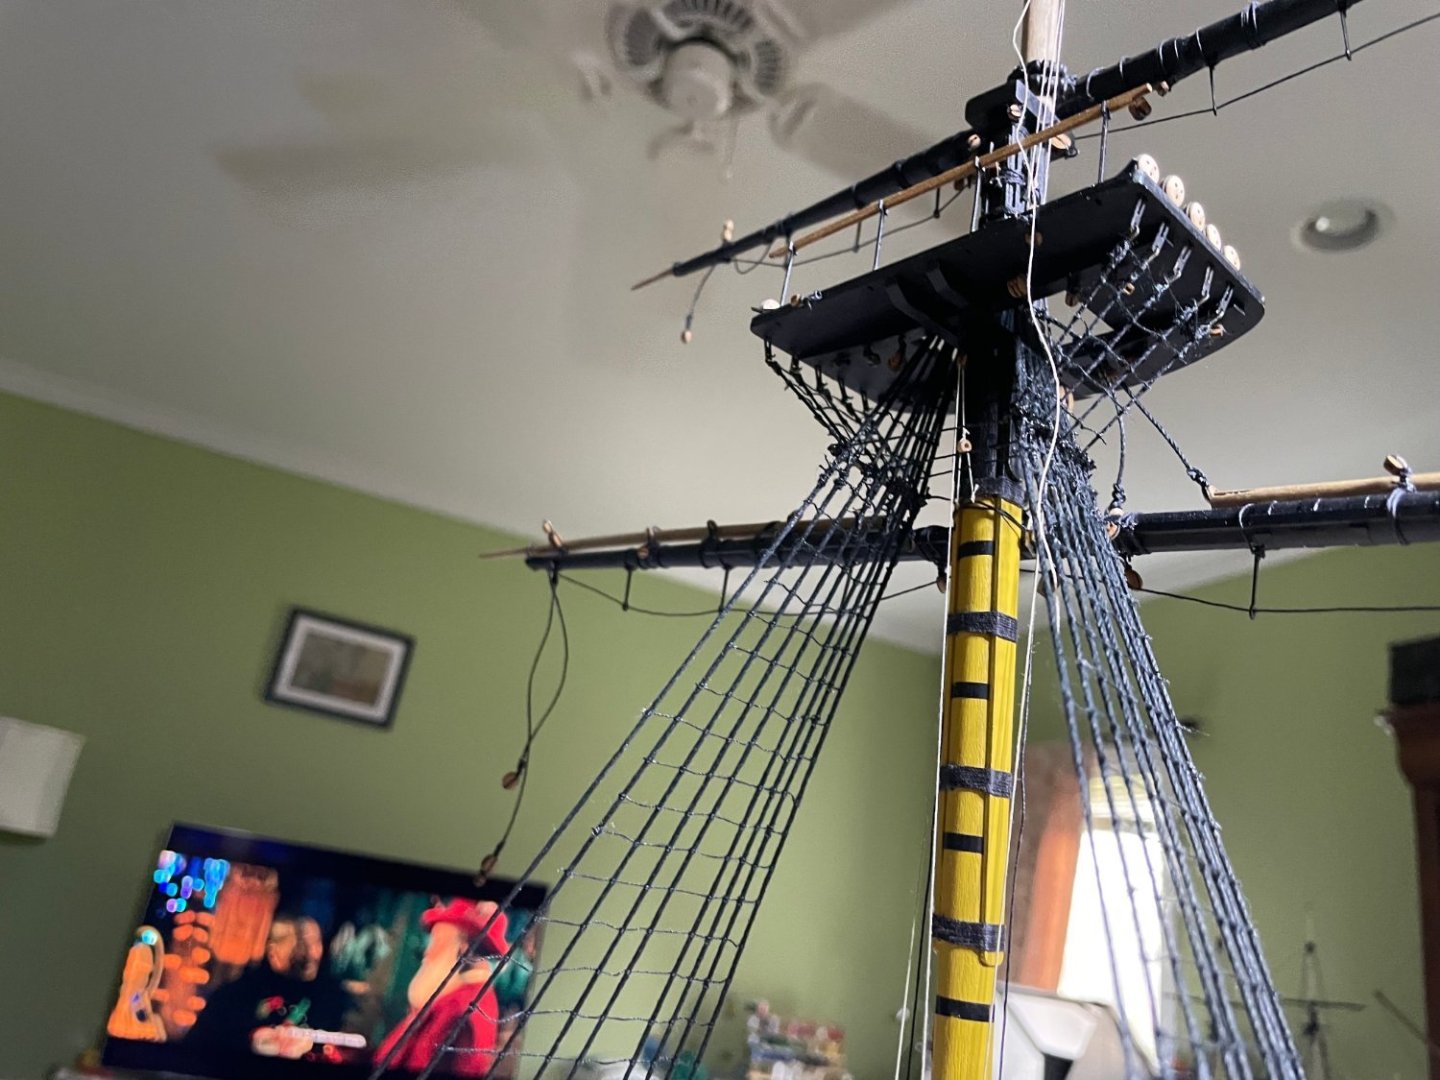
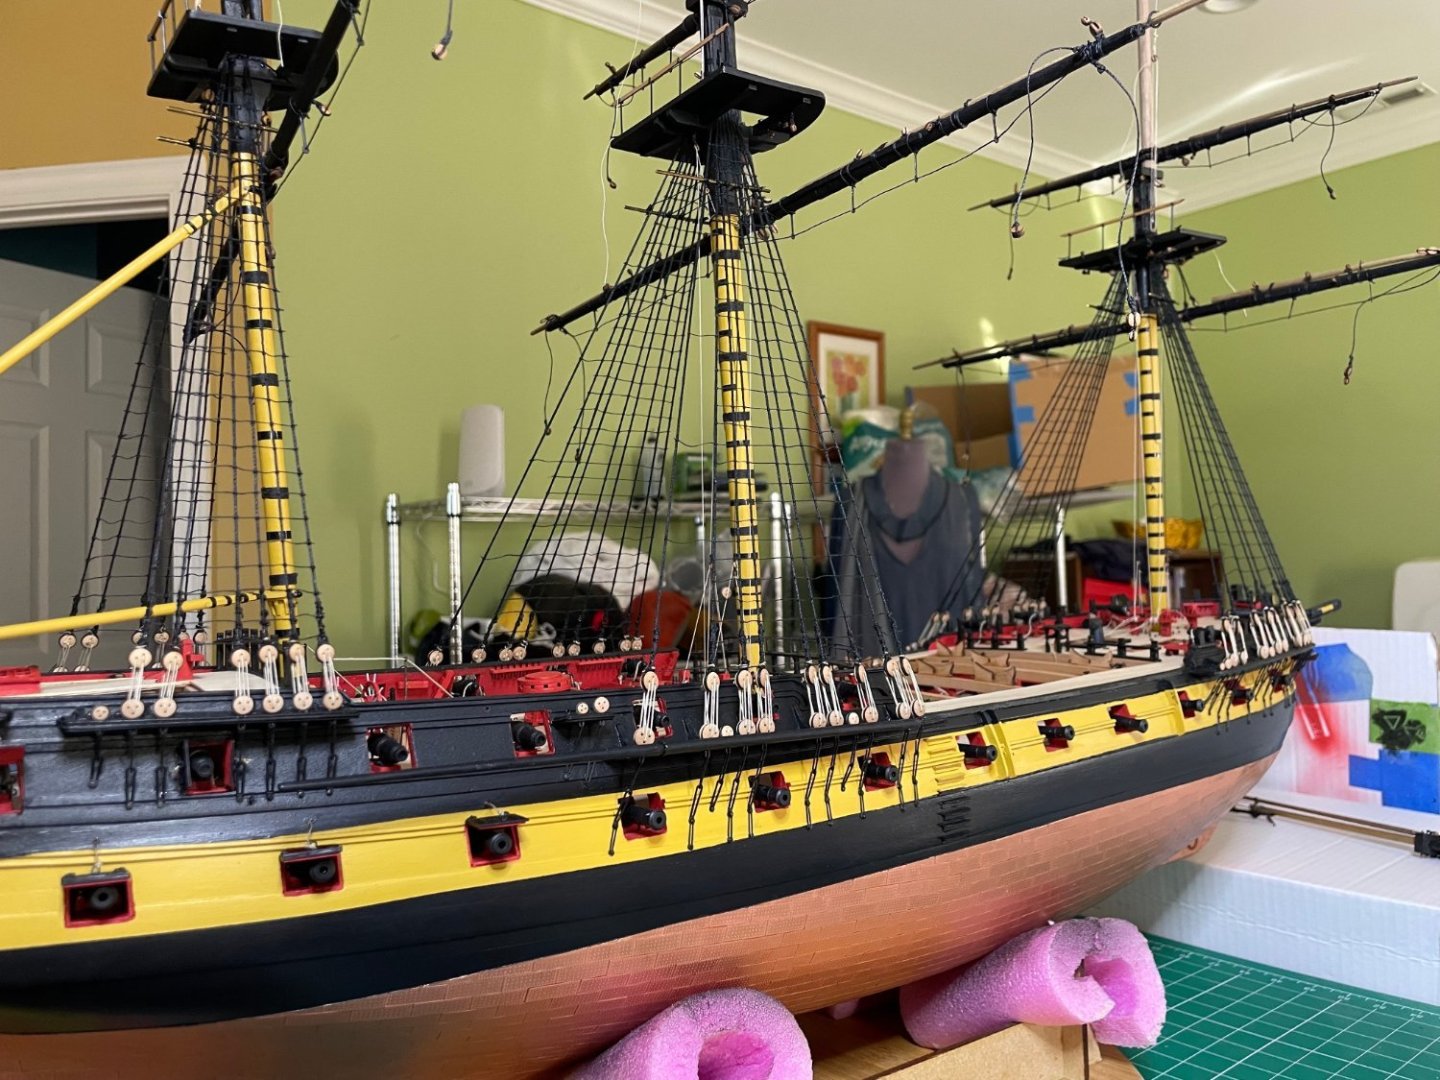
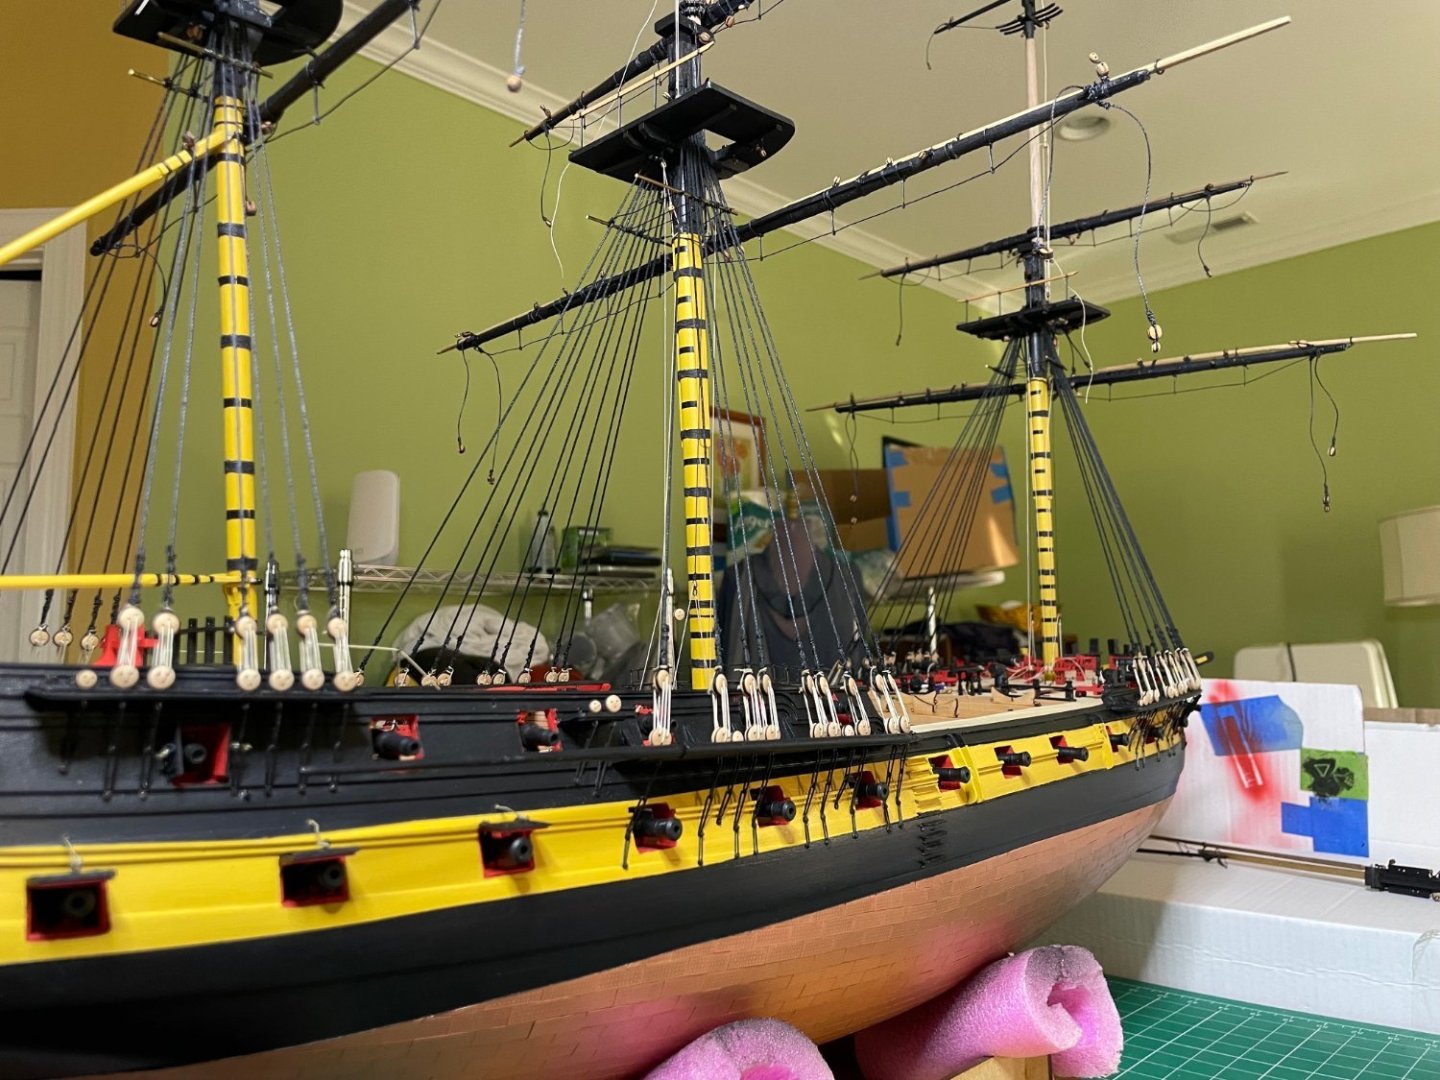
Upper shrouds and ratlines all done, as Chris Watton said, the most tedious and longest part of rigging.


- 233 replies
-
- 10
-
-
- Indefatigable
- Vanguard Models
- (and 1 more)
-
Finished the upper shrouds. Will become cross eyed again for the next few days stitching the ratlines in.

- 233 replies
-
- 12
-
-
- Indefatigable
- Vanguard Models
- (and 1 more)
-
They are also very fragile. I used ones I had around for the foremast as they were a bit heftier and the lasered ones on the main and mizzen. You an notice the difference. I liked your adding the extra layer around the yards. I have done that in other models. It certainly beefs up the yard
- 233 replies
-
- 1
-
-
- Indefatigable
- Vanguard Models
- (and 1 more)
-
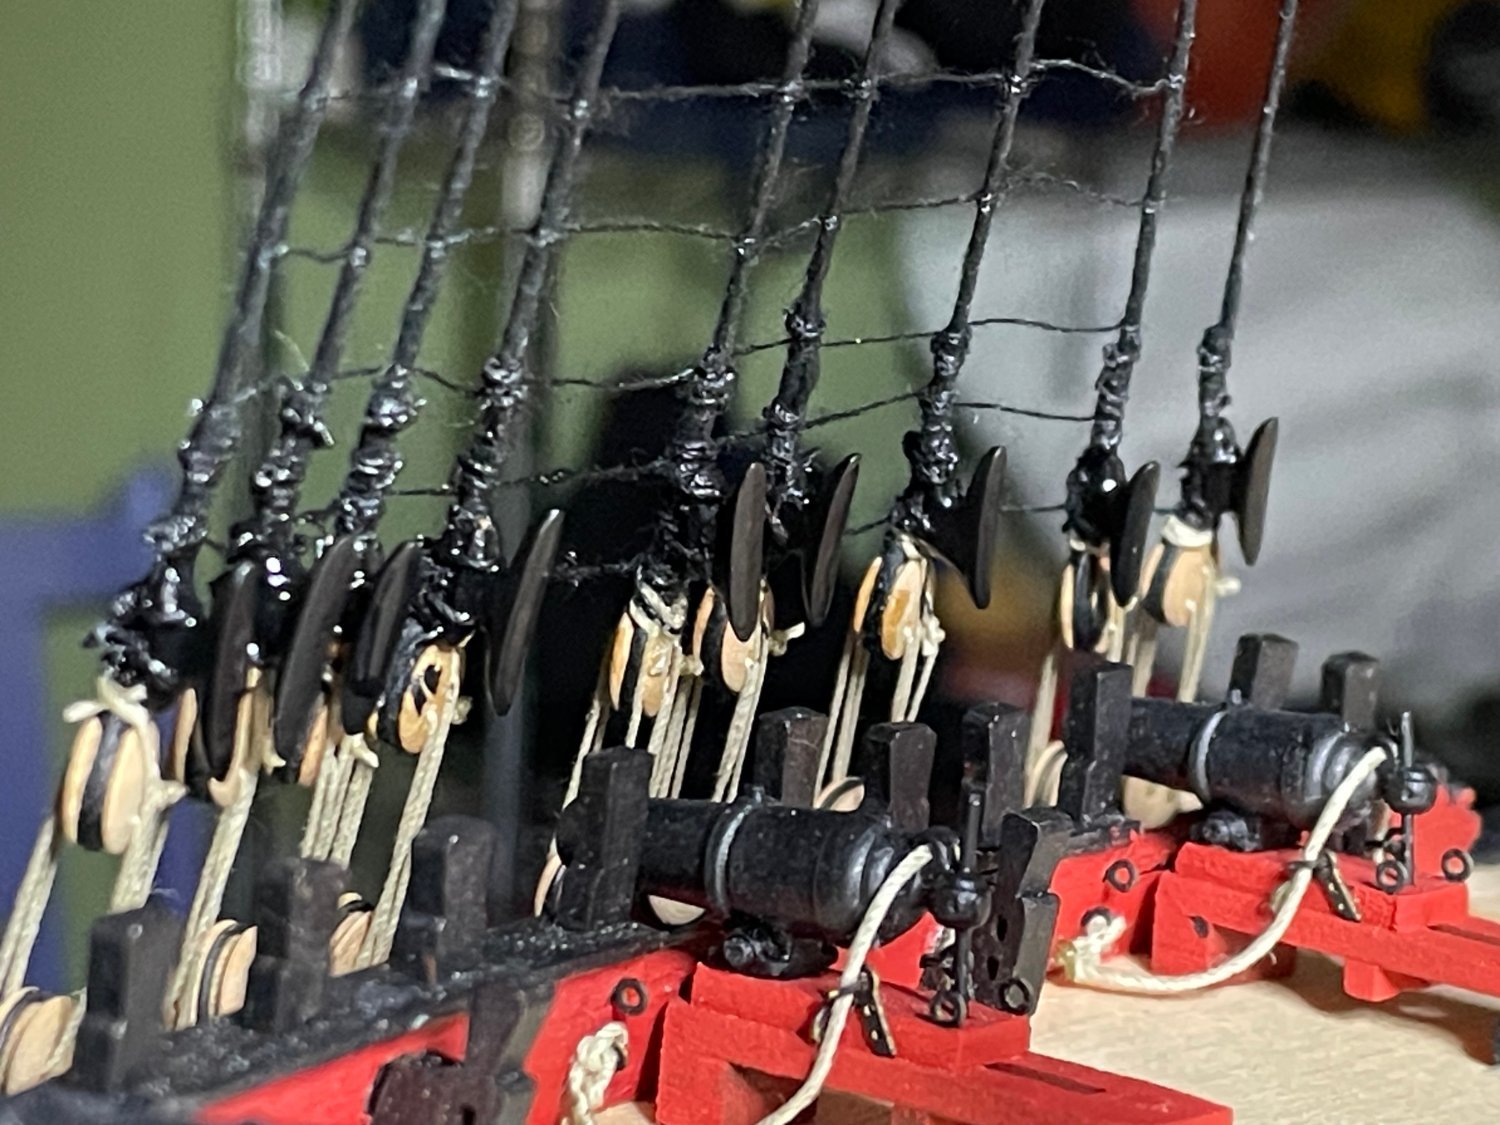
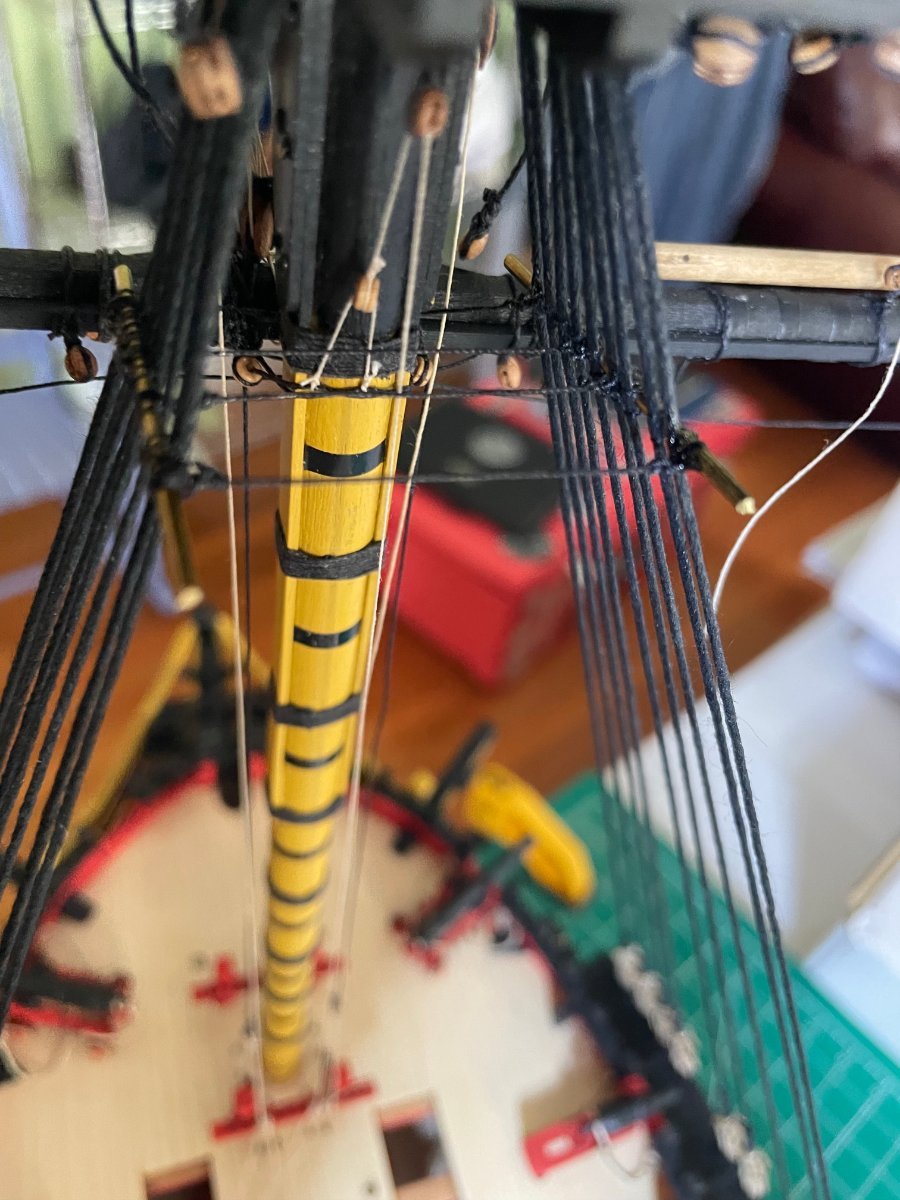
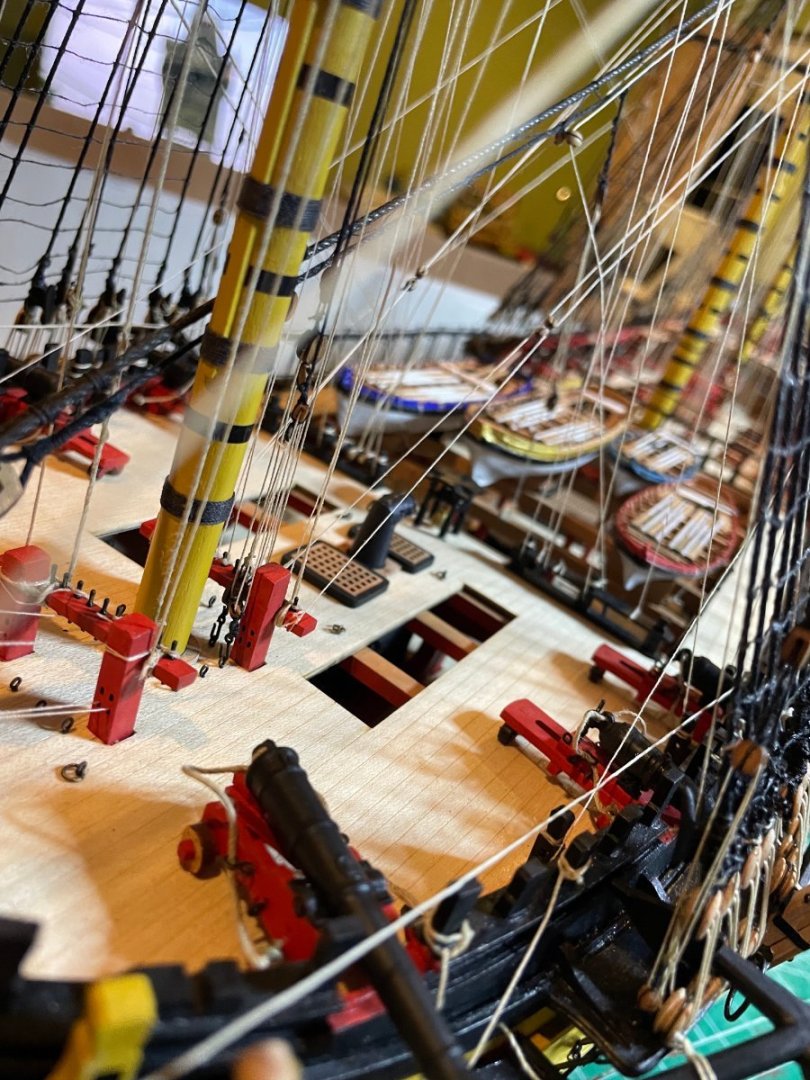
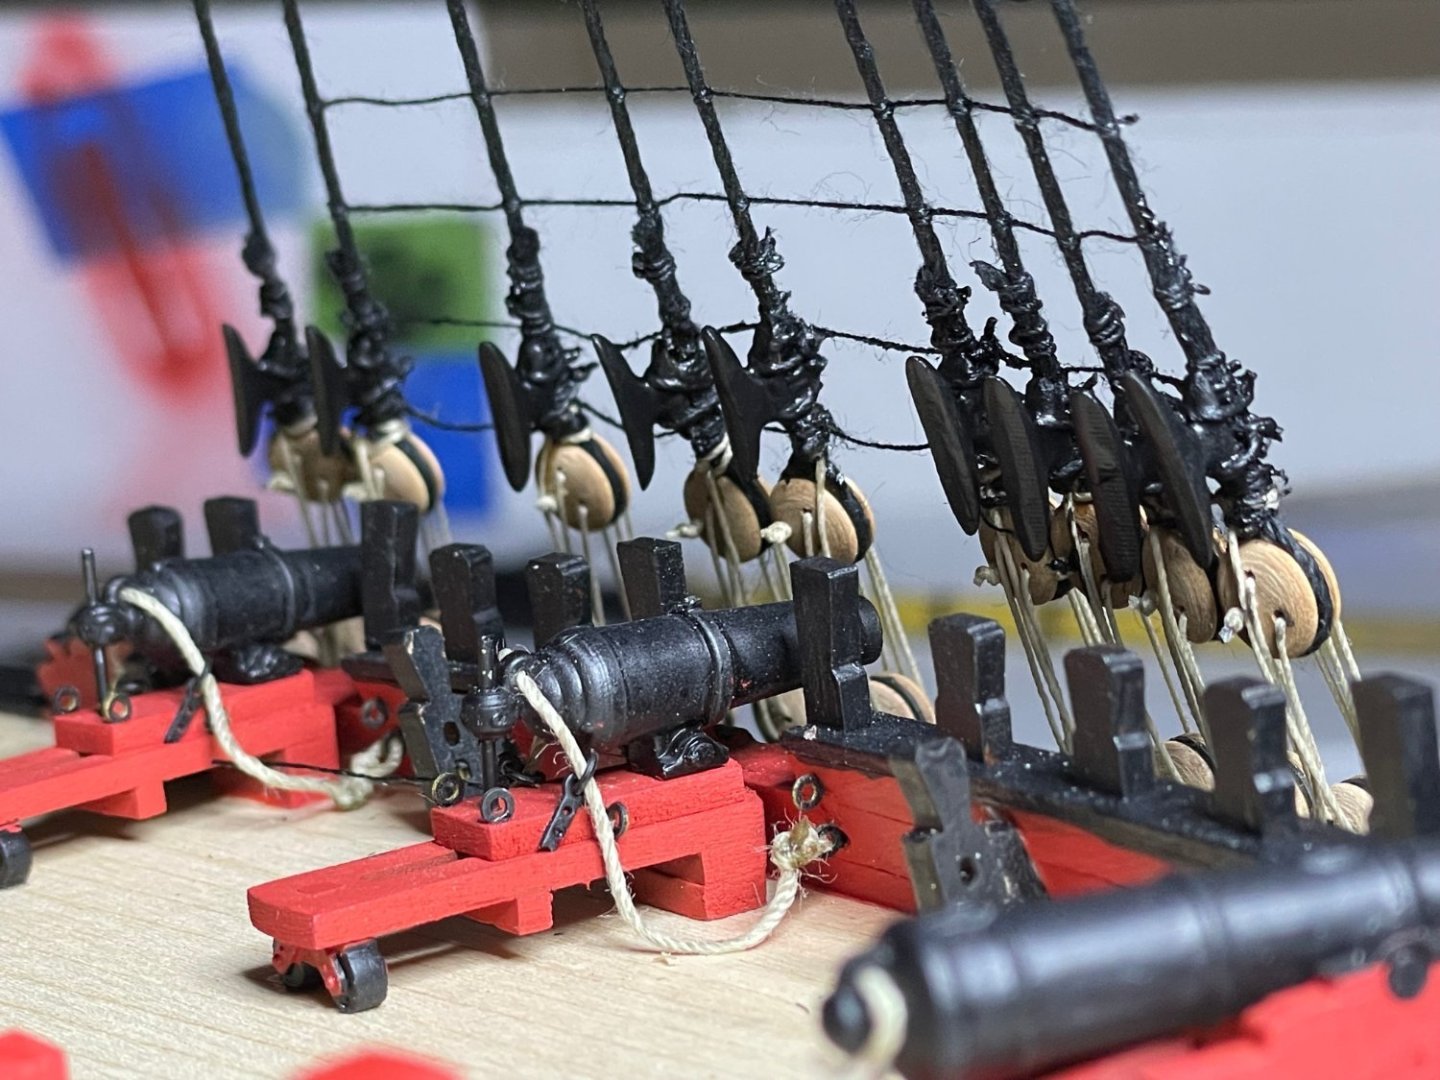
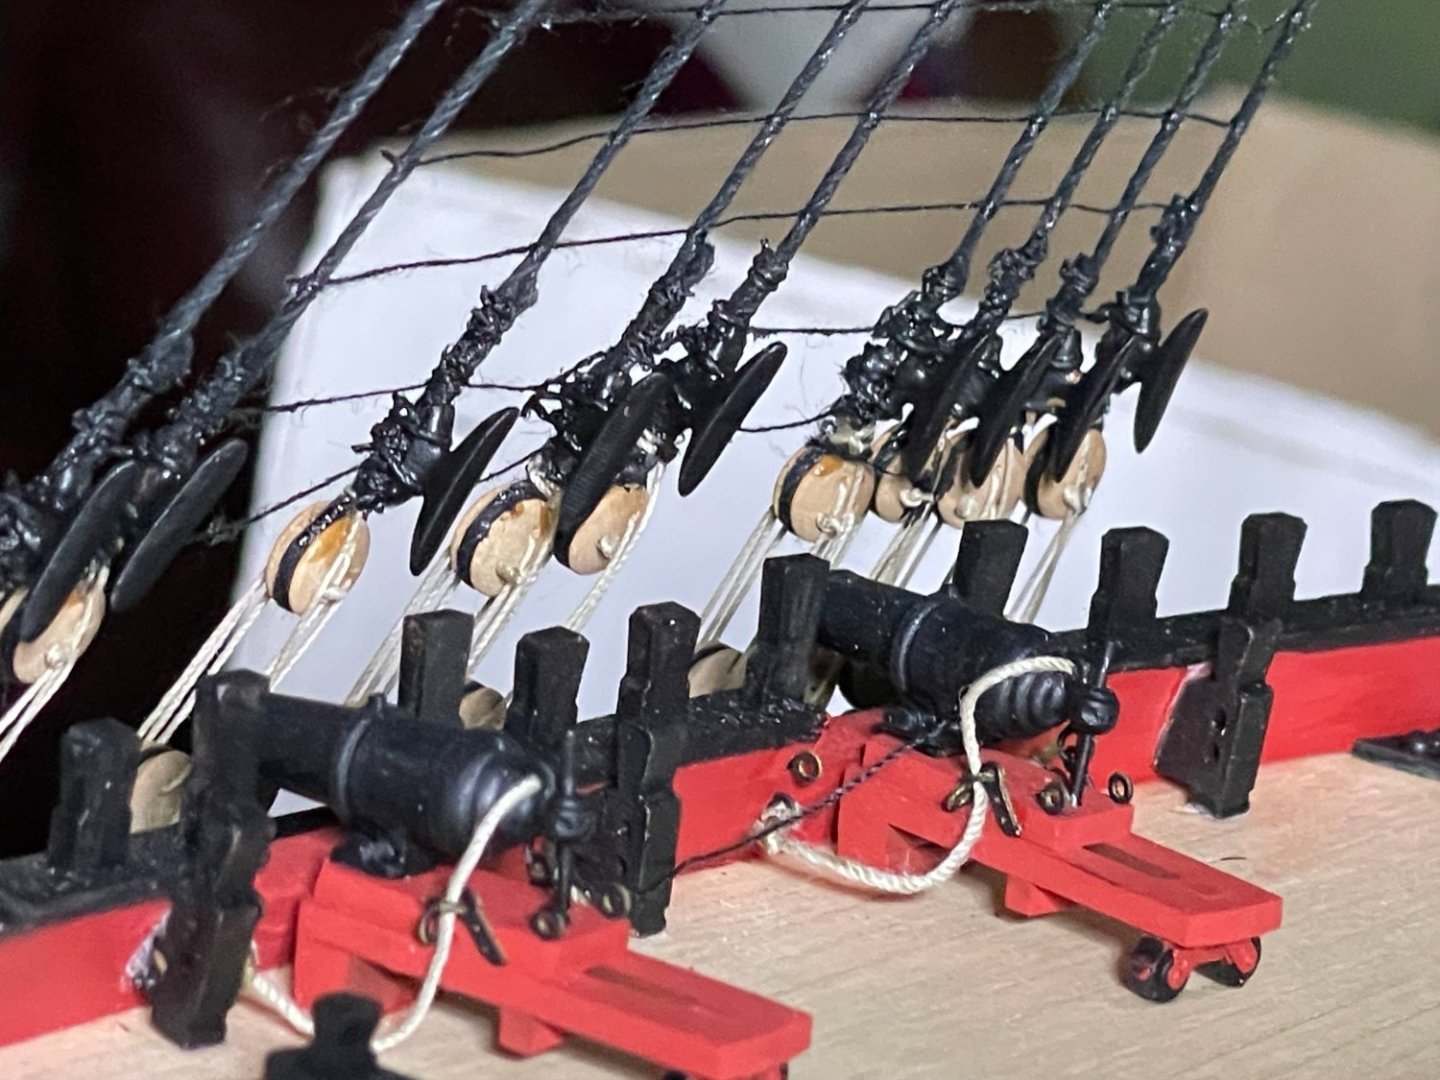
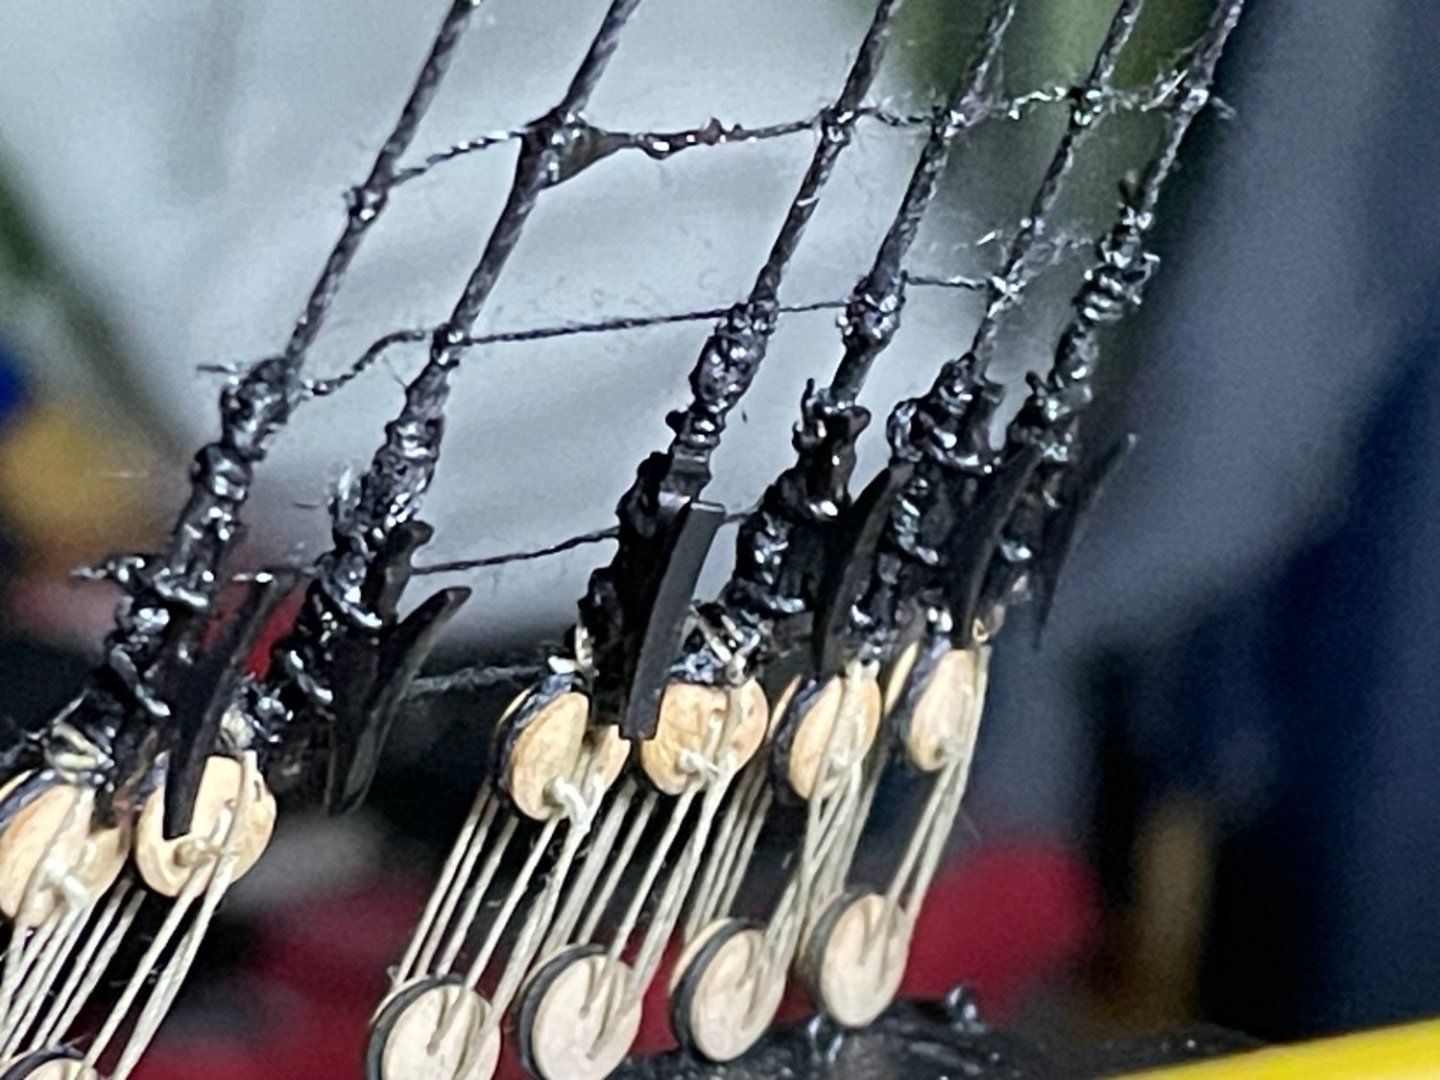
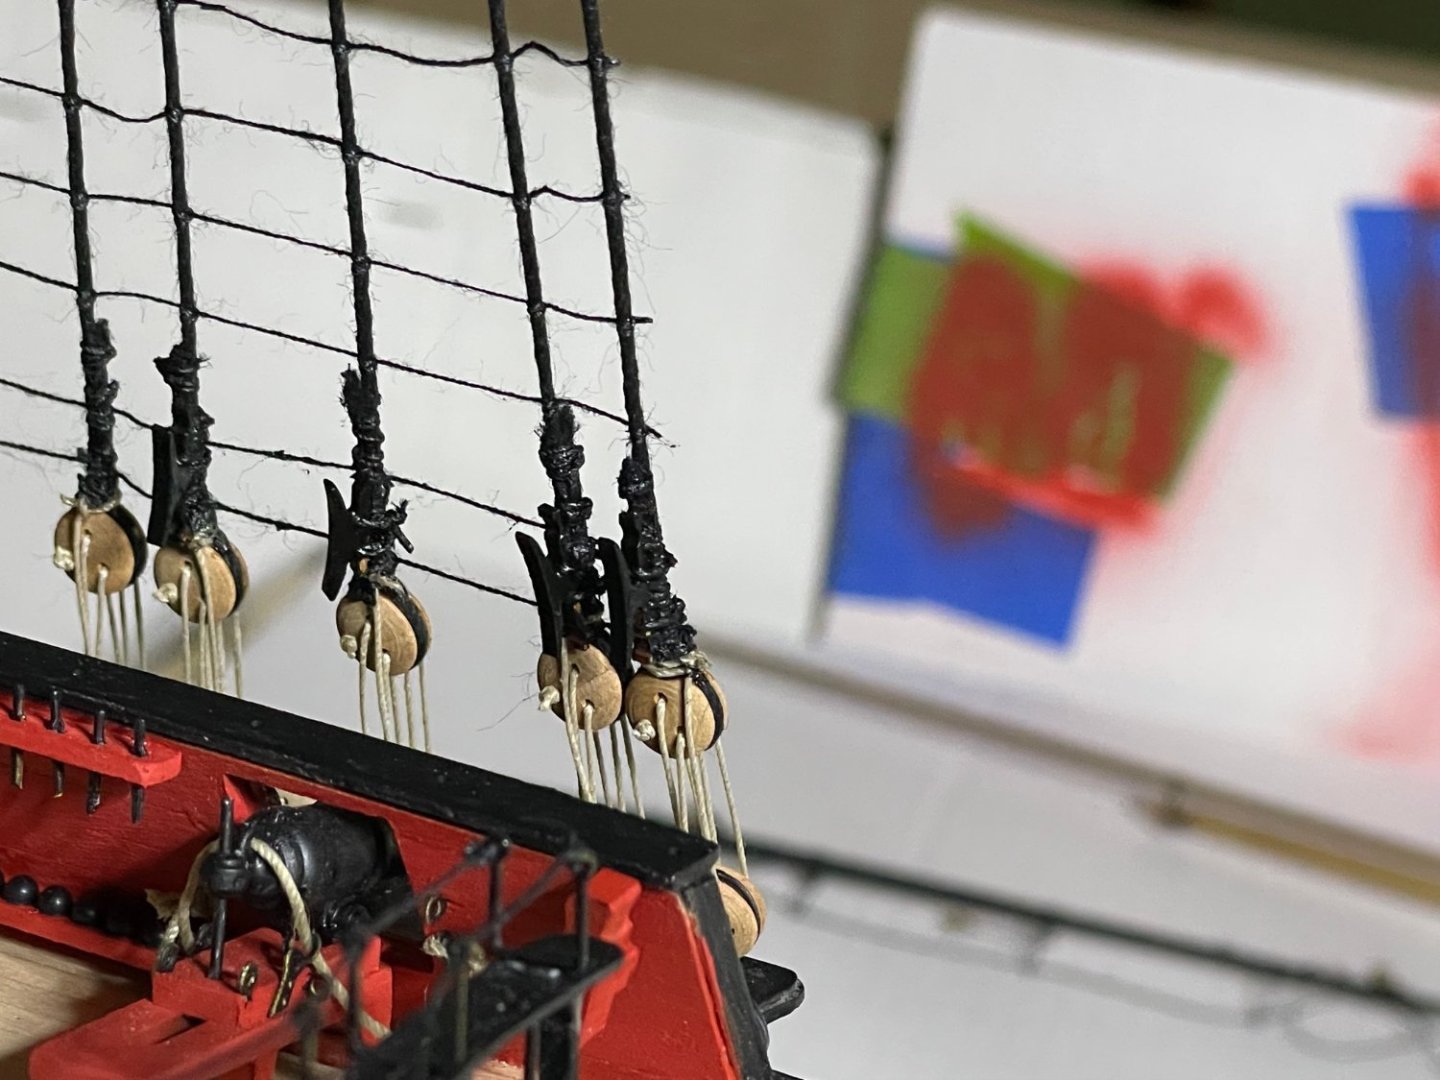
Took all afternoon to fix all the shroud cleats.

- 233 replies
-
- 9
-
-
- Indefatigable
- Vanguard Models
- (and 1 more)
-
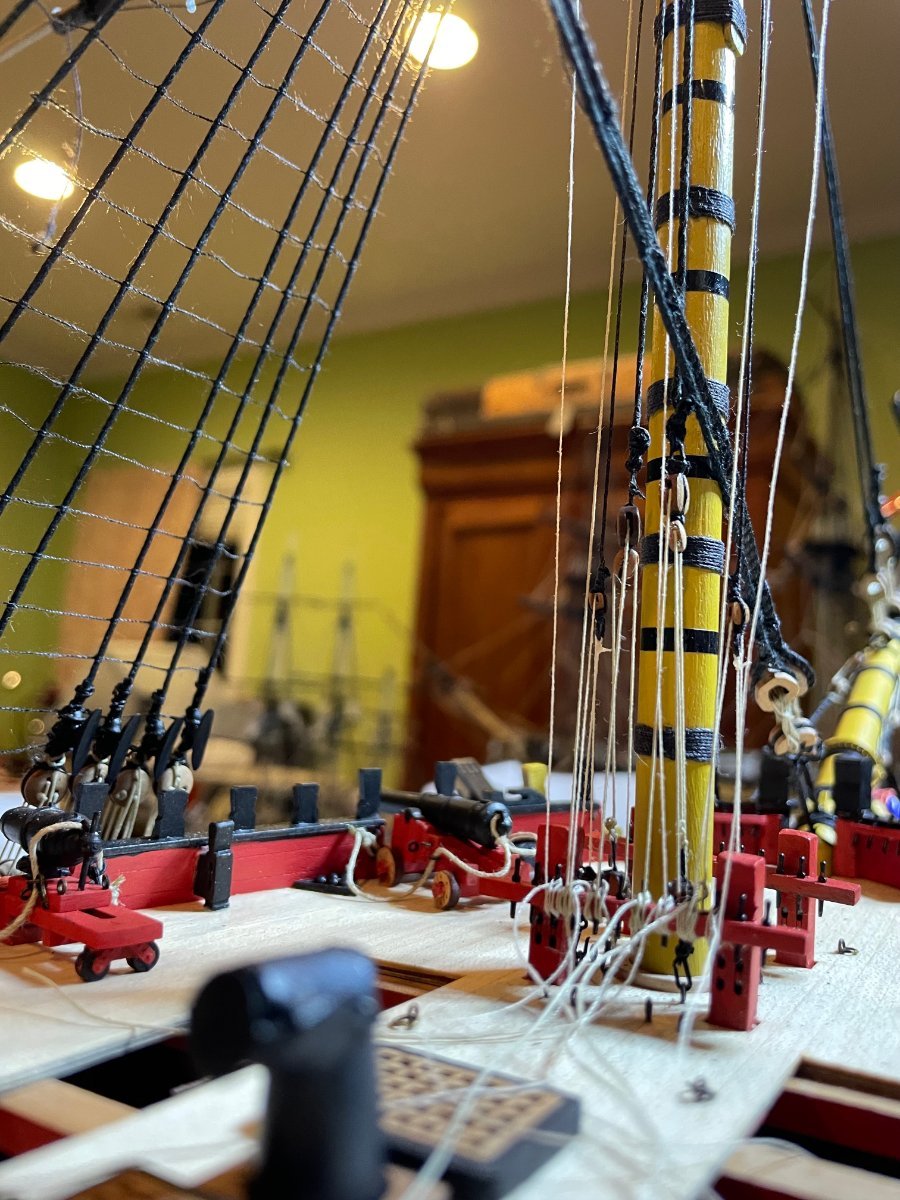
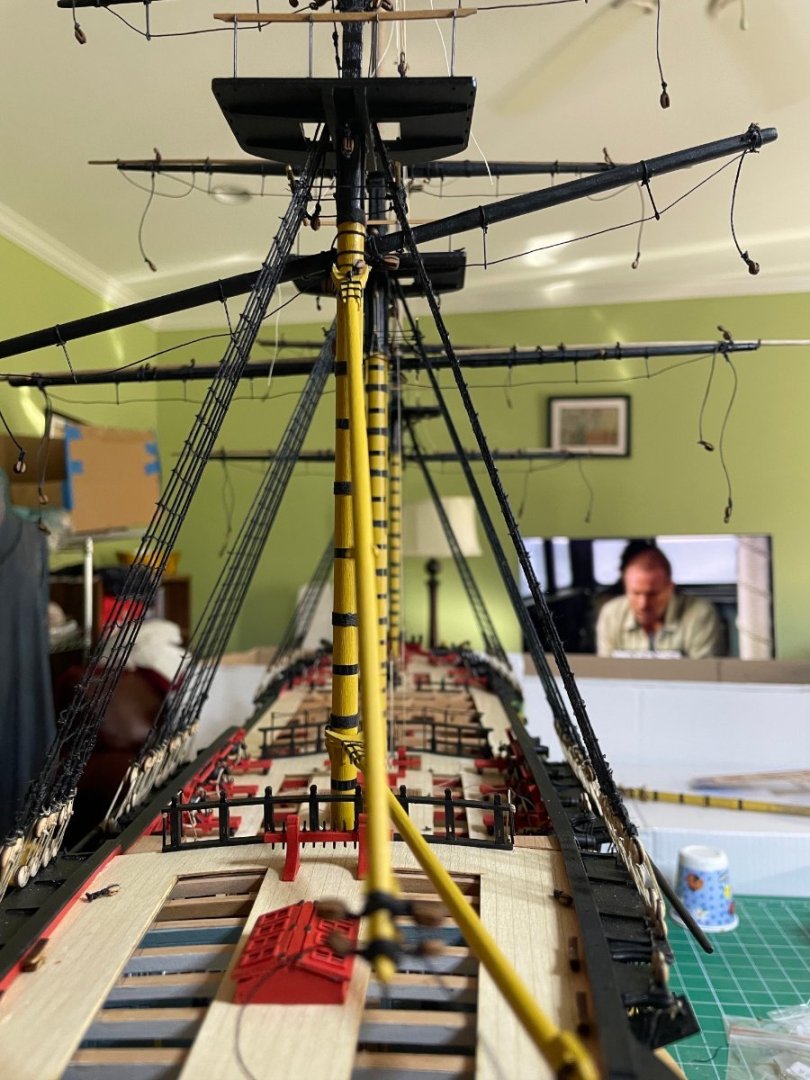
Took awhile for my eyes to uncross but the ratlines on the lower shrouds are done.


- 233 replies
-
- 13
-
-
- Indefatigable
- Vanguard Models
- (and 1 more)
-
I did the central octagonal area similarly. As I do not have a lathe (perhaps my Christmas present this year?) , I planed the taper the sanded.
- 587 replies
-
- 2
-
-
- Indefatigable
- Vanguard Models
- (and 1 more)
-
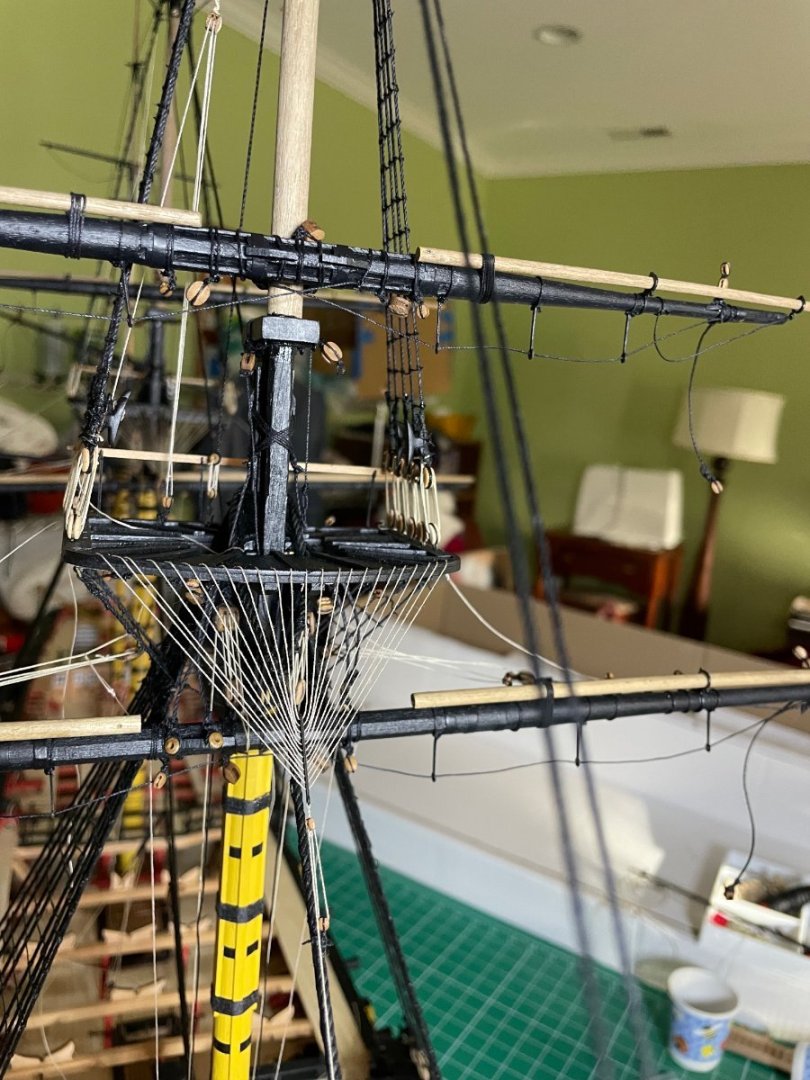
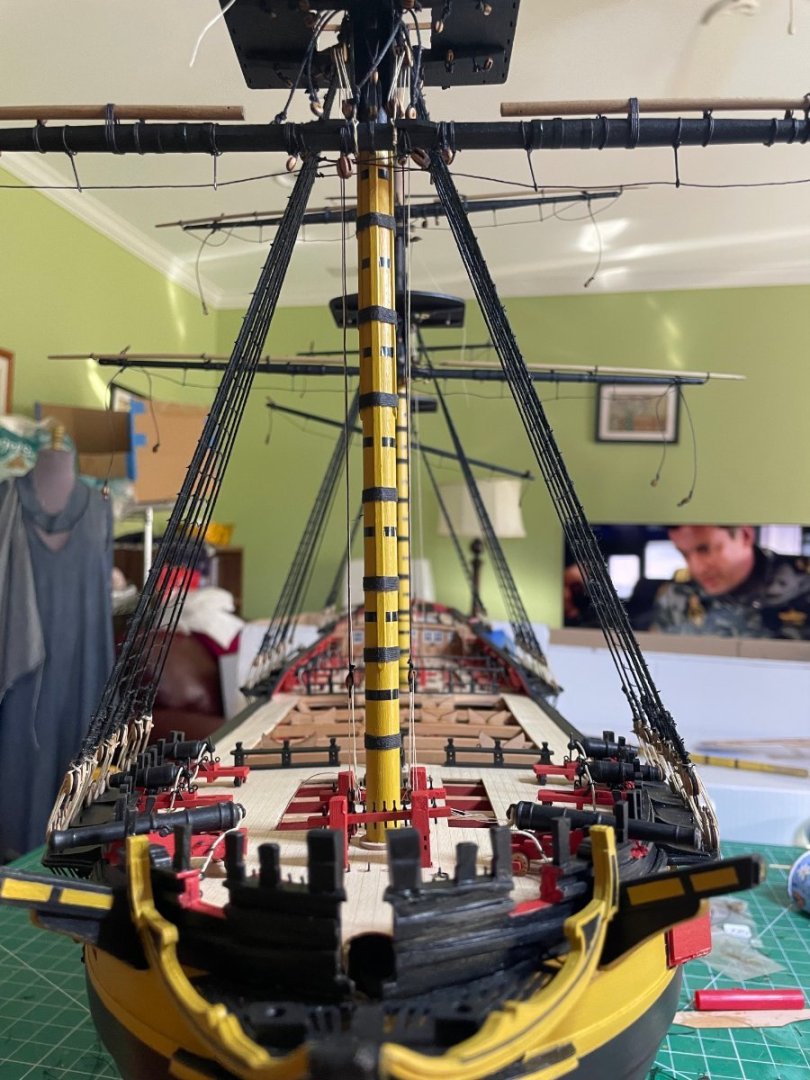
All the shrouds set up. Catharpins done. Now death by a thousand knots.


- 233 replies
-
- 9
-
-
- Indefatigable
- Vanguard Models
- (and 1 more)
-
Also had to use a bit of filler to smooth things over. Either that or sand away too much of the channels
- 587 replies
-
- 3
-
-
- Indefatigable
- Vanguard Models
- (and 1 more)