HOLIDAY DONATION DRIVE - SUPPORT MSW - DO YOUR PART TO KEEP THIS GREAT FORUM GOING! (Only 75 donations so far out of 49,000 members - C'mon guys!)
×


ECK
-
Posts
640 -
Joined
-
Last visited
Content Type
Profiles
Forums
Gallery
Events
Everything posted by ECK
-
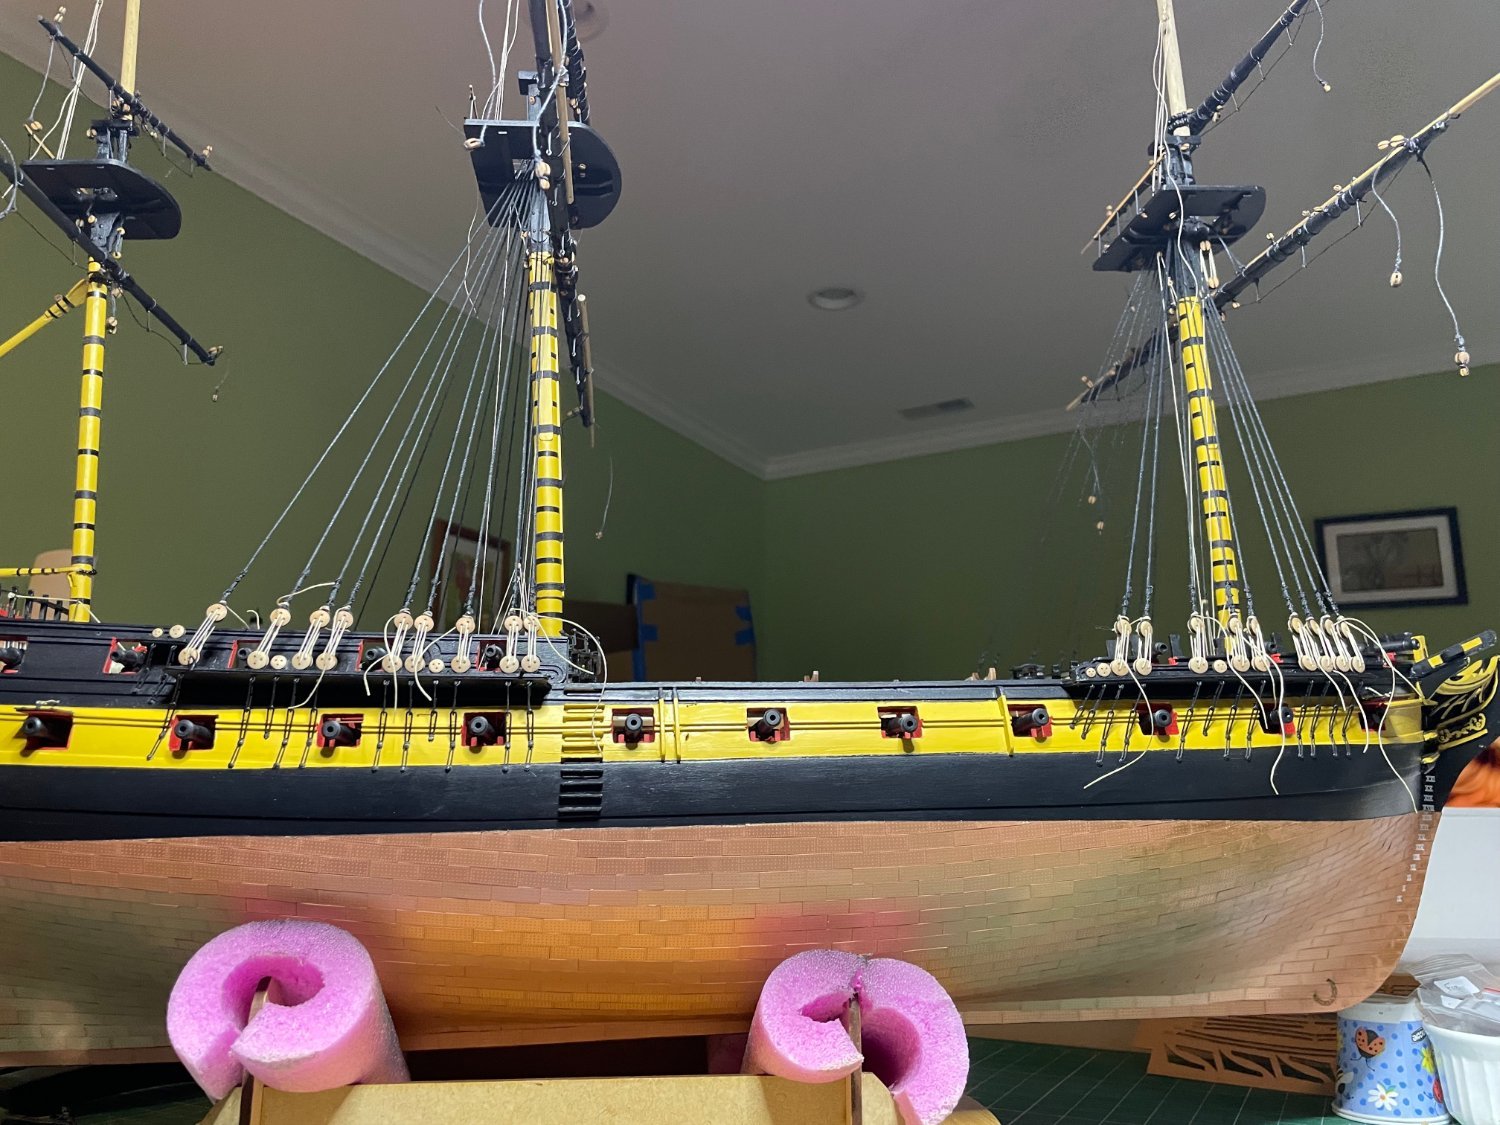
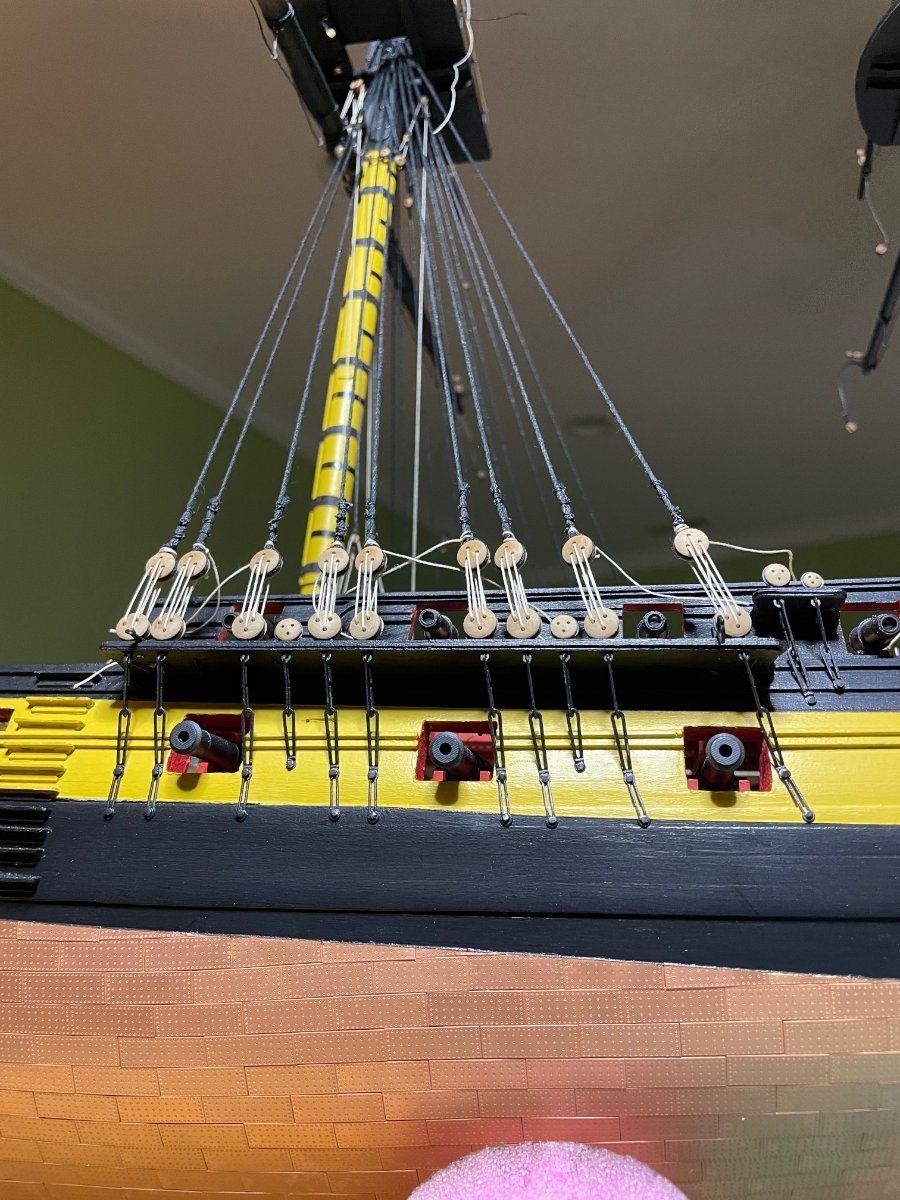
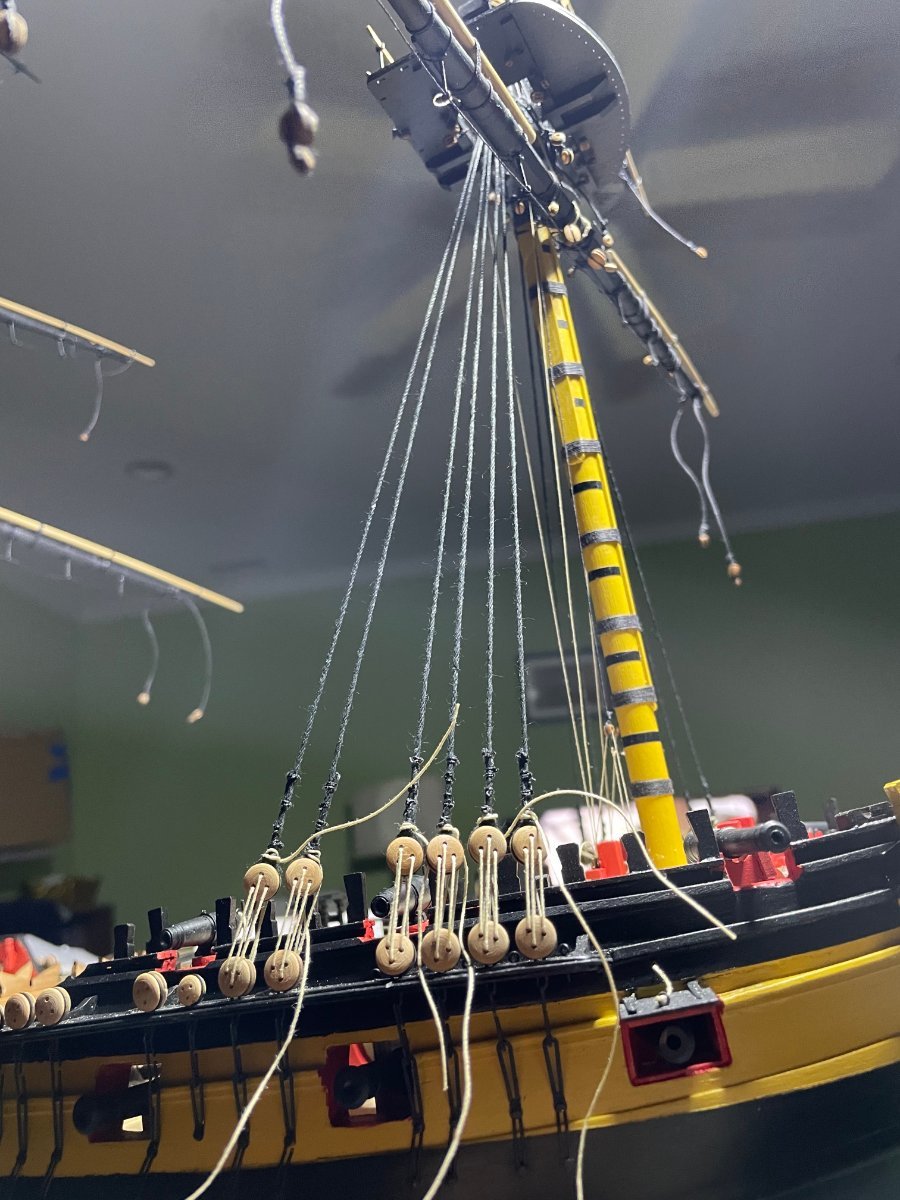
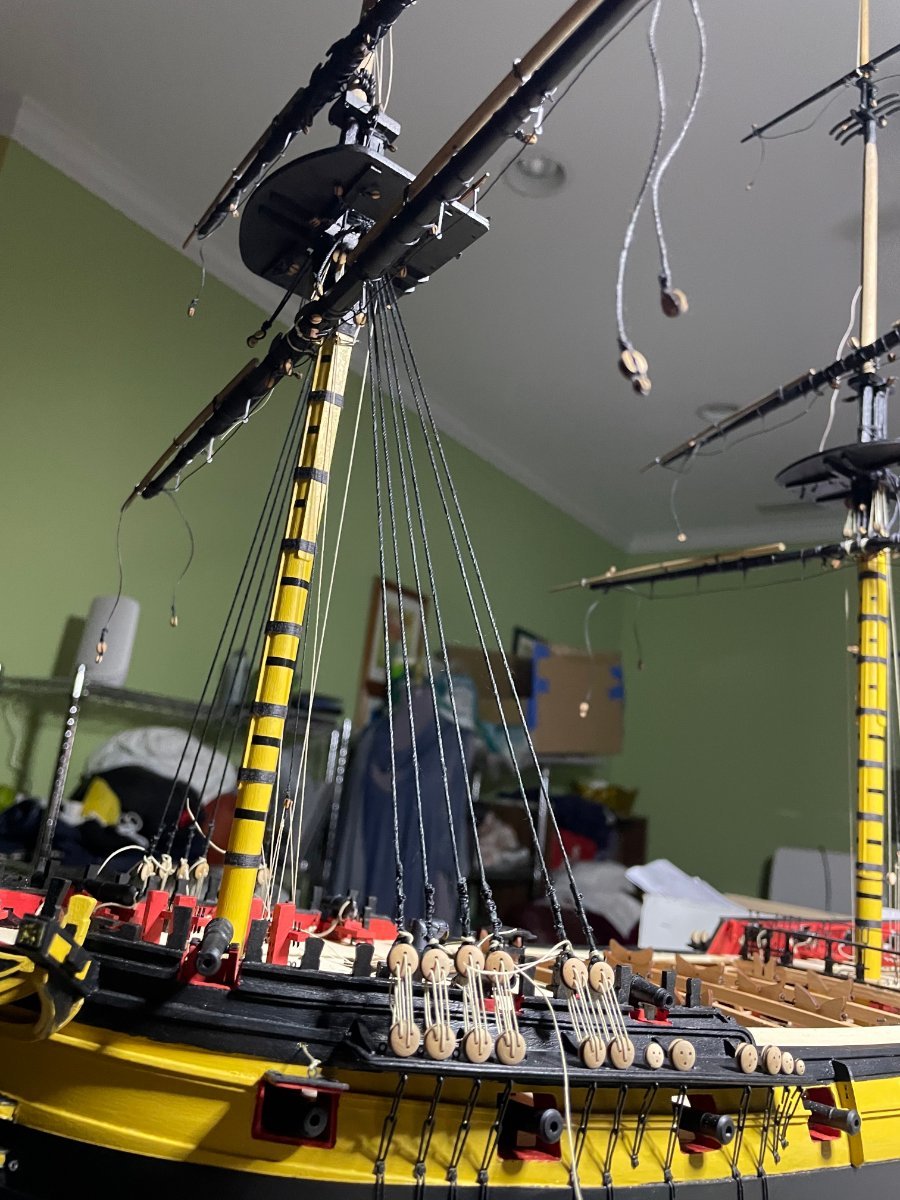
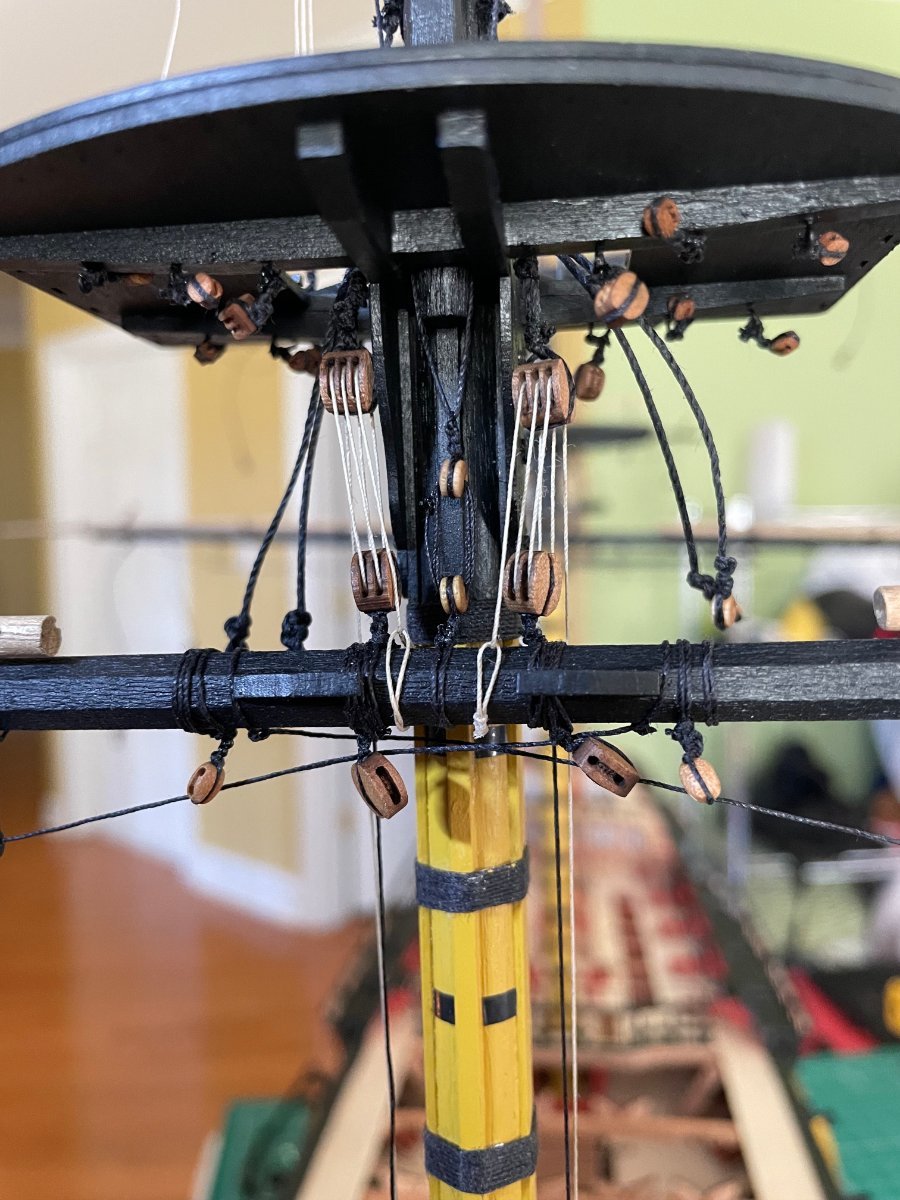
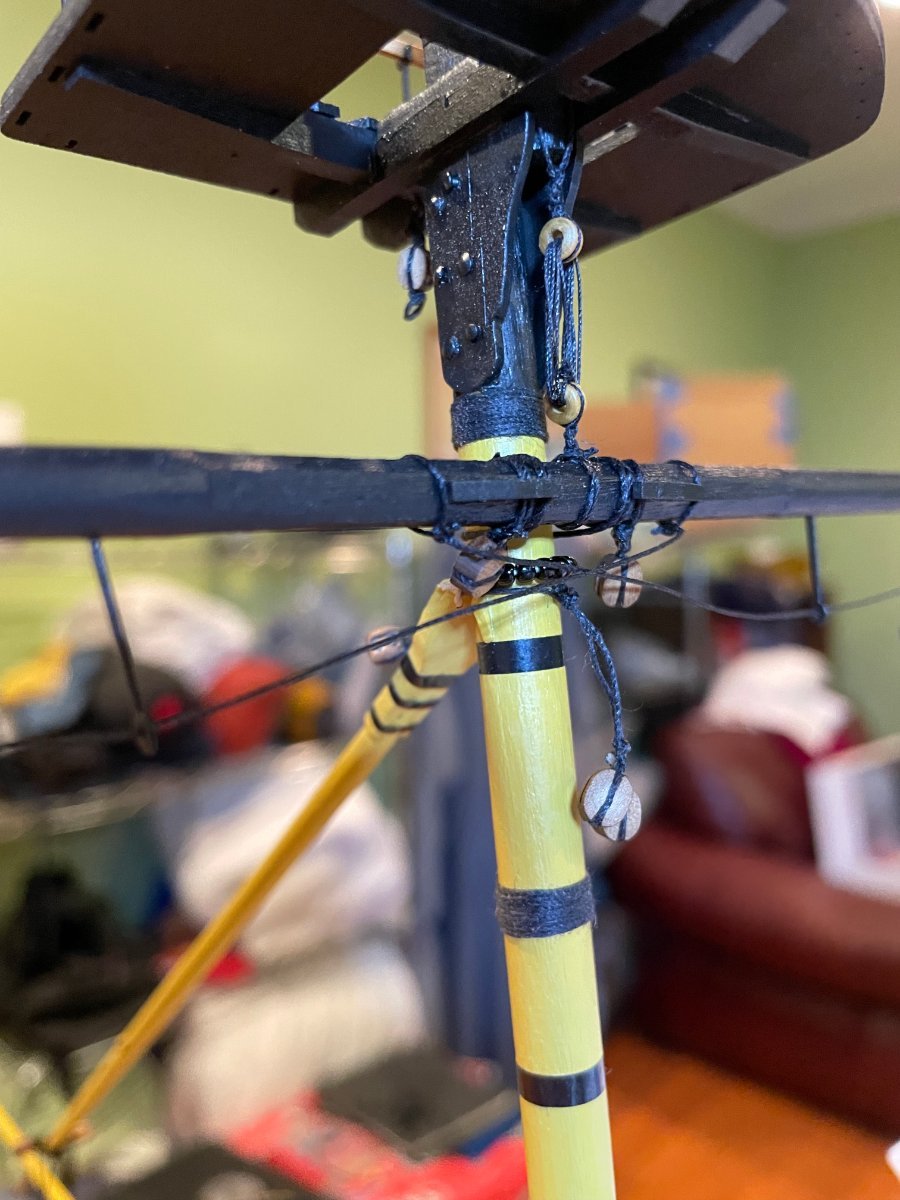
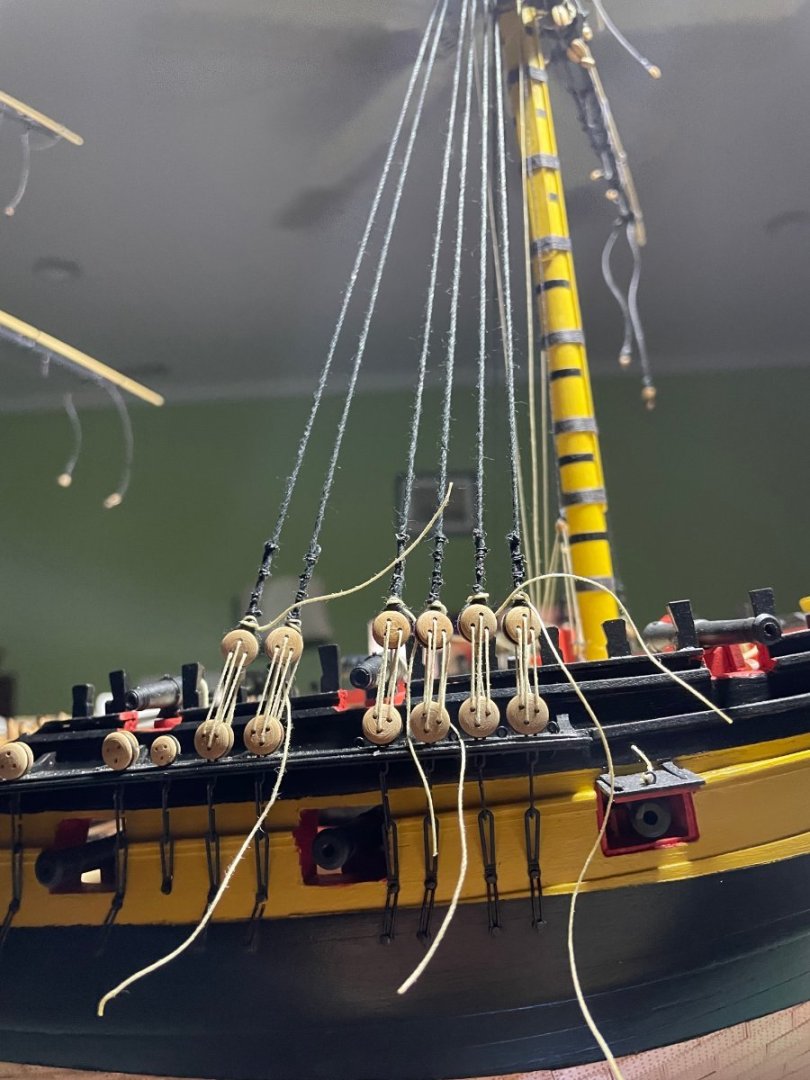
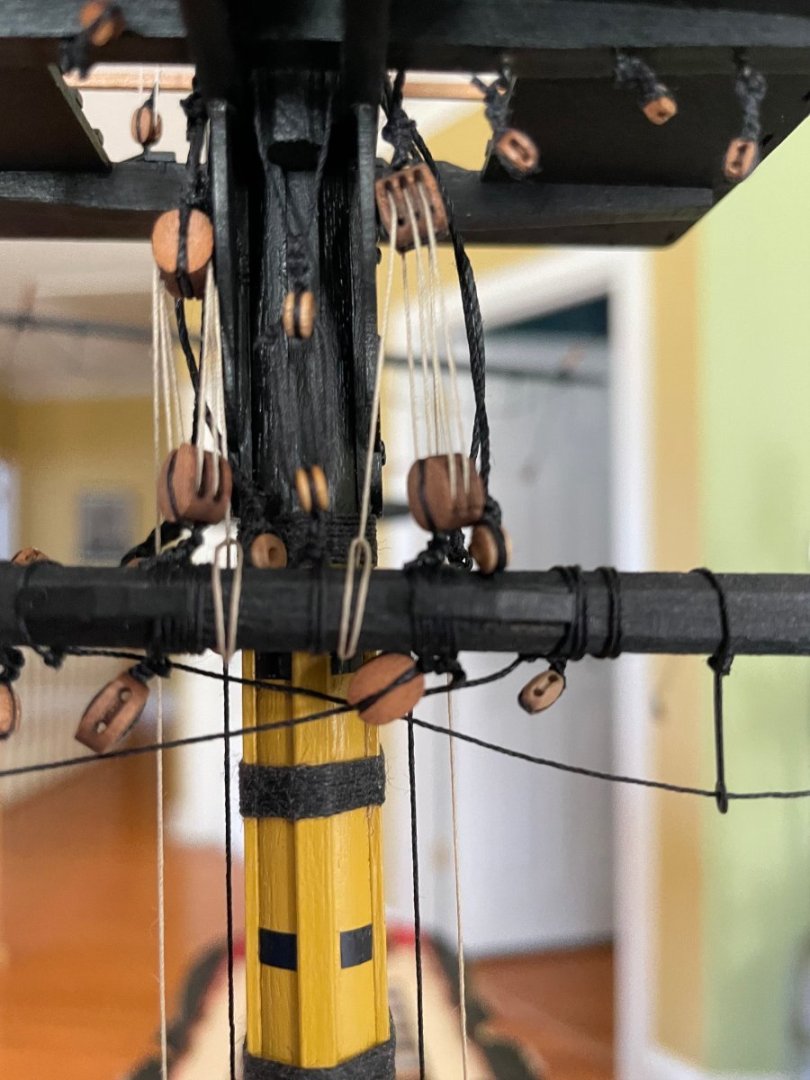
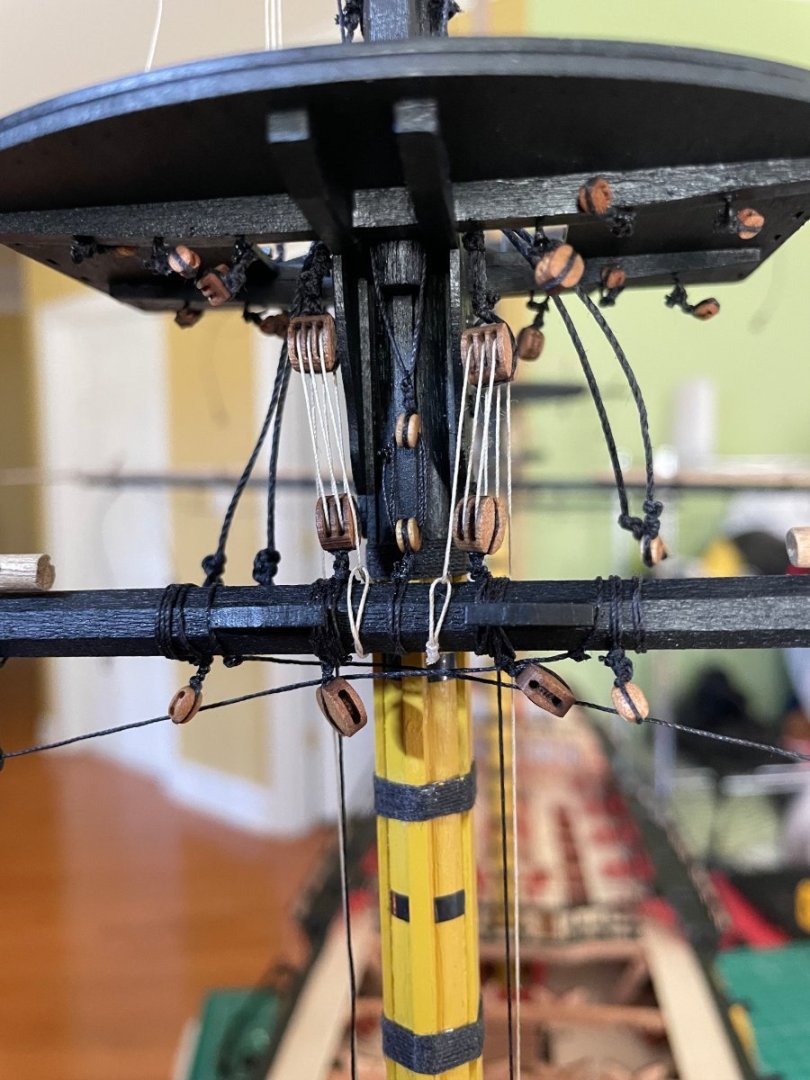
Main mast shrouds done. Lining up nicely with the chains


- 233 replies
-
- 15
-

-
- Indefatigable
- Vanguard Models
- (and 1 more)
-
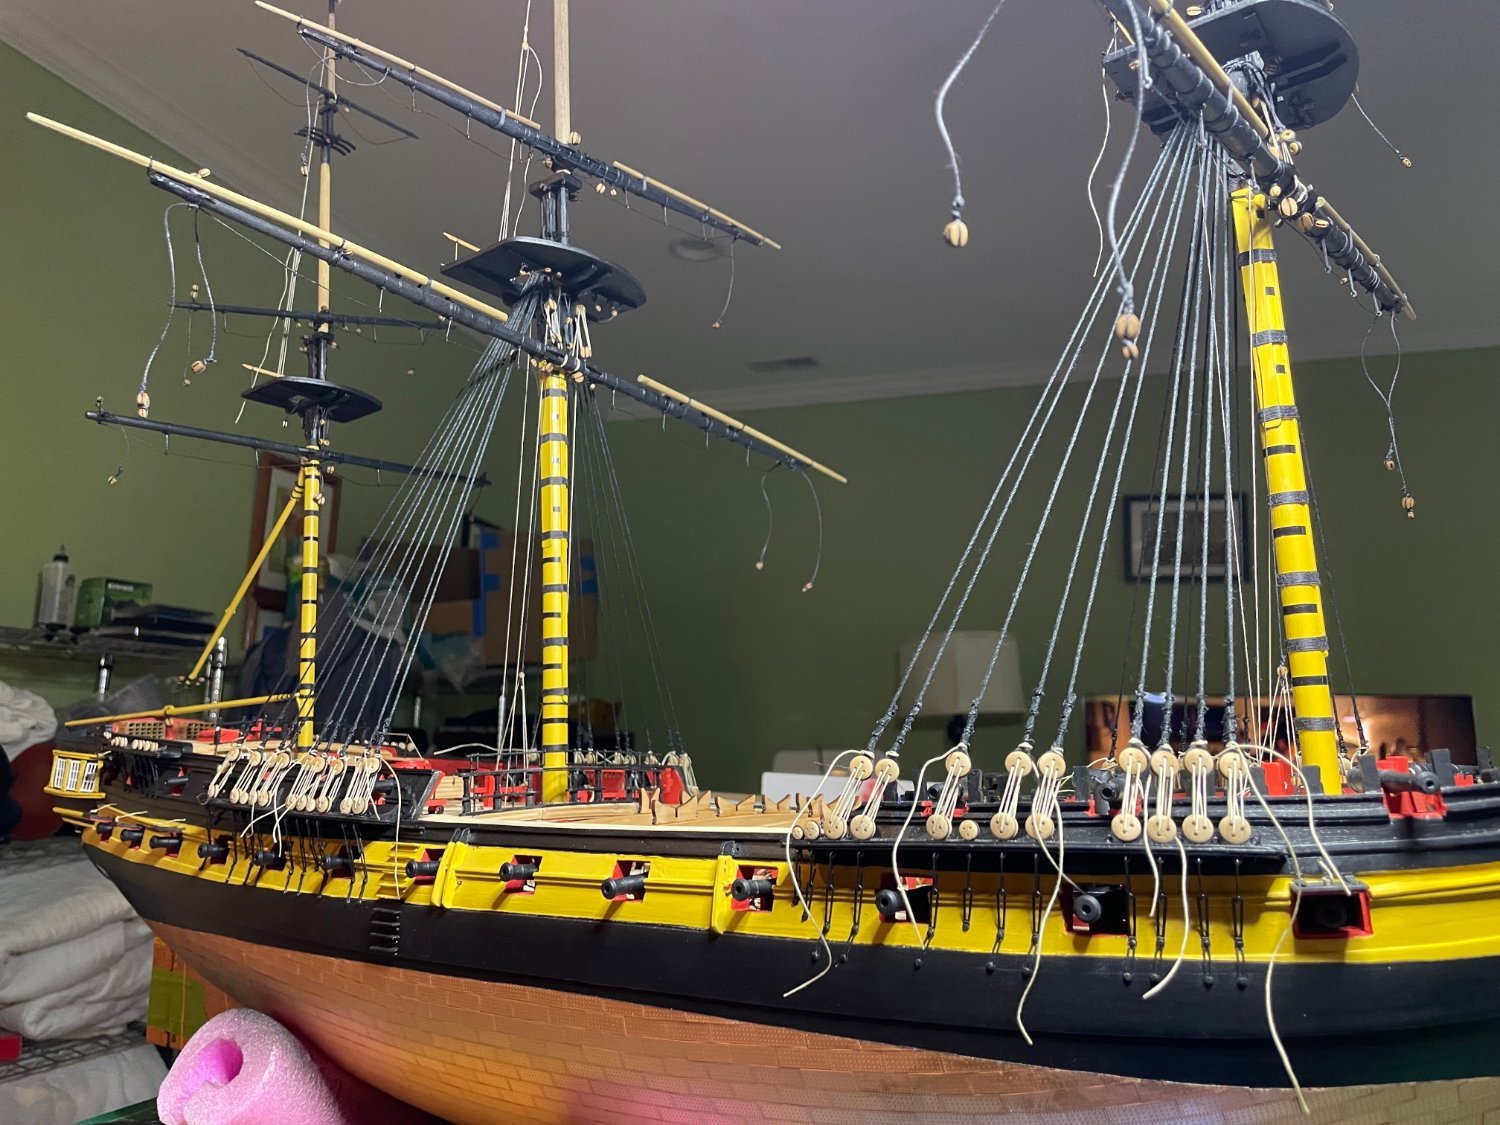
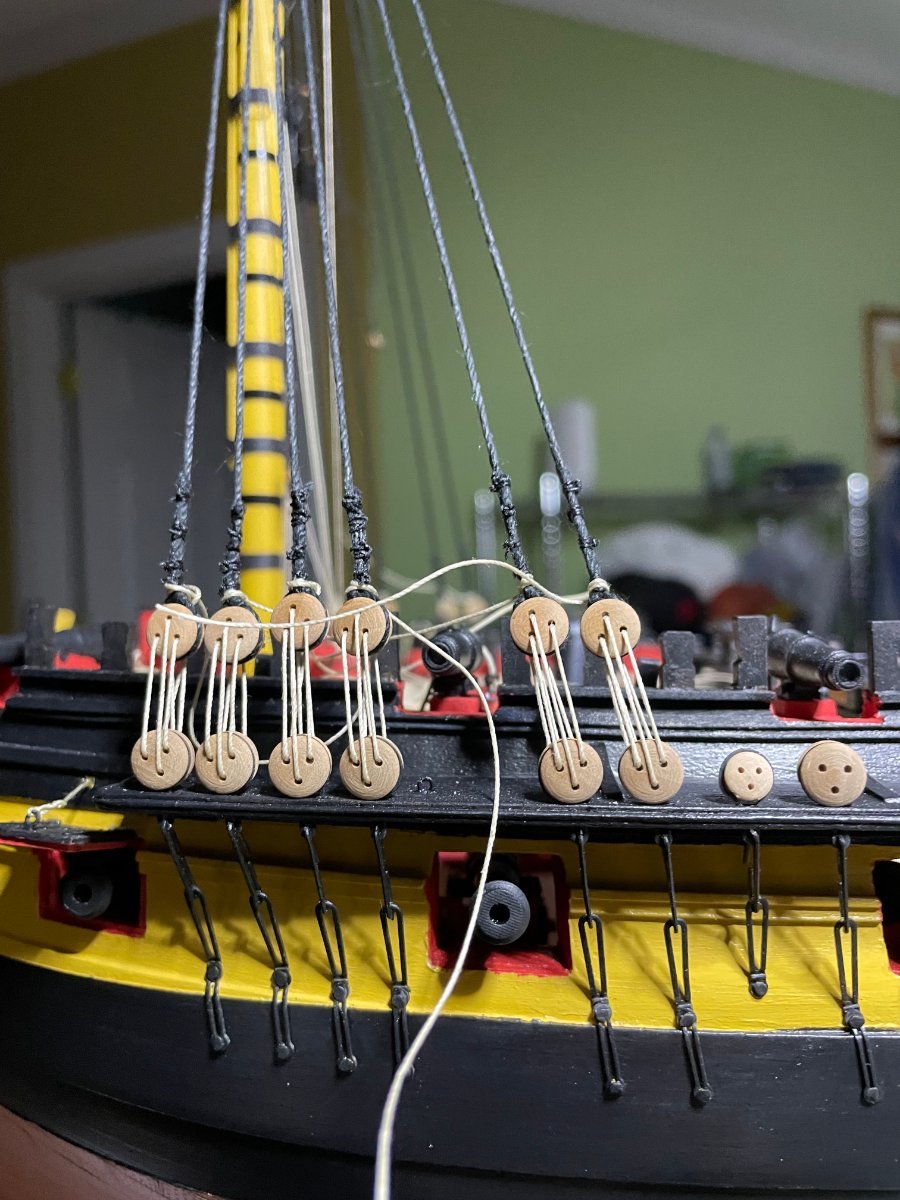
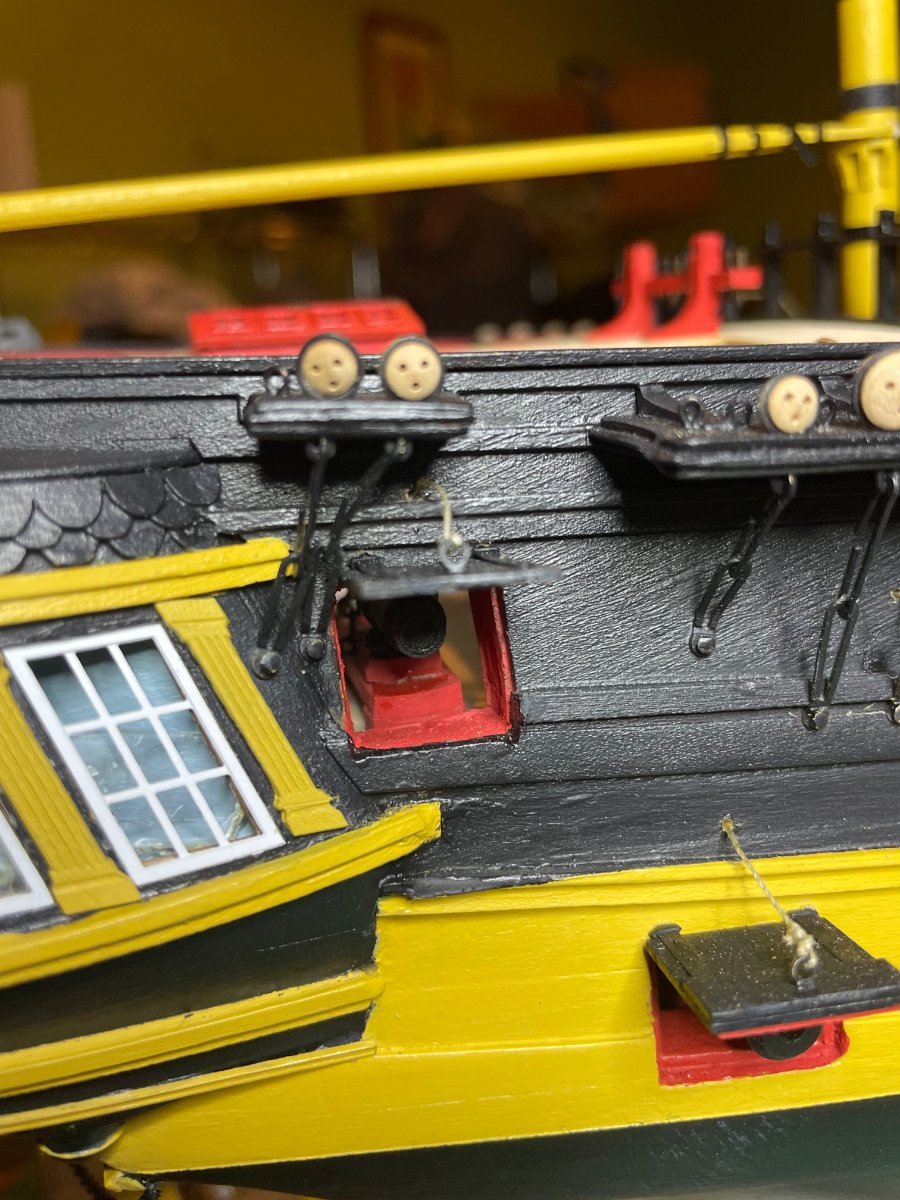
So started the shrouds. Things linig up . Yards not an issue. Only pain ti the formost gunport lids that I keep hitting as I am doing the foremast deadeyes


- 233 replies
-
- 8
-
-
- Indefatigable
- Vanguard Models
- (and 1 more)
-
Thanks all. Yes it took me almost 3 weeks. There is certainly more details in the rigging than in any of the other ships I have done.
- 233 replies
-
- 1
-
-
- Indefatigable
- Vanguard Models
- (and 1 more)
-
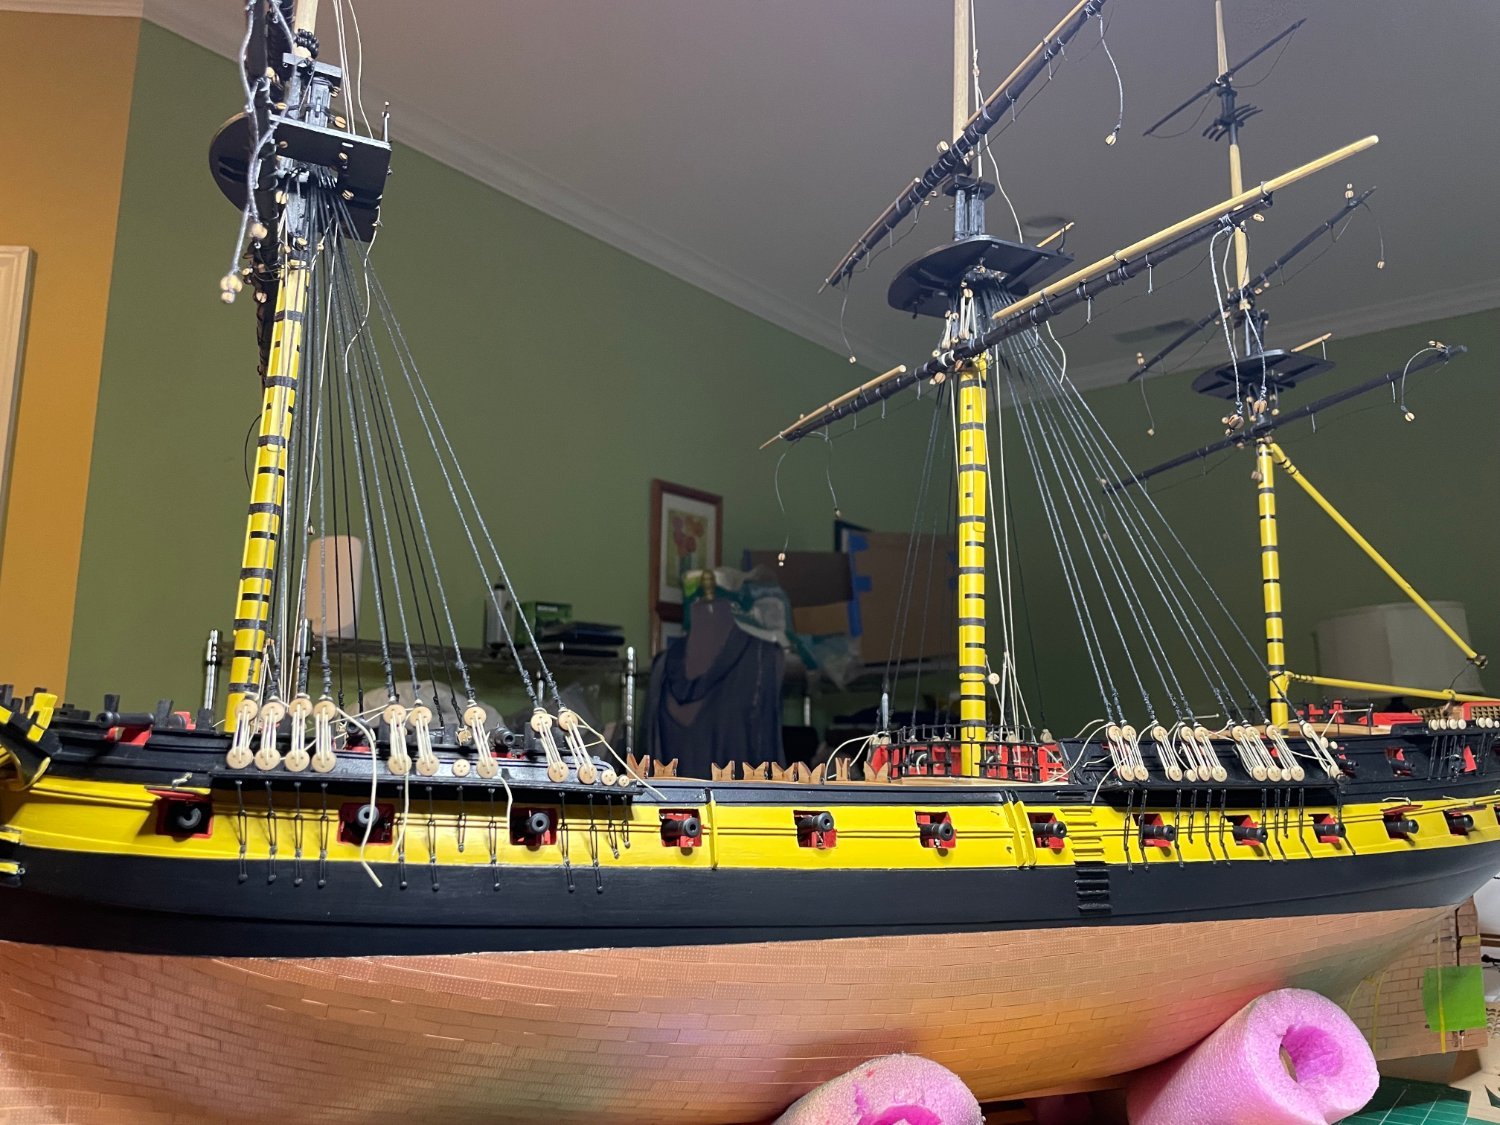
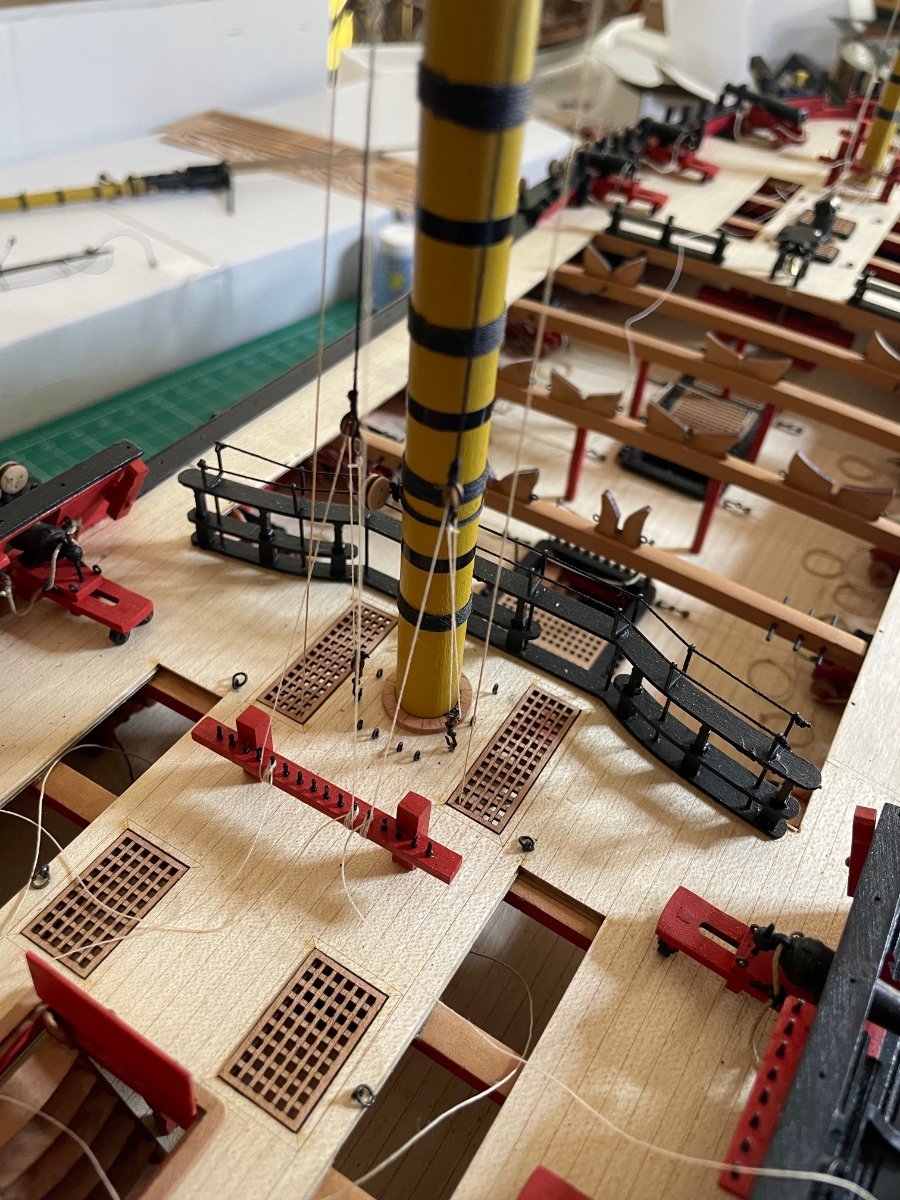
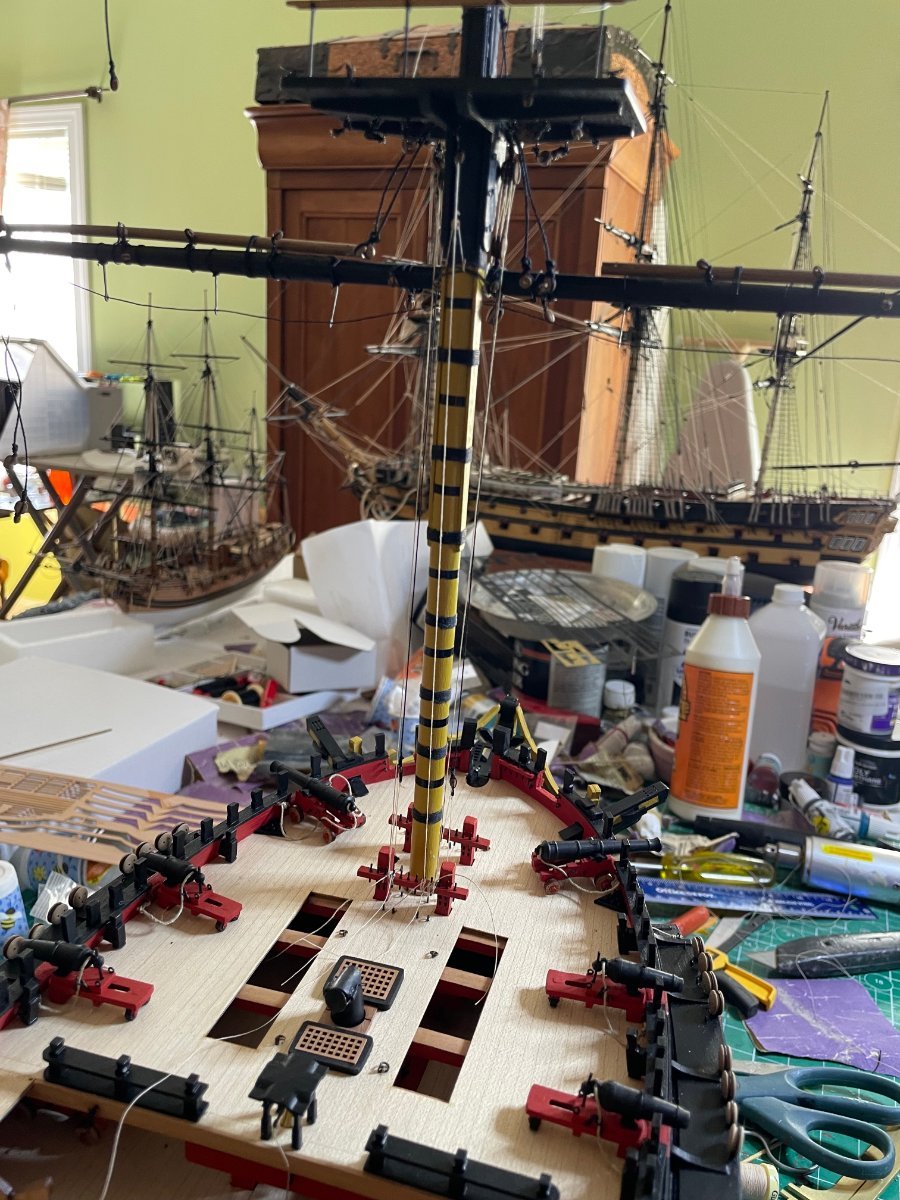
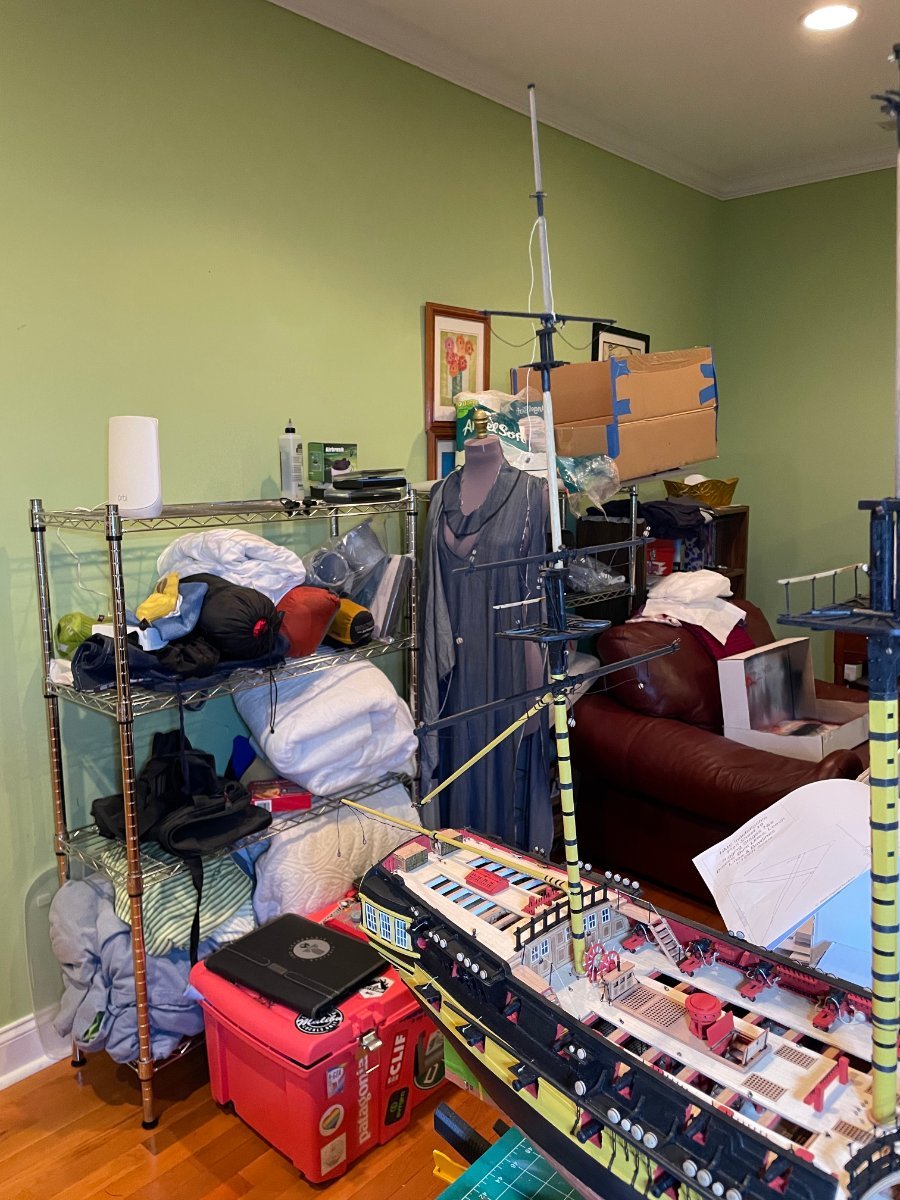
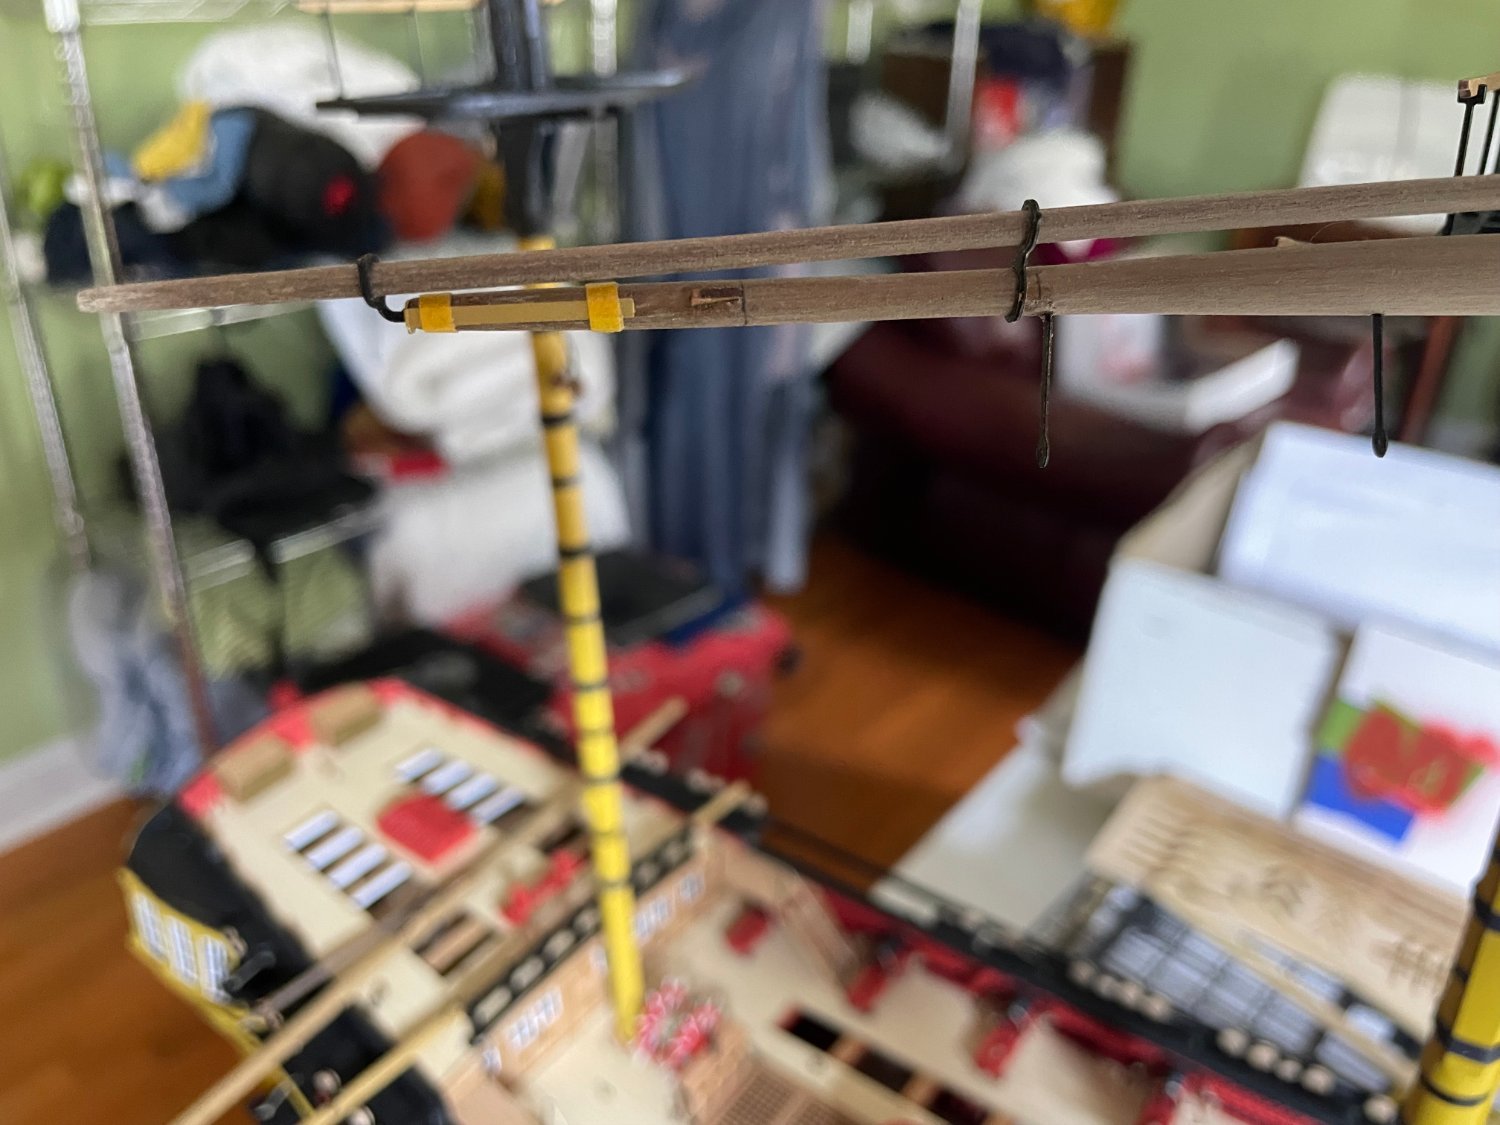
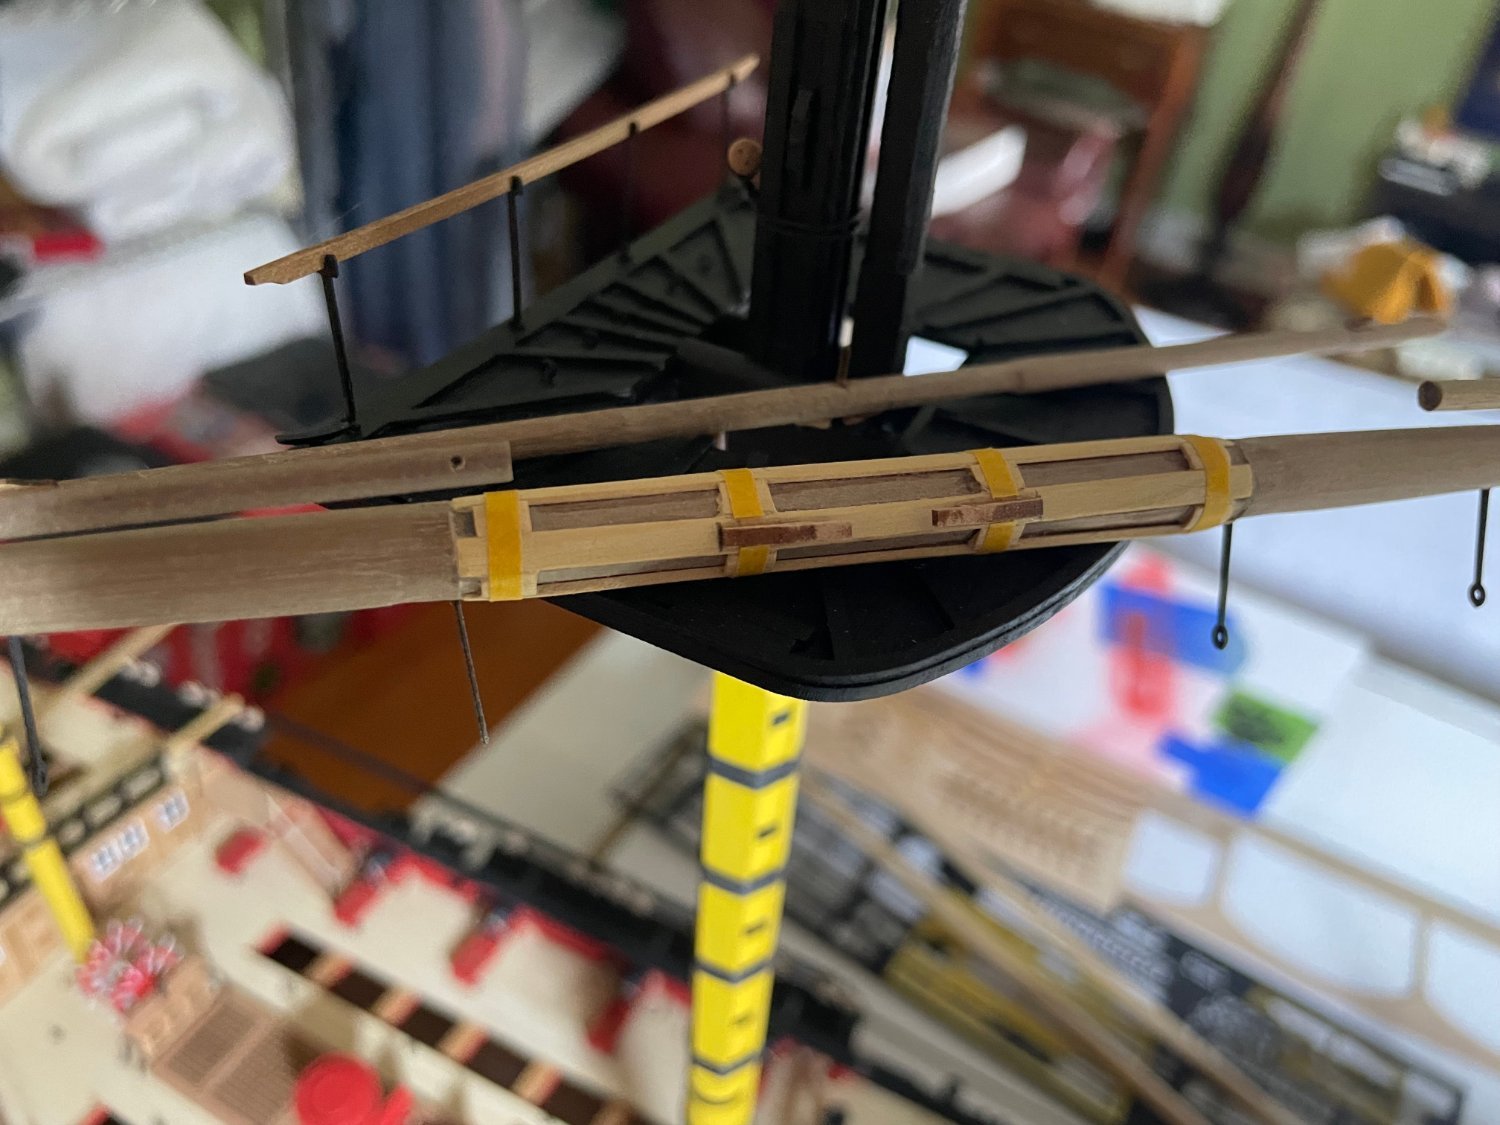
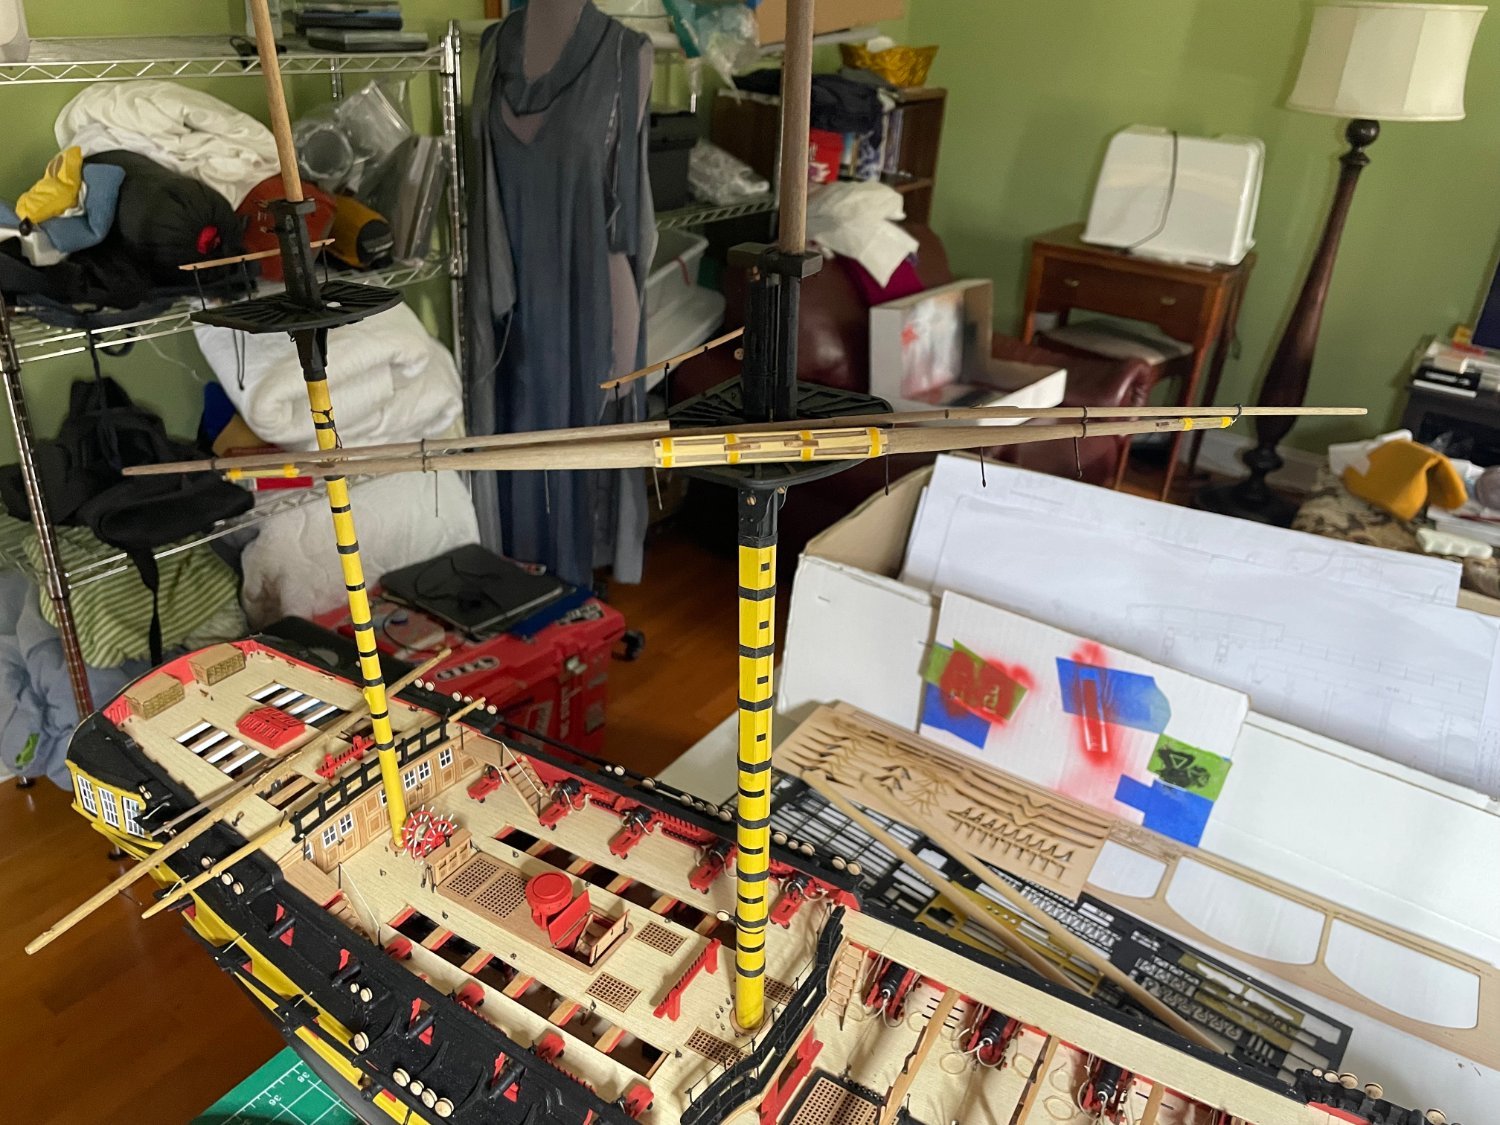
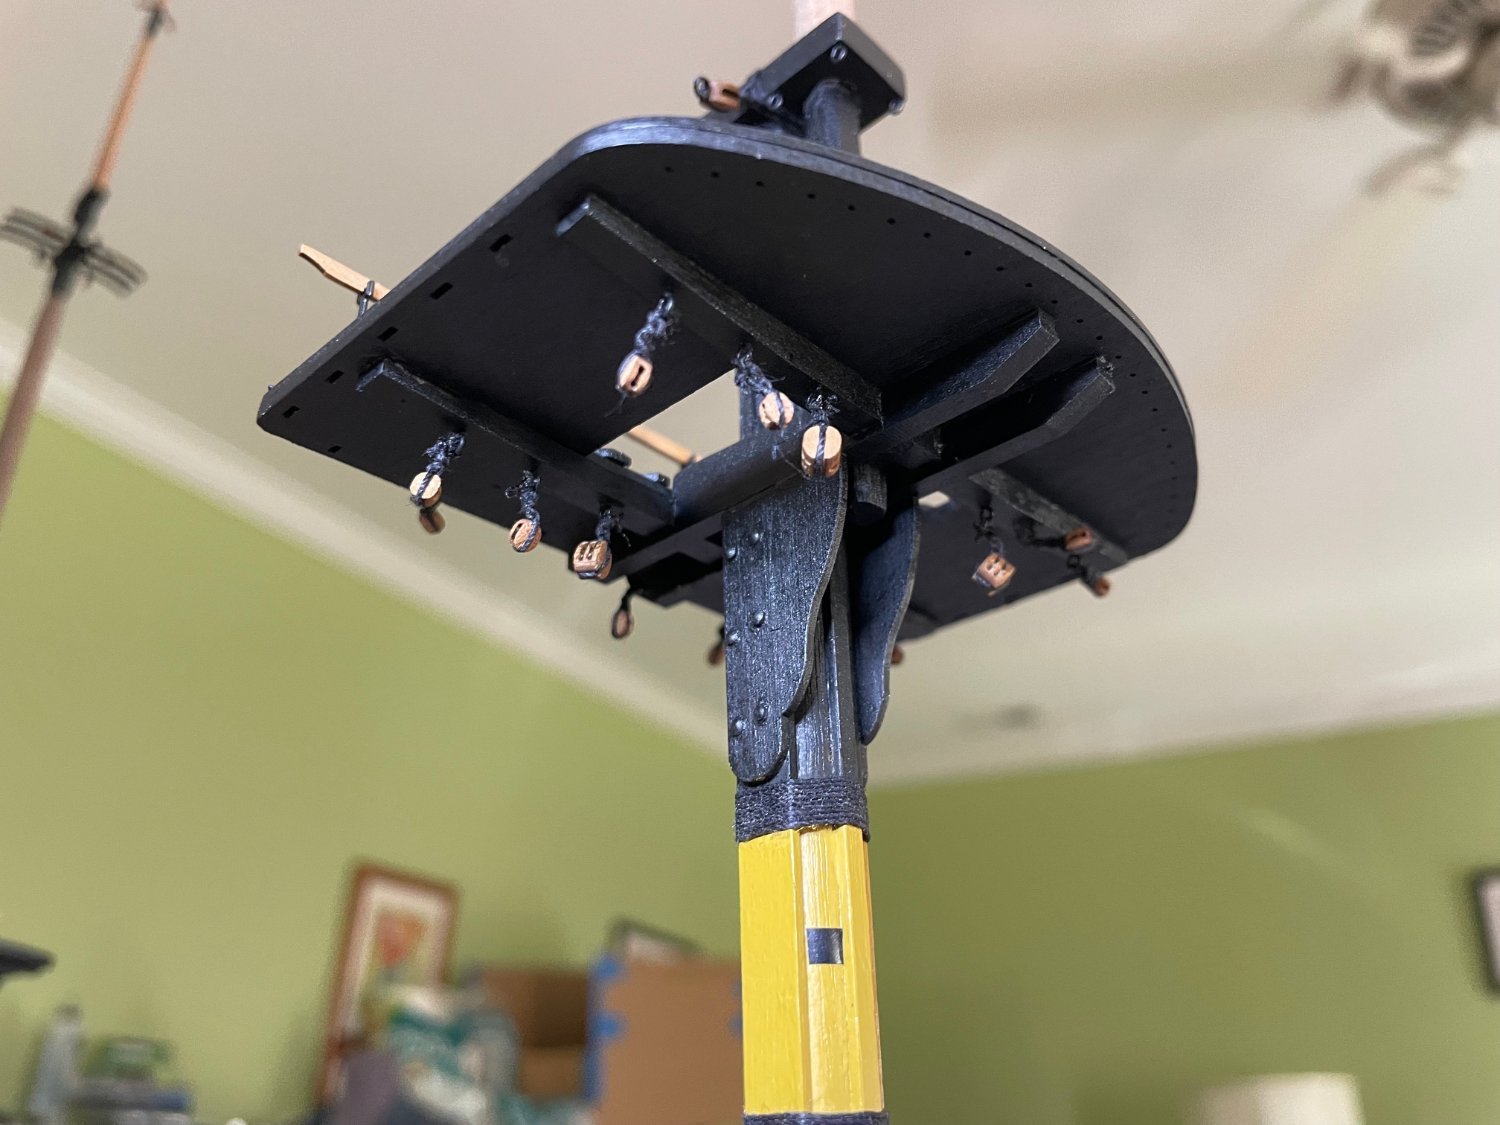
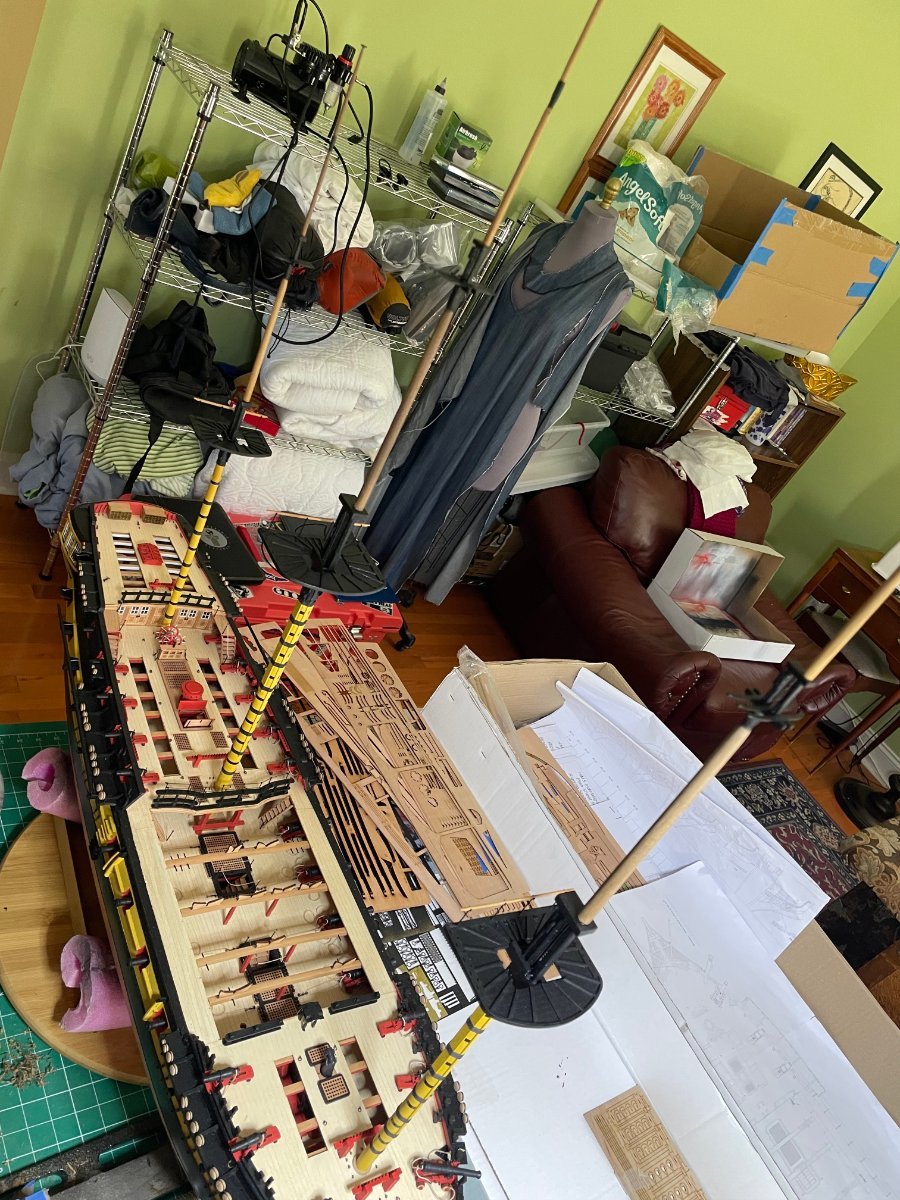
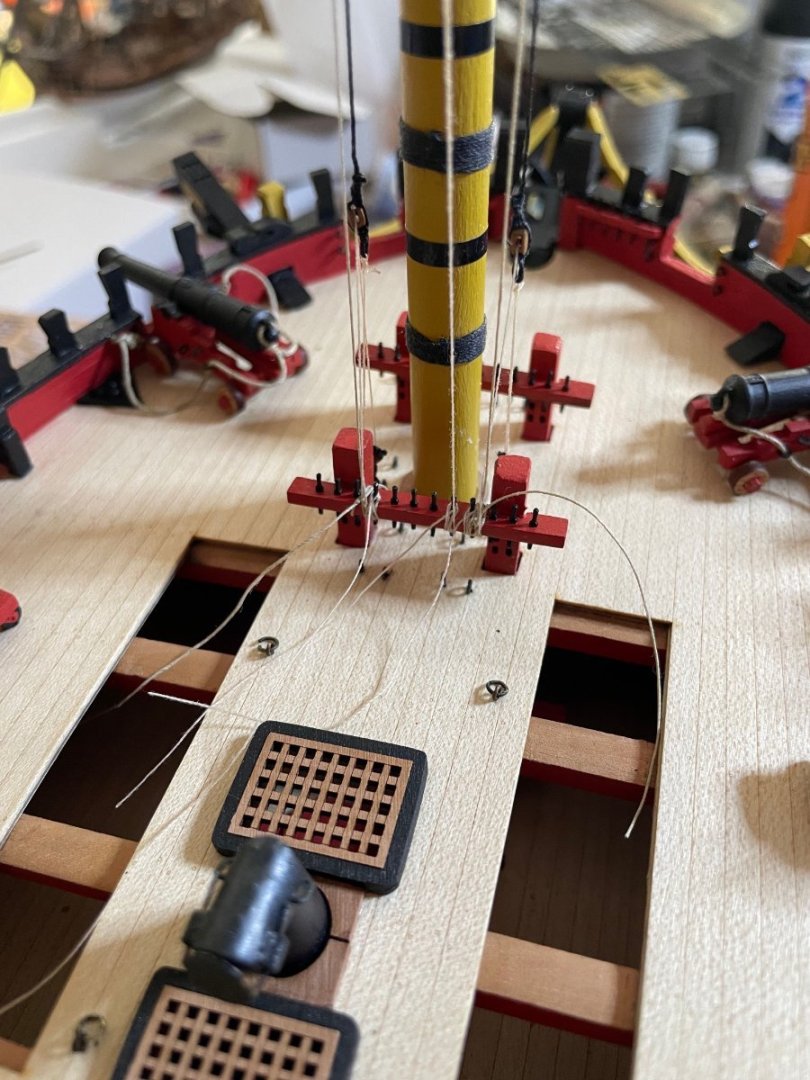
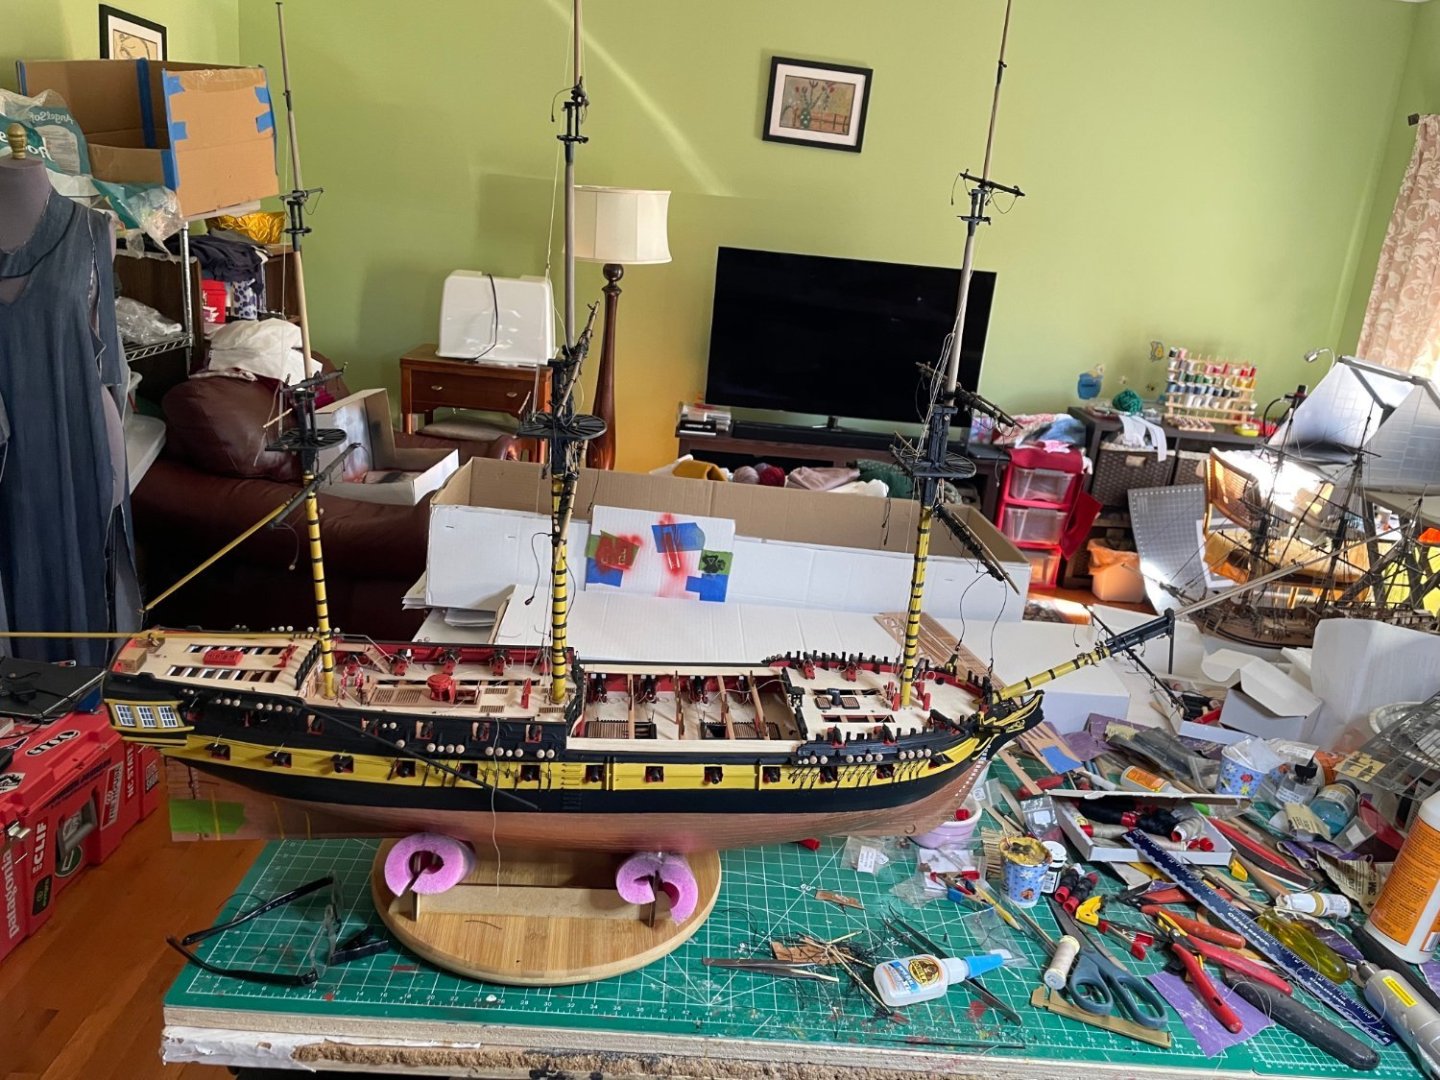
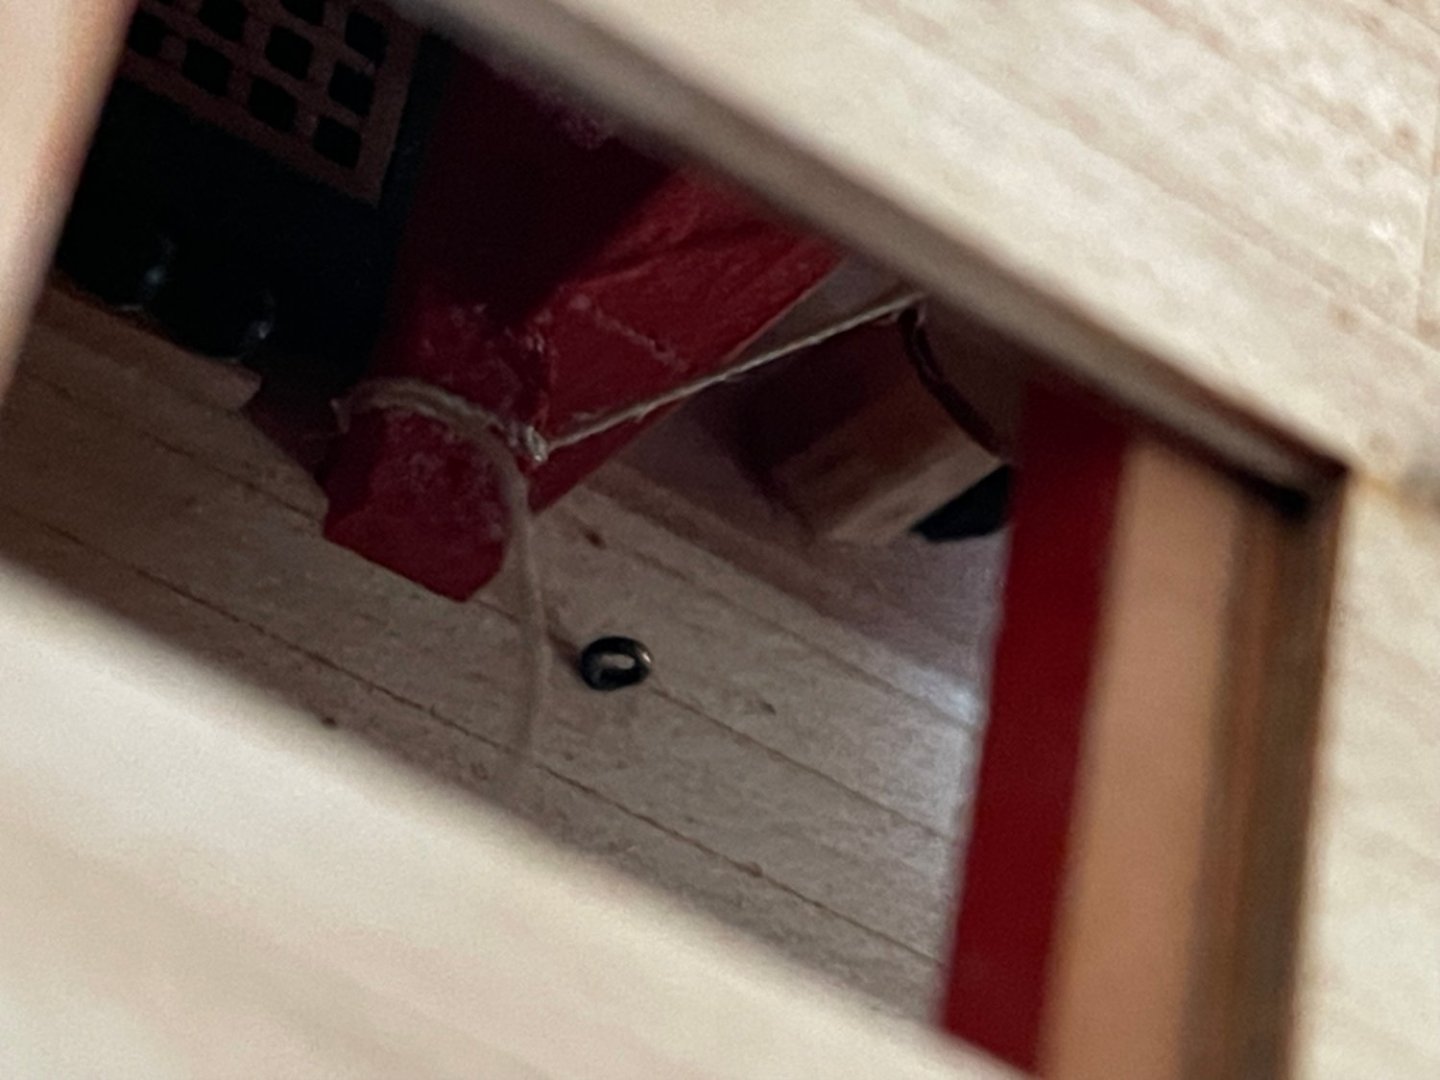
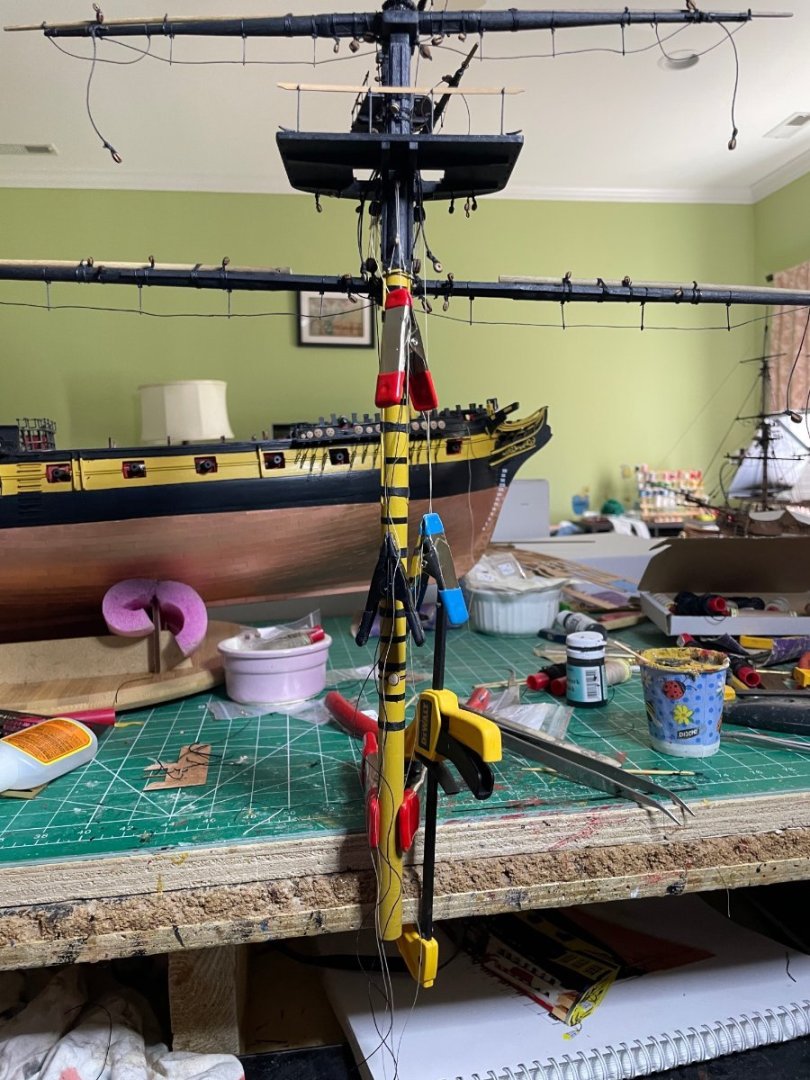
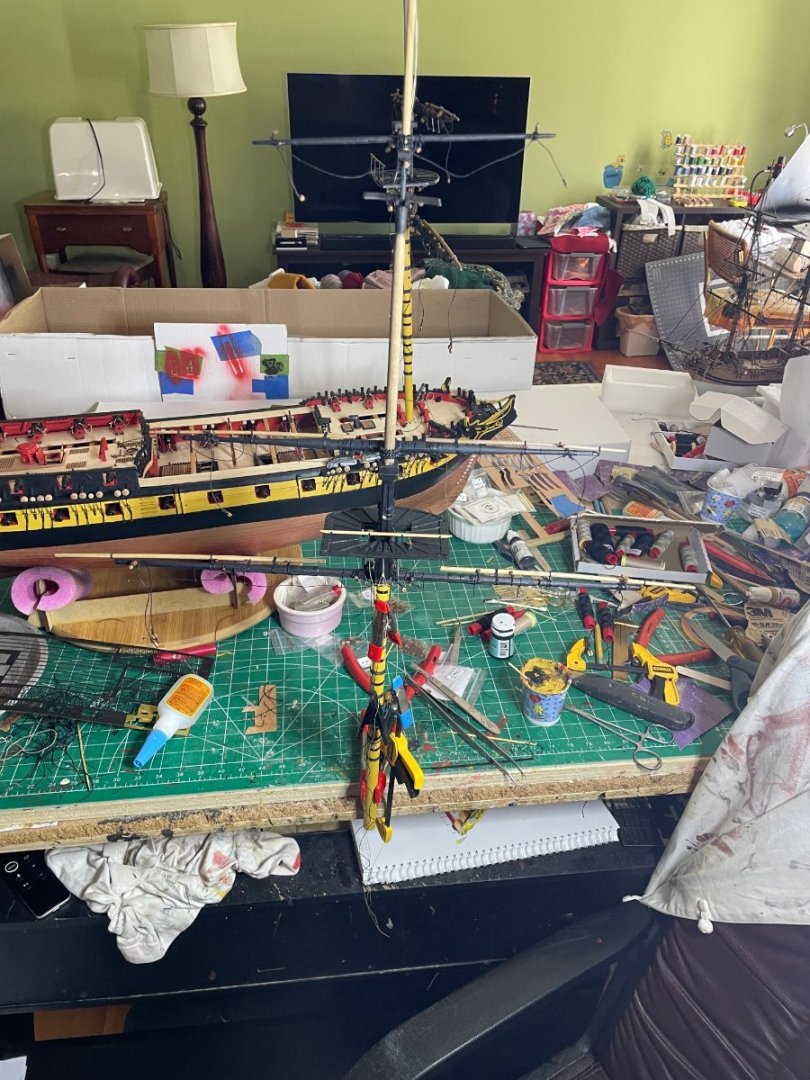
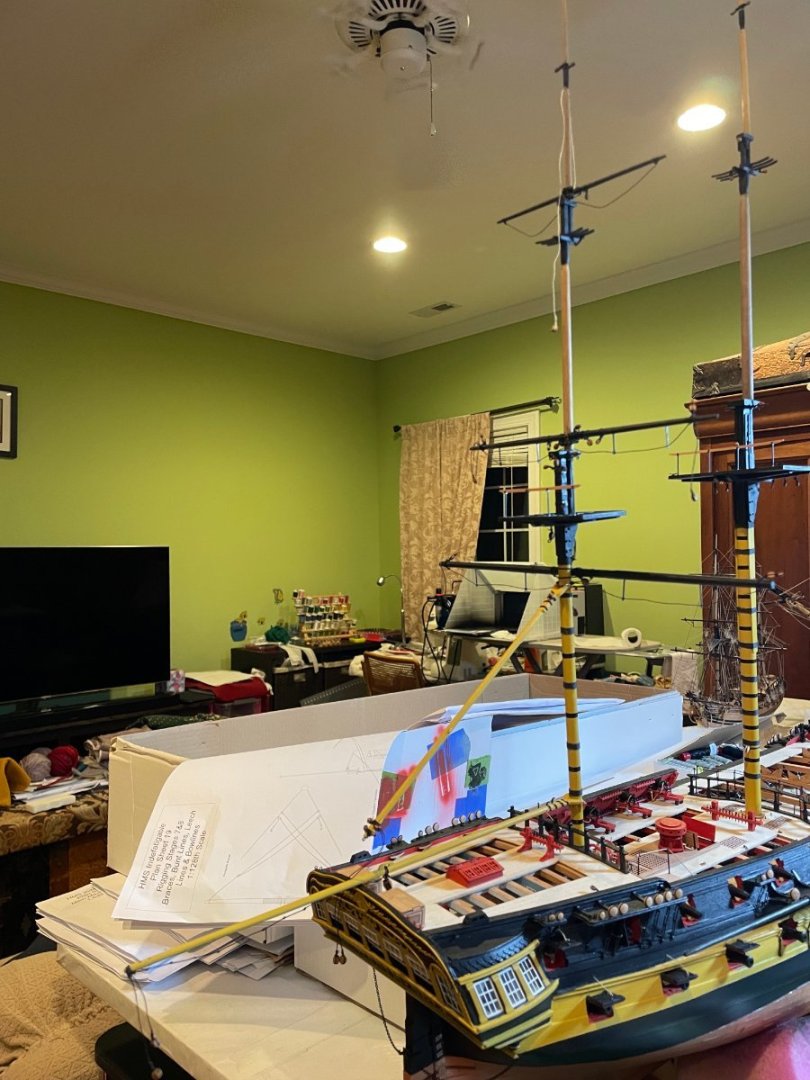
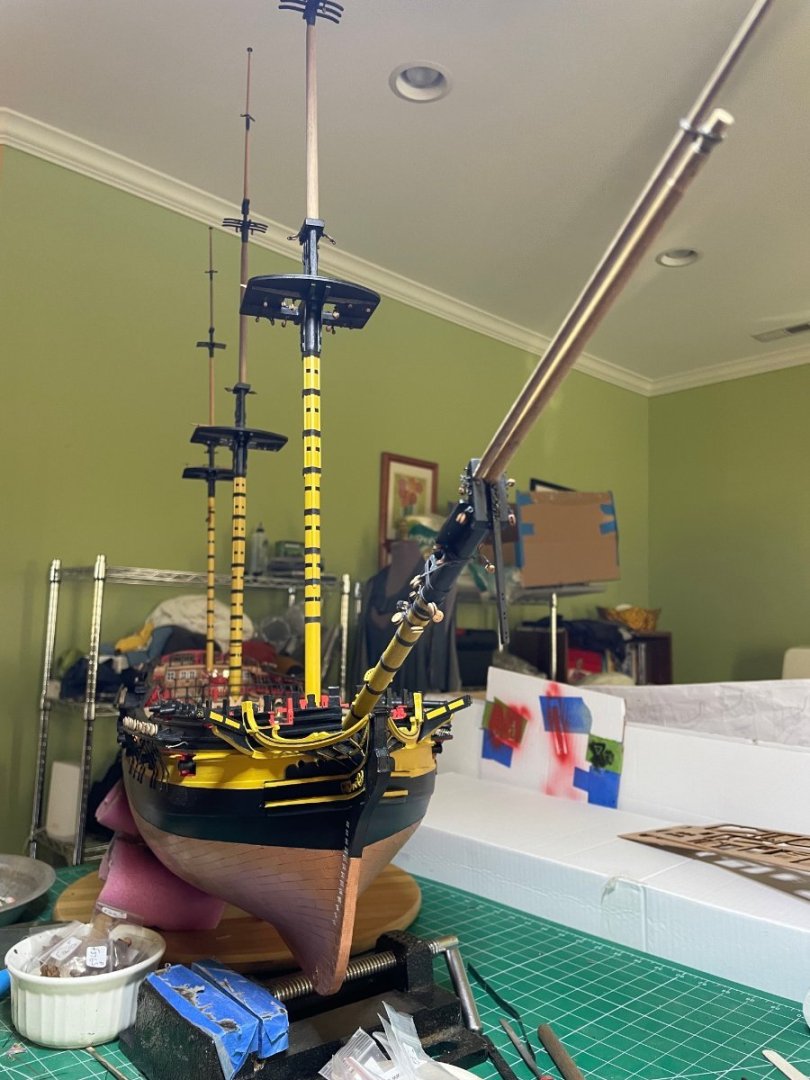
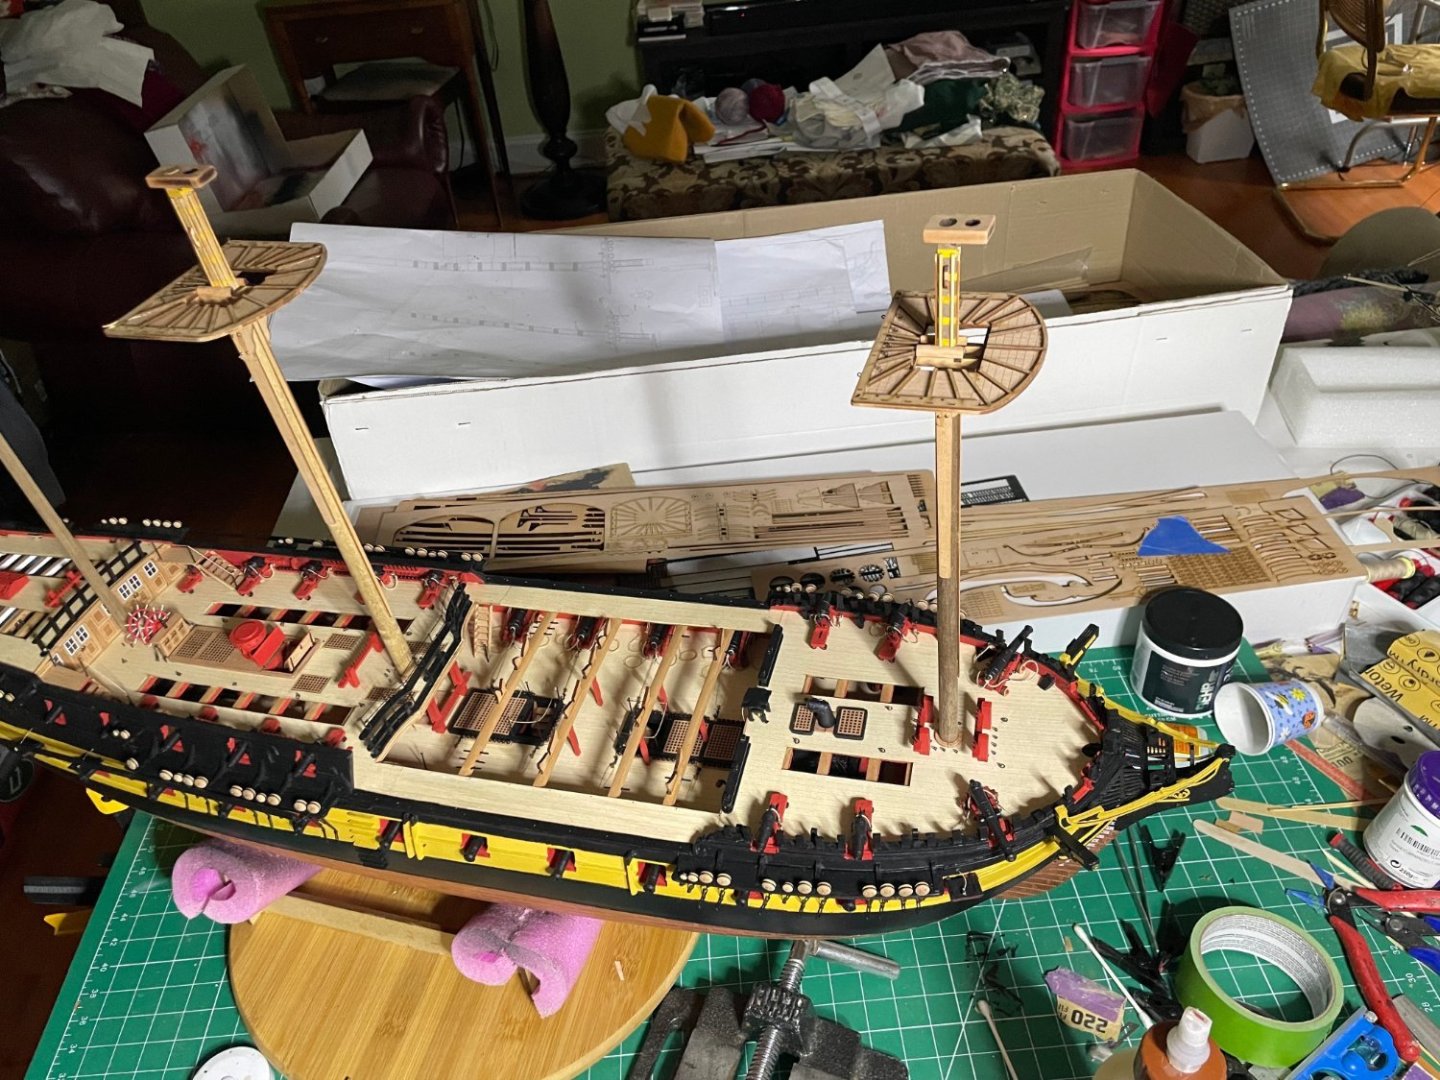
Finally finished the yards and mounting them to the masts. I am still happy to do this now as fiddling with the lower mast rigging helped with the added work space. Attaching the various riggings The main yard of the mainmast has the yard central lifts tied off to the bits on the main gundeck. Only way is to thread it through the grate. With the bowsprit in place temporarily the size of the ships is spectacular.


- 233 replies
-
- 11
-
-
- Indefatigable
- Vanguard Models
- (and 1 more)
-
I have not quite done with the yards as I unfortunately seem to be short at least 10 of the 4 mm blocks. I tried to order the ones in the kit but they are out of stock wherever I look. I found very similar ones and they should arrive Fri. I have all the lines ready to quickly finish the attaching of the yards.
- 233 replies
-
- 1
-
-
- Indefatigable
- Vanguard Models
- (and 1 more)
-
You got it. I have tried it both ways but I find it hard to get into the areas once the shrouds are on. It is only a bit awkward when you are doing the ratlines.
- 233 replies
-
- 2
-

-
-
- Indefatigable
- Vanguard Models
- (and 1 more)
-
I just add a bit of superglue to the tip to harden it.
- 587 replies
-
- 1
-
-
- Indefatigable
- Vanguard Models
- (and 1 more)
-
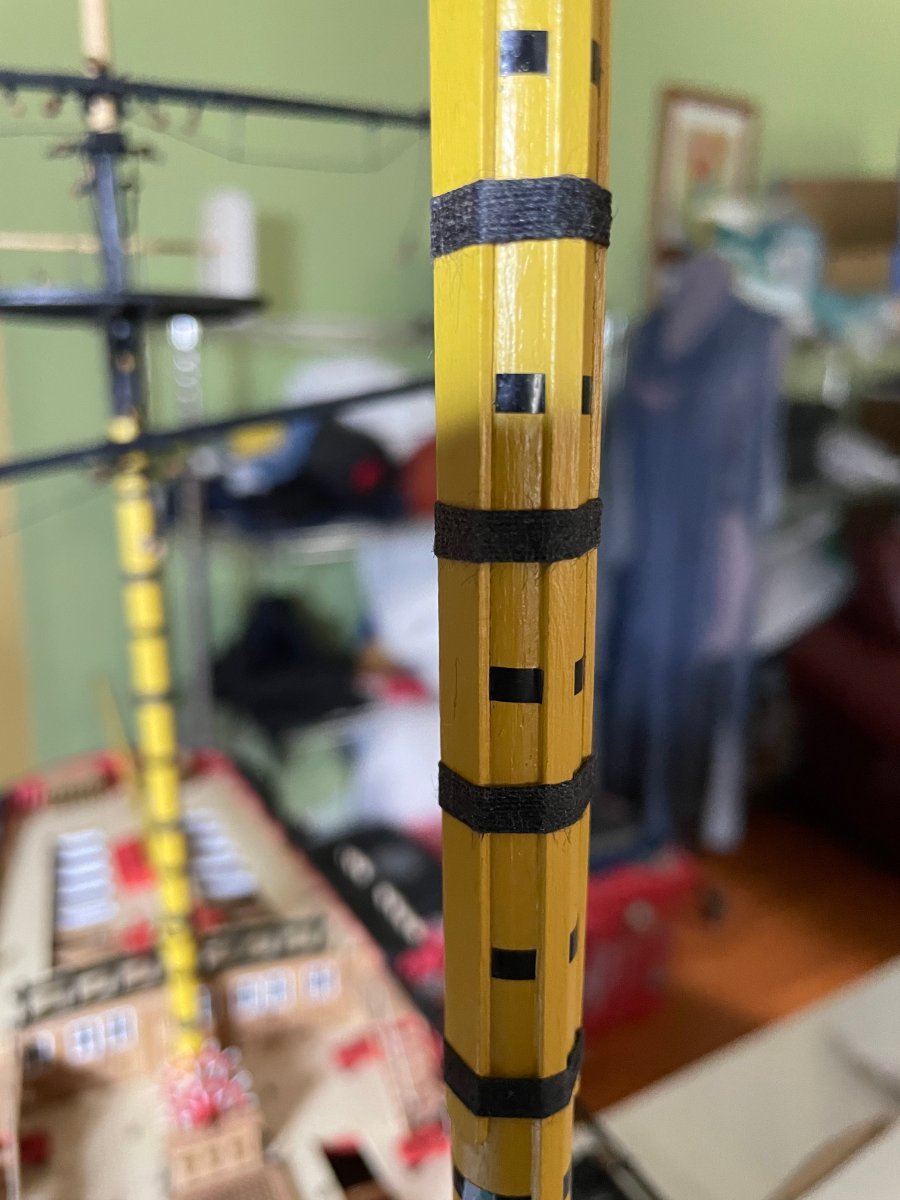
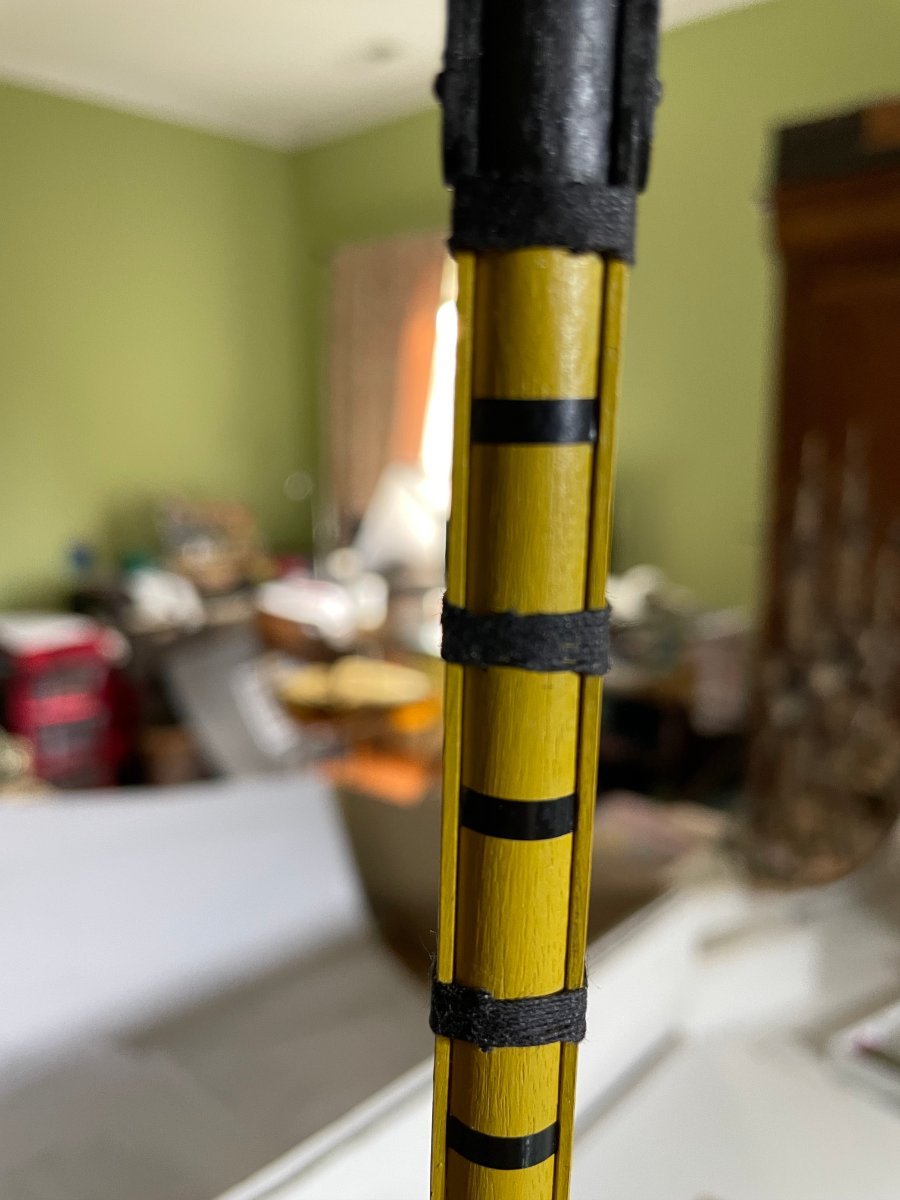
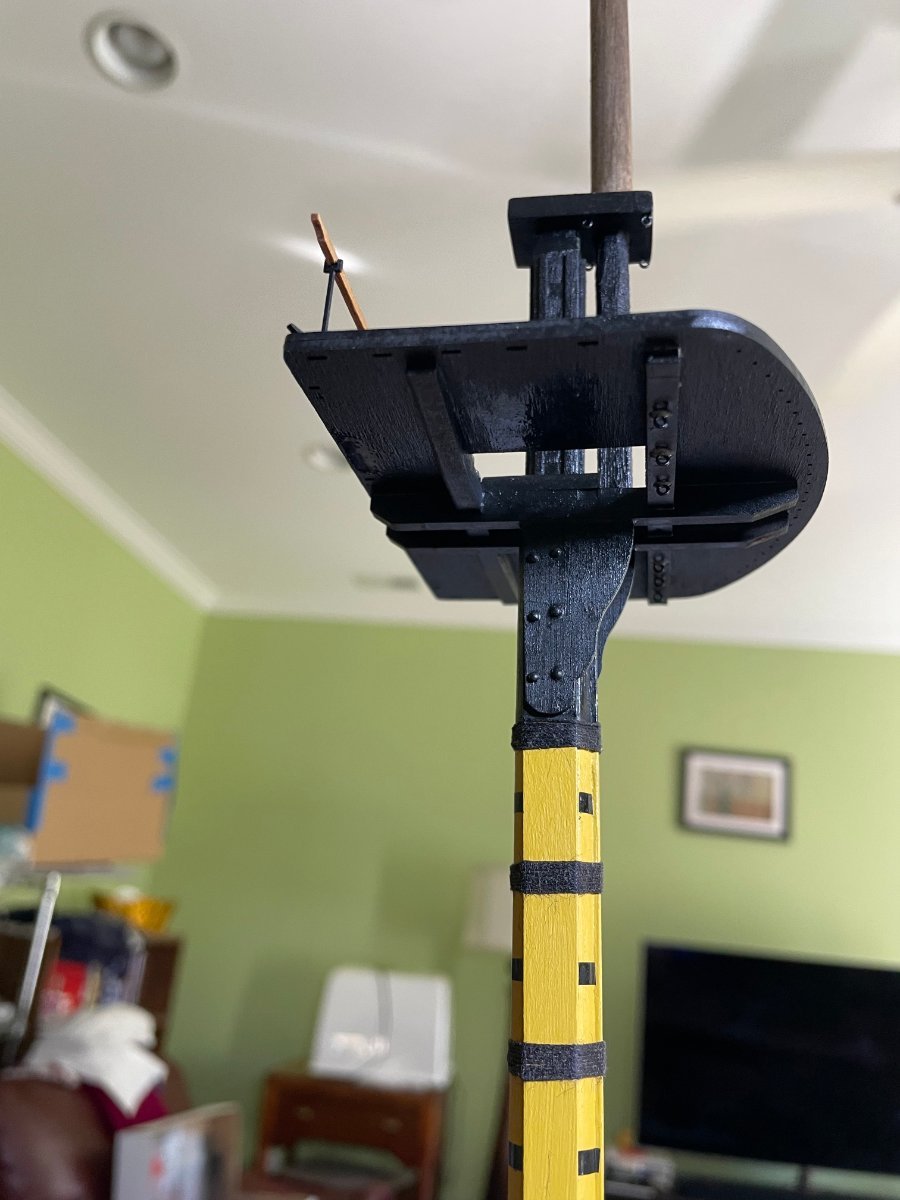
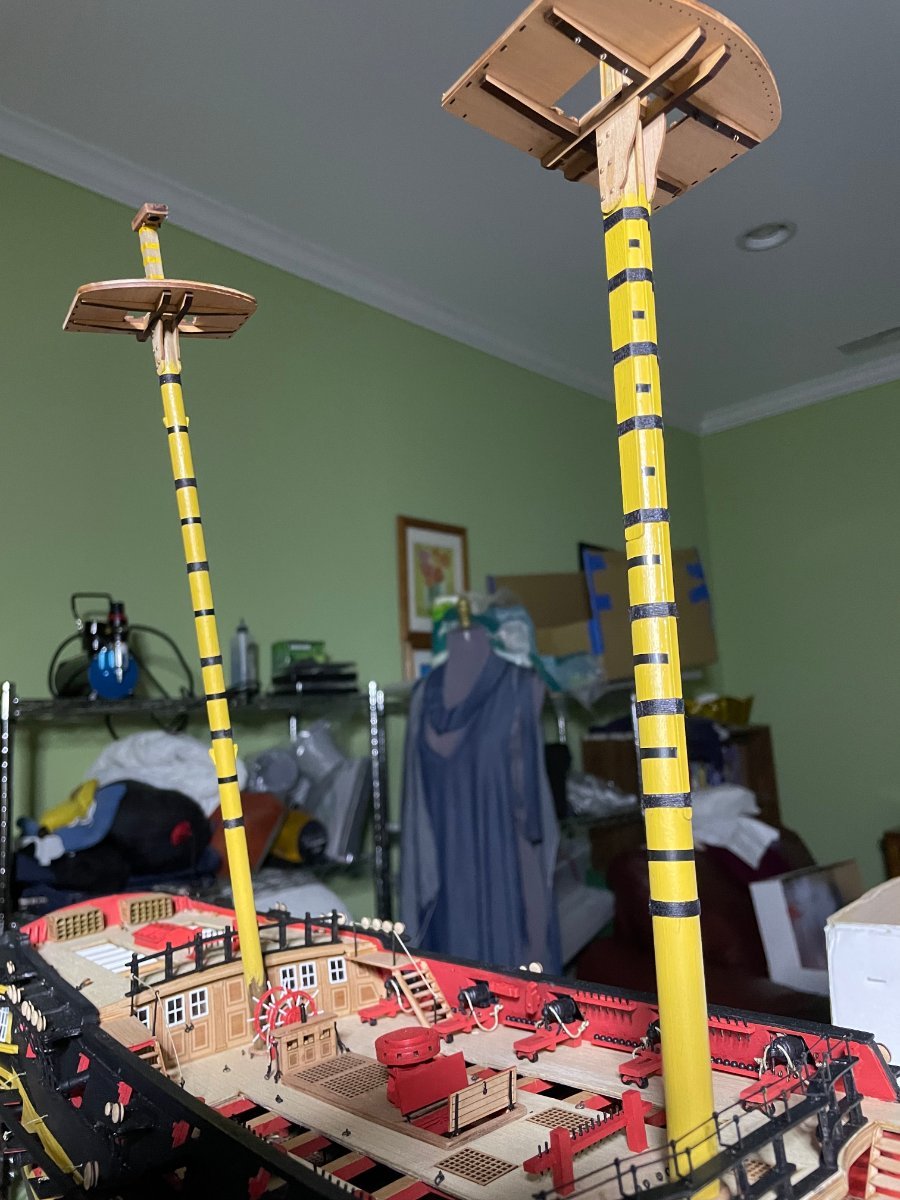
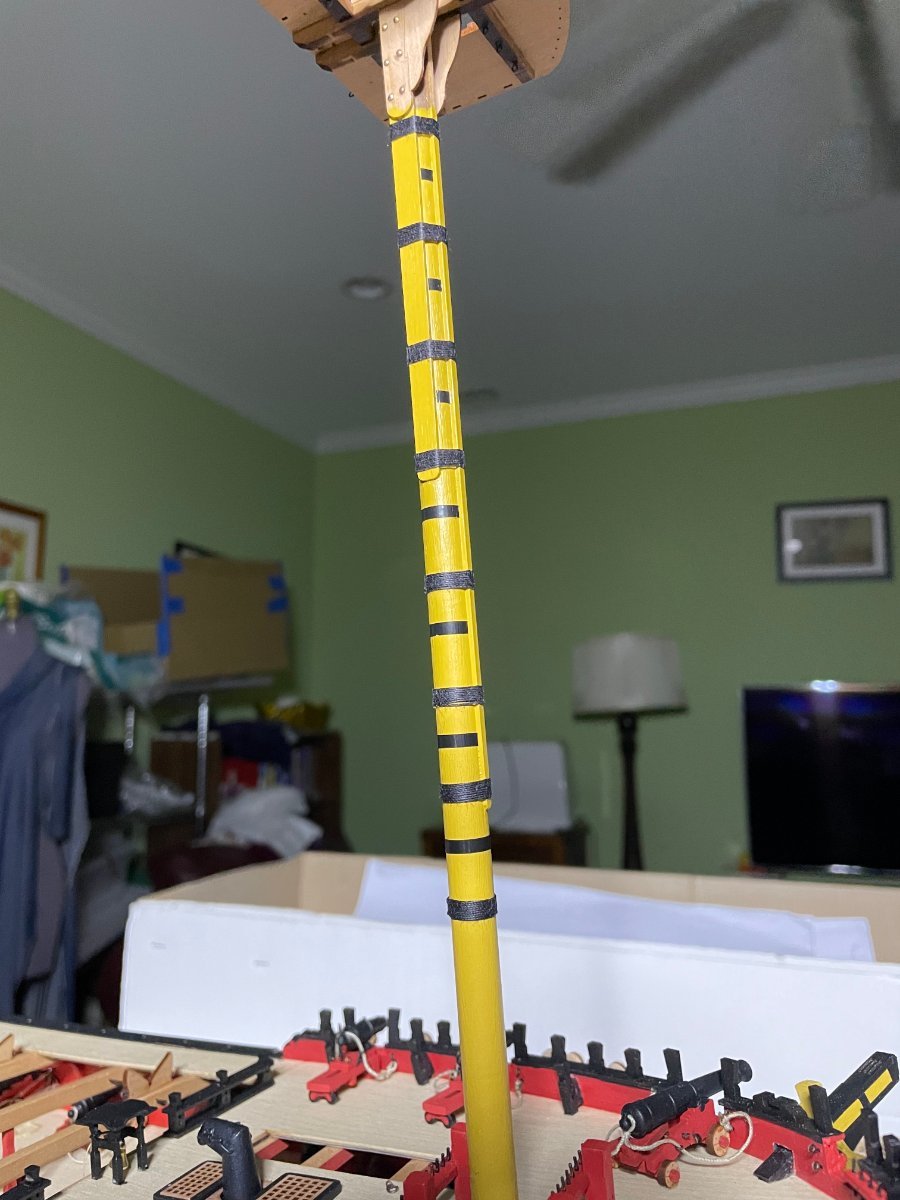
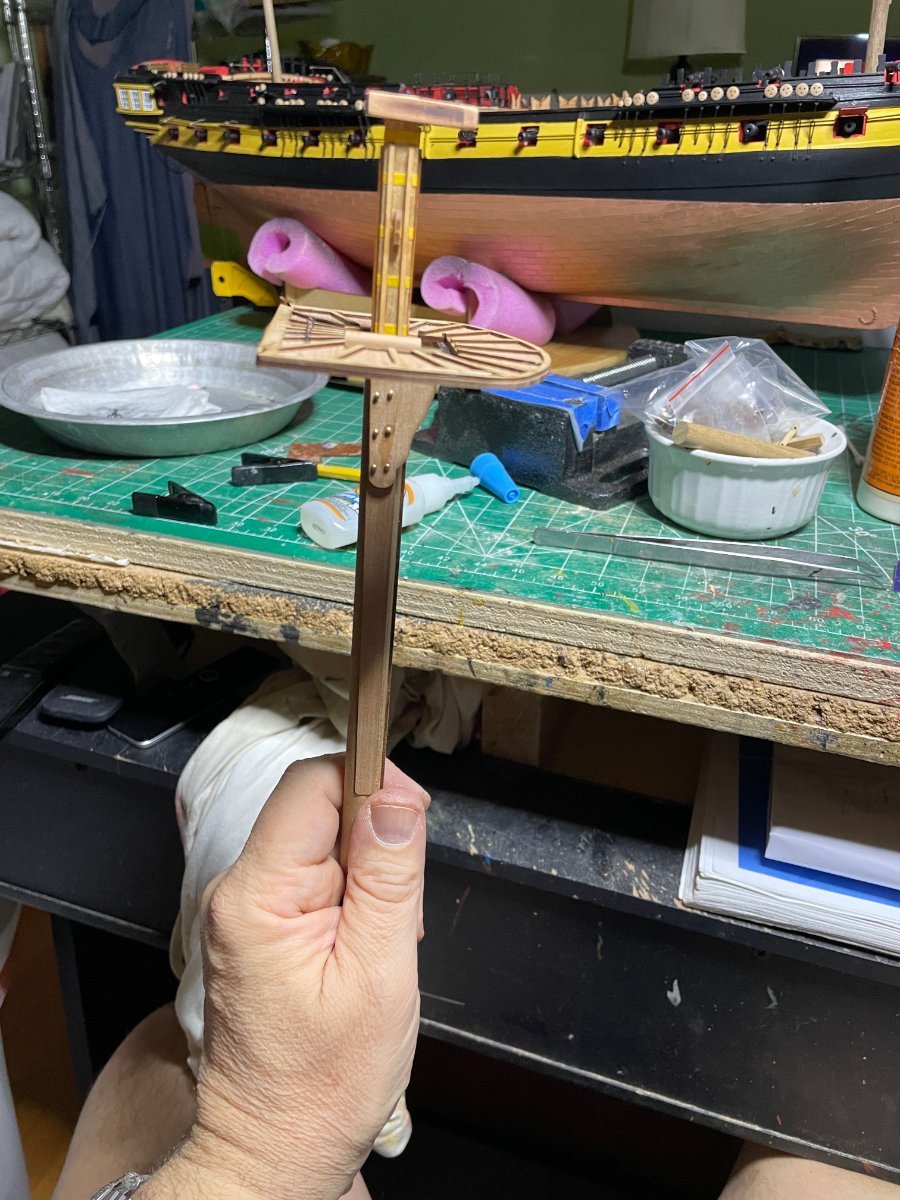
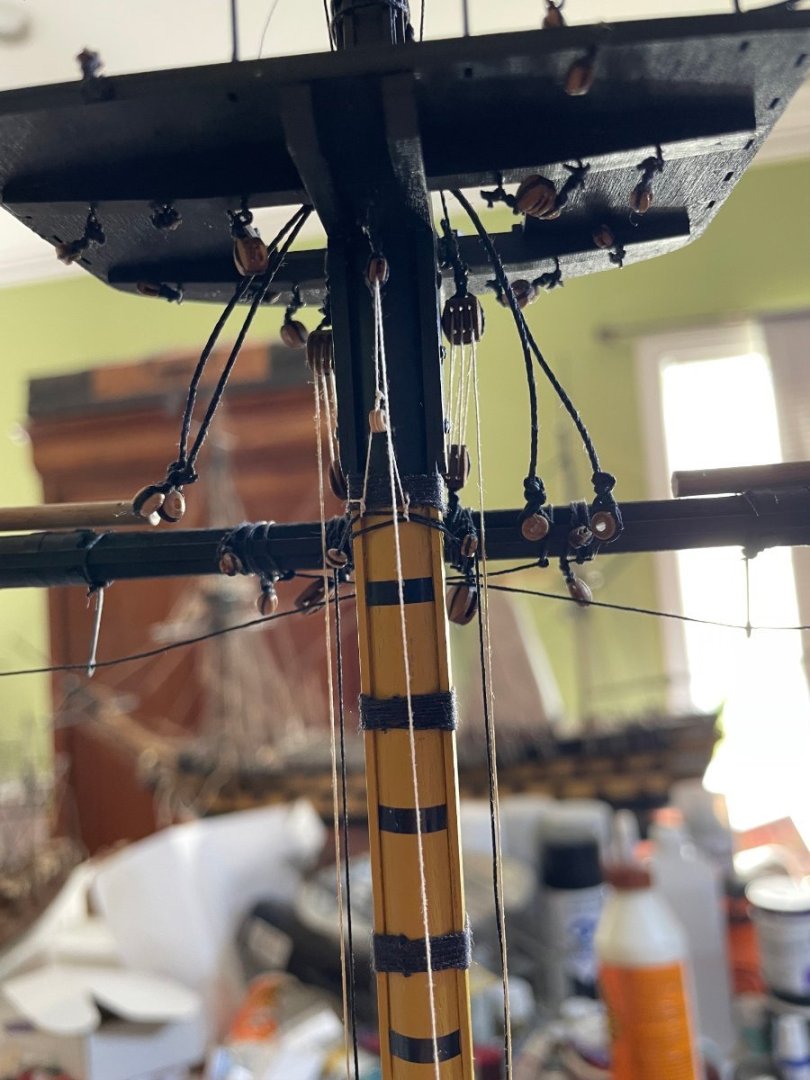
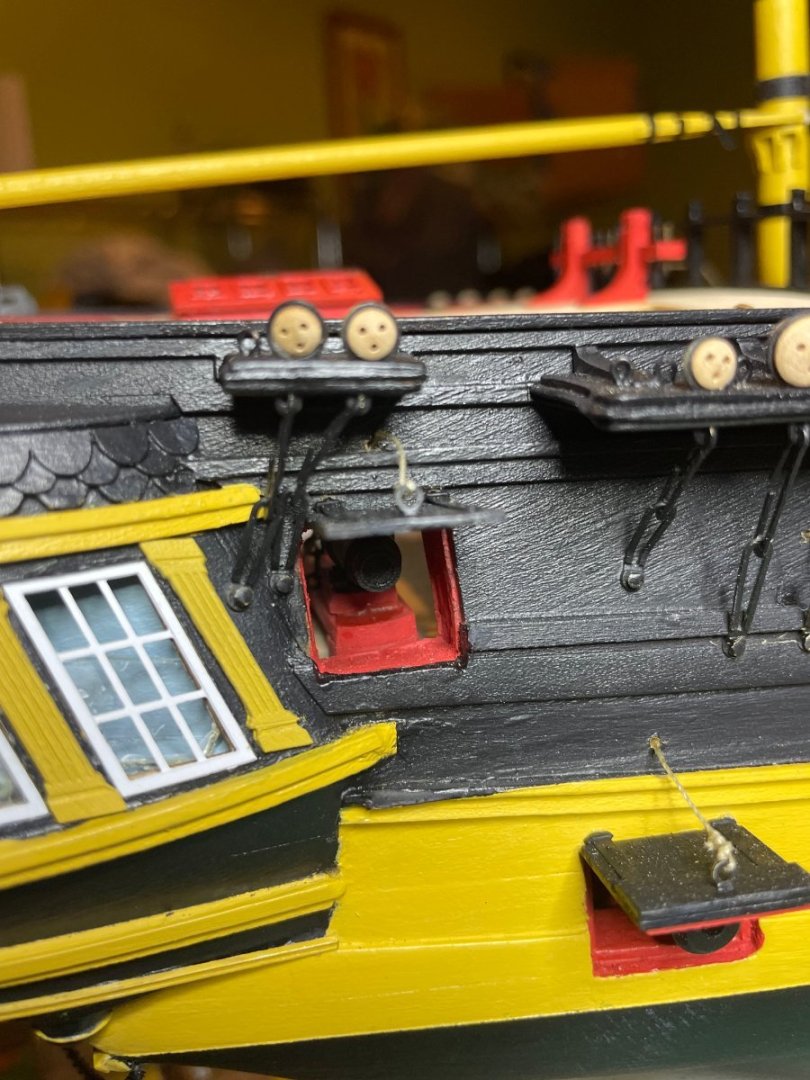
I used black tape for the iron banding. After assembly I painted the lower mast then stretched the tape around, pushing into the corners of the hollows then with a scalpel trimmed the edges.Taping before assembly and painting would require a steady hand to touch up the lines with black paint.


- 587 replies
-
- 4
-
-
-
- Indefatigable
- Vanguard Models
- (and 1 more)
-
I choose that area as I found the angle and distance otherwise very tight. I found using the appropriate dowel in the mast hole and string gave a pretty good angle for the chains. I 'll find out how well next week when I start doing the shrouds.
- 587 replies
-
- 2
-
-
-
- Indefatigable
- Vanguard Models
- (and 1 more)
-
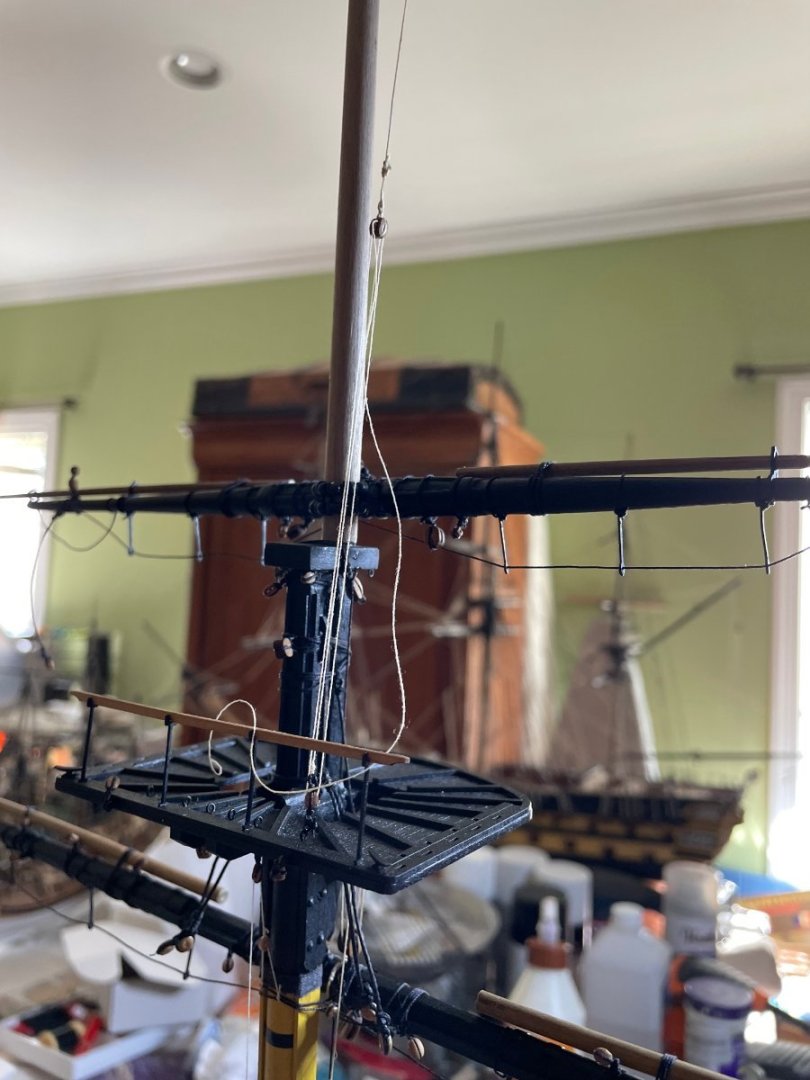
Rigged the mizzen yards, pinned the the yards to the mast and secured them


- 233 replies
-
- 18
-
-
- Indefatigable
- Vanguard Models
- (and 1 more)
-
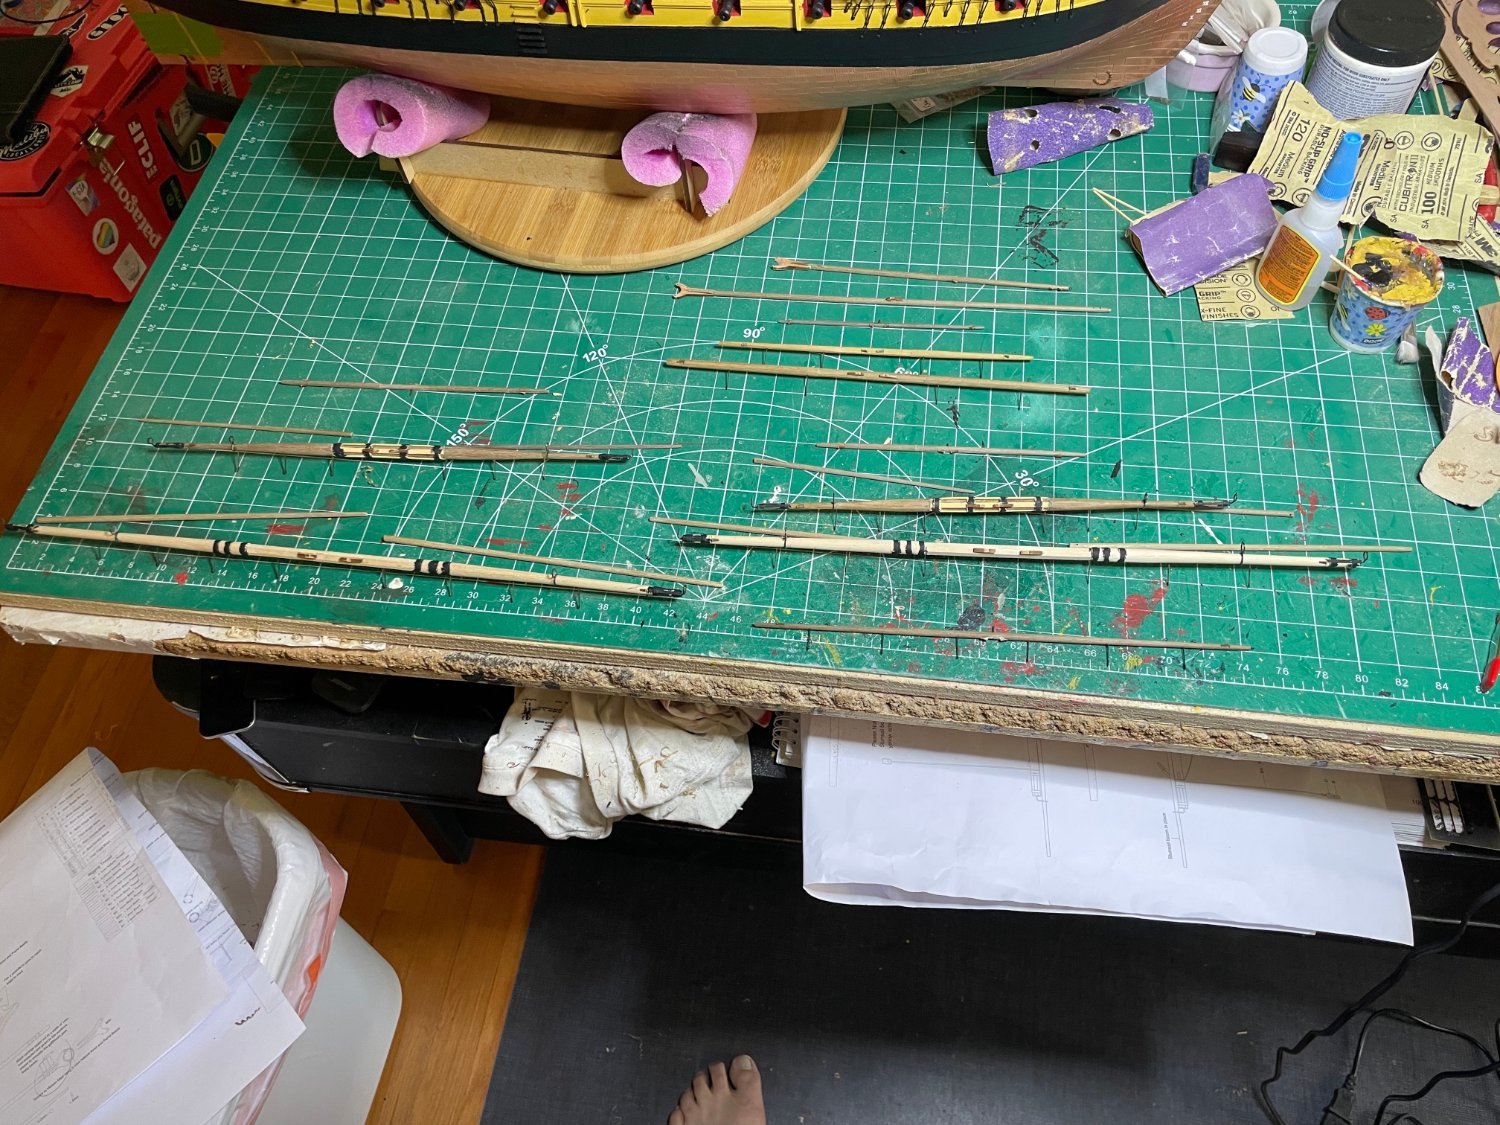
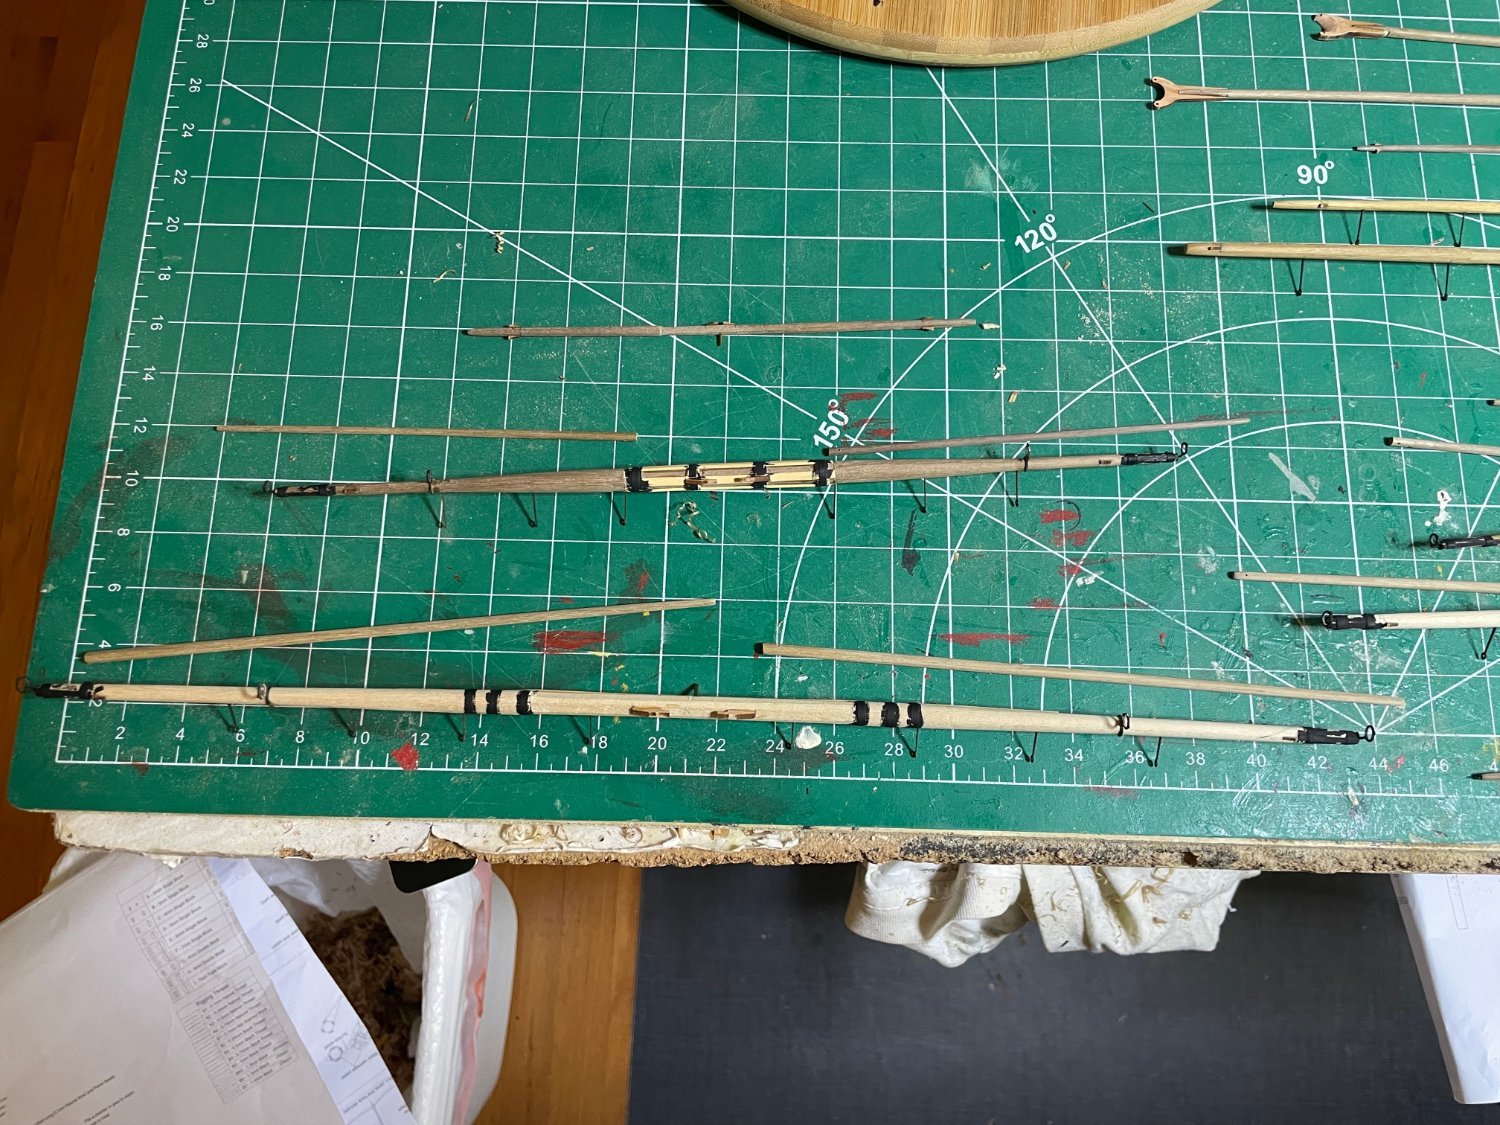
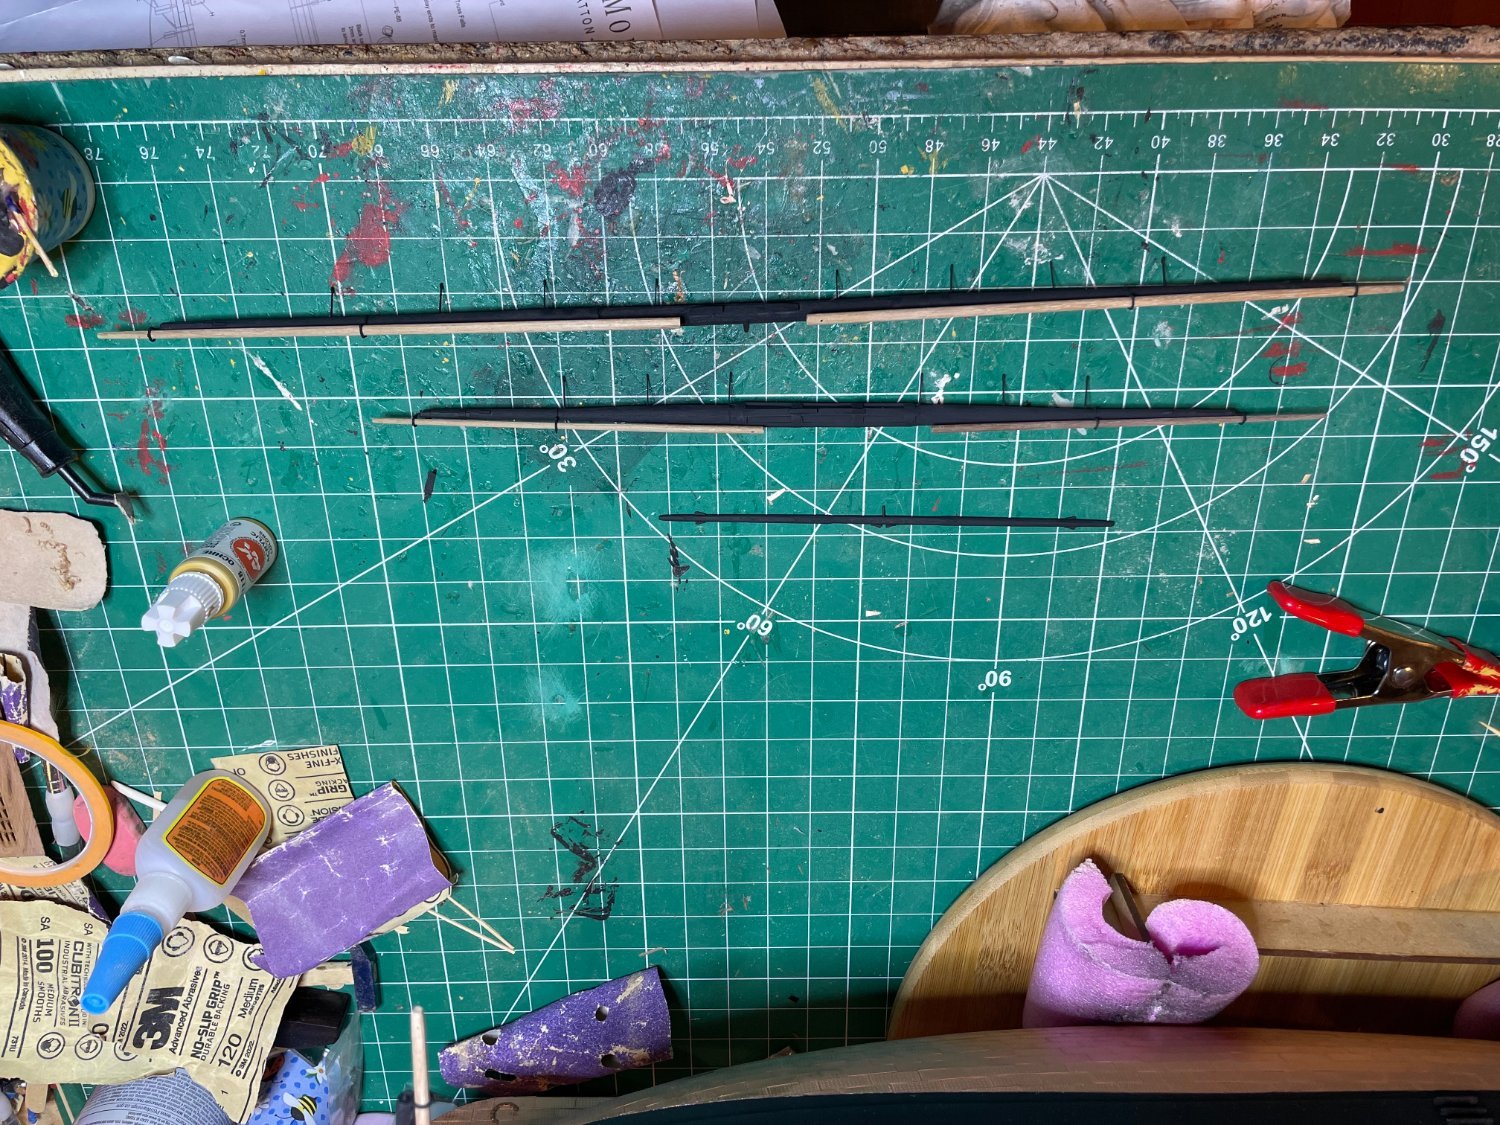
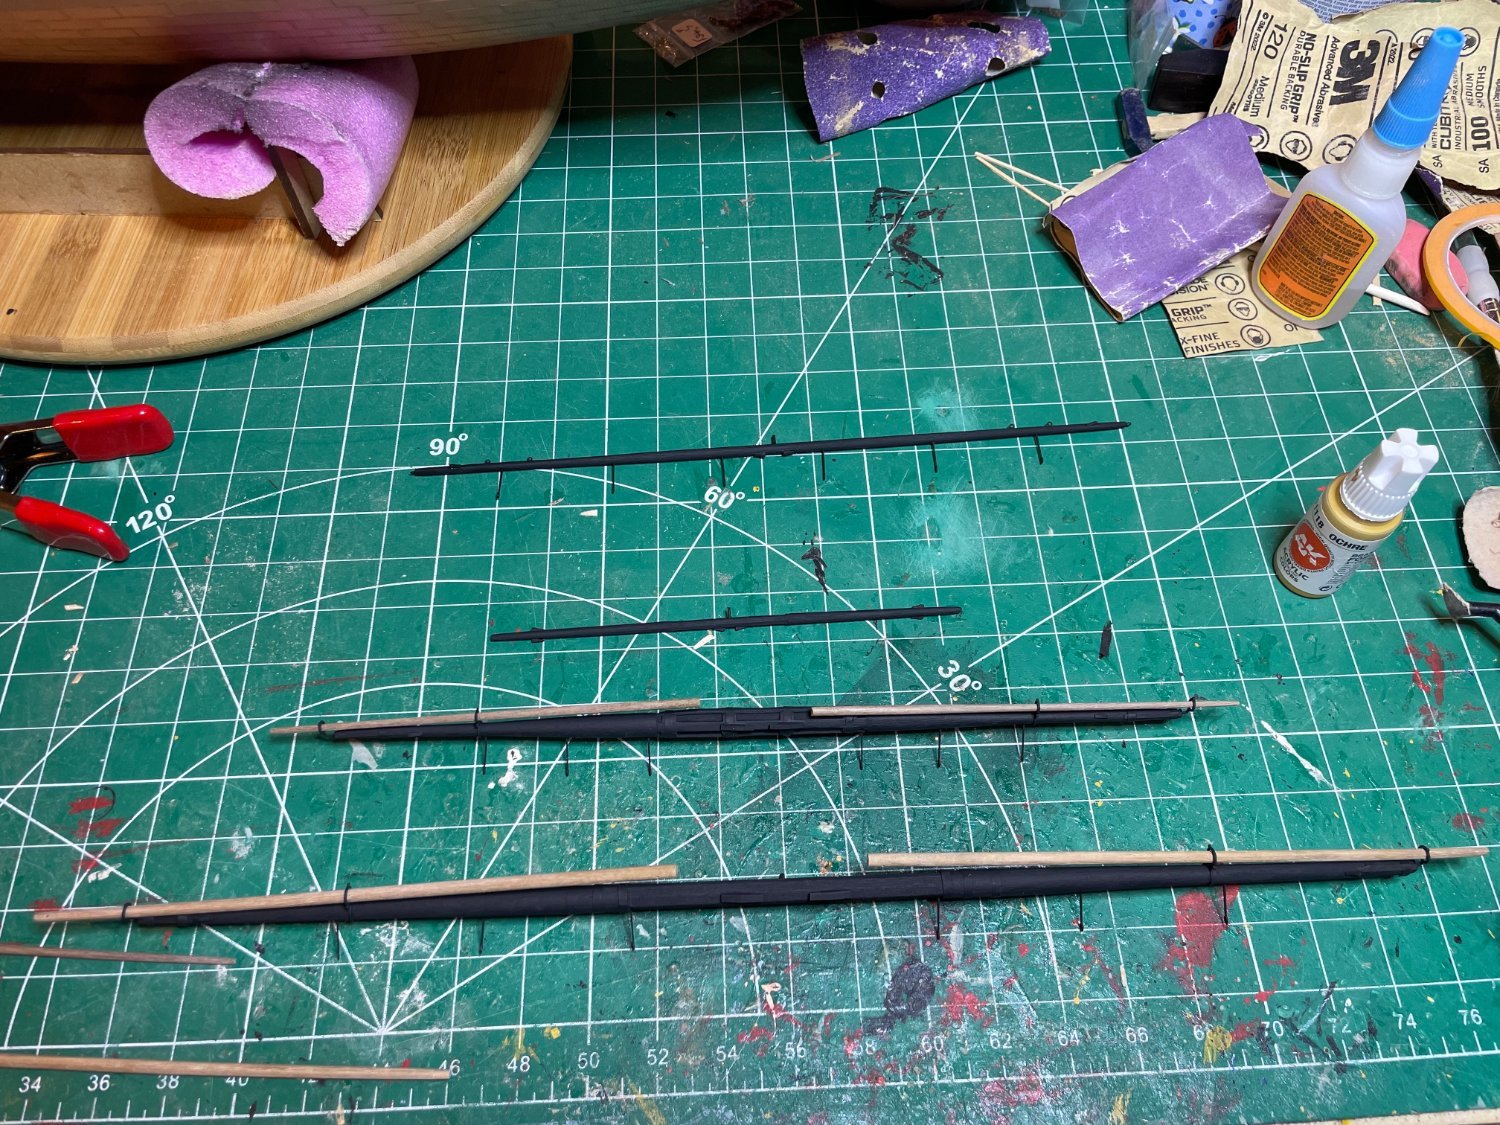
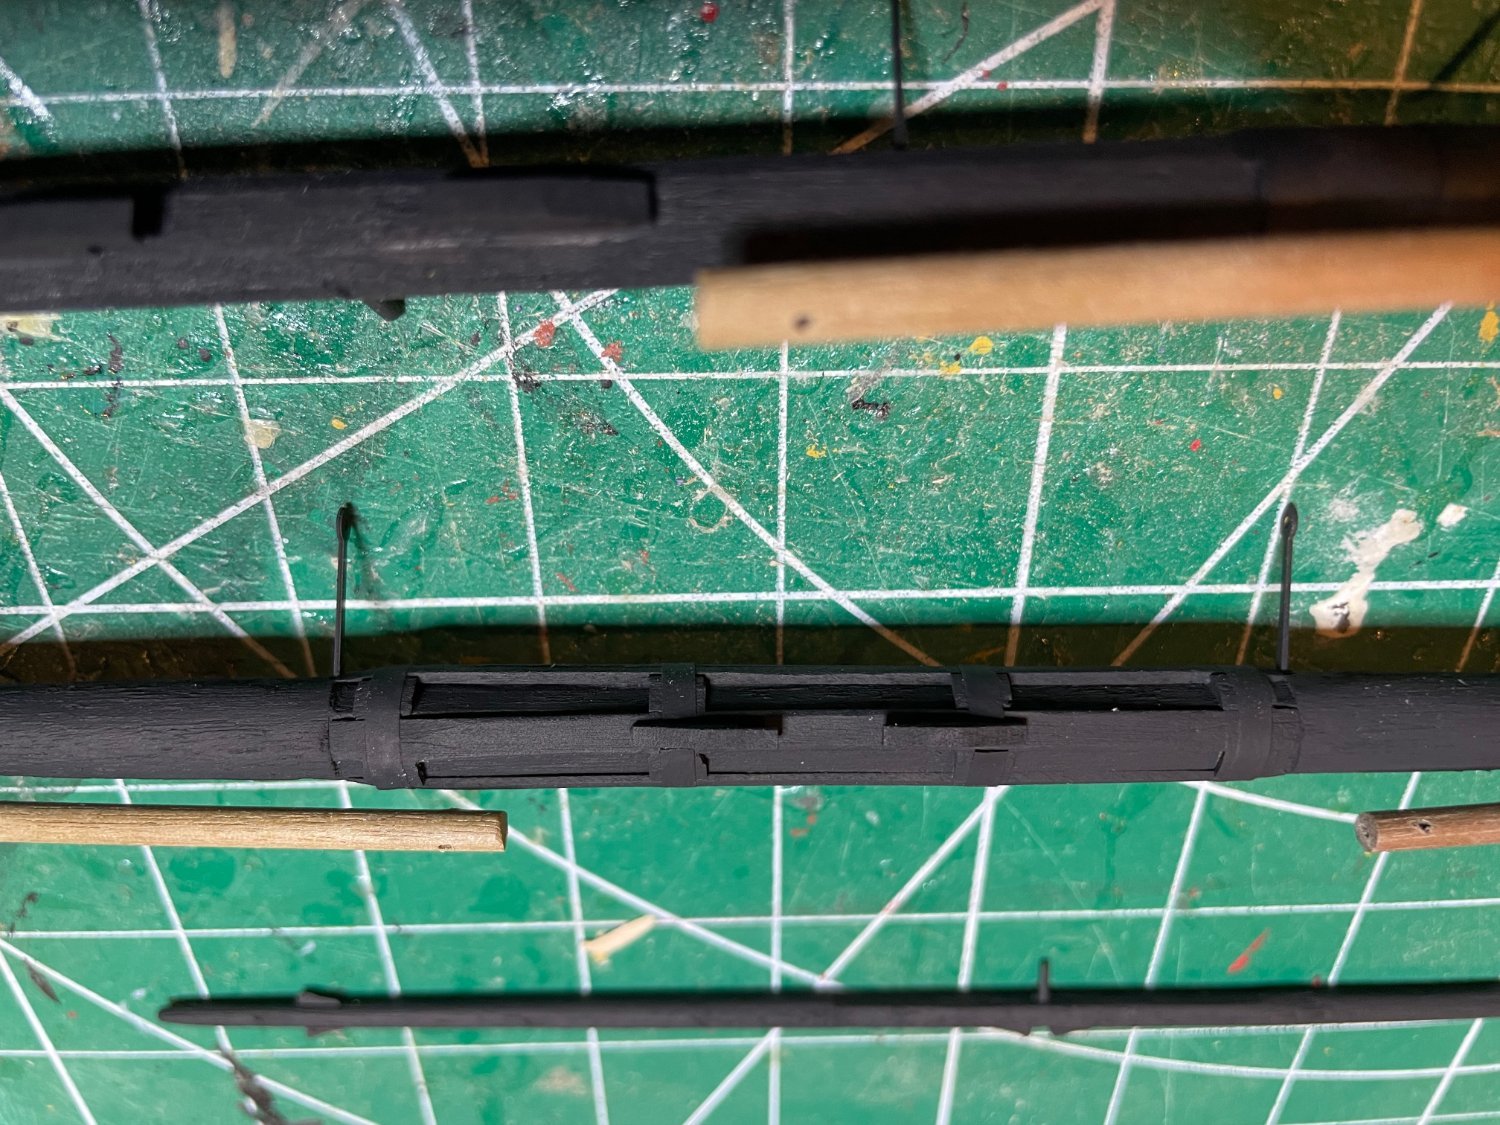
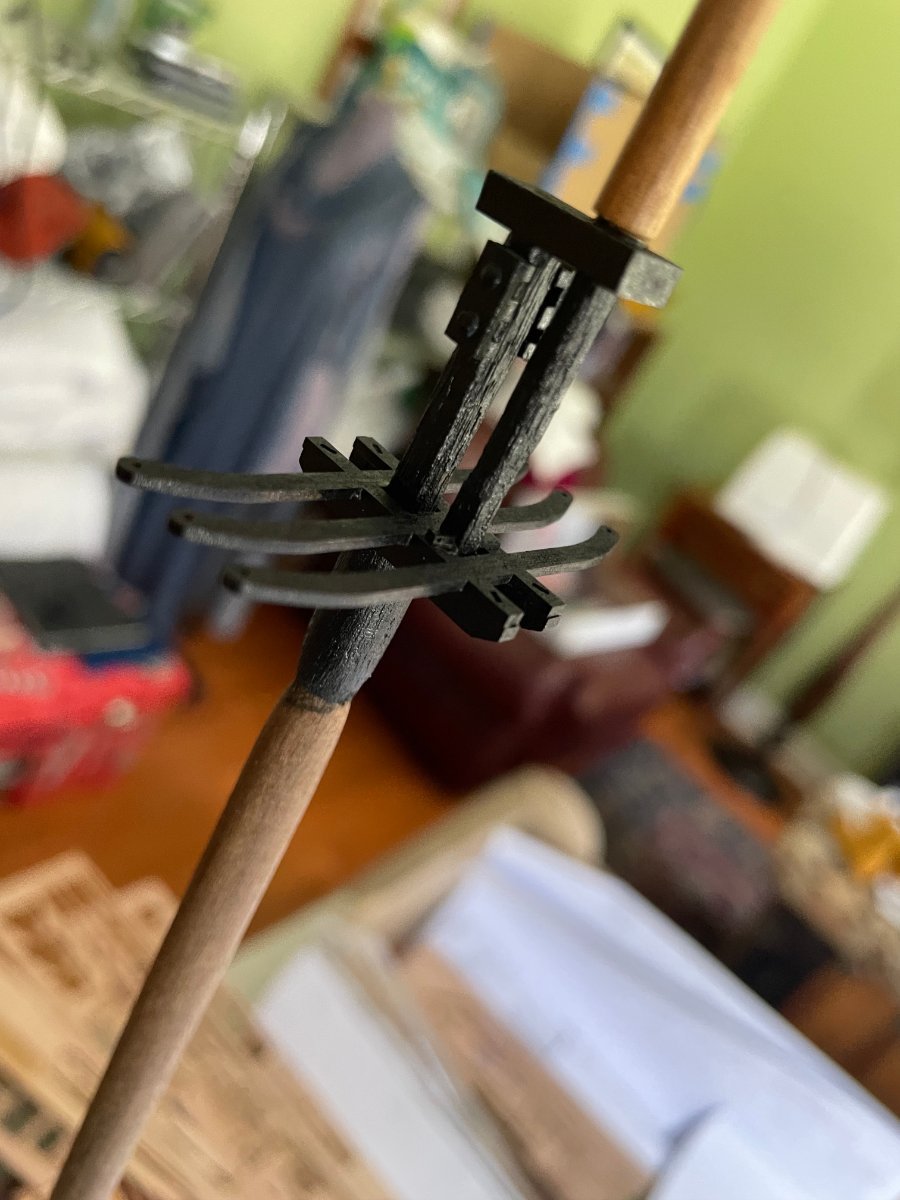
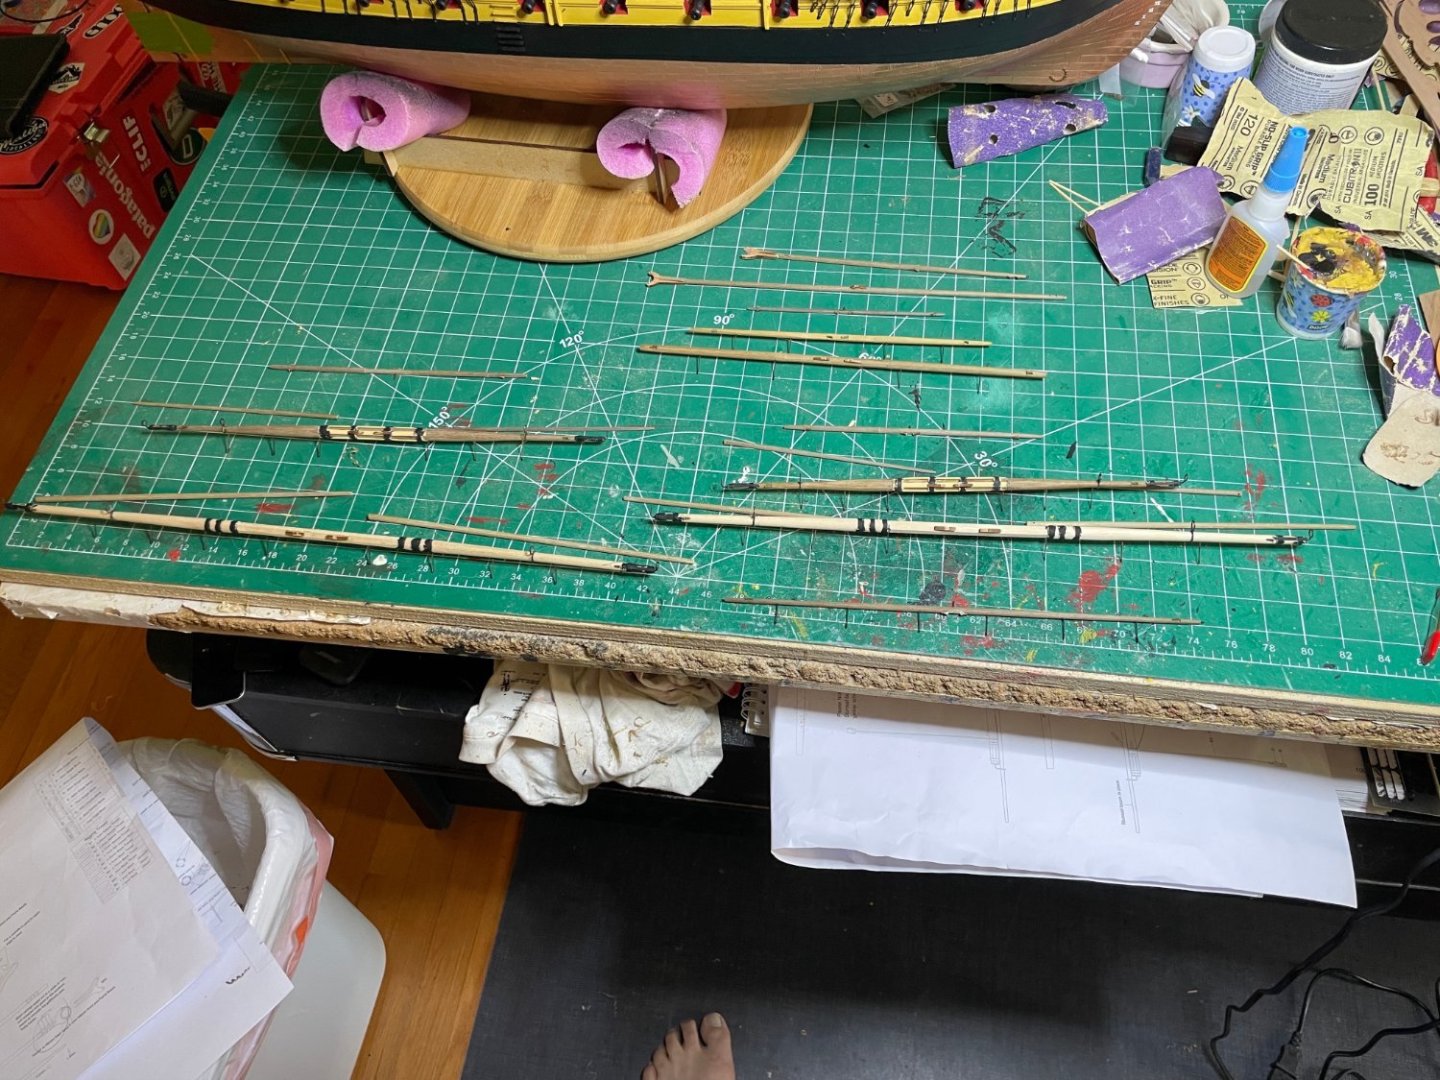
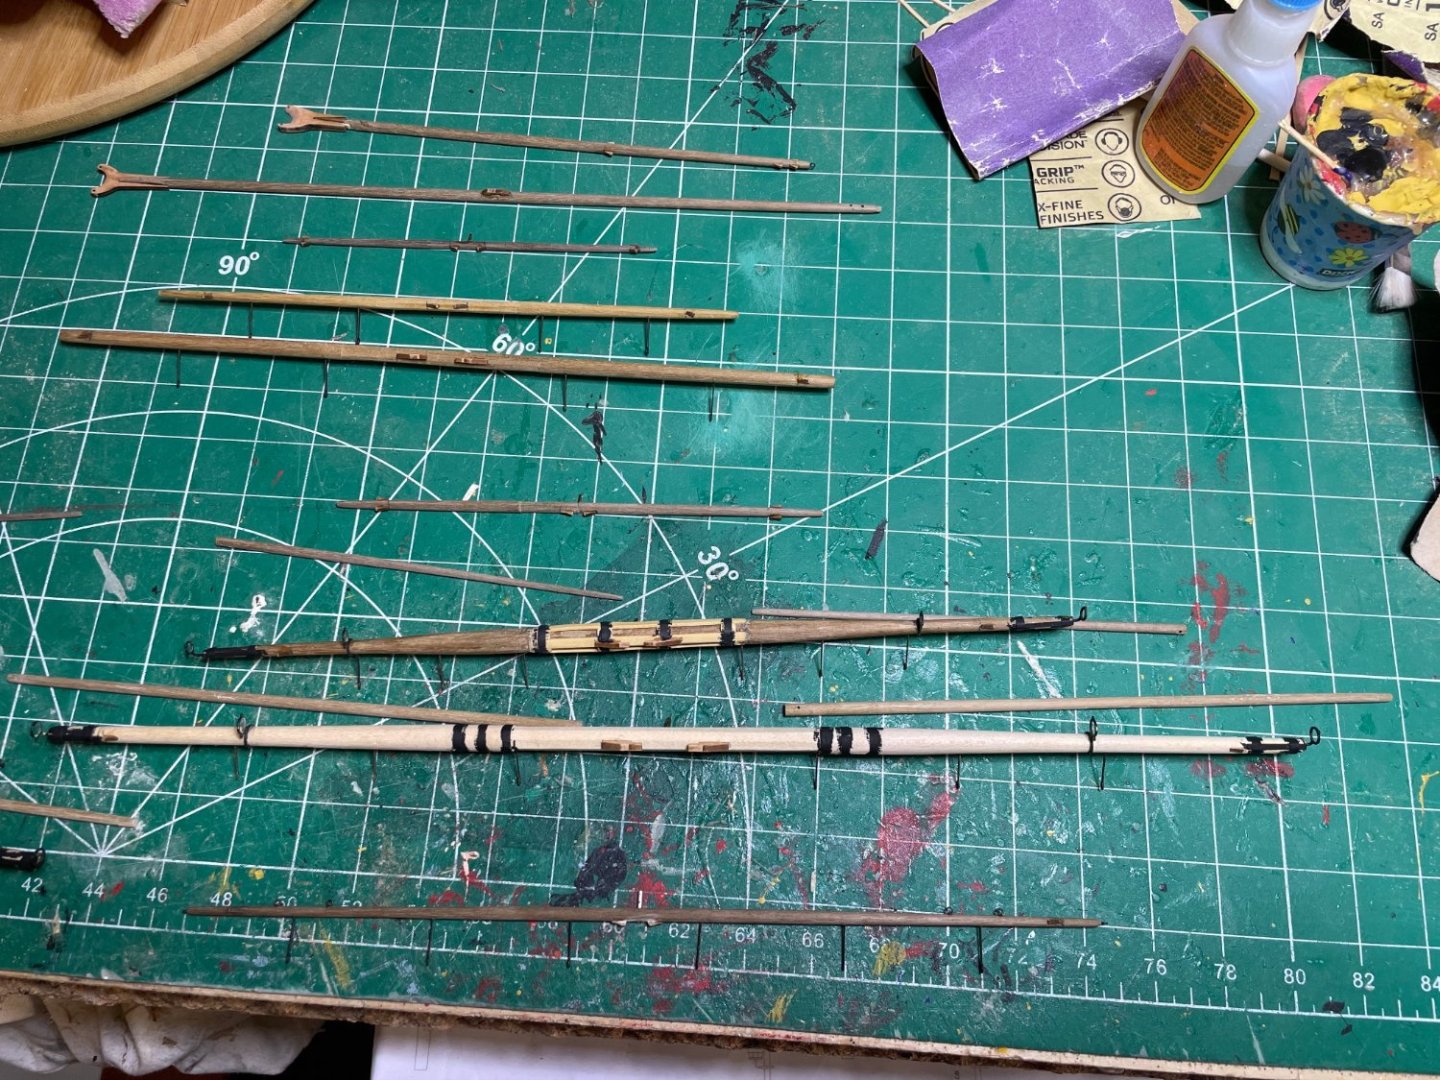
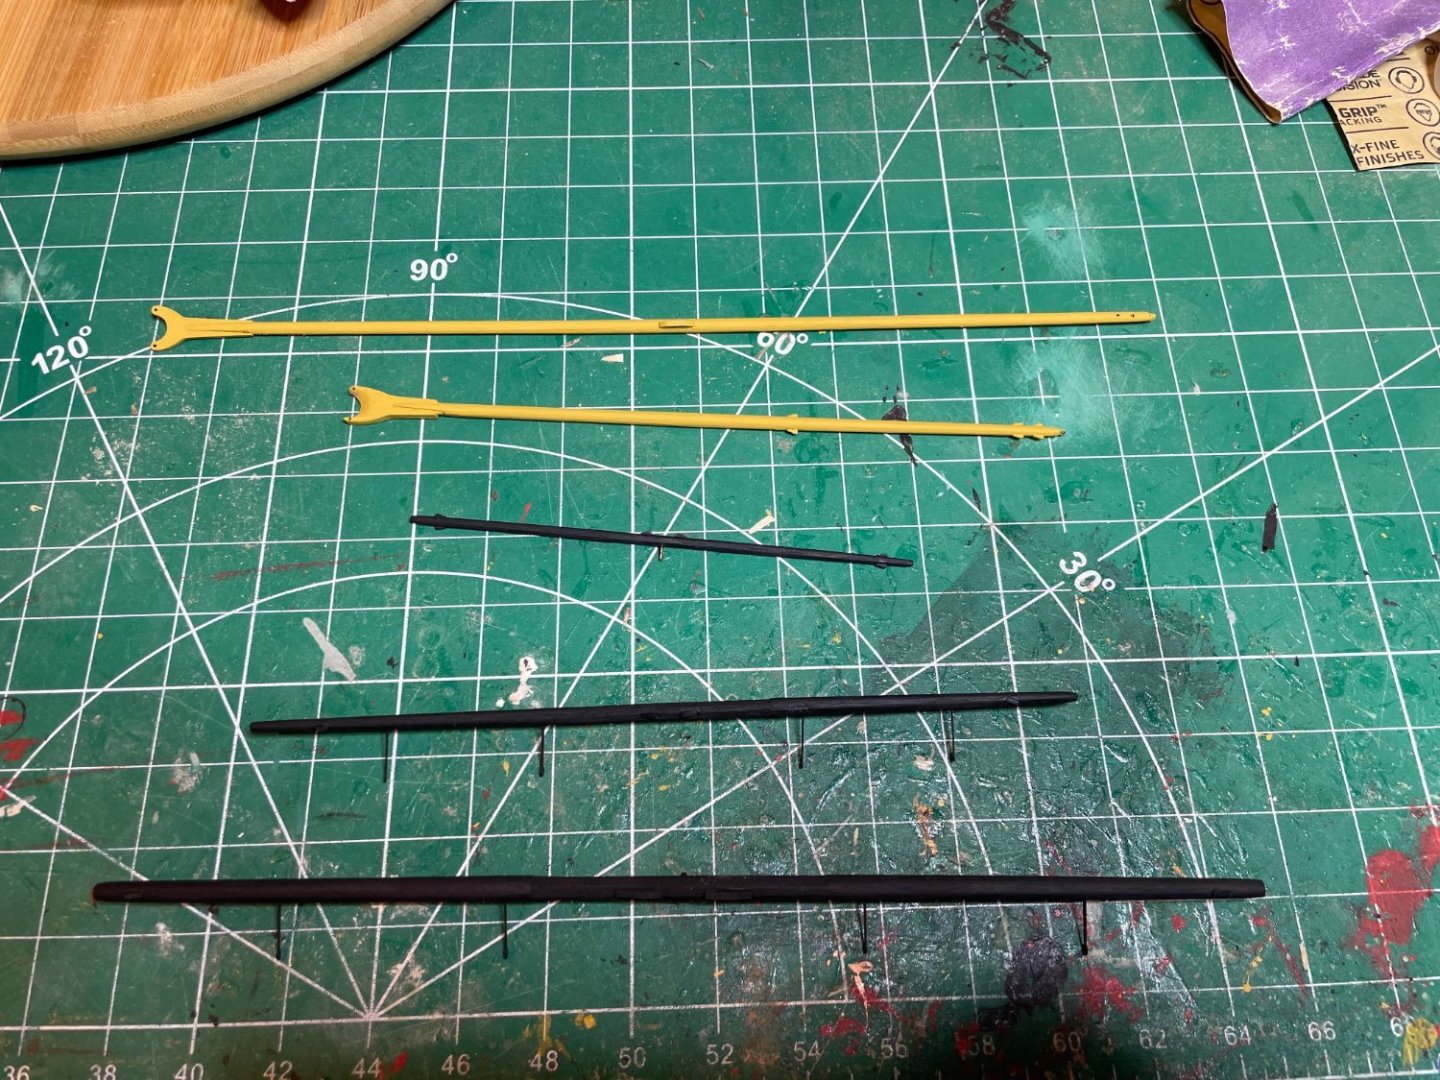
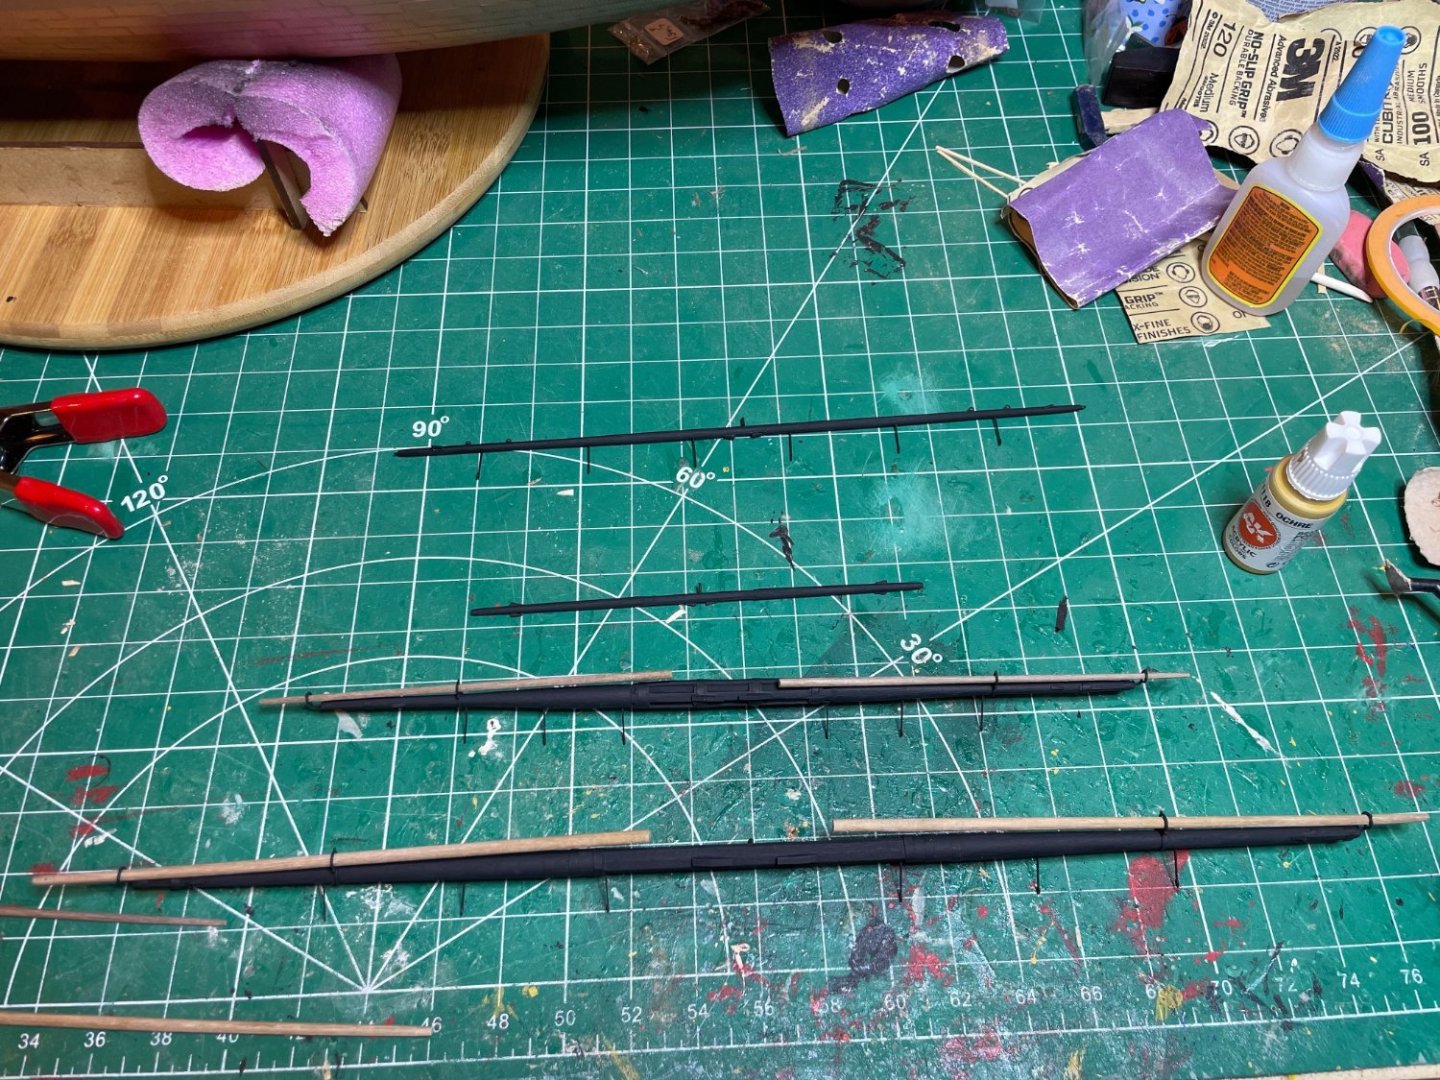
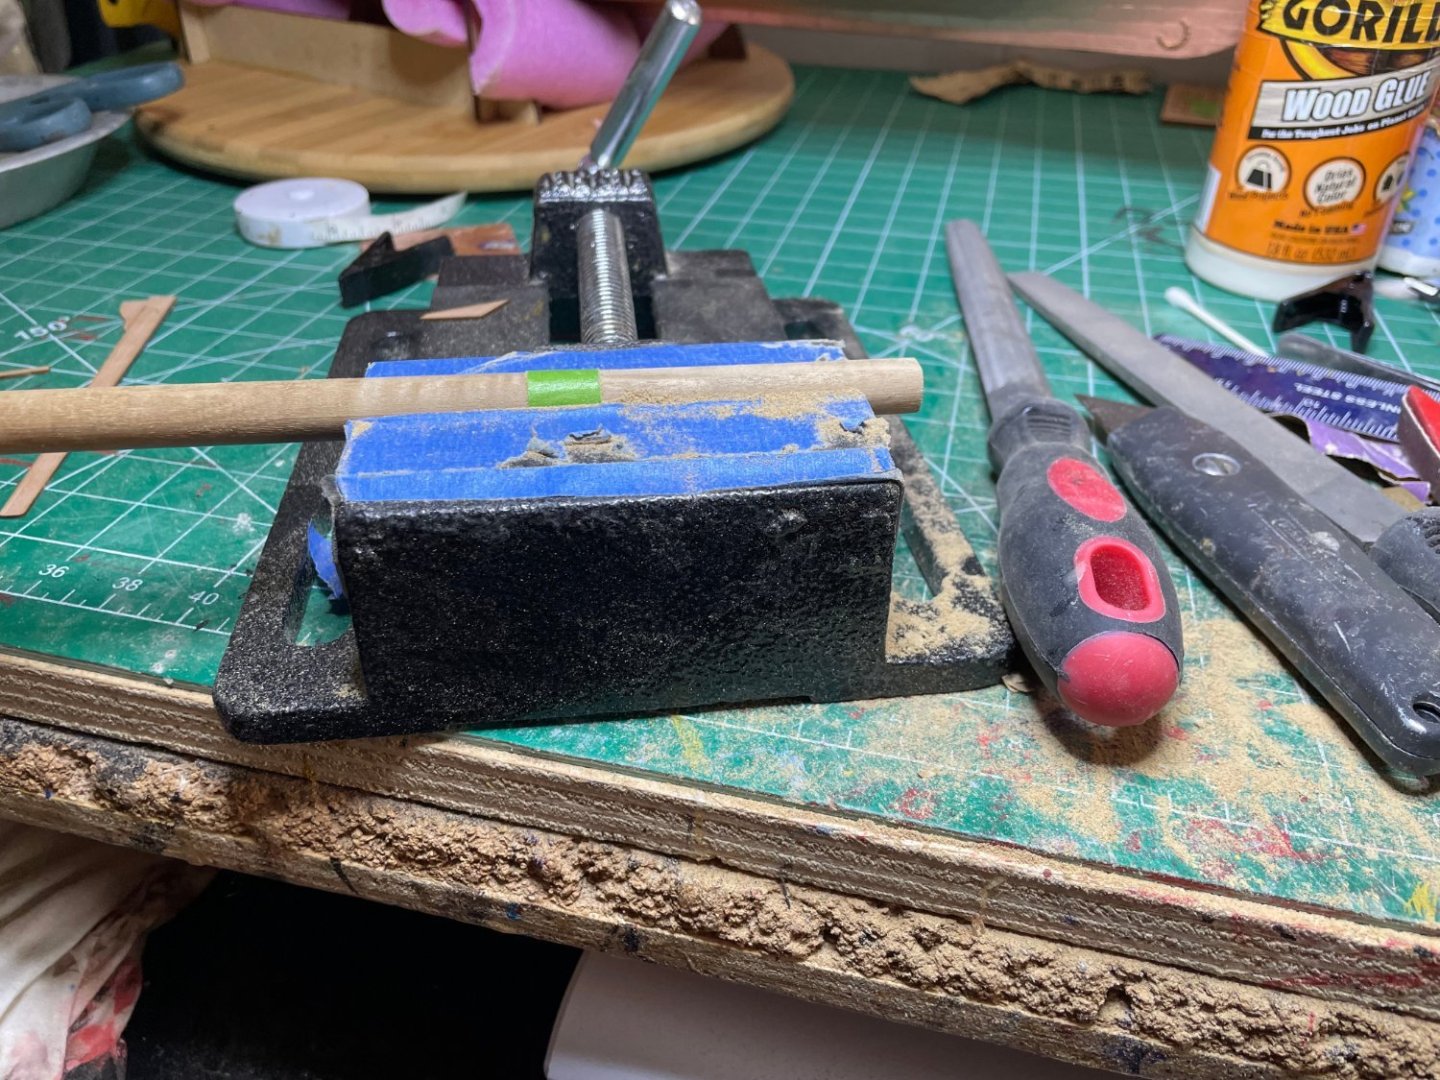
Spent the week making up all the yards. Not rigged yet as they have to be painted first. There are some differences from other yards I have done. In this the fore and main topsail yard have a different central configuration compared to the mains. Pre spray painting. Note I use tape instead of the cardboard as I never get the cardboard correct. The tape sprays up nicely. Unfortunately I was short 2 8mm dowels in the kit but luckily I had spare dowels in the shipyard. After Painting mizzen Main Fore and spritsail Next week will be gigging the yards.


- 233 replies
-
- 8
-
-
- Indefatigable
- Vanguard Models
- (and 1 more)
-
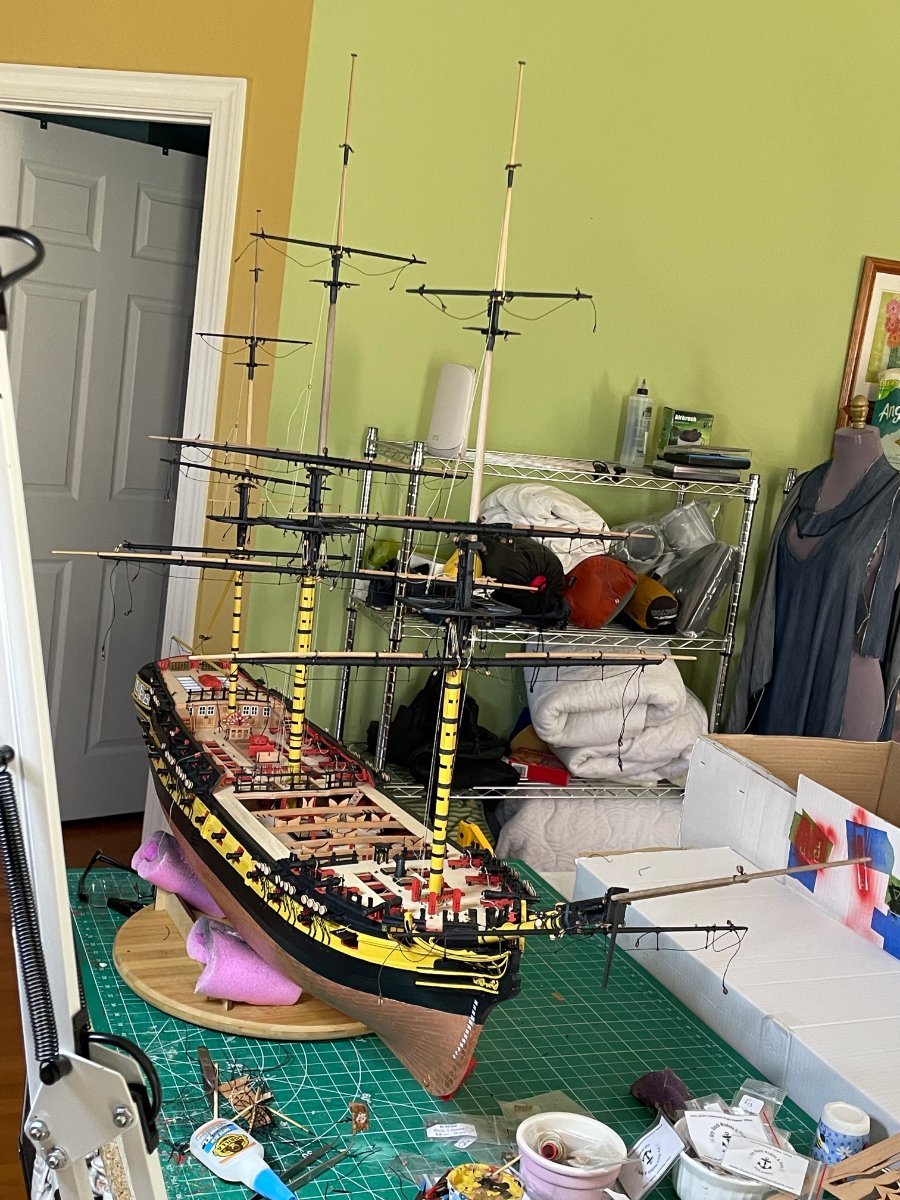
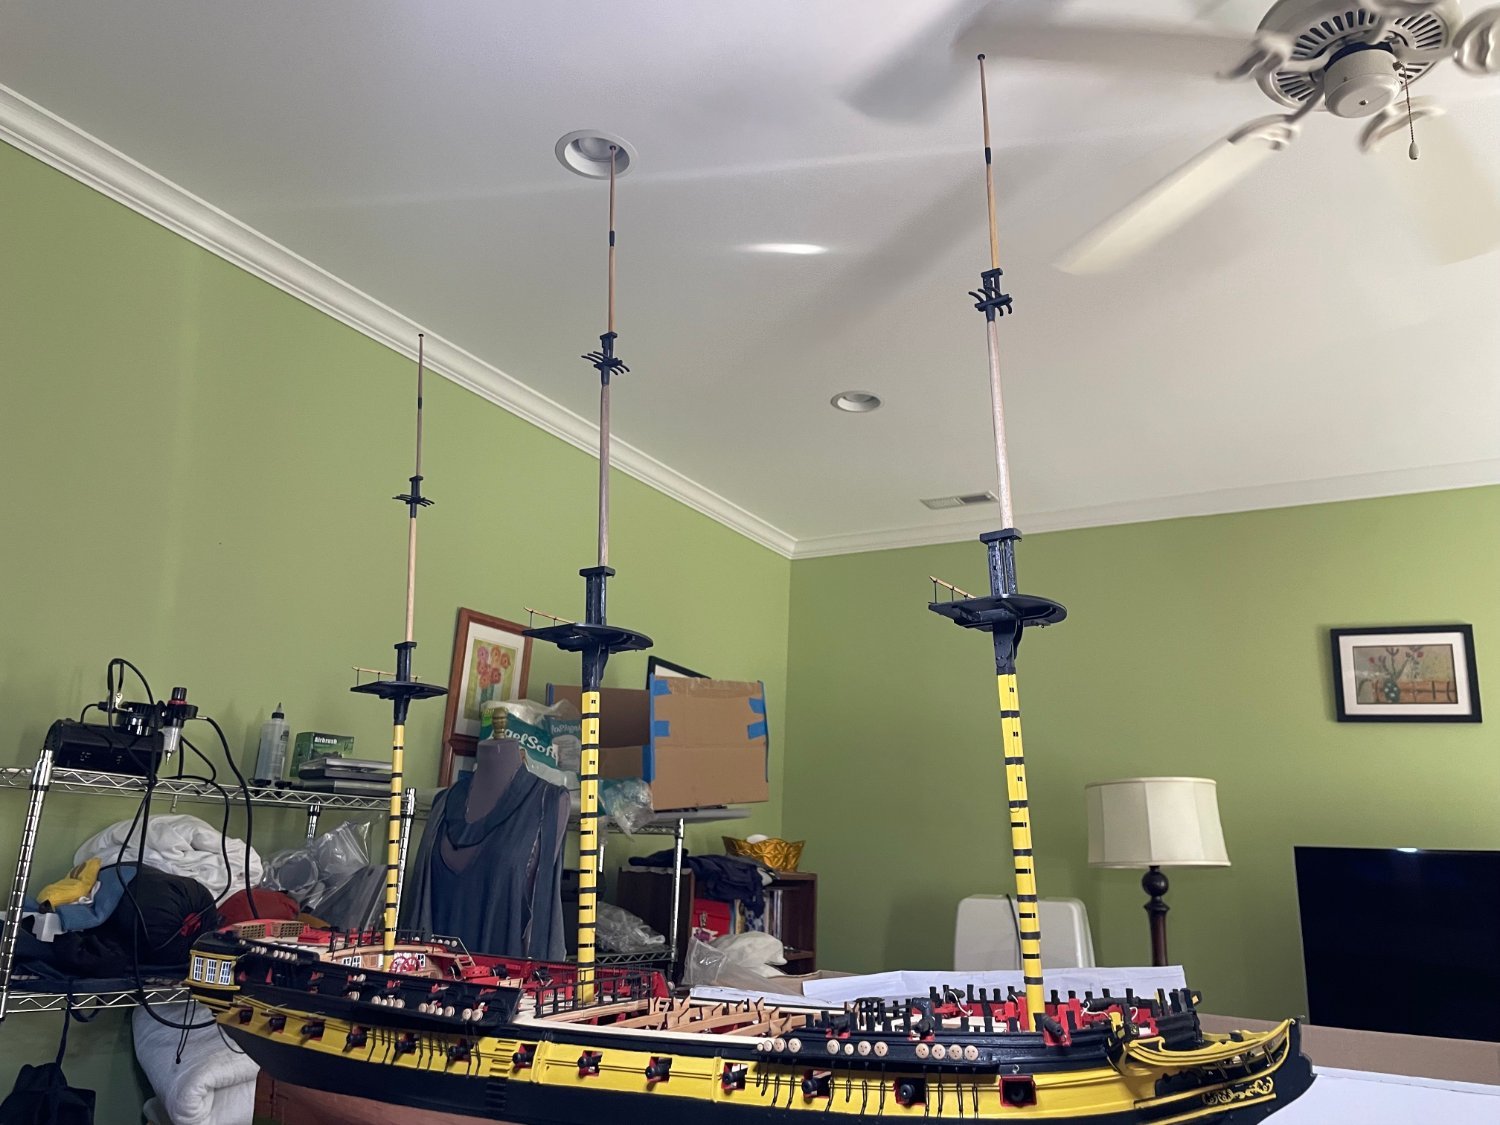
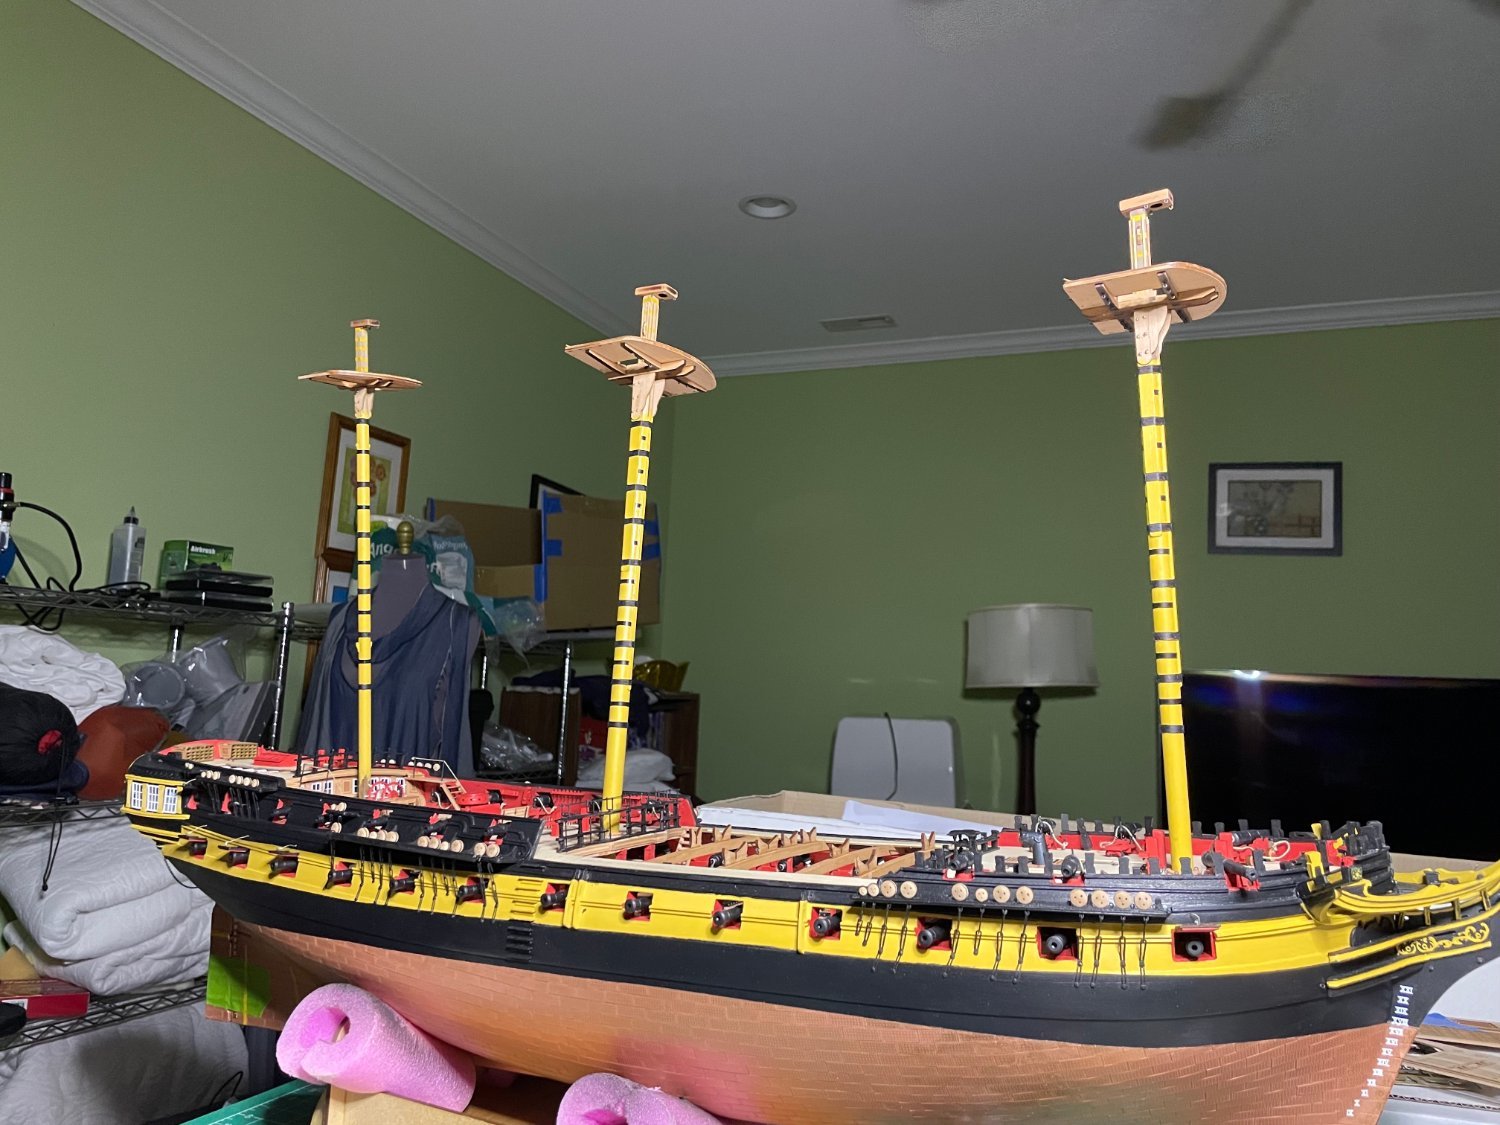
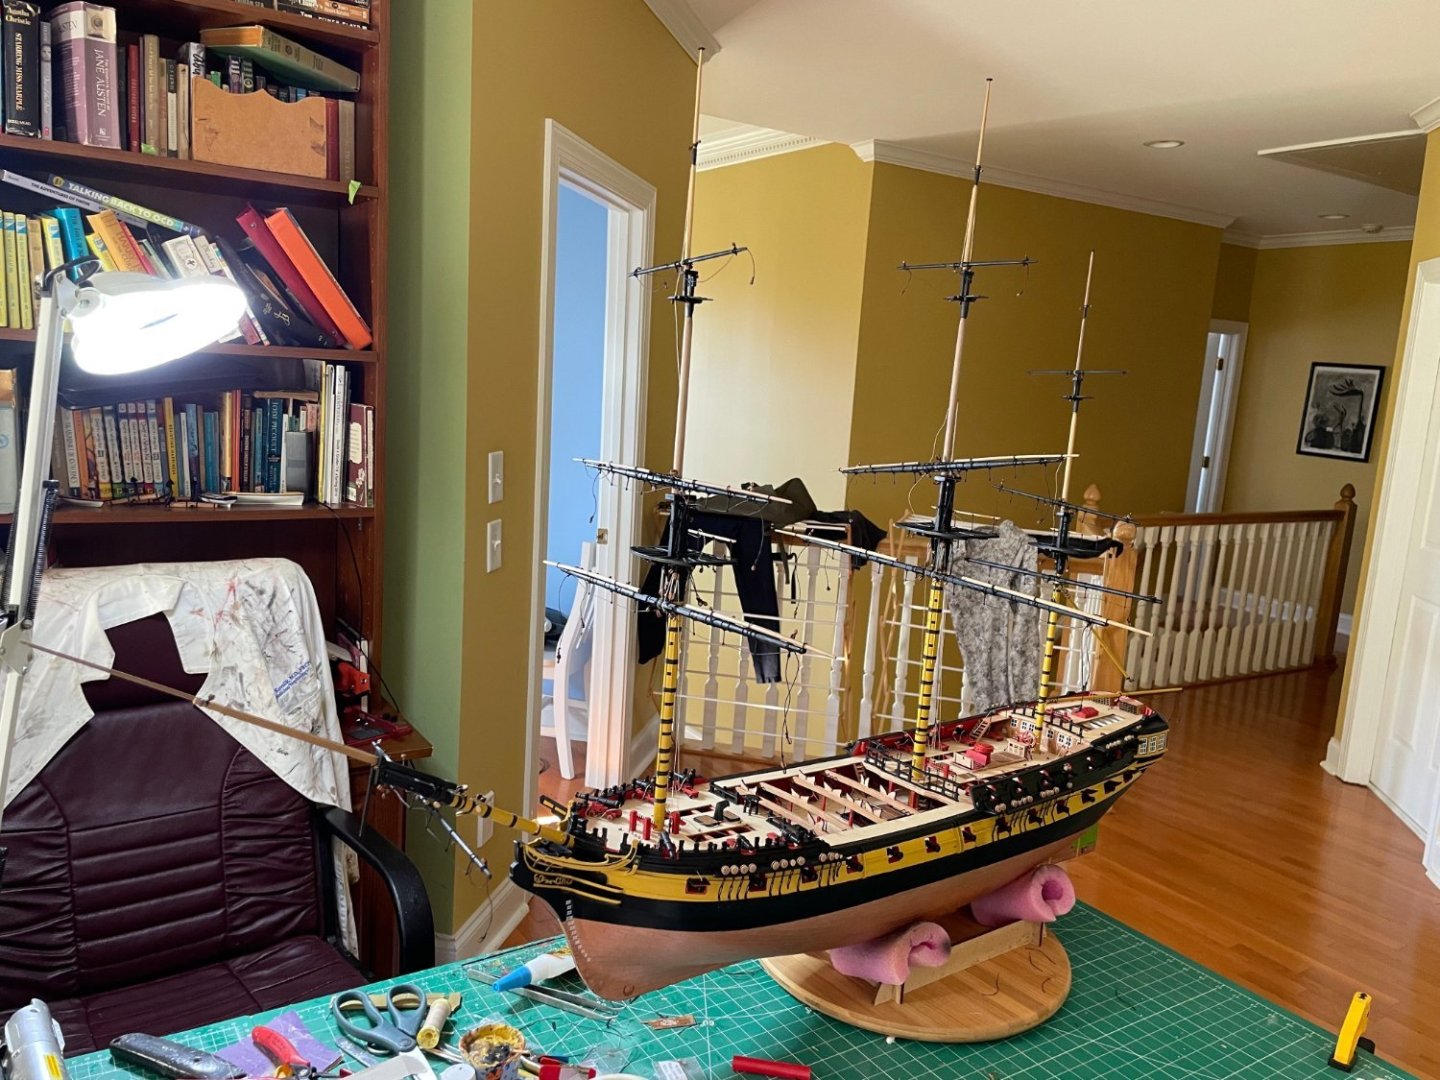
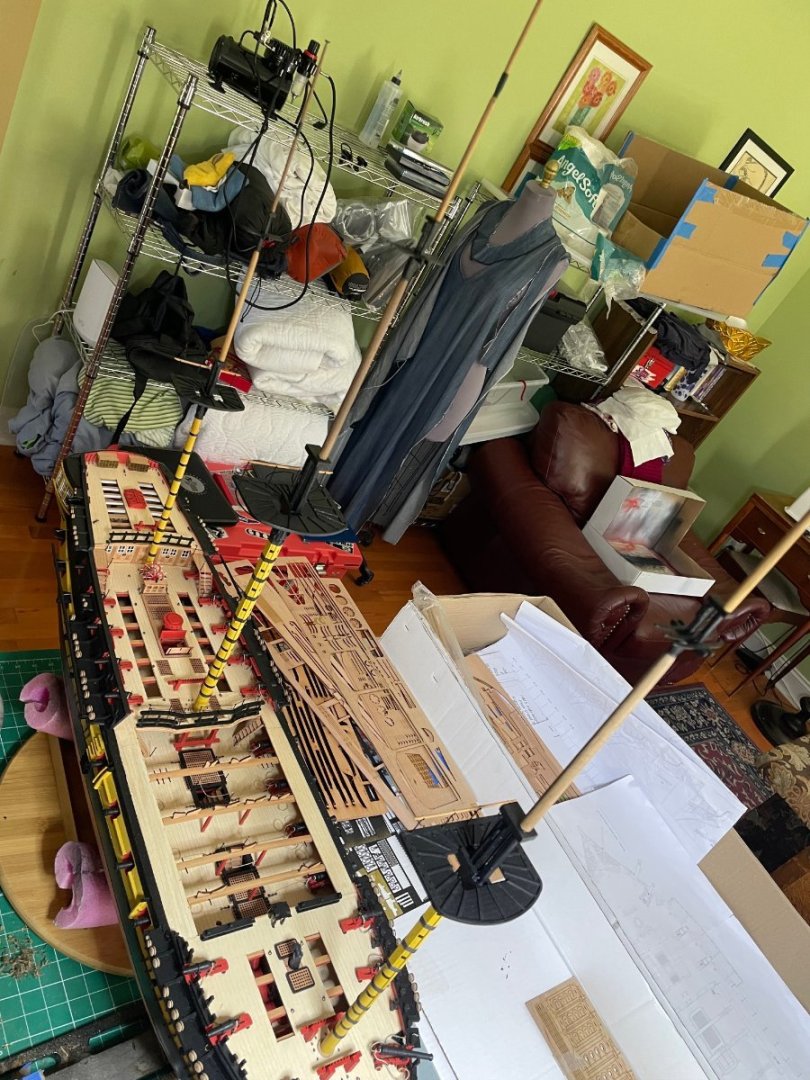
Masts rigged, next step, making the yards then rigging them.


- 233 replies
-
- 14
-
-
- Indefatigable
- Vanguard Models
- (and 1 more)
-
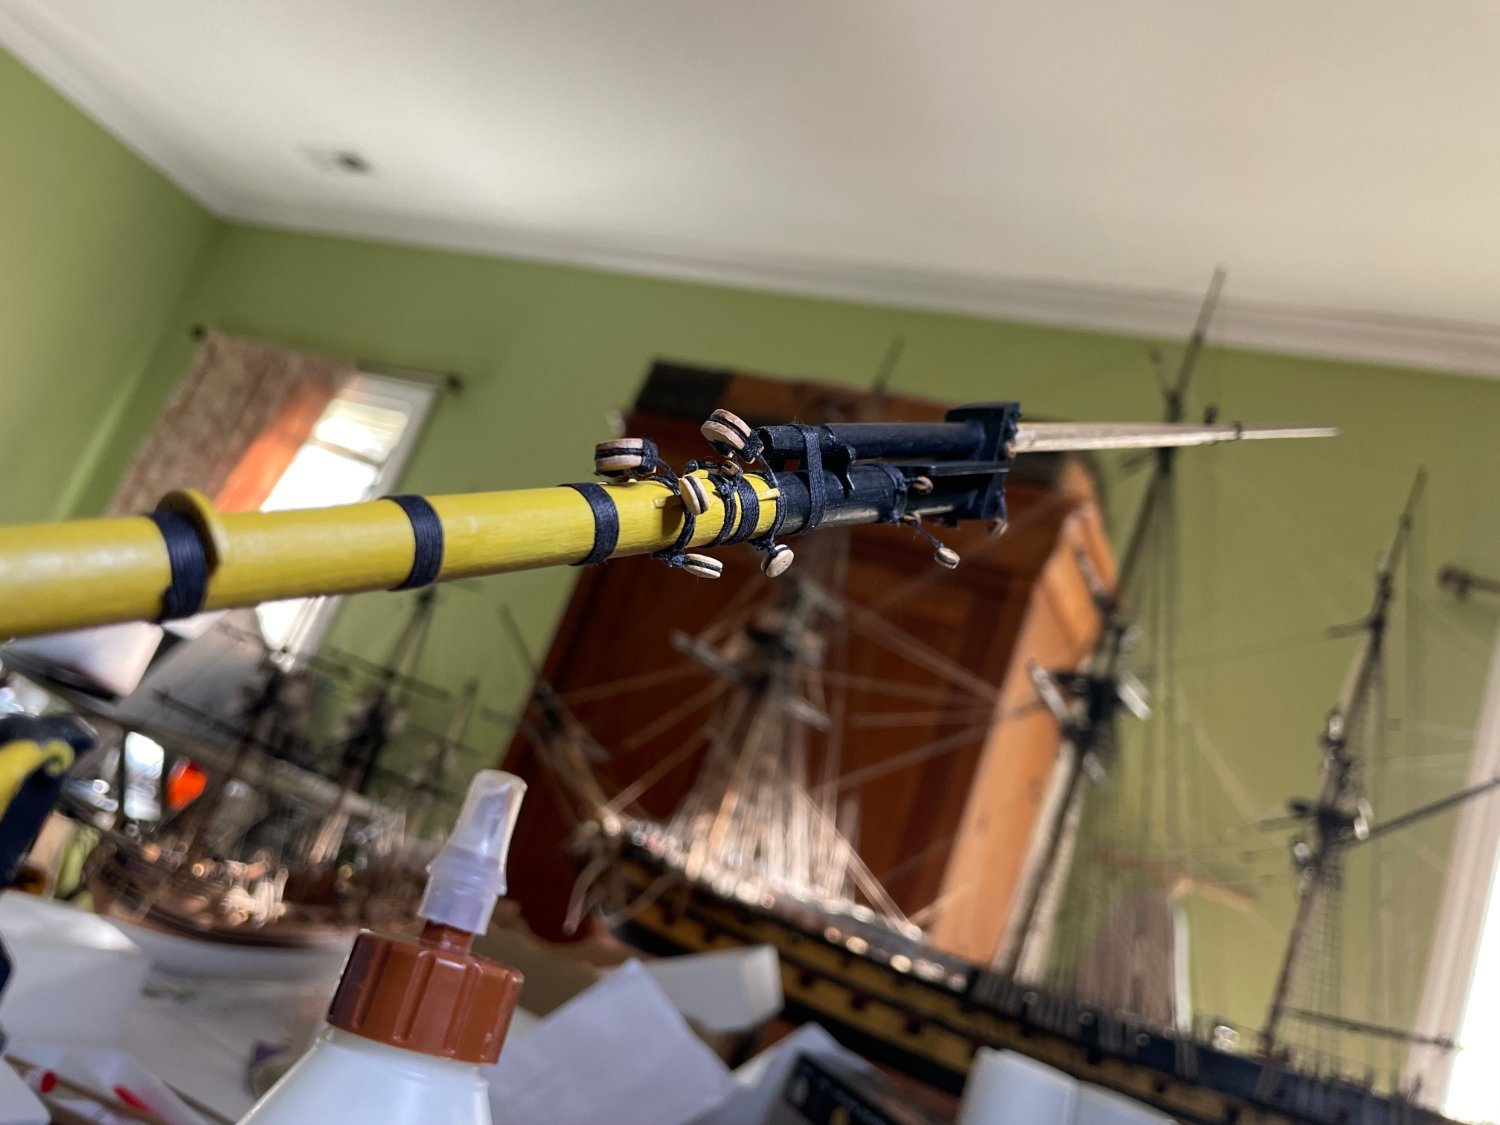
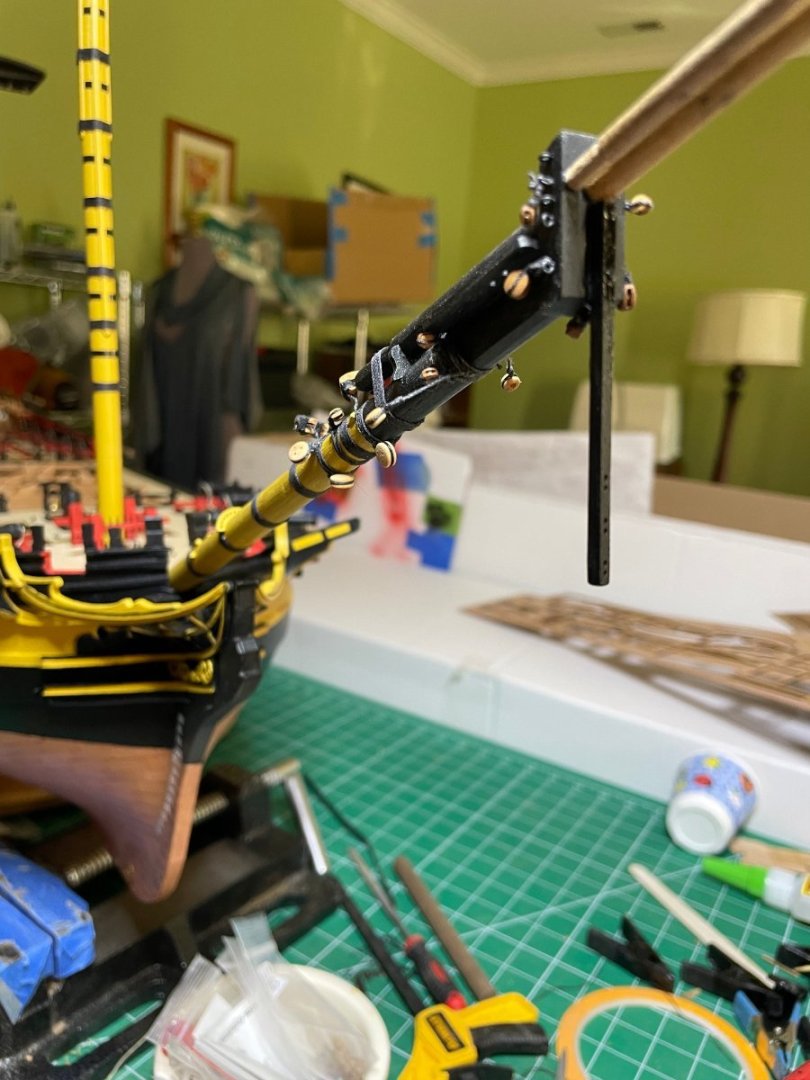
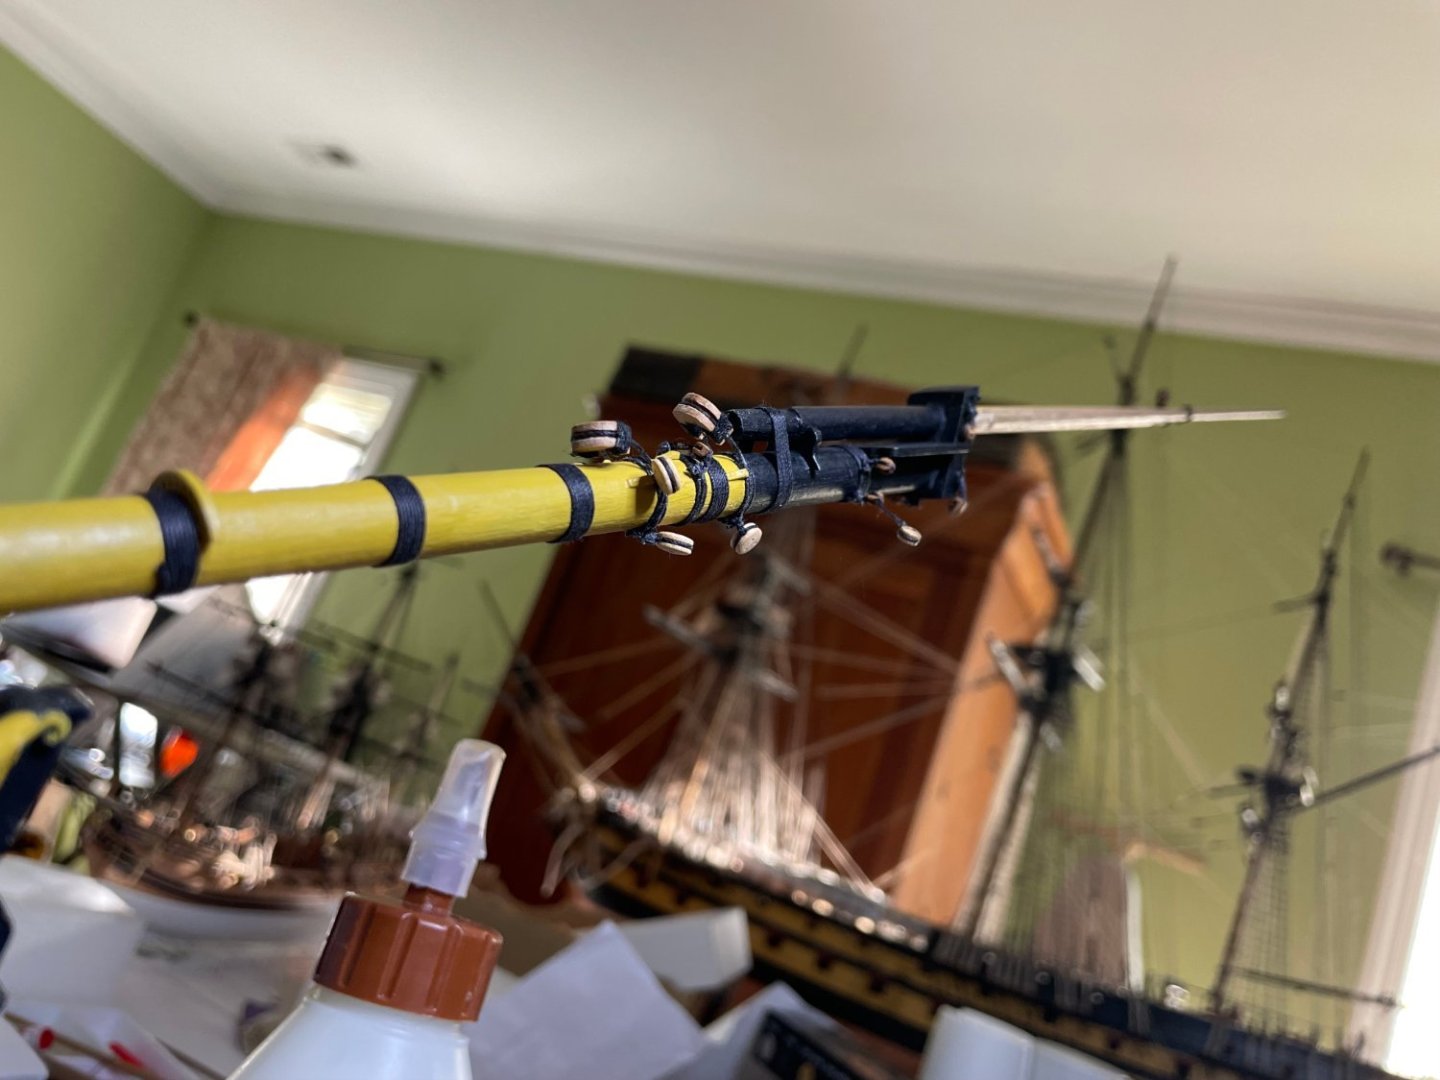
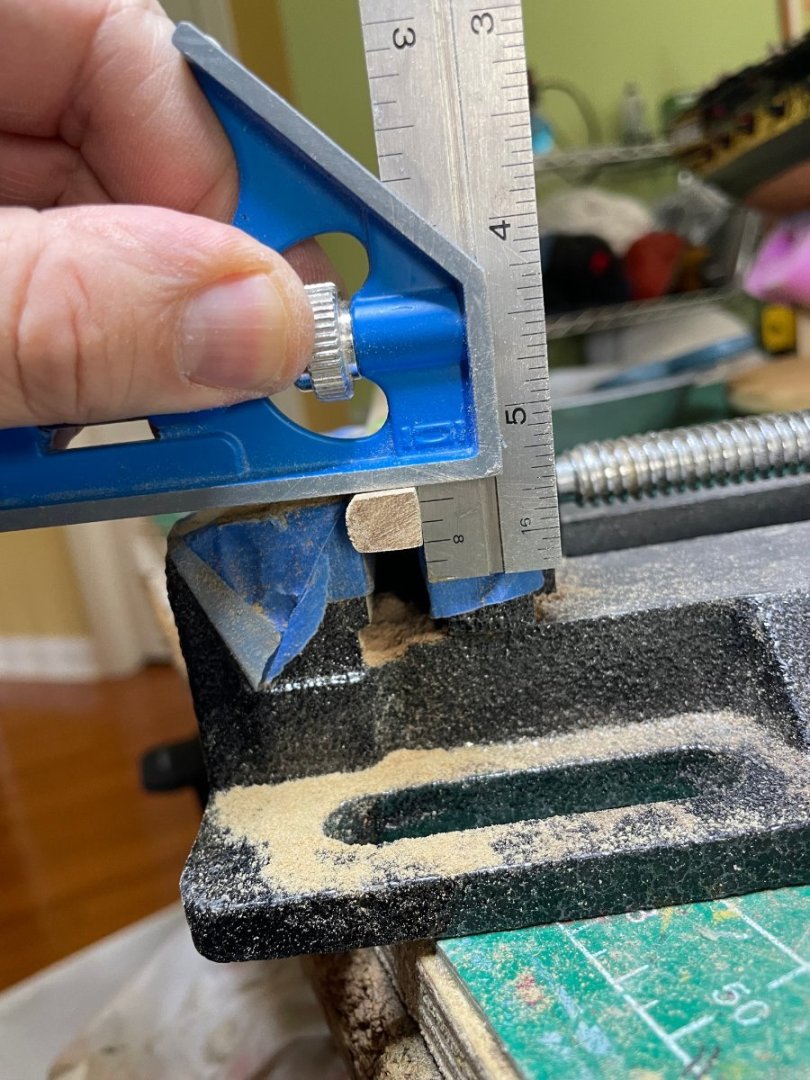
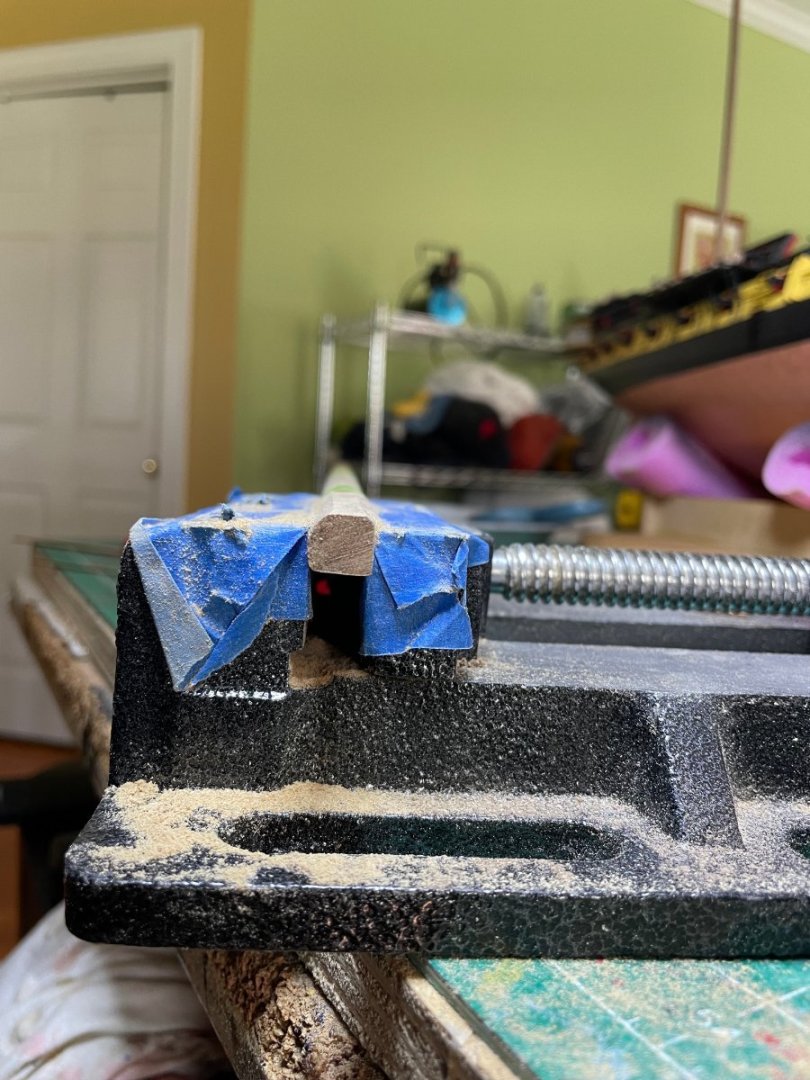
Last job of the day, also did the bowsprit, not as bad as I thought. The plans were well drawn making the angle cuts pretty straight forward. I opted for the extended jib. Stiker not on as it is one of the parts Itend to break so will add at the end. The bowsprit is not full engaged as I do not plan on putting it in until the masts have all their shrouds in at which point I will do the stays.


- 233 replies
-
- 8
-
-
- Indefatigable
- Vanguard Models
- (and 1 more)
-
Thanks. The airbrush I bought for the project really helps the tops keep their lines visible. I find painting in the past often obscured things and blocked up the holes.
- 233 replies
-
- 3
-
-
- Indefatigable
- Vanguard Models
- (and 1 more)
-
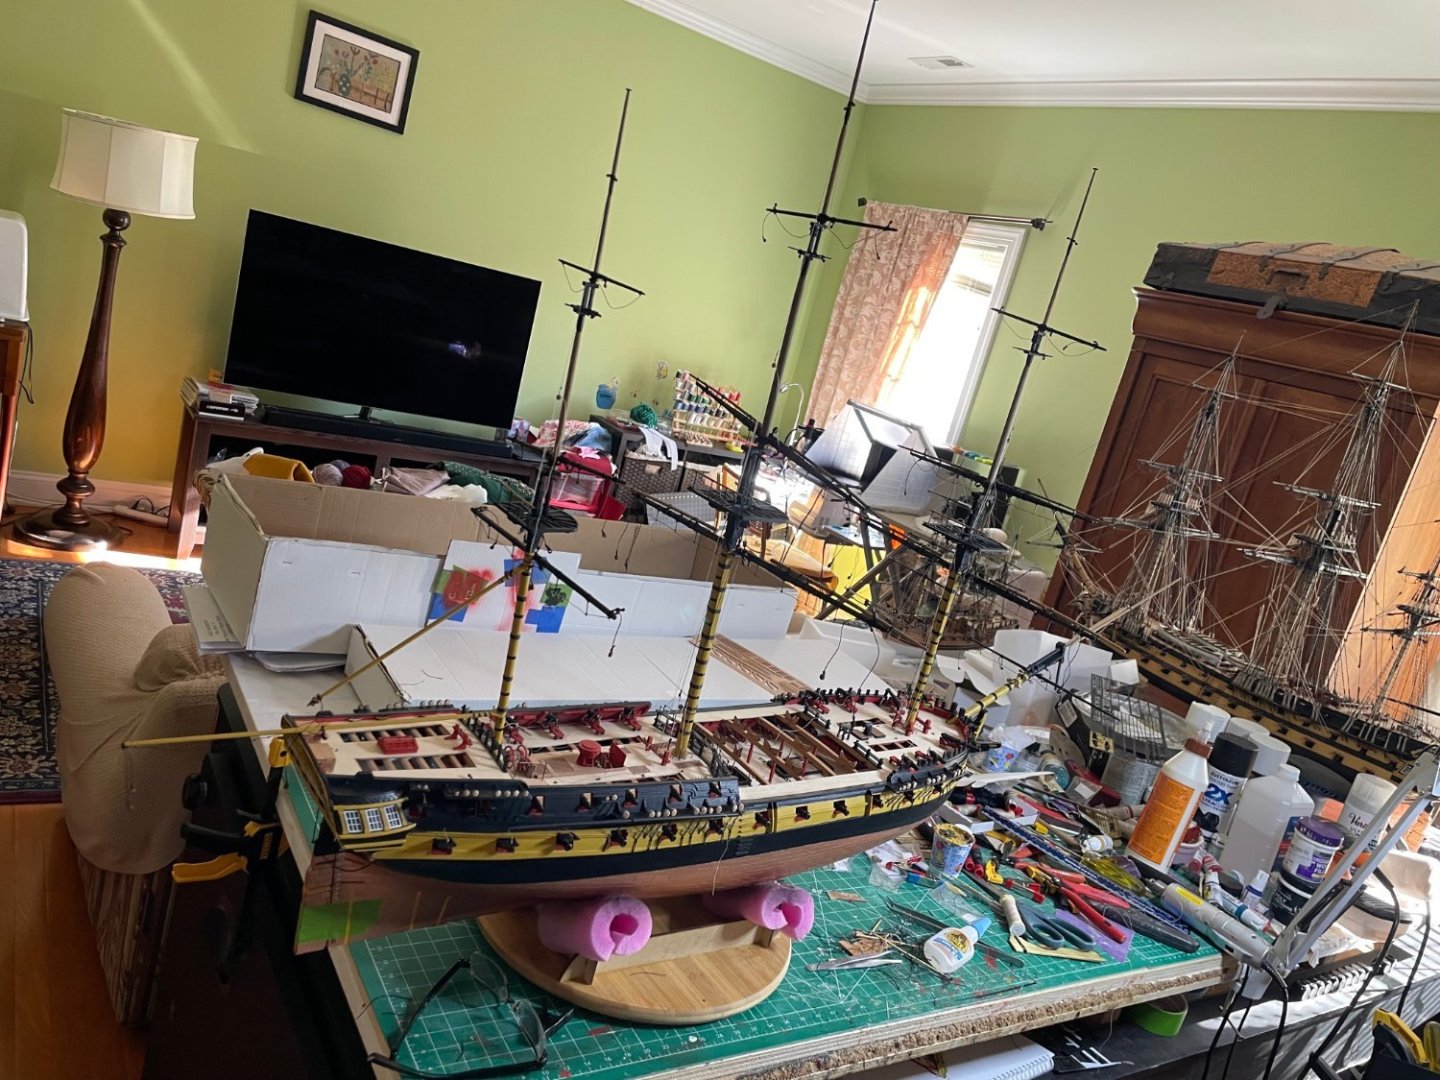
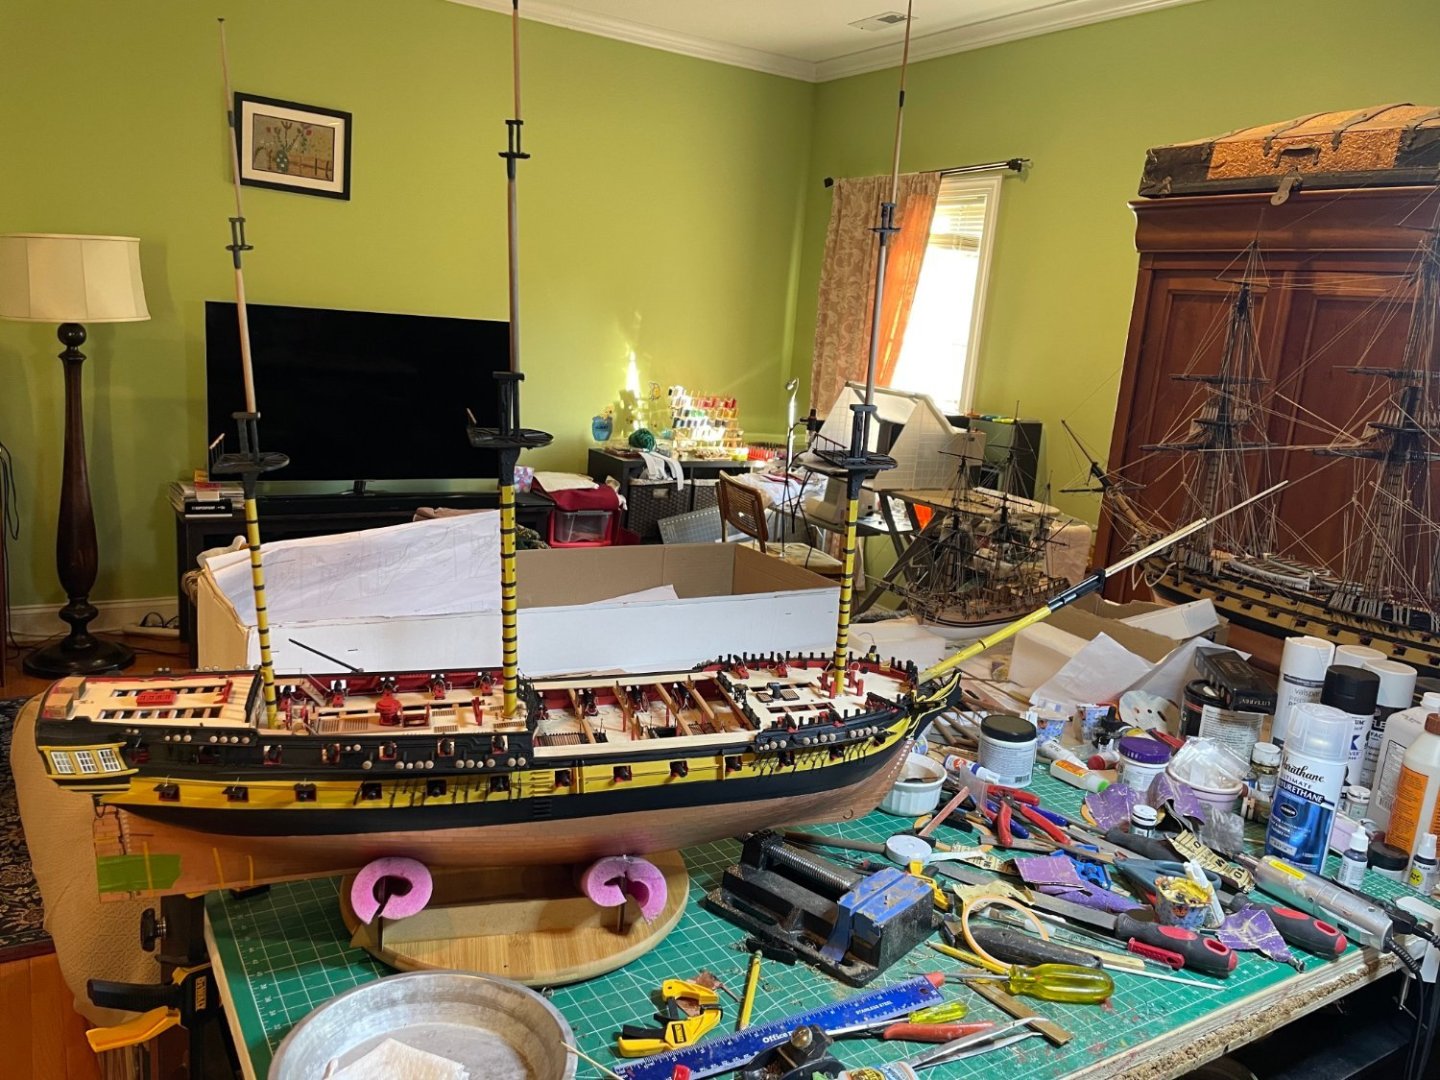
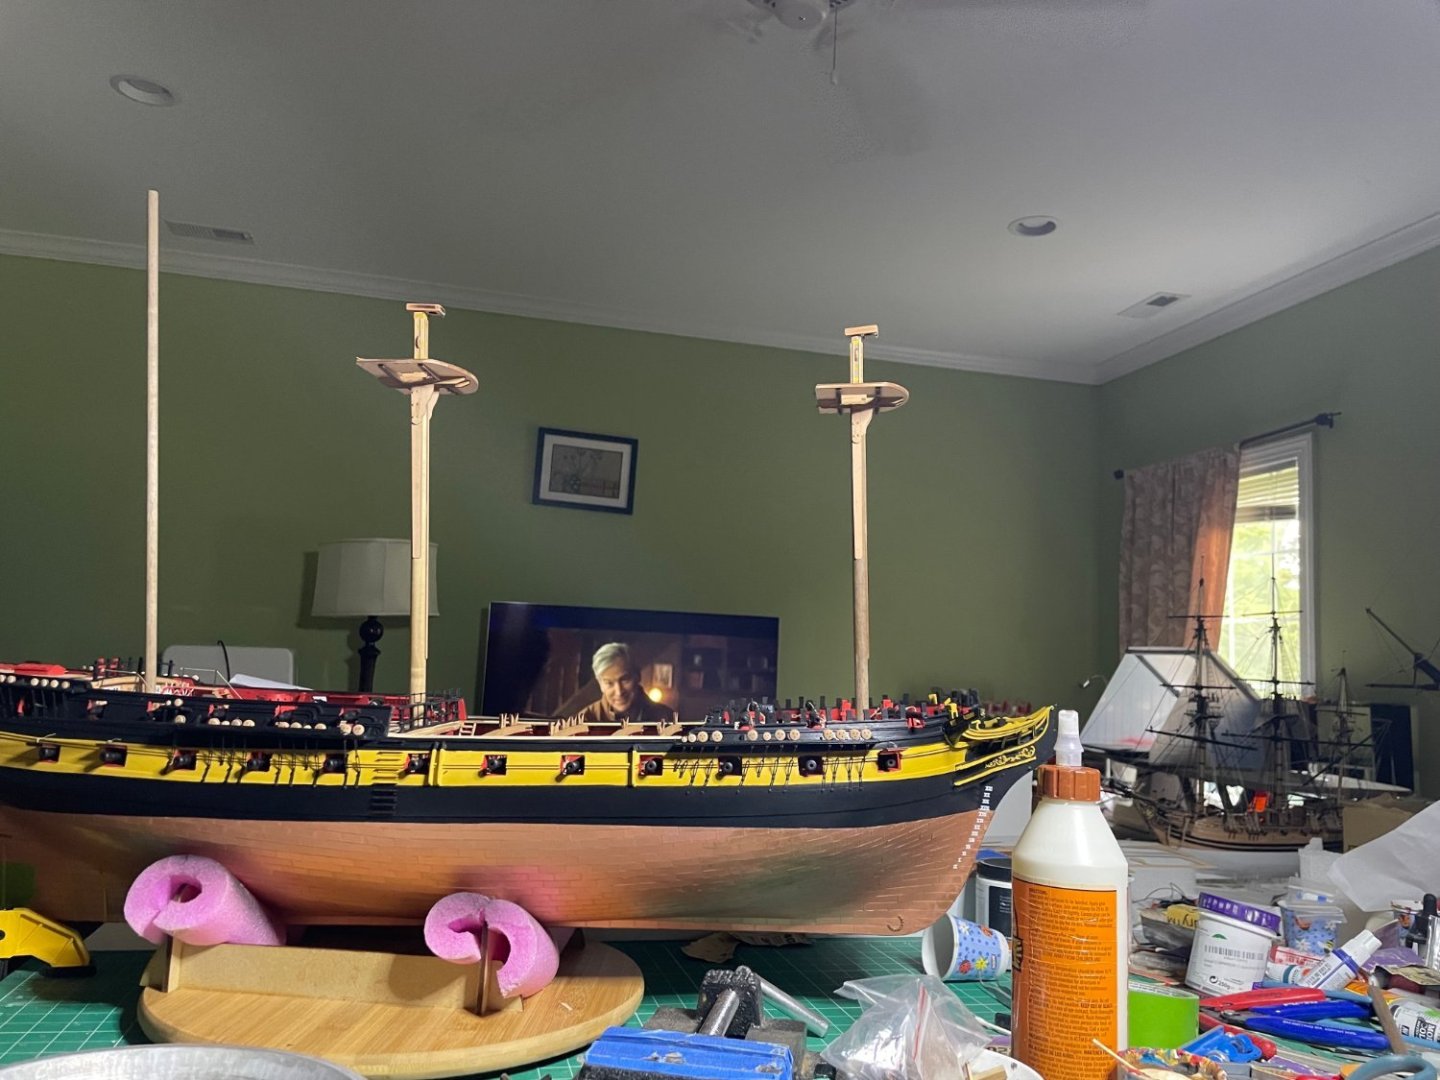
Masts now done but not rigged yet. Next is the scary bowsprit. Always worried about getting the angles correct. After that the yards.


- 233 replies
-
- 8
-
-
- Indefatigable
- Vanguard Models
- (and 1 more)
-
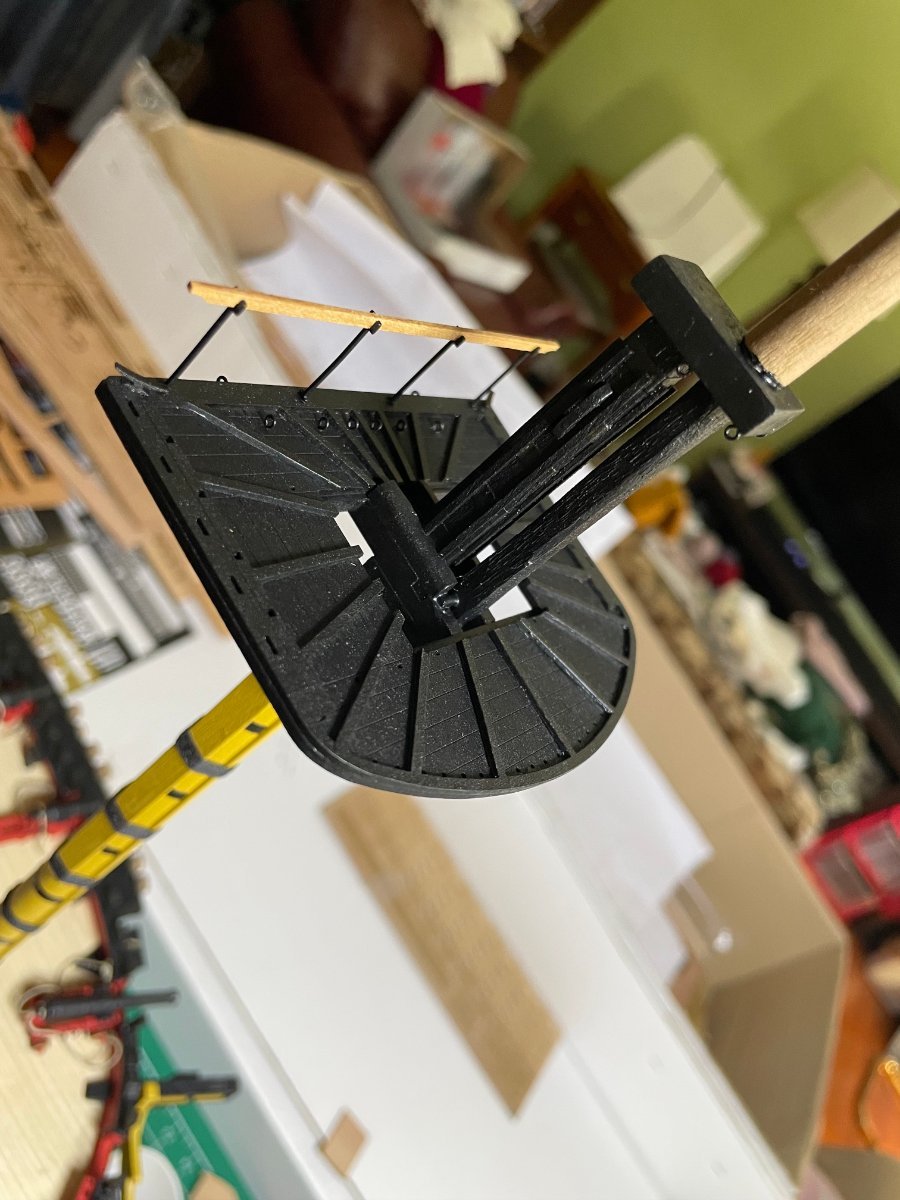
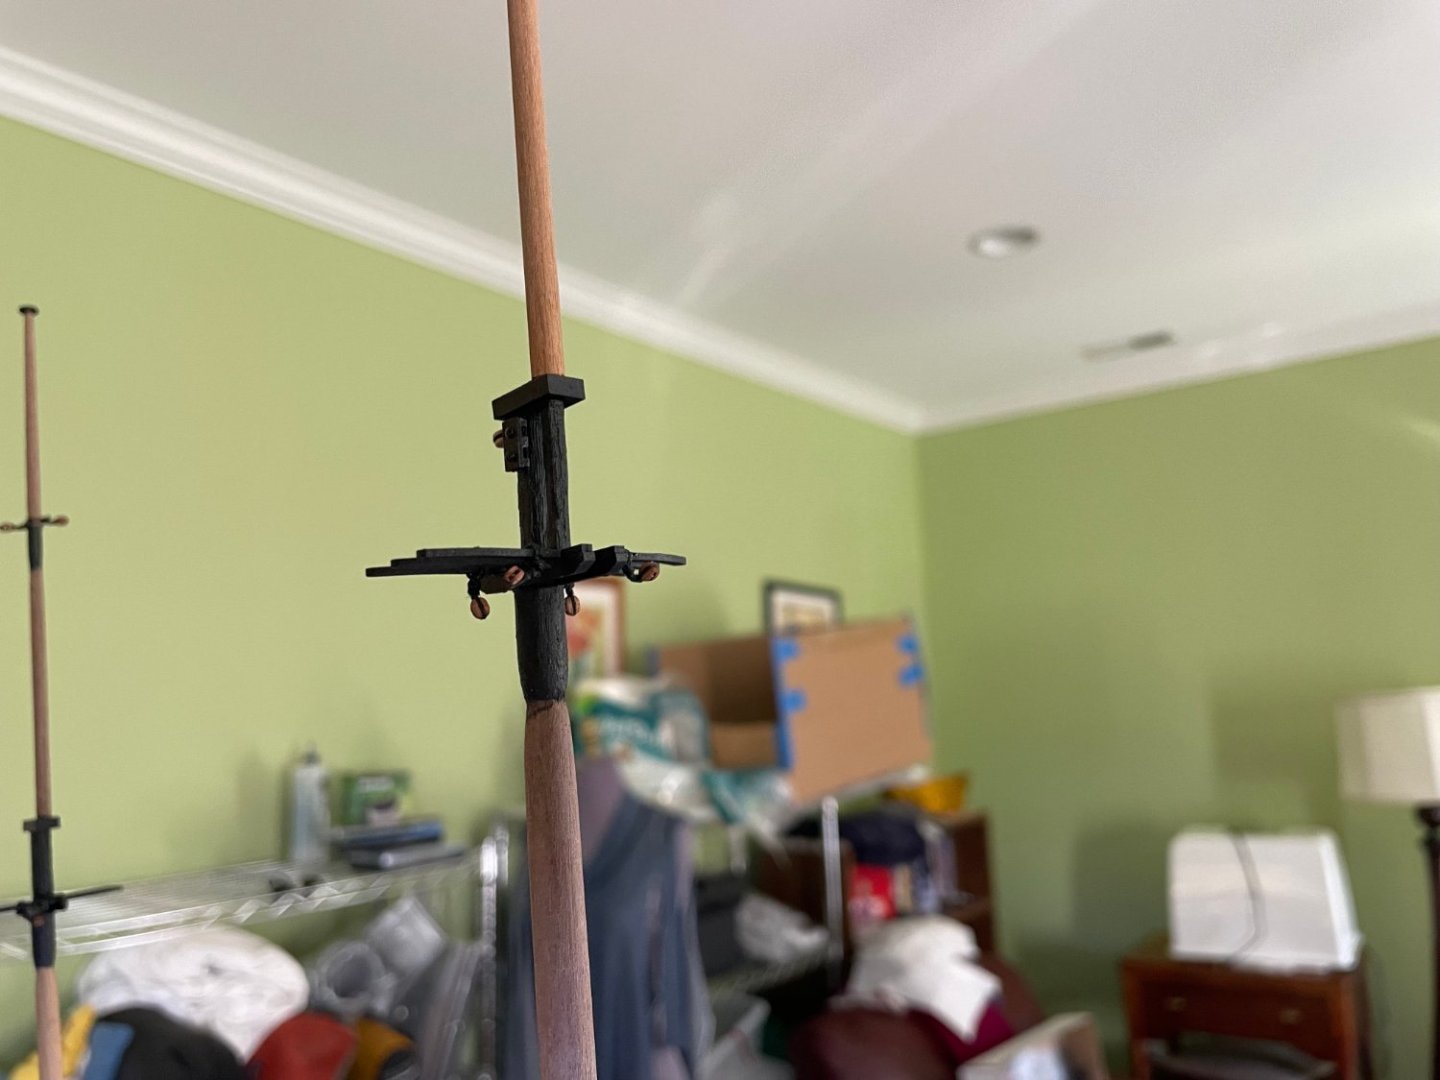
Well, back after a week of visiting my mother on the occasion of her 91st birthday. Am building the mast lower sections first then upper. Previously I would build each entire mast but as these require painting and bindings I decided to do a bit more assembly line manner. I used tape instead of the black cardboard as I always mess the cardboard up and the tape sticks better. As the tape will be painted, color not an issue. I also added nail head as there are markings for bolts but the plan does not specify. I think it dresses the top up .

- 233 replies
-
- 13
-
-
- Indefatigable
- Vanguard Models
- (and 1 more)
-
Thanks, but Chris' design makes things a lot easier as things fit together nicely for the most part.
- 233 replies
-
- 2
-
-
- Indefatigable
- Vanguard Models
- (and 1 more)
-
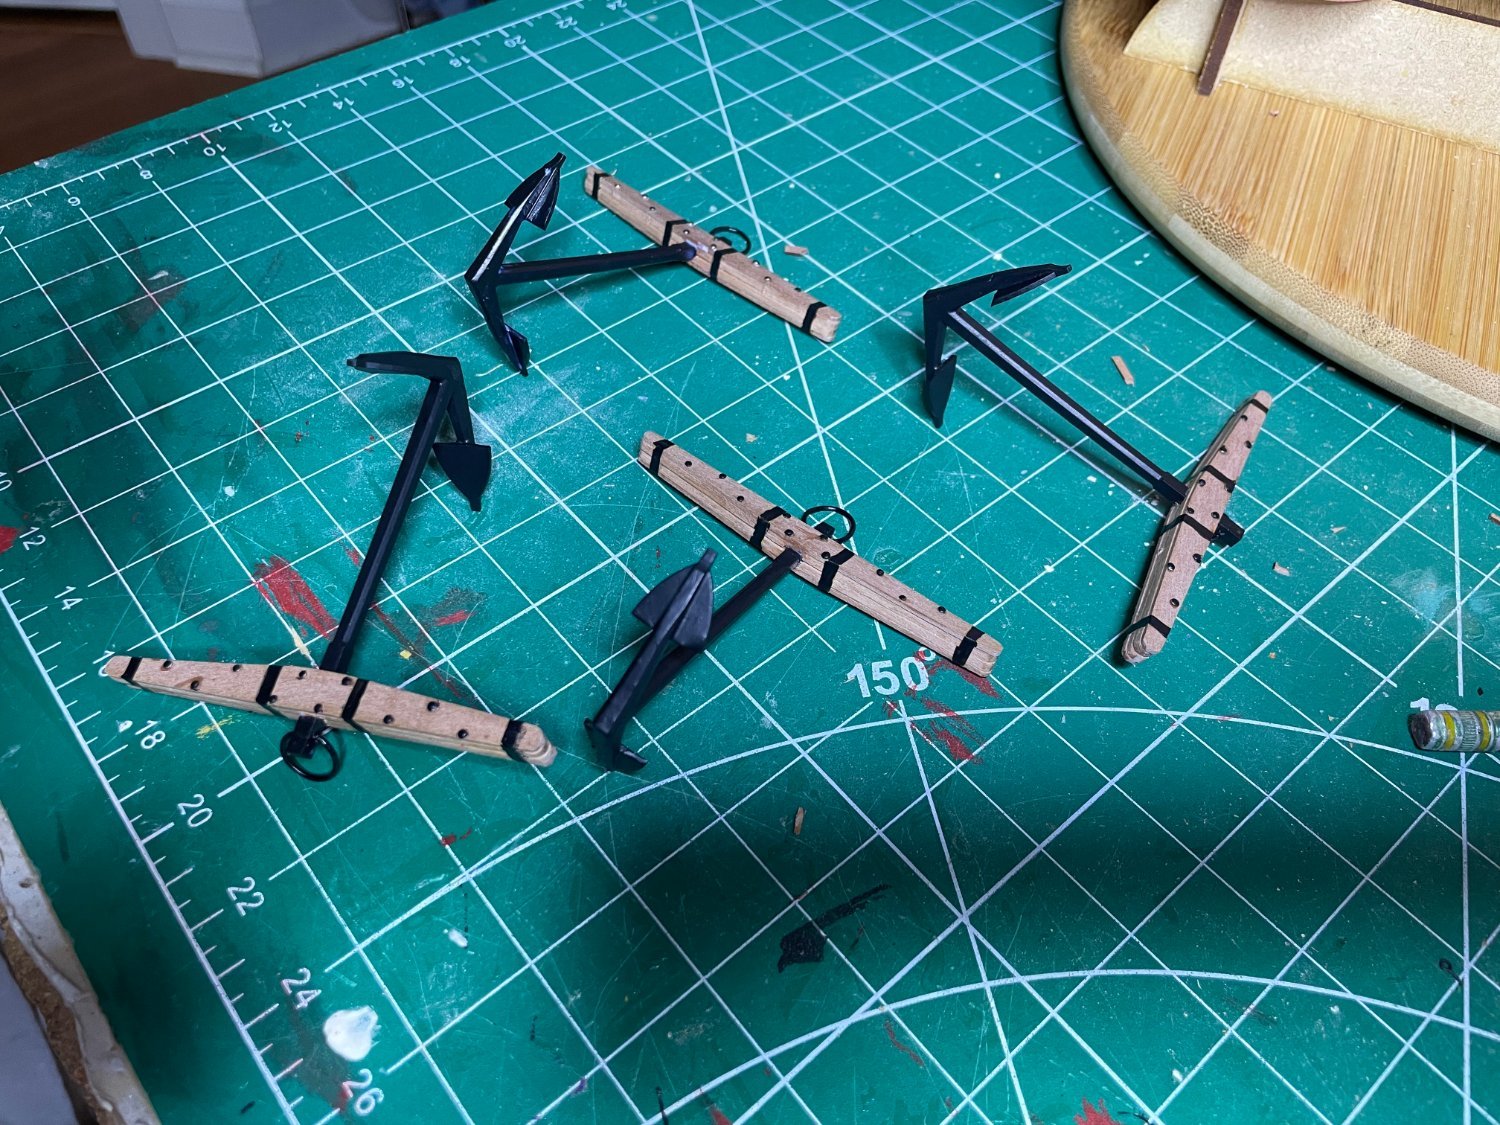
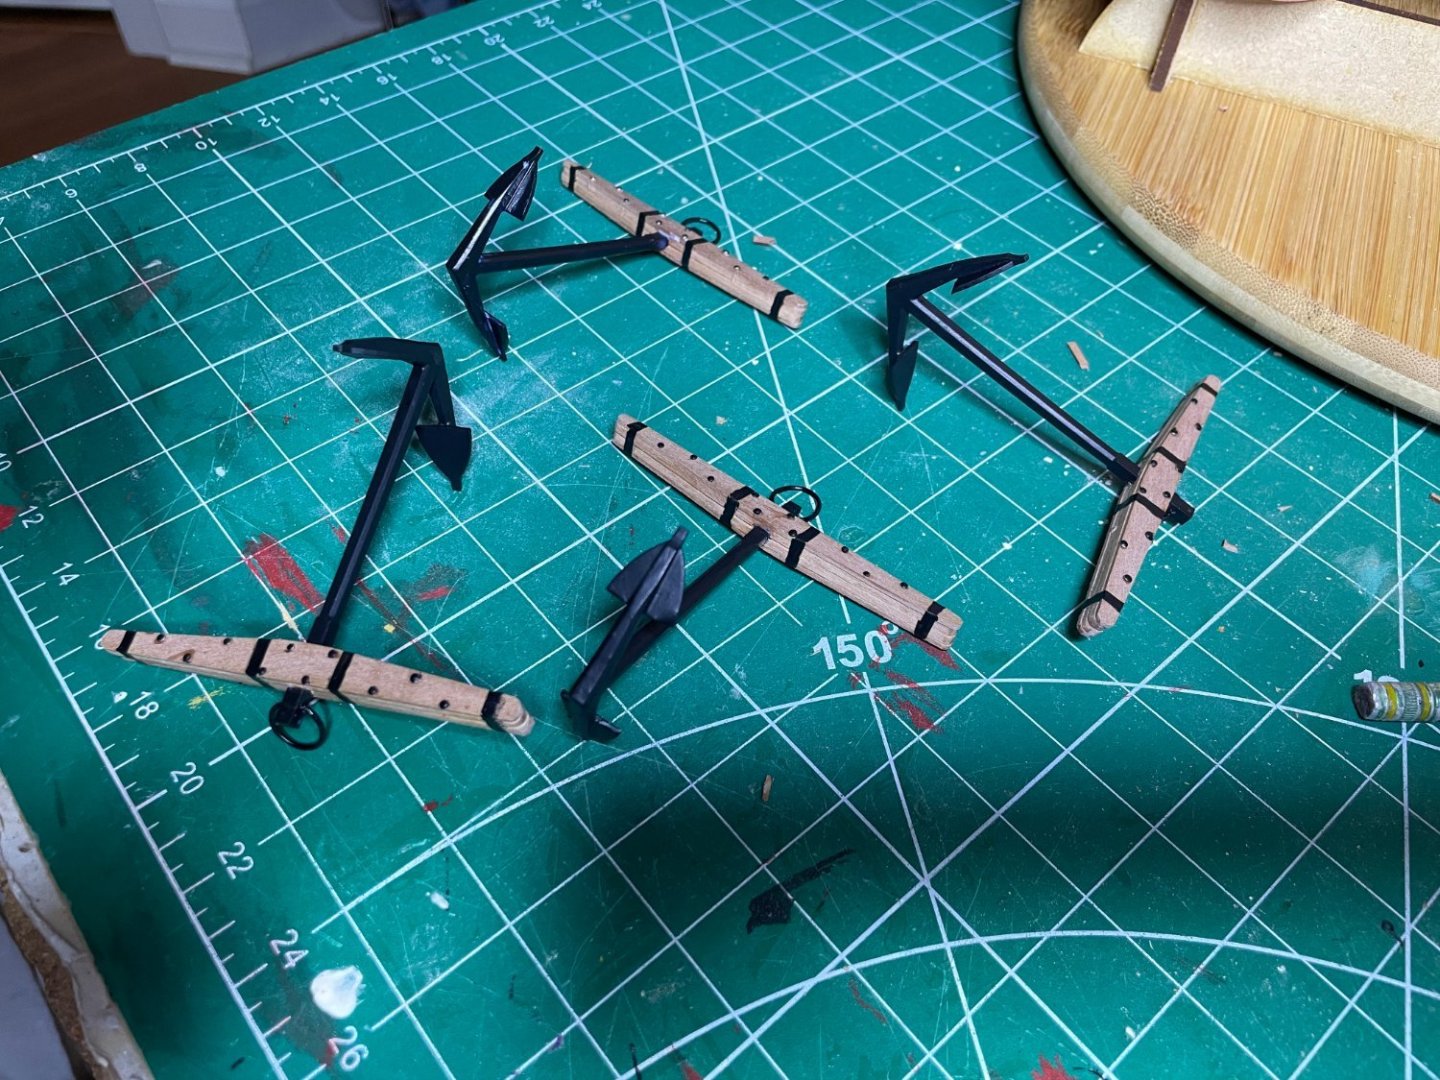
Forgot about the anchors, the last. page of the manual . Now on to the plans.
- 233 replies
-
- 4
-
-
- Indefatigable
- Vanguard Models
- (and 1 more)
-
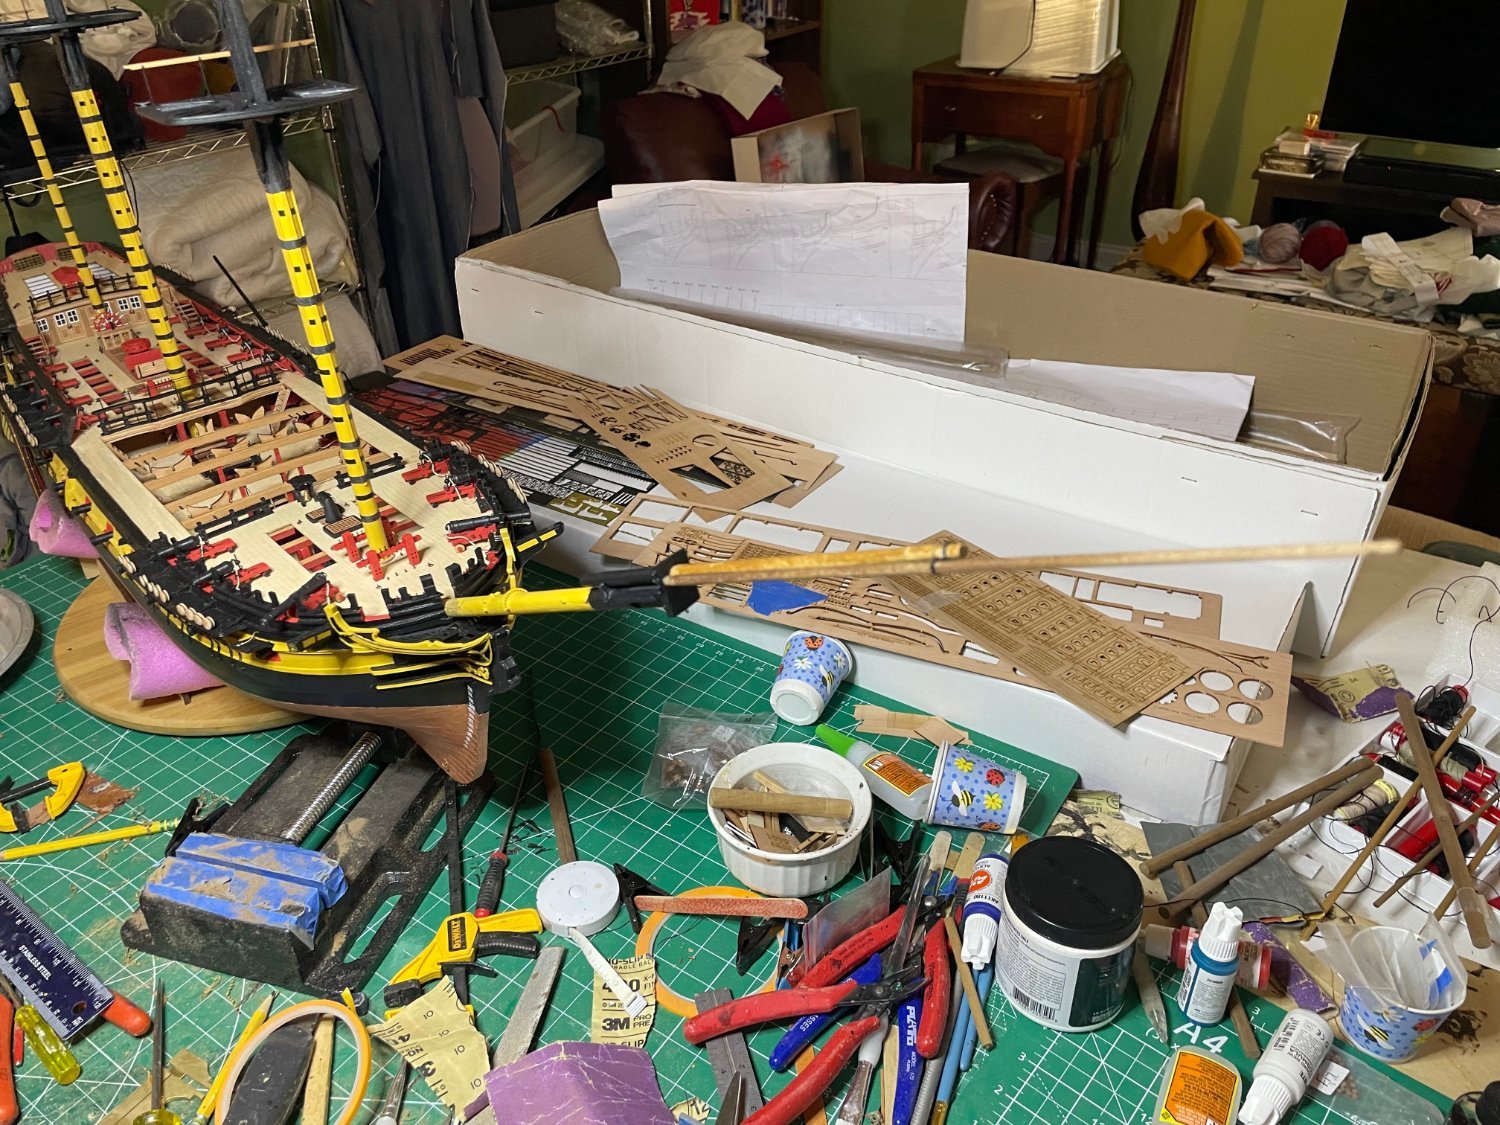
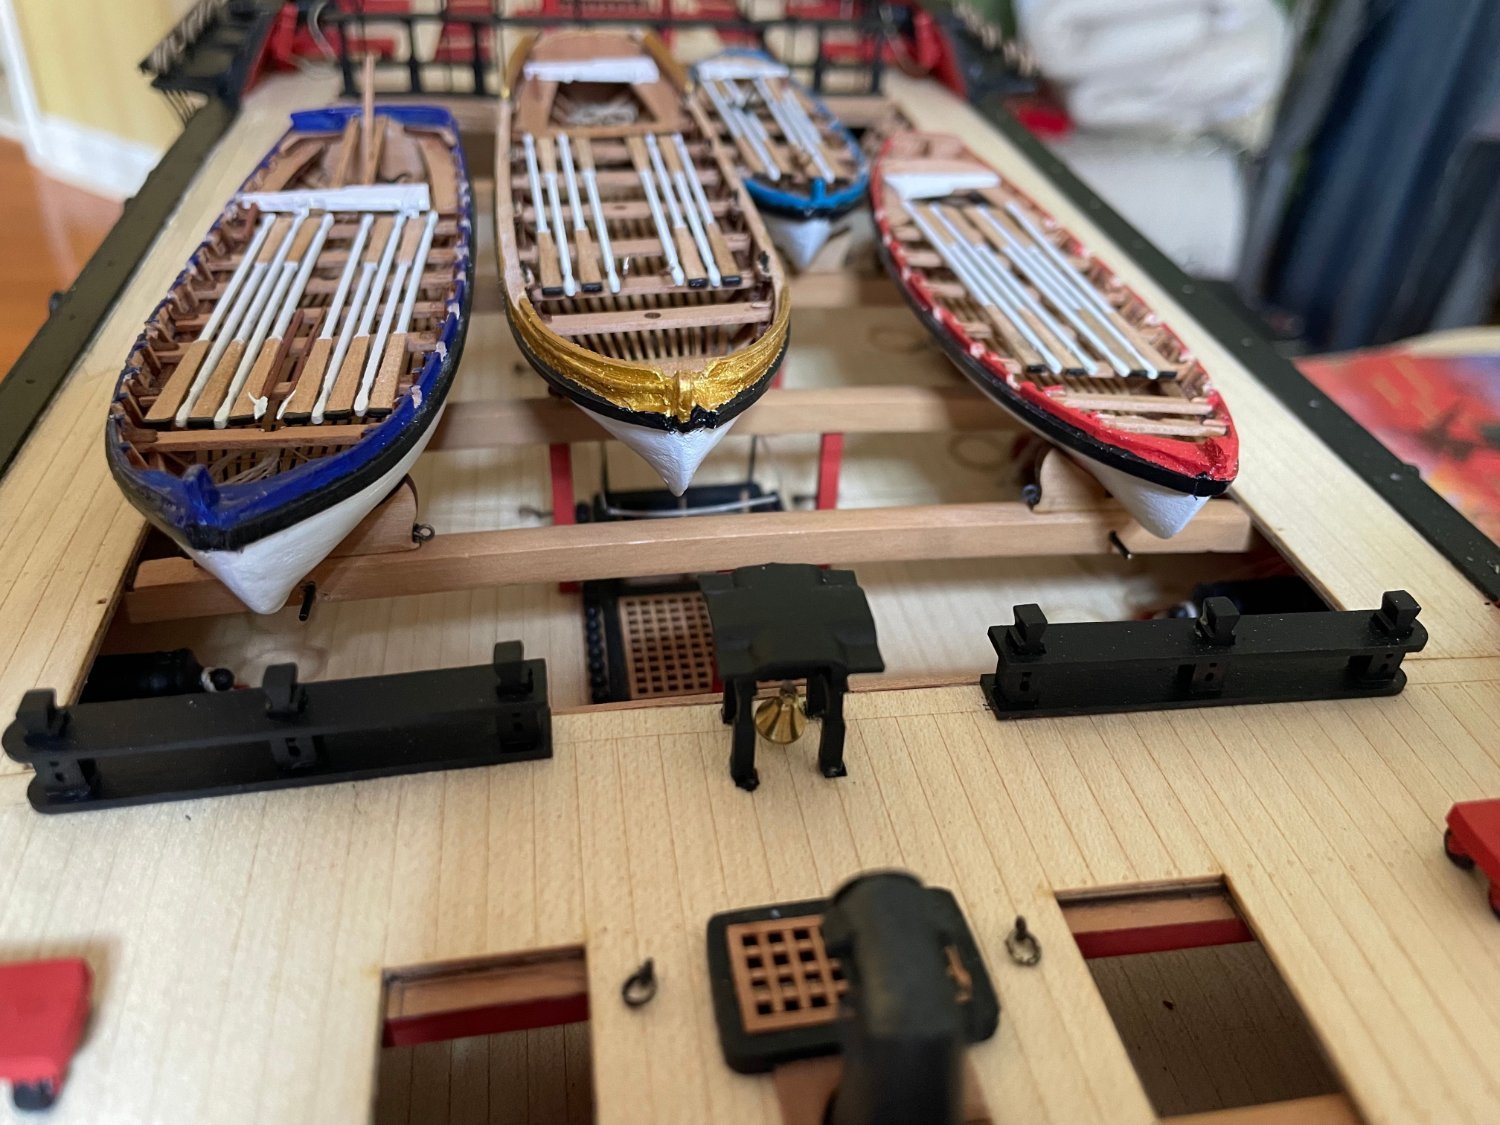
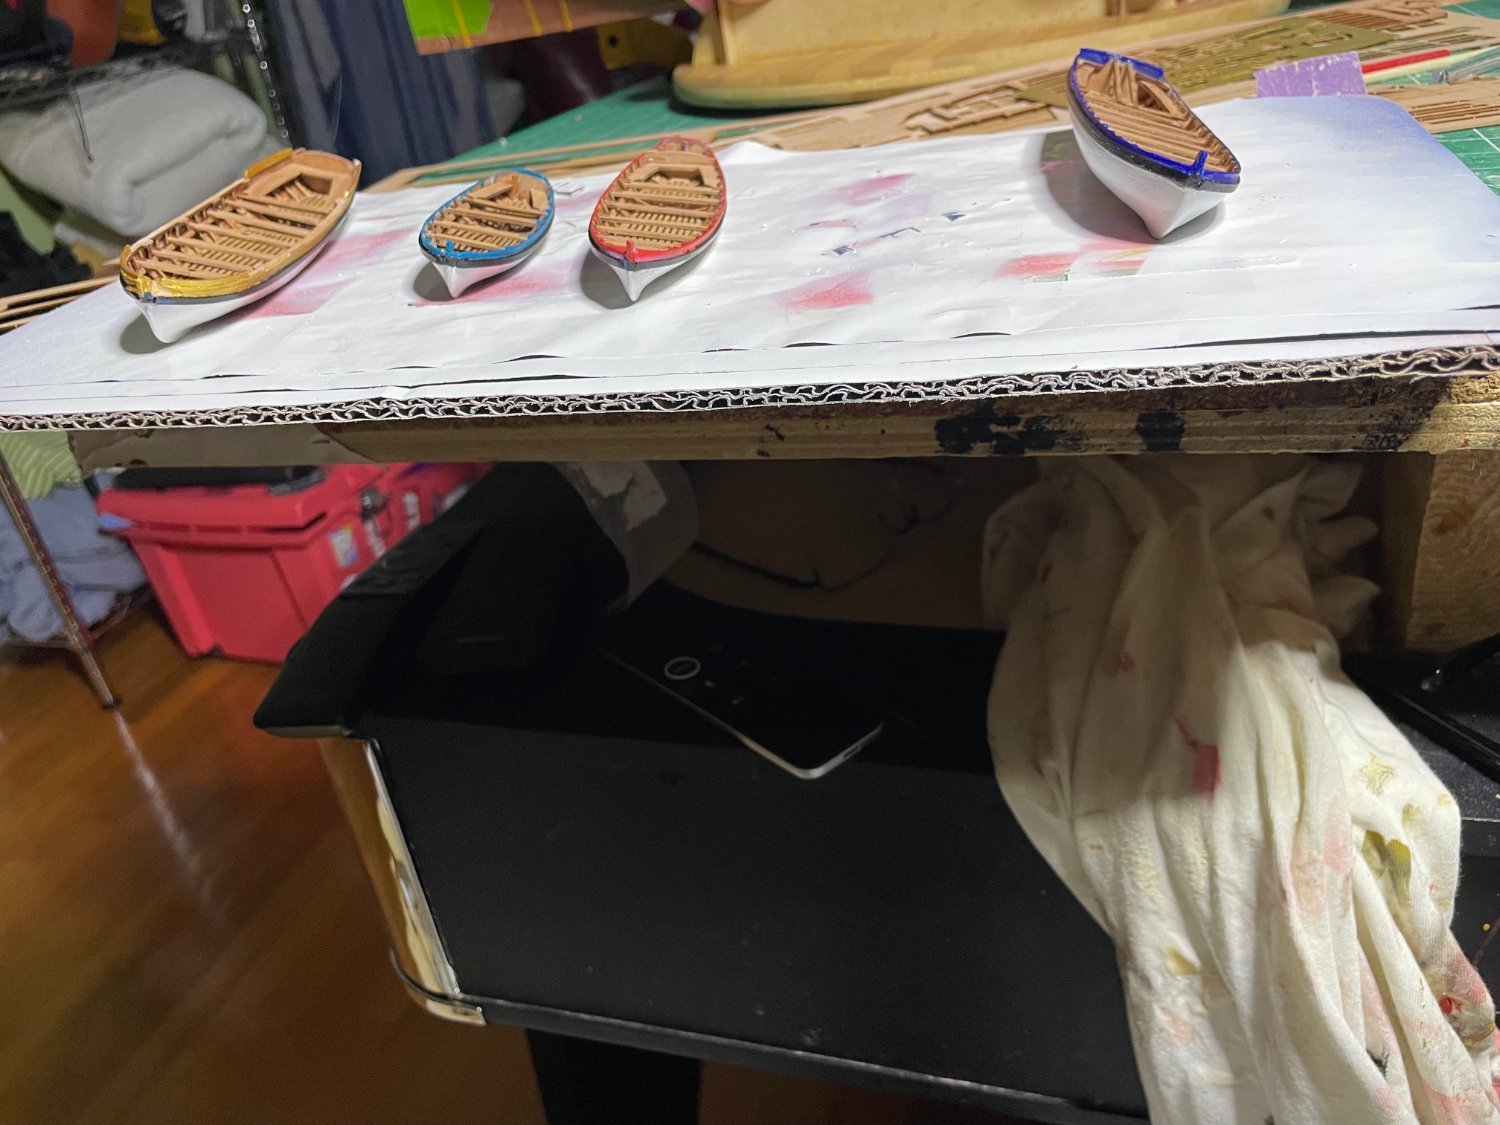
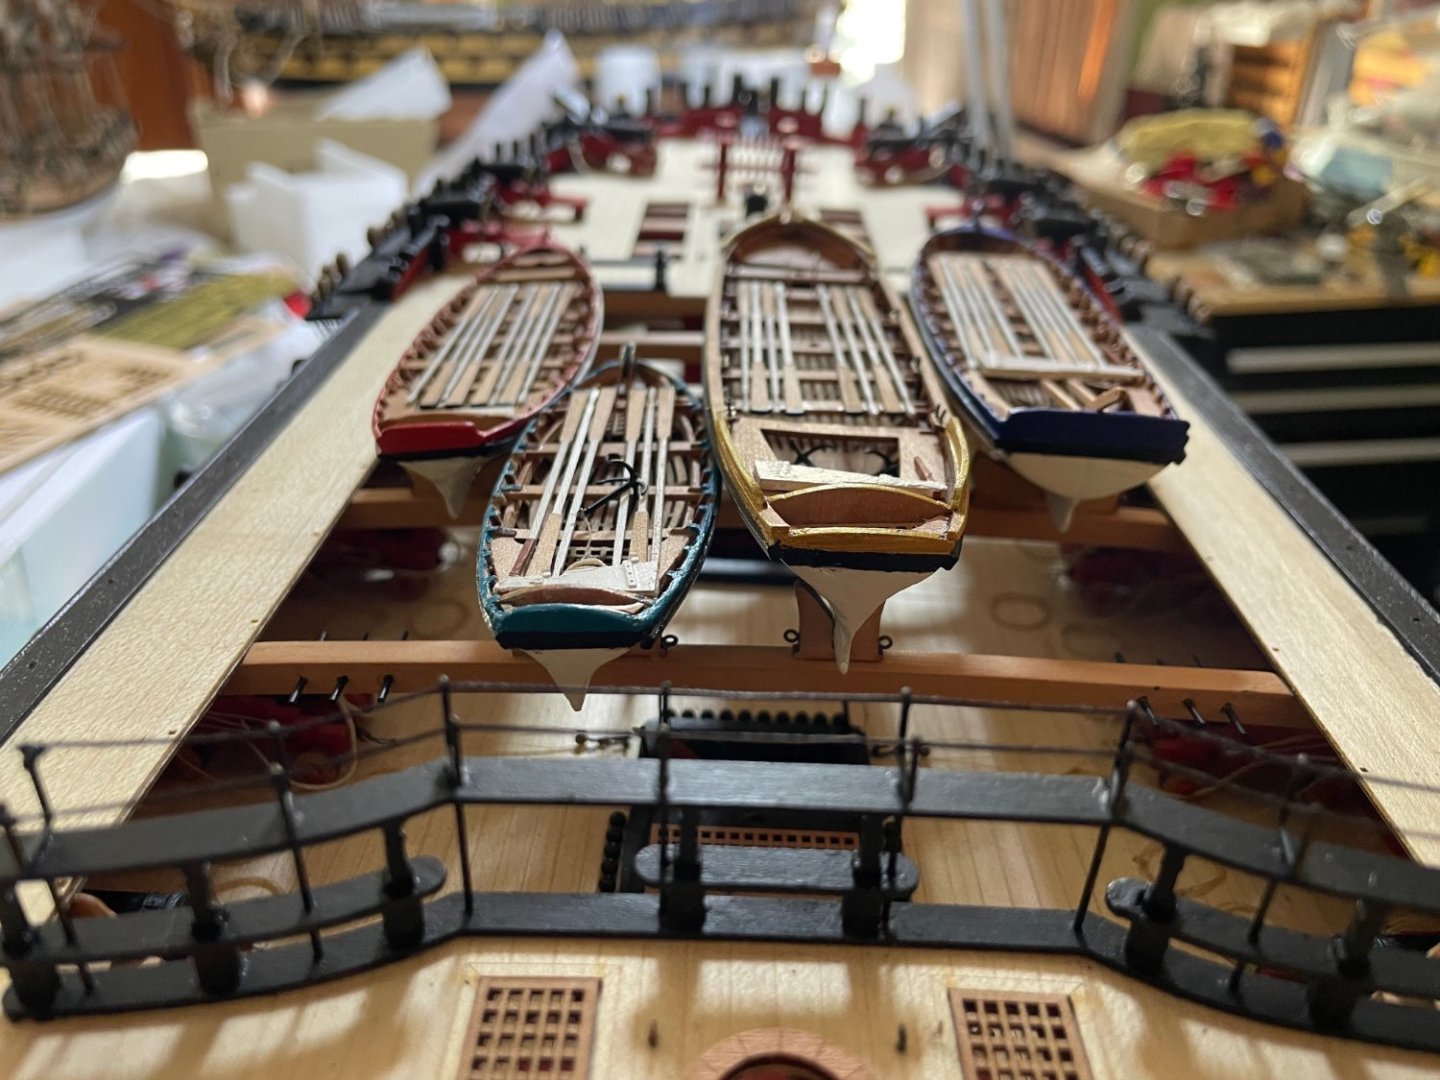
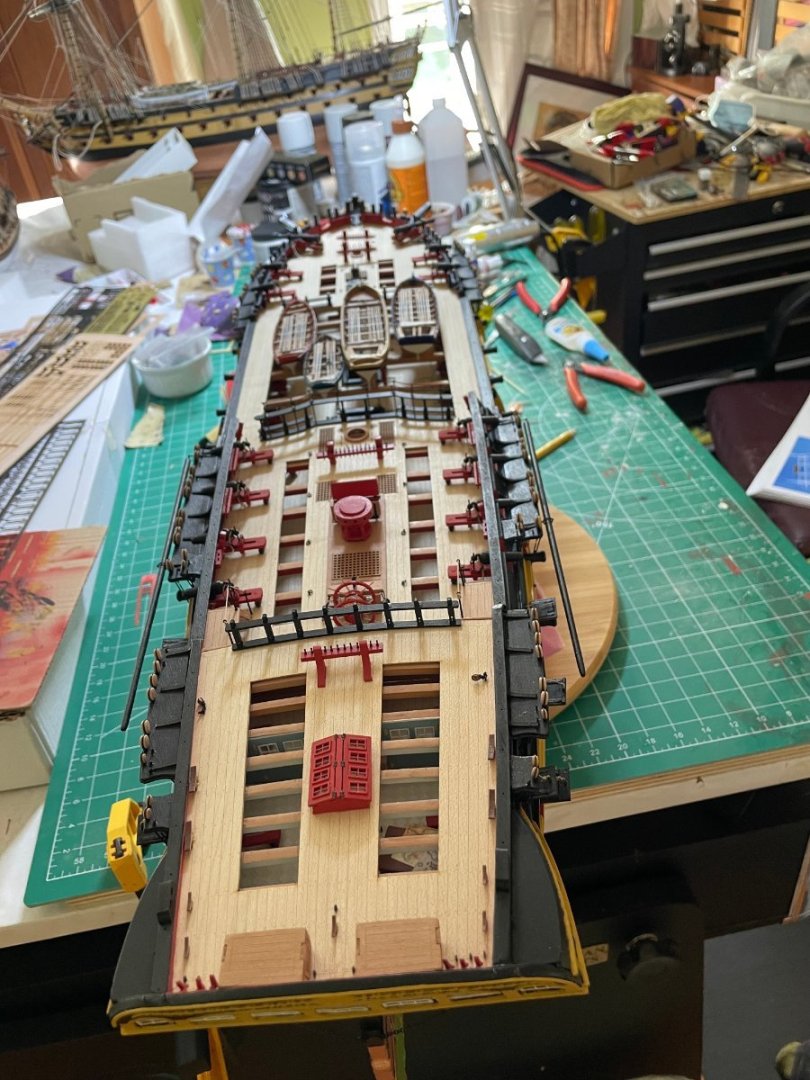
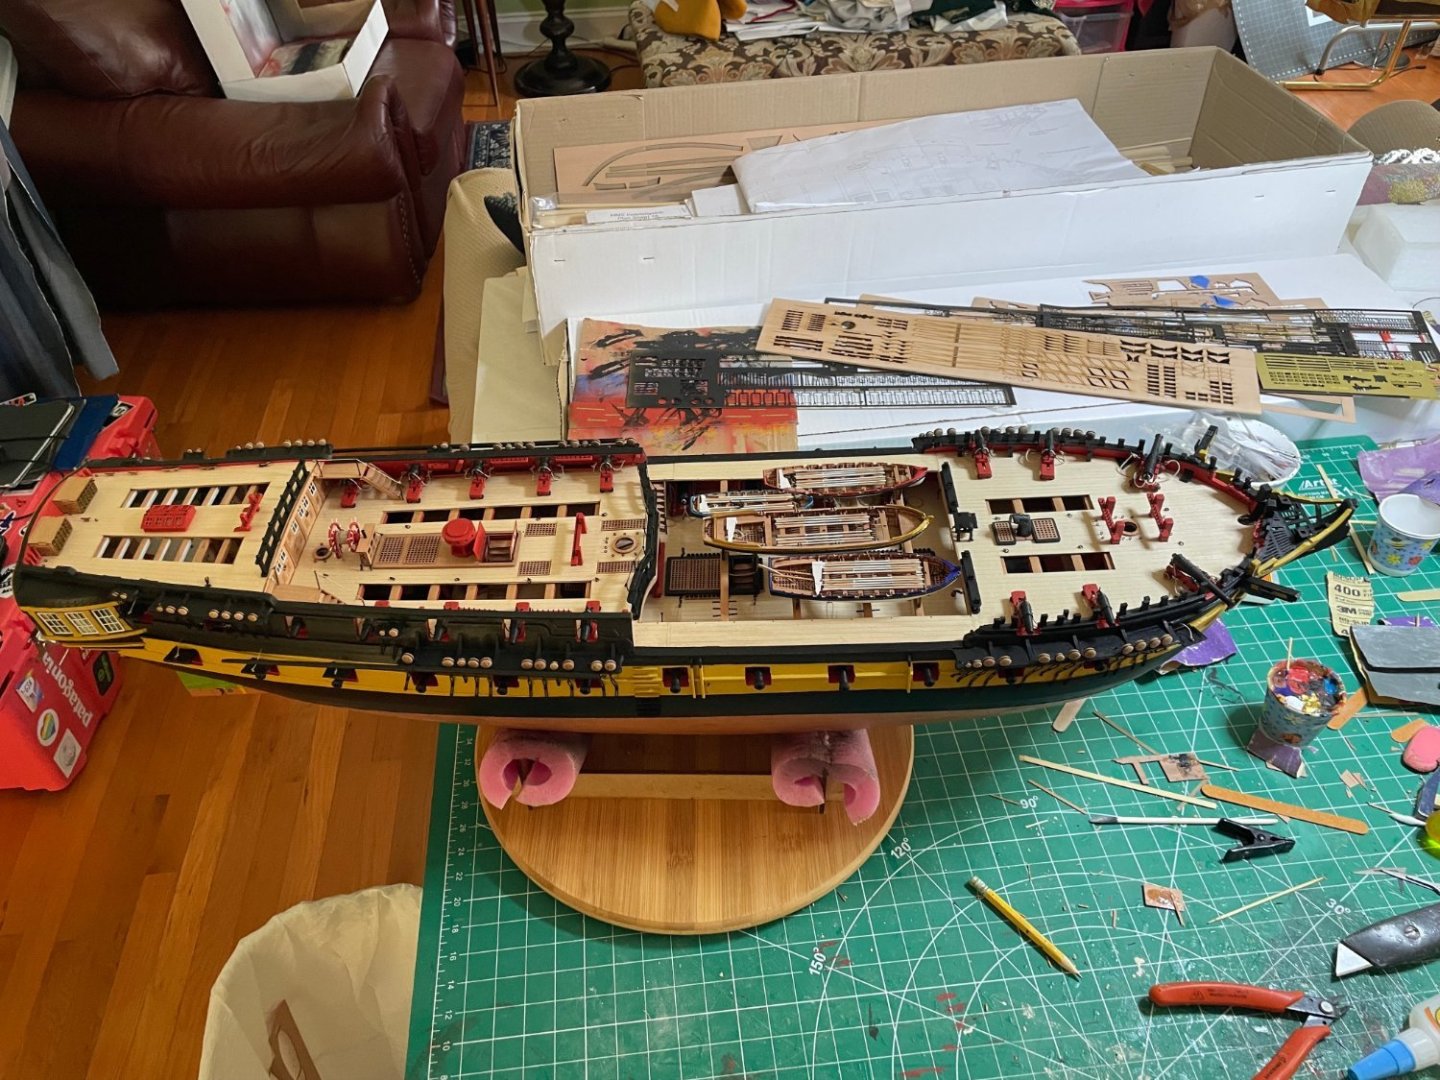
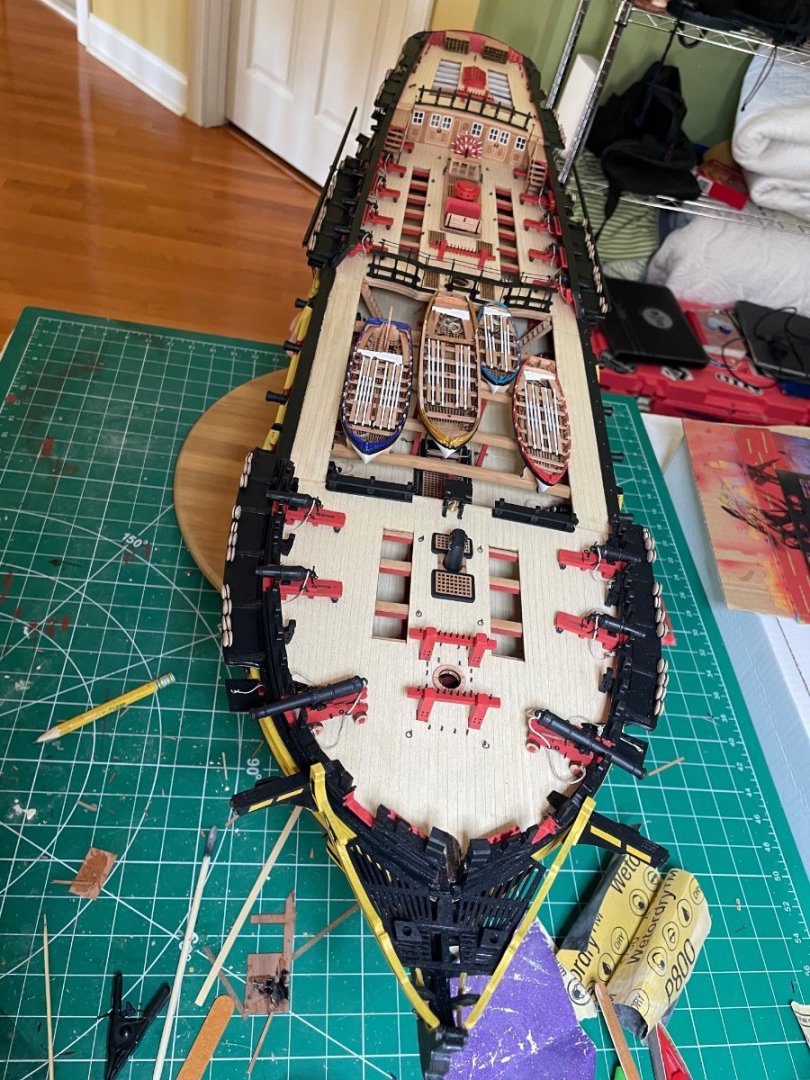
Ship's boats complete, anchors and gear stowed and temporary placement on the deck. Will finish the anchors tomorrow and then will be off for a weeks break from work and will start the masts following.

- 233 replies
-
- 10
-
-
- Indefatigable
- Vanguard Models
- (and 1 more)
-
Thanks, nothing like sand paper, filler and paint to correct errors on these things
- 233 replies
-
- 1
-
-
- Indefatigable
- Vanguard Models
- (and 1 more)
-
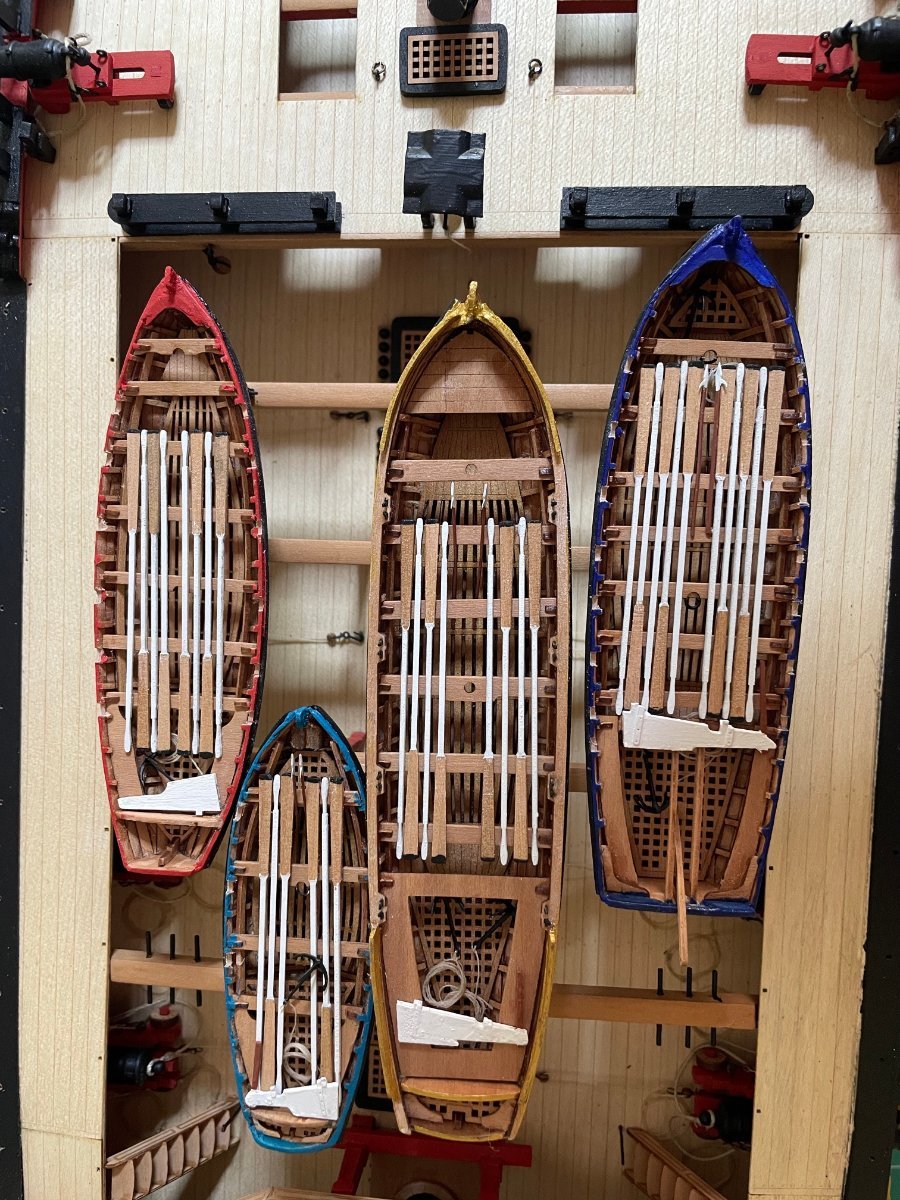
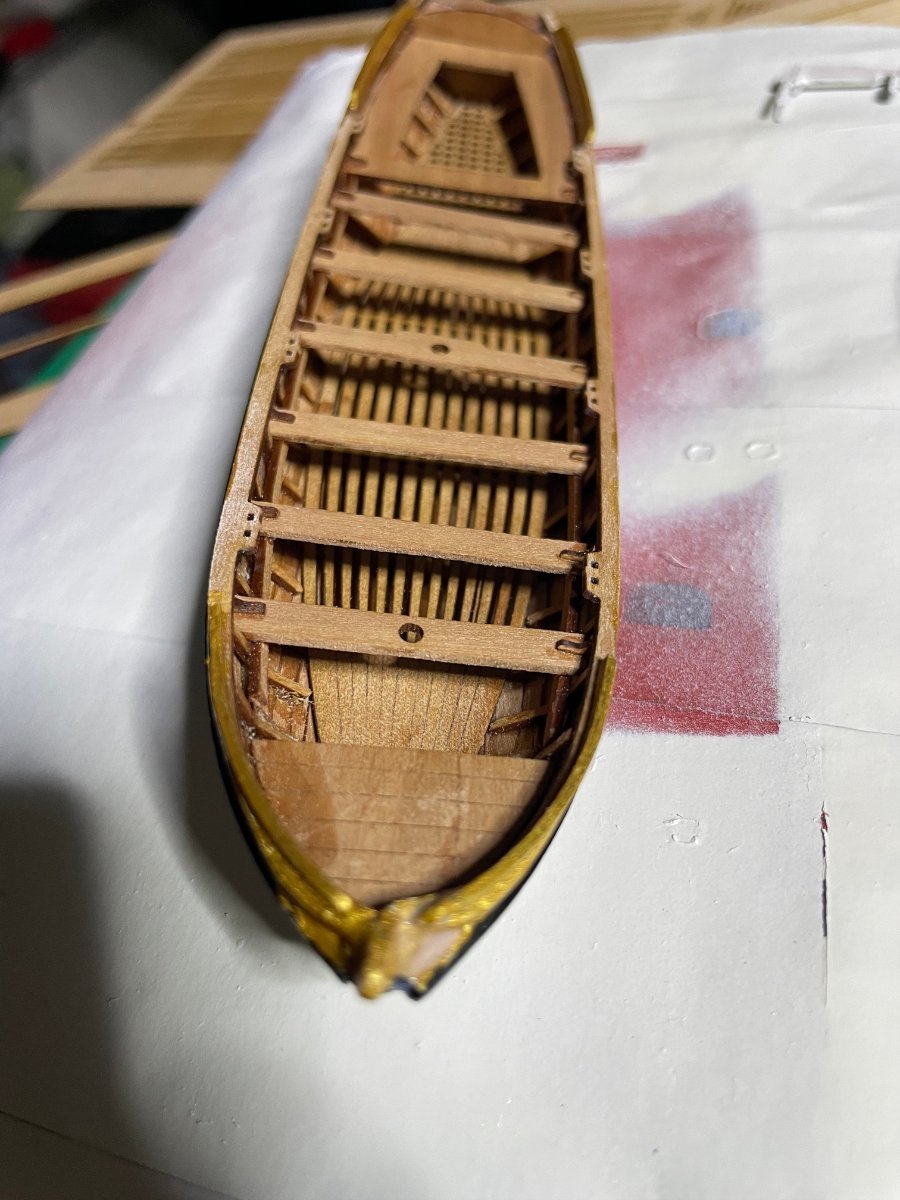
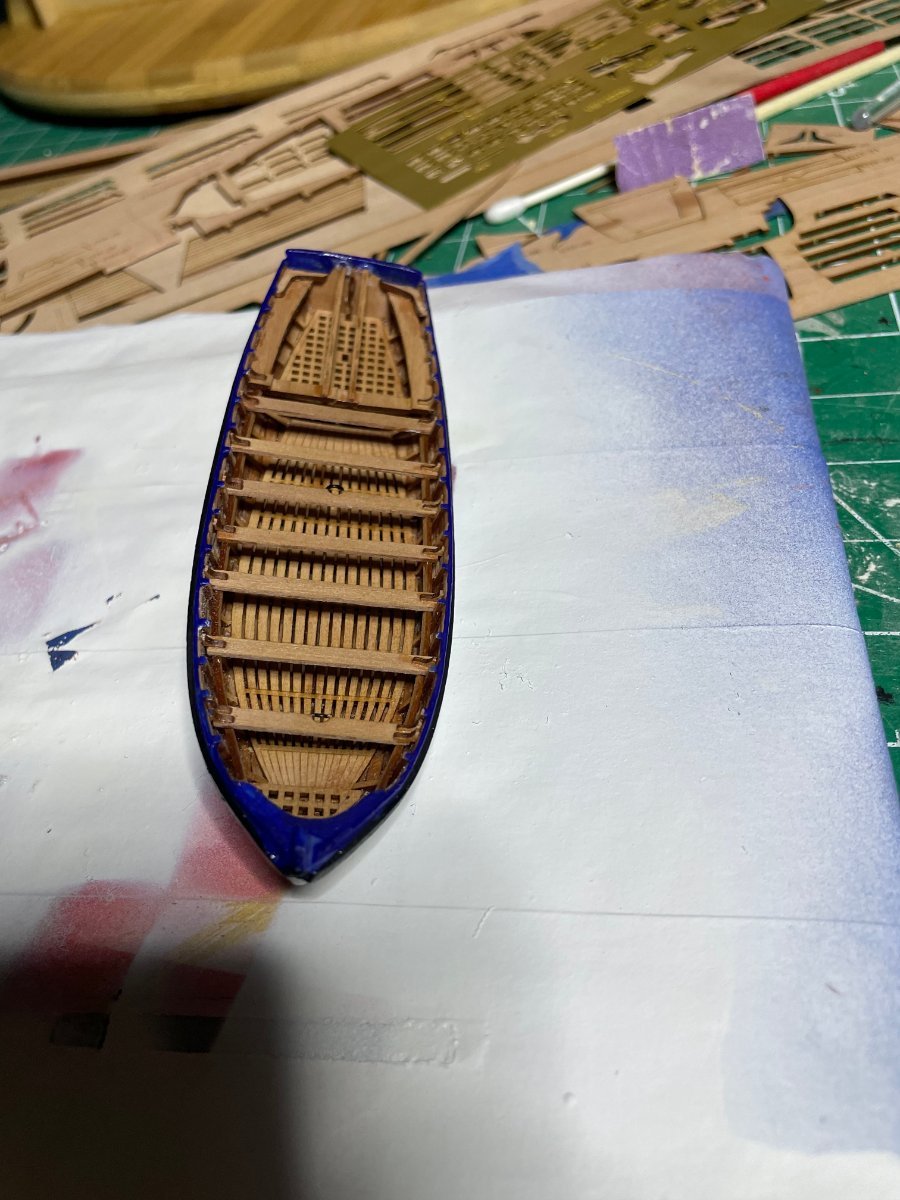
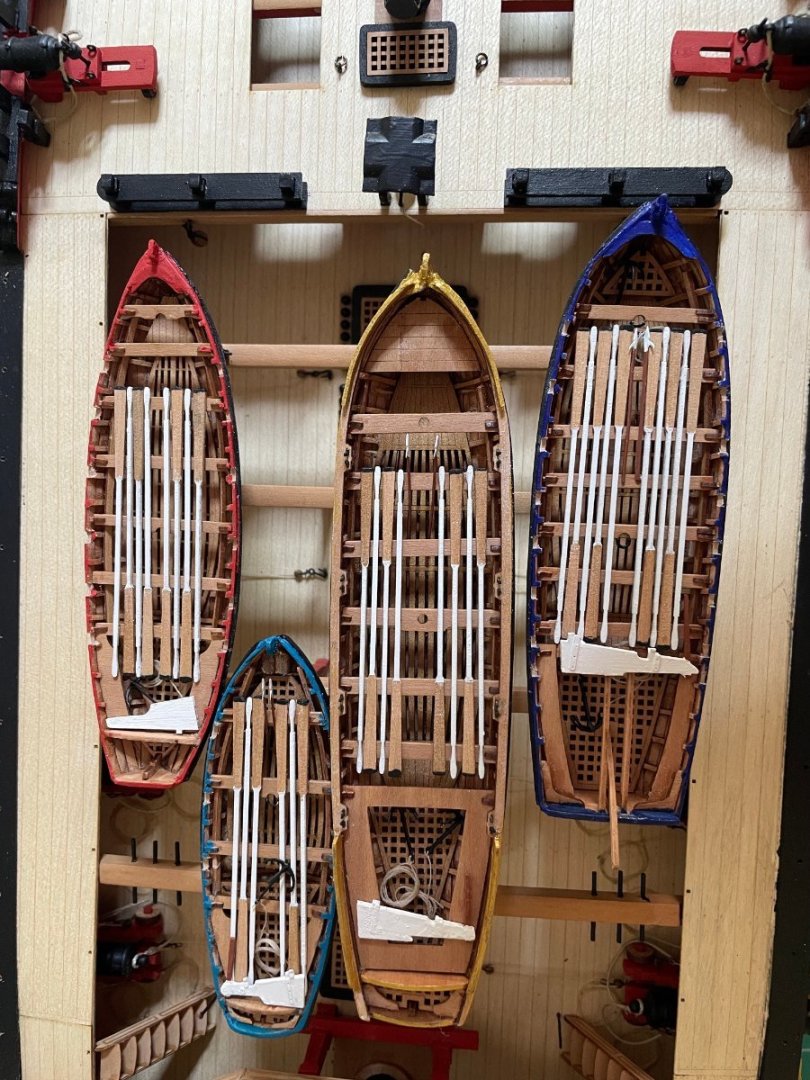
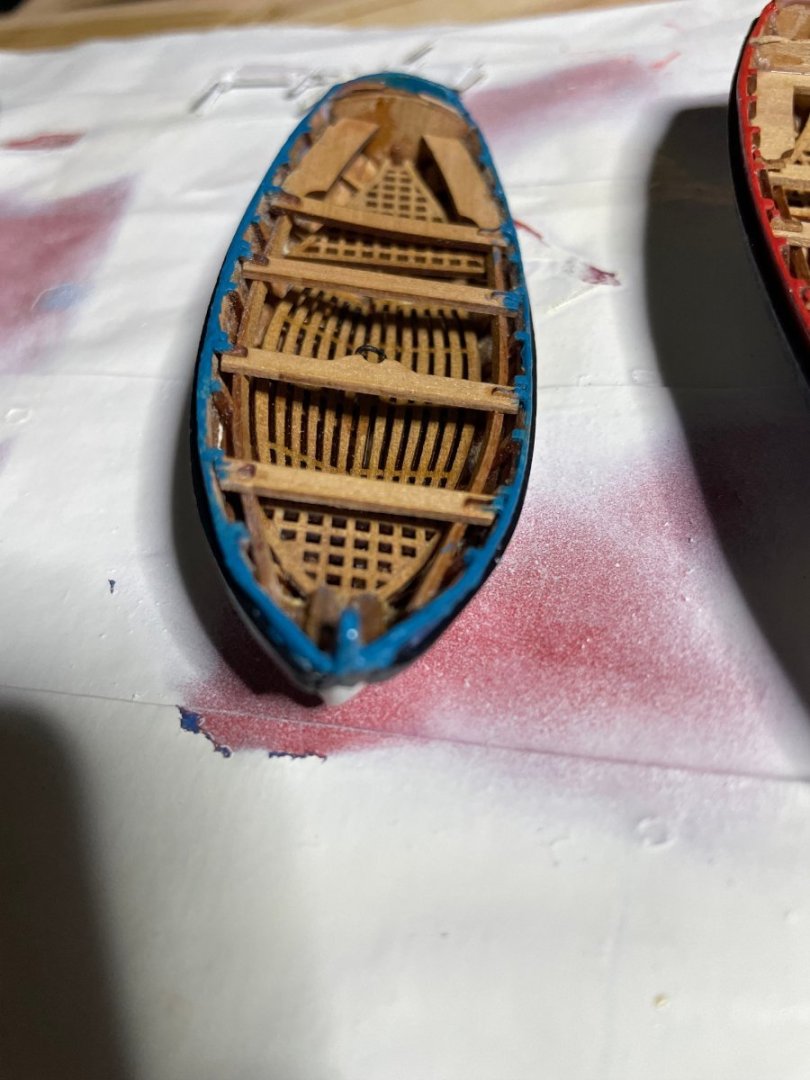
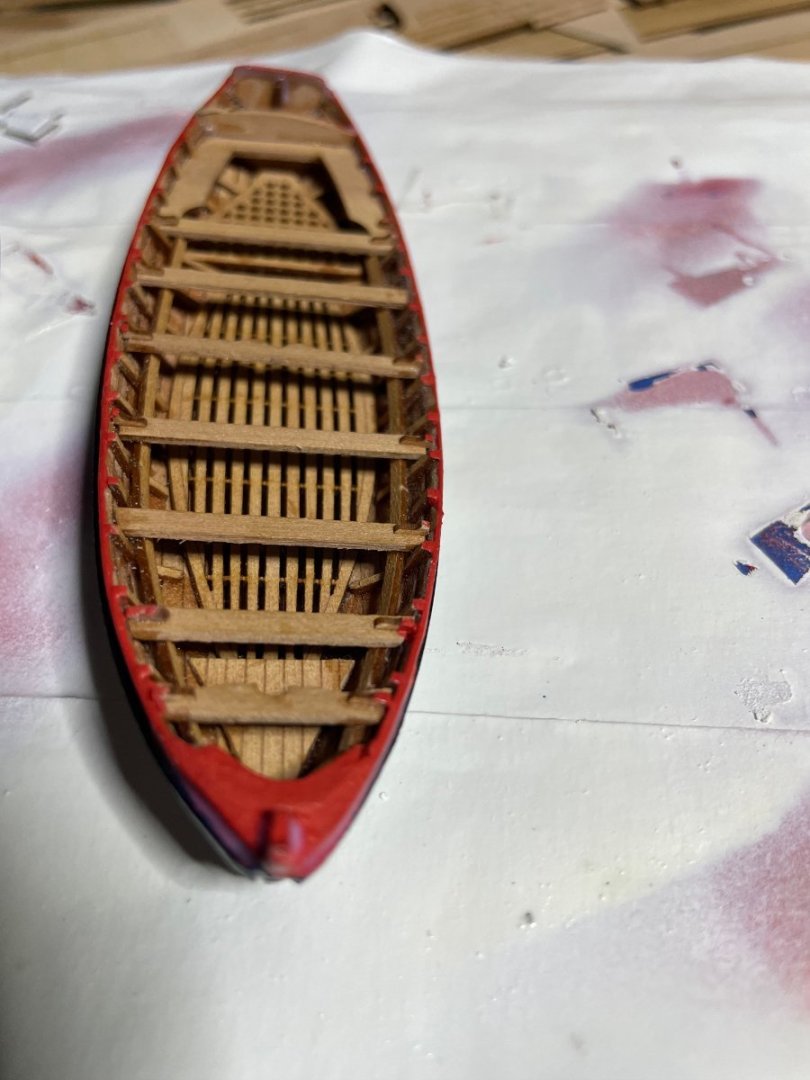
I think the ship's boats are in some ways harder than a lot of the other parts of the project due to their small size
- 443 replies
-
- 3
-
-
- Indefatigable
- Vanguard Models
- (and 1 more)
-
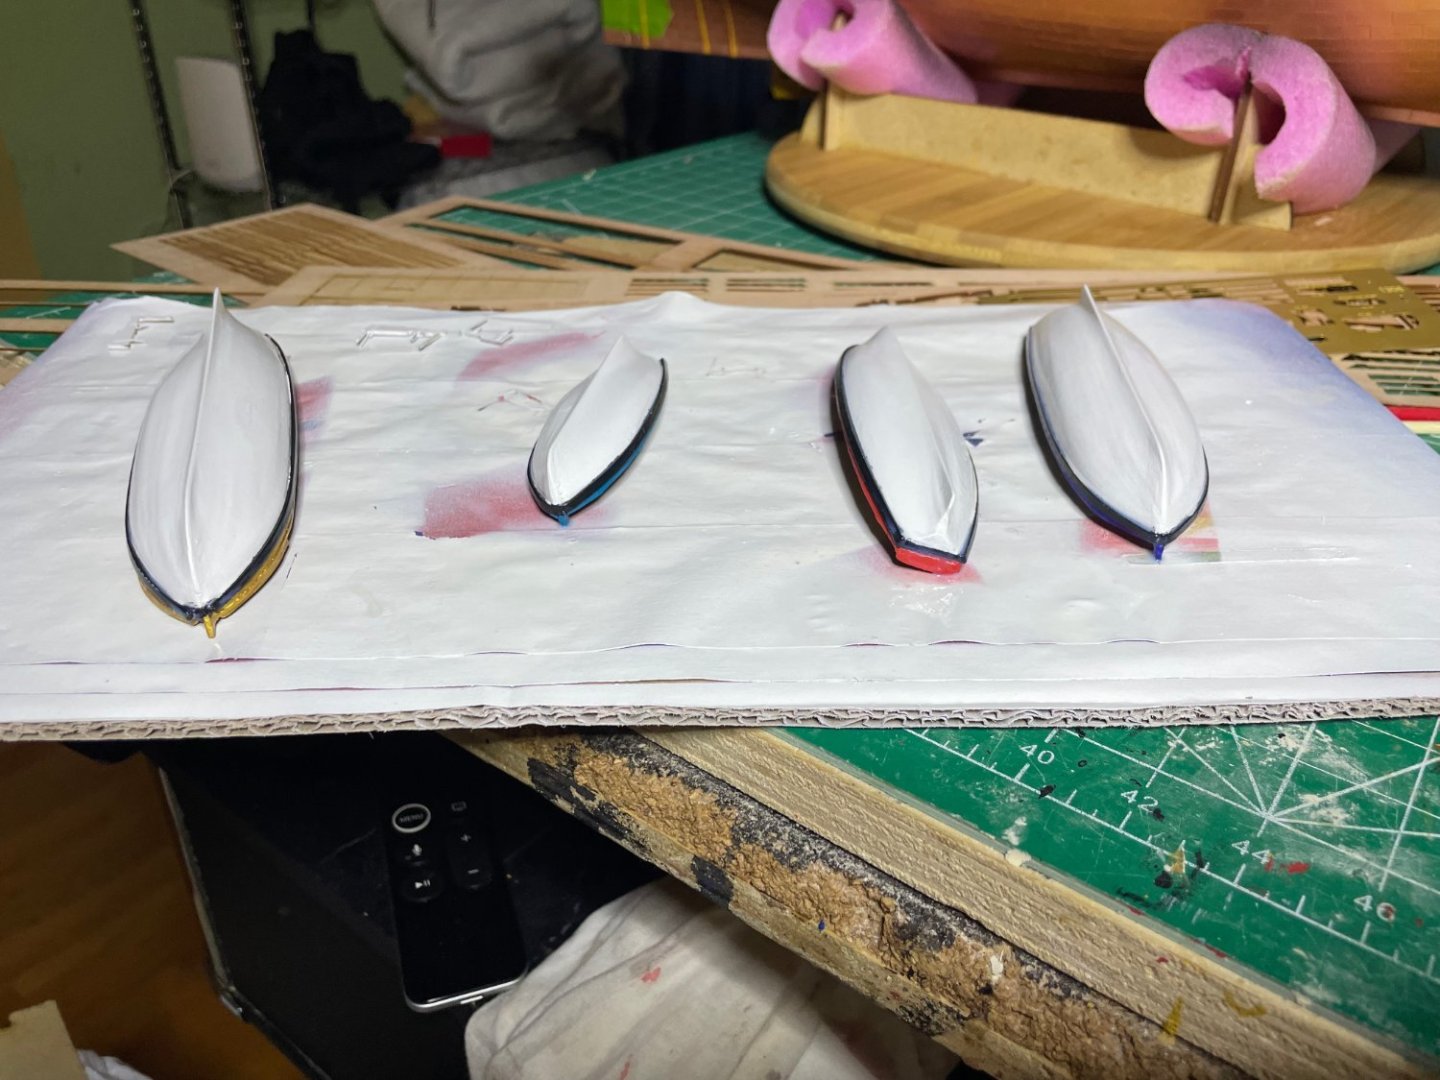
Finished painting today. As I expect Pellow had a lot of prize money he could a little bling to his ships boats. I'll finish up with rudders, oarlocks, boat books, oars and anchors over the next few days


- 233 replies
-
- 8
-
-
- Indefatigable
- Vanguard Models
- (and 1 more)